You may have heard the stories that idly came from Indonesia, and that sambar came from Maharashtra. Today, both of these are accepted as quintessentially South India food. When it comes to food, where much is often not recorded, it is very difficult to pinpoint where a dish came from. The way I see it: at the end of the day, it’s down to your creativity, your imagination, the ingredients that are available while you’re cooking, the ingredients that grow during that season and in that area – there are many variables. Similarly for this sambar, which may have originated anywhere but tastes good everywhere.
My version of sambar is influenced by the communities I grew up in. I know I must sound like a stuck record since I say this about so many dishes, but various communities do prepare it in their own ways. This is true for every kind of food, and there are variations between cooks as well. This is the sambar that my family likes and have grown accustomed to. My mother’s preparation was different, and my daughter will probably cook it differently as well.
Food is like Chinese whispers: by the time it trickles down to us, it may be a far cry from what the inventor of the dish made. Everything we know about authentic, traditional food is by word of mouth and trial and error. I doubt that much was ever written down, except perhaps recipes for temple offerings and so on. Additionally, traditional food was always defined by location – i.e. seasons and available produce, as mentioned earlier. Some of us do still try to follow this natural logic, such as through Macrobiotics. But overall, we have come a long way since then. Today, avocados, blueberries and strawberries grow in India. While they may not go into our sambars, they do go into our diets pretty regularly.
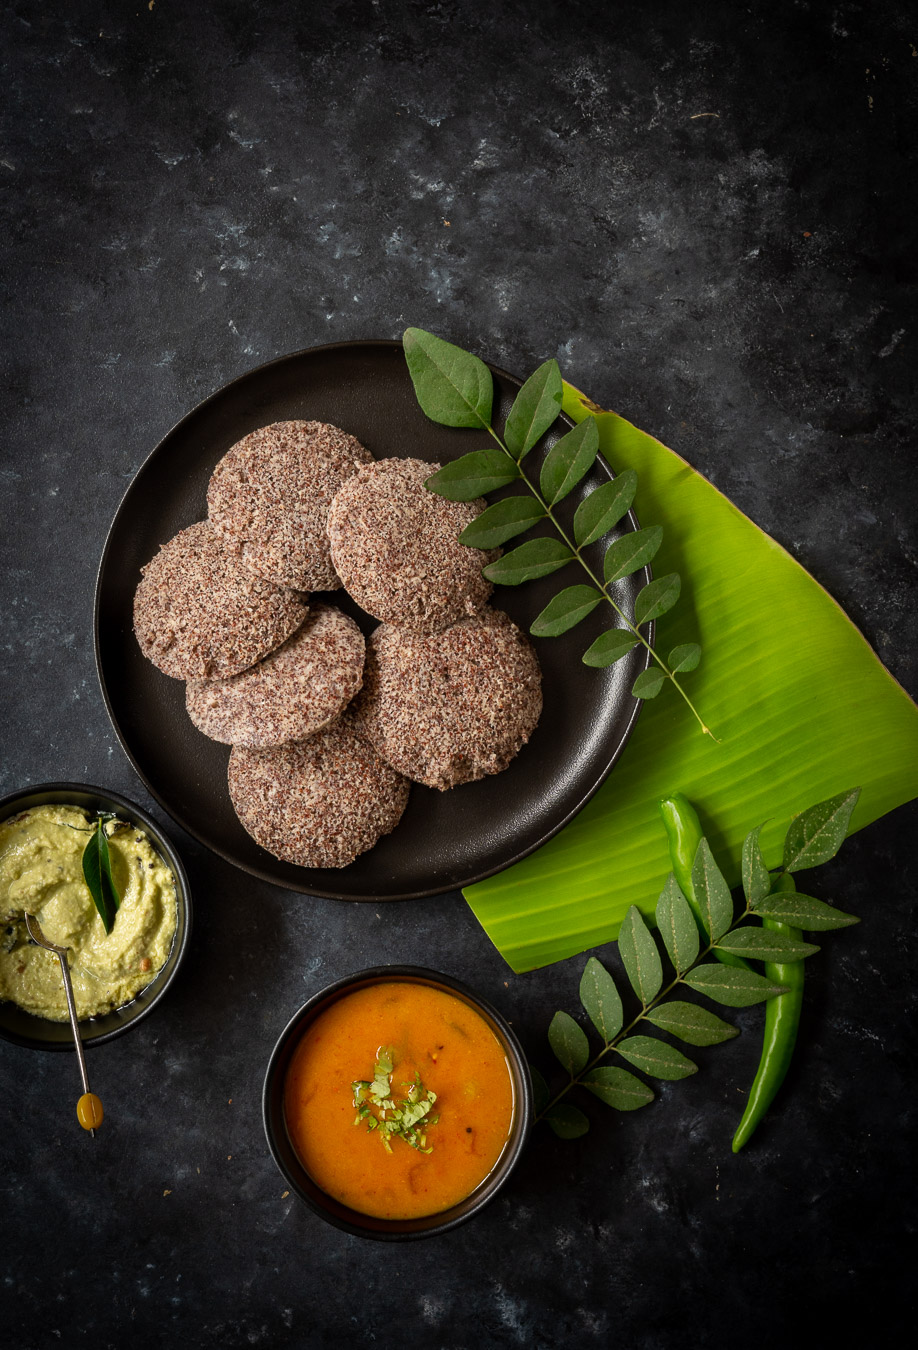
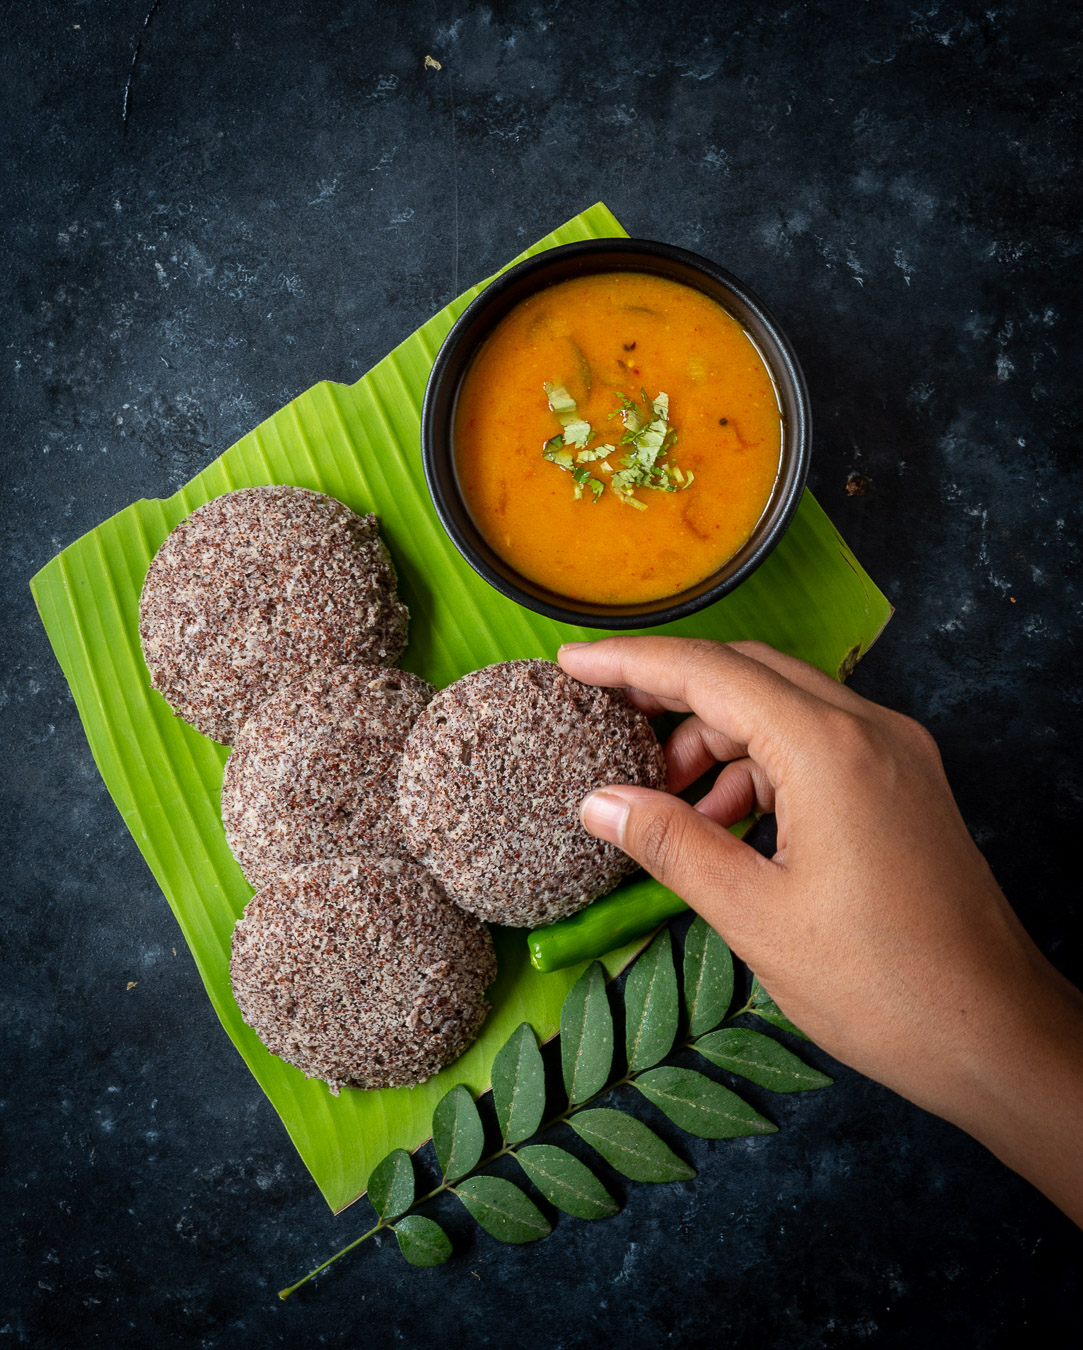
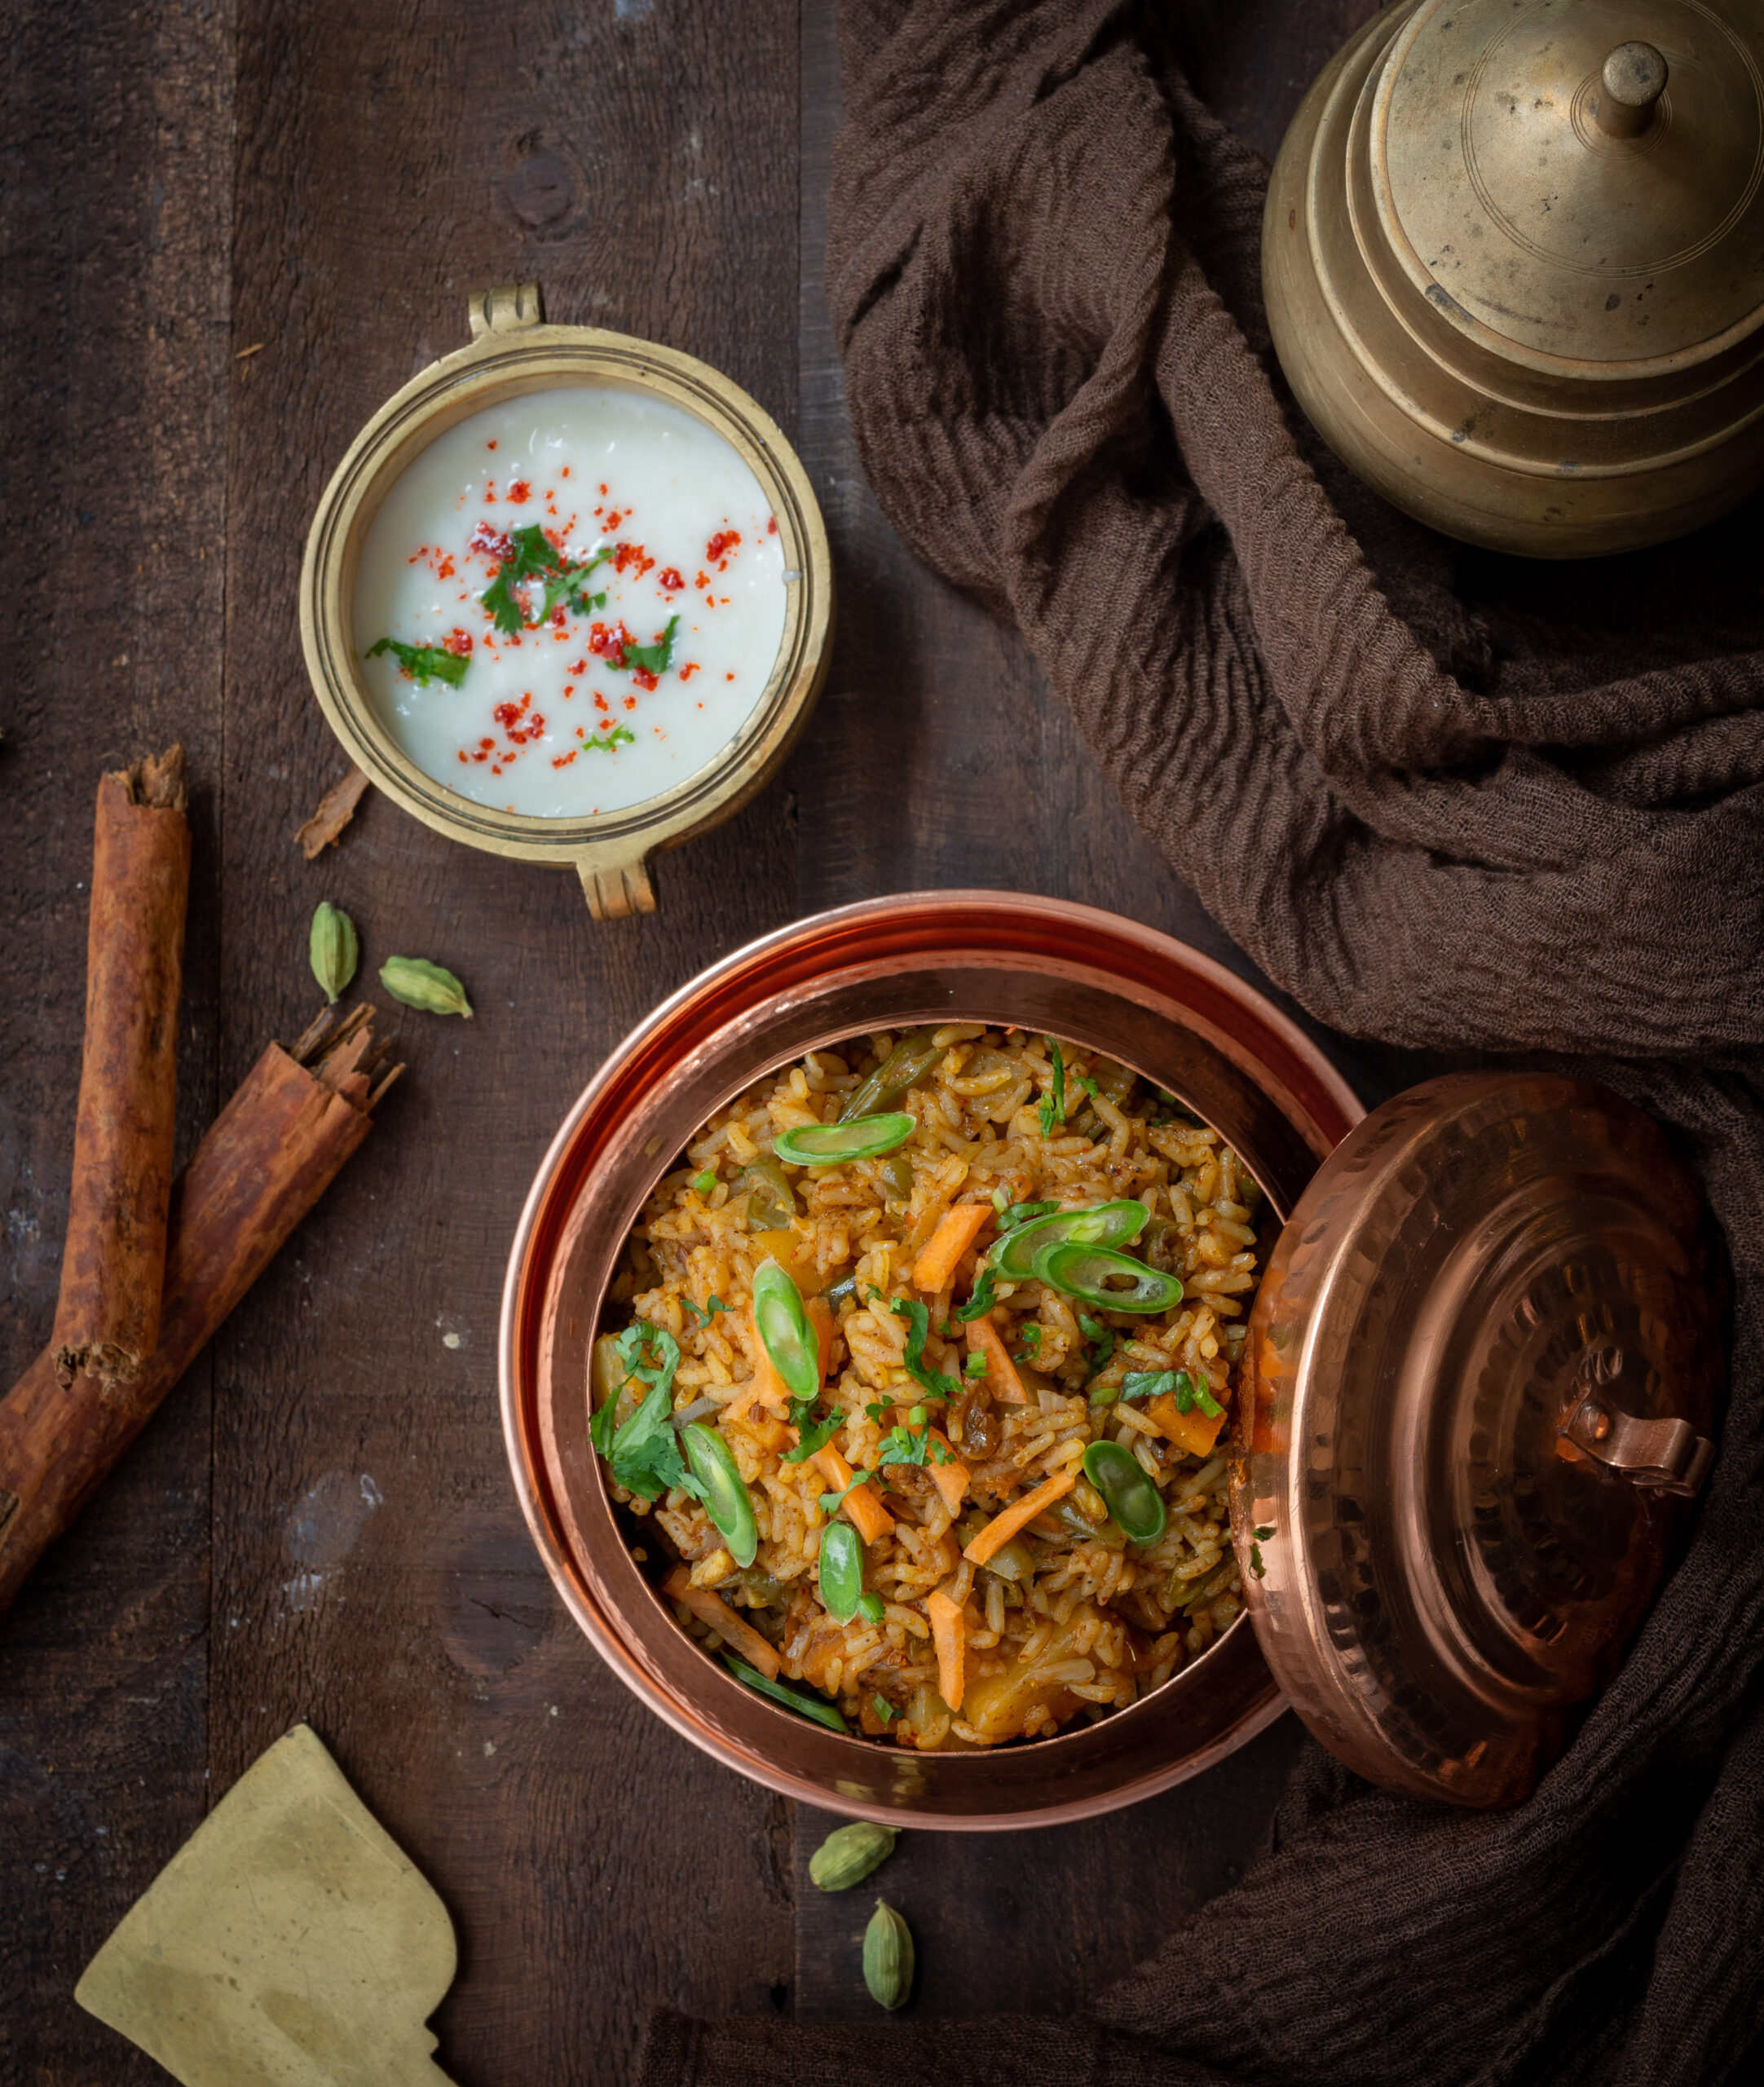
Coming back to sambar: it is a lentil-based dish that is enjoyed with dosas, idlys or rice. It is rich in protein, and is quite healthy for you. For the recipe below, I have used a readymade sambar masala, but I also have a homemade sambar powder recipe that I will share with you soon.
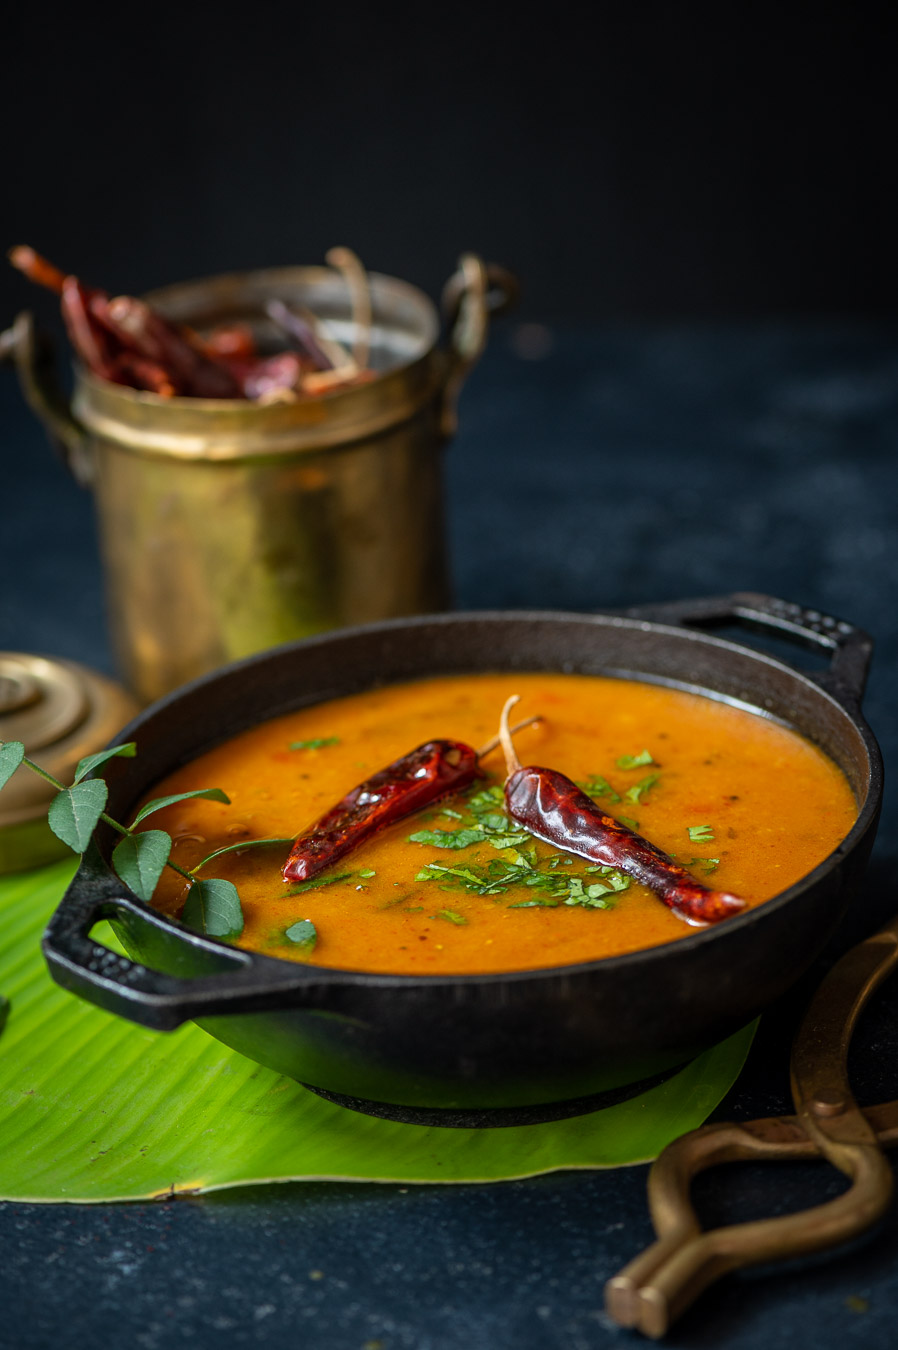
Sambar
(Yield: Serves 4)
1 cup toor dal (pigeon pea)
2 cups water (to cook the dal)
2 tablespoons sesame oil
Salt to taste
¼ teaspoon turmeric
½ teaspoon Kashmiri red chilli powder (adds colour)
1 heaped spoon sambar masala
½ teaspoon mustard seeds
½ teaspoon cumin seeds
¼ teaspoon asafoetida
5-8 curry leaves
1 dry red chilli
1 cup shallots
1 tomato – finely chopped
Juice of 1 lime-sized ball of tamarind
3 cups water
Cook the toor dal along with the water in a pressure cooker until tender. Set aside.
Heat a kadai and add the oil. Once the oil is heated, add mustard seeds, cumin seeds, curry leaves, asafoetida, dry red chilli, and finally, the shallots. Sauté until the shallots are tender.
Now, add the tomatoes.
Next, add the salt, turmeric, chilli powder and the sambar masala. Sauté and add the tamarind juice.
Cover with a lid and allow to cook on a low flame, until the raw smell of tamarind dissipates. This will take approximately 10-12 minutes. Blend the dal and add it to the kadai. Make the sambar to the consistency you prefer.
Allow to boil for a bit, then serve hot, garnished with fresh coriander leaves.
This sambar pairs perfectly with the ragi idly I shared last week. Why not try both out together and let me know what you think?