Tag

India

Browsing

There are all kinds of powders, known as “podi”, and condiments in South Indian homes. Among them are: the coconut podi that we have talked about earlier, idly podi that is sprinkled over idly and eaten with ghee and makes for a great travel snack, podis using curry leaves or moringa leaves, and even gunpowder – presumably named this way by the British on account of its heat. This recipe is one such podi too. Last week, I shared the recipe for sambar using a readymade masala. Those of you who would like to use a homemade masala instead could use this sambar podi.

Traditionally, this sambar podi would be made fresh – ground, hand-pounded and added to the pot. Nowadays, with our busy lives, those of us who like having an entirely homemade podi make a jar of it and keep adding it to our sambar whenever we prepare it. It is more efficient, and greatly enhances the flavour of the sambar.

Of course, many readymades are equally good, and you know that I use them too. Still, we all also know that there’s nothing quite like homemade when it comes to certain ingredients, and of course when it comes to cooking itself.

Sambar Podi

(Yield: One small jar)


8-10 dry red chillies

2 tablespoons urad dal

1 teaspoon black pepper

¼ teaspoon methi seeds

1 teaspoon cumin

2 teaspoons coriander seeds

¼ teaspoon turmeric

1 pinch asafoetida

Salt to taste

1 teaspoon ghee

2 teaspoon desiccated coconut


Heat a pan. Add ½ teaspoon ghee. Once it has heated, add the urad dal and toast until pale golden. Set aside.

In the same pan, add black pepper, cumin, methi and coriander seeds. Roast well. Then, add turmeric and asafoetida. Set aside.

In the same pan, add a drop of ghee and roast a handful of dry red chillies. Next, roast the desiccated coconut. Allow all the ingredients to cool.

Then, add these to the blender: the urad dal, coriander seeds, methi, pepper, cumin and red chillies. Grind coarsely and add salt to taste, then all the remaining ingredients.  Blend until all the spices are mixed well. Allow to cool. Store in an airtight jar.

You can use this sambar podi in lieu of a store-bought one when you prepare sambar. The recipe for that is here. Enjoy with idlys, dosas or rice!

You may have heard the stories that idly came from Indonesia, and that sambar came from Maharashtra. Today, both of these are accepted as quintessentially South India food. When it comes to food, where much is often not recorded, it is very difficult to pinpoint where a dish came from. The way I see it: at the end of the day, it’s down to your creativity, your imagination, the ingredients that are available while you’re cooking, the ingredients that grow during that season and in that area – there are many variables. Similarly for this sambar, which may have originated anywhere but tastes good everywhere.

My version of sambar is influenced by the communities I grew up in. I know I must sound like a stuck record since I say this about so many dishes, but various communities do prepare it in their own ways. This is true for every kind of food, and there are variations between cooks as well. This is the sambar that my family likes and have grown accustomed to. My mother’s preparation was different, and my daughter will probably cook it differently as well.

Food is like Chinese whispers: by the time it trickles down to us, it may be a far cry from what the inventor of the dish made. Everything we know about authentic, traditional food is by word of mouth and trial and error. I doubt that much was ever written down, except perhaps recipes for temple offerings and so on. Additionally, traditional food was always defined by location – i.e. seasons and available produce, as mentioned earlier. Some of us do still try to follow this natural logic, such as through Macrobiotics. But overall, we have come a long way since then. Today, avocados, blueberries and strawberries grow in India. While they may not go into our sambars, they do go into our diets pretty regularly.

Coming back to sambar: it is a lentil-based dish that is enjoyed with dosas, idlys or rice. It is rich in protein, and is quite healthy for you. For the recipe below, I have used a readymade sambar masala, but I also have a homemade sambar powder recipe that I will share with you soon.

Sambar

(Yield: Serves 4)


1 cup toor dal (pigeon pea)

2 cups water (to cook the dal)

2 tablespoons sesame oil

Salt to taste

¼ teaspoon turmeric

½ teaspoon Kashmiri red chilli powder (adds colour)

1 heaped spoon sambar masala

½ teaspoon mustard seeds

½ teaspoon cumin seeds

¼ teaspoon asafoetida

5-8 curry leaves

1 dry red chilli

1 cup shallots

1 tomato – finely chopped

Juice of 1 lime-sized ball of tamarind

3 cups water


Cook the toor dal along with the water in a pressure cooker until tender. Set aside.

Heat a kadai and add the oil. Once the oil is heated, add mustard seeds, cumin seeds, curry leaves, asafoetida, dry red chilli, and finally, the shallots.  Sauté until the shallots are tender.

Now, add the tomatoes.

Next, add the salt, turmeric, chilli powder and the sambar masala. Sauté and add the tamarind juice.

Cover with a lid and allow to cook on a low flame, until the raw smell of tamarind dissipates. This will take approximately 10-12 minutes. Blend the dal and add it to the kadai. Make the sambar to the consistency you prefer.

Allow to boil for a bit, then serve hot, garnished with fresh coriander leaves.

This sambar pairs perfectly with the ragi idly I shared last week. Why not try both out together and let me know what you think?

I believe that South Indian breakfasts are probably the healthiest ones prepared pan-India. I may be biased, of course, as I live here. But my belief comes from how they tend to contain some amount of protein and probiotics, and are centred on something as basic and easily digestible as rice. Rice is used in the batter for idlys and dosais, which are breakfast staples. If you travel across Tamil Nadu, especially by road, you’ll see just how prevalent these items are across all communities and economic backgrounds. Naturally, I grew up eating them too. Nowadays, I like to boost the protein quotient, as I get very hungry immediately after my morning workout and crave more of it. This is why I decided to substitute rice with ragi – finger millet – in my idlys. They are high in both protein and iron, and provide an even more nutritious start to the day.

We grow ragi on our farm, and making these idlys is a great way to put it to use. During harvests, I have quite an abundance of ragi in my kitchen, and versatile ways to consume it were introduced to me by my household staff, Vijaya. I was fortunate that she came into my family when my daughter was only a few months old. Now, my daughter is an adult, and whenever she visits, Vijaya is always so happy to see how she’s grown and how she looks after herself. It’s a joy to share these moments, as we raised her together. Over the years, we have also exchanged many recipes. Among them is this ragi idly.

I’m currently hooked to this dish, and have it at least twice a week. I alternate it with other protein-rich breakfasts such as overnight oats, quinoa porridge, moringa leaves omelette and so on. As far as eating preferences go, I tend to have a “flavour of the season”, and just as I was hooked for each of the prior recipes for a spell, the ragi idly is my current favourite breakfast. It is satisfying, filling and ticks all the boxes for a post-workout meal in a healthy and traditional way.

It’s also on-trend, as the United Nations has declared 2023 to be the International Year of Millets. I’ve been enthusiastic about millet usage for years, and have shared numerous recipes that are based on a variety of them before. I’ll be sure to share more in this category over this coming year. Please let me know if there are any millets or millet-based dishes you are curious about.

Coming back to this dish: all kinds of idlys are usually served either with a chutney, or a sambar. I will share the recipe for sambar, as well as for homemade sambar powder, in upcoming posts – so do stay tuned. The recipe below includes the traditional process of preparing and fermenting the batter.

As I said earlier, idlys are available anywhere in Tamil Nadu, but the difference when they are homemade is that they somehow feel lighter on the stomach. You can eat many idlys and not feel too full, yet you’ll have plenty of energy all the way into the afternoon. This is all the more true when it’s a millet idly, like this one.

Ragi Idly

(Yield: 20 pieces)

2 cups ragi (finger millet)

½ cup urad dal (split black gram)

¼ tsp methi (fenugreek)

½ cup water to grind dal

½ cup water to grind ragi


Soak the urad dal and the methi together. In a separate bowl, soak the ragi. Allow the grains to soak for between 4-10 hours, as required.

Then, grind the urad dal, adding the water only as needed, at approximately a ¼ cup at a time. Grind until it’s smooth between fingers. Set aside in a bowl.

Grind the ragi, along with water as required, until coarse. Add the ground ragi to the urad dal. Add salt to taste and mix with your hand. Set aside overnight and allow to ferment.

The following morning, the ragi batter would have risen for fermentation.

Prepare the idly mould by spreading a drop of ghee into each mould. This will help you remove the steamed idly with ease later. Set aside.

With a ladle, stir the batter gently and pour it into the prepared idly trays. Steam for 10-15 minutes. Remove from the cooker and allow to cool a little. Gently remove the idlys individually from the mould.

Serve topped with ghee, along with chutney and sambar, or both. There you have it: a traditional staple, superpowered by ragi!

When my children were growing up, they were really fond of biryani. Biryani is a speciality in India. It is basically a type of rice, loaded with flavours, aromas and vegetables and/or meat. The specific ingredients included will be based on what is locally available, as well as preferences unique to a community – and it is made by many different communities, each in their own styles. By and large, the authentic method of preparing a fragrant biryani loaded with spices came with the Mughals, and trickled into other cuisines. The dish may even have other names in some parts of the country. We are fluid here when it comes to biryani, and it is very much a pan-Indian dish or dish category. A real biryani takes time, effort and skill – but I’ve perfected the recipe for an easy biryani that tastes very good, smells just as lovely and requires the above three elements only minimally!

So here’s the truth: I never really did know how to make biryani when the kids were younger. So I always resorted to this easy and quick method. I feel that this is essentially a masala rice in preparation, but it comes close in flavour and scent to authentic biryani.

However, as my children grew and started eating around the world, they got smarter and were quick to spot when my masala rice was being passed off as a biryani. So I in turn learned how to make real biryani too. That, however, is a long process. The traditional method varies both in its ingredients as well as its cooking. Today, I have opted to share a simple method for an easy biryani instead. While I have kept it vegetarian, you can add meat at the same time in the method that I add the veggies. All else remains the same in the recipe.

When I began to share recipes on this blog some years ago, one of the essential ideas that went behind its conception was that it should appeal to young adults. Whether they were off at university, or were newly-wed and starting a family of their own, I wanted to offer recipes that they could pull off with ease. So I like to present dishes that require accessible ingredients, and simple methods. While I do enjoy sharing exotic or more complex fare here too, and I quite often throw in traditional recipes that keep my readers connected to their roots, I do keep adaptability and time-efficiency in mind most of the time. I know this particular easy biryani recipe fits the criteria because it’s the version that I myself still keep making when I visit my kids in other locations, and encourage them to cook when they’re on their own too.

So, now that I’ve shared one of the core motivations behind how I come up with my recipes, let me also say: I hope this blog has served many. Feel free to leave comments on what else you’d like to see here or what you would like to know about the culinary realm, especially if you’ve just started your journey in the kitchen.

Easy Biryani

(Yield: Serves 2)

2 tablespoons ghee

1 bay leaf

2 cloves

1 teaspoon cumin seeds

1 cardamom

2-3 garlic cloves

½ cup chopped onions

2 cups chopped vegetables (beans, carrot, peas, potato)

1 tablespoon tomato purée

1½ cups water

1 cup rice

Salt to taste

2 teaspoons garam masala

2 teaspoons dhaniya/jeera powder

¼ teaspoon turmeric

Coriander and mint leaves (to garnish)


Rinse and pick the rice and set it aside.

Heat the ghee in a saucepan or pressure cooker. To this, add the bay leaf, cumin, cloves and cardamom. Once they have heated, add the garlic and sauté for a few seconds. Then, add the onions and the remaining vegetables. If you are using meat, add it now as well. Sauté on a medium or high flame.

Now, add the tomato purée. Stir for a few minutes.

Then, add the rice and the water. Add the remaining masala and close the lid of the pressure cooker or cover the saucepan. Allow to cook for no more than 2 whistles or until the rice is tender to the touch, but not too soft. Turn off the flame.

Once it has cooled, open the lid. Sprinkle with coriander leaves and mint leaves. Cover again for some time.

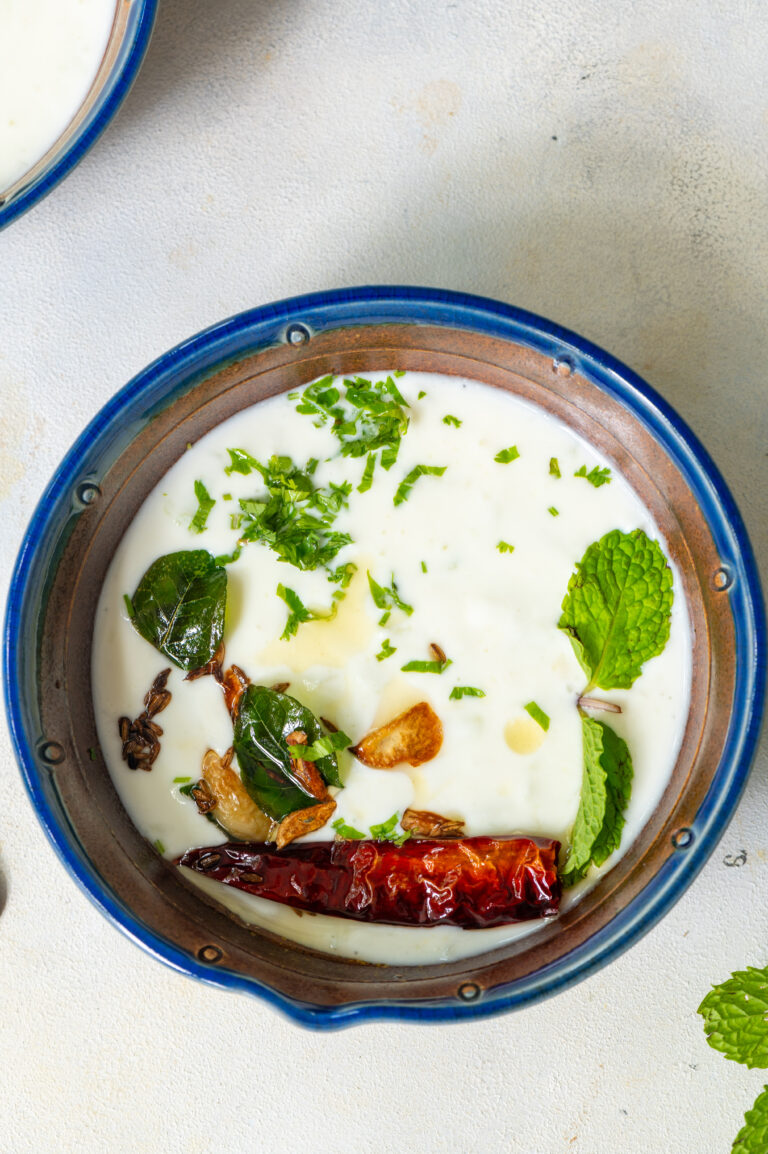
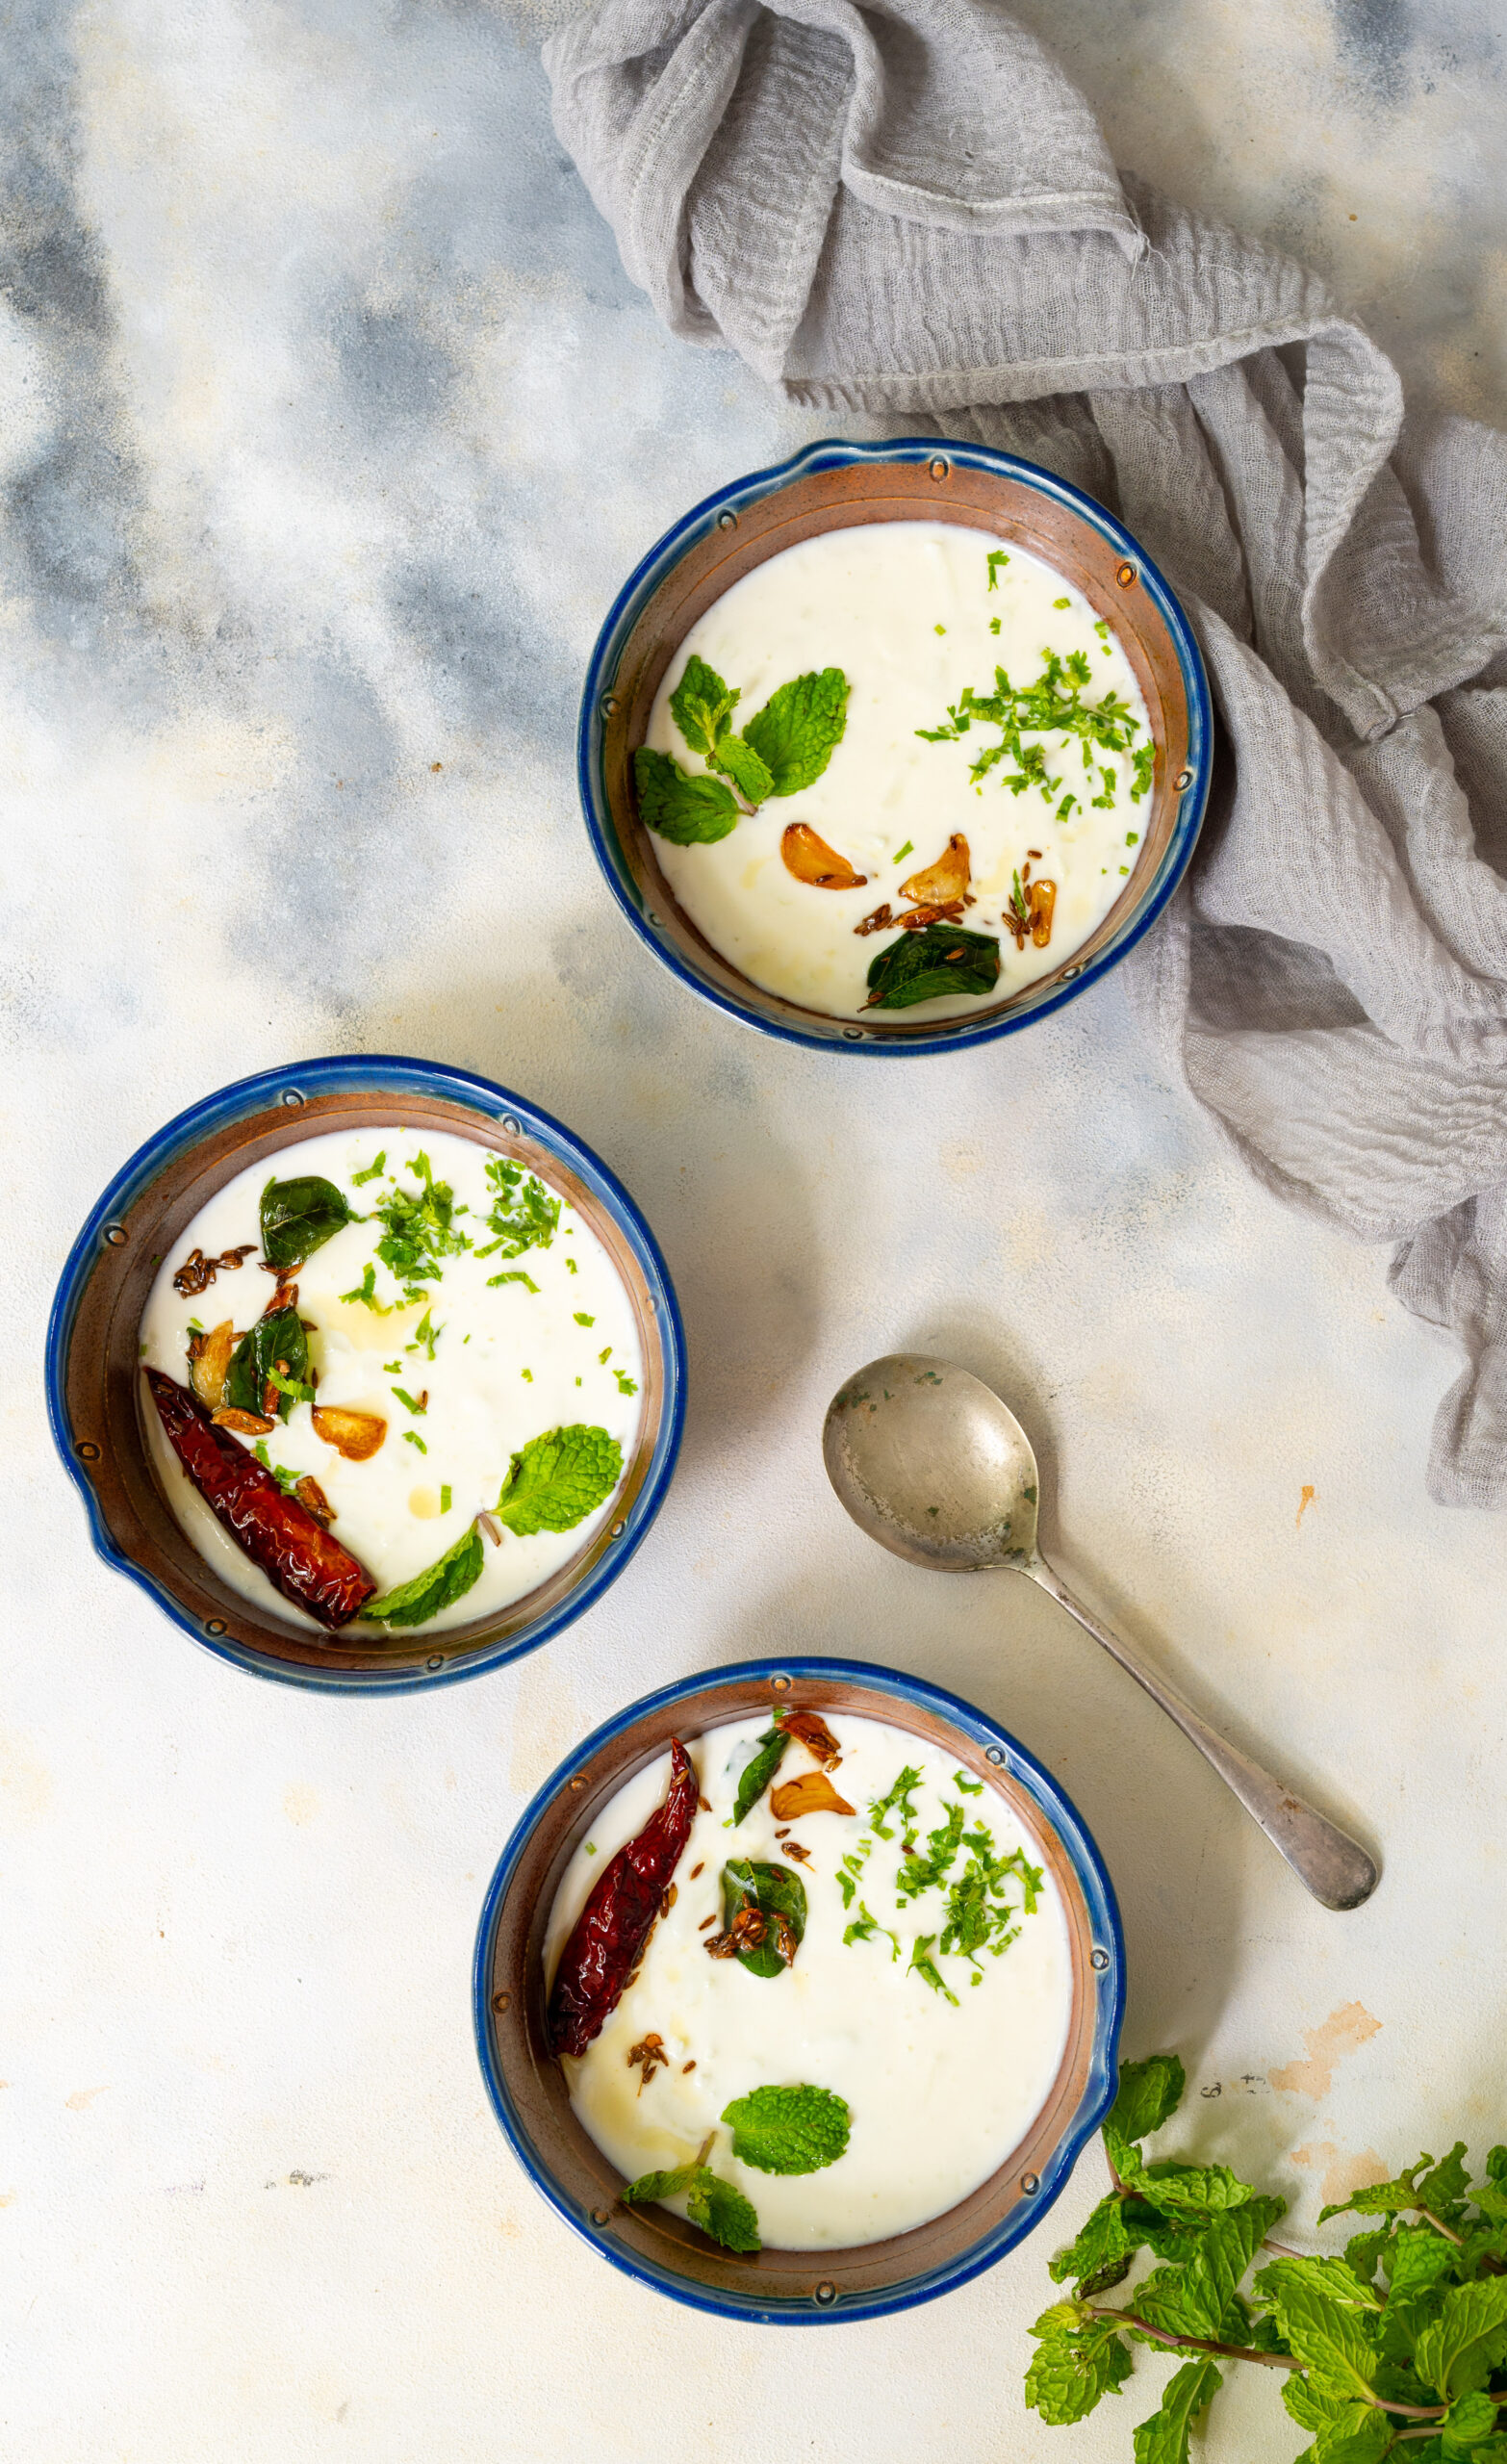
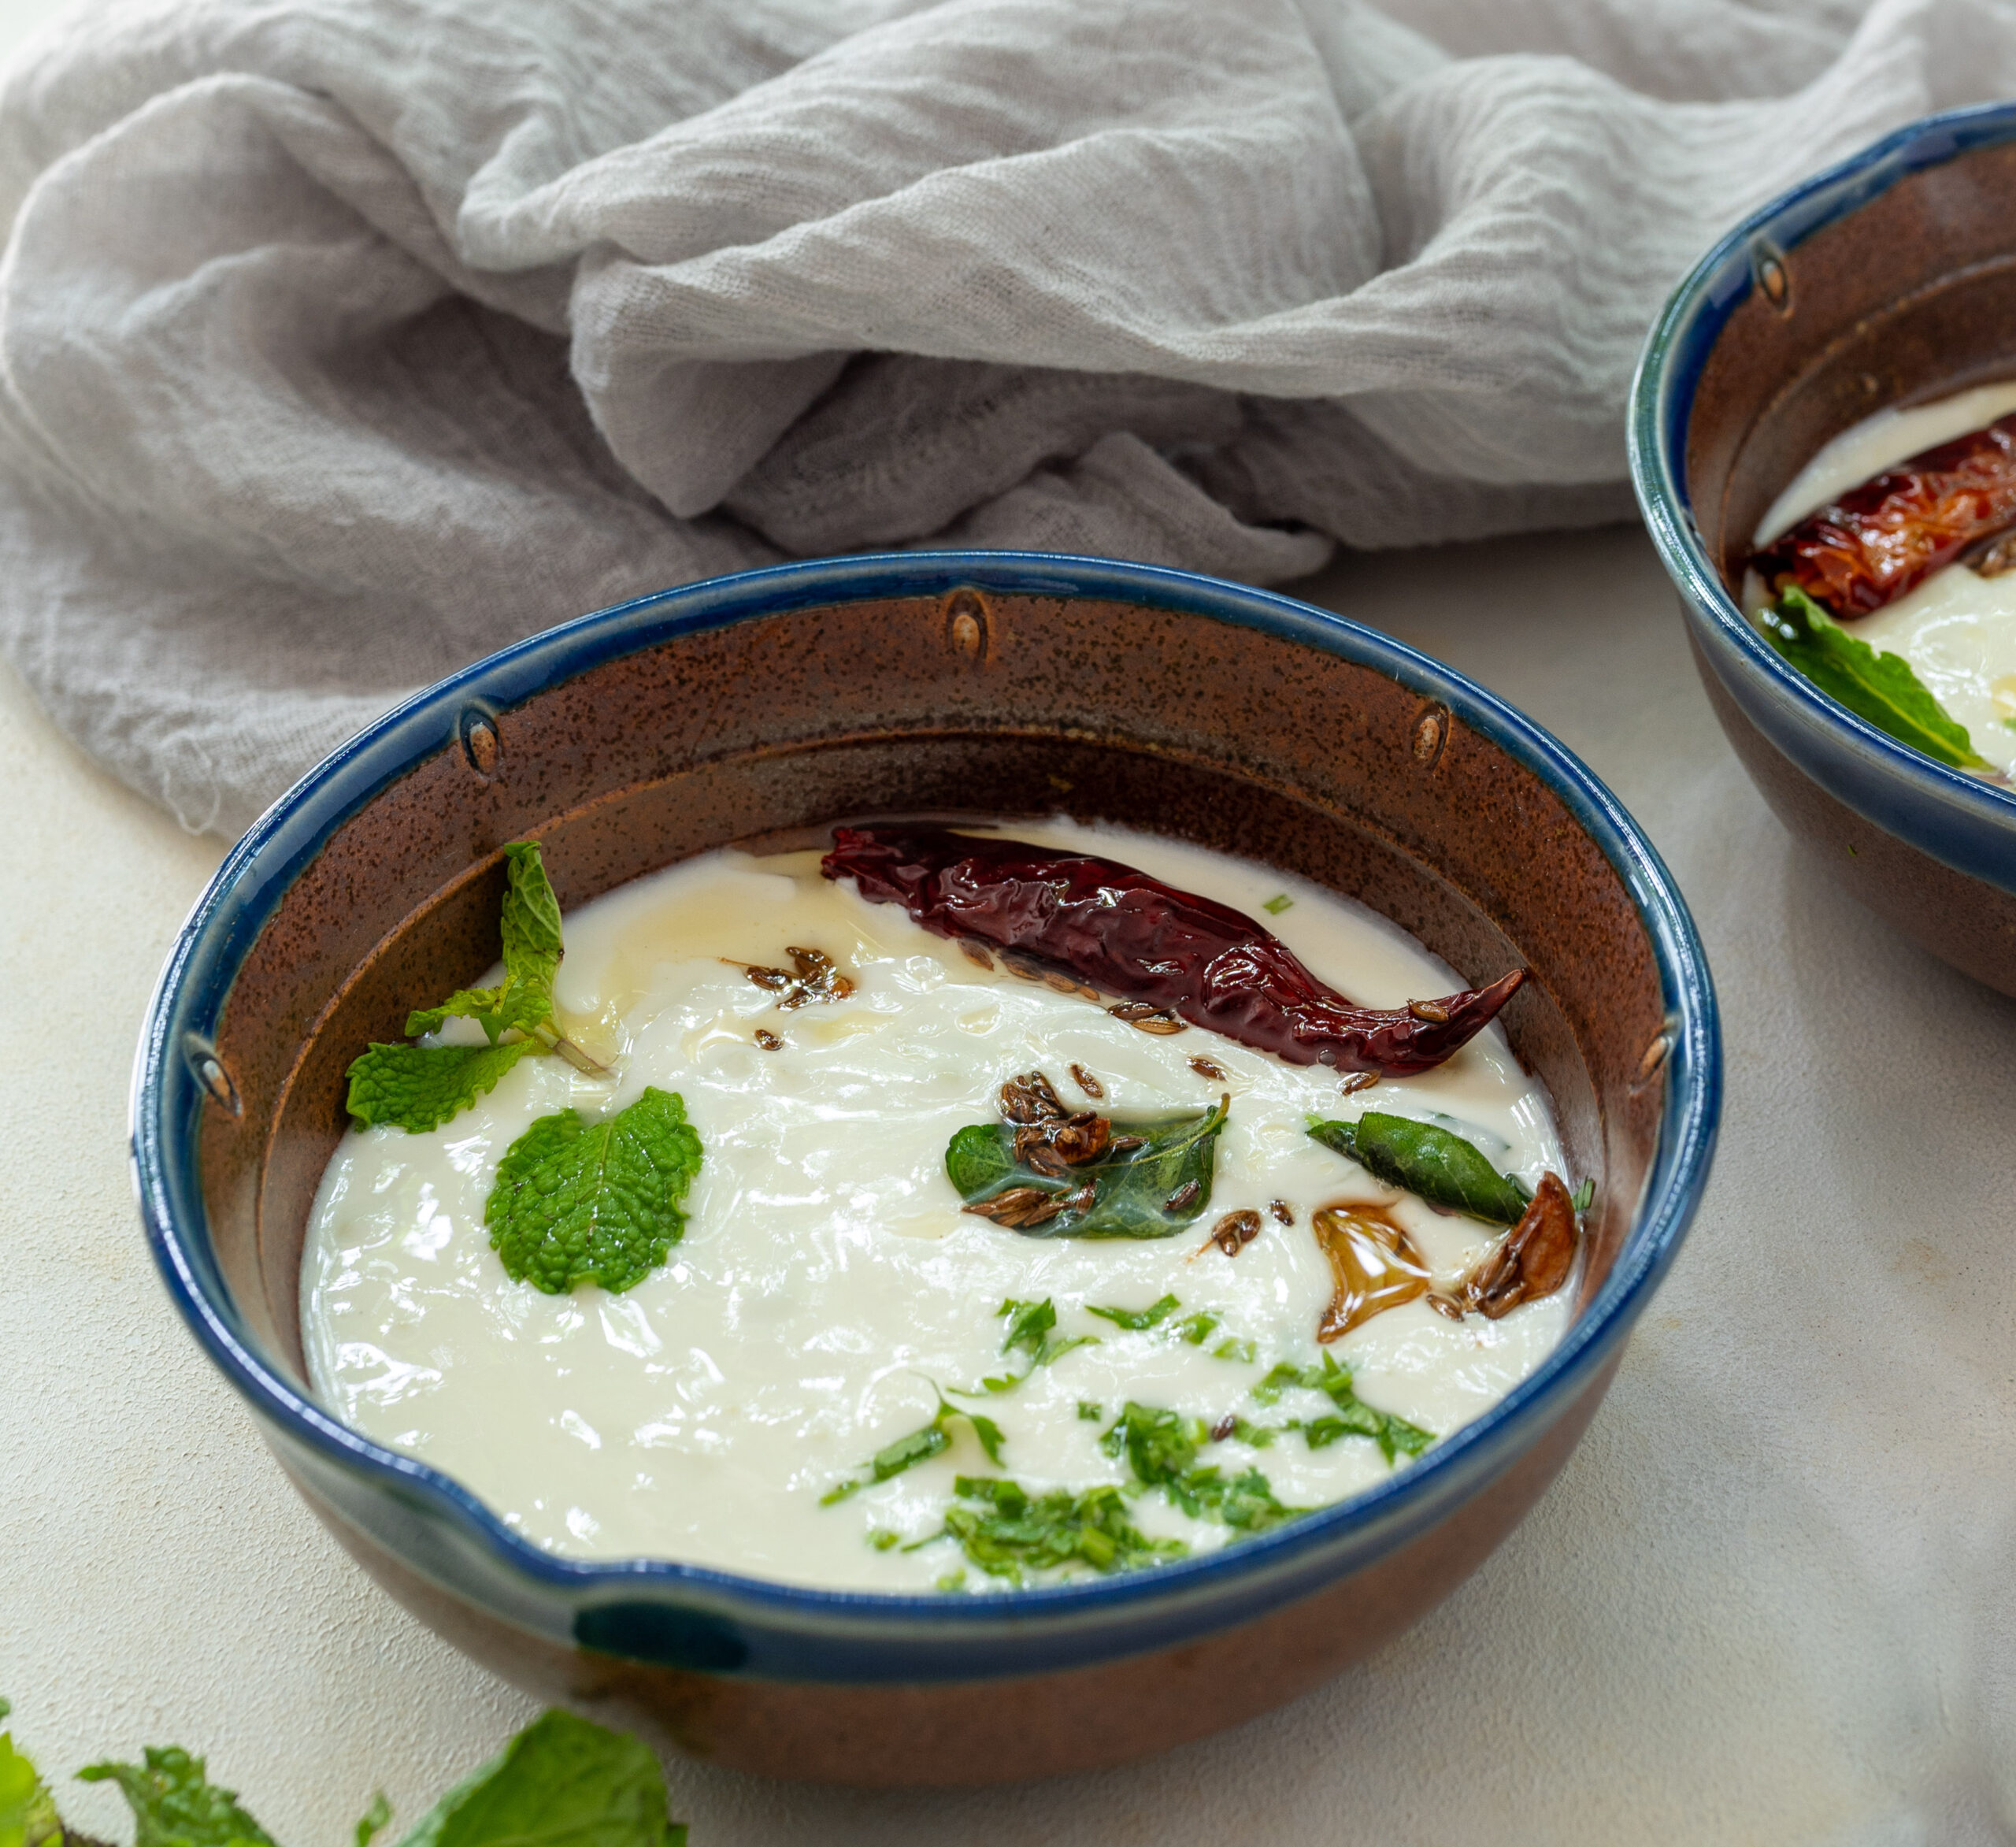
Serve while still hot. Biryani is usually accompanied with raita. Here is a fancier version of this curd side dish, if you’d like to try it out.

I hope you’ll enjoy this delicious, fragrant and flavourful biryani, and I also hope that you find it very easy to make!

(above: re:store’s almond brittle)

(above: re:store’s date squares)

(above: re:store’s fig rolls)

(above: re:store’s chocolate cupcake)

Maintaining a standard of quality that is always up to the mark is very important to us at re:store.

Everything that is prepared in the re:store kitchen is exactly what my own family eats, and I put the same amount of care and effort into preparing it. In fact, when one of my kids comes home to visit, I always pack them a parcel of re:store goodies (sugar-free, as well as some with sugar) when they go back. The date squares, almond brittle and fig rolls are perfect for this, as they are travel-friendly and keep for a while. And when my kids are here at home, they regularly enjoy many of the re:store cake varieties too.

Before I introduce any new product, I put in a lot of research, conduct several trials, and get as much feedback as I can from friends and family. Only after that will I offer it to my clients. You can see the current product list here. I really look forward to your orders in the coming year and beyond.

As I said, quality is everything at re:store, as it is with everything else in life too. That’s the thought I am going into 2023 with.

My wish for us all is for good health. I can see that ever since the pandemic began, food has become a major focus for many. People have come to accept that what we consume can be the cause or the prevention of many illnesses. That said, let us not body-shame or take medications to change our bodies. Let us instead reflect on how food can be the source of our overall well-being. Let us also consider traditional and seasonal ways of eating, as passed down in one’s community or location. Let food be what helps us resolve issues.

I’m not denying that we need our indulgences, yet I believe – especially through the creation of my baked goods and confectionery at re:store – that even these can be nourishing and clean.

Wishing us all a healthy and delicious year ahead!

Milk plays a very central role in most communities in India. This is evident when it comes to cuisine, where dairy ingredients like ghee, paneer (known as cottage cheese in the West) and milk itself are crucial components of many dishes. Milk also has religious significance, such as in Hinduism wherein idols of deities are bathed in milk and then offered specially-prepared sweets which often contain the same. In South India, where I live, other than Deepavali or Diwali the big festival is Pongal, when milk is boiled and allowed to spill over the pot as a sign of abundance, a good harvest and new beginnings. Milk therefore can be considered auspicious or even sacred. With Diwali just days away, a milk sweet is thus a must on this blog. This year, I have chosen to share with you the recipe for rabdi. Rabdi is essentially a form of thickened milk, not to be confused with condensed milk.

In the past, I have mentioned various kinds of kheers on this blog, including orange kheer, sitaphal kheer and rose-coconut kheer. Rabdi is a similar dish, and you may also hear it being called by the name rabri. It is also difficult to differentiate between rabdi and basundi. There is a vast array of milk-based desserts in the subcontinent, and sometimes they may resemble each other in look, preparation or taste.

As you may know, over the last few years I’ve increasingly taken a vegan approach to my diet, and many recipes I’ve shared here attest to the same. Being vegan in India is certainly a bit of a challenge because dairy is a big part of our cuisine, as mentioned before. We also have certain conditioned ideas about the importance of it, such as how children are forced to drink milk as it is believed to give them good health and strength, or even how drinking chai is a kind of milestone. I remember how when I first got married and started drinking chai, I started to feel like “Now, I am an adult”. All this aside, my personal struggle is not with milk, ghee, paneer or milk sweets at all but with yoghurt. I just can’t seem to give that up. Anyhow, more on that later, as I continue on my adventures on the vegan path.

For now, since I still consume dairy, I’m going to do so by reflecting on what it means on a day like Diwali, when it is such a big part of our food and our rituals.

Actually, it is important in my family on more than just a festive occasion such as Diwali, but every day. You see, I grew up with a precious statue of Balagopal, the baby version of Lord Krishna. This statue has been in my family for generations. He was gifted to my great-grandmother by a priest, then looked after by my grandfather, then my parents, and now my 91-year old father. My father has found it difficult to keep up with the seva, or rituals, and I imagine that I will welcome Balagopal in my own home in due time.

We have elaborate customs to worship him, which must be performed throughout the day. He must be treated like a child of the home: he must be bathed, fed, dressed, sung to, played with, and put to bed – until the following morning, when it must all be done all over again. There are seasonal rituals too. In summer, he is given water in a tiny pot and cooled with a tiny khus khus (vetiver) fan. In winters, he is dressed in warming velvet and fragranced with attar.

To me, these rituals are an exemplary way to follow traditions that inculcate discipline, respect, humility and generosity, as well as a daily practice of celebration and joy. I am sure that when he does come to my home, his welcome will be a very big affair. I am waiting to receive him. I have taken the advice of elders in the family who tell me that I should do the best seva I can, but that I cannot miss a day. He can never be abandoned or ignored, just like my child.

I am a big believer in “to each their own”. People look at or don’t look at God, do or don’t have spiritual leanings, and come from different religions with their own systems. They are all valid to me. For myself, I see Balagopal as an important legacy, one I want to continue for the sake of both of my elders and my children.

Now, the sweetest part of all this: Balagopal loves milk, according to the myths. So he is often offered a milk-based treat, such as rabdi. So it is sure to be among my offerings to him. It can also be among your own festive delights. Both these thoughts give me joy.

Rabdi

(Serves: 4)


2 litres milk

1 cup sugar

¼ teaspoon saffron strands

¼ teaspoon cardamom powder


In a heavy-bottomed pot, boil the milk on a low flame. Keep stirring to make sure it does not stick at the bottom of the pot. Do this until the milk has reduced to almost half the quantity. This will take about an hour.

When the milk is noticeably thick, add the sugar and saffron. Continue to stir constantly. Finally, add the cardamom powder. Stir and take the pot off the flame.

Cover with a lid and allow to cool until it has reached room temperature. Then, refrigerate.

Rabdi can be eaten either cold or warm, and I hope it will bring some sweetness to your festivities this year. In many communities, these go on for about a week, with something special eaten every day. If you’re looking for more recipes to make your Diwali delicious, do explore my blog archives. Let me point you toward the recipes for laapsi, chevdo and sweet ghugras to begin with. Enjoy!

The re:store kitchen has been abuzz with orders this festive season and amidst all the delight of preparing your favourites for you, I’ve been taking some time to make some goodies for my family too. Among these is namakpara, a snack that is a type of Indian biscuit. The sweet version is called shakarpara (“shakar” means “jaggery” and “namak” means “salt”). I thought I would share the savoury version with you as it deliciously counterbalances the taste of the many desserts that you’ll no doubt also be enjoying during this indulgent month!

My absolute fondest memories from childhood have to do with the big festival of Diwali. All of us kids looked forward to it, not only for the special treats and new clothes but also because there was such a cheerful atmosphere around us. For me, the essential memory is all about fragrance: of waking up in the days preceding Diwali and on the day itself to the tantalising smell of the yummy savouries and sweets being fried at home.

Our mother would be busy making them early in the mornings, and the culinary preparations would happen over the course of several sessions. As I have mentioned in earlier festive posts, she and a few friends of hers would get together and cook communally. They would help each other out, making enough for everyone’s families and sharing recipes and techniques. There was a great sense of camaraderie in our homes, as well as mouth-watering anticipation among us kids. Of course, our mother would keep everything she fried in tins up on a high shelf out of our reach!

Each day, we looked forward to her giving us our share of those goodies. It would be a small portion every day. We relished the whole experience so much.

These days there’s such abundance and such accessibility – just make a call, open an app, pay online, have it home-delivered. That didn’t happen back in those days. Everyone had to make their treats on their own. Even gifting consisted of homemade goodies. We would send something made in our kitchen, and they would send something made in theirs. It was all unlike festive celebrations of today, when we can take things for granted.

There was a simplicity to our lives, and I miss it. I don’t know if it’s possible today, but I want my children to experience it too. So I do the next best thing: I continue to make the sweets and savouries I learned to make from my mom. And we observe a rule at home that no matter where they are in the world or how busy they are in their own lives, all of my kids must come home for certain occasions. Diwali, naturally, is one of them. I really believe that we must take a pause sometimes and understand the importance of family, and make time for friends who are like family. This is a great time to do that.

I hope this namakpara will be relished at your gatherings this Diwali too. If you’re looking for more recipes that are perfect for the festive season, I hope you’ll explore my blog archives. There are six years’ worth of wonderful sweets and savouries here, as well as a host of other dishes – from nutritious to decadent. Here’s to many more to come! Thank you for being with me on this journey.

Namakpara


1 cup maida

2 tablespoon ghee

1 teaspoon rawa

Salt to taste

¼ teaspoon turmeric

1 teaspoon ginger green chili paste

1 teaspoon kasuri methi powder (or fresh fenugreek leaves)

Water as required

Oil for deep frying


In a bowl, add the maida, ghee, rawa, kasuri methi powder (or fresh fenugreek leaves, if you have access to them), turmeric and ginger chili paste, along with salt to taste. Mix with your fingertips.

Add water as required, using a tablespoon so that it’s not over saturated. It needs to be sufficient to make a tight dough.

Mix well. Grease your palms and knead the dough until it is smooth.

Now, roll out the dough. Using a knife, cut it into diamond shapes or any shape you desire. The number of pieces in the yield quantity will depend on the size you choose (I have made mine small, as they look pretty). Meanwhile, heat the oil.

Deep fry the cut namakpara on a slow flame, occasionally turning up the heat for a few seconds or so. Fry until golden brown. Drain onto a paper. Once cooled, store in an airtight tin.

You may have noticed the unusual green tinge of this snack in the photographs. That shade comes from the use of fenugreek (methi). I like to add fresh leaves. They are supposed to be in season now, but the rain has made the supply irregular where I live. So what I do is dry the leaves when I can get them, then powder and use them. You can also purchase this powder, known as kasuri methi.

It will also add a slight hint of bitterness to the flavour of the namakpara, which I personally like as it balances the intense sweetness of festive desserts that may be consumed at the same time. I also sprinkle my fenugreek powder into dough, batter, salads and more, so that I can incorporate its benefits into more meals. I’m a fan, but you can skip it altogether if you prefer.

Isn’t it funny how fenugreek is in season right now – during a time of indulgent feasting? Balance is clearly one of the laws of nature. It’s a good law to observe when it comes to food too.

Enjoy this with anything else sweet, savoury or festive – or just make it as a teatime snack at another time of year, to add some pep to an ordinary day.

Tell me: what are you preparing for the festive season this year? As always, I love hearing from you!

I recently visited my very dear friend Girija, whom I’ve talked about before. Her stew is famous. I hope you’ve experienced why; I shared the recipe a while ago so that its delightfulness could spread even further. Whenever I visit her, it feels like I’m going home. She spoils me, looks after me, cooks everything that I like to eat, and I have to admit that she is a way better cook than I ever can be.

In my previous recipe, for beetroot cutlets, I mentioned that the dish had been popping up in various conversations around the same time. Girija was one of the people I discussed the dish with, and I recall telling her that what I usually make is a mixed vegetable cutlet. I enjoy talking to Girija about culinary innovations because there is a lot I learn from her. Through her, I know about cooking meat dishes that I wouldn’t otherwise have a familiarity with, along with details like spice usages and the reasons behind them. I often say that my mother was my first teacher in the kitchen, and that subsequently studying Macrobiotics at the Kushi Institute enhanced my outlook and the way I see and treat food. I feel Girija is among these teachers of mine too.

I share all this with gratitude, which is connected of course to the Indian belief that food must be treated with respect and should never be wasted, and to the practice of saying grace before meals in some cultures. As I share my mixed vegetable cutlet today, during this festive month and incidentally the month in which this blog of mine turns six years old, I want to say that am so happy to have such lovely people in my life. Between you and me, I am even grateful to have the not so lovely ones as well, for they teach us too. Life is all about learning and growing. Over the last few years, I’ve learned and grown so much in the culinary field and beyond. It all begins with the food we cook, the food we eat, and the food we learn to cook – together.


Mixed Veg Cutlet

(Yield: 6 pieces)


2 cups finely chopped vegetables (beans, carrots, peas)

1 boiled potato

1 slice of bread made into bread crumbs

1 teaspoon oil + oil for shallow frying

Salt to taste

1 teaspoon aamchur (raw mango powder)

1 teaspoon garam masala


In a kadai, add the 1 teaspoon of oil. Once it has heated, add the vegetables. Stir and allow to cook until tender.

Transfer the vegetables onto a shallow dish and add the potato, bread crumbs, salt, aamchur and garam masala. Mash all the ingredients together well until combined. Add the coriander leaves.

Make the mixture into palm sized discs. Set aside.

In a flat pan, add some oil. Once it has heated, gently place the cutlets onto the hot oil. Lower the flame to low-medium. Allow the cutlets to turn golden and then flip. Allow to cook on both sides.

Your mixed veg cutlets are now ready to serve. I hope you’ll try them out, and that you’ll also explore my beetroot cutlet, sweet potato tikki and harra bhara kebab recipes, which are in a similar vein. All go well with an assortment of dips, chutneys and sauces. Let me know what you think, and if there are any other cutlet recipes you’d like me to try out and share with you in future. As I said earlier – we just keep learning, and for me I find that sharing is a way of learning too.


I have mentioned before that I go through phases when I binge on particular dishes, and right now, I can’t get enough of sweet potato chaat. Chaats are a category of Indian street food, and while it may be true that authentic street food is only found at roadside stalls, I love the healthier versions I make at home just as much. This one is especially so because it replaces the standard puri (a kind of crispy, round cracker) that is the base of many chaats with cubes of sweet potato. Sometimes I even pile on some extra roasted vegetables and this really boosts the nutrition quotient of this fun snack.

My version is made so that it is essentially the equivalent of an Indian salad, and I have a full plate’s serving of it. When I have it around 6.30pm, it is so filling that it can become my dinner.  It’s a no-guilt chaat, and is pretty good for you, not just good to eat. The sweet potatoes are boiled then roasted with very little oil, made as crispy as possible. These are layered with mung beans, vegetables, dry masalas and the delicious chutneys that I always have around the house. Date and tamarind and green chutneys are kitchen staples in my home and lift up the flavour of any Indian dish. I use just a little of the date and tamarind chutney – the date contains jaggery and sugar, and the tamarind has a particular tang – but the green chutney is more neutral and works with a wider range of ingredients, so I use a higher quantity of it.

I’m always looking for innovative ways to play with the chaat category, and the idea of using sweet potato in lieu of puri came about one day just because I had excess sweet potato on hand. It was in season, and the thought occurred to me that regular boiled potatoes are often used in chaats, so why not sweet potatoes? That’s when I came up with the idea of using this ingredient as a puri substitute, not just a potato substitute.

When we were kids, I would often have my friends over for chaat at home as my mom was famous for them. Since I grew up right here in Chennai, I am still connected to many of my childhood friends who are also born-and-bred natives who remained. So whenever they come over for a meal today, there is always some chaat served, as a reminiscence from days long ago. It’s a given, and pretty much expected when they dine at mine. I either prepare the chaat as a main course, or else I serve a variety as a starter. This sukha bhel and this green moong bhel may be on the menu too.

This sweet potato chaat has become a favourite in my social group because it hits all the right spots: nourishing, full of vegetable goodness, not unhealthy, and still scrumptious. It’s like the memory of our childhood chaat has been adapted for our adult palates and dietary needs, and the result is a fabulous mix of nostalgia and taste!

Sweet Potato Chaat

(Yield: Serves 2)


1 cup sweet potato (boiled)

½ cup finely chopped onions

¼ cup finely chopped coriander leaves

1 cup boiled mung beans

1 teaspoon oil

Salt to taste

½ teaspoon chaat masala

½ teaspoon roasted cumin powder

2 teaspoons lemon juice

1 tablespoon green chutney

1 tablespoon date and tamarind chutneys

2 tablespoons sev or any crispy topping


Chop the boiled sweet potato into cubes.

In a pan, add the oil and sauté the sweet potato cubes until they are crispy and golden on all sides.

Take two serving plates. Divide the sweet potato into both. Sprinkle the mung beans over the sweet potatoes. Sprinkle the onions. Next, add the two chutneys. Then, sprinkle the coriander leaves, followed by the spices. Finally, add the crispy topping. You can use sev, which is standard in many Indian chaats, or substitute it for something else that adds texture.

Your sweet potato chaat is now ready. As always, you can adjust any of the ingredients to your liking. Don’t forget that a big heaping of vegetables will also work well, and you may want to try some foreign vegetables so that it becomes a kind of fusion dish.

If you’re a big sweet potato fan like I am, sweet potato tikki and sweet potato and mango salad may also interest you. Enjoy!

Okra, also known as lady’s finger, is a basic Indian vegetable that grows in any weather, any soil and any season. This means that it recurs as an ingredient in cuisines across the country, and there must surely be a hundred varieties or versions of cooking it. To give you some examples of its versatility: I’ve had it in a yoghurt raita and I’ve also had it in a tamarind sauce gravy, two very different concepts altogether. My most favourite way to eat okra, however, is in a dry stir fry that I make at home almost every other day as the sabzi part of our traditional Gujarati thaali. However, making a preparation attractive to the rest of my family, particularly the younger generation, has been a challenge. That was when I discovered that I could convince them to eat this vegetable by turning it into fried okra chips.

Initially, my plan was to simply introduce my kids to the wonders of a good okra dish and then have them develop enough of a liking for the vegetable that they also became interested in the regular stir-fry. I must confess this plan has backfired – we are all too addicted to this version! So it’s become more of a treat and less of a staple in my home.

Still, as I continue to find ways to increase the vegetable quotients in my kids’ diets, I’m glad to have figured out this simple yet delicious recipe. I have noticed that youngsters take some time to grow out of the feeling that brinjal or okra, vegetables that have a certain texture, are icky. Even though mine are now adults, they still have these dislikes. Preparing these vegetables they are picky about using a technique that makes the stickiness go away, such as frying, makes a difference. Do you have any such tips and tricks you’d like to share too?

Another great thing about these fried okra chips is that they require very little prep time, and as long as you have your usual spices and some fresh okra around, you can make them quite quickly. As with most vegetables, freshness is a key element when it comes to okra. When I was growing up, my mother taught me not only how to cook but also how to pick out the best vegetables when shopping for groceries. While you may not be able to do this at the market, when you’re about to cook, the secret to knowing how good your okra is this: snap the tiny piece of the tail end off. If it snaps immediately, it’s fresh. If it is tender, it’s losing its freshness.

When this happens, depending on the dish in question and the extent of the vegetable’s over-ripeness, I either use it in another preparation or else I discard it. By discard I mean that I go and feed it to the cows in the street. Most of the older vegetables amidst my groceries or in my fridge are “discarded” this way. In a sense, they are never wasted.

Fried Okra Chips

(Yield: Serves 4)


250 grams okra (sliced lengthwise)

Salt to taste

2 teaspoon Kashmiri chili powder

½ teaspoon turmeric powder

1 teaspoon cumin powder

½ teaspoon garam masala

5 tablespoons chickpea flour

1 teaspoon chaat masala

Add all the spices and the chickpea flour to the okra slices, and massage well using your hands. Allow to sit for half an hour.

Then, heat the oil. Once the oil is heated, drop in the coated okra slices. Fry well until golden. Drain on a paper. Sprinkle with chaat masala for an additional boost of lovely flavouring. You can store the fried okra in a tin if consuming later.

These fried okra chips are a wonderful snack on their own, and also work as an accompaniment to a main course. I’d love to know what you think of them, and I’d especially love to know if you have more suggestions about how to sneak nutritious vegetables into the diets of the vegetable-averse!