When we were growing up, our mother once decided to take a Western baking class to expand her repertoire in the kitchen. As children, we adored the pastries, cakes and short eats our mother learned to bake there. In those days, embarking on such a class was considered quite unusual and therefore very progressive in Chennai, and in other parts of India. In the hill stations, there would always be families who had learned recipes from the British chefs, so they knew how to bake. In the cities, Western food was available only at clubs, and made by chefs who themselves would have studied under foreigners. For an average homemaker to go out and educate herself in Western cooking was a rare thing. Now, thinking back on how uncommon it was, I admire her all the more.
Mum was always very curious. She always wanted to know how food had been prepared, and never felt any embarrassment about enquiring on the same. She would just ask nicely, and people were often forthcoming about how a particular dish was made. In this way, she picked up a wide range of recipes, and became a master in the kitchen. I’m sure that this trait is something I’ve inherited from her, and I am always eager to keep learning, just as she did.
Our mother attending this baking course opened up so many snacking and celebration possibilities for us. There, she learned not only Western-style cakes and pastries, but various other types of baked goods as well. Among them was nan khatai, a kind of shortbread biscuit that originated in the Indian subcontinent. Nan khatai has an especially interesting story behind it. It is believed that a Dutch couple ran a bakery in 16th century Surat, a Gujarati seaport which had many traders and expats. This establishment was inherited by a Parsi gentleman when the Dutch left the country, but he found no takers for their cakes and bakes. To his surprise, the locals seemed to enjoy the dried, old bread most of all. The legend is that he decided to simply sell dried bread, which gave rise to this particular recipe. A similar biscuit is eaten in Afghanistan and Iran, where it is known as kulcha-e-khatai.
I remember carrying boxes of nan khatai on the train whenever I visited cousins or relatives, homemade gifts from my mother. I enjoy continuing the tradition of taking homemade dishes as gifts when I visit friends nowadays.
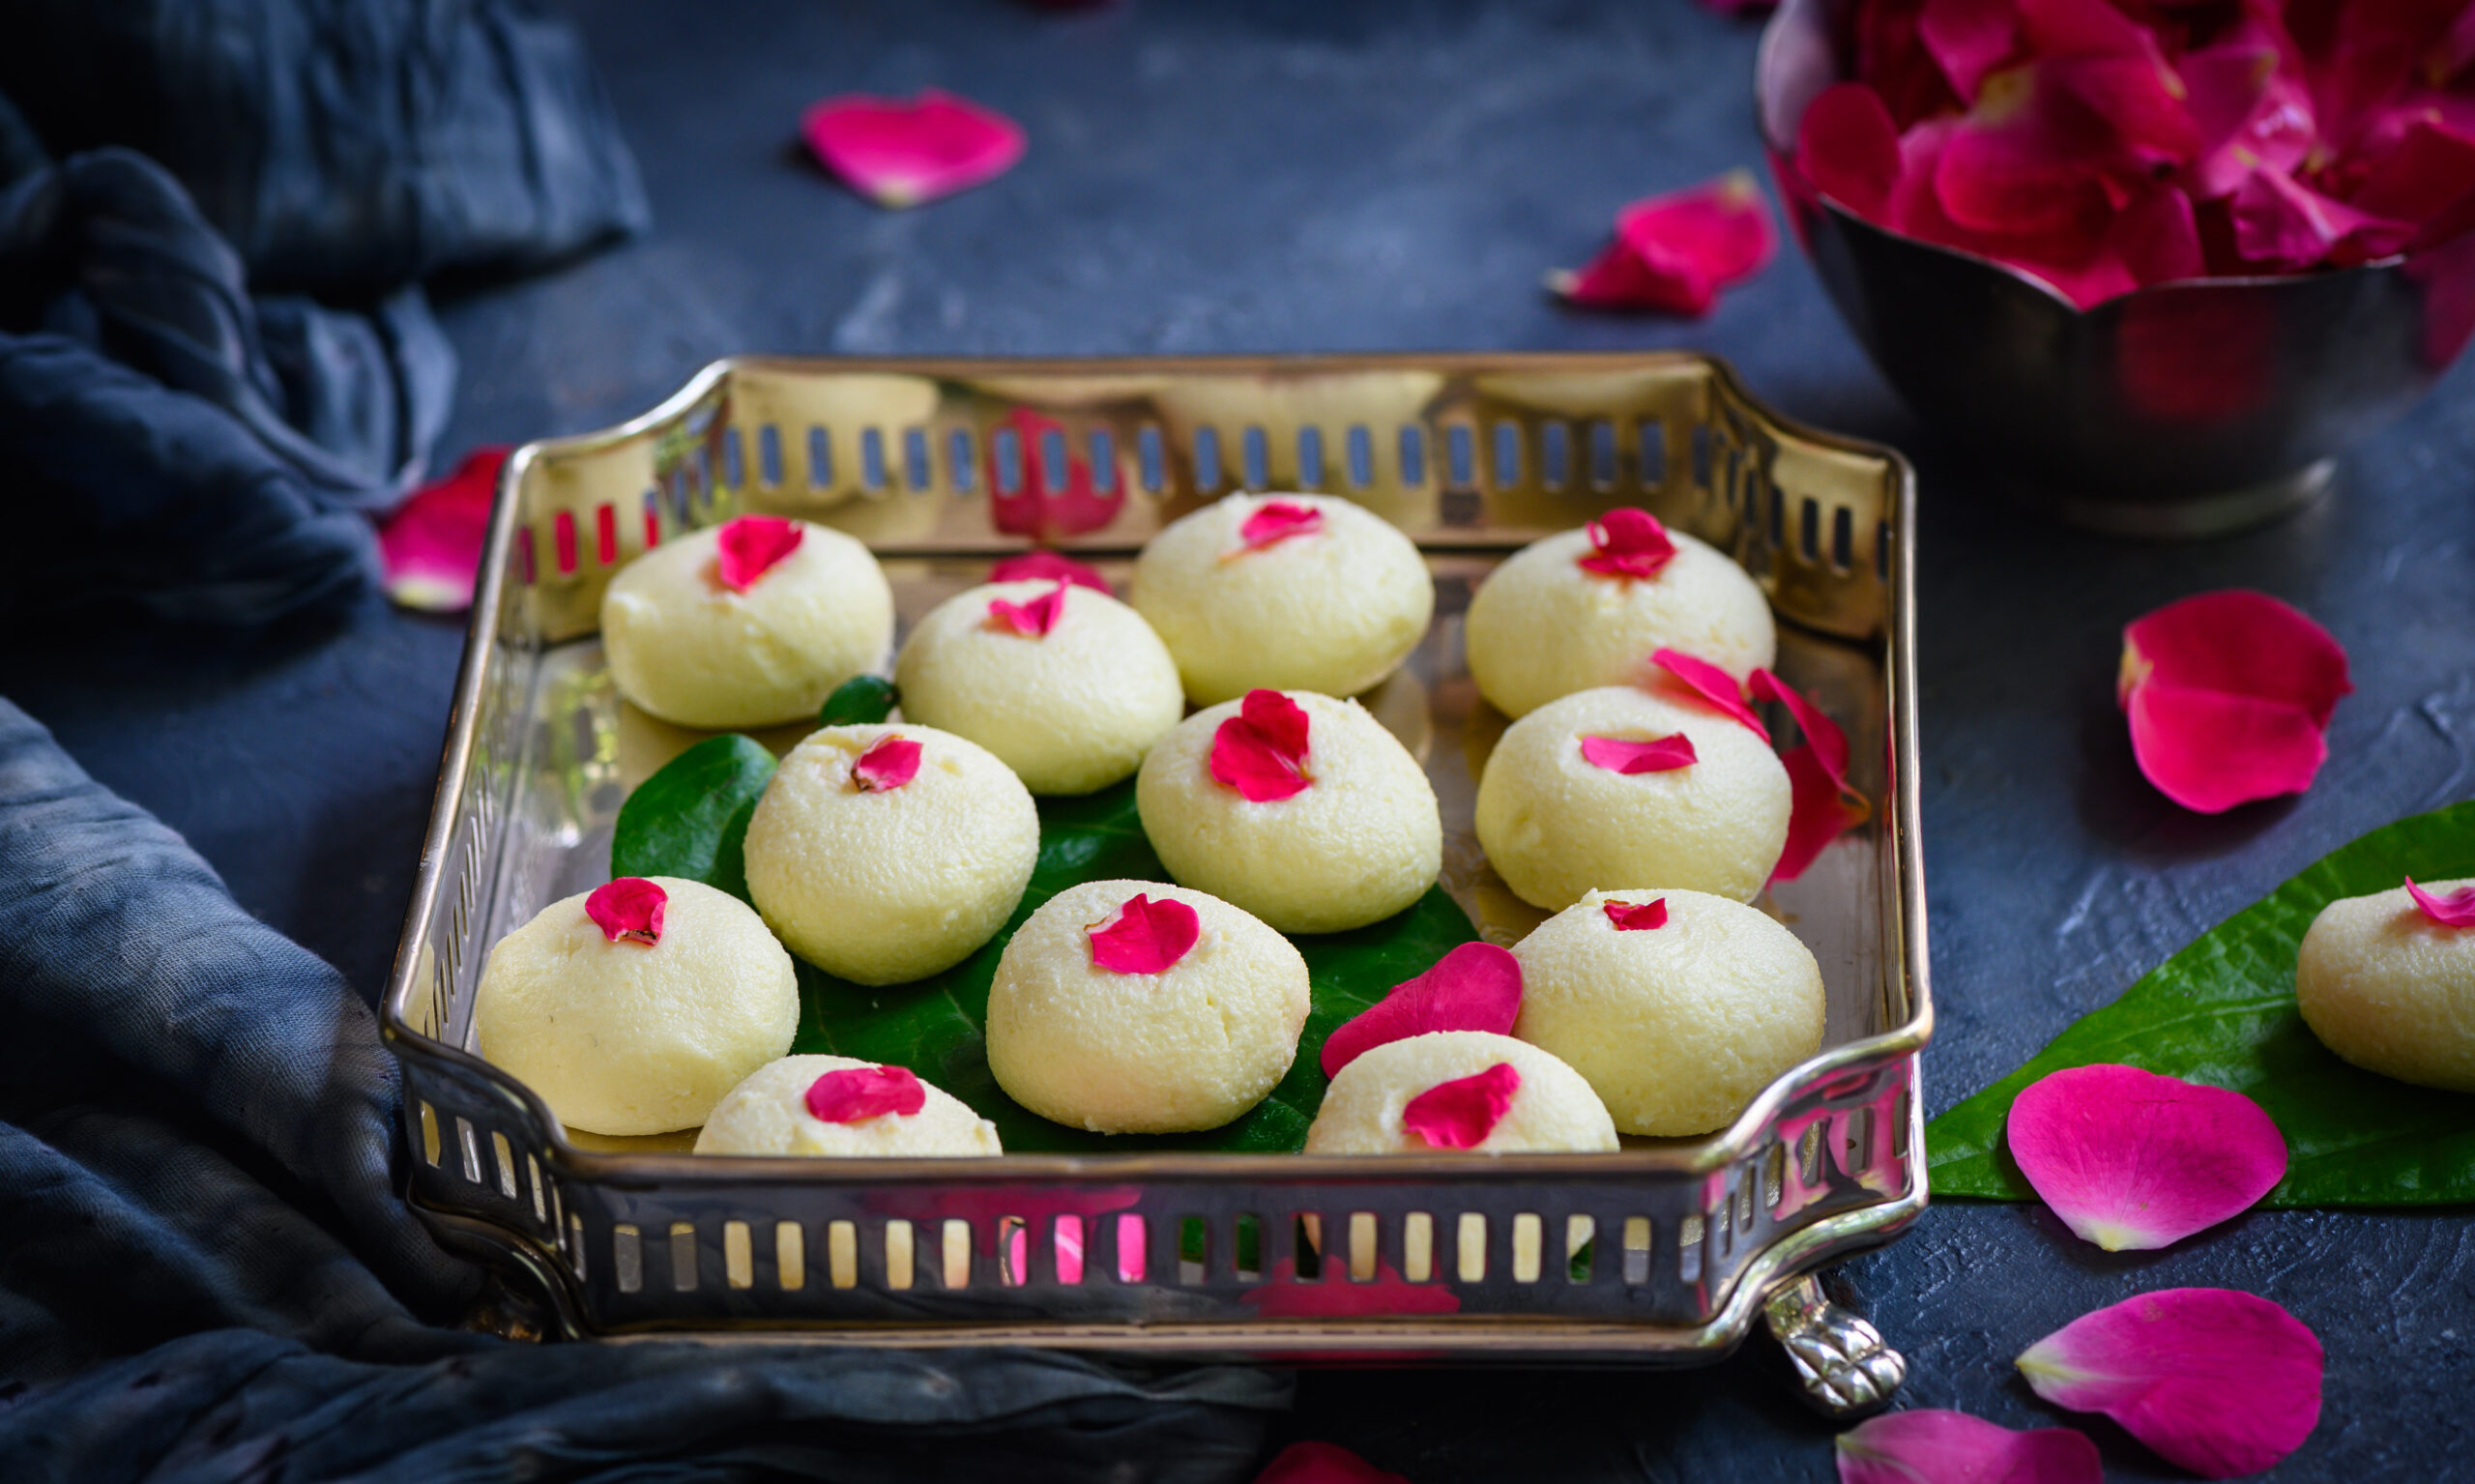
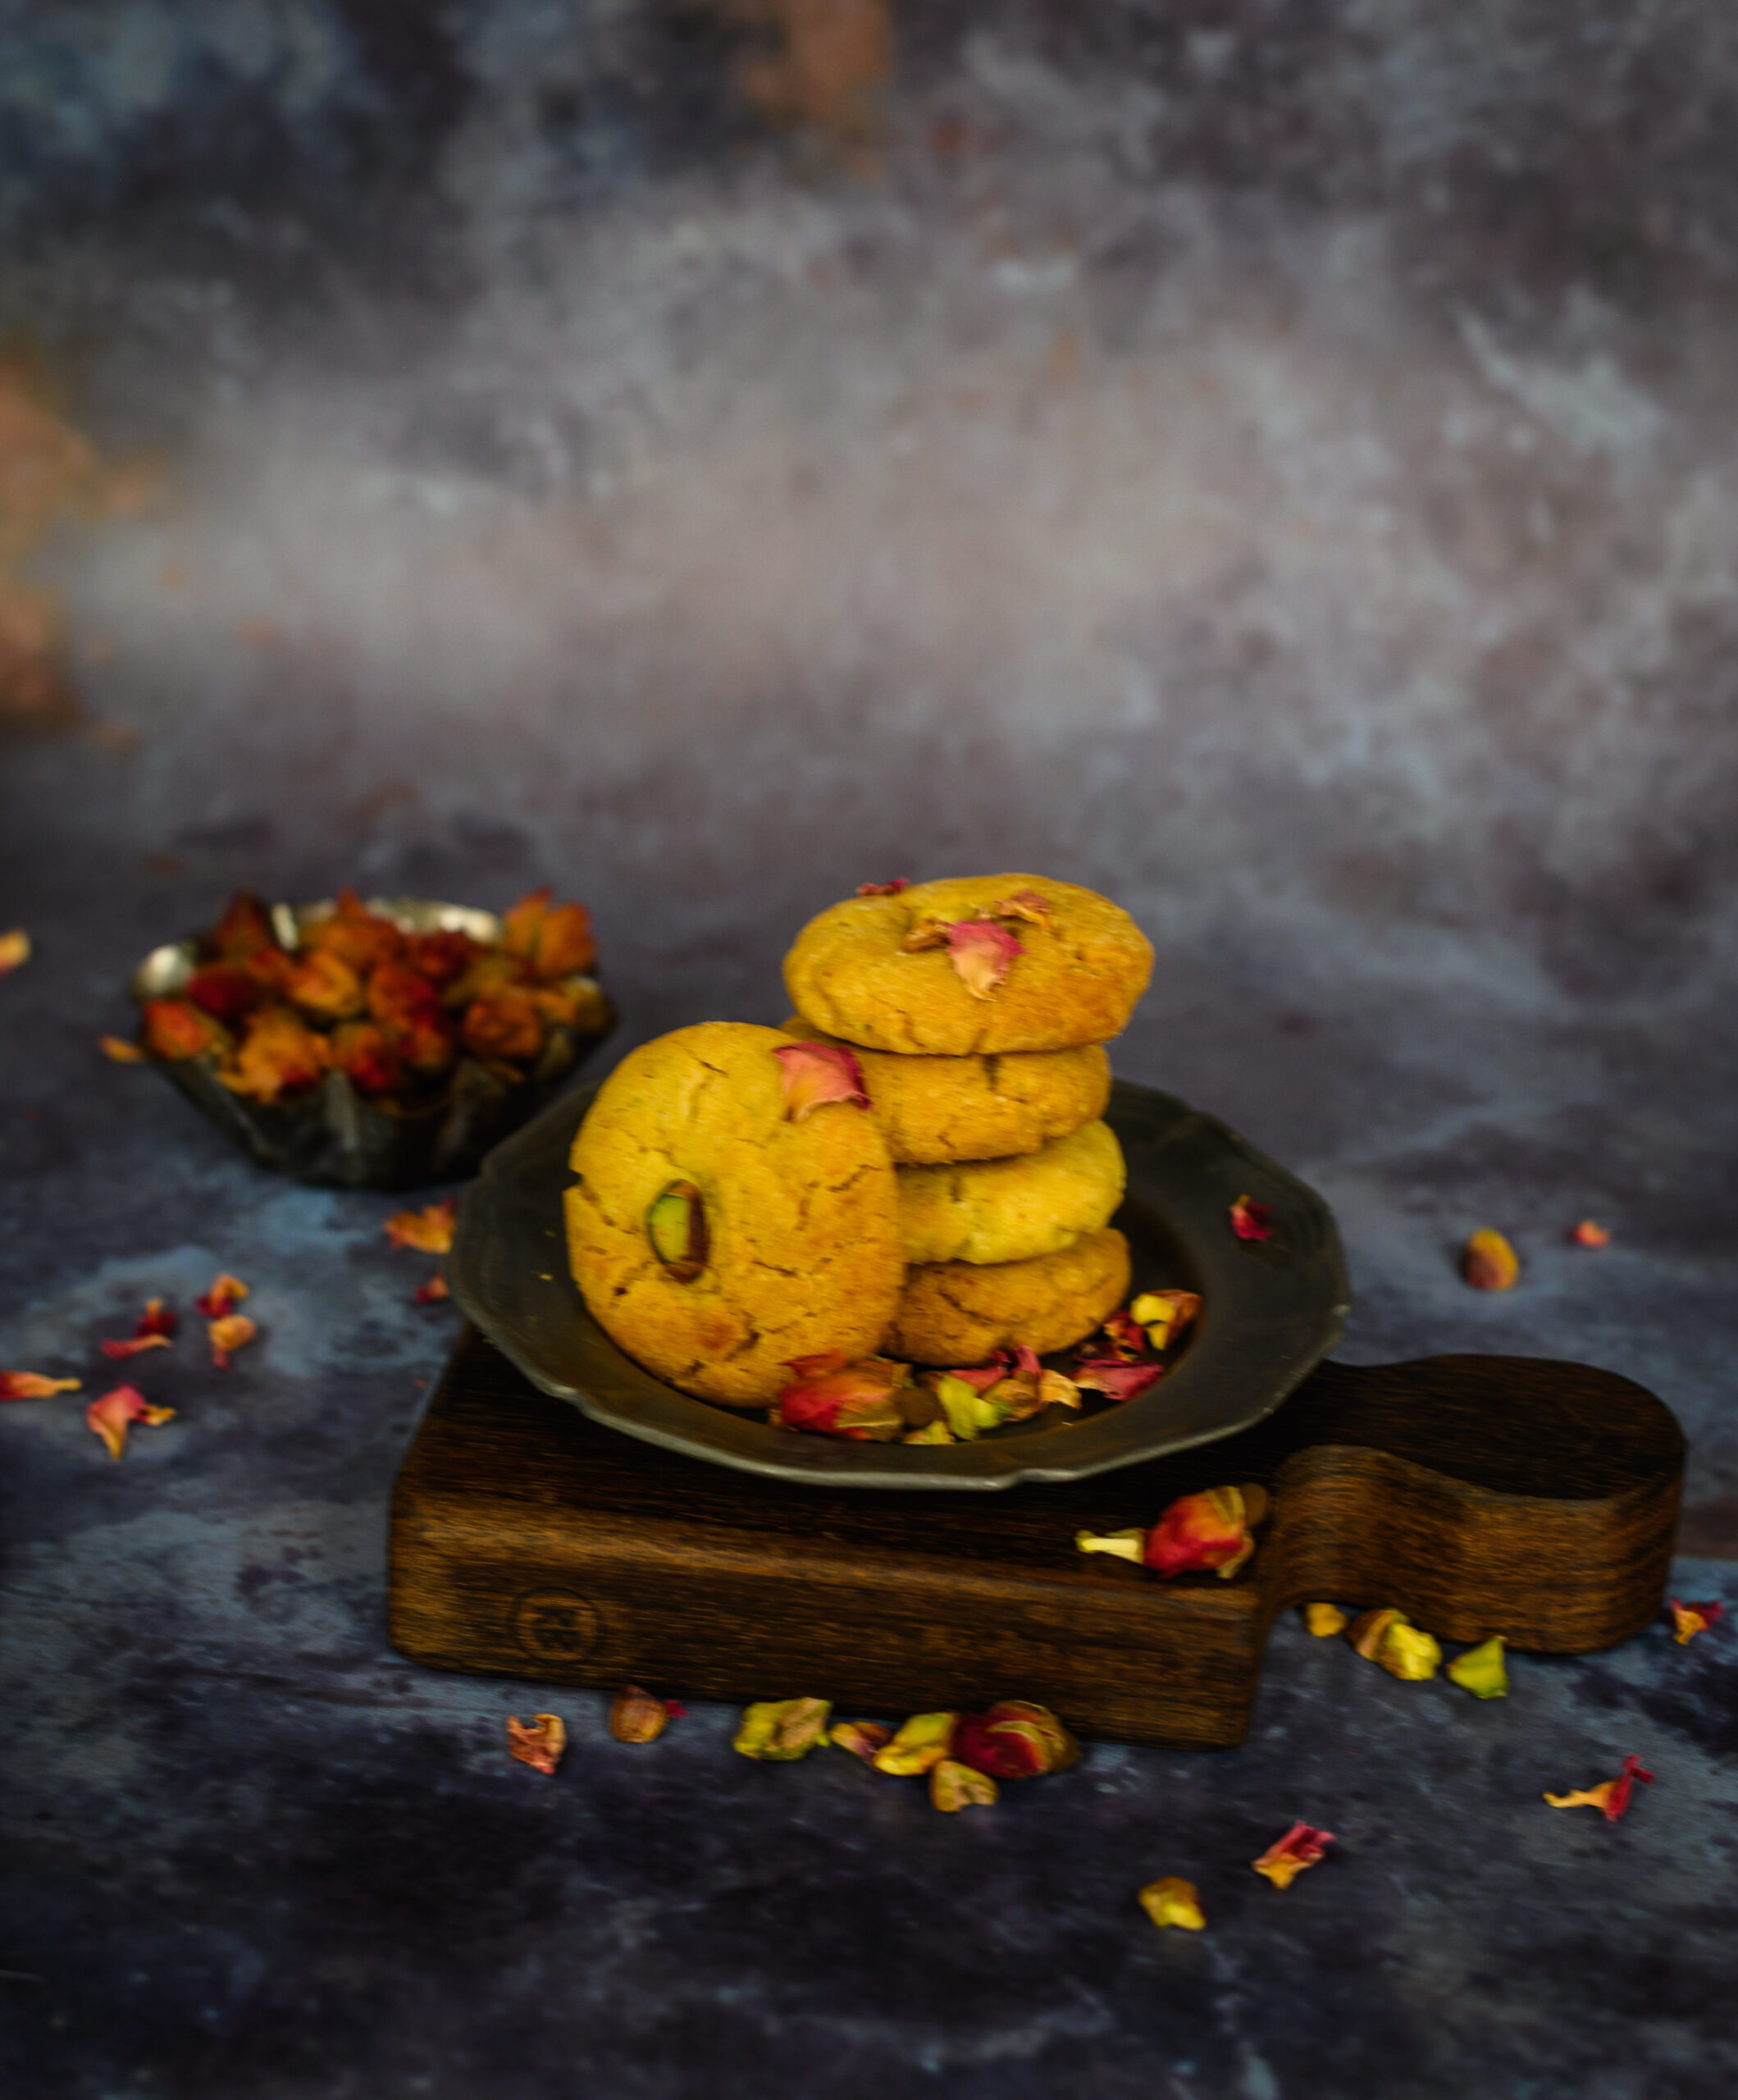
This nan khatai is neither Surat-style, nor what my mother was taught at her baking class, nor her own improvisation (the original uses wheat flour; she added a bit of besan or chickpea to hers). It is, of course, re:store-style – loaded with delicious flavours I love to use in the kitchen. Soft and crisp at the same time, this pistachio and rose nan khatai a real treat. Its fusion of cultures and influences makes me feel it’s ideal for an Indian Christmas. As an eggless baked treat, it’s also perfect for vegetarians.
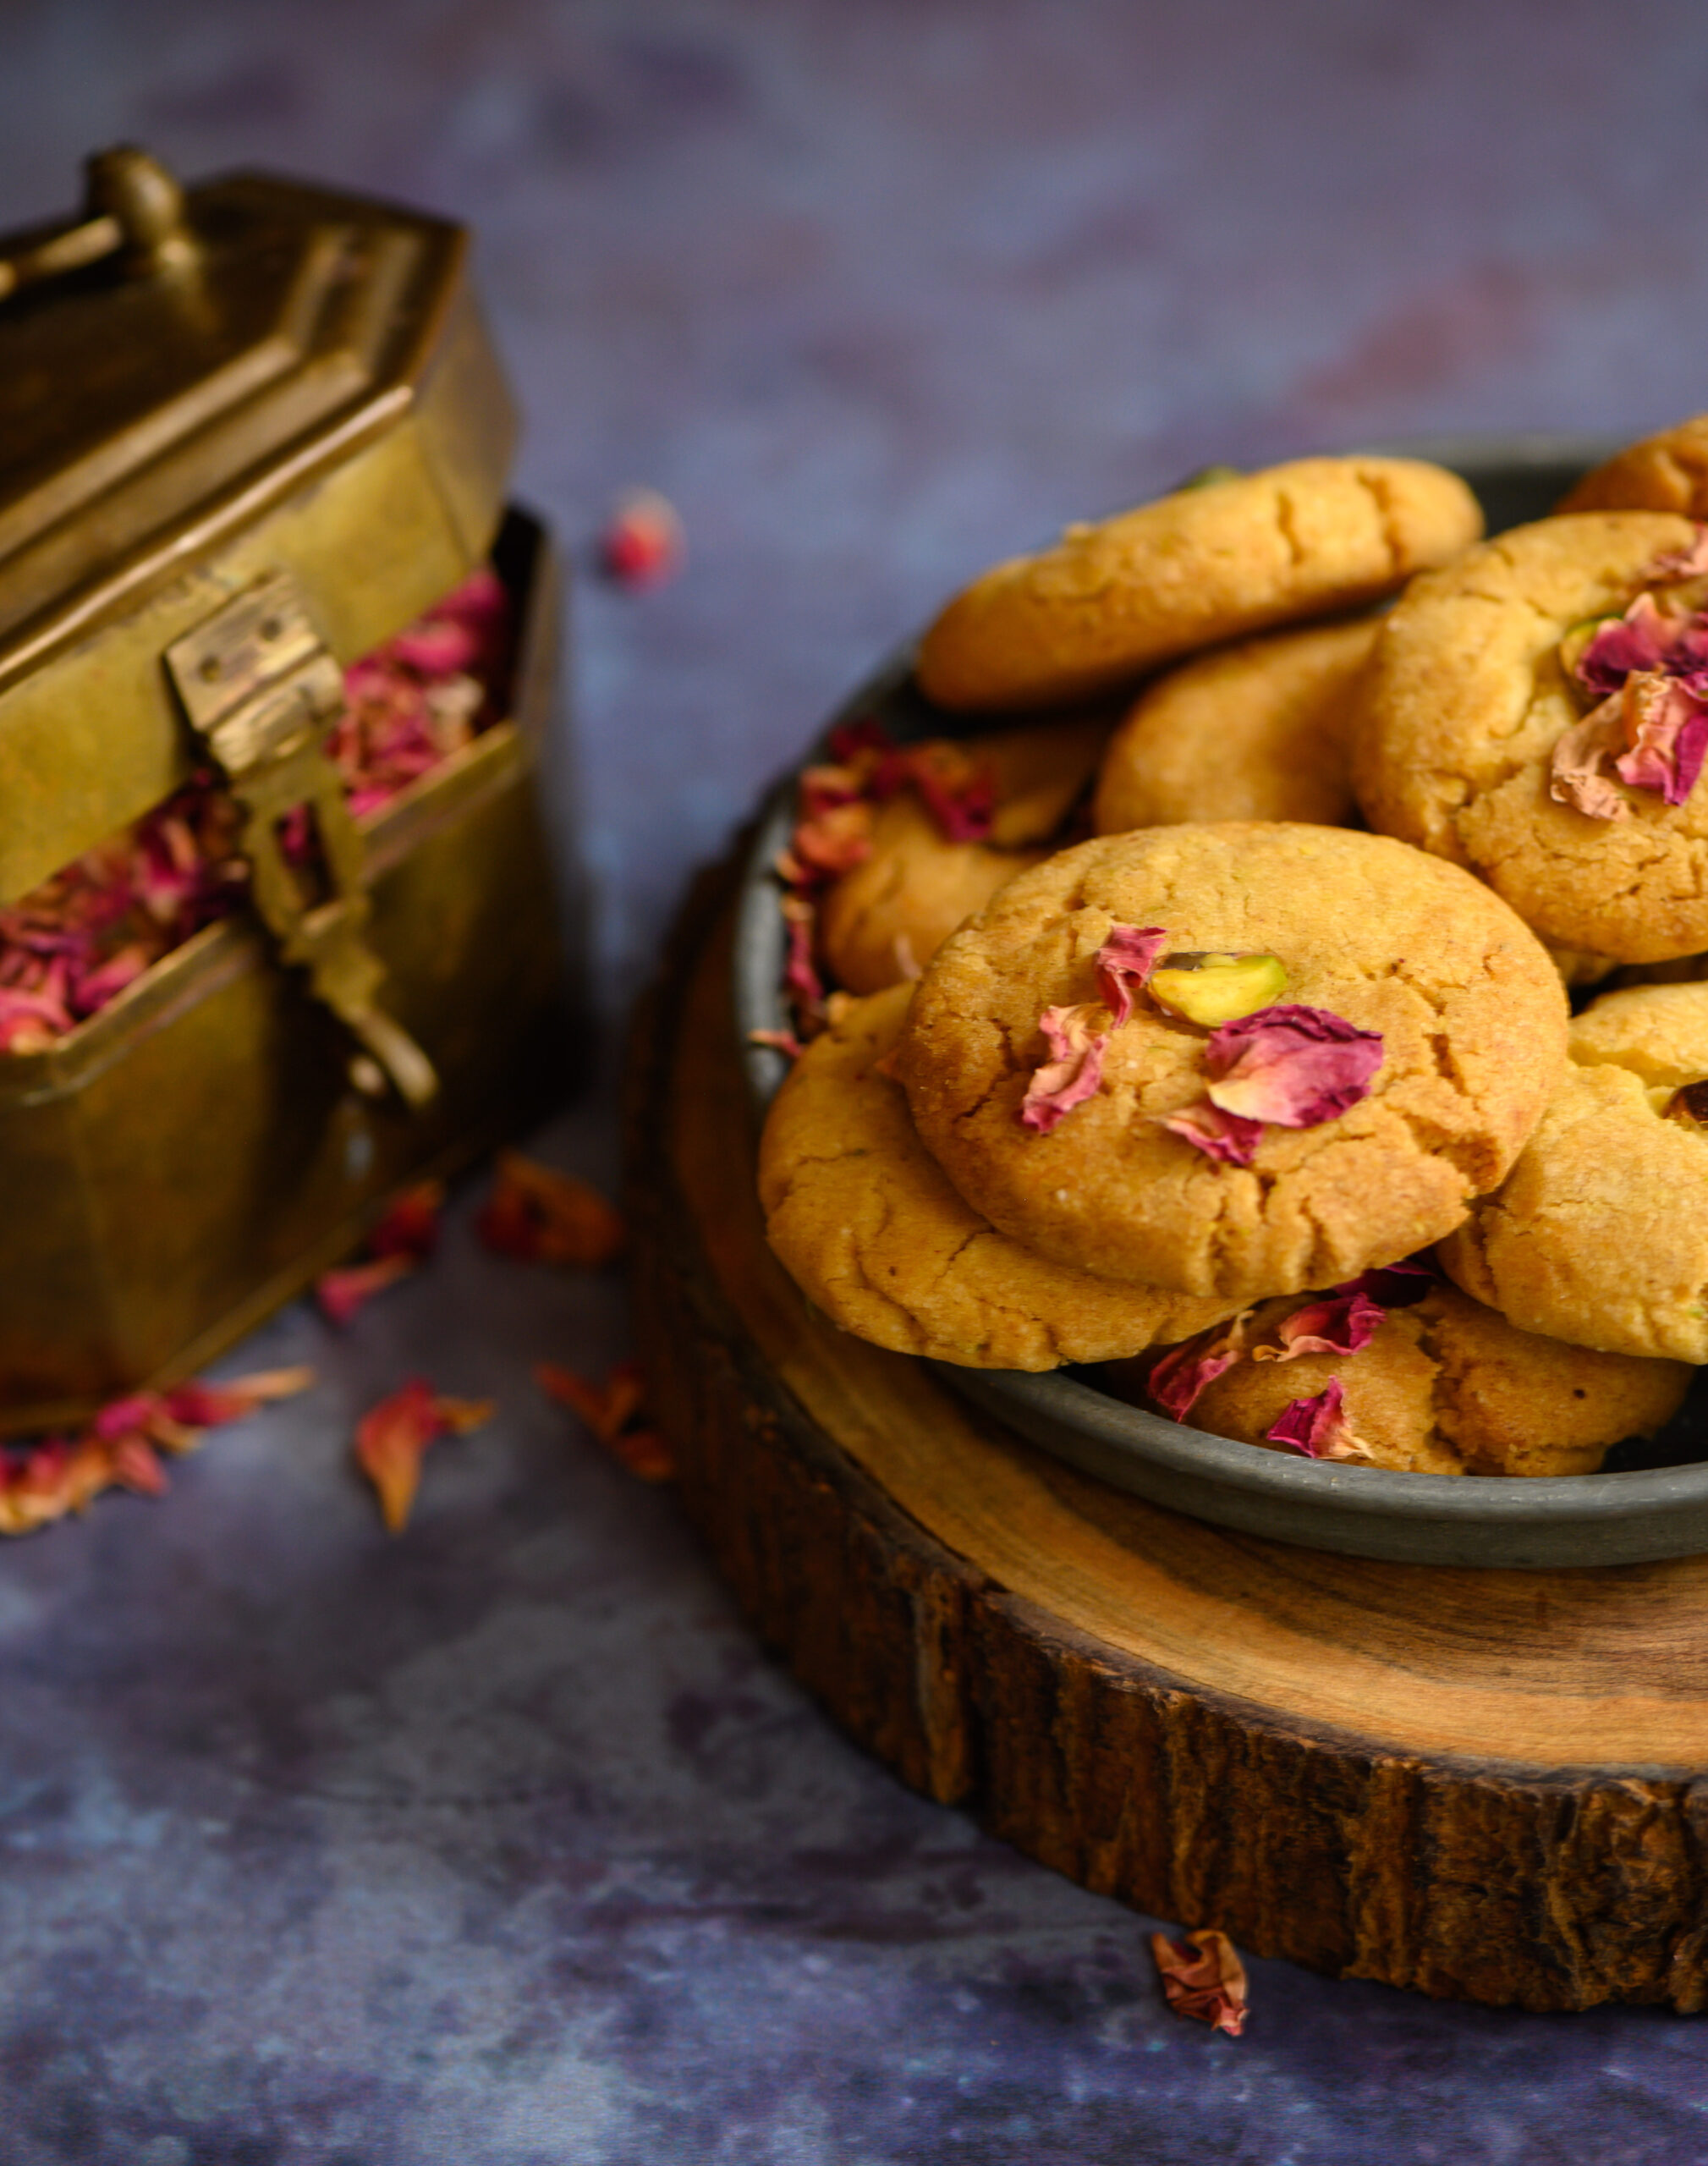
Pistachio & Rose Nan Khatai
(Yield: 25 pieces)
100 grams powdered sugar
80 grams ghee (clarified butter) at room temperature
100 grams maida
25 grams pistachio meal
½ teaspoon baking soda
1 teaspoon baking powder
2 tablespoons semolina
60 grams chickpea flour (besan)
½ teaspoon cardamom powder
A few strands of saffron, soaked in 1 teaspoon rose water
2 teaspoons yoghurt
½ teaspoon pistachio extract
Rose water (if required)
Pre-heat the oven to 160°C.
Add all the dry ingredients together, sift and set aside.
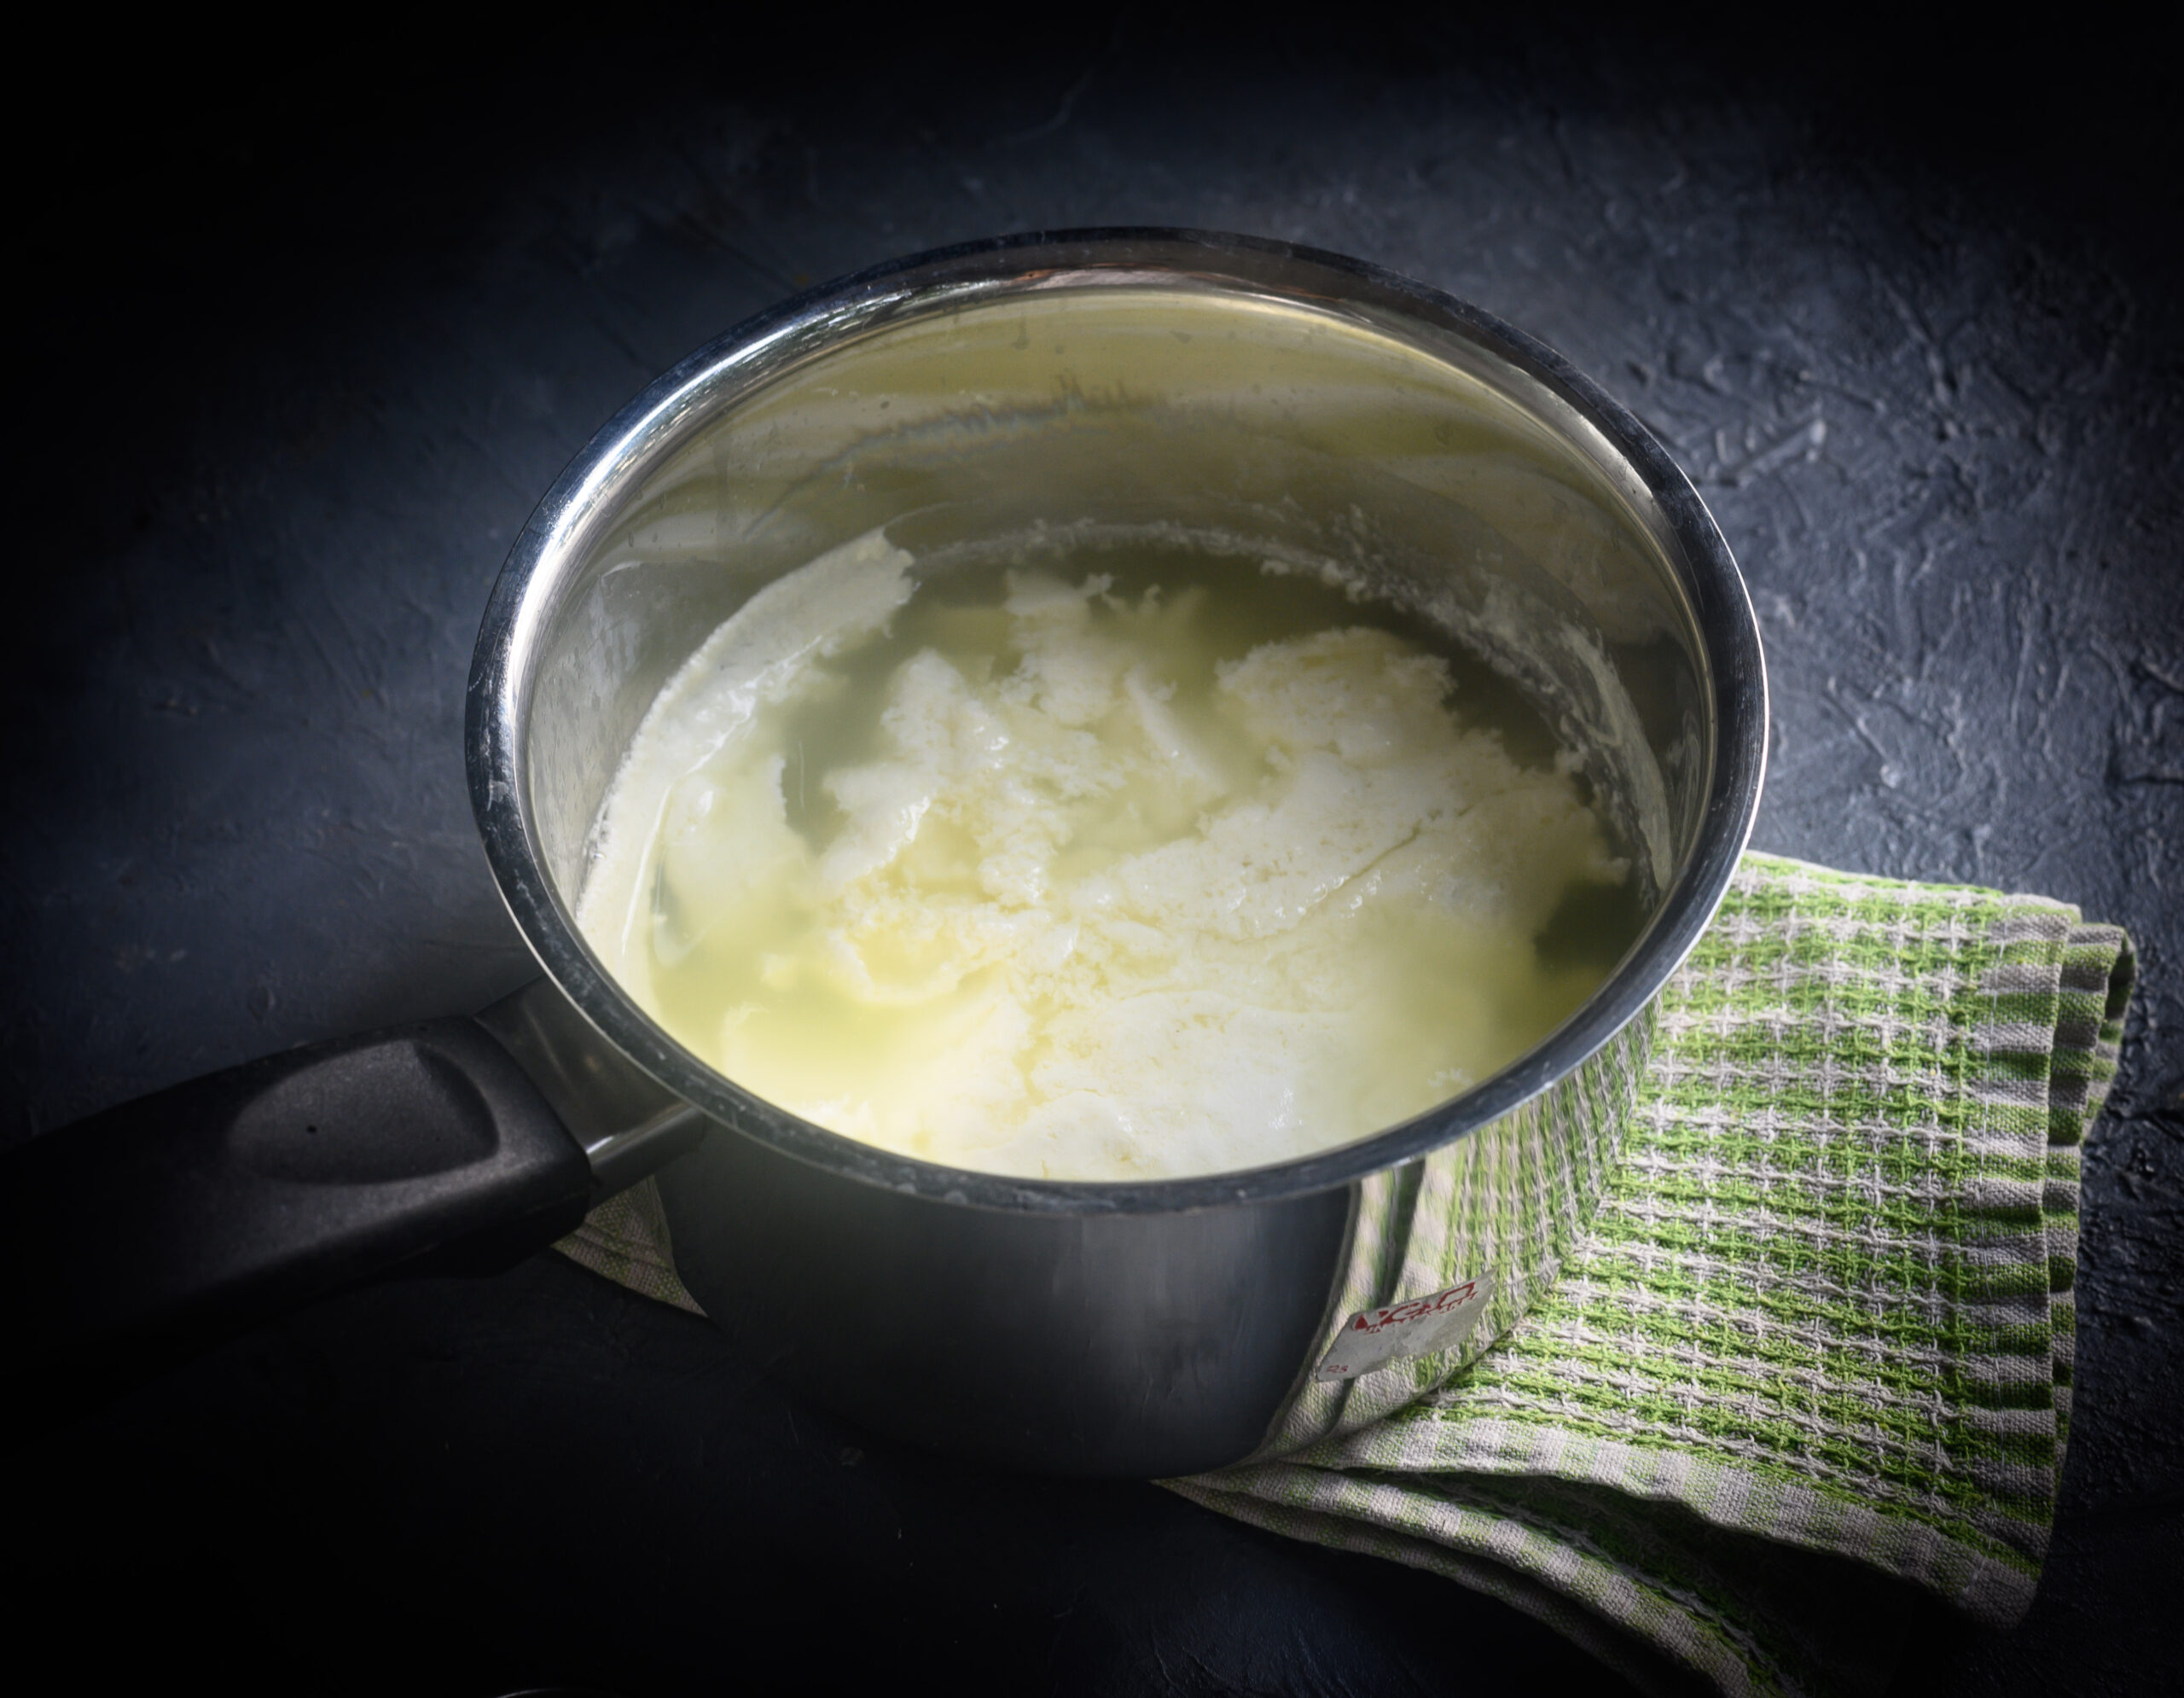
With a hand blender, beat the ghee and sugar together until the mixture is light and fluffy. Now add the yoghurt, pistachio extract and saffron. Mix gently.
Next, add the dry ingredients to the mixture. Use your hands to bring it all together. It will be a soft dough. If required, add 1 teaspoon of rose water to bind it better.
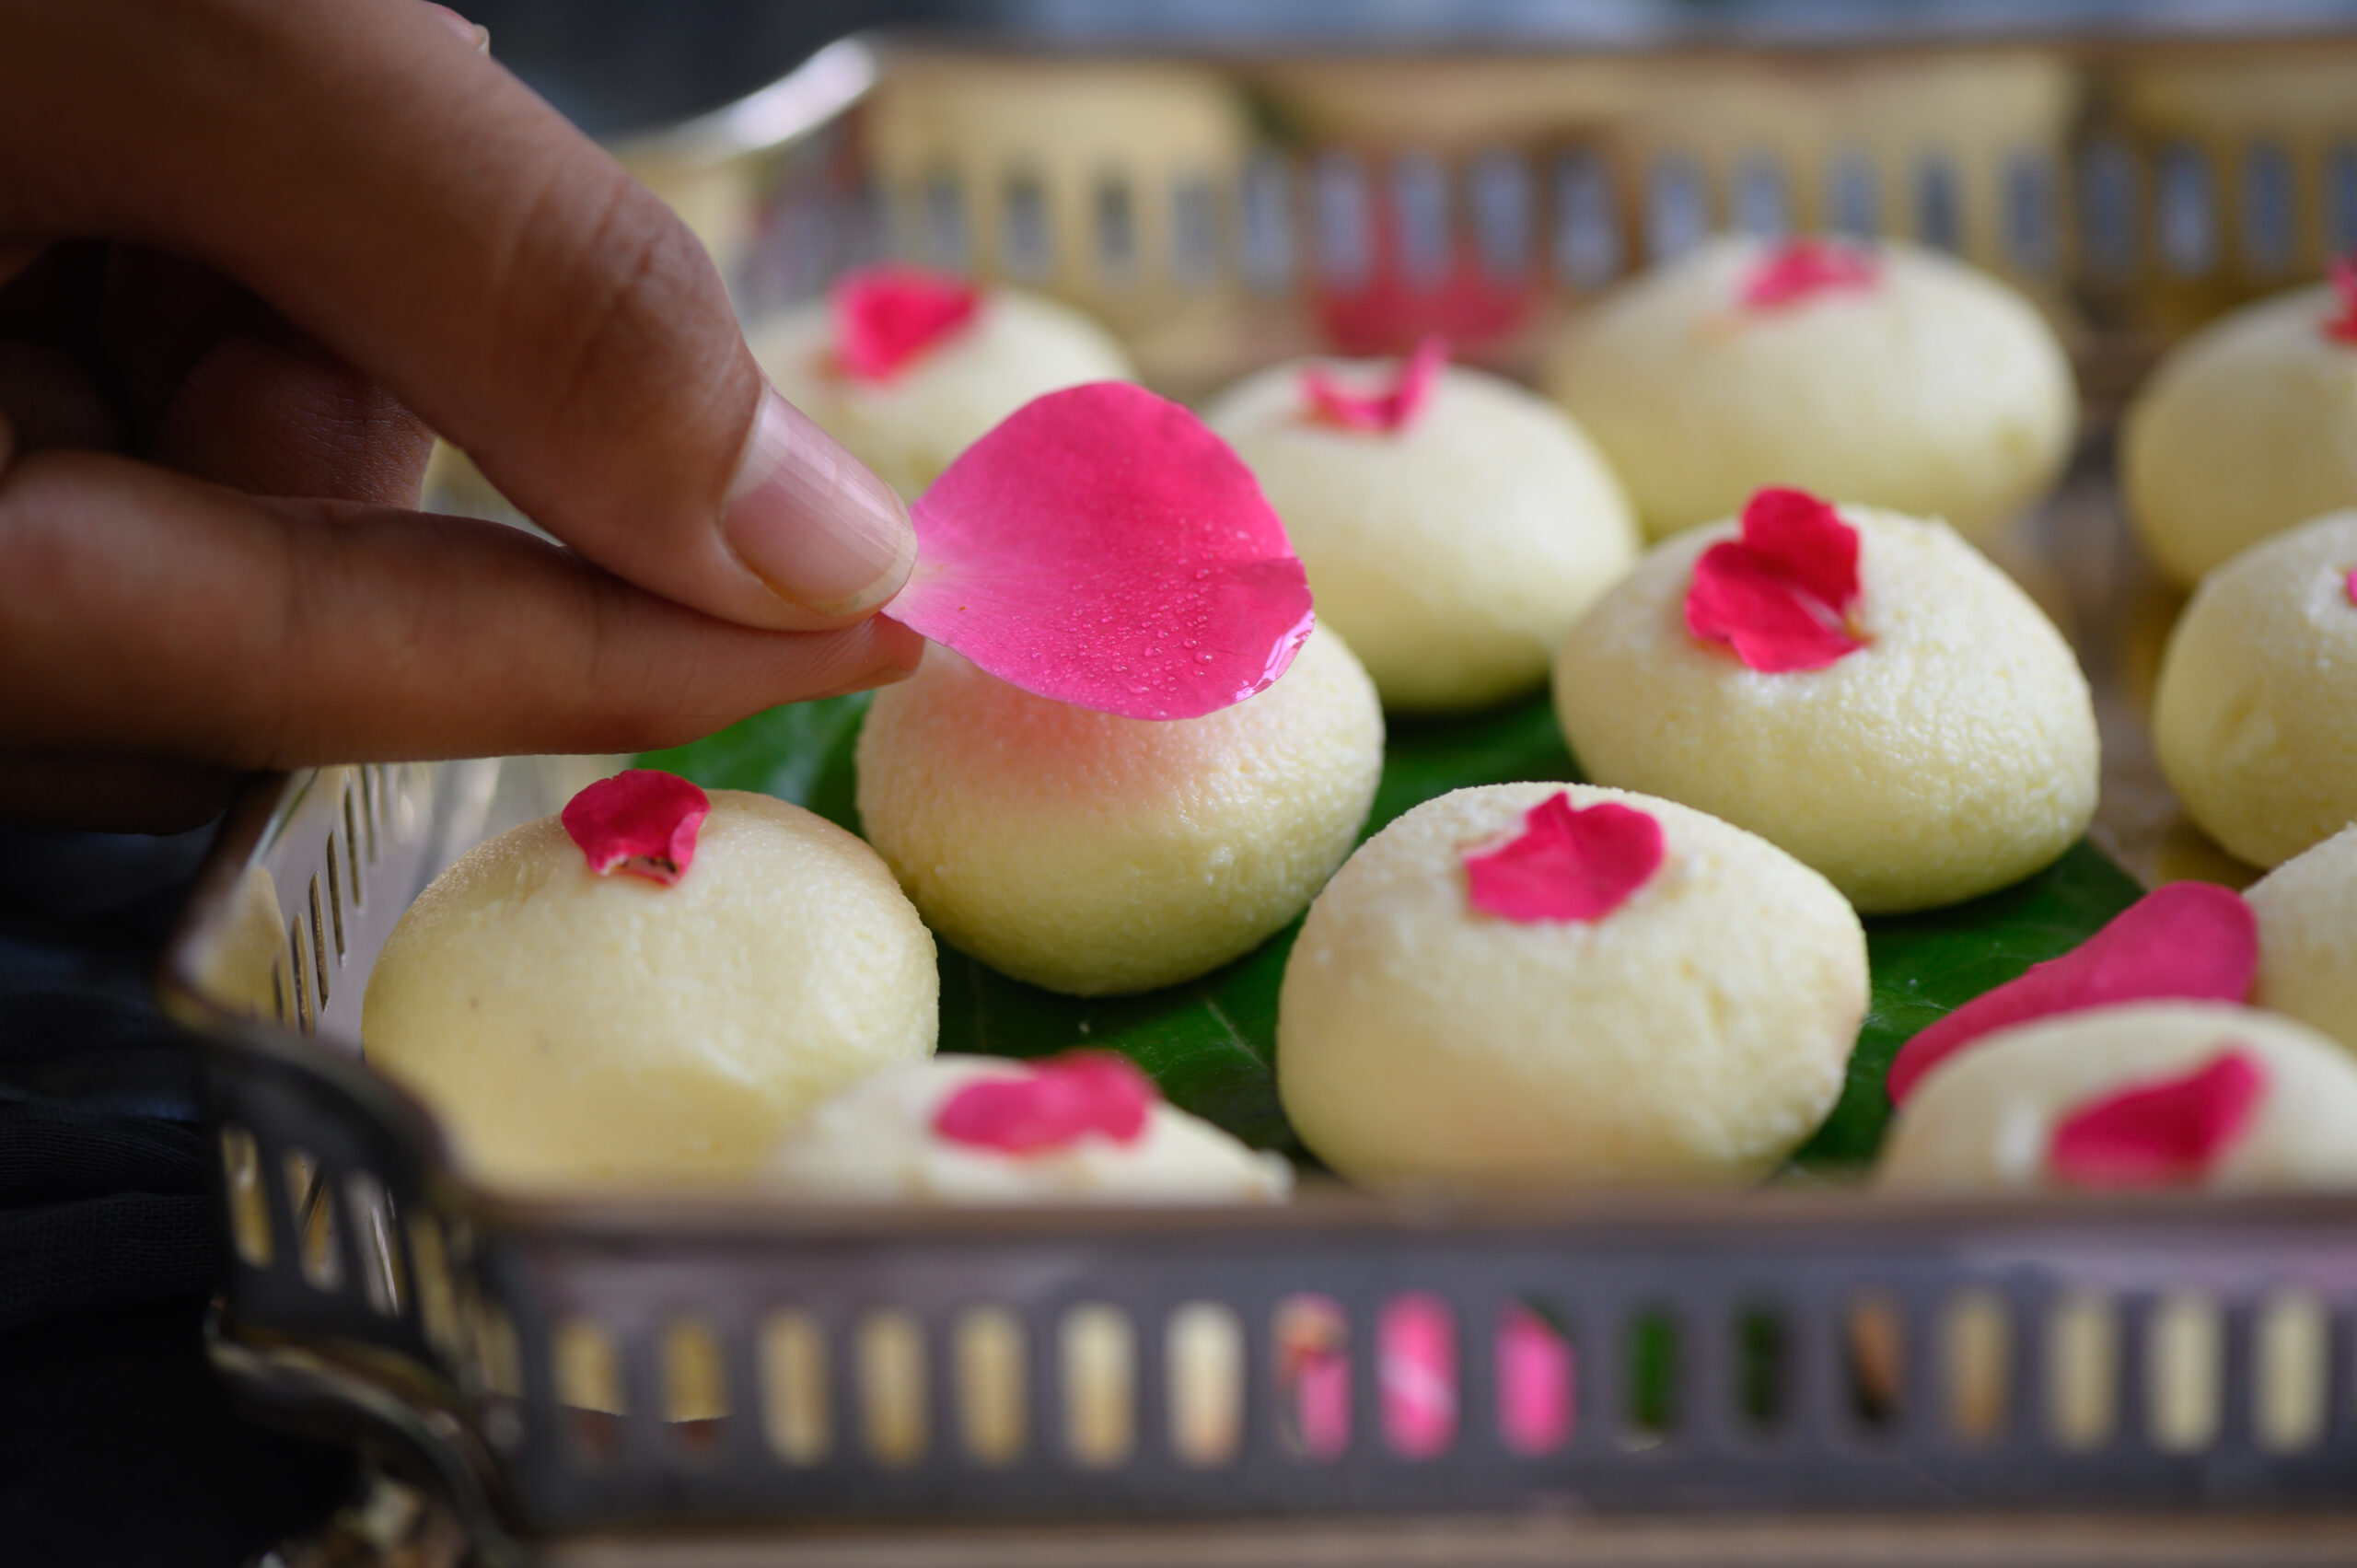
In a baking tray, lay out small rolls of the dough and top each with a slice of pistachio. Make sure there is space between the rolls to give them room to bloom. Bake for approximately 15 minutes, depending on the oven type.
Remove from the oven and allow to cool.
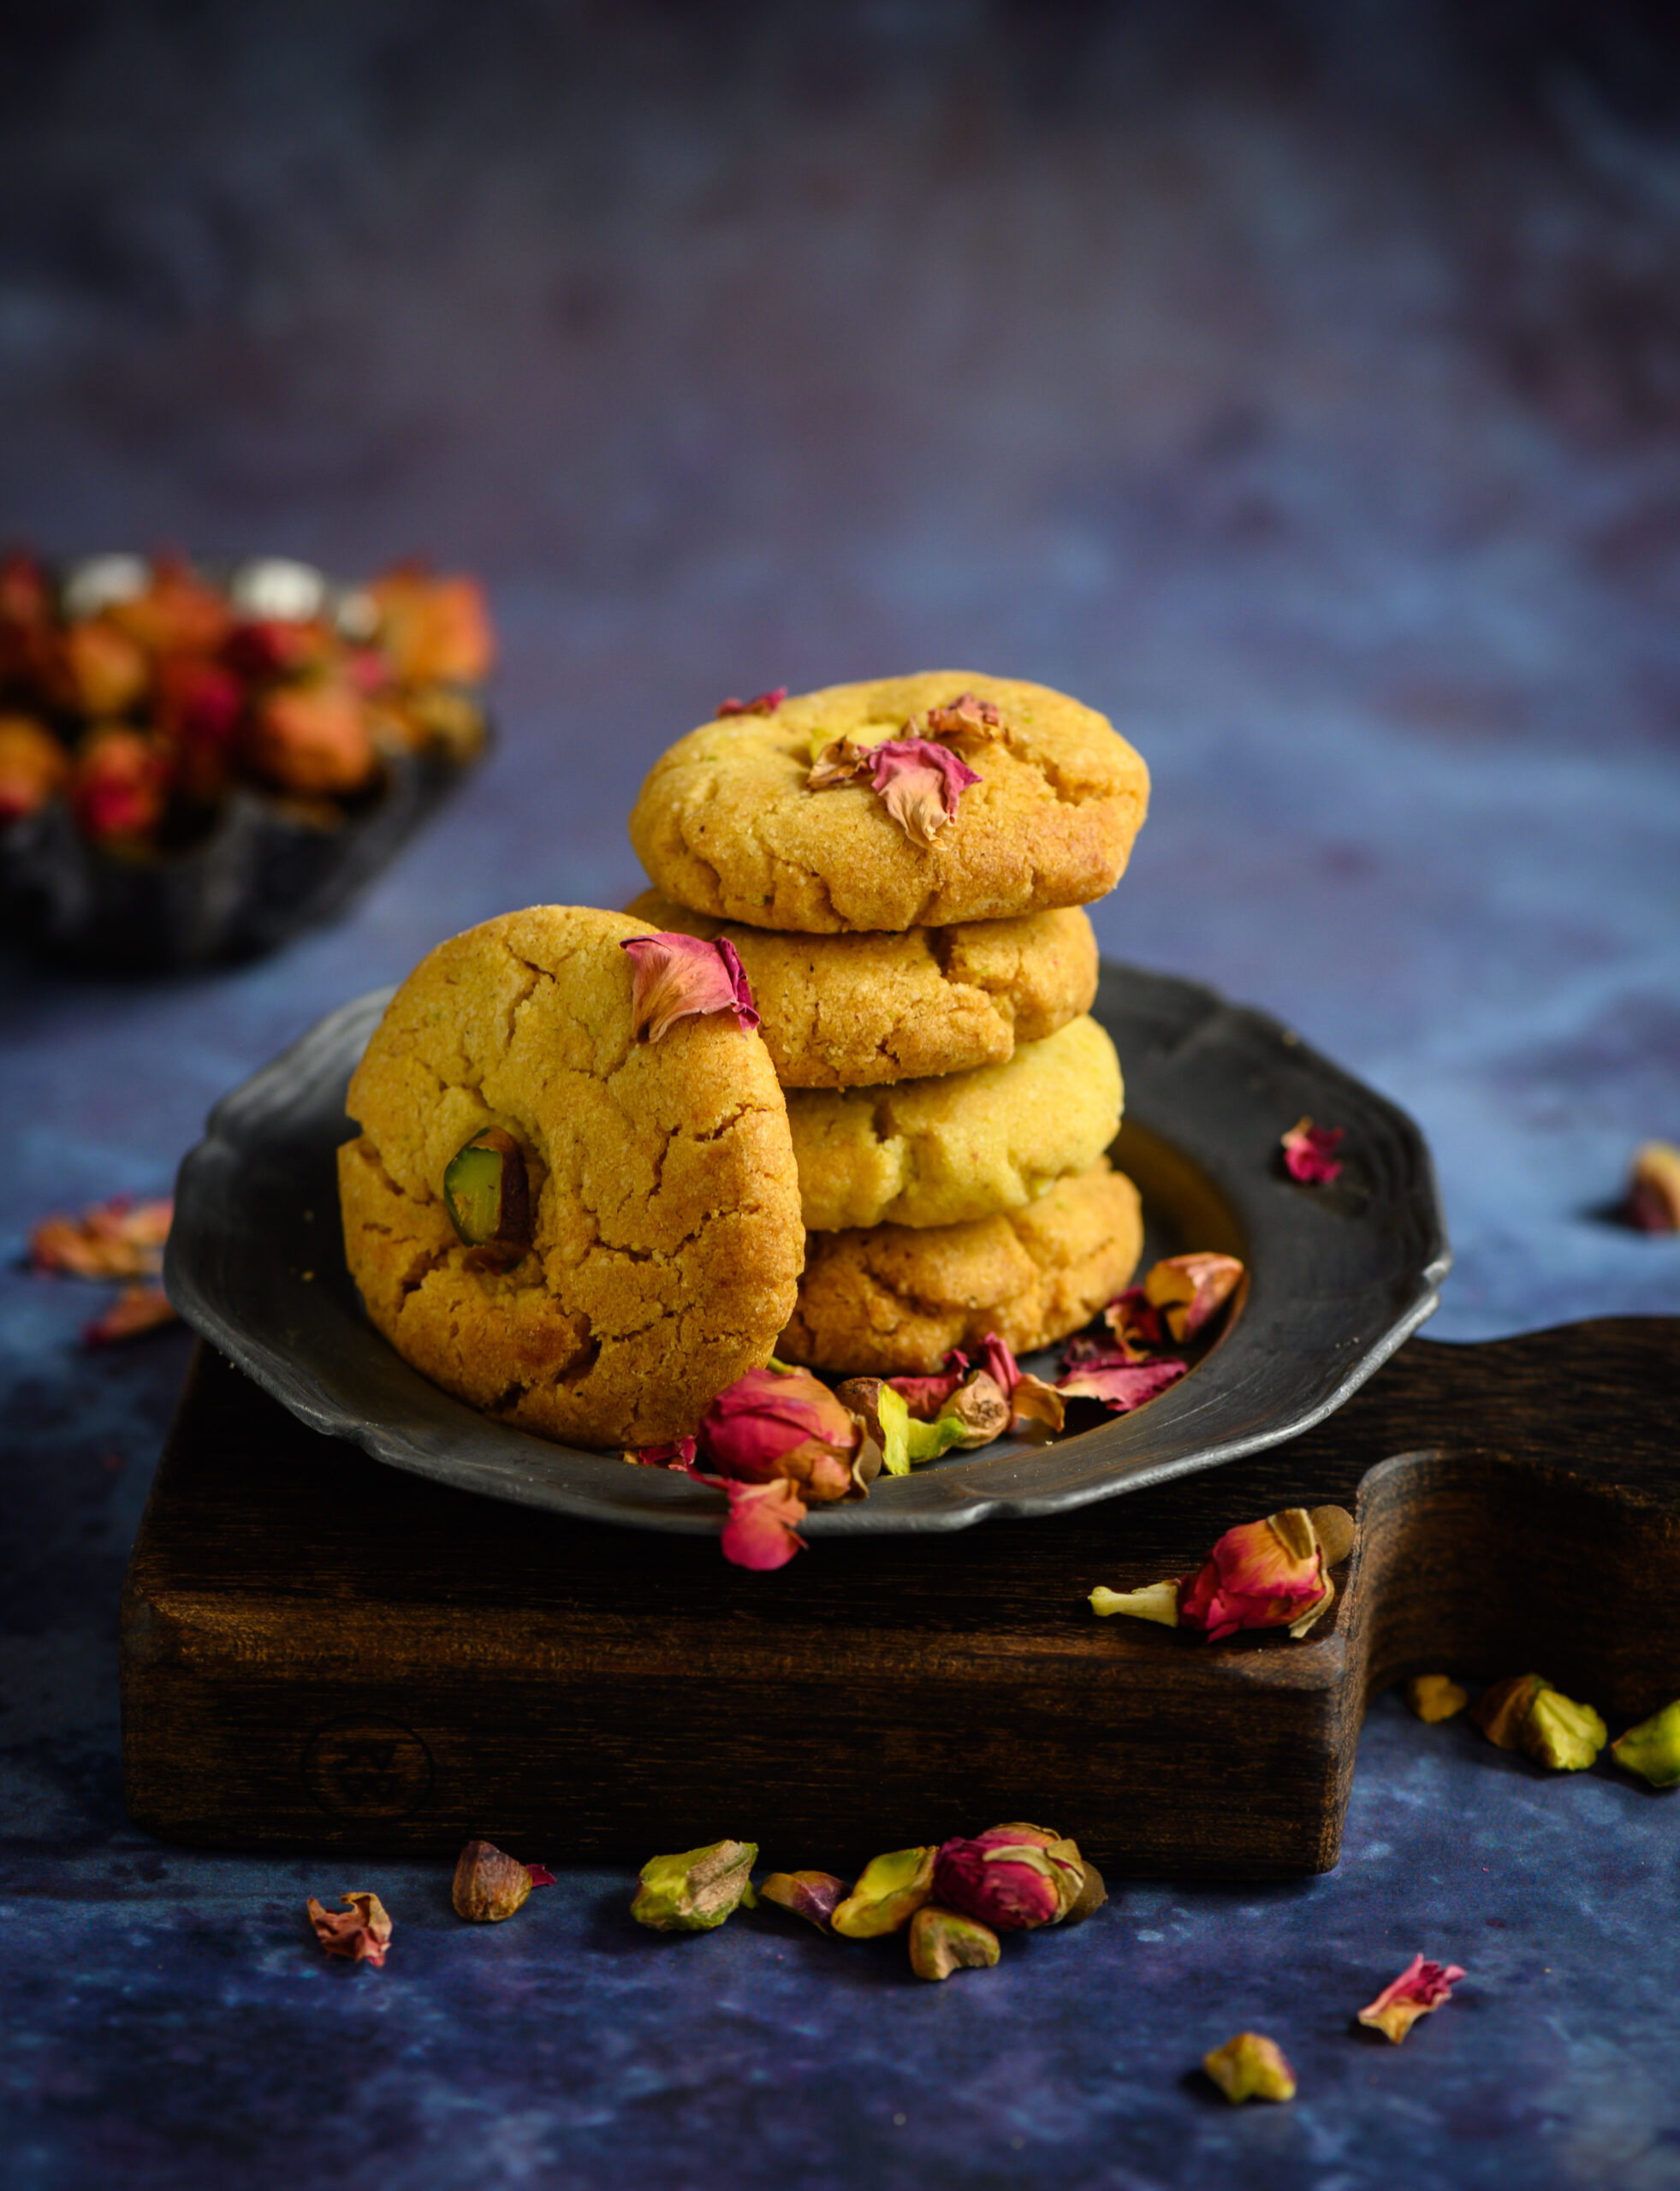
Your re:store-style nan khatai is ready to serve, just in time for the year-end festivities! This Western-but-Asian biscuit is delightful with tea. Isn’t it amazing how much history and how many cultures one little biscuit can contain? Aromatic thanks to the rose water and extra crunchy thanks to the pistachio, I am sure you’ll find it as addictive as I do. Here’s wishing you and your family a wonderful Christmas. I hope a batch of pistachio and rose nan khatai will be baking in your oven soon – let me know what you think of it!


")