Come summer, every family in India uses the mango in their daily cooking. It can be found in literally every dish: dals, sabzis (cooked with vegetables), pickles, curries, desserts and more. Everybody wants to get creative with the mango, and why not? With 1,500 varieties said to grow in the country, each one sweeter than the other, we are rightly proud of the fruit and look forward to the season eagerly. The different varieties have such beautiful names too: the neelam in Gujarat, the alphonso in Maharashtra and the nectar-sweet imam pasand of South India are but some. While we are unfortunate to not have the pleasure of berries here, the mango more than makes up for it.
Mangoes are popular globally, though they originated in the Indian subcontinent, and are cultivated everywhere from Andalusia to the Caribbean. They are the national fruit of three countries (India, Pakistan and the Philippines) and the national tree of Bangladesh. I have yet to meet a single person who doesn’t like mangoes!
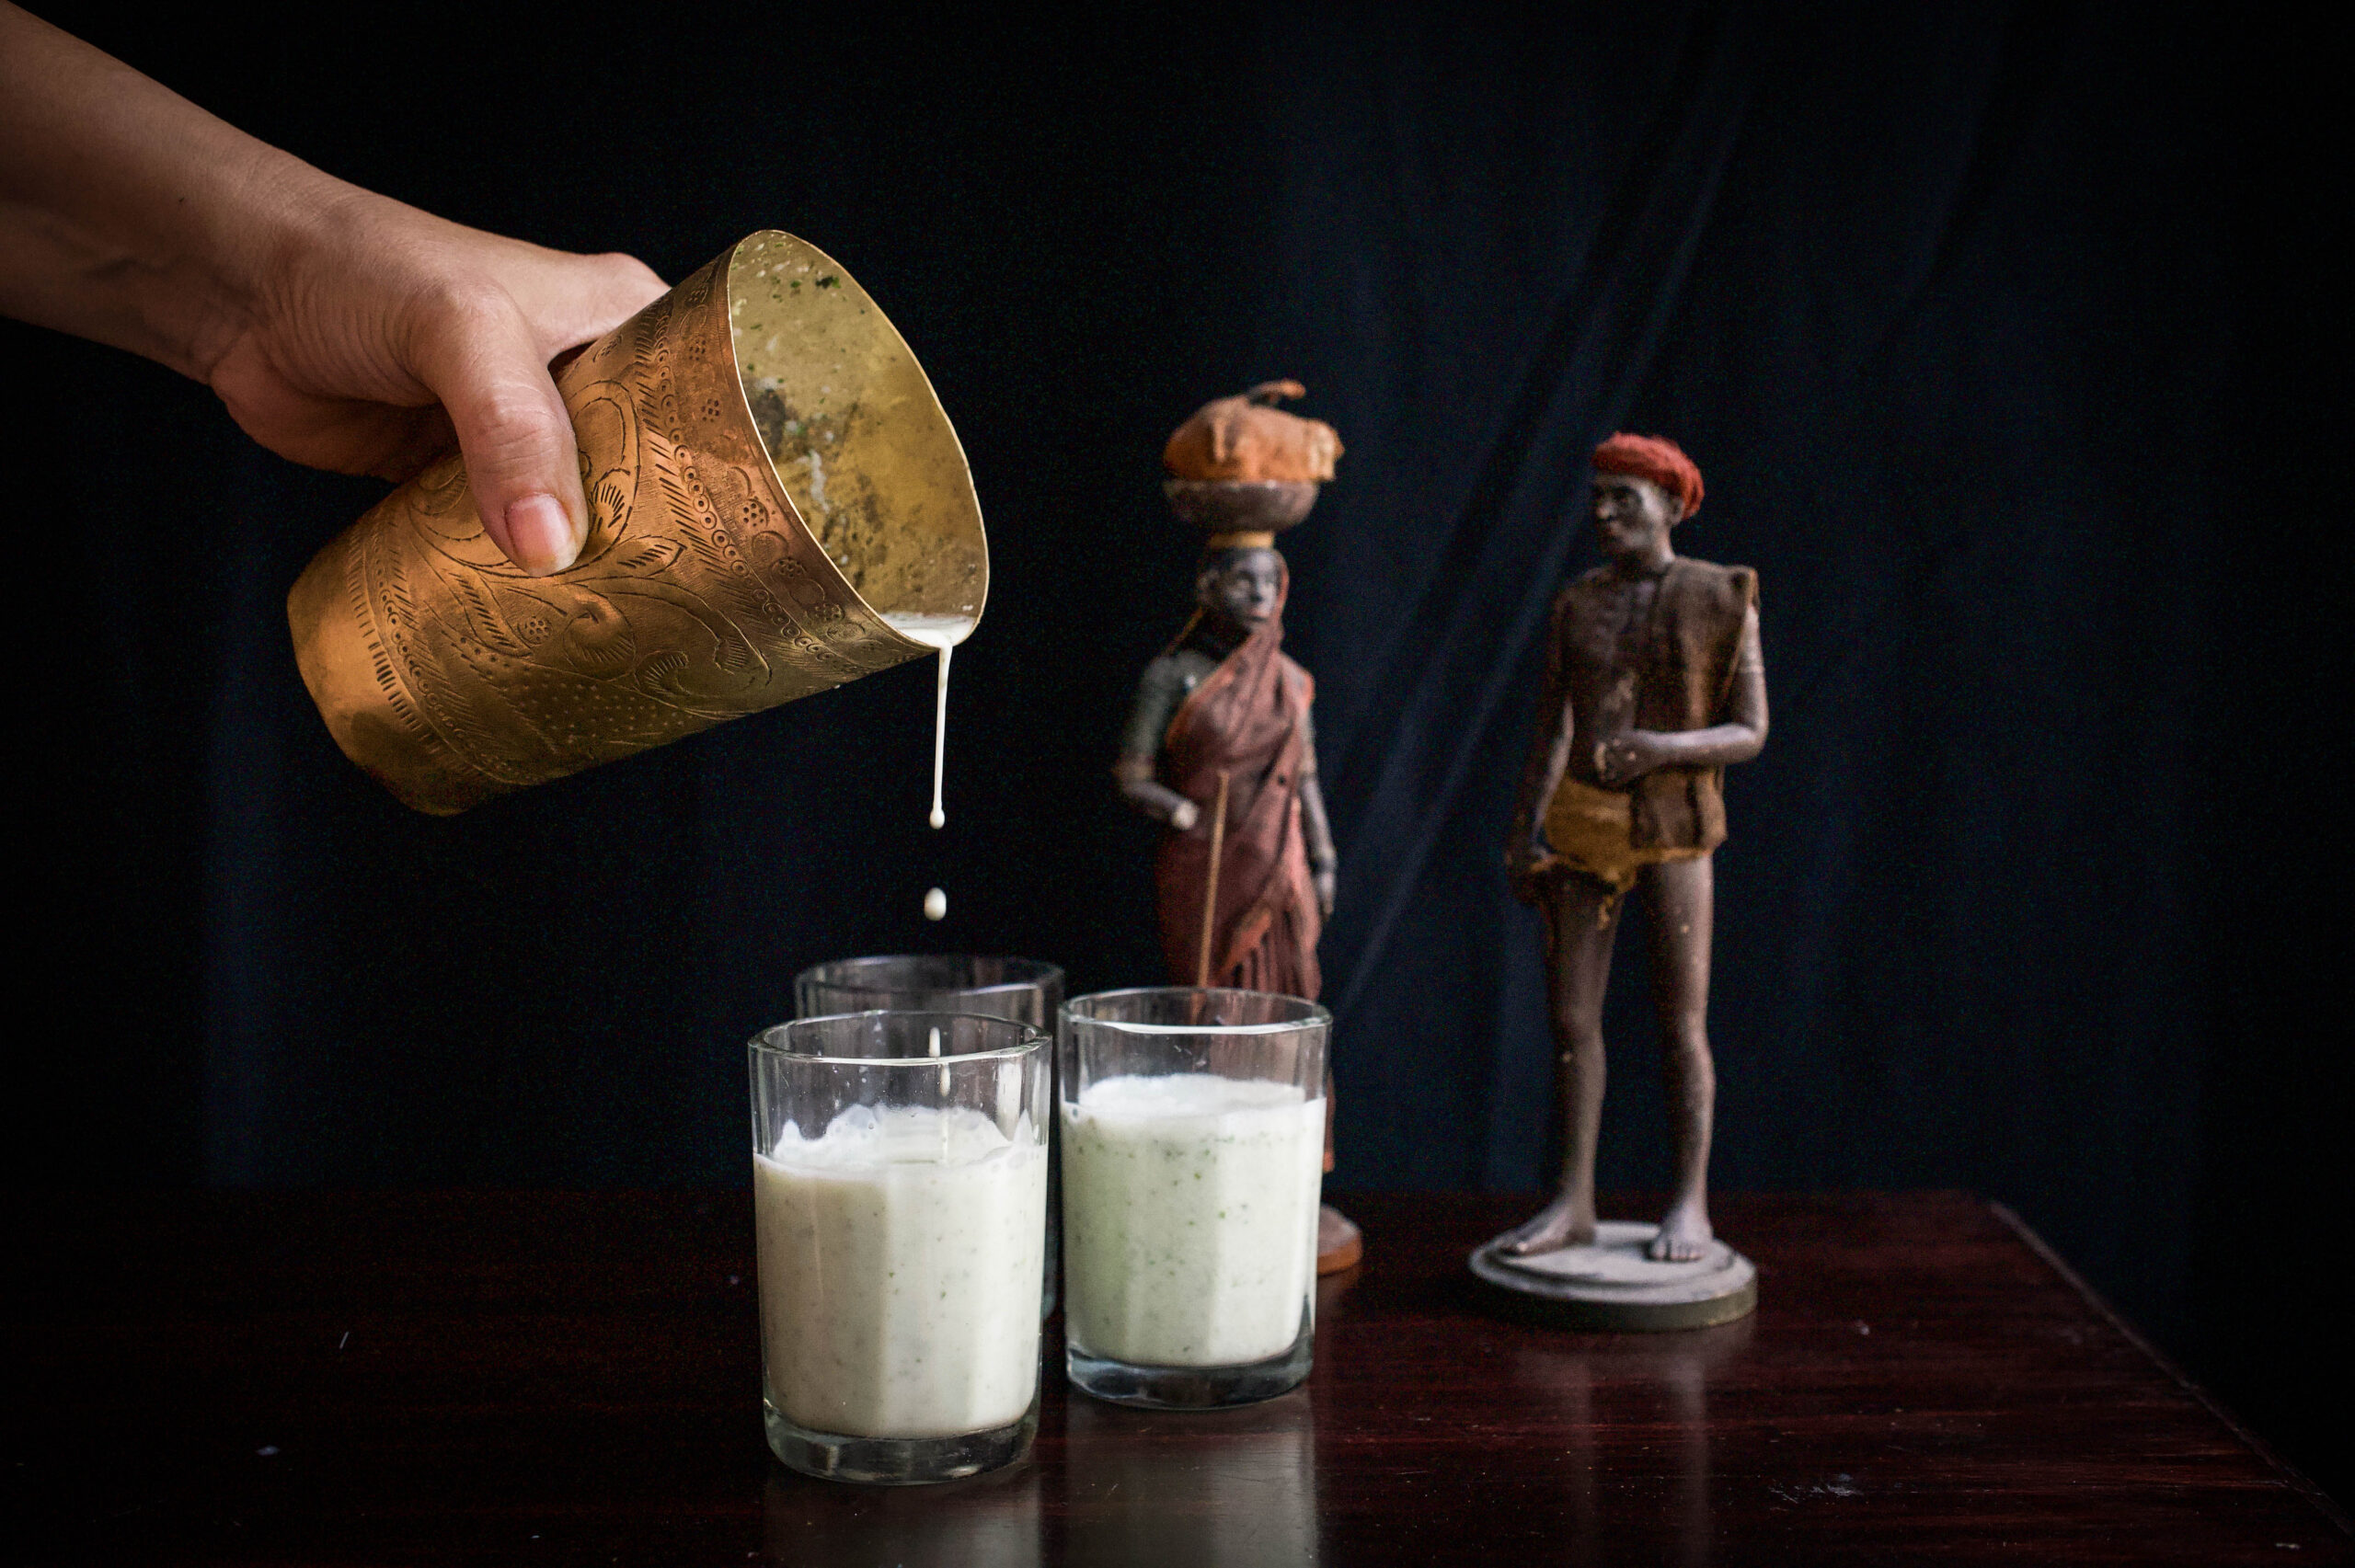
Even if it wasn’t my national fruit, I would consider it a star among fruits. And it’s the star of a recipe my family has been simply loving this summer: mango rasam. Rasam is a thin, spicy South Indian soup which is usually eaten with rice or consumed as a beverage. This mango rasam is a seasonal staple, and is similar to the fajeto, which is also a staple in the typical Gujarati thaali in summers. A summer thaali comprises of layered rotli, a vegetable, dal, buttermilk, aamras or mango pulp in a bowl, raw mango pickle and fajeto. You’ll notice that half the plate is filled with mango in some form! After such a big fat meal, a siesta is also a part of the traditional lunch!
As you may know, I am all about growing my own produce, and this season I am happy to say I’ve been plucking mangoes in my own backyard. You really have to nurture your garden with love and care, and I am a big believer in spending time there, talking to the plants. They do respond, as I have seen for myself. I have learned how to tend to two variants, the killimooku, so named because it is shaped like a parrot’s beak, and the sindura, which is so sweet it is also known as the honey mango. Looking after these trees is an ongoing process. A few months ago, I used a neem spray to prep them for the harvest season, and learned from an organic farmer how to dig a pit a few feet away from the main trunk and fill it with mulch. Dried leaves, coconut husk, a little soil and other compost ingredients decay into fertiliser, giving the tree nourishment. These methods have really worked, as the bounty of fruit from my garden have proved. I knew a couple of months ago when I saw the young, tender leaves come out that the harvest this year would be good. And so it is.
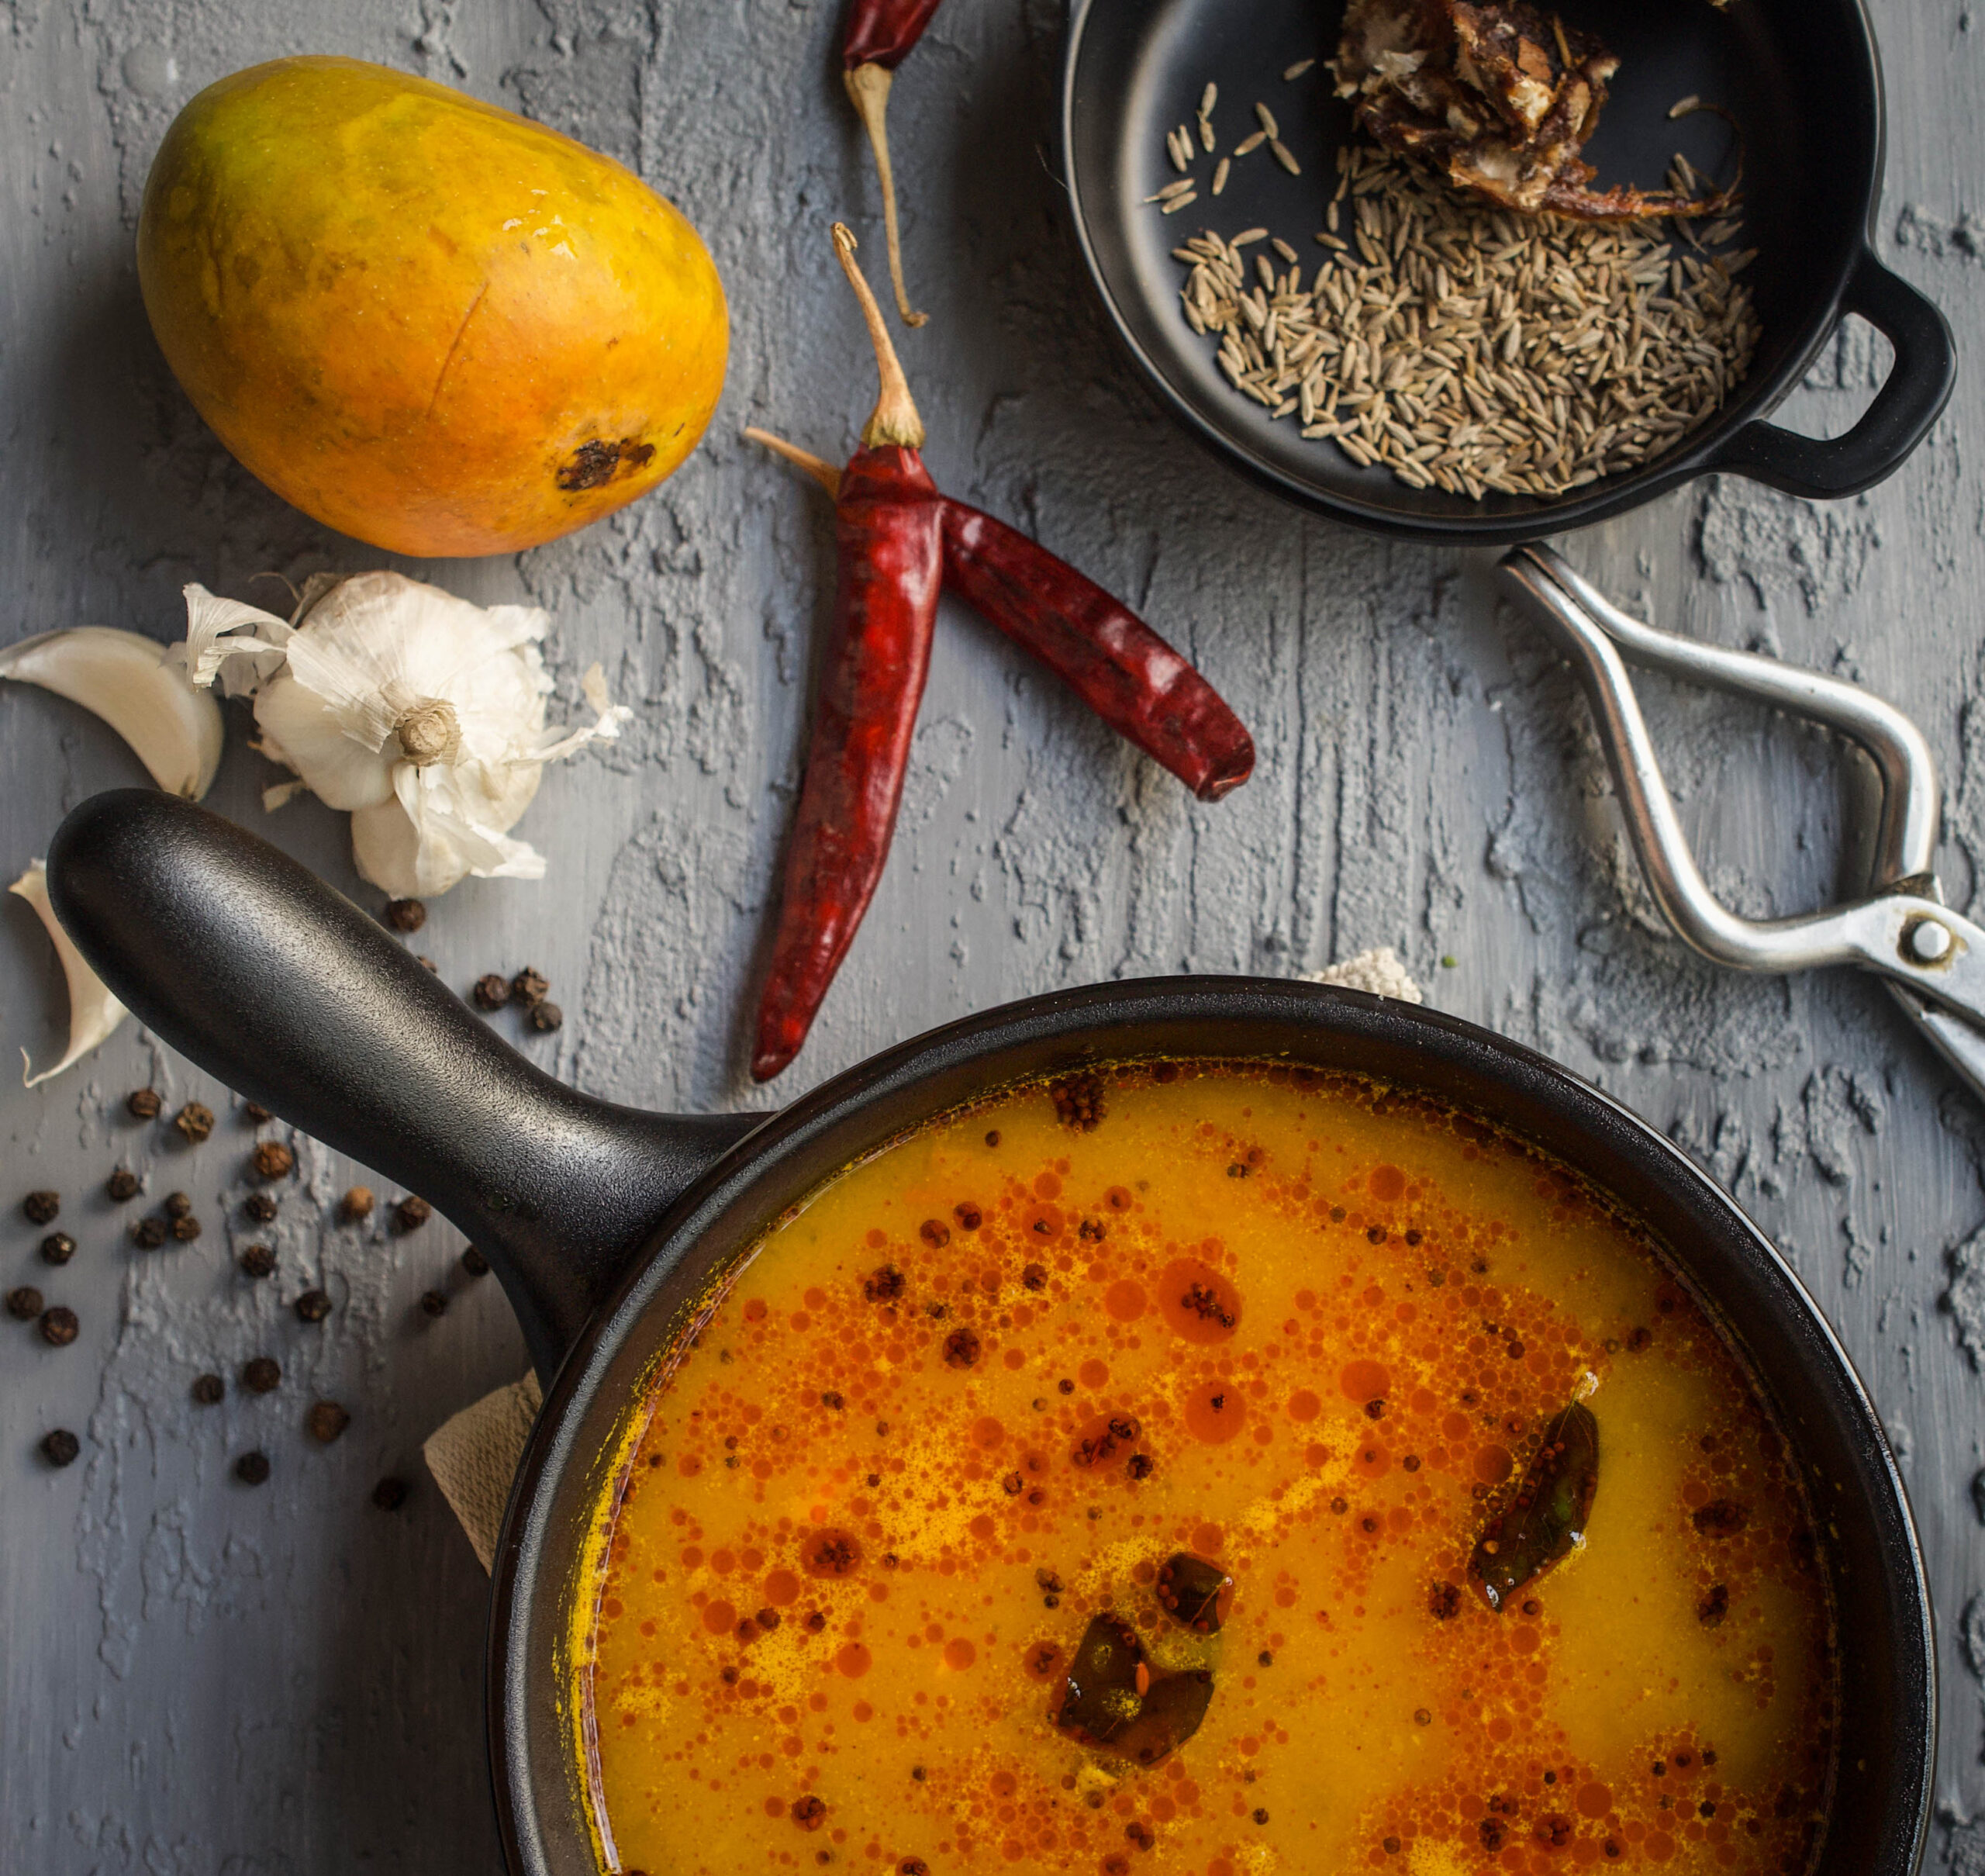
I was making aamras when the idea for mango rasam came to me. As I squeezed the mango pulp and put the seeds in water, I recalled how my mother – who taught me how to never waste food – uses this water to make fajeto. I decided to make it the South Indian way, with garlic and curry leaves. These are not used in the Gujarati version, which utilises yoghurt.
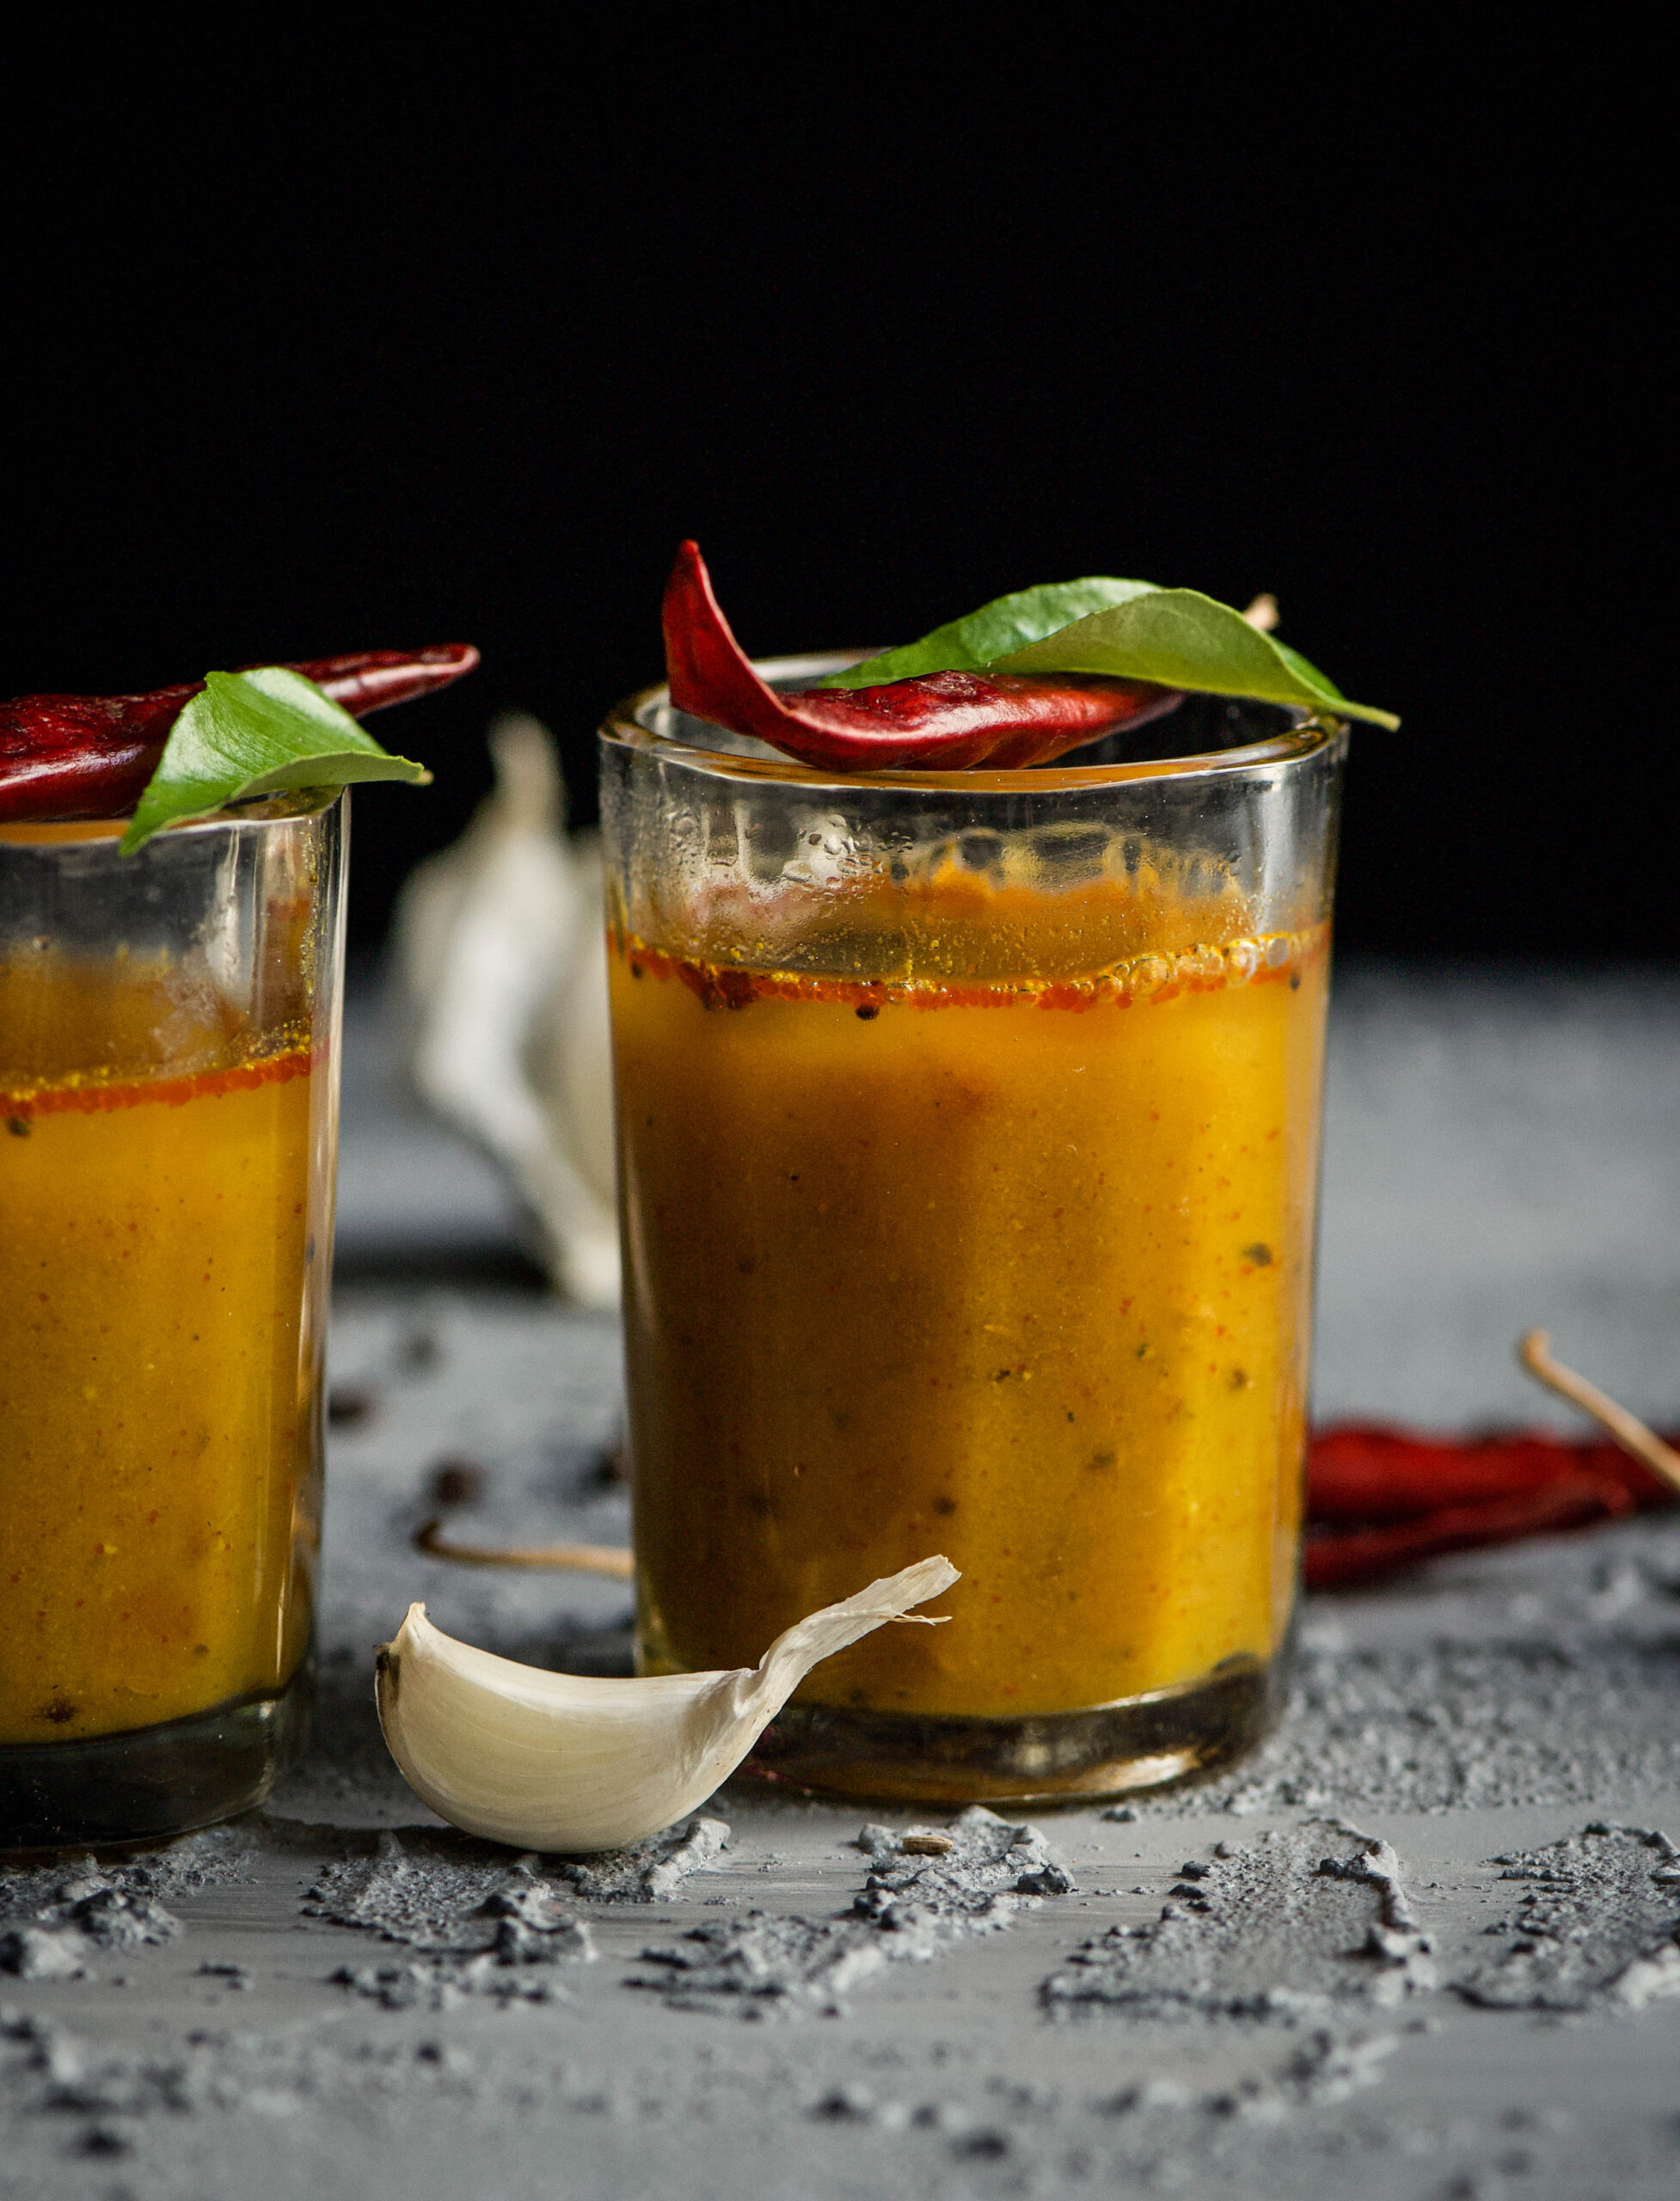
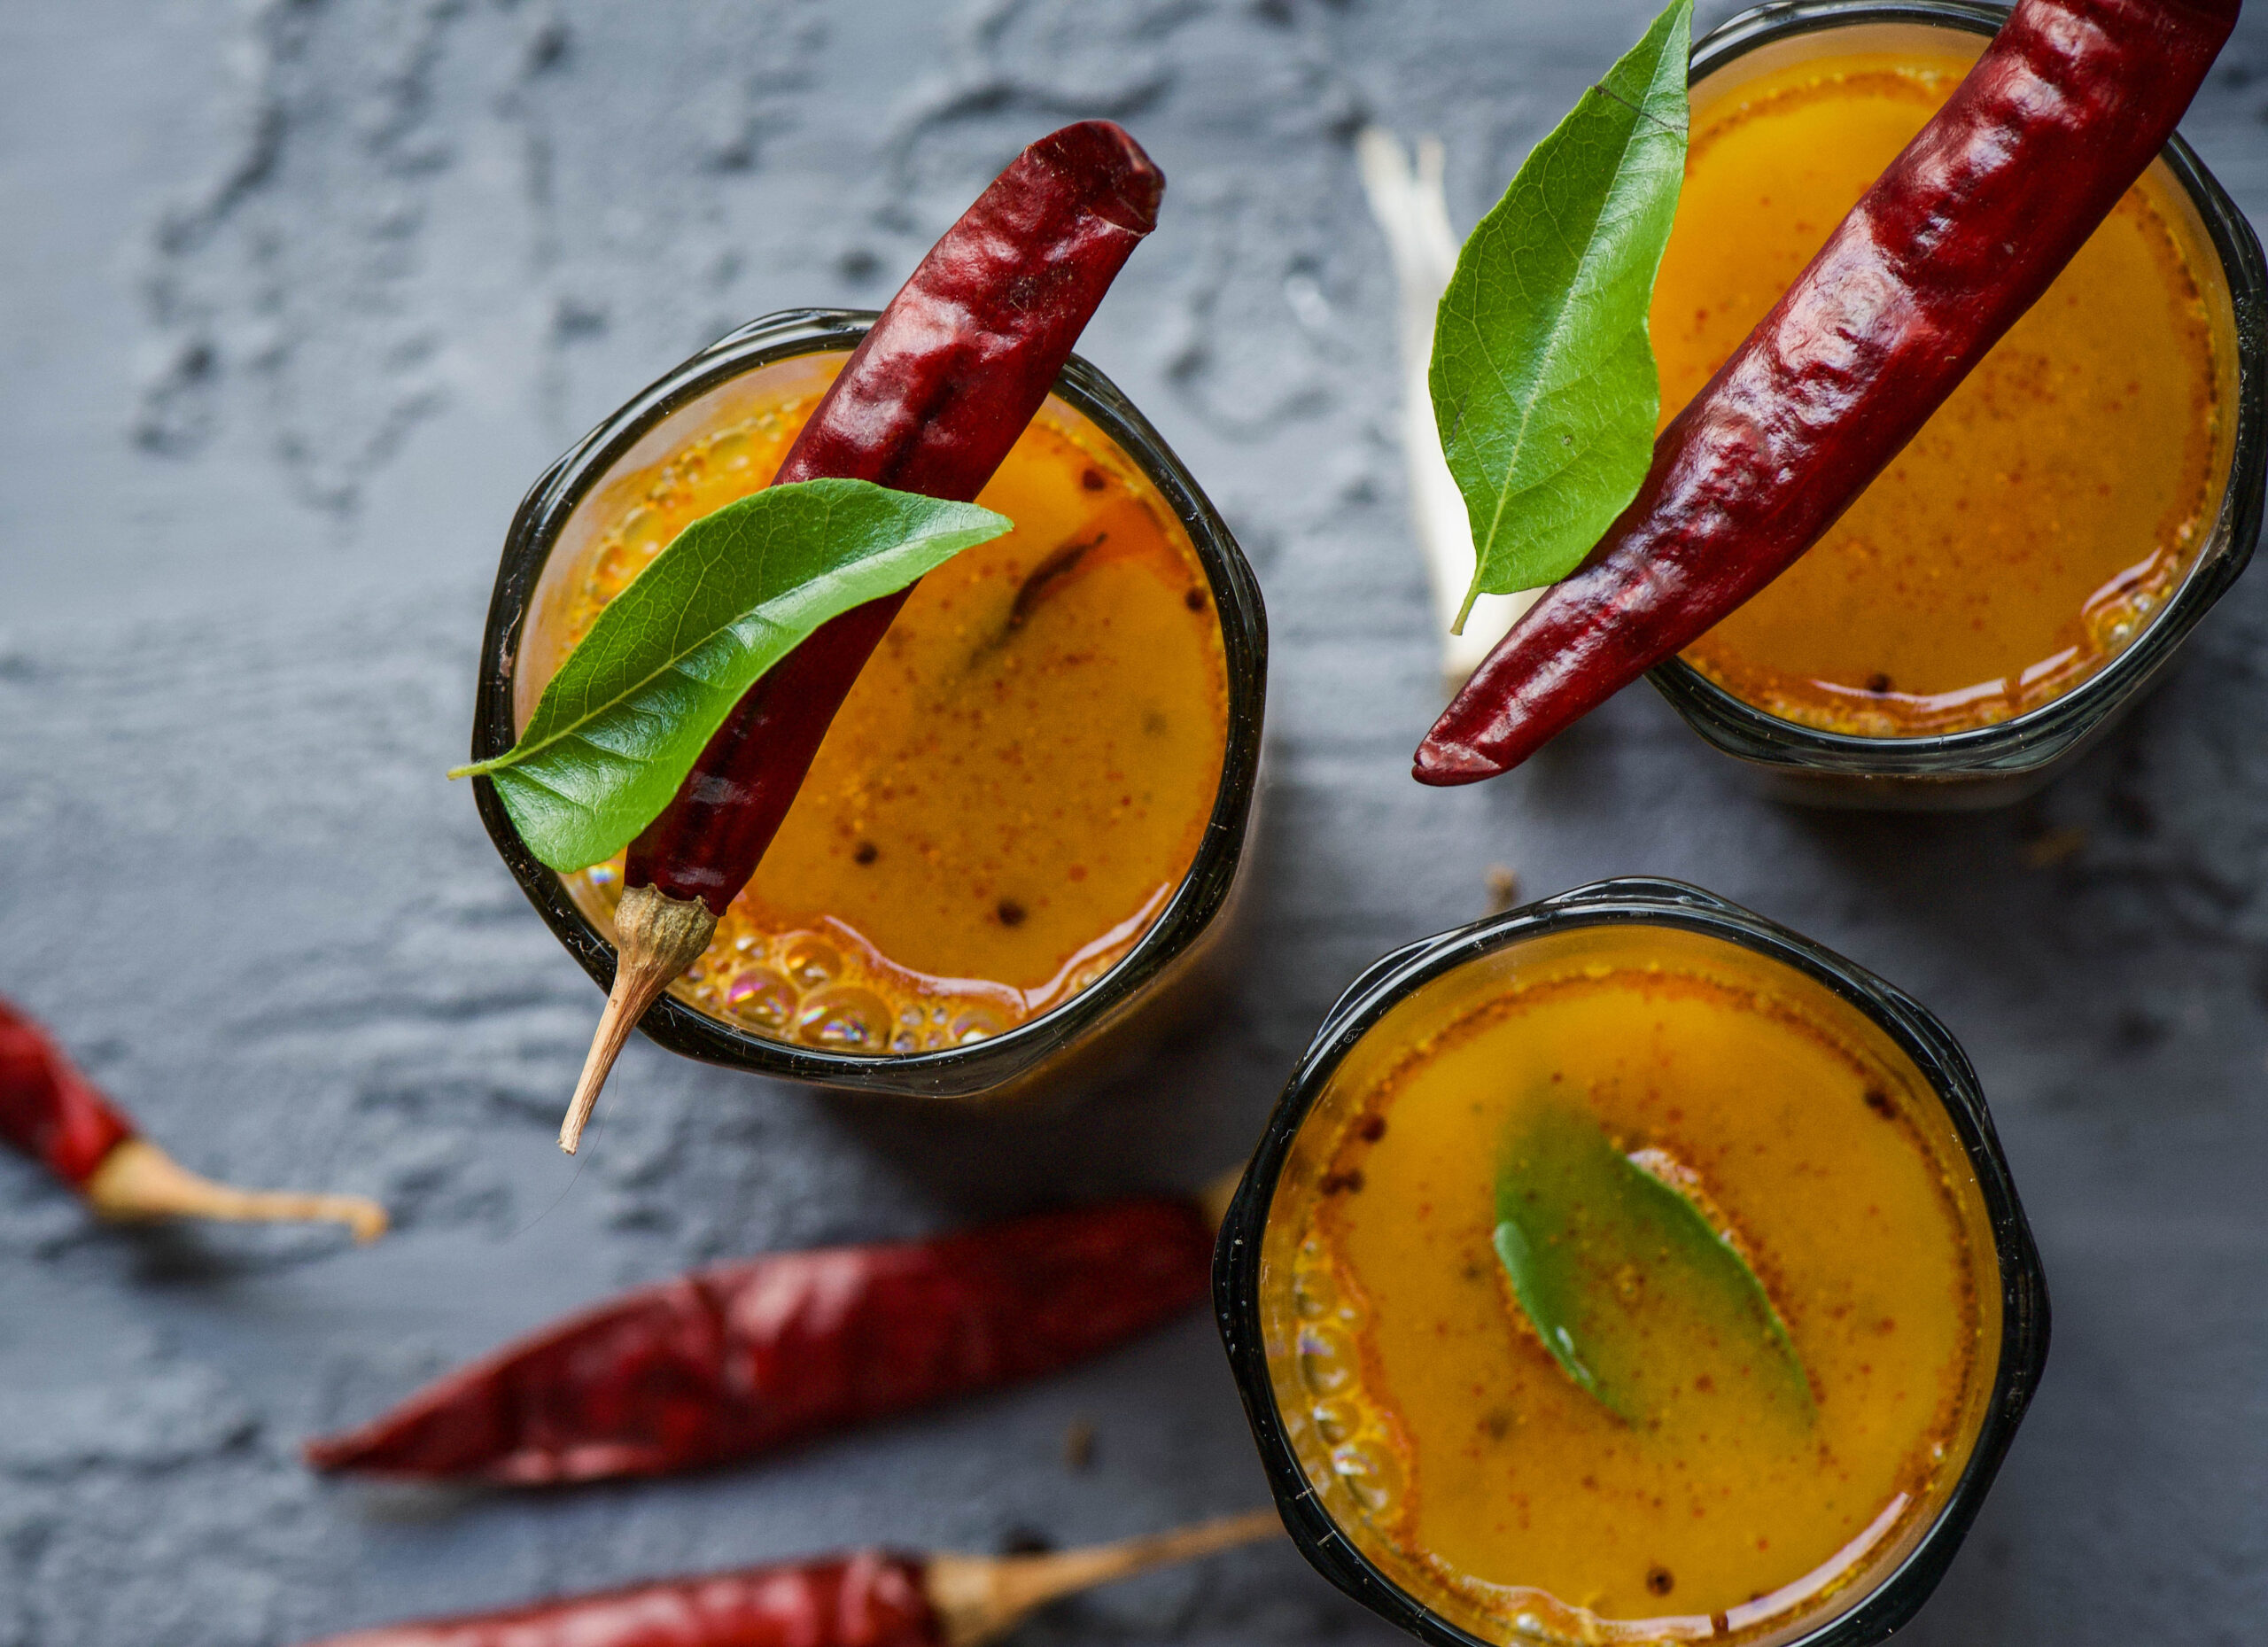
Ripe Mango Rasam
(Yield: 3-4 cups)
Ingredients
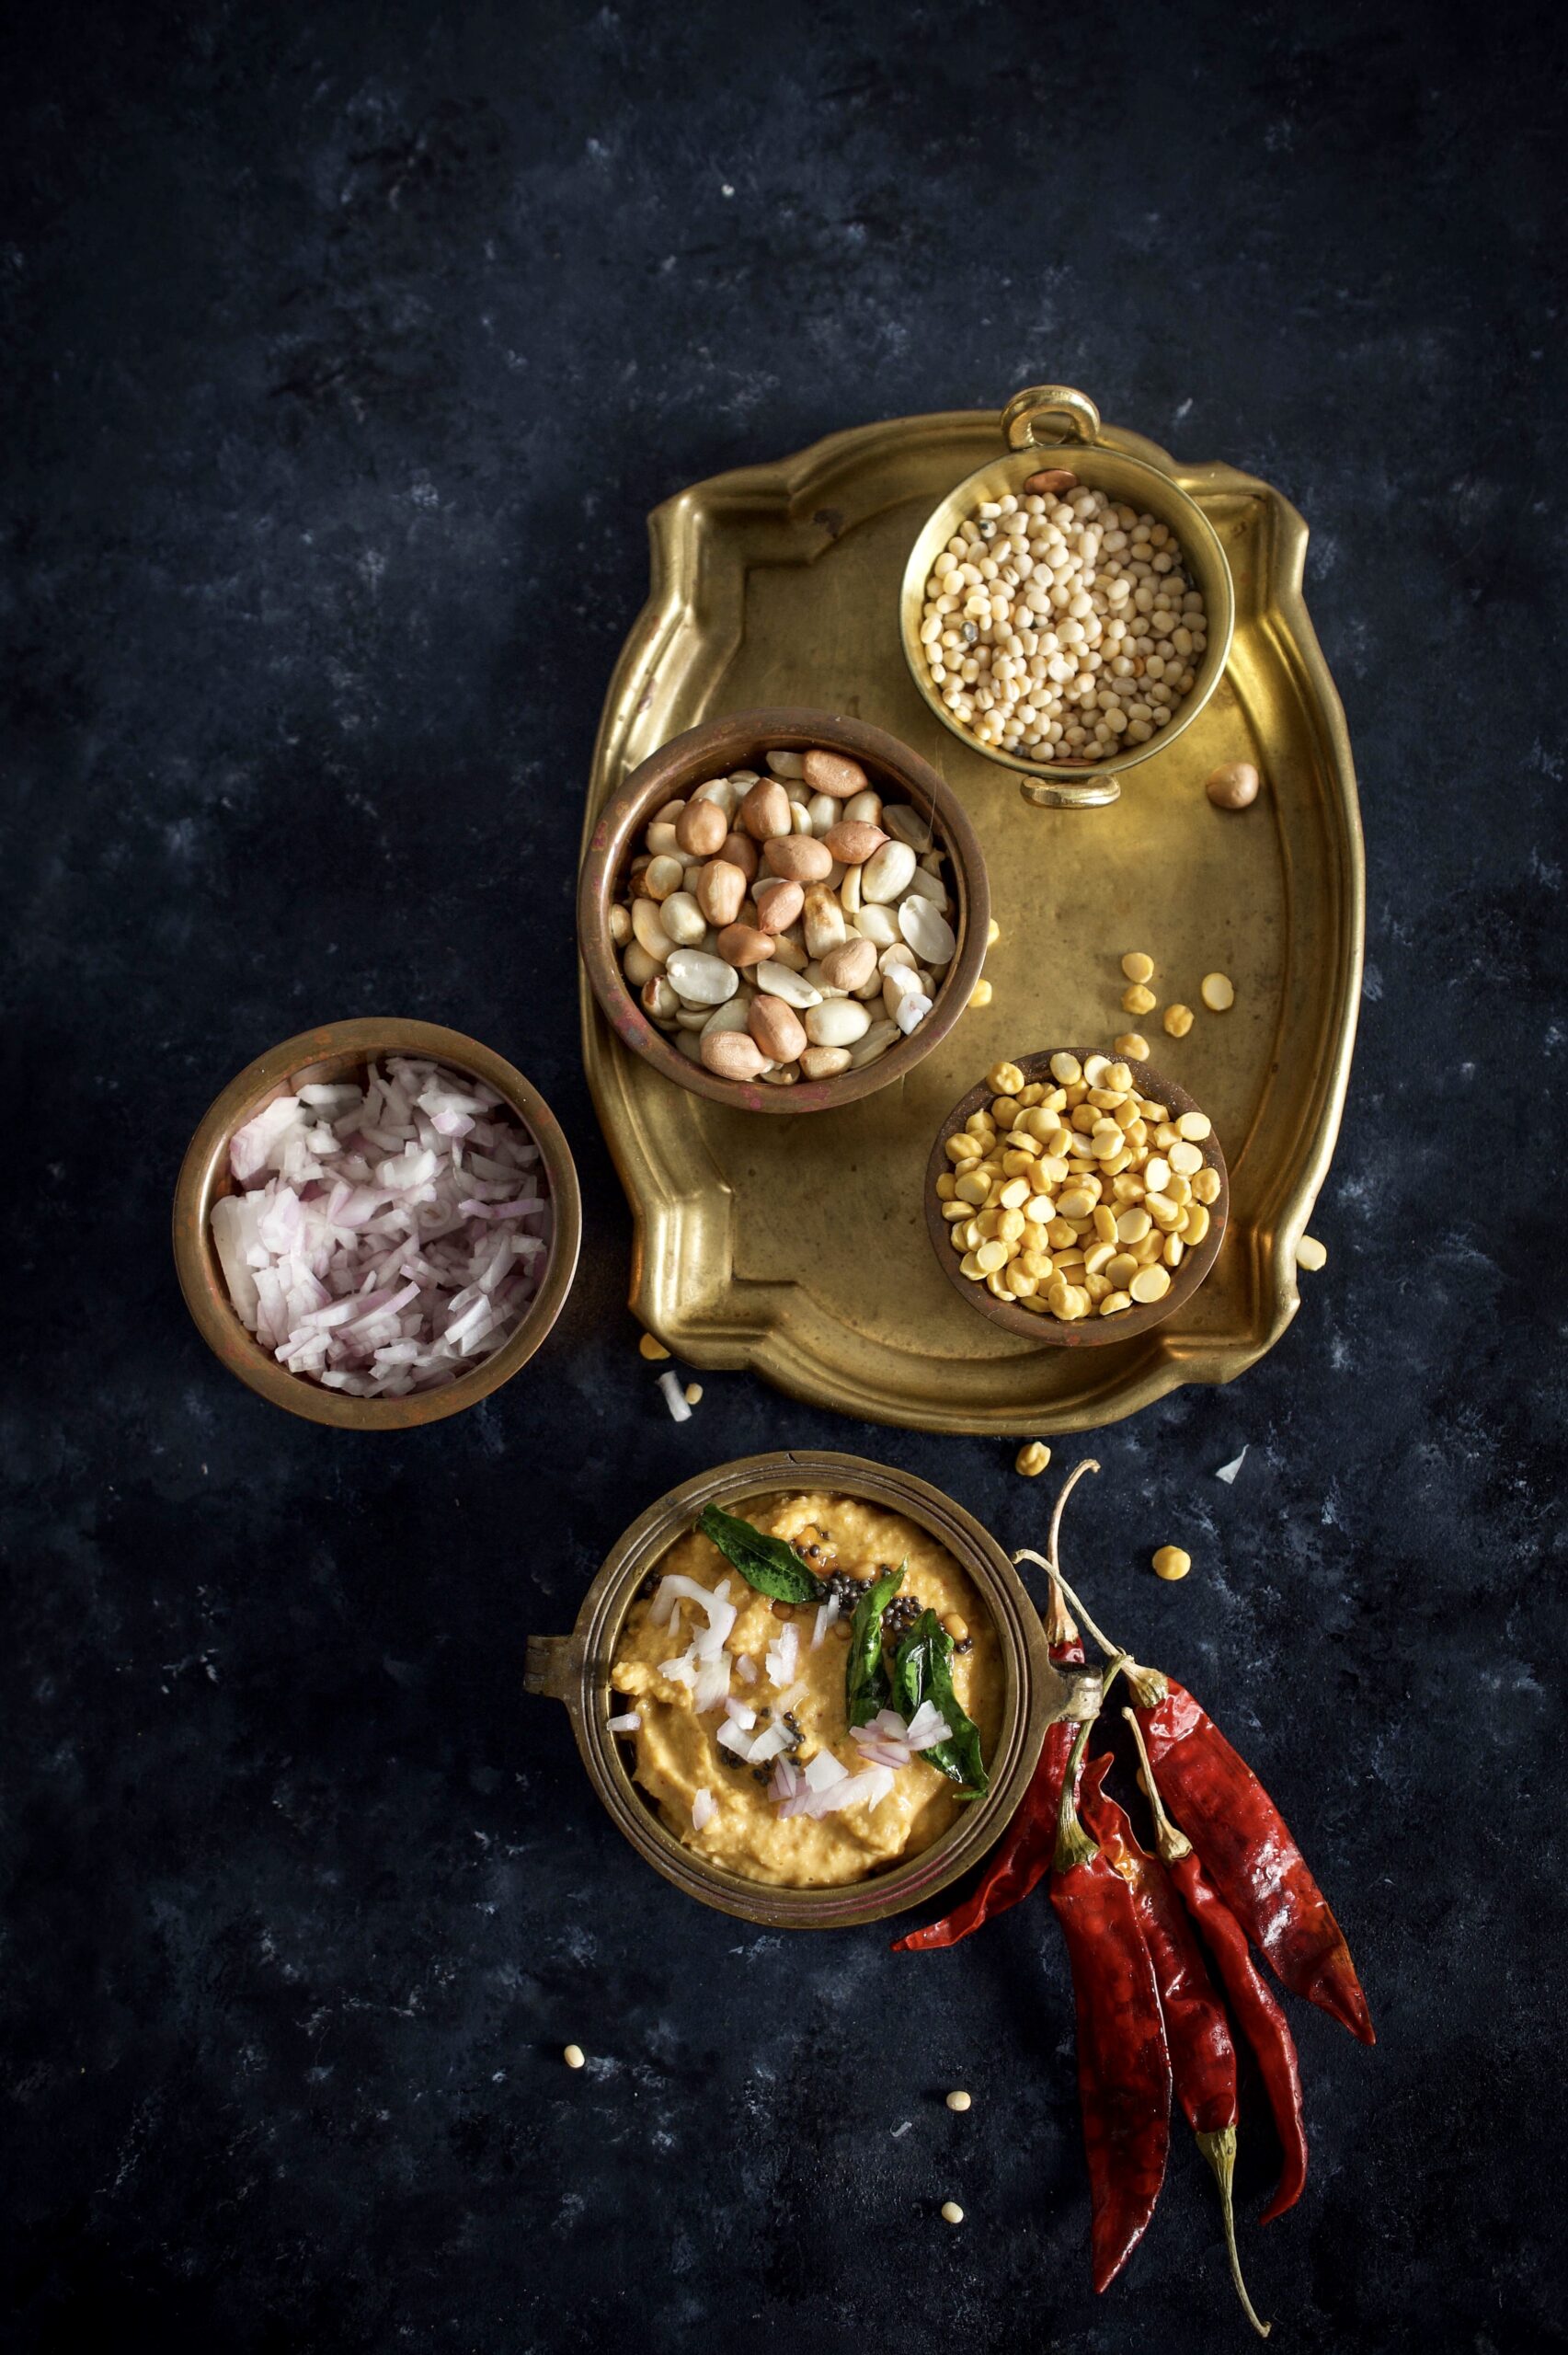
Rasam
½ cup ripe mango pulp
½ cup cooked, boiled and mashed toor dal
2 cups water
1 crushed tomato
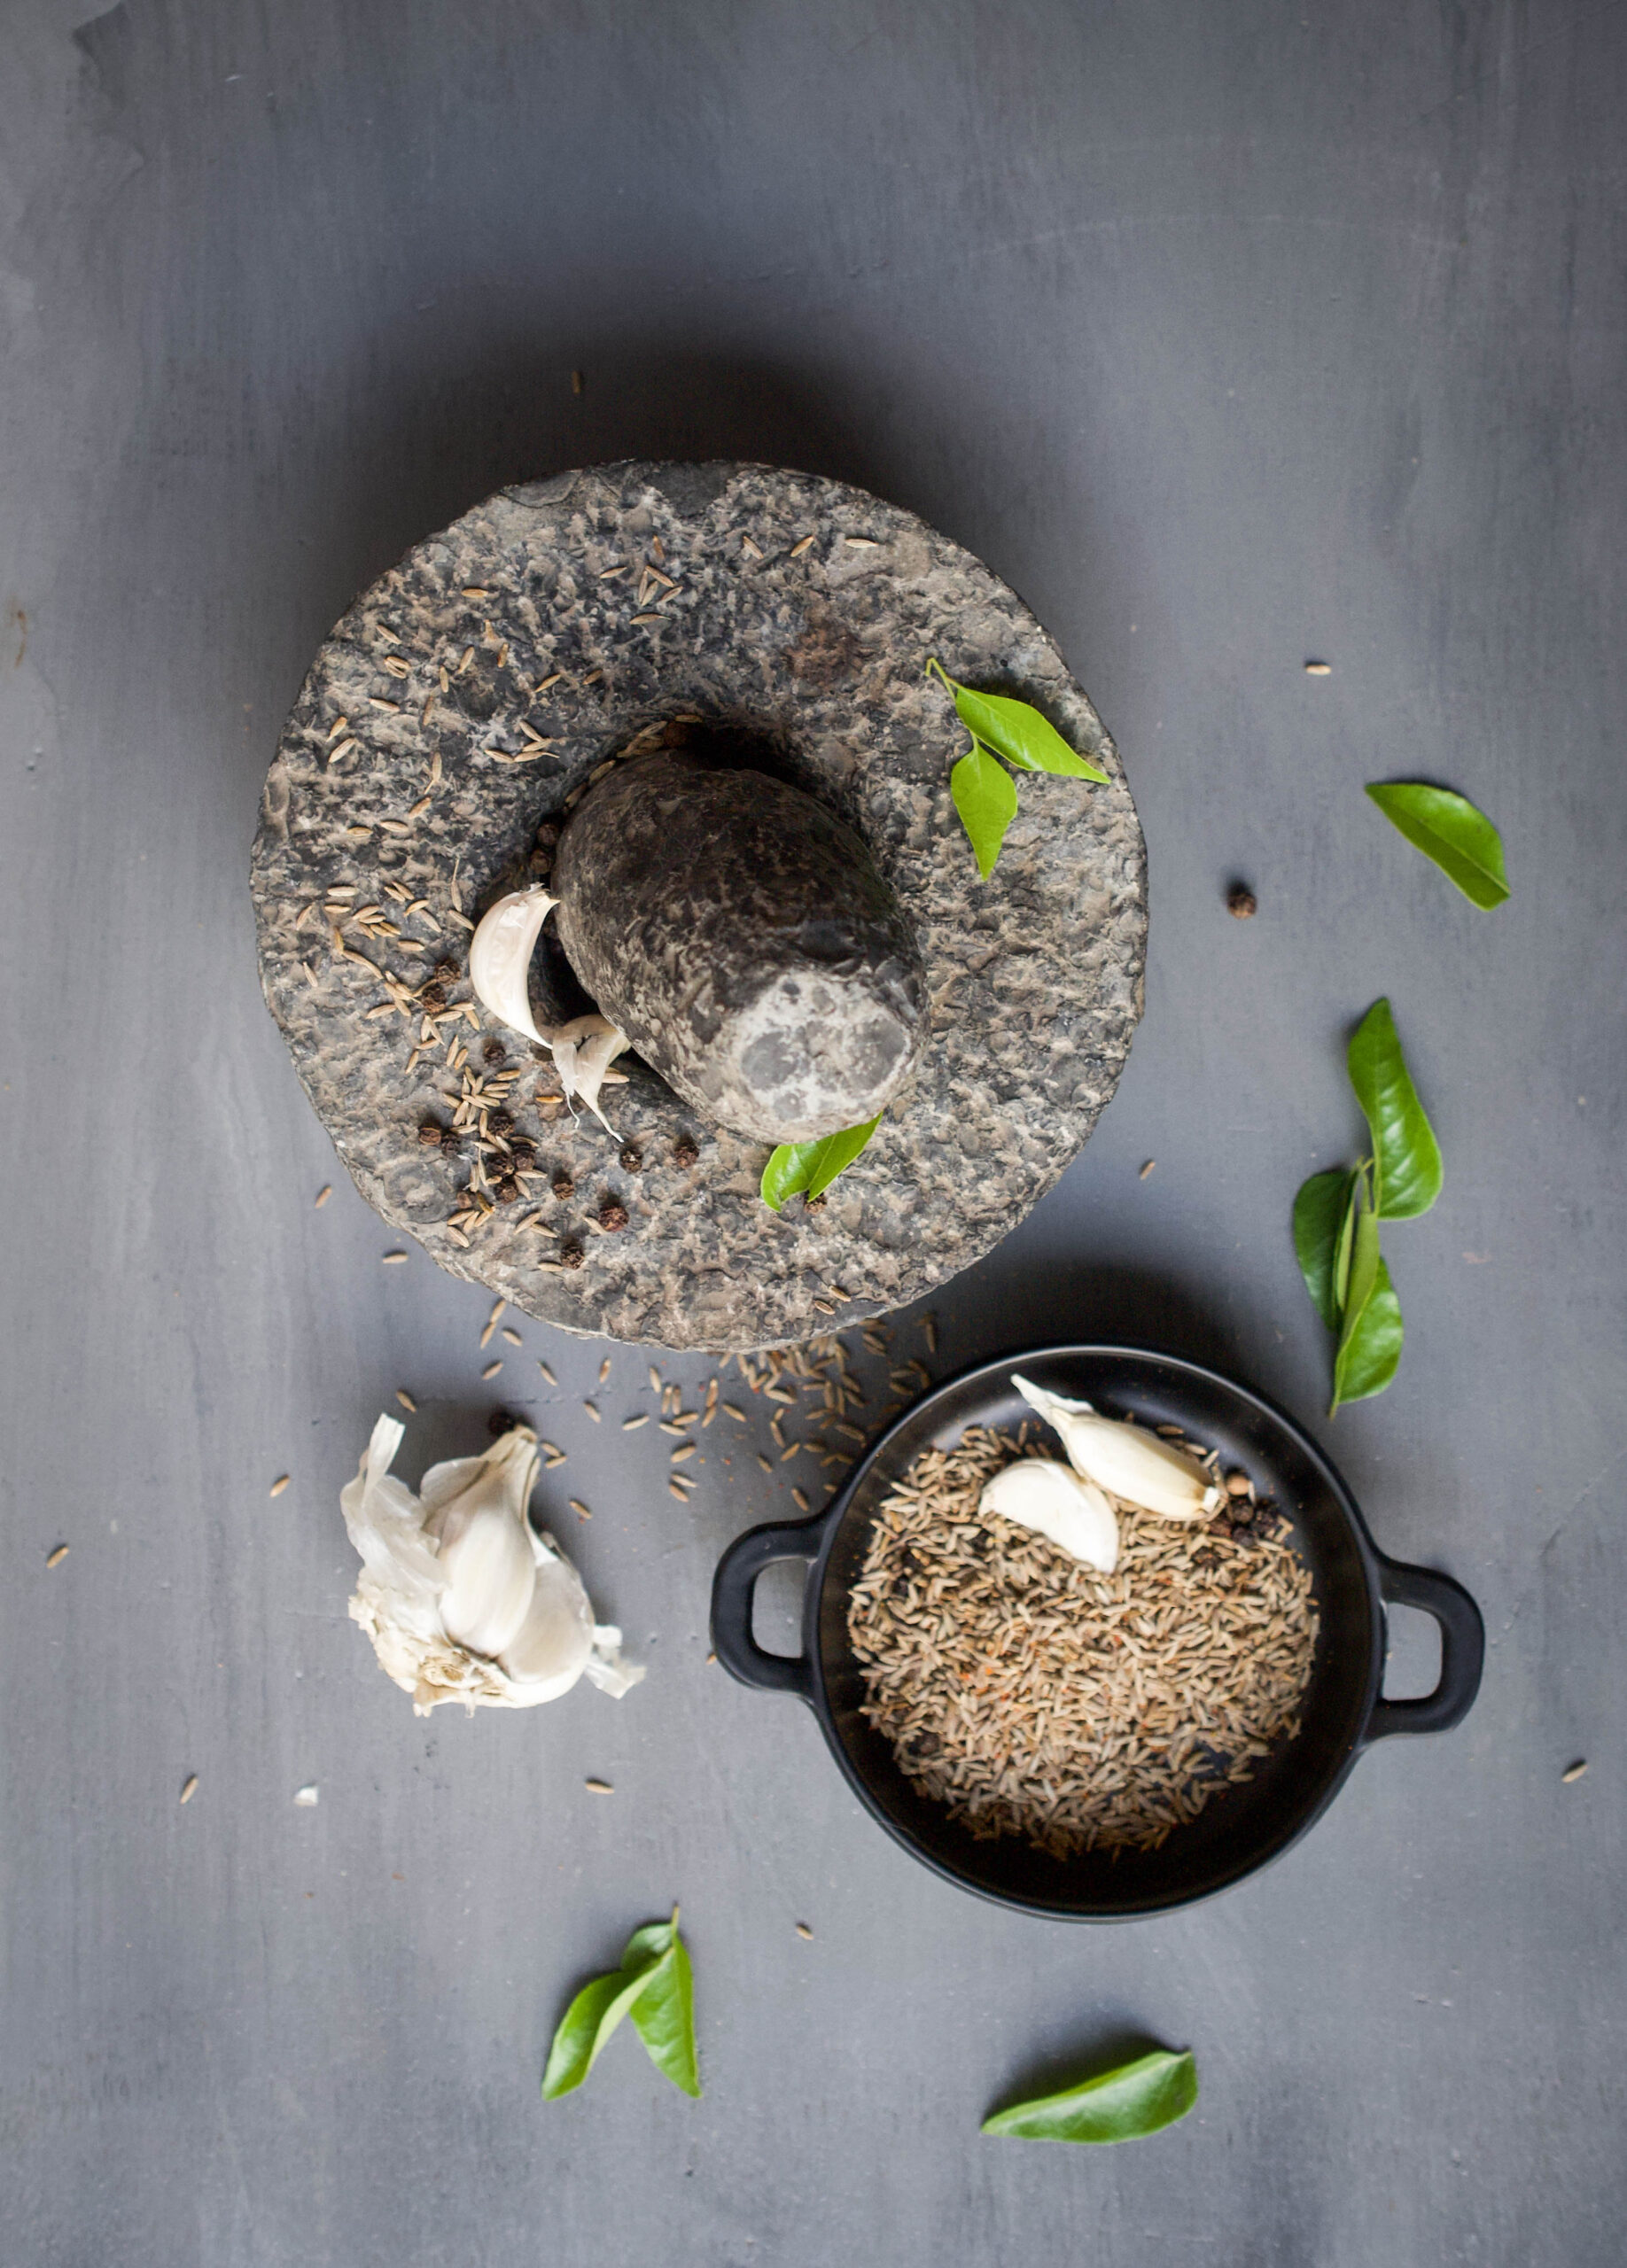
2 teaspoons cumin seeds
1 teaspoon black pepper
2 dried red chilies
4 cloves garlic
¼ inch piece of ginger
1 tablespoon tamarind pulp
Salt to taste
Sauté
1 teaspoon oil
¼ teaspoon mustard seeds
A few curry leaves
A pinch of asafoetida
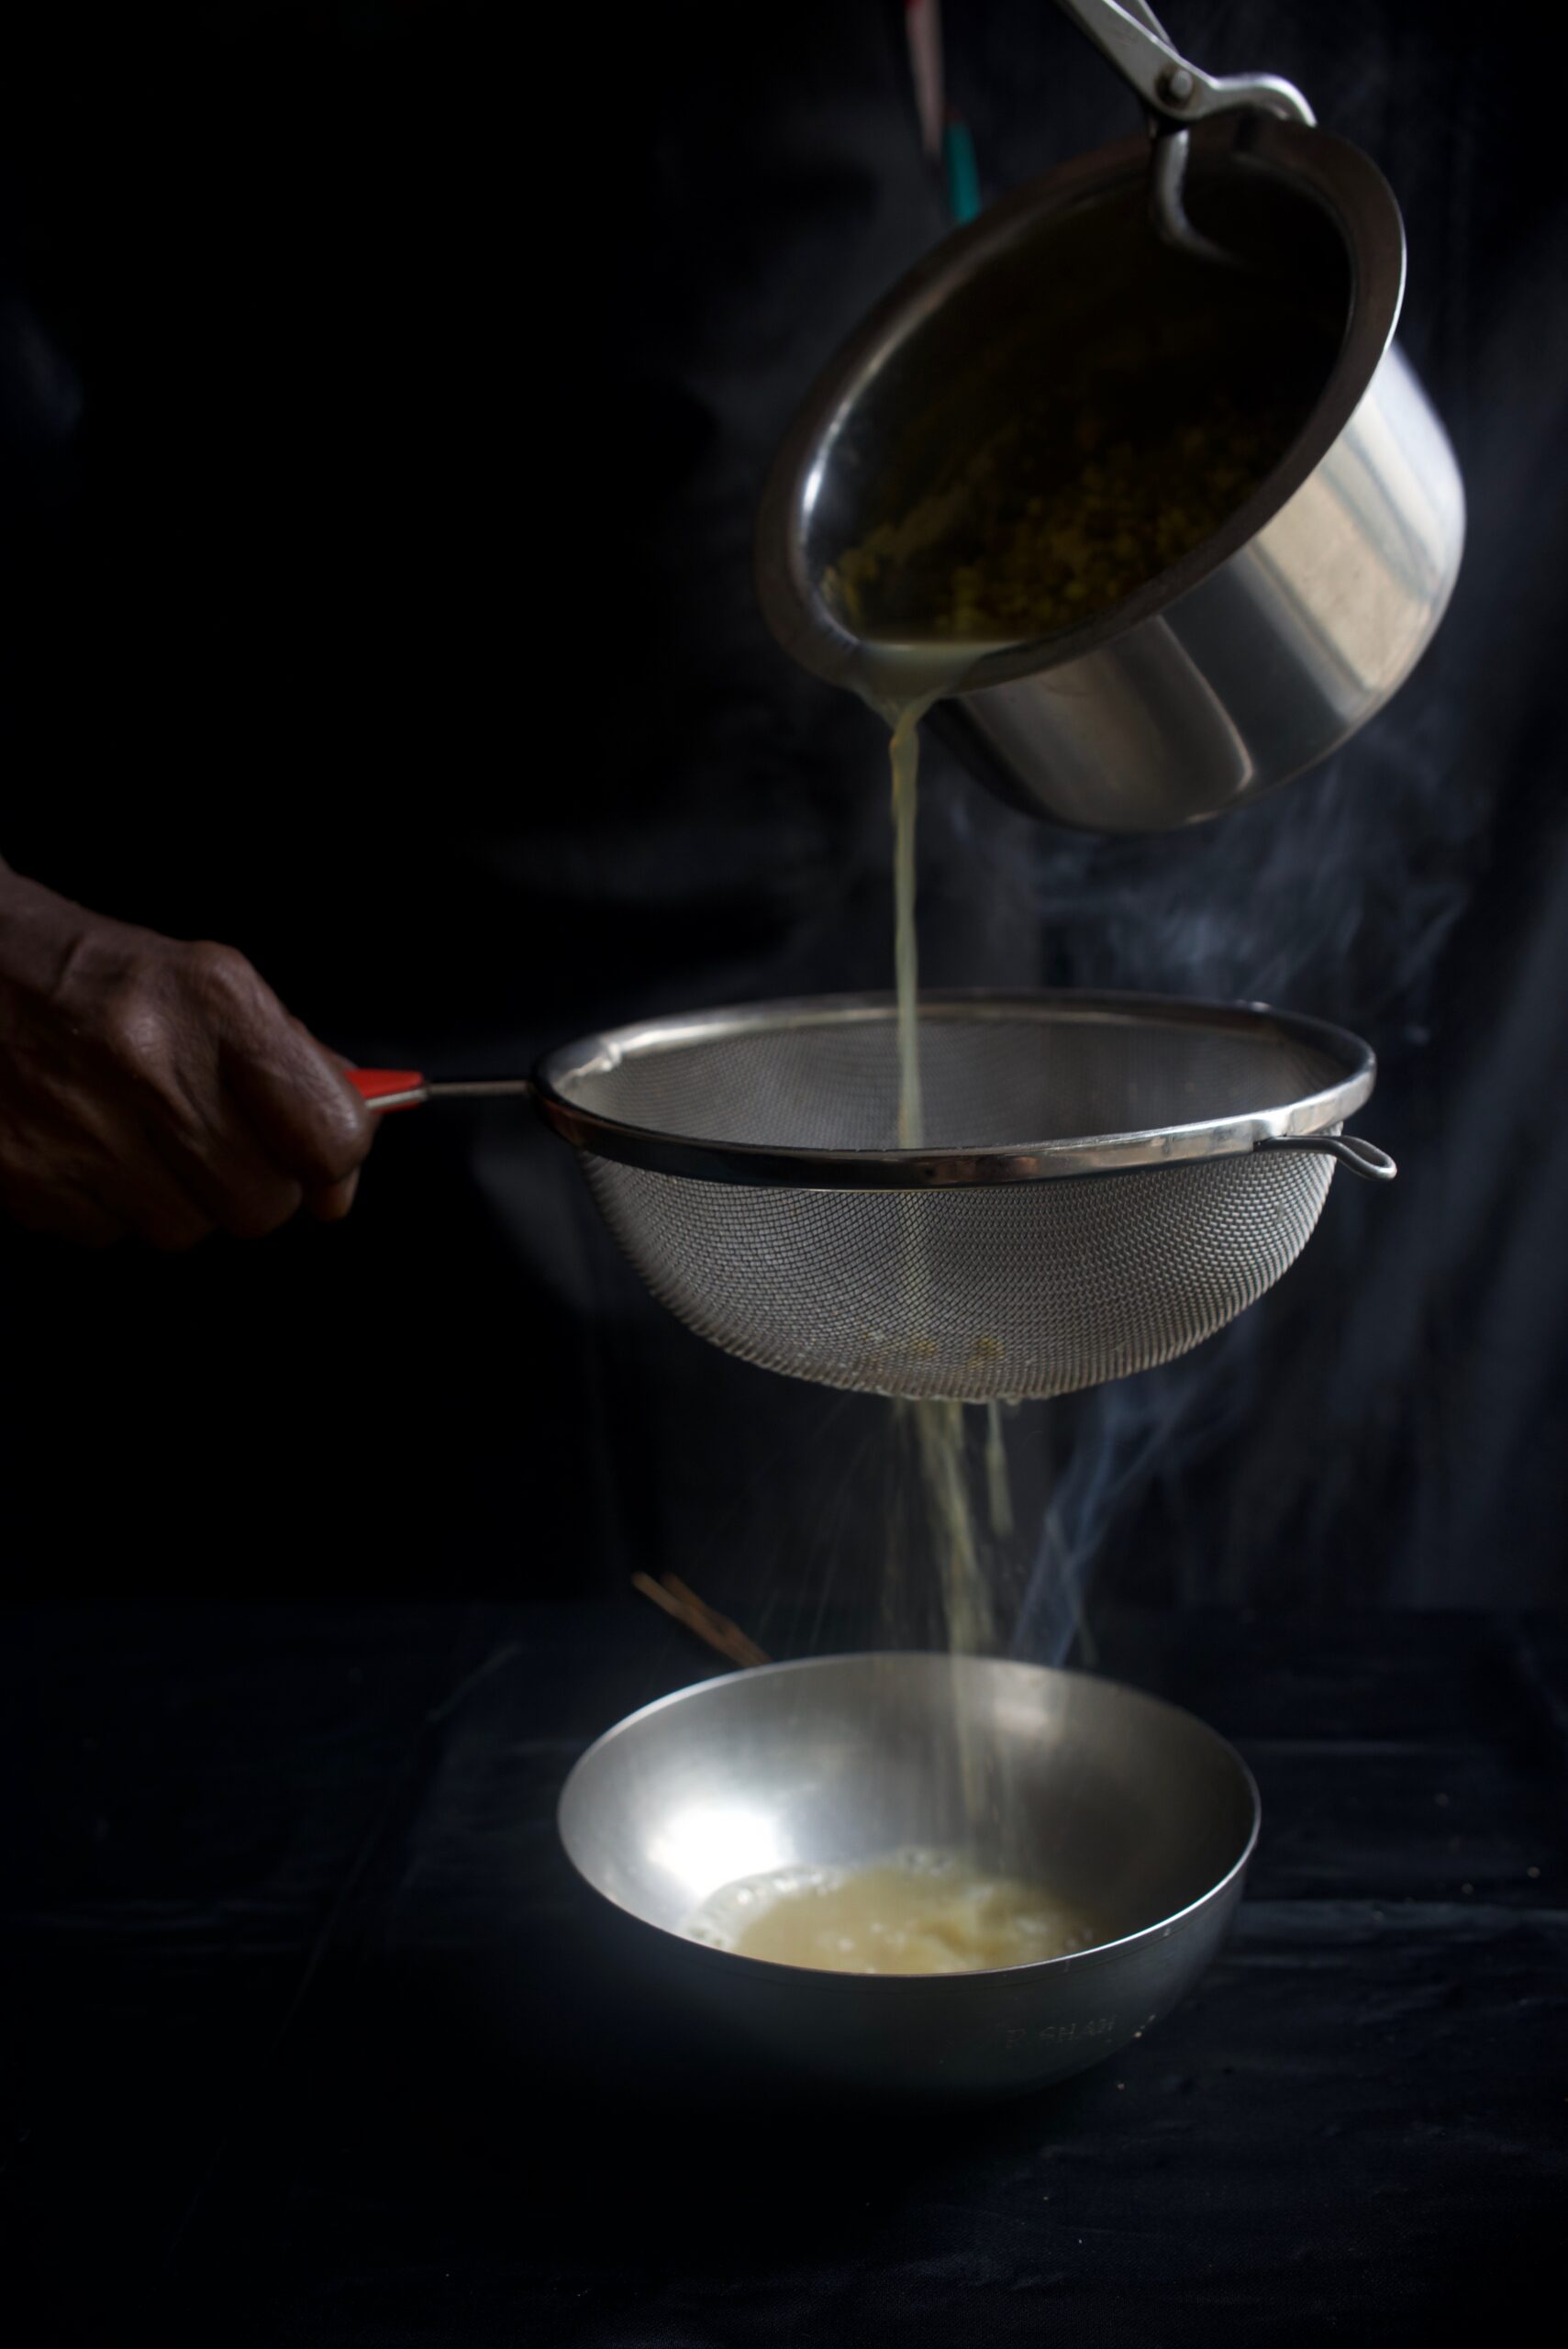
In a pot, mix and stir the mango pulp and dal. I have used the alphonso variant, but you can use any ripe mango. Add the water. Now add the salt, turmeric, asafoetida, crushed tomato and tamarind pulp.
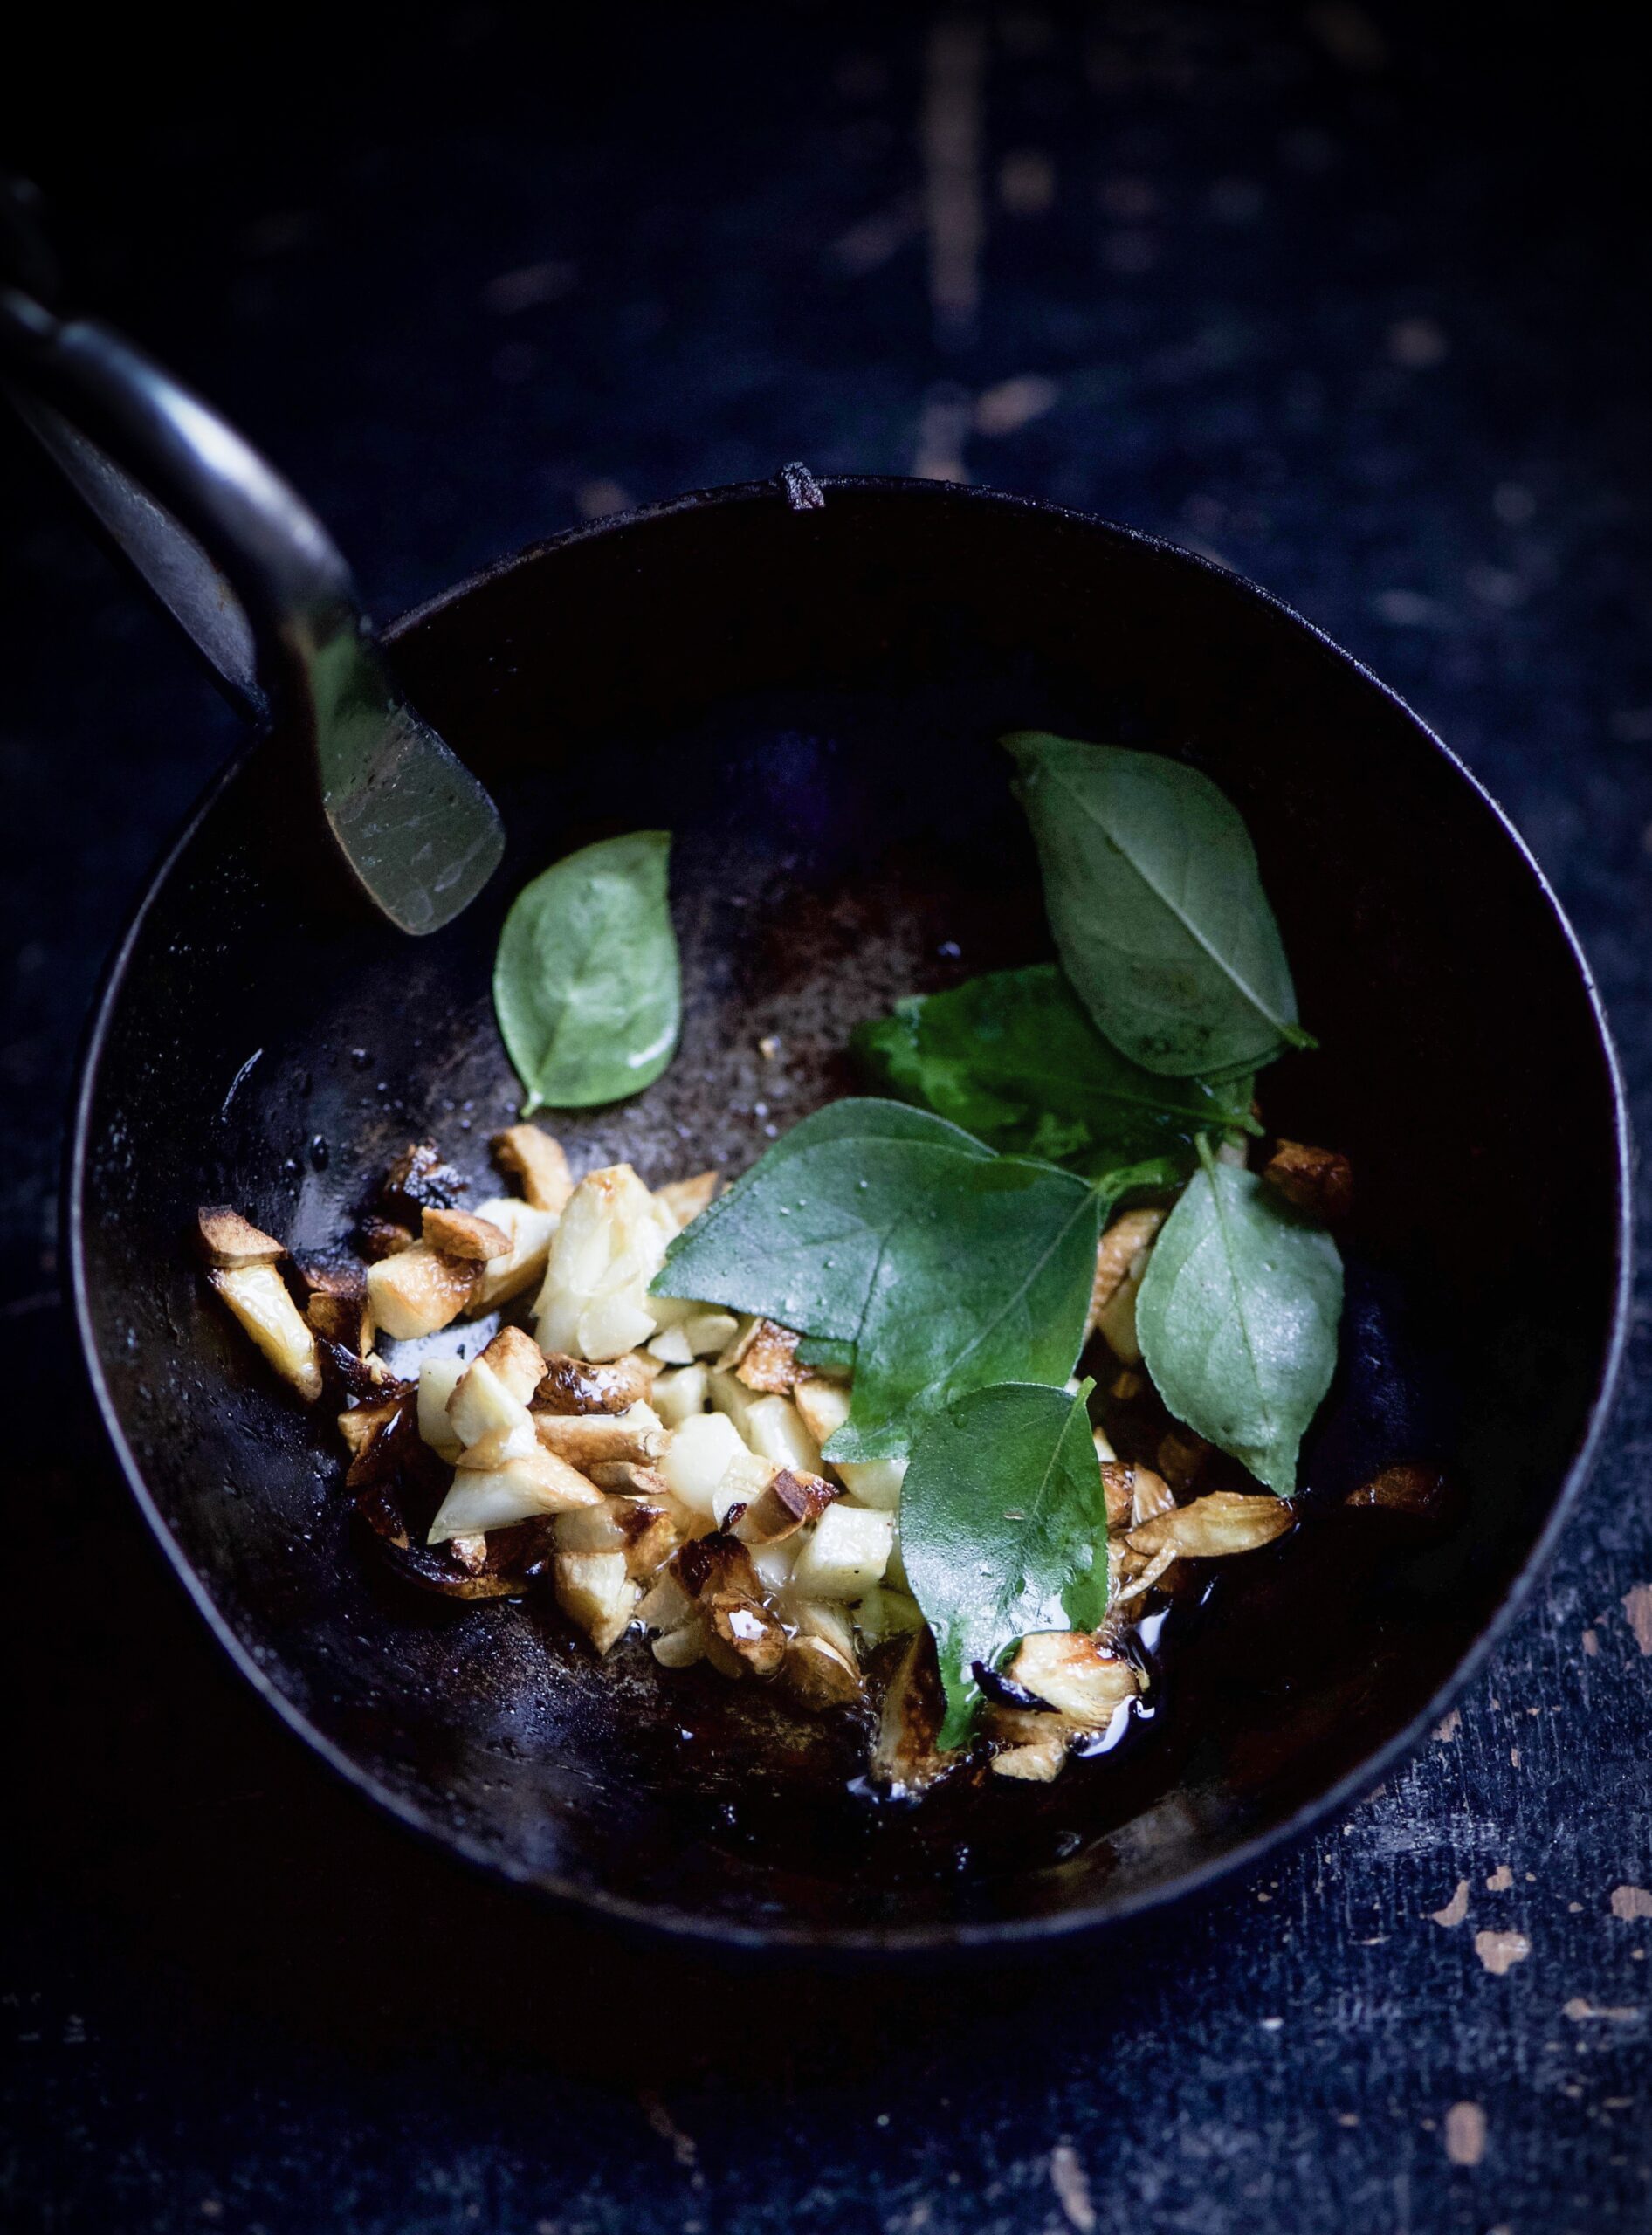
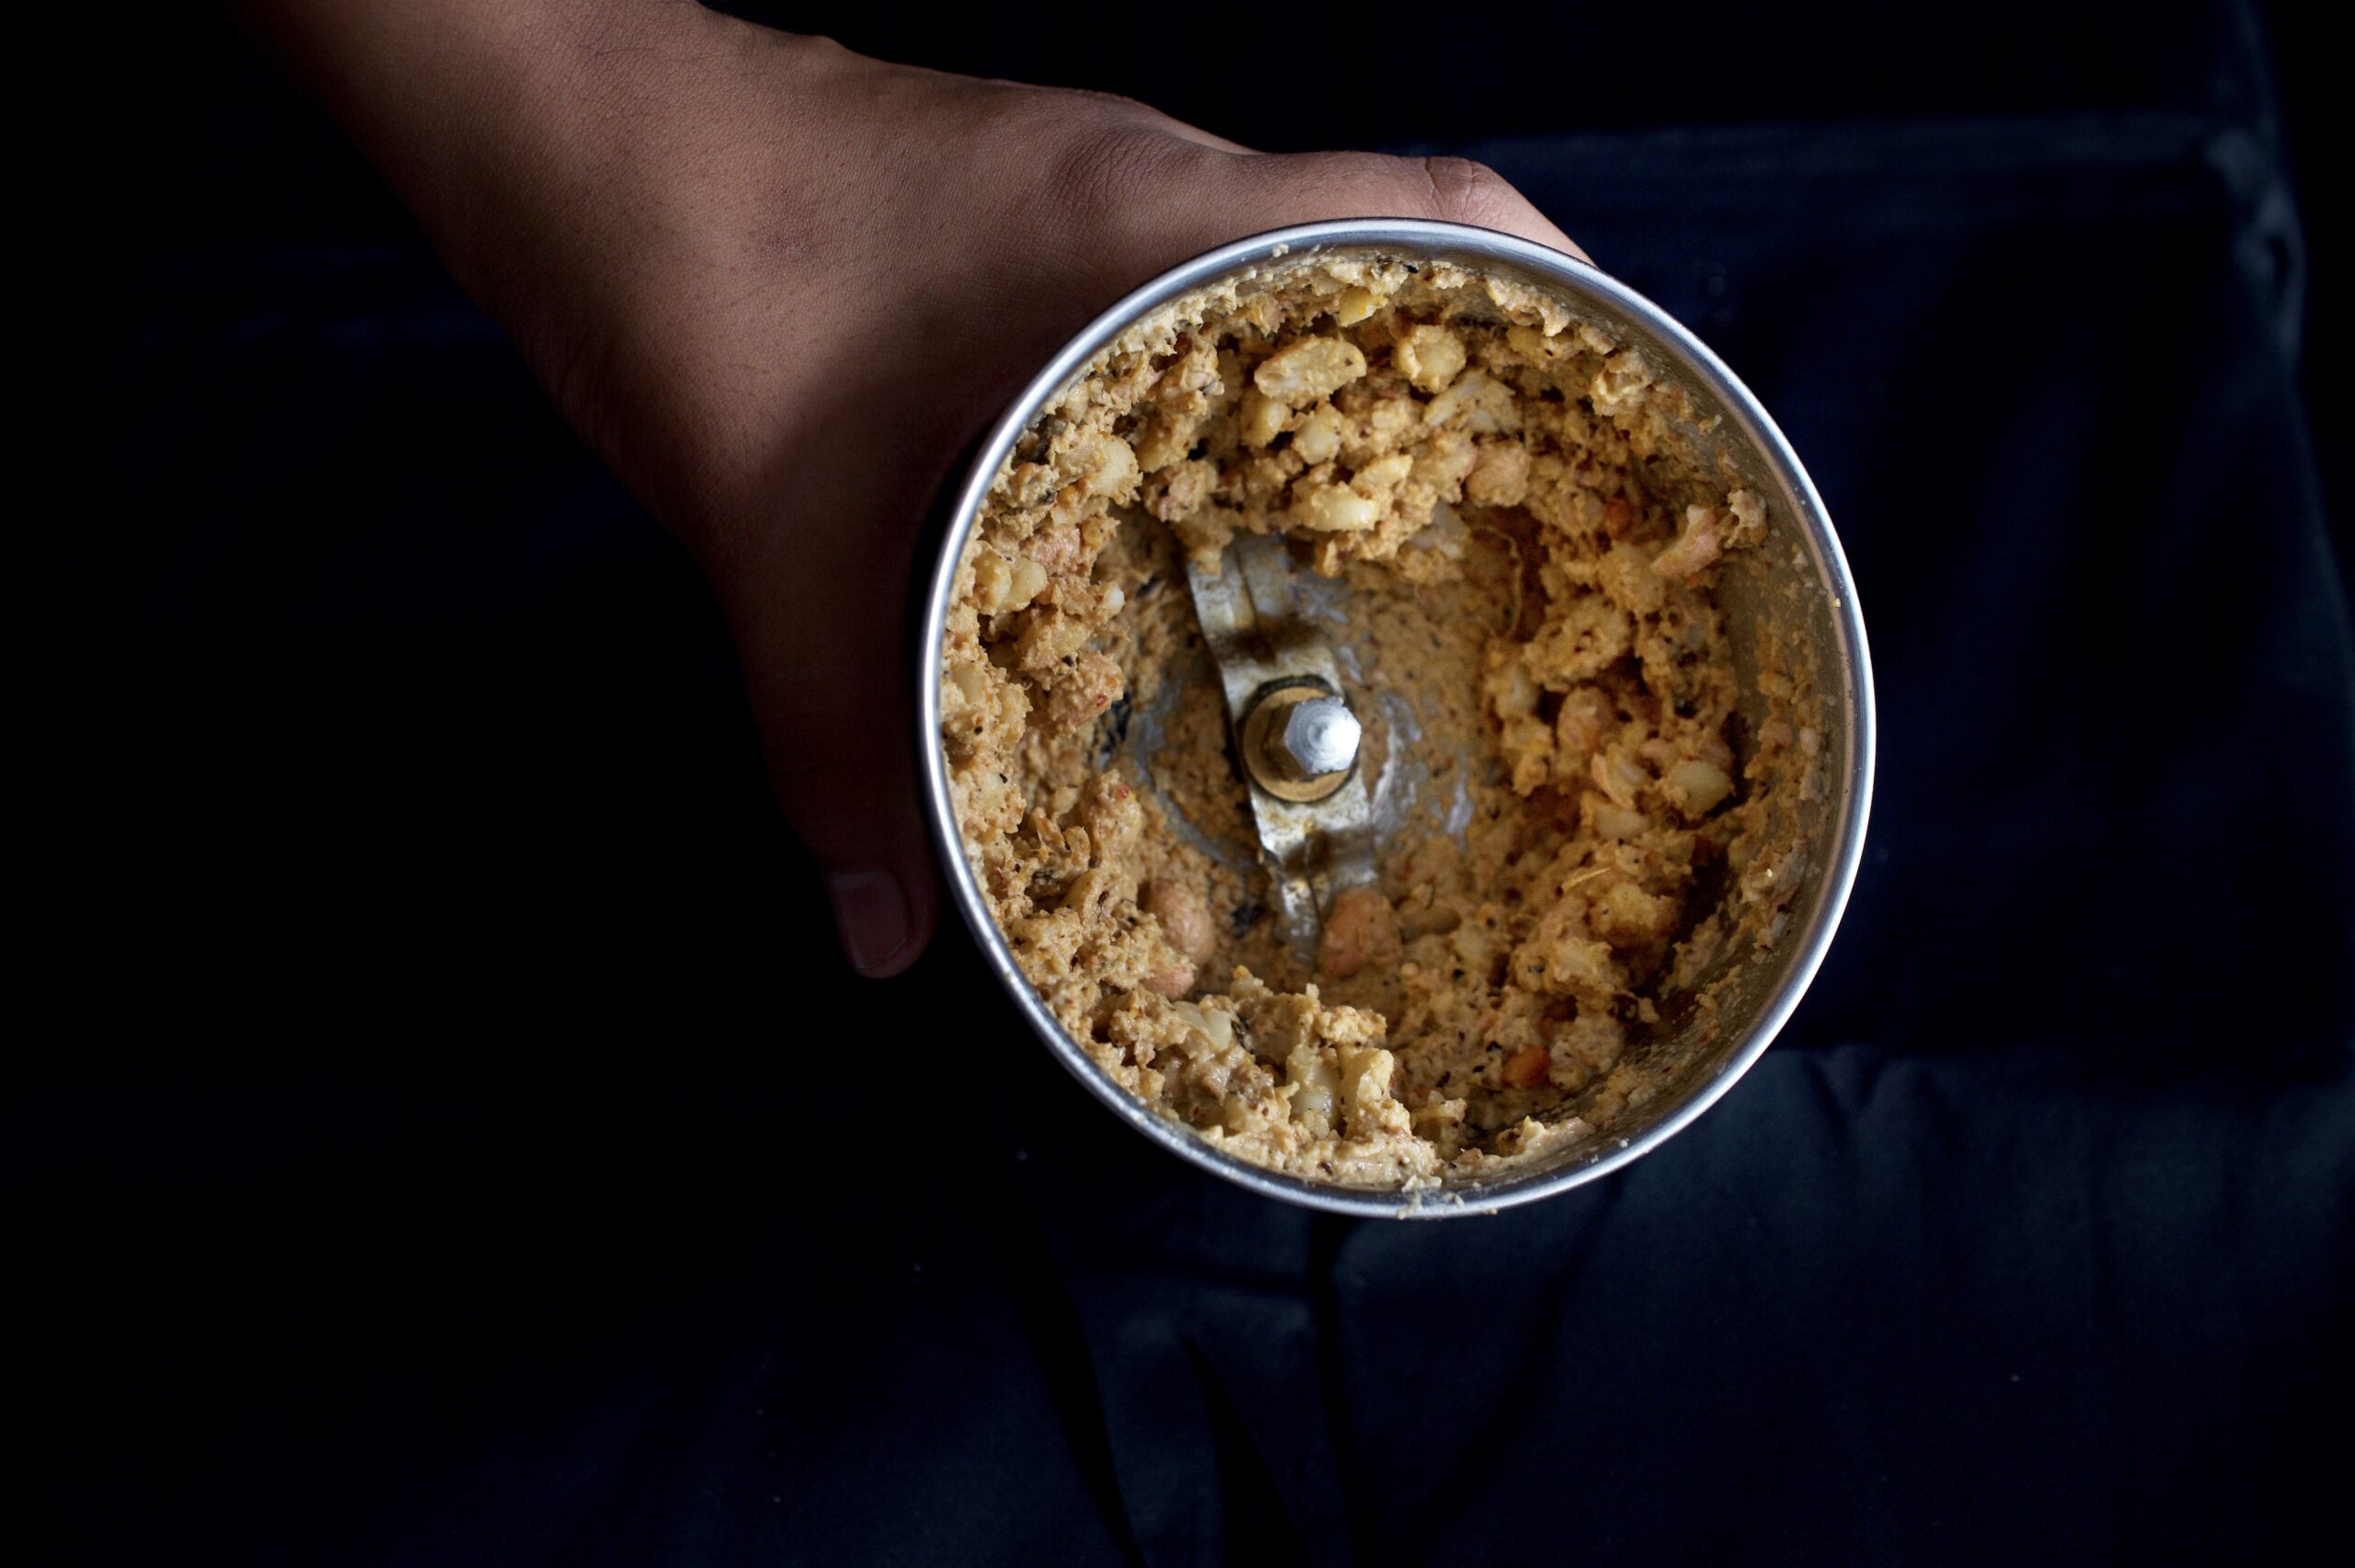
Crush the cumin, ginger, garlic and black pepper coarsely together. Now add this to the mango pulp mix. Place on the stove and allow to boil for approximately 10 minutes. Do not allow it to over-boil – take it off the stove a minute after it starts to bubble.
Separately, heat the oil. Once it’s hot, add the mustard seeds. When they splutter, add the curry leaves. Finally, pour this sauté into the pot of boiled rasam. Serve hot with rotlis or rice.
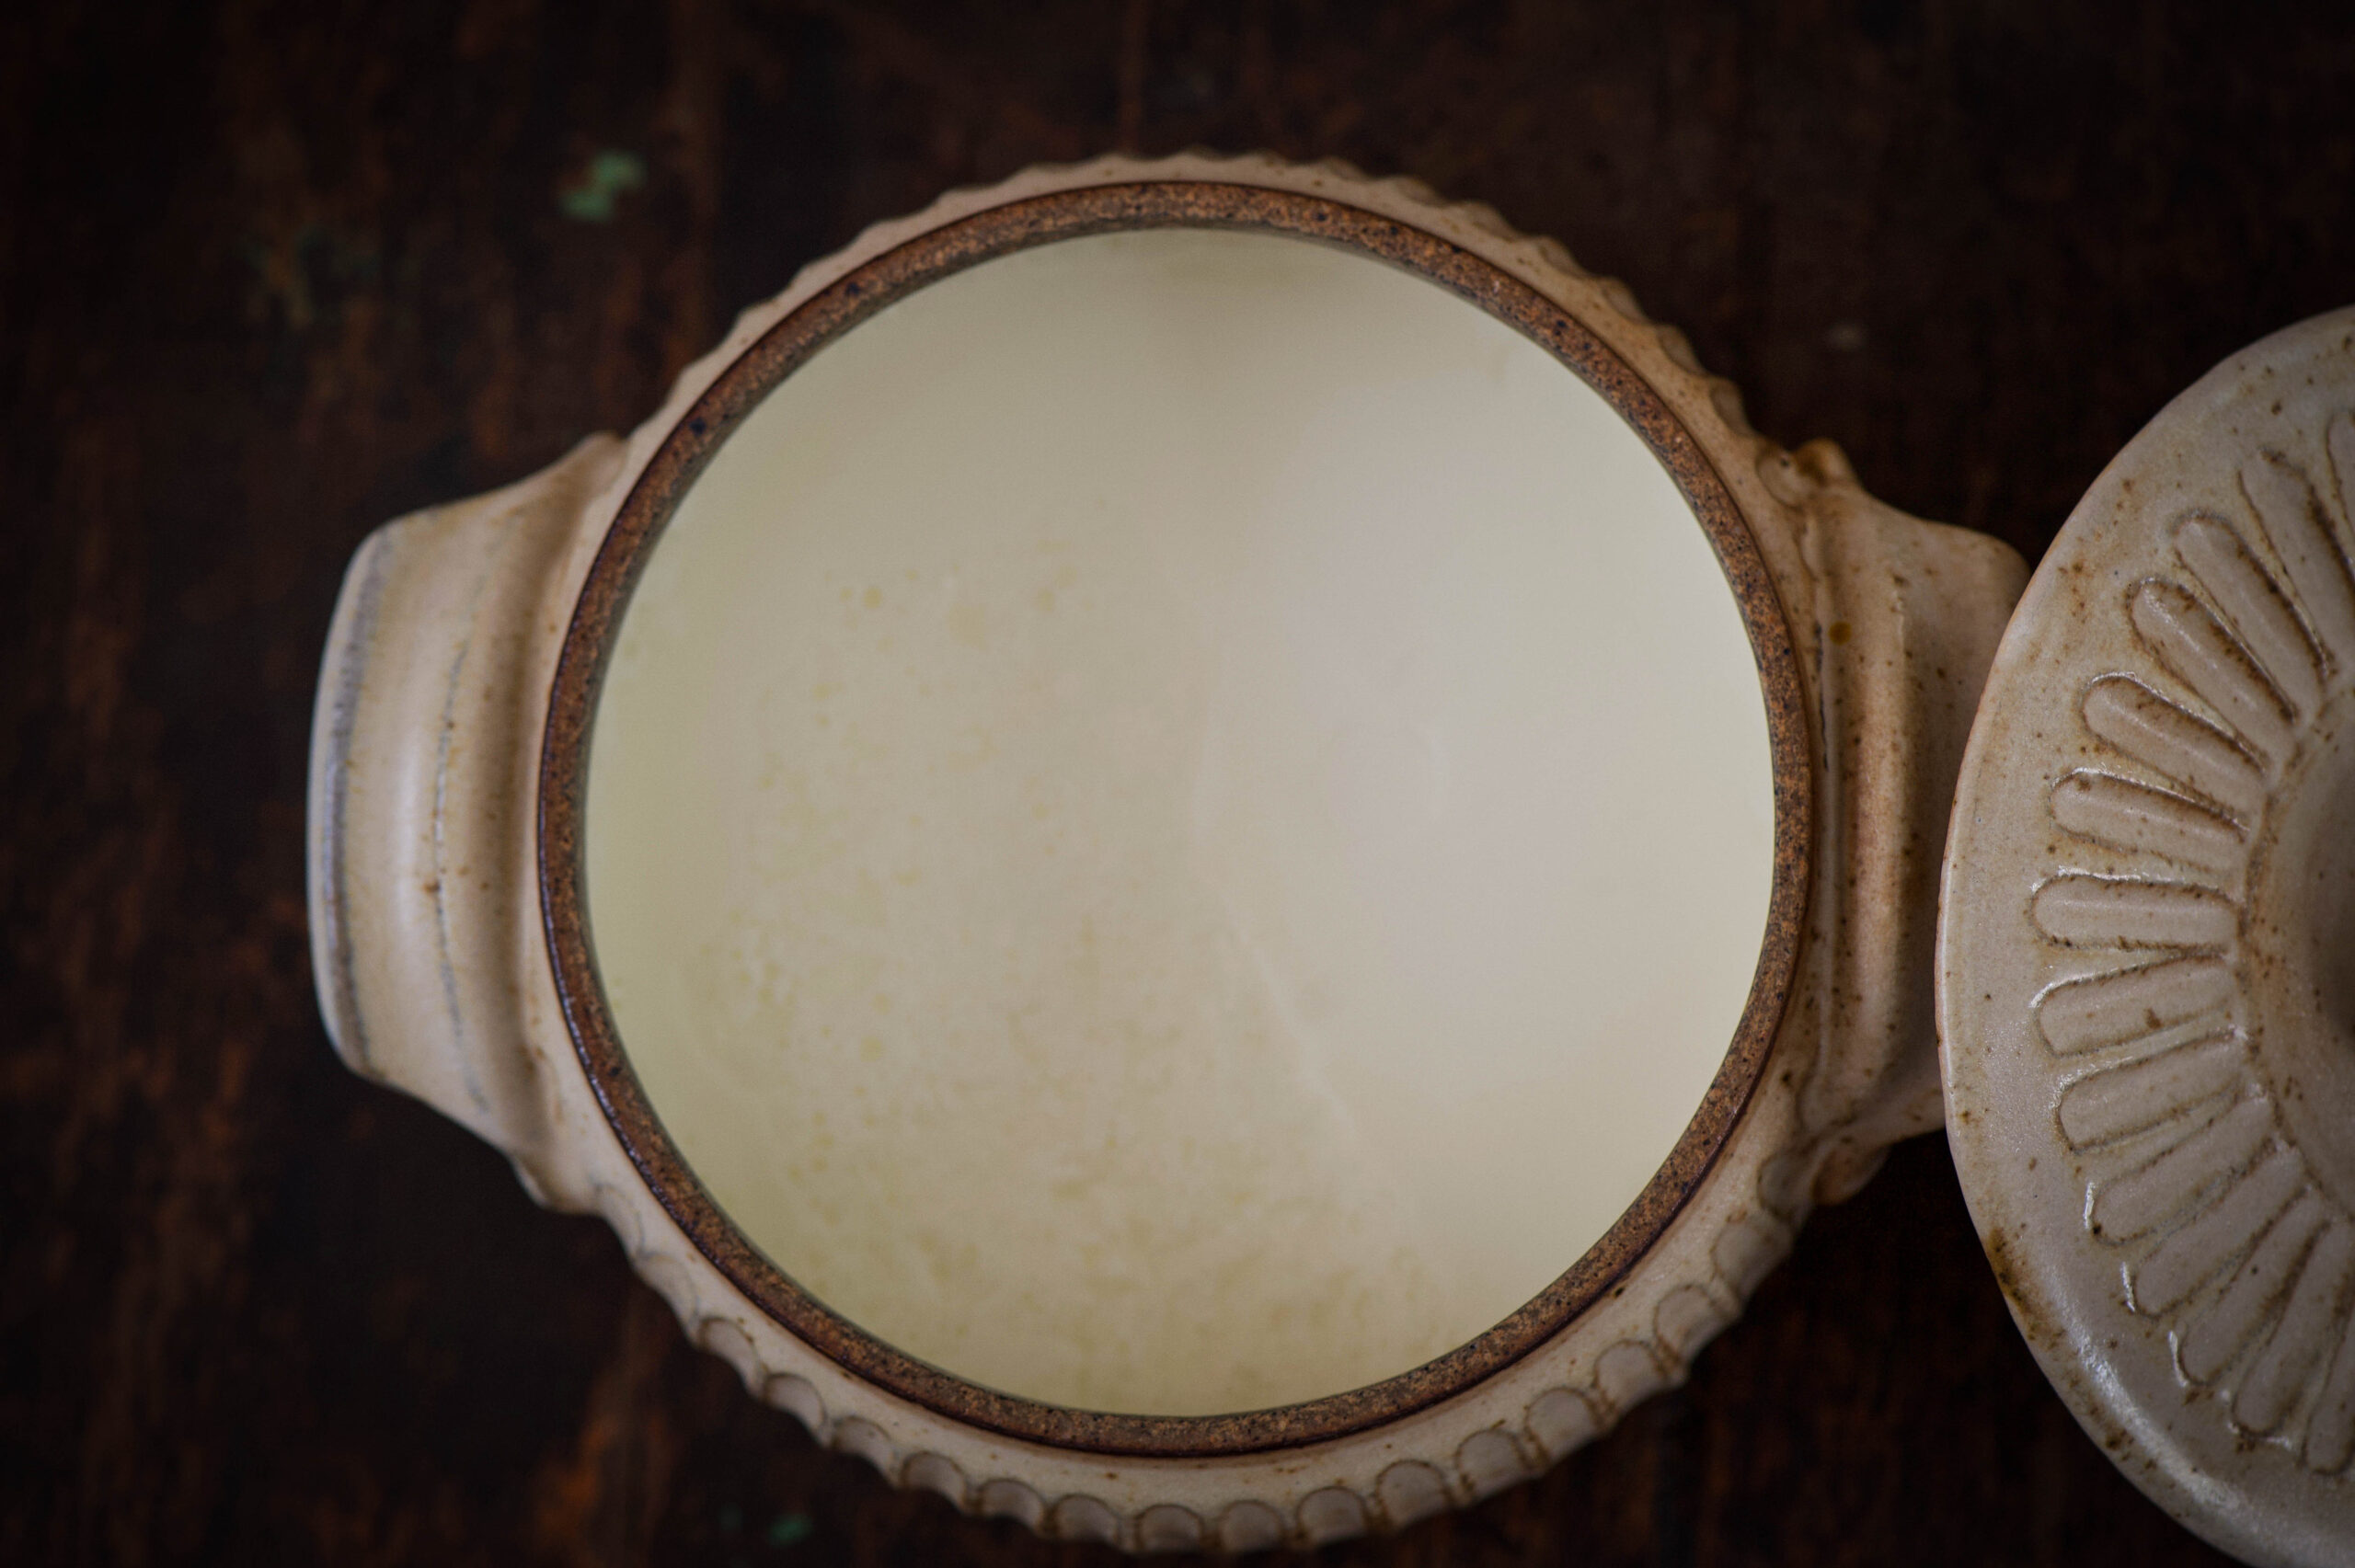
Look at that colour – simply irresistible. Every time I set up a photoshoot, I am dying to finish it so that I can eat whatever I’ve been shooting! All the more so when it’s something that should be eaten hot, like this rasam. There’s a particular joy in the question of whether to eat a little, then shoot, or shoot first and eat later. As I was pouring this vibrant, fragrant rasam into the vessel and styling it for my shoot, I decided I would wait. This time, anyway!


")