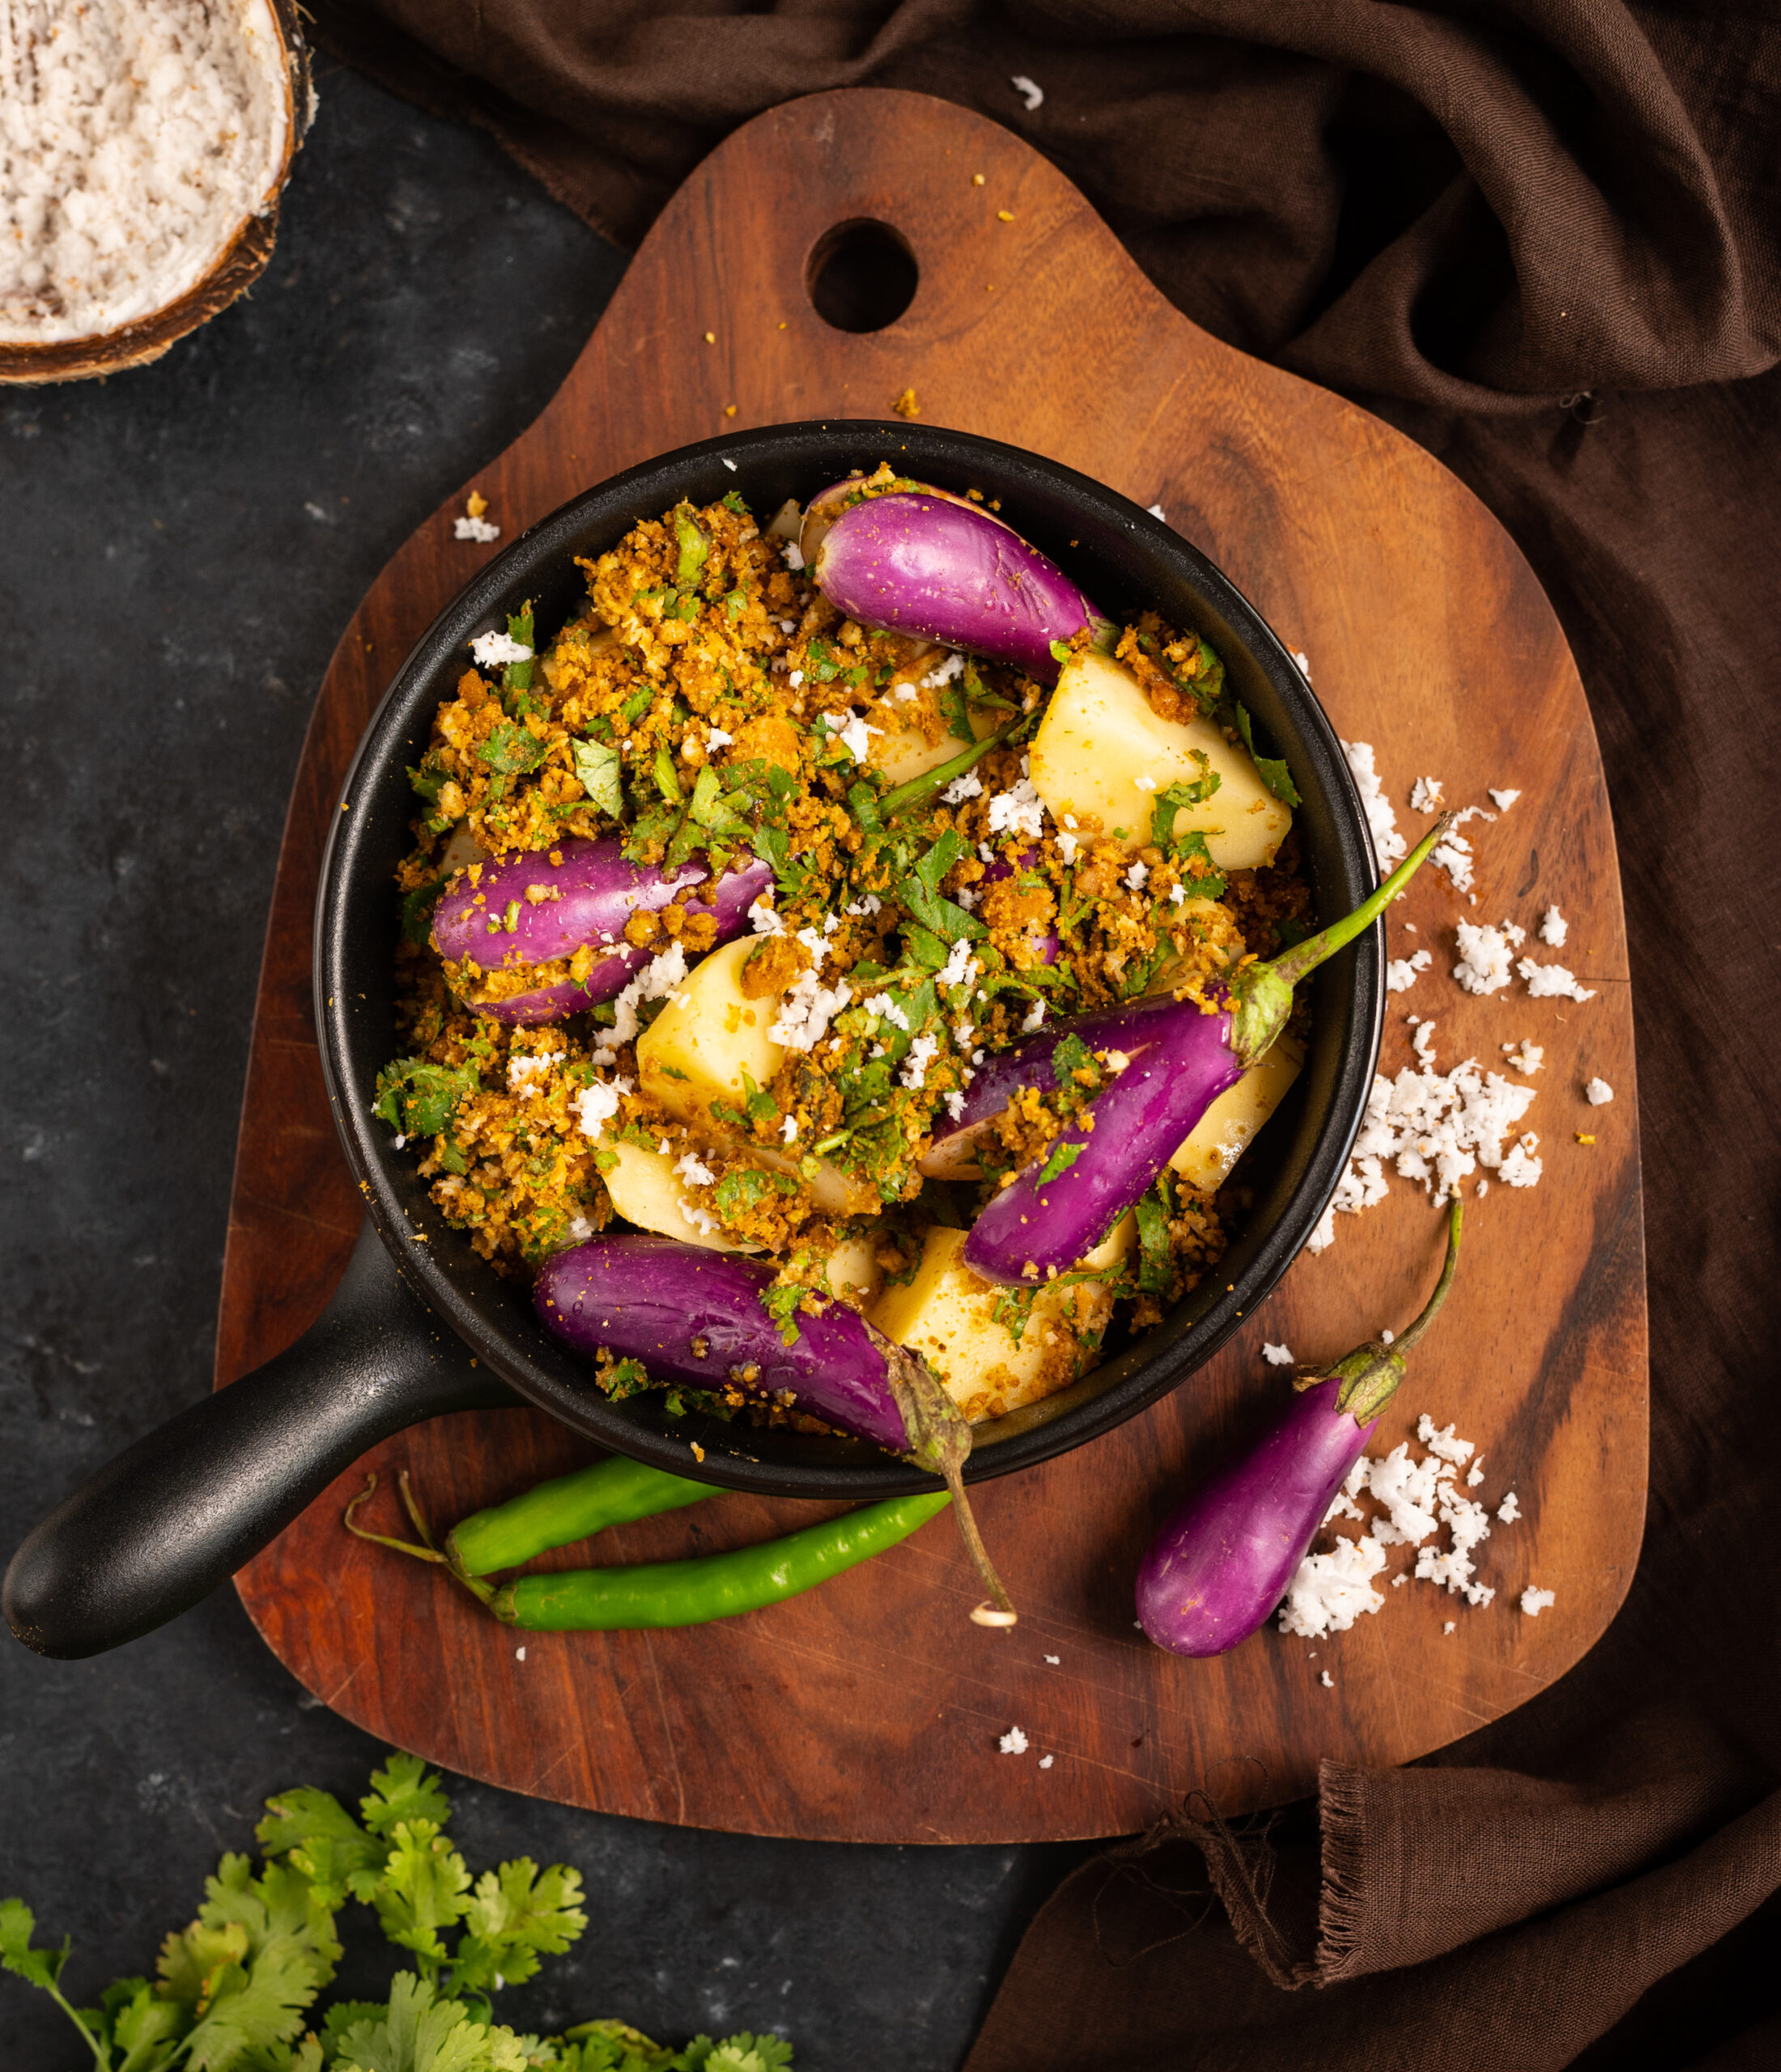
I’ve spoken often about how I love growing many of my own ingredients, whether at home or on our farm. I’m excited about sharing this new series about one that is a staple in so many dishes here, and which I’m fortunate to have a lovely homegrown supply of. That hero ingredient is the coconut, and over the next few weeks I’ll be sharing several recipes that star it. We have our own coconut trees in the backyard, and I am always looking for ways to put the yield to use. The coconut climber came by recently, to harvest the trees, and from this abundance of crop I’m making as many things as I can. For any recipe at all that calls for coconut, I use a fresh one. Even coconut milk is squeezed at home.
Kicking off this series is a condiment, coconut podi. Condiments are popular across Indian cuisines, and South India has a fair share. Dry podis (“podi” means “powder” in Tamil) and wet chutneys, as well as semi-wet, semi-dry variations are made using a variety of spices, dals and ingredients like curry leaves, raw mangoes and more. The idli podi, for instance, is made to last long. Coconut is not an ingredient that can be be kept for that long, so this one has a shorter shelf life. But I can almost guarantee that you’ll reach out so often for it that your stock won’t expire. If made correctly, this coconut podi remains fresh for around 3-4 weeks, stored at room temperature.
One of the reasons why I was especially keen to make a coconut condiment is that I personally love the Sri Lankan sambol, and wanted to see if I could make a vegetarian version of sorts. While sambol uses seafood, I feel this recipe is similar. Like sambol, this podi is not a finely-ground one, and has many tiny coconut pieces. My friend Akila also encouraged me to try this experiment out, and she was happy to share her own basic coconut podi recipe. I’m always aware that different communities and families have their own ways of making the same recipe.
With Akila’s recipe as a base, layered with things I learnt from other recipes I’ve tastes over the years, and finally through speaking with various families to retain some kind of local authenticity, I added my own touches: tamarind and curry leaves.
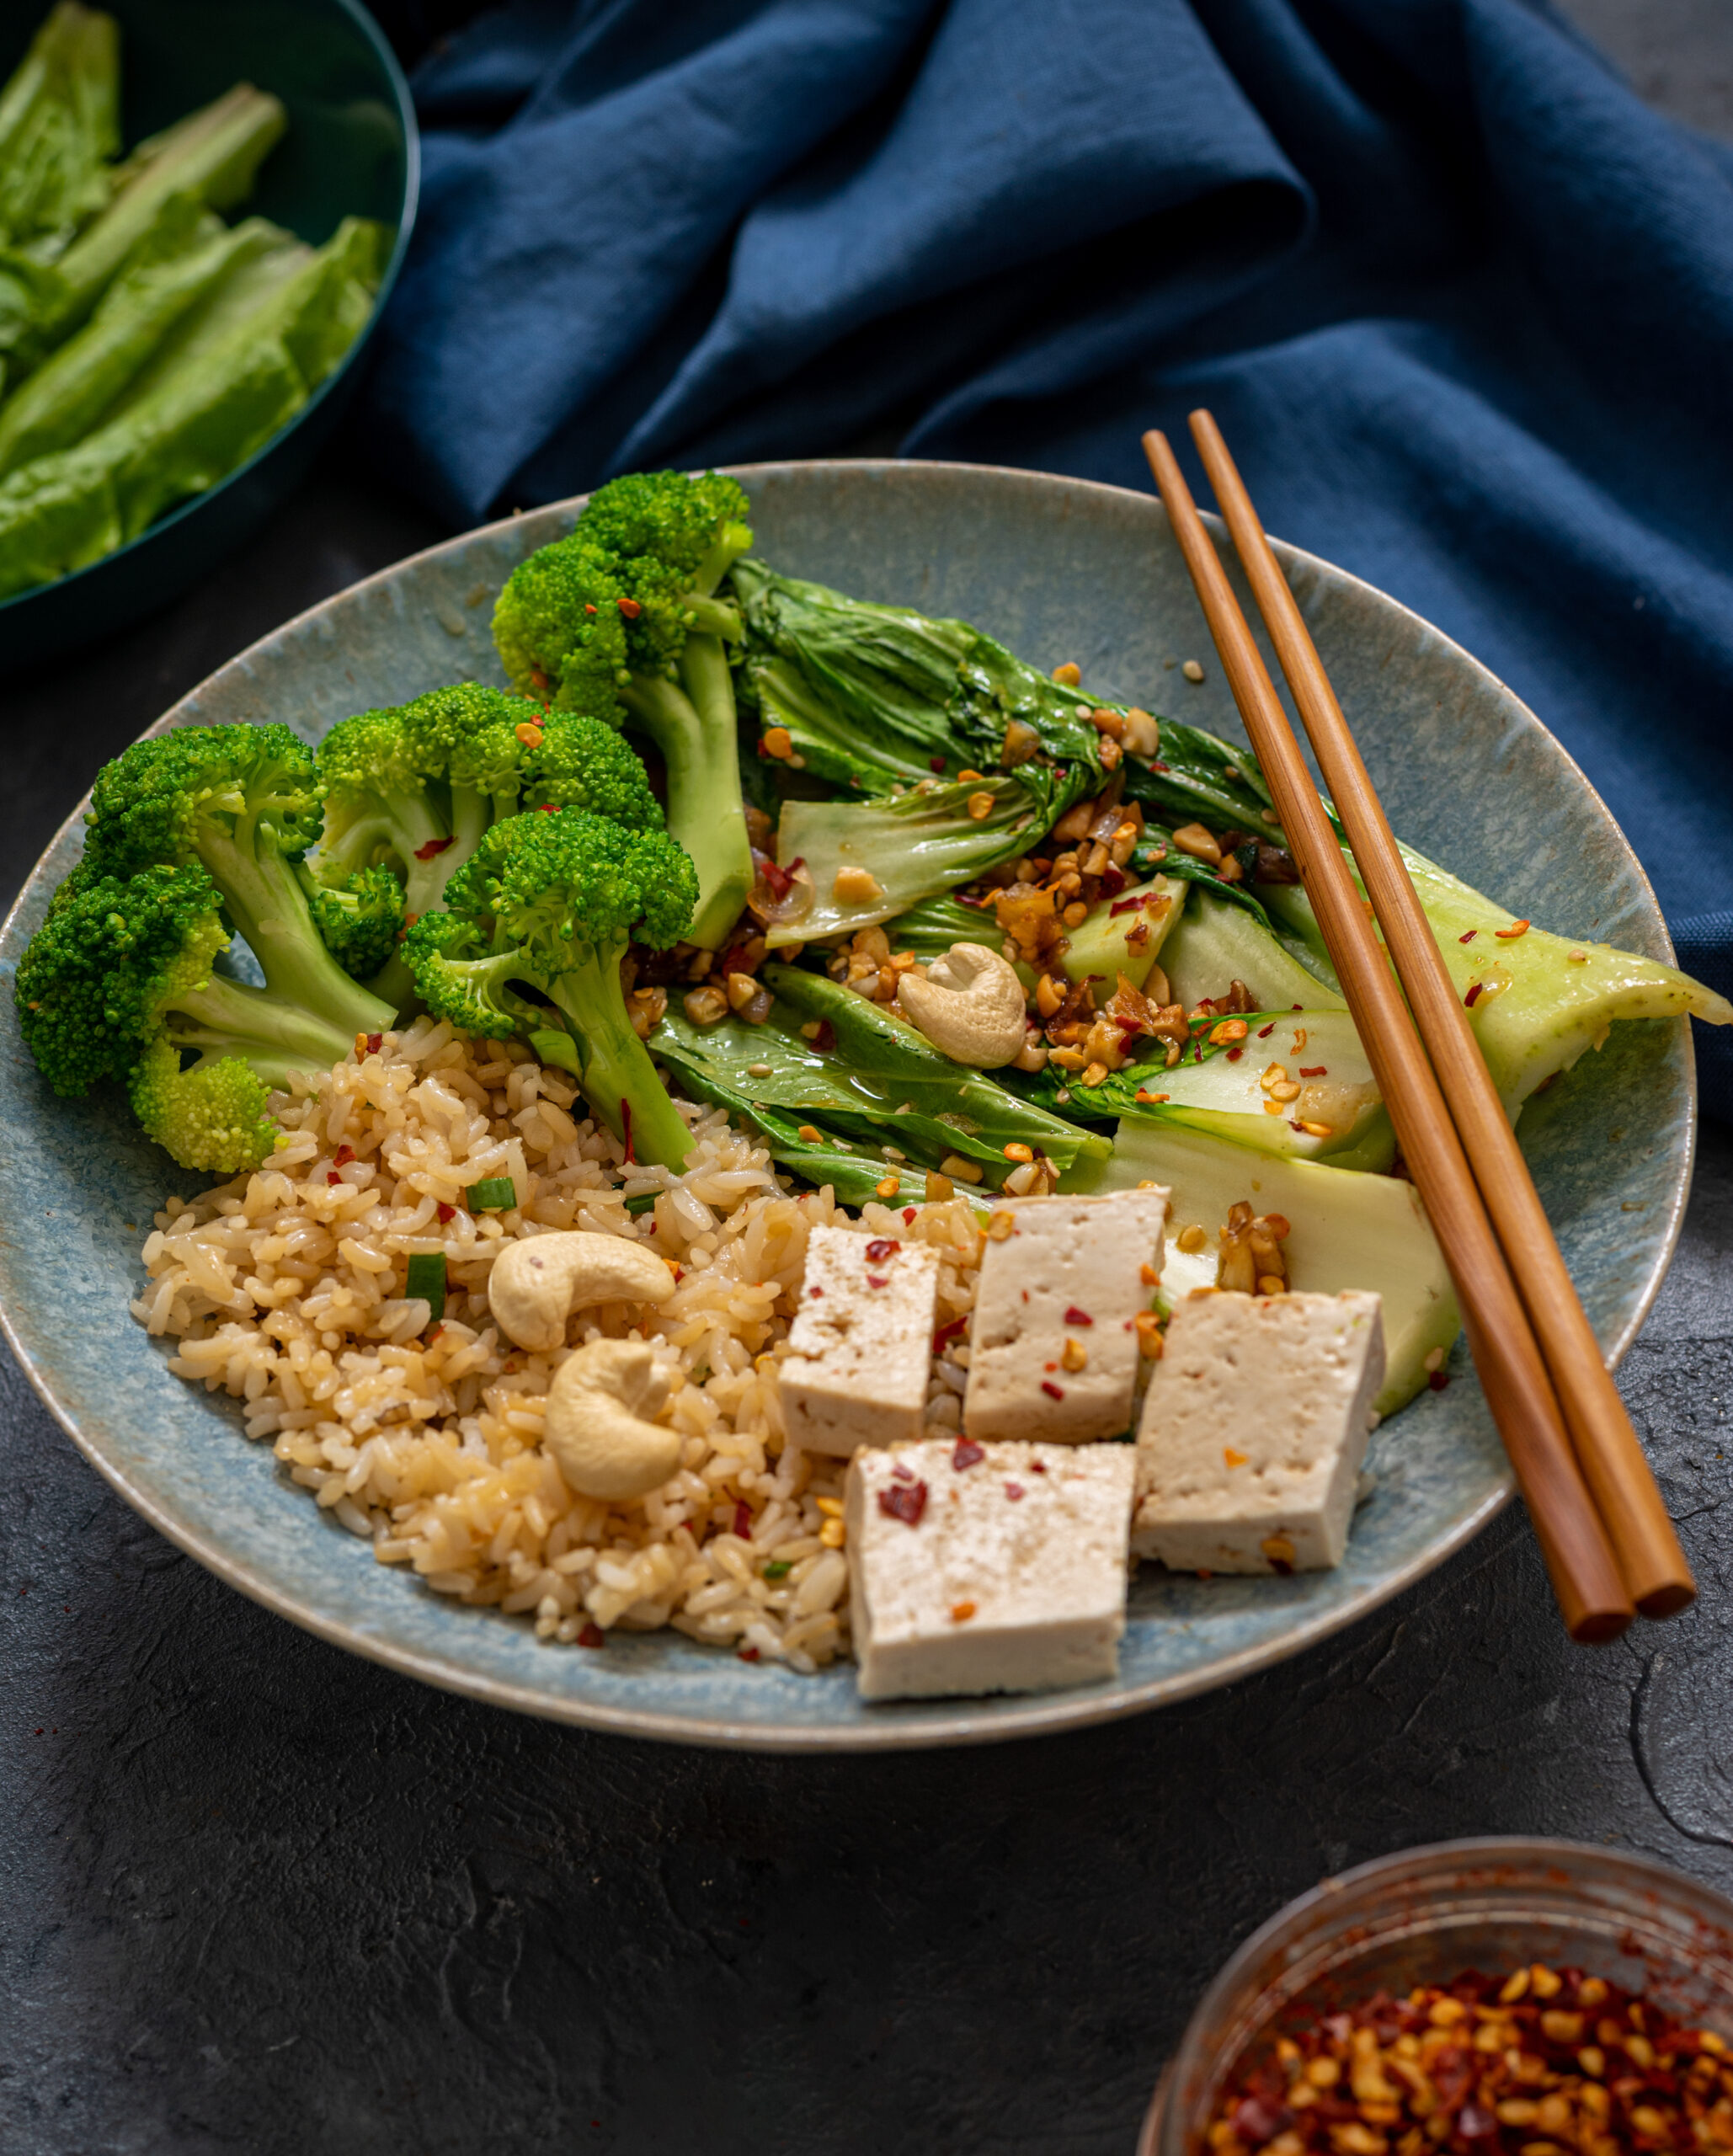
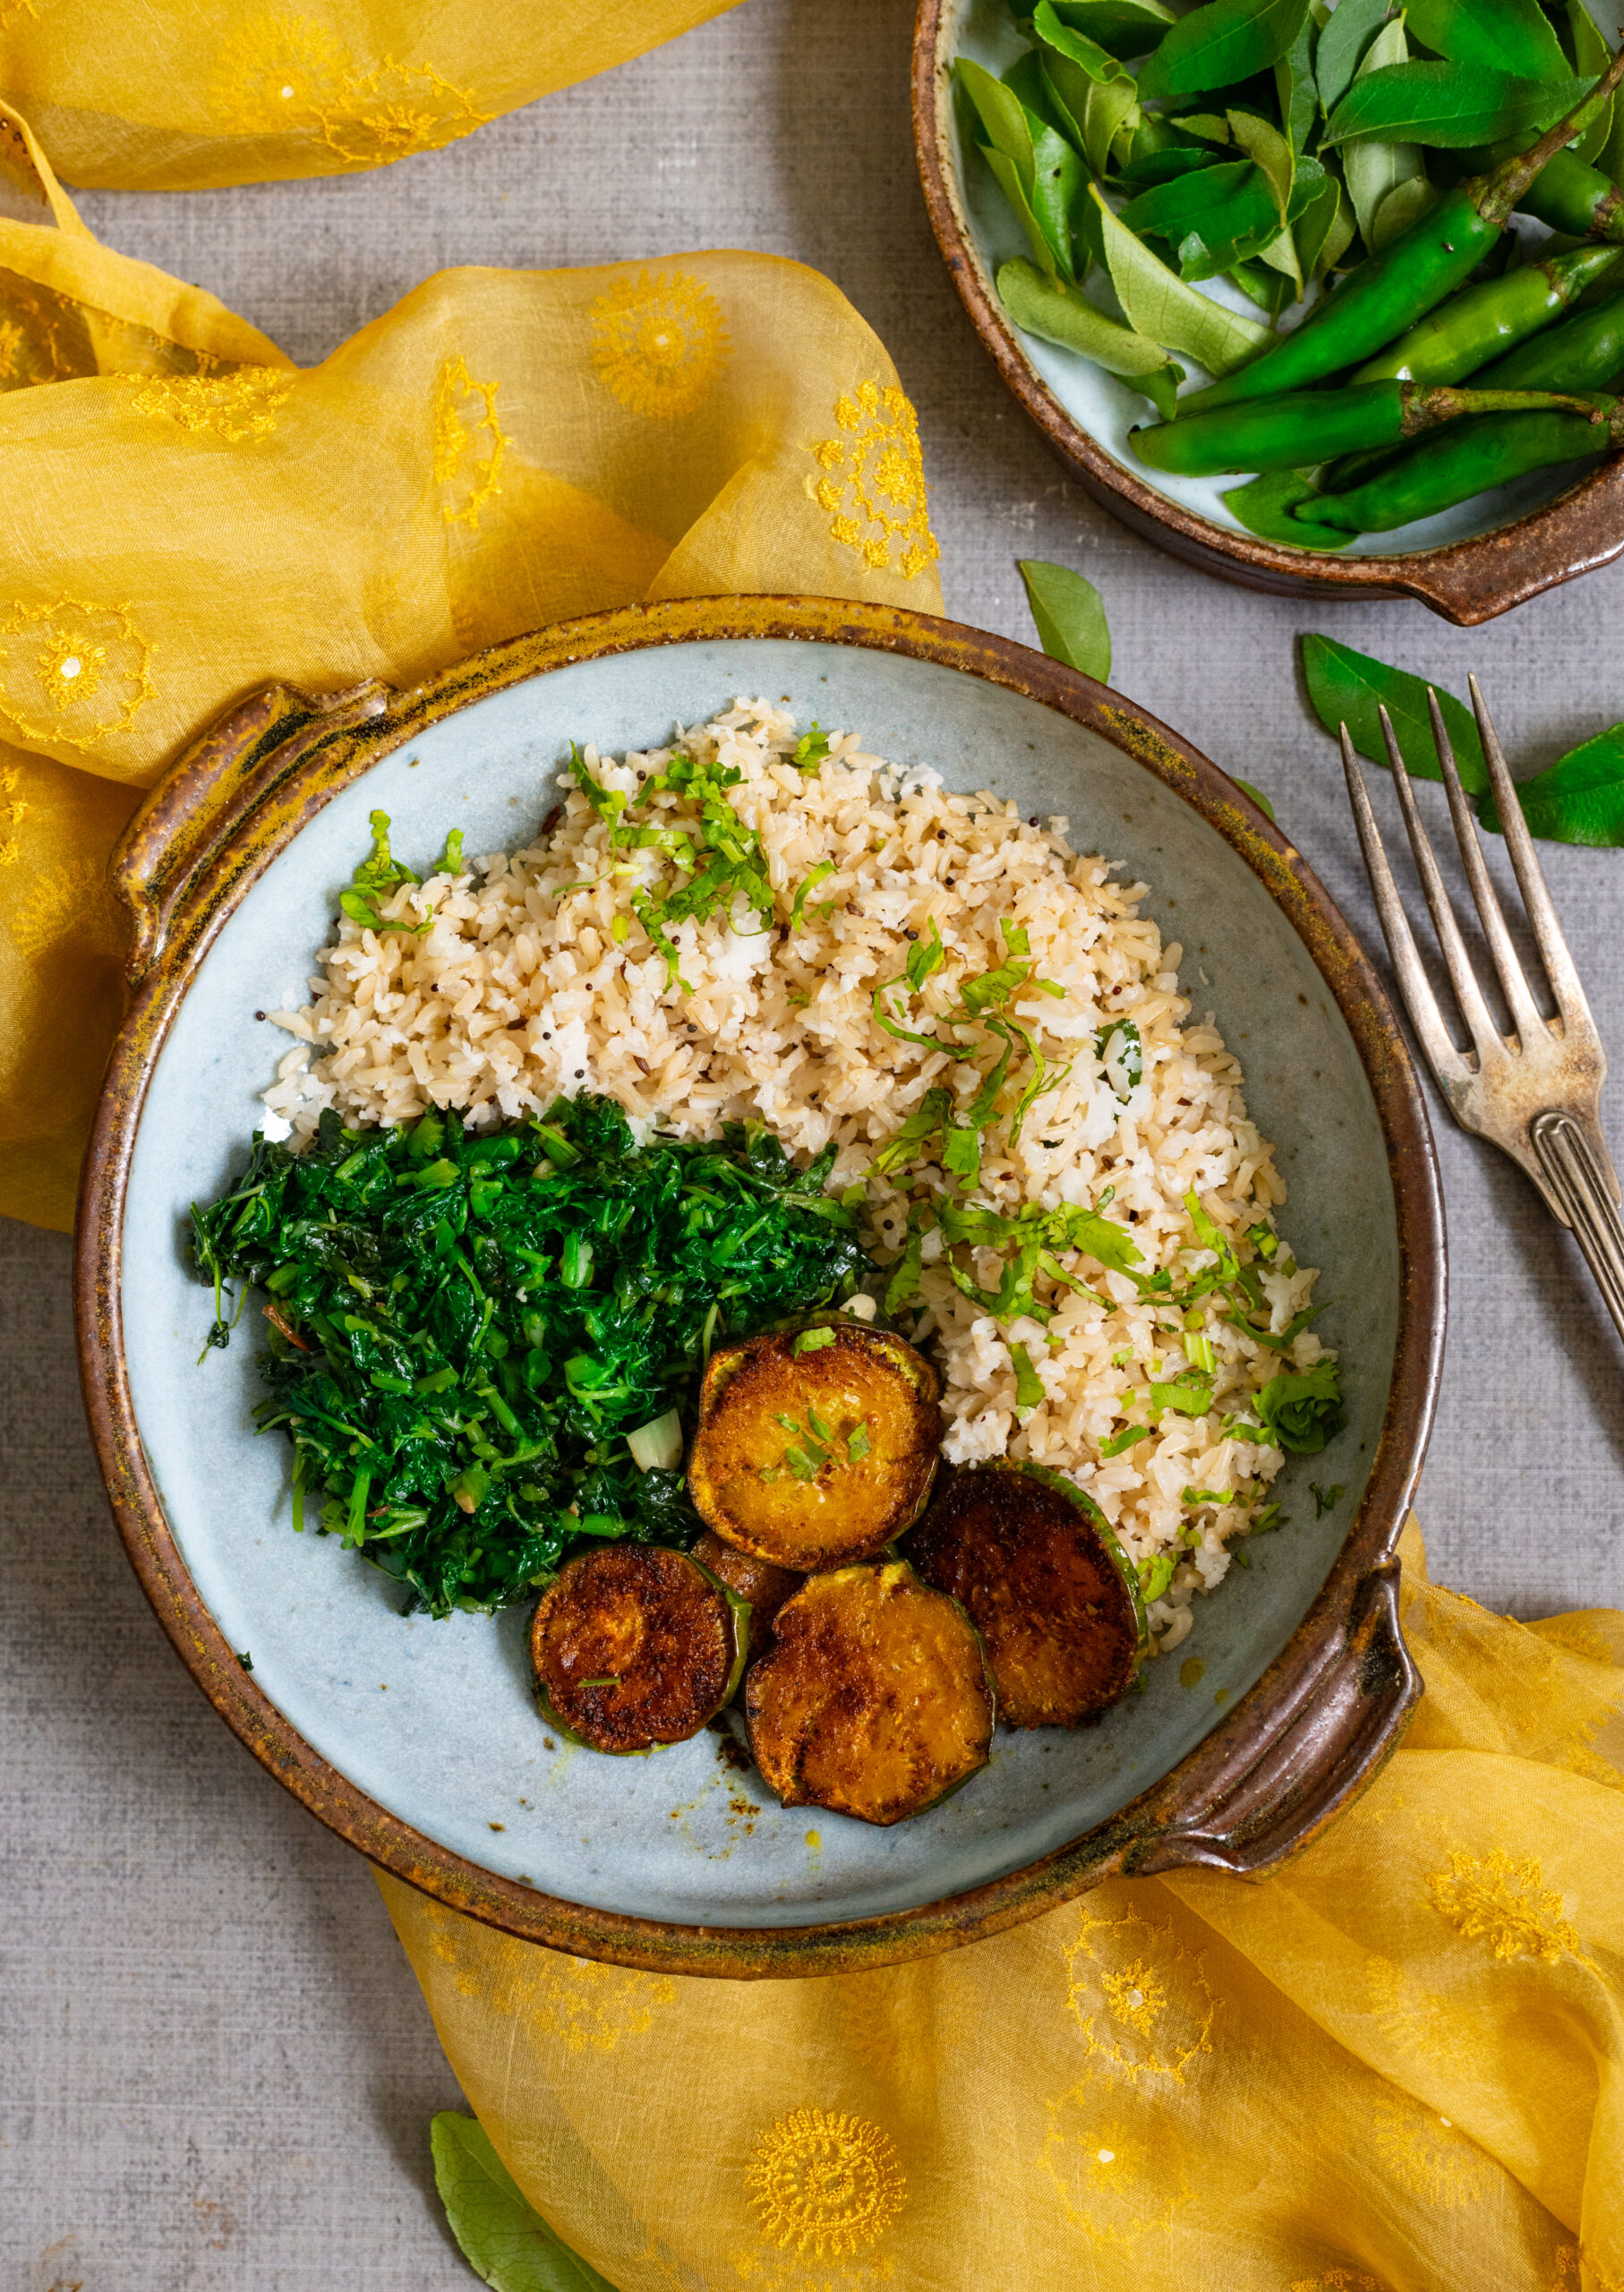
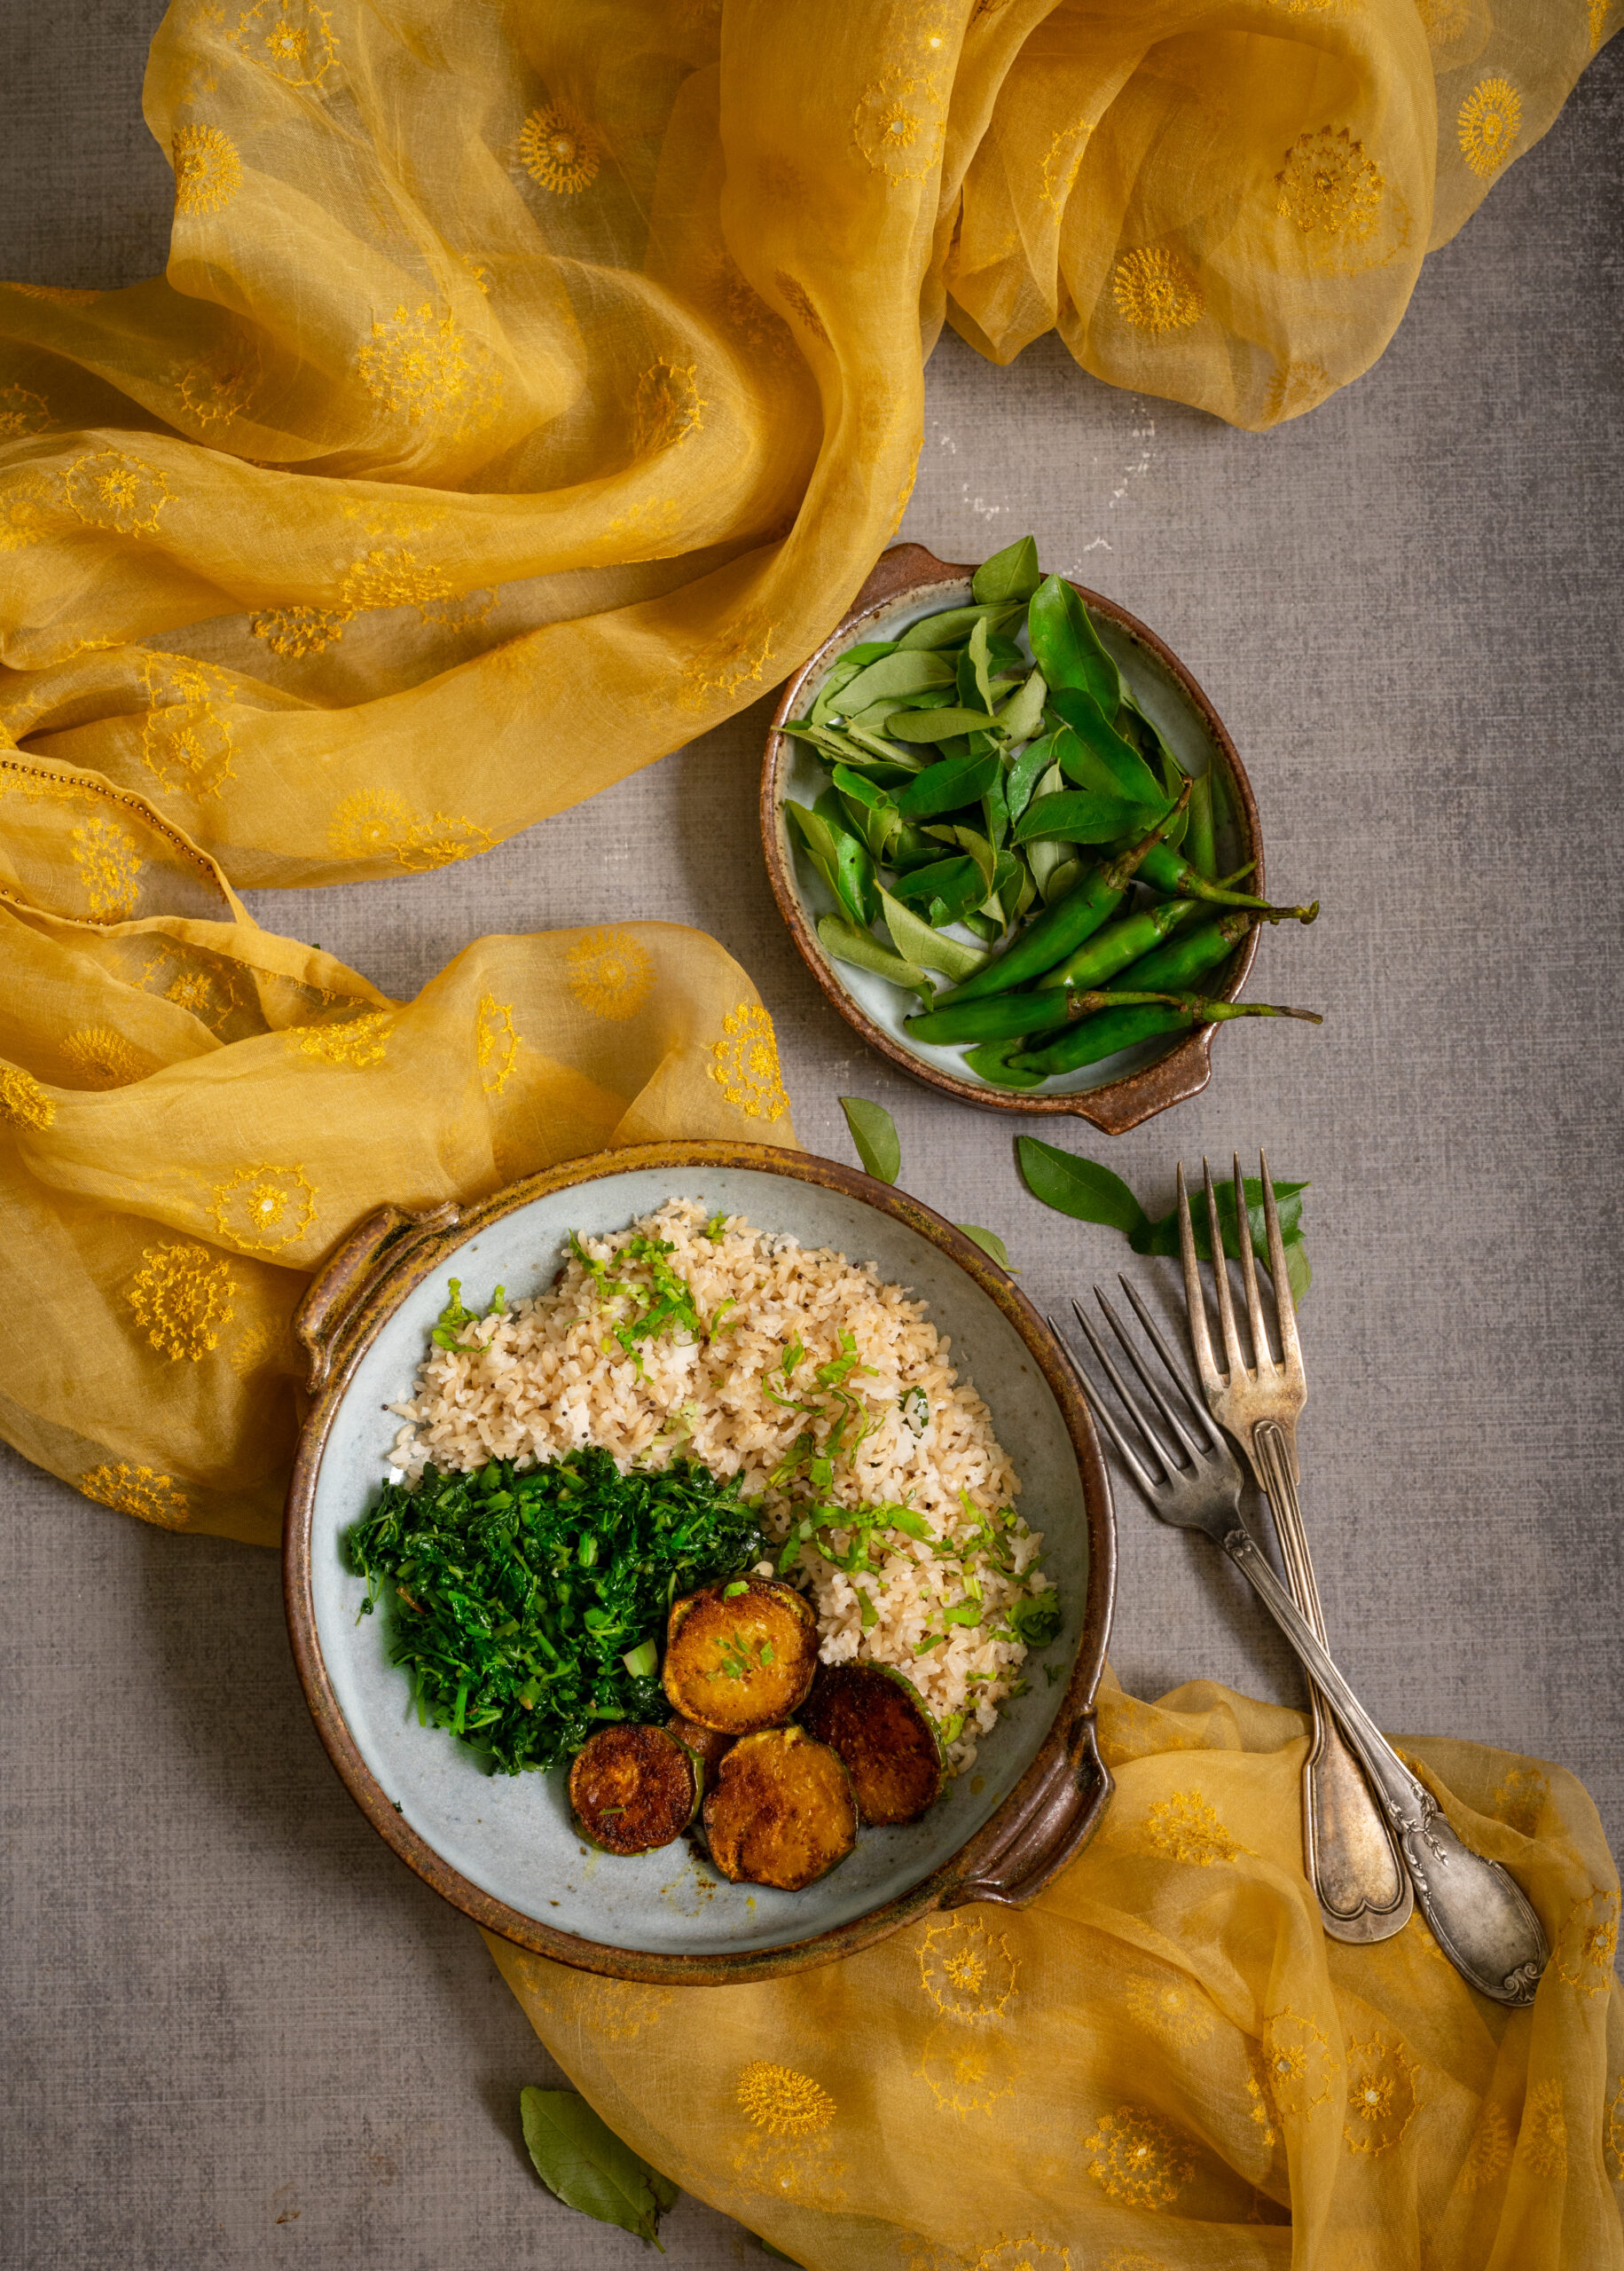
While I was growing up, we often ate some kind of podi mixed with ghee and rice. It was the perfect impromptu go-to in case the day was too busy to prepare a curry or a dal, and I still reach out for this for the same reason. This podi is also delicious with a bit of ghee and a dosa, or to add flavour to yoghurt. One of the great things about any podi is that it tends to be easy to carry to work, since it won’t cause a mess or have a strong smell in one’s lunch carrier, whereas a curry might.
It smells divine as it roasts, however. The morning that I made this coconut podi, using those freshly-harvested coconuts, my whole home was filled with the most beautiful aroma as it was being prepared. Everyone wanted to have it for breakfast, immediately, lured by that fragrance. I wonder if the same thing will happen in your home!
Coconut Podi
(Yield: 2 cups)
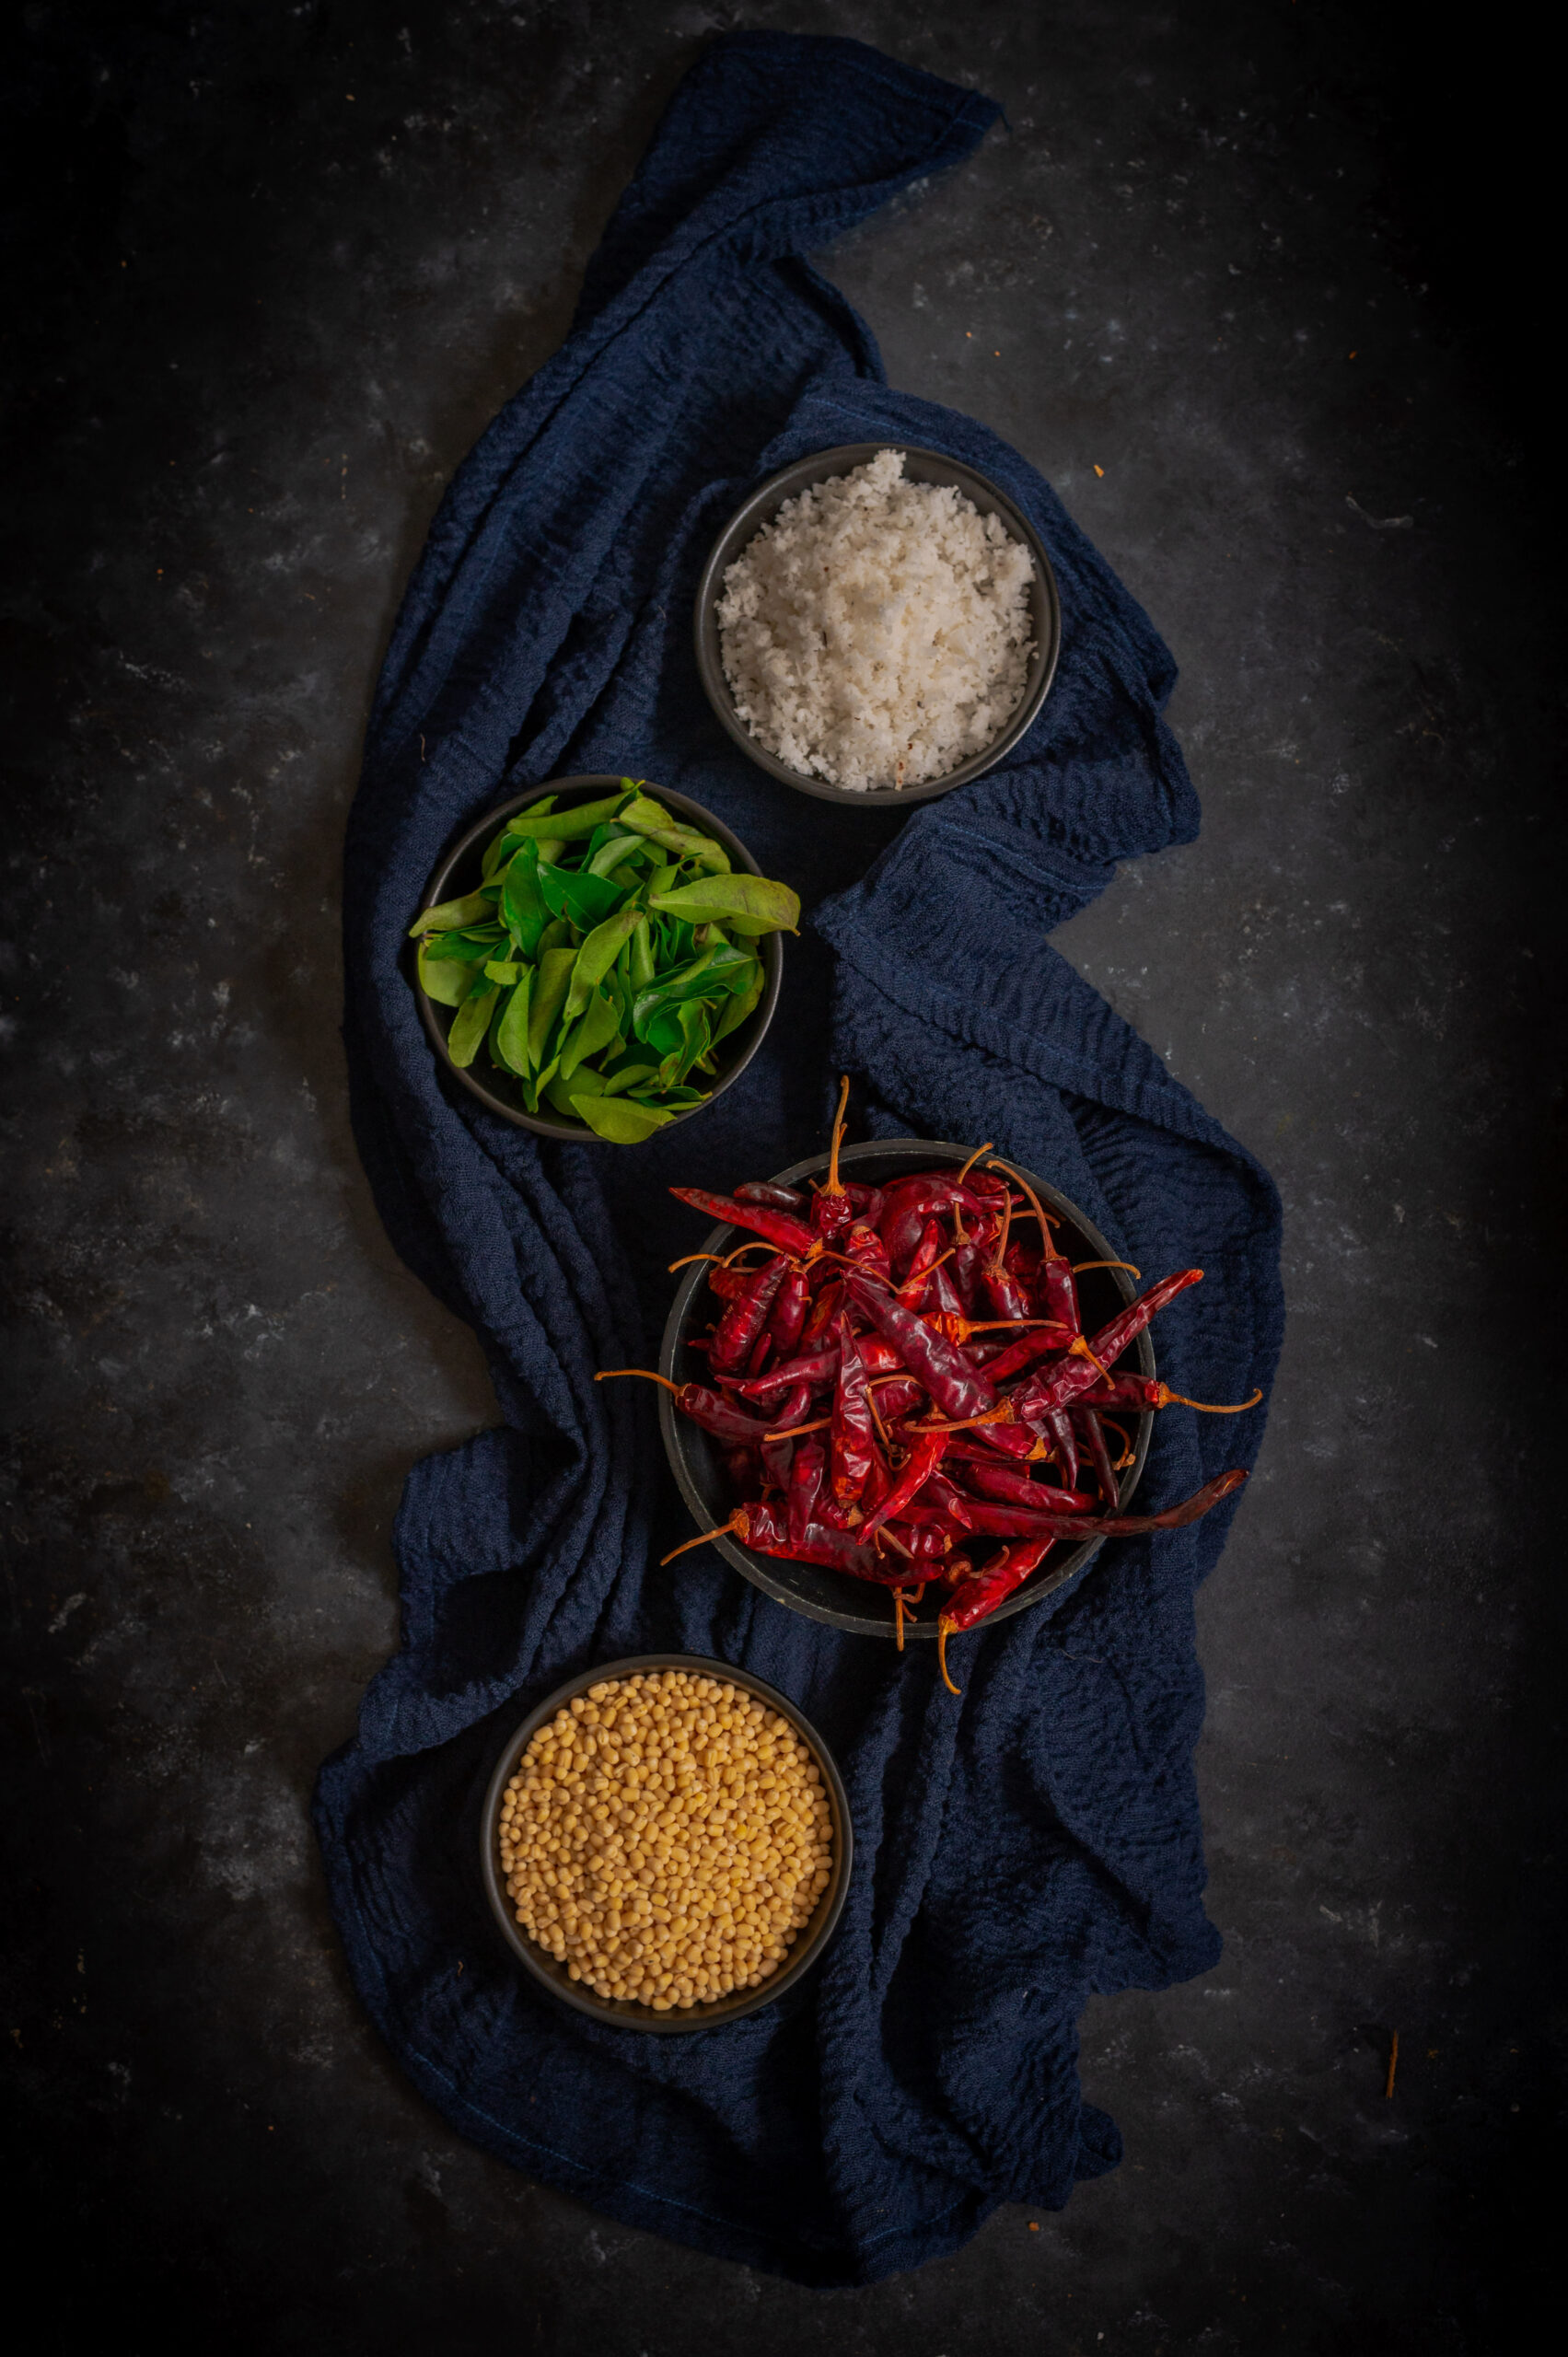
1 cup fresh coconut (shredded)
2 tablespoons urad dal
2 teaspoons sesame oil
¼ teaspoon asafoetida
2 -3 dry red chillies
¼ teaspoon mustard seeds
Salt to taste
6-8 curry leaves
1 marble-sized ball of tamarind
Add oil to a pan. Once it has heated, add the asafoetida, urad dal, mustard seeds, tamarind, red chillies and curry leaves. Roast until the urad dal turns golden. Set aside.
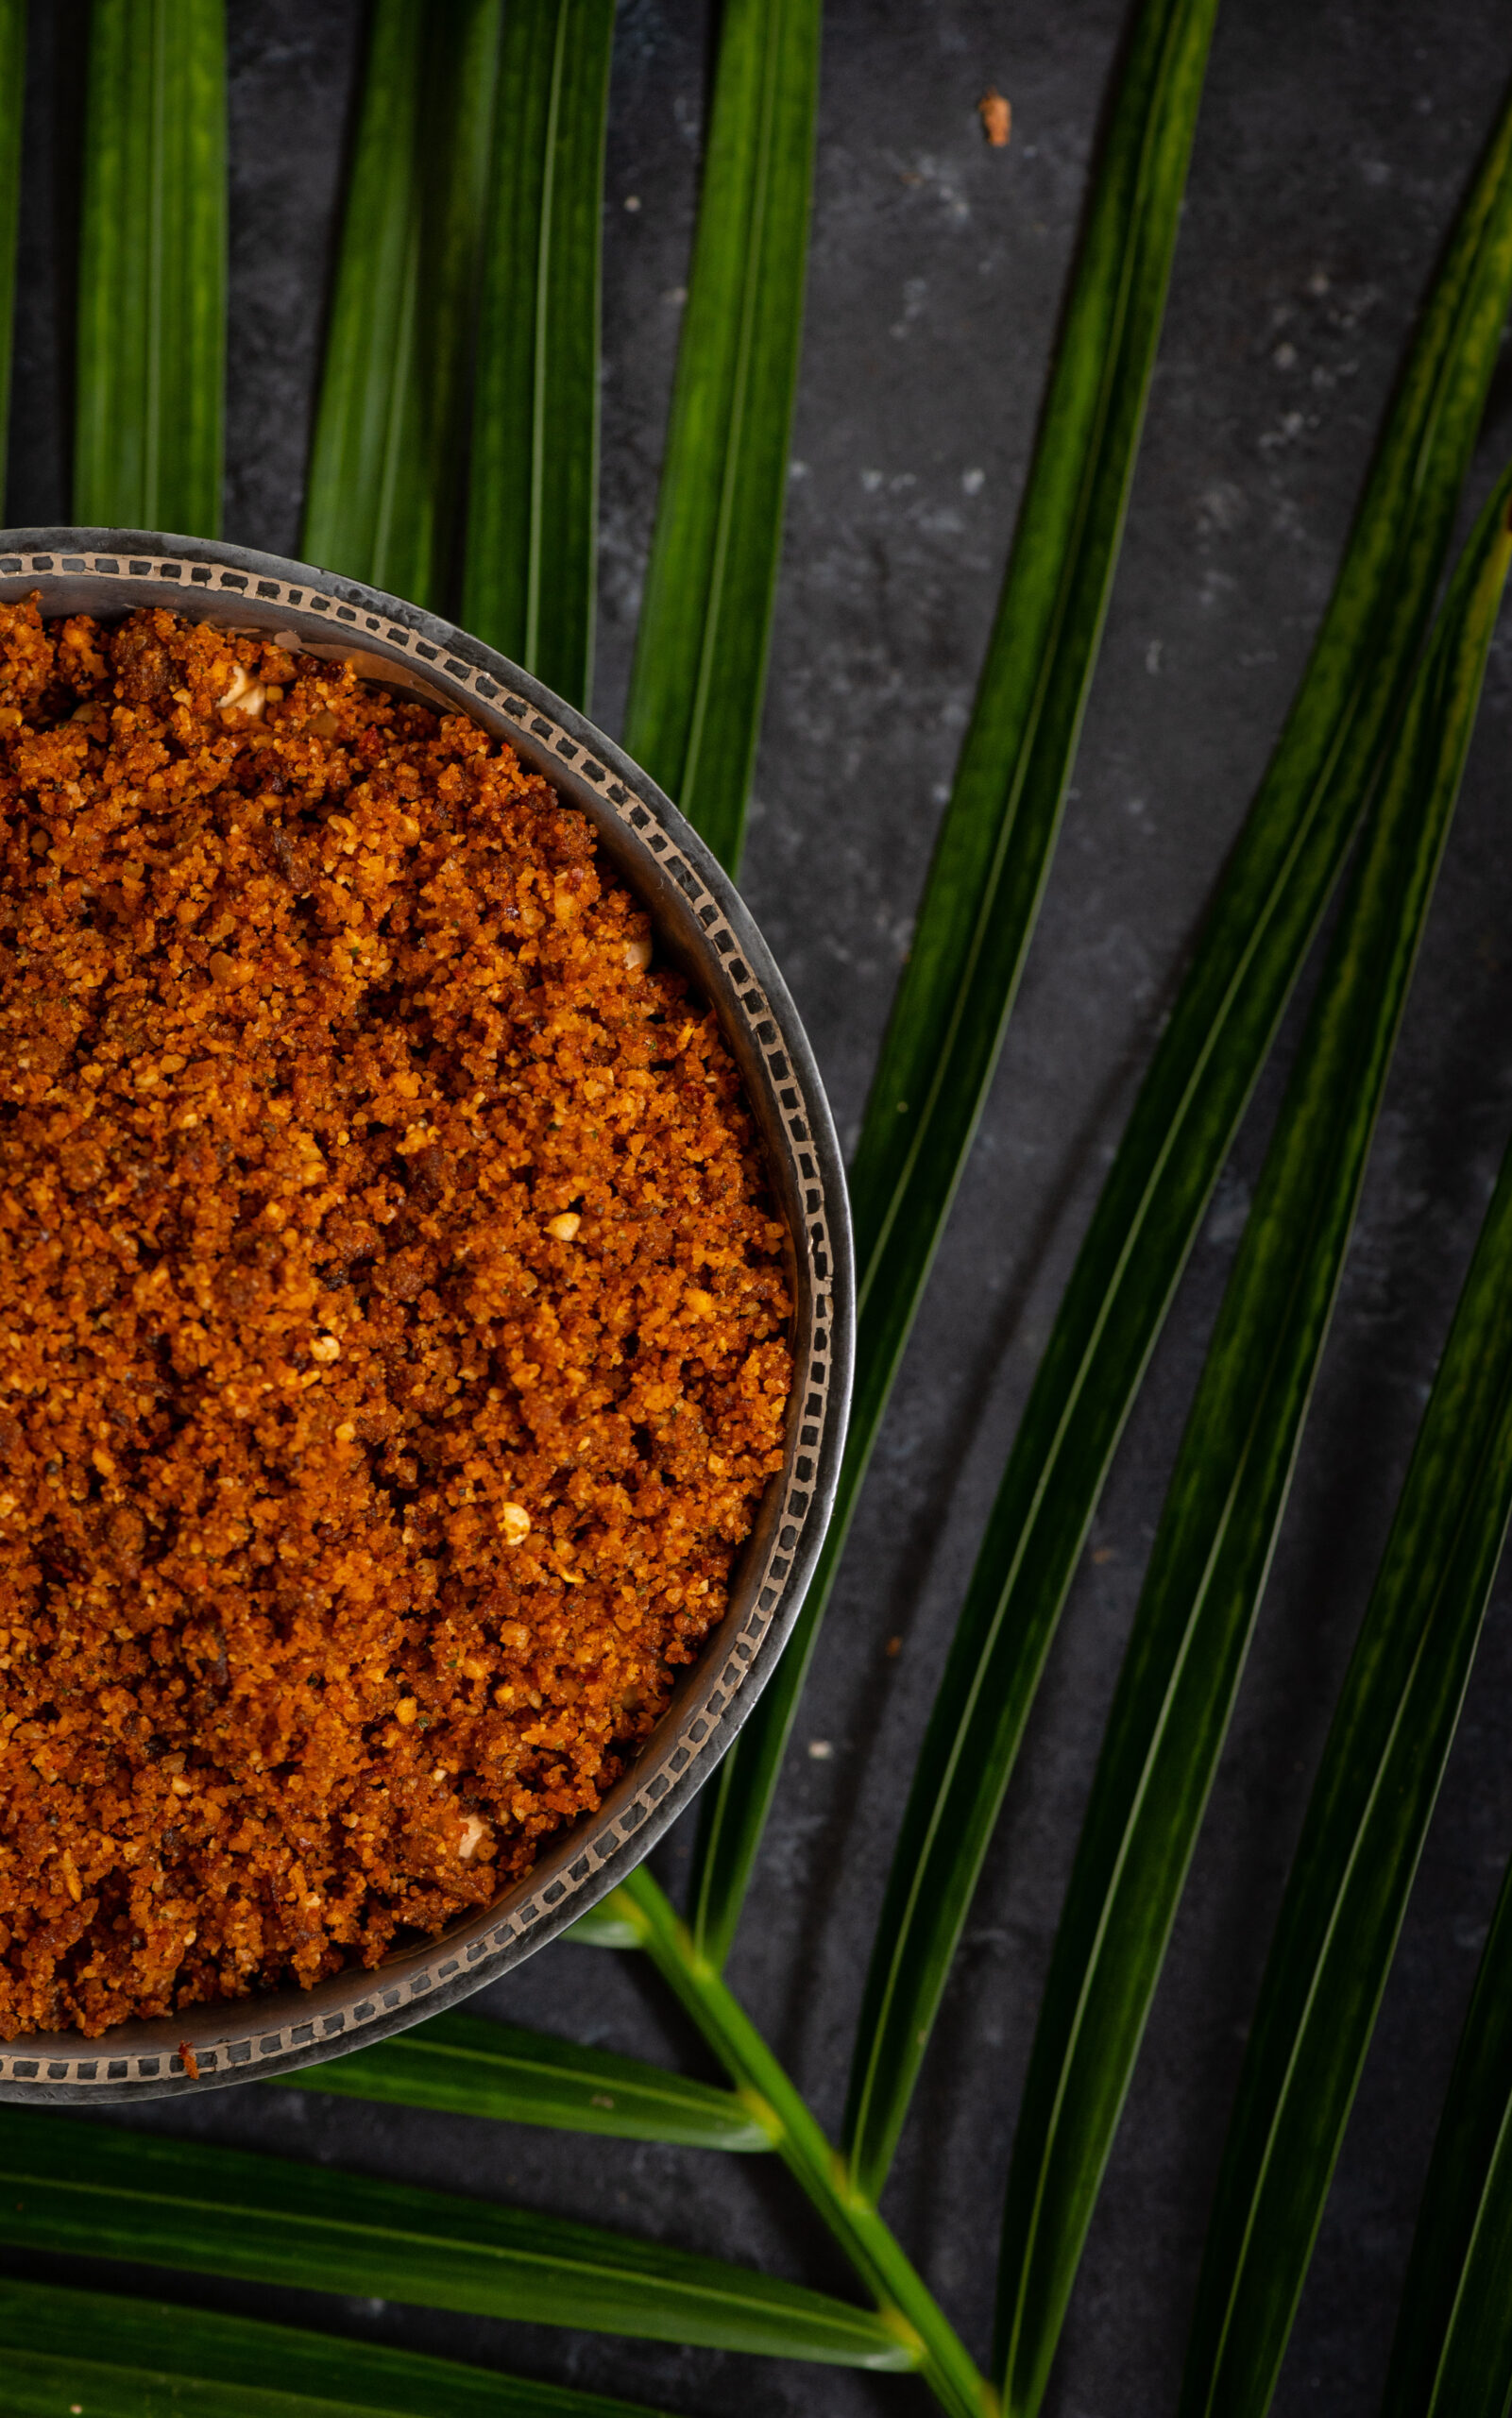
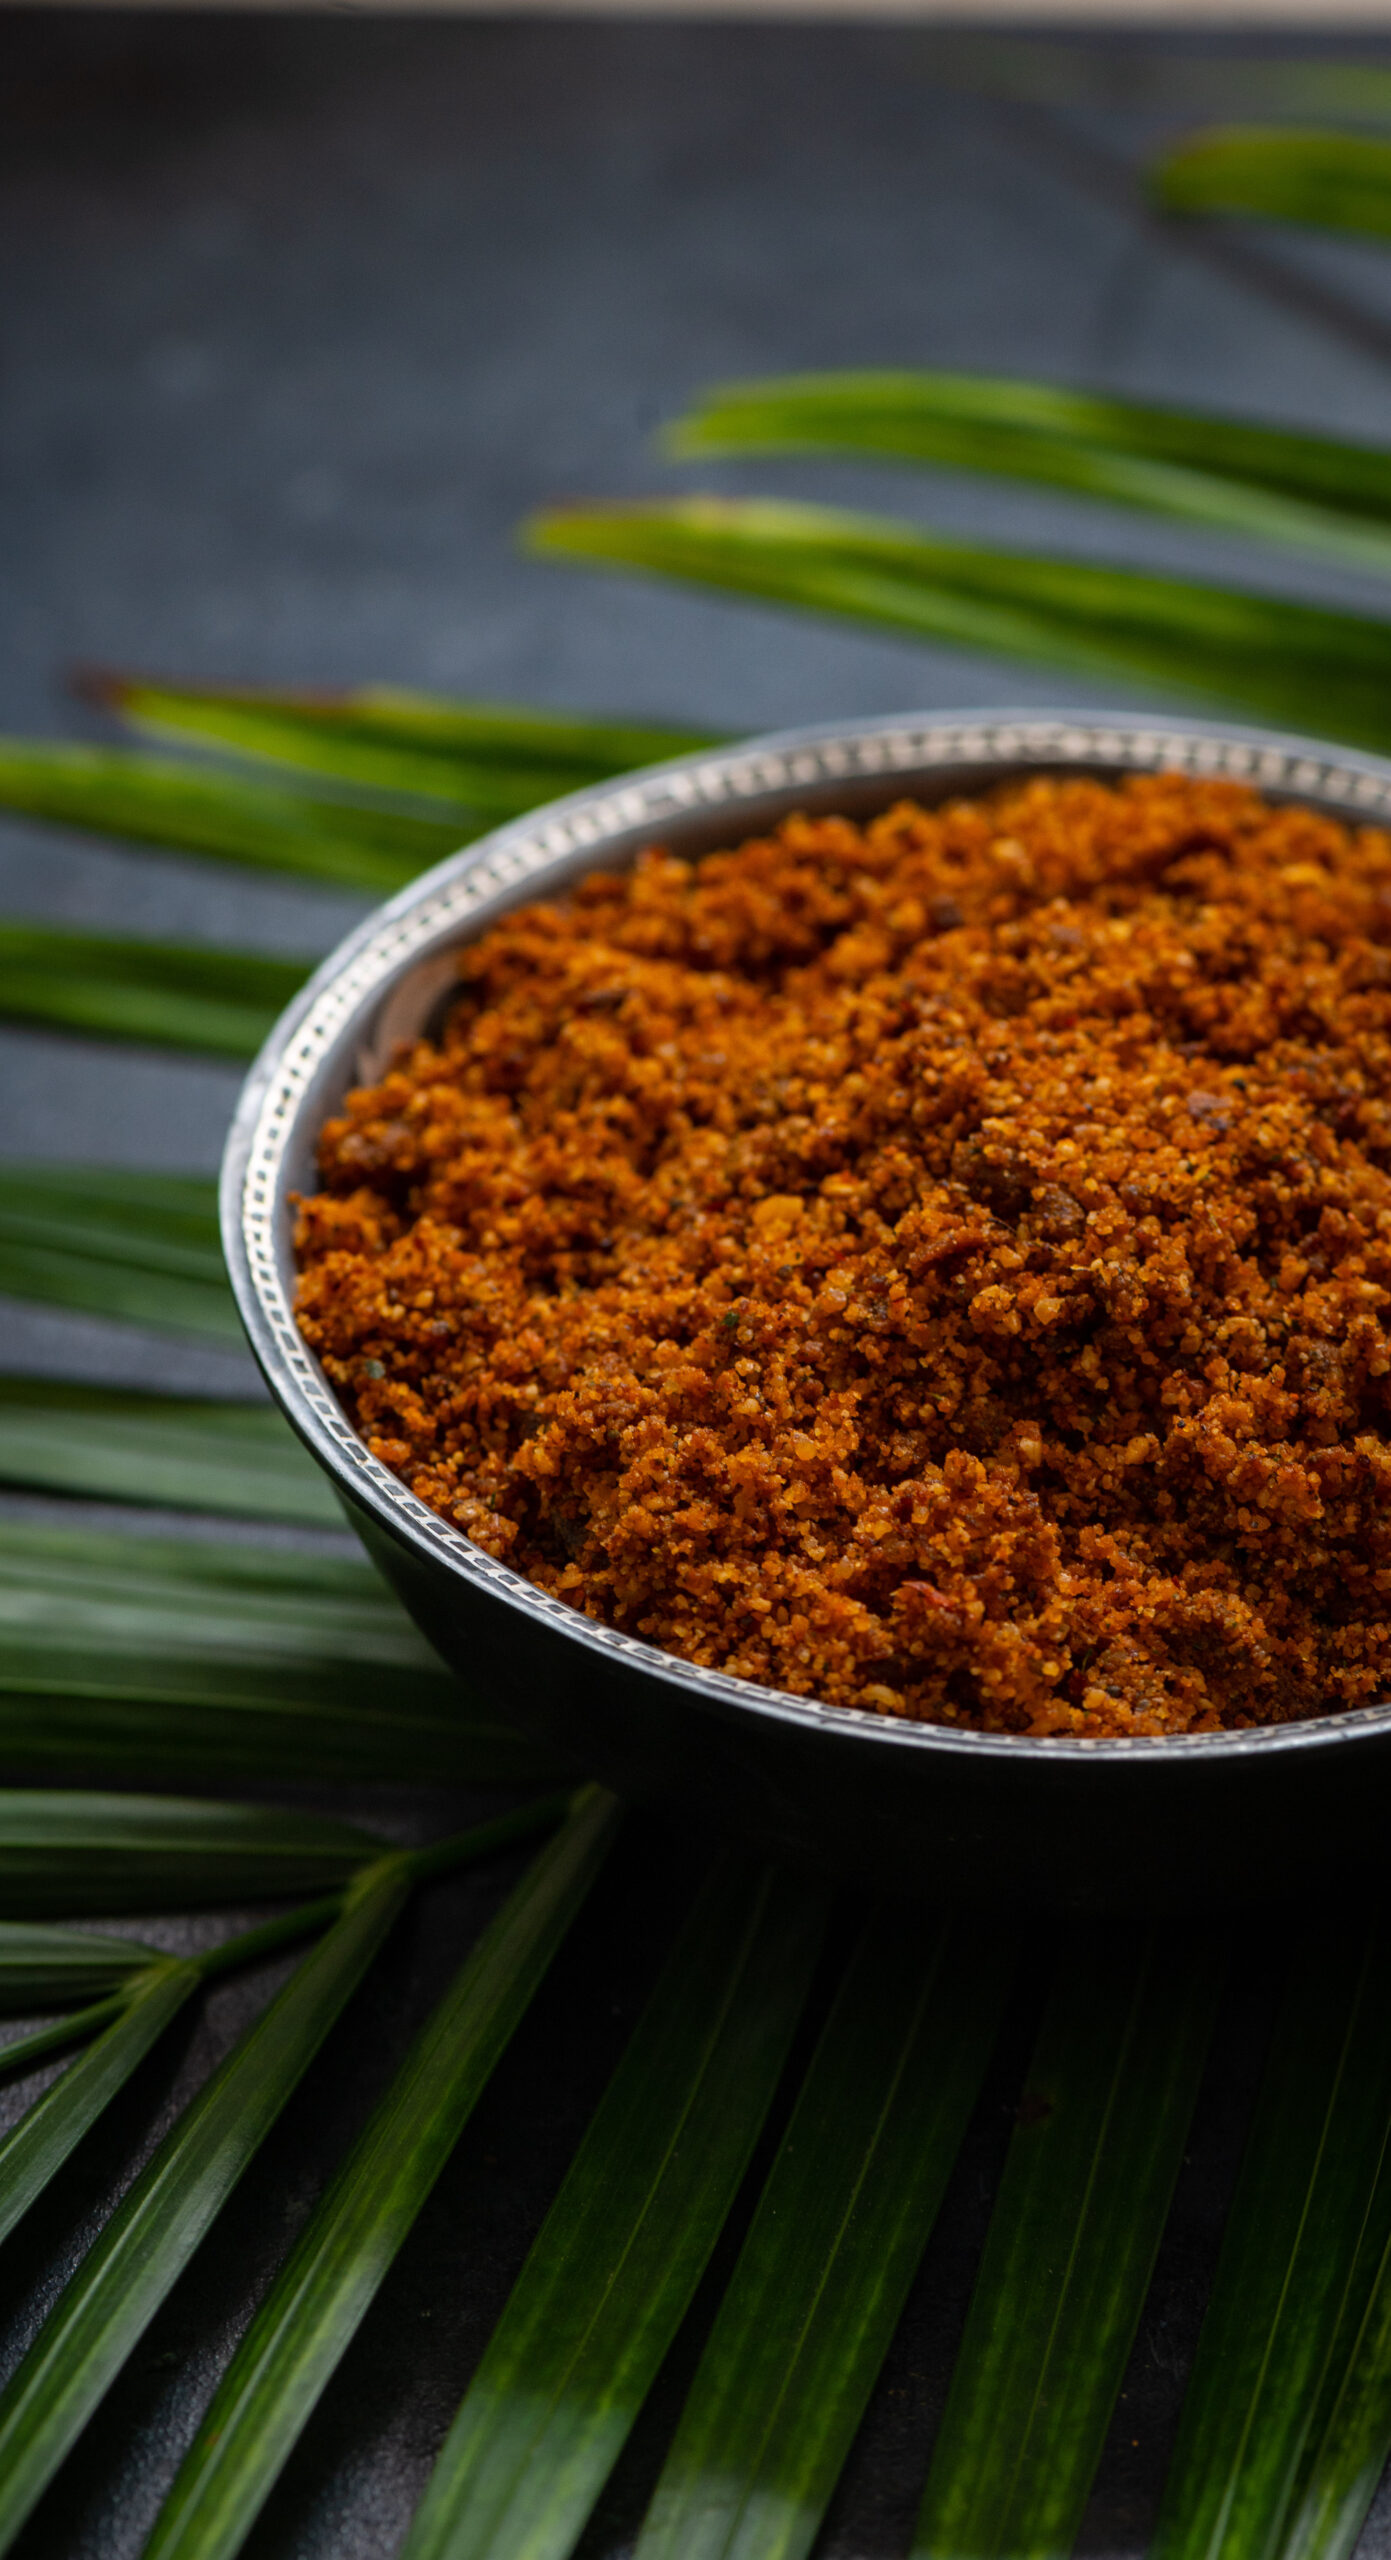
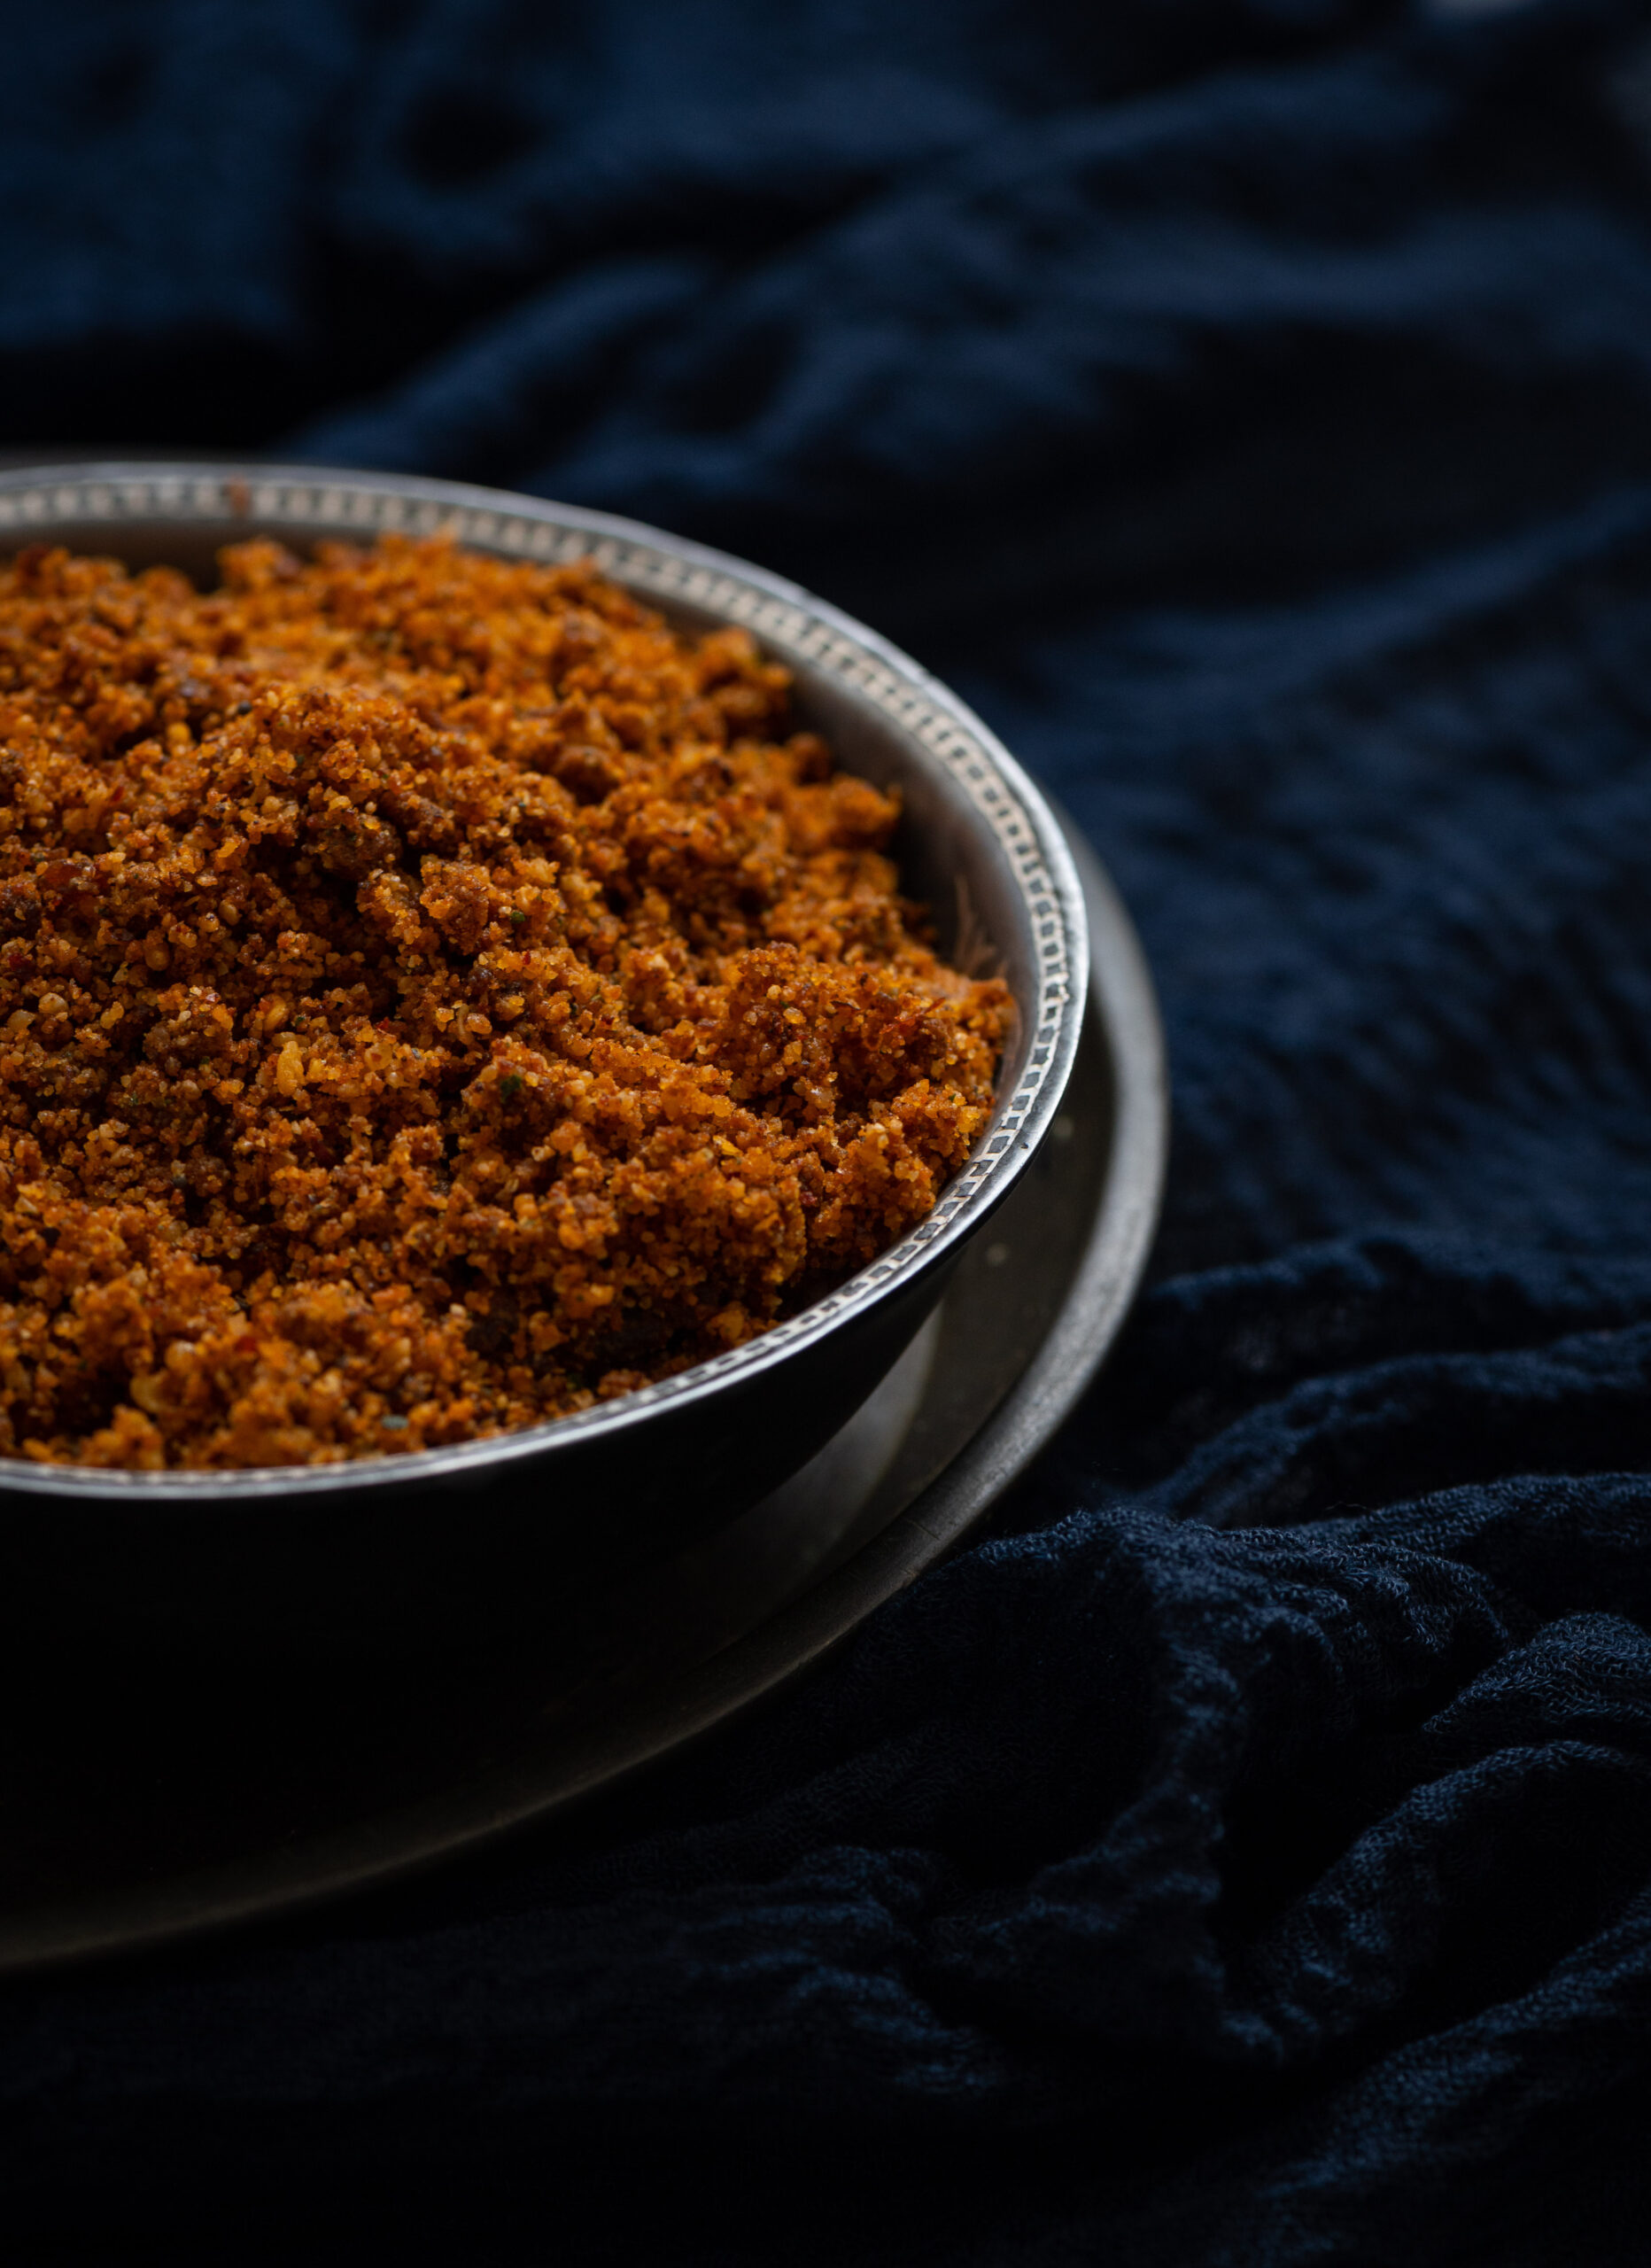
In the same pan, dry-roast the coconut on a low flame, using just a few drops of oil, until it turns reddish in colour. Set aside.
Use a spoon to remove only the urad dal from the earlier mixture. Coarsely blend the remaining ingredients together, adding salt. Use a blender, and keep it at room temperature. Once a coarse blend is achieved, add the urad dal and blend everything again. The reason for adding the dal only at the end is so that there is a bit of crunch in the podi. You’ll see what I mean when you taste it!
You may also want to add just a pinch of jaggery to this recipe, if you’d like to enhance the flavour with some sweetness. That was an element I used in some trials of mine, and ultimately eliminated from my final version. If you’d like to, you can eliminate the curry leaves too. It all depends on what combination of spice, sweetness and tang (which comes in this case from tamarind) you most enjoy.
Store at room temperature, and enjoy with dosa, idly, rice, roti or any combination you prefer.
Over the next few weeks, I’ll be sharing more coconut-ty goodies, from anytime staples to festive specials. Please do subscribe to this blog, so that you’ll know as soon as a new post goes up! Don’t forget to let me know in the comments what you think of the recipes, too. As always, I love hearing from you about how you’ve translated my recipes to suit your own tastes!


 – Mango Salad")