Tag

healthy

Browsing

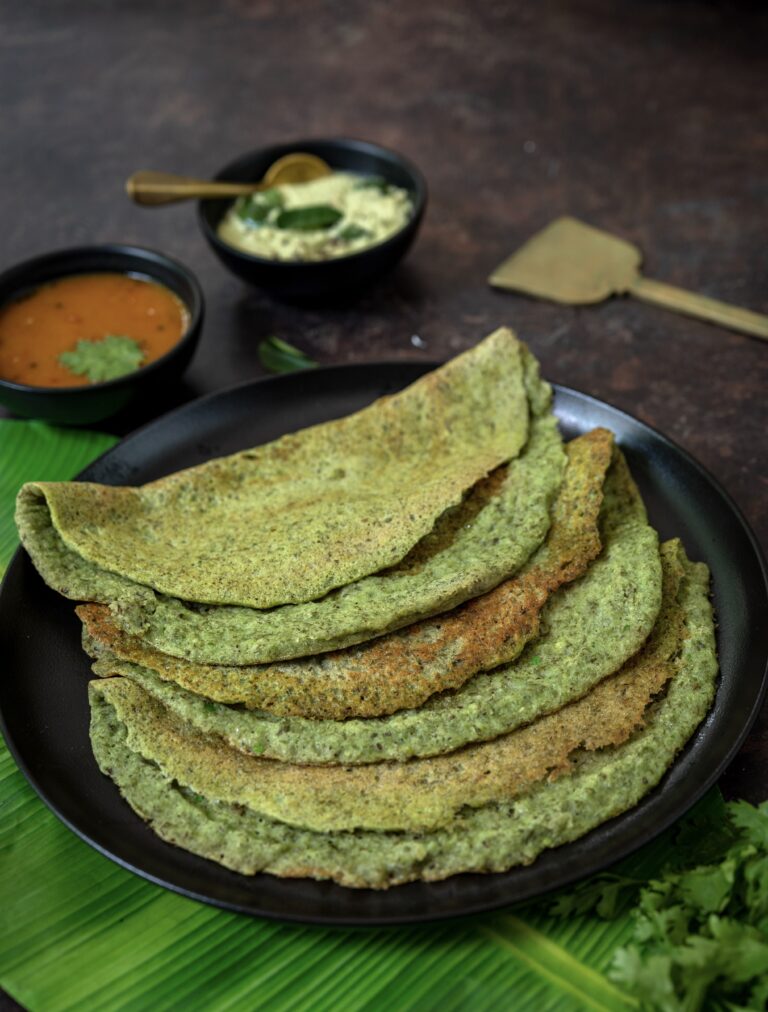
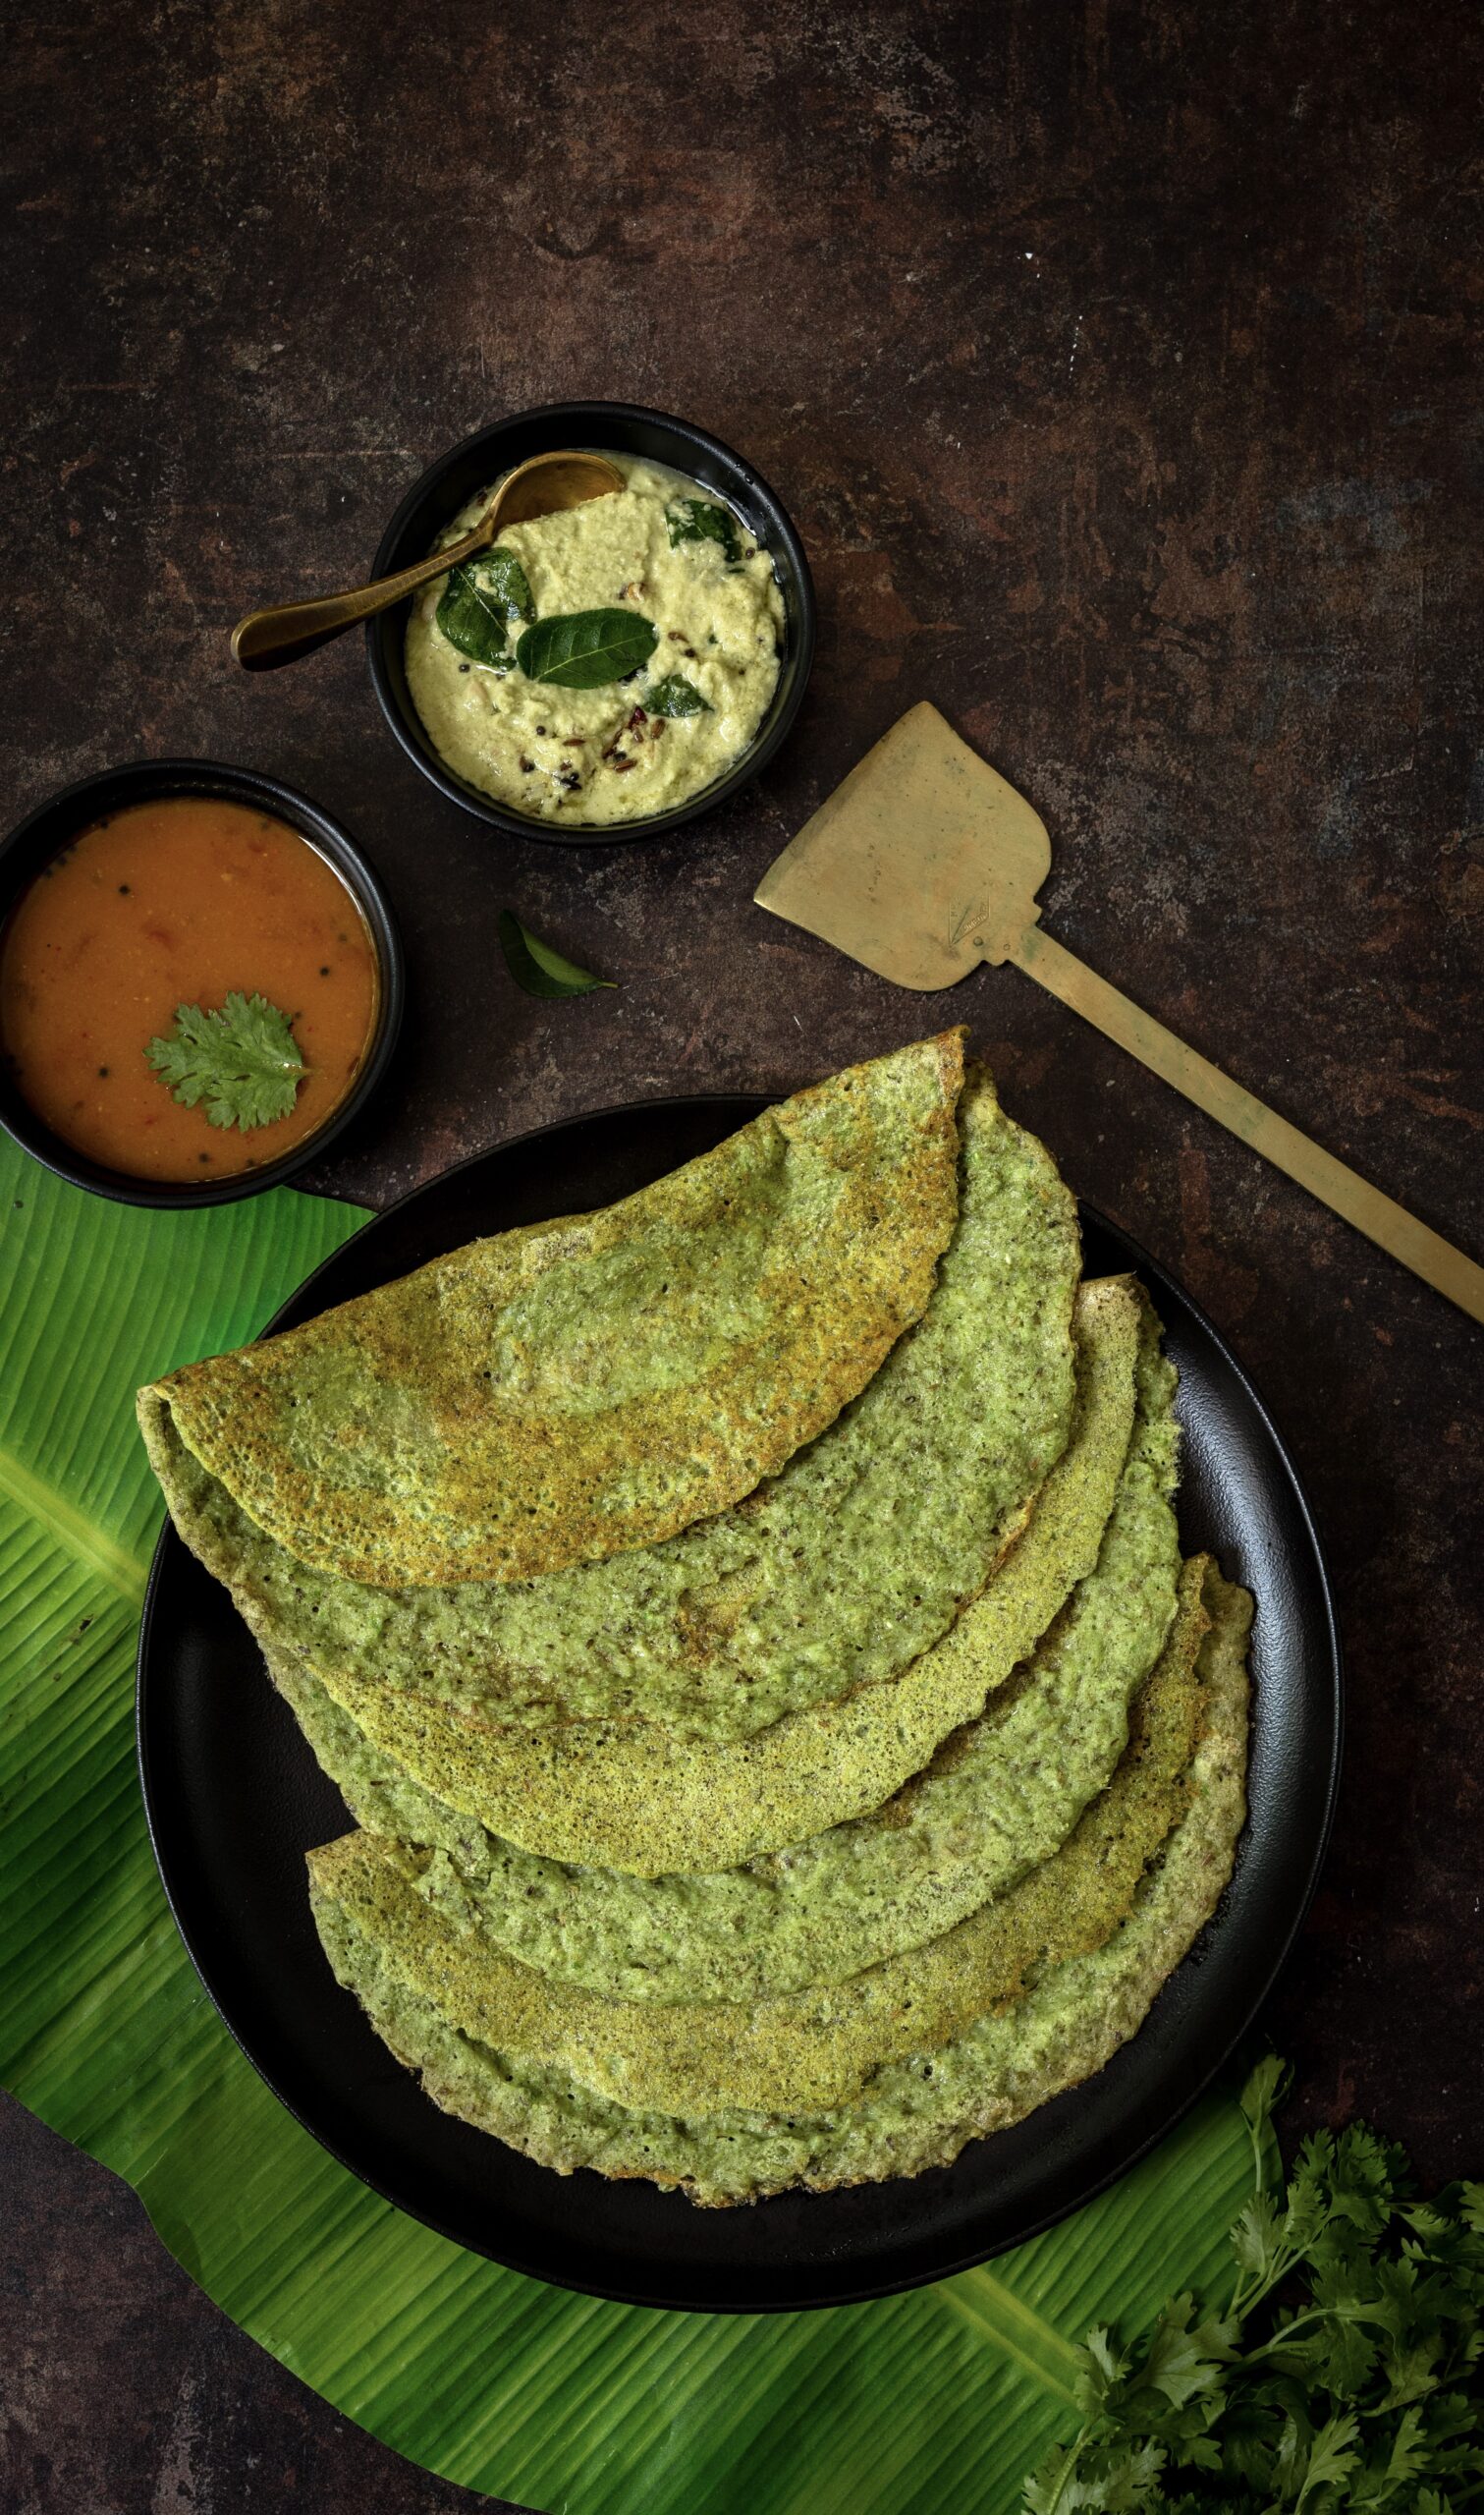
I recently travelled to see my son, and spending time with him reminded me of a conversation that we had a few years ago. He manages his own home and kitchen – as all my kids do, now that they have all stepped out to live their own lives as adults. Around five years ago, I had brought some grains along on one such visit and kept them in this son’s home. Subsequently, he told me, “Ma, these are very old. I’m going to throw them out.” I was not happy about this. I explained to him how every seed has a life of its own. Even a thousand years later, you could plant it and it would grow, and you could cook the pulses or dals. Seeds and grains have a power that is ingrained – pardon the pun – in every aspect of our life. From metaphors of sustenance and growth, as I have spoken of earlier to giving us our staple nutrition, they offer us so much. These thoughts inspired me to share another dal-based dish with you. This is a moong dal chilla, rich with the nutrients of green mung.

I’ve shared a recipe for chilla on this blog before, which you may have tried out. A chilla is a kind of Indian crepe, known by different names. I first encountered green mung chilla in Andhra Pradesh, when I was visiting cousins in Vijayawada as a child. There, it was known as pesarattu, and was eaten with upma or onions within its fold. When I think about it, the fact that this dal is a native of South India means that it has many different uses across the cuisines of this region. I take pride in the many wonderful ingredients, including rice and turmeric, that have been cultivated here through history.

Now of course, green mung sits on the world map as a superfood. Not only is it high in protein and iron, but it also has numerous healing properties and other benefits. When you’re recovering from a sickness, boiled mung water consumed in sips can help. It’s easy to digest. It doesn’t create a heaviness in the stomach, which makes it great for light meals.

More often than not, there’s sprouted mung as well as raw mung dal in my home. I sometimes sauté the sprouts for breakfast. At other times, I just grind the raw, soaked dal and have chilla for dinner – especially on evenings when I just want something light. Which brings us back to this recipe. You can make a chilla out of anything. Chickpea flour is an easy base and a quick fix. Green mung chilla takes longer as you have to soak it and grind it. I feel it is worth the extra time as due to the many health benefits described above. It also tastes great, as I think you’ll find out when you try it out yourself.
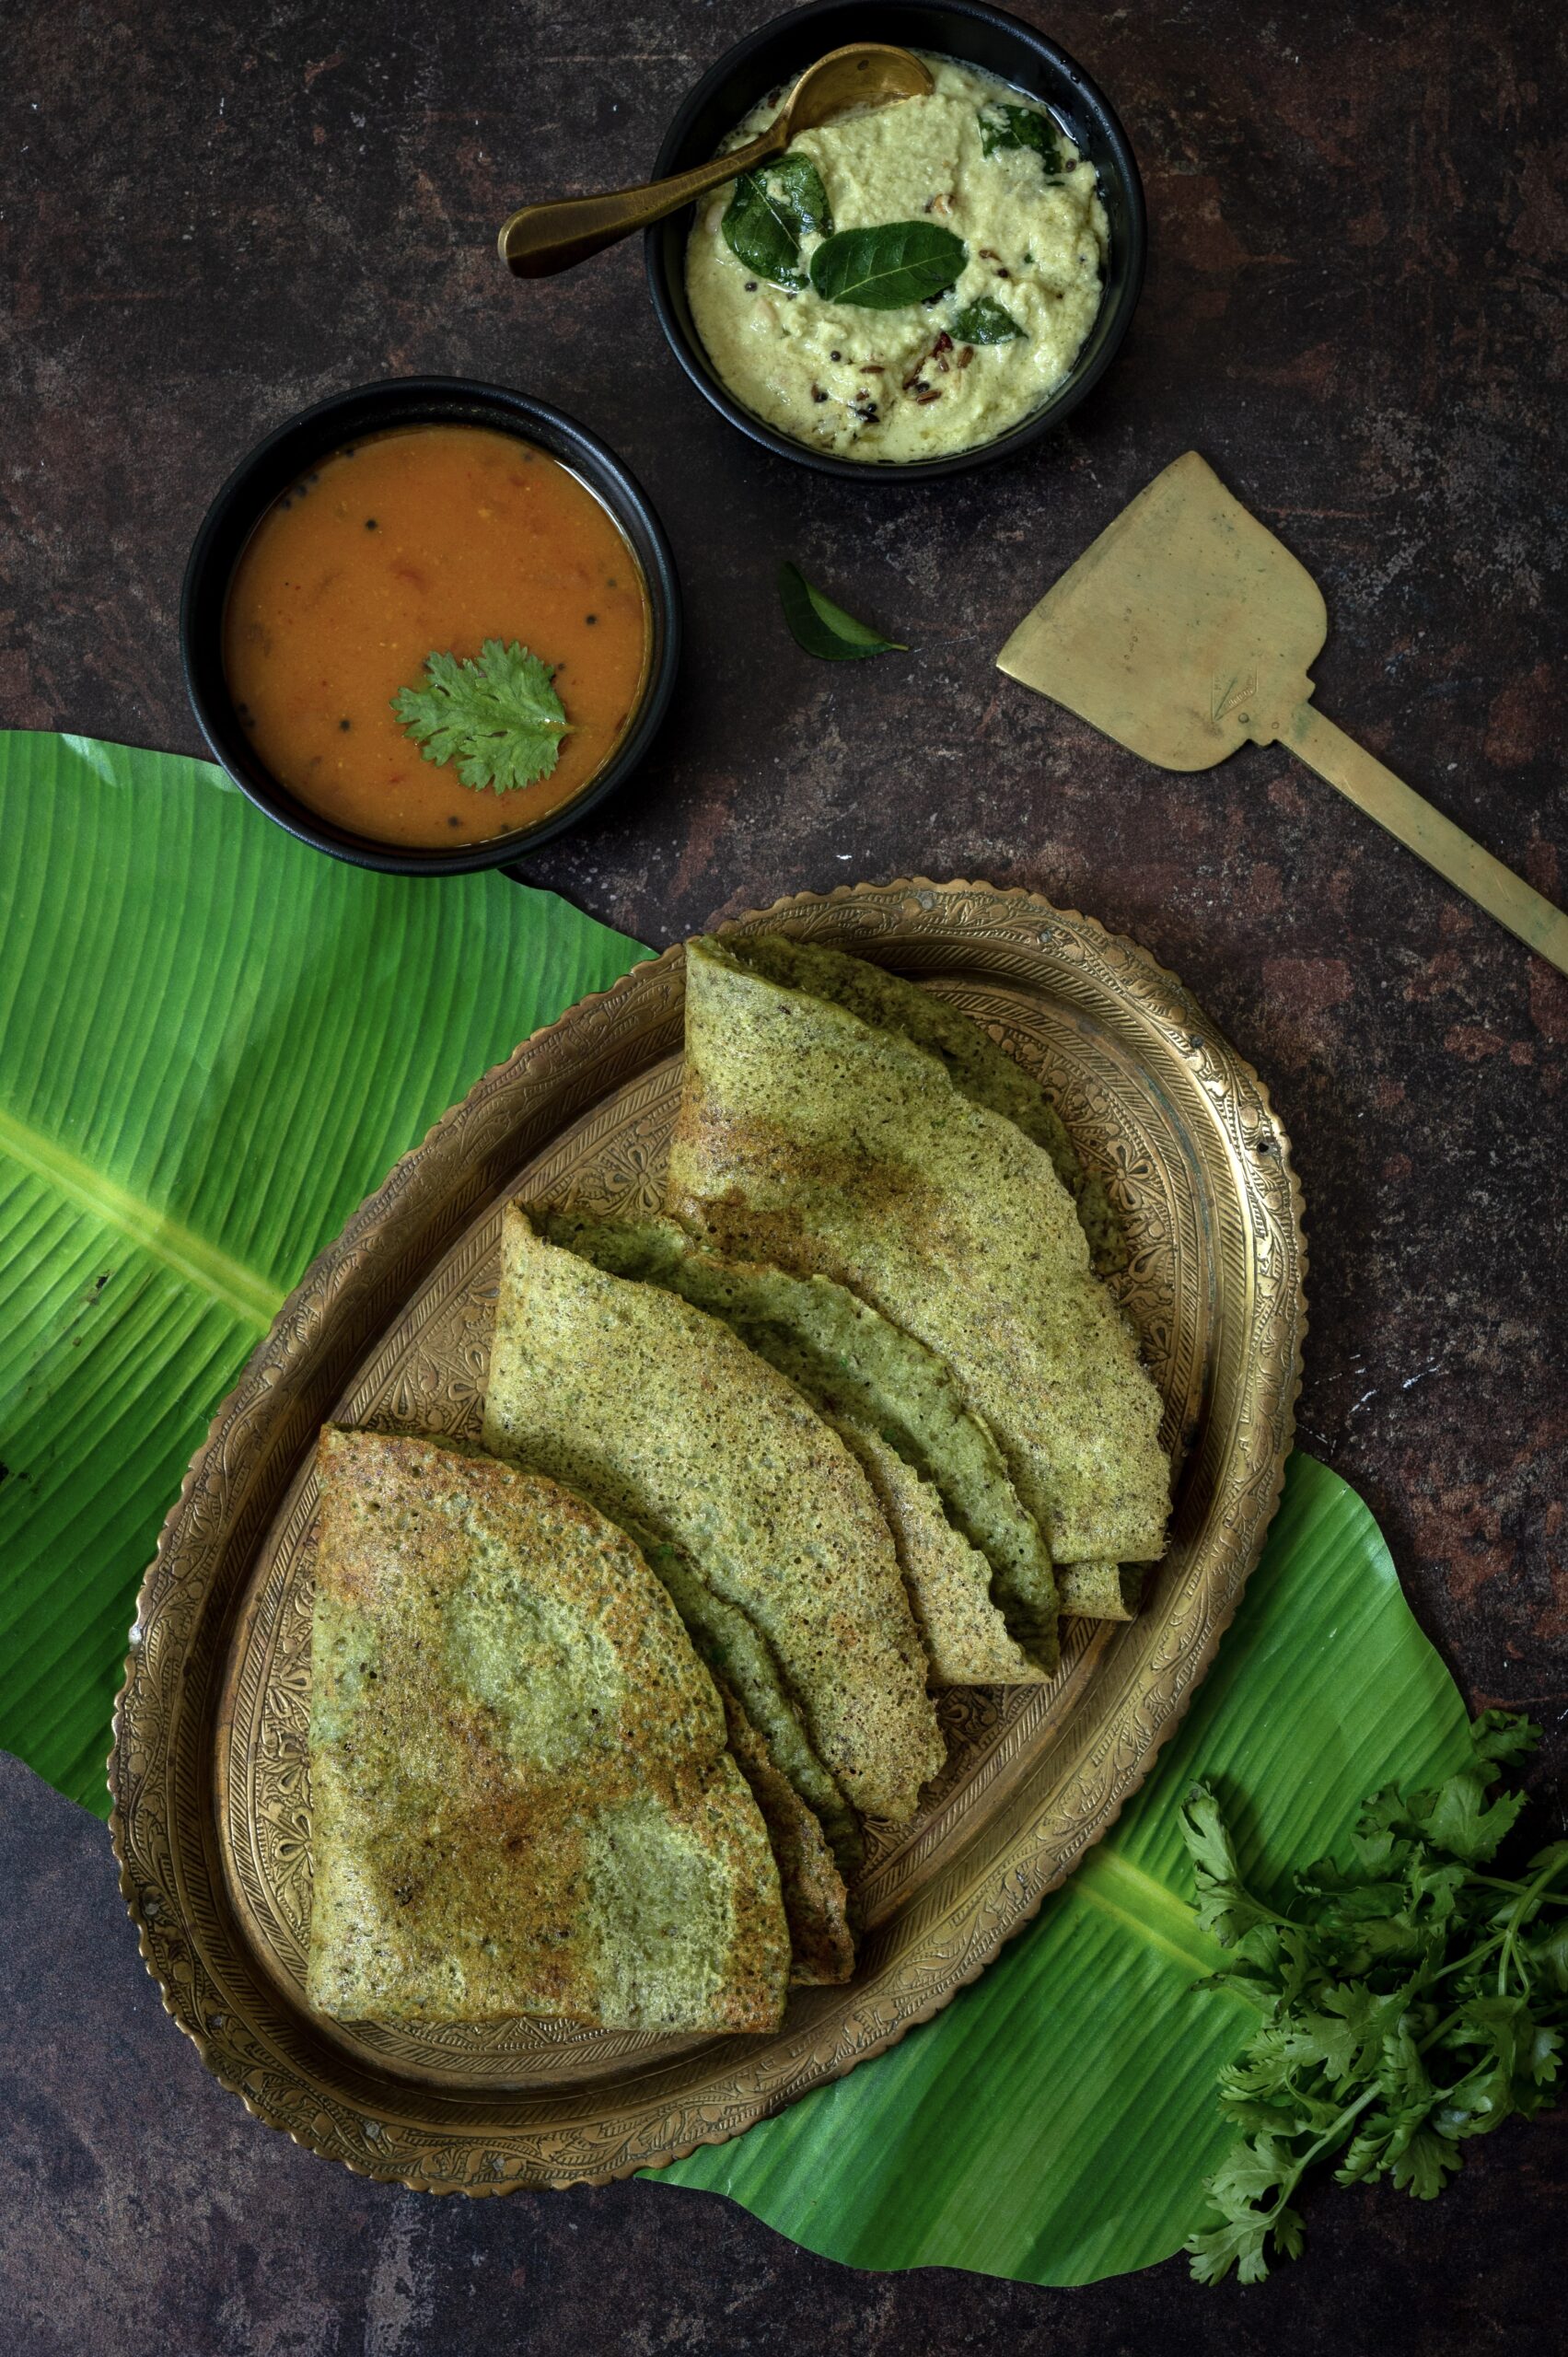
Green Mung Chilla

(Yield: 6-8 pieces)

1 cup raw green mung

Water for soaking

Salt to taste

1 inch piece of ginger

2 green chilies

1 teaspoon cumin seeds

Oil for frying

¾ cup water (approximately)


Soak the green mung overnight in sufficient water for 8 hours.

When ready to prepare the chillas, drain the green mung.

In a blender, add the soaked mung, ginger, green chili, cumin seeds and two tablespoons of water. Grind coarsely.

Remove the batter into a bowl. Add salt and add enough water so that it still remains a thick batter. Let this batter sit at room temperature for an hour.

Then, heat a griddle, and splash a few drops of water to test that it’s hot enough. If it sizzles, the griddle is ready.

Mix the batter gently and drop a ladle-full onto the centre of the griddle. Using the back of the ladle, spread the mixture in a circular motion such that it spreads evenly. This is just like how you would make a dosa or a crepe.

Drop some oil to help the chilla fry up. Cook well on a medium flame until slightly golden. Flip it and allow it to cool for a few seconds. Then flip back, fold into halves and take it off the griddle.

Enjoy your green mung chilla hot, and serve it along with chutney or sambar. You may also want to add some toppings or vegetables, to round the meal out more and increase the nutrient and taste quotients. While it requires some prep, the green mung chilla is a simple and satisfying dish. I hope you’ll try it out!
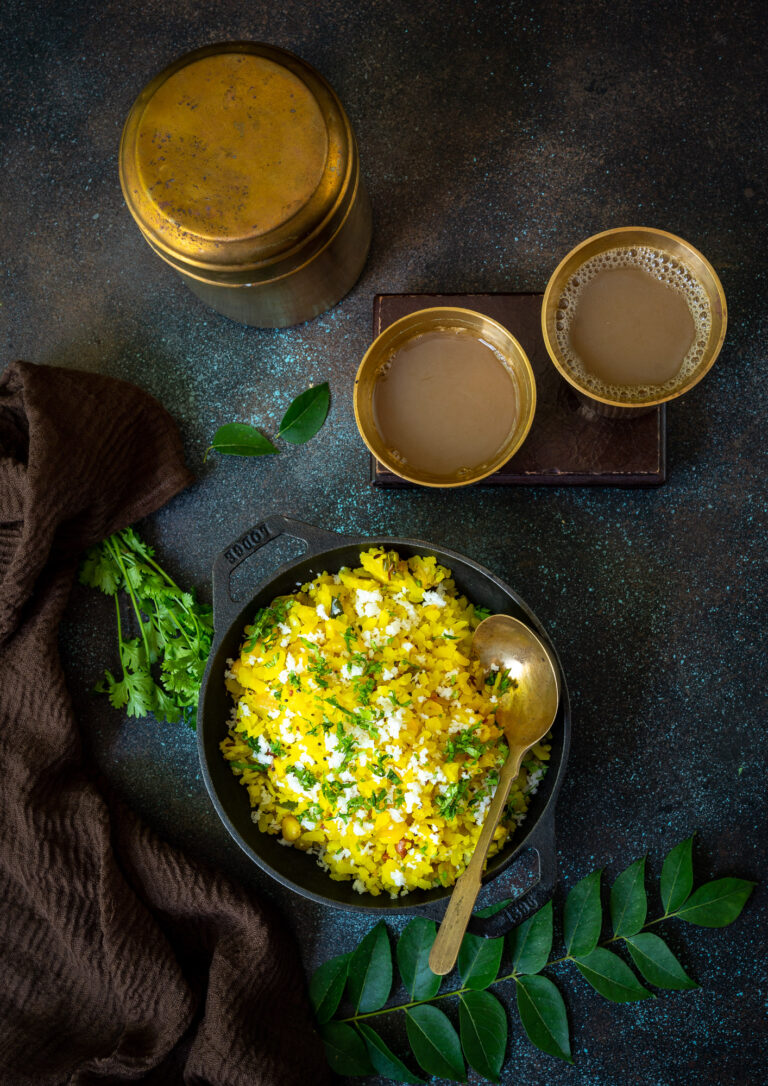
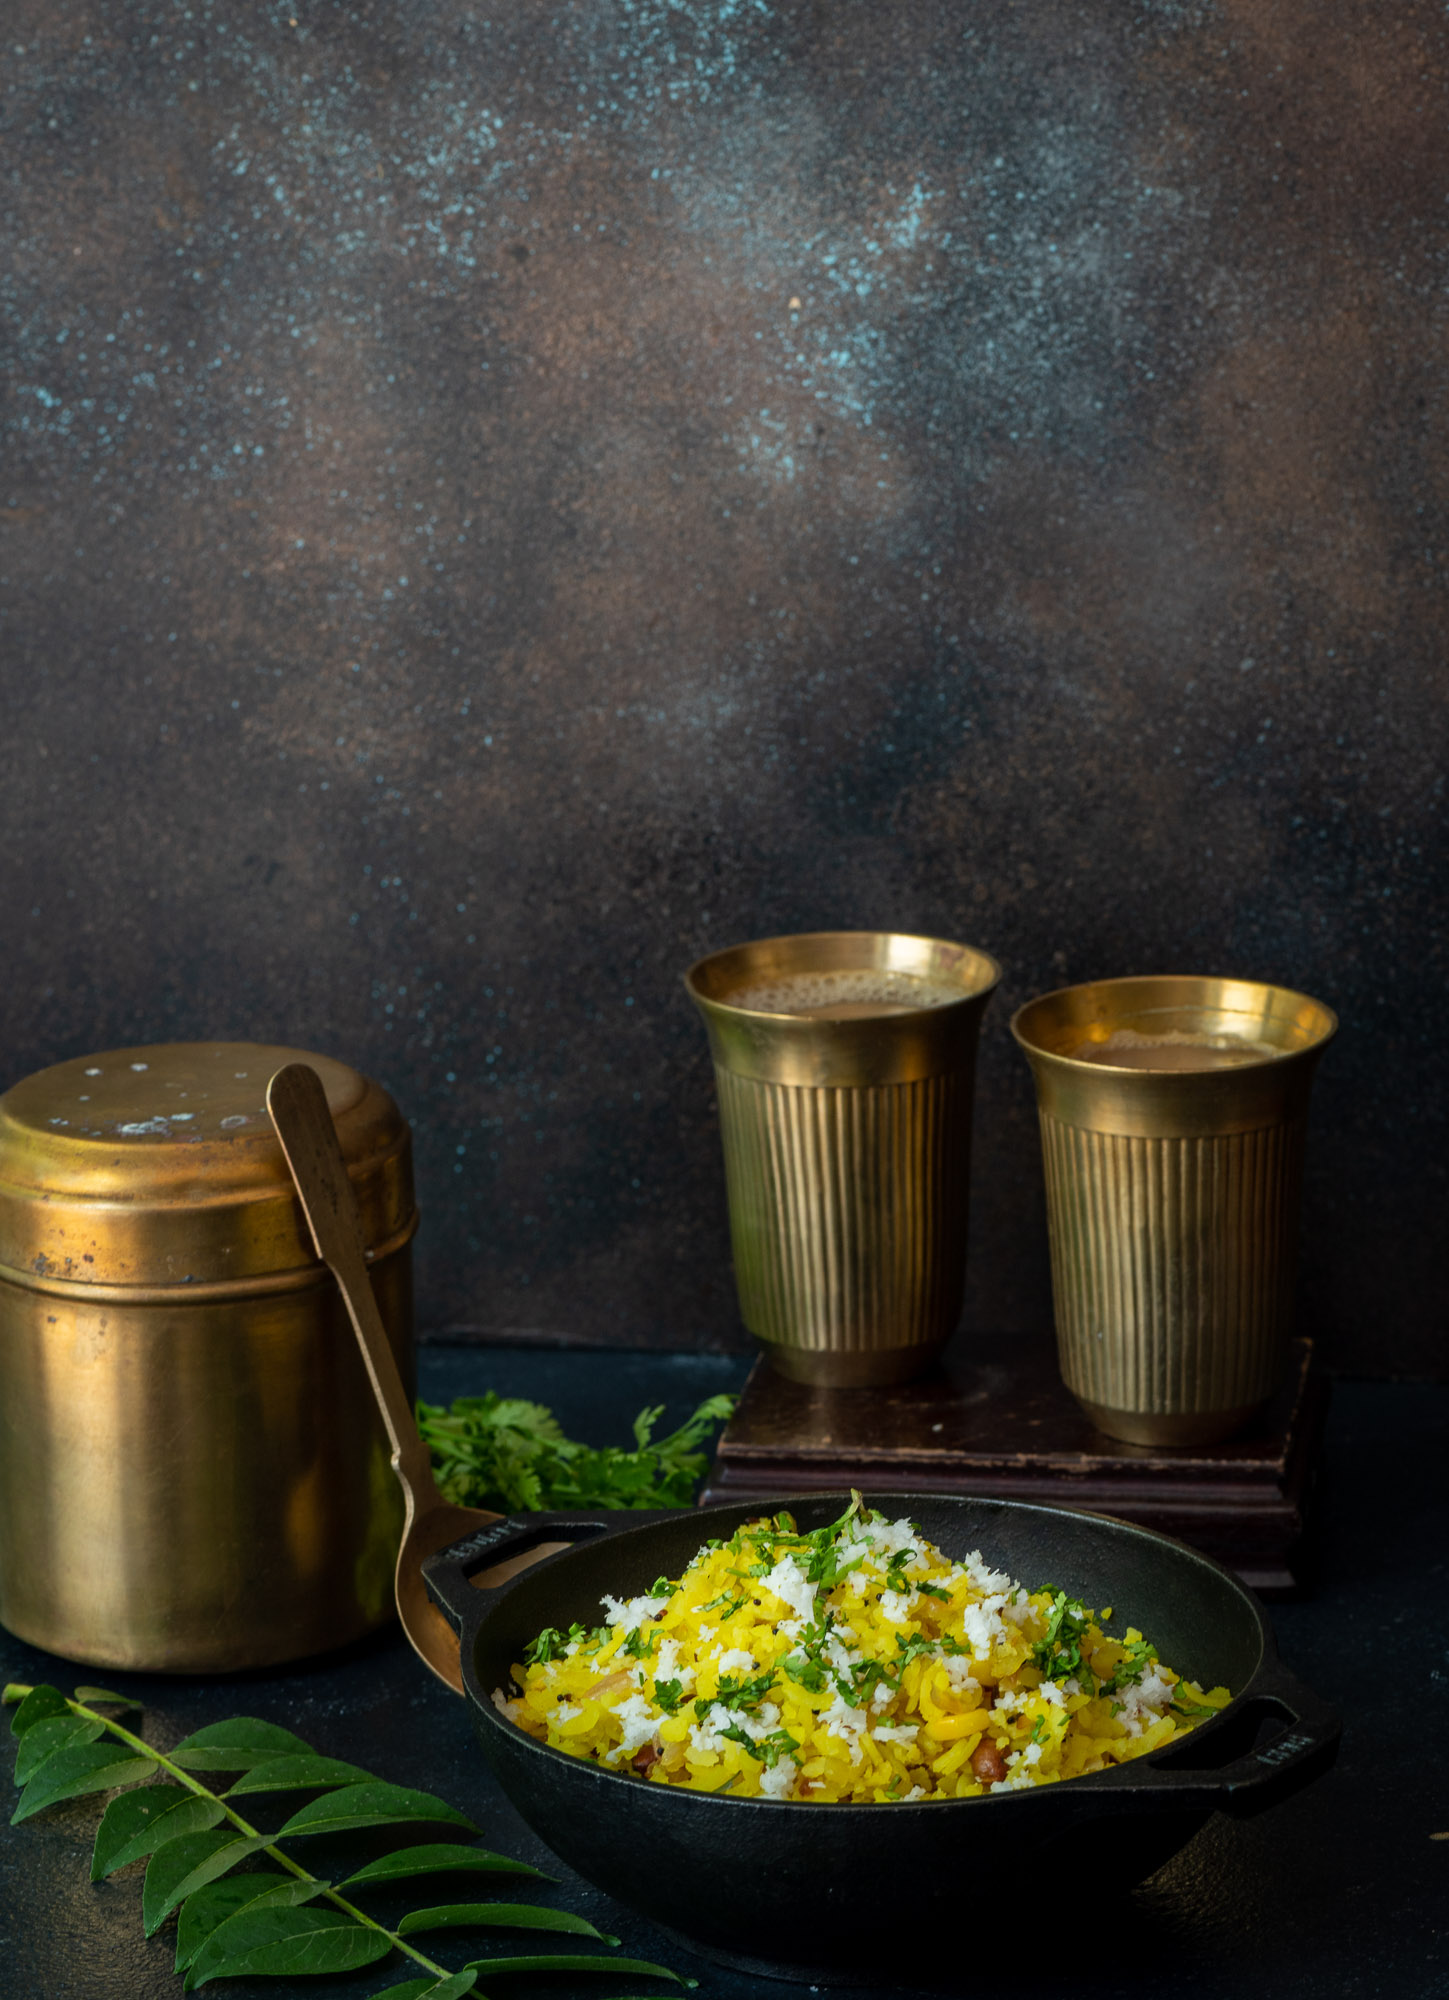
When people say Gujaratis are synonymous with dhoklas, I often think about how it is probably actually poha that’s a better symbol of our eating habits. Even though it is originally a Maharashtrian dish, Gujarati-style poha has been tweaked to suit our palates and makes such a frequent appearance at our meals that it is also quintessential to us. At any Gujarati home – including mine – on literally seven days of any given week, you are very likely to get to see, and of course taste, poha.

The Gujarati palate likes a bit of sweetness and a bit of tanginess in every dish, which is the tweak that this recipe contains. There is some sugar, of course. There is also a squeeze of lime and some green chilli paste. These additions bring in a perfect combination of three flavours: sweet, tangy and spicy.

Poha is, as established already, a staple. It is flattened rice prepared in a savoury way. It is a reliable dish, and made with easily accessible ingredients. It is basic, simple and nourishing. It is healthy and light on the system. It is versatile: good to serve to guests, good to have when unwell or recuperating, and even good at certain celebrations (such as the morning functions of weddings). It is mainly a morning dish, and it is ideal for an everyday breakfast too.

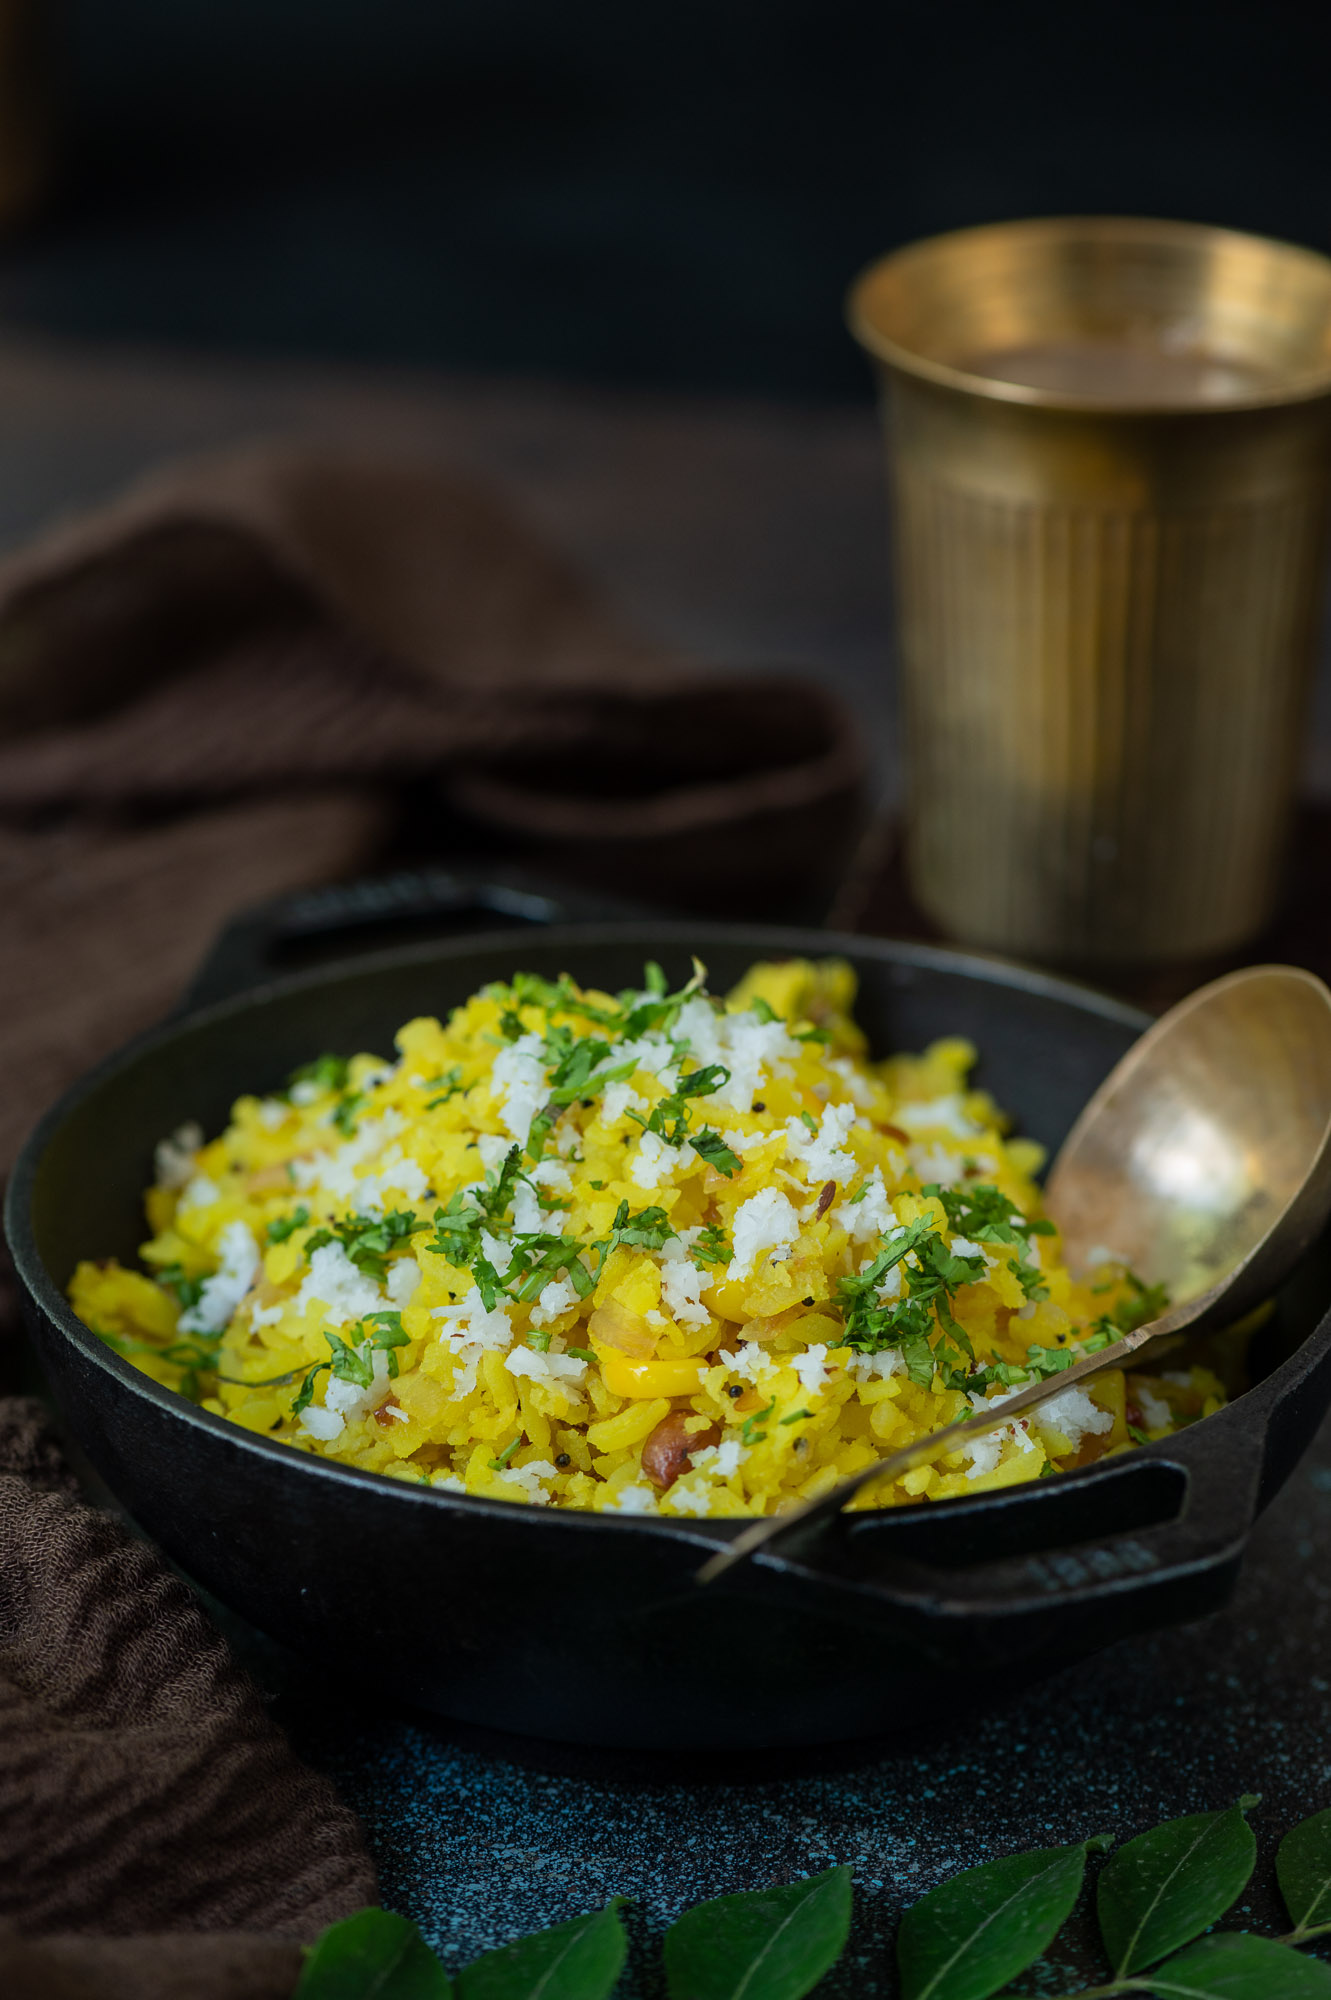
For me, poha is so essential that if it is served every day in my home, I must also have it at least on three days of the week when I travel abroad. Be it London or New York, I must have poha. I carry the ingredients with me and prepare it wherever I am. When I’m travelling, I like to make it in my own special way, by topping it with lots of vegetables. I do know that some people add green peas during pea season, but otherwise this isn’t typically Gujarati. I add the vegetables to suit my health and lifestyle requirements. In this recipe, I have used corn along with a handful of peanuts, to bring in more of the nutrition quotient that I strongly prefer.

Gujarati Poha

(Serves 2-3 people)

2 cups poha

1 medium size onion (finely chopped)

1 medium sized potato (finely cut)

½ cup corn niblets

1 tablespoon peanuts

1 green chilli

A handful of curry leaves

3 tablespoons oil

1 teaspoon cumin seeds

½ teaspoon mustard seeds

Salt to taste

¼ teaspoon turmeric powder

1 tablespoon sugar

Juice of 1 large lime

You may want to use the red rice variety of flattened or beaten rice to prepare this dish, but I like to use the thinner white rice variety. The advantage of it is that you don’t have to soak it for fifteen minutes to half an hour beforehand. You only have to rinse it. Do keep this in mind; if you use the thicker variety, you must soak and drain it.

Rinse the poha under running water and allow to drain, half an hour before cooking. Set aside.

Heat a kadai, and add the oil. Add the cumin and mustard seeds. Once they splutter, add the peanuts and then the onions, curry leaves and green chilli. Sauté until the onions are tender and then add the potatoes. Now, cover the kadai with a lid and allow the potatoes to cook on a low flame. Sprinkle a little water if required.

Next, add the corn and sauté until all the vegetables are tender.

Add the salt, turmeric powder, sugar and lemon juice and mix. Add the poha and mix gently. Sprinkle a little water and cover again for a few minutes.

Mix again gently and serve. You can garnish this dish with grated coconut and coriander leaves. As I mentioned, you can also top with vegetables for a greater nutritional boost. This will give you a re:store-tweaked, Gujarati-style poha!

The summer heat is very strong right now where I live in India, so lighter meals are preferred and favoured. This often means fewer carbs, as they feel heavier at this time of year and just sit in the body. I find myself preparing Buddha bowls very often. While I’ve shared a number of different variations of them, this particular one is especially good for this season.

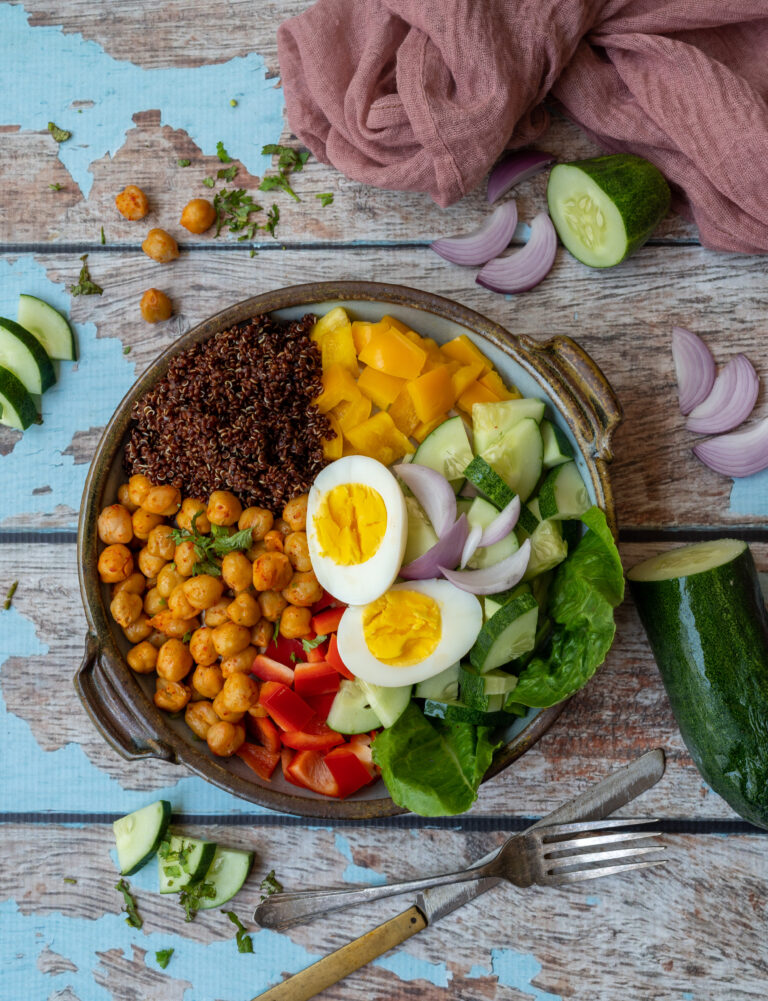
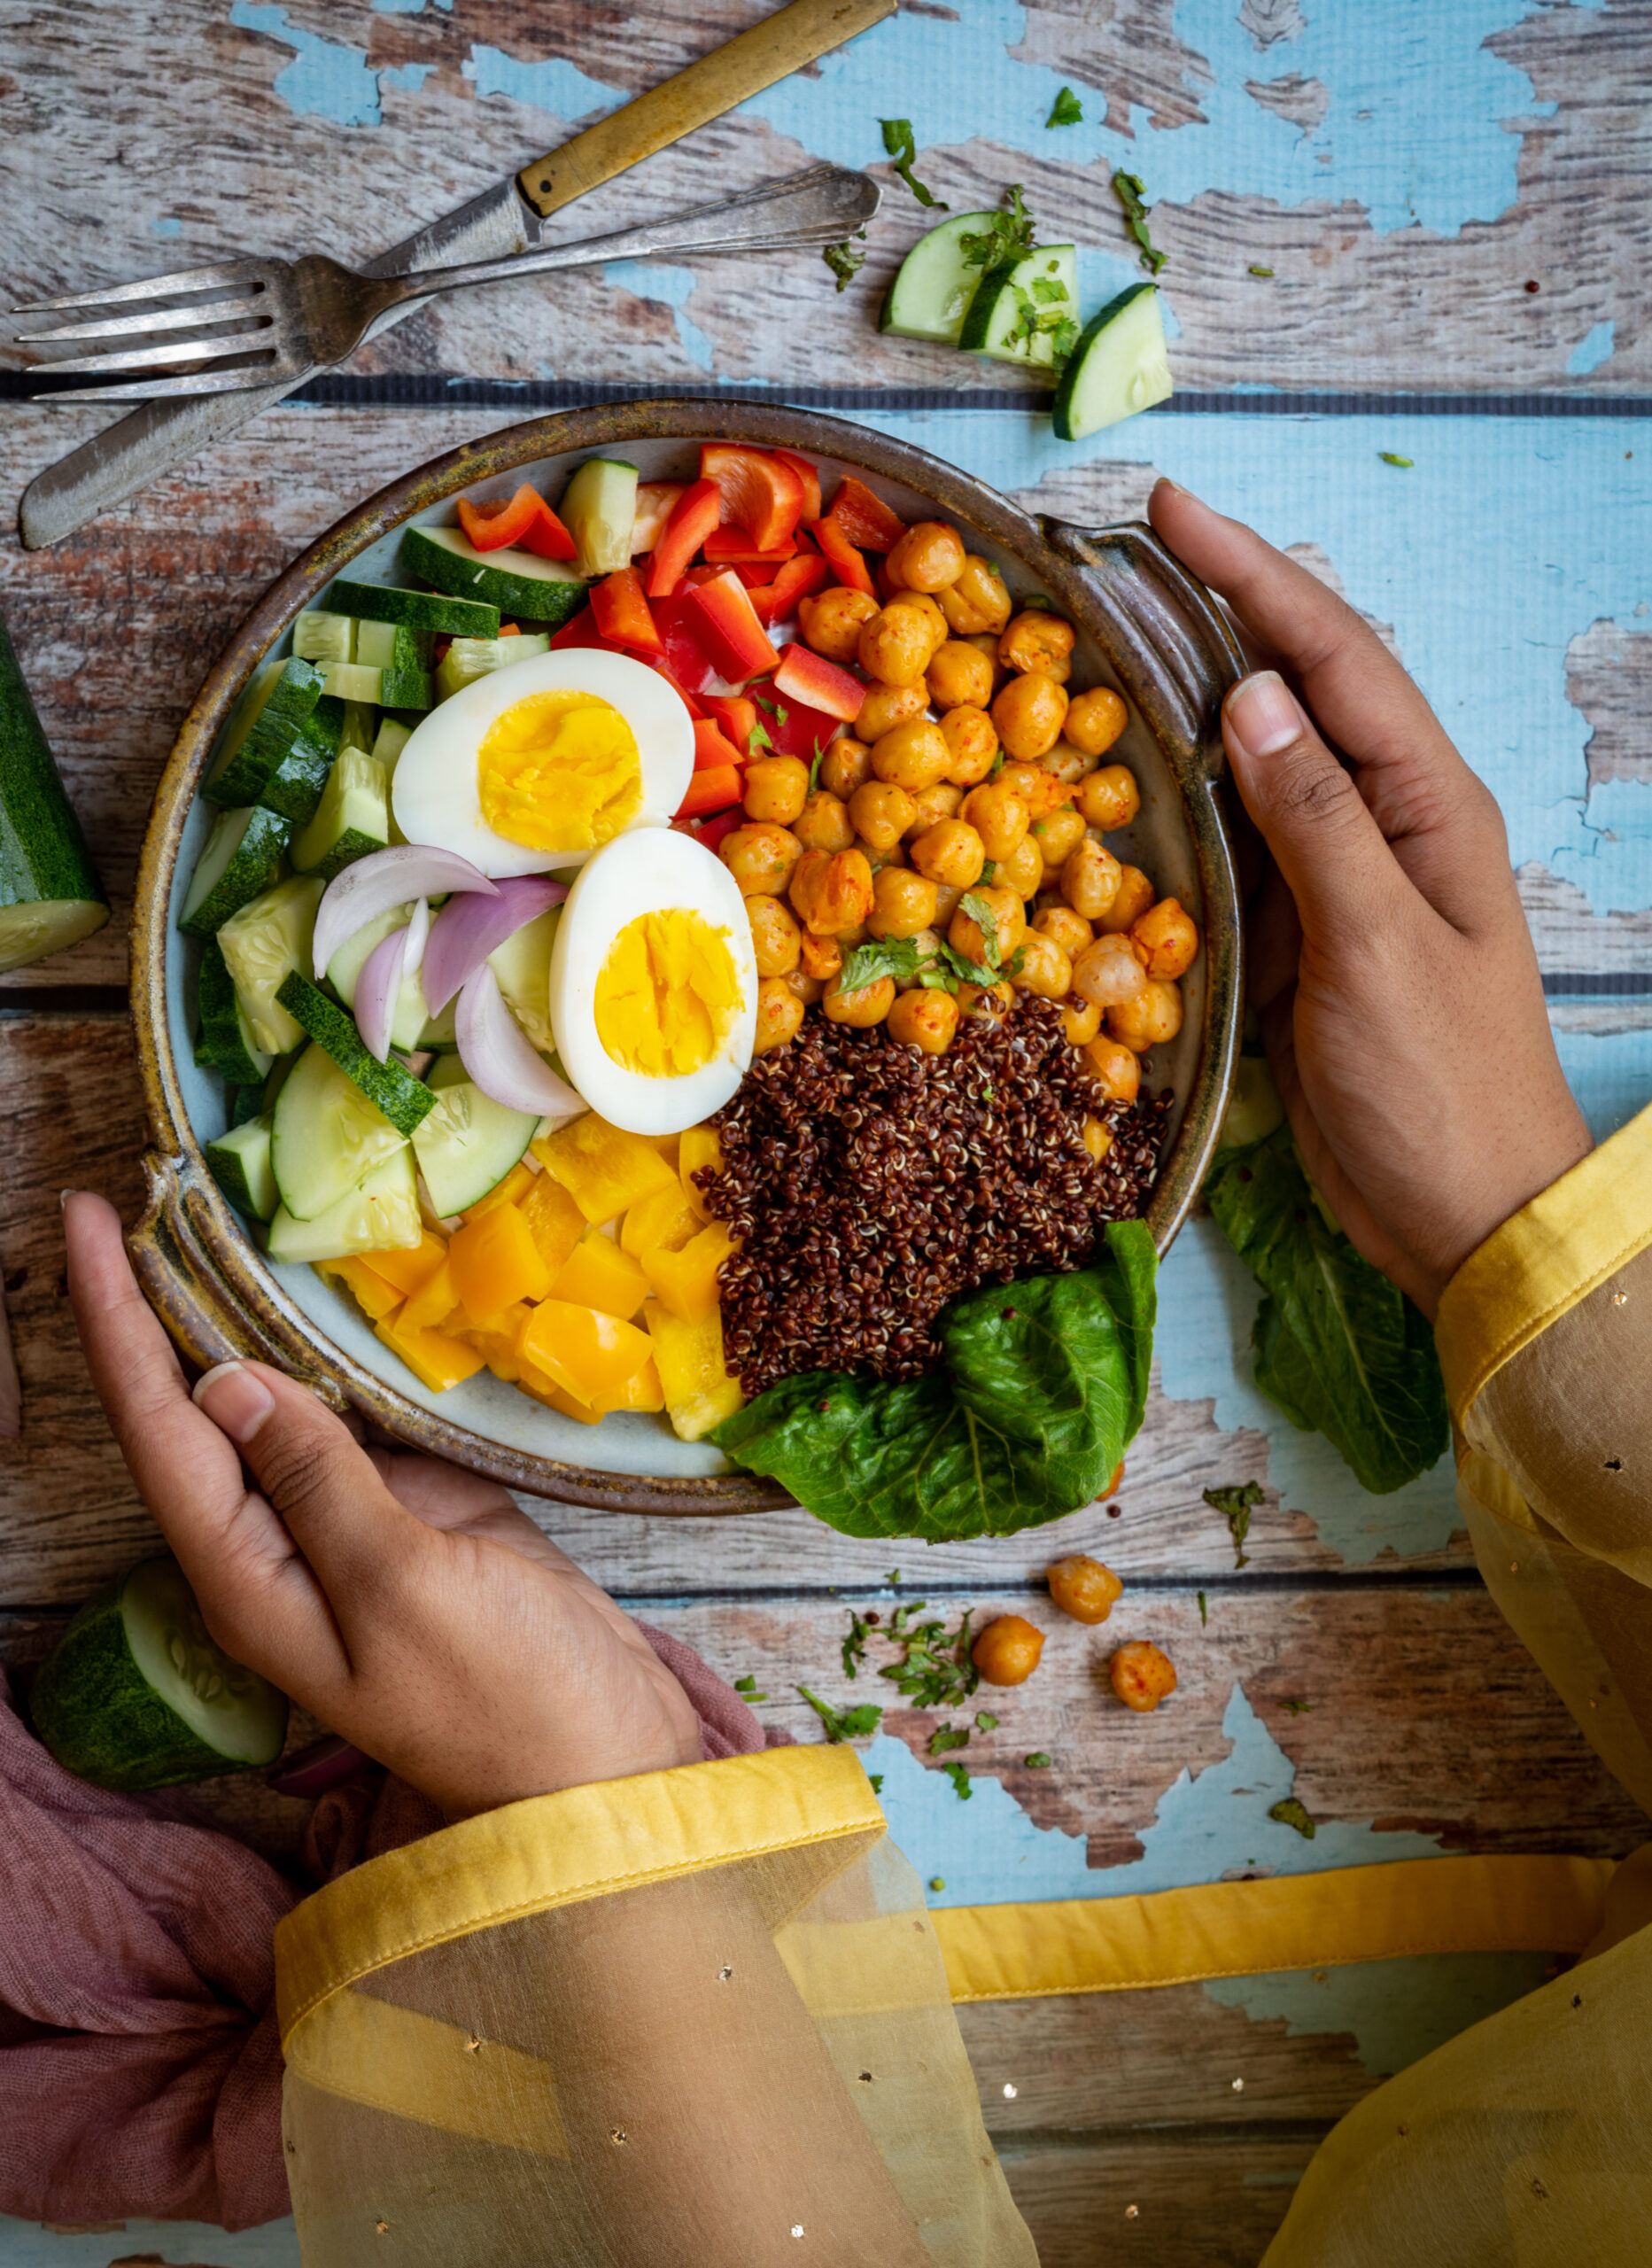
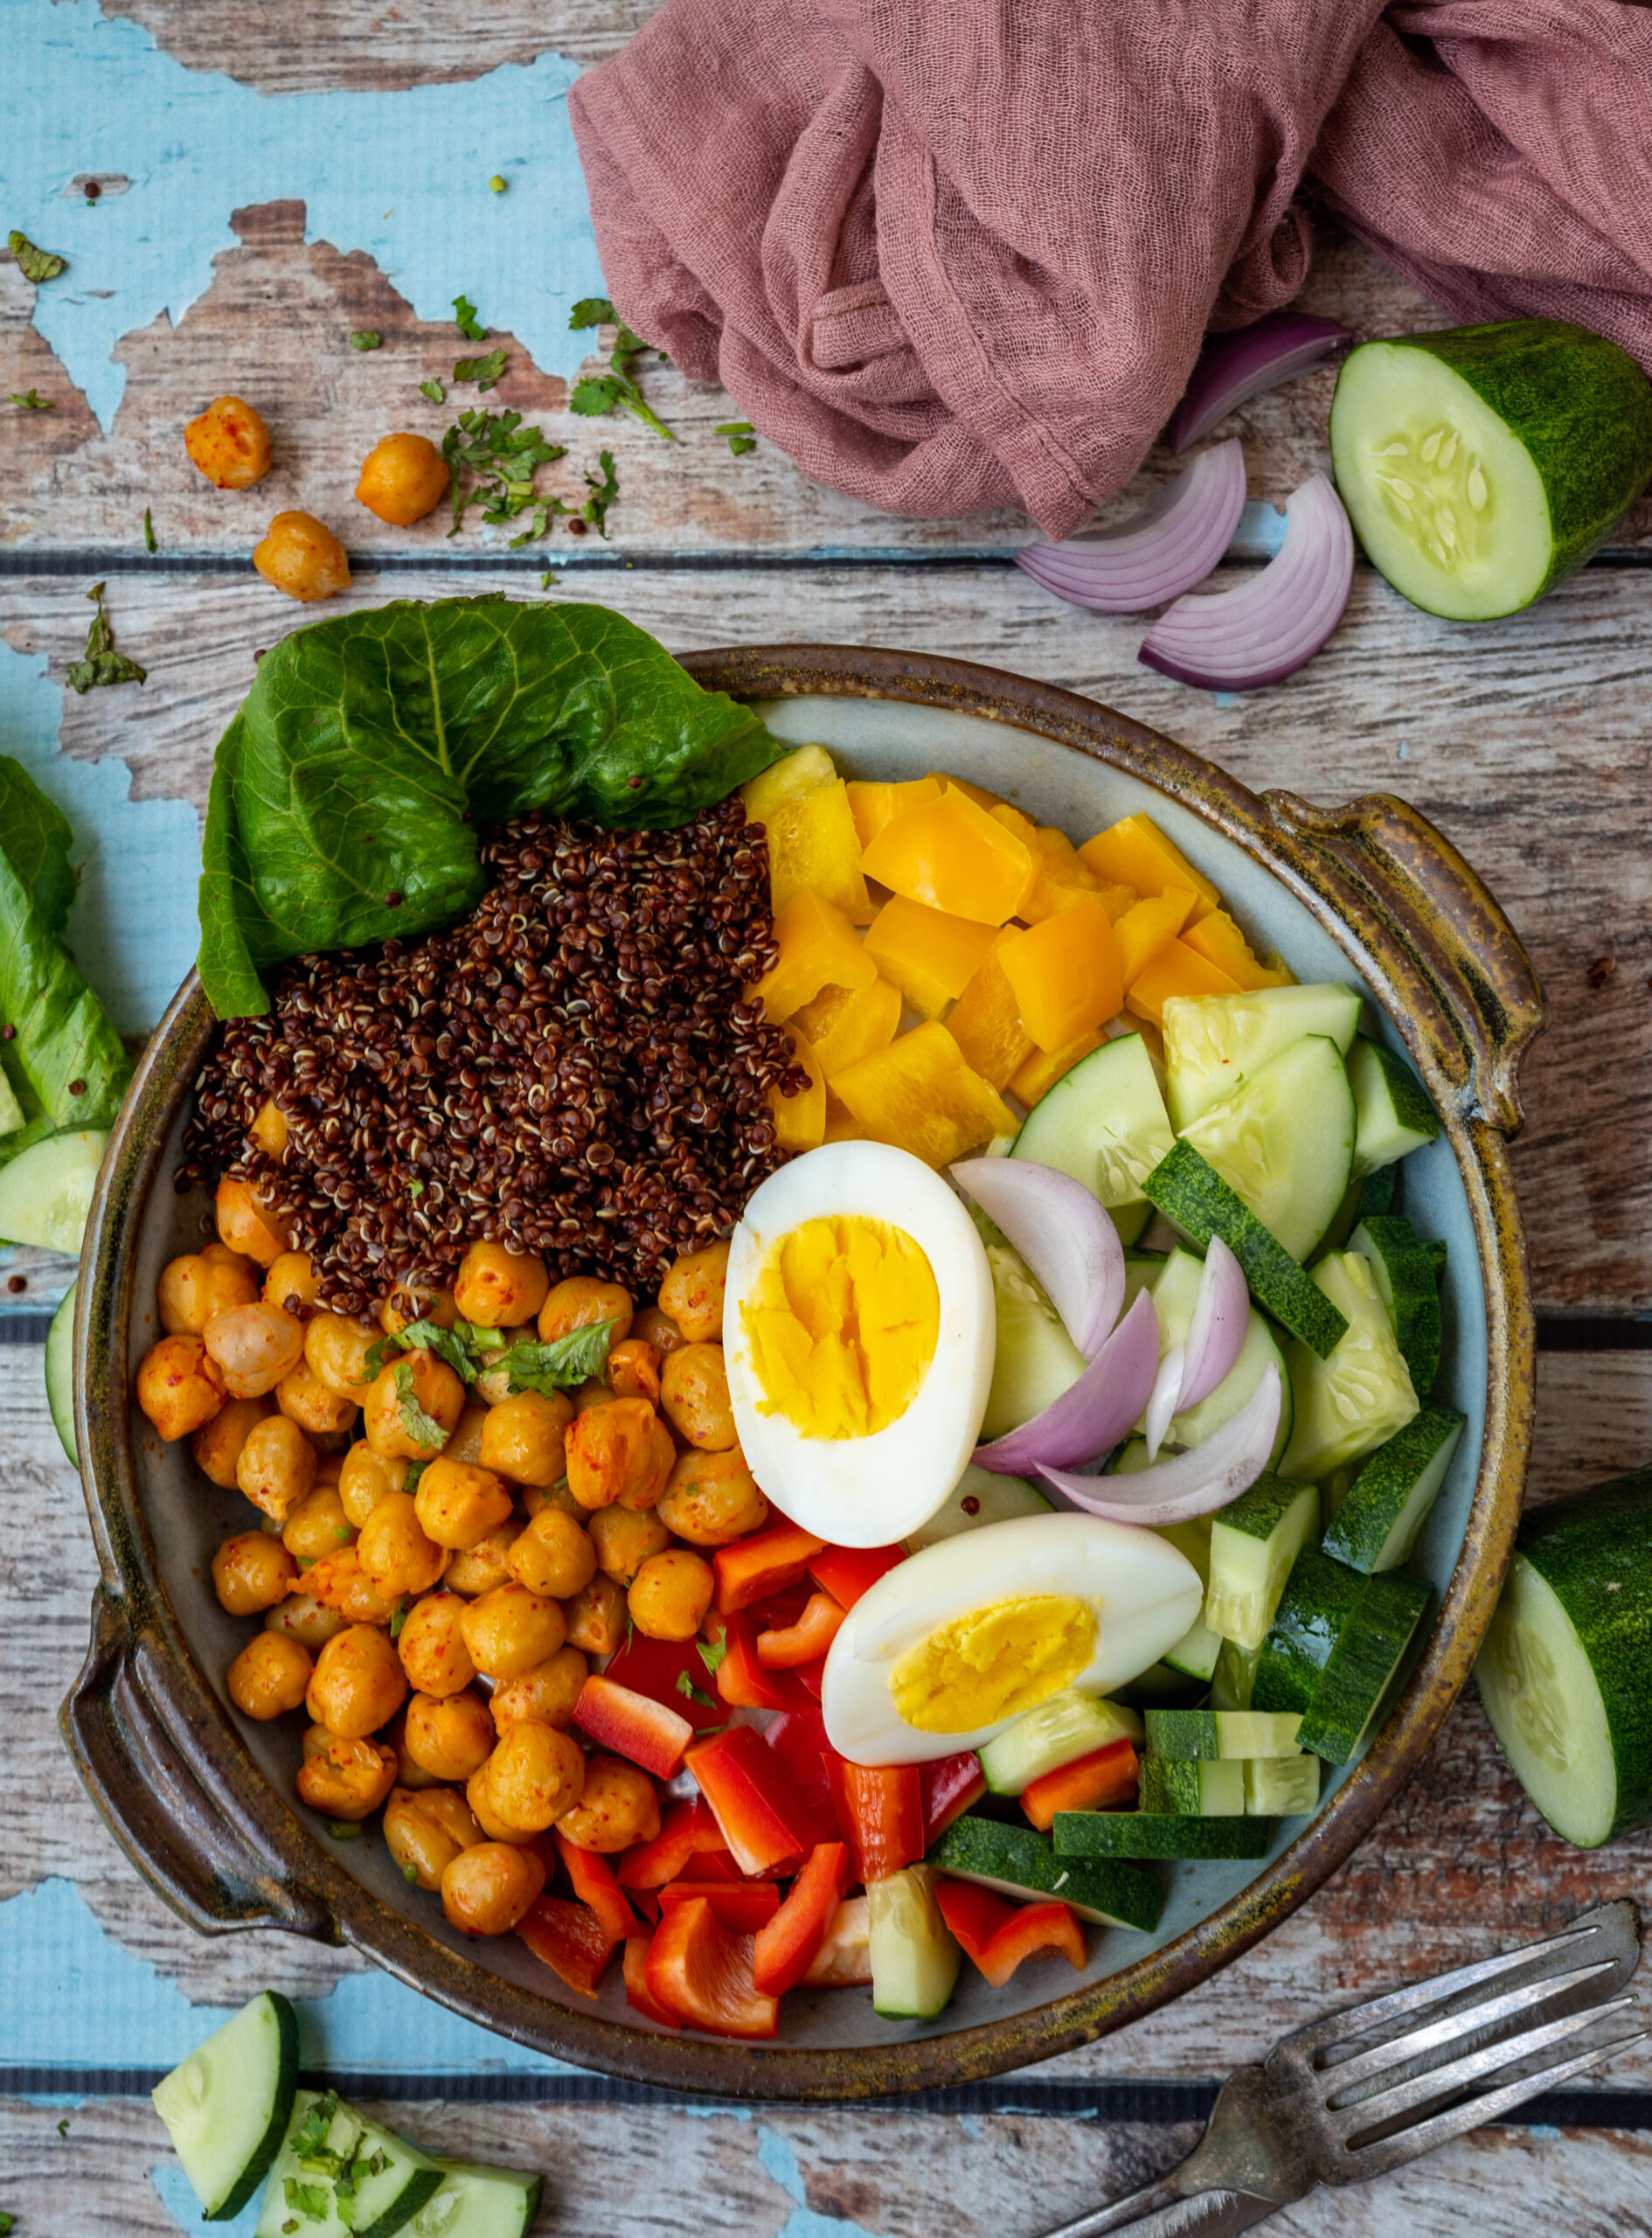
For my summer Buddha bowl, I have used quinoa as my grain base, adding proteins and vegetables. You can replace any of my choices with those of your own. A good Buddha bowl should feel personalised. Use ingredients that go with your mood of the day, but try and reach out for ones that are readily available and seasonal – both for convenience’s sake, as well as for the health benefits of eating according to Nature’s logic.

As I am getting older, I often feel the need to be more conscious of what I eat. Many recipes on this blog attest to this too, and I know that many of you feel the same way. Eating consciously isn’t about losing weight. You come to realise that beauty does not lie in how thin you are as much as how healthy you are. Eating right so that you stay fit at any size and making sure that your bloodwork is clean are better goals.

I recently watched a performance – the premiere of a show by Jyoti Dogra presented by Prakriti Foundation. It is call “Maas”, which translates to “meat” in Hindi. It is a must-see for all of us today, and the artist reminds us of exactly these musings: that beauty is not about weight and other expectations. Prakriti Foundation is travelling with the show to four cities; hopefully many of you will get to see it and be moved by it too.

Sometimes we need these reminders, even if they are about things we are already aware of. Feeling good about yourself is so important, and I believe that eating well goes a long way in bringing about this feeling. That brings us back to Buddha bowls. Another thing I love about them is that they let you get creative. You can play around with a variety of vegetables, grains and proteins. Don’t forget the use of colour too – one of the secrets to making a Buddha bowl work is to incorporate a few different hues. This one gets that vibrant pop from capsicum. How will you liven your bowl up?

Summer Buddha Bowl

(Yield: Serves 1)

¾ cup cooked chickpeas

1 cup sliced cucumber

½ sliced onion

1 cup cooled quinoa or any other grains

1 boiled egg or tofu / chicken / fish (optional)

½ cup colourful bell peppers

A few lettuce leaves of choice


Dressing

Salt to taste

Juice of 1½ lemons

½ teaspoon chilli powder

2 teaspoons olive oil + 1 teaspoon for chickpeas


In a pan, add 1 teaspoon of olive oil and sauté the cooked chickpeas. Add 2 teaspoons of the dressing. Sauté on a medium to high flame. Set aside.

Clean and cook the quinoa and strain.

Now, assemble all the ingredients in the bowl in any way you prefer or as in the images I’ve shared.

Pour the remaining dressing over the cut vegetables individually and plate, topping with the sliced boiled egg or other protein of your choice.

You can garnish the bowl as you wish.

Serve at room temperature or cold. Enjoy this light, nourishing dish that will replenish your body in this summer heat!

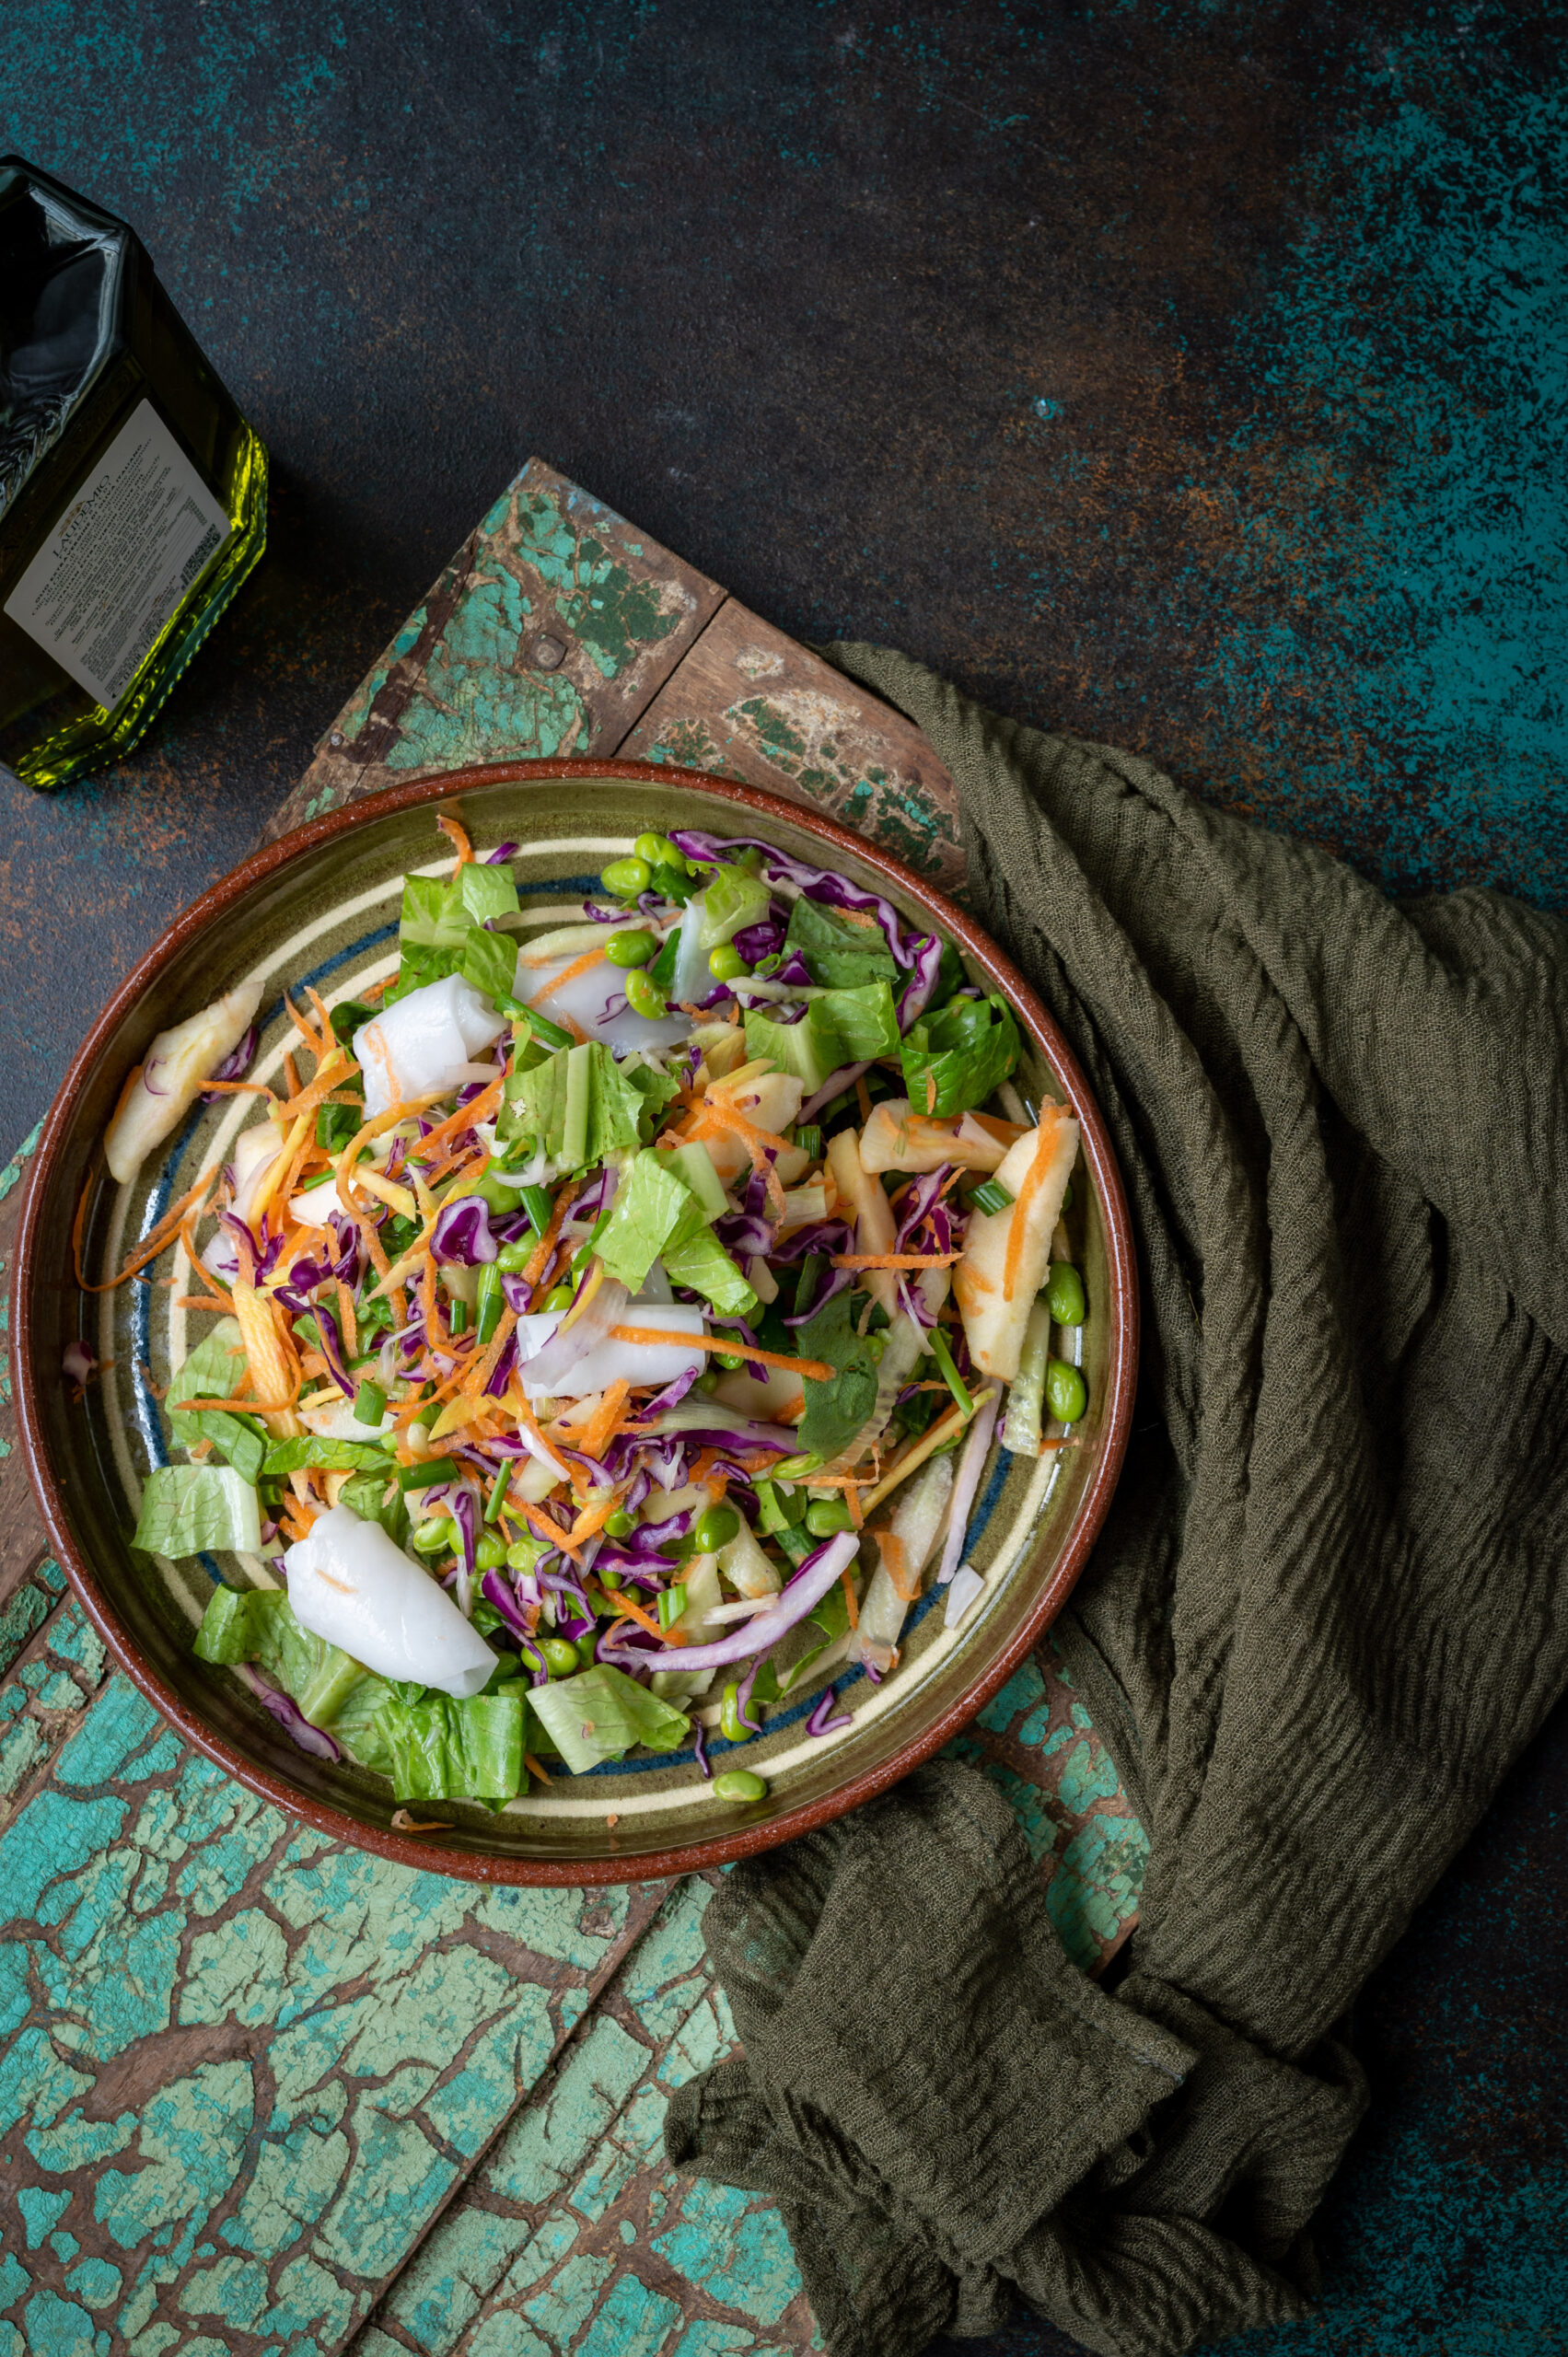
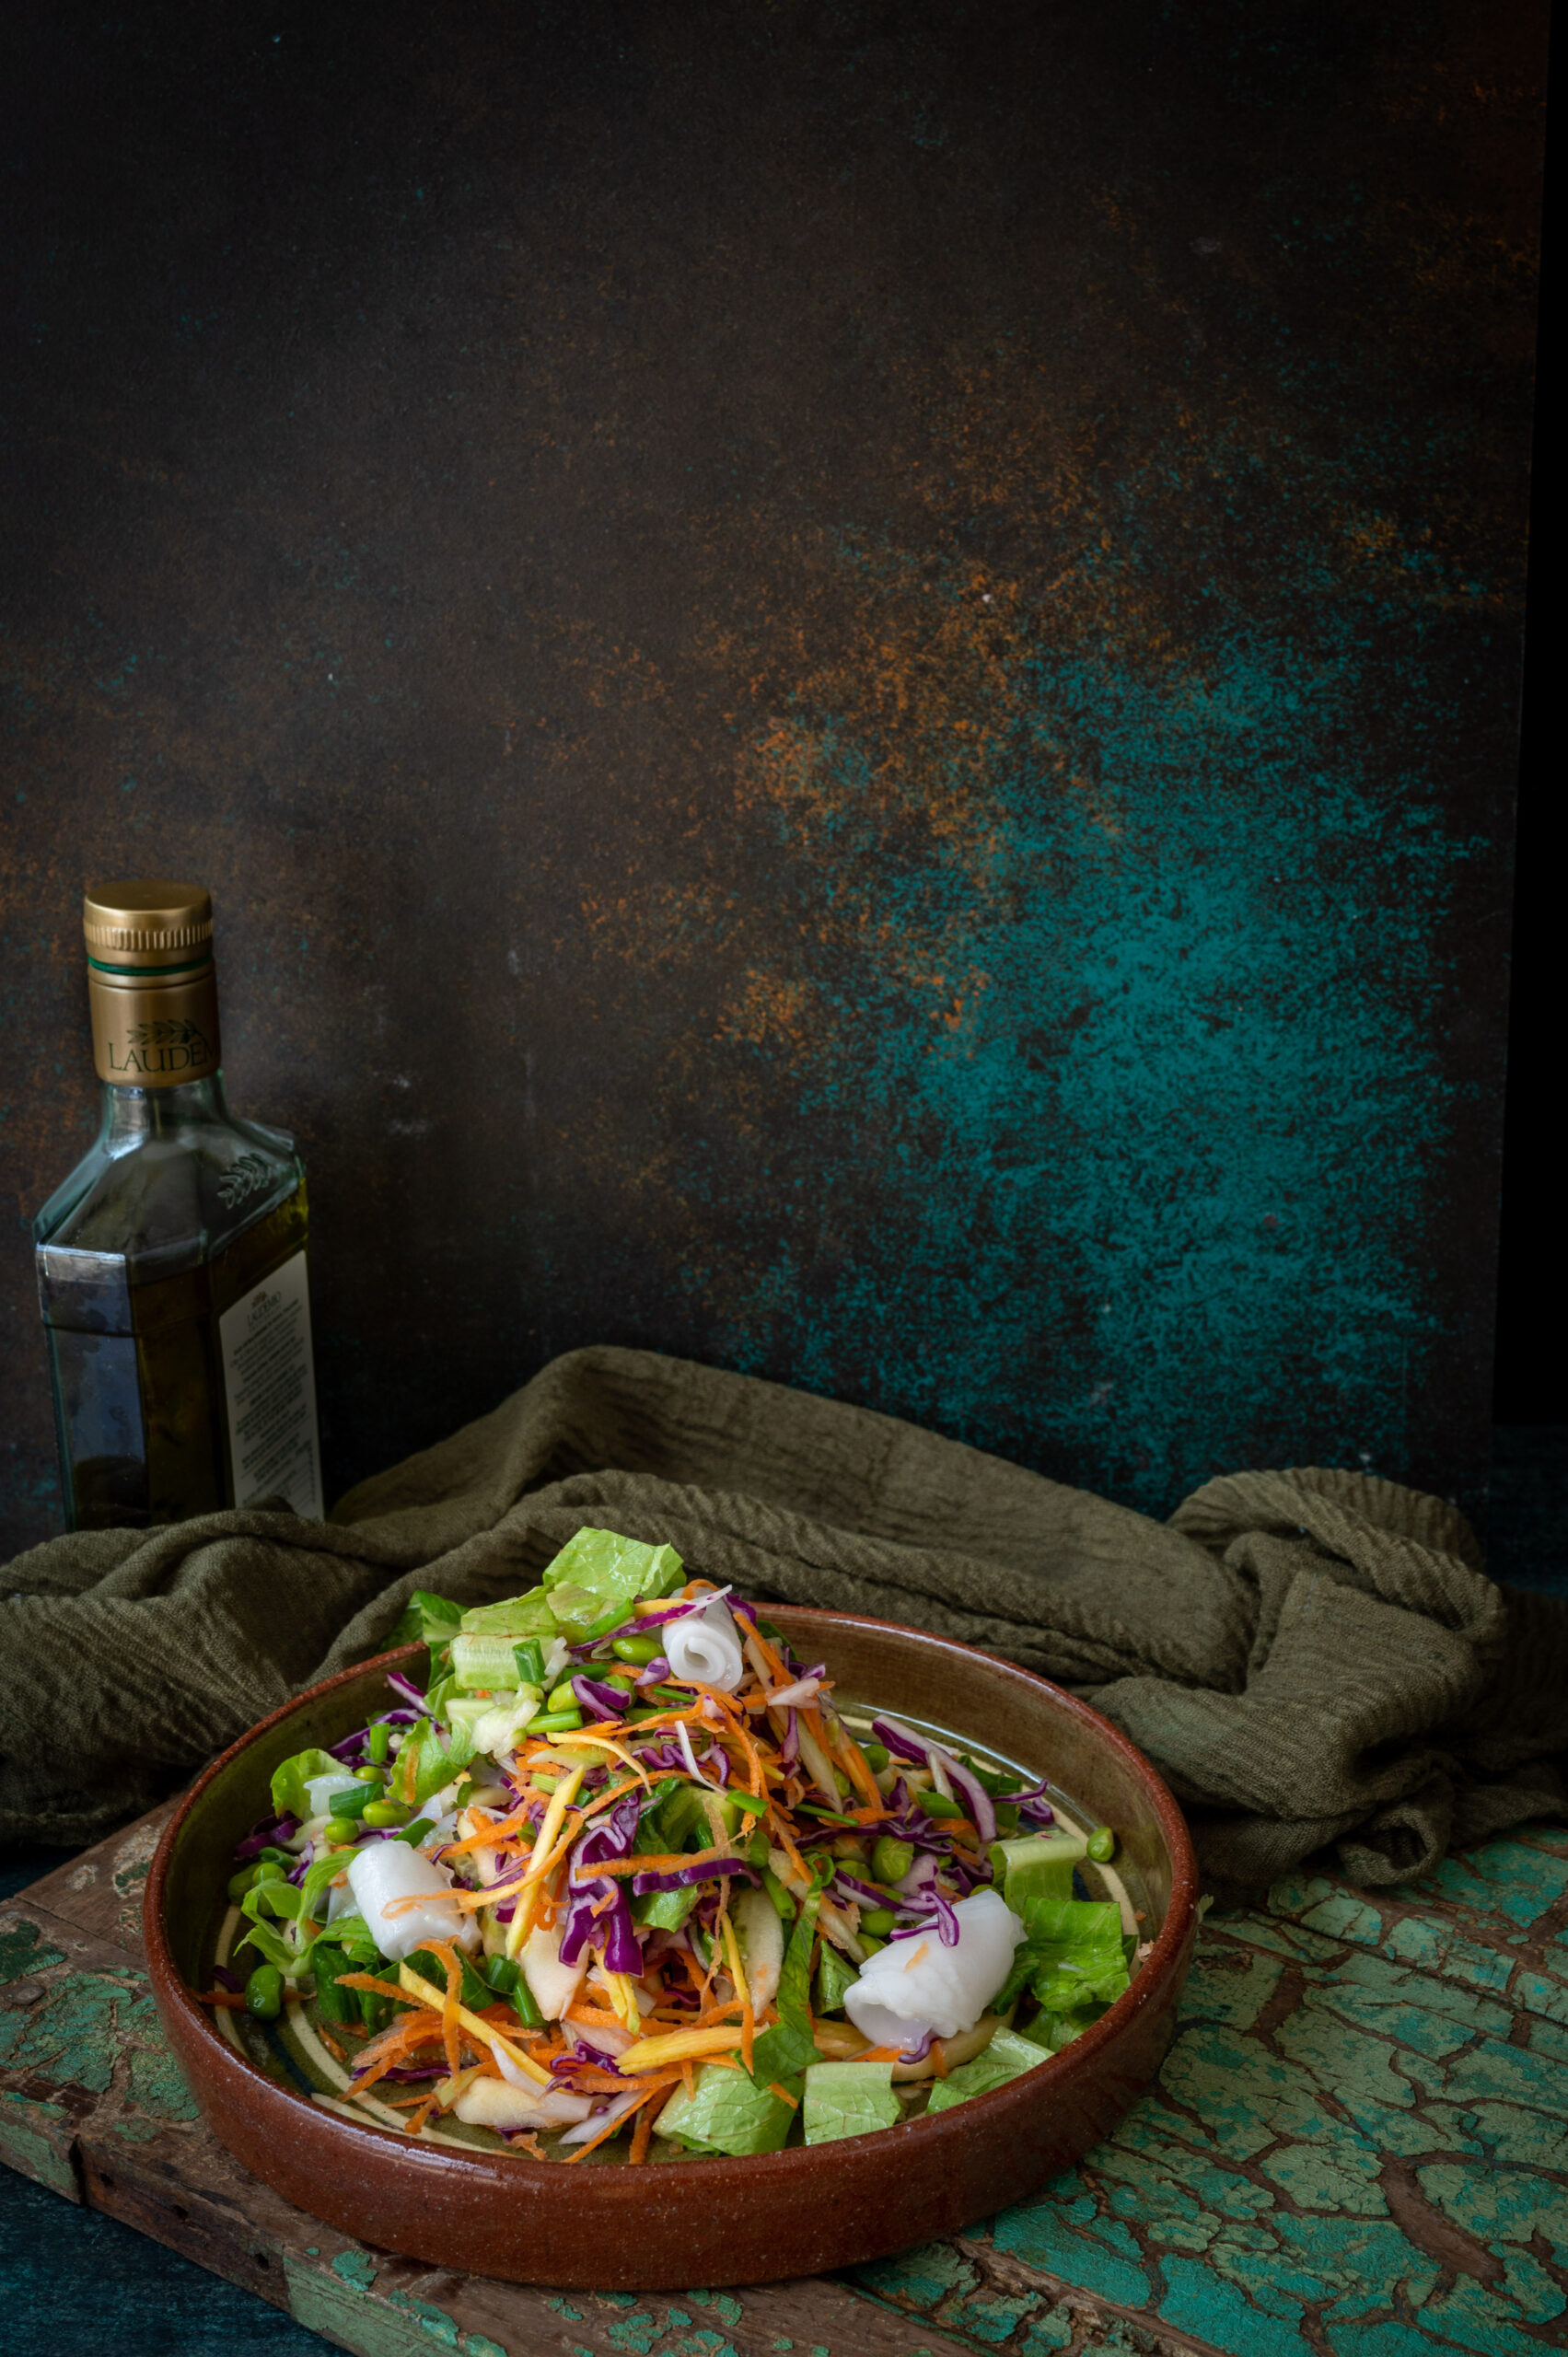
Last week, I shared the recipe for eggless rose-coconut mousse, and the coconut theme continues with this tender coconut salad. At home, generally, a good salad is the star of most of our meals. Slowly, the staples of rice and roti have moved aside and given way to a salad as the base, and bigger servings of the same. Also, all of us have experimented with intermittent fasting and so on at home, and breaking the fast with a bowl of salad is a sensible choice. This means that salads feature in most of our meals, which also means that I try to be as creative as possible to maintain novelty in what I serve. This recipe is one I came up with as I wanted to use up some of the abundance of coconuts in my backyard.

When concocting a salad, I just eyeball the recipe more often than not. I put in whatever I feel will work. The ingredients that are in my kitchen, their seasonal availability and my own mood also determine what gets prepared. Those who help me in the kitchen are also aware of this, so we all pretty much just put into our salads whatever we feel like. It turns out tasty every time, and there is a reason for this.

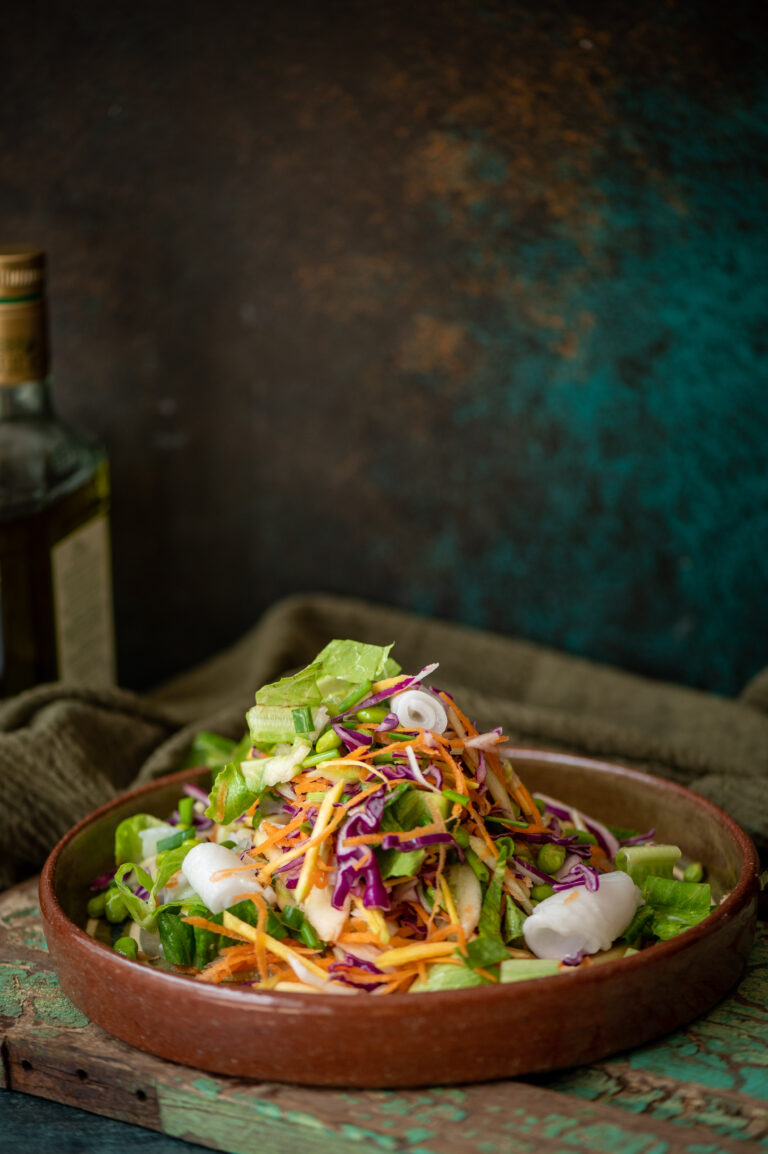
The reason is that there is a pattern when it comes to salads, even when it appears to just be a bunch of ingredients thrown together. It is as follows. First, you add some kind of lettuce leaf. Then, some kind of protein. I tend to use lots of nuts and seeds, and if you’re a meat eater then roast chicken slices or such will work great. Raw vegetables come next. I also like to add something sweet like raisins, sliced apples or orange segments; these lift up the salad, in a very healthy way. Occasionally, to turn the salad into a complete meal in a bowl, I add a grain like quinoa, barley or millet. While I don’t do this too often, a bit of crispiness, such as crushed chips, can also add texture. The trick is that the proportions of each should be appropriate, and the combinations should be complementary.

As for the dressing, it’s usually based on whatever is there when I open the fridge: juice of lime, juice of half an orange, a dollop of almond butter… There are so many options.

To me, a salad never fails to please. Today, I’ve made coconut the hero – perfect for the summer. It’s important that the coconut is very tender, as the soft flesh is much better in this preparation than the hard pieces.

Tender Coconut Salad

(Yield: Serves 3-4)


1 cup tender coconut meat

¼ cup raw mango

½ cup red cabbage

½ cup spring onions with the greens

½ cup grated carrot

A few healthy lettuce leaves

½ cup edamame (or any other beans)

A few caramelized walnuts

1 small apple, sliced

½ cup long slices of cucumber


Dressing

1 teaspoon olive oil or coconut oil

Salt to taste

2 pinches of pepper

1 teaspoon honey

Juice of 1 lemon

½ teaspoon sriracha


Add all the raw ingredients to a bowl.

Separately, mix all the dressing ingredients and stir. When I make it during raw mango season, I like to add a bit of that too – to give a boost of Vitamin C and a nice tang, as well as increasing the tropical feel.

Before serving, pour the dressing over the raw ingredients and mix gently until all of them are well coated.

Your tender coconut salad is ready: as simple as that! I hope you’ll enjoy it. Don’t forget to explore more of my salad recipes too.

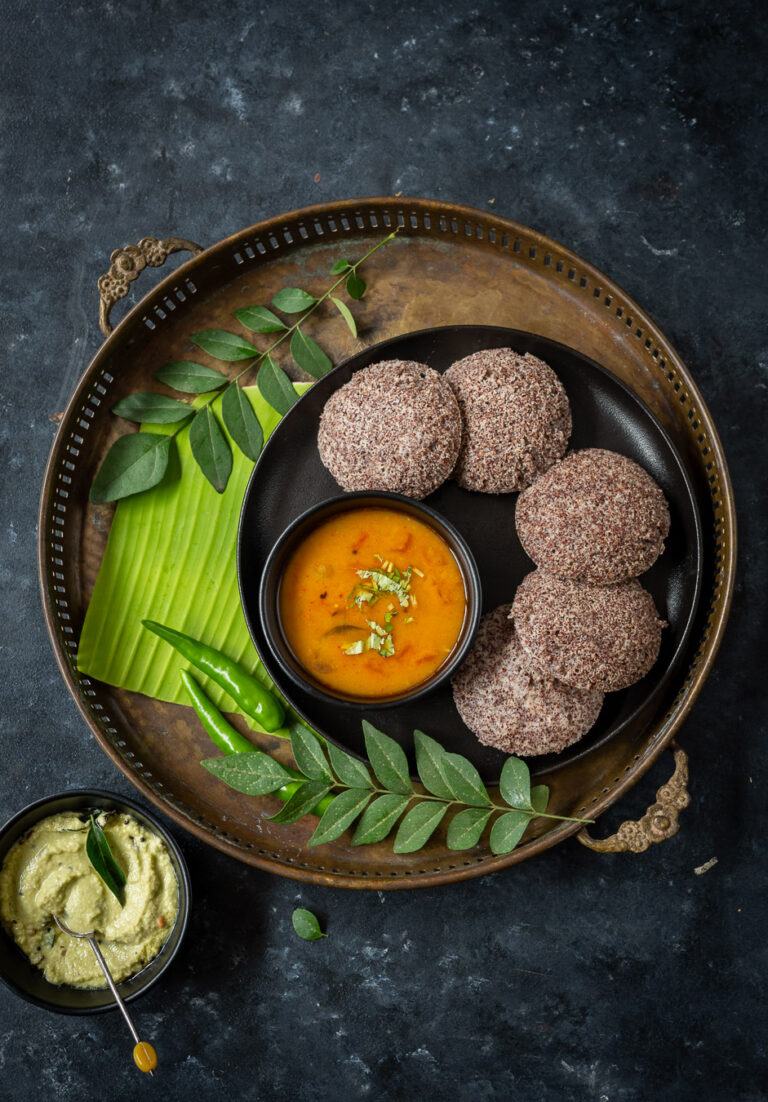
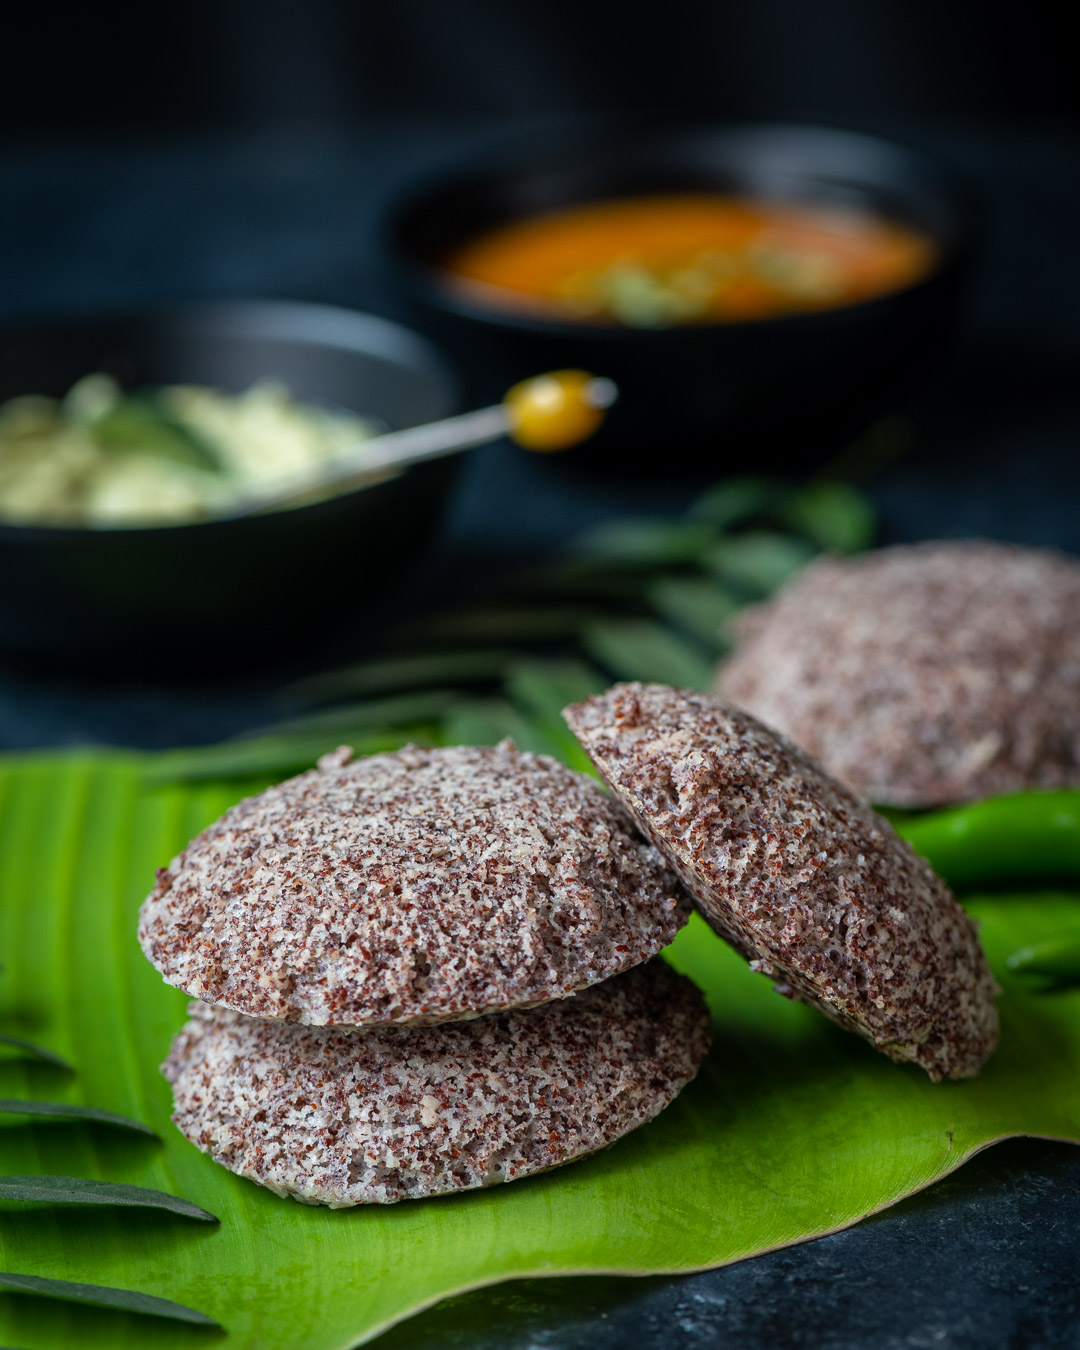
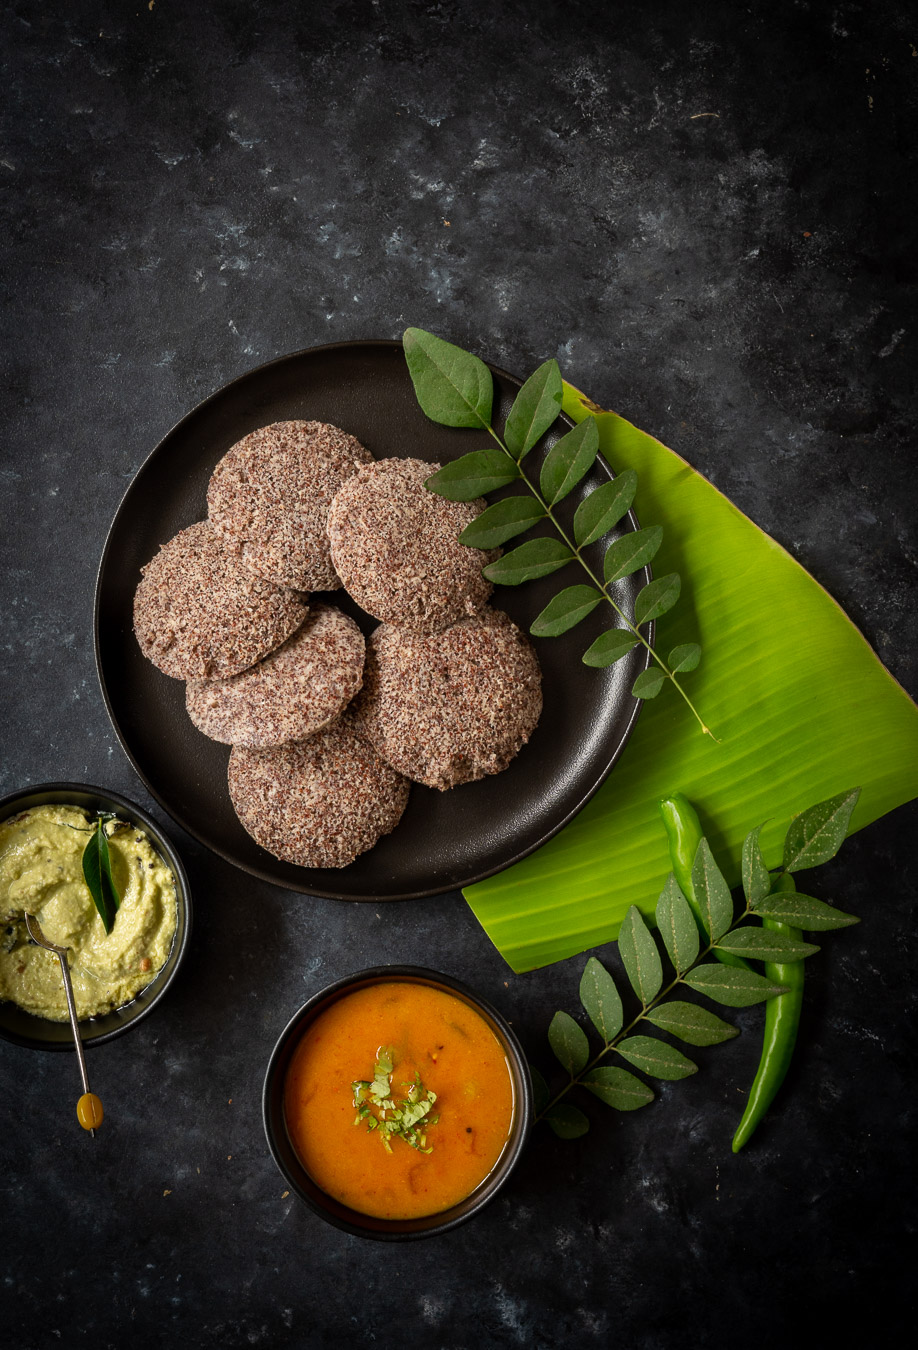
I believe that South Indian breakfasts are probably the healthiest ones prepared pan-India. I may be biased, of course, as I live here. But my belief comes from how they tend to contain some amount of protein and probiotics, and are centred on something as basic and easily digestible as rice. Rice is used in the batter for idlys and dosais, which are breakfast staples. If you travel across Tamil Nadu, especially by road, you’ll see just how prevalent these items are across all communities and economic backgrounds. Naturally, I grew up eating them too. Nowadays, I like to boost the protein quotient, as I get very hungry immediately after my morning workout and crave more of it. This is why I decided to substitute rice with ragi – finger millet – in my idlys. They are high in both protein and iron, and provide an even more nutritious start to the day.

We grow ragi on our farm, and making these idlys is a great way to put it to use. During harvests, I have quite an abundance of ragi in my kitchen, and versatile ways to consume it were introduced to me by my household staff, Vijaya. I was fortunate that she came into my family when my daughter was only a few months old. Now, my daughter is an adult, and whenever she visits, Vijaya is always so happy to see how she’s grown and how she looks after herself. It’s a joy to share these moments, as we raised her together. Over the years, we have also exchanged many recipes. Among them is this ragi idly.

I’m currently hooked to this dish, and have it at least twice a week. I alternate it with other protein-rich breakfasts such as overnight oats, quinoa porridge, moringa leaves omelette and so on. As far as eating preferences go, I tend to have a “flavour of the season”, and just as I was hooked for each of the prior recipes for a spell, the ragi idly is my current favourite breakfast. It is satisfying, filling and ticks all the boxes for a post-workout meal in a healthy and traditional way.

It’s also on-trend, as the United Nations has declared 2023 to be the International Year of Millets. I’ve been enthusiastic about millet usage for years, and have shared numerous recipes that are based on a variety of them before. I’ll be sure to share more in this category over this coming year. Please let me know if there are any millets or millet-based dishes you are curious about.

Coming back to this dish: all kinds of idlys are usually served either with a chutney, or a sambar. I will share the recipe for sambar, as well as for homemade sambar powder, in upcoming posts – so do stay tuned. The recipe below includes the traditional process of preparing and fermenting the batter.

As I said earlier, idlys are available anywhere in Tamil Nadu, but the difference when they are homemade is that they somehow feel lighter on the stomach. You can eat many idlys and not feel too full, yet you’ll have plenty of energy all the way into the afternoon. This is all the more true when it’s a millet idly, like this one.

Ragi Idly

(Yield: 20 pieces)

2 cups ragi (finger millet)

½ cup urad dal (split black gram)

¼ tsp methi (fenugreek)

½ cup water to grind dal

½ cup water to grind ragi


Soak the urad dal and the methi together. In a separate bowl, soak the ragi. Allow the grains to soak for between 4-10 hours, as required.

Then, grind the urad dal, adding the water only as needed, at approximately a ¼ cup at a time. Grind until it’s smooth between fingers. Set aside in a bowl.

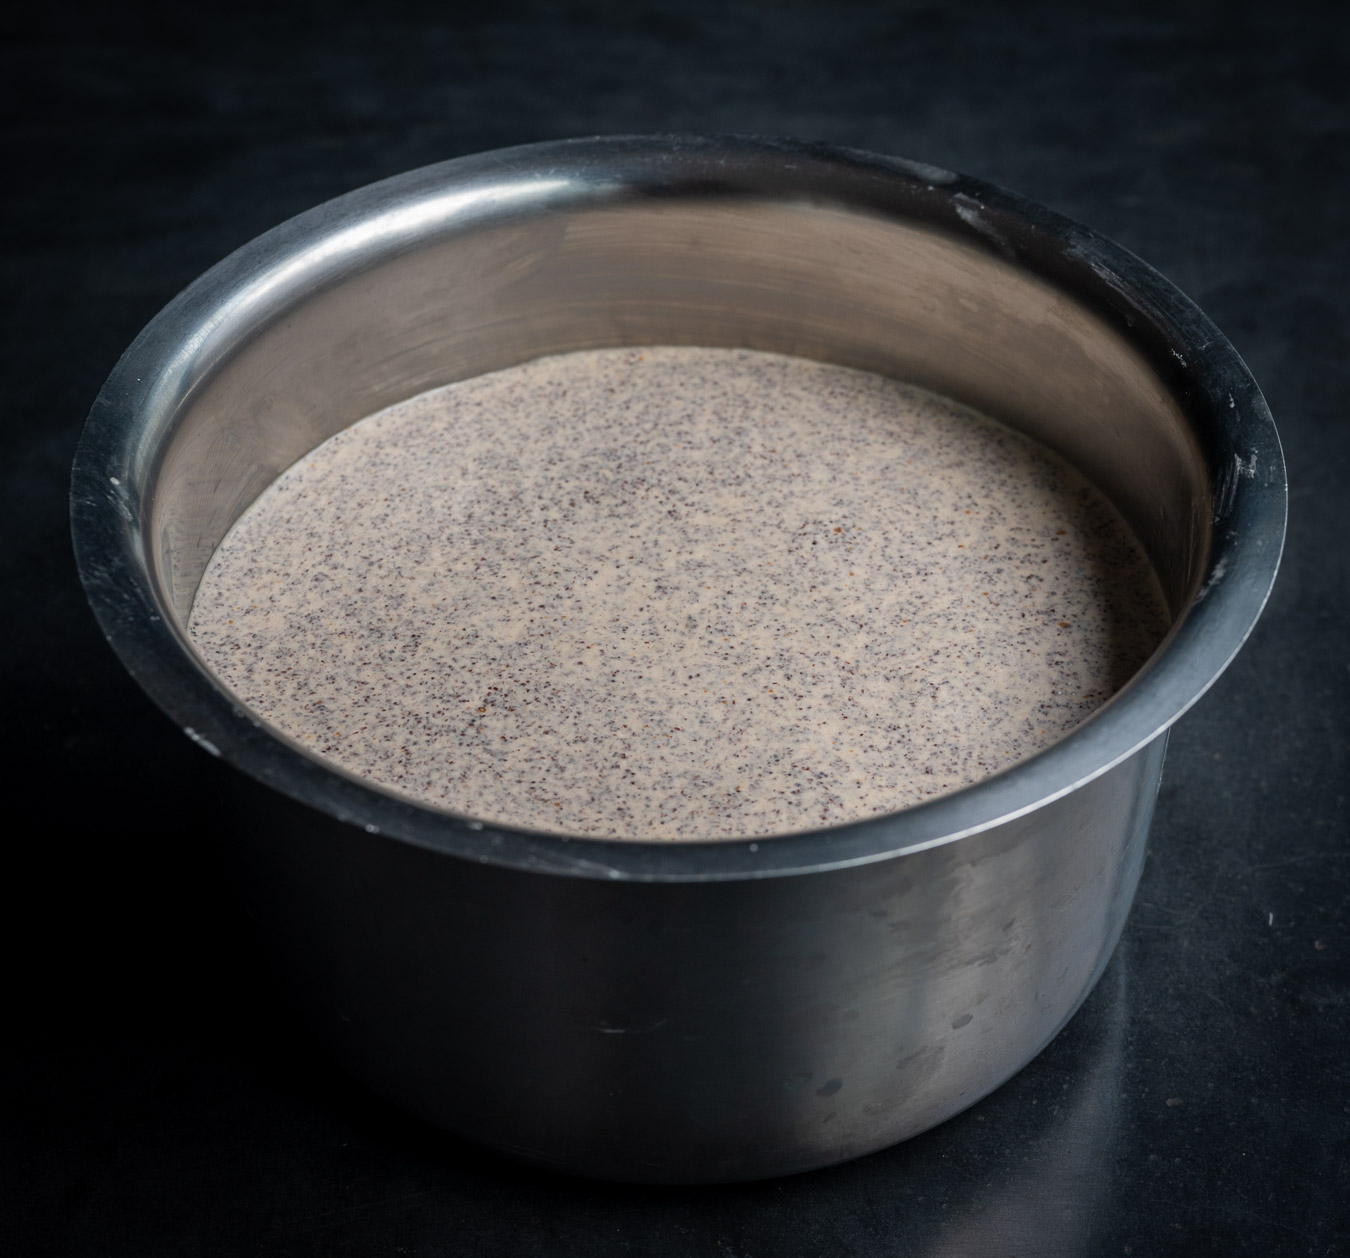
Grind the ragi, along with water as required, until coarse. Add the ground ragi to the urad dal. Add salt to taste and mix with your hand. Set aside overnight and allow to ferment.

The following morning, the ragi batter would have risen for fermentation.

Prepare the idly mould by spreading a drop of ghee into each mould. This will help you remove the steamed idly with ease later. Set aside.

With a ladle, stir the batter gently and pour it into the prepared idly trays. Steam for 10-15 minutes. Remove from the cooker and allow to cool a little. Gently remove the idlys individually from the mould.

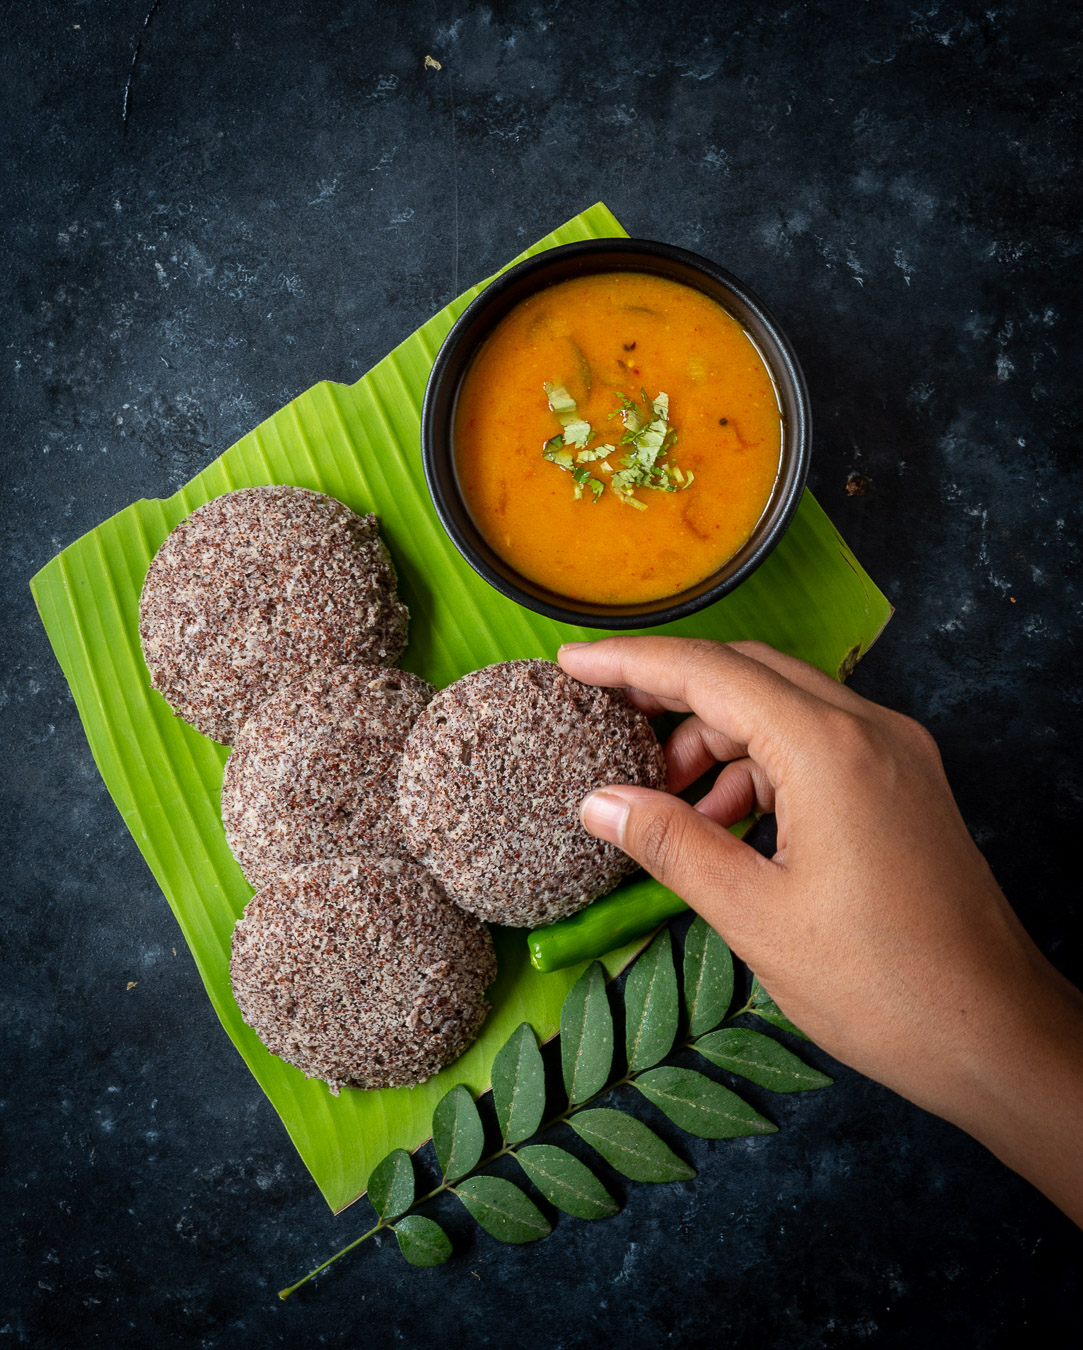
Serve topped with ghee, along with chutney and sambar, or both. There you have it: a traditional staple, superpowered by ragi!

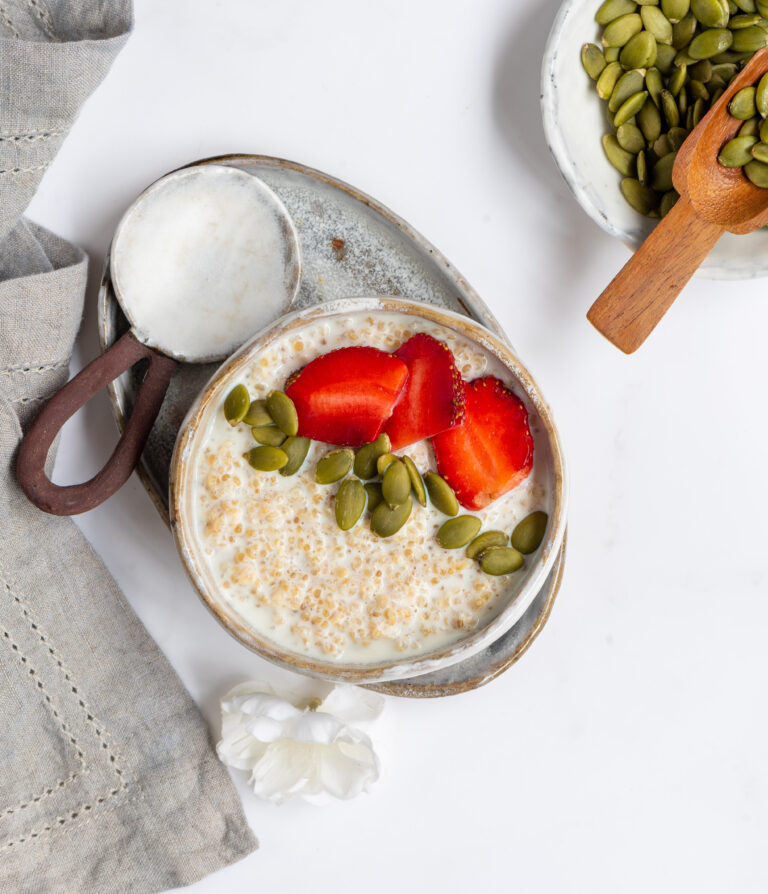
Happy new year! Now that the festivities are over, this is usually the time when everyone decides to start eating more nutritiously and to set goals for ourselves in terms of fitness. With that in mind, I too chose to bring some healthy recipes into the picture, after a spree of indulgent ones. Hence, this quinoa porridge to kickstart the year.

You may know that I love my overnight oats as a breakfast dish, but oats contain a lot of carbs, as they are a grain. Many of you also know that cutting down on carbs has been one of my own big ongoing goals, as I’ve shared umpteen times. The use of quinoa as an alternative is something I wanted to explore.

Quinoa is also one of those trendy ingredients at this time, and I know that other people are just as keen to explore new ways to bring it into their diets. This is because it is packed with antioxidants, fibre, protein and other nutrients and is great for those who eat gluten-free. This dish is a simple and delicious way to consume more of it.

The beauty of a porridge is that it can be made with any grain or grain substitute. In South India, we have numerous varieties that use millets, such as ragi kanji. My mother-in-law would make some from Gujarati cuisine too, like bajra ghensh. The concept is traditional in many cuisines.

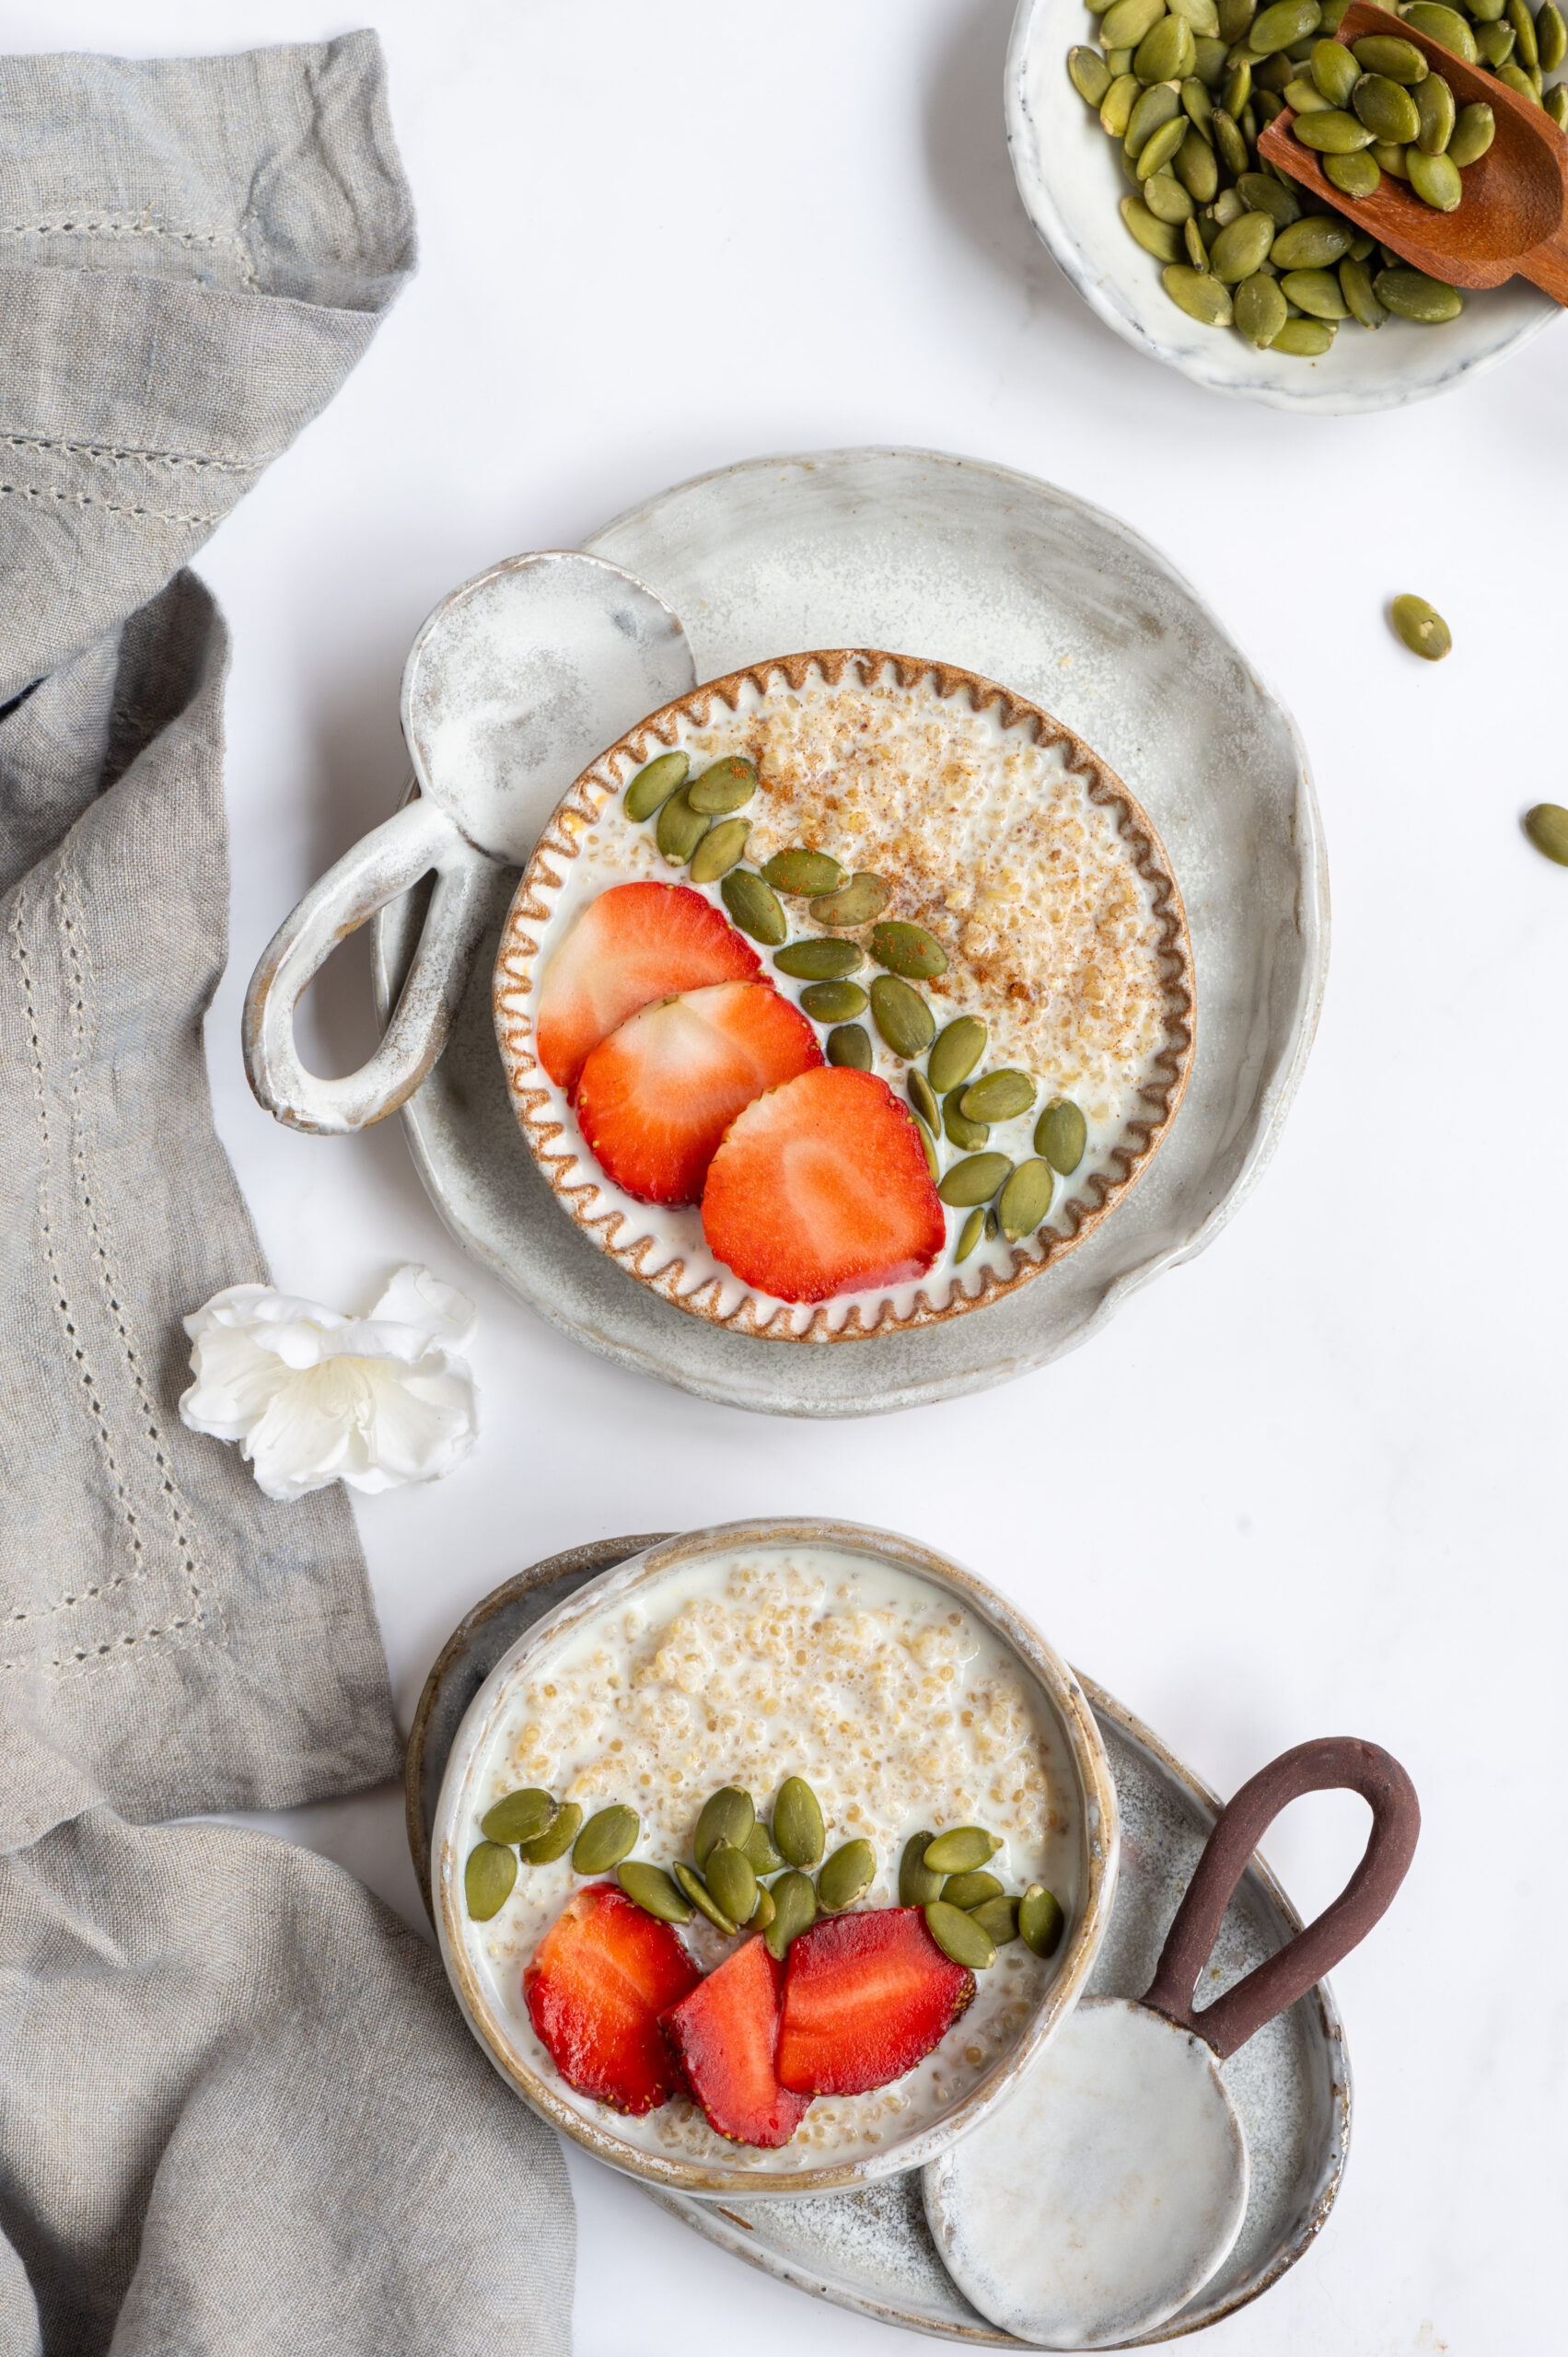
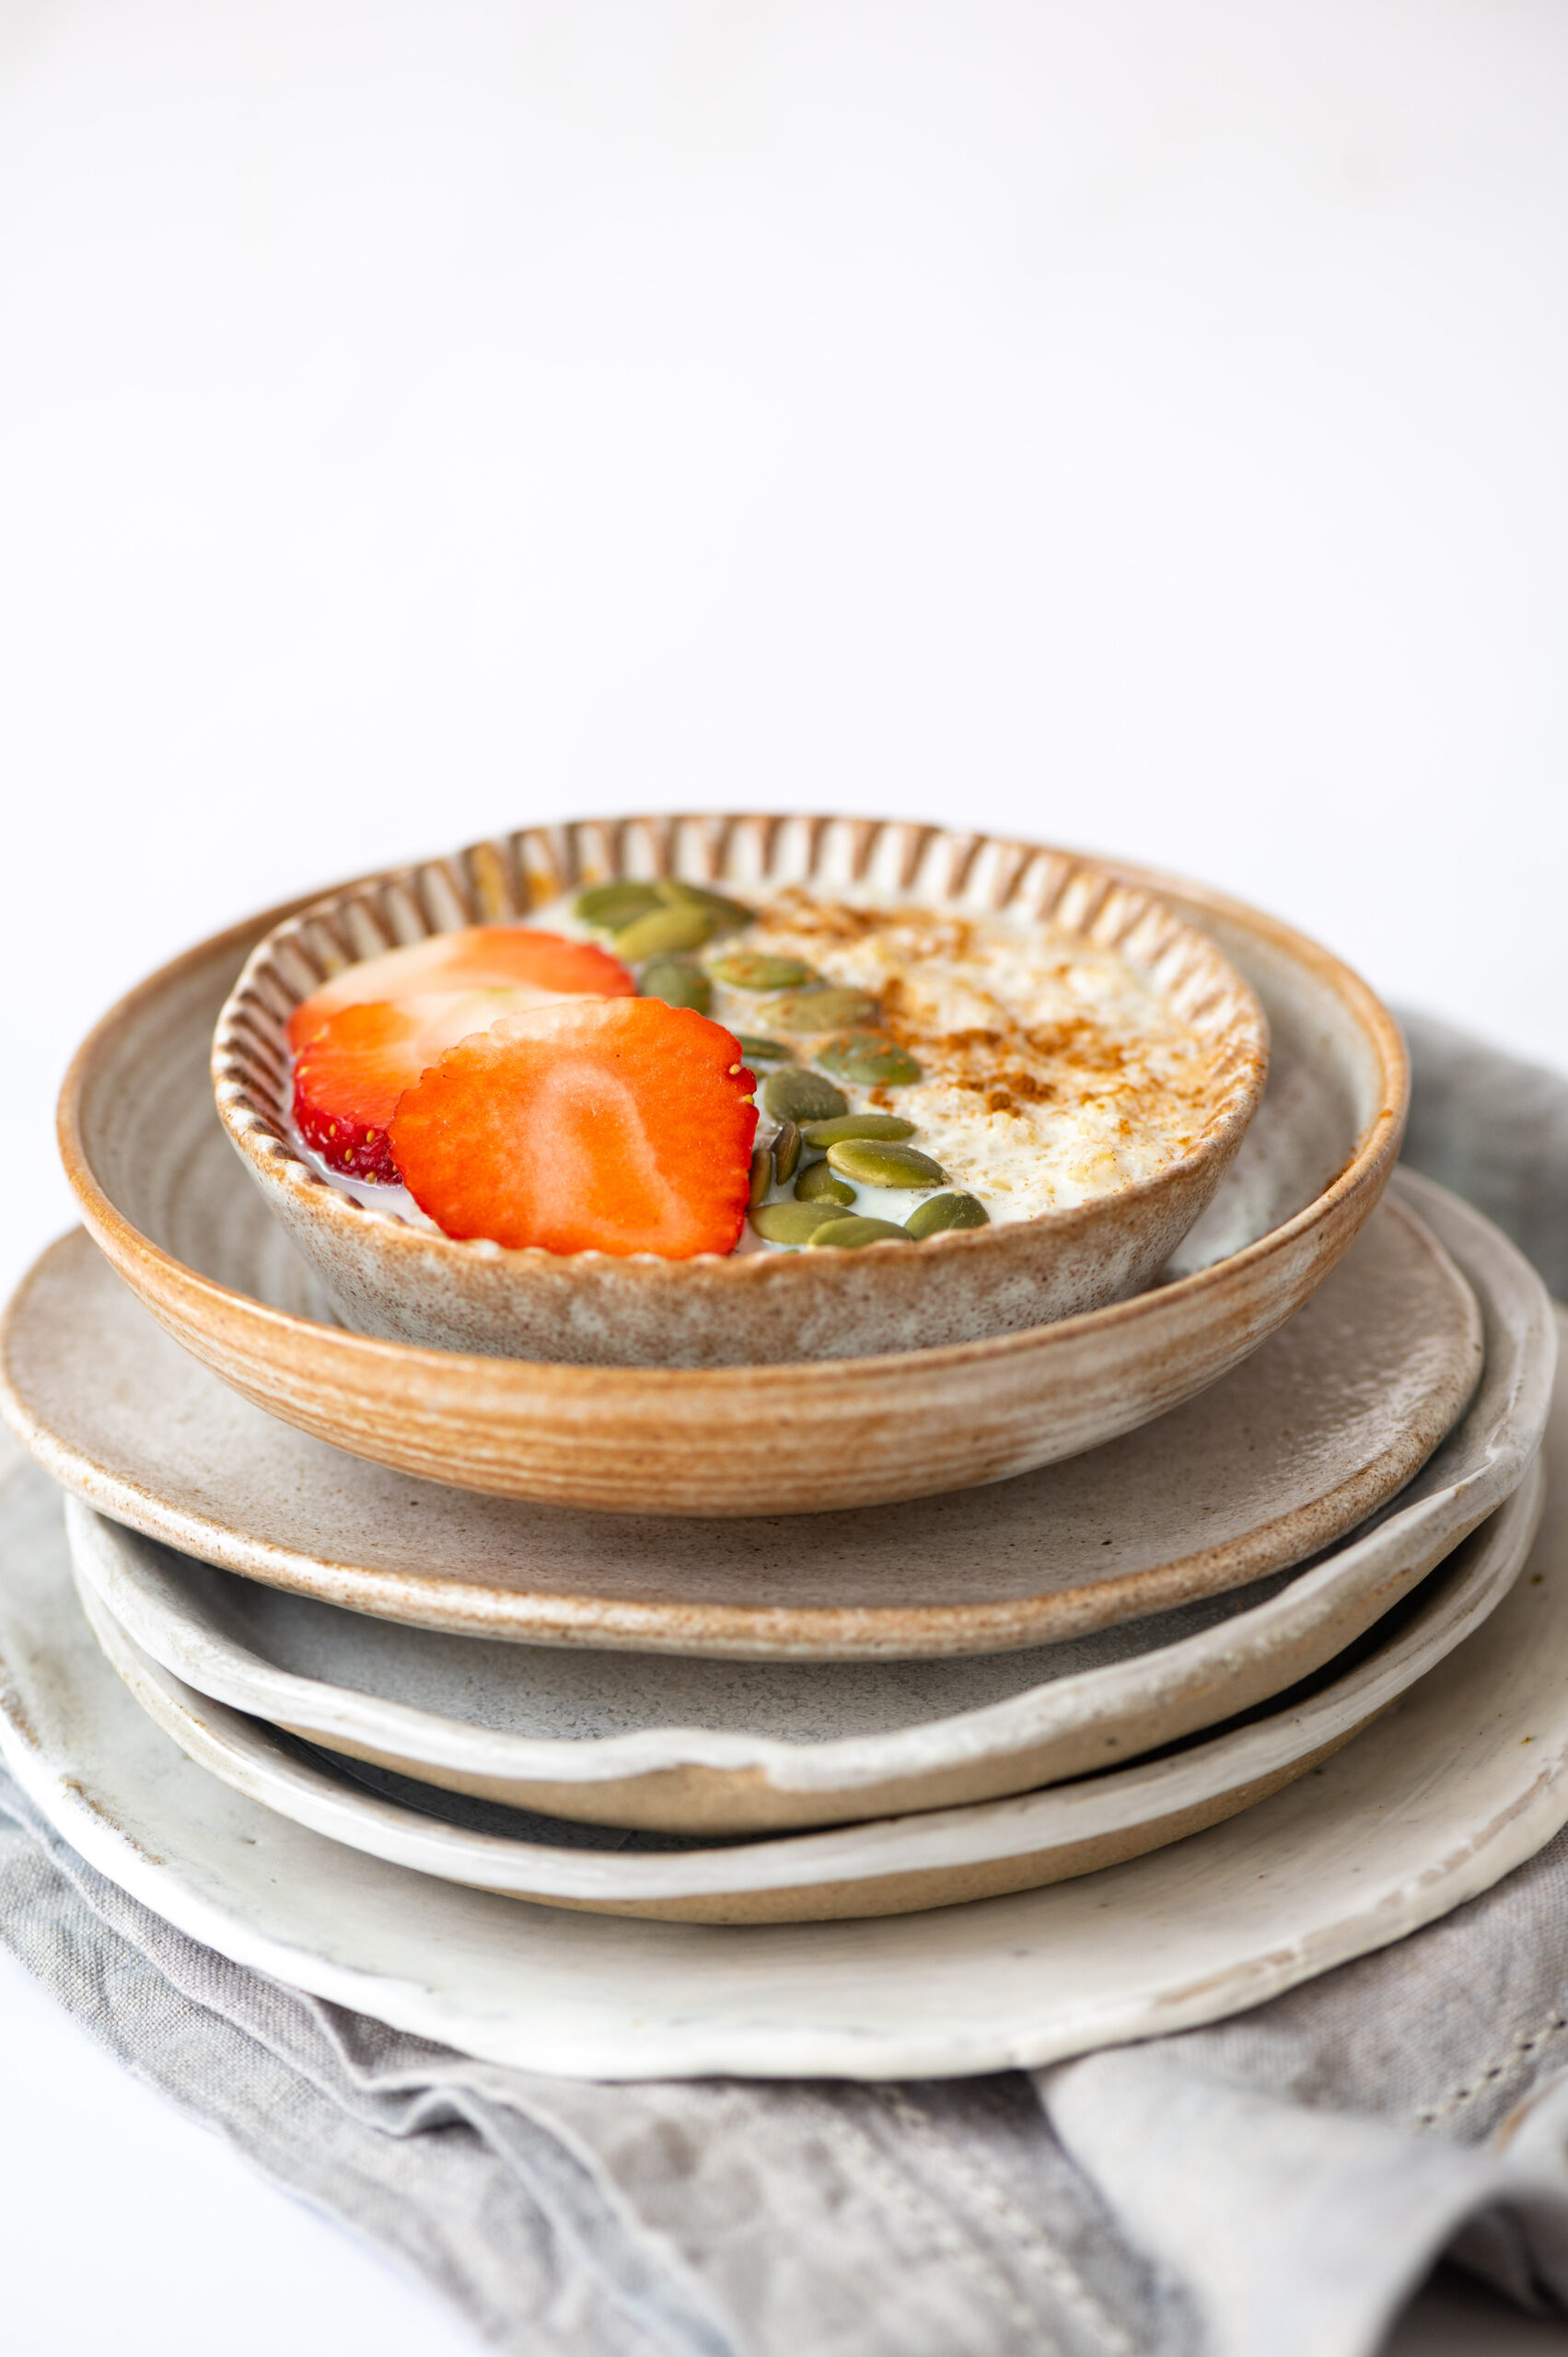
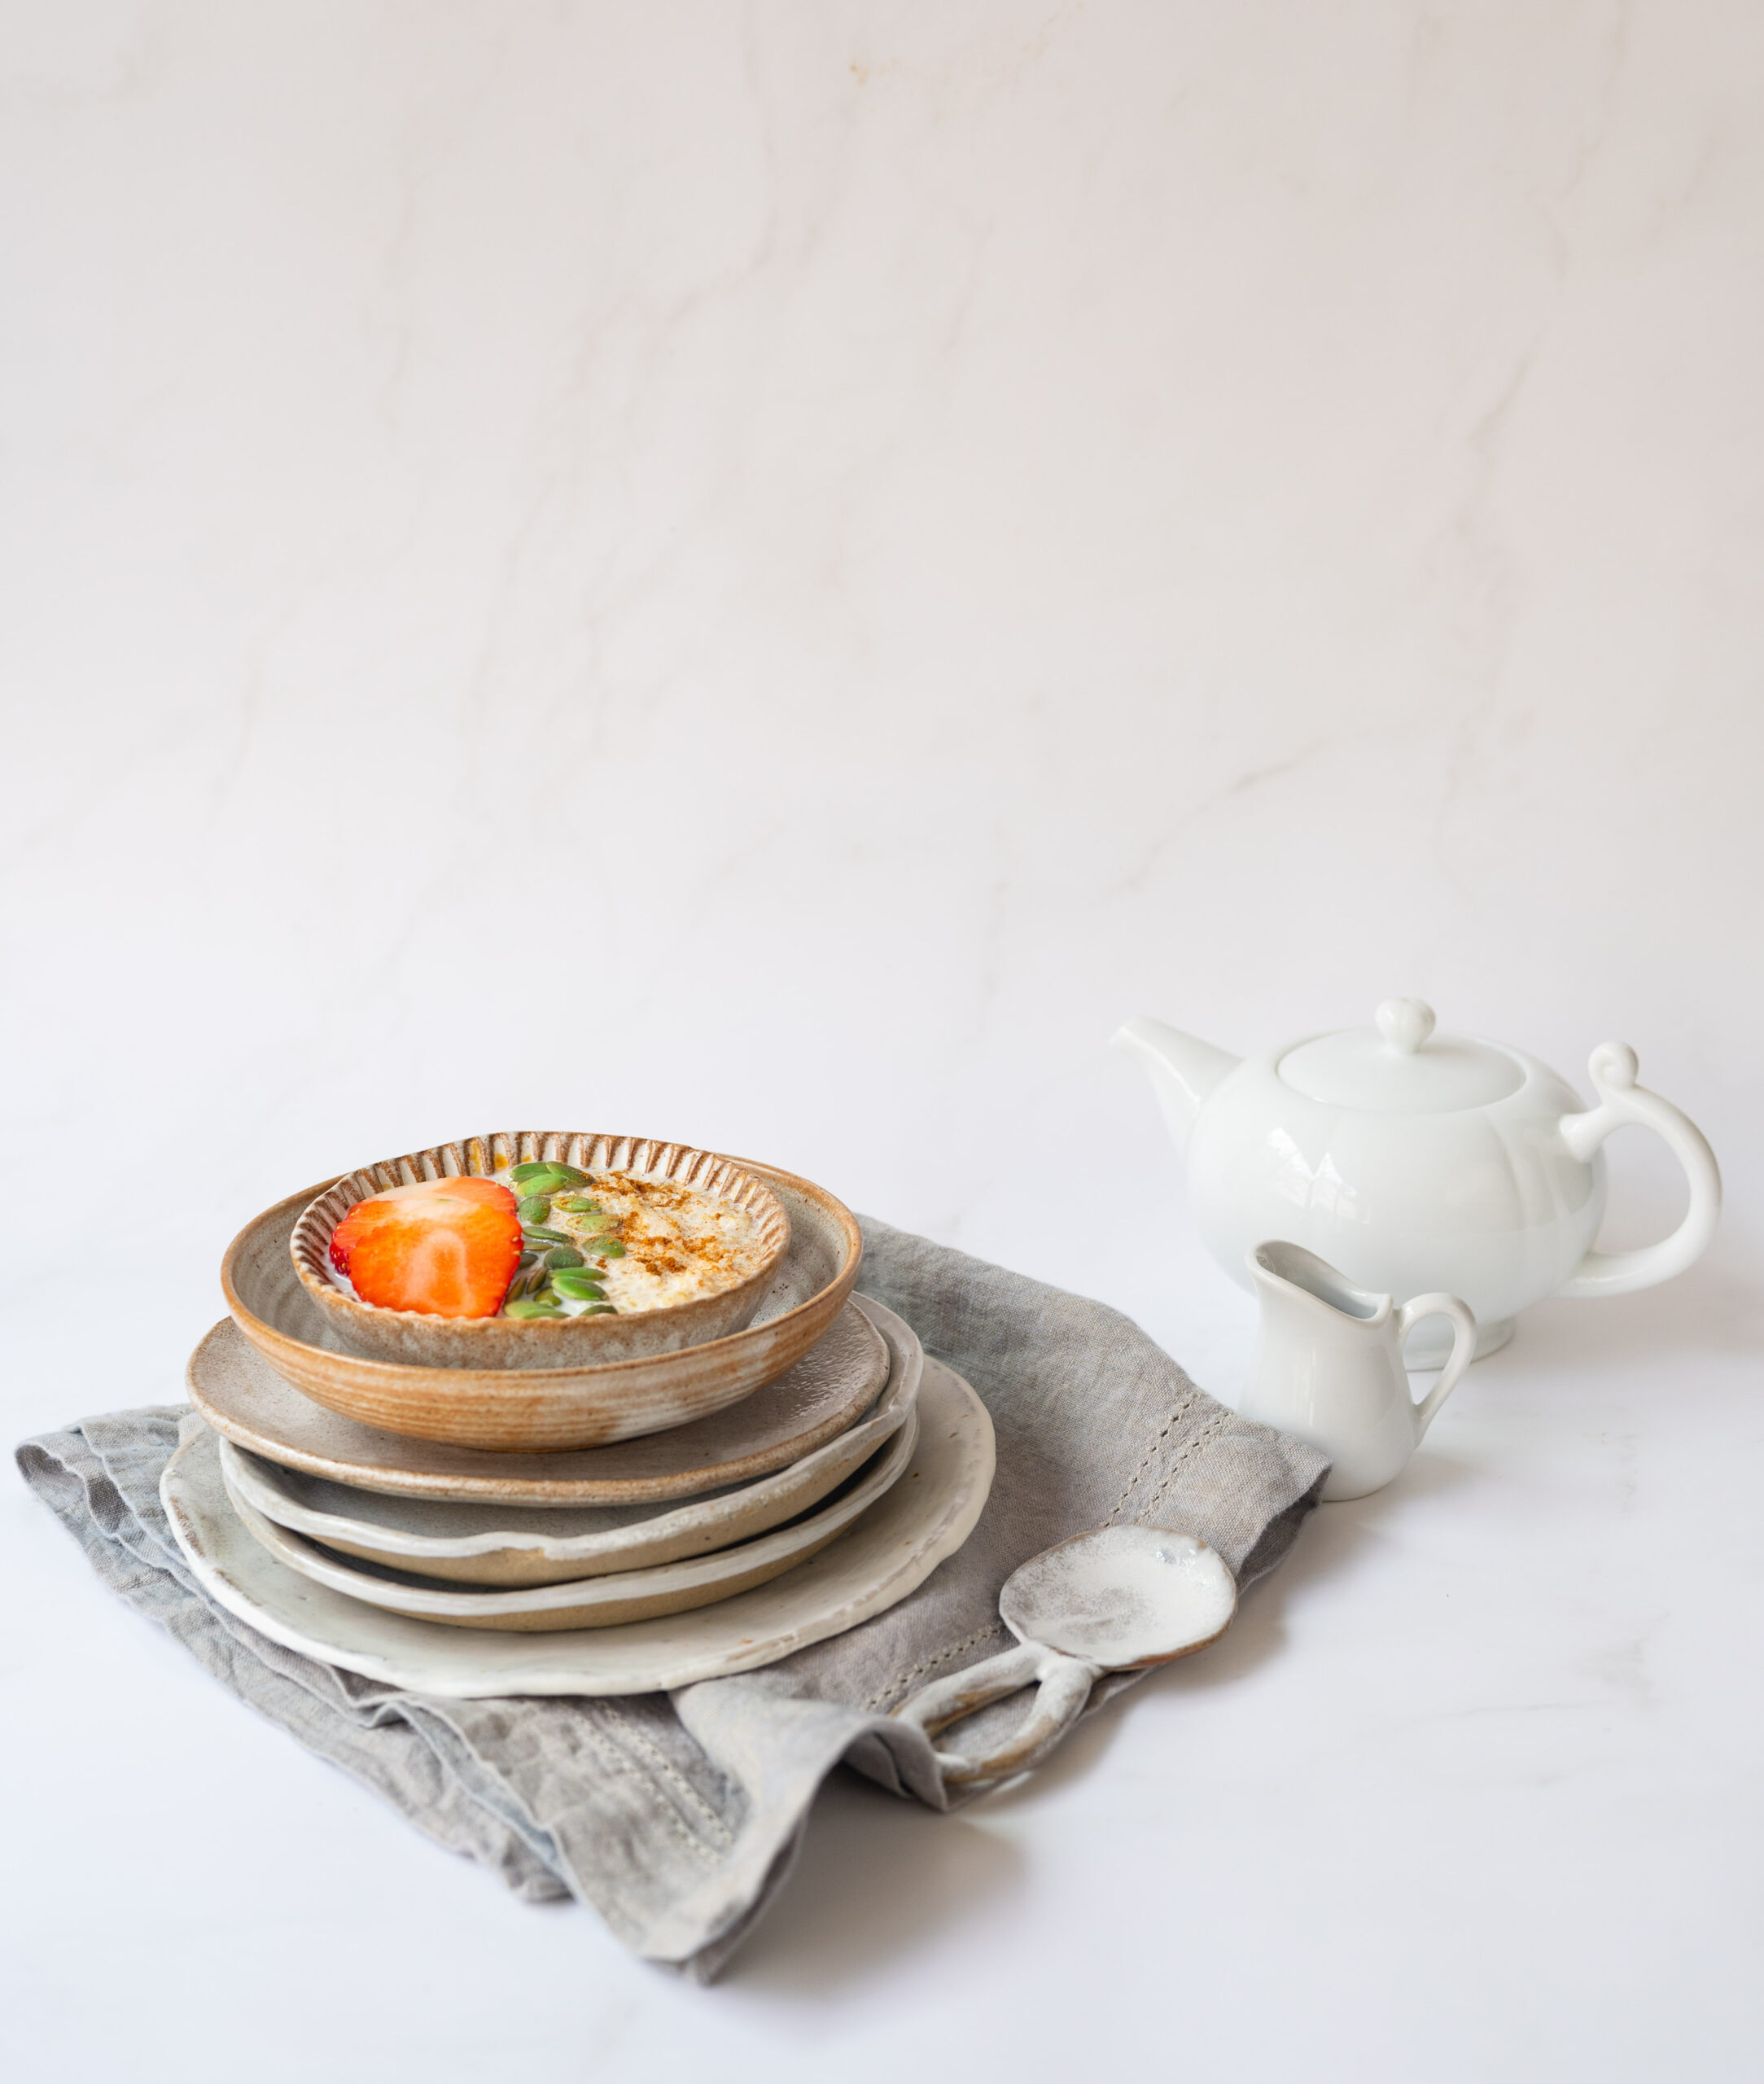
You can also dress up a porridge any way you want. For instance, you could prepare this quinoa porridge as a savoury dish – with dollops of Greek yoghurt, cumin powder and salt. However, I am sharing the sweet version today. I use cinnamon, either honey or maple syrup, and top it up with fruits and nuts for added flavour and a protein boost.

I love the fact that porridge can be used as a base and then built up any way you want. All options seem to work with the base. It’s such a great way to start the day, and indeed the year too.

Of course, my favourite porridge will always be the one I have whenever I visit my friend in Singapore. It’s a delicious local congee with rice, starch and other additions like onion, chicken, shrimp and so on. I don’t have the recipe for that, but I hope to learn it some day. Or maybe you know how to make it, and can share it with me?


Quinoa Porridge

(Yield: Serves 1)

Porridge

½ cup quinoa

½ cup water

1 cup milk of your choice

1 teaspoon honey/maple syrup

Topping

1 teaspoon seeds of your choice

Fruit of your choice

1 pinch cinnamon powder


In a saucepan, add the quinoa, water and part of the milk. Allow to boil. Once the quinoa is cooked and fluffy, add the remaining milk along with the honey or maple syrup. You can add or reduce the milk quantity to your taste.

Put the cooked quinoa into a bowl and top it up with fruit and seeds of your choice, and a sprinkling of cinnamon powder. Enjoy this delicious start to your day, knowing that it is full of nourishing goodness!

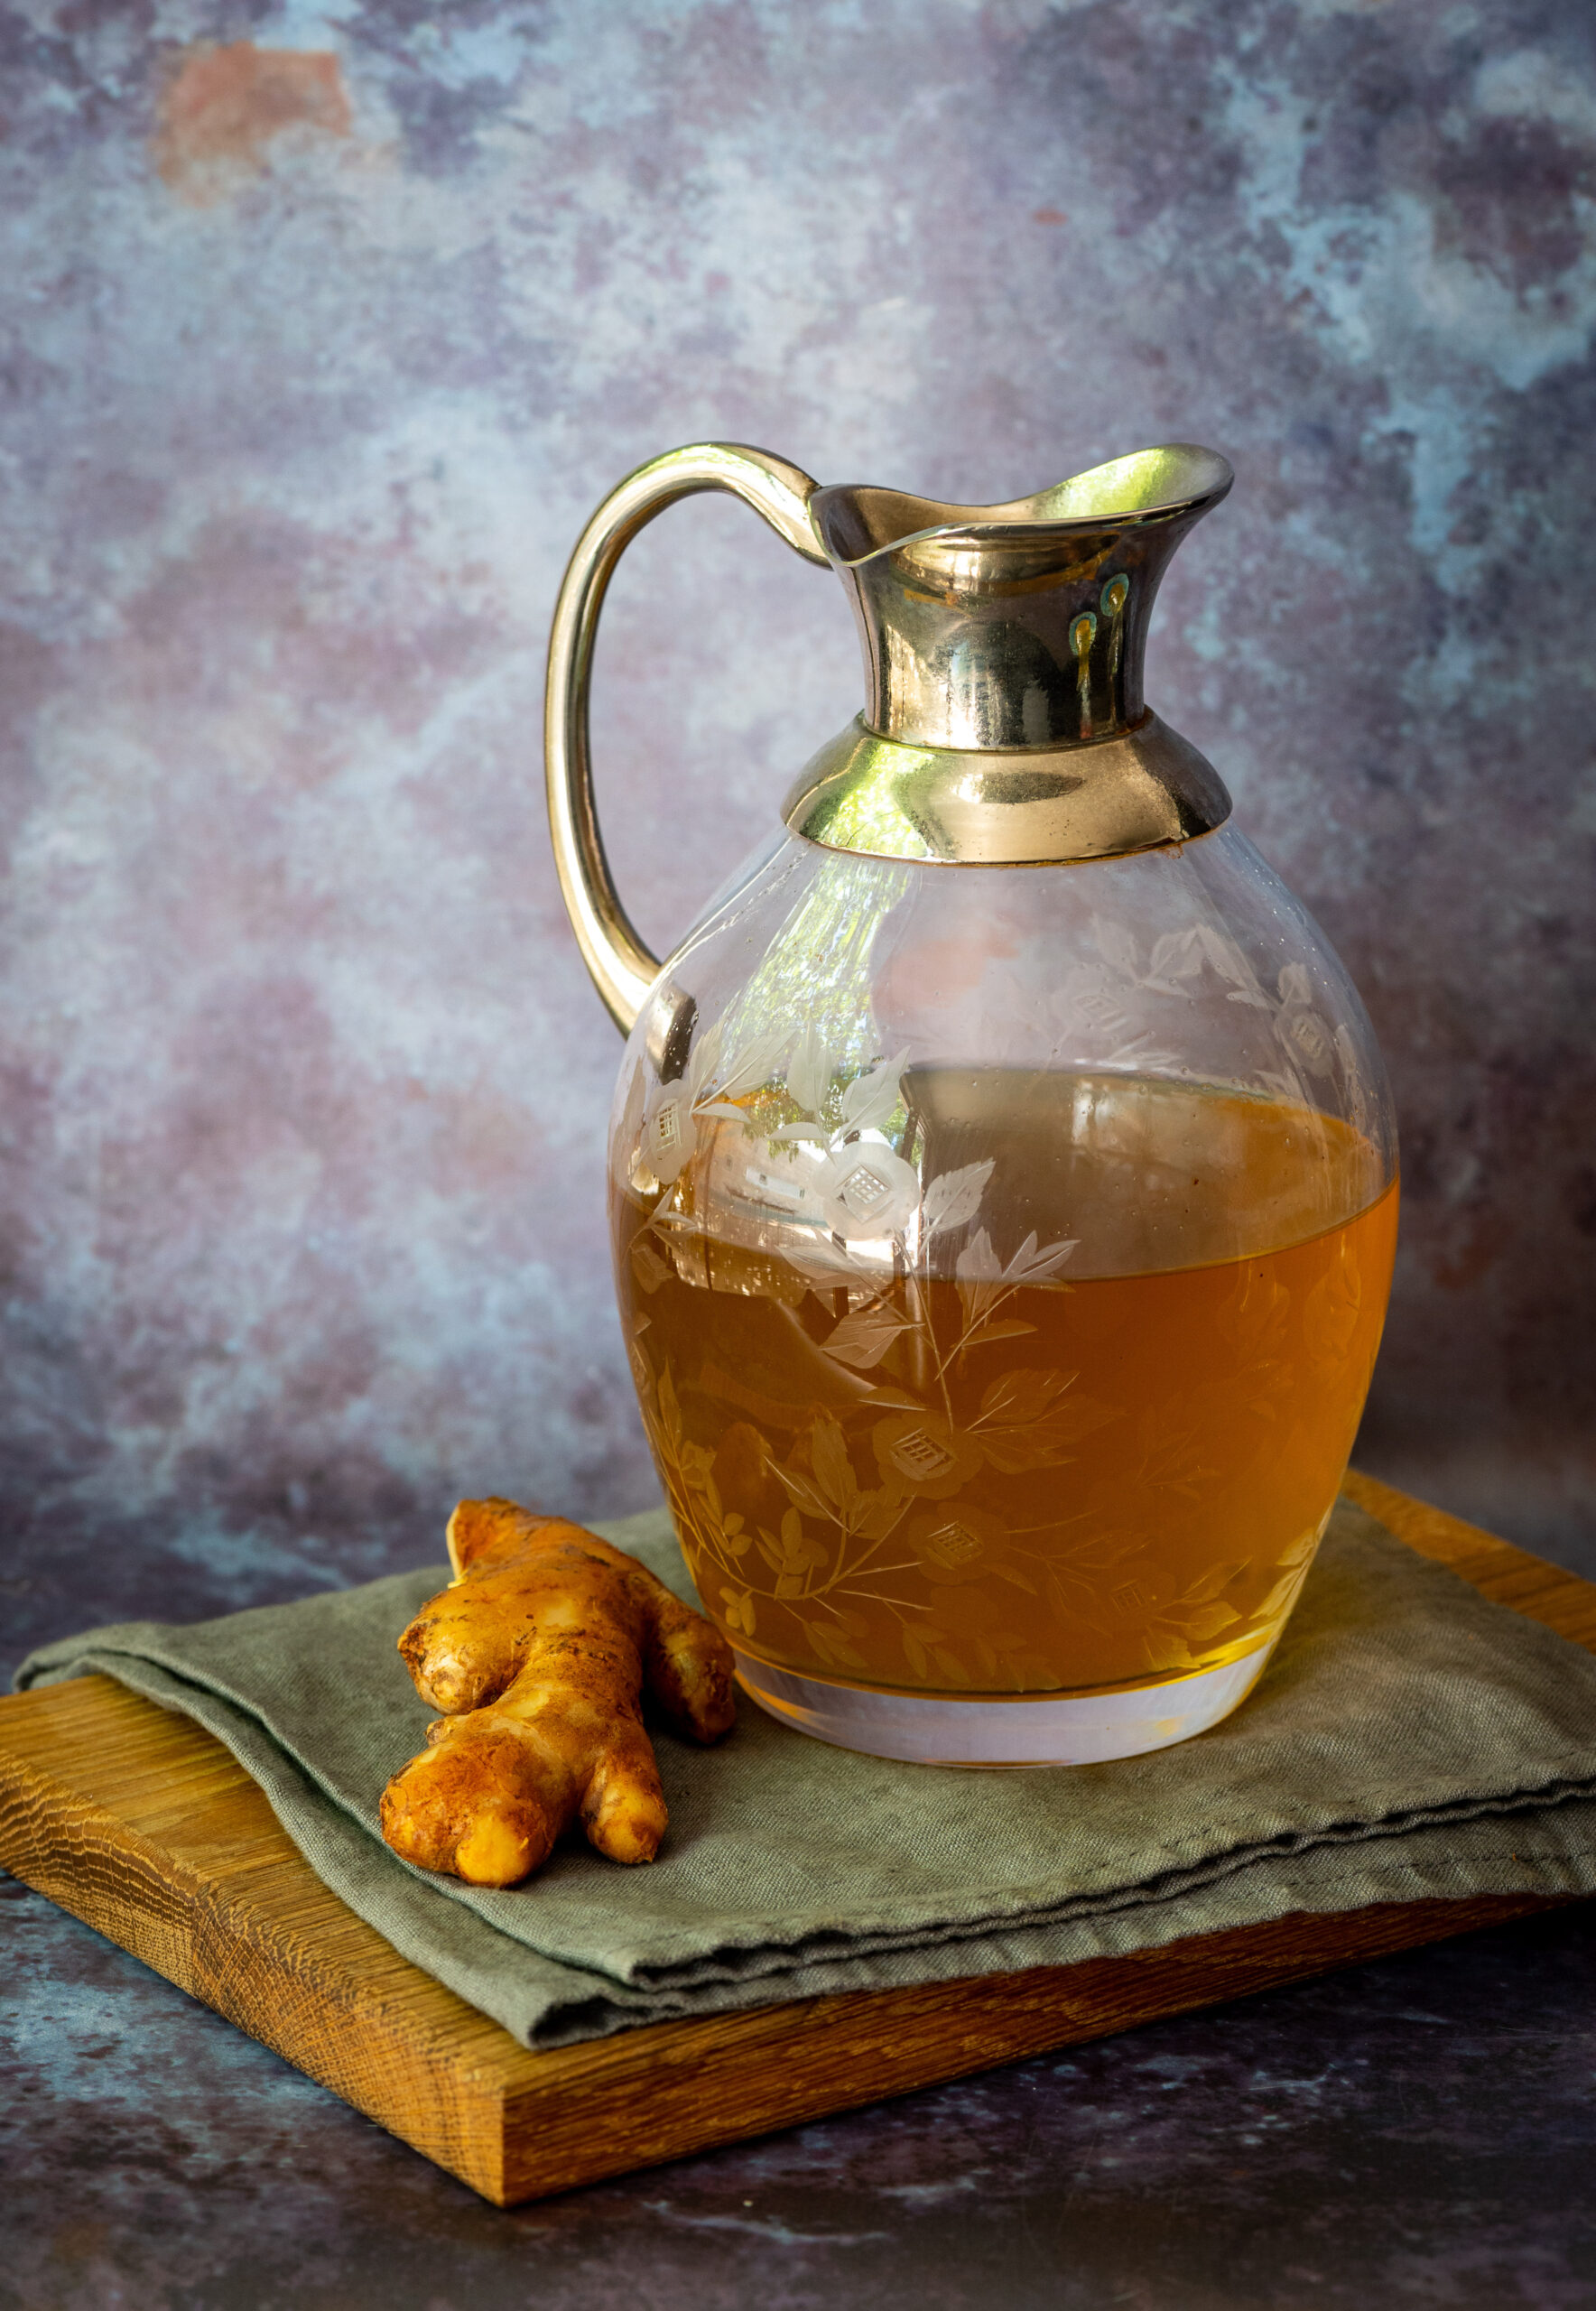
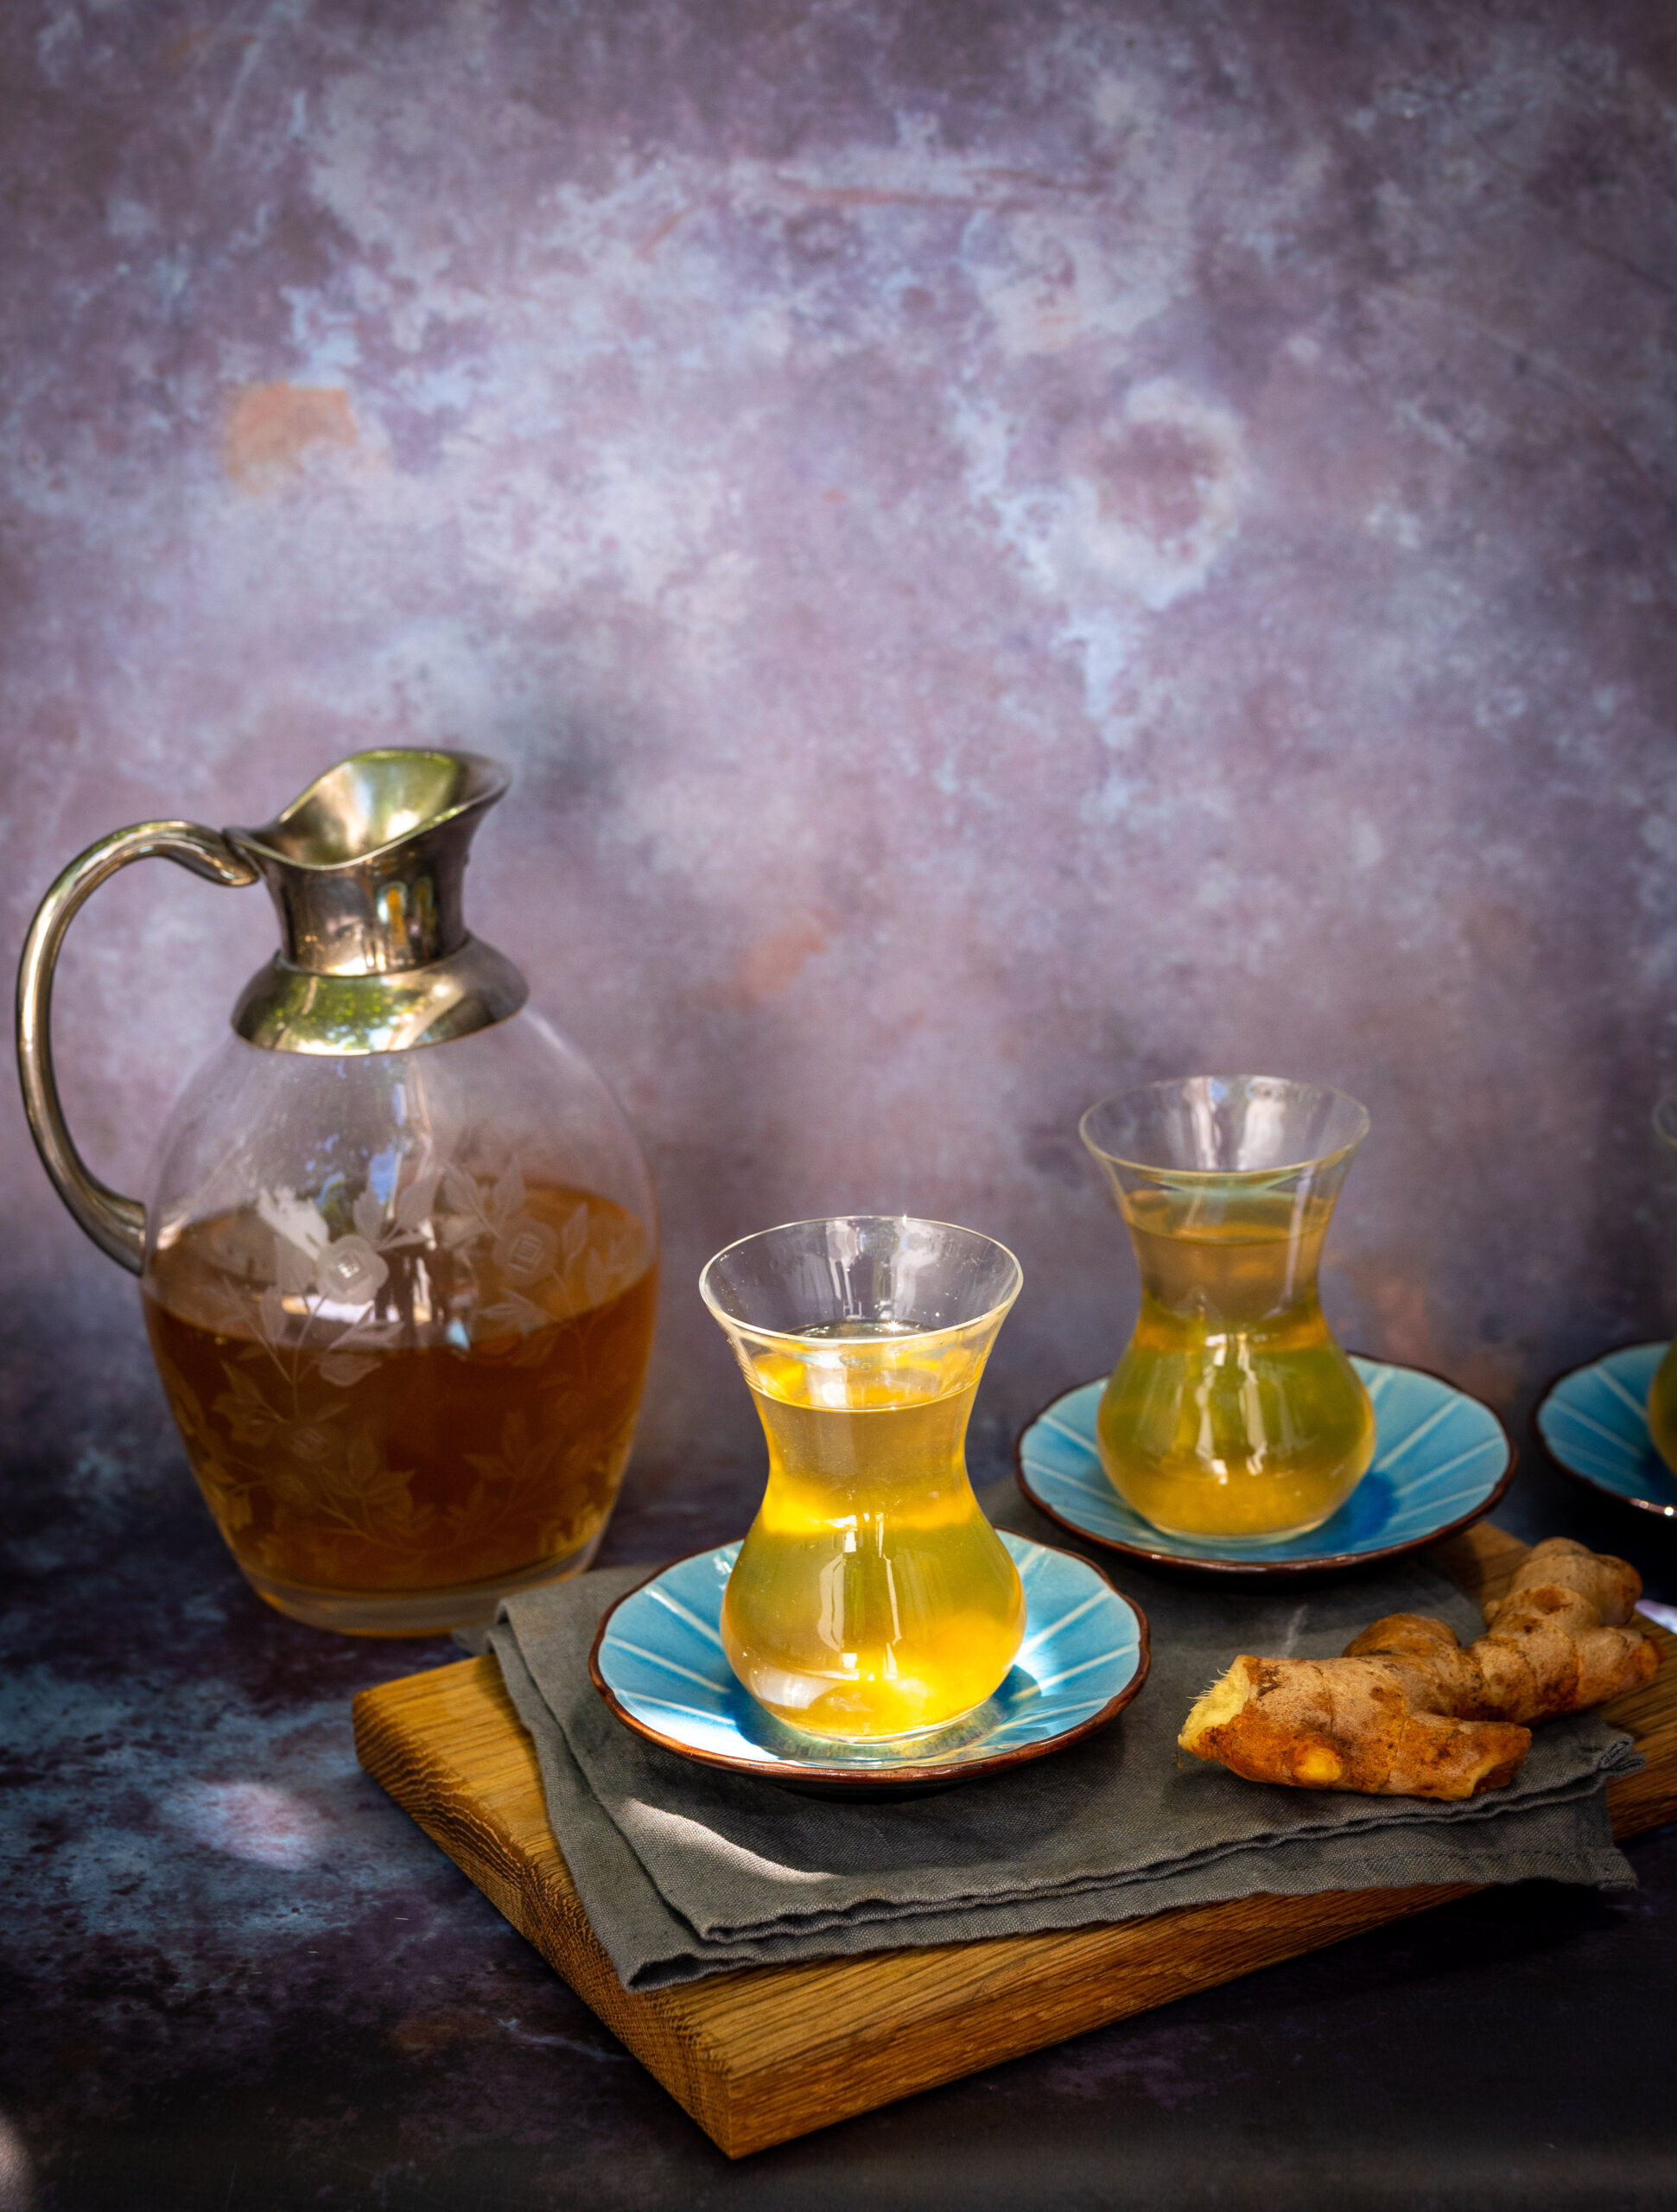
I have shared various medicinal or immunity-boosting beverages on this blog before, and here is one more to add to the list. It is a home remedy tea that can be used for sniffles, as well as to avoid getting them. You may notice that there are trendy drinks, or drinks for a season, that tend to suddenly be popular, with everyone praising the benefits of the same. My family too goes through such phases when it comes to different kind of foods and beverages. At the moment, this drink is our favourite among the healthy category.

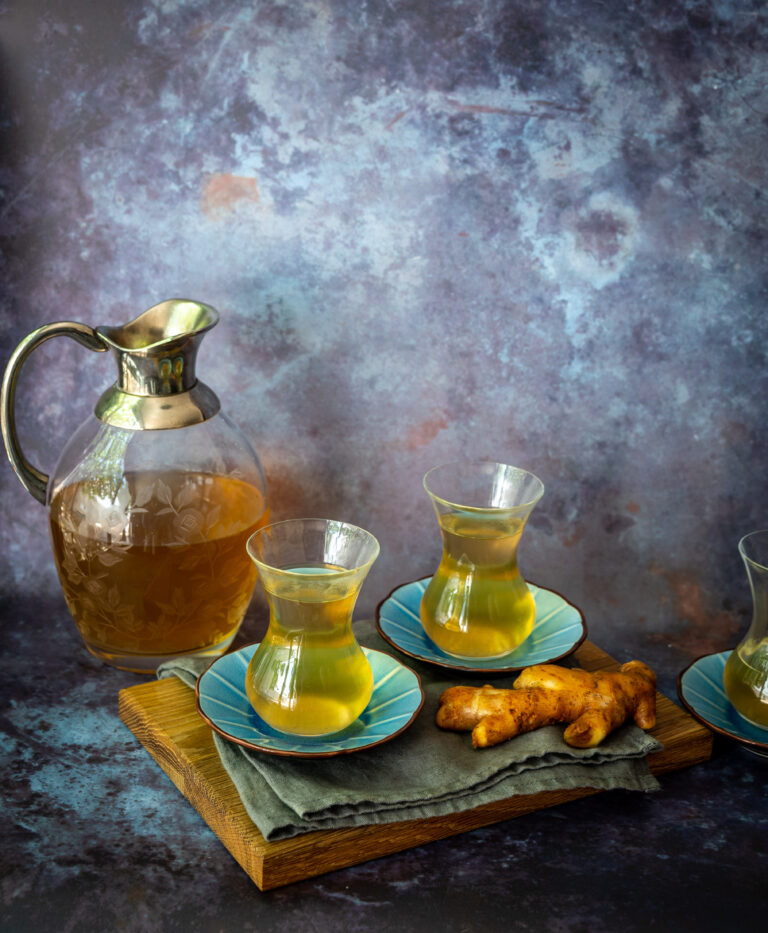
It is meant as a post-lunch drink, and it works especially well at this time as it tastes rather like a tea (without containing any). This has pepper and ginger so it is quite flavourful, and is sweetened with some honey. That’s probably why my kids enjoy it. I’m not a fan of flavoured teabags, and prefer to make homemade concoctions like ginger water or turmeric water, or this home remedy which happens to contain both those ingredients.

Speaking of turmeric (which, as I love to remind you, is the re:store brand logo you can see at the top of this website and on all my product packaging), I must admit that my own most preferred healthy drink is either this turmeric shot, or even more simply, a glass of hot water with a drop of ghee and a pinch of turmeric. I firmly believe that the latter keeps viruses and infections away, and since I consume it at night, I can see that it influences good sleep as well. That one is so easy to put together that it doesn’t require a whole recipe as such, and I would encourage you to try it out too.

Even though the monsoon rains have been rather intermittent so far and COVID feels like it’s over, it’s important to keep our immunity up in general. I hope you’ll enjoy this simple, totally natural way to do the same.

Home Remedy Tea

(Serves 1)

2 cups water

½ teaspoon grated ginger

A pinch of turmeric

A pinch of pepper

1 teaspoon honey


In a pot, add the water along with ginger. Allow to boil. In a serving cup, add the turmeric, honey and pepper. Strain the hot water into the cup. Stir. Enjoy your home remedy tea while it’s hot.

Regular consumption of fresh juices and homemade beverages like this one do benefit our overall health. Here are a few more such recipes for you to explore: a soothing syrup with spices, raisin kalkand syrup and turmeric tea. Remember to choose the right one for the season, and for your current tastes or needs!

Staying fit and staying healthy have always been important to me, and these are my mantras when it comes to cooking and eating. Especially today, when the importance of being very careful about what we put into our mouths has become widely understood. It all affects our bodies, and our health should always be our top priority. I have many friends who are still recovering from long COVID. It’s not that they were unhealthy to begin with, but this crisis has made us all more conscious about taking steps to boost our immune system. In my case, this has meant choosing to consume less sugar, while consuming more fibre and more protein.

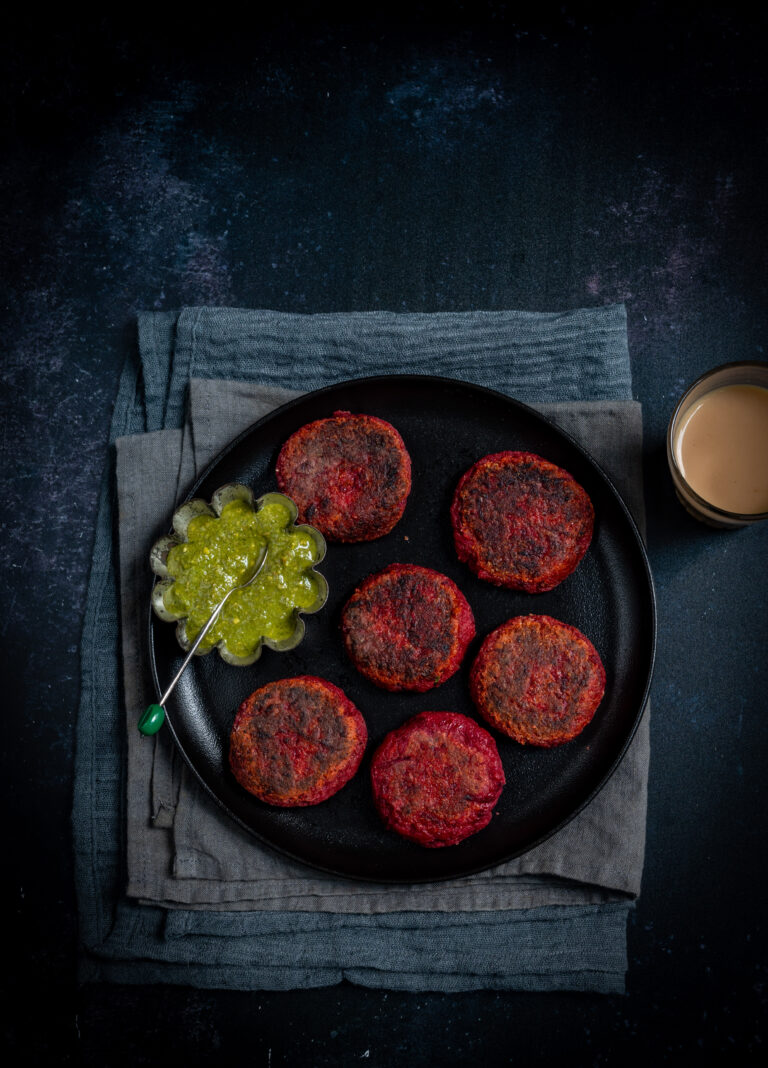
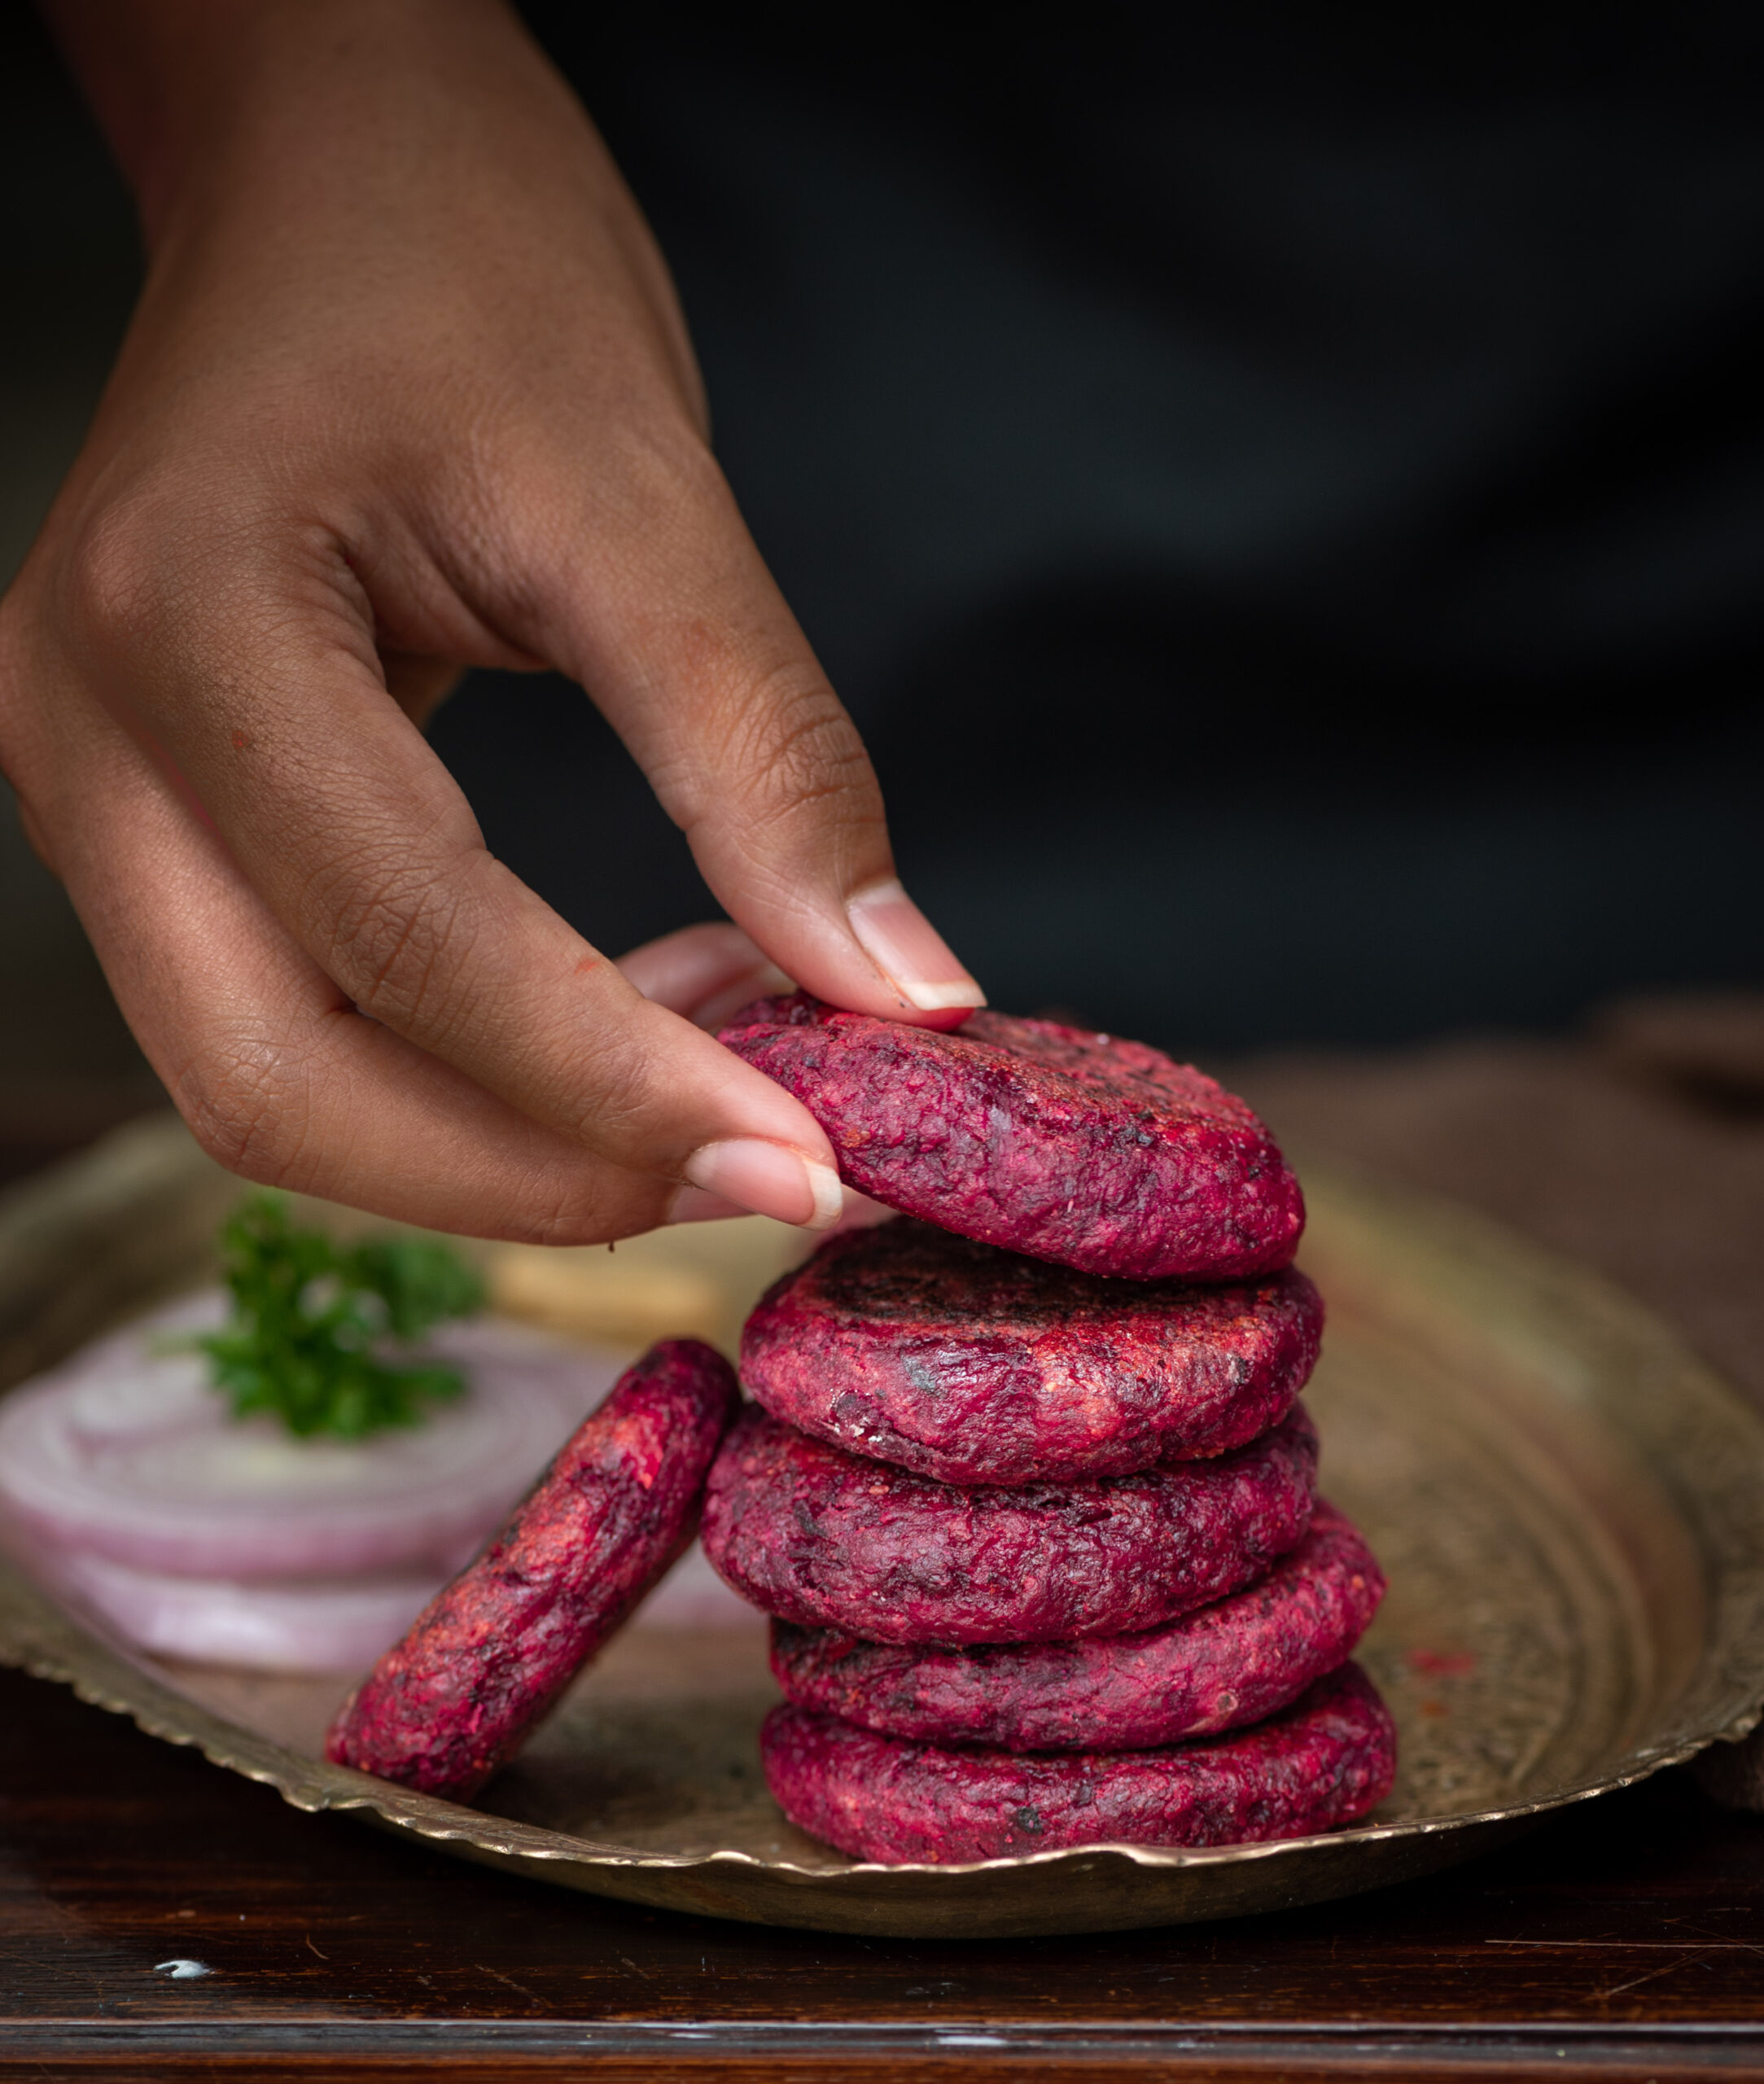
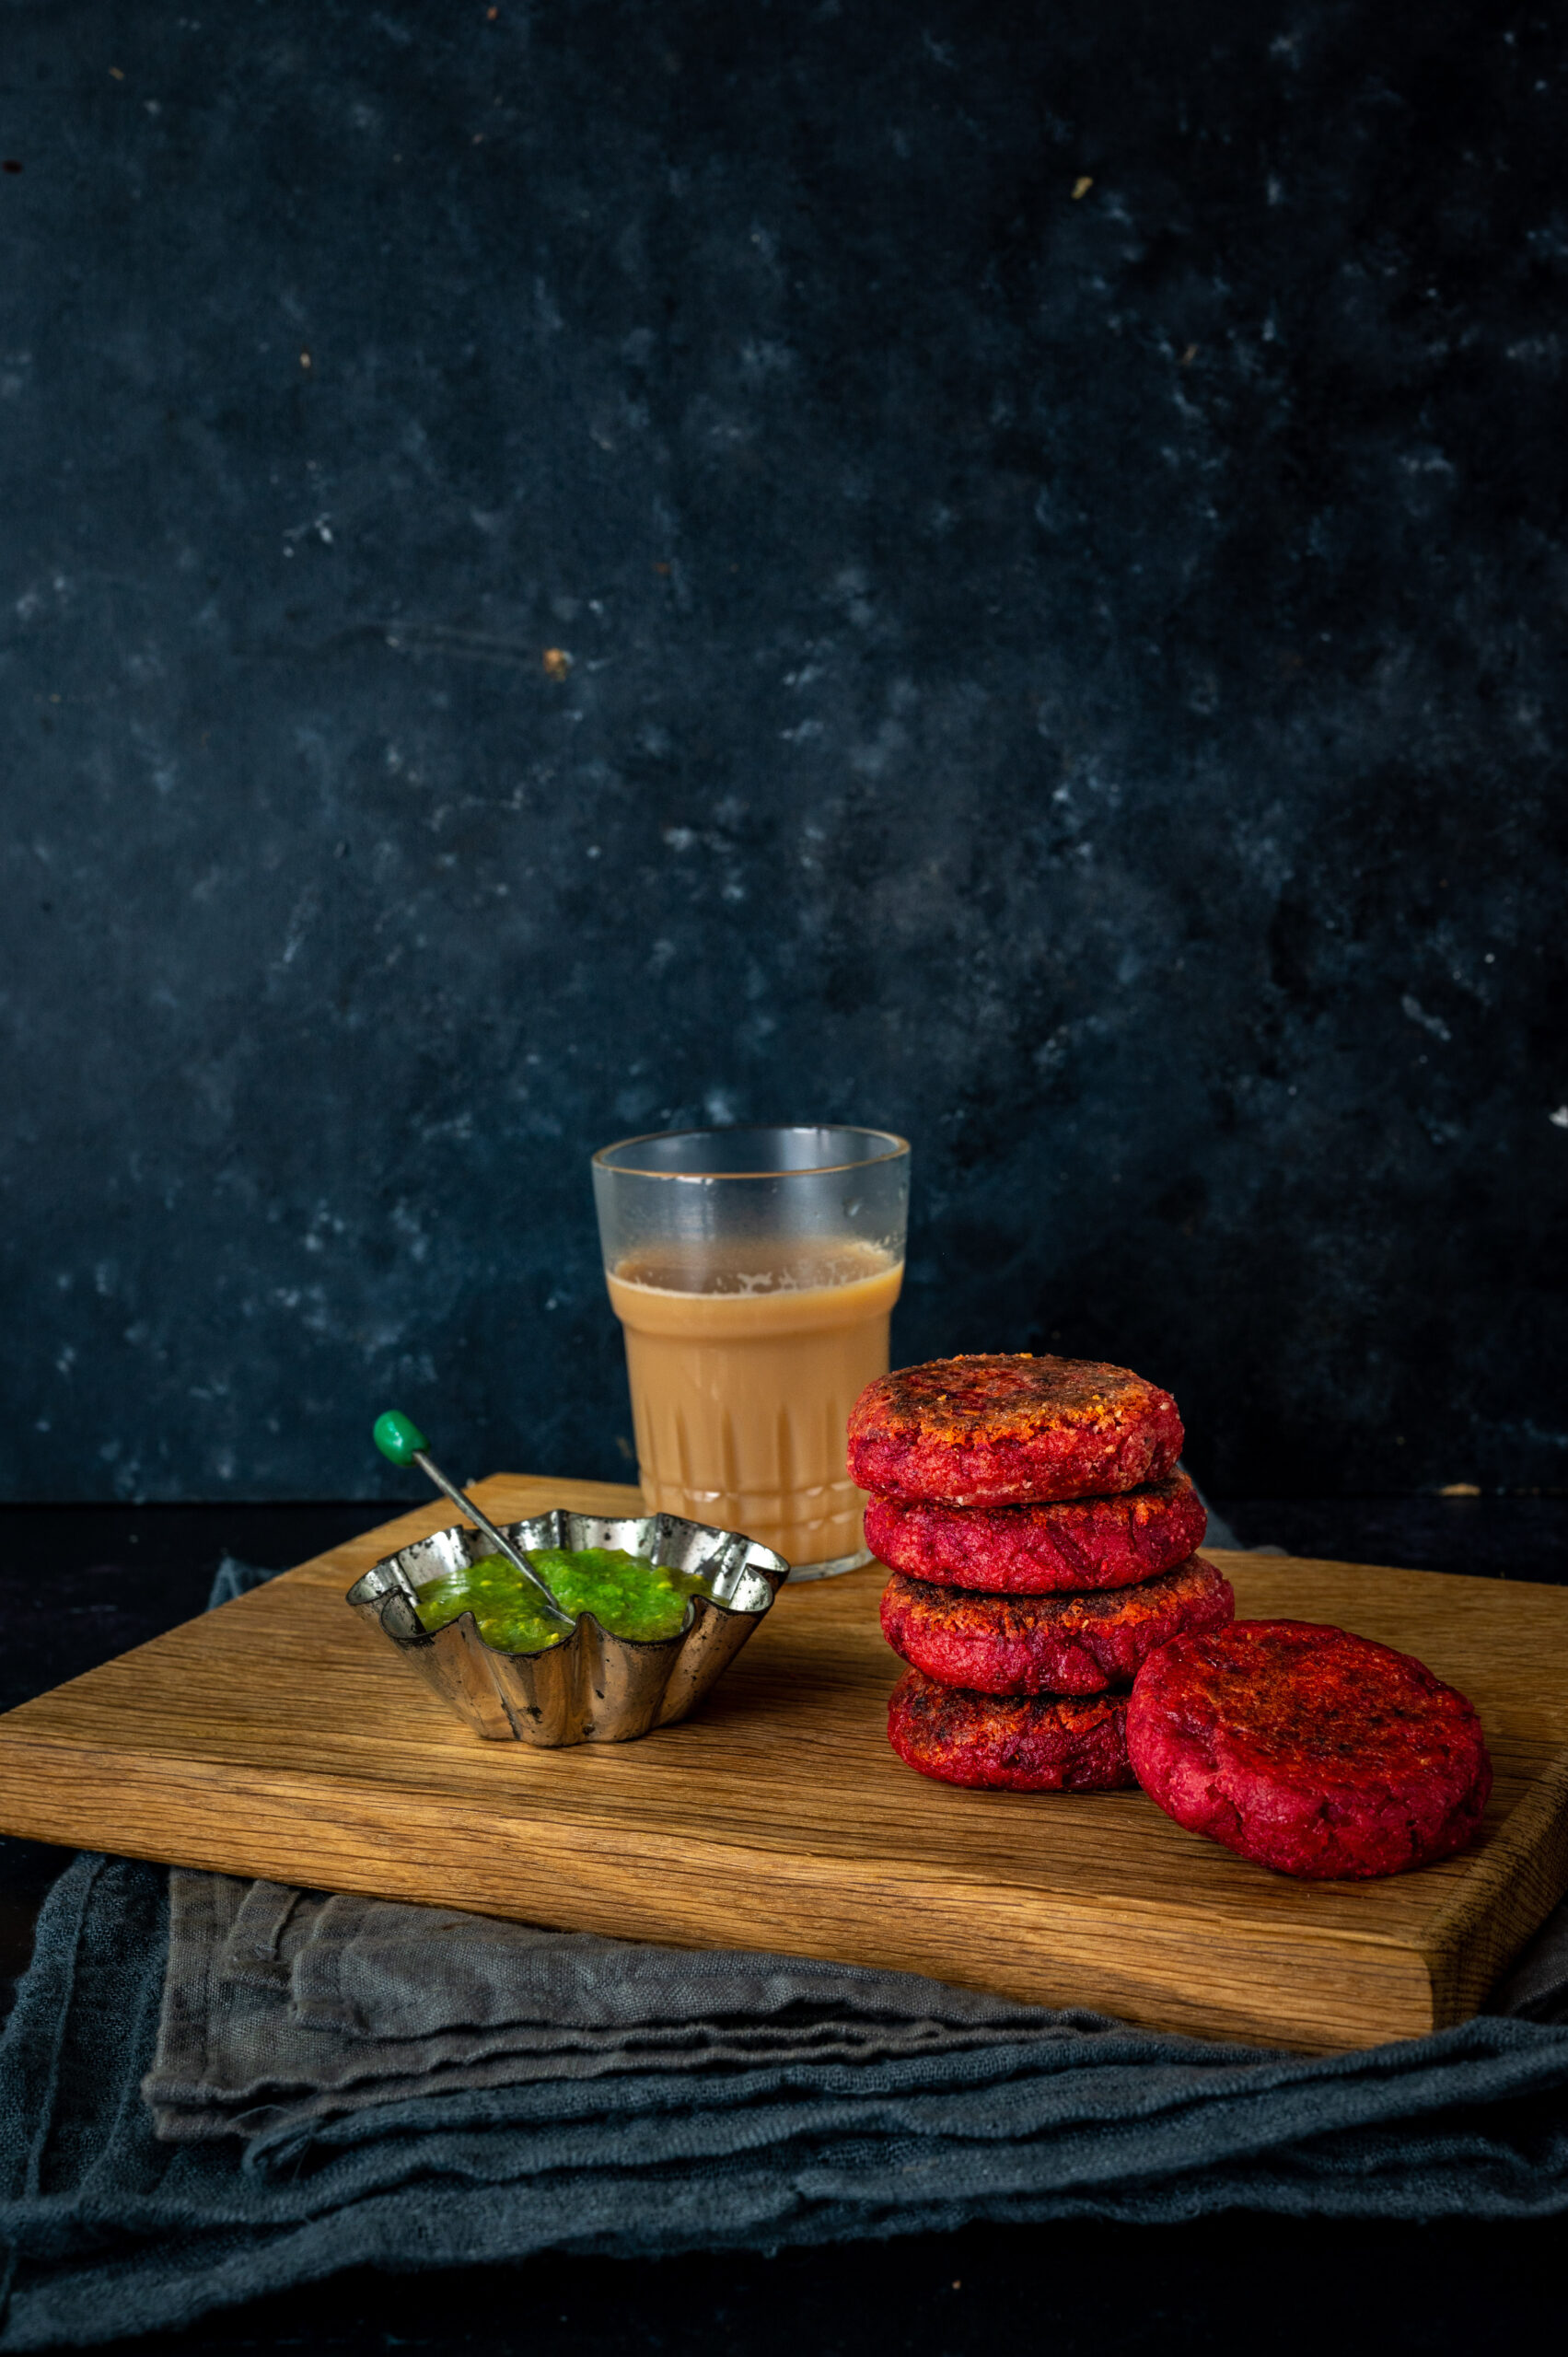
Any dietary website you consult, whether you agree with it or not, will tell you that overdoing anything is the big risk. It is only vegetables that are exempt from this rule, which is why I put as much of them as I can into my cooking. Specifically, for today’s recipe, into my cutlets. I’ll share another variety soon, but to begin with, here are beetroot cutlets, also known as beetroot tikkis.

A tikki is essentially a sort of Indian cutlet. If you make these in a smaller size, they become great starters when accompanied with a green chutney, which always peps things up. In order to make it more filling, some paneer, potato or spinach are great additions. I have used paneer and potato in this version.

There are various ways to prepare the beetroot. You could grate the raw beet, then cook it or deep fry it. Or you could boil or steam it instead. Either way, it’s really delicious. Beets contain a lot of natural sugars, which help fulfil your body’s sugar cravings. This vegetable is also rich in fibre, potassium, folate, manganese and iron.

The idea of making beetroot tikkis came about because the concept kept popping up in different conversations. A few different friends I’d been visiting all talked about it. This was what inspired me to try out and share a recipe for myself. You know how it is sometimes – something keeps coming up repeatedly in one’s life, and once you notice the pattern you are almost compelled to explore it. Whether it’s something small, literally, like a cutlet, or something bigger – a question, a person, a place… There’s always some learning there, if we choose to find it. In this case, adding this recipe into my repertoire has been an enjoyable little learning indeed.

Beetroot Tikki

(Yield: 6 pieces)


1 cup raw grated beetroot

½ cup grated paneer

Salt to taste

½ teaspoon garam masala

½ teaspoon aamchur (mango powder)

½ teaspoon roasted cumin powder

1 teaspoon ginger-green chili paste

1 boiled potato

2 tablespoons bread crumbs

2-4 tablespoons oil for shallow frying

1 tablespoon extra bread crumbs for shallow frying


In a pan, sauté the grated beetroot on a medium to high flame until the water is cooked. Boil and mash the potato.

In a bowl, add sautéed beetroot, boiled and mashed potato, paneer and spices. Add the crumbs too.

Mix these ingredients together well with your hands and shape them into tikkis.

On a flat pan, add sufficient oil. Dip the cutlets into the extra bread crumbs and then place them on the pan. Allow to cook until golden, then flip over to the other side.

Your beetroot cutlets / tikkis are now ready to serve. They are usually eaten as a snack, with any dip of your choice. If you’re a fan of dishes like these, my sweet potato tikki and harra bhara kebab recipes may be fun to try out too. I have another cutlet recipe coming up soon on my blog. Stay tuned, and as always, I love hearing from you!

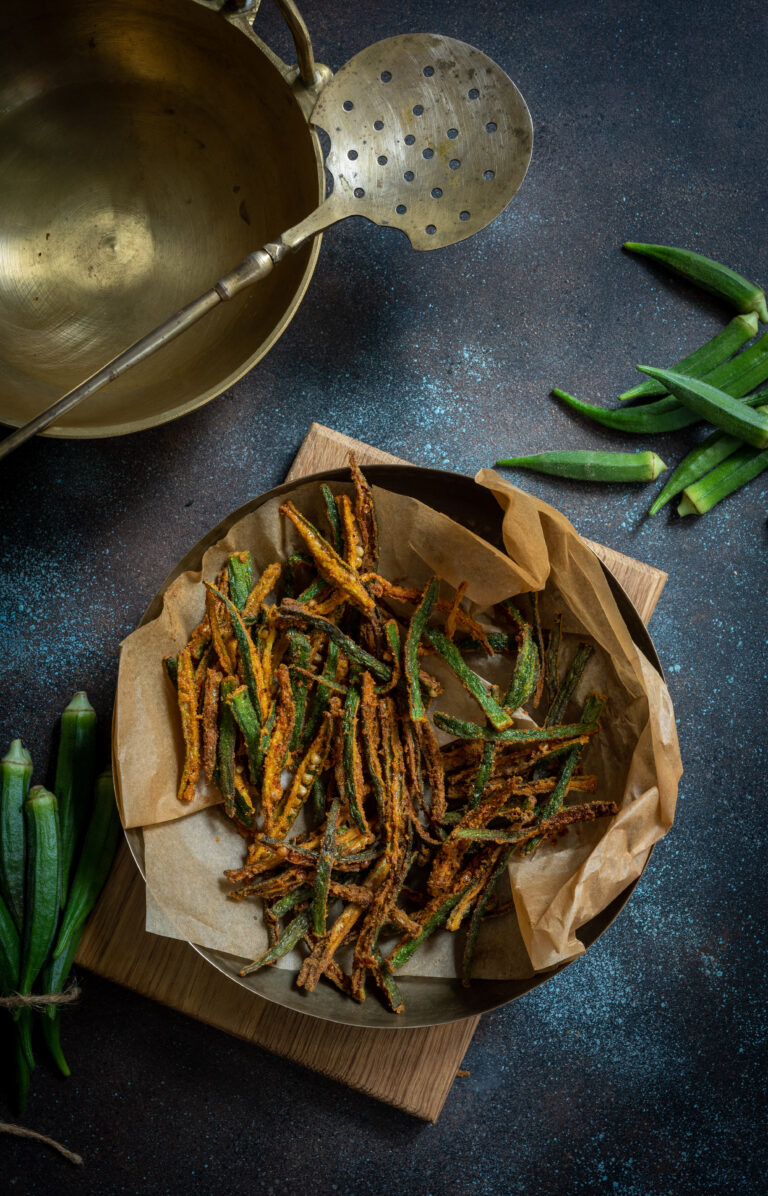
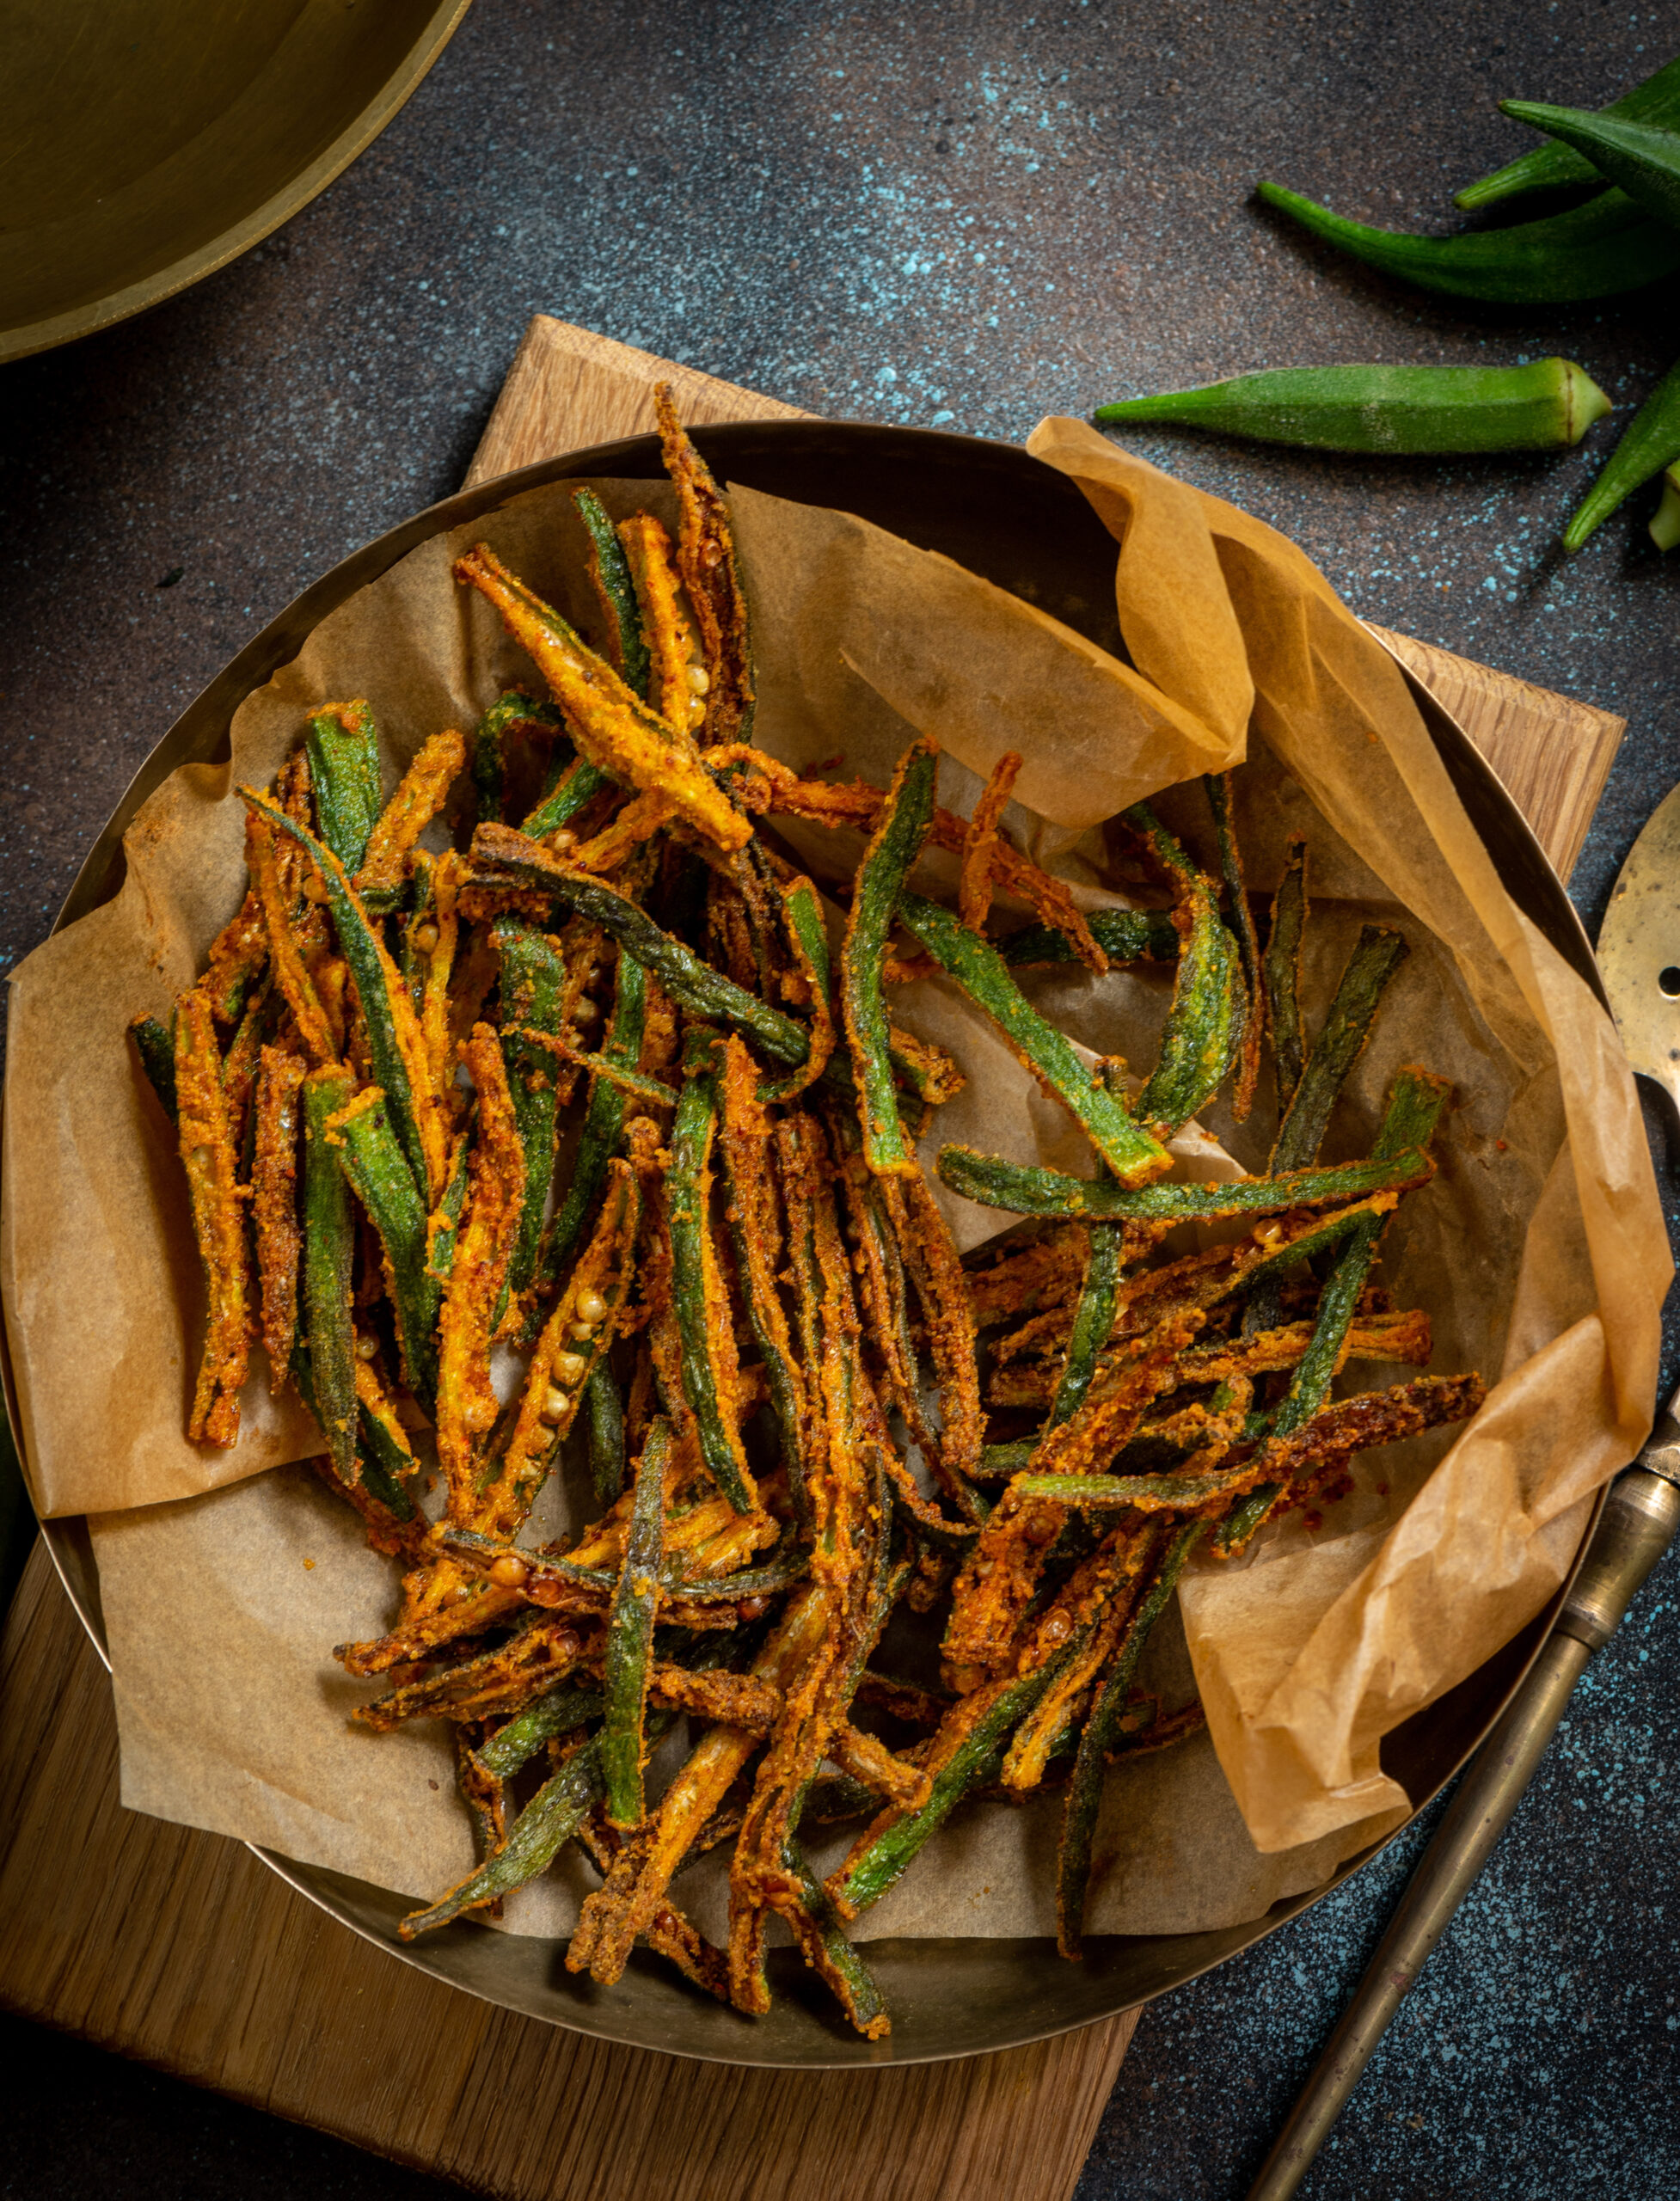
Okra, also known as lady’s finger, is a basic Indian vegetable that grows in any weather, any soil and any season. This means that it recurs as an ingredient in cuisines across the country, and there must surely be a hundred varieties or versions of cooking it. To give you some examples of its versatility: I’ve had it in a yoghurt raita and I’ve also had it in a tamarind sauce gravy, two very different concepts altogether. My most favourite way to eat okra, however, is in a dry stir fry that I make at home almost every other day as the sabzi part of our traditional Gujarati thaali. However, making a preparation attractive to the rest of my family, particularly the younger generation, has been a challenge. That was when I discovered that I could convince them to eat this vegetable by turning it into fried okra chips.

Initially, my plan was to simply introduce my kids to the wonders of a good okra dish and then have them develop enough of a liking for the vegetable that they also became interested in the regular stir-fry. I must confess this plan has backfired – we are all too addicted to this version! So it’s become more of a treat and less of a staple in my home.

Still, as I continue to find ways to increase the vegetable quotients in my kids’ diets, I’m glad to have figured out this simple yet delicious recipe. I have noticed that youngsters take some time to grow out of the feeling that brinjal or okra, vegetables that have a certain texture, are icky. Even though mine are now adults, they still have these dislikes. Preparing these vegetables they are picky about using a technique that makes the stickiness go away, such as frying, makes a difference. Do you have any such tips and tricks you’d like to share too?

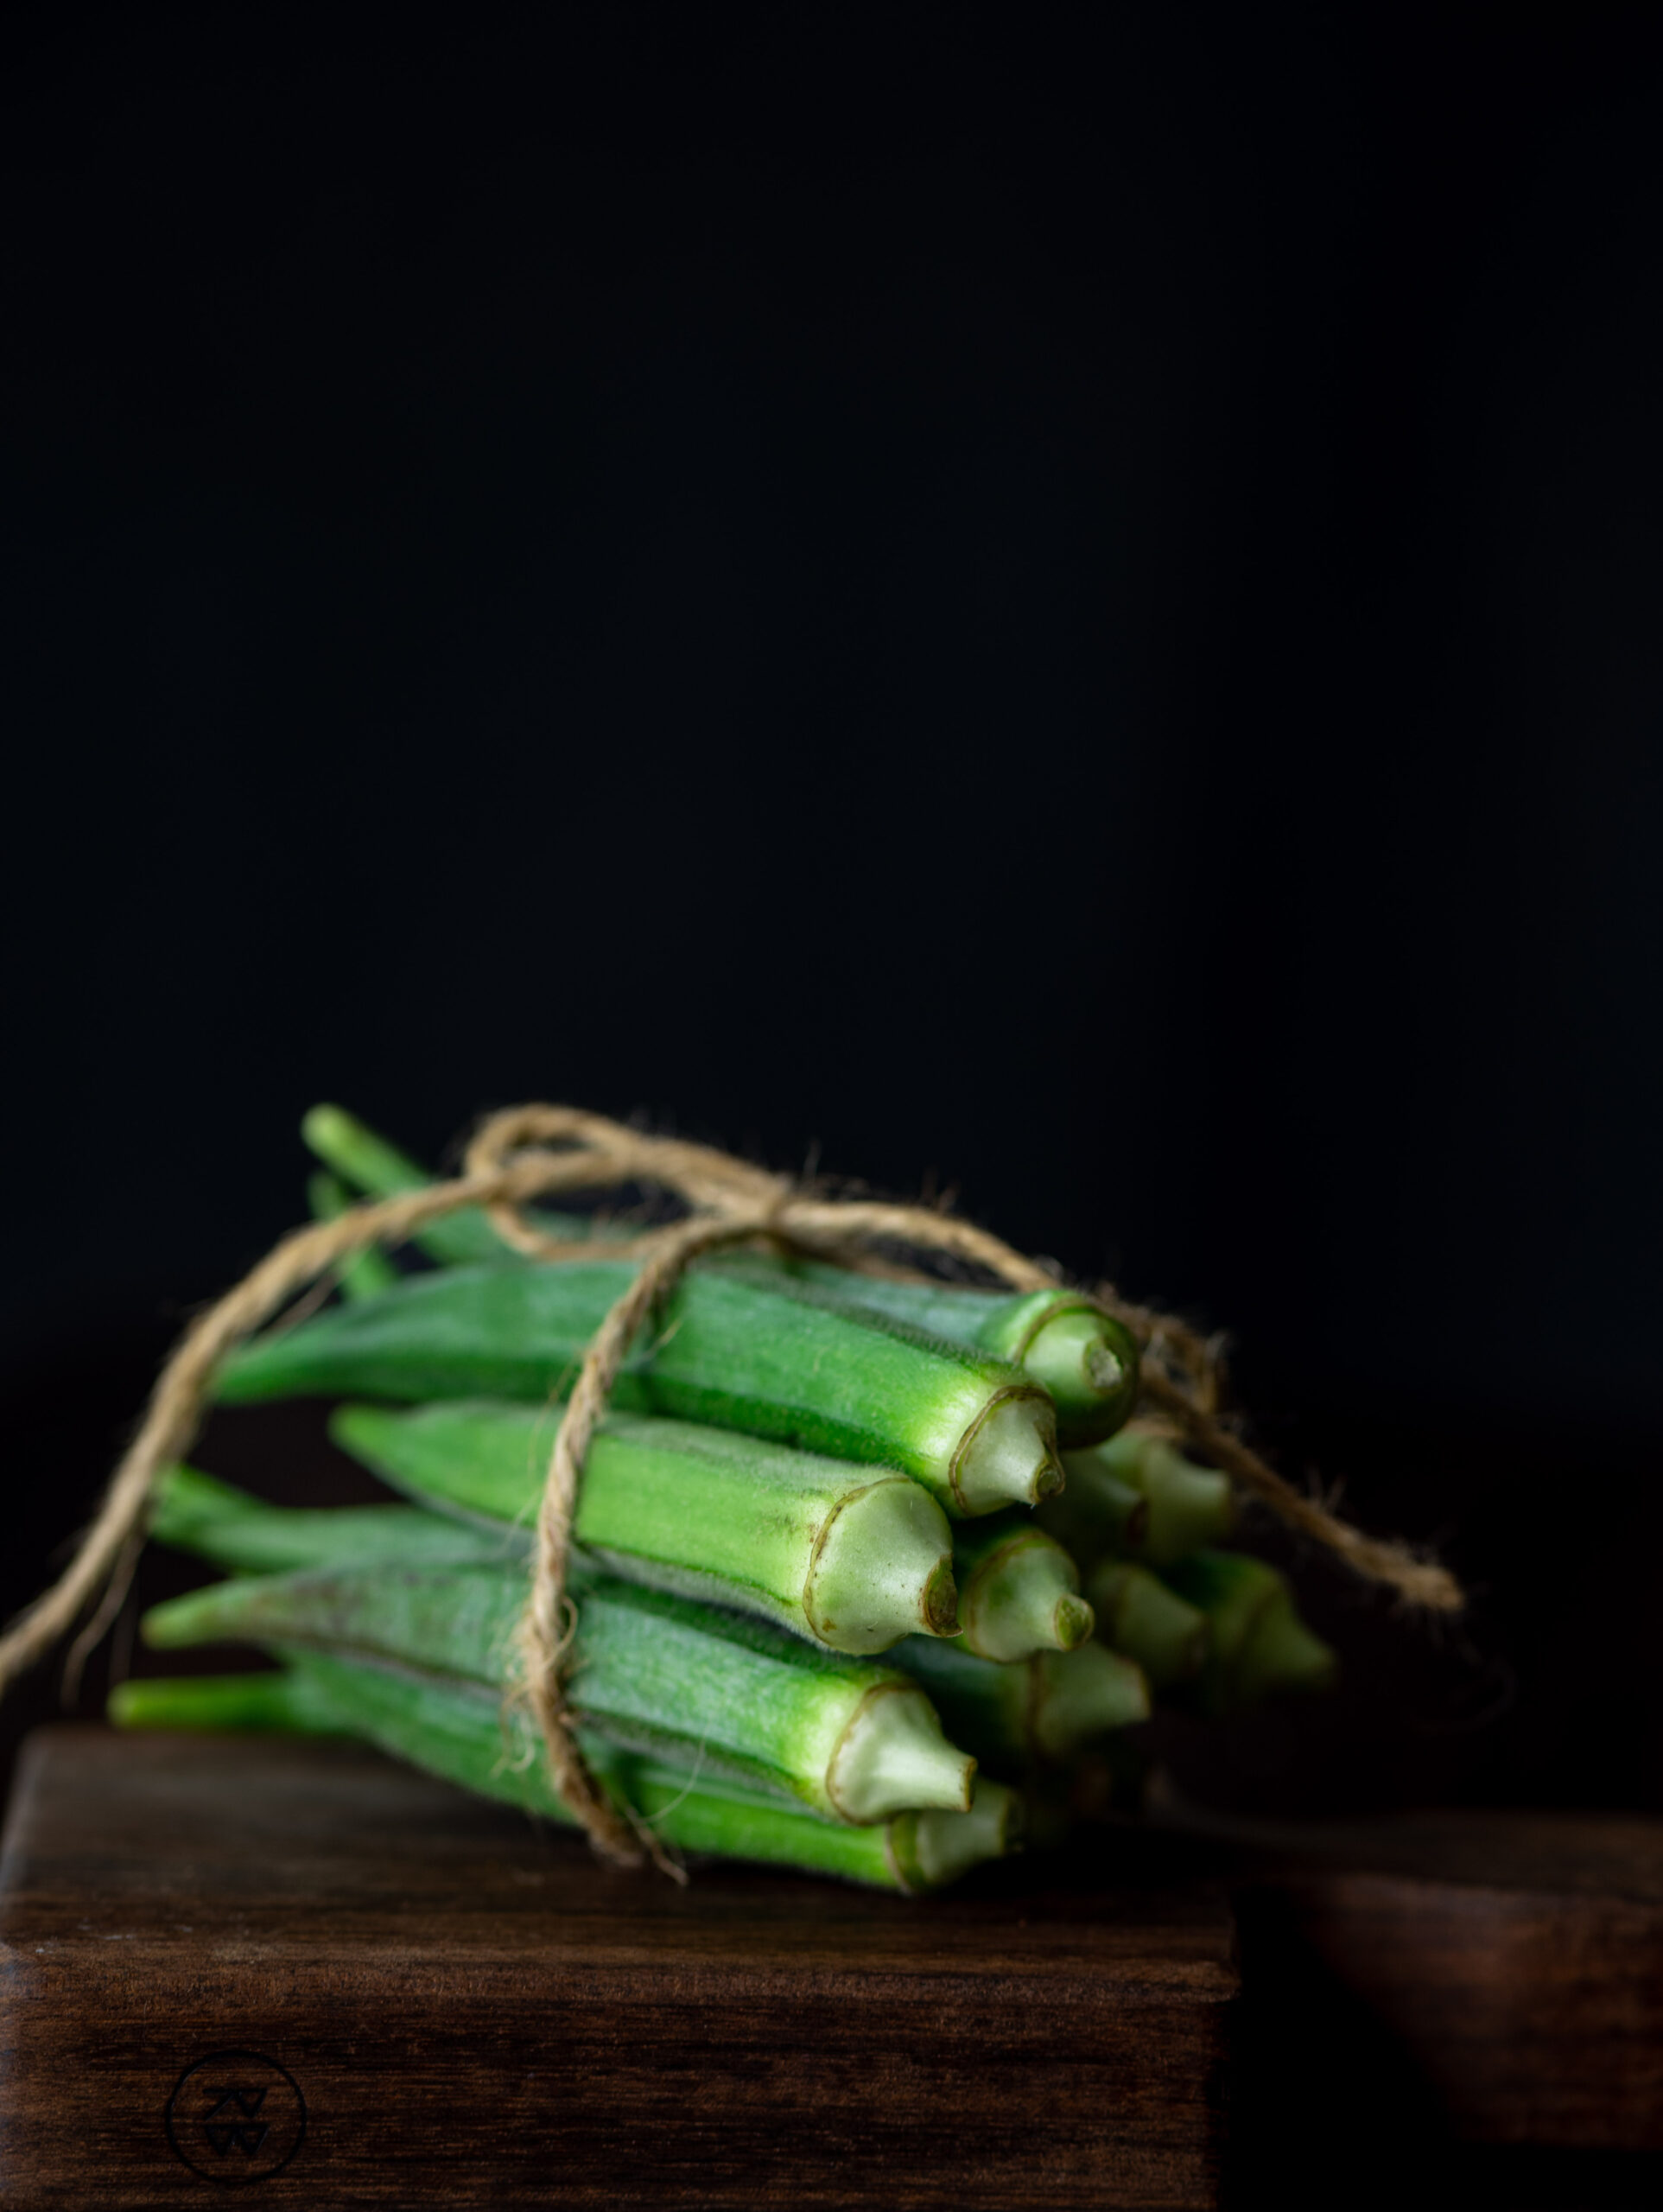
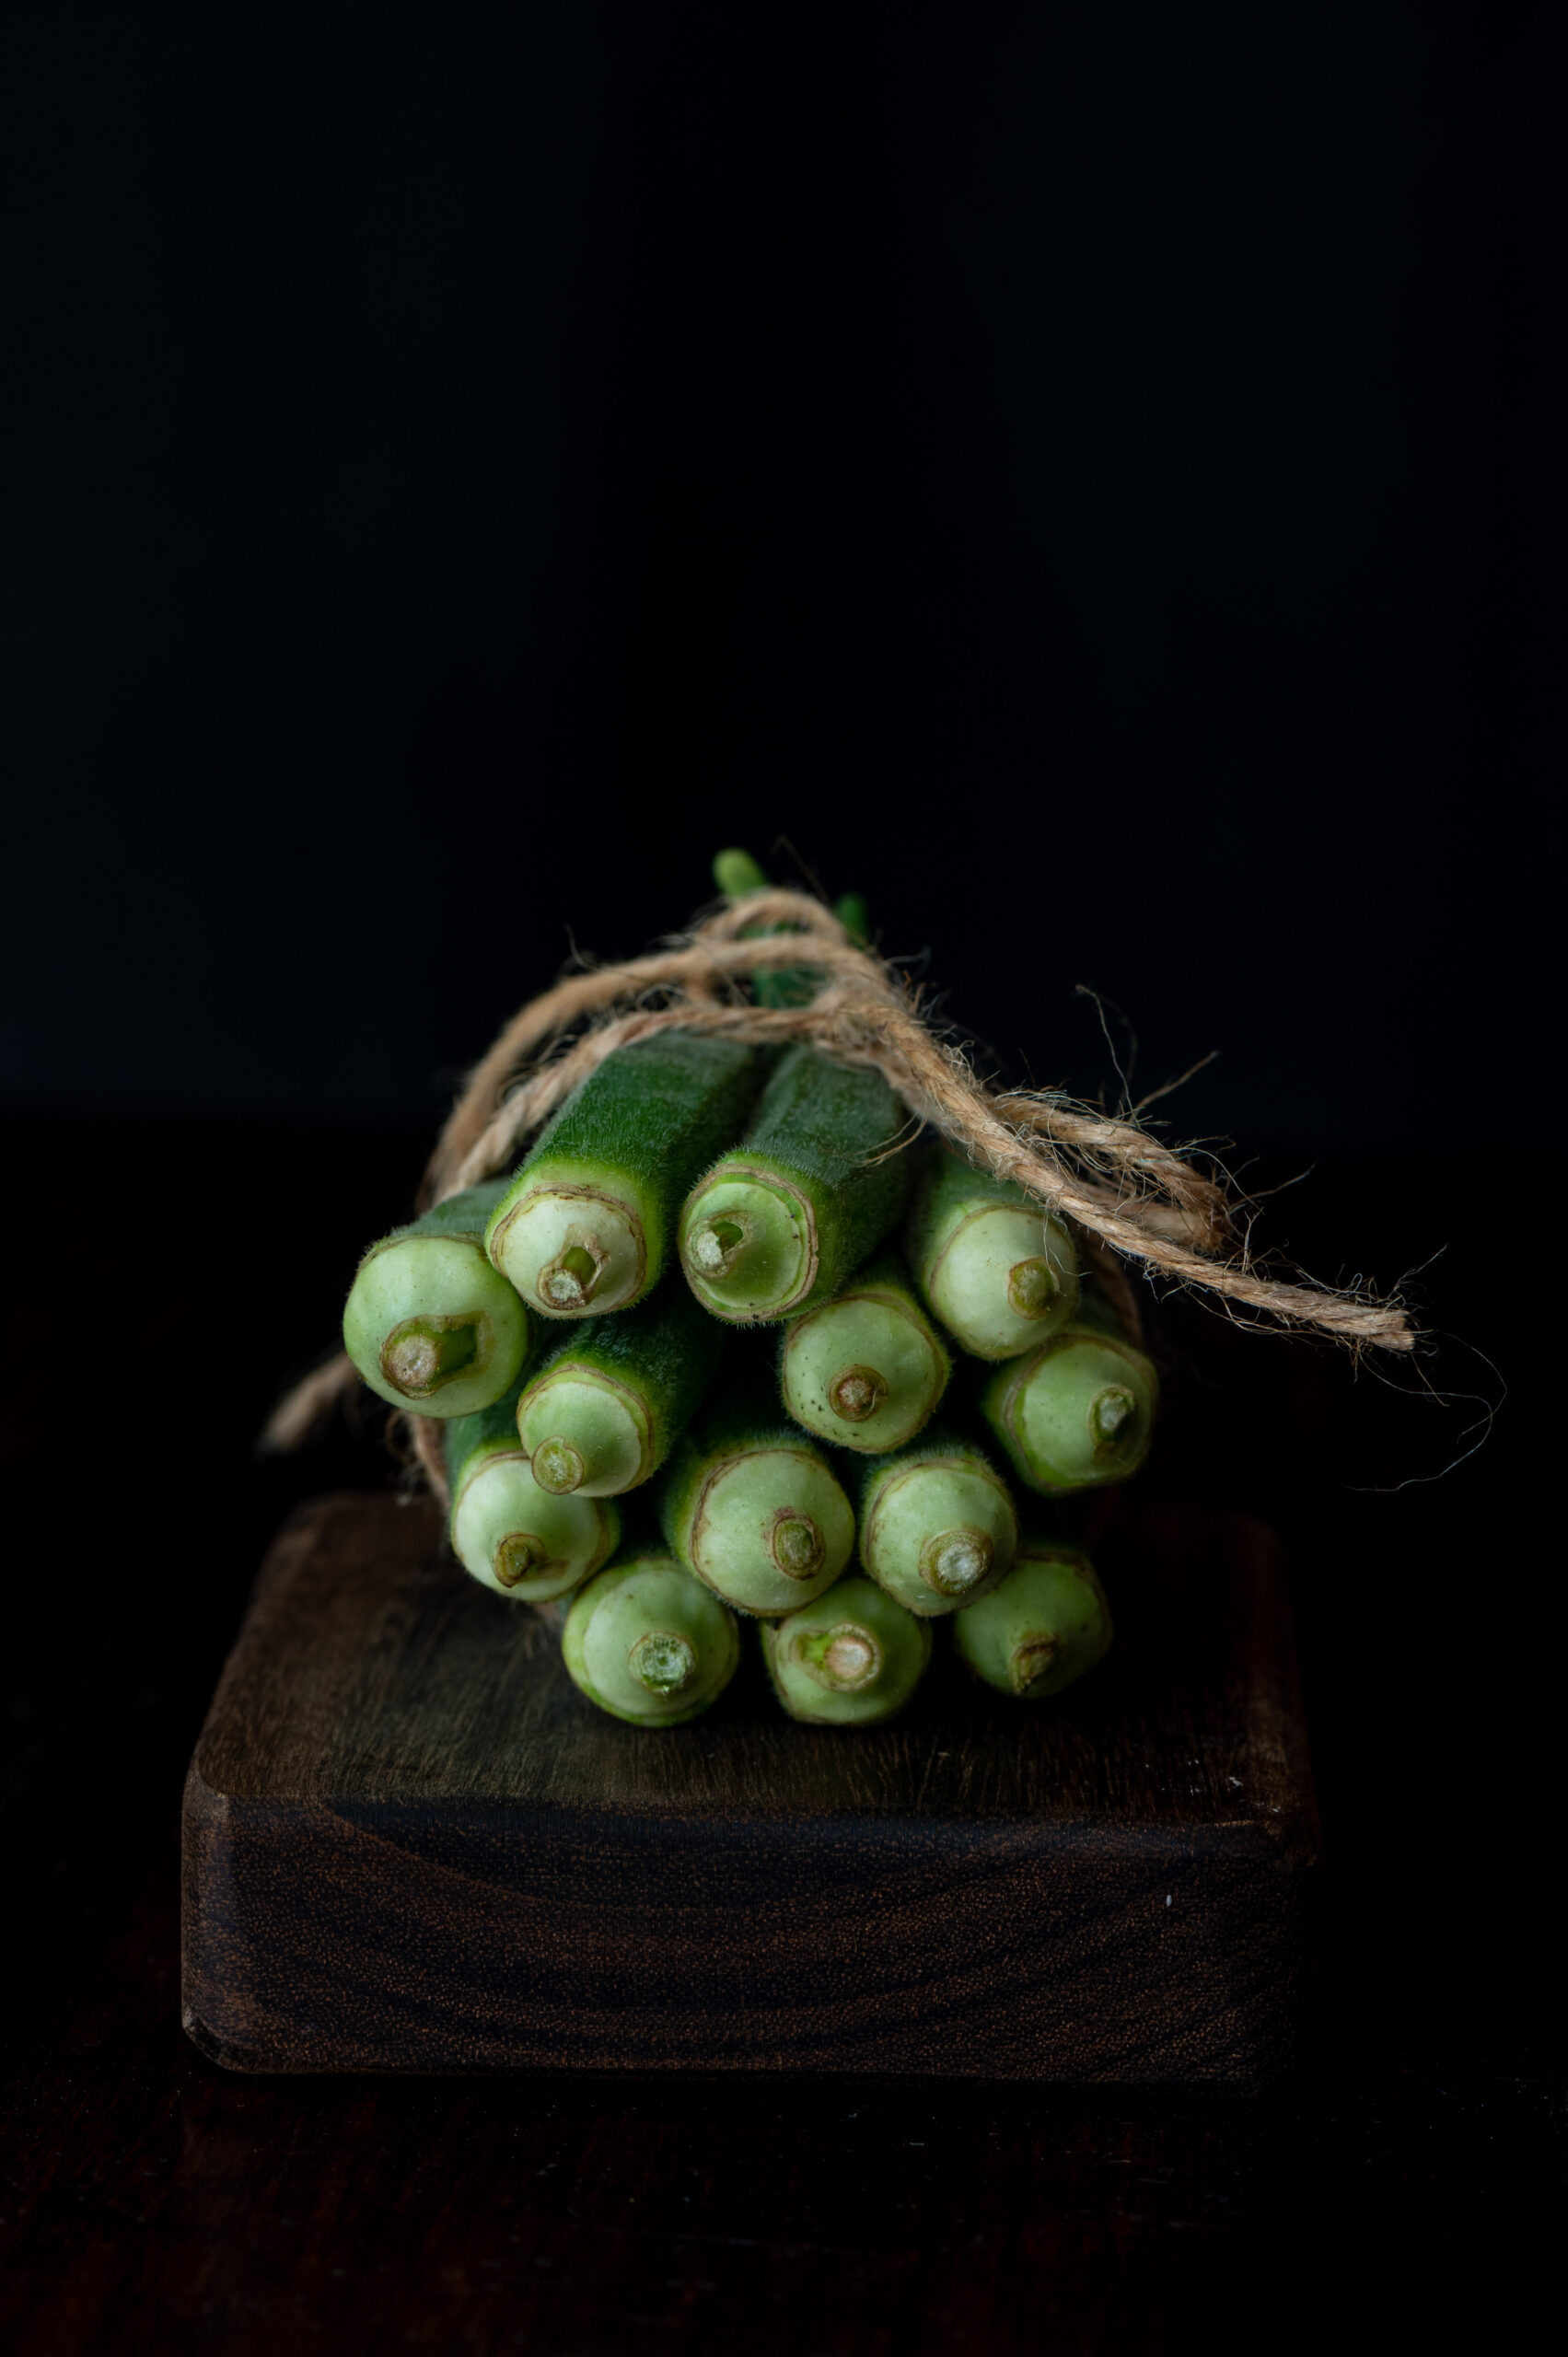
Another great thing about these fried okra chips is that they require very little prep time, and as long as you have your usual spices and some fresh okra around, you can make them quite quickly. As with most vegetables, freshness is a key element when it comes to okra. When I was growing up, my mother taught me not only how to cook but also how to pick out the best vegetables when shopping for groceries. While you may not be able to do this at the market, when you’re about to cook, the secret to knowing how good your okra is this: snap the tiny piece of the tail end off. If it snaps immediately, it’s fresh. If it is tender, it’s losing its freshness.

When this happens, depending on the dish in question and the extent of the vegetable’s over-ripeness, I either use it in another preparation or else I discard it. By discard I mean that I go and feed it to the cows in the street. Most of the older vegetables amidst my groceries or in my fridge are “discarded” this way. In a sense, they are never wasted.

Fried Okra Chips

(Yield: Serves 4)


250 grams okra (sliced lengthwise)

Salt to taste

2 teaspoon Kashmiri chili powder

½ teaspoon turmeric powder

1 teaspoon cumin powder

½ teaspoon garam masala

5 tablespoons chickpea flour

1 teaspoon chaat masala

Add all the spices and the chickpea flour to the okra slices, and massage well using your hands. Allow to sit for half an hour.

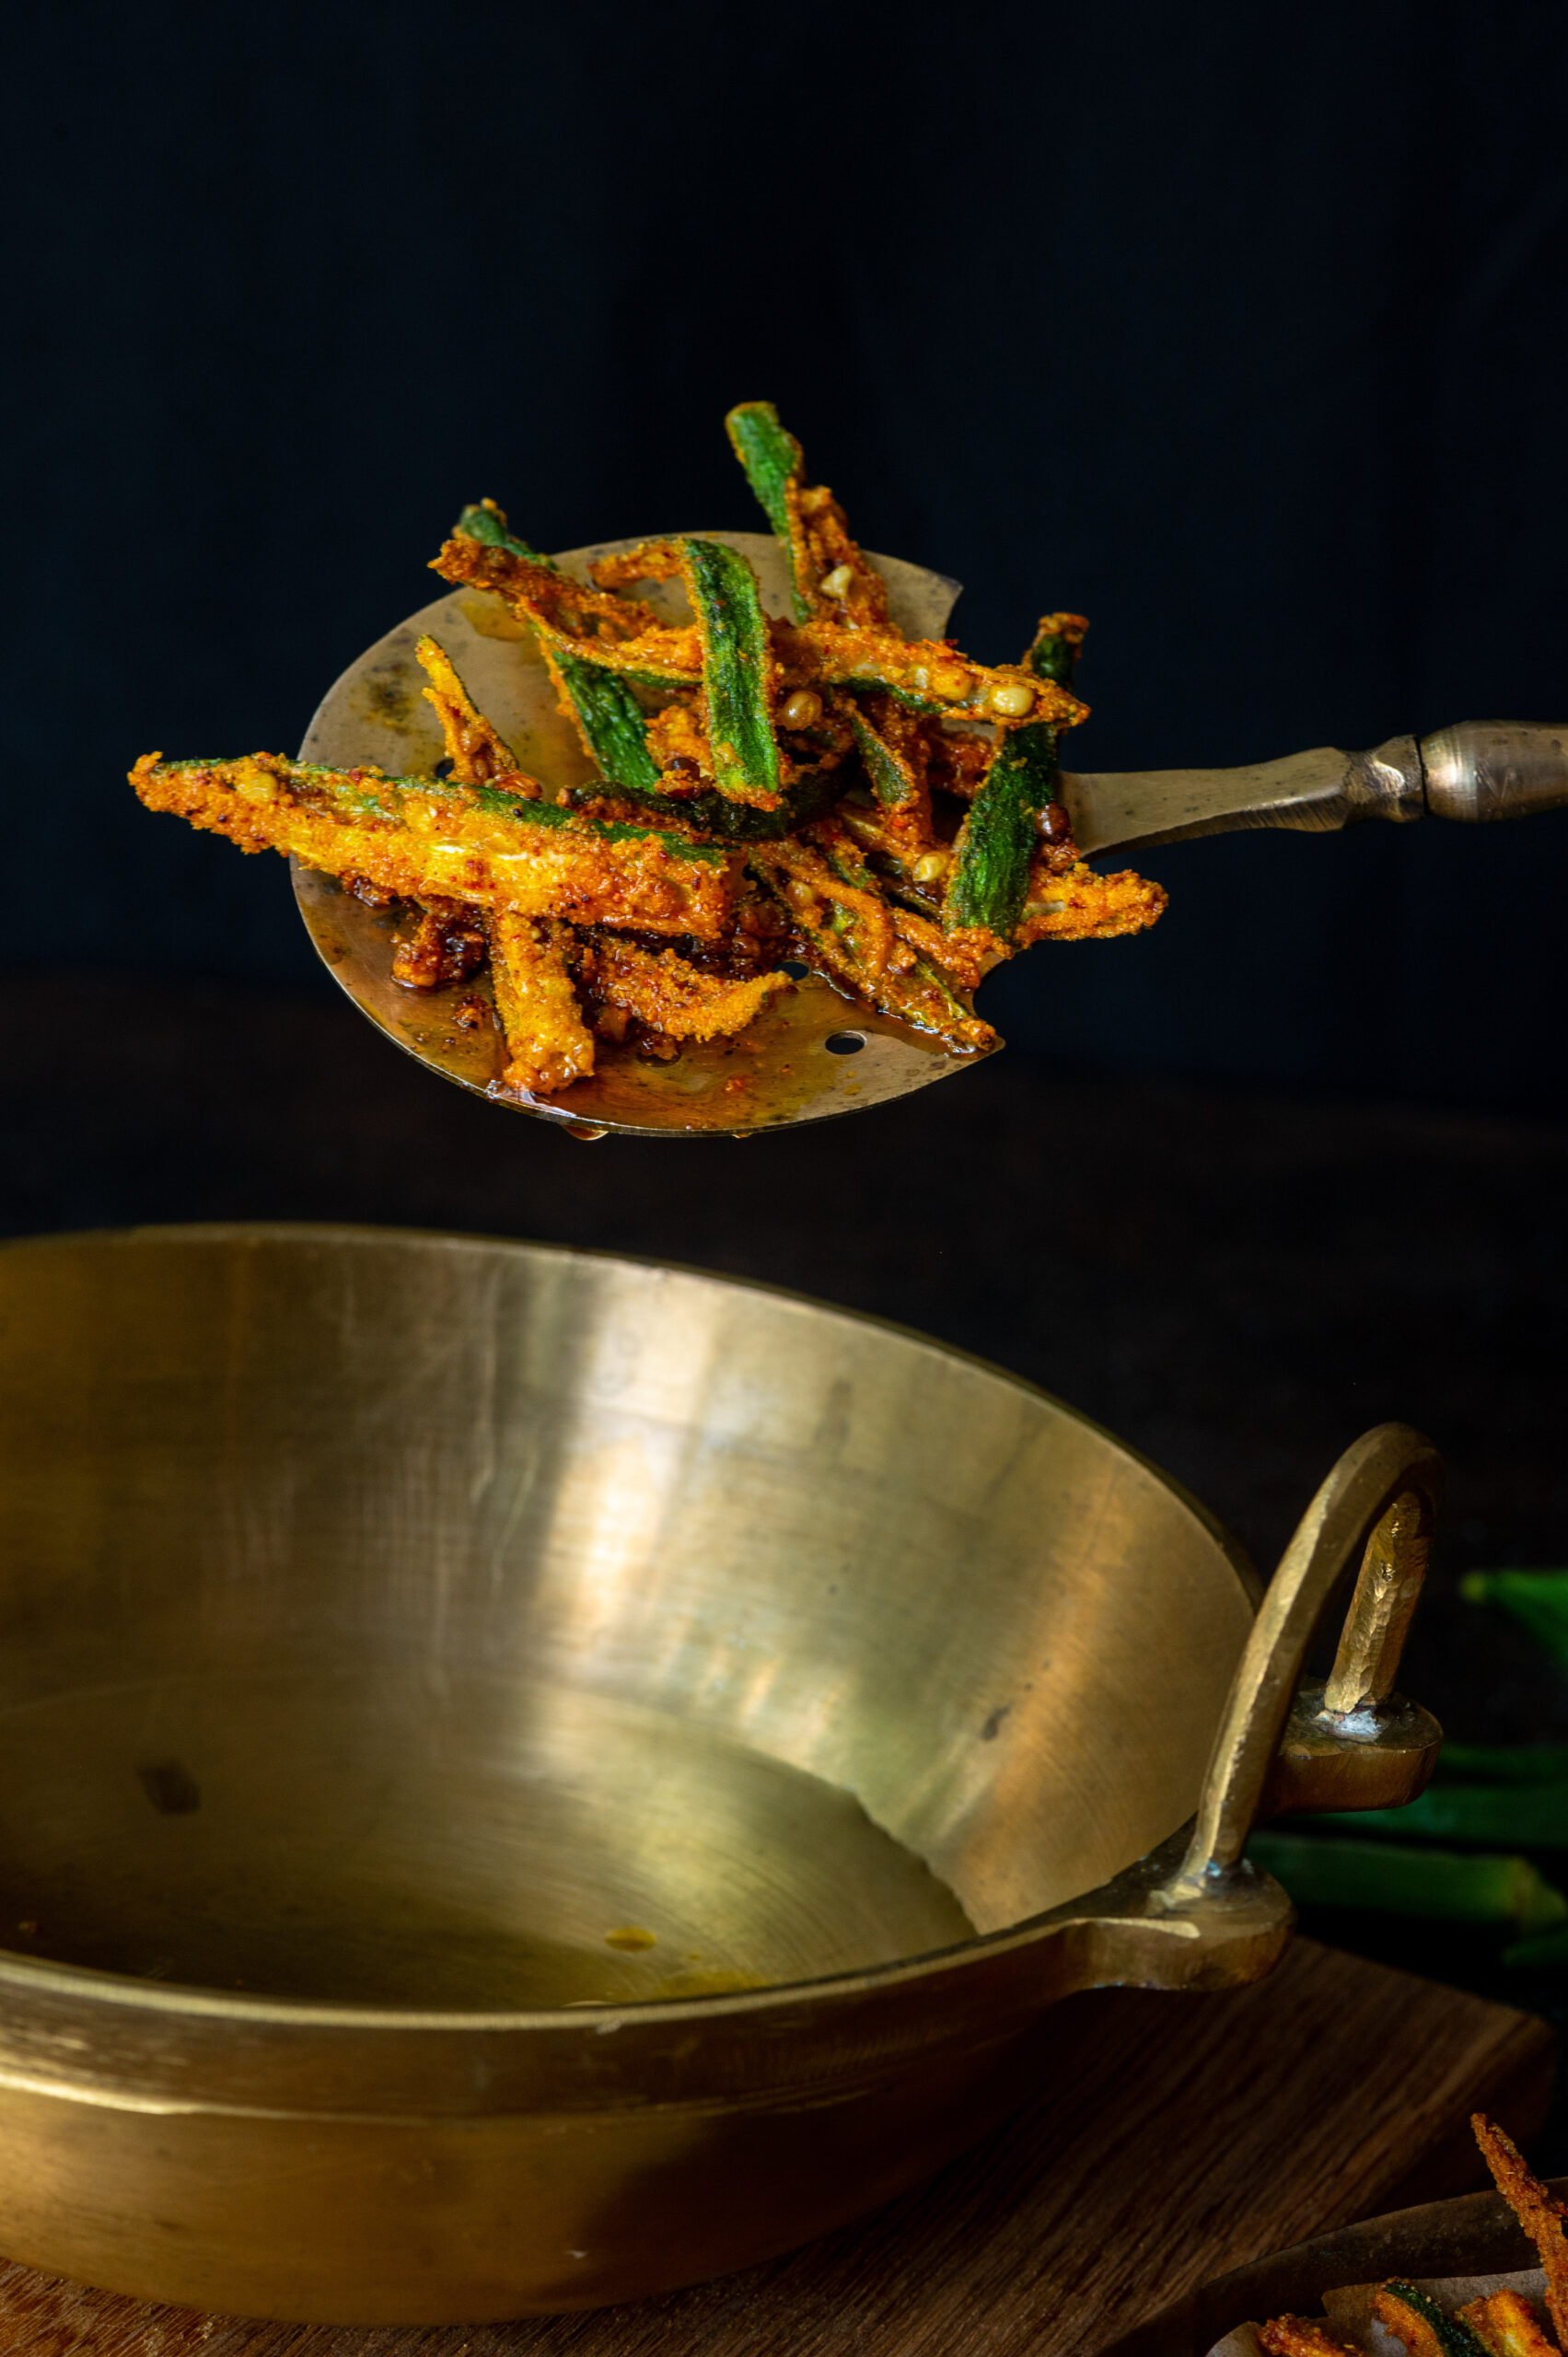
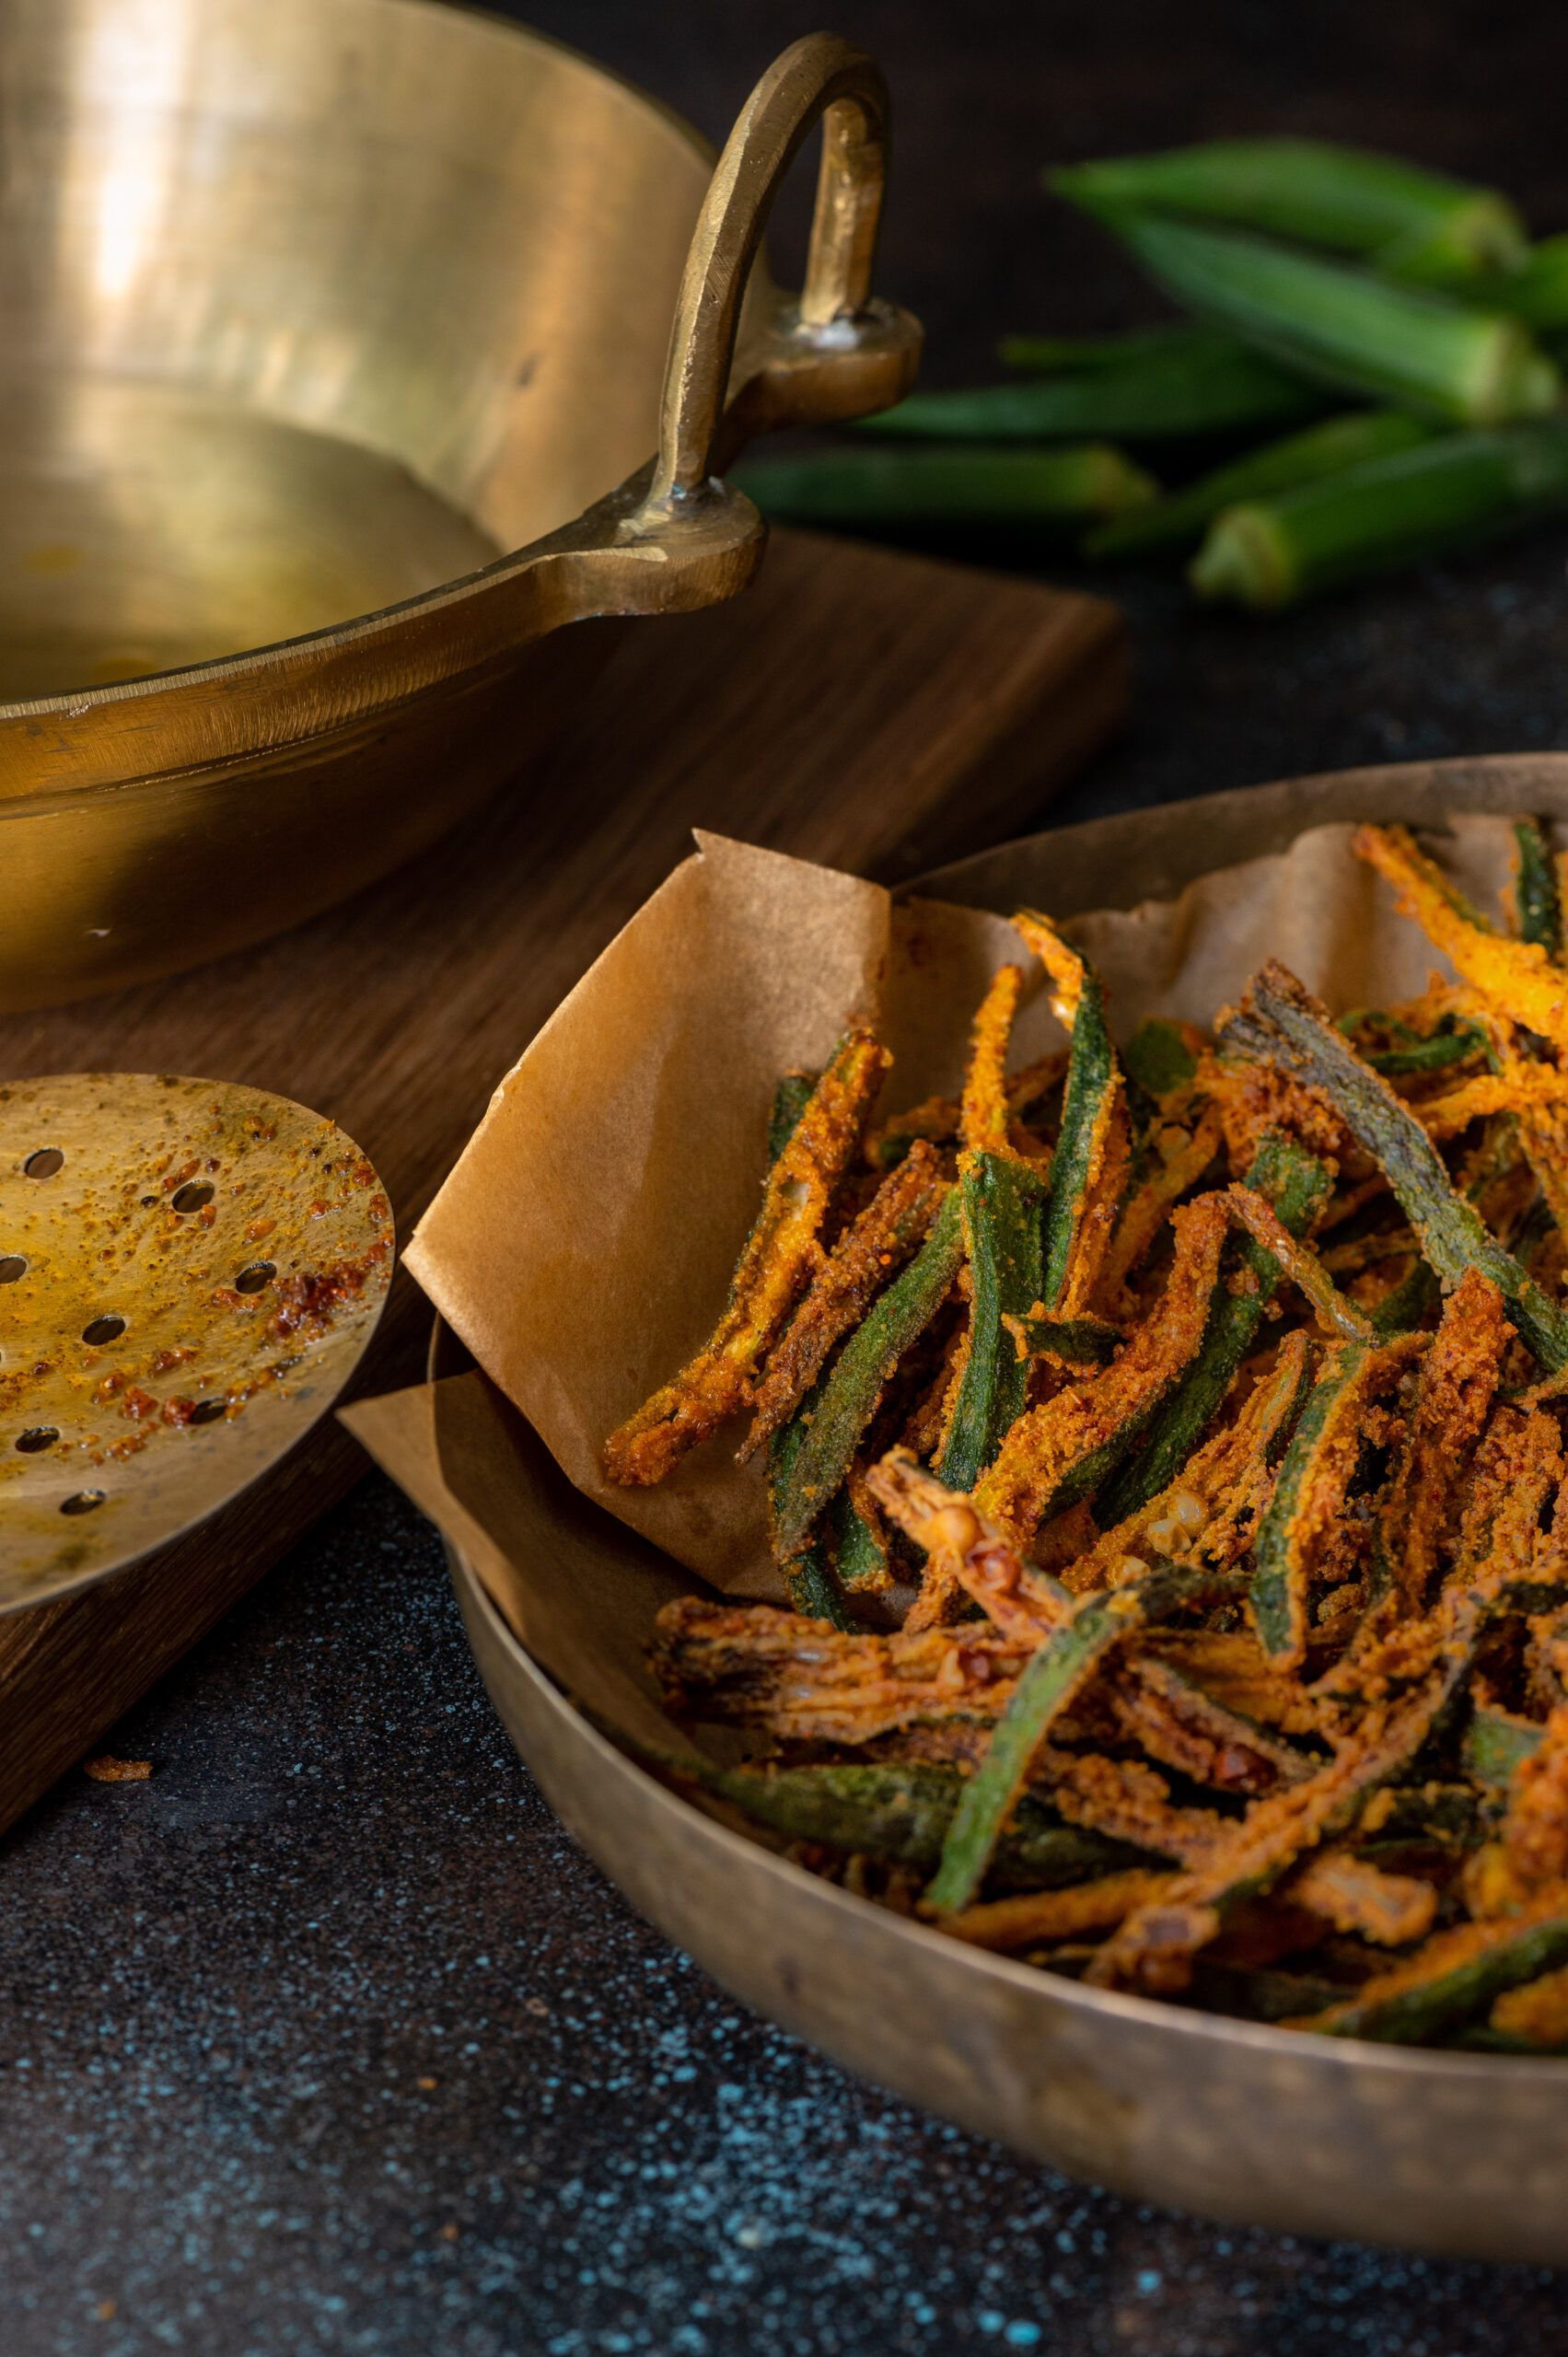
Then, heat the oil. Once the oil is heated, drop in the coated okra slices. Fry well until golden. Drain on a paper. Sprinkle with chaat masala for an additional boost of lovely flavouring. You can store the fried okra in a tin if consuming later.

These fried okra chips are a wonderful snack on their own, and also work as an accompaniment to a main course. I’d love to know what you think of them, and I’d especially love to know if you have more suggestions about how to sneak nutritious vegetables into the diets of the vegetable-averse!

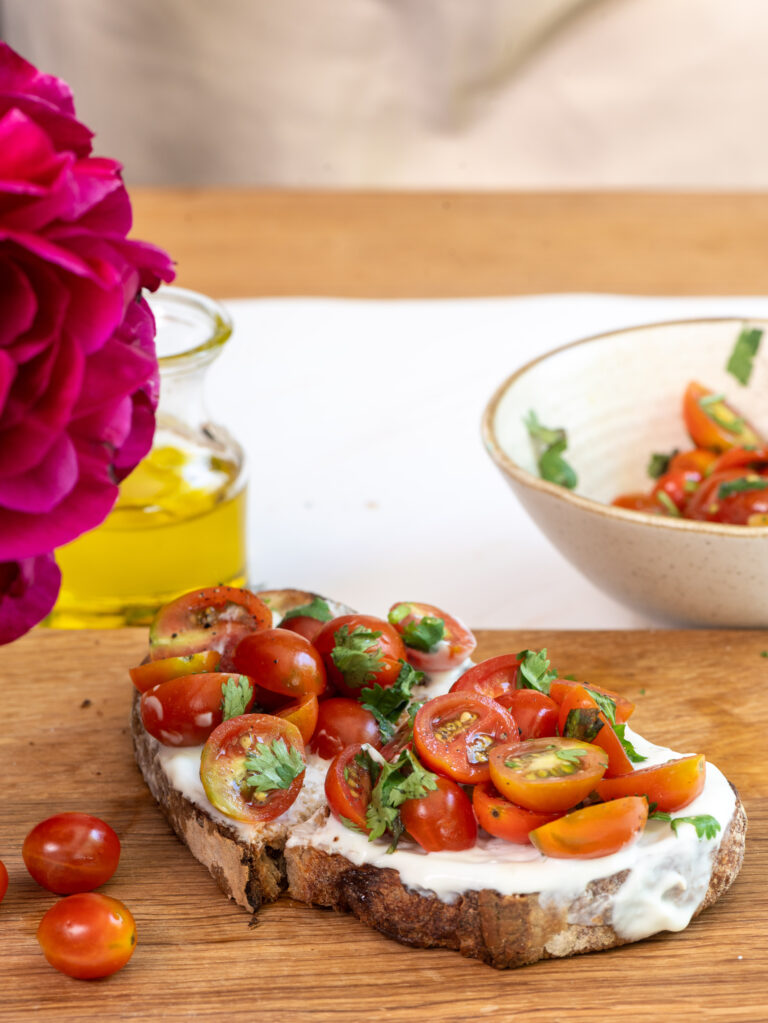
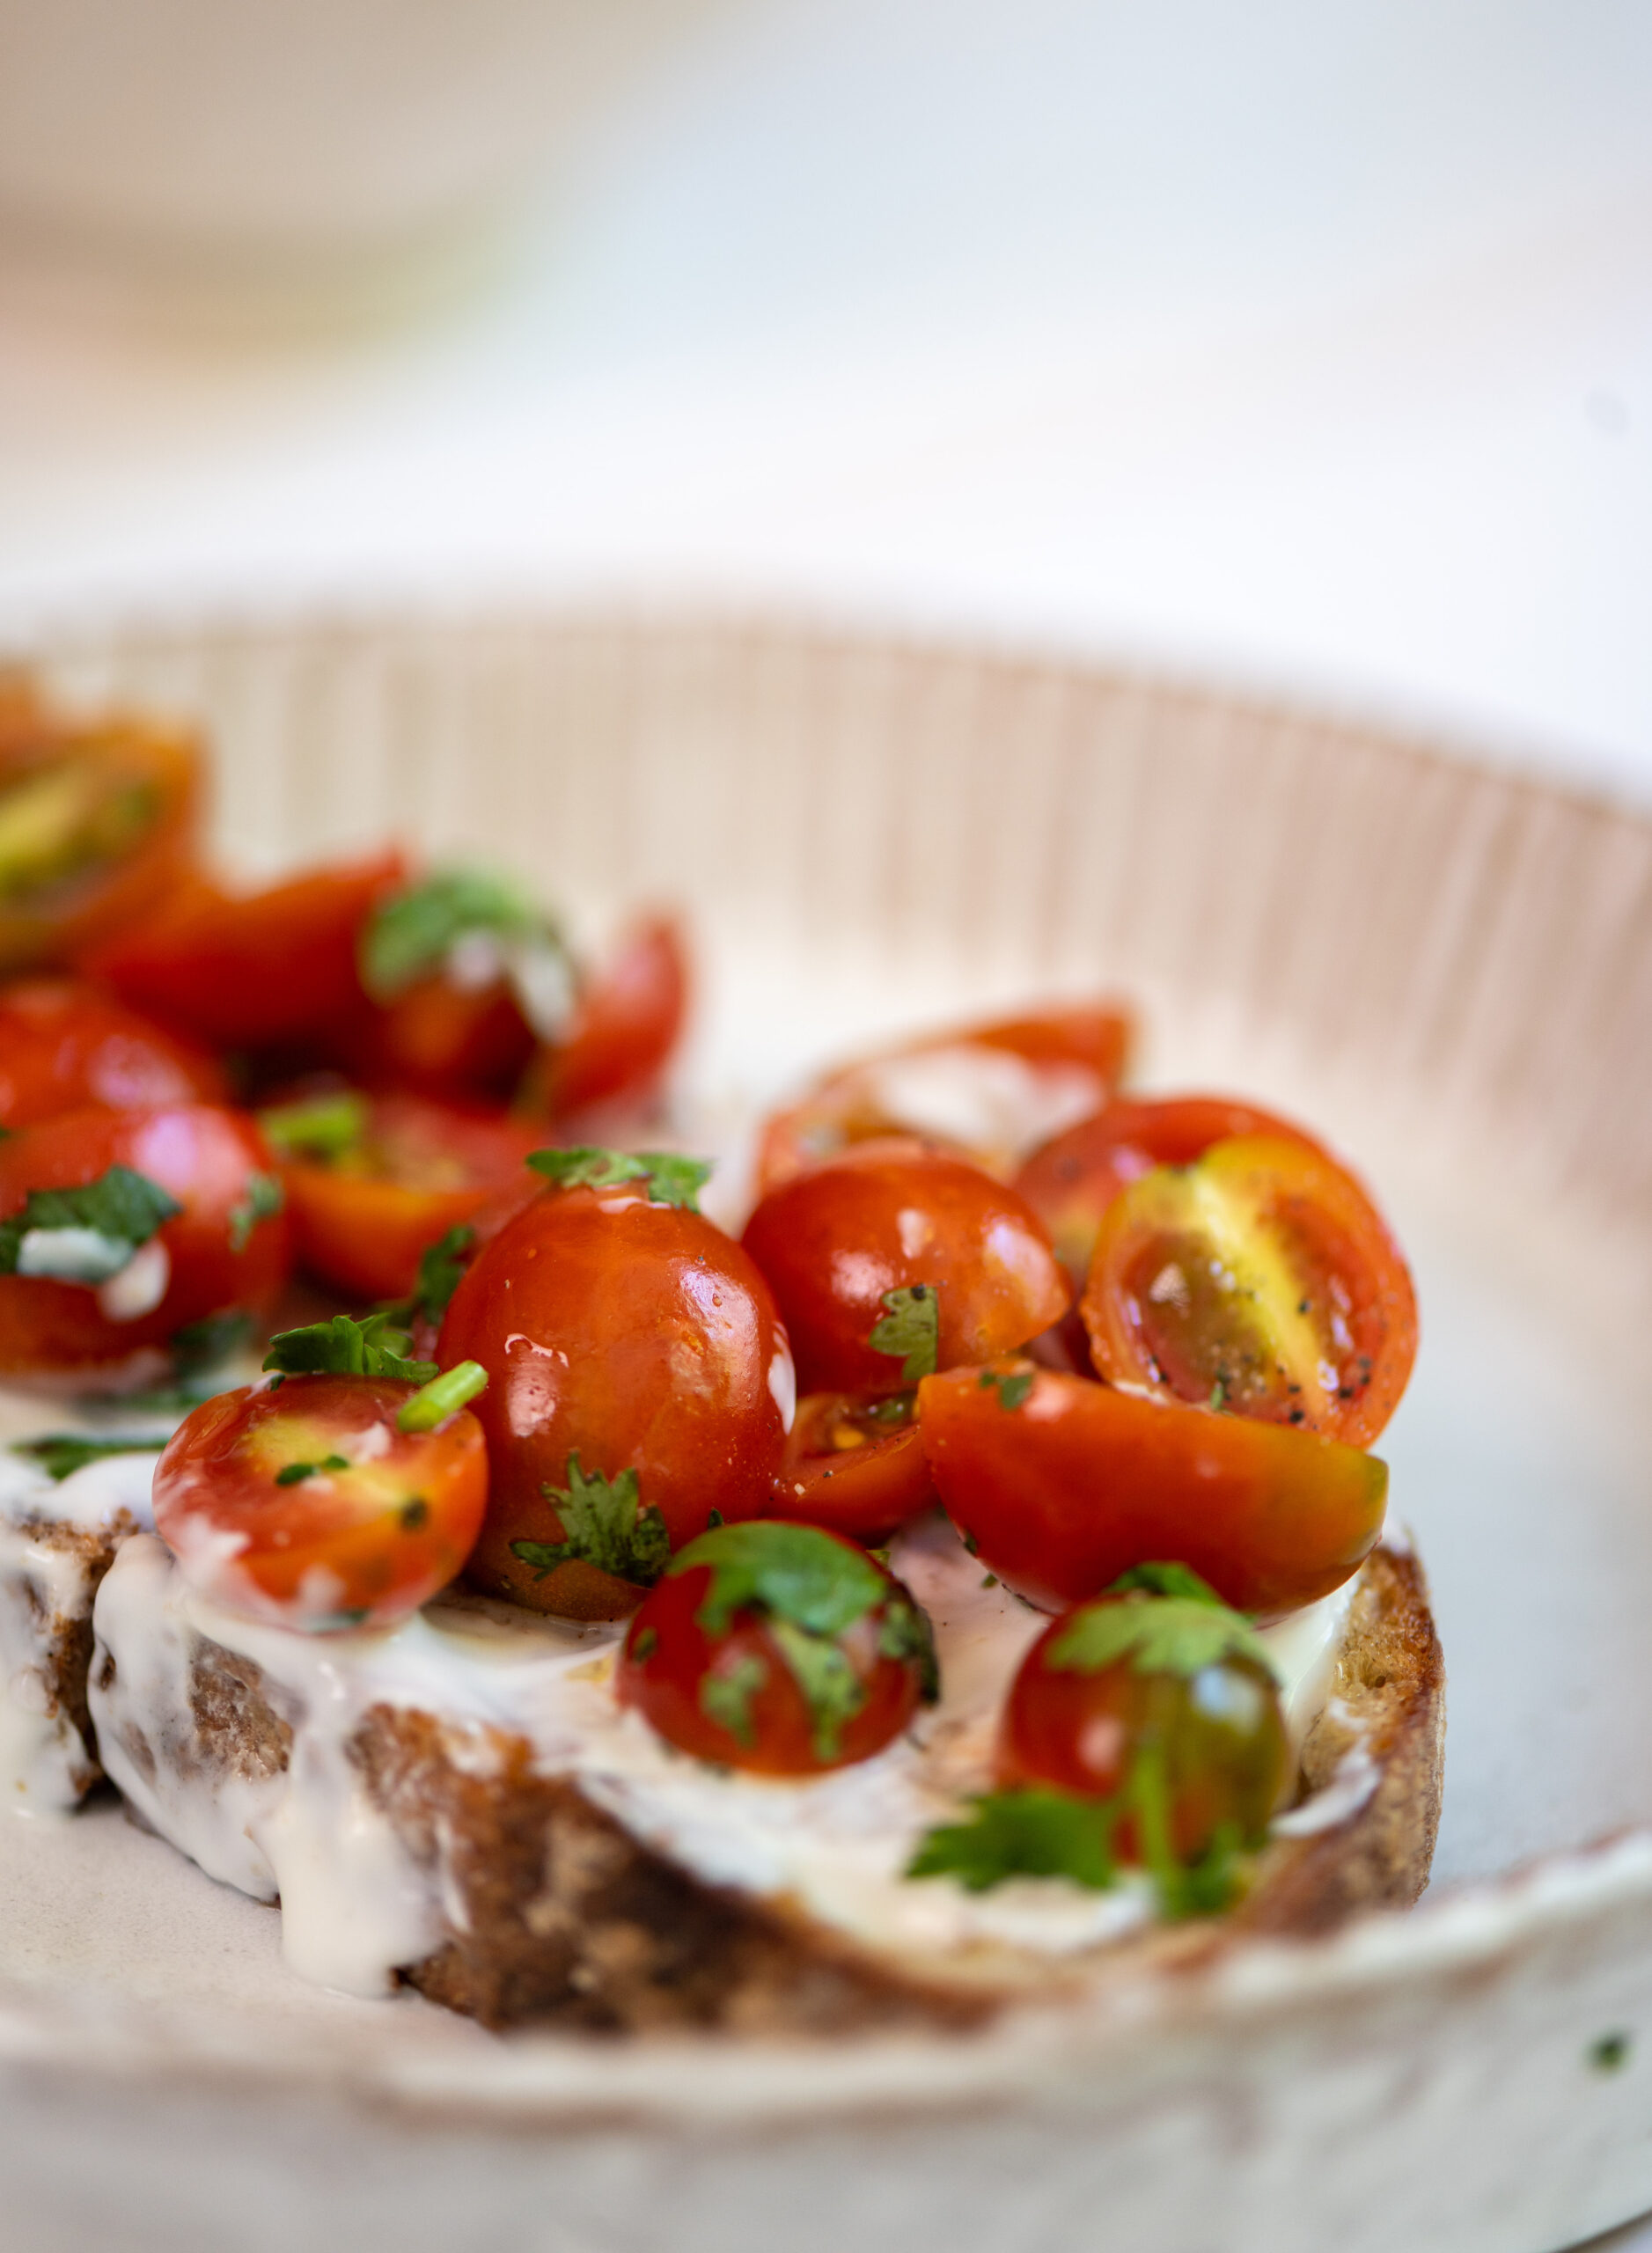
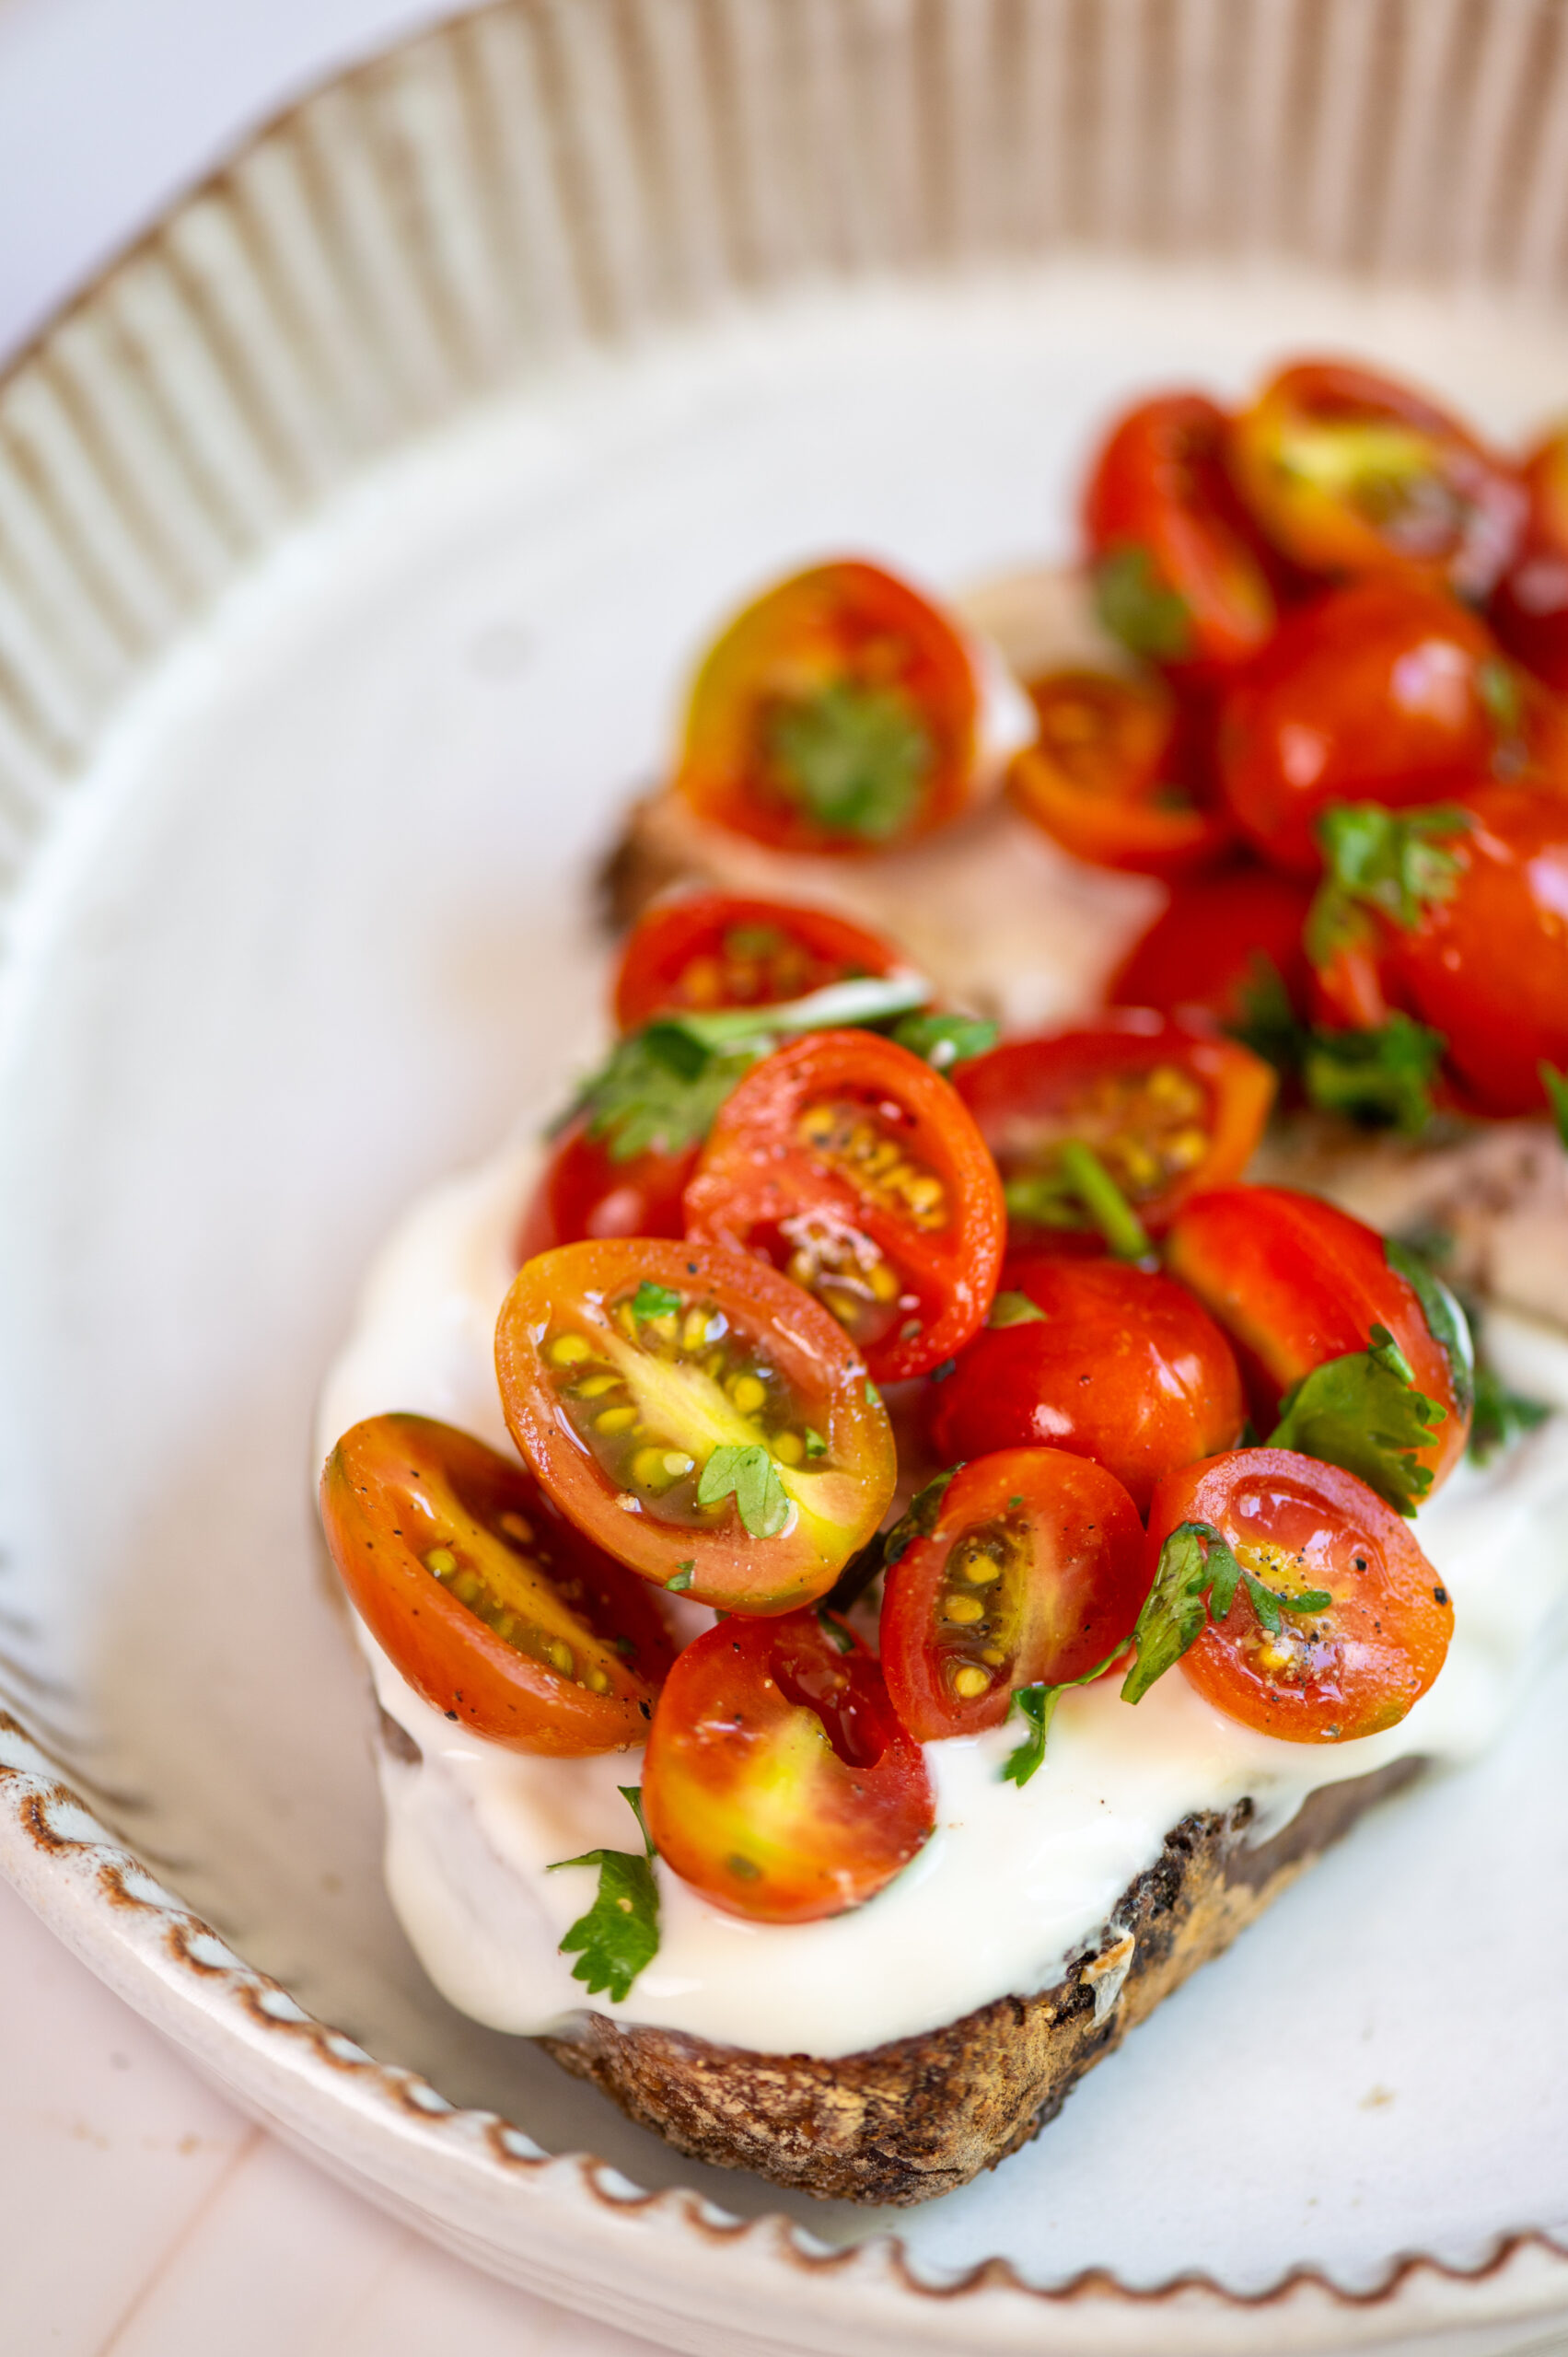
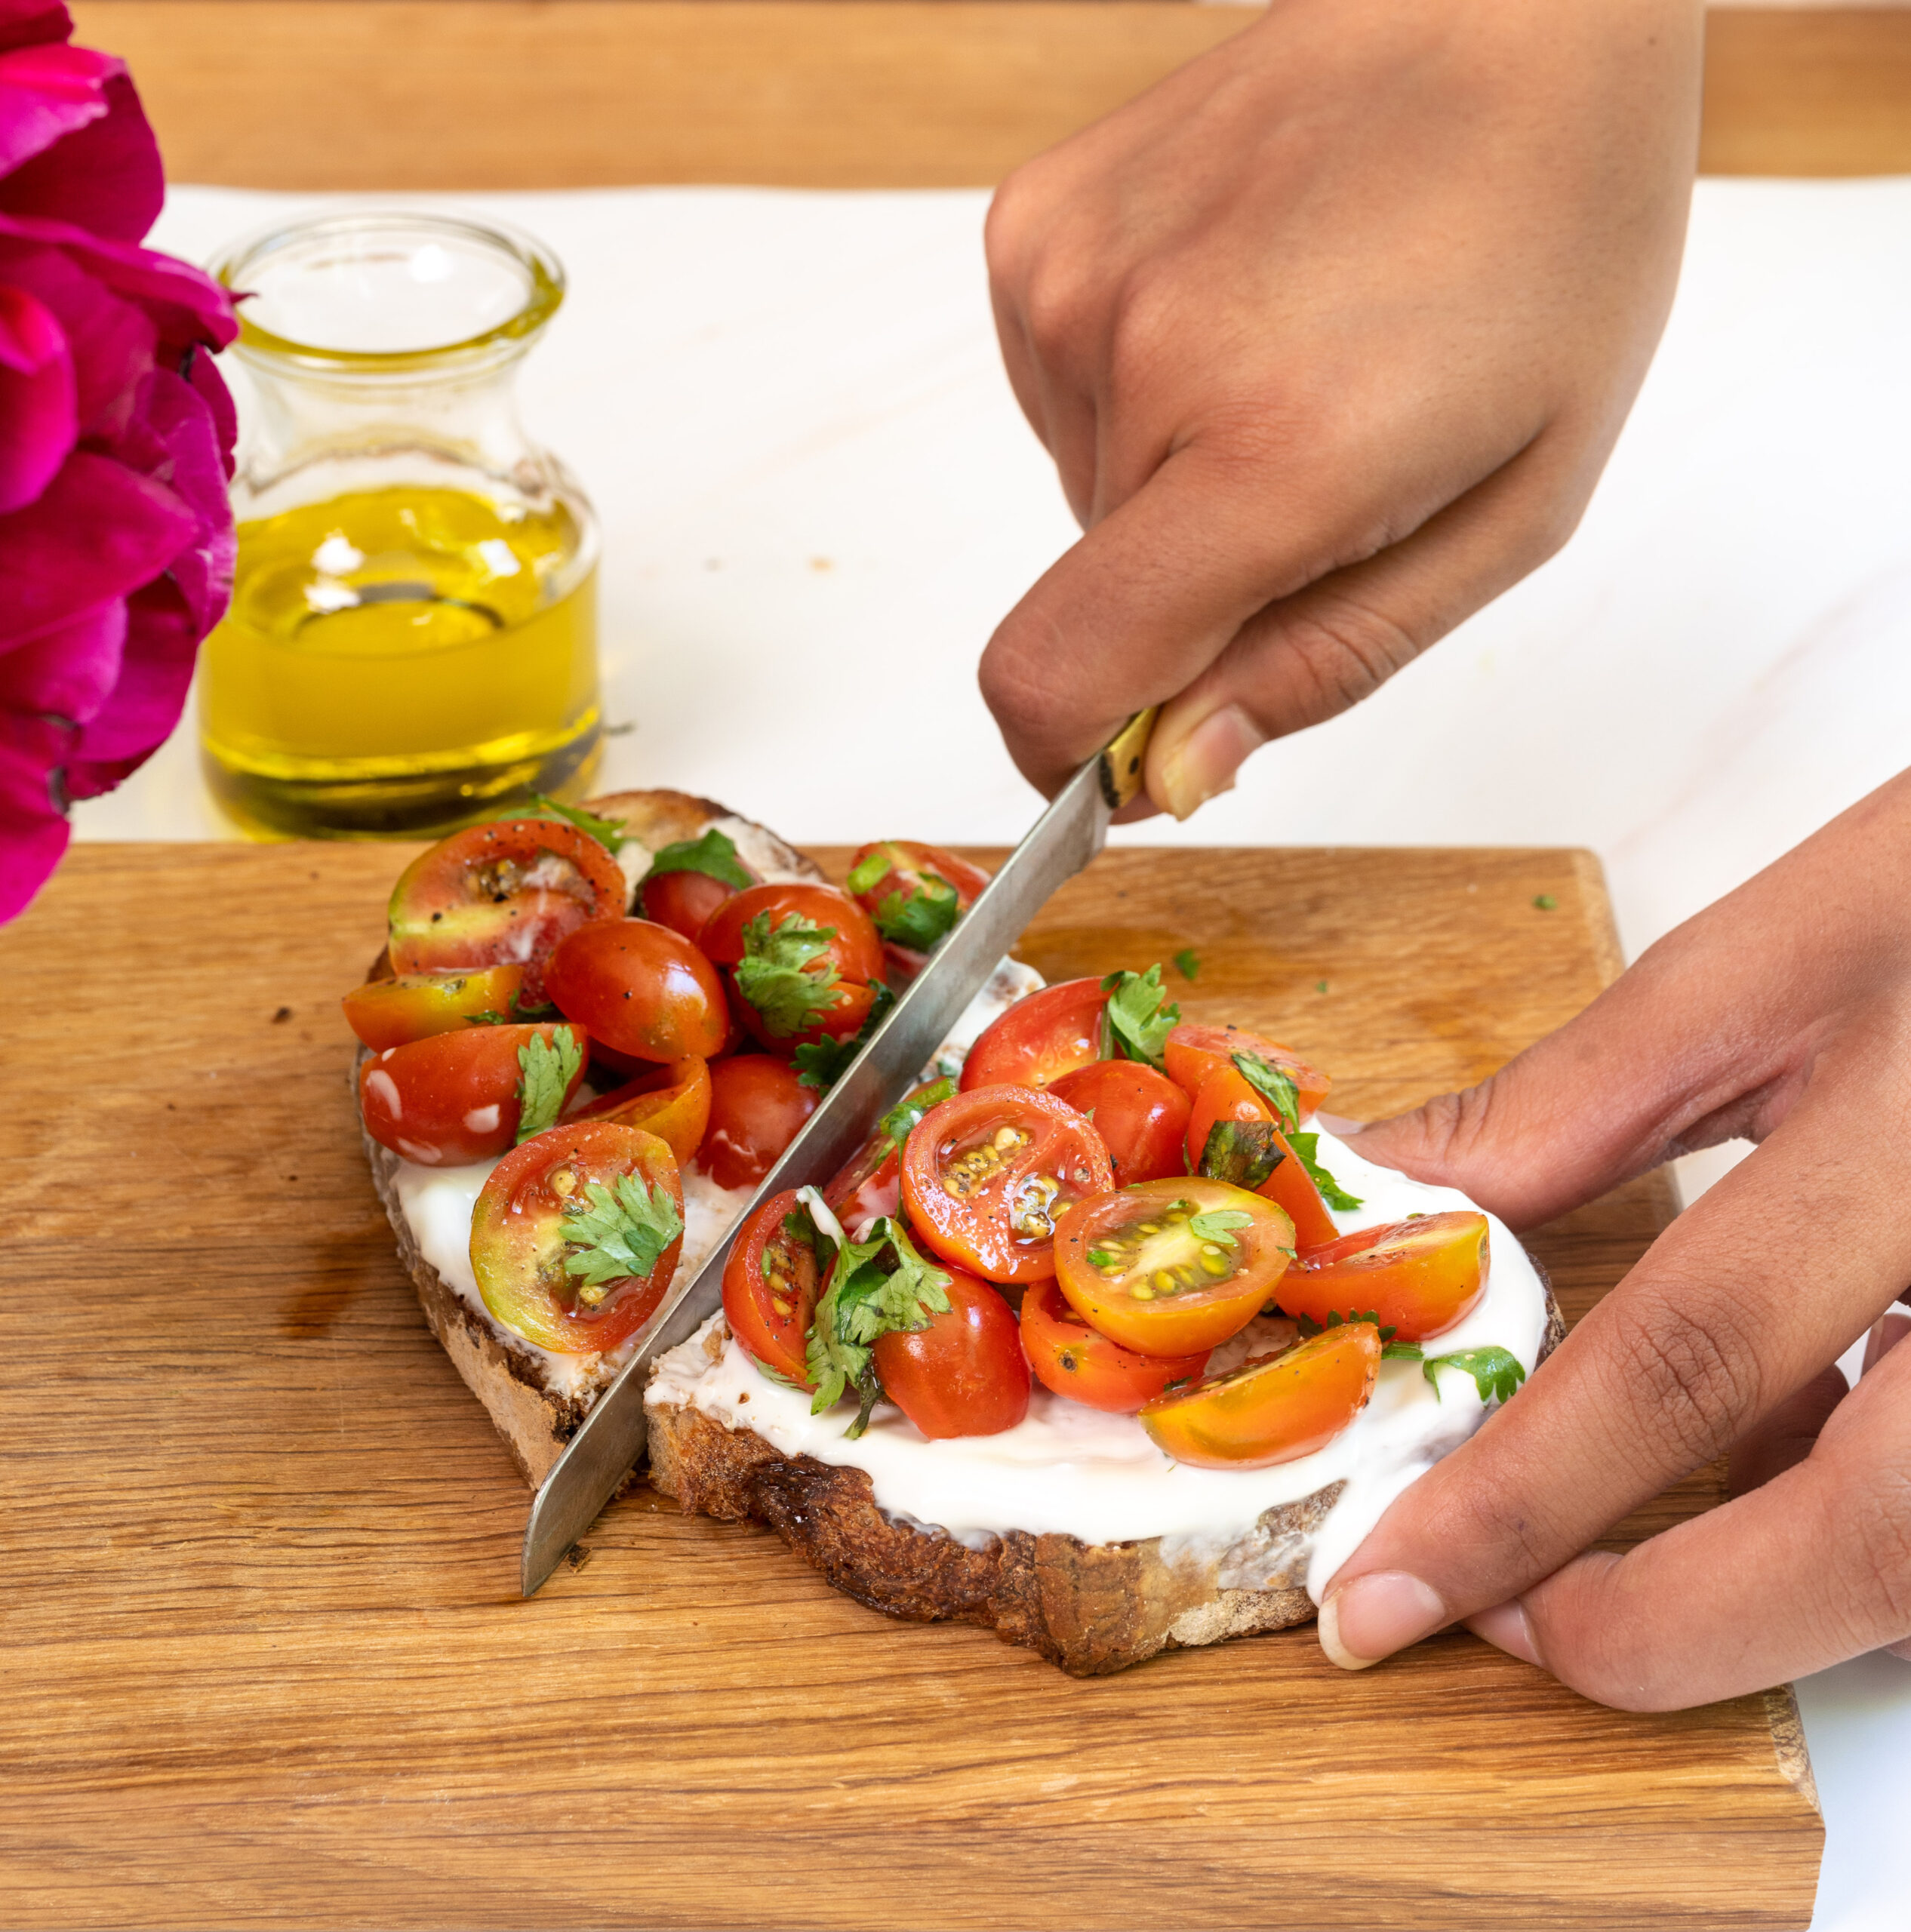
I seem to be on a toast spree at home, as my family has been very thrilled by my sourdough stylings lately. This has been a hassle-free and highly creative time of experimenting, as I have been exploring the use of different toppings to break the monotony of having toast at breakfast. In addition to my family, in the recent past we have been entertaining quite a bit with house guests. While most out-of-towners prefer the idli and dosa standards of local cuisine here, the toasts I whip up add some variety to their choices. This cherry tomato yoghurt toast in particular was perfect for a day when a friend from the Mediterranean was feeling a little nostalgic for some comfort food.

That’s right: Greek yogurt is one of the key components to this dish. I came across the use of yoghurt on toast during various travels in Europe, and the dahi-lover in me was naturally charmed. I believe it is used as it is lighter than ricotta and mozzarella, yet provides the nutrients of dairy while being easier to digest. However, it can certainly be substituted with feta cheese or any other fresh cheese that is available in your part of the world. If you don’t have Greek yoghurt, hung curd is a great option.

The beautiful organic cherry tomatoes I had at home, which I’d been using on pizzas, were perfect to layer on the toast. The overall effect was quite visually pleasing too.

While I had been toying with the idea of a European-style open-faced toast with yoghurt for a while, I only prepared it for the first time quite recently. This was when the Italian friend I mentioned earlier visited us. He would speak often about his Nona (grandmother) and her amazing cuisine and how much he was missing her during his travels. One day, he remarked that he was craving for a dish that was not Indian and that could sort of transport him back to her kitchen. I can safely say from his appreciative reaction that this toast did exactly that. While the varieties of tomatoes available here differ, he told me that this simple breakfast was the closest he had felt to the tastes of home.

I must say, I too have had a craving for a while: to study authentic Italian cooking. My friend has been asking me to come visit and learn his cuisine from his beloved Nona. If I take him up on his offer, I will be sure to come back with a crateful or two of fresh Italian tomatoes!

Cherry Tomato Yoghurt Toast

(Yield: 1 slice)

I large sourdough slice

½ cup Greek yoghurt or hung curd

1 cup cherry tomatoes

Salt to taste

A pinch of pepper

2 teaspoons olive oil


Toast the sourdough slice.

Spread the Greek yoghurt over the toasted slice.

Bake or sauté the cherry tomatoes in a pan, and arrange them over the yoghurt. Sprinkle salt and pepper. Add any herbs you like, such as fresh basil or oregano, drizzle with the olive oil, and serve.

Simplicity is crucial in putting a good breakfast toast together, to save time in the mornings. As you can see, this is a recipe that perfectly fits that criteria. It is easy to prepare, and is very healthy. Honestly, even one slice is quite filling. Did I mention that it’s also delicious? Try it out for yourself and tell me what you think!