Tag

healthy

Browsing

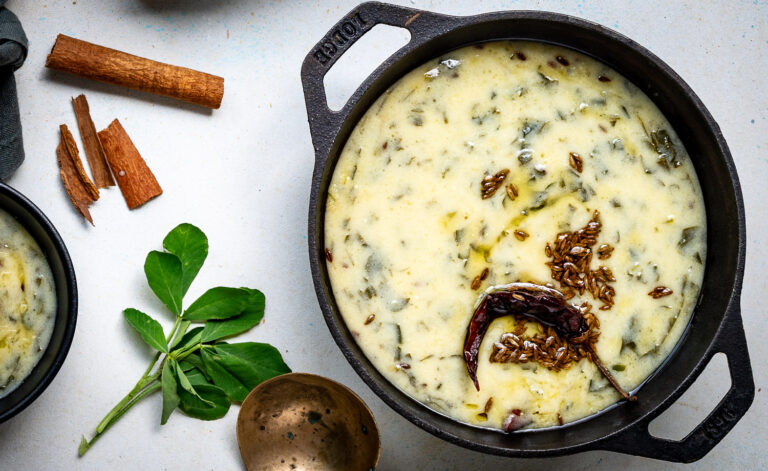
On the first Sunday of every month, through my childhood, my mother would make my siblings and I stand in a line and consume a very bitter Ayurvedic powder, which was mixed into a quarter glass of water for each of us. This was a non-negotiable, and we hated it, dreading those Sundays for that very reason. We were forced to drink it up because her claim was that it cleared the stomach of any bugs, infections or worms and contributed to overall good health. I don’t know exactly what was in that powder, which was from a brand that has now long become obsolete, but I presume it contained fenugreek leaves – known in Gujarati as methi – because of the taste, as well as its medicinal potency. It took many years, but eventually I realised my mother was right. I believe her now, and I use methi liberally in my cooking. It even makes its way into a yogurt-based curry known as kadhi. As a result, methi kadhi is both nutritious and tasty.

I have shared a kadhi recipe in the past, and this is a variation that, as mentioned, boosts the healthiness quotient. That recipe contained a few grains of methi, which I also add to various dals, whereas this one utilizes fresh leaves. Fenugreek is extremely beneficial in both seed and leaf form, and is considered by many to be a superfood. A herb that originated in the Mediterranean region, it has been cultivated in India for at least 3000 years and plays a major role in North Indian cuisines. It is known to lower blood sugar and cholesterol, improve digestion and fertility, support the immune system and even enhance skin and hair health.

I mentioned recently that I enjoyed sprouting microgreens as a kid, and methi was among the seeds I used. My sister would also grow hers separately, and we would compare notes. I don’t think we ended up consuming our homegrown herbs, but I do remember the pure joy of seeing the small shoots. Nowadays, I buy the fresh green leaves, but I prepare my own kasoori methi or dried fenugreek powder at home. It is methi season now, and the best place to prepare the powder is at my home in Ahmedabad. The combination of the winter sun and general climate there are ideal for this, whereas Chennai is more humid year-round. The leaves dry up in a day or two. I store them to use through the year, and I make enough for my homes as well as my children’s.

There are two varieties of methi that are generally available. There is one with small, thick leaves that doesn’t grow more than 6 inches, and a bigger, bushier variety. I prefer using the small one when I need fresh leaves, and the bigger one for powdering. While I feel the former is more potent in taste, the yield quantity I require for the powder is better achieved by using the latter.

Kadhis don’t appear on my dining table that frequently, because I prefer to serve dals and lentils daily instead as they contain more protein. In fact, I ate it much more frequently as a child as my father loved it and thus my mother would prepare it very regularly. I myself preferred it to dal back then, and enjoyed it when combined with a plain khichdi. This means that when I prepare any kind of kadhi now, I look forward to it all the more, since the dish was a childhood favourite that has become infrequent.
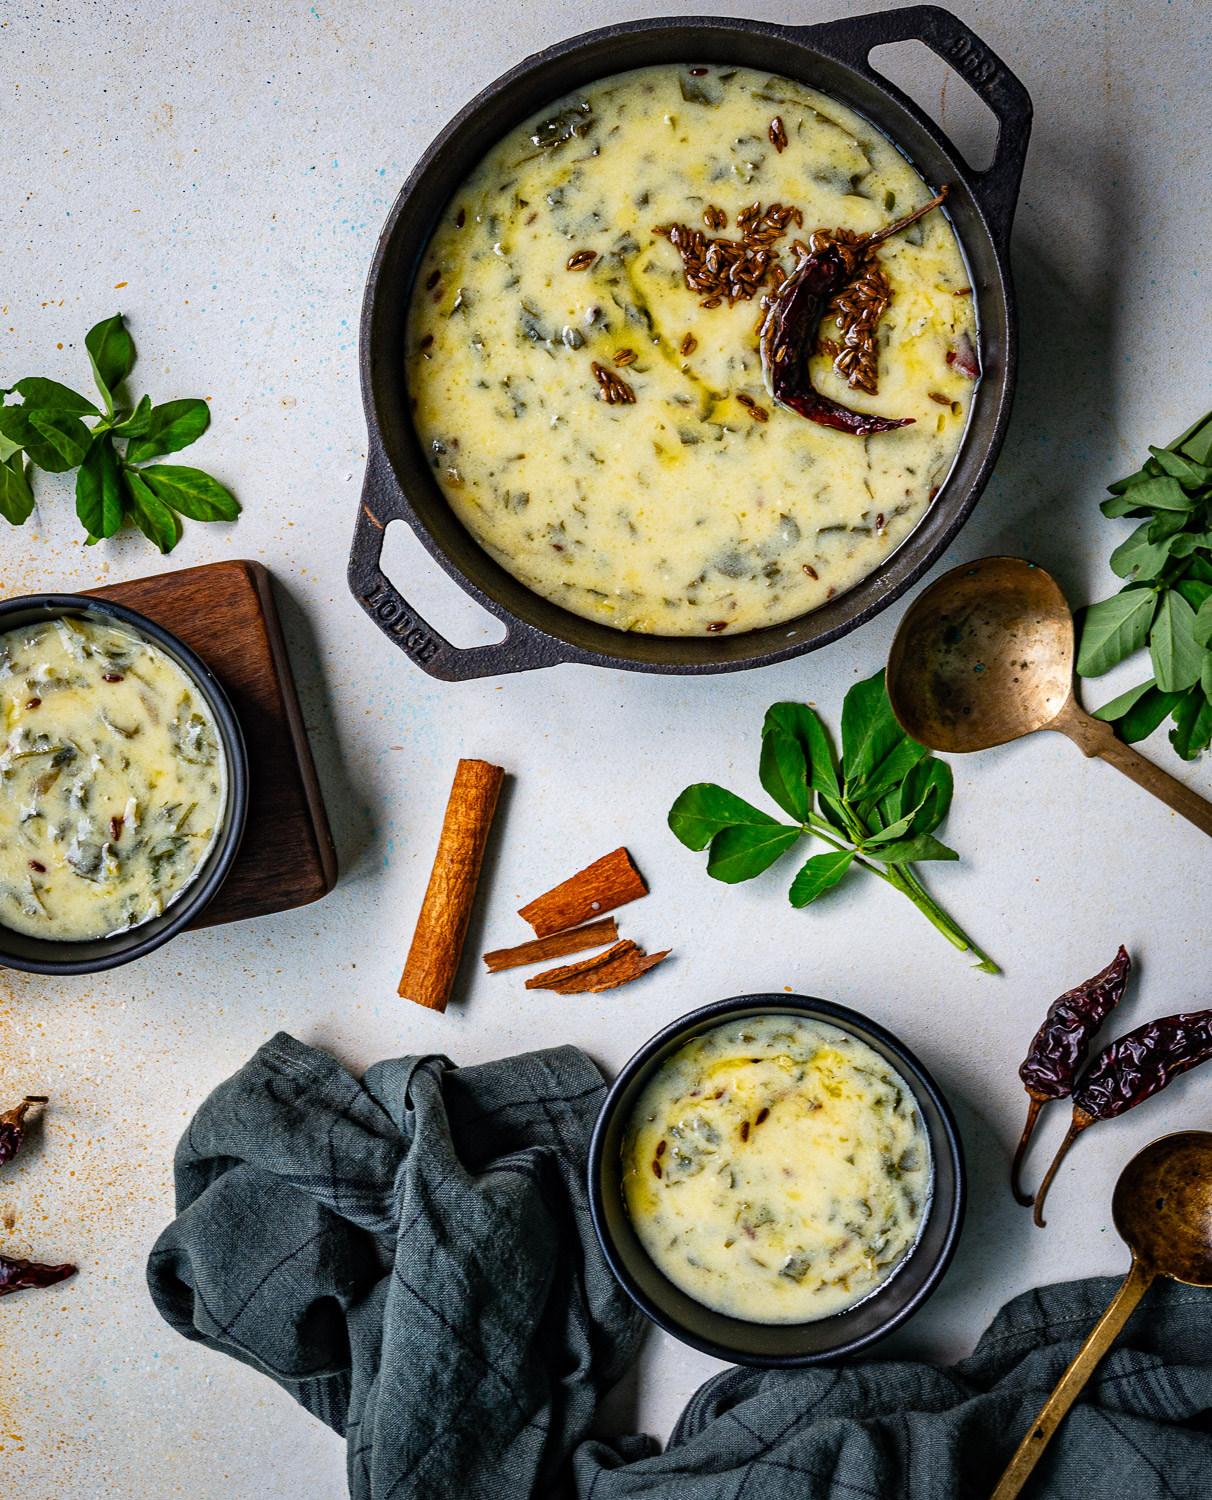
Methi Kadhi
(Yield: Serves 4)

1 cup yogurt
2 tablespoons besan (split brown chickpea flour)
1½ cups water
1½ cups methi (fenugreek leaves)
1 tablespoon ginger + green chilli paste
2 tablespoons oil
2 tablespoons ghee
Salt to taste
½ teaspoon jeera seeds (cumin)
1 cinnamon stick
2 cloves
½ teaspoon asafoetida

Take the yogurt in a bowl. Add the besan and water to it, and beat well until there are no lumps. Set aside.

Clean and finely chop the methi leaves. In a kadai, add the oil and once it has heated, add the methi leaves. Sauté until tender. Add the ginger+green chili paste.

To this, add the yoghurt and besan mixture. Add salt and cook until the raw flavour of the flour leaves and the mixture thickens. Stir continuously as it cooks, otherwise it will separate.

Now, prepare the tempering. In a frying pan, add the ghee. Once it has heated, add the jeera, cinnamon stick, cloves and asafoetida. Pour this over the kadhi.

Your methi kadhi is now ready to serve. As mentioned, it pairs perfectly with khichdi.

While there is an Indian belief that curd should be avoided at night and during winter, I would suggest that even if you follow that custom, the use of methi and besan in this kadhi provide a counterbalance. Don’t deprive yourself of this deliciousness, in any season! I may eat less of it now than I did growing up, but I certainly still do!

For us here in India, this is the time of year when we get lovely, fresh vegetables and fruits throughout the country. Most of them have brief seasons – at most, a couple of months. When we have a period like this when the weather is gentle and the markets are full of just-harvested goodies, it’s a time to be appreciated. Even here in Chennai, it can feel a little chilly in the best way nowadays: the way that calls for soups and warm beverages and a feeling of coziness. Today I am sharing a soup that has its base sweet potato, which is available year-round, but which I feel is especially delicious come December.

This also happens to be that short window between Diwali and Christmas when one isn’t feasting with friends and family, and can therefore focus on more mindful and lighter eating. This spiced sweet potato soup ticks all the boxes. It is given its piquancy through garlic, ginger, pepper and shallots and has the sweetness of its core ingredient elevated through coconut. It is nourishing, filling and perfect to enjoy in this pleasant temperature. Ginger is a warming ingredient, which is just what is needed. It’s important to eat appropriately for the weather, and Nature tends to give us exactly the kind of produce we need for specific times and climes.

It really is such a pleasure to pick out ingredients for a soup, which is a dish that can contain just about anything. I’ve chosen very simple and accessible ingredients for this one, but you can play around and come up with a recipe or a style that suits your tastes. The sweet potato is baked before blending, so if you follow the method below, you could choose to replace it with carrot or pumpkin, or any other vegetable from their families.

Truly, and not just for this recipe but for any cooking you do at all, there is such a treasure trove of harvests to explore out there. I’ve been taking quite a lot of domestic flights lately, and I think many of us are flying within the country more than ever before, for work, for leisure, or to visit loved ones. Wherever I travel, I head to the markets and explore what is seasonal and local there. For instance, I just returned from Ahmedabad with bags full of lovely vegetables that we don’t get in Chennai, along with lots of fresh lentils and millets that are grown in Gujarat. It is similar wherever I go. I find it such a thrill to visit a bustling vegetable and fruit market, no matter where I am, and even if I don’t make any purchases (since not everything can be carted back), I will at least be photographing the produce. I admire them and enjoy the colours and scents and even learning about the crop through talking to people. I usually either come away with something I can cook with once I’m back home, or else with images that preserve the memory of that trip forever. I also sometimes return with my curiosity piqued. For example, I’ve been seeing water chestnuts lately but don’t really know how to use them except in a salad. I’m eager to find out how, and will share a recipe if I hit on something really good.

Speaking of memories, soups weren’t really a big part of my growing years, because they don’t suit the Chennai weather for most of the year. Now, of course, our palates have become more diverse and we have begun enjoying not only warm soups like this one, but even cold ones like gazpacho! It’s all about picking the right one based on time, place and occasion.

Sweet Potato & Ginger Soup

(Serves 2)

2 cups chopped sweet potato
6-8 garlic cloves
1 tablespoon minced ginger
5-6 shallots
2 tablespoons olive oil
Salt to taste
¼ teaspoon pepper powder
1 tin coconut milk
1-2 cups vegetable broth

Preheat the oven to 200°C. Place the sweet potato, shallots, ginger and garlic cloves on a baking tray. Sprinkle with salt and drizzle olive oil. Mix using your fingers.

Bake in the oven for 30-40 minutes or until the vegetables are tender and slightly charred.

Remove the tray from the oven and once the sweet potato, shallots and garlic have cooled a little, blend them in a mixer jar along with the coconut milk and 1 cup of vegetable broth. Use more if making a larger quantity.

Remove from the jar. Taste and adjust the salt and pepper if required.

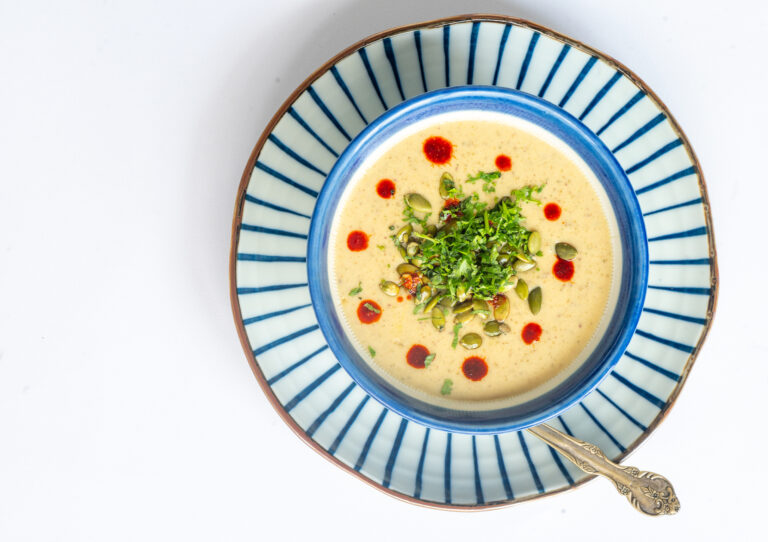
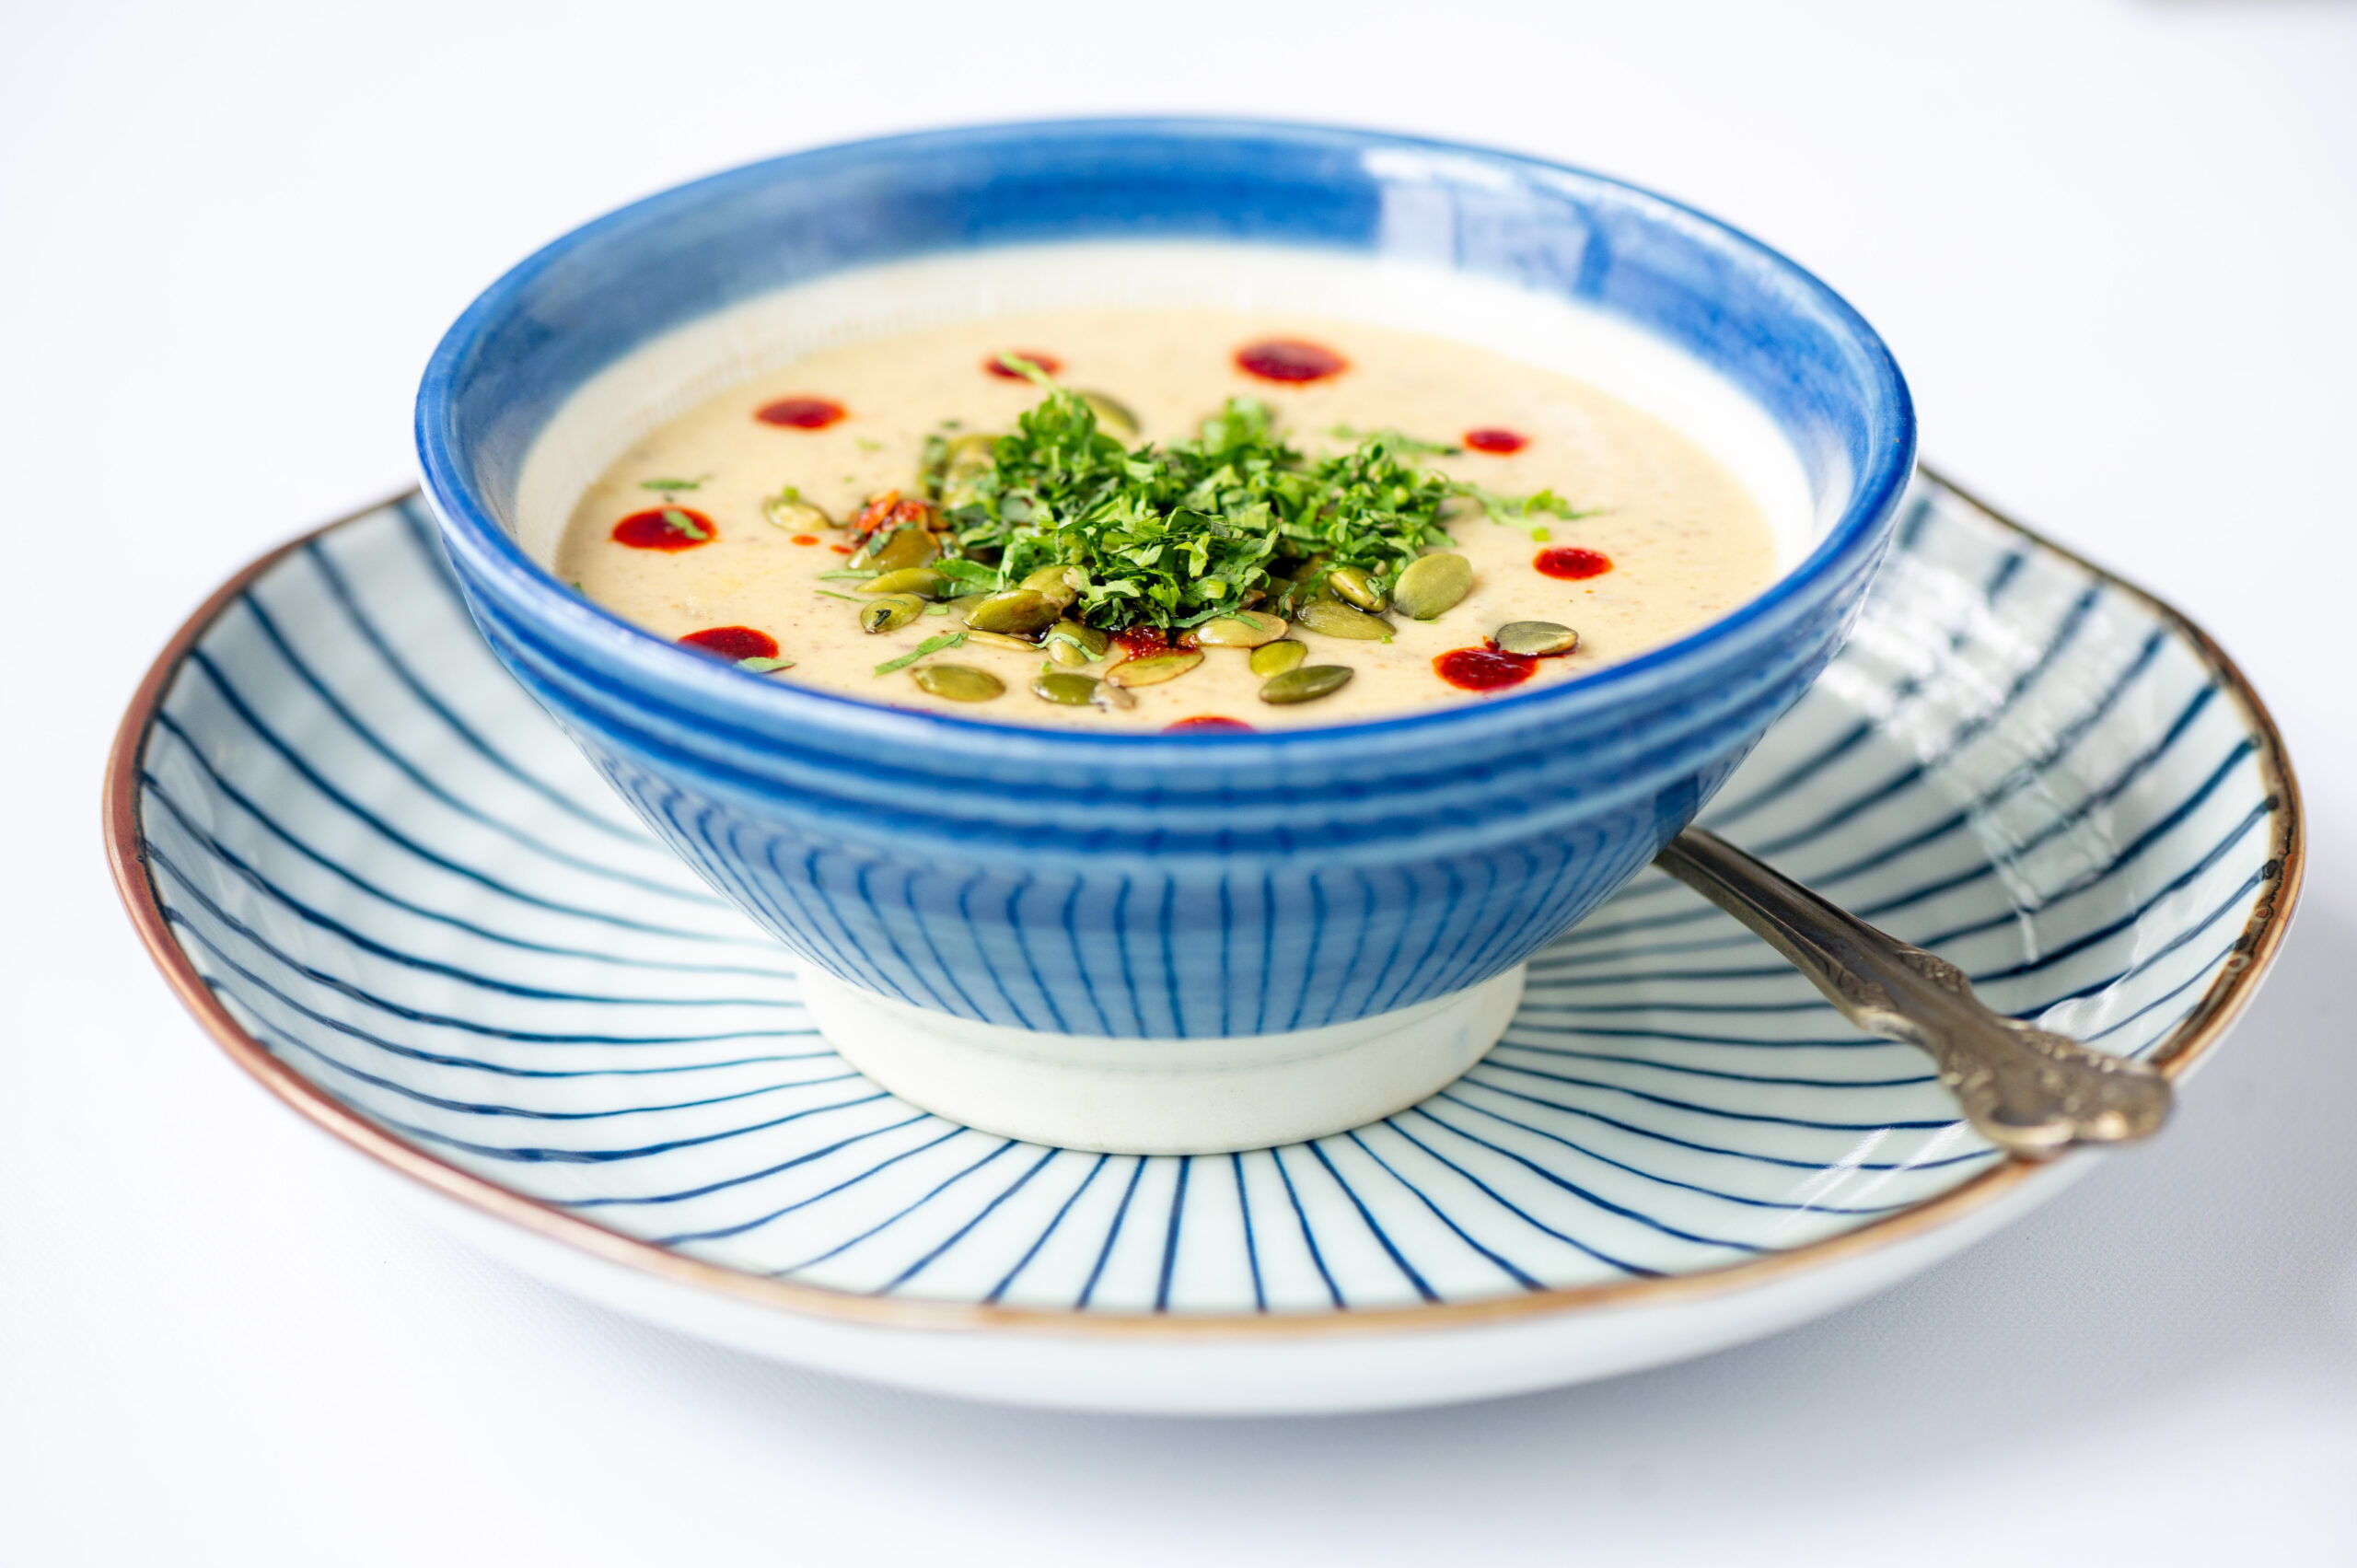
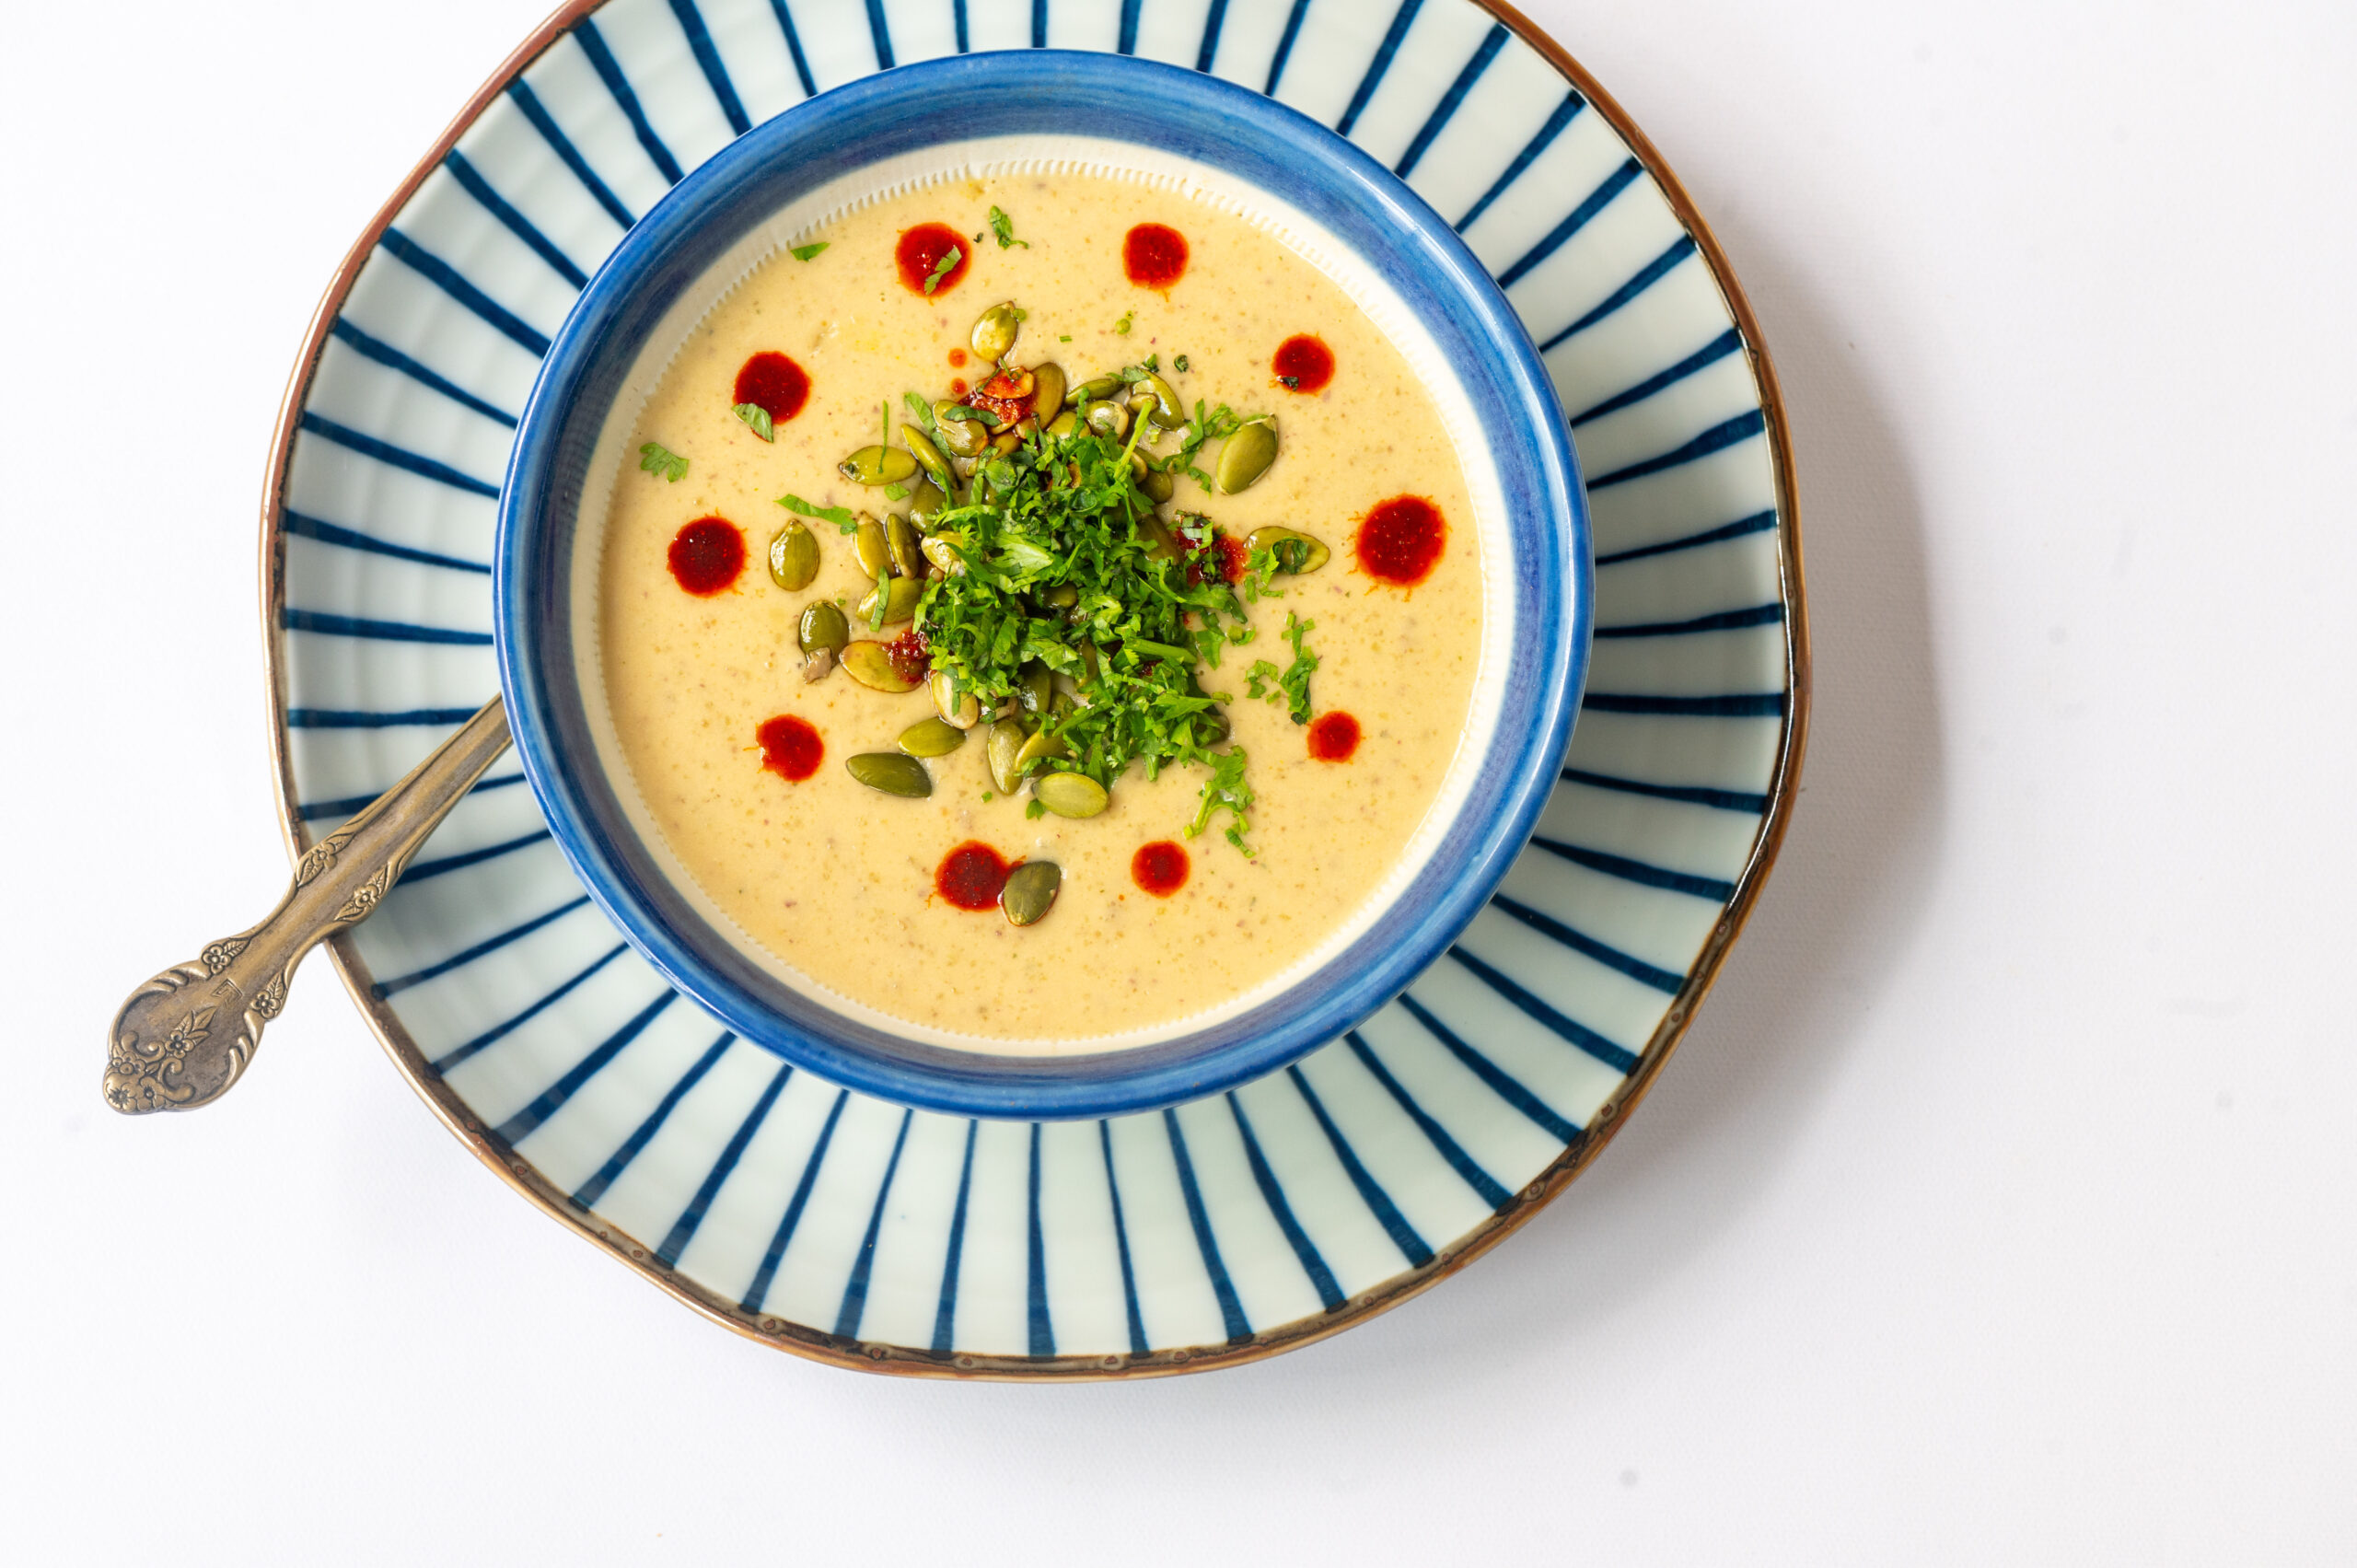
Top it off with a squeeze of lime if you would like to add more tang. Garnish the soup to your preference (I used coriander leaves and roasted pumpkin seeds). Your spiced sweet potato is ready to serve, and just right for the season! You can explore more of my soup recipes here.

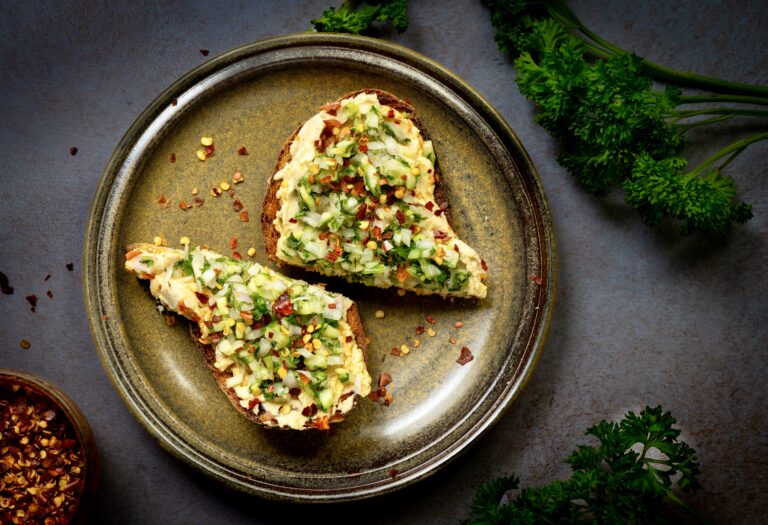
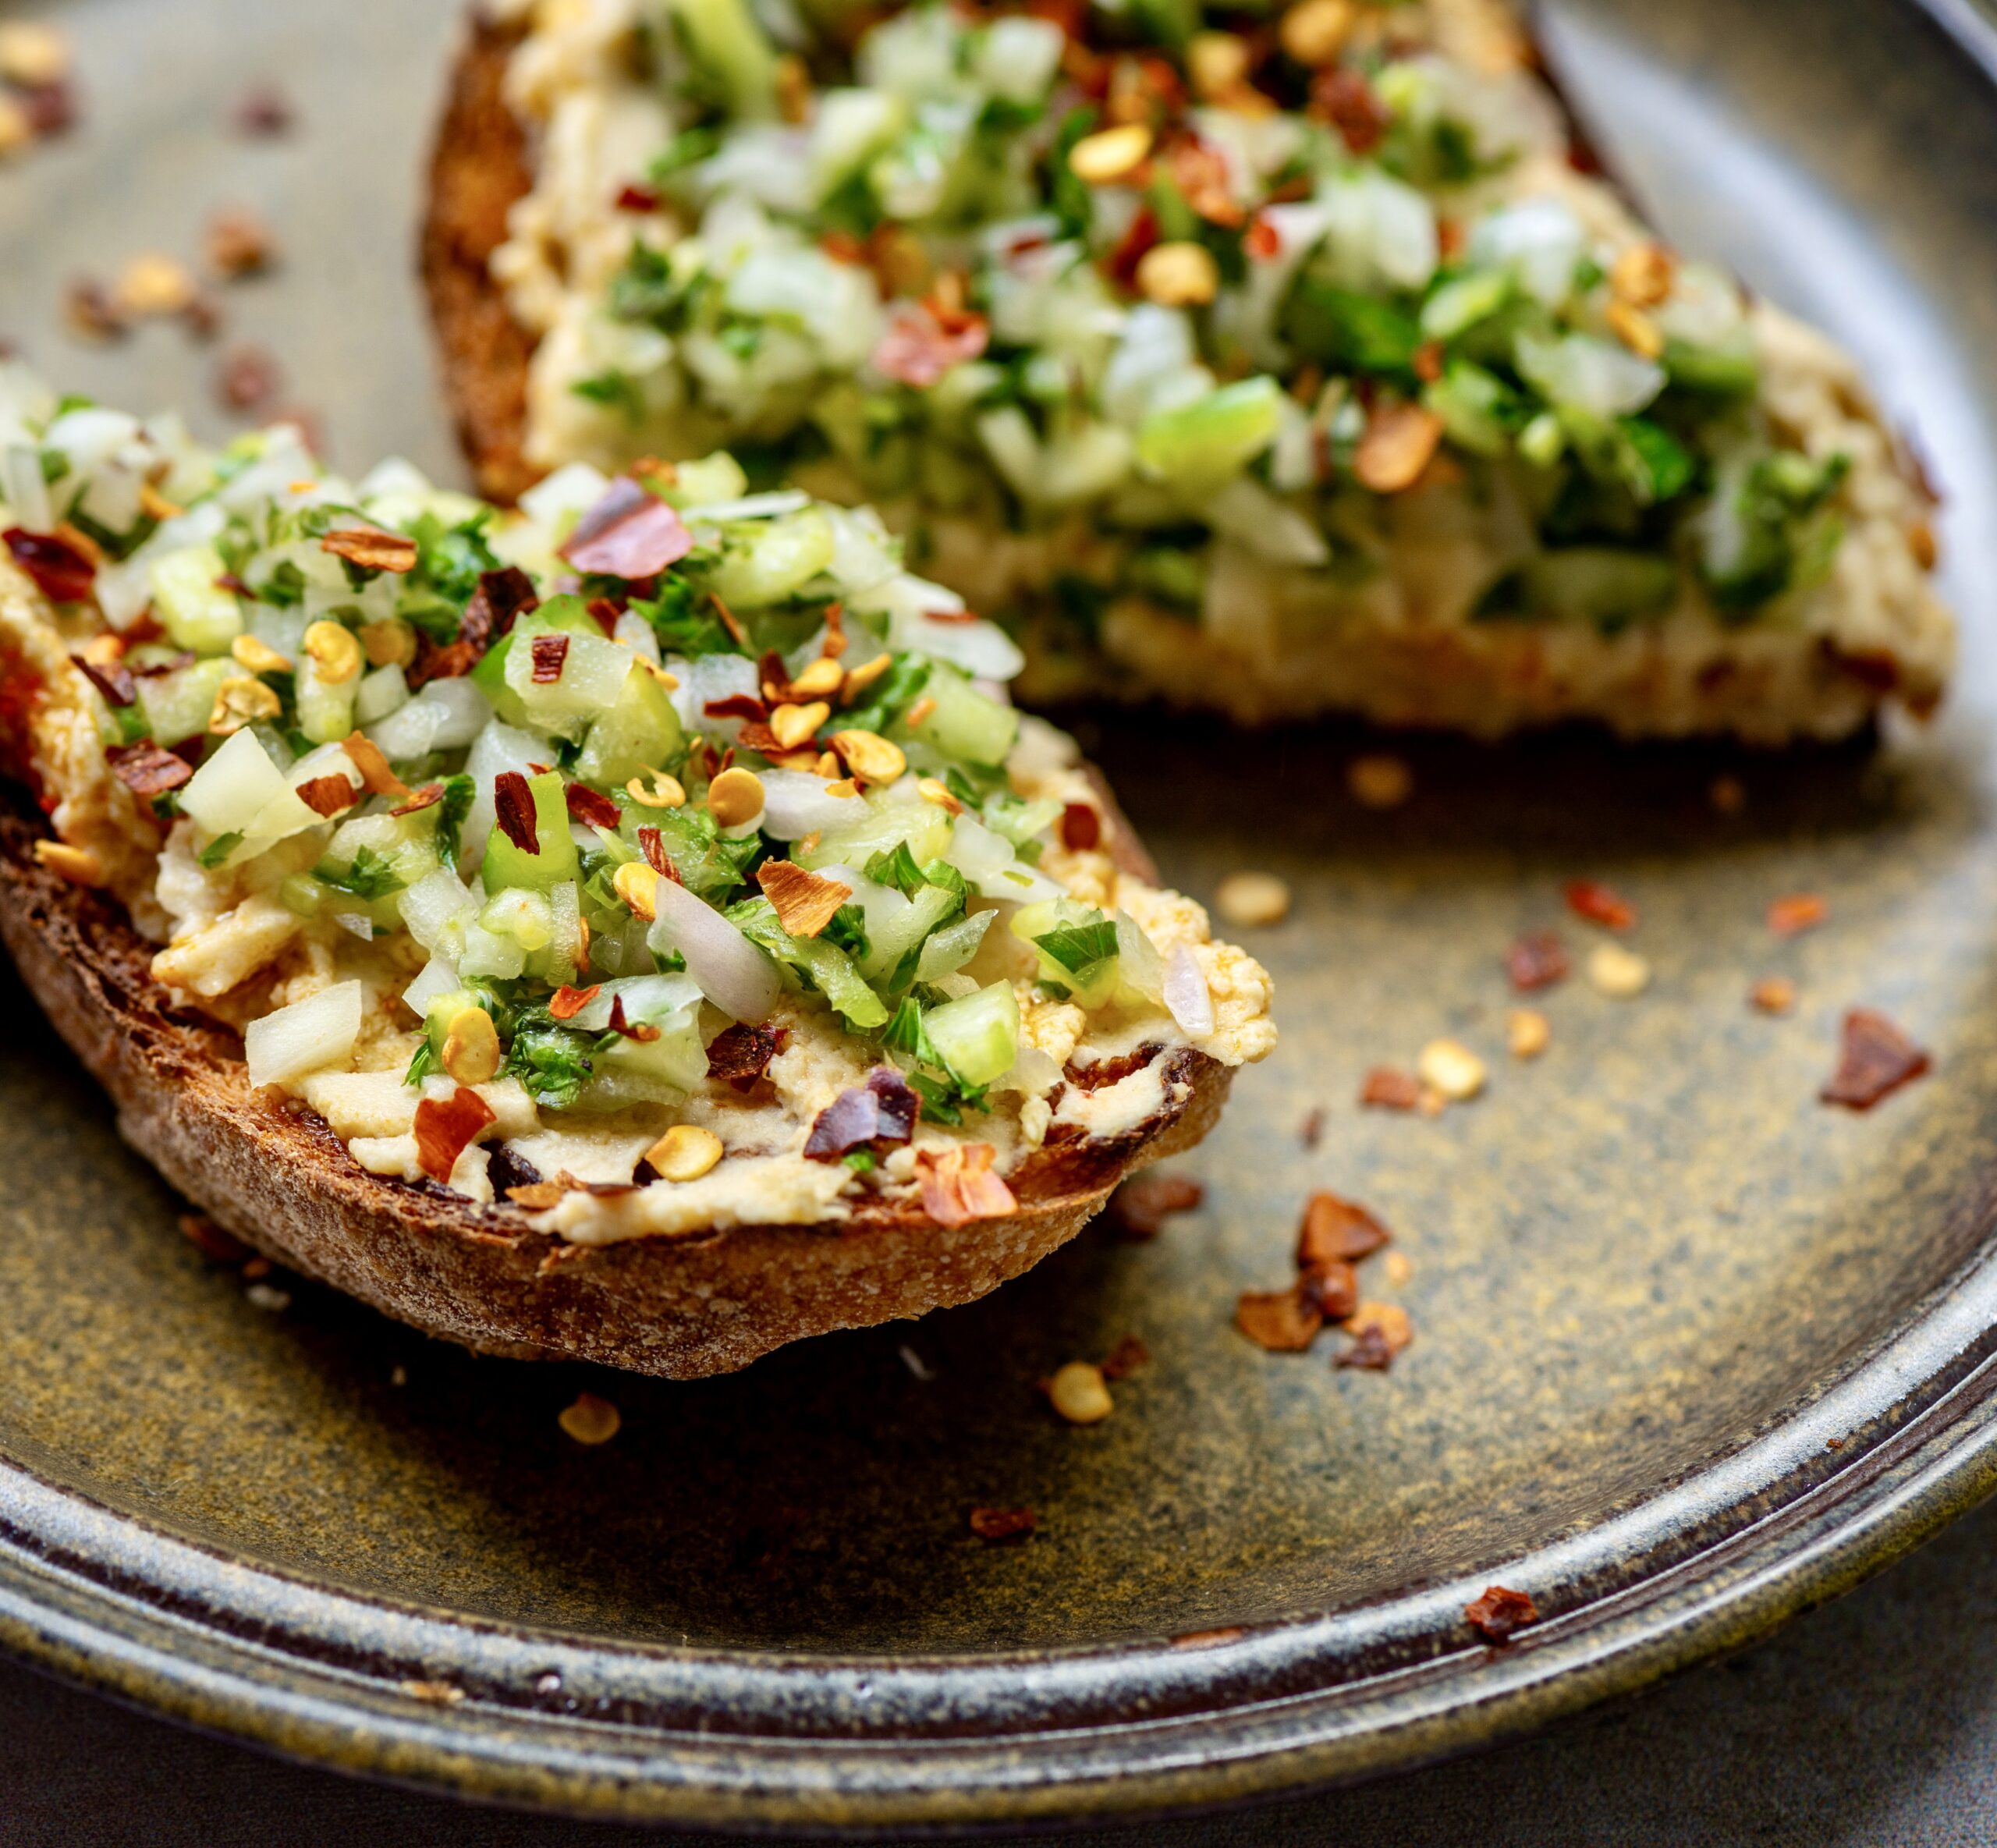
Trying to incorporate a lot of protein into my meals is how this hummus toast loaded with veggies came into being. It’s just perfect for right after my workout, when I’m most hungry. Putting it together is easy on mornings when there has been hummus and pita bread at home for dinner the previous evening. The leftover hummus is put to good use with this lovely toast, or else eaten as a snack with fruit later in the day.

Hummus originated in West Asia and is a versatile dish which utilises protein-rich chickpeas. I have shared two very appetizing hummus recipes on this blog so far. If you would like to make the hummus rather than buy it, you could choose from this coriander hummus or this curry leaf and green chilli hummus. For a plain and basic hummus, just eliminate the flavouring ingredients from the recipe.

The boost of protein aside, another reason why I enjoy this hummus toast with veggies as my morning meal is probably because of the novelty factor. It is so different from the kind of breakfasts that I grew up with, and I often find myself dreaming about travels past and future when I prepare something from another cuisine. Instagram also inspires me, and I love learning about dishes from everywhere, and figuring out how to fit them into my repertoire at home.

While authentic Indian breakfasts are absolutely wonderful, and traditionally wove the logic of seasonality into them, they also tend to be carb-heavy. I am not trying to find fault with them at all, for I understand that they were primarily designed for people from historical periods when everyone needed to labour a lot more, and usually had much less to consume or choose from. But as we move with the times, we need to adjust these diets to suit our contemporary needs. Now, for our present lifestyles, we need fewer carbohydrates and much more protein. I still remain an advocate of Indian cuisine, but I am equally a believer in adapting, evolving and exploring!

You can use any chopped salad as a topping for this toast, although I’ve suggested my preferred ingredients below. I’d also like to share a tip about cutting vegetables. In the morning, I make sure that my vegetables are finely chopped because I have a tendency to gobble breakfast up as quickly as possible post-workout. Knowing this about myself means that I not only cut my vegetables in a certain way at that time, but also that I cut them differently for my lunch preparations. When cooking for the afternoon meal, the vegetable slices are always larger in size, so that I take my time to chew them properly and digest them better. Small changes like these make us more mindful about both cooking and eating. It’s all about calibrating our choices so that they suit us well.

Hummus Toast With Veggies

1 slice sourdough bread
2 tablespoons hummus
Salad (as per recipe below, or make your own)
1 tablespoon olive oil

Veggies
¼ cup parsley (finely chopped)
¼ cup coriander leaves (finely chopped)
¼ cup cucumber (finely chopped)
2 tablespoons onions (finely chopped)
Salt to taste

Toast a slice of sourdough bread. Add the dollop of hummus and spread it over the toast.

Put all the finely chopped salad ingredients in a bowl and mix.

Sprinkle the salad over the hummus on toast. Finally, drizzle some olive oil. Your hummus toast with veggies is now ready to be enjoyed.

I have shared many toasties here on this blog. You probably know that I am a big fan of sourdough, based on how often I have used it in recipes here. It tastes fantastic on the day it is baked but turns hard by the following day, which is when it becomes ideal for toasties. So this hummus on toast with veggies joins that list too, bringing more pep – and of course, more protein – into my mornings, and hopefully yours too!

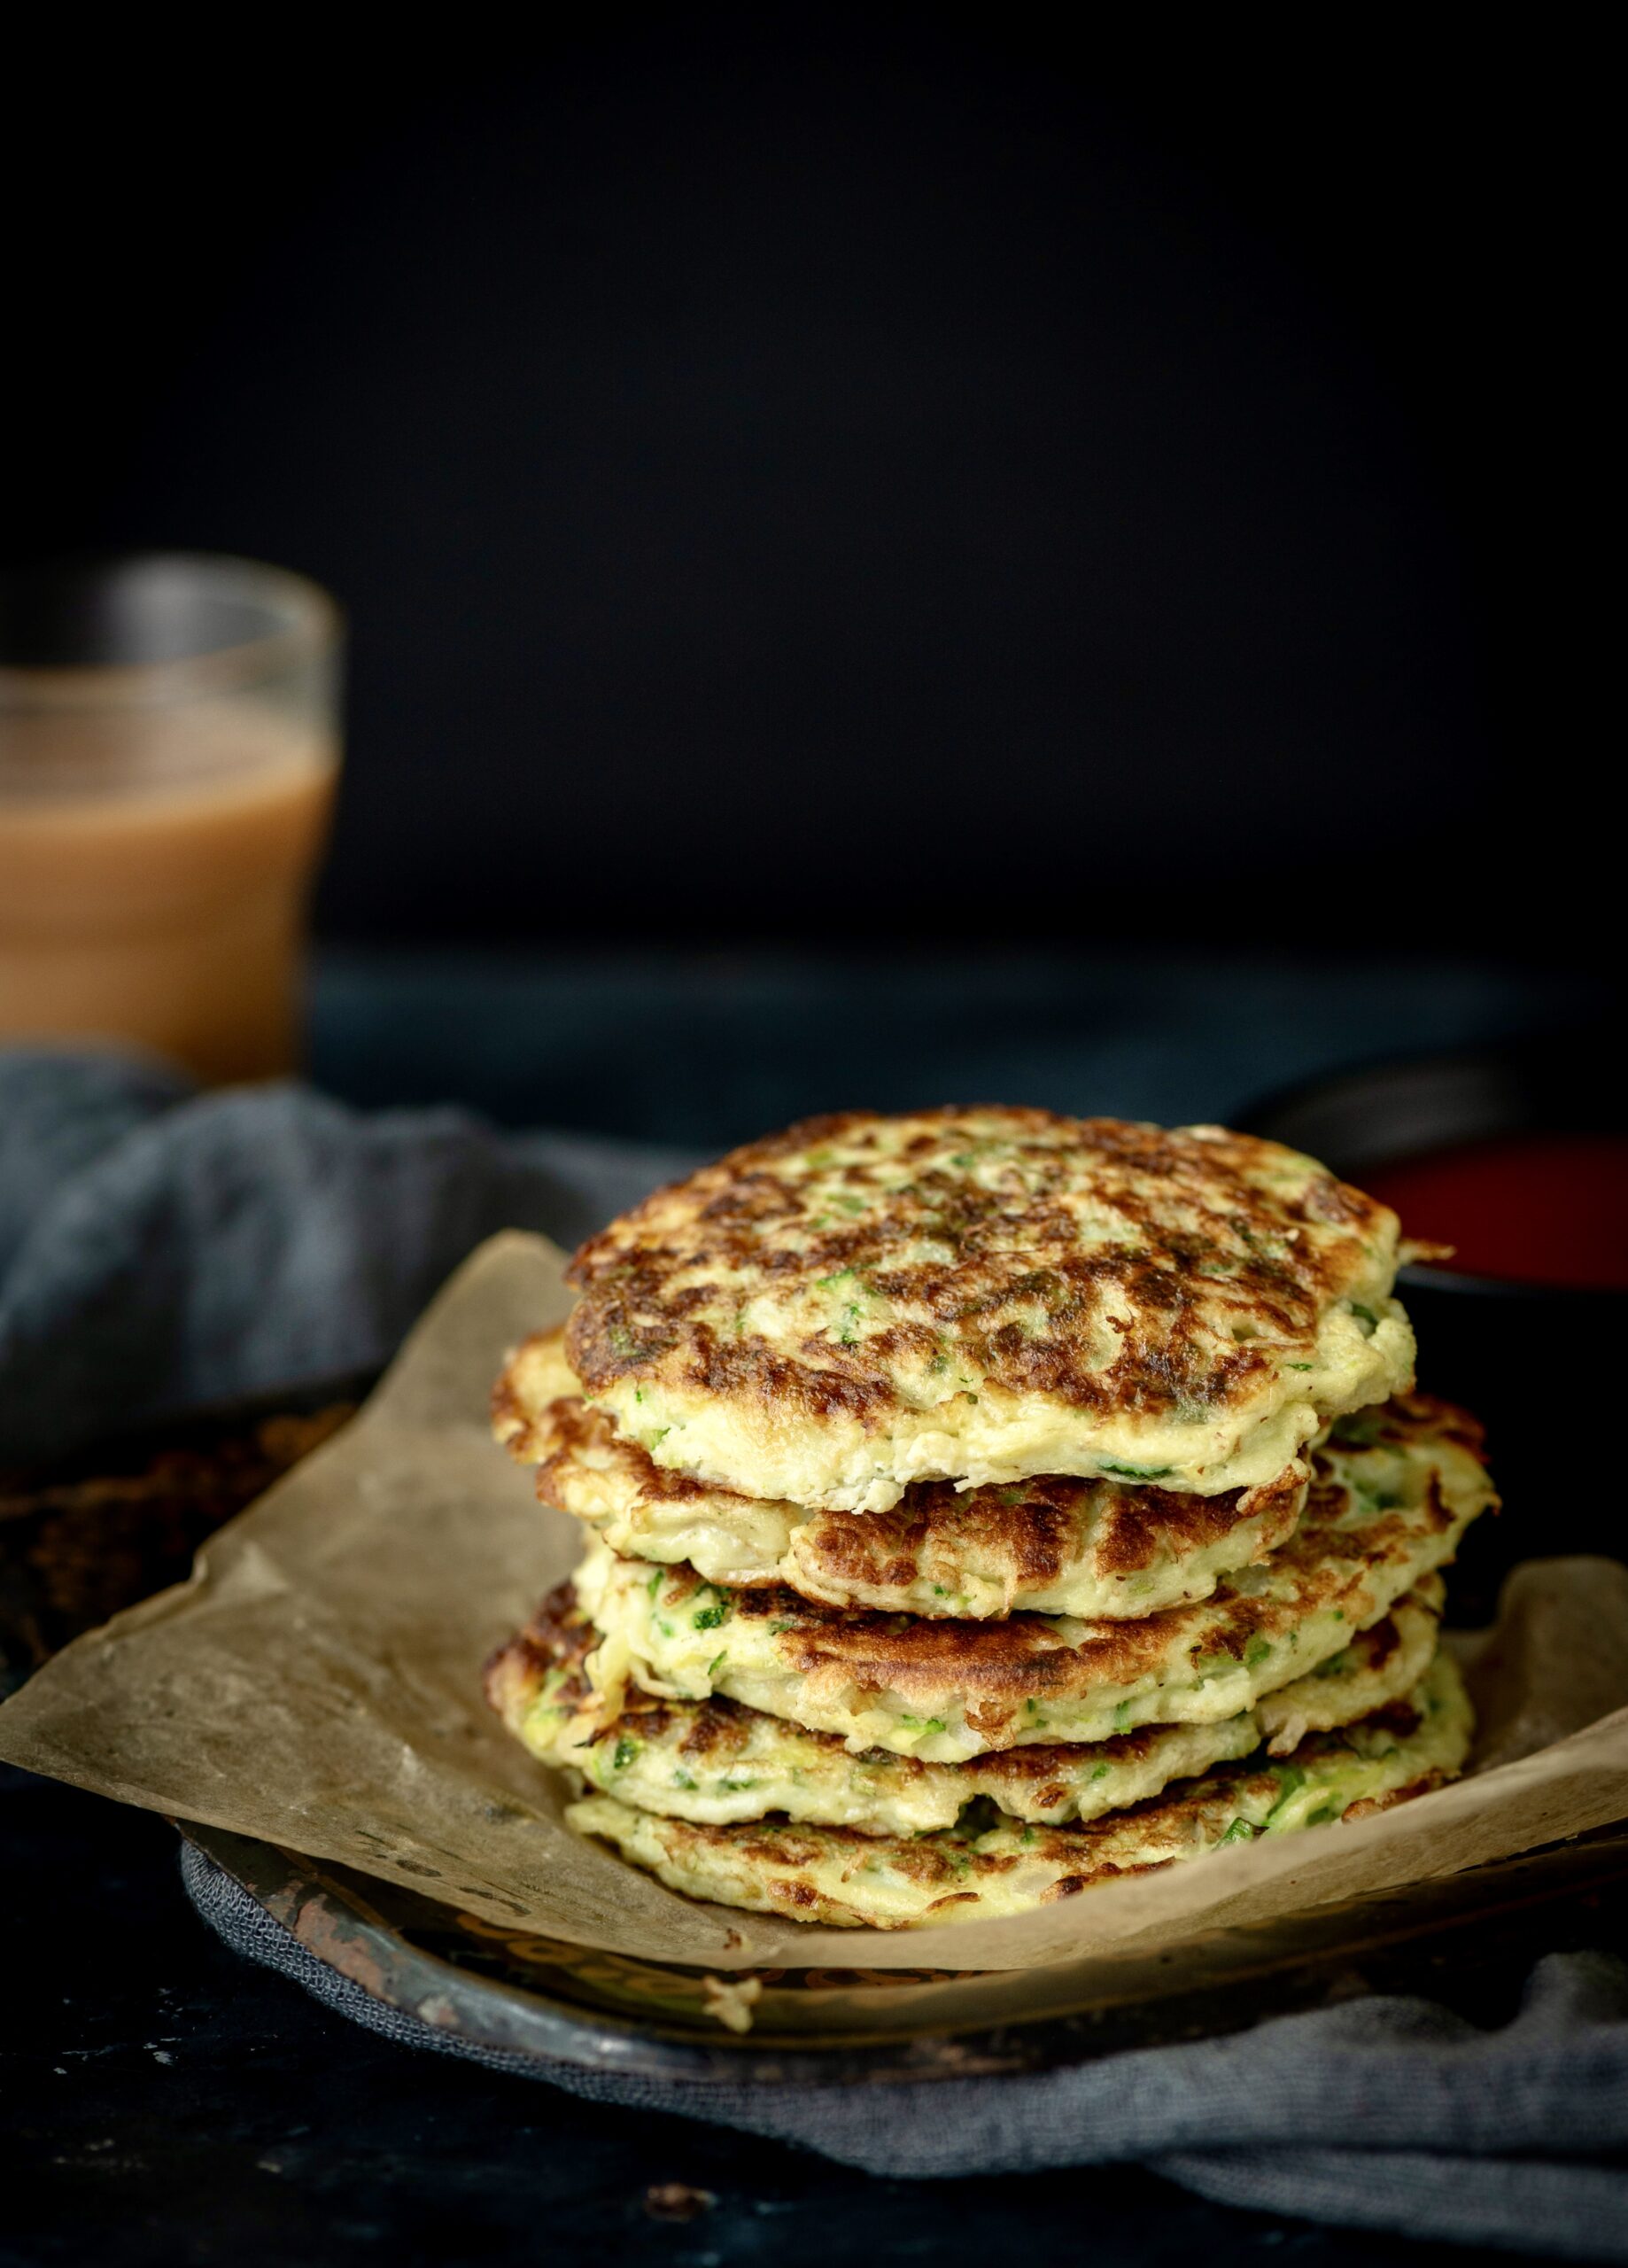
Egg fritters are a new discovery of mine. I encountered them on some travels in the last year or so and have been enjoying them ever since. In addition to enjoyment, there is the nutrition aspect too. I may sound like a stuck record when I talk about increasing protein intake, but I truly believe that it’s a necessity for most if not all of us. This is true especially if we do any form of exercise, but even otherwise. We need to rethink our thaalis and our misconception that dal fulfils our protein requirements. The entry of more egg dishes into my own diet is how I’ve been meeting these needs. These egg fritters also bring some novelty in for me, something different from the same old, same old (which can get boring). That sense of uniqueness is what makes exploring new dishes interesting.

I first tasted egg fritters in London, where I had ordered them off the menu because I was intrigued by their name. I was quite pleasantly surprised by how good they were. As I ate, I tried to deduce what had gone into the recipe. This is a habit of mine when I go out to eat and when I particularly relish a new dish or a refreshing version of a familiar one. I have a constant curiosity when it comes to anything culinary, and where it isn’t possible to ask for a recipe (as I would if I was eating in someone’s home), I usually try to figure it out myself.

I did the latter in this case, and that is how I came up with an egg fritter recipe that sated my curiosity, my cravings as well as my nutritional needs.

This is a relatively new recipe to me, so I have yet to make a lot of memories with it at home, with my friends and family. I love this rendition, but I do still order the egg fritters at the eatery in London where I first tasted them whenever I’m in the city.

In this version, I have used green vegetables because they are aesthetically attractive, as well as really good for us. You may want to substitute the vegetables I have listed for ones that you prefer. Colourful bell peppers may work nicely. Just make sure that all the veggies used are chopped well so that the fritters cook better.

These egg fritters are obviously a breakfast dish, but they’re also great in case you need to pack something quickly for a commute. I think they would also work very well in lieu of a burger patty. That’s something I’d love to try out myself. It could also be interesting to have them on an open sandwich along with toppings or dressing. Now that these egg fritters have entered my life, I’m excited about the many ways I can enjoy them!

Egg Fritters

(Yield: 6 pieces)

3 eggs
Salt to taste
1 full cup zucchini (grated)
½ cup onions (finely chopped)
2 tablespoons coriander leaves (finely chopped)
½ cup broccoli (grated)
2-3 tablespoons rice flour
2 tablespoons bell peppers (finely chopped)

In a bowl, add the eggs, grated zucchini, broccoli, coriander leaves, onions, rice flour, bell peppers and salt. Mix well.

Add some oil in a heated flat pan. Using a ladle, drop a big spoonful of the mixture onto the pan. Press with the back of the ladle to make a thick fritter. Use a cup or a ring if you can. Here is a tip: while pouring the batter on the pan, the egg may drain on the sides. Once the egg cooks a little push it back with the help of the ladle. This will help in making the fritter achieve an almost round shape.

Add as many as you can on the pan. Cover for a few minutes on a low flame and allow to cook on the inside. Remove the lid and allow to cook until golden on one side. Flip and repeat on the other side.

Enjoy these tasty egg fritters by themselves, on toast or a bun, as a side to a meal or any way you like them! You may also want to check out a few other recipes I’ve shared earlier in which eggs are a core ingredient!

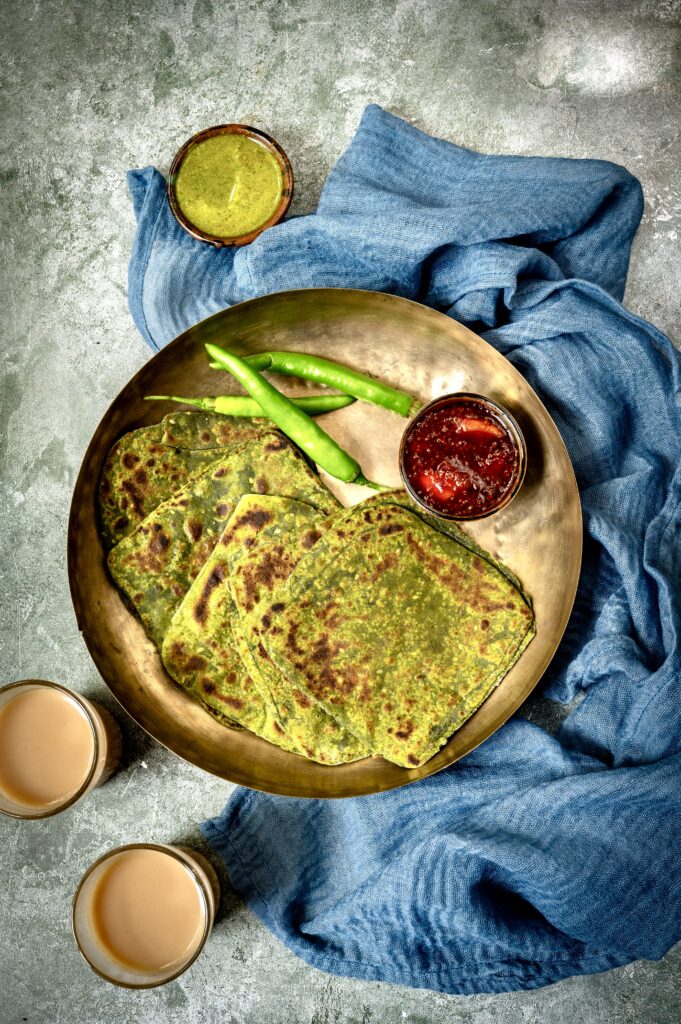
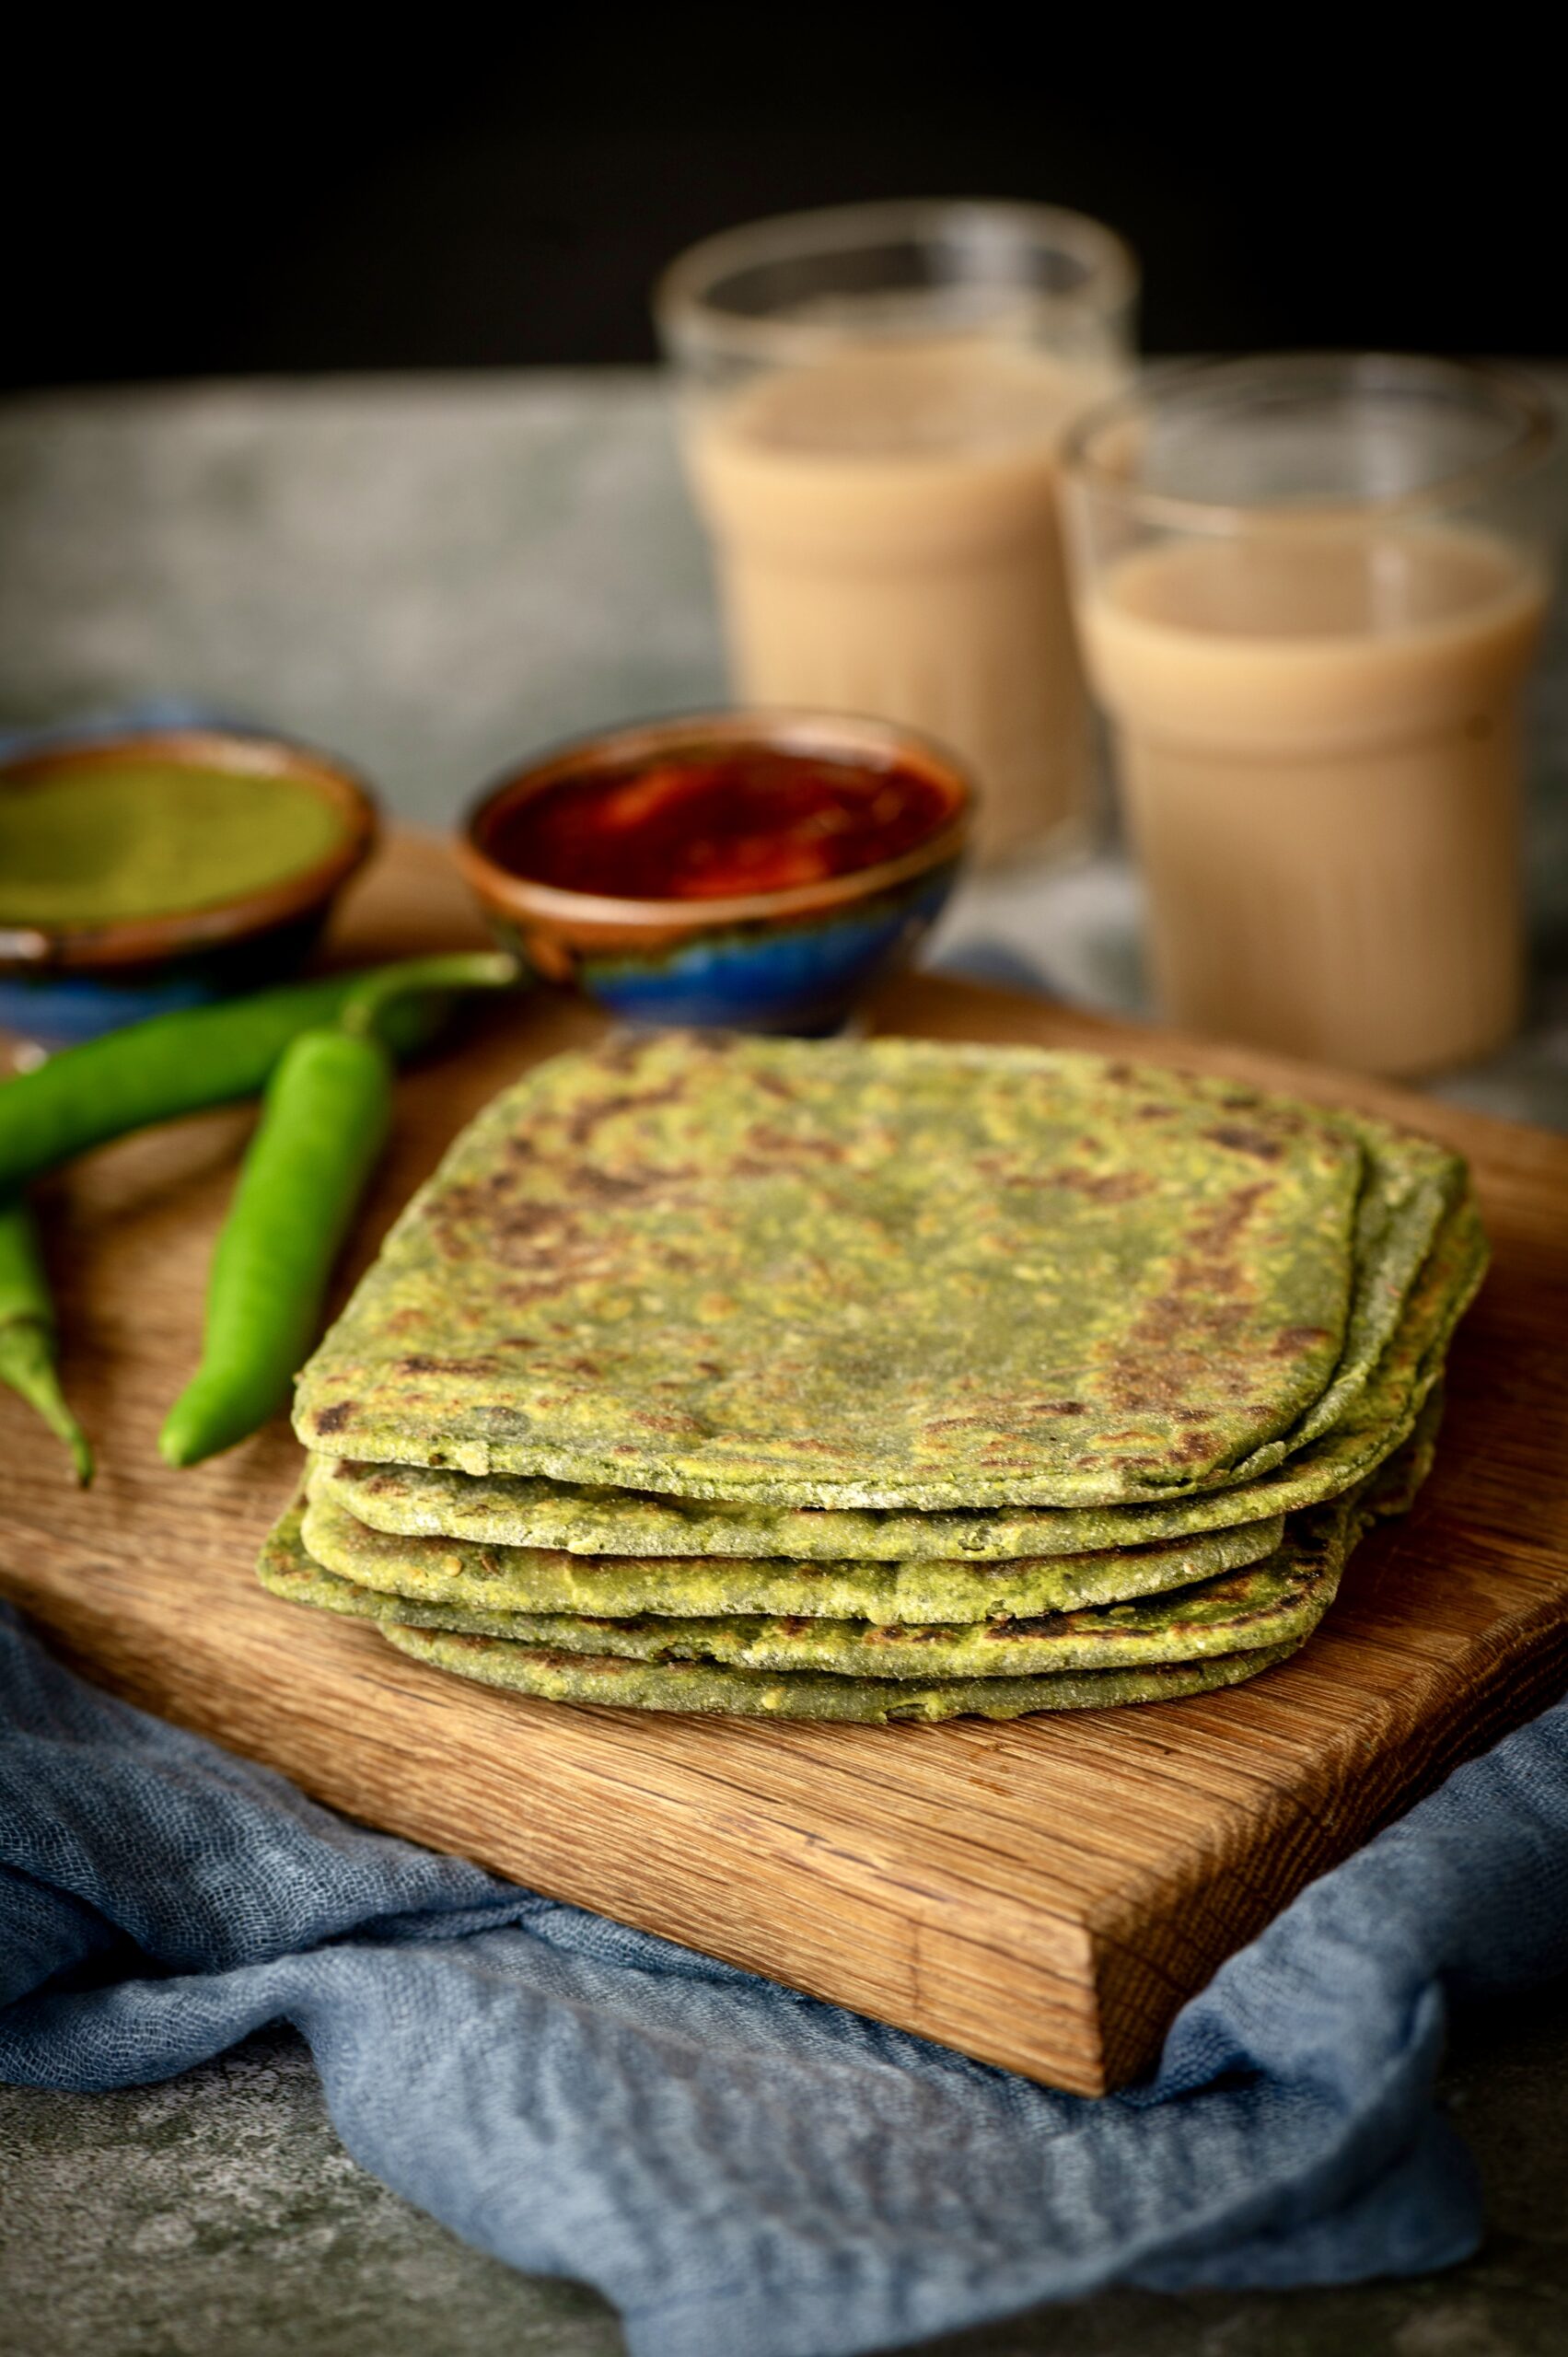
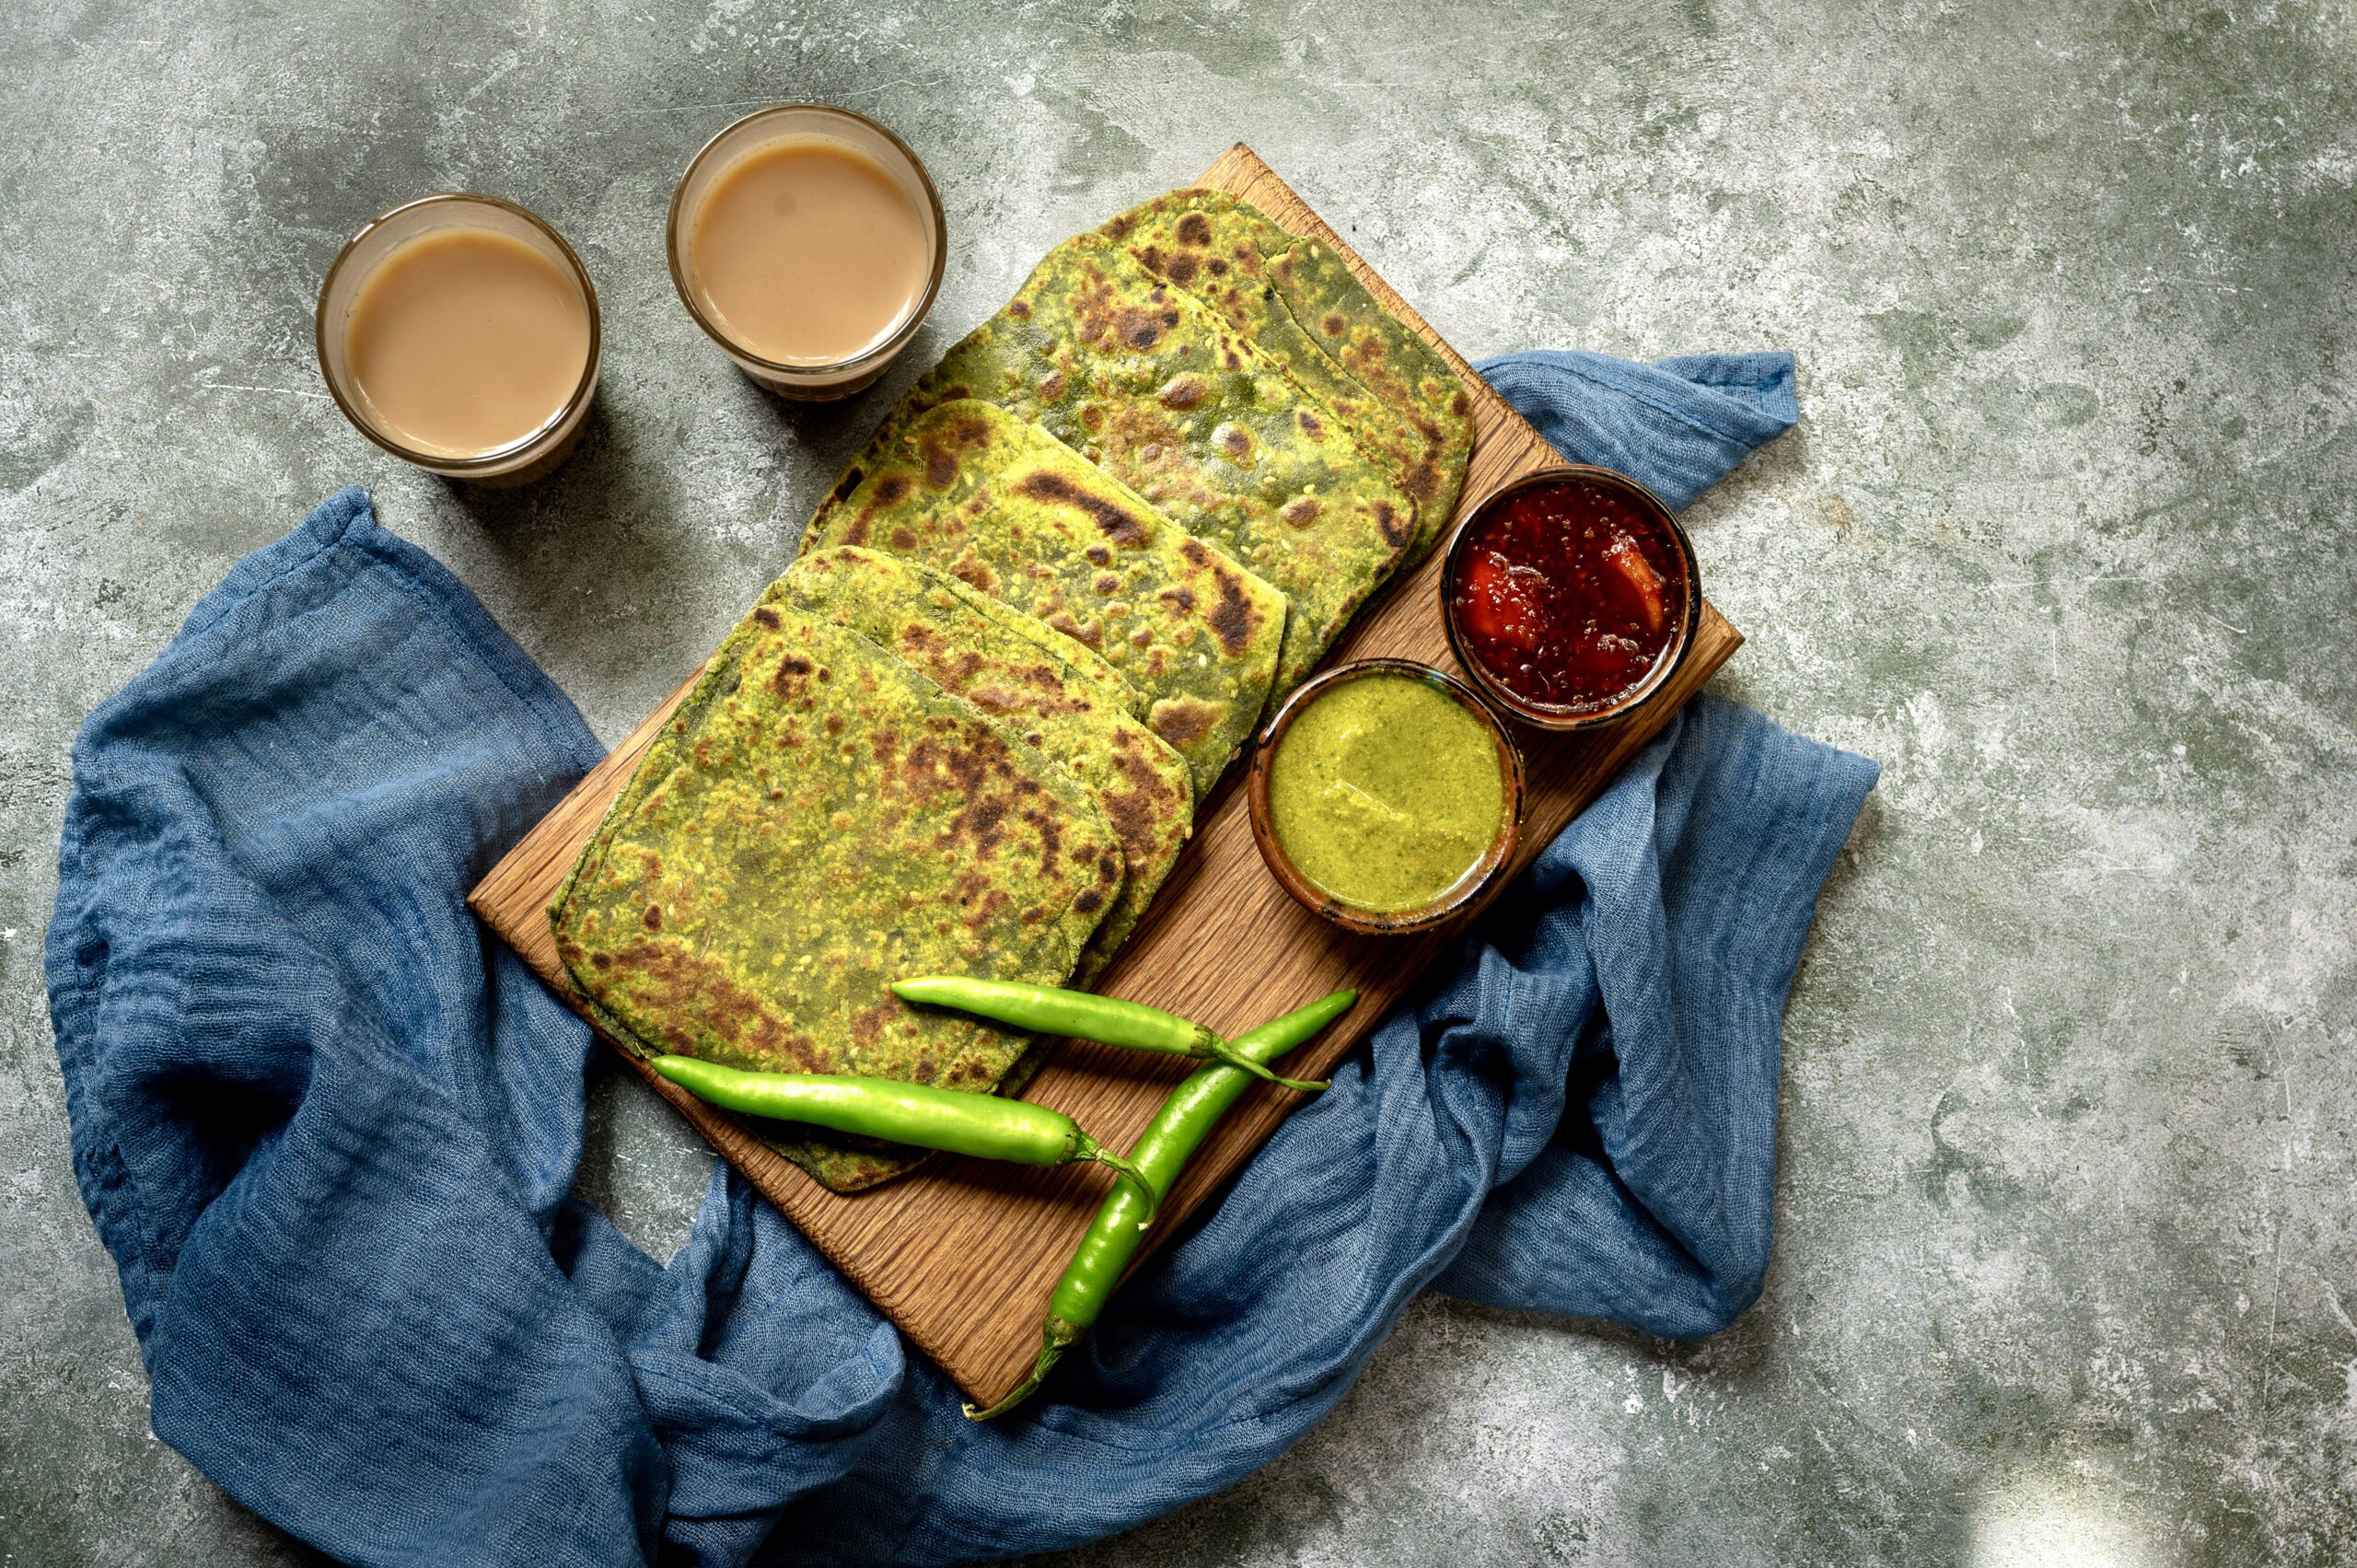
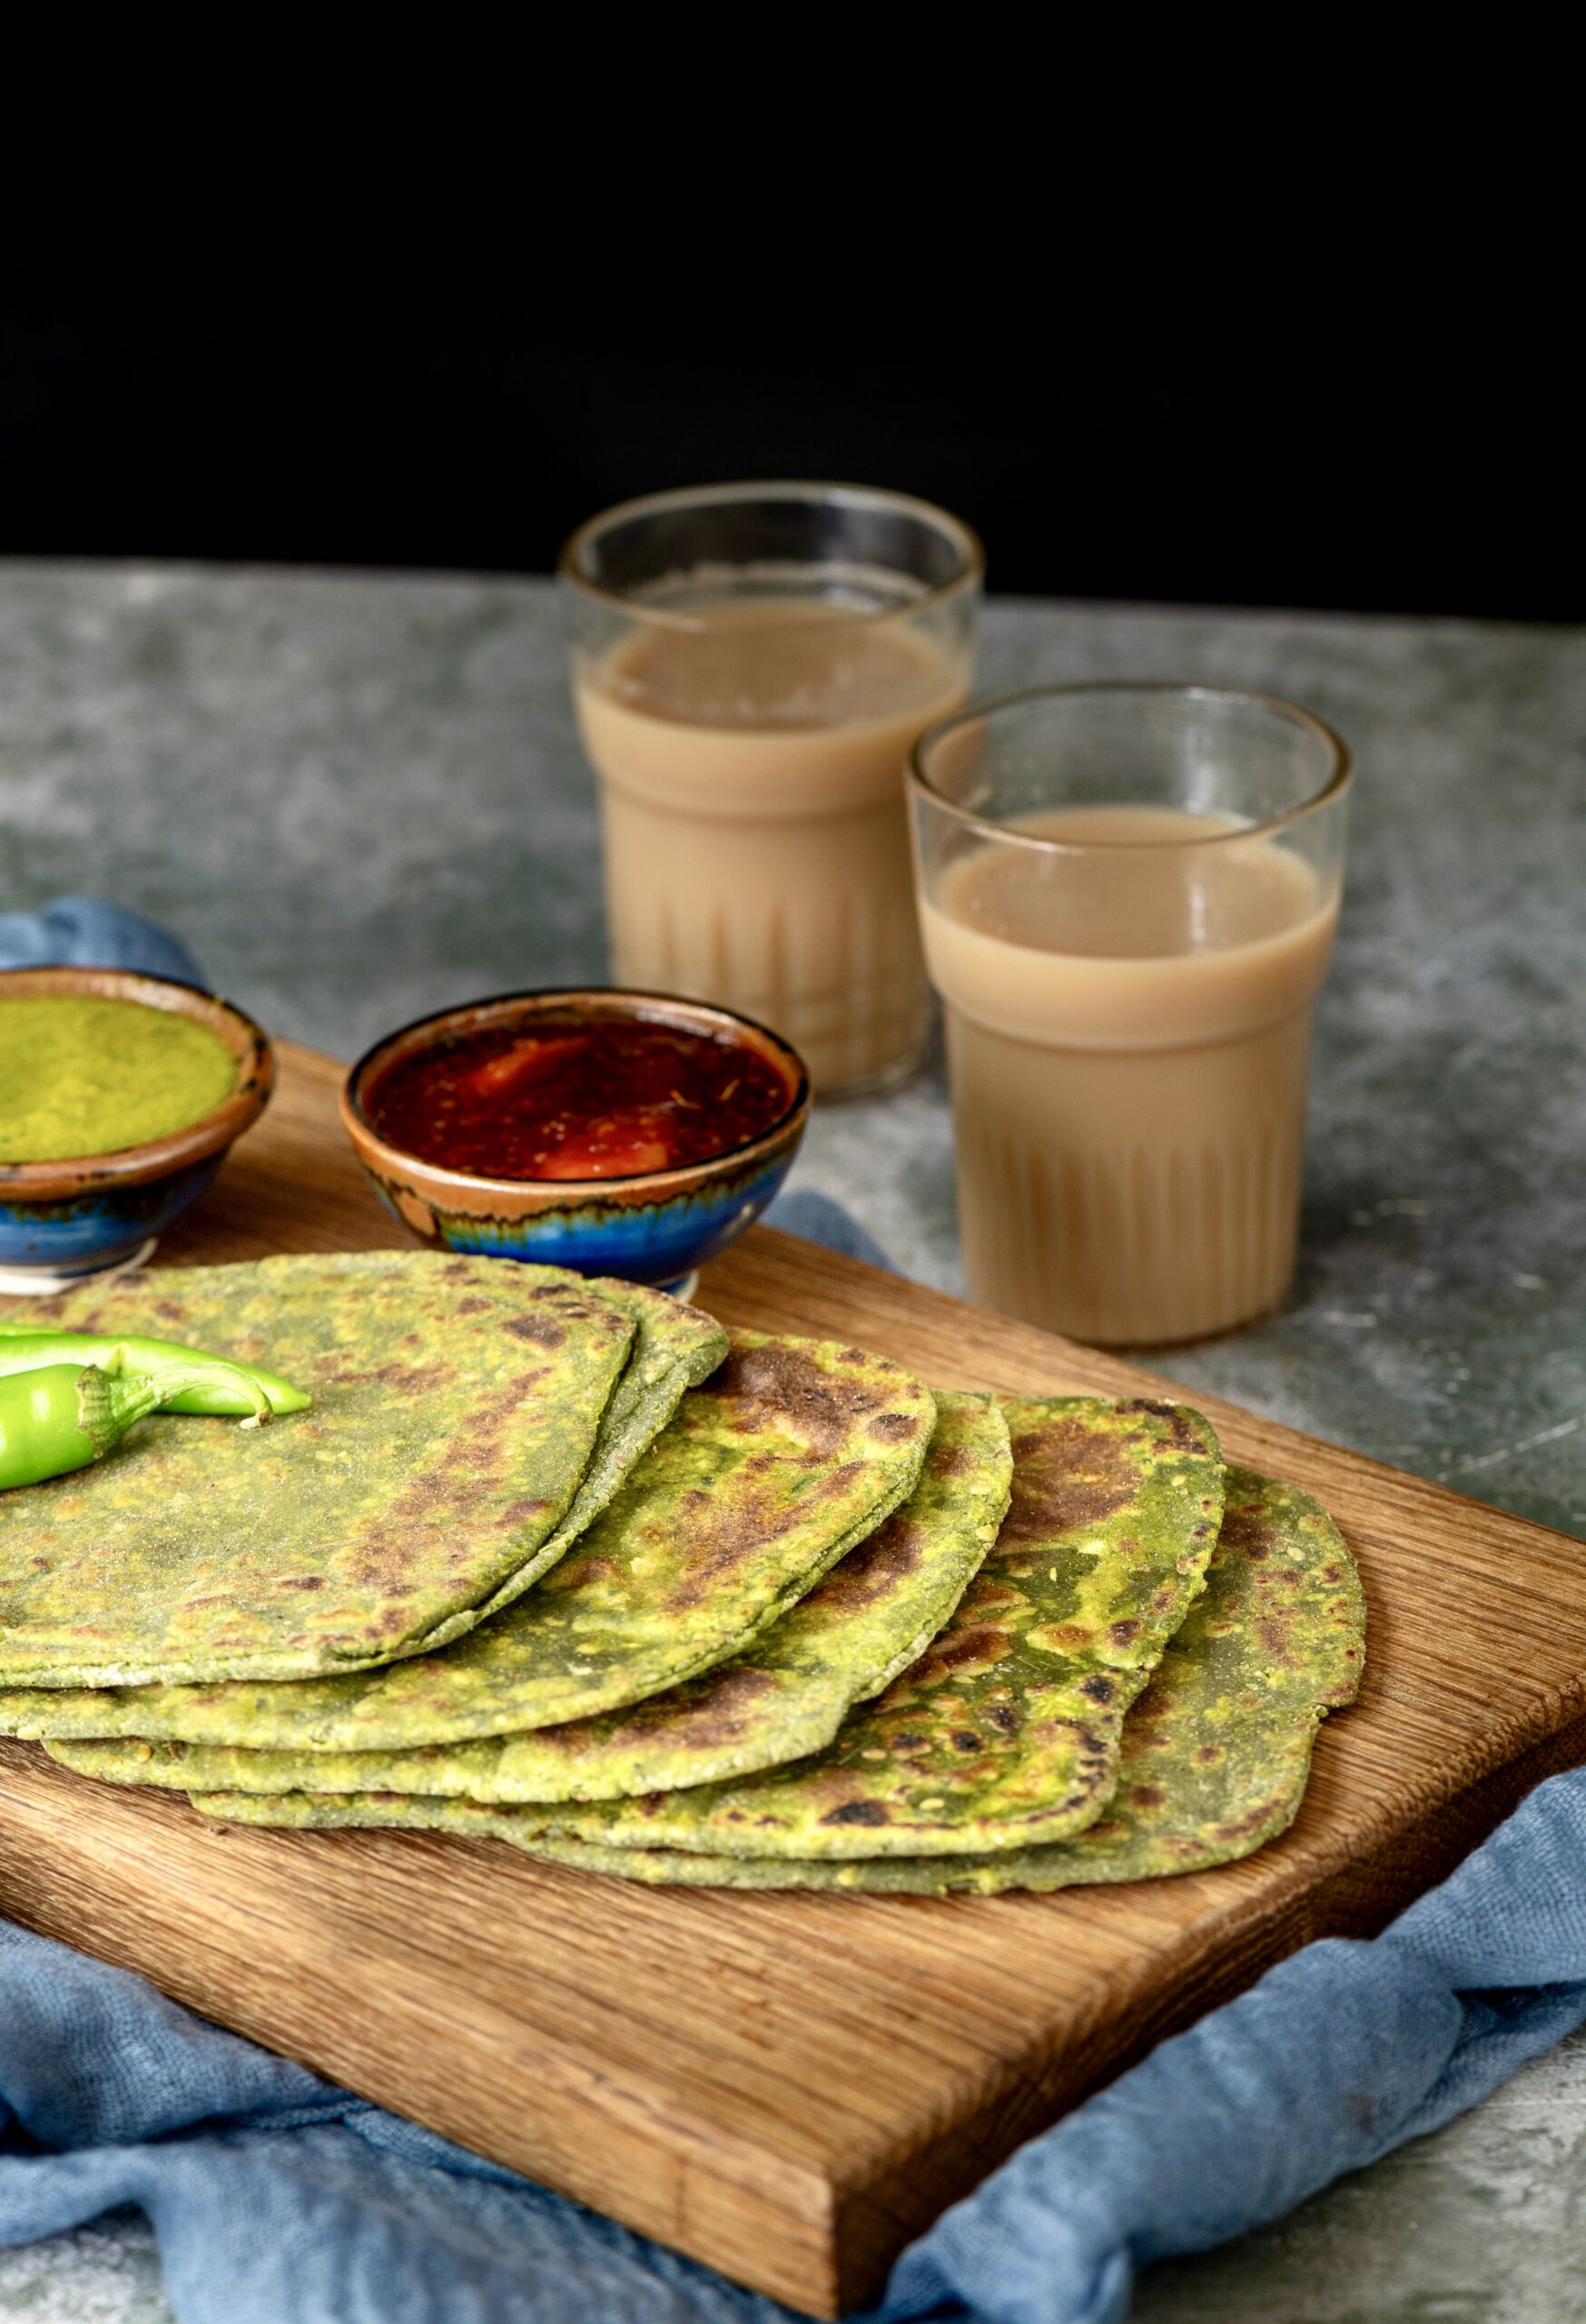
In my last post, I shared a recipe for a delicious stuffed paratha using radish, something I first began enjoying on my trips to Delhi. Today, I share another paratha, but this one is made differently. This lovely vegan palak paratha (using spinach) is a healthy upgrade on your regular parathas, and is perfect for those who often eat flatbreads at home.

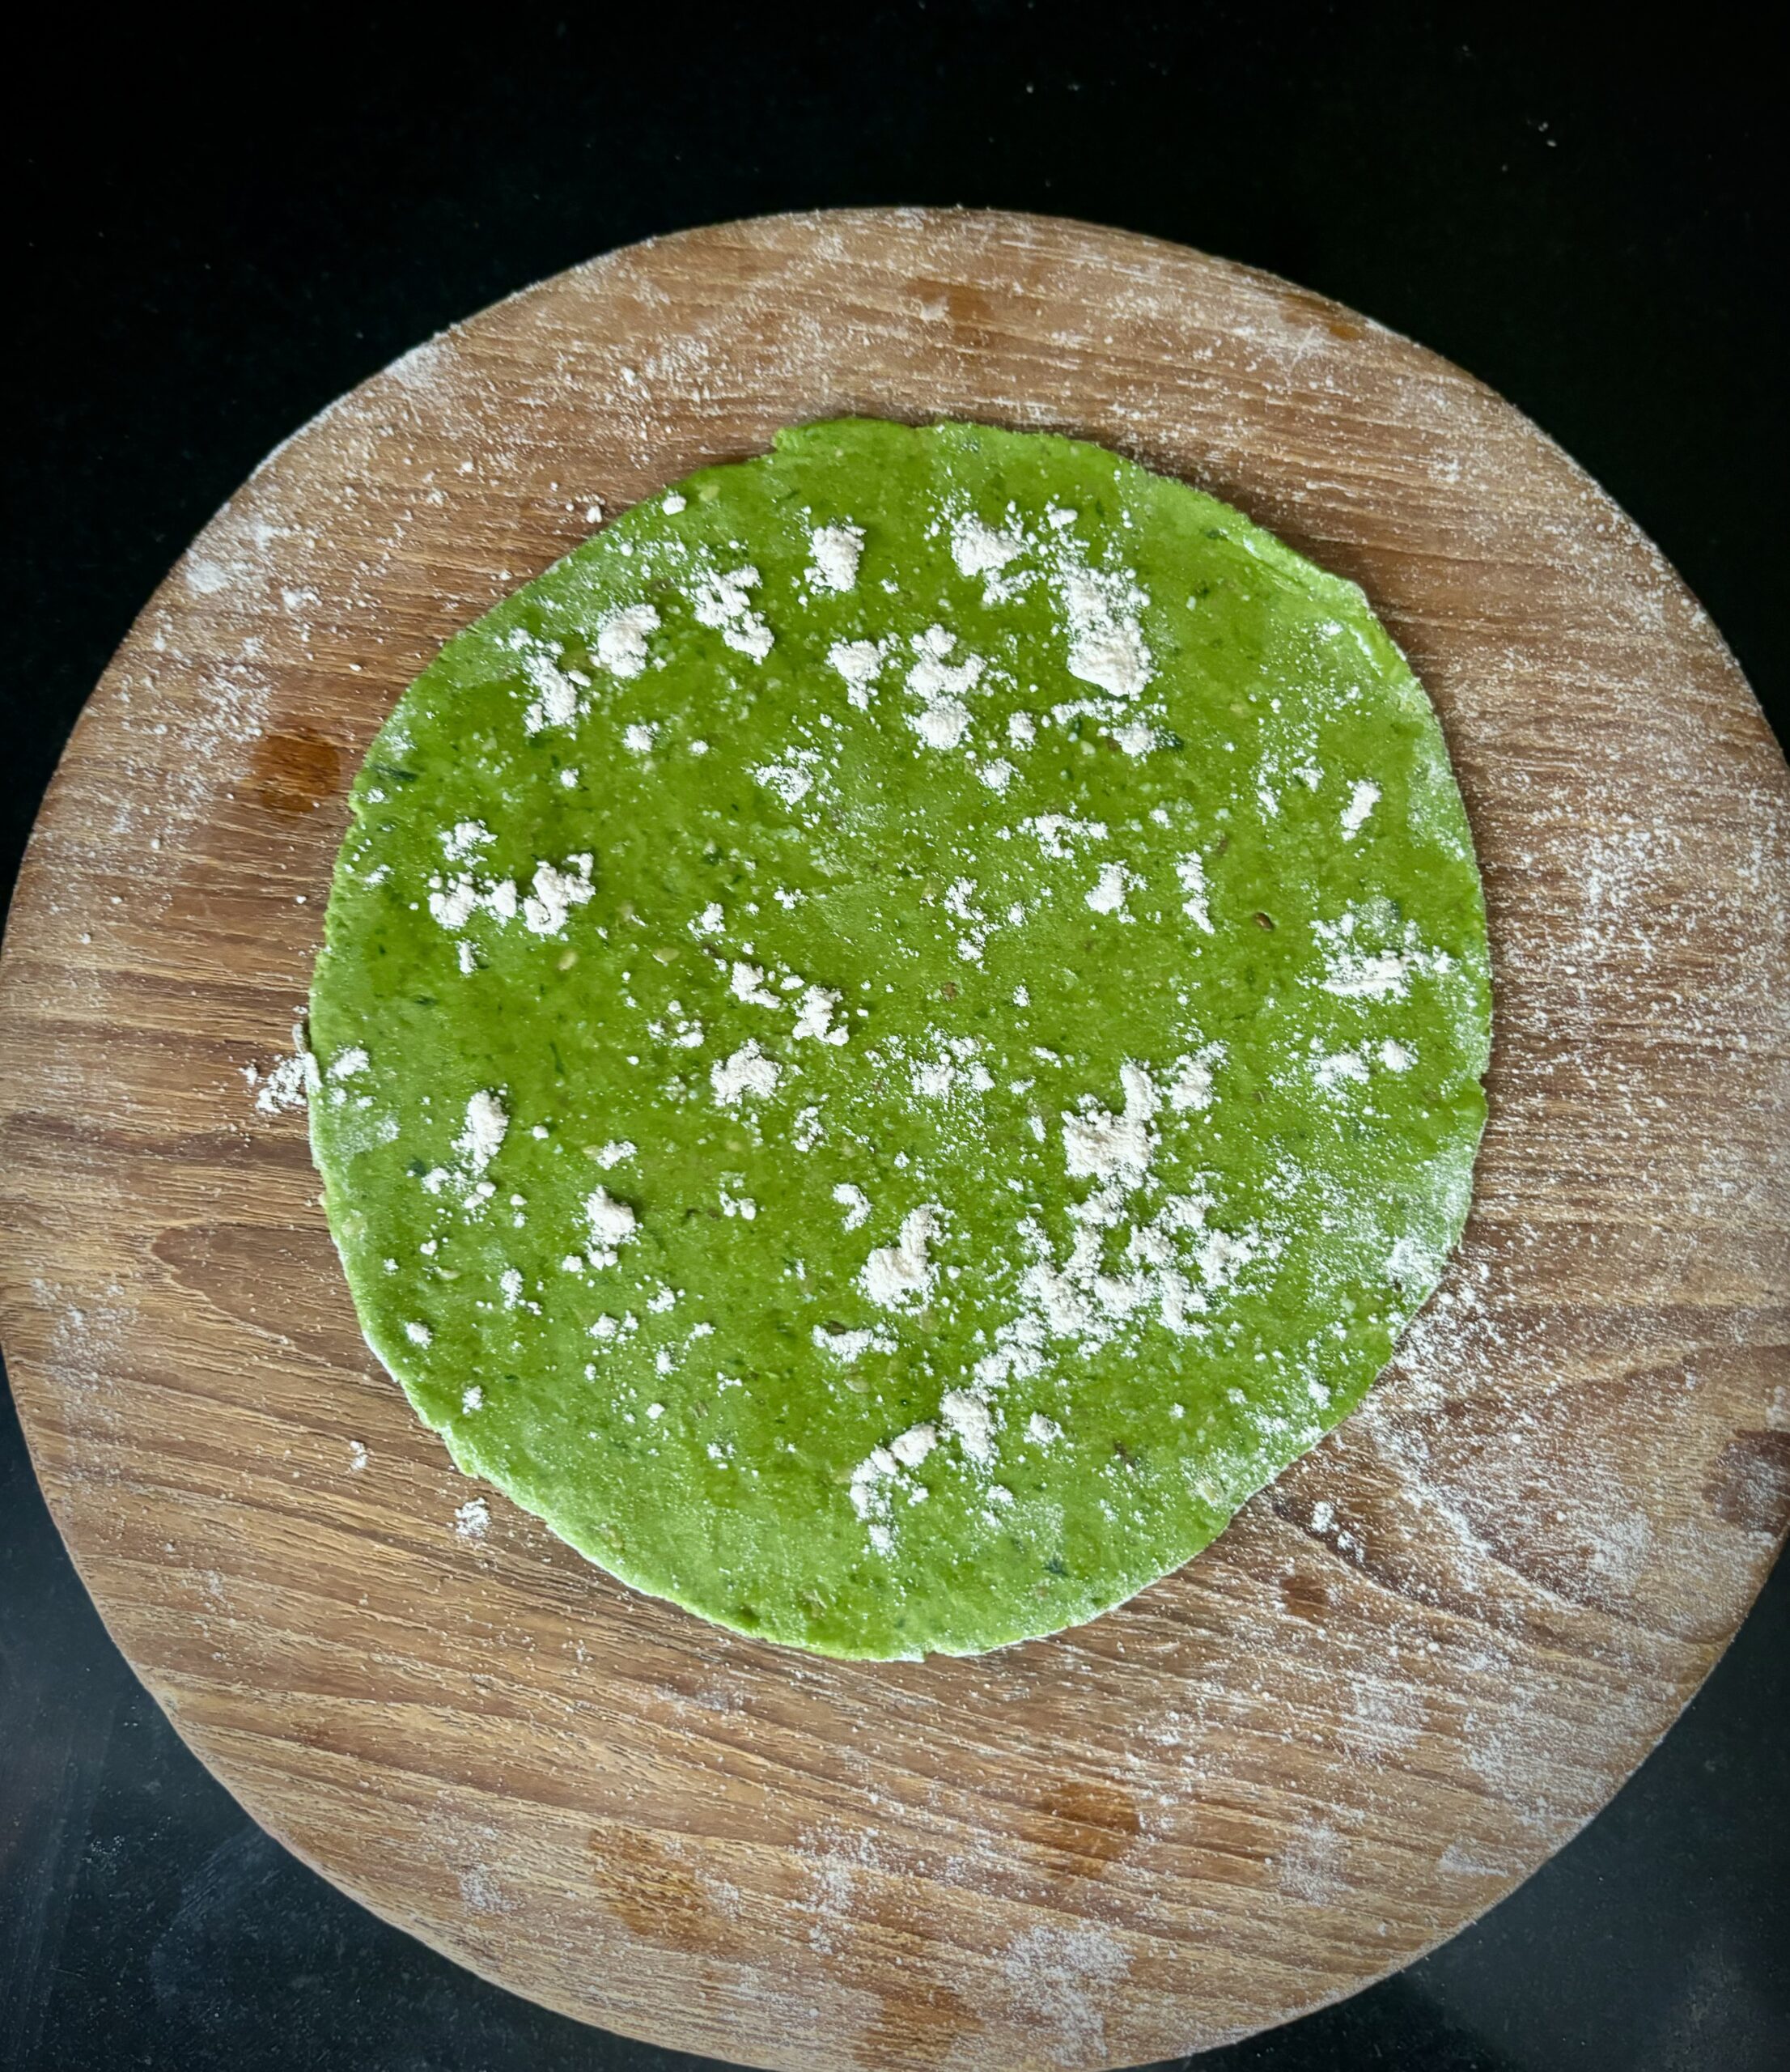
The spinach is blended into the dough directly, which gives this paratha a lovely green colour. This also means that it is an excellent way to get people to eat their greens – not just school-going children, but even young adults or anyone who is picky about them, really. I imagine that the very first palak paratha must have been put together by an inventive mother who was trying to trick her kids into getting more nutrition. So this recipe is dedicated to everyone who is on a quest to serve healthy food to their children. Another thing that helps is to make the parathas in an unusual shape, to add a touch of fun.

You would think that I would have lots of childhood memories of palak paratha myself, but I don’t, and the reason is that my mother didn’t resort to this particular trick. Two or times a week, some kind of leafy vegetable would be spooned onto our plates, and we just had to eat it. That was that. Growing up in South India, this meant that a large selection of seasonal greens was a part of our diets. I may have made a fuss about it as a child, but I am grateful for it now. As I got older, I began to genuinely enjoy the different varieties of local spinach, and I understood just how much our bodies love the chlorophyll too. If you’d like to explore a few dishes that utilise South Indian greens, you could also take a look at my recipes for purslane dal and araikeerai vadai.

Speaking of stuff that’s good for you, I like to make these palak parathas with ghee, which has begun to shake off its bad reputation and is now being embraced everywhere as a superfood. That’s right, our humble ghee that we health-conscious Indians shunned is back with a bang, and is being acknowledged as being not just tasty but also nourishing. However, I have provided the recipe below with oil so that it remains vegan. Substitute accordingly, if you prefer.

Visually appealing, full of goodness and so very delicious – what more could you ask of this dish?

I feel that this palak paratha is best eaten hot off the griddle, and it goes very well with a dry roast paneer (which I will share the recipe for soon). A dal will also pair nicely. Sometimes I have this with a small bowl of tomato soup and a few scoops of that paneer stir-fry, and everything that’s on my table looks so beautiful. The reds, the greens and the aroma of them all together make for a gorgeous meal, in every way.

Palak Paratha

(Yield: 8 pieces)

1 bunch palak (spinach)
1½ cups whole wheat flour
1 teaspoon cumin seeds
1 teaspoon sesame seeds
Salt to taste
A pinch of turmeric
A handful of coriander leaves
1 tablespoon green chili ginger paste
1 teaspoon aamchur (raw mango) powder
2 teaspoons oil
Oil for cooking

Clean the spinach thoroughly. Put the spinach in hot water for a minute. Squeeze, remove and immediately place it in cold water. This will help retain the colour of the leaves. Squeeze the water out.

Place the squeezed spinach in a blender jar and add cumin seeds, a pinch of turmeric and coriander leaves. Blend. This will give you a ¾ cup of spinach purée.

In a bowl, add 1½ cups wholewheat flour.  To this add the aamchur powder, salt to taste, chili ginger paste, sesame seeds and 2 teaspoons oil.

Now, add the spinach purée to this mixture. Using your hands, make a smooth, pliable dough with the help of a few drops of oil. Cover and set aside for ½ an hour.

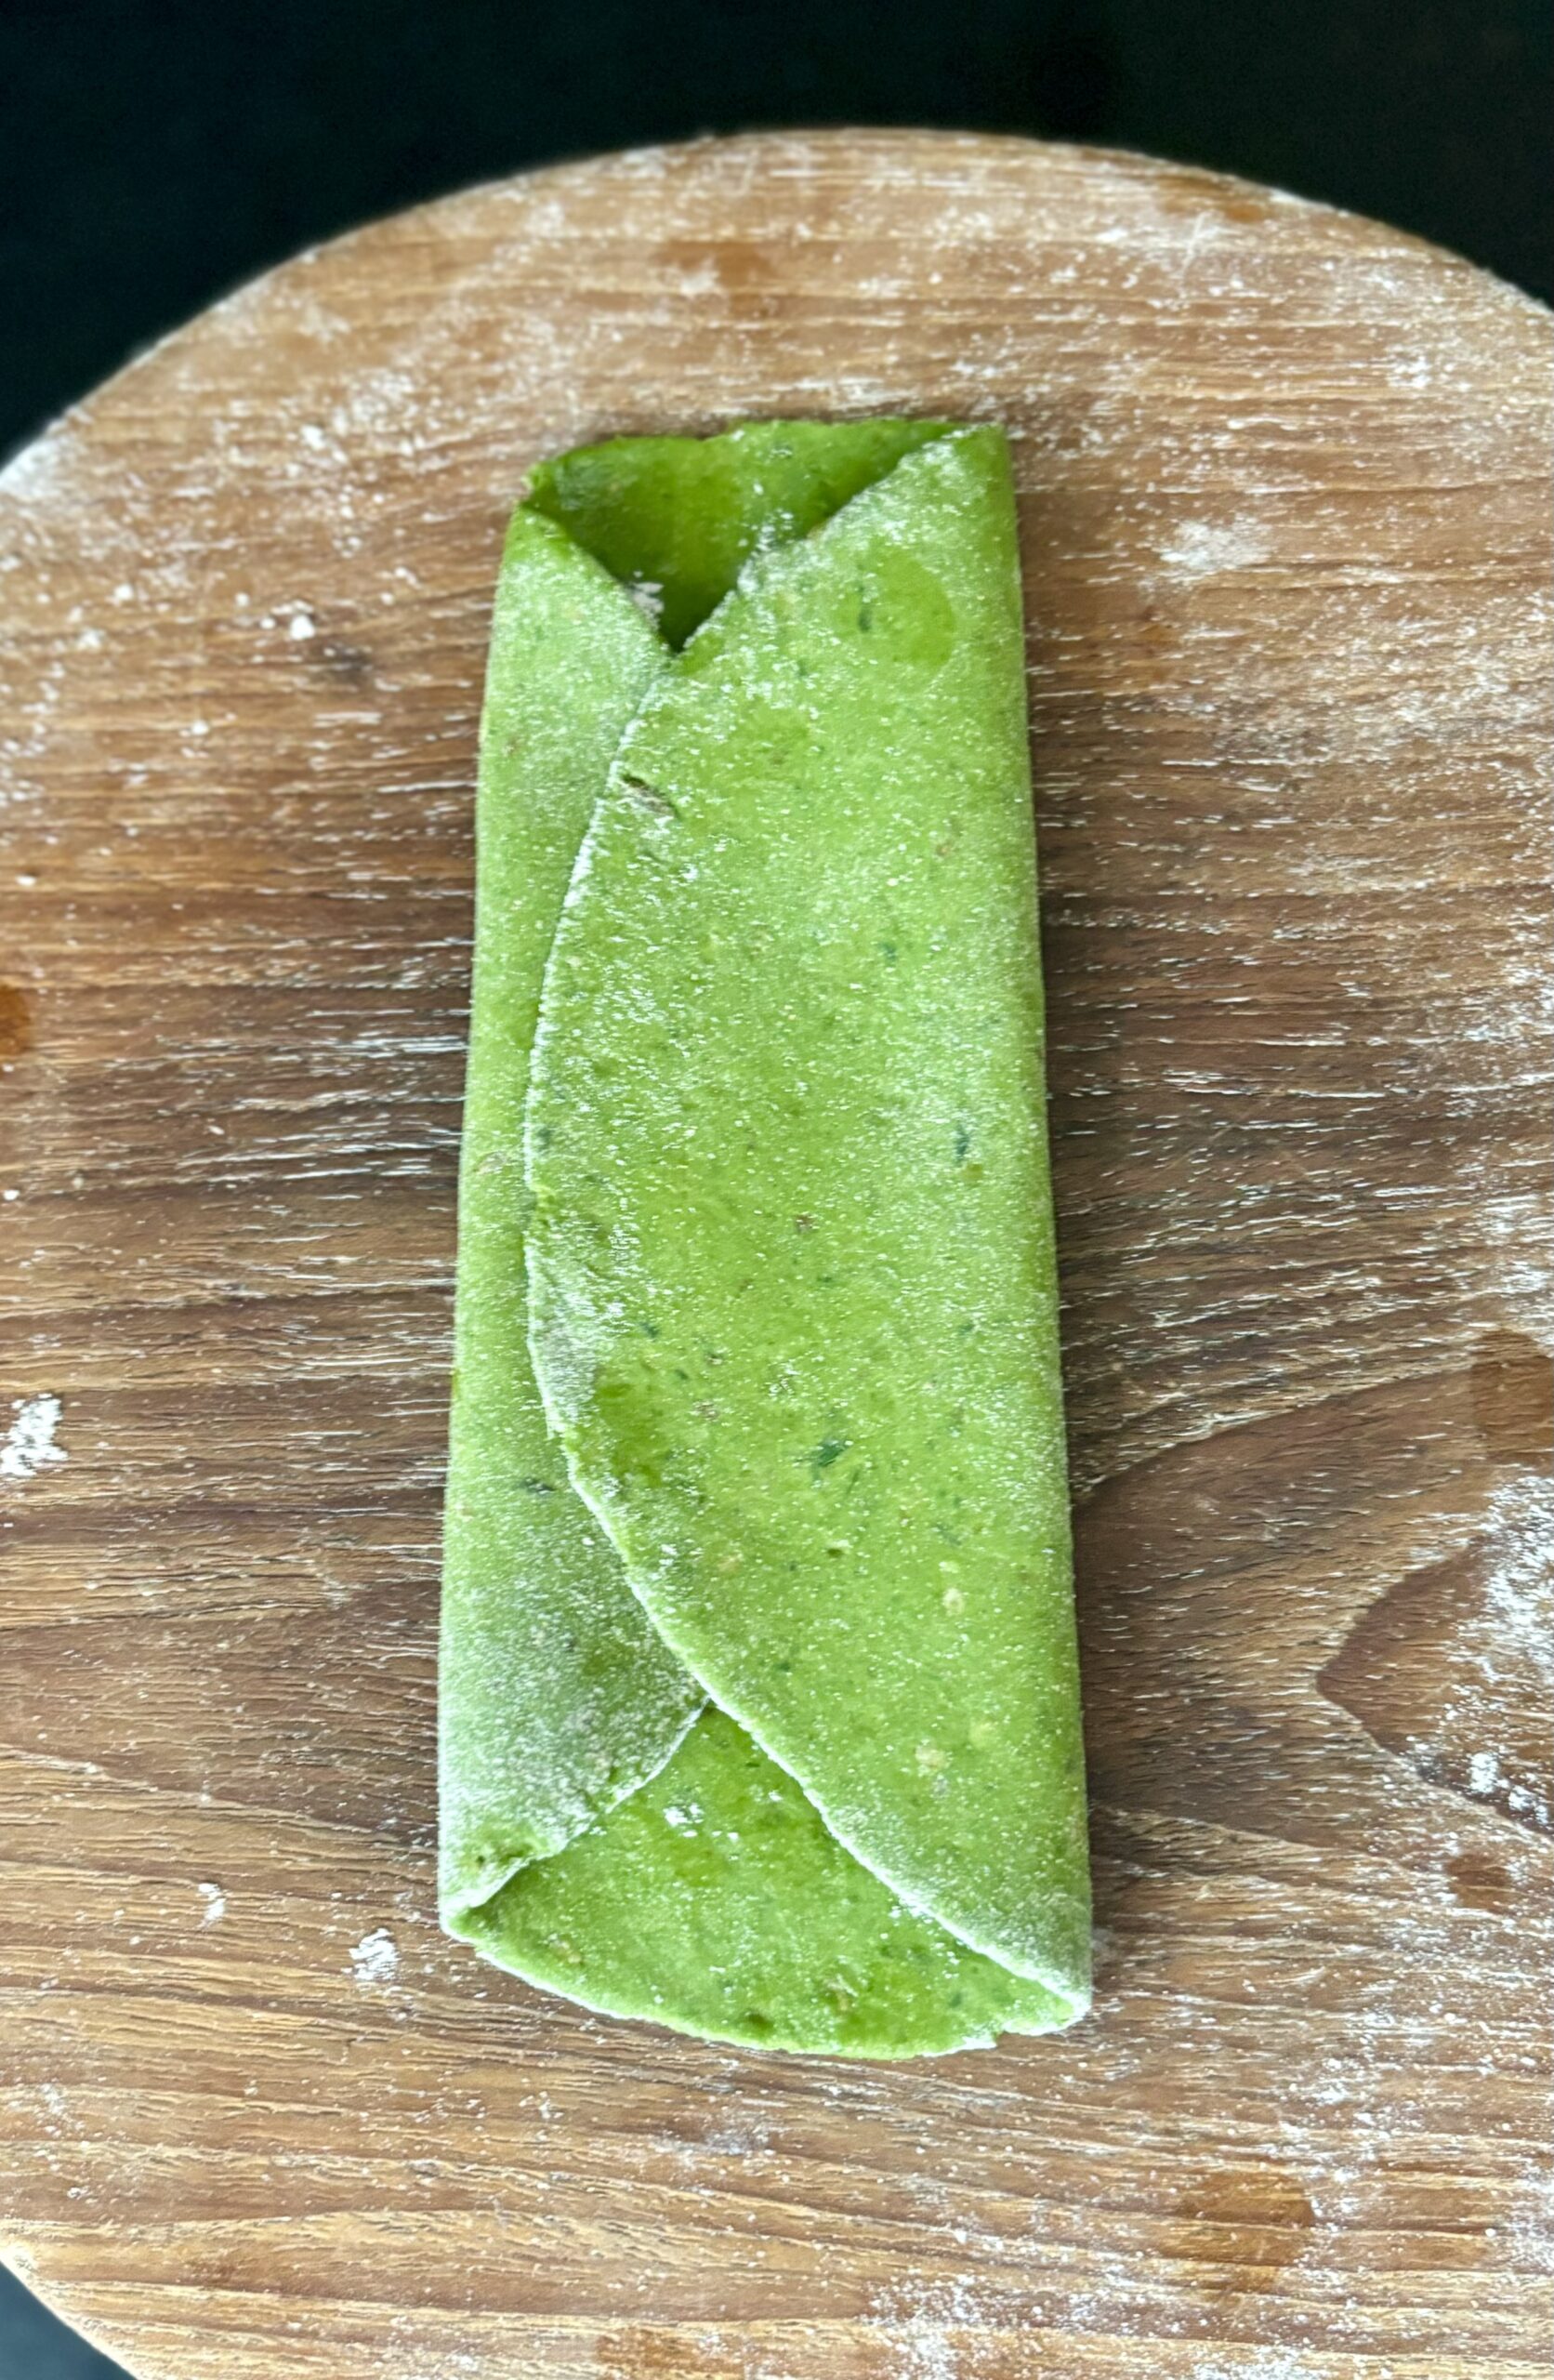
Make balls of the dough. With the help of dry flour, roll these out in any shape you desire. The paratha needs to be a little thicker than the regular rotis to get the most of the spinach flavour. Place on the griddle, and ensure both sides are cooked.

Serve hot with yoghurt or pickle or a vegetable of your choice.

If you’d like to explore more spinach recipes, do try out this spinach and corn bake and this spinach rice. As for parathas, my recent radish paratha and earlier peas paratha recipes may catch your fancy too!

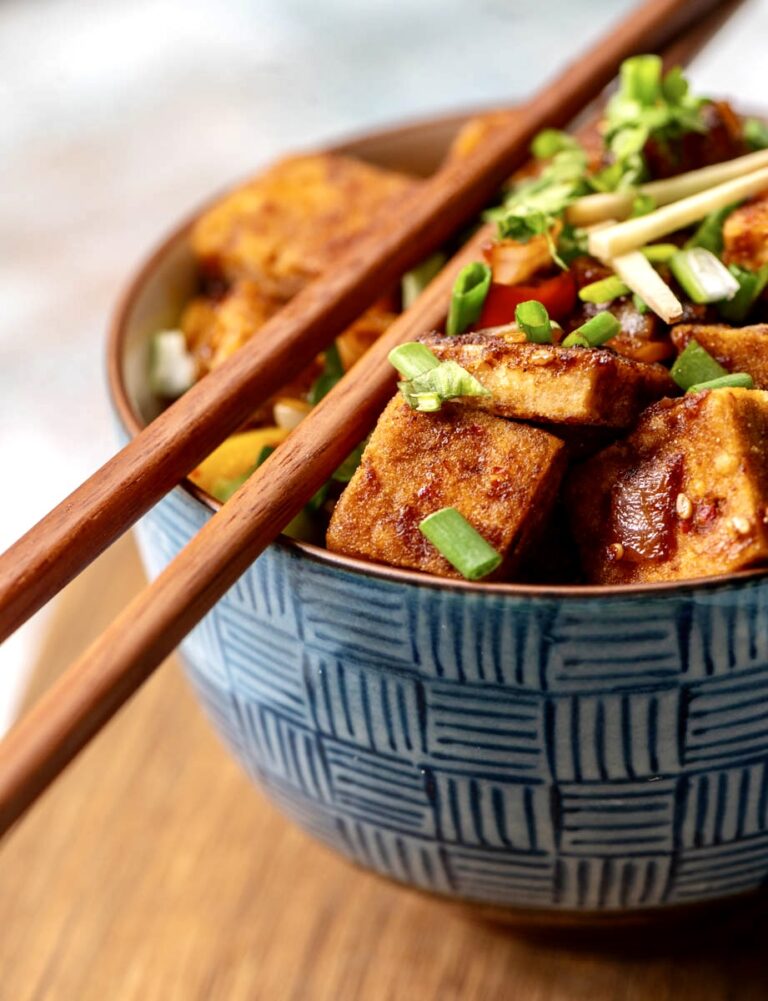
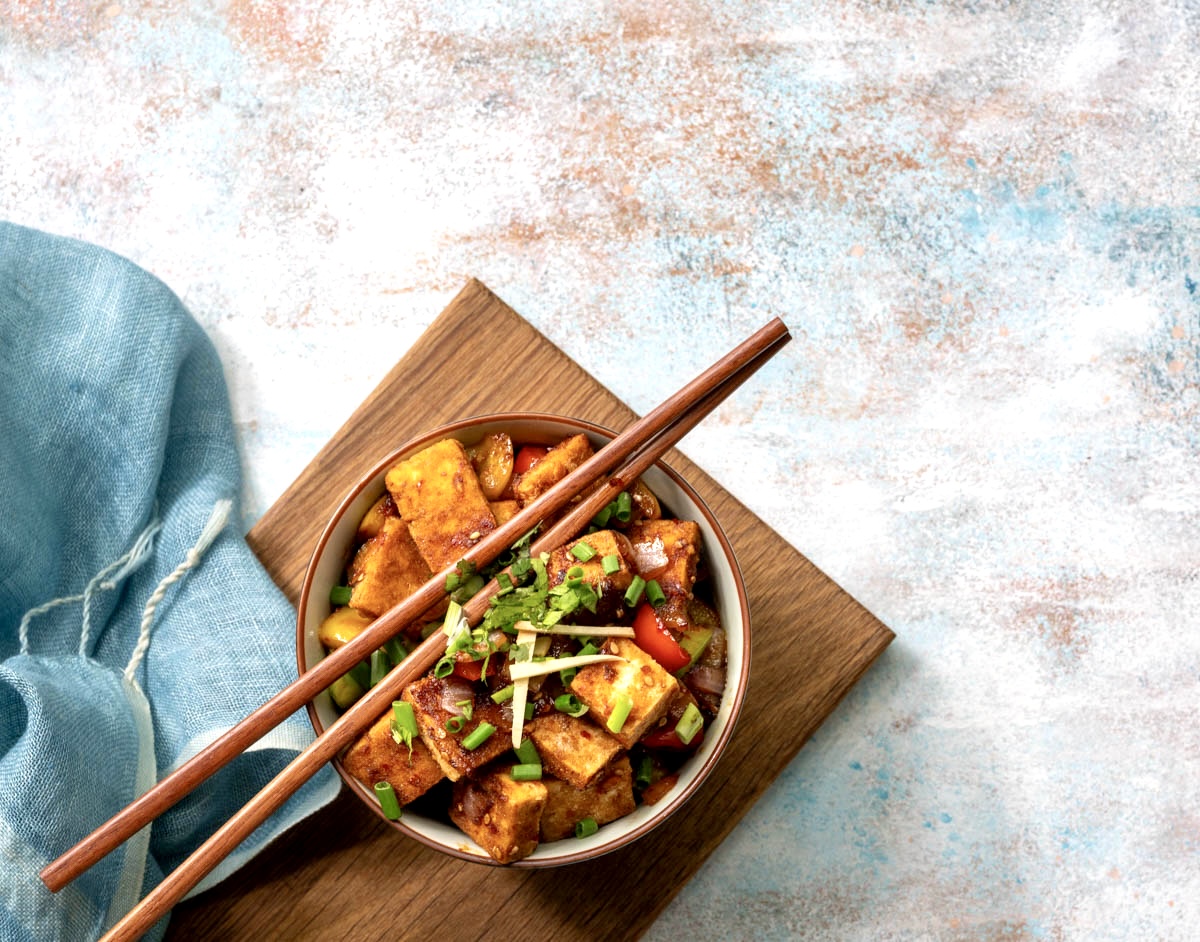
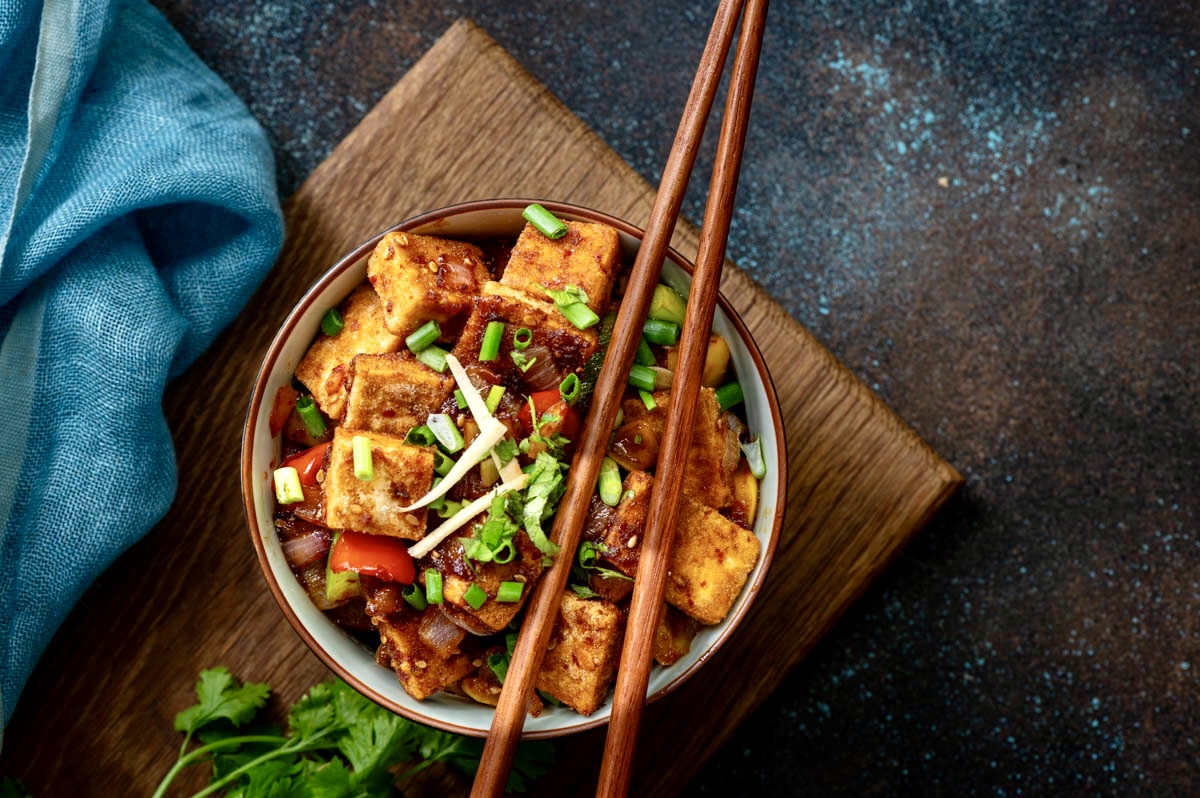
Recently, when sharing a recipe for tofu broccoli rice, I wrote about how tofu is a healthier replacement for paneer, which is an ingredient that vegetarian Indians simply adore. As mentioned there, tofu is not only higher in protein, but it is also lower in fat. Moreover, it helps those who are aiming for a vegan lifestyle or who are lactose-intolerant to avoid dairy too. Despite its reputation to the contrary, it can actually be very tasty. It all depends on the flavours you cook it with, and this chilli tofu is a perfect representation of exactly that.

You will probably be familiar with chilli paneer – a famous and ubiquitous dish on Indo-Chinese restaurant menus. This is essentially a more nutritious take on the same. I have mentioned in earlier posts that my daughter is a pro at Indo-Chinese as well as certain Asian cooking styles, and whenever she visits me, we love experimenting with these cuisines in the kitchen together. I made some trials of this one ahead of her next visit, and they came out great.

One significant difference is that I have only pan-fried the tofu rather than deep-frying it, which is what most Indian restaurants do when they do serve tofu. Lately, wherever I’m able to find it while dining outside, I have been opting for mapo tofu, in which the tofu remains soft and is marinated rather than cooked. It may be an acquired taste, but it is enjoyable. This pan-fried version meets both those methods in the middle, and results in a lovely dish.

Me being me, ever inquisitive about cooking techniques and all things food, I couldn’t resist giving making my own tofu a shot. I had tried making soya milk once before, and that didn’t work out, so I was thrilled that my tofu turned out well. I prepared it using soya beans and a coagulant called nigari. Perhaps I will share the recipe for this in future too.

Of course, readymade tofu will work just fine to prepare the recipe below. It’s just that in my case, tofu has been making an appearance on my plate more and more often, and for this reason I became intrigued about whether I could make it at home. I really love knowing exactly what goes into a dish, rather than always relying on store-bought items which may be processed in certain ways or contain unhealthy ingredients.

That said, I have noticed that the Indian market continues to expand with more options for all of us who want to increase our protein intake. For instance, there are now homegrown as well as imported brands selling tempeh here. You can cook tempeh using the method below, too.

Another ingredient that I hope to see in the shops soon is seitan, which was invented by Buddhist monks in East Asia who were on strictly vegetarian diets. While it contains gluten, seitan is also good for those who are trying to cut down on their meat consumption, as it is known to have a similar taste and texture, and is even called “wheat meat”. It is made of whole wheat flour that is stripped down, through a repetitive process, to its protein strands. I learned to make it when I was a student of Macrobiotics, but the process is rather long and the outcome is a large quantity. I’m the only one at home who wants to eat seitan, so it isn’t worth my while to make it myself.

Just like tofu has become more widely available, I am sure that tempeh and seitan – as well as other exciting options – will also become popular in time. So many of us are more health-conscious and are eager to explore new tastes. As I’ve said before, replacing our regular paneer with some lovely tofu is a great place to start. Which brings us back to today’s recipe…

Chilli Tofu

(Serves 2)

1 tablespoon rice flour

125g of tofu

½ cup bell pepper (finely chopped)

2 tablespoons spring onion (finely chopped)

½ teaspoon red onions (finely chopped)

½ teaspoon ginger (finely grated)

4-5 cloves garlic (crushed)

1 teaspoon chilli paste

1½ tablespoons soya sauce

2 tablespoons hot water

1 teaspoon vinegar

1 teaspoon lemon juice

1 teaspoon brown sugar

Chilli flakes (to garnish)

Coriander leaves (to garnish)

½ teaspoon sesame seeds

1+1 tablespoons sesame oil


Cut the tofu into the desired size. Coat the tofu pieces with the rice flour and allow to sit for 30 minutes.

Heat a pan and add 1 tablespoon of sesame oil. Once the oil is hot, add the tofu and sauté until the pieces are golden brown on both sides. Remove from the pan and set aside.

In the same pan, add 1 tablespoon of sesame oil. Once the oil is hot, add the sesame seeds and then the ginger and garlic. Sauté until they release their flavours and then add bell peppers, spring onions and red onions. Sauté on a high flame.

Now, add the golden tofu to the sautéed vegetables. Add soya sauce, hot water, vinegar, brown sugar, chilli paste and lemon juice and stir together until all the flavours mix well. Garnish with spring onions, chili flakes and coriander leaves.  Serve immediately as an accompaniment, usually to rice.

I hope you’ll enjoy this chilli tofu, which is simply bursting with flavours. It makes a beautiful addition to any high protein diet, especially for vegetarians and vegans. While most of the posts on this blog are vegetarian, if you are a vegan, you may want to explore some more recipes here.

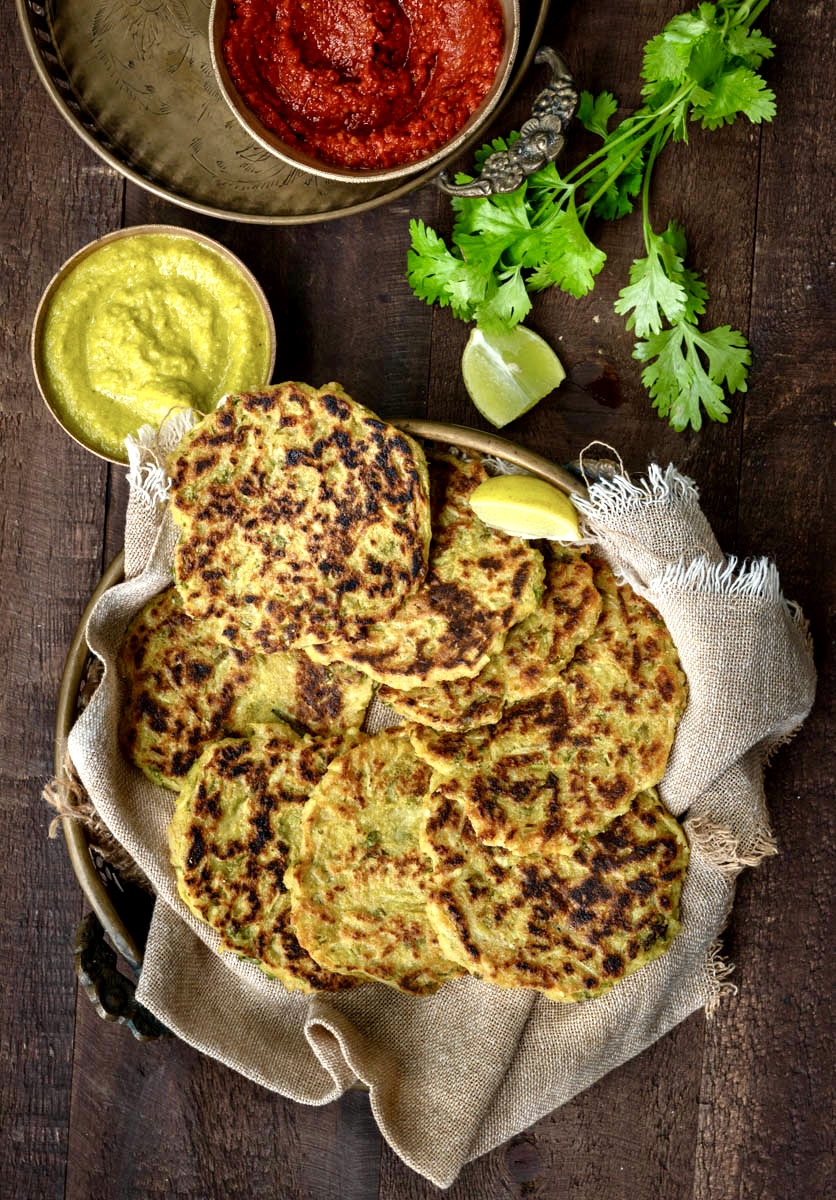
In recent years, oats – which were unheard of when I was growing up – have become quite popular in India as a breakfast dish. Due to that classic Indian innovation, oats here are therefore served enhanced with masalas, spices, tastes and flavours, making them more suited to our palates and generally more exciting. However, according to me there is a misconception that oats are exceptionally healthy. While they are rich with nutrients, they are a form of carbohydrates and contain starch. Quantity therefore matters, as does preparation. This is where the oats uthappam comes in, and I prepare it in a way that boosts its healthiness as much as possible.

It doesn’t surprise me that oats have become a favourite for many in India precisely because they contain carbs. This appeals to us because if you take a look at any Indian thaali, you’d be able to see that rice, wheat and carbohydrates are the central point. My preferred approach is to work with this knowledge, about culturally ingrained preferences, rather than against it. Don’t forget that we need complex carbs for our bodies to function well and to have energy for the active lifestyles of today. So I don’t say No, I just try to shift the focus. This can be in little ways, like the use of chia seeds in an overnight oats porridge to the vegetables I use in this uthappam.

Now, for the big reveal: it is the use of millets that make my version of oats uthappam good for us. I have used jowar or sorghum, but you can use any millet of your choice. Rice flour is what would be normally used, but if you’ve followed this blog for a few years, you may have noticed me writing about millets before. They are traditional foods in the region I live in, and everyone from the Government of Tamil Nadu to the United Nations have of late been talking about their benefits to us. If you’re interested in switching to millets in more dishes, you could explore the link shared for a range of other recipes.

Uthappams, if you aren’t familiar with them, are a thicker variant of the famous dosa. On a pan-Indian level, we are now familiar with dosa batter. When it is fresh and new, we make thin and crisp dosas. When it’s a couple of days old, it suits uthappams better. You can make the batter from scratch too, and use it for idlys as well – take a look here. Here, because of the use of jowar, the batter is made from scratch.

Coming to the oats themselves, there are a variety available on the market, from whole oats to quick and easy oats. Take your pick. Similarly for the vegetables: just use what you like to use, and what you have on hand.

These oats uthappams – which you can call oats fritters if you like – are a great way to start the day and to avoid a sweet and sugary breakfast. As someone whose version of cereals was leftover millet rotis, and who had neither idea of nor access to oats, this dish evokes a sense of my childhood uthappams while also enticing my need to explore and innovate too.

Oats Uthappam

(Yield: 12 small pieces)

1 cup oats

½ cup flour (I have used jowar/sorghum)

1 cup grated bottle gourd (+ grated carrots, optional)

2 teaspoon ginger + green chili paste

Salt to taste

2 tablespoons curd

¼ teaspoon turmeric

¼ cup coriander leaves

½ cup water

Oil for cooking

In a bowl, add the oats, flour, grated gourd, grated carrots (if you are including them), salt, coriander leaves, curd, ginger + green chilli paste and turmeric. Mix well. Add ¼ cup water and mix. Add the remaining water as required. The batter needs to be a little thick.

Allow the well-mixed batter to sit for half an hour, so that it can sit and ferment for a bit.

Heat a griddle and add two teaspoons of oil. Add two tablespoons of the batter and press down with your fingers and make a disc shape. I like making smaller discs, but you can make them bigger and cut them into slices like a mini-pizza. Allow to cook on a medium flame. Once golden on one side, flip and let fry on the other side.

Repeat and cook as many as the griddle will allow, depending on the size.

Remove from the griddle and serve hot with chutney of your choice. Alternately, these are great to be packed into a tiffin lunchbox for the office or school too.

I hope you’ll enjoy this filling and nourishing oats uthappam and make it a part of your repertoire, just as you may have already become very familiar with the now ubiquitous oats upma!

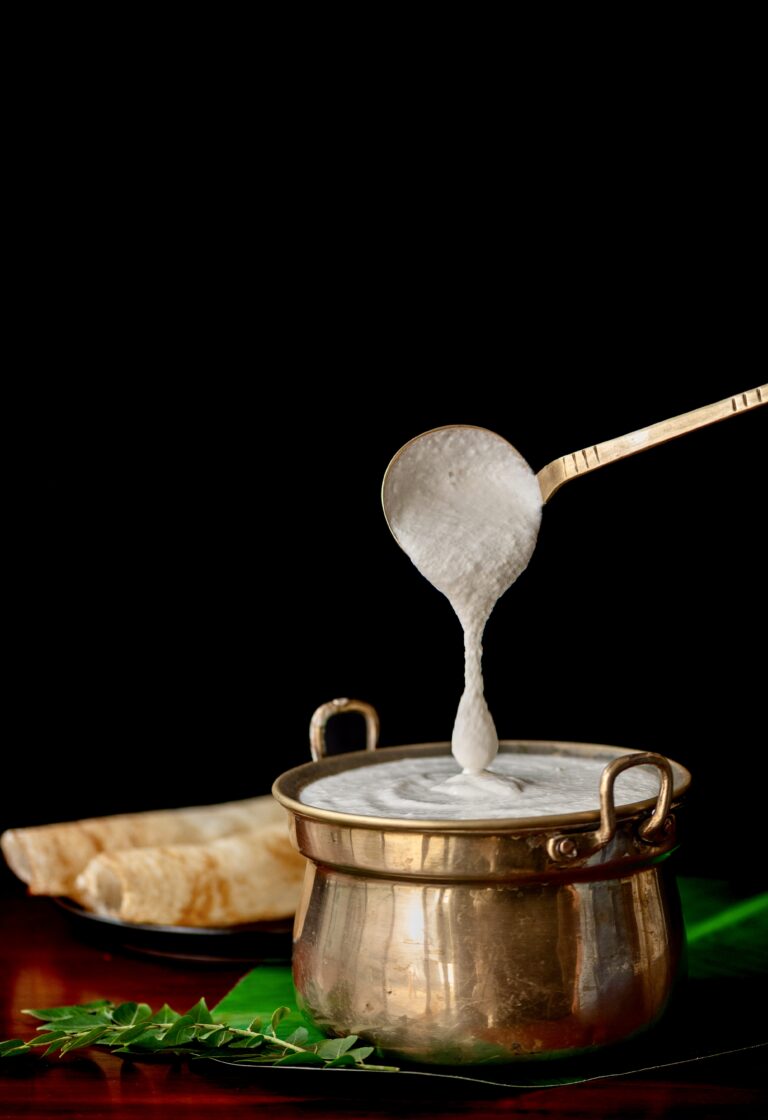
Growing up in Chennai, idly and dosa and other South Indian dishes were home food for us, comfort food alongside Gujarati dal and dhokla. Of course, home food – usually made from scratch – was the norm as there weren’t as many restaurants back then and going out to eat was a luxury. This applied even for staples and simple fare, which are now just as easily available as fine dining. While you can now buy dosa and idly batter at a drop of a hat, and the convenience is great, I still prefer to make it myself. This recipe is for those who, like me, would like the reassurance of knowing exactly what goes into every plate you serve yourself and your loved ones.

Dosa and idly batter is much easier to make than many think. It uses rice which has been boiled and processed in a mill after harvesting, which is sold as idly rice. It requires fermentation, and the humid temperatures in this region are conducive to that. You can use the same batter for kuzhi paniyaram, a kind of dumpling, too. In fact, when I was growing up, this is usually the order in which we consumed each batch: the first day was for idlys, the second for dosas and the last leftover batter was used up in kuzhi paniyarams.

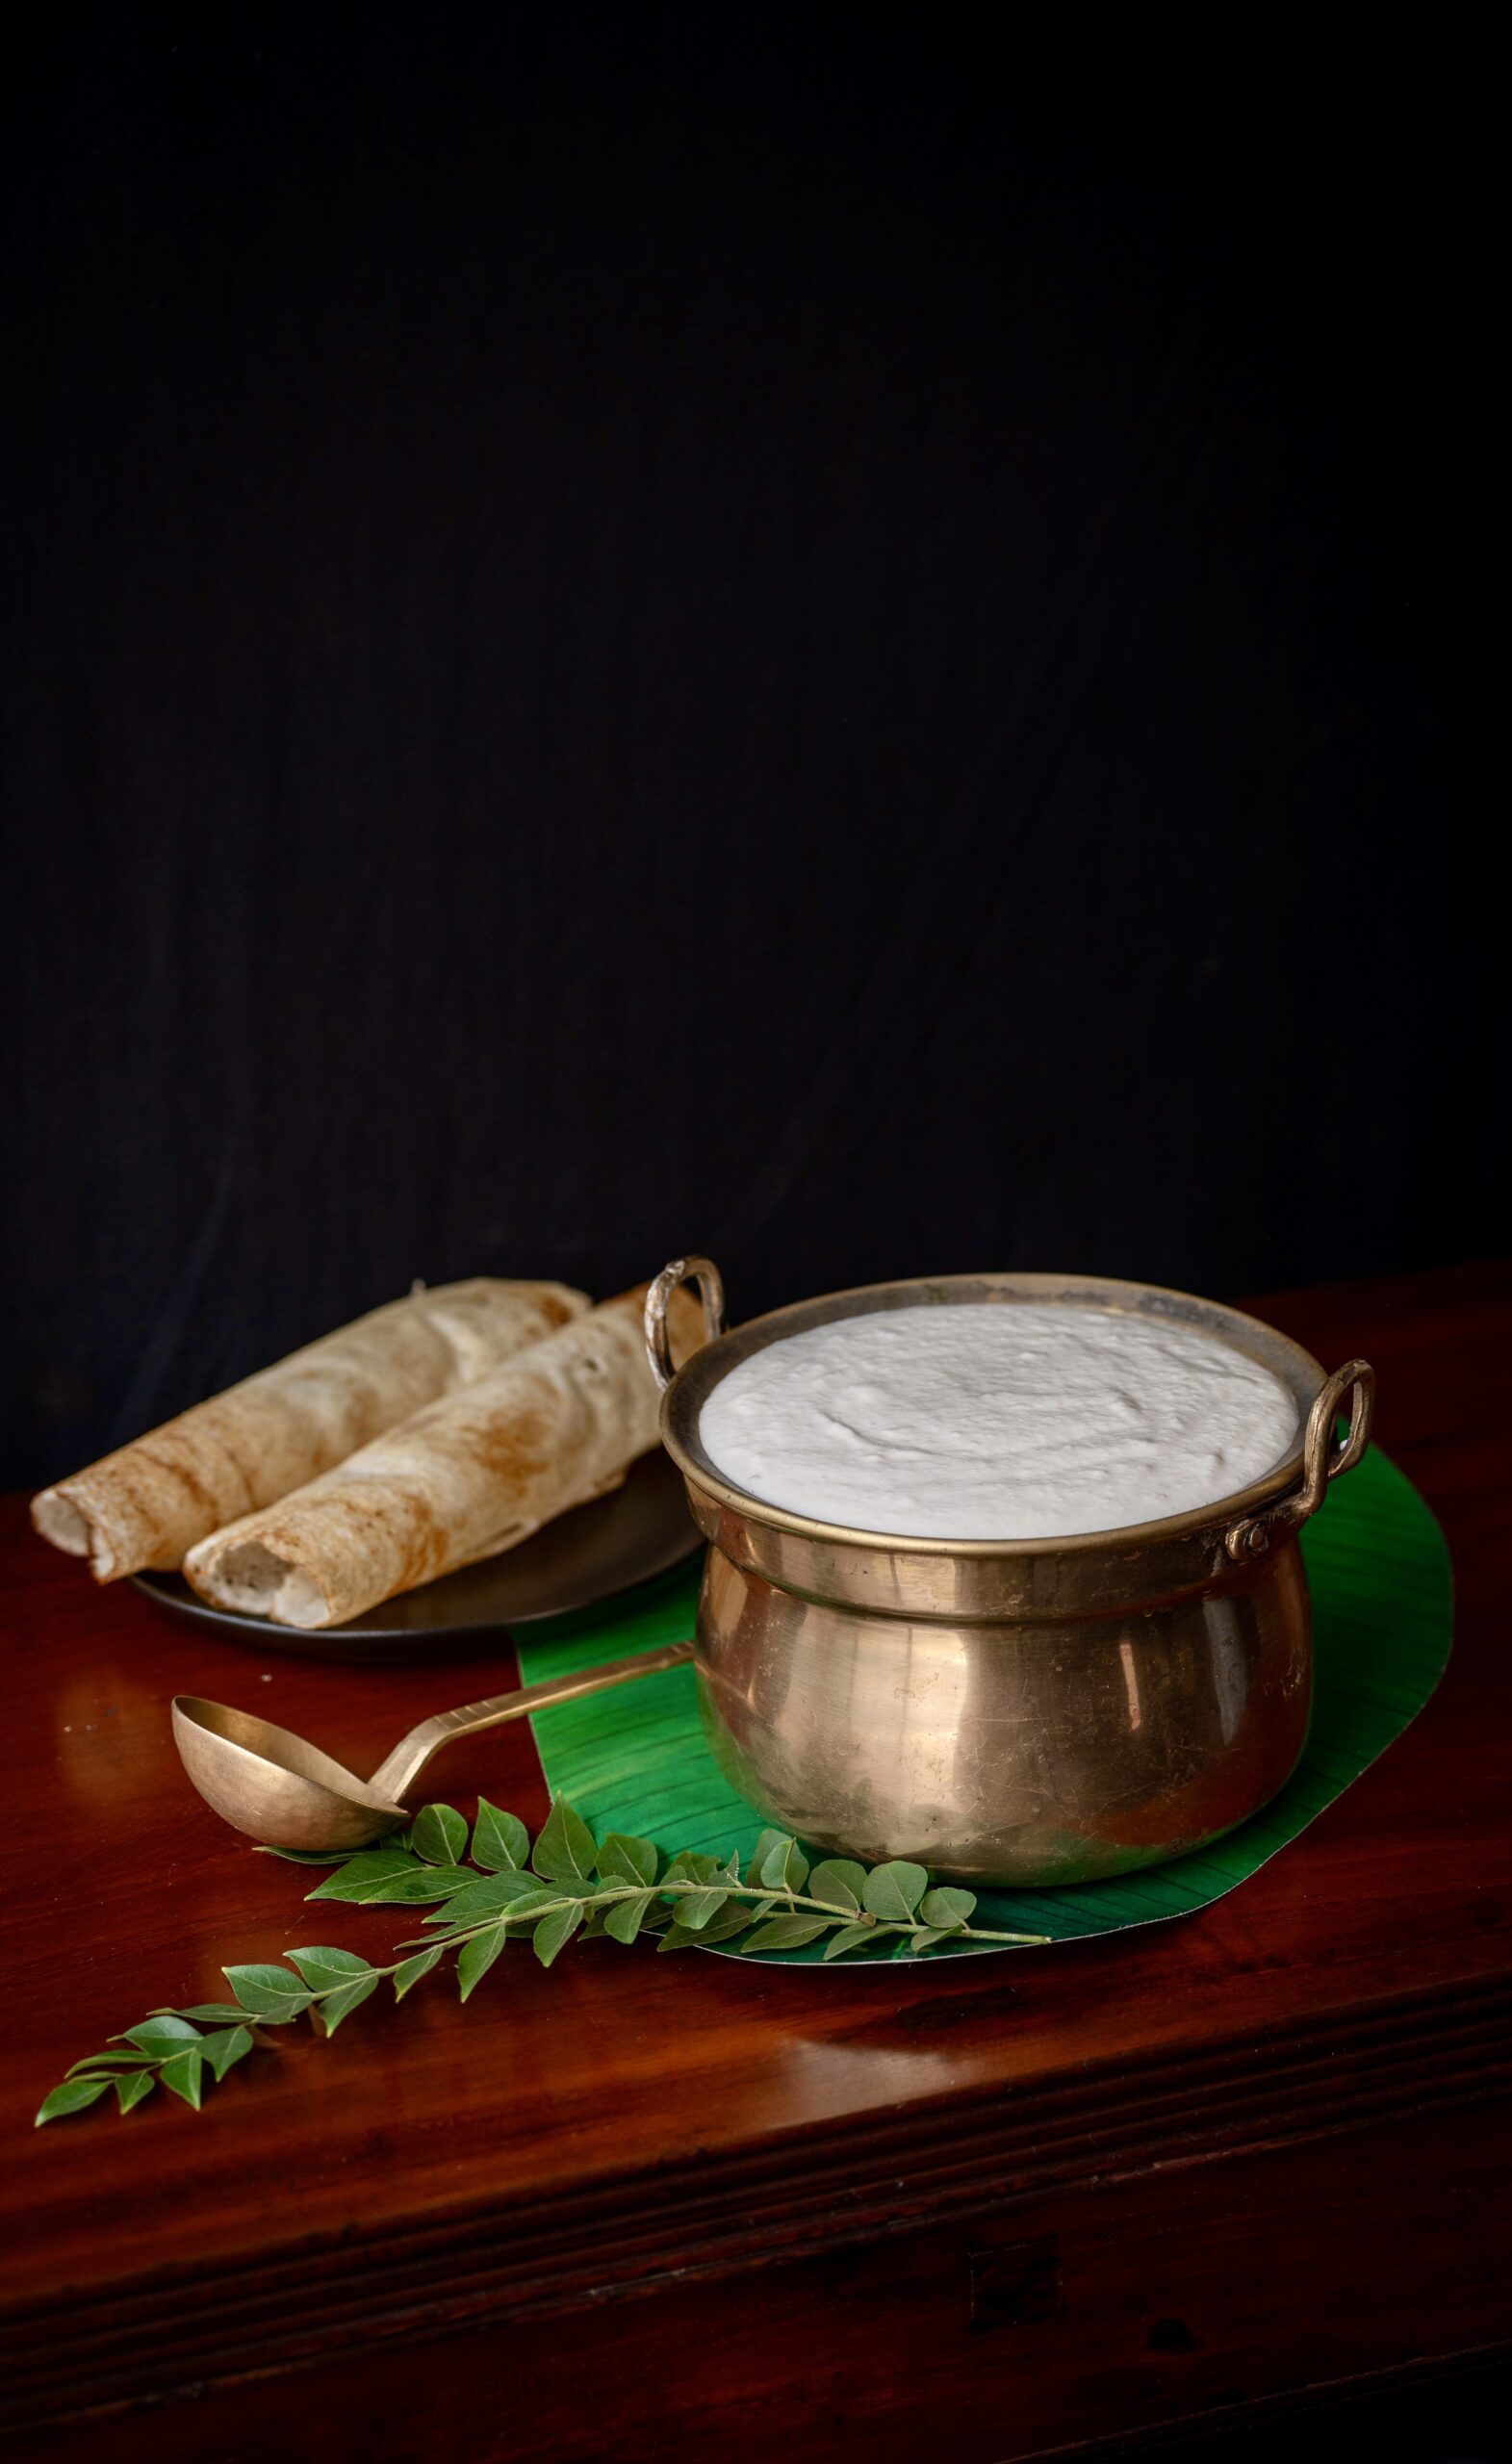
To this day, I find a special joy in waking up in the mornings and seeing that this batter has risen overnight, sometimes so high that it knocks the lid off the pot! That’s the sign of a great breakfast to come, although the delicious things you can prepare with this can be eaten at any time.

You can get fluffy, soft idlys and crispy dosas from the same batter. It’s all about the preparation method. In the recipe below, I share the method for making dosa, which is pretty straightforward and which pairs well with chutneys and sambars too. As for idlys, they are steamed; some people do this in a microwave, but I’m not a fan of that gadget and I love hot idlys from a traditional steamer with my preferred chutney or a sambar. The trick to them is to not beat the batter, as one does for a dosa, but to be gentle both while mixing and while dropping the batter into the tray. In the next post, I have a bit of a surprise, using the same batter. First, however, this is how you make the batter, and how you make a dosa!

Dosa & Idly Batter

(Serves: 6)

3 cups boiled rice

1 cup urad dal

2 teaspoon methi (fenugreek) seeds

2 + 2 cups water

Salt to taste

Wash and soak the rice, urad dal and the methi seeds separately for at least 6 hours or overnight. I recommend around 10 hours.

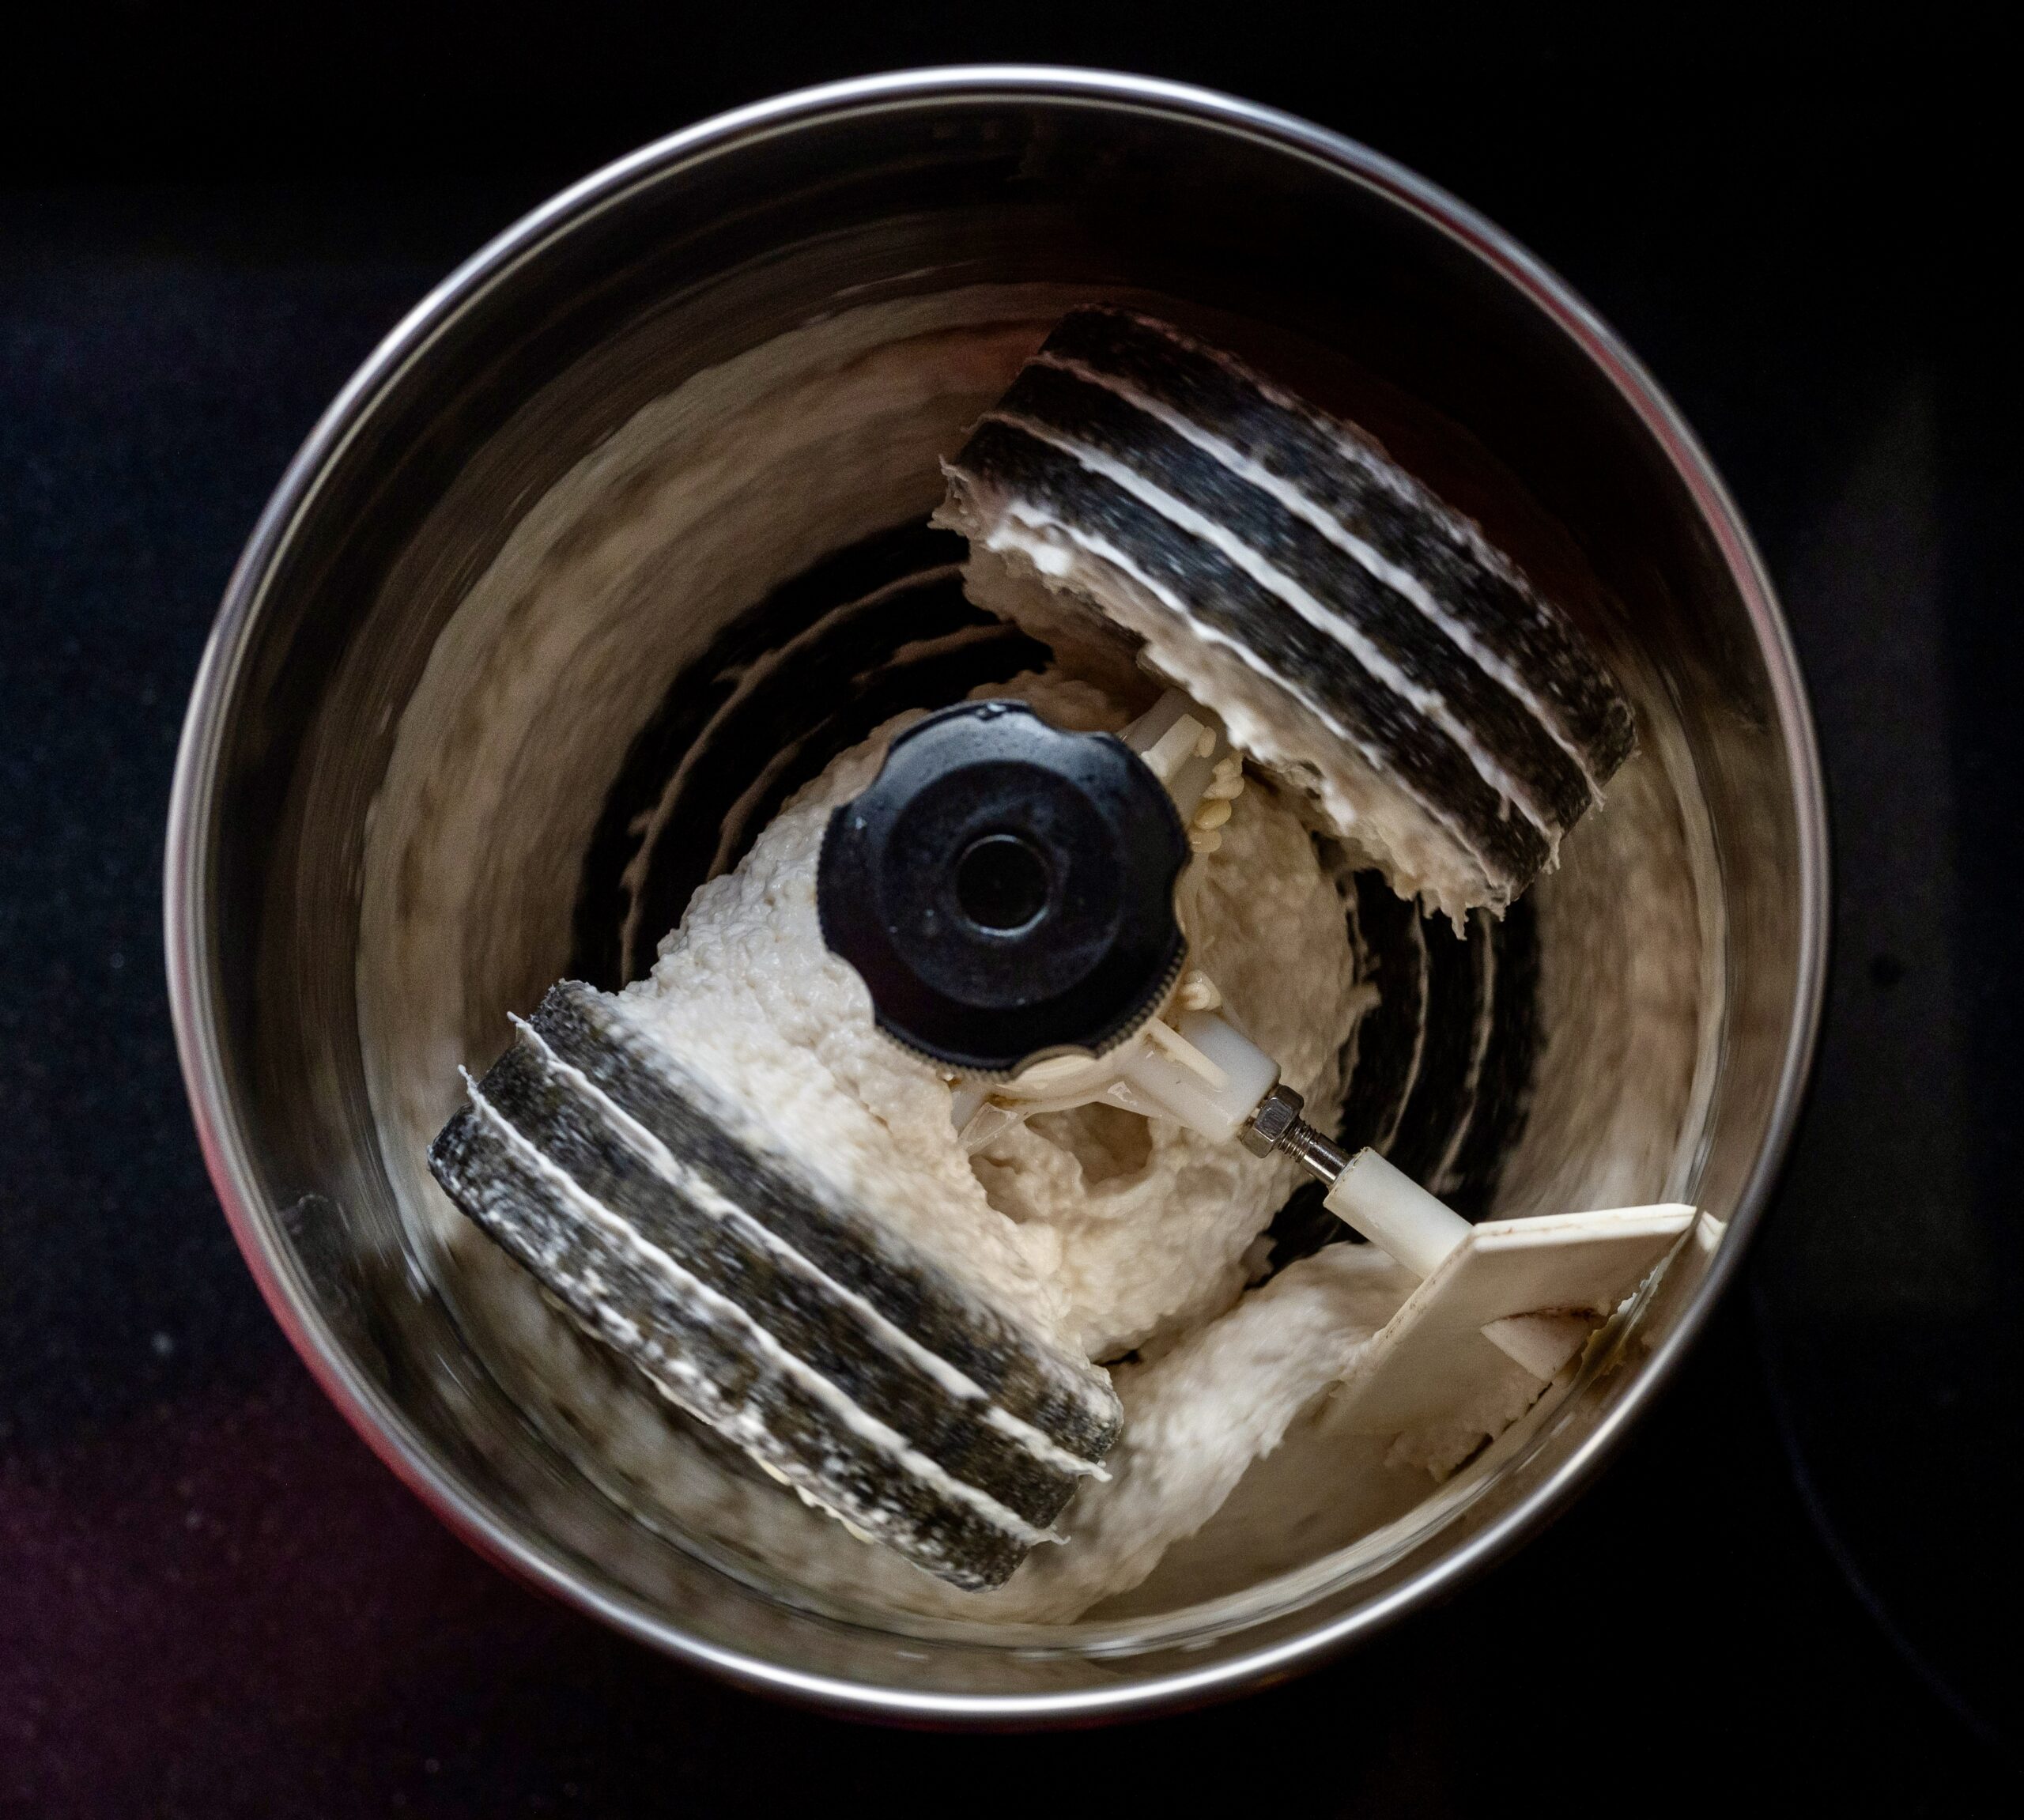
Dispose the soaking water. Add 2 cups of fresh water and grind the urad dal and methi seeds finely, using a wet grinder or blender. Set aside.

Now, grind the rice with 2 cups of fresh water until you get a fine consistency.

Pour the rice batter over the dal batter. Add salt and mix gently using your hands.

Cover in a big pot and allow to ferment. The size of the pot matters so that the batter has space to rise. Well-fermented batter doubles in quantity and is sour. When stored in the fridge between uses, it will remain fresh for 3-4 days.

Here are a few more tips: the trick behind making a batter that can yield both a crisp brown dosa and a soft white idly is the proportion of rice to lentils. To make dosas even crisper, add some poha or rice flakes to the batter while grinding. Some people also add rava. However, I personally feel that the use of a heavy iron pan and adequate ghee or oil contribute more to crispness than these other techniques. Use only parboiled or boiled rice to make dosas, and only husked urad dal. Adding fenugreek increases the fermentation and makes for a tastier dosa.

As I said earlier, you can use this for dosas, idlys and kuzhi paniyarams. Here is the method to prepare dosa, a South Indian crepe that is staple in this part of the world.

Remove the required quantity, and gently mix the batter with a steel spoon. Heat a cast iron pan or tava.

Once it is hot, sprinkle some water on the pan. When it sizzles, you know that it’s the right temperature. Take a ladle full of the batter and pour it into the centre of the pan. Gently, using a circular motion, spread the batter on the griddle, similar to making a crepe. Use a teaspoon of ghee or oil and spread drops of it onto the dosa.

Allow it to cook on high heat, until you see it turn golden at the bottom. Gently, with the help of a spatula, lift from the edges and flip for no more than a few seconds. Now fold the dosa and serve hot. Accompany it with sambar, chutney, curry or podi – the choice is yours.

I hope you’ll begin making your idly and dosa batter from scratch too. It’s an easy process, and I am sure you’ll enjoy both the preparation method as well as consuming the results!

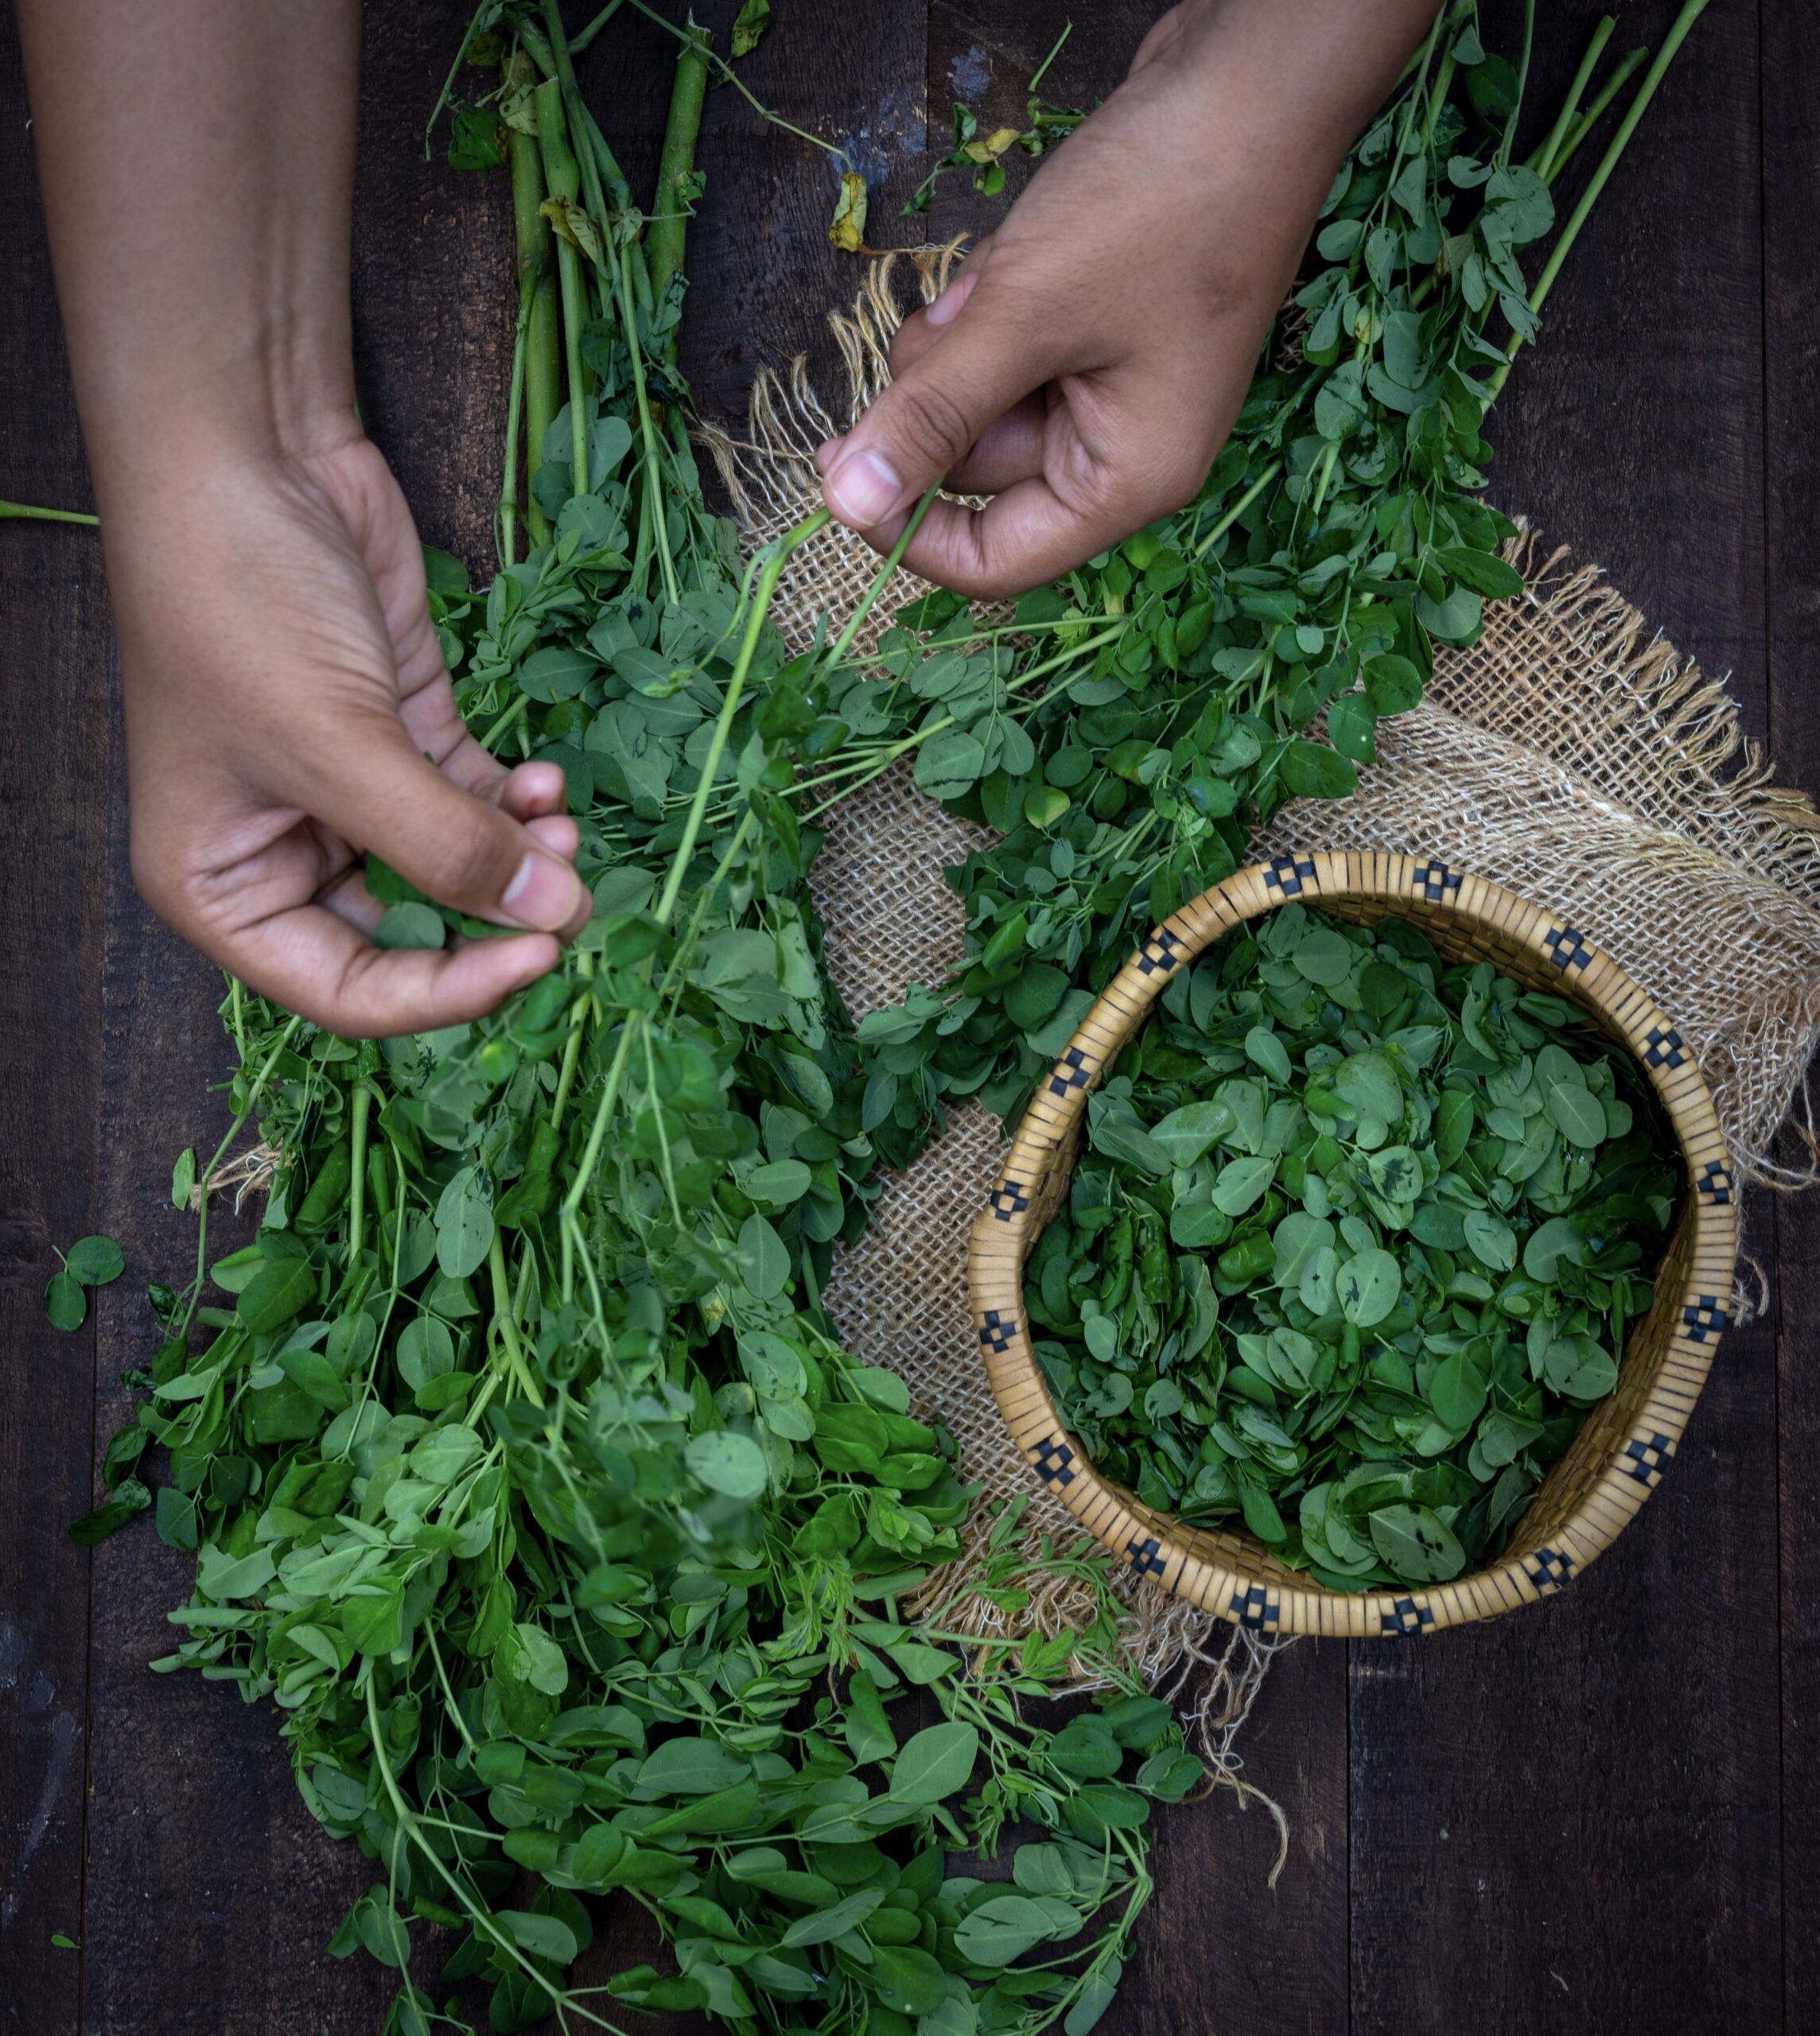
Moringa leaves have made some appearances on my blog in the past, for instance in this omelette, as well as a suggested sprinkling across numerous other dishes. Moringa leaves are a very versatile green commonly used in South Indian cuisine, which happen to be considered a superfood. You may also know them as the leaves of the drumstick tree. Today, I want to share the recipe for moringa chutney, a tasty way to make use of this highly nutritious ingredient.

Moringa powder is also easy to make at home, if you have access to the trees. Just dry the leaves in the sun for five or six hours, powder and store. Remember to only use the leaves, and discard the stem. You can use it liberally across all kinds of dishes, to boost their antioxidant, mineral, amino acid and vitamin content.

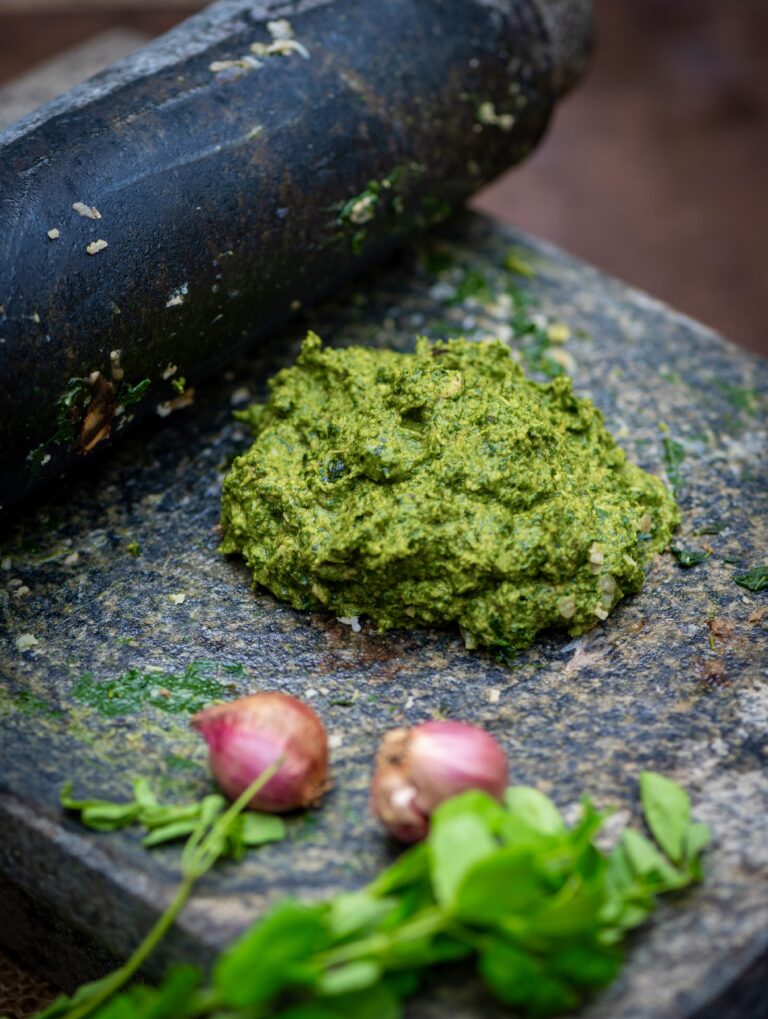
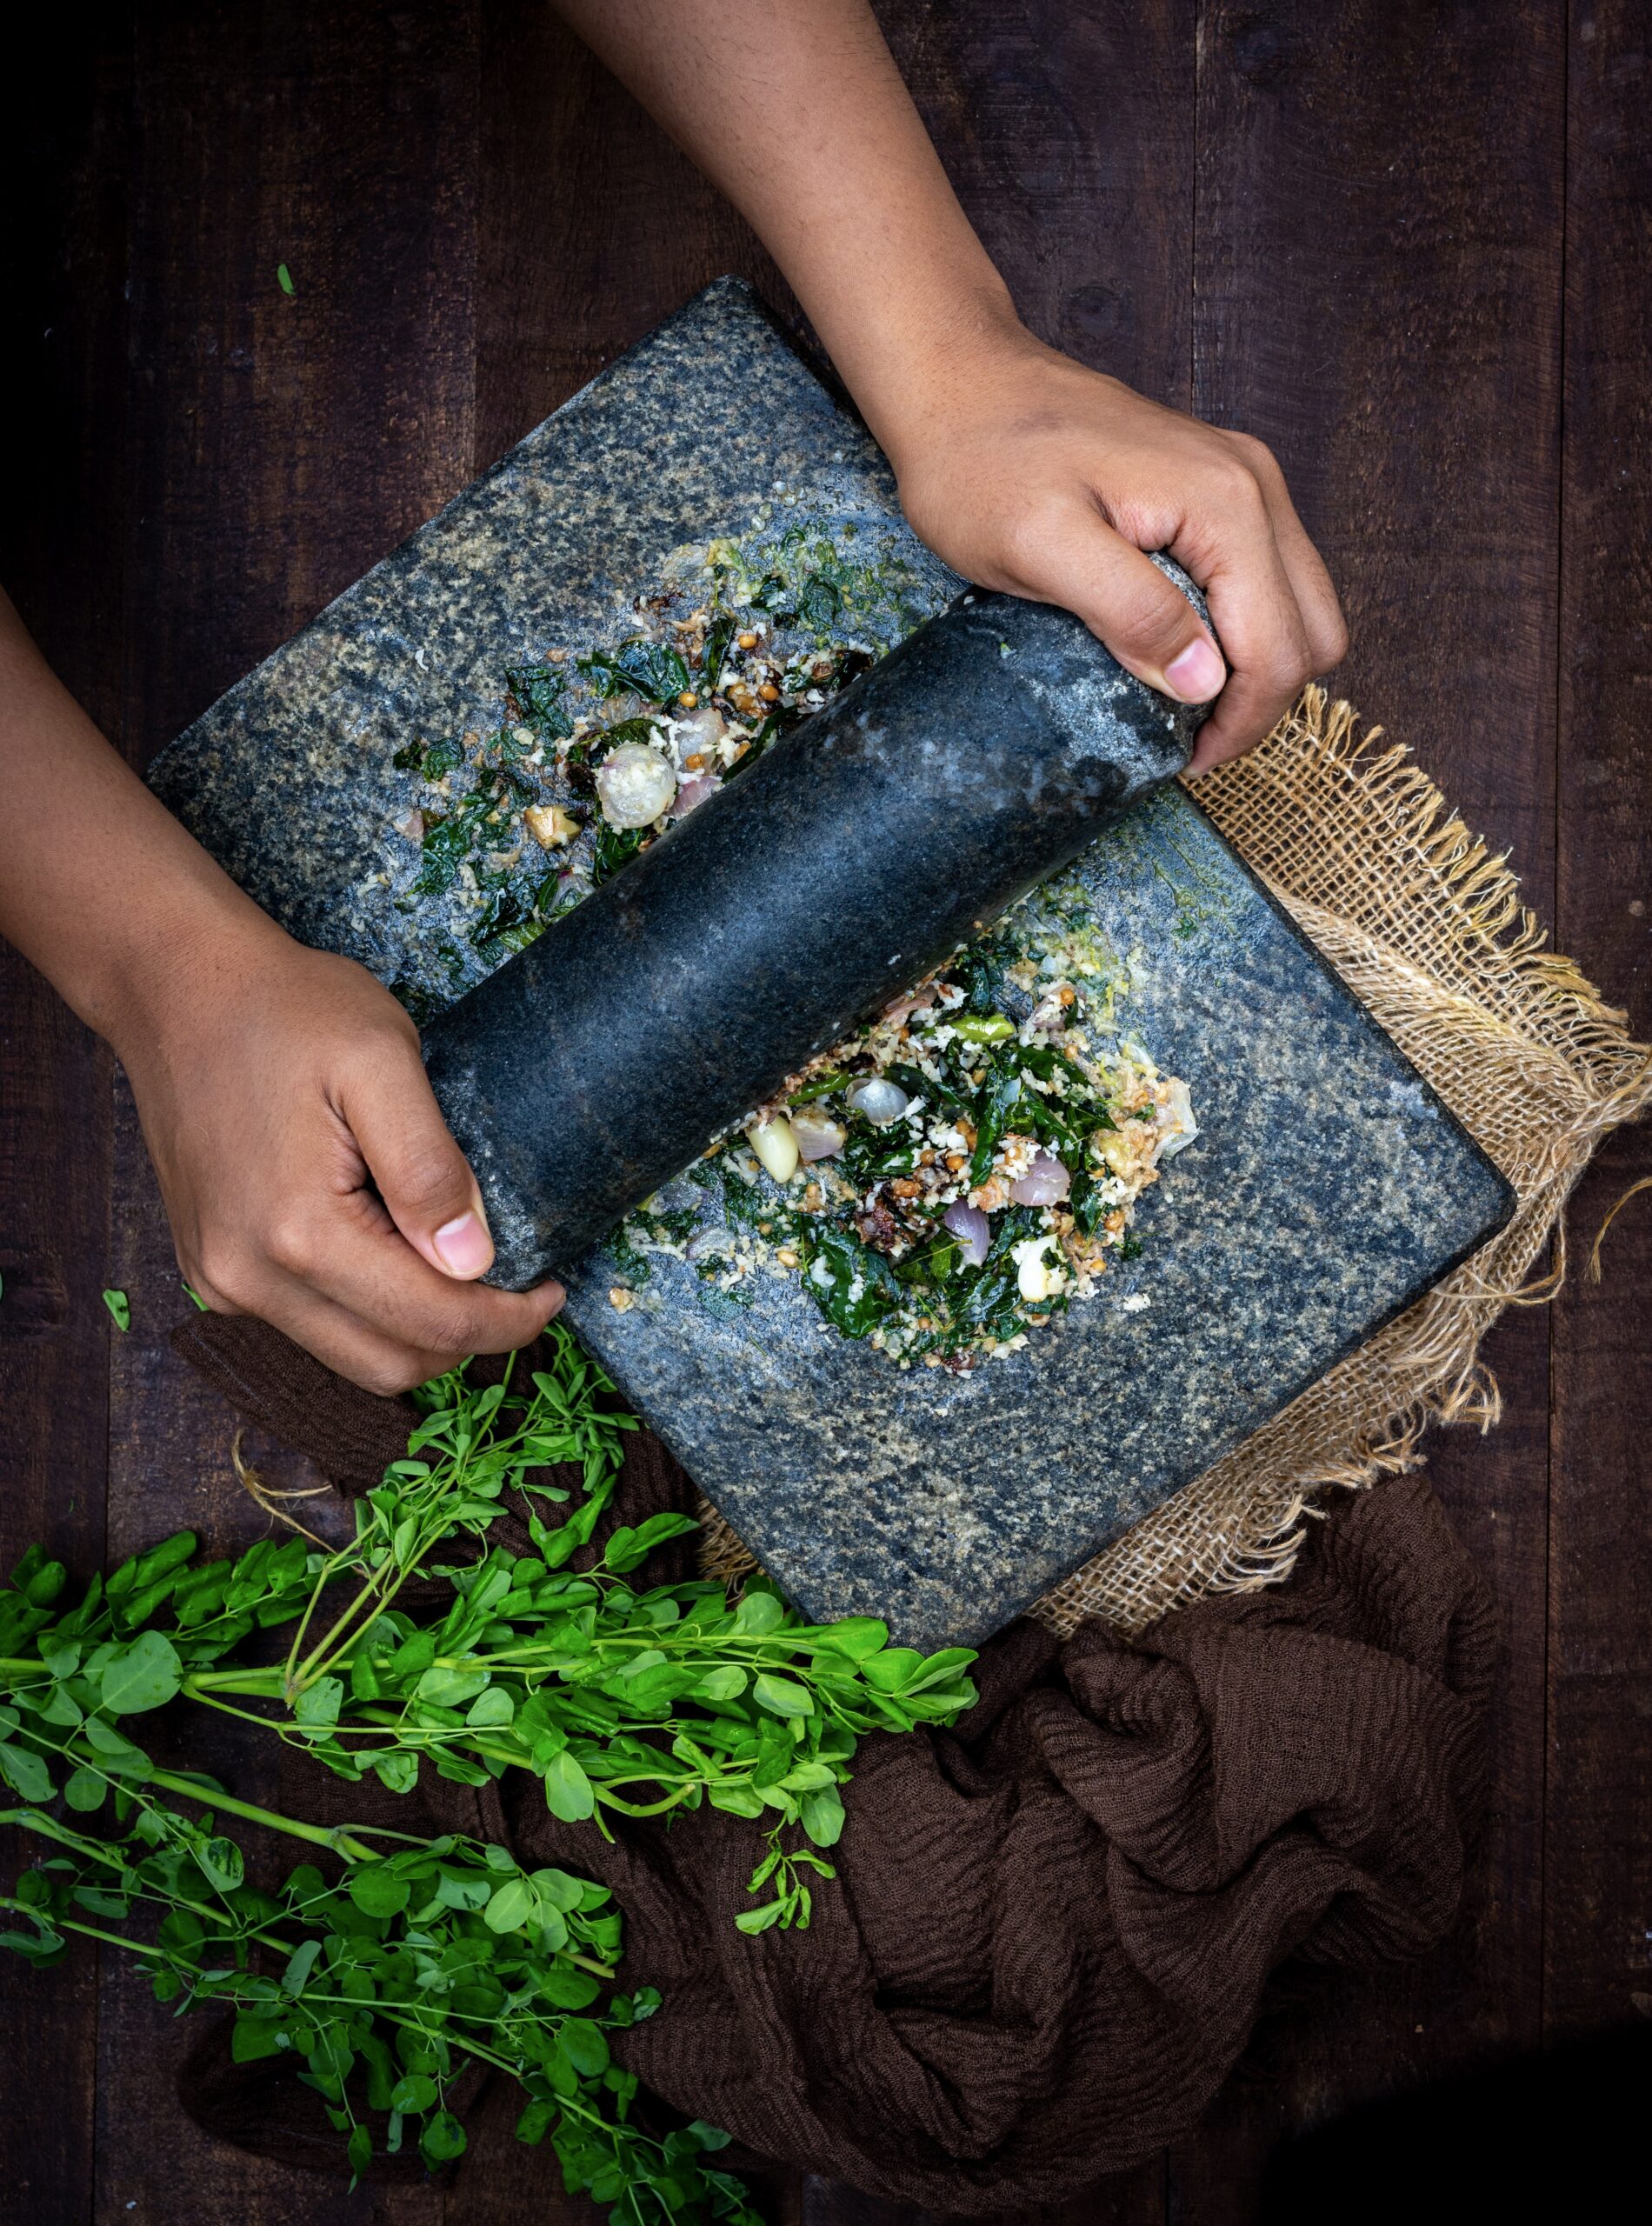
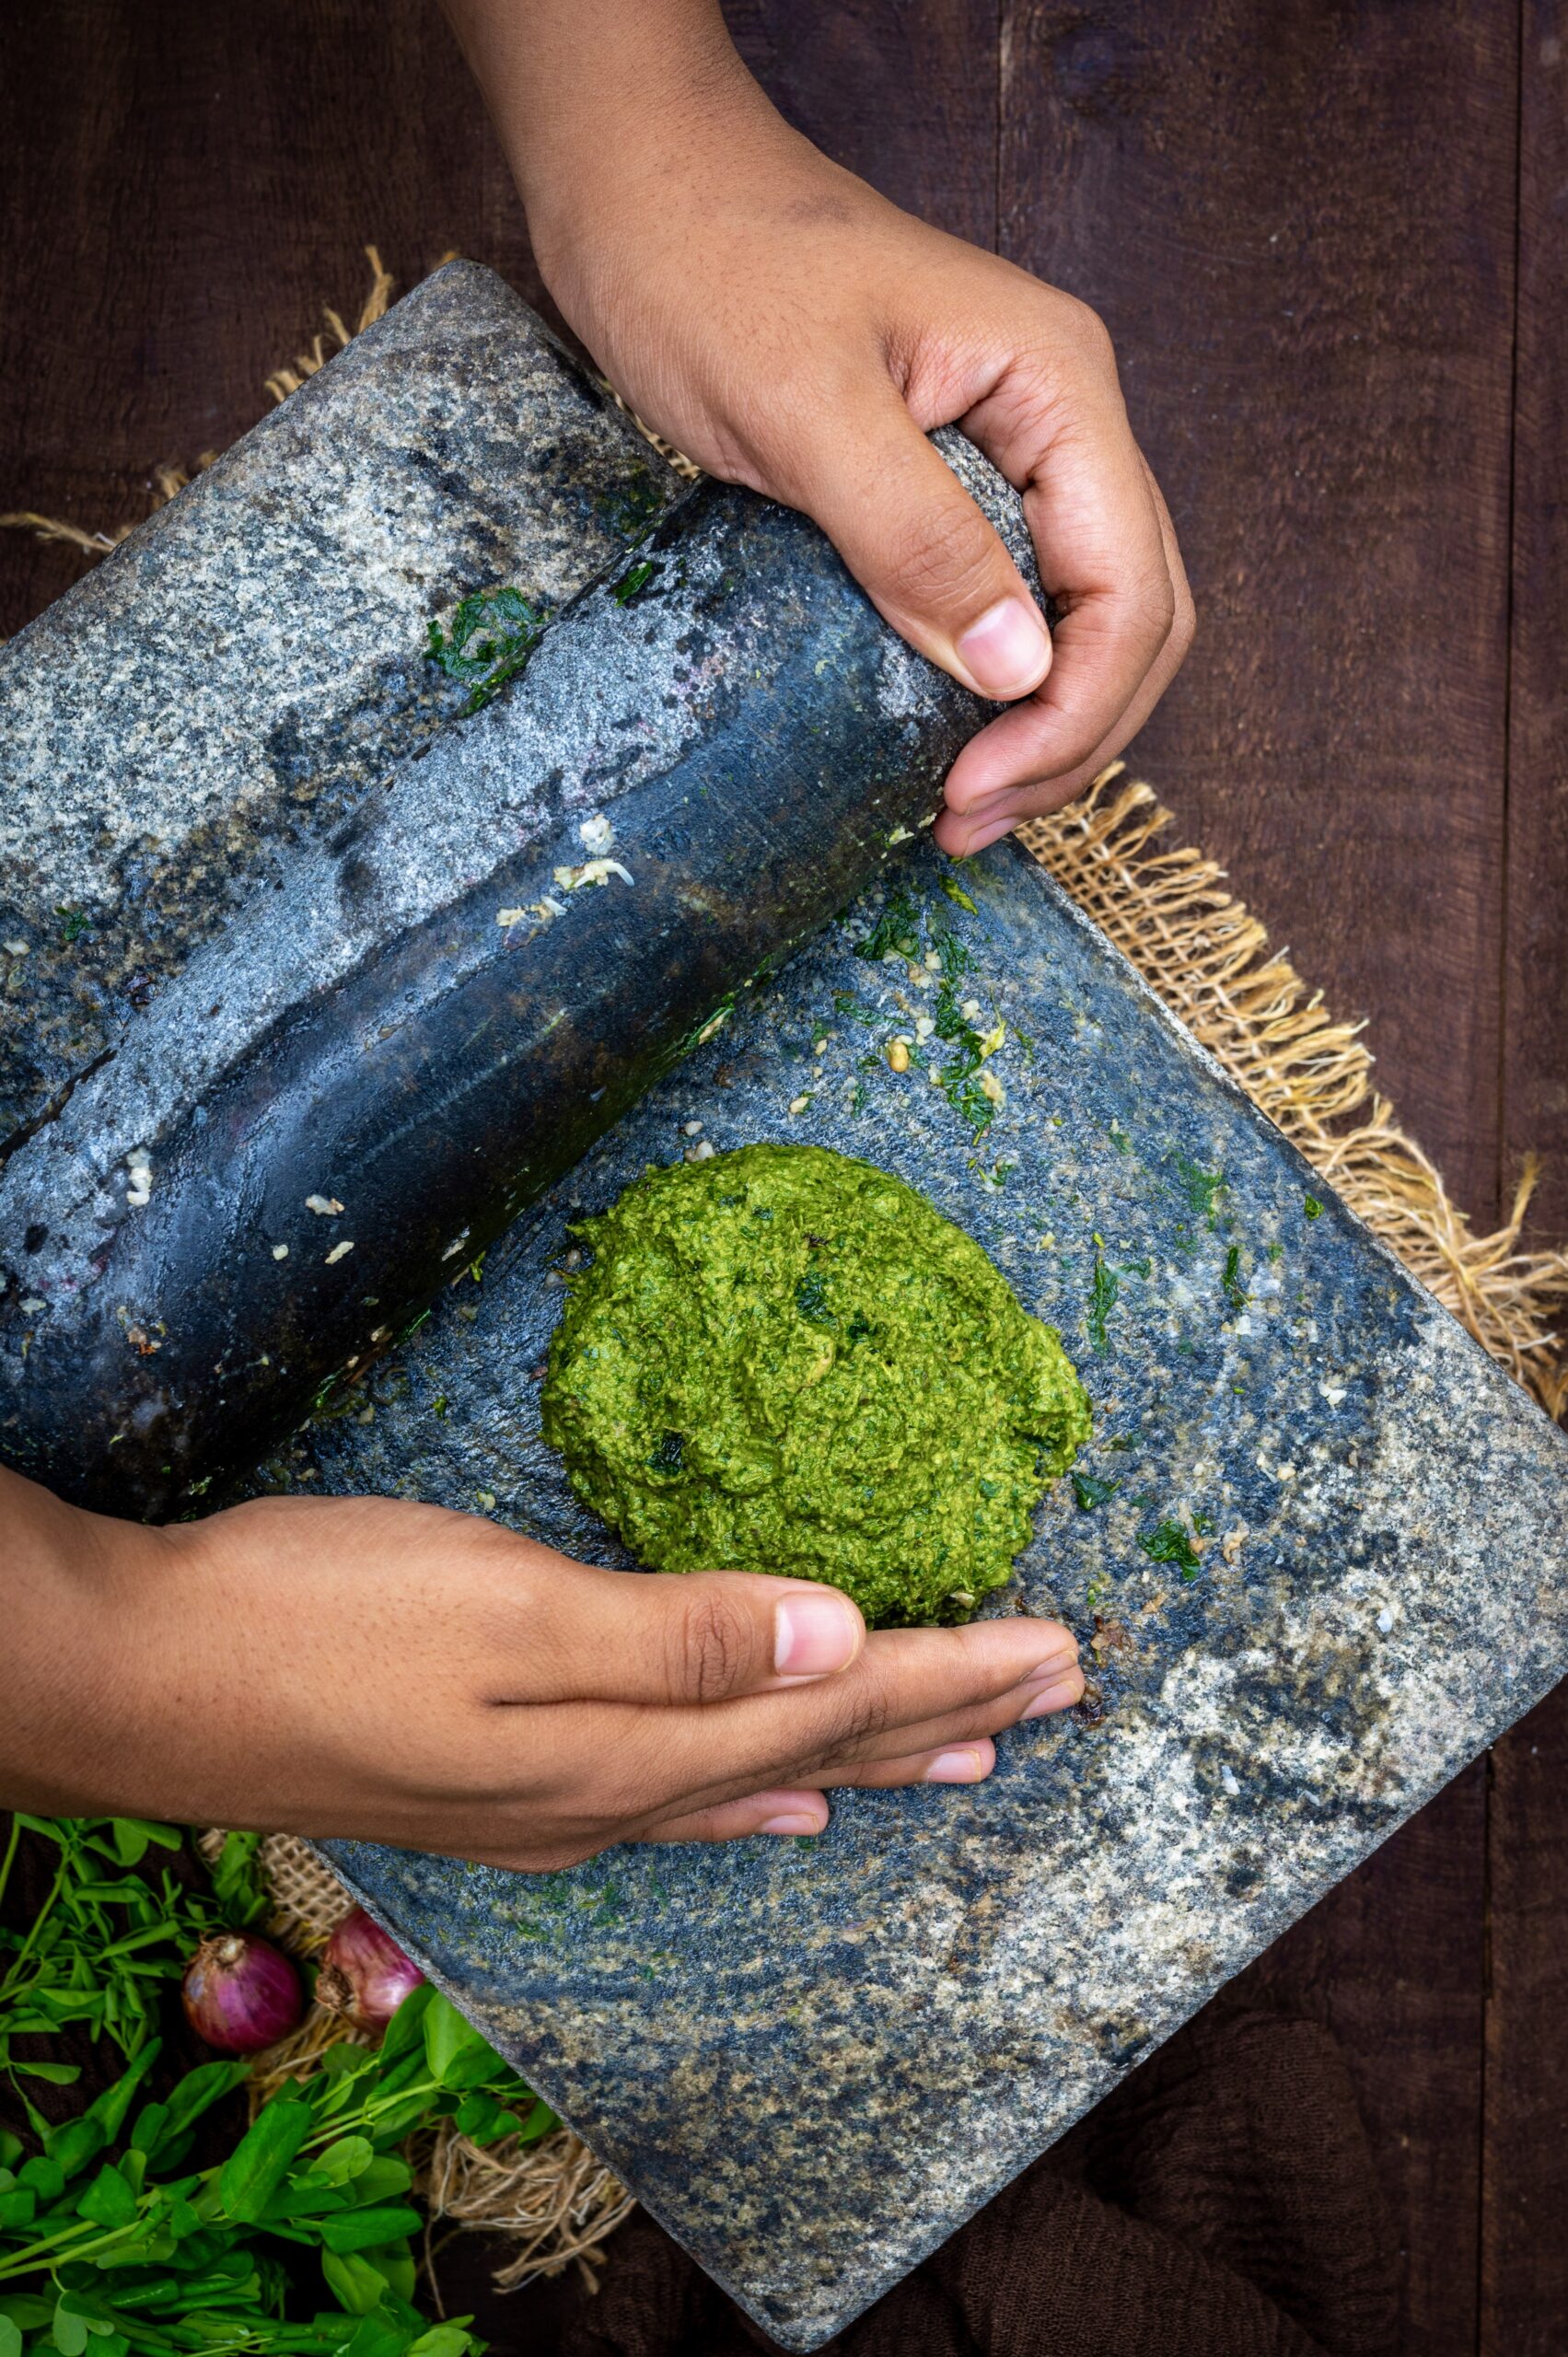
Coming back to the chutney: I wanted to make it in a more traditional way. You may recall from my previous post, on roasted tomato soup, that I was nostalgic for the food mill method my mother would use. So this time, I decided to use the ammi-kallu, or grinding stone, to prepare this chutney. I do believe that it has come out extra flavourful because of the hand-ground effect. You can of course still get a delicious chutney with a modern blender.

I know it’s unfair to compare this moringa chutney to a pesto, but that’s what comes to mind for me. Like a pesto, it can be used in lots of different ways. You can have it as a dip with idli, mix it with a dollop of ghee onto rice, or even spread it on toast. The jar I made when I did the photoshoot for this recipe was wiped clean in two days, as my family found so many uses for it. It’s not a runny kind of chutney, which lets you get creative in terms of how you can use it.

Speaking of creativity, I was even thinking of bottling some and gifting it for Diwali, as a unique and surprising alternative to the usual Indian sweets. Perhaps that’s something you may want to do too, this festive season. I hope you’ll enjoy making and sharing this lovely moringa chutney!

Moringa Chutney

(Yield: One bowl)

1 tablespoon oil

¼ teaspoon asafoetida

4-6 shallots

1 teaspoon urad dal

3 cloves garlic

1 inch piece of ginger

6-8 curry leaves

2 slit green chilies

2 marble-sized balls of tamarind

1½ cups moringa leaves

½ cup shredded coconut


Add oil to a pan. Once it has heated, add the urad dal and asafoetida. Sauté until the dal is golden and well-roasted.

Next, add the green chilli, tamarind, garlic and ginger. Sauté for a few minutes.

Next, add the curry leaves. Sauté and add then add the moringa leaves. Sauté some more. Turn off the heat and then add the shredded coconut. I find this final ingredient tames the flavour a bit, and enhances it in its own way.

Add the above to a blender and make a paste of a thick consistency. If you are using a traditional kitchen tool, do so instead. Your moringa chutney is ready, and can be enjoyed as an accompaniment in numerous ways. If you are a fan of chutneys in general, you may also want to check out a few other variations I’ve shared, including lasun ki chutney, plum chutney and raw mango chutney.

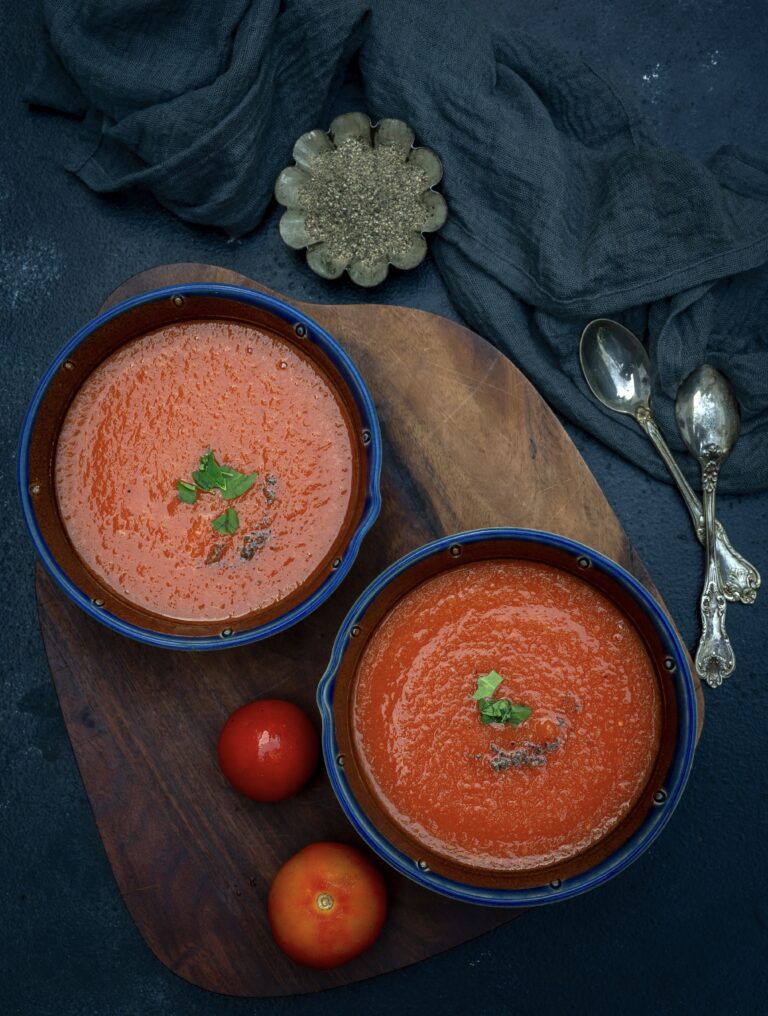
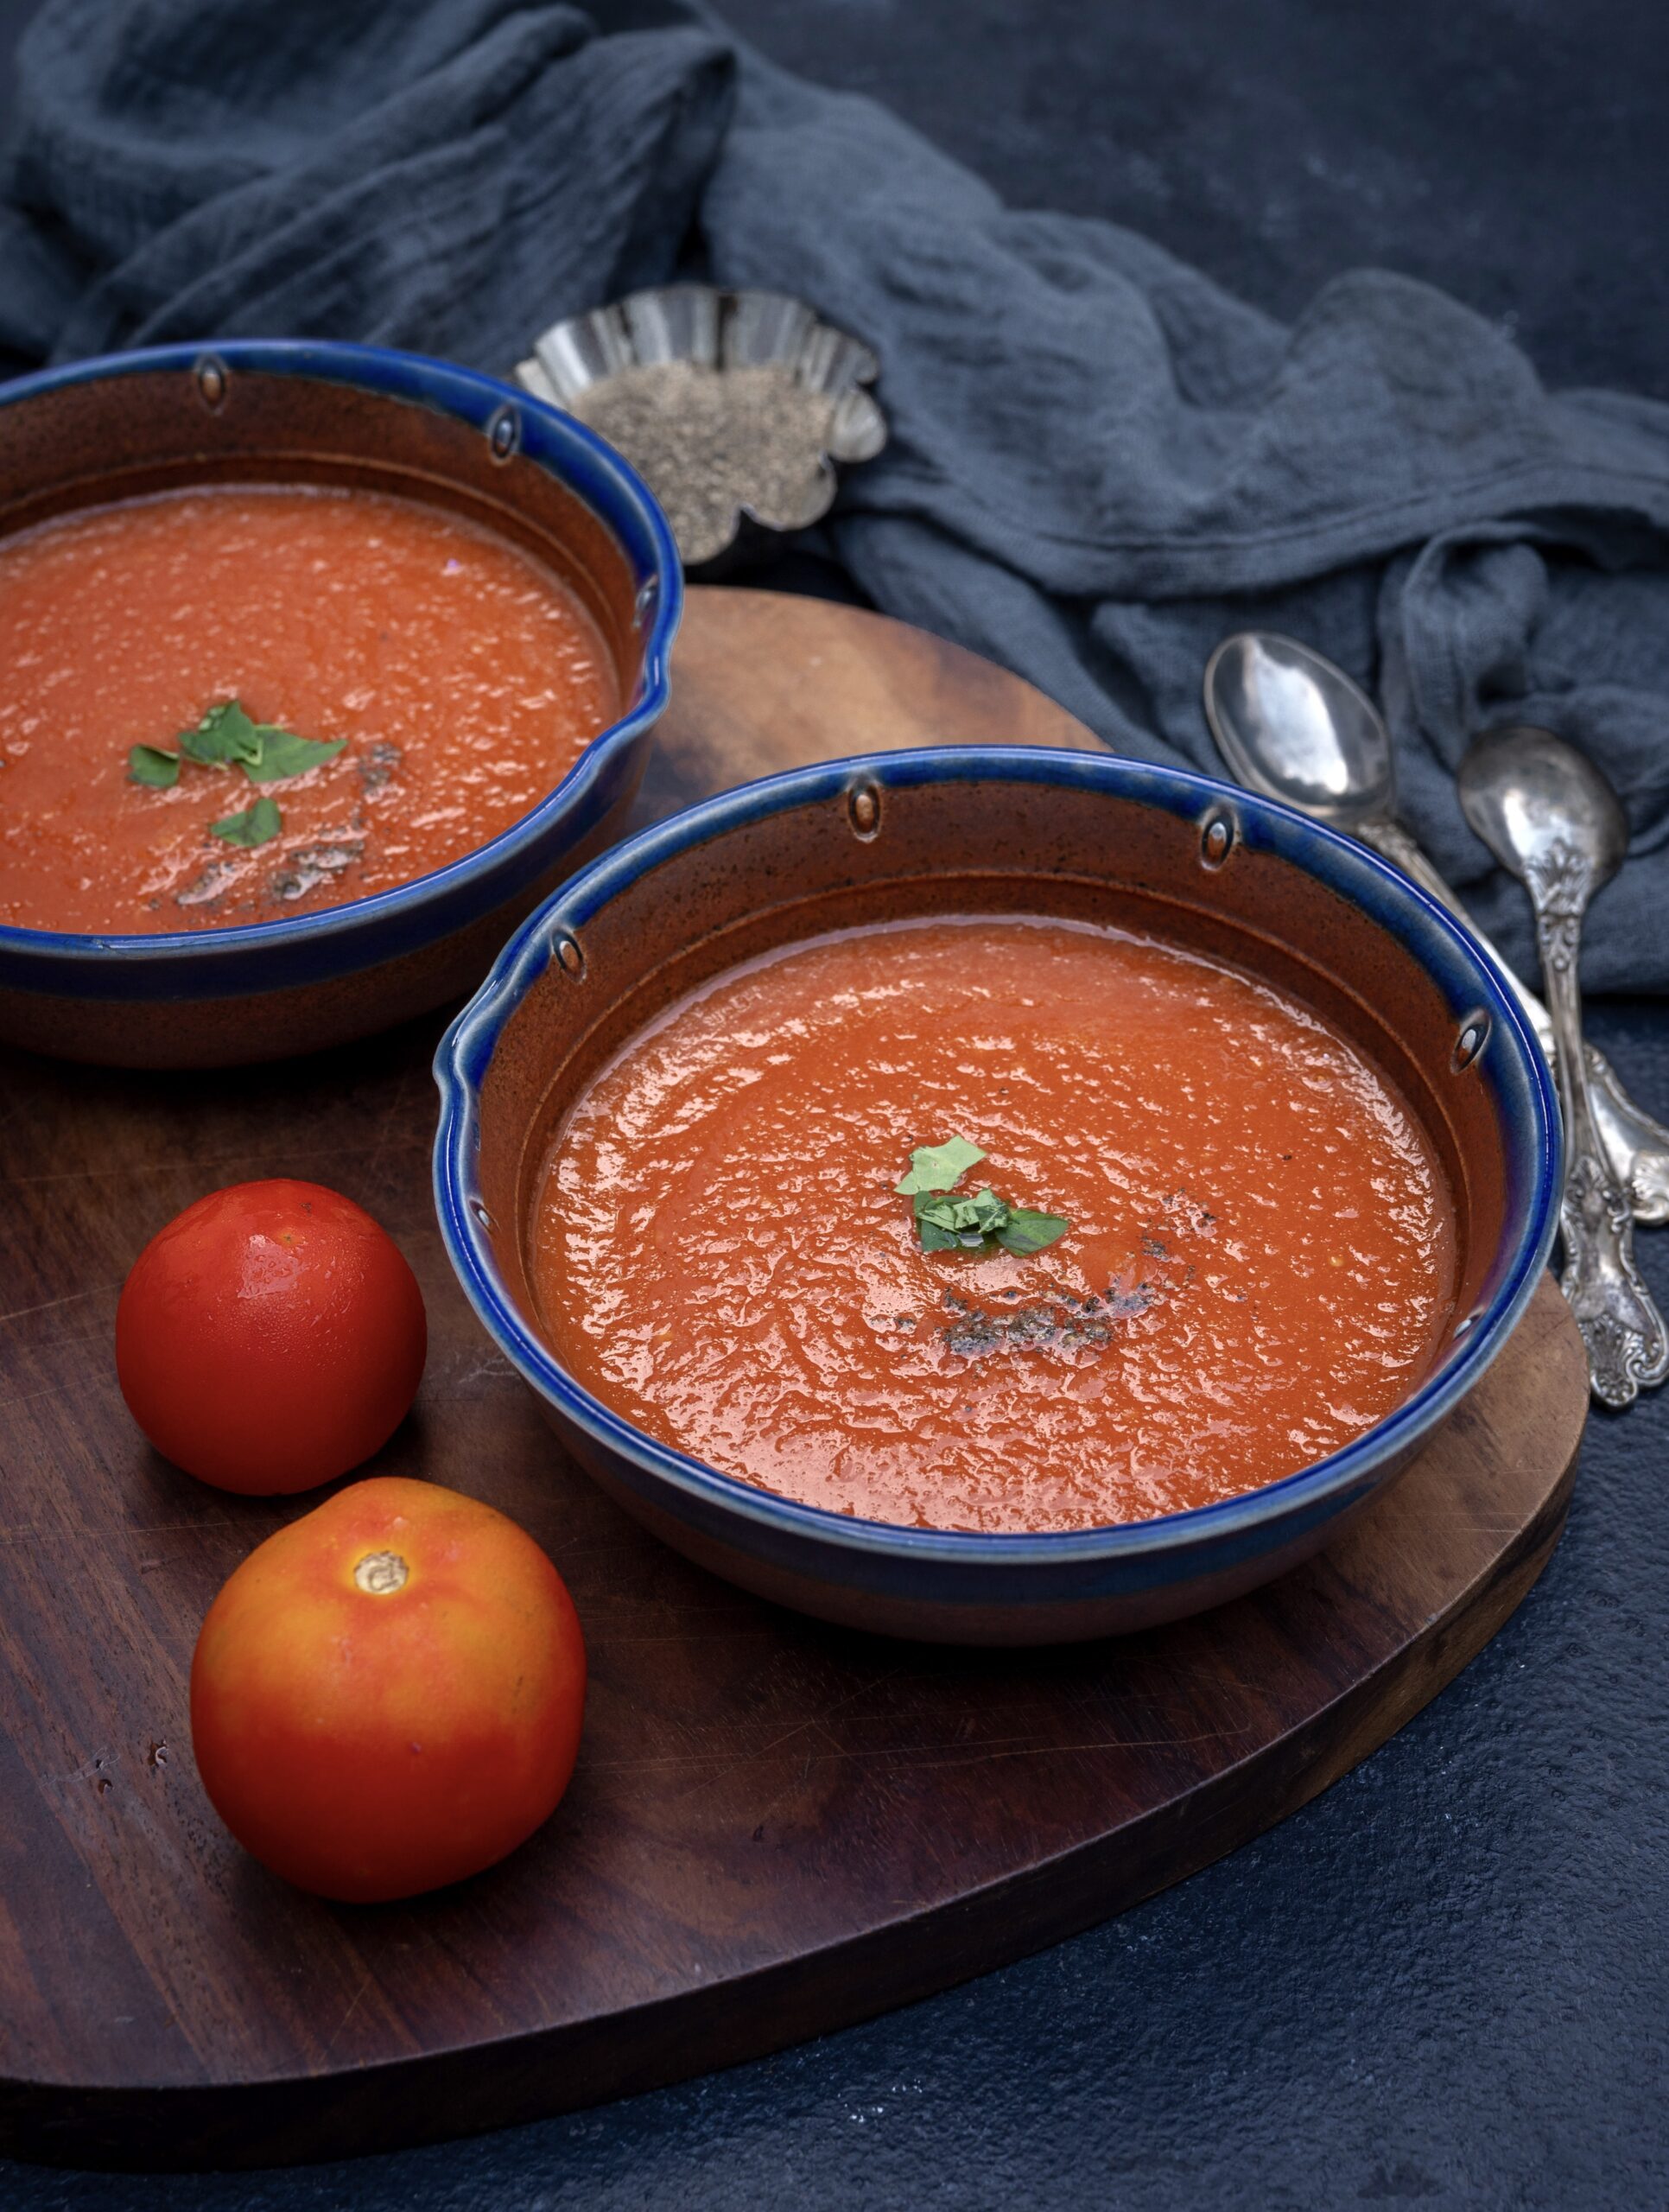
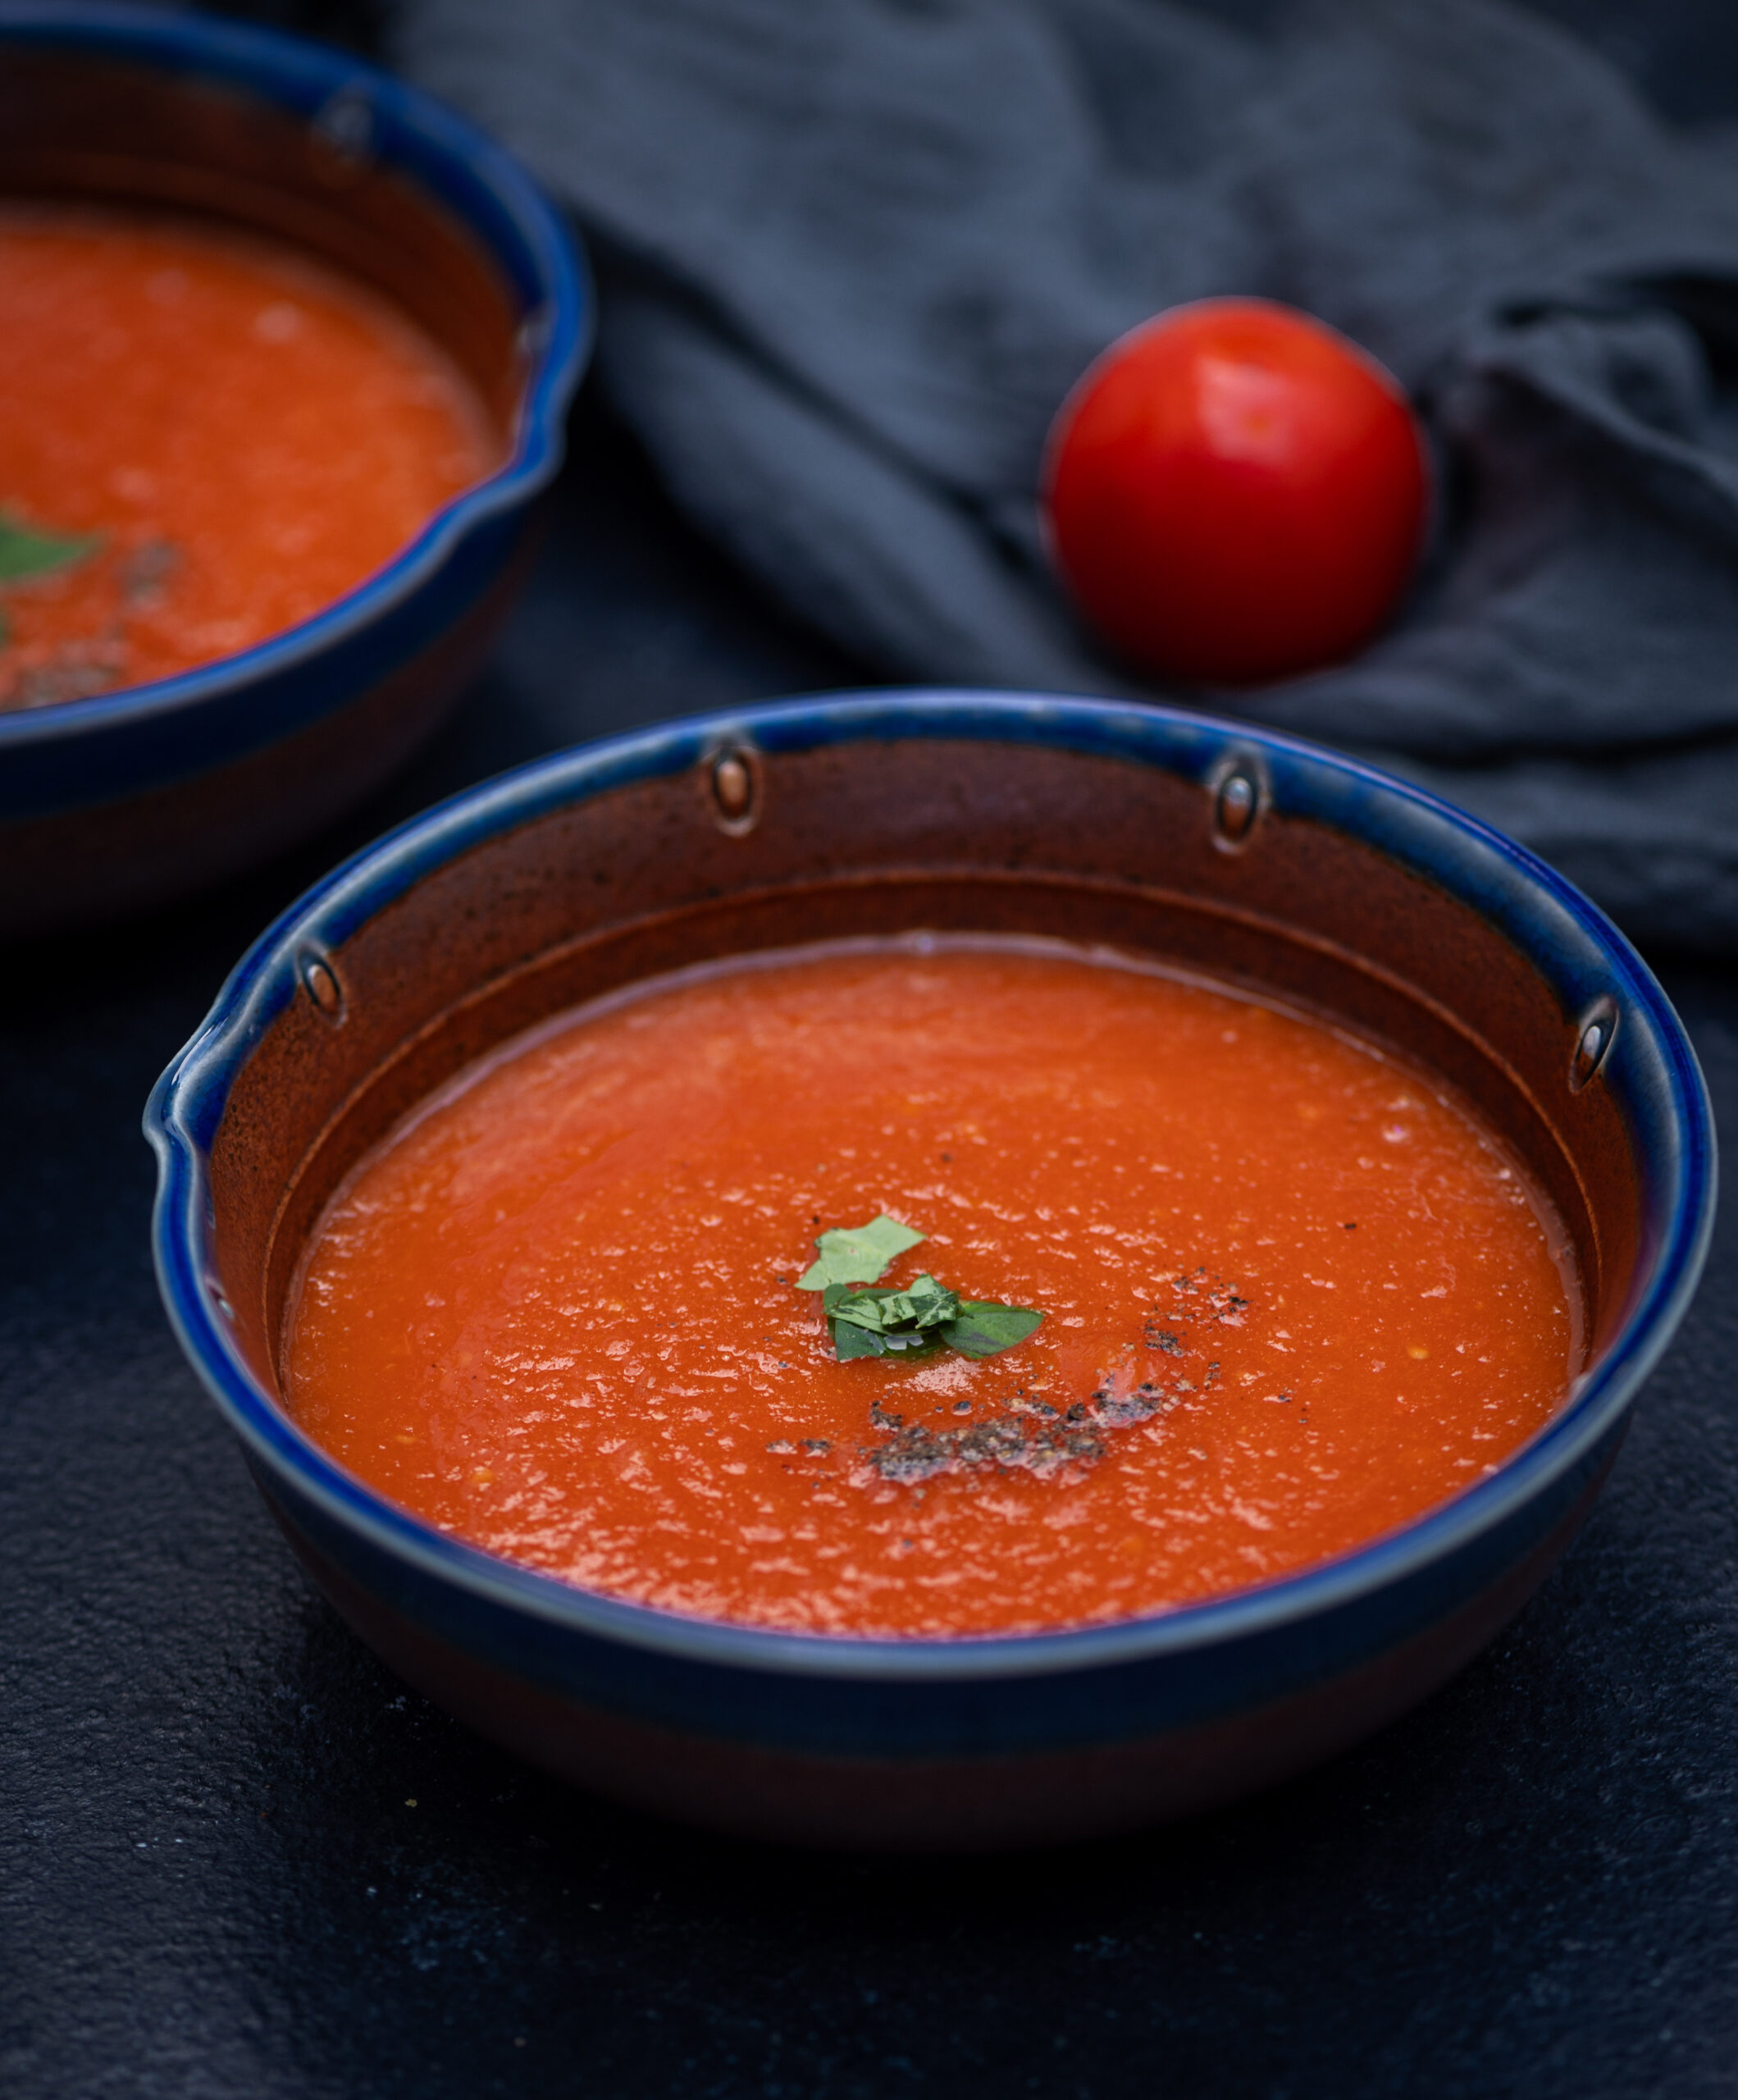
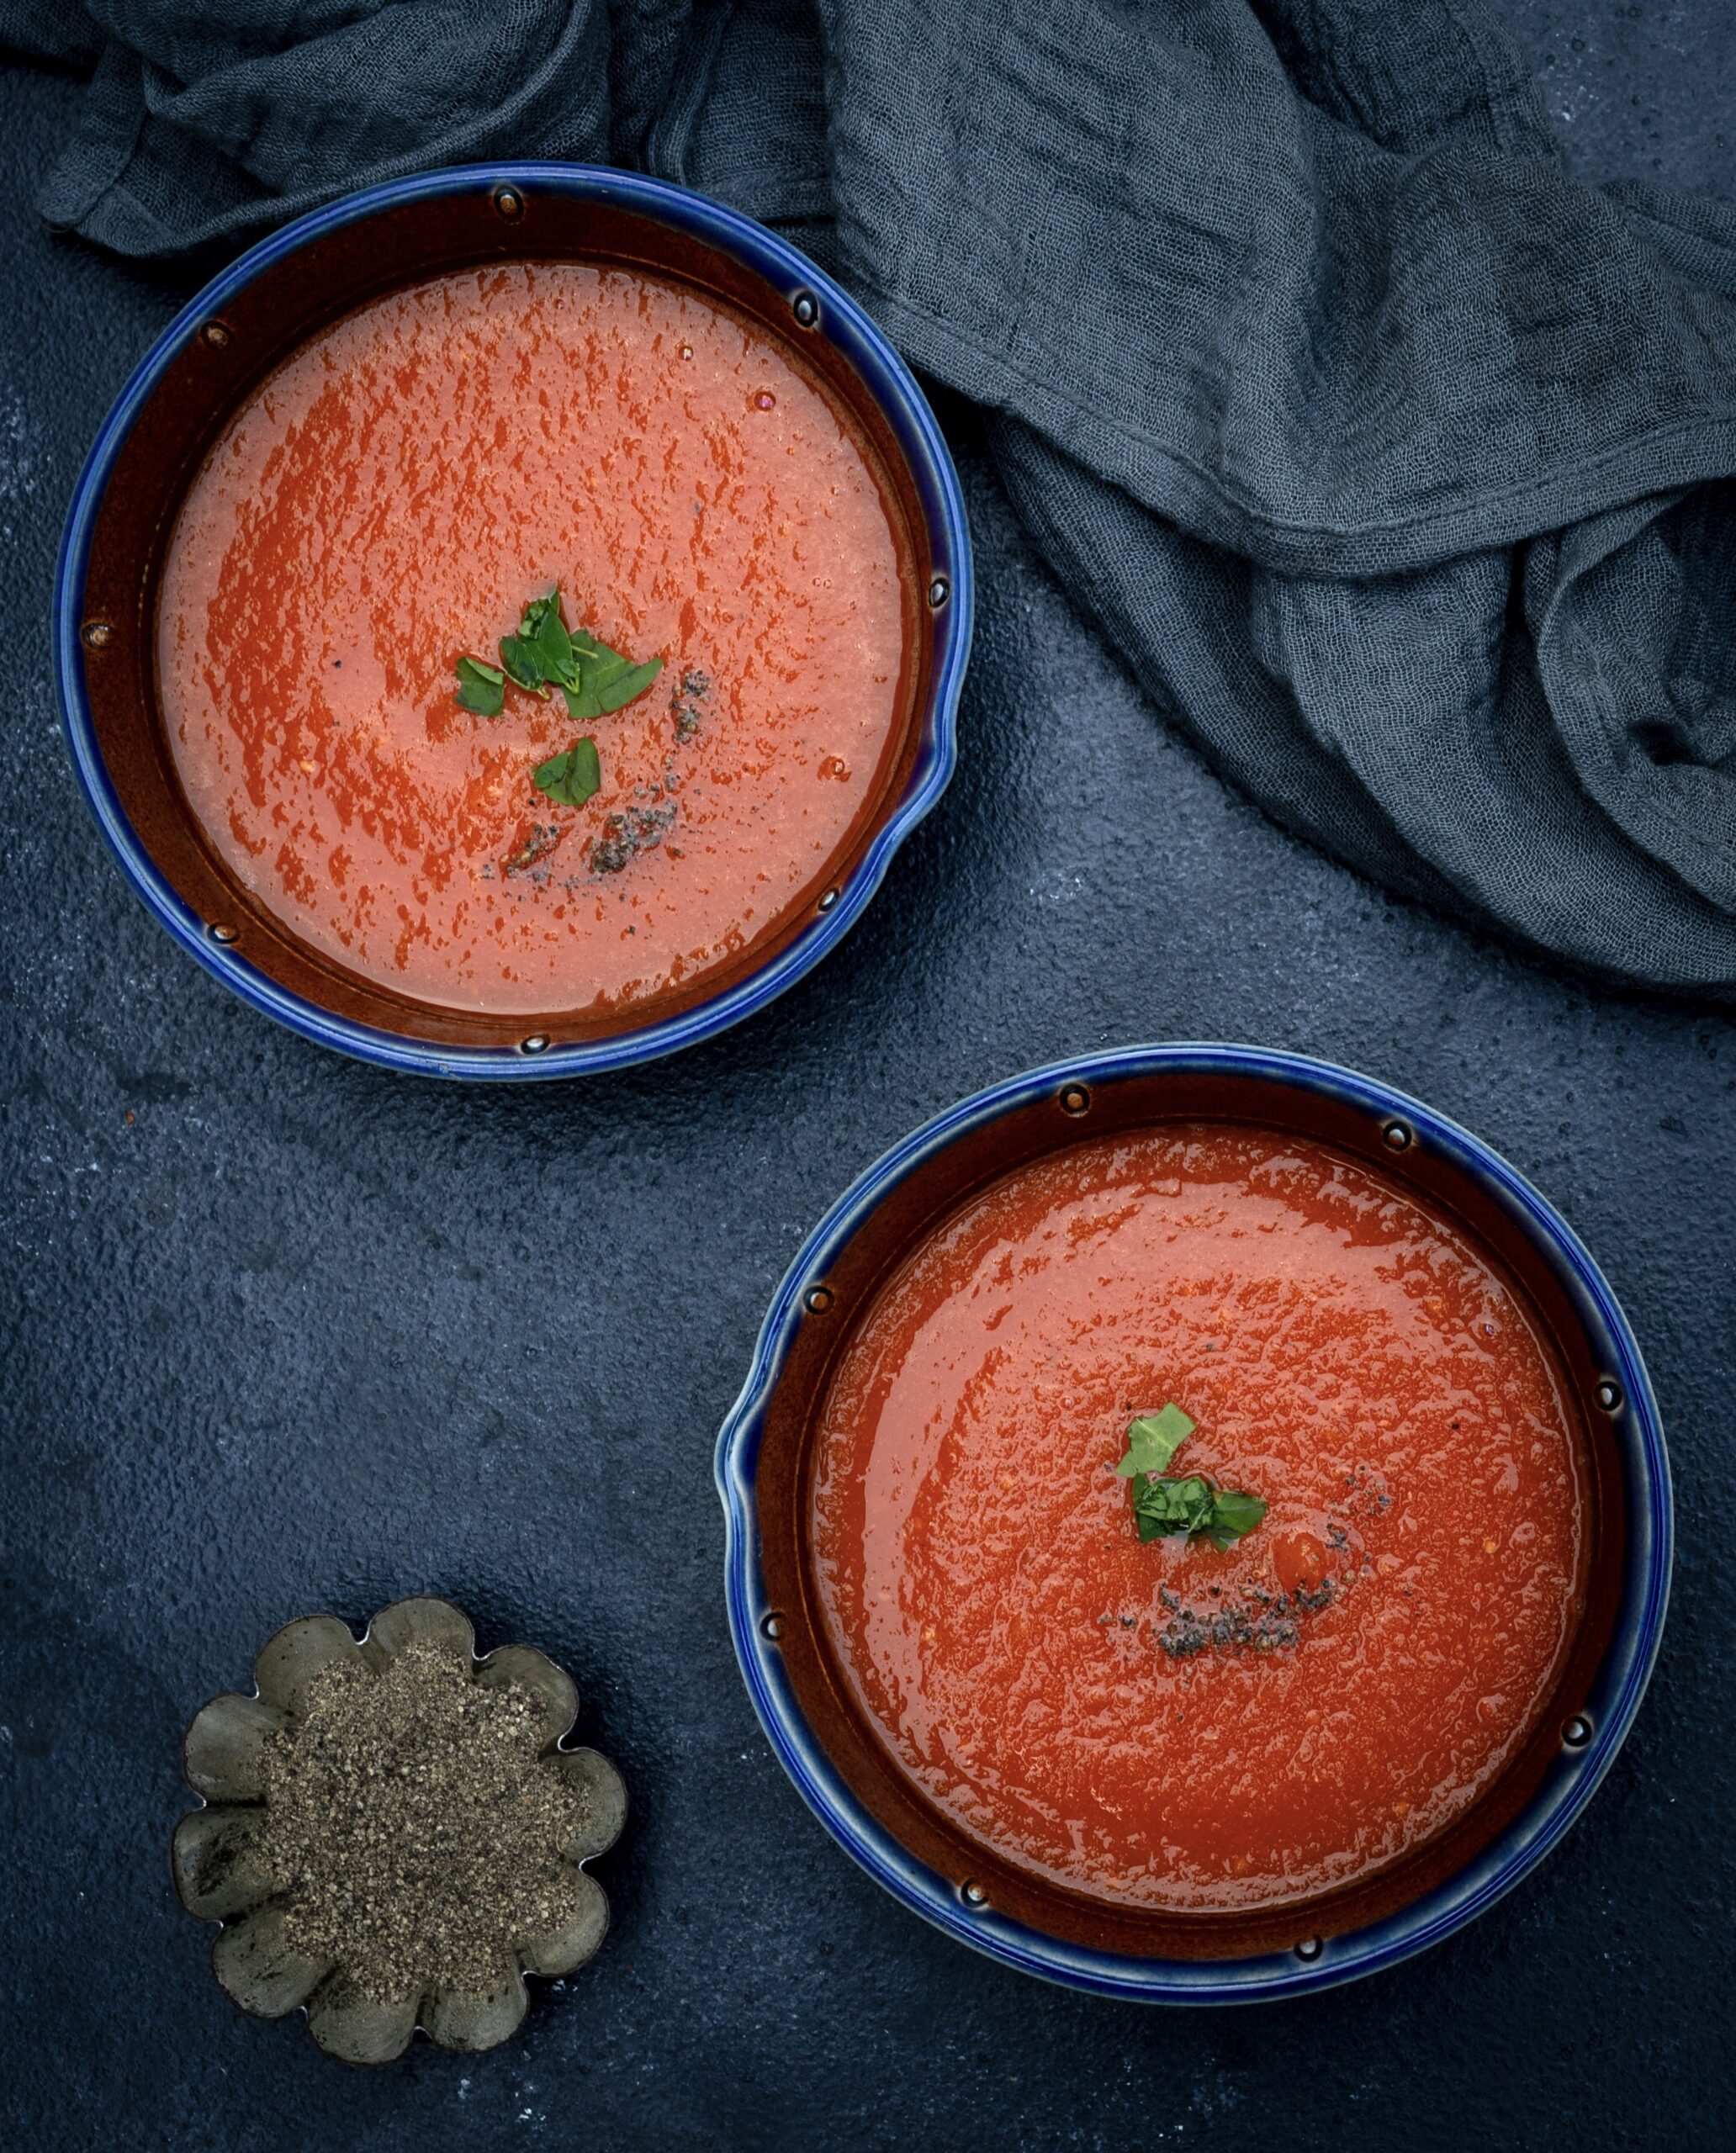
Tomato soup is a staple among the variety of soups, and every single person I know has their own method. Each has their own recipe, with a distinct taste and particular flavourings – these could be Indian, Italian, Mexican or so on. At the end of the day, it’s their own favourite version of tomato soup, and this one – roasted tomato soup – happens to be mine.

Tomato soup is often a comfort soup to many, especially when one is ill or at home alone and therefore cooking lightly. But it is also ideal for when one wants to entertain and offer something homely to guests.

In that sense, it’s both familiar and versatile. You can dress it up or dress it down, depending on the occasion. You can also decorate it through garnishing and plating, and present it well. While it works just fine on its own, it can be an appetizer or had as or with an accompaniment. I like to have it alongside some kind of toast.

In terms of spices, I like to keep mine simple: salt and pepper are enough, and a dash of lime before serving adds more flavour. You may wish to add rosemary or some Italian herbs to season it, if you prefer. The secret to the taste in my recipe is that the tomatoes are roasted first. The roasting adds a really nice flavour to the soup, versus steaming or boiling. The colour itself is very inviting and looks lovely on a table setting.

Speaking of colour, there was a little trick I used to do with this tomato soup when my kids were growing up. While I retained the tomatoes as a base, I always added some kind of gourd (many are commonly grown in South India, and I tended to use a ridge or bottle gourd most often) or else a carrot to the soup. Both would blend in invisibly; in fact, the carrot would heighten the colour. This was how I got my children to eat even more vegetables than they knew they were consuming. Nowadays, they have become discerning adults, so I focus more on the flavours and presentation when serving them this dish, rather than on disguising nutritious ingredients! So red bell peppers are included instead, which flavour the soup nicely alongside the simple spices.

As for me, tomato soup was also a part of my growing years. What was interesting was that my mother used to make it with a food mill, by hand. We didn’t have a blender then, and soups themselves were an unfamiliar item and more exciting as a result. I can still remember watching her sitting down with the food mill to prepare the soup. It had its own fantastic flavour. In fact, she also used to make tomato ketchup at home, which I did for a long time as well. I may share that recipe soon too.

In the meanwhile, here’s my own warming and tasty take on the quintessential tomato soup.

Roasted Tomato Soup

(Serves 2)

1 red bell pepper

4 medium size tomatoes

Salt to taste

2 cloves garlic

¼ teaspoon black pepper powder

Garnishing of your choice


On an open flame, place the tomatoes and bell pepper in turn and roast them until charred.

Place these aside in a dish and allow them to cool.

Once they have cooled, remove the charred skin using your fingers.

Roast the garlic in a drop of oil. Add it to the blender along with the roasted tomatoes and bell pepper. Blend until you get a thick purée.

Pour the mixture into a pot and add a little water to the desired consistency. Add salt and pepper. Boil.

When ready to serve, add a dash of lime and garnish as you’d like to – perhaps with fresh cream or more pepper.

I hope you’ll enjoy this delicious roasted tomato soup. It’s perfect all year round, and is nourishing as well as soothing. Don’t forget to sneak in some extra vegetables – ones that don’t adjust the colour much – if you’re serving it to little ones!