Tag

ghee

Browsing


Sankranti, the harvest festival, is here and as we celebrate by giving thanks for the crops we eat daily, it’s til-ka-chikki that strikes me as a perfect dish for the occasion. The chief ingredient of this crunchy sweet is sesame, which is believed to have been cultivated in India for over 5500 years. As a form of produce that can grow with relatively little supervision, and in less than ideal conditions, there is no doubt to me that many of our ancestors would have considered it a perfect if not vital part of their Sankranti. Sankranti is known by various names throughout the country – it is also observed as Pongal, Bihu, Maghi and by other names depending on region. No matter where, it falls in mid-January and is a time when the sun is worshipped for its life-giving properties.

“Til” is the Gujarati word for sesame, as well as in other languages including Hindi and Punjabi. The English word “sesame” is from the Arabic “semsem”, indicating oil or liquid fat. This is because it is an oilseed produce. It’s an excellent digestive aid as it’s full of fiber, and also has high copper, manganese and calcium content, in addition to other vitamins and minerals.

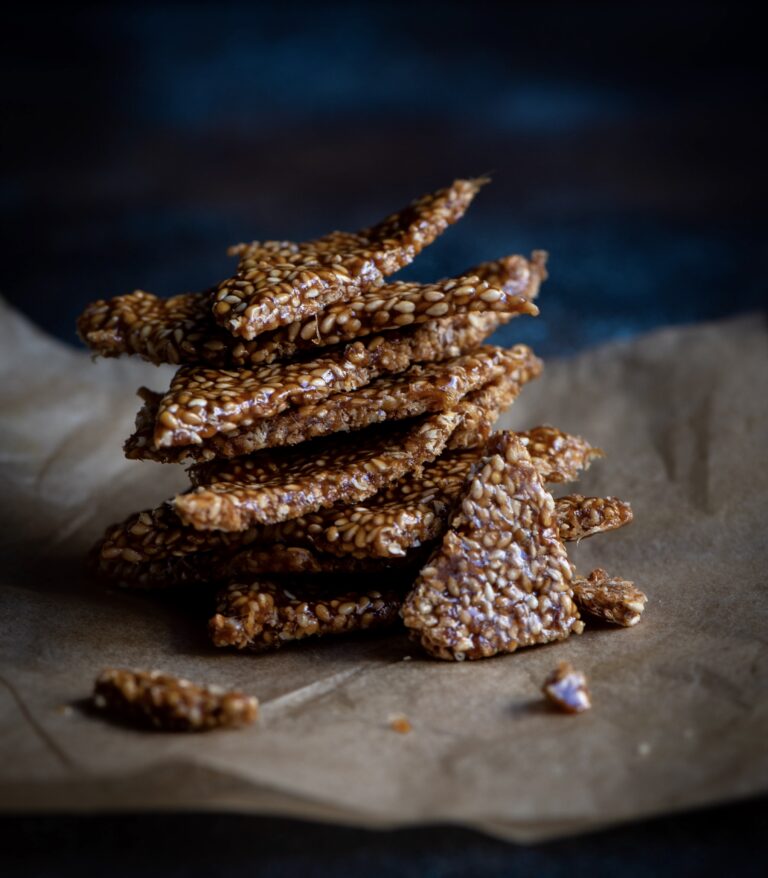
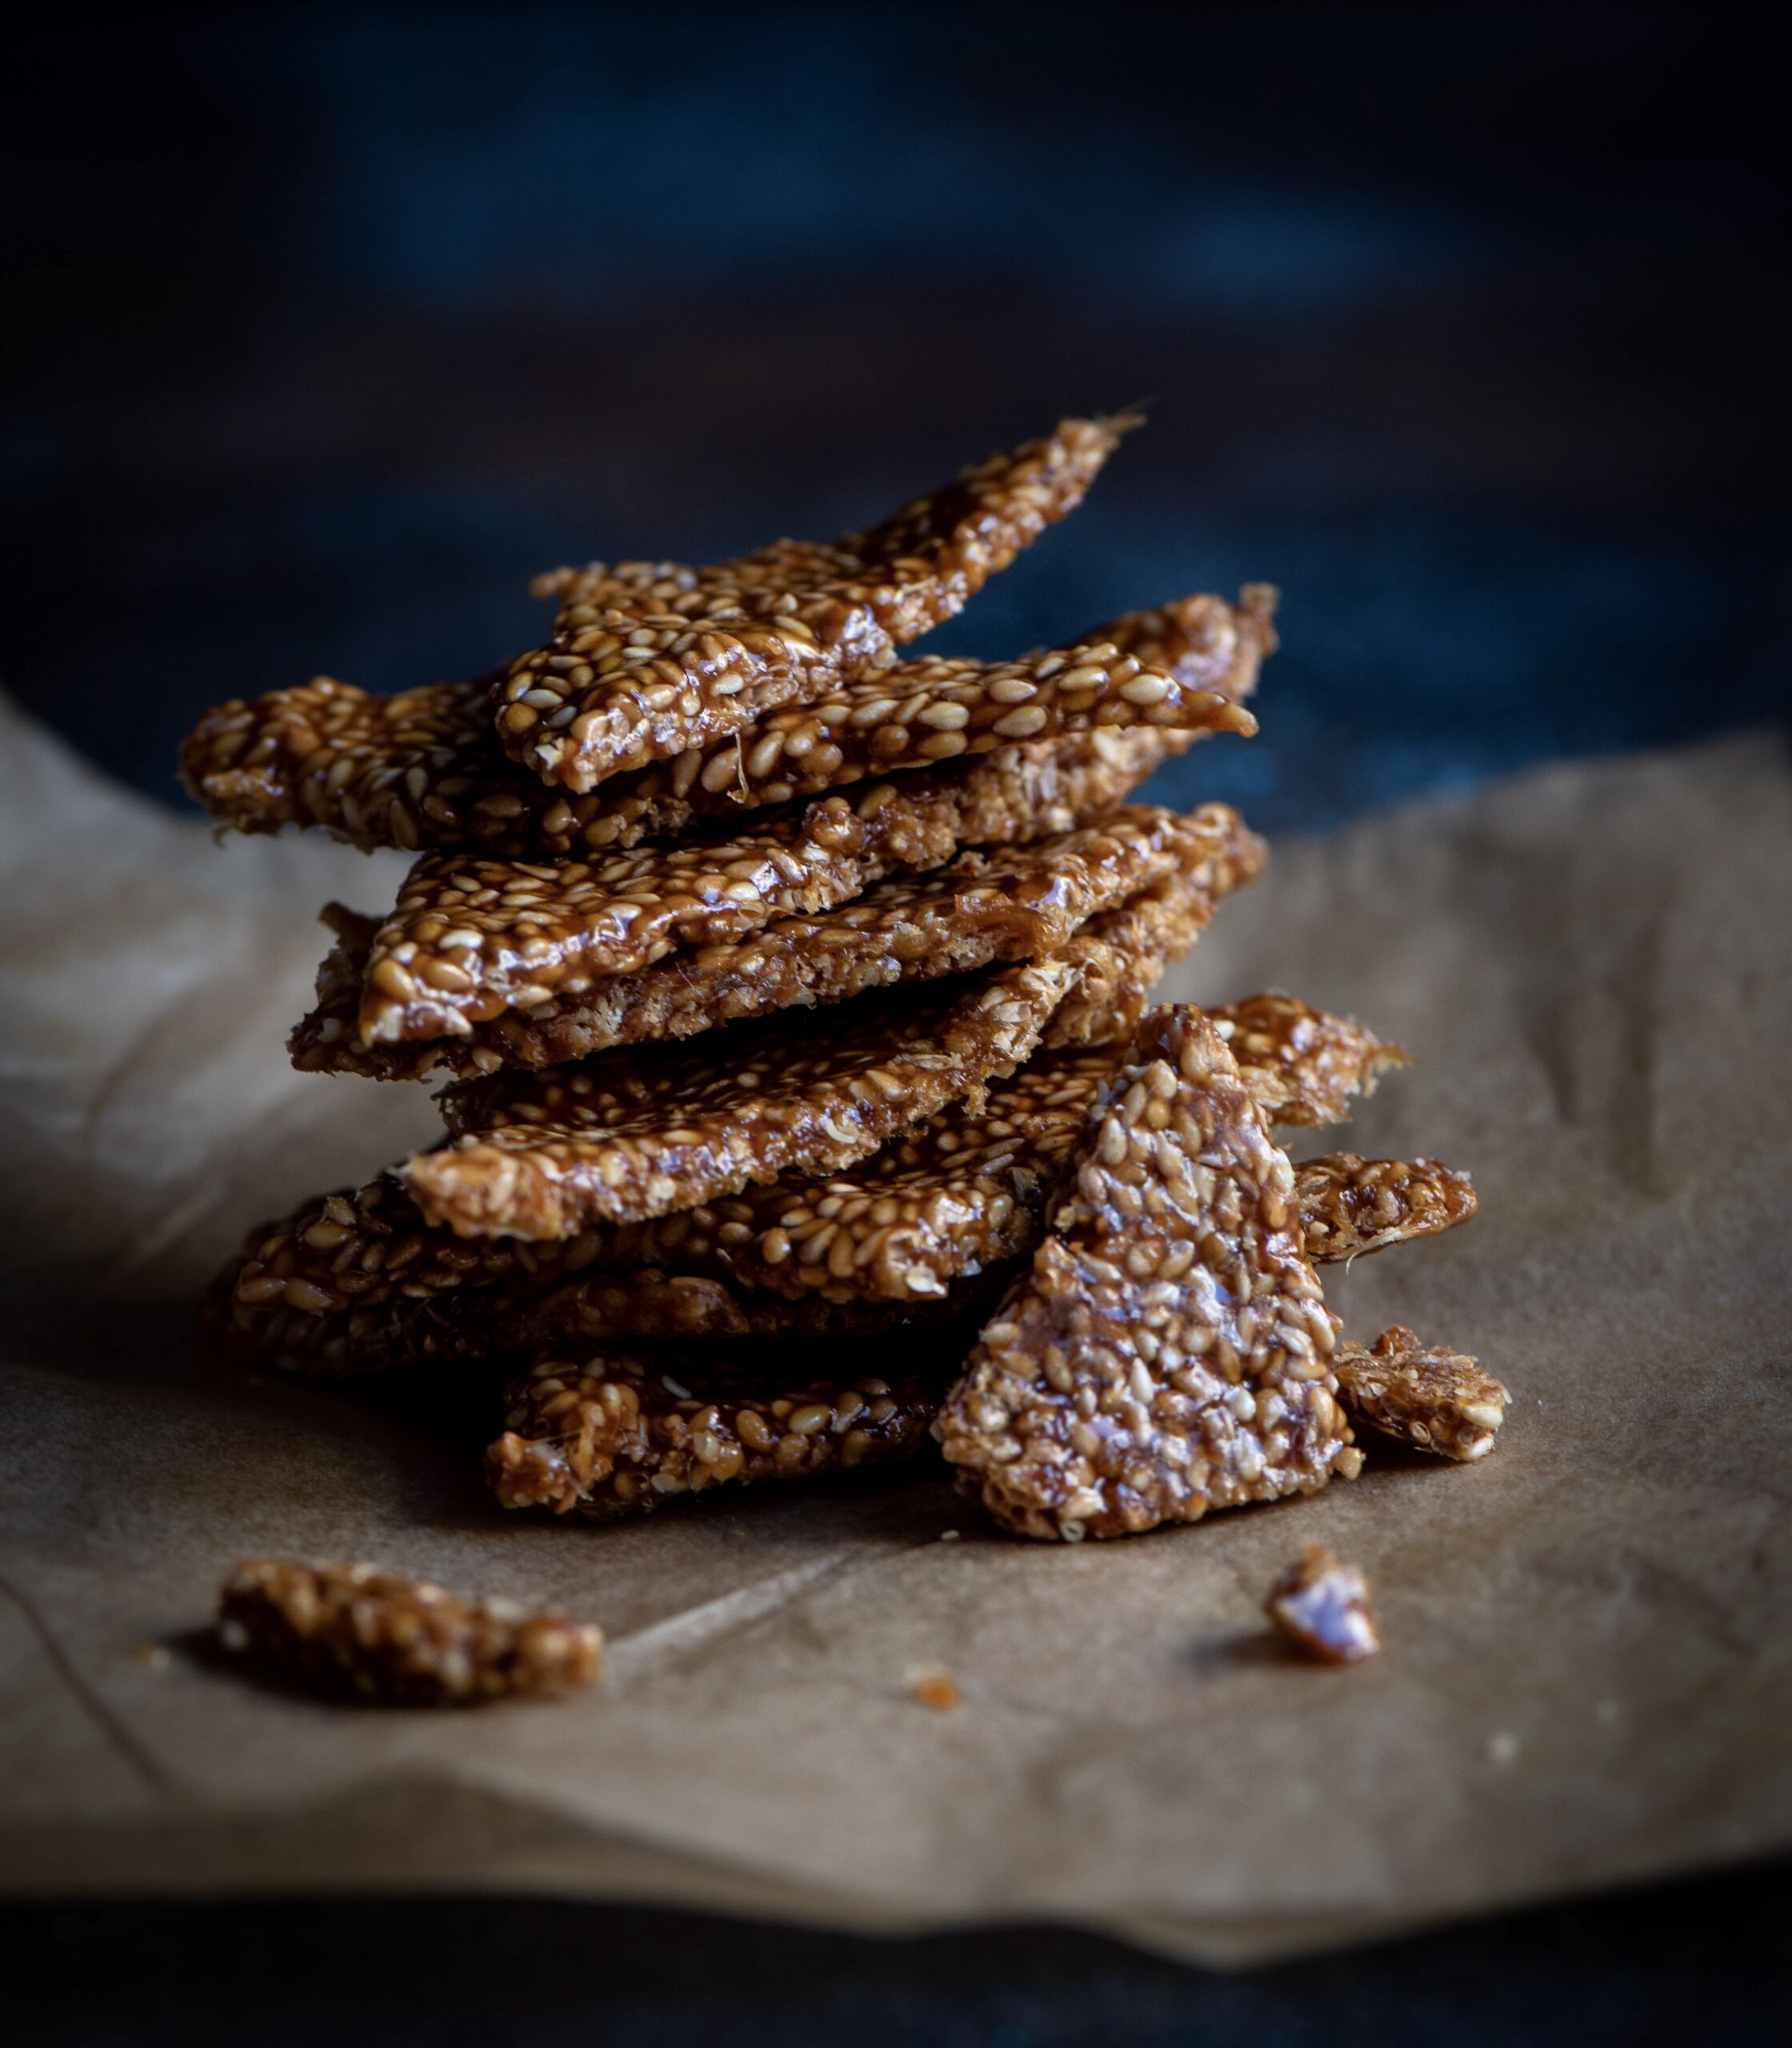
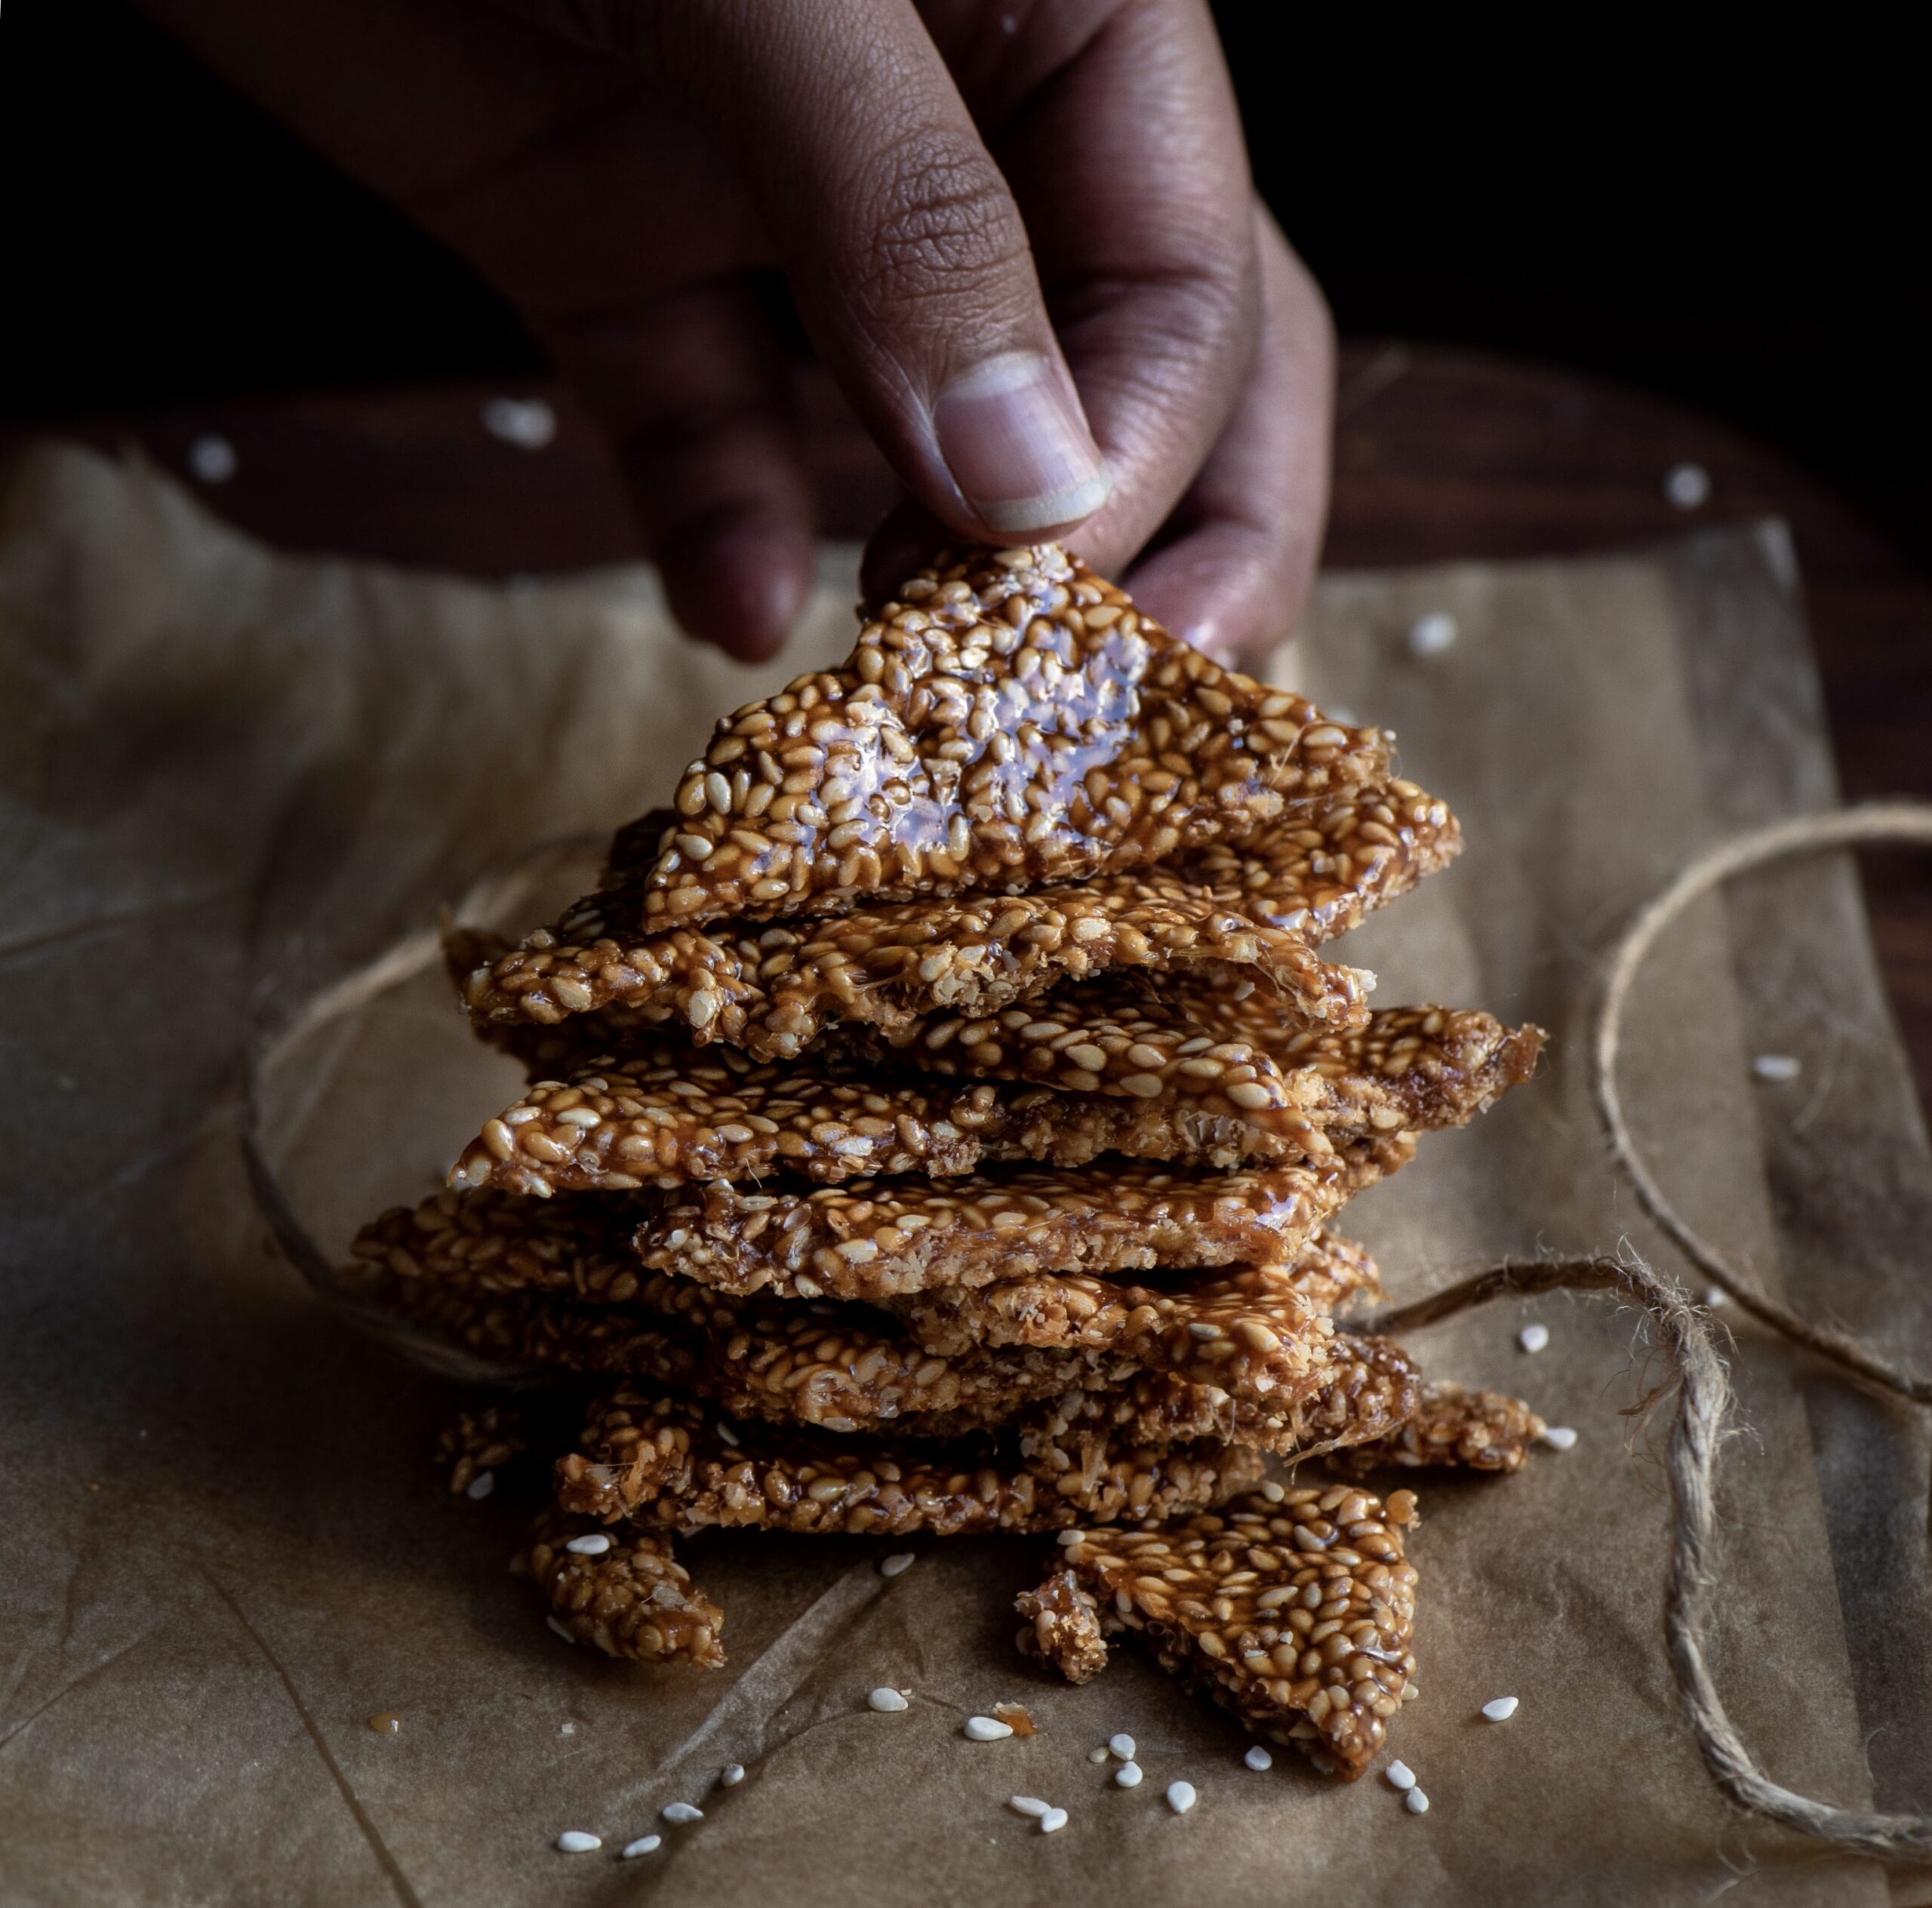
Chikkis are a whole category of snacks, usually sweet thanks to the sticky jaggery that holds them together. We also make them with groundnuts, puffed rice (mora mora) and other variations, depending on the season. You can make them either in bars or in balls, and they also make a great ice cream topping when crushed. Til-ka-chikki is basically a sesame brittle, and today I’ll share the method to make them into bars.
I used to have a huge mental block about til-ka-chikki as I simply hadn’t known how to make it. My sister got married when she was just out of college, and she hadn’t learned how to cook yet. She went to her mother-in-law’s house, where she learned how to make the most beautiful traditional Gujarati dishes. I was still in high school at the time, and am still envious to this day about the culinary skills she picked up back then. Meanwhile, in my mother’s house, I was still studying but also began to slowly pick up recipes and techniques in the kitchen. I was probably inspired by my sister’s newfound talents, and our mother started me off on the basics, like rotli. Over time, I began to regard not only my mother and my own mother-in-law as my culinary teachers, but my older sister as well. My sister’s repertoire is vast. Even to this day, each time I visit her, I insist that she teaches me an entirely new dish  every time.

I overcame my mental block when I finally learned how to make this til-ka-chikki a couple of years ago, with her guidance. And I’ll admit that I am still learning. I don’t quite have the confidence to make it on my own yet, but every experiment has ended in happy mouths and sticky fingers. It would be great if you could learn it together alongside me. We could master it together, just as my sister has.

As with most traditional Gujarati sweets and snacks, this too requires only three ingredients. In this case, they are jaggery, sesame and ghee. If you’d like a vegan version, replace the ghee with a flavourless oil of your choice. Til-ka-chikki is also offered as a prasad, so while it is a simple dish it can also be a part of prayers for festive and special occasions. For Sankranti, of course, it’s a beautiful way to honour the sun that gave us this ancient and nutritious crop.
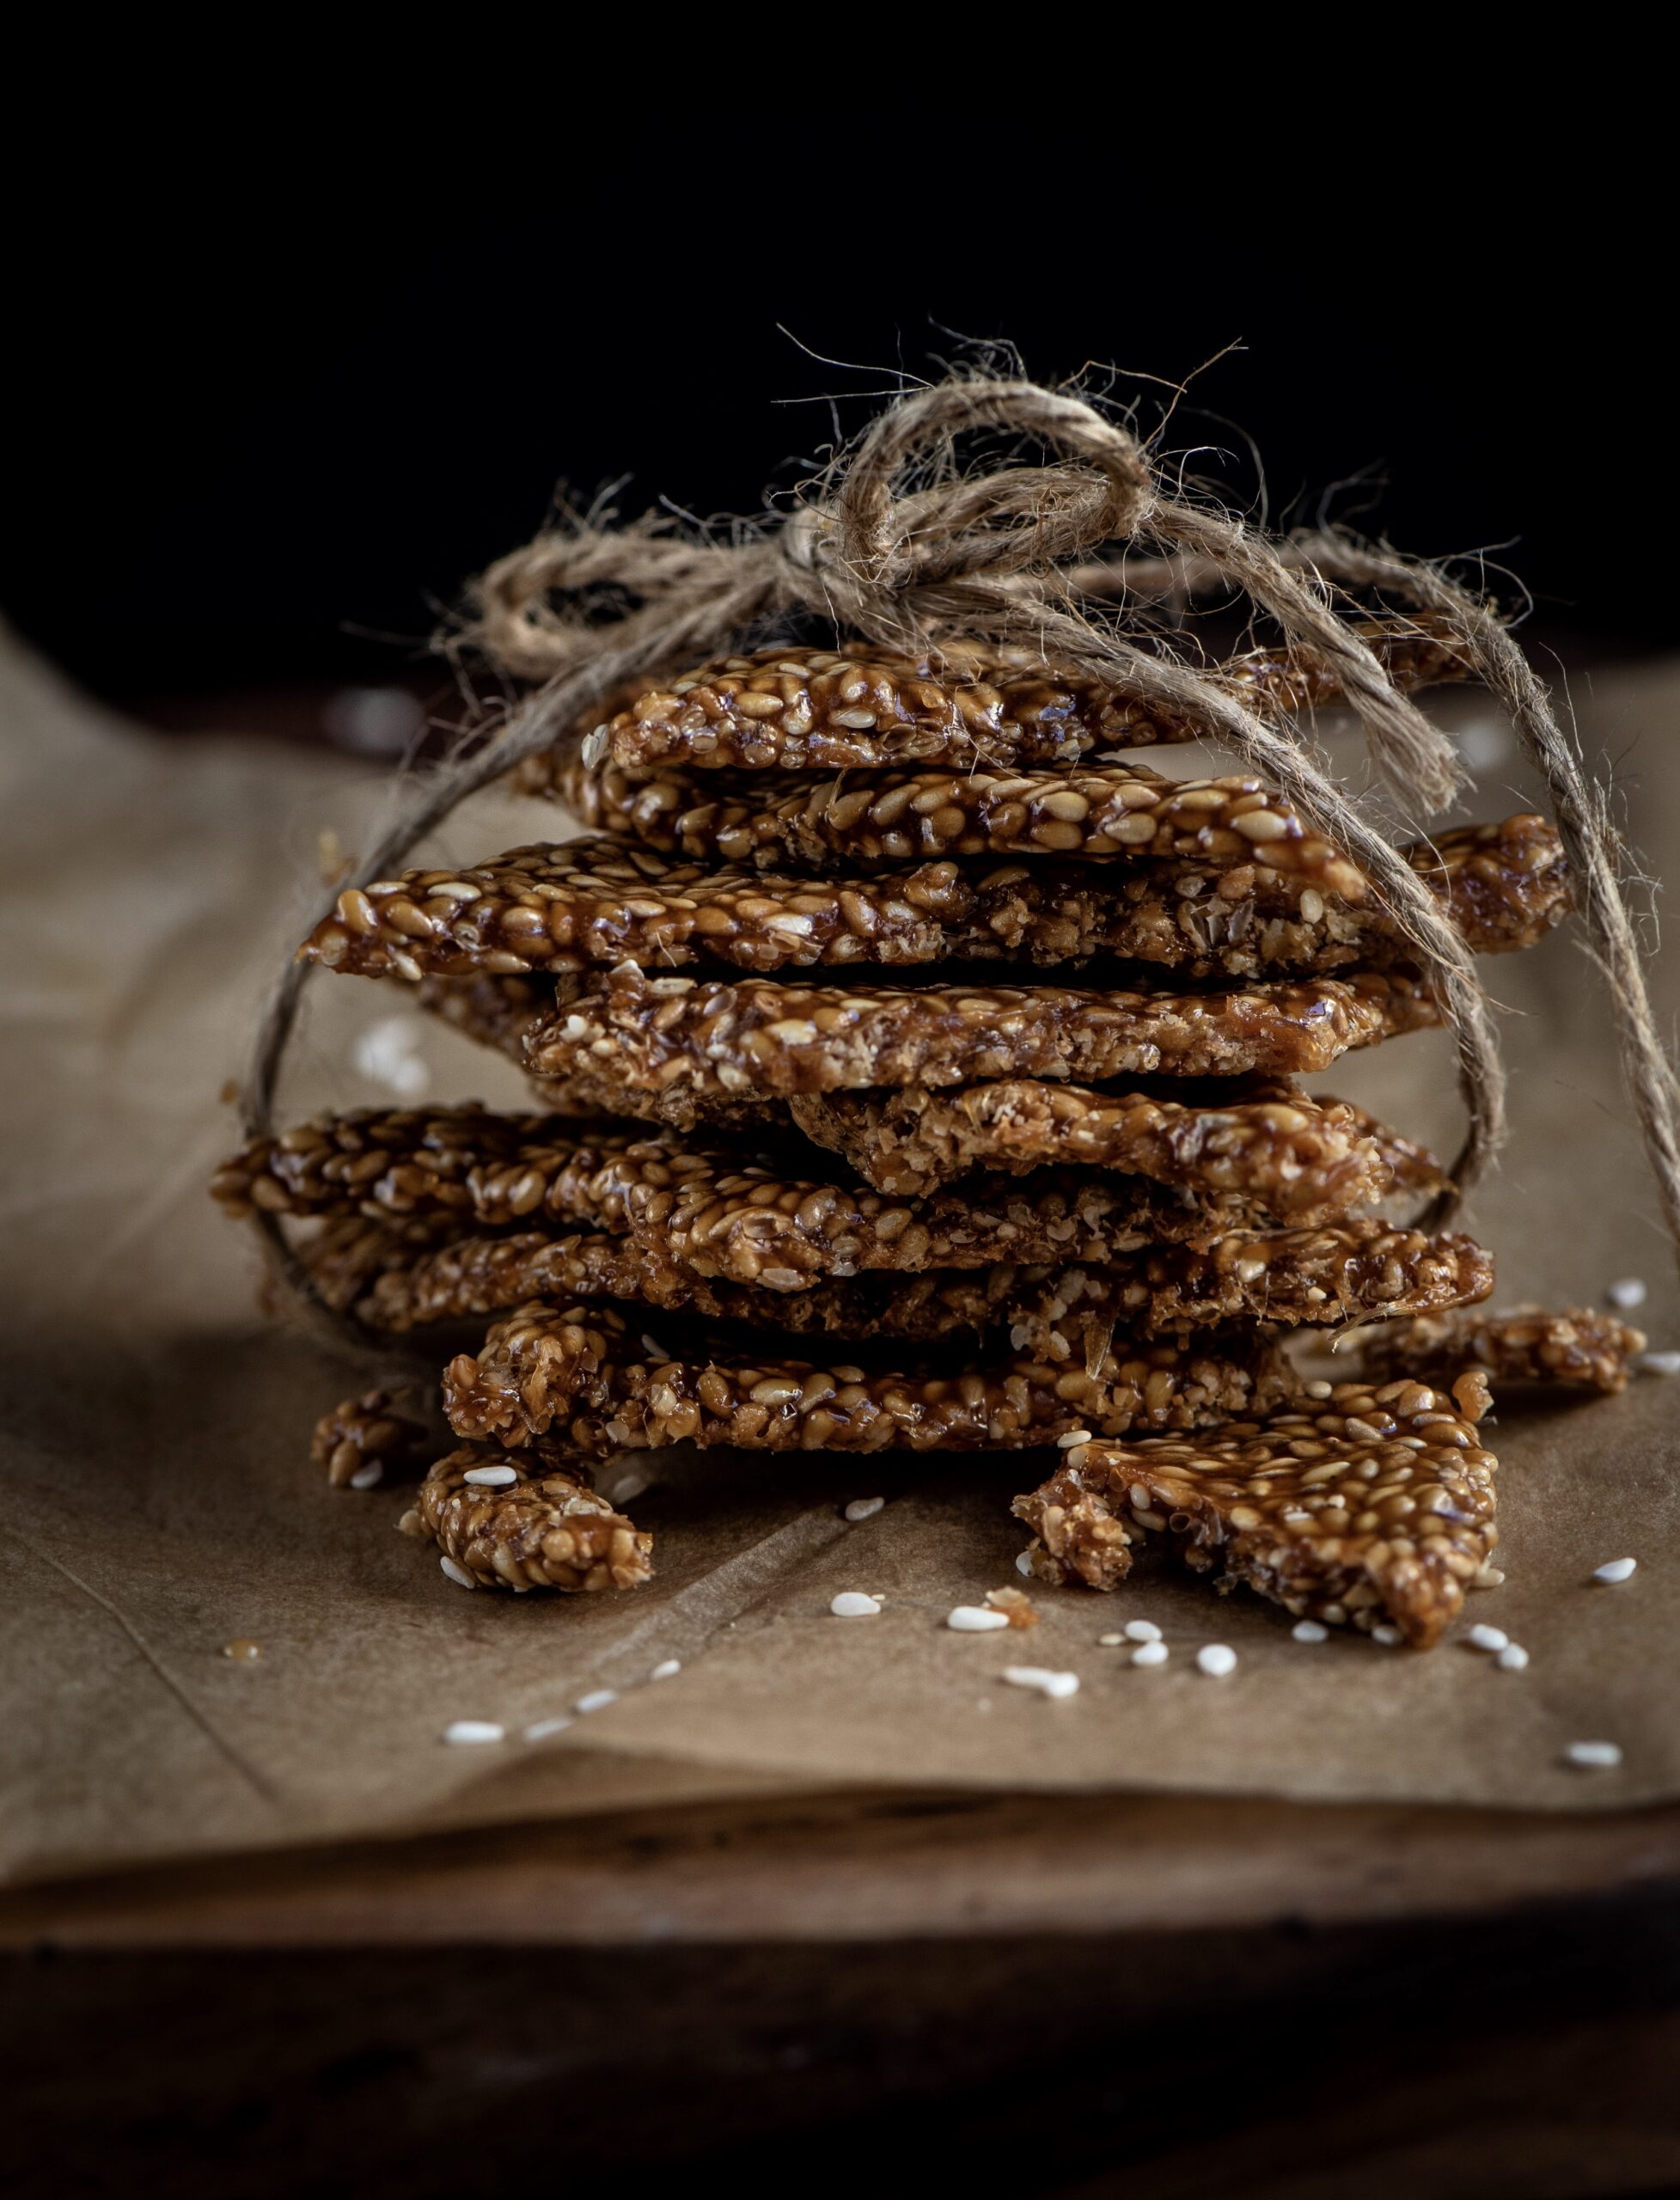
 

Til-Ka-Chikki (Sesame Brittle)

(Yield: 10-15 pieces)


Ingredients

½ cup sesame seeds

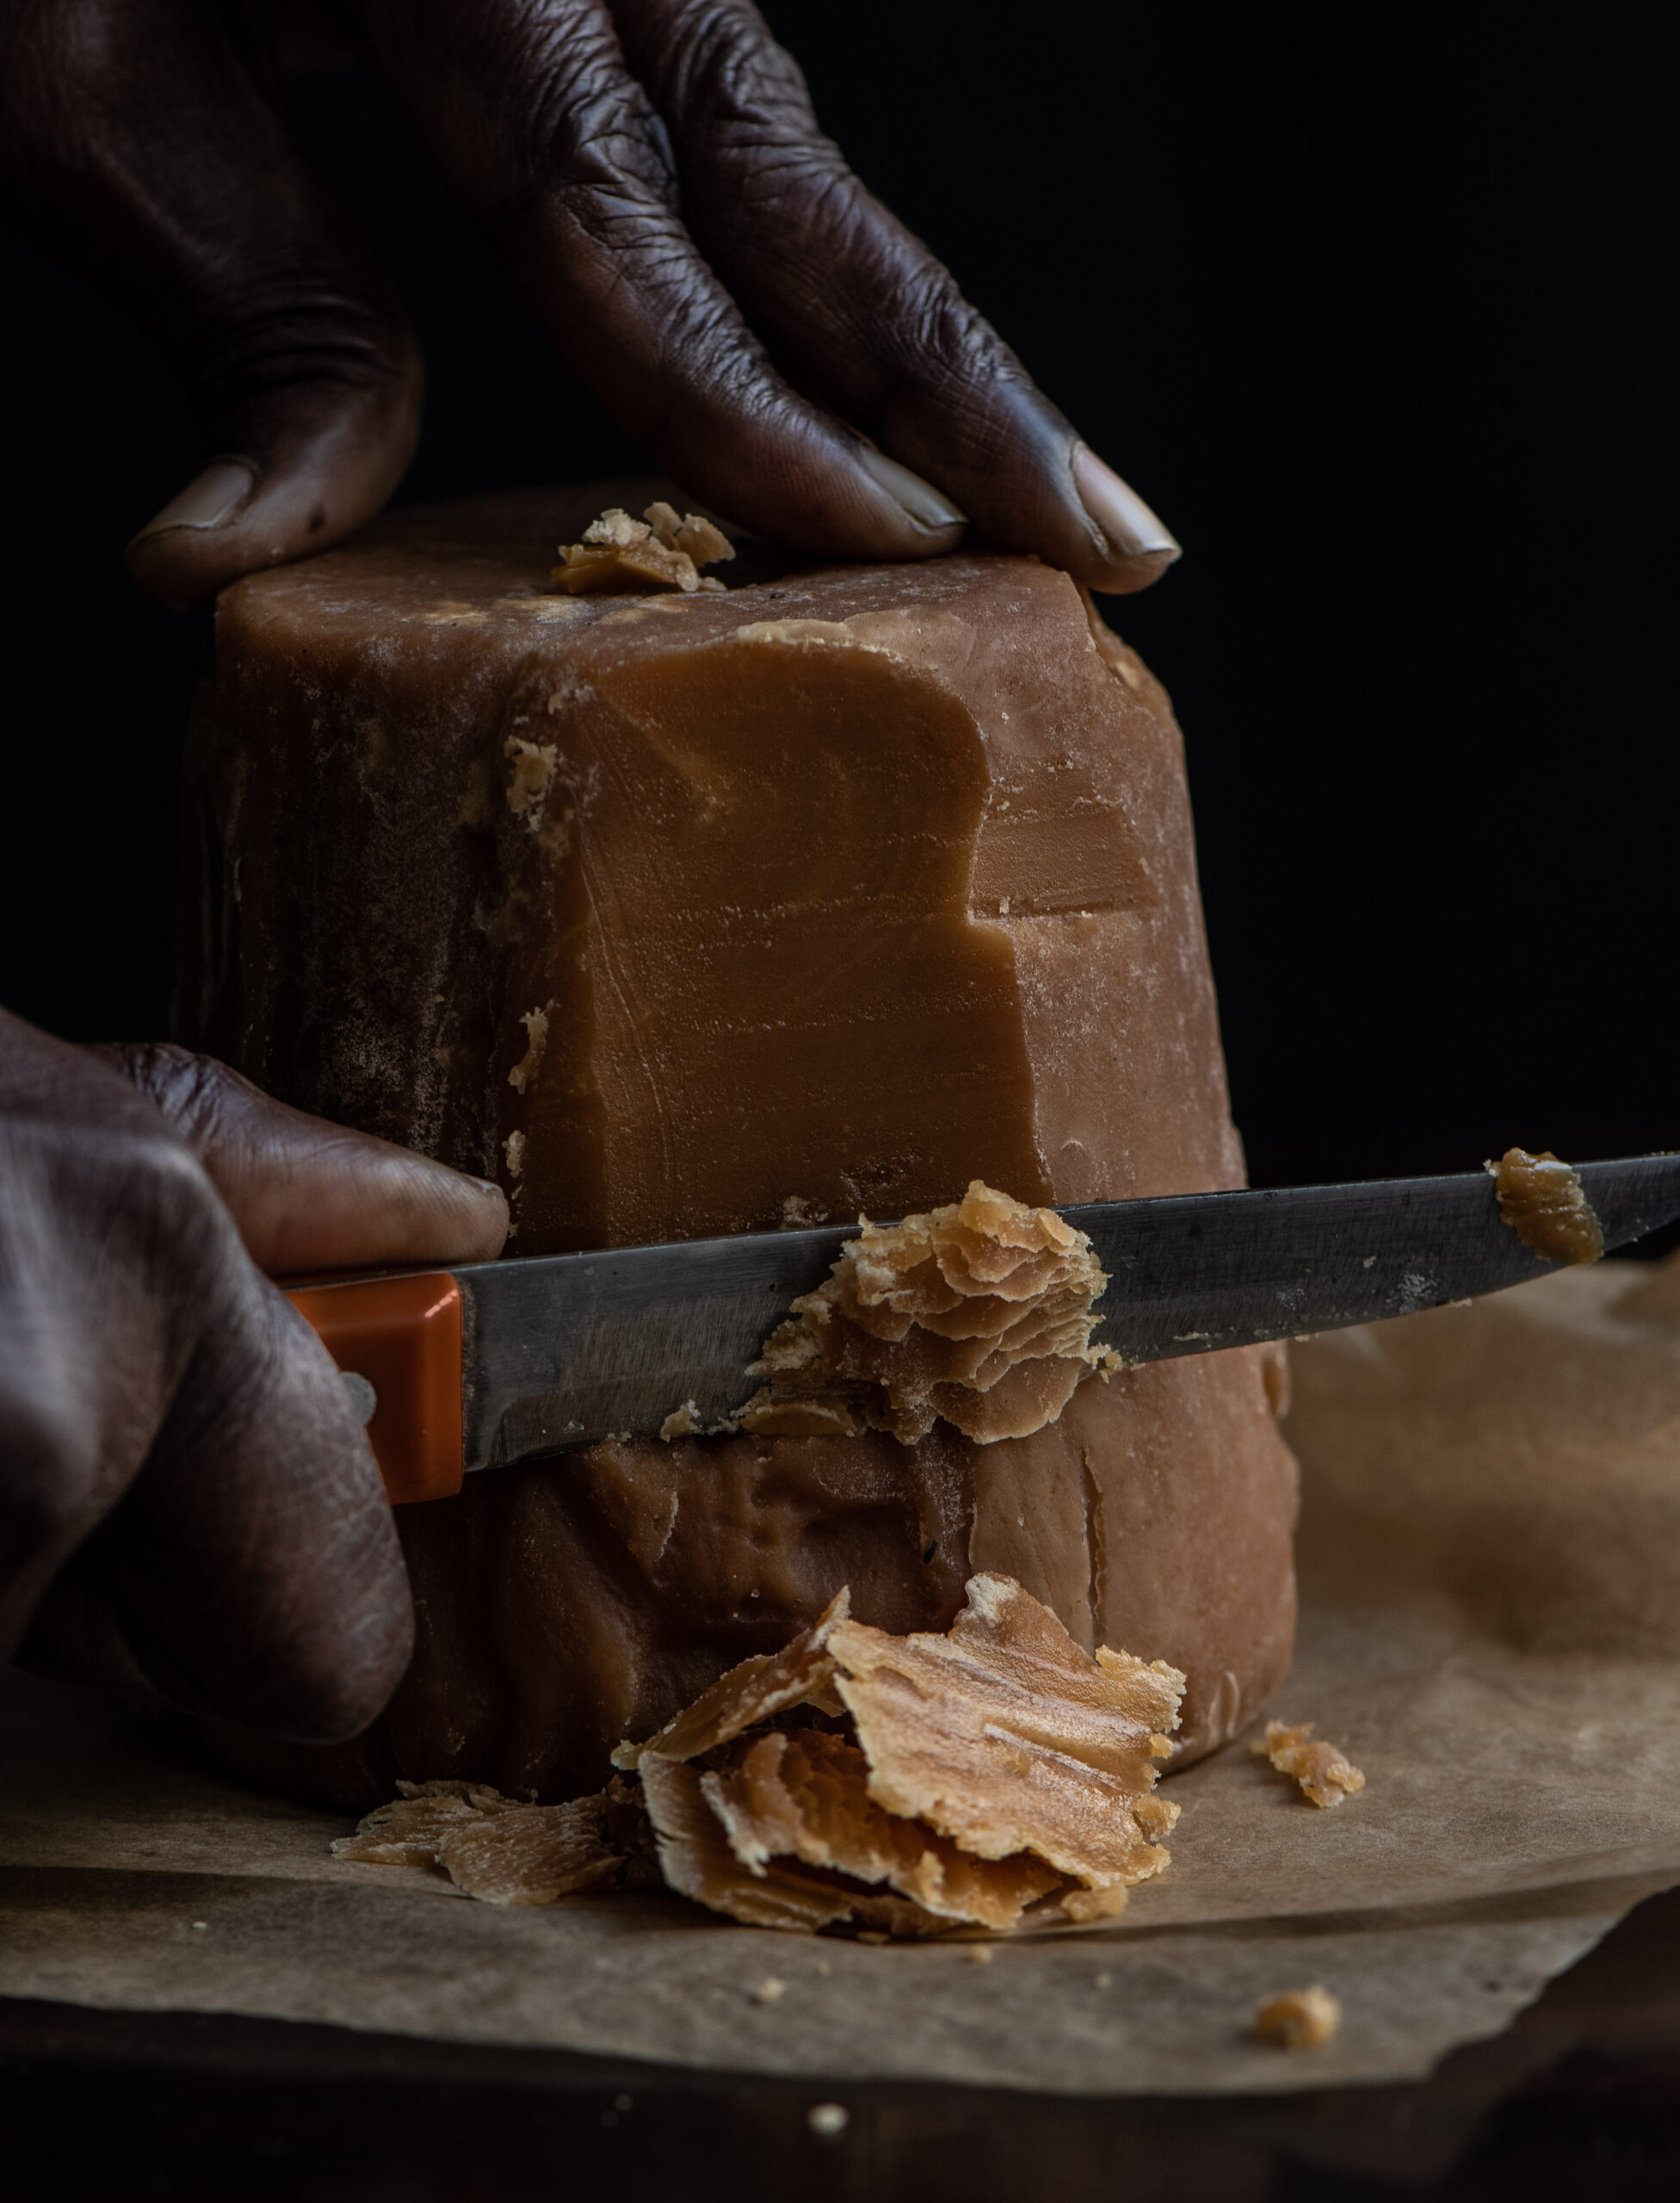
½ cup jaggery

1 tablespoon ghee
Grease an overturned steel plate and a rolling pin and keep these ready. Next, in a wok or kadai, roast the sesame seeds on a low flame. Occasionally increase to a medium flame for short spans. The sesame will take about 7 minutes to roast. Keep stirring until the colour changes.

Once roasted, transfer to a plate and allow to cool. Once cooled, taste a few seeds to check if they have a crunch to it. This means they are ready.

In the same wok or kadai, add the ghee. Then, add the jaggery and stir constantly on a low flame. As with the roasting of the sesame seeds, you may occasionally increase the flame to a medium for short spans, then immediately reduce it to a low again. Take care that the jaggery does not burn. Do see this video for reference: re:store sesame brittle video – 1

Mine took approximately 9 minutes to turn into a reddish colour. Once this happens, turn off the flame. Add the sesame seeds and stir well.

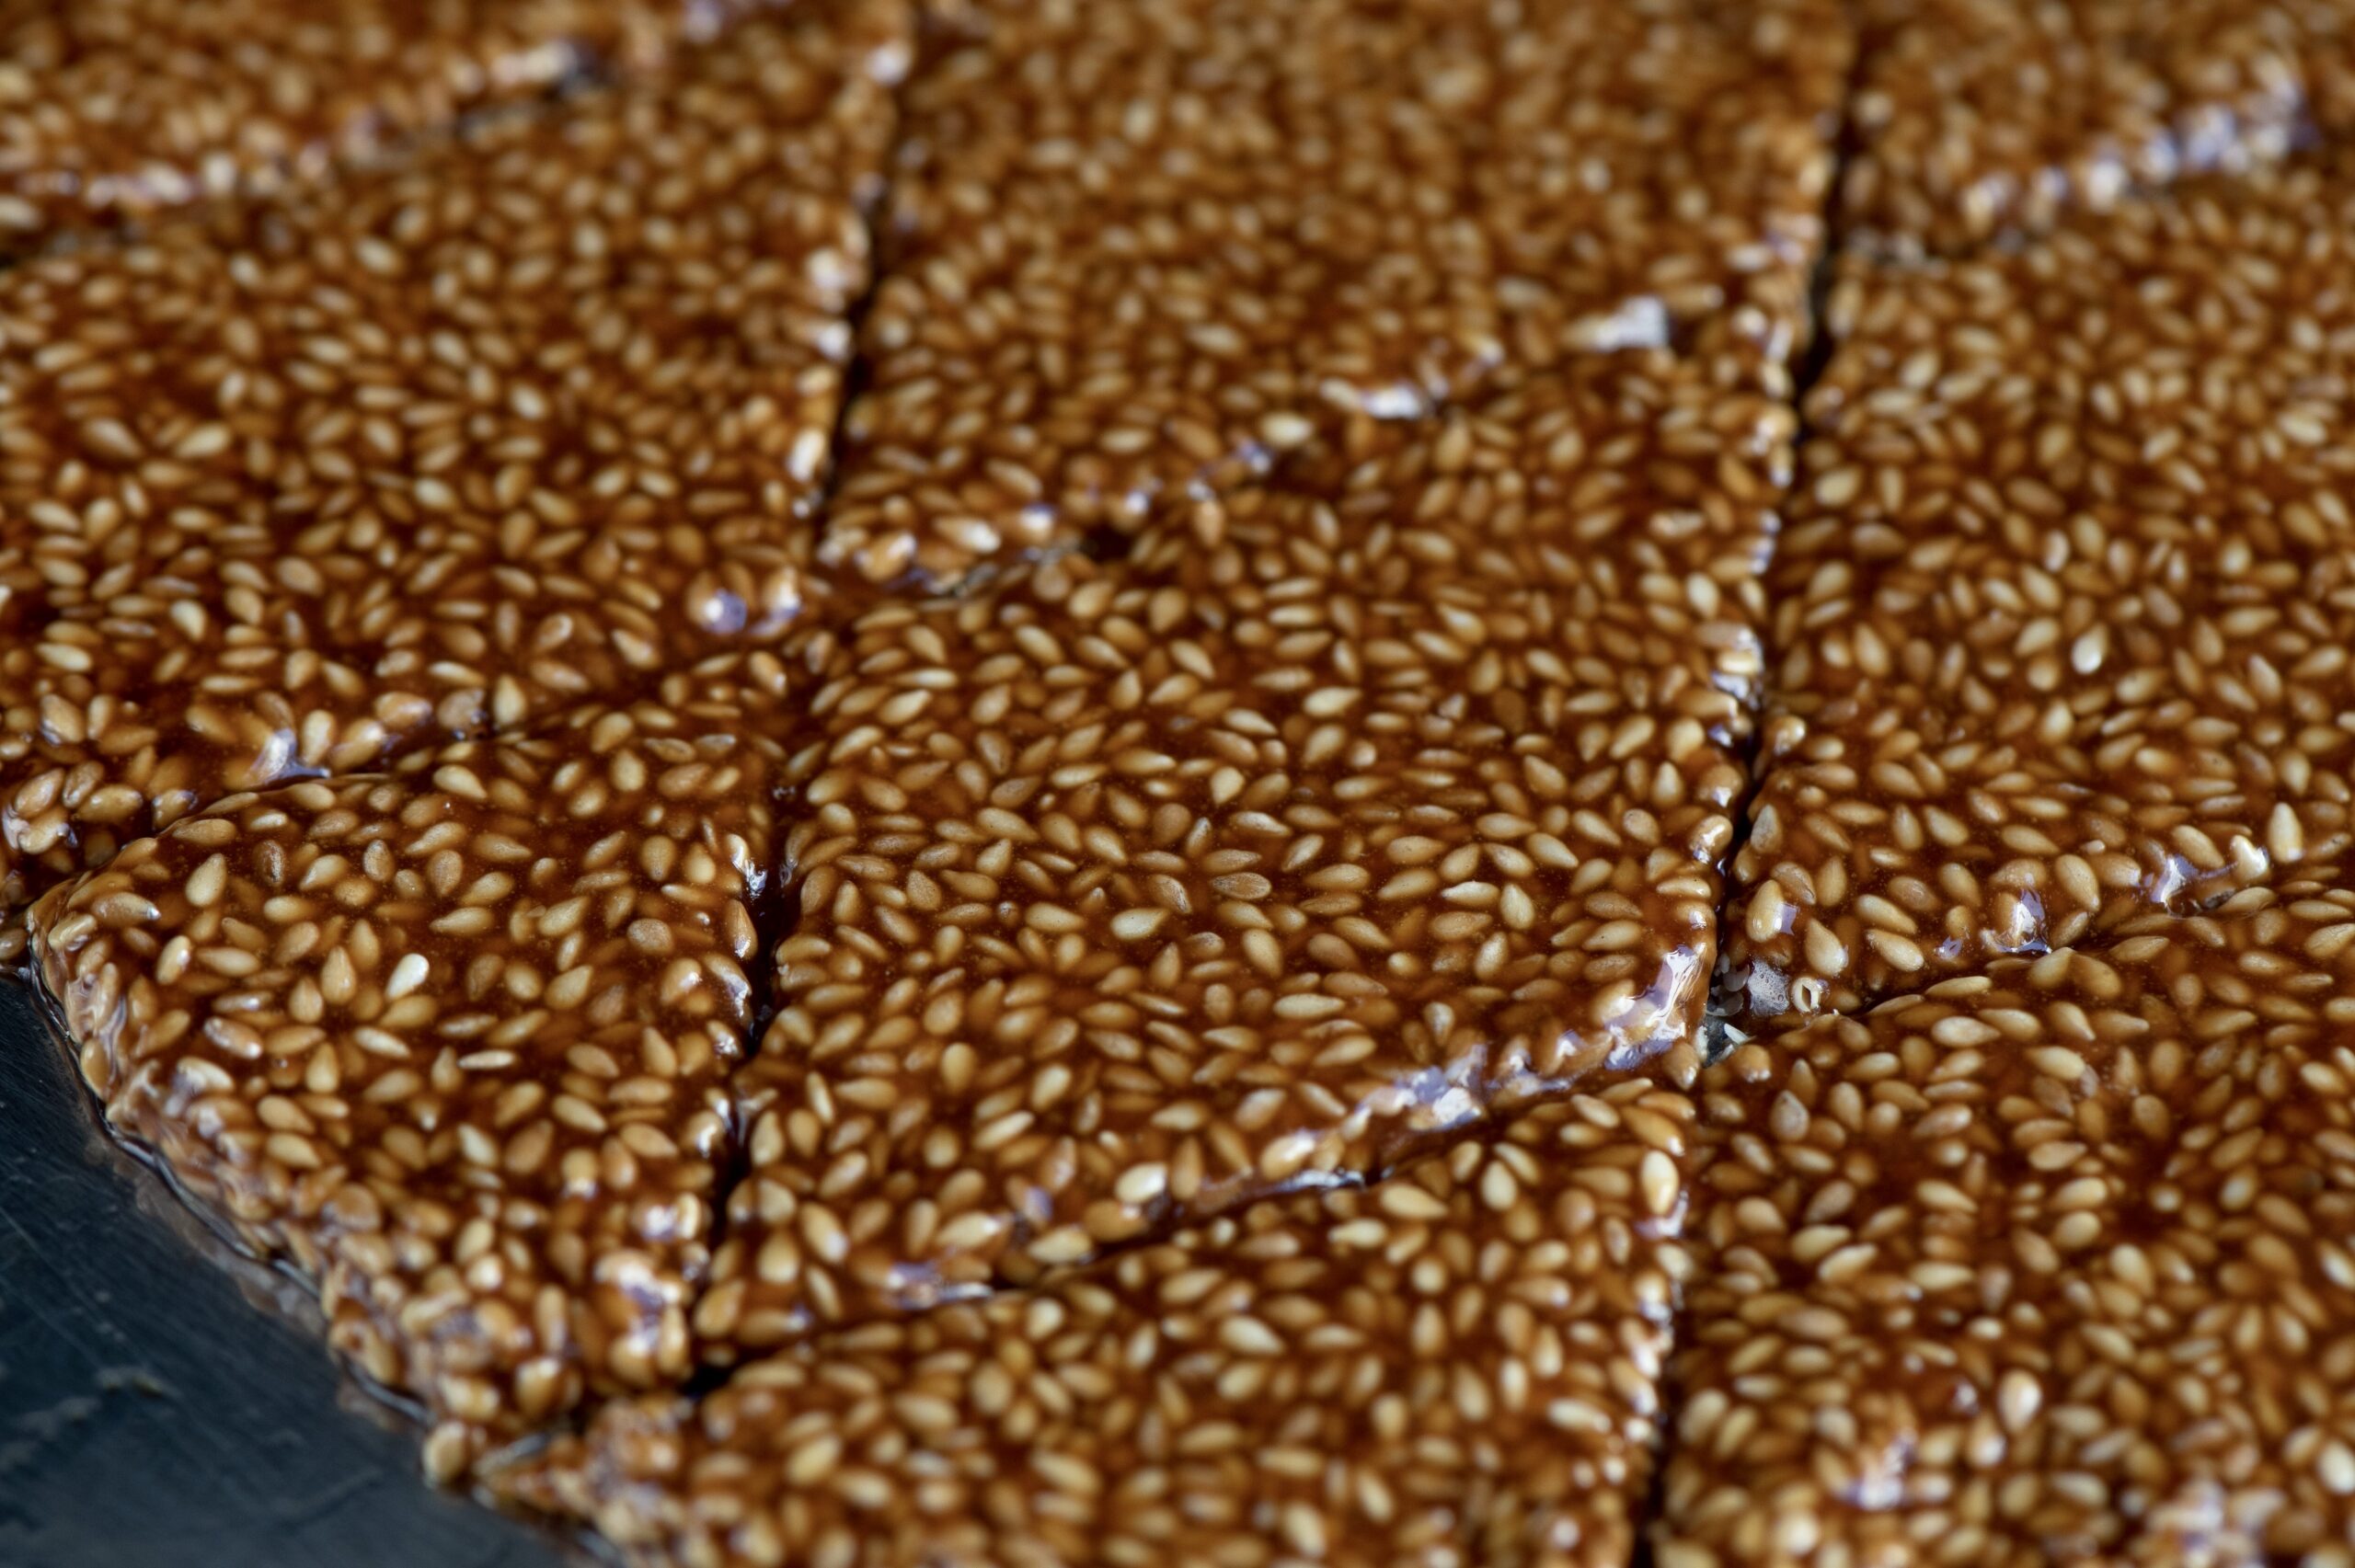
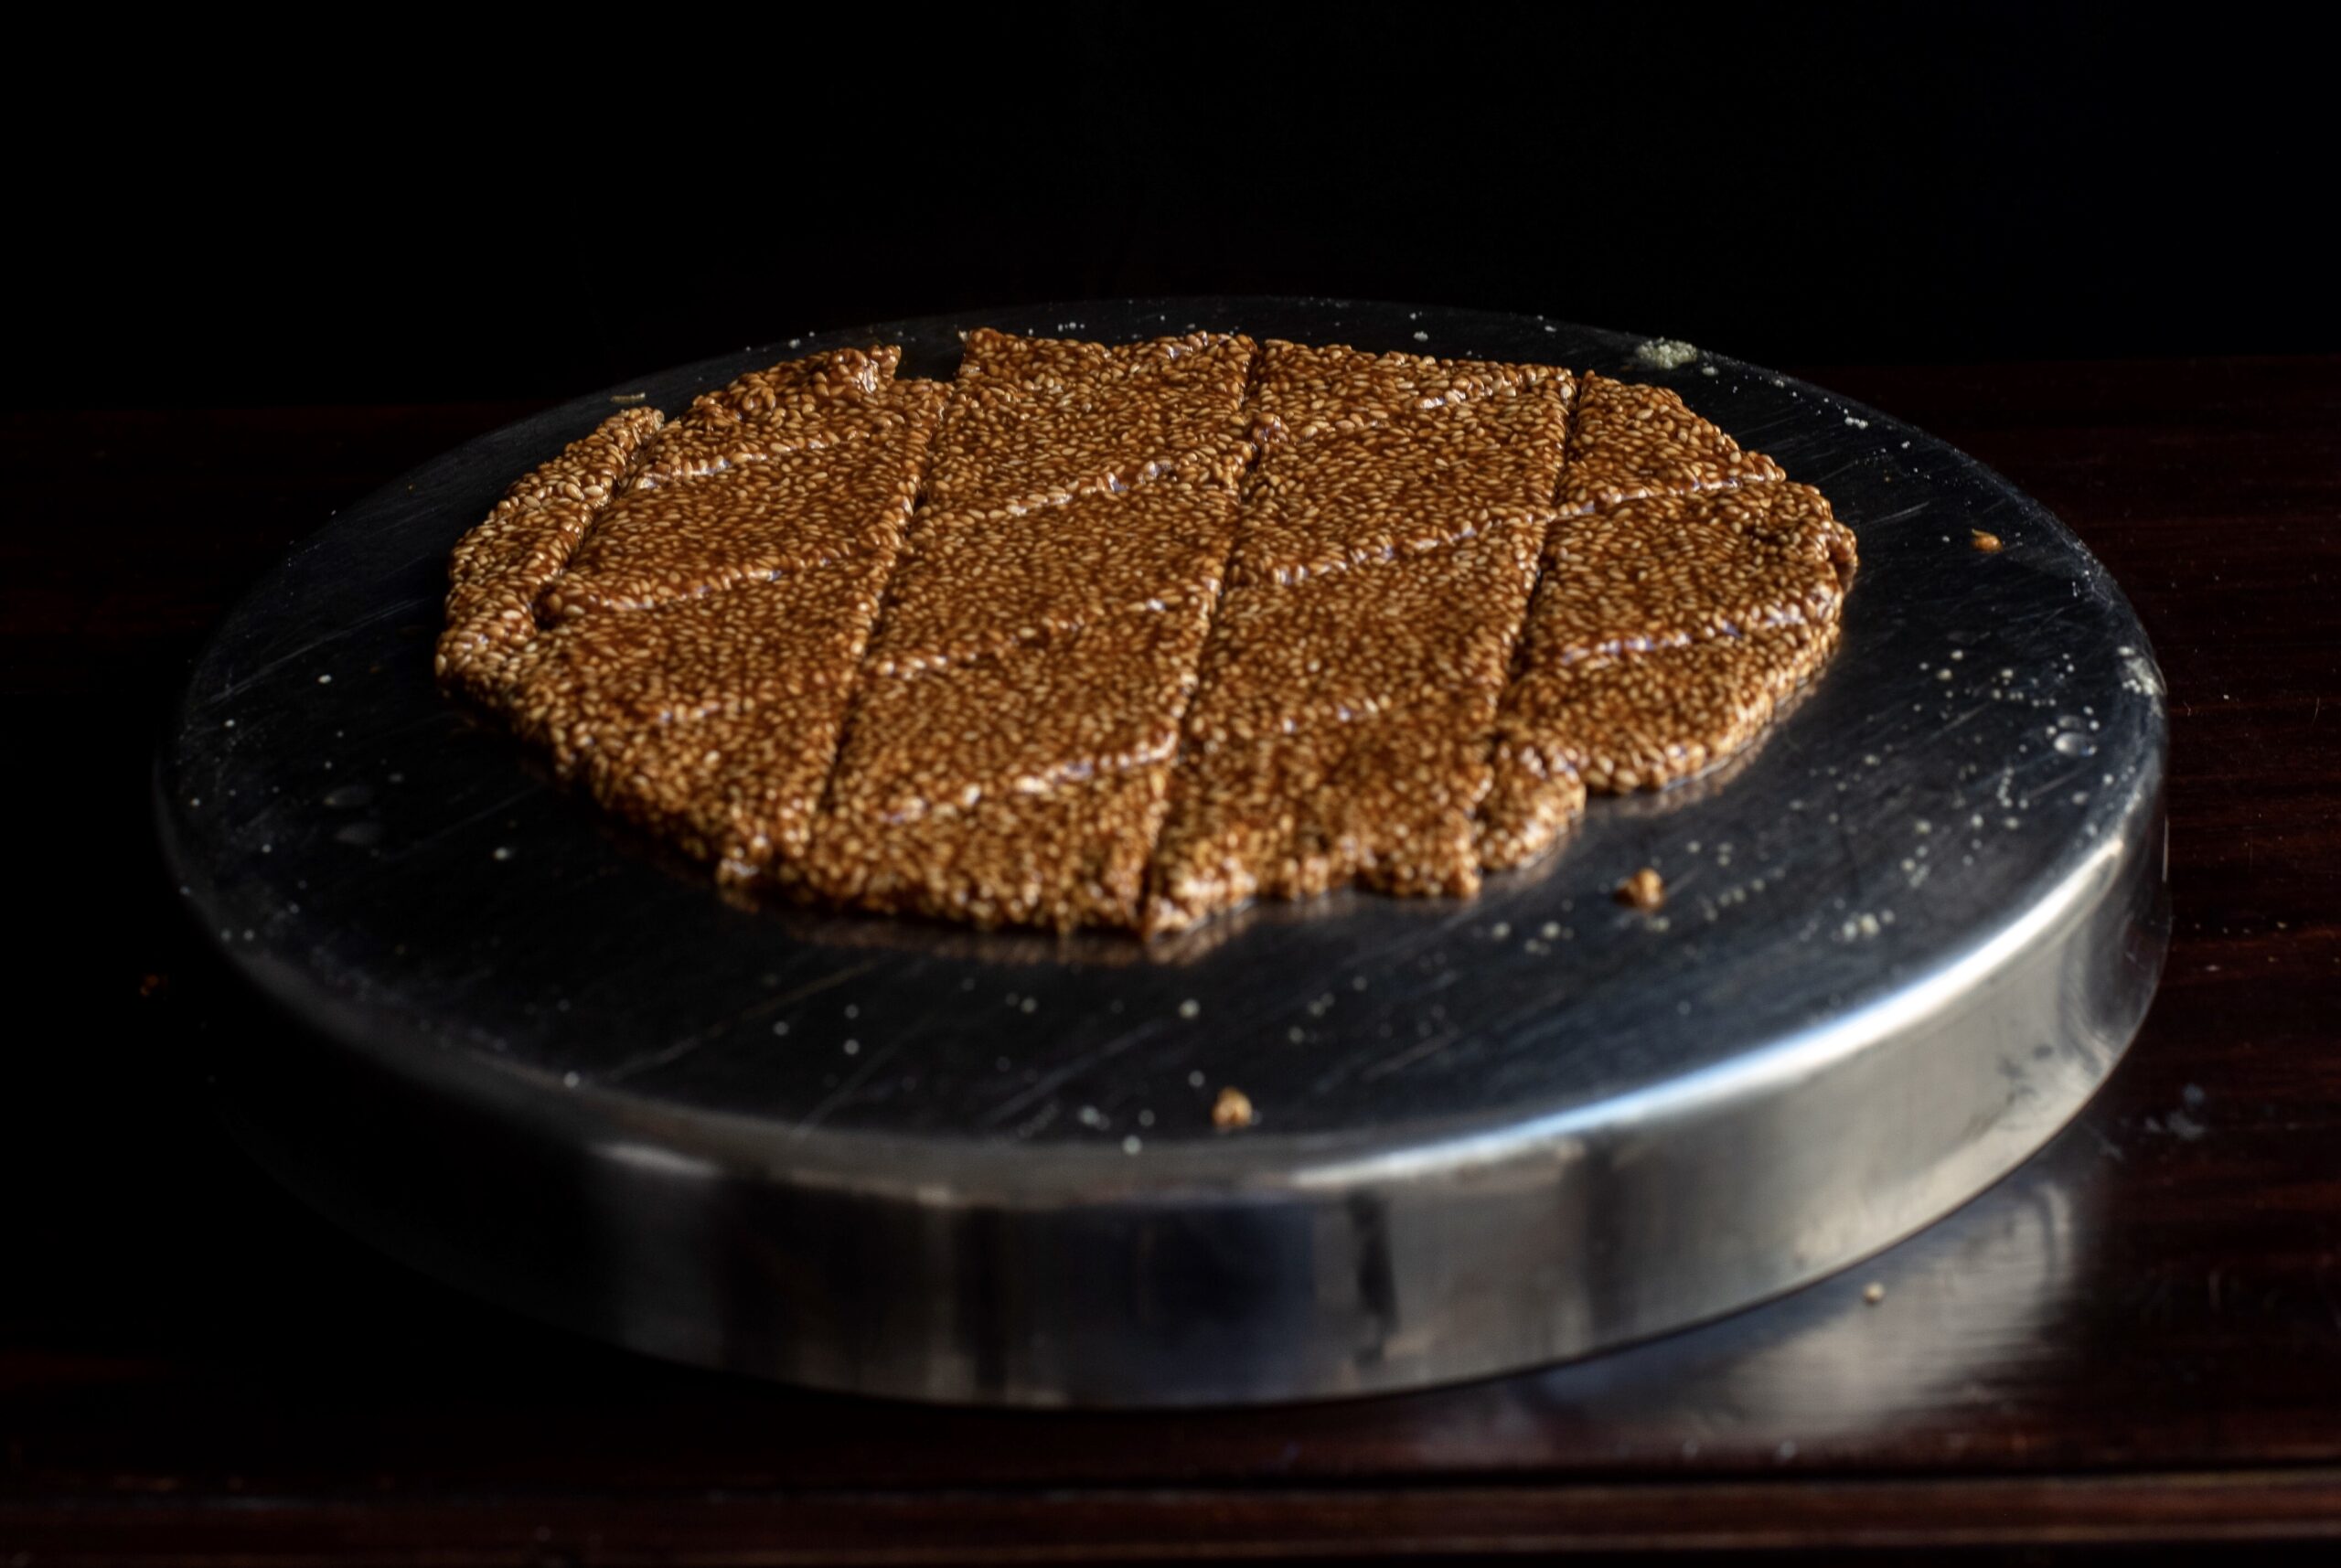
Drop the mixture onto the greased, overturned plate and immediately start to spread it out as thin as possible. You may need to use your fingers (dipped in water), while the rolling pin is coated with ghee. With this combination, try and spread it out in such a way that you mark lines for the pieces later.

Allow the spread mixture, striped with lines to form bars, to cool. Once it has completely cooled, place the plate on the stove and warm from below. The entire piece will come out as a whole. Break it along the marked lines. Store in an airtight container.
 

Here’s another process video: re:store sesame brittle video – 2

I want to say that this til-ka-chikki is easy to make, but I’ve already told you honestly that it’s not. But I love a challenge in the kitchen, and try again and again to better then perfect my dishes. Even with my photoshoots, it’s the same. When the end result comes out well, it’s all the more delicious when I know the effort that’s gone into it! Tell me how it goes when you try your hand at this dish. Wishing you and your loved ones a happy Sankranti!
 

In my previous post, I gave you a fresh spin on the classic dal dhokli, a dinner staple made with leftovers from lunch. In fact, the use of leftovers was so well-designed in traditional cuisines that afternoon snacks would be planned in the morning, and dinnertime planned even while making lunch – and each would be built on the other. In India, no meal is complete without a sweet, and resourceful cooks through the generations also found ways to make sweet snacks using the remnants of a previous meal. Which brings me to the second dish of the promised trio in this series.

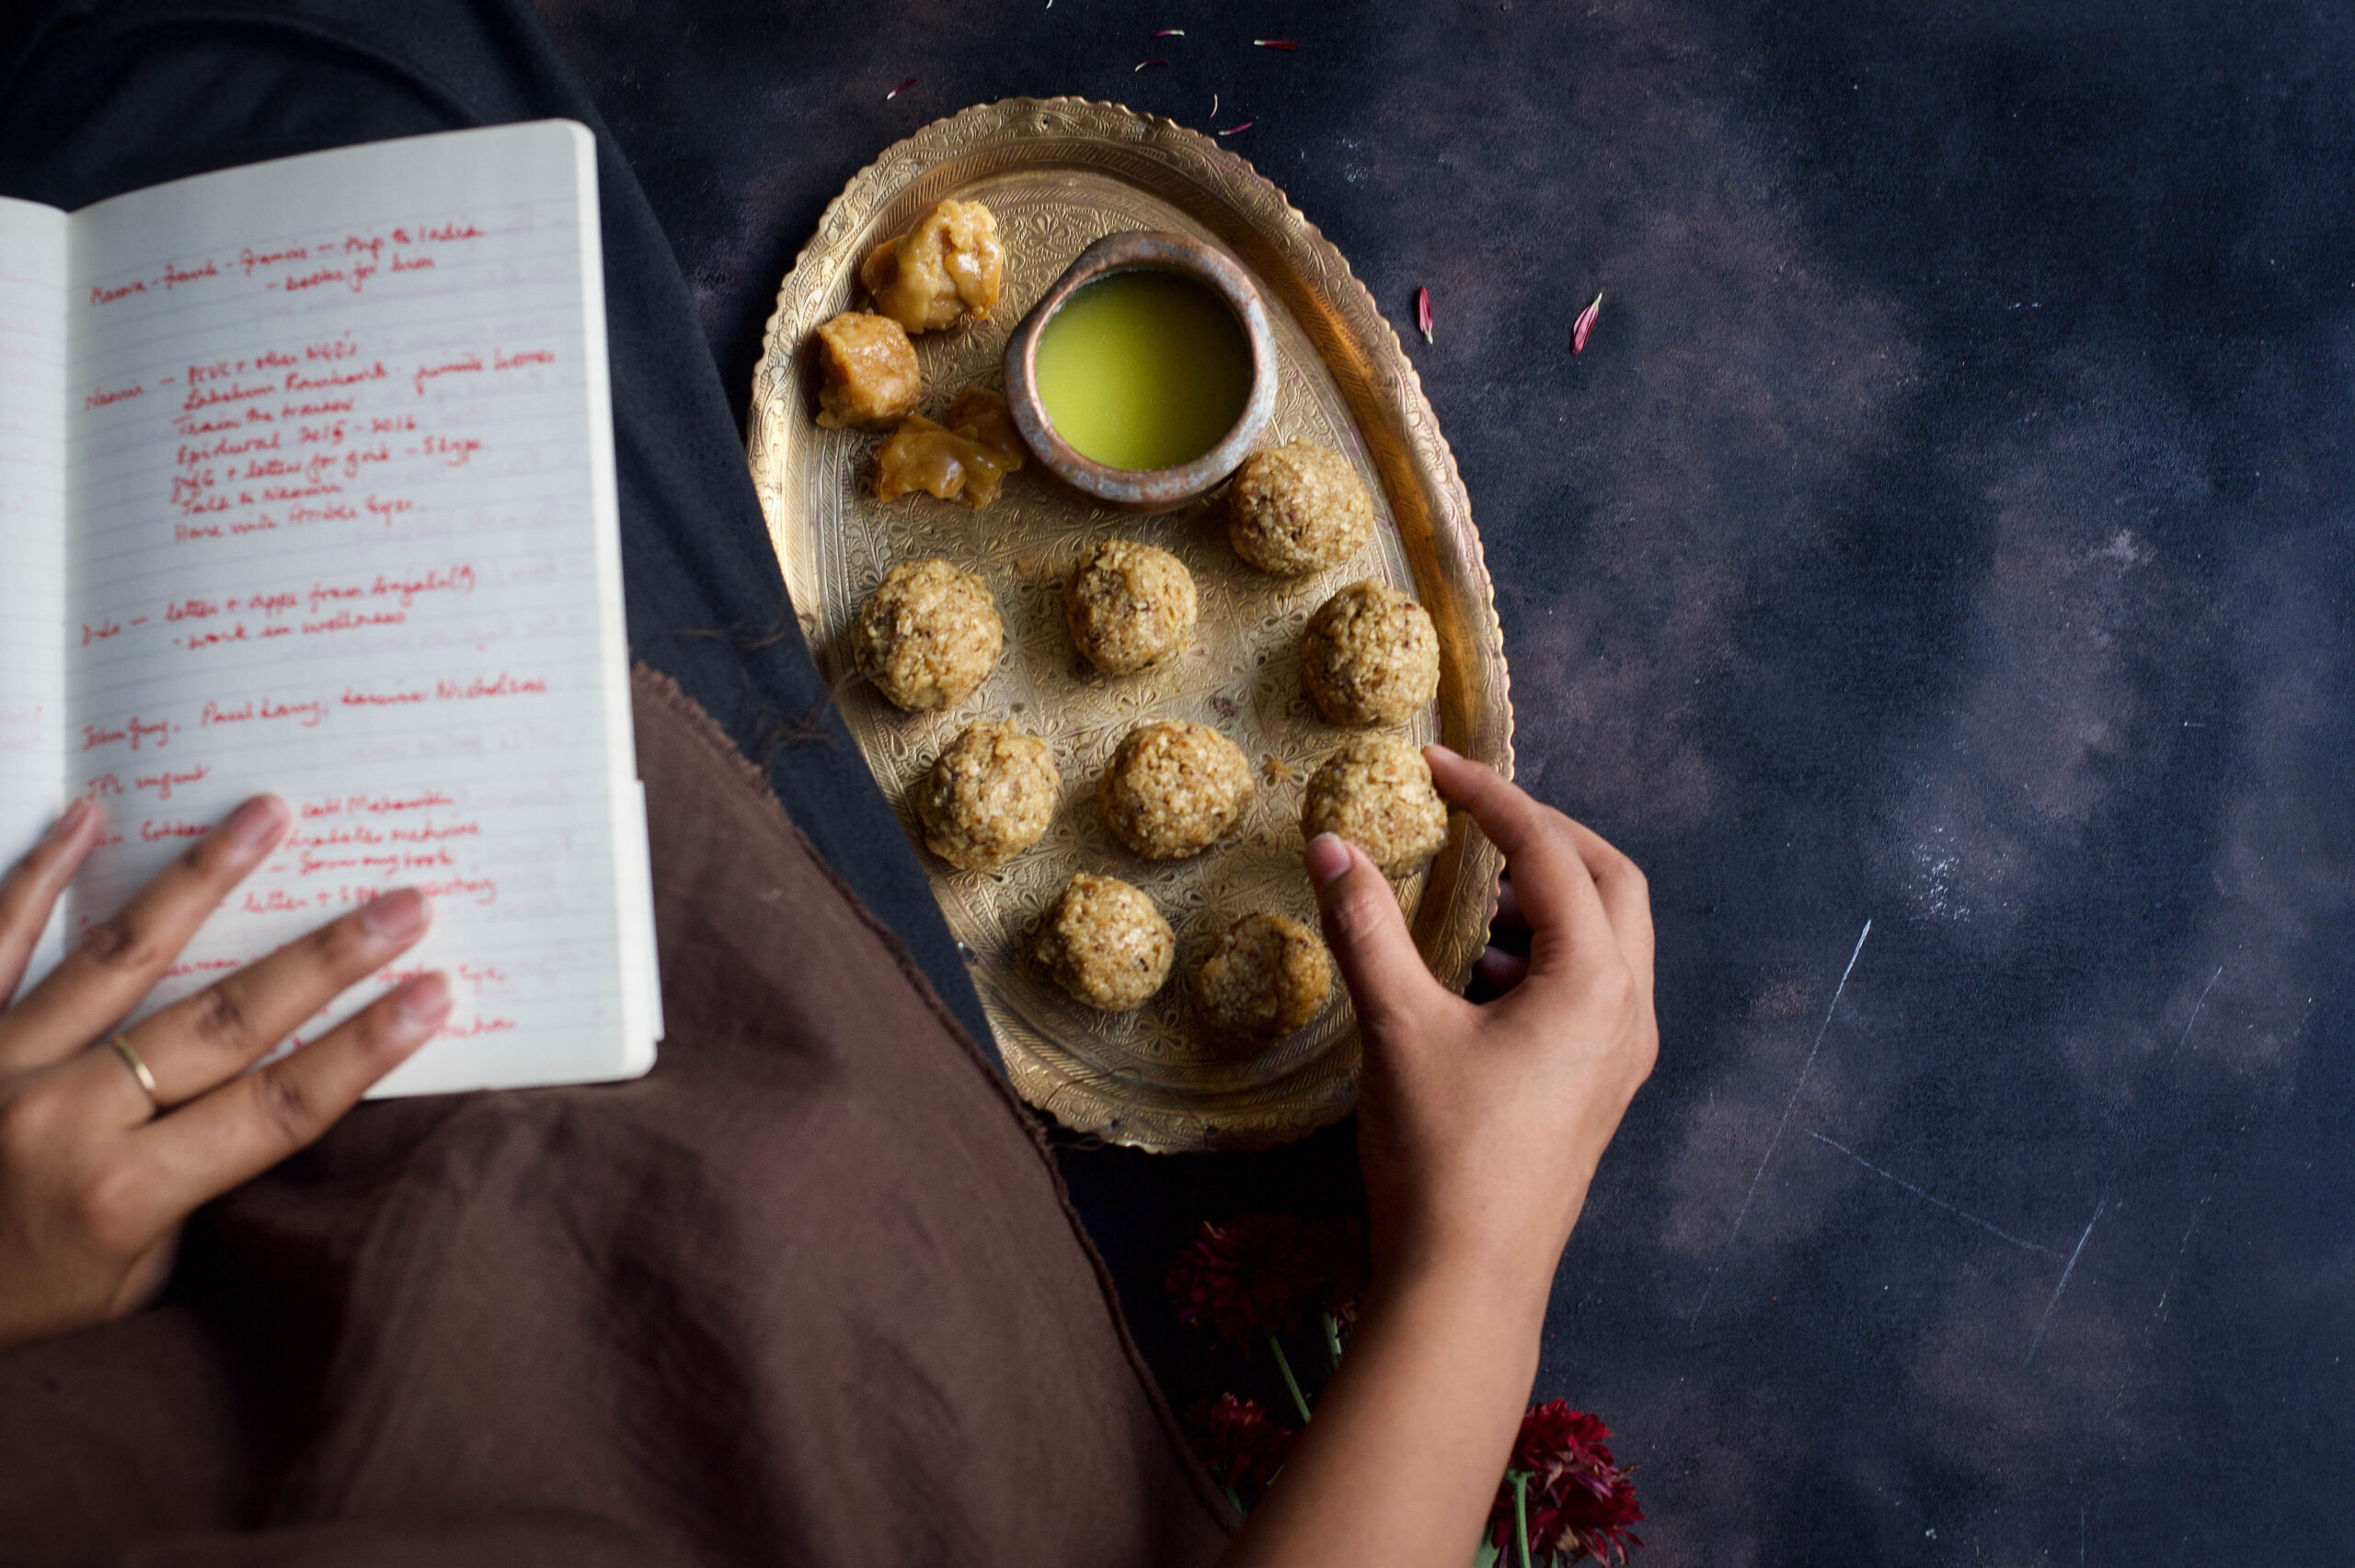
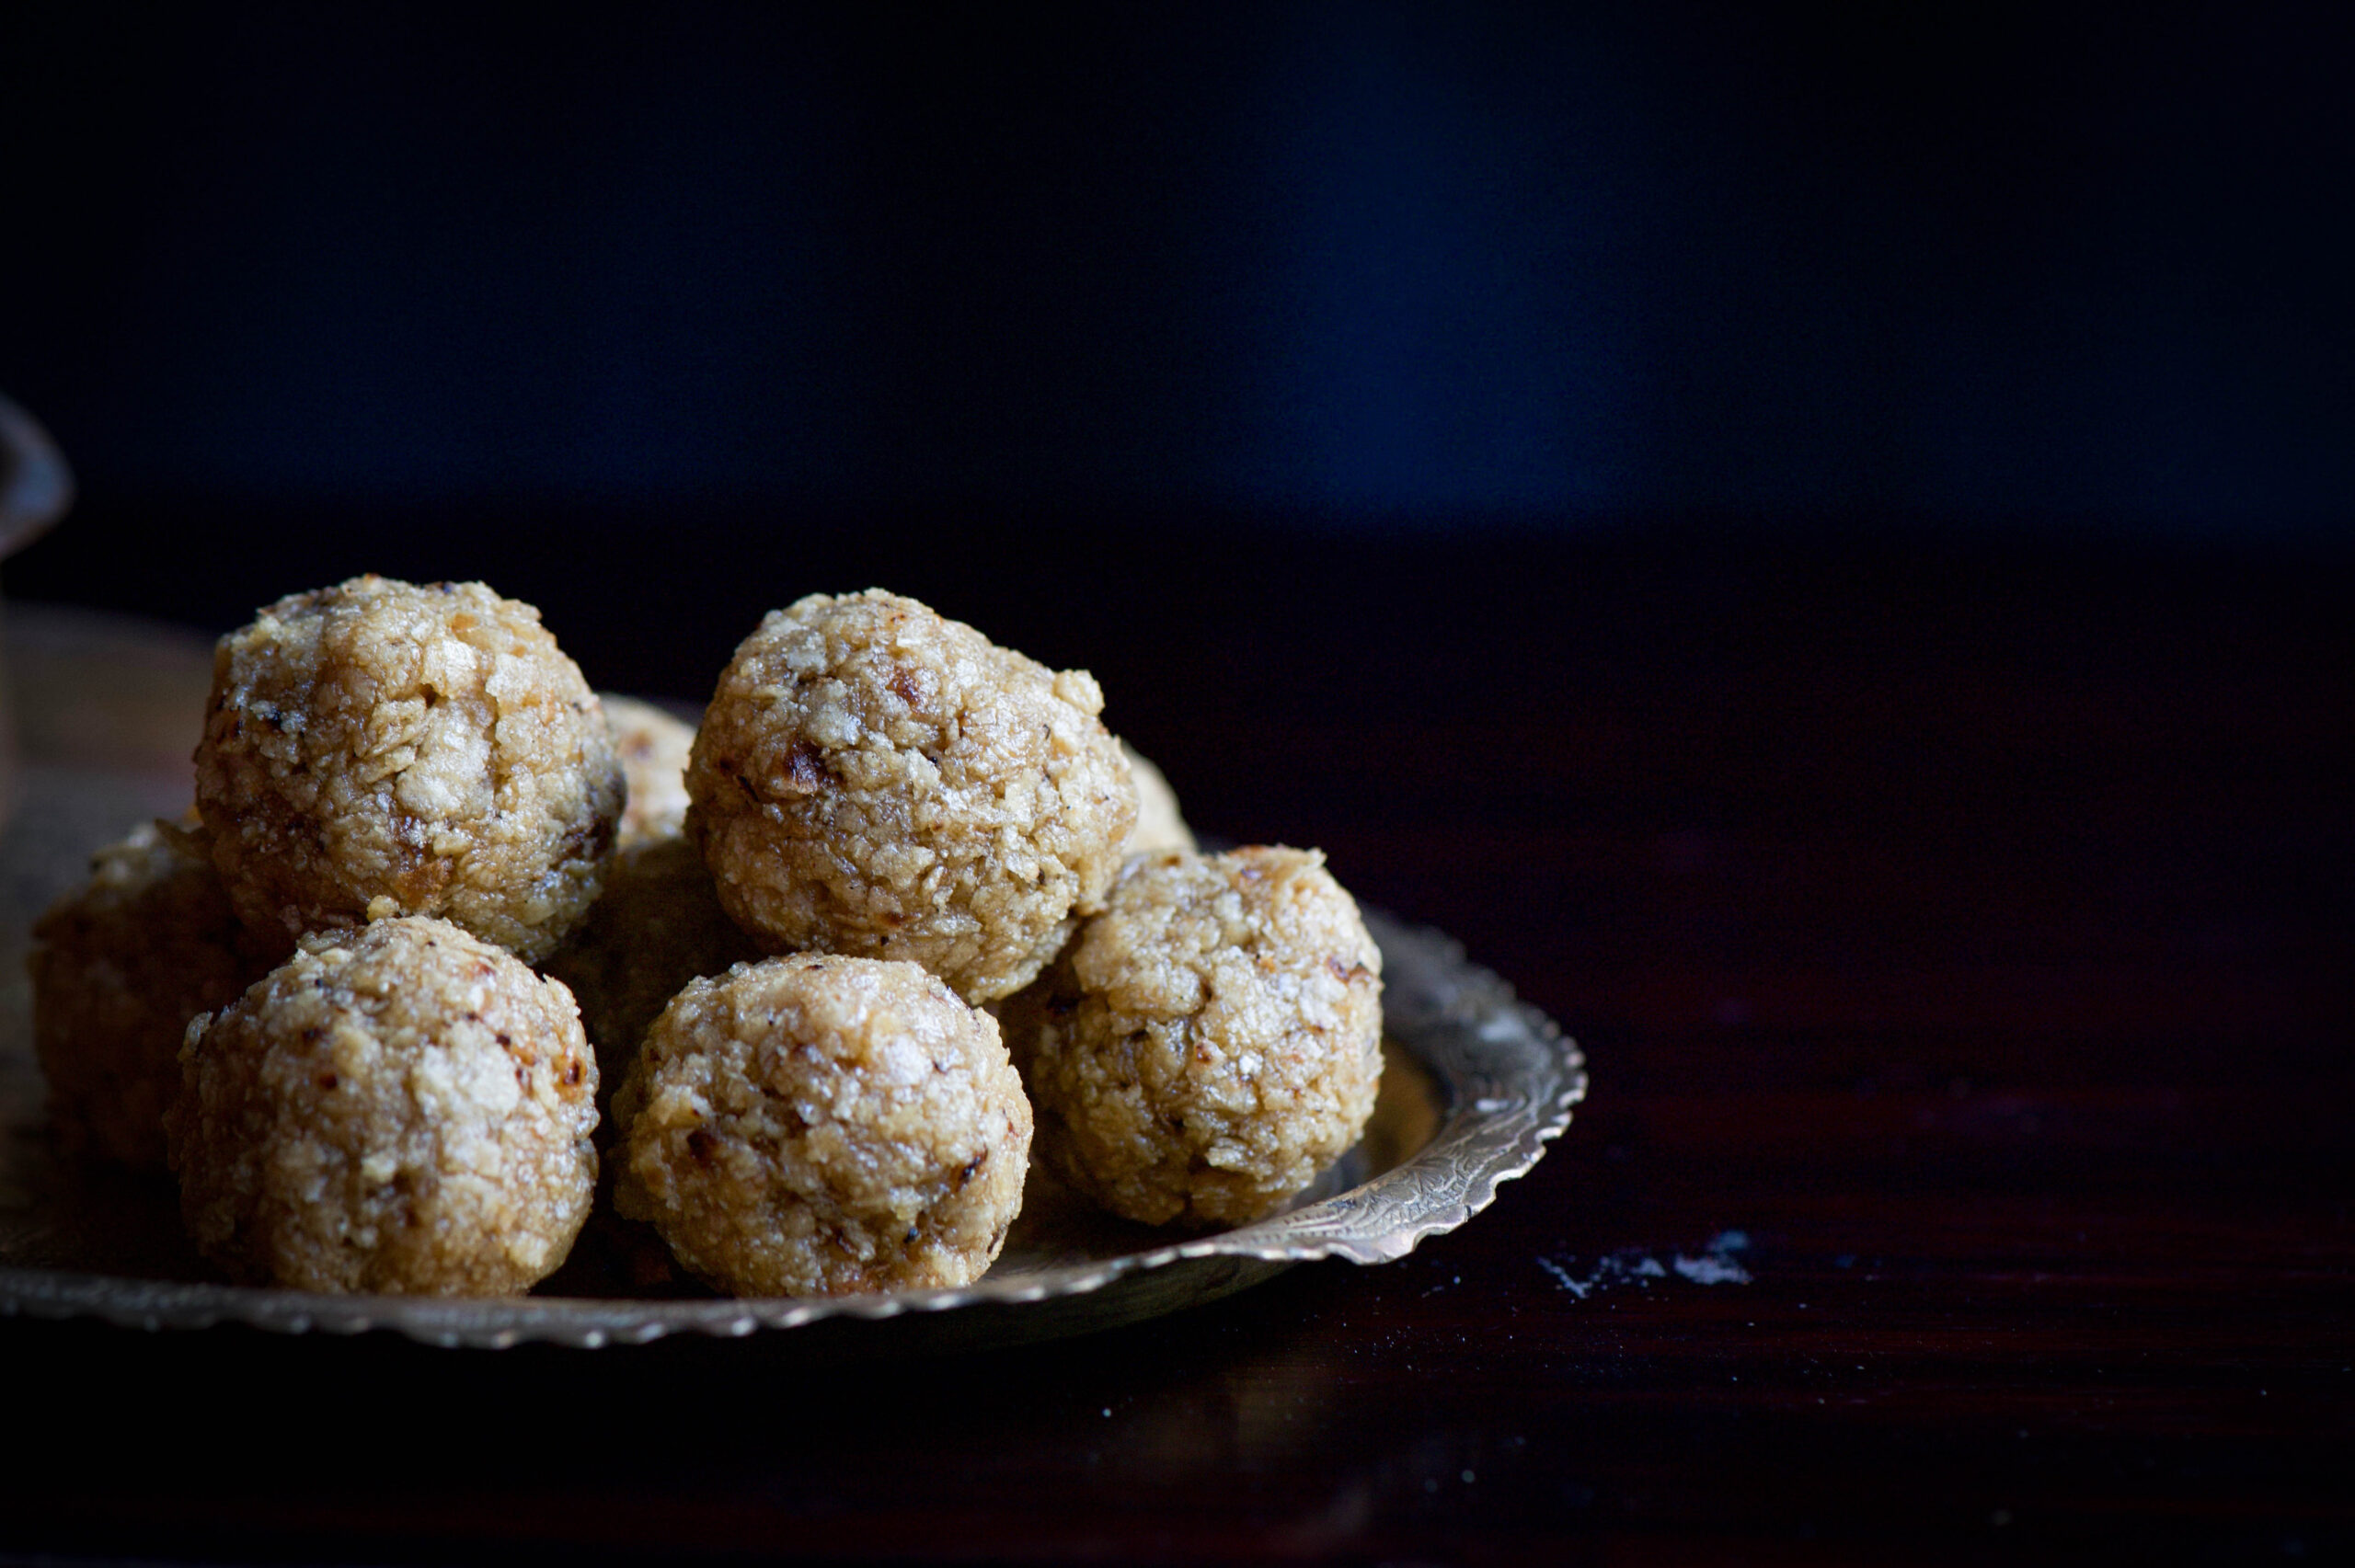
While I was growing up, my mother would often cook a little extra dal and rotli in the morning. Some of it would go into the lunch thali, and some of that would go into the evening’s dal dhokli. And she often found a way to make sure that there was just a little extra rotli to be turned into a wonderful after-school treat: rotli na ladoo.

Just as leftover-based dishes developed to fulfil practical needs like conserving supplies, snacks were often made at home because inexpensive candies and savouries were not freely available like they are now. The Chennai of my childhood wasn’t as developed as it is now, and we didn’t have the chips and junk food that the kids of today enjoy. But I consider myself all the more fortunate for it. From an early age, I was exposed to a culinary ethic that has kept me in good stead. Some of its features include: never wasting food as it is precious, using healthy and nourishing ingredients, and not tasting food while it is being cooked as it is first an offering to god (this trained me to be able to read a dish using sight and smell).

Today, my mother has difficulties with her eyesight but still cooks for herself and her family, using her hands and trusting the fragrances. There is so much wisdom in her kitchen, and when I visit her I still learn new things – and moreover, there are certain dishes, like her sabudana khichdi, that never taste quite the same to me when anyone else makes it. My daughter today makes those same demands of me, for things that taste of my heart and my love.

My very resourceful mother even attended a baking class when I was kid, a rarity in Chennai at the time. So our homemade snacks and sweets included some rather exotic treats occasionally, but the rotli na ladoo holds a place in my heart like no other. There are only three ingredients, and it takes all of three minutes to make it. Well, there is a fourth, secret ingredient. And you can guess what that is.


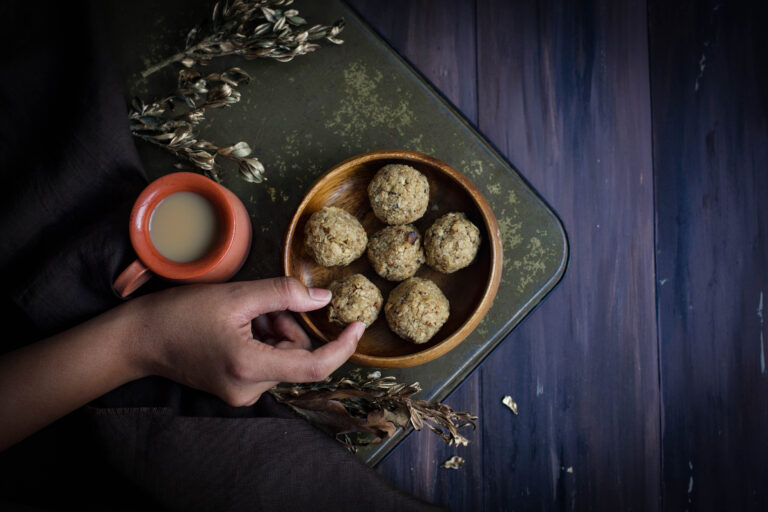
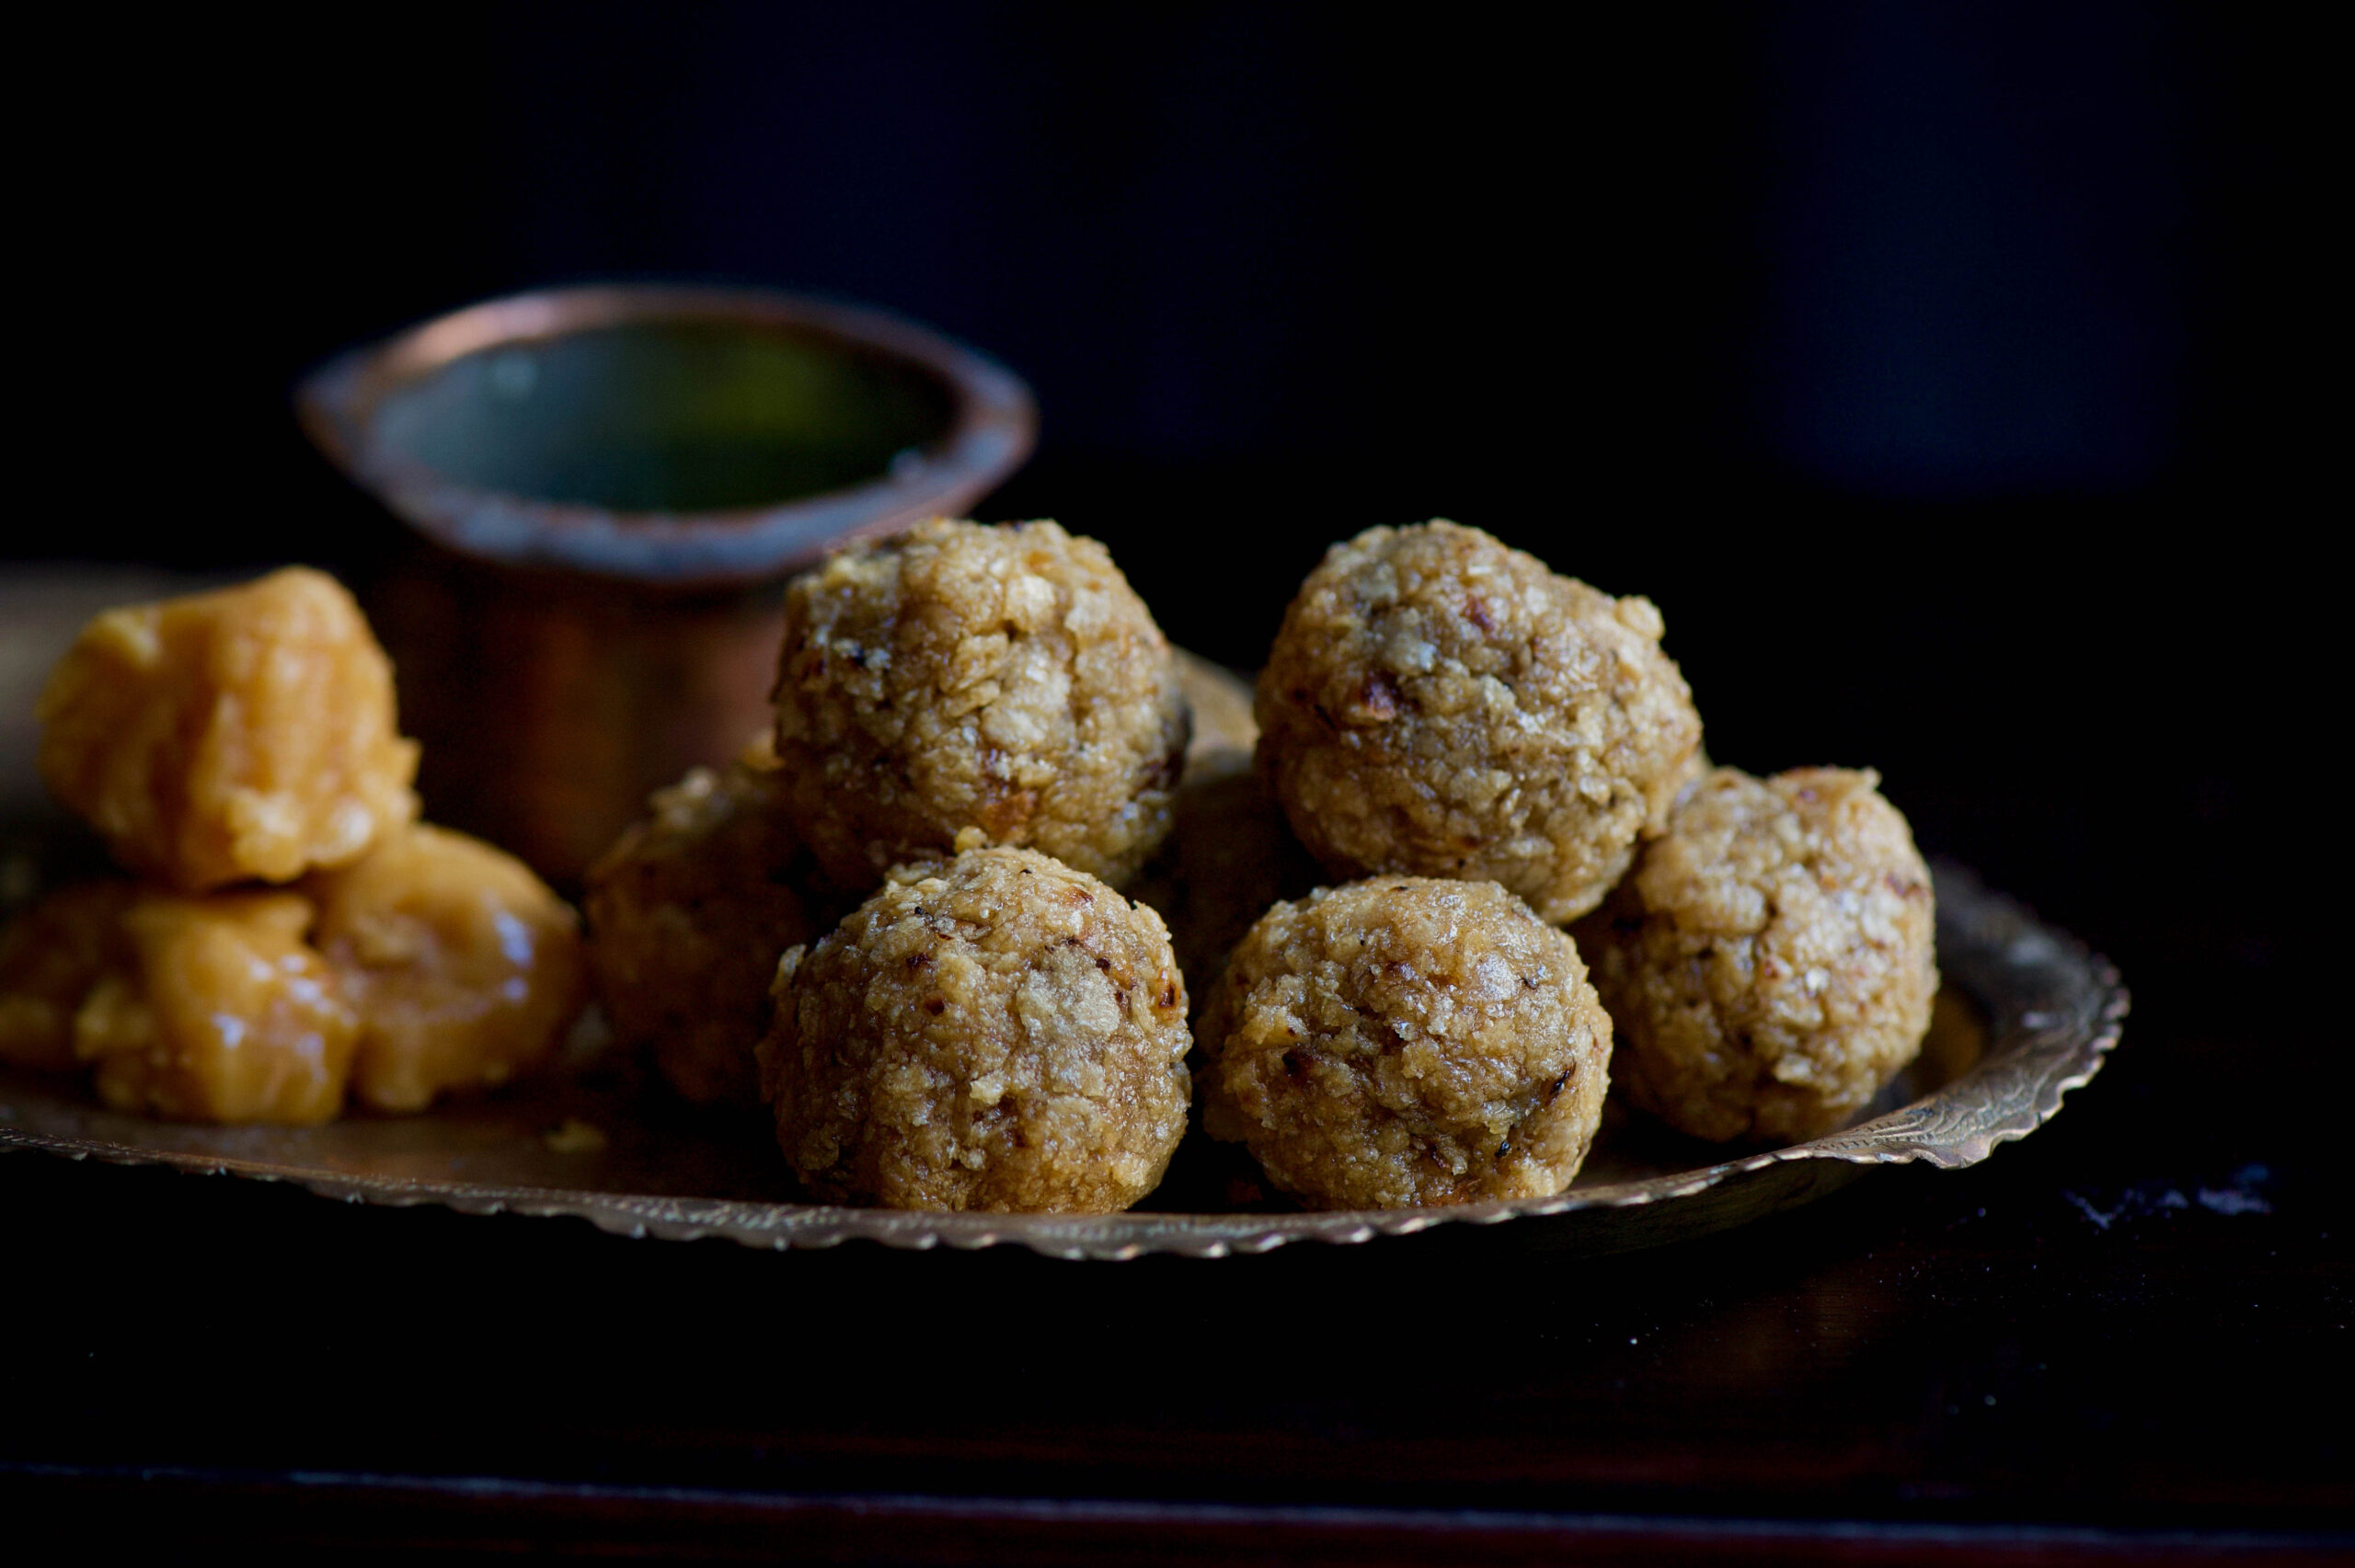
Rotli Na Ladoo

(Yield: approximately 10 pieces)

Ingredients

2 cups rotli (torn into tiny pieces or coarsely blended)

1/3 cup jaggery

1 tablespoon ghee

In a pan, add the ghee. Once it has warmed, add the jaggery. Allow it to melt, stirring continuously on a medium-low flame, making sure it doesn’t get burnt. When it starts to bubble after a few minutes, add the rotli bits and turn off the flame.

Once you’ve added the rotli pieces, mix everything properly. Now, it’s time to use your hands. Grease your palms and bind a handful of the hot rotli mixture together. Gently press between your palms to shape into a somewhat rounded shape, then very gently roll it. Be careful, as it may crumble. It’s as simple as that, but if you’re having trouble shaping the balls, you can eat the well-blended mixture in a bowl. It will taste the same, but will require utensils! Allow to cool, and enjoy.

The above three-ingredient method is assuming that you already have rotlis prepared. If you don’t, and are making them from scratch, the ingredients and method are below. Rotlis are essentially theplas without the masala and yoghurt, so if you’ve tried your hand at the recipes in this post on Gujarati breads, you should find this easy.

Don’t forget that if you have lots of leftovers from the method below, you can always make yourself some delicious traditional dal dhokli, or eat it with lavender shrikhand. The possibilities for breads are endless!


Rotli

Ingredients

(Yields: 12)

1 cup whole wheat flour

A pinch of salt

1 tablespoon sunflower oil

100 ml water or less

In a mixing bowl, blend the flour and salt. Now add the 1 tablespoon of oil. Slowly add water and continue mixing, until you feel the mixture is slightly tougher to the touch than bread dough. You do not need to use the entire 100ml. Allow to sit for half an hour.

Make small lemon-sized balls. Dust both sides of the ball with flour. Now, dusting more flour as you do, roll out the dough into discs. Make them as thin as you can.

On a heated iron pan, place the rotli on a medium flame for 30-40 seconds. Then turn it to the other side. Now increase the flame, lift the pan, remove the rotli using tongs and place it directly on the flame. Allow it to fluff or rise. Flip over so it cooks on both sides. Set aside and spread ghee over it. Repeat until all the rotlis are made.

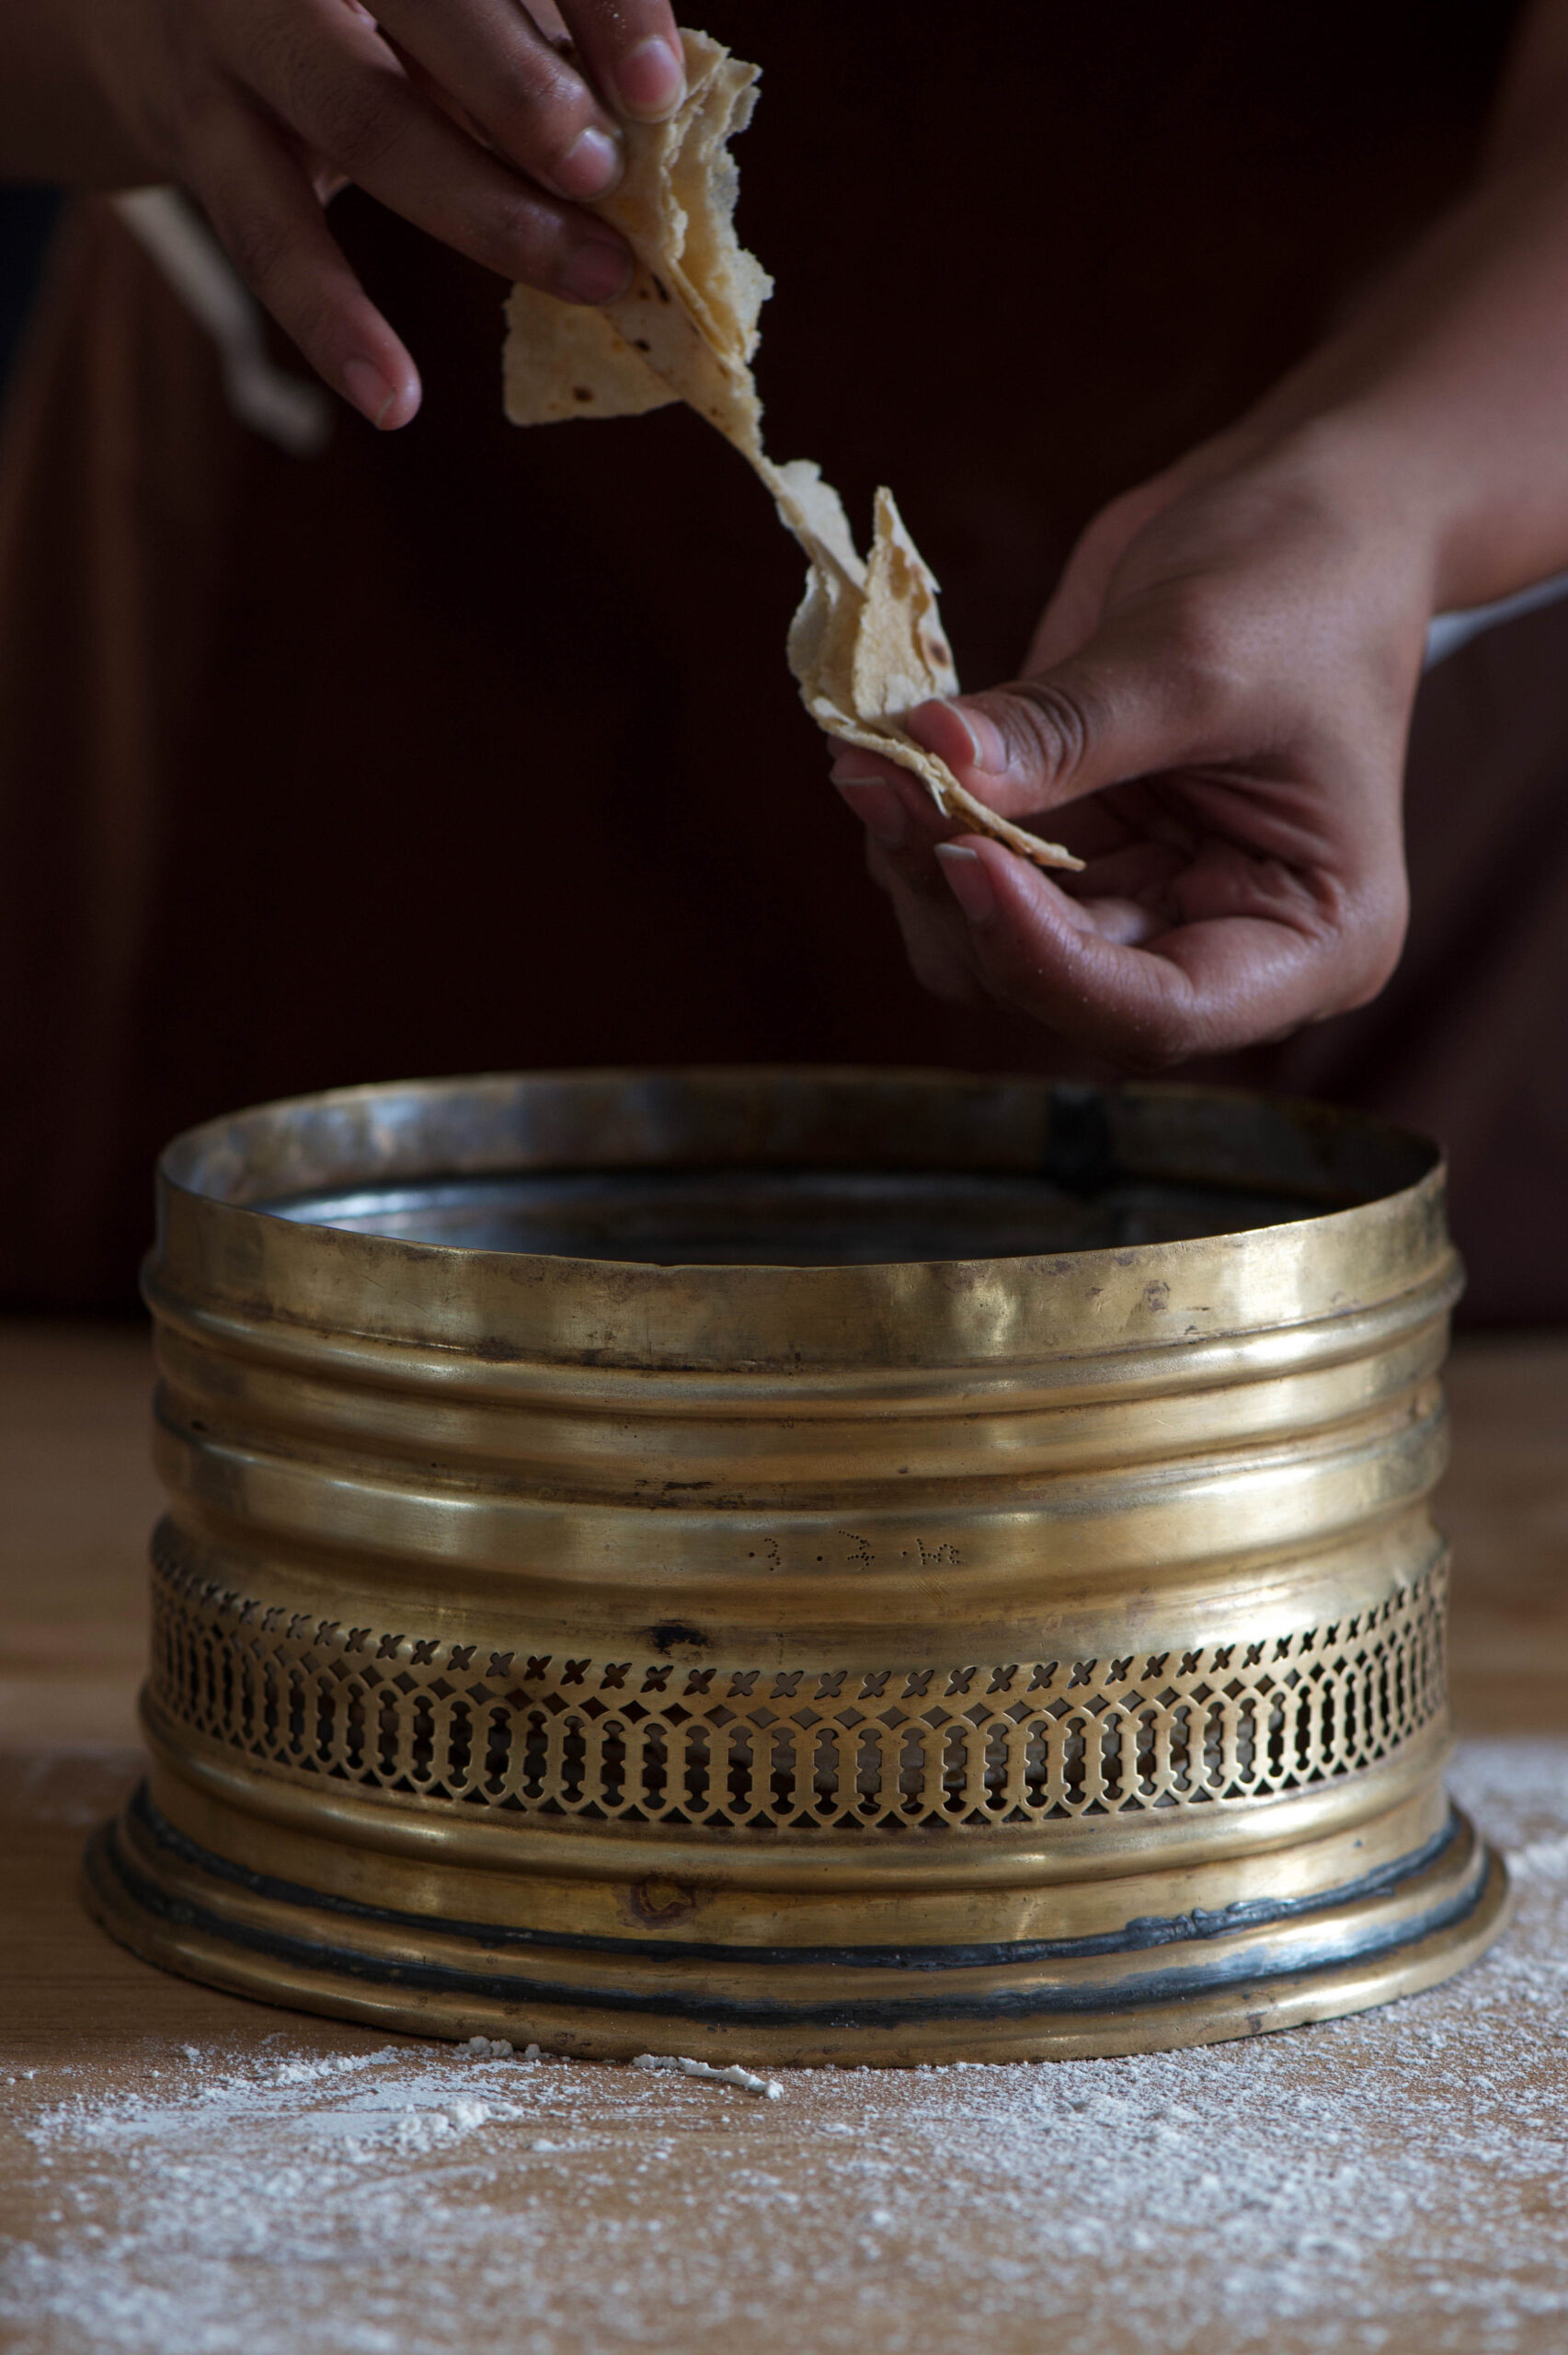
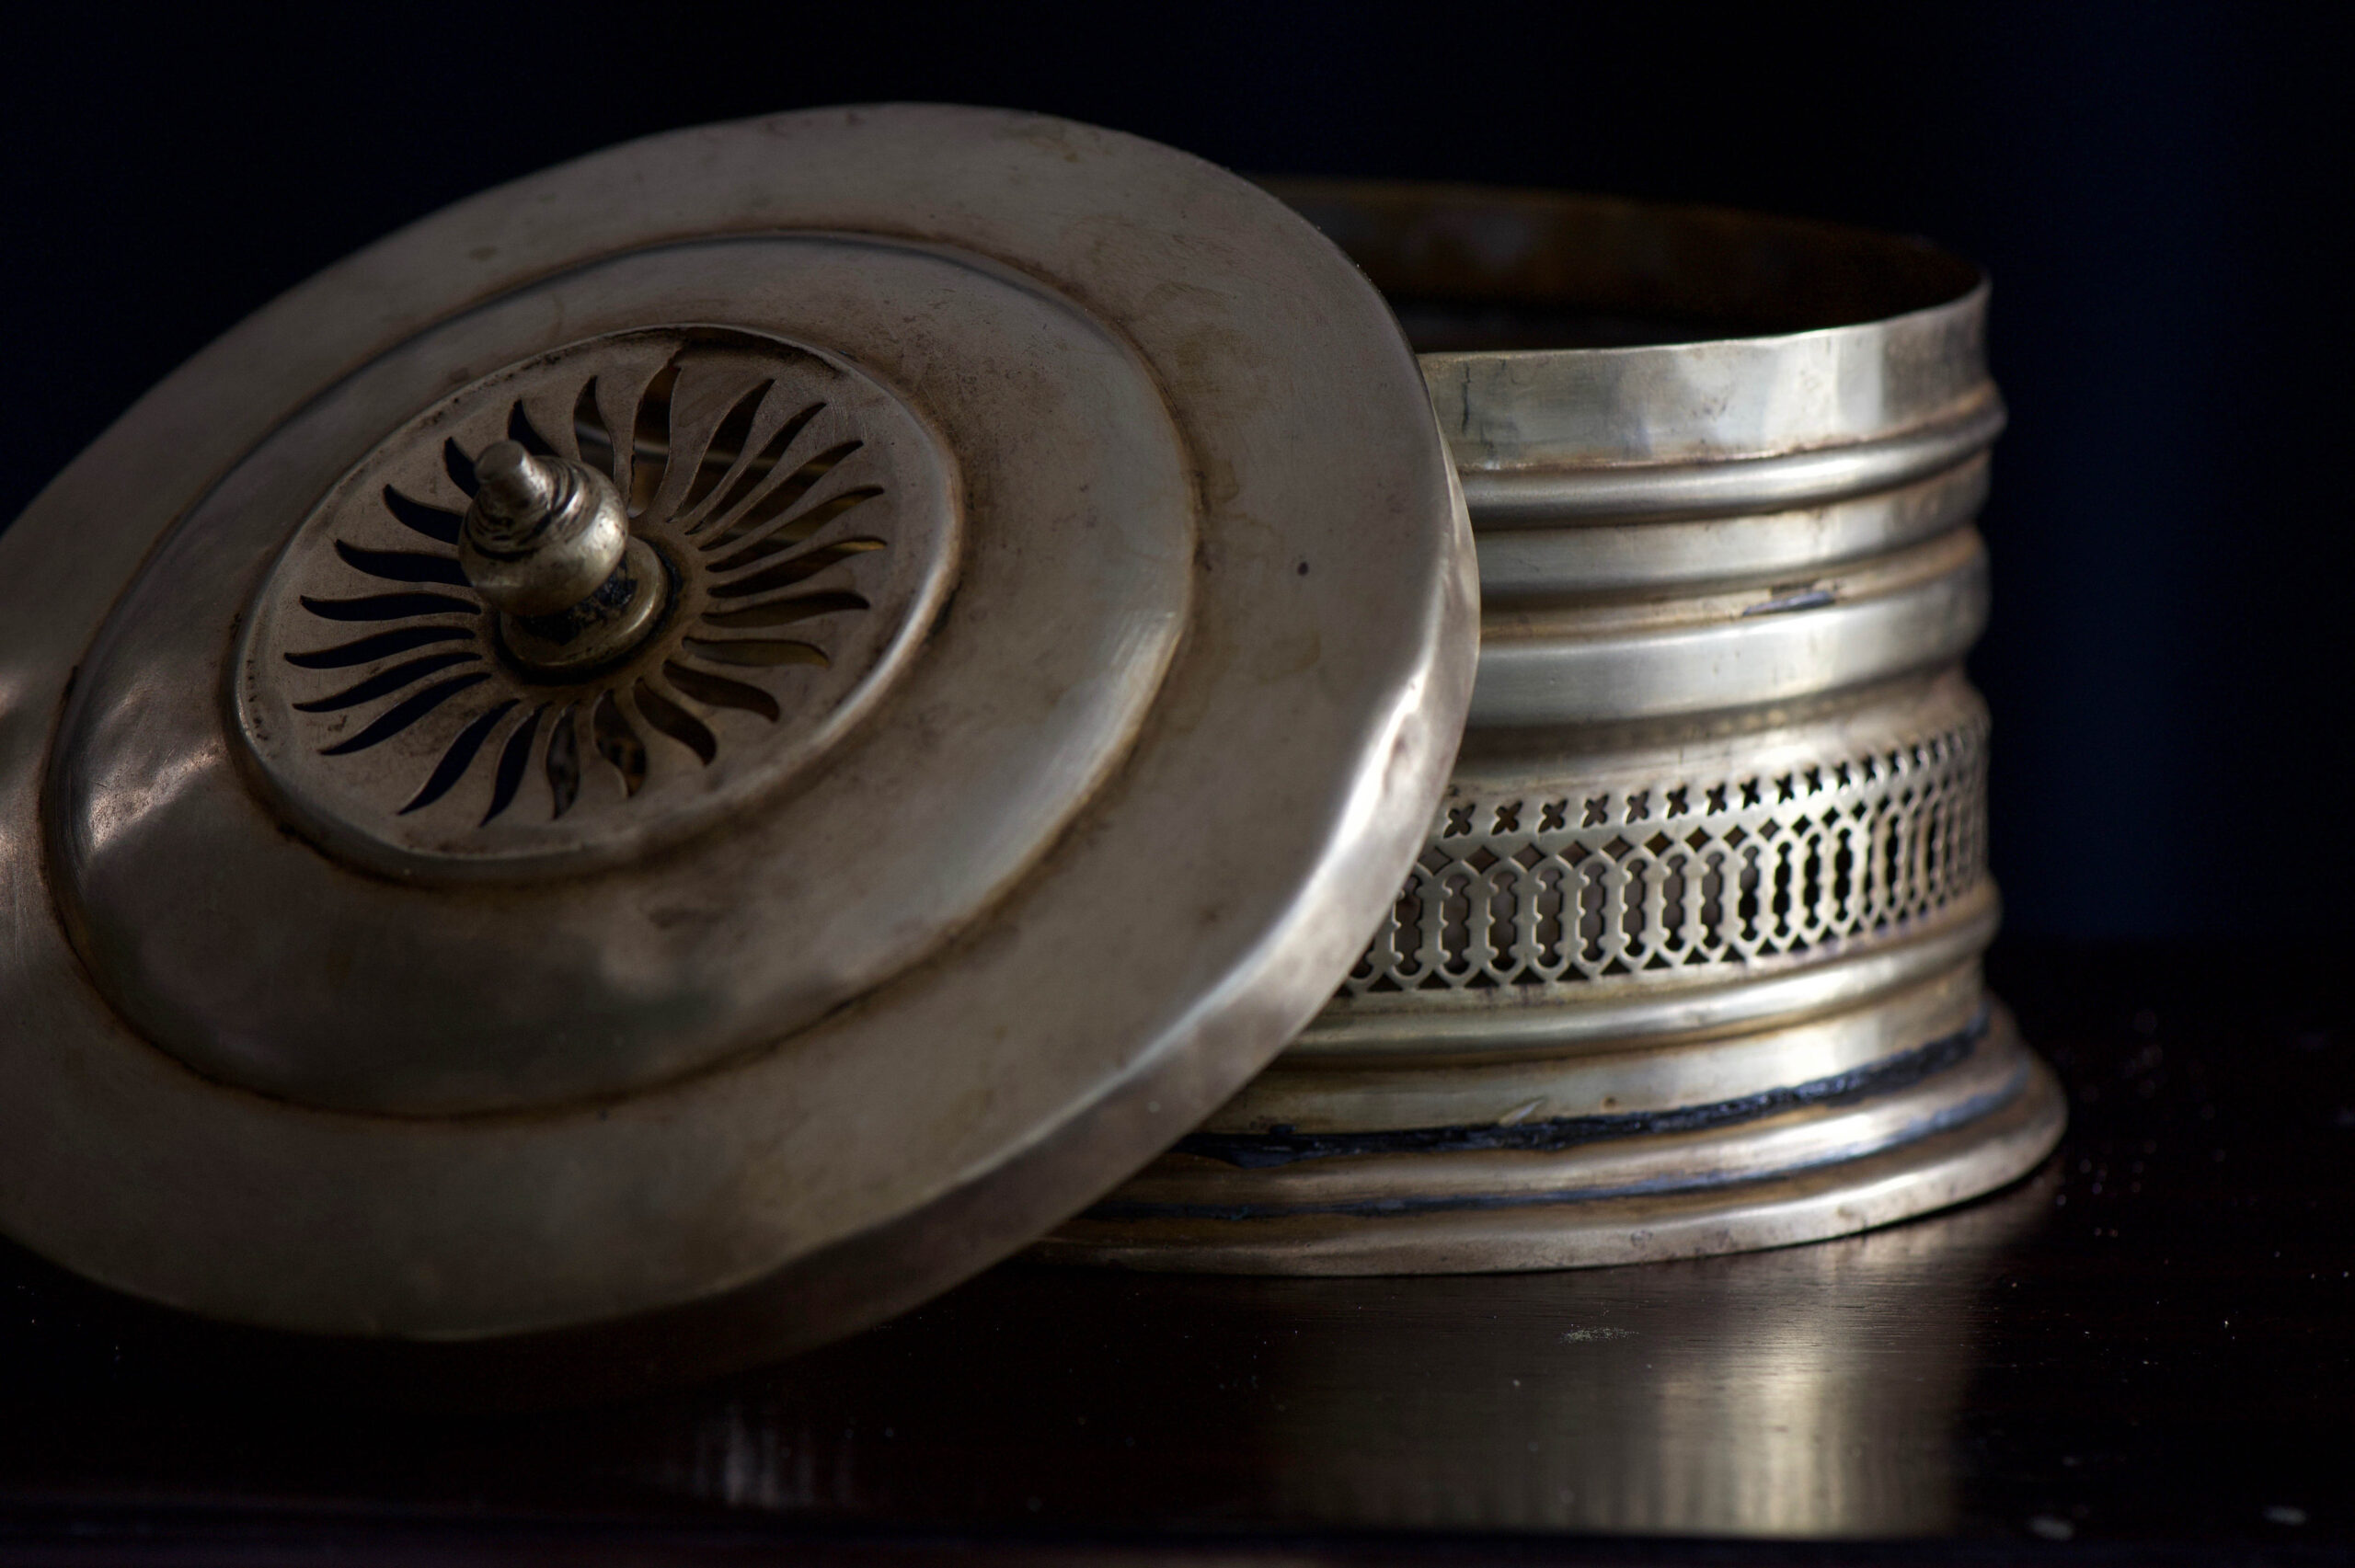
I like storing these ladoos in a “rotli no dabbo”, a traditional box used for breads. It looks beautiful, but also serves a practical purpose. Notice the intricate “jali” work that rings the box. This is a form of ventilation that cools the rotli and removes moisture.


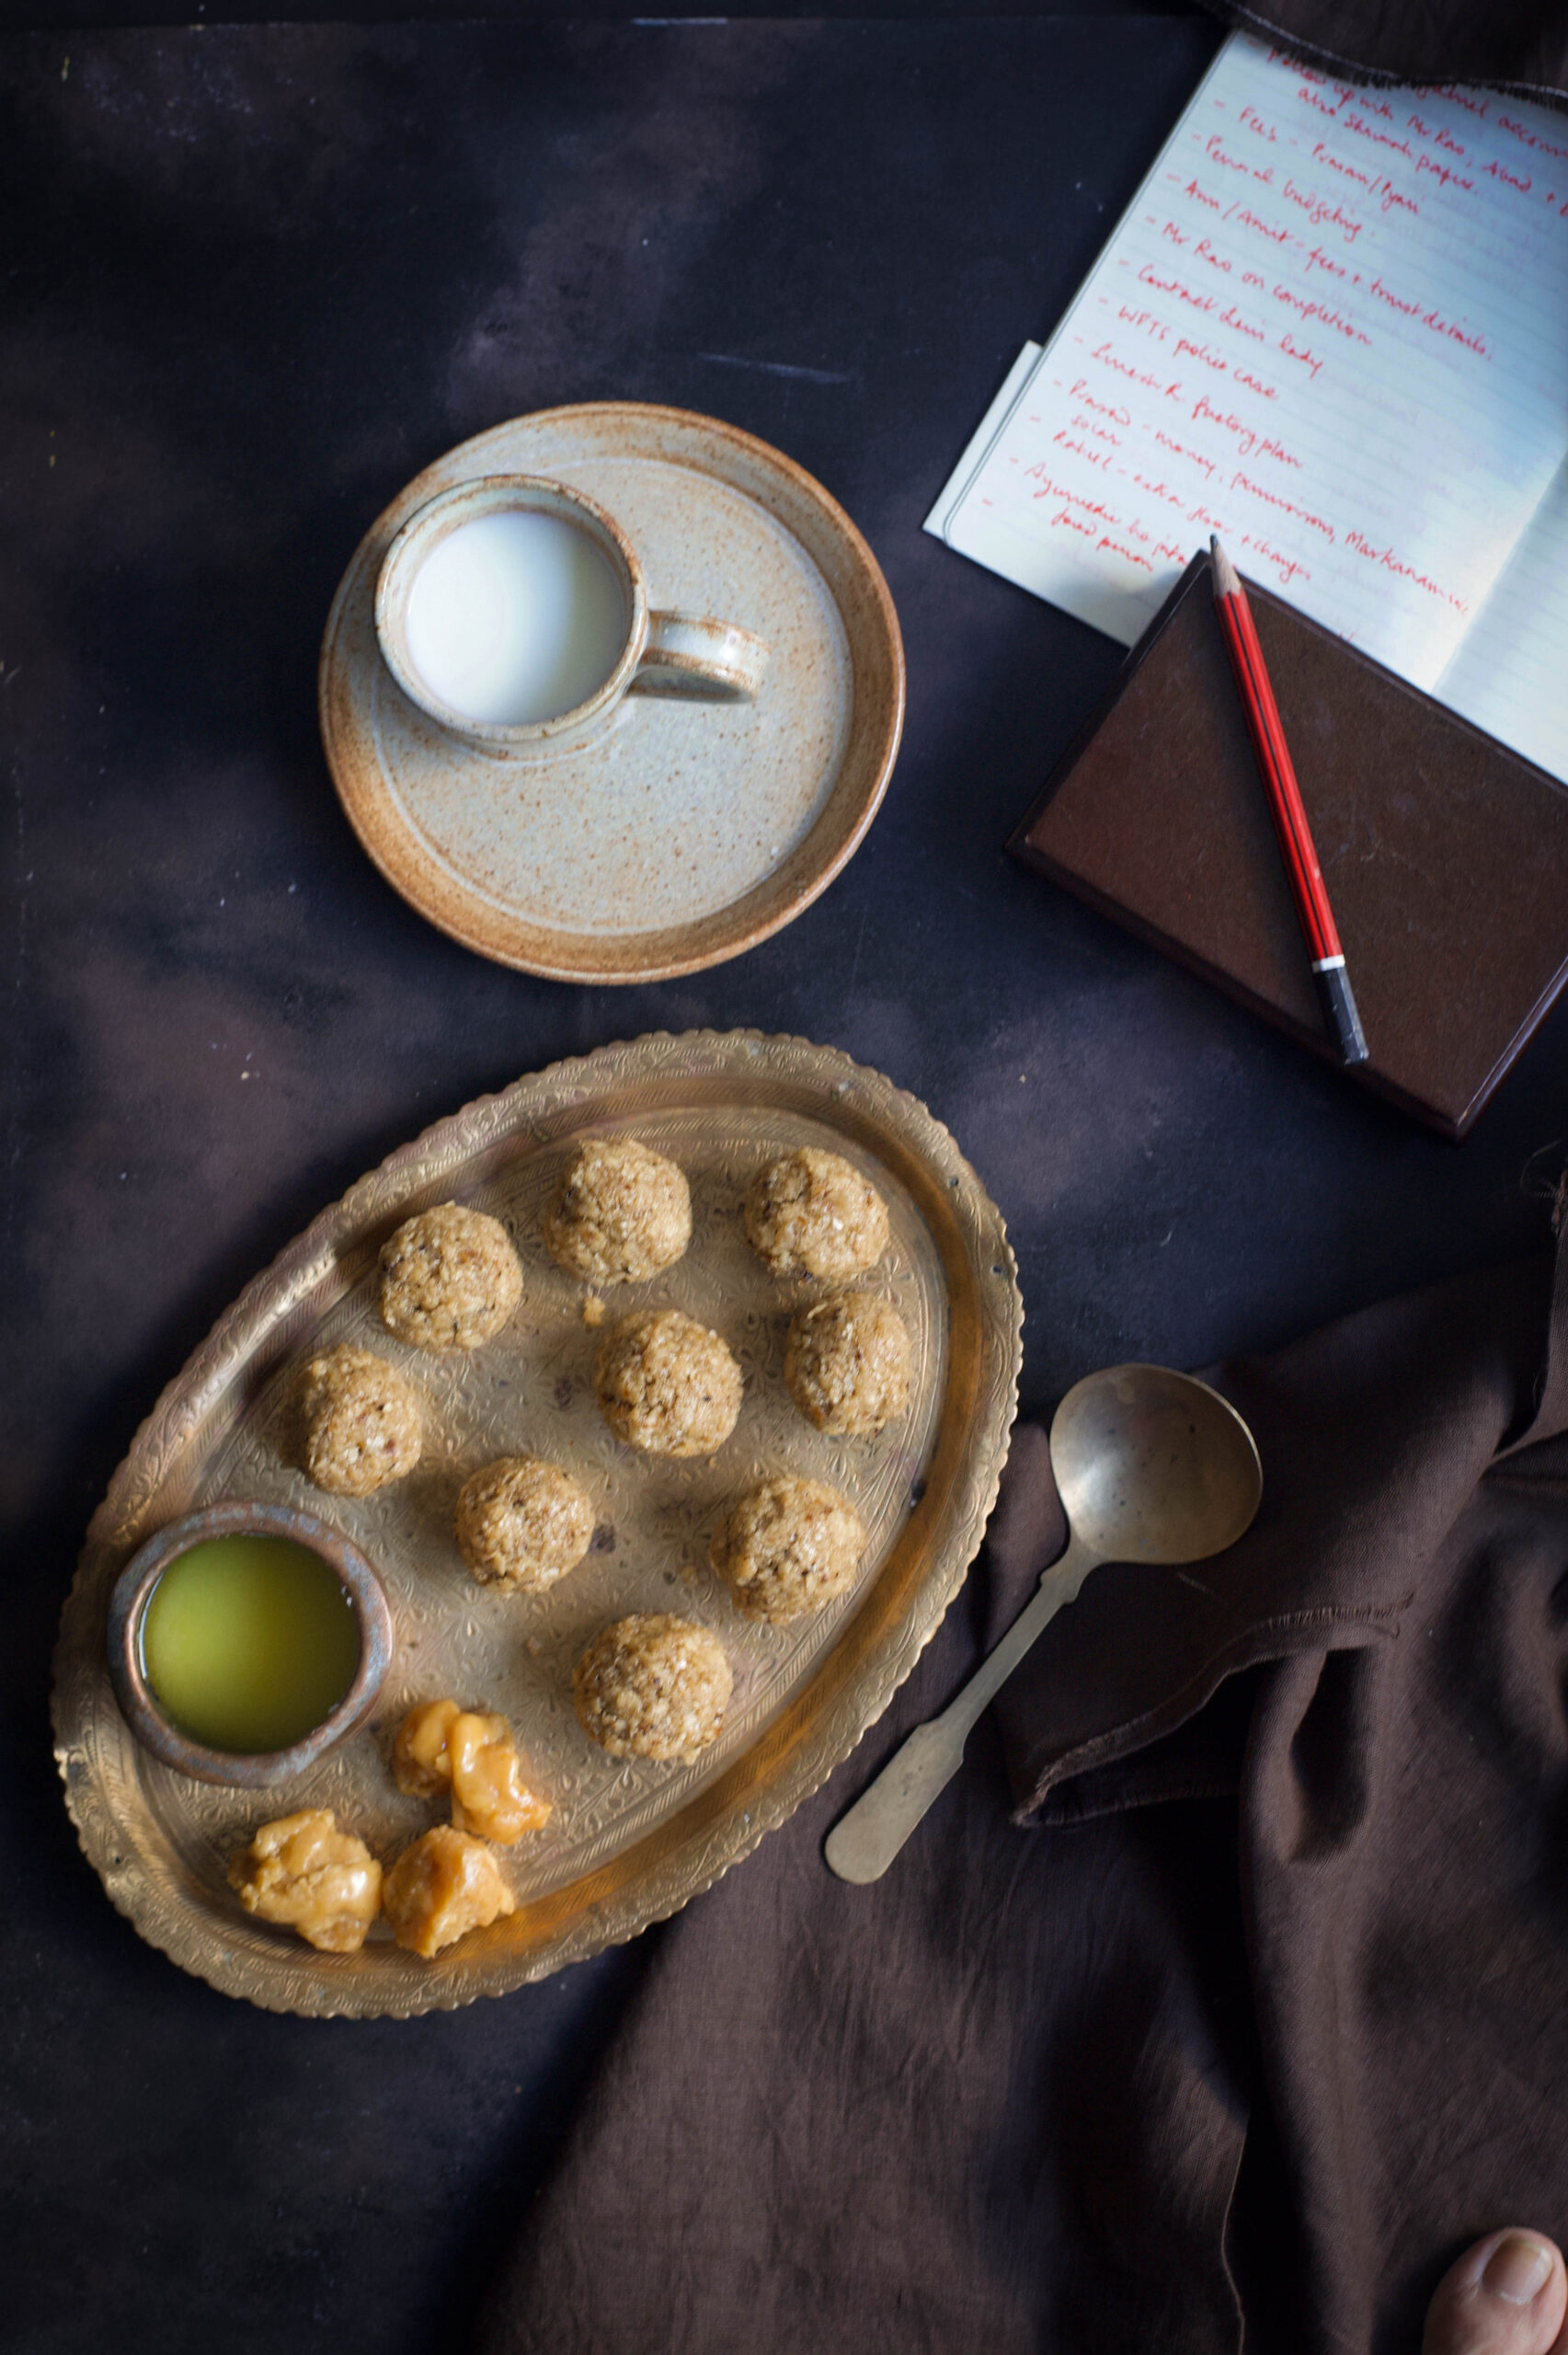
I have fond memories of eating rotli na ladoos in the afternoons, after returning home from school. They are so perfect with a glass of milk or a cup of tea after an exhausting day! It’s funny how torn pieces of bread can be turned into a delicious snack with a little jaggery, a little heat – and a pair of hands that make everything with love.

Do stay tuned for the third and final part of this Second Helpings series. Any guesses on what it might be?


Here in Tamil Nadu, while the Tamil New Year is still months away in April, we celebrate a festival full of joy, renewal and fresh possibilities – just like how the turning of the new calendar year feels. Two weeks into every calendar year, beginning on January 14, Tamil households everywhere observe a series of rituals. Like any Indian special occasion, food and bonding play a huge part of this festival.

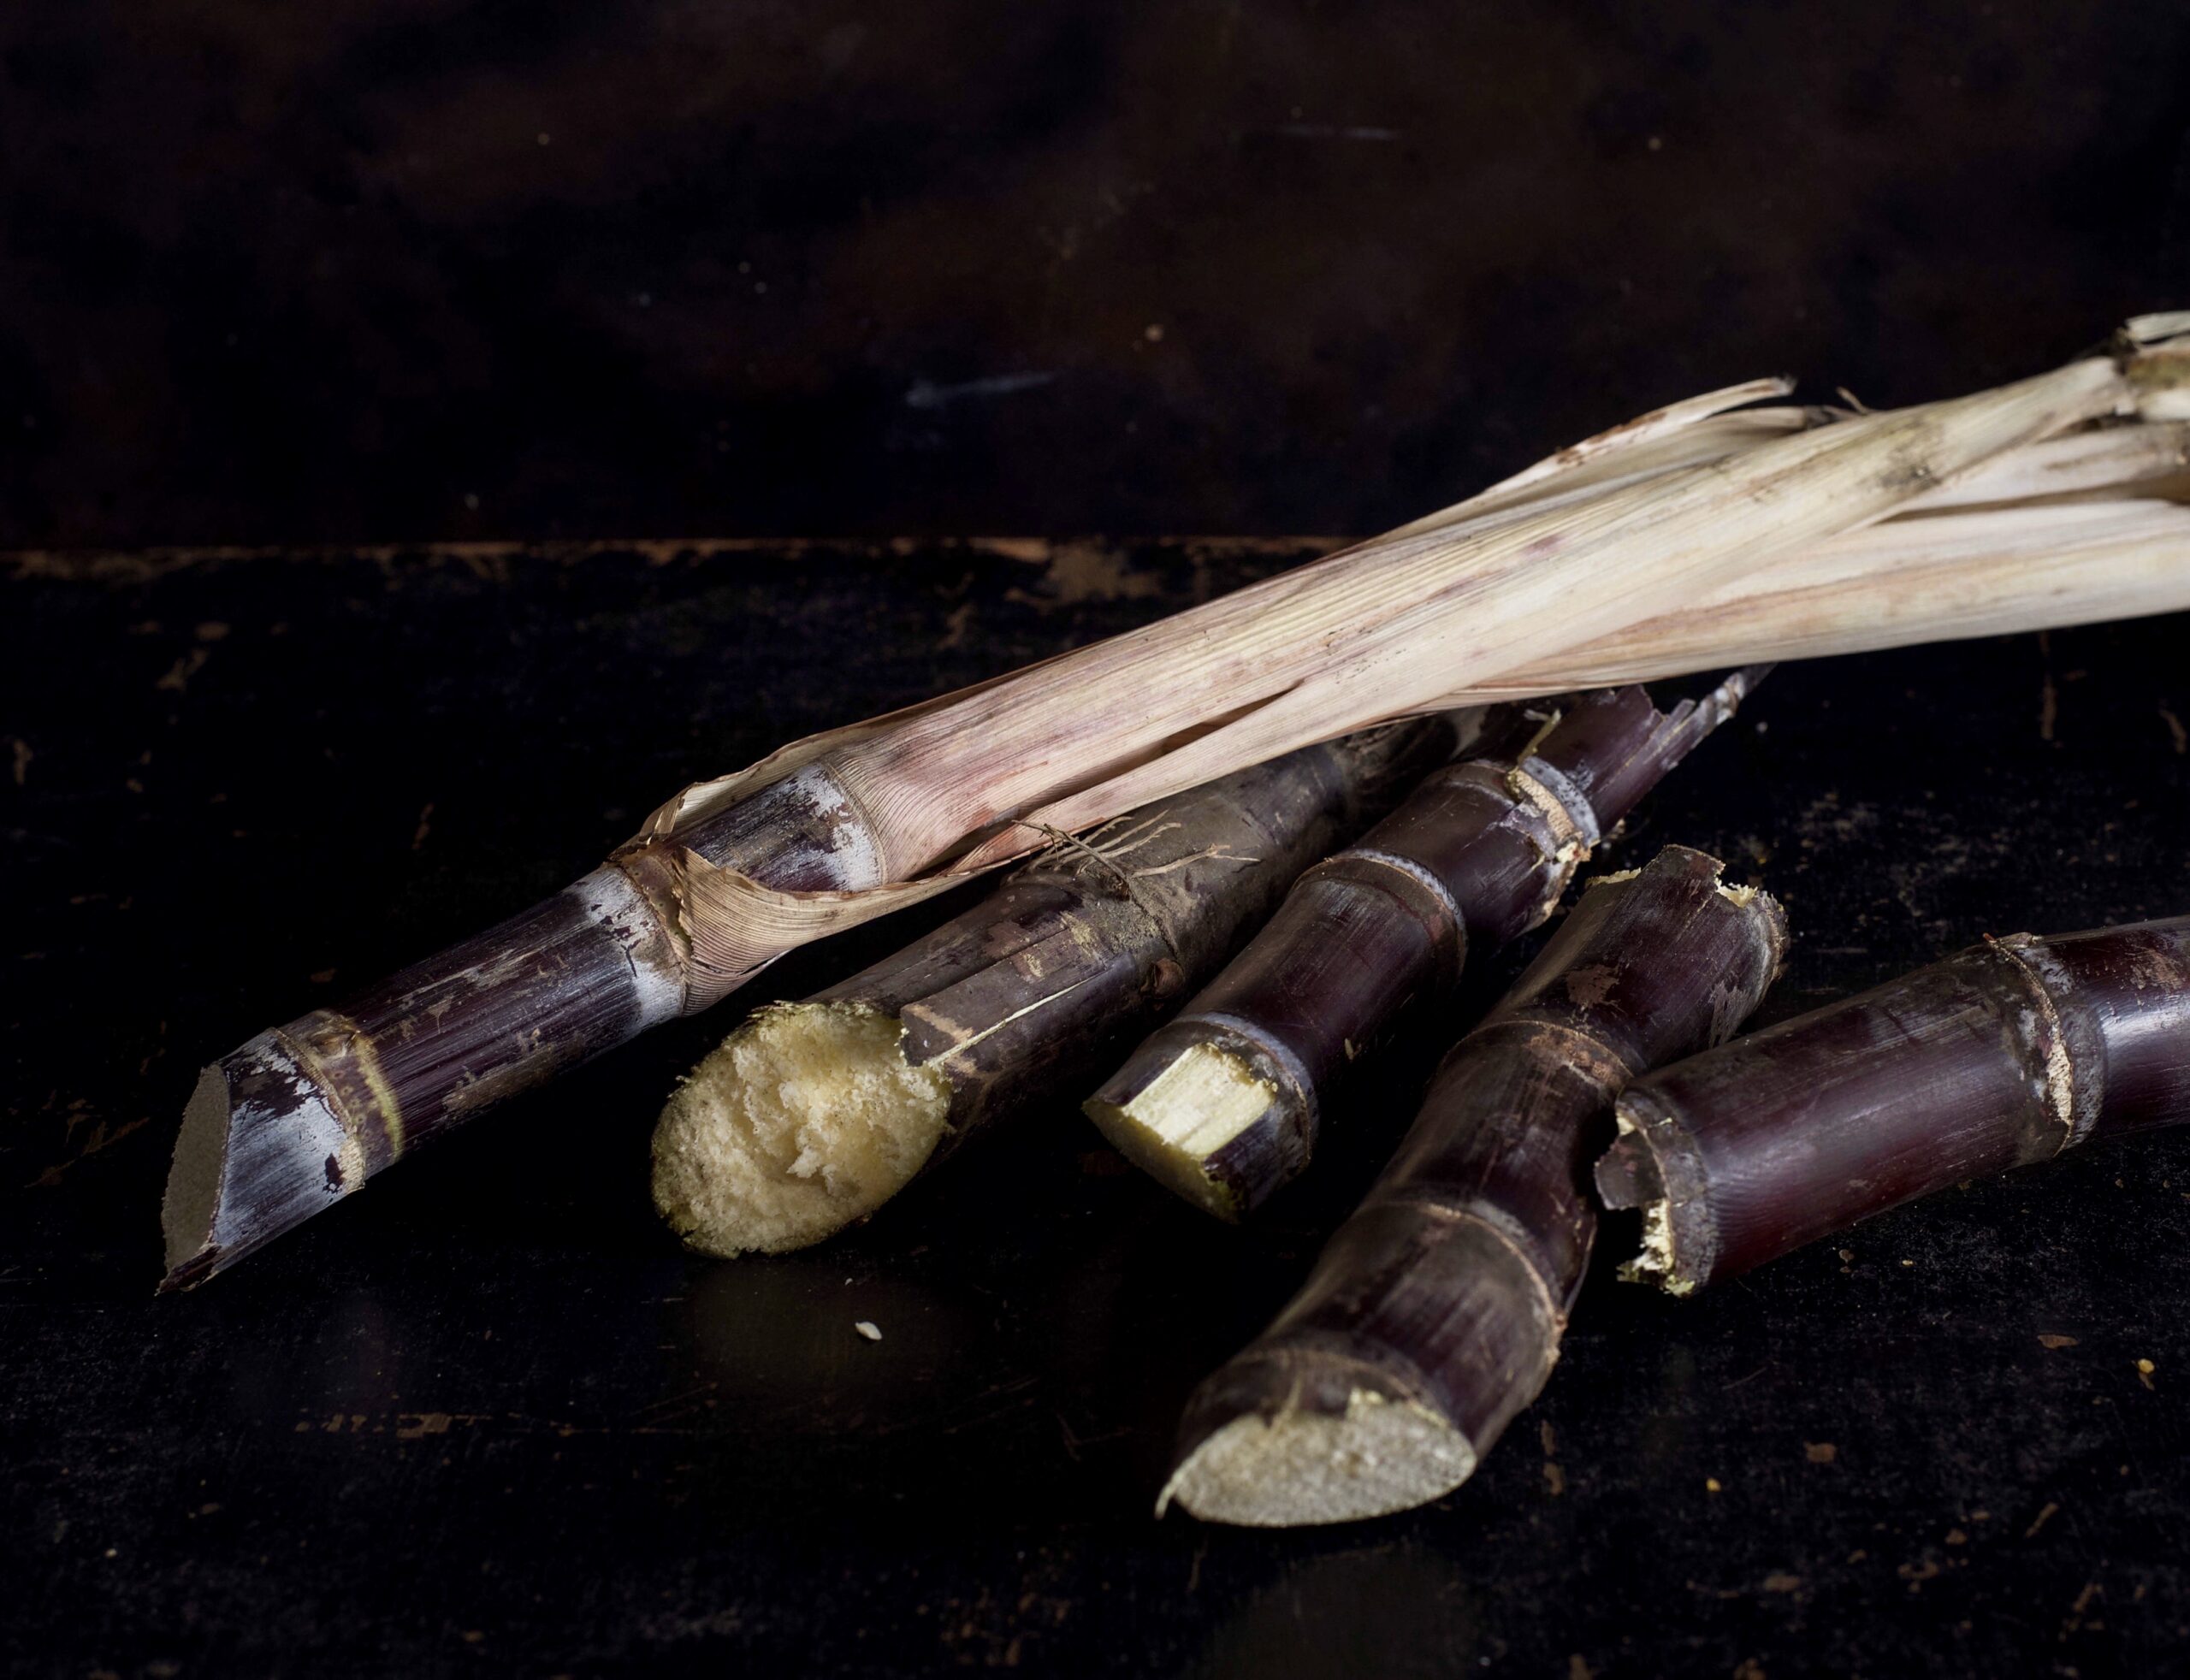
Pongal is spread over four days, which when we were growing up meant… school holidays! Despite being a Gujarati family, our neighbours and friends would observe the festival with delight, which meant we too participated. For me, Pongal always brings to mind sugarcane. As a harvest festival, sugarcane is an important part of the décor at this time – but it is also exactly the kind of thing a child loves to eat! My mother encouraged this, as she said that eating sugarcane made the teeth stronger. Those of you who remember those simpler times will know just what I mean. There’s a technique to it. You peel the cane sideways with your teeth, then scrape the sweet juice from it. I loved the fleshier parts between the joints of the cane.

As this is the season to give thanks for the harvest all over India, similar festivals include Lohri and Sankranti. If we happened to visit Ahmedabad at this time of year, the lasting image I have of the celebrations is of seeing the skies fill with kites on the occasion of Uttaran, as people on terrace rooftops would battle to bring the others’ down, in order to be the owner of the sole reigning kite of Gujarat.

“Pongal” literally means “the boiling over”, and the festival is all about the spirit of abundance. The pivotal moment of the day is when a pot of milk, into which every family member puts three handfuls of rice, boils over. The milk spilling over the brim of the vessel is taken as a sign of auspiciousness. As this happens, the family shouts, “Pongal-o-Pongal”!

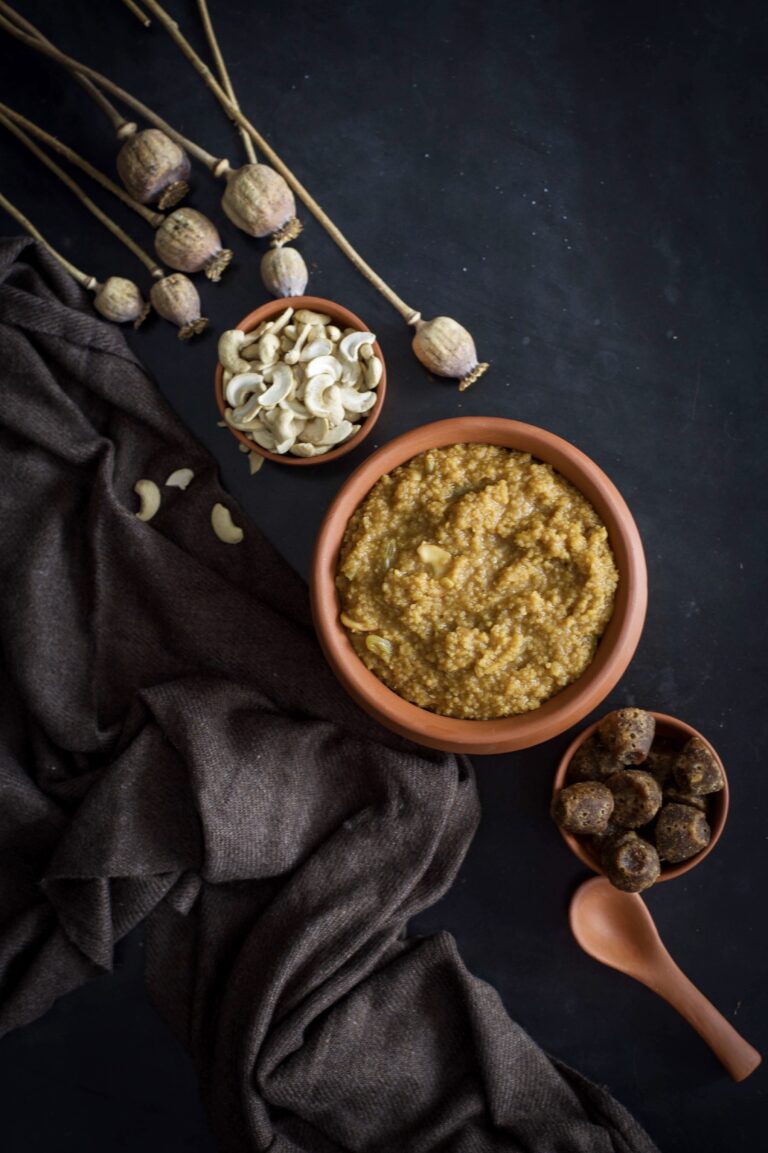
During Pongal, a dish bearing its name is also eaten. Chakkara pongal literally means “sugar pongal”, but it is jaggery that is used – and which gives the dish its rich colour. Chakkara pongal is also popular year-round as a prasadam  in temples, which is offered to the gods and then eaten by devotees. And the sweetest, tastiest chakkara pongal I’ve ever eaten has always been served on a banana leaf at a temple.

Chakkara pongal will taste different at each temple, and each home, that you eat it in. Like all traditional staples, it will contain the memories and idiosyncrasies of the hands that made it. How is tradition formed? One ancestor would have done something a particular way, and generations to follow then say, “Our family does this”. Whenever I cook something that carries cultural attachments, I wonder: if I don’t do it, will my kids?

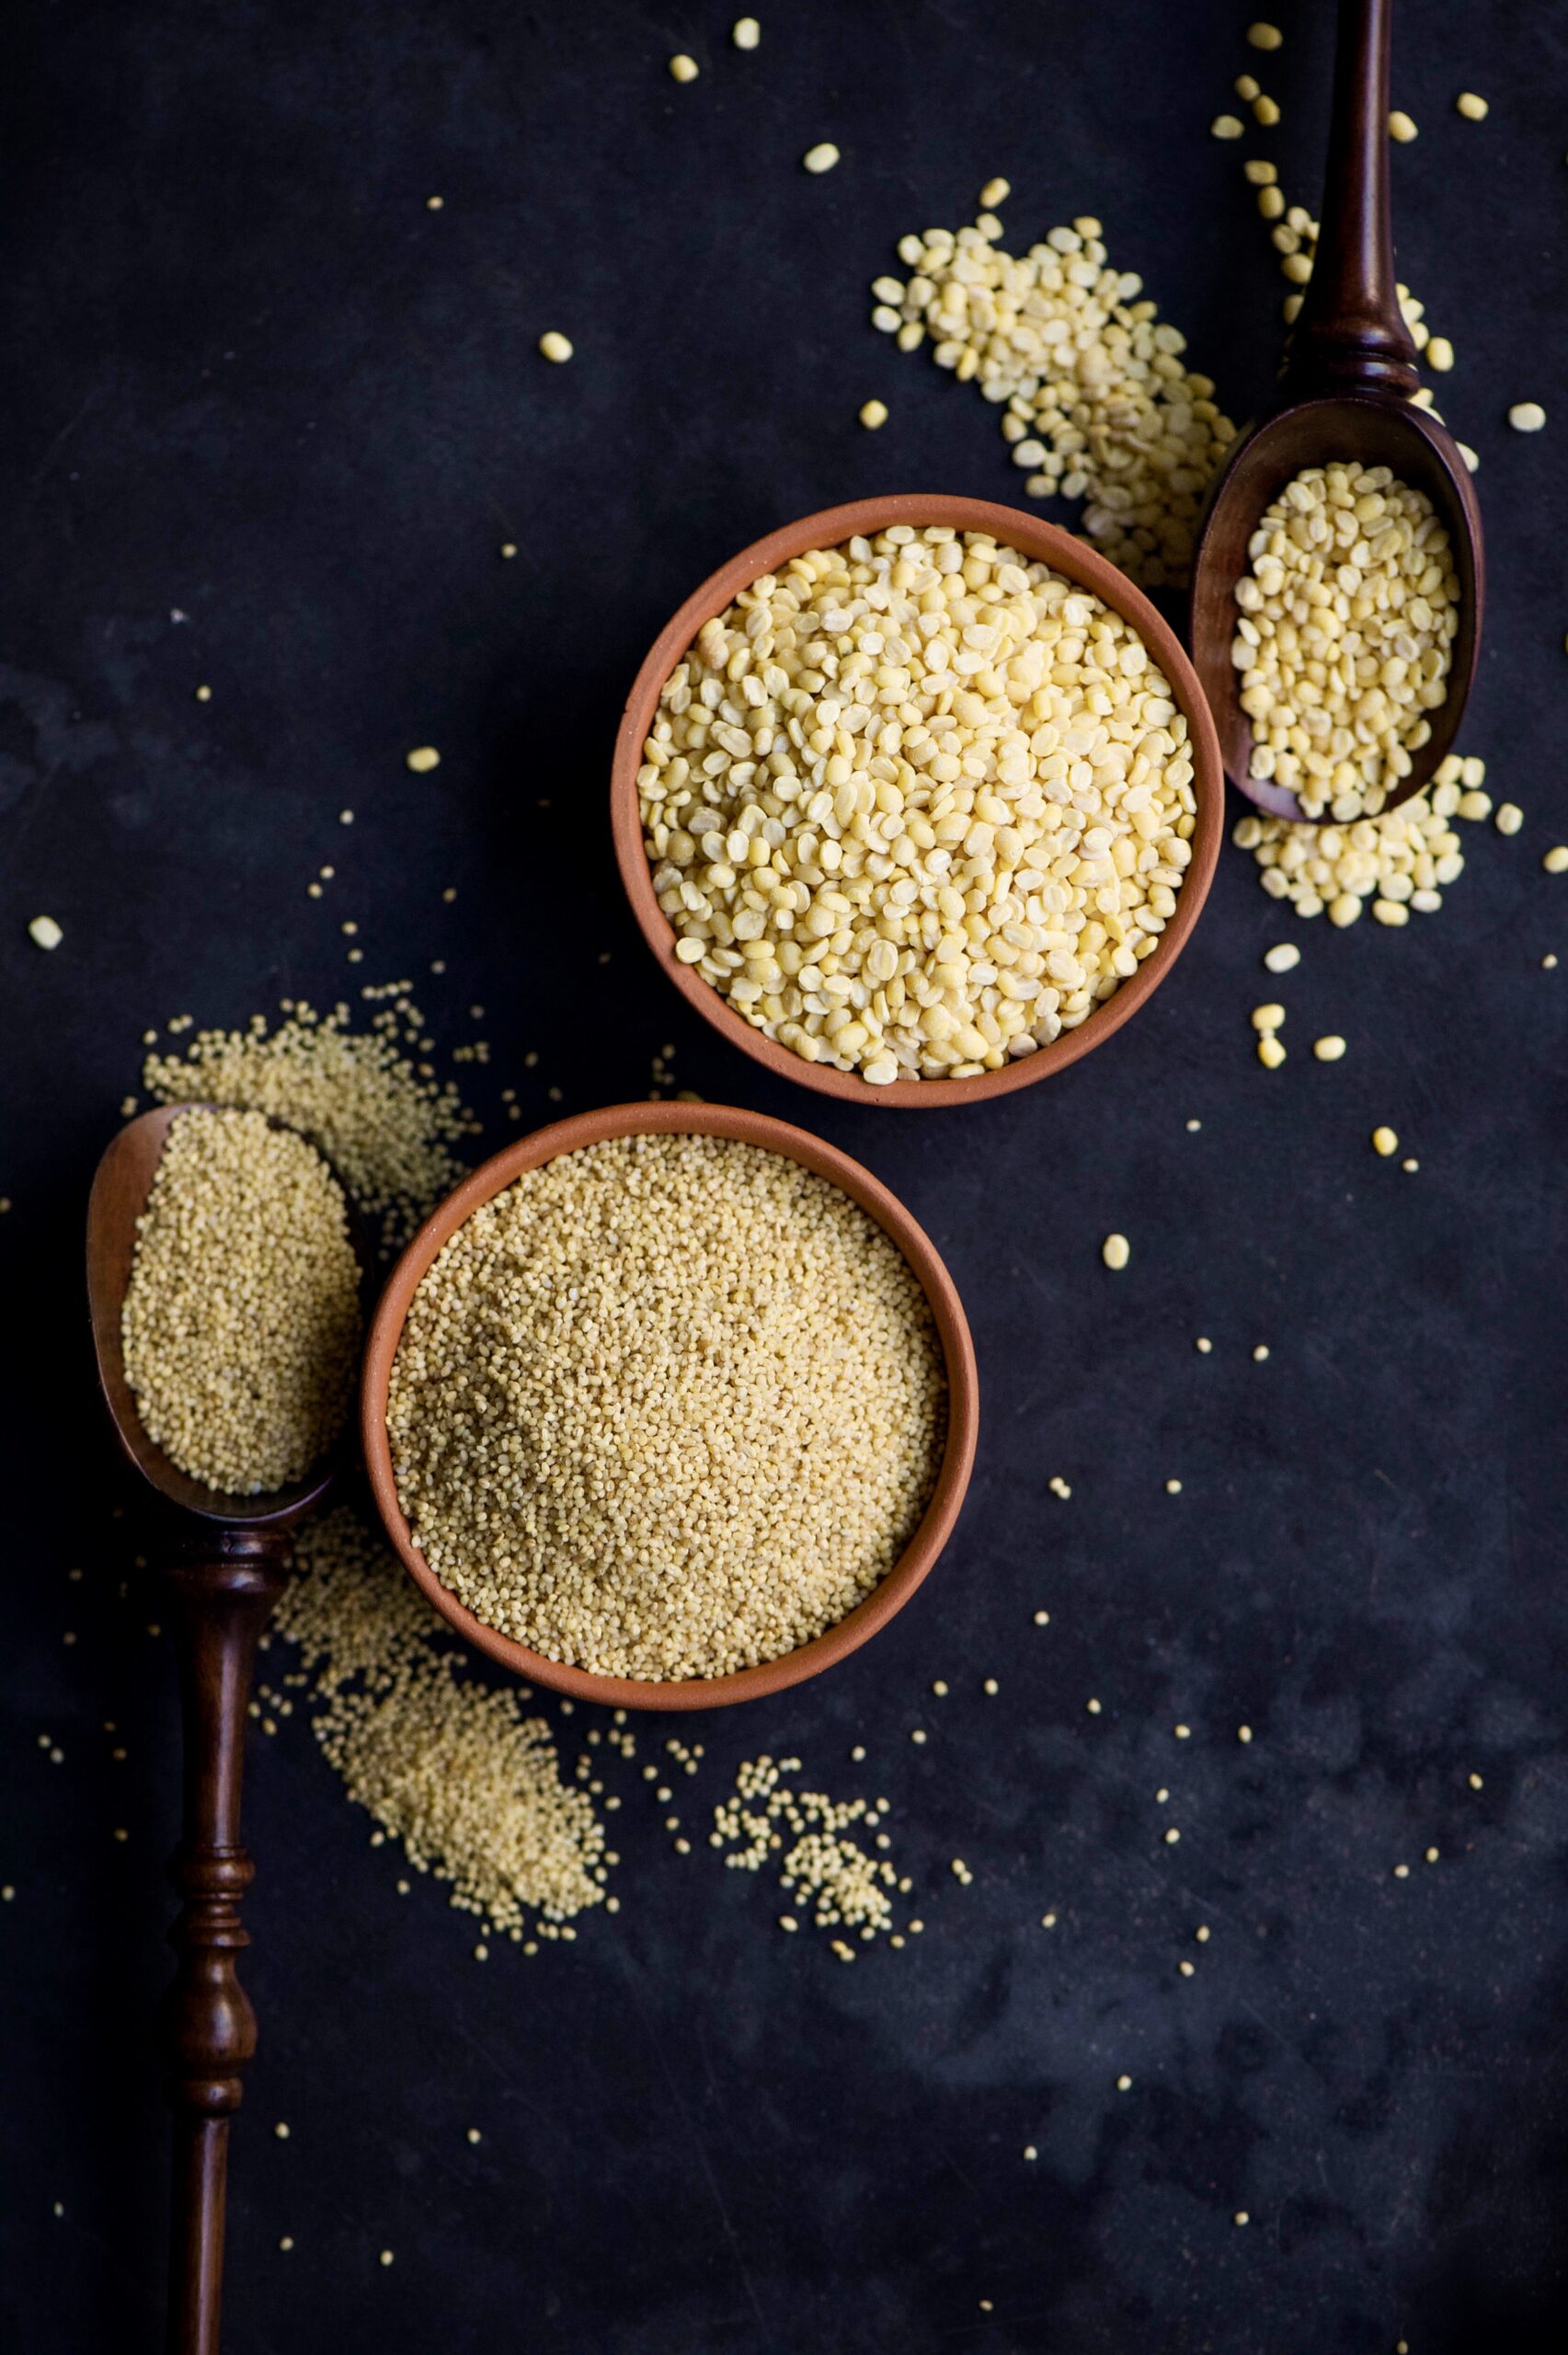
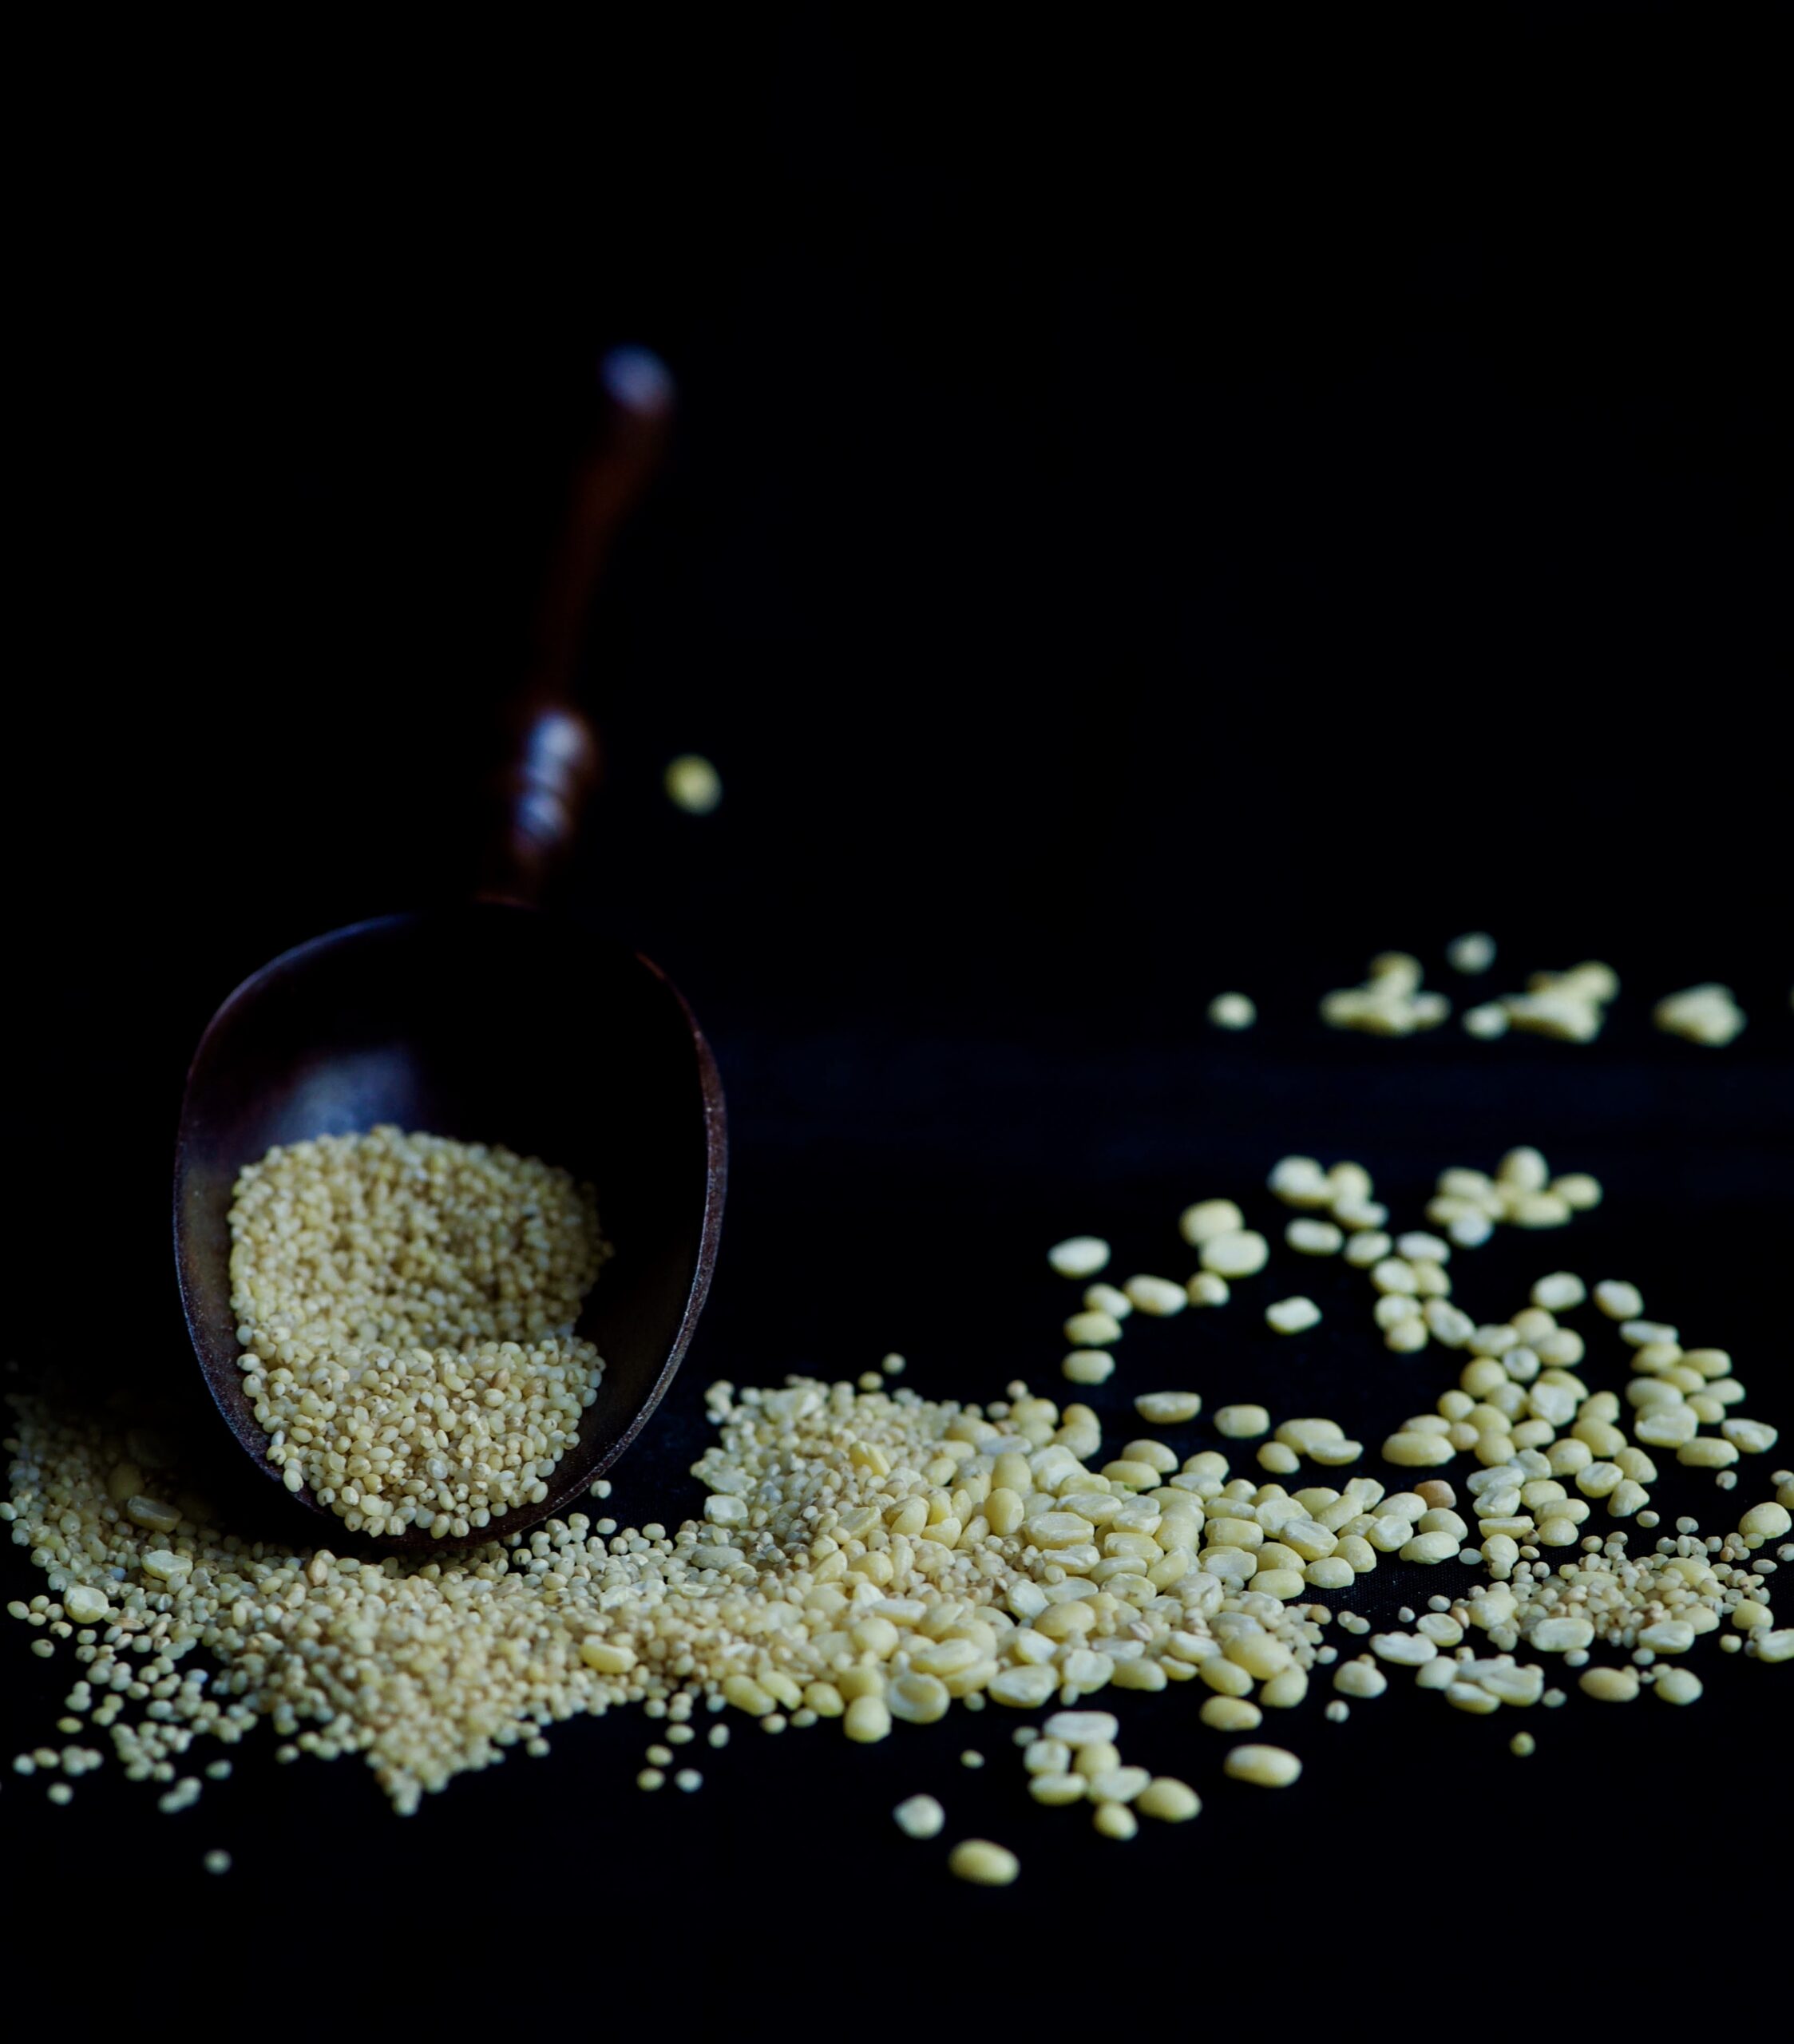
As you may know from following this blog, millets and not rice are the original (and Macrobiotic) staples of this region. This is why a millet known as varugu, which you may know as kodo, is the main ingredient in my variation of chakkara pongal. Varugu is rich in protein and polyphenol antioxidants, and is a better source of fibre than both rice and wheat. It is also gluten-free, which makes it suitable for those with dietary sensitivities. Like all millets, its list of health benefits is long. But make no mistake, as wholesome as its ingredients are, this chakkara pongal is a sweet and sublime dessert.


Chakkara Pongal

(Yield – 5-6 servings)

Ingredients
3-4 tablespoons moong dal
½ cup varugu (kodo millet)
3-4 cups water
½ cup jaggery
1 tablespoon ghee
1 tablespoon cashew nuts
1 tablespoon raisins

The secret to chakkara pongal is simply allowing it to cook properly, with the occasional stir. It is a boiled dessert that is so easy to make that you’ll be preparing it from memory in no time!

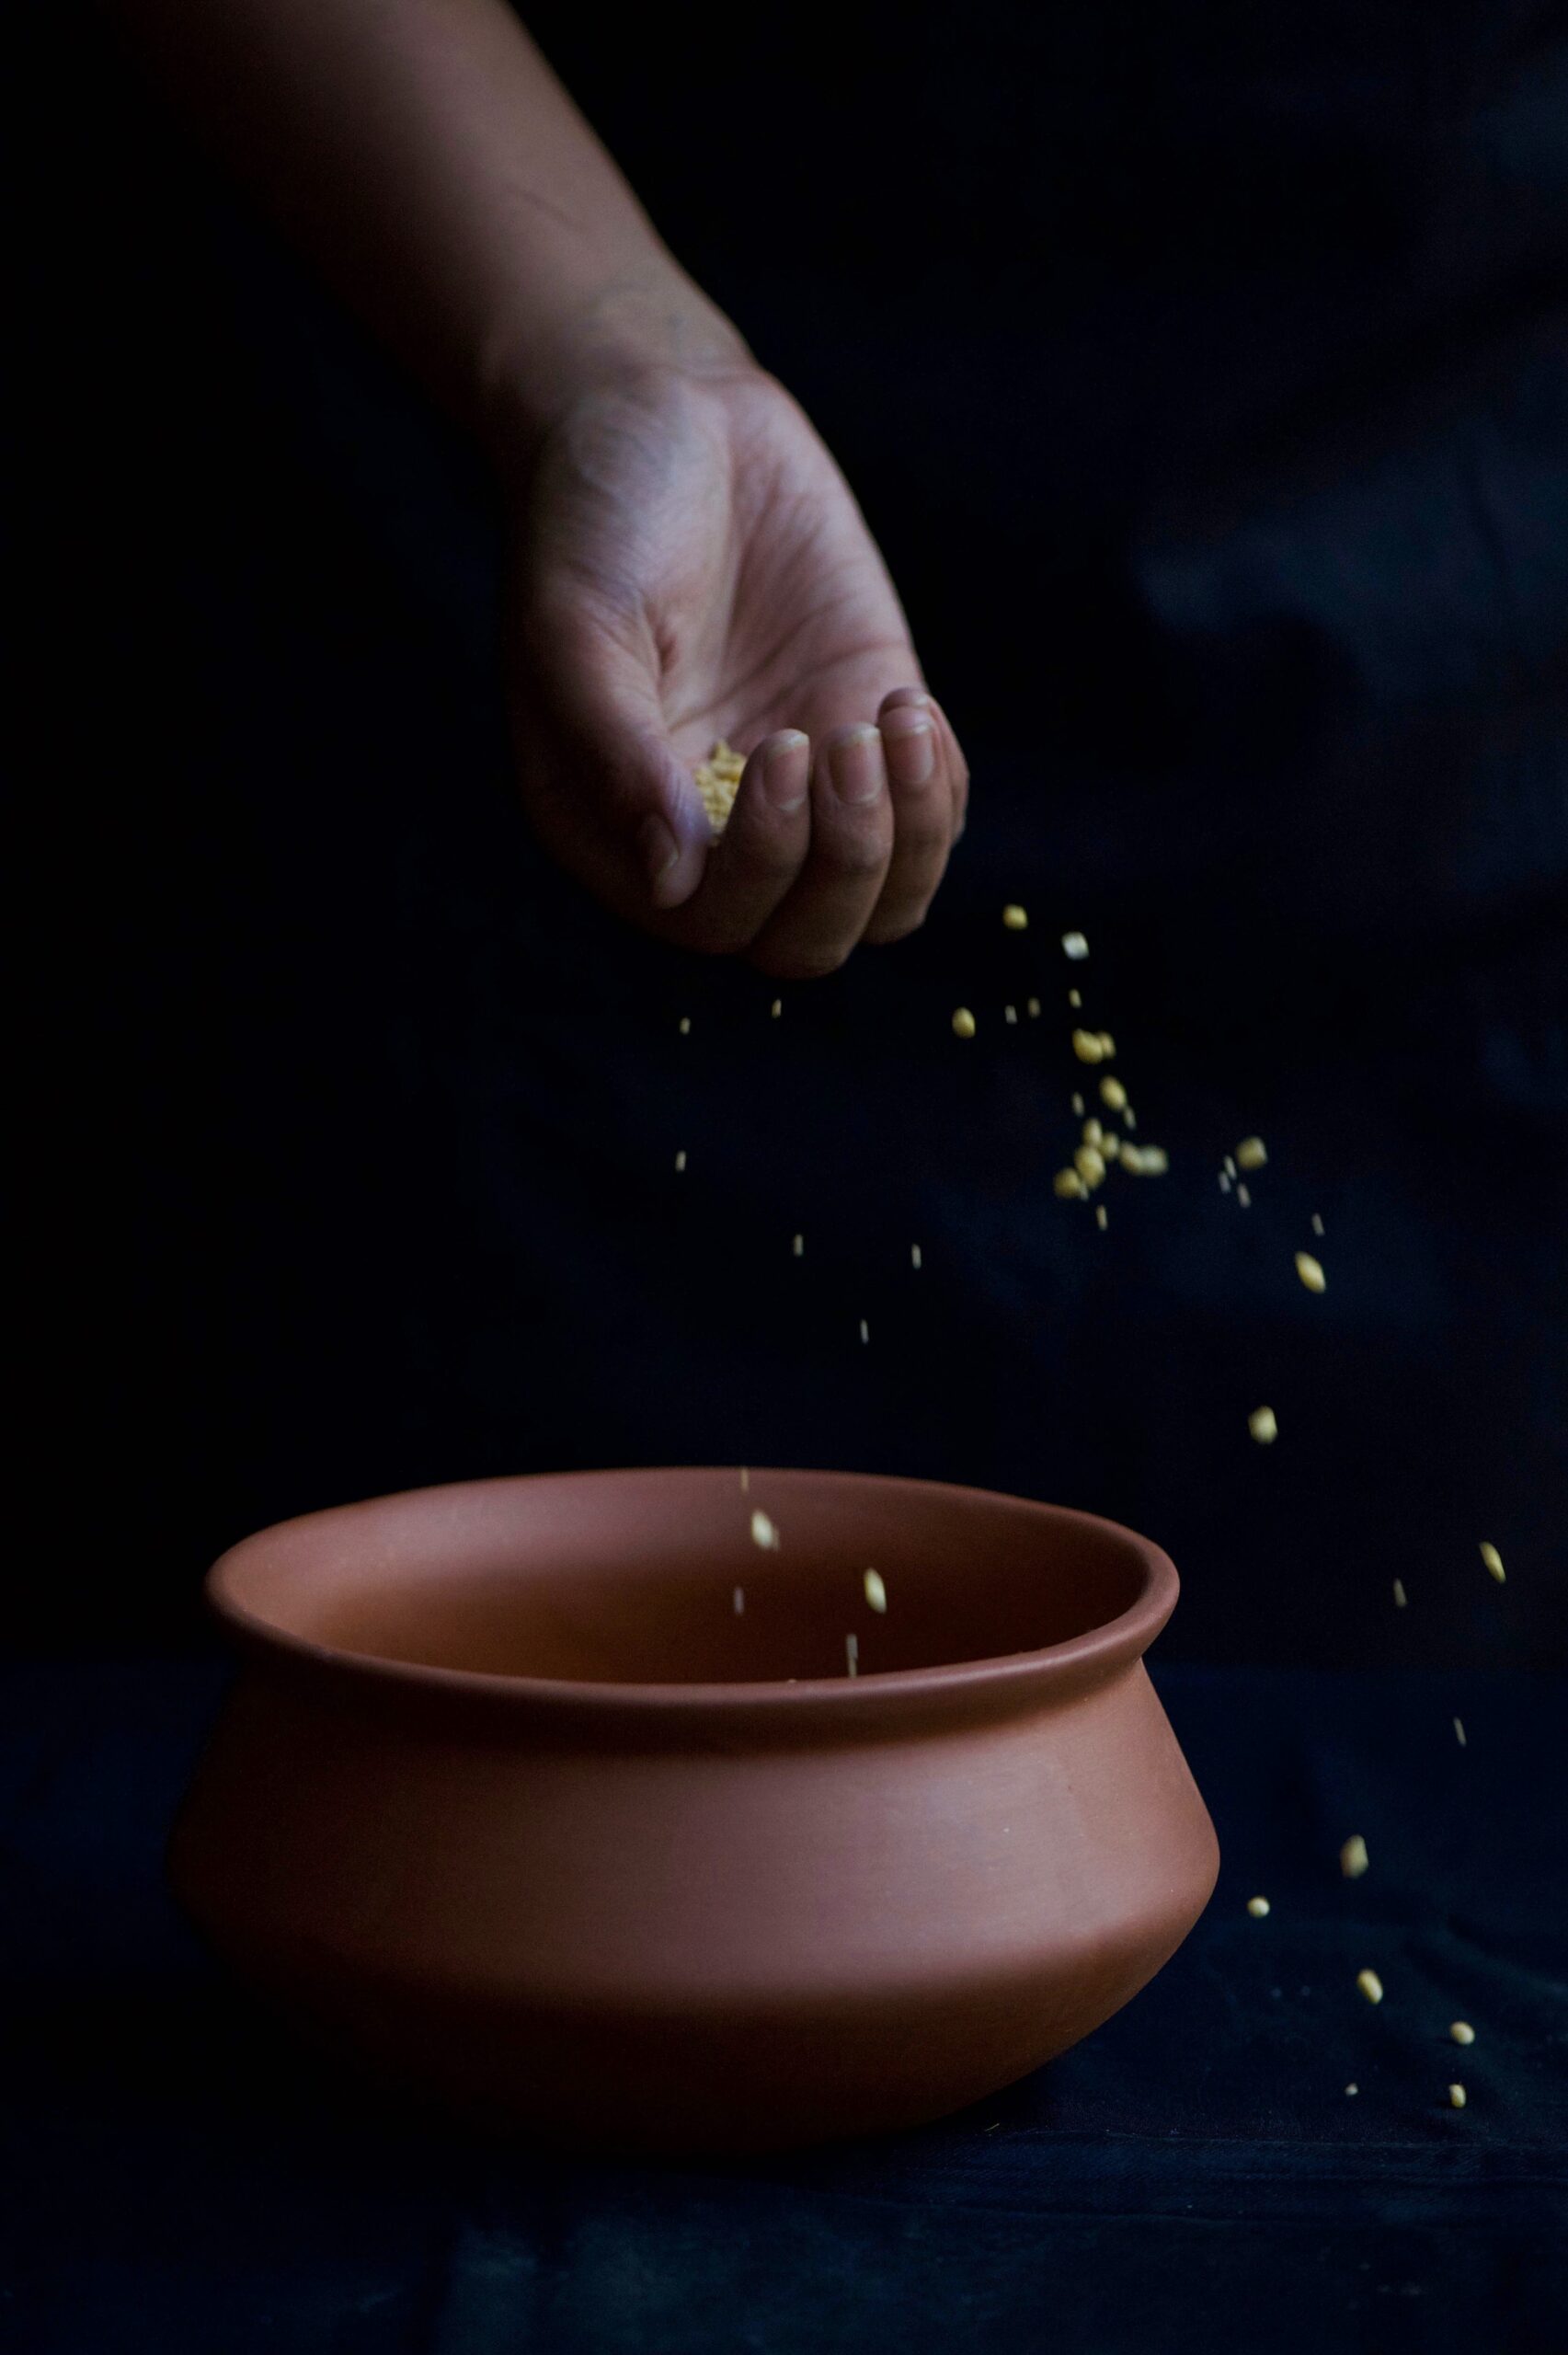
Soak the moong dal for about half an hour. Meanwhile, wash the millets well and keep aside,

Add 2 cups of water to the dal and cook until par boiled. Now, add the millets and allow both to cook completely. This will take approximately 15-20 minutes. The boiled dal and millets will become and remain soft.

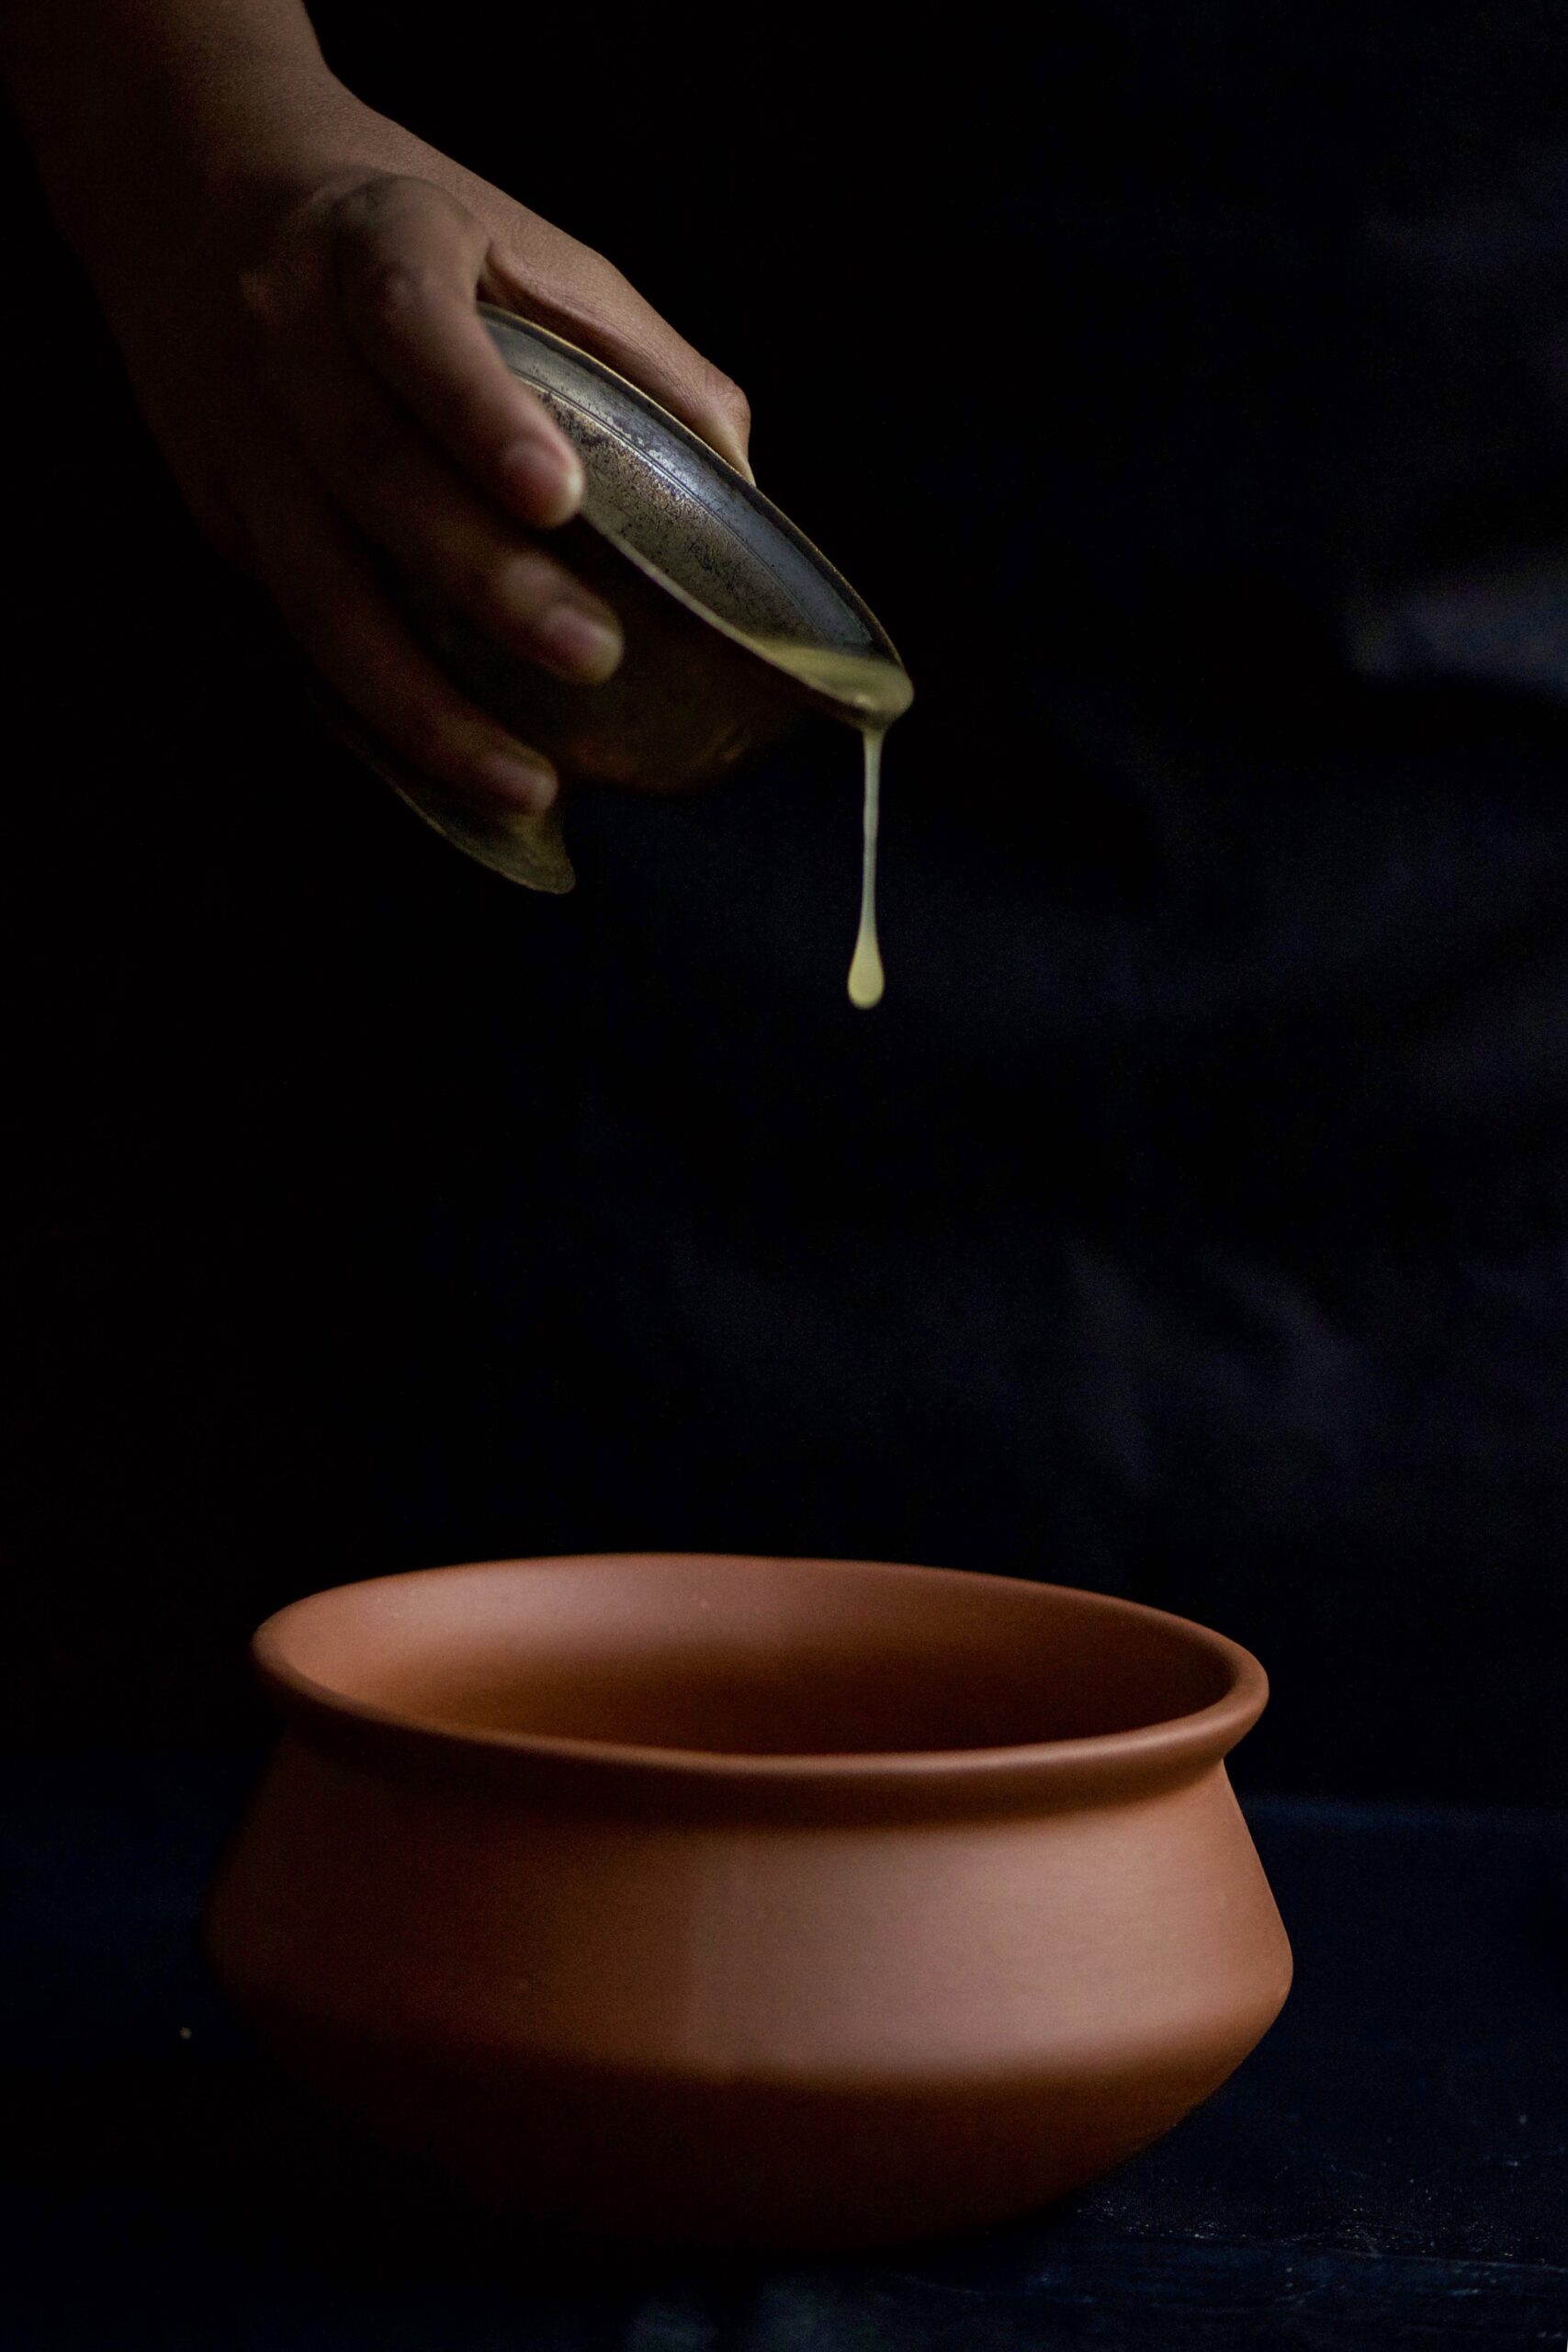
In a pan, roast the cashew nuts and raisins in ghee. For a vegan variant, substitute ghee with oil. Once roasted, add the jaggery, along with a ¼ cup of water. This will help the jaggery melt, releasing its flavours quickly into the pan.

Once the jaggery has melted into the concoction, add the soft mixture of millets and dal and stir well. Add some more water to loosen the consistency as you prefer. Pongal generally is not meant to be in too liquid a state. What you’re aiming for is a congealed texture. Serve hot as soon as it’s ready.

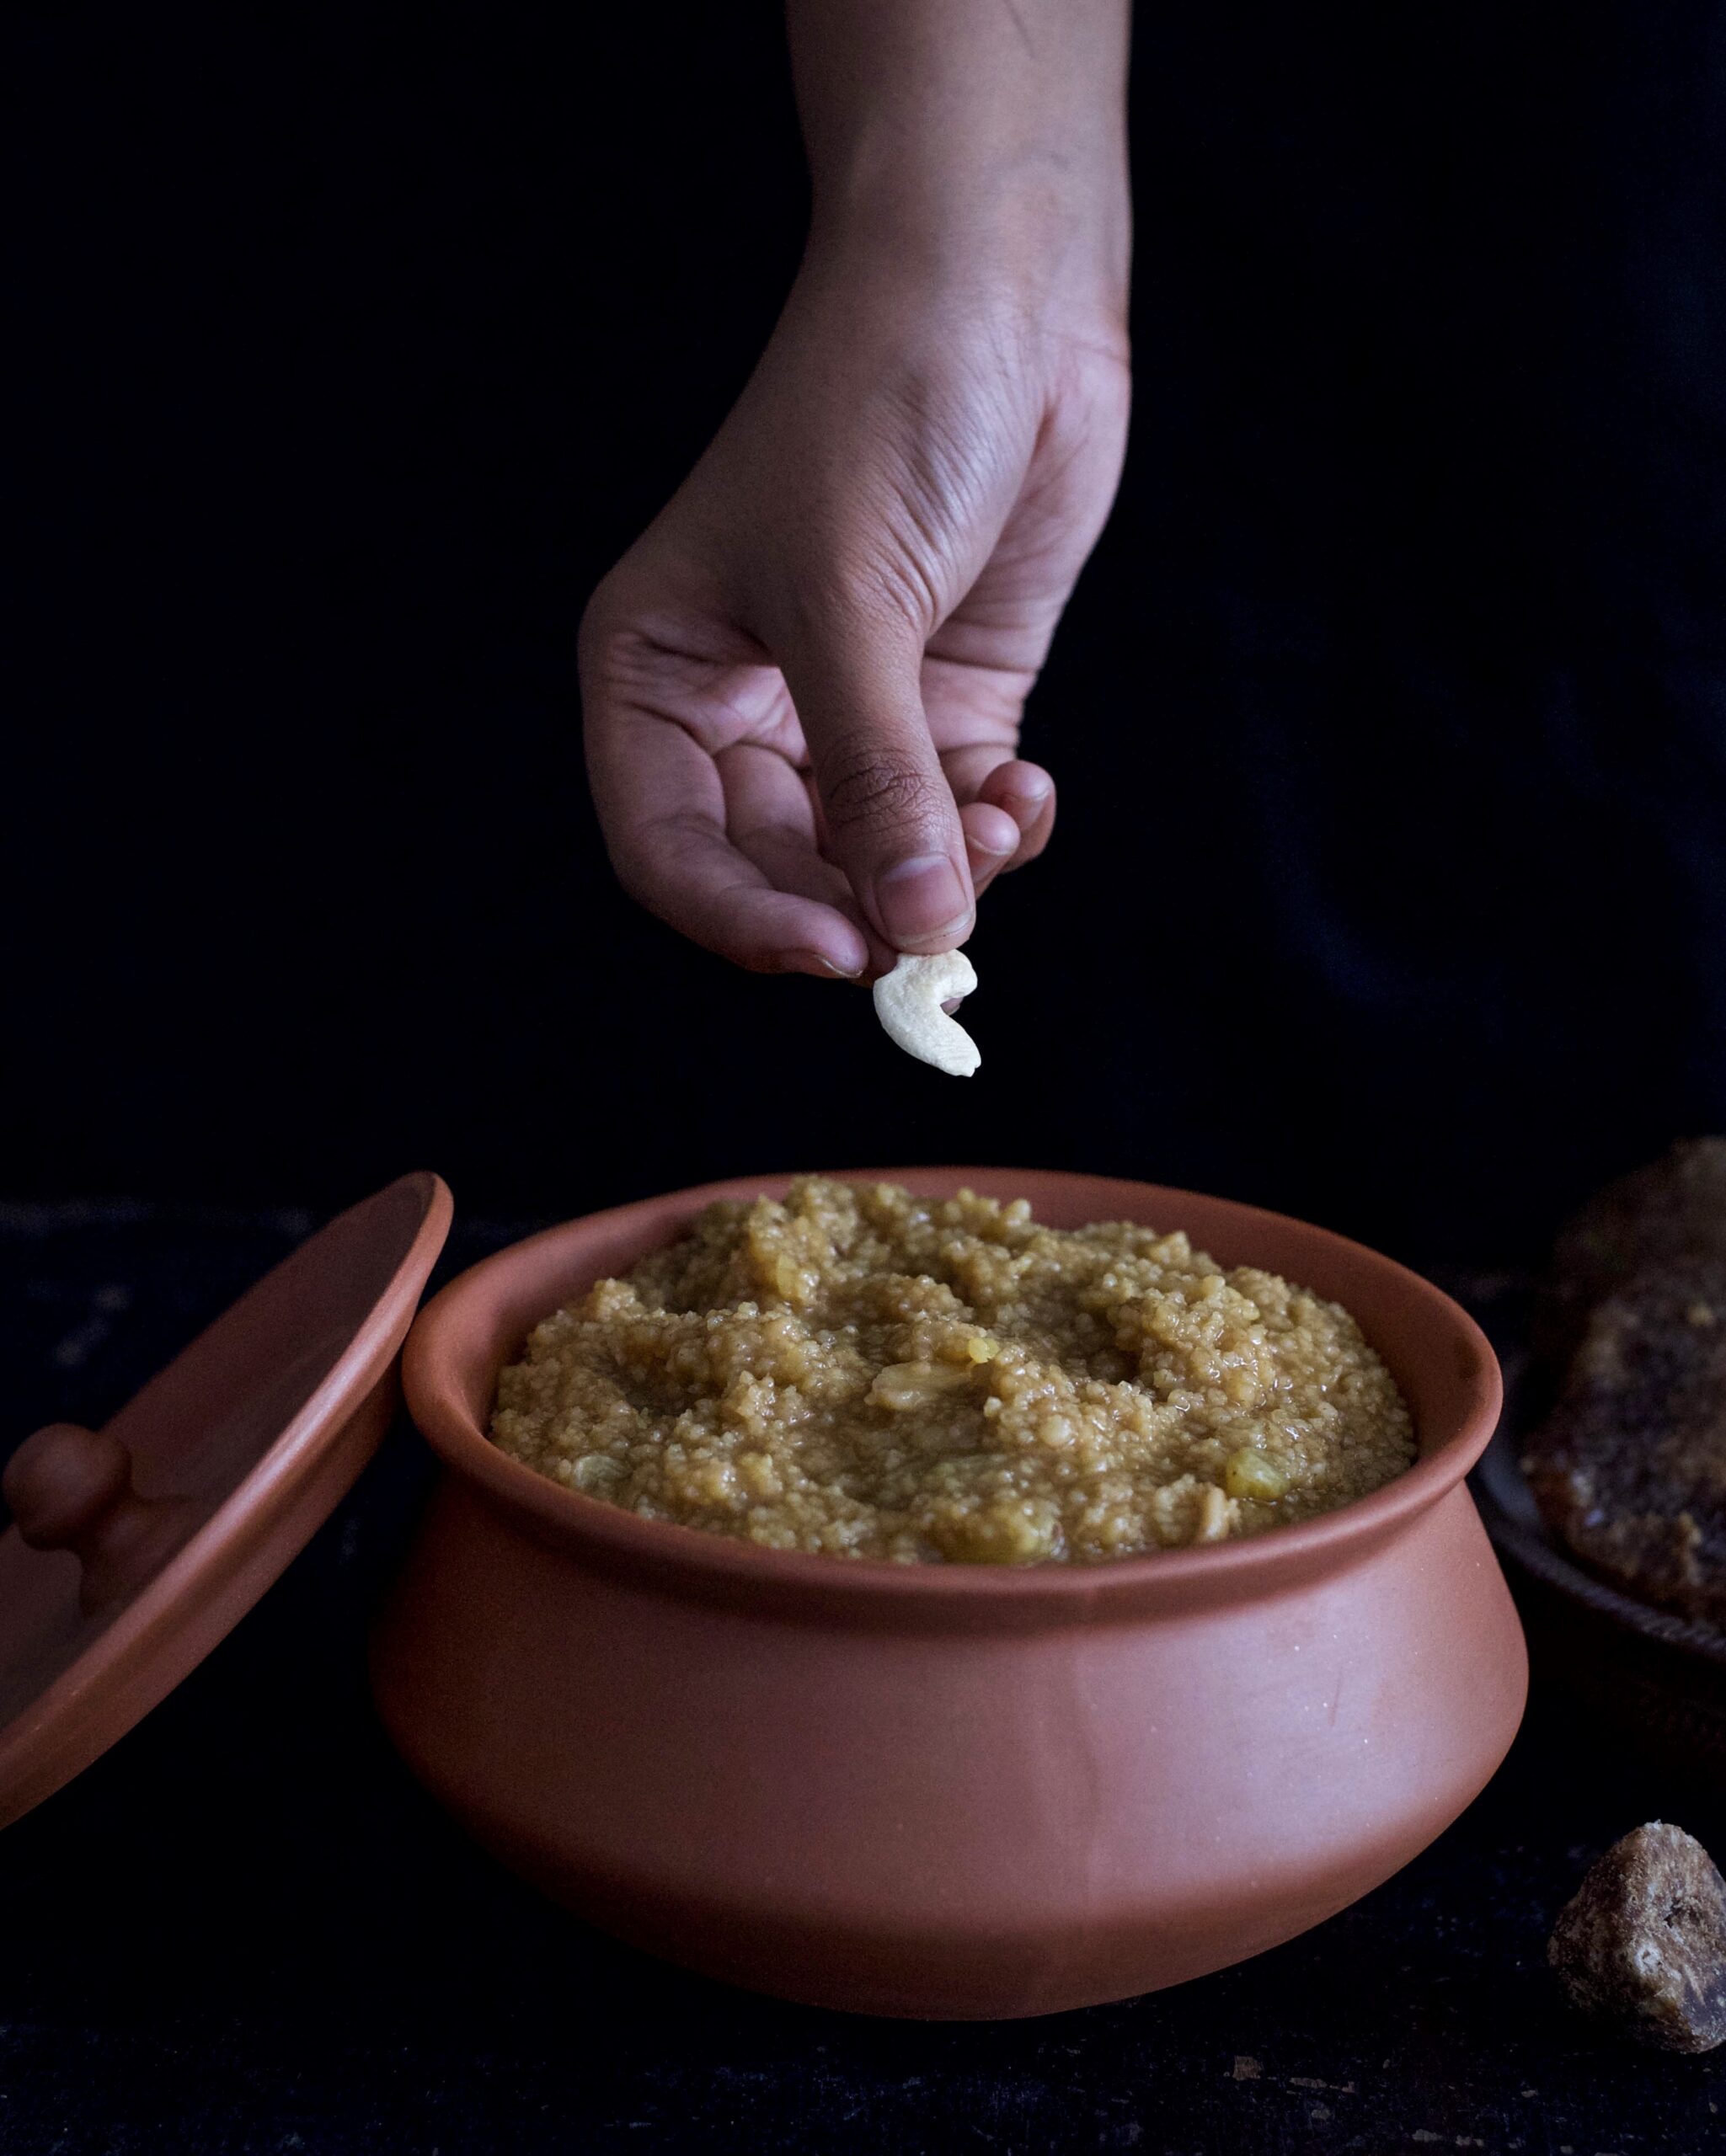
Glistening with ghee, sprinkled with cashews, glittering with raisins, and with a rich dark colour full of the goodness of jaggery… So simple to make, so good to eat. I hope you’ll enjoy a small bowl or two of re:store style, millet-based chakkara pongal with your family this weekend. As you do, just imagine us here in Tamil Nadu, doing exactly the same. Pongal-o-Pongal!

I want to begin with a word of thanks to all my readers around the world. Many of you have stayed with this blog for a whole year! I hope you’ve loved peeking into my kitchen, and I’m so glad to have you here as re:store grows. As the festive season is in full swing here in India, I thought this would be the perfect time to share my mother’s recipe for sweet ghugras, which was promised many posts ago when I gave you my mother-in-law’s recipe for pea-pomegranate kachoris.

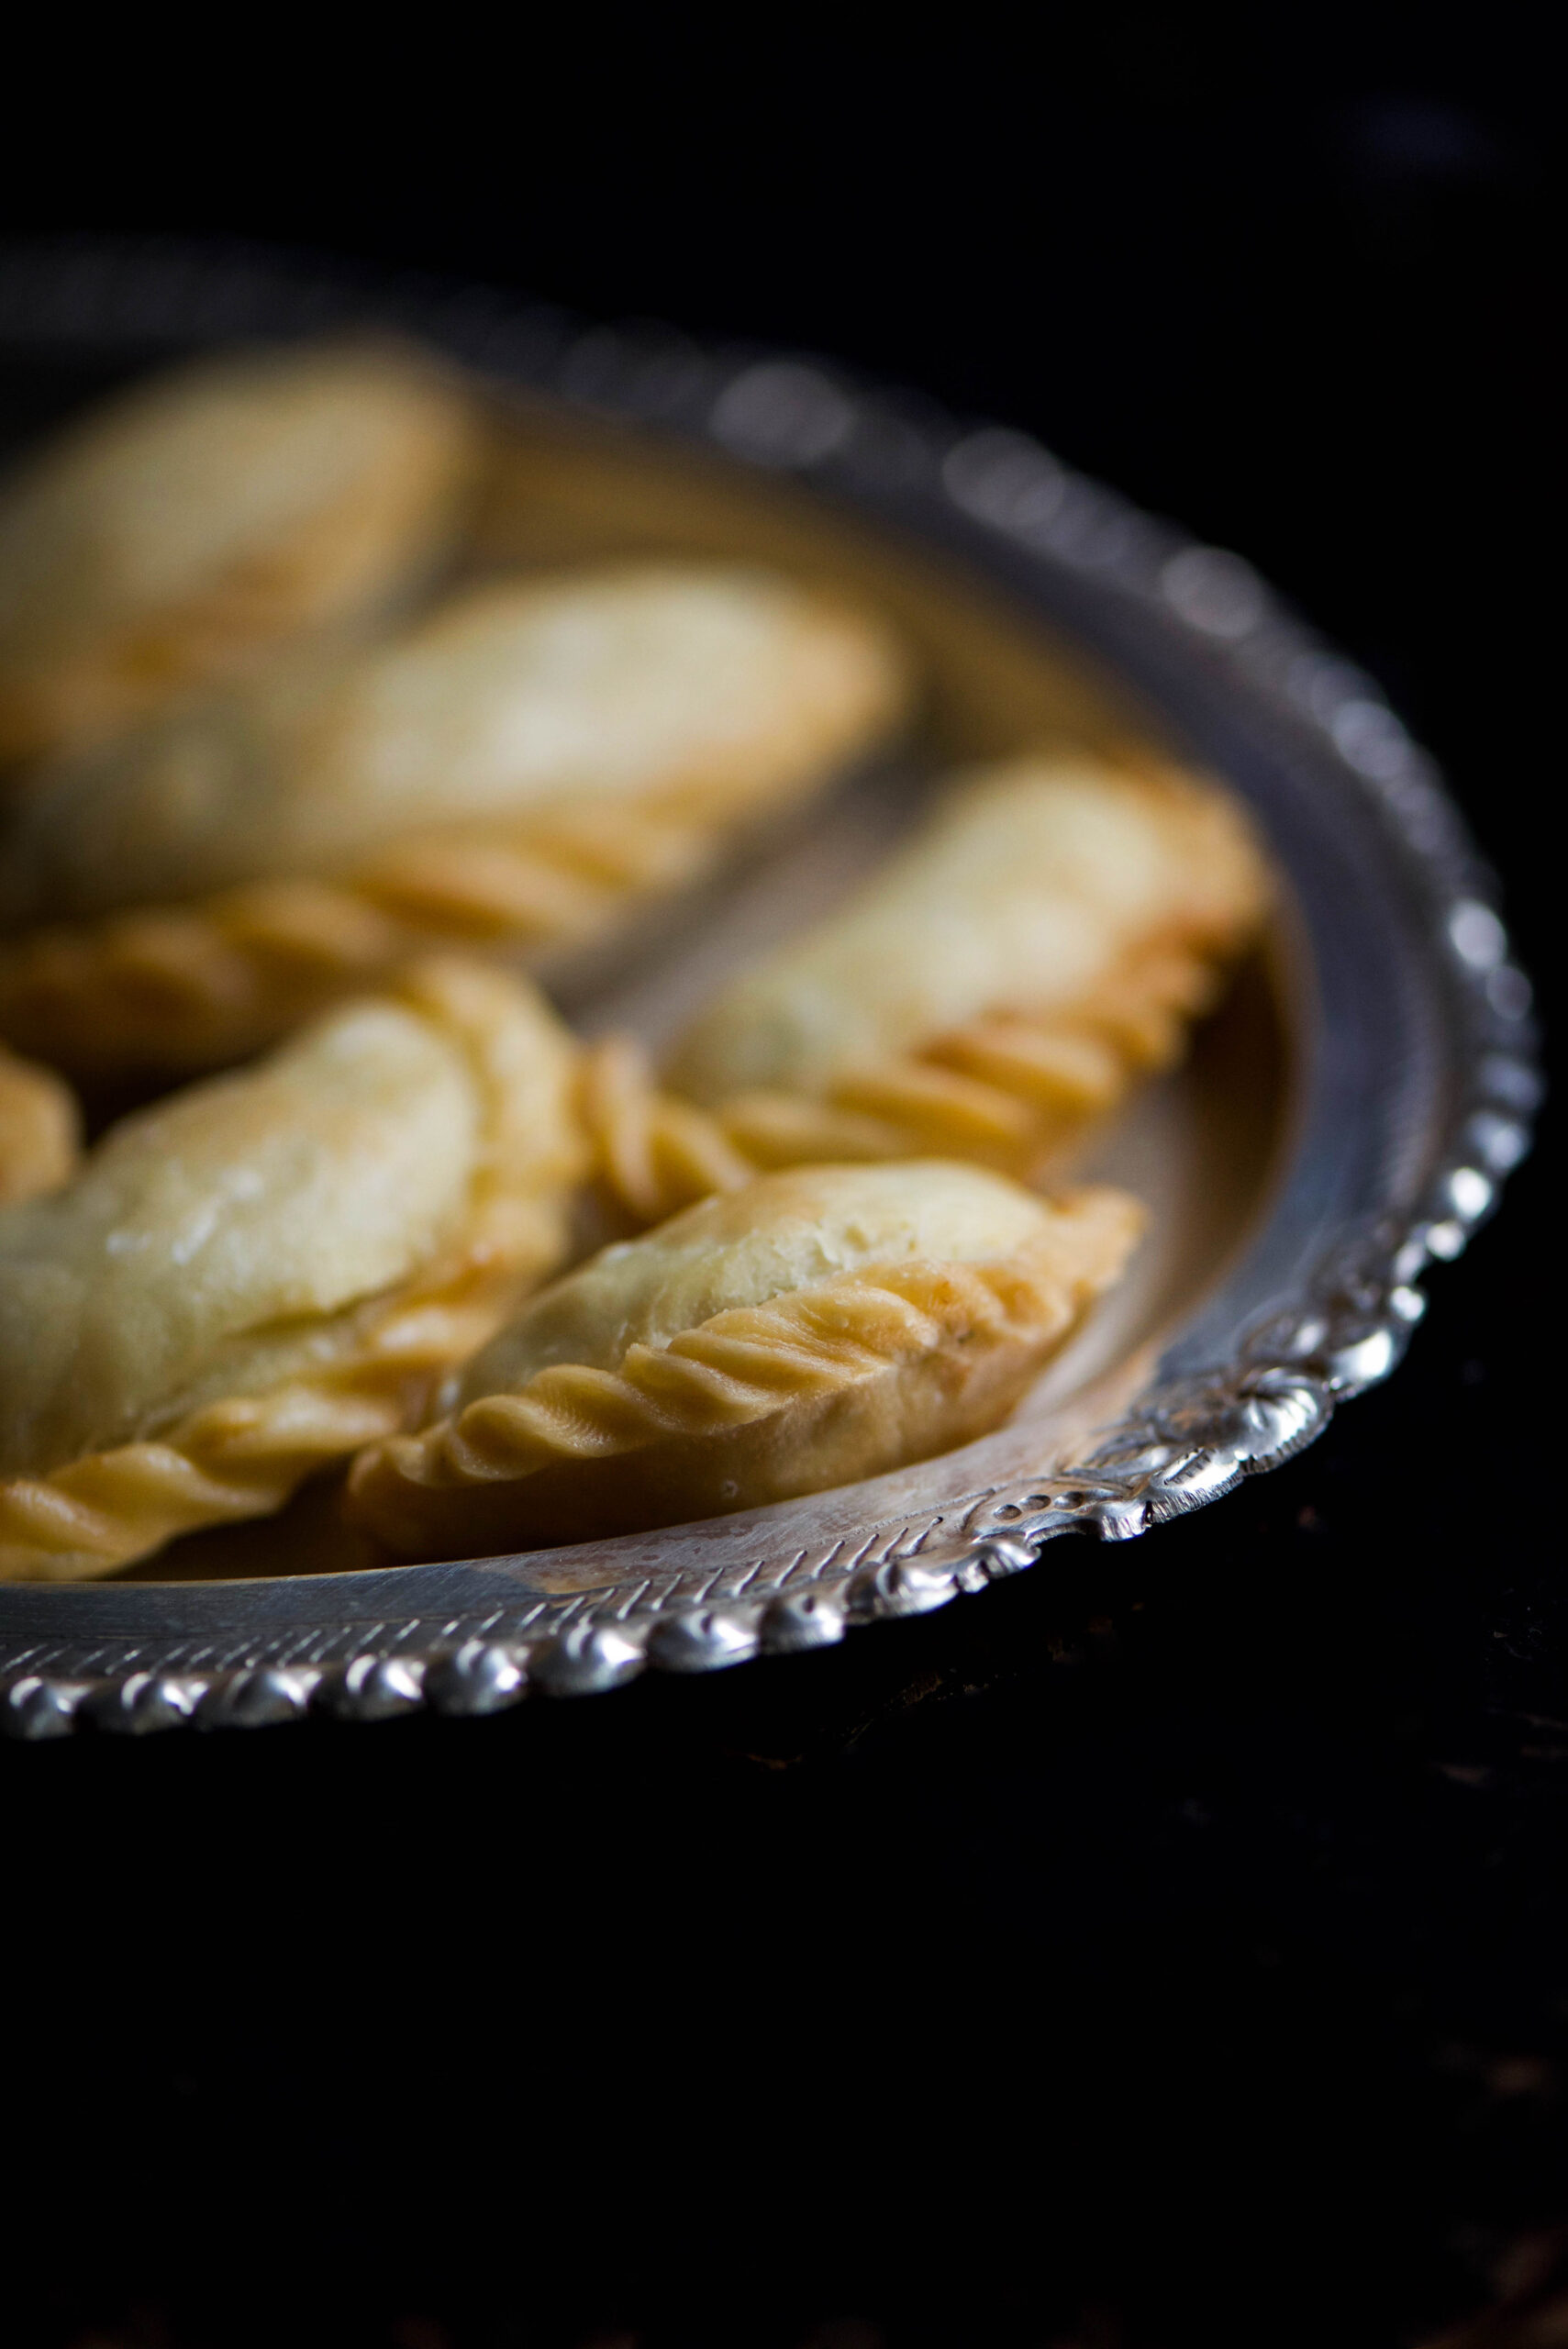
Whether you know them as samosas, kachoris or ghugras, these fried stuffed pastries are a timeless favourite. It’s the fillings that make the difference, and the one I’m sharing today fills my heart with so many beautiful memories of childhood. It was one of the food items that my mother reserved exclusively for Diwali. In the same way that most people make modaks only on Ganesha Chathurti, she made these sweet, nutty ghugras only on Diwali.

Let me paint you a picture of just what these ghugras evoke in me. It’s amazing to recall now just how consistent the scene was: coming home from school year after year the day or so before Diwali to my mother standing in the kitchen, preparing the sweets. The anticipation, and the enjoyment. How does it feel like it was the exact same sight every year, even though both she and I grew older? The scents of that kitchen, the sheer delight of it all!

In those days, all the sweets and savouries were made at home. Each family would make 3 or 4 variants, depending on their status. The preparations began a couple of days before Diwali, and the treats would last for a week – and therefore, in a sense, the celebrations too. It was customary to visit one another’s homes, where we would eat versions of the same sweets. Back home, those who cooked in the families – usually our moms and aunts – would trade notes. Did that person’s cardamom twist suit the sweet? Was her own ghee-rich version of a treat the tastier one?

I grew up in a middle-class home where everything was rationed. Two sweets per child, and the rest for guests – but first, if you remember from my jaggery-whole wheat prasad recipe, to God. Those two sweets each were so relished, and to this day I believe that fulfilment and gluttony are two different things when it comes to dining.

The day after Diwali is the Gujarati New Year, and these two festivities are indelibly linked in my mind. Growing up in Chennai, the latter was not a public holiday, so school remained open. I remember the mix of restlessness and excitement I’d feel through classes all day, waiting for 3pm when our parents would come to pick us up. For that one day of the year, we did not have to take the school bus home – and just having our parents come to collect us to take us for our New Year prayers was such a thrill!

There is a beautiful old haveli, a traditional mansion, in Chennai’s Kilpauk neighbourhood that I still go to every year, and this was where we would drive to – still in our school uniforms, so happy to be celebrating this special day with our extended family and community. Dedicated to Lord Srinathji, the haveli observes an annakut darshan – an unlimited offering – made to the deity on New Year. In the spirit of abundance, it is forbidden to count the number of food items given as prashad. In order to achieve this, the cooking tasks are divided amongst several people. Each person makes a different kind of sweet or savoury, and the total collection is presented to the deity at once. It was always such a wonderful experience, a time when so many families came together and enjoyed ourselves – praying, playing and eating together, keeping our traditions alive through simply being joyous.

Diwali is in fact only one day in a string of special occasions. For us Gujaratis, the season began with Dhanteras (in which goddess Lakshmi is worshipped for prosperity), followed by Kali Chaudas (where a fried vada, a lentil doughnut, is thrown over one’s shoulder at a crossroads; my modern version of this custom is to serve thayir vada, curd-soaked vada, at home on this day), then Diwali (the festival of lights, which invariably falls on a new moon – on this day I make a broken wheat and jaggery dish for good luck). Diwali is followed by the Gujarati New Year (on which I make specialties like kesari or lapsi), and subsequently by Bhaibeej (the day when brothers visit their sisters’ homes to feast, the reverse of which happens on a day in August known as Raksha Bandhan). As you can see, feasting is an integral part of our festivals!

And to your own feasts, this year and for all time, I hope you’ll add this heirloom recipe of mine…

Sweet Ghugras

(Yield – 15-20 pieces)

Ingredients:

Filling

½ cup white raw almonds (with skin)

½ cup shelled pistachio

½ cup powdered sugar

2 tablespoons ghee

1 – 2 pinches of saffron

½ teaspoon cardamom powder


Pastry

See here.


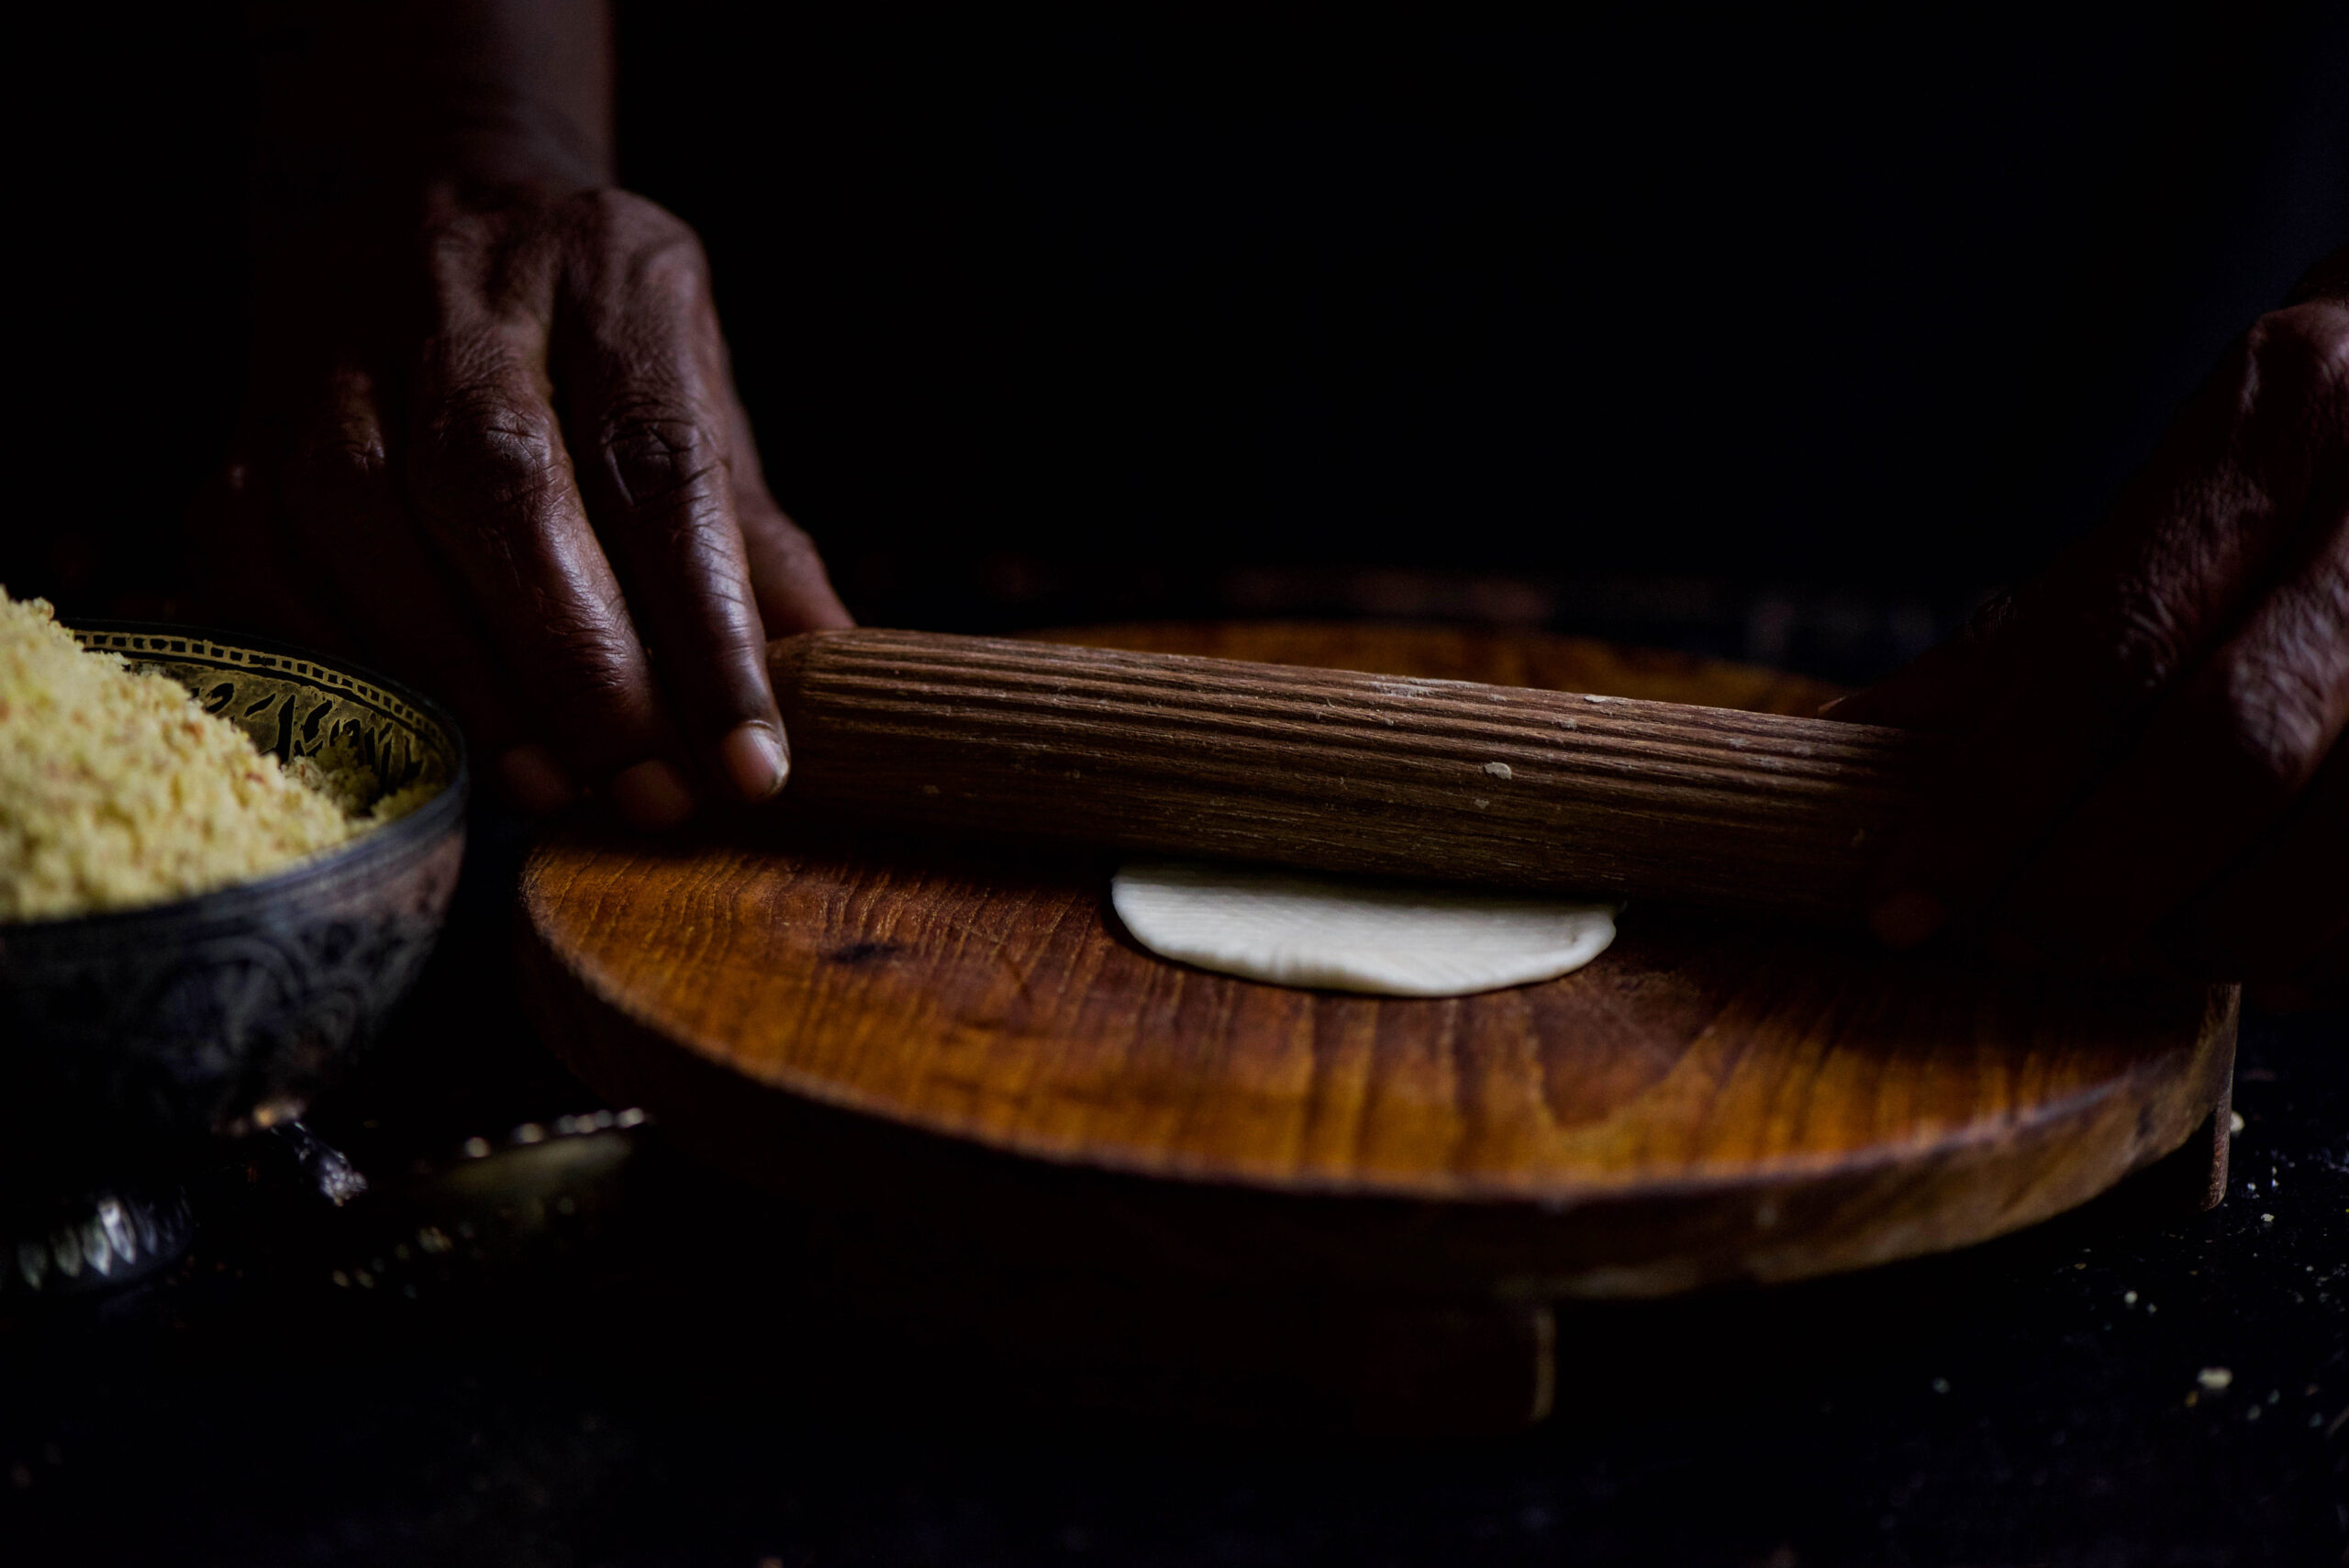
If you tried your hand at my sweet-savoury pea-pomegranate kachori recipe, you’ve already had practice at making the pastry for these ghugras too. The ingredients and technique can be found by clicking through to that post.

Here, let me share the recipe only for the filling of the sweet ghugras. It is the filling that makes each samosa, ghugra or kachori different.

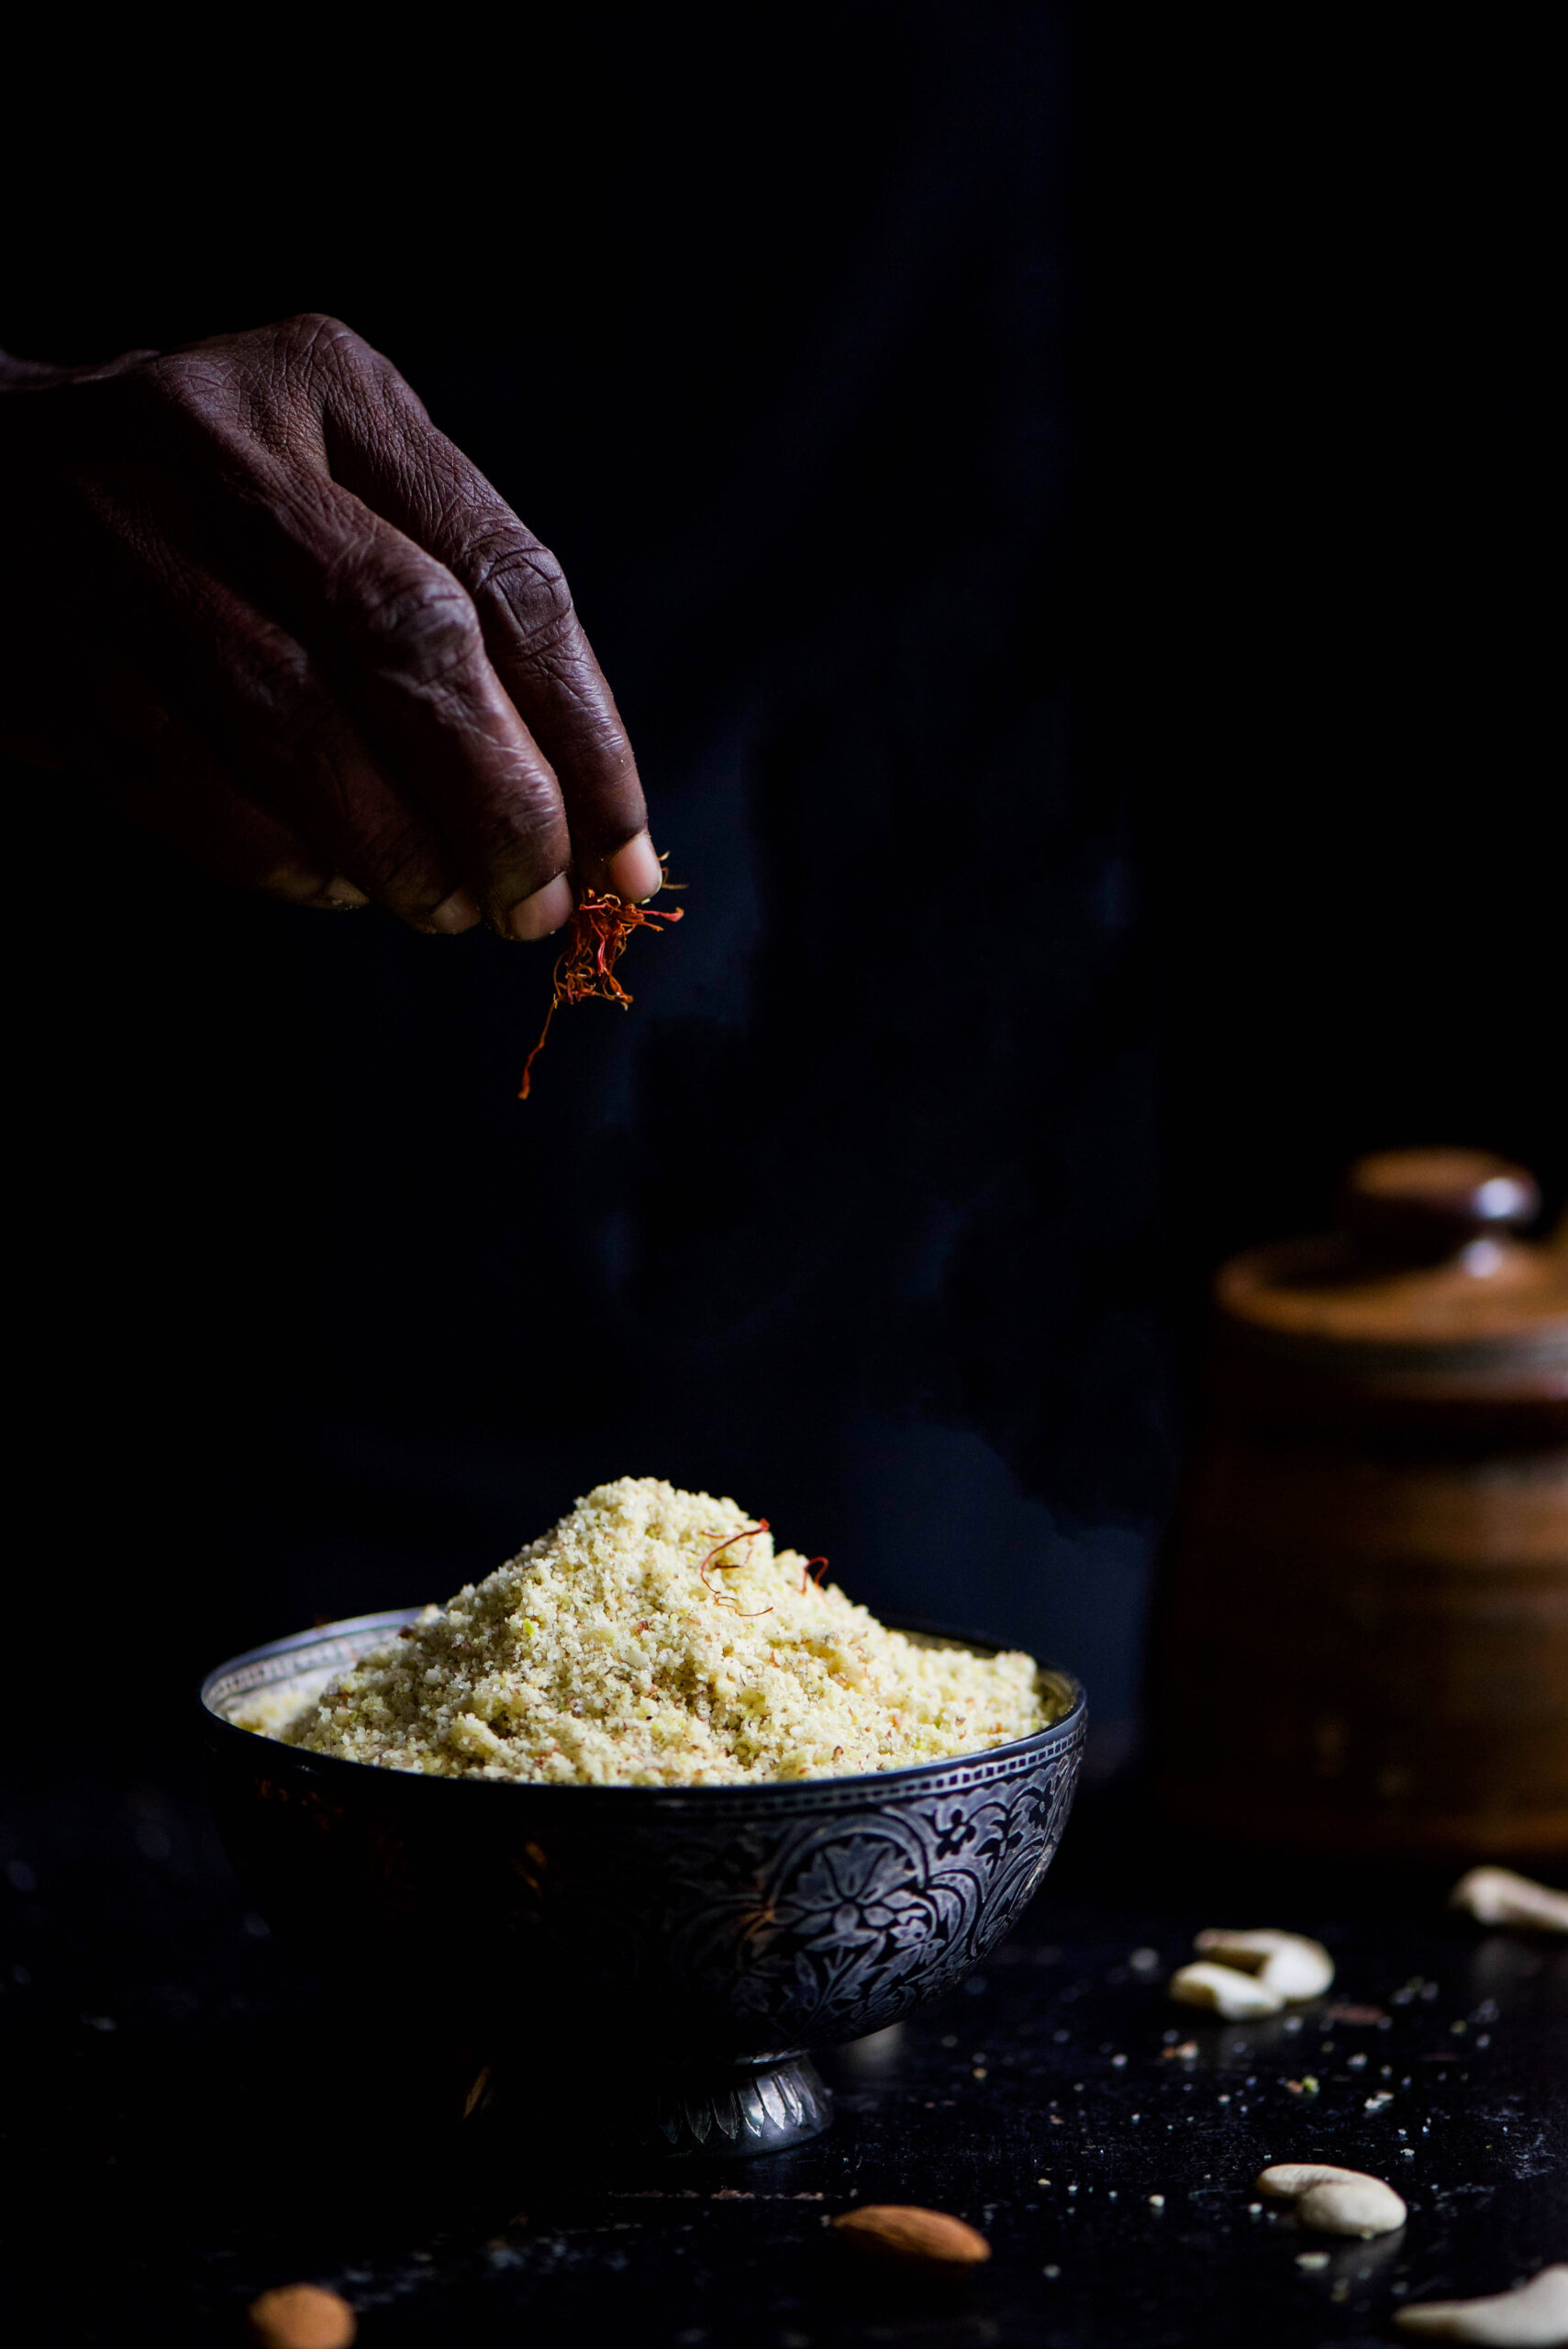
Roast the nuts until they turn into a light golden colour (you may replace the pistachio with cashew nuts if you wish). Allow to cool. Once cool, blend them to a coarse powder.

Now, add the powdered sugar and ghee. The ghee binds all the flavours together. Next, add the cardamom and saffron. Using your hands, gently blend the ingredients together.

The filling is as simple as that. Most Gujarati households will have a similar recipe for sweet ghugras. Many will use mava (known in Tamil as palkova), which is a sugary milk reduction. The mava version was my brother’s  favourite, and my mother made it for him for over five decades of Diwali celebrations – even the one in the hospital. But if you don’t like extreme sweetness in your desserts, you will prefer this nutty variation I’ve shared.

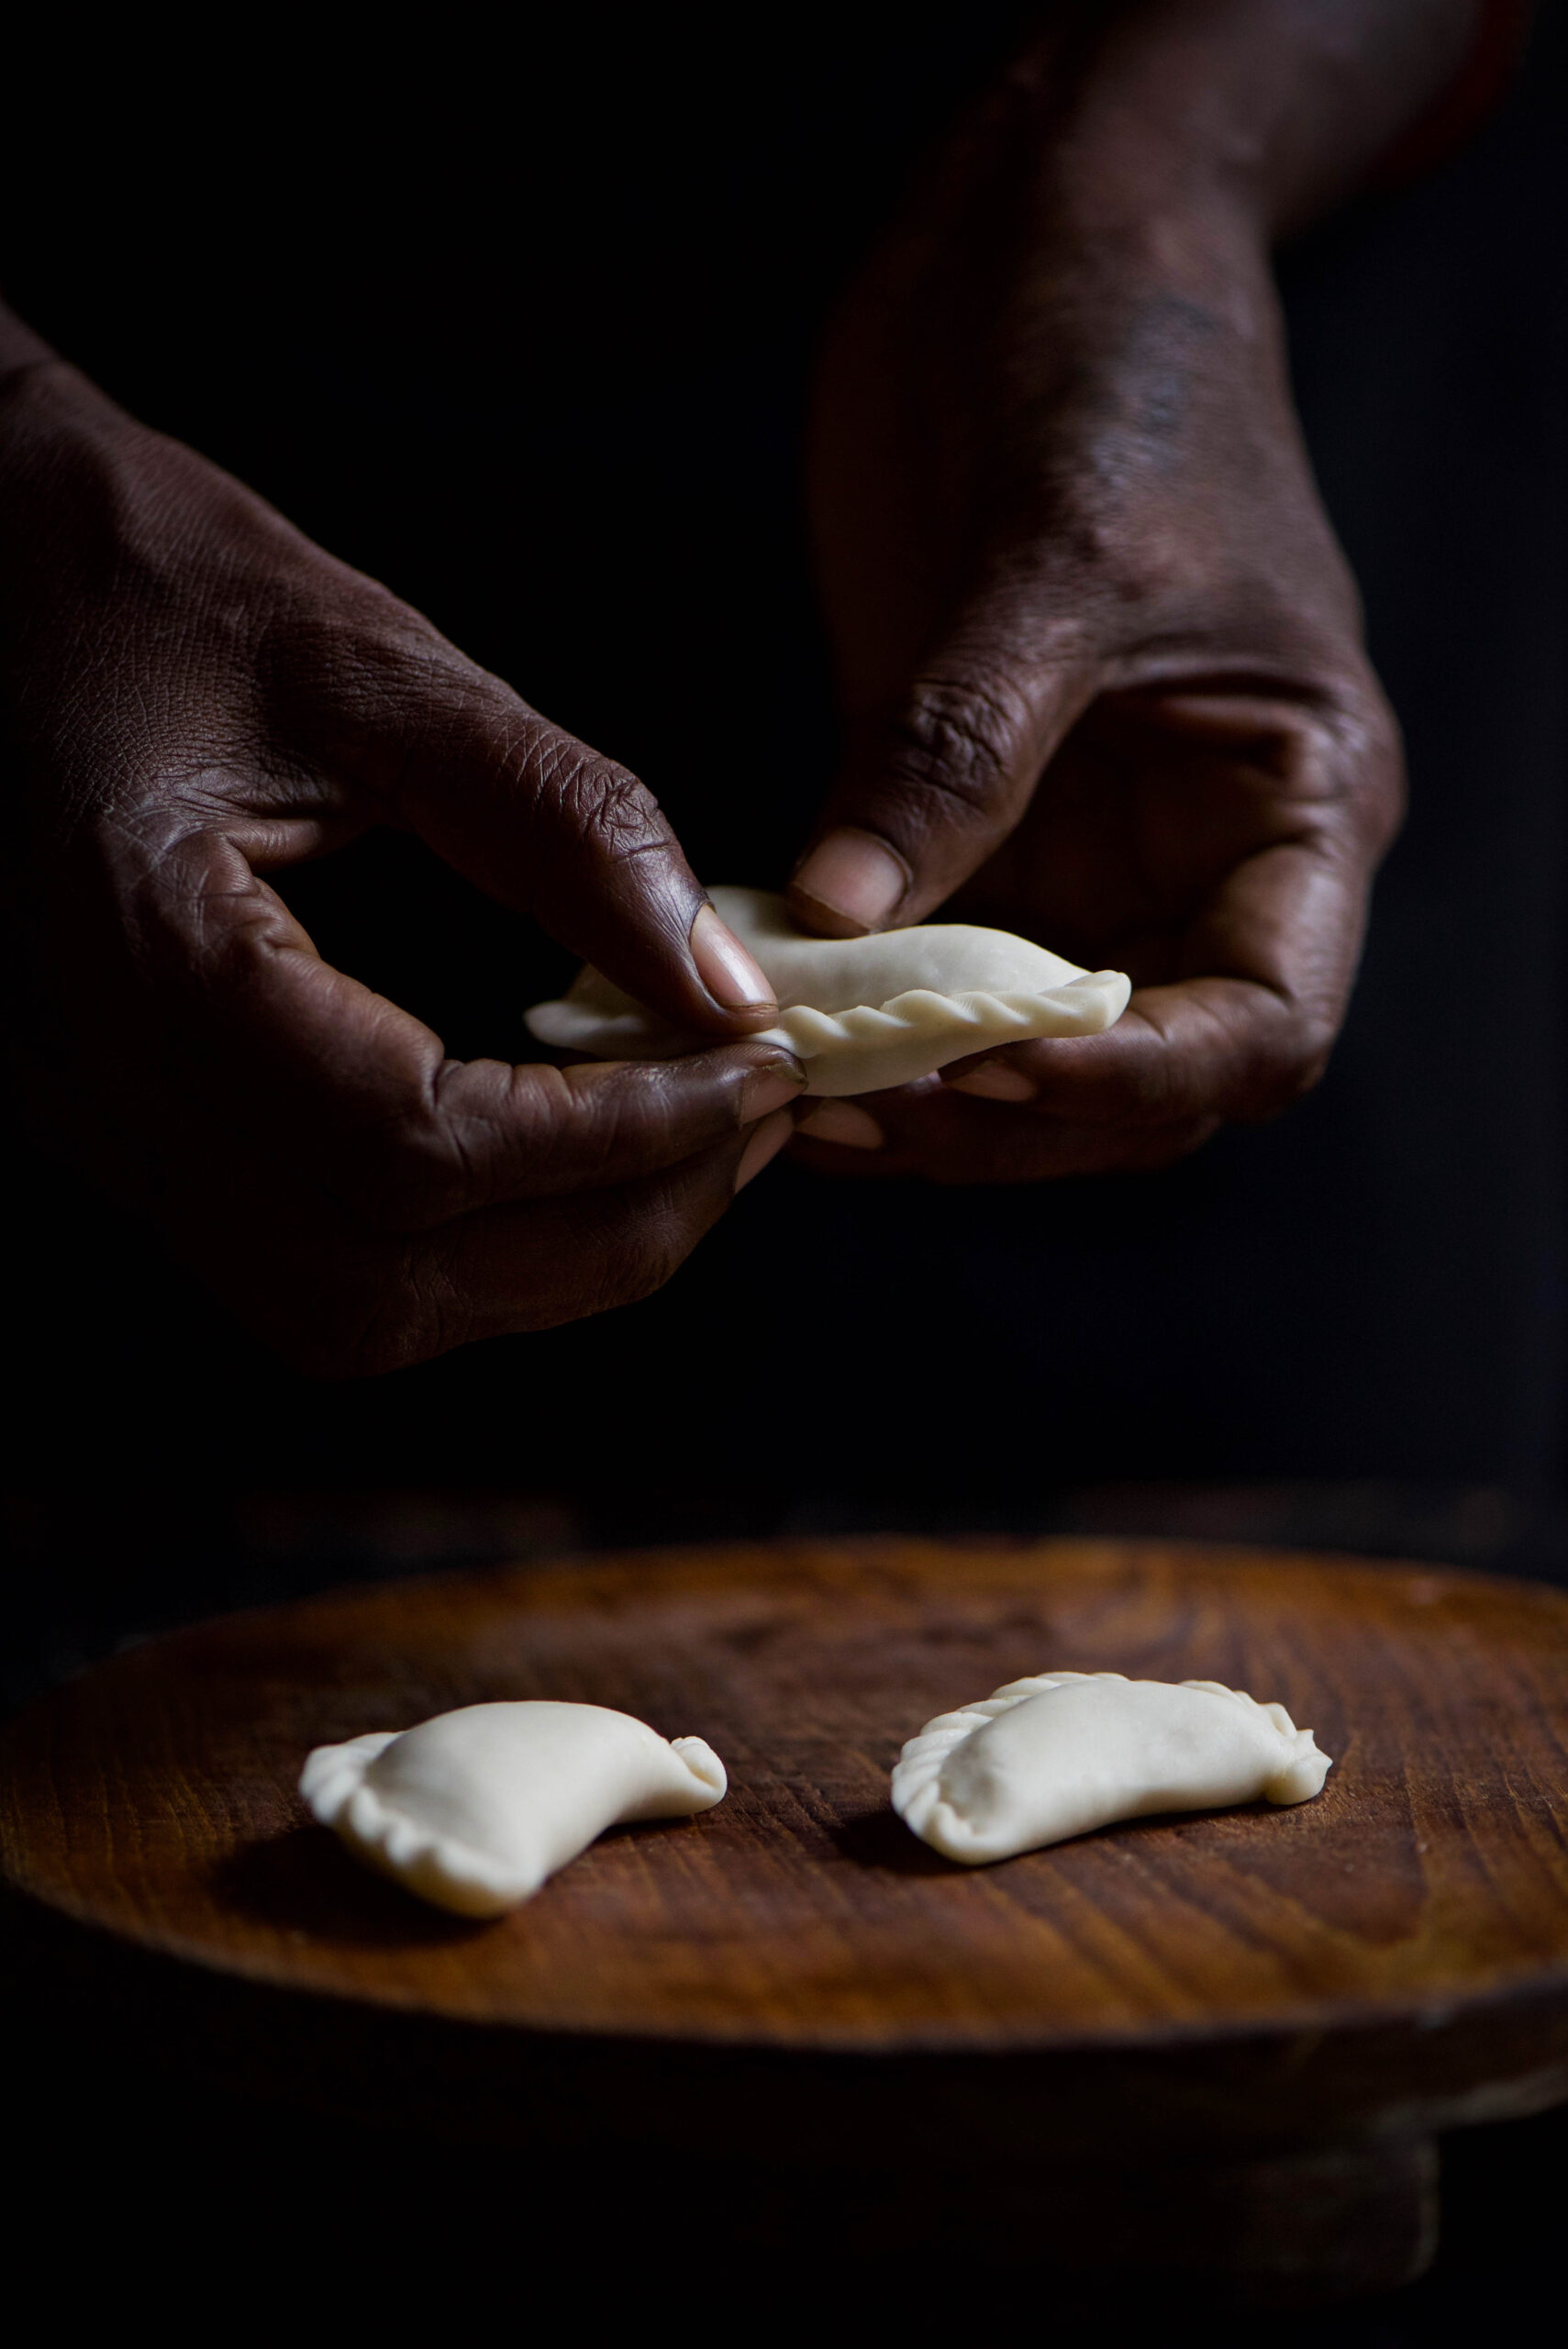
If you made the pea-pomegranate kachori recipe given earlier, making, rolling out and delicately folding the dough into a pretty shape should be very easy for you.

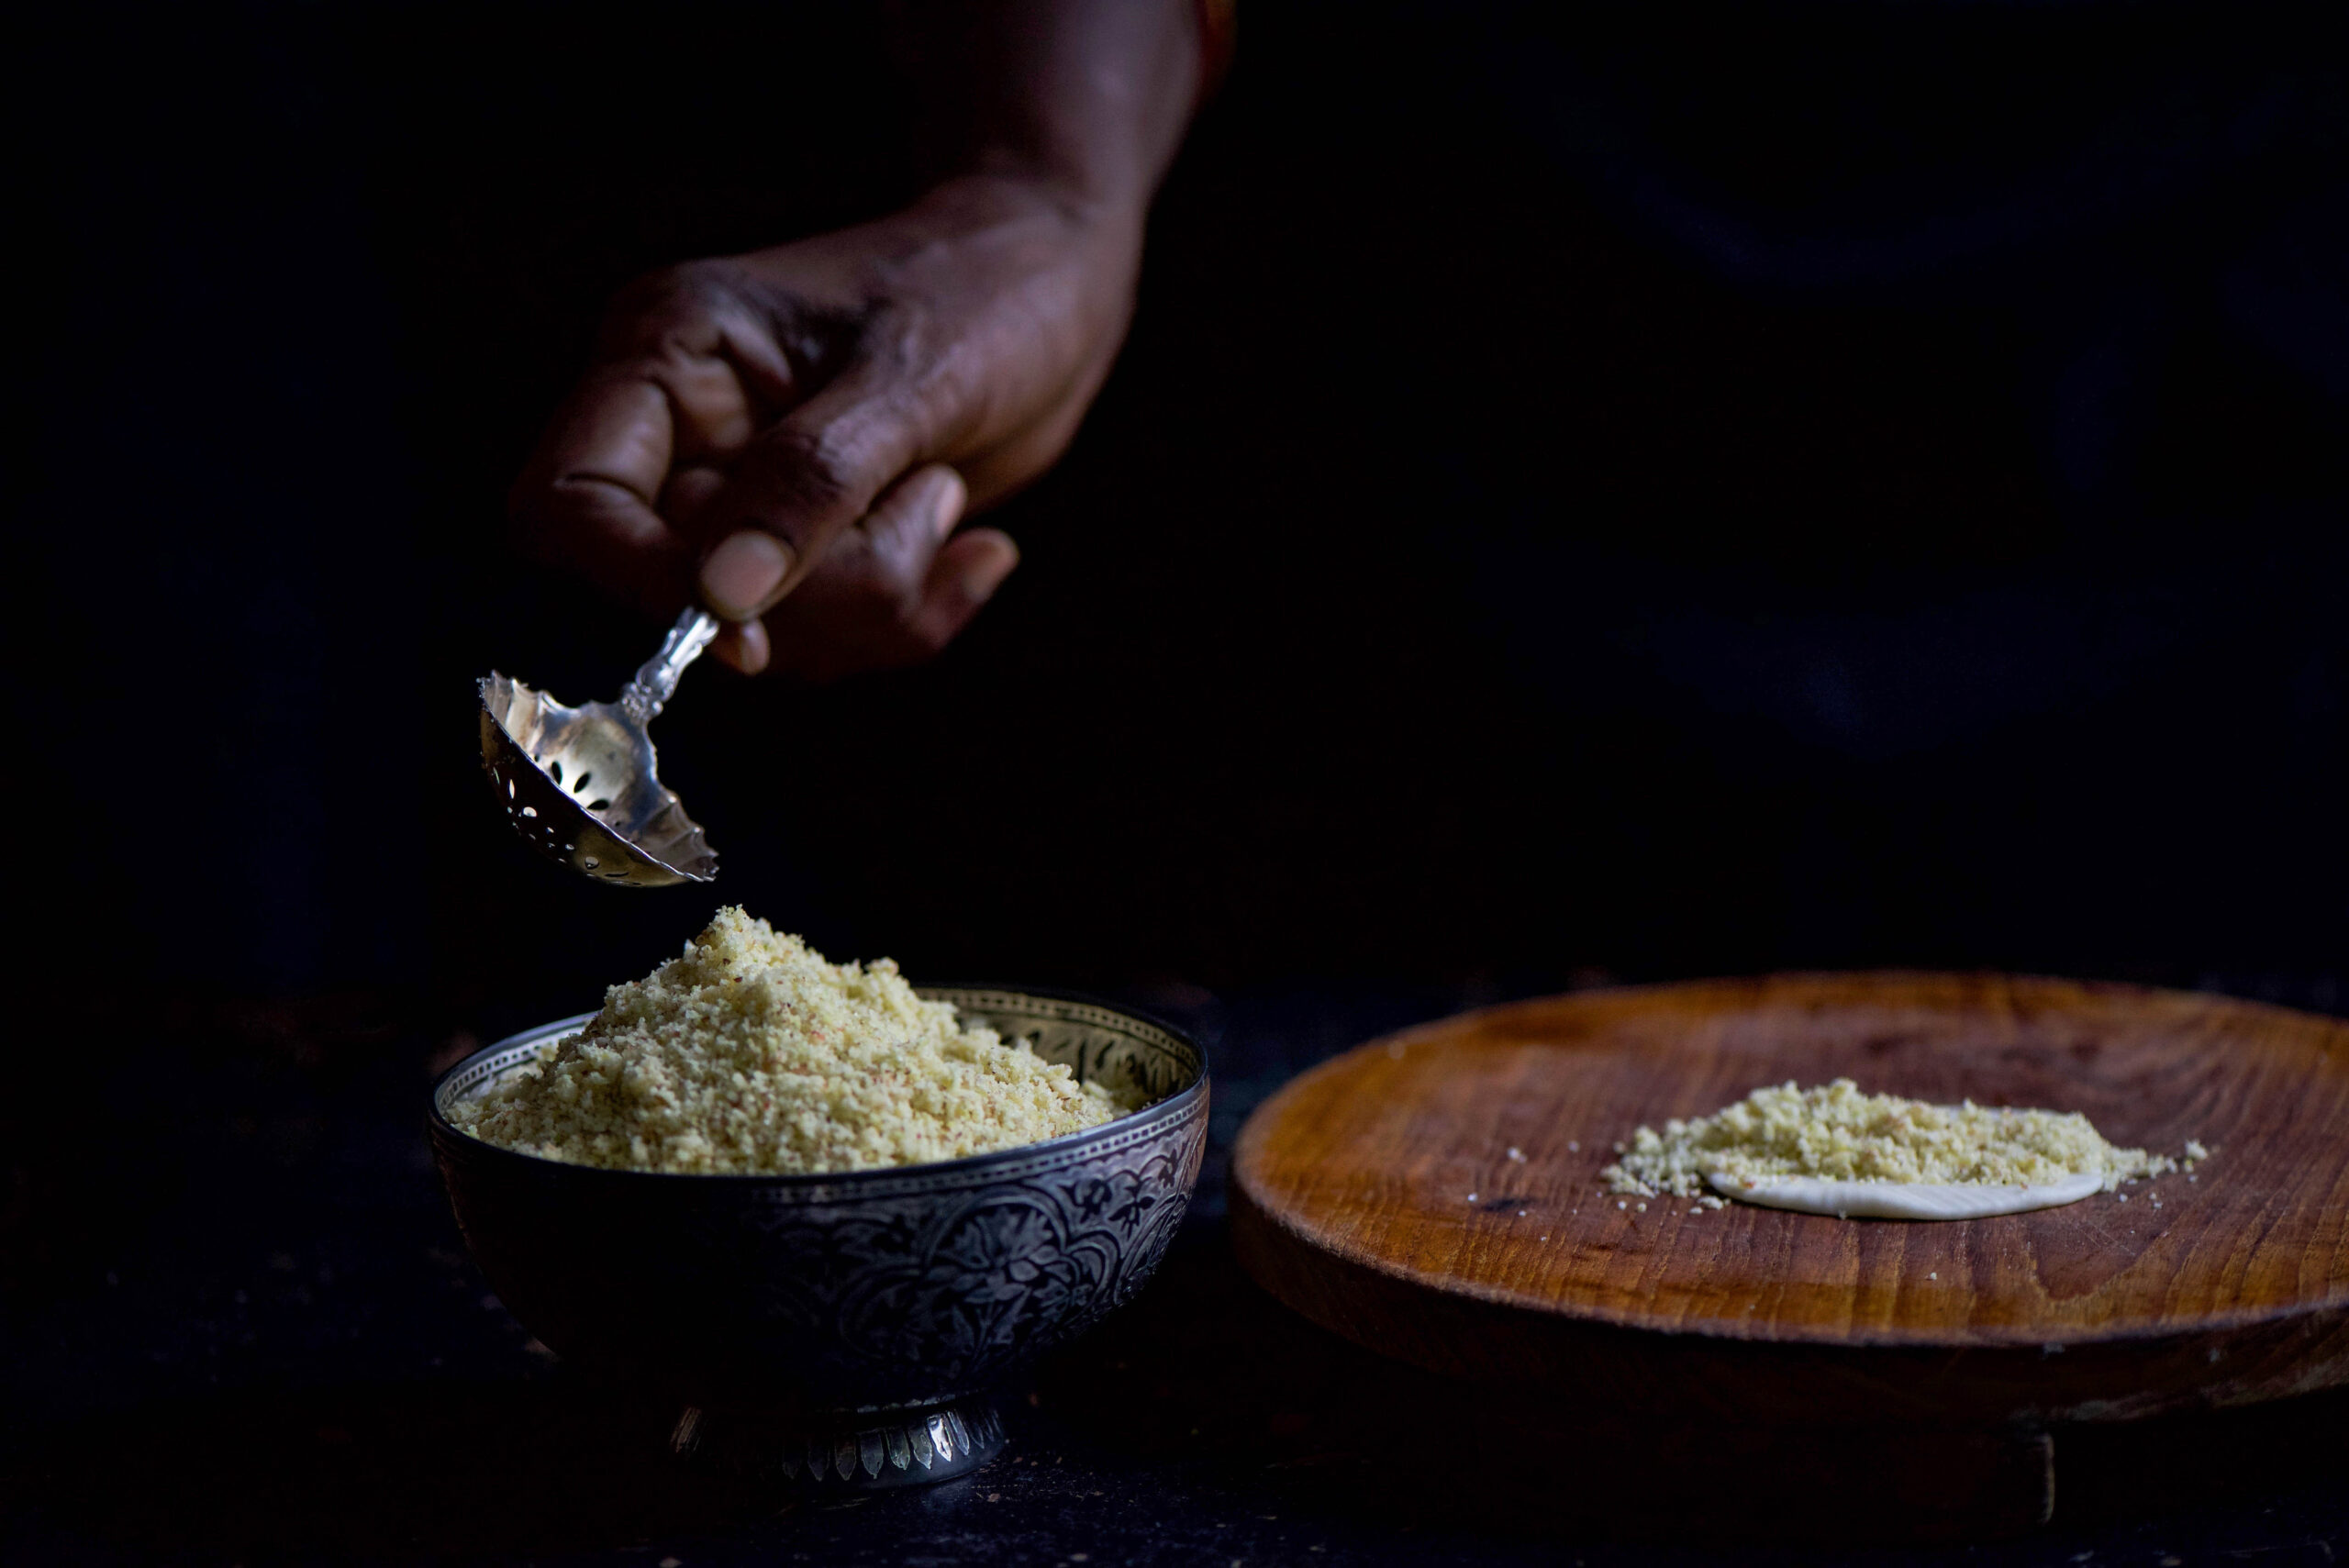
If this is your first attempt, do watch the video below to see how to stuff and fold the pastry casings. You will be able to make between 15-20 ghugras using this recipe, depending on the size. I like mine small and dainty, so that you’re both satisfied in a bite and have a slight craving for one more.

Once the pastries have been filled with the sweet, nutty stuffing, they must be fried.

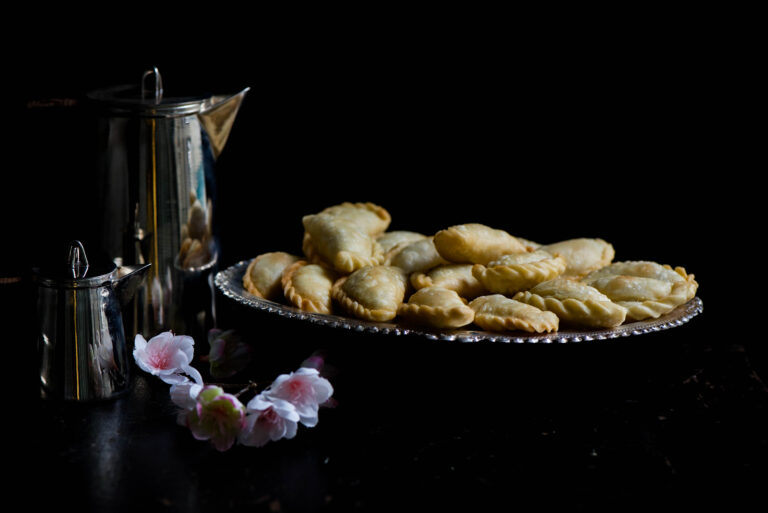
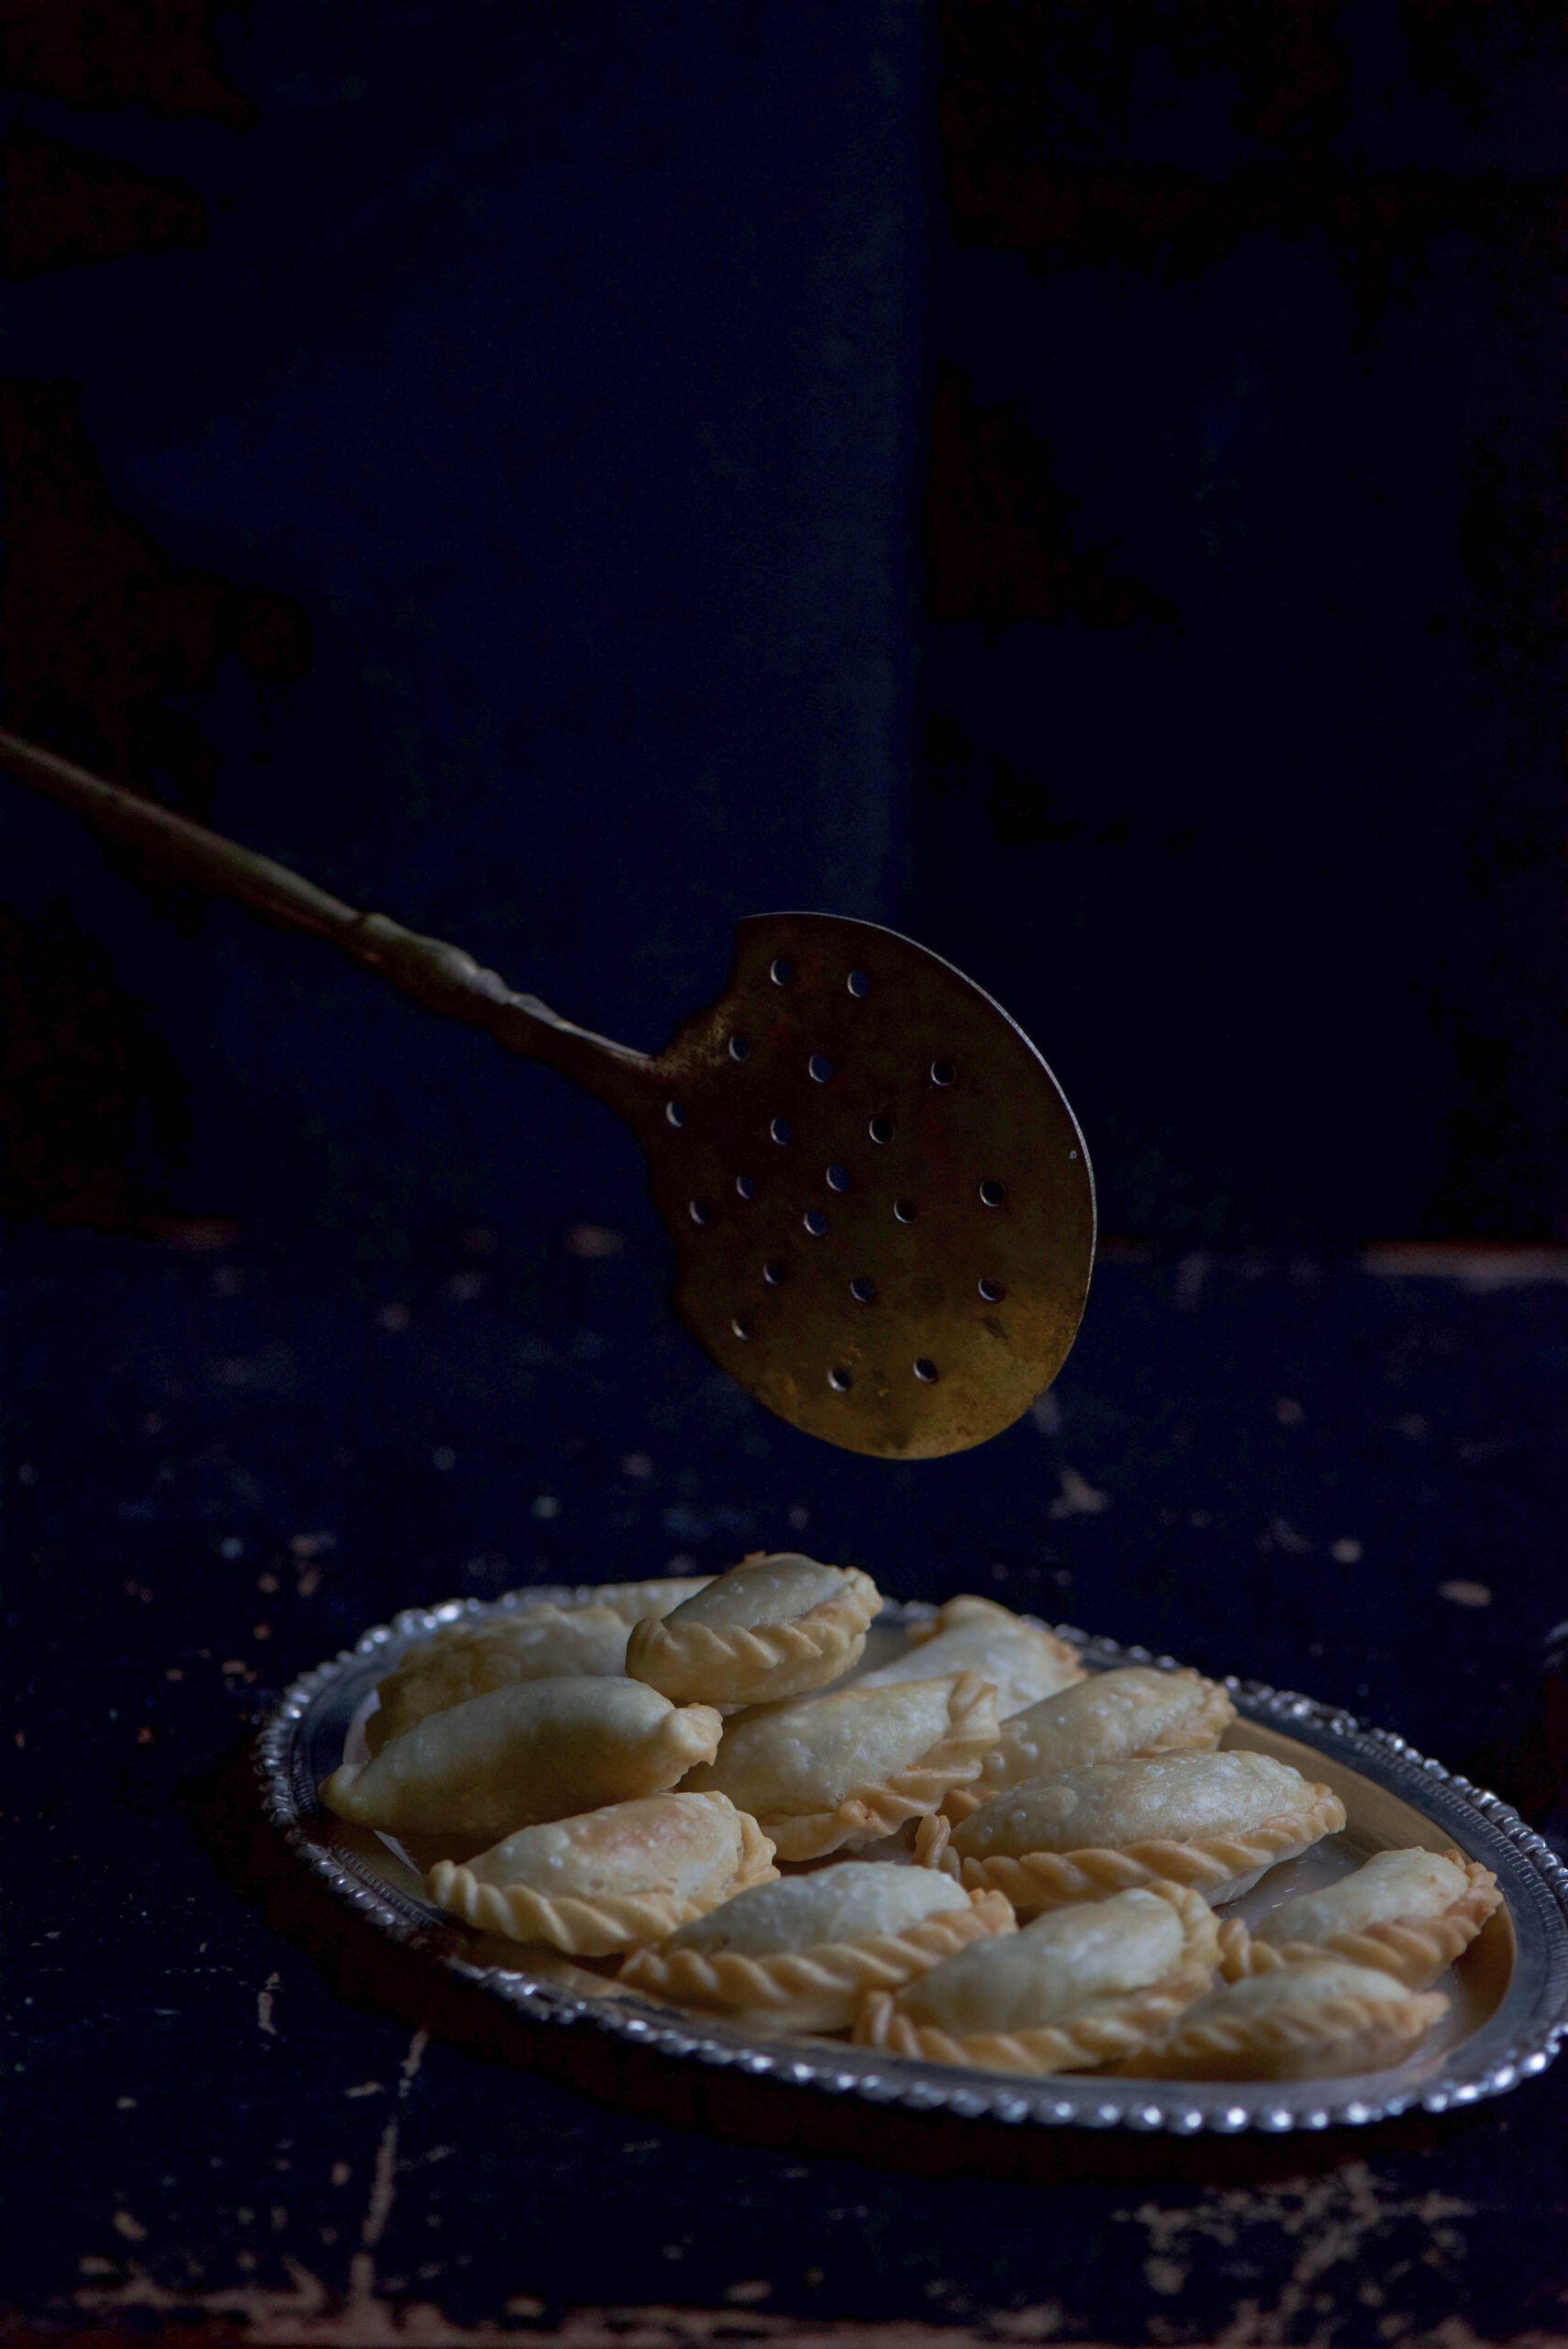
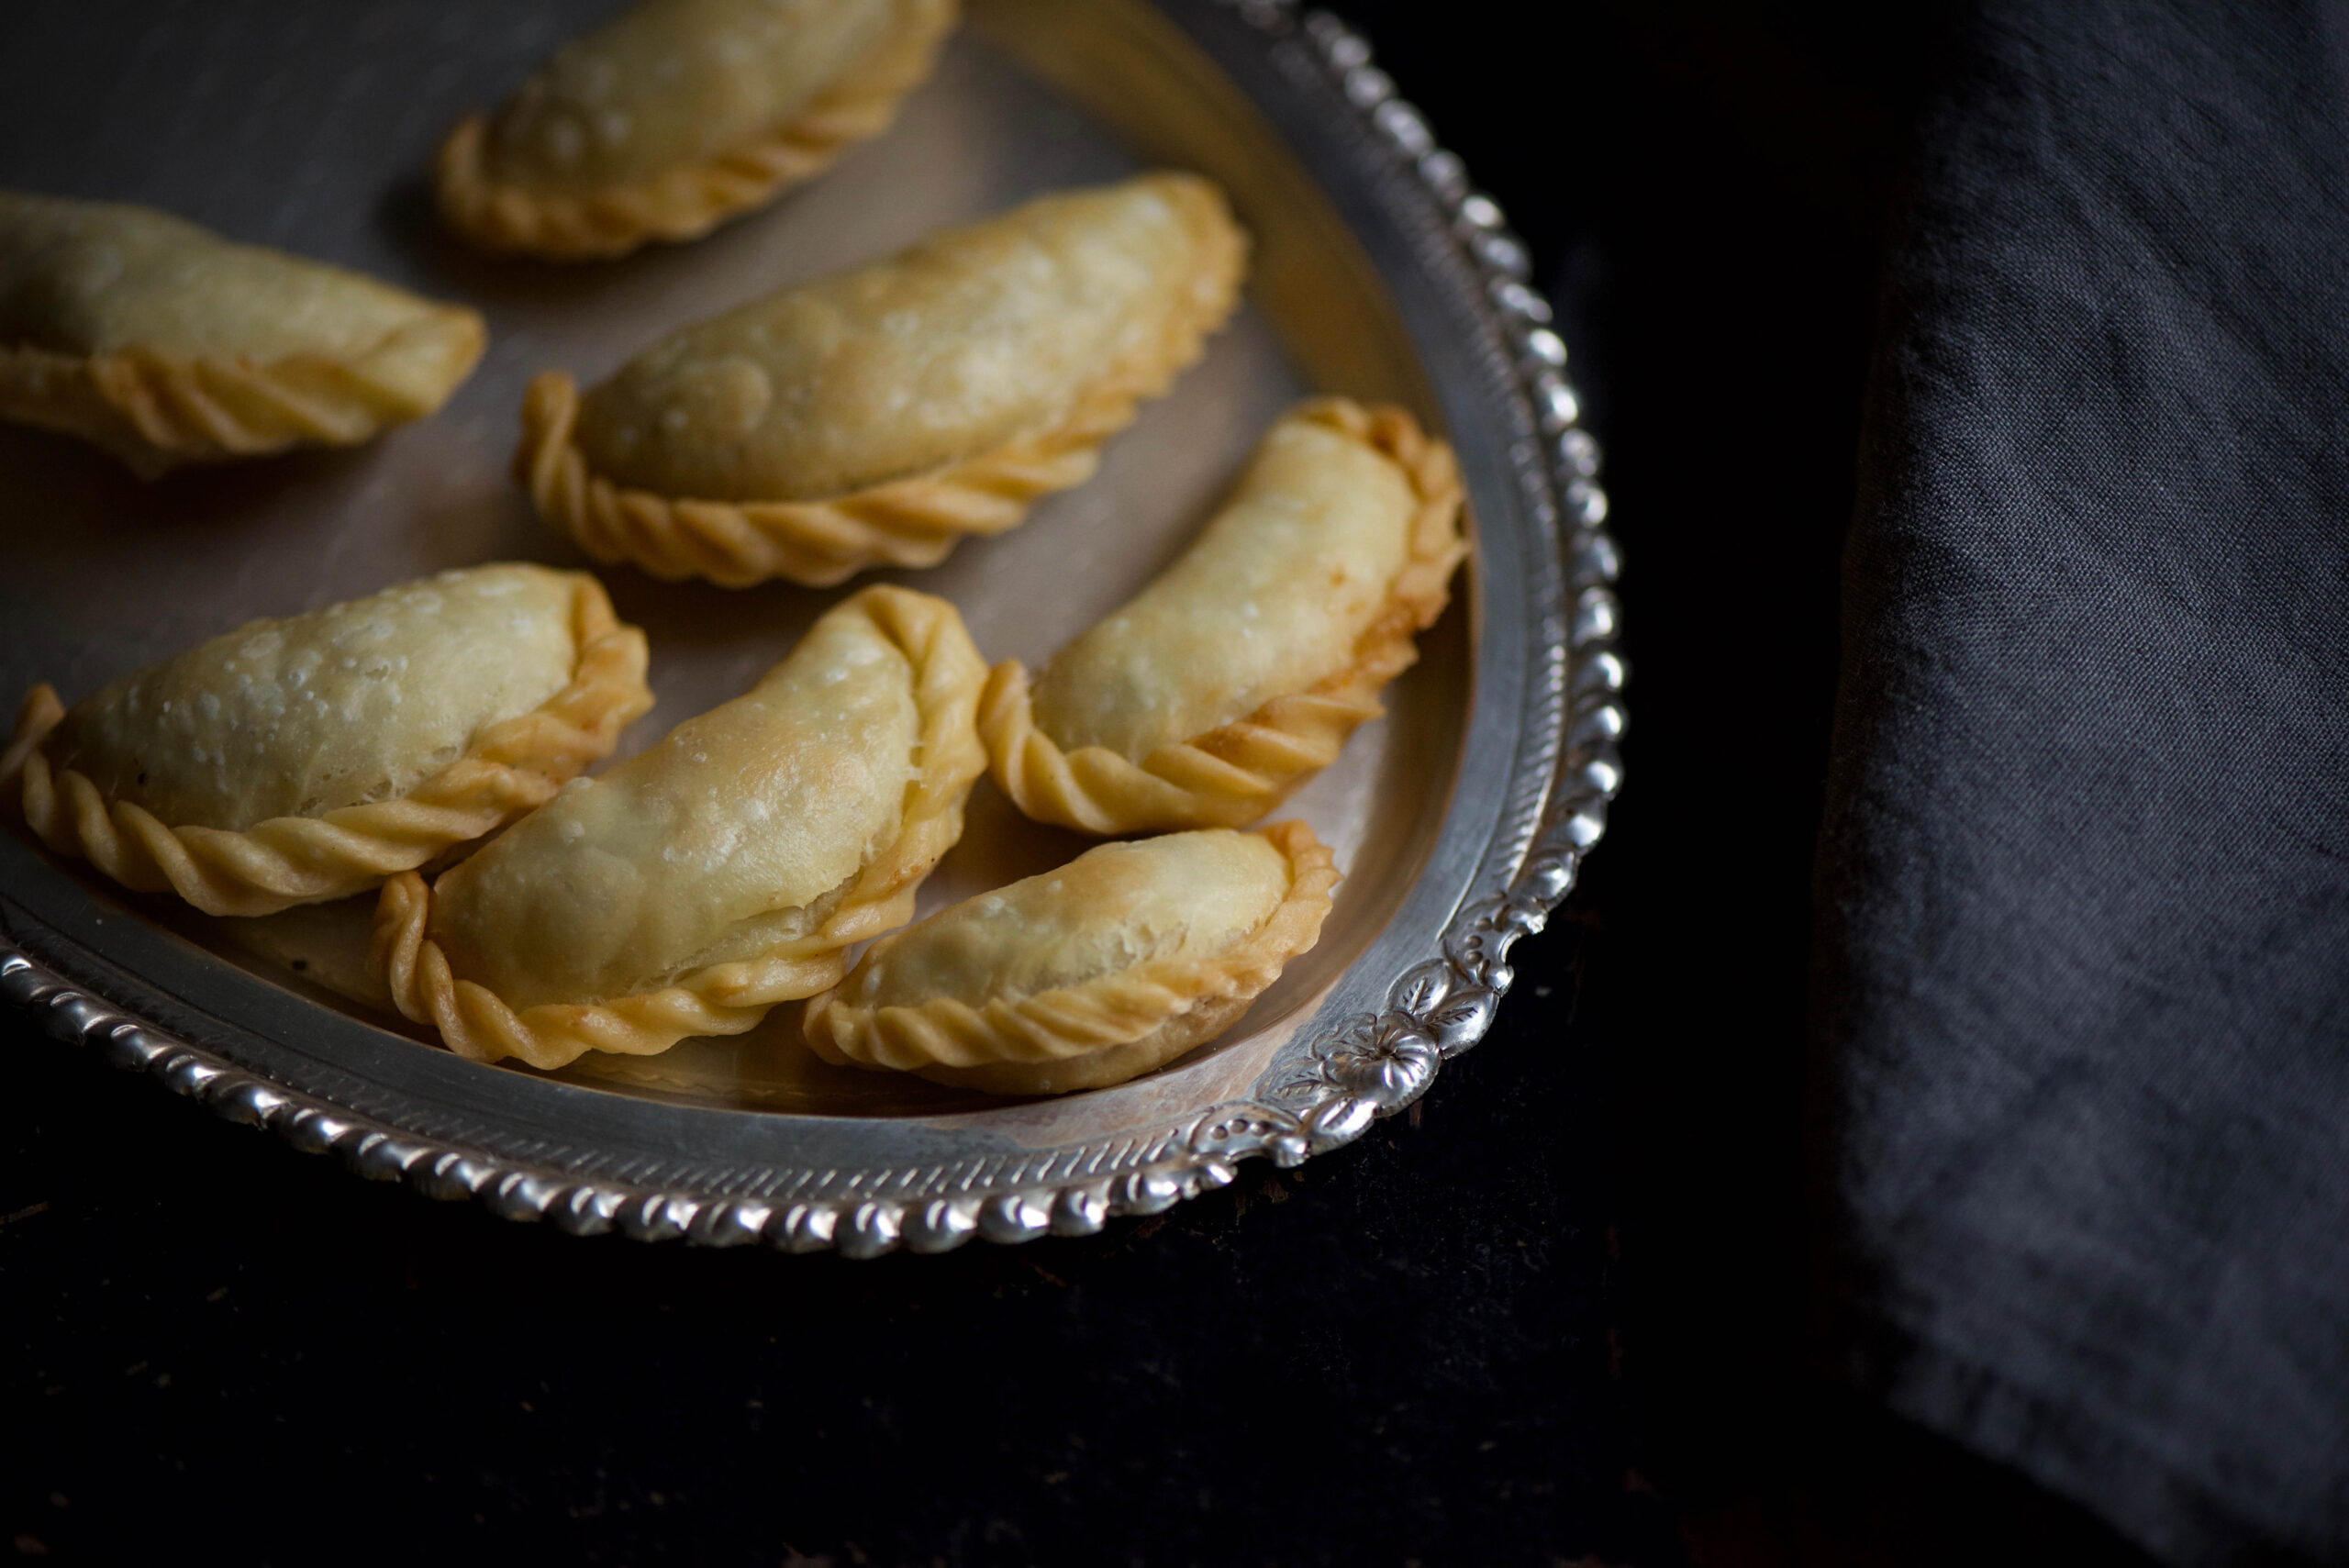
I prefer the traditional method of deep-frying them in ghee over a low flame, but you can use oil if you wish. After a couple of minutes, increase the flame for about 15 seconds then lower it again for a minute. Continue alternating high and low flames. The ghugras will take 12-14 minutes to turn to a light golden colour. And then they are ready to serve.

These sweet ghugras have travelled a long way with me, from childhood. Isn’t it funny how we take our mothers’ food for granted? I’m so glad I made the effort to absorb her culinary wisdom. Now, during special occasions, my kitchen smells just like hers did when I was growing up – and I am filled with all the love she raised us with.

Heartfelt festive wishes from re:store to you and your family!

India contains a diverse mix of religions, both brought from abroad and homegrown. Among the latter category is Jainism, which has been practised for thousands of years. Some of my family members belong to this religion, and as the most sacred Jain festival, a time of fasting known as Paryushana, fell this year between August 19 and August 26, I was reminded of a particular temple we used to visit when we were kids… and a specific delicacy that was served there.

As I mentioned in my previous blog post, food is ritually offered to gods in many Eastern religions. At the Mahudi or Madhupuri temple just outside Ahmedabad, the deity Ghantakarna Mahavir Dev loves a ghee-rich dessert known to Gujarati Jains as sukhudi. Gujarati Vaishnavites like myself know it as gol papdi, and offer it to the baby Lord Krishna. By whichever name you call it, it’s a very simple dish both in its preparation and in the ingredients used. It could have become a staple as a religious offering because of both reasons: any family would have been able to afford to make and serve it to God.

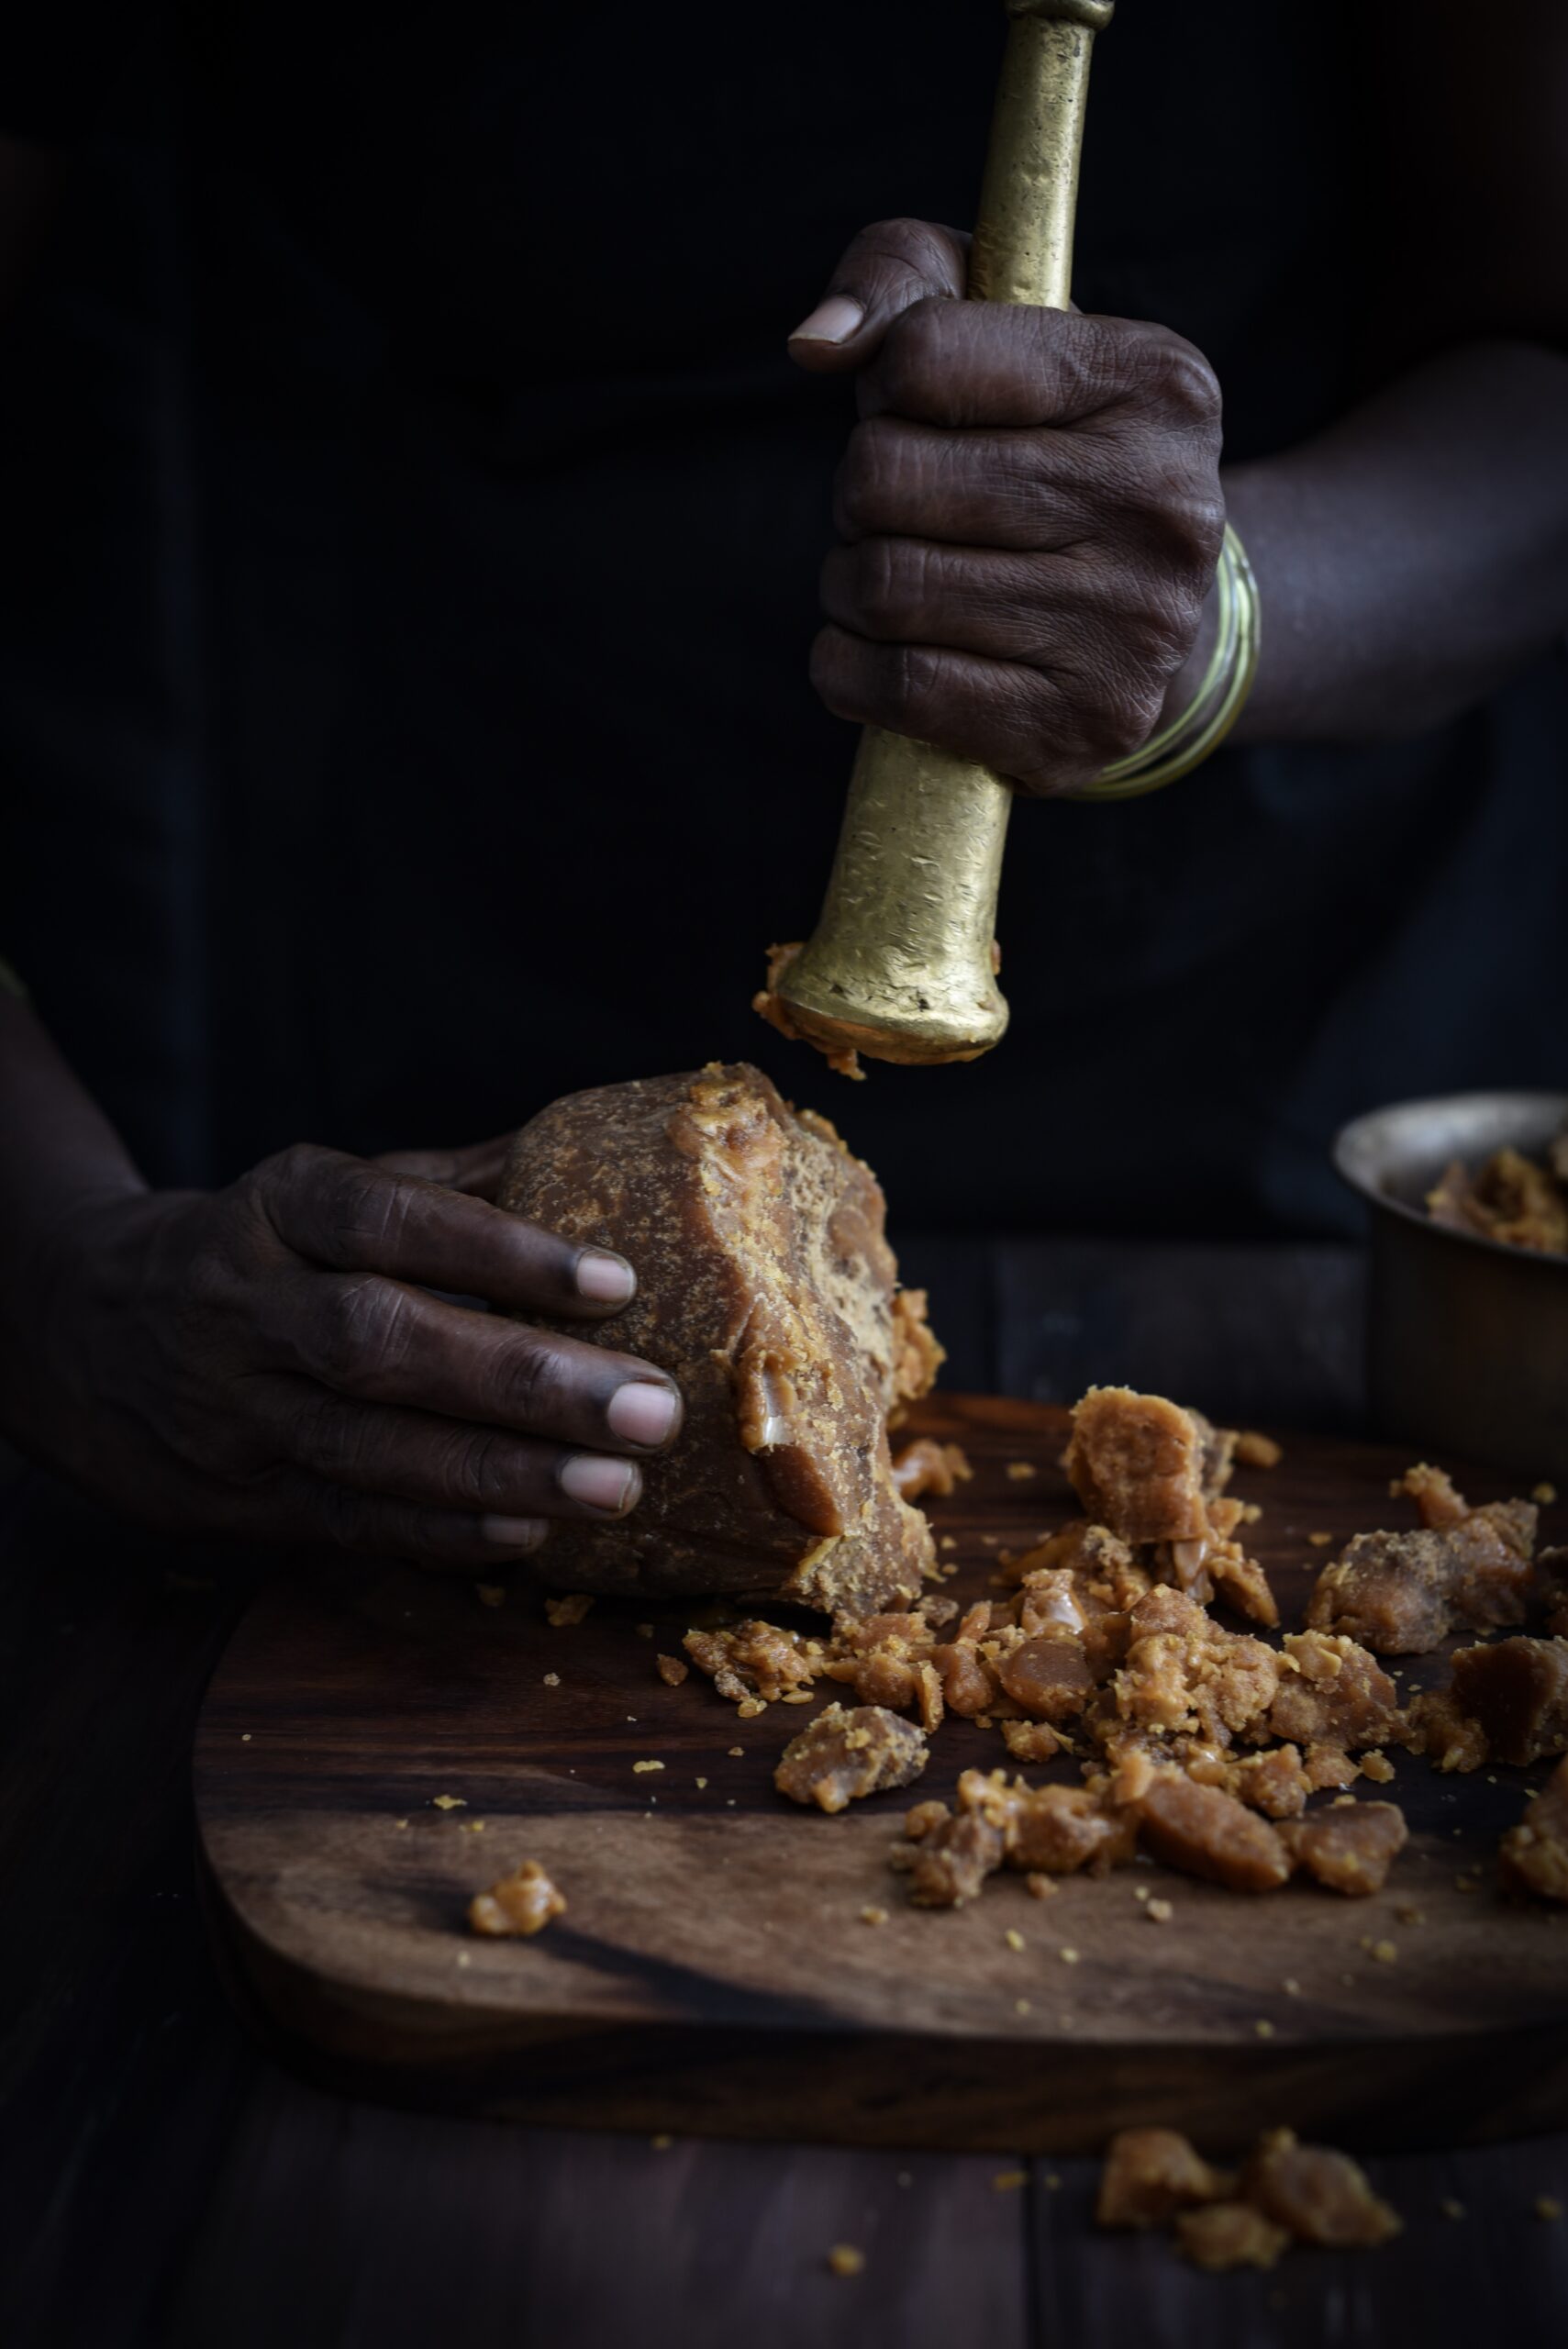
Jaggery is made of cane sugar or date palm. A sweetener that is believed to aid digestion, it is generally a healthier alternative to refined sugar. It has a cooling effect in the summer, and a warming effect in the winter. It’s a vital ingredient in Gujarati cuisine, and a pinch is used in so many dishes (even those which you wouldn’t classify as sweet) to add to the flavour. And it’s a sacred ingredient, of course – the gods certainly seem to enjoy it!

At this temple, this whole wheat and jaggery sweet is made in individual earthenware vessels. After it is offered to the deity, it is served piping hot to those who come to the temple. It is absolutely forbidden to either waste even a little or to take it outside of the temple compound. If you know you’ll be unable to finish your portion, you must give it to pilgrims rather than throw it away. And it is considered extremely bad luck to take sukhudi out of the temple – a theory which my grandmother once tested to her great surprise!

The story was recounted to me by my aunt Sam, whom I visited a couple of weeks ago. Many years ago, when Sam was still a teenager, some of the family had gone to Mahudi. When they returned, the parents and elders were chatting downstairs, while the kids played on the third floor. Sam had been sitting atop of a pile of mattresses that had been set by a window. Down below, her mother (my grandmother) was telling the others that she didn’t believe in the superstition about taking sukhudi out of the temple. Just as she firmly insisted, “Sam just brought some back for me, and nothing happened – I do not believe in such tales!” – a loud thud was heard.

Sam had fallen out of the window! Miraculously, for a fall from the third floor, she was absolutely unscathed. Her mother winced and bit back her words, and made a promise to offer sukhudi at the Mahudi temple as an appeasement. The incident ended any further attempt in my family to take sukhudi out of the Mahudi temple. Perhaps it was a coincidence, and perhaps all our beliefs are created with our own minds (I am reading Yuval Noah Harari’s amazing Sapiens: A Brief History of Humankind and it’s making me ponder such ideas deeply). Still, none of us has tempted fate since.

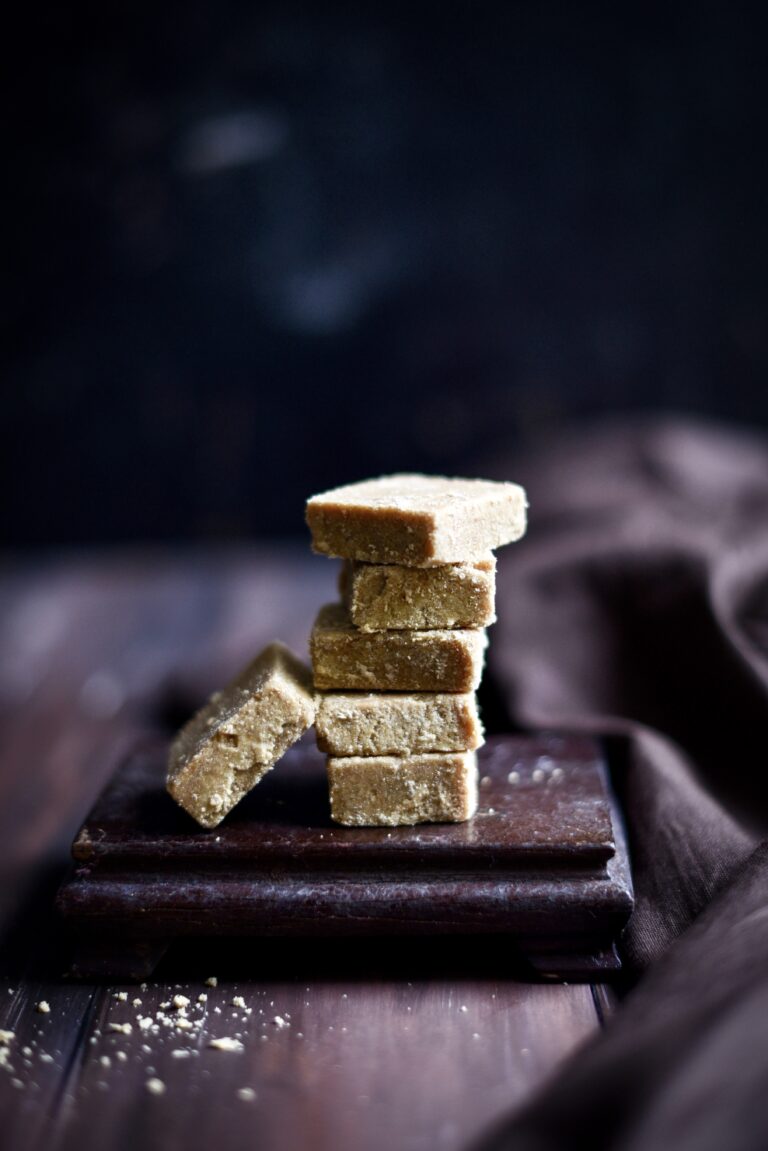
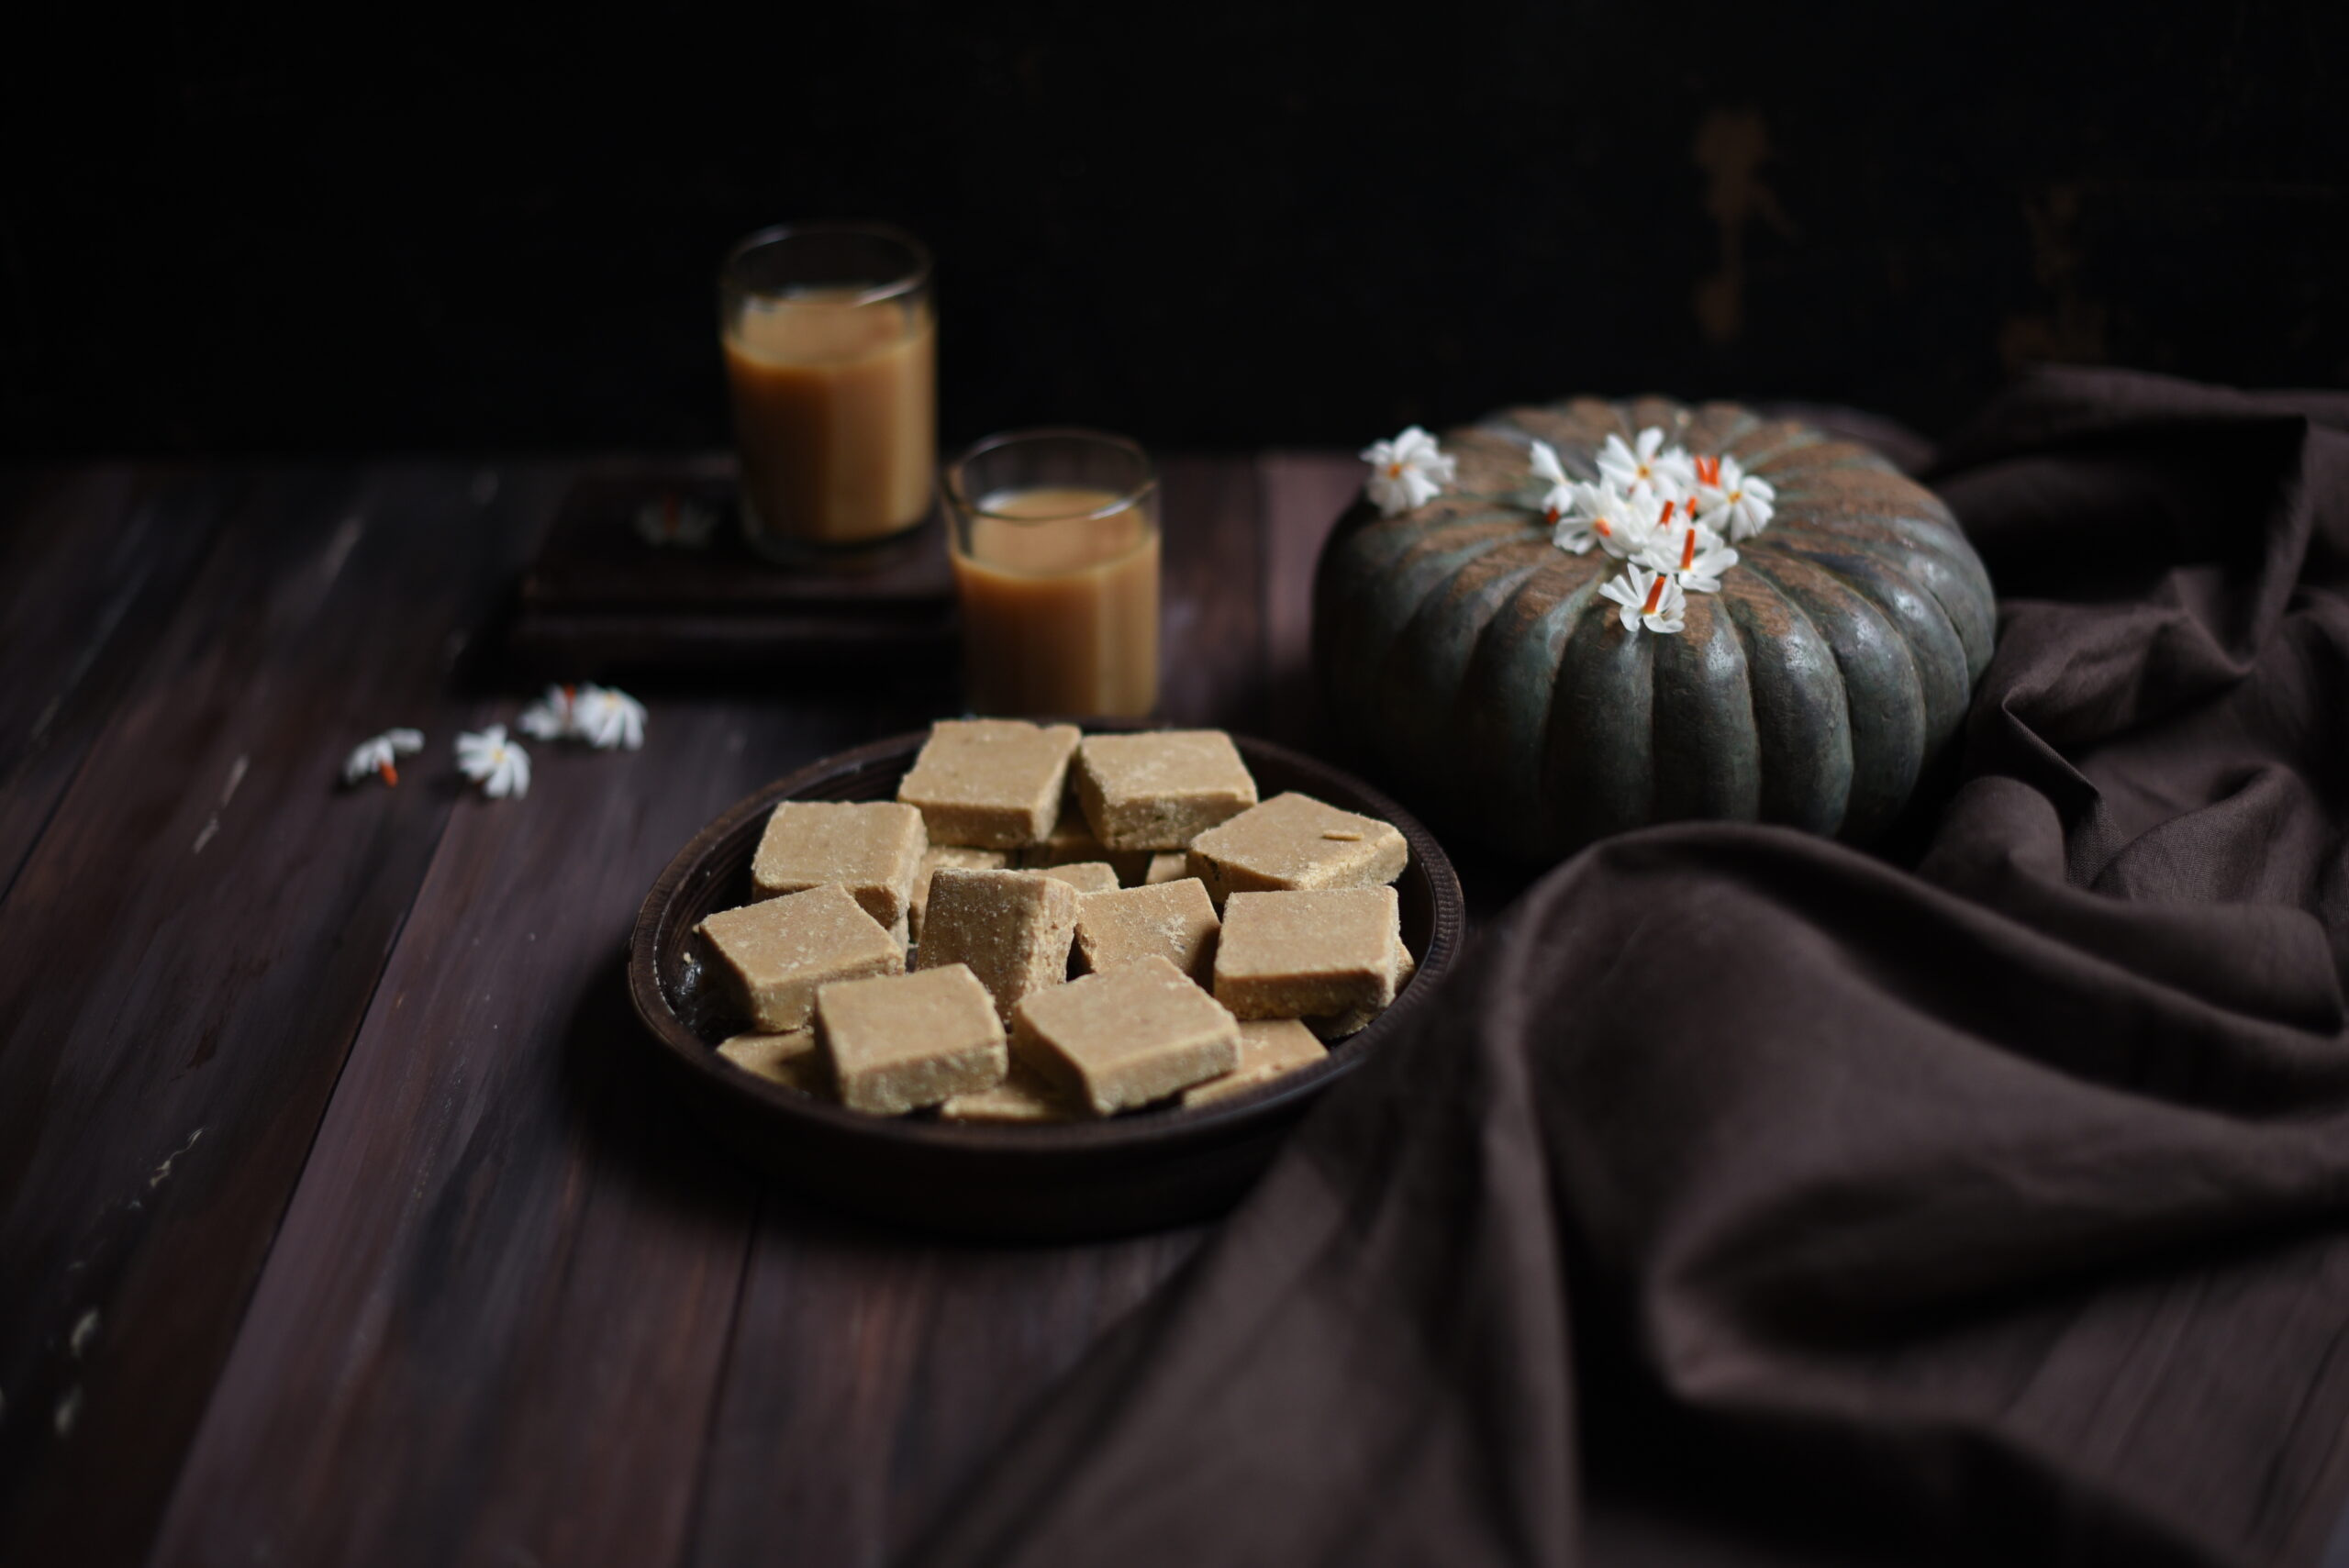
Whether you want to see these whole wheat jaggery squares as a religious offering or a treat for your sweet tooth is up to you. One thing is for certain: I hope they taste utterly divine.

Jaggery & Whole Wheat Squares

Yield: 10-15 pieces
Prep time: 20 minutes

1 cup whole wheat flour
½ cup clarified butter (ghee)
¾ cup jaggery
½ teaspoon ginger powder
2 tablespoons slivered almonds

Call them whole wheat jaggery squares, call them sukhudi or call them gol papdi – these sweets are very easy to make once you have the ingredients on hand.

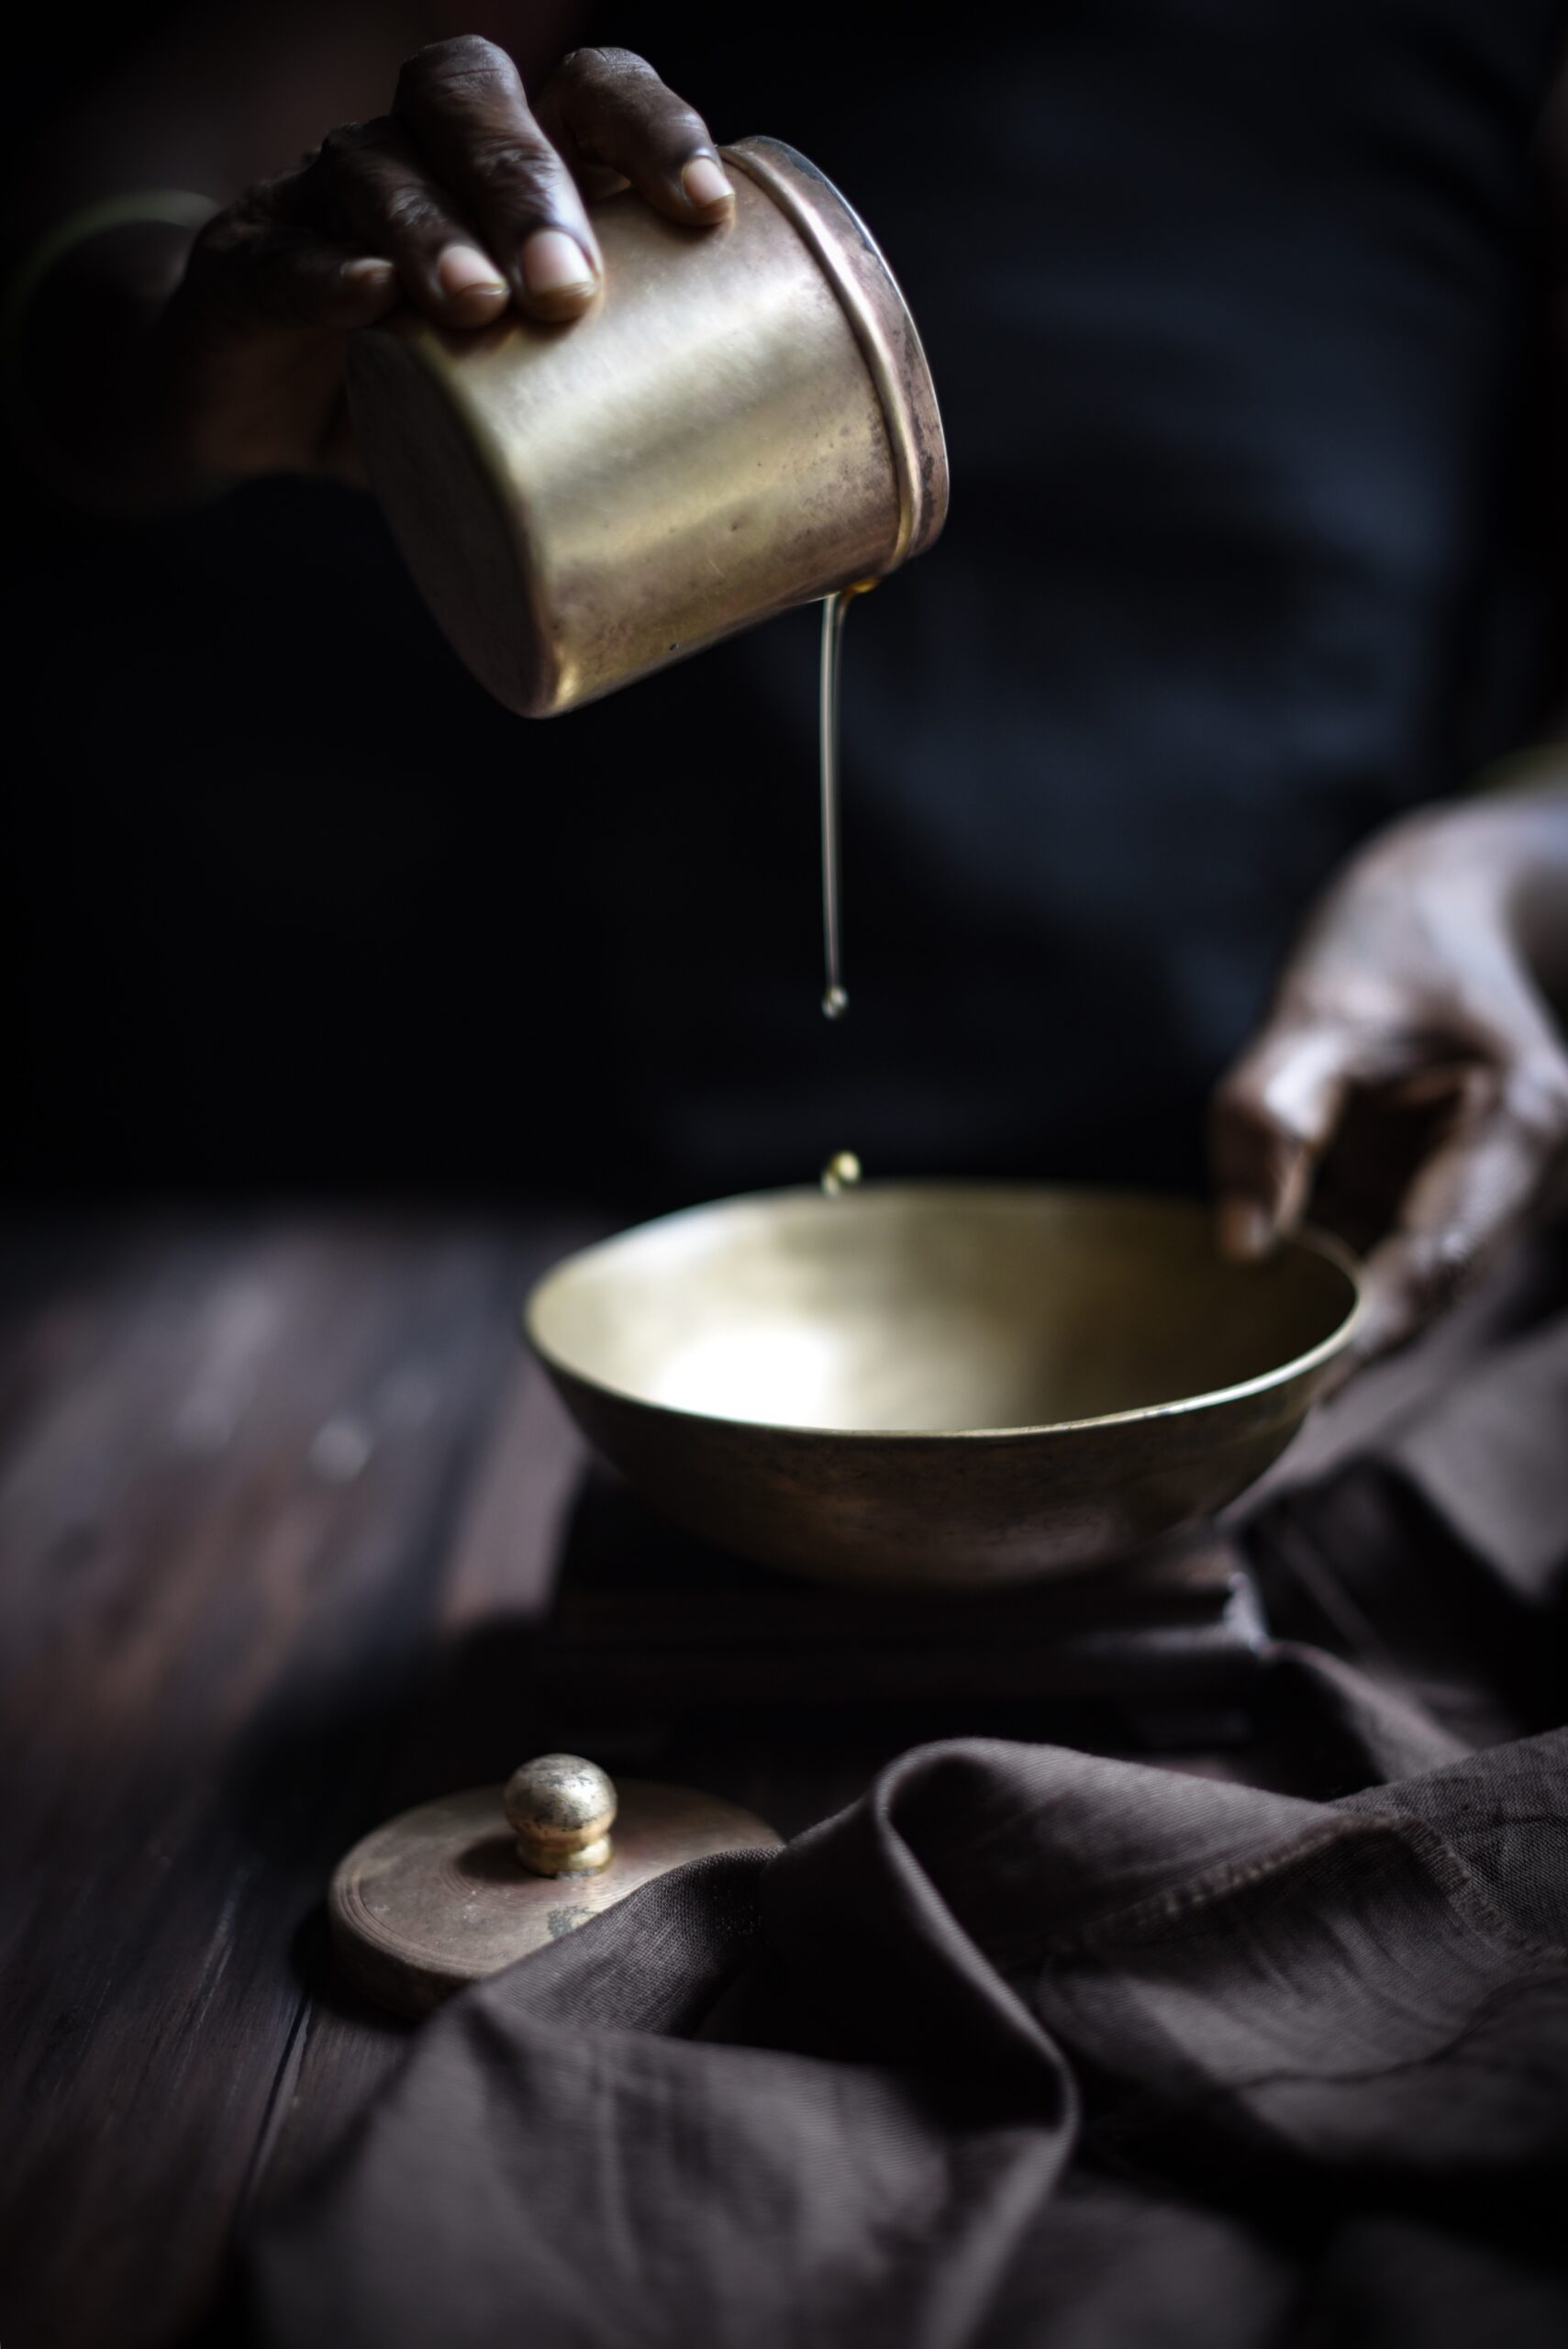
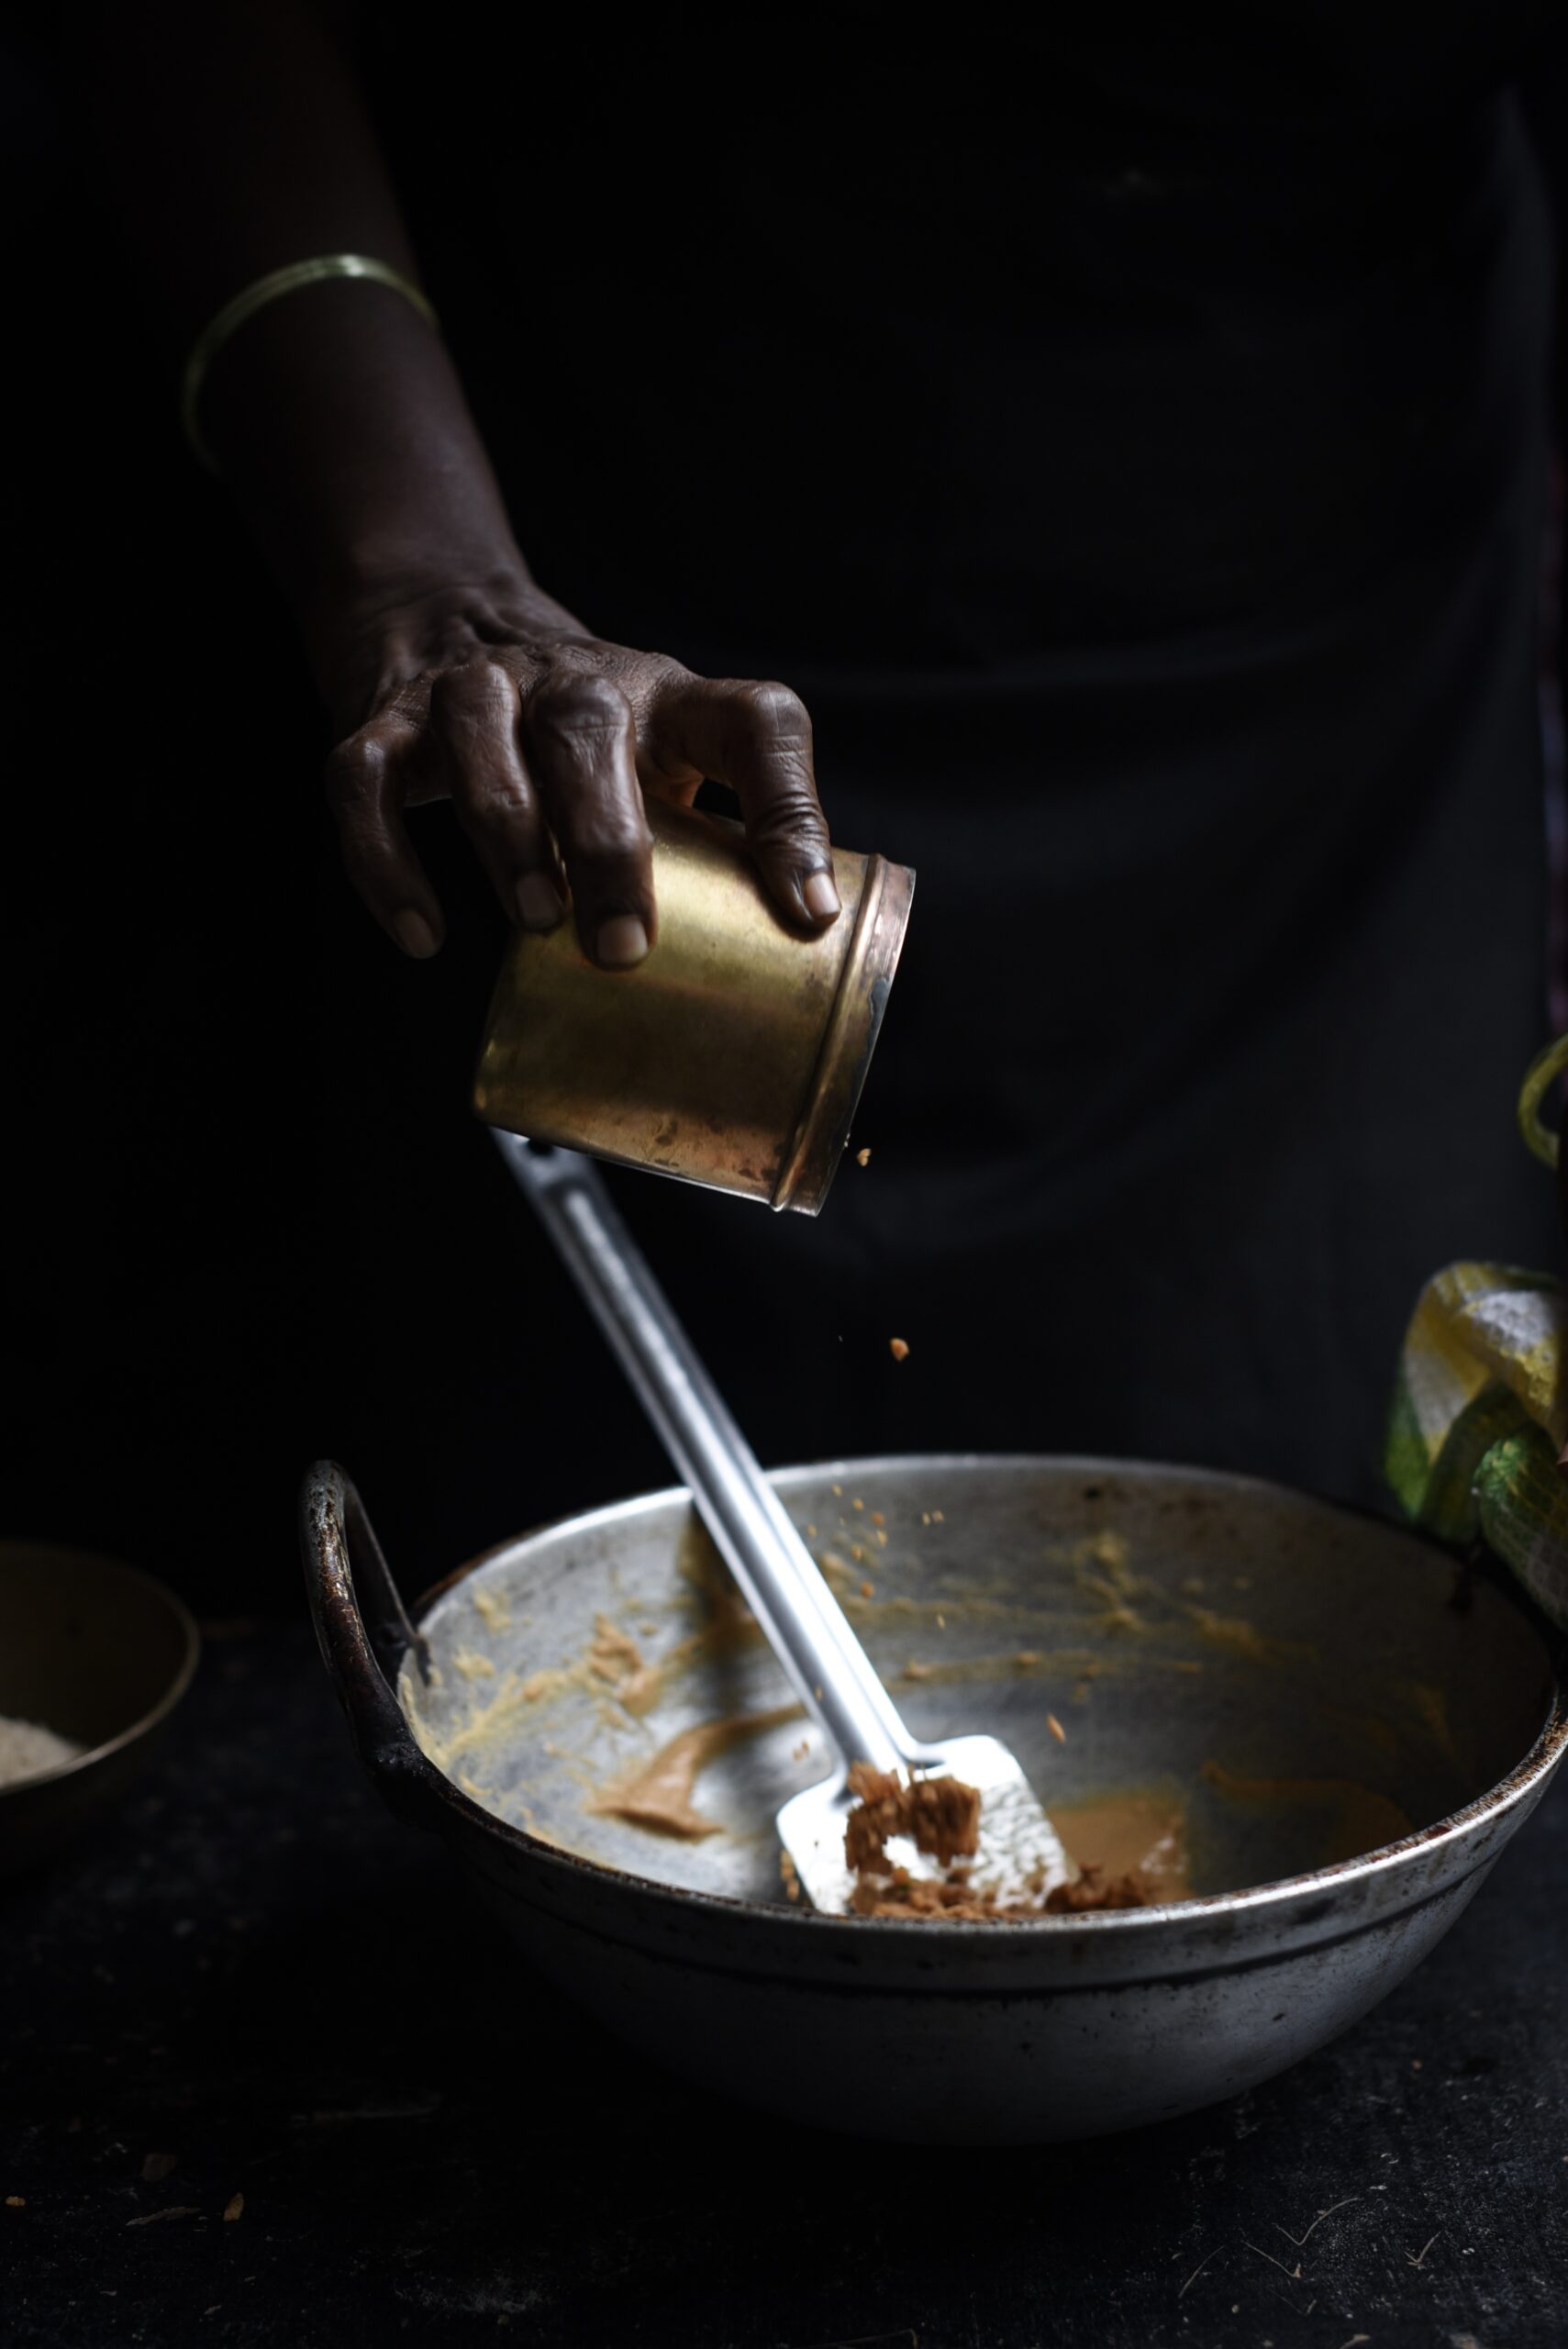
Grease a steel plate with some ghee and keep it aside. In a kadhai, or a wok-shaped pan, add ghee and allow it to melt. In a few seconds, add the whole wheat flour. With a spatula, stir and sauté until the mixture turns golden brown. This will take approximately 10-15 minutes on a medium to low flame. Remove from the stove and add the jaggery and ginger powder. As always, season to your taste – I even add cardamom, desiccated coconut, cinnamon or masala chai powder when I make this dish. Ginger in particular is something that is traditionally added during winters for its warming effect.

A word about jaggery: it varies in sweetness around the world, so you must gauge the correct amount to use when you make this dish. I had used a particularly sweet batch when I made this after talking to my aunt, and found it too cloying, then made it again to my taste. However, if you add too little jaggery, the mixture will not bind. As with any recipe, sometimes it takes more than one try to get it right.

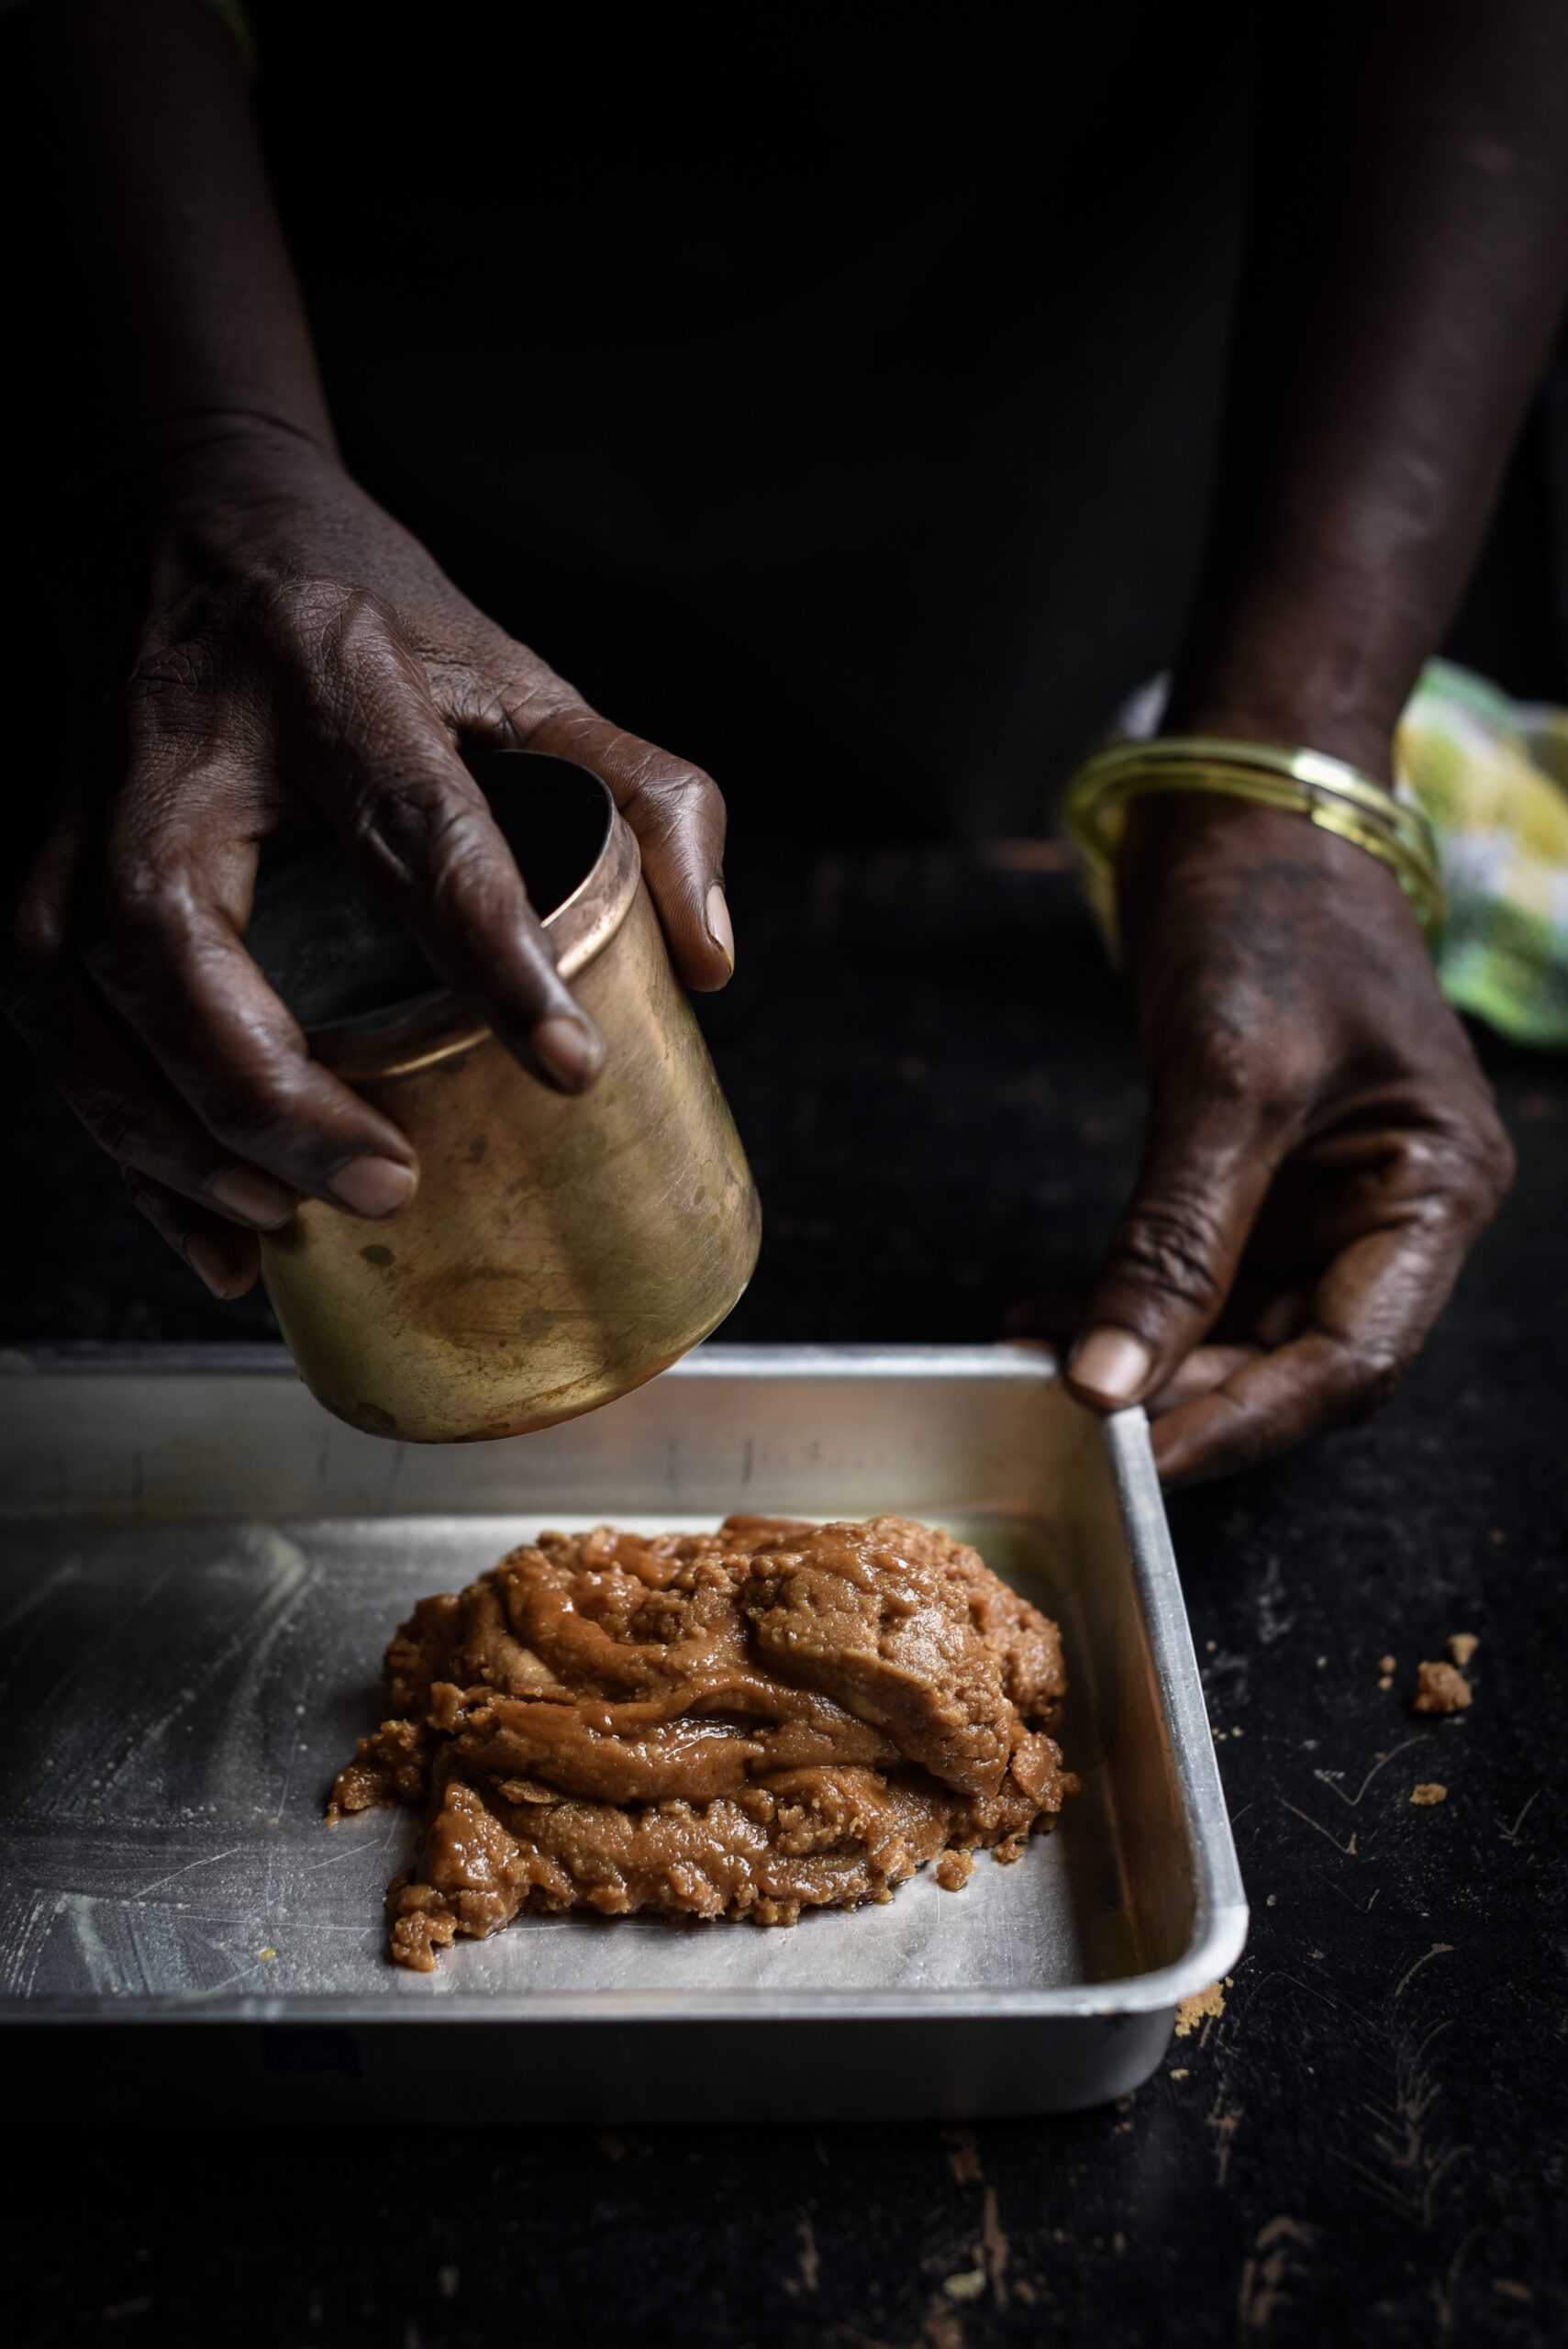
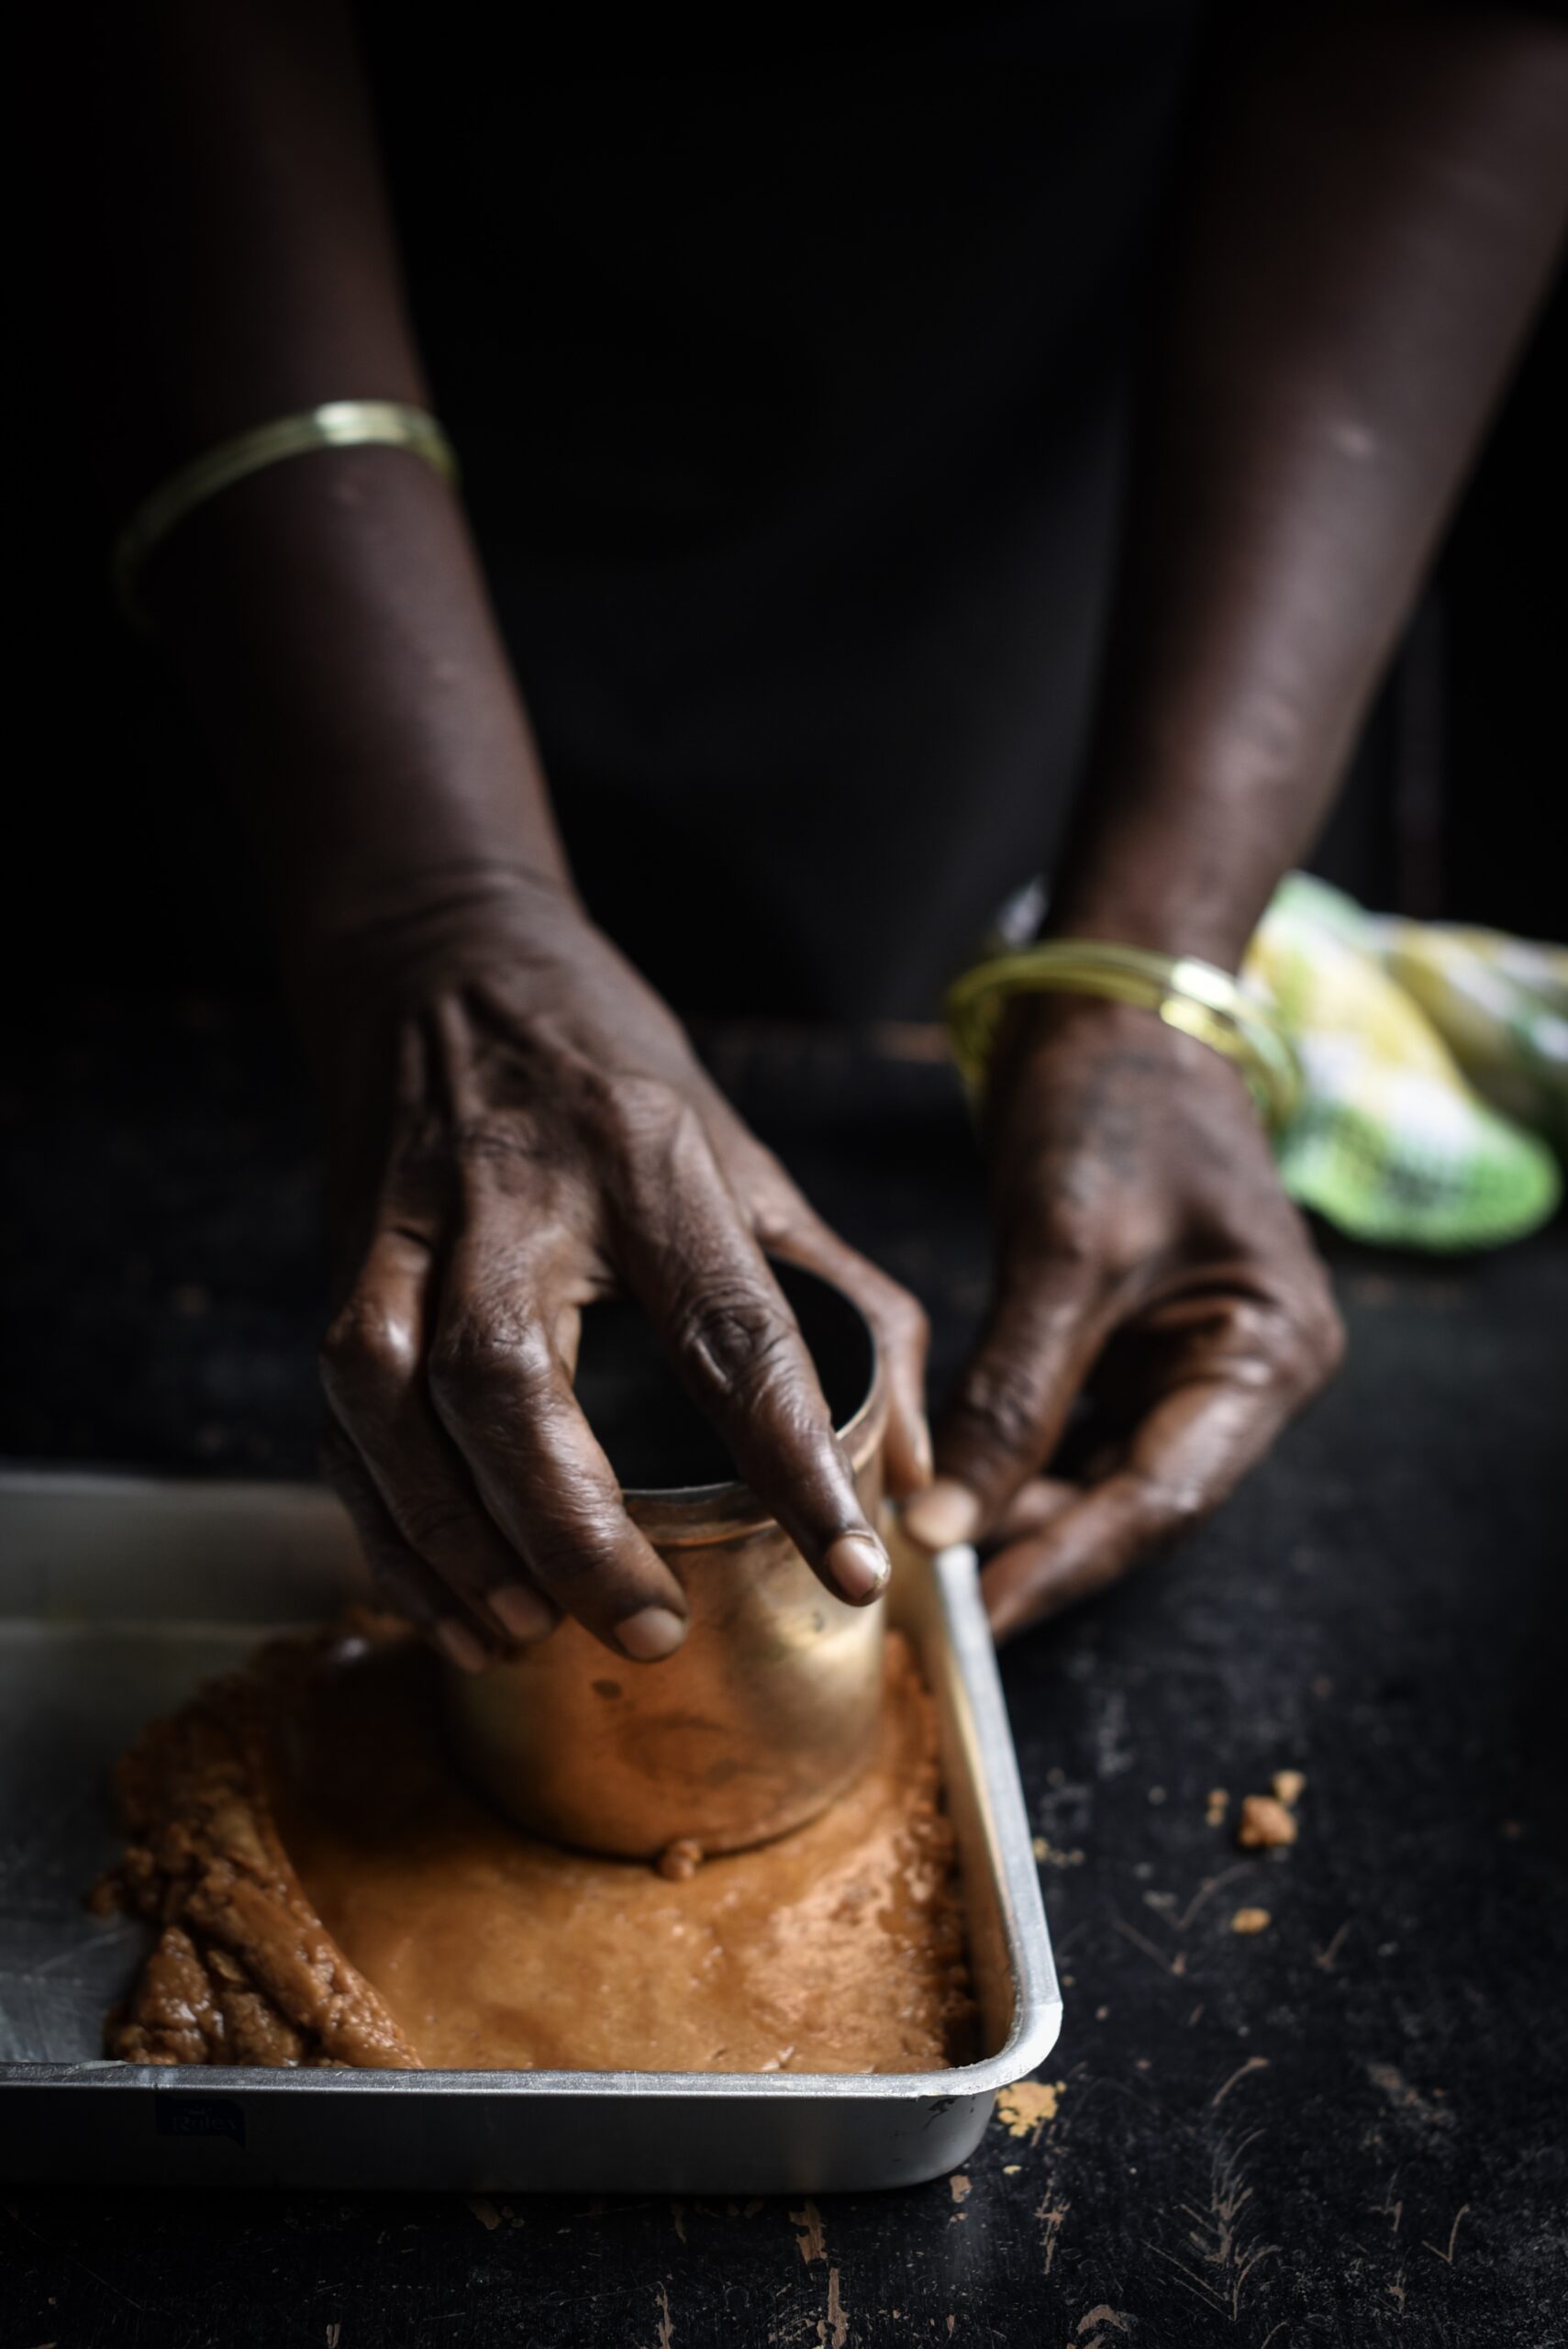
Mix well until the jaggery melts and the ginger powder or flavours of your choice are distributed evenly. While still hot, pour the mixture onto the greased plate and spread evenly. Flatten it with a cup so it evens out, and add the almond slivers on top quickly, before it begins to cool.

Then, cut into even squares and allow them to cool before transferring them to an air tight container.

These whole wheat and jaggery squares are so simple to make – all you really have to do is stir it well for it to cook properly. That’s probably why they were such a staple in my childhood, something my mom could whip up quickly and store for several days’ worth of after-school snacks. As they don’t spoil easily, gol papdi was also something we took with us when we travelled. Memories, love and a sense of security – they are contained in every bite of a cherished dish, aren’t they?