Tag

fusion food

Browsing

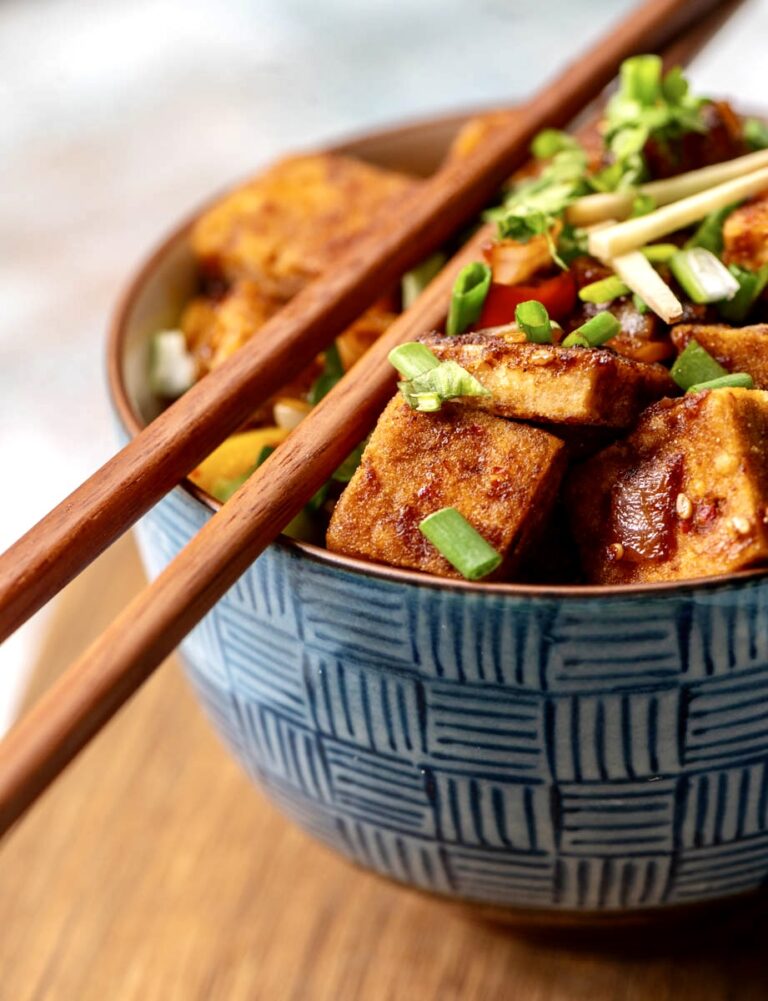
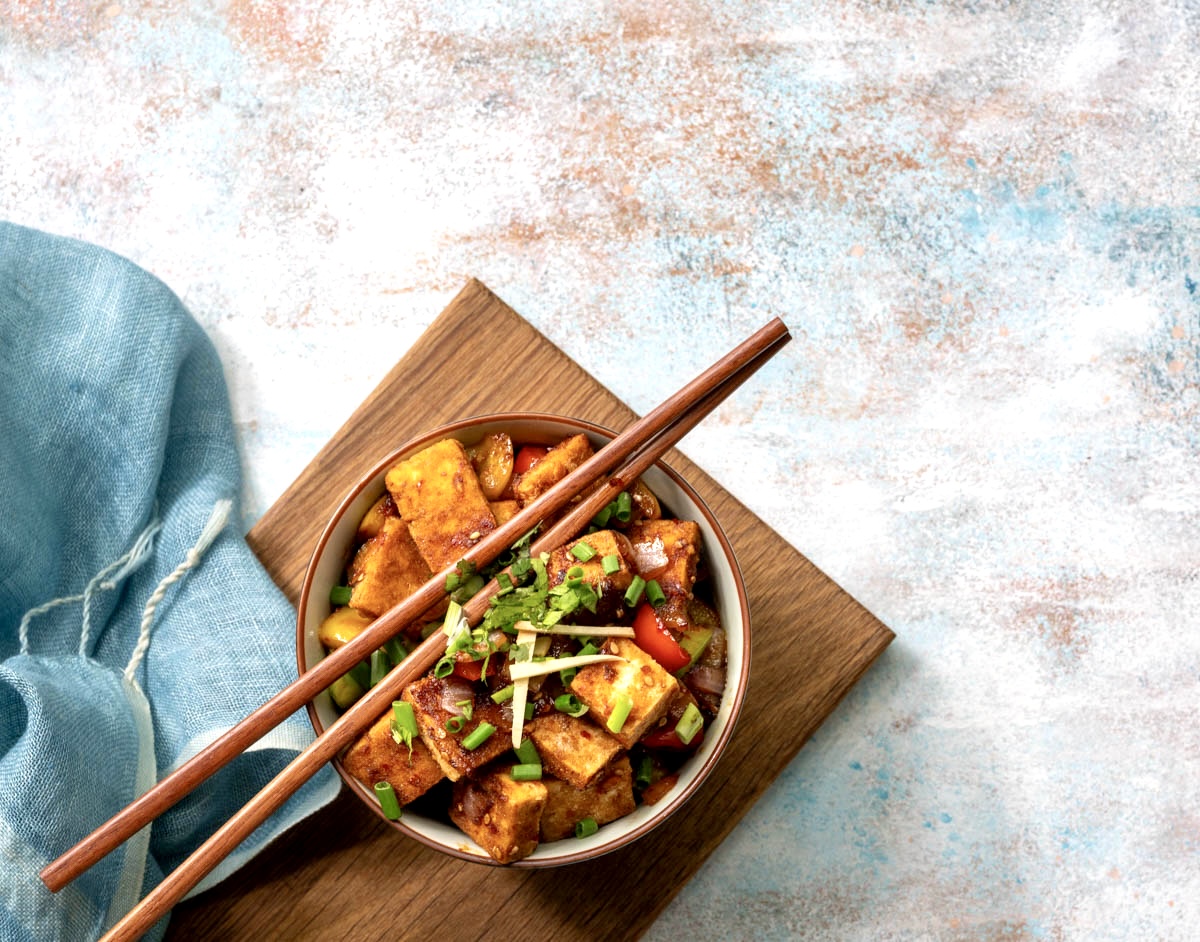
Recently, when sharing a recipe for tofu broccoli rice, I wrote about how tofu is a healthier replacement for paneer, which is an ingredient that vegetarian Indians simply adore. As mentioned there, tofu is not only higher in protein, but it is also lower in fat. Moreover, it helps those who are aiming for a vegan lifestyle or who are lactose-intolerant to avoid dairy too. Despite its reputation to the contrary, it can actually be very tasty. It all depends on the flavours you cook it with, and this chilli tofu is a perfect representation of exactly that.

You will probably be familiar with chilli paneer – a famous and ubiquitous dish on Indo-Chinese restaurant menus. This is essentially a more nutritious take on the same. I have mentioned in earlier posts that my daughter is a pro at Indo-Chinese as well as certain Asian cooking styles, and whenever she visits me, we love experimenting with these cuisines in the kitchen together. I made some trials of this one ahead of her next visit, and they came out great.

One significant difference is that I have only pan-fried the tofu rather than deep-frying it, which is what most Indian restaurants do when they do serve tofu. Lately, wherever I’m able to find it while dining outside, I have been opting for mapo tofu, in which the tofu remains soft and is marinated rather than cooked. It may be an acquired taste, but it is enjoyable. This pan-fried version meets both those methods in the middle, and results in a lovely dish.

Me being me, ever inquisitive about cooking techniques and all things food, I couldn’t resist giving making my own tofu a shot. I had tried making soya milk once before, and that didn’t work out, so I was thrilled that my tofu turned out well. I prepared it using soya beans and a coagulant called nigari. Perhaps I will share the recipe for this in future too.

Of course, readymade tofu will work just fine to prepare the recipe below. It’s just that in my case, tofu has been making an appearance on my plate more and more often, and for this reason I became intrigued about whether I could make it at home. I really love knowing exactly what goes into a dish, rather than always relying on store-bought items which may be processed in certain ways or contain unhealthy ingredients.

That said, I have noticed that the Indian market continues to expand with more options for all of us who want to increase our protein intake. For instance, there are now homegrown as well as imported brands selling tempeh here. You can cook tempeh using the method below, too.

Another ingredient that I hope to see in the shops soon is seitan, which was invented by Buddhist monks in East Asia who were on strictly vegetarian diets. While it contains gluten, seitan is also good for those who are trying to cut down on their meat consumption, as it is known to have a similar taste and texture, and is even called “wheat meat”. It is made of whole wheat flour that is stripped down, through a repetitive process, to its protein strands. I learned to make it when I was a student of Macrobiotics, but the process is rather long and the outcome is a large quantity. I’m the only one at home who wants to eat seitan, so it isn’t worth my while to make it myself.

Just like tofu has become more widely available, I am sure that tempeh and seitan – as well as other exciting options – will also become popular in time. So many of us are more health-conscious and are eager to explore new tastes. As I’ve said before, replacing our regular paneer with some lovely tofu is a great place to start. Which brings us back to today’s recipe…
Chilli Tofu

(Serves 2)

1 tablespoon rice flour

125g of tofu

½ cup bell pepper (finely chopped)

2 tablespoons spring onion (finely chopped)

½ teaspoon red onions (finely chopped)

½ teaspoon ginger (finely grated)

4-5 cloves garlic (crushed)

1 teaspoon chilli paste

1½ tablespoons soya sauce

2 tablespoons hot water

1 teaspoon vinegar

1 teaspoon lemon juice

1 teaspoon brown sugar

Chilli flakes (to garnish)

Coriander leaves (to garnish)

½ teaspoon sesame seeds

1+1 tablespoons sesame oil


Cut the tofu into the desired size. Coat the tofu pieces with the rice flour and allow to sit for 30 minutes.

Heat a pan and add 1 tablespoon of sesame oil. Once the oil is hot, add the tofu and sauté until the pieces are golden brown on both sides. Remove from the pan and set aside.

In the same pan, add 1 tablespoon of sesame oil. Once the oil is hot, add the sesame seeds and then the ginger and garlic. Sauté until they release their flavours and then add bell peppers, spring onions and red onions. Sauté on a high flame.

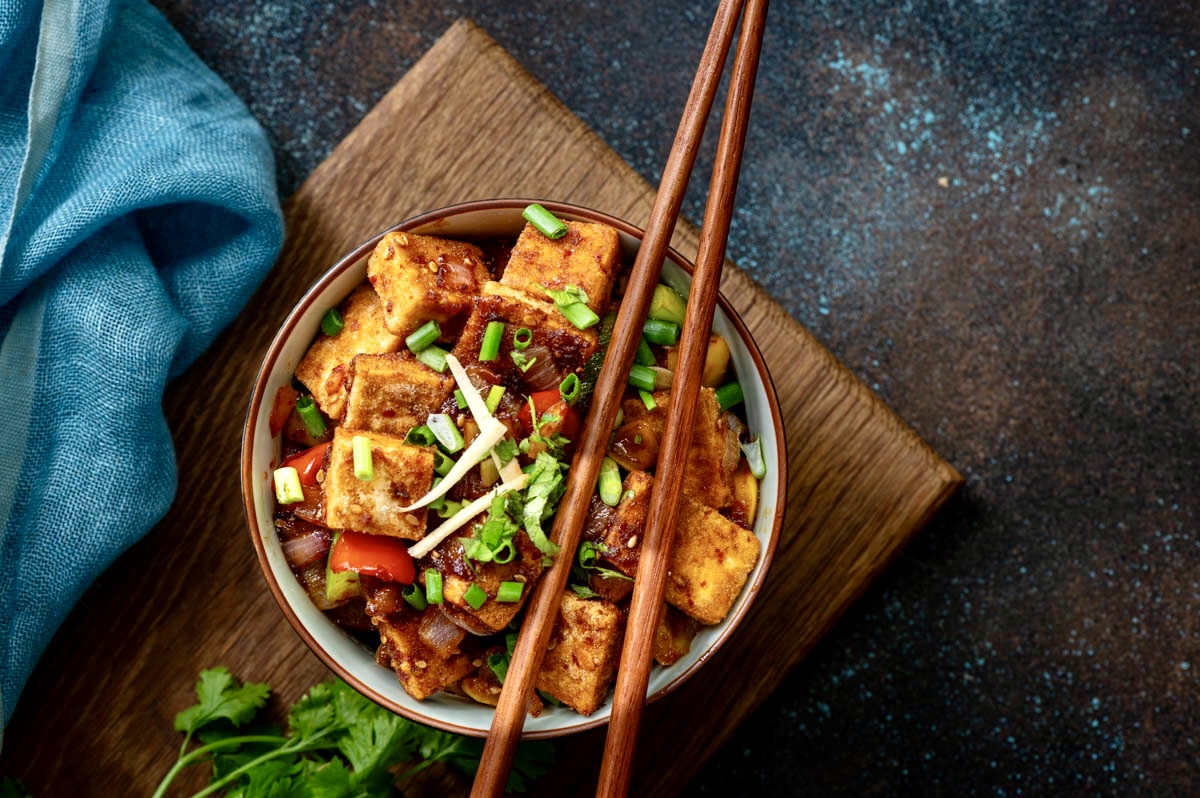
Now, add the golden tofu to the sautéed vegetables. Add soya sauce, hot water, vinegar, brown sugar, chilli paste and lemon juice and stir together until all the flavours mix well. Garnish with spring onions, chili flakes and coriander leaves.  Serve immediately as an accompaniment, usually to rice.

I hope you’ll enjoy this chilli tofu, which is simply bursting with flavours. It makes a beautiful addition to any high protein diet, especially for vegetarians and vegans. While most of the posts on this blog are vegetarian, if you are a vegan, you may want to explore some more recipes here.
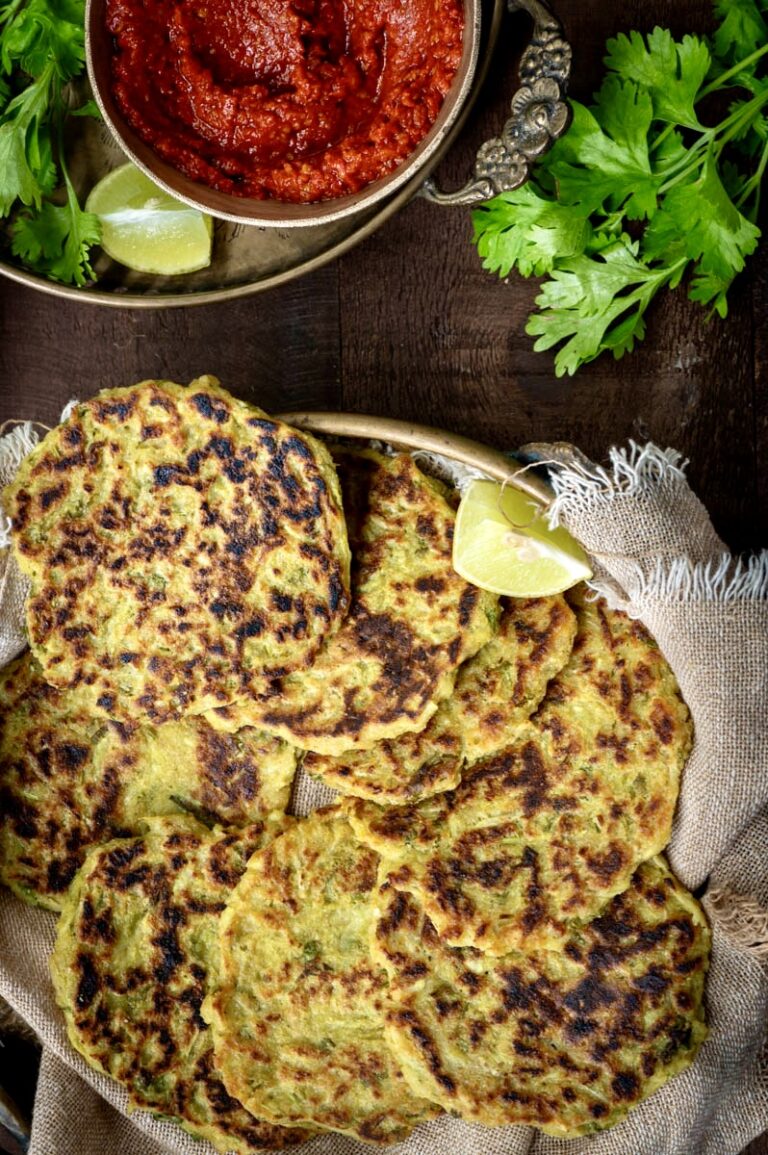
In recent years, oats – which were unheard of when I was growing up – have become quite popular in India as a breakfast dish. Due to that classic Indian innovation, oats here are therefore served enhanced with masalas, spices, tastes and flavours, making them more suited to our palates and generally more exciting. However, according to me there is a misconception that oats are exceptionally healthy. While they are rich with nutrients, they are a form of carbohydrates and contain starch. Quantity therefore matters, as does preparation. This is where the oats uthappam comes in, and I prepare it in a way that boosts its healthiness as much as possible.

It doesn’t surprise me that oats have become a favourite for many in India precisely because they contain carbs. This appeals to us because if you take a look at any Indian thaali, you’d be able to see that rice, wheat and carbohydrates are the central point. My preferred approach is to work with this knowledge, about culturally ingrained preferences, rather than against it. Don’t forget that we need complex carbs for our bodies to function well and to have energy for the active lifestyles of today. So I don’t say No, I just try to shift the focus. This can be in little ways, like the use of chia seeds in an overnight oats porridge to the vegetables I use in this uthappam.

Now, for the big reveal: it is the use of millets that make my version of oats uthappam good for us. I have used jowar or sorghum, but you can use any millet of your choice. Rice flour is what would be normally used, but if you’ve followed this blog for a few years, you may have noticed me writing about millets before. They are traditional foods in the region I live in, and everyone from the Government of Tamil Nadu to the United Nations have of late been talking about their benefits to us. If you’re interested in switching to millets in more dishes, you could explore the link shared for a range of other recipes.

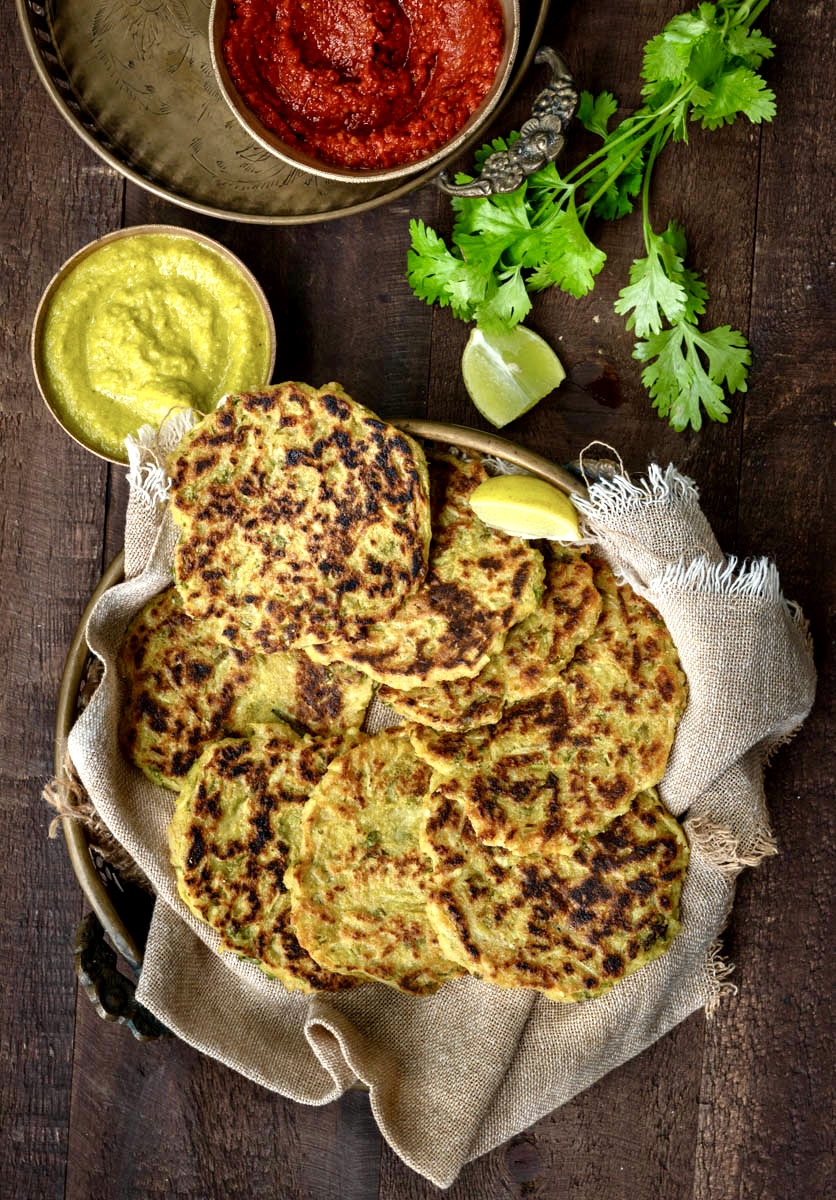
Uthappams, if you aren’t familiar with them, are a thicker variant of the famous dosa. On a pan-Indian level, we are now familiar with dosa batter. When it is fresh and new, we make thin and crisp dosas. When it’s a couple of days old, it suits uthappams better. You can make the batter from scratch too, and use it for idlys as well – take a look here. Here, because of the use of jowar, the batter is made from scratch.

Coming to the oats themselves, there are a variety available on the market, from whole oats to quick and easy oats. Take your pick. Similarly for the vegetables: just use what you like to use, and what you have on hand.

These oats uthappams – which you can call oats fritters if you like – are a great way to start the day and to avoid a sweet and sugary breakfast. As someone whose version of cereals was leftover millet rotis, and who had neither idea of nor access to oats, this dish evokes a sense of my childhood uthappams while also enticing my need to explore and innovate too.

Oats Uthappam

(Yield: 12 small pieces)

1 cup oats

½ cup flour (I have used jowar/sorghum)

1 cup grated bottle gourd (+ grated carrots, optional)

2 teaspoon ginger + green chili paste

Salt to taste

2 tablespoons curd

¼ teaspoon turmeric

¼ cup coriander leaves

½ cup water

Oil for cooking

In a bowl, add the oats, flour, grated gourd, grated carrots (if you are including them), salt, coriander leaves, curd, ginger + green chilli paste and turmeric. Mix well. Add ¼ cup water and mix. Add the remaining water as required. The batter needs to be a little thick.

Allow the well-mixed batter to sit for half an hour, so that it can sit and ferment for a bit.

Heat a griddle and add two teaspoons of oil. Add two tablespoons of the batter and press down with your fingers and make a disc shape. I like making smaller discs, but you can make them bigger and cut them into slices like a mini-pizza. Allow to cook on a medium flame. Once golden on one side, flip and let fry on the other side.

Repeat and cook as many as the griddle will allow, depending on the size.

Remove from the griddle and serve hot with chutney of your choice. Alternately, these are great to be packed into a tiffin lunchbox for the office or school too.

I hope you’ll enjoy this filling and nourishing oats uthappam and make it a part of your repertoire, just as you may have already become very familiar with the now ubiquitous oats upma!

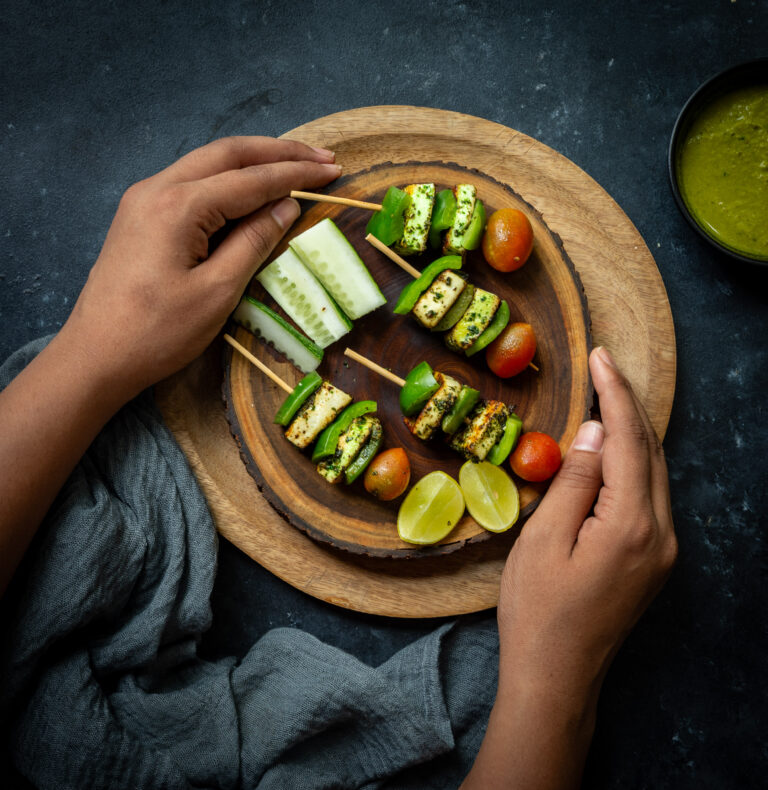
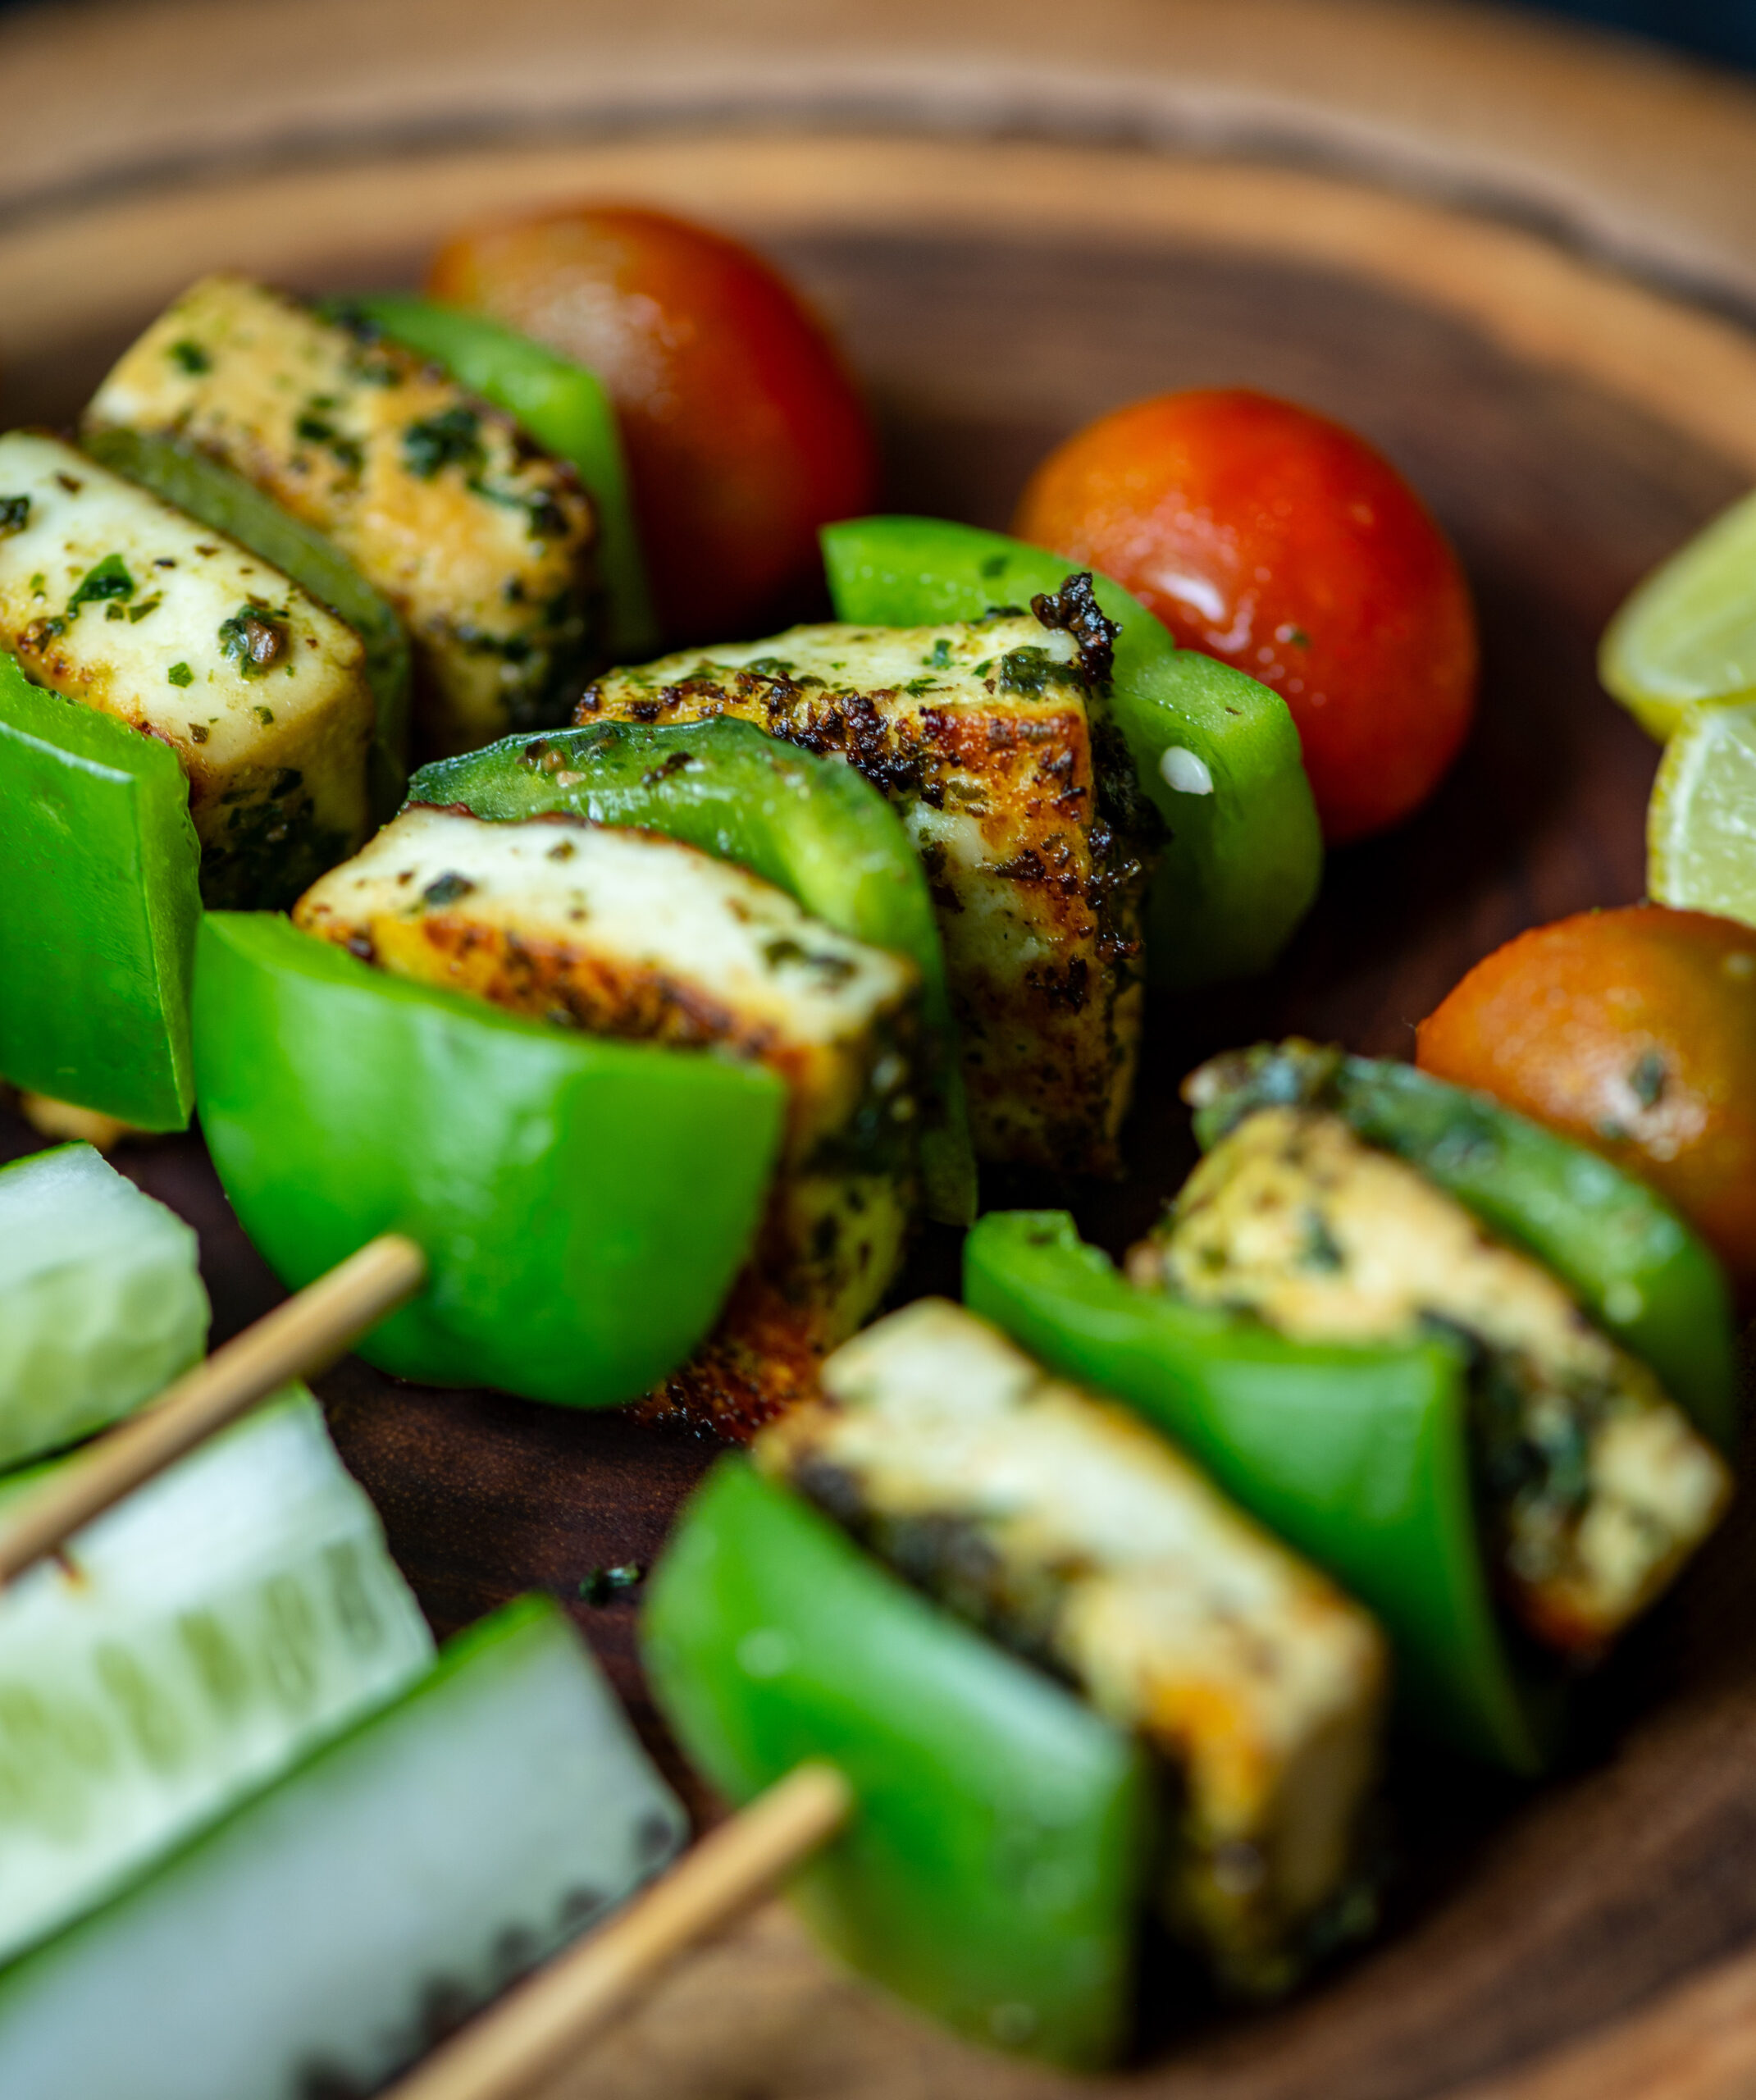
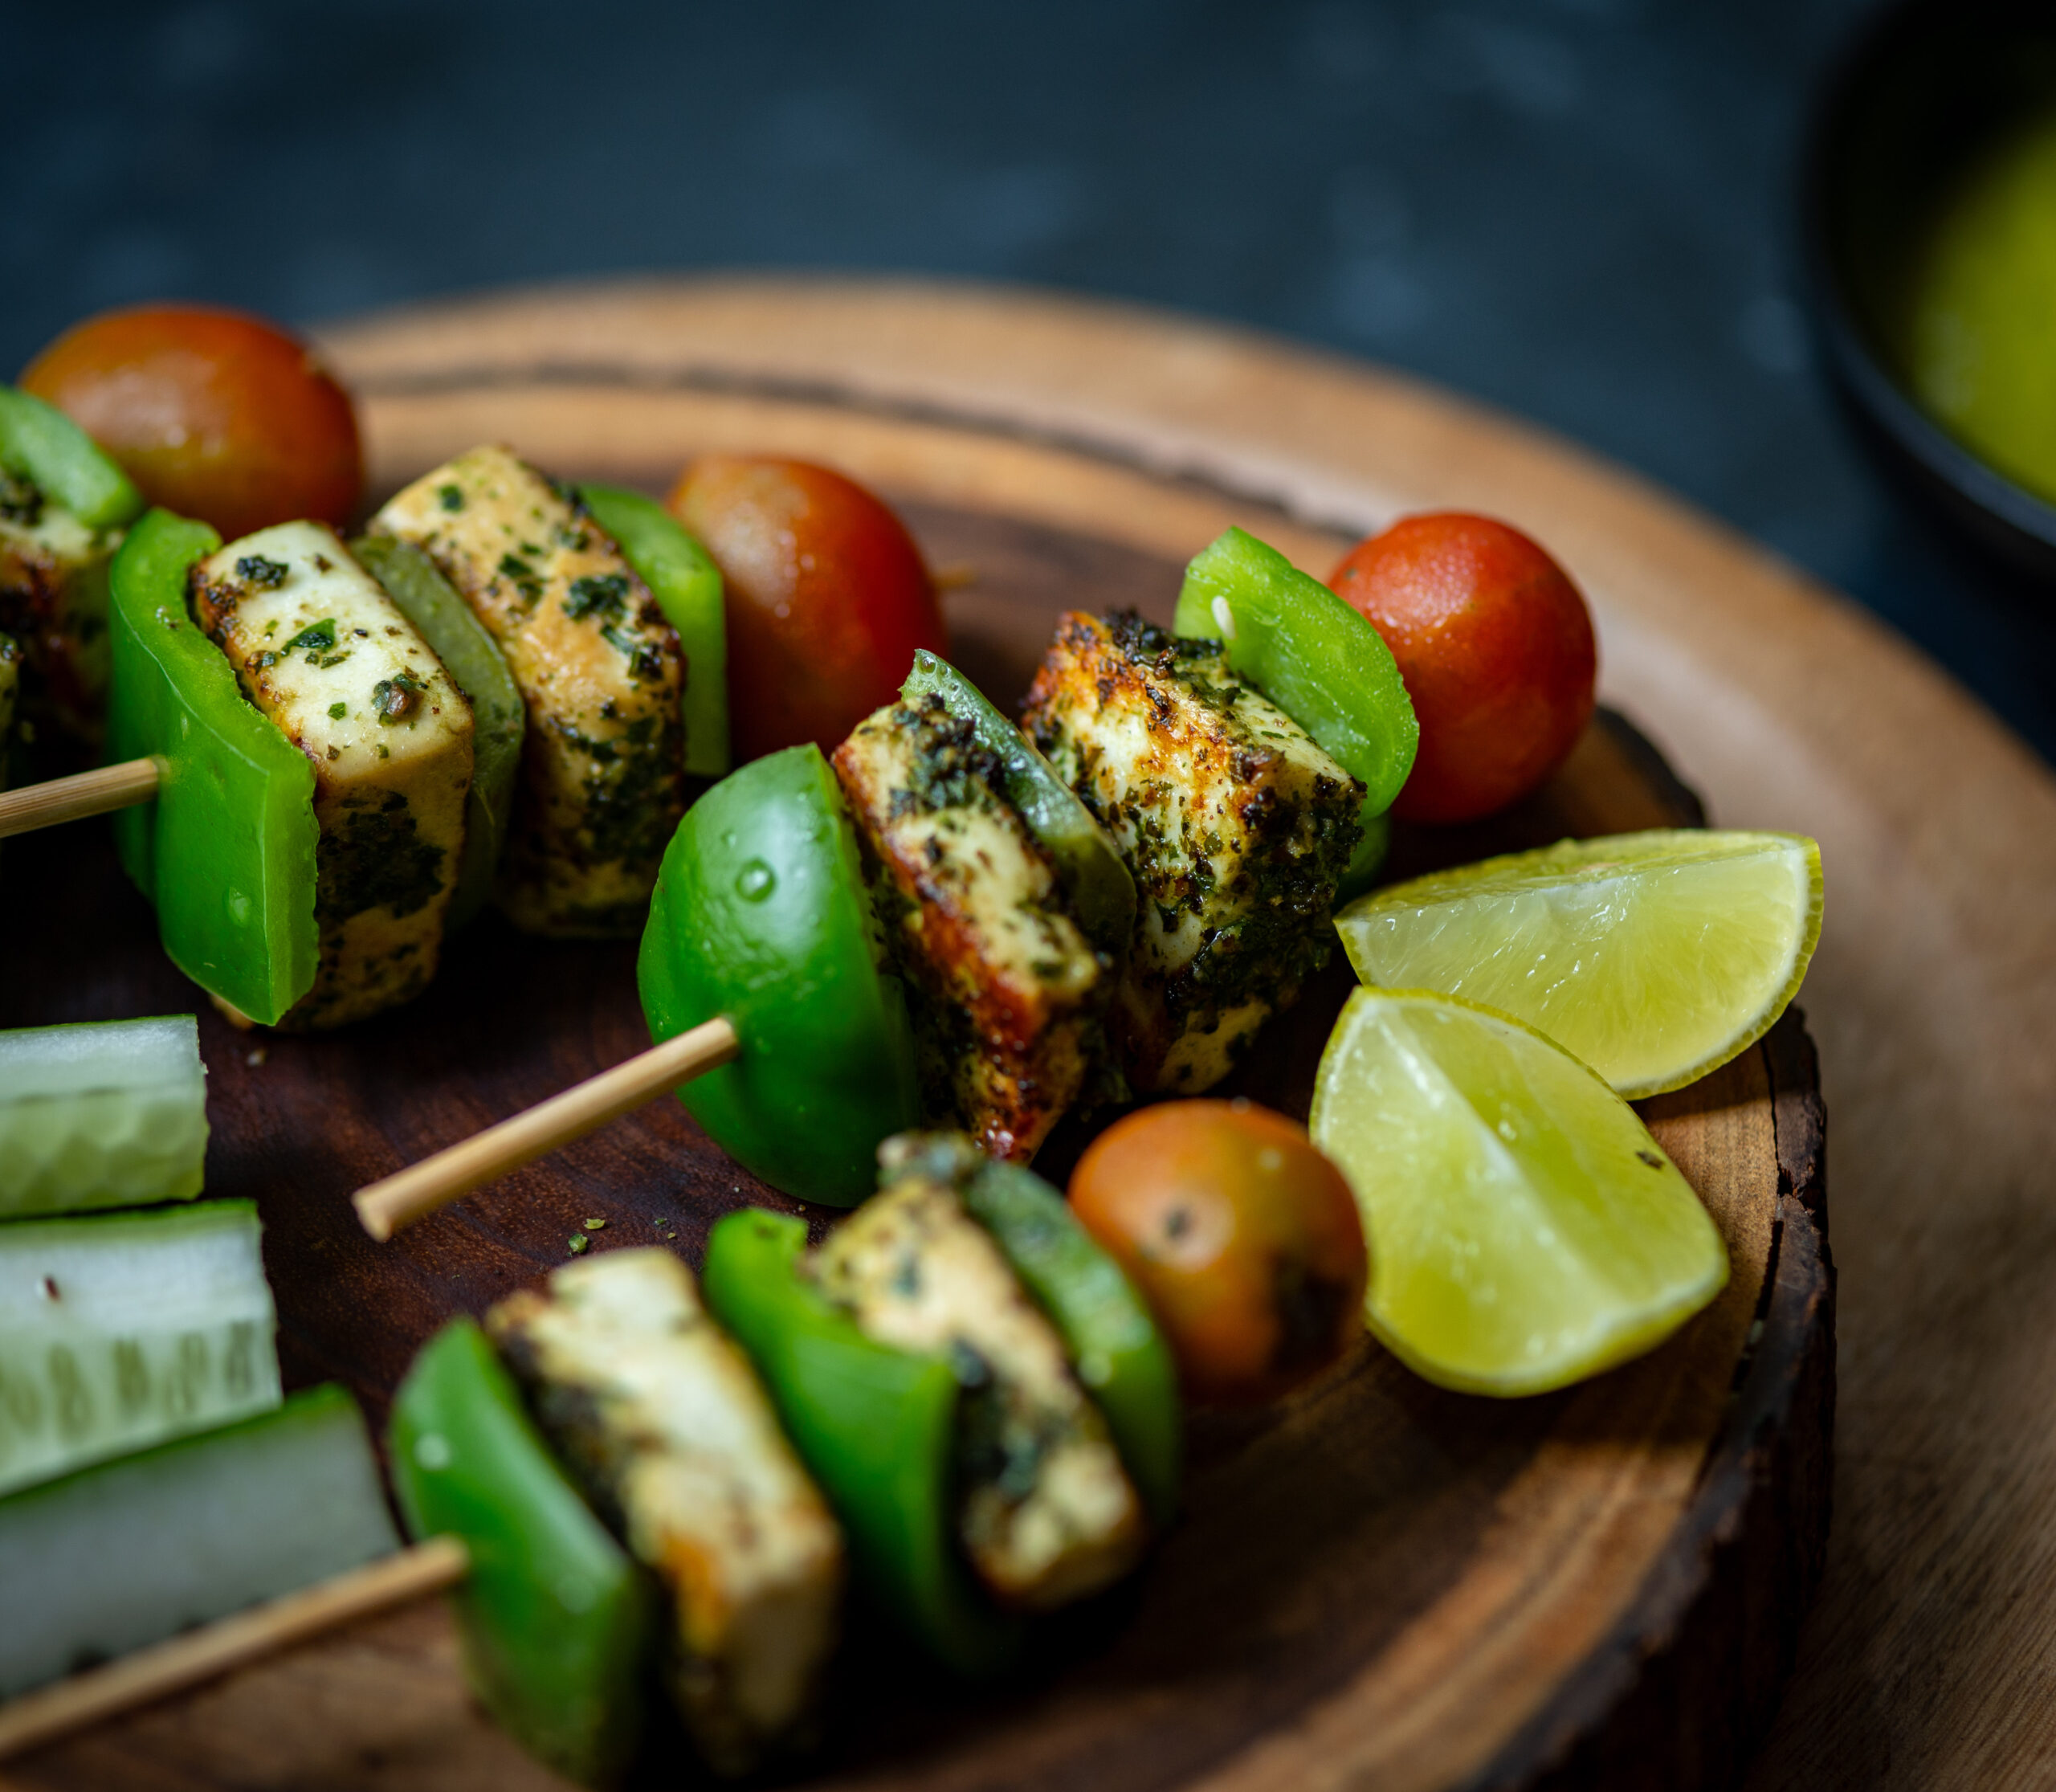
Paneer is a great source of protein, especially for vegetarians (although unfortunately, not for vegans). It is an ingredient that is widely considered as being iconic of Indian cuisine. In fact, even within India I find that restaurants seem to offer fewer vegetables and greens on their menus and a wider variety of paneer options. This is probably because it is very versatile, and goes with any sauce or gravy. Personally, as much as I love it, I do reach out for paneer a bit less as it has a high fat content, and is made of dairy, which I find myself a little lethargic after consuming too much of. Which is easy to do, of course, given how delicious paneer is. As I’ve said before, all food is good within a limit. And this grilled pesto paneer, which is a fusion dish that further expands the possibilities of paneer, is very good indeed.

These paneer skewers make for a great appetizer and are a fun way to enjoy the ingredient as something other than a curry accompaniment to rice or breads. Another method you can try is making a paneer stir-fry with a pile of veggies, to be had as a meal in a bowl (this is quite a satiating breakfast).

When I decided to give basil-based pesto a go instead of the standard coriander, tomato or mint pairings that are typically used for paneer, and it turned out to be a hit at home. If you are a meat eater, this method will work just as well on chicken skewers too.

Using paneer and pesto together is a bit of a new innovation for me, even though I’ve been making the sauce for a long time and paneer for even longer. I struggled to make pesto initially, but have improved a great deal. I share this so that you don’t feel intimidated by it – many times, a recipe just takes practice. I have shared the recipe for this deliciously flavourful sauce earlier, and you can use the same one to prepare the grilled paneer. Here, it works as a marinade.

Of late, I have also been seeing a lot of basil in the markets in Chennai – both the Thai and Italian kinds. To be honest, I am not able to tell the difference on sight, but I ensure that I purchase the Italian basil when I am making pesto. I used to grow some at home too, but I haven’t been able to sustain that plant recently, so I am grateful that it is widely available.

An exciting discovery I made recently that I’d love to share with those of you in India is that I don’t have to buy imported pine nuts anymore. Pine nuts – a key ingredient of pesto – are grown in North India and are known in Hindi as chilgoza. A friend brought me some from Delhi and said they are quite easily available, and now that I know that I only need to ask for chilgoza, I’m going to stick to the regional variety for sure.

Pesto has recently found a notable place in my fridge as an always-there item, similar to my tomato purée. They are both multipurpose. They complement many dishes. The pesto in particular has a unique flavour and can be had in pasta, on toast, as a marinade and as a dip too. While I had been making it for quite a while as I said earlier, it only became a staple in my home when my son who lives in another city began to have cravings for it. He asked me to send it through visitors a few times recently, and I found myself making it a lot more frequently. Since there are so many ways to use it, it never goes to waste. Whether I’m tossing it into a main course or just dipping some cucumber or carrot sticks into it as a healthy snack, there are many reasons why it’s popular on a daily basis. It can also be a bit festive: this grilled pesto paneer is perfect for parties, or just for some novelty.

Grilled Pesto Paneer

(Serves 2-4)

150 grams paneer (cut into cubes)
2-4 tablespoons pesto
1 tablespoon olive oil
1 small bell pepper (cut in cubes)

Place the paneer in a wide bowl and add the pesto. Gently massage the paneer, making sure it gets coated. Set aside and allow to marinate for 20-30 minutes.

Pre-heat the oven on grill mode for 20 minutes.

Alternate the paneer and bell pepper cubes onto a skewer. Brush with olive oil. Repeat on more skewers.

Place the skewers on a tray and grill until they are well done. Flip and repeat on the other side.

You may wish to grill the paneer on a pan if you are not using an oven. In that case, put the cubes on the skewer after the pan-grilling is done and serve kebab-style.

Enjoy this grilled pesto paneer hot. I hope you’ll find this preparation exciting. If you are a fan of paneer in general, you may also want to explore a few other recipes I’ve shared that make use of this tasty and trusted ingredient.

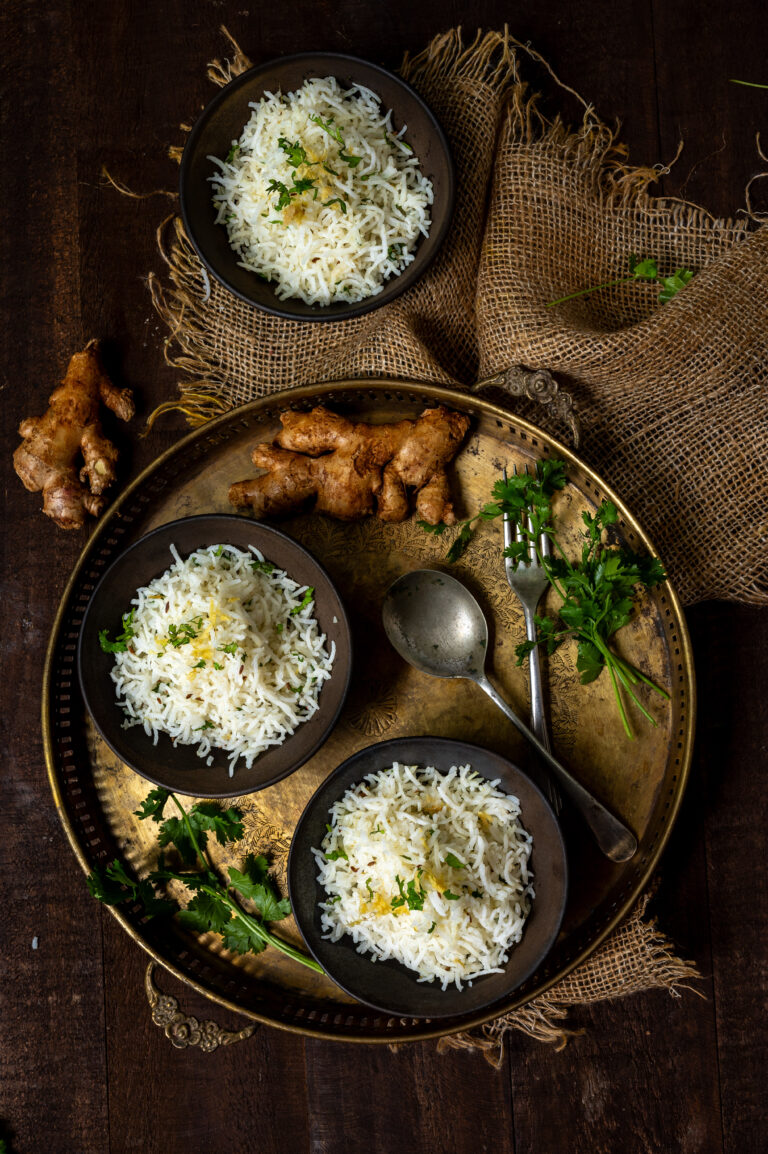
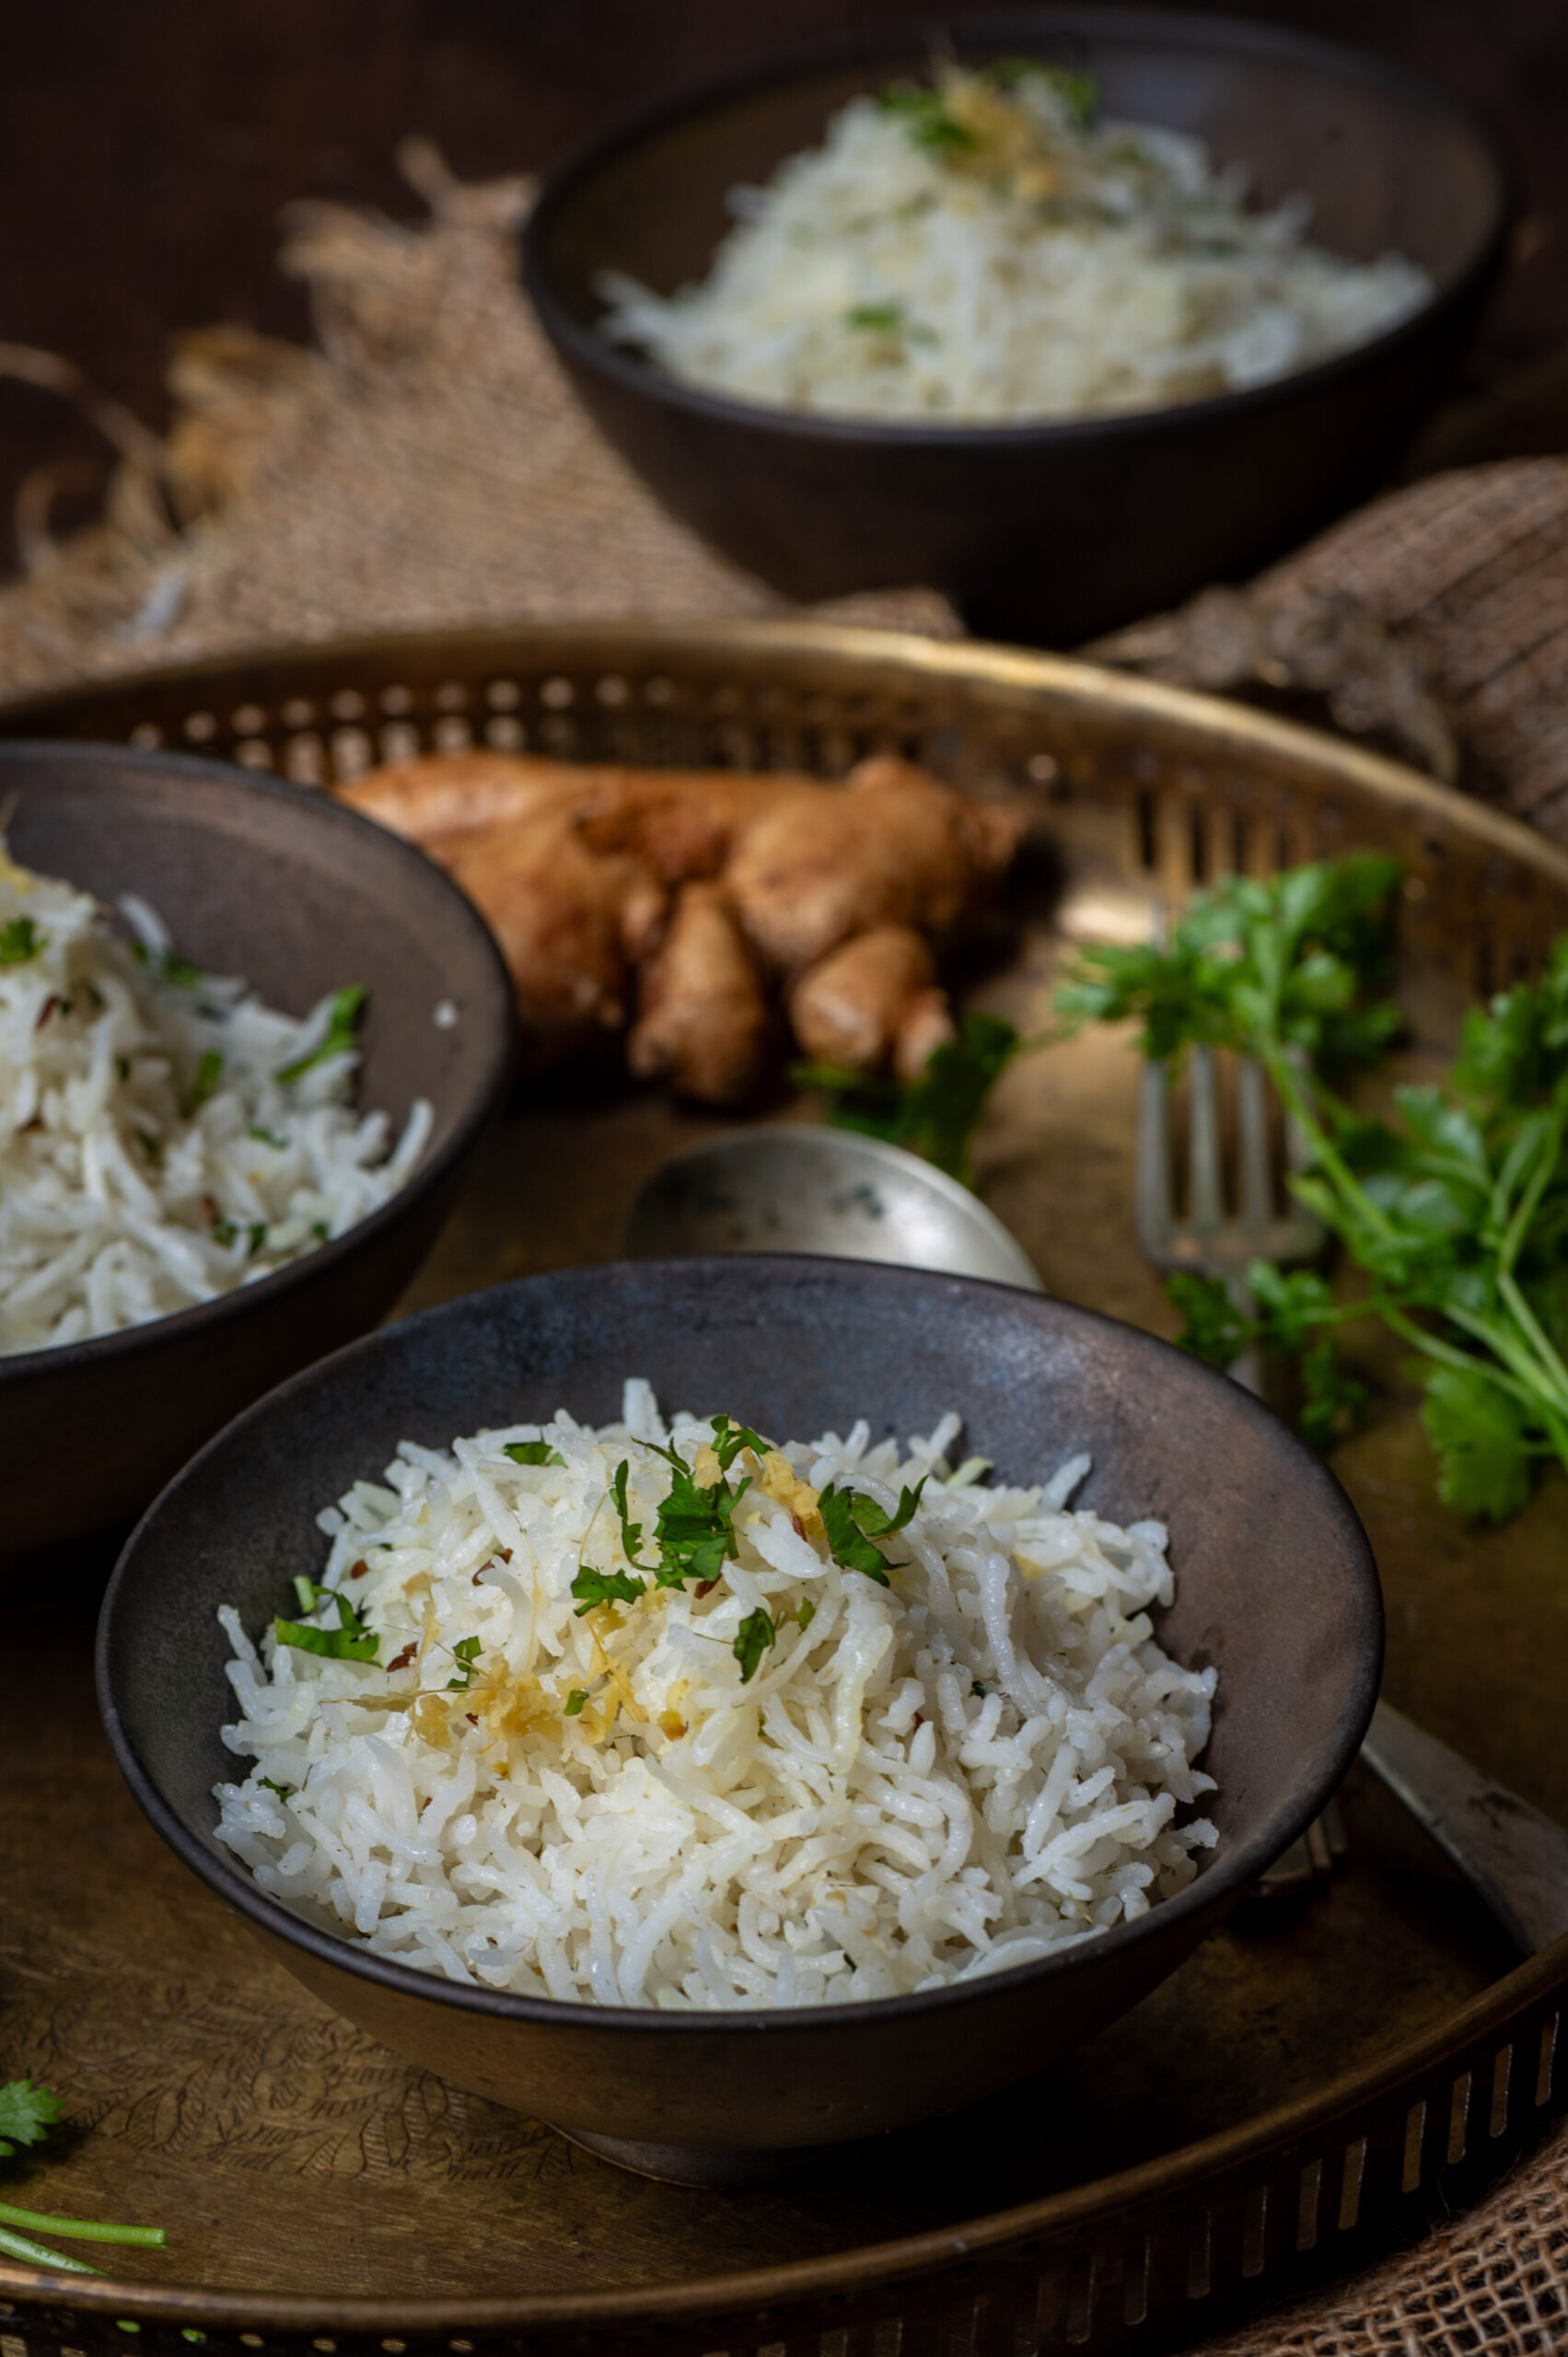
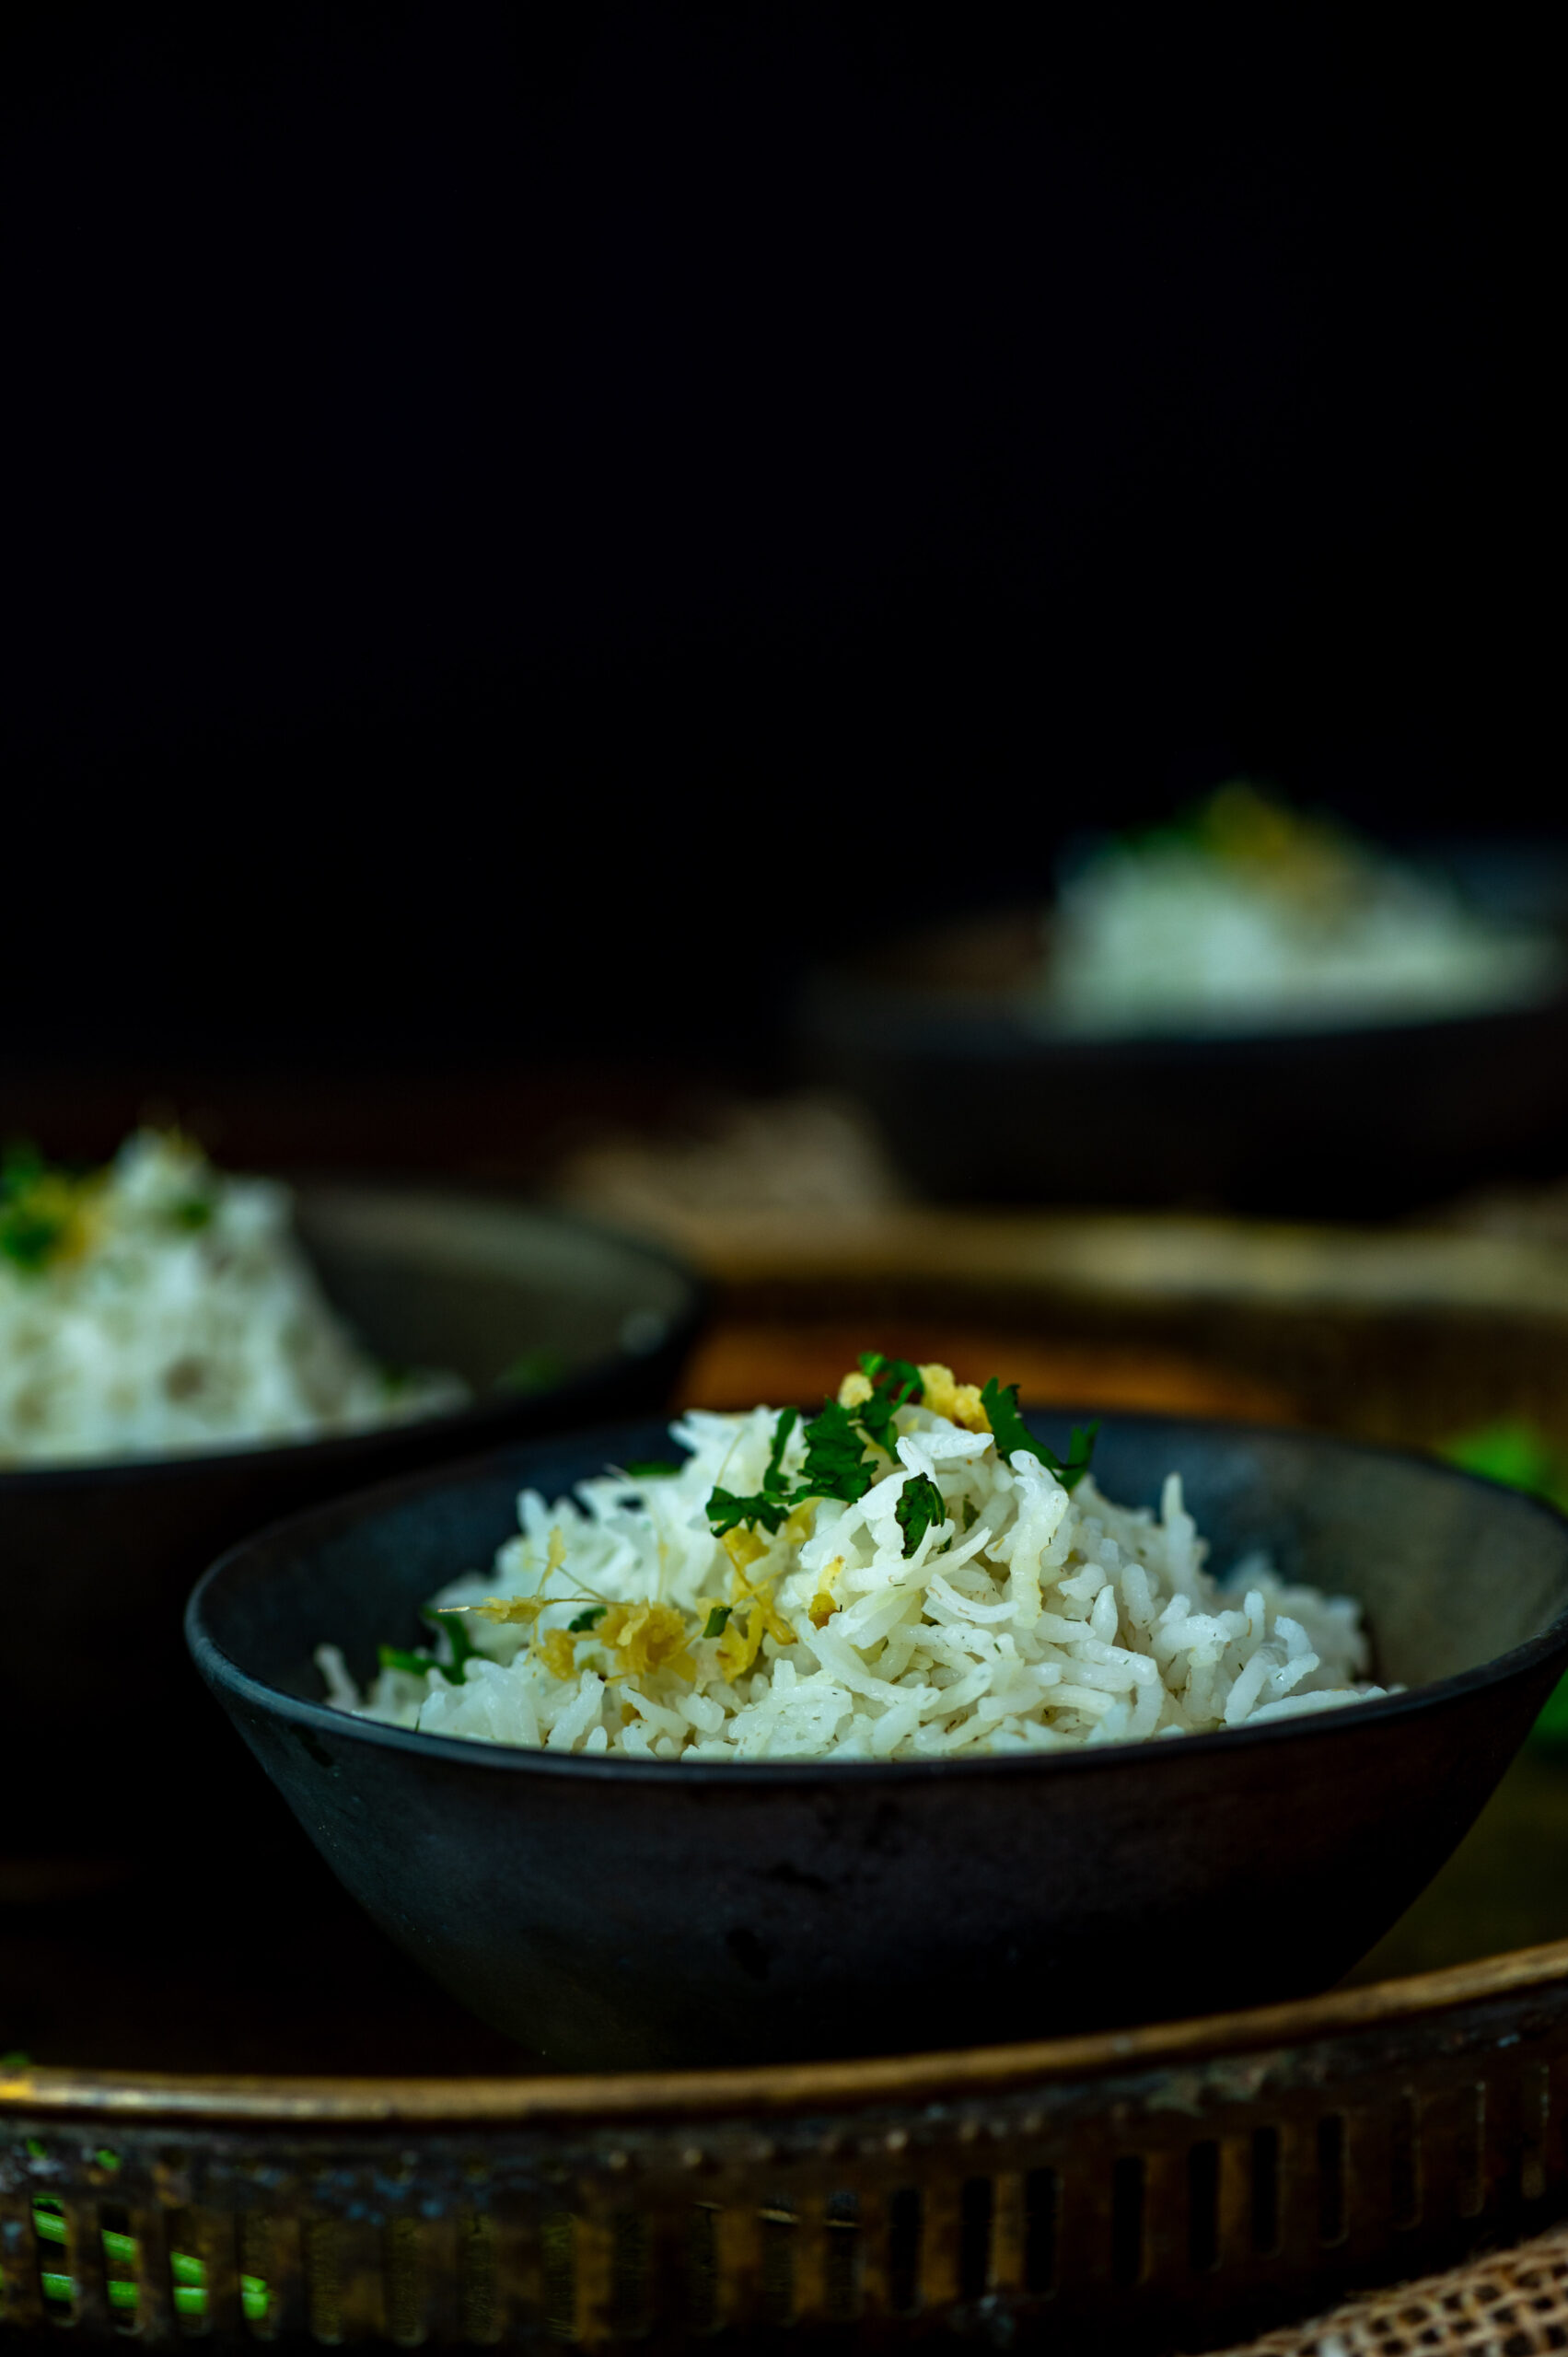
I love the flavour of lemongrass. I find it very versatile: it shines in dishes like this vegan whole corn and lemongrass soup, in my early morning tea and even as a semi-decorative element in kachoris. This ginger lemongrass rice is just one of many ways that this wonderfully aromatic herb is used in my home.

Indeed, not only is it used in my home but it is also grown in my home, which means that I have access to fresh green lemongrass leaves whenever I desire them. I currently have this plant on my terrace so that it gets direct sunlight. It sits alongside my jasmines, which I am very proud of. Not only is the visual of them growing together very pleasing, but the natural fragrances that waft there in summer – with the flowers in full bloom giving off a heady scent, alongside the lemongrass – are really so beautiful.

Despite being a long-term fan of lemongrass, this ginger lemongrass rice is a new addition to my repertoire. My daughter is visiting and she loves to cook Thai food, which is what inspired me to bring the ingredient into a lightly stir-fried rice. The method for doing so is a little different, and you can see how to prepare it in the recipe below.

This rice is meant to be accompanied by a side dish, and you can experiment with a variety of cuisines. If I am serving this alongside an Indian dish, fresh coriander or a bit of cumin in the preparation will bring out complementary flavours. If I am pairing it with a Continental dish like a baked spinach (by the way, I will share the recipe for this soon), I may add mint instead. The lemongrass and the ginger remain constants. However you choose to accompany it, the rice itself will be quite flavourful, as well as fragrant.

I have shared quite a few rice recipes here over the years, from biryani to porridge to dessert. In South India, rice grows abundantly, and I’ve also discussed before how the regeneration of native varieties is important. I recently heard the environmental scholar Vandana Shiva speak in Chennai, and I feel moved to share her message. She spoke about how India must maintain our rich agricultural heritage, that farmers should have their own seeds and distribution network and not allow big companies to patent them (this is quite controversial – Monsanto currently has a monopoly on the world’s seeds). She also encouraged farmers to go pesticide-free and focus on seasonal produce, and said that organic food will become more affordable as more farmers choose these methods. It was a very enlightening talk, and these thoughts were on my mind as I prepared this dish. I hope that you too will explore more about these subjects. After all, they relate to our everyday lives and choices.

All said and done, rice is a staple in India, and while it contains sugars and starch, in the right quantities it does more good than harm. I hope we can all come together to be more mindful about our consumption. We can do good, too – even as we indulge.


Ginger Lemongrass Rice

(Serves 2)

1 cup rice

5 cups water

2 tablespoons grated ginger

A bunch of fresh lemongrass leaves

Salt to taste

1 tablespoon sesame oil

Finely chopped coriander leaves (for garnishing)

I have used basmati for this dish, but I would recommend using any good South Indian or Asian rice variety. Do keep in mind my prior suggestions for additional ingredients depending on the side dishes you prepare to serve this with.

Rinse and soak the rice in a pot. Add the five cups of water. Add the lemongrass leaves and cook until the rice is tender. Strain and set aside. Remove the lemongrass leaves and discard them.

In a heated pan, add the oil. Now, add the ginger and sauté for a few minutes. Add the cooked, fragrant lemongrass rice along with the salt. Mix gently, allowing the flavours to spread into the rice.

Garnish and serve, along with any other dish. This ginger lemongrass rice will certainly elevate the flavours of its accompaniment, and vice versa. Enjoy!

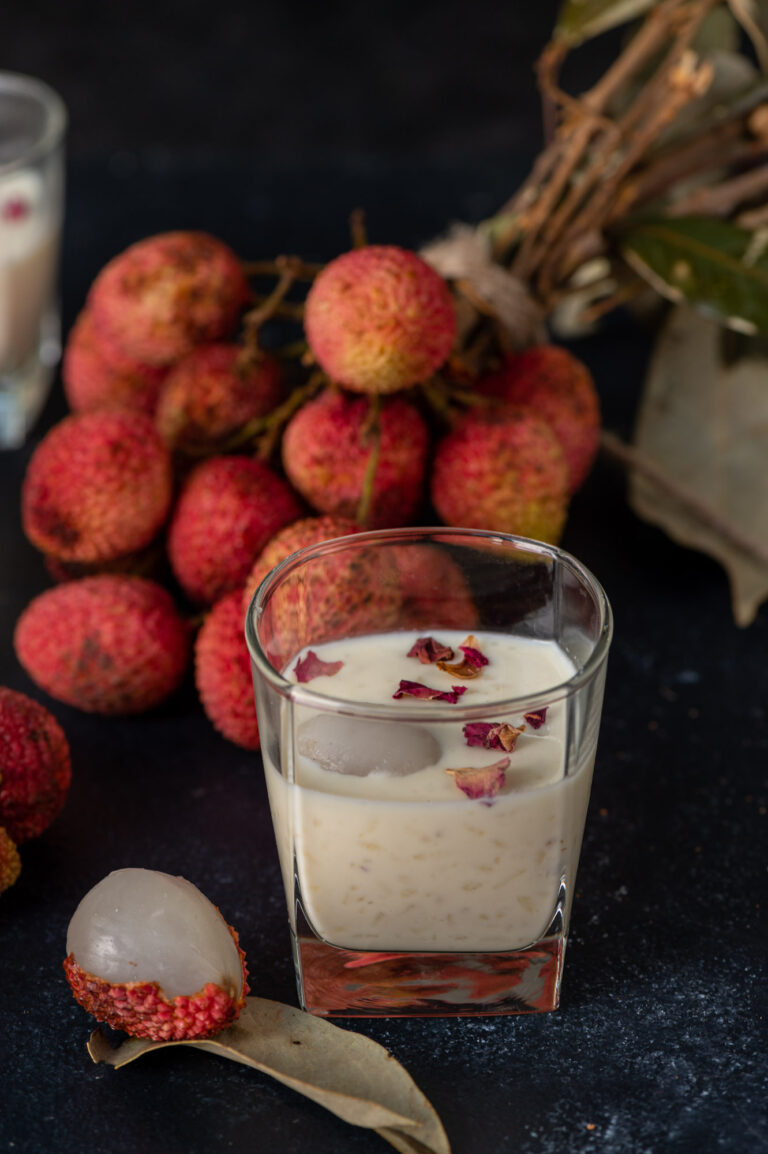
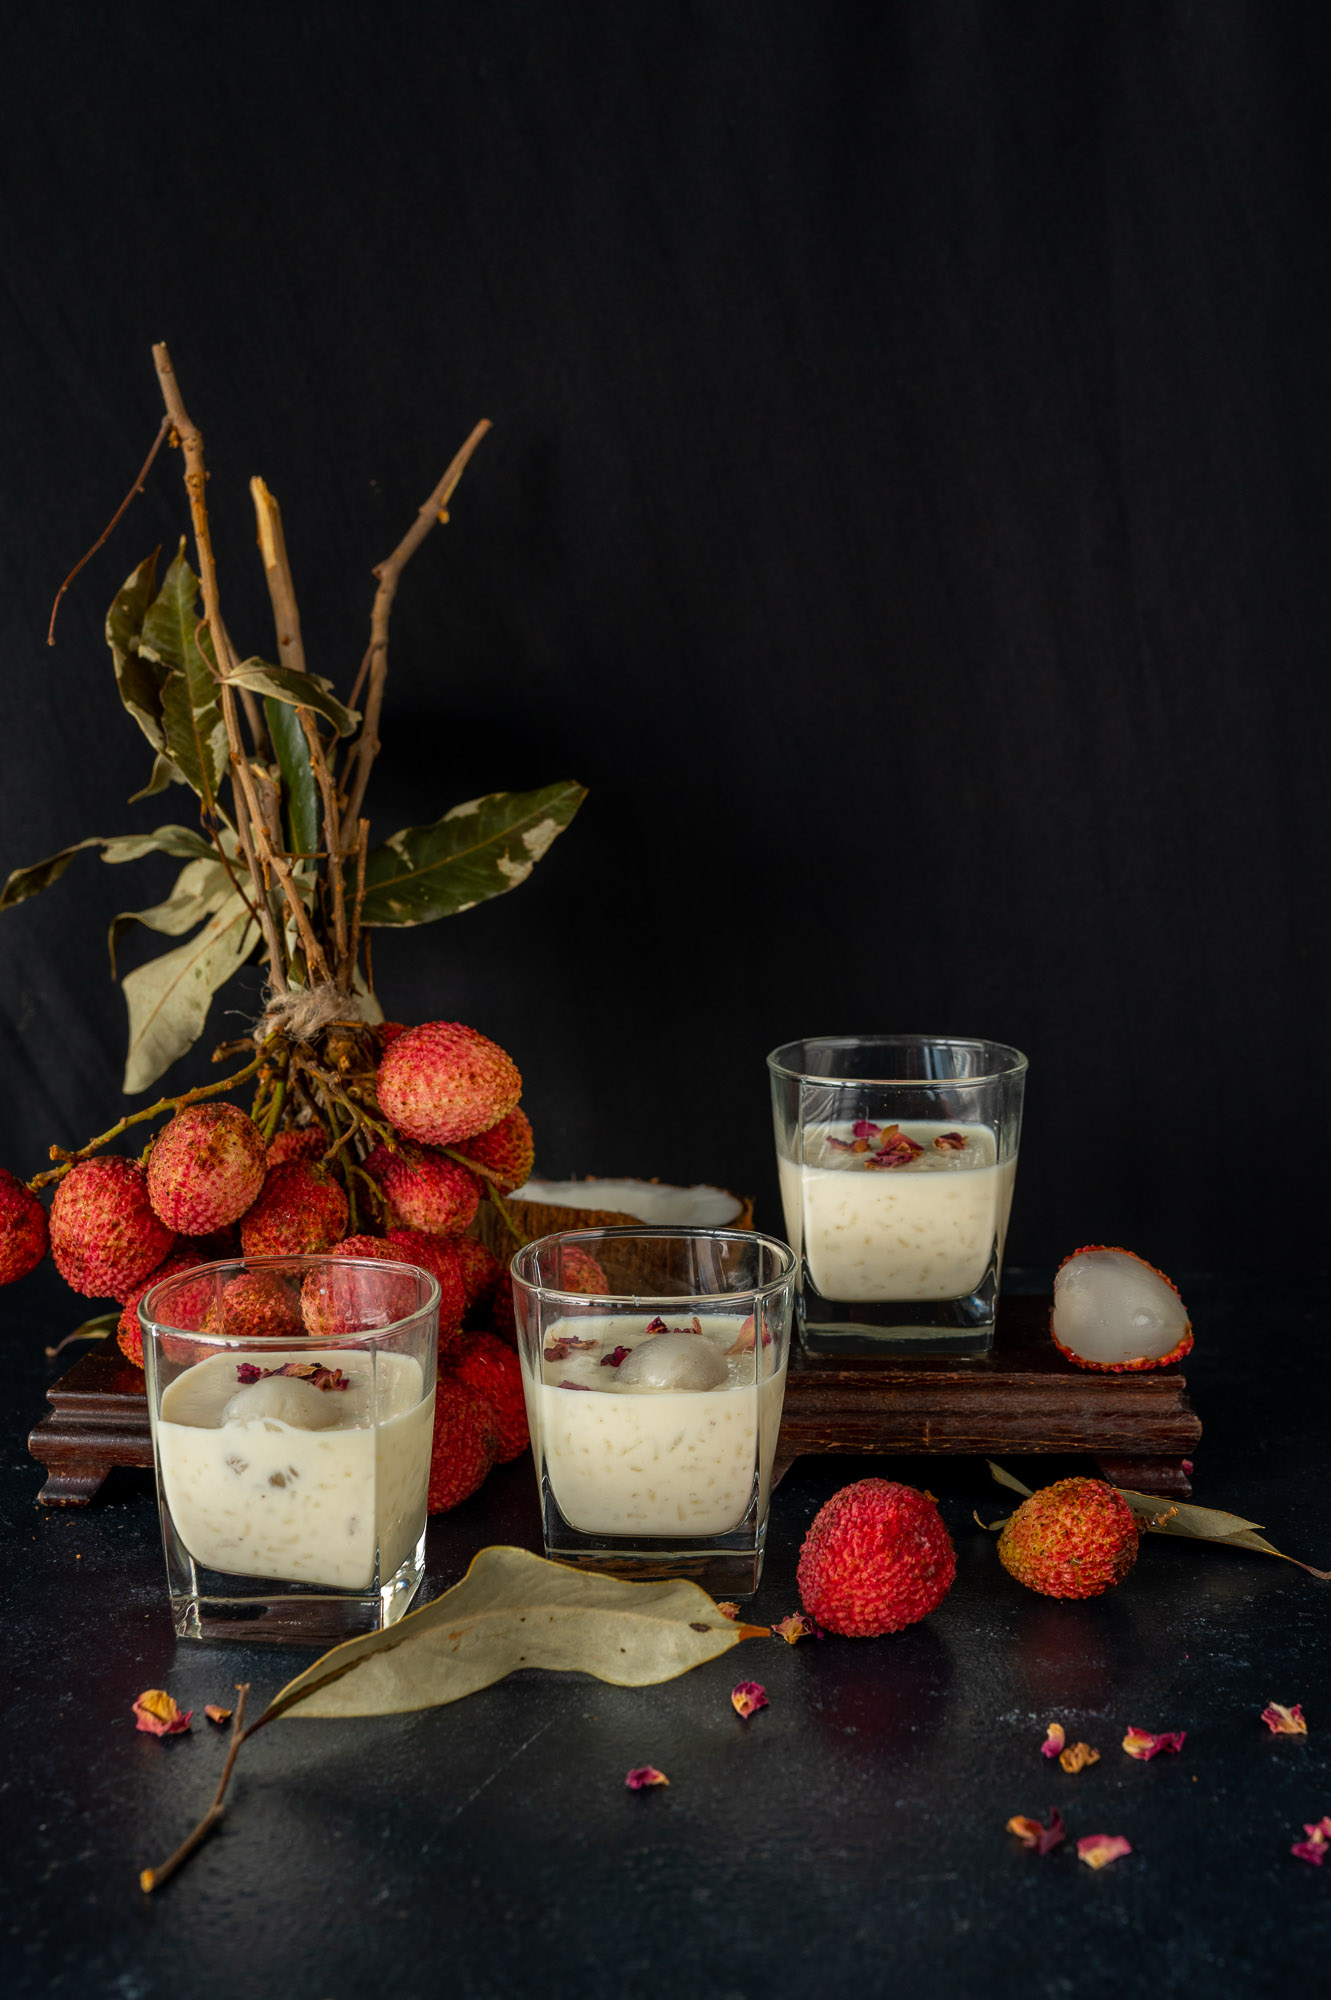
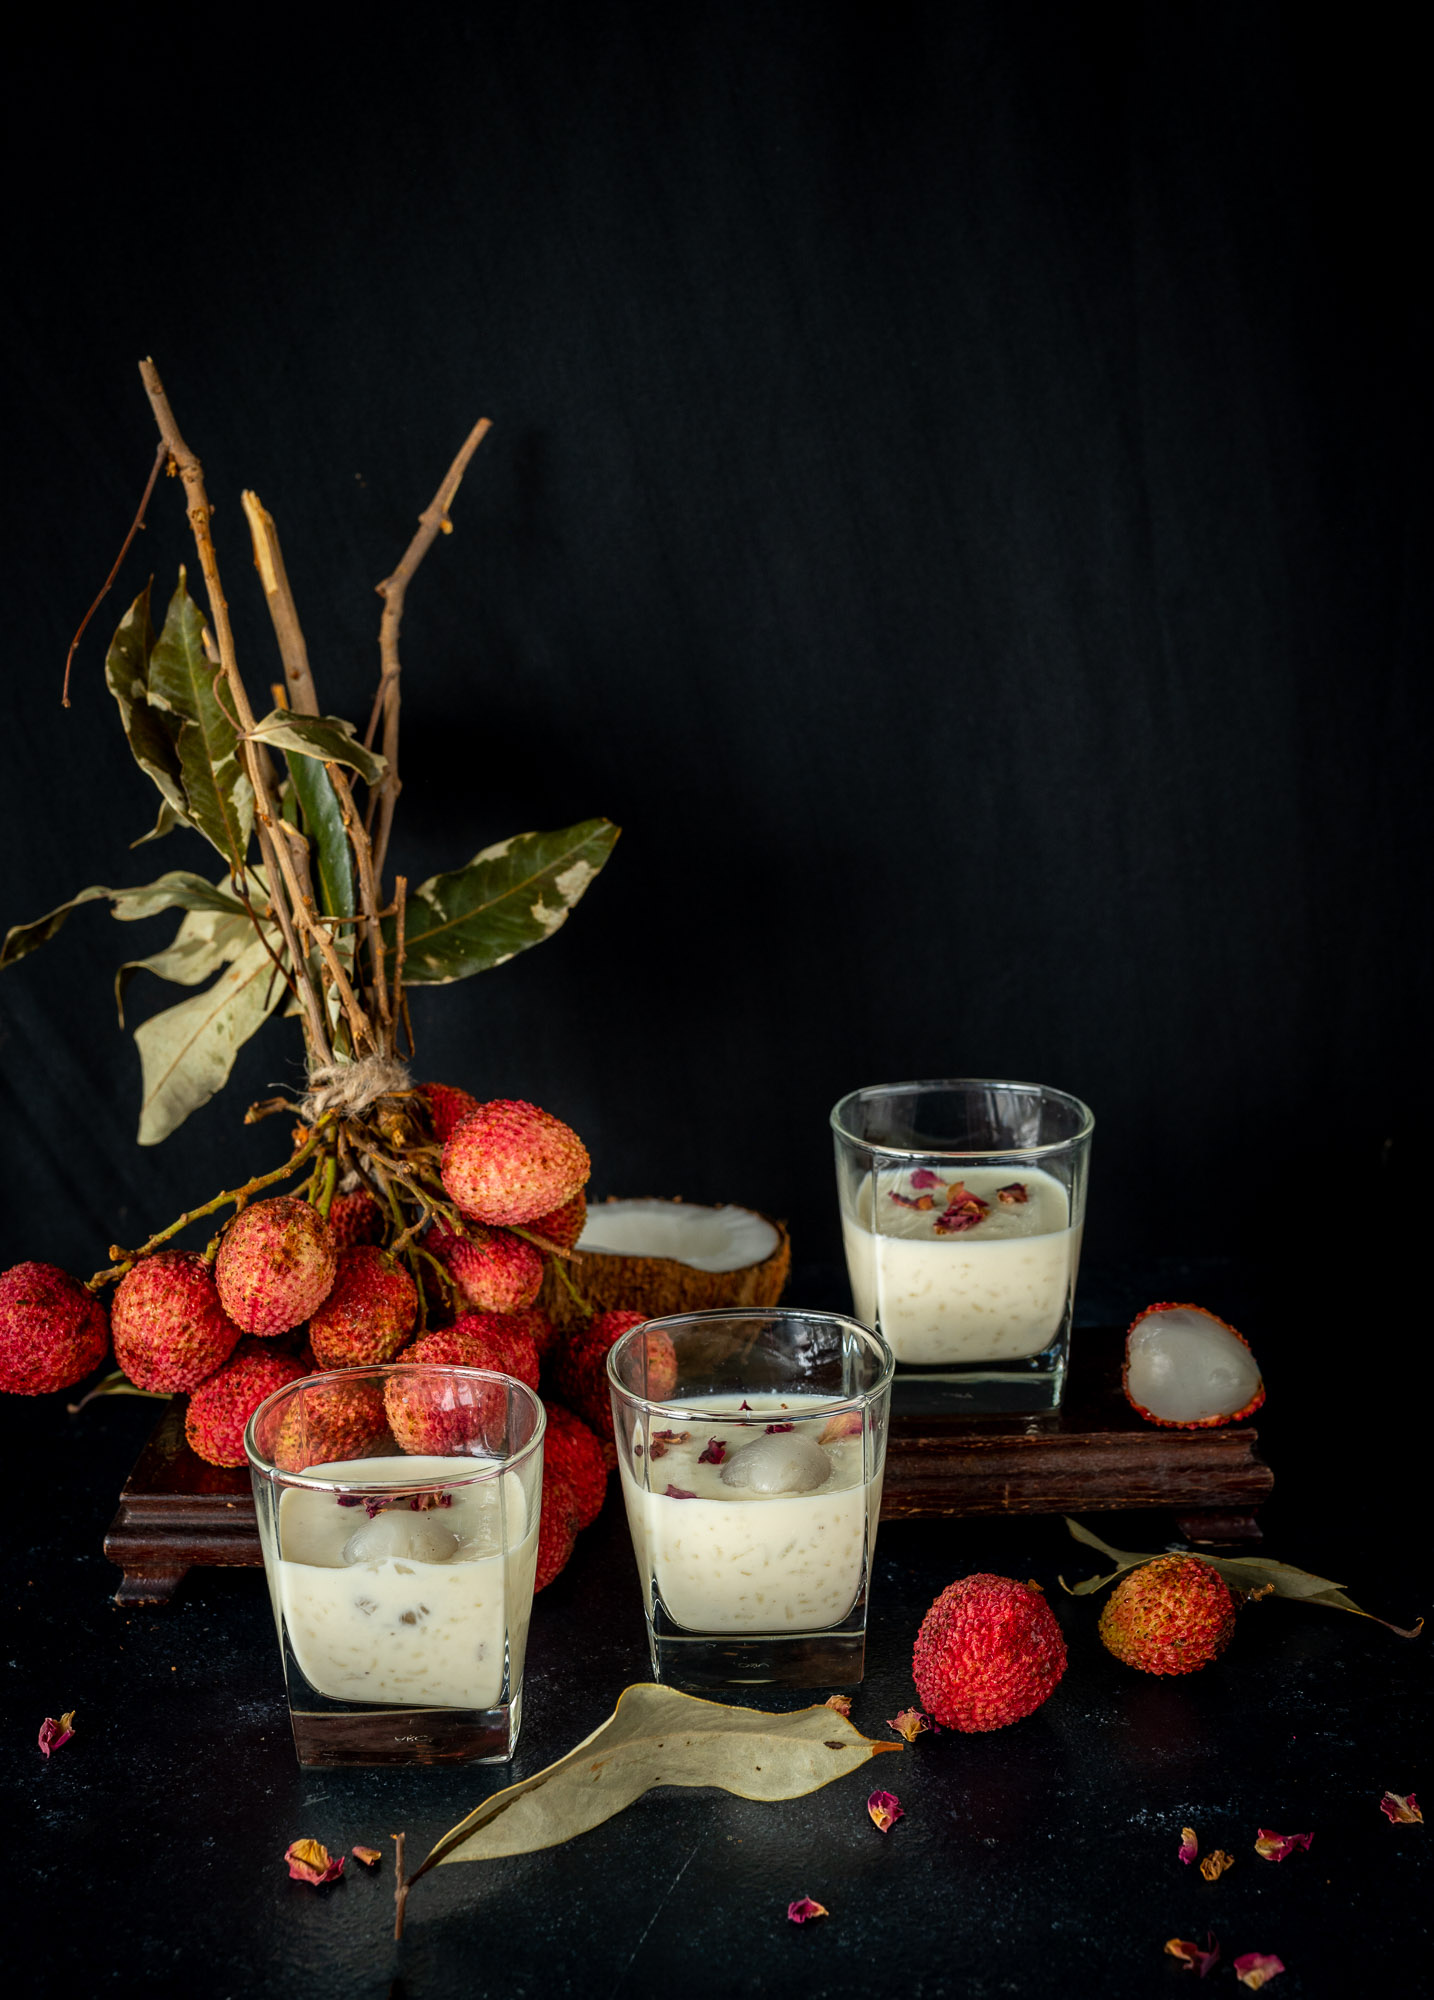
I wanted to make a panna cotta recently but didn’t have the time, which is when I decided that something like a kheer would be the next best thing. Isn’t it lovely when we can almost match our cravings with something equally delightful, although different? This dish is all the more special because it uses lychees, which have a really short season. This lychee kheer is simply perfect as a cold dessert for the summer.

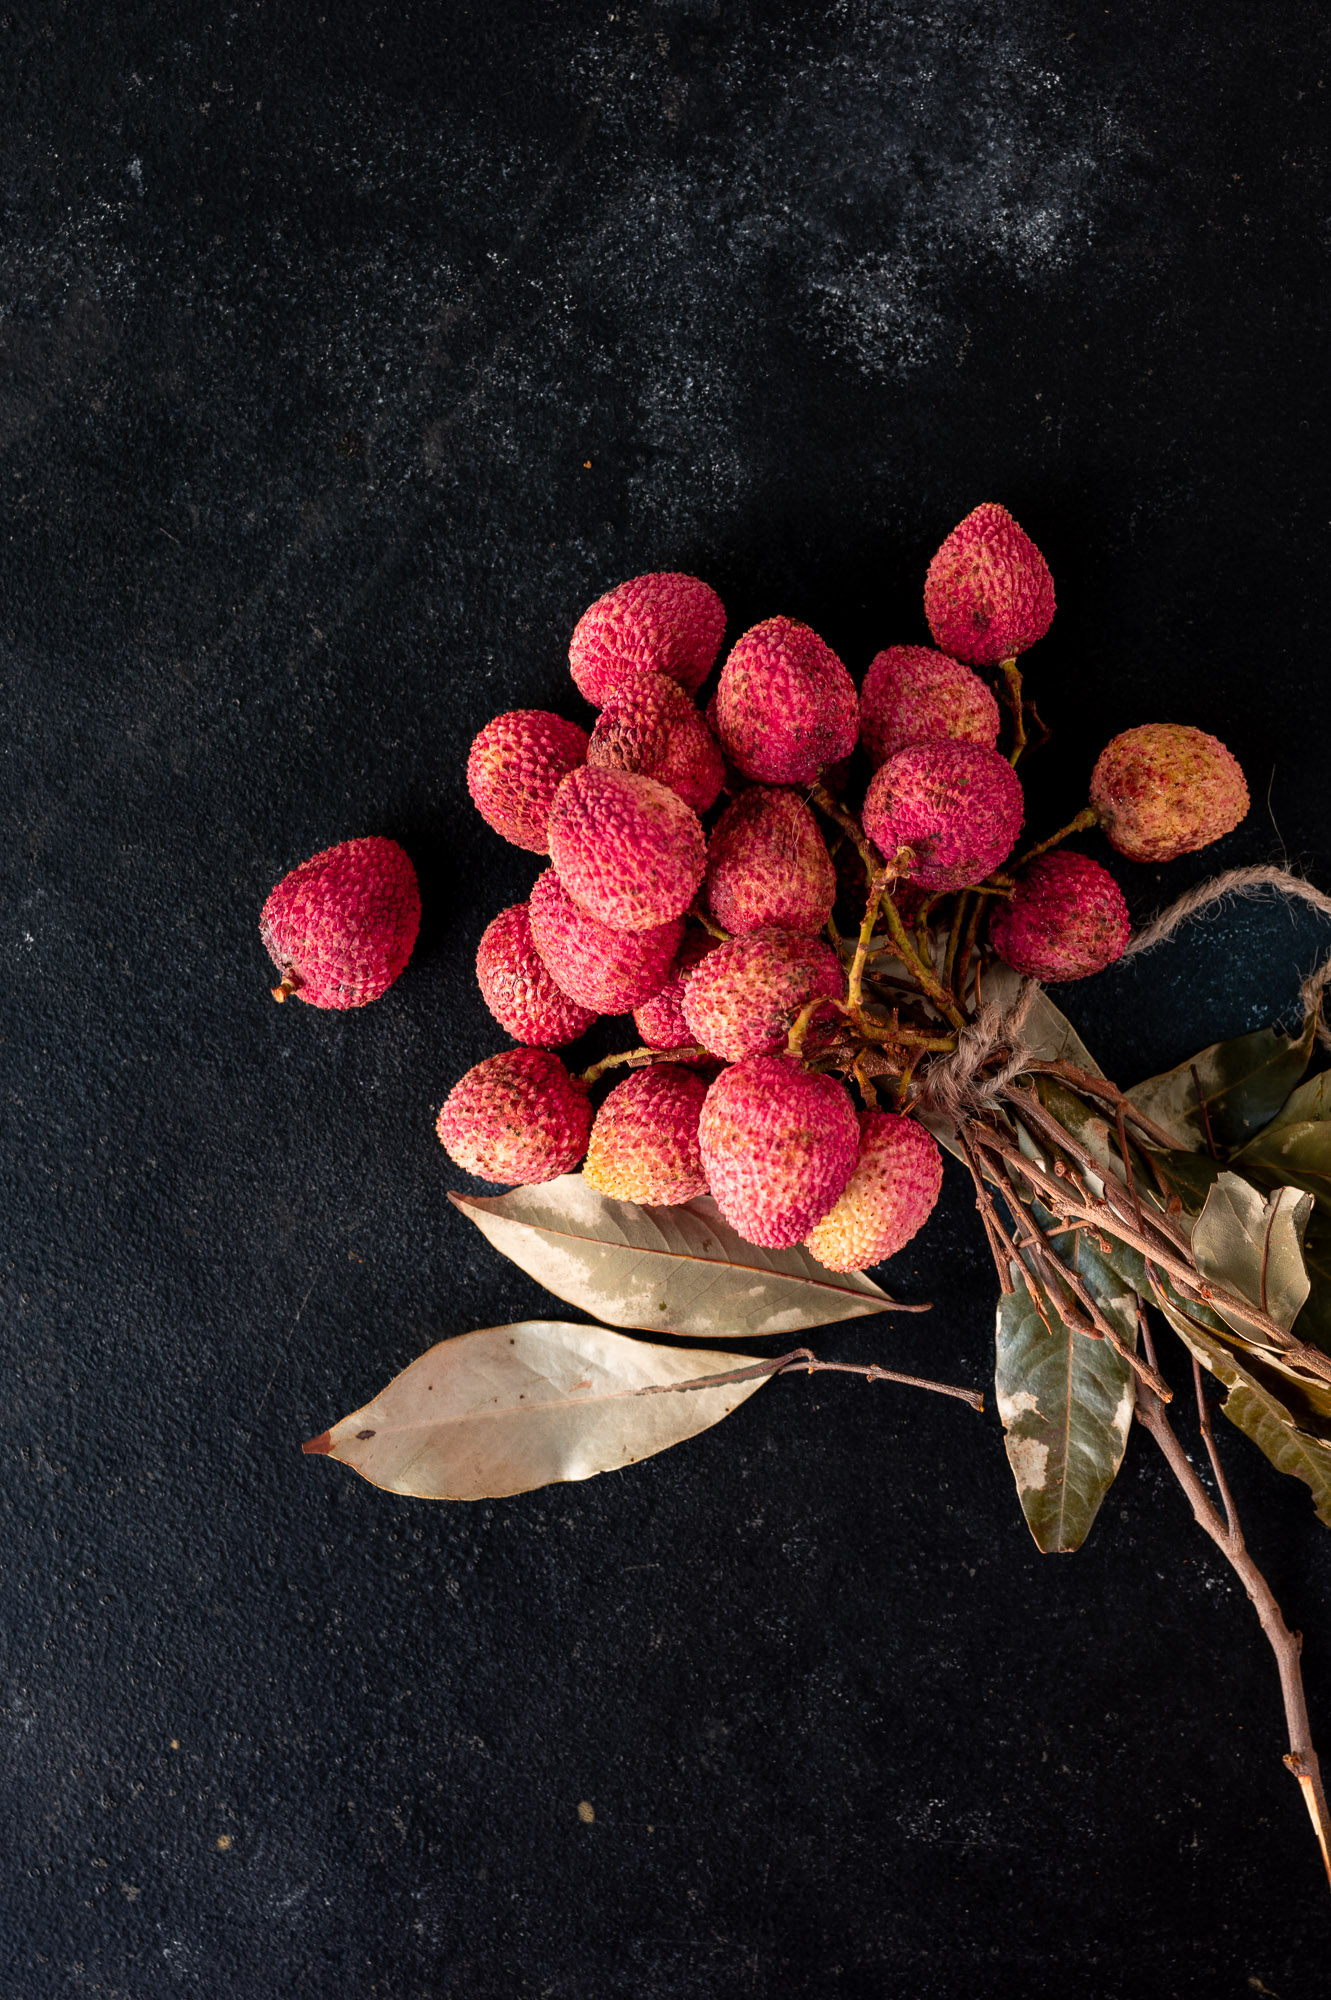
I really love Indian lychees, even though I know that they originate in East and South East Asia. The flavours of each variant depends on the location, and the Indian-grown ones are my favourite. Perhaps it’s just that I am used to that taste. Similarly, mangoes grow all over the world but there is nothing like an Indian mango to me, the ones we find in our own neighbourhoods. Incidentally, lychees are at their own best during a short time during mango season. They are also more suited to the heat, as they are definitely more cooling than mangoes. Since lychees have a short season, I want to add that you can use tinned ones too – the kheer will taste just as good.

In fact, the memory of some very cool lychees were what inspired this dish. I had visited a friend a while ago, during another lychee season, and she had peeled and frozen the fruit. We enjoyed these after a lazy afternoon lunch, and they tasted like ice cream. I will never forget how that day was: gossip, food, laughter and the delicious frozen lychees melting in the mouth.

I have shared below a very basic recipe that focuses on the flavour of this fruit, but I have found that it pairs quite well with coconut and/or rose too. As I have so much of it on hand from the trees at home, I’ve added some grated coconut, which is optional. I’ve also found that saffron and almond, despite being typical kheer flavourings, don’t quite match. Still, go with your gut instinct and choose to add what you’d like to. Or else just stick to the simplest version, for it really is quite wonderful as it is.

Lychee Kheer

(Yield: 6 cups)

1 litre milk

½ cup broken rice (washed and soaked)

½ cup sugar

1 cup lychees

2 tablespoons grated coconut (optional)


Boil the milk until it reduces a little, then add the soaked broken rice. Substitute with whole grain if you prefer.

Allow the rice to cook in the milk. You will notice when the rice cooks and the milk reduces further. Once cooked, the rice becomes tender. Now, add the sugar.

I used a hand blender to gently whip the mixture so the rice breaks down further.

Remove from the flame and cover. Allow to cool to room temperature, then refrigerate.

Meanwhile, peel the lychees and chop finely. Add them to the kheer along with the grated coconut, if you are using it, and stir well. Refrigerate again and serve cold.

The main thing that gets in the way of making this dish properly is that you will have to be careful as you peel the lychees not to pop them into your mouth! I hope you have a nice big bunch around, as you’ll find it very tempting to do so. Trust me, putting them in the kheer is well worth it – try it out, and you’ll see.

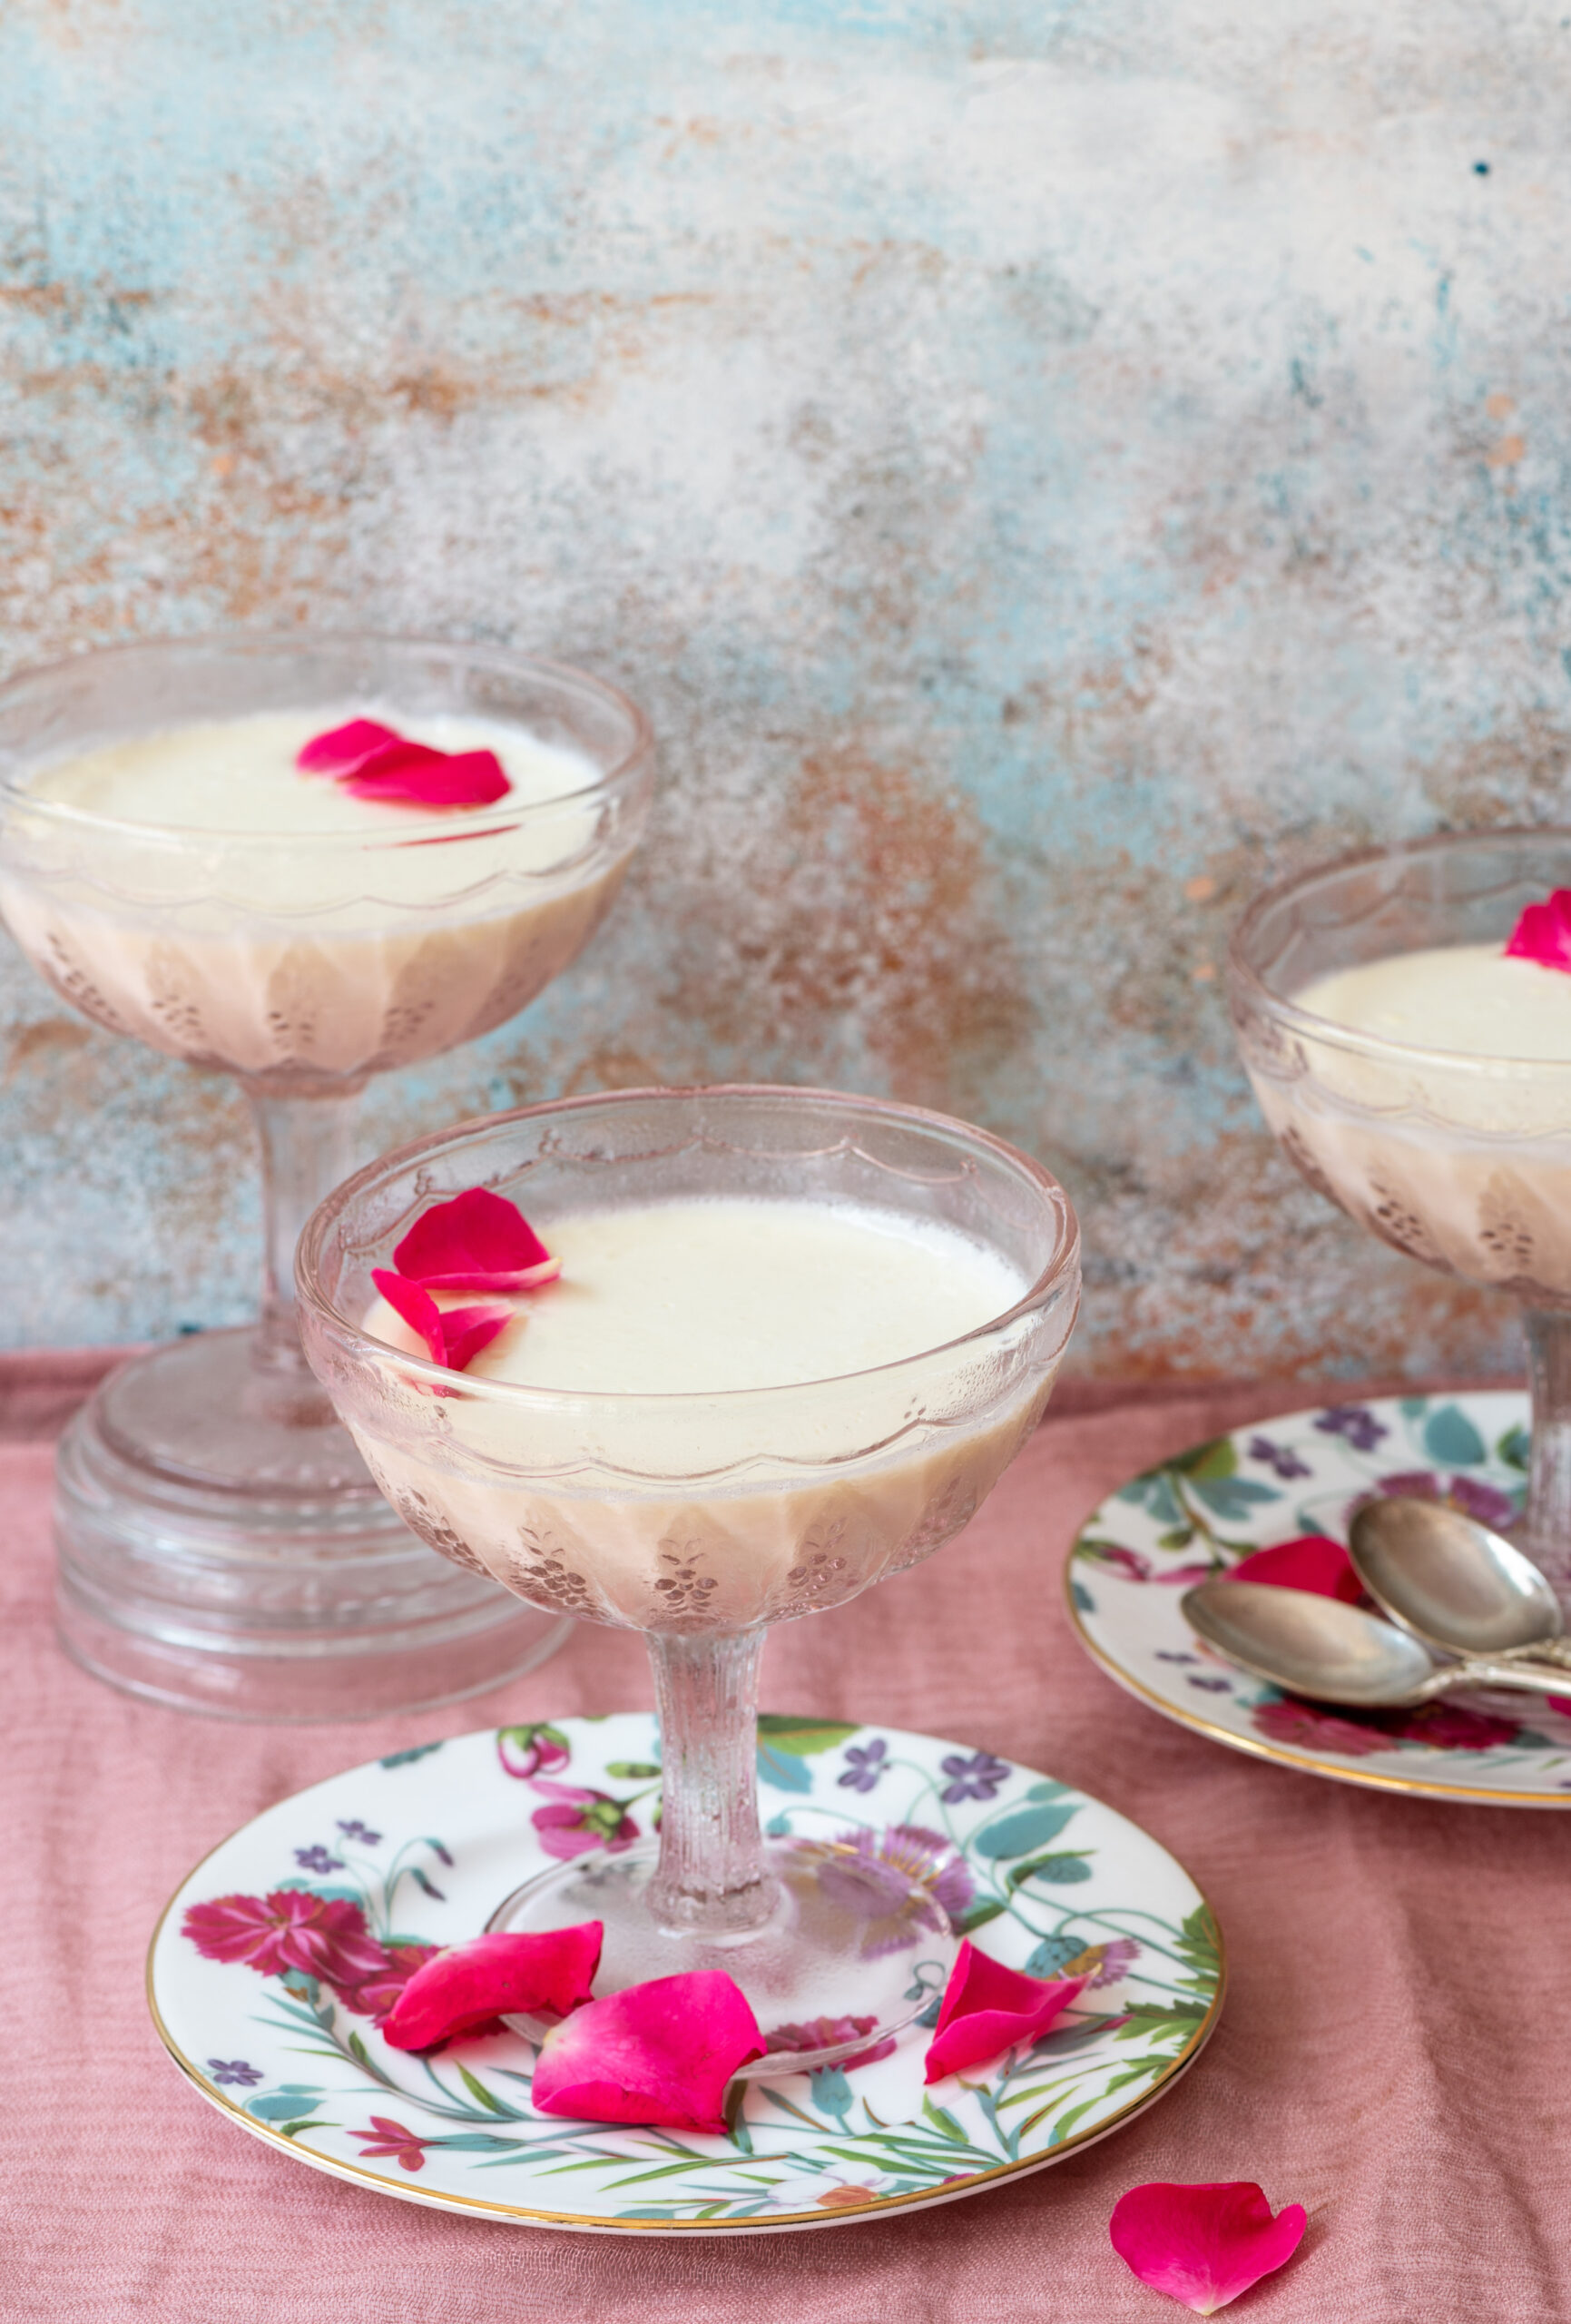
Every summer, at least once, I simply have to make coconut mousse. It is a light, airy, faintly sweet eggless dessert, which also makes it perfect for some of the entertaining that I do. I have many friends and relatives who are vegan or vegetarian, or who don’t like eggs. What’s also nice about it is that I can prepare it and put it in the fridge and theoretically it will last for a few days (of course, it disappears quite fast). To me, this eggless rose-coconut mousse is the perfect Indo-Western dessert.

In addition to the tropical taste of coconut, I also use a hint of rose, which makes it a kind of fusion dish. As a mousse or pudding of sorts, it is Continental in form but the flavours are more Indian to me. I have to admit that the first time I made it, I used less agar agar and it turned out almost like a kheer or a payasam. This is not to say that that didn’t work – it was delicious too. The consistency of the mixture determines what you can name the dish. I have used fresh, tender coconut meat, but you can also use grated coconut or coconut cream to thicken it.

I also very quickly realised that you can make a mousse with any kind of fruit puree, as long as you add agar agar and use flavours that complement each other, such as coconut and rose. If you aren’t a fan of these flavours, you can substitute them. Try saffron instead, or lavender perhaps. Maybe make it with a different ingredient each time, and play around with the garnishing too. I like to make this in individual cups as it feels more personalised, but you can also just put it all in one bowl and scoop out from it. Alternately, put it in a bowl with a lovely shape and upturn it once it has set.

The first time I tasted coconut mousse was at a very dear friend’s home, and she kindly shared the recipe. As you may know from several earlier recipes, summers mean an abundance of coconuts in my home thanks to the trees in the backyard, so I made this a part of my annual repertoire ever since. Looking at the trees always reminds me of how when we were growing up, our household staff would shave off the leaves, gather the stalks, and make a broom. How simply we used what was in our surroundings. Every part of the coconut tree was used. The image of her crafting the broom comes to me whenever I talk about homegrown coconuts. This also reminds me that it’s that time of year for me to make cold-pressed coconut oil too.

Eggless Rose-Coconut Mousse

(Yield: Serves 6)

1 can condensed milk

1 cup fresh cream

1½ cups fresh coconut milk

1 cup whole milk

10 grams agar agar

½ cup boiling water

1 cup tender coconut meat (finely cut or blended)

2 teaspoons rosewater

In a bowl, add the boiling water and then add the agar agar. Stir and allow to melt. Set aside.

In a large bowl, add the condensed milk, fresh cream, coconut milk and whole milk. Stir.

Strain and add the agar agar with the milk mixture. Add the coconut meat and rose water. Mix it all gently, using a hand blender.

Pour into the desired bowls and refrigerate overnight.

Serve cold.

This marvellous dessert is really so refreshing – perfect for summer and rich with tropical flavours. If you’d like to explore more of my dessert recipes, do check out a selection here!

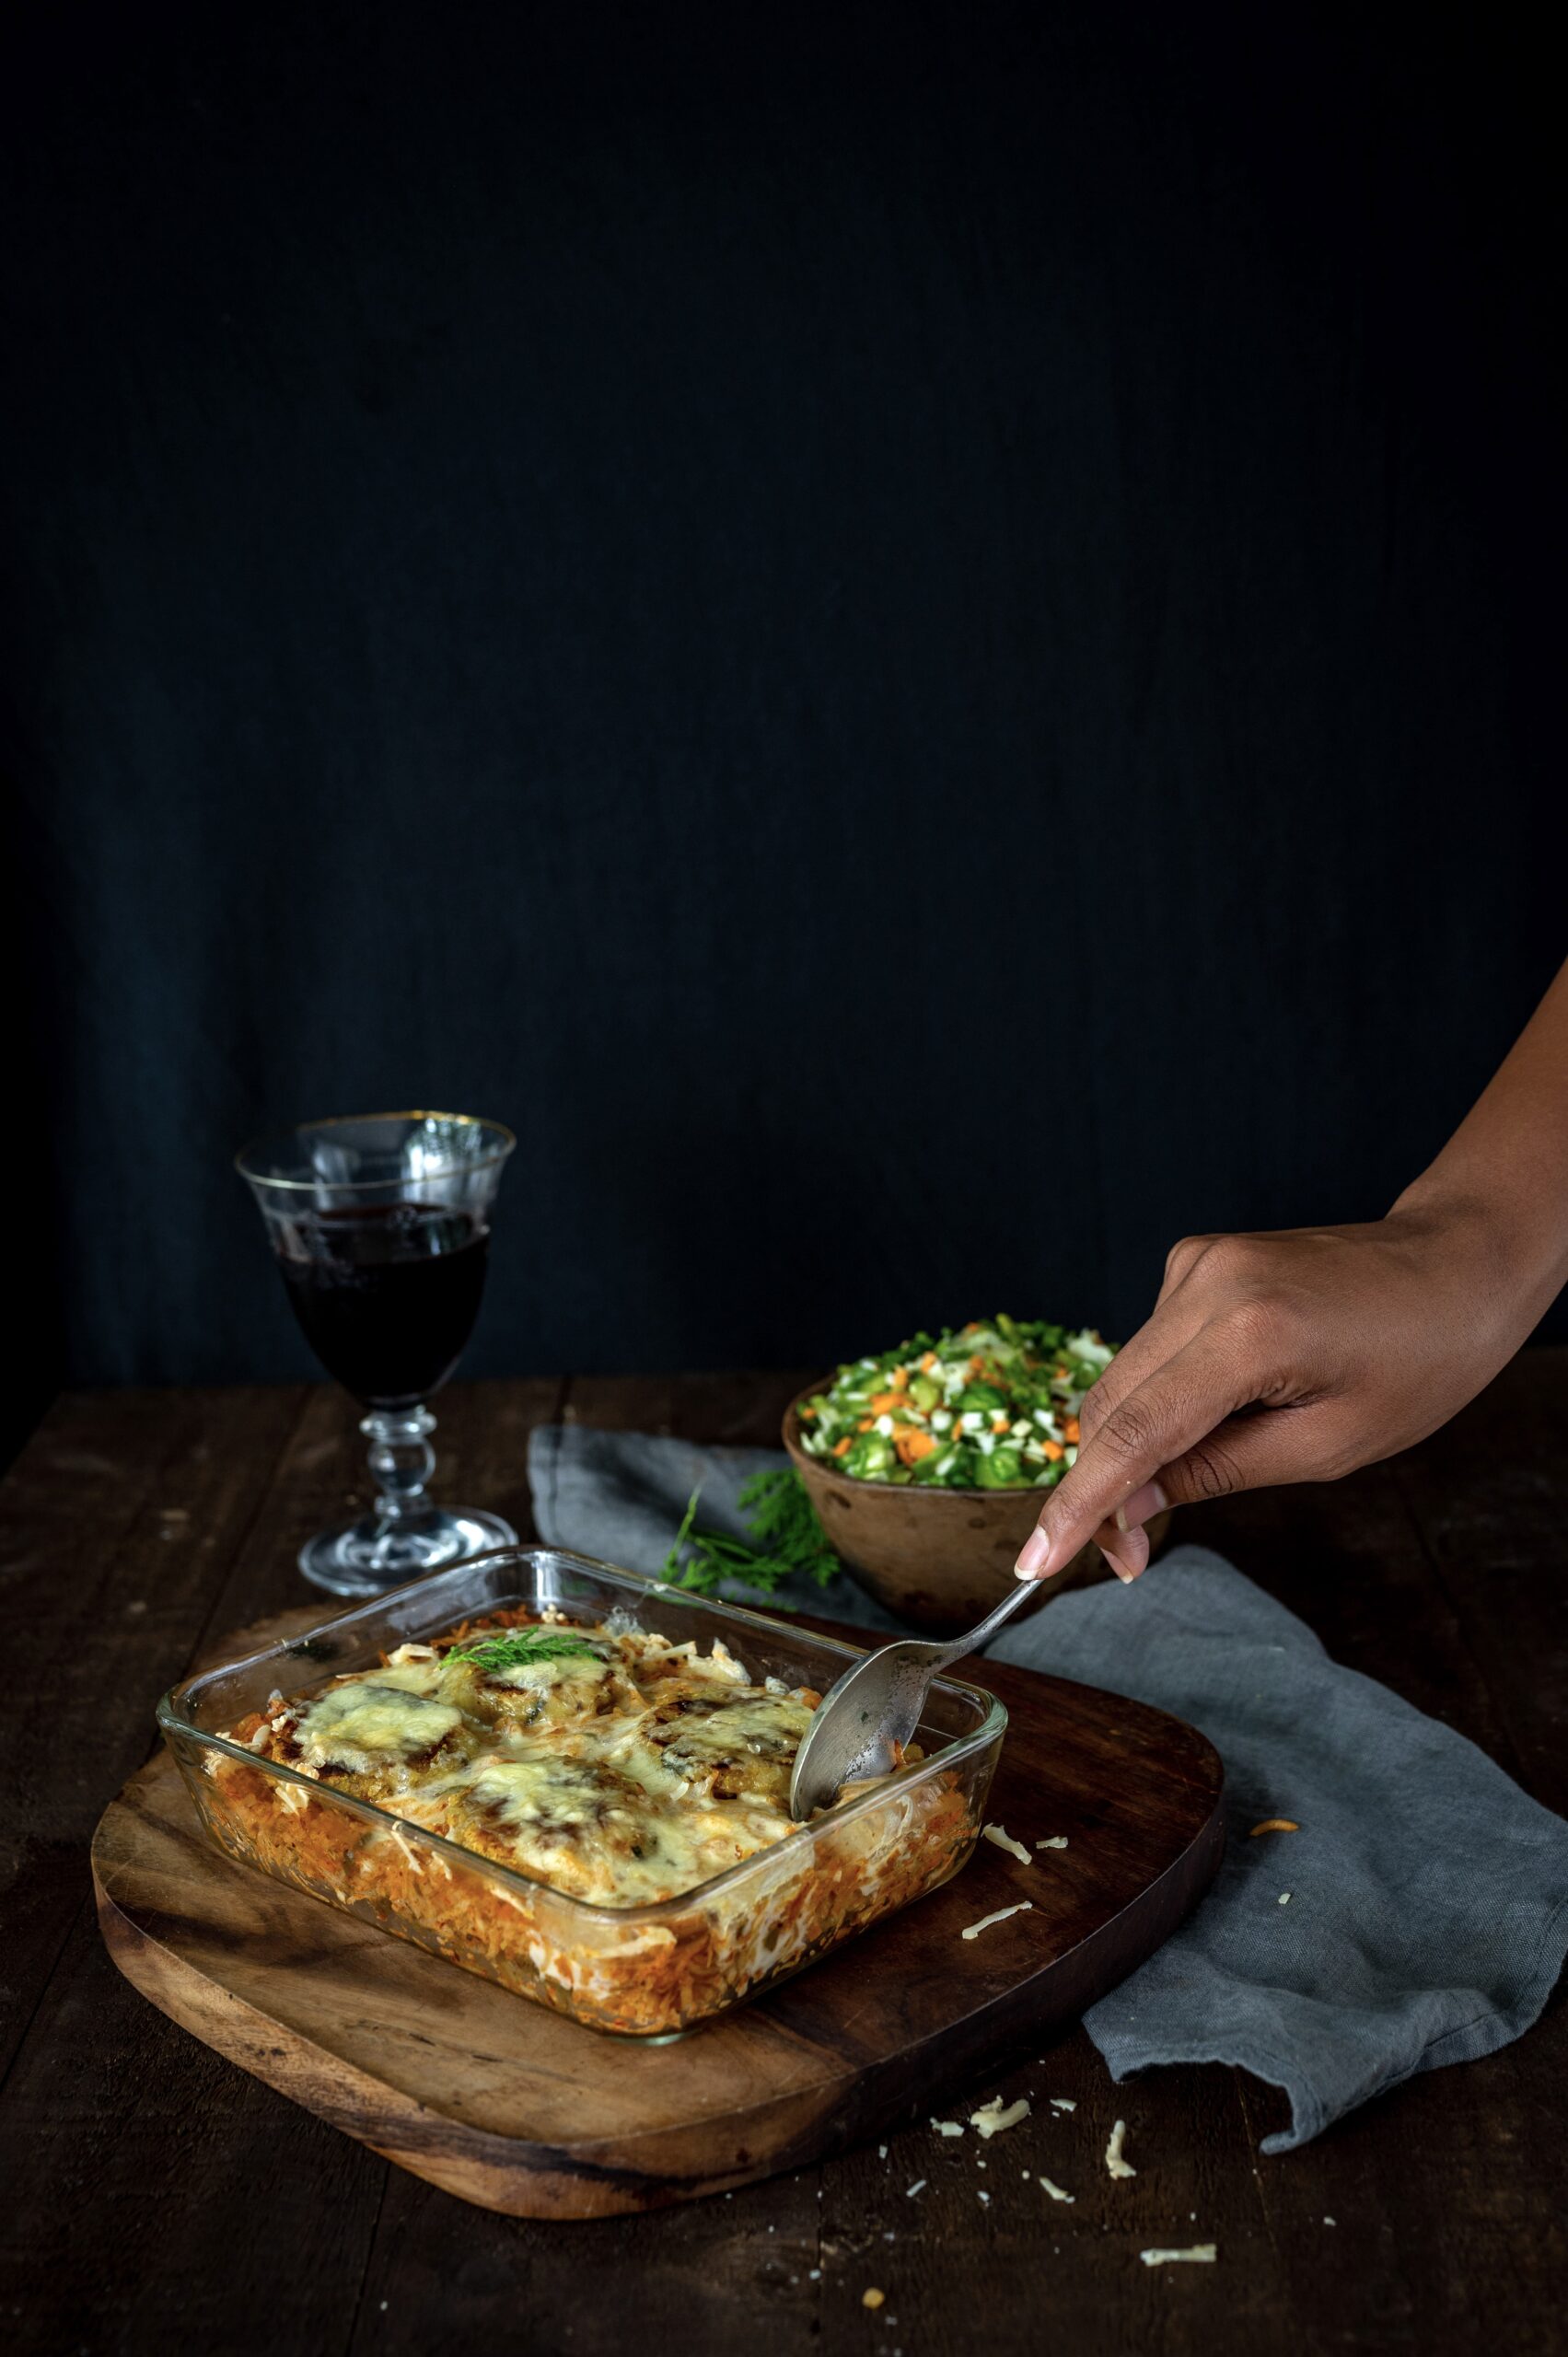
Do you remember my thepla tacos, a dish that uses Gujarati flatbreads in place of traditional tacos in a fun Indo-Mexican fusion? I hope you tried those out and enjoyed them just as much as we do, but here’s something I didn’t tell you: I also make Mexican-style tacos. Regular tacos, that is, without any multi-cuisine flair. There was a time when I took great pride in those tacos, and they do remain very popular with my kids and their friends. But one day, one of my own friends came over, had a taste, and said: “This is an Indian version of a taco”. I must confess that that hit me quite hard, as I had thought that I made the best tacos this side of the world! I decided to take it in stride, and that was when I began exploring the fusion version. However, I never stopped making my Mexican, or maybe Mexican-inspired, tacos either (perhaps I’ll share that recipe in future). Whenever I do, I serve them alongside Mexican rice.

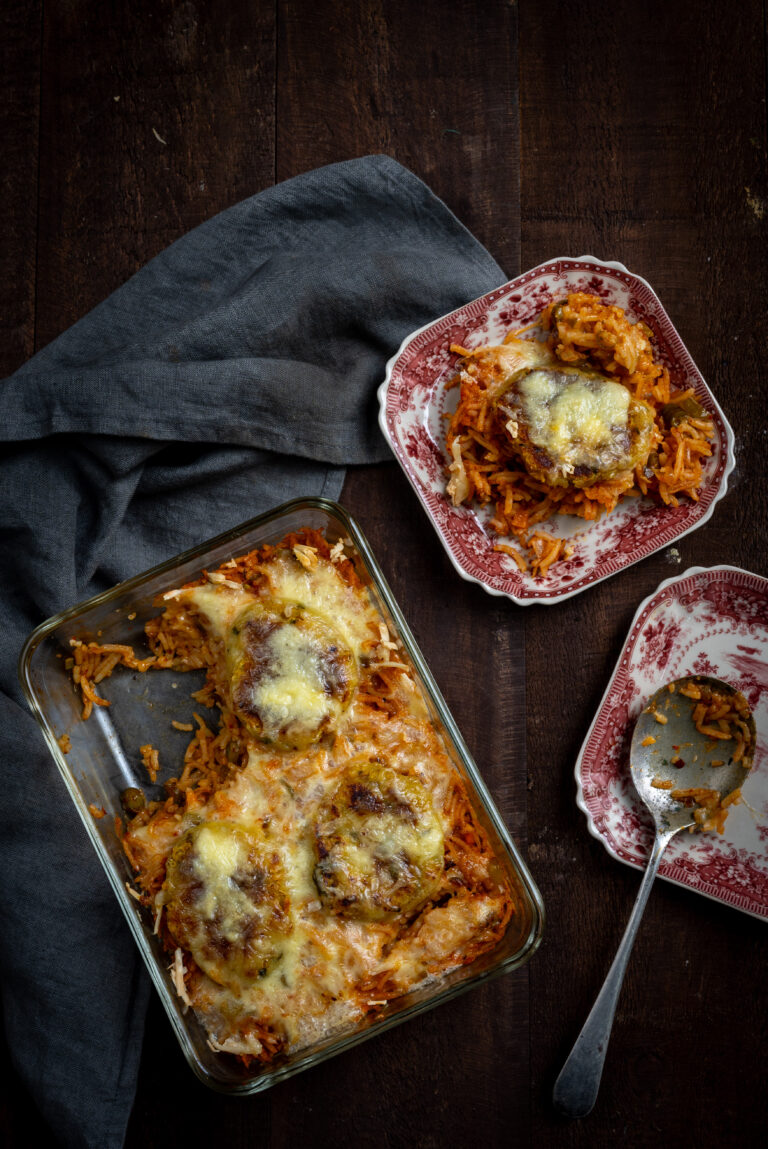
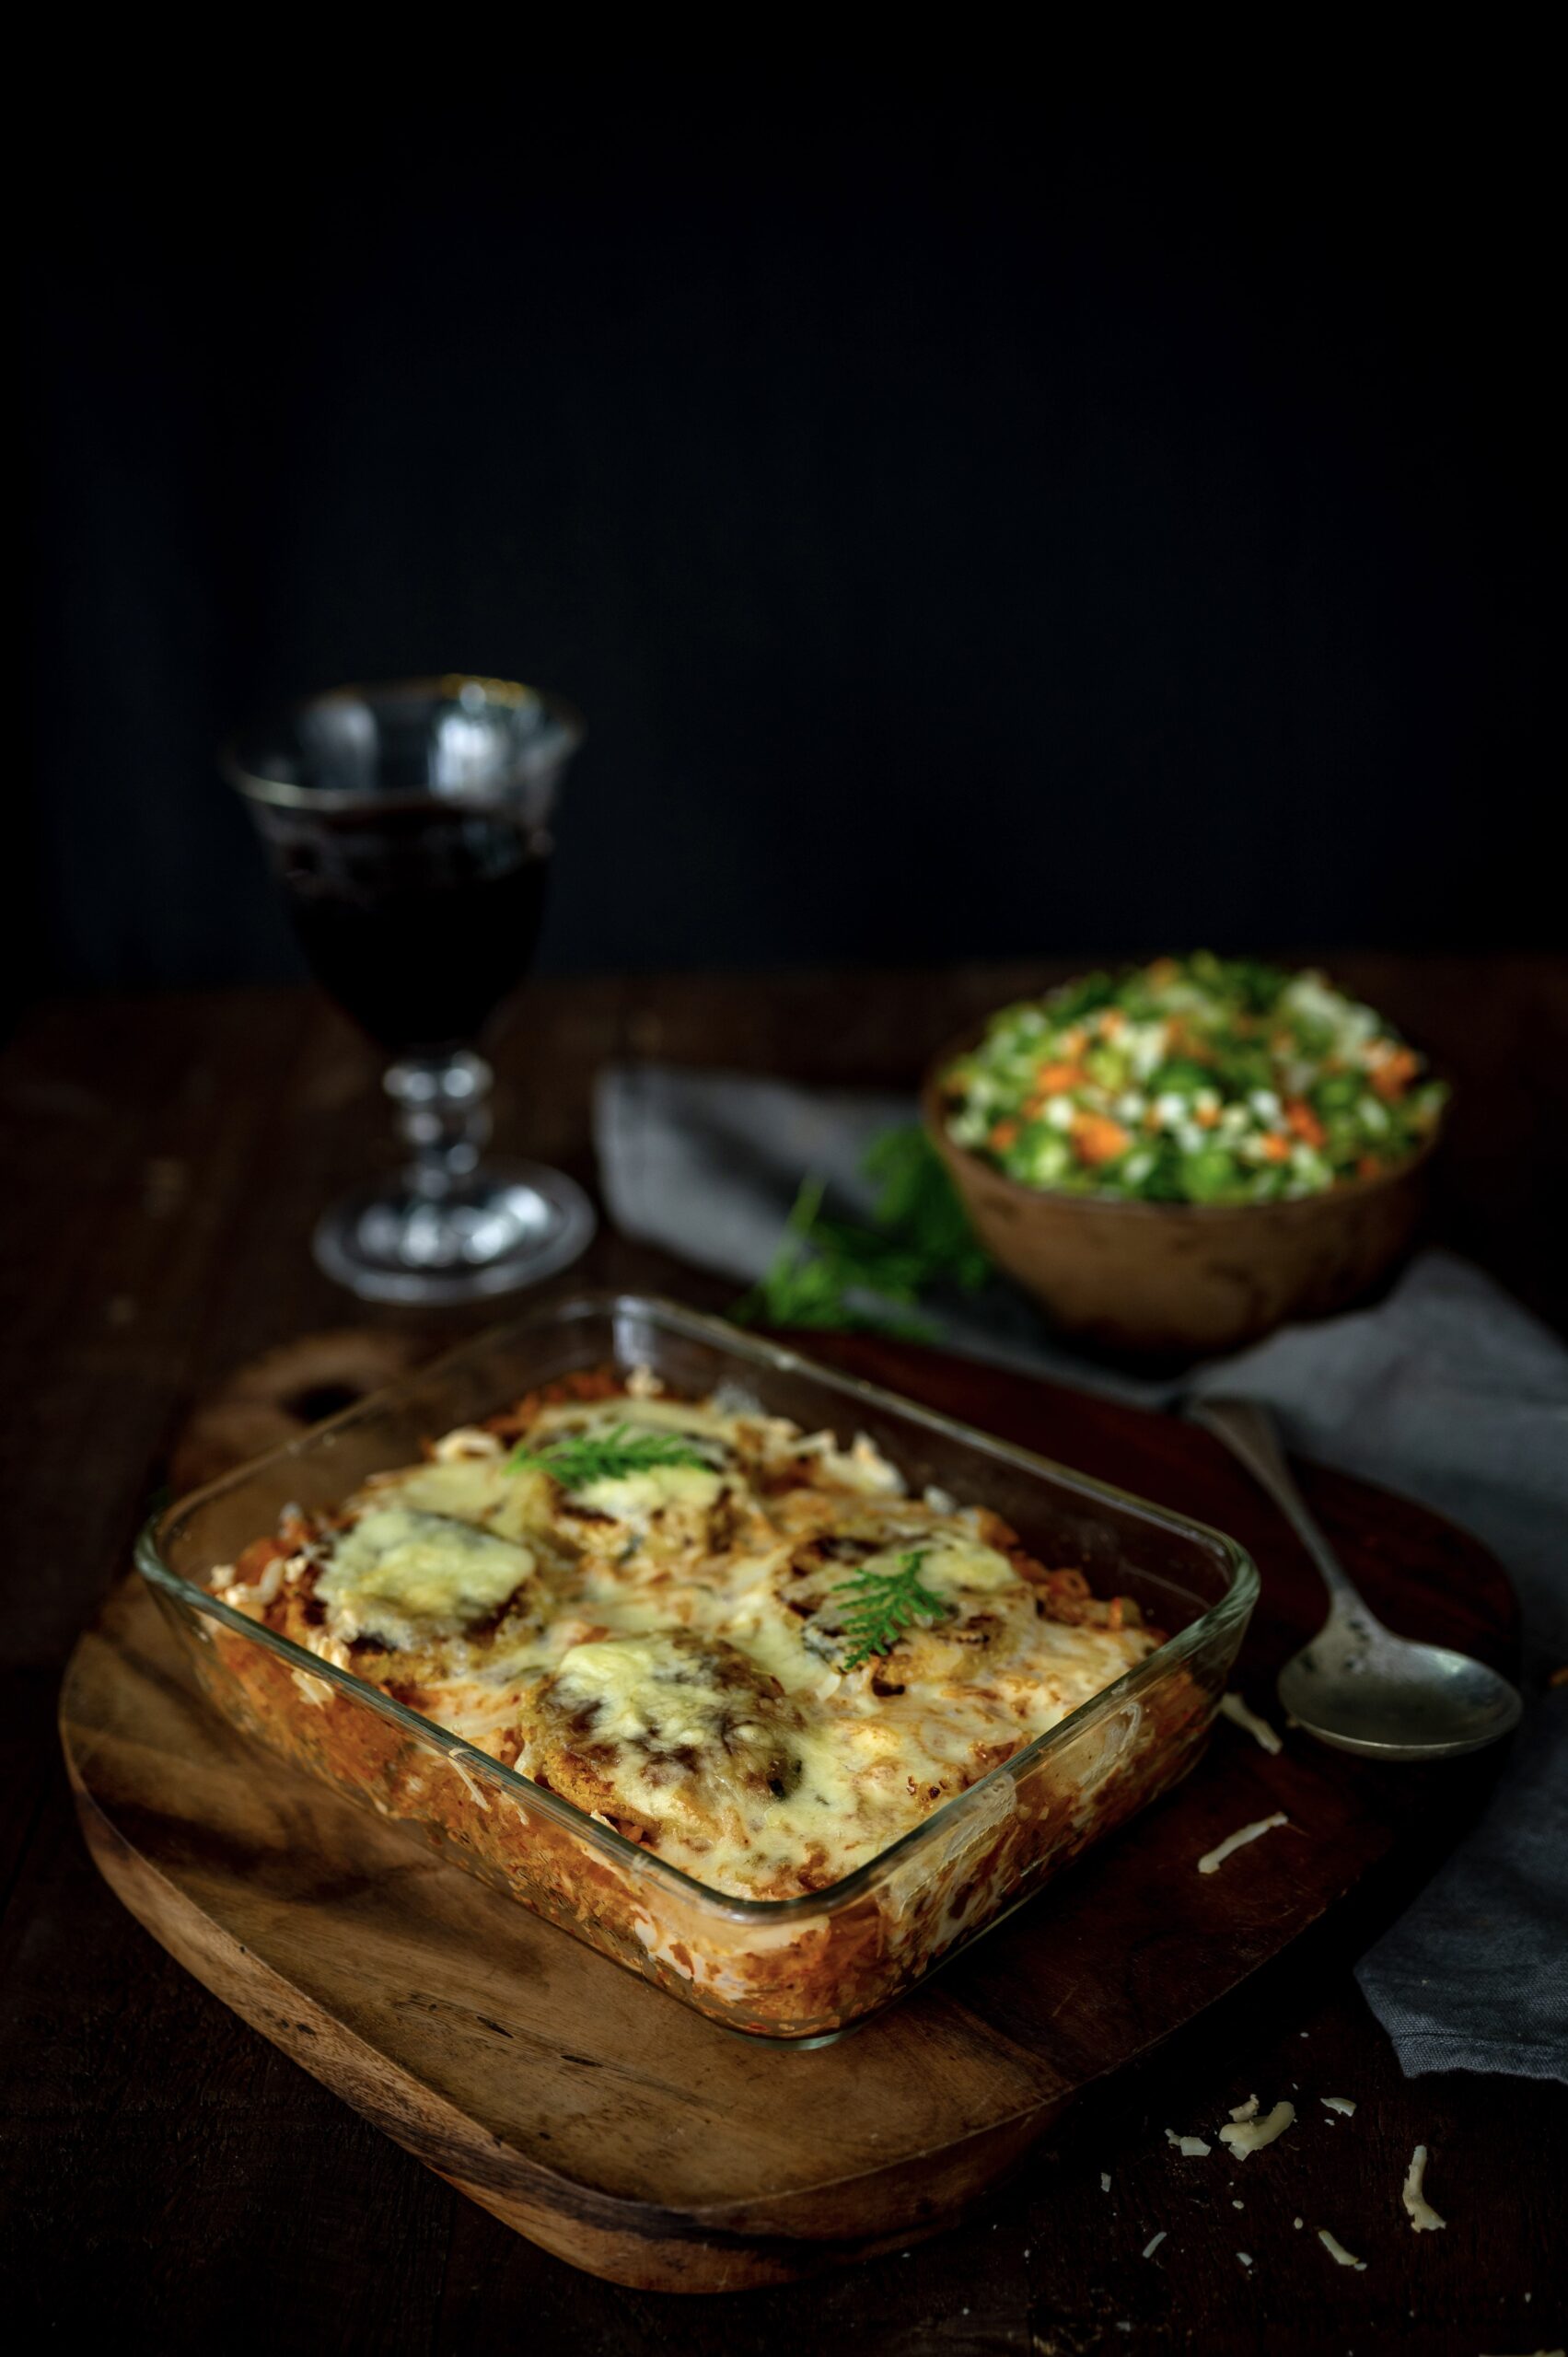
Yes, this too may be Mexican rice in my style, but the secret to it is using ingredients from the original version. I use a chilli powder called chipotle (which is also available in paste form). It adds a distinct, smoky flavour to the rice. You can source it quite easily from various online retailers in India. Jalapeño, another Mexican pepper that is quite widely available here as well, also kicks up the authenticity quotient further.

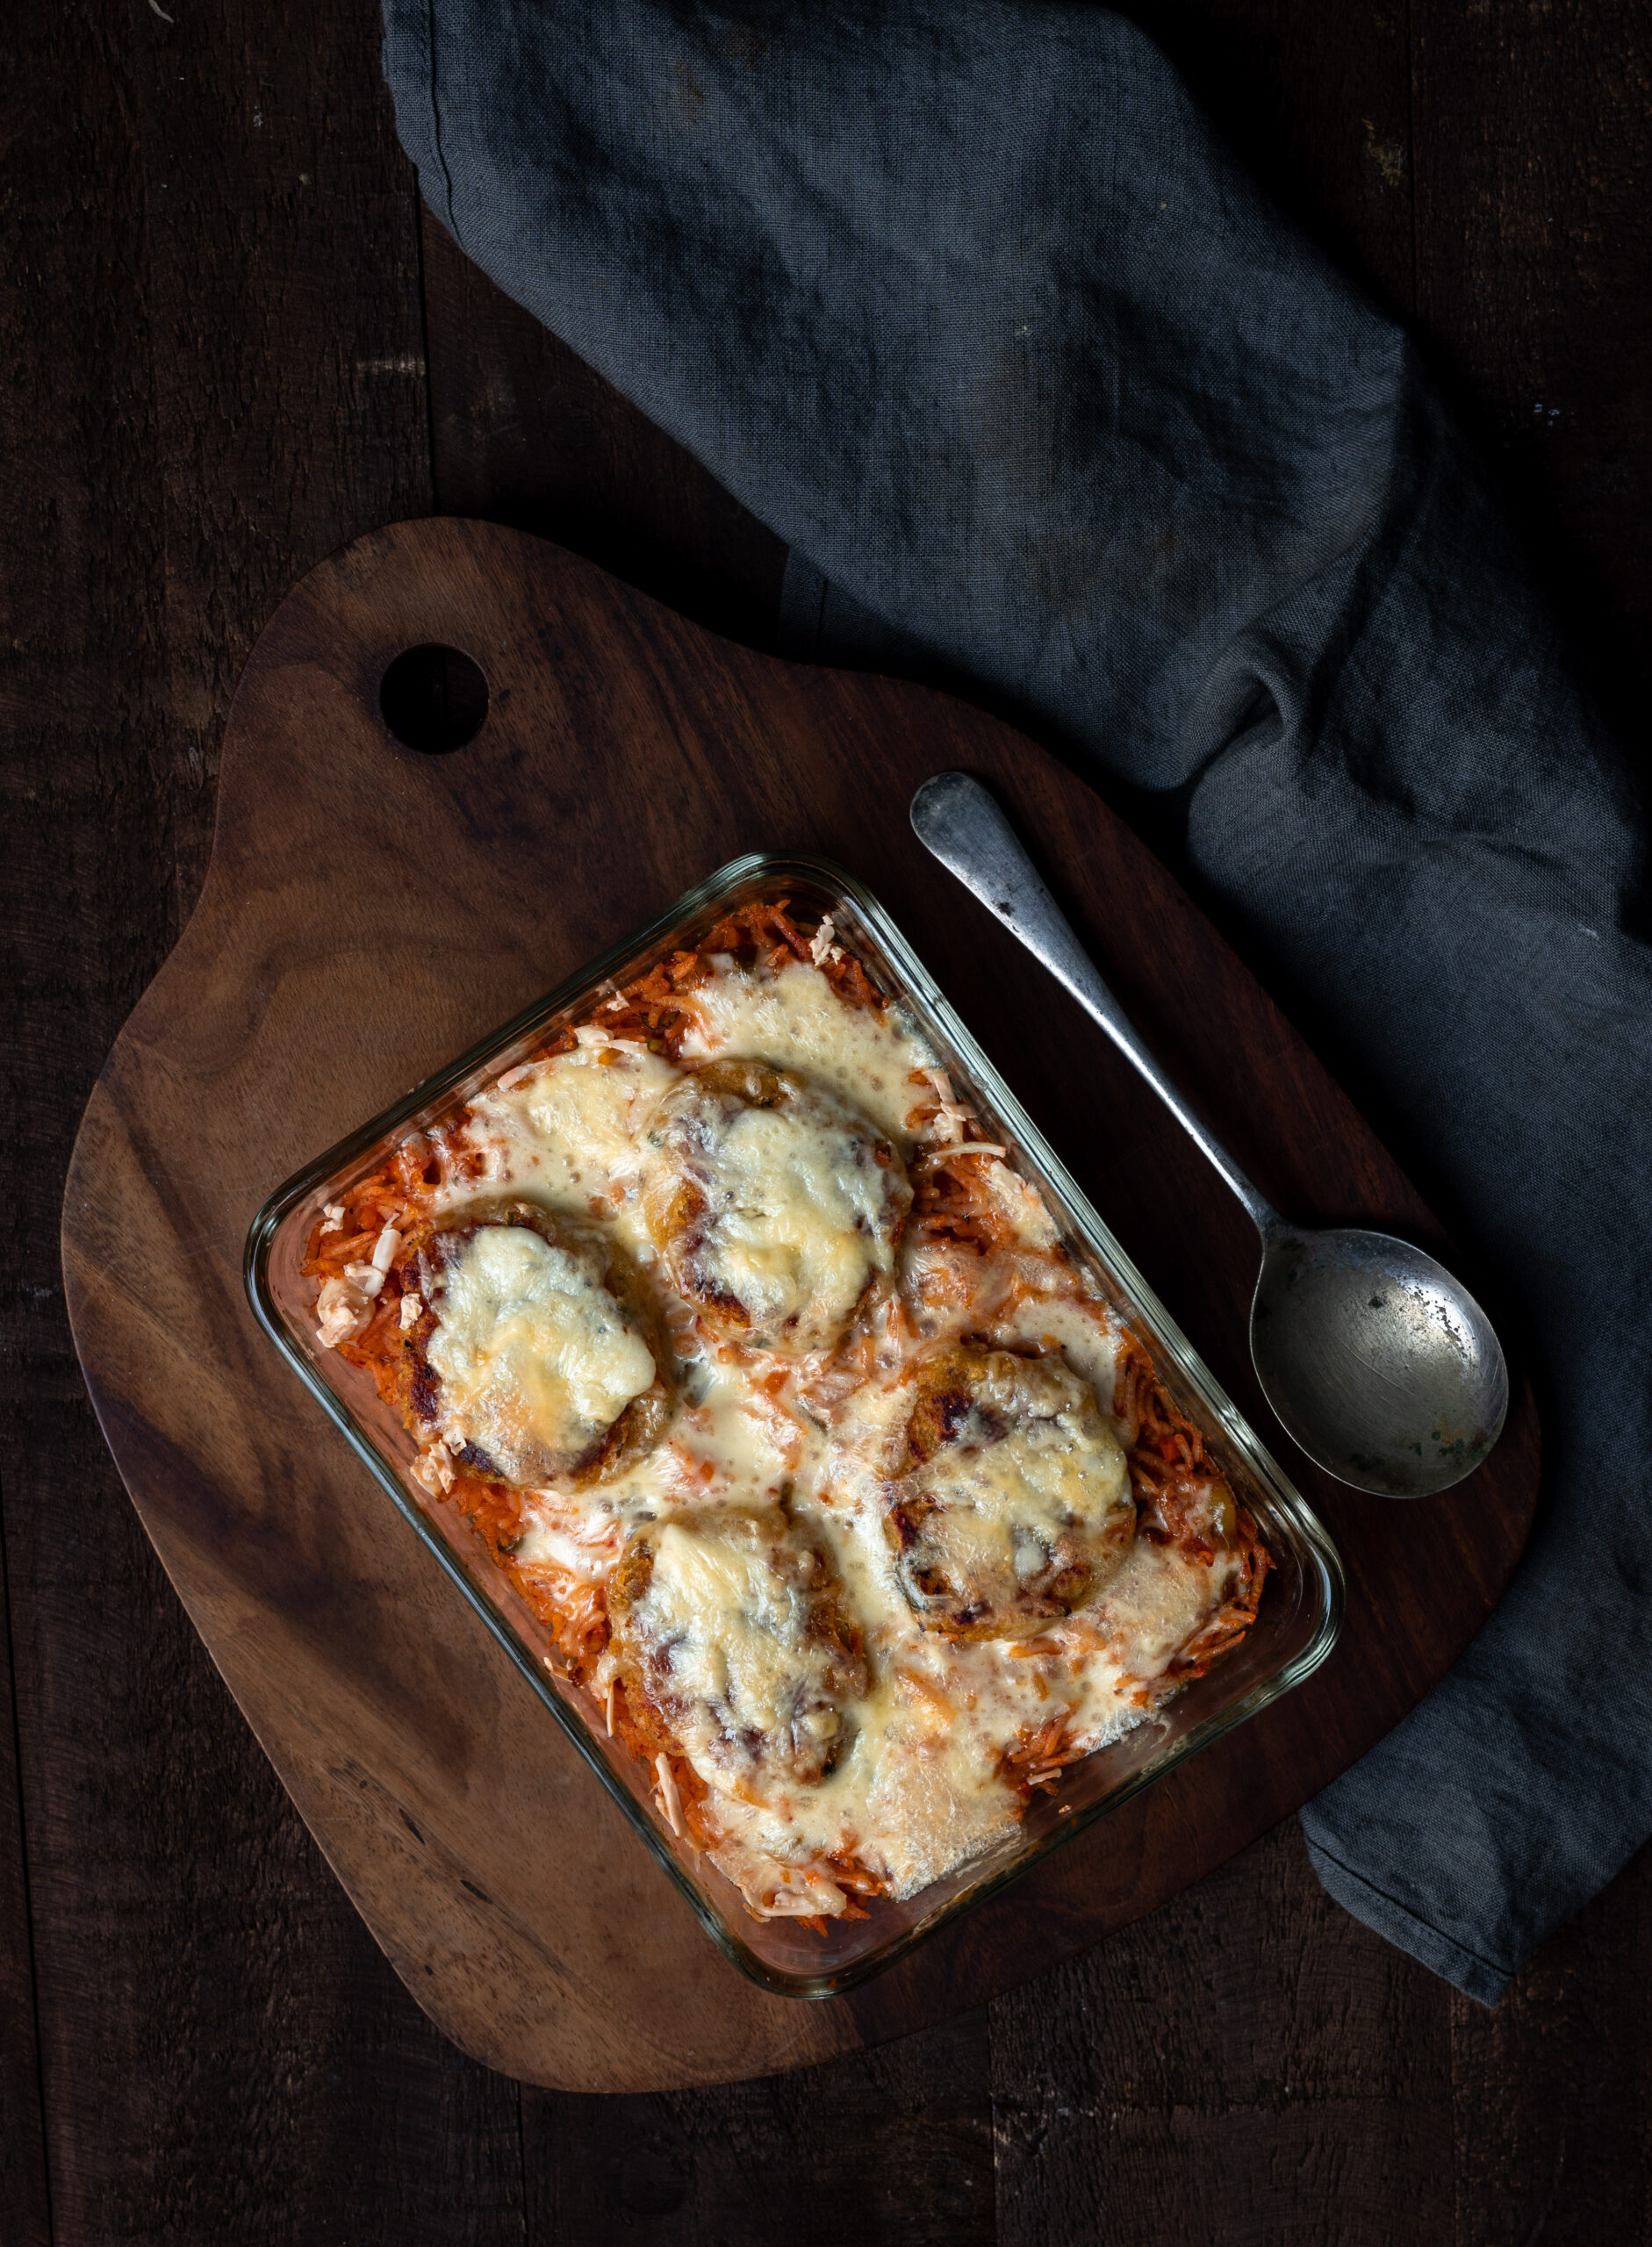
However, I do add my own twist. I make very thin, little potato patties and place them on top of the rice. I grate some cheese on top and then bake it. This adds something distinctive to the dish. After all, cooking is all about each person bringing their own unique sensibility to the recipe, contributing to it in some way. You will notice how I always encourage you to play around with the recipes I post here (except when it comes to the science of baking). I share my recipes with you so that you can expand on them, and make them in your own way.

My love for Mexican rice began long before I ever travelled to Mexico, and that was because of a recipe, too.

The legendary Tarla Dalal came out with cookbooks in India long before the Internet made it possible to find any recipe with a few clicks. They were very coveted, and were in high demand as birthday gifts. I recall photocopying specific pages for friends, and asking friends if I could borrow theirs to do the same for particular recipes. They really were all the rage, and spanned a number of global cuisines: among them Chinese food, chaat – and you guessed it – Mexican food. That was where I first encountered Mexican rice. Back then, chipotle and so on were not available here, so I made do with my own spices, learning and tweaking along the way.

I received many cookbooks in Tarla Dalal’s series during my early 20s, and I still keep them on my shelves to this day. The pages have turned a pale yellow but they are among my prized possessions, and I still love to riffle through them. Mine are full of bookmarks: a scrap of paper, an invitation card, a greeting card. It is so lovely to hold these books and browse through them again because I’ll suddenly discover a postcard from 1985 or a note from 1992 and take a little trip down memory lane. With such precious sentiments involved, I hardly care if this is real Mexican rice or not – it’s mine, full of the flavours of my life.

Mexican Rice

(Yield: Serves 2)


2 tablespoons finely chopped onions

1 teaspoon chopped garlic pods

1-2 teaspoons jalapeños

1 teaspoon oil

½ cup uncooked rice

1 cup finely chopped vegetables

2 cups hot vegetable stock (liquid)

Salt to taste

2 tablespoons Mexican chipotle powder

2 tablespoons tomato purée


Optional:

Potato patties

Cheese


Sauté the onions, garlic, jalapeños and vegetables in oil. Add the uncooked rice to it. Stir and roast for a minute.

Then, add the vegetable stock, salt and Mexican chipotle. Mix and cover. Allow to cook gently on a low flame until the liquid evaporates and or the rice is cooked. Make sure the rice is not over-cooked as it requires some baking later.

Once the rice has cooked enough, empty it into a baking dish. Level it. This is the point where I place my potato patties or cutlets on top and sprinkle them with cheese. You can avoid this if you want a more authentic version. Or you could let me know if you want the potato patty recipe as well?

Bake for 15 minutes at 160°, or until the cheese melts. Serve hot.

I hope this Mexican rice – a dish I first encountered by travelling through a cookbook – brings you much joy, and helps you create some happy memories too!

I think Indians are very innovative when it comes to toast making. It’s funny because bread isn’t actually a staple here, and neither is it local. But I have learned that we will put anything between two slices of bread. Remember the recipe of the iconic Bombay toast that I shared a couple of years back? And then there was a whole slew of my own tasty toast-related experiments: cheese-garlic sourdough toast, pesto-parmesan toast, cherry tomato-yogurt toast and masala baked beans on toast. The last one on that list is similar in concept to the recipe I’ll share today, which is an Indian-style tofu masala toast, a variation on a paneer toast. With bread borrowed from Continental cuisine and tofu from Asian cuisine, and spicy lashings of masala from India, this becomes a wonderfully international fusion sandwich.

There was a point when I ate paneer quite a lot as it is high in protein. But I was aware that the dairy quotient was also high, and slowly started tapering it off. I’ve been trying to avoid dairy, as you may have noticed from various vegan-friendly posts, and decided to use tofu instead.

I should say that I’m not averse to paneer at all. It’s a classic ingredient of Indian cuisine, and it’s a big feature in everything from this soft Bengali sweet to my son’s favourite dish of all time. It’s just that I found myself switching my paneer out for tofu in this recipe, and it worked beautifully. If you are neither vegan nor vegetarian and want to notch up your protein consumption, you could use a boiled egg as the main protein too.

Here, I have used regular sliced white bread, not the sourdough that I make very often. If I use sourdough, I tend to make open-faced sandwiches. Sourdough has a rustic feel and the slices are necessarily thicker, so one slice is sufficient for any toastie made with it. When it comes to sandwiches, the toppings or fillings you use are also what help you decide about how to prepare the toast itself. For instance, the Bombay toast is best on a hand-held toaster that is kept hovering over a flame, and that remains my favourite way of making closed sandwiches. I sometimes use a waffle maker too. For this recipe, I feel it works well as a grilled toast. See what your own preference is, and toast it your way.

I tend to enjoy sandwiches most on days when I find myself really hungry at around 5 in the evening, after having had an early lunch. This tofu toast is very filling, and I make it at that time. I can usually skip dinner after that.

Sandwiches work great for kids and for kids’ lunchboxes too, which reminds me of how there were plenty of them consumed during my own growing years. As I’ve shared many times, I got some of my cooking skills from my mother, and she was quite creative in the kitchen. Bombay toast was by far the most popular in her repertoire of sandwich making, but she made so many varieties for us when we came home from school. Potato masala was another favourite. Sometimes, she would just layer thin slices of different veggies with cheese – the cheese would melt and hold it all together, and this particular sandwich was a great attractor for us. It was called a club sandwich.

In fact, I think that the popularity of clubs is the reason why toasts are so popular among Indians. Club culture in India is a remnant of the British era, and the menus always featured items from that cuisine – sandwiches among them. The club culture of my childhood was a family vibe, and not remotely like today’s nightlife clubbing. In those days, the club was a place we went to together, a safe and happy environment in which the kids could hang out, the dads could have a drink together, and the moms could catch up with their friends. I’m sure this must have popularised toasts in general among my generation. I must admit that those sandwiches somehow did always taste better at the club, even though such care was taken at home to ensure the vegetables were clean and the chutney was wholesome, but somehow… Of course, this is true of street food too. But that doesn’t mean that we can’t make almost-as-delicious dishes ourselves, too!

Indian-Style Tofu Masala Toast

(Yield: Serves 2)


1 dollop butter

1 tablespoon oil

1 cup onions (finely chopped)

½ tomato (finely chopped)

2 tablespoons tomato paste or purée

1 teaspoon green chilli (finely chopped)

1 cup cut tofu

Salt to taste

1 teaspoon chili powder

½ teaspoon cumin powder

½ teaspoon coriander powder

½ teaspoon sugar

4 slices of bread


Toast the bread slices lightly. Set aside.

In a pan, add the oil and the butter. Next, add the onions and green chilli. Sauté until tender.

Now, add the tomato and all the spices. Stir and then add the tomato paste or purée. Stir until it all comes together and is nicely sautéed.

Then, add the tofu. Stir gently. Make sure that all the masala and veggies come together with the tofu. Your filling is now ready.

Divide the filling into 2 portions. Fill one side of a toasted slice with the filling and close with another toasted slice. Butter both sides and place on a clean pan. Allow to turn crispy and golden on both sides. Repeat with the second sandwich.

Your Indian-style tofu masala toast is now ready. If you prefer, serve with a sauce or chutney of your choice. Let me know what you decide to accompany it with; I’d love to try that out myself!

Growing up in India, baked beans and eggs were one of the few non-traditional breakfasts that we ate at home. While eggs were easy to come by, and provided a necessary source of protein for us as kids (we were otherwise vegetarian), cans of baked beans were not as readily available. Whenever our parents managed to find them in stock while purchasing our groceries, my siblings and I would know that there would be a very special breakfast the following day, and would eagerly anticipate it. All three of us craved those delicious canned beans. There would never be any for our parents as we would finish them off between us, often fighting over them too! Memories of those childhood mornings inspired me to create homemade, Indian-style masala baked beans – served, of course, on my beloved sourdough toast.

My brother was a rower at a national and then a professional level, and I looked at him in awe for this and many reasons. His diet was naturally that of an athlete’s, and when those precious cans came our way he would make a claim on how he deserved the biggest share for this reason. There would be arguments over the baked beans at the breakfast table, but in the end, we all got a good portion. His was quite a large one, of course. Watching my brother wolf down six whole eggs and a bowl full of baked beans is still a sight I can conjure up before me!

Fast forward to the present day and canned baked beans are everywhere at any supermarket. They were off my menu at home for a long time as I tend to avoid food that is overly processed or contains too many preservatives. At one point, I even tried to soak the beans and make them myself, but never got around to doing it regularly. More recently, I’ve found that when I stay at hotels and head down to the buffets in the morning, the baked beans that are always a part of the spread often look so bland compared to the other items.

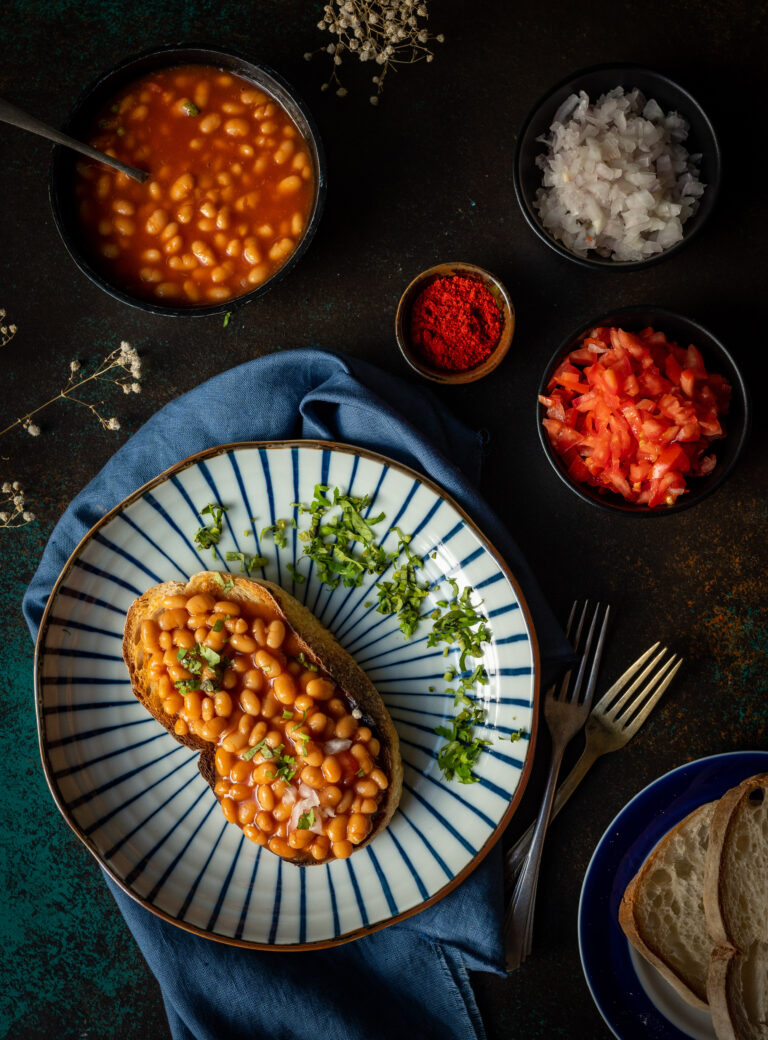
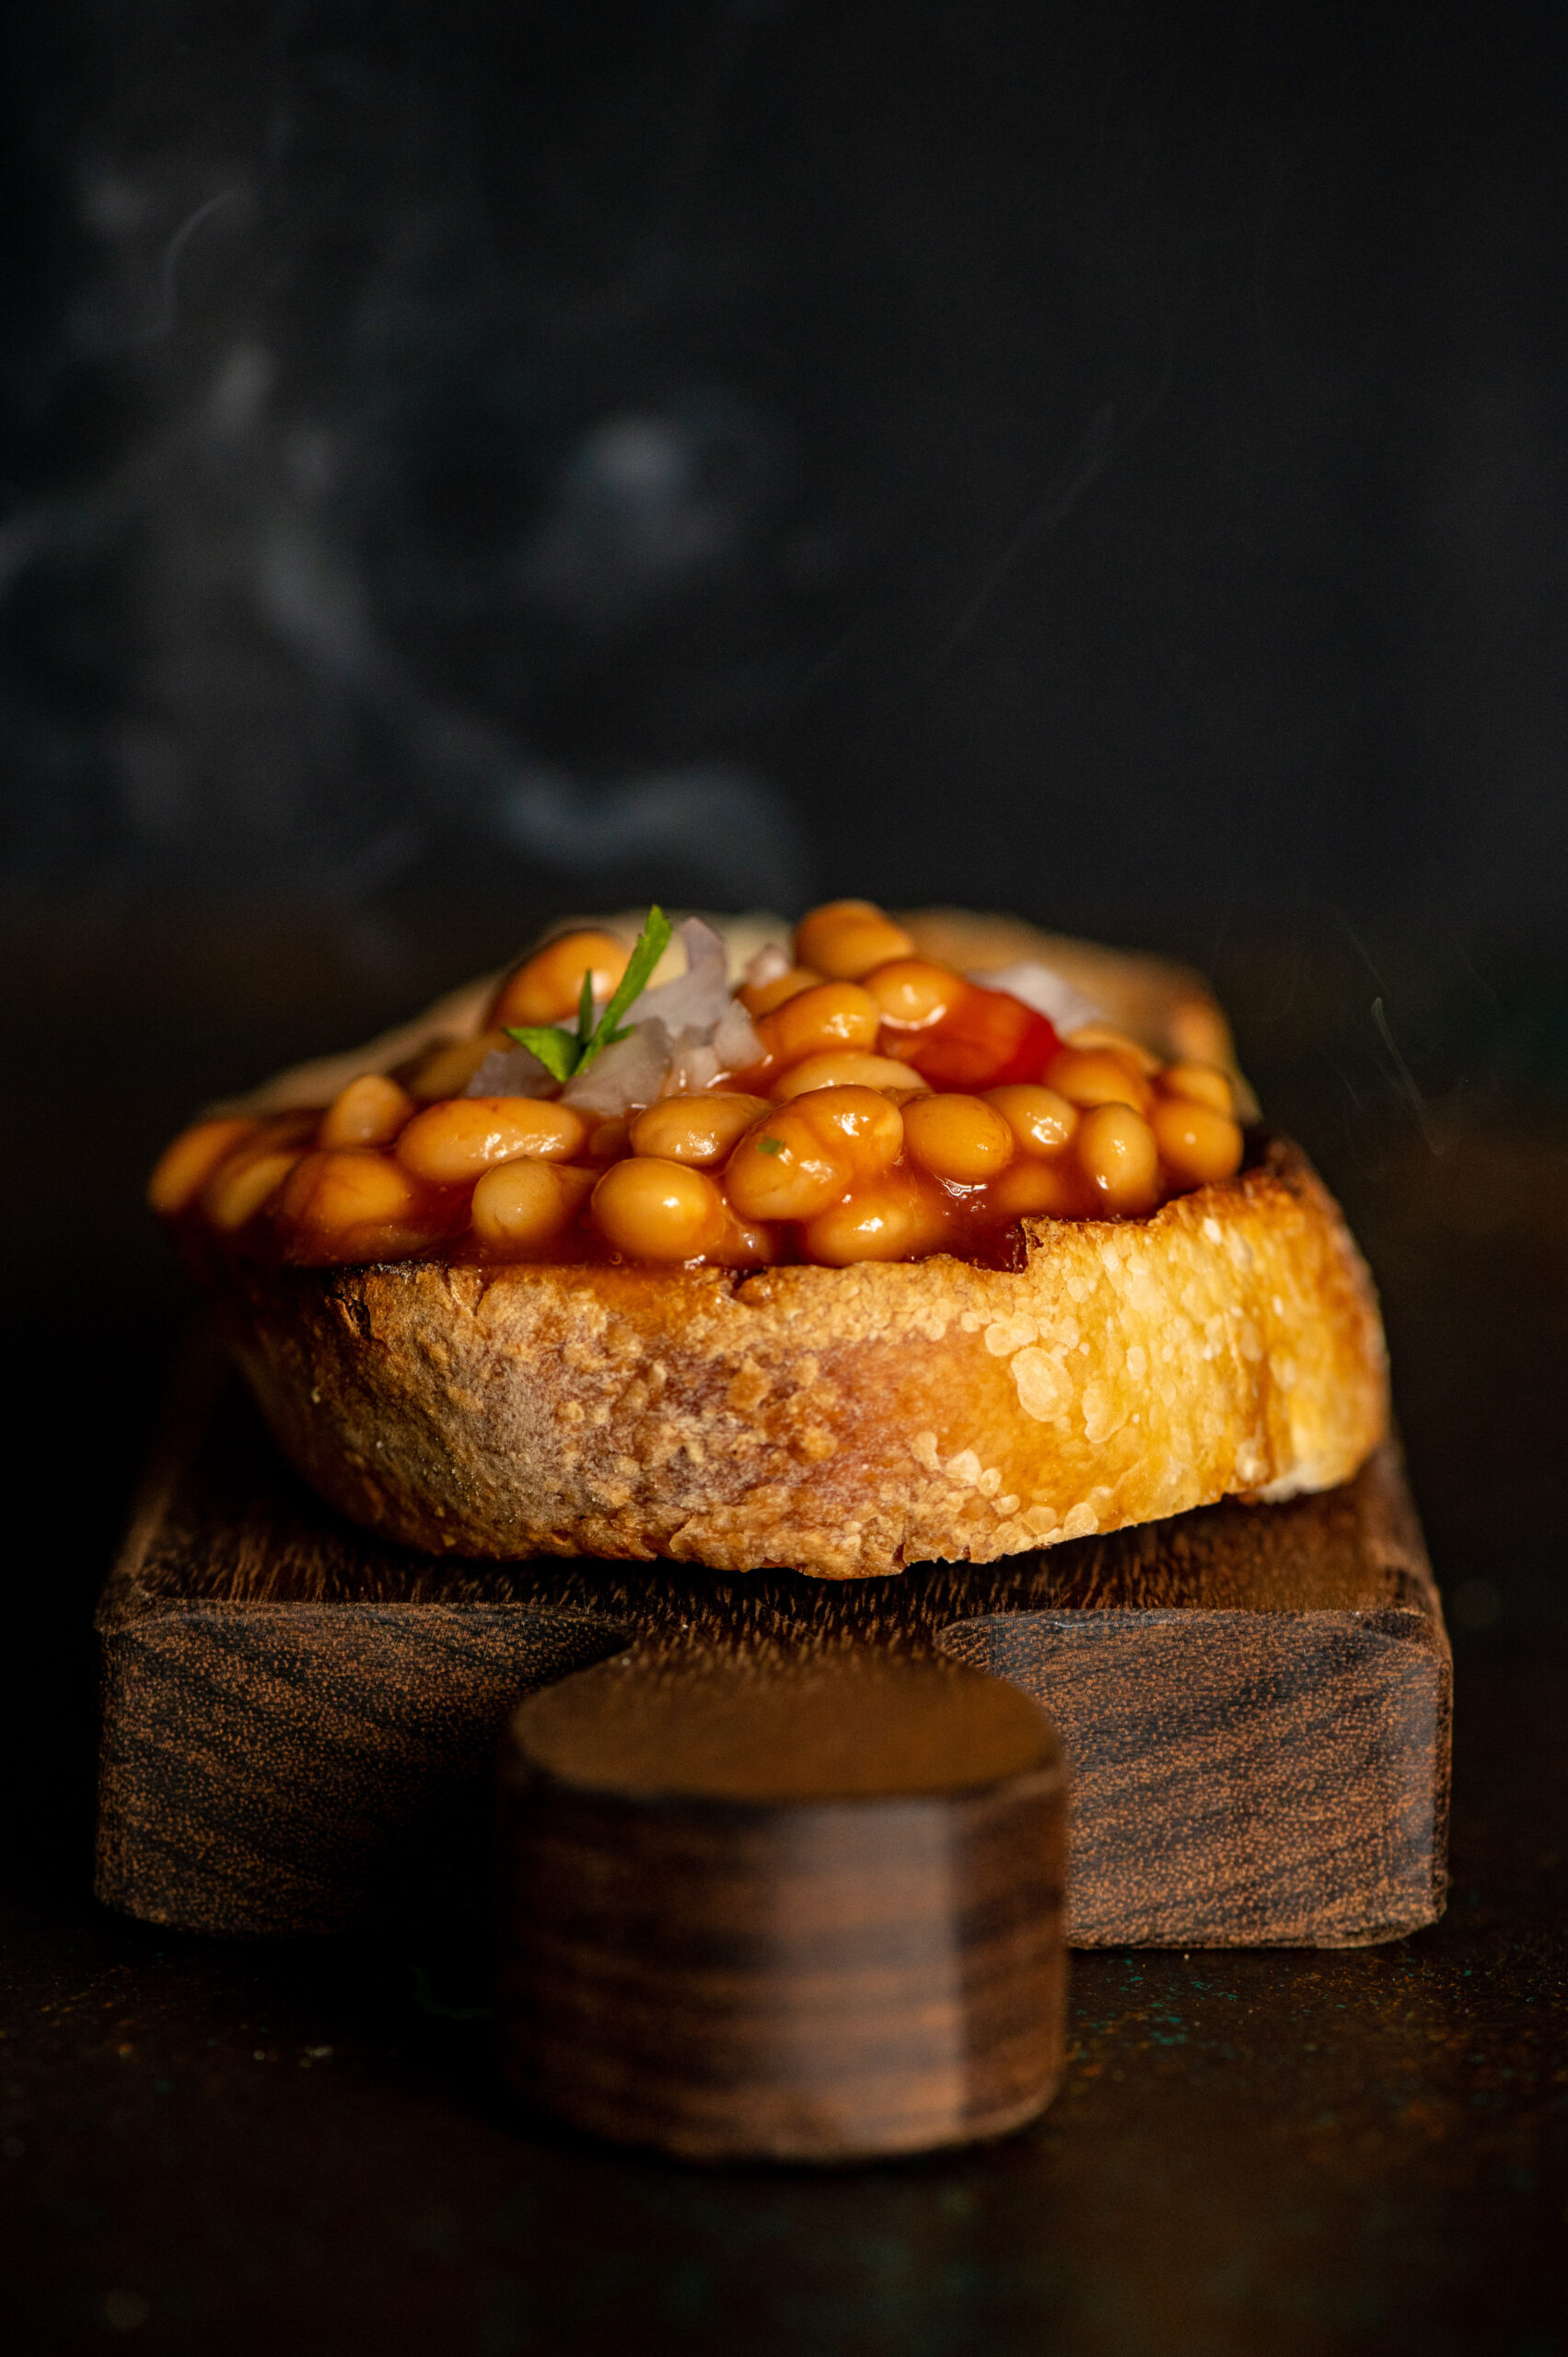
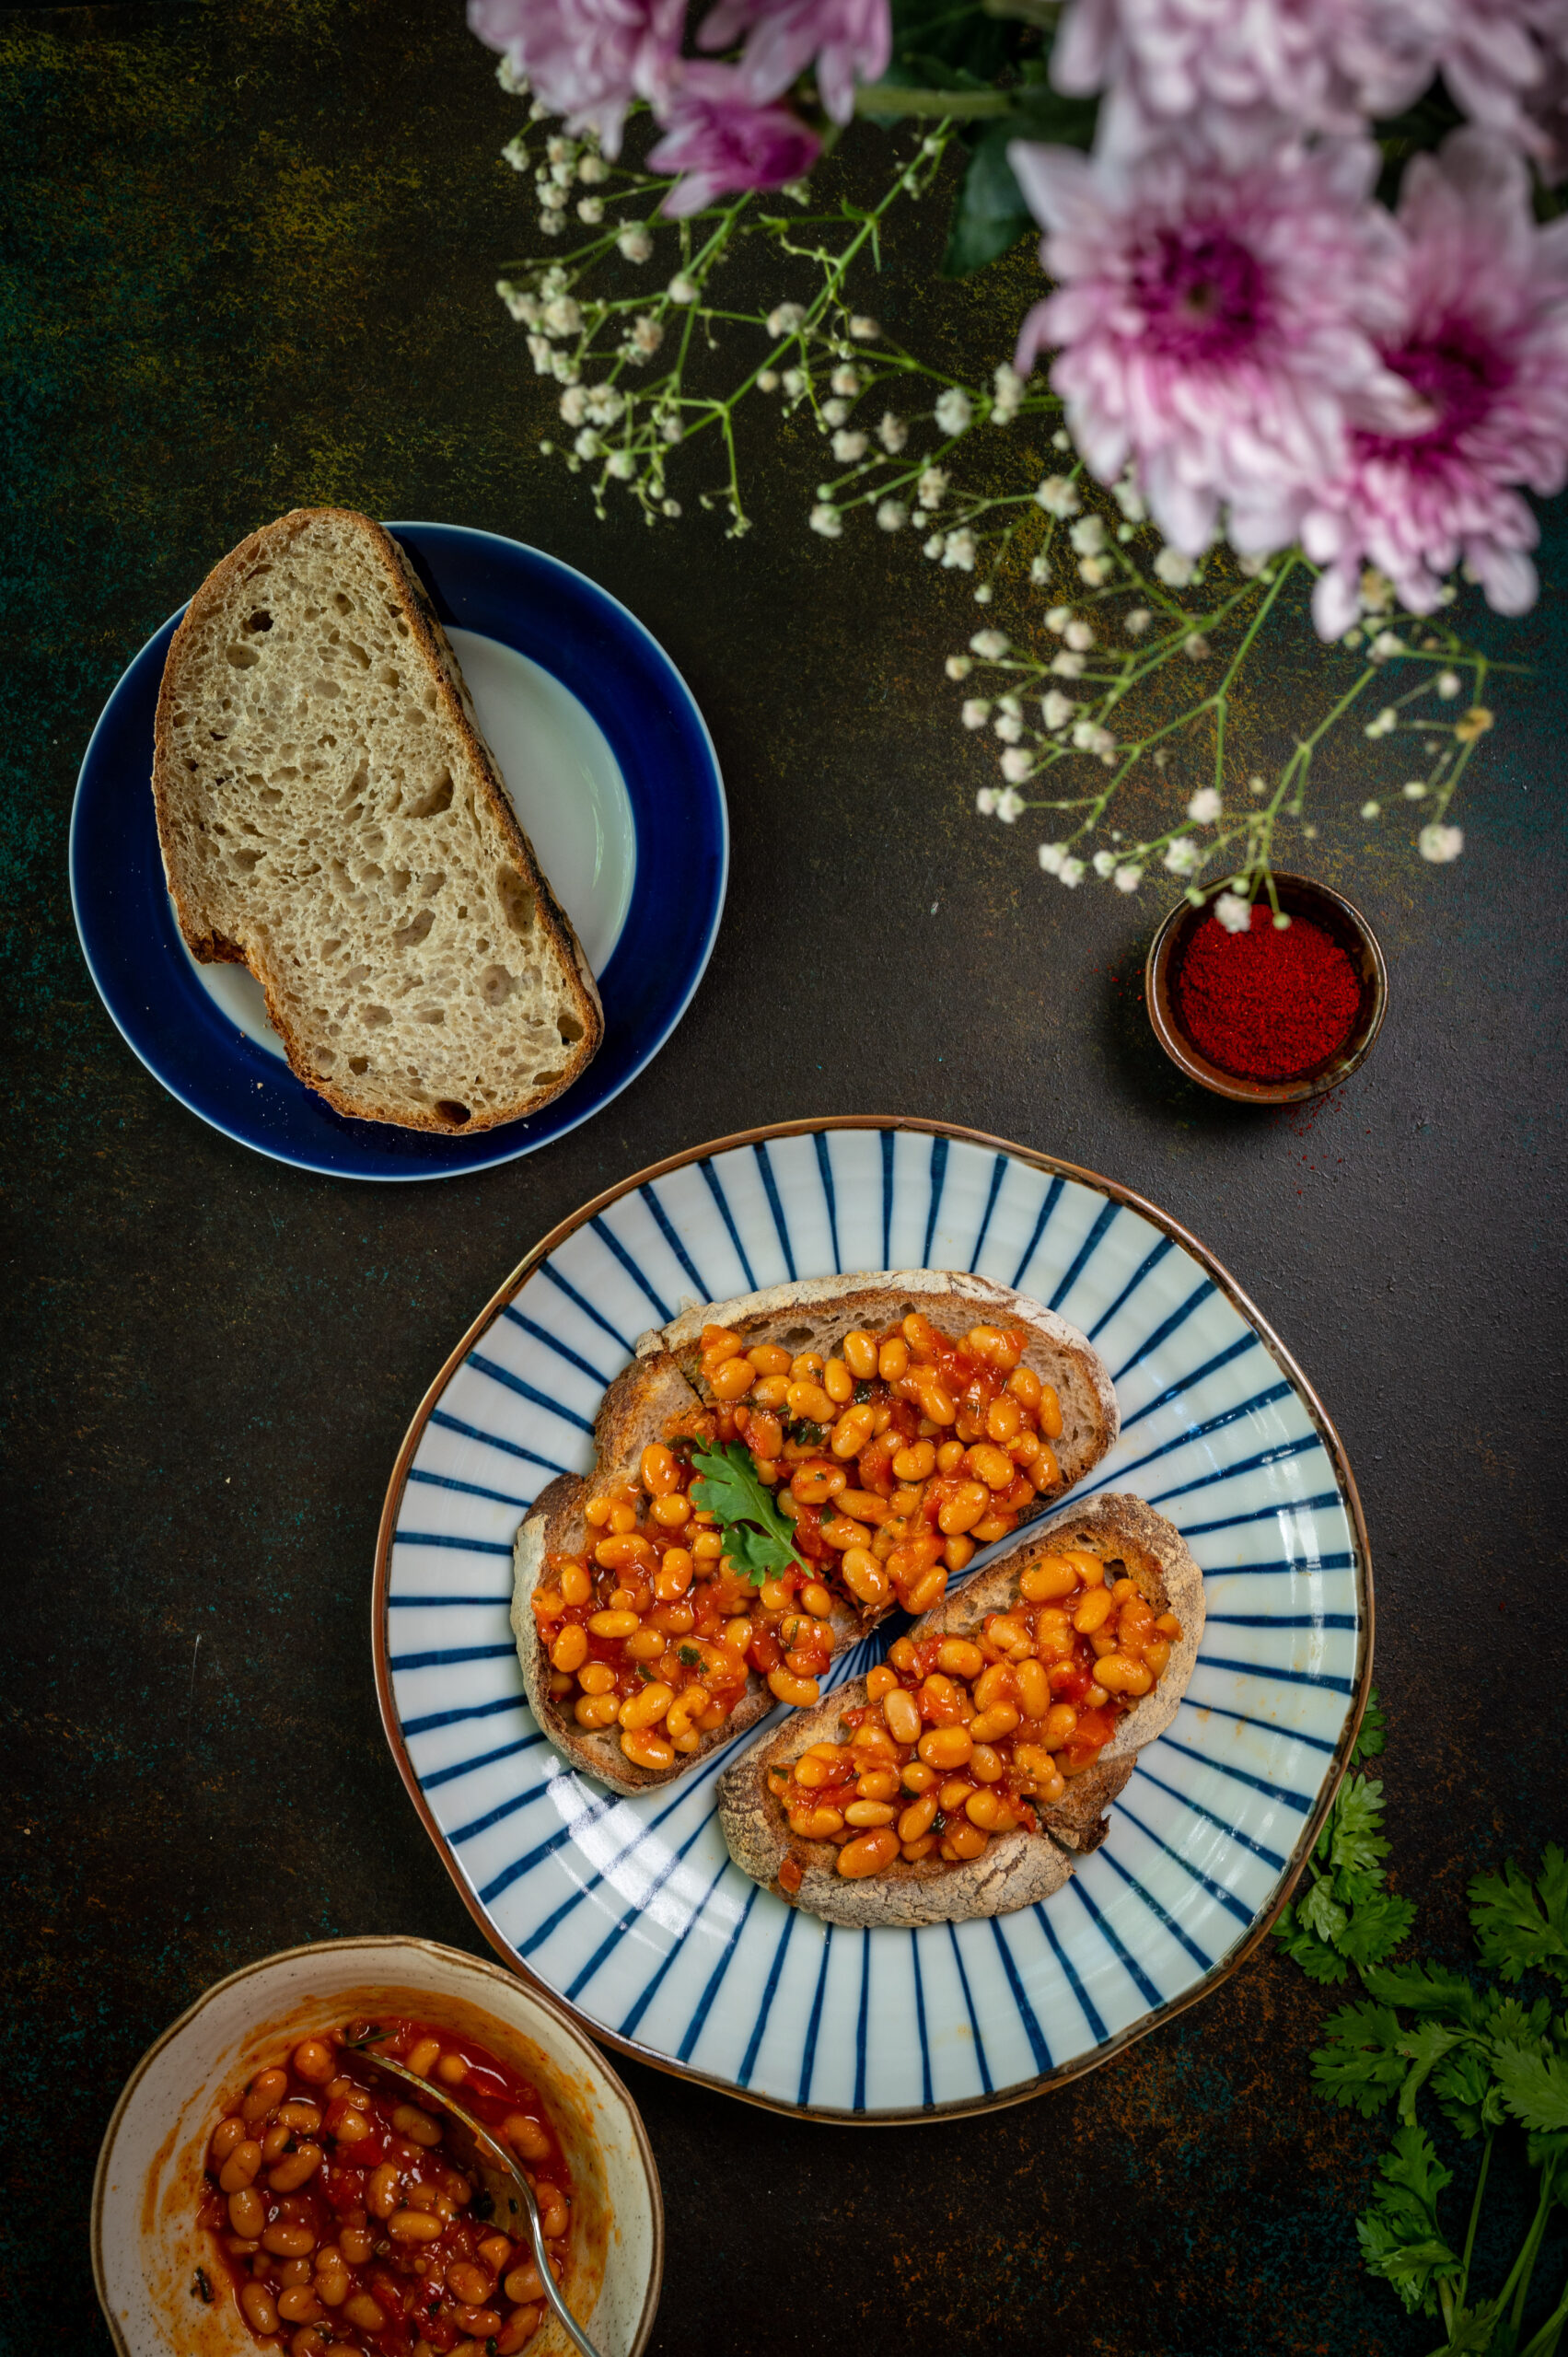
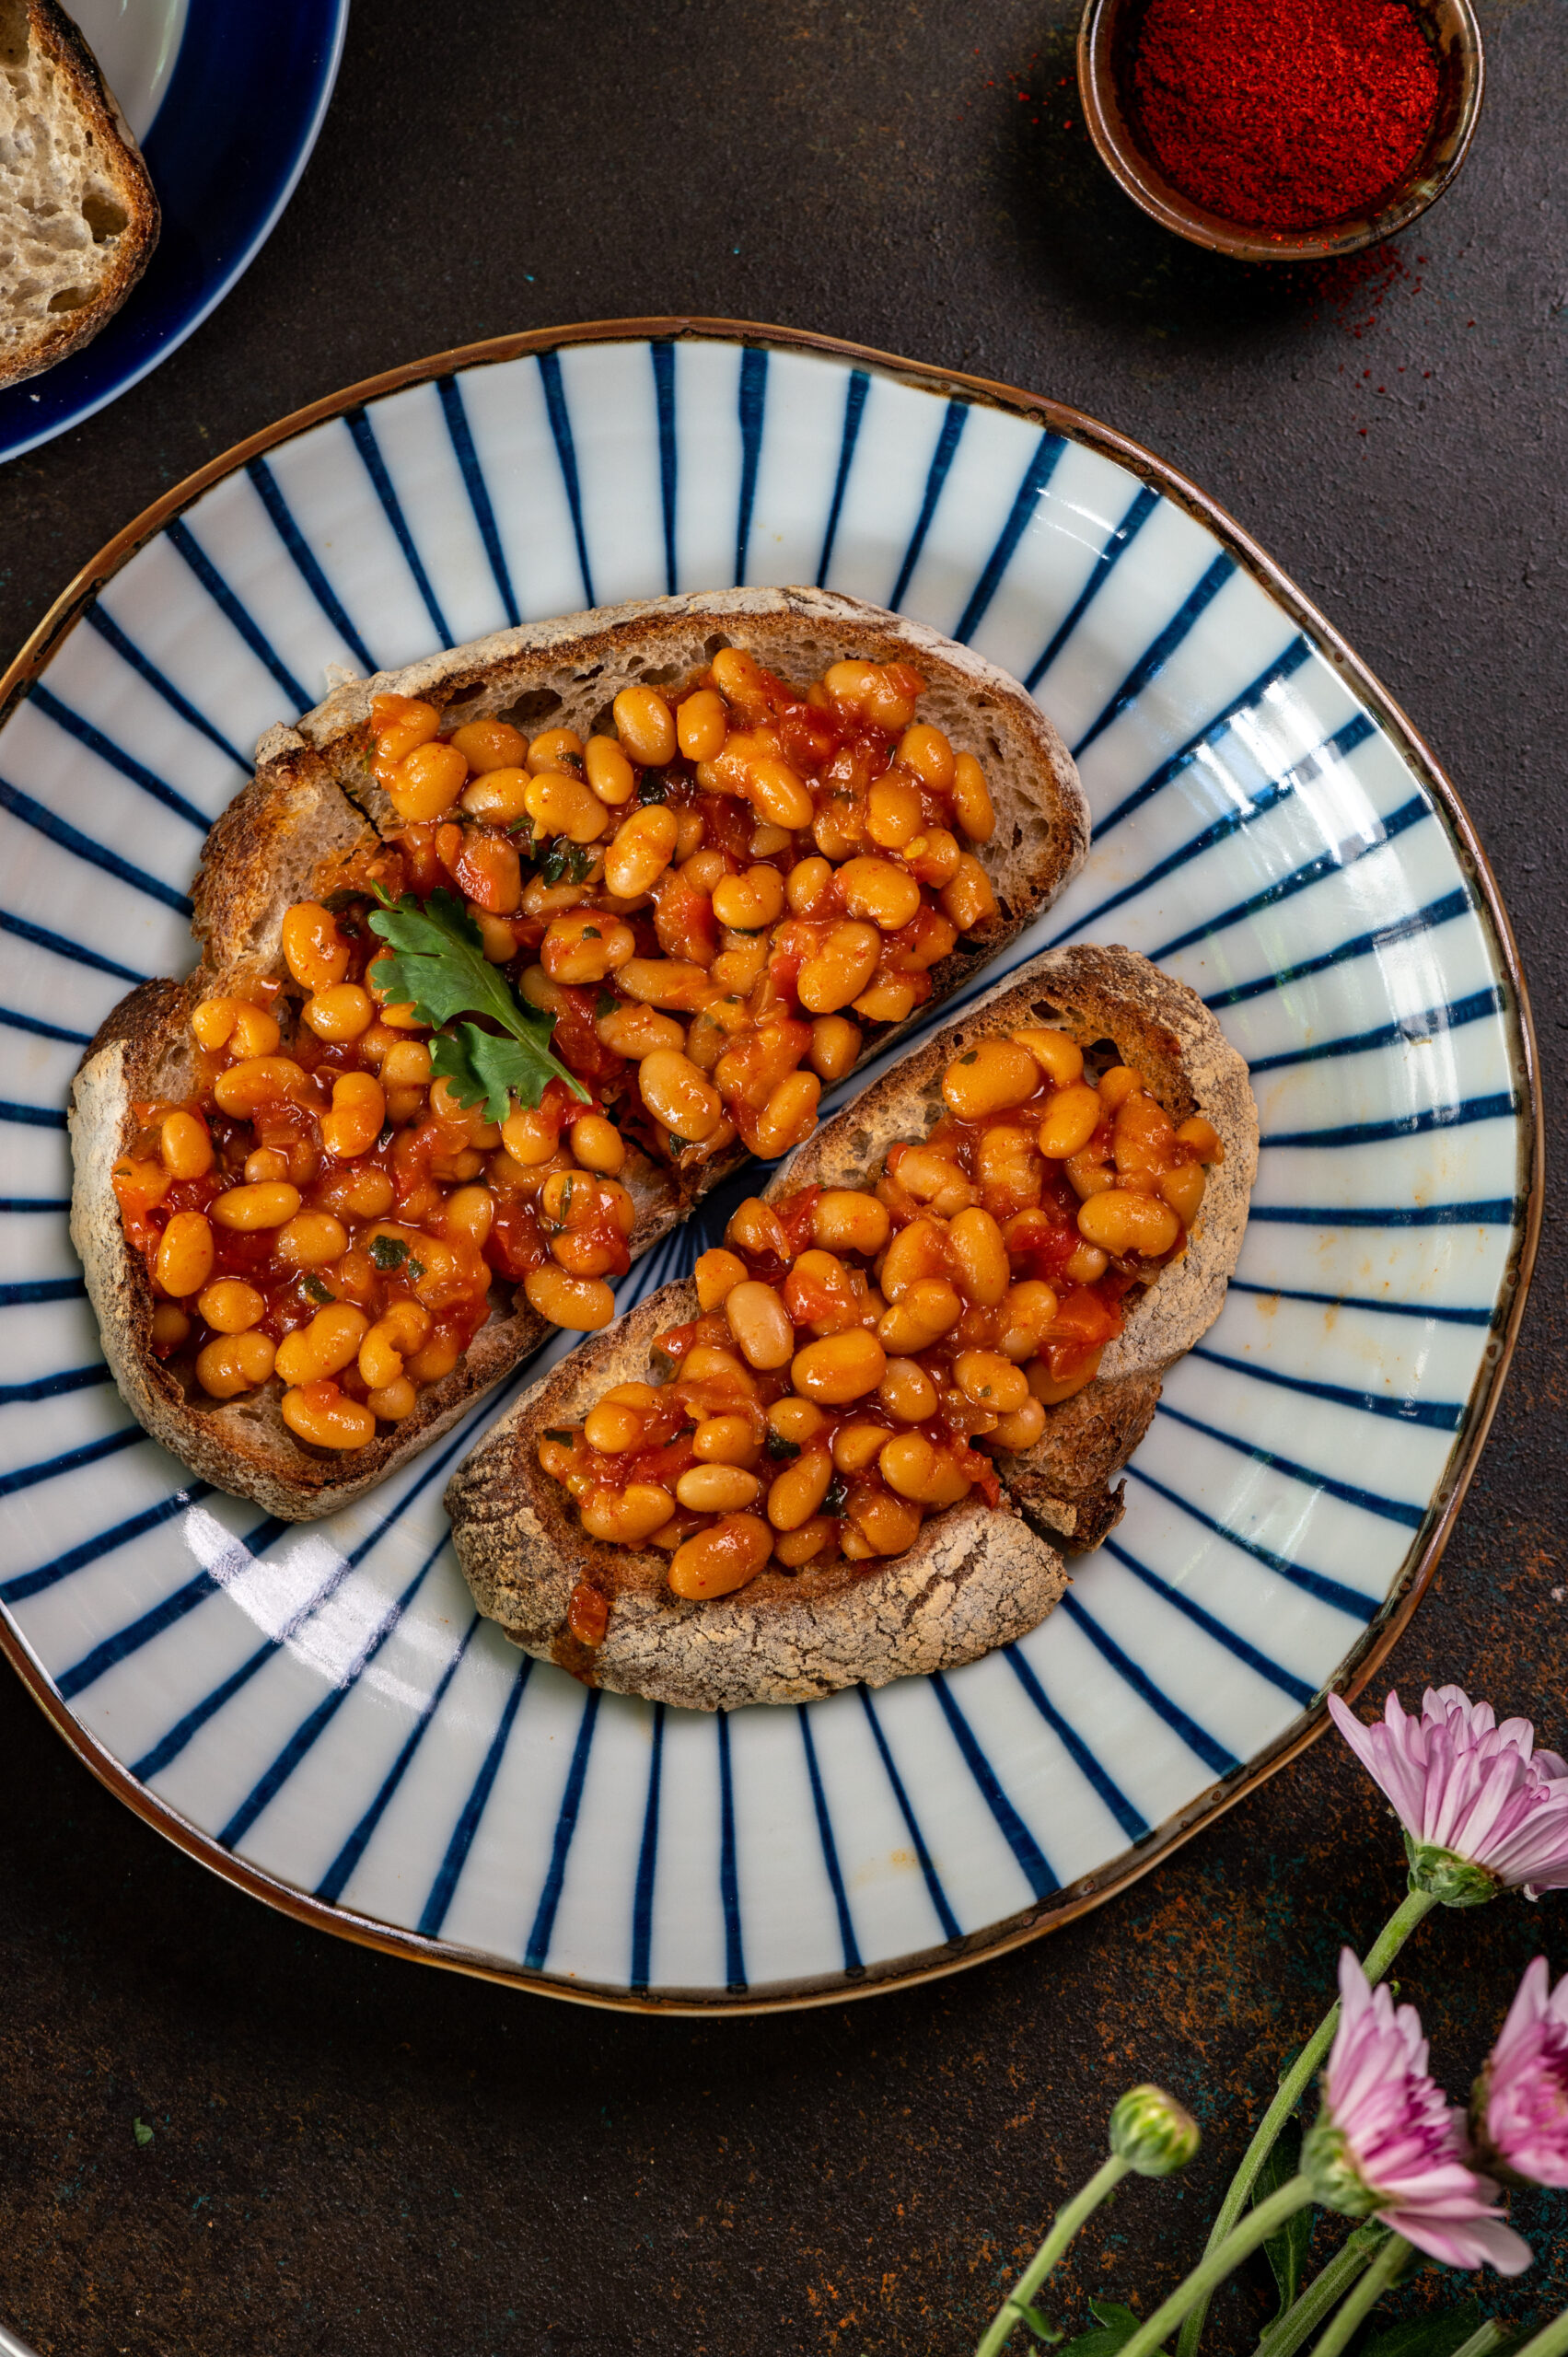
However, I’ve found a beautiful middle ground between my childhood memories of coveting baked beans to how they seemed to have lost their charm for me as an adult. That is by spicing them up a bit, making an Indian-style version that suits our palates. Using these masala baked beans as a topping for sourdough toast, which I bake regularly as you may know, turned out to be a great idea.

While my morning protein intake in terms of legumes had long been replaced by homemade moong sprouts, which are non-sweet and healthy, it was fun to bring this nostalgic dish back to my dining table. While pondering my own history with the dish, I also wondered when baked beans had come to India, and whether the British brought them here. To my surprise, I learned that the dish was originally Native American, transforming over time due to colonization, and later on through mass production in the 20th century. Would you know when they first came to India? Do you also have childhood memories of occasional days when an elusive can had been attained?

Masala Baked Beans On Toast

(Yield: 1 slice)


1 slice sourdough

1½ cups baked beans

½ cup finely chopped onions

1 tablespoon olive oil or butter

Salt to taste

1 teaspoon chilli powder

½ cup chopped tomatoes

¼ cup finely chopped coriander leaves


Heat the oil in a pan. Add the onions and sauté. Then, add the tomatoes and all the masalas (spices and condiments) one by one. Allow the mixture to bubble up.

Toast the sourdough bread slice and spread the masala baked beans over it. Be generous. Then, simply enjoy!

In case you missed it, my previous recipe was also a toast – a rather more exotic cherry tomato and Greek yoghurt toast to be precise! I hope you’ll check that out too. There will probably be a few more interesting toast toppings coming up on this blog soon, so I hope you’re in the mood for some fun breakfasts!


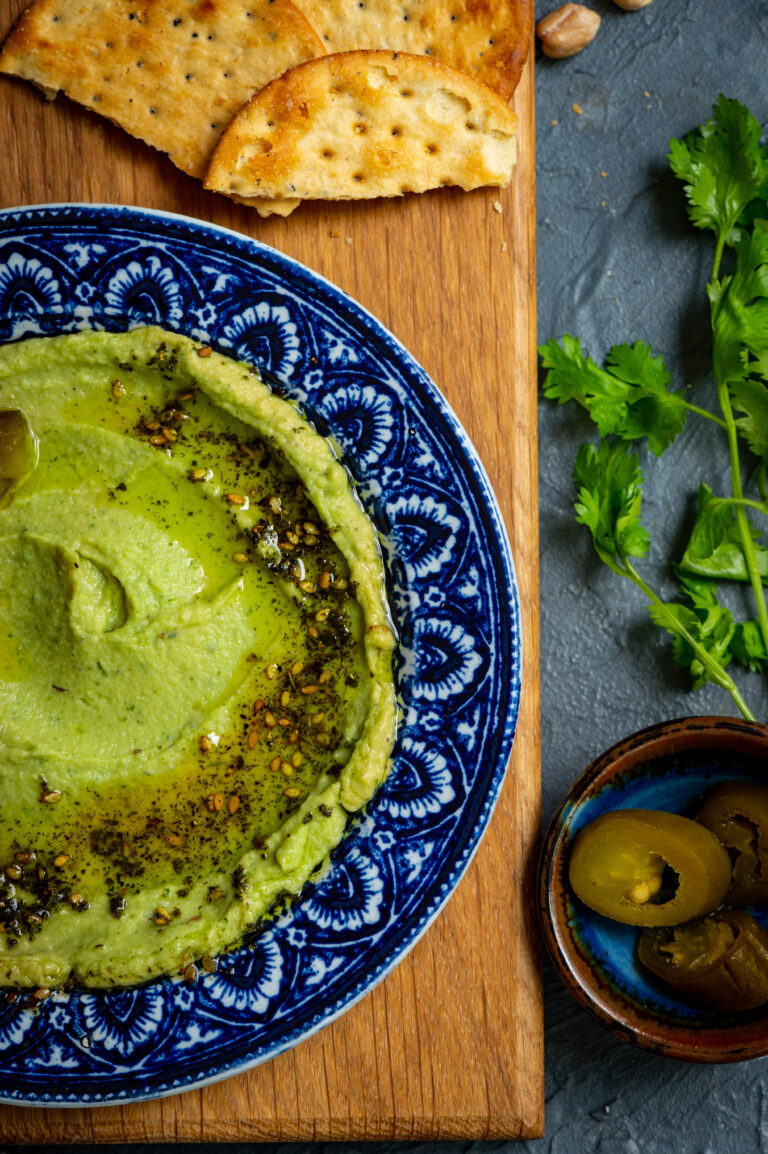
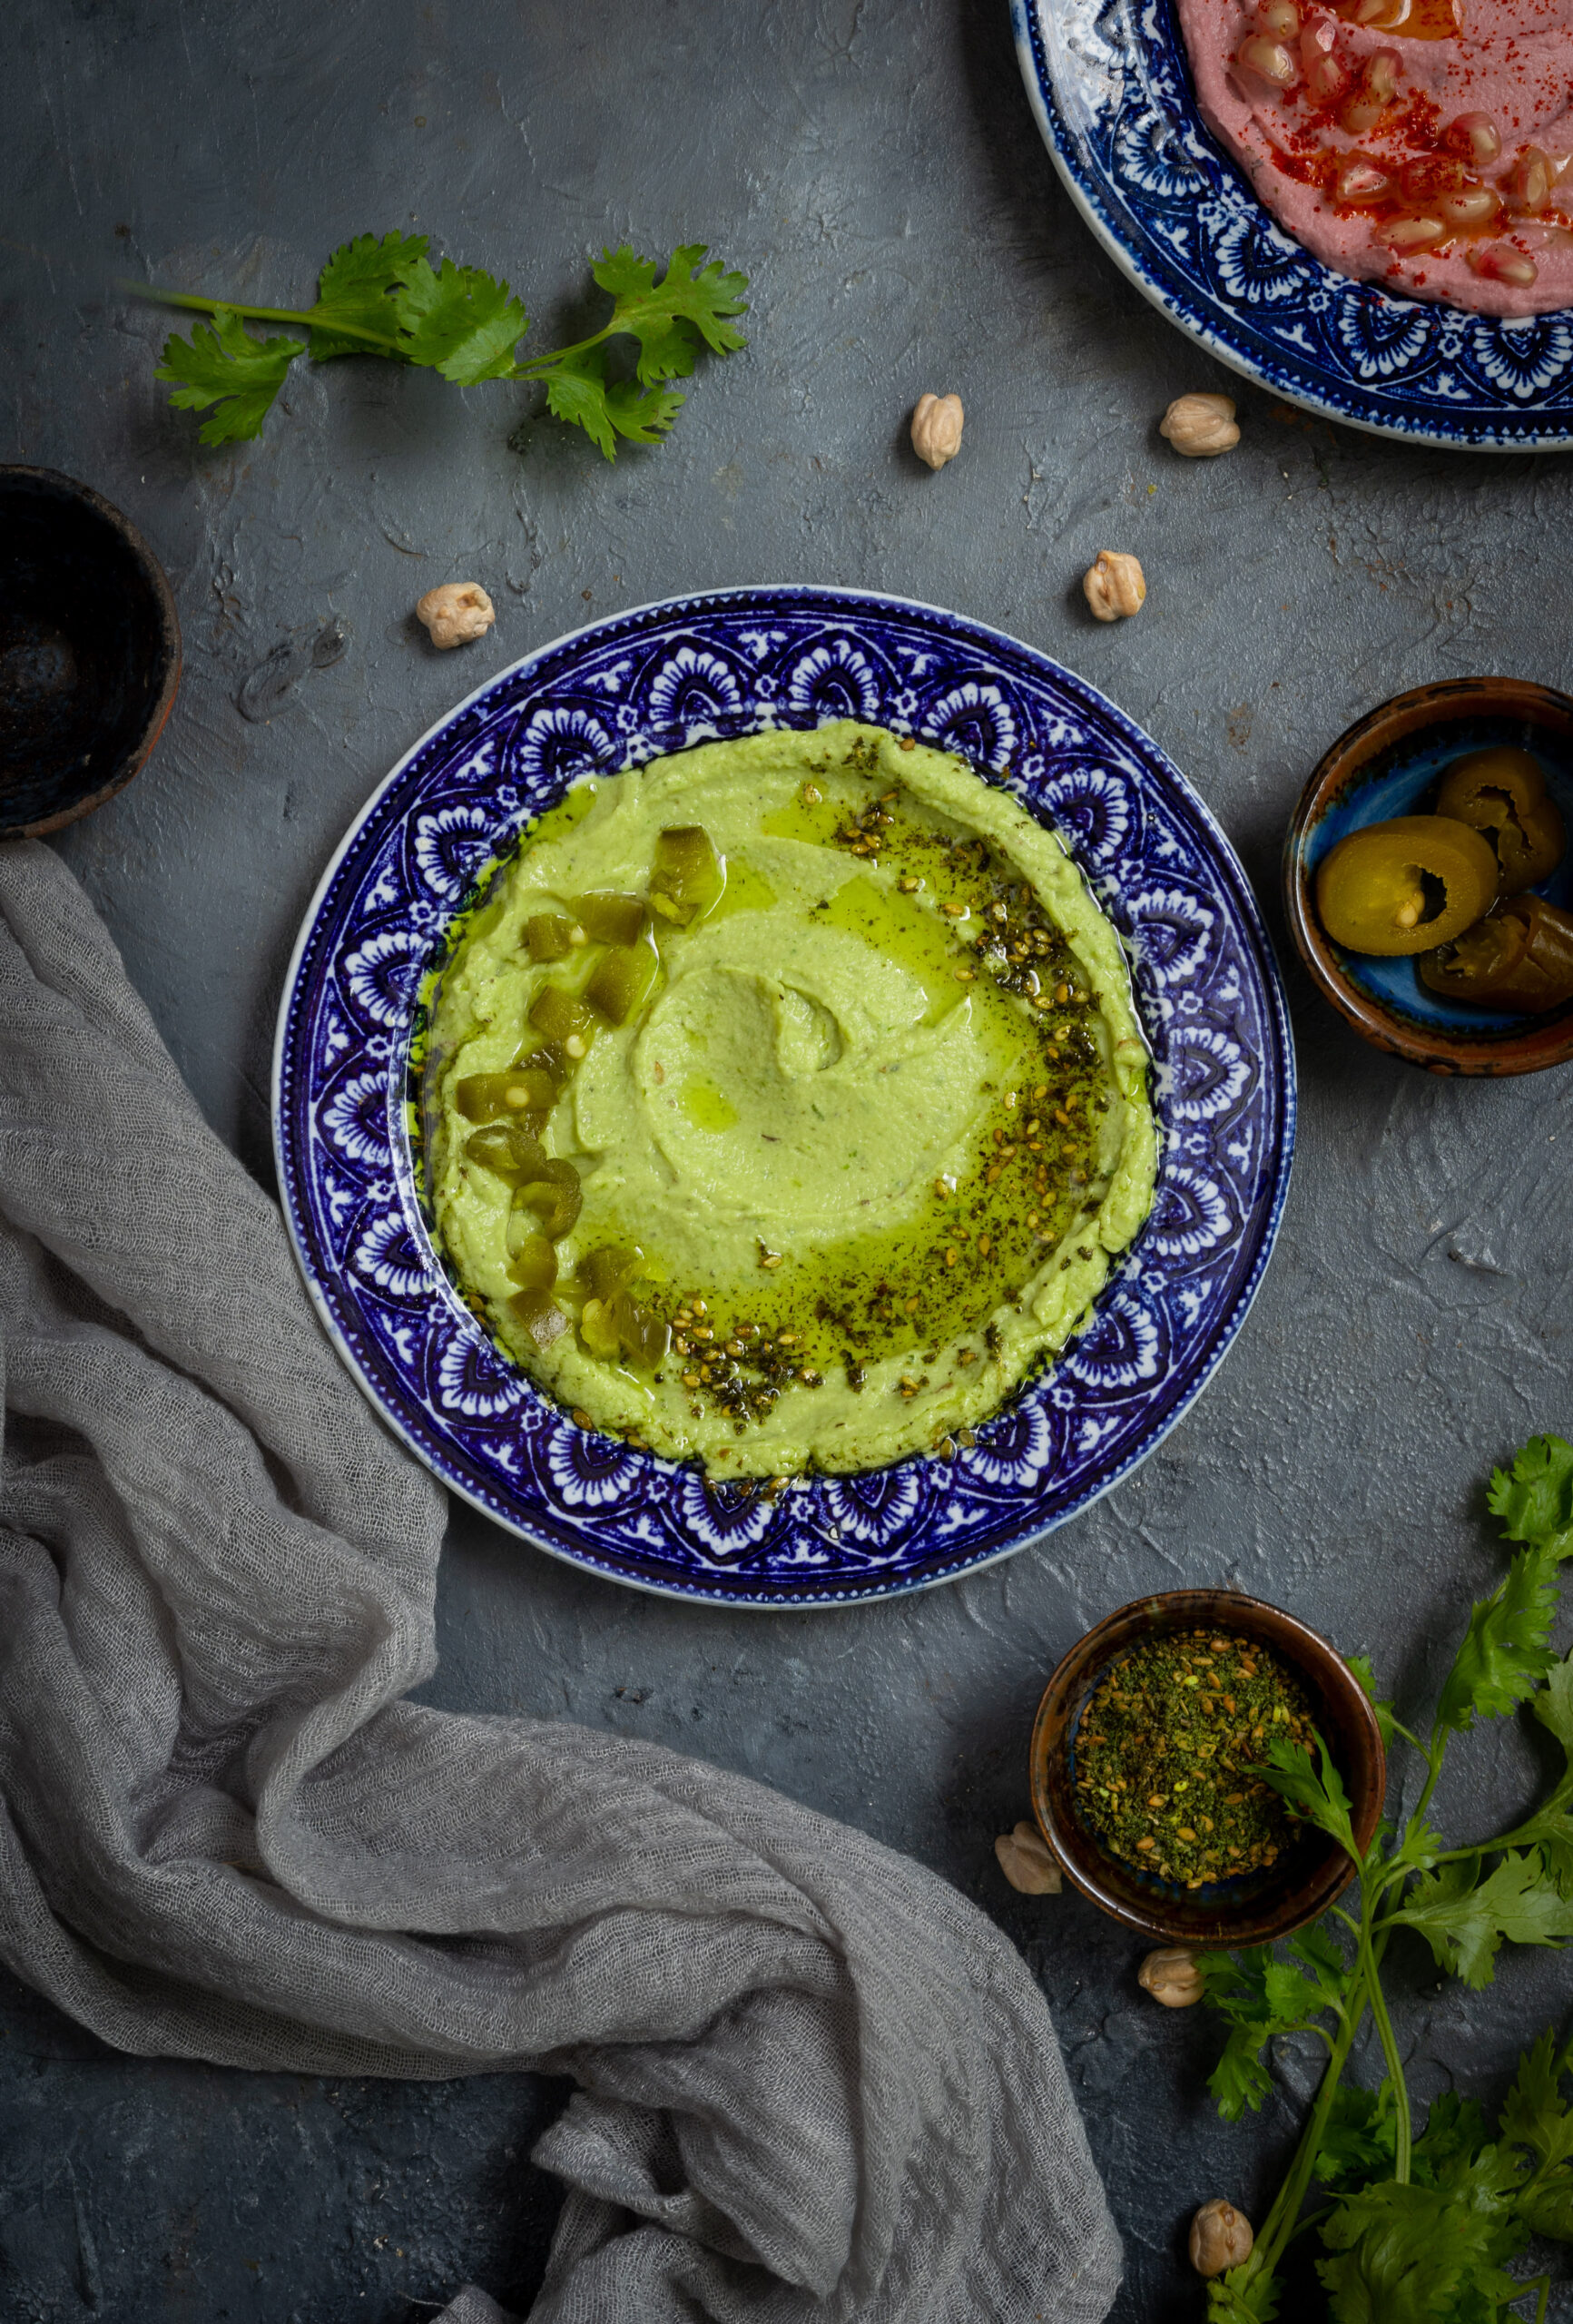
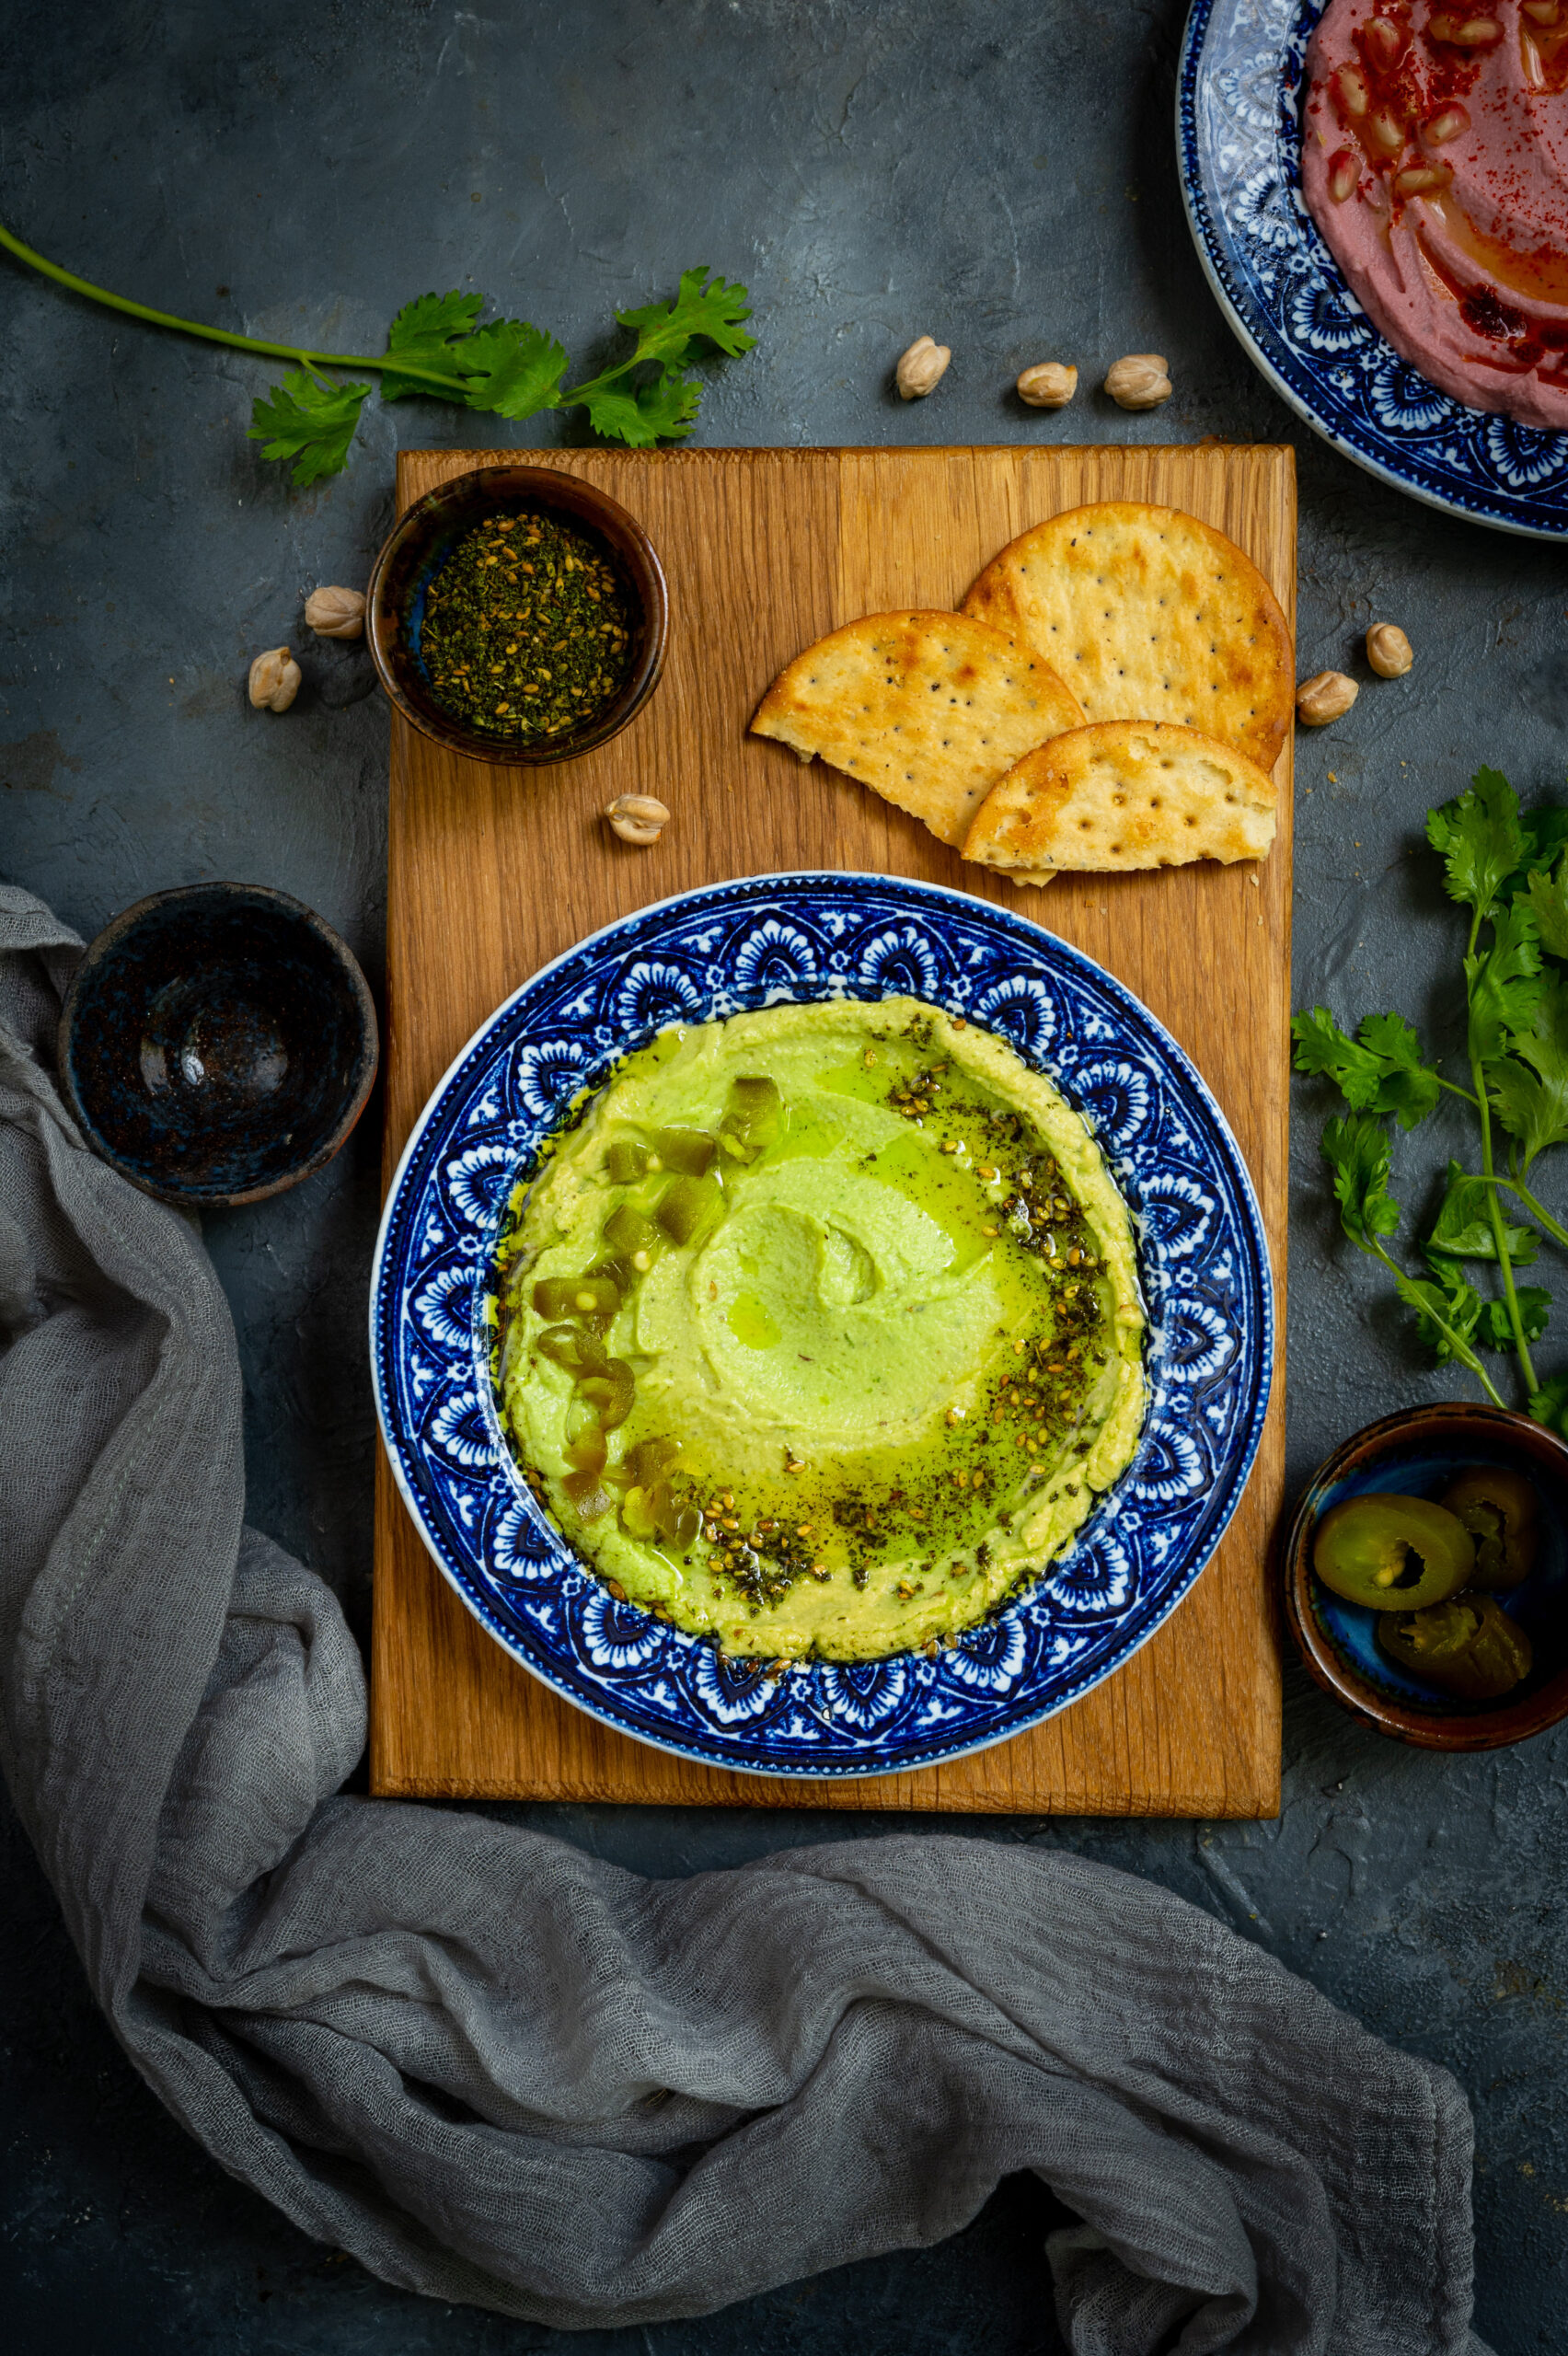
These days, we seem to be entertaining quite a bit at home. This is partly because our kids are all grown up and live in other cities. As parents, we feel proud of their achievements and love it when they visit, but we are also filling up our “empty nest” with friends and socialising as a couple. With people dropping by on a frequent basis, I try to make sure that a steady repertoire of healthy snacks, that are also good-looking and good-tasting, are easily whipped up. This beautiful pistachio-green coriander hummus hits the right spot in terms of its visual appeal, its nutrition quotient as well as its deliciousness.

Hummus originates in the Middle East and I make some whenever I prepare my versions of Lebanese dishes such as pita bread and falafels. It’s quite a favourite at home, and we are currently in an obsessed phase (do you have this habit too – of enjoying a dish so much that you just have to keep having it till you get tired of it and move on to the next big addiction?), so I’m making lots and lots of it.

The idea came to me after noticing colourful hummus varieties such as beetroot hummus, which comes out in a pretty pink. I wanted to use an Indian ingredient as a major one, and coriander seemed perfect. I had explored a curry leaf and green chilli hummus quite a while back too, which has a similar concept.

This dish contains one more surprise ingredient from our local backyards that you’re sure to love, and which you may remember from a recent recipe! If you guessed moringa, you are right. The powder is easy and quick to make, and I like to sprinkle a bit over the hummus to boost its healthiness, as well as to deepen the colour. I’ll probably try out a moringa hummus soon.

Hummus is truly simple to make, and the method for most varieties is more or less the same. In my family, different members have their own preferred type – curry leaf, beetroot, coriander, etc – so I am constantly whipping up some version of this dish and can assure you that it’s a basic recipe. In fact, it is quite easy to replace the coriander with other vegetables. You can see in the photographs that I’ve done a beetroot one too, using roasted beets. That one is more colourful than flavourful, but it is good for novelty in presentation. Guests love pretty snacks, remember?

Chickpeas are the core ingredient, and they are available abundantly in India so I don’t have to resort to the canned ones, although those will work just as well if they’re what you have on hand. I do the traditional method of soaking, boiling and so on – which is very familiar from so many Indian dishes. It’s funny: my cook at home, who is not well-versed in foreign cuisines, calls any kind of hummus “channa ka chutney” (“chickpea chutney”). He is not far from the truth! Several of the ingredients really do feel rather local, and are certainly used in Indian cuisines.

That said, despite its seeming Indian-ness, I was not exposed to hummus while growing up either. I discovered through my travels and culinary explorations that it’s a fantastic starter. It is healthy, tasty, simple to make and versatile in its usage as a dip. Despite the high summer temperatures at the moment, it keeps well in the fridge for at least a week.

Coriander Hummus

(Yield: 1 portion)

¼ cup chickpeas

Water (to soak and to boil)

2 tablespoons tahini

½ cup coriander leaves

Salt to taste

3 pods garlic

2 tablespoons olive oil

1 tablespoon chopped jalapeños


Soak the chickpeas overnight in sufficient water. Once soaked, they will have enlarged in size to almost 1 cup. Strain them.

Boil the chickpeas in fresh water in a pressure cooker with sufficient water, until tender to the touch. This will take about six whistles.

Once boiled, strain the chickpeas from the hot water. Set the water aside. This is called aquafaba. Aquafaba, boiled chickpea water, becomes an ingredient of its own with varied uses including as an egg substitute!

In a blender, add the tahini, salt, jalapeños, coriander leaves and garlic. Blend coarsely.

Next, add the boiled chickpeas. Now, add as much aquafaba as required to help blend the mixture once again until you have a creamy texture.

Spread the hummus onto a flat dish. Garnish with olive oil and any toppings of your choice. If you have za’tar, a spice combination commonly used in Middle Eastern cooking, you could sprinkle some. As I mentioned earlier, moringa powder is my preferred substitute.

Your coriander hummus is now ready to serve. Eat it with the accompaniments of your choice. It goes perfectly with chips, vegetable sticks, apple slices, pita bread, falafels and more.

As I said earlier, you can swap out the coriander for other kinds of vegetables. You can also use sprinklings of different condiments or flavours. Let your imagination go wild – this is a basic, safe dish that responds well to play. Thinking out loud, a hint of mint could also be a nice flavour contrast. Maybe I’ll try that next time. Or maybe you can, and if so I hope you’ll let me know what the results are like?