I enjoy the creative challenges of coming up with innovative dishes, and salads are a category I worked on happily during the earlier stages of re:store’s journey. Before turning my focus more intently towards baking and photography, I used to take orders for salads. The orders generally came from people who were fitness-focused or preferred to eat smaller meals at work. But that was no reason to eat the same thing every day. So I planned menus of 10-15 salads, rotating them every 3 months.
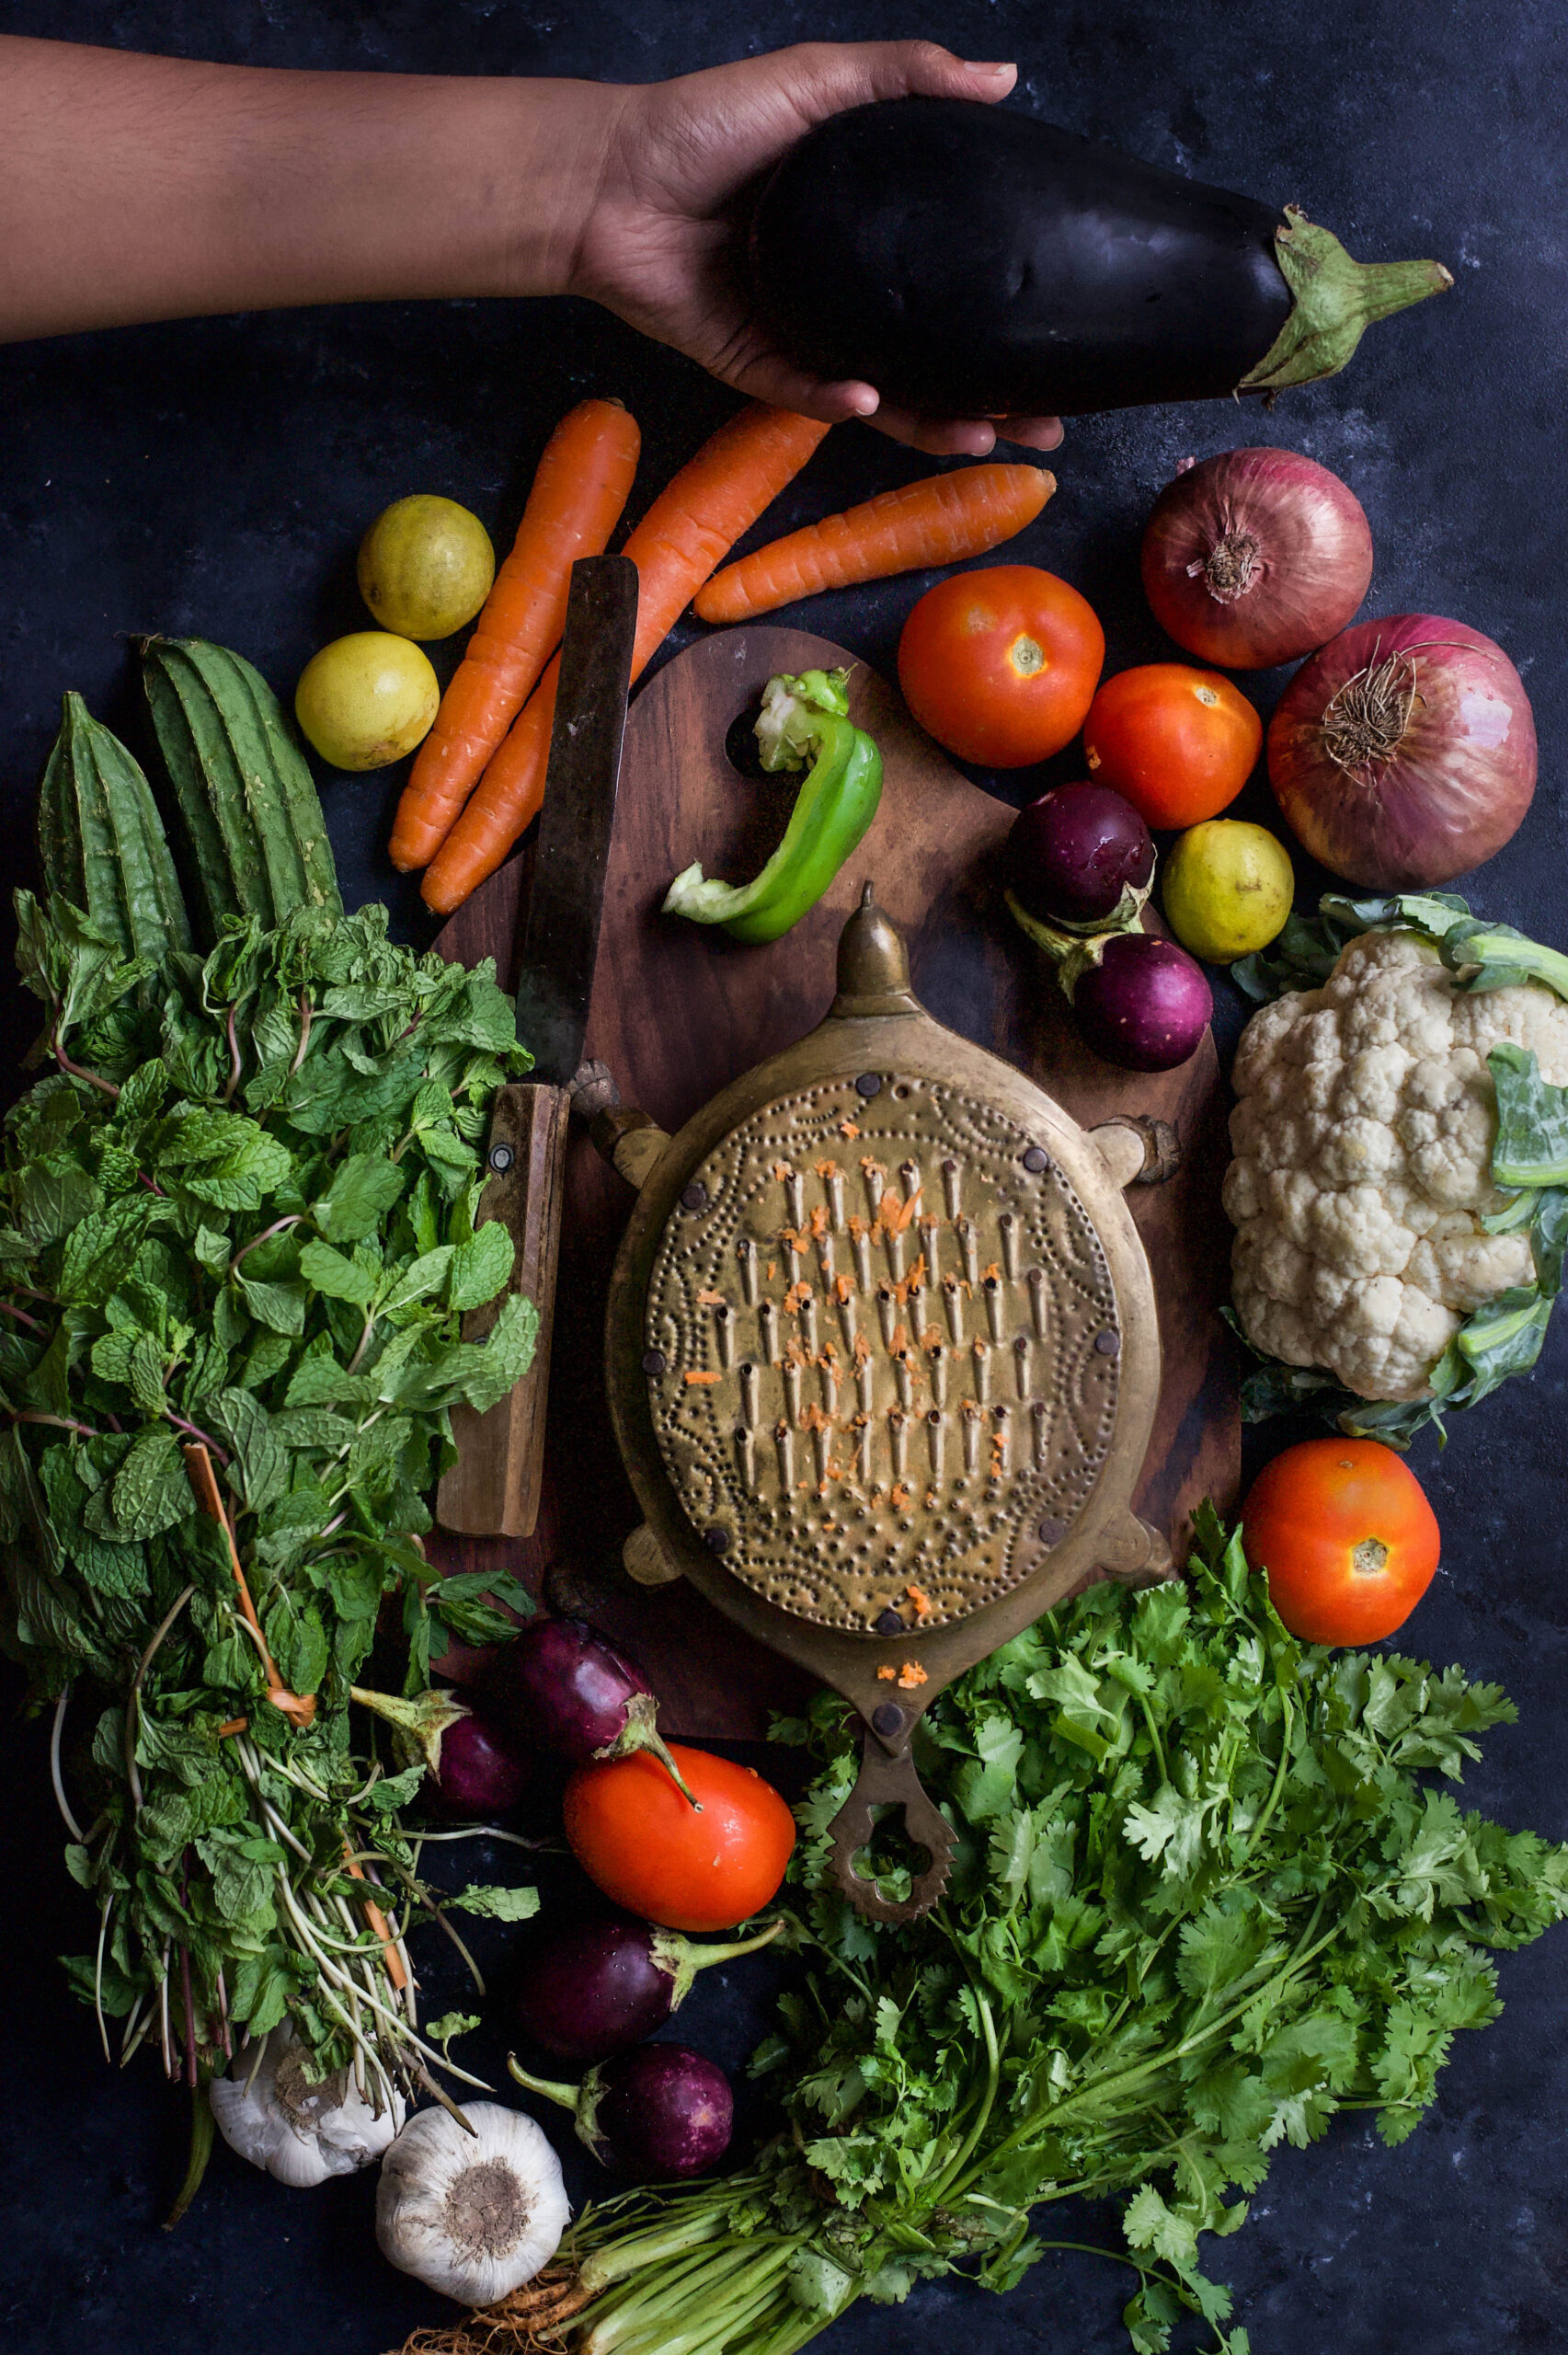
The salads were inspired by so many cuisines, and people I met, and using a schedule was also something new for me. Before going into business, I’d usually just throw whatever was on hand into a salad. Another thing I learnt was that keeping veggies fresh in India was not easy when they weren’t consumed immediately. Especially when the salad travelled from the re:store kitchen to another’s home, and then commuted with them to their office. So if I put in a fancy leafy vegetable, by the time the customer opened the container at their desk at lunchtime, it would have started to look and taste different. Through trial and error, I figured out ways to use only local and seasonal produce in my salad experiments.
Another thing I don’t believe in is using store-bought dressings, so I made them all from scratch, matching each one to the ingredients used. Naturally, I am also very particular about the hygienic handling of raw vegetables, so I always prepared salads only on the day of delivery.
We often think of salads as a part of Western cuisine, but they are often found in Indian cuisines as well. Whether it’s a home-cooked Gujarati meal or a South Indian one, some kind of raw, cut veggies will be served. While a vegetable smoothie may be a great way to substitute an unhealthy beverage, there are benefits to salads that go beyond taste. God made vegetables crunchy because they are meant to be eaten that way – it all begins by using the teeth and jaw muscles!
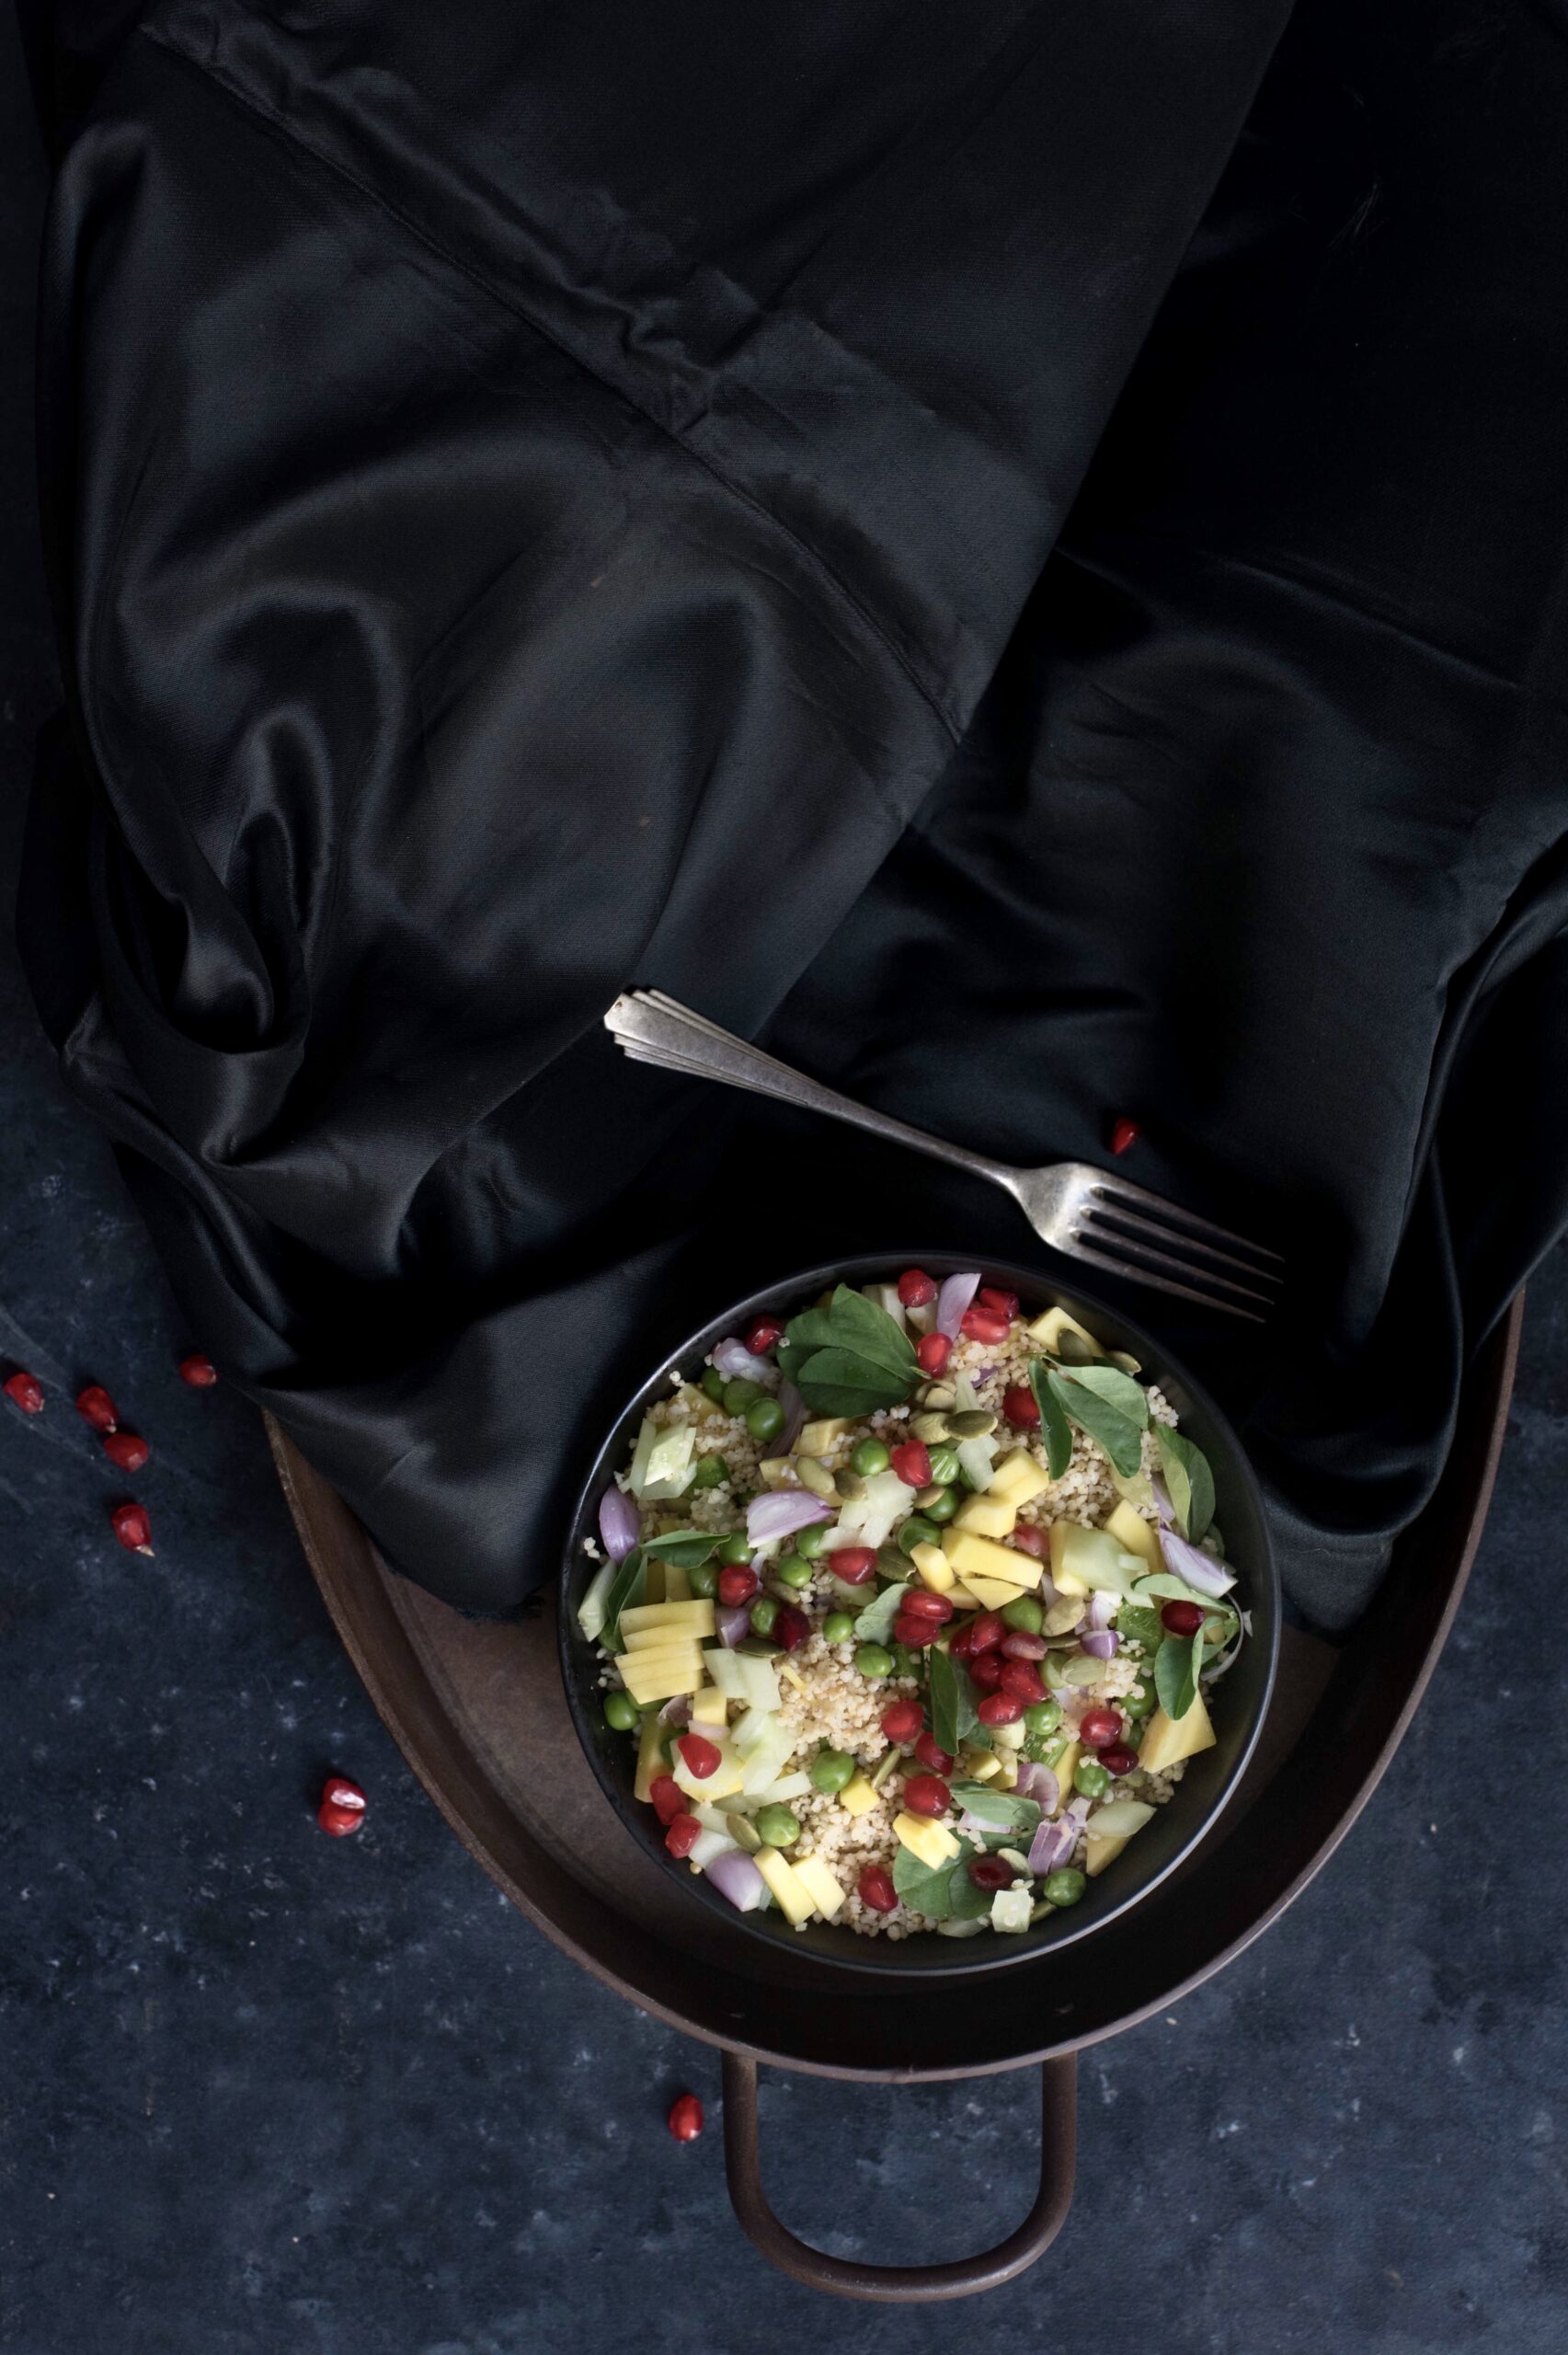
The Gujarati word for salad is “kachumber”, and while my recipe contains very diverse ingredients, at its core you could consider it an update on the traditional one. You know how much I love millets, and this salad uses foxtail millet as a base, for substance as much as for its many superfood properties. All the ingredients are available locally and inexpensively. I sometimes use sunflower seeds instead of pumpkin, but the latter are more authentically Macrobiotic here. Even the green peas come from Ooty, not so far away from me at all.
I’d love to share with you some nostalgia about salads and childhood, but let me be honest. Like many people, I often refused to eat vegetables growing up – but now look me, advocating for them!
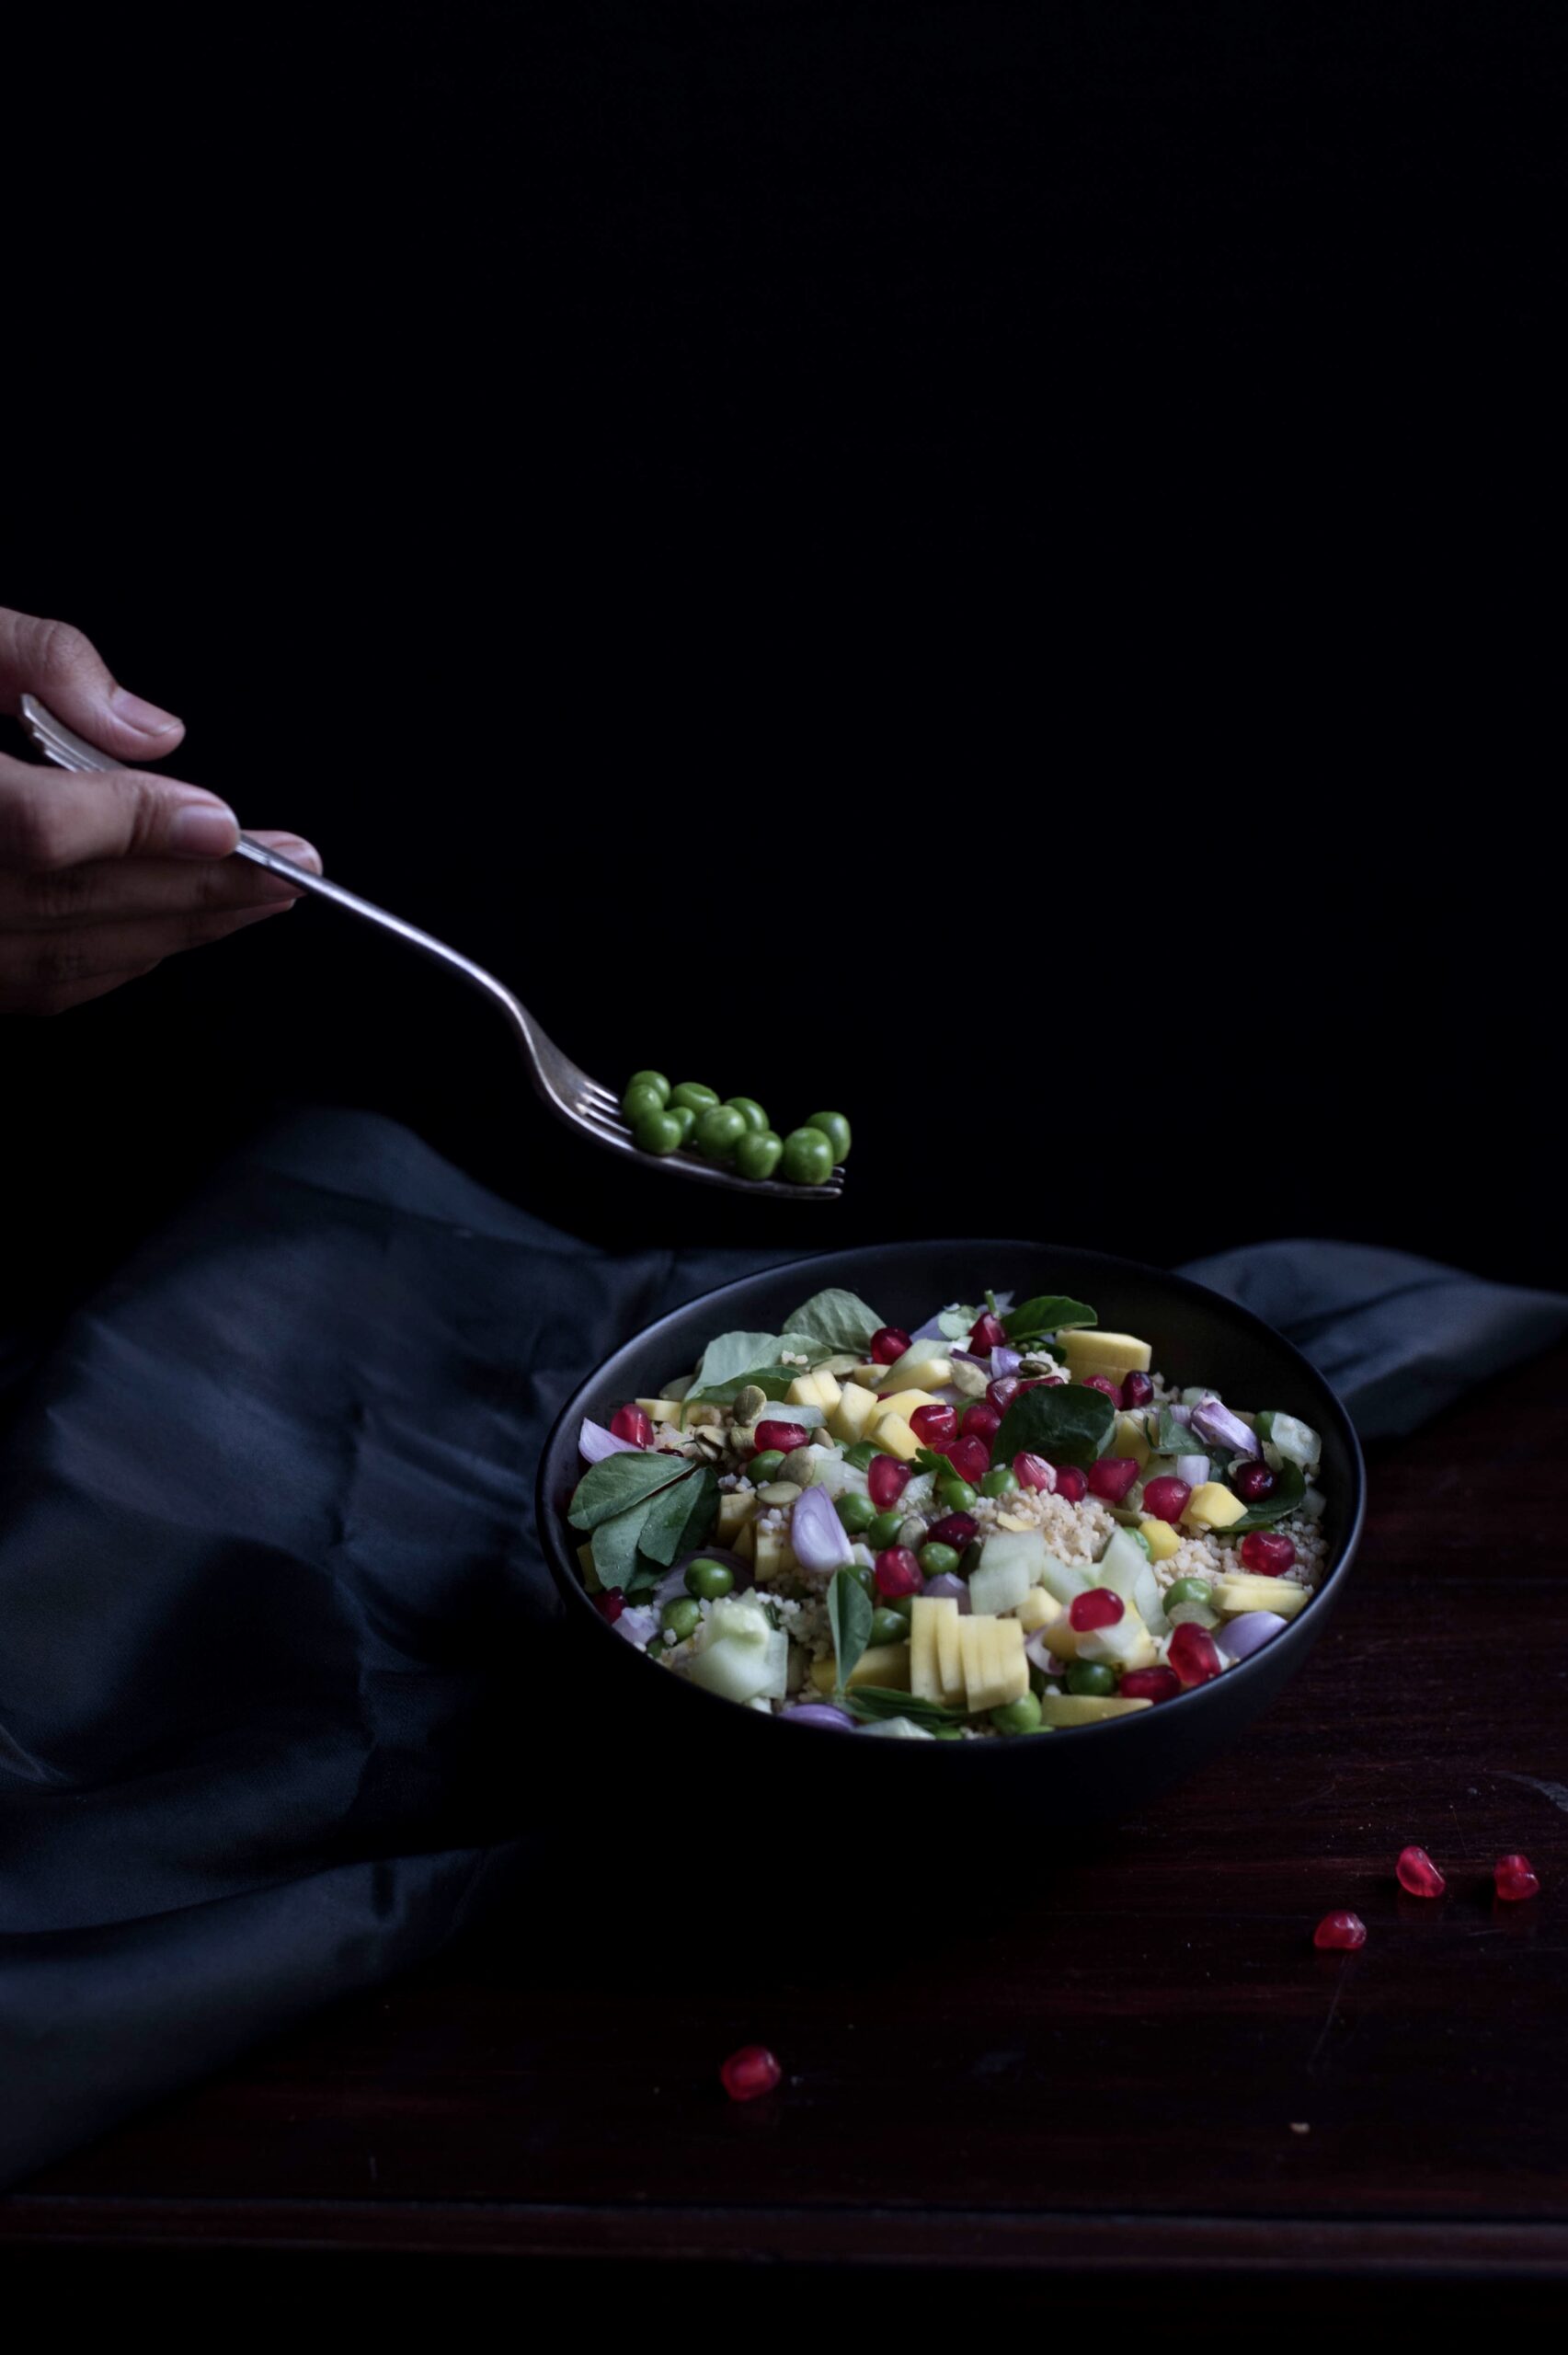
Indian Veg Millet Salad
(Yield: 1 bowl)
Ingredients
Salad
120 grams cooked foxtail millet
½ cup steamed green peas
1 tablespoon pumpkin seeds
1 tablespoon finely chopped shallots
¼ cup cucumber
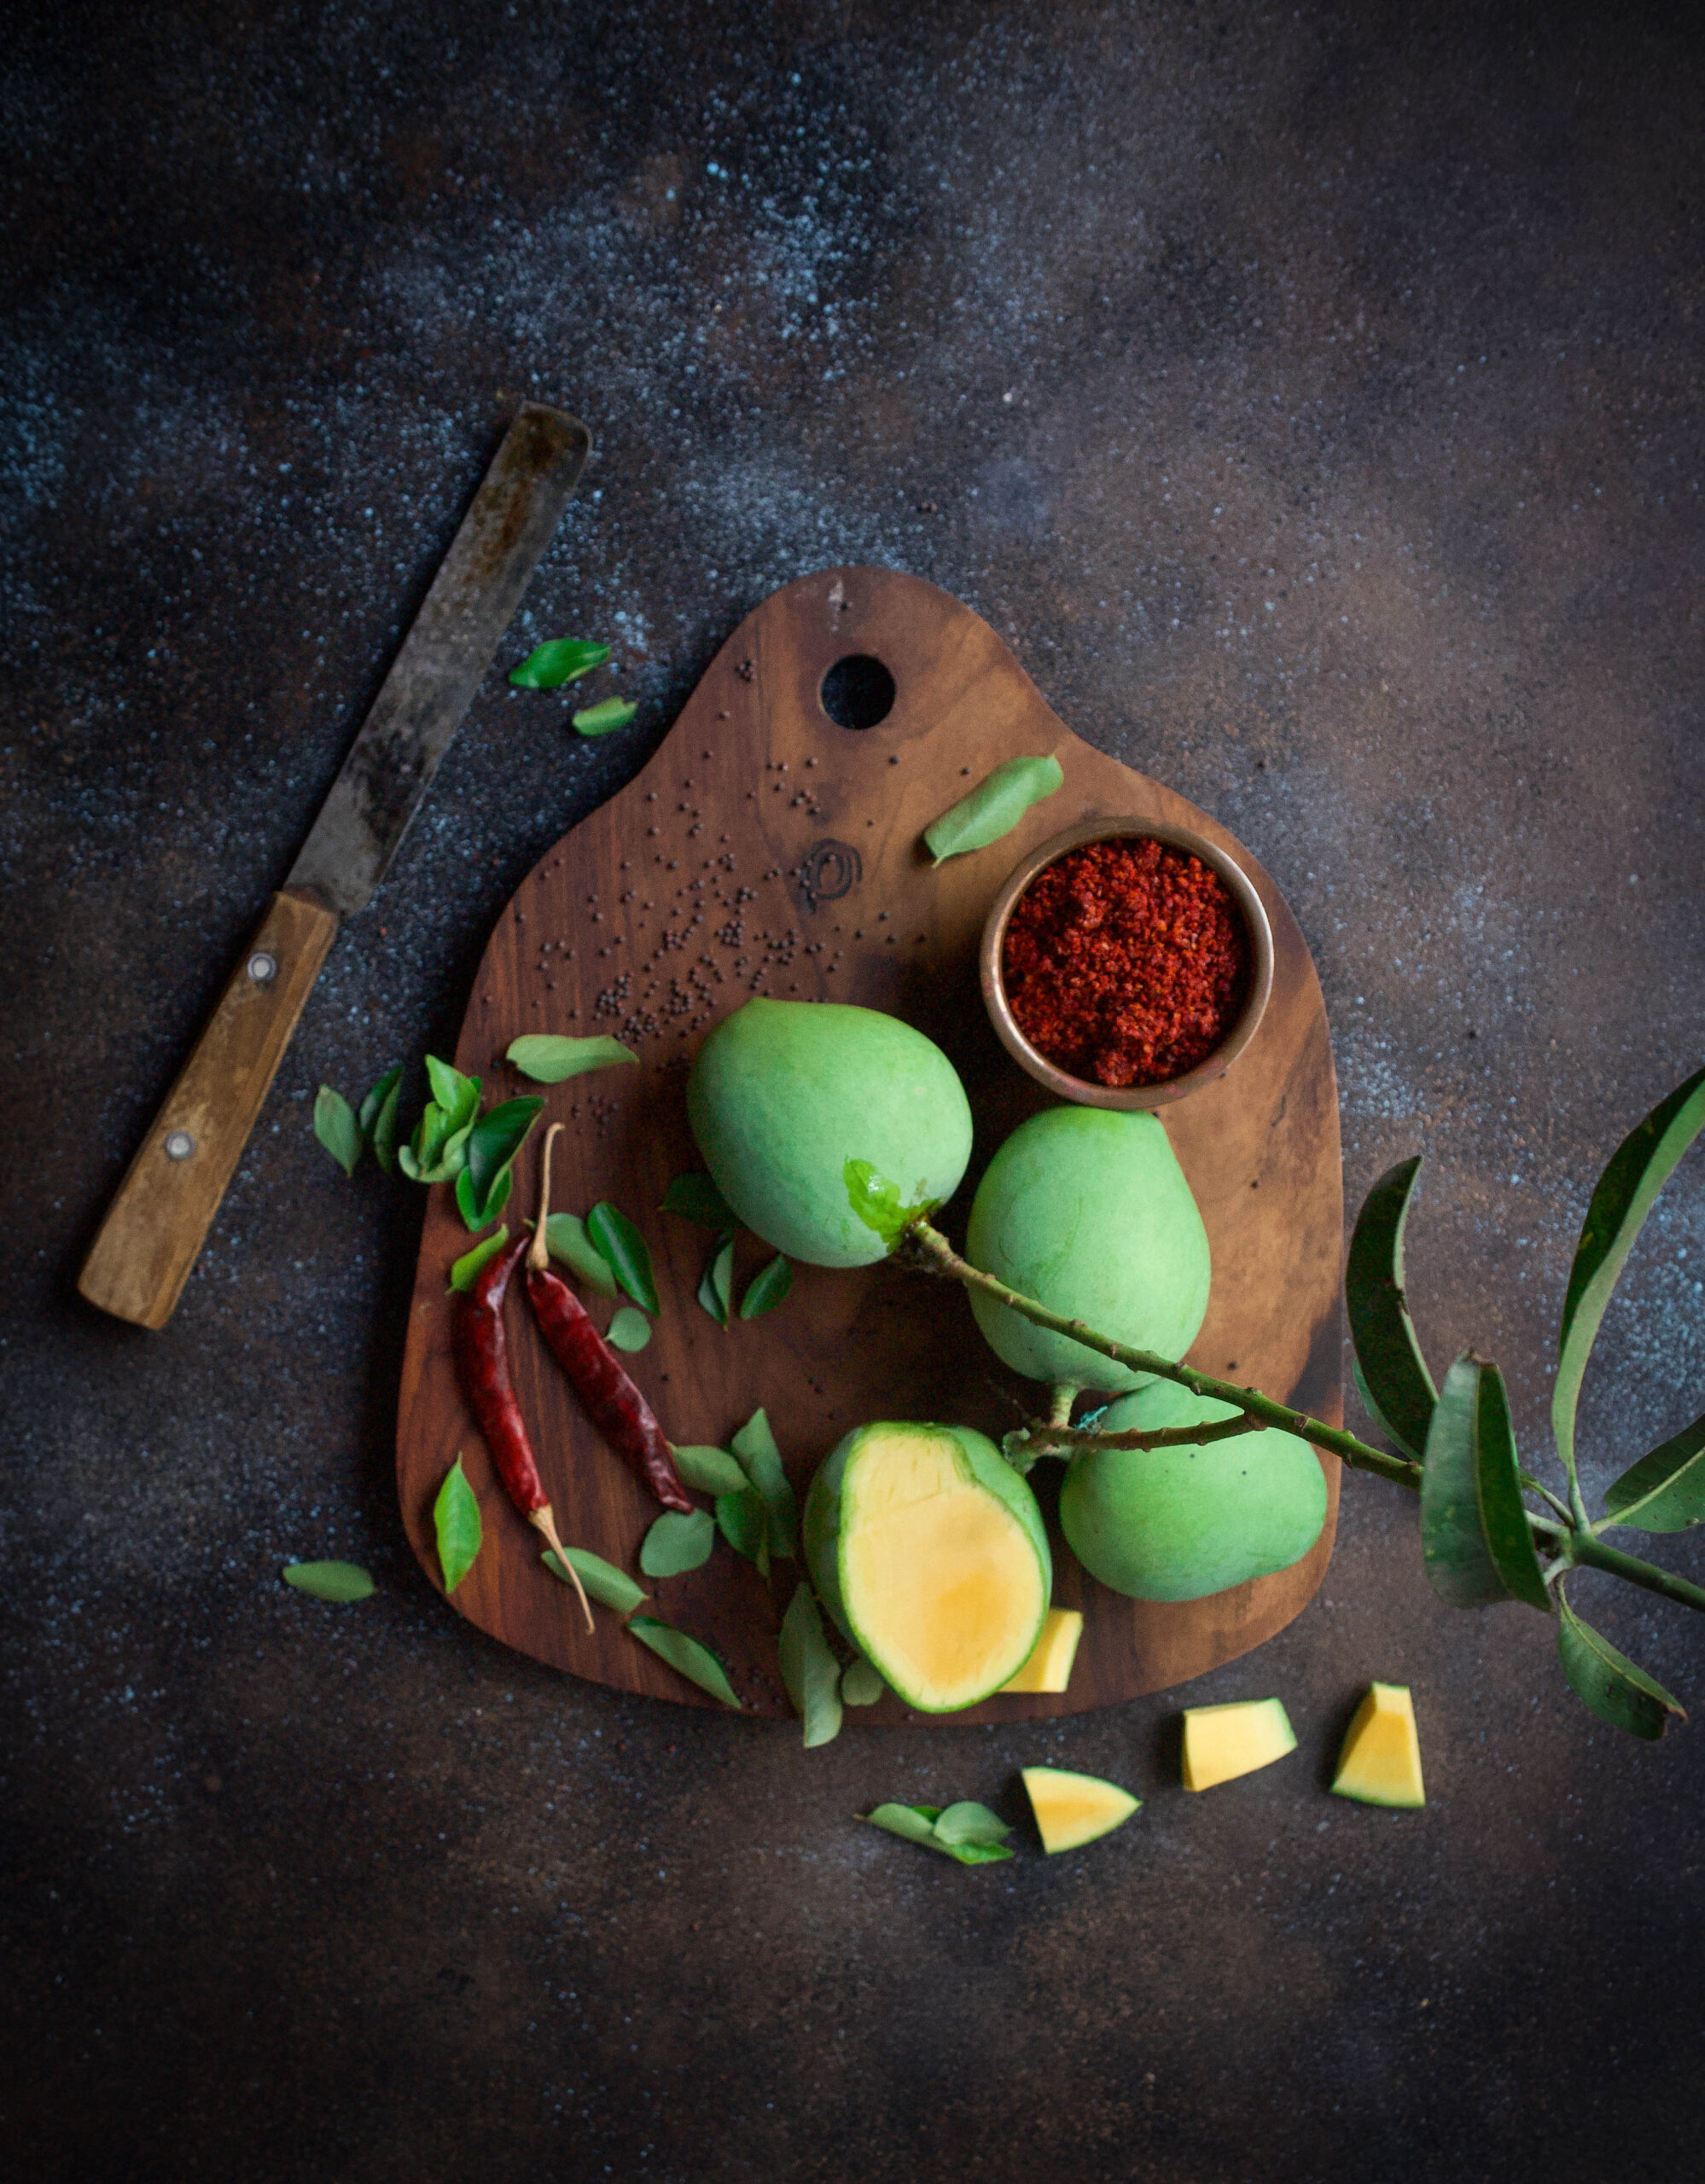
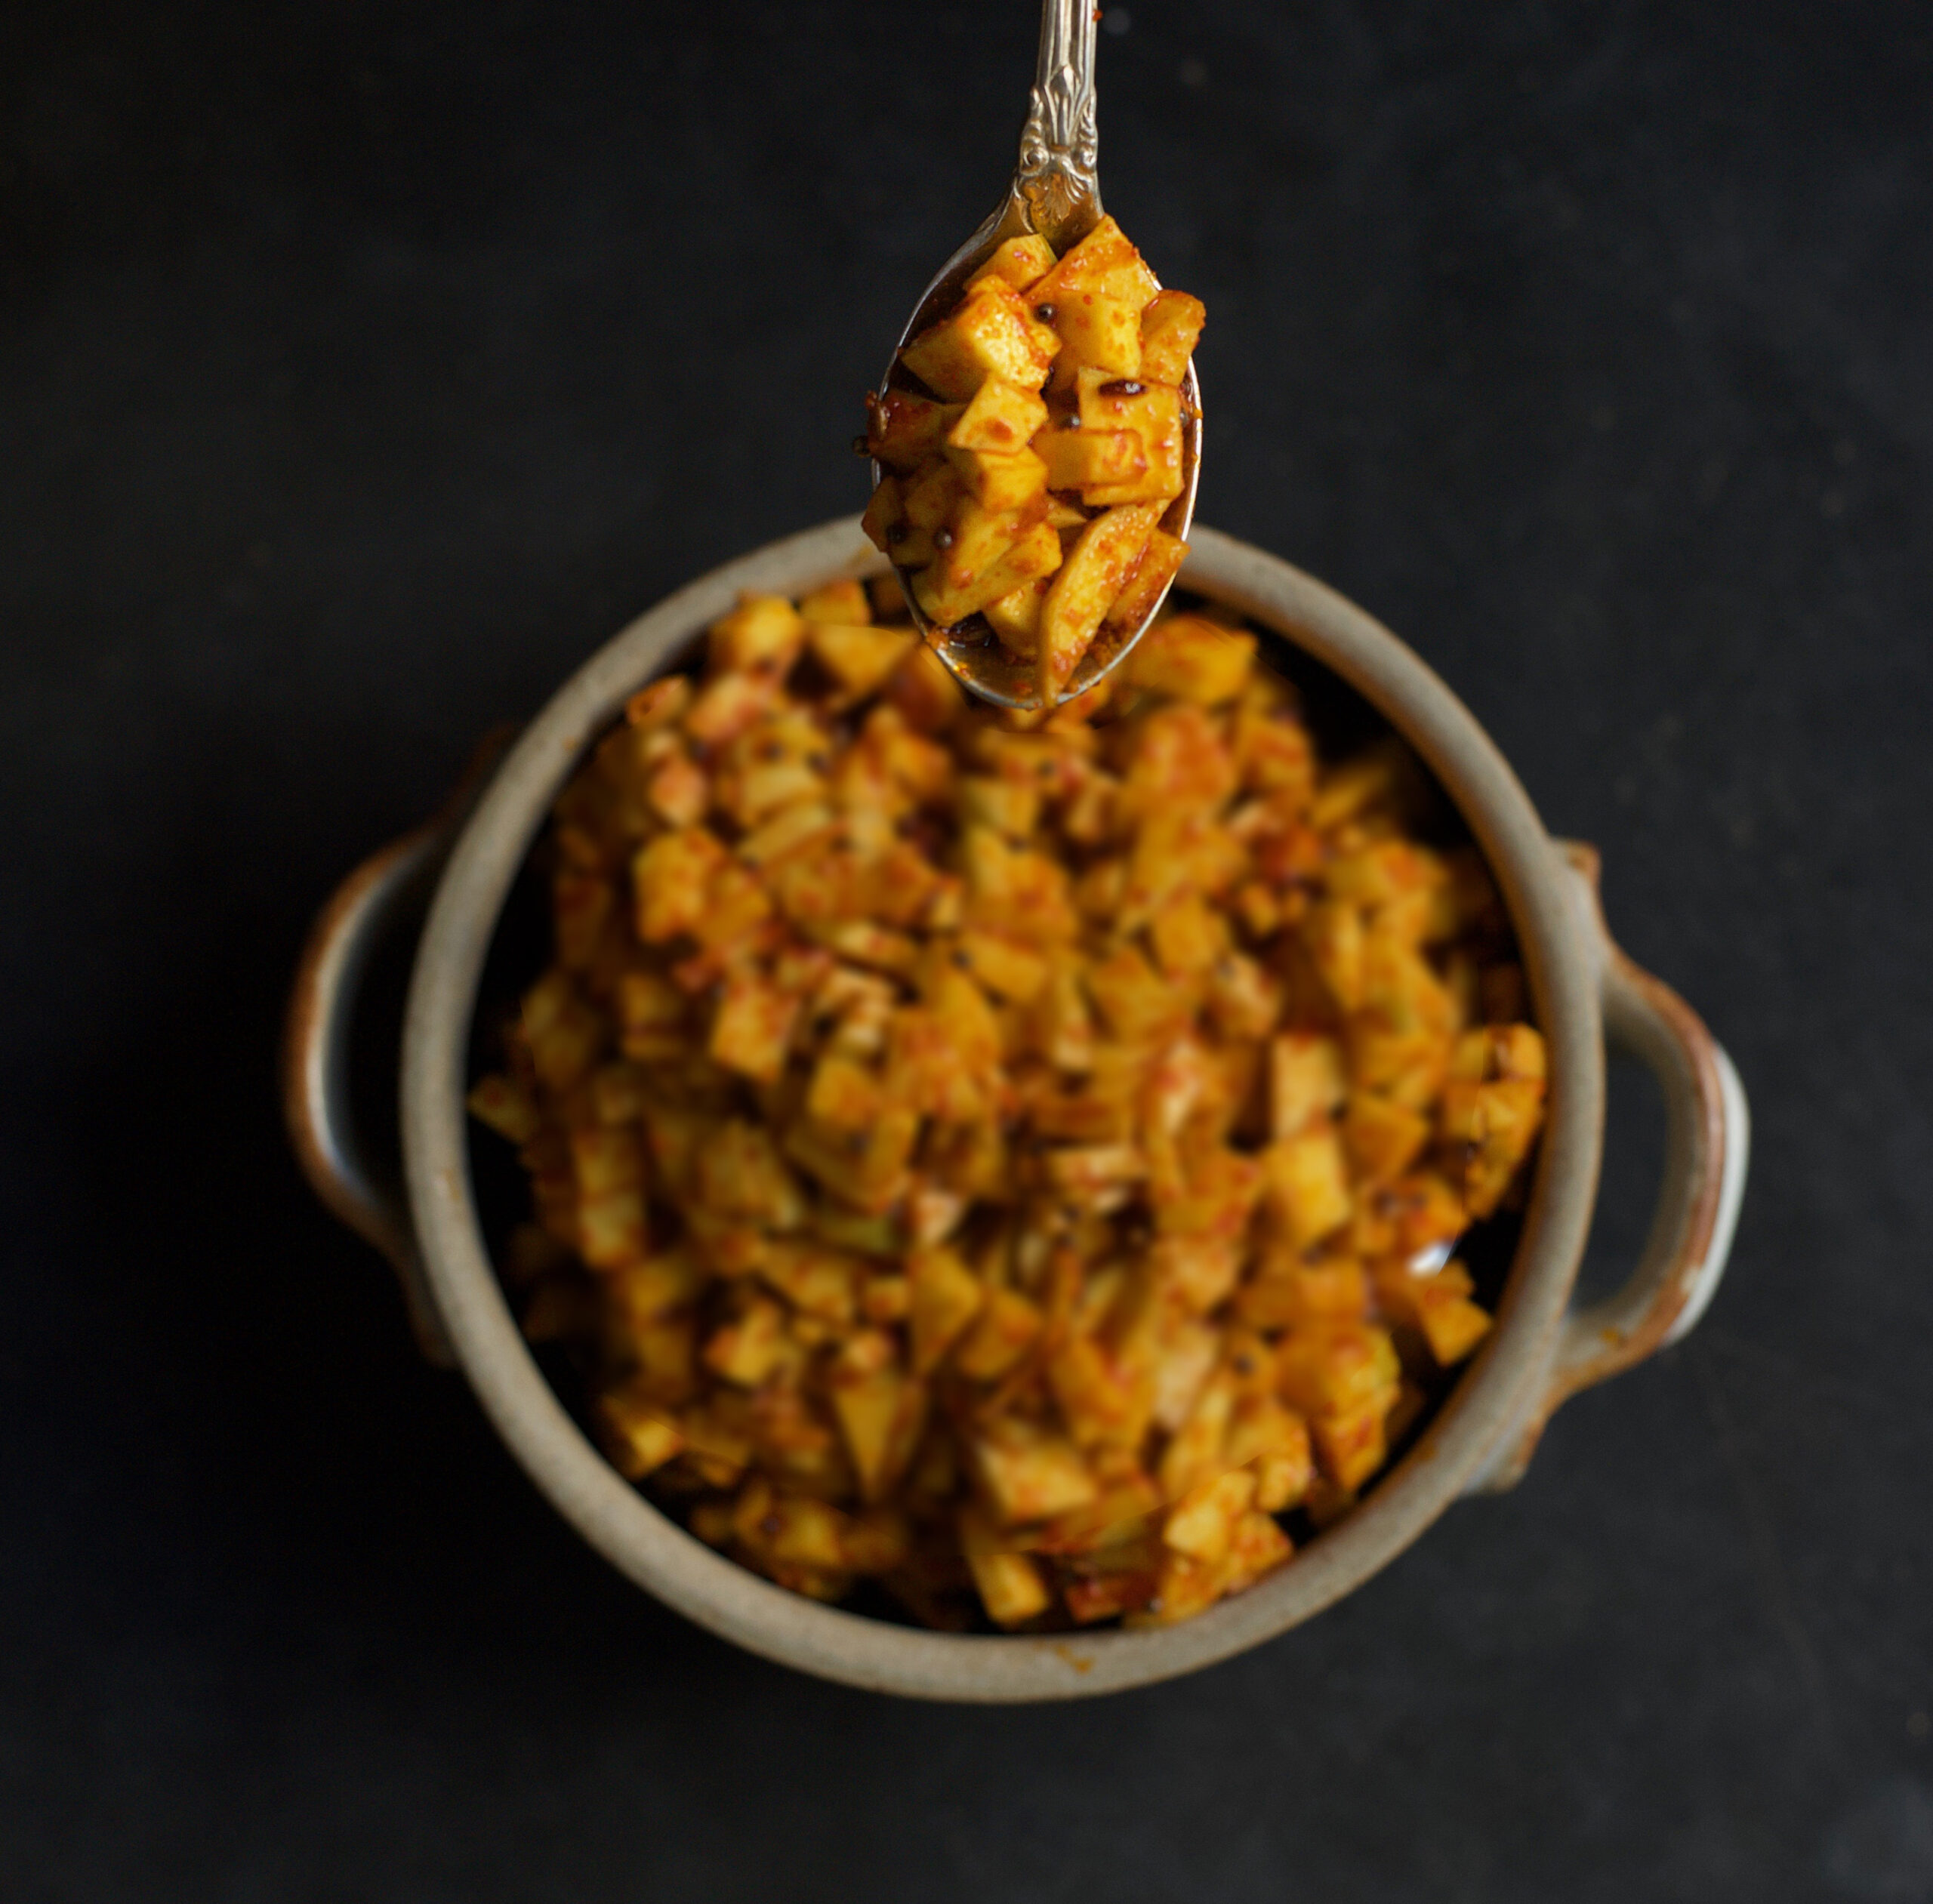
¼ cup finely cut raw mango
A handful of pomegranate arils
A few sprigs of fresh methi (fenugreek) leaves
Dressing
2 tablespoons sweet lime juice
1½ tablespoons lemon juice
1 tablespoon honey
1 tablespoon olive oil
A pinch of pepper
Salt to taste
Place all the fresh ingredients in a beautiful bowl. I have mentioned the quantity of the vegetables – however, you can eyeball the amount and decide for yourself how much you want to use. And of course, innovate. Add or delete ingredients depending on your fridge stock. You could even use any other millet if that suits you.
In a small jar, add all the ingredients for the dressing. Shake vigorously. Pour on the salad before serving and mix together till the dressing coats all the vegetables.
That’s all there is to it. A citrusy, profoundly simple dressing lifts the flavours of an unusual but deeply Indian salad. You have the sweetness of pomegranate, the tartiness of raw mango, the crunchiness of seeds and more. A medley of textures. Just mix it all up! I hope you’ll enjoy this easy recipe from the “salad days” of re:store, excuse the pun!