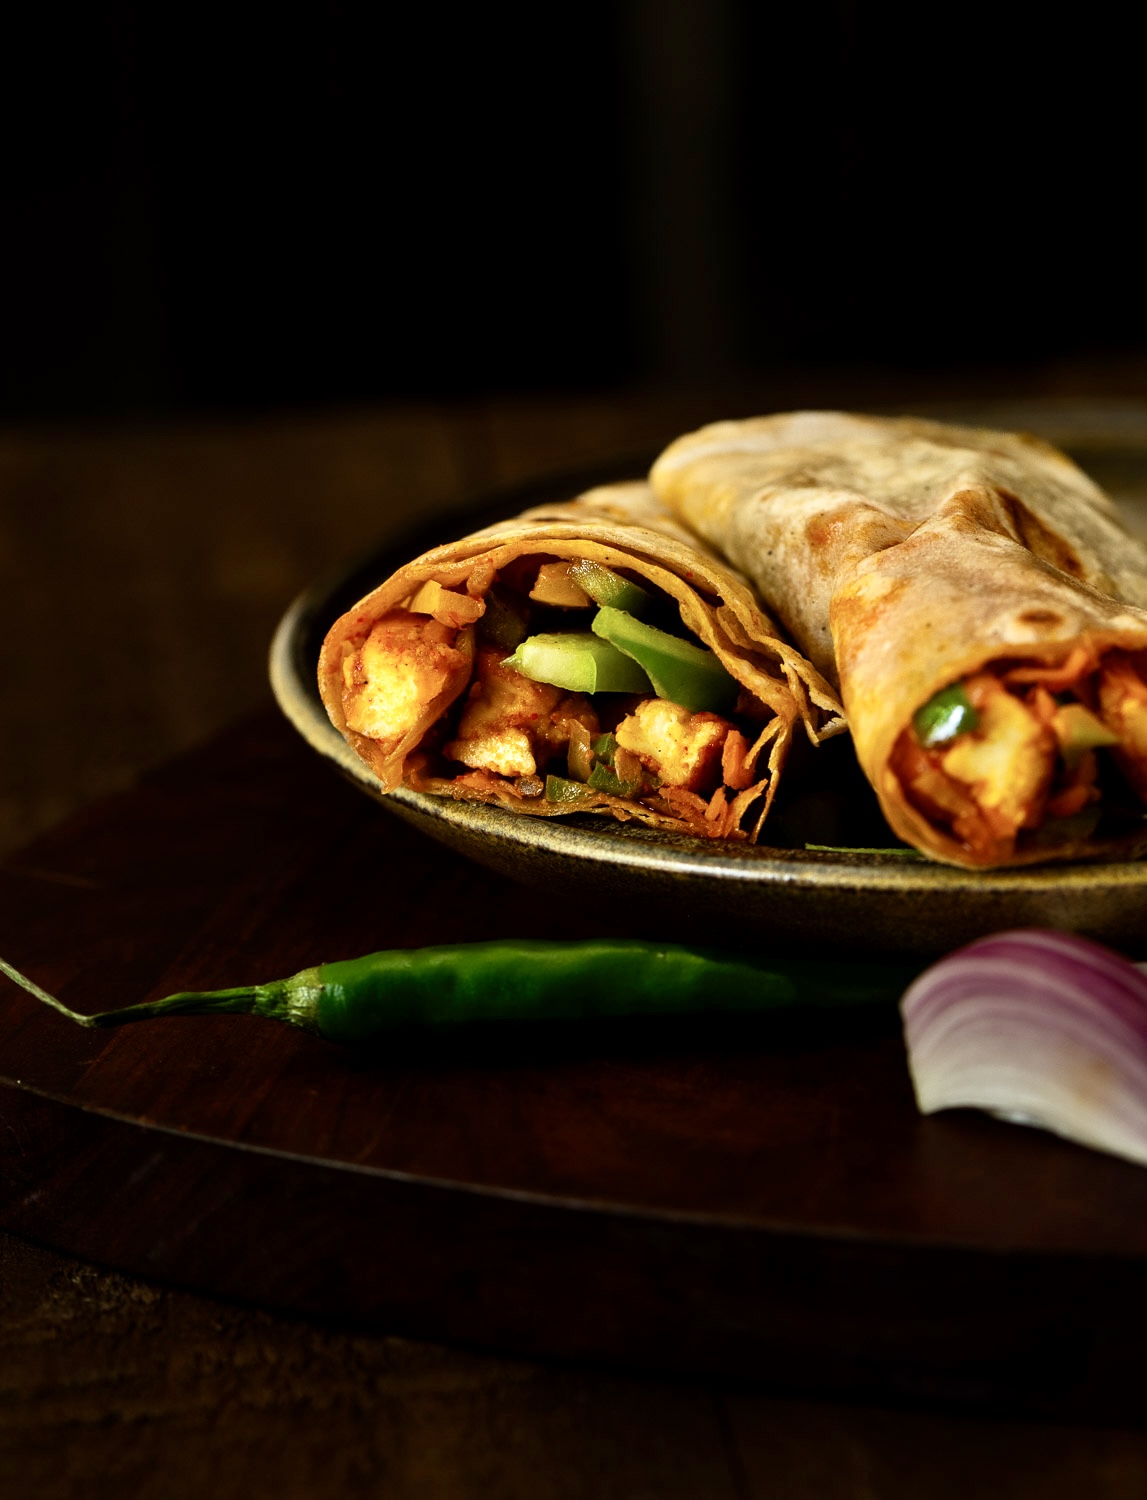
There have been many paneer recipes on this blog over the years, including most recently a lunchbox-friendly paneer tikka roll. The ingredient is a reliable staple for most Indian vegetarians, maybe even more deliberately so now that the importance of consuming protein has been understood by more people. However, I feel it has long been cherished, even before modern health-consciousness, as it is a dairy product. Hindu culture considers milk to be holy. It is offered to the gods and is valued almost as a kind of nectar from the heavens, which is why the cow is also sacred, being the creature that provides it. Today, I’m sharing my recipe for homemade paneer. It is a quick, convenient and simple method to ensure a regular, high-quality supply of an ingredient that you may already be eating a lot of.
It is of course exceedingly easy to just buy paneer. There are decent brands available, and your nearest organic market will also offer choices beyond the commercial ones. I used to rely on the same, but in more recent years the number of adulteration issues in Indian products has made me become even more cautious about what I purchase – because it becomes what I prepare, and what my body processes. With loved ones to feed, the concern is all the more. To me, it comes down to this: just make sure your source is a reliable one, when it comes to any ingredient. If you have the time and inclination to make something at home, do. Or else, just be discerning about what you reach for at the store.

My son who lives abroad uses store-bought paneer in his Indian meals. I am happy that he still enjoys and wants to prepare dishes that he grew up on. This recipe for homemade paneer is especially for him, to encourage his next steps in his culinary journey.
I hope it will be the same for you. As mentioned earlier, I have found that this is the most trouble-free method for making paneer frequently. In terms of contraptions, there are many paneer-making boxes available nowadays, but I use a simple muslin cloth, as is traditional. You must find a method that works for you. When it comes to certain ingredients or dishes, I believe that anyone who really wants to make some will find a way. Paneer is one of them, for sure. It’s a question of whether you feel the effort is worth it, even if it’s fairly easy. Where there’s a will, there’s a “whey”, shall we say!
Speaking of whey, I ensure that I gather the whey that is a byproduct of this process and do not throw it away. I add it to dal or else to atta to make rotis, which will subsequently be paired with a paneer dish. Whey is a form of protein, and doesn’t have a flavour in itself, which means it can be added to a number of dishes easily to boost their nutritional quotient. It could even go into a soup, for instance. Depending on what else I am making in the kitchen that day, I will make sure I use it up. There’s no wastage when you make paneer. You can also soak it in water and keep it in the fridge for up to four or five days, which means that it’s very unlikely that you’ll waste the paneer itself. Who would, really? It’s just too tasty to not finish up!
Homemade Paneer
(Yield: 125 grams)
½ litre whole fat milk
Juice of 1 lime OR ½ cup sour curd OR a few drops of vinegar
Equipment
1 strainer
A muslin cloth
1 large bowl
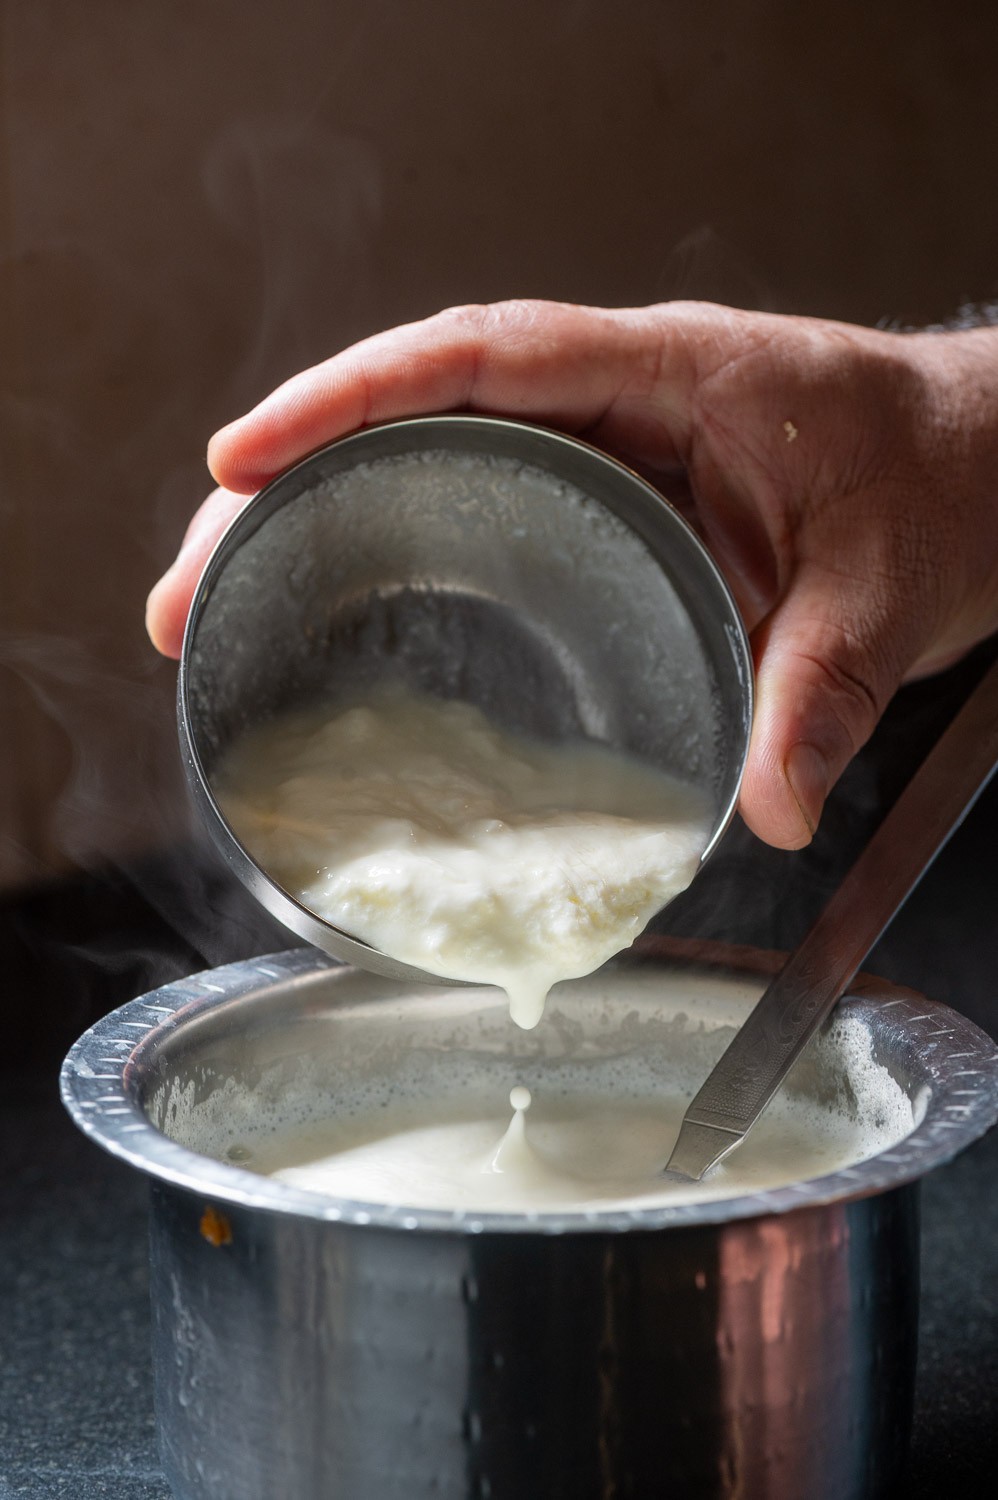
Boil the milk in a pot. Stir occasionally so it does not burn at the bottom.
As soon as it is ready to boil, add the curd /lime juice / vinegar. Stir very lightly. You will soon notice the milk will begin curdling.
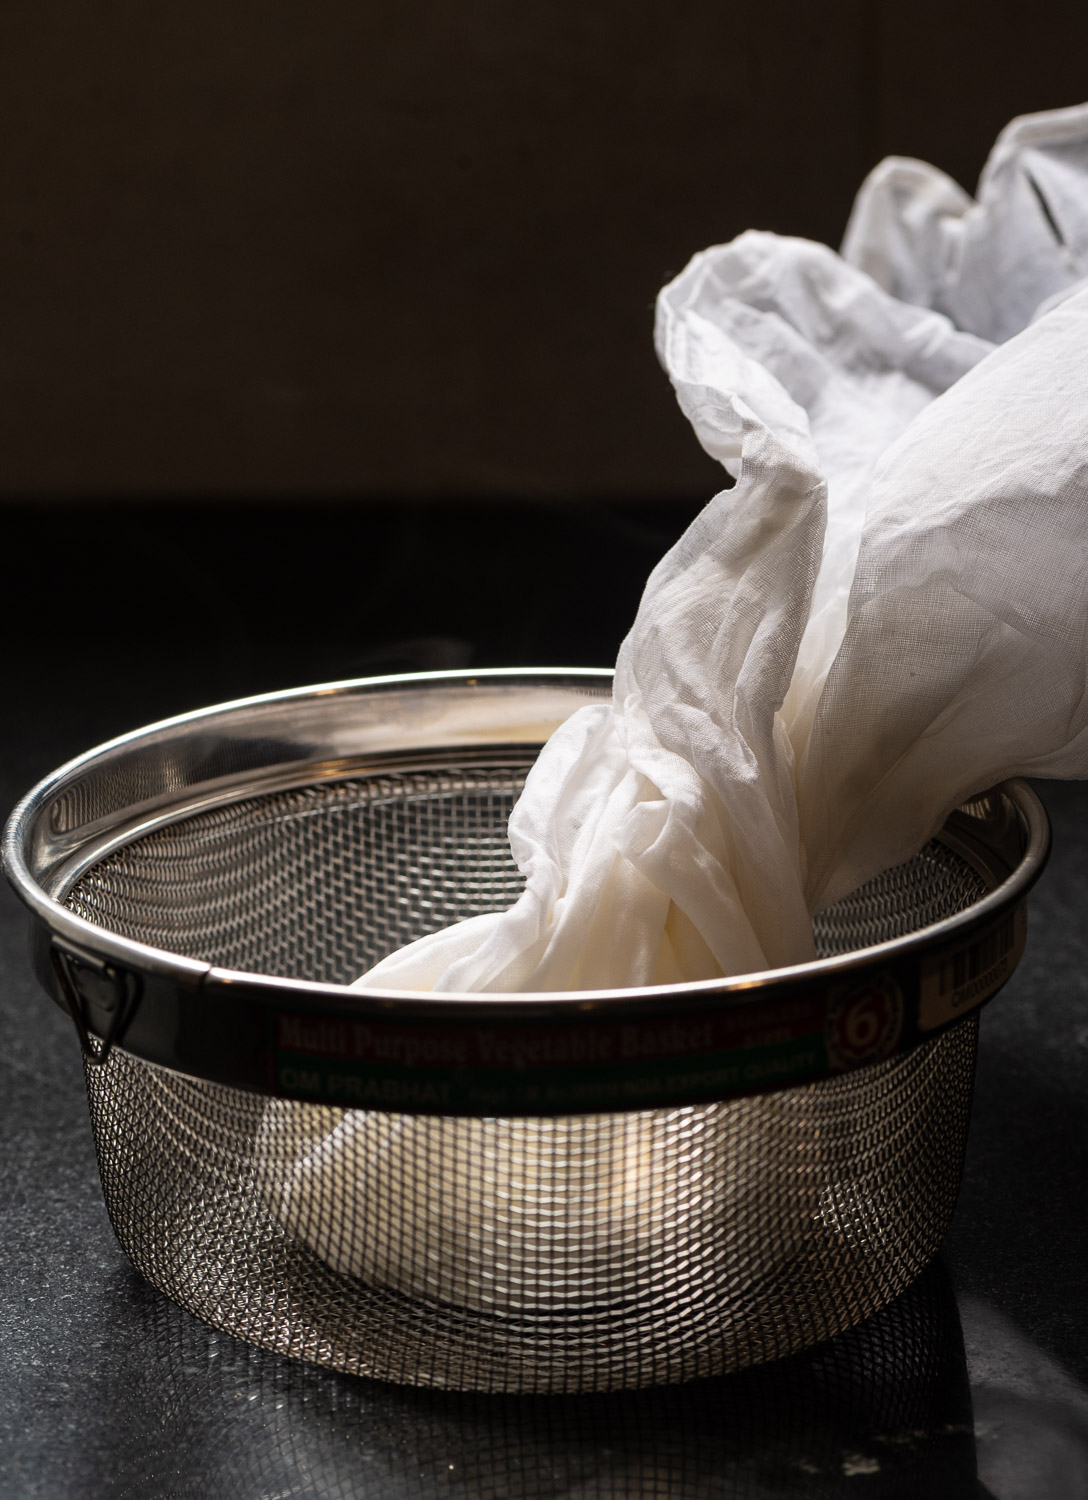
Now, pour the contents through a muslin cloth placed over a strainer and collect the whey at the bottom.
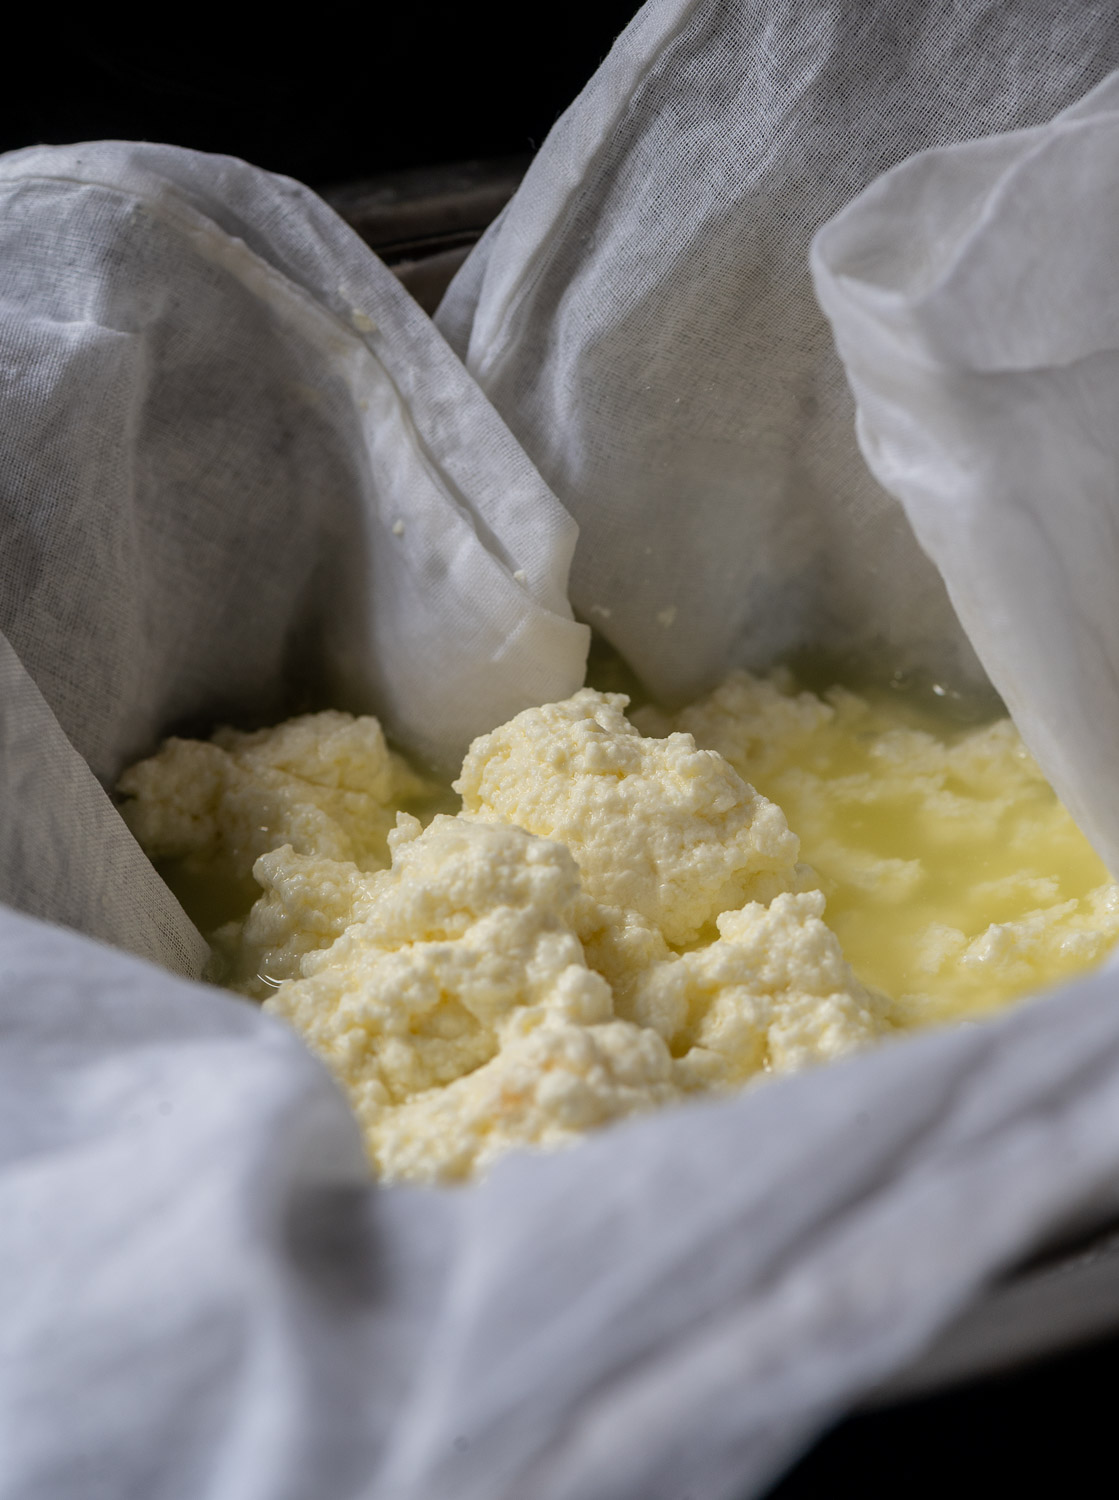
You will notice the whey is not milky but looks yellow. Set aside the whey. You may wish to use it in other dishes, as mentioned earlier in this post.
Rinse the paneer under cold water for a few seconds. Then, gather the cloth around it and close tightly.
Place this bundle on the strainer. Place a weight over it to set the paneer. Allow to sit this way for about an hour.
After an hour, remove the weight and the cloth. You will see that a beautiful block of paneer is ready to be cooked. If you’re in need of ideas about how to use it, do explore some recipes I have shared before.