I went through a phase of being obsessed with open toasts, made using homemade sourdough bread. I shared some recipes during that time, including cherry tomato yoghurt toast and pesto Parmesan toastie. With mangoes being in season right now (and like many if not most Indians, my love for mangoes is well-established!), I thought: why not mango toast? I decided to make mine healthy and loaded with nourishing ingredients, with the fruit adding a touch of sweetness and fun. So here’s a recipe for a healthy veggie toast with mango, one that brings the best thing about the summer into your breakfast!
During my open toast era, I also tried to make reels for Instagram. I was quick to realize where my forte lies: in photography, and not in videomaking. To be more accurate: my interest lies there as well, not just my forte. I began to focus – pun intended – then on what I enjoy most, and incidentally do better, and decided to keeping trying to do even better. I wrote about this recently too, and I continue to muse about the role of photography in my life. It is an artform that has given me so much, and I continue to learn and to grow within it. To aspiring artists of any kind, including the culinary forms, I want to say that the key to longevity is in figuring out and forging your strengths. For instance, I had various short-lived attempts at using the ever-popular Photoshop, but found that Lightroom suited me much better as a photo editing software. I would love to master Photoshop, for it has some excellent features and tools, but I use what I am most comfortable with for the majority of the time, and it yields good results.
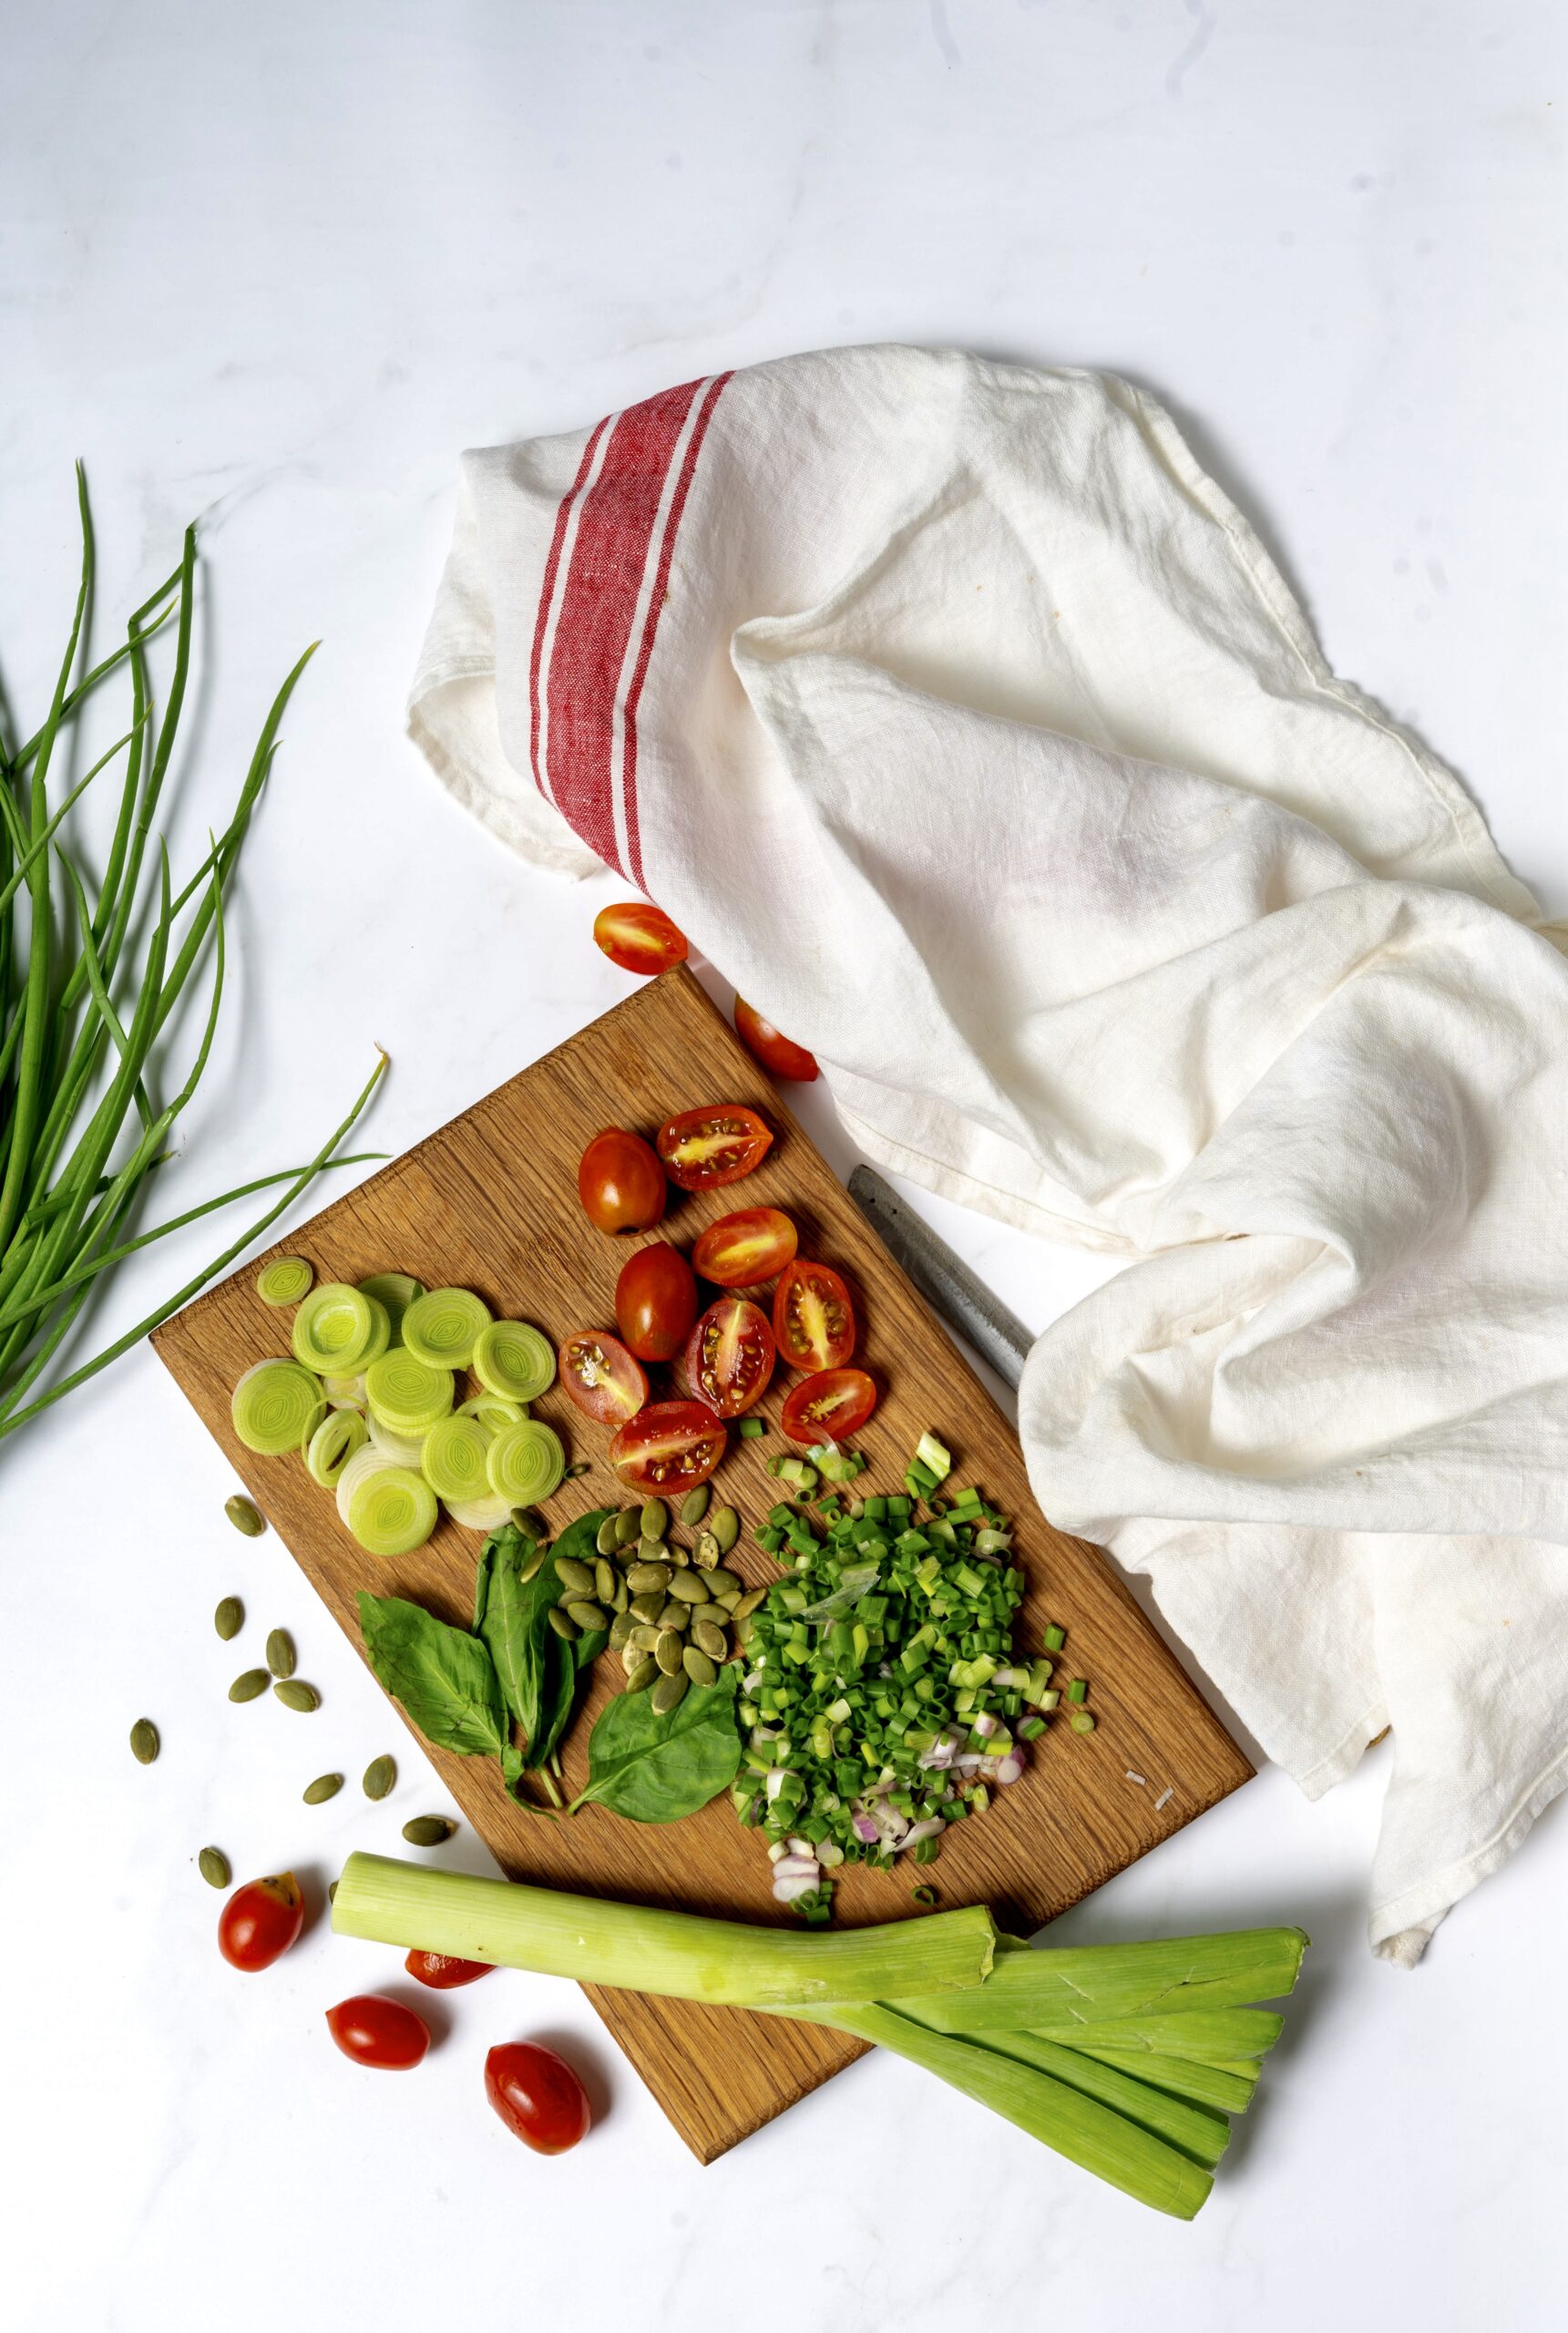
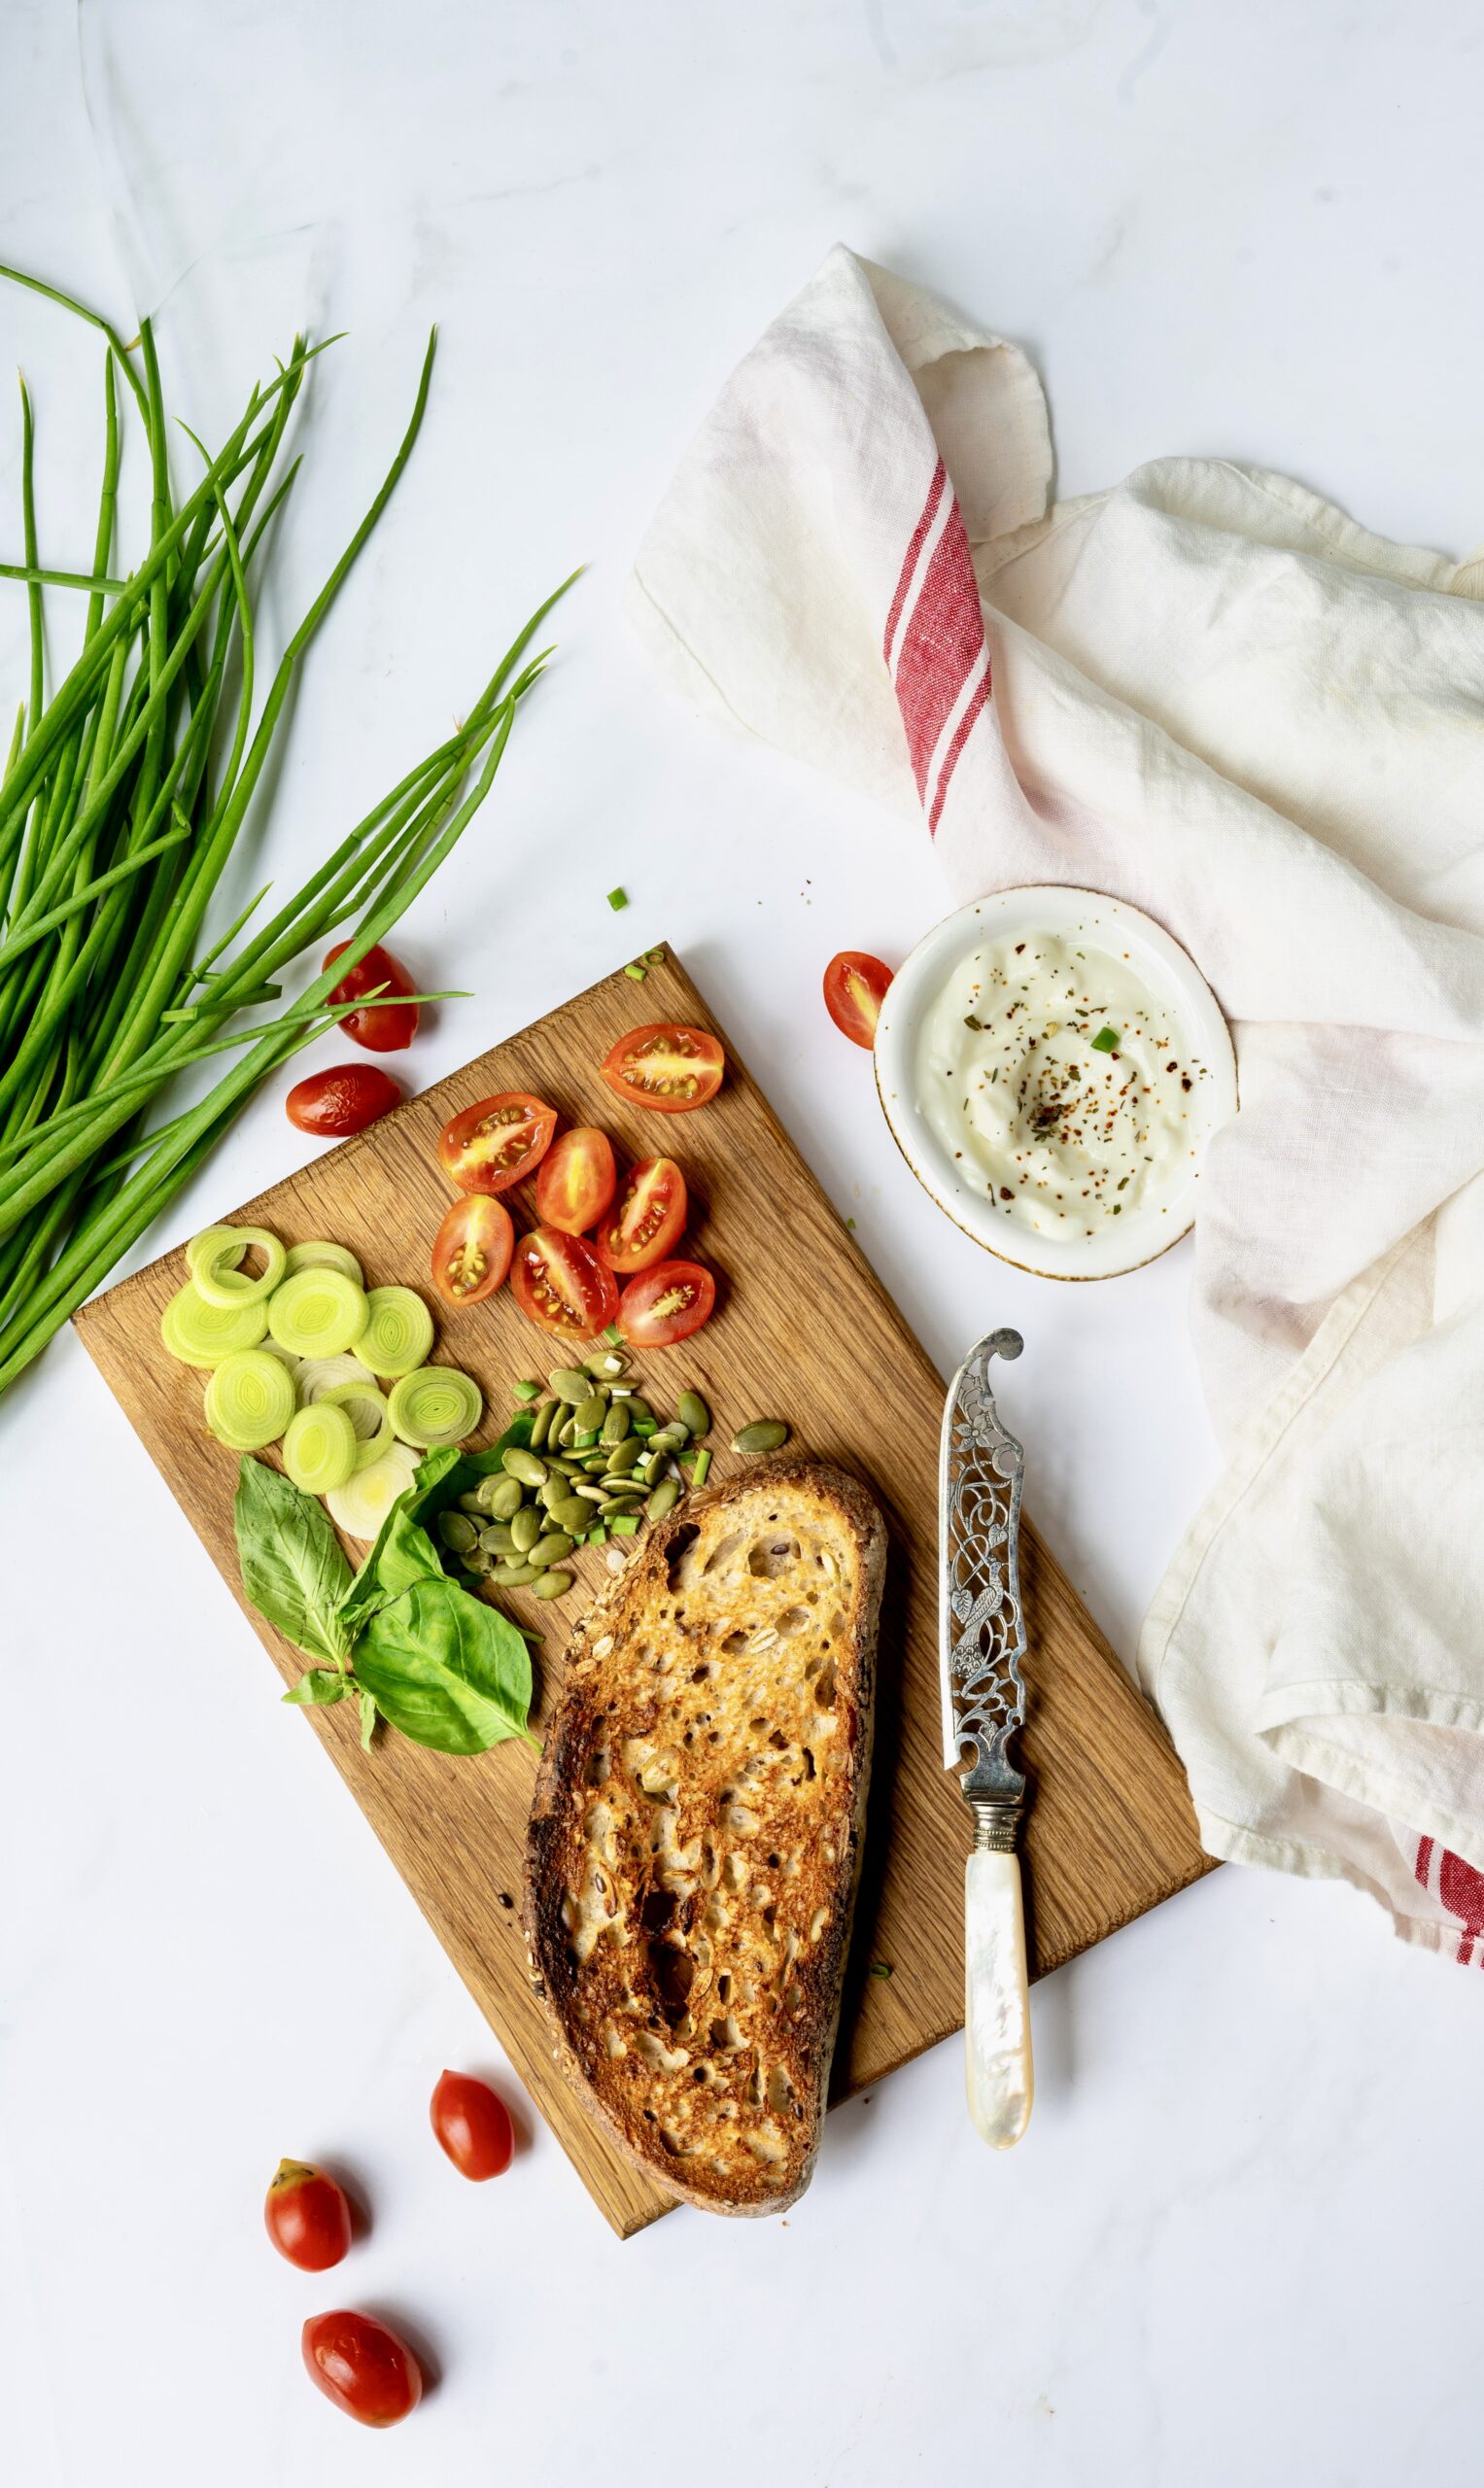
Coming back to this healthy veggie toast with mango, the ingredients used were also selected based on what feels right. I am going through a pumpkin seed phase right now, so of course there is a generous sprinkling of those. There’s some yoghurt, so that there’s a protein boost right in the morning (I have used Greek yoghurt). Then, an assortment of leaves and staples found in my fridge. You can replace any of these with something more to your liking, or depending on what you have on hand. As for the mango itself: Alphonso is probably the best cultivar for this dish, but I have a particular South Indian favourite called Banganapalli which is also very sweet, and that’s what I’ve gone with.
This year, climate-related changes did impact the quality of some of the fruits on the market. Here in Chennai, I was a bit saddened by the effect of recent rains on my own mango trees, which were at peak flourishing. During the very hot days, however, I had been quick to make all my sun-dried spices – including amchur or raw mango powder, which is used as a souring agent in place of lime in many Indian dishes.
Speaking of seasons and phases, and as I mentioned earlier too, our menu at home also goes through these. Sometimes, as a family we develop a fancy for one item and simply must have it every single day for months. For a little while at one point, we started every morning with poha. At the moment, every morning begins with mango for us – specifically, this healthy veggie toast with mango. It’s a nutritious and delicious all-rounder, which makes it perfect for breakfast. How lucky that the fruiting season and our own foodie phase have coincided!
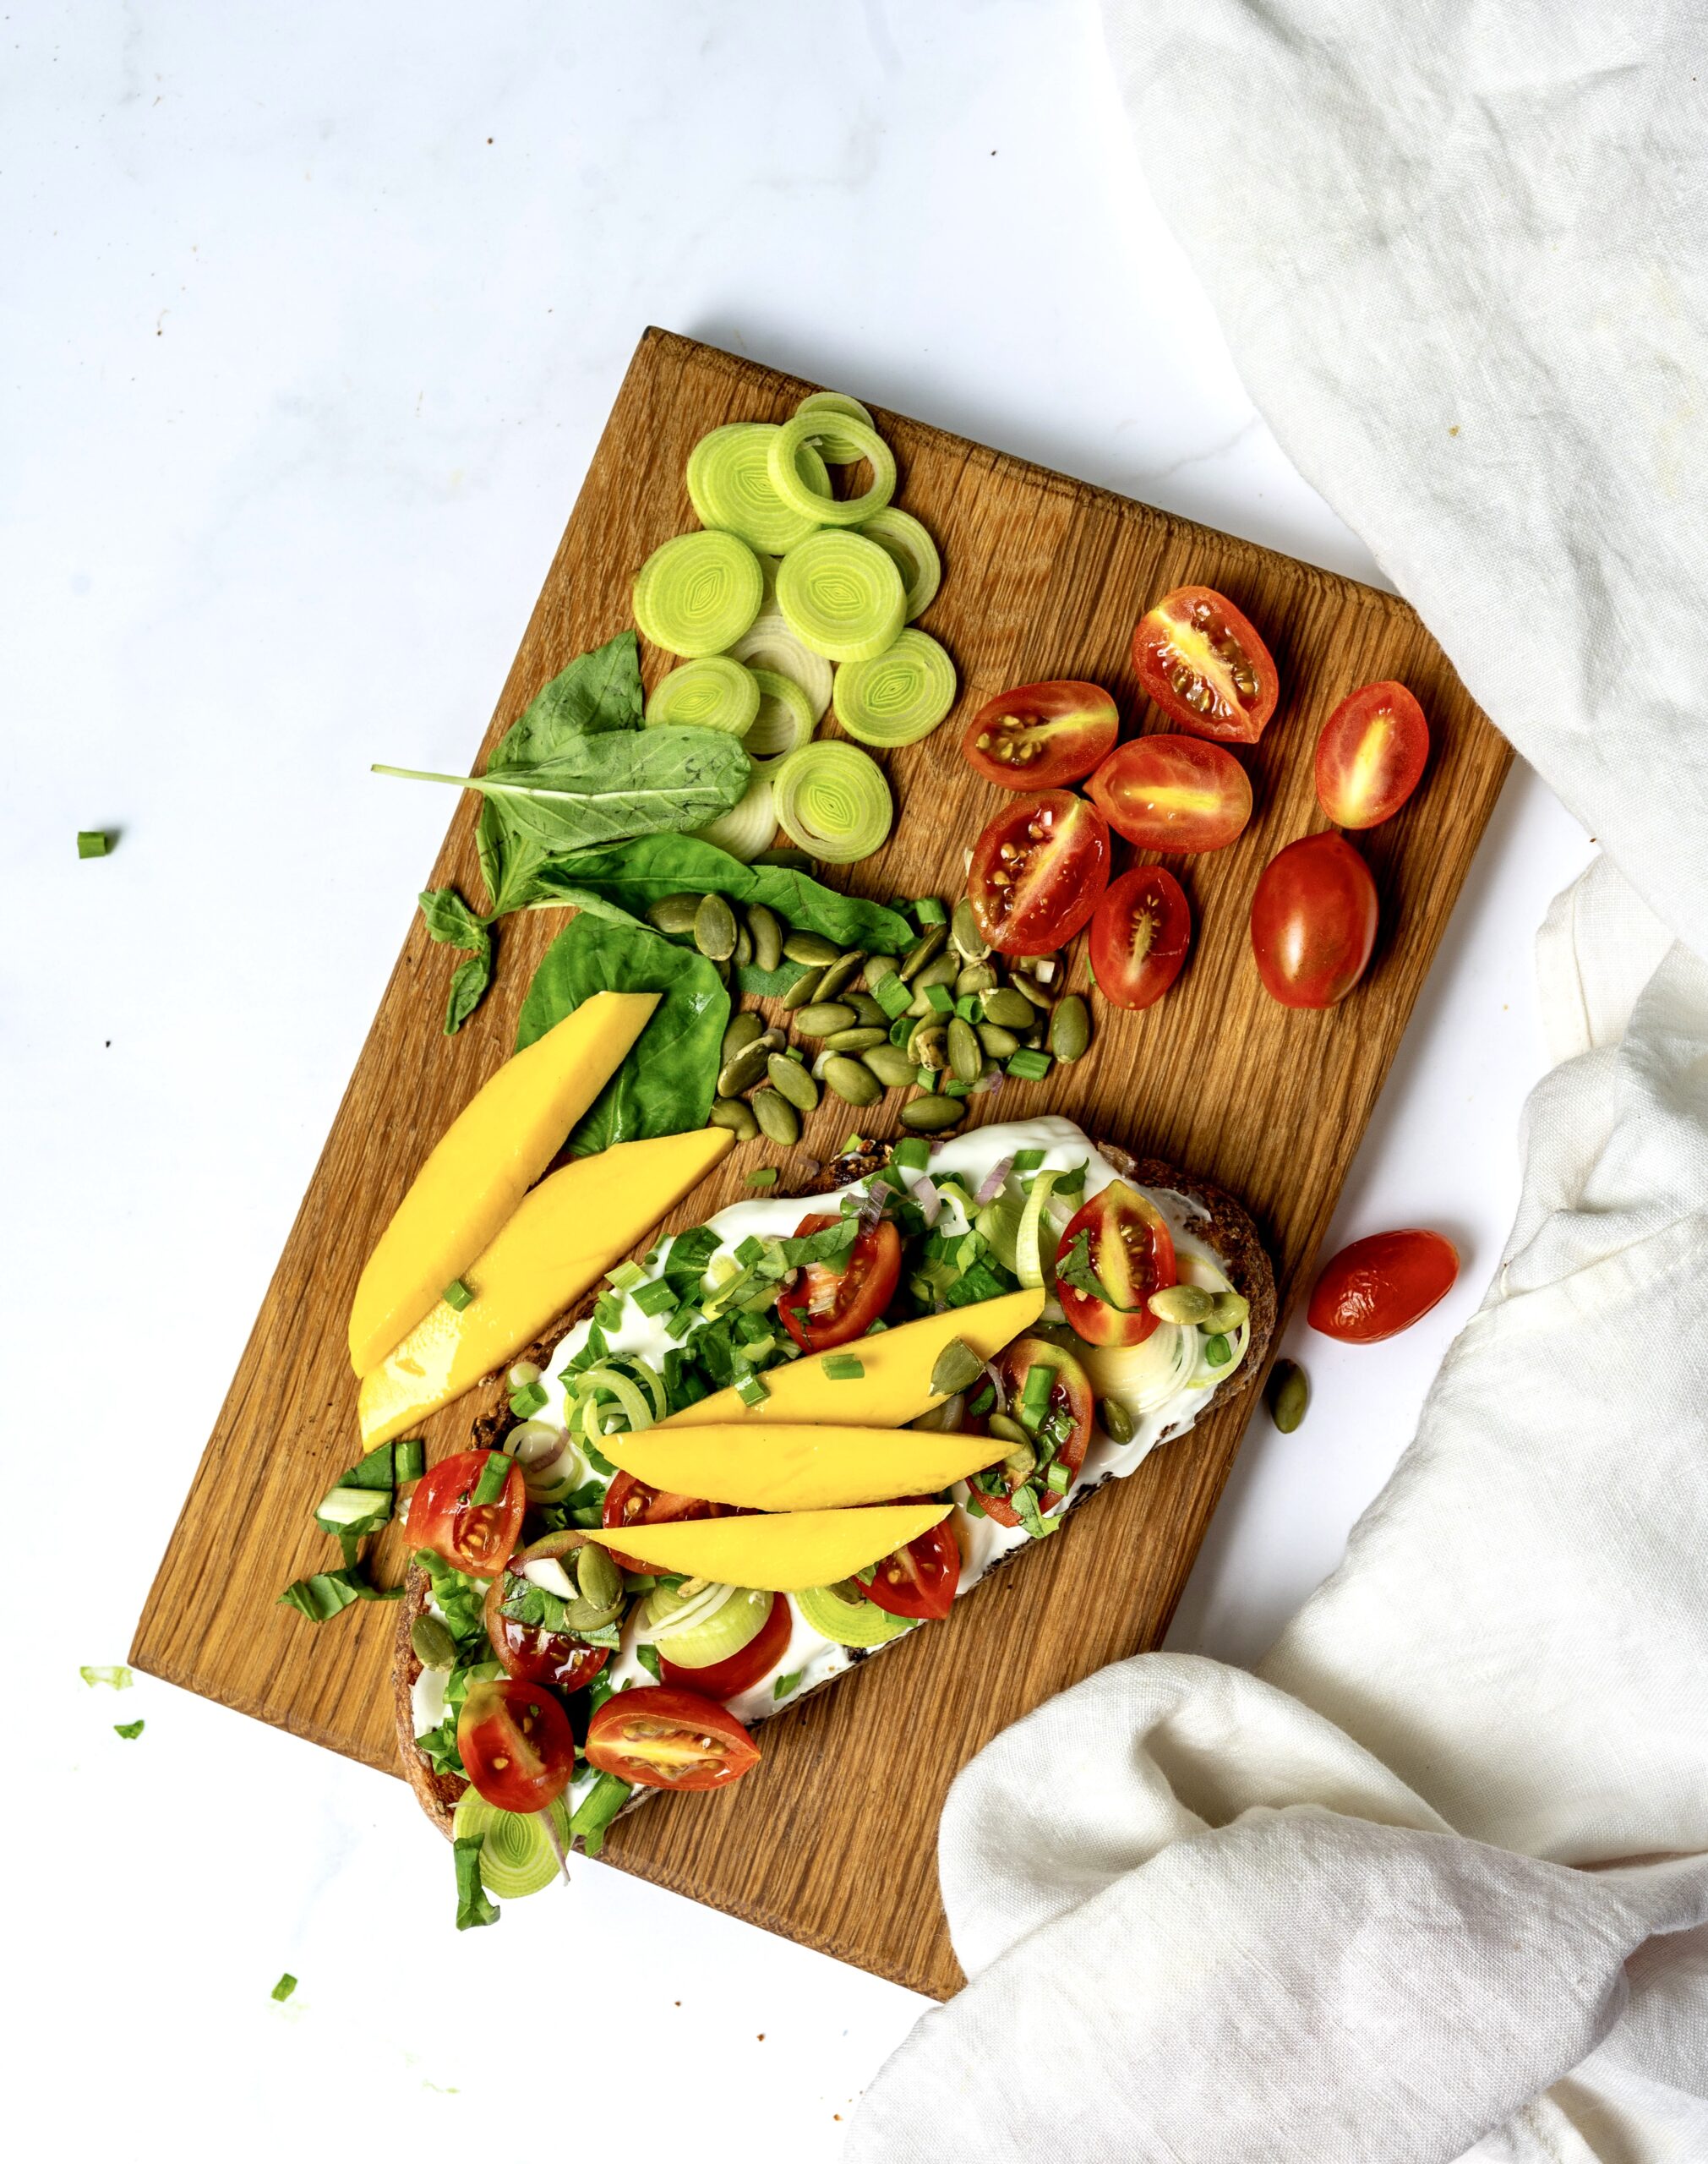
Healthy Veggie Toast With Mango
(Serves 1)
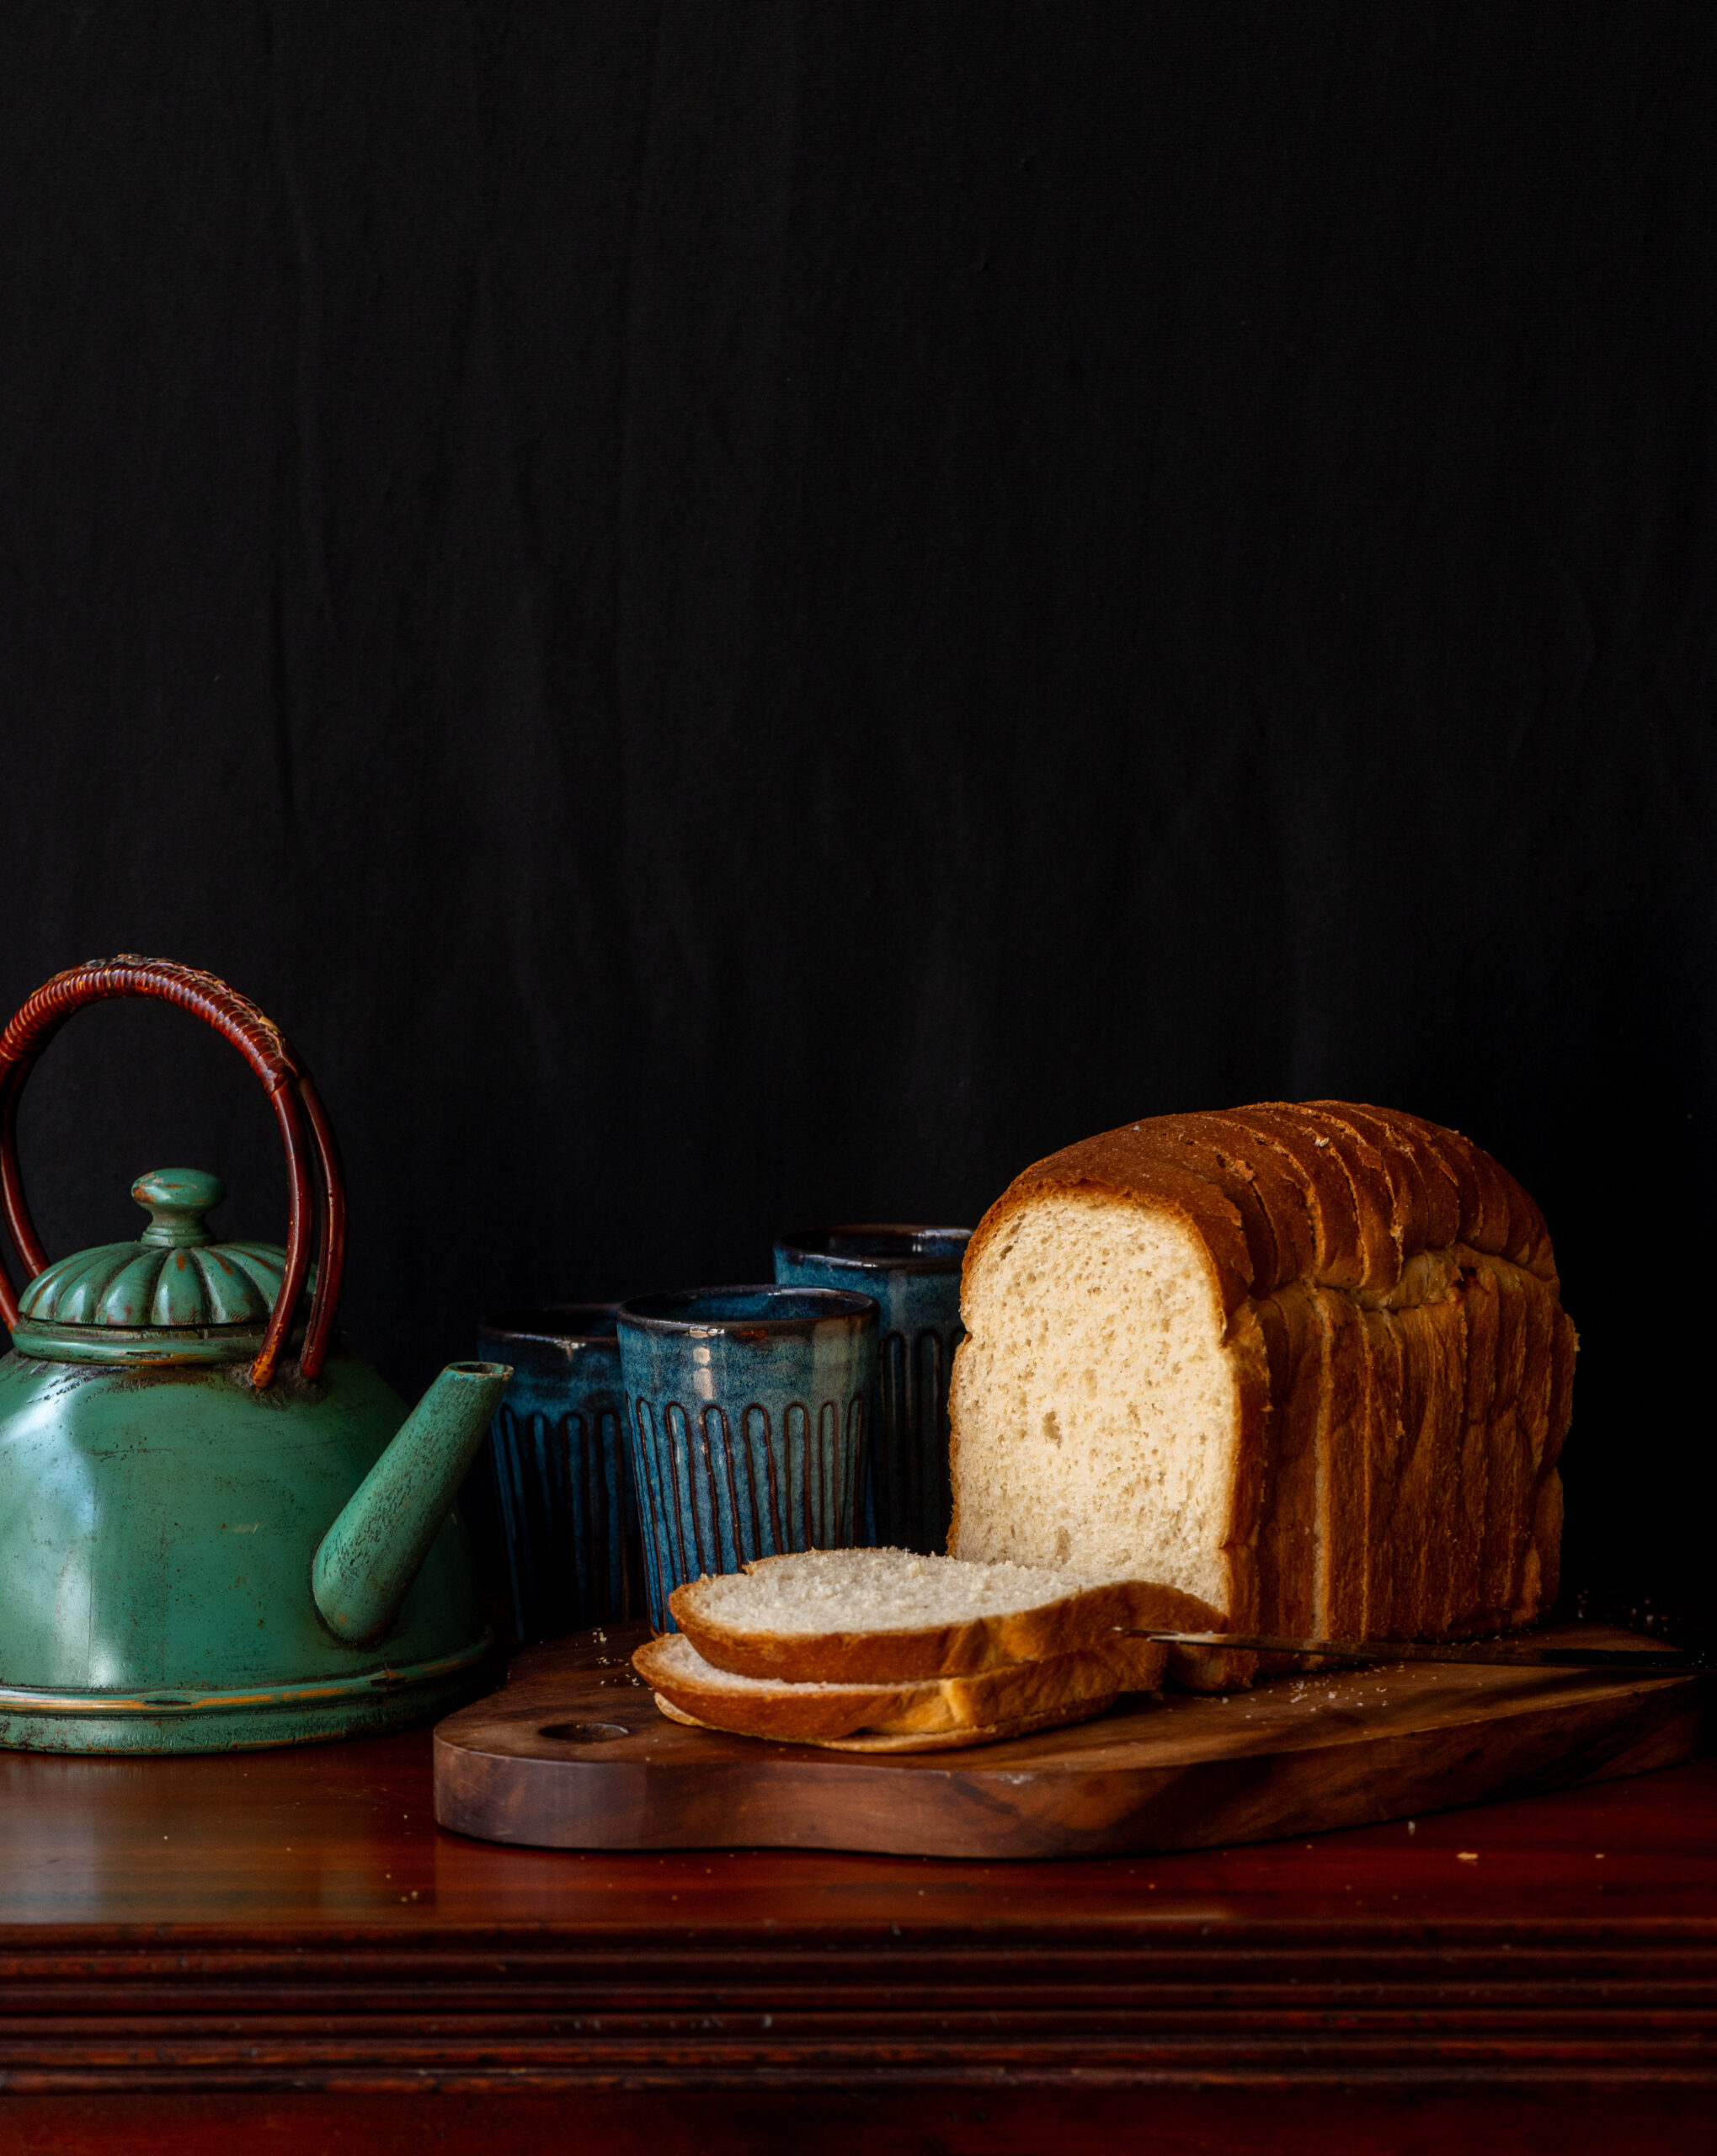
1 large slice sourdough
1 tablespoon yoghurt
A handful of cherry tomatoes
Lettuce leaves of your choice
Spring onions
Leeks (sliced)
1 tablespoon pumpkin seeds
2-3 basil leaves
3-6 slices ripe mango
Olive oil (for drizzling)
Salt and pepper to taste
Toast the sourdough slice and set aside.
Prepare all the veggies. Use what you like, in the amount that you wish to use. This is why I have been vague about the quantities in the ingredients list, and just given you the gist of what goes into mine.
Now, top the toast with the yoghurt, followed by the prepared veggies. Layer the mango slices at the end, then drizzle with olive oil. You may also want to add a sprinkling of salt and black pepper.
Your healthy veggie toast with mango is now ready. Savour the mix of flavours and textures, from the sweetness of the fruit to the crunchiness of the seeds and everything else in the mix!