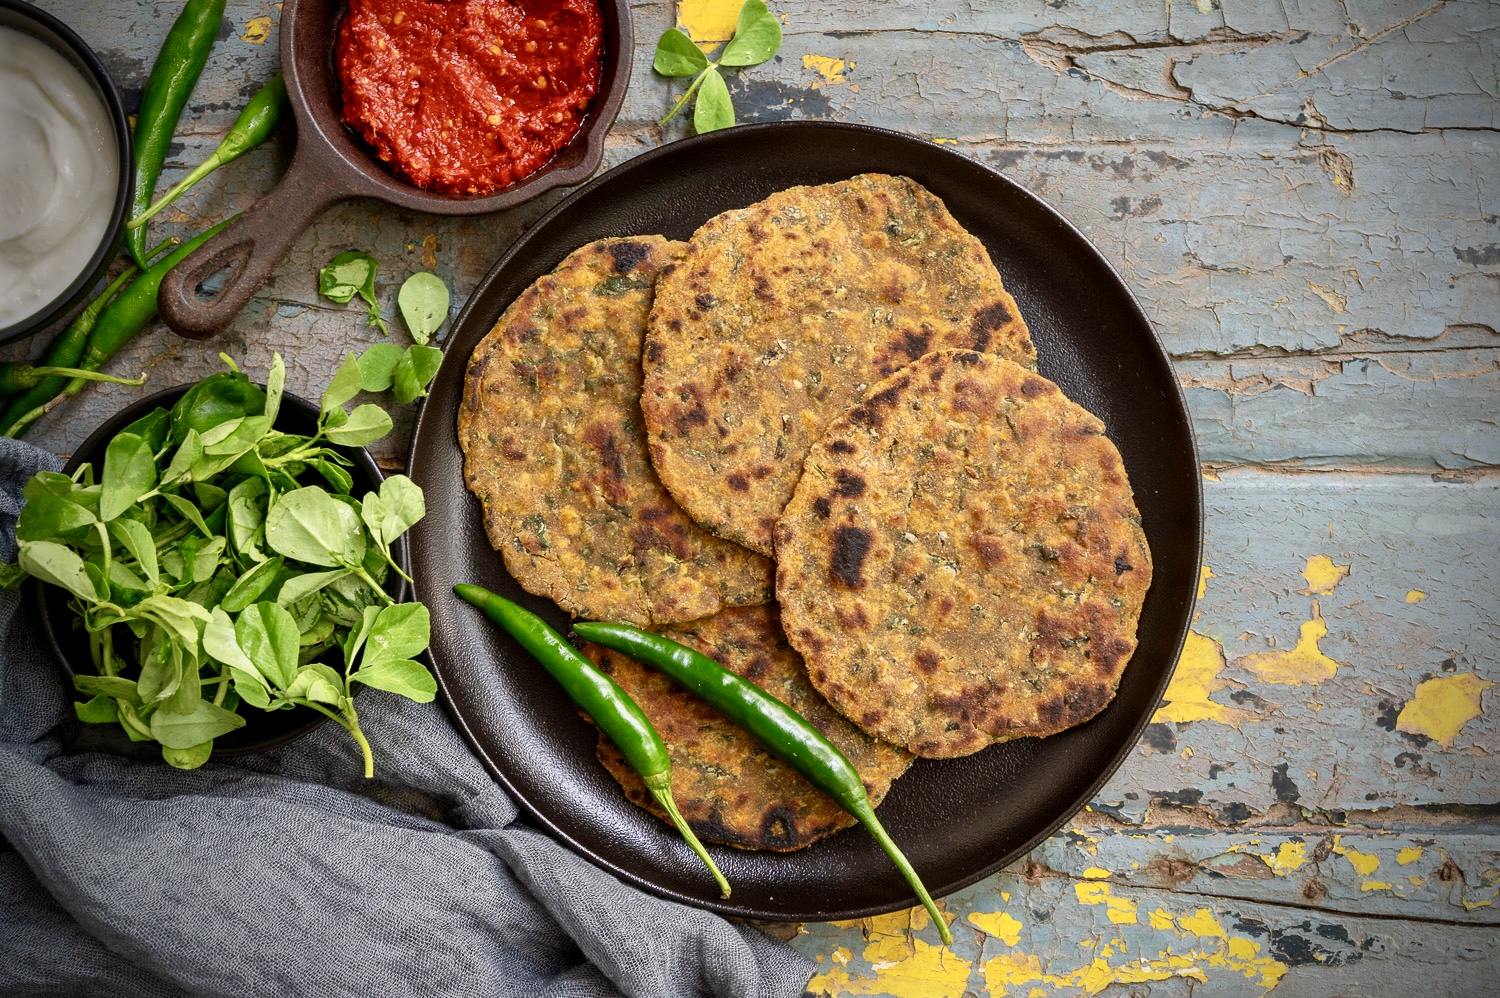
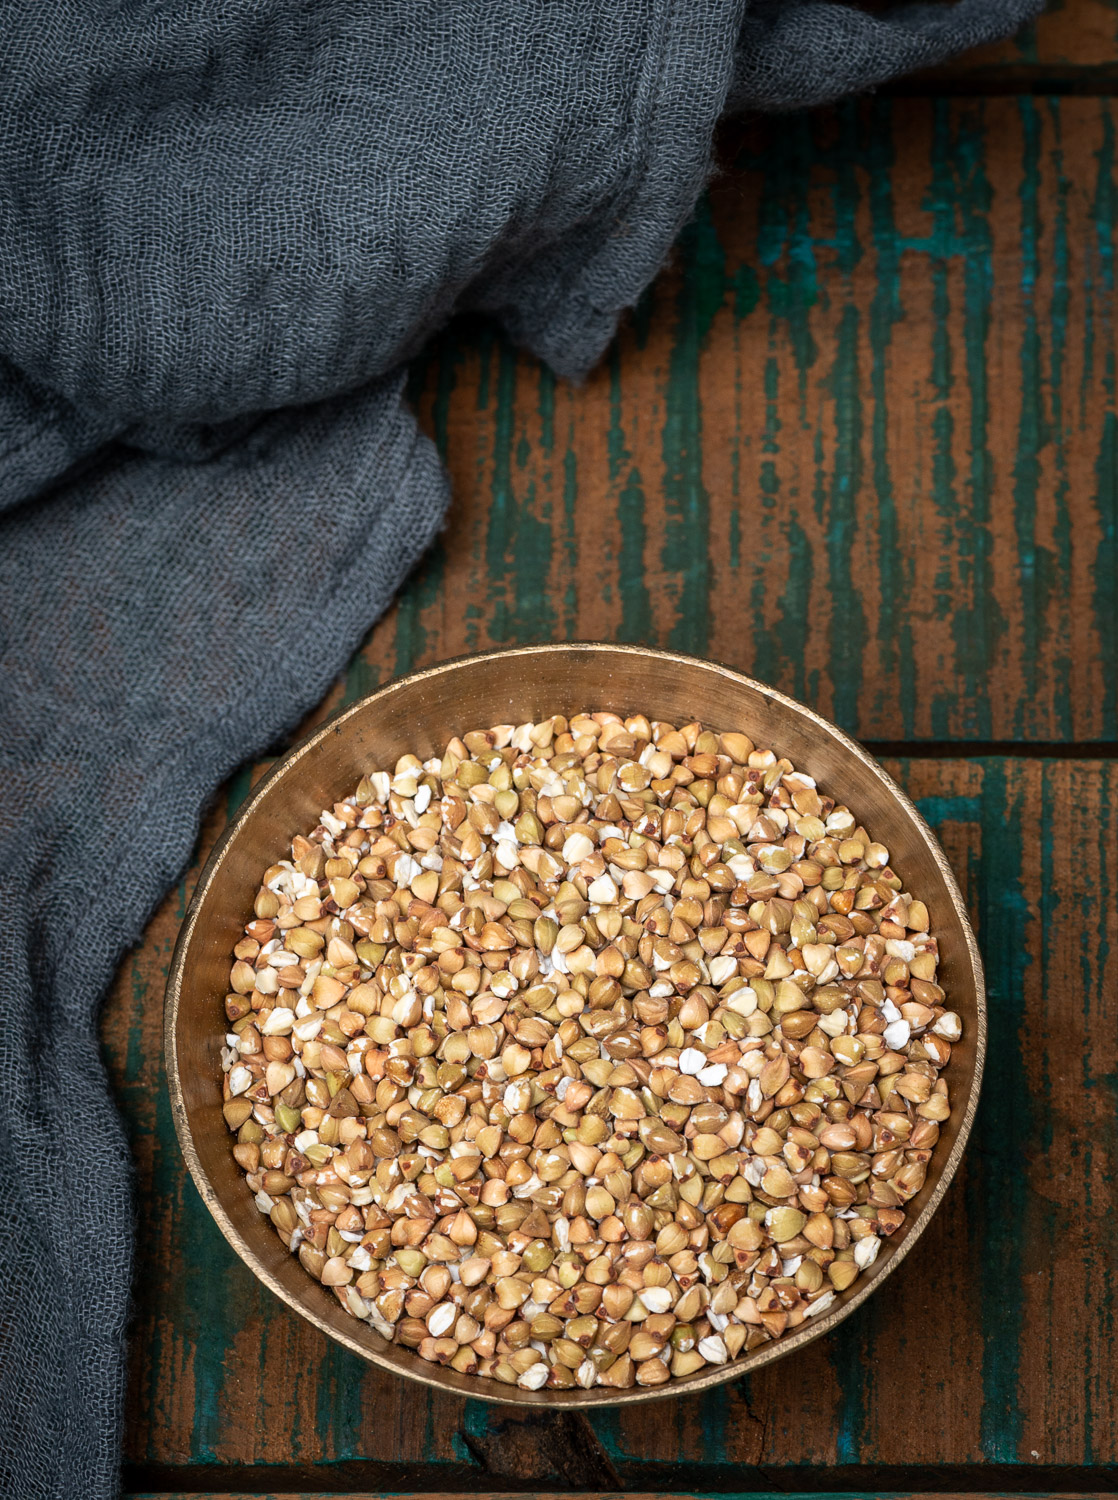
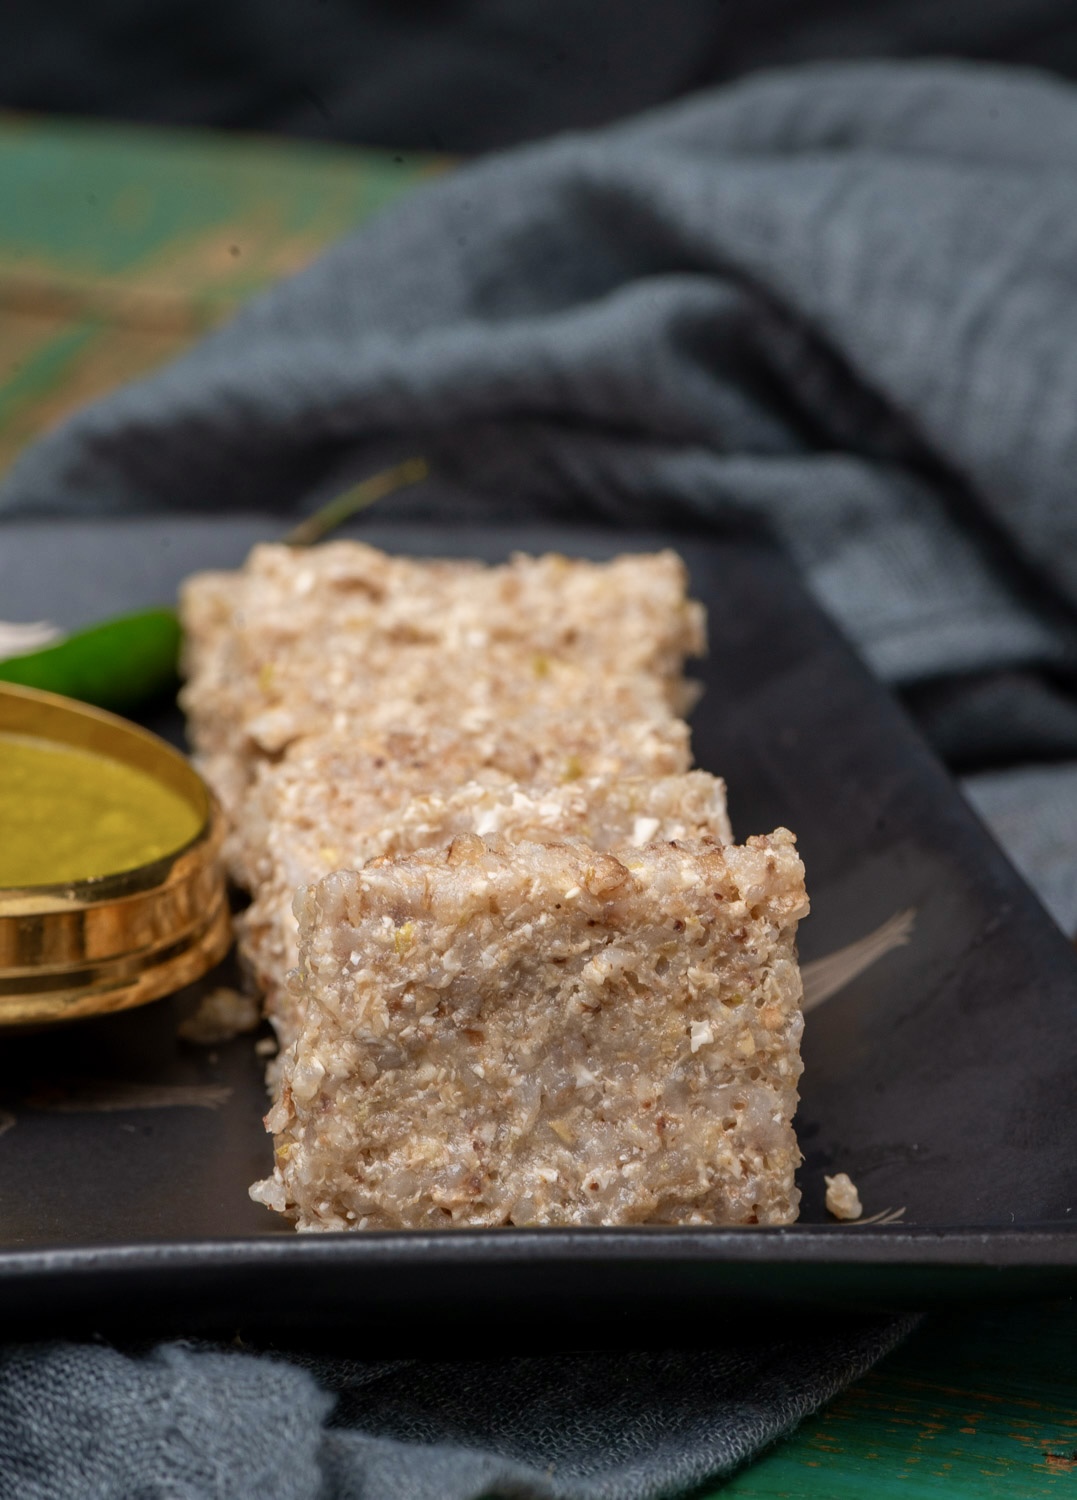
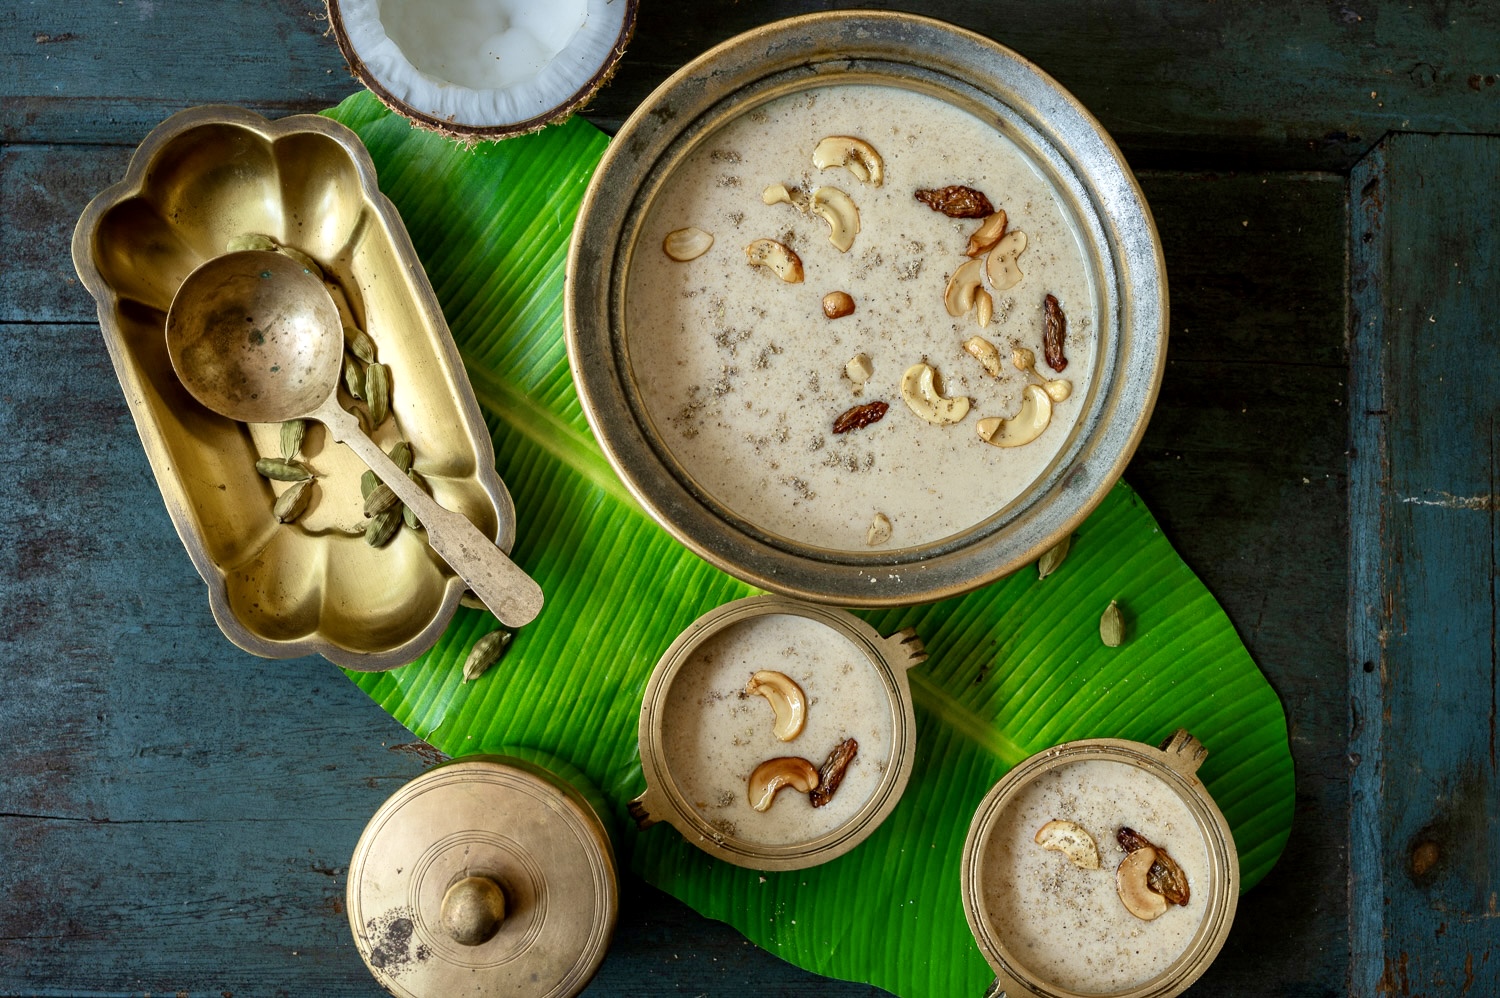
Within Gujarati cuisine, there is a special category of food called “farali”, which comprises of dishes that can be consumed during fasting days. My mother observed such days at various points in each month, which meant that we saw a lot of farali food at our dining table in rotation when I was growing up. During fasts, grains are usually forbidden, so core staples like rice, millets and wheat are not permitted. As a seed and a pseudocereal, buckwheat is exempt from this rule. Known in Gujarati as “kuttu”, this nutritious ingredient would be what my mother would use to prepare a delicious dhokla when she was fasting.
Dhokla, being one of Gujarat’s most famous culinary contributions, has of course made appearances on this blog in the past. It is a steamed, fluffy dish made of fermented batter. It’s very simple to make, and is eaten in Gujarati homes as often as idlis may be eaten in a South Indian home. I’m speaking of the standard dhokla that is made of rice and pulses. But the buckwheat dhokla, as far as I know, is special. It is regarded primarily as fasting food, and not a part of regular meals. Other farali ingredients include tapioca pearls, sweet potatoes and amaranth leaves (but no green vegetables). So many unique dishes must have emerged because of these time-honoured rules, and there would have been a certain logic to them too. For example, when I apply modern knowledge to the restriction on grains, I realise that it must have been about bringing gluten-free days into one’s consumption cycle.
As a child, I enjoyed the taste of buckwheat dhokla and would request to have it on non-fasting days, but my mother was quite firm about not serving it except as farali. She would say that certain things had to be eaten only on the right days or at the right time. Similar to how laapsi is prepared traditionally on only one day of the year, kuttu na dhokla was inextricably linked to spiritual customs and had a place only within them in her view. It was served during festivals like Navaratri and Shivaratri, as well as more frequently on Ekadashi, which occurs twice a month.
Back then, this disappointed me of course. I was not very interested in my mom’s farali dishes other than buckwheat dhokla. She also refrained from making us consume these meals alongside her, and prepared other food for us on those days. Perhaps due to the fact that her customs were not forced on us, I was always curious about them. There are many rules followed by various communities. Sometimes you understand the reasoning behind them. At other times, even those who follow them can’t explain why. Either way, you often hold on to them or circle back to them because they are connected to a beloved relative. Some traditions persist in remembrance of an individual.
This is why while I myself don’t observe the fasting customs that my mother did, I do continue to make buckwheat dhoklas because they are connected to her. Nostalgia was my original reason, but nutrition quickly became another compelling one. Buckwheat has a low glycemic index, is excellent for the control of cholesterol and blood pressure levels as well as heart health management, is packed with protein, fibre and antioxidants, and is of course gluten-free. I would say it has millet-like qualities as a rice and wheat alternative.
I also enjoy making a buckwheat loaf. I fill the dough with enriching seeds and nuts, making the bread both healthy and delicious. I occasionally take orders for this alongside my various other baked delights, but I mostly prepare it for my family. Just one slice is filling, and makes for an easy snack or small meal.
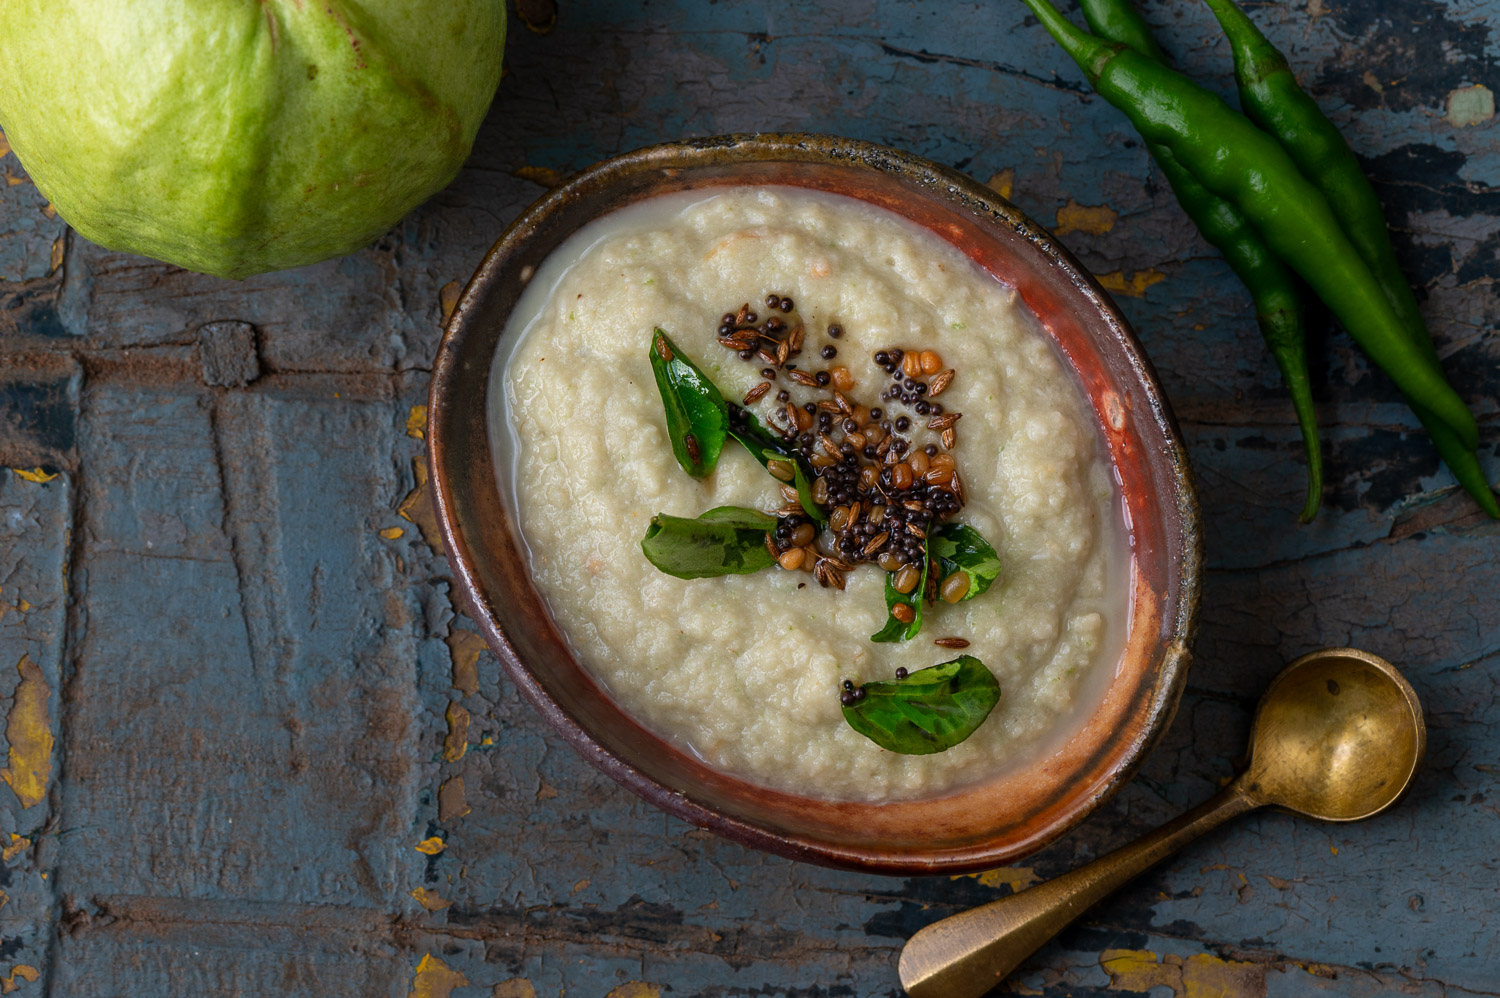
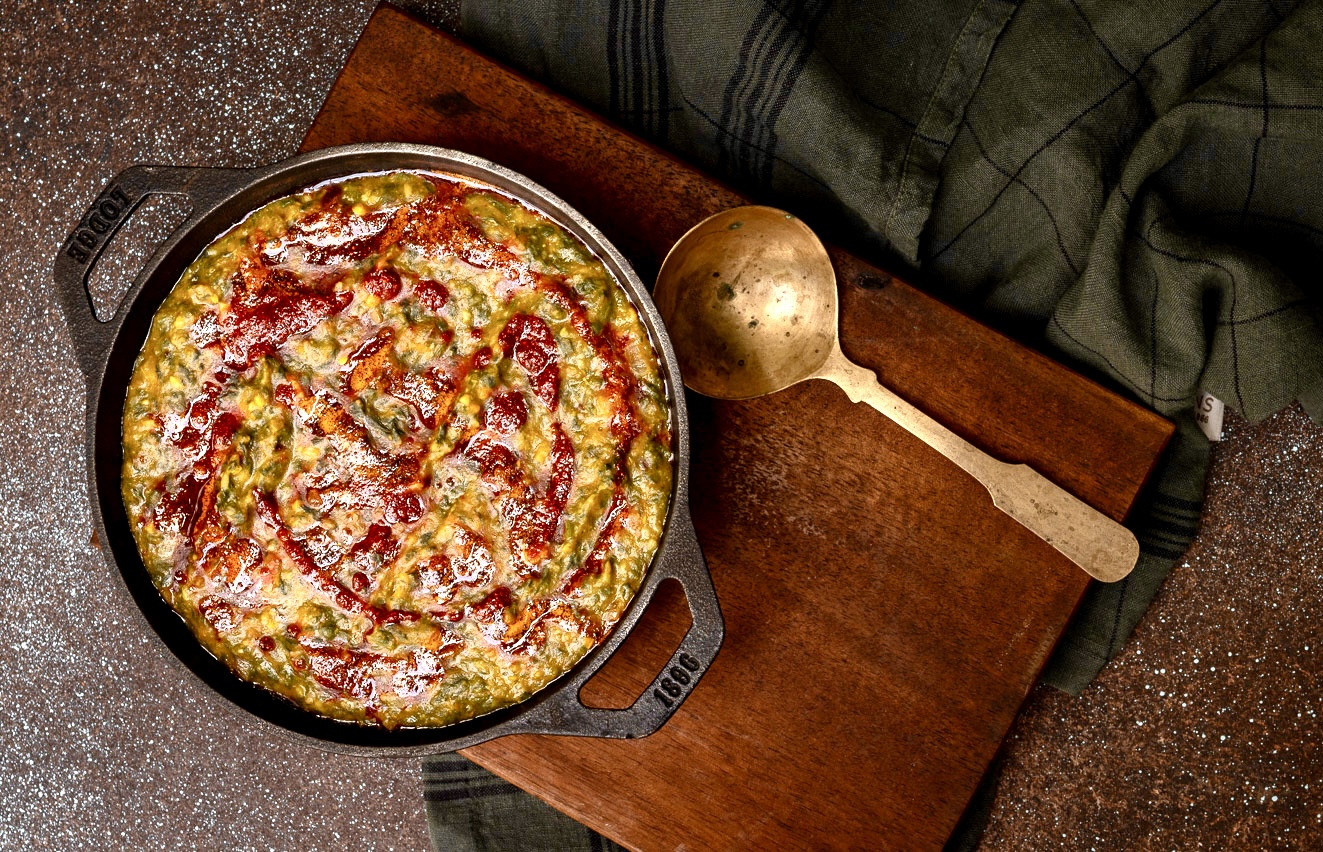
Coming back to the buckwheat dhokla, you’ll find that it has its own unique flavour as compared to regular dhoklas. If you are someone who observes certain fasts, this may be the perfect dish to incorporate into the routine of those days. Otherwise, the fact that it’s good for you, and tastes quite good too, should do!
Buckwheat Dhokla
(Serves: 2)
1 cup buckwheat groats
1½ cups sour buttermilk
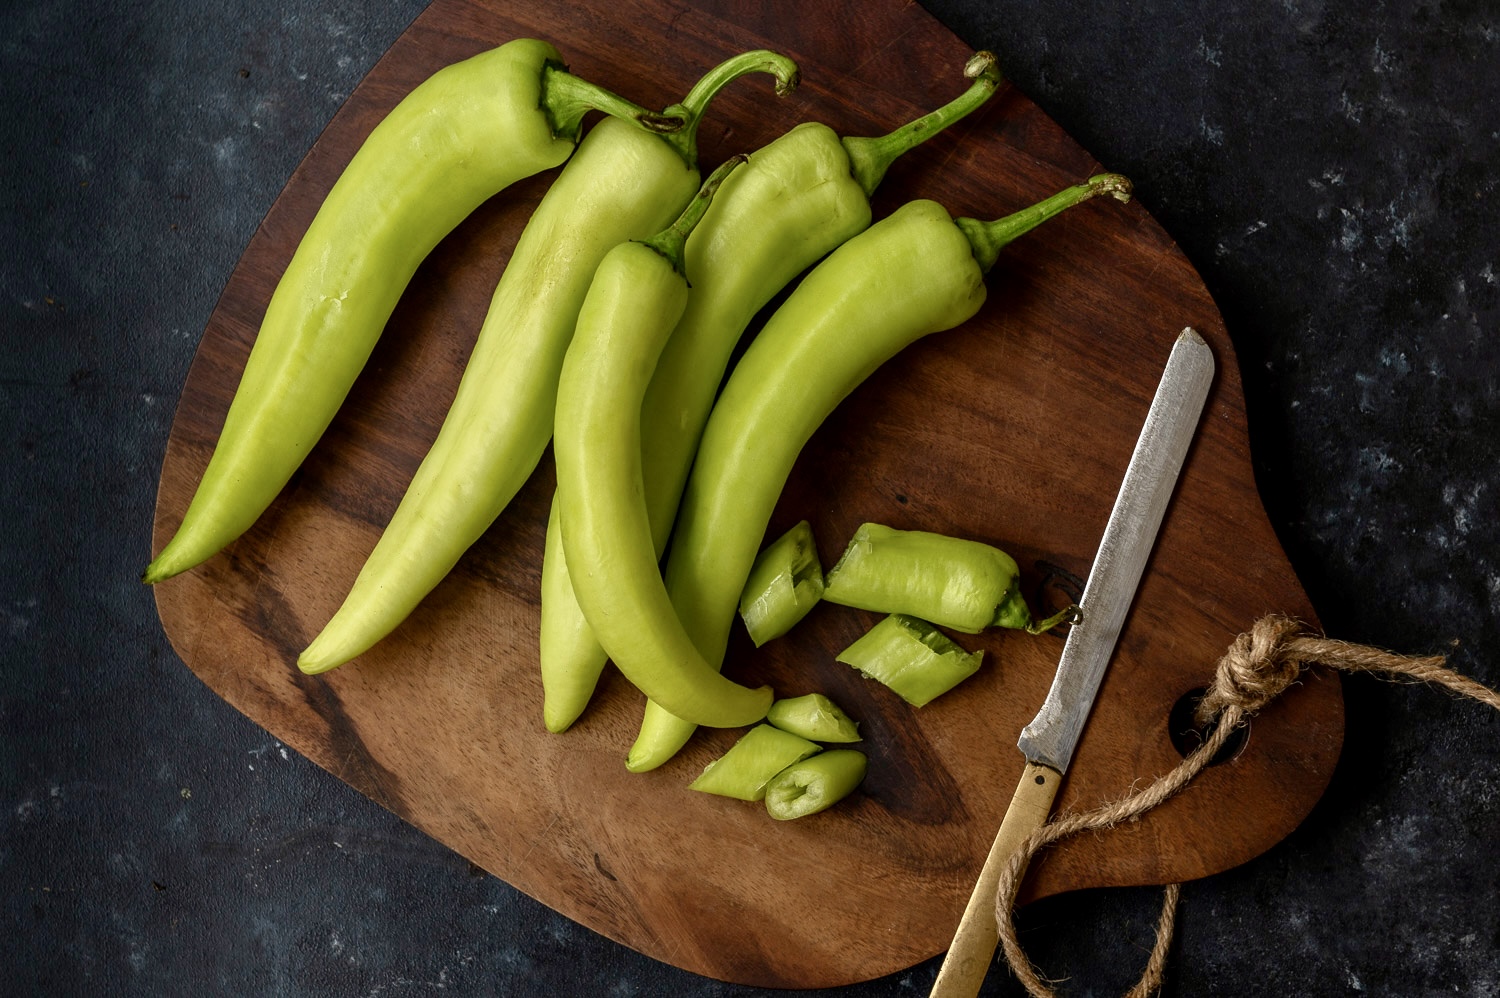
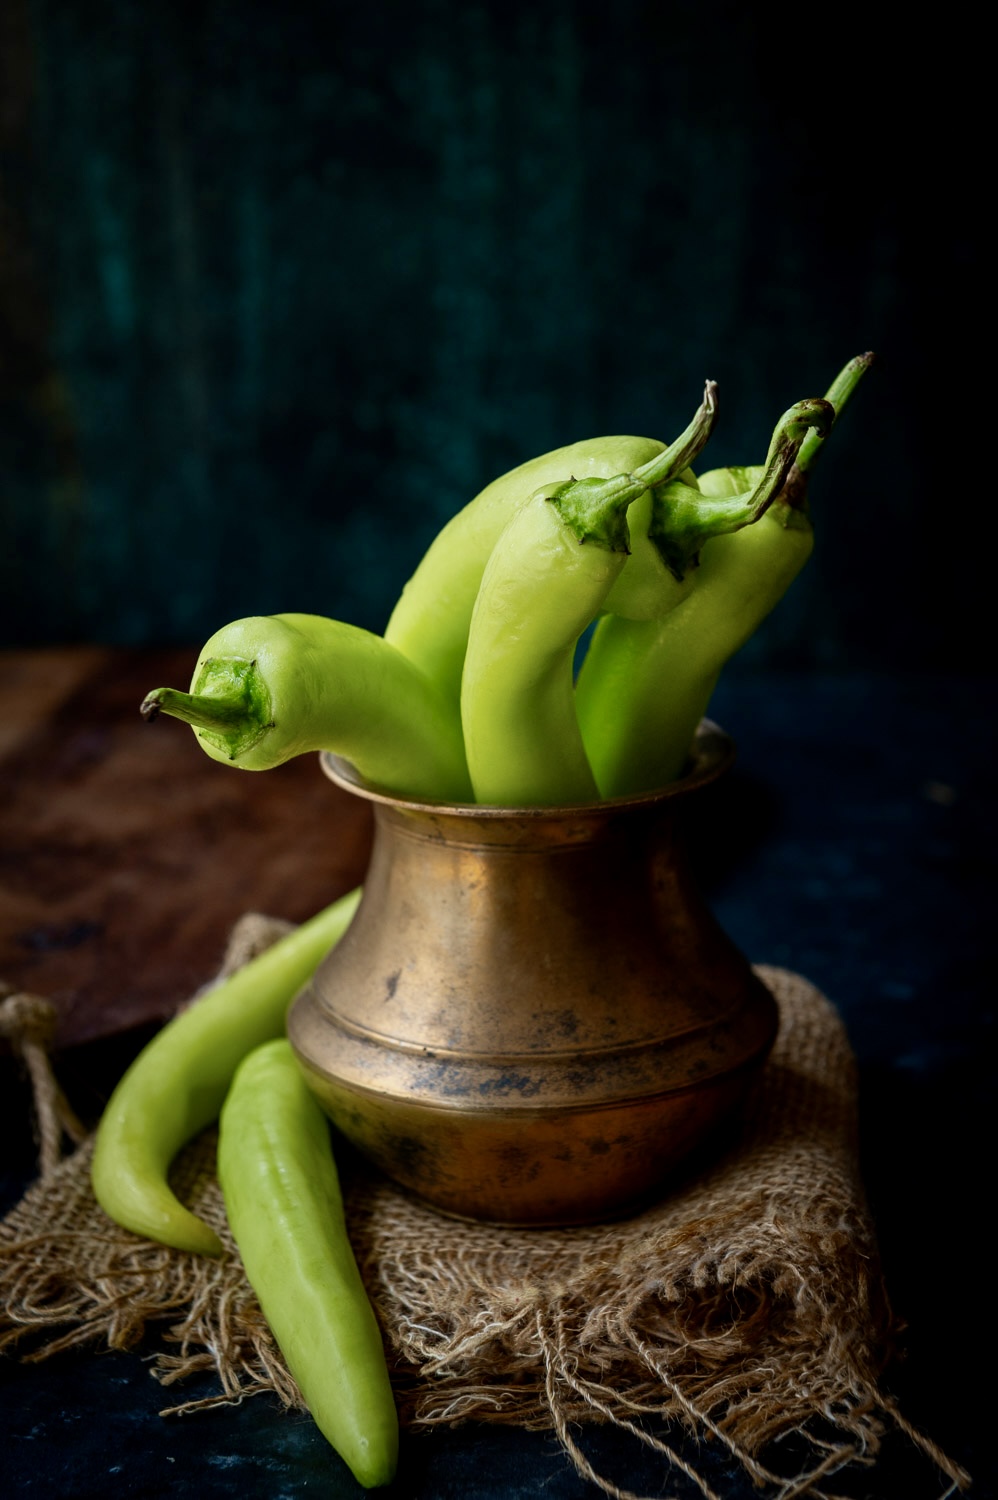
1 teaspoon green chilli paste
½ teaspoon grated ginger
Rock salt to taste
1 teaspoon oil/ghee
A pinch of ENO fruit salt (optional)
Coarsely grind the buckwheat. Doing this for just 2-5 seconds is sufficient.
Rinse and soak the buckwheat in the buttermilk for 5-8 hours.
When ready to begin preparing the dhokla, grease a steamer plate and set it aside.
To the batter, add the ghee, salt, green chili paste and ginger. Pour the batter into the steamer plate.
Prepare the steamer and once it has heated, place the steamer plate inside. Cover.
In 15 minutes, open the steamer and insert a toothpick into the dhokla. If it comes out clean, it is ready.
Remove it from the steamer. I prefer to eat it fresh and hot at this point, but you may prefer not to. If so, allow to cool, then cut into squares. Remove from the plate.
Your buckwheat dhokla is ready to serve. It can be eaten plain or with a condiment of your choice.
If you would like to explore more traditional Gujarati dishes, I have dozens of them in my archive [hyperlink]. I hope you’ll enjoy them all!


")