The coastal plains of India, which includes the state of Tamil Nadu, are a part of the country’s large rice belt. While North Indian cuisines are wheat-based, South Indian ones are rice-based. Historically, however, rice was not the only grain that was given importance in this part of the country. Millets played a huge role in traditional foods, and in recent years there has been a mass movement to revive them. I have shared numerous millet recipes on this blog as my contribution to this, and this barnyard millet payasam is one more to add to the list.
Barnyard millet, known as kuthuraivali in Tamil, is a finer grain. This makes it ideal for summer usage, as it is lighter on the tummy. Across the country, grains which are heavier to digest and thus keep the body warmer for longer are usually retained for the winter. Barnyard millet is also harvested now, so it is the perfect season to consume it in every way.
All millets are known for their nourishing qualities and in particular for having a having a lower glycemic index than white rice, and for being gluten-free. Barnyard millet’s benefits include being rich in protein, fibre, phosphorus, magnesium and antioxidants. A millet-forward diet is a health-conscious one, and I am of the view that a dish can and should be both nutritious and delicious in order for us to easily and frequently incorporate it into our meals.
Deliciousness is a key part of why I chose to prepare a barnyard millet payasam for this month’s recipe. I have an incredible sweet tooth, and it has been a lifelong mission of mine to try and give it up. At this stage of my life, I feel I have really been able to cut down on my sugar consumption of the past. But I do not want to give up desserts entirely. When I speak to friends, it is clear that many of us are in the same boat.
What I can share confidently from my experience is that it’s really about conditioning the palate. I have grown accustomed over time to eating desserts that are less sweet, and hopefully my tastes will remain this way. Not only are they less sweet, but my choice of sweeteners has also become more diverse. Refined sugar is hardly the only way to go. During a recent visit to a wellness centre, I observed a nice range of desserts being served without the use of refined sugar at all. If more eateries leant in this direction, I have no doubt that we wouldn’t feel deprived of treats, or guilty for consuming them, when we are out and about. In the meanwhile, what we make and serve at home is entirely within our control.
In addition to being accustomed to a milder sweetness, portion control is also important. Nowadays, just a small cup of barnyard millet payasam or any dessert usually satisfies my cravings. I enjoy every bite all the more. It’s all about conditioning ourselves to eat healthier, while relishing more deeply.
On that note, I wanted to share that I have become increasingly intrigued by Ayurveda and Ayurvedic eating in particular. As I read more books about the system, I contemplate ancient Indian mindful consumption and have begun to wonder how I can change my habits accordingly. What’s interesting is that Ayurveda doesn’t really approve of dairy, with the exception of cooling buttermilk and very limited quantities of ghee. While the recipe I am sharing today would not qualify as Ayurvedic, I think you may see some here on this blog in future which are informed by those practices. I’d love to hear from you if you are on a similar journey, or if there are particular dishes you are curious about and want to learn about with me.
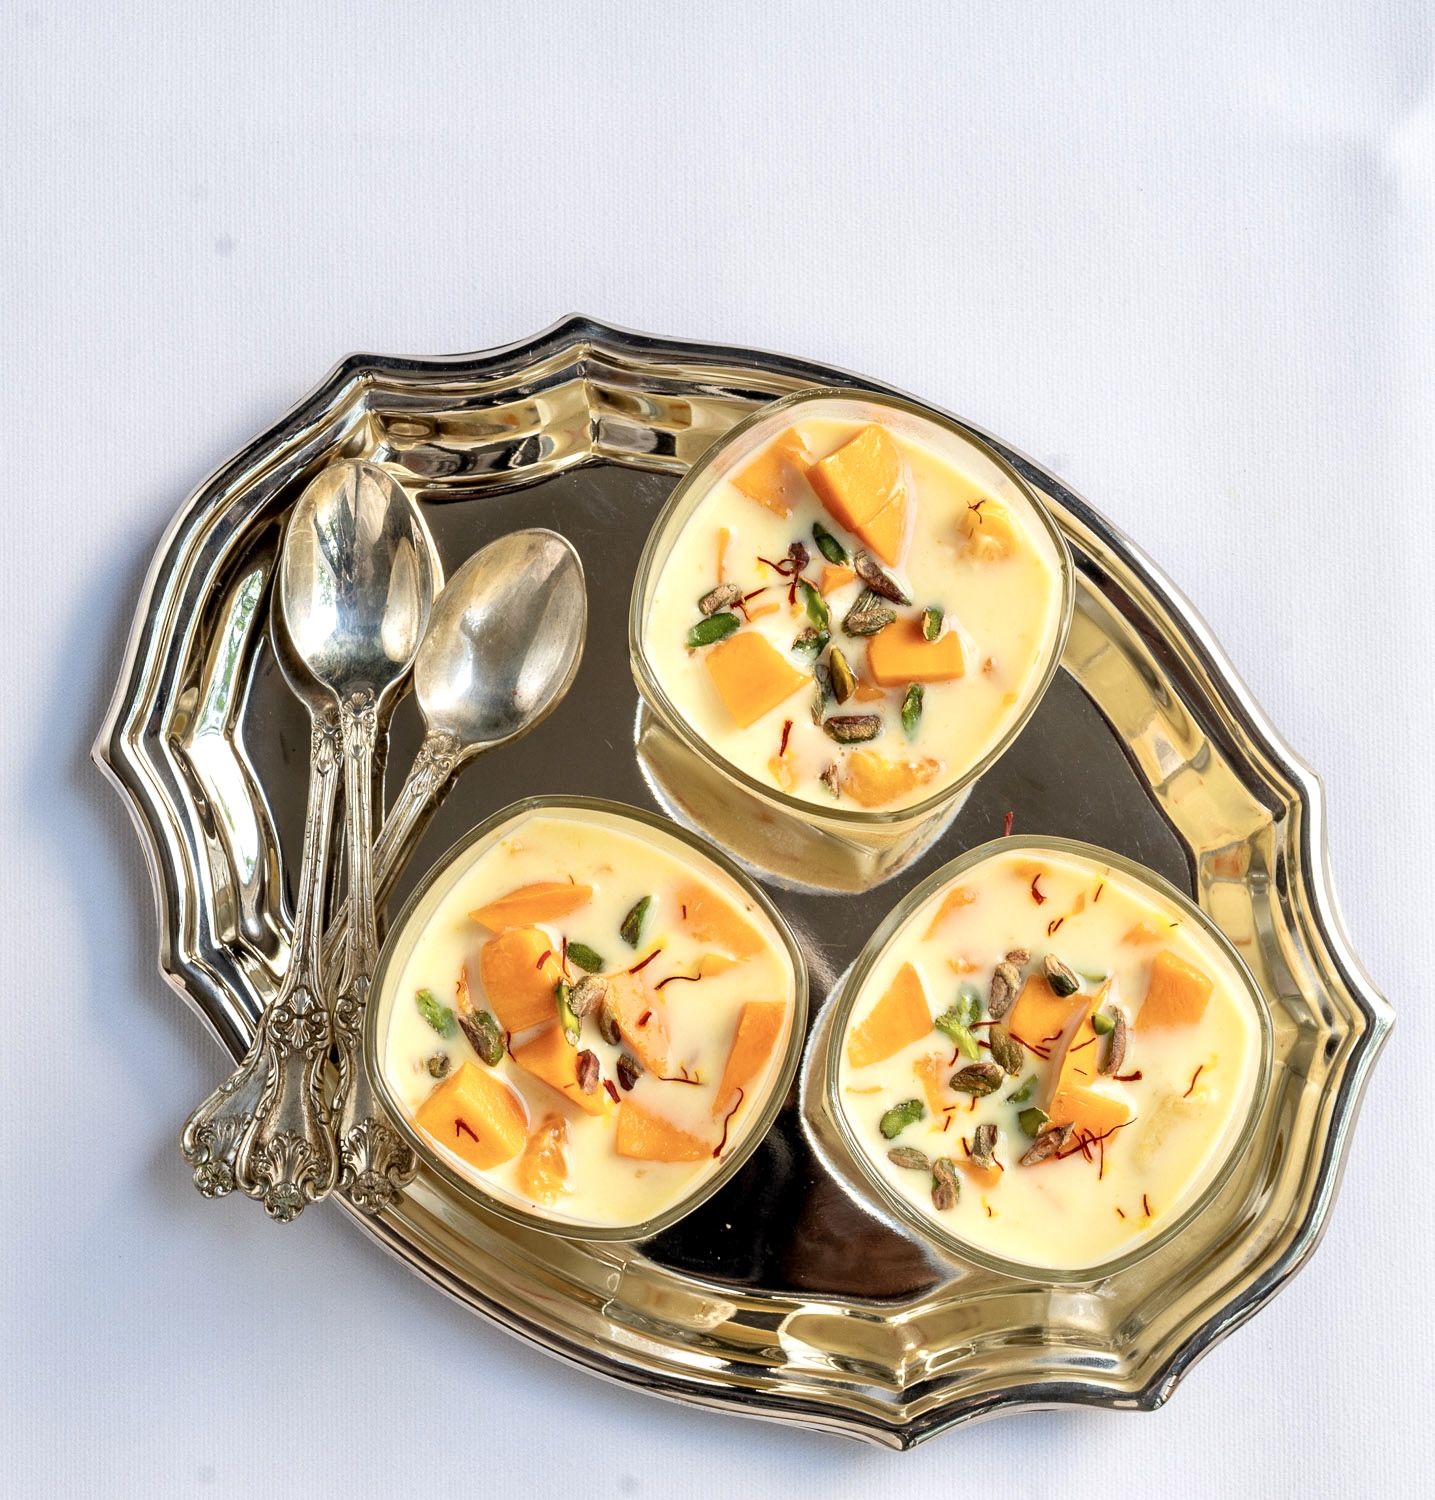
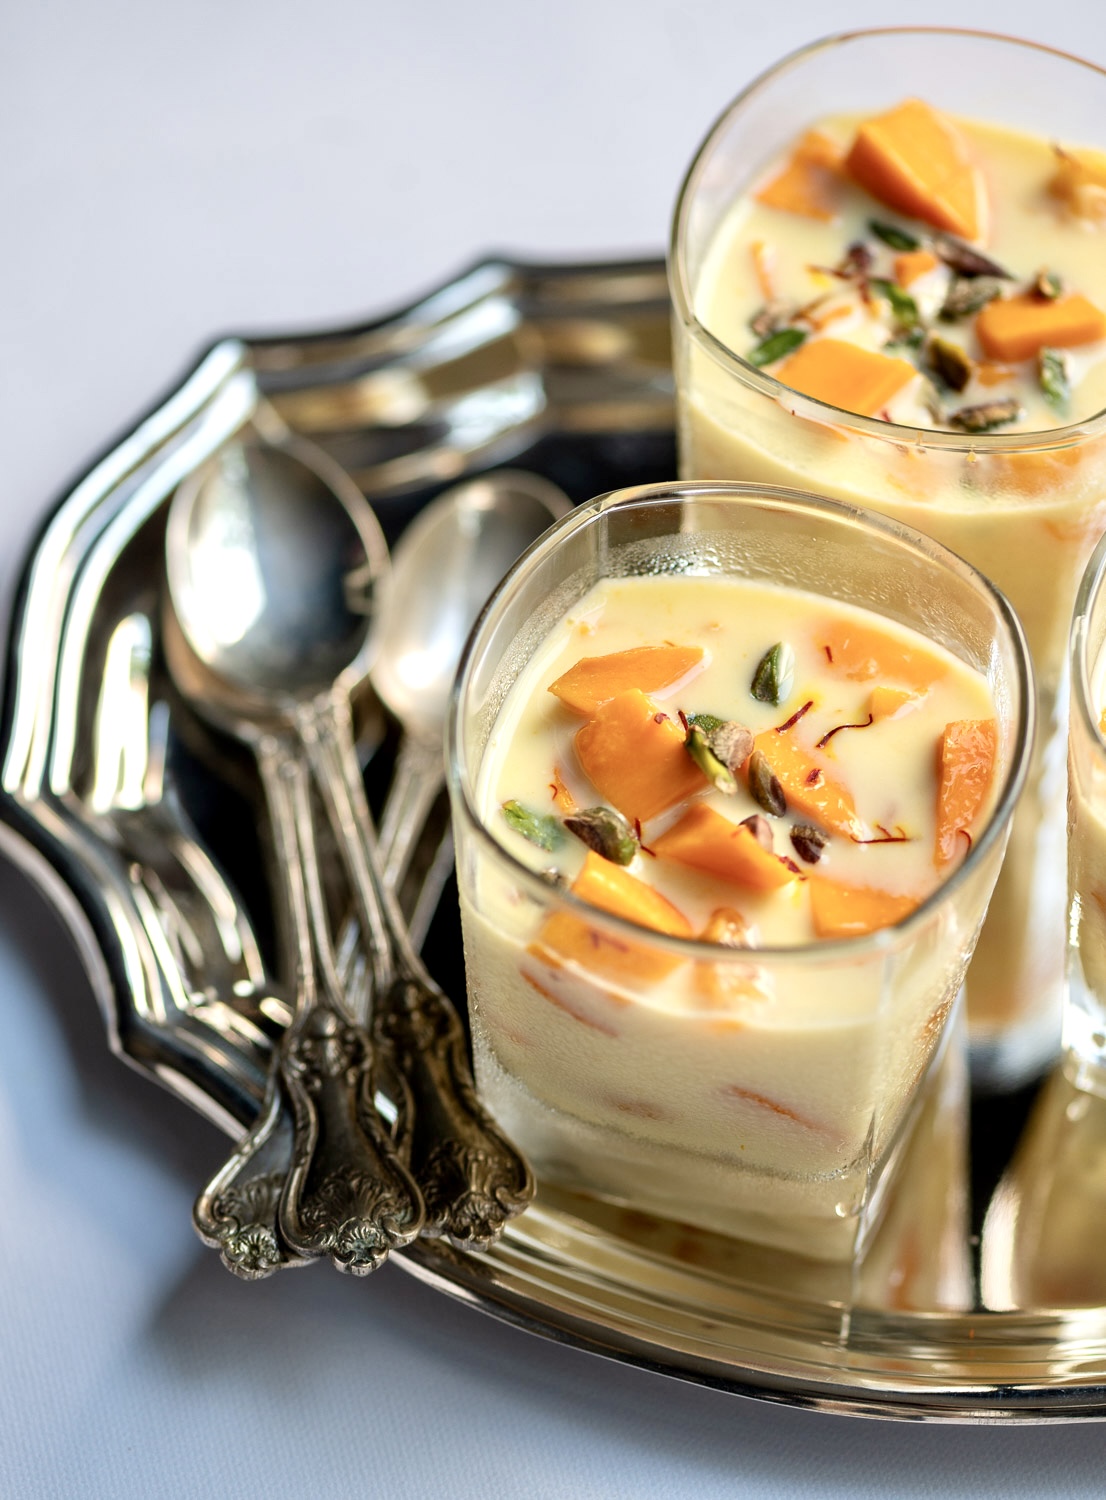
Coming back to this barnyard millet payasam, I have been really enjoying it during this year’s soaring temperatures because it is so light. Often, a meal of rice, millets or carbs mean that the appetite for dessert can vanish. Not so when dessert is as easily digestible, and as delicious, as this.
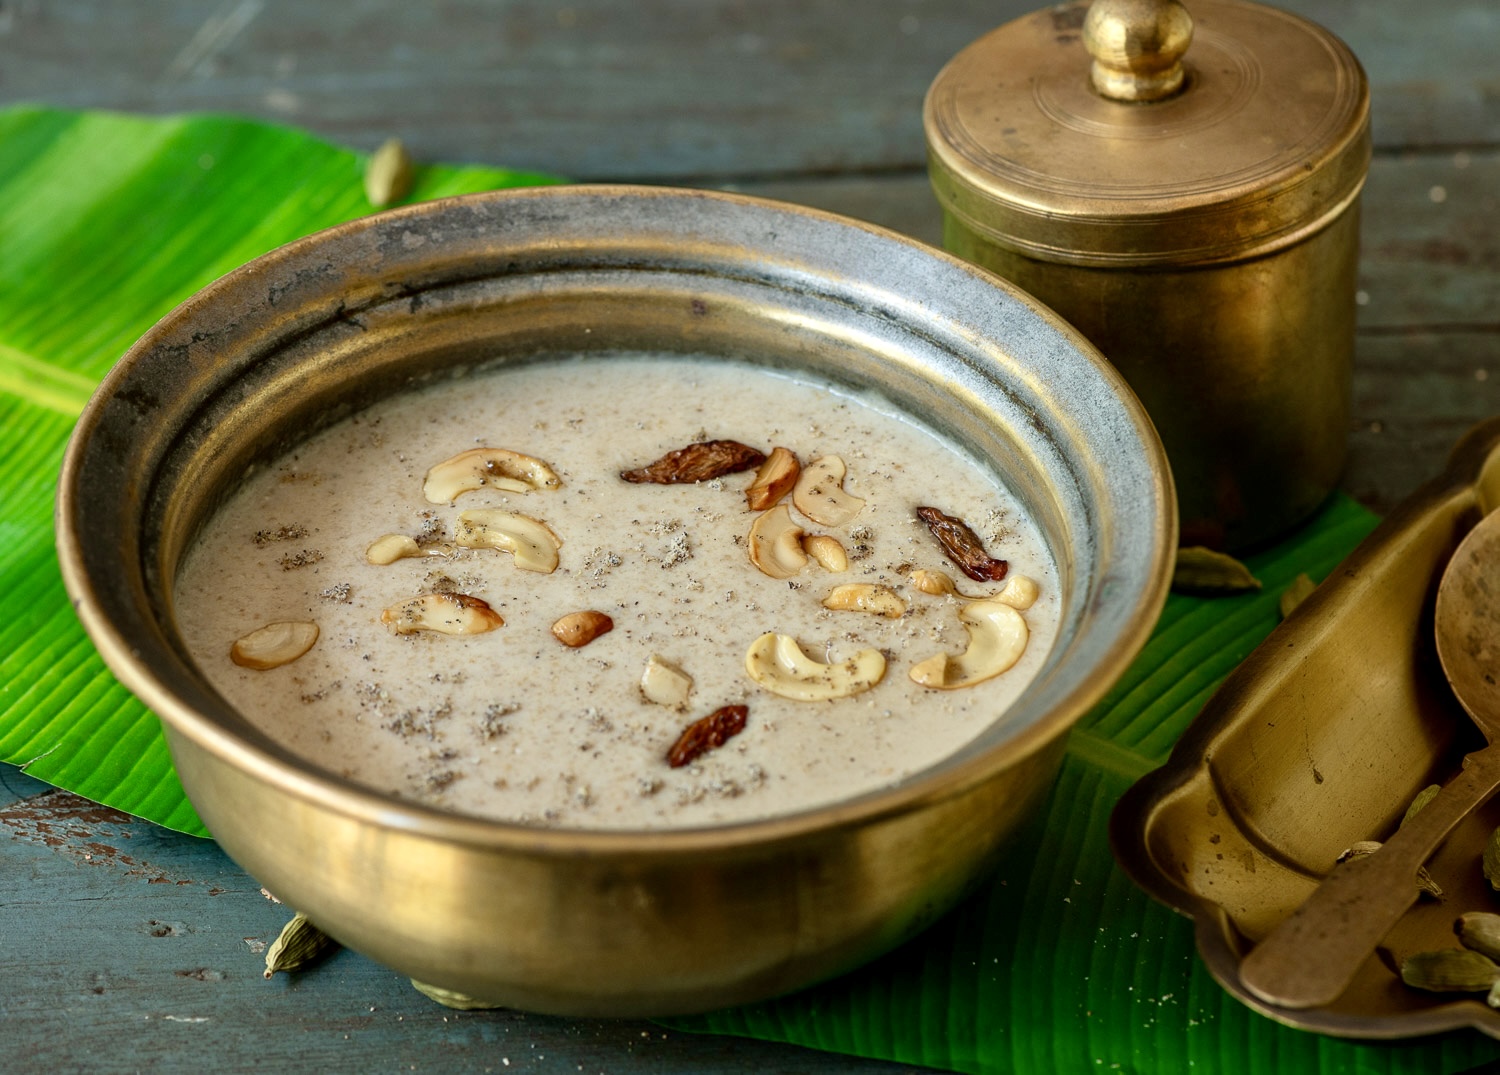
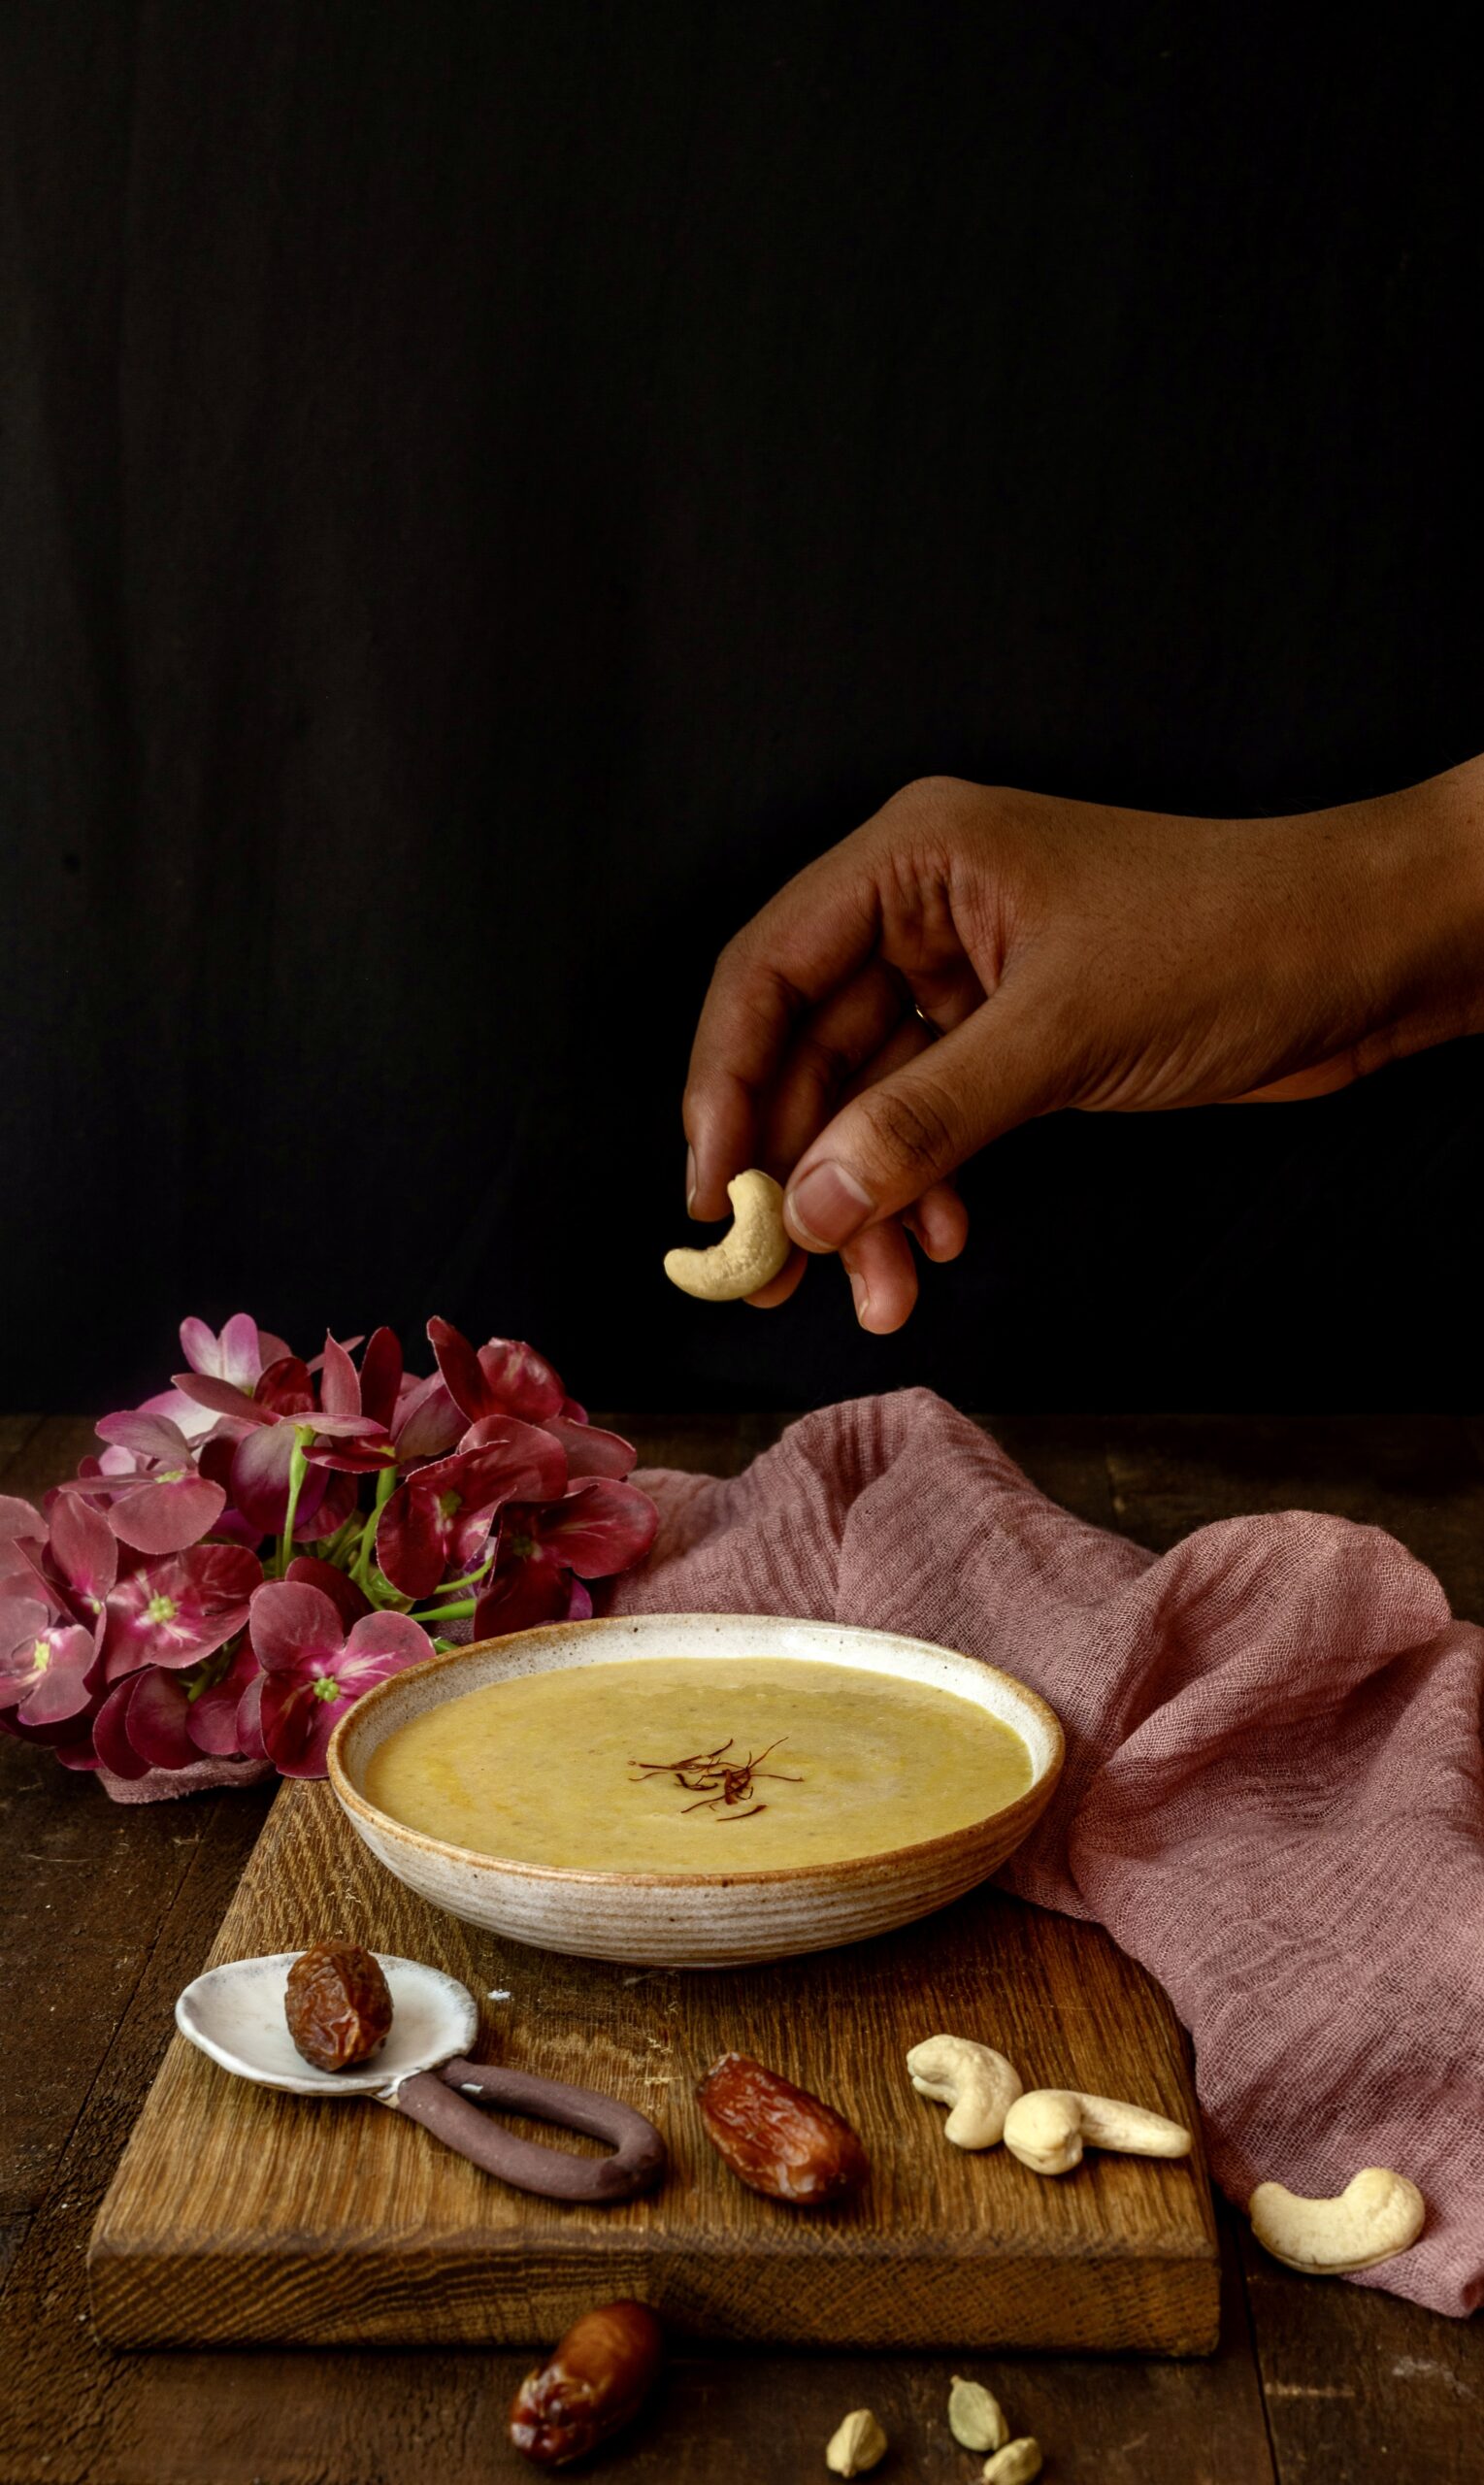
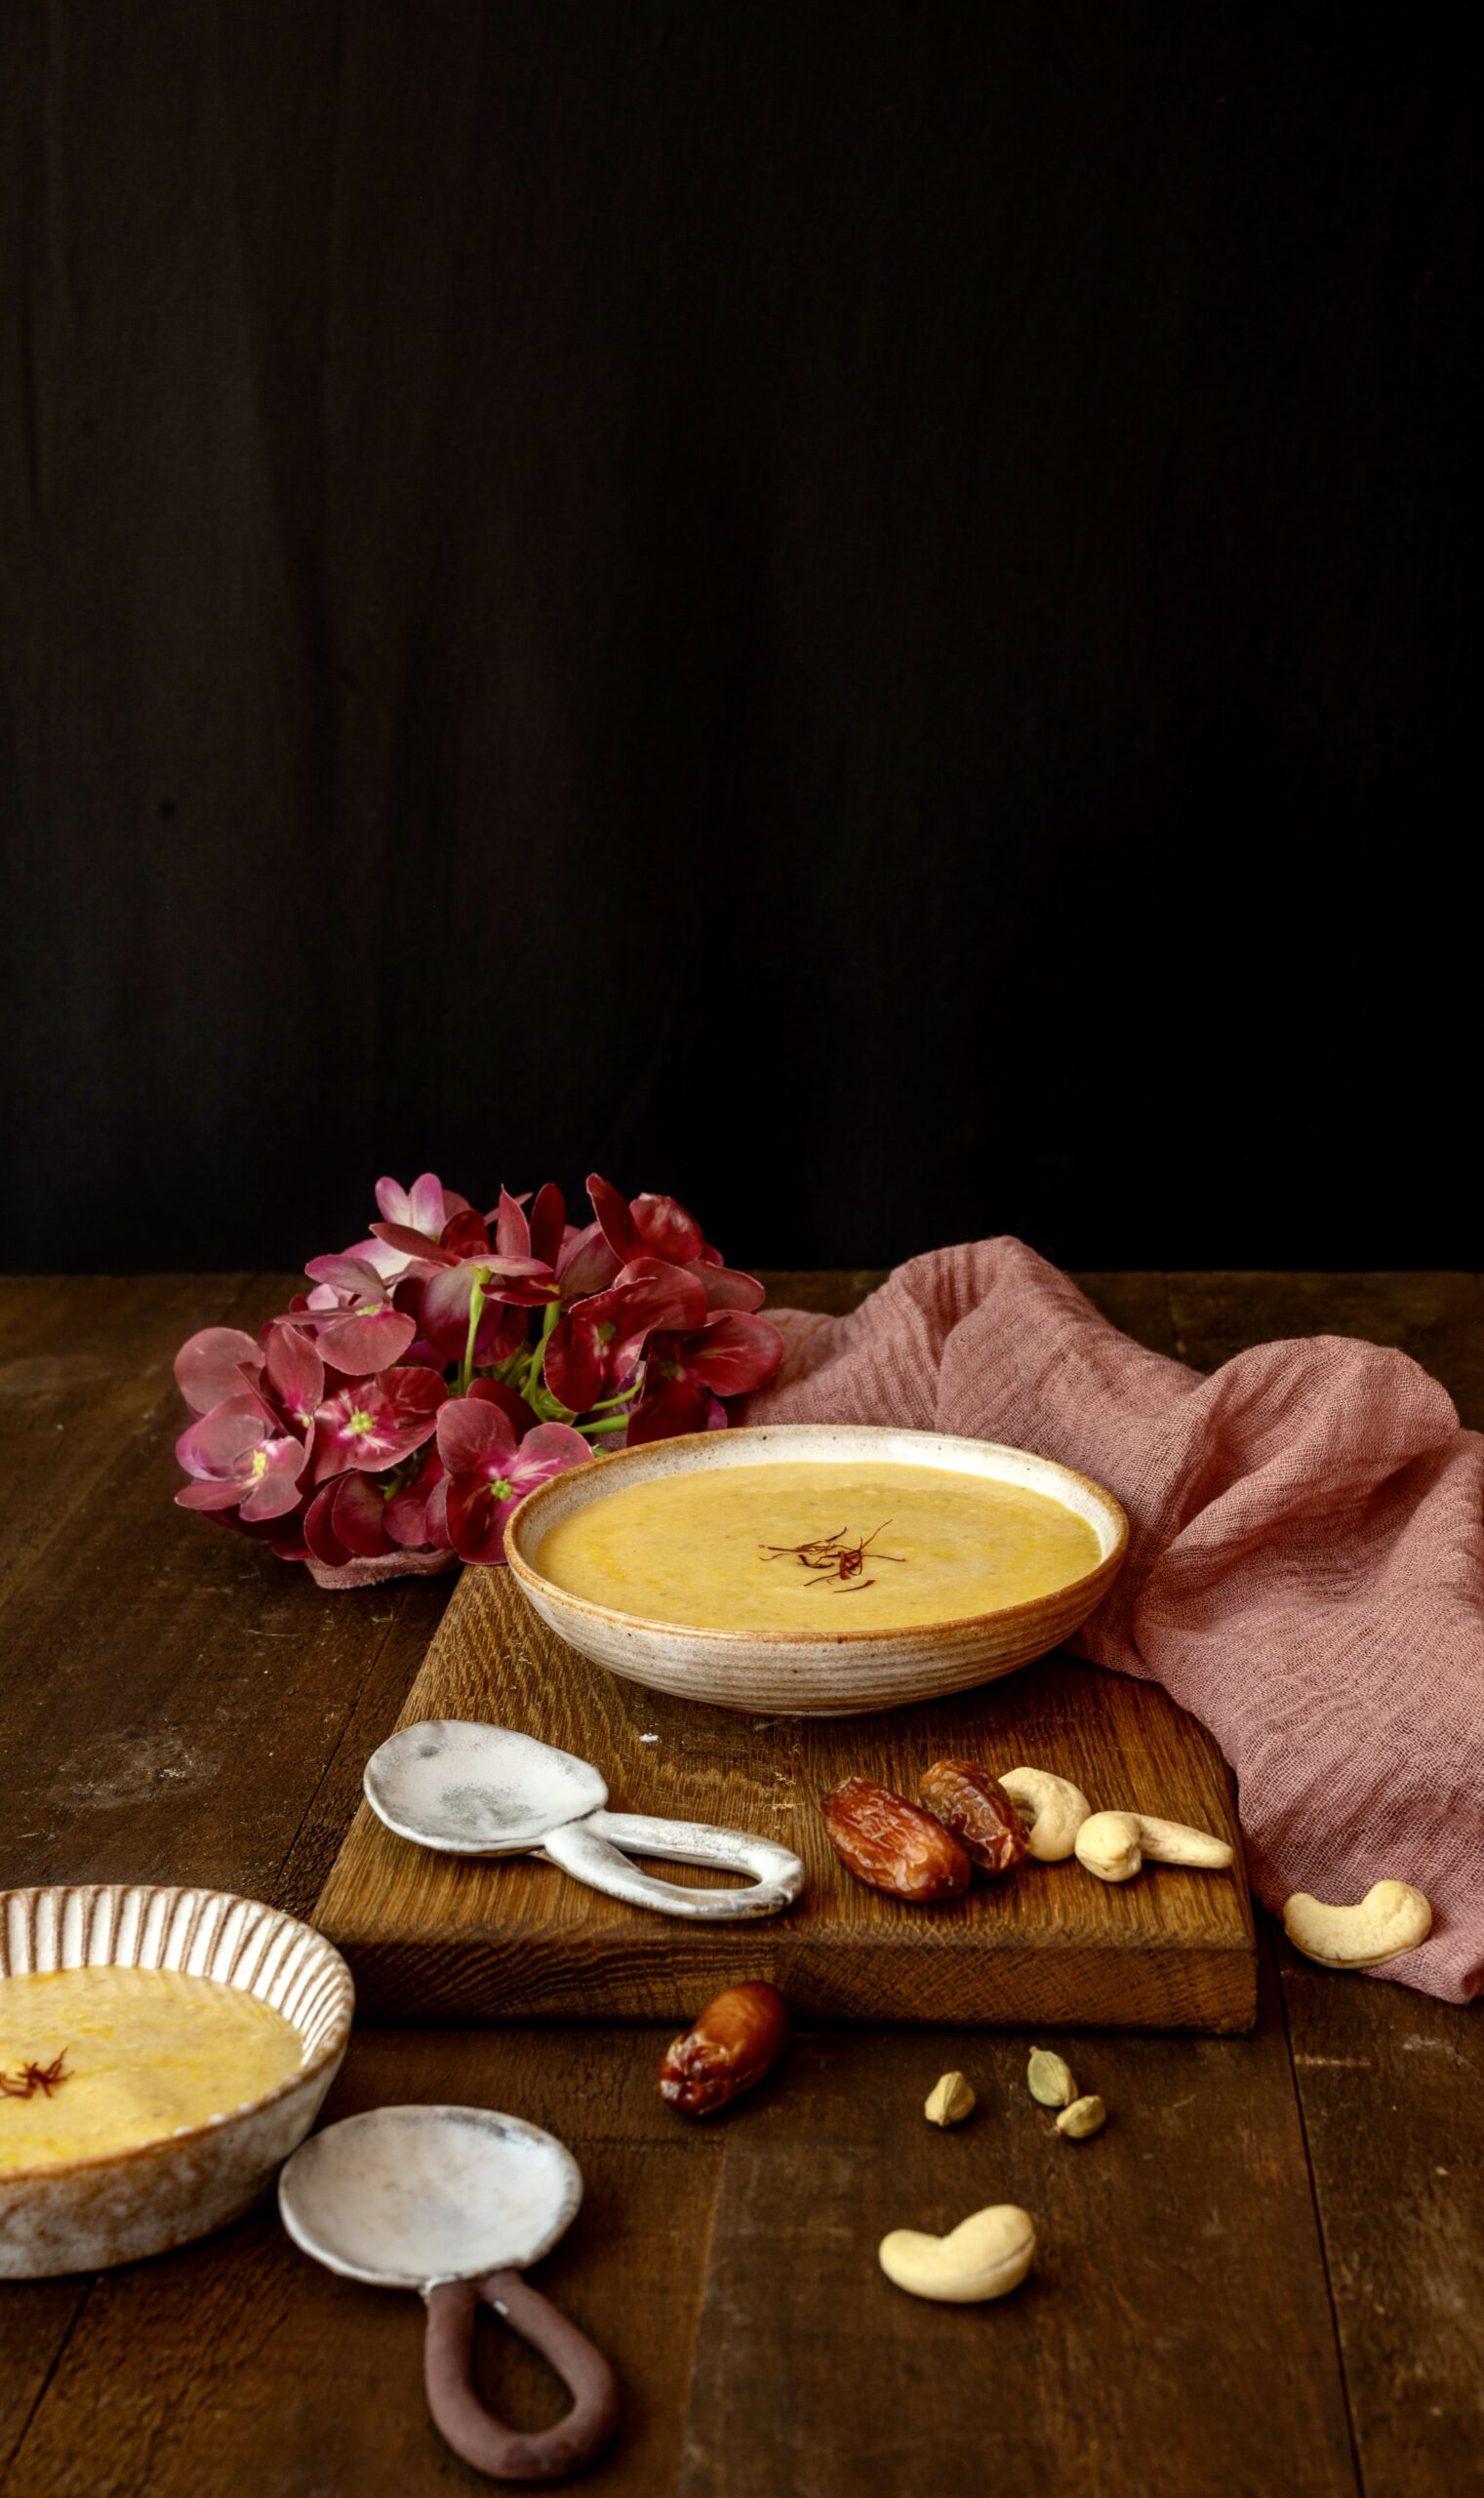
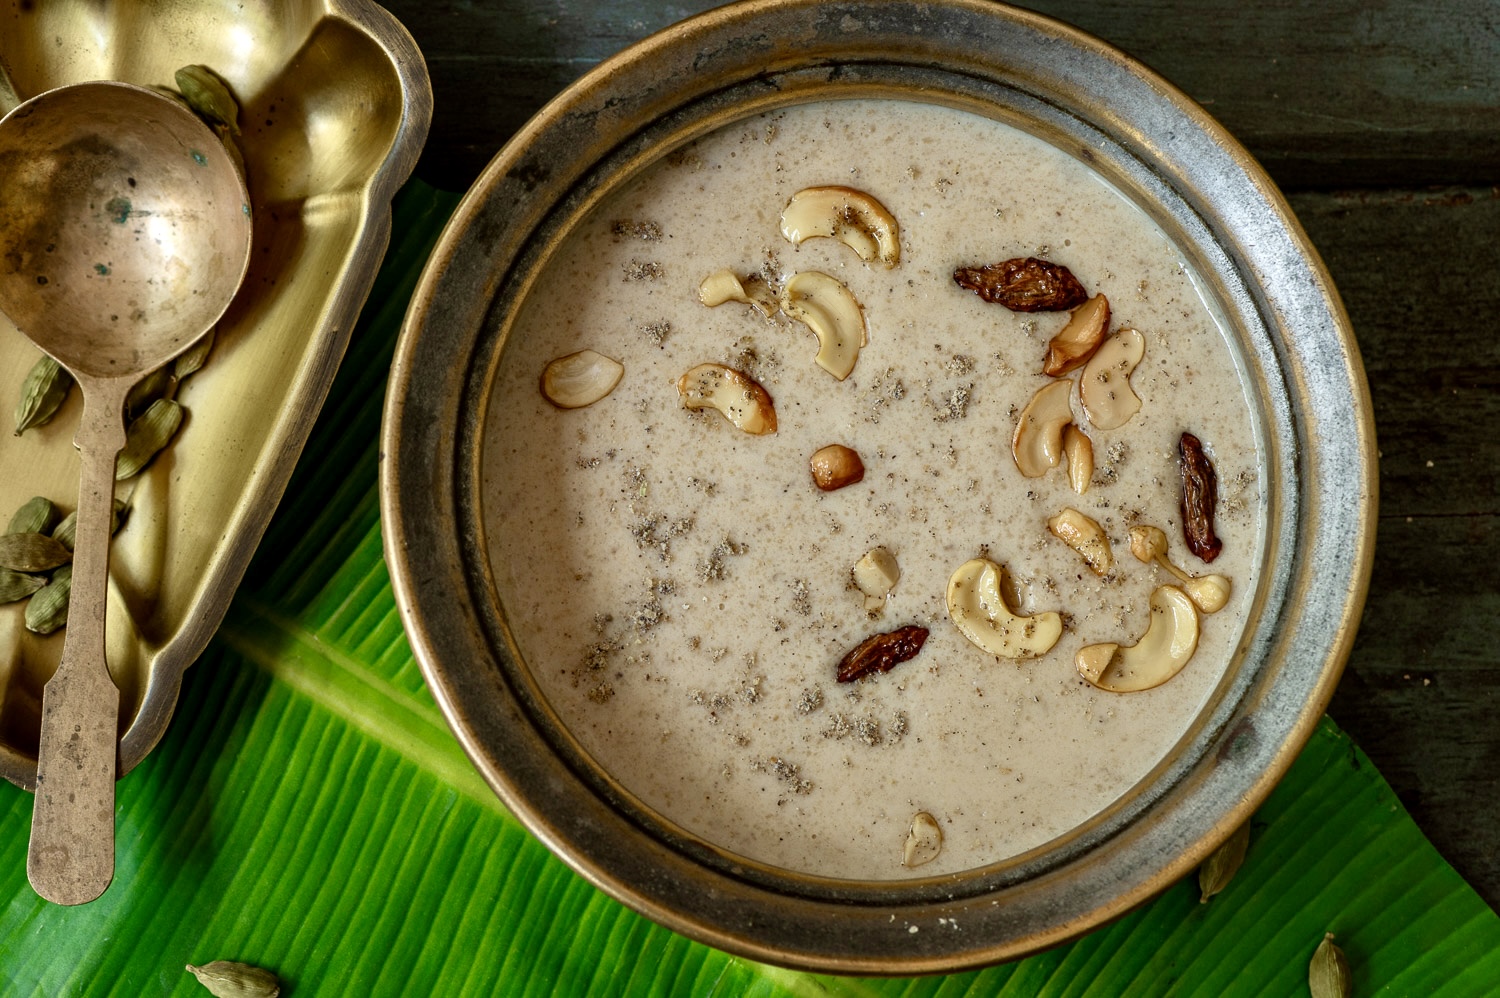
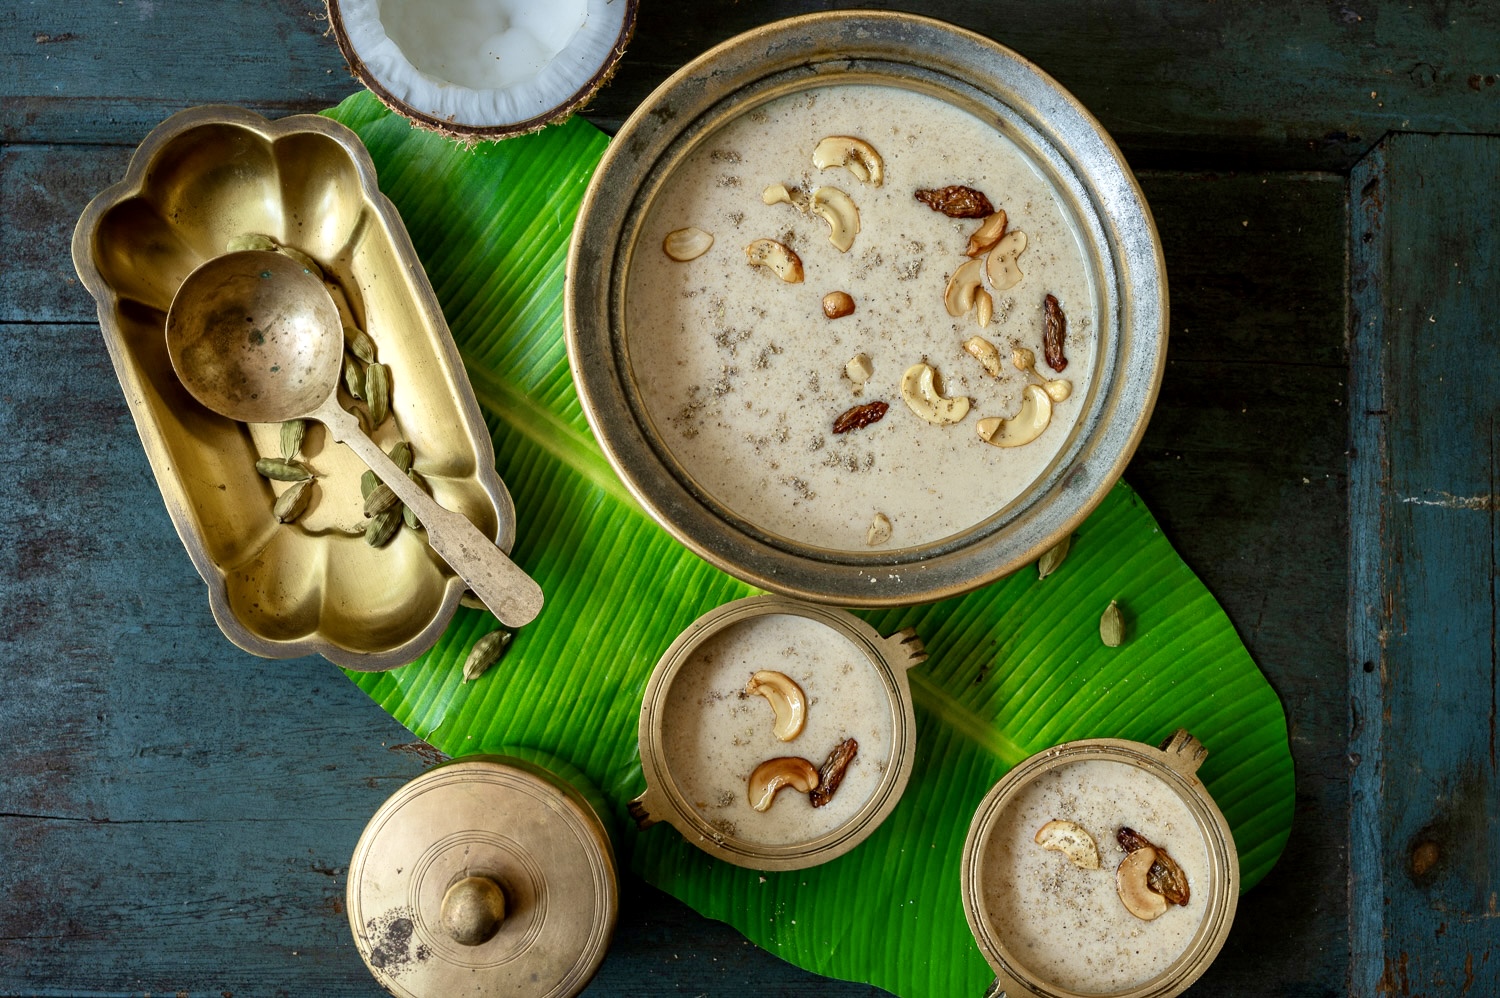
Barnyard Millet Payasam
(Serves: 4)
½ cup barnyard millet
1 cup water
3 cups milk (or 2 cups milk + 1 cup coconut milk)
½ teaspoon cardamom powder
¼ + 2 tablespoons jaggery powder
8-10 cashew nuts
¼ teaspoon ghee
Rinse the millet and add 1 cup water to it. Cook in a pressure cooker until tender. Set aside.
Roast the cashew nuts in ghee until golden. Set aside.
In a pot, boil the milk on a medium flame. I like to use only 2 cups of milk for the boiling, adding 1 cup of coconut milk later on for the flavour. Of course, if you’re vegan, you can use coconut milk throughout, and avoid the ghee while toasting the cashew nuts as well.
Add the cooked millets to the boiling milk. Stir well. Add jaggery powder and stir continuously, else the payasam will stick to the bottom. You may wish to replace the jaggery with a sweetener of your choice. Date syrup or the use of raisins are recommended.
The mixture will start thickening very fast, so keep your eye on the pot and keep stirring. If like me, you’d like to incorporate coconut milk, this is the point at which to do it.
Turn off the flame and add the cardamom powder. Mix well. Cover with a lid and allow to cool a little.
Pour the payasam into serving bowls and add the roasted cashew nuts on top as a garnishing. It is best served slightly warm.
I’ve shared myriad dessert and millet recipes over the years, and I hope you’ll enjoy exploring them all. The key with millets is choosing the right grain for the right season and the right dish. You’ll find many more – millets and dishes, both – in my archives!
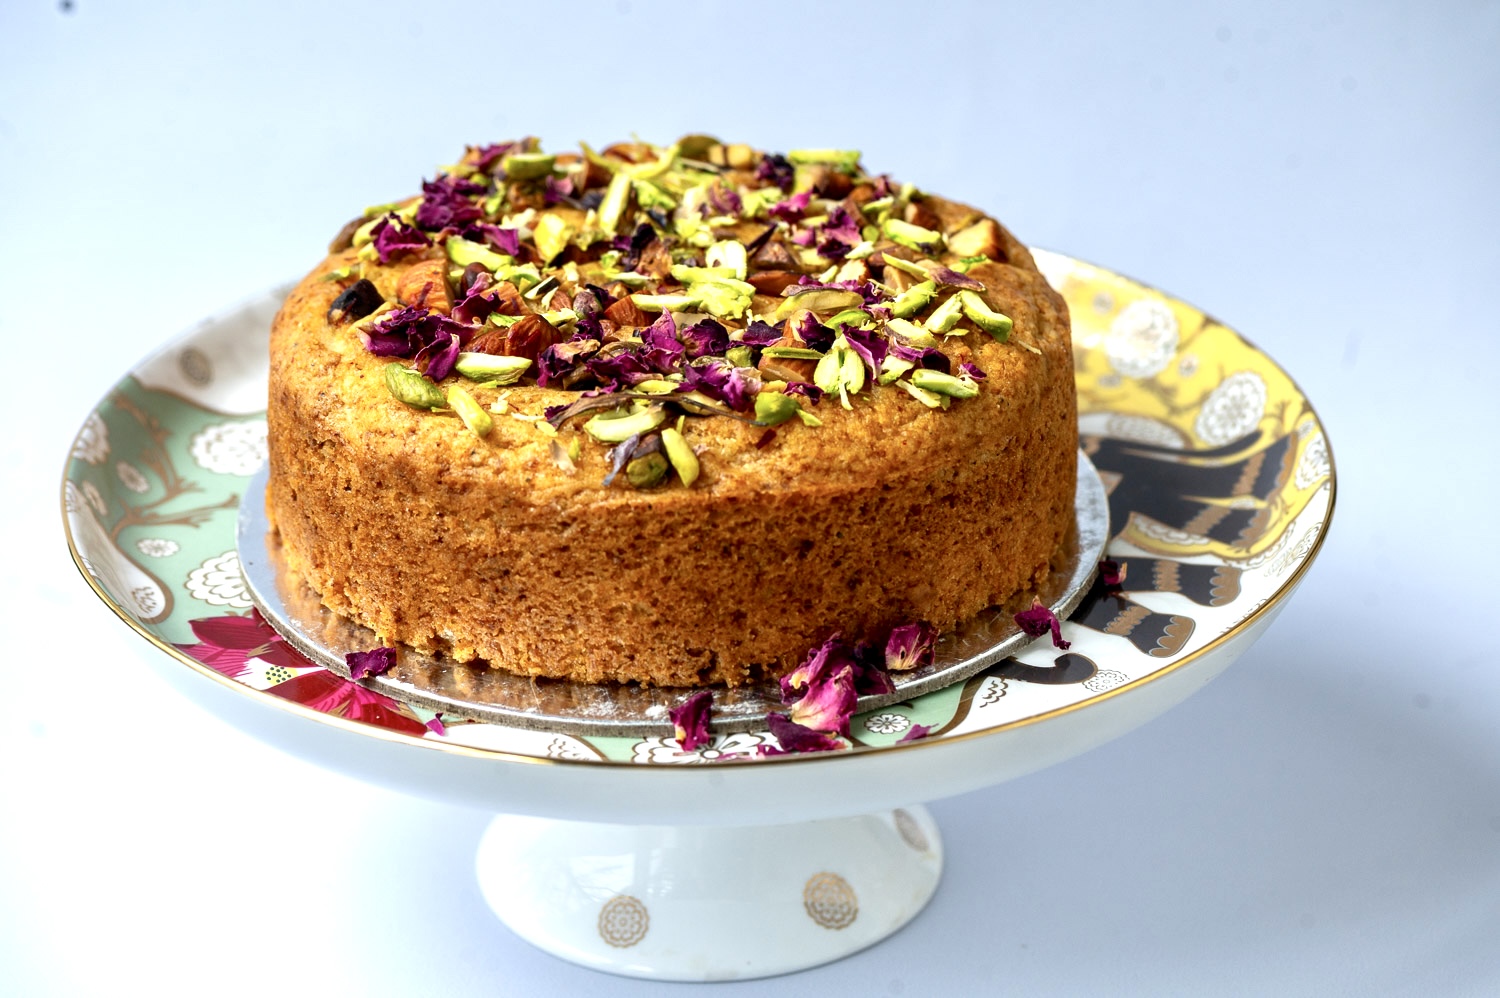
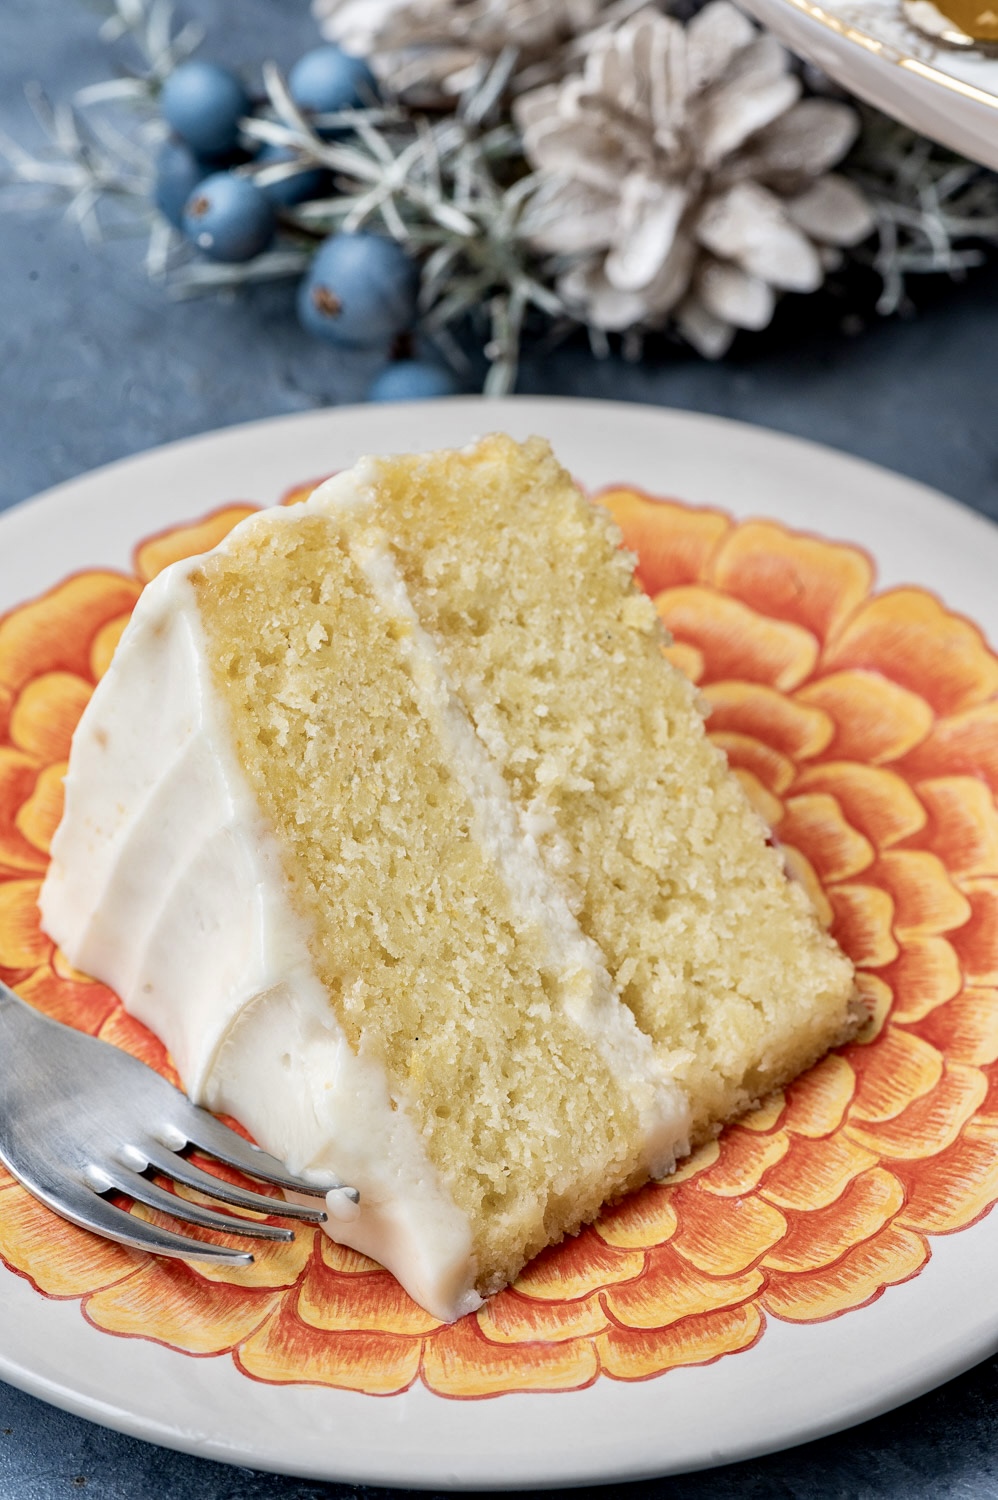
 – Eggless Rose Cardamom Mawa Cake")