Tag

flowers

Browsing

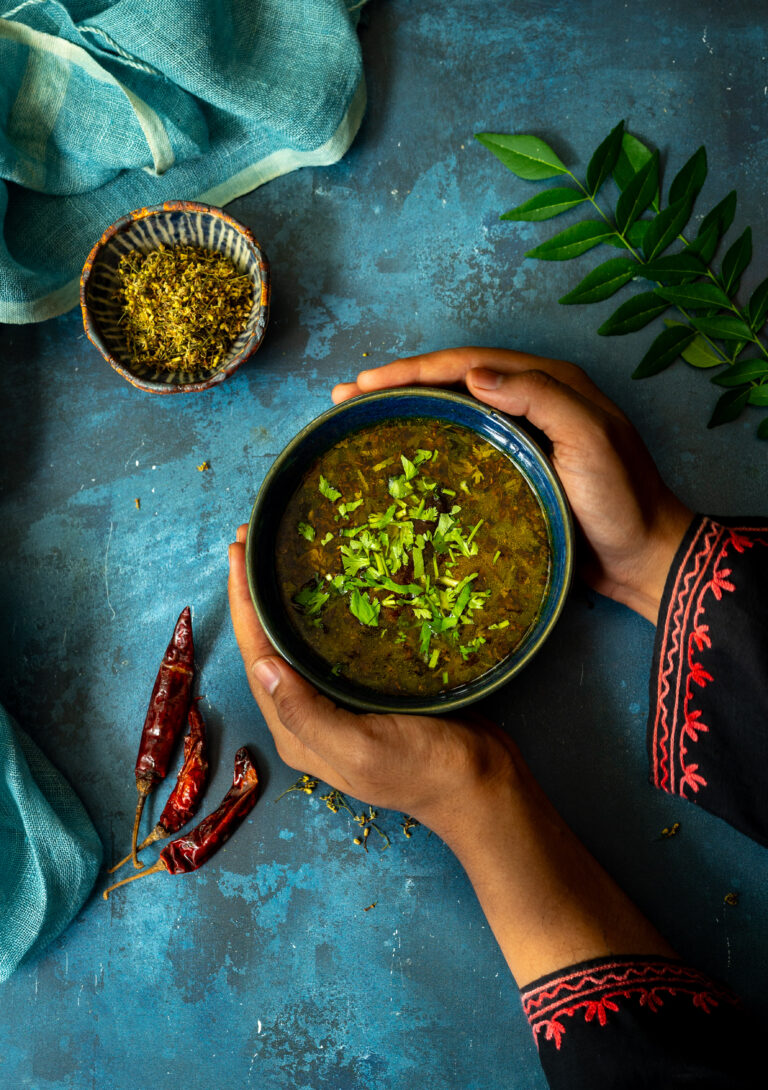
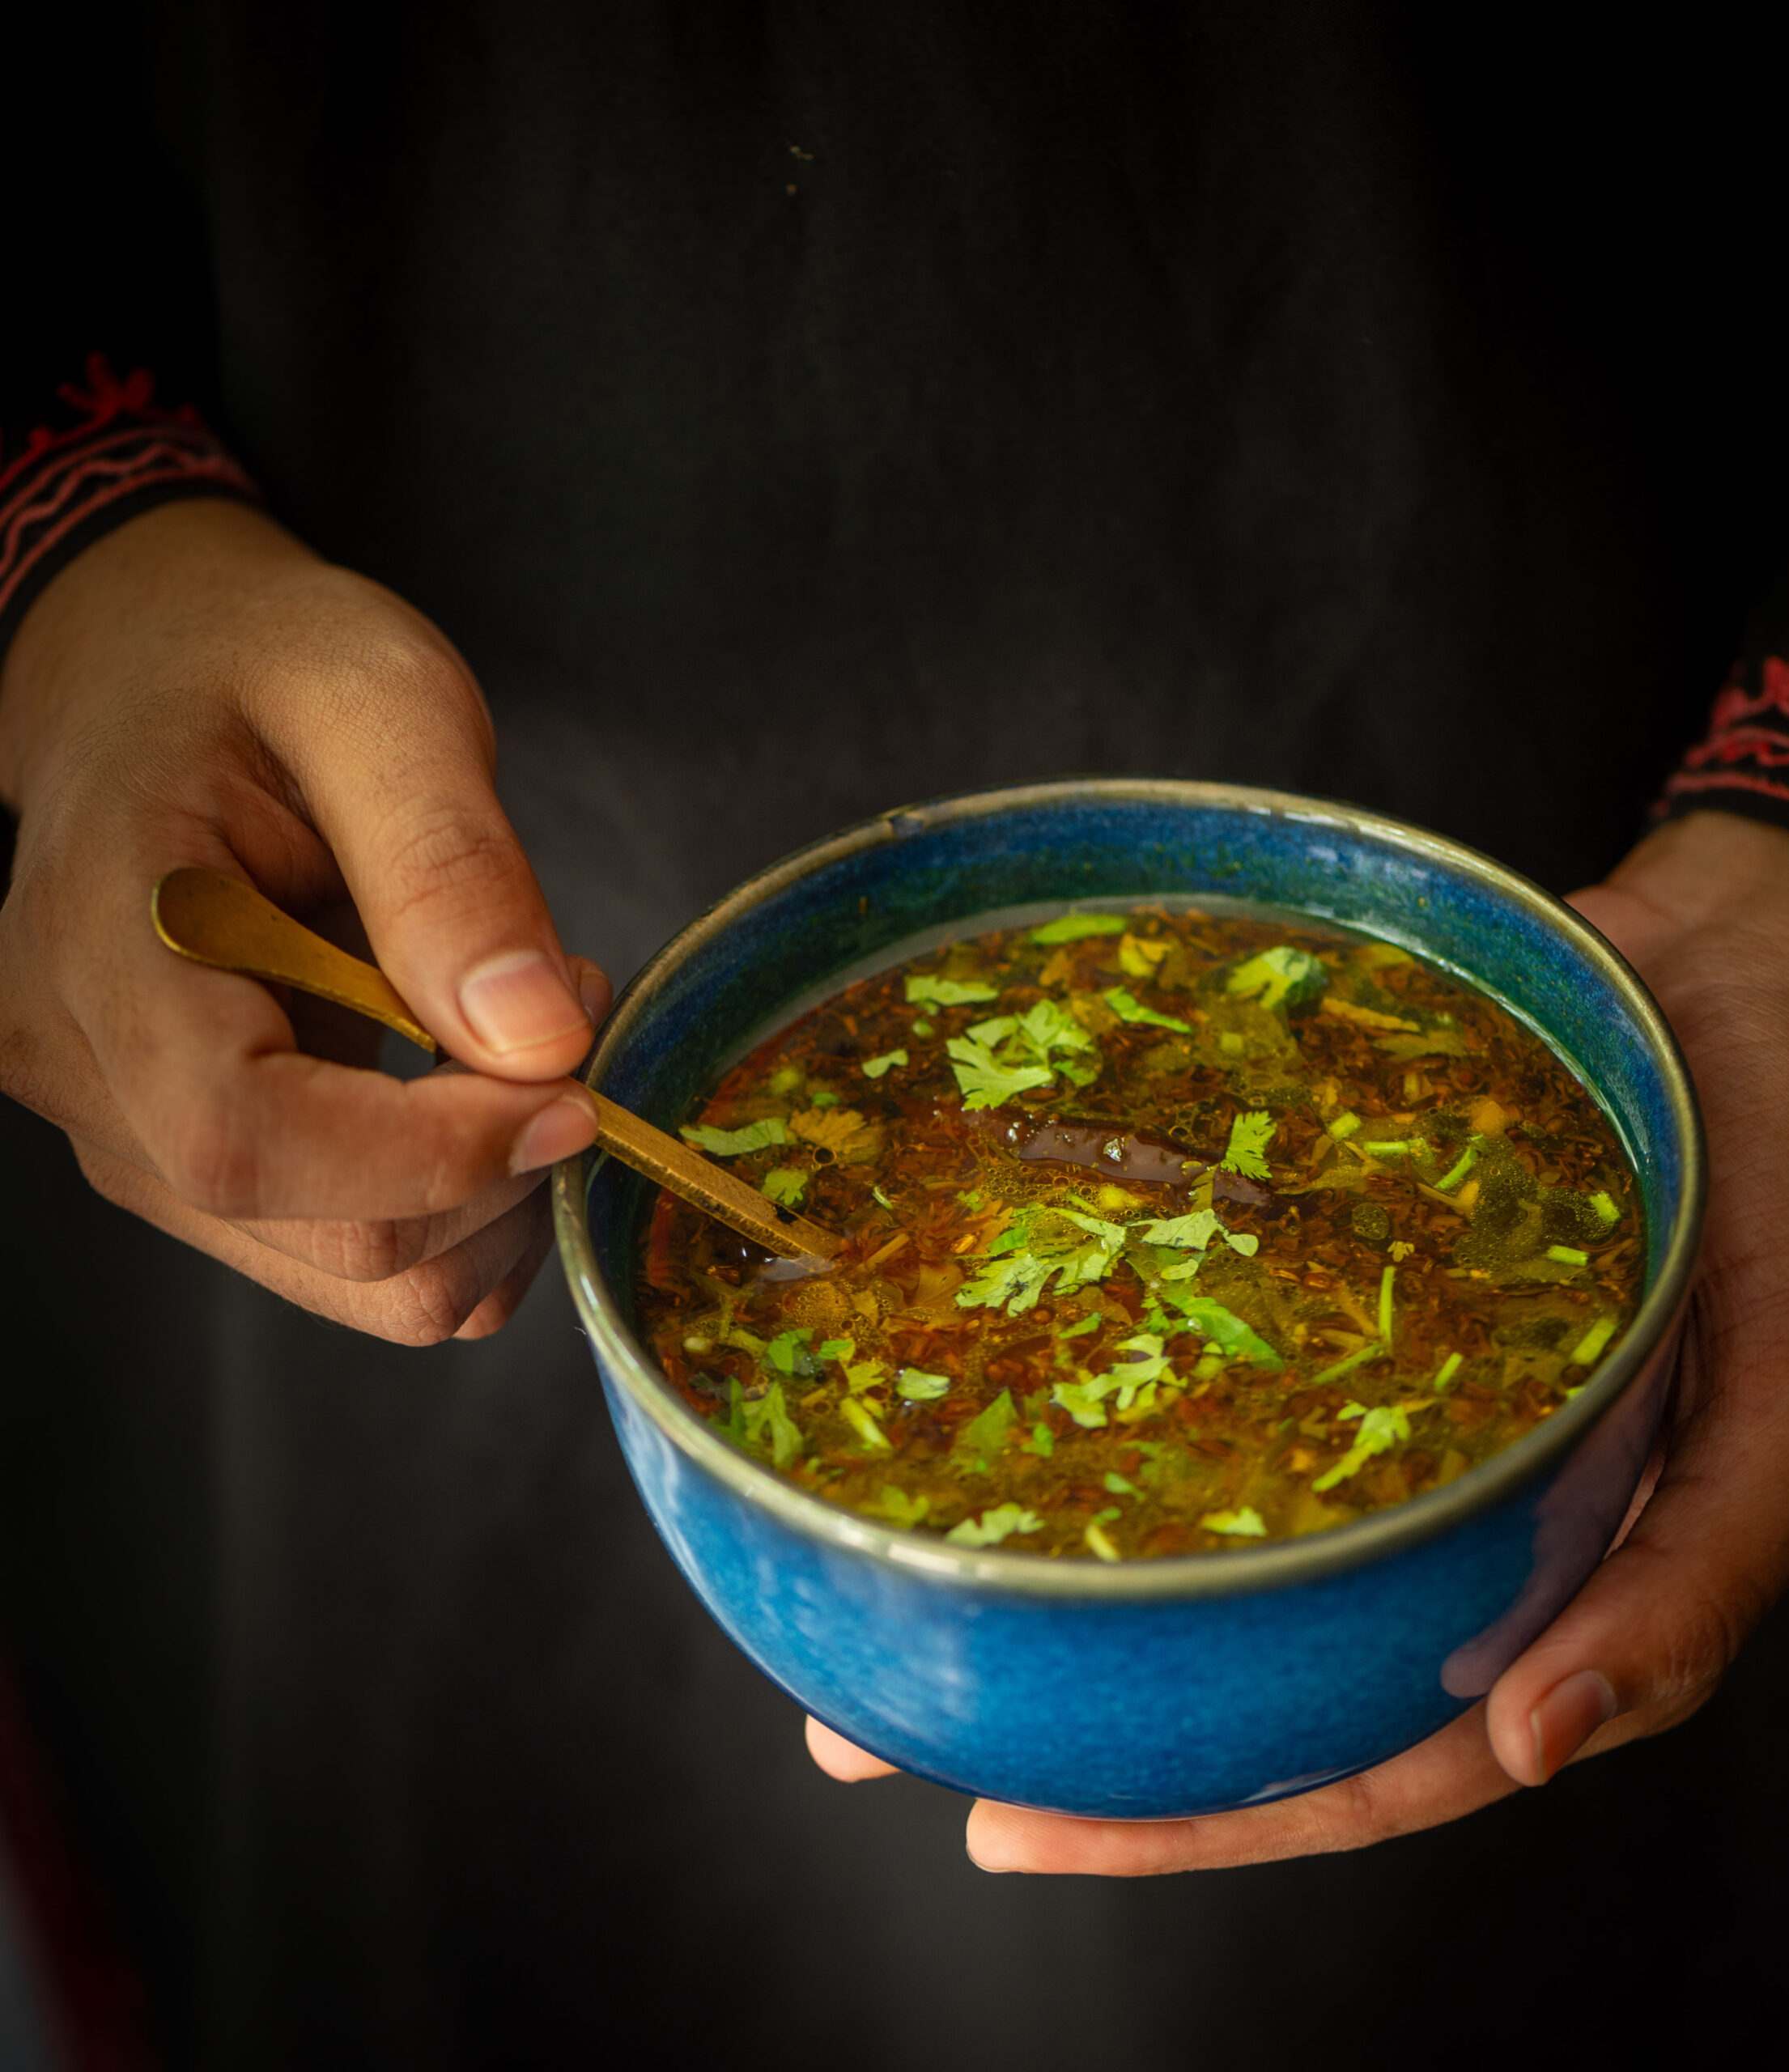
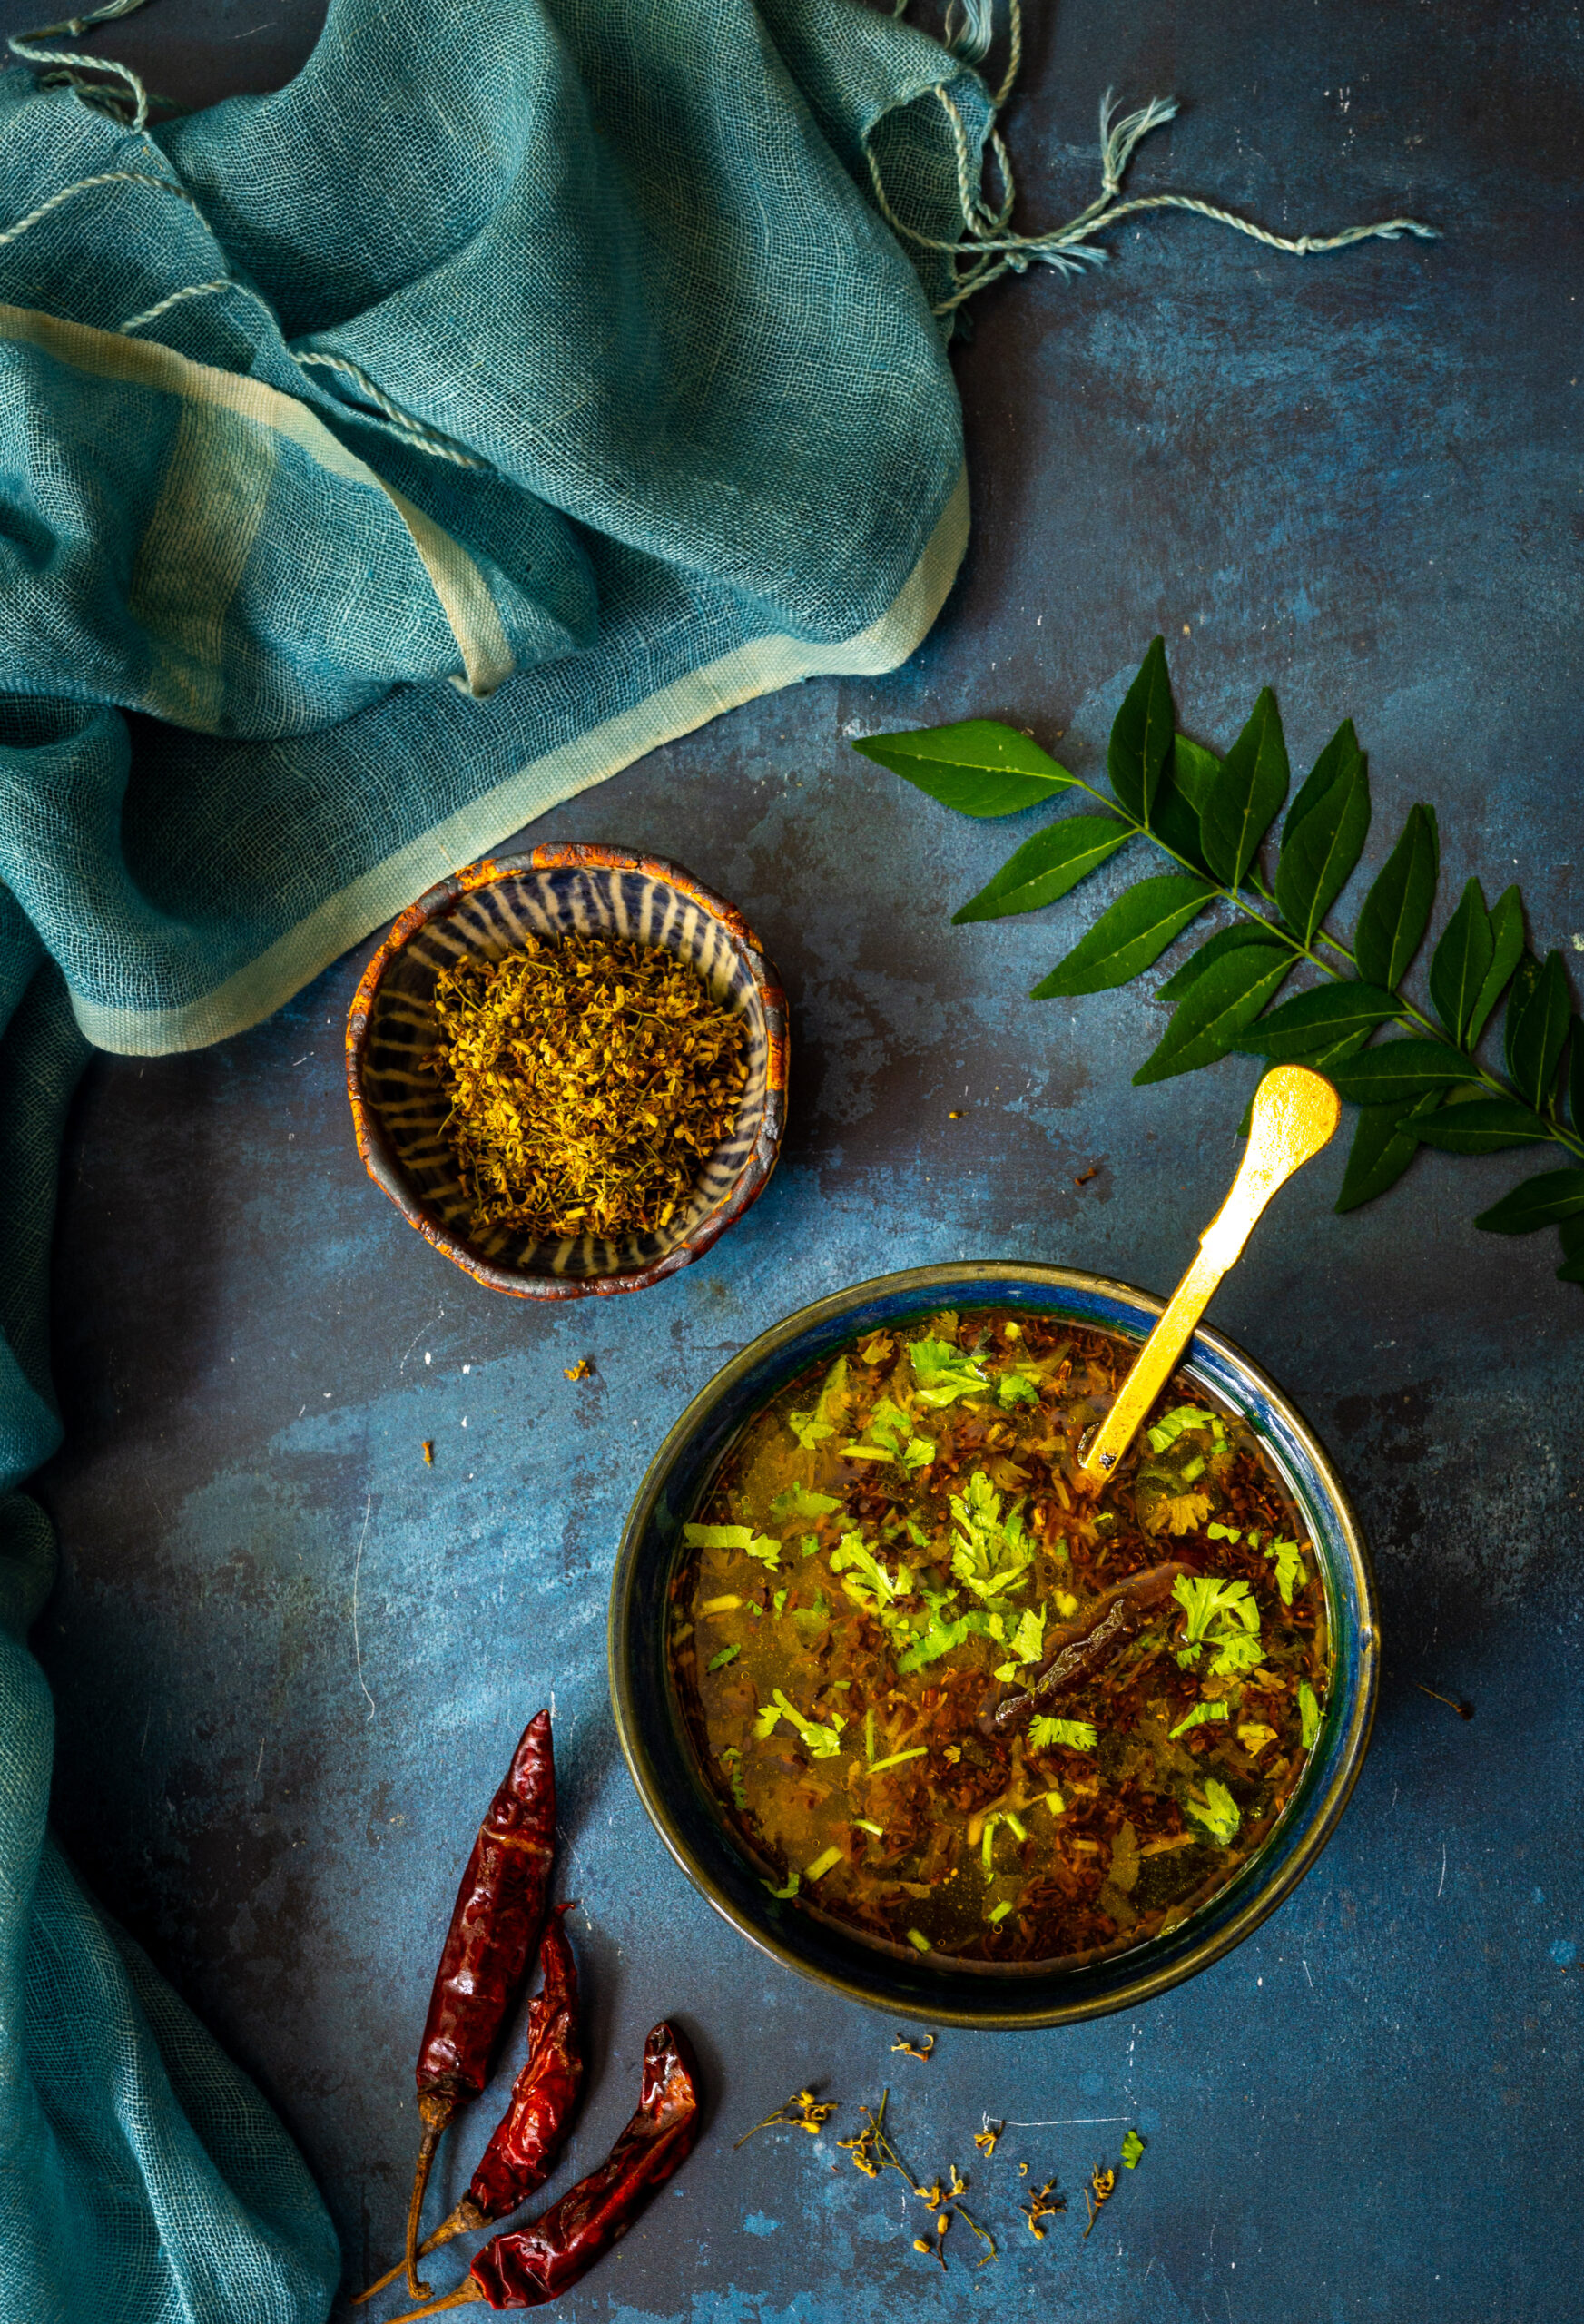
I always prefer to treat myself naturally if I can help it, and completely avoid pharmaceutical medication as far as possible, even painkillers and such. It isn’t that I won’t take them if necessary; it’s just that if I can there is a natural medication or a home remedy, I would much rather go down that route first. Not long ago, I had a stomach bug that went on for quite some time, so when the home remedies didn’t suffice, I visited a naturopath. She was a lovely lady who had come down from the US, and upon seeing my bloodwork, she diagnosed me with some kind of minor bacterial infection. She said that the best way to treat it would be through neem tablets. I came home and sat in my garden to think about this, and about what I wanted to do, which was when I realised that I was sitting right under a neem tree. I thought, “How silly of me to buy tablets, when the tree itself is right here!” I decided to consume different parts of it, including the leaves obviously, to treat my ailment. The direct, natural, literally homegrown approach appealed to me. During this phase, I came upon innumerable neem flower recipes, and began experimenting with concocting my own versions. One I particularly enjoyed was this neem flower rasam.

A rasam is a soup-like staple prepared in South India with a range of spices. It may be consumed with rice, or it may be consumed as a drink. It is often prepared when a person is ill with a cold, which means that when I was exploring the naturopath’s advice, rasam’s known medicinal qualities made it especially interesting to me. It has all kinds of good ingredients that help infections dissipate. To those known qualities, I added the healing touch of neem flowers, which are especially beneficial for gut health. They are antiseptic in nature and aid with cleansing the digestive organs.

The neem flower is often overlooked – it is a small, whitish-yellow, and only occasionally in bloom. While neem trees themselves are common in Chennai, since the flowers aren’t eye-catching, we don’t always notice when they are in season. As for me, during the time when I was preparing this recipe more often, I was only concerned with the collecting, drying and cooking of the neem flowers – and forgot to pick up my camera. This is why I do not have images of the fresh flowers. I do encourage you to take a closer look at the neem trees around you, if they are there where you are too, especially in very early summer. I know I will be appreciating them much more from now on.

What I did was to spread an old sari out under the neem tree and leave it there overnight. In the morning, a large quantity of fallen neem flowers were in the cloth. As they are difficult to pluck directly, this is the best method to harvest them. Then, I lay them to dry in the sun, which makes them last longer. Alongside those, I dried raw mango for amchur powder, and some turmeric too. When the flowers were well-dried, I stored them and began sprinkling them into different dishes. They made their way into salads, of course. I found that the flowers do not have much of a flavour, and are less bitter than the leaves. This makes them ideal for versatile usage. A little pinch here and there – into a soup, or onto rice, isn’t going to dramatically alter the taste of your food, but it will give you an additional boost of healthiness on your plate.

This neem flower rasam is a dish in which they are the featured ingredient – providing an unusual twist to a very common preparation. The other thing is that I did not use off-the-shelf rasam powder, but ground all the required spices at home. The recipe below provides this from-scratch method. I am sure you too will realise that it does not take much effort at all to do this. There’s nothing like a truly homemade recipe, and this is all the more important when it comes to home remedies.
Neem Flower Rasam

(Serves 2)

½ teaspoon pepper

½ teaspoon cumin

½ teaspoon mustard seeds

¼ teaspoon asafoetida

A handful of curry leaves

1 teaspoon neem flowers

Salt to taste

2 dry red chillies

1 tomato

1 lemon size ball tamarind (for the juice)

4-5 cloves garlic

1 teaspoon oil

¼ teaspoon turmeric powder

½ litre water

2 tablespoons chopped coriander leaves

In a mortar and pestle set, add the cumin, black pepper and garlic and crush coarsely. Set aside.

Soak the tamarind in half a cup of water and remove the juice. Crush with the tomato to form a paste. Set aside.

Heat a kadai. Add the oil and then the mustard seeds. Once they splutter, add asafoetida, neem flowers, red chili and curry leaves. Sauté for a few minutes. Then add the mixture that was crushed earlier.

Next, add the crushed tomato and tamarind paste and allow to cook for few minutes. Add the remaining water and allow to reach boiling point. Add salt to taste. Finally, add chopped coriander leaves. Cover and remove from the stove.

Serve this neem flower rasam hot, preferably with rice and any other sides of your choice.

I have shared various other South Indian recipes on this blog – both traditional ones as well as inspired ones, including this ripe mango rasam. I hope you’ll enjoy exploring them too.
The beauty that we see all around us, we take for granted. This is why I love flower exhibitions, which put that beauty at the centre and let us appreciate it fully. Flowers represent inner peace to me. Amongst other things, the Chelsea Flower Show, was on my wishlist. And I recently had that dream fulfilled. It was like the experience of so many flower market visits, multiplied.

One of my favourite things to do in London is to wake up early and go to the flower market, which I enjoy just as much as I do a flea market or an antique market. It was a dear friend who first took me to the Columbia Street Market, which soon became one of my favourite London experiences. It begins with a coffee at any of the quaint shops alongside the flower sellers, sipping leisurely while watching them set up their stalls. They bring their fresh flowers in and I watch them at work while I have my coffee, which is always so lovely and which sets off the mood. I could sit there all day, between the taste of the coffee and the sight of the blossoms.

Amidst the abundance of peonies and a variety of English greens, I was taken aback to see a jasmine plant in a pot. It was simply laden with flowers which reminded me of the oosi malli back home. I was surprised to see it blossoming when the climate was not conducive for it, and it gave me fresh inspiration to continue working in my own gardens. I was reminded of my own home and the manoranjithas I’m trying to revive. The dedication of those London florists, and the sheer variety of flowers they cultivate, are lessons to inspire us to look at the diversity and beauty that exists around us.


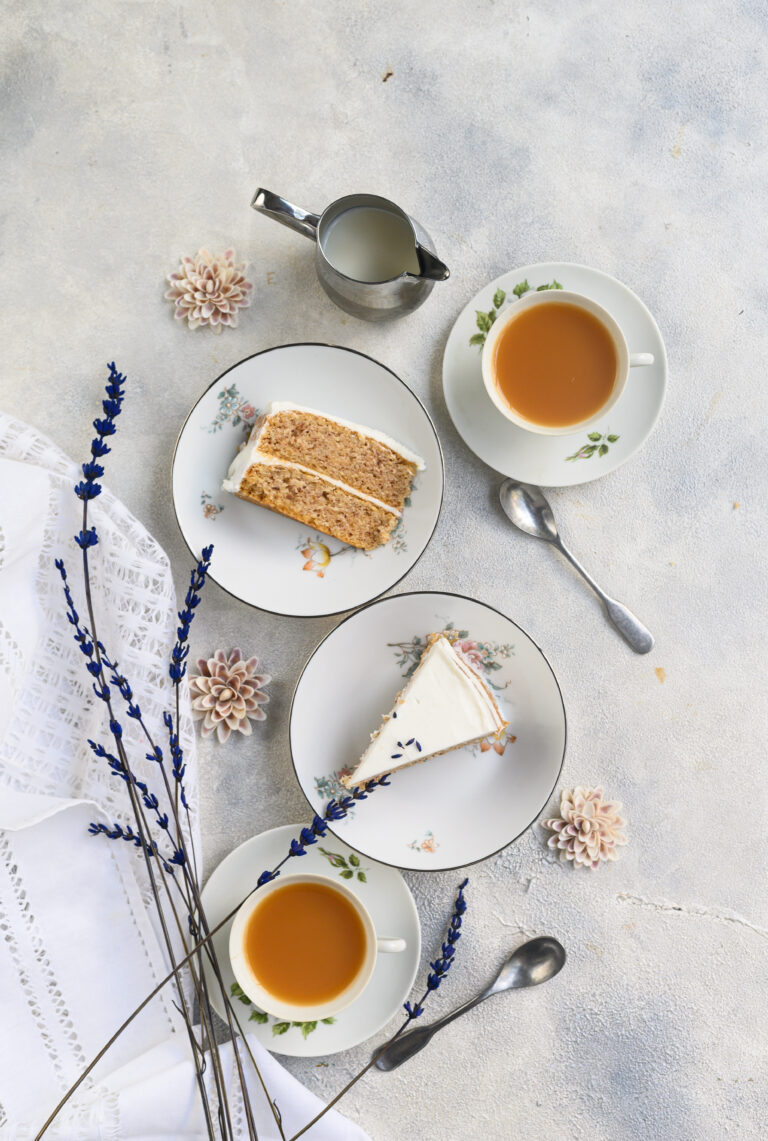
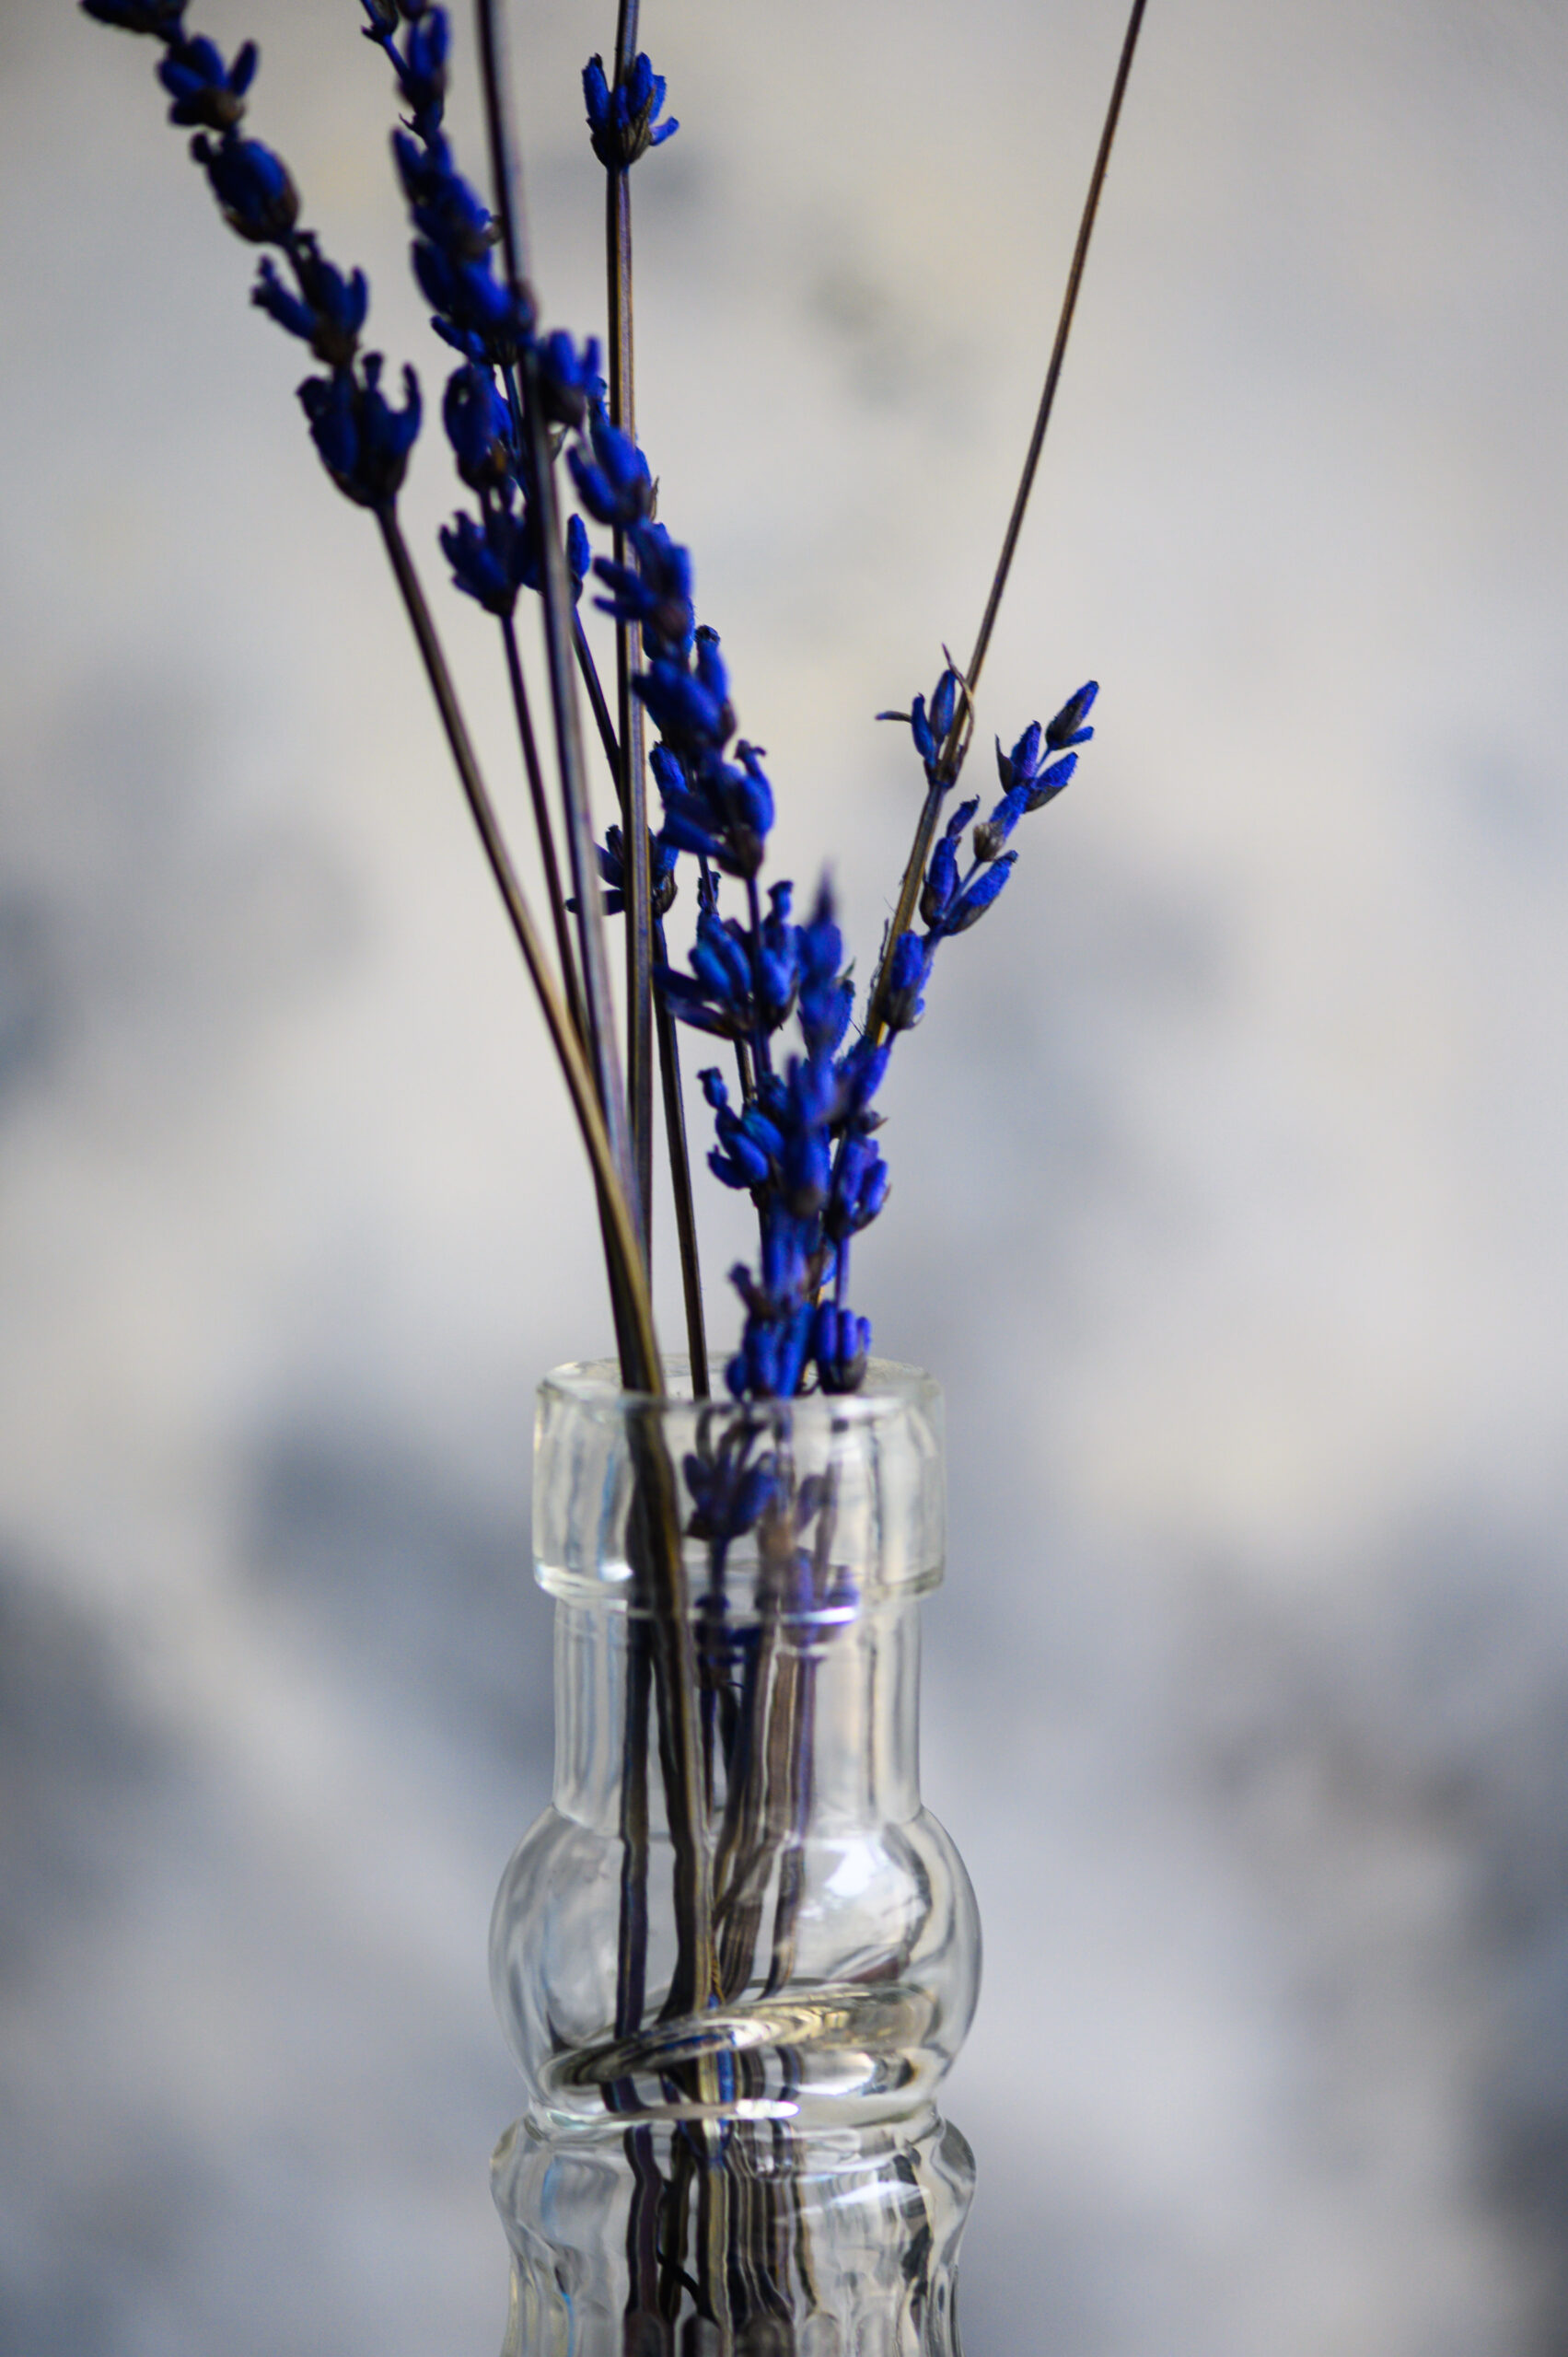
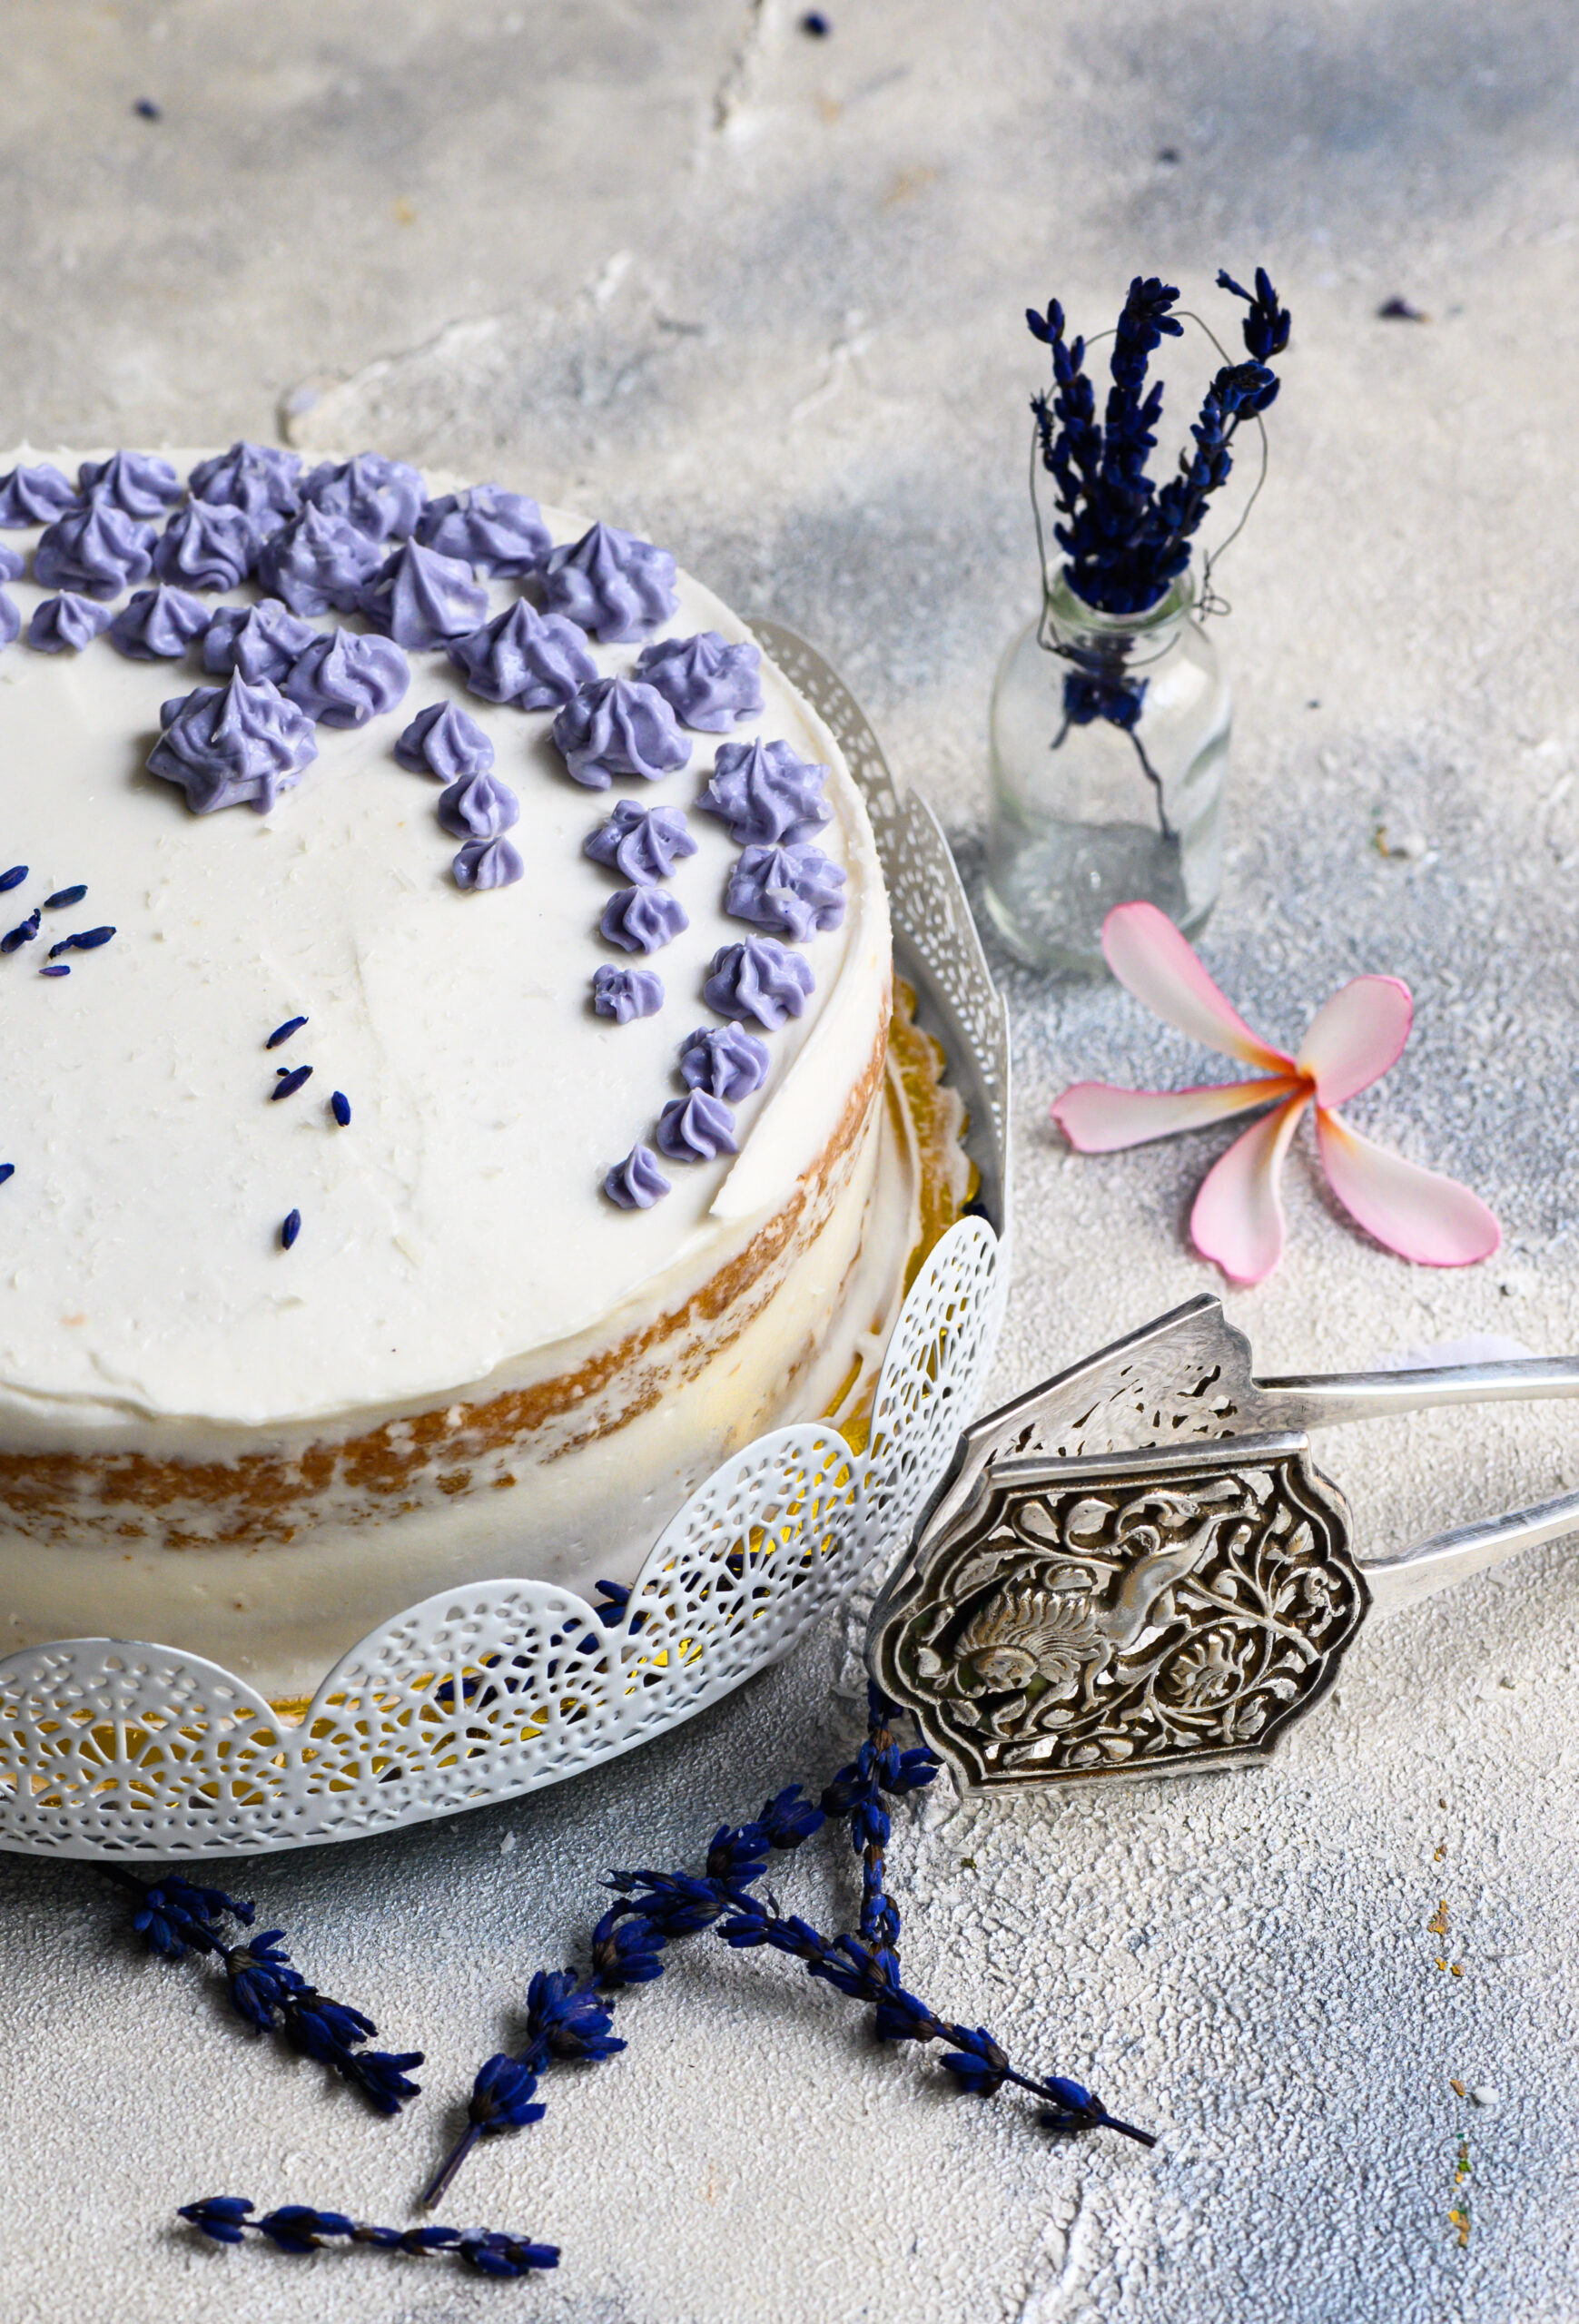
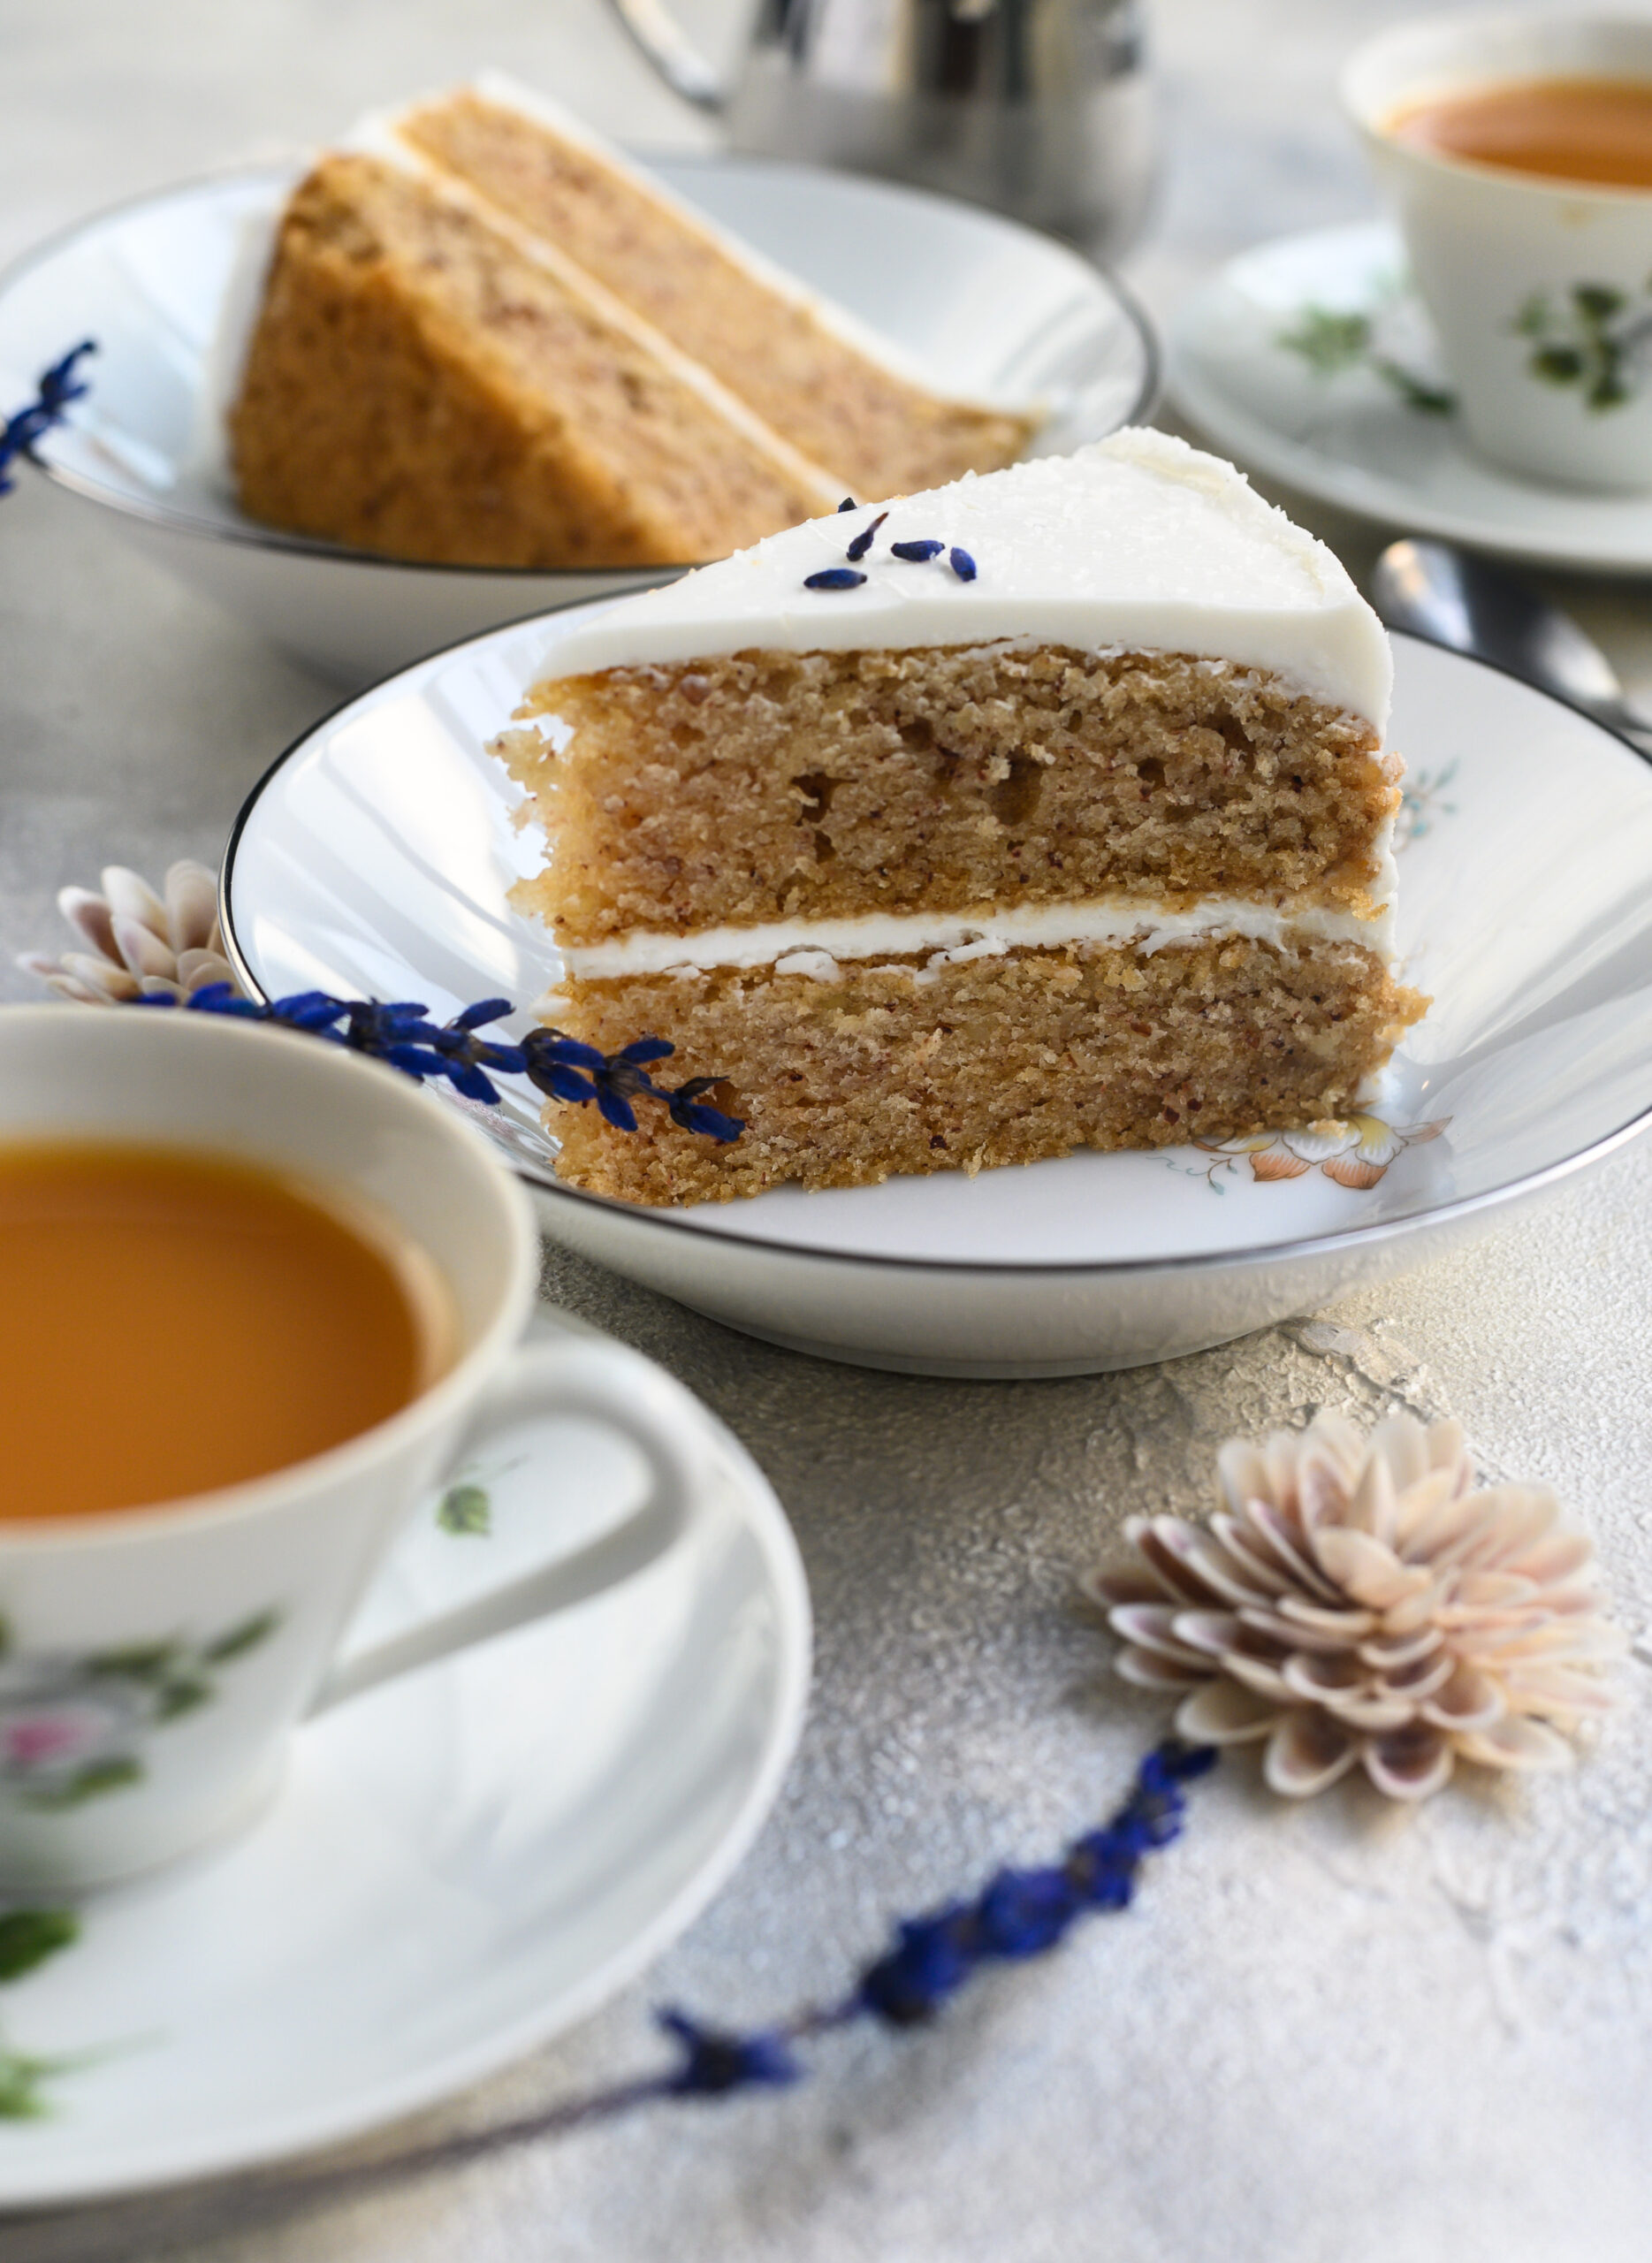
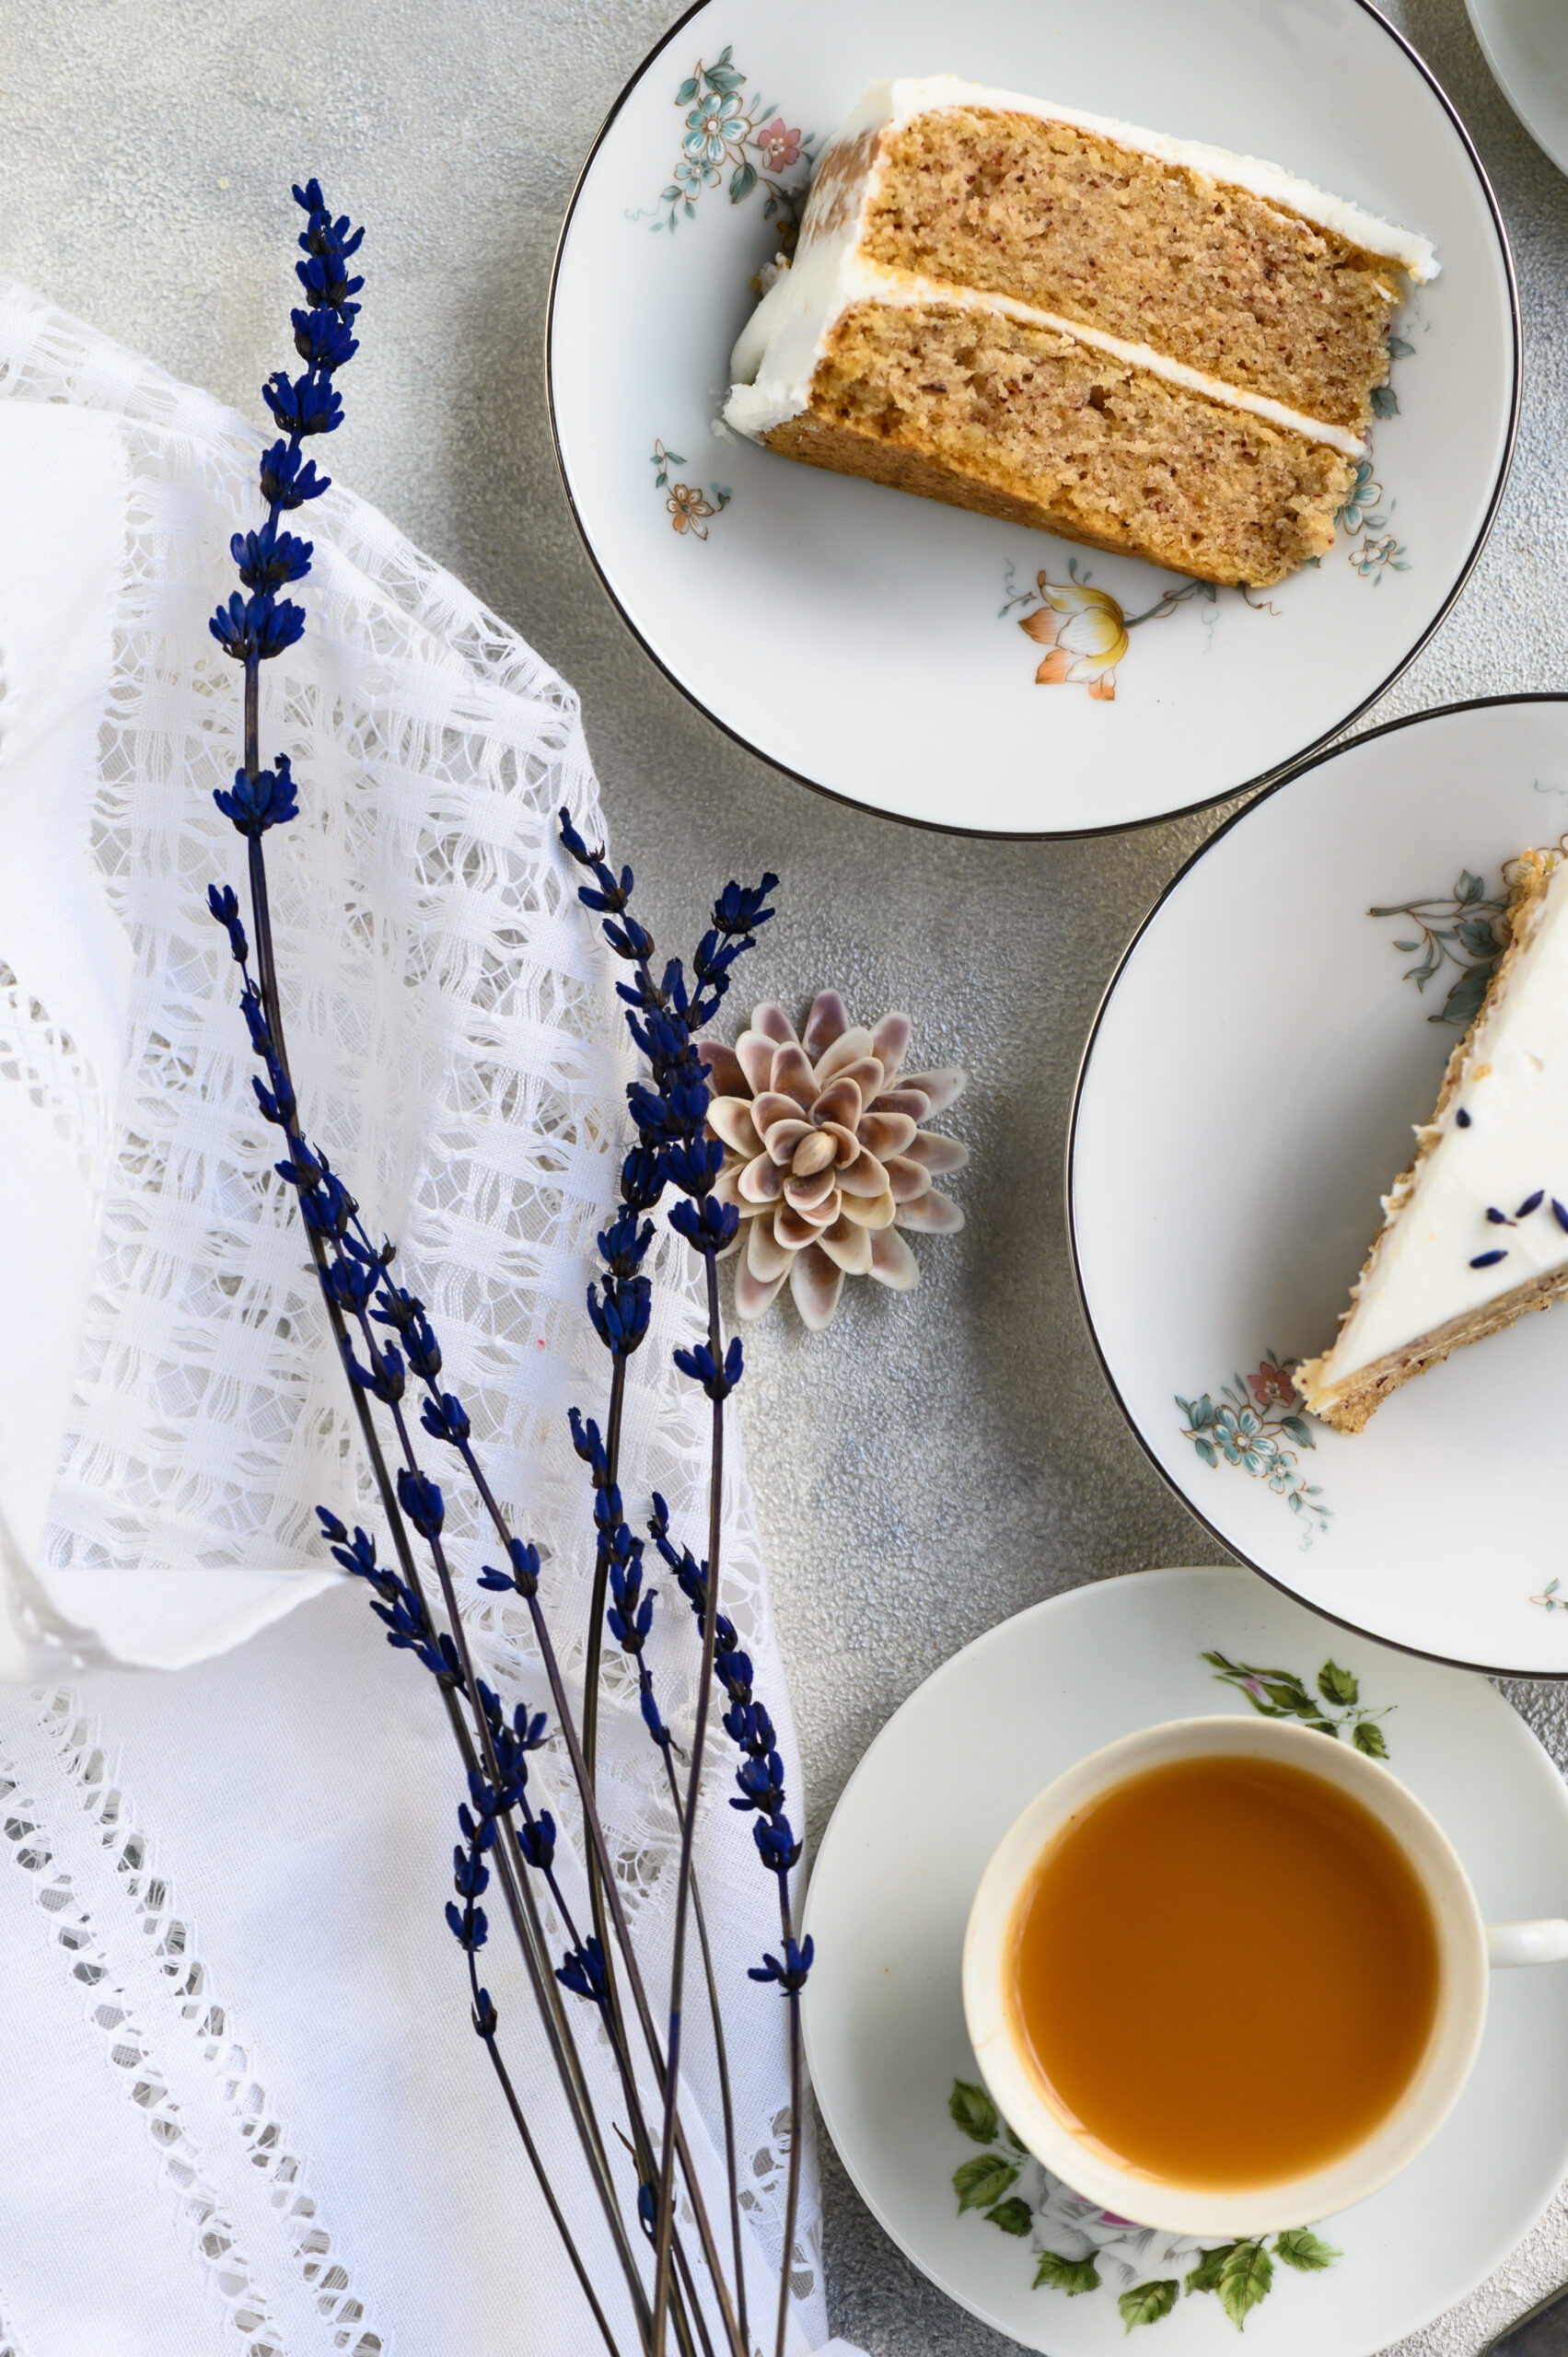
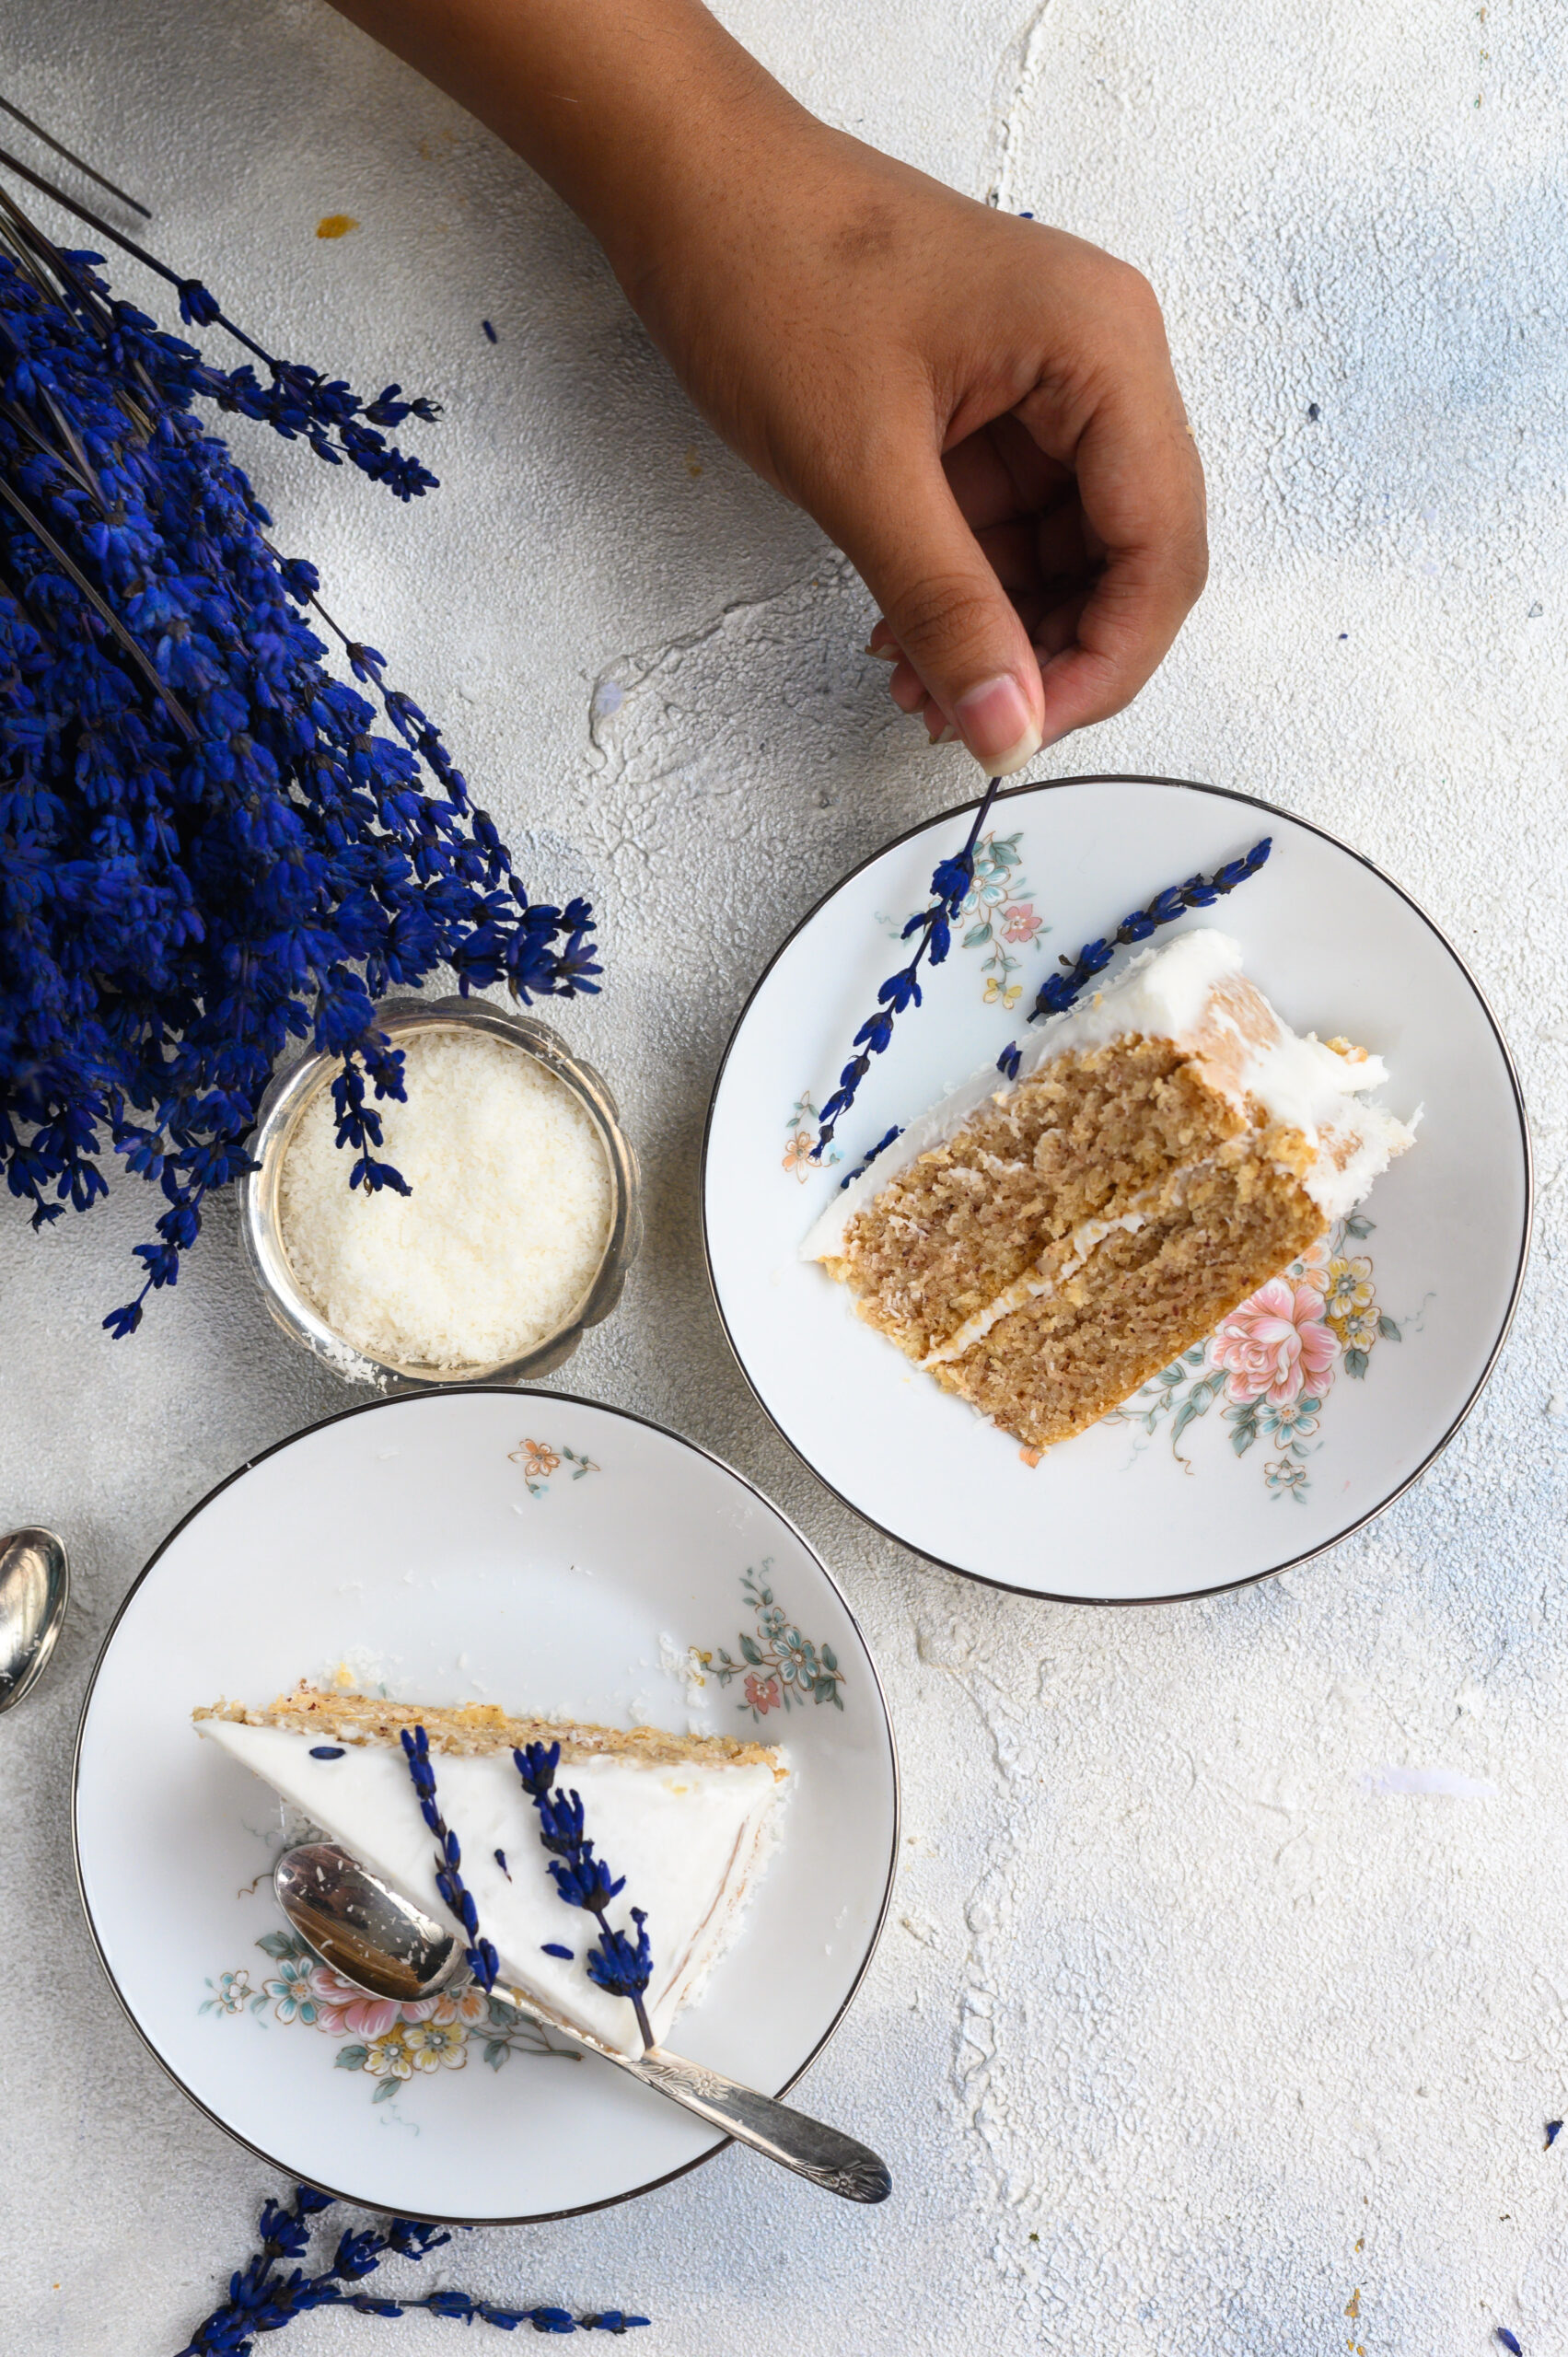
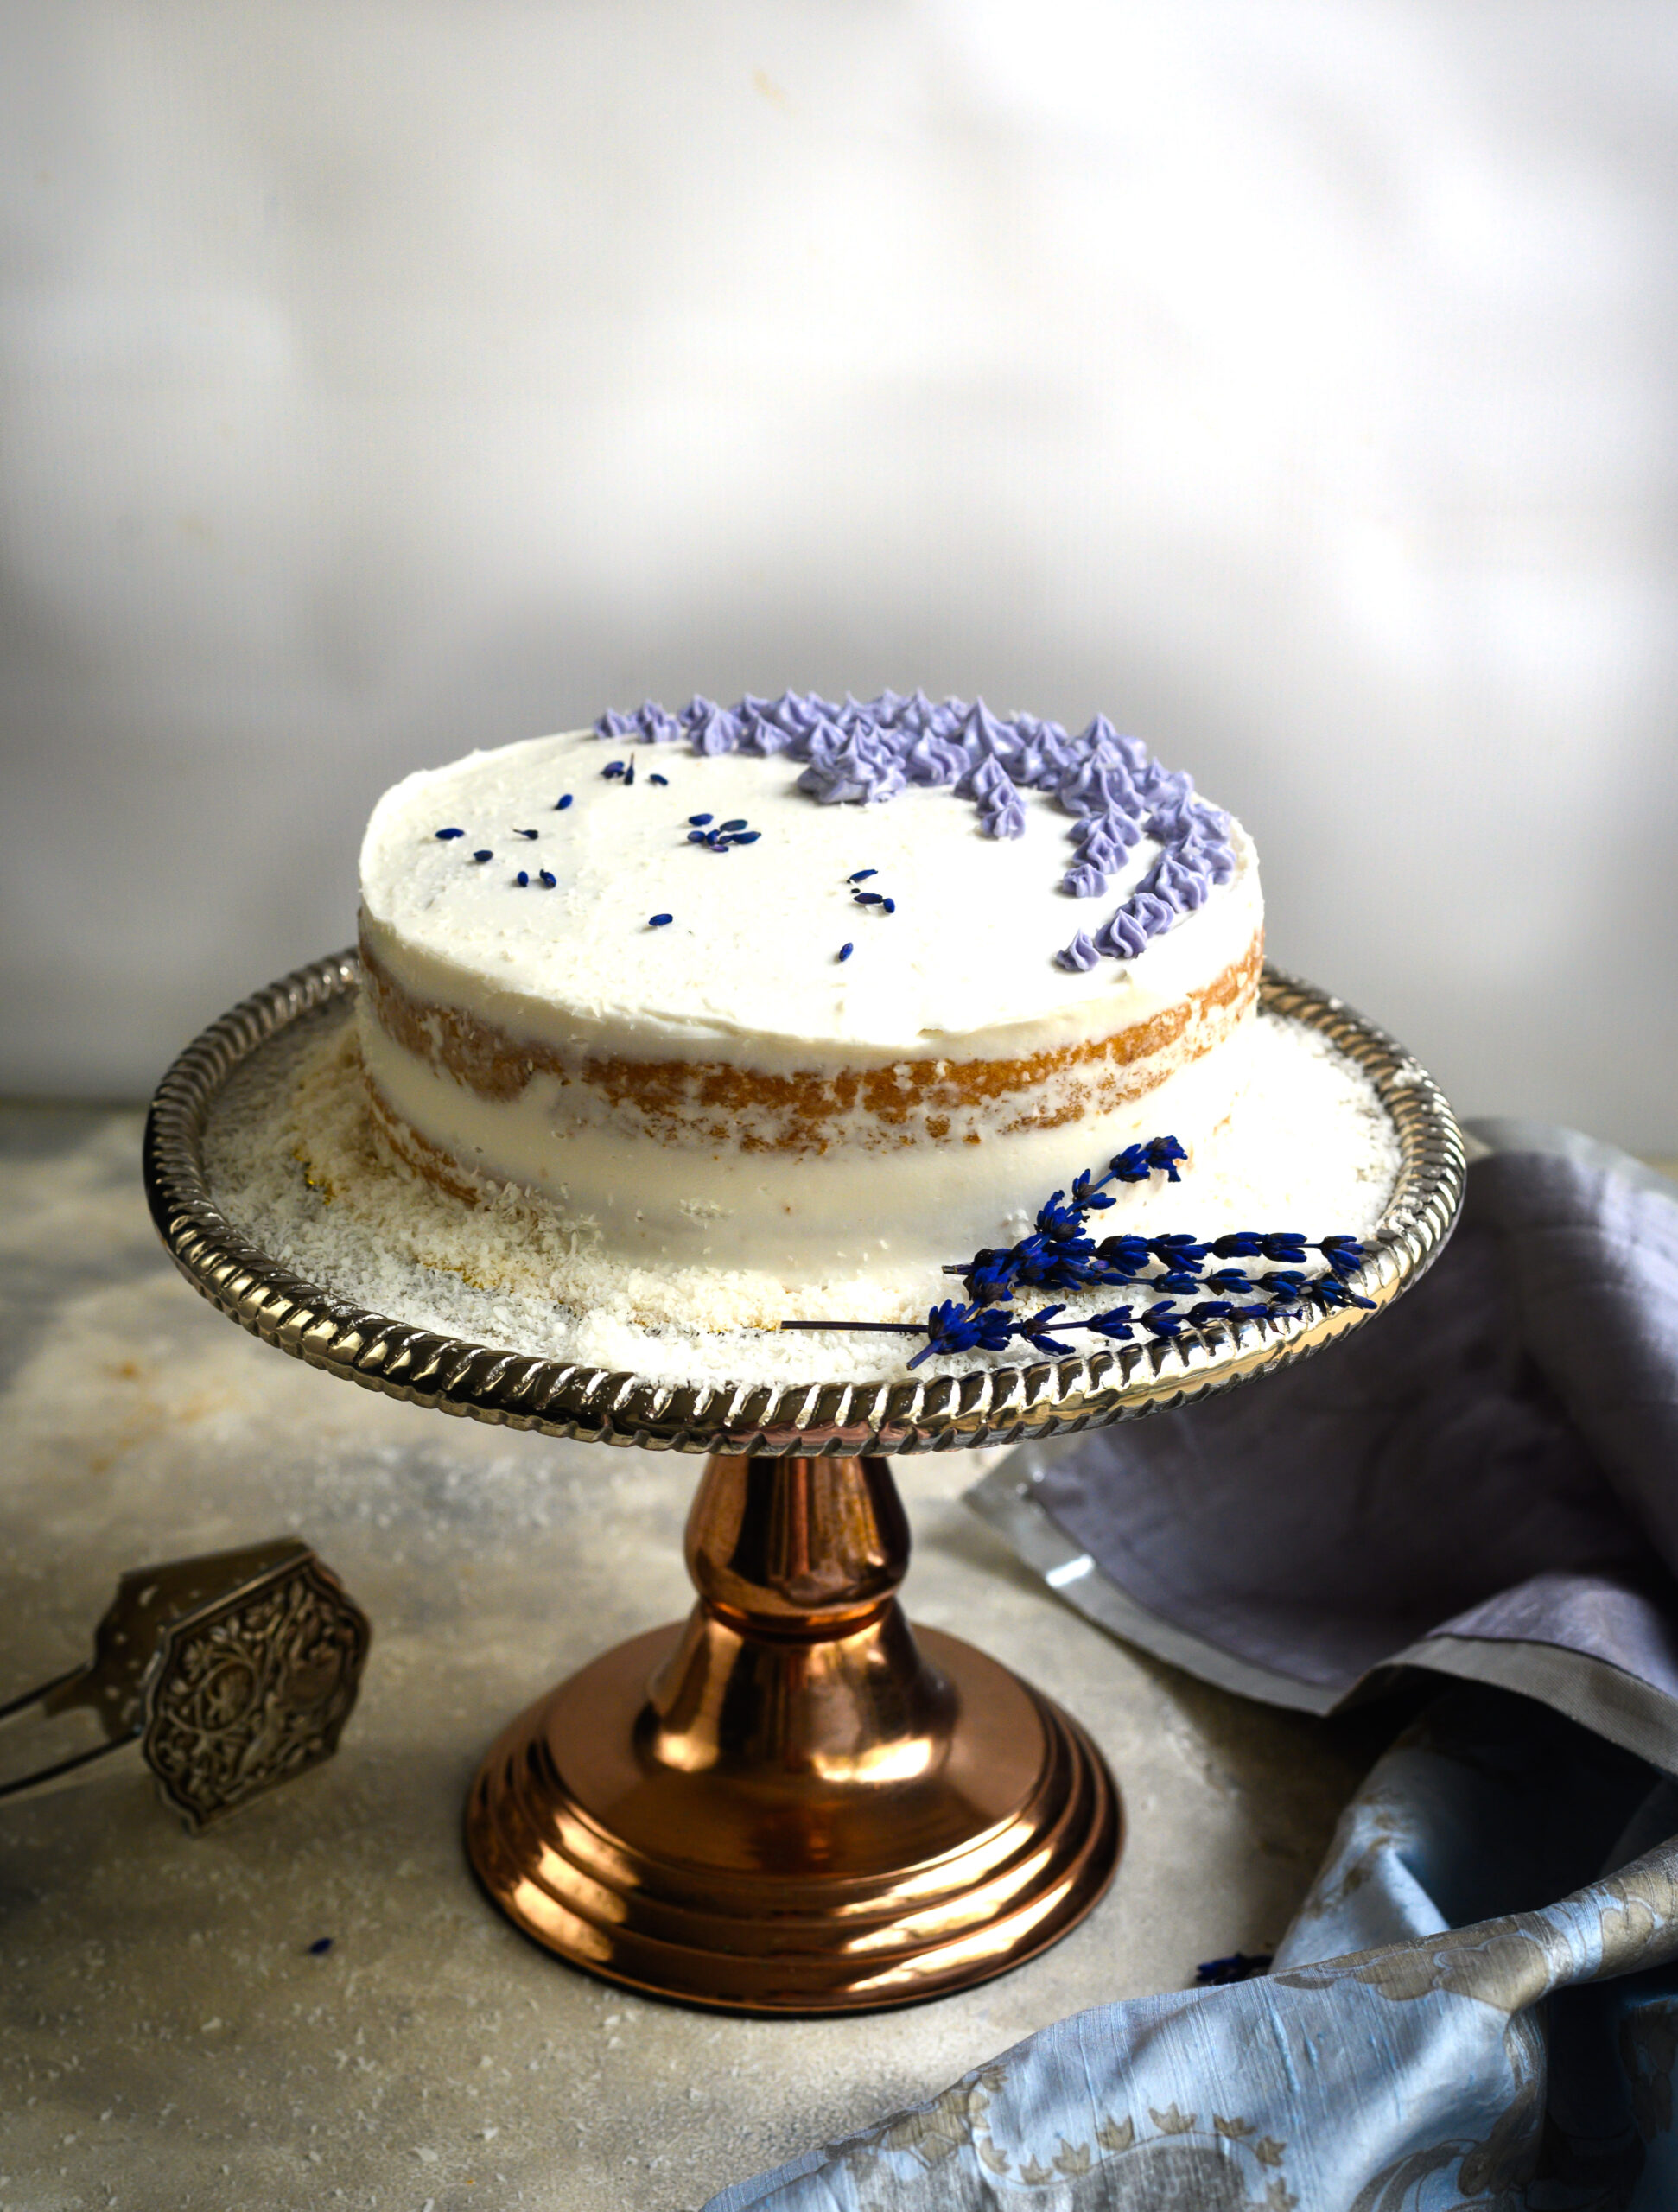
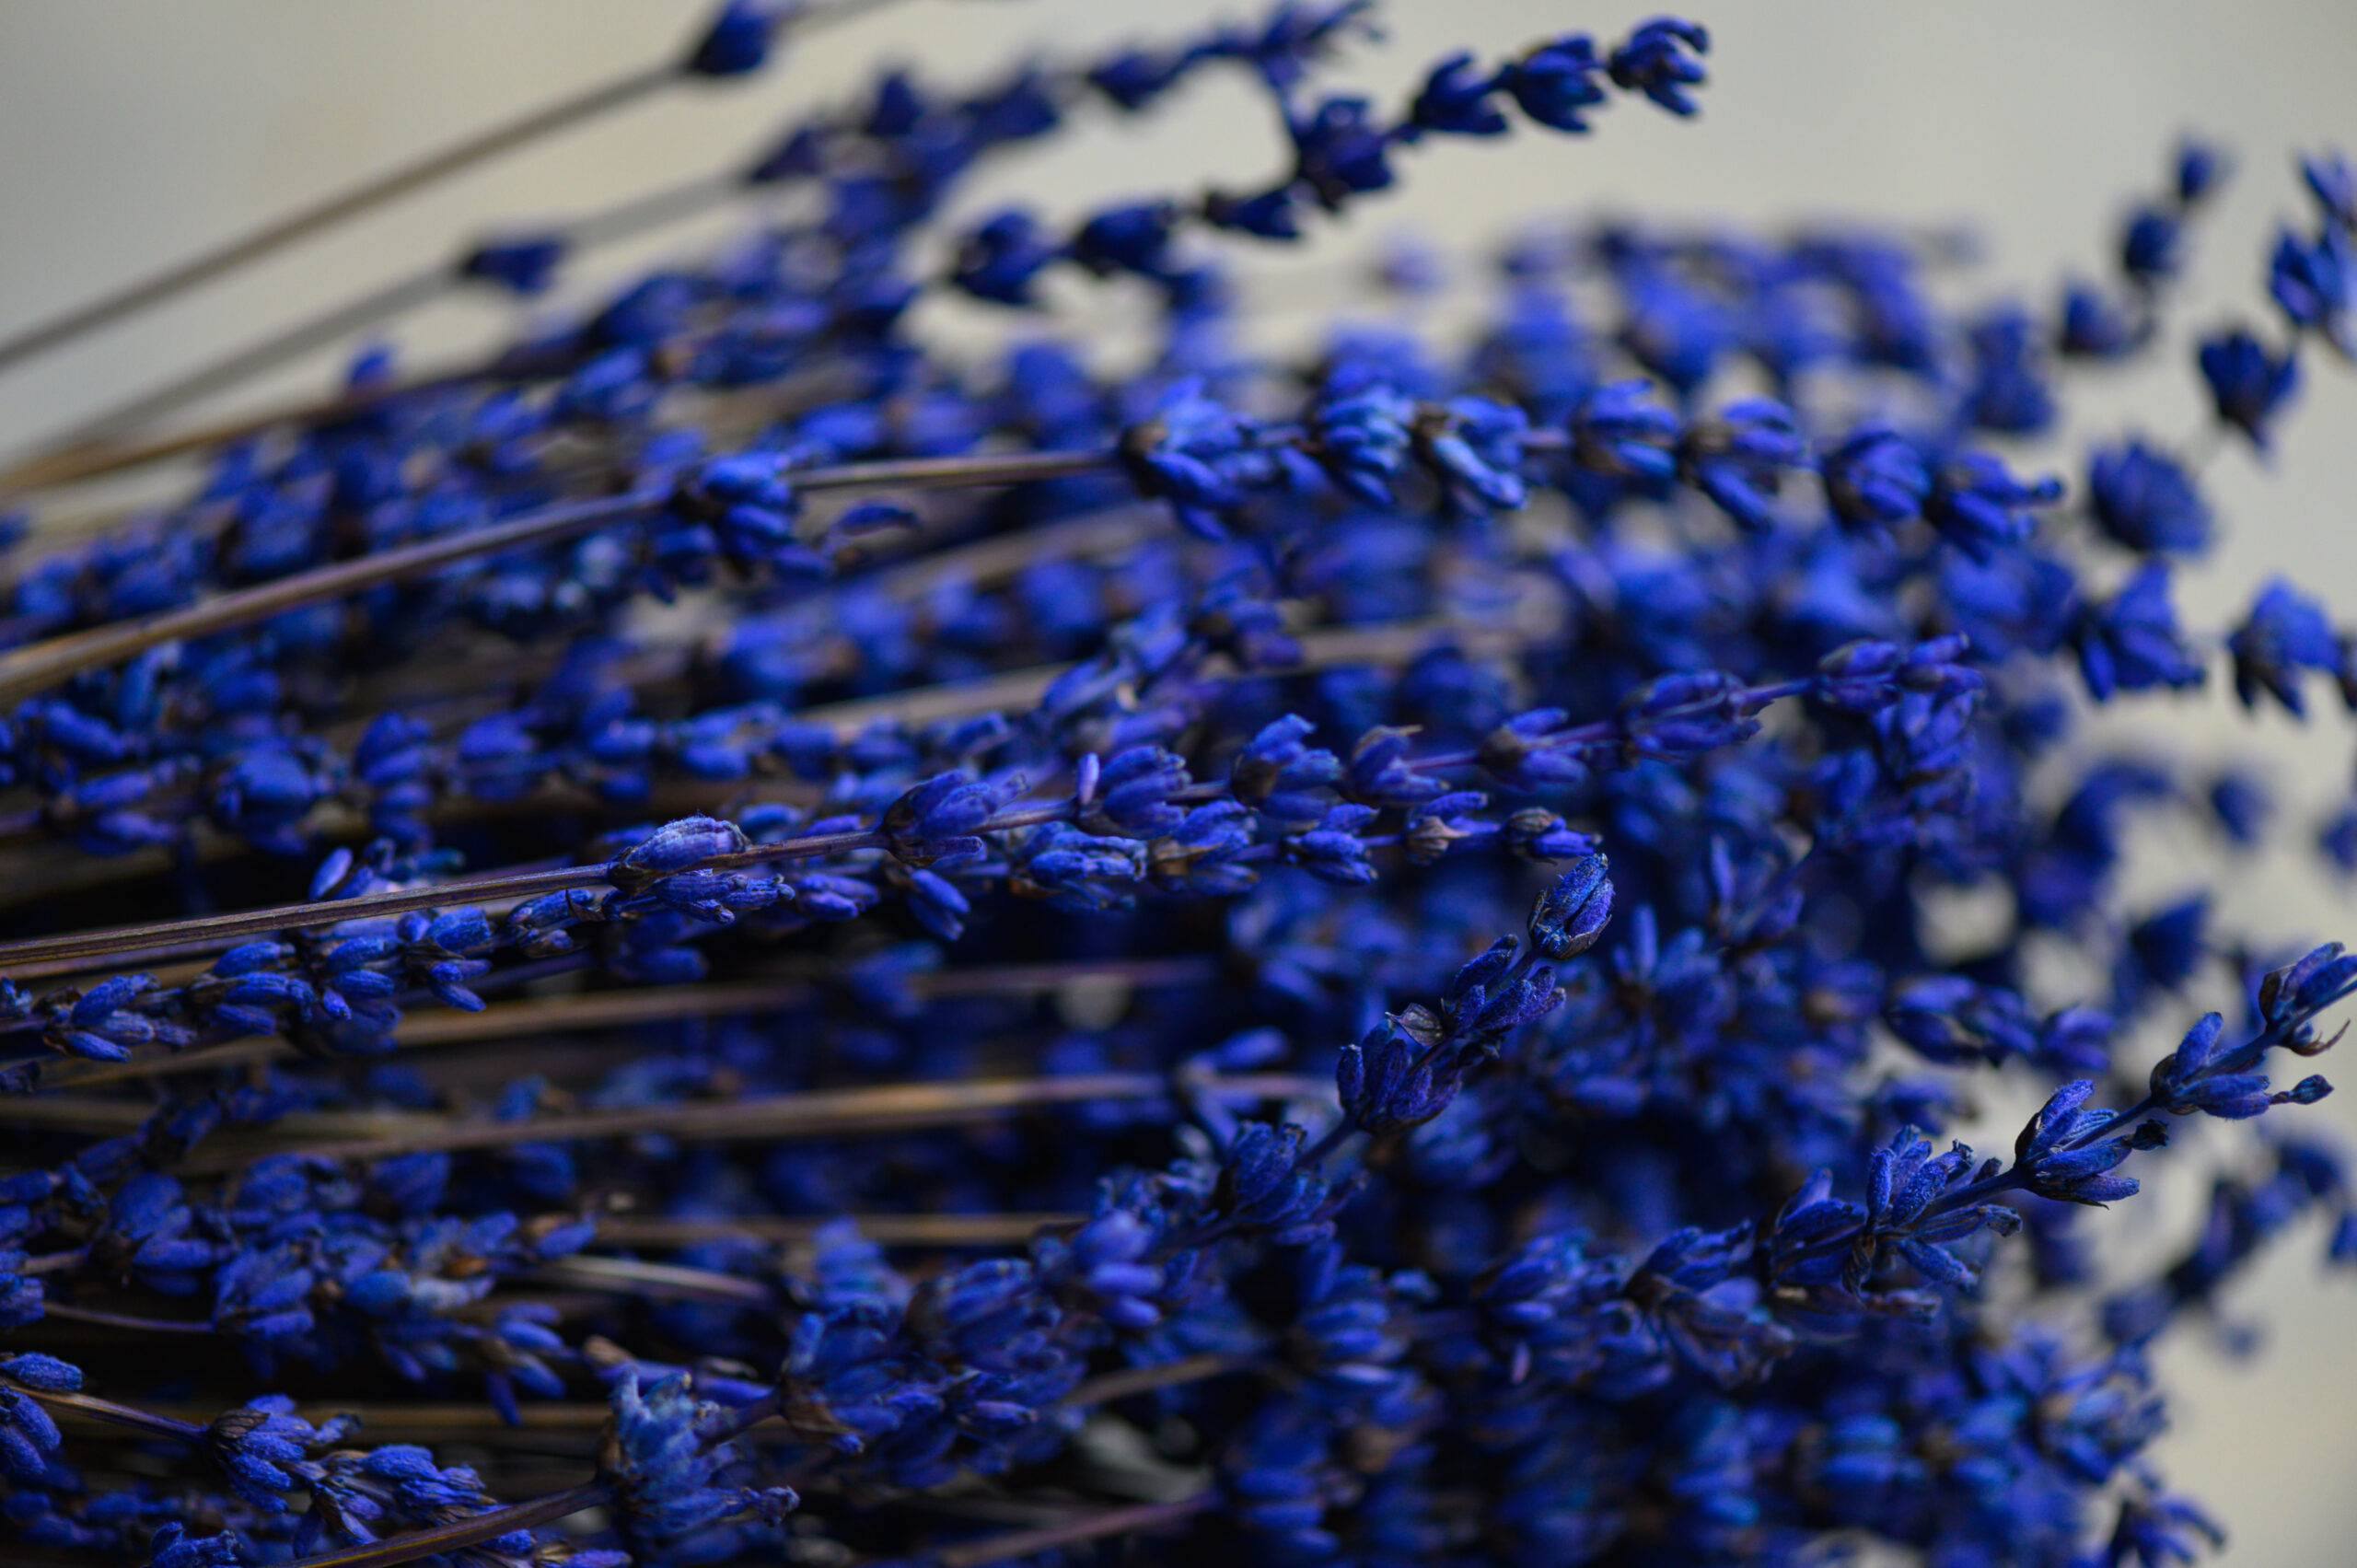
Sitting in one such market not long ago, taking impromptu images on my iPhone camera, my eyes were wandering around looking for those flowers which were dried, so I could carry them back with me. This was when this exquisite batch of lavender caught my attention. Since I brought this beautiful lavender back with me, my entire home is carrying its fragrance and I’d do anything to keep it lasting. If there was a way I could capture its fragrance, I’d easily share it with you. But since I can’t, this vegan lavender cake with coconut icing is the next best thing.

As you may know, lavender is one of the flowers/ingredients that most inspires me, and you may have enjoyed several of my previous recipes featuring it. Some of my experiments have yielded such delights as this lavender shrikand and this vegan lavender panna cotta.

This cake is made for the vegan palette. Veganism is becoming increasingly popular, and rightly so. Among other reasons, the treatment of animals to procure ingredients for non-vegan meals is a big factor as to why people choose it. I am increasingly becoming aware of veganism and trying to include it in my food journey, and you can see several of my recipes here.

Vegan Lavender Cake

Cake:

190 grams flour

30 grams desiccated coconut

200 grams sugar

1 teaspoon baking soda

¼ teaspoon salt

1 cup coconut milk

2 teaspoons vanilla extract

80ml sunflower oil

1 tablespoon apple cider vinegar

½ teaspoon lavender


Icing:

400 grams icing sugar

40 grams vegan butter or margarine

2 teaspoons coconut milk

1 teaspoon vanilla extract


Decoration:

¼ cup desiccated coconut

I’ve talked so often about the pleasure of baking that whenever I share a recipe like this – something from the re:store menu – it makes me happy to know that you can have that same experience of the joy of preparation, not just the satisfaction of the final product!


Preheat the oven to 160°C. Grease and dust two 7’ cake tins and line them.

Sift the flour.

Add all the dry ingredients – flour, desiccated coconut, lavender, baking soda and salt – into a bowl and whisk. Now add the sugar. Keep aside.

Now, put all the wet ingredients – coconut milk, oil, vanilla extract and vinegar – in a separate bowl, blend, then add these to the dry mixture.

Whisk the wet and dry ingredients together gently. Once you have a batter, divide it equally between the 2 cake tins.

Bake both tins for approximately 30 minutes or until a tooth pick comes out clean.

Allow to cool for 10 minutes before removing the cakes onto a cooling rack. Once they have cooled completely, they are ready to be decorated with icing. So it’s best to make this as they cool.

This vegan lavender cake is garnished with a coconut milk icing. In a mixer, add the butter, vanilla extract and sugar. Beat on a low speed. Slowly, increase the speed and add the coconut milk carefully. Add only as much as required, and make sure that the mixture is spreadable. Adjust the coconut milk or sugar quantities as required to ensure this.

Place one of the cakes on a base and apply half the icing on top of it. Sprinkle 1 tablespoon of the desiccated coconut, then place the second cake on top of this to form a layer.

Ice the top generously and sprinkle the remaining desiccated coconut. Decorate as desired. A good presentation makes for a tasty cake too. As I always say, the eye tastes before the mouth does, and using attractive serving ware and garnishings can really enhance the experience.

As is most often the case, I decided on this recipe based on the ingredients I had on-hand and how they inspire me. Lavender and coconut were the flavours I chiefly wanted to bring out, and vanilla is of course a baker’s best friend. Together, for me they evoke the way it feels to sit at a café and watch a flower market being set up. When you try out this recipe, please let me know what these scents and tastes evoke for you!

My childhood summers were almost always spent in Vijayawada, where my maternal grandparents lived. If you’ve followed my blog for some time, you may remember when I mentioned their huge fridge or the vetiver-scented curtains in their rooms. So many precious memories were made there as we grew up. Maybe one reason why the scent and flavour of roses are such a vital element in the re:store kitchen is because they always evoke for me one very special taste from those long-ago days:  rose sherbet.

This is my aunt’s recipe, and she made it almost ceremonially every summer in Vijayawada. Or so it felt to me, at least, because the luscious colours and fragrance – and that wonderful, cool taste at the end of it all – were so grand. The household had a very traditional kitchen, despite the ultra-modern fridge, and there was no dining table. In one corner was a puja area, where the gods were always served first, which is why our custom is to never taste food as it is being cooked. Followed by the offering to the gods, the kids would be served. Leaves would be laid on the floor in rows, and my siblings, cousins and I would sit down cross-legged and eat. Banana leaves are popular in South India, but we also used sal or banyan leaves, known as patravali (and locally as istrakku). Leaves are not only a traditional form of crockery, they are also environmentally-friendly. They are biodegradable and are a single-use item, thus requiring no water wastage during cleaning.

Sitting on the floor expectantly, the leaf before me, I would glance up and look at the amazing array of glass bottles on the shelves. My aunt collected these in every colour and shape, and this beautiful mismatched display was used to store her luscious rose sherbet. We would each be treated to a single glass of it after lunch, so I always looked forward to the end of the meal. The sherbet would be mixed with either water or milk. The latter was a healthy concession (because this is a sugary beverage), as well as a way to get us kids excited about drinking milk.

Sherbet is a drink brought to India from the Middle East, as its name indicates, coming from the Turkish “şerbet”, Persian “sharbat” and Arabic “sharba”. Naturally cooling, it is a concentrate made of either flowers or fruits, which is diluted. It is sometimes spiced but always sweetened.

I had the good fortune of having my aunt visit recently. She is in her 80s now and as we reminisced about the good times, we ended up making a fresh batch of rose sherbet in my home. Now it’s my shelves that are lined with those gleaming pink bottles.

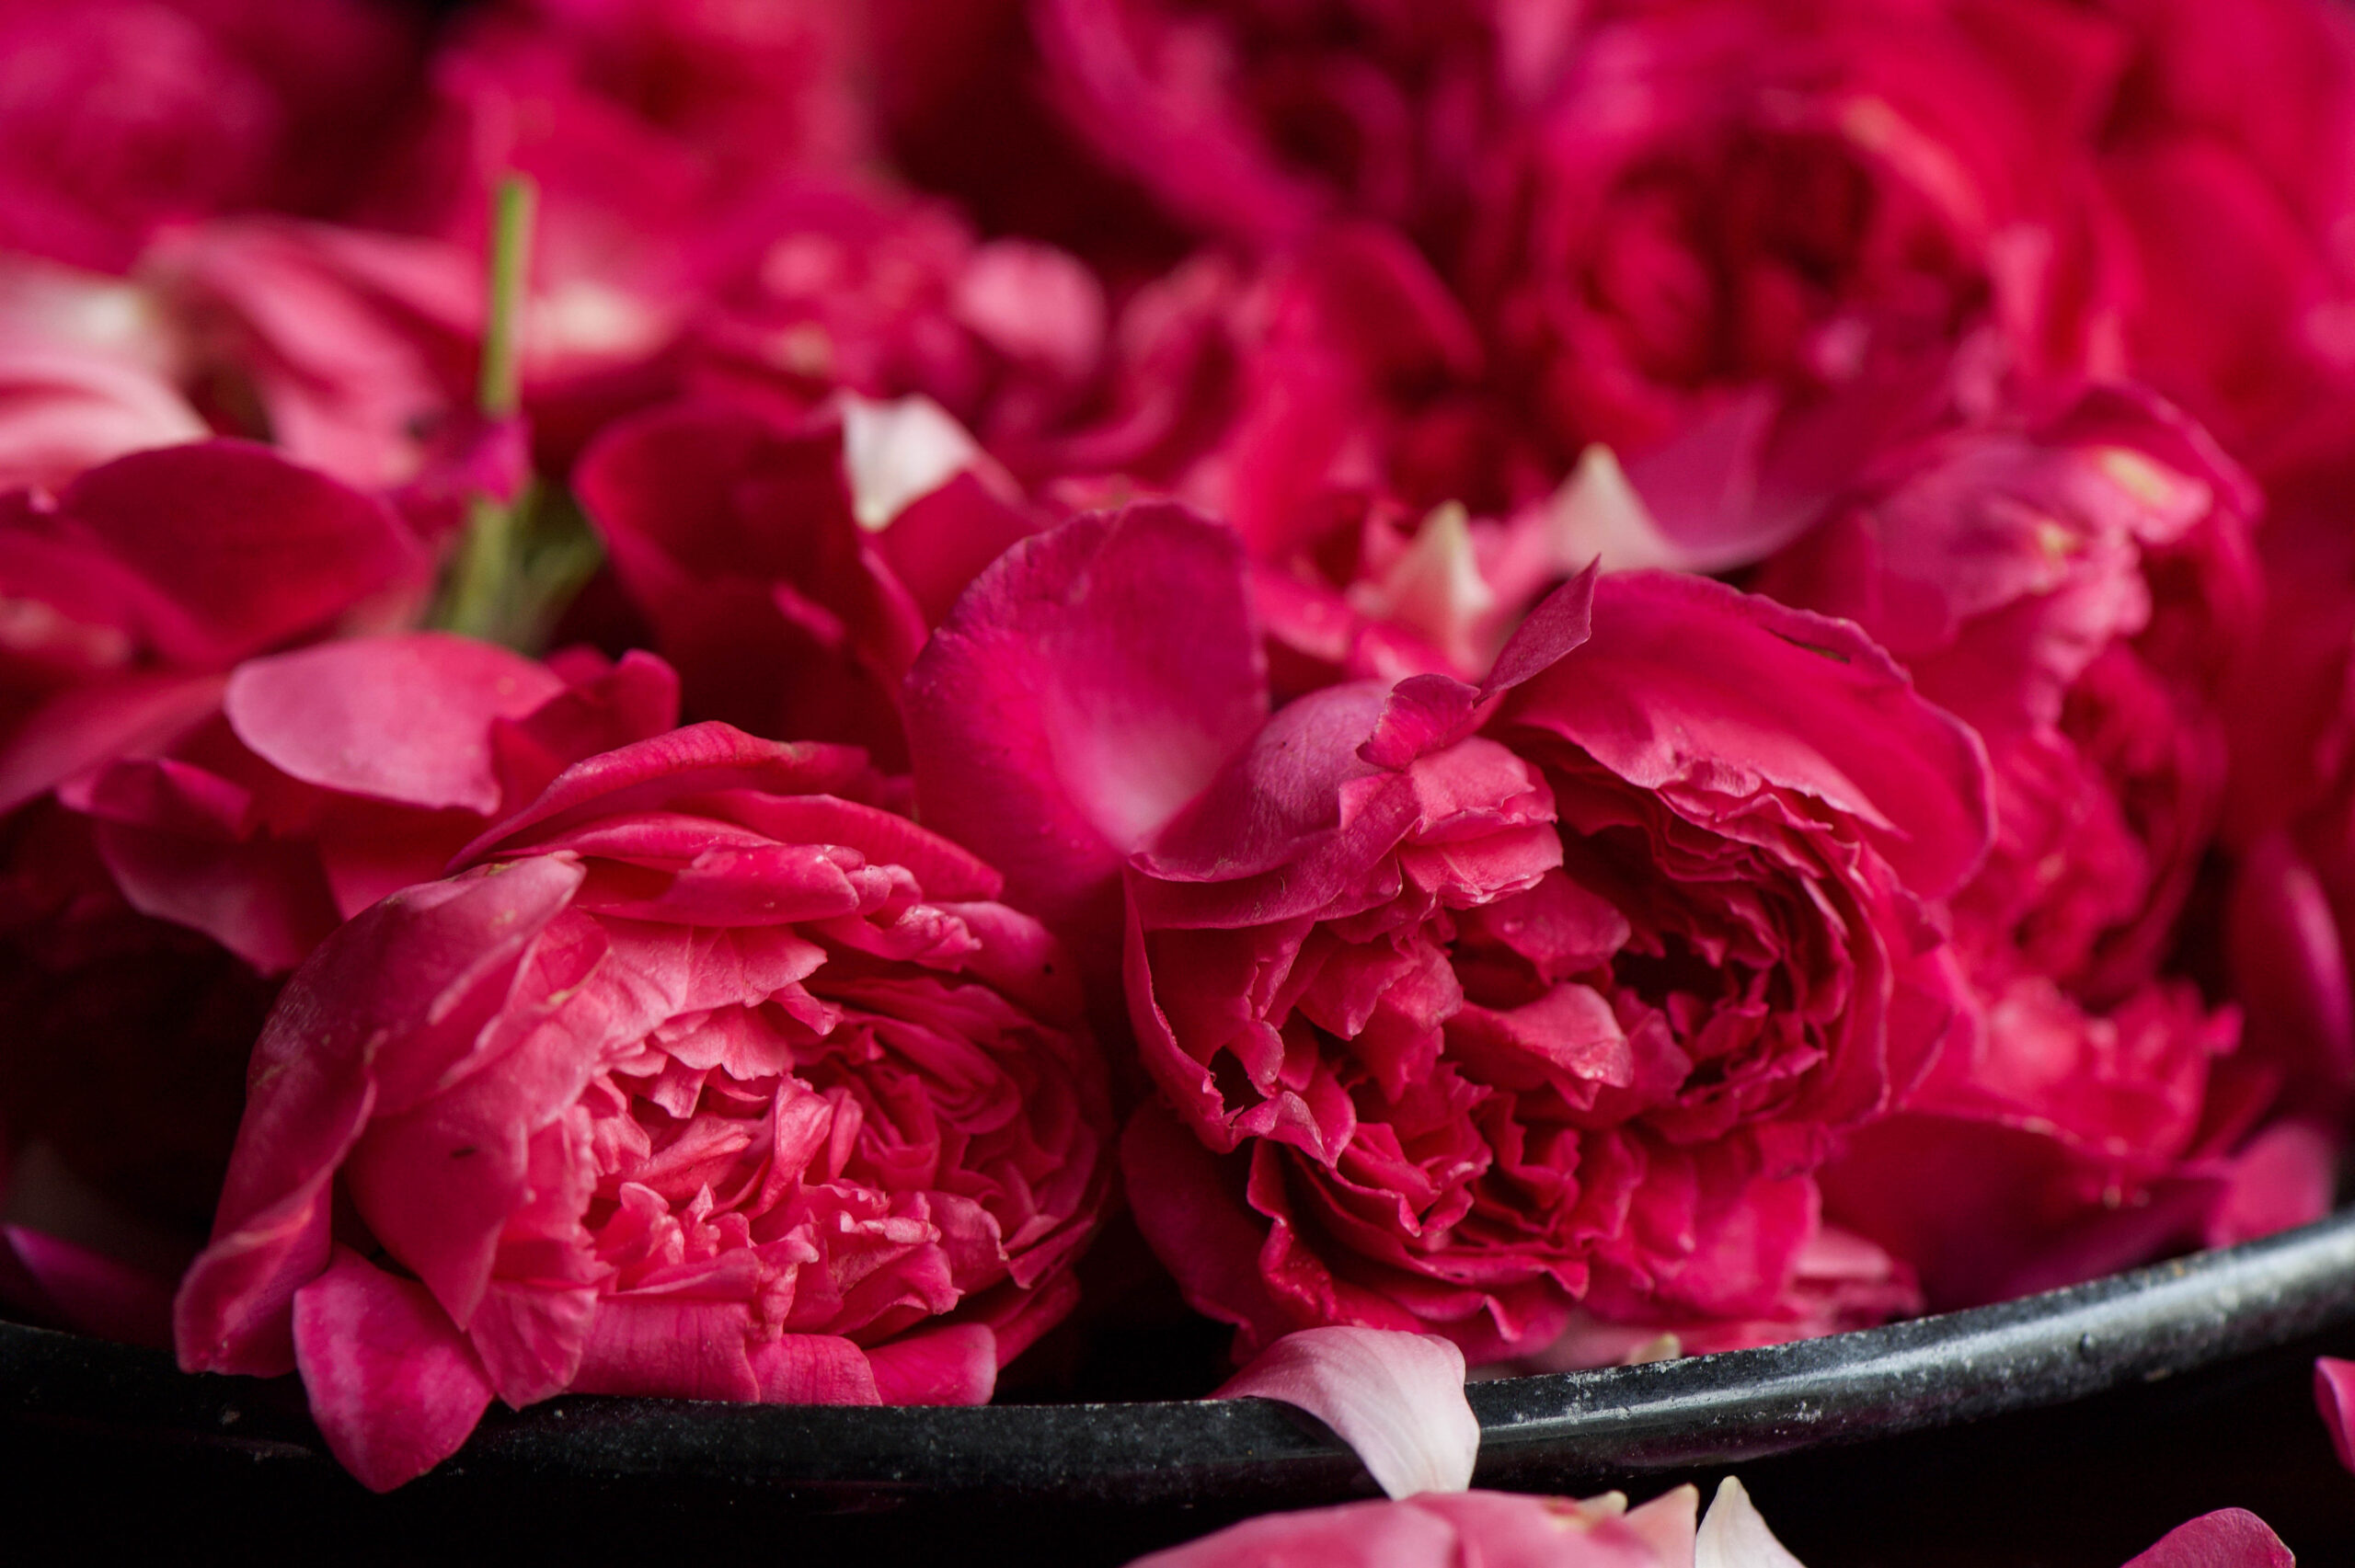
The roses we used are the pretty local ones known as “paneer roja”, which may be familiar to you as damask rose or country rose. They grow well in the tough weather conditions of Chennai, and they are so fragrant. Prepare for your entire kitchen to smell like heaven as you make this recipe. And why not? You deserve it. On those long summer days, like the ones we’ve started to have in Chennai now, it’s the perfect cheat day beverage. So cooling and so decadent!


Rose Sherbet

(Yield: Approximately 2 litres)

Ingredients

2 litres water

150 grams rose petals

1½  kilograms sugar

1 teaspoon citric acid

1 teaspoon rose extract

2 pinches of raspberry colour

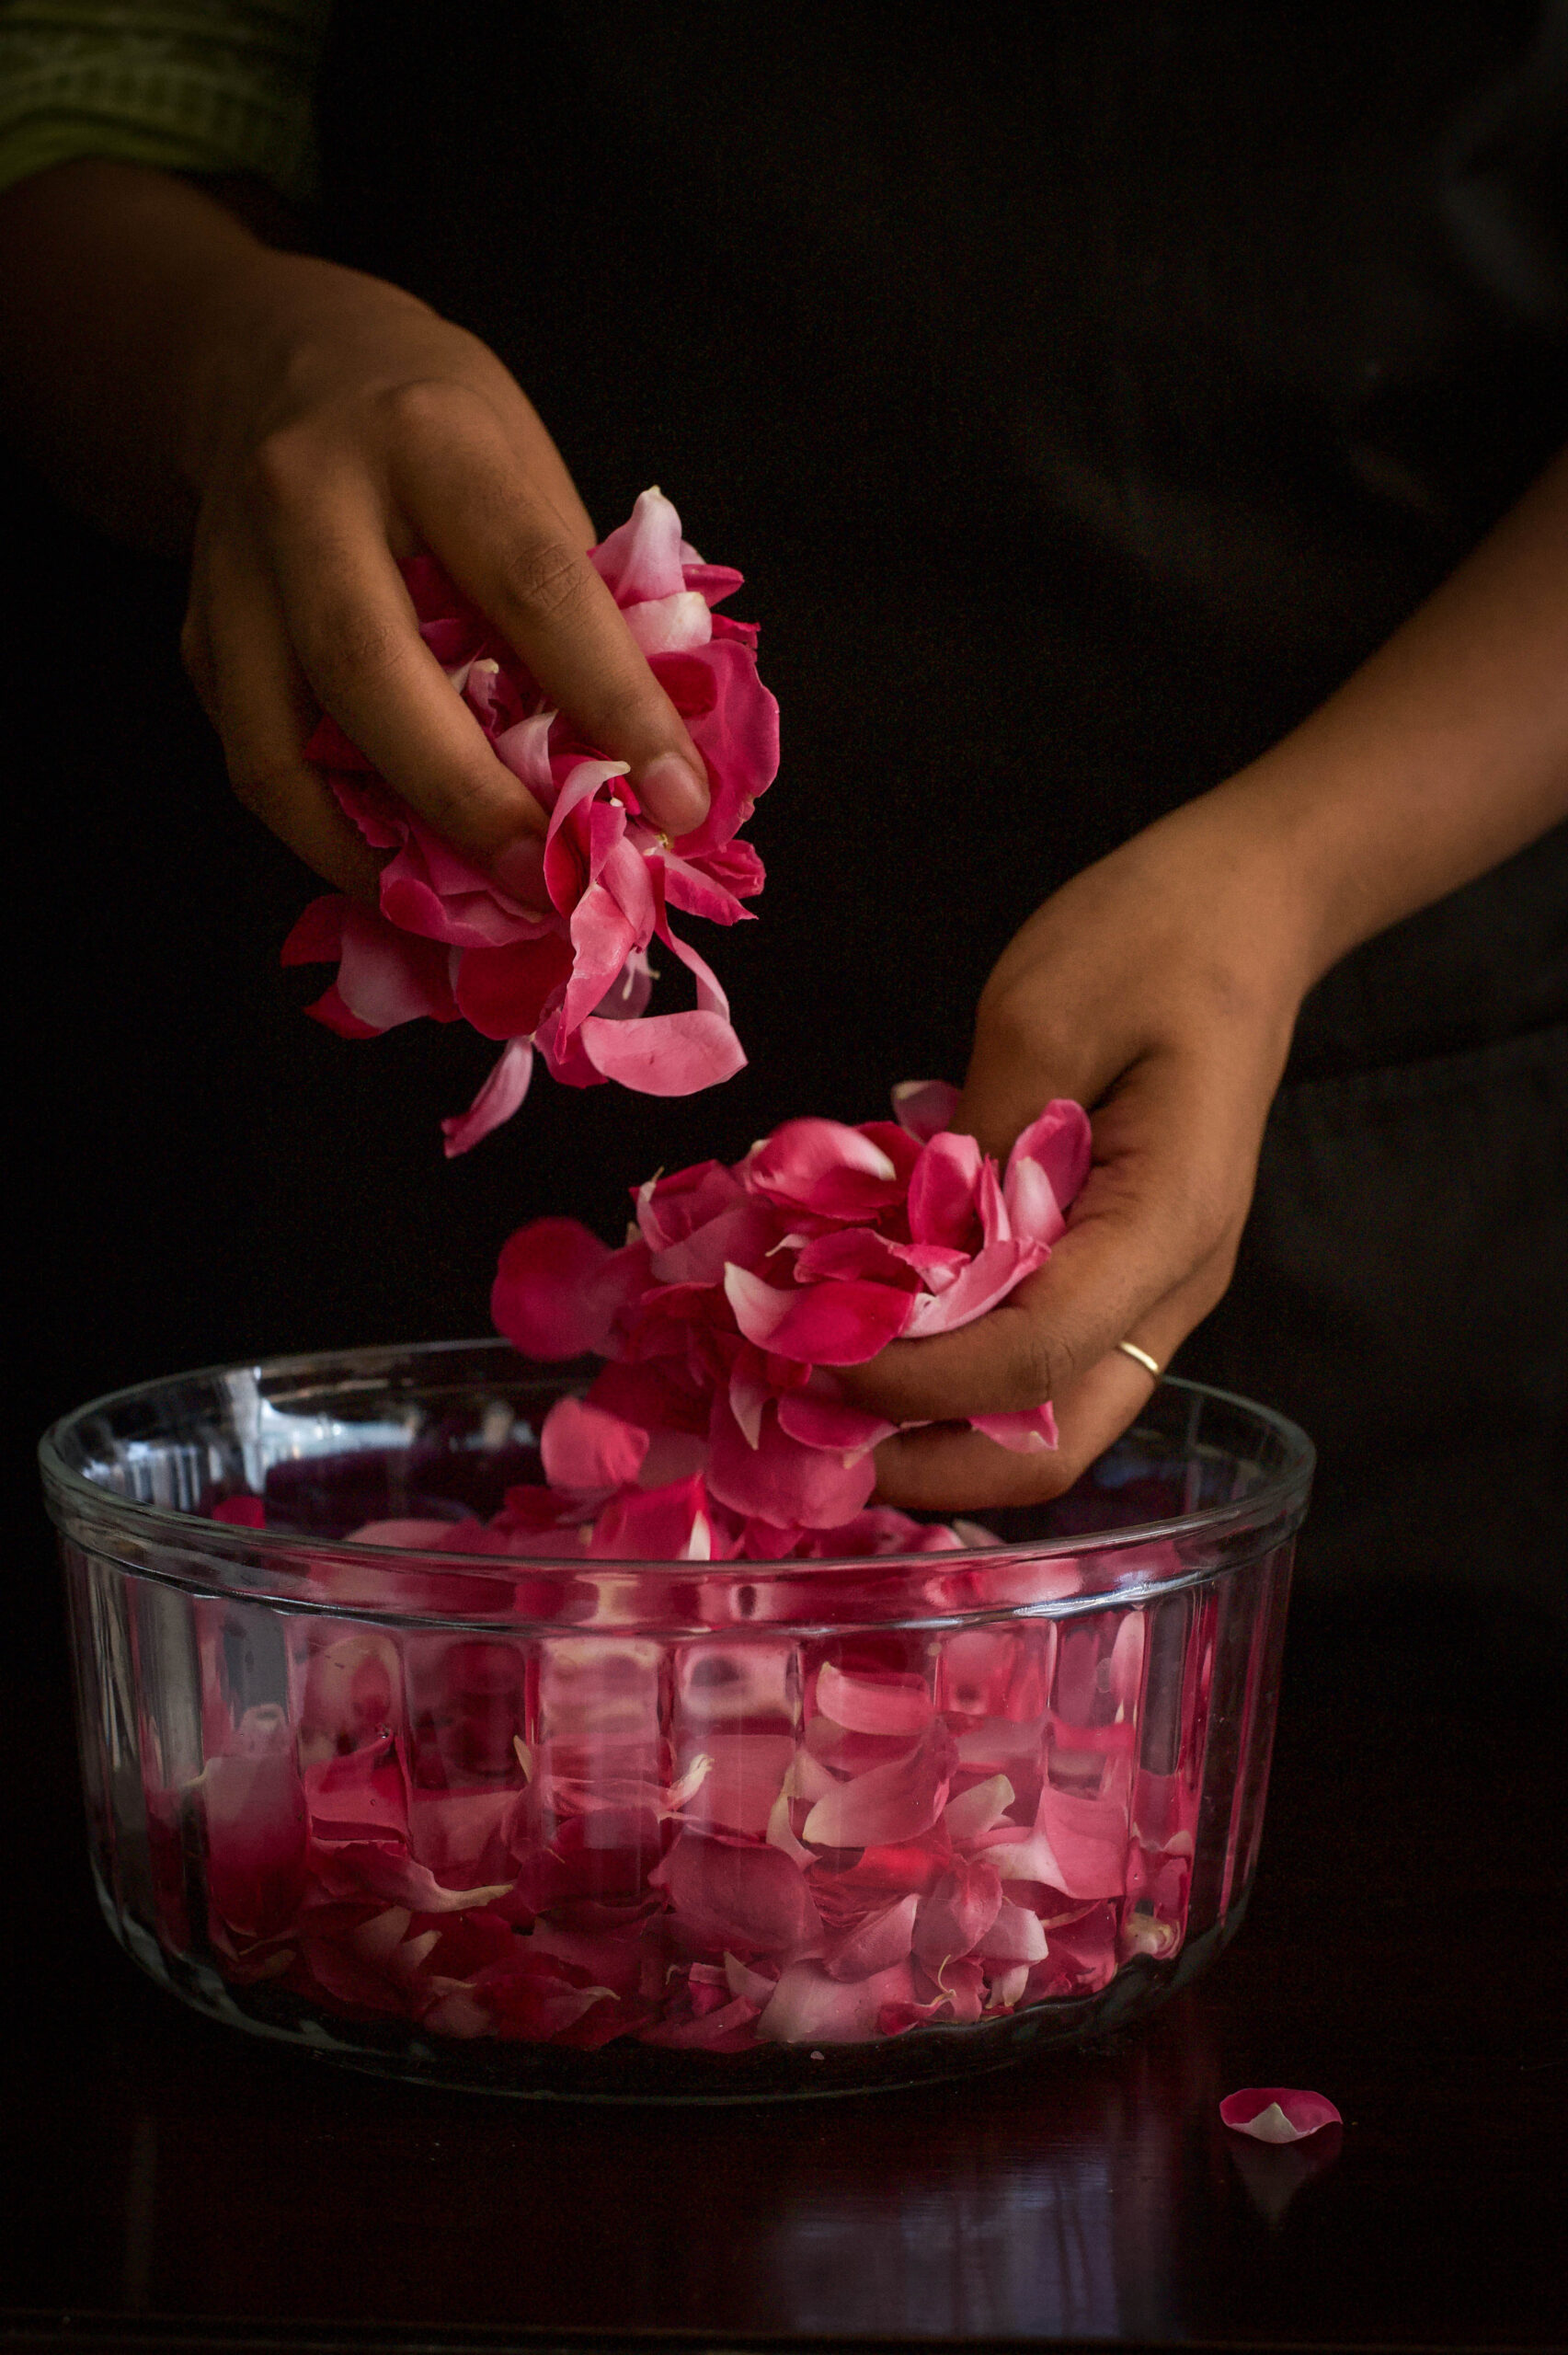
Pick and clean the rose petals. Place them in a vessel, cover with a lid, and let them soak in water overnight.

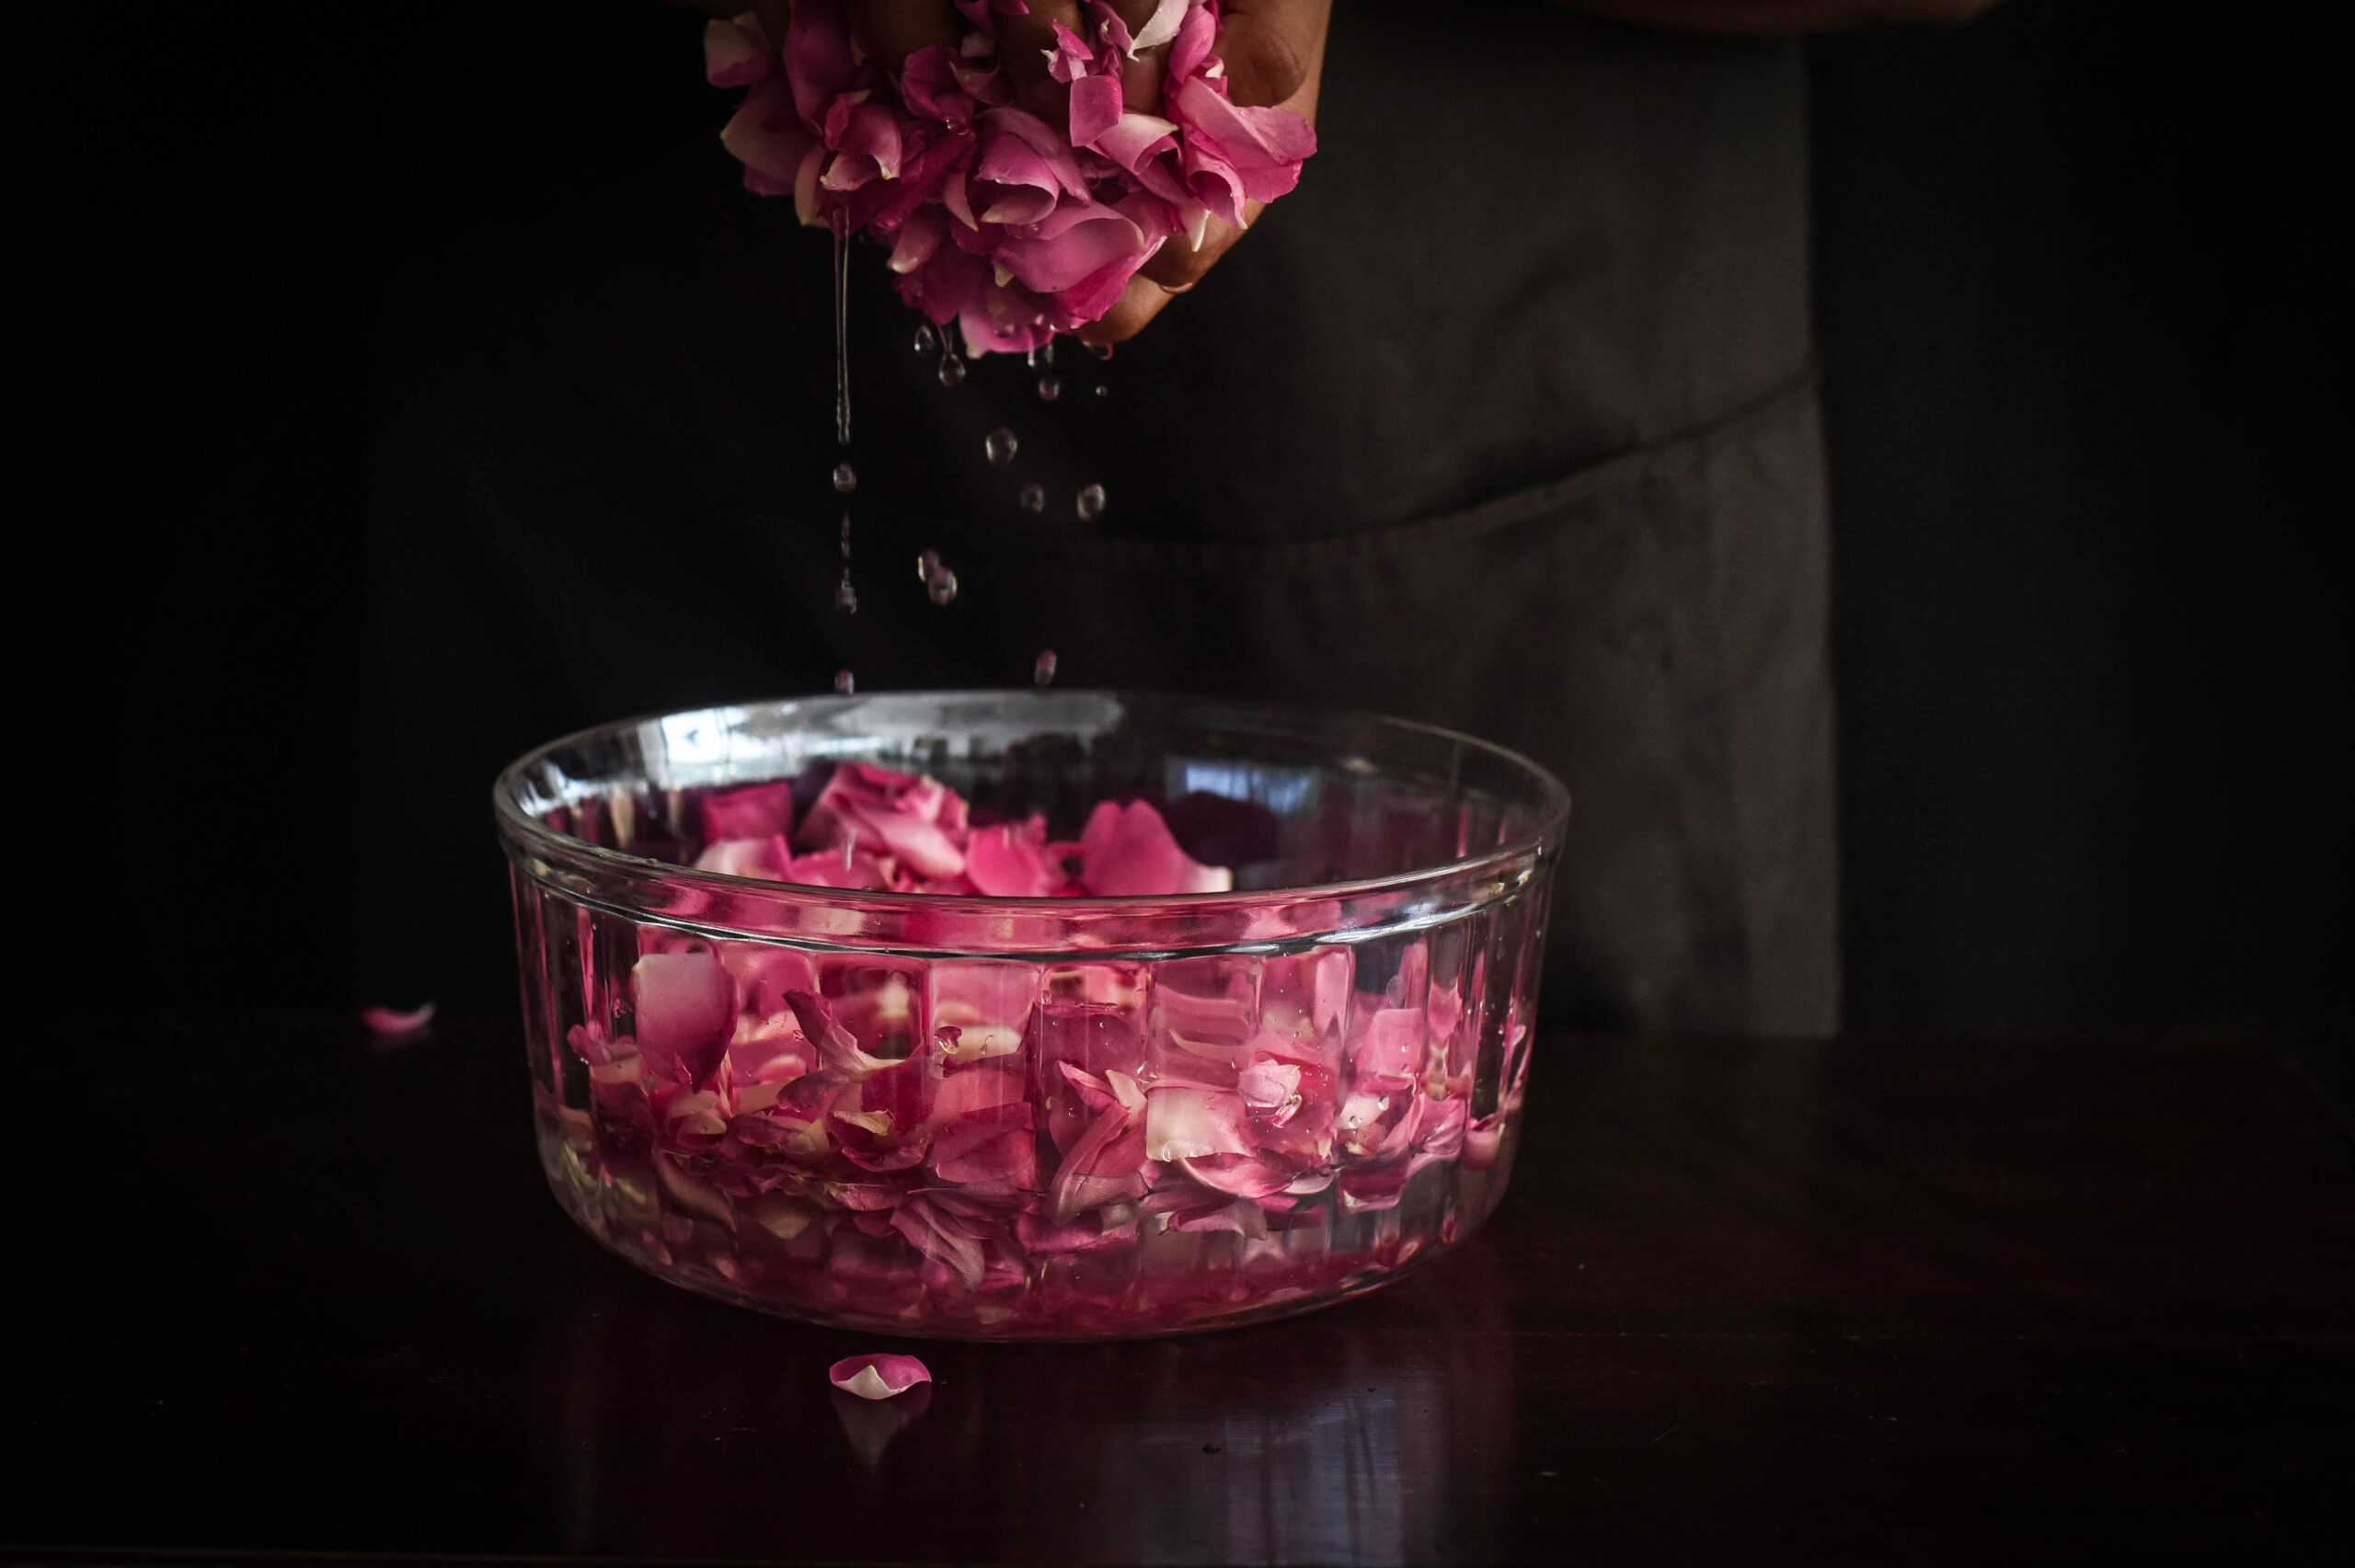
The following morning, crush the petals well using your hands or a hand blender. The water will now change colour.

Squeeze the petals using your hands and strain and pour the rose water into a big steel pot and place it over a medium flame. Discard the petals. Add the sugar and stir constantly. Be careful not to allow the sugar to crystallise – this is a precise art.

Boil and stir until the water turns sticky when touched between your fingers. Then, turn off the flame and add the citric acid. Make sure you stir the pot well and the citric acid blends completely. Cover the pot with a net and allow to cool.

After a few hours, add some rose extract and the raspberry red colour to the sherbet. The latter is optional, but look at how delightful the drink looks when you do it! Kids will especially get a thrill from that rich colour.

Strain the sherbet, then use a funnel to pour the syrup into glass bottles. Store in a cool place. This beverage does not require refrigeration.

To serve, add 2 tablespoons of the syrup into a glass. Pour cold water until it fills the glass and mix lightly.

In my home, the favourite finishing touch is always a topping of ice cubes and a squeeze of lemon. Rose sherbet is so very refreshing, as well as so lovely to look at. You’ll have to do what my aunt did when we were kids and restrict yourself – just one sugary-sweet glass a day!


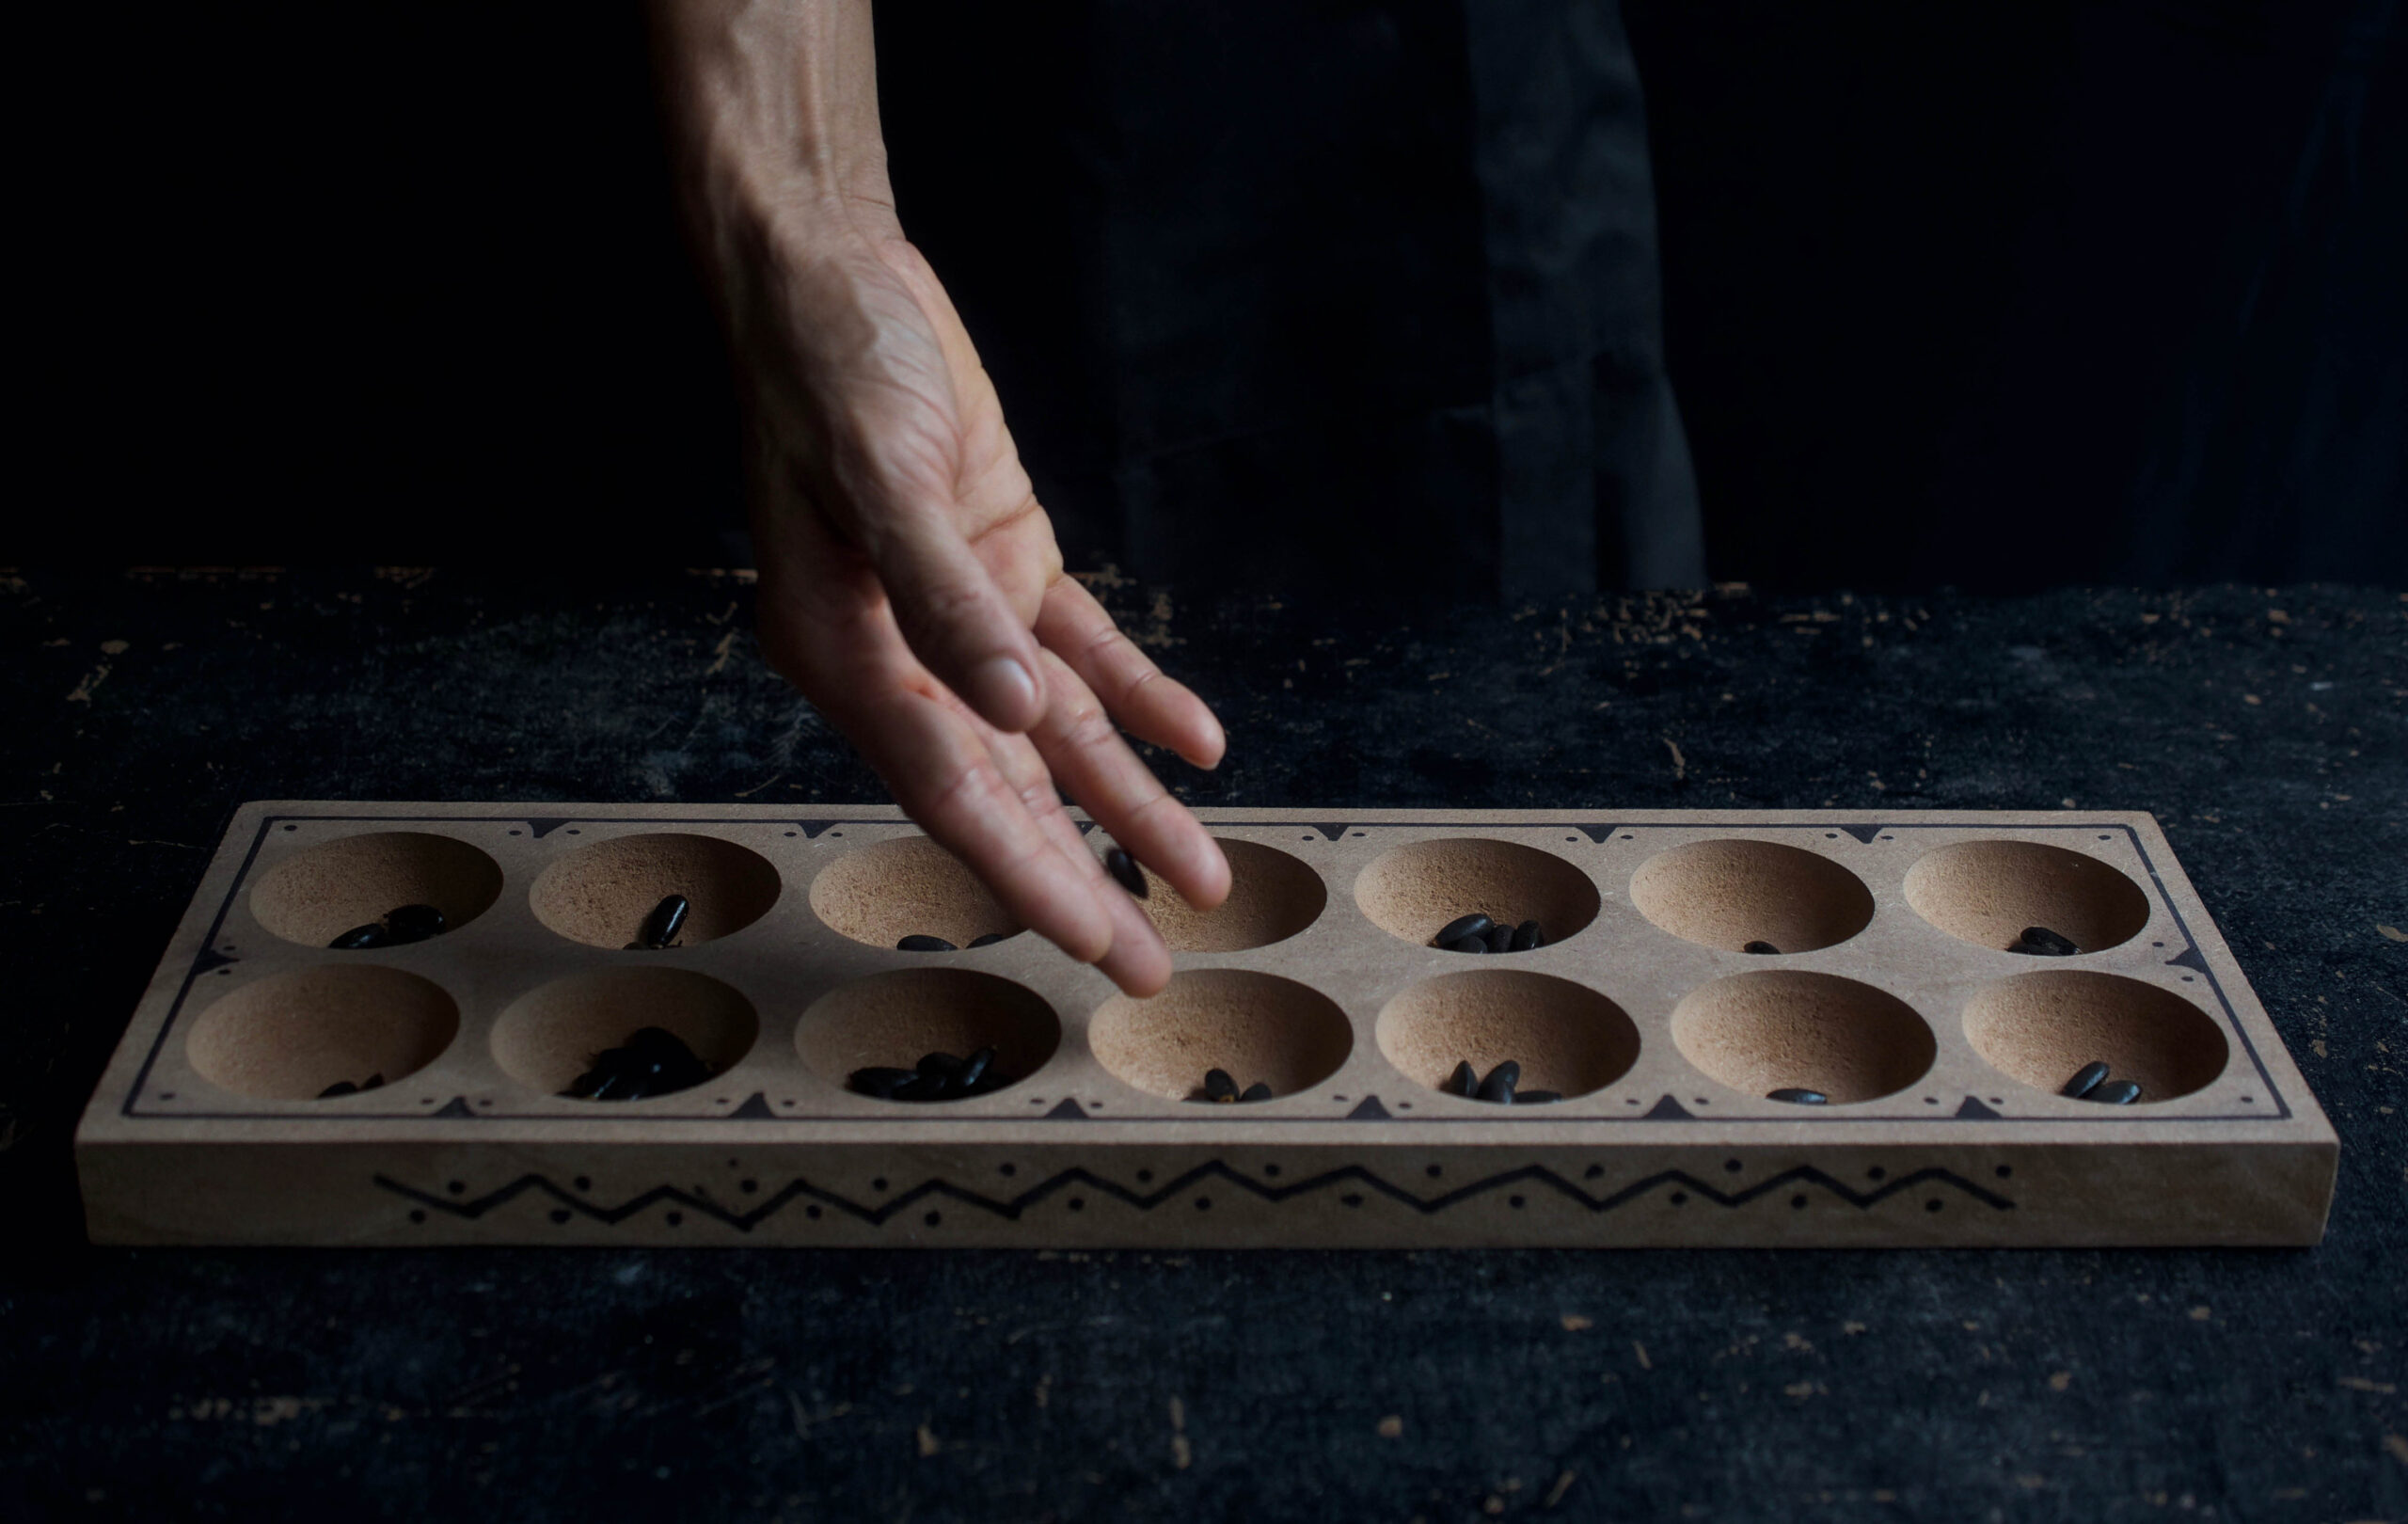
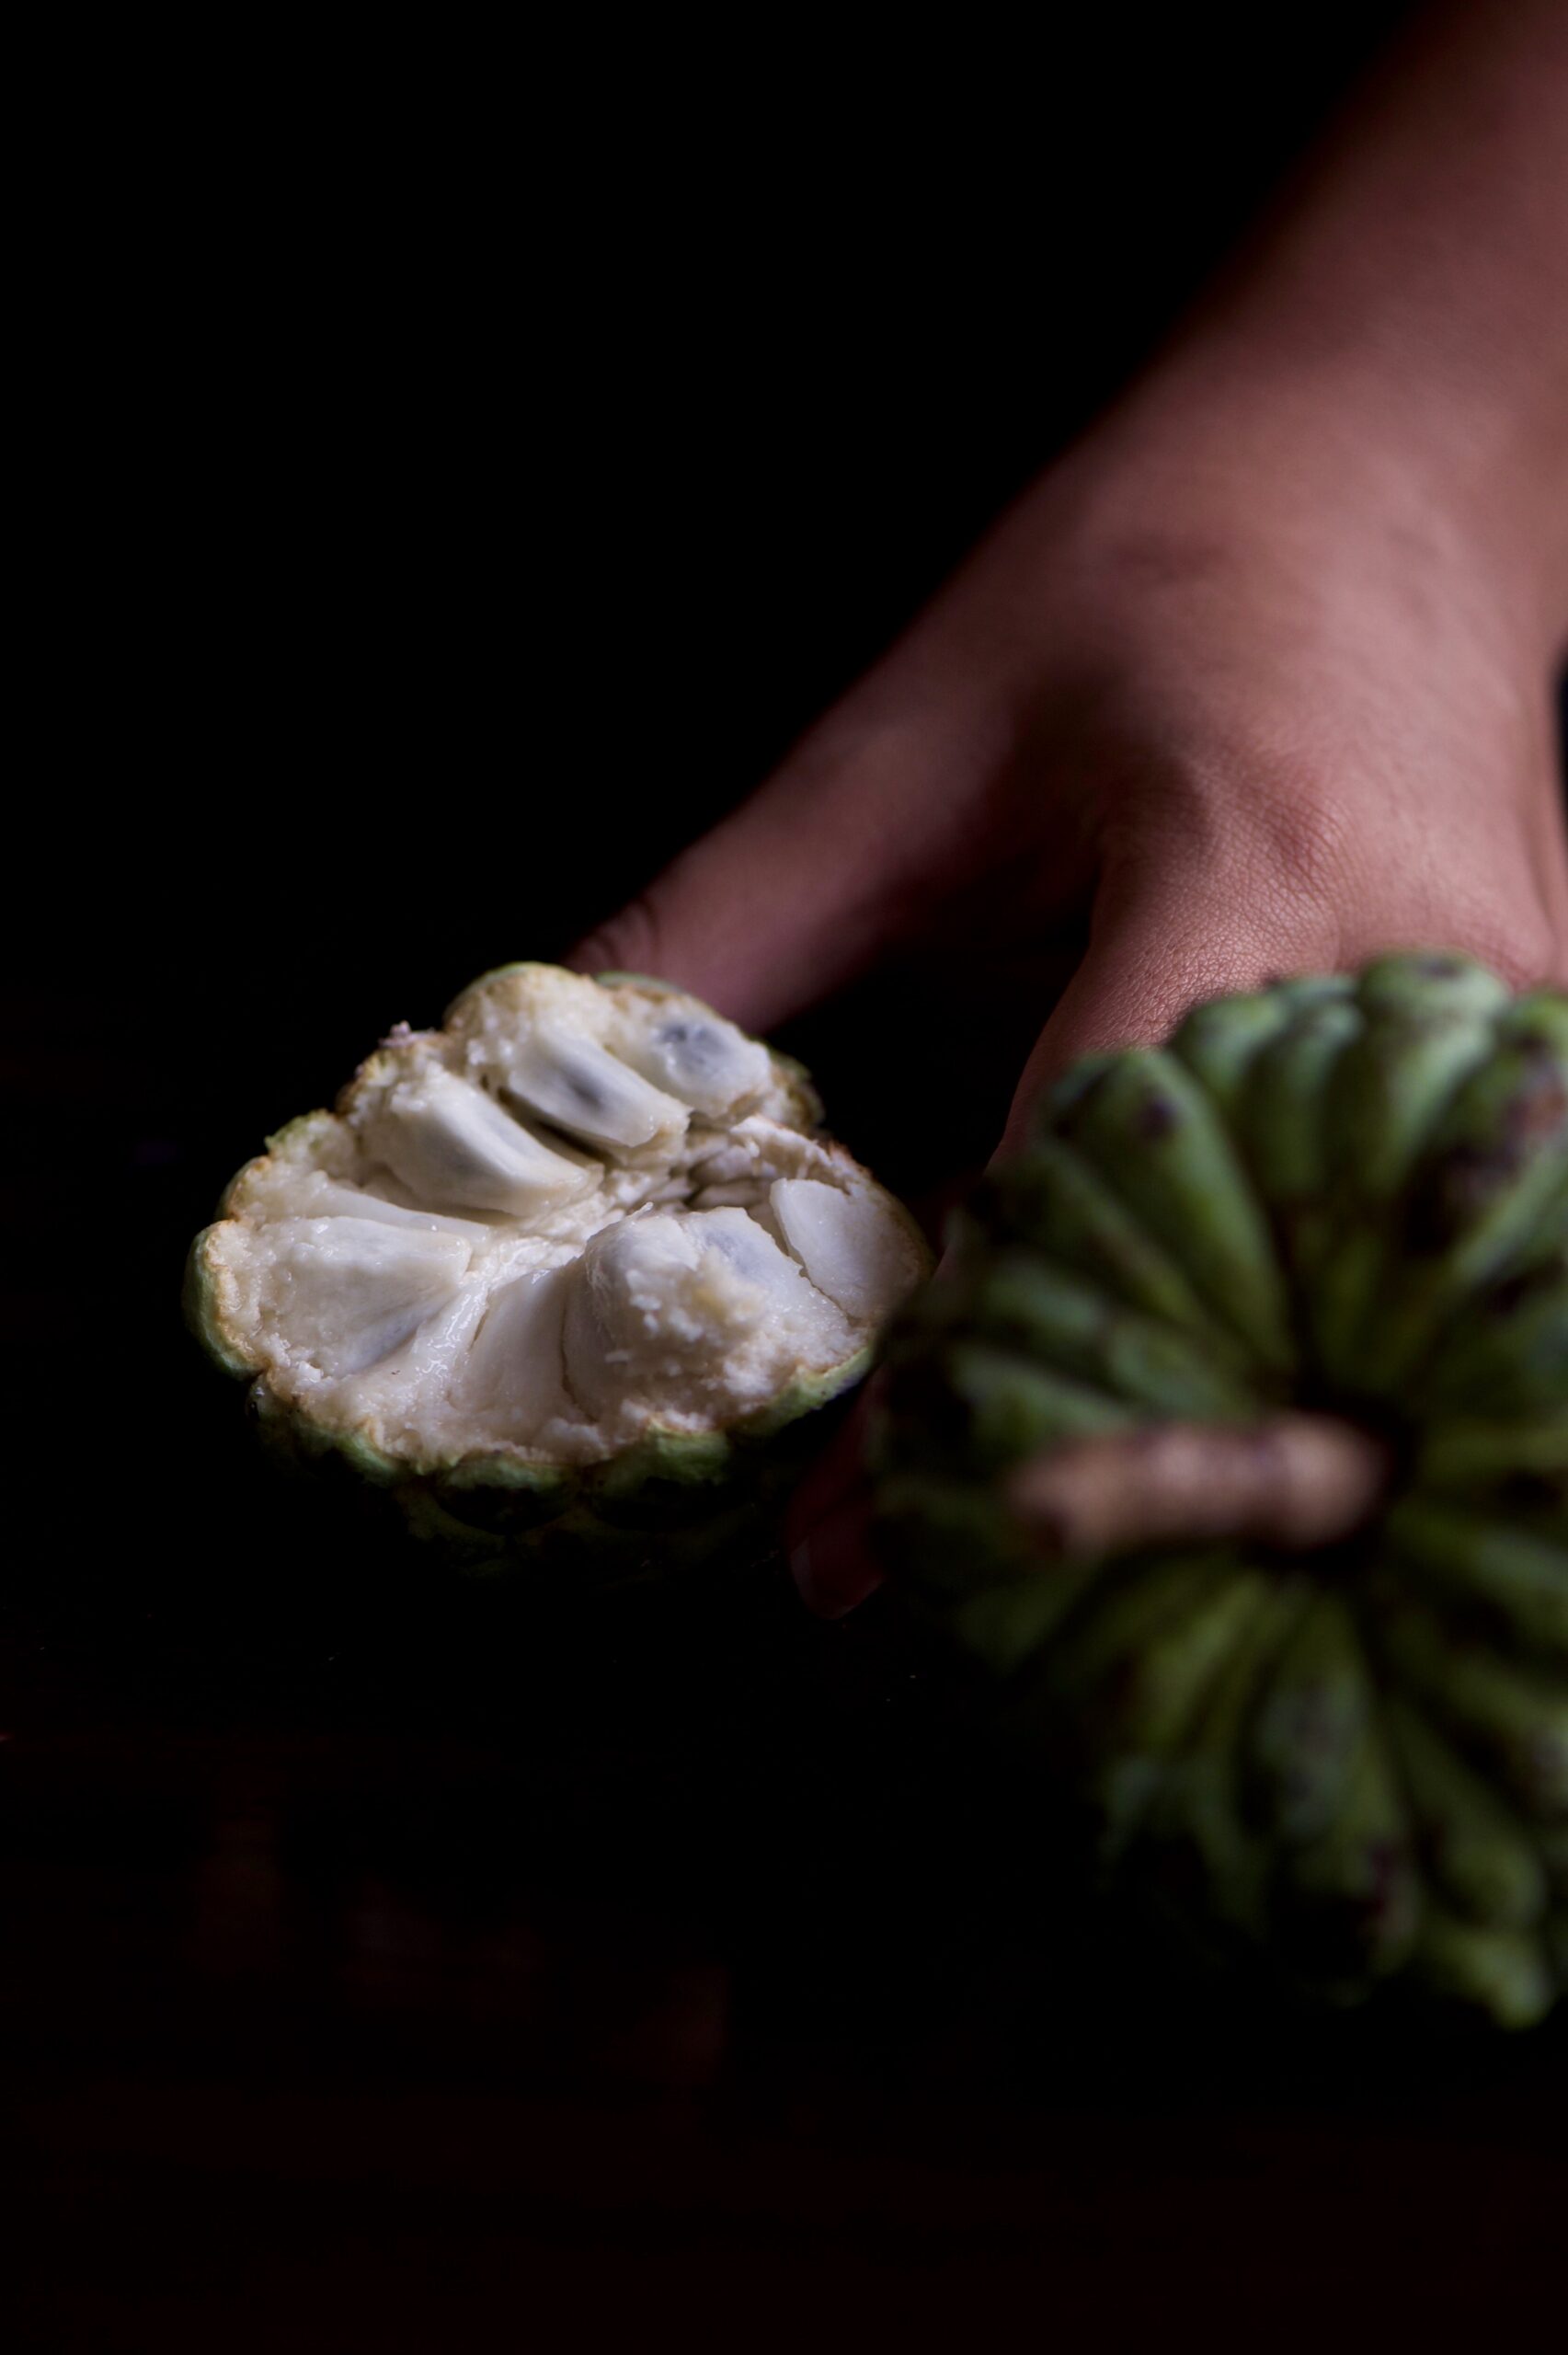
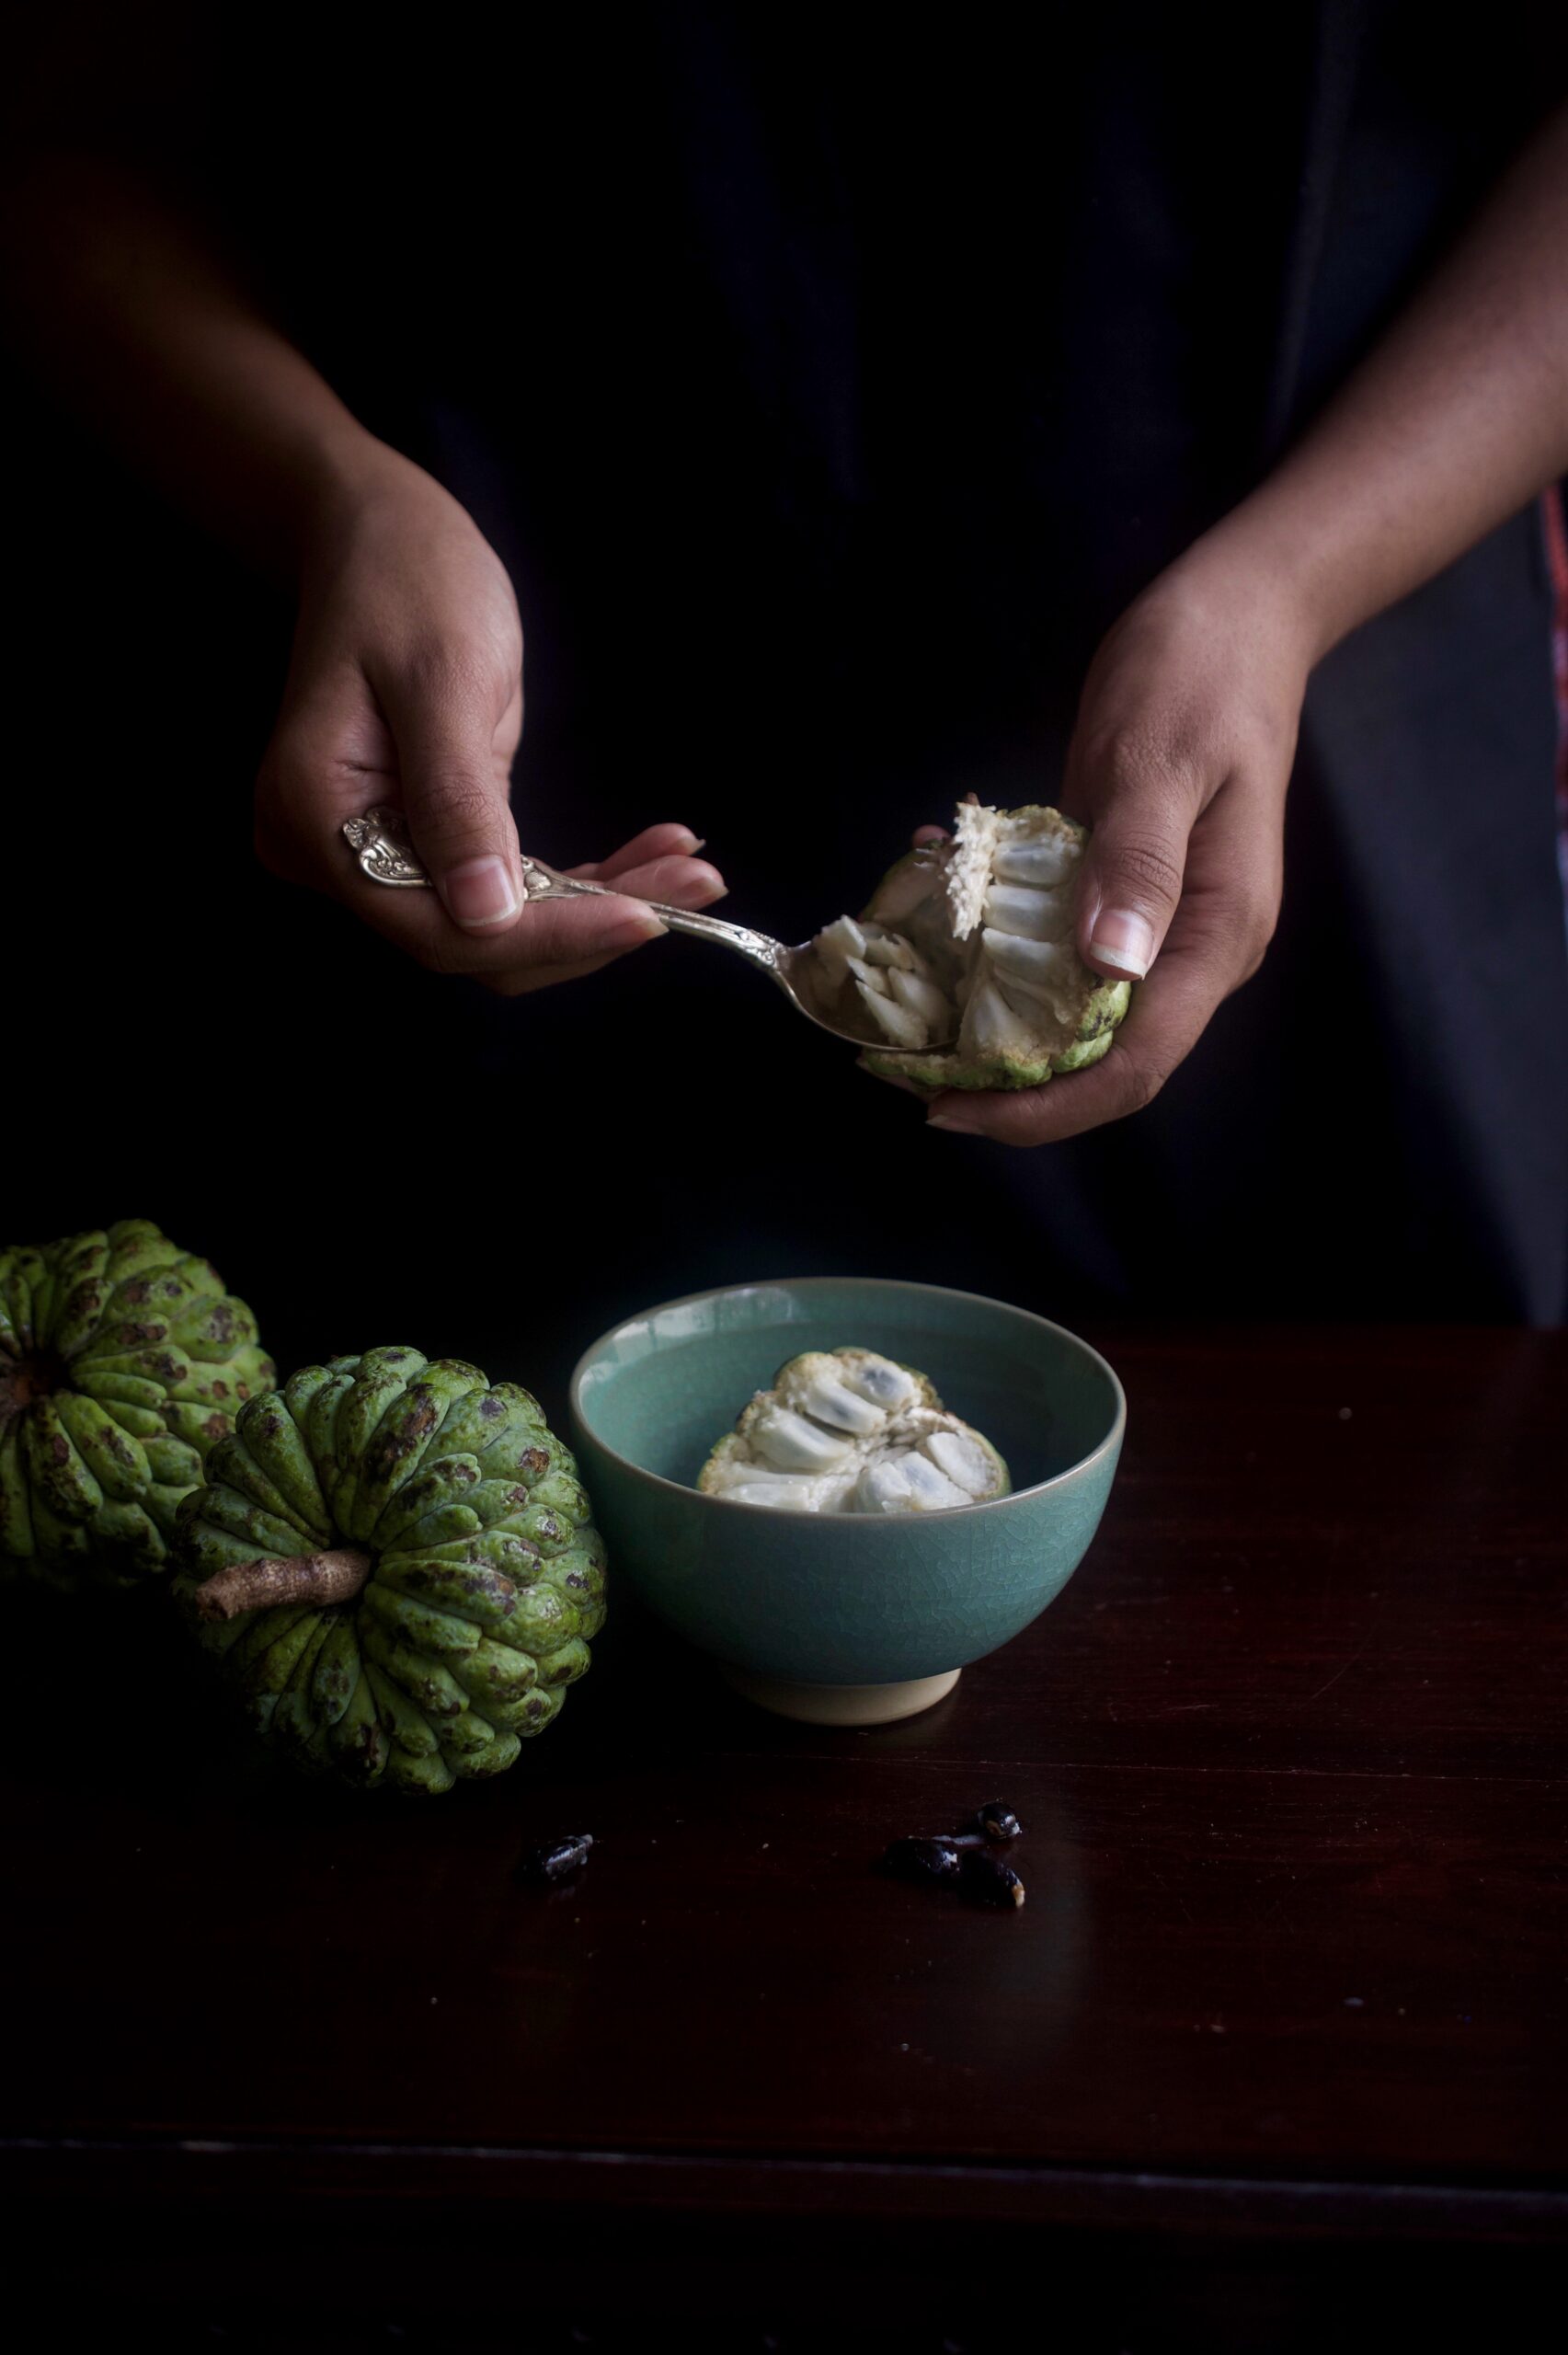
We would clamber up the sitaphal tree, pluck one right off the branches, and in our greedy delight not even check whether the fruit was ripe enough to eat before we tore it open with our hands and devoured the sweet white pulp. Then, we would spit out the shiny black seeds and collect them, for they were perfect for playing pallanguzhi, a traditional Tamil mancala game! Whenever I think of sitaphal, I think of these moments from my childhood. They were filled with joy, and I taste it again each time I taste the fruit.


Recently, I visited our organic farm a few hours’ drive from Chennai – and the sight of the abundant green harvest of the sitaphal trees brought back those childhood memories.

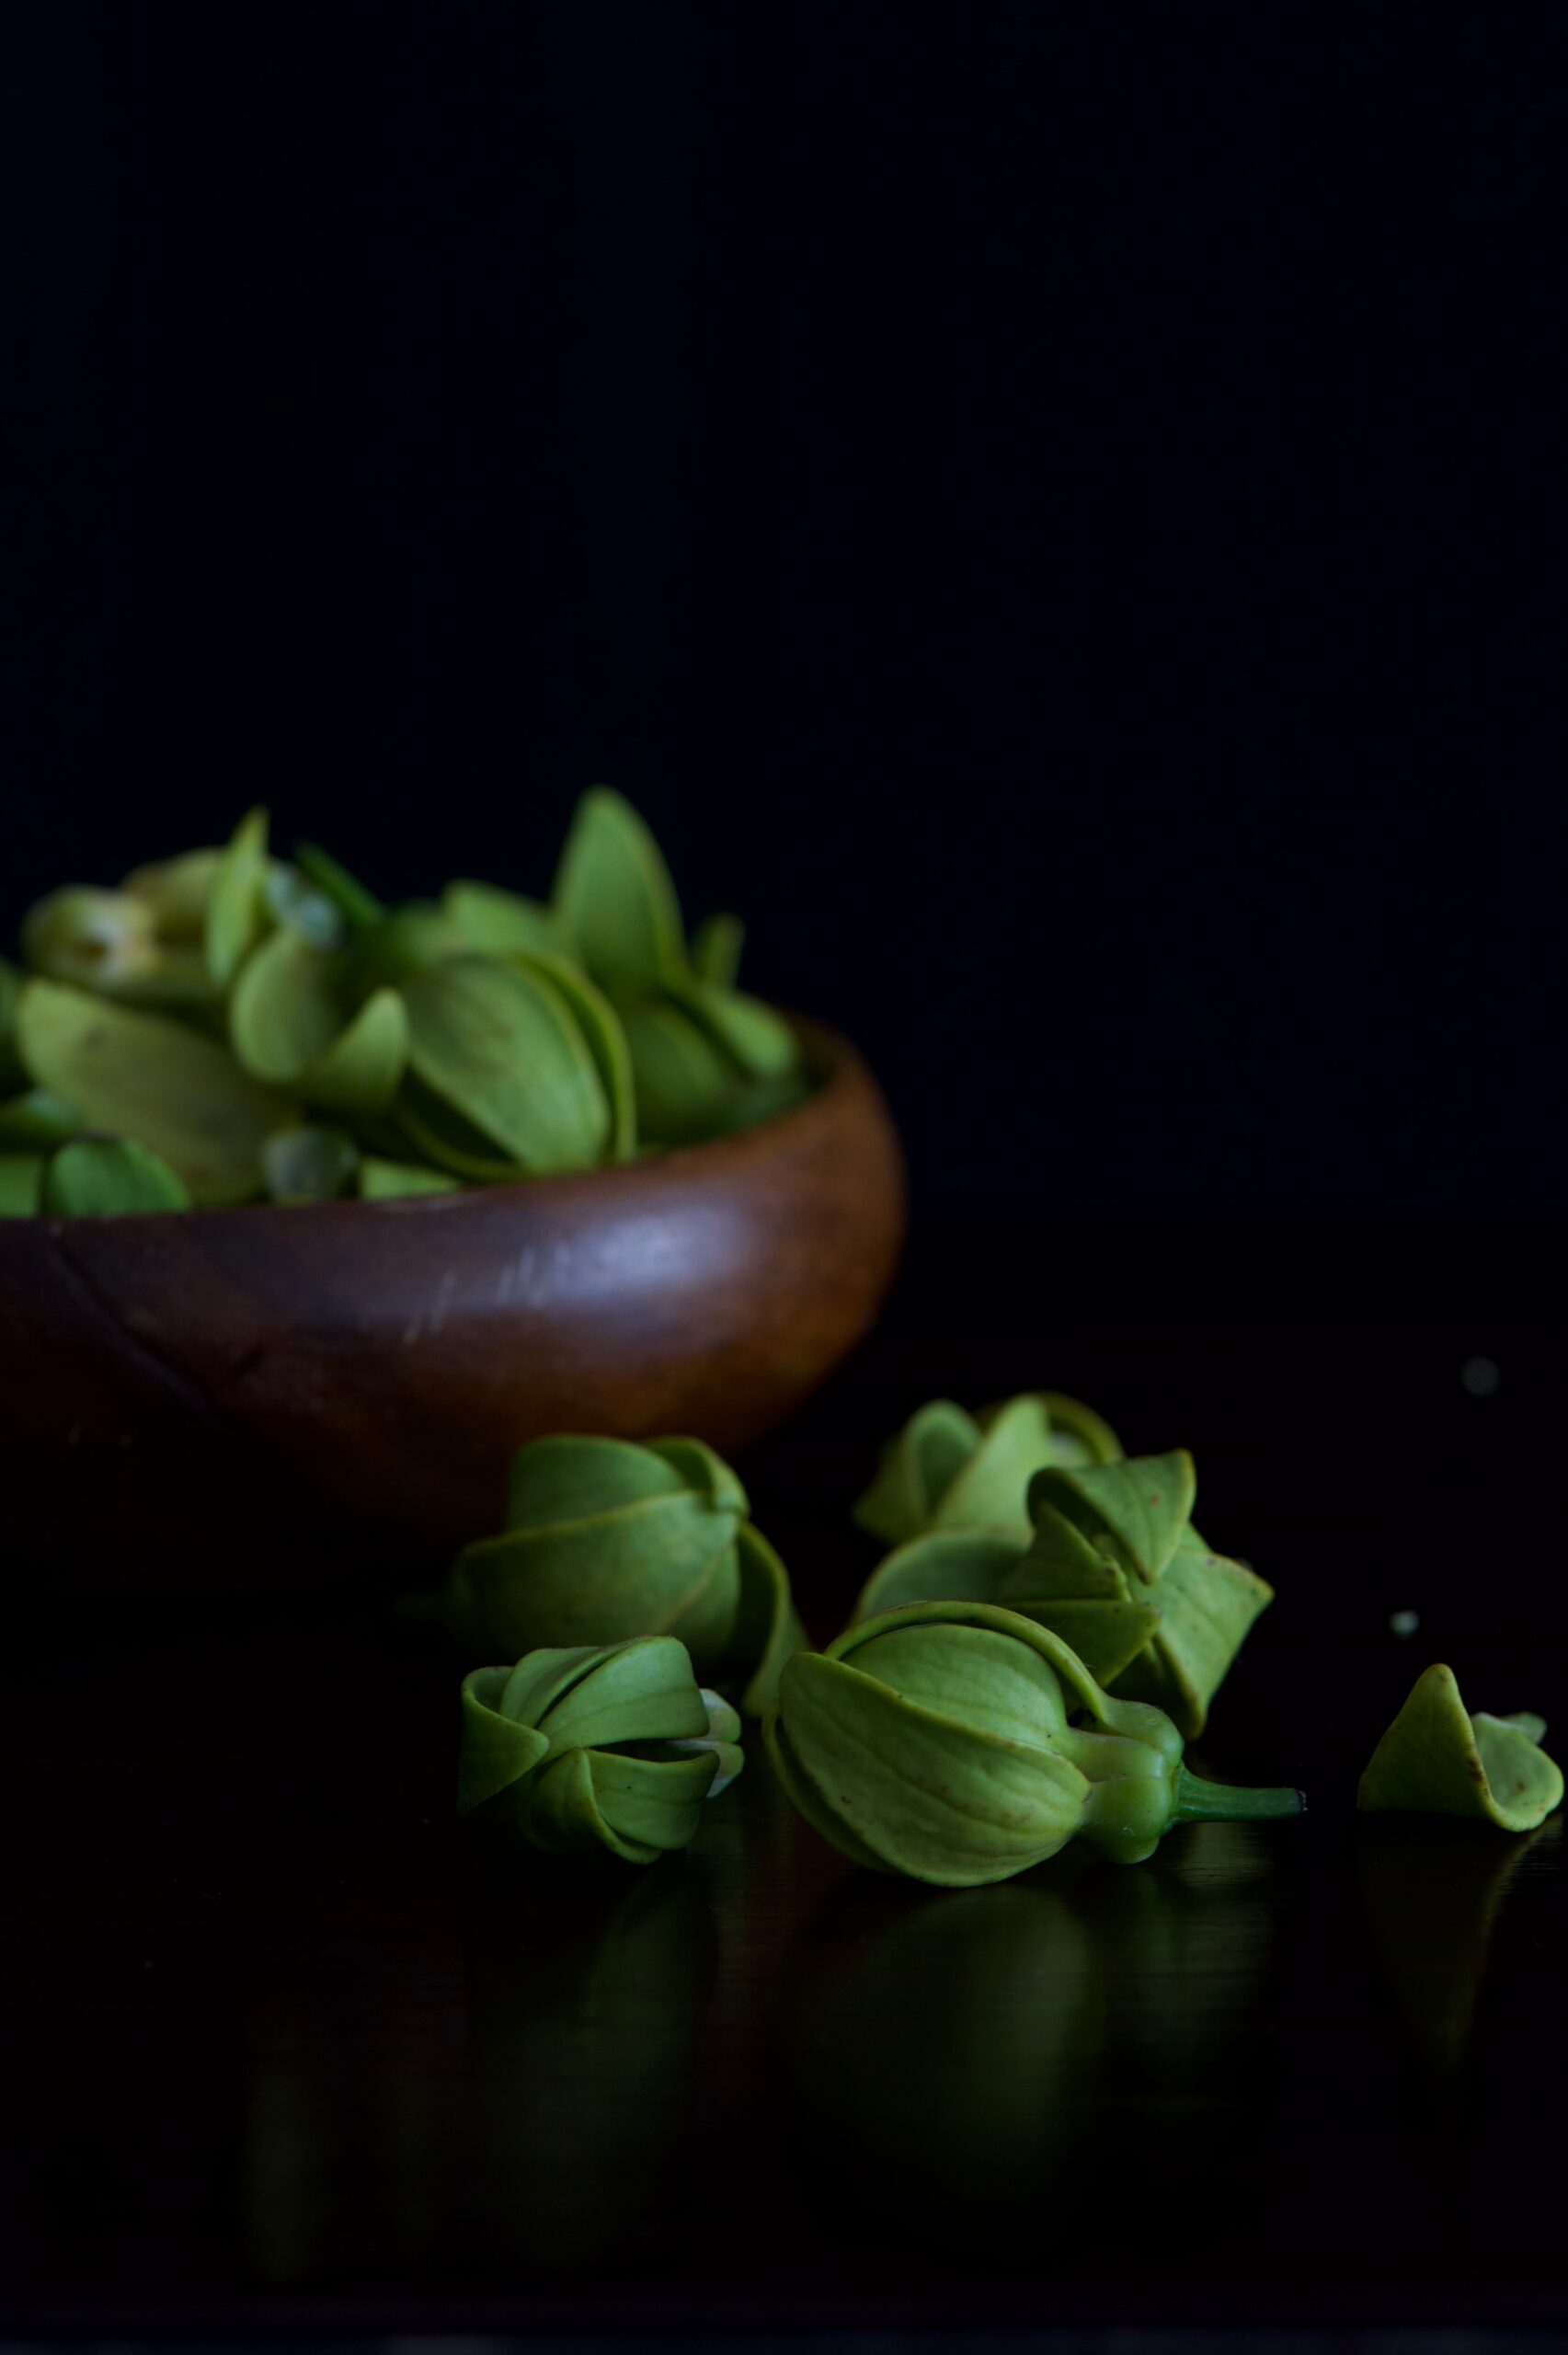
I will tell you more about our organic farm soon, where we grow paddy, varieties of gourd, numerous other vegetables, fruits – and a thoughtful selection of gorgeous native flowers that are fading from public memory. Hardly anyone wears or sells them anymore, but I take heart from the fact that there is one lady who sits by the Kapaleeshwarar Temple in Mylapore, with a colourful array of blossoms for purchase. Among them are the shenbagha and the manoranjitha. When I was a little girl, the teachers would wear beautiful manoranjitha flowers in their hair, and the classroom would be filled with their fragrance. And I would often think to myself: one day, when I am grown, I will have a house of my own with a tree that bears those flowers.

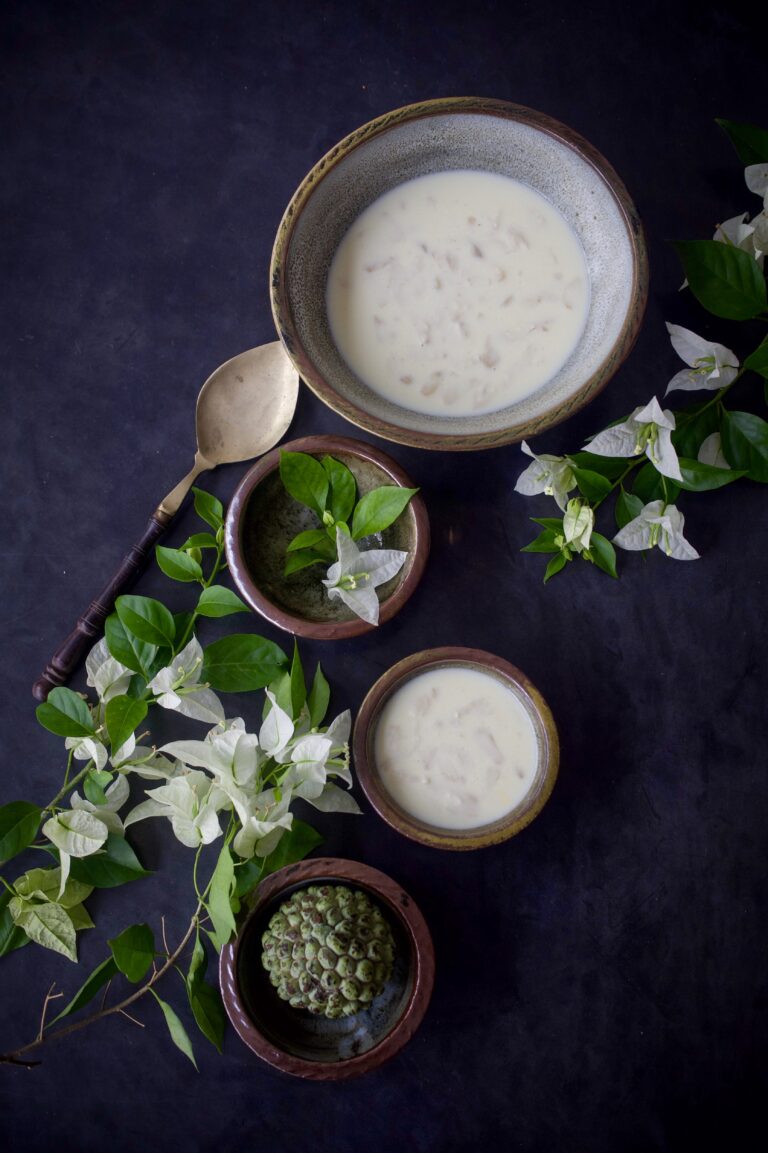
With the sweetness of all these memories in mind, and with the fruit in season in the serene landscape I dreamed of as a child, I remembered and craved a recipe that I had introduced into our family repertoire. When I got married and moved into my new home, I had enjoyed learning certain dishes from my mother-in-law that I found unusual. Among these was a fresh orange kheer. If you remember from this rose-coconut recipe, kheer is a kind of Indian pudding, with milk as the primary ingredient.

My mother-in-law’s citrusy dessert inspired my own variation. Perhaps I had wanted to bring the sitaphal I had plucked and gorged on in my childhood into my matrimonial home. And that’s how this sitaphal kheer was created. Even decades on, it remains a favourite of mine.

Sitaphal (Custard Apple) Kheer

(Yield – 8-10 cups)

Ingredients
1 ½ litres whole milk
2 large custard apples
1 ½ tablespoons corn flour or custard powder
½ cup sugar

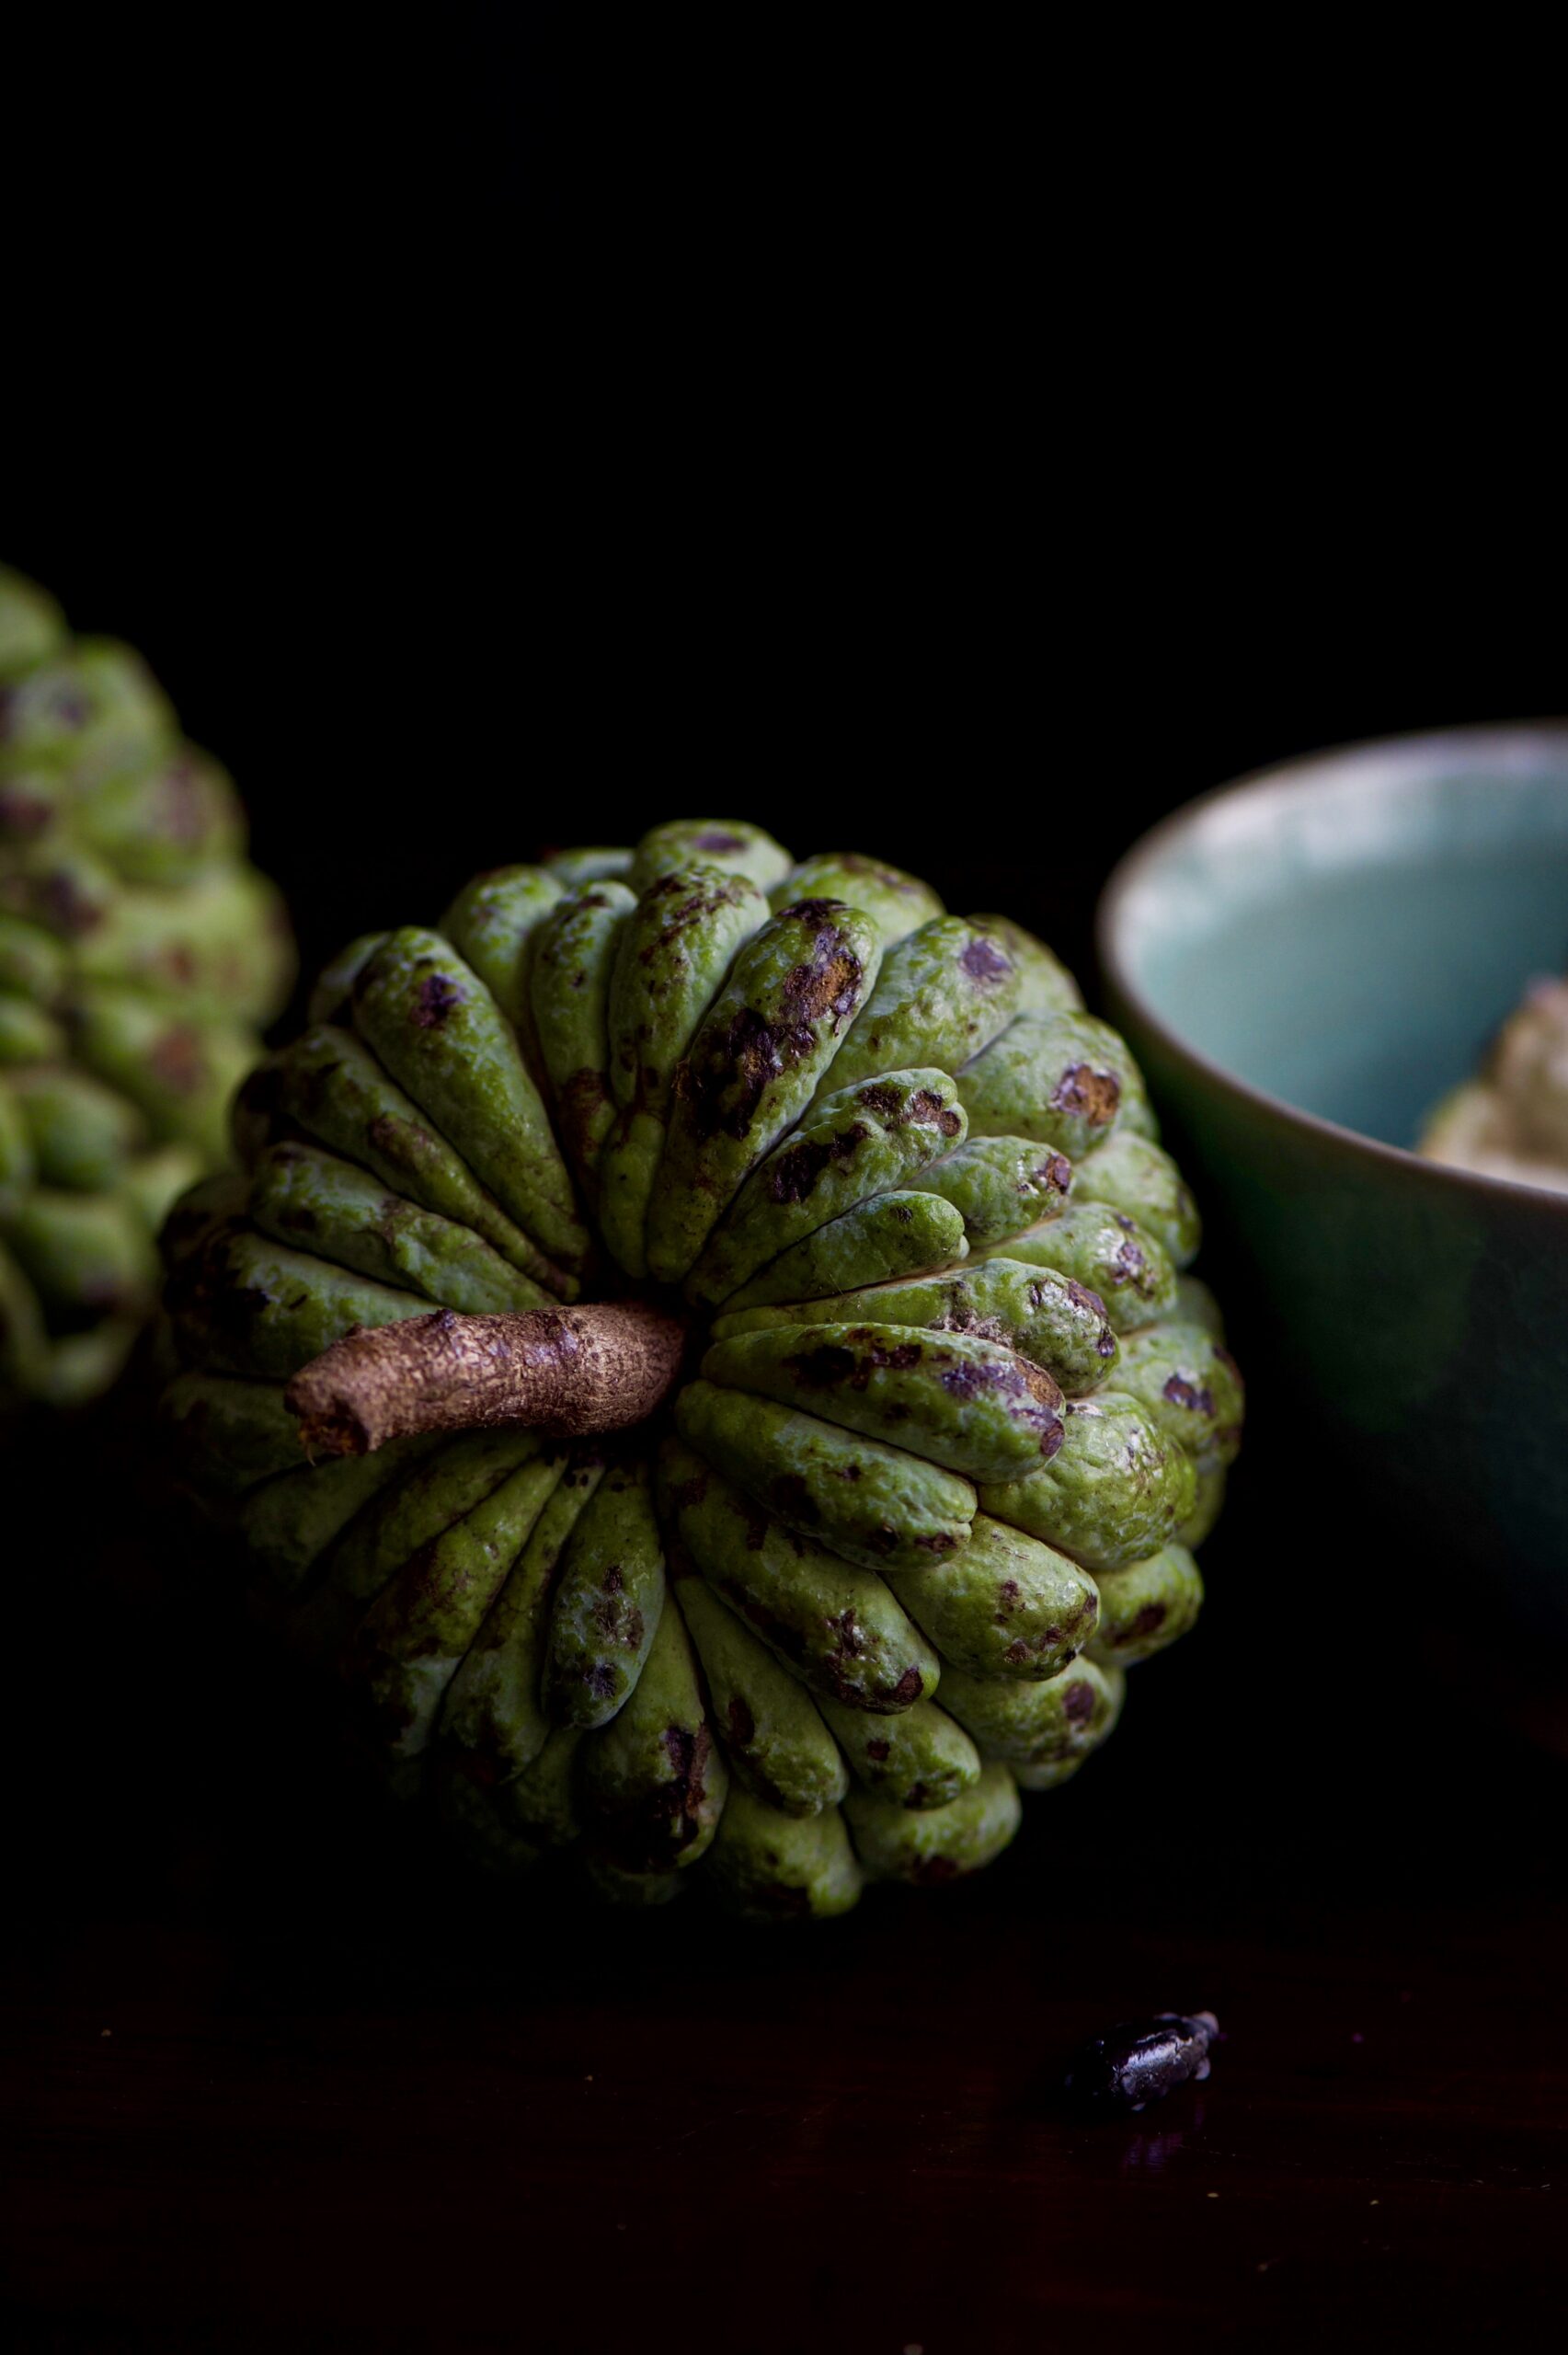
You may know the sitaphal as the custard apple. I cannot recall seeing sitaphal sold abroad, which made me think it must be an indigenous Indian fruit, but it seems it’s actually native to the West Indies and Central America. Nonetheless, it thrives on our farm, and is popular throughout India. I wonder why it is not as well-known elsewhere as the mango. If you ask me, sitaphal is under-rated, and deserves renown.

One of the English names of sitaphal is sugar apple, attesting to its sweetness. Another is sweetsop. That tells you a lot about the taste of this fruit, if you haven’t had it. While it is not at all cloying, and in fact is quite subtle given its names, it is slightly higher in calories than other fruits too. Which means that I won’t sugar-coat it (pun intended): this recipe is a treat, and a bit of an indulgence! Still, sitaphal is also rich in potassium and magnesium, which protect the heart from disease, and Vitamin A and C. Fruit of any kind can never be truly bad for us, and sitaphal is no different.

Open up the soft, patterned green skin of this beautiful fruit, and begin to remove the seeds patiently using a spoon and clean hands. Keep the pulp in the refrigerator, covered.

In the meantime, boil the milk until it reduces partially. Vegans, you may want to try either coconut or almond milk. Keep stirring it on a low flame, making certain it doesn’t stick to the bottom of the pot.

Put the corn flour or custard powder into a small cup, and add 2-3 tablespoons of milk at room temperature. Stir this mixture well, until it is smooth. Now, gently add this mixture to the milk in the pot. You have to be careful now to stir continuously, so that it doesn’t stick to the bottom, which it is very likely to.

I like my kheer not too thick, but you may like yours thicker. In which case, simply add an additional 1 teaspoon of the corn flour or custard powder. Or reduce the quantity, to thin it further. Adjust according to the consistency of your preference.

Add the sugar. The taste of the sitaphal is so gentle and distinctive that I find the addition of cardamom, nuts or saffron – classic elements of most kheer recipes – takes away from this flavour. But you can always add these if you wish.

Once the milk thickens to the consistency you prefer (this will take approximately 15-20 minutes), turn off the flame and cover the pot with a lid. Allow this to cool, then refrigerate for a few hours.

Add the seeded sitaphal pulp into the refrigerated mixture and blend well. Serve this chilled dessert in small bowls.

Just as I substituted my mother-in-law’s fresh oranges for sitaphal, the lovely thing about this recipe is that you can use any fruit of your choice, based on your own tastes and seasonal availability. It is a luscious dessert, and it’s equally perfect for summers (when it has a cooling effect) and for the year-end festivities (when it’s also in season). I’d love to know what you think of it – and what variations you’ll spin up in your kitchen.


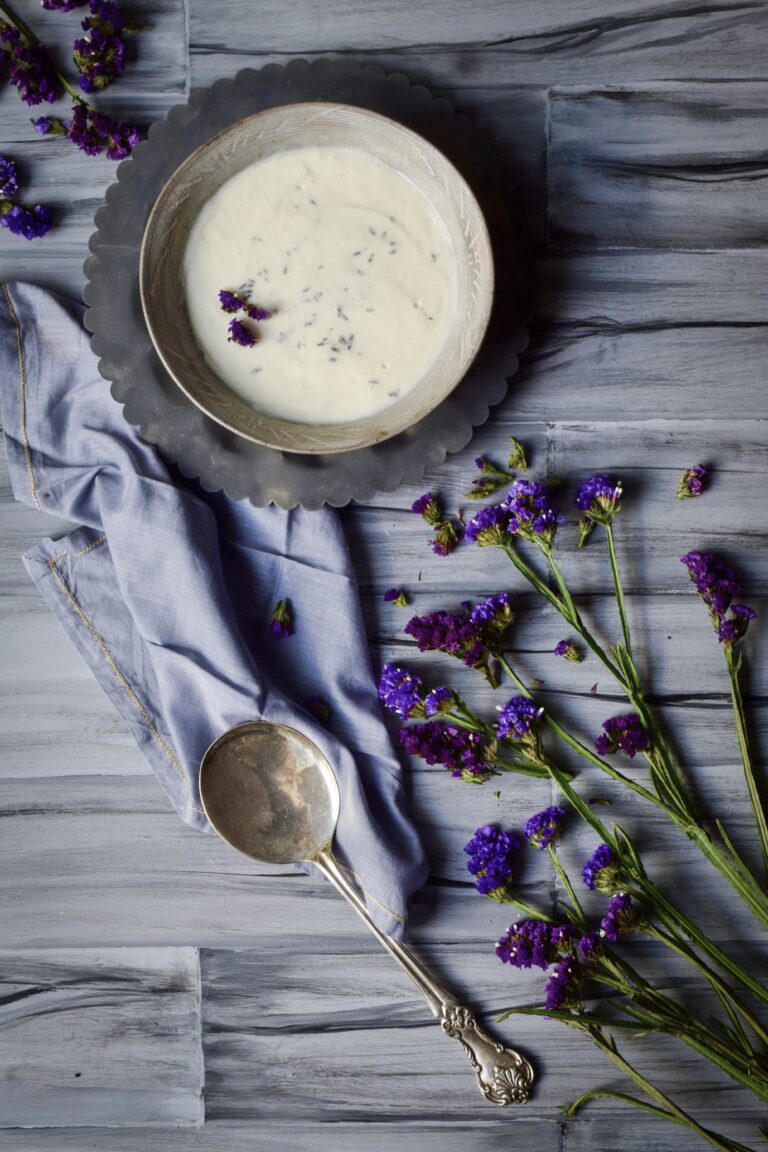
Being born and brought up in Chennai into a traditional Gujarati home has given me a more expansive way of thinking, which is what opens one’s mind to explore. There are times when I think in Tamil while I’m cooking Gujarati food! Even as the world becomes a smaller place, I love keeping local culinary customs alive – but every once in a while, my imagination will take me on an adventure in the kitchen. So it was while making shrikhand one day, a sweetened Gujarati dish made of hung curd. I’d played with various Indian flavours for shrikhand before, including mango and an almond-saffron blend. But I had just met with a friend, Siddharth Murthy, who has an organic lavender farm outside Melbourne in Australia, and he had gifted me one of my favourite foreign ingredients. Next to rose, lavender is the scent I enjoy adding most to my cakes. I wondered: how would my family like to end a meal on lavender shrikhand?