Tag

eating

Browsing

There are one-pot meals and meal-in-a-bowls to be found in cuisines all over the world, even though distinguishing them as a category is a relatively new idea. They’ve gained popularity among diners everywhere thanks to the Buddha bowl trend, which are comprised of a medley of attractively arranged (and usually nutritious) food items in a single bowl. I’ve had quite a few versions of these on my travels, and they’ve always motivated me to make them a regular part of my lifestyle. Now that we’ve all been at home for months, I’ve been bringing as many of these inspirations into my day-to-day cooking as possible. The Buddha bowl is among my favourites for its aesthetic appeal, health quotient and convenience. I’ve been making variants focused on different cuisines, and will share a few of them in the coming weeks. Let’s begin today with my South Indian-style Buddha bowl.

The Buddha bowl concept itself is a great one, and is based on putting together a compact and even portable meal which packs in lots of flavours and textures. You may be wondering what makes a Buddha bowl different from the thaalis we enjoy in India, in which a wide variety of dishes are served in their own separate containers, arranged around the central eating space of the plate. The answer is in the portion sizes. With thaalis, there’s a lot more space, and you tend to fill up that space and thus consume what you’ve filled it with too. A Buddha bowl is just one vessel, usually a bowl as per the name, but a plate will do as well. Thaalis are indulgent, whereas Buddha bowls take a minimalistic approach. The latter are closely tied to fitness for this reason. These days, with the necessity of watching what I eat in a smarter way as I grow older, I reach for them very often in the interest of health. I can attest that eating a Buddha bowl keeps you light on your feet. Whenever I have one for lunch, I feel active for the rest of the day. There is a bounce in my step and I feel revitalised, and find myself doing my photoshoots with more energy.

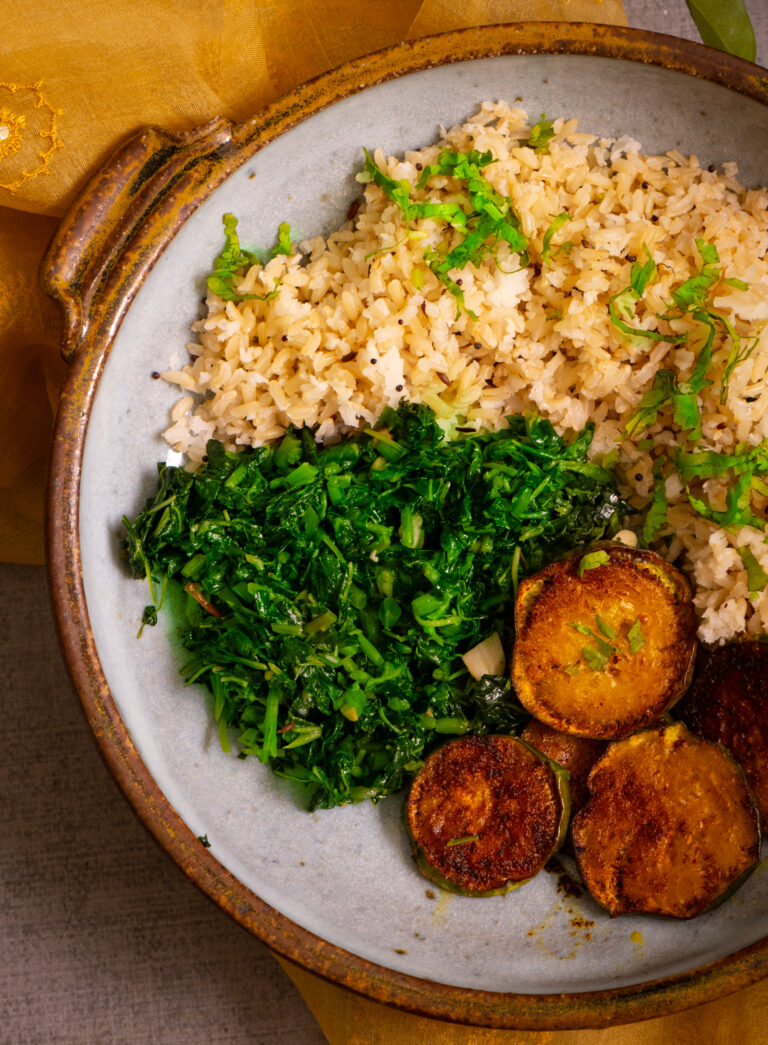
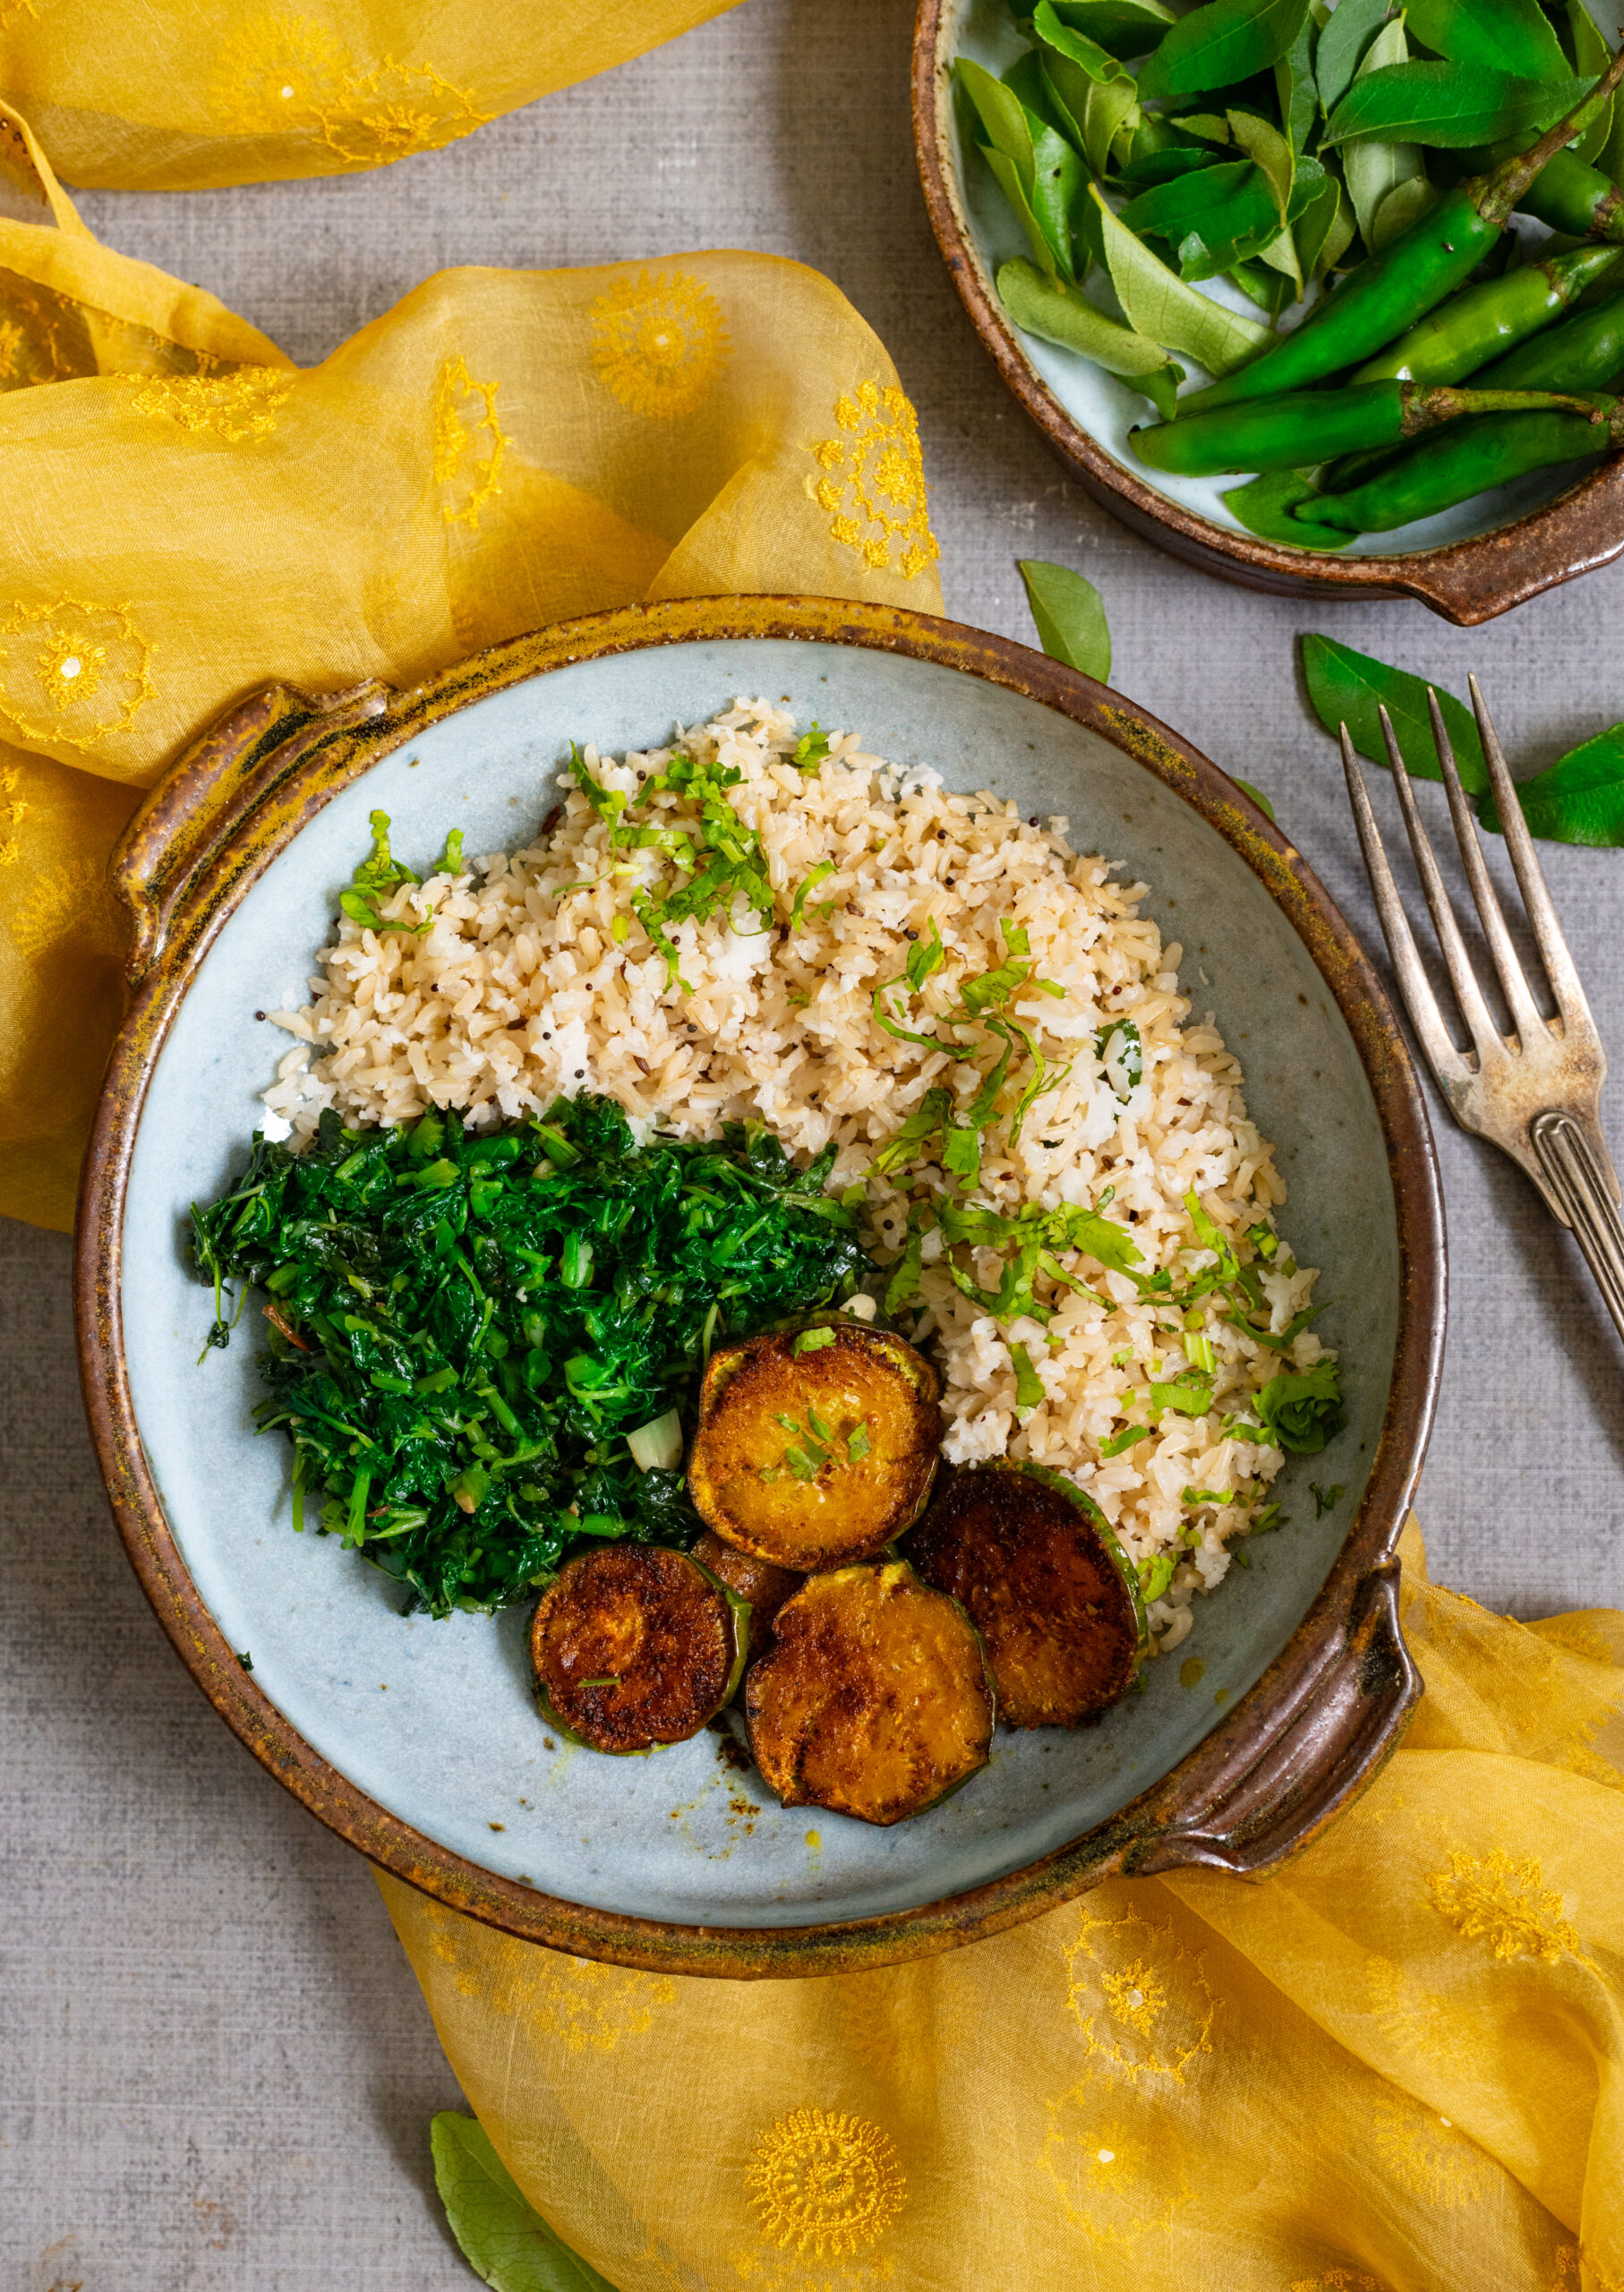
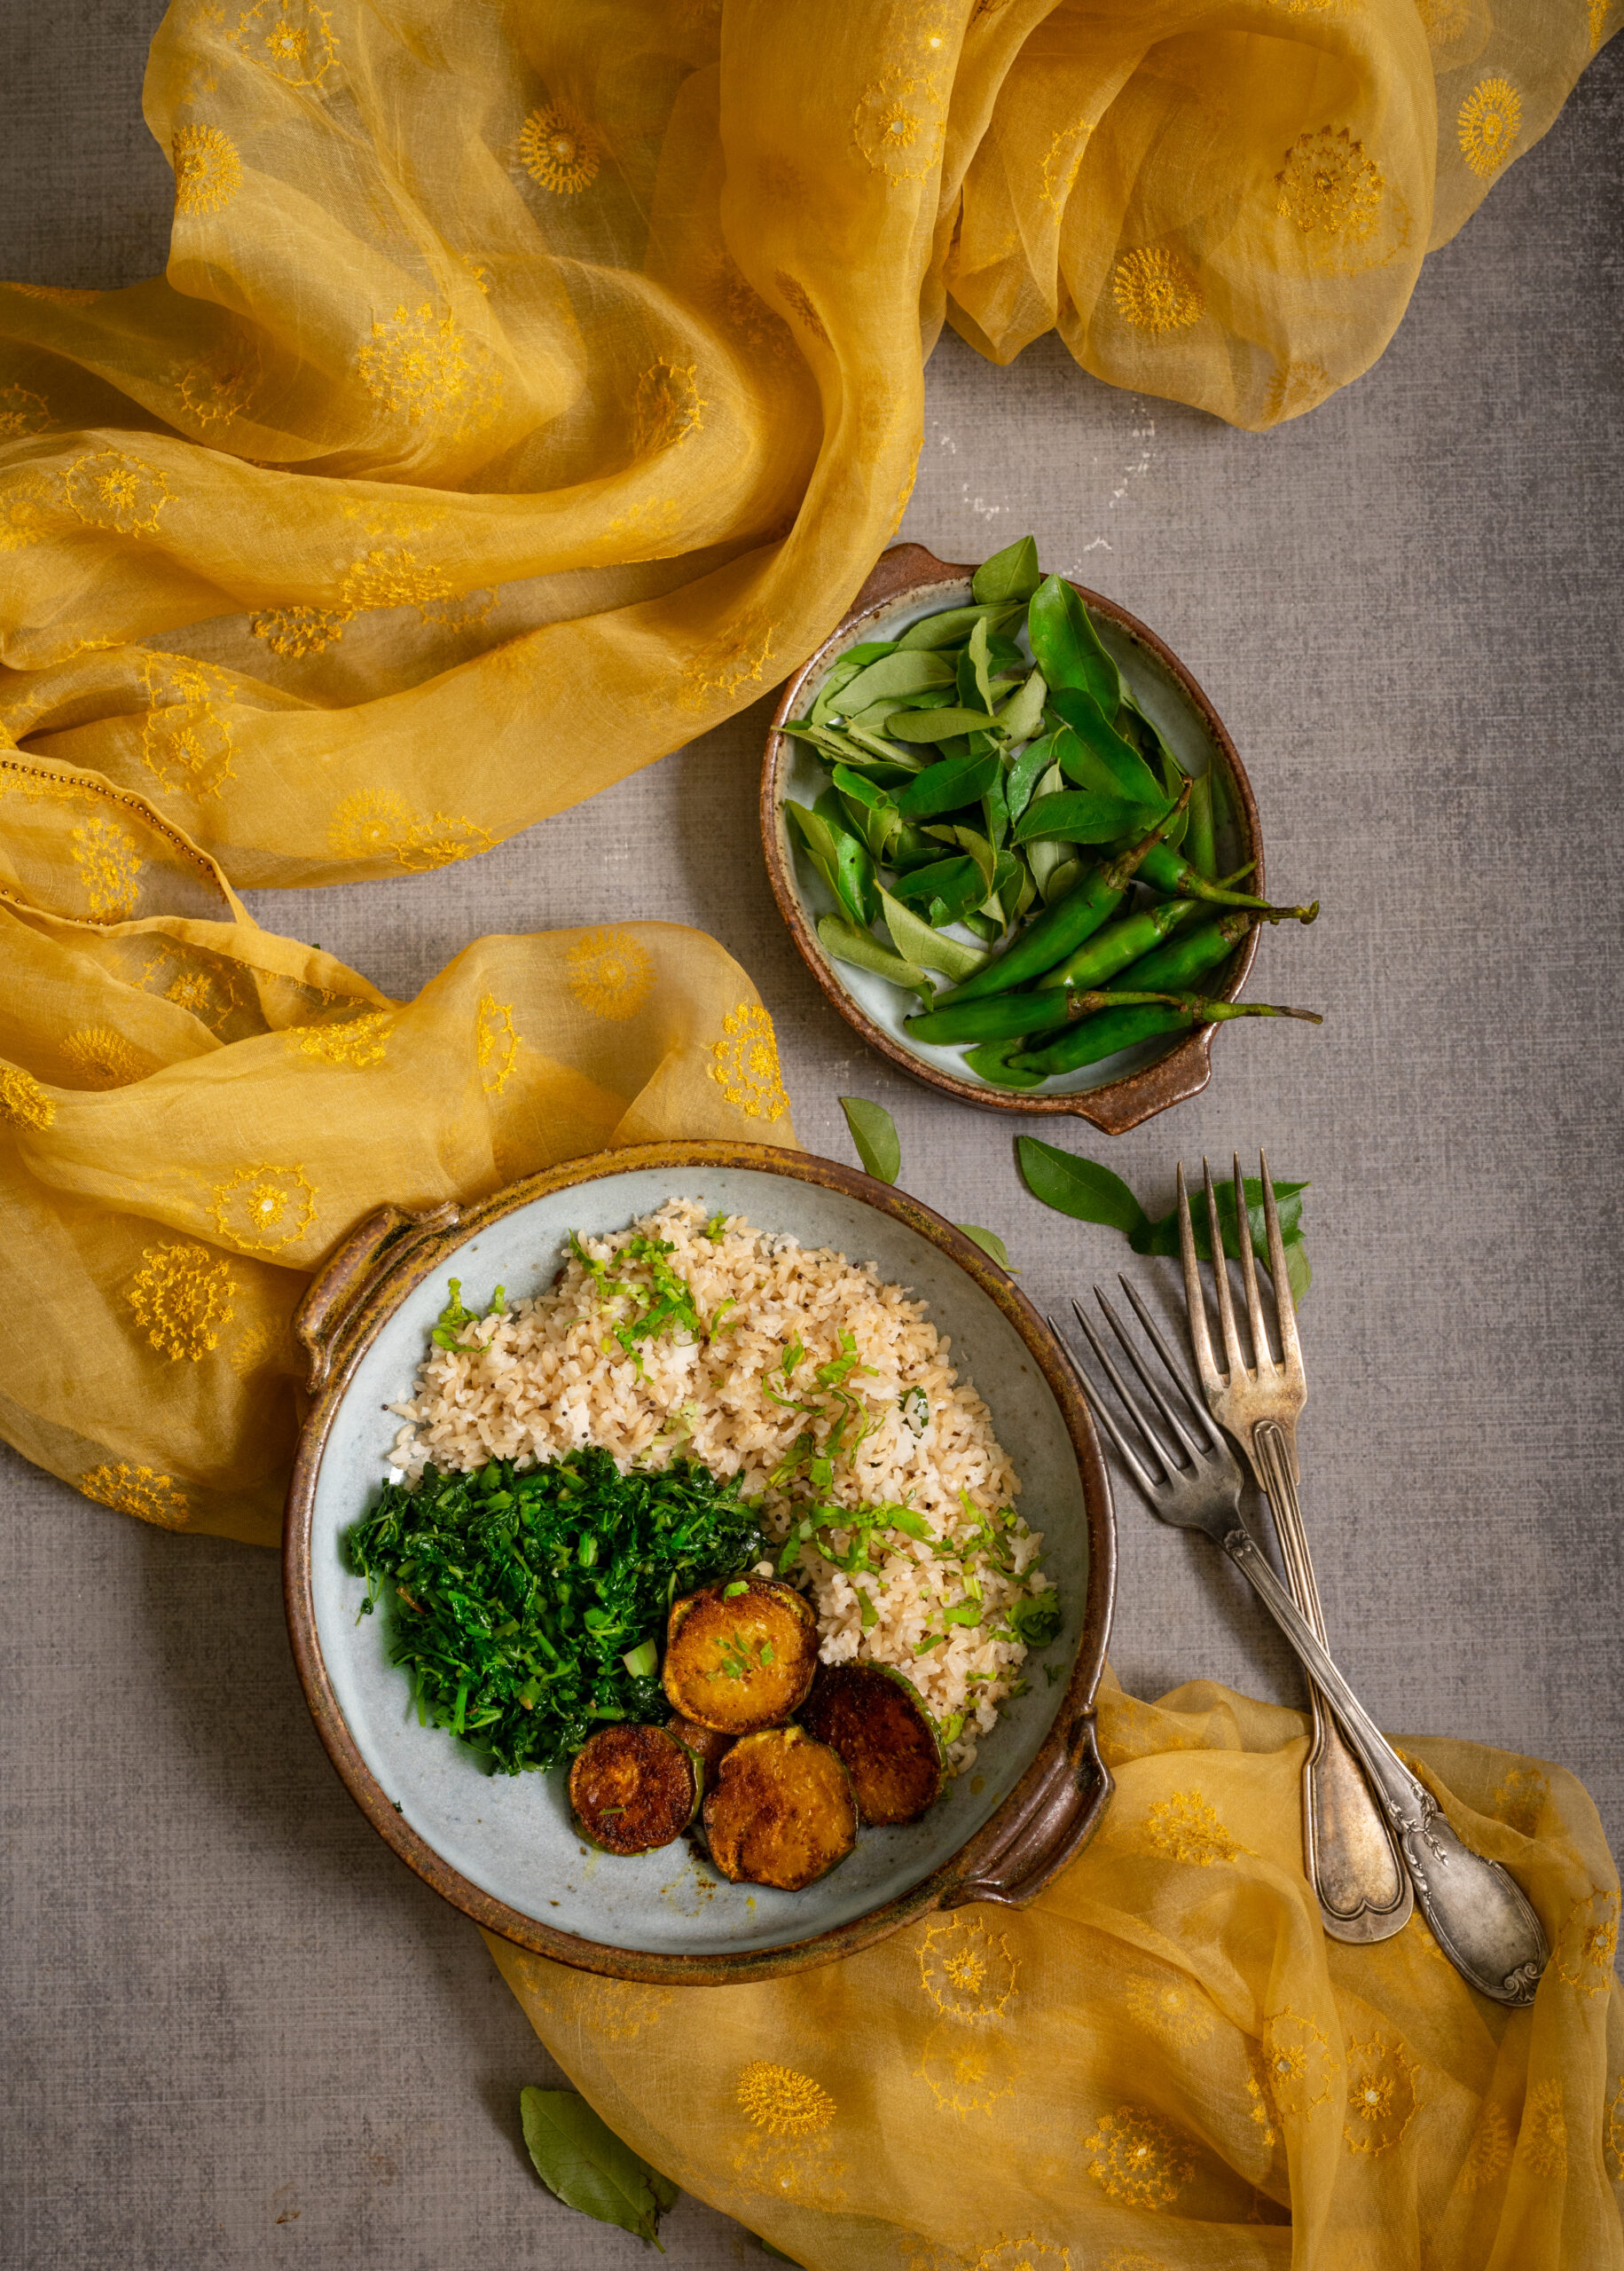
You can make carb-free variants if you like, but for me it’s simply about cutting down on the quantity of them while still getting the boost they give to my energy. Offsetting the carbs with a delicious load of greens is also key. This South Indian Buddha bowl contains the perfect combination of crispy eggplant, flavourful rice and nourishing, lightly-spiced greens. Every single dish-within-the-dish tastes wonderful, and they come together beautifully with their richness of textures and flavours.

I am a fan of healthy grains options, so I’ve used brown rice in this recipe. You can substitute this with white rice, if you prefer. As for the greens, here in South India we enjoy an incredible variety of spinach, including vendaya keerai, moringa, mollaraikeerai, sirikeerai and more. I have some kind or another every single day, and just happened to use mullakeerai in this recipe. It’s just very lightly seasoned with garlic, salt and dry red chilli and is very flavourful when eaten almost plain this way. We also get a variety of eggplants, from thin and long green ones to fat and purple ones, and while I don’t know all their names, you can use any that are available too. One of the beautiful things about this recipe is that it requires just the staples.

I always say that you eat with your eyes first, and the aesthetics of serving are very important to me not only as a photographer but equally as a culinary enthusiast. When you serve these diverse portions in a beautiful and well-proportioned bowl, the vessel looks full and the moment you see it, you get a sense of “Wow, I’m going to have a big meal.” You truly do feel satiated at the end of it, because your eyes have convinced your brain before your belly begins its work! Making a Buddha bowl as colourfully as possible also has health advantages, as you may remember from my post on eating the rainbow.

Speaking of what the eyes take in, initially, I had planned a photoshoot using South Indian brass crockery and props. I ultimately decided to go with an international look instead, to celebrate the global popularity of the Buddha bowl. As I discovered, there’s also another trick of the eye in this. You see, my daughter doesn’t always enjoy South Indian cuisine, but if I present it this way, she tucks in enthusiastically. It’s all about presentation, and how good you can make a dish look so that it will please the person who is going to eat it even before they’ve had a bite. Personally, I would also love eating this very same meal off of a banana leaf (yela saapad), as is tradition. That would change the experience of having it totally as well. But for now, I need the shot of energy that a Buddha bowl puts into my day, and I’ll carry on having it this way for a while!
South Indian Buddha Bowl

(Yield: 1 bowl)


Coconut rice

200 grams (approximately 2 cups) cooked brown or white rice

30 grams (2 tablespoons) grated coconut

4 curry leaves

1 tablespoon coconut oil

¼ teaspoon cumin seeds

¼ teaspoon mustard seeds

1 green chilli

Salt to taste


Greens

2 cups chopped and cleaned greens

1 teaspoon oil

2-3 garlic cloves

1 dry red chilli (optional, can be replaced with green chilli)

Salt to taste


Eggplant

10-12 slices of small eggplants

Salt to taste

¼ teaspoon turmeric

1 teaspoon coriander powder

¼ teaspoon cumin powder

1 tablespoon chickpea flour

2-3 tablespoons oil


Prepare each of the components separately. I’ll begin by sharing the method for the coconut rice. In a pan, add the coconut oil. Once it’s heated, add the cumin and mustard seeds. When the seeds splutter, add the curry leaves and green chilli. Next, add the freshly grated coconut. Sauté them all together for a few minutes and finally add the rice and salt. Stir until combined.

The following is the method for the pan-fried eggplant. On a plate, place the eggplant slices and sprinkle all the masala (including the chickpea flour) onto them, and gently massage them in by using your fingers. Allow the coated slices to sit for ½ an hour or more. If letting the tray sit for longer, then refrigerate it so that the eggplant doesn’t begin to give out water.

When you are ready to fry the eggplant, add the oil in a pan. Allow it to heat up, then gently place the round eggplant slices onto the hot oil. Allow them to turn golden on both sides on a medium flame, then cool.

Finally, here is the method to prepare the greens. Heat a kadai and add the oil to it. Once it’s hot, add the garlic and stir fry until the cloves change colour slightly. Now, add the chilli and then finally add the greens. Keep the flame at a medium level and sauté for a few minutes or until the greens turn a little tender. Do not overcook, as they release water and will change colour. Add the salt and stir well.

My daughter felt that this bowl was a little dry, and if you think so too, you can either add some yoghurt to it as a fourth component or make the spinach in a more gravy-like style if you prefer.

With all the components of the dish prepared, it now comes down to the assembly. Pick out a beautiful bowl and arrange the coconut rice, sautéed greens and pan-fried eggplant on it. Let your eyes feast first. Enjoy!

You may have noticed that my blog is also a kind of Buddha bowl, a mix-and-match that I put together from across categories. This is deliberate, because I want people from across age groups and from all over the world to enjoy my recipes. I always try to balance the traditional and the modern, and bring in all my varied experiences and learning – be they through travel, my training such as in Macrobiotics, my memories, or my experiments. I strive to keep up with the times, and I also strive to keep challenging myself. Thank you for coming along with me on my journey! There are a few more Buddha bowls in the next couple of stops. Any guesses where they might be inspired from?
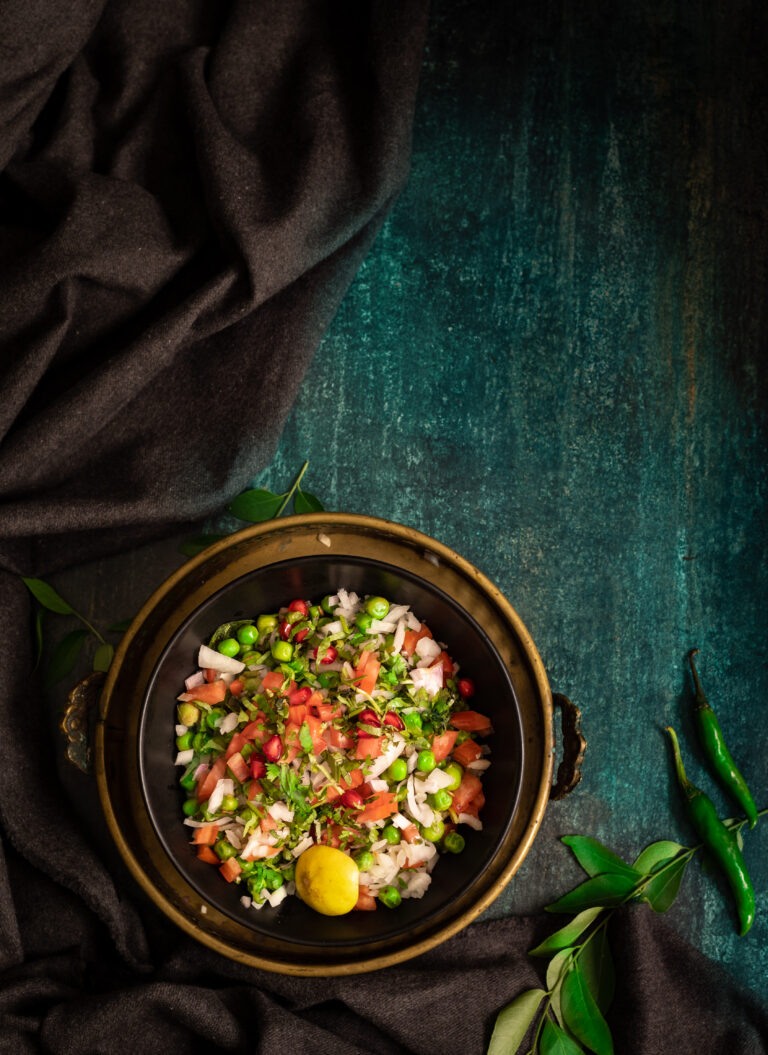
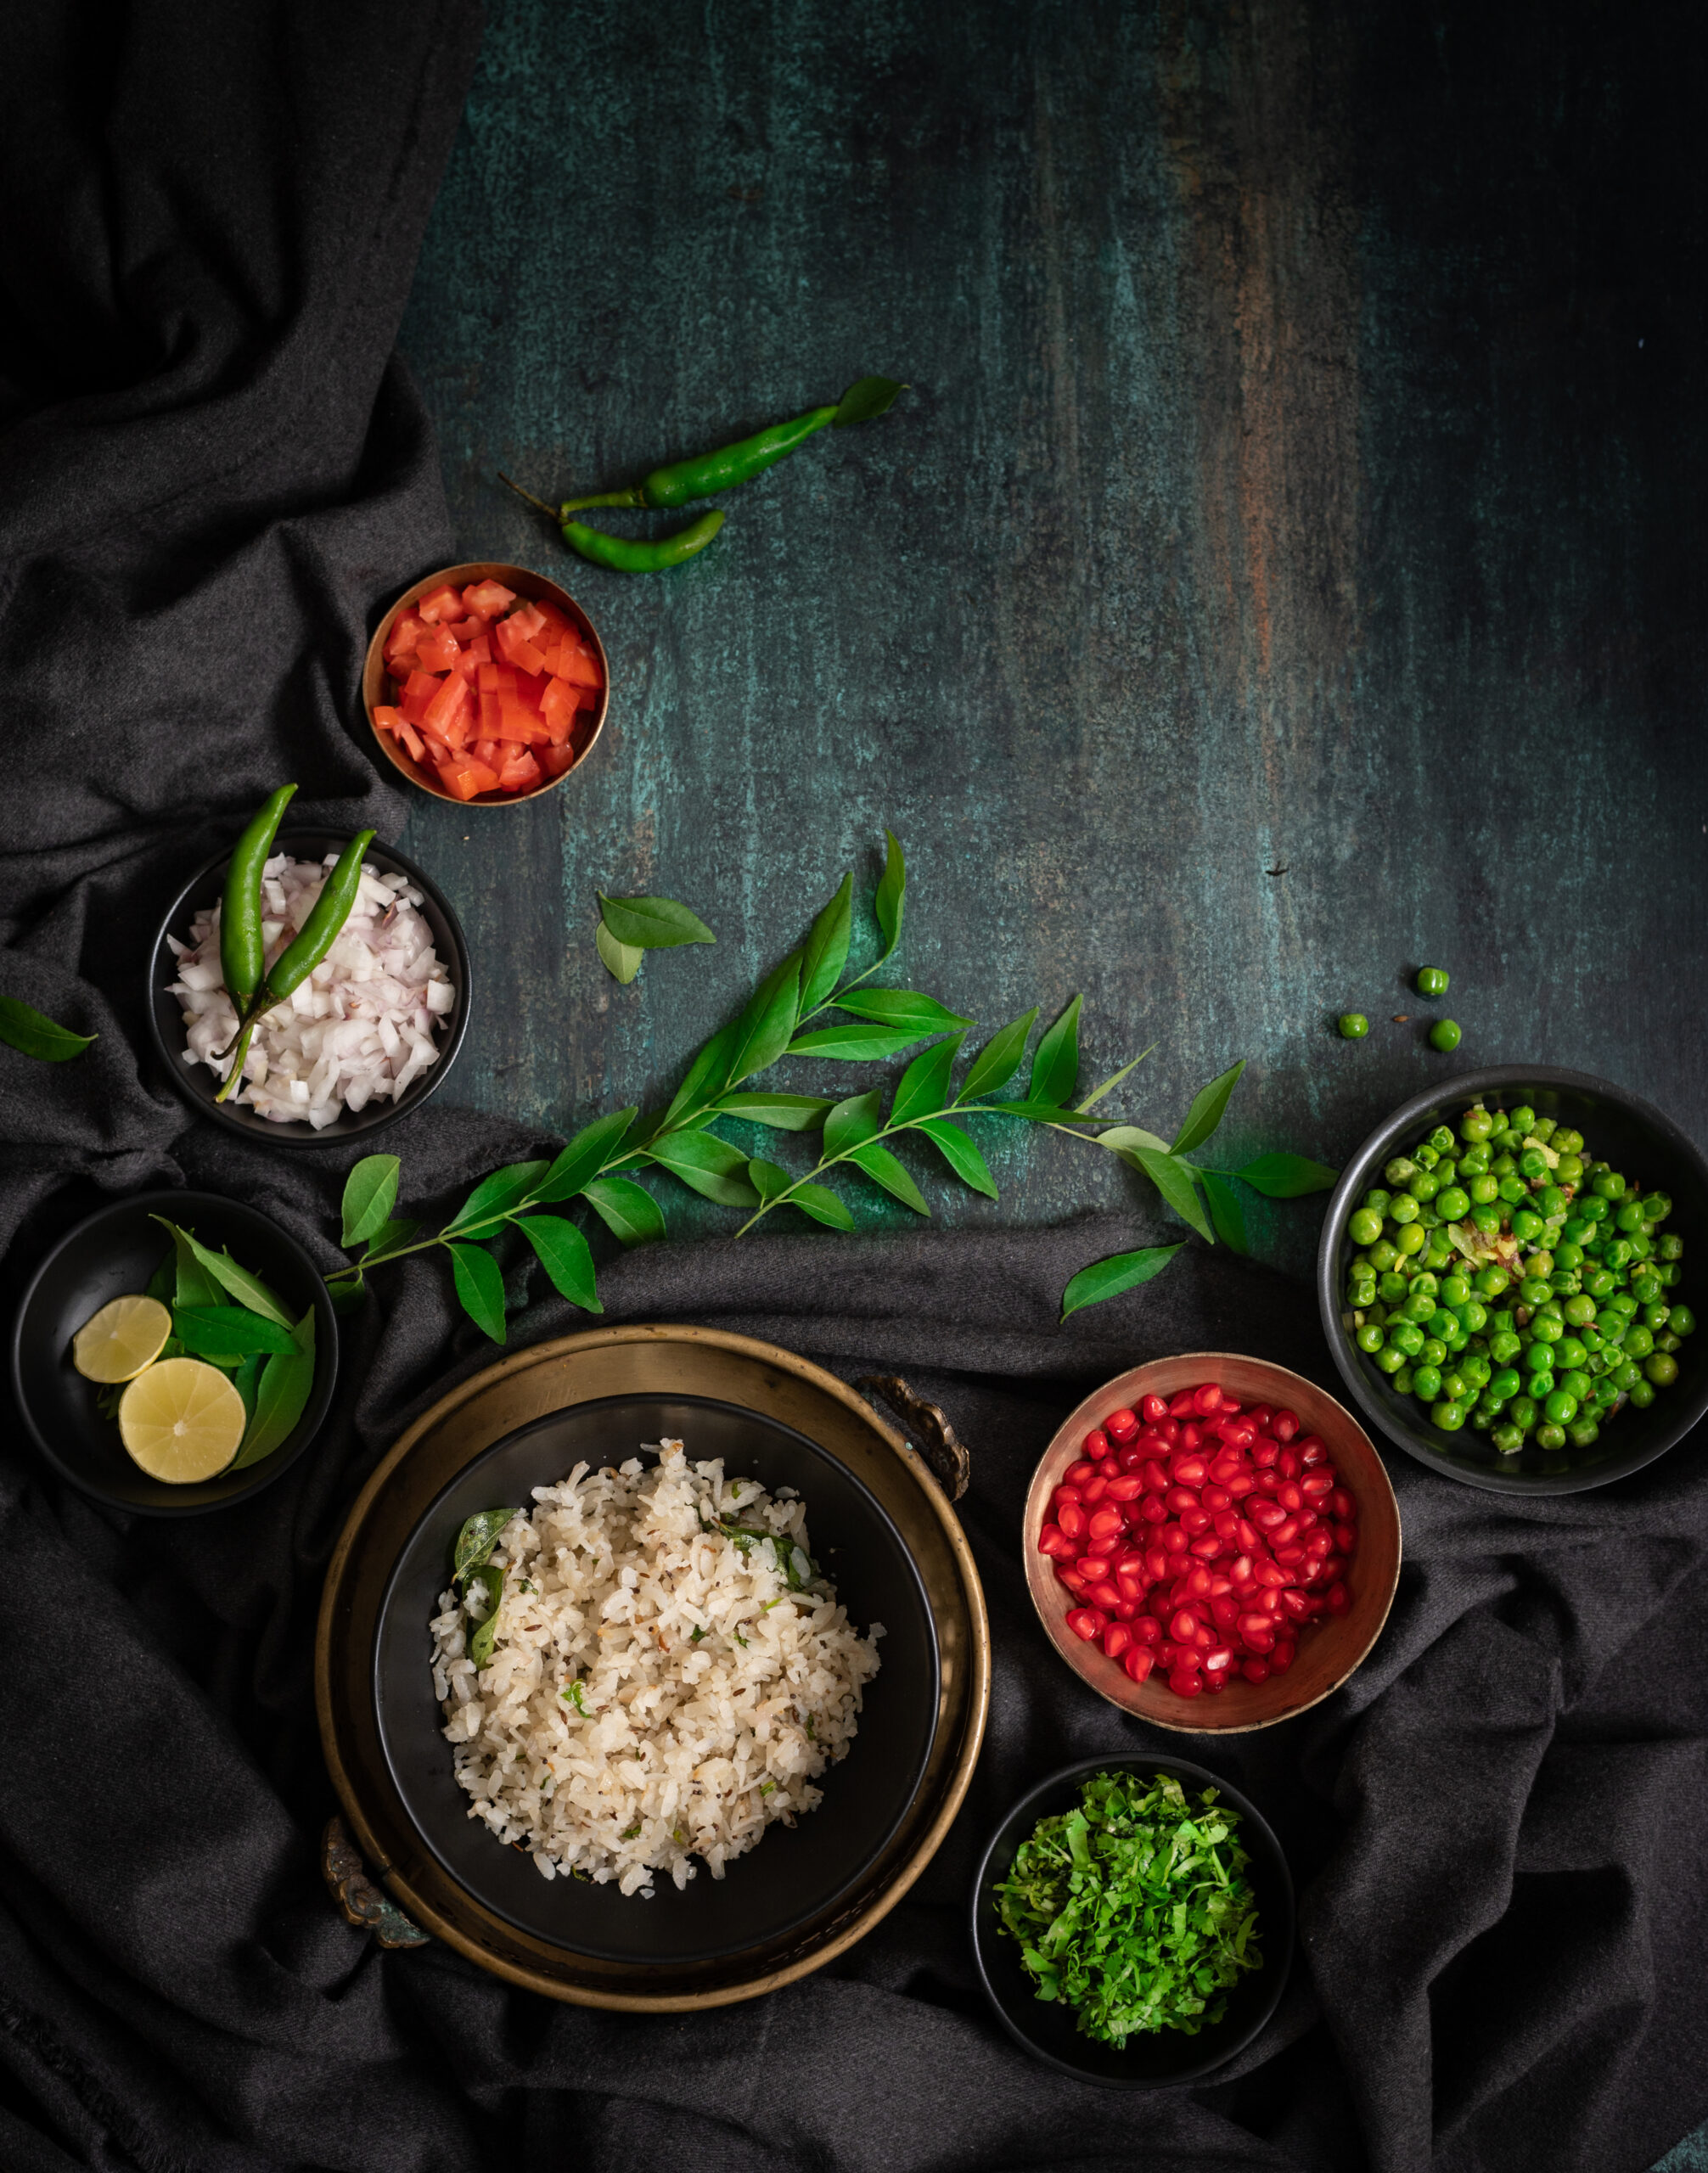
The lovely thing about India is that on the levels of states, communities and right down to homes, the very same dish or category of dishes will be prepared with a unique twist. Whether they are delectable main courses or fun snacks or refreshing beverages, we have so much variety across our cuisines here, even when it comes to staples. They are also eaten in different ways, at different times of day. So it was a pleasant surprise when I encountered this tasty green peas dish, known as chura matar (literally – “poha and peas”), at the home of my very dear friend Vrinda in Jaipur one morning. Poha in and of itself is often a breakfast item, and the inclusion of peas (something I was not used to encountering in the morning meal) elevated it to a new high. What a great start to the day it was!

All breakfasts across India are healthy. I know some of you will disagree by bringing up something like the aloo parathas of Punjab, but there’s a simple reason why a heavy meal is eaten in the mornings. Days tend to be busy, and getting a proper boost of nutrition to tide a person through many hours is important. When you think about how this is especially true for those engaged in labour work, who may not be able to sit down for three square meals, the logic is evident. So whether that’s fried pooris or idlis made of rice flour, that first meal of the day is designed to go a long way. In Maharashtra and Gujarat, people often begin the day with poha, or flattened rice. It’s also an ingredient in special dishes like Diwali chevdo or the sweet dudh-poha made on Sharad Purnima. It’s eaten across the subcontinent, and is known here in Tamil Nadu as aval. I recall also having it steamed and topped with jaggery, as served by a friend I was visiting in Assam once.

Chura matar is a traditional dish from Uttar Pradesh, where the poha is deep-fried. Our version here is a healthier one, sautéing and steaming the poha rather than frying it. People from Uttar Pradesh may find this strange, but as a Gujarati raised in Tamil Nadu, my cultural influences are diverse and have an effect on my culinary choices too. Gujaratis also have a version of this dish, mixing the peas and poha – but when the vegetable is in season, you get so much of it that you may as well make it the star of its own dish and serve it separately too.  Green pea season in India usually takes place in November, and the markets are simply abundant with the vegetable then. However, they grow year-round, as you may remember from one of my recipes that fondly recalled the Ooty summers of my childhood, where peas were known as “English vegetable”. My memories of the Nilgiris aren’t the only ones that this ingredient rekindles. In fact, especially in this time of no travel, they make me miss the north of India in a big way. All my trips to Gujarat while I was growing up, and my later journeys to Rajasthan (such as when I visited the friend who shared this recipe with me) come back to me vividly when I eat this dish. I miss the exposure to a wide range of delicacies, and discovering so many new treats. It’s a pleasure to be able to evoke those experiences in my own kitchen.

Even though we are technically off-season at the moment, I am writing this now because I am missing Vrinda and craving her chura matar. It’s funny how food is sometimes connected to a person. A roti or puran poli always reminds me of my mother, who taught me how to make those dishes and enjoyed them too. A stir-fry always makes me think of my daughter, who loves them. We absolutely connect recipes to people.

I learned through Vrinda that the younger the pod, the more beautiful the flavour of the peas within it. There in Jaipur, these are called colloquially as “zero number” in the local markets, to indicate the smallness of their size. The best peas are harvested right at the beginning of the season, before they are fully grown.

We are fortunate in India to have easy access to fresh and affordable green peas, and in years past I’ve often frozen batches while the season is in full swing to use later. Even before peas became widely cultivated in India during the colonial era, we have always had our own lentils and legumes. You could think of them as being native versions of peas. Green toor dal or split pigeon peas, red rajma or kidney beans, green channa or chickpeas, and so many more make up this list. Steamed, salted, eaten plain or dressed up with different flavours, they make great pea substitutes too and work especially well in salads. The South Indian sundal is a favourite of mine.

Another food item that I freeze often are chutneys. I make large batches, then freeze them in small single use portions. I do this with my sweet, tangy date chutney and my green chutney, among other variants.  This chura matar is chutney-free, because it doesn’t need it, since the green peas add a soft texture to the medley of basic elements. But you may enjoy using it, so feel free to add some if you would like to.

Without further ado, here is the chura matar recipe that I’m sharing today. I would love to know what your own take on it is too. I keep saying the same thing over and over on this blog, but it’s true: every cook makes their own version. My kitchen has its flavours, as do yours. My hands have their own type of love, as do yours. There’s what I’ve been taught, and what I’ve been exposed to, and the same goes for you and your own experiences. But the one thing we all have in common? A passion for all things delicious!
 

Chura Matar

(Serves 2-3)


For the poha

70 grams / 1 cup raw poha (it will become 170 grams or 1½ cups after soaking)

50 grams / ½ cup finely chopped onions

¼ teaspoon mustard seeds

2 tablespoons oil

A few curry leaves

1 green chilli

Salt to taste

Juice of ½ lemon

1 teaspoon sugar (optional)


Peas

1 cup frozen peas

1 teaspoon oil

¼ teaspoon cumin seeds

½ teaspoon ginger paste

Salt to taste


Topping

Onions (finely chopped)

Tomatoes (finely chopped)

Coriander leaves (finely chopped)

A squeeze of lemon


First, rinse the poha under water and allow it to drain. If the poha is of the thin variety, draining alone will do. Otherwise, soak it for half an hour.

In a pan, add the oil. Once it has heated, add the mustard seeds and wait until they splutter.

Then, add the green chili and onions. Once they are golden, add the soft, soaked poha. Next, add the salt and sugar (if you are using it). Stir well on a slow flame, gently. Set aside.

Now, prepare the peas. Add the oil in a pan and add the cumin seeds. Wait until they turn aromatic. Now add the ginger paste. Stir, and finally add the peas. If you are using frozen peas, make sure you allow them to cook long enough to turn soft. Set aside.

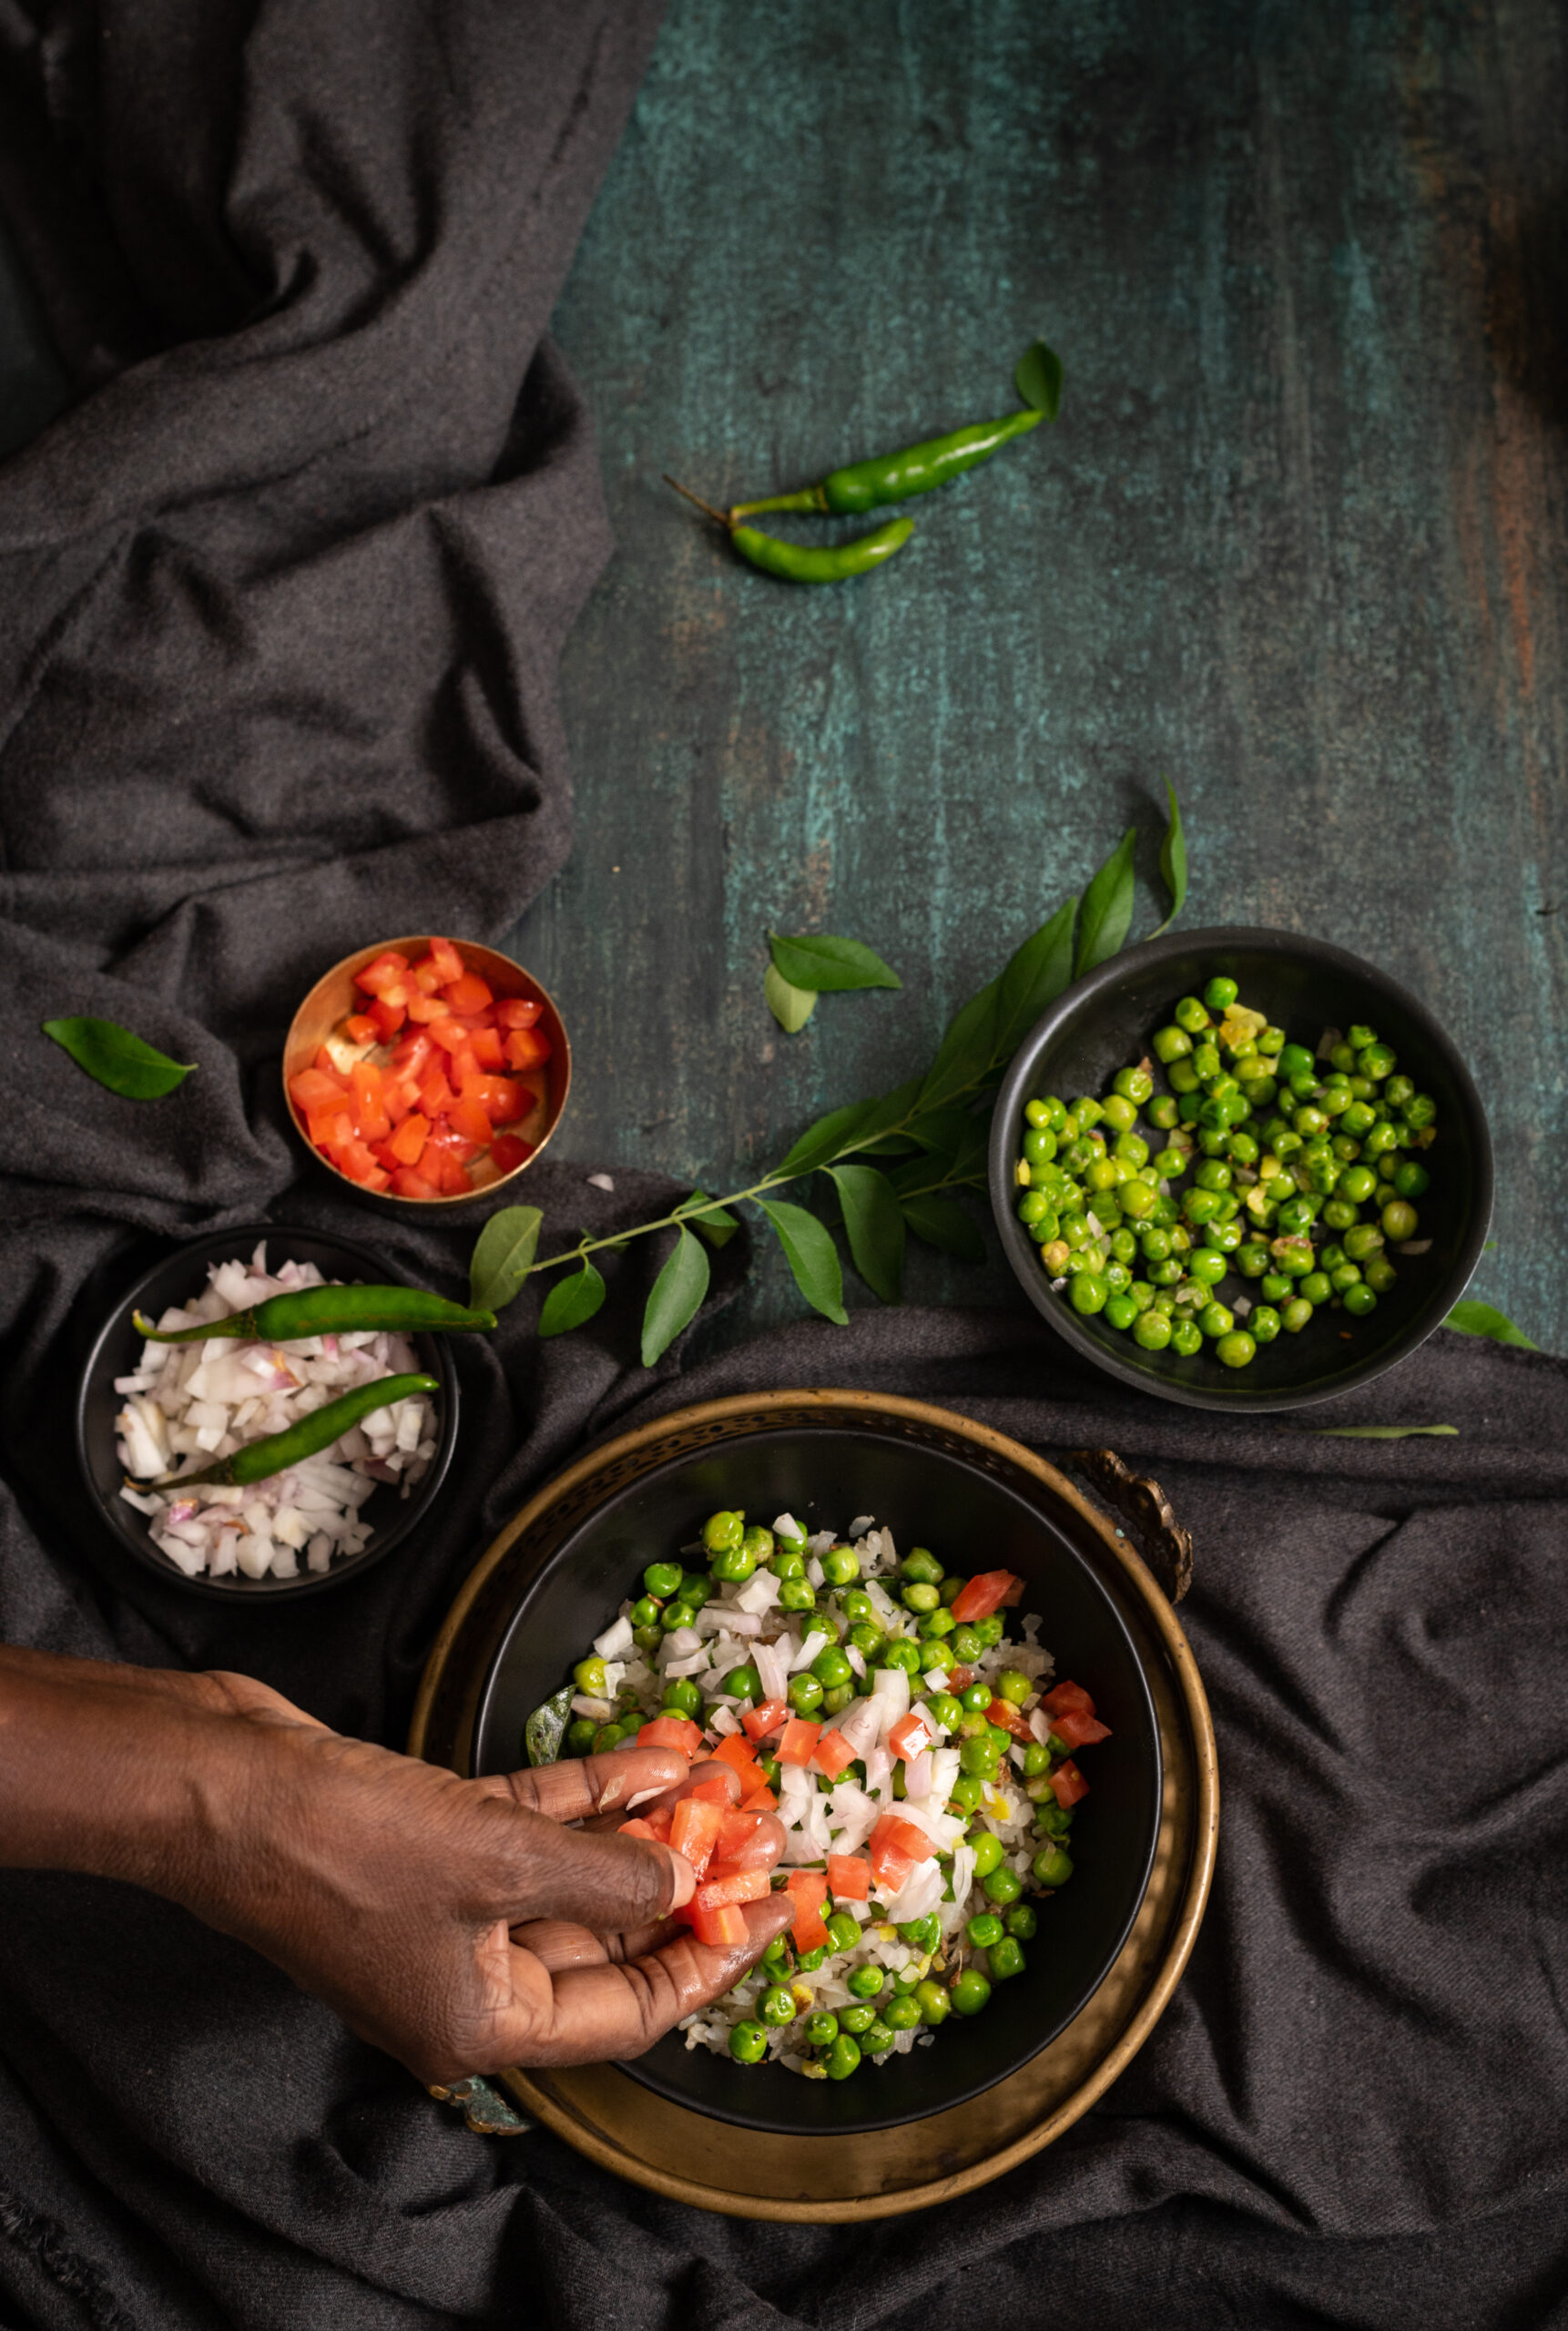
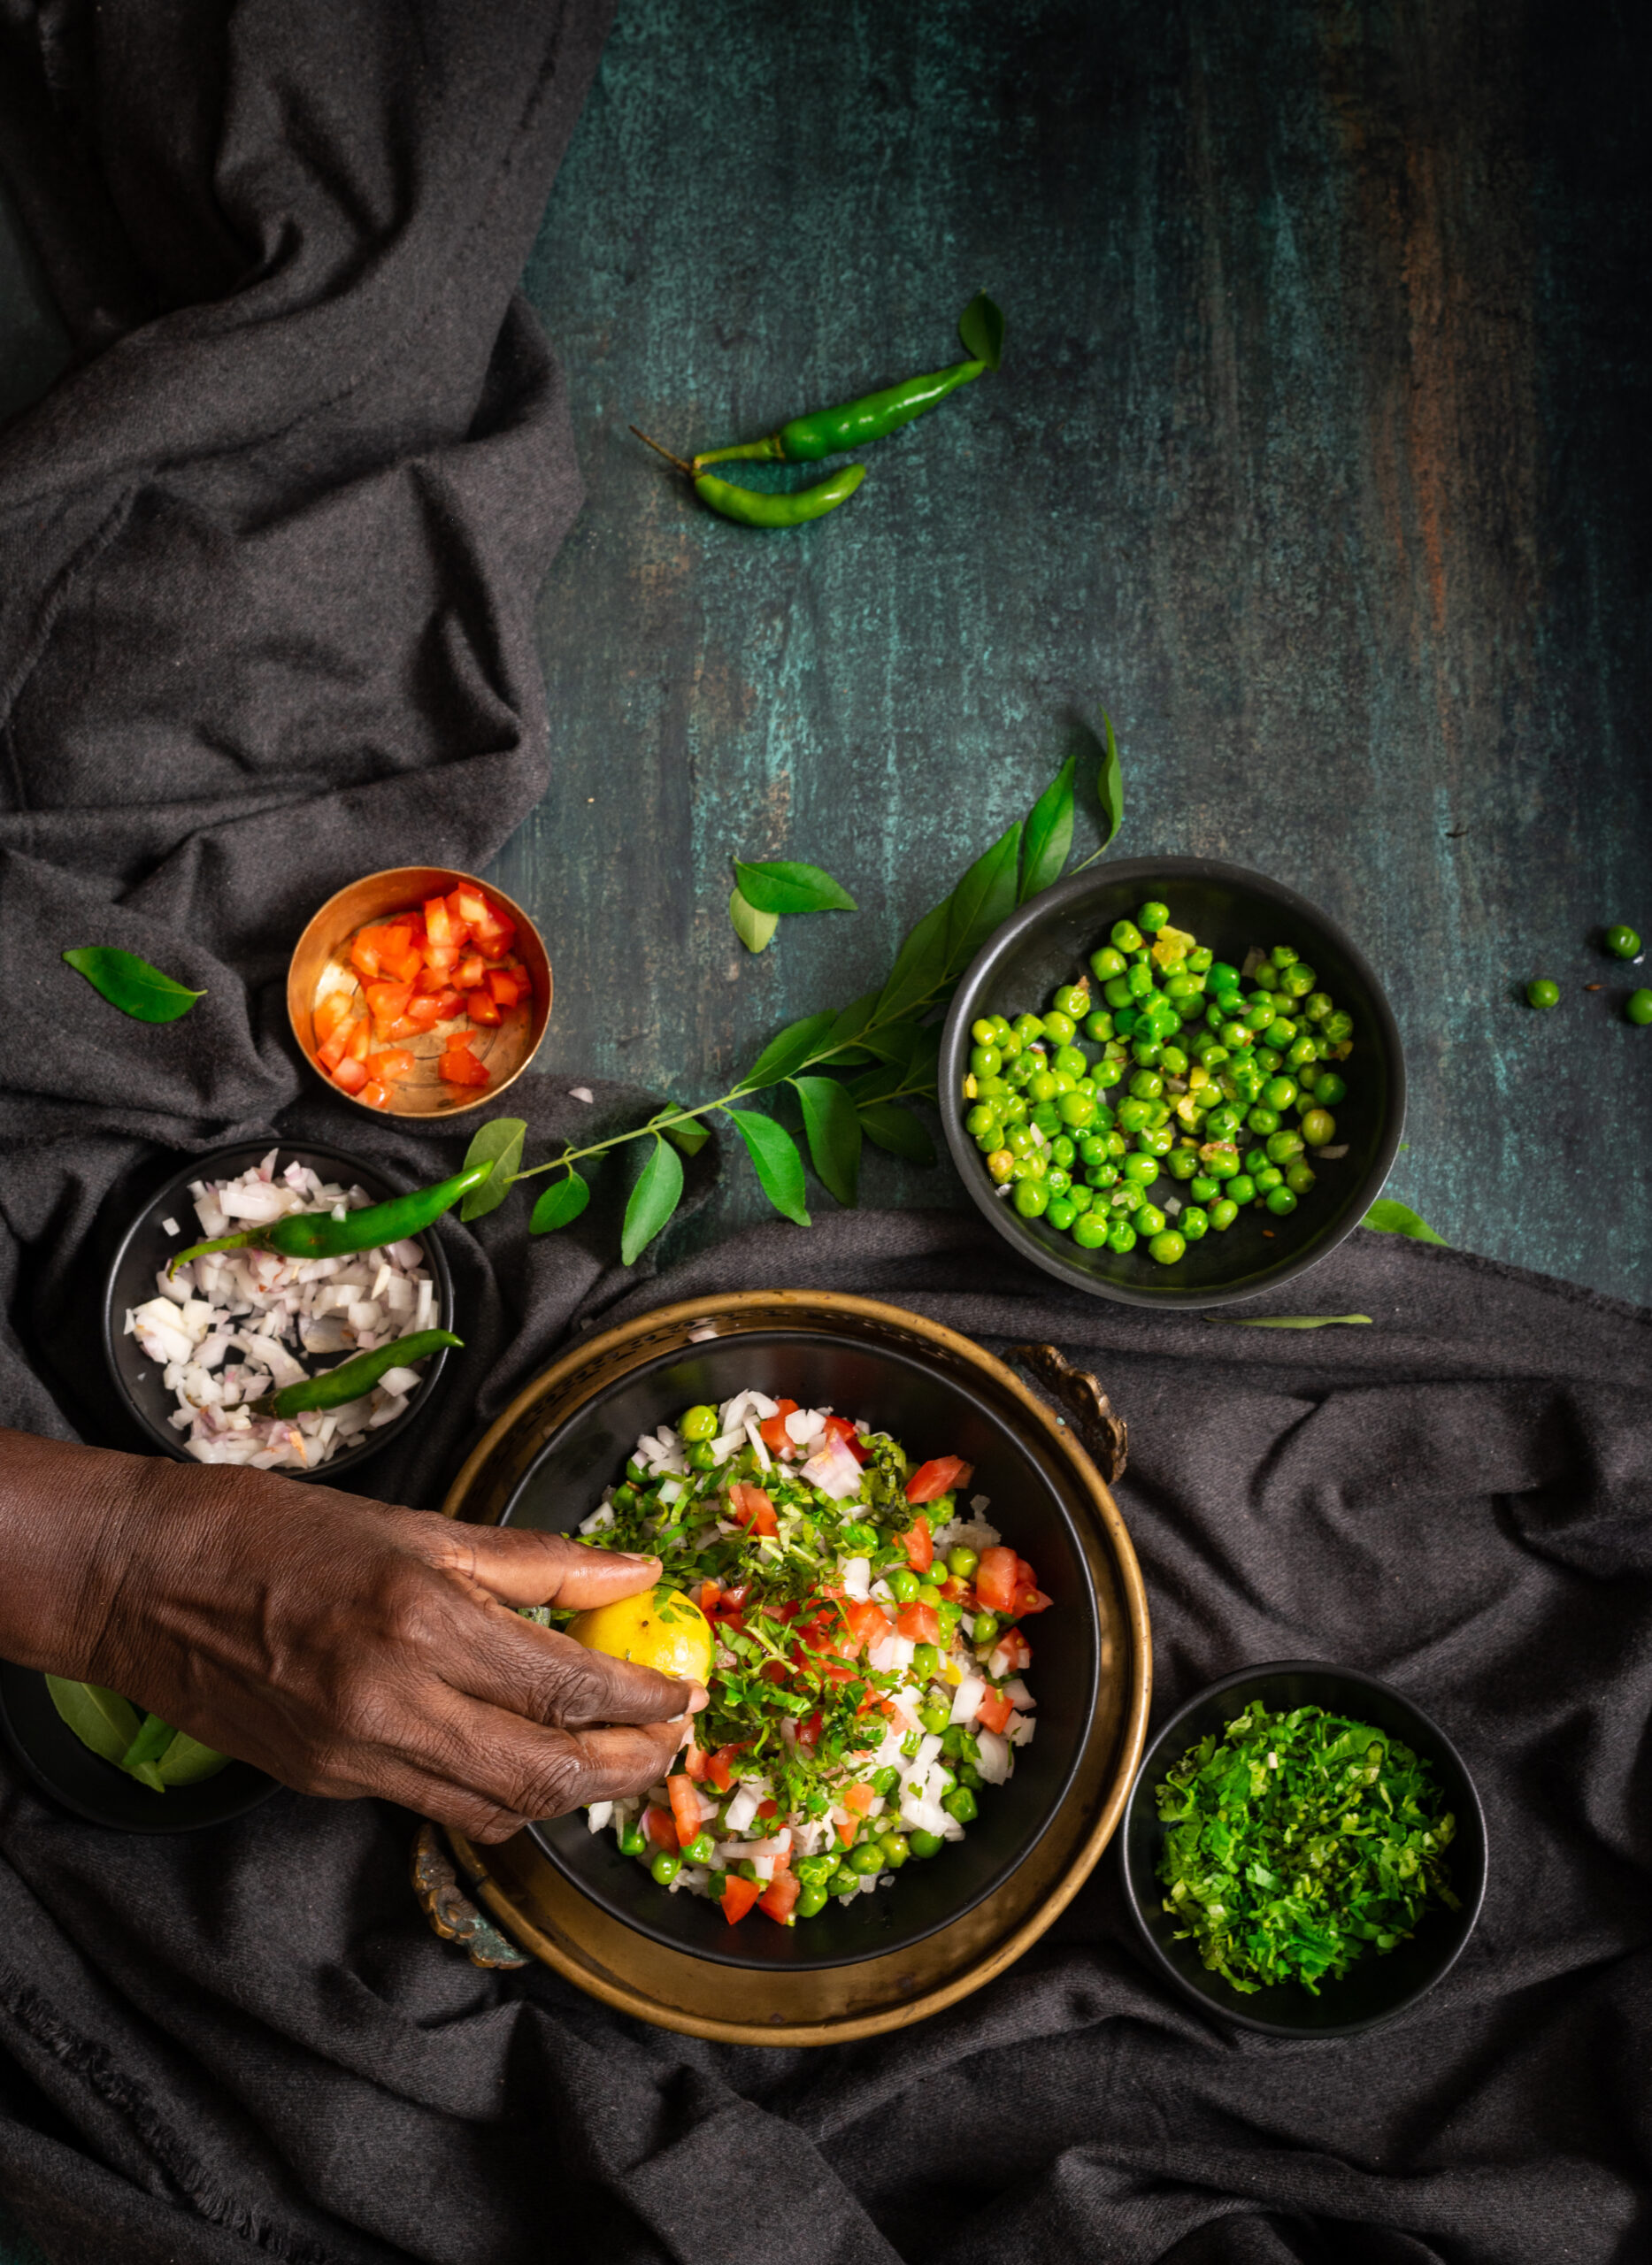
Use a shallow serving platter to assemble the dish. First, place the cooked poha as a layer. Over this, add the peas as a layer. Top this with the healthy garnish of freshly chopped onions, tomatoes and coriander leaves. Finish with a dash of lemon juice. Serve.

Now that remembering this fabulous chura matar has brought it into my repertoire, I envision making it for evening treats, as a filler between meals, and even as full meals (such as breakfast!). Do try this one out, and let me know what you think in the comments.

When it comes to any dish that I’m a novice at, I love making it as often as possible so that I can learn from each attempt. Novelty is part of the motivation, but improving my success rate is the real goal. The more you use your hands, the better you get at anything. For you, this may be true for one of your own creative passions, and for me this is all about baking and photography. This was certainly the case for me with sourdough. Those of you who’ve followed my sourdough journey through my Instagram Stories over the past couple of years will know how enthusiastically I’ve pursued working on it. Sourdough is all the rage everywhere at the moment, since the pandemic has made so many people  explorers in the kitchen, so it’s especially exciting for me to share this sourdough toast recipe today.

I bake sourdough every other day, and ever since I began doing this, my family doesn’t eat any other kind of bread. They prefer this natural variety to yeast-filled commercially-produced bread, and we use it in many ways. I make pizza bases, loaves and more all the time, and use them in main courses, sides (such as with a lovely minestrone soup, the recipe for which I promised you recently and will share soon) and snacks. At home, we are all very into daily exercise and healthy eating, so we have lots of one pot meals, and a slice of sourdough on the side is always nice. I find that this sourdough toast especially makes for a filling lunch, and that helps us reduce the number of heavy meals we have at supper time.

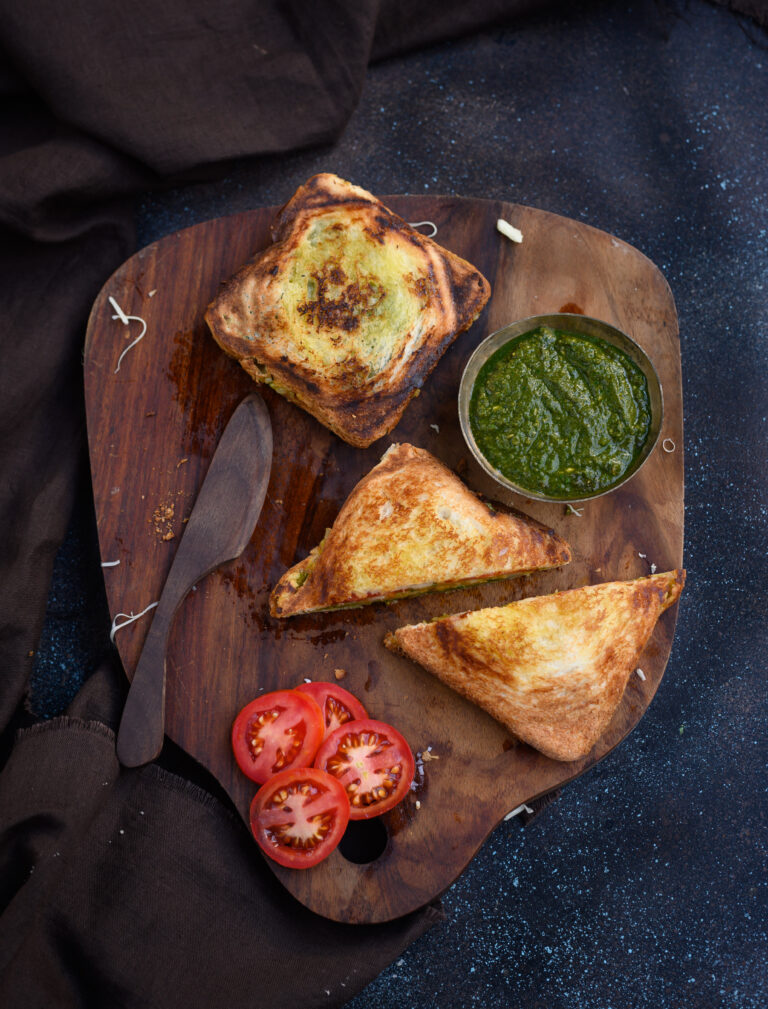
The idea of making a simple, yet fabulously delicious, sourdough toast came up during our planning for my husband’s birthday recently. This is not an innovative recipe as such, yet it’s one that suits the occasion of a celebration during lockdown. It’s a lovely appetizer using wholesome and easily available ingredients for a small celebration. We decided to have a picnic in our own garden, and I was thinking about which healthy dishes I could make to balance out the indulgence of the white cake I’d be baking when I came up with this idea.

Now, the white cake itself has a funny story behind it. You see, my husband adores the tea cake from the McRennett bakery, which many of us who grew up in Chennai will associate with childhood memories. As it happens, I can’t stand that cake, as it has a very strong vanilla essence smell. We have a running joke in the house that no matter what fabulous thing I have baking in the oven, my husband will say, “I’m going to get a McRennett cake!”, knowing it will tick me off. This year, I turned the joke on him by saying that I’d order him that tea cake for his birthday and not bake any of my own specialties. Secretly, I had a plan to prepare a cake that was inspired by his lifelong favourite, but which I would elevate with my own twists to a level that would make him forget the original. He must have gotten a whiff of my plan, because he said to me that if I could achieve the softness of the original, he wouldn’t mind trying mine. Well, I baked a lovely tea cake with real vanilla and pretty white icing (I rarely ice my cakes at re:store, so you know this was a special treat!) which he enjoyed very much… but it didn’t quite unseat the McRennett as his favourite!

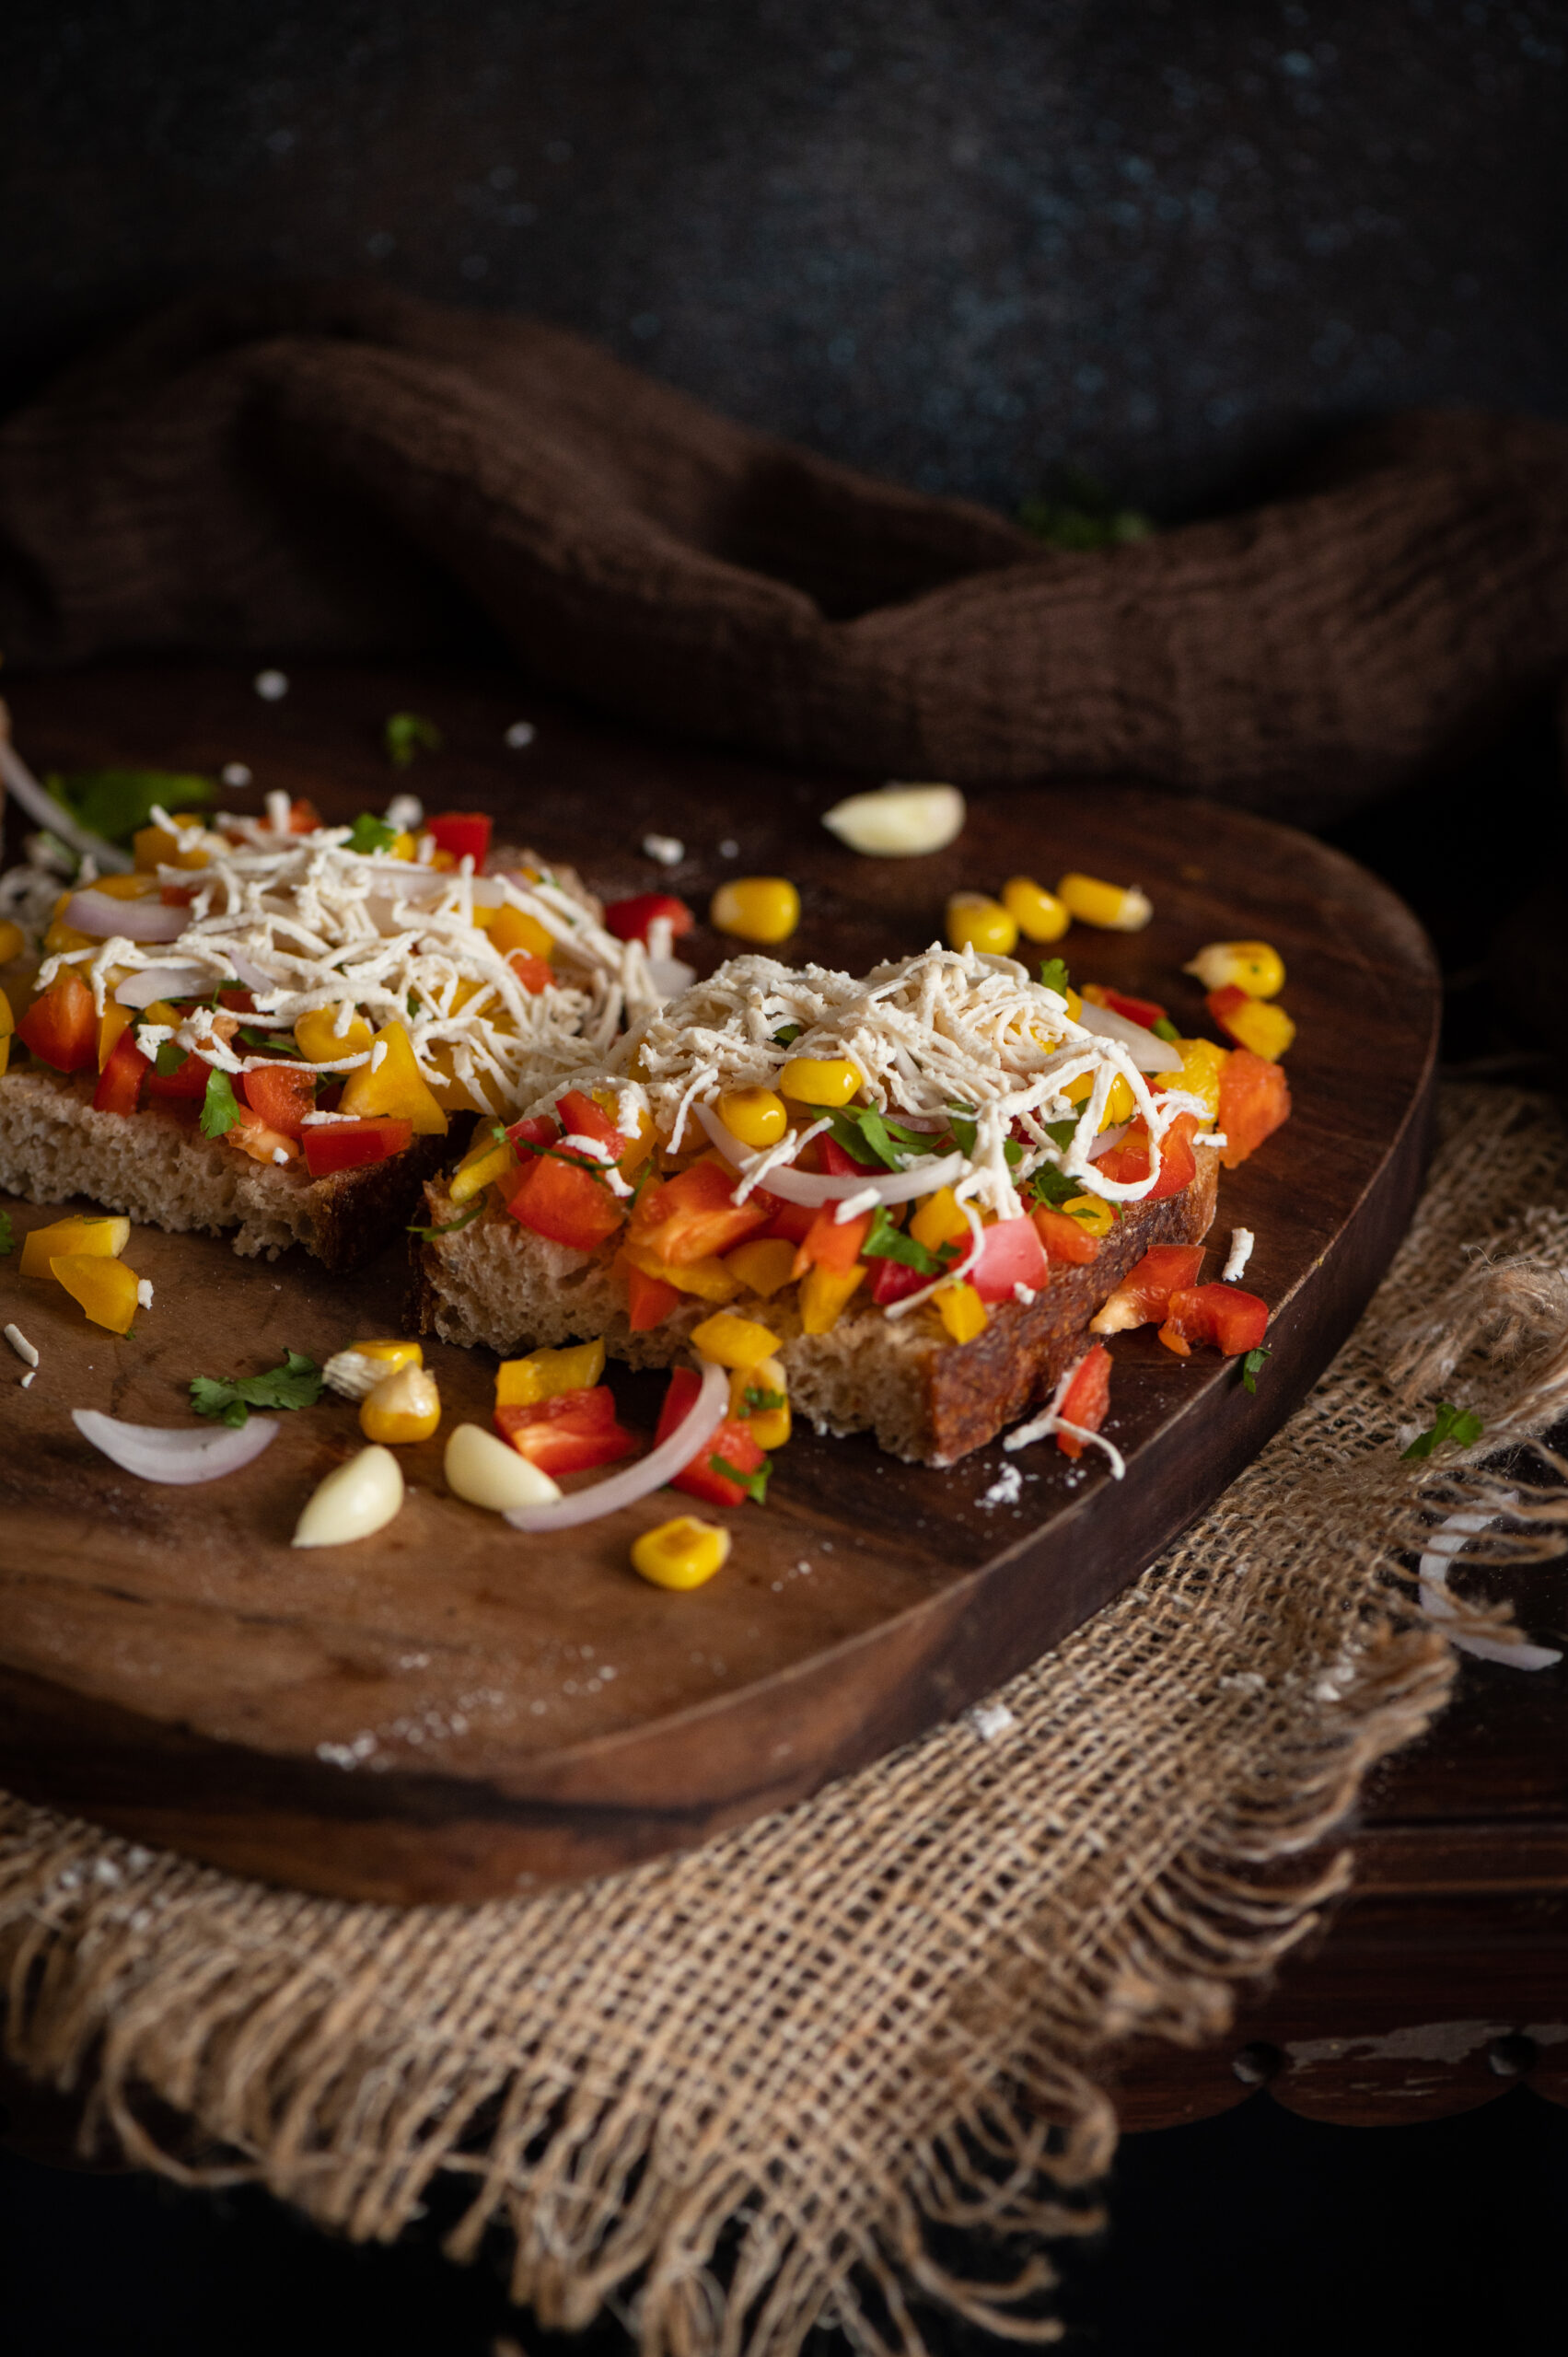
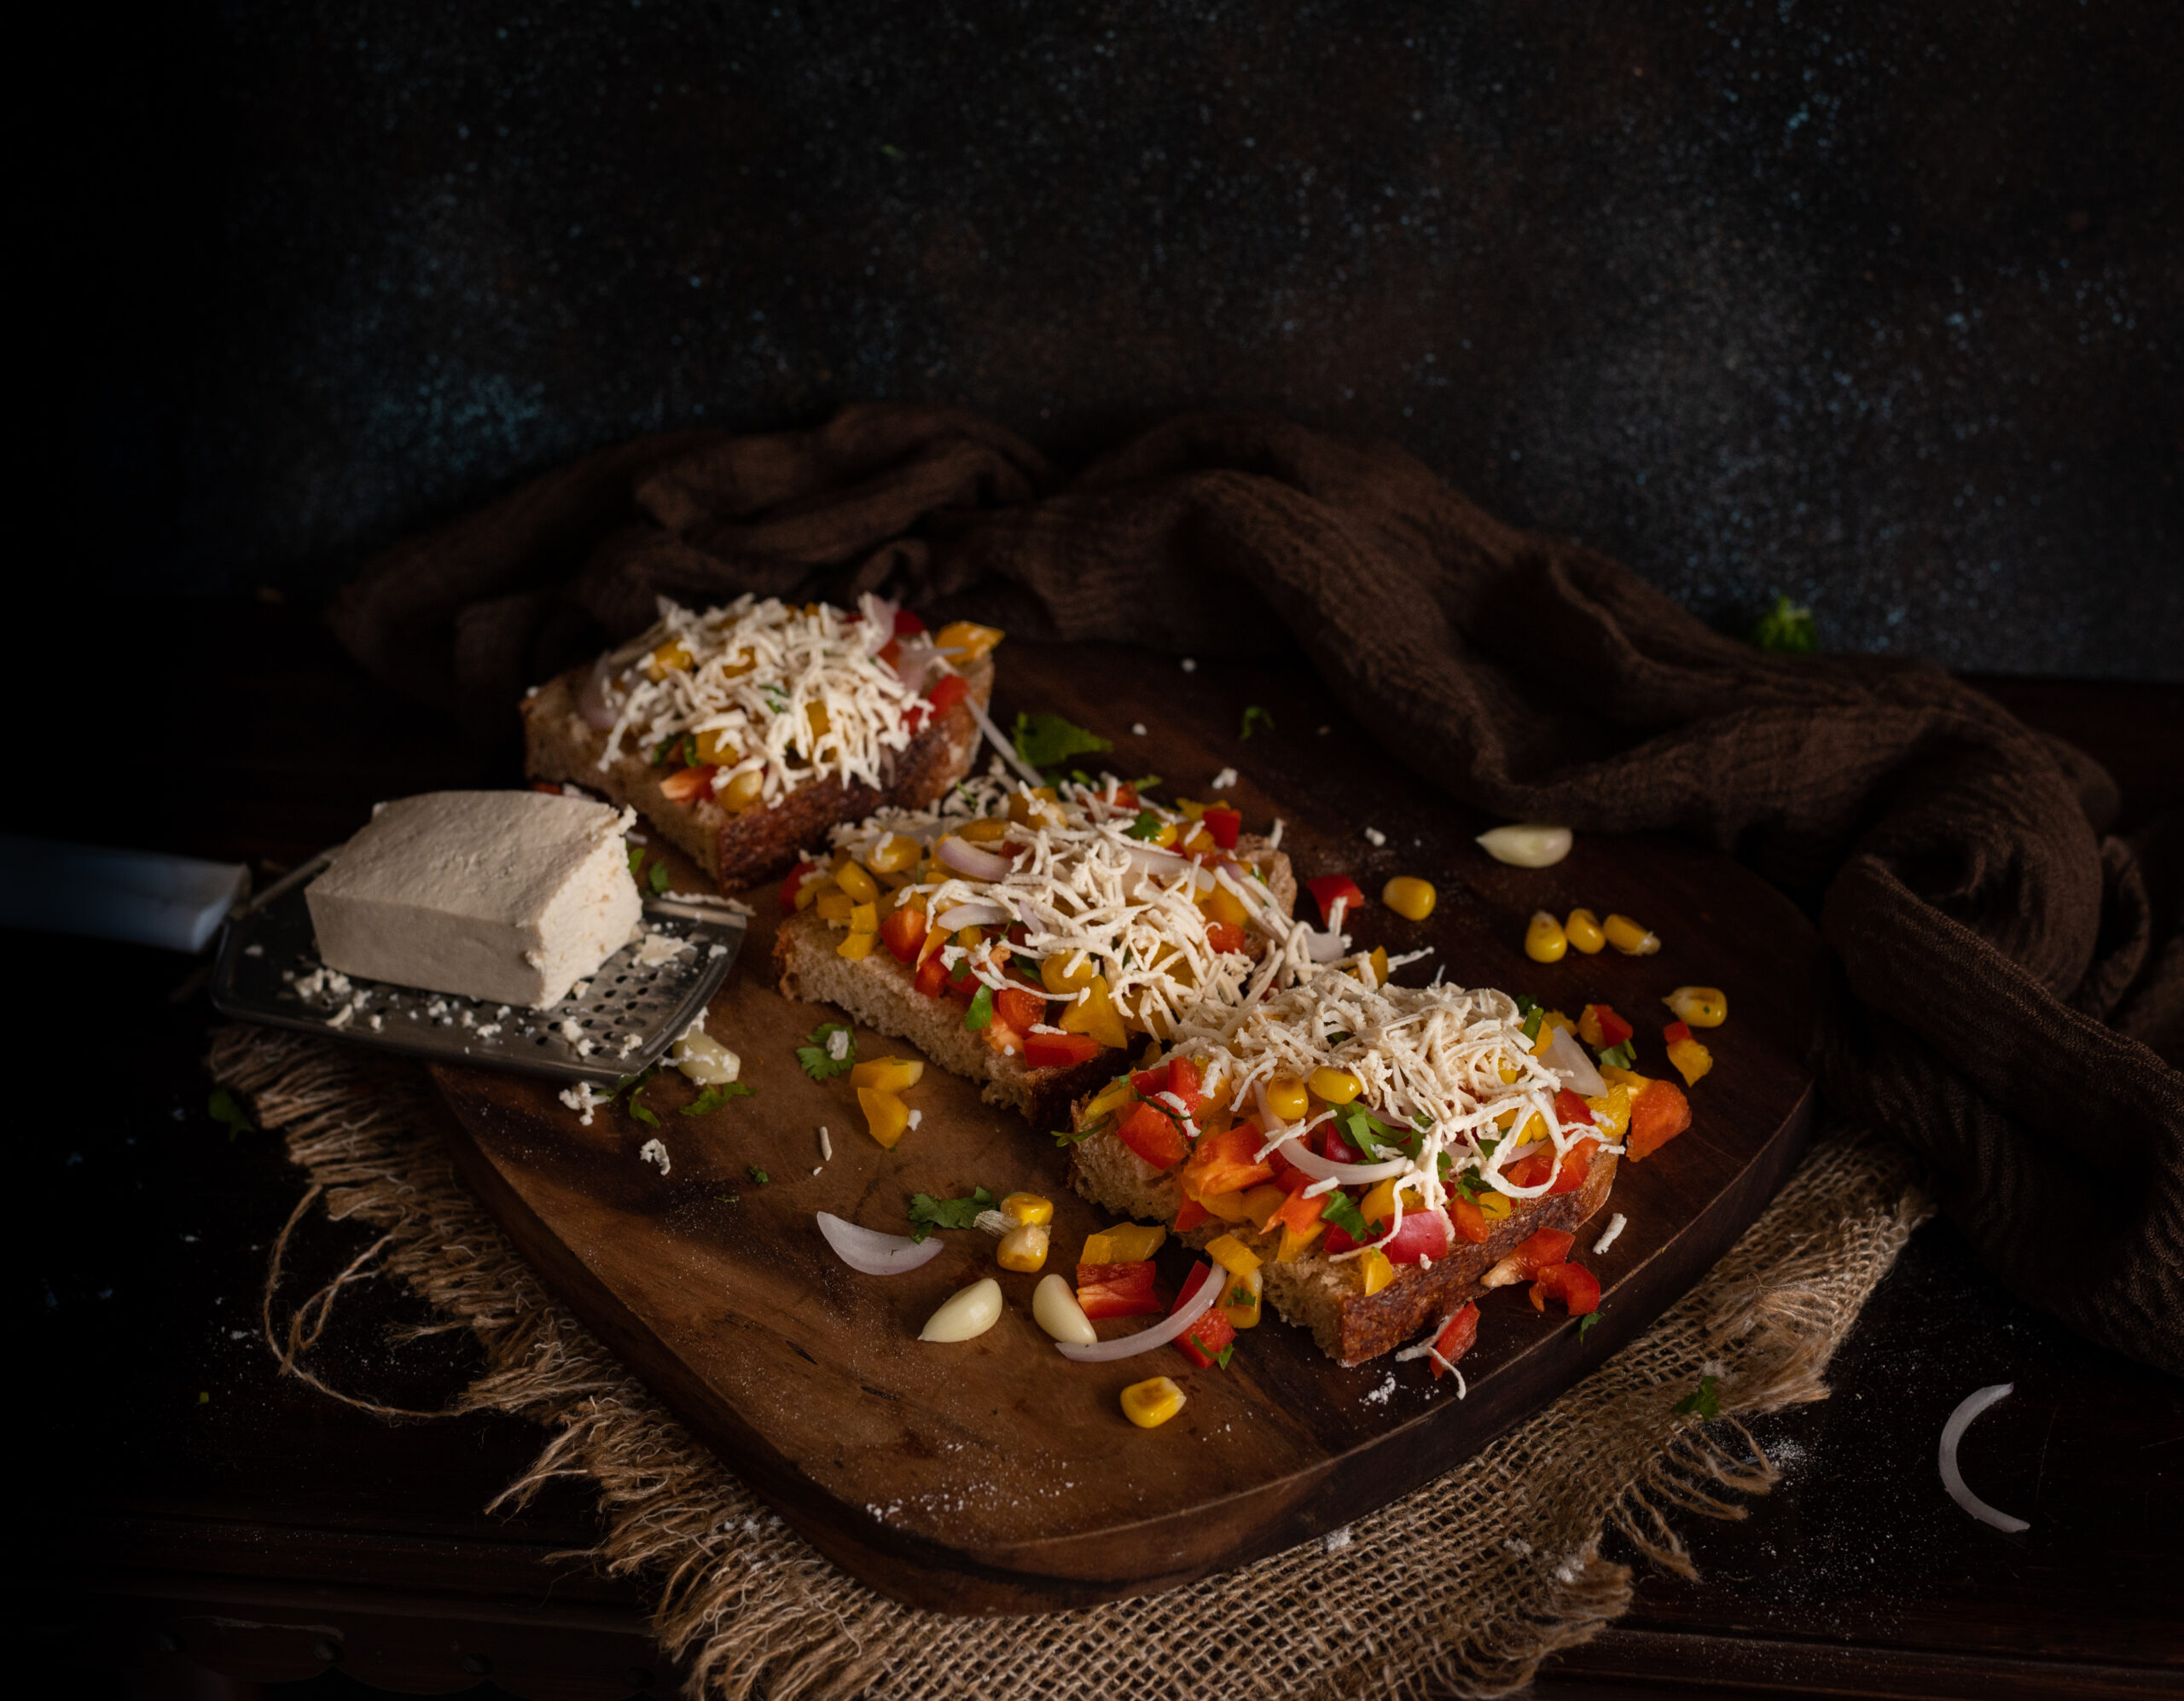
Oh well! At least I can safely say that this cheesy, spicy, garlicky sourdough toast was the hit of the picnic! I’ll always associate it with the memories of the fun we had that day, spending time together as a family in our garden. That’s the thing about food prep: when something is made to suit a particular need or occasion, the dish also gains meaning. Is it for a daily meal, is it for a special person, is it for an event? By thoughtfully planning the lockdown birthday picnic menu to feature a healthy but delicious snack like this, and making sure I prepared it in a way that was also special, the dish became impressed upon my memory and in my culinary repertoire.

Before I share the recipe, here’s a quick note on sourdough itself, just in case you’re curious about what it is. It’s the traditional, ancient way of making bread, which people around the world used for millennia before baker’s yeast was invented. It’s based on natural fermentation, with air pockets created by the same, and it rises beautifully. You can keep the starter going for ages, just like yoghurt. For me, it took a few miserable failures before I managed to get mine going. Before that, friends generously shared their own starters with me, which I fed and nurtured, but there’s a different kind of challenge and a sense of achievement when you’ve made your own. The learning is continuous, especially when you have to take into account variables like weather conditions. Sourdough maintenance is like plant maintenance.  Making sourdough in Chennai weather is a struggle, as the natural temperature is not really conducive, while air-conditioning dries out the starter. I’ve managed to make a few chips and freeze them just in case my sourdough dies on me, and I’ll need to start it all over again. In the meanwhile, we are truly enjoying the bounty of the current batch.

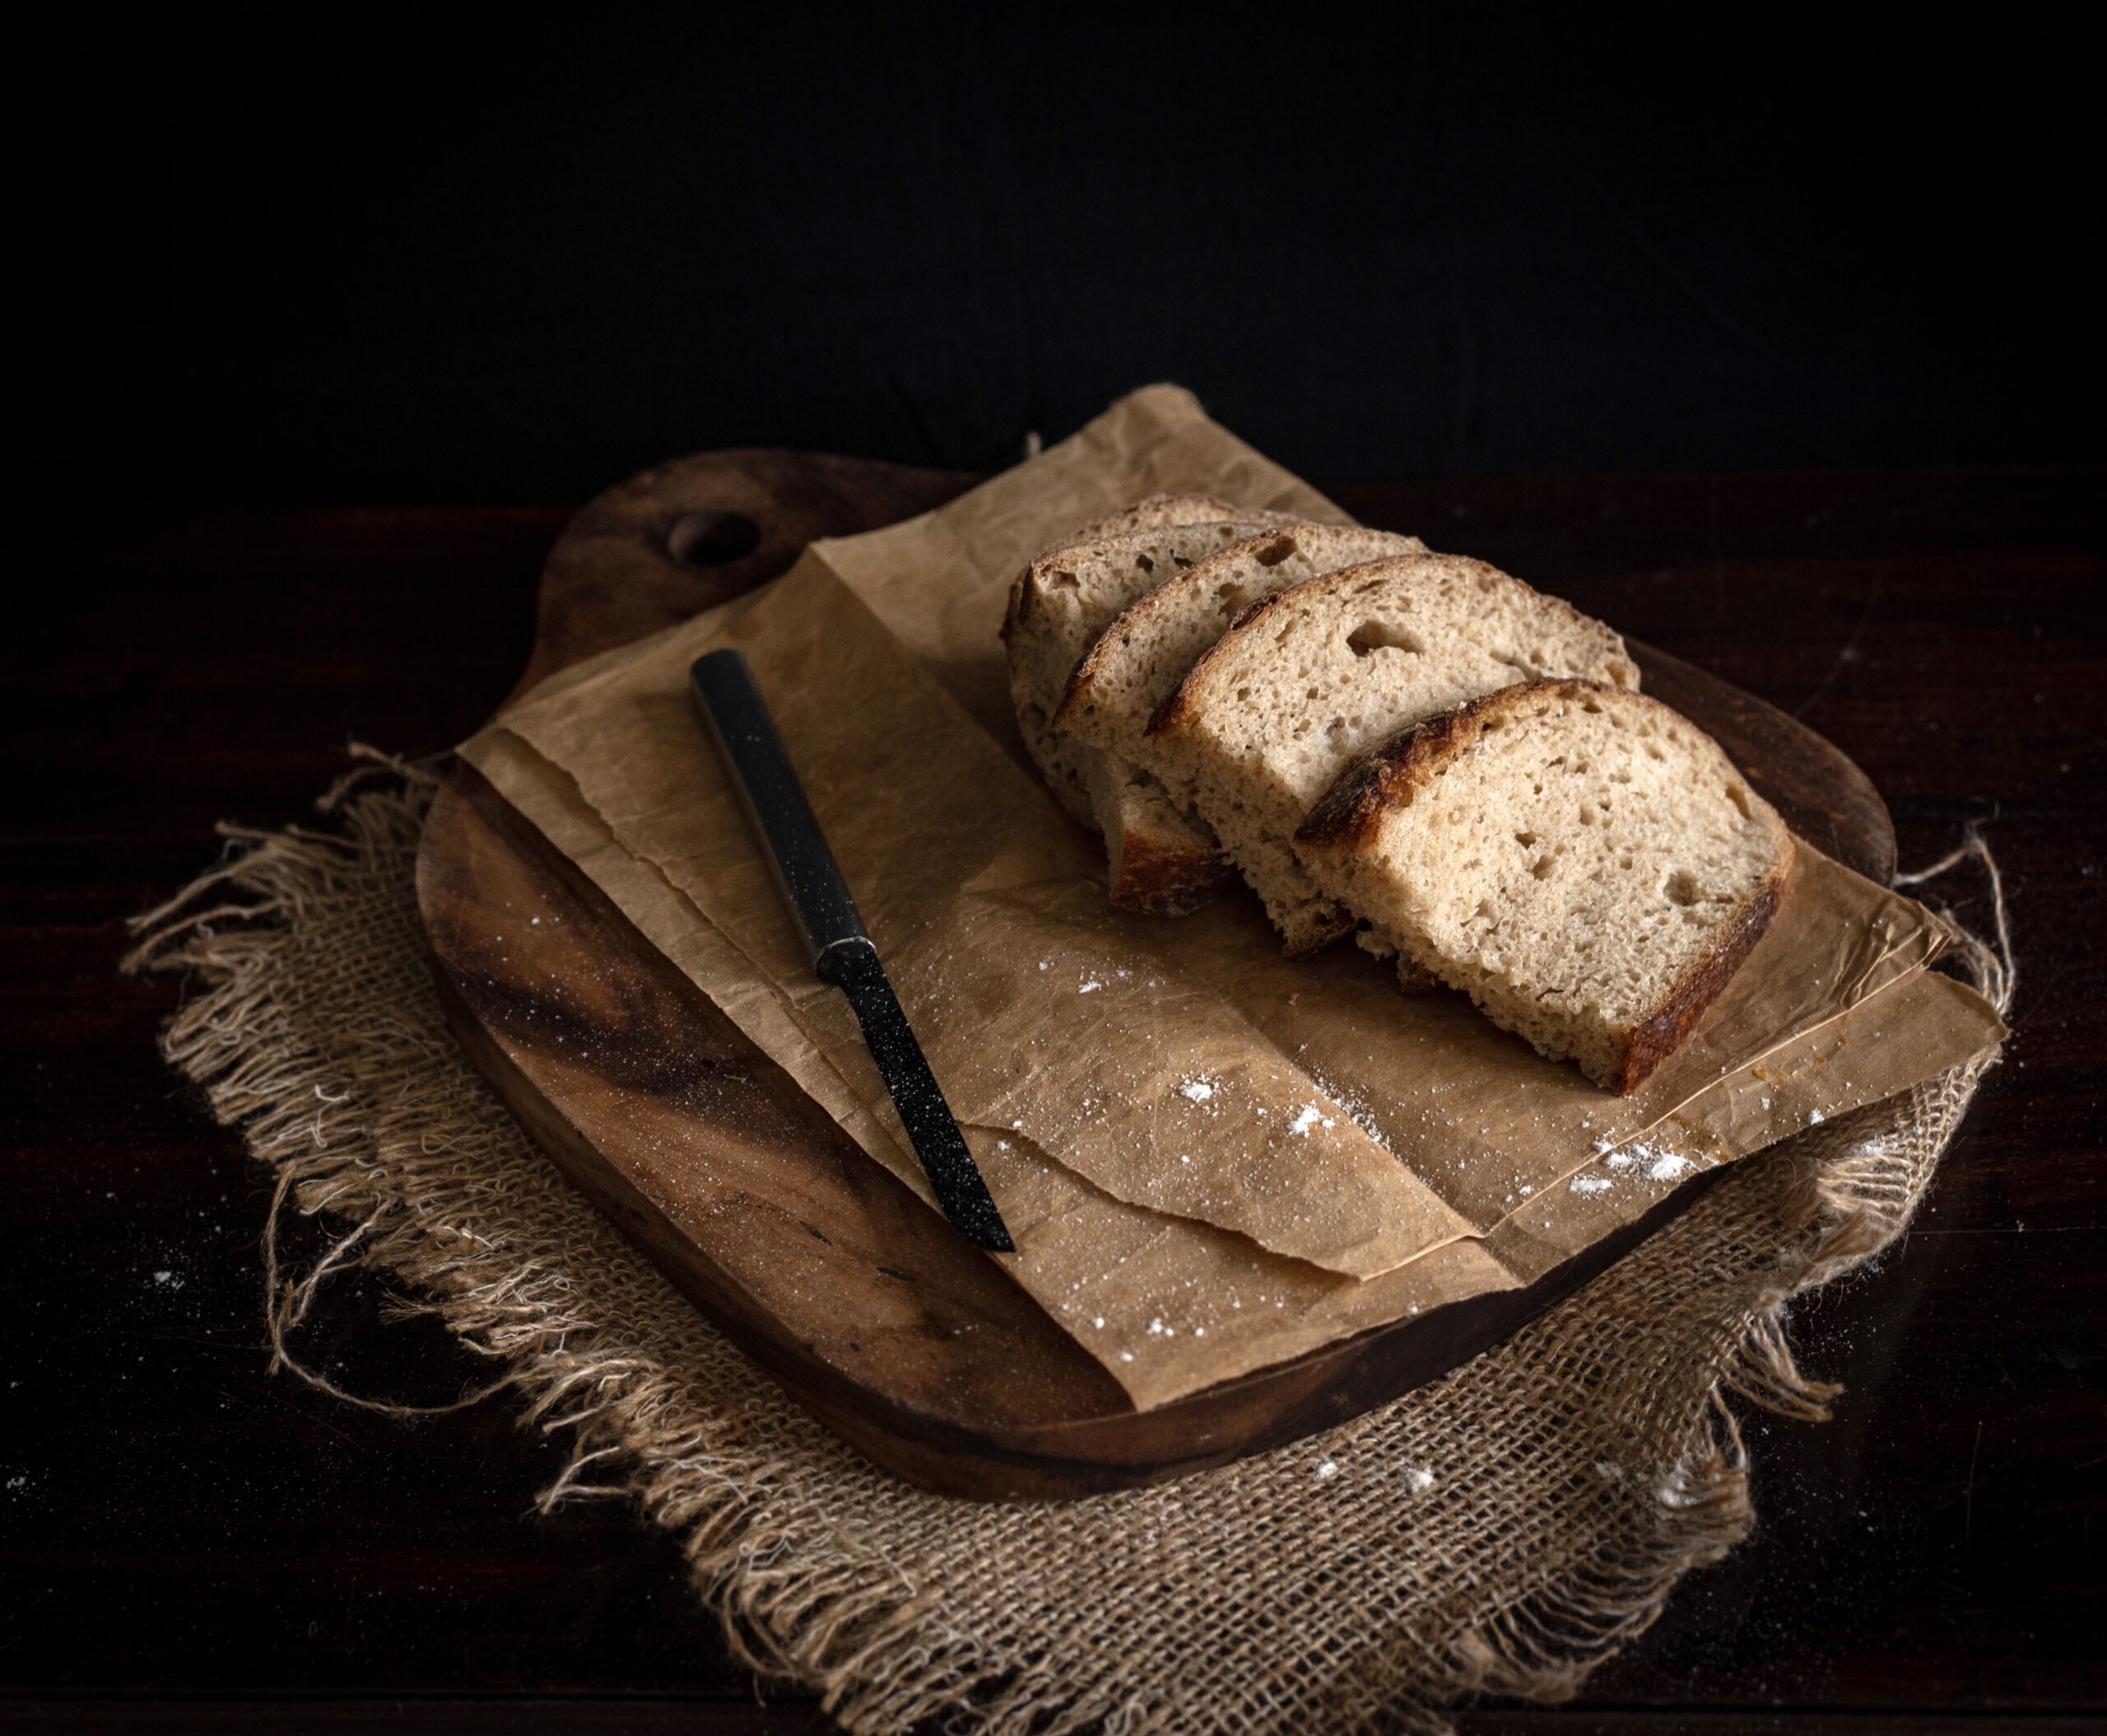
I am almost sure that foodies following this blog have either been making their own sourdough, or have access to a store-bought loaf, so I’ll jump right ahead to what you can do with it, rather than spend time on how to grow it. In case you don’t have it on hand, you can use white bread or any bread you like.

Cheesy, Spicy, Garlicky Sourdough Toast

(Yield: 4 slices)


4 slices toast

1 teaspoon oil

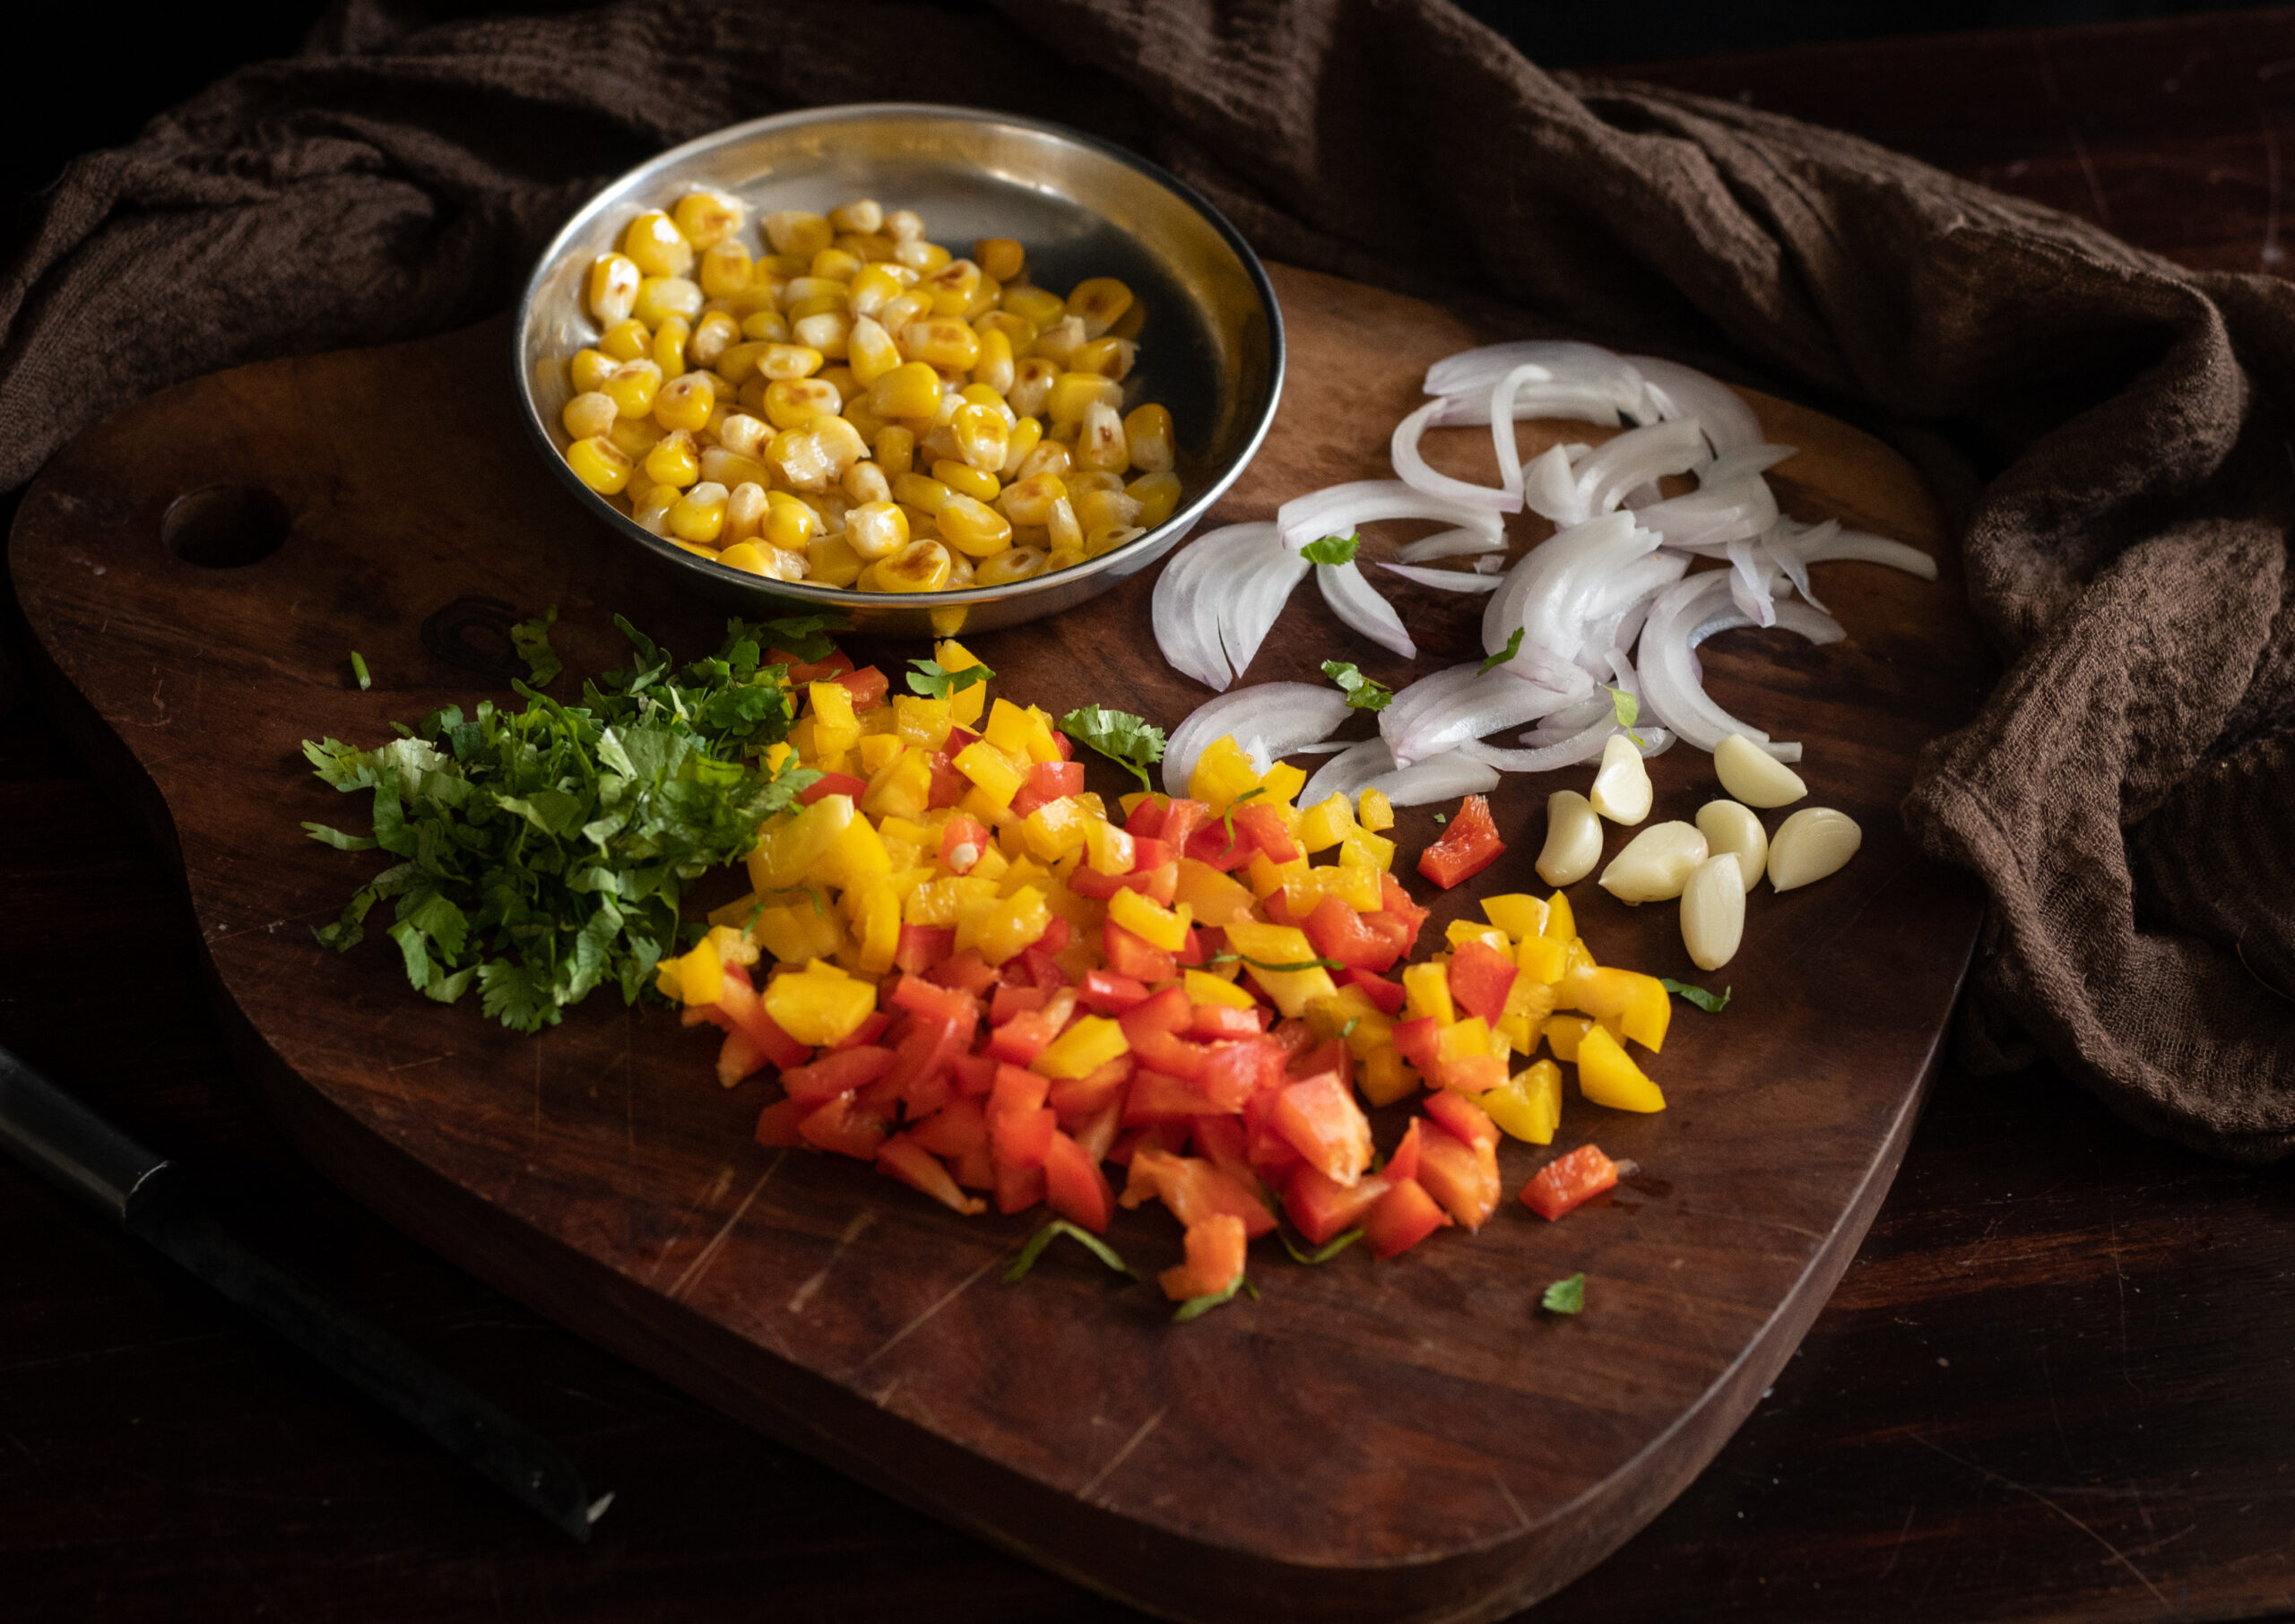
2 cups chopped vegetables (bell peppers, onions, garlic, coriander or parsley, cooked corn)

1 tablespoon chopped jalapeño peppers

¼ teaspoon grated ginger

Coriander chutney (alternative: pesto)

Salt to taste

Chili flakes

Butter as required

1 cup grated cheese (alternative: tofu/paneer)

Heat a pan and add the oil. Add the garlic and ginger, and then add the chopped vegetables. Stir-fry on a high flame. This mixture doesn’t take more than 5 minutes to sauté. Add the salt. Set aside. Allow to cool.

Prepare the slices of sourdough by buttering them lightly. Next, spread the coriander chutney (or pesto, if you prefer) over the butter.

Now, add a heaped spoonful of vegetables over the chutney/pesto. Top this with grated cheese or tofu.

Place the bread in the oven and allow to toast/bake for about 10 minutes or until the cheese melts and the slice of sourdough turns golden underneath.

Remove the slices from the oven and sprinkle with the chili flakes. Serve warm.

This cheesy, spicy, garlicky sourdough toast called to mind a variety of toasts my family has enjoyed over the years. When I was growing up, my mum used to make a version of masala and mashed potatoes with toasted bread. My husband is an ardent fan of  Bombay toast, as you may remember. In lieu of either, my sourdough toast – rich in fresh vegetables – is healthier, without skimping on taste.

Feel free to substitute the vegetables or even the spices as per availability and preference. You may want to increase the quantity of some based on your taste as well (I’m personally a big fan of corn and bell peppers too). If you prefer to go vegan, just replace the butter with olive oil, and either tofu or paneer are tasty and healthy alternatives to cheese.

This version has become my go-to every time I feel like having a snack. When I’m done with my workout and feel peckish, I whip up a slice or two. I sometimes also have it drizzled with olive oil and a sprinkling of salt without adding the spices. Given the lockdown and the limited vegetables that are on hand on some days, I improvise the ingredients. No matter how I make it, it’s unbelievably tasty!

The first time that I tasted this sublime soup was when I was visiting a dear friend who was unwell at home. Valli Subbiah is an amazing person with an exceptional gift with kids, and even though she was feeling poorly, her hospitality was as gracious as ever. She offered us this simple, flavourful zucchini soup in mugs. At her place, what was served was more of a hot beverage than a soup, but I made it in a thicker consistency when I tried replicating it at home. Valli was sweet enough to share the recipe with me, and we are both happy to share it with you today.

I’m not a great fan of zucchini, so the fact that this dish captured my heart says a lot about how tasty it is. Since having this soup, I’ve been reading up about the vegetable (well, technically it’s a fruit – did you know?) and am delighted to have found a way to consume something that’s so good for us. It is excellent in supporting or easing menopause and post-menopausal health concerns, and is rich in fibre, folate, Vitamin C and a host of other nutrients.

Zucchini is native to South America, which naturally meant that European colonials began to export and cultivate it too. It’s a late addition to Indian markets, but it’s well-suited to our climes and has a fast growing period, which has made it become popular on our menus over the last decade. I certainly never had it while growing up, and am glad it’s so easily available now. Its novelty to us is revealed in the fact that we don’t have names for it in our own languages. If we are non-English speakers, we just call it “jukini” or “jugni”, in our Indian accents!

Despite the main ingredient being of foreign origin, the most interesting part of this recipe is the distinctly South Indian twist. I love the kick that curry masala gives this soup. It seasons the dish without overpowering the taste of the zucchini. I like dishes which can be subtly enhanced in this way, while retaining the basic flavours of ingredients. If you’re a fan of fusion cuisine, some of my other recipes in this category are here.

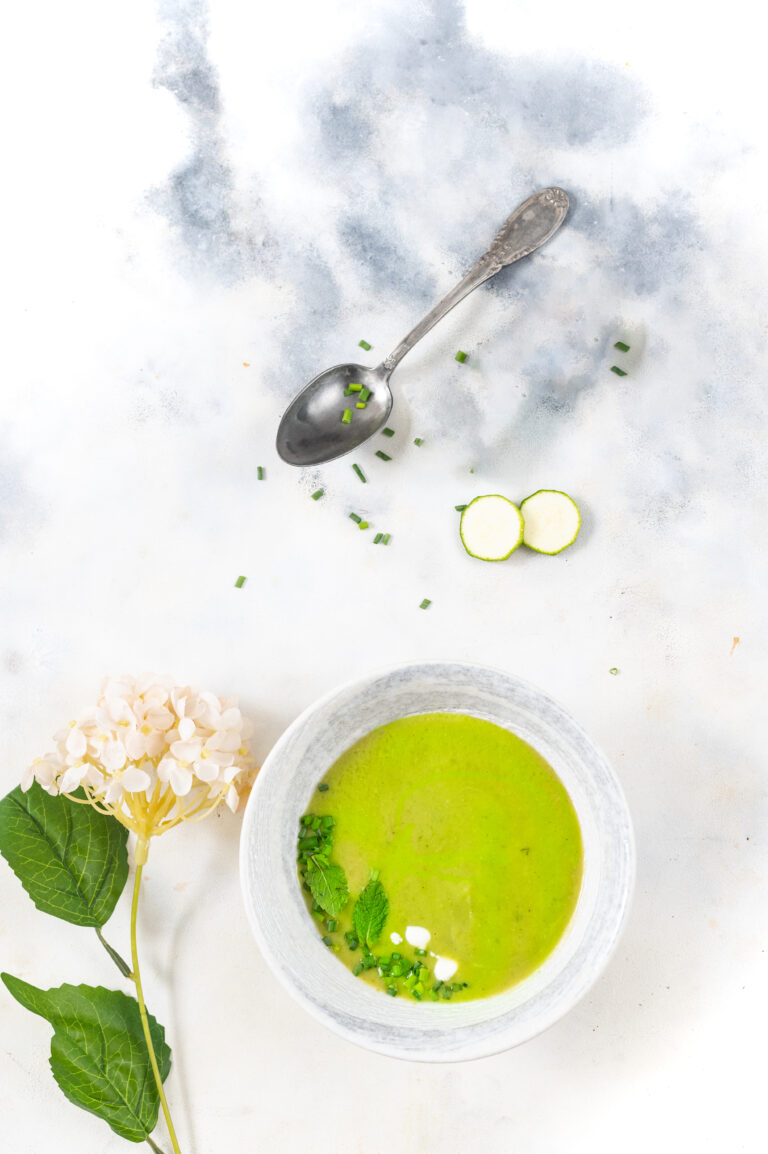
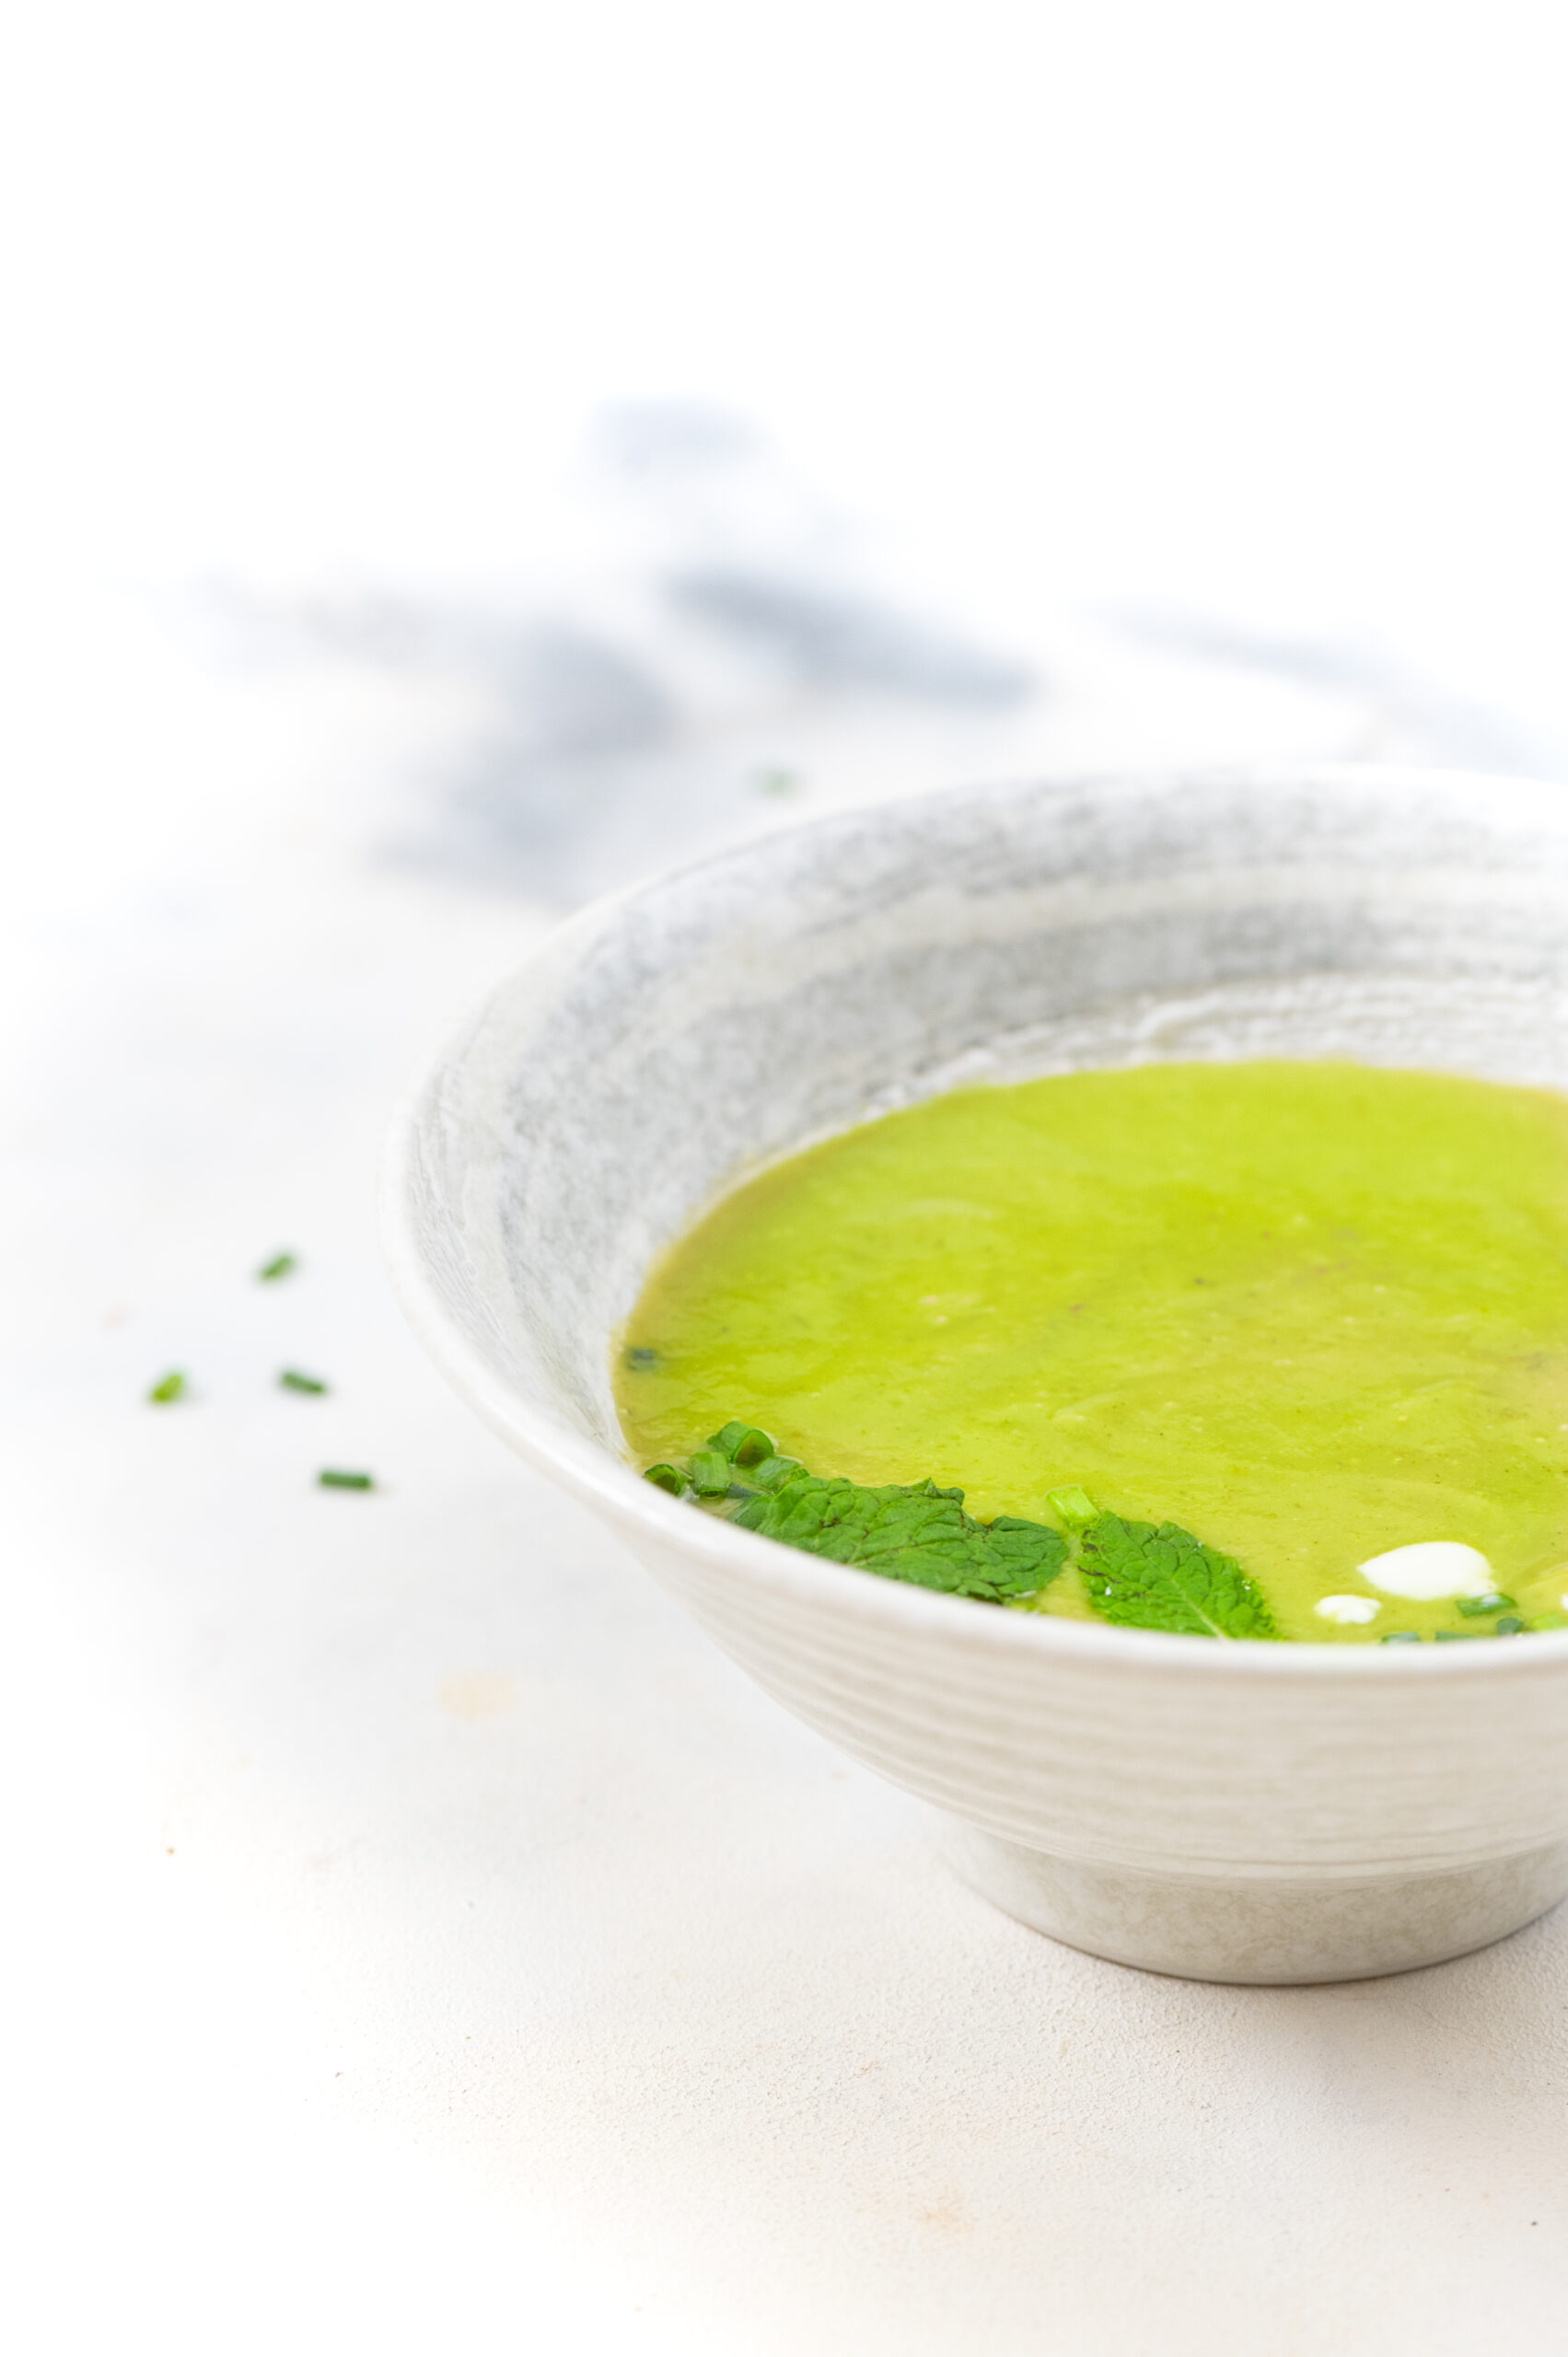
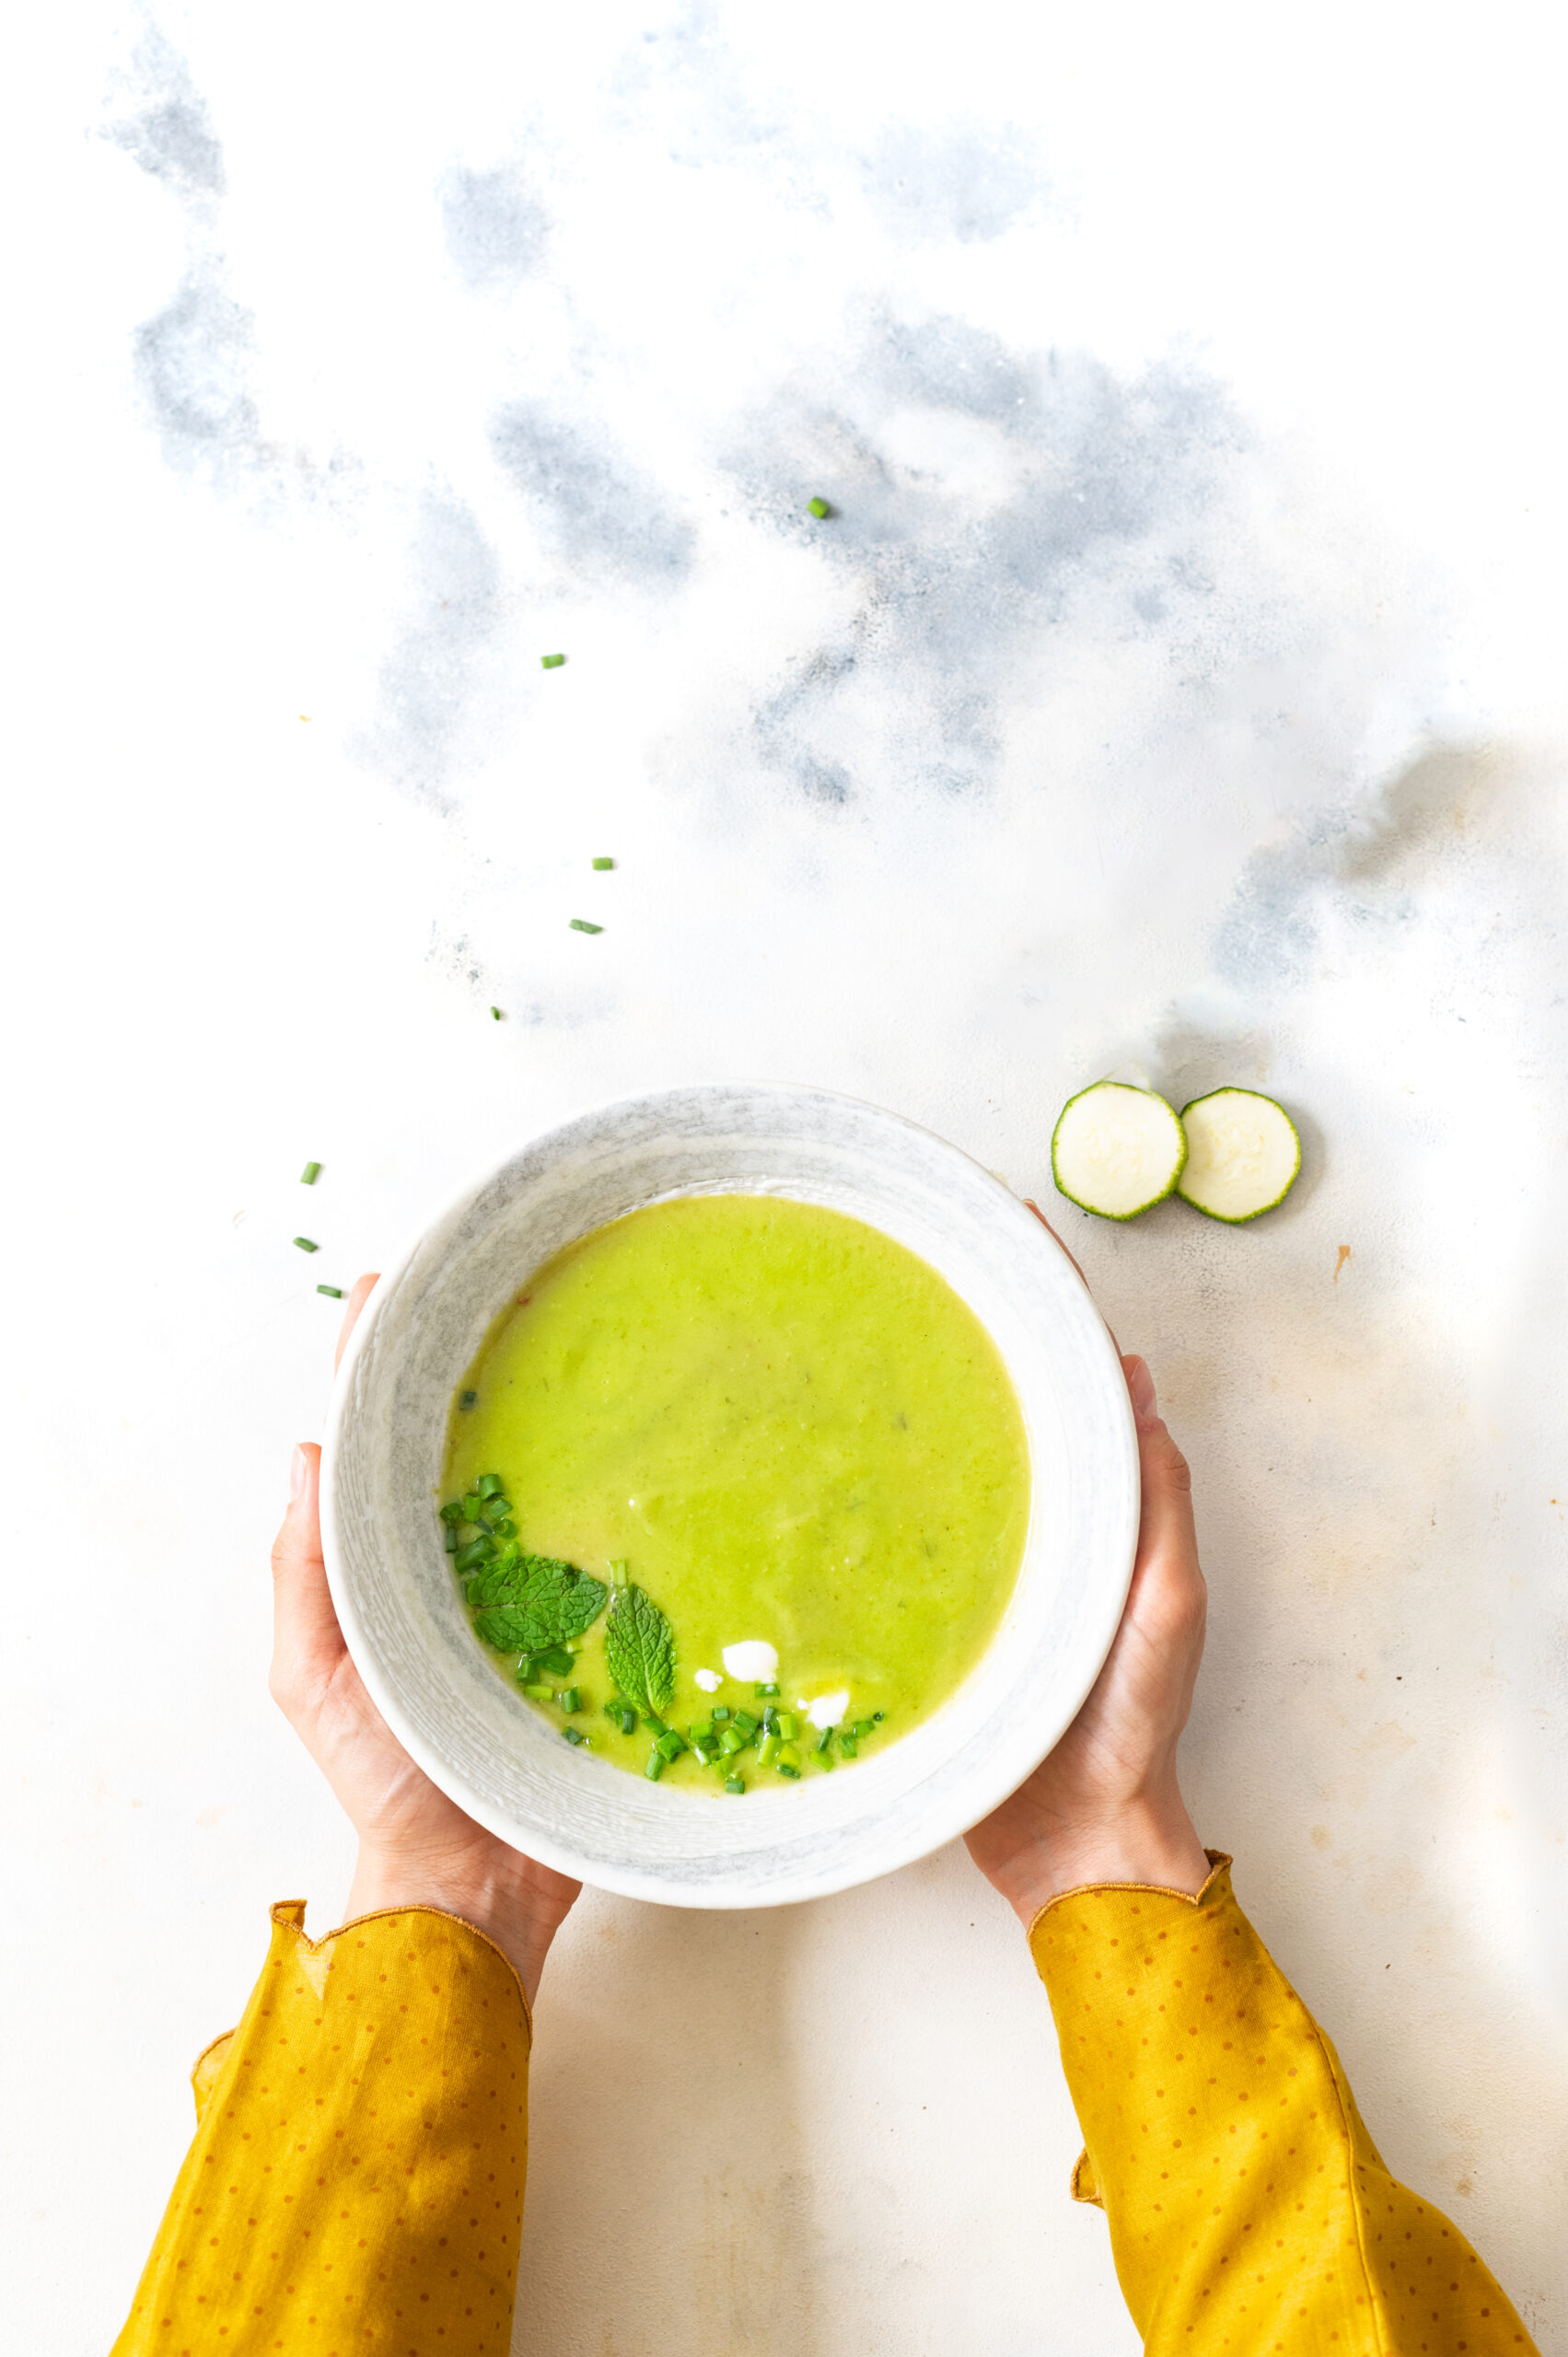
There are a few types of zucchinis available in Indian markets, and certainly even more abroad. I used the green one and decided to leave the skin on as it was very thin, and I wouldn’t be surprised to learn that it’s also good for you. The bitterness of vegetable skins is why people usually discard them, but it’s often the case that nutrients may be packed within. Besides which, leaving the skin on meant that the colour of my soup really popped. You know how I always say that food must please the eye first, which is why attractive plating is so important when you serve a meal.

The aesthetics are also important to me as a photographer. Most of you know that the dark and moody tones of the Dutch masters are my inspiration, and I try to replicate the visual effect of their paintings through my own Indian still life and culinary images. However, while doing the photoshoots for this recipe (yup, I did a few – I have fun playing with different looks and pursuing the perfect one), I decided to step out of my comfort zone and challenge myself by making white the key note. I was aiming to capture summer’s brightness in these images, and I enjoyed the result, even though deep, sombre tones will always be my big love. I’m curious to know what you think of this style. I’m always excited about new discoveries both in the kitchen at re:store and behind the camera at Nandi Shah Photography.

It’s birthday month right now at our household, with both my husband and I being June-born. But I’m off sugar for three weeks, and after the cake binge we had on this blog (therefore, at home as well!) recently, I wanted to think up something fun but healthy to share to celebrate. I’d never have imagined that zucchinis would be a part of it, but here we are. This surprisingly simply and surprisingly mood-uplifting zucchini soup really does make me feel like raising a mug or a bowl in a toast!


Zucchini Soup

(Yield: 2 servings)


200 grams chopped zucchini

30 grams shallots

2 – 3 cups hot water

Salt to taste

1 tablespoon olive oil

¼ teaspoon curry masala


Sauté the shallots in olive oil. Then, add the chopped zucchini and stir for a bit.

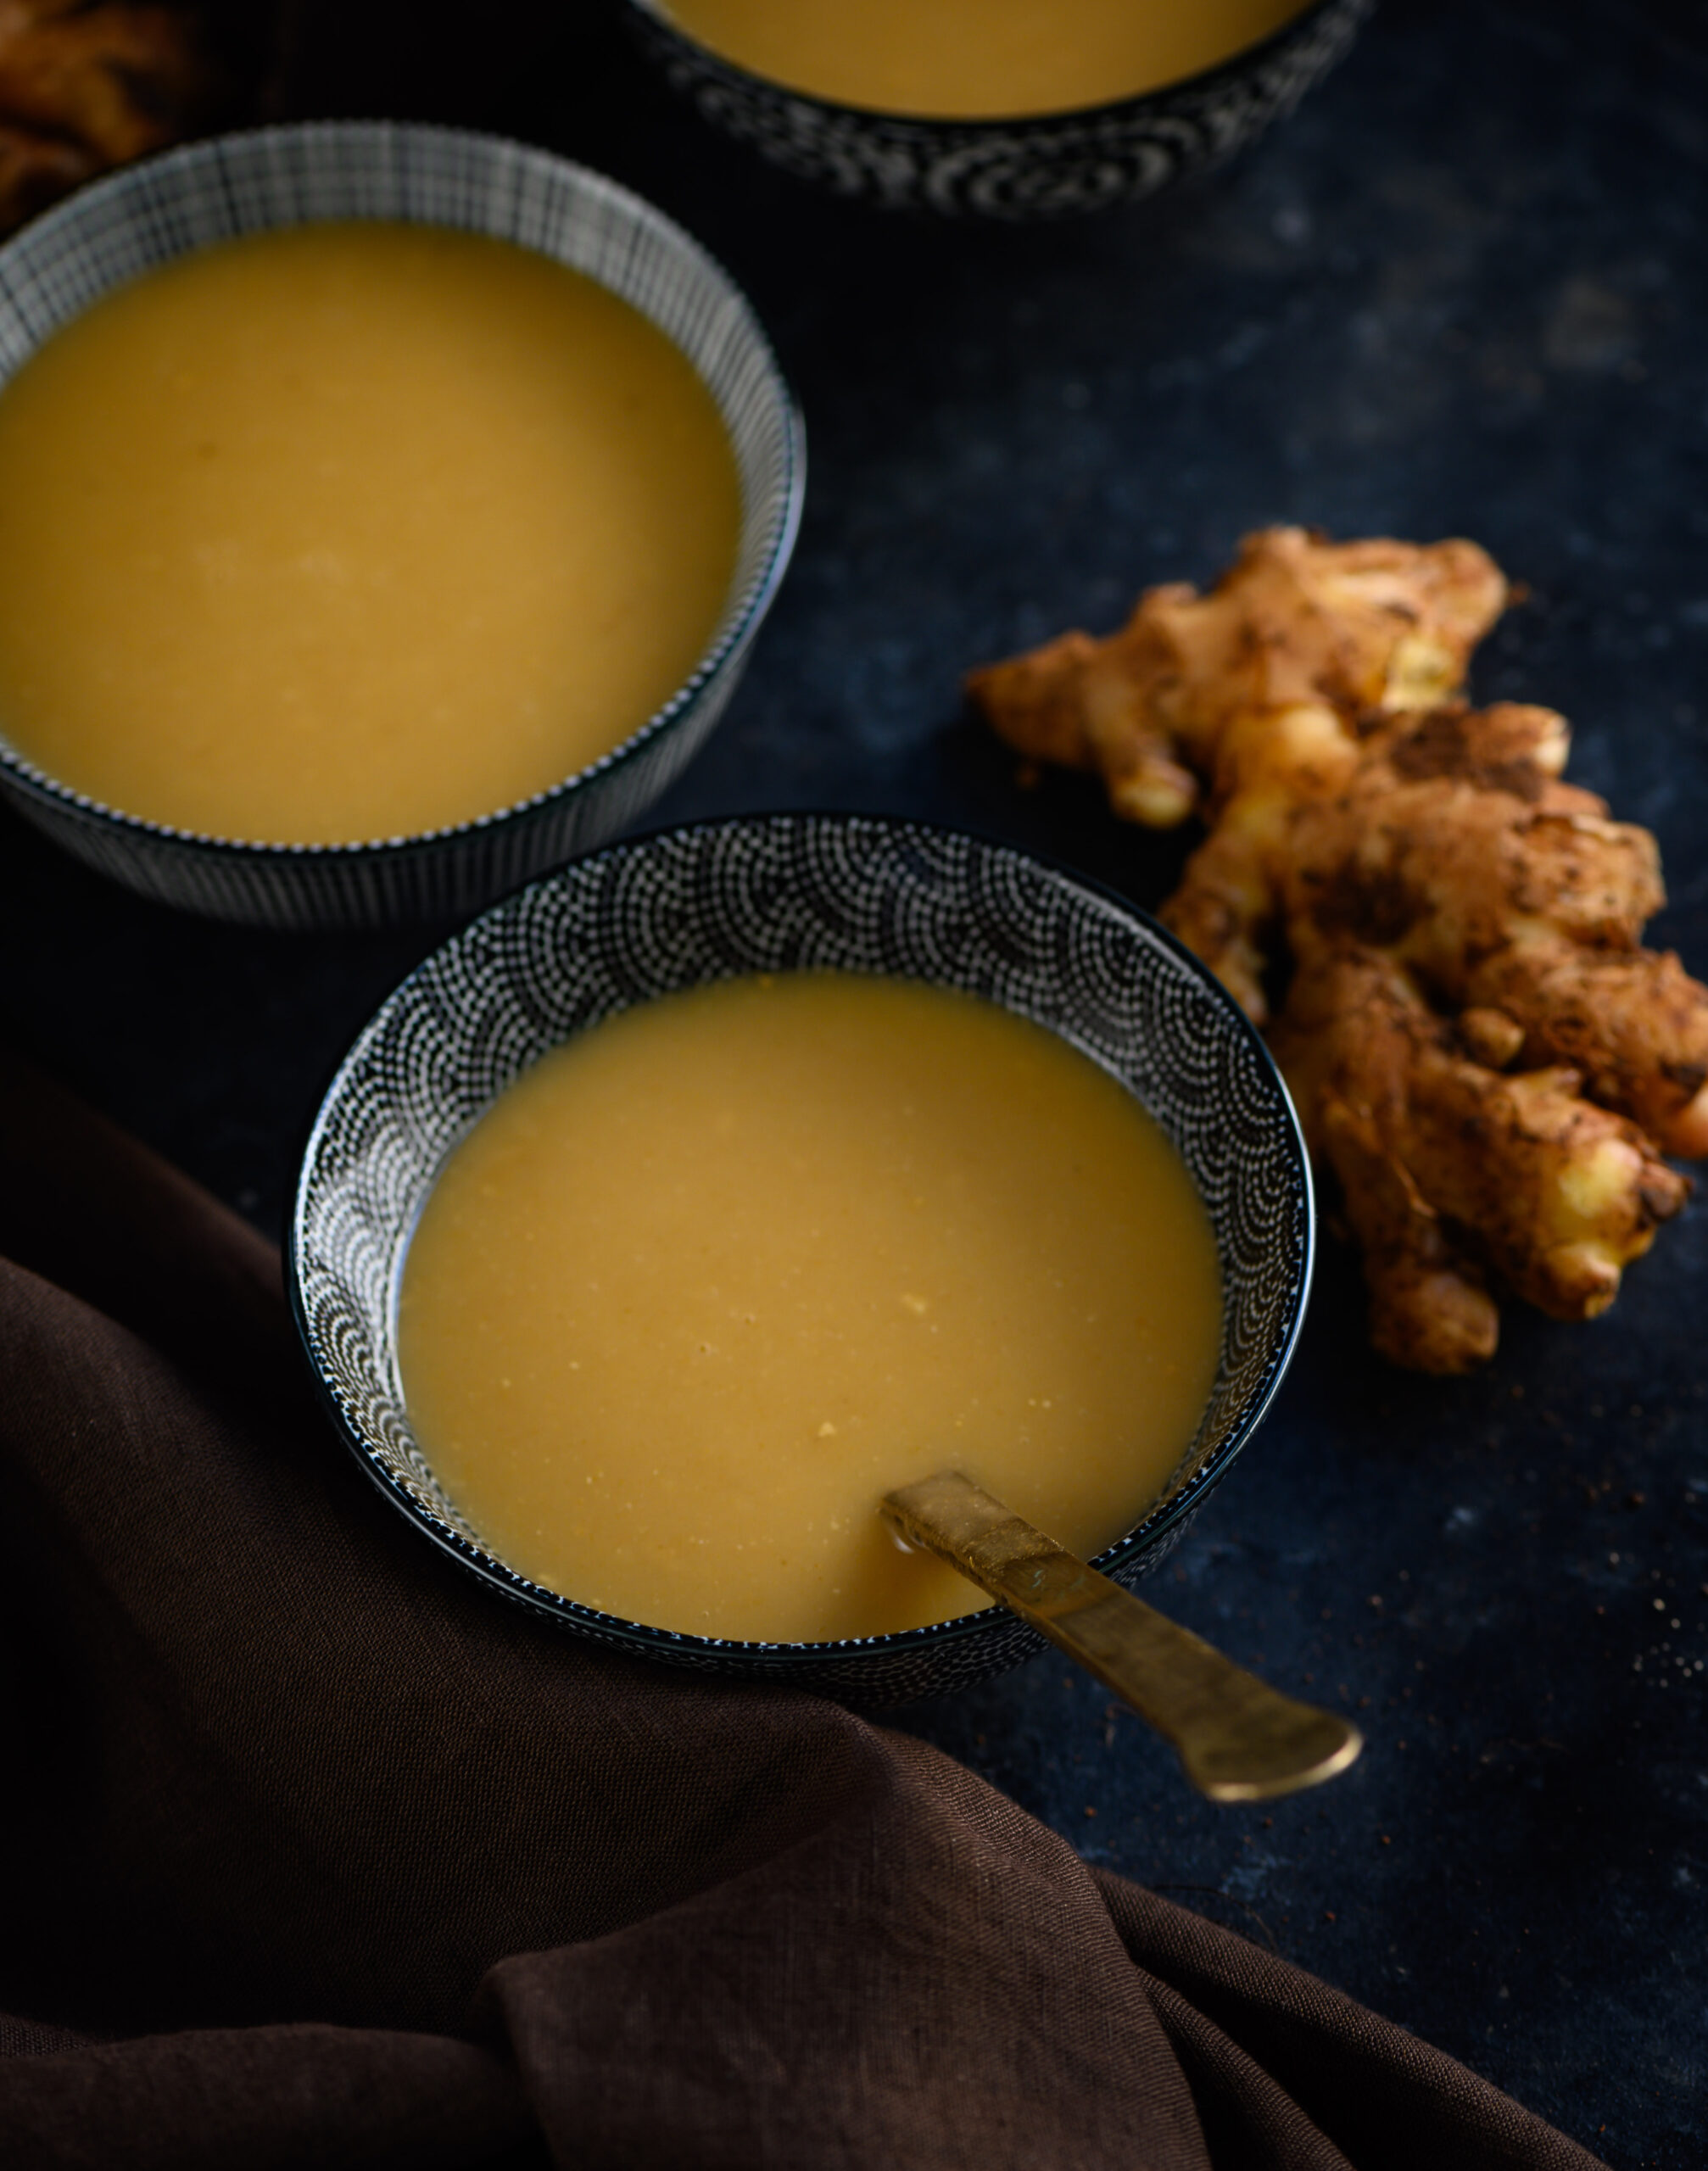
Next, add two cups of hot water and cover the pan with a lid. If you want the soup to be a little thin, or want to serve it as a beverage, use the third cup of water as well. As you can see from the photos, I personally prefer it thicker. Allow the vegetables to cook until they are tender.

Finally, add the curry masala and turn off the flame. Allow to cool just a little and blend. Serve the soup while it’s still warm.

Now that I’ve been swayed by the charms of the zucchini, I’m curious about other ways in which I might enjoy preparing it. I’ve heard that zucchini flower fritters are a fun snack, and that the flowers themselves are quite pretty, with yellow petals that brighten the plate. I haven’t seen them outside of photographs, but I’m certainly intrigued about getting my hands on some – both for the taste, and for the look! Another simple way to use the vegetable/fruit is to slice it up, roast it with a drizzle of olive oil, and serve it with a dip. A slightly more adventurous idea, but which is actually quite easy in preparation, would be zoodles. Made with a spiraliser and eaten either raw or cooked, zoodles are an ideal alternative to pasta for those who are on gluten-free diets. Do you have more ways to incorporate zucchini into your meals? Let’s chat in the comments.

I hope you’ll enjoy this simple and wonderfully spiced zucchini soup, and that it will taste just as extraordinary to you as it did to me the first time I had it at my friend Valli’s house. That day, as we sat around exchanging stories and sipping at this deliciousness, we all felt a little better about everything. Some food items and some friends just have that effect, don’t they? I know how important it is to bring comforting things into our lives at this time, and I hope that this recipe will be one of them. May good health return to us all on the planet, and with it, may we cherish our diversity and honour our oneness.

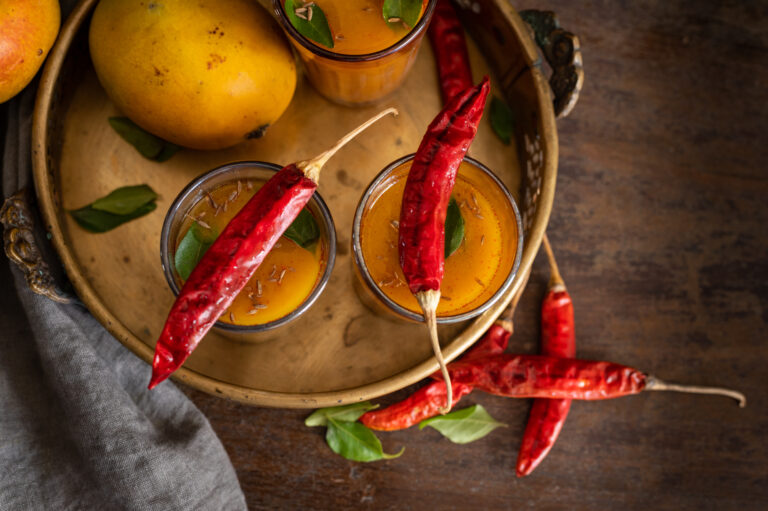
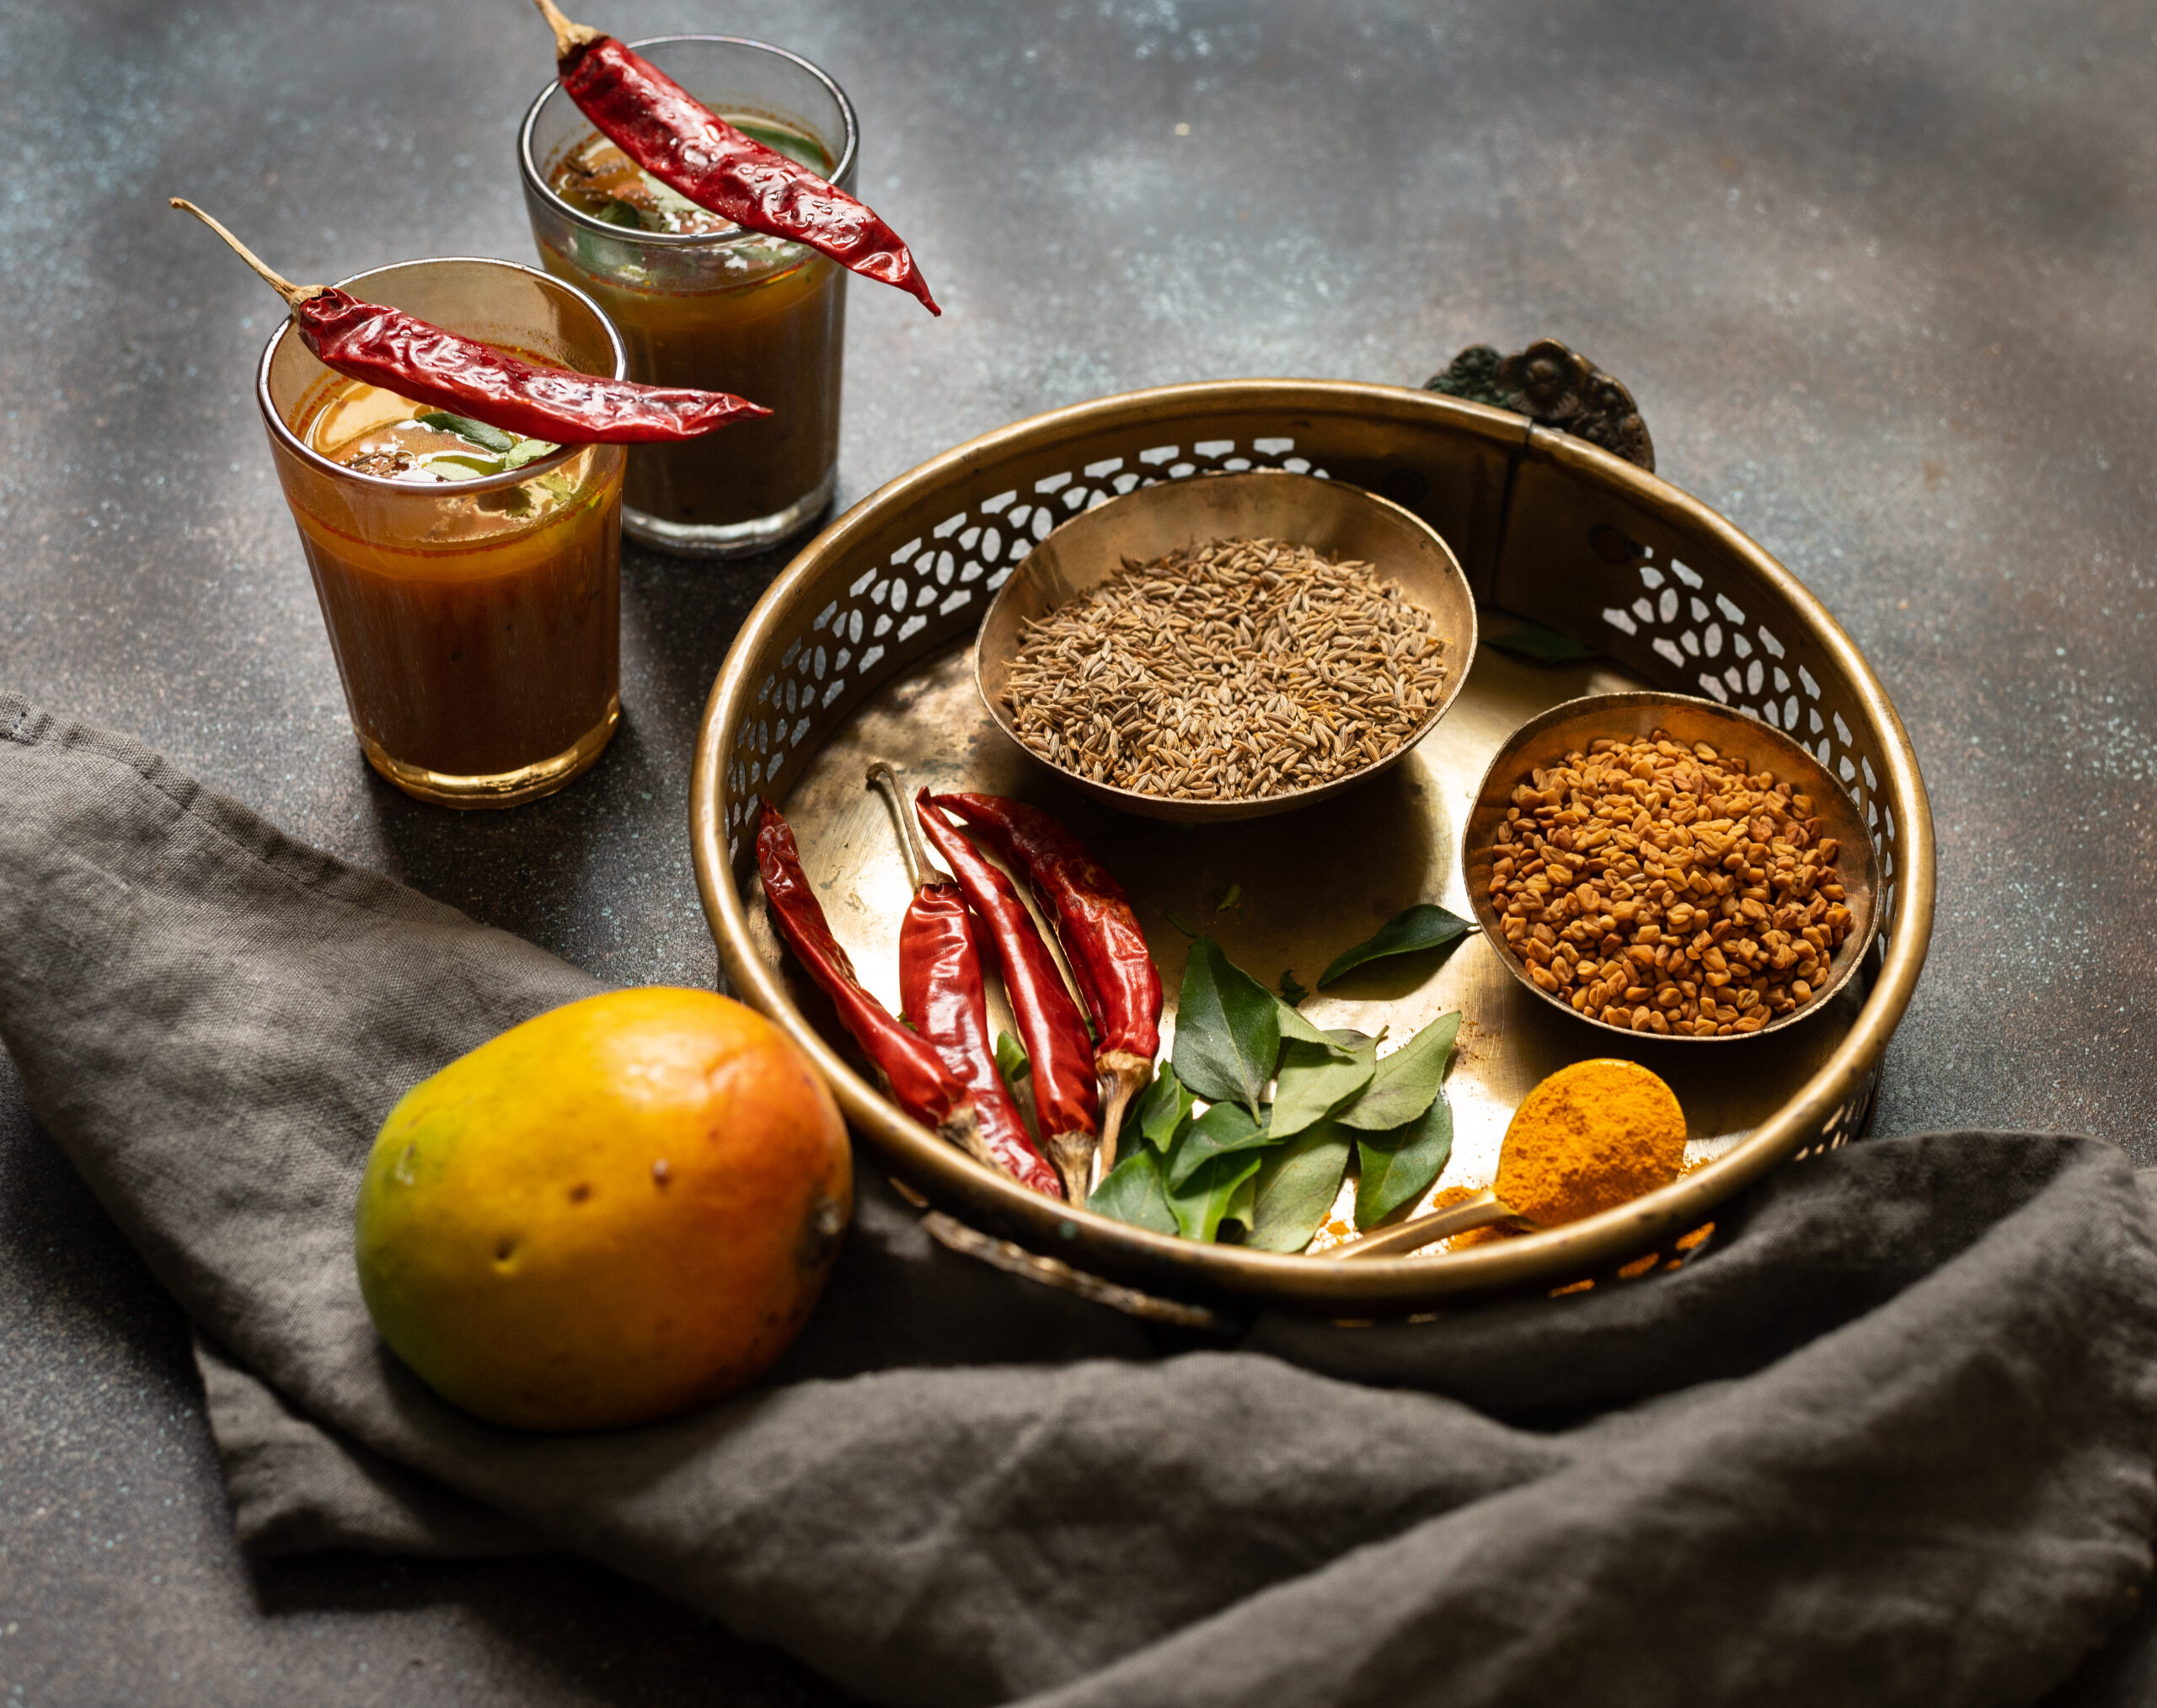
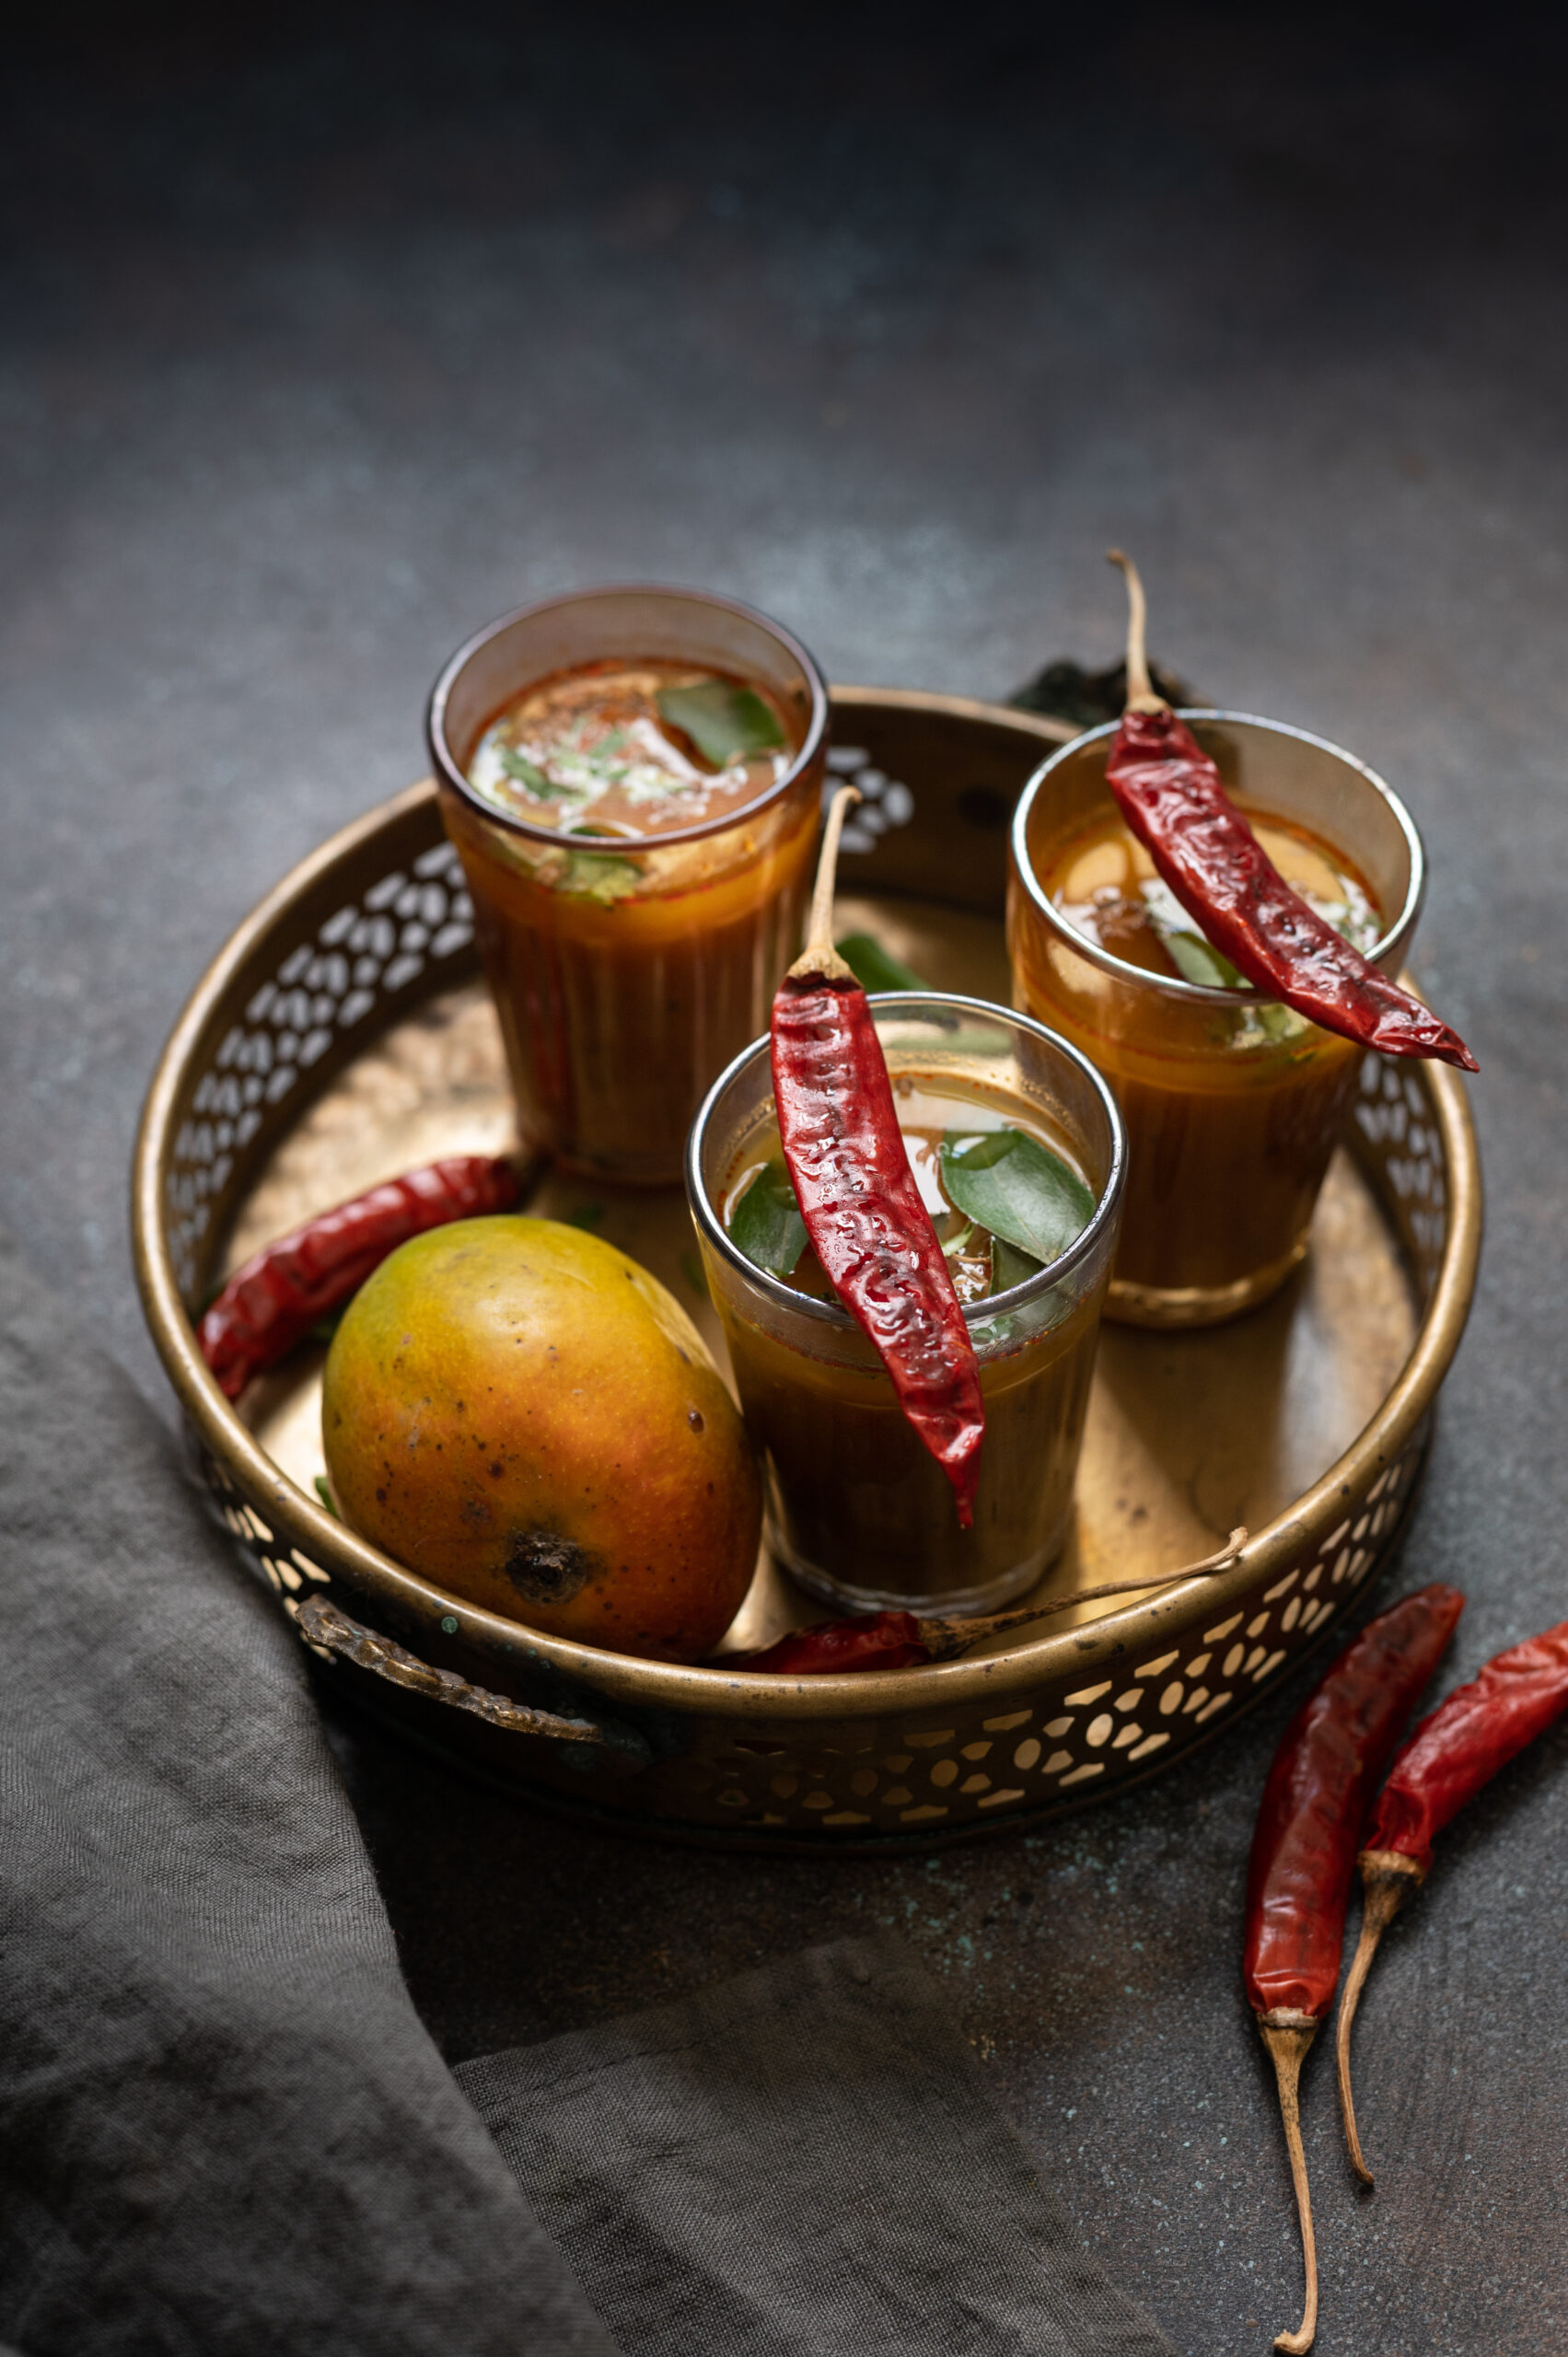
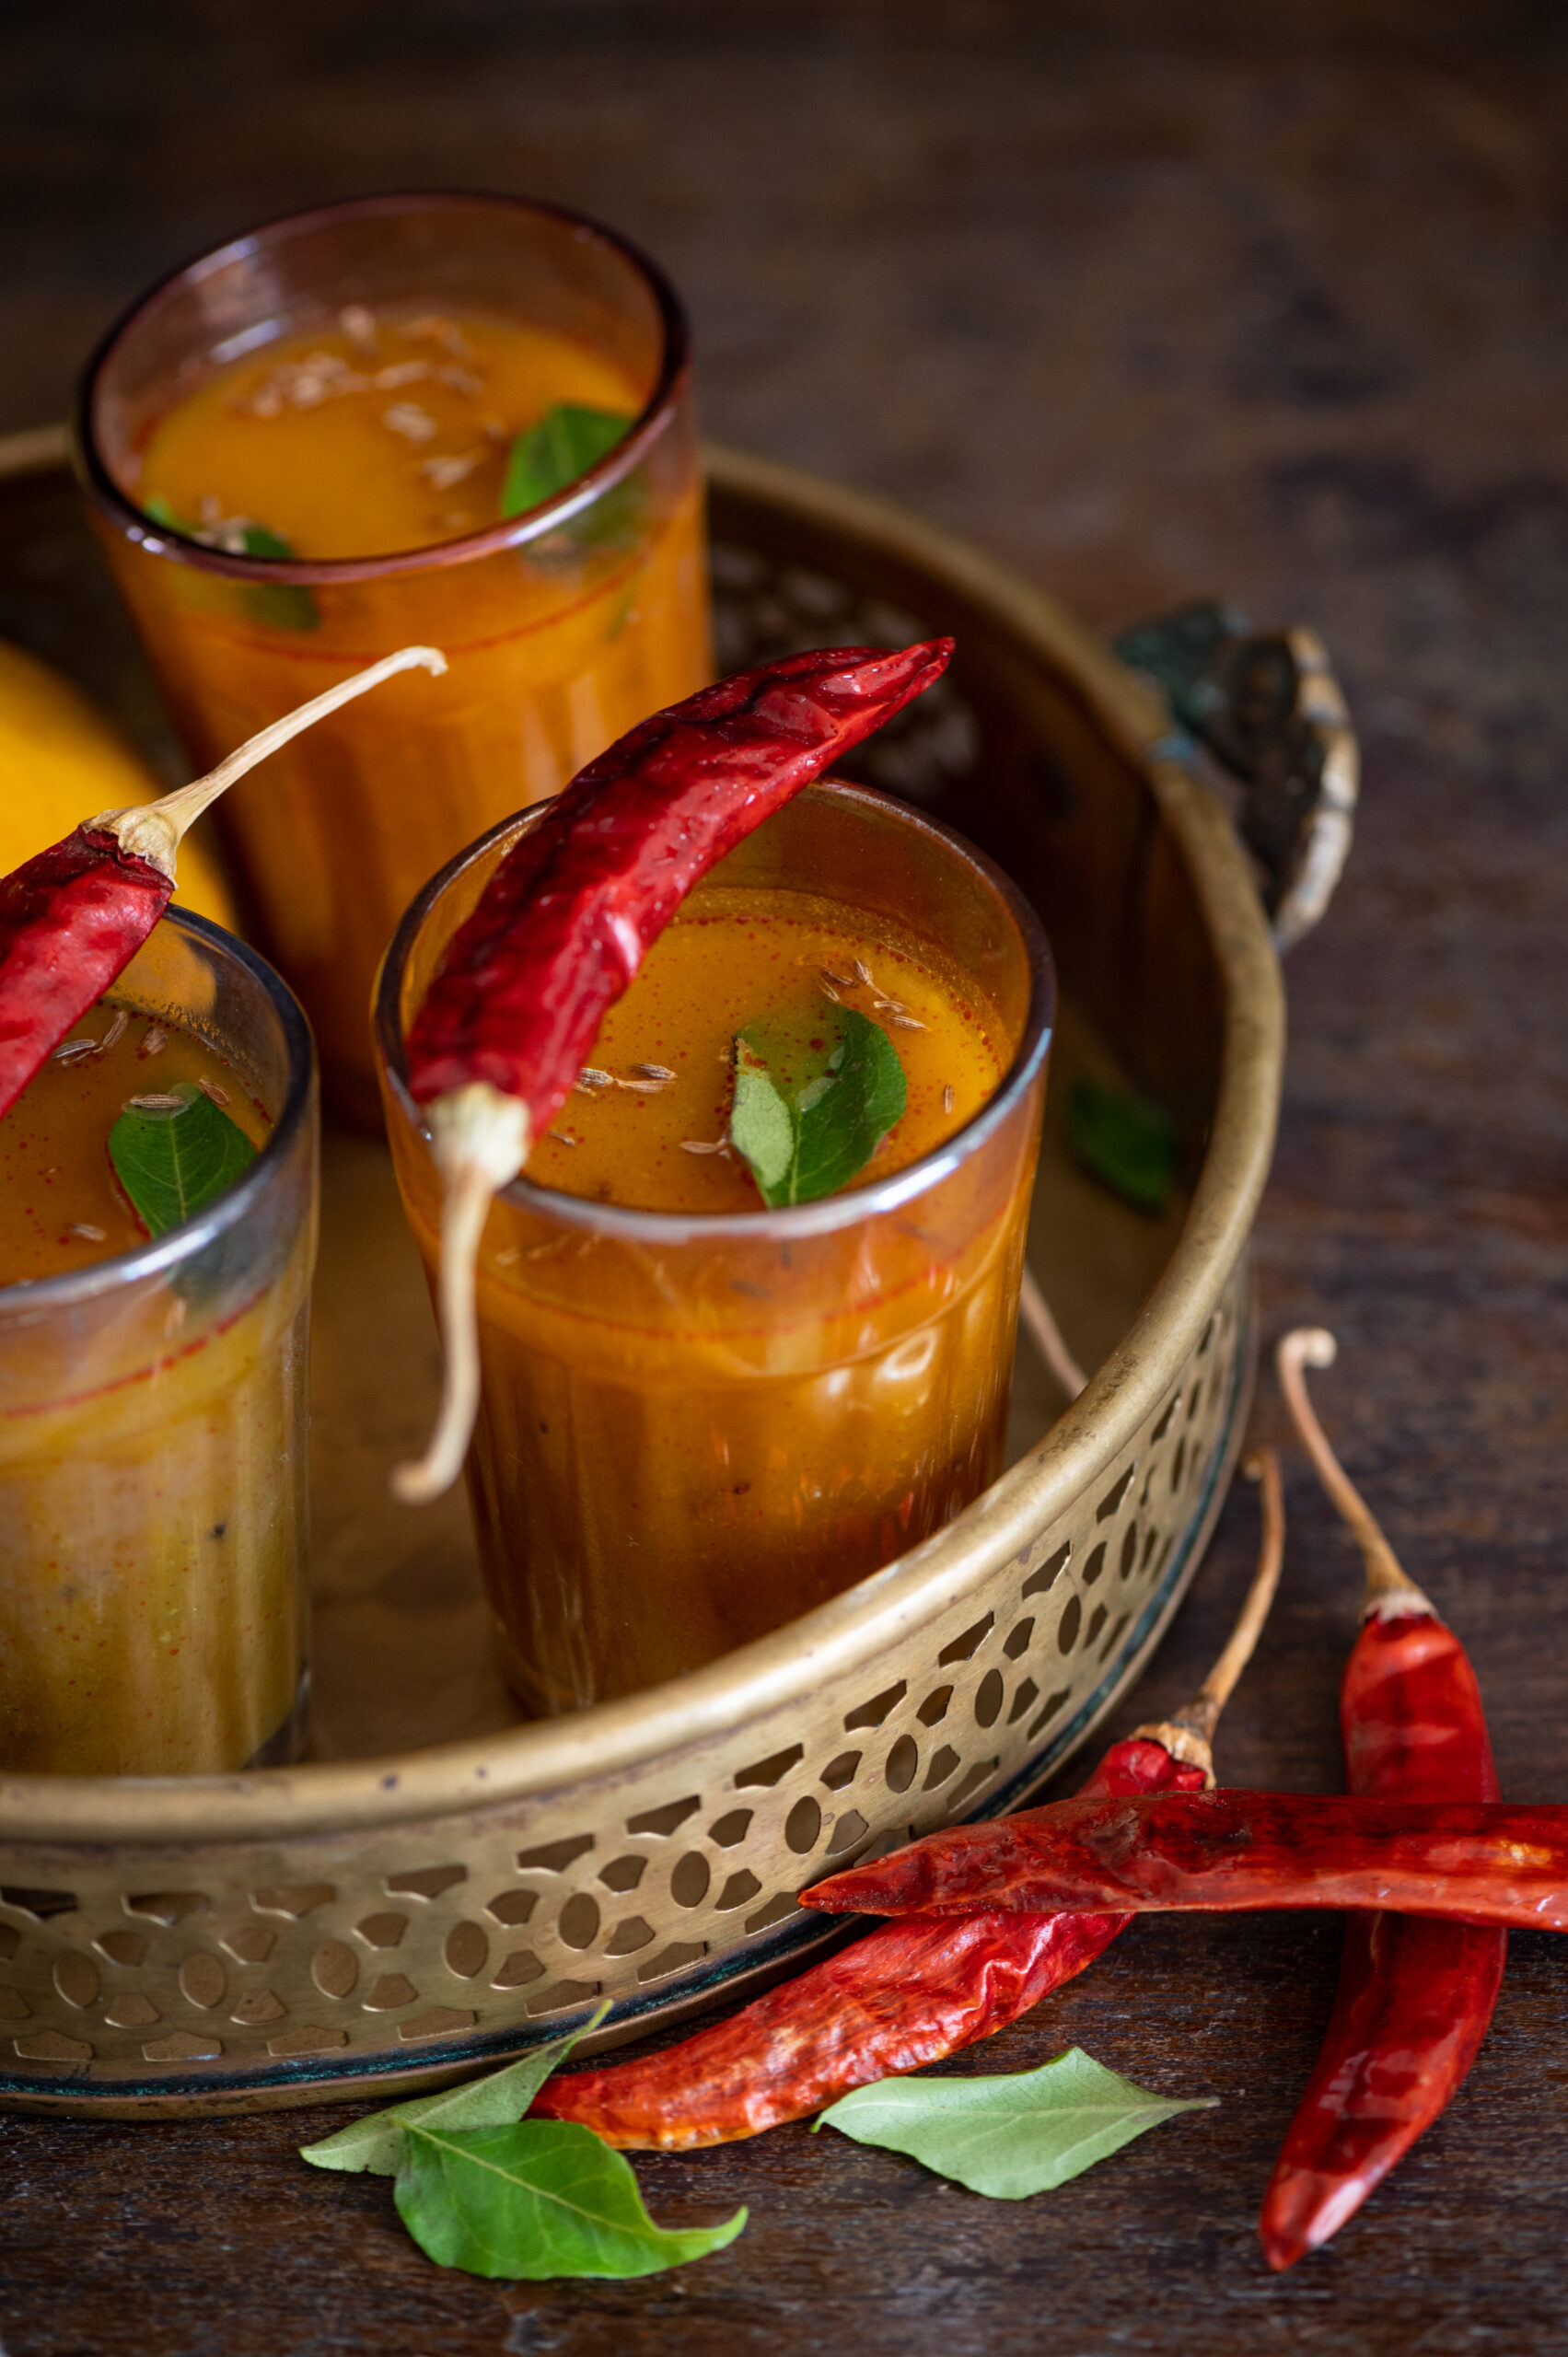
Osaman is a kind of thin broth made in Gujarati kitchens. It’s rather similar to rasam, although certain ingredients like tamarind are eliminated whereas other ingredients like jaggery are used. As I’ve said numerous times in other posts, every community and region in India will have its own variations on certain staples: rices, curries, dals and so on. With it being mango season here – in the country as well as on this blog! – this ripe mango rasam I shared a couple of years back was on my mind. That was when an idea struck: why not make the traditional osaman I had grown up with, but with a luscious, fruity twist?

Osaman is essentially made using the water that dal is boiled in, and served alongside the same dal in a meal. Inspired partly by mango rasam and partly by the Gujarati curry known as fajeto (which is similar to Tamil cuisine’s morkuzhambu), I blended some ripe mango into an osaman as a culinary experiment. The result was something delightful, and I’m excited to share it with you today. This mango osaman is my own recipe, bringing together various comforting influences into a single dish.

Despite being popular in Gujarati homes in the summer, the yoghurt-based fajeto is a heavier dish, and is not among my family’s favourites. They’ve been getting their dairy intake from this lovely lassi anyway, so this osaman was the perfect substitute, allowing me to bring mangoes into our lunch preparations in a new way as well. It’s been much appreciated, and I’m sure it will become a part of our regular meals over many mango seasons to come.

Ripe Mango Osaman

(Yield: Approximately 5 cups)


3½ cups water

1 cup ripe mango pulp

½ cup boiled toor dal

Juice of 1 lemon

Salt to taste

½ teaspoon turmeric powder

1 teaspoon cumin powder

1 teaspoon coriander powder

½ teaspoon red chilli powder

2 teaspoons jaggery

2 teaspoons ghee

½ teaspoon mustard seeds

½ teaspoon cumin seeds

1 teaspoon grated ginger

2 dry red chilies

A handful of finely cut coriander leaves

In a pot, add the dal, mango pulp and water. Mix well, using a hand blender.

Add the salt, cumin powder, coriander powder, jaggery, turmeric powder and grated ginger to the pot. Allow to boil for about five minutes so that the flavours come together nicely.

In a small pot, prepare the tadka (seasoning). Add ghee. Once it’s hot, add the mustard seeds, cumin seeds and dry red chillies. As soon as they begin spluttering, add the red chilli powder and immediately pour it over the hot osaman.

Squeeze some lemon juice over it, and garnish with coriander leaves and serve.

Just like rasam, this ripe mango osaman works beautifully both as a warm beverage and as an accompaniment to rice. I hope you’ll enjoy this Gujarati-Tamil fusion dish of mine. I’m simply thrilled to have one more recipe to make the most of my mango madness with!


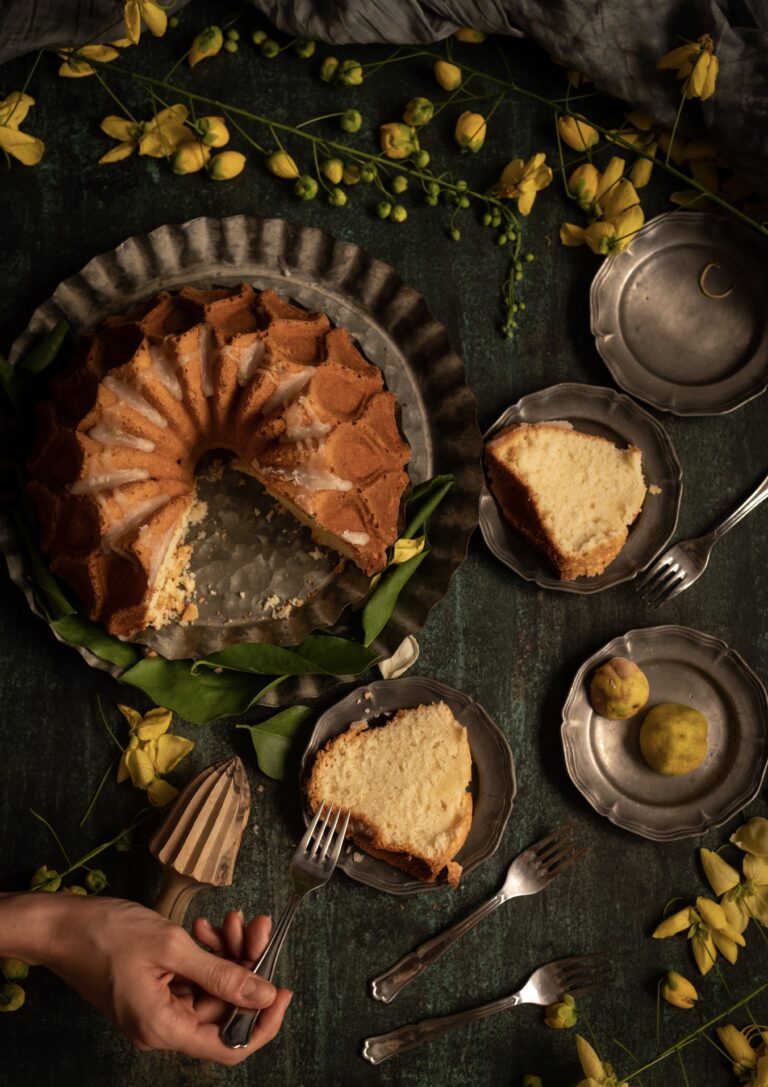
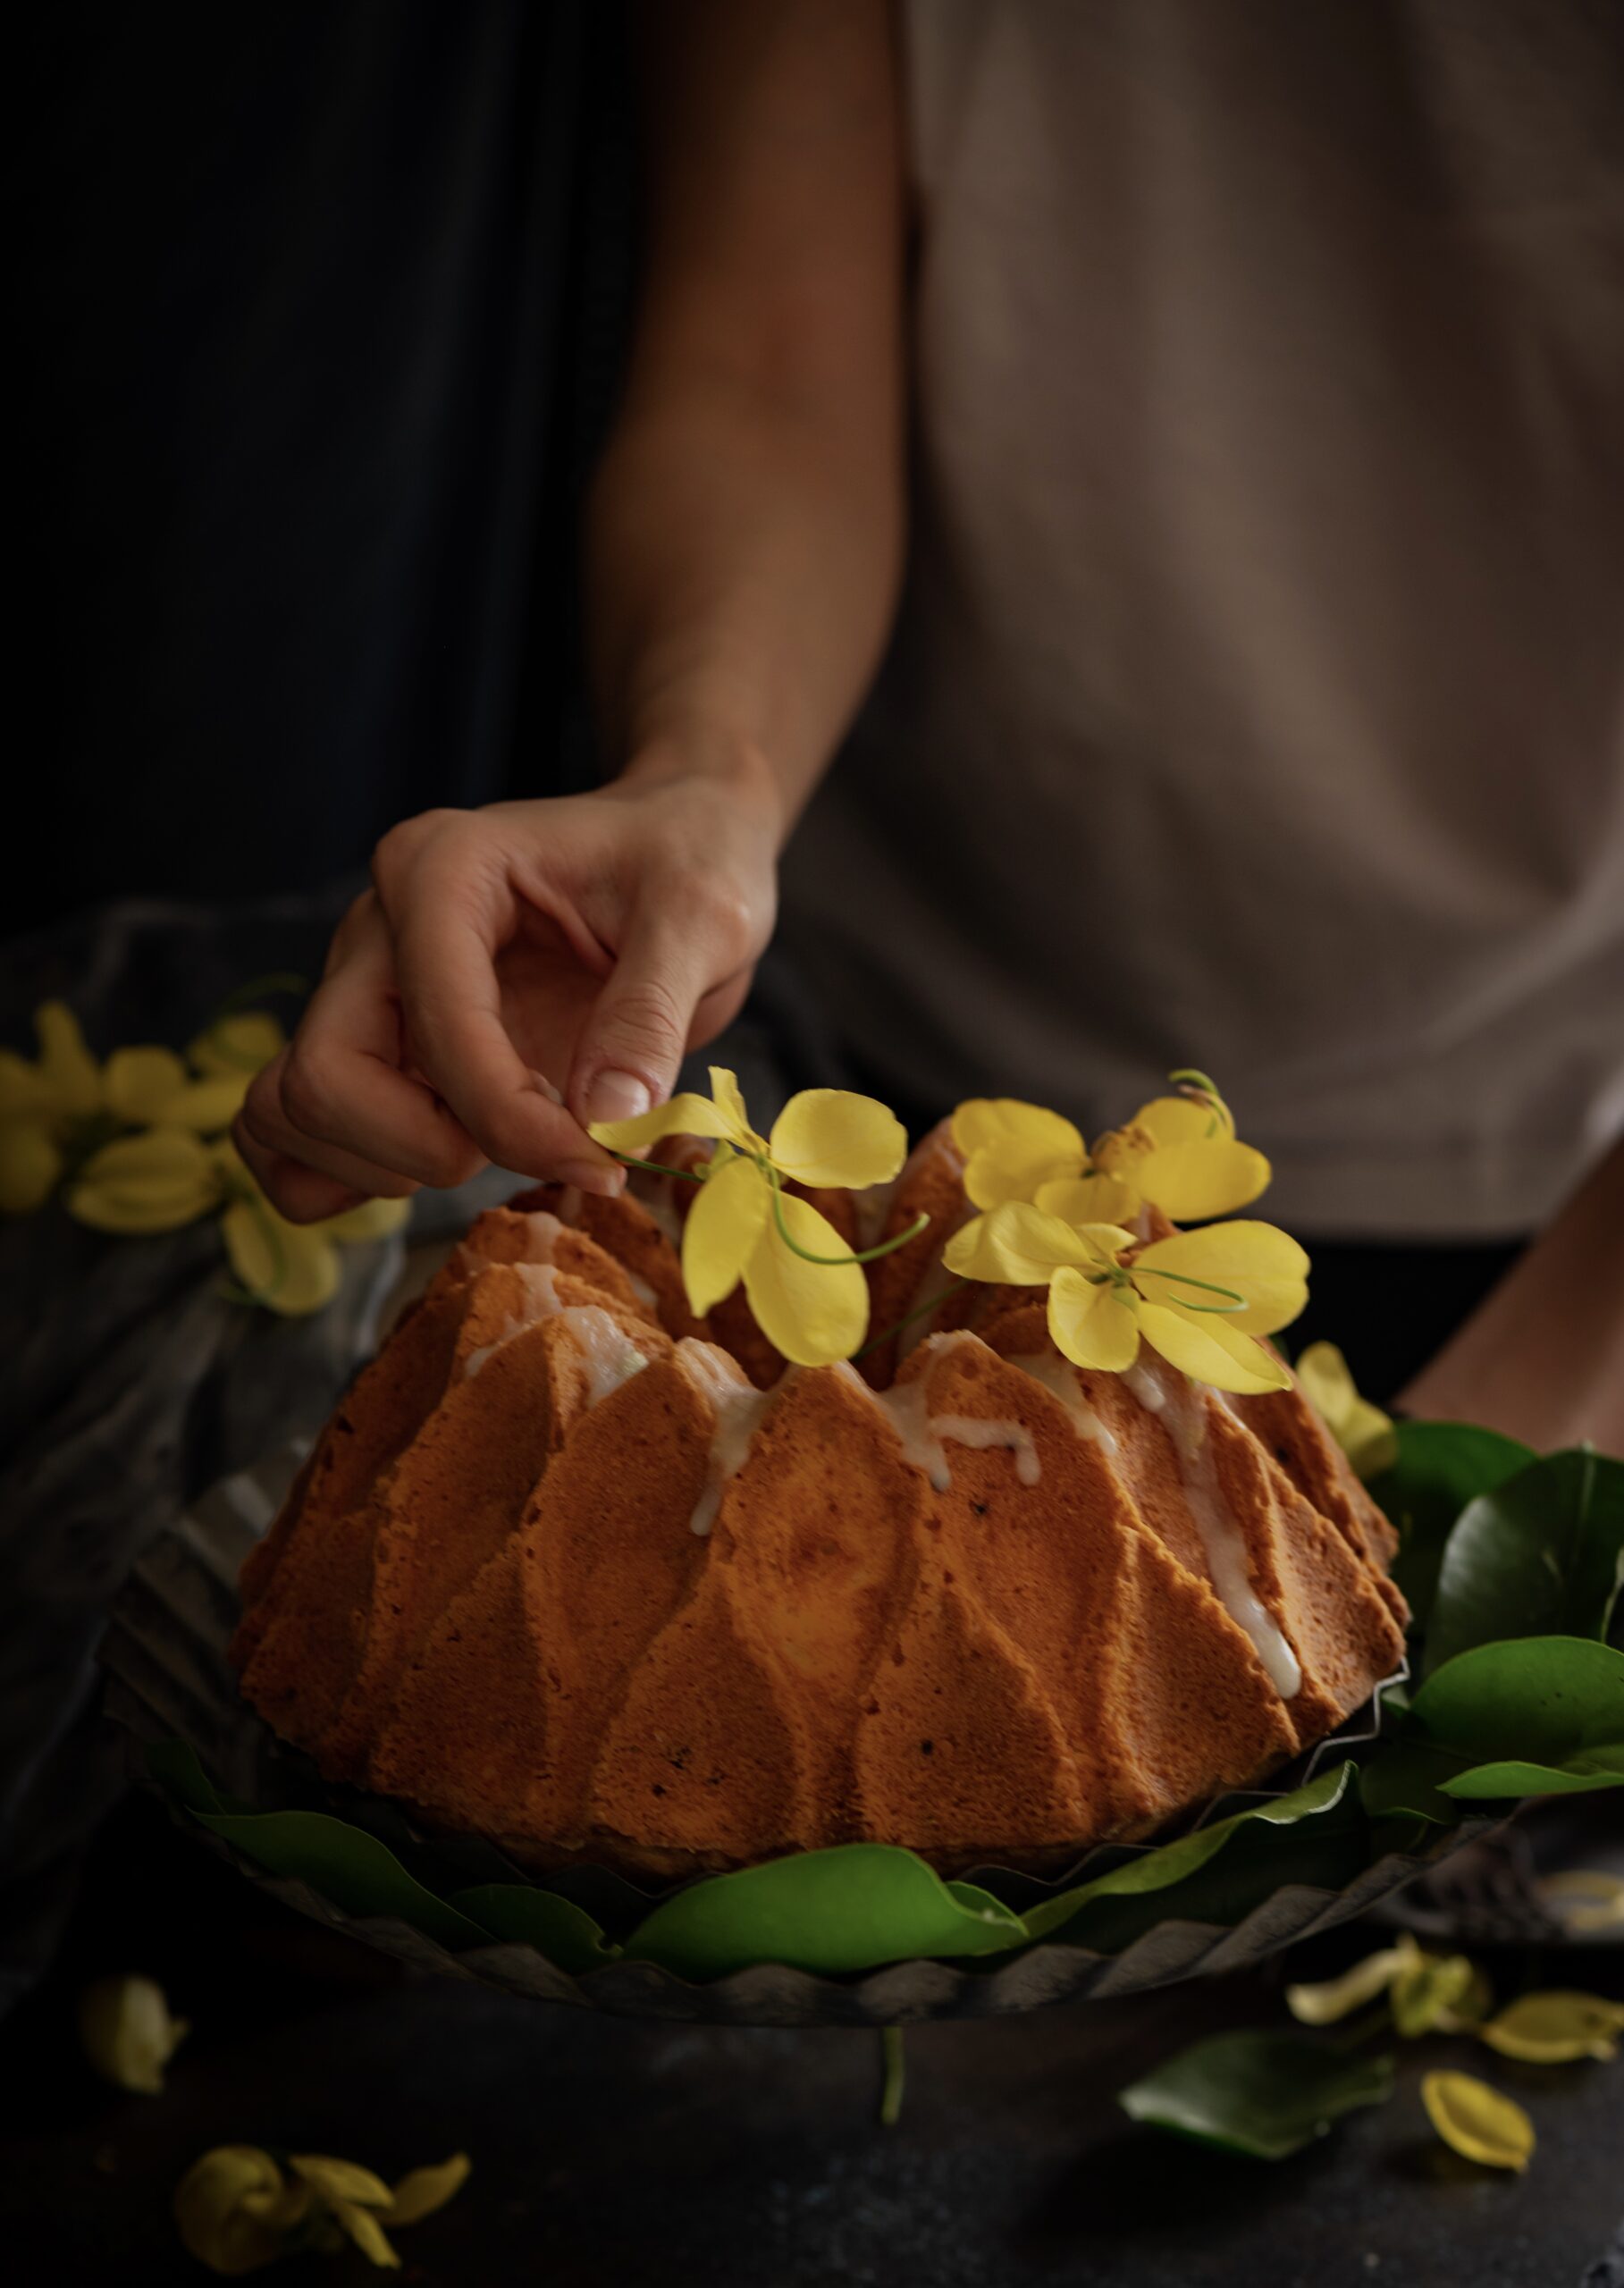
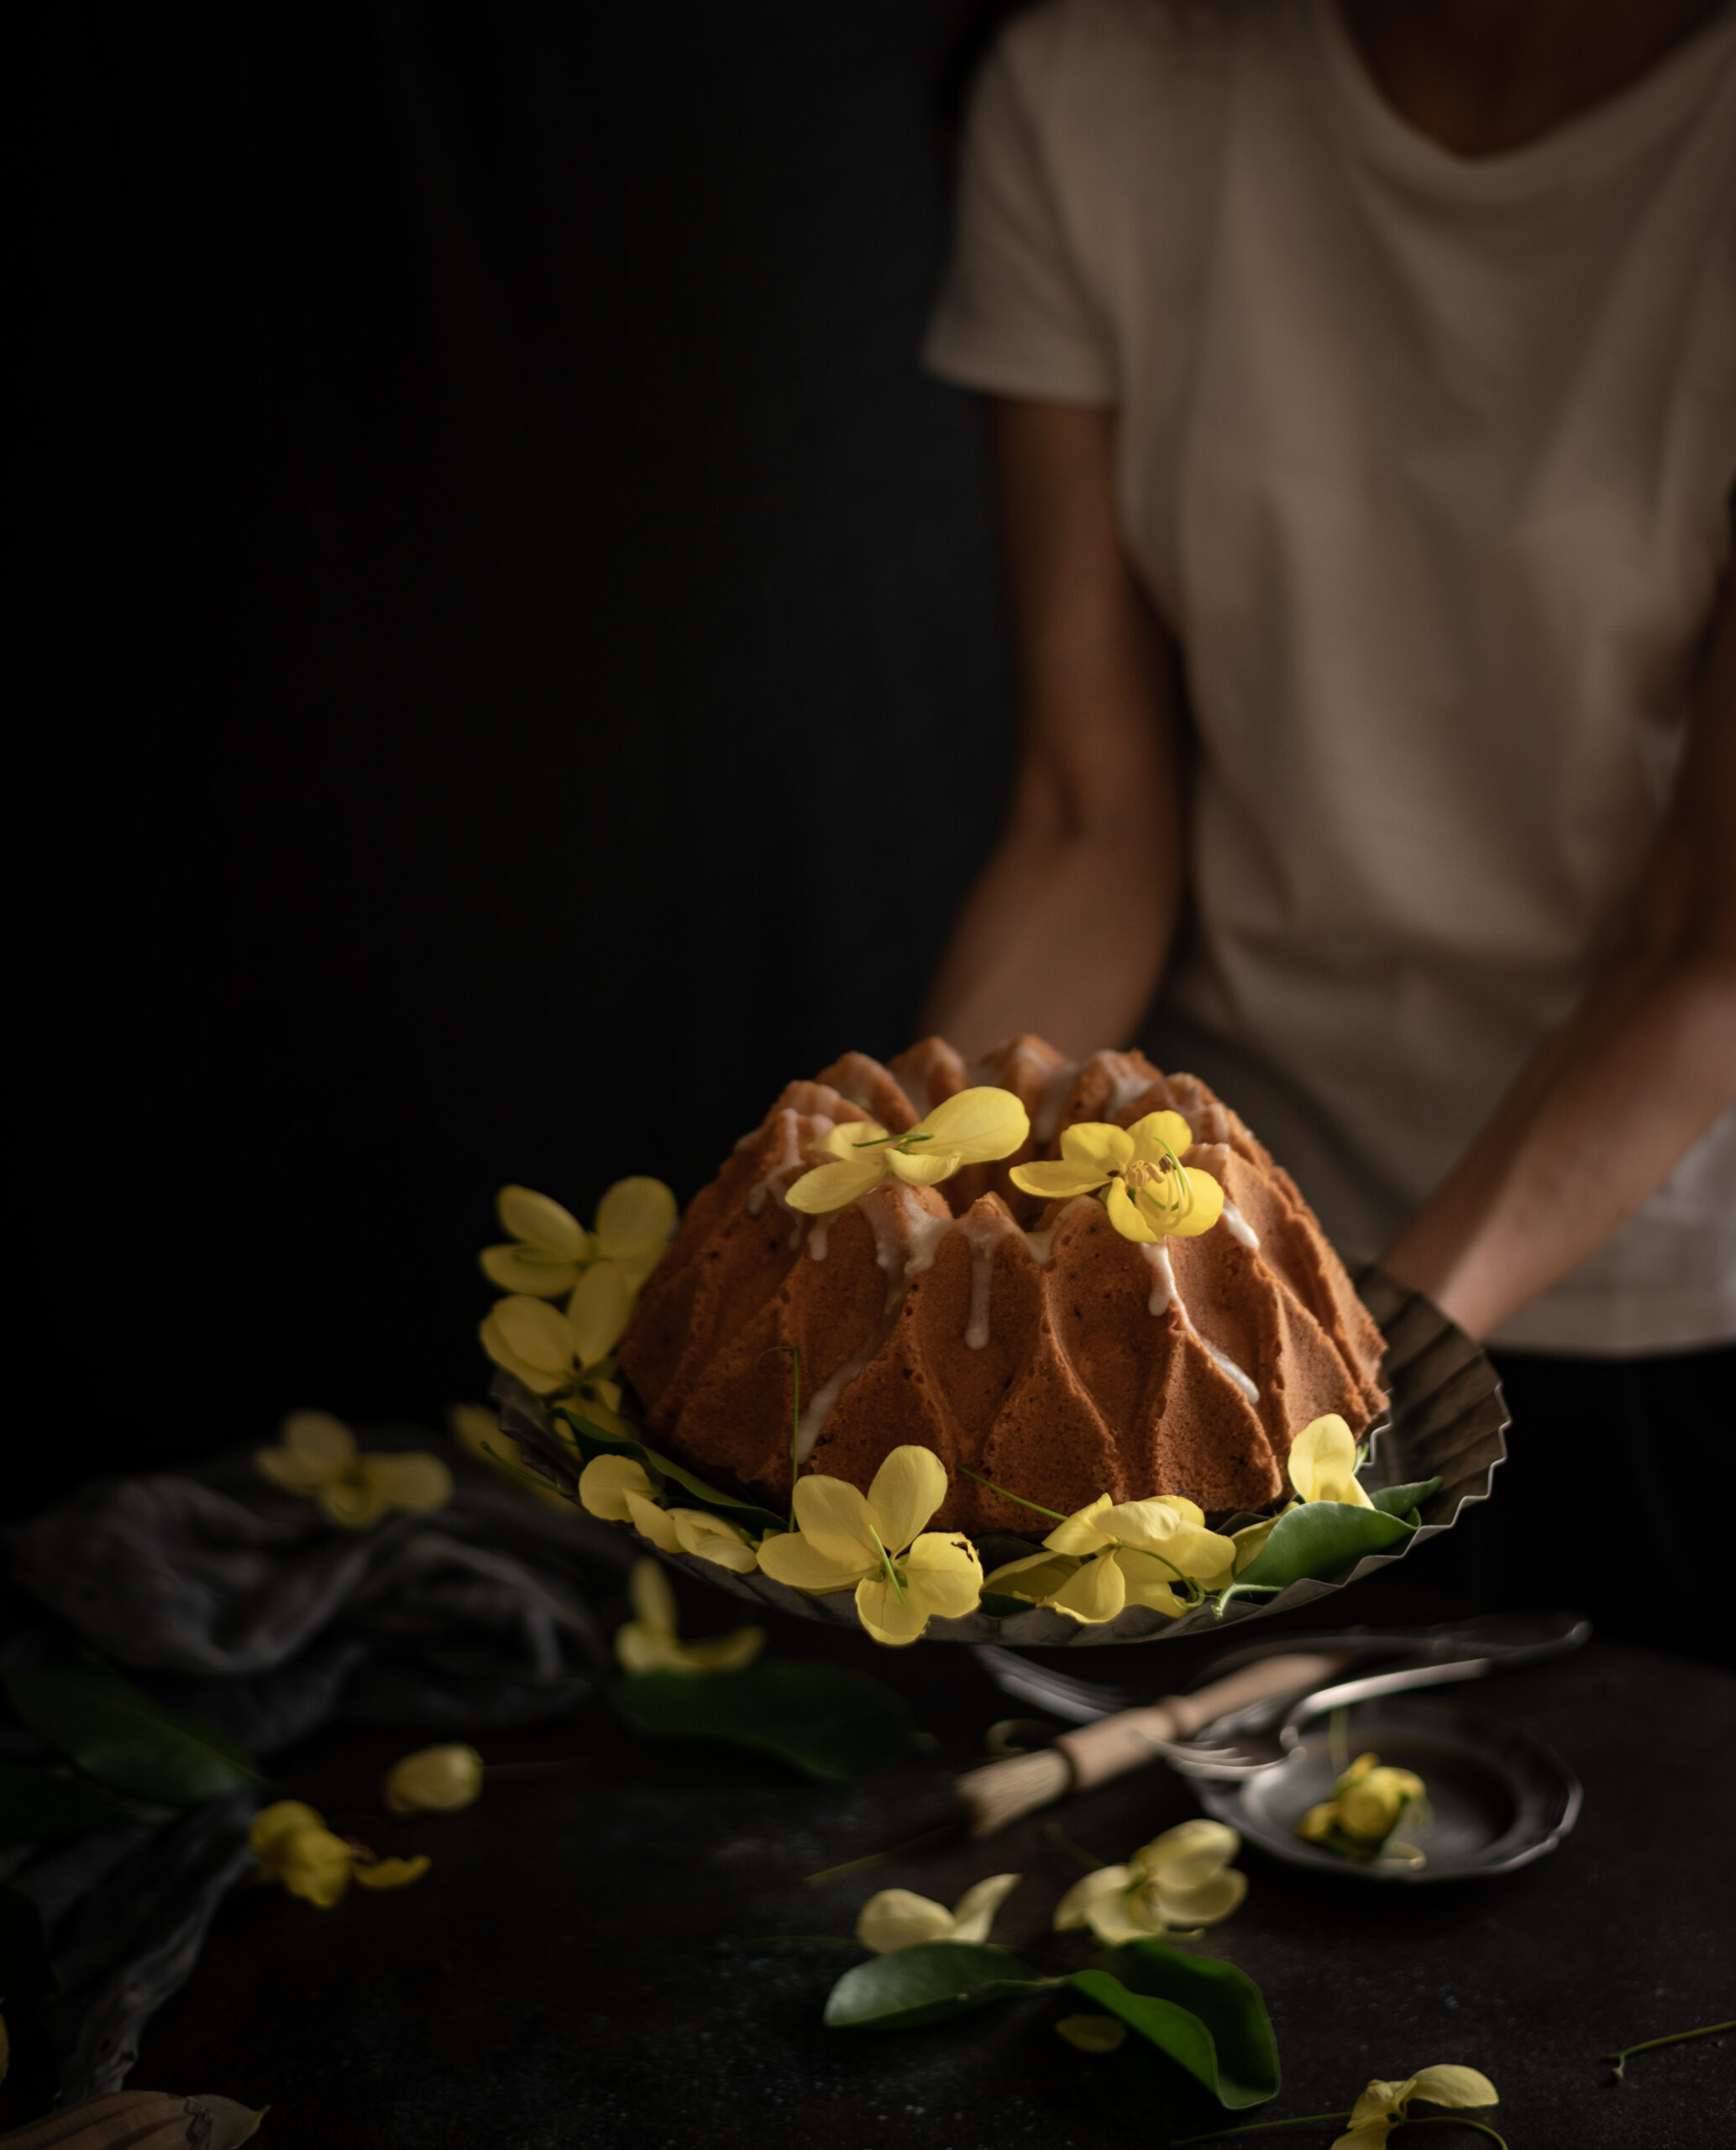
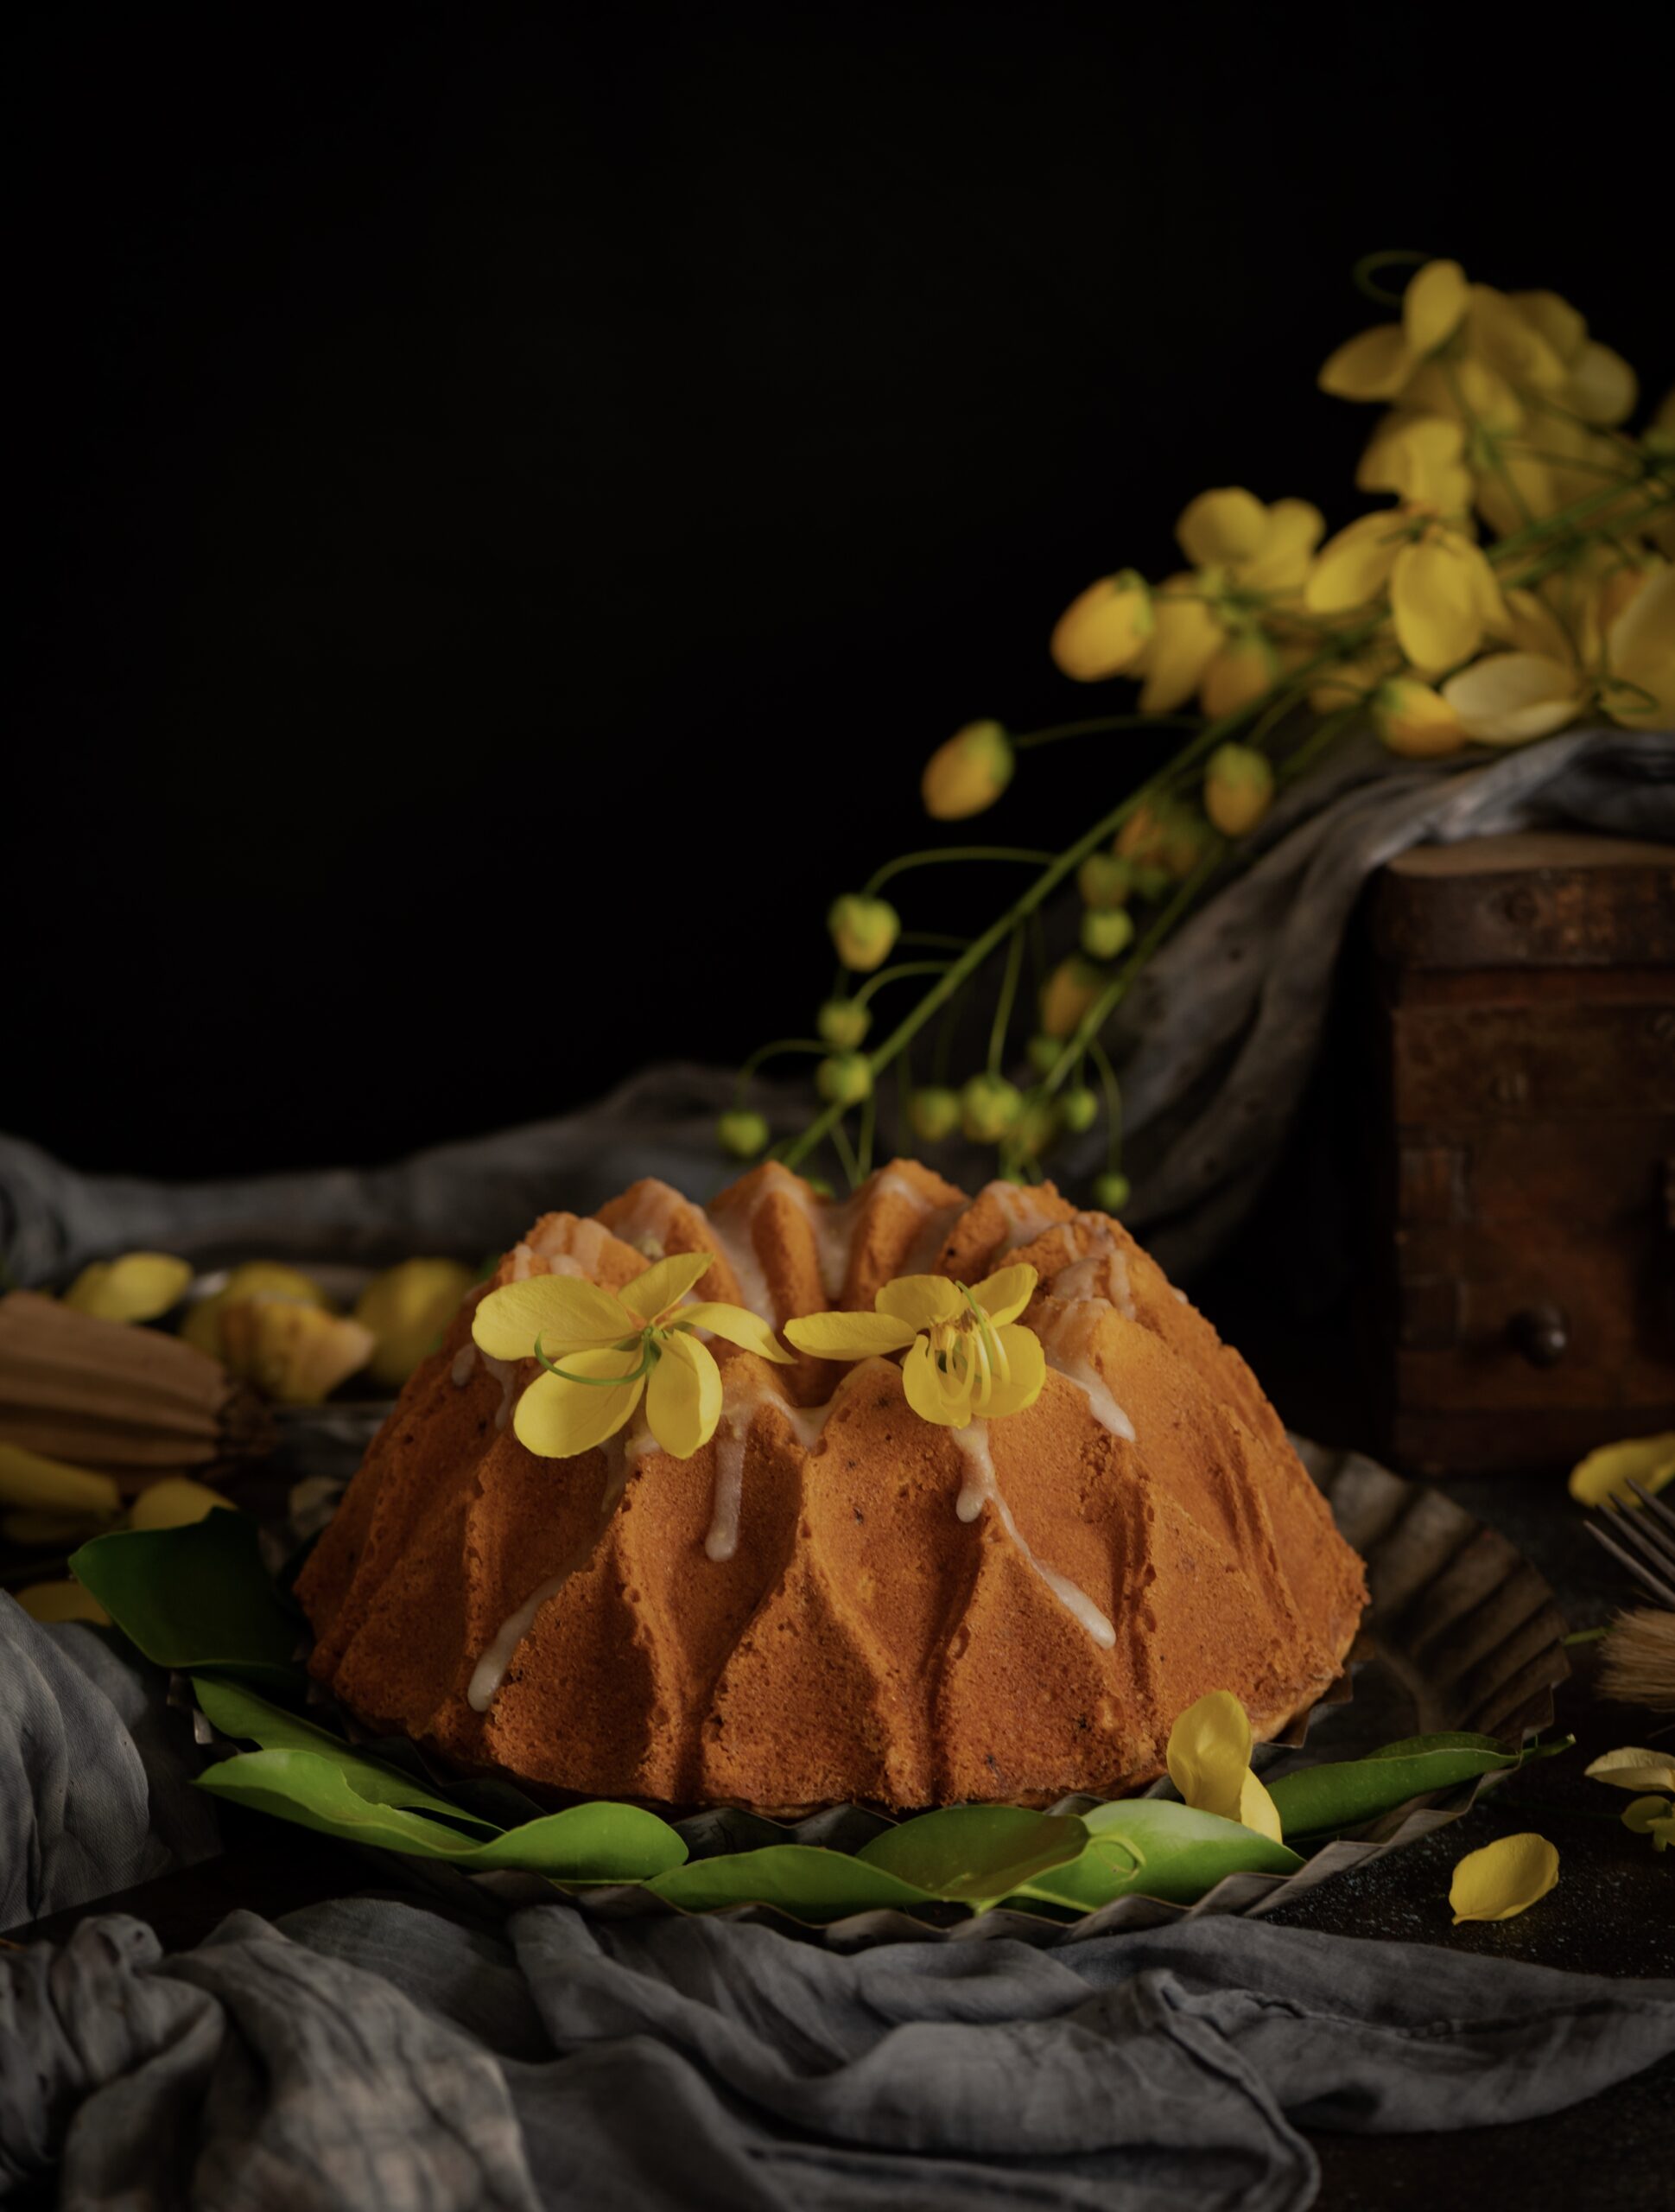
I usually brainstorm my forthcoming posts ahead of time, thinking about everything from which ingredient will be in season to when I might be able to set up my photoshoots to upcoming special occasions, and much more. I had been keeping this refreshing citrus bundt cake in mind for later on, but the number of calls and personal messages I received after the last few cake posts have inspired me to bring it out ahead of schedule. Nothing puts a smile on people’s faces like a cake, and perhaps it’s no surprise that it seems like everyone is on a baking spree right now. This delicious cake will add to your repertoire beautifully.

You may remember my lemon poppy cake with Meyer lemons from a few years ago. This citrus bundt cake has similar flavours and uses the same pan shape too. The pans I use have been collected either from my travels, or because my friends always know that the best gifts for me are functional and beautiful objects that I can use in my kitchen.

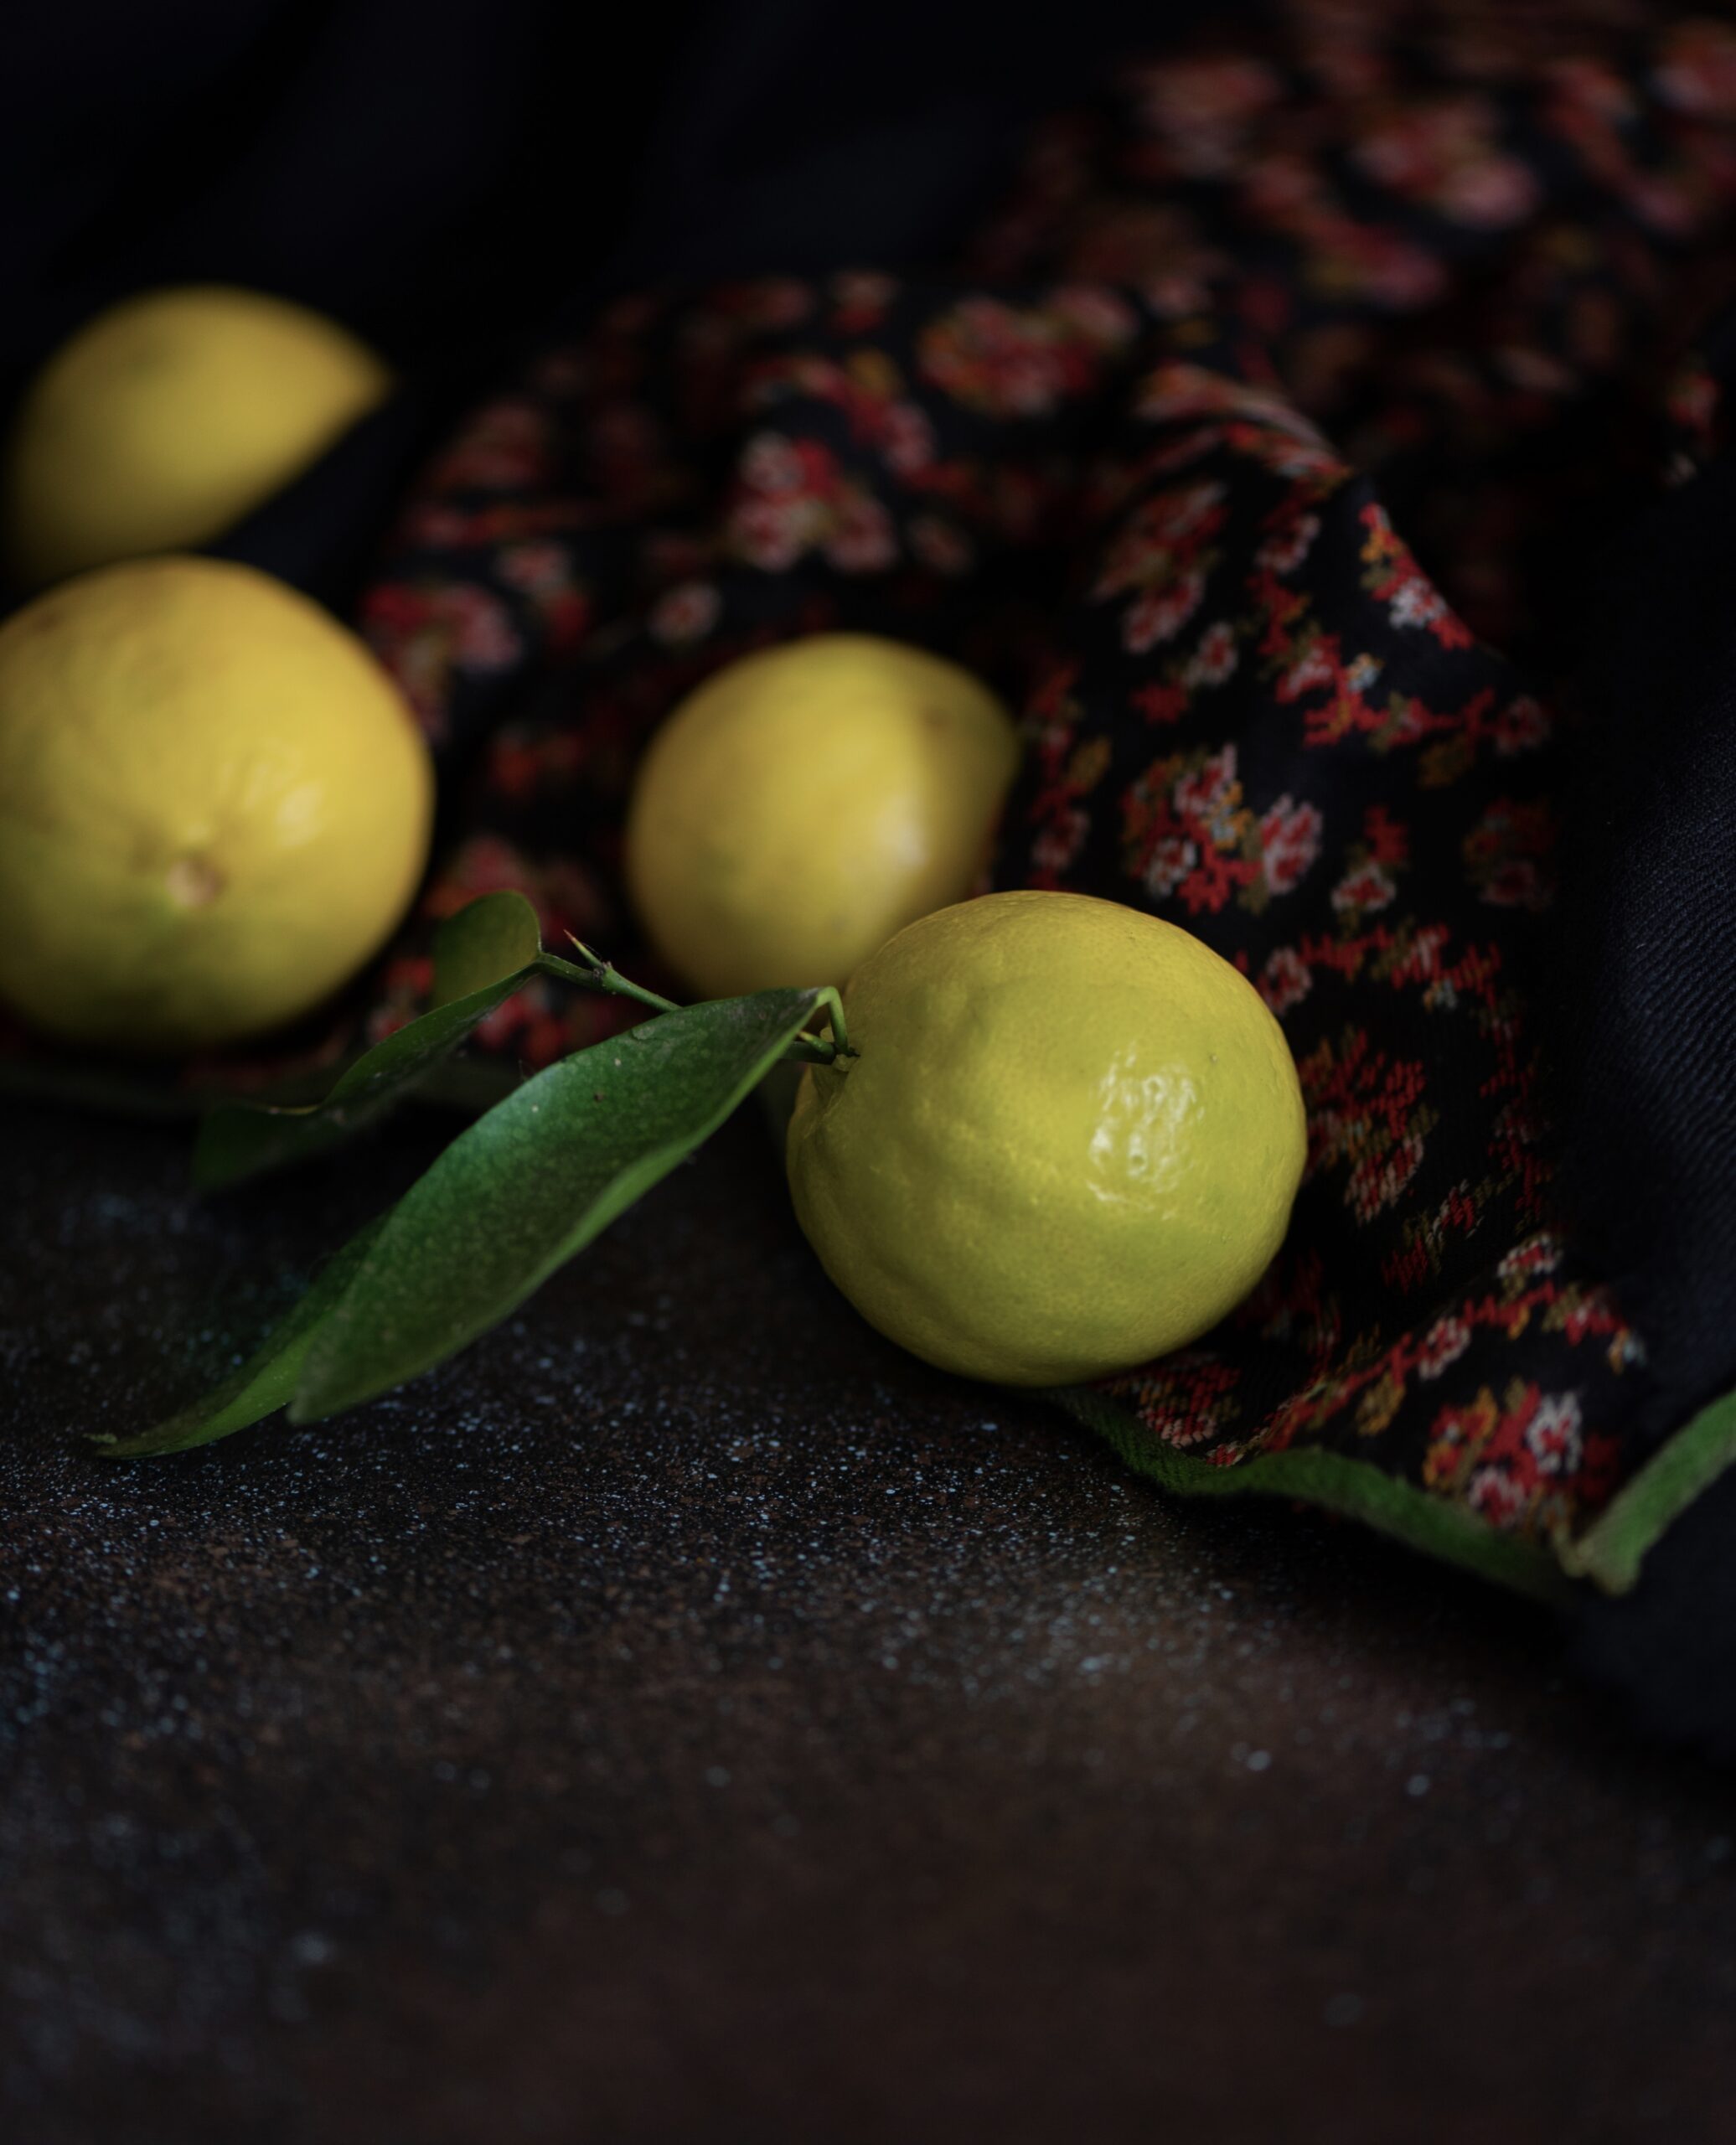
In this recipe, I used Indian limes, locally sourced of course, and you may wish to use oranges or lemons instead. You can play around with the citrus note based on what you have available in your pantry. I always have an eye on the health quotient of ingredients, and the boost of vitamin C, which replenishes the immune system, is most welcome at this time. Citrus fruits also have a way of livening up any meal because of their vibrant colours (using them in this recipe will not give you the same vivid hues, but the taste will amply make up for it), and it was a pleasure to shoot this cake – and just as much of a pleasure to bite into a slice. The attractiveness of the bundt shape, the delicious flavour and the nutritional value came together to represent hope and positivity to me, and I believe you’ll experience the same uplifting spirit when you take it out of the oven.

This period is giving so many of us an opportunity to do some of the things we always dreamt of pursuing but never really had the time to. We are exploring new possibilities. Most of us are discovering that we are actually very good at whatever we’ve been trying our hand at, because it comes from a place of passion, and is motivated by the desire to do something different that changes life for the better.

As we grow as people, learning new skills and exploring new talents, I feel that many of us are also realising just how much we have abused and polluted our planet. I’ve had so many conversations recently about exactly this, and I have faith that we will come together to make a kinder world. We’re learning the hard way, but understanding so much more now collectively that it will surely yield a brighter future.

Speaking of brightness, that’s exactly what a good bundt cake brings to the table. When my family and I, who are enjoying lockdown together, gather at 5 o’clock each evening for a chat and some tea, this lovely cake is the perfect response to our peckishness. By the way, speaking of the new experiments people are trying out reminds me – it’s my husband who’s frequently been making the tea these days!

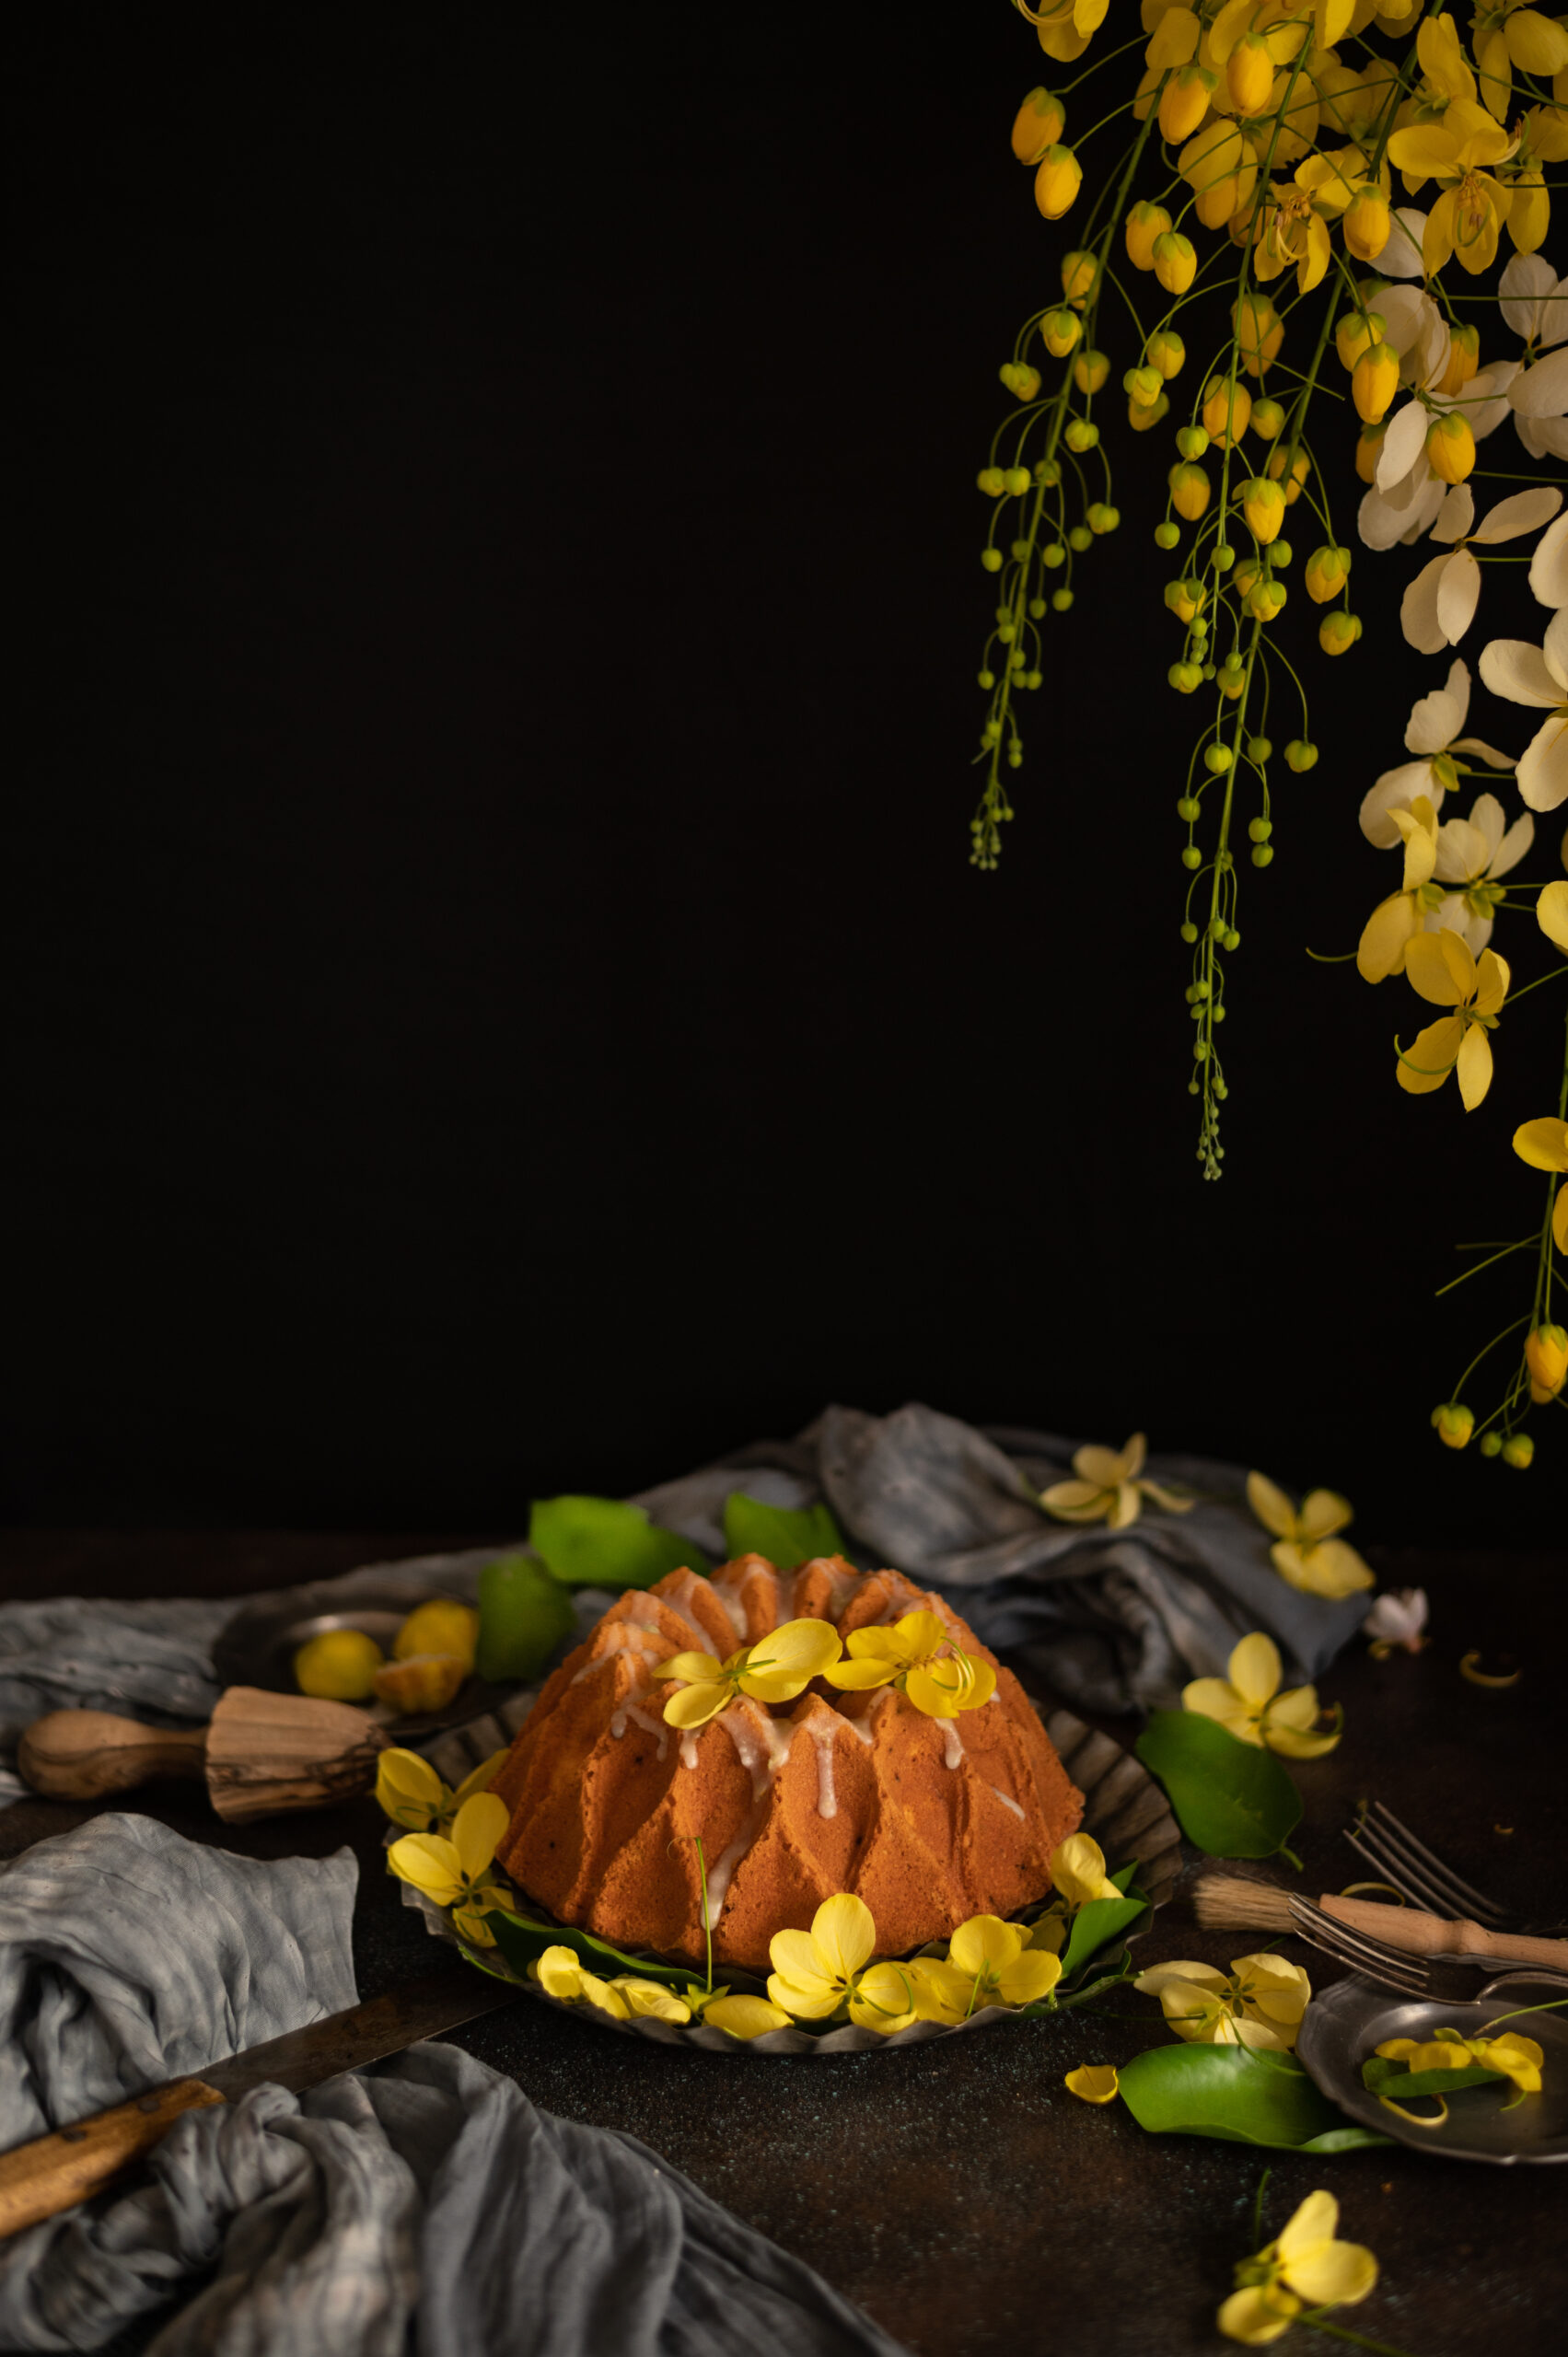
When I took this warm cake out of the oven the other day, the whole house had the lovely fragrance of lime lingering everywhere. While the cake cooled, every member of my family chipped in to help in some way. My husband put a pot of tea on the stove, my daughter modelled and posed for my photoshoot, and my son started the cleaning up. My dog Max, of course, was all over the place as usual, eager for cuddles (and a bite of cake, if we weren’t careful!). The beautiful, vibrant laburnum flowers – locally known as konrai – I was lucky to find to style my photos with also brightened the mood.

Like every meal we’ve eaten together in these weeks, this beautiful citrus bundt cake also brought us together. This very moist, very tender cake was a ray of sunshine, and affirmed the choice I’ve been making every day to make the very best of this time.

Citrus Bundt Cake

(Serves 5)

Ingredients:

2¾ cups all-purpose flour

2 cups granulated sugar

2 teaspoons baking powder

½ teaspoon salt

3 tablespoons cornflour

1 cup unsalted butter (at room temperature)

½ cup whole milk

¼ cup thick non-sour yoghurt

¼ cup freshly squeezed lime juice

4 eggs

2 tablespoons lime zest

1 teaspoon vanilla extract


Frosting:

1 cup icing sugar

1 teaspoon lime zest

3 teaspoons lime juice

Before I begin sharing the method for making this cake, I thought I would share a few tips. I know that many of you have taken to baking for the first time, and certain things that experienced bakers take for granted haven’t yet become forces of habit for you. So here are some simple guidelines that will go a long way towards making sure that your kitchen experiments and studies turn out much more satisfyingly.

Firstly – always make sure that the baking powder and all other ingredients are fresh and have not crossed the expiry date. It’s best to use all ingredients at room temperature, unless otherwise specified.

Now, about the role of sifting when preparing the flour. Always sift all the dry ingredients together, unless otherwise specified. This will incorporate some air into the flour and gives you a second chance to remove unwanted ingredients. Sifting adds volume to your cake and makes it light and airy.

Creaming the butter and the sugar together has the same effect, incorporating air into the mixture so that you have a nice, fluffy cake. If done right, creaming will change the colour to an almost ivory shade.

Once wet ingredients are added, be careful to not over-mix. Doing so will increase gluten formation, which is not good for the cake.

Always measure quantities by adding the ingredients into a measuring cup. As a hygiene measure, do not dip the cup into the ingredient jar.

Preheating the oven before baking is important. If this step is skipped, the cake may not rise and may sink in the centre.

Always grease the baking tin and line it with parchment paper, as this helps to easily remove the cake when it’s done.

Always place the tin on the middle rack of the oven. This will ensure that heat is evenly distributed over both the top and the bottom of the cake.

To ensure that your cake is baked to perfection, there’s a simple test that all bakers use. Insert a skewer and pull it out. If it comes out clean, the cake is done. If it comes out with clumps, it needs to bake for longer. Another sign of a cake being finished is that you may notice it receding from the sides of the tin. Finally, when you press the top of the cake gently, it should spring back.

It’s best to leave a cake in its tin to cool once out of the oven. This will take about 15 minutes. Then, turn it onto a cooling rack.

Now that these basic-but-brilliant tips have been shared with you, I must stress once again (as I did here, in this recipe for classic chocolate cake) that baking is a science. Follow the method to a T and you won’t fail. Remember to have fun!

Shall we move on to the recipe for this citrus bundt cake?

Preheat oven to 180°C.

Grease a bundt pan generously with butter and dust with flour. Refrigerate for about ½ hour. If you prefer using a regular cake tin, then use a 9” tin. Grease and line with parchment paper. You do not need to refrigerate this.

In a bowl, sift all the dry ingredients (except the sugar) together.

Put the butter in a bowl and cream it. To this, add the lemon zest and the sugar. Continue creaming the mixture. One at a time, add the eggs, making sure to incorporate each one well before adding the next.

In another bowl, add the lime juice and vanilla extract to the milk. Mix.

Now, slowly add the dry flour and the wet milk mixture into the creamed butter mixture, alternating each. Mix gently as you add. Once all the flour and the milk mixture have been included, add the thick non-sour yoghurt. Fold gently.

Pour this batter into the greased cake tin and bake for approximately 45 minutes.

Oven temperatures vary, so at 35 minutes, insert a skewer and do the test described earlier. As a rule of thumb, if the cake looks like it will jiggle if you move it, it needs more time.

Once baked, remove the pan from the oven and cool for 15 minutes. Then, turn the cake onto a wire rack.

Once the cake has completely cooled, mix the frosting ingredients together well. Pour this over the cake immediately.

Like all re:store cakes, this too is only very lightly sweet. The tanginess of the limes enlivens the tastebuds, and brings a boost of good energy your way. It can last a few days when stored in a refrigerator, and retains its moistness as well. Remember that you may use any citrus fruit that you please, and don’t let not having a bundt pan stop you from using a regular one. I’ve relied on my trusty local limes, which are used extensively in Indian cuisine. If you’re a fan of this zesty acidic fruit, you may also enjoy this rejuvenating drink that’s just perfect for the summer. Don’t forget to also check out this bounty of cake recipes I’ve shared on this blog, from this eggless whole-wheat saffron and cardamom cake to this exquisite vegan lavender cake and more!

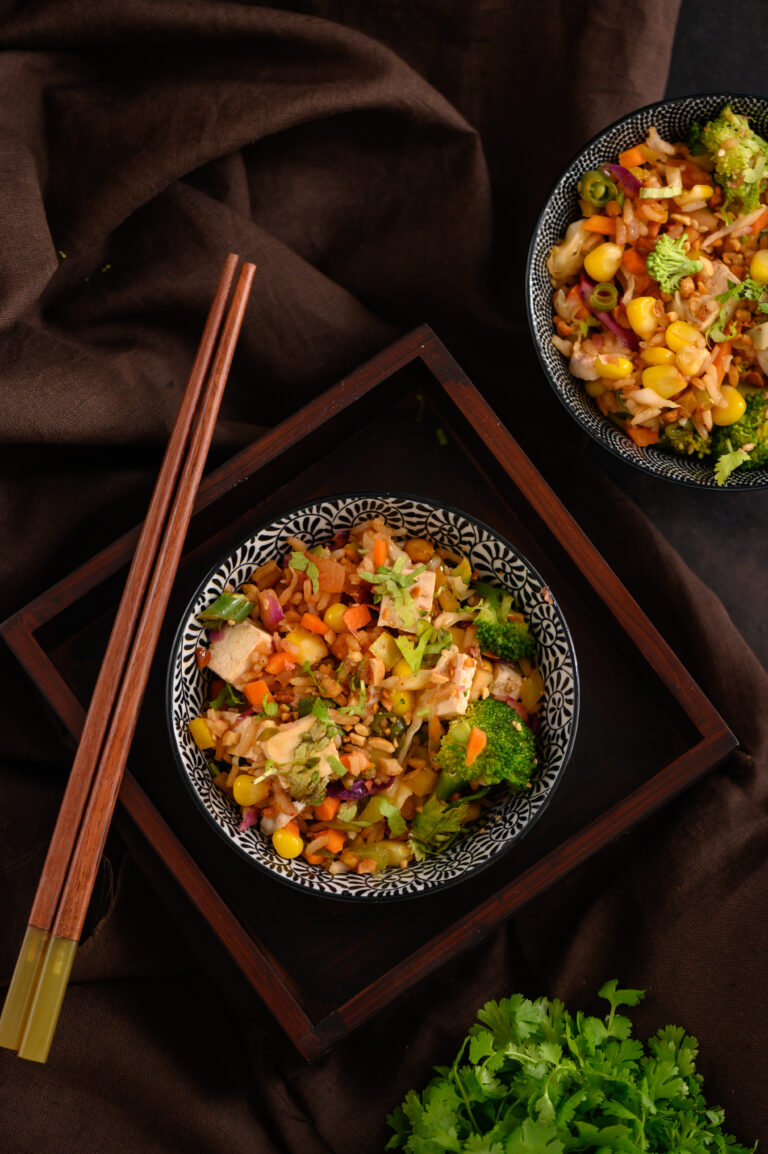
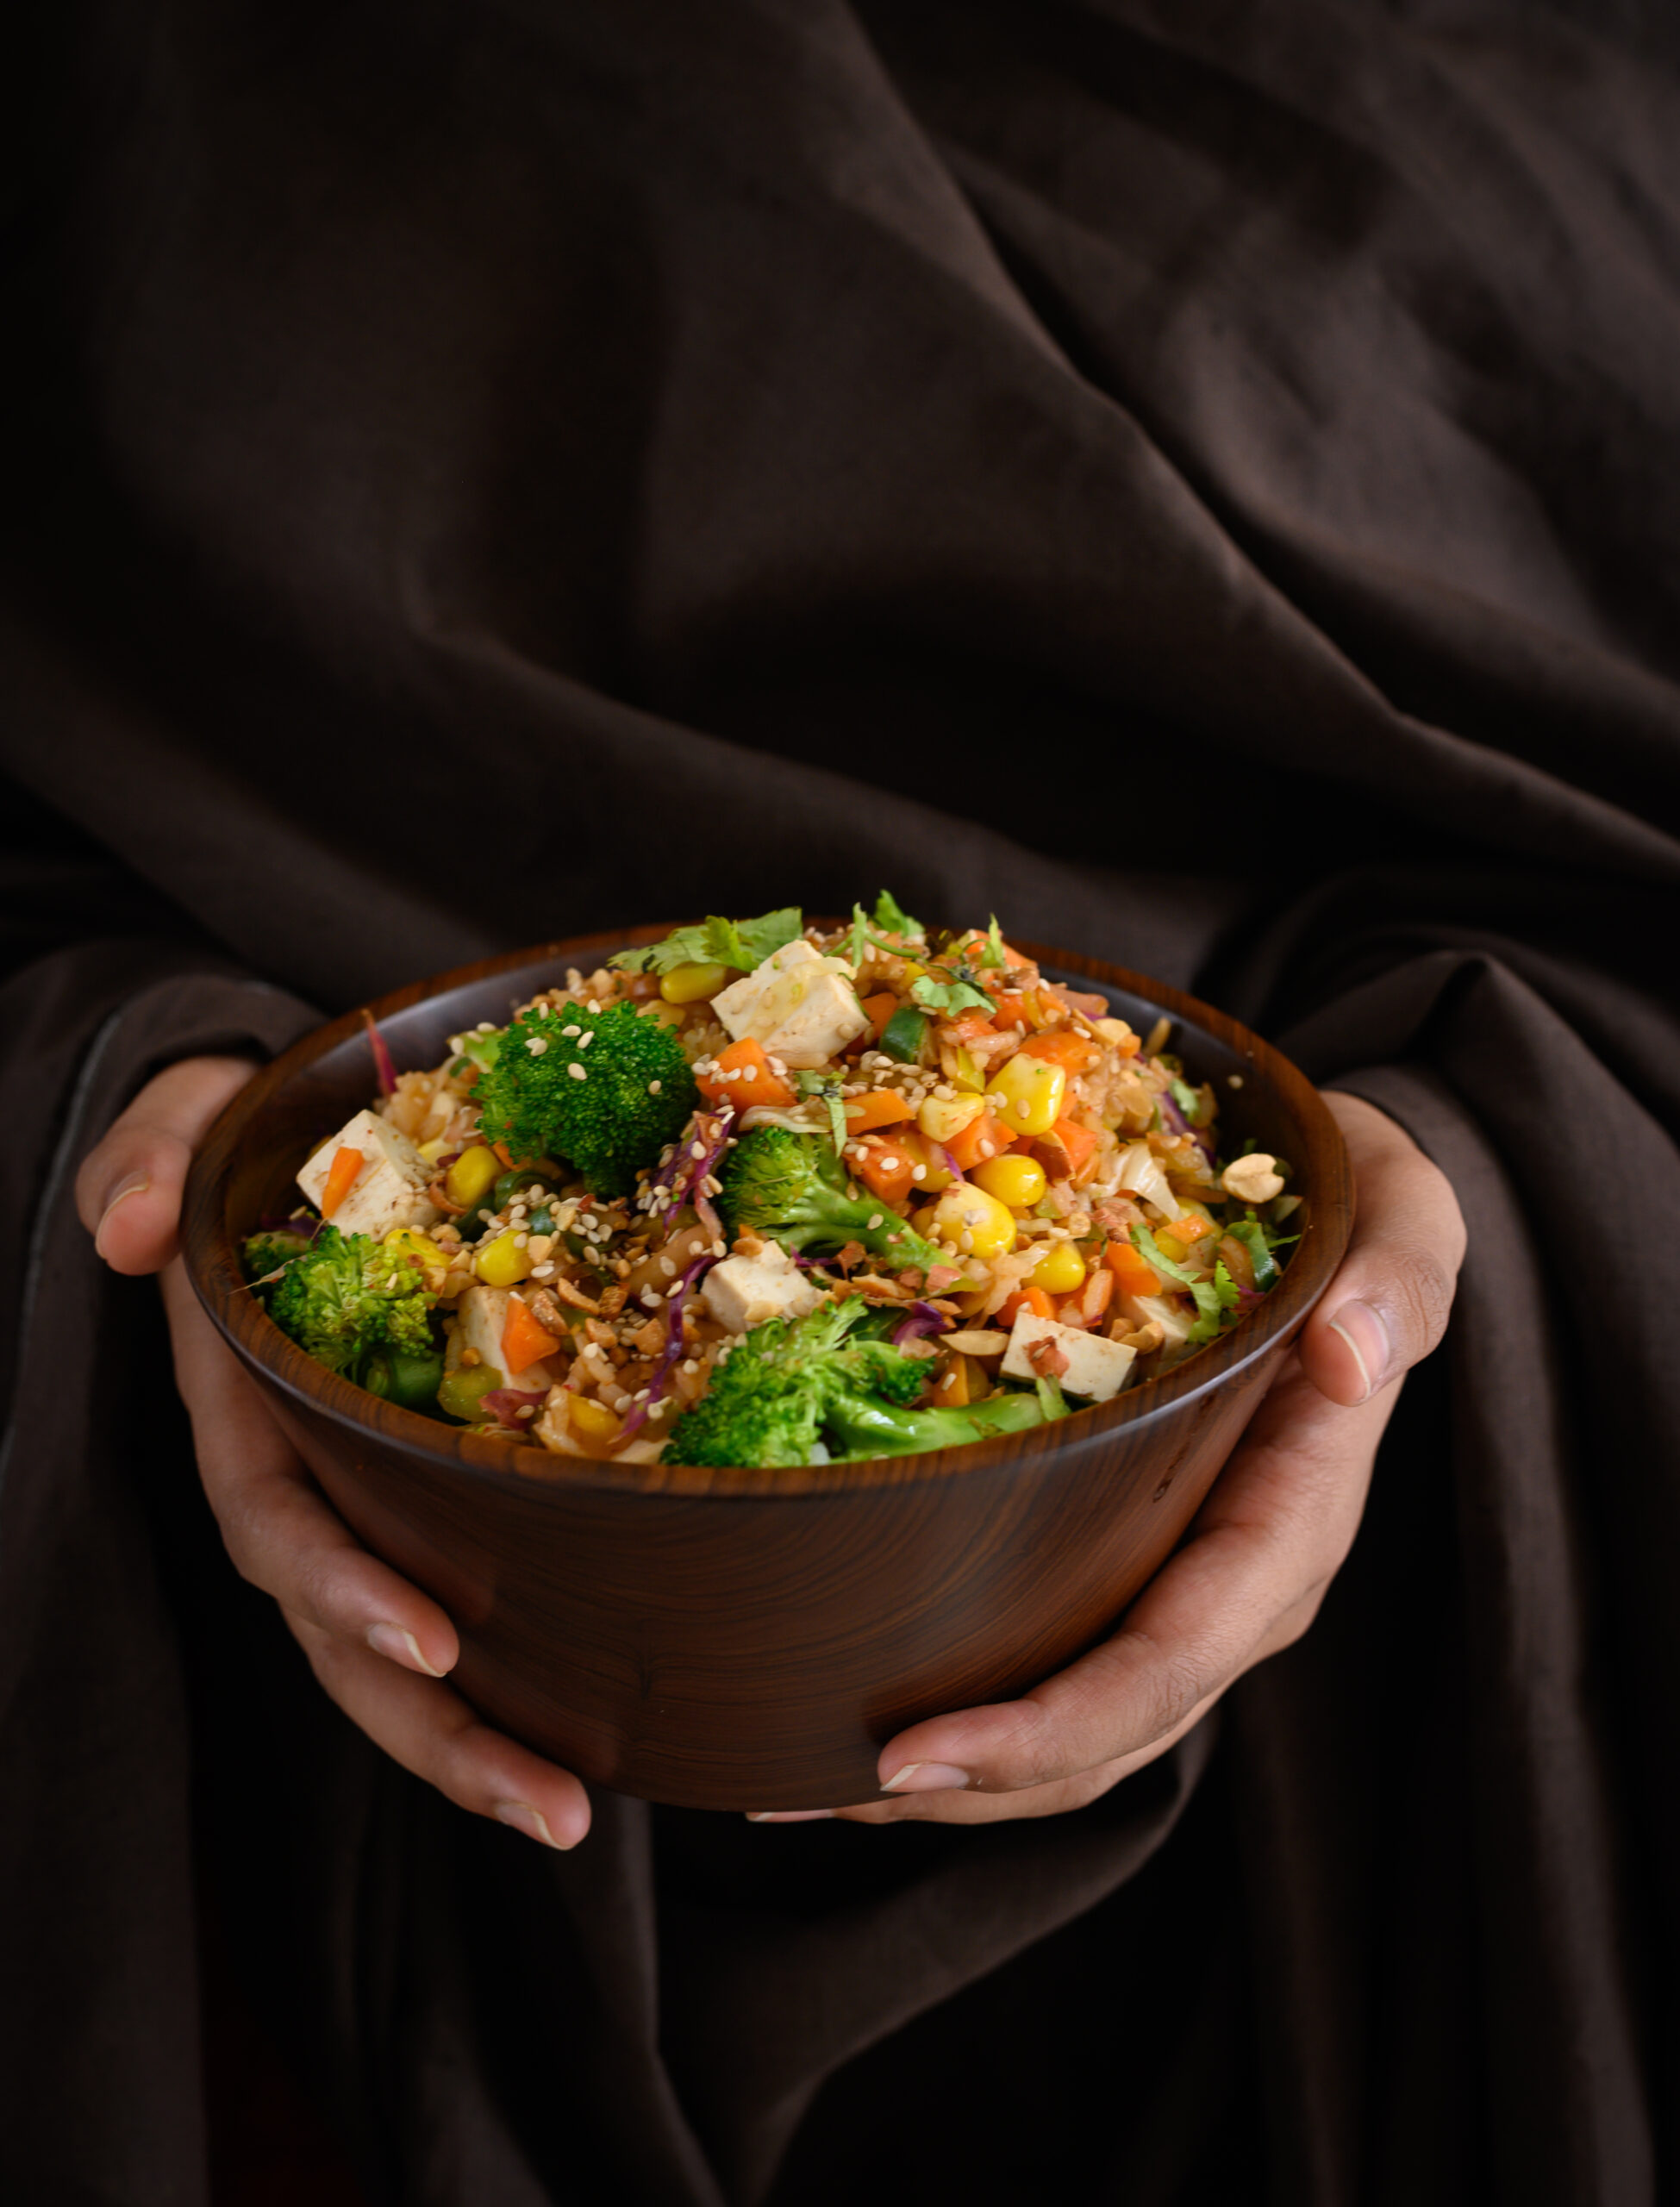
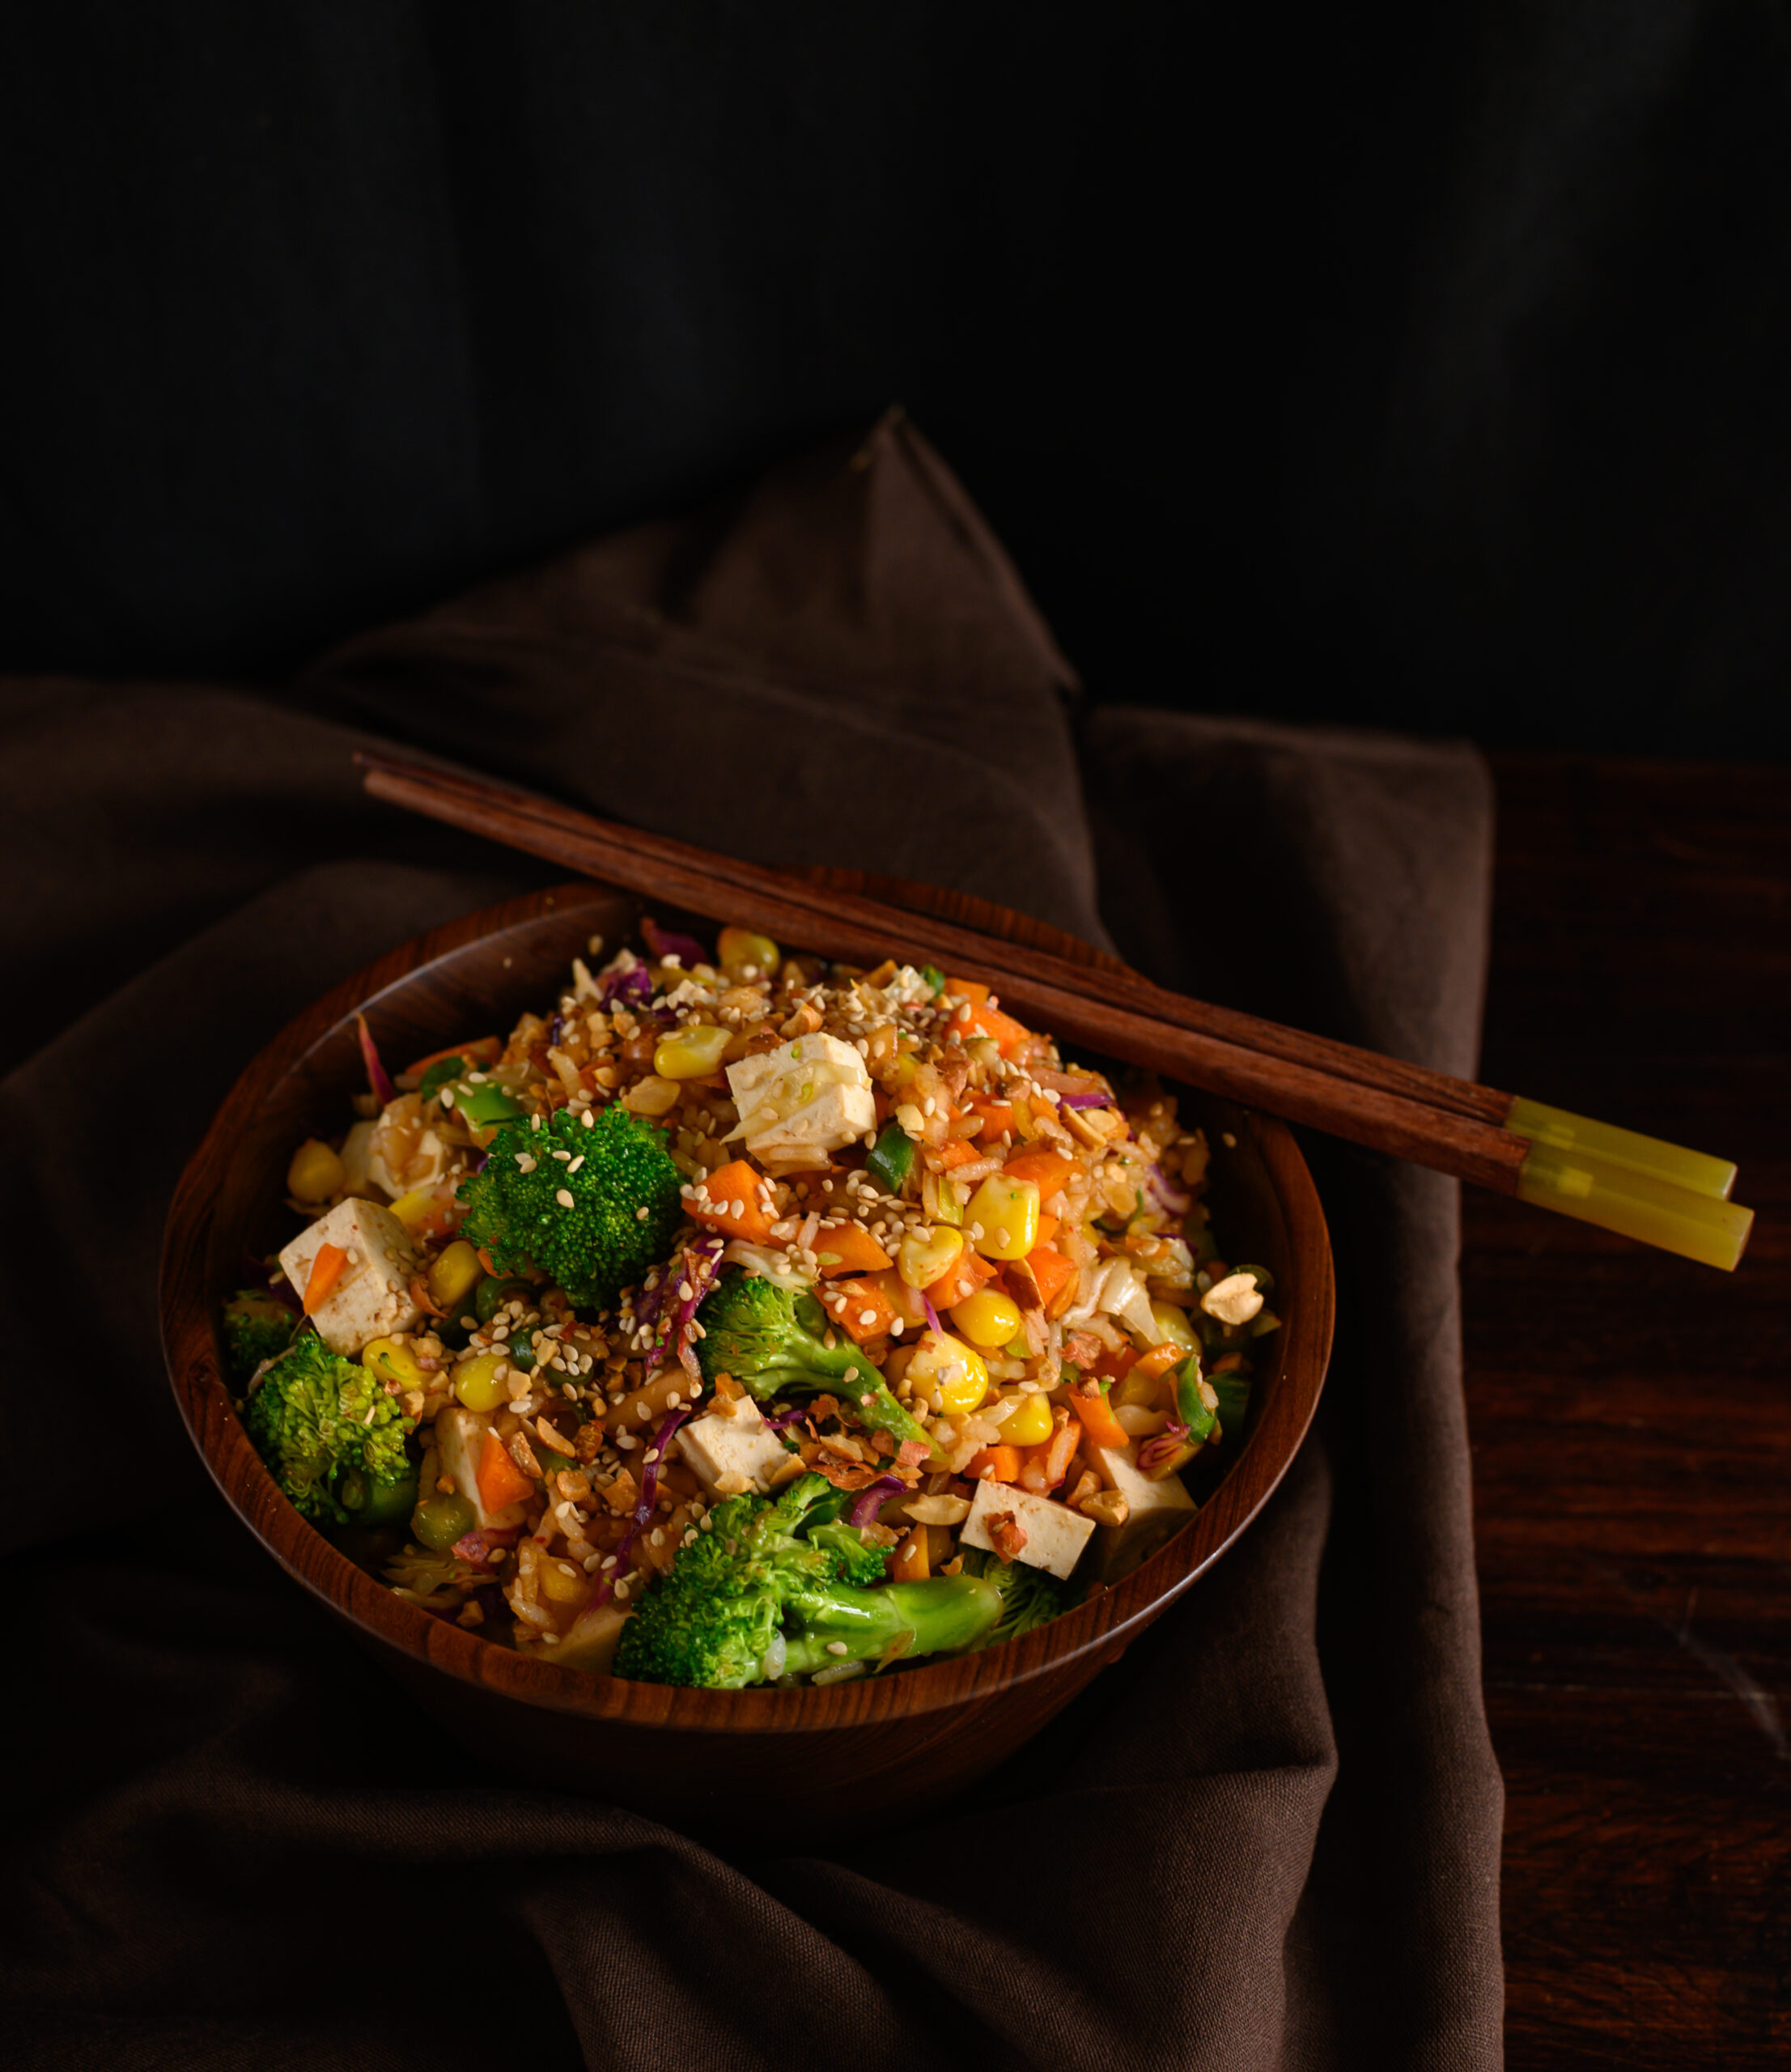
I love, love, love stir-fry and could eat it every day, and some weeks I think I actually do, making different versions of it as per my craving or mood. A stir-fry is more of a category than a dish, of versatile meals-in-a-bowl that cater to any kind of dietary restrictions, lifestyles or personal taste. My boys love theirs with meat, so I regularly add chicken or prawns to theirs. Vegan versions are protein-rich with tofu. When it comes to stir-fries, to each their own.

The simplicity of my preferred version of a stir-fry, replete with healthy ingredients and subtly flavoured, is something I arrived at after sampling numerous versions in many places. For a long time, I would gravitate towards stir-fries in restaurants, which would be made in an elaborate way with different additives and sauces. Then, I encountered them again when I was studying Macrobiotics at the Kushi Institute, where we ate a lot of steamed and sautéed vegetables. Realising how adaptable this dish was, and how it could be cooked to suit a diverse range of diets, made me introduce it into my repertoire frequently.

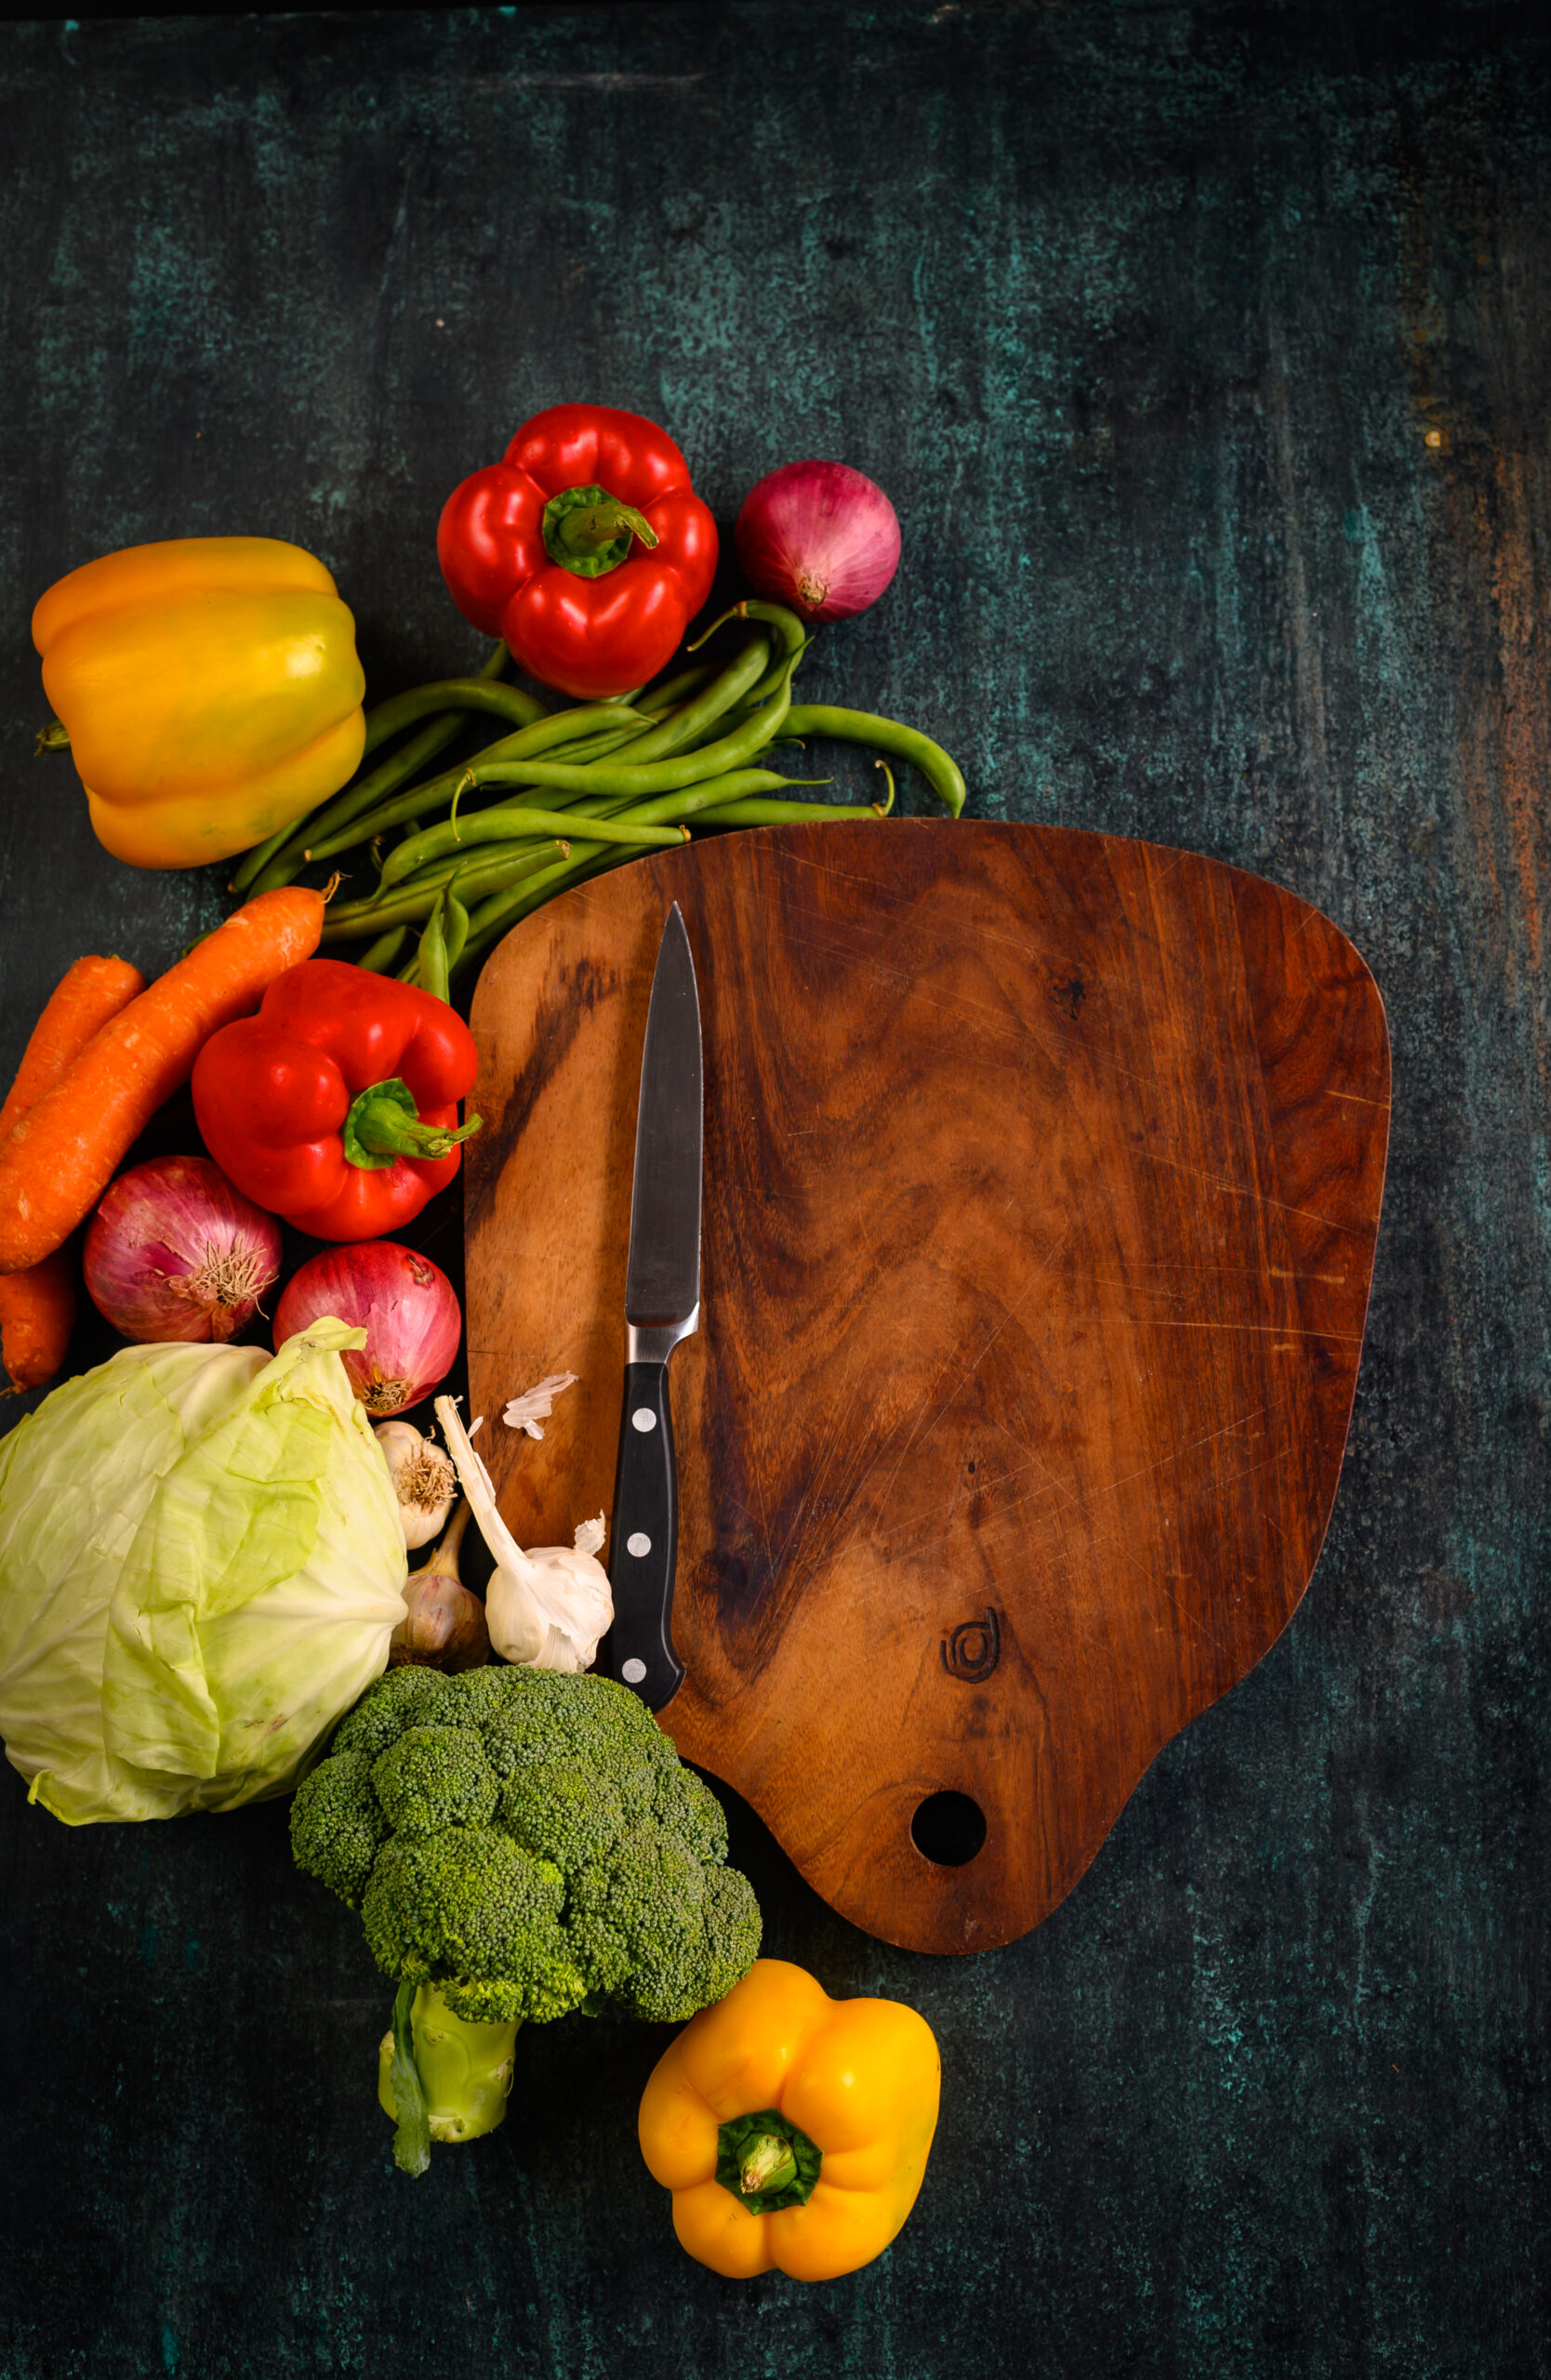
Stir-fries are built through a checklist of choices: pick a protein, some vegetables, the oil you’re using, nuts or seeds for texture if you like them, and an optional carb. They can literally be made with whatever basic produce you have available at home on any given day. For me, the vegetables are the star ingredients and I have certain time-tested preferences about which ones are good when cooked in this style. I prefer to avoid water-based vegetables as the stir-fry technique works best for firmer, crisper ones. Baby corn, aubergine, bok choy, spinach and kale are among my favourites.

When I want my meal-in-a-bowl stir-fry to be extra filling, I add a carb to it. This can range from red rice, white rice, millets and pasta, depending entirely on what I already have on hand. All these carbs work well when layered with the other ingredients. Without them, a stir-fry can be enjoyed as a hearty salad. When I am including a carb, I tend to avoid starchy vegetables such as potatoes, so as to keep the dish light. You may also choose to avoid sugary vegetables like peas and baby corn if you’re being strict with what you’re consuming. See what works for you. Ultimately, I still feel that vegetables are vegetables and you can’t really go wrong with them. Sometimes, it’s about using your own intelligence. For instance, in Macrobiotics, nightshades such as tomatoes are believed to not be good for you. That doesn’t mean that you have to eliminate them completely. Instead, you balance them by using a smaller portion and adding extra leafy greens as a counter.

I enjoy the crunchiness and slight rawness of the vegetables so much, as well as the feel-good factor to eating them. At the Kushi Institute, I also learned that chewing is absolutely essential. In fact, at mealtimes we sometimes actually counted the number of times that we chewed one mouthful. The maximum I got to was 25! With the slightly undercooked vegetables, you have to be sure to chew them well. To keep the focus on their natural tastes and textures, I ensure that the spices I use are minimal.

The trick is to incorporate all the colours of the rainbow within the dish, which specialists say will cover a broad spectrum of your nutritional needs in a single meal. Here is a convenient list that explains how and why. I try my best to do this when putting together a stir-fry. Visually too, there’s something so beautiful and appealing about this method. It really does make me feel like I am eating a bowl of sunshine.

Not only is this perfect meal-in-a-bowl versatile in terms of the ingredients you can use, but it can work for any time of the day. Aside from lunch and dinner, I find that a portion of it with a couple of boiled eggs makes for a superb, energy-boosting breakfast. The best part is that it takes all of fifteen minutes to put a bowl together, right from chopping to serving. Sometimes, when my son says he won’t be coming home for lunch but then suddenly shows up because a meeting got cancelled, all I have to do is throw together a few fresh vegetables with a bit of chicken, the way he likes it. Within minutes, not only does he get a delicious home-cooked meal, but he is also fully fortified to get back to work.


Meal-In-A-Bowl Stir-Fry

(Yield: 1 bowl)


2 cups vegetables of your choice

½ cup cooked rice

1 tablespoon groundnut oil

¾ teaspoon ginger/garlic paste

3 tablespoons cut tofu

2 tablespoons soya sauce

1 tablespoon lemon juice

½ teaspoon honey

1 teaspoon white sesame seeds

1 teaspoon chili paste

2 tablespoons coarsely crushed peanuts

Coriander leaves to garnish

Salt to taste


Add the groundnut oil in a wok. Once it’s hot, add the sesame seeds and allow them to lightly change colour.

Next, add the garlic/ginger paste. Stir for a minute.

Now, add the vegetables and stir them on a high flame. Do this for about 3 minutes. I like my vegetables to be a bit crunchy so I don’t allow them to cook until tender. Be careful not to burn or singe the ingredients at the bottom of the pan, as this will reduce their nutritional value.

I often use carrots, bell peppers, beans, broccoli, spring onions, raw mango for a bit of tang, and some corn. If you decide to follow the same choices, make sure that the carrots and beans go first as they take a while longer than the others to cook, even slightly.

If you are including a carb, add the cooked rice now. I prefer organic rice varieties, and you can also use millets or orzo pasta. Then, add the tofu.

Finally, add the salt and the remaining ingredients, substituting peanuts and sesame seeds for cashew nuts or walnuts if you prefer. In terms of flavours, some of the best ones are soya sauce, lemon juice, honey glaze and chili sauce/paste. Stir fry for a few minutes on a high flame. Serve hot, garnished with coriander.

There is no single recipe for stir-fry, but this is my favourite. I like the mix of East Asian seasonings with familiar local flavours like raw mango and peanuts, and I find they blend together beautifully. Remember that you can substitute any ingredient for another in its own category; protein, veggies, oil, nuts/seeds and carbs. And most importantly: remember the rainbow, and let green reign!

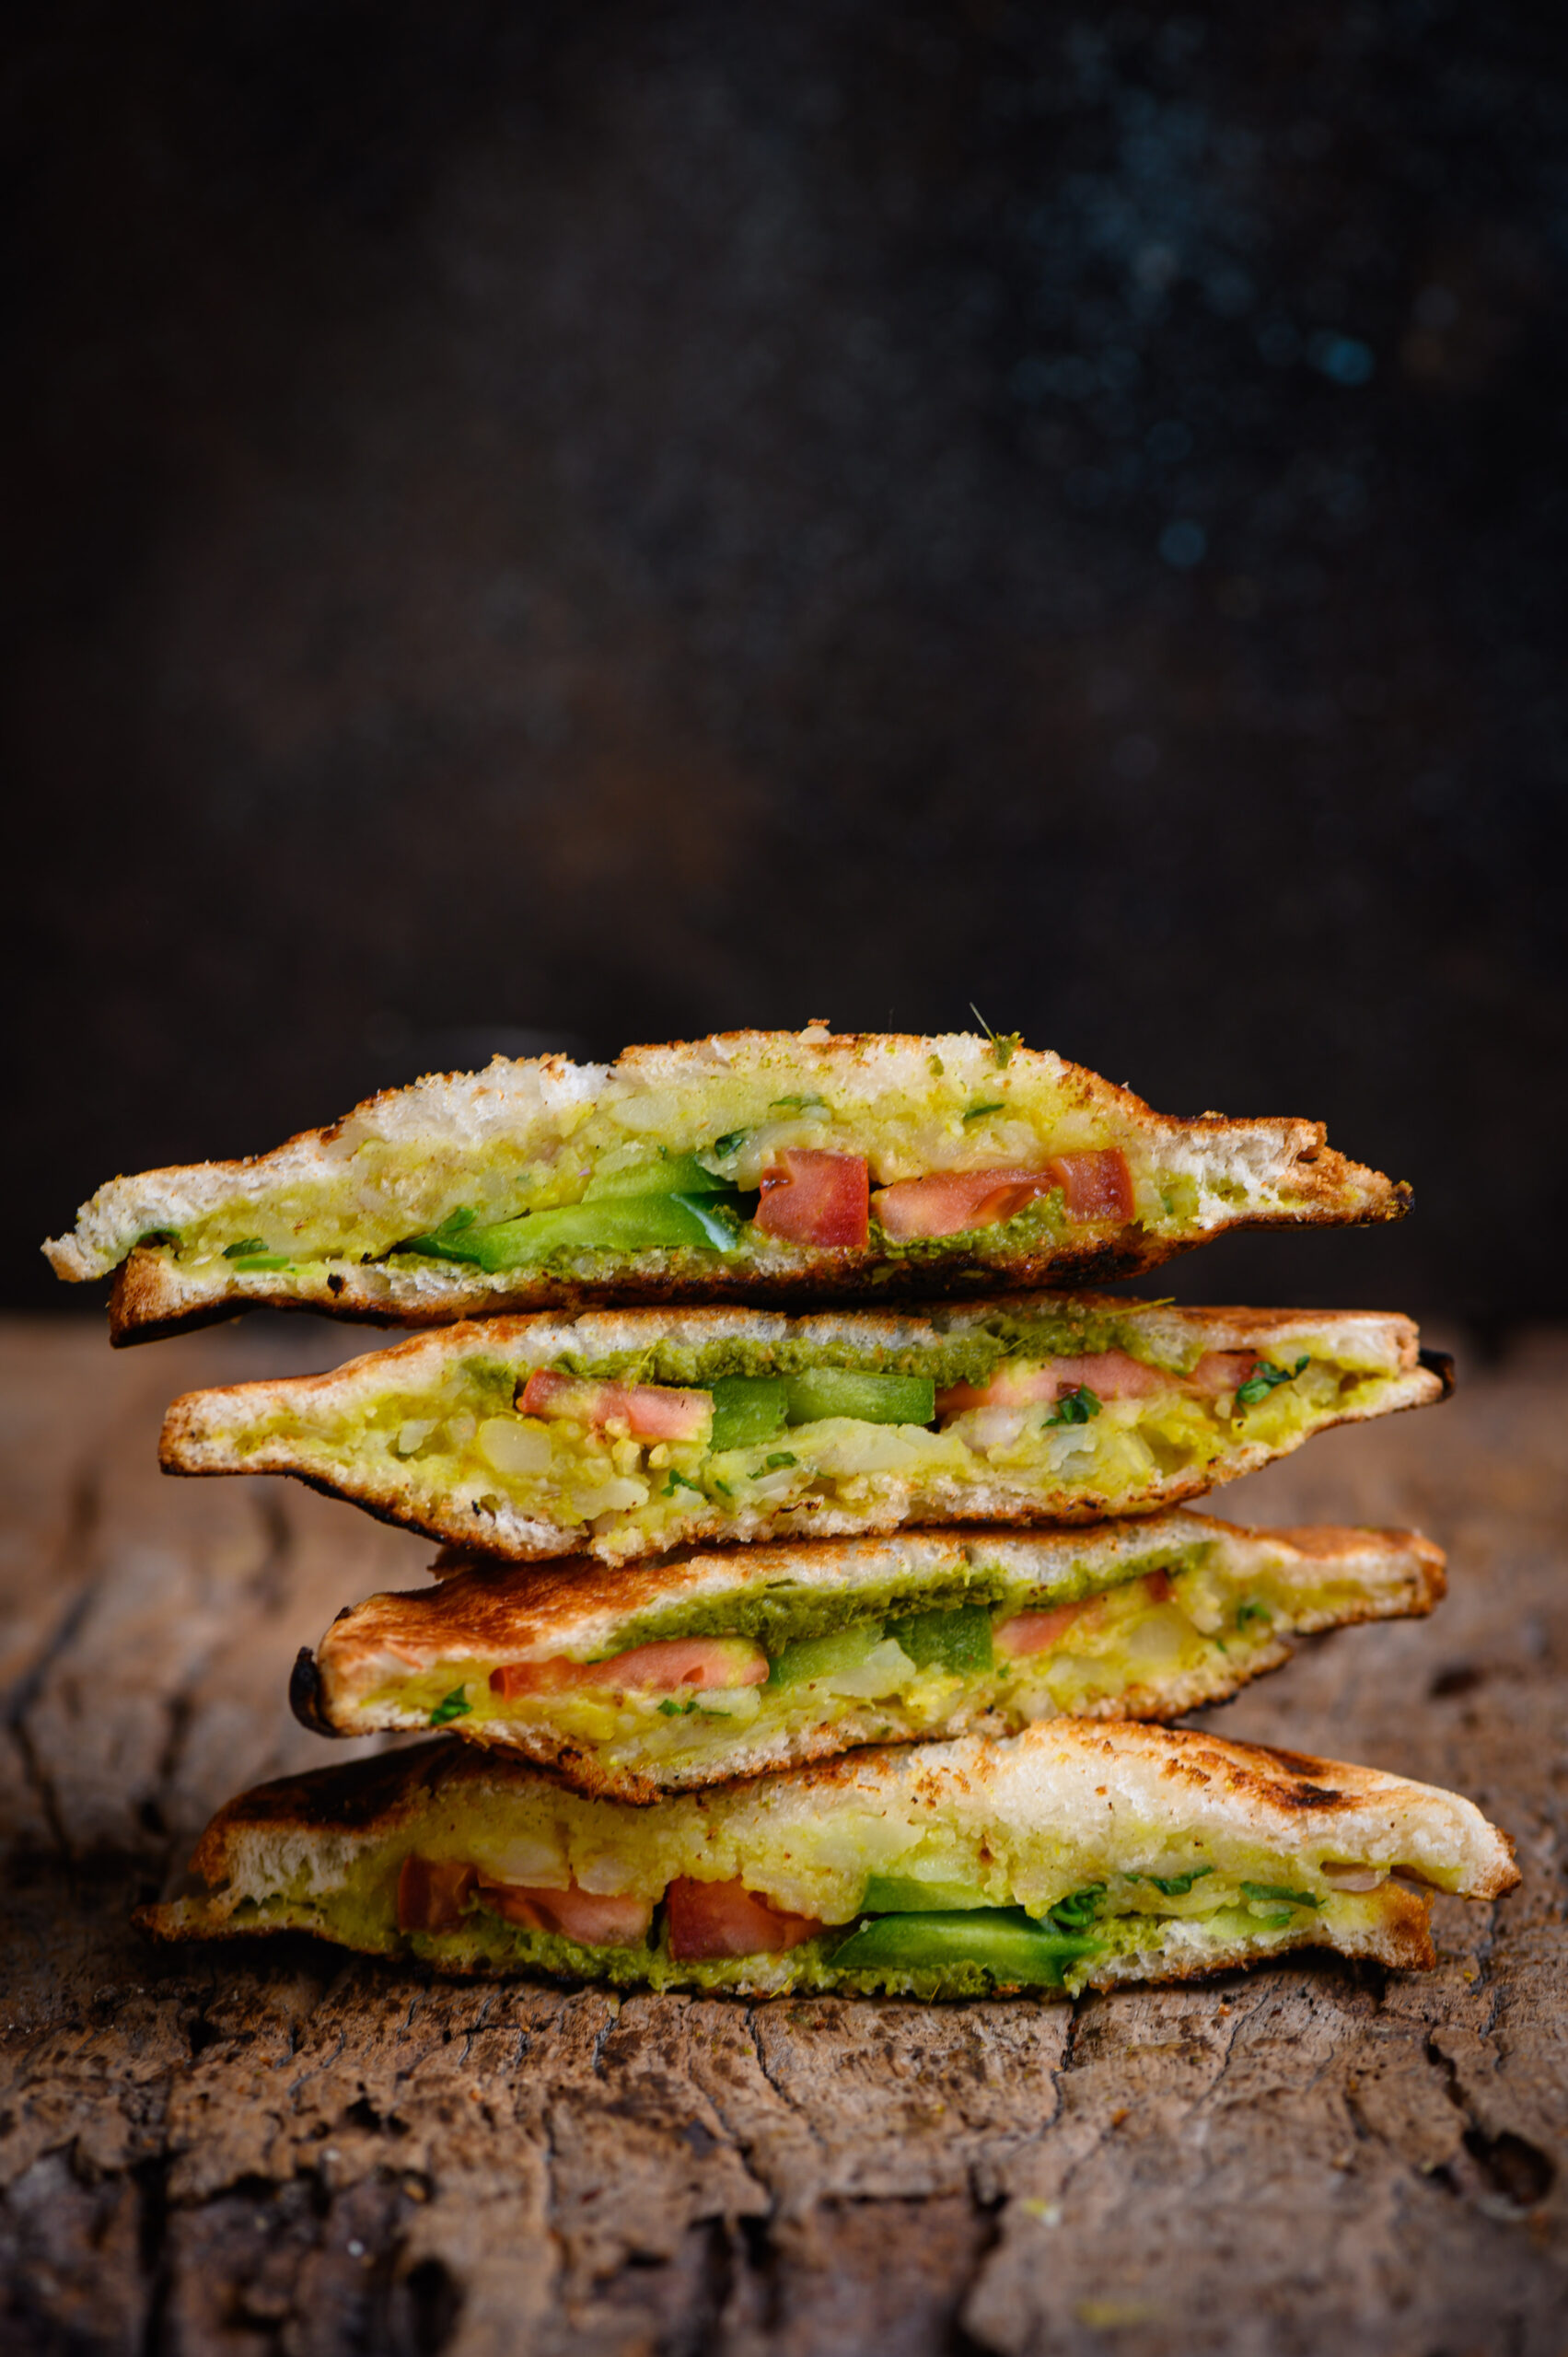
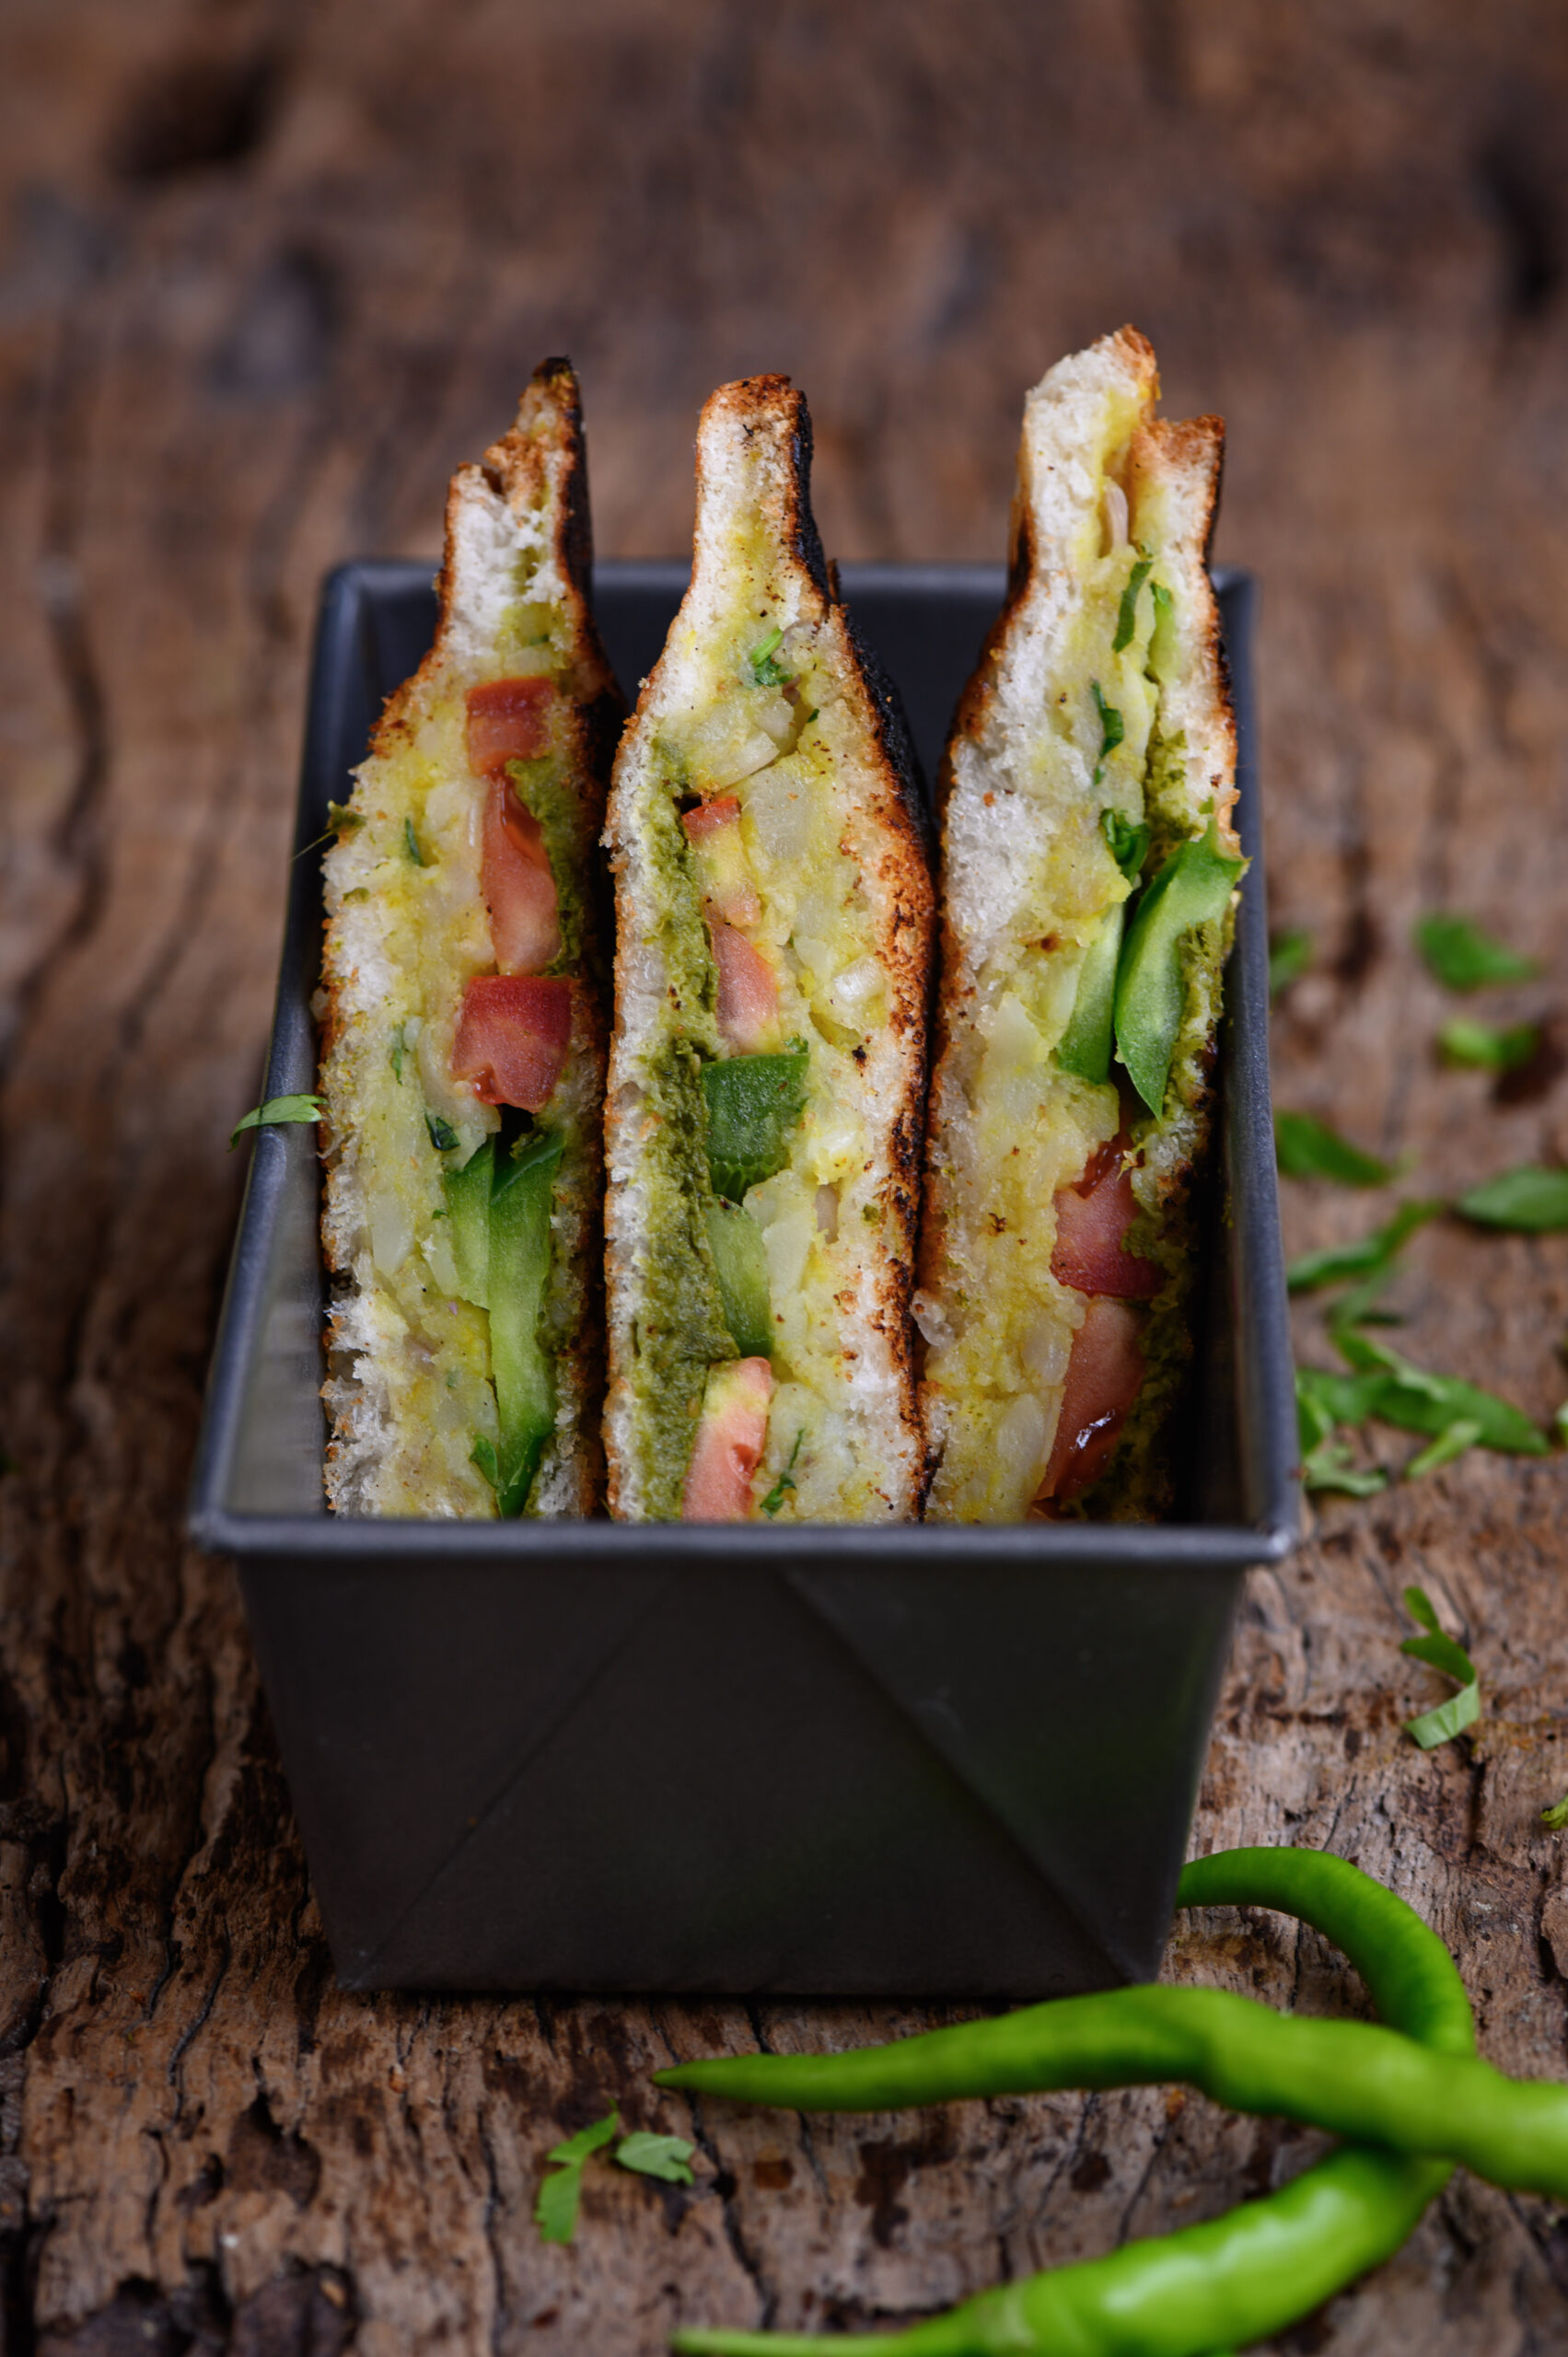
My husband is from Mumbai and if you asked him what the one thing he misses the most about the city is, he would probably say that it’s a type of street food available on practically every corner there. Its presence is so ubiquitous that it is even named the Bombay sandwich. Every visit back will find him at a sandwich stall, buying his favourite food and devouring it immediately by the side of the road. Even back home in Chennai, whenever we frequent neighbourhoods like Sowcarpet and Vepery, which have migrant populations who brought their cuisines with them, he simply has to make a stop for a snack. For myself, however, I’ve always preferred a homemade Bombay toast instead.

Bombay toast is essentially the toasted version of the Bombay sandwich. Whereas the soft sandwich is flavoured with a spiced chutney, the crispy toast has the spices mixed into the potato filling. Although peas, paneer and other ingredients may be used instead, potato is the most popular as it’s a binding agent. Arguably, it’s also the most delicious filling. Street vendors will ask you whether you want the Bombay sandwich or the Bombay toast, and prepare your order on the spot. Slices of cucumber and tomato are used in both, and they’ll top it all up with a red sauce. While it looks like ketchup, it is in fact a pumpkin-based condiment that’s cheaper to produce or buy.

During my own childhood visits to Mumbai, it was chaat that was always more interesting to me, whereas Bombay toast was something that tasted better when enjoyed at home. It’s said that there’s an attractive quality to street food that makes it seem like no matter what higher quality ingredient you use at home, you just can’t replicate the taste. This just doesn’t hold true for me when it comes to Bombay toast, however. Whether it’s on a street corner in Mumbai or at a stall in Chennai’s Gee Gee Minar, what I’ve tasted has never come close to what my mother would make at home. It was a frequent after-school snack for us because it’s a perfect leftovers-based recipe. Whenever there was some potato remaining from a meal, it could go right into this simple dish. It was as equally relished then as the fresh ones I make today are.

When I was growing up, many homes had a handheld sandwich toaster. You simply placed a slice of bread on one side, added your toppings, covered the first slice with a second thickly-buttered one, and turned the toaster on. It was incredibly easy to prepare these sandwiches quickly, and I loved them eating hot and crispy. I still like to use these old toasters, making sandwiches with a variety of chutneys and cheeses. I like that old world charm of using an appliance that is hardly around anymore. Also, not only is it faster than the new electrical toasters, but you can also control the amount of heat used so that you achieve the precise amount of crispiness you desire.

While customarily a snack, Bombay toast also makes for a good, filling breakfast. I often load a platter these days with an assortment of toppings so that my family can make their own versions of it. Still, nostalgia for this dish as my mother would prepare it makes me want to share her simple, no-frills version, using a spicy potato and peas mash. As it happens, peas are currently in season. And who doesn’t love potatoes, right? Bombay toast fulfills the criteria of providing a carb boost, satisfying a quick craving, and even helping fulfill some of your daily quota of vegetables.

Bombay Toast

(Yield: 3-4 sandwiches)


Mint chutney

1 cup coriander leaves

½ cup mint leaves

2 tablespoons dry roasted chickpeas

1 green chilli

Salt to taste

2 teaspoons lemon juice

2 tablespoons water


Potato filling

1 cup boiled mashed potato

¼ cup finely chopped coriander leaves

2 tablespoons finely sliced onions

Salt to taste

A pinch of turmeric

½ teaspoon chaat masala

½ teaspoon aamchur powder


Slices of tomato

6 slices of bread

Grated cheese

Butter to grease


For the mint chutney, mix all the ingredients together in a blender. Use enough water to make sure the mixture is of a paste-like consistency. Set aside.

In a bowl, add all the ingredients for the potato filling. Mash them all together by hand until all the spices have blended in and you have a coarse mixture. This filling can also be used to make samosas and kachoris.

Following this, you are ready to assemble and then toast the sandwiches.

Place the slices of bread on a board. On half of the slices, apply the mint chutney. On the remaining slices, evenly spread the potato mixture, making sure it reaches all the corners. Now, place the tomato slices over the slices containing the potato mixture. Add the grated cheese as desired. This is a straightforward recipe, but you can play with different variants. For example, you may add sliced onions, cucumber or jalapeños onto the toast, depending on your taste. Bell peppers will also add more spice. You may also wish to make it a healthier snack by adding finely chopped broccoli or other green vegetables.

Once you’ve spread out the filling and topped it, cover it with the other slice, which contains only the mint chutney. Grease both outer sides of this covered sandwich.

Place each sandwich separately in the toaster and allow to cook until golden or well done.

Loaded with flavours and textures, your Bombay toast is ready to be served hot, and I’m sure you’ll find that it hits just the spot. If you’re a fan of street food and want to make more of it yourself, you may also enjoy my recipes for green moong bhel and sundal. I’m curious to know: do you find that street food is unbeatable in its natural environment, or are some street food classics even better when made and relished at home? Let me know in the comments!

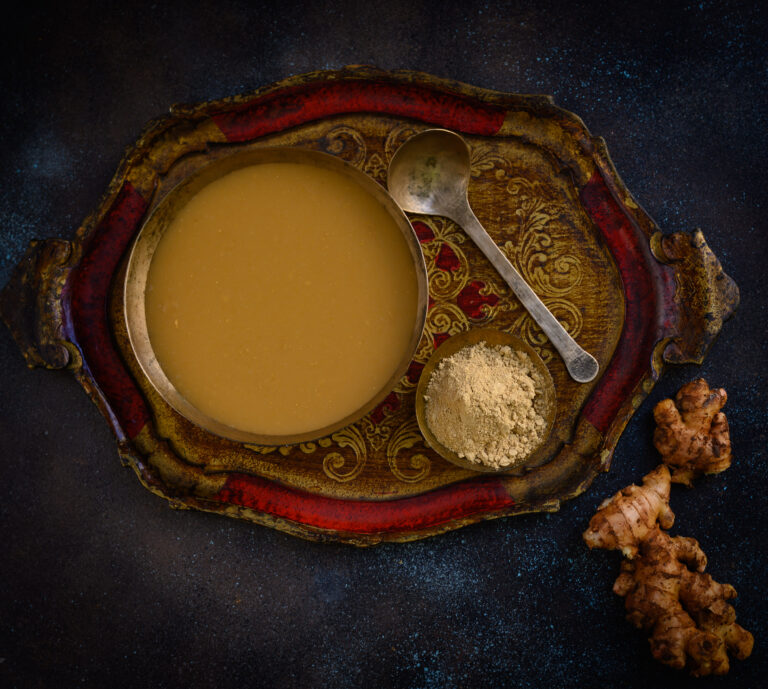
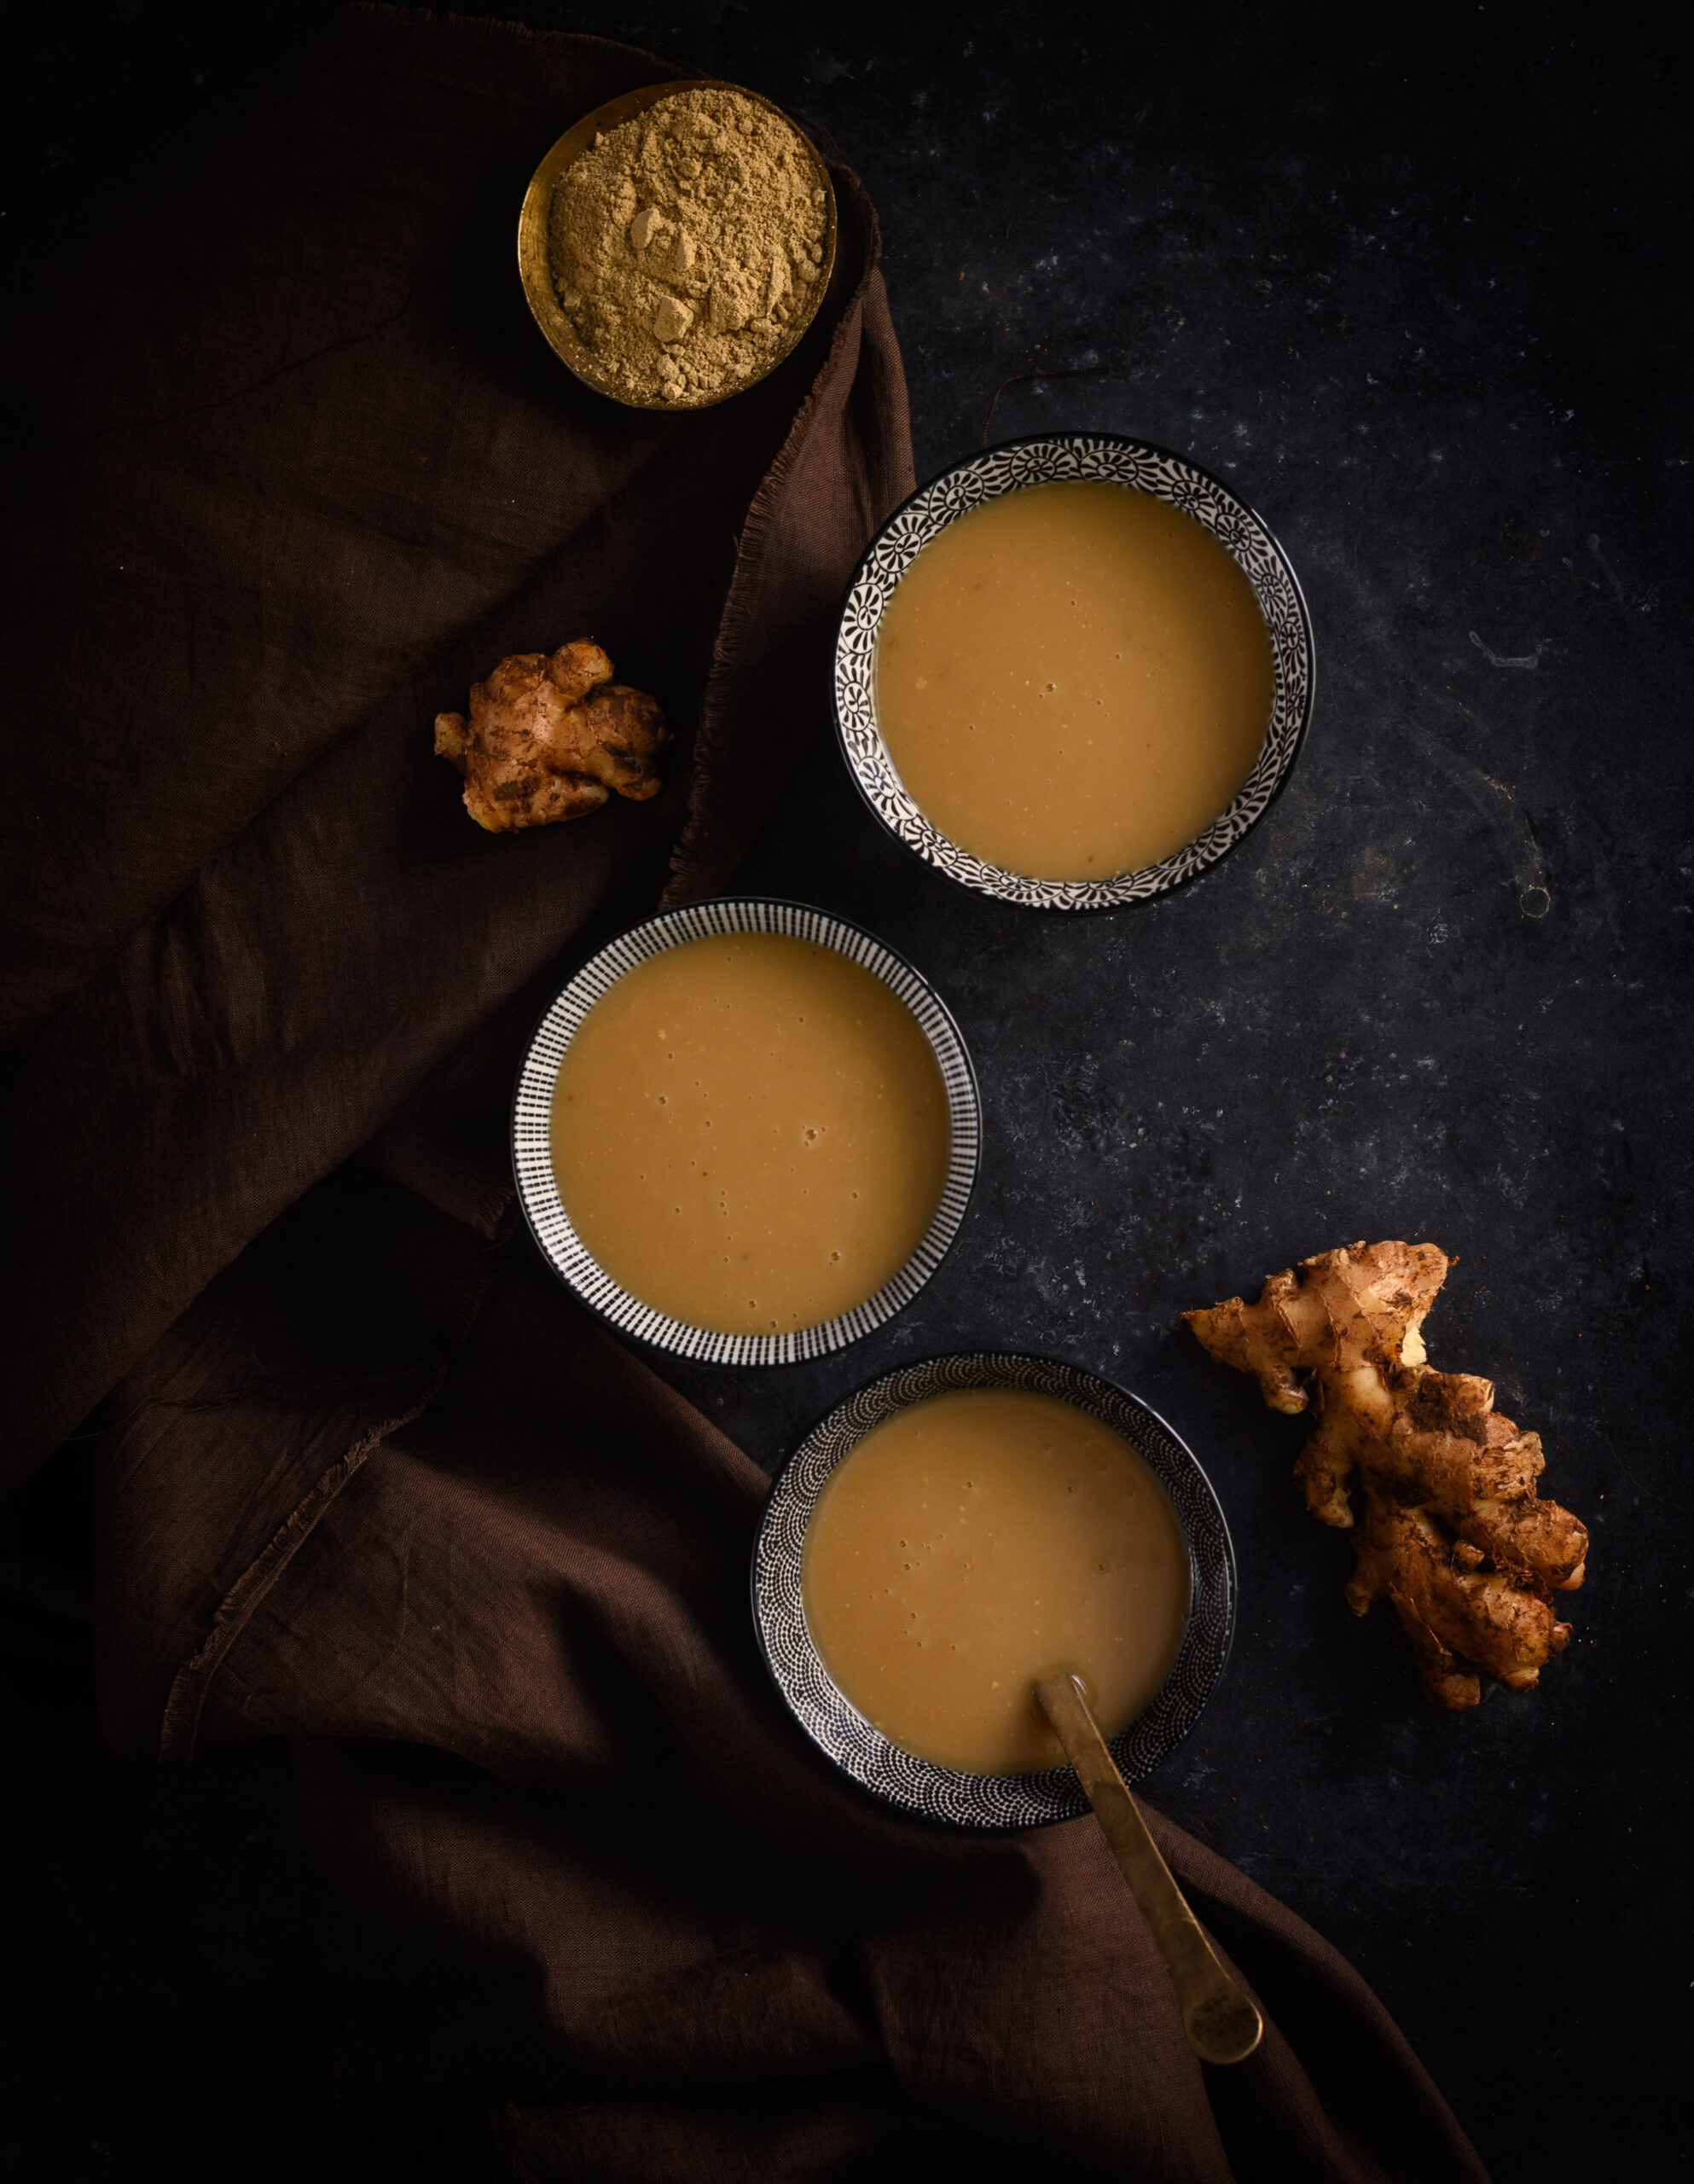
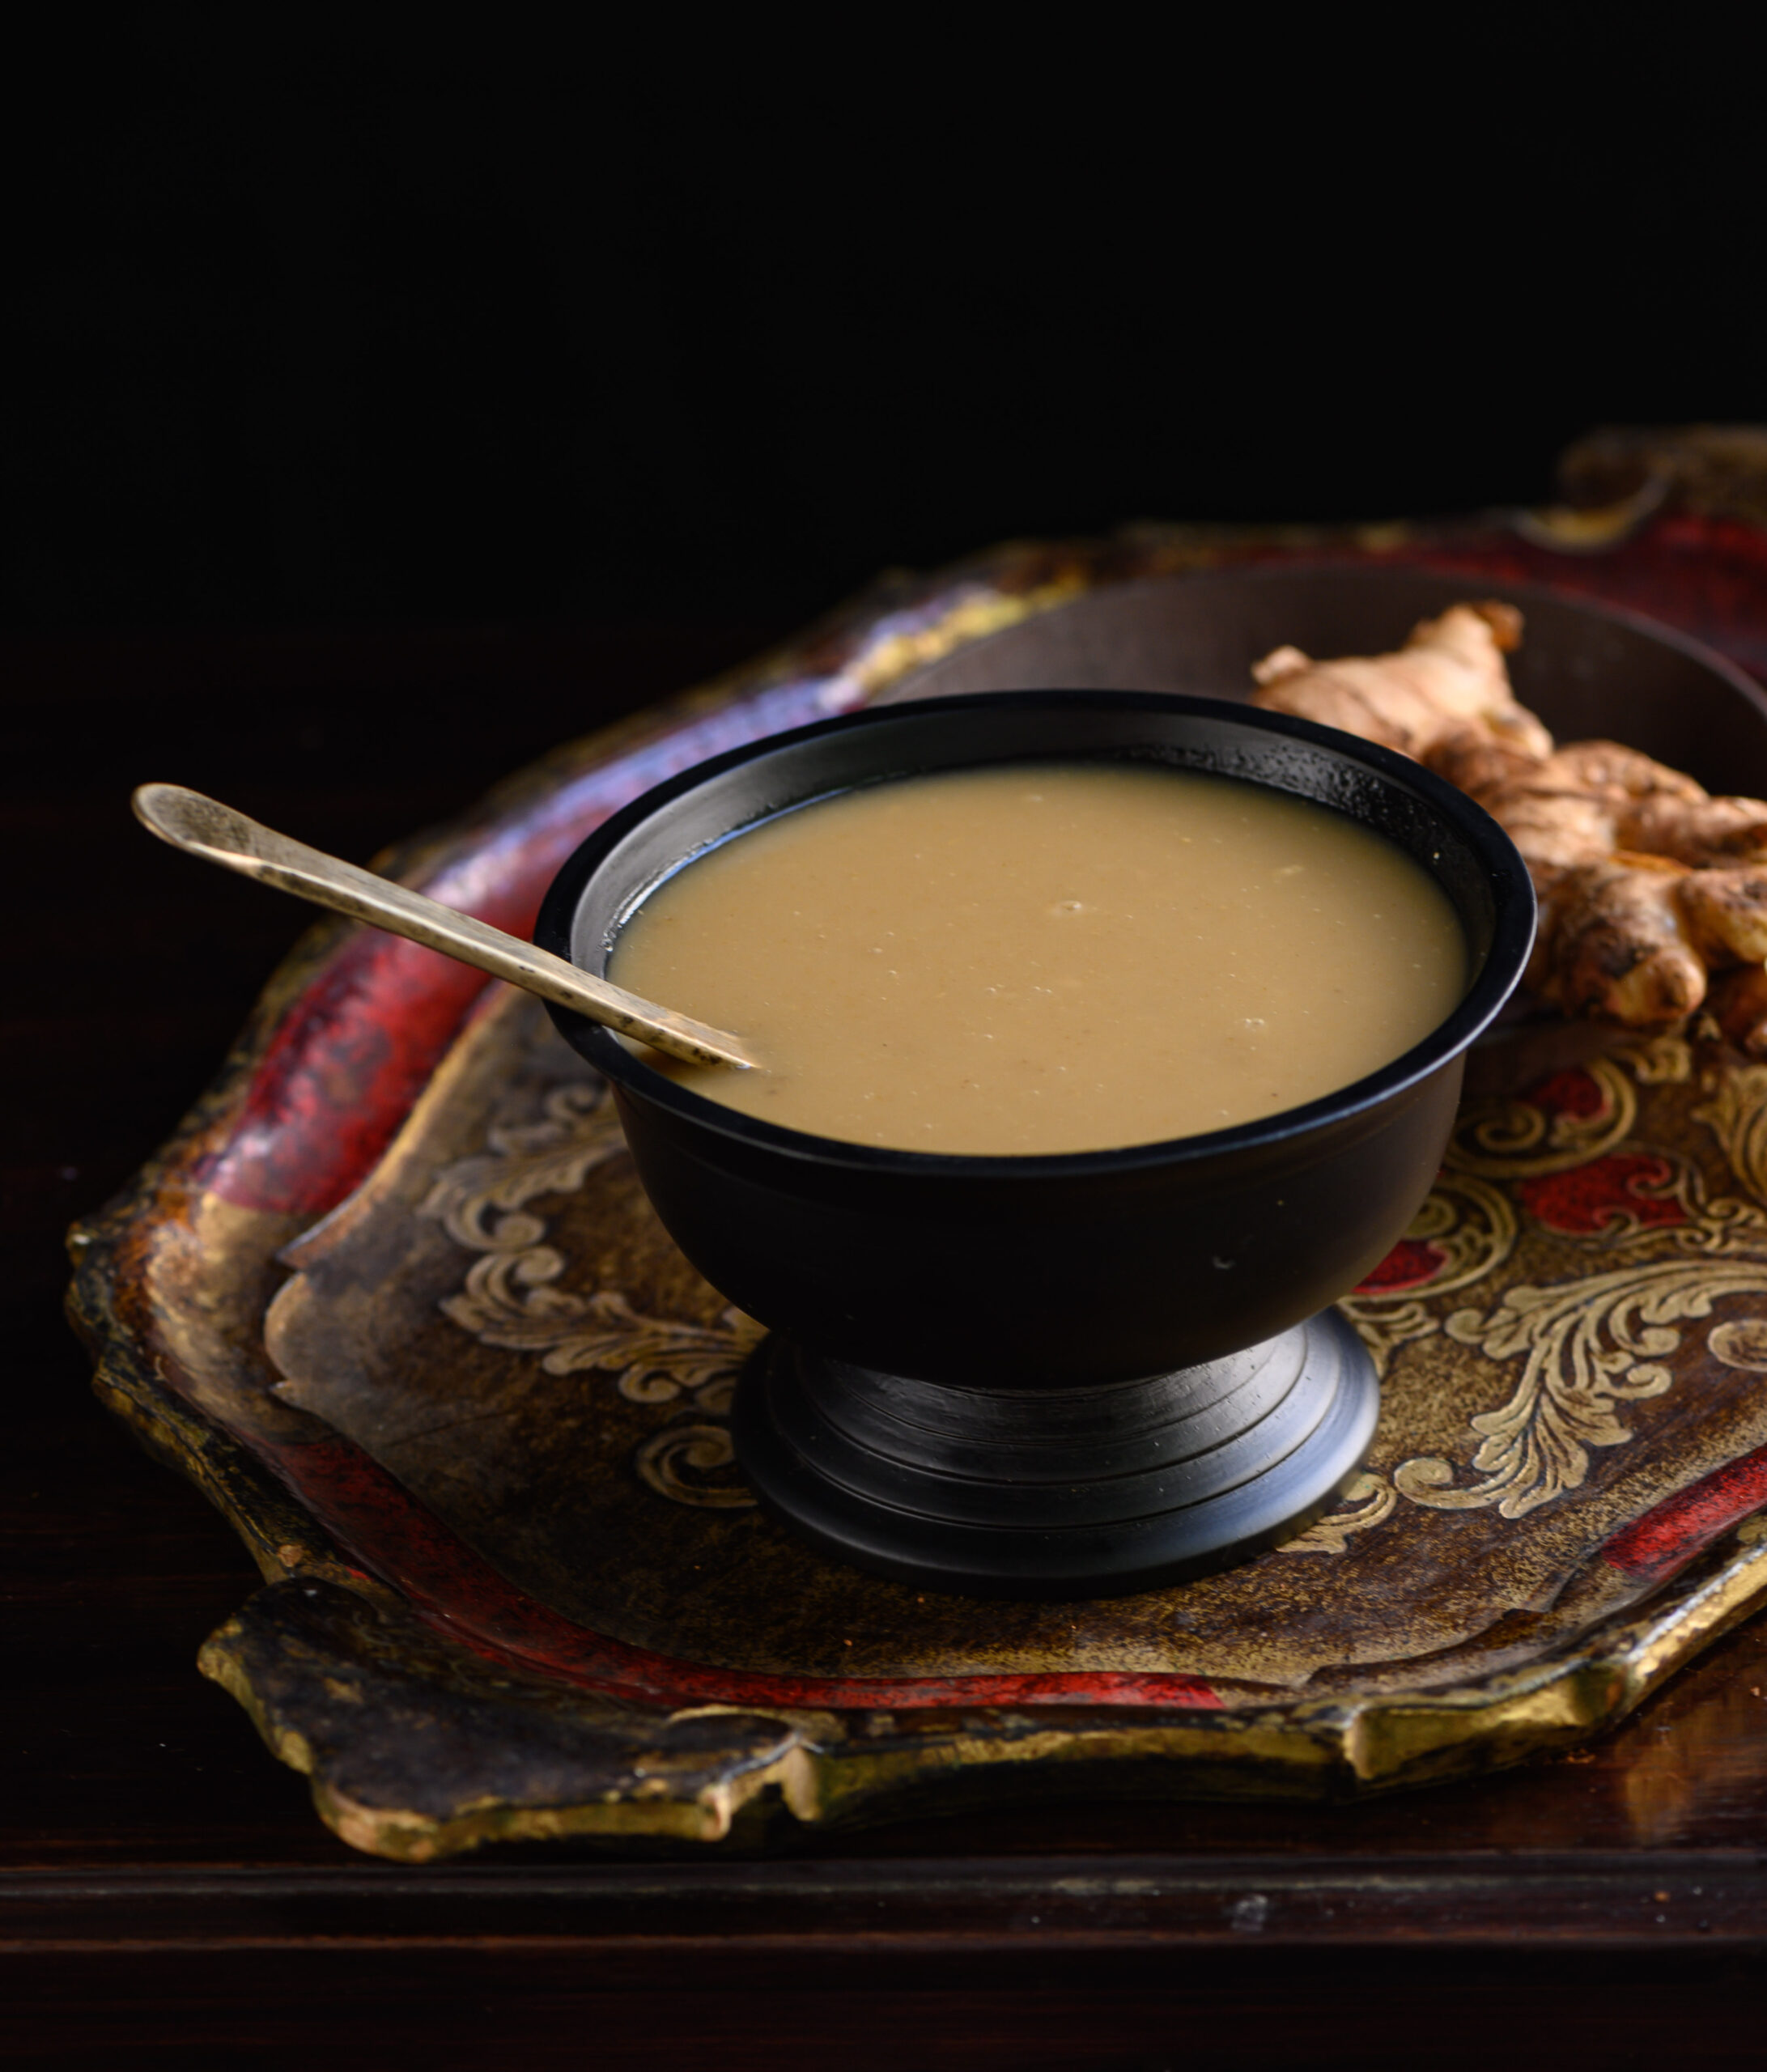
The seasons are changing and the usual respiratory illnesses are going around as we adjust to the weather, worsened of course by pollution and the busy modern lifestyle. A few years ago, I shared this remedy from my childhood, and many of you told me that you found it effective and refreshing. Now, I’ll share a complementary dish, a warm and nourishing porridge that I absolutely loved while growing up. This raab is like chicken broth for the Gujarati soul, and is one of my most favourite comfort foods of all.

Raab was my mother’s go-to fixer for colds, sore throats, coughs and so on. It coats the throat well, alleviating any itchiness there. New mothers are often fed raab, due to its fortifying properties. I think of it as a dish to simply warm the soul, when you’re feeling down and need a hug. It’s a light meal for whenever you’re feeling under the weather.

Raab falls into the category of “accessible medicine”, something which anyone can make, especially when a pharmacy is out of reach. It is comprised of very basic and affordable ingredients that can be found in any Gujarati kitchen: ghee, bajra (pearl millet) or wheat flour, ginger powder (soont) and edible gum resin (gond). Most communities will have some version of such a dish, made of elements which are at hand for all members of society.

Bajra or pearl millet is usually had during the winter months or during the wet, cold seasons. My aunt, an expert in Gujarati cooking, and from whom I learnt a lot during my many summer holidays with her, explained that bajra and ajwain (carom seeds) are used during winters as they warm the body. In the summers, wheat flour is substituted for the millet. The ginger powder also has a warming effect, in addition to adding taste. I’m still trying to find out exactly why dry ginger powder is used rather than freshly grated ginger, and have arrived at my own conclusion. My theory is this: dry ginger is a ‘yang’ ingredient, hence positively affects the deeper organs in the body like our bones. It is also stronger than hydrated fresh ginger.

My aunt would also also say, “Don’t forget to add the gond.” It has numerous health benefits, including aiding the digestion. I saw this lady in Patdi, Gujarat, selling the resin, which she told me she collected herself from the bark of trees in her village. I couldn’t resist buying some from her.

With so many healthy ingredients, you would imagine that children would need a lot of convincing before they ate this porridge, but that’s not true. Whenever my siblings or I fell ill when we were growing up, I would ask for a bowl of raab as I absolutely loved it. The reason for this is that this remedy is… sweet! This is thanks to the jaggery, of course, which has its own host of benefits, as regular readers of this blog will be familiar with. Raab tastes so delicious that you’d never believe it was good for the body, but the proof is in how healed and nourished you feel after you’ve had some.

If I wasn’t unwell, my mother always said No to my request, and this has created a powerful memory link for me. She never treated raab as an anytime dish, as a result of which I too refrain from doing the same. There is also something to the charm of having it when under the weather, and feeling soothed by it in those times, and I feel this would disappear if I began to enjoy it as an ordinary meal. Today of course, my dearest mother is gone and when I make it for myself, I associate it with being soothing both to my throat and to my heart because it was she who would make it for me…

In that sense, raab is sentimental for me in the same way that laapsi, a sweet I only ever make on Diwali, is. No one is going to stop me from making it at some other time of the year, but I consider it sacred in some way, just as I do the raab.

Raab

(Yield: 1 bowl)

⅛ cup bajra (pearl millet) flour

⅛ cup jaggery

1½ tablespoons ghee

2 cups water

1 teaspoon dry ginger powder

½ teaspoon ajwain

In a pan, add the ghee and the flour. Stir them together on a low-medium flame until the mixture looks like a roux. Keep stirring, making sure it does not stick to the bottom of the pan, until it turns a golden colour.

At the same time, in another pot, add the jaggery and the water. Heat until the jaggery melts, stirring occasionally.

Once the roux is golden, add the ginger powder, the ajwain and the powdered gond resin. The gond will make the mixture bubble and fluff up at this point. Finally, add the warm jaggery water. Stir well and carefully, so the mixture does not start to coagulate and get lumpy.

Once it is completely smooth, it is ready to be served. Raab is best enjoyed hot.

As explained above, bajra is especially good for the winters and monsoons, as is ragi. In the summer months, you can replace it with whole wheat flour or any seasonal flour of your choice. If you don’t have much of a sweet tooth, you can also reduce the quantity of jaggery in this dish.

I wish you and your family good health as the season changes, and I am glad to share this simple and satisfying dish that will help with the sniffles and fatigue that are customary at this time. Such recipes have been treasured for generations, and it’s up to us to keep these healing traditions going in the time to come. Here are a few more home remedies: soothing syrup, raisin kalkand syrup and turmeric shot. Each of them boosts the health – and, as I personally find, the mood too! They take me on a trip down memory lane that always reminds me that food is a form of love.

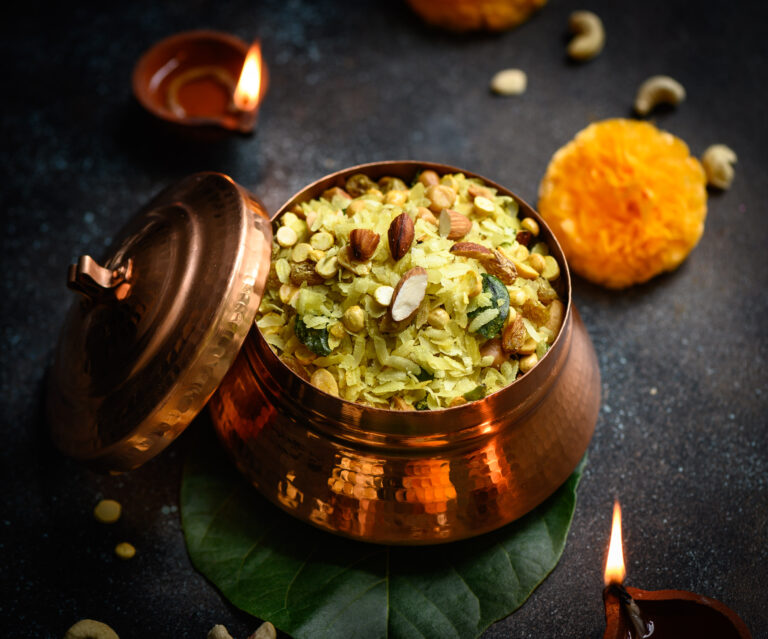
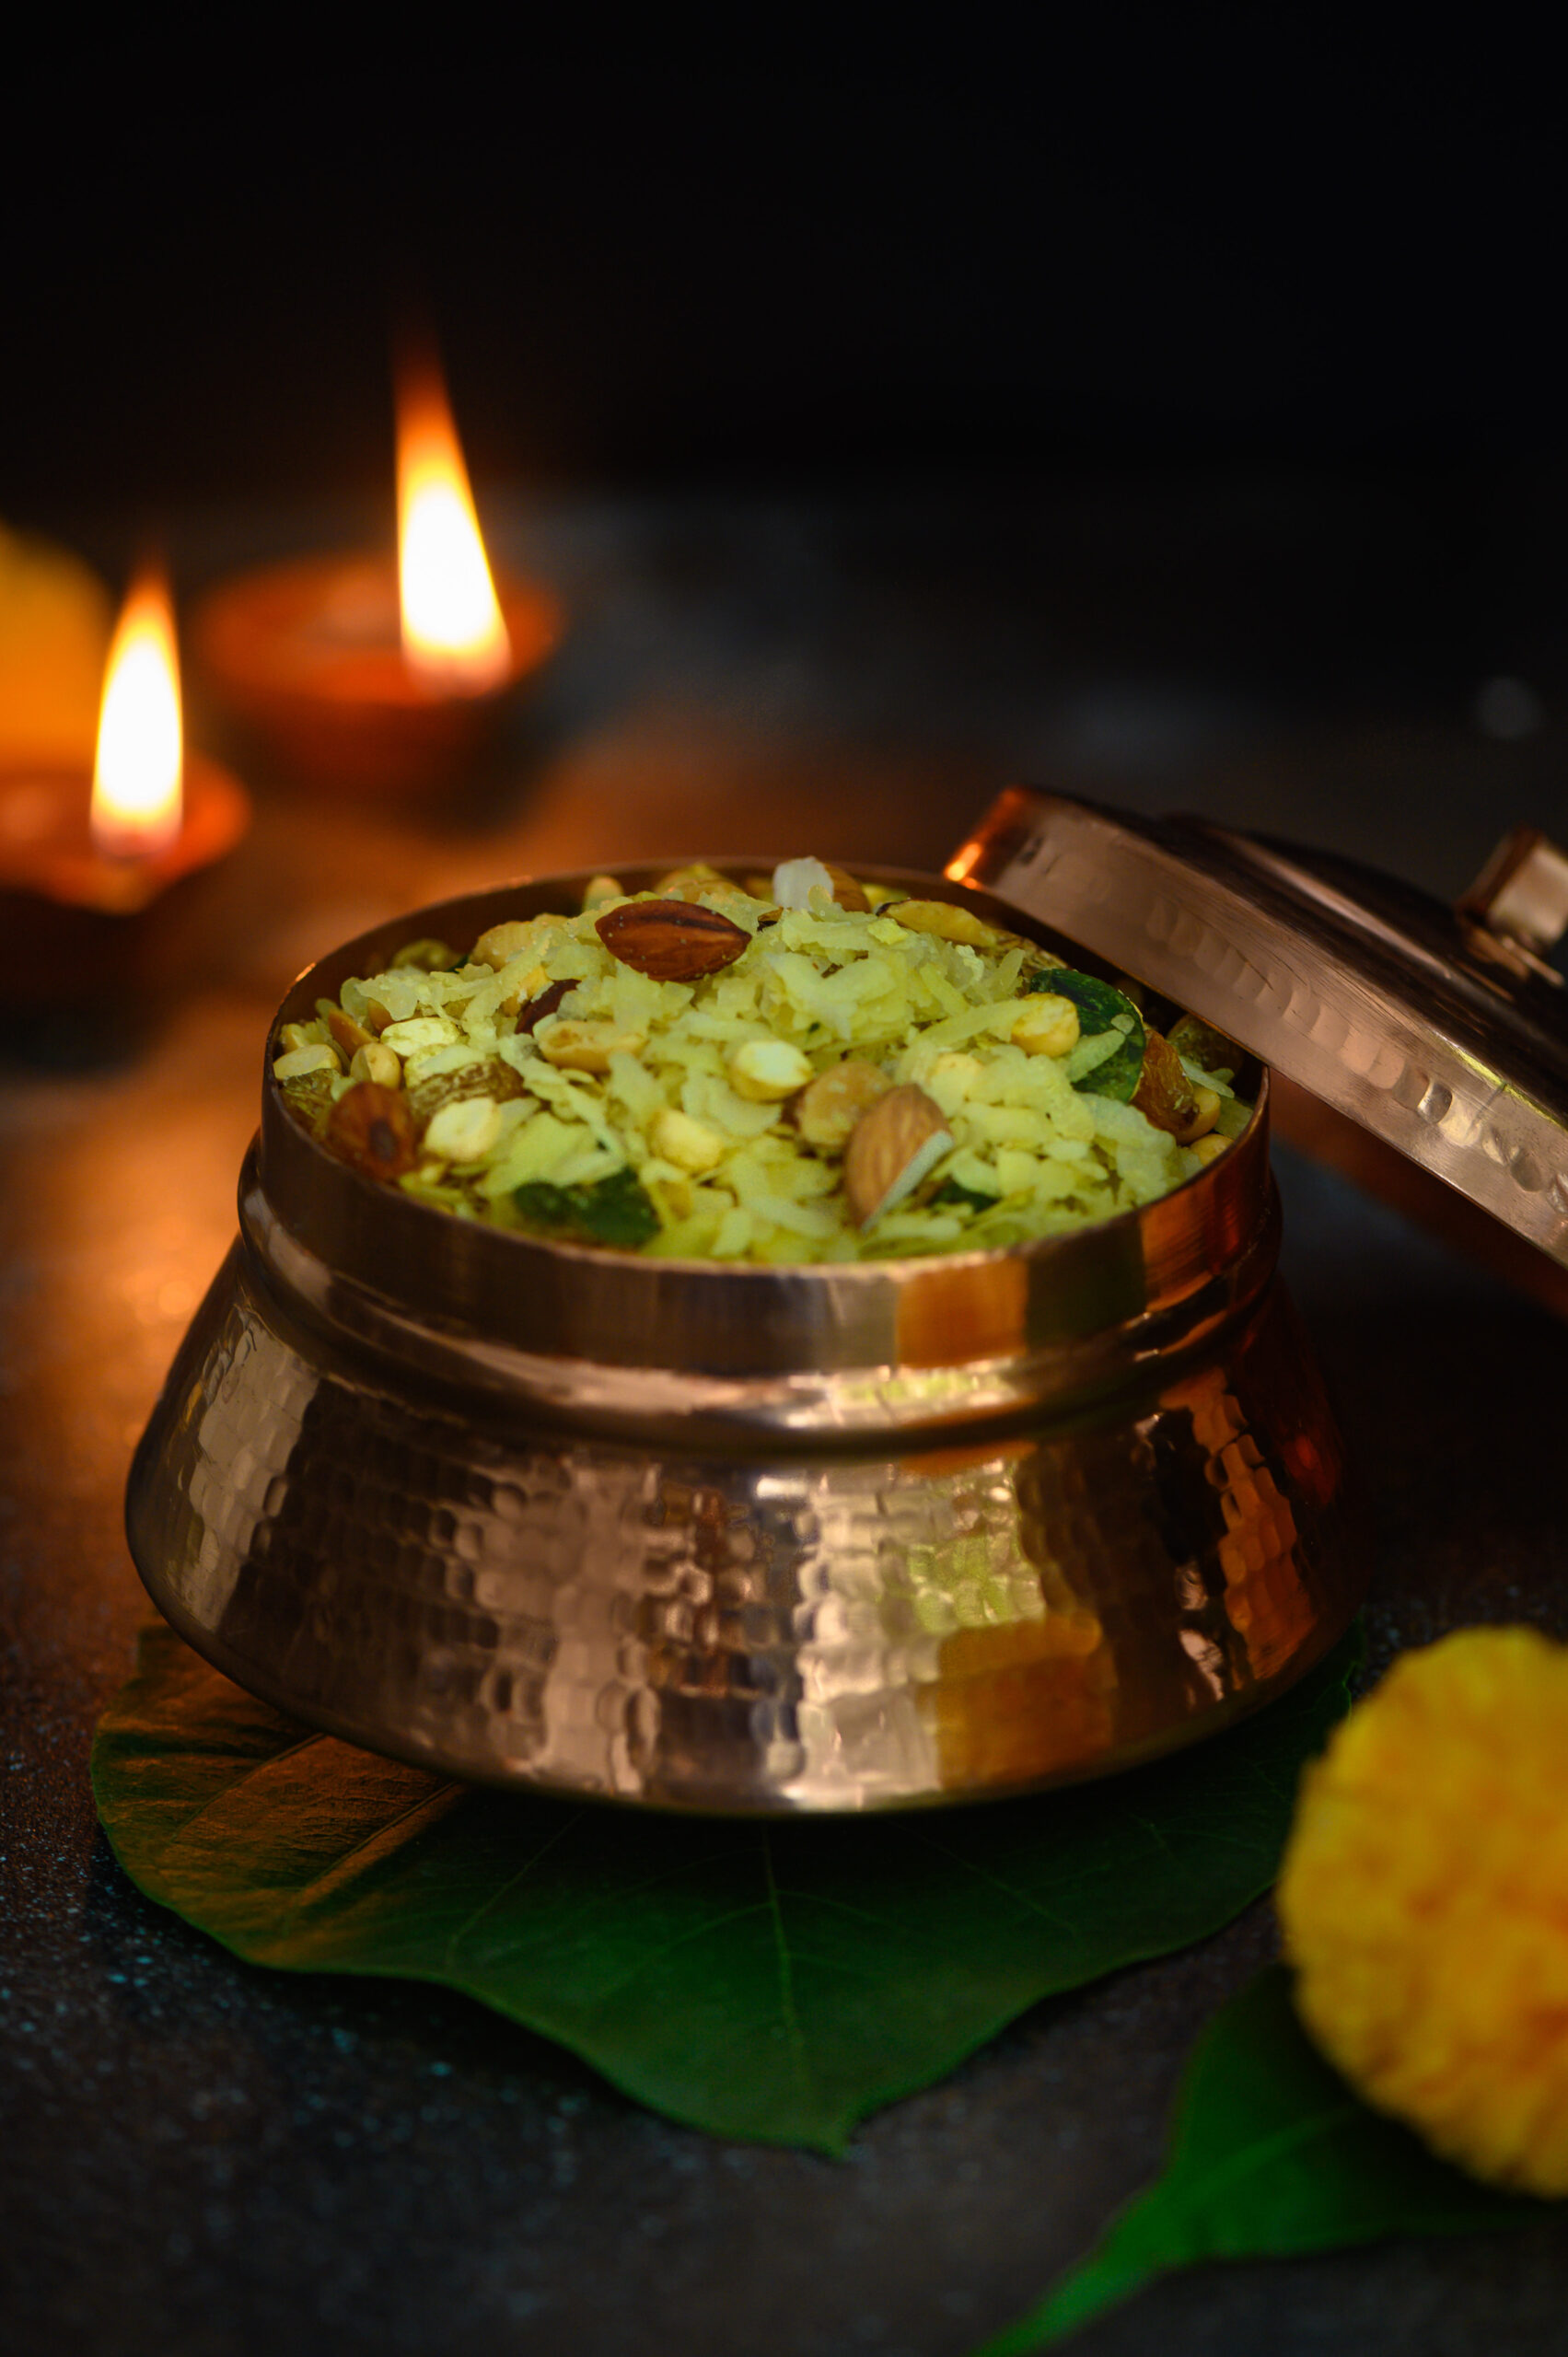
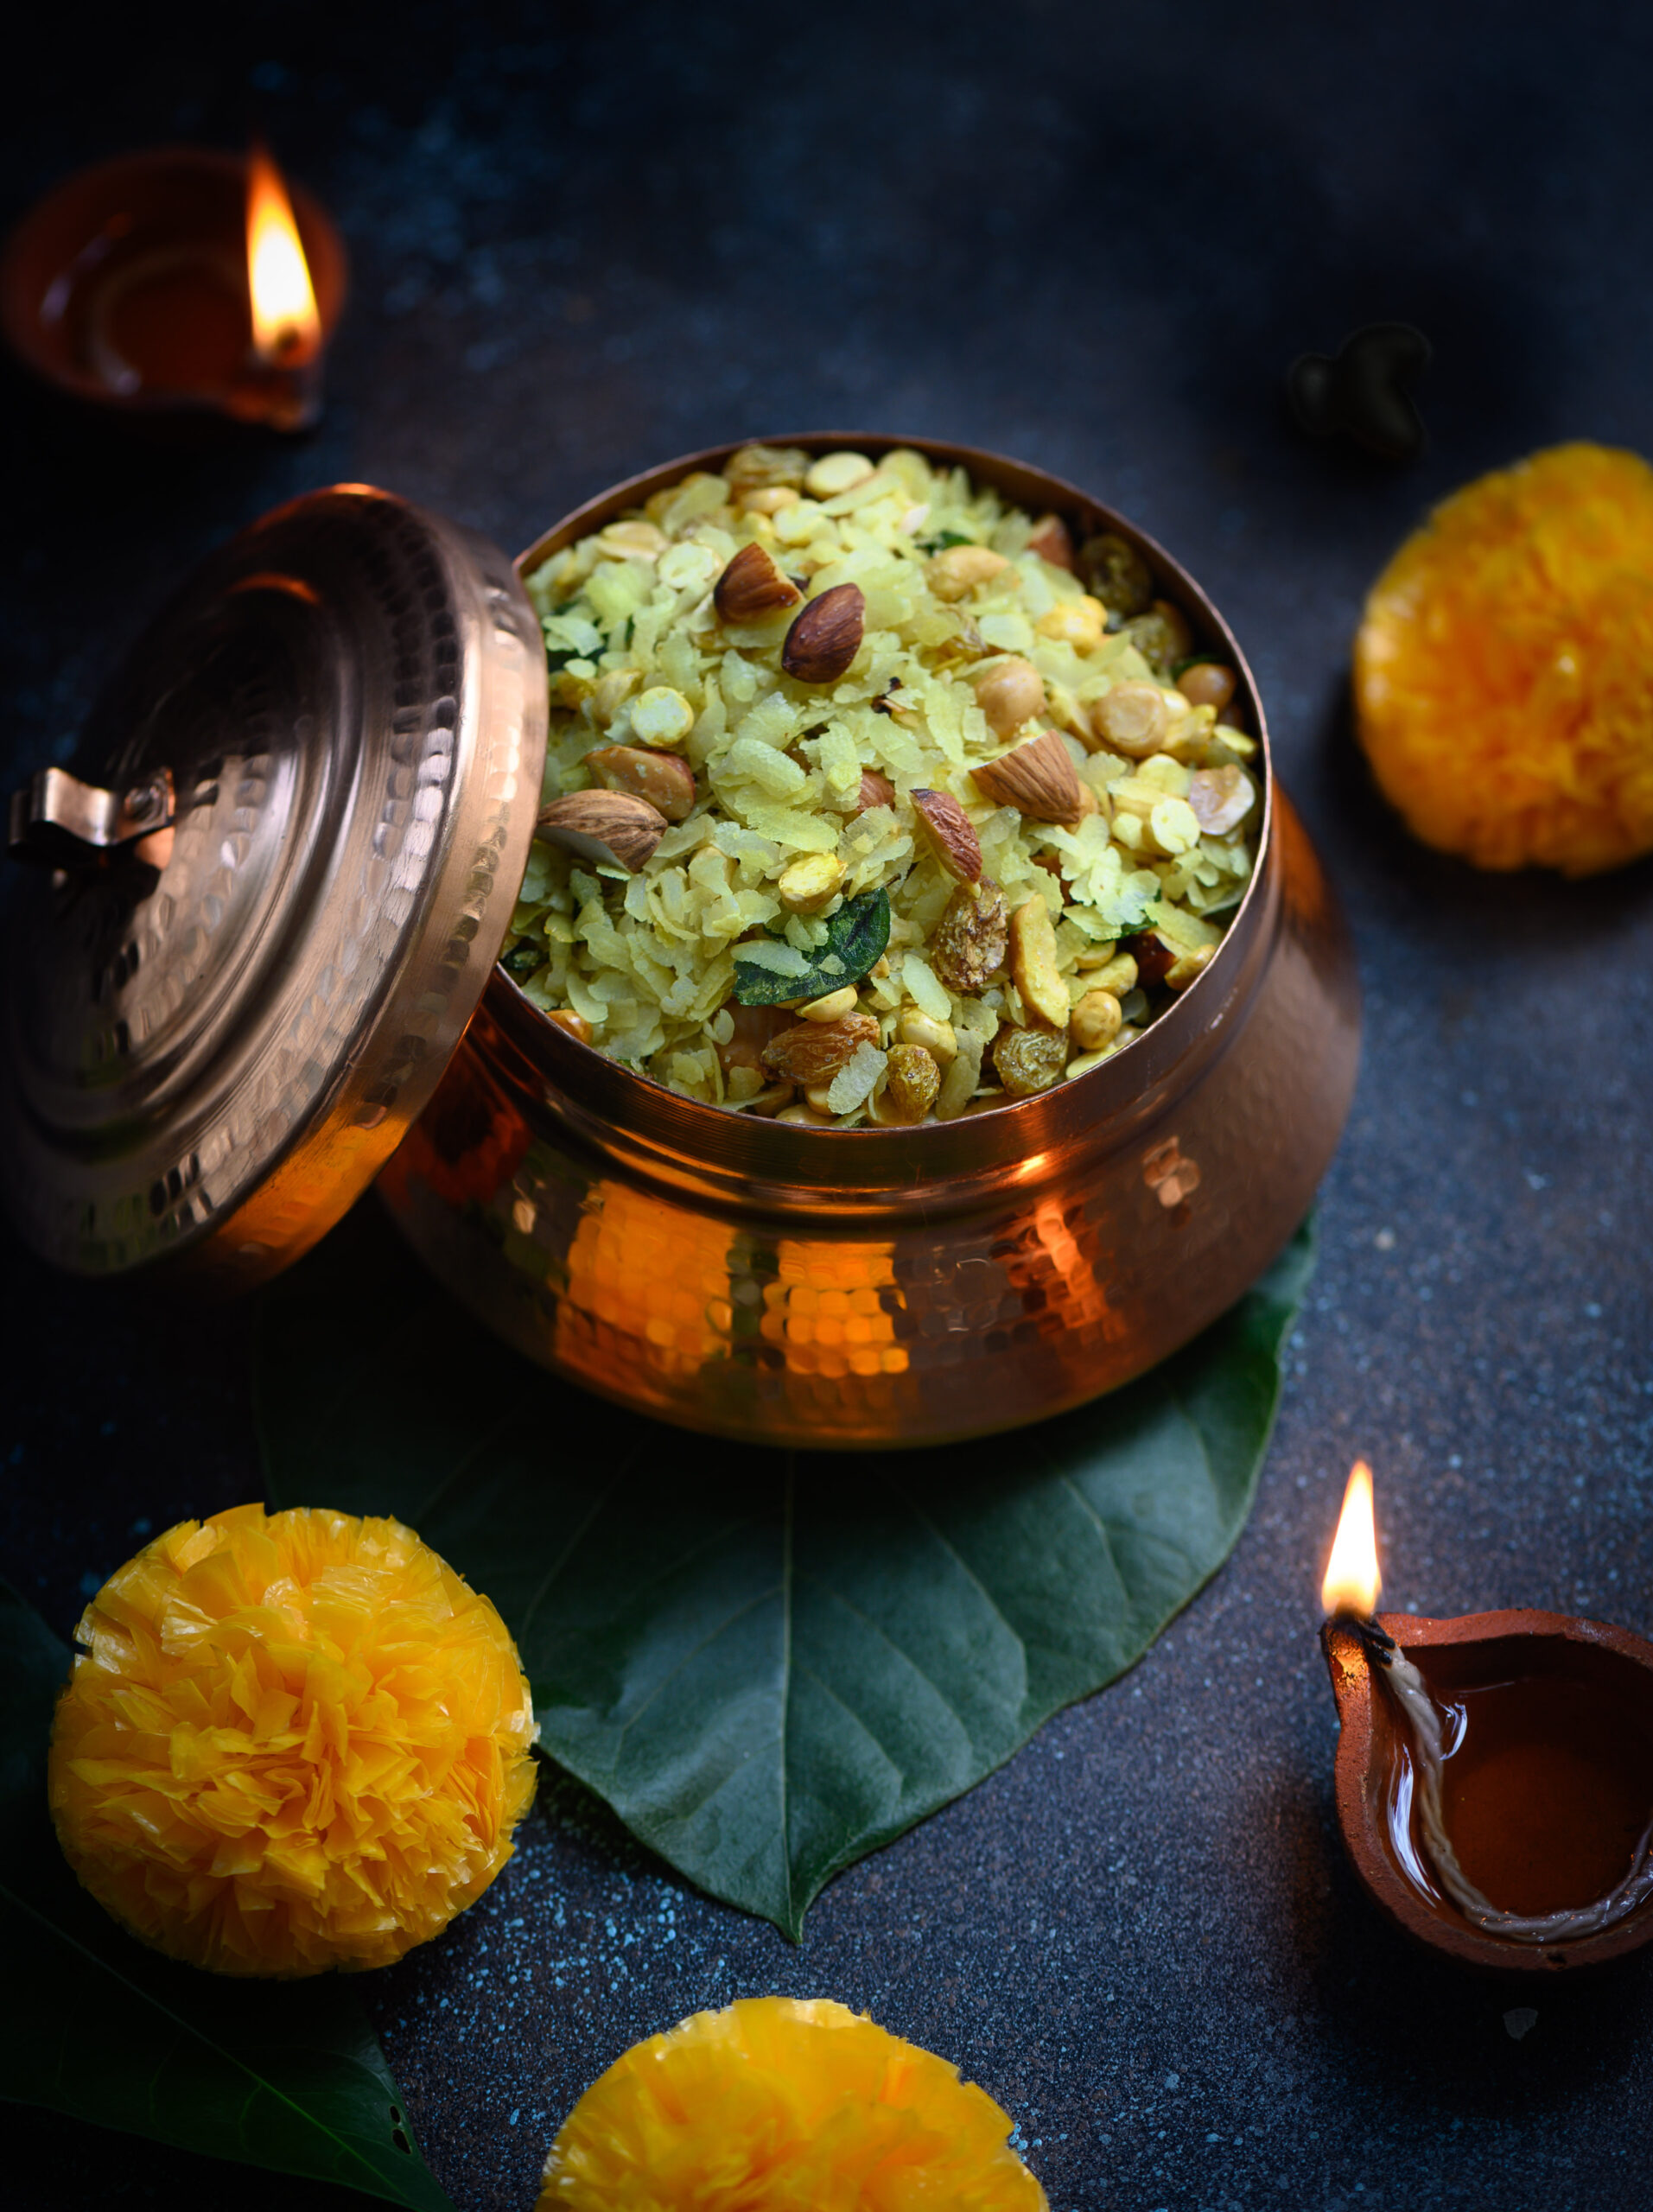
When I was growing up, middle class culture in India was all about eating what was cooked at home. Fresh food was prepared for every meal, every day. When there were leftovers, they were always put to good use. Eating out was a rare occasion, and we didn’t have the luxury of junk food. Even snacks were made at home, and this poha roast mix – what we Gujaratis call chevdo – was one of them.

This is a snack to be consumed by the handful, with a fun mix of nuts and seasoning. The basic ingredient is poha, or flattened rice, which most Indian communities use in some way or another. My own earliest memories of it are in the form of the dudh-poha which my mother would make to take with us to the beach on Sharad Purnima nights, as well as this poha roast mix – the recipe for which I am sharing today.

In those days, this simple but addictive snack was one of my mother’s Diwali staples. I remember how she would usually make it a few days before the festival, in the evenings, after all the duties with us kids were done and we had finished our homework. But sometimes, when we were at school, she would meet with her friends and they would make everyone’s festive batches together. Nowadays, this might be called a community cooking type of get-together. To the mothers of that generation, who did not have home staff, it was so much more easy and convenient to join hands and cook. It was also a way to socialize. Occasionally, if the joint cooking happened on a weekend or at a time when the kids were at home, we would also get a chance to hang out with our own friends, and this was always fun.

The mothers learned from each other in this way. They would just be a group of 3 or 4 women, but each with her own expertise. I recall how my mother would say, for example, “This aunty’s mithai turns out very well, so this year I want to make some with her.” The homes they convened in depended on practical considerations like space or utensils. Who had the big kadai? Whose house was less crowded that day? These gatherings happened mostly around festive occasions, and I think of them as an early version of our blogs today. This is one reason why I treasure my mum’s cookbook so much. It contains all these different recipes that she learned from her friends, collected over the years through interacting with each person who shared the best from her personal repertoire.

As Gujaratis in Tamil Nadu, I think they also wanted a sense of community. Although we never felt alienated by Tamils or their culture, and grew up in our Tamil neighbours’ homes too, there was something meaningful about these gatherings. Meeting a few times a year to celebrate auspicious events in our traditional ways allowed us children to connect with language, cuisine and other aspects of the culture which were reminiscent of our parents’ and grandparents’ own upbringings.

Diwali is all about exchanging sweets and savouries, and back then there were no fancy delicacies to be ordered in bulk, either. Everything was homemade and non-commercial. Everything was simple and there was a spirit of sharing – “I give you a Diwali treat in my box, and you give me a Diwali treat in your box.”. When this group of women got together and cooked, they made enough for each family to take home, as well as to give away.

Some traditions you just have to keep. Which is why, even though Gujaratis are inventive when it comes to mixtures (and you know how much I love doing something unique to any recipe I try!), this chevdo / poha roast mix is a basic, traditional recipe. The one difference is that it is roasted, not fried. You can replace some of the ingredients based on your preference, but I recommend that you leave a hint of the sweetness in as it goes well with the crunch.

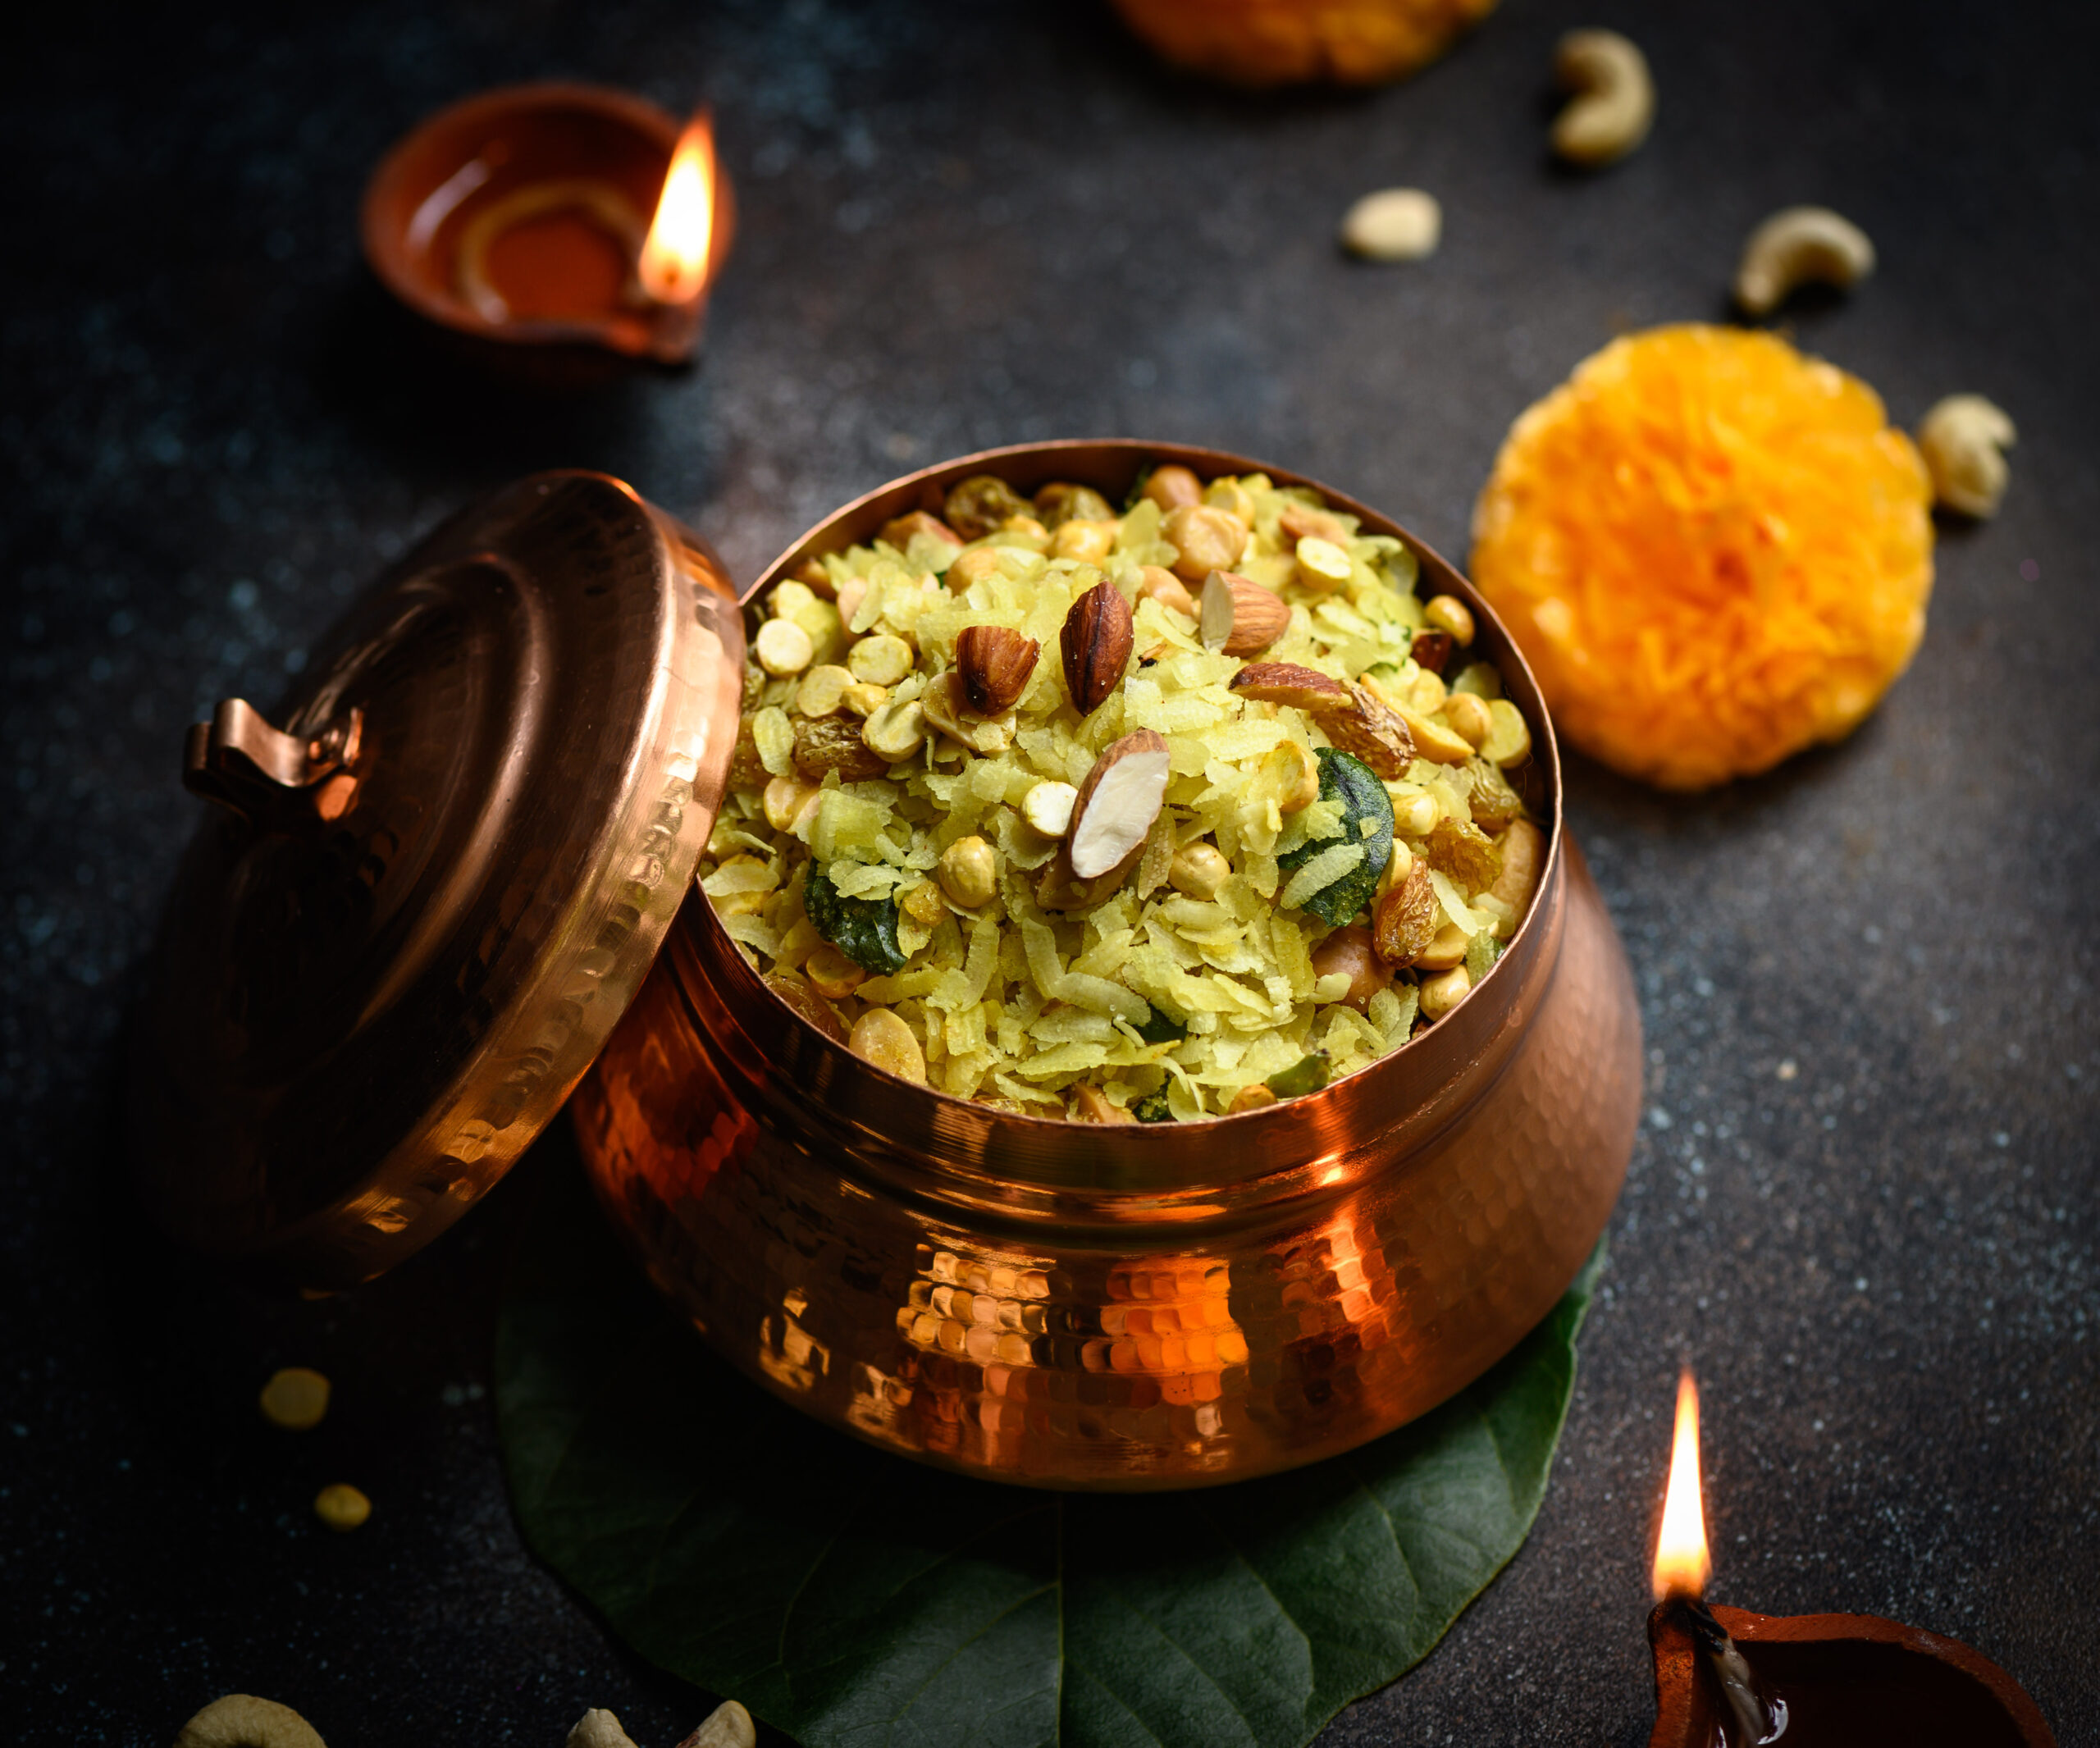
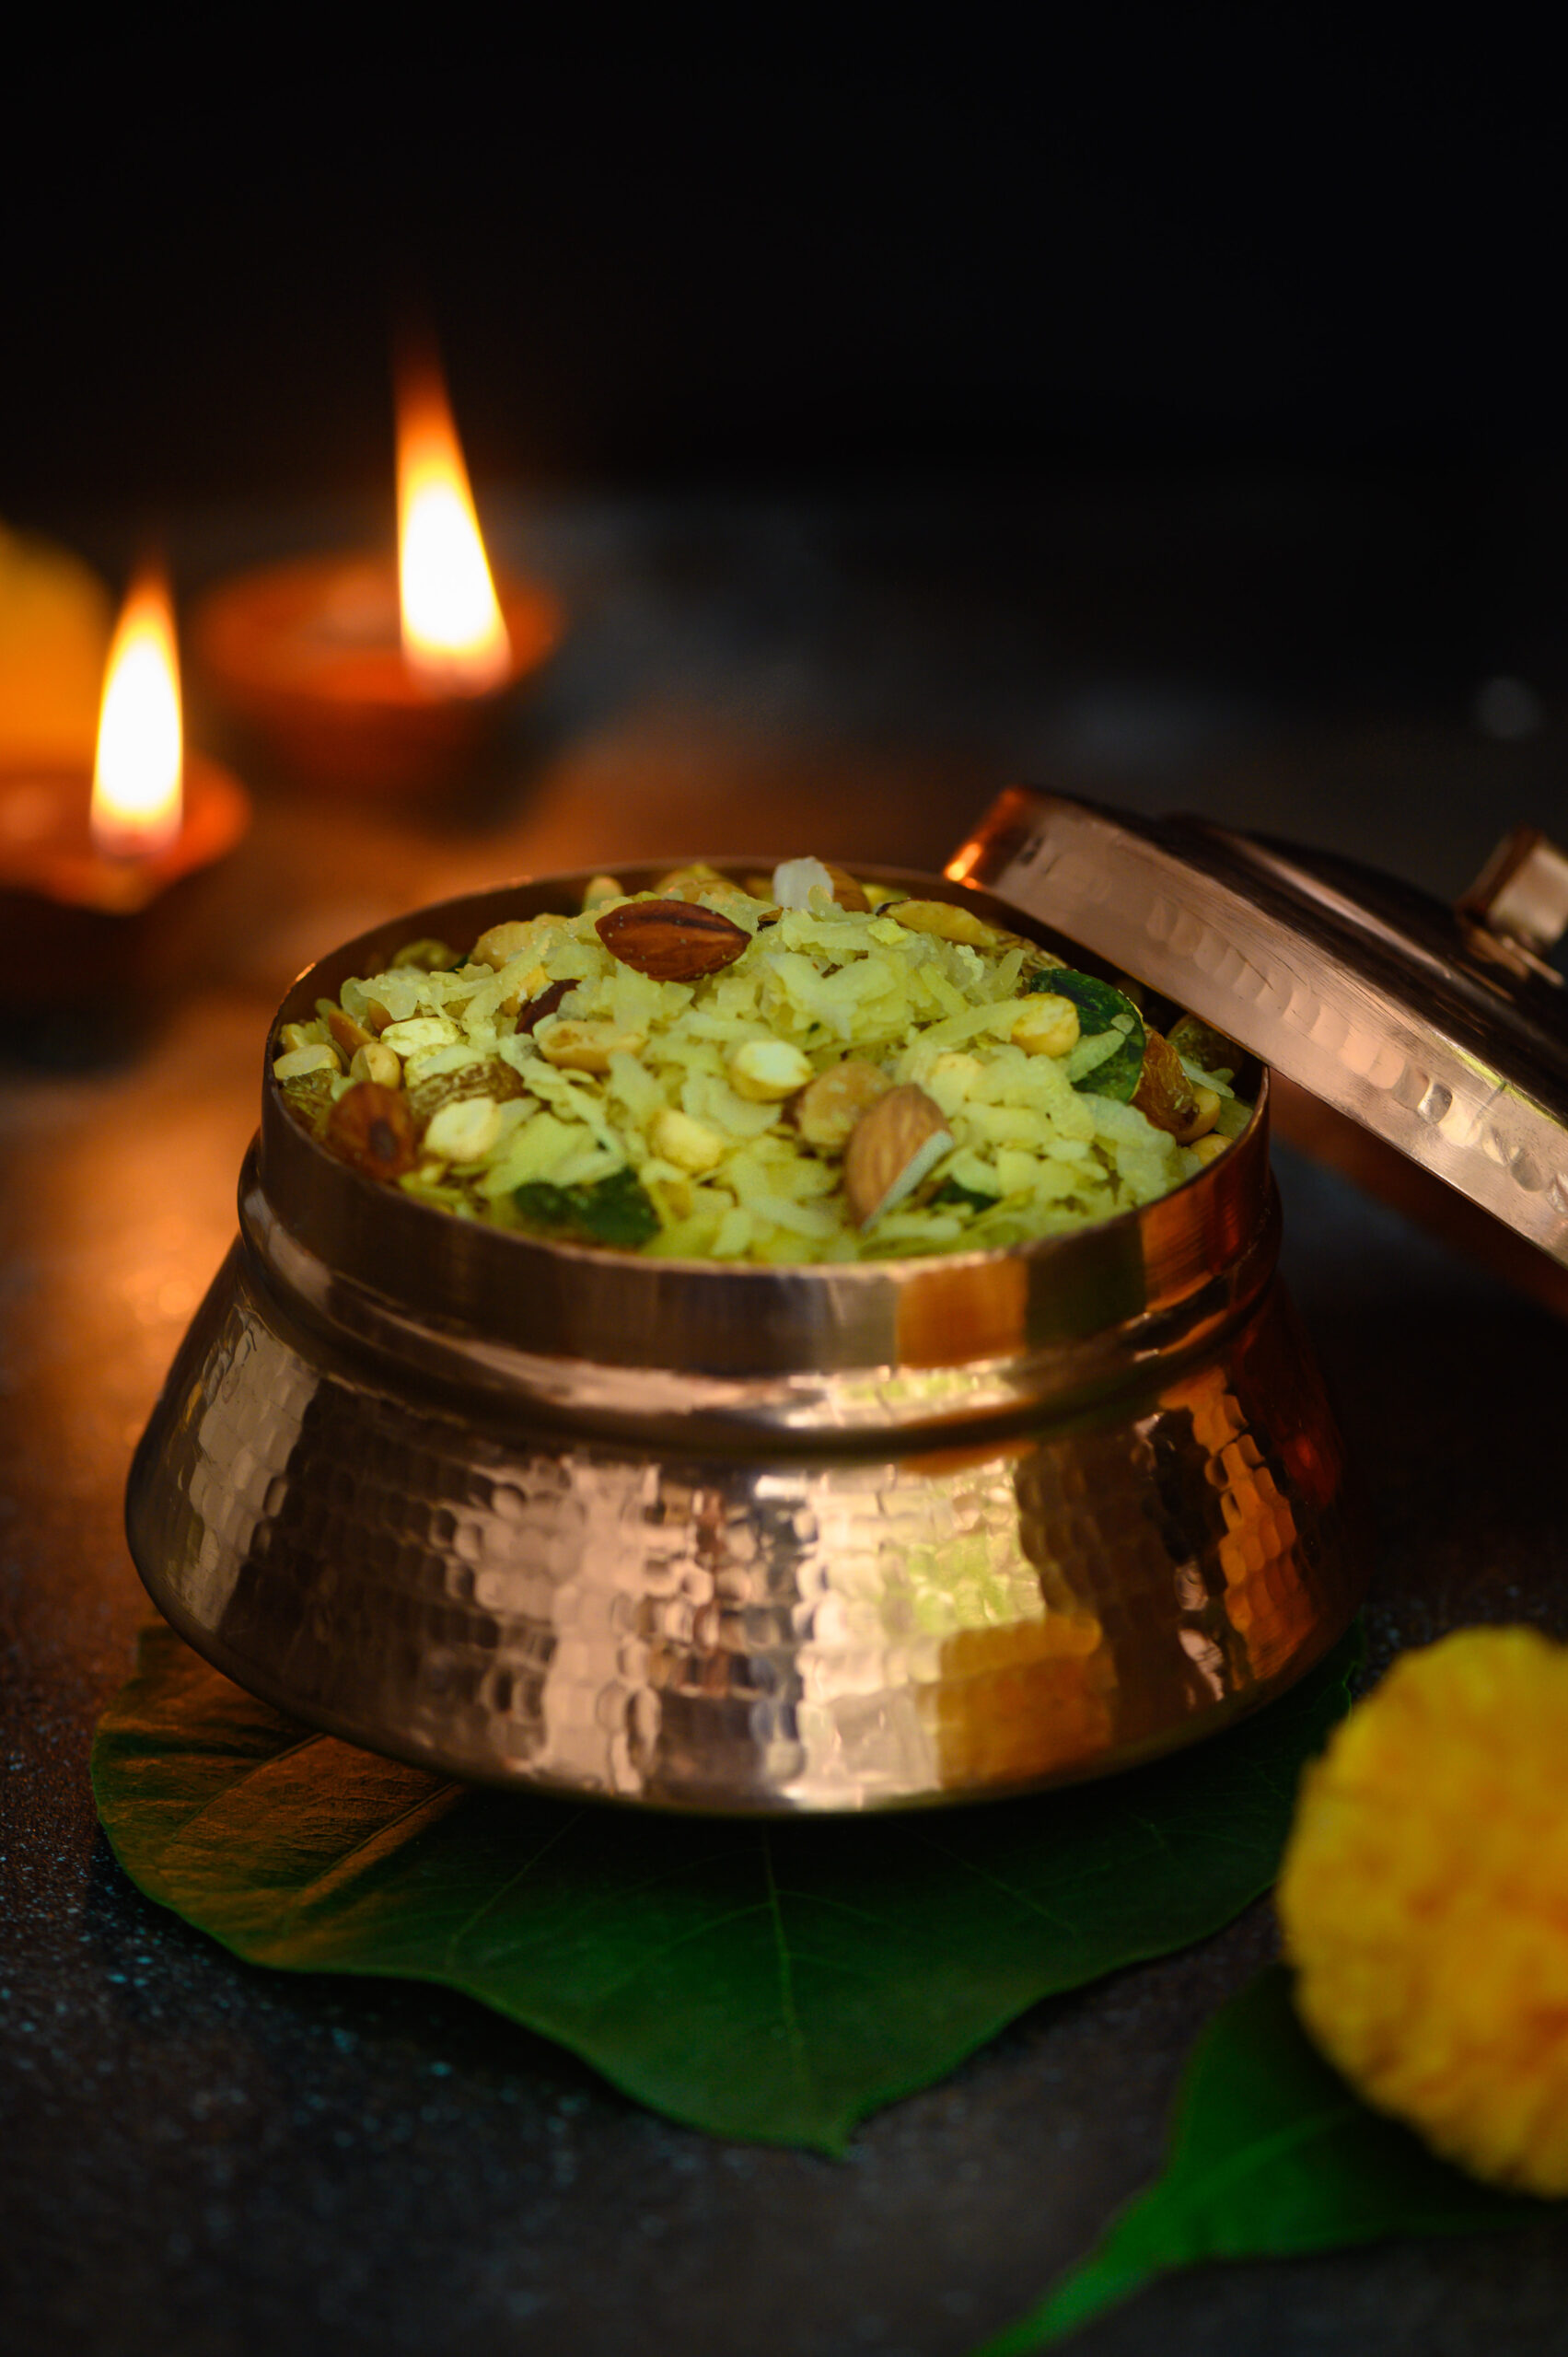
Diwali Chevdo / Poha Roast Mix

(Yield: approximately 400 grams)

150 grams poha

60 grams peanuts

60 grams roasted gram

50 grams almonds

50 grams raisins

50 grams cashew

¼ teaspoon turmeric

1 tablespoon heaped powdered sugar

⅓ cup oil + ½ tablespoon oil

1 tsp salt or as per taste

2 green chillies

A handful of curry leaves


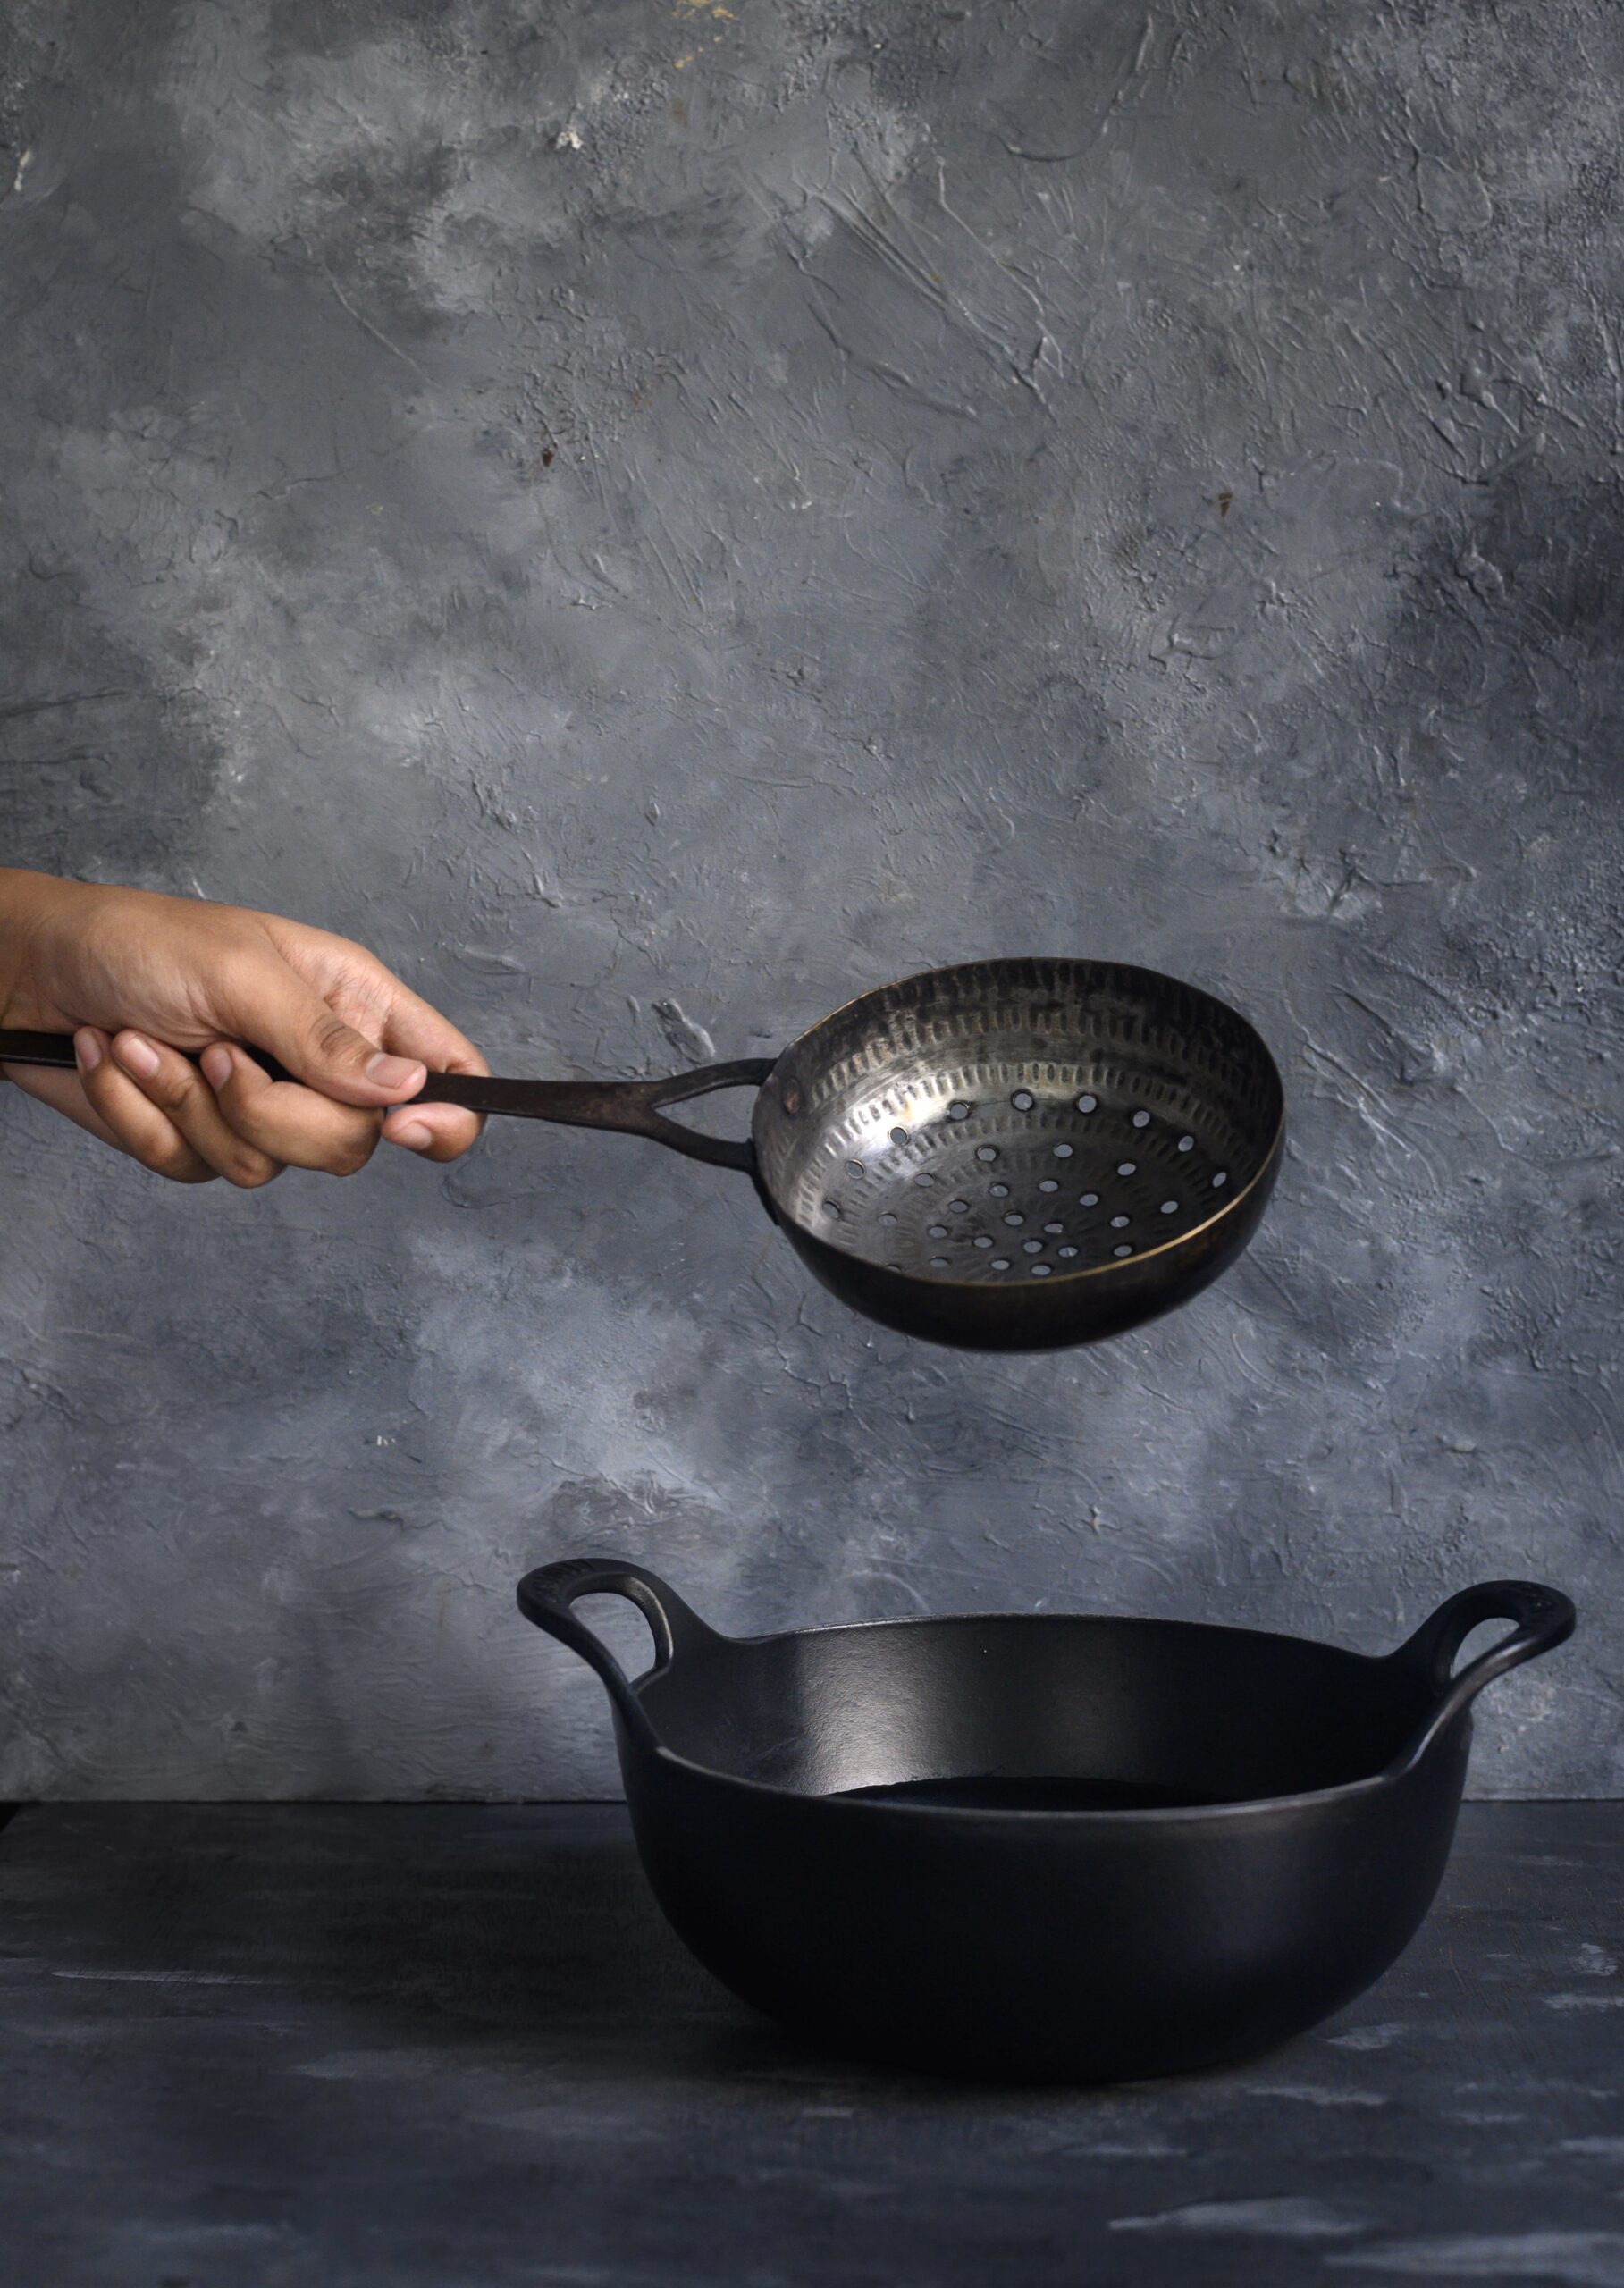
The truth is that fried poha tastes fantastic, but I am giving you a roasted poha version in order to keep up with the times. With the pollution in the environment today, we must make an effort to eat healthier. This method below is completely different from the fried kind, but if you do want to try a fried variant, do try to get your hands on a special utensil which will make the process easier and less messy – a cup-shaped ladle with draining holes, into which you put small batches of the ingredients in at a time.

In a wide bottom pan, roast the poha on a low flame, making sure it does not turn brown. Avoid using a spatula to stir as this will only cause the brittle poha to break into tiny pieces. I picked up the pan and swirled it around gently, and used my hands to turn the poha around. Keep the poha moving frequently. The roasting takes approximately 15-20 minutes. Once the poha is roasted, set it aside.

In another pan, add the ⅓ cup of oil and allow it to heat. Now, add the roasted gram. On a medium flame, stir using a ladle. Once the roasted gram is golden, drain well and place on an absorbent paper.

Next, add the peanuts and repeat the roasting. Do the same to the cashew nuts and almonds, separately, as well.

Lastly, roast the golden raisins. Be careful as they will burn easily. At this point, lower the flame and once they fluff up, drain and remove them.

Now all the ingredients are ready to be assembled. On a low flame, add the ½ tablespoon of oil to a pan. Add the green chillies and some curry leaves. Once the chillies turn colour slightly, add salt, sugar and turmeric. Immediately after, add all the roasted ingredients – poha, peanuts, cashew nuts and raisins – turn by turn and mix gently. Make sure all the spices are incorporated well and coat all the ingredients. Ensure that the spices do not get burnt. This can be done by keeping a low flame and stirring the ingredients constantly as you add them.

Allow to cool on the pan. Do not cover as this may cause moisture to fall into the crispy chevdo.

Your Gujarati Diwali chevdo / poha roast mix is now ready, and it tastes especially yummy with chai. It’s my husband’s and daughter’s most favourite snack, which is why I’ve got a headstart on making it for this Diwali. I hope you’ll enjoy it, and make it a part of your festivities too. I’d love to know what you think of this delicious mixture, the recipe for which could be as much my mother’s, or her friend’s, but is now mine and yours!