Tag

easy cooking

Browsing

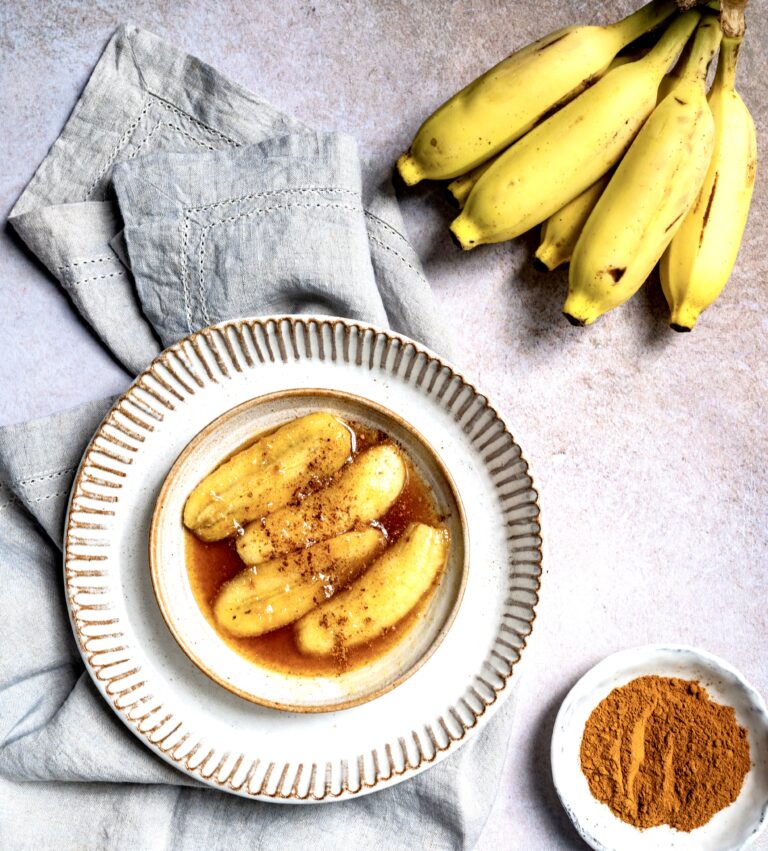
The festive season is about to begin here in India, and sweets galore are going to be produced, shared and consumed across the length and breadth of the country. It will be almost impossible to avoid consuming significant amounts of sugar at this time, but aside from moderation, we can also tweak the dessert offerings in our own homes and serve sweet but balanced treats. This will add a touch of novelty too. These caramelized bananas are a perfect addition to a more thoughtful celebratory menu.

Bananas provide not only a great sugar rush, but they are high in potassium and kept on hand by many gym-goers as they replenish electrolytes. Living in a country that produces over a quarter of the world’s bananas, and especially in a region where the plant is prevalent everywhere, my exposure to the fruit and the plant are certainly high. The plant itself is one of my favourites, and is beautiful to look at. I frequently use the stems and flowers in dishes, such as this banana stem buttermilk. I do bake the fruit into a loaf now and then, or cook it in a kela nu shaak but to tell you the truth, I am personally not a great fan of it. The fact that I thoroughly enjoy these caramelized bananas is therefore a testament to their tastiness.

The first time I had them was on a surprise holiday with my husband. We went on a really long trek wherein we got lost. Two hours later, we found the little spot that we were supposed to reach, and here, the organizers of the journey prepared a freshly-made picnic for us. It is difficult to carry a lot of items on a tedious hike, so the meal contained simple ingredients. Bananas, being such a portable fruit and good for after a workout like an outdoor trek, were a practical part of the menu, in the form of this dessert.

Despite everything I said earlier in praise of the fruit’s nutritional qualities, my longstanding dislike usually trumps my desire to consume it. Still, a few bites of this dish during that picnic were all it took to charm me. You can imagine my surprise when I found myself carefully observing as more caramelized bananas were being prepared, mentally noting how to make them myself later! They were made in a jiffy, too. I knew right then that I’d found a lovely dessert that would be easy and quick to make, and possibly healthier than most traditional treats.

I believe what made me like them so much was the use of cinnamon and other spices, which flavoured my far-from-favourite fruit in a lovely way. Who knew that a fruit we take for granted and a few ingredients common to an Indian kitchen could result is something so delightful?

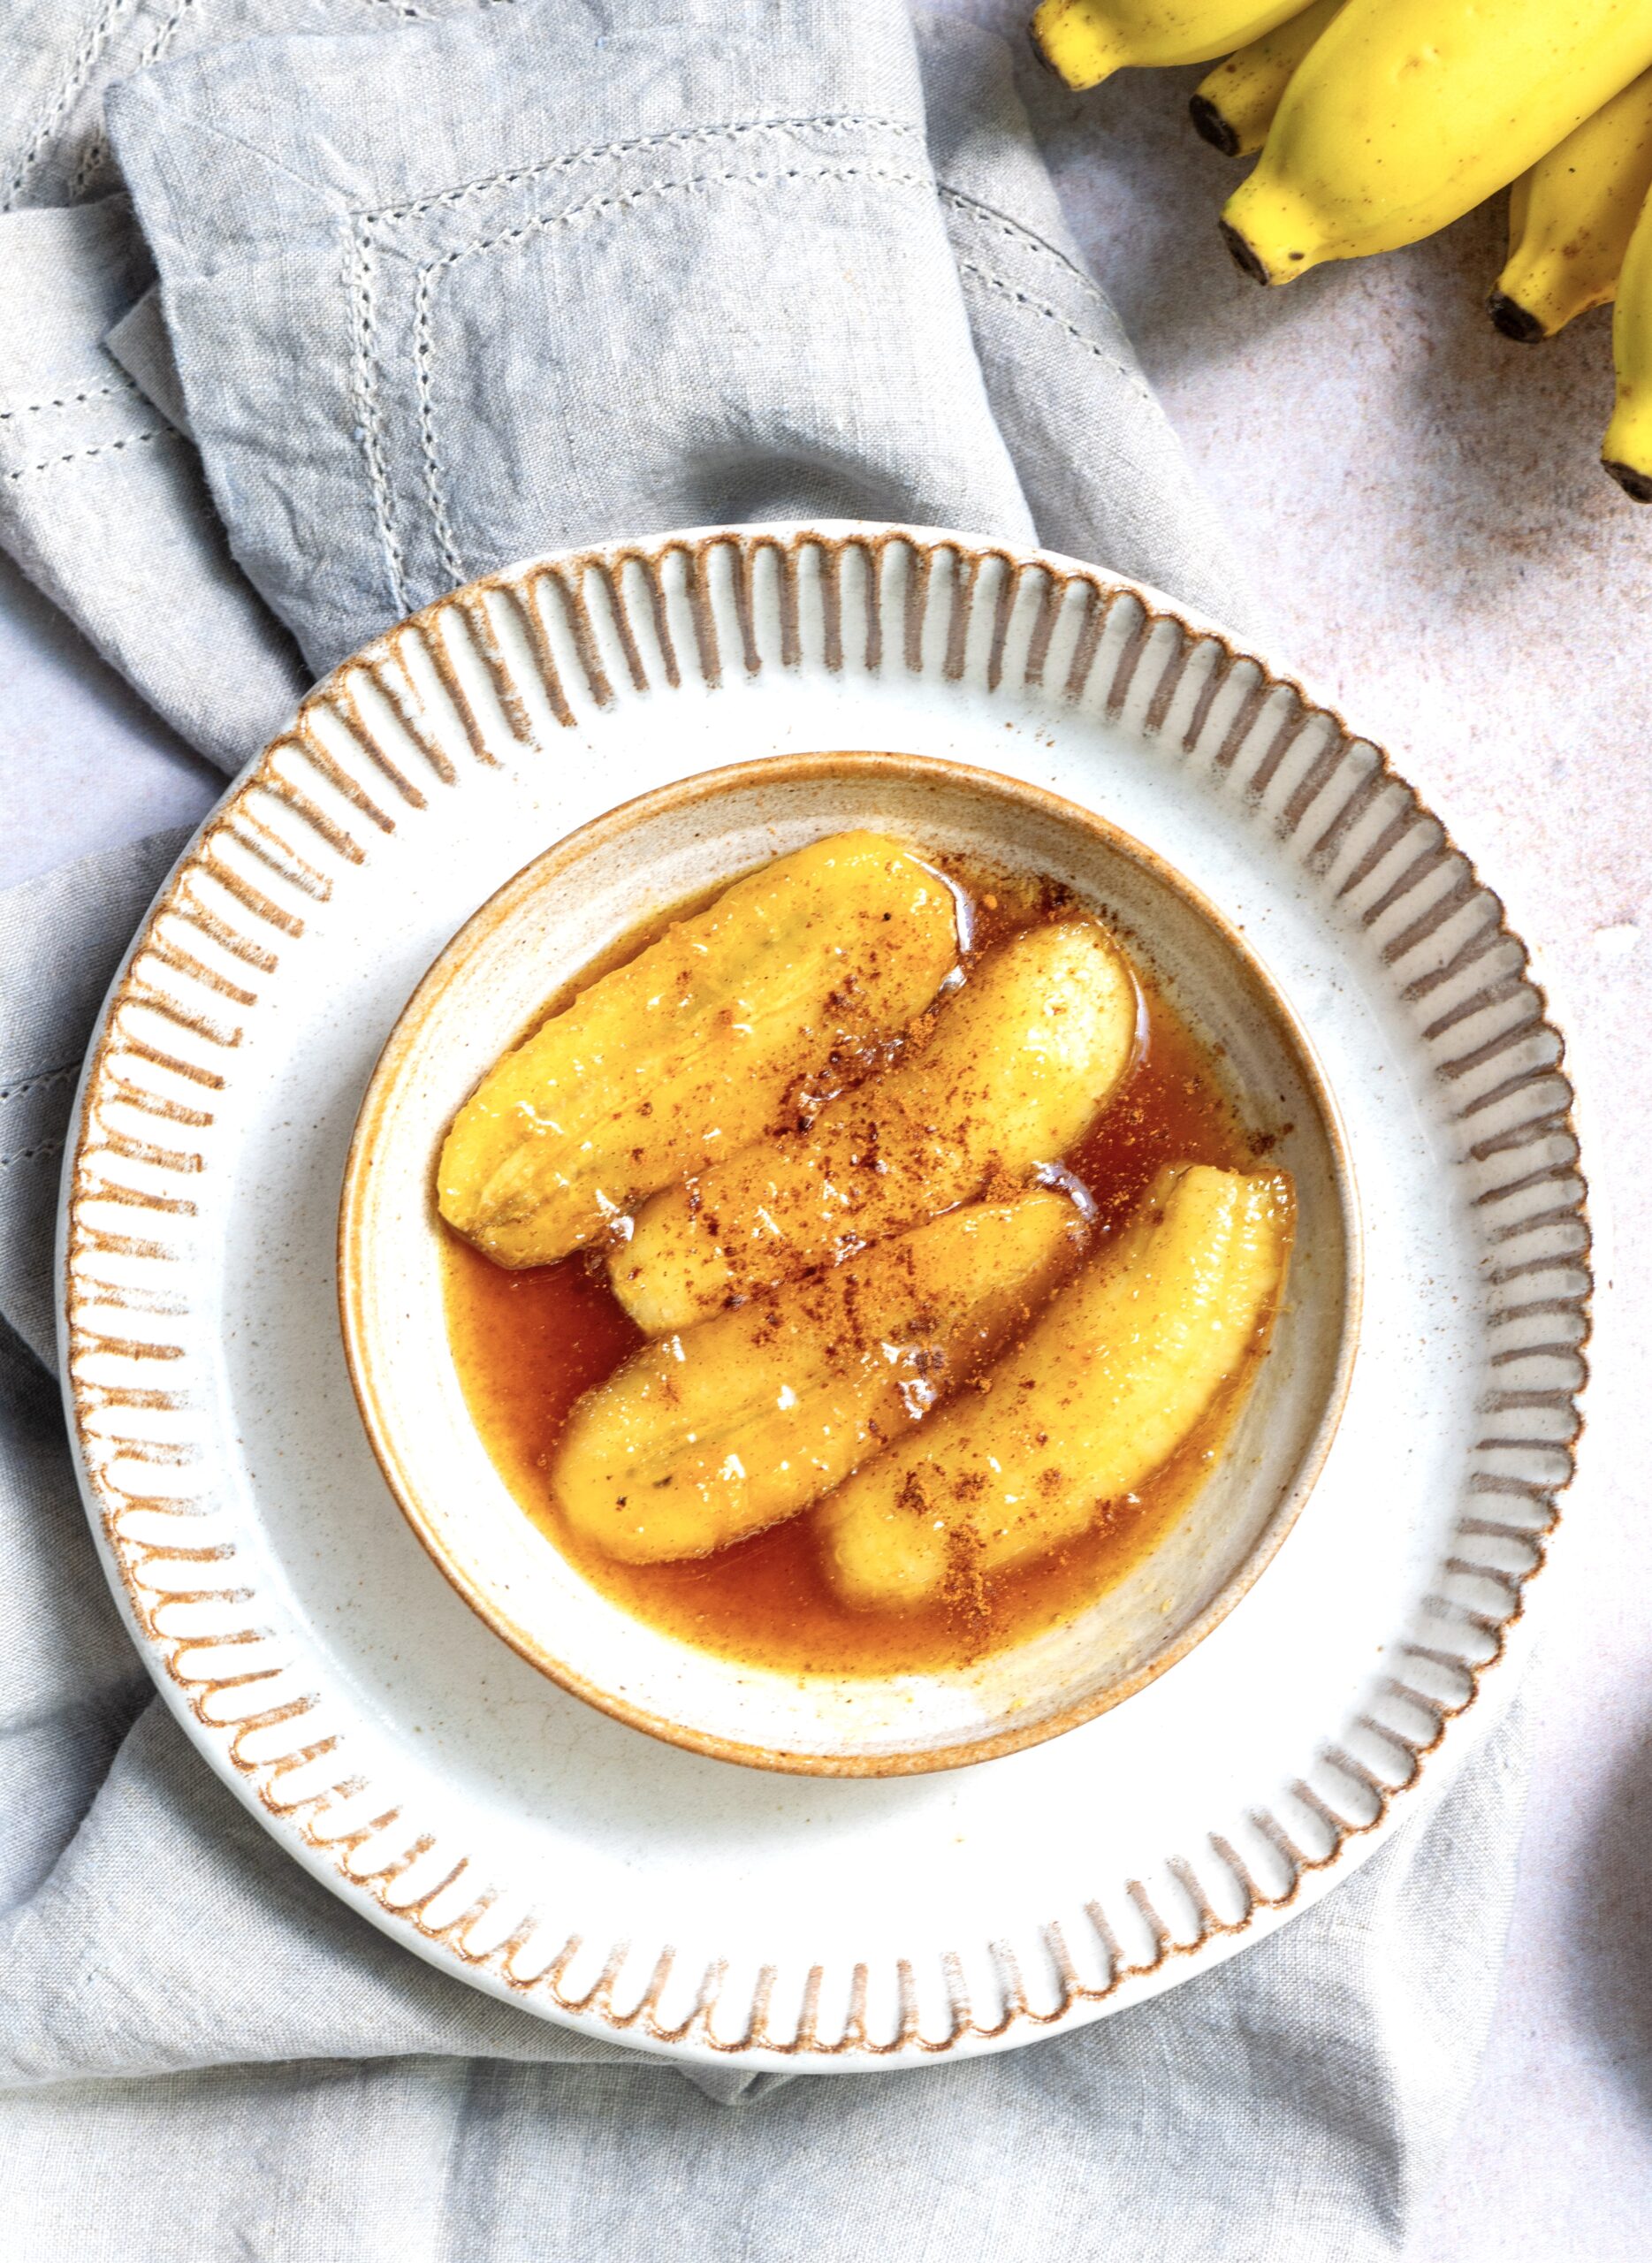
Caramelized Bananas

(Serves 2)

1 tablespoon butter
2 small bananas (cut lengthwise)
¼ cup sugar (use less if you prefer)
3 tablespoons water
½ teaspoon cinnamon
1 teaspoon grated ginger
A pinch of salt

Heat a flat pan. Add sugar and allow it to melt. Once it has melted, add water and stir continuously so it all comes together. Now, add the ginger, cinnamon powder and salt and keep stirring.

While the sugar is melting, heat another pan and add the butter. Once it melts, place the sliced bananas on the pan and allow them to turn golden on both sides.

When the sugar syrup is ready, add it to the bananas. The mixture will splutter so be careful. Sauté for a minute on a medium to high flame. Turn off the flame and allow to cool a little.

Serve with fresh cream, or just on their own.

These caramelized bananas really changed the way I think of bananas for the better. They are such a simple dessert. I can attest that they satisfied someone who doesn’t even enjoy the fruit, which says a lot about how tasty they are!

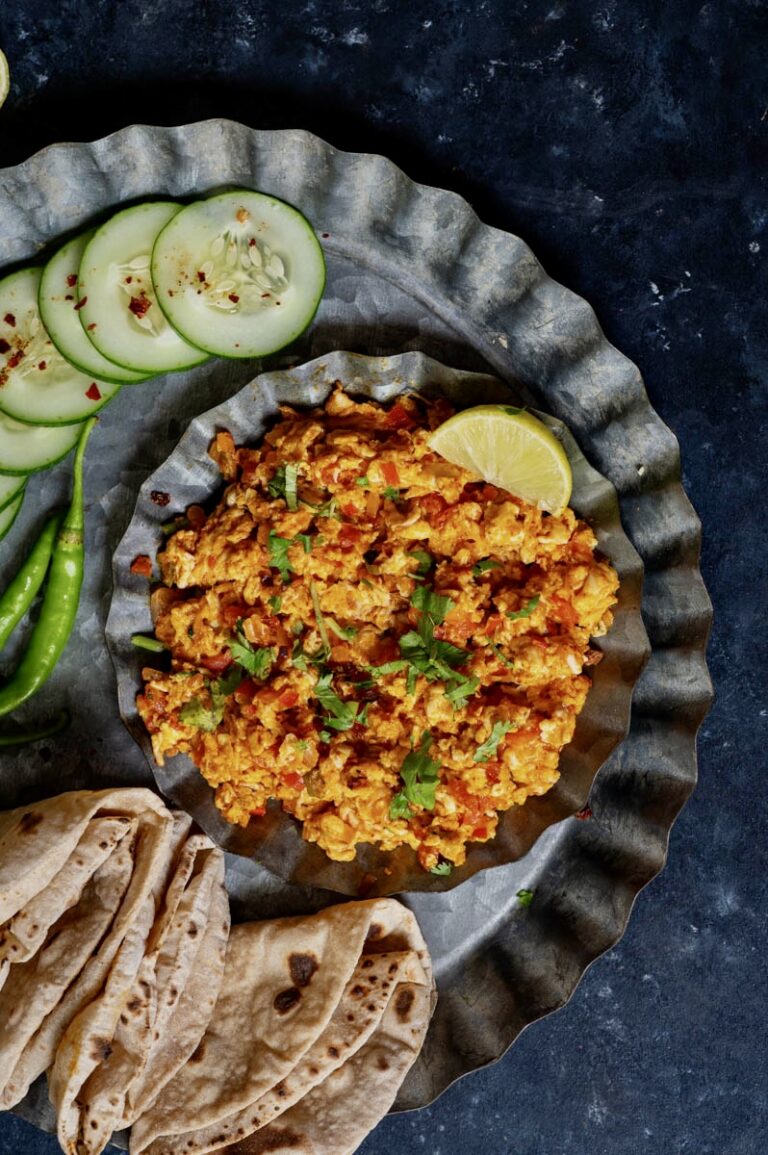
A bhurji is basically a scramble, so egg bhurji is Indian-style scrambled eggs, made super delicious with the use of local spices. I first ate them on a recent holiday in the hills of North-East India, where I took one bite and thought, “Oh, this is such a simple recipe – why didn’t I think of it earlier?” I already knew how to make bhurji, having done so with paneer plenty of times and with tofu more and more often, but I just hadn’t considered making eggs in this method. Egg bhurji is now frequently enjoyed in my home, and I thought you may want to make some as well.

The reason why egg bhurji has become a staple at my dining table is because of the protein boost that is provided. I have been rather good at sticking to my workout routine lately, and it’s important that I consume more protein to support it. Eggs are a fantastic, and very easy, way to do this. I have been looking at more exciting ways to consume them rather than just having a plain omelette or a sunny side up, which can get boring on a daily basis. You may remember the moringa omelette recipe that I shared once, in which two nutrient superfoods came together. You may also remember the recipe for shakshouka, which is more ornate and a lot of fun over Sunday brunch.

This bhurji is not at all elaborate, but is interesting because it is so flavourful. It has all the same spices as a standard subzi (Indian-style vegetable accompaniment). If you’re vegetarian, you don’t need to be left out. Just substitute the eggs in the method below for paneer or tofu, and your bhurji will still turn out delicious!

This new routine of eating eggs daily reminds me fondly of my late brother, who used to bolt six of them at a time when he was a rower. I’ve written about his large breakfasts before. Even though I am not an athlete like he was, now that I’ve gotten disciplined with exercising and am consciously eating eggs for this reason in particular, I can’t help but smile thinking of how I have once again followed in his footsteps.

I prefer my egg bhurji freshly made – warm and straight from pan to plate. But I know that it works well in a tiffin carrier too, so you can make it in the morning and have it for lunch. It’s also simple to prepare, which will mean that your cooking will be quick even when you’re getting ready to head out to work.

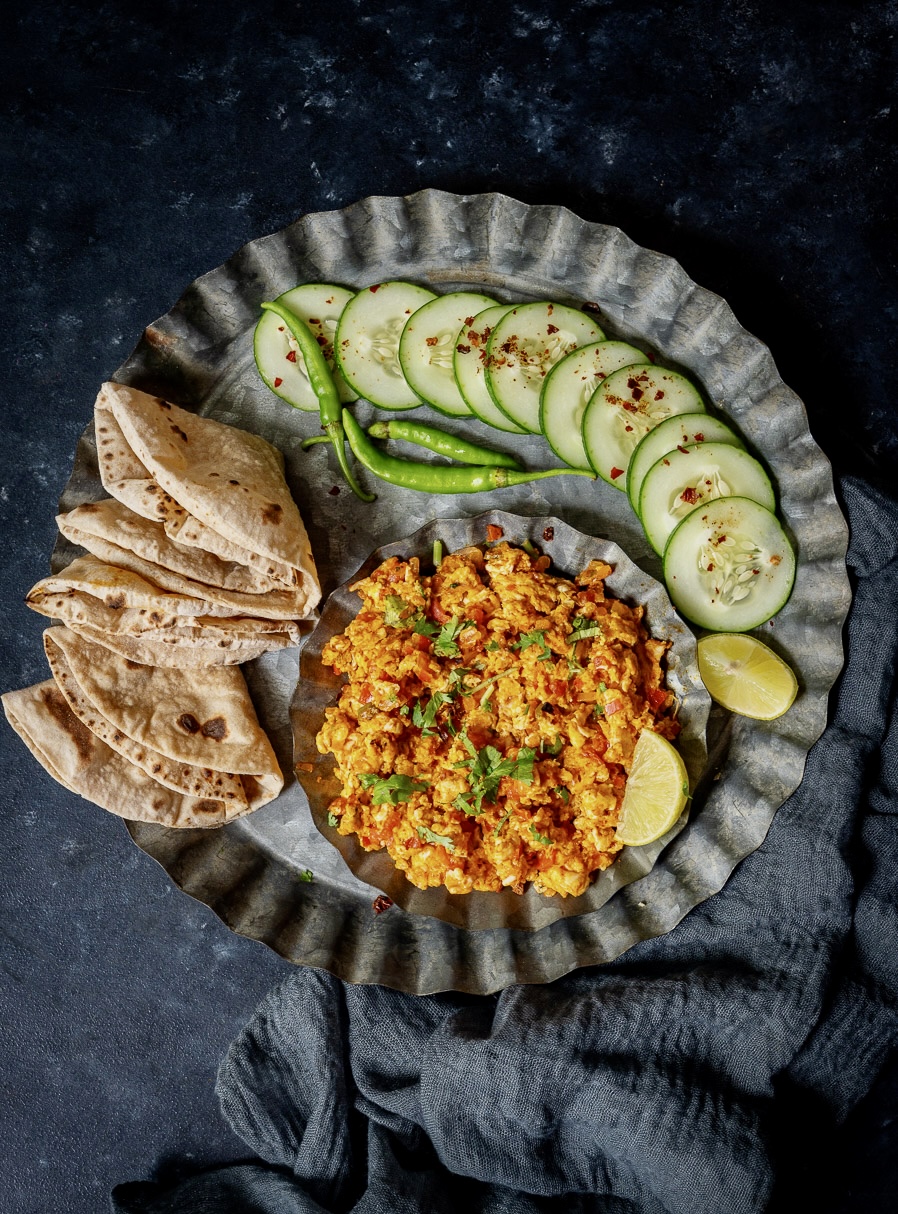
Egg Bhurji

(Serves 1)


1 tablespoon milk

2 eggs

1 teaspoon oil

1 teaspoon ginger (grated)

1 tablespoon tomato (finely chopped)

1 onion (finely chopped)

2 green chillies

Salt to taste

½ teaspoon coriander powder

¼ teaspoon garam masala powder

½ teaspoon chilli powder

A handful of coriander leaves


Break the eggs into a cup and add milk. Stir well. Set aside. Heat a pan and add the oil. Add the onions and ginger. Sauté for a minute or until tender.

Next, add the tomatoes and green chilli. Sauté well until soft and then add salt, turmeric, coriander powder, garam masala and chili powder.  Mix well. Add the eggs and milk mixture. Continue stirring for less than a minute. Serve hot, garnished with coriander leaves (or put it into your lunchbox). Egg bhurji goes really well with rotis.

Eggs don’t make that many appearances on this blog, but here are a few more recipes that feature this protein-rich powerhouse to the fullest!

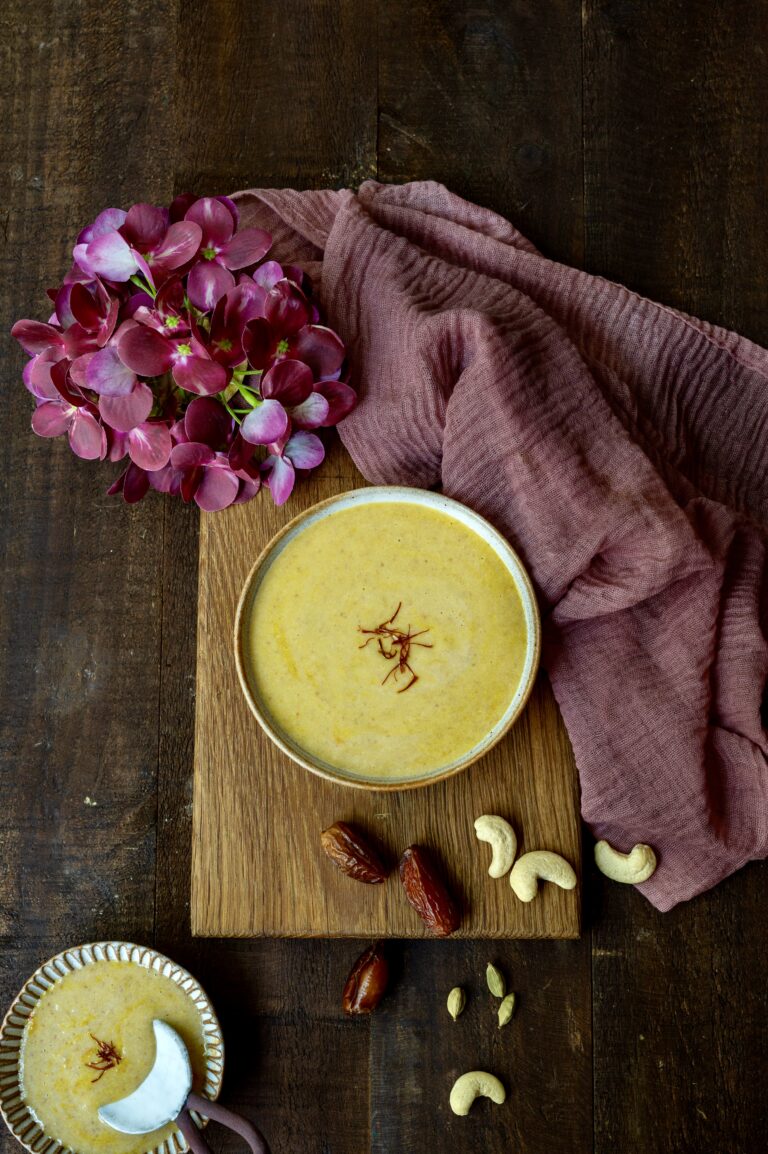
I have often been attracted to making sugarless desserts for two reasons. First and foremost, for myself, as I have an incredibly sweet tooth that I can’t seem to control, and I hope to satisfy it without making as steep a health compromise. I try to convince myself that when a dessert is sugarless or sugar-free I can also eat it guiltlessly, or guilt-free! I know this isn’t true, of course. Natural sweeteners and the sweetness that is intrinsic in certain ingredients like fruits do contain sugar, and anything sweet will spike your glucose levels even if you don’t add processed sugars to it. Still, I know that so many of you struggle with the same concern, which is why a treat like this sugarless date payasam can still make a difference in our dessert indulgences.

The other reason why I learned how to make more sugarless desserts was that my father-in-law used to put me up to the challenge of inventing ones for him. He was diabetic, and he would always say, “Just add Splenda or aspartame!” I would always refuse to, knowing that these have other side-effects. I would instead reach out for natural sweeteners like coconut sugar or dates, as their glycemic index is lower than that of refined white sugar. While my father-in-law is no longer around, the dishes I learned or came up with for him remain in my repertoire, and so does the habit of cutting down sugar content as far as I can.

Awareness of the dangers of too much sugar consumption is of extreme importance in India, which has one of the largest percentage of diabetics in the world. I often have diabetic visitors, which doesn’t surprise me at all given the prevalence of the disease in our country, and I ensure that I serve sugarfree desserts when they come over. There are also sugarless options on the re:store product menu. Whether or not my guests or family members are diabetic, I do keep an eye on balancing out our sweet consumption in multiple ways. Making dishes like these is one such way, and a necessary concession since giving desserts up completely is quite a big ask!

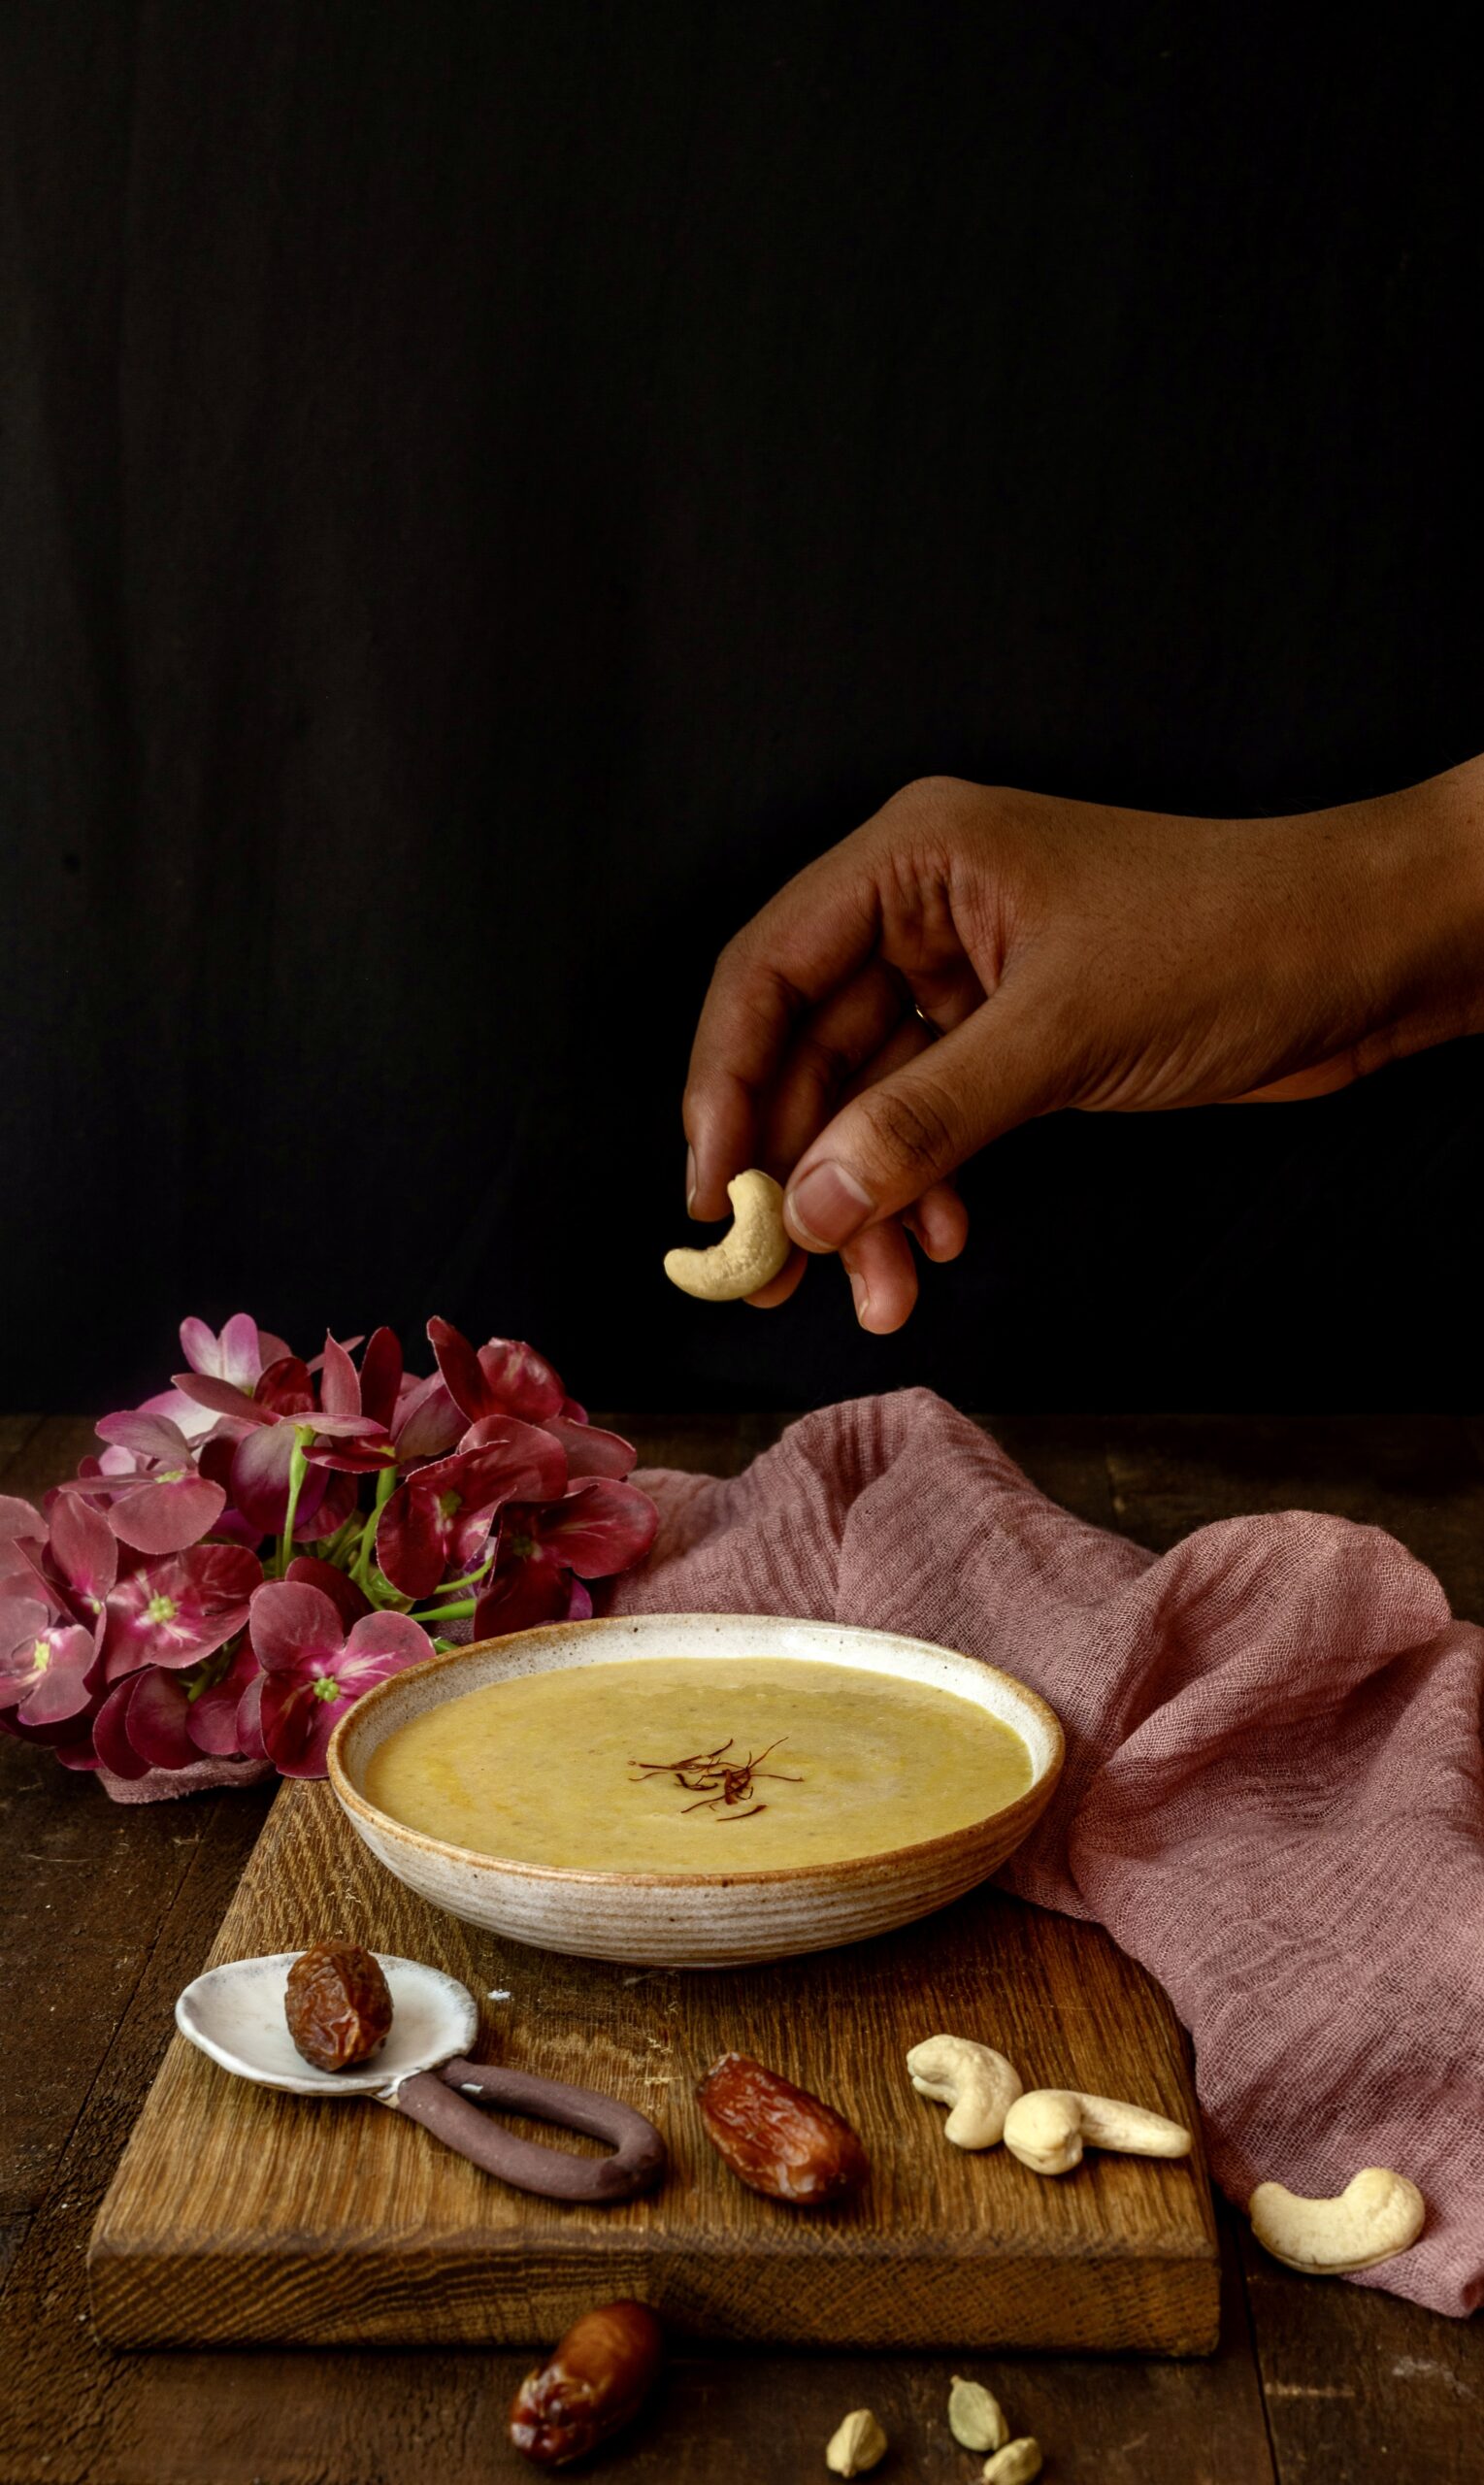
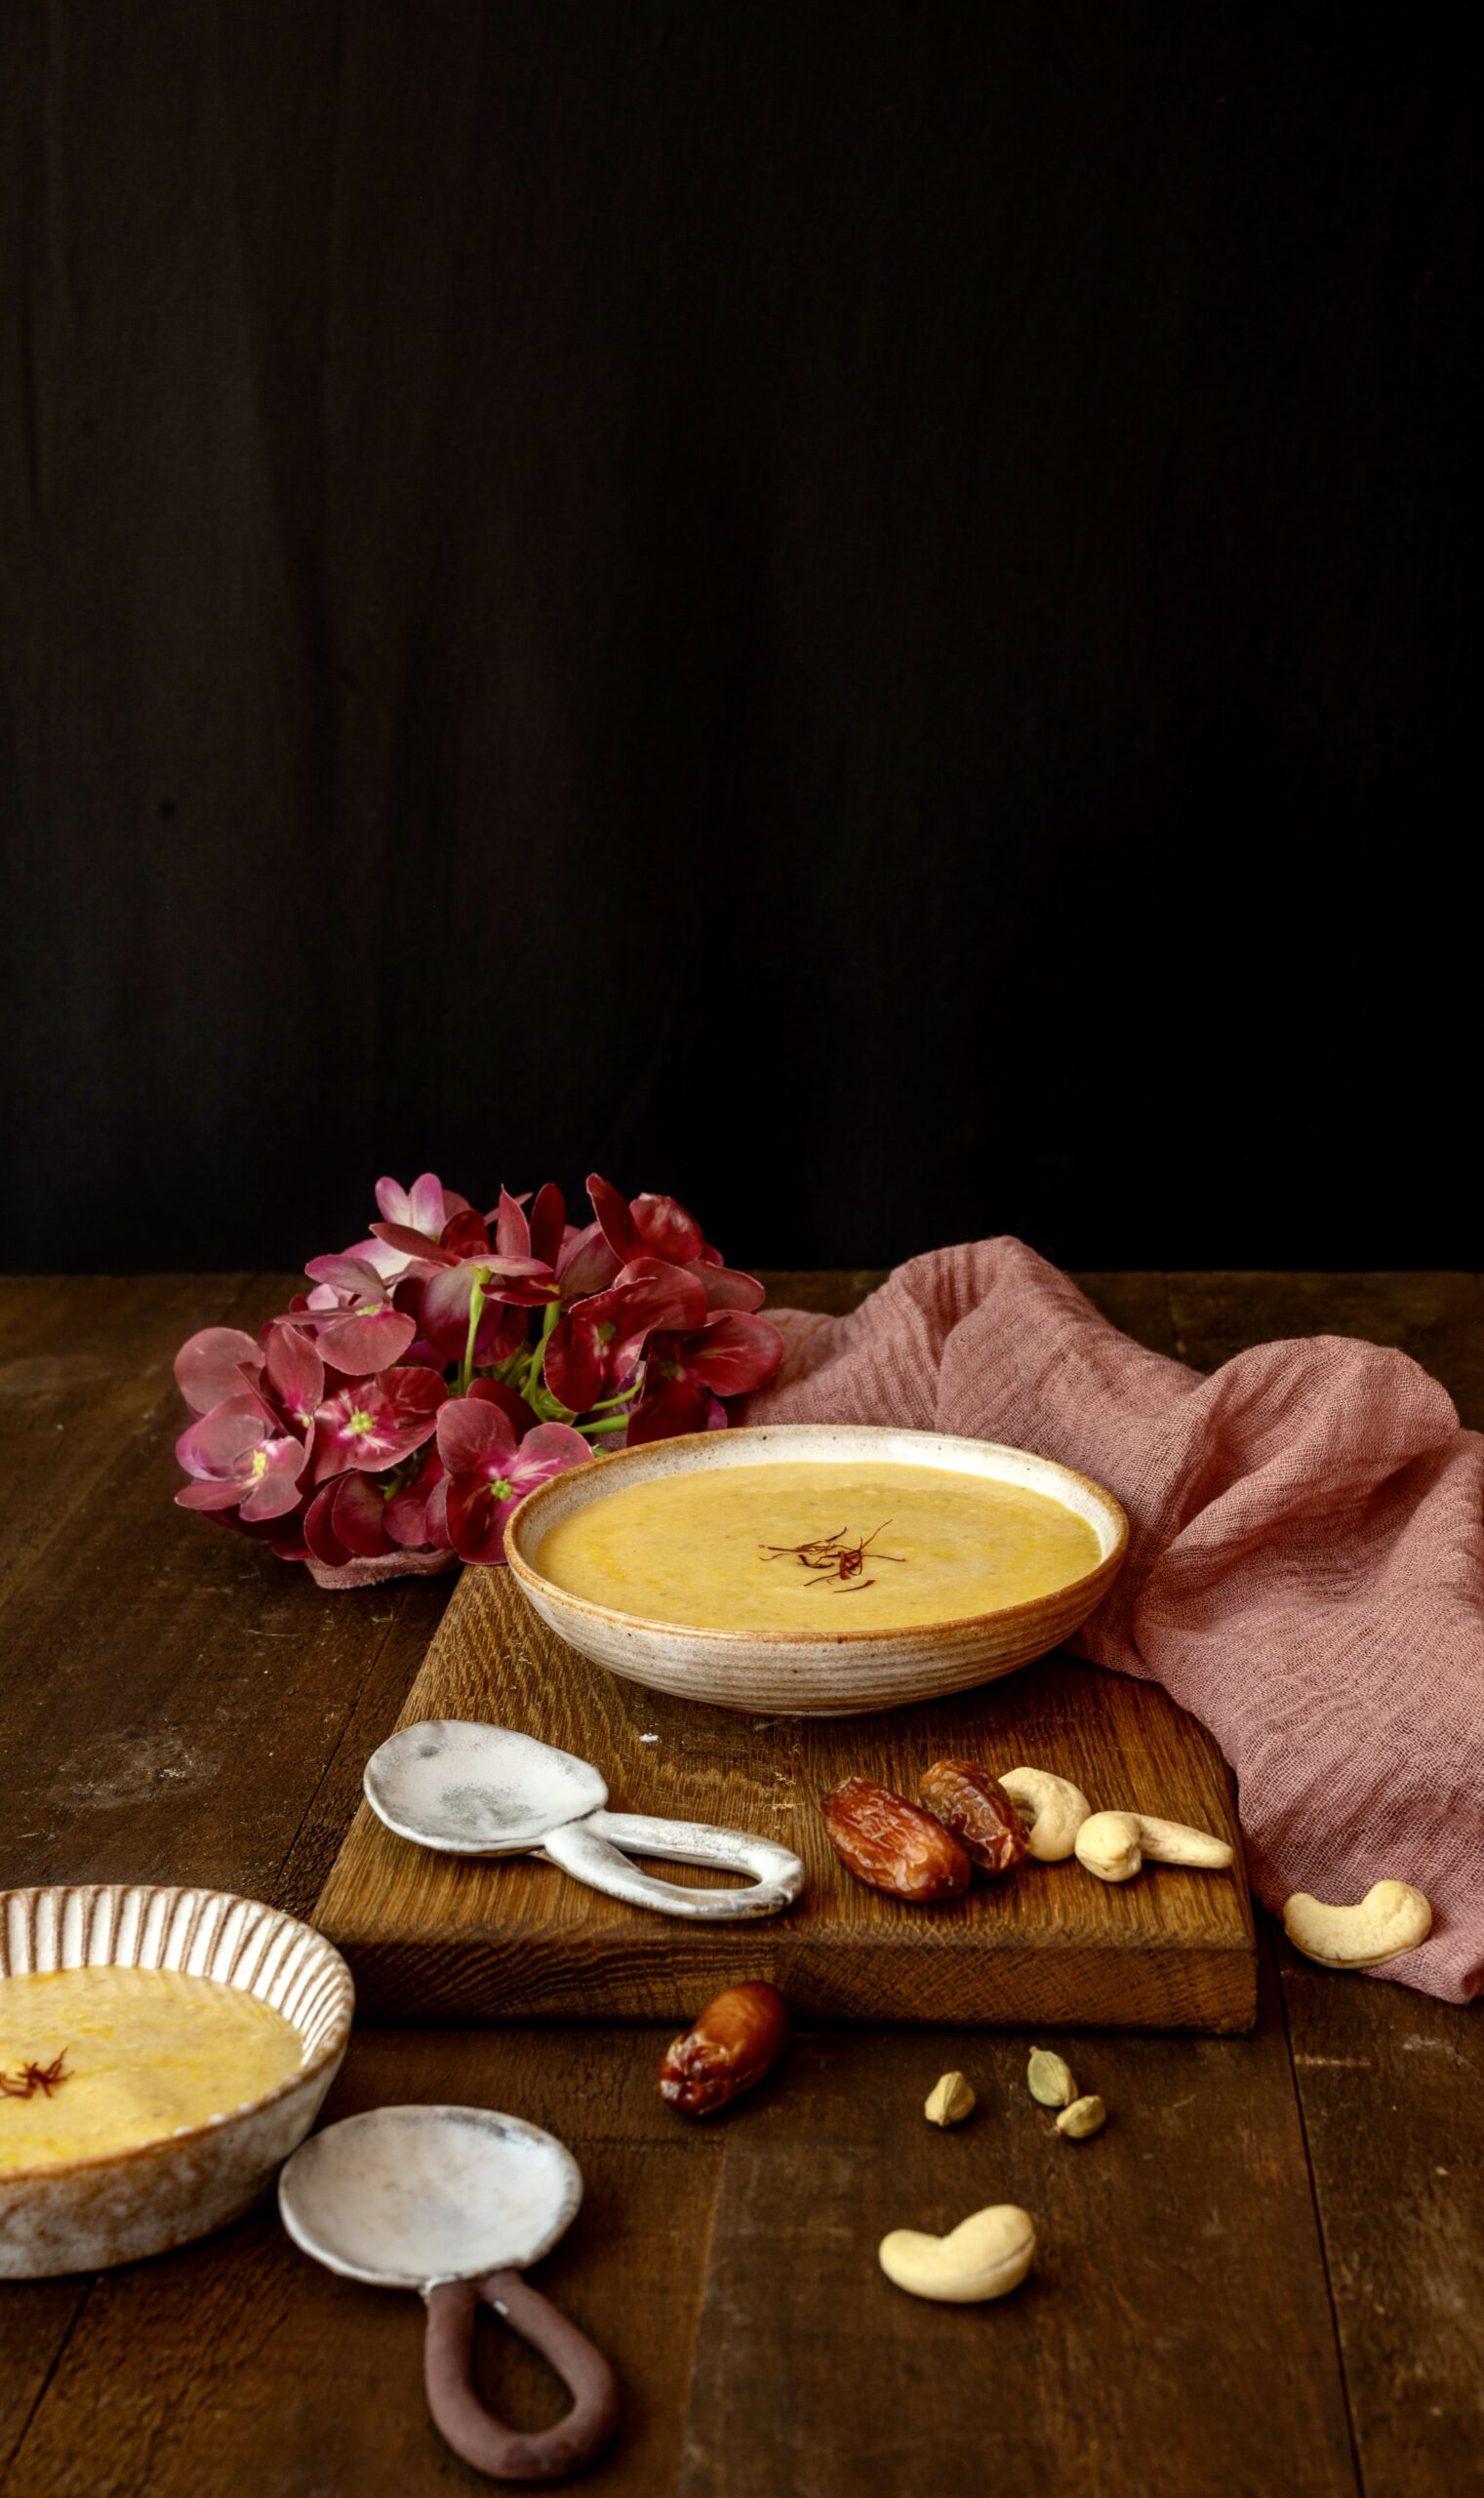
This particular sugarless date payasam is one that I learned from my dear friend Girija. I hadn’t heard of it before she served it to me, and I was wary of trying out the recipe, but I am very glad that I did. It is utterly delicious. For those who haven’t heard of it, a payasam is essentially a South Indian milk pudding, and I am thrilled to have a version of it that doesn’t require, let alone rely on, sugar or even jaggery. All it needs is the sheer sweetness of dates.

Sugarless Date Payasam

(Serves 6)

2 cups deseeded and chopped dates

1 cup cashew nuts

Water (for soaking)

2 cups milk

3-5 strands saffron

¼ teaspoon cardamom powder


Soak the dates and cashews separately in fresh drinking water for an hour.

Then, grind the cashews with the water that was used for soaking. Once the paste is smooth, add the dates. Grind once more until the paste is smooth again. Add the cardamom powder and saffron strands. Place the mixture in a pot and refrigerate until cool.

Once it has cooled, add the milk and stir well until it all comes together nicely. Adjust the milk quantity to your preference. I like it to be a little thick. Return to the refrigerator and let it cool again.

Serve very chilled. This is a perfect dessert for these hot summer months. As you can see, this delicious sugarless date payasam requires only grinding and mixing, which also makes it an easy dessert that even beginner cooks can prepare.

I have used cashews as I enjoy the rich flavour the nuts provide, but you can substitute them for another kind if you prefer. I also feel that the cashews sort of tone down the sweetness of the dates, which can be intense.

Ultimately, the payasam is both rich and sweet, which means that it is best in smaller portions.

Here is a suggested tweak to this recipe: add a handful of cooked rice to the milk, and then add then to the ground cashewnut-date paste and mix. This will give the dessert more substance, and more of a mouthful in each serving. The sweetness quotient will also further reduce. This preparation may technically turn it into a kheer rather than a payasam, but I have little doubt that anyone will complain! It will turn out delicious both ways, and while my father-in-law is not here to enjoy this dish in either variation, the rest of my family certainly does. As for me, my sweet tooth is sated, with a spoonful or two less of… guilt!

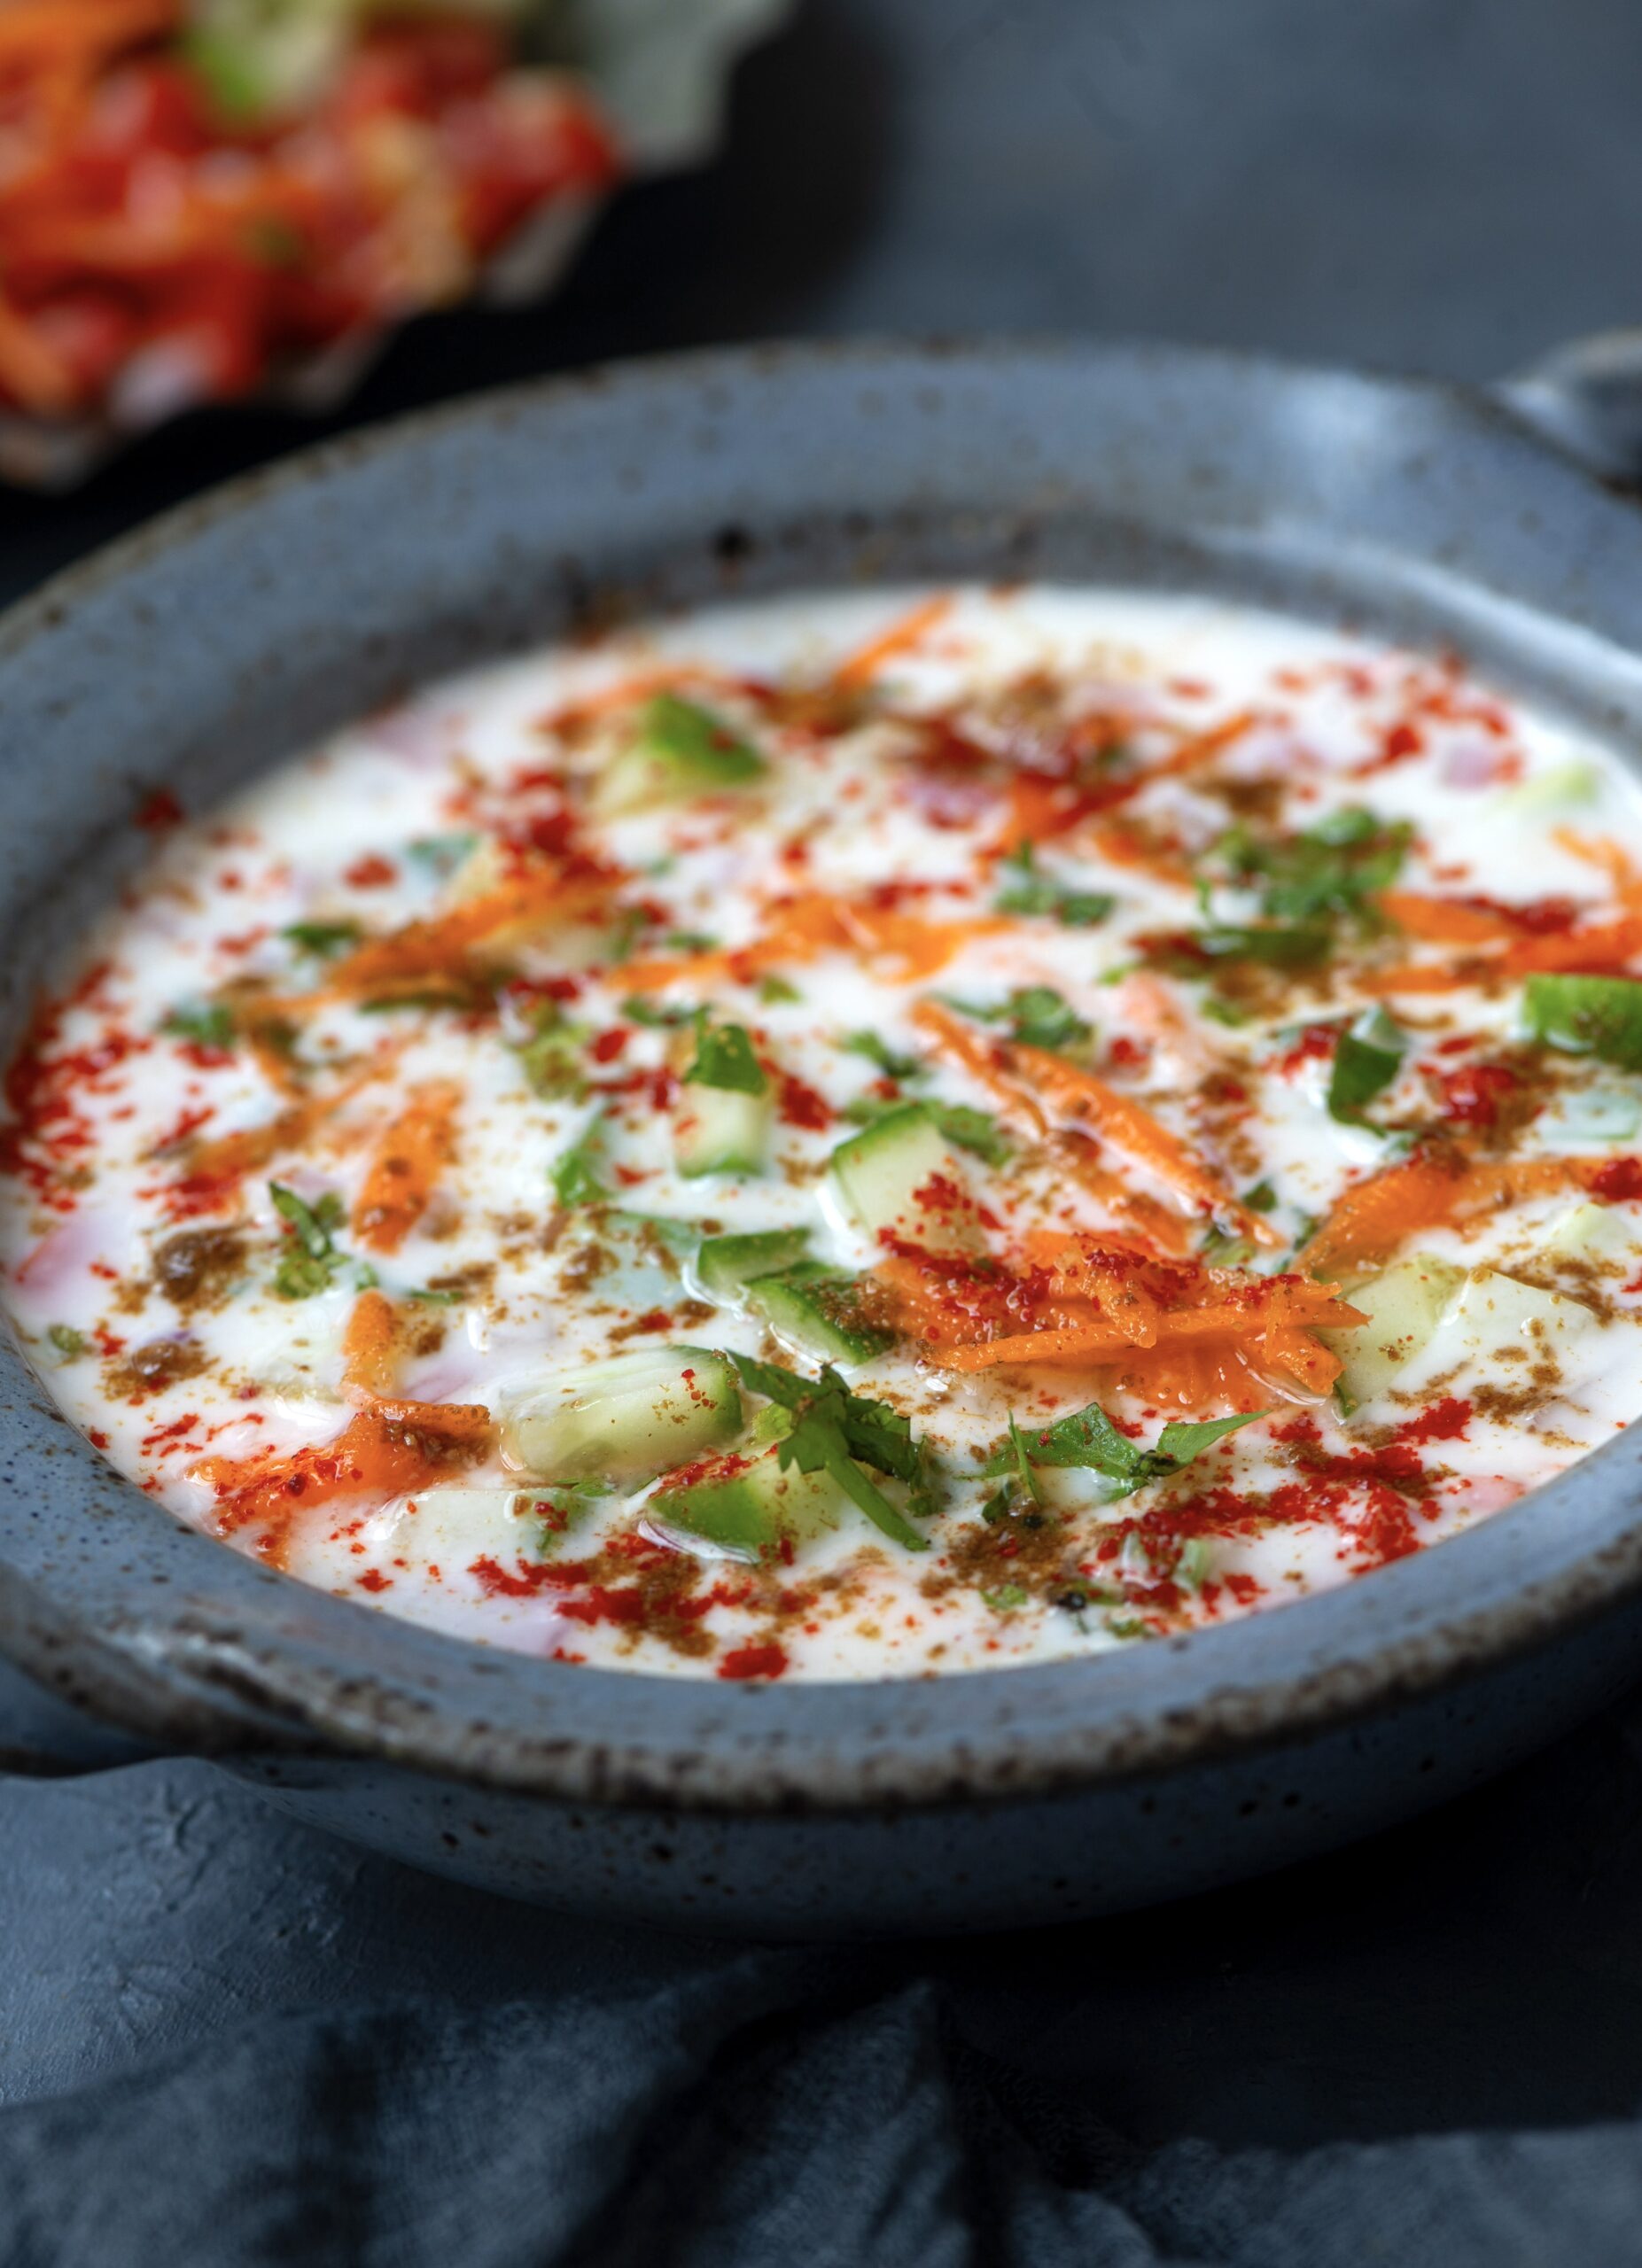
In the past, I have shared the recipes for Indian-style homemade yoghurt as well as for a typically Gujarati banana-mustard-cucumber raita and a slightly elevated cucumber raita. A raita is a cooling curd-based accompaniment that is usually served with biryani or any rice-centred meals, but I find it goes well even with upma and other dishes. Raita can be made in numerous ways, and as I keep reiterating on my blog when it comes to just about any popular food item, each household, each community and each region will have unique takes. I have tasted okra raita, which is quite delicious, as well as beetroot raita, which has a lovely colour. Today, because Spring is in the air and my mood too is bright, I have decided to make a colourful mixed vegetable raita.

When I say “Spring”, in my part of the world that means that we can feel the heat beginning to set in, and are in the phase immediately before the heat truly takes over. Here in Chennai, I am able to see lovely flowers everywhere right now: from mango flowers in the trees (the fruits will soon be in season, and you can expect several more mangolicious recipes from me soon) to hibiscus blooming in my garden.

Right now, it is a joy to go to the fresh fruit and vegetable market, as a variety of produce comes into season. When I travel, this happens to be my favourite pastime no matter which city I am in. I love to explore markets, taking photographs, admiring the colours, textures and arrangements. It feels like that here in my own city too right now – where strawberries, other kinds of berries and oranges are in abundance at the local market and inspire my creativity.

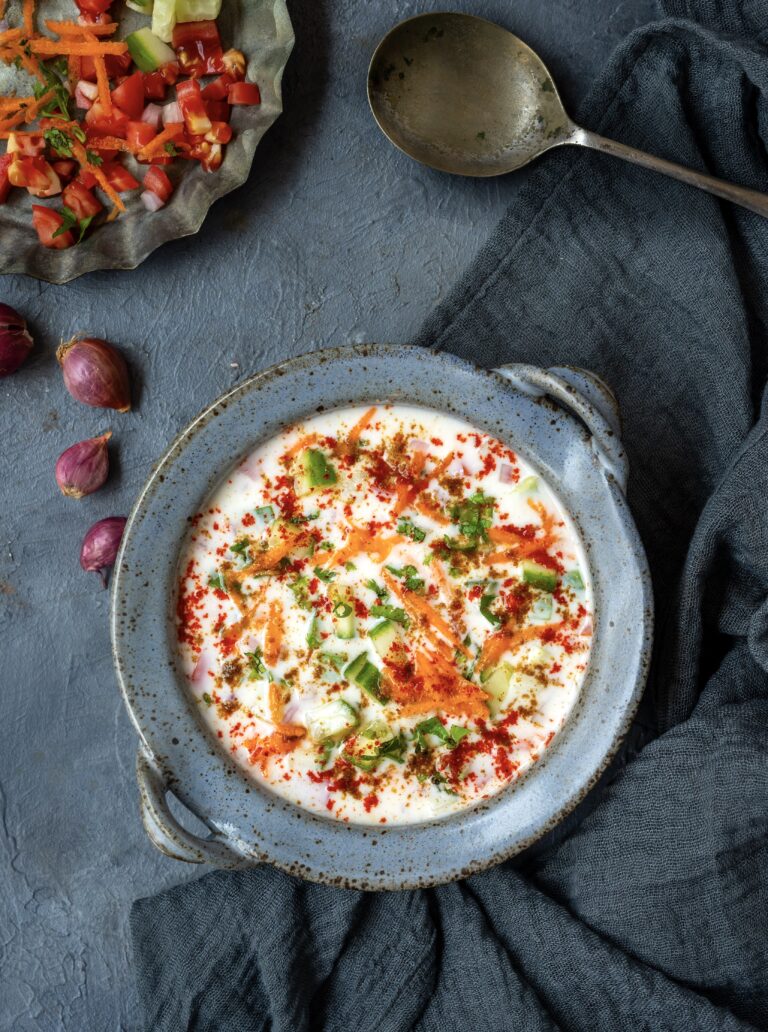
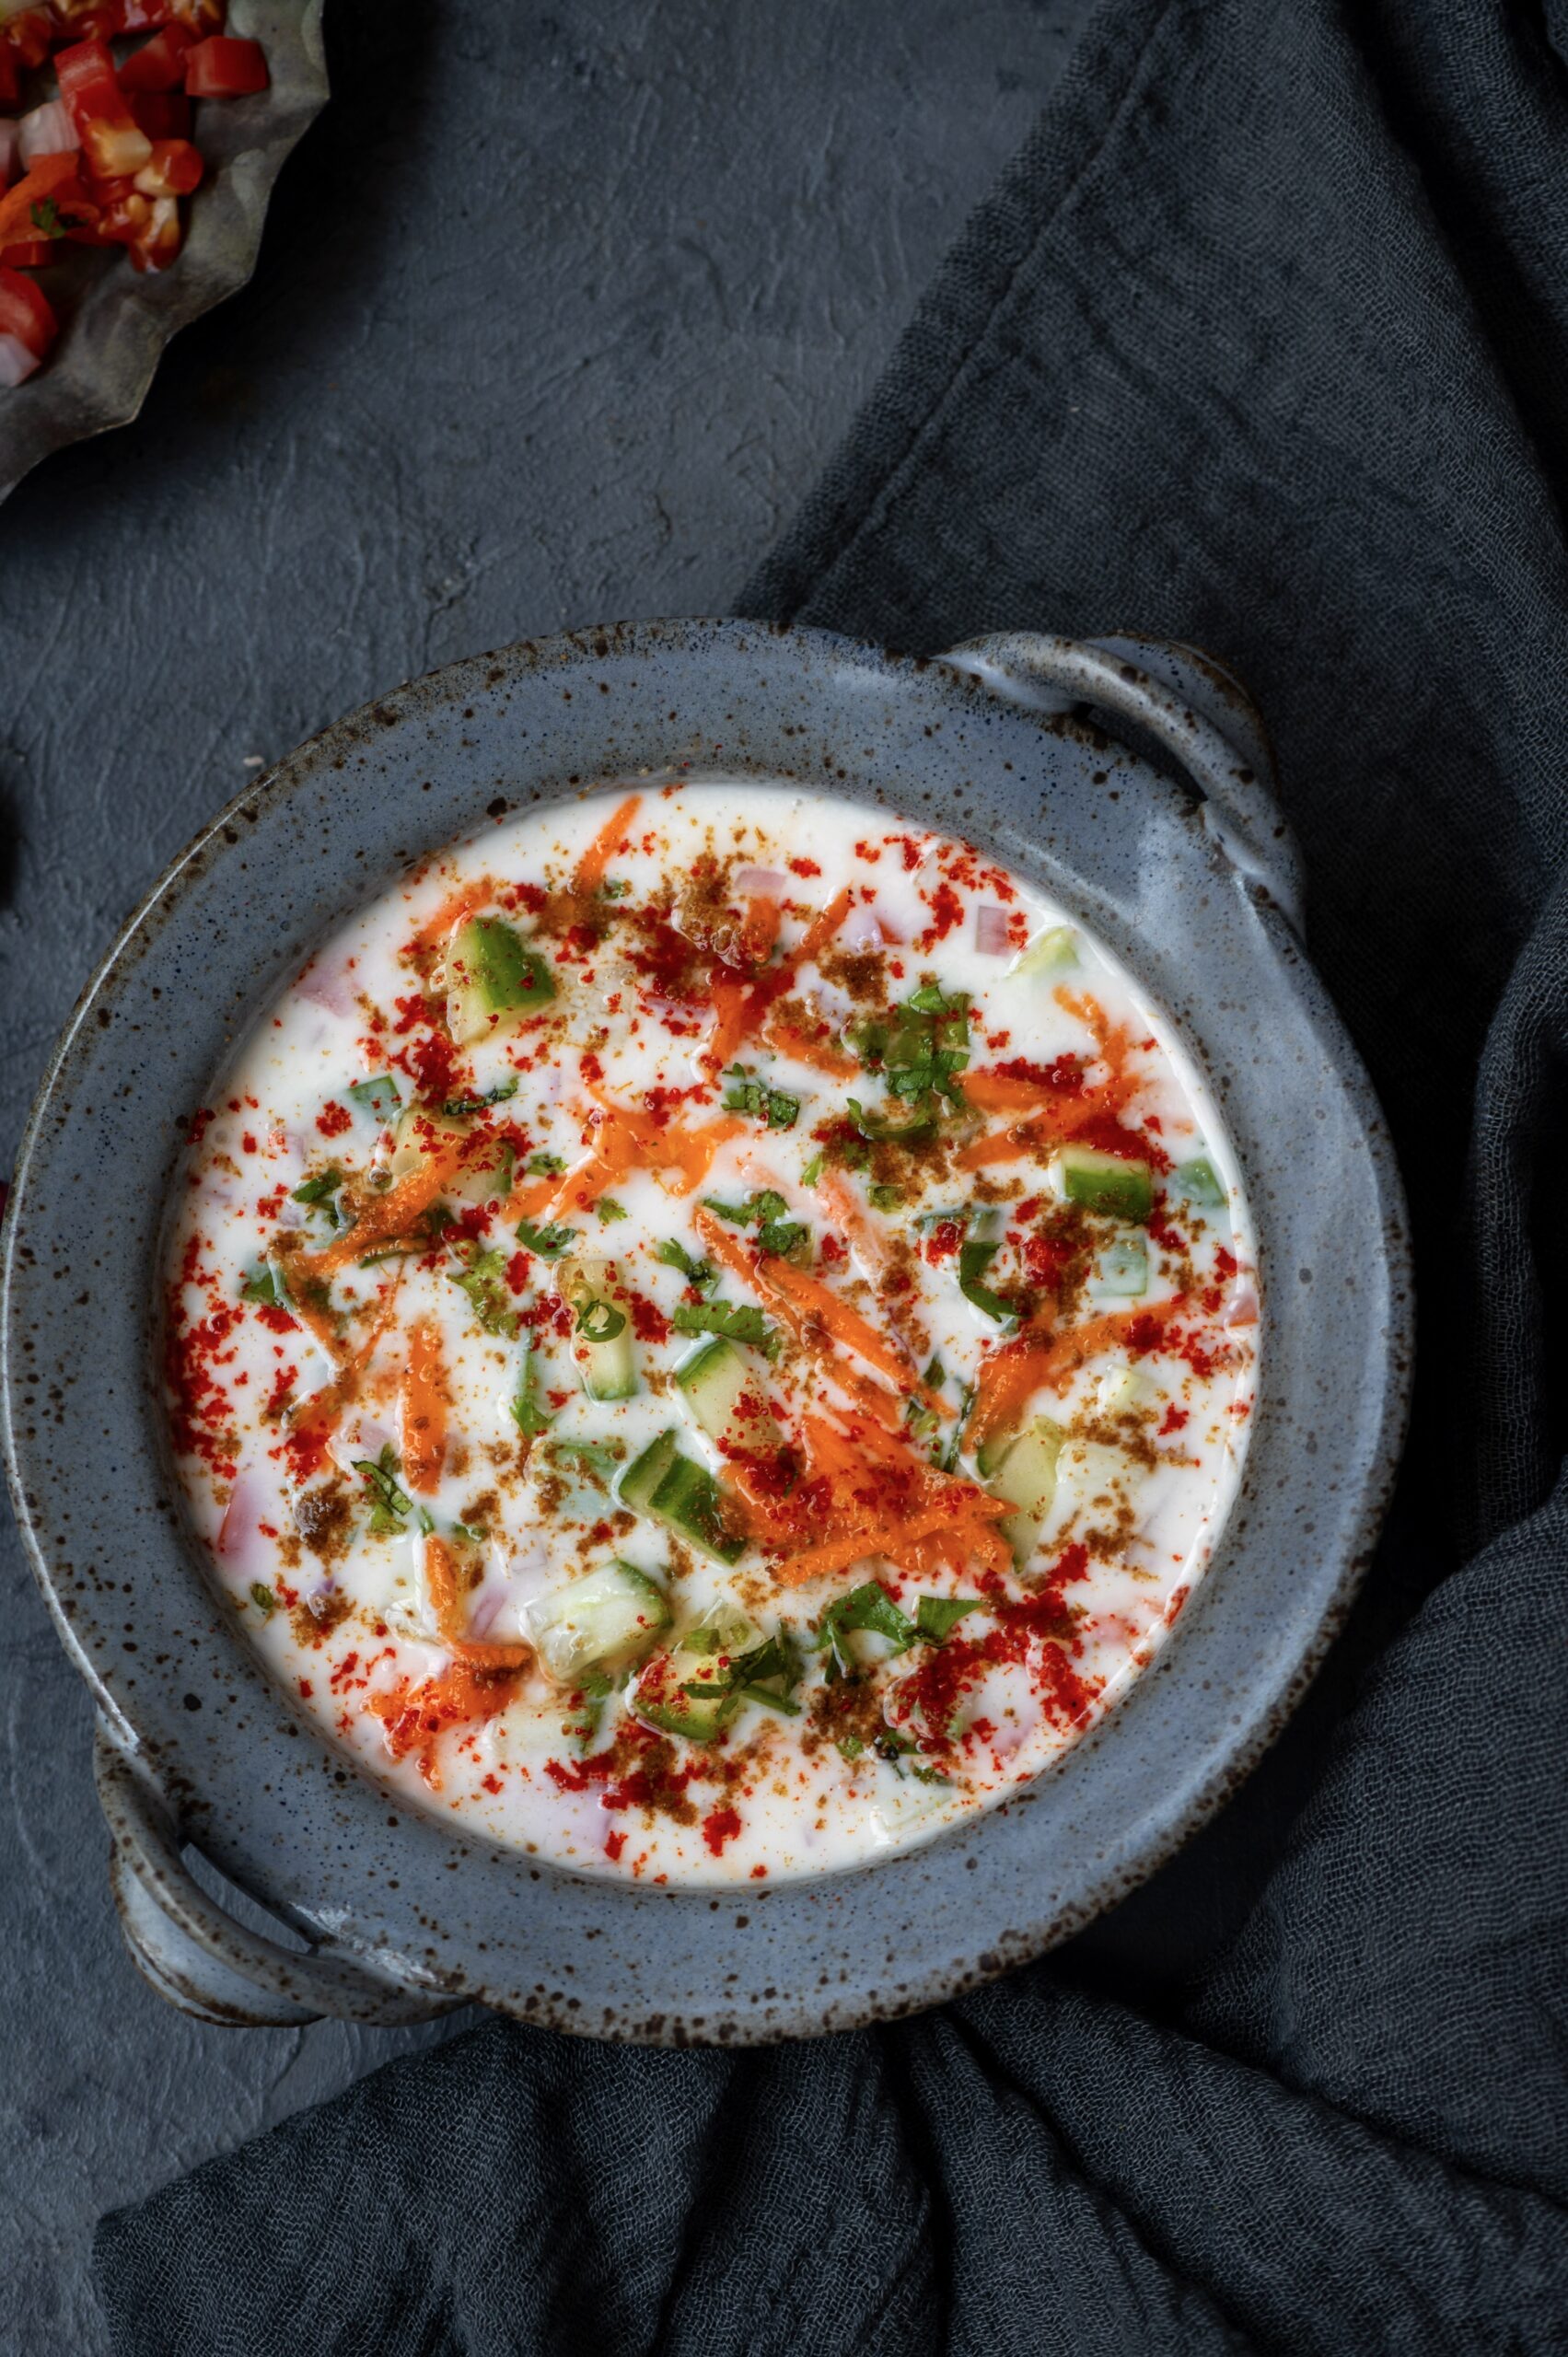
So this raita captures the vibrance that is around us during this time of year. I have used carrots, cucumbers, shallots and tomatoes along with mint and coriander leaves, so the raita has a mix of lively shades.

I have mentioned in the past that the desire to consume yoghurt at every single meal is the only thing that keeps me from going completely vegan. At the moment, I am trying to reduce my intake at least. Which means that if I’m only going to have some for one meal of the day, instead of all of them, why not make that dollop or two a little more exciting? That’s where this raita really comes to my rescue, fulfilling my craving while adding novelty to my basic but essential curd.

Mixed Vegetable Raita

(Yield: 1 bowl)

2 cups curd

2 tablespoons grated carrot

½ cup diced cucumber

¼ cup chopped purple shallots

¼ cup diced tomato

2 tablespoons coriander leaves

1 tablespoon mint leaves

Salt to taste

½ teaspoon ground cumin powder

¼ teaspoon chilli powder


Add the curd to a bowl along with the spices. Beat well.

Add the diced and chopped vegetables. Mix well. Adjust the flavours by adding more if required.

Pour into a serving bowl and garnish with some more of the spices as well as the green leaves. Serve as an accompaniment to a wide range of dishes.

This mixed vegetable raita is so simple and so summer-friendly that I am sure you will be preparing it often over the next couple months. It will be refreshing on your plate, especially if you like me are in a part of the world that’s getting hotter by the day!

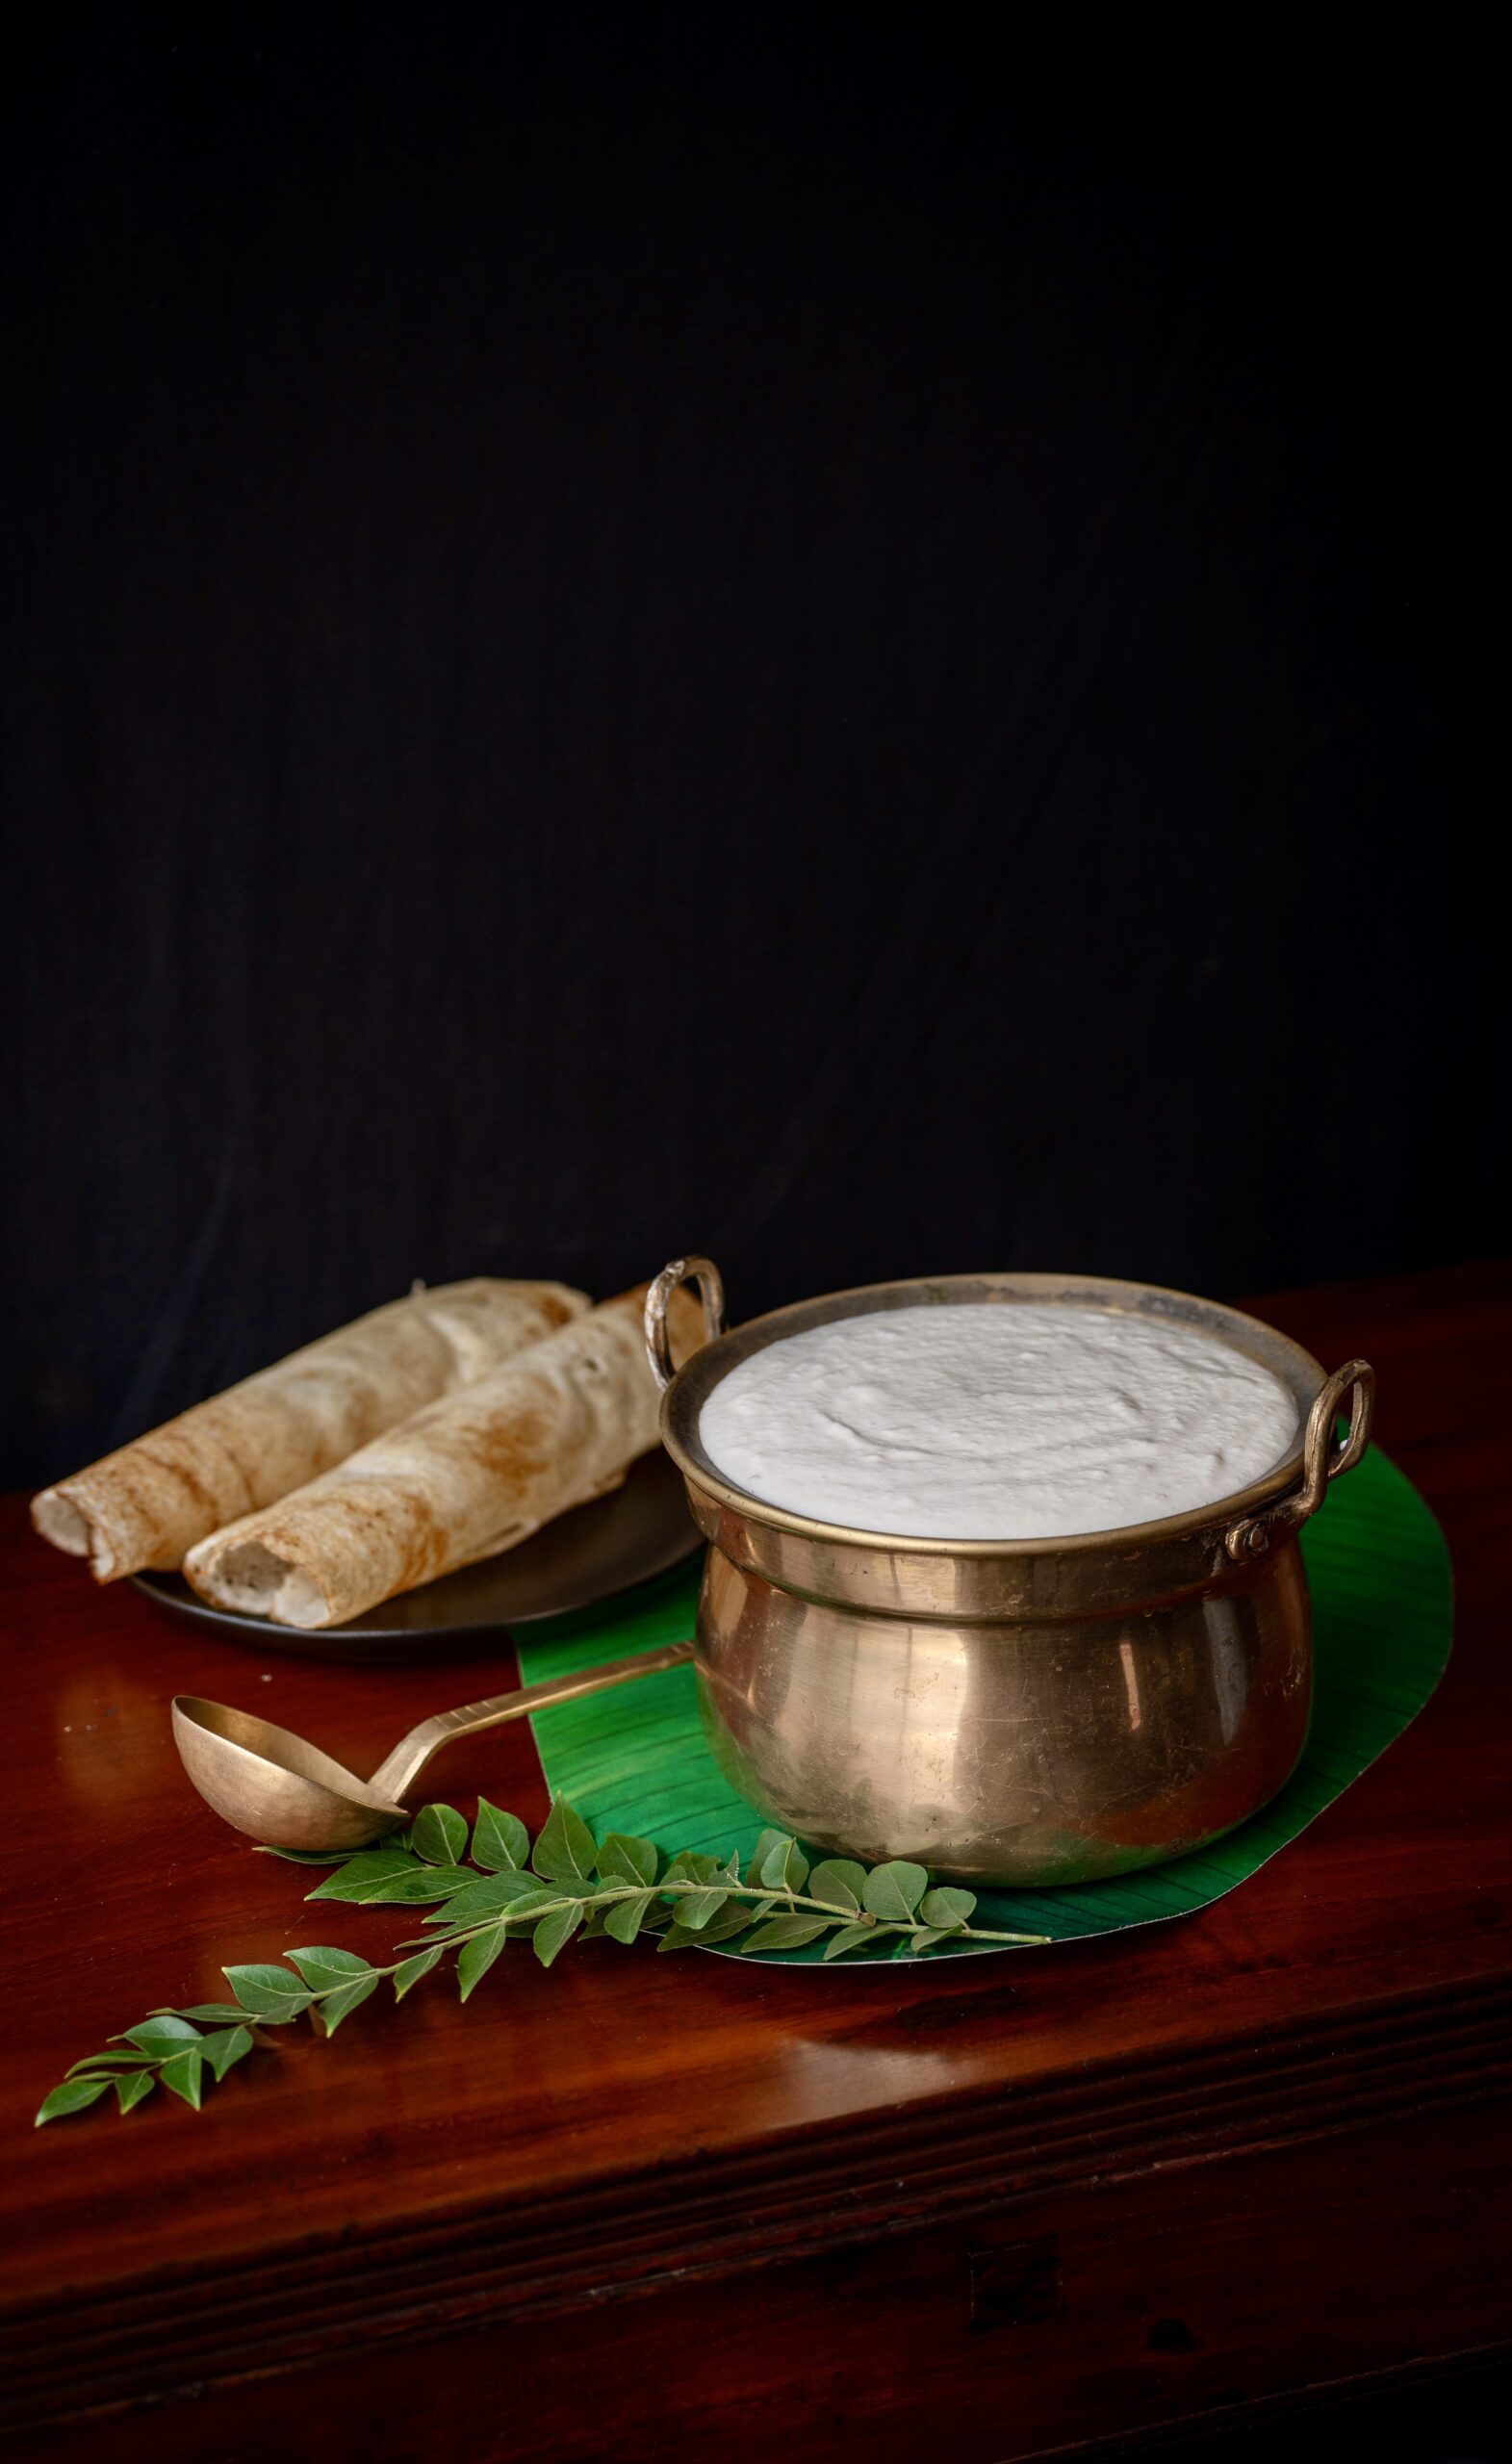
Growing up in Chennai, idly and dosa and other South Indian dishes were home food for us, comfort food alongside Gujarati dal and dhokla. Of course, home food – usually made from scratch – was the norm as there weren’t as many restaurants back then and going out to eat was a luxury. This applied even for staples and simple fare, which are now just as easily available as fine dining. While you can now buy dosa and idly batter at a drop of a hat, and the convenience is great, I still prefer to make it myself. This recipe is for those who, like me, would like the reassurance of knowing exactly what goes into every plate you serve yourself and your loved ones.

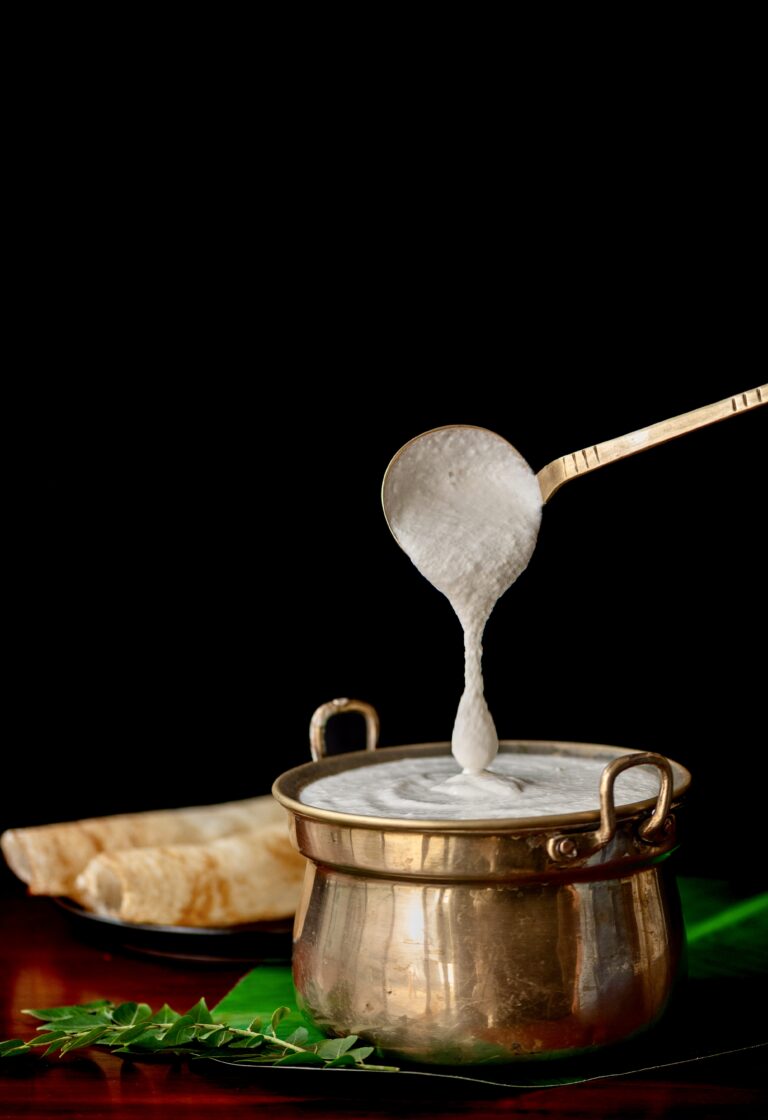
Dosa and idly batter is much easier to make than many think. It uses rice which has been boiled and processed in a mill after harvesting, which is sold as idly rice. It requires fermentation, and the humid temperatures in this region are conducive to that. You can use the same batter for kuzhi paniyaram, a kind of dumpling, too. In fact, when I was growing up, this is usually the order in which we consumed each batch: the first day was for idlys, the second for dosas and the last leftover batter was used up in kuzhi paniyarams.

To this day, I find a special joy in waking up in the mornings and seeing that this batter has risen overnight, sometimes so high that it knocks the lid off the pot! That’s the sign of a great breakfast to come, although the delicious things you can prepare with this can be eaten at any time.

You can get fluffy, soft idlys and crispy dosas from the same batter. It’s all about the preparation method. In the recipe below, I share the method for making dosa, which is pretty straightforward and which pairs well with chutneys and sambars too. As for idlys, they are steamed; some people do this in a microwave, but I’m not a fan of that gadget and I love hot idlys from a traditional steamer with my preferred chutney or a sambar. The trick to them is to not beat the batter, as one does for a dosa, but to be gentle both while mixing and while dropping the batter into the tray. In the next post, I have a bit of a surprise, using the same batter. First, however, this is how you make the batter, and how you make a dosa!

Dosa & Idly Batter

(Serves: 6)

3 cups boiled rice

1 cup urad dal

2 teaspoon methi (fenugreek) seeds

2 + 2 cups water

Salt to taste

Wash and soak the rice, urad dal and the methi seeds separately for at least 6 hours or overnight. I recommend around 10 hours.

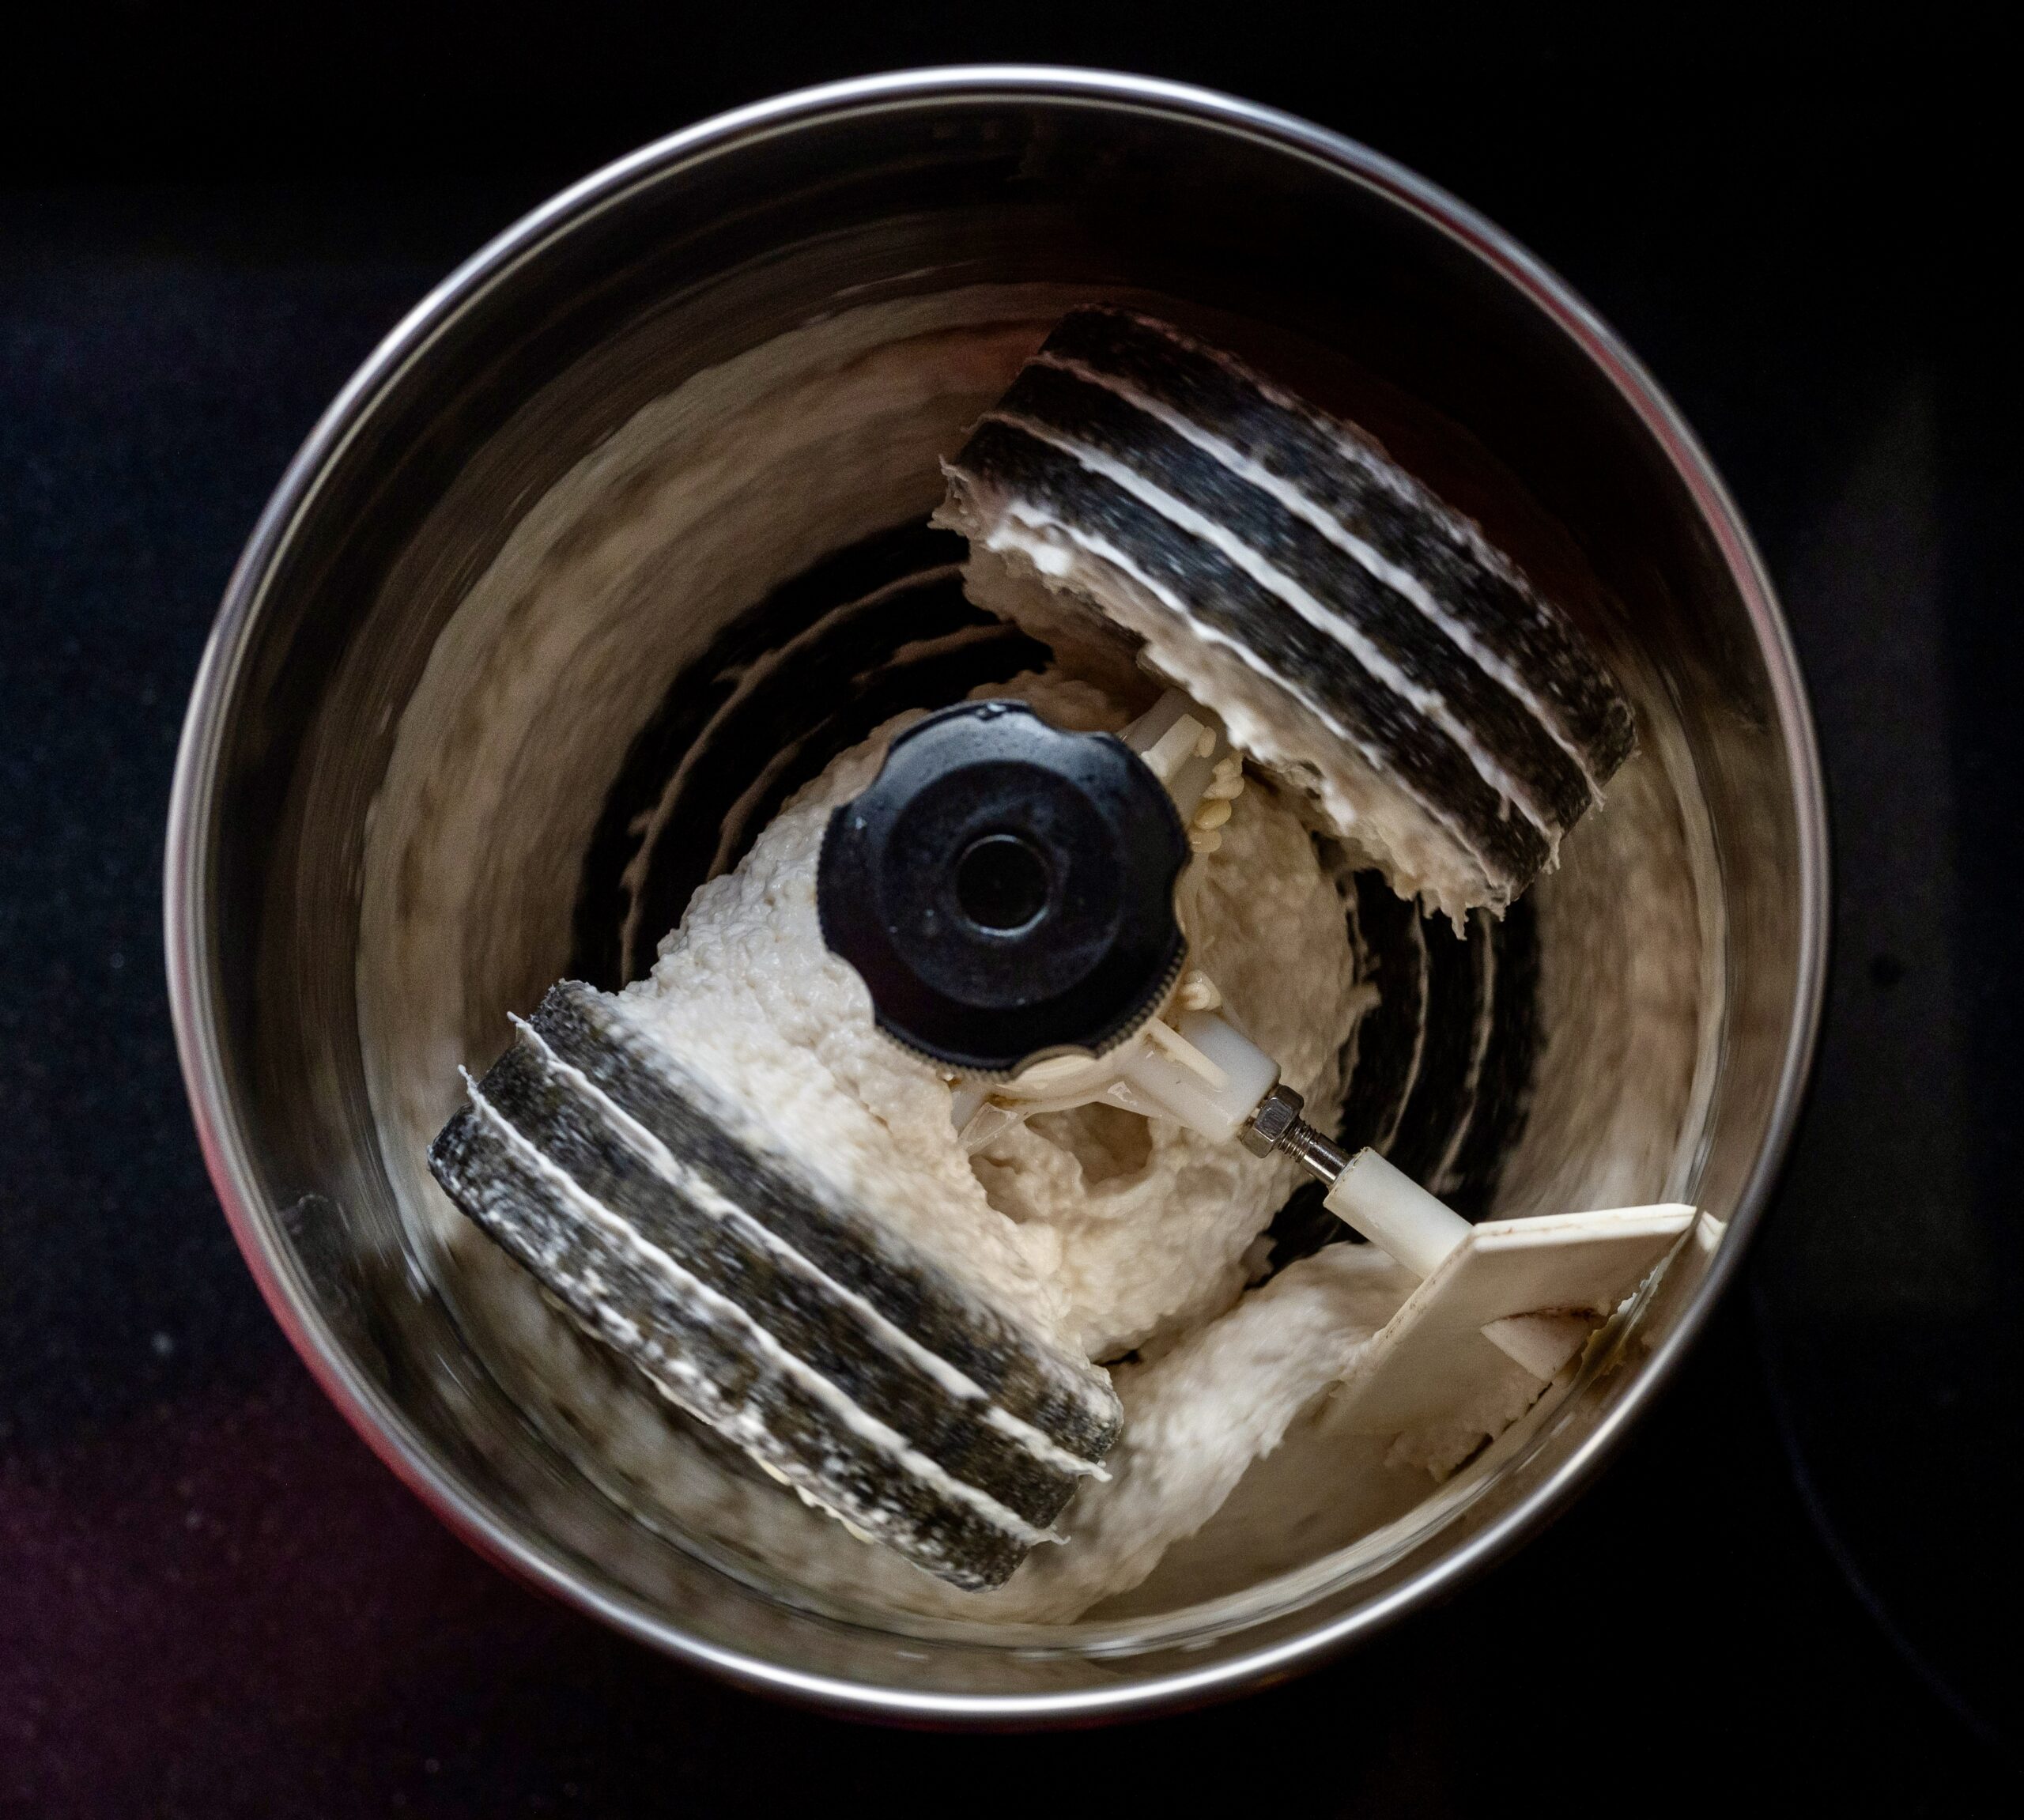
Dispose the soaking water. Add 2 cups of fresh water and grind the urad dal and methi seeds finely, using a wet grinder or blender. Set aside.

Now, grind the rice with 2 cups of fresh water until you get a fine consistency.

Pour the rice batter over the dal batter. Add salt and mix gently using your hands.

Cover in a big pot and allow to ferment. The size of the pot matters so that the batter has space to rise. Well-fermented batter doubles in quantity and is sour. When stored in the fridge between uses, it will remain fresh for 3-4 days.

Here are a few more tips: the trick behind making a batter that can yield both a crisp brown dosa and a soft white idly is the proportion of rice to lentils. To make dosas even crisper, add some poha or rice flakes to the batter while grinding. Some people also add rava. However, I personally feel that the use of a heavy iron pan and adequate ghee or oil contribute more to crispness than these other techniques. Use only parboiled or boiled rice to make dosas, and only husked urad dal. Adding fenugreek increases the fermentation and makes for a tastier dosa.

As I said earlier, you can use this for dosas, idlys and kuzhi paniyarams. Here is the method to prepare dosa, a South Indian crepe that is staple in this part of the world.

Remove the required quantity, and gently mix the batter with a steel spoon. Heat a cast iron pan or tava.

Once it is hot, sprinkle some water on the pan. When it sizzles, you know that it’s the right temperature. Take a ladle full of the batter and pour it into the centre of the pan. Gently, using a circular motion, spread the batter on the griddle, similar to making a crepe. Use a teaspoon of ghee or oil and spread drops of it onto the dosa.

Allow it to cook on high heat, until you see it turn golden at the bottom. Gently, with the help of a spatula, lift from the edges and flip for no more than a few seconds. Now fold the dosa and serve hot. Accompany it with sambar, chutney, curry or podi – the choice is yours.

I hope you’ll begin making your idly and dosa batter from scratch too. It’s an easy process, and I am sure you’ll enjoy both the preparation method as well as consuming the results!

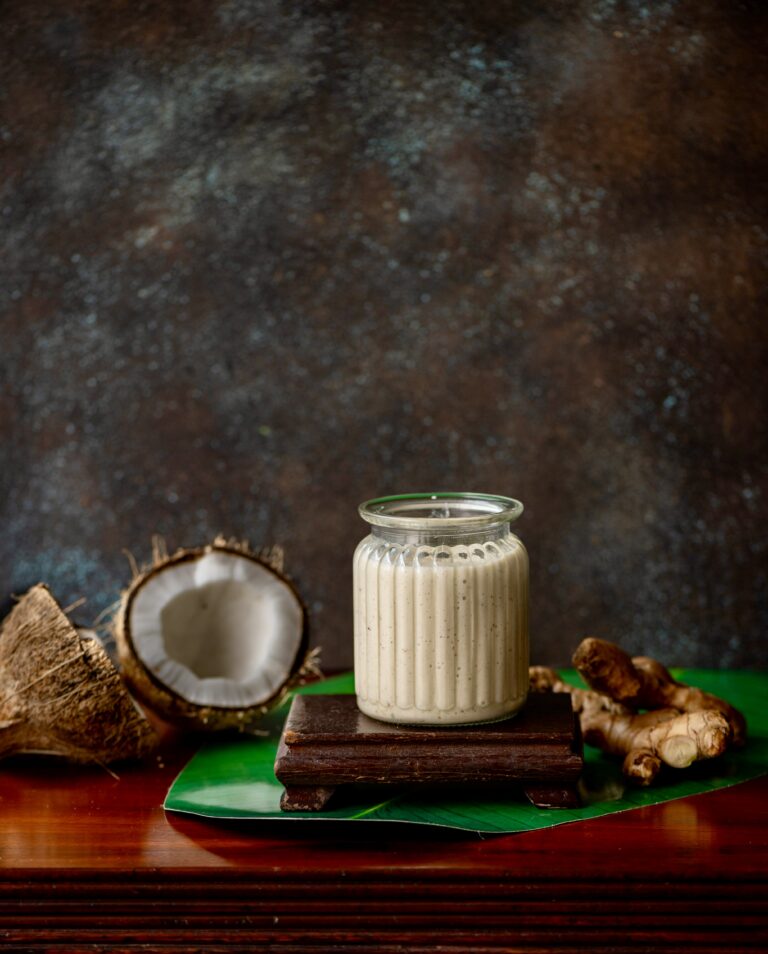
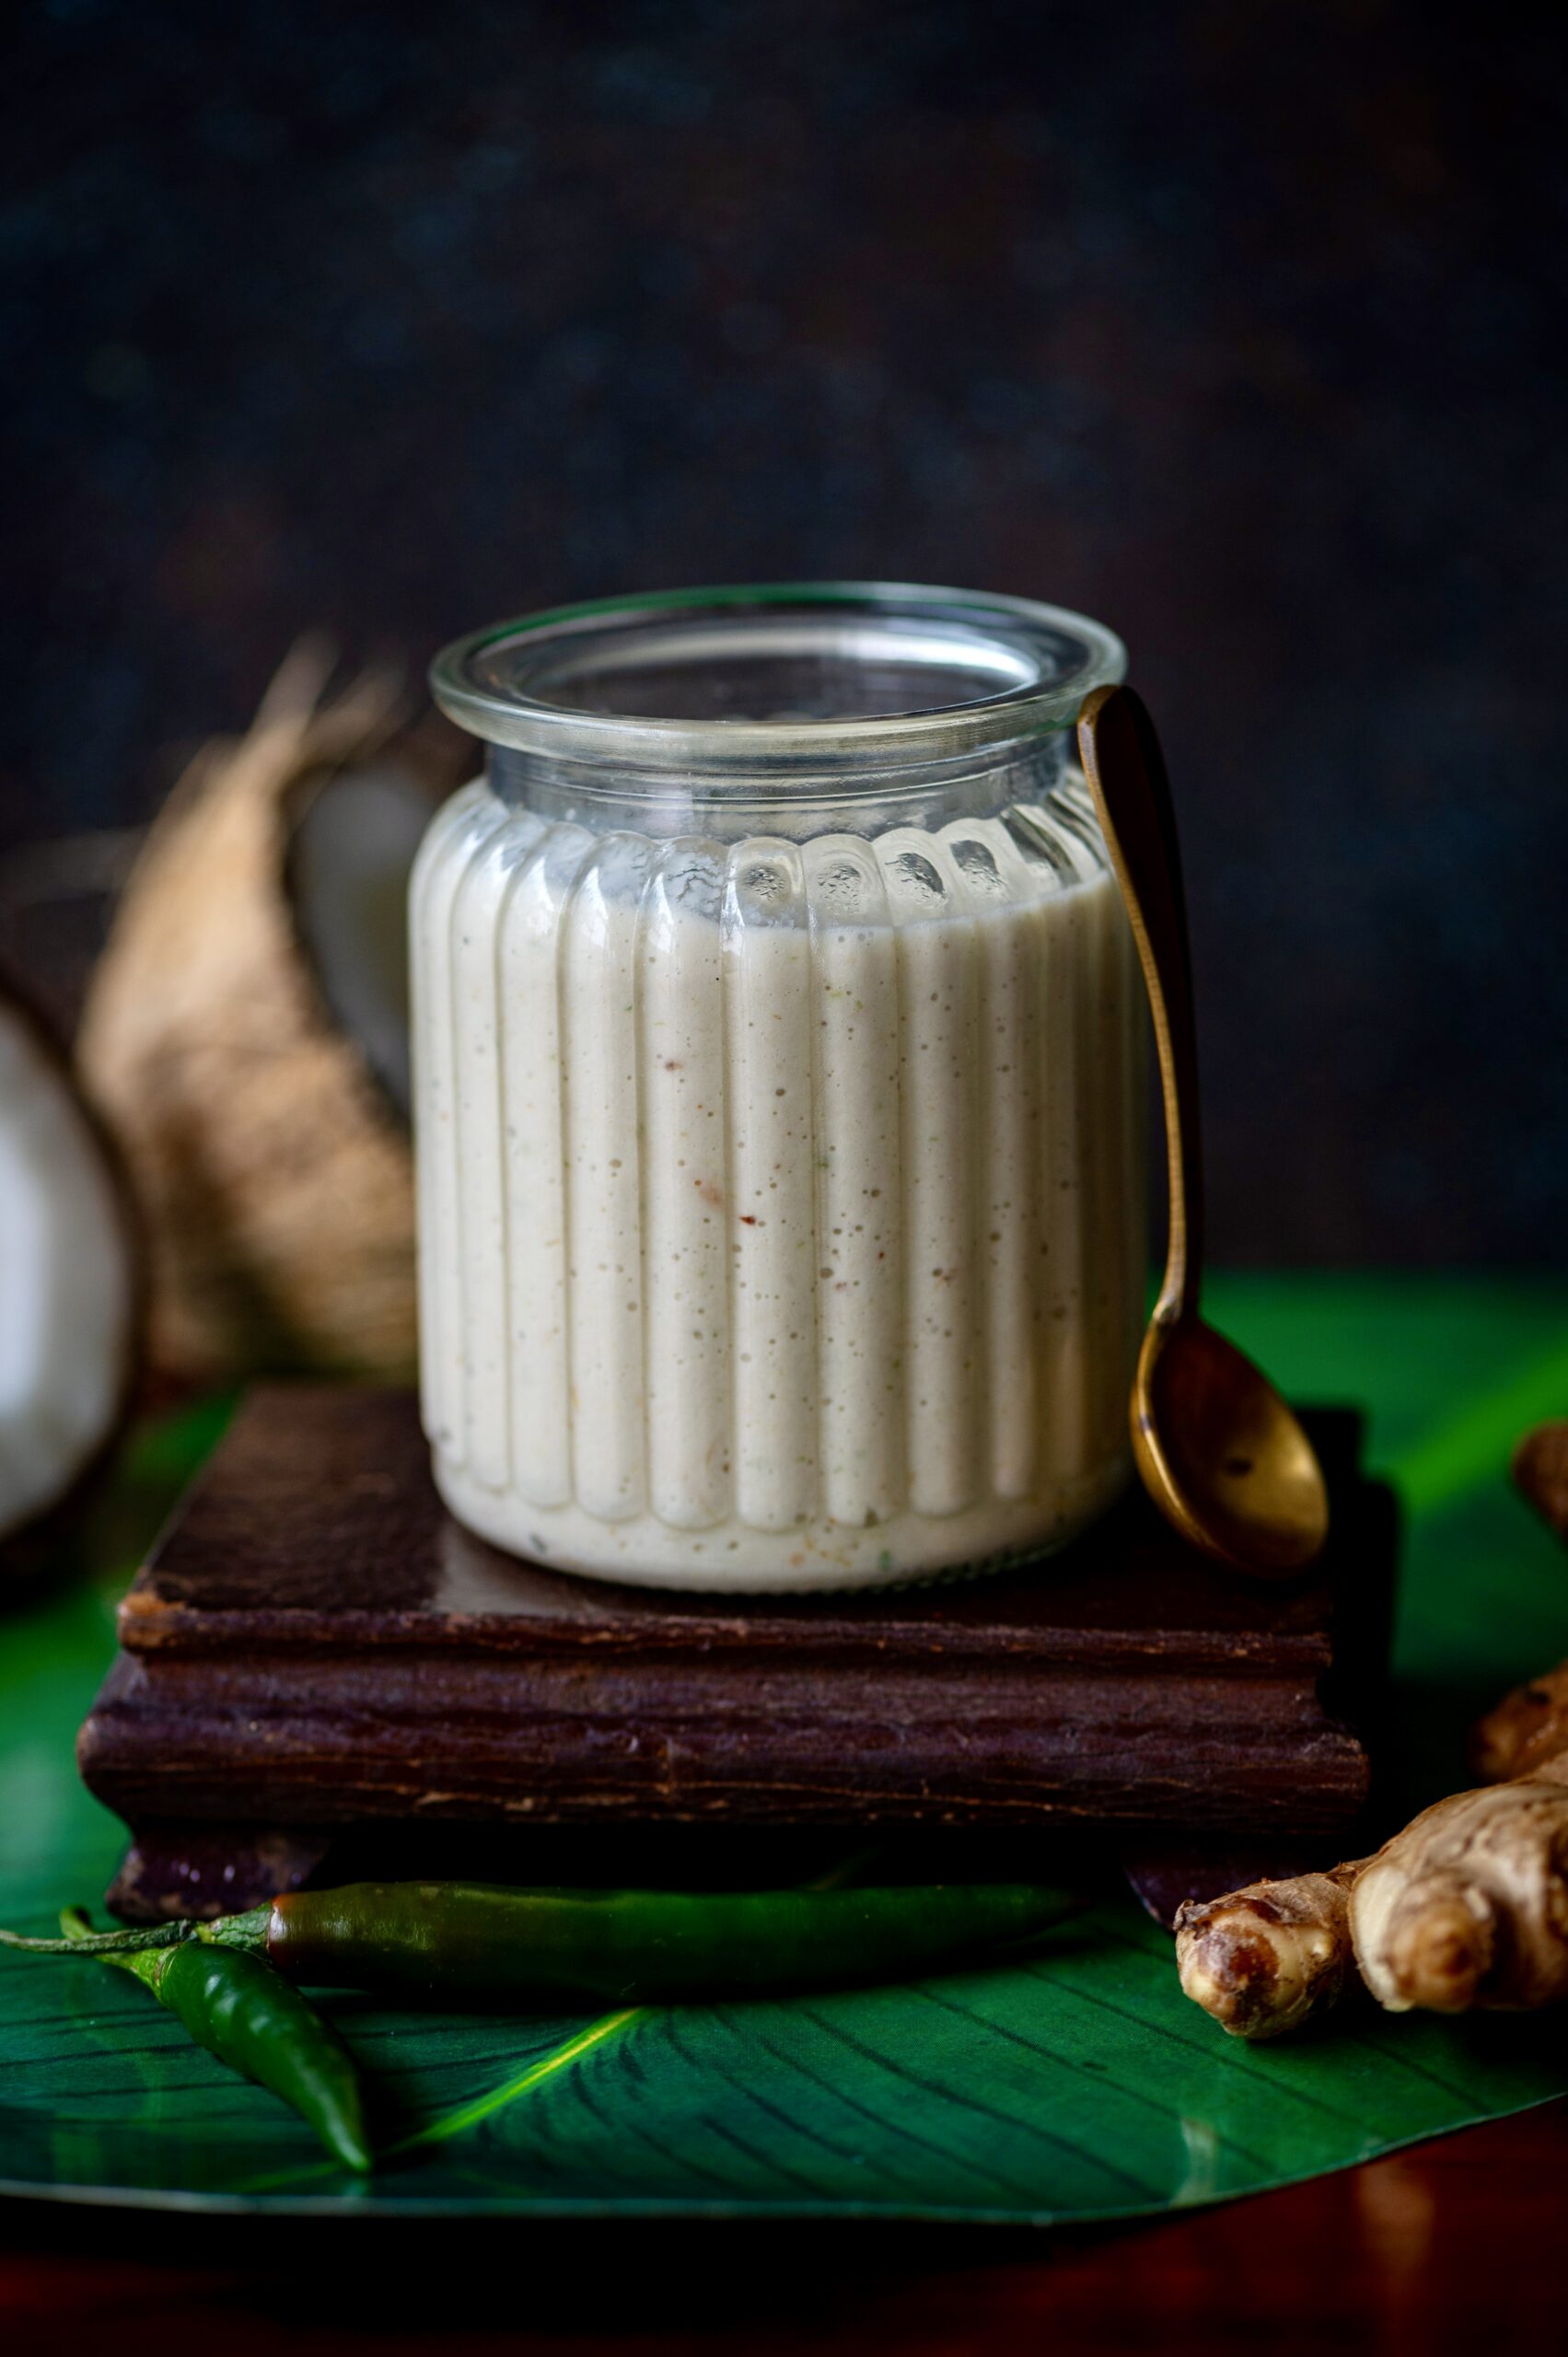
As I mentioned a few posts ago, we have a new addition to our family: a daughter-in-law, as one of my sons is getting married. There is newness all around me right now: a new year, with new changes and new surprises. There is a lot of mutual love and acceptance, but there is also a great deal of learning – both on a personal level as well as in the form of new experiences. This is true for every one of us at this time, as the family expands and we adjust to that expansion, even if joyfully. This coconut chutney, which has a twist, comes from my daughter-in-law’s culture in Coorg, South India. It is a delicious take on a classic, and we love it so much that it has now become the only kind of coconut chutney that we make at home.

I have shared a wide range of chutneys on this blog: from peanut chutney to plum chutney, and much in between. Despite also sharing a variety of coconut posts over the years, the two had not come together so far. So I’m thrilled to share this less-than-typical, and very tasty, coconut chutney. The method is exceptionally simple, and if you already have a standard coconut chutney in your own repertoire, you will find this an easy upgrade.

I would love to share more recipes from Coorg as I myself begin learning more over the coming years. I hope you’ll enjoy doing so alongside me, too.

As I said earlier, the learnings are myriad. Becoming a mother-in-law is a whole new chapter of my life. I am sure it won’t always be easy, but I look forward to a lot of togetherness. I hope to apply all the lessons I have learned over the decades about open-mindedness, warmth and sincerity. When I think of my kids and how I have accepted their loveliness and their quirks both, and how they have also been welcomed by so many, I know that we can all find it in our hearts to grow together. I wish also that we can be caring and thoughtful towards each other in the world at large, and instil harmony everywhere.

It’s about accepting differences, of course, but it’s also about celebrating them. I can think of no better way to do this than through food. So without further ado, here is a Coorg-inspired coconut chutney to usher in bright times for us all!

Coorg-Inspired Coconut Chutney

(Yield: 1 cup)

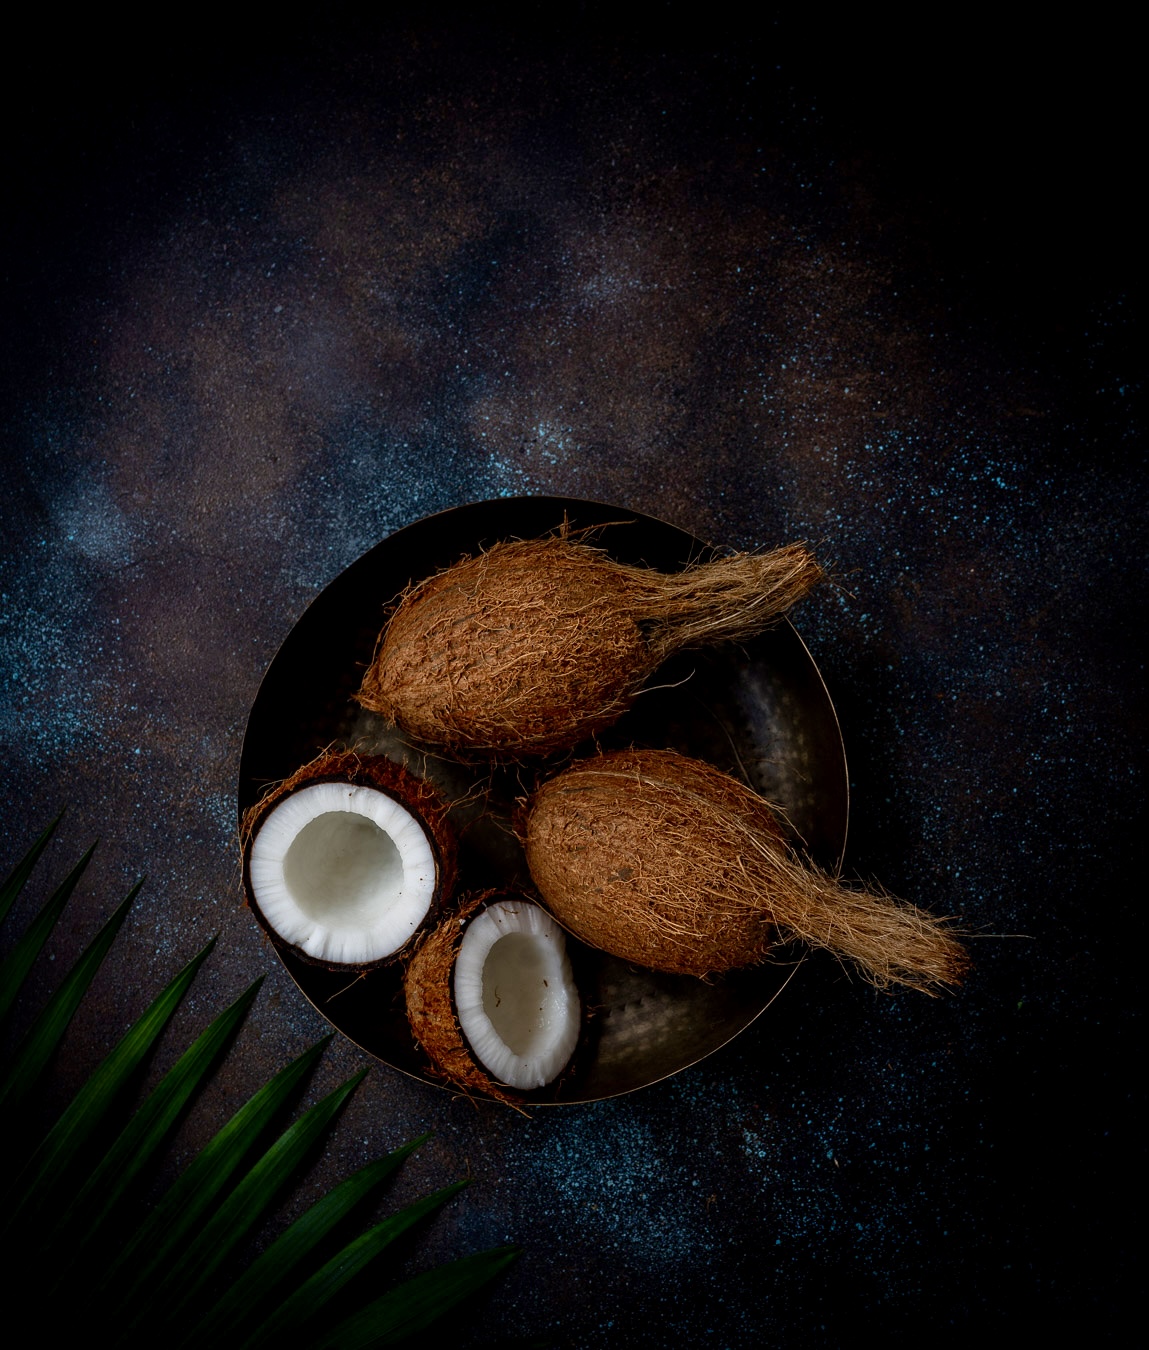
½ cup grated coconut

Marble-sized tamarind pulp (soaked)

2 green chillies

A small piece of ginger

2 tablespoons water

Sugar to taste

Salt to taste

In a blender, add all the above ingredients and blend to a smooth texture. If you require the consistency to be thinner, add more water.

That’s it. Now that your chutney is ready, serve with dosa or idly. Stay tuned for upcoming posts on preparing the batter for these, as well as a special and fun way to enhance your dosa experience!

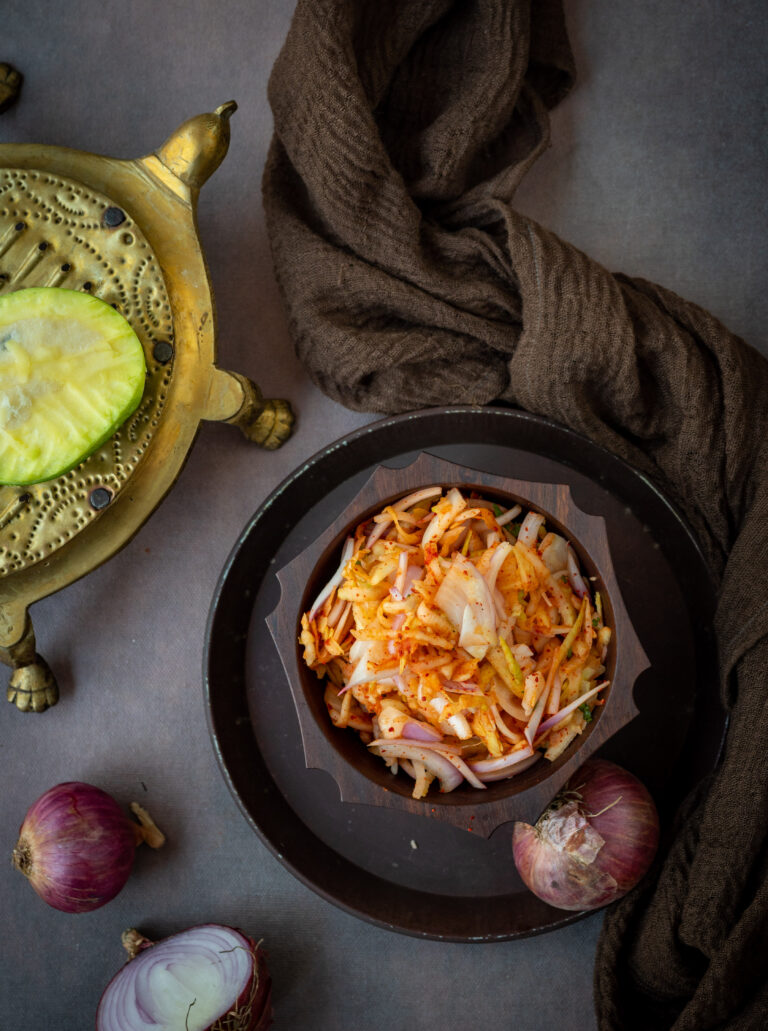
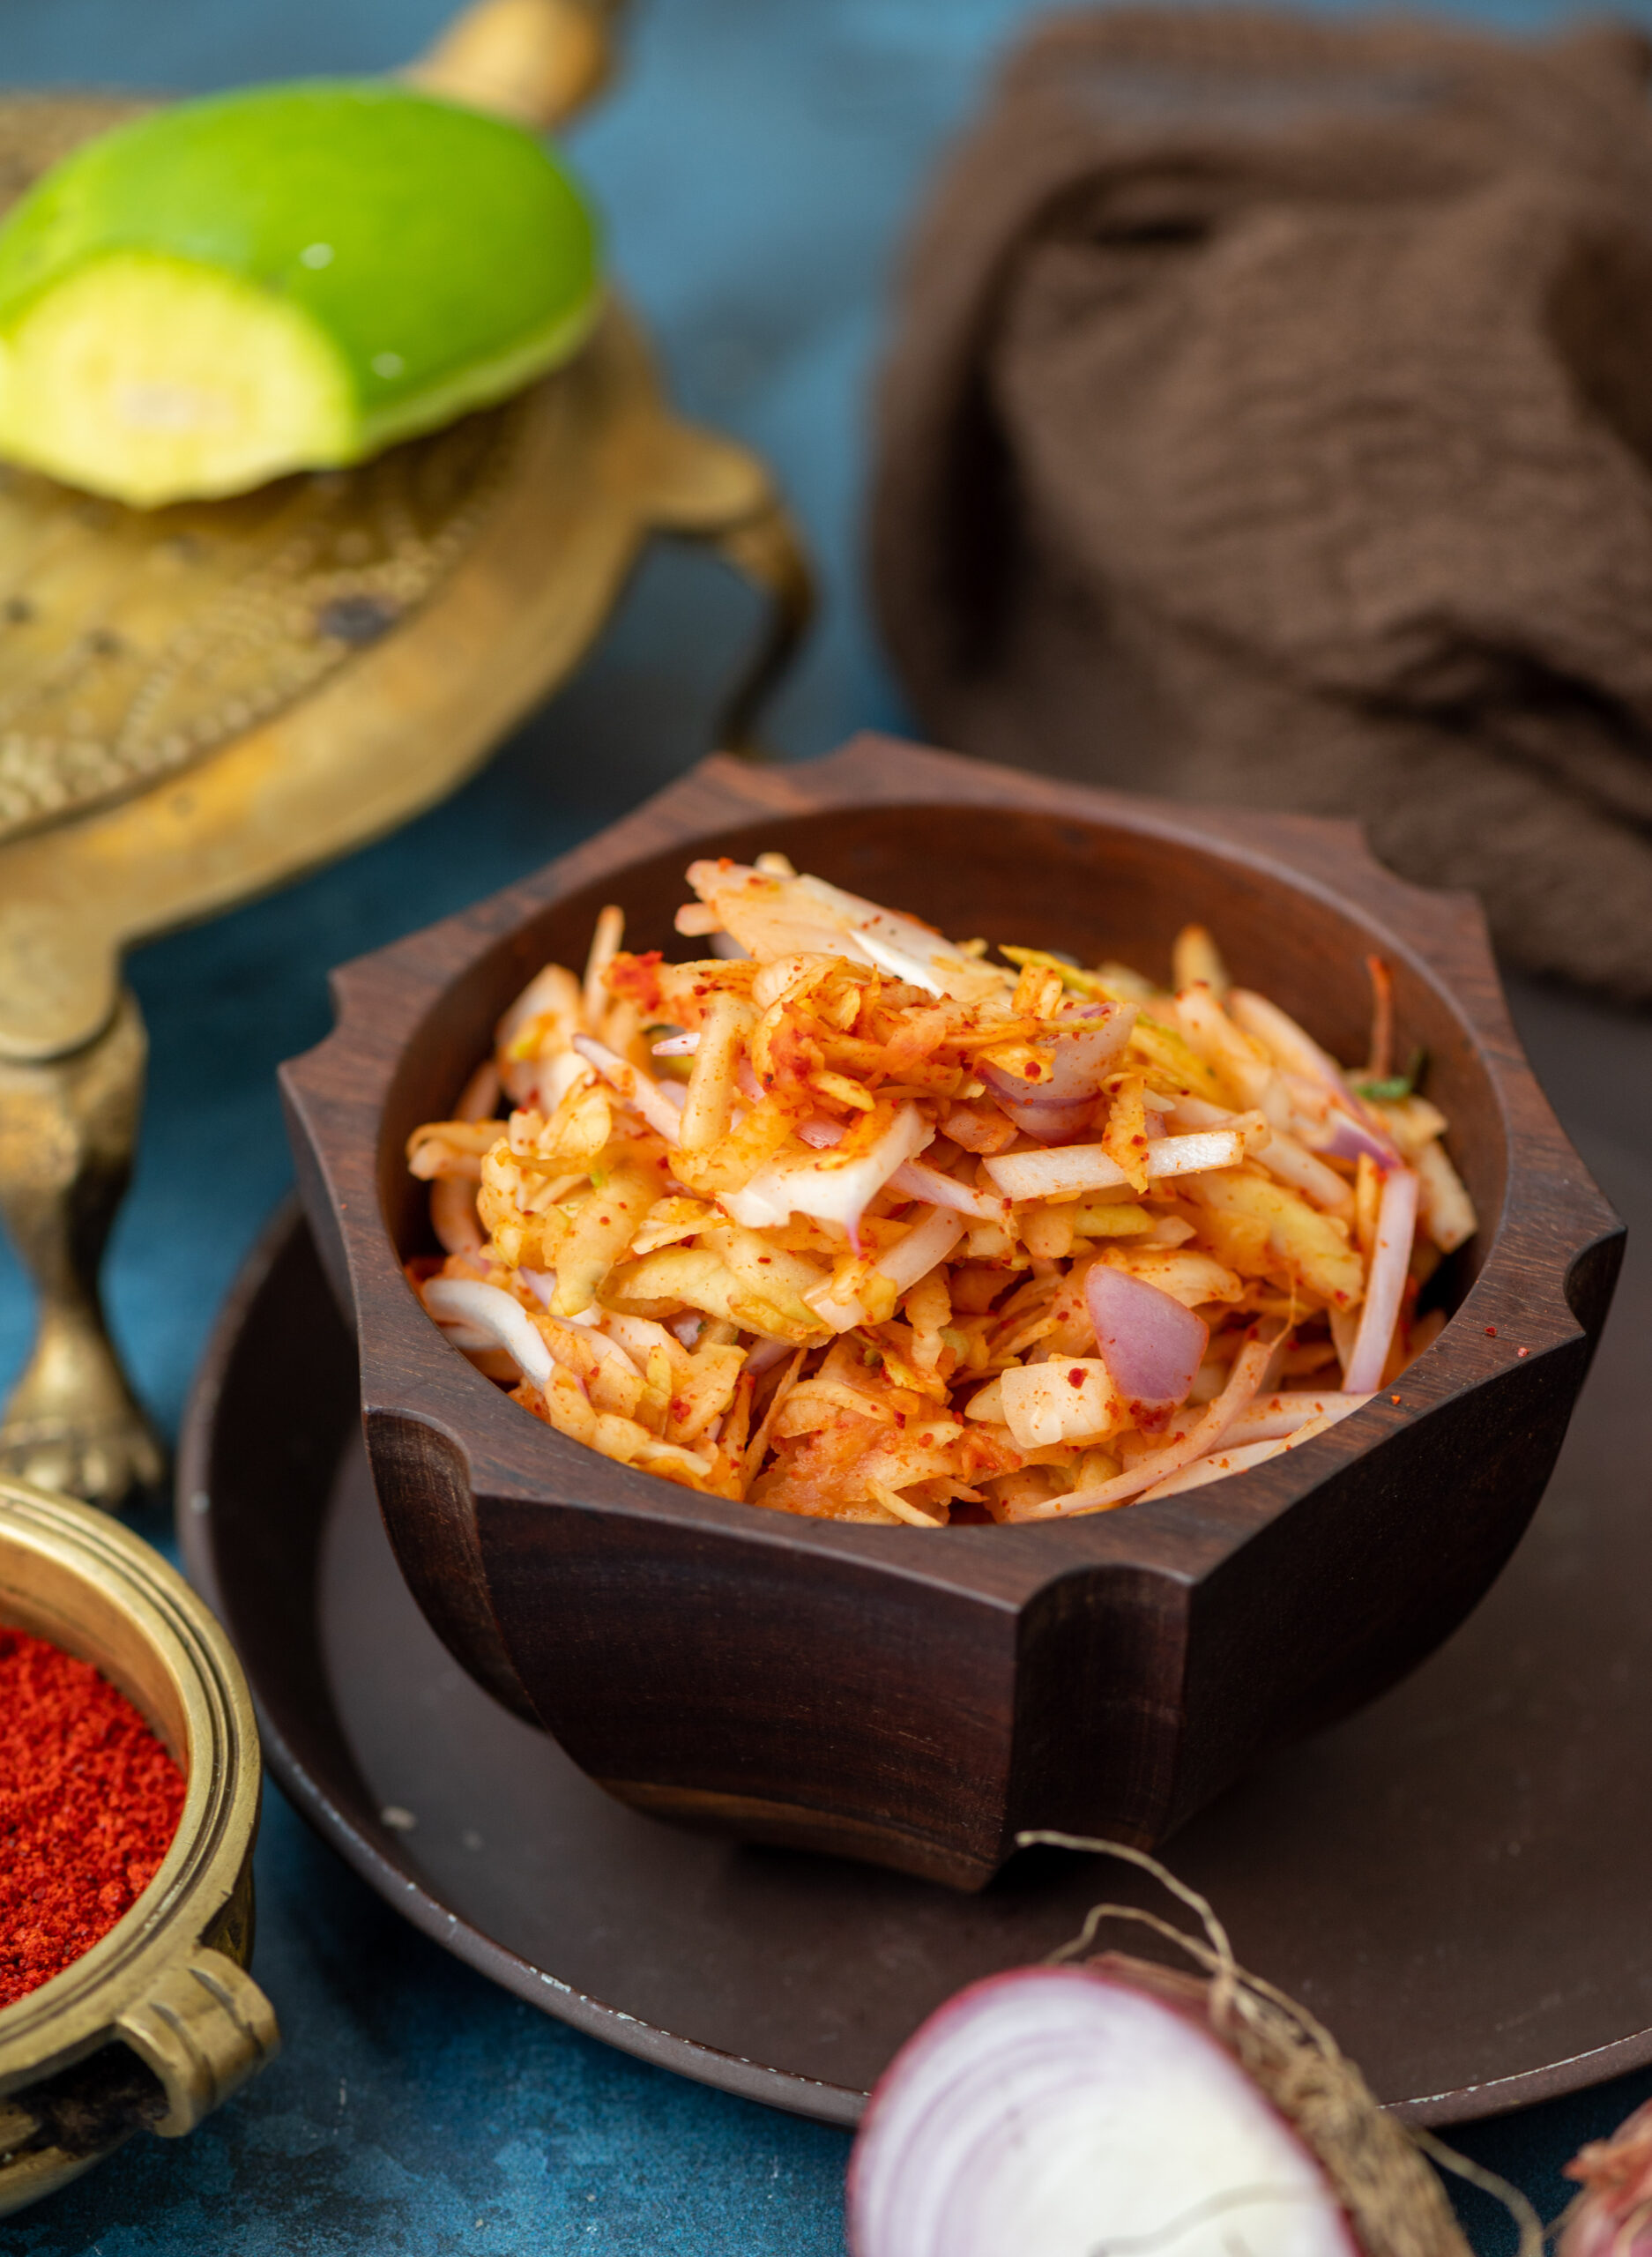
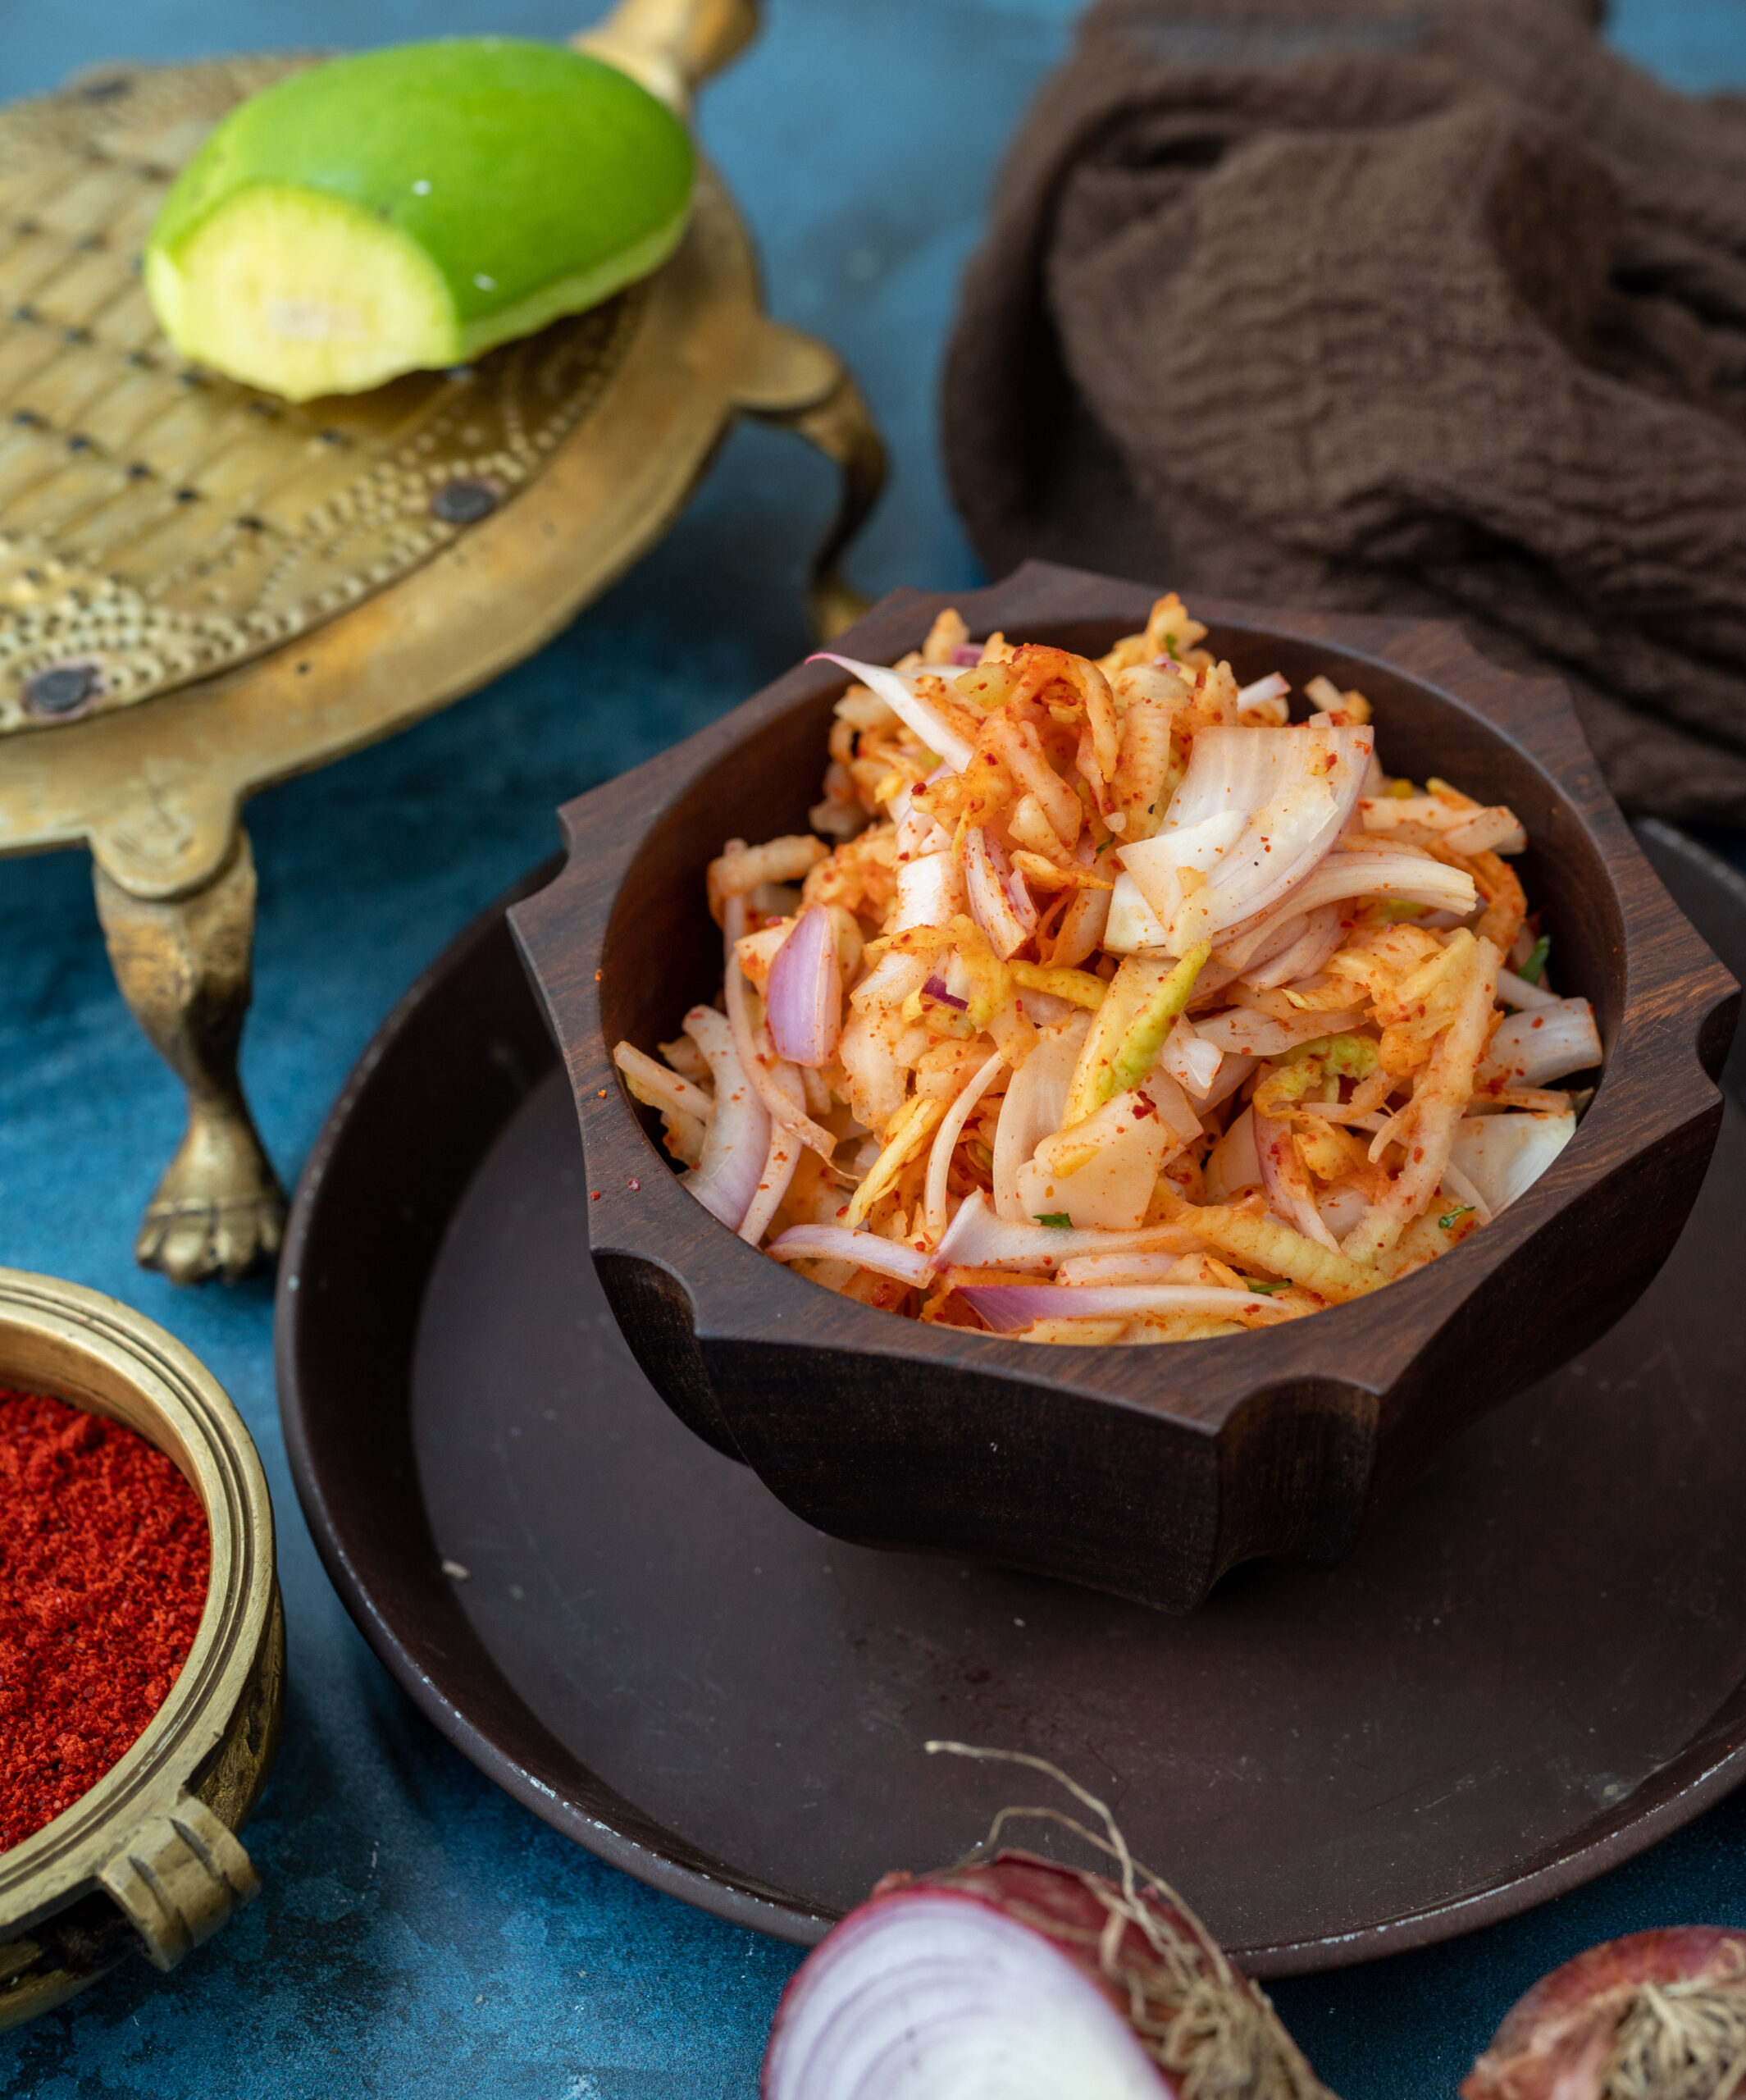
Kanda kairi is a traditional Gujarati condiment, but it is eaten in such large quantities in my home that it almost qualifies as a sort of salad. It features only two basic ingredients, as its name attests: onion (or kanda) and raw mango (or kairi). So it is remarkably simple to put together, and tastes great by itself and as an accompaniment.

Across Gujarati homes, you’ll find some kanda kairi being served on any thaali at this time of year. Similar to how buttermilk is a staple in the summer, so is this dish. It’s quite interesting how the kanda kairi has a reputation for being a cooling condiment, given the ingredients involved. Yet somehow, the combination works for this purpose. I recall how when I was growing up, my mom would insist that my siblings and I have a tablespoon of it daily during the hot months. I used to make a face every time, but now I do the same thing, and I love it.

Aside from onion and raw mango, I like to elevate the flavour with a bit of jaggery (which you don’t need if the fruit you use has a hint of sweetness), as well as some chilli powder. In India, we love to add that spice to raw mangoes as well as to guavas, as it adds a delicious edge.

Kanda Kairi

(Yield: Serves 2-4)

1 cup raw mango (grated)

½ cup onions (finely sliced lengthwise)

2 tablespoons coriander leaves (finely cut)

Salt to taste

1 teaspoon powdered jaggery

½ – 1 teaspoon red chili paste


In a bowl, add the raw mango and onions and coriander leaves. When ready to serve, add the salt, jaggery and chili paste. Mix well and gently, using your hands.

Your kanda kairi is now ready. Enjoy it as a salad or condiment. To me, it’s a bit of both – and so easy to bring together!

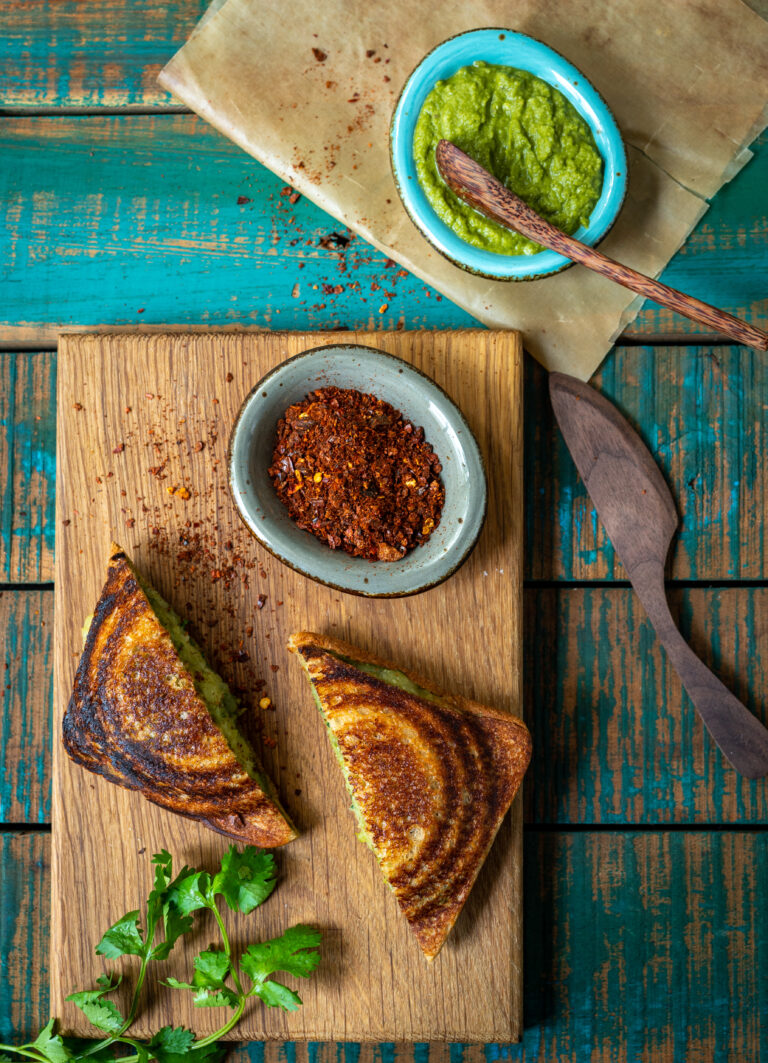
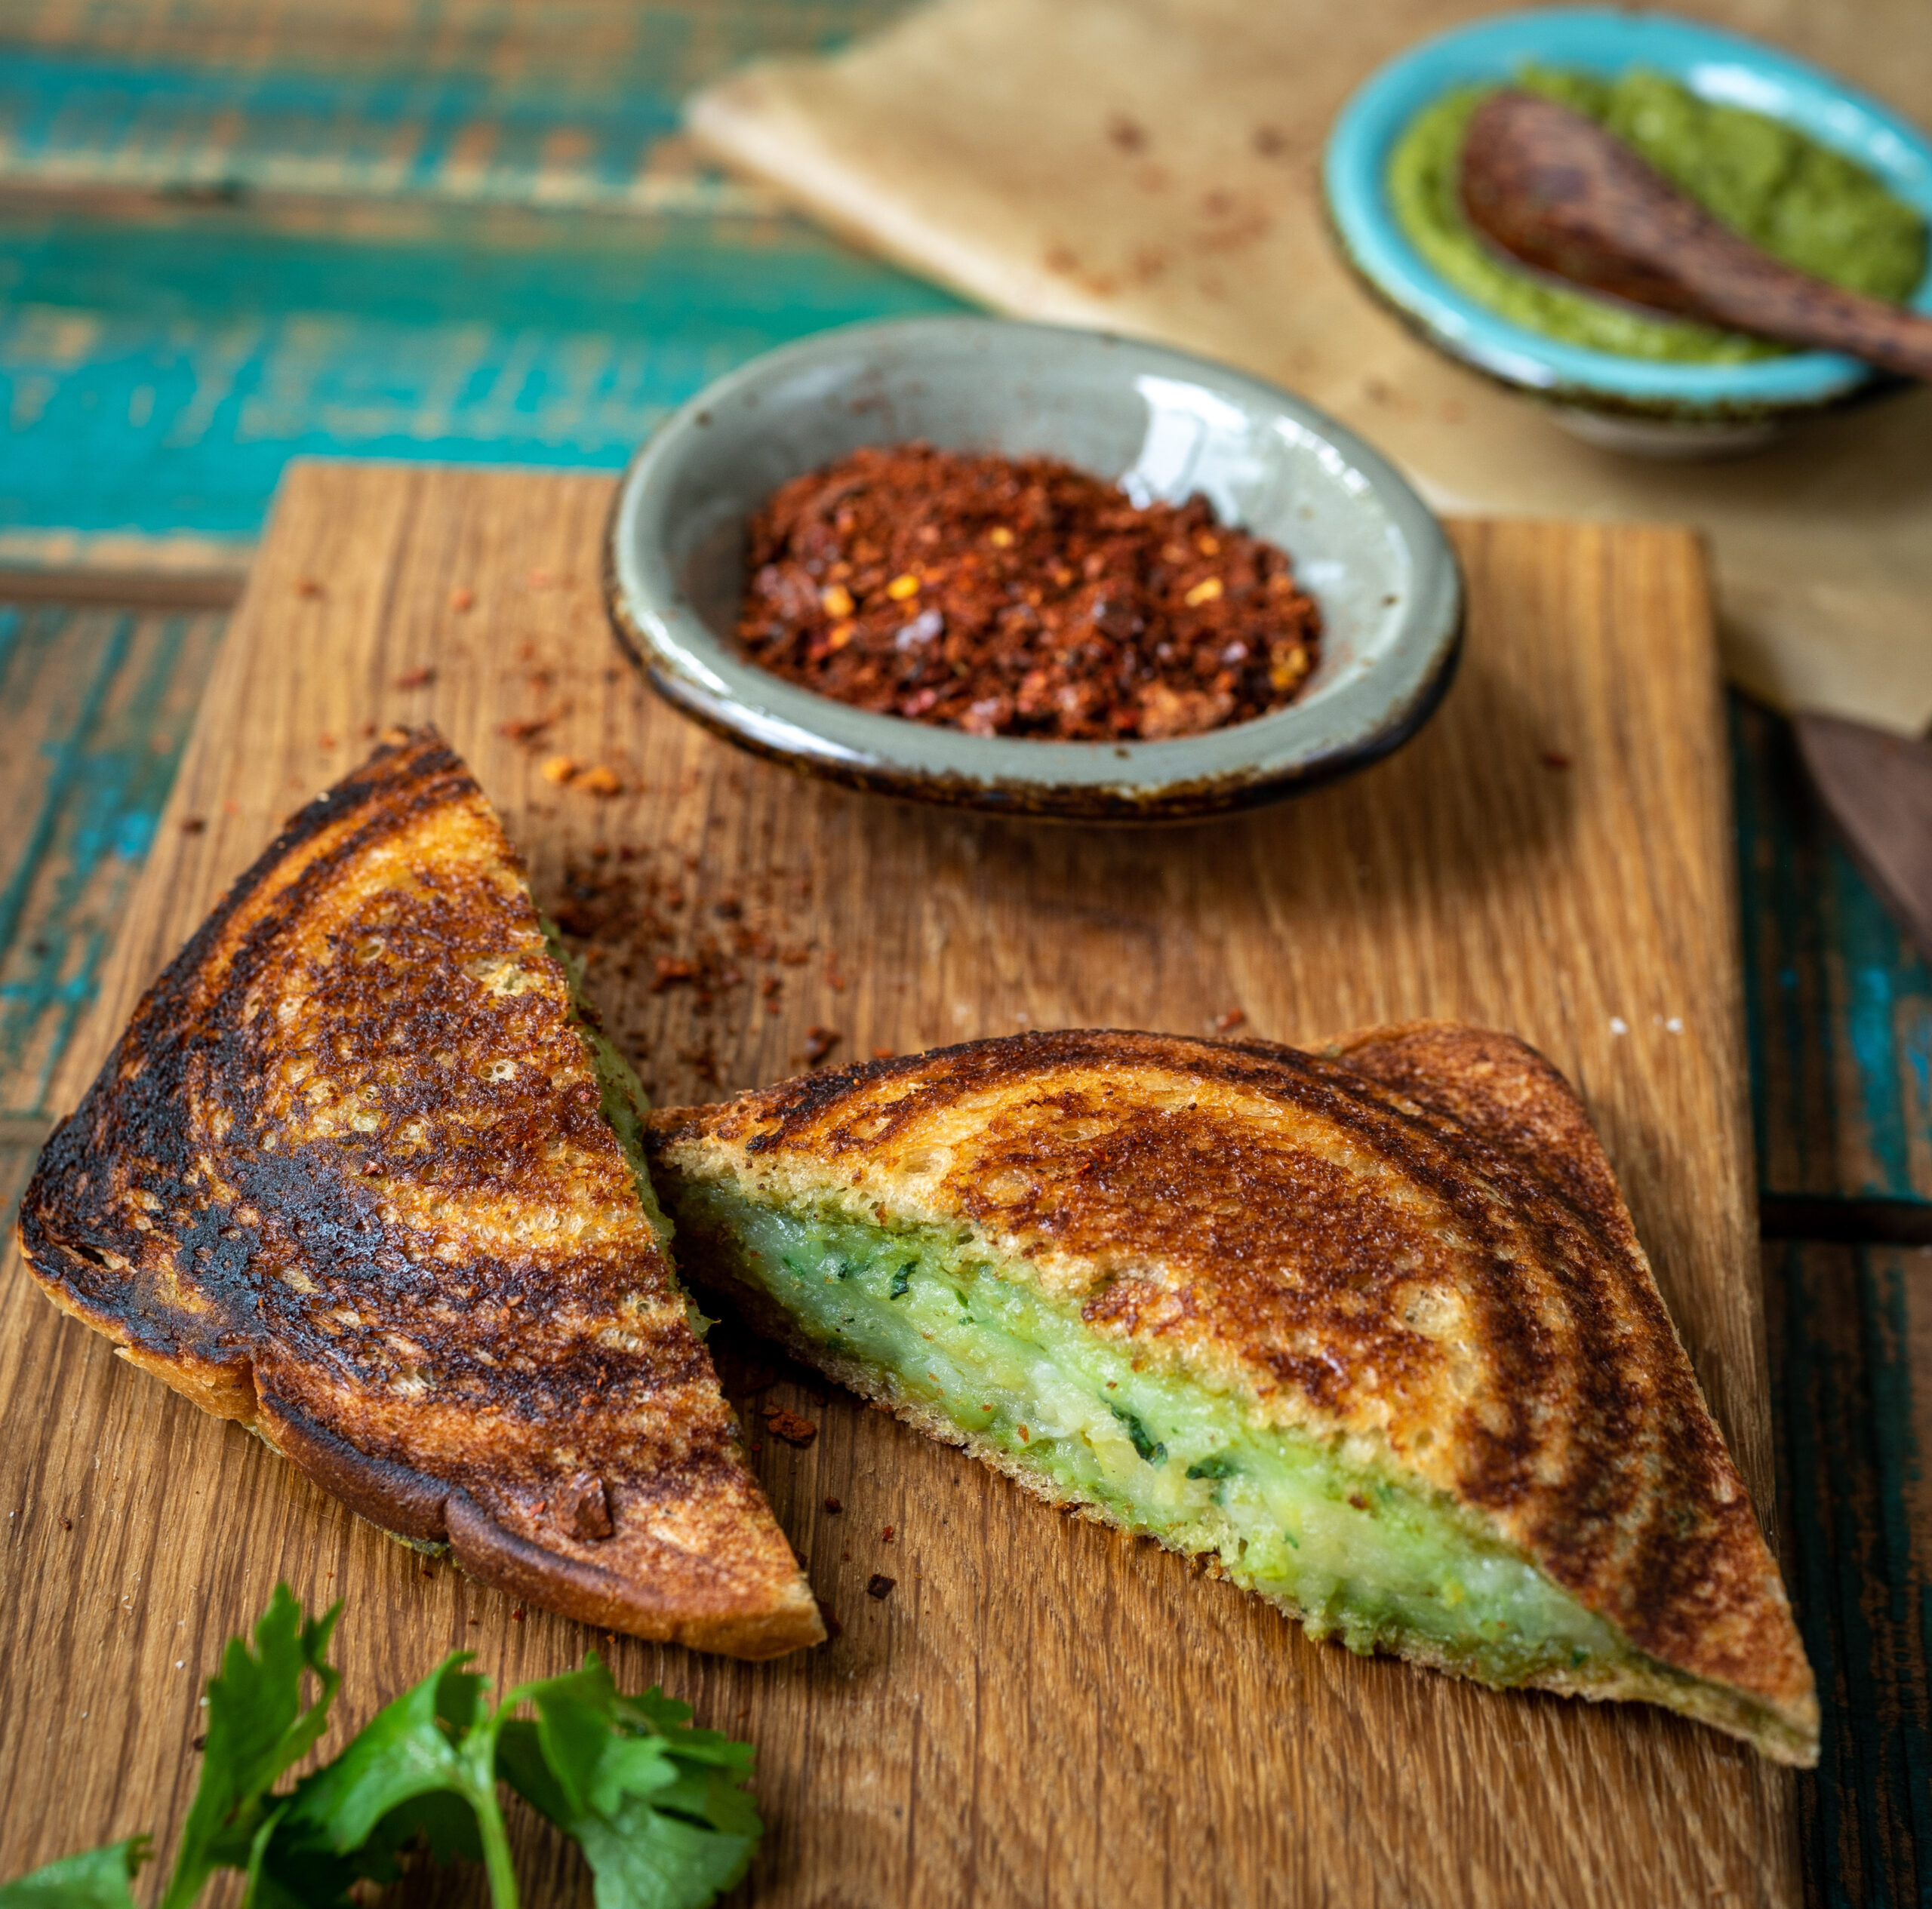
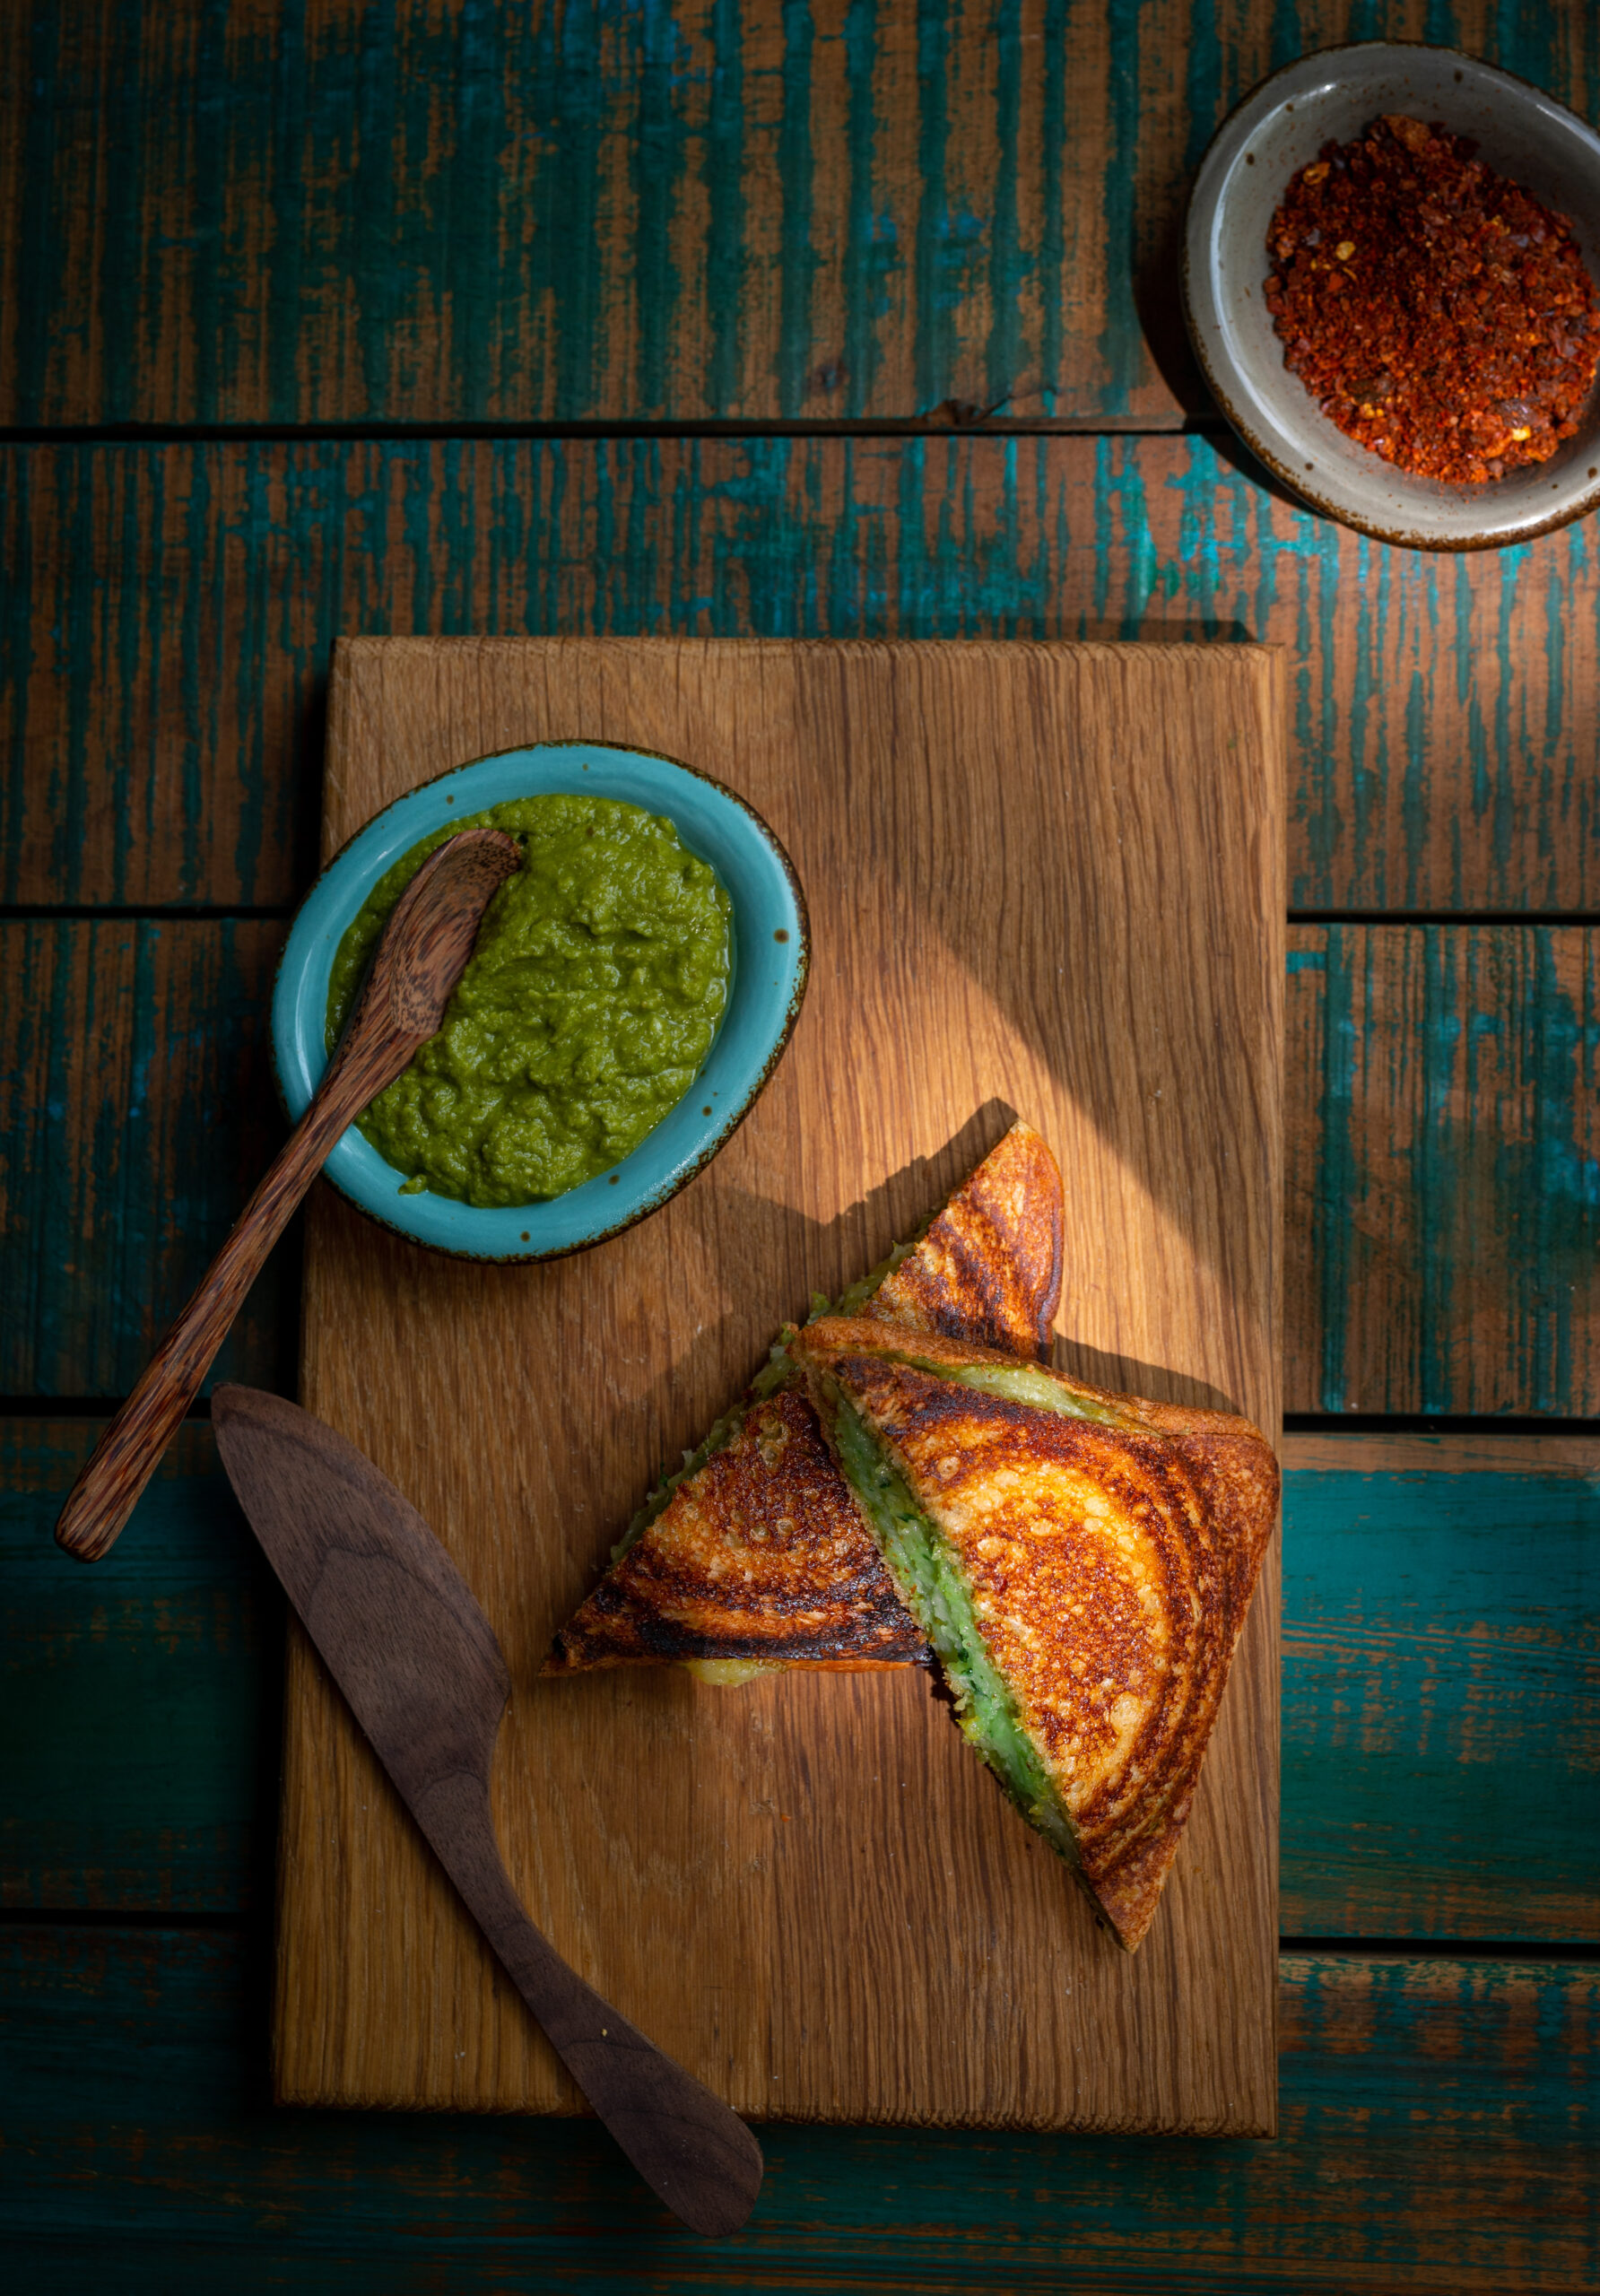
I believe that my passion for creativity comes from my mother. In my case, these pursuits include photography and food, both of which this blog is all about. The latter is certainly inherited from her. She was very innovative in the kitchen at a time when resources were not as abundantly available today as market options were more limited. We didn’t have the big fancy supermarkets that we do in India today, and the kirana shop down the road with its fluctuating stock was where we got our groceries. My mom had an incredible knack for preparing dishes with whatever was on hand, and this toasted aloo (potato) sandwich is another one from her repertoire.

Another aspect of life back then was that there were no cellphones or constant connectivity, which meant that guests often dropped by unannounced, usually around tea time. So there was always a need to know just what to whip up in case company arrived suddenly. The criteria: the snacks had to be easy to prepare and only use basic ingredients that would reliably be on hand. The great thing about this toasted aloo sandwich is that it didn’t just meet those requirements, but also looked quite glamourous. As I’ve mentioned before, I think sandwiches are a part of Indian cuisine thanks to the club culture the British brought, so bringing them out at tea meant that charm came into the home setting too.

My mother would use the traditional hand-held toaster over the gas stove, which I have mentioned in the past. For me, there is quite a lot of nostalgia associated with simple dishes like this one. I like regular white bread, toasted and warm, for this one as it’s a part of my childhood. The dish has a very Indian feel to it overall, similar to a Westernized aloo paratha both in taste and comfort level.

Nostalgia, paired with novelty, is one of the reasons why I sometimes host sandwich parties in my home. I have my friends over to enjoy a delectable spread of bread options, fillings, toppings and so on. They get to choose how they want to have their sandwiches, similar to having a personal pizza made on the spot. They can go with a quick fix, perhaps untoasted, if they arrive hungry. Or they can enjoy a more elaborate sandwich. For instance, they may want to have a really basic one decked up nicely with thinly sliced paneer, beetroot chutney, sweet potato or pea mash or other choices. Everyone has a favourite, and it is always fun to explore more.

On that note, here are some of the sandwiches and toasts that have made previous appearances on this blog, and I hope you’ll explore these recipes at leisure: tofu masala toast, pesto parmesan toastie, masala baked beans on toast, cheesy garlic sourdough toast, Bombay toast and cherry tomato yoghurt toast.

First, though, do try out this particular potato-based favourite of mine!

Toasted Aloo Sandwich

(Serves: 2)


4 slices bread

1¼ cups mashed potatoes

Salt to taste

1 teaspoon green chilli-ginger paste

2 teaspoons coriander chutney

Butter as required


Mash the salt as well as the green chilli-ginger paste into the potatoes. Mix well together.

Lay the slices of bread flat. Apply the coriander chutney on all of them.

Divide the potato mixture equally and spread it over 2 slices of bread. Then, place the other slices over these. Apply butter on the outside of the sandwiches.

Toast until golden. That’s all there is to it – a very simple, but totally tasty sandwich. Enjoy!

For the longest time, from when I was a child, I’ve been eating semiya upma as a breakfast dish. Our mother prepared it often when we were growing up. Back then, cereals and so on were not readily available (at best, some cornflakes would show up at the grocery store, but they were a rarity, as were items such as baked beans). We would make a big fuss about wanting bread, buns or what to us were more interesting fare, but the fact is that our mother made us a hot, fresh breakfast every morning – and we were all the luckier for it. Things have really reversed now, and I understand that such thoughtfully prepared breakfasts are simple luxuries. I find myself doing the same now, giving my family the same benefits of a home-cooked meal.

After eating copious amounts of sugar for Diwali, this makes for a healthy and comforting breakfast. Many people feel like they really don’t want to reach out for sweets at this time, and are almost sick of them, so nutritious foods like a good semiya upma are ideal.

Upma is a South Indian dish that is usually made with any grain: poha, rava, broken wheat, millet and so on. Semiya is a kind of roasted vermicelli, and this is what my mother and now I mostly use to prepare upma.

My mom’s upma contained onions, as is usually the case, and I take the vegetable quotient further by adding carrots and beans. As children, we would often ask for a sprinkling of sugar over the dish, which she gladly agreed to in order to get us to consume it. She would occasionally take this to the next level and prepare a sweet upma with sugar and ghee too. I have yet to try this dessert version, but regularly have a variety of savoury upmas at home. We enjoy exploring an assortment of dishes, but upmas and pohas appear on our table at least once a week each.

Upma cooks very quickly, so aside from being a good breakfast it’s also perfect when you have a guest over suddenly during the day and need to whip up a meal fast. As far as breakfasts go, I have made various attempts at intermittent fasting but this semiya upma is the thing that gets in the way. It is just too dear to me and I don’t want to miss it, so I guess you could say it’s a cheat day special!


Semiya Upma

(Serves 2-3)


2 tablespoons oil

½ teaspoon mustard seeds and cumin seeds

1 cup carrots and beans (finely chopped)

½ cup onions (finely chopped)

1 cup semiya

1 green chilli

Salt to taste

3-5 curry leaves

3 cups water

1 lime


Heat a kadai. Add the oil. Once it has heated, add the mustard and cumin seeds. Allow to splutter, and then add green chilli and curry leaves.

Next, add the onions and sauté for a minute. Now add the vegetables. Cover and allow to become tender on a low flame.

Next, add the water and salt. Increase the flame and once the water boils over, add the roasted semiya.

Mix gently. Cover and allow to cook on a low flame until the water evaporates and the semiya is tender to the touch.

Finally, squeeze the lime juice in and mix gently. Garnish with coriander leaves.

Your semiya upma is now ready to be served. It can be eaten plain, or with some coconut chutney on the side.

While I’ve shared a traditional Indian favourite this time, breakfast does come every day and you may want to explore the varied recipes I’ve shared before from different cuisines. They will all give you a happy start to the day!


Confession: I have a dislike for cucumber. This has been a problem for me because for Indian salads, or at least the one I grew up having to eat, cucumber is a basic ingredient. At some point, I decided that I had better make friends with the vegetable. Not only is it present at so many meals, but it also happens to be very healthy, full of antioxidants and very hydrating. I knew that being innovative about the preparation, as well as making it attractive in its presentation, were the keys. That is how this Asian cucumber salad came to be.

The particular salad I grew up with was the Indian kachumber. It contains onions, tomatoes and cucumbers – all sliced and served raw, and seasoned with salt and chilli powder. My childhood impressions of it certainly did make me averse to cucumber, but in hindsight I recognise that it was the way it was presented that was as unappealing as the taste. Children’s palates veer away from vegetables. I eventually learned to love many of them, as you may have noticed from so many recipes and memories I’ve shared. But the way I saw cucumber changed only when I changed, well, the way I saw it.

As you can see, I have used a pretty platter to serve the dish. That is a vital component in making any dish look more attractive. When making this salad, here are a few more tips that will increase its visual appeal. Ensure that the cucumber is sliced just before serving, so that it doesn’t look wilted at all. I feel that round slices work better in terms of the look, but if you prefer long ones, go ahead. There are plenty of fancy slicers available too, to play around with shapes and cuts. They could especially increase the fun quotient for kids.

We eat first, but we also make things in our mind before we consume them. For instance, have you ever wondered why red wine is served in a certain glass or white wine in another? A plate, a cup, a serving spoon… It became the standard because someone began using it, and others followed suit. Make your own style, break out. It makes the whole culinary experience more interesting.

But it isn’t just the way the salad looks when well-plated that matters, but the dressing does as well. I found that an Asian-style dressing completely transformed the vegetable and perked it up beautifully. This really is the element that makes this whole dish what it is.

I’m very interested in Asian cooking and really enjoy the sauces used therein, along with certain techniques. For instance, vegetables are not always fully cooked. They are stir-fried in a variety of sauces that greatly increase their flavour and make you want to eat them in that semi-raw state. Being semi-raw, those vegetables are healthier and add more texture to the dish too. You may want to check out some recipes I’ve shared like this rice stir-fry and last week’s udon noodles to see what I mean.

My daughter happens to be quite talented at Asian cooking, and I love discovering dishes with her. We recently made kimchi together, which I shared on my Instagram. It was delicious, and also happens to be very good for gut health. When we get together, we explore this cuisine, and always make our regulars: burnt garlic rice and dim sums. If you happen to visit me when she’s in town, there’s bound to be something Asian on the menu. A really simple way to start trying out that range of cuisines is through a salad like this one.

Asian Cucumber Salad

(Yield: Serves 2)


1 tablespoon soy sauce

1 teaspoon rice vinegar

3 cucumbers (medium-sized)

1 teaspoon brown sugar

1 teaspoon sesame oil

1 teaspoon sesame seeds

10-12 cashews (split and roasted)

½ teaspoon chilli flakes


Toast the cashew and set aside.

In a bowl, prepare the dressing. Add the soy sauce, rice vinegar, brown sugar, sesame oil and chili flakes. Mix well.

When you are ready to serve the salad, slice the cucumbers into rings, as thinly as possible. As I said before, this is my preferred method, but you should do yours. Arrange the slices on a plate of your choice.

Pour the dressing over the sliced cucumber. Sprinkle the toasted cashew. Serve immediately. Enjoy the burst of flavours as they mingle with the texture and coolness of the fresh vegetable. See what a big difference a good dressing and a pretty plate can make?