Tag

delicious

Browsing


When I was growing up, Diwali was a time when my mother made an entire array of sweets and savouries, such that I cannot point out one as a single most important tradition. All that changed for me when I got married and moved into my new home, when I became introduced to what is now a 30 year tradition for me: the simple and sacred dish of laapsi.

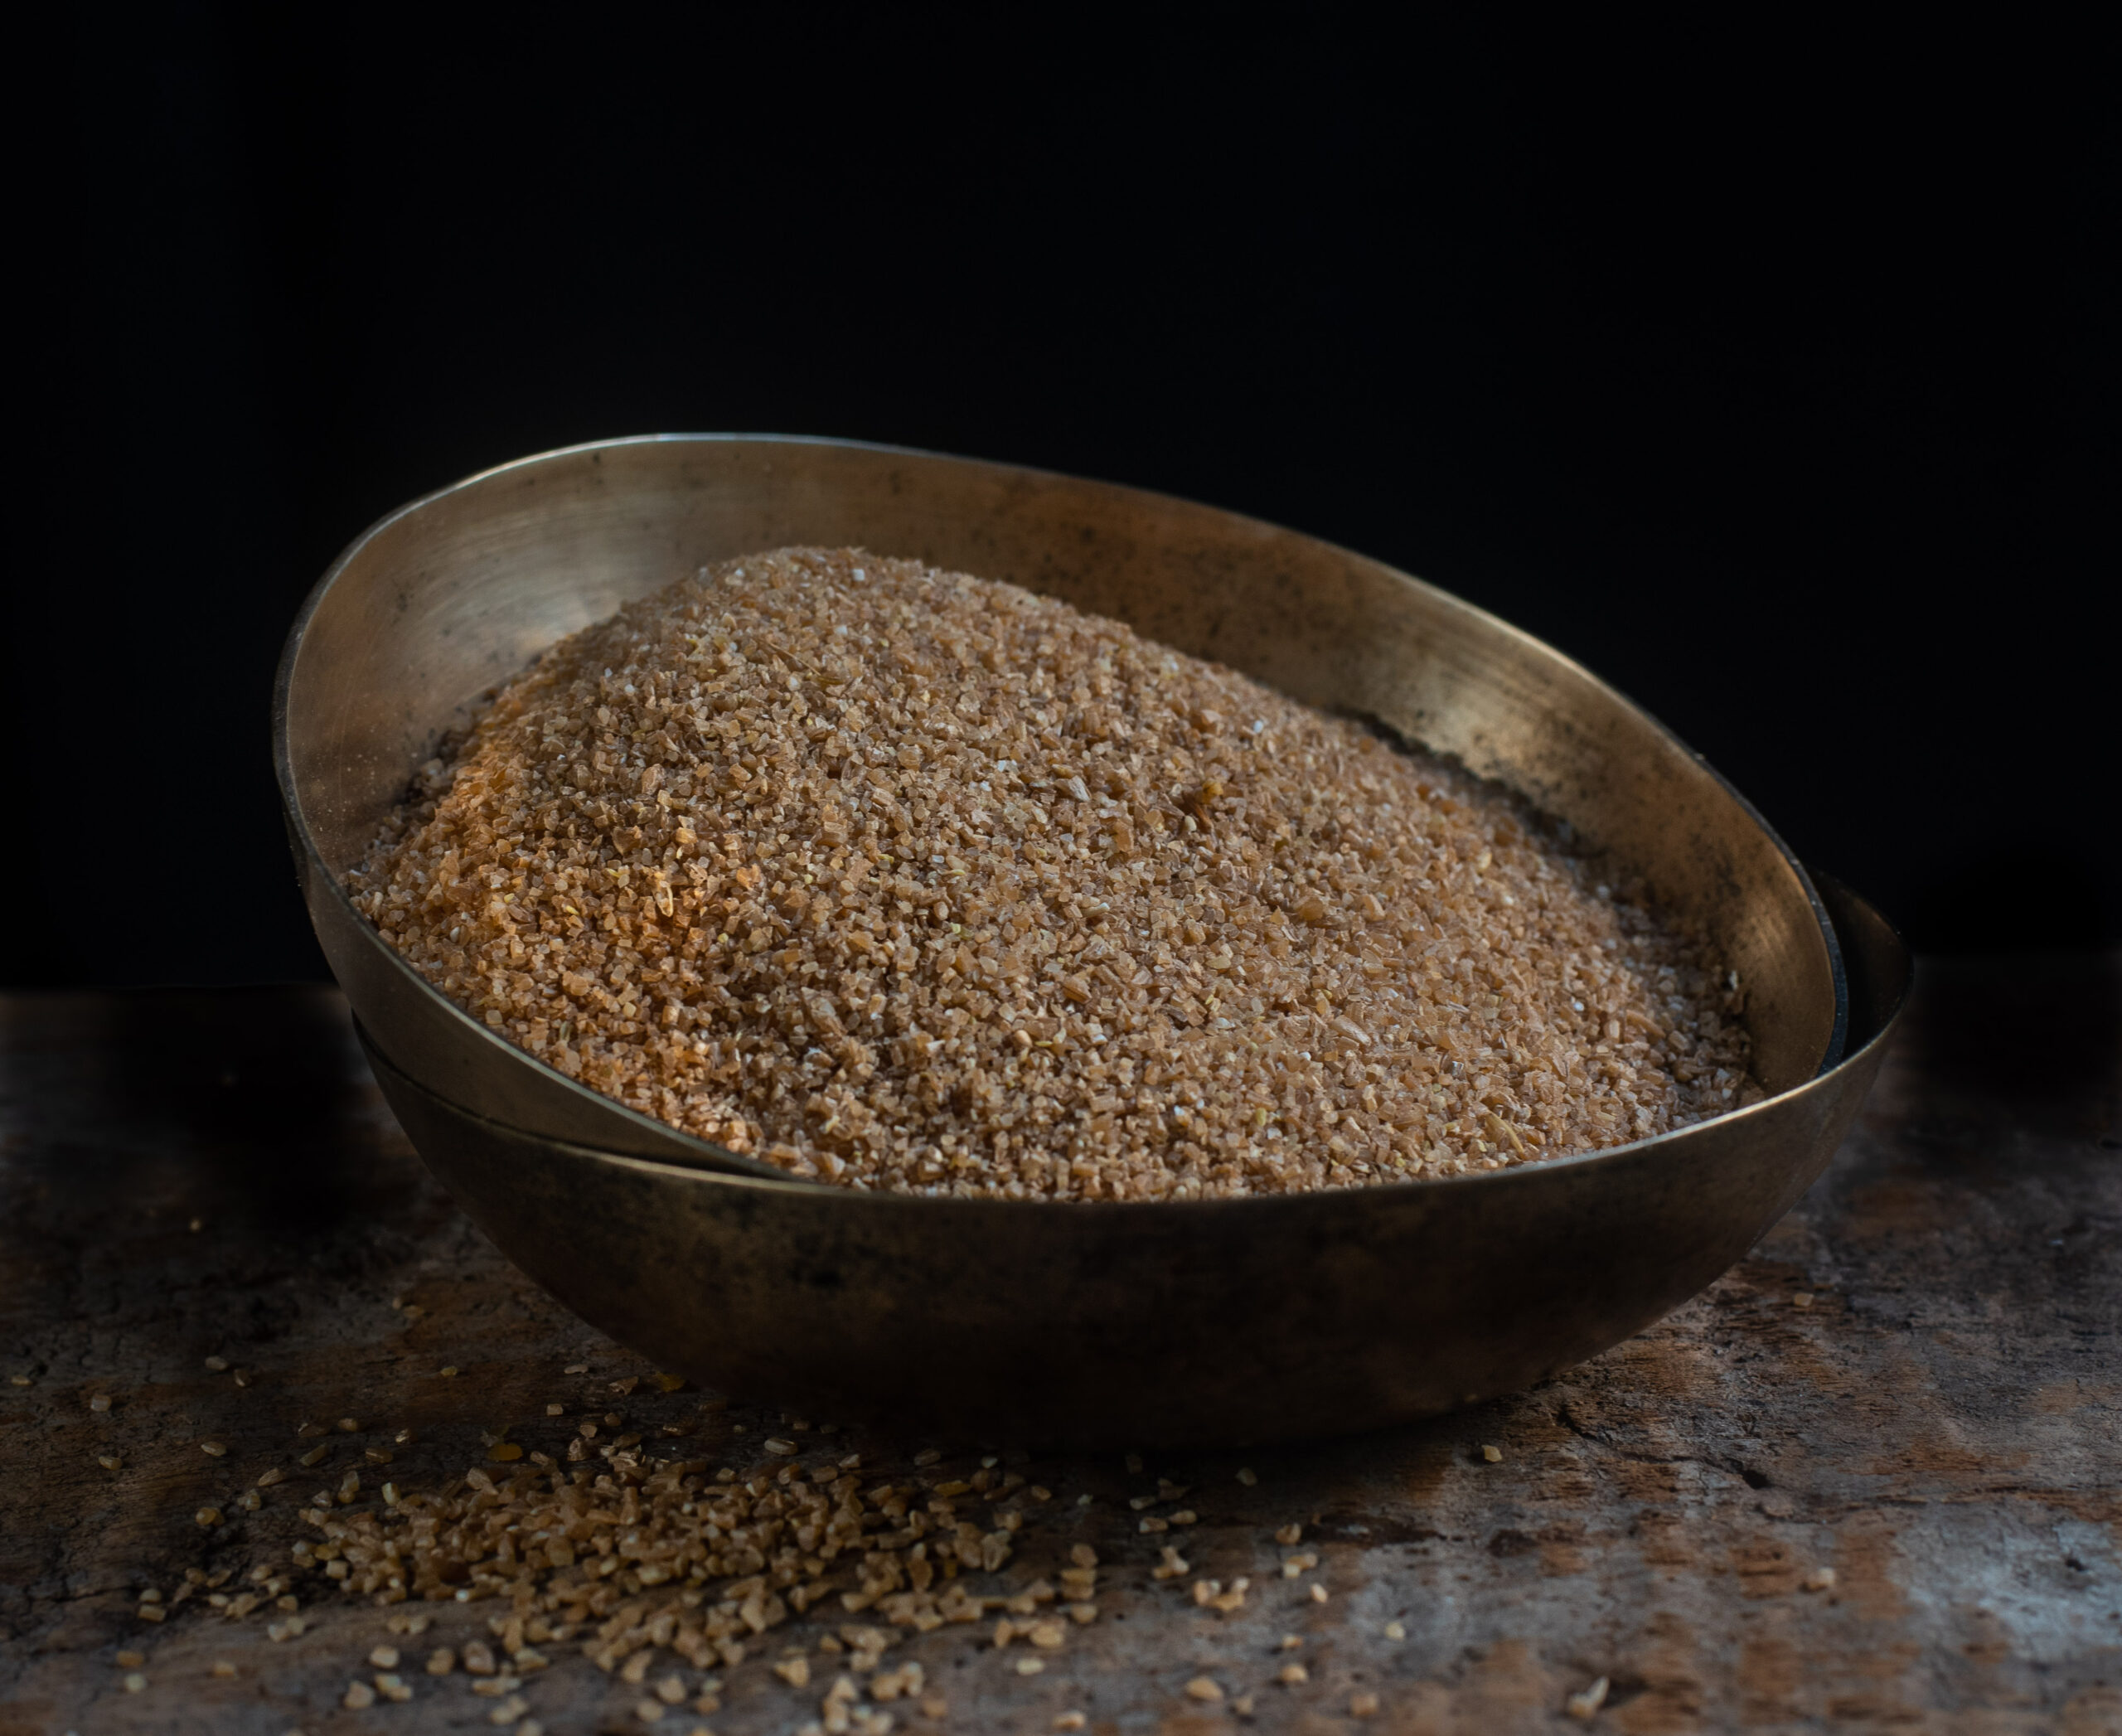
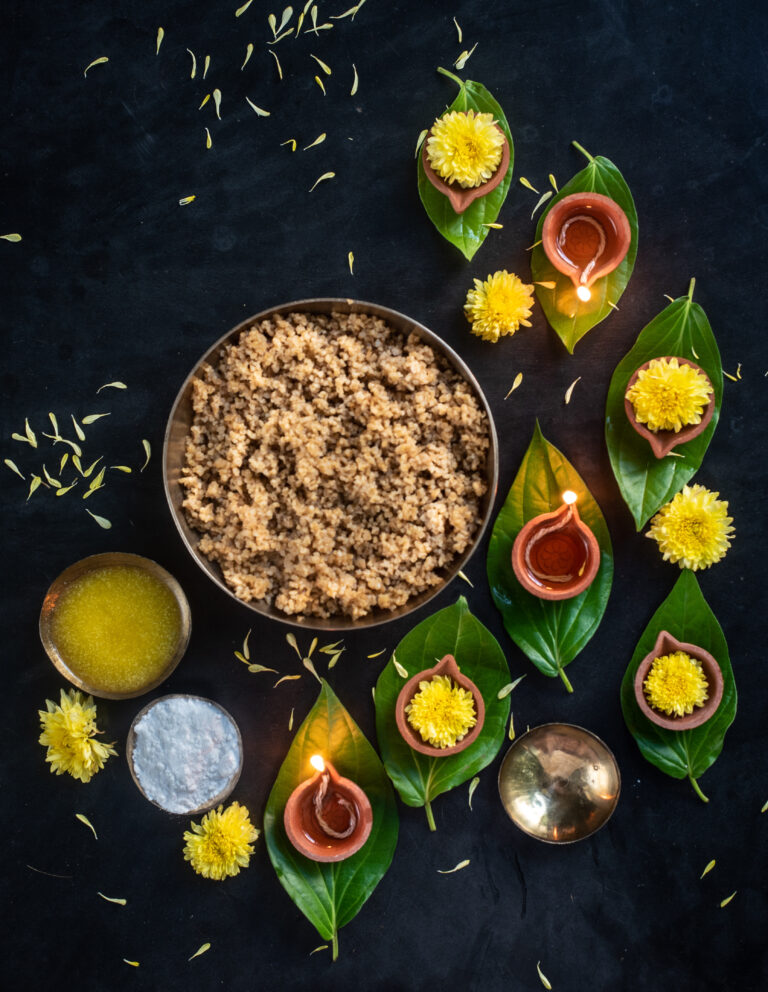
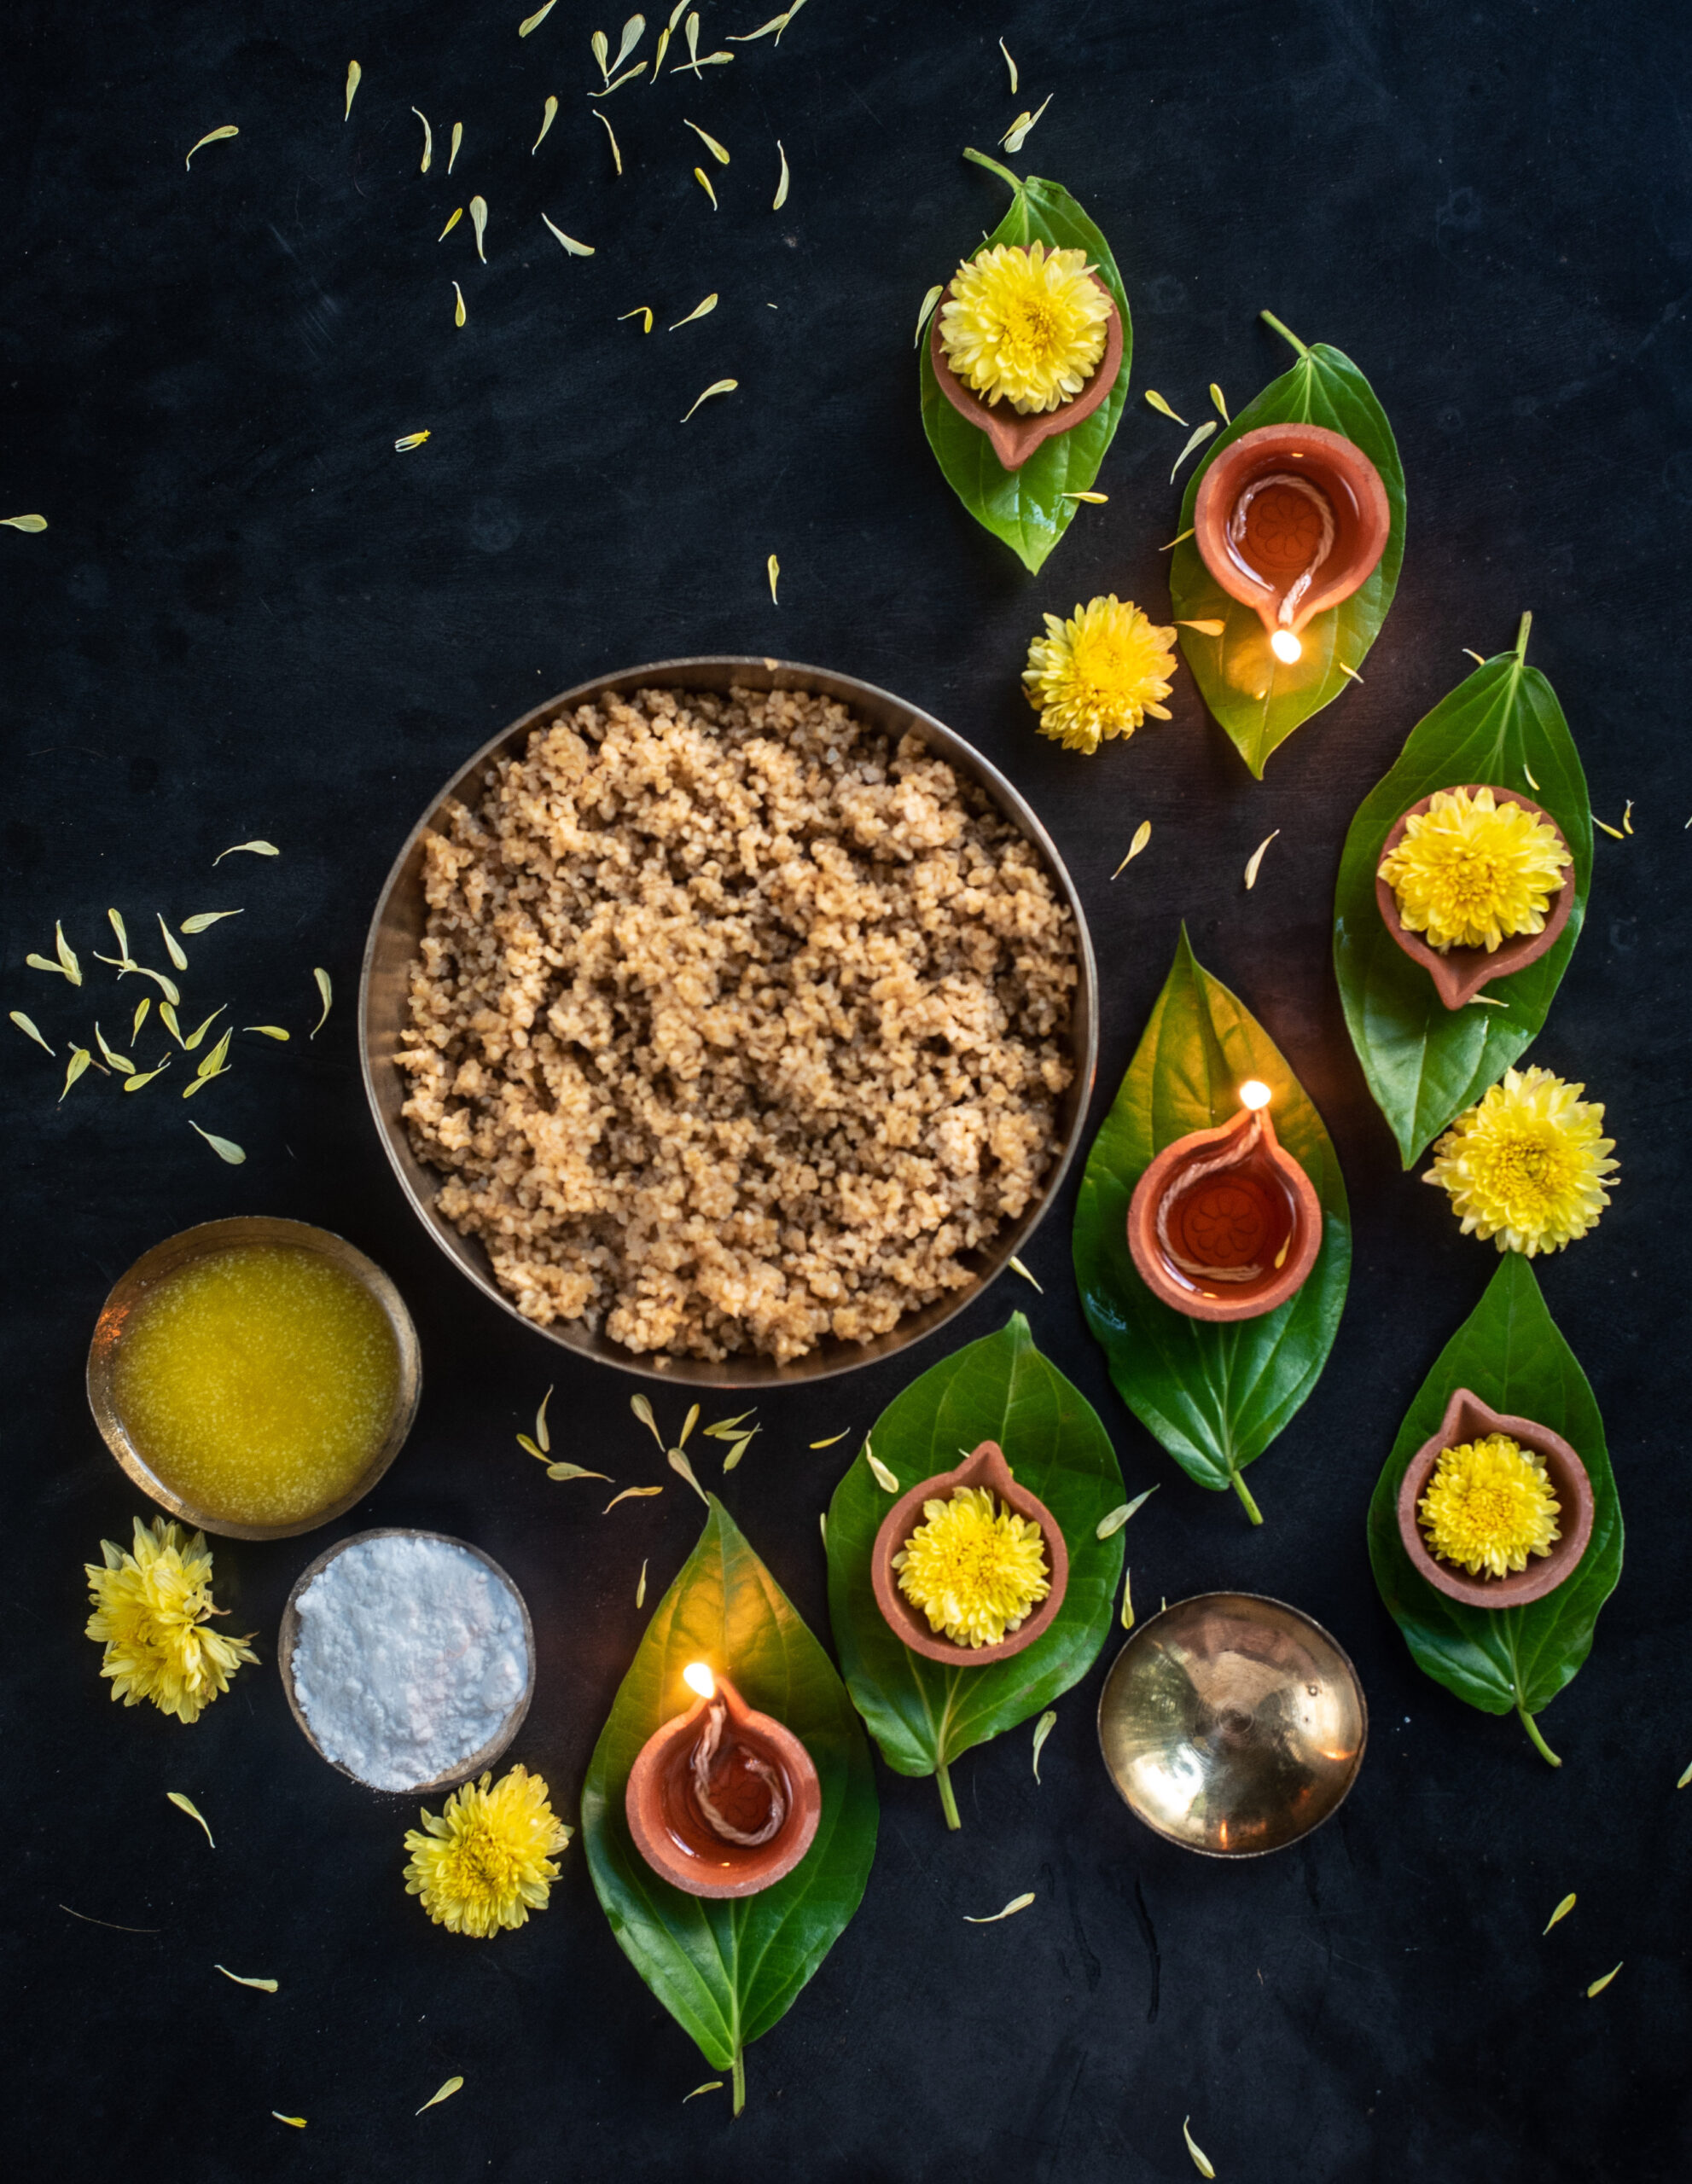
Laapsi is a Gujarati sweet which, like sukhudi uses just three ingredients: jaggery, broken wheat and ghee. In modern versions, people often add nuts, saffron and other flavourings, but the original and deep-rooted traditional method is extremely simple. The three basic ingredients were and are frugal, humble and delicious. In the old days, every household could reliably find enough to make a festive offering. As with sukhdi, laapsi is also first offered as prasad to the gods.

Diwali always falls on amavasai day, or the new moon. Different communities observe their own sets of festivities. For Gujaratis, it begins with Baras (the 12th day towards the waning moon), then Dhanteras (the 13th day, during which we pray to the goddess of prosperity, Lakshmi), then Kali Chaudas (when the goddess Kali is worshipped, not only with a sweet, but with a fried vadai which is symbolically thrown over the shoulder at a crossroads, indicating that you wish to leave behind the previous year) – and then, we have Diwali, which is also Chopda Puja. Chopda means “books”, and this is the day on which we perform a prayer similar to Ayudha Puja in other communities, when all our instruments (from accounting books to cameras and ladles) are kept at the altar and blessed. The day after Diwali is the Gujarati New Year.

I lost my father-in-law earlier this year, and since Indian homes traditionally will not celebrate festivals for a year after a loss, we won’t be going the whole way this year. However, my father-in-law was full of life and spirit and did not believe in observing that grieving period. He believed the life cycle should continue. So while we won’t over-celebrate this year, I will also ensure that we won’t put a full stop to joy. I am sure that is how he would have wanted it too. We had a cool, chilled out relationship. We had many fights and arguments, but I always knew that everything would be taken in the right spirit. And he was someone who was a huge influence on me, in everything from changing my perspectives to gifting me my first camera.

I will certainly miss him this Diwali. Every Diwali, he would give everyone a special token, a crisp 50 rupee note. All of us considered it a lucky charm, and kept it in our wallets until the following year. Who will do it this year? Many recent incidents have reminded me how important roots and traditions are, and how necessary it is to respect them. This is why there are so many things that I insist on doing in a ritualistic way, like keeping the umbrella on Ganesh Chaturthi, and making laapsi on Diwali. I know my kids will not follow all the things that I follow, but at least a few of those traditions will become meaningful to them too…

And if I can be hopeful, I would absolutely name laapsi as one of the traditions I hope my children will keep and cherish. Although we have all became health conscious and started rejecting sweets, I still insist that everyone partakes of our Diwali laapsi.

This year, my mother-in-law has moved back in with us, and it is nice to have her home. It reminds me of all the times that she shared her culinary wisdom with me (such as when she taught me this kachori that many of you enjoyed too). Diwali is just a few days away, and I am calling to mind how I used to watch her make laapsi during the first ten or twelve years of my marriage. Slowly, she stopped coming into the kitchen as often and I began to manage more of the cooking. But for a long time, I would still ask her to come in for certain traditional dishes. Laapsi was, of course, one of them. Different families follow different methods in order to make their own traditions. I follow hers to a T: no garnish, no frills, just three simple ingredients made for God and family.

And just like my mother-in-law taught me, I will not serve laapsi on any day other than Diwali. I consider it sacred. My family and I wish you a very happy Diwali and festive season, and I hope that this special dish brings you sweetness and joy too.
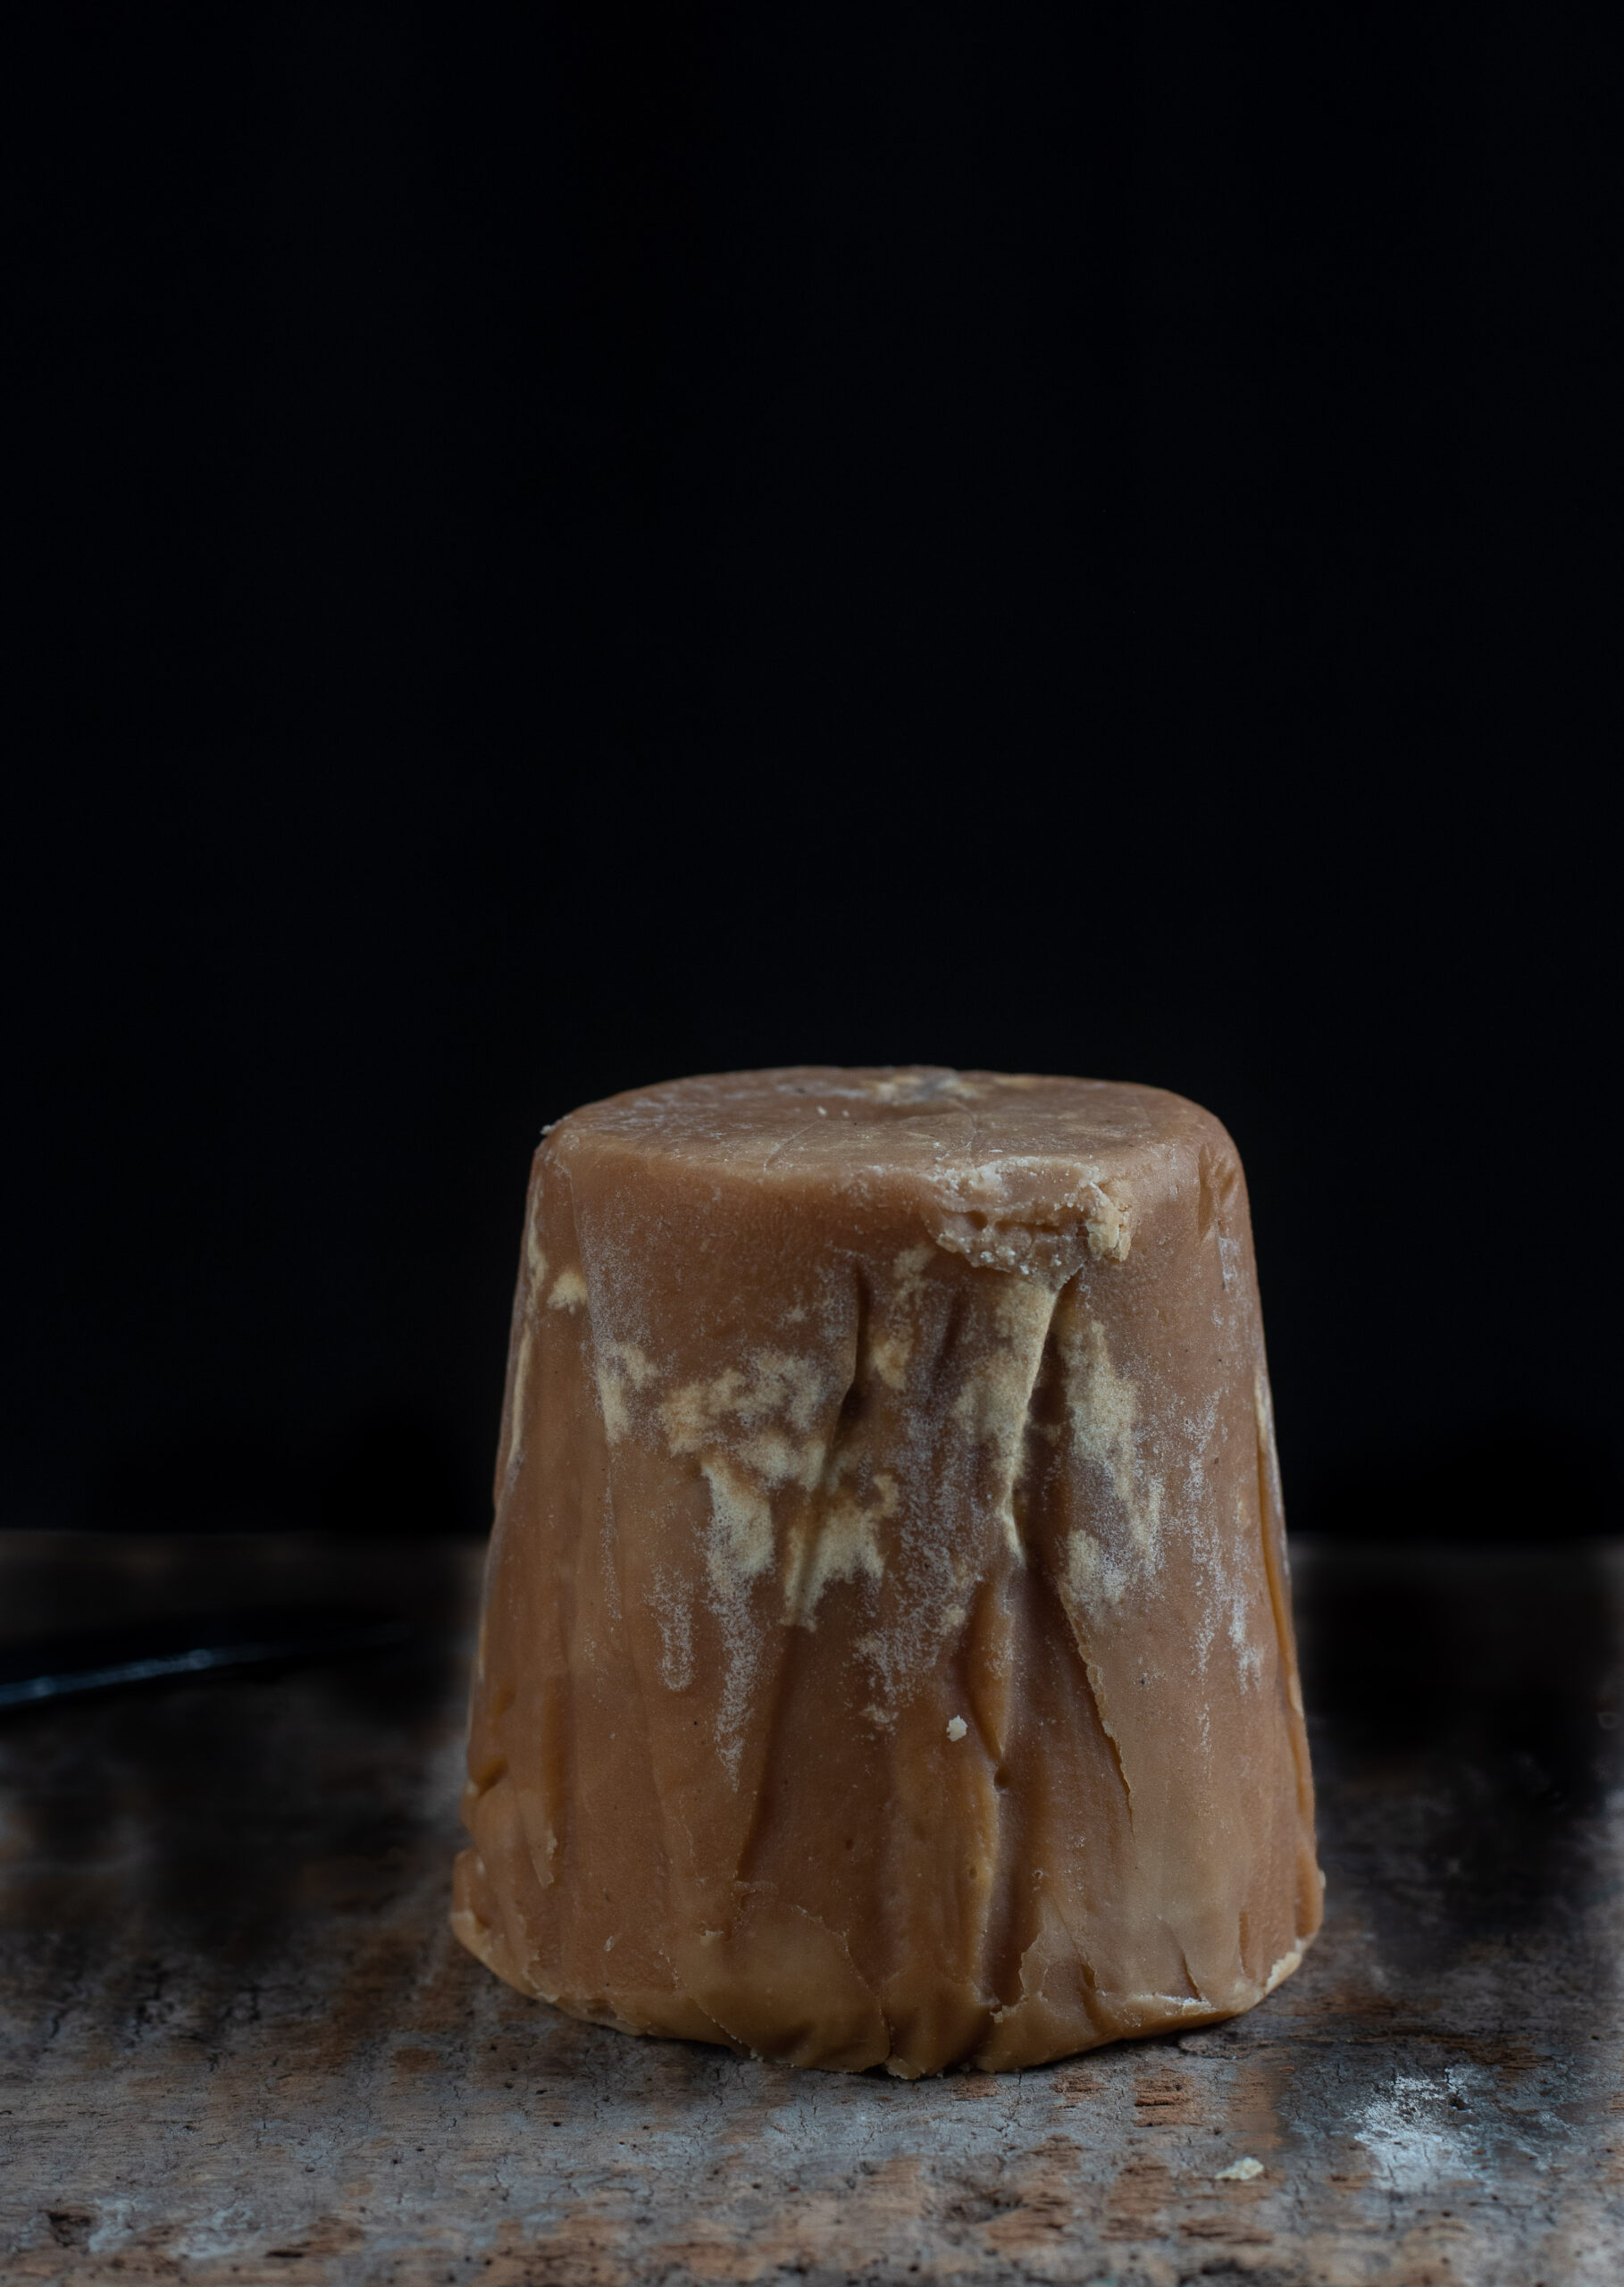
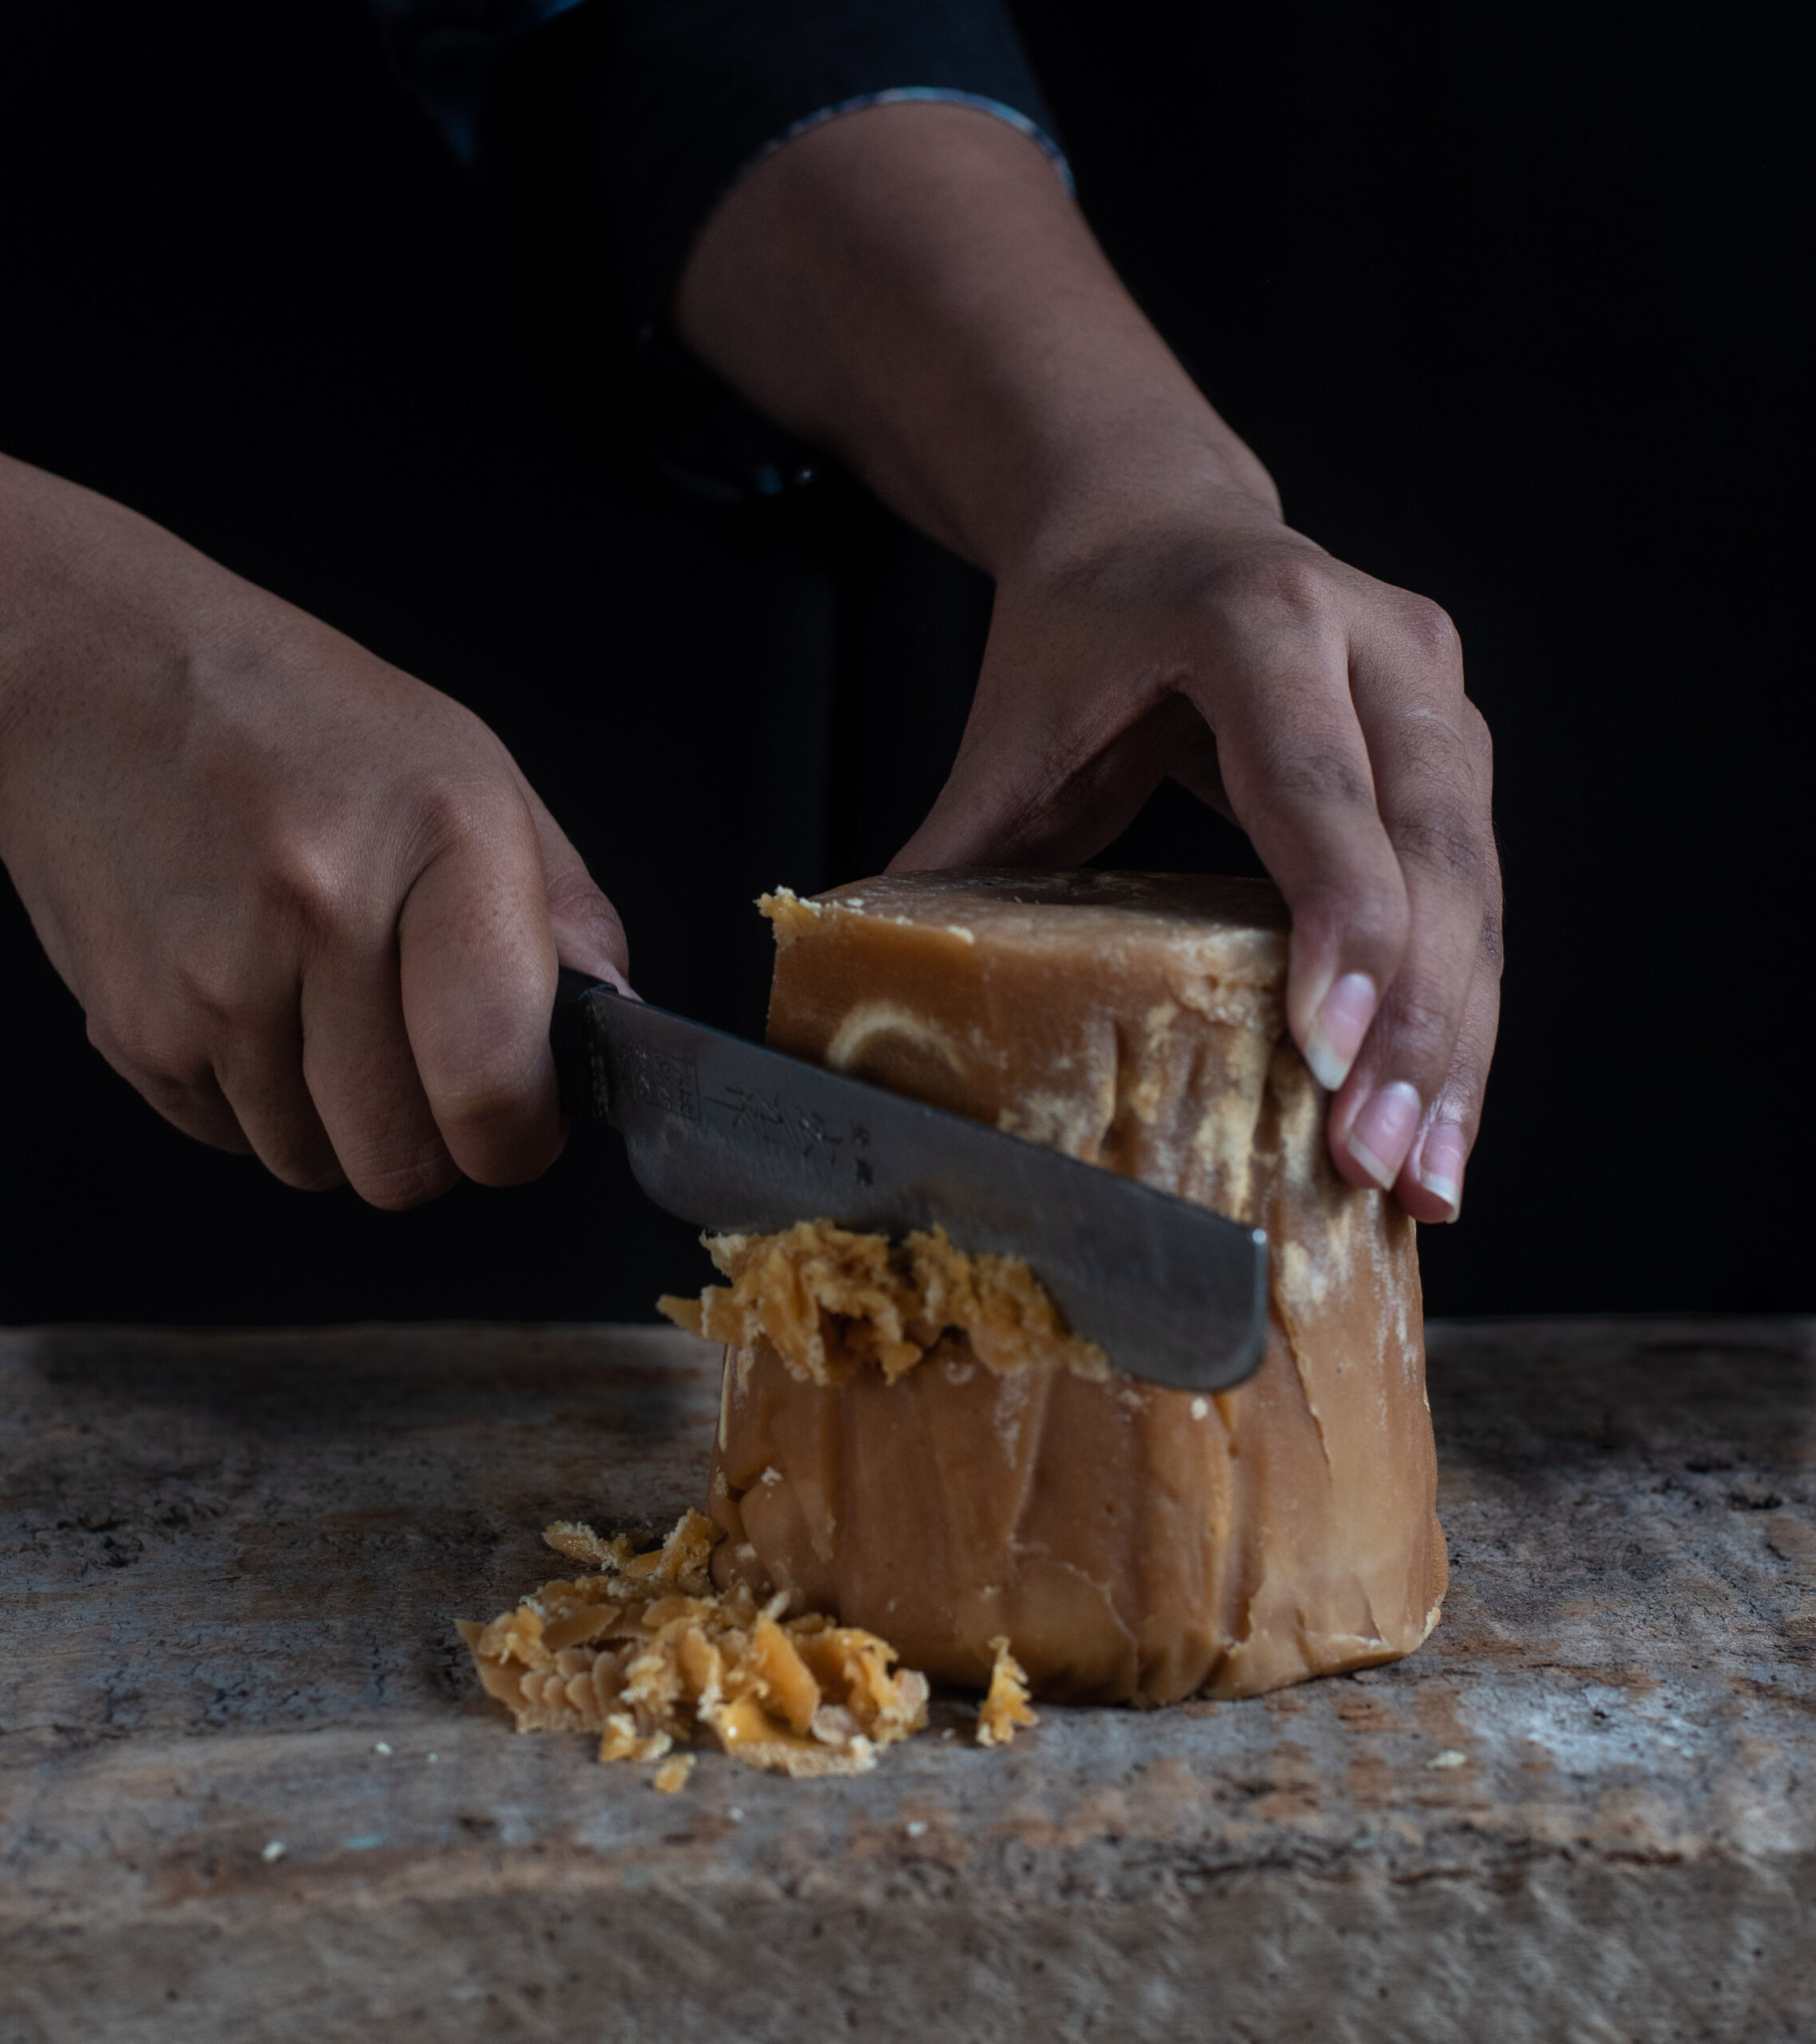
Laapsi

(Yield: 2-3 cups)

Ingredients

½ cup broken wheat
½ cup jaggery
2 ¼ cups water
3 teaspoons ghee

Boil the water in a pot and add the jaggery to it. Stir until the jaggery melts. Then strain the liquid through a strainer, making sure that it is clean. Measure the liquid to check that you now have 2 cups of jaggery water.

Toast the wheat and ghee till slightly golden. This will take approximately 3 minutes. Now add the liquid to the wheat and cover with a lid. Place this in a pressure cooker for 4-5 whistles. Once you open the pressure cooker, you will find that the concoction is still soft. You can now place the pot directly on to a low flame. Cover and let cook until the liquid dries up and its grainy.

I prefer using the cooker as it lessens the cooking time. Alternately, pour the hot jaggery water into the wheat in the pan and allow to cook covered, on a low flame, so it does not stick to the bottom. Let it be on the stove until the grains are cooked perfectly and soft to the bite. Do not stir frequently as this may cause the grains to get sticky.

As I mentioned earlier, there are different ways to make this. I do hope you will find yours once you make this often enough. You don’t have to restrict yourself to an annual occasion like I do!

Typically, we serve the hot lapsi with ghee, powdered sugar and lentils.

Given the deep Gujarati-ness of this recipe and this post, I hope you’ll also take a look at some of my previous recipes that celebrate my traditional cuisine.
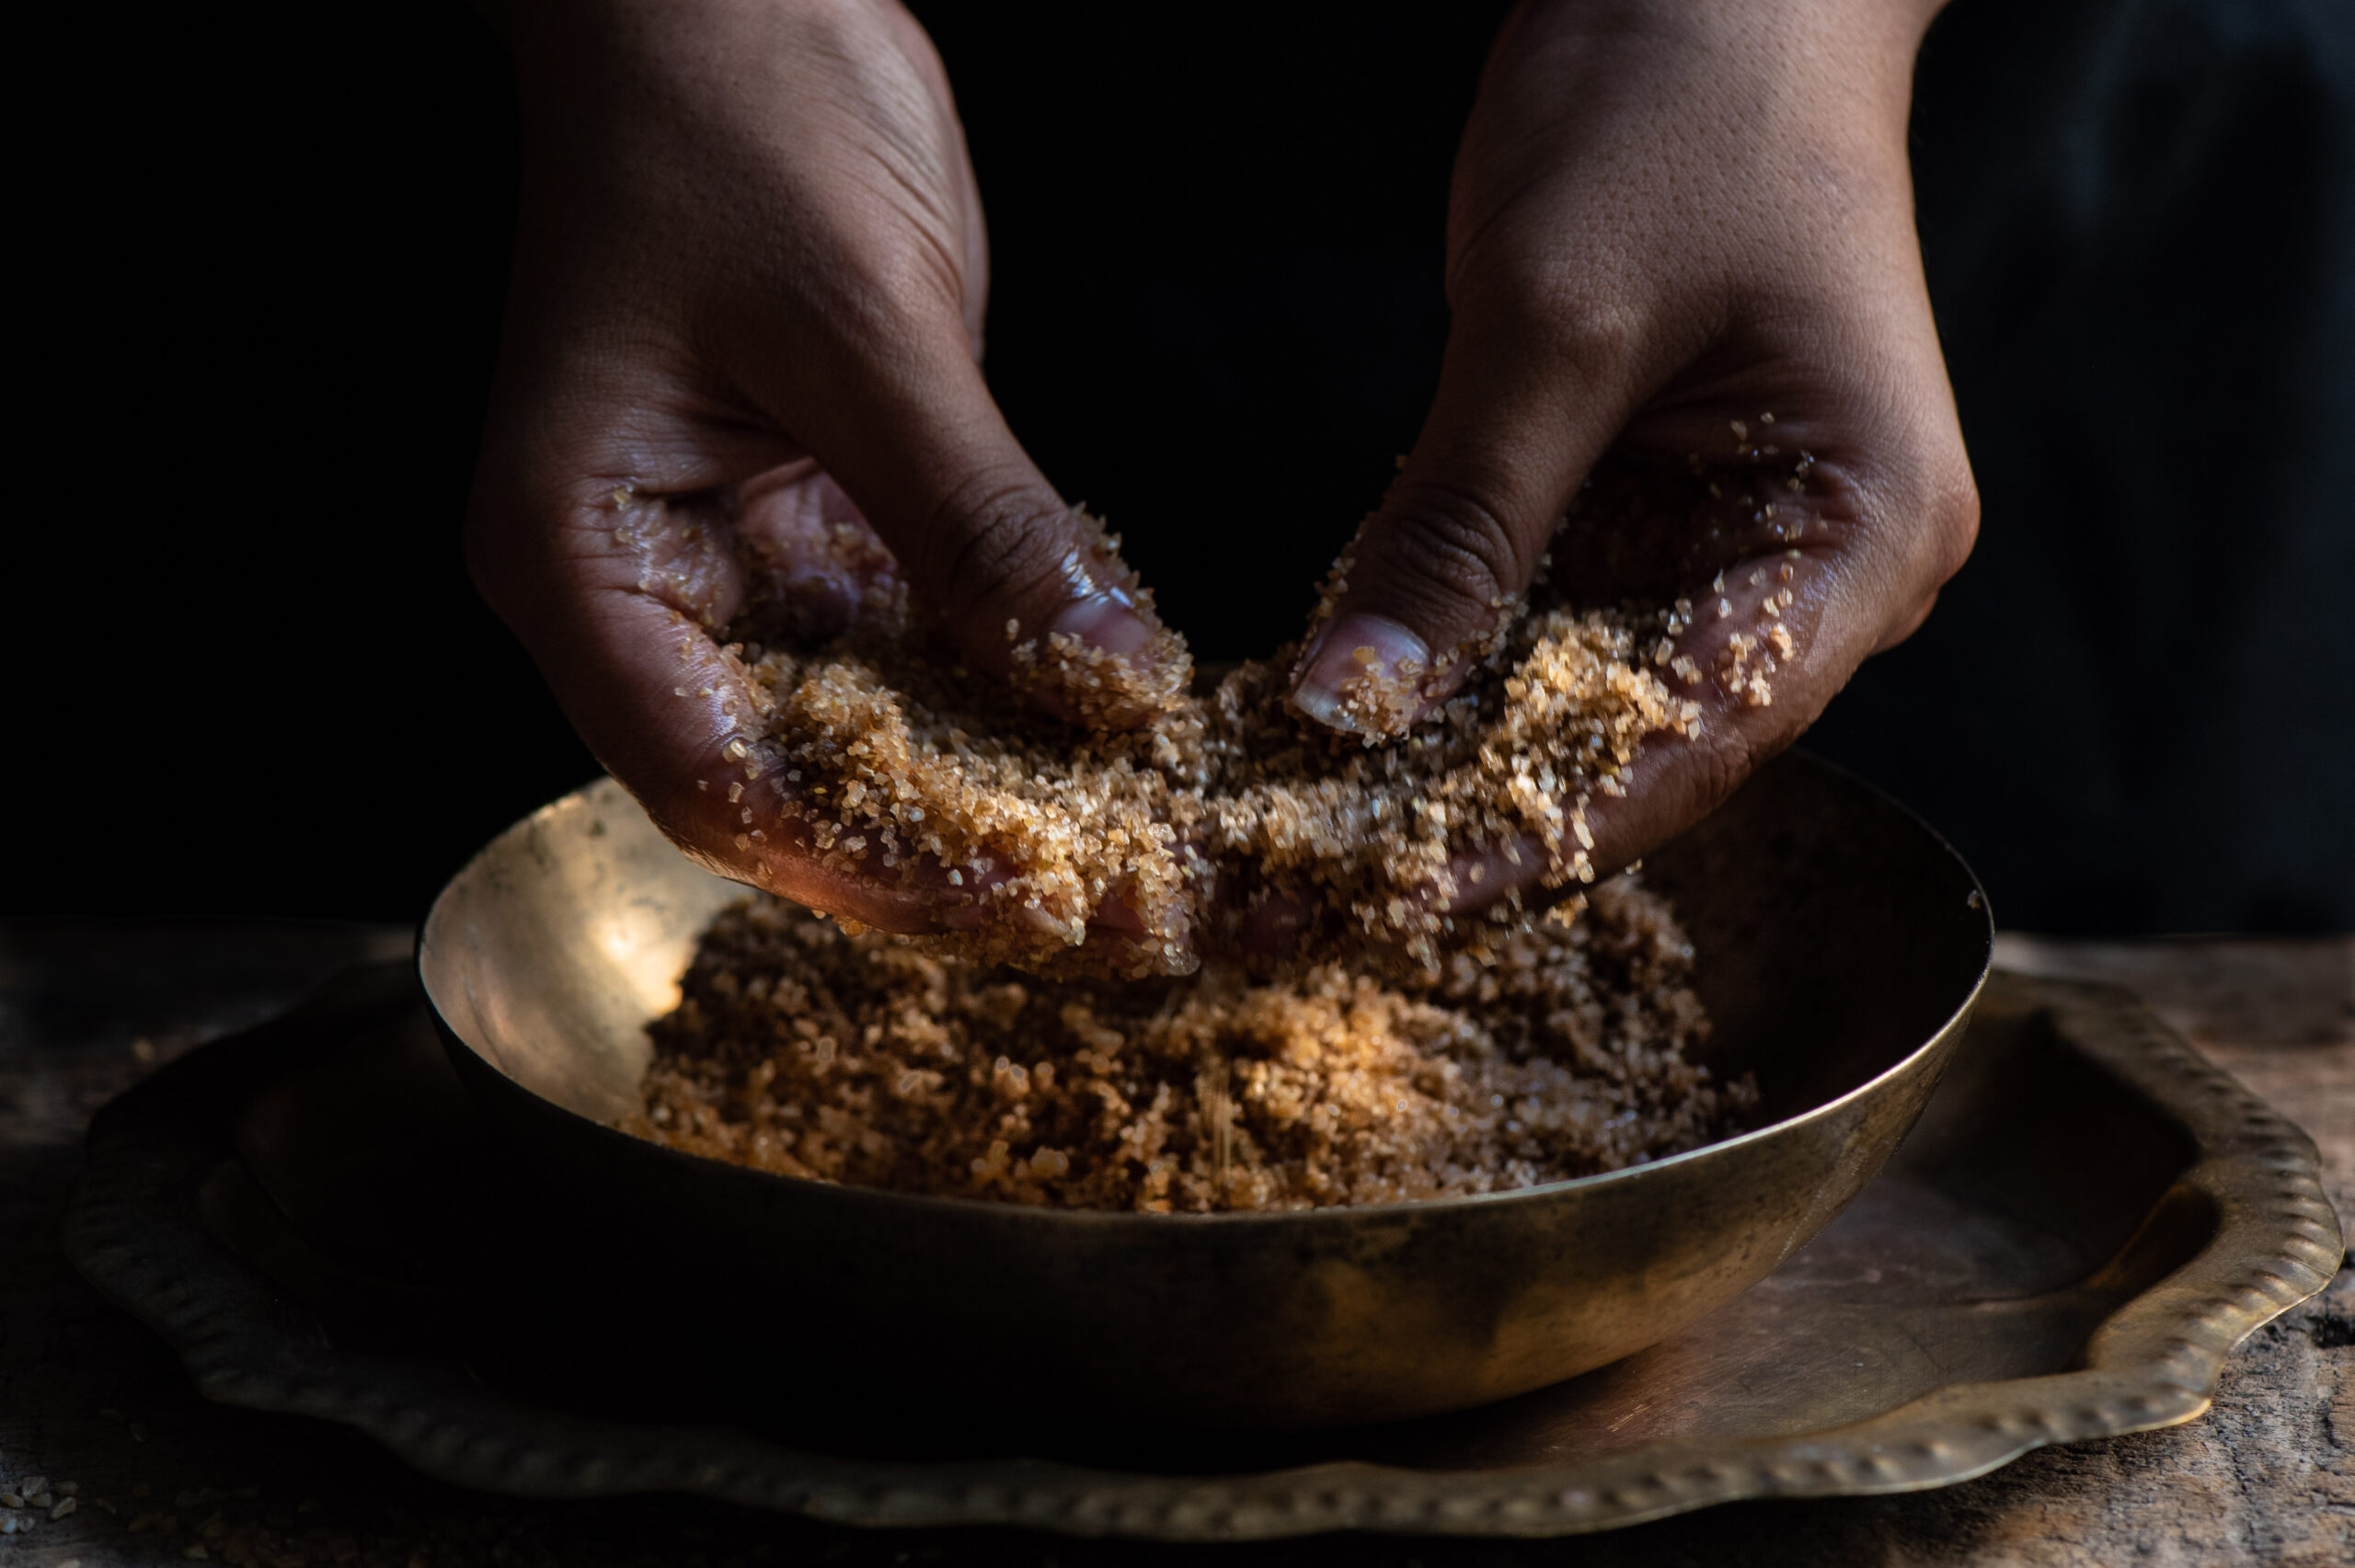
 

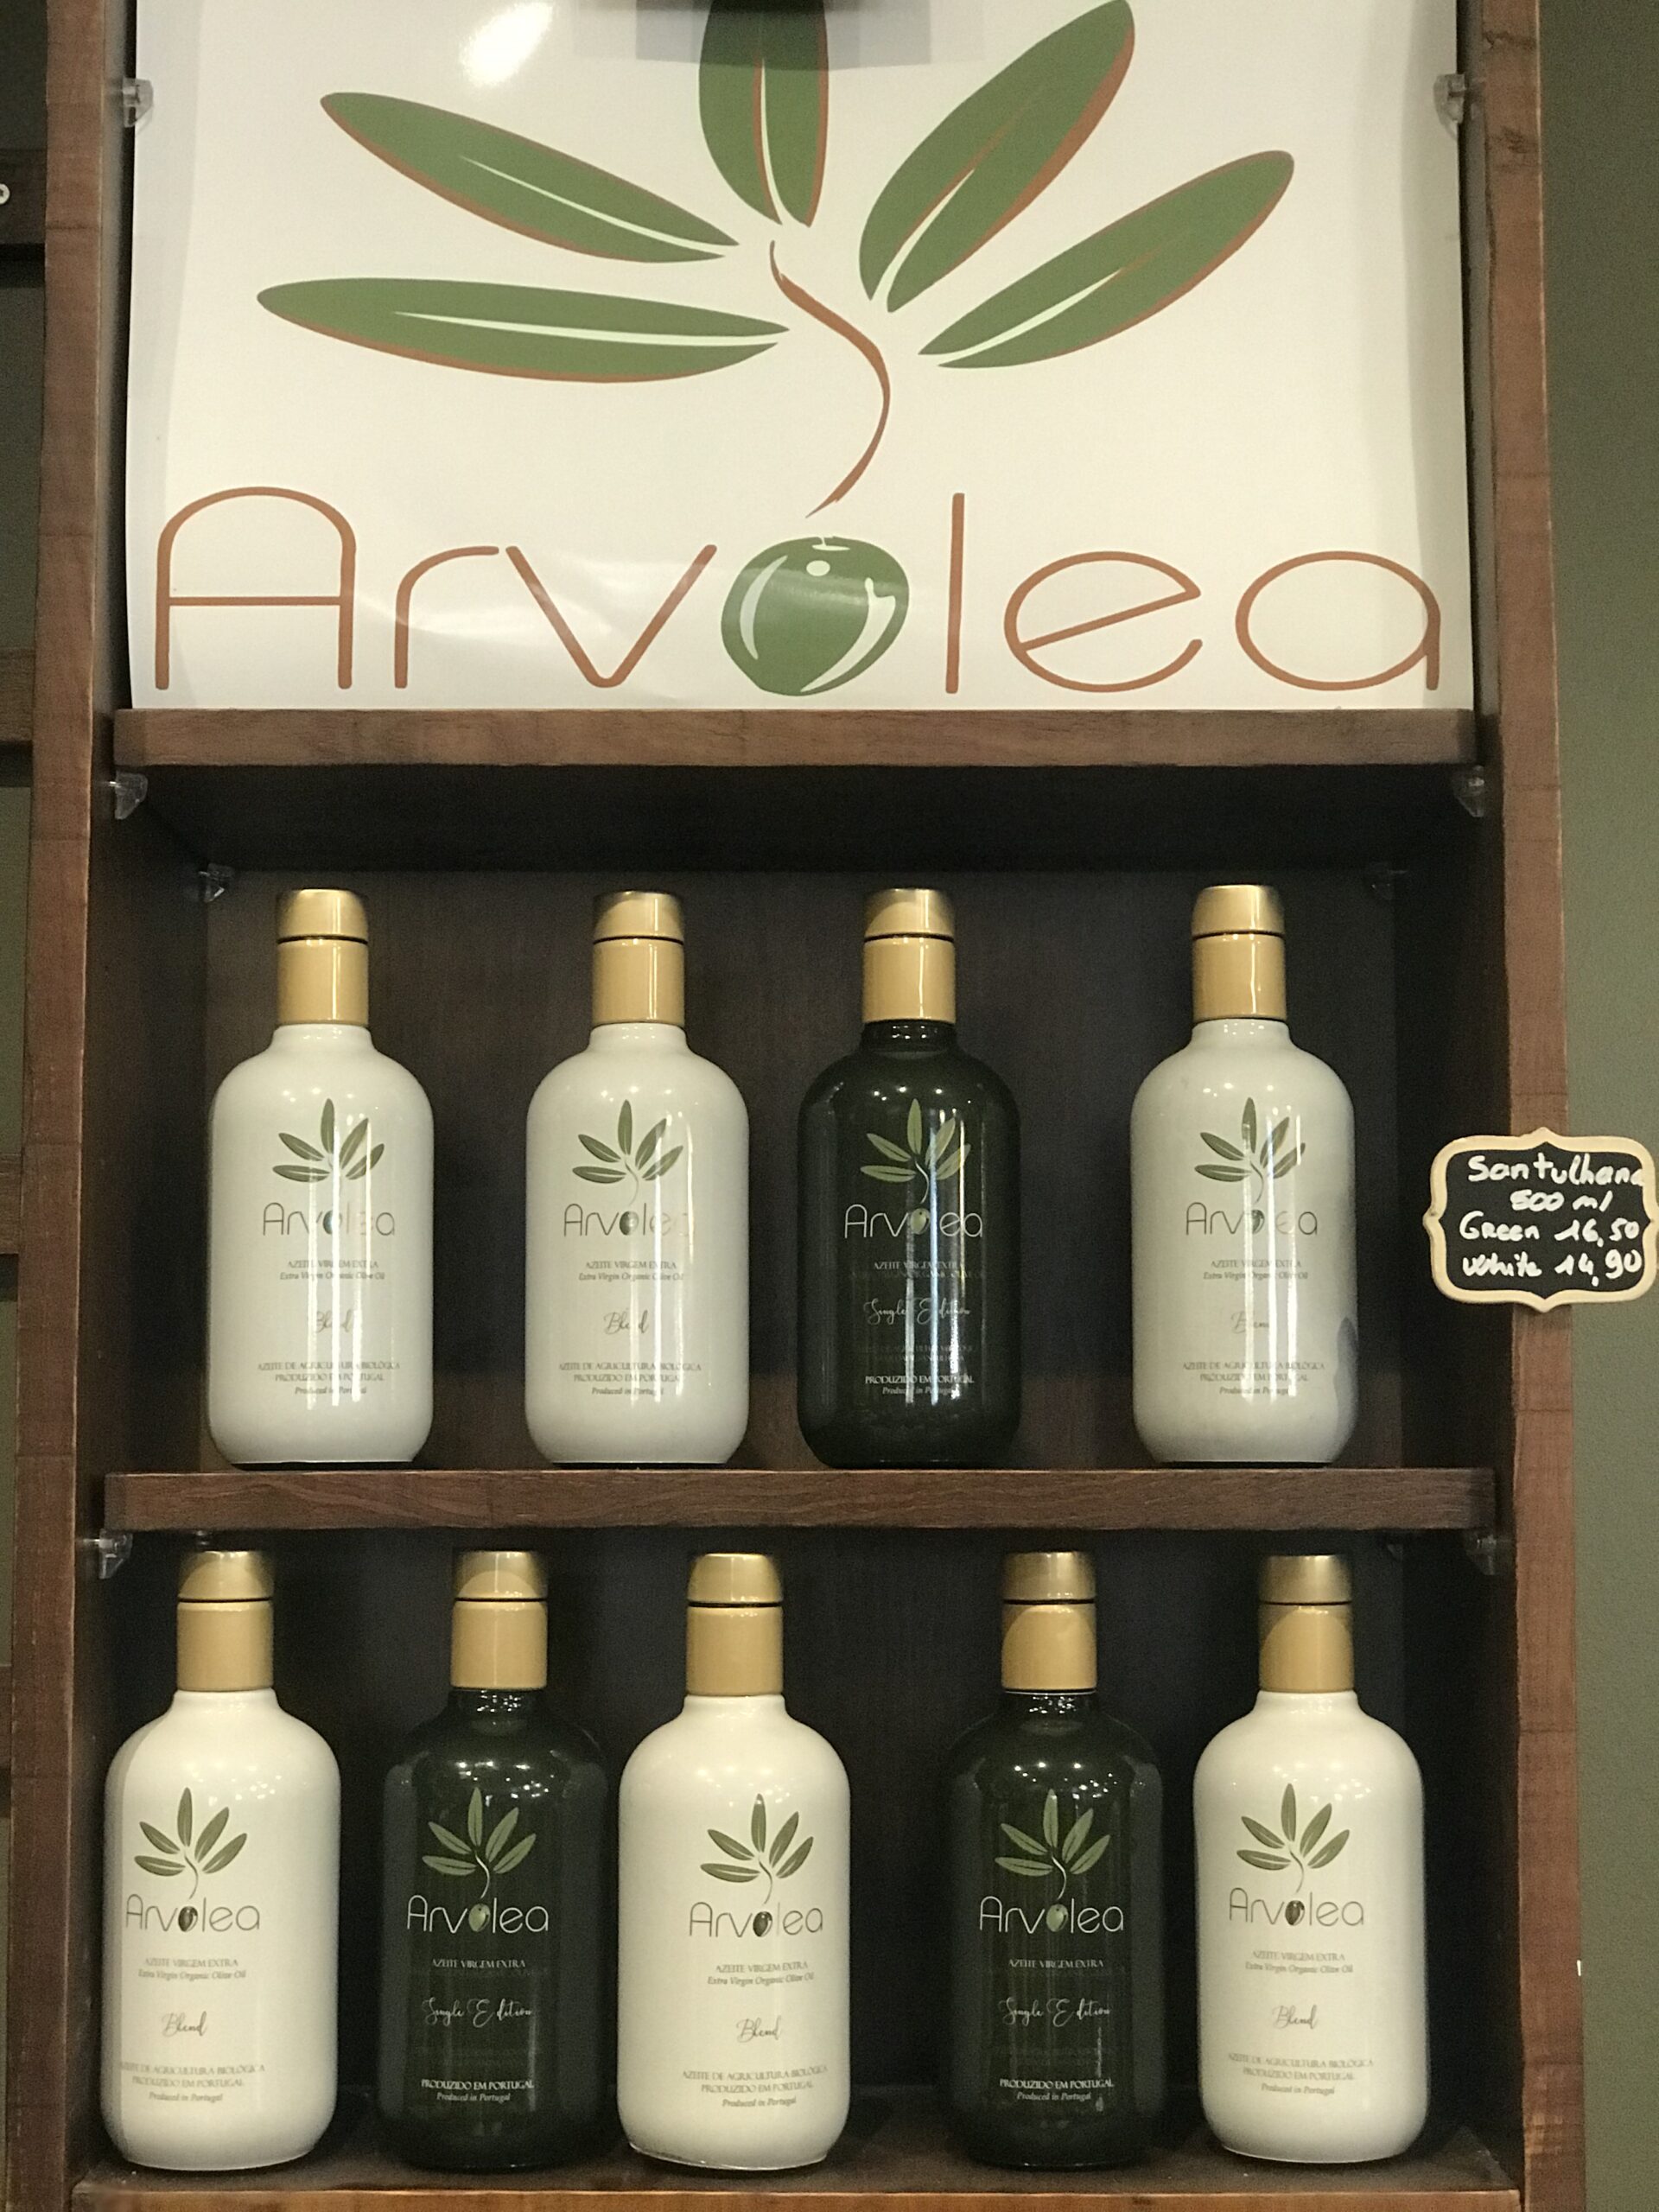
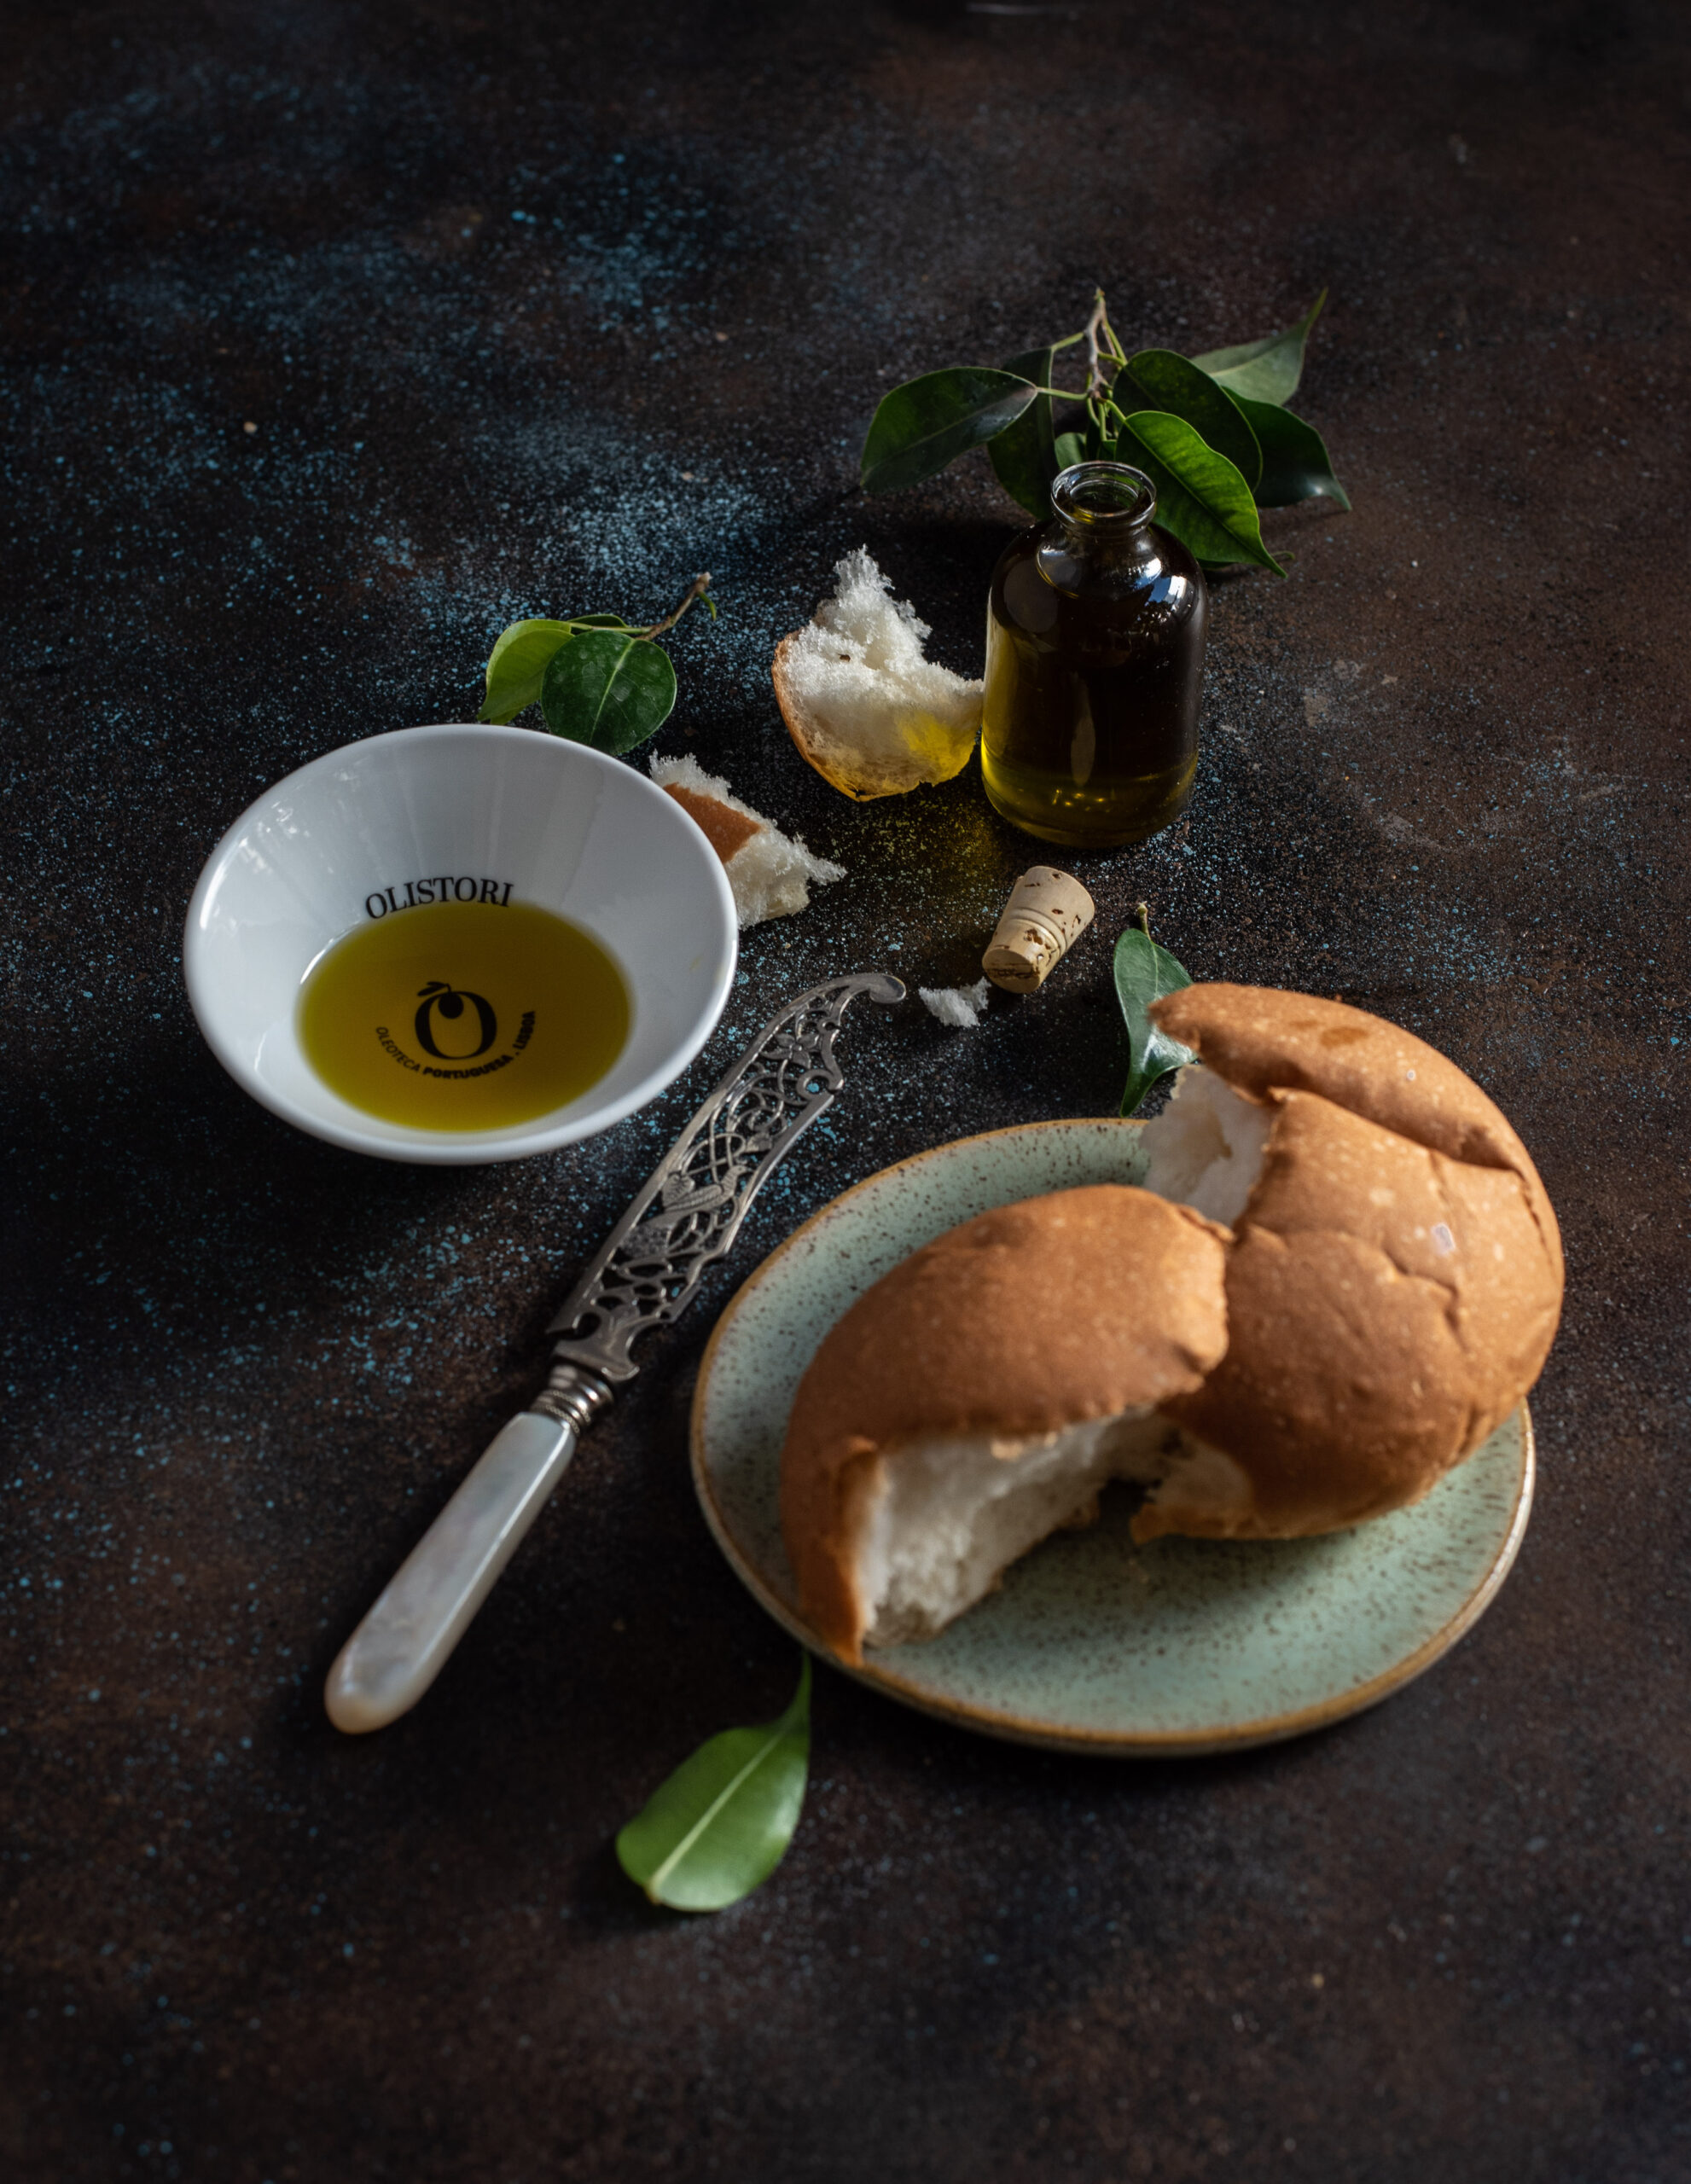
When a very dear friend invited us to Portugal to attend a wedding, I was thrilled to learn that the incredible hosts of the young bride had proud family connections to the landscape of olive trees. On the very first evening of the celebration, a meet-and-greet was held at an olive orchard. As the long summer day grew to dusk and sunset fell over the grove criss-crossed by fairy lights, we dipped wonderful country bread into olive oil and feasted. That was my first experience of the importance of olive oil in Portugal. I was determined to learn more about it, and I got my chance when we returned to Lisbon and I encountered a lovely little store named Oli-Stori.

Do you remember my adventure in Italian coffee some time ago? In the same way that a little curiosity had sparked a beautiful long conversation, this European trip too gave me memories and knowledge to cherish. This was our second trip to Portugal, and we had been keen to do offbeat things and make a holiday of it after the wedding. Tourist guides and books mentioned only a little about olive oil, but I wanted to learn more. Back in Lisbon, it was a hotel concierge who told us about OliStori. We had an itinerary for the day ahead, but I insisted that we begin at that store. “I just want to pop in quickly and pick up a bottle,” I said. That’s exactly what would have happened if the co-owner, Isabelle Carreira, hadn’t been so sweet and gracious. We wound up spending almost the entire day in her lovely space.

As we walked up to the store, we saw that the door was only partially open. “Can we come in?” we enquired. Isabelle wasn’t ready for customers yet, but she asked us to sit down and be comfortable. She just wanted to head to the nearby bakery to buy some bread so we could enjoy a tasting. I was really taken by this – imagine leaving your entire store open to a couple of strangers! Charmed, I got excited and decided on the spot that I had to feature her on my blog.

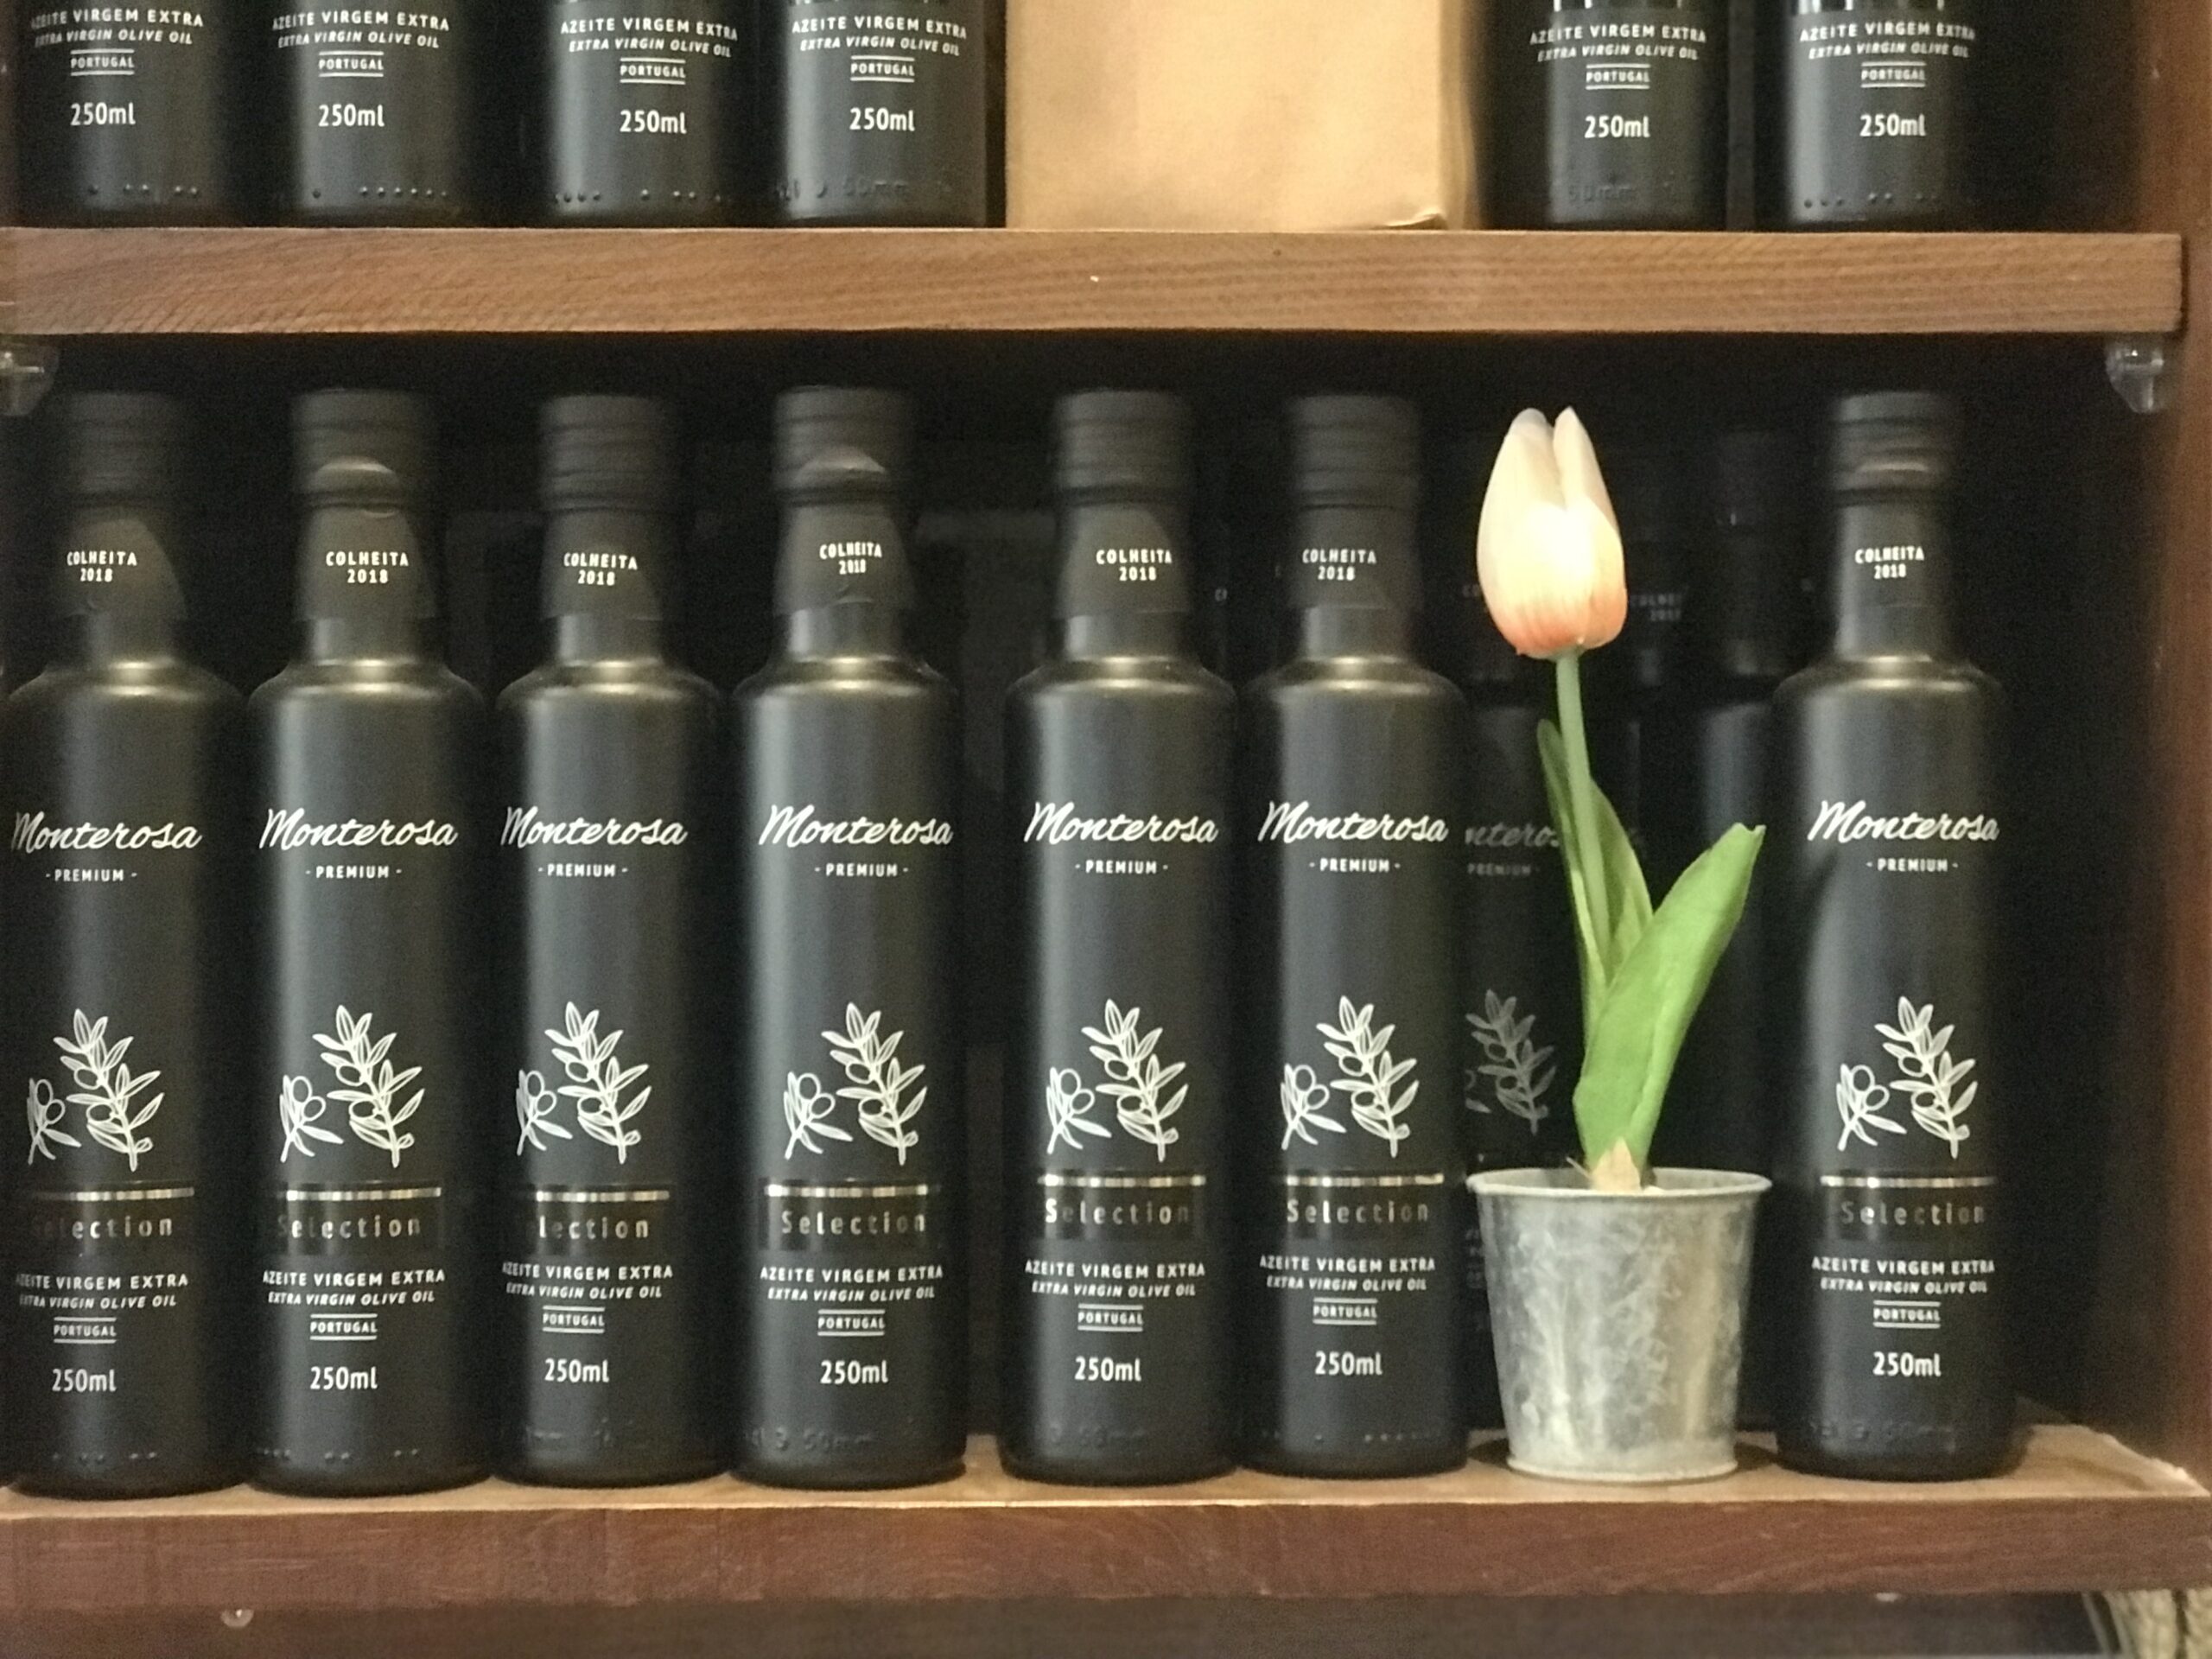
Isabelle was born in France to Portuguese parents, and opened Oli-Stori together with her Portuguese-speaking French partner Thierry after 30 years in the restaurant business, when they realised that Lisbon did not have any shop that was specifically for olive oil. Theirs is a treasure trove of different varieties and brands sourced from all over the country. Portugal is not as famous for olive oil as Italy because they do not focus on the export market at all. However, the quality of their produce is just as spectacular.

OliStori is a smallish but beautifully done up space. I looked around cheerfully as we waited for her to open the store. The décor touches, I later learnt, tried to replicate elements from different farms that the oils are sourced from. There were horses and sheep, or a little doll, in every corner. These added to the warmth of the ambience. I took some impromptu photos as I looked around.


When Isabel returned with the bread, what began was part tasting, part storytelling and part educational session. She was so generous with her knowledge, and eager to share with us her wide experience.

Portugal is a small country, but has a diverse landscape, with different regions producing varying kinds of olive oil. Every oil sold in Isabelle and Thierry’s shop was sourced through their travels around the country, visiting olive farms, understanding the process of growing and what effects the weather conditions and soil types have on the produce. As she spoke, she had us sample a diverse range – it was almost like a wine tasting. And it’s true, the flavours differ!

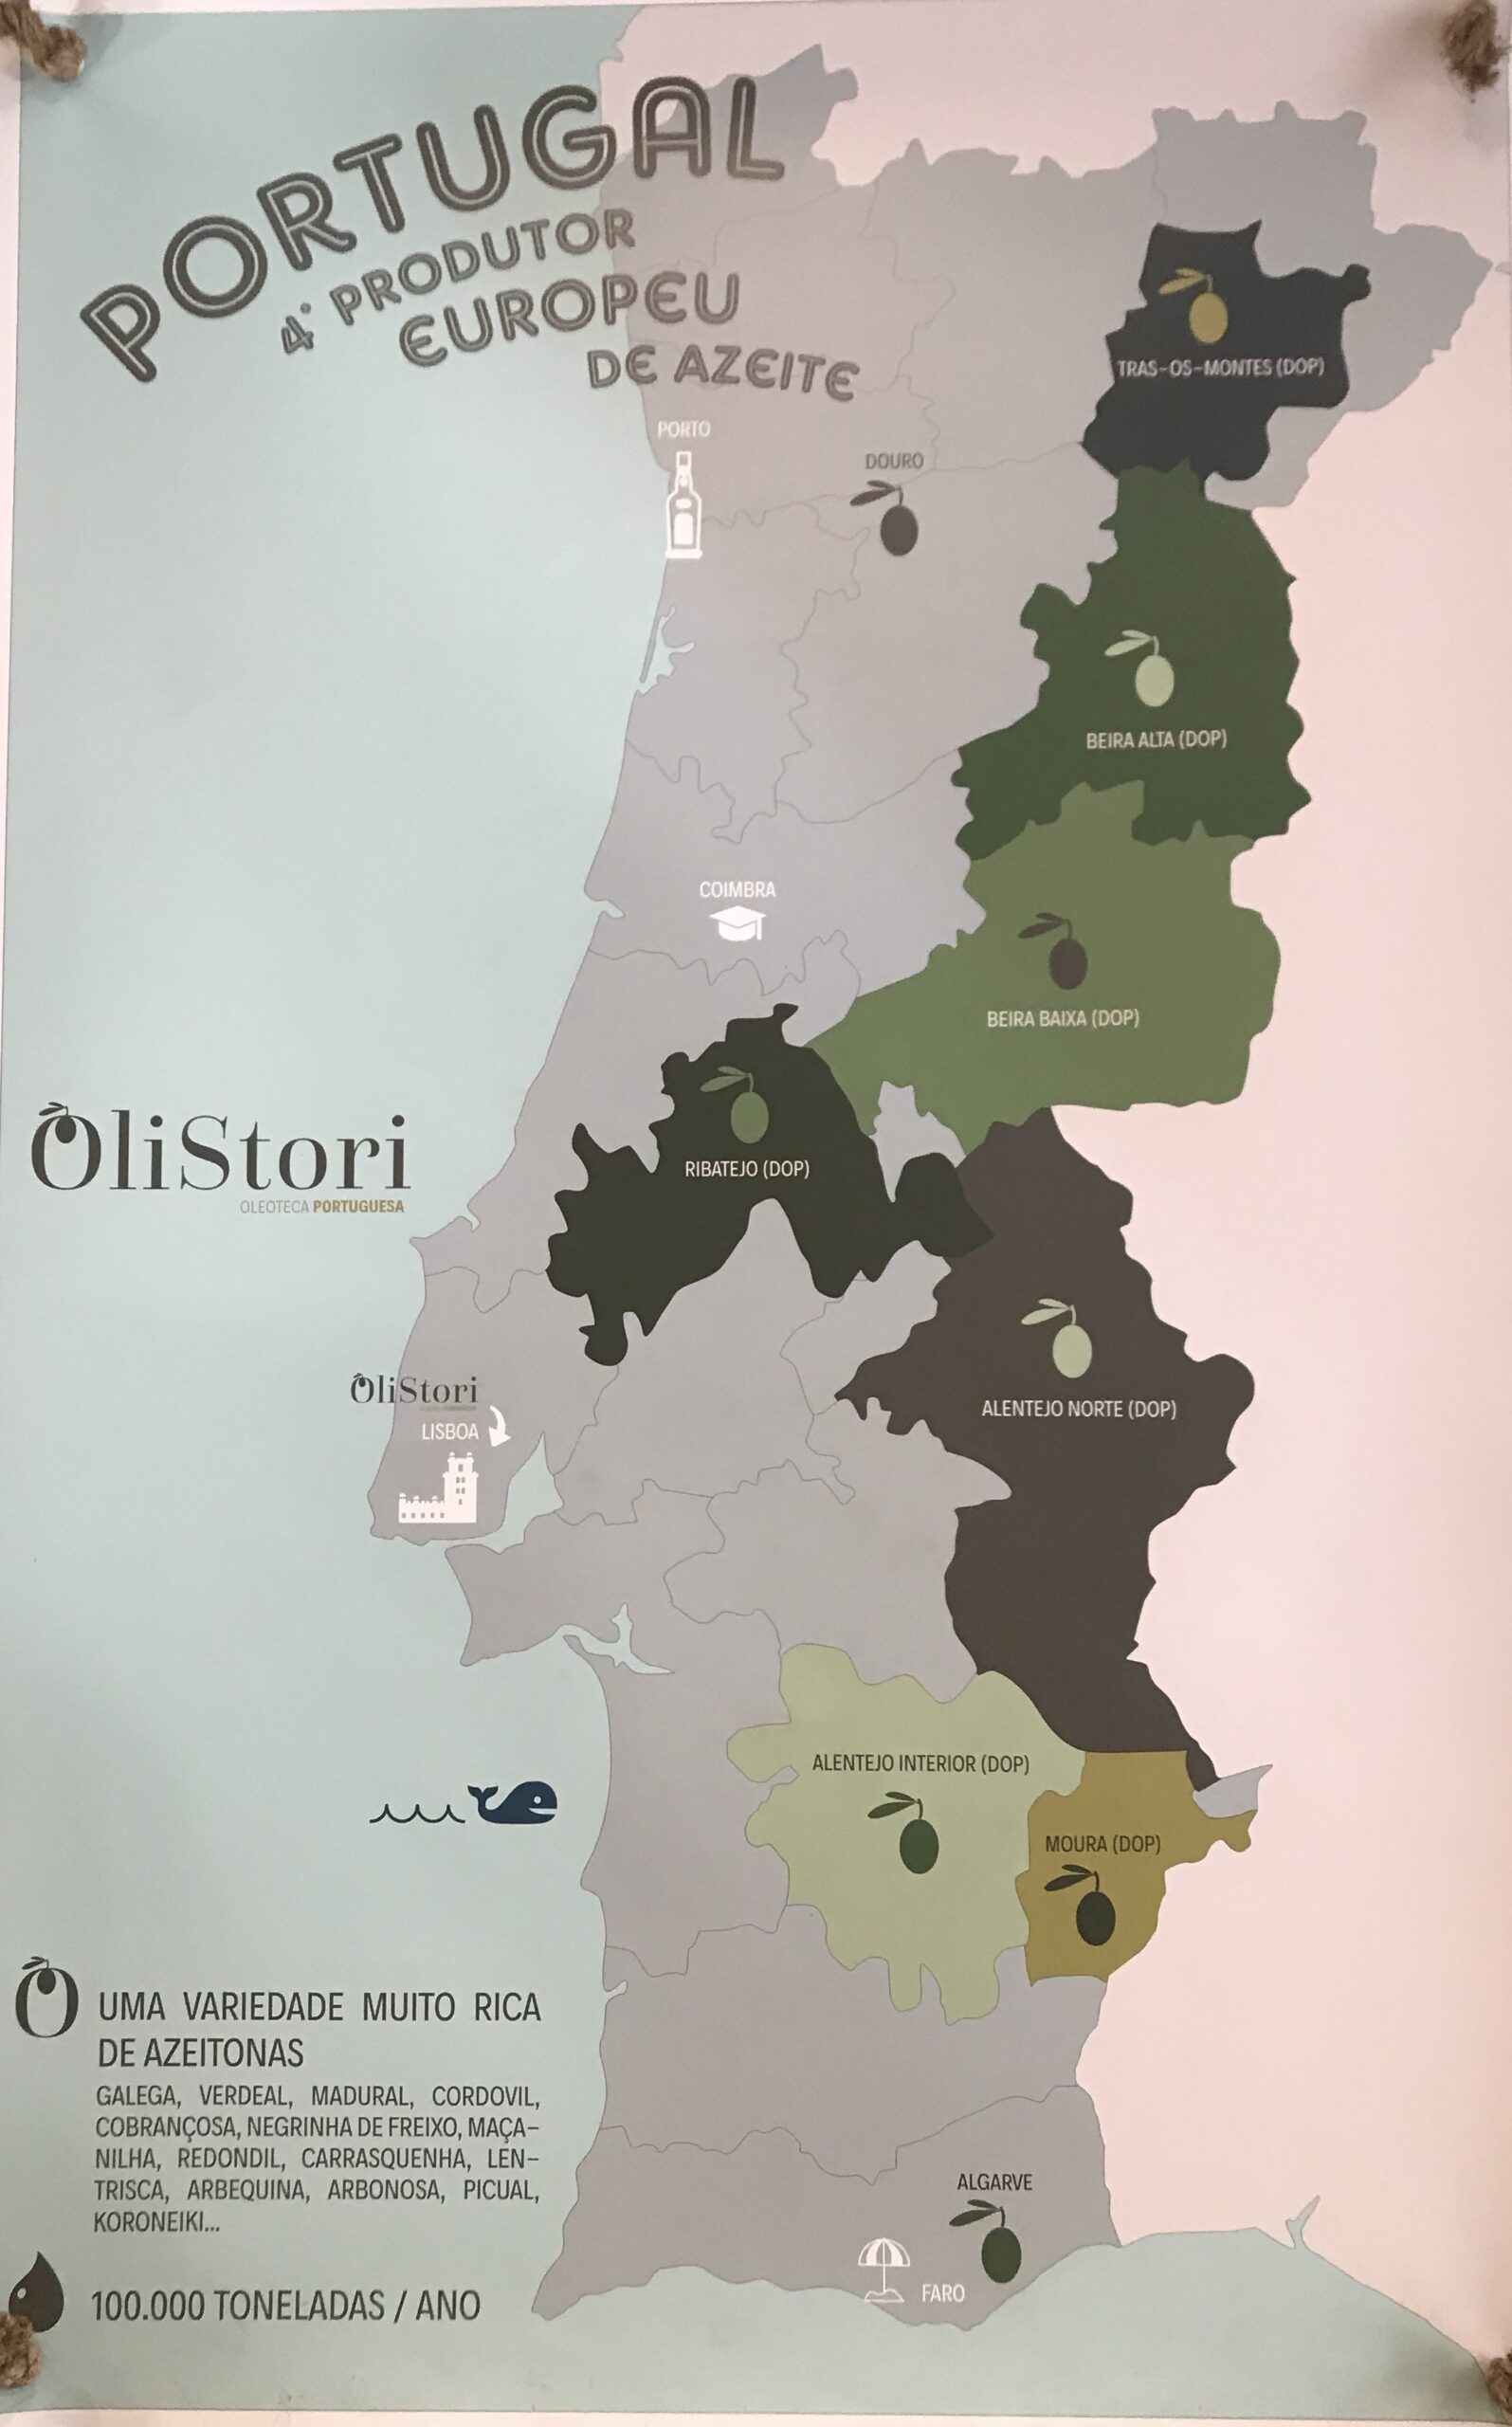
Olive trees take 3-5 years of growth to be ready for the first harvest, and have a lifespan of up to 200 years. The fruits are sensitive to the soil and to climactic conditions. The Trás-os-Montes province in the North is especially famous. This province’s name means “behind the mountains”, and the olive trees here grow on terraced land. It is cold in winter, and hot in summer. The soil here is rich, and there doesn’t need to be much watering. These conditions are very interesting for the tree, and the olive oil here is intense and green, and has a fresh fragrance. It smells a little like tomatoes, in fact!

An olive oil I particularly enjoyed was from the brand Terras Dazibo, from the region Tras-o-Montes. It had a long flavour, starting sweet, then turning bitter behind the tongue and spicy as it goes down the throat. This extra virgin olive oil is created by a blend of different olives.

In Noura in the South, the trees are spaced far apart on the farm so that the roots can be more widespread. They don’t require much water, and produce black olives with a complex and light flavour. These black olives don’t grow in the north, where it is too cold. All kinds of geographic elements have an impact on the agriculture. In the Rio Maior region, for instance, the olives are saltier due to the river water that irrigates the crops. Verdeal olive oil is green and fresh, Cobrançosa is fruity and spicy, Picual is piquant (as per its name!), Madura is smooth,  These are but a few examples. We were spoilt for choice at OliStori!

The Portuguese government, despite having no interest in the export market, takes this produce seriously and offers a certification known as DOP (Denominação de Origem Protegida) to mark the best quality olive oils. Despite not having DOP certification, the regions of Duoro and Algarve also produce excellent ones. Duoro is better known for its porto wine, whereas Algarve is believed to focus more on about their production than on seeking certification.

If you’ve ever wondered what the differences are between virgin olive oil, extra virgin olive oil and cold-pressed olive oil… I finally learned them in Portugal, thanks to Isabelle. Extra virgin olive oil is from the very first fruit that is sent to the press, and has the lowest acidity (0%-0.8%). Virgin olive oil is pressed later, and cold-pressed olive oil is treated at a temperature under 25°C and is best for flavour fusions and guarantees the preservation of aromas. The brand Olival de Risca from the Alentejo region in the South is known for these. The additional fruit or vegetable is cut and added alongside the olives during the cold-pressing procedure. Some of these fusions include classic Mediterranean herbs, mandarin, garlic, basil, lemon and chili. Alentejo is very hot, which makes it suitable for black olives, which give oils with a complex and light taste. The trees here are spaced far apart, so the roots can be more extensive, and dry farming is the usual method so as to produce more concentrated oils.

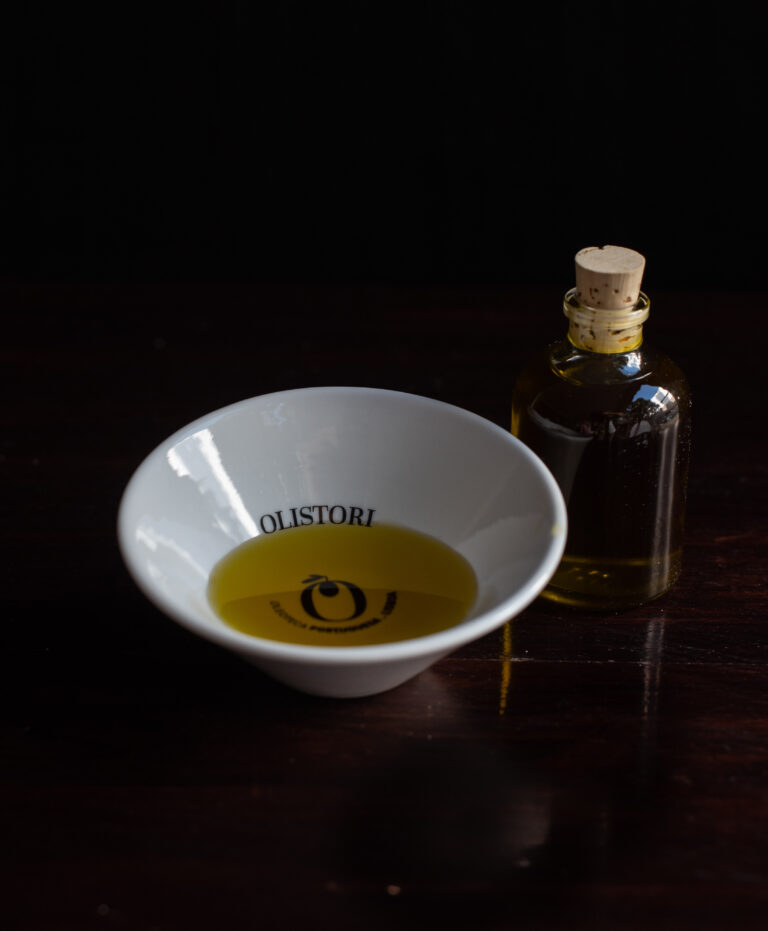
Despite spending hours at OliStori, there was no way in which to taste every single kind of olive oil they had to offer. But I loved learning a little bit about several, and the packaging often told a story by itself. For instance, the Angelica brand features a picture of the current owner’s grandmother when she was young. I carefully selected a small number of beautiful bottles to bring back home. These can be stored for up to 20 months, provided the bottle is kept closed (I plan to refrigerate, thanks to my climate). Open bottles create oxidization, which breaks down the flavour and affects the quality of the oil.

As you probably know, olive oil is quite versatile and can be used to top fish, light foods like salads and as a dip for bread. I used some of my Portuguese stock recently in this South Indian fusion hummus recipe.

Bitter tastes, very spicy tastes, complex long tastes, short and sharp tastes, fruity tastes, herbal tastes – for the first time, I understood olive oil to be as varied as wine. There were just so many to try. I’m so grateful to Isabelle for her generosity with her knowledge, time and stock of olive oils. And those hours spent in the charming OliStori are among my loveliest recent memories of Europe. If you’re ever in Lisbon, be sure to take a little walk up a slope on the cobbled street of Rua de Madelena and send Isabel my love. Oh, and OliStori also sells balsamic vinegars – but that would need another day, another trip and another post!

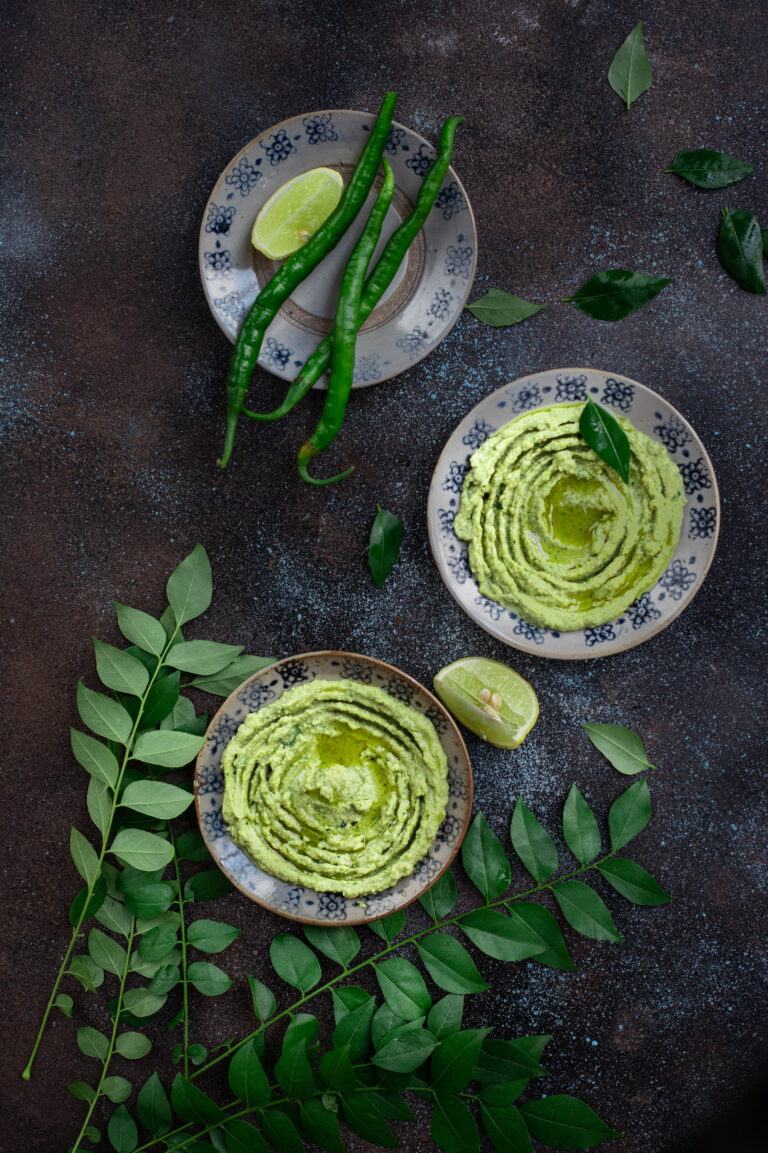
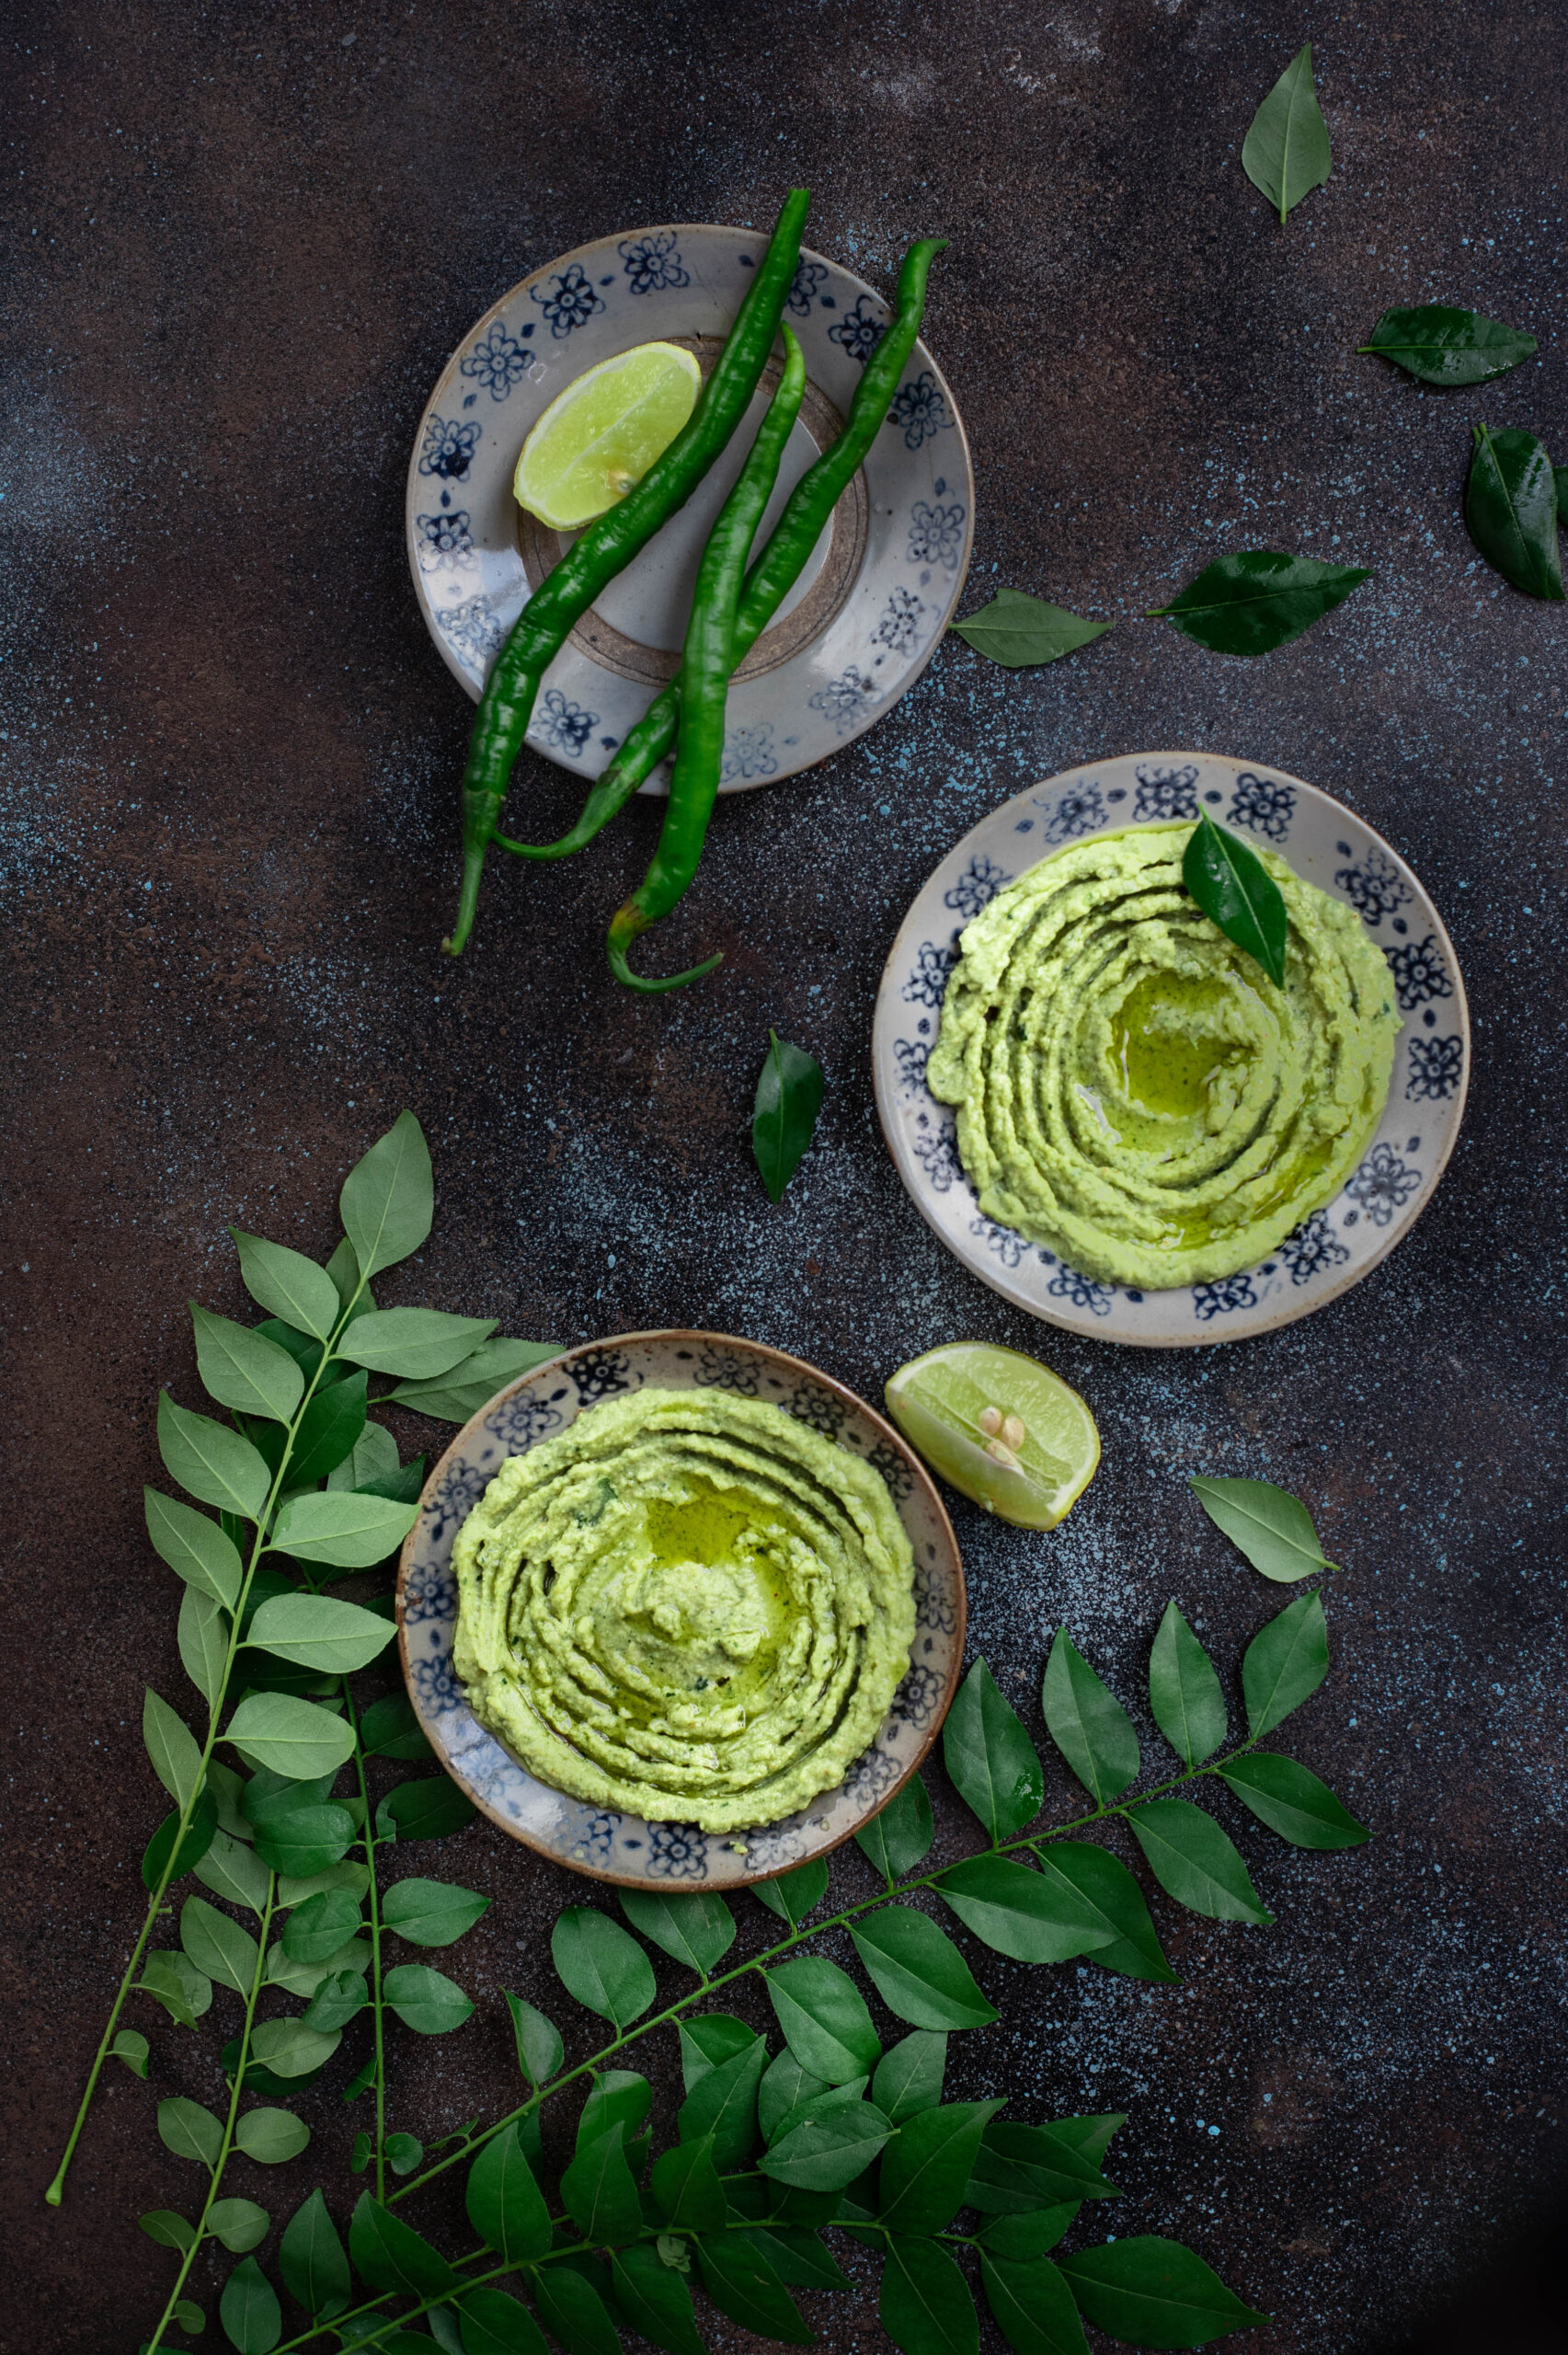
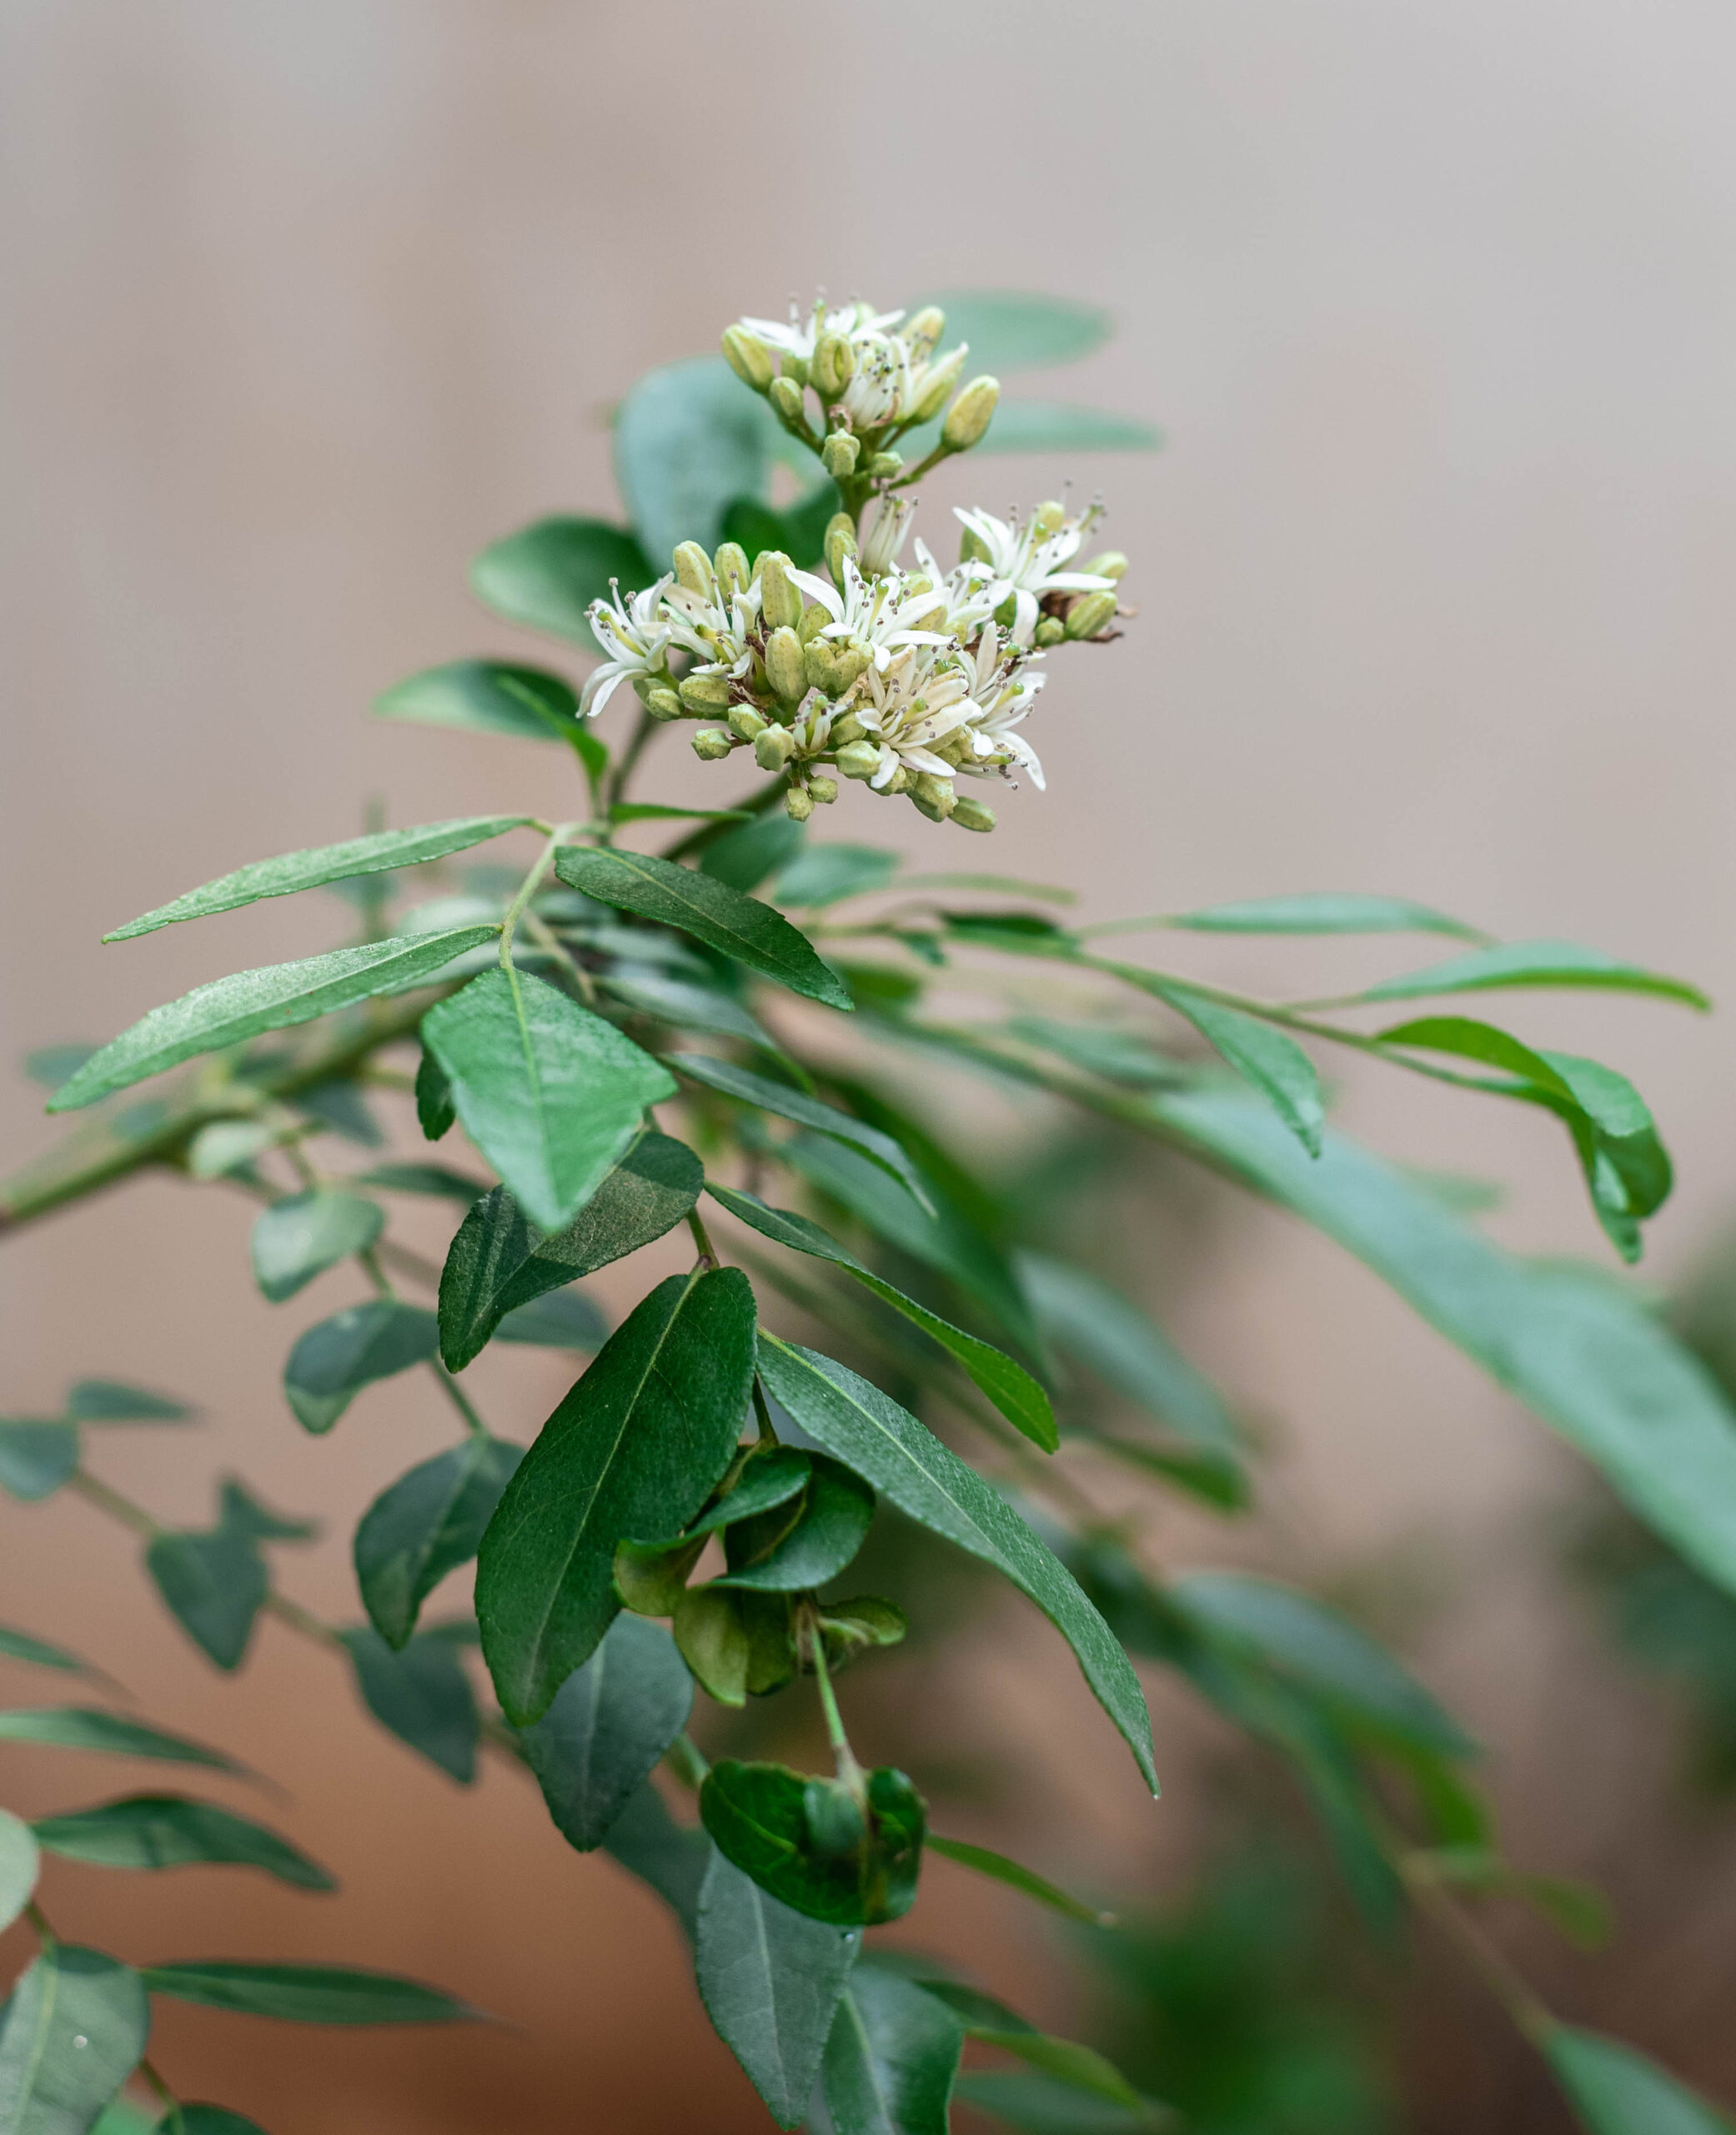
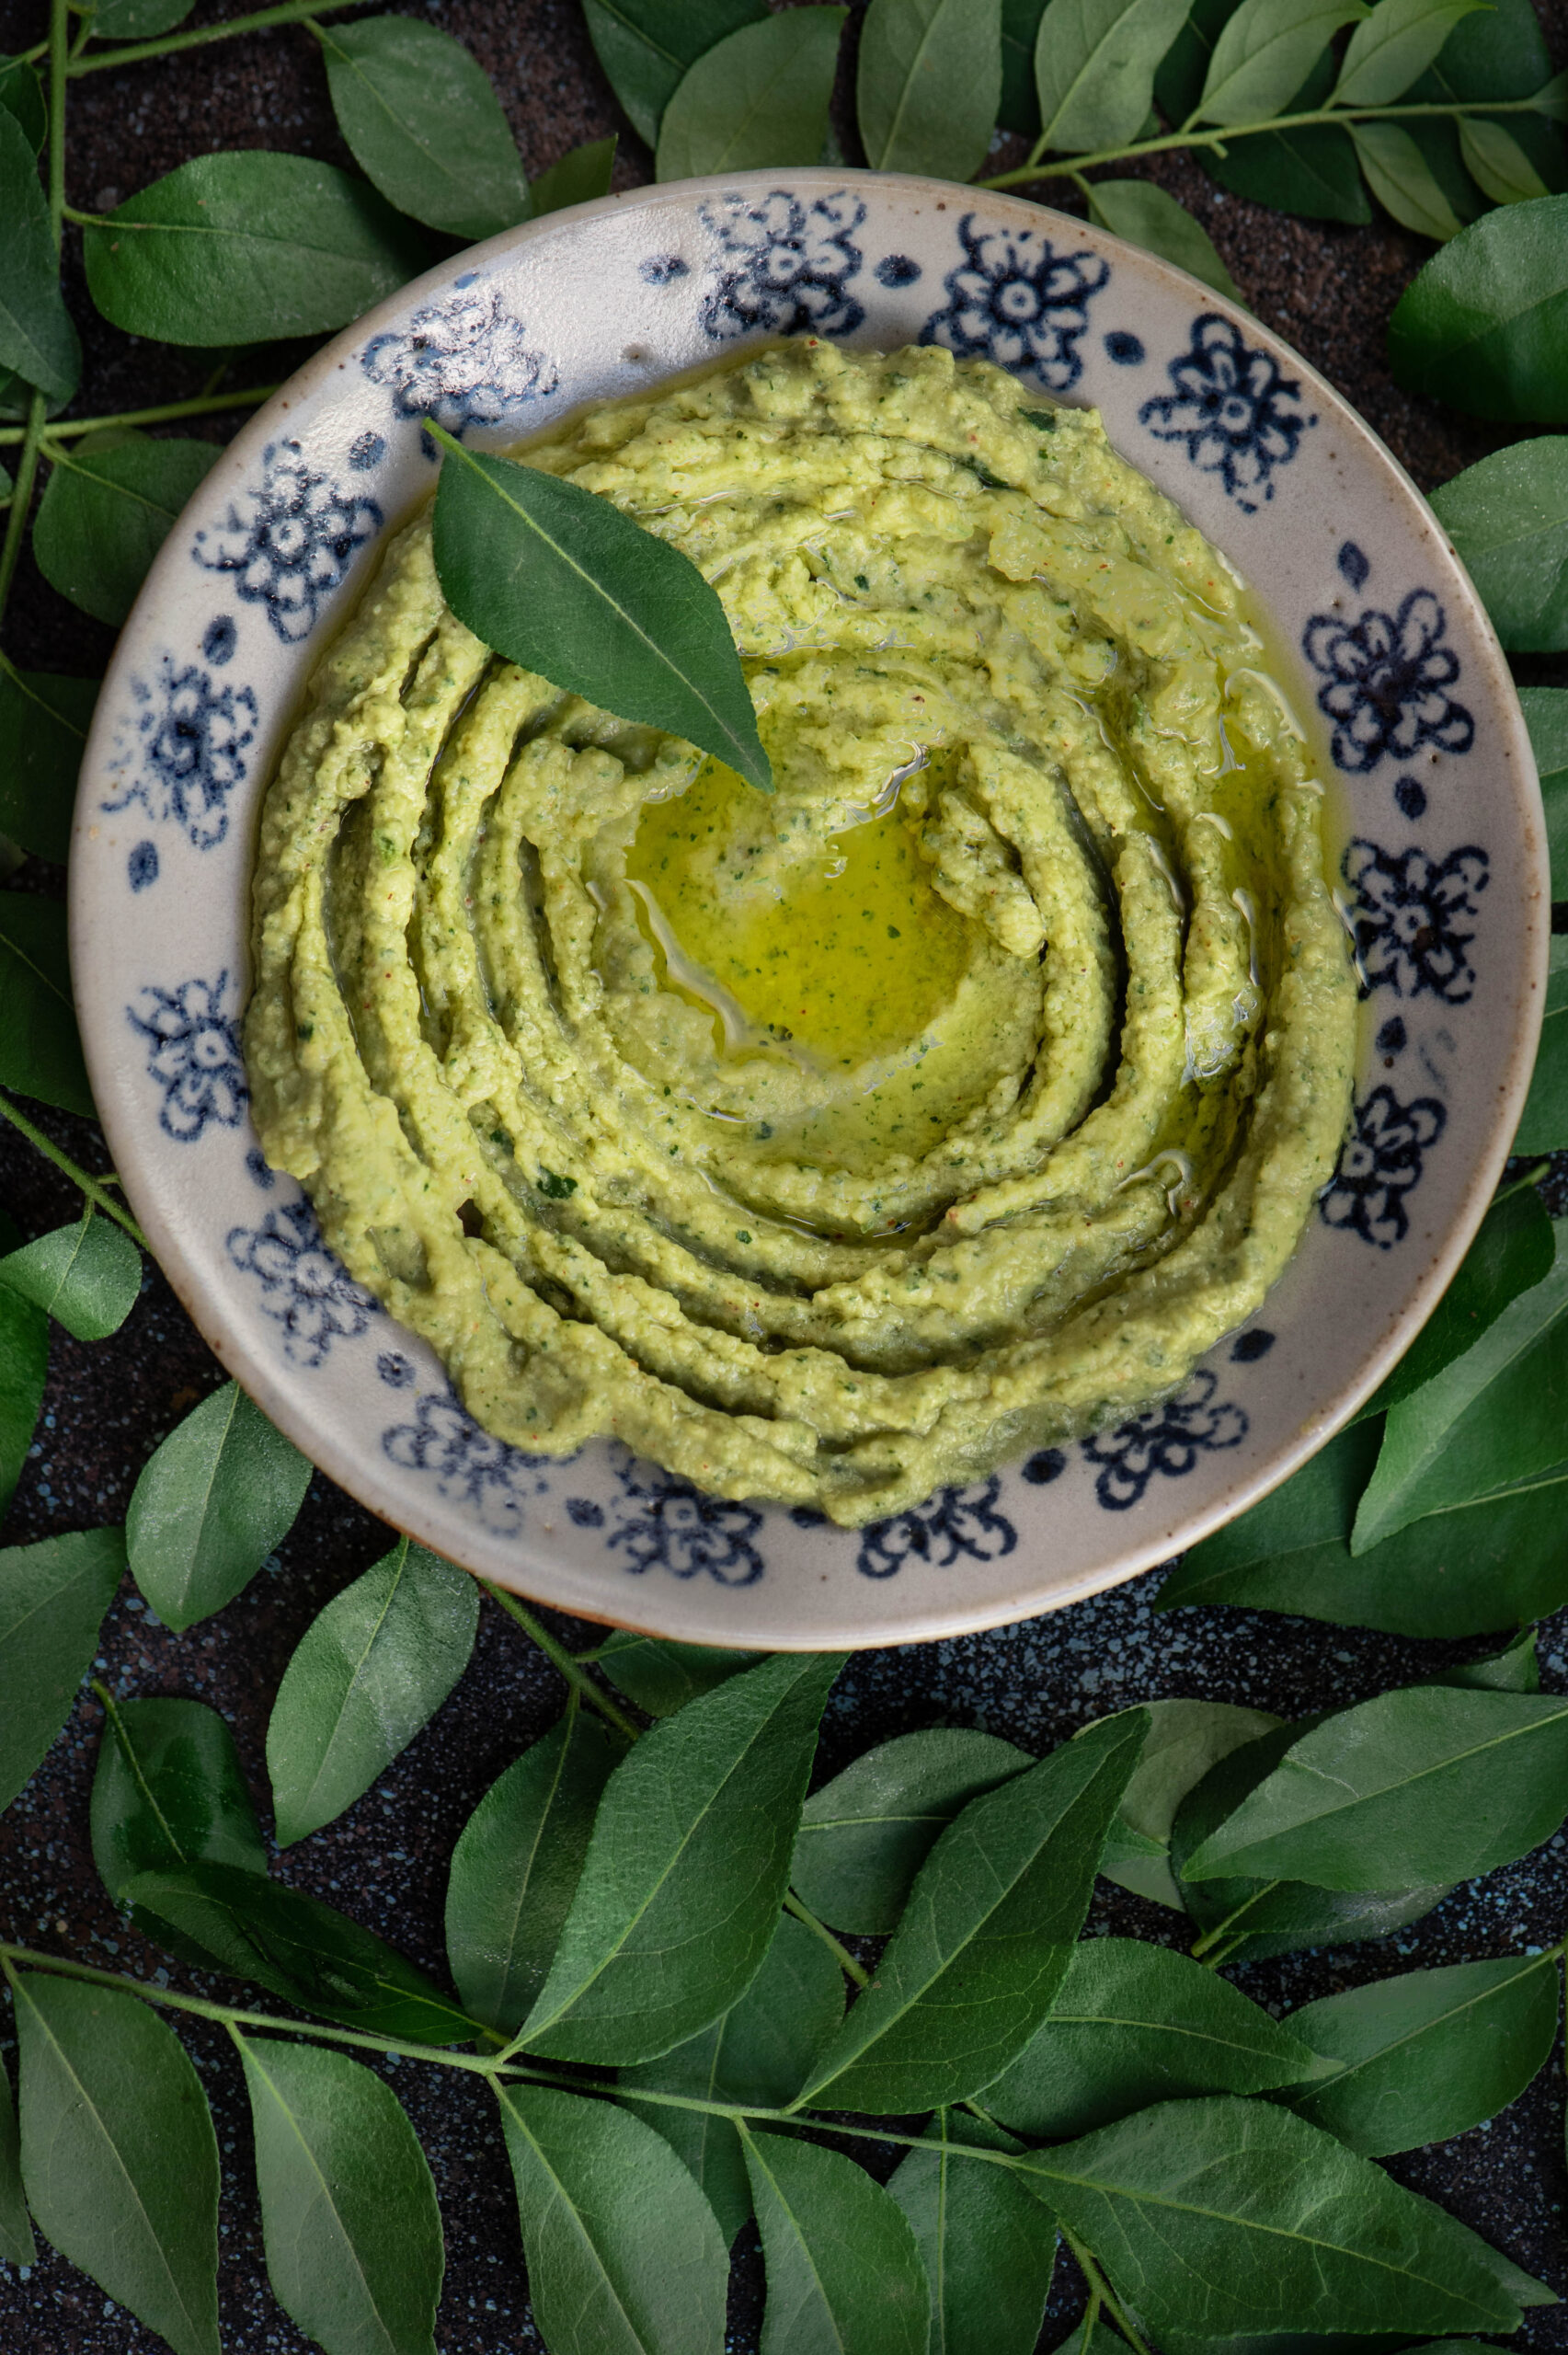
With the festival of Navaratri coming up, when chickpeas are served to guests in many homes in a simple dish called sundal, I had the humble legume on my mind once again. Only this time, I felt inspired to pair it with another ingredient that’s an essential in every South Indian home: the curry leaf. With the occasional rains we are enjoying in Chennai at the moment, my curry leaf bush has been in full bloom. And when I have so much in my garden or farm, you know that it usually tends to go straight into my kitchen. I took these two local ingredients and put them together in a fusion dish: curry leaf and green chilli hummus.

Hummus is a Middle Eastern dish that is a part of daily cuisines in that part of the world, and is usually eaten with breads. It’s also popular everywhere as a party snack, a perfect dip for everything from sliced vegetables to skewered meat. I’ve tasted a lot of beetroot hummus, so I knew that the basic puree lends itself well to flavourings. That’s when my curry leaves caught my eye.

Also known as “sweet neem”, curry leaf is an ingredient that we almost take for granted in our Indian kitchens. Tempered or fresh sprigs are thrown into curries, the powder is eaten with rice, and so on. It adds flavour to so many dishes that it’s just a ubiquitous part of our cooking. With a range of health benefits, including antioxidant and anti-diabetic properties, it’s no wonder that our ancestors incorporated it into as many meals as they could.  Now that I grow curry leaves in my own home, I have been learning a little about the plant too. Did you know that the tiny berries, which are not used in cooking, are actually high in Vitamin C – but that their seeds are poisonous?

Long ago, my hummus attempts would be so mediocre that a good friend would send me tubs as I so enjoyed the dish. Over time, I learned how to make it and stopped depending on those shipments, just as I stopped depending on store-bought cakes and even began to experiement with homegrown ingredients. Trial and error is the key to learning, and by studying different recipes and adding my own touches, I finally arrived on a version I loved.

The main ingredient in hummus is the humble chickpea, which is a staple not only in the Middle East but all over India in its many forms. It’s eaten boiled for a healthy snack, powdered and roasted and used as a binder, and known by so many names – puttukadalai, chana dal, kabuli (did this come to us by way of Kabul, I wonder?), chole and so on. Abroad, you may know this legume as garbanzo beans. The darker variants have a higher iron content, while the chana dal I use for thus hummus is rich in protein and fibre, thus filling you quickly and also aiding weight loss. It is known to lower cholesterol and diabetic risk, and also has high zinc and folate content.

The traditional hummus has a bland, though satisfying, taste. I thought of how I could kick it up a notch. That’s when I decided to add the equally ubiquitous green chilli, which is rich in Vitamin C, great for digestion – and very piquant!

Tahini, which is made of ground white sesame, and olive oil round out the Middle Eastern flavours. Fortunately, these are widely available at good supermarkets in India and other countries. I used some wonderful olive oil I picked up in Portugal recently, which will be featuring in my blog soon.

The day after I made this curry leaf and green chilli hummus at home, I went to Goa and to my delight, my good friend the designer Wendell Rodricks served the very same dish in his home! I squealed! The coincidence was just too thrilling, and I wanted to share my recipe immediately, so you too can serve it soon.

Curry Leaf & Green Chilli Hummus

(Yield: 1 bowl)


Ingredients

1¼ cups cooked/boiled chickpeas

3-4 garlic cloves

1 tablespoon tahini

2 tablespoons lemon juice

½ teaspoon salt

¼ cup olive oil

1 cup washed curry leaves

1 green chilli

Water


In a blender, add the curry leaves and green chilli with 2 tablespoons of water. Blend until you get a smooth paste. Keep aside.

Next, blend the soft cooked chickpeas along with garlic, tahini, salt, half the olive oil and lemon juice.  Blend well until the paste is smooth and looks creamy.

Now, add the blended curry leaf paste to the creamy chickpeas and whir once again until it all mixes well. Adjust the salt and lemon quantities to suit your taste.

If you feel it needs to be creamier, add more water or olive oil to the blend, until it achieves a dip-like consistency.

The curry leaf hummus is now ready to serve. You can have it the traditional way, with flatbreads, whether that’s the Middle Eastern pita or the North Indian naan. Or some healthy quinoa chips, for a wholesome snack. Crunchy vegetables like carrot or celery sticks, toasties, or rice crisps (to keep that South Indian sensibility) are also excellent accompaniments. With a mildly yet surprisingly flavourful curry leaf hummus like this – it’s the dip that’s the main dish, not the accompaniment!

And if you just can’t get enough of that flavour, why not try my curry leaf and raw mango cooler as well?

I enjoy the creative challenges of coming up with innovative dishes, and salads are a category I worked on happily during the earlier stages of re:store’s journey. Before turning my focus more intently towards baking and photography, I used to take orders for salads. The orders generally came from people who were fitness-focused or preferred to eat smaller meals at work. But that was no reason to eat the same thing every day. So I planned menus of 10-15 salads, rotating them every 3 months.

The salads were inspired by so many cuisines, and people I met, and using a schedule was also something new for me. Before going into business, I’d usually just throw whatever was on hand into a salad. Another thing I learnt was that keeping veggies fresh in India was not easy when they weren’t consumed immediately. Especially when the salad travelled from the re:store kitchen to another’s home, and then commuted with them to their office. So if I put in a fancy leafy vegetable, by the time the customer opened the container at their desk at lunchtime, it would have started to look and taste different. Through trial and error, I figured out ways to use only local and seasonal produce in my salad experiments.

Another thing I don’t believe in is using store-bought dressings, so I made them all from scratch, matching each one to the ingredients used. Naturally, I am also very particular about the hygienic handling of raw vegetables, so I always prepared salads only on the day of delivery.

We often think of salads as a part of Western cuisine, but they are often found in Indian cuisines as well. Whether it’s a home-cooked Gujarati meal or a South Indian one, some kind of raw, cut veggies will be served. While a vegetable smoothie may be a great way to substitute an unhealthy beverage, there are benefits to salads that go beyond taste. God made vegetables crunchy because they are meant to be eaten that way – it all begins by using the teeth and jaw muscles!

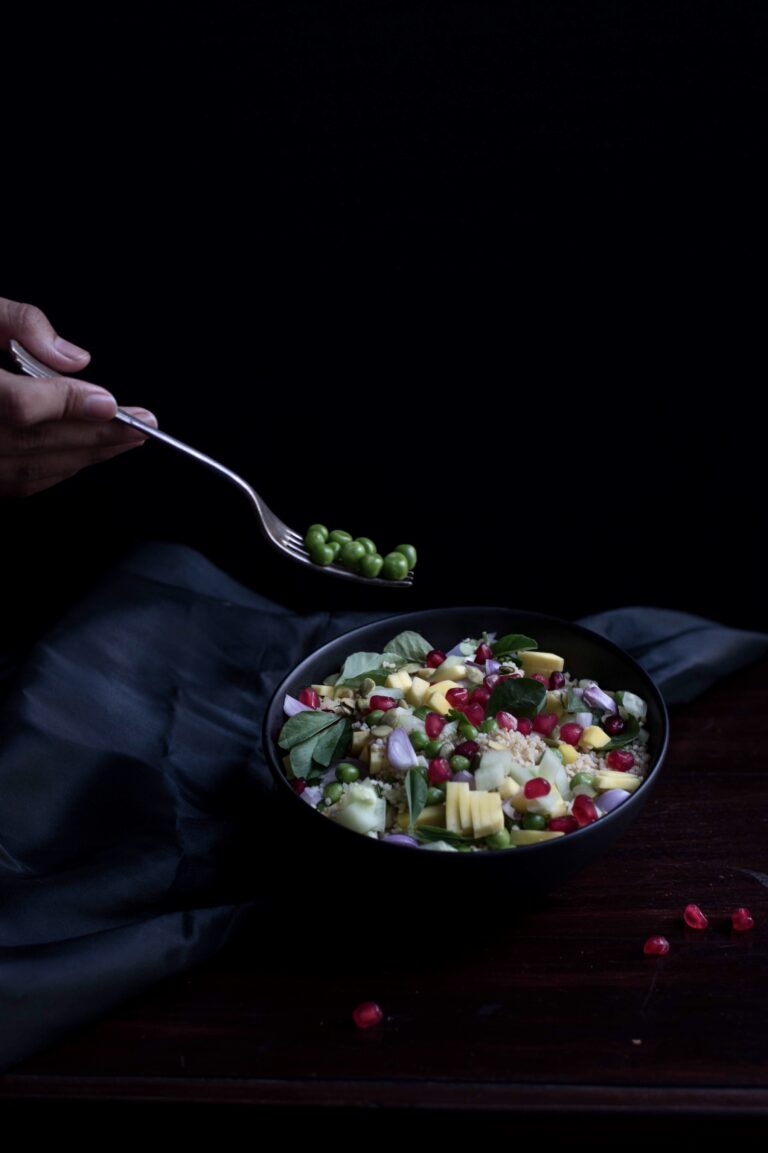
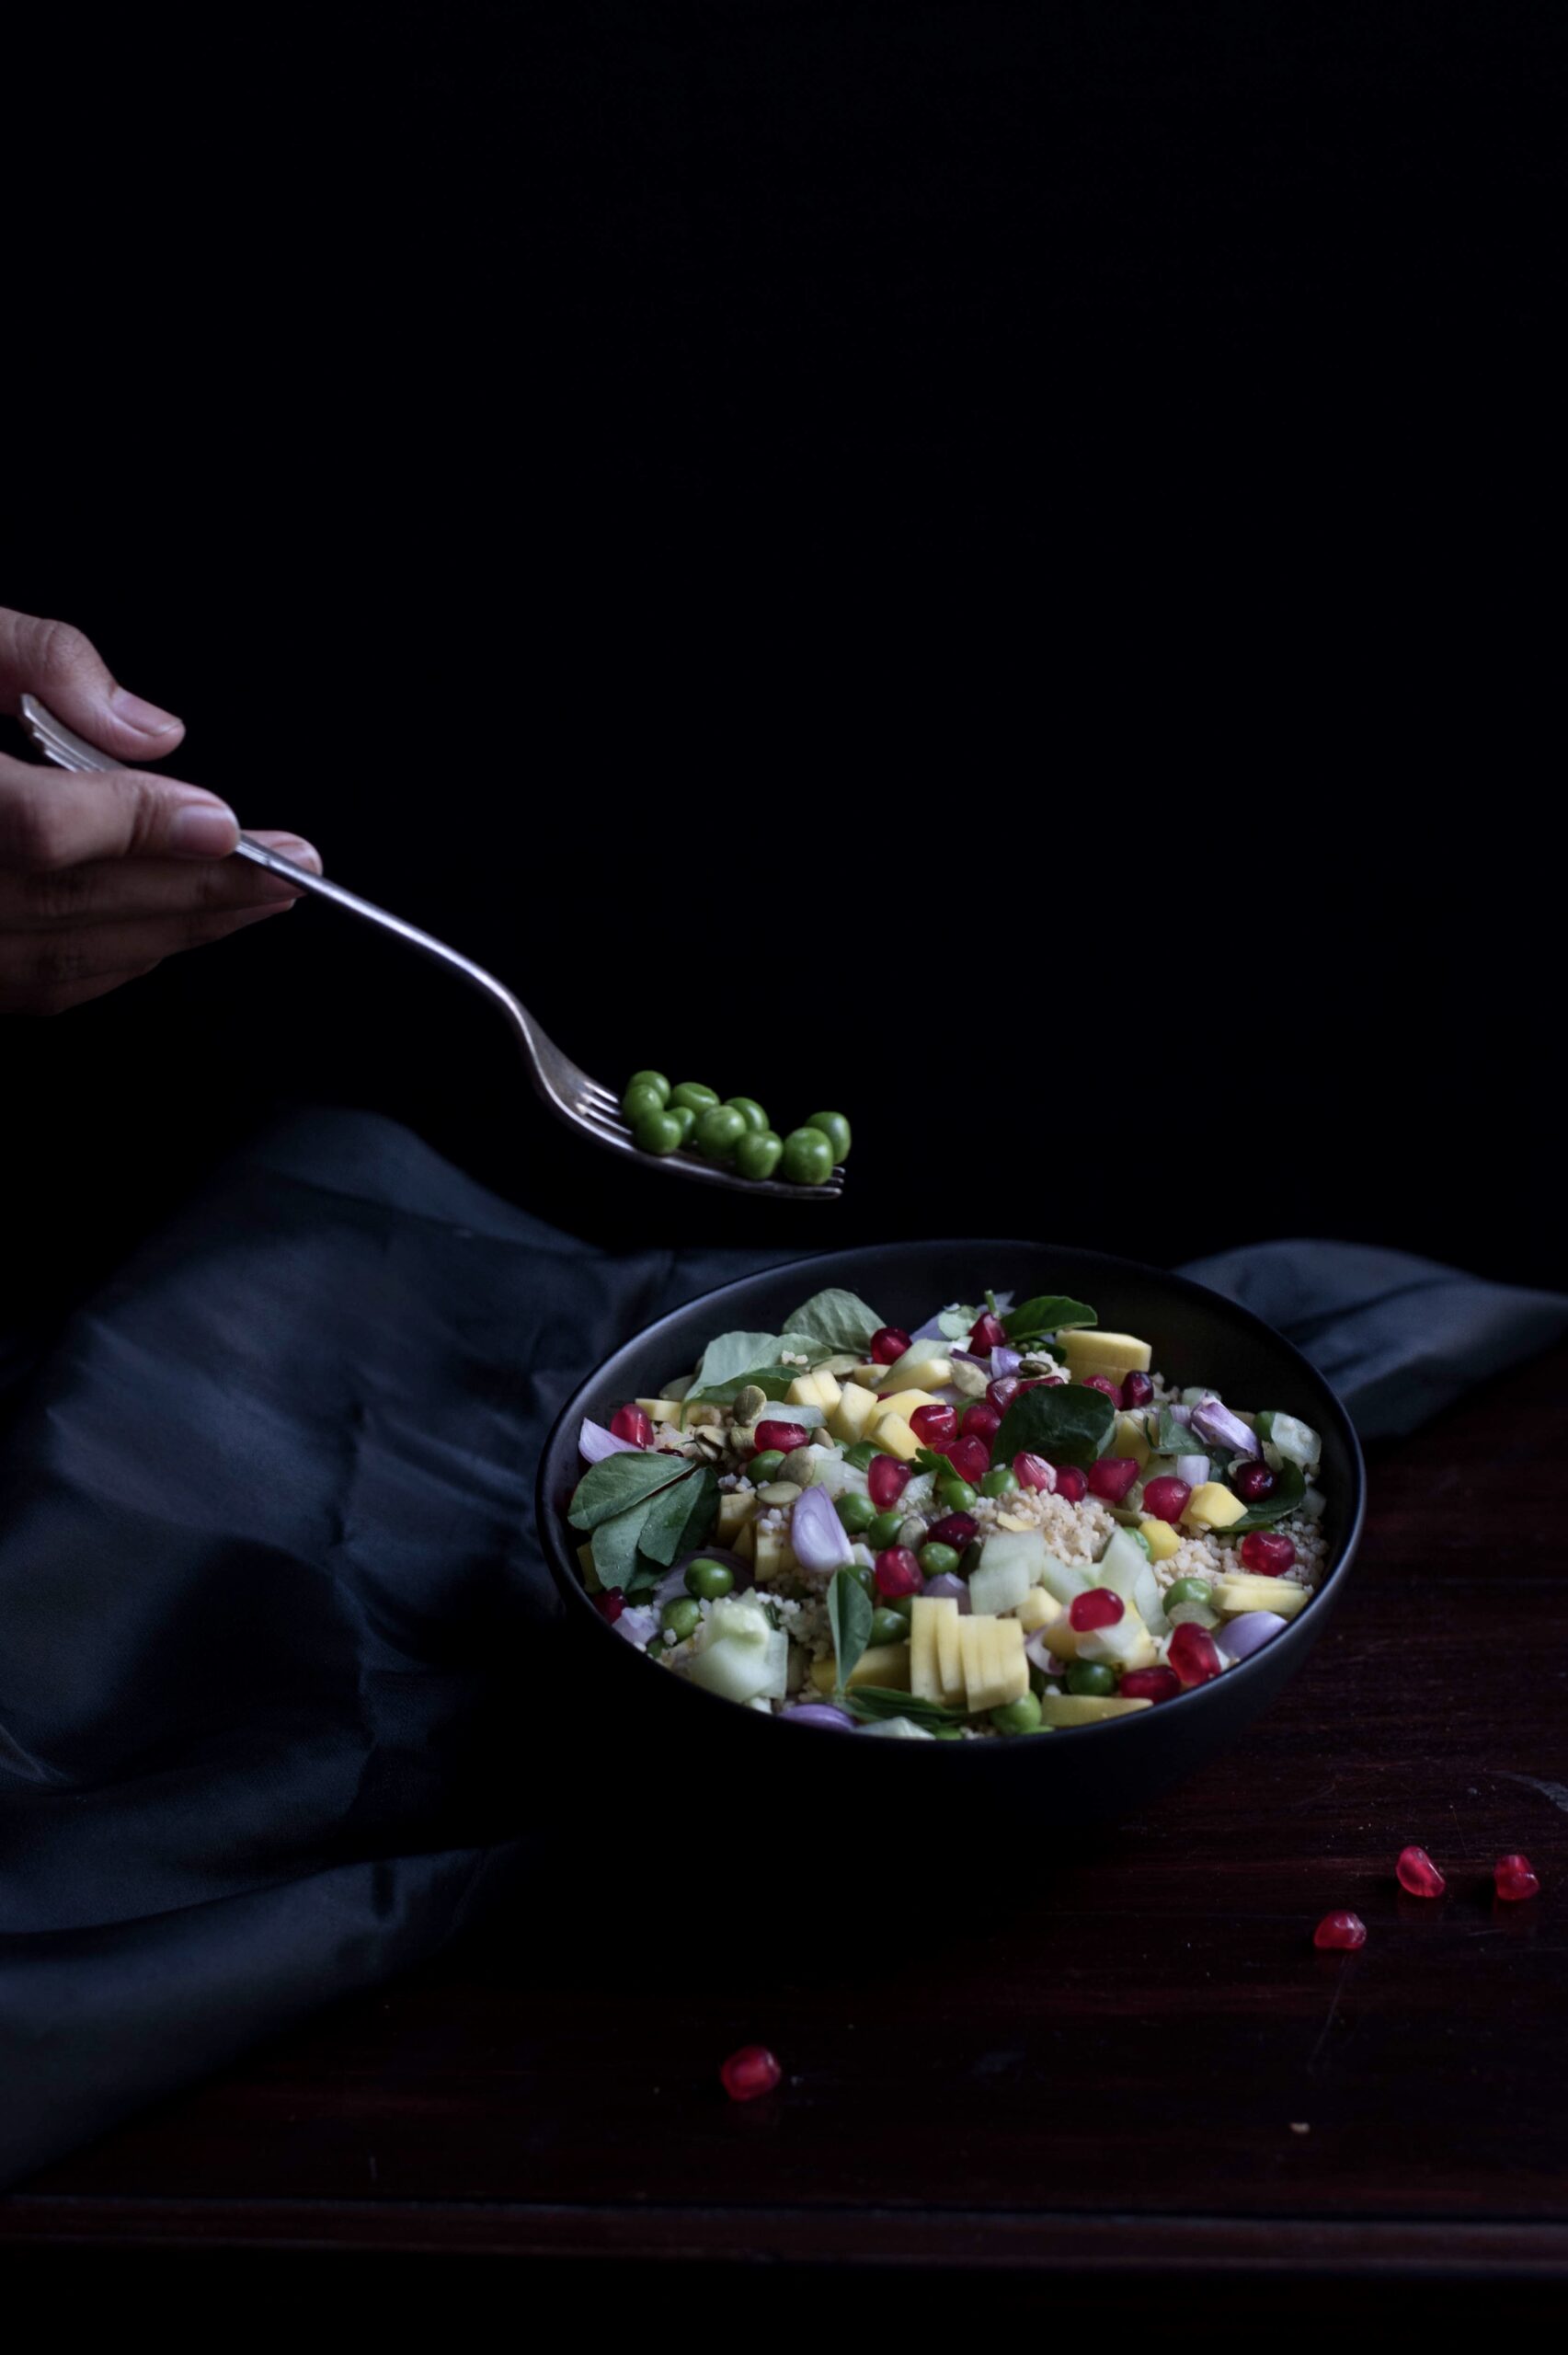
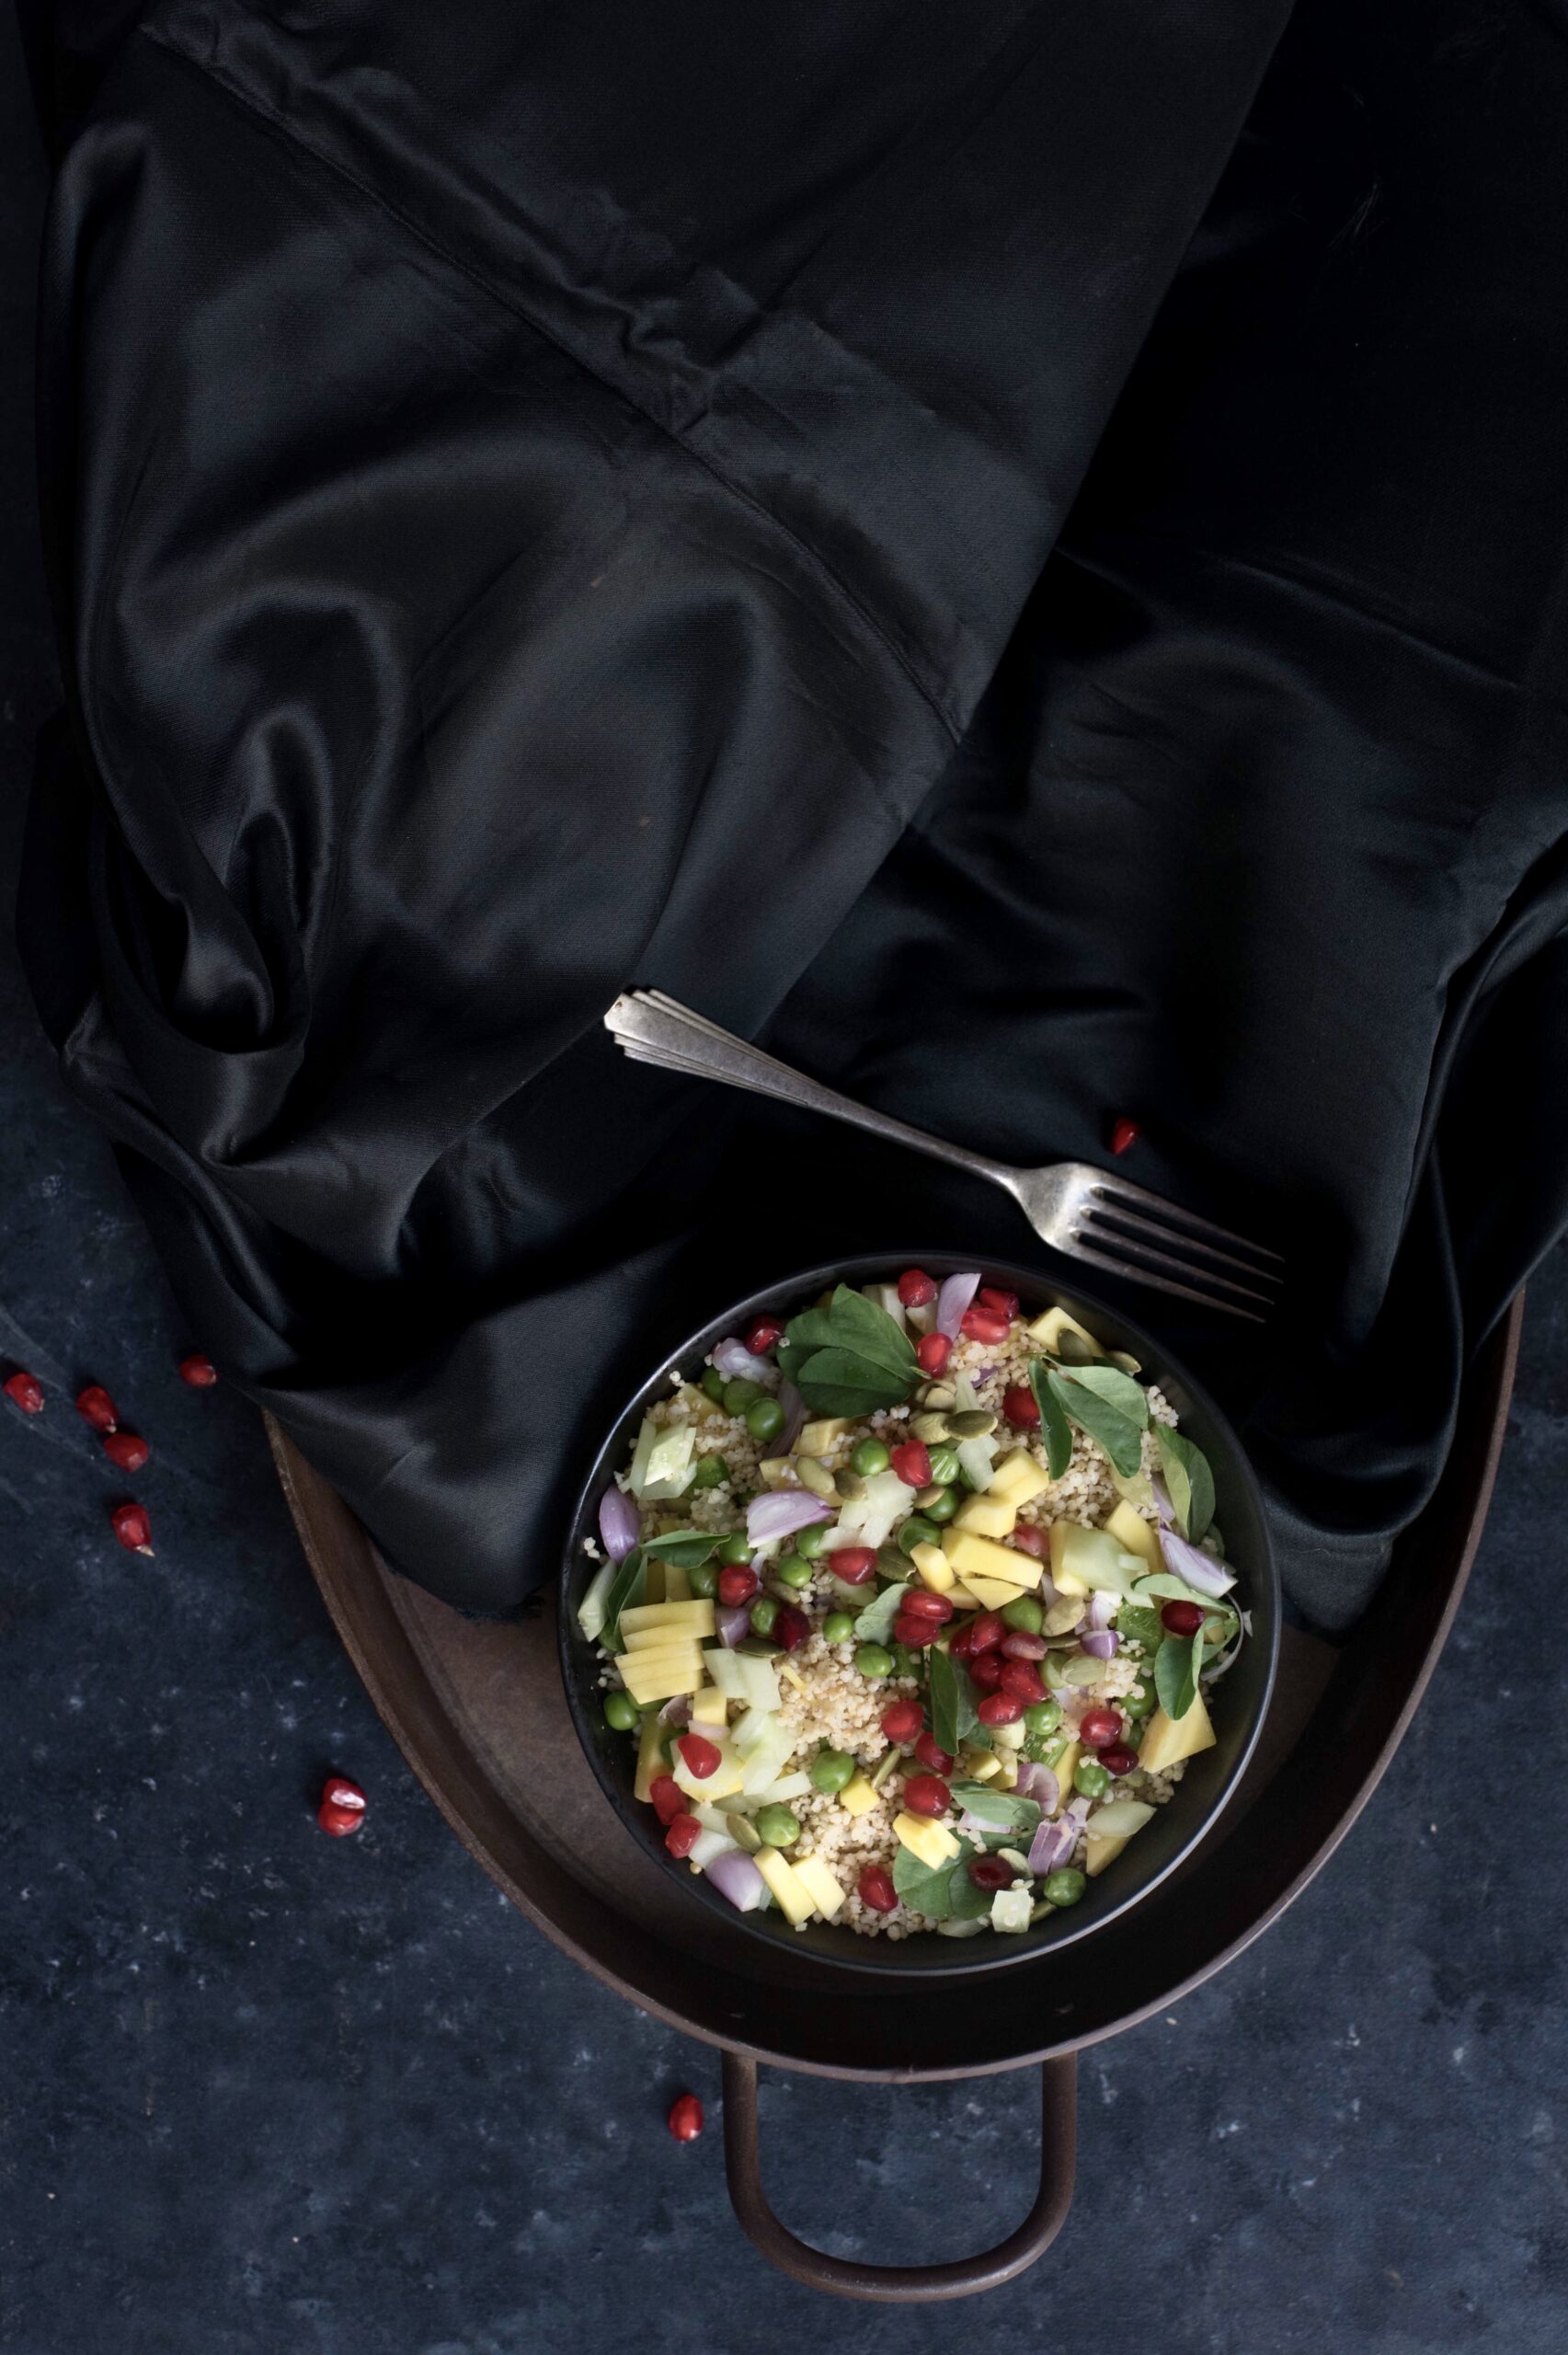
The Gujarati word for salad is “kachumber”, and while my recipe contains very diverse ingredients, at its core you could consider it an update on the traditional one. You know how much I love millets, and this salad uses foxtail millet as a base, for substance as much as for its many superfood properties. All the ingredients are available locally and inexpensively. I sometimes use sunflower seeds instead of pumpkin, but the latter are more authentically Macrobiotic here. Even the green peas come from Ooty, not so far away from me at all.

I’d love to share with you some nostalgia about salads and childhood, but let me be honest. Like many people, I often refused to eat vegetables growing up – but now look me, advocating for them!


Indian Veg Millet Salad

(Yield: 1 bowl)

Ingredients

Salad

120 grams cooked foxtail millet

½ cup steamed green peas

1 tablespoon pumpkin seeds

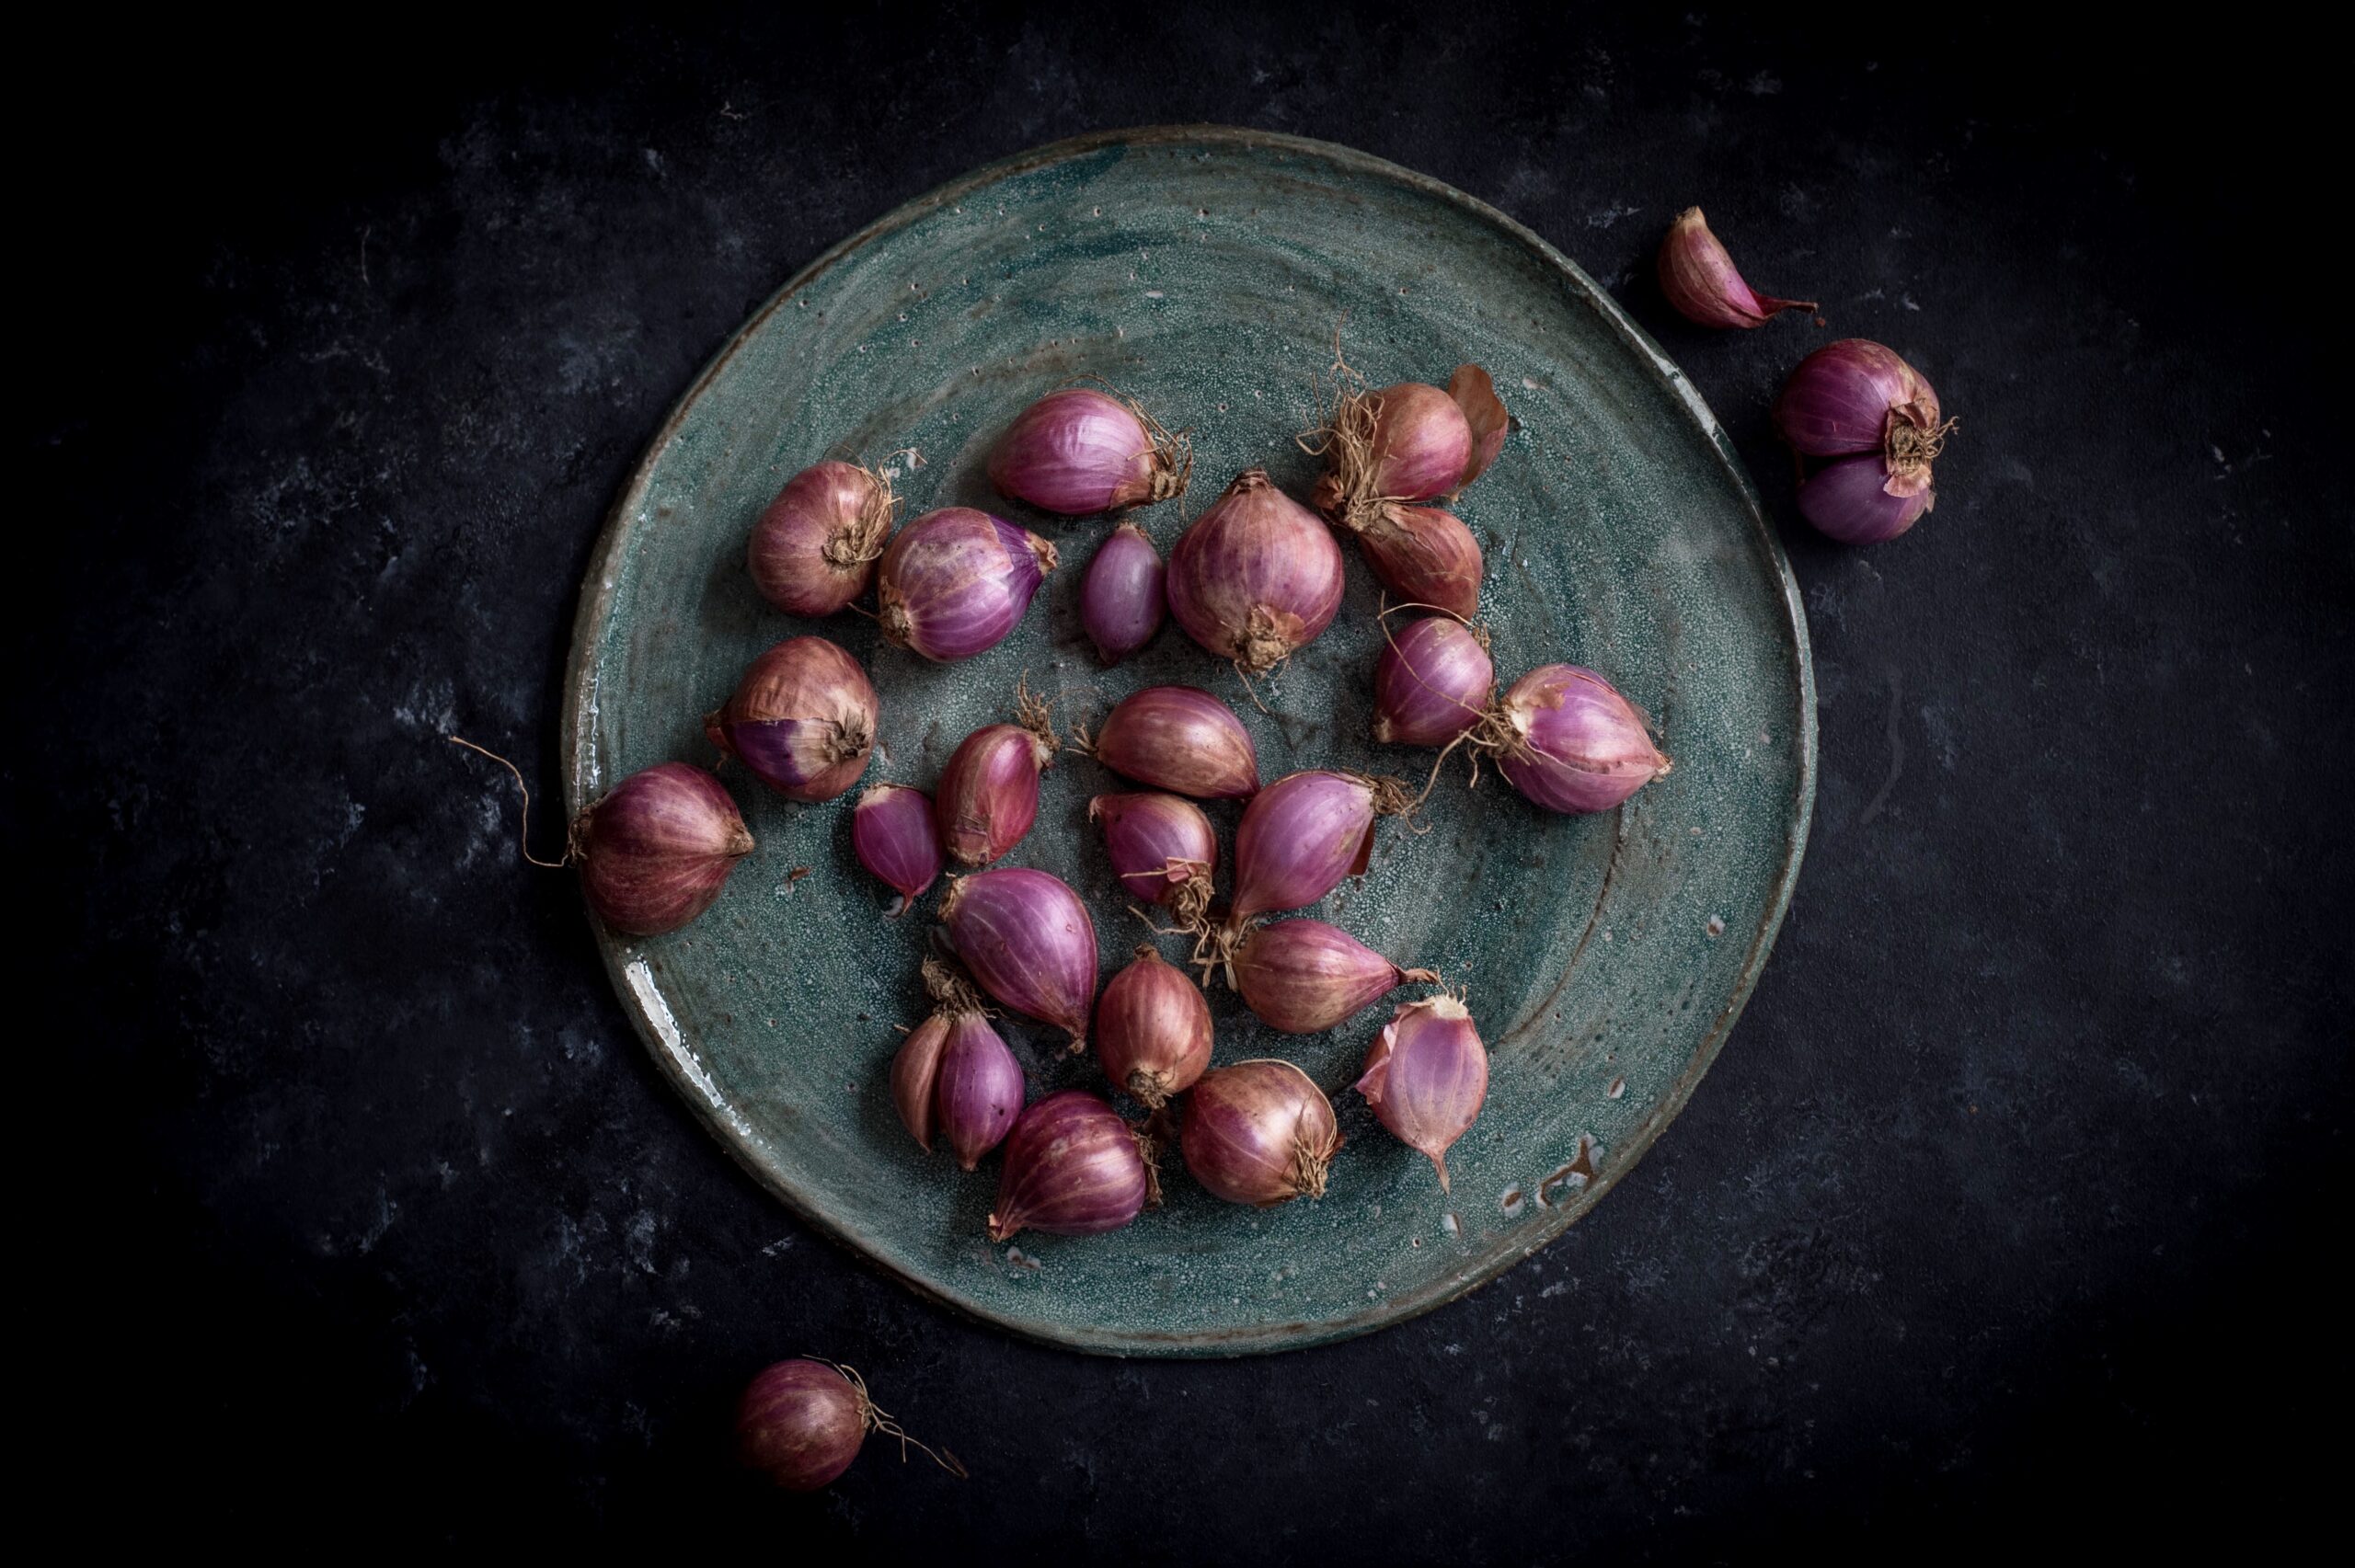
1 tablespoon finely chopped shallots

¼ cup cucumber

¼ cup finely cut raw mango

A handful of pomegranate arils

A few sprigs of fresh methi (fenugreek) leaves


Dressing

2 tablespoons sweet lime juice

1½ tablespoons lemon juice

1 tablespoon honey

1 tablespoon olive oil

A pinch of pepper

Salt to taste

Place all the fresh ingredients in a beautiful bowl. I have mentioned the quantity of the vegetables – however, you can eyeball the amount and decide for yourself how much you want to use. And of course, innovate. Add or delete ingredients depending on your fridge stock. You could even use any other millet if that suits you.

In a small jar, add all the ingredients for the dressing. Shake vigorously. Pour on the salad before serving and mix together till the dressing coats all the vegetables.

That’s all there is to it. A citrusy, profoundly simple dressing lifts the flavours of an unusual but deeply Indian salad. You have the sweetness of pomegranate, the tartiness of raw mango, the crunchiness of seeds and more. A medley of textures. Just mix it all up! I hope you’ll enjoy this easy recipe from the “salad days” of re:store, excuse the pun!

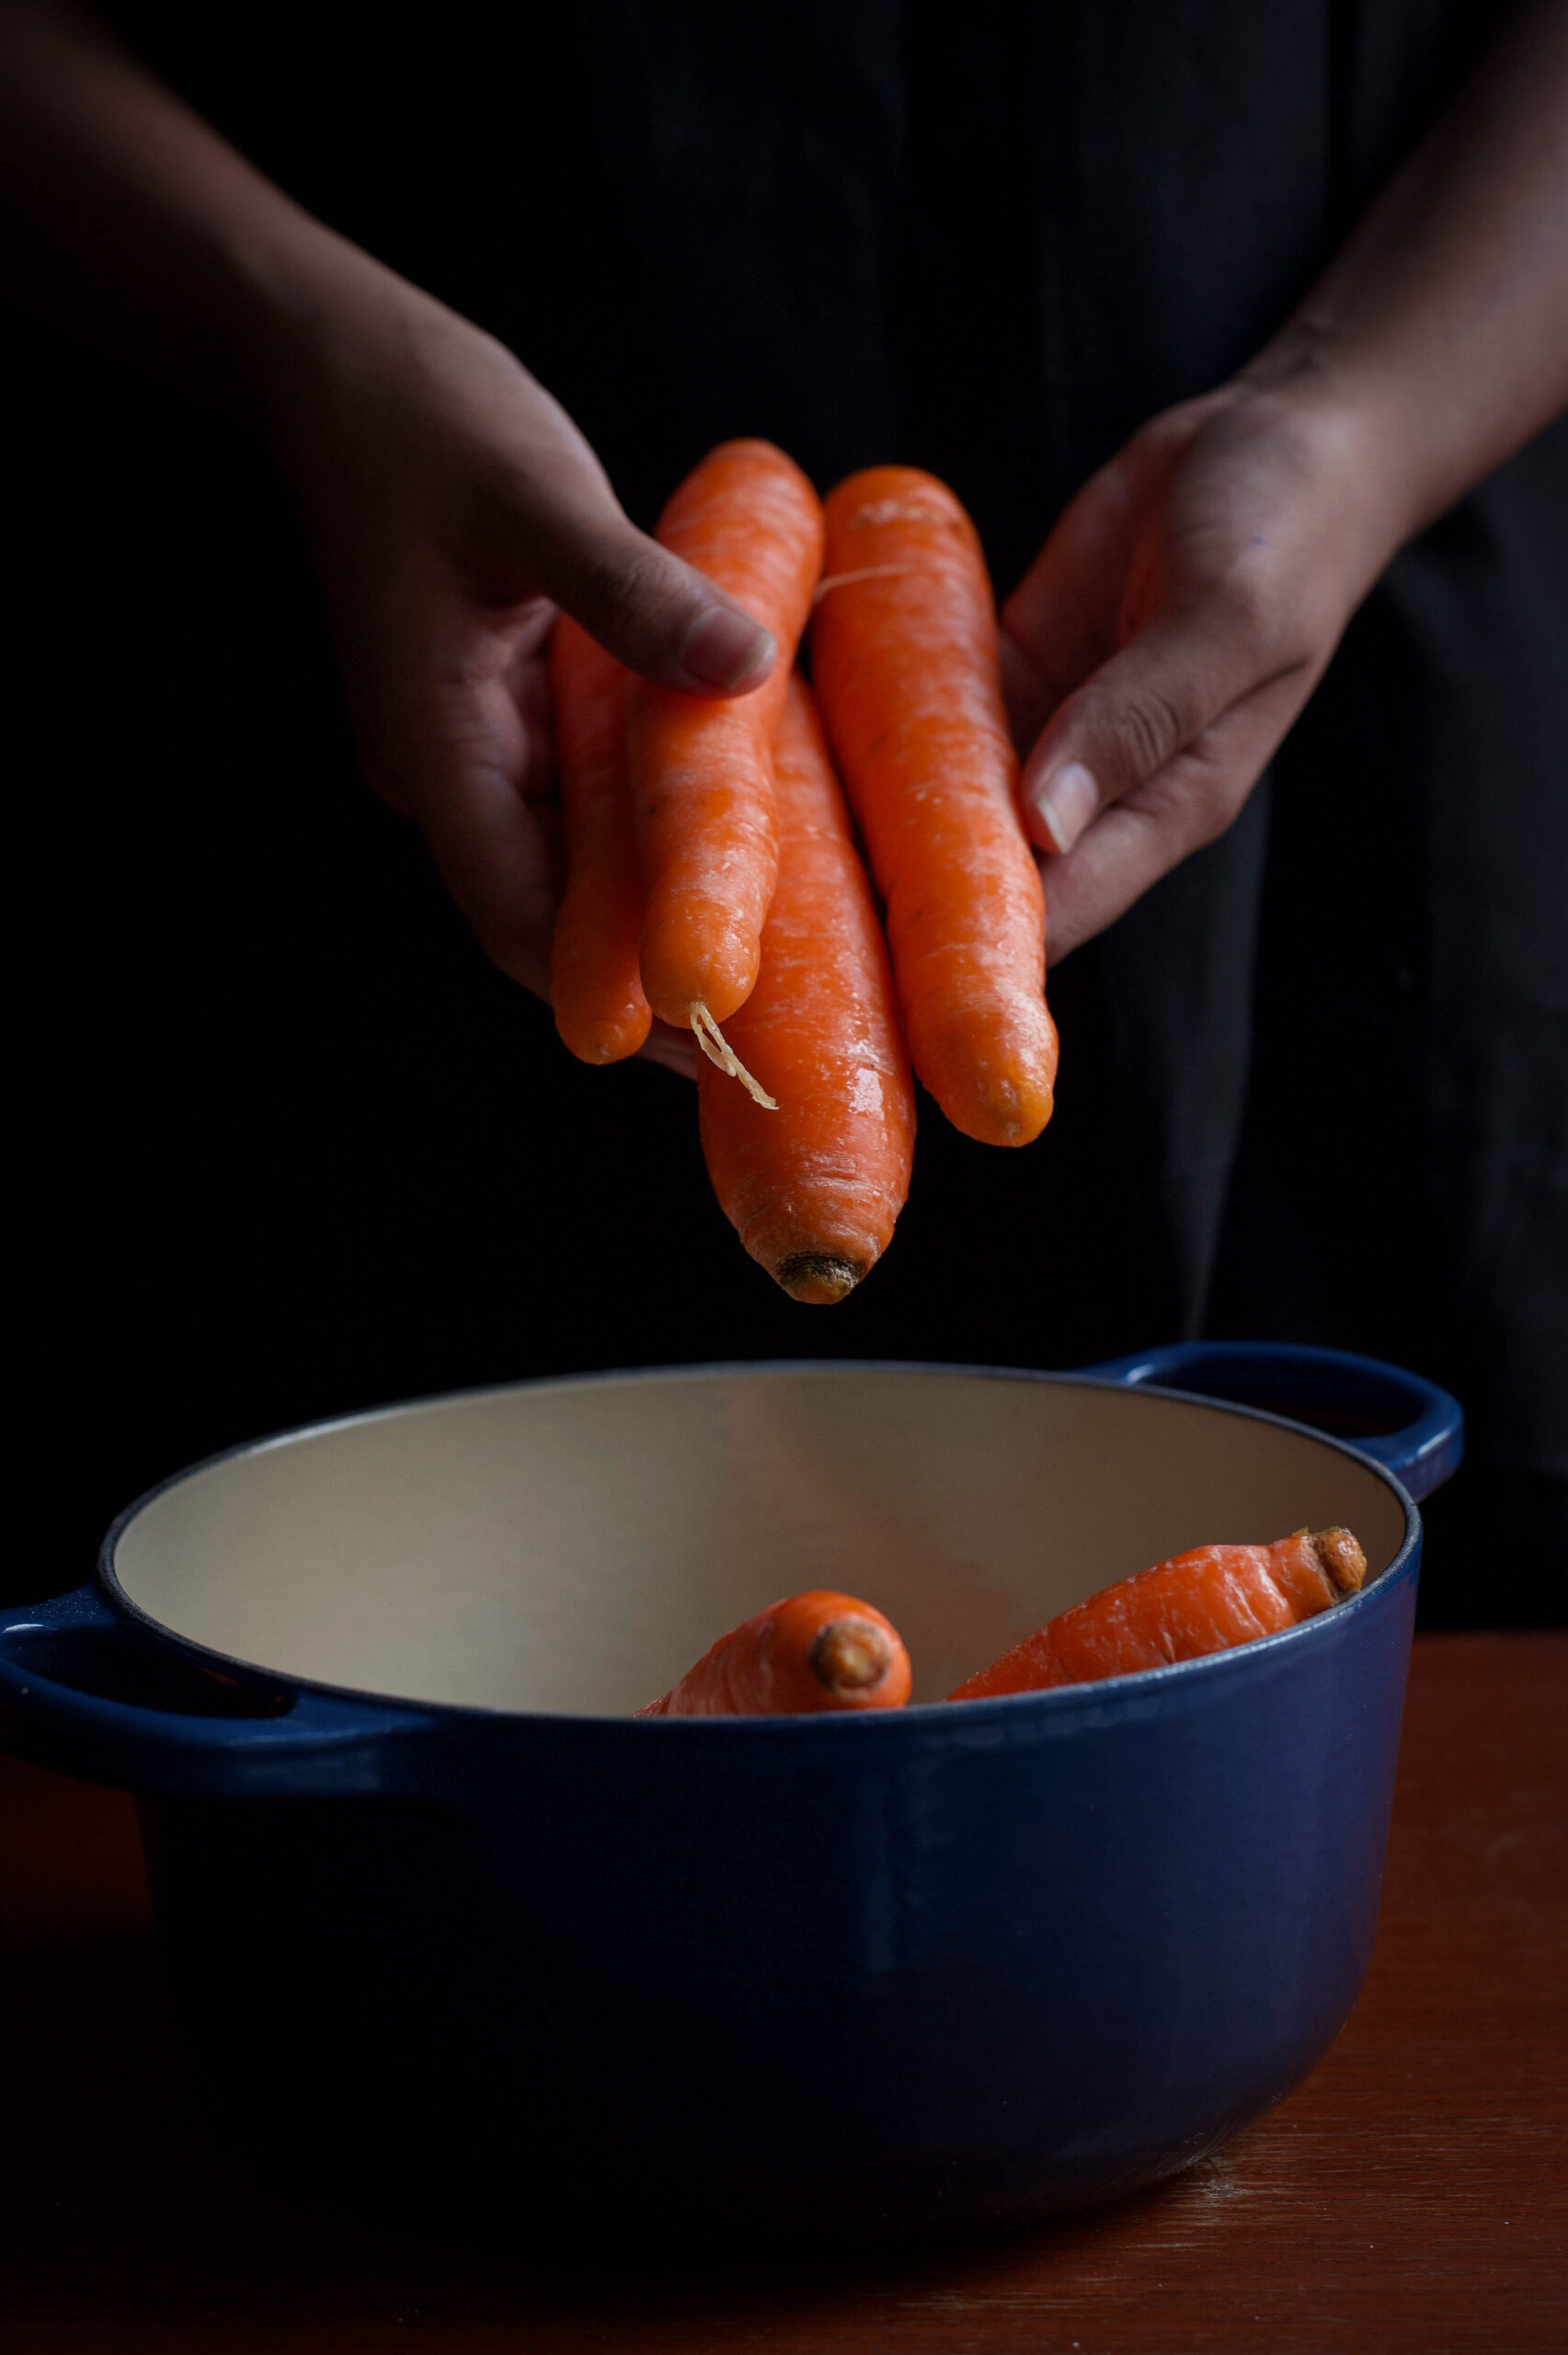
This is something I’ve never done before – sharing the recipe for a dish I’ve recently added to the re:store menu – but this cake is so divine that I can’t help but want to shout about it from the rooftops! Despite my interest in healthy eating, I’ve never really been one for vegetable-based cakes. But this carrot-ginger cake is simply outstanding. From the moment I took my first attempt out of the oven, I was stunned. And every slice since has simply vanished in a matter of hours in my home, and from the re:store kitchen. And for all the love you, my well-wishers and friends, have shown me, this recipe is just a small gesture of gratitude.

I am always on a quest for perfection, and to me there are four types of cakes that every baker should master: chocolate, vanilla, vegan and carrot. These are the basics, and over the years I have strived to do better and better with each kind. Flavour-wise, there are many ways to innovate on these basics and tweak them to suit your palate. My friends Michael and Sujata’s cook once shared a carrot cake recipe which used pineapple and coconut, for instance. That was what I used to bake until I found my own way of literally spicing it up. When I melded the zesty taste of ginger into what I’d use to think of as the somewhat boring carrot cake, I knew I had hit gold.

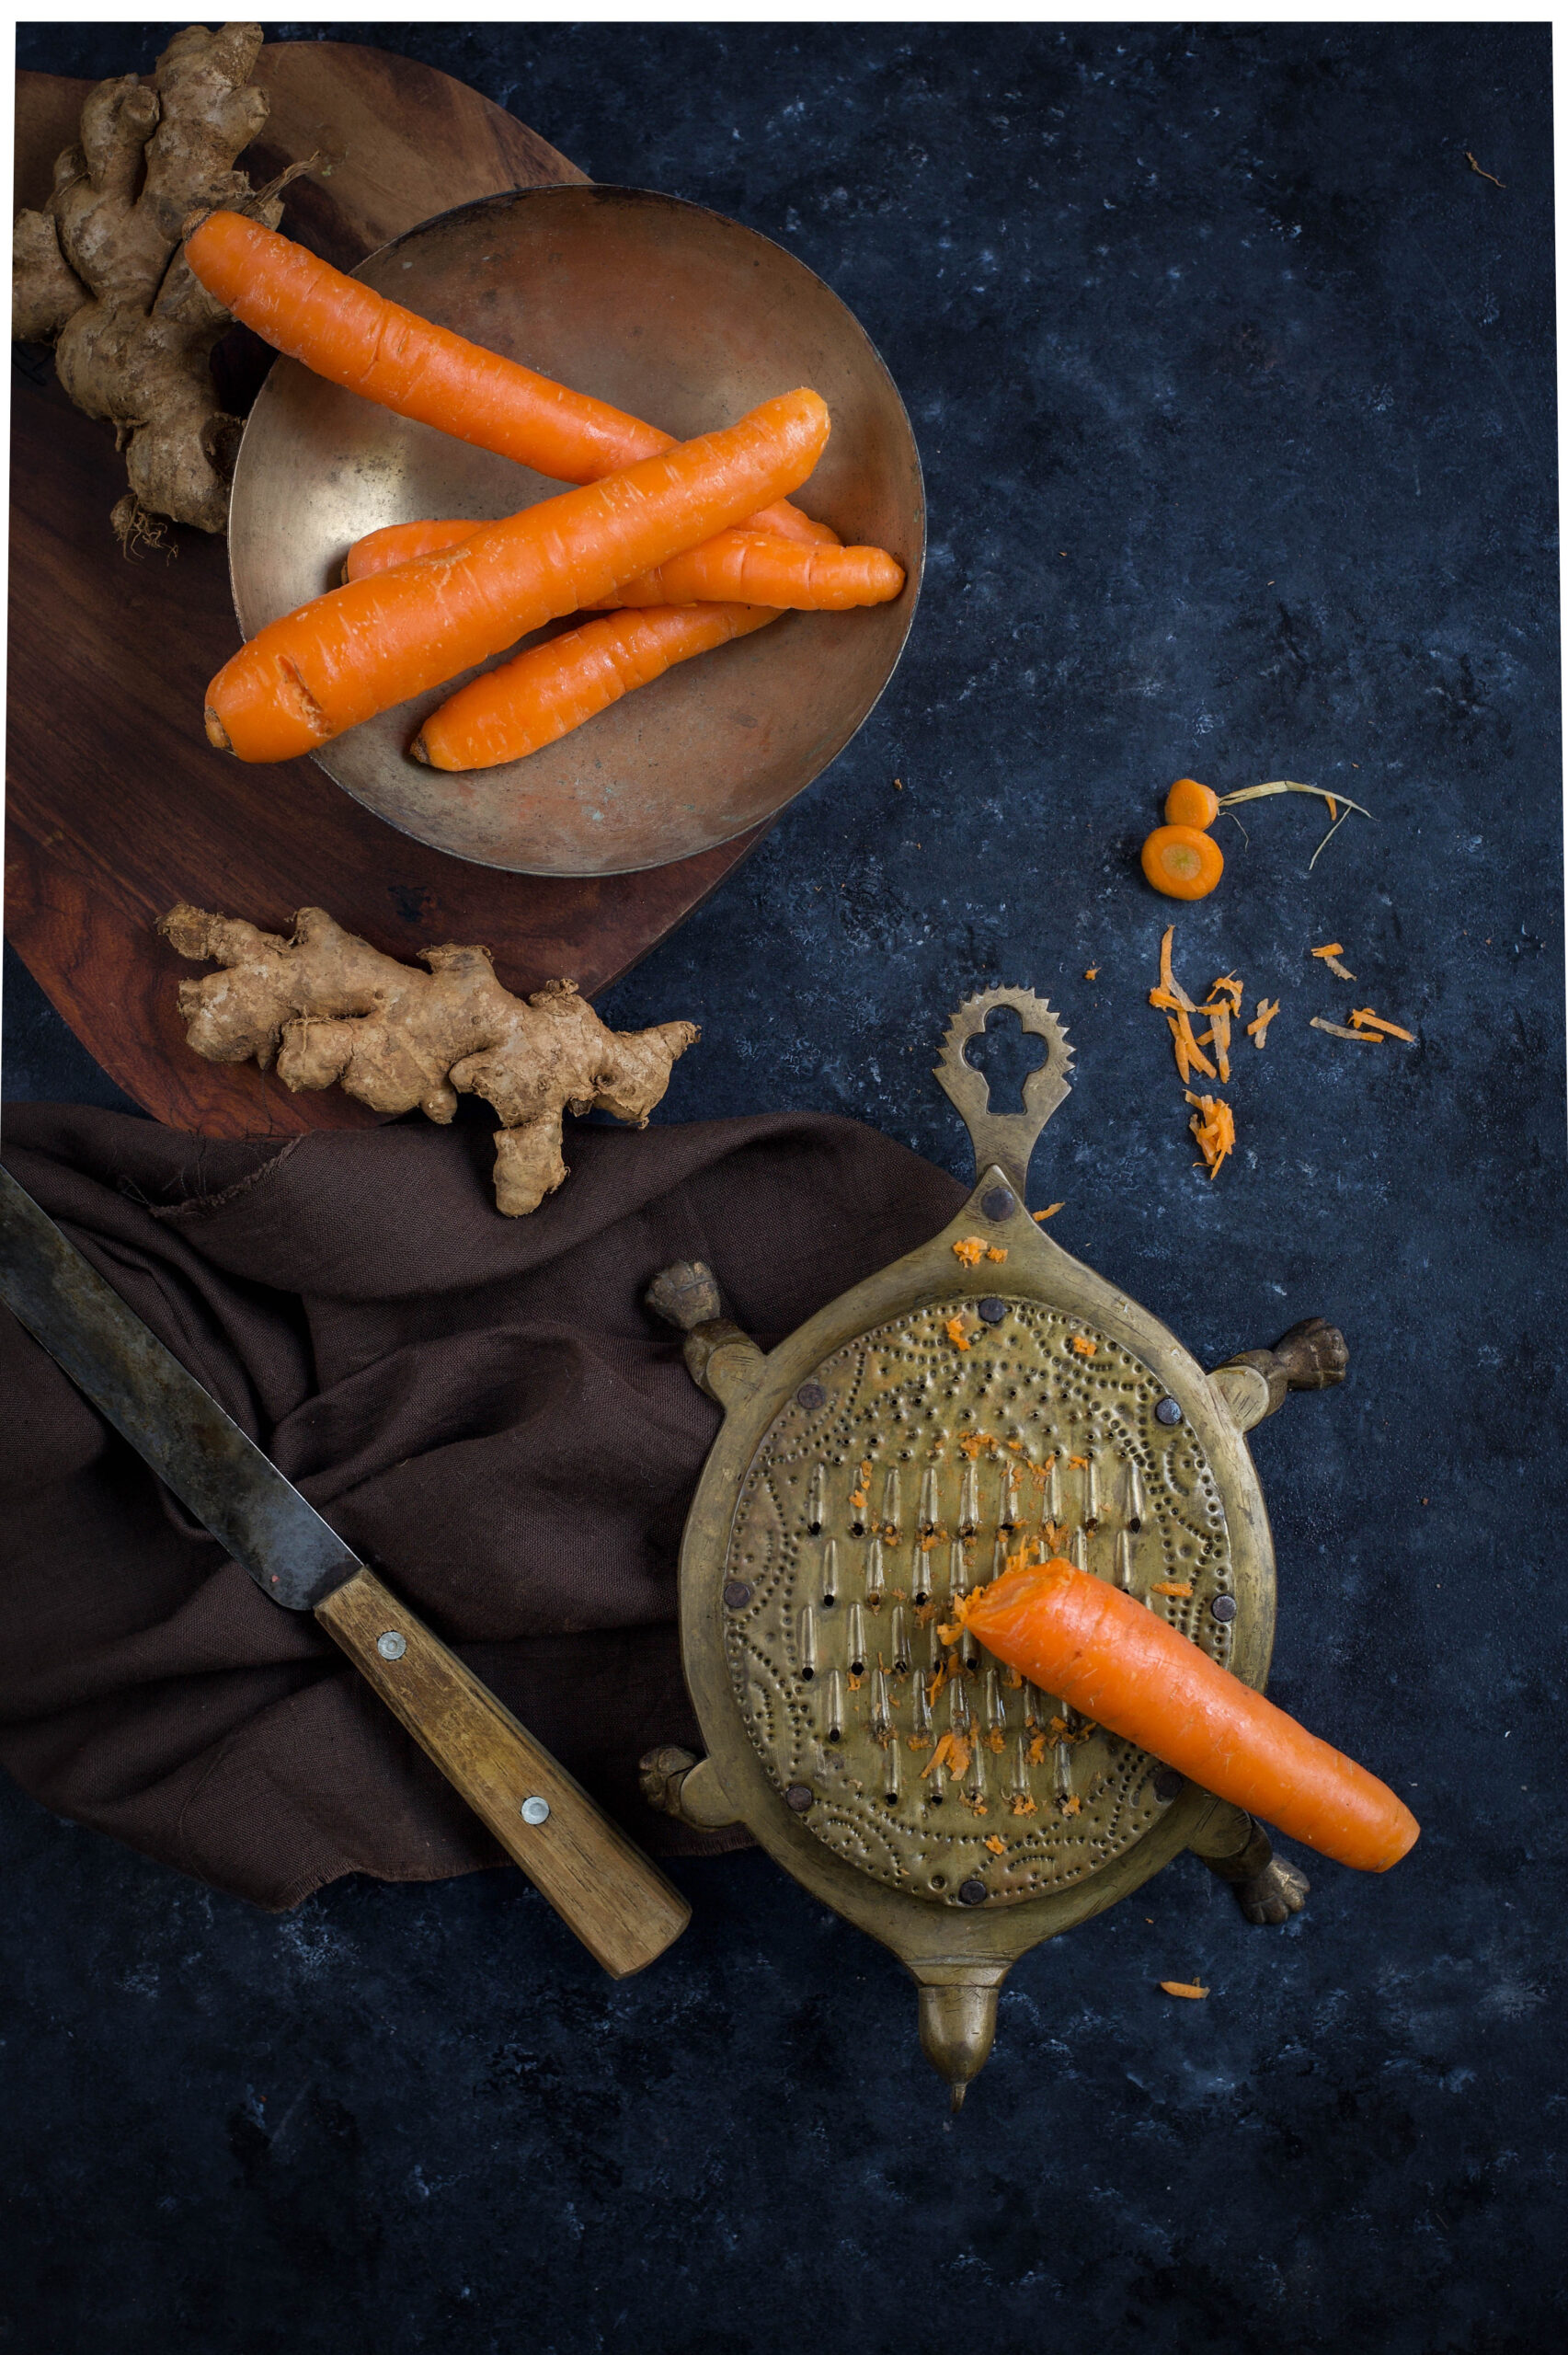
Ginger is the rhizome of a flowering plant by the same name, and is widely used in Indian cuisine for its fragrance, spiciness and health benefits. It was one of the first spices that Europeans imported, so world cuisines have also used it for centuries. It is great for treating nausea and appetite loss, has anti-inflammatory properties, and is believed to lower blood sugar and to help reduce the risk of heart disease.  For this cake, I used stem ginger soaked in sugar syrup as well as freshly grated ginger.

Carrot, like ginger, is also an edible root – and it is an extremely popular vegetable in Western cuisine. In India, it is added to salads, stir-fries (known as poriyal in Tamil) and even a milk dessert called gajar ki halwa. It also has a range of health benefits, including better eyesight and lowered cholesterol, and is a source of potassium, antioxidants, vitamins and fibre.
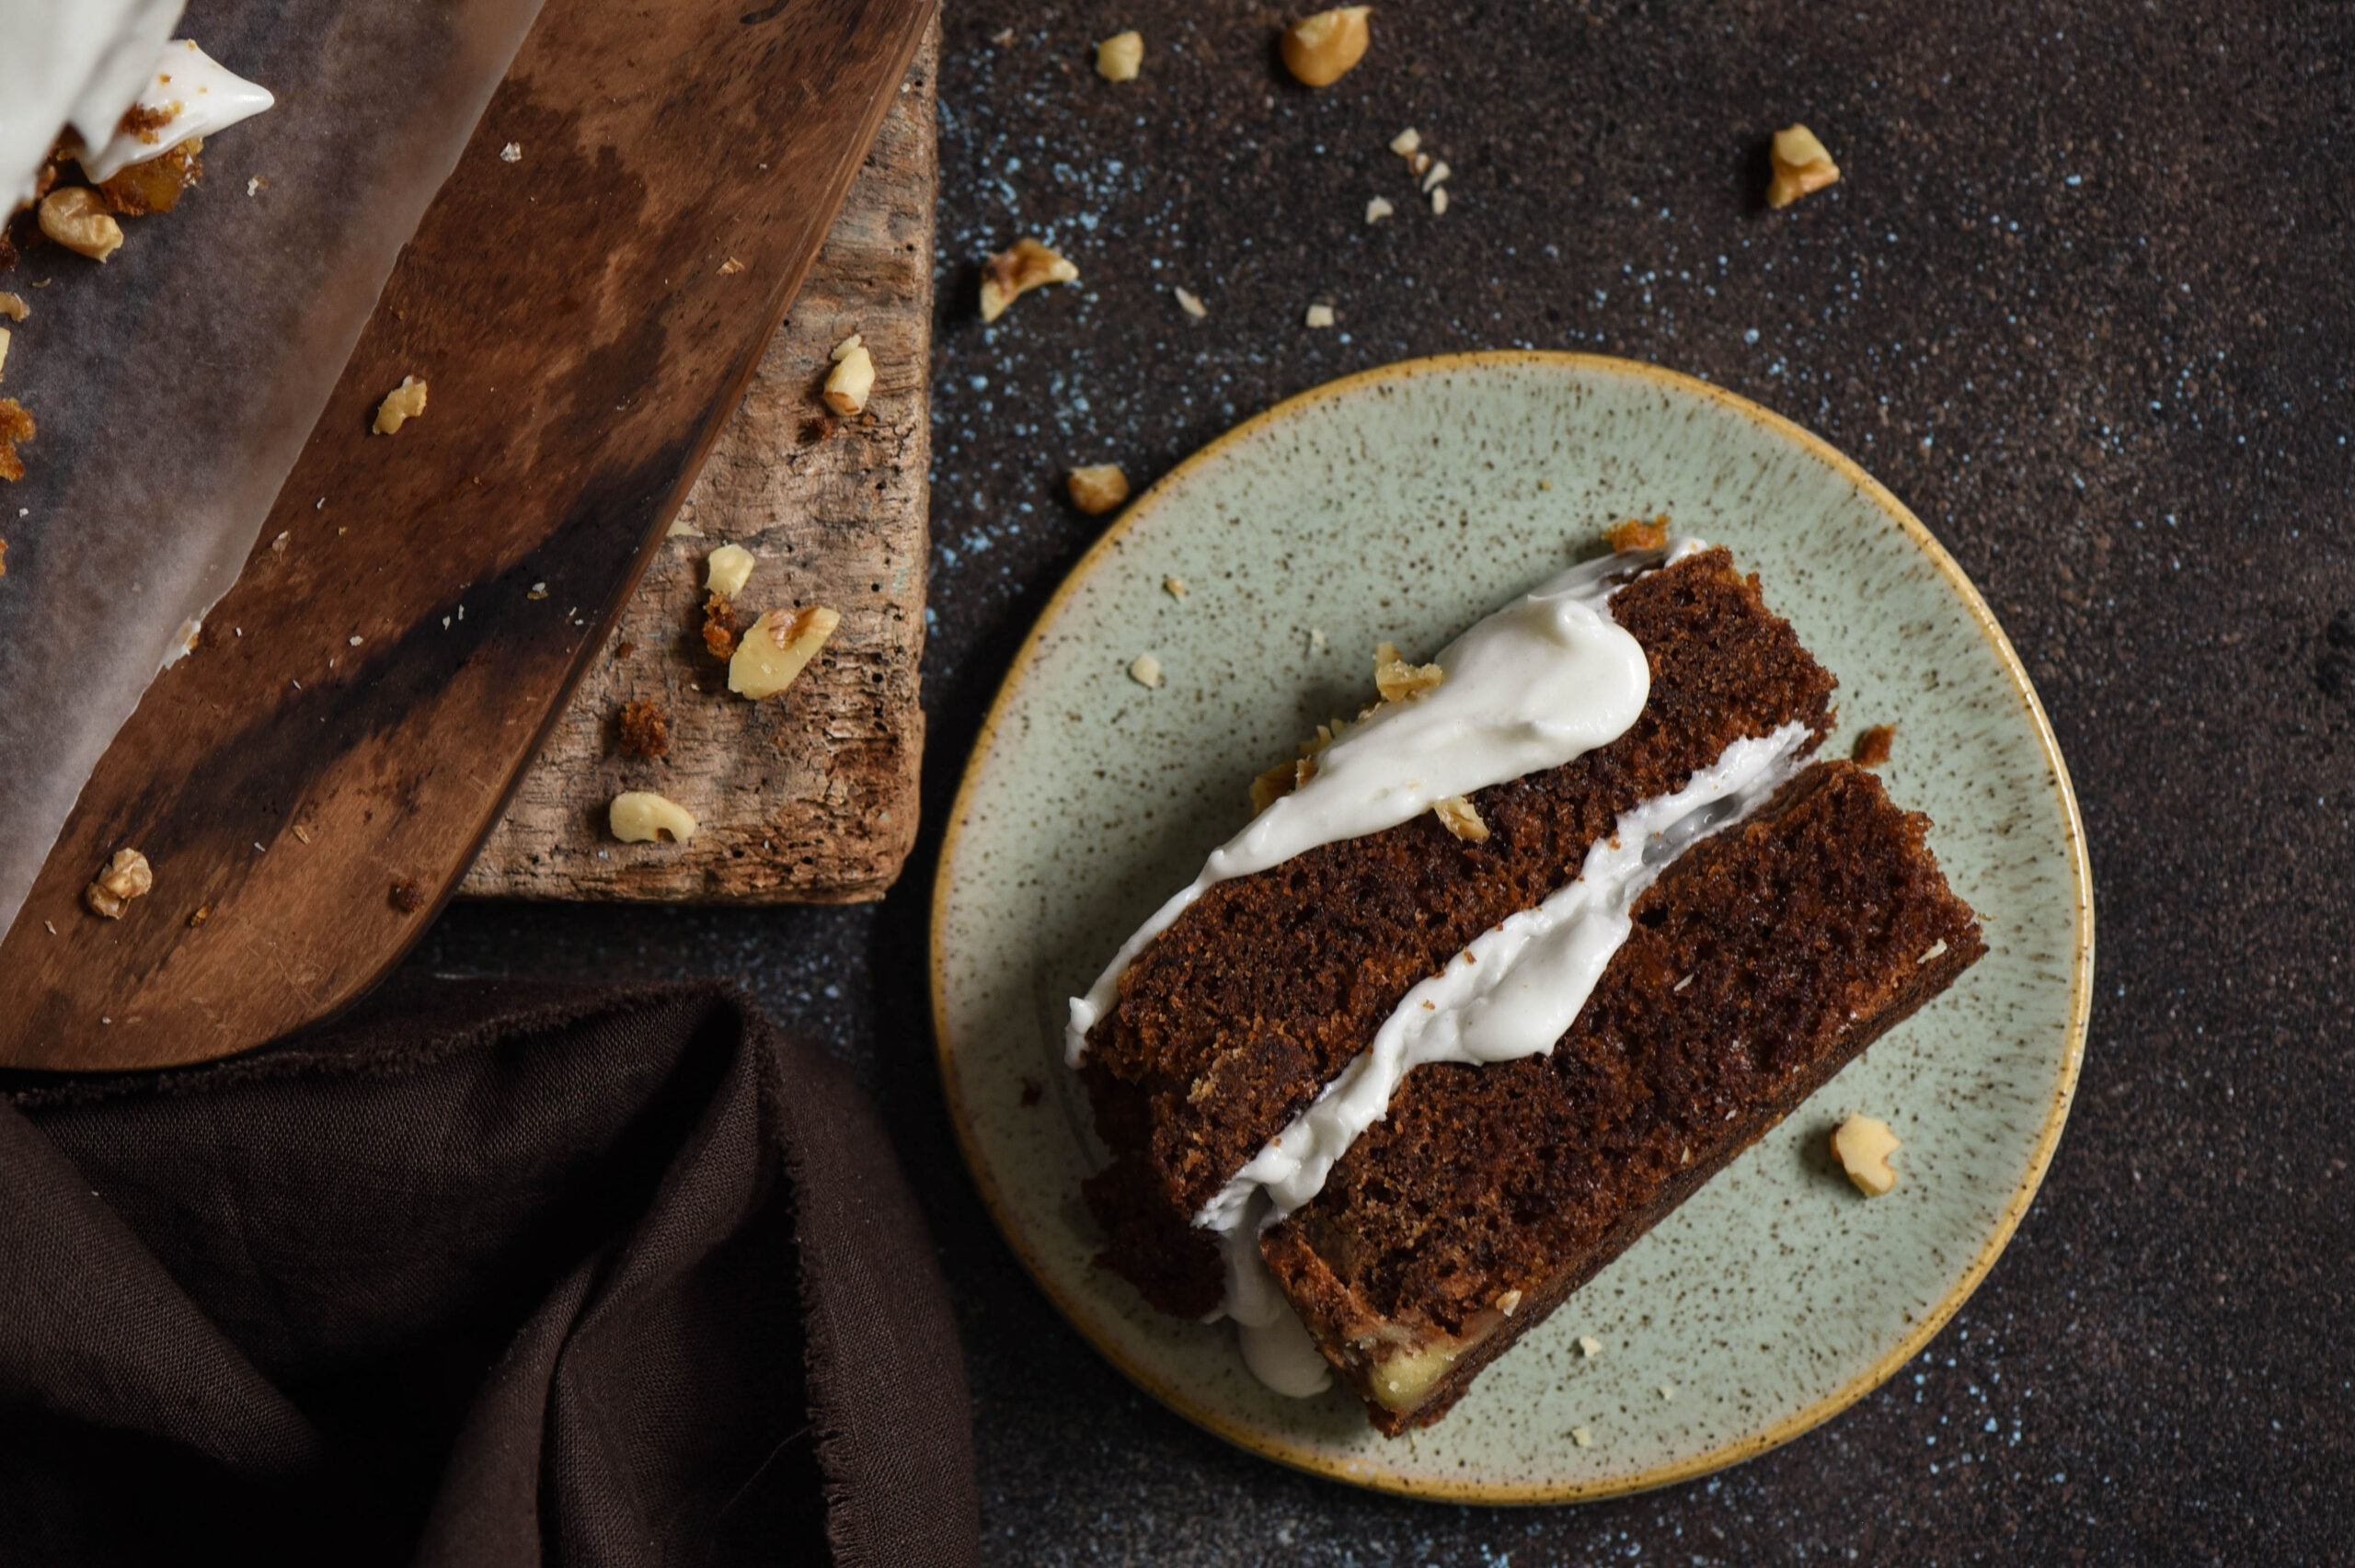
Two nourishing ingredients – and one delicious dessert. This cake is so appetizing that icing is completely optional! Also, it is lactose-free, which means that those of you with dairy allergies can indulge without stress!
Irresistible Carrot-Ginger Cake

Ingredients
1 cup brown sugar
1 cup plain flour
2 eggs
1 teaspoon baking powder
1 teaspoon baking soda
¼ teaspoon salt
⅔ cup vegetable oil
1 ½ cups grated carrots
½ cup sweet ginger in syrup (substitute: ½ teaspoon dry ginger powder)
½ cup chopped walnuts
1 teaspoon grated fresh ginger

Grease an 8’ inch square pan and line with butter paper. Dust with flour.

Sift the flour along with the soda, baking powder and salt – as well as the ginger powder if you’ve opted to use it. Set aside.

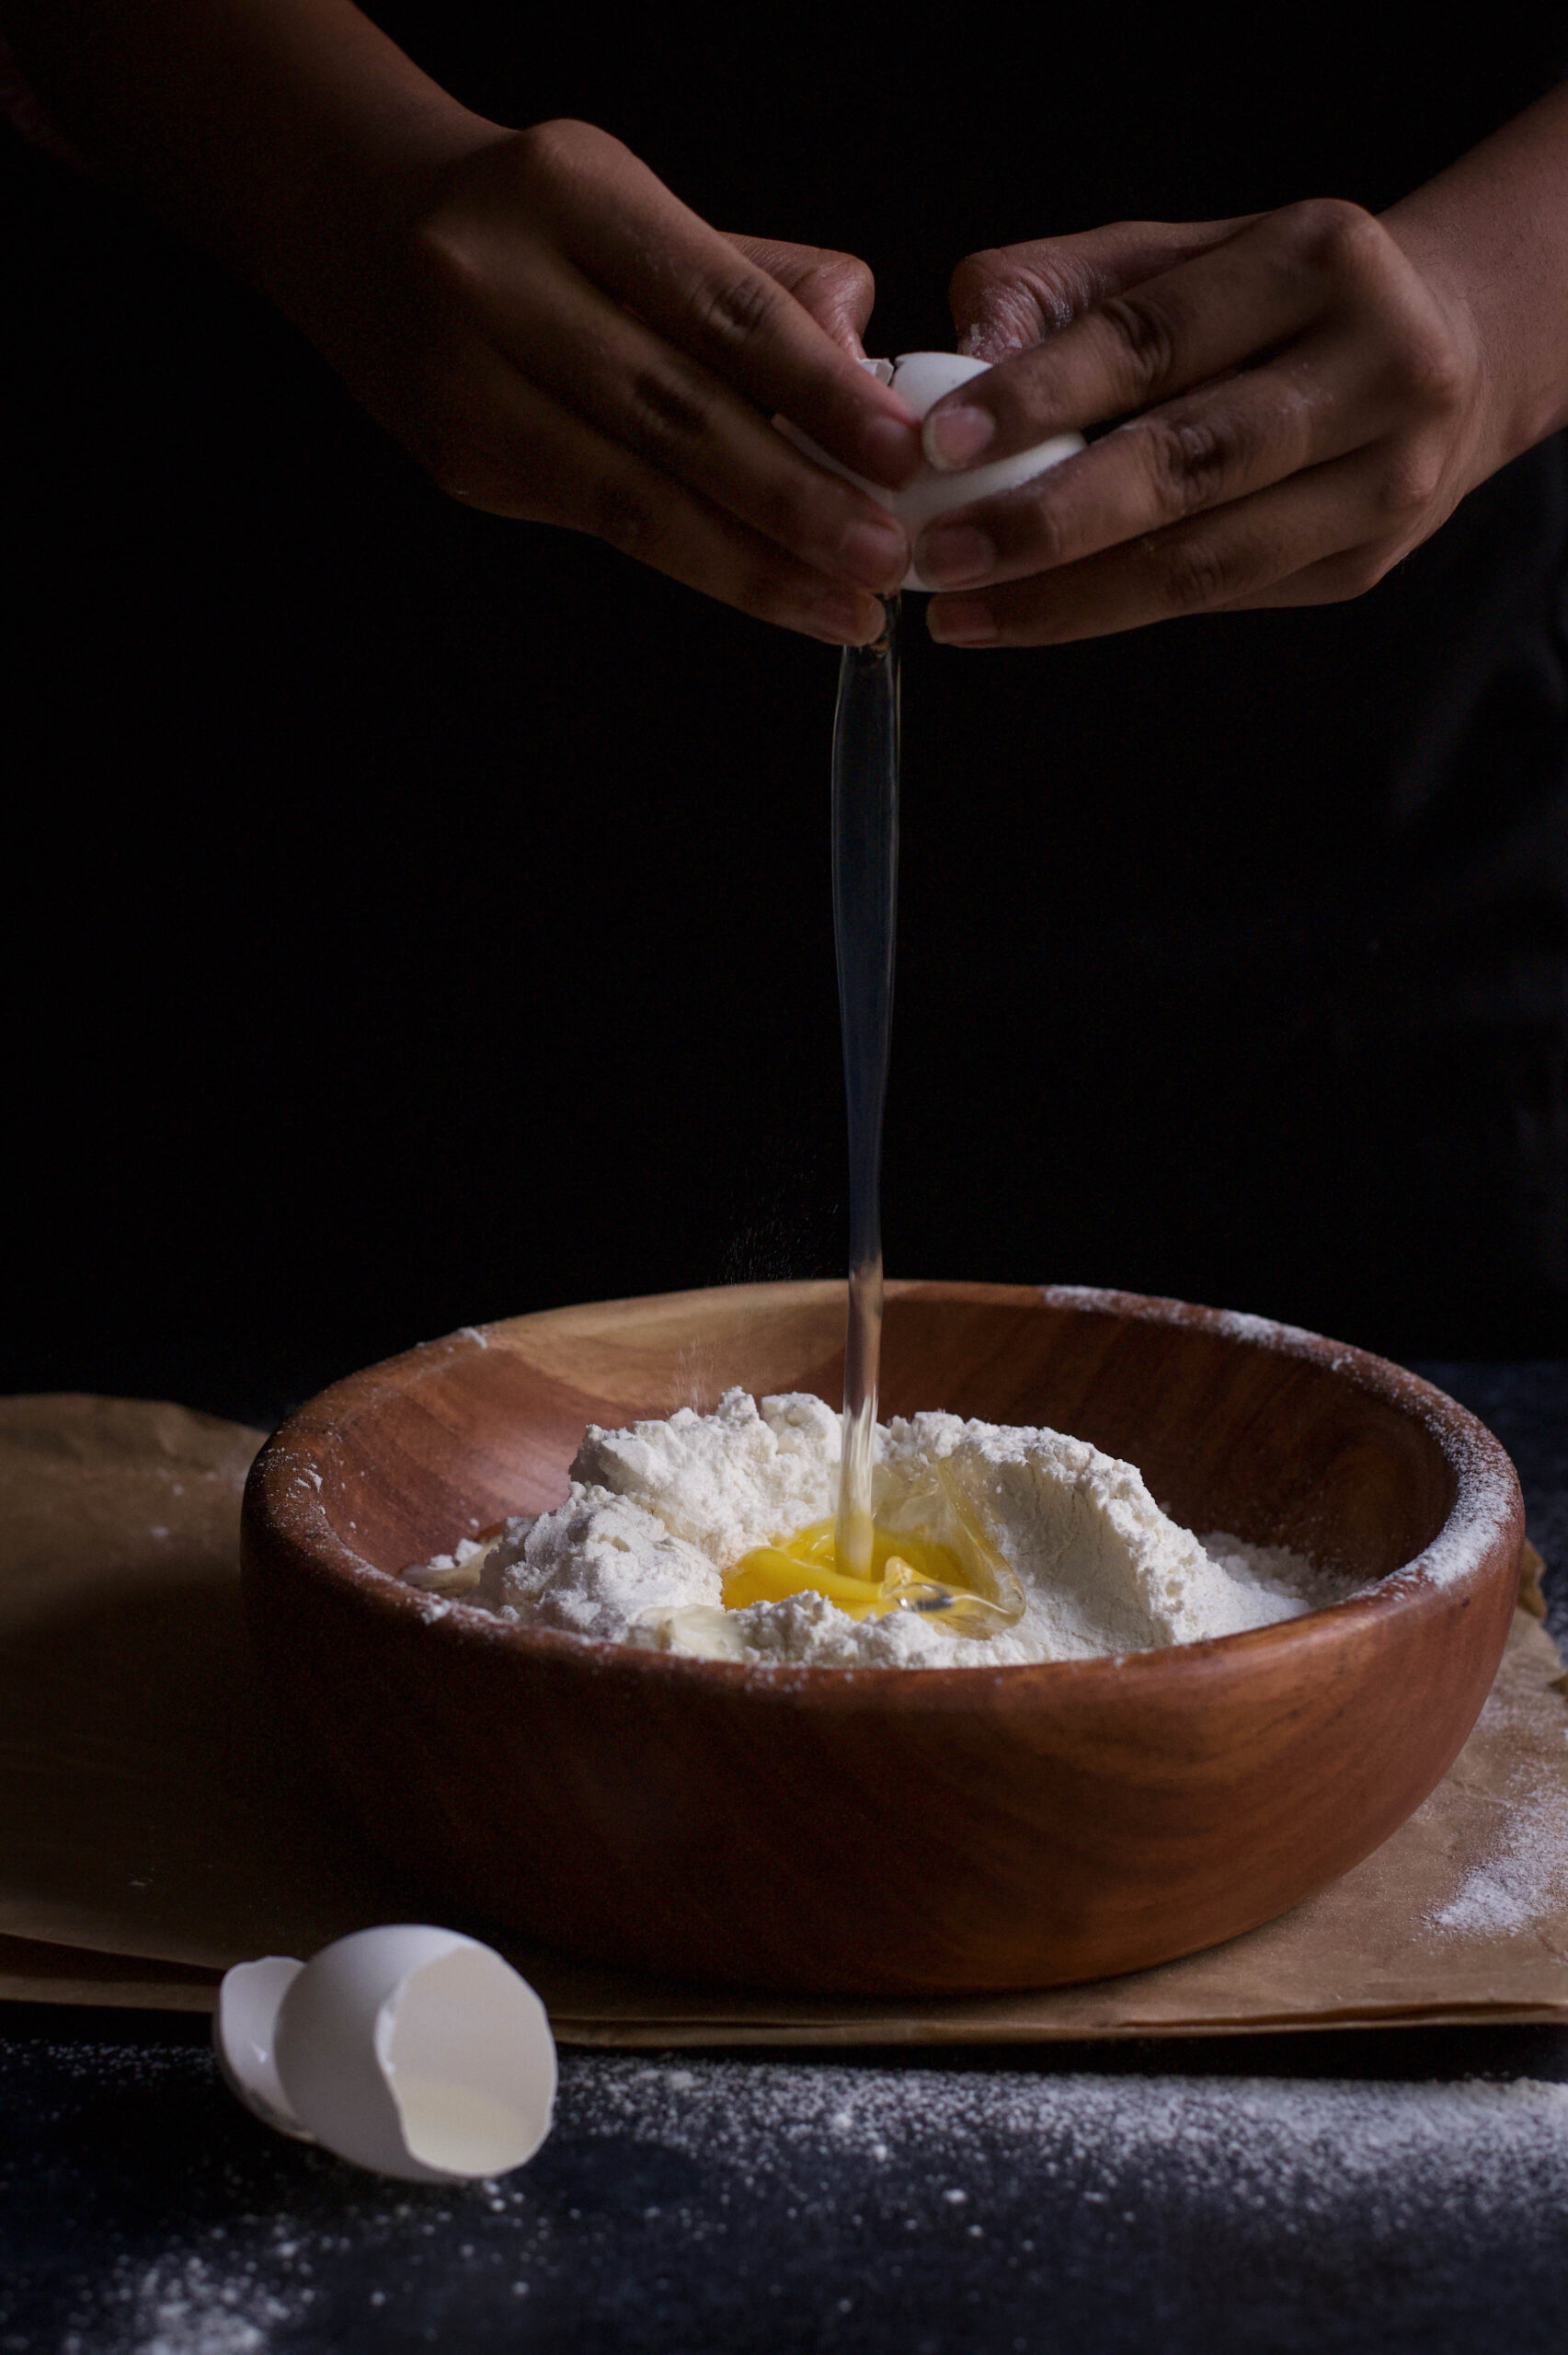
Combine the eggs, oil, sugar and flour until well-mixed. Now add the carrots, fresh ginger and walnuts to the mixture.

Pour this batter into the prepared tin. Bake for about 45 minutes to an hour, until the tooth pick comes out clean.

Once baked, allow to cool. Turn onto a wire rack.

As I said earlier, icing is completely optional. But if you’d like the extra sweetness, or just the visual effect, decorate with the cream cheese frosting that is traditionally paired with carrot cakes. It has a slight tang to it, and lifts the flavours nicely.

Serve – and prepare to watch the slices simply vanish from their plates. This carrot-ginger cake is irresistible. Don’t take my word for it. Try it out yourself, or if you’re in Chennai, buzz me and put in your order!

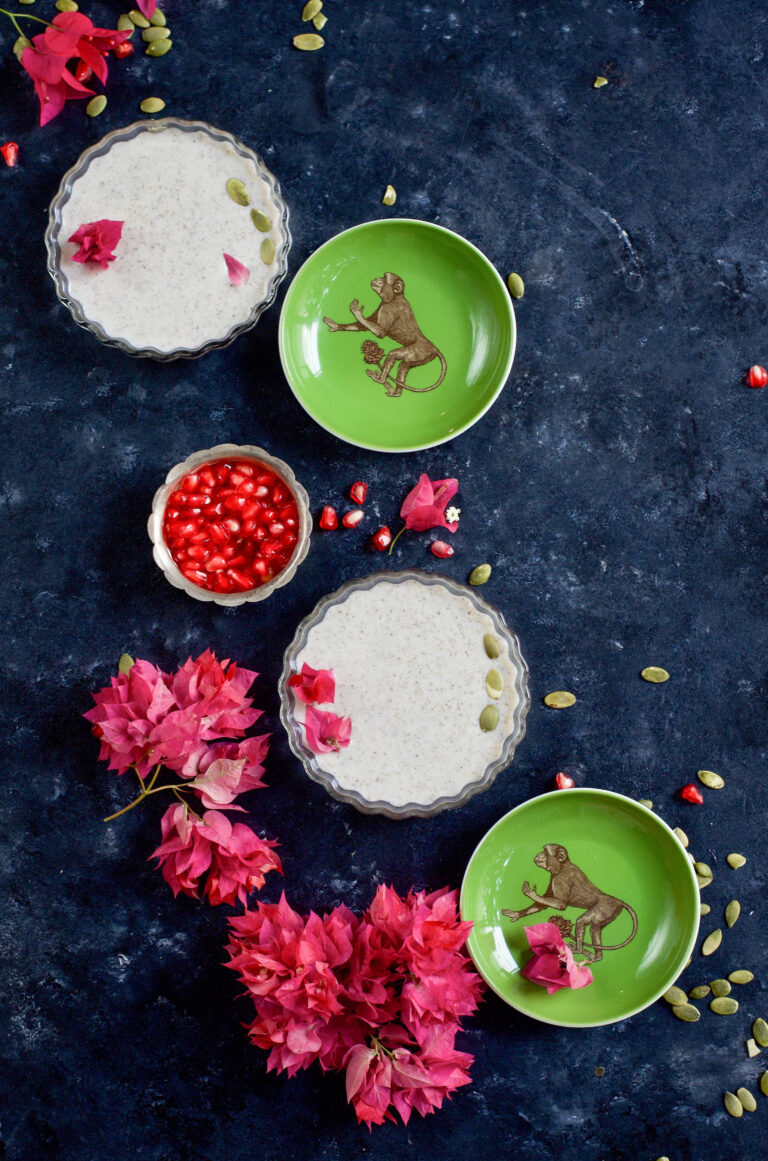
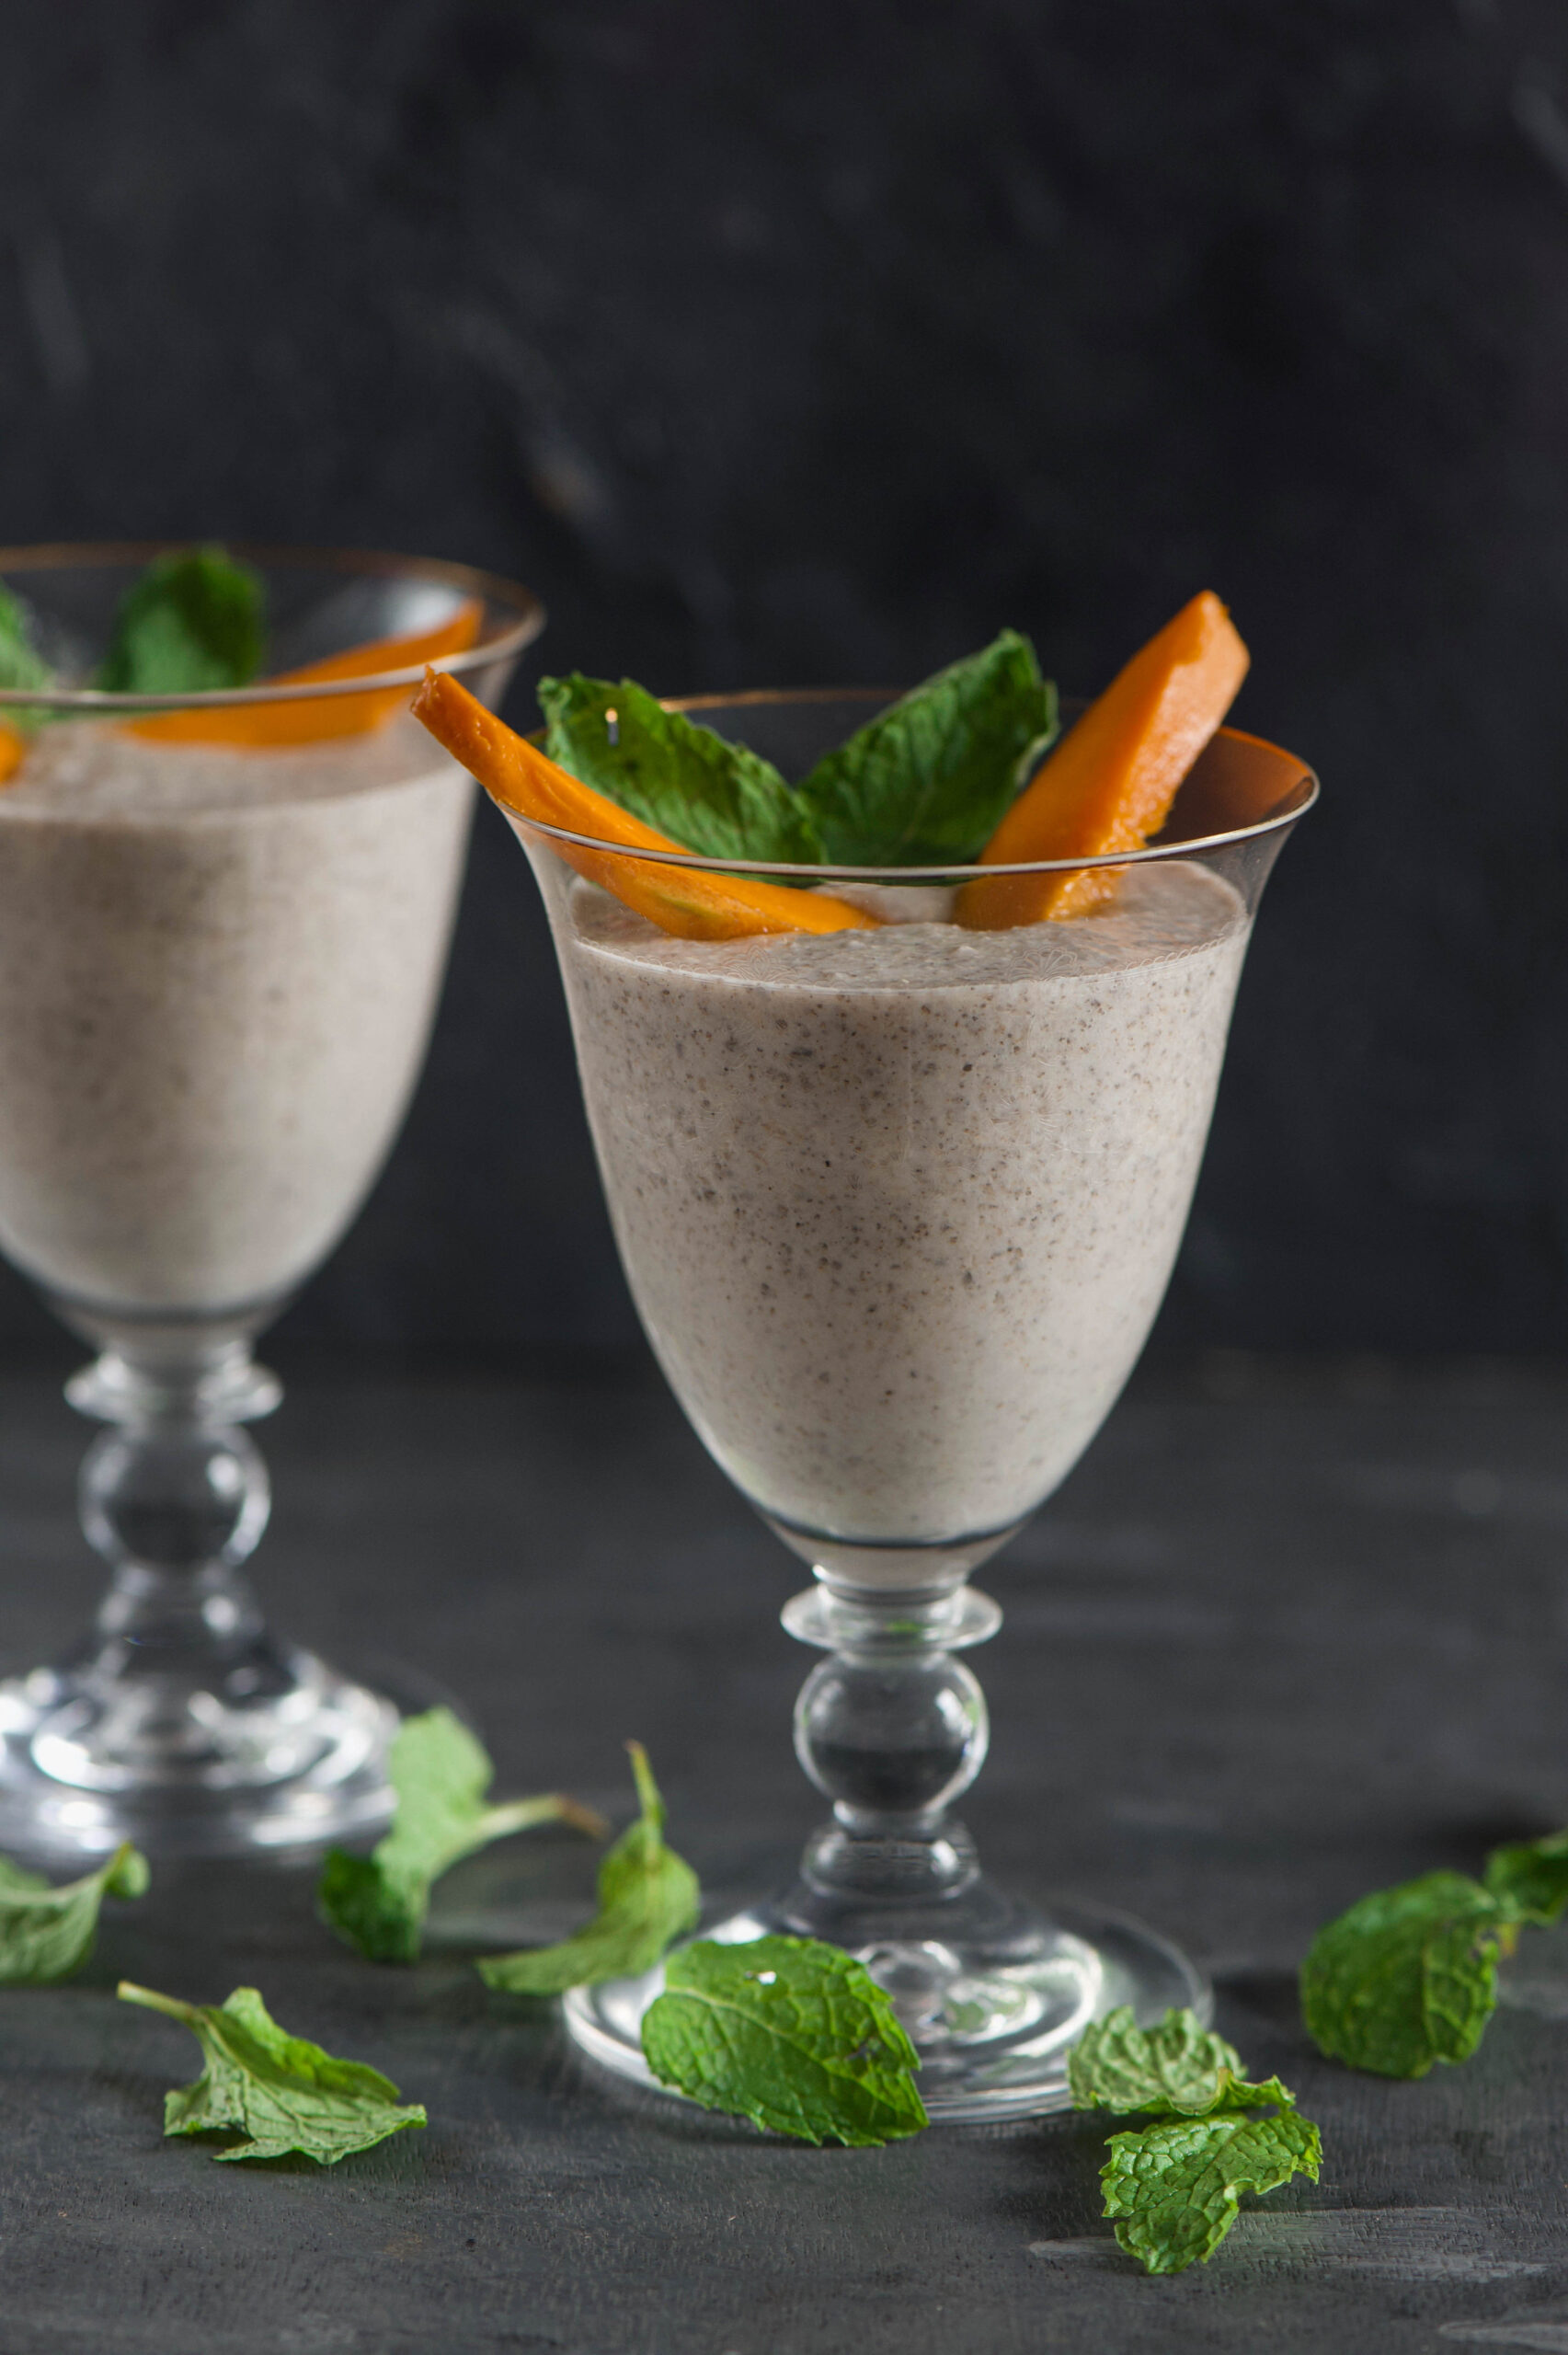
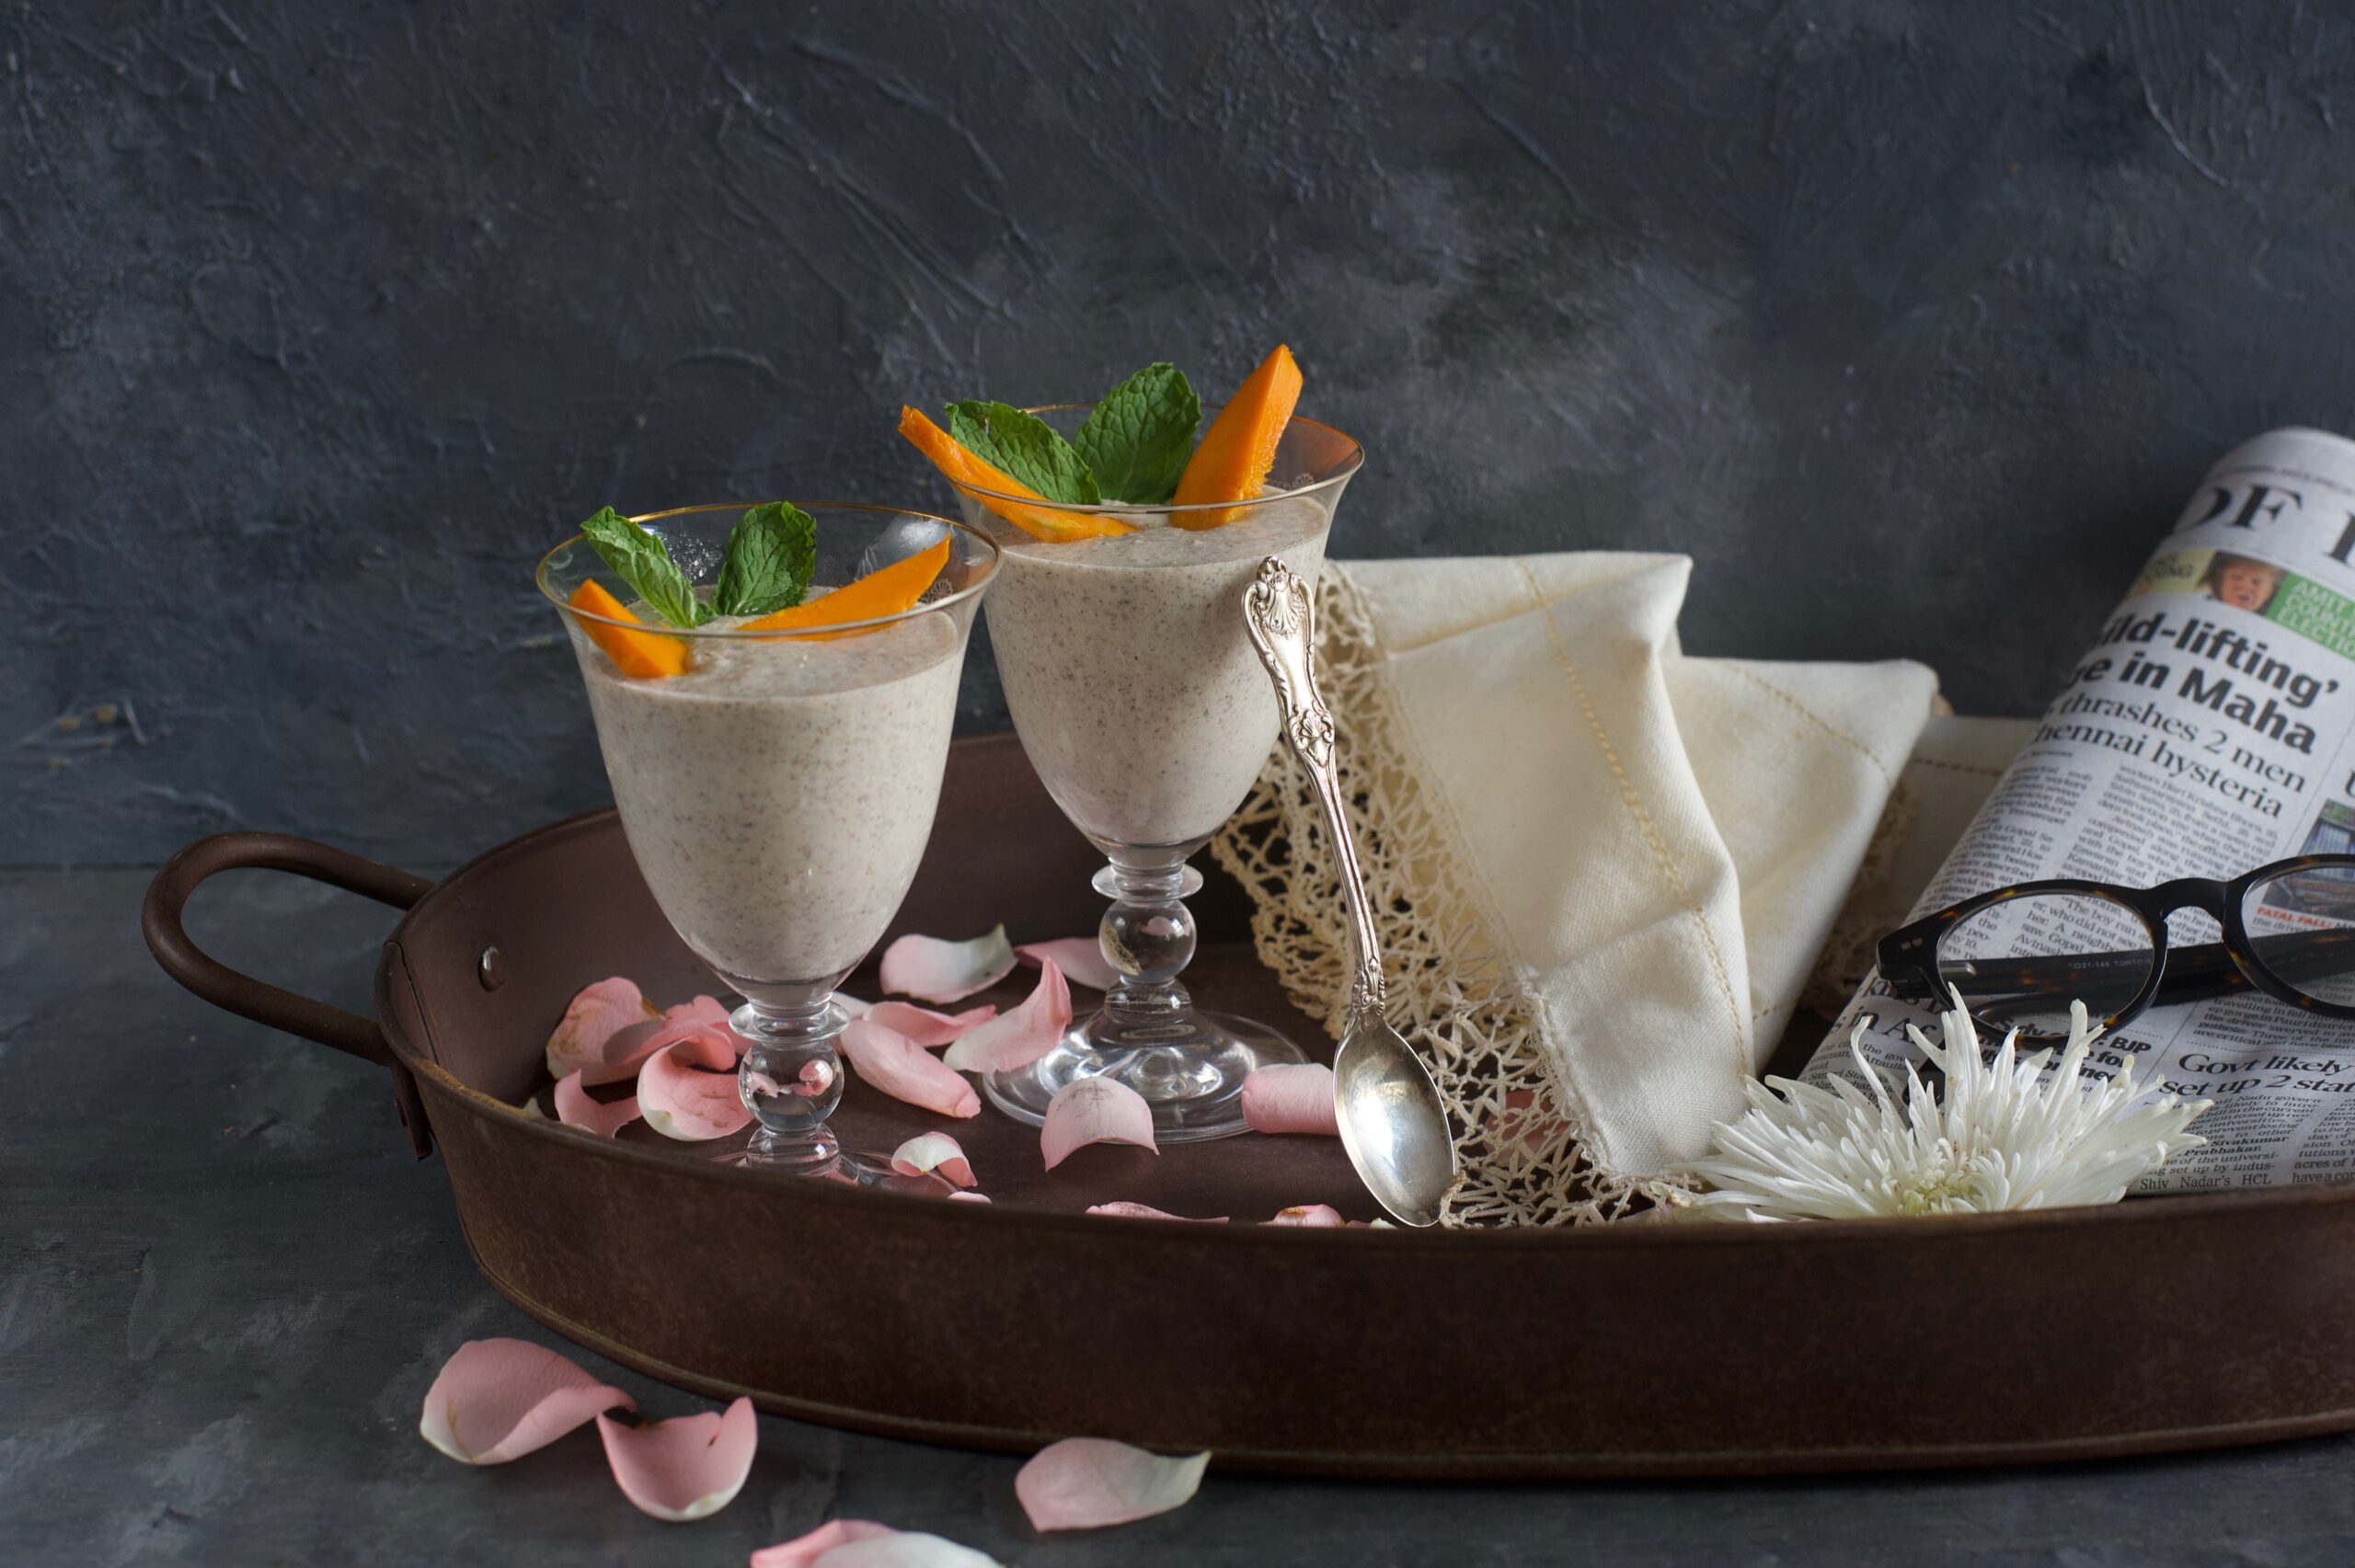
At 8am every morning, I make a beeline from my trainer to my kitchen, open the fridge and devour a big bowl of my 3+1 overnight oats. This post-workout, protein-rich pudding replenishes my body and keeps me from taking a bite out of anything that gets in my way, including the Dark Prince’s head! Fortunately for him and for me both, this wonderful pudding is always waiting for me in the morning. Chilled, nutritious and oh so filling. My starvation ebbs away. And I am prepared for my day.

I’ve been exercising ever since my firstborn, and I am obsessed with staying fit and healthy both emotionally and physically. Over the years, I have developed a clockwork diligence with regards to my fitness regime. I supplement this by eating good, home-cooked food, as you know from this blog. I find that a strict diet is not necessary, as long as you eat fresh food, made cleanly and with nutritious ingredients.

I also listen to my body. For instance, when I feel lazy or lethargic, I know I have overeaten. All of us have this capacity. We just have to stay aware, especially as we get older, and listen to what our bodies tell us about how they feel, what they need, and how to address it. Some of this is also a part of my Macrobiotics training, and there are easy ways to incorporate some of those methods into daily life.

Whether you have an intense exercise regime or not, what you have for breakfast has a huge effect on your productivity for the rest of the day. This brings us back to the power pudding that I eat every day. Replenishing protein is my key need, as a gym enthusiast, and I always look for innovative and creative ways to bring more of it into my diet. I hit the jackpot with this delicious – and indeed, decadent! – 3+1 overnight oats.

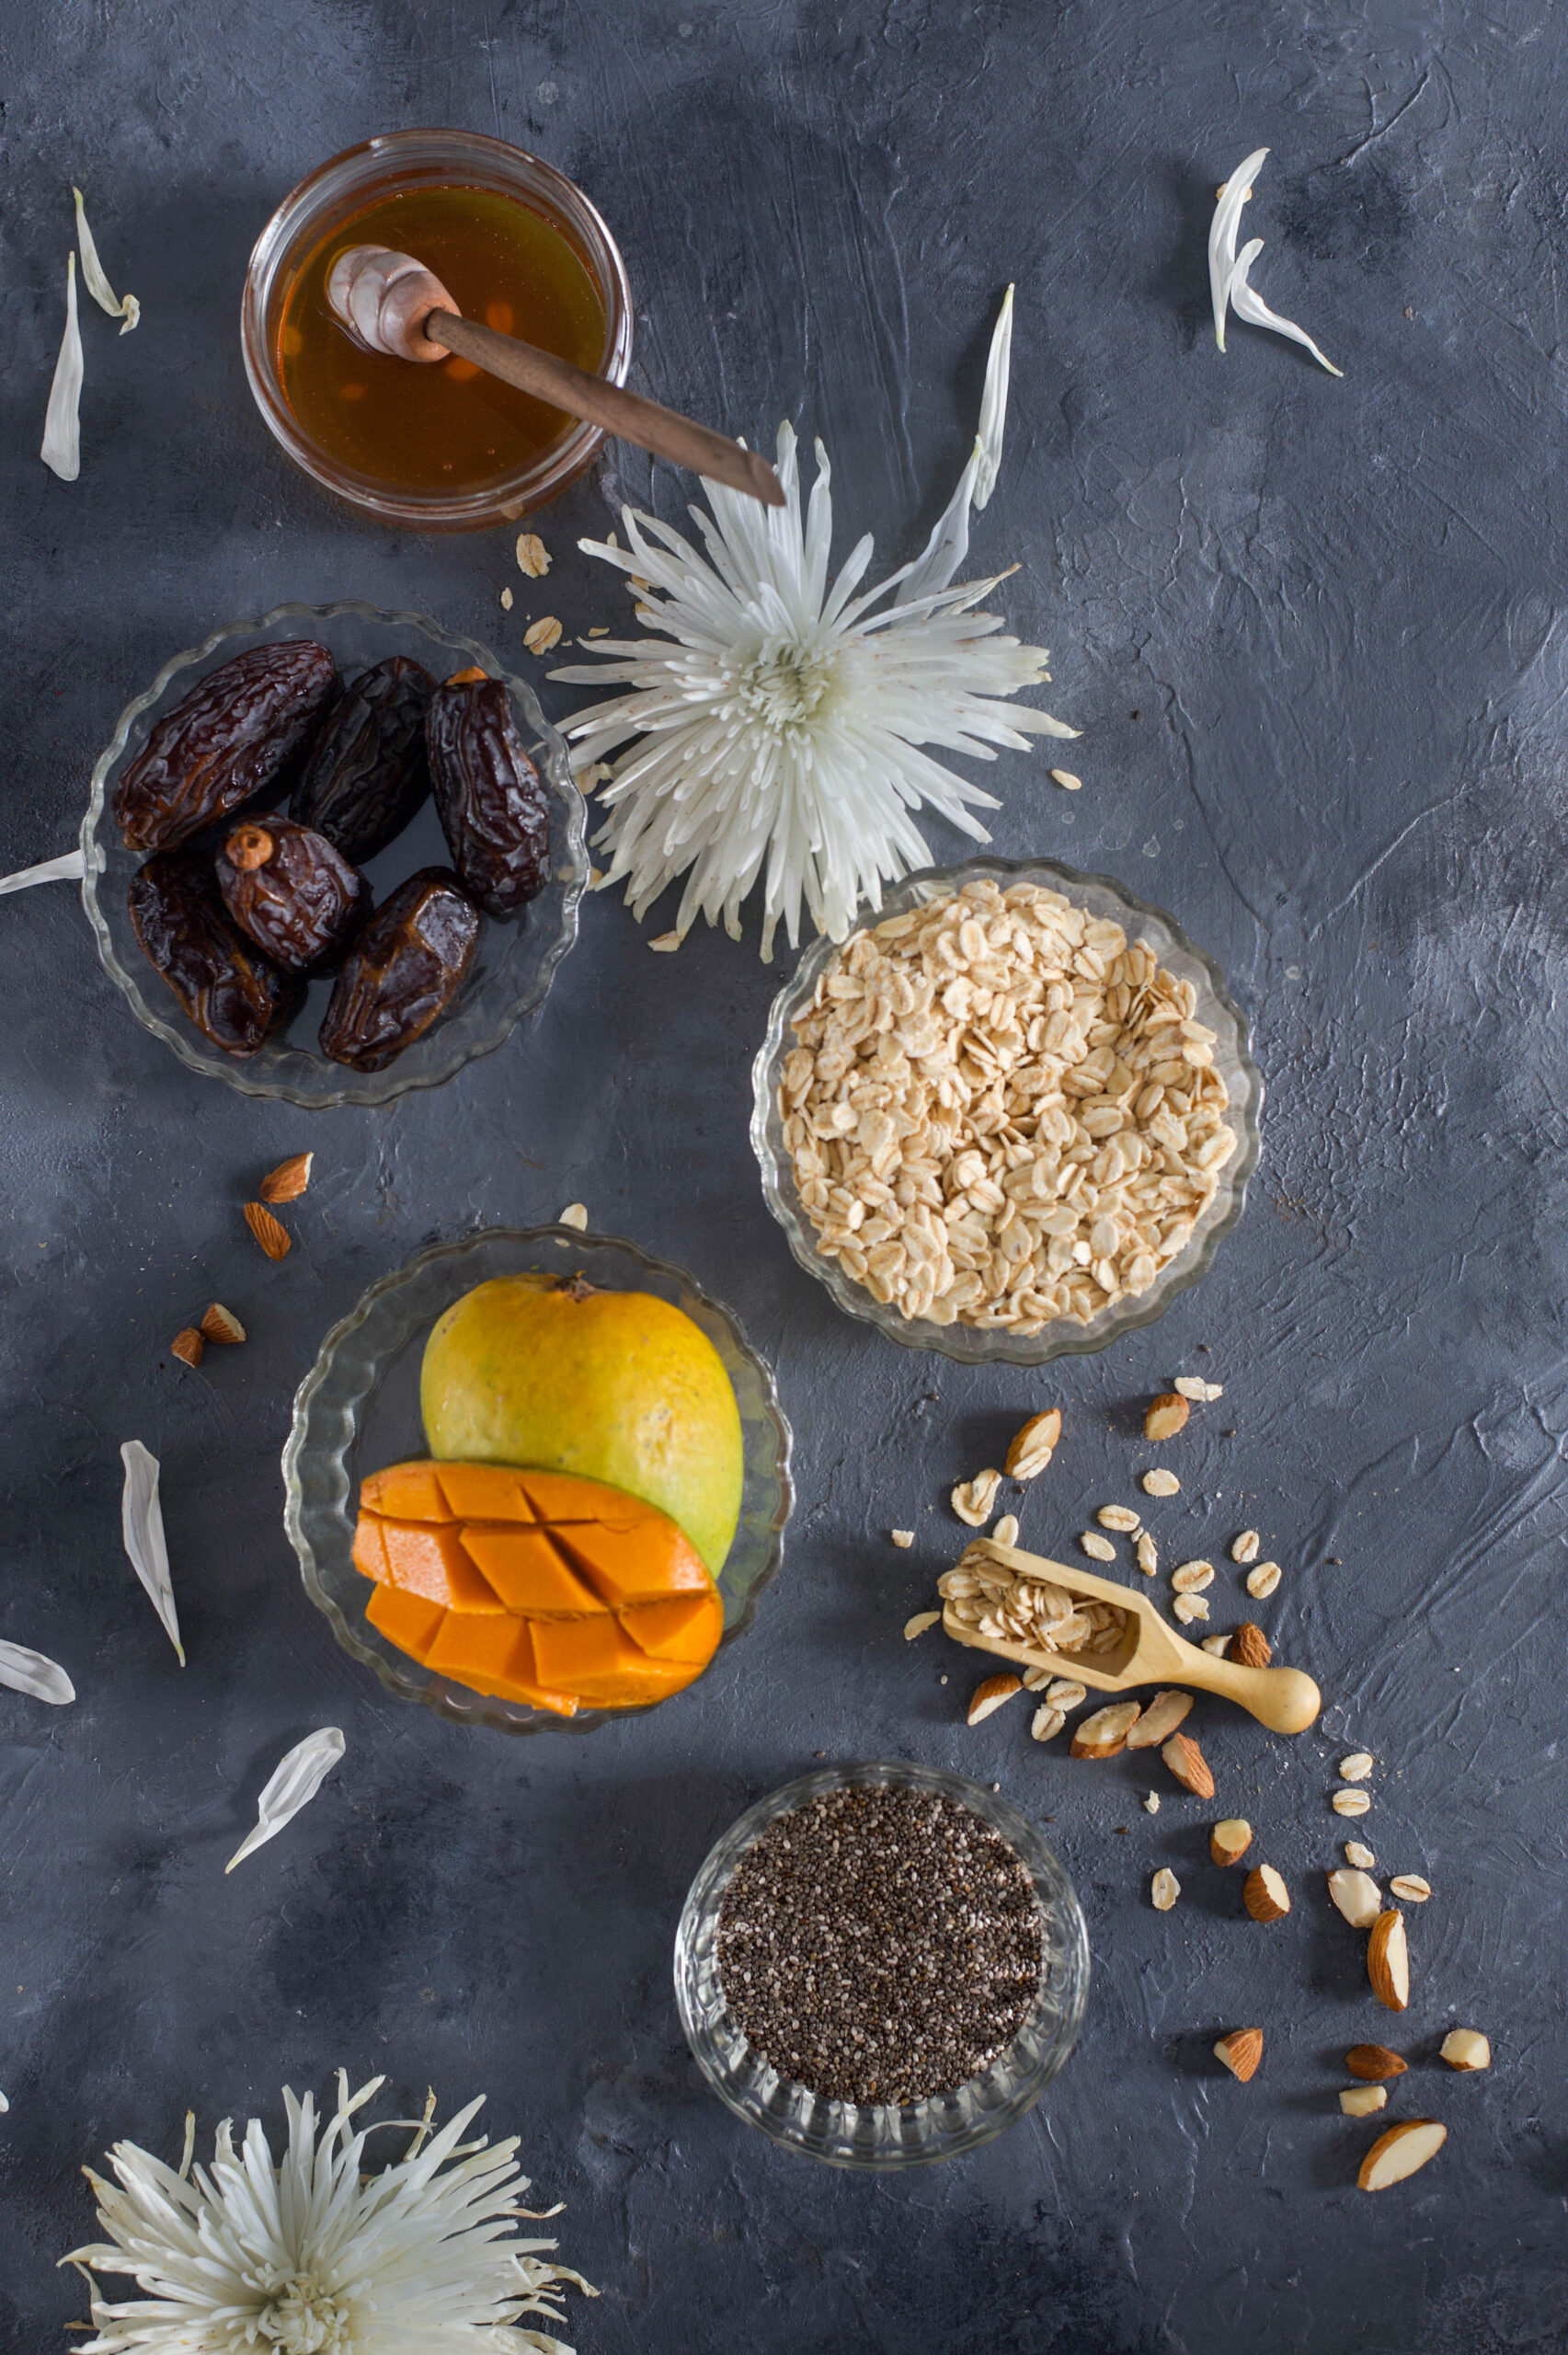
This pudding is built on just three basic ingredients, which need to be refrigerated overnight. All you need are oats, milk and chia seeds. These are the key elements. Beyond this, you tweak the recipe based on your own tastes, seasonal availability and so on. You can use any type of milk you choose, be it vegan almond or soy milk, skimmed milk, slim milk, coconut milk or good old regular milk.

The +1 for me is usually a fruit. I reach for dates, bananas and berries through the year, and when I have them on hand, any lovely summer fruit. As you can imagine, based on the proliferation of mango recipes on this blog every summer, they were a frequent recent addition to my morning pudding this year. Every fruit has its own range of benefits, as well as sweetening or adding texture to the pudding. You could also add honey or maple syrup if you want to sweeten it. And for an extra boost, mix in protein powder, spirulina powder or açaí powder.

Whatever you choose to add to the base of three ingredients, it becomes a full and wholesome breakfast. With carbs, protein, fruit sugars and the additional goodness of an extra handful of nuts or other ingredient of your preference, a serving of this pudding is perfect to get you through the entire morning. And it’s so creamy and tasty that it’s like having dessert for breakfast!

3+1 Overnight Oats

(Yield: 2 cups)

Ingredients

3 tablespoons oats

1½ teaspoons chia seeds

1 cup milk of your choice

½ cup fruit of your choice

It’s very important that you make this pudding the night before you plan to consume it, as it needs time to set. Simply blend all the ingredients and pour into 2 cups. Garnish with nuts, if desired, and refrigerate. Don’t forget to add the protein, açaí, spirulina or other healthy powder if you wish to.

Enjoy it the following morning, right after your workout or before your busy day starts. If you have a very sweet tooth, like I do, you may add 1 teaspoon of honey or maple syrup before you eat it.

This 3+1 overnight oats pudding is one of the healthiest breakfasts you can have, regardless of how demanding your schedule is. It is also, hands-down, one of the tastiest. Give it a try as a replacement for your current breakfast dish, and tell me how it works for you!

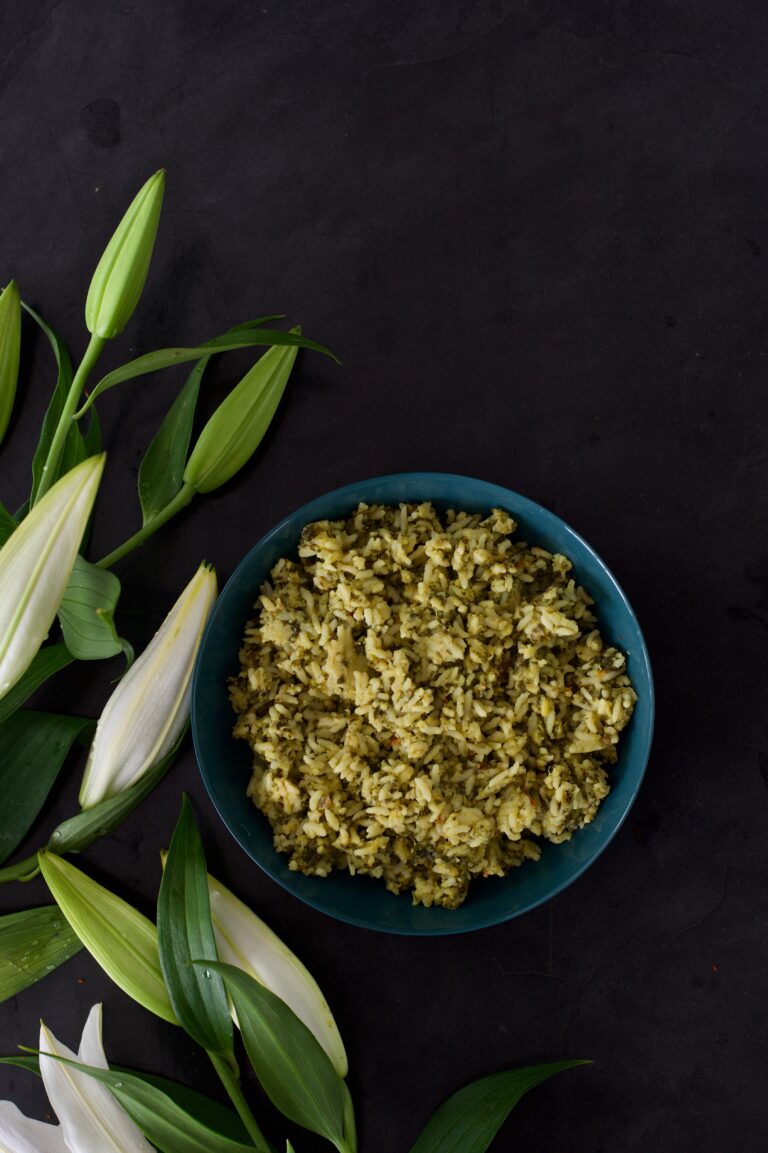
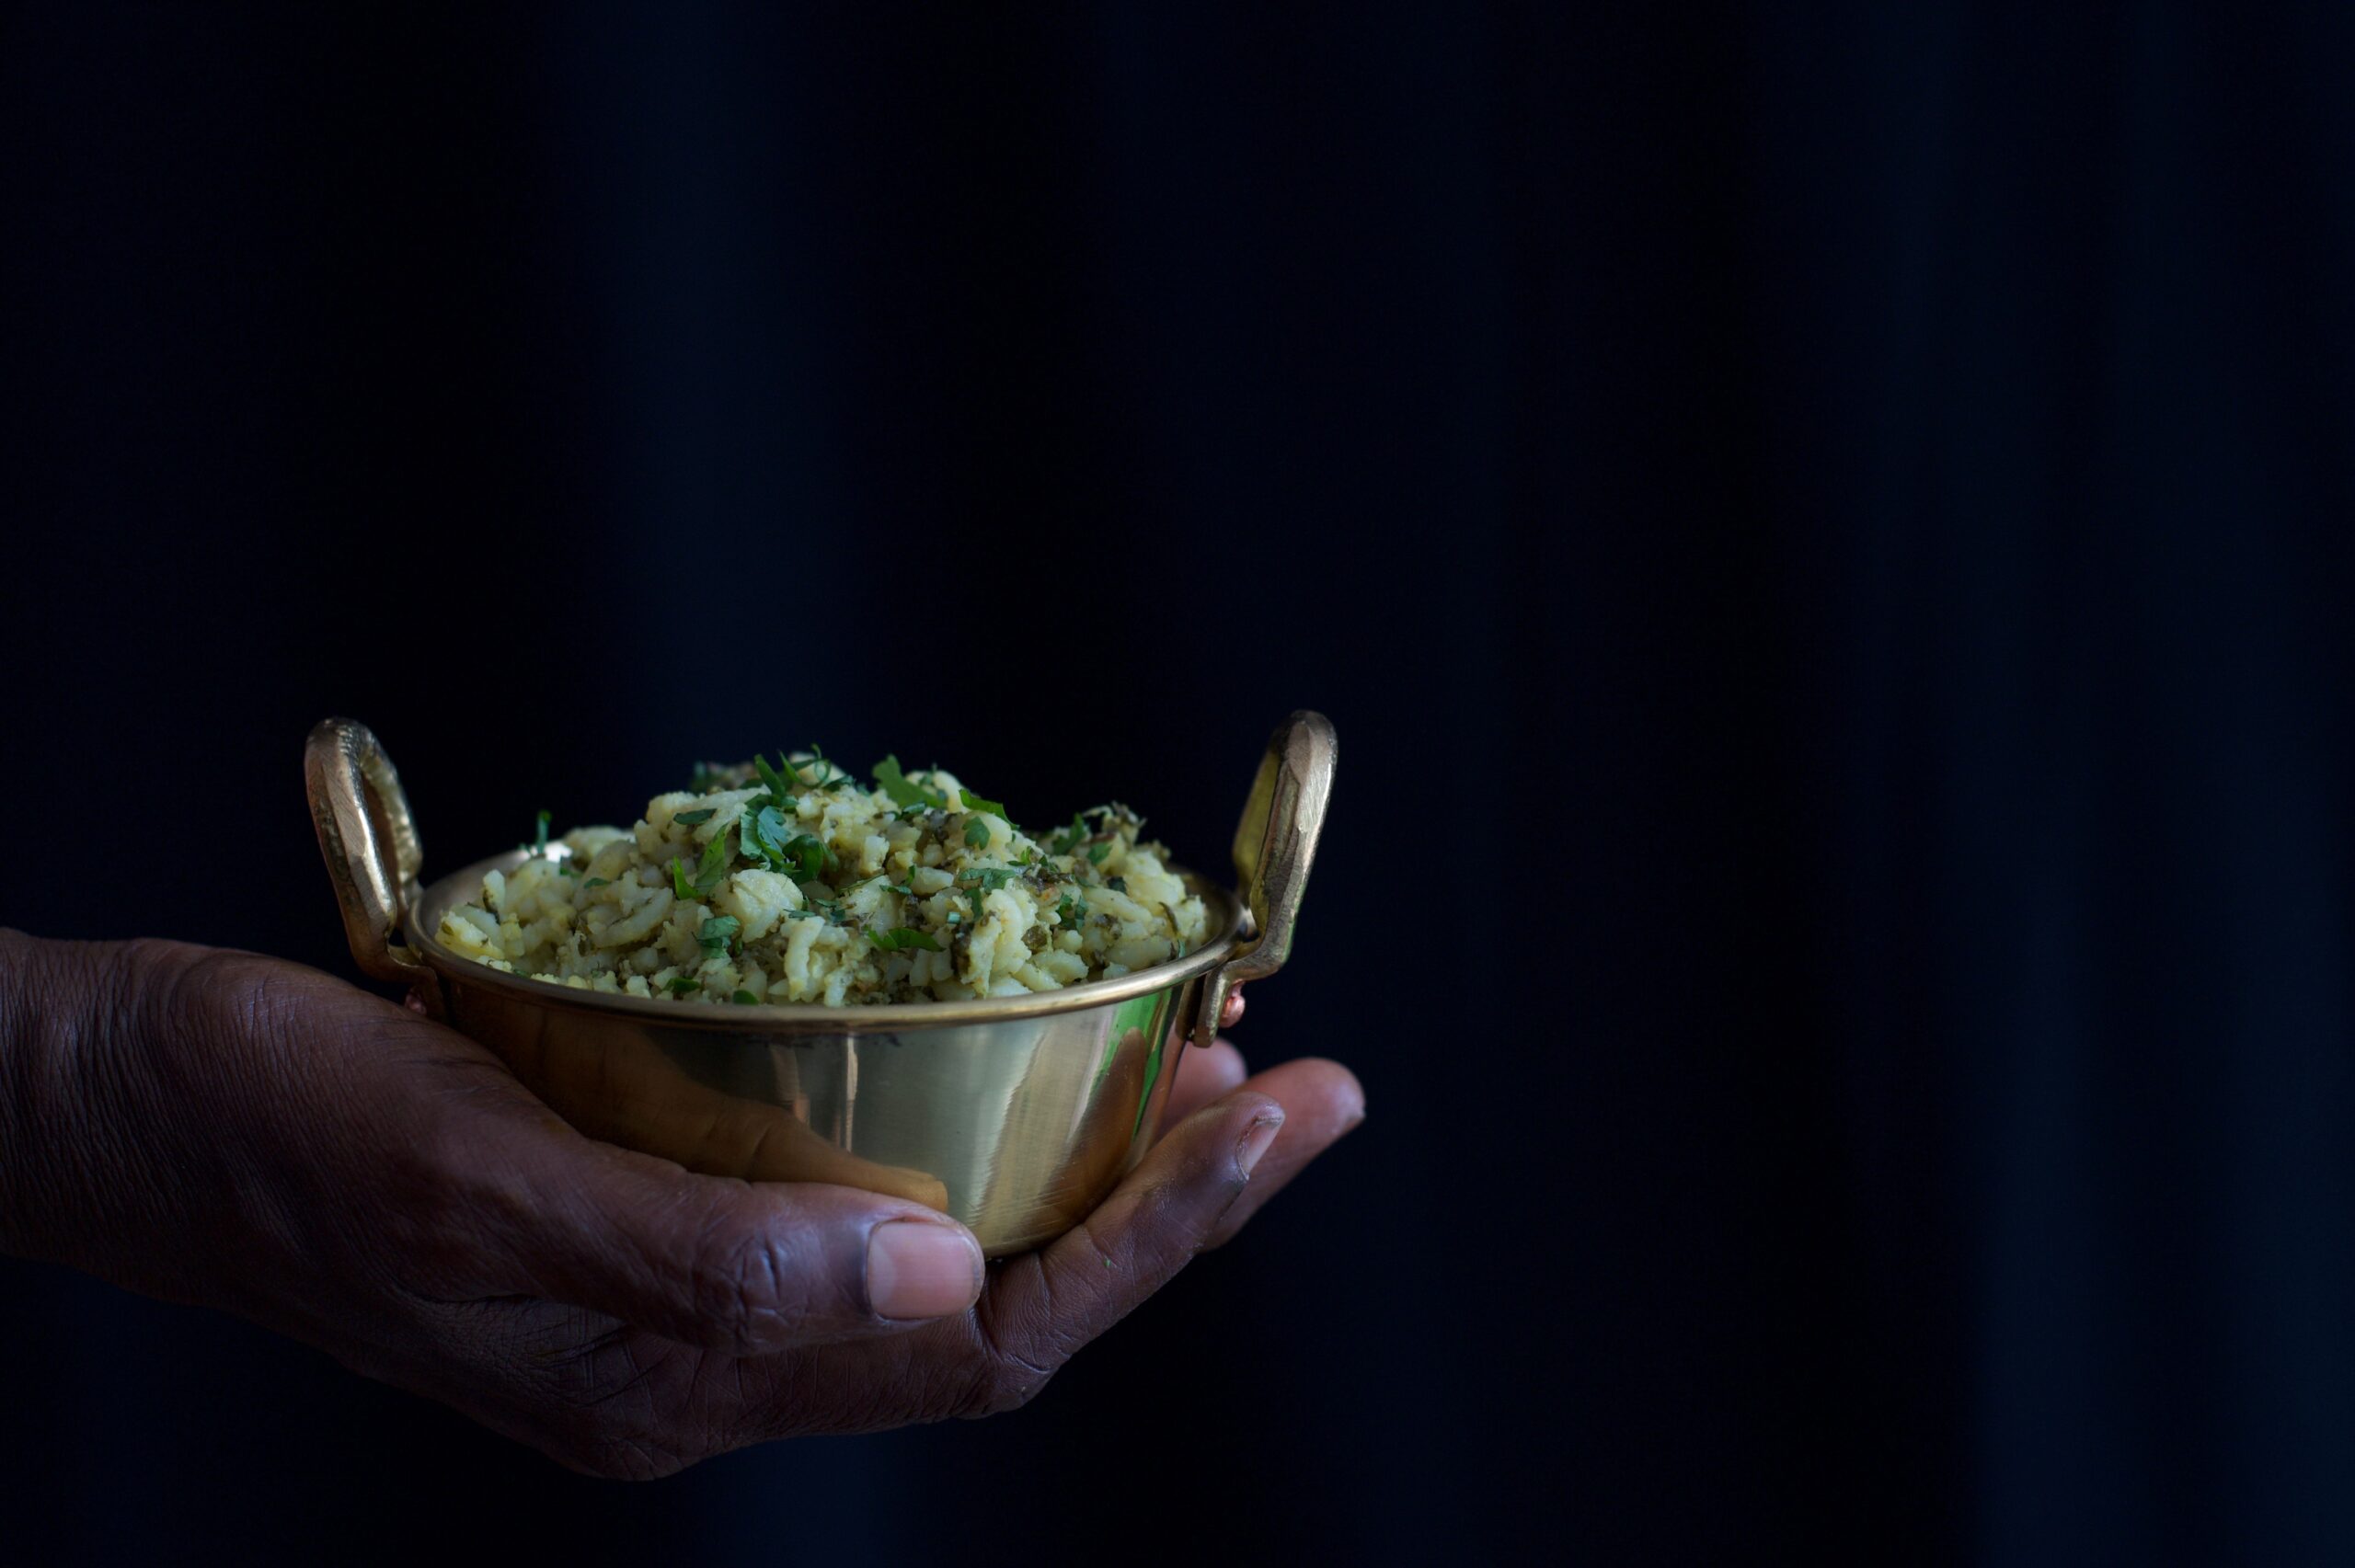
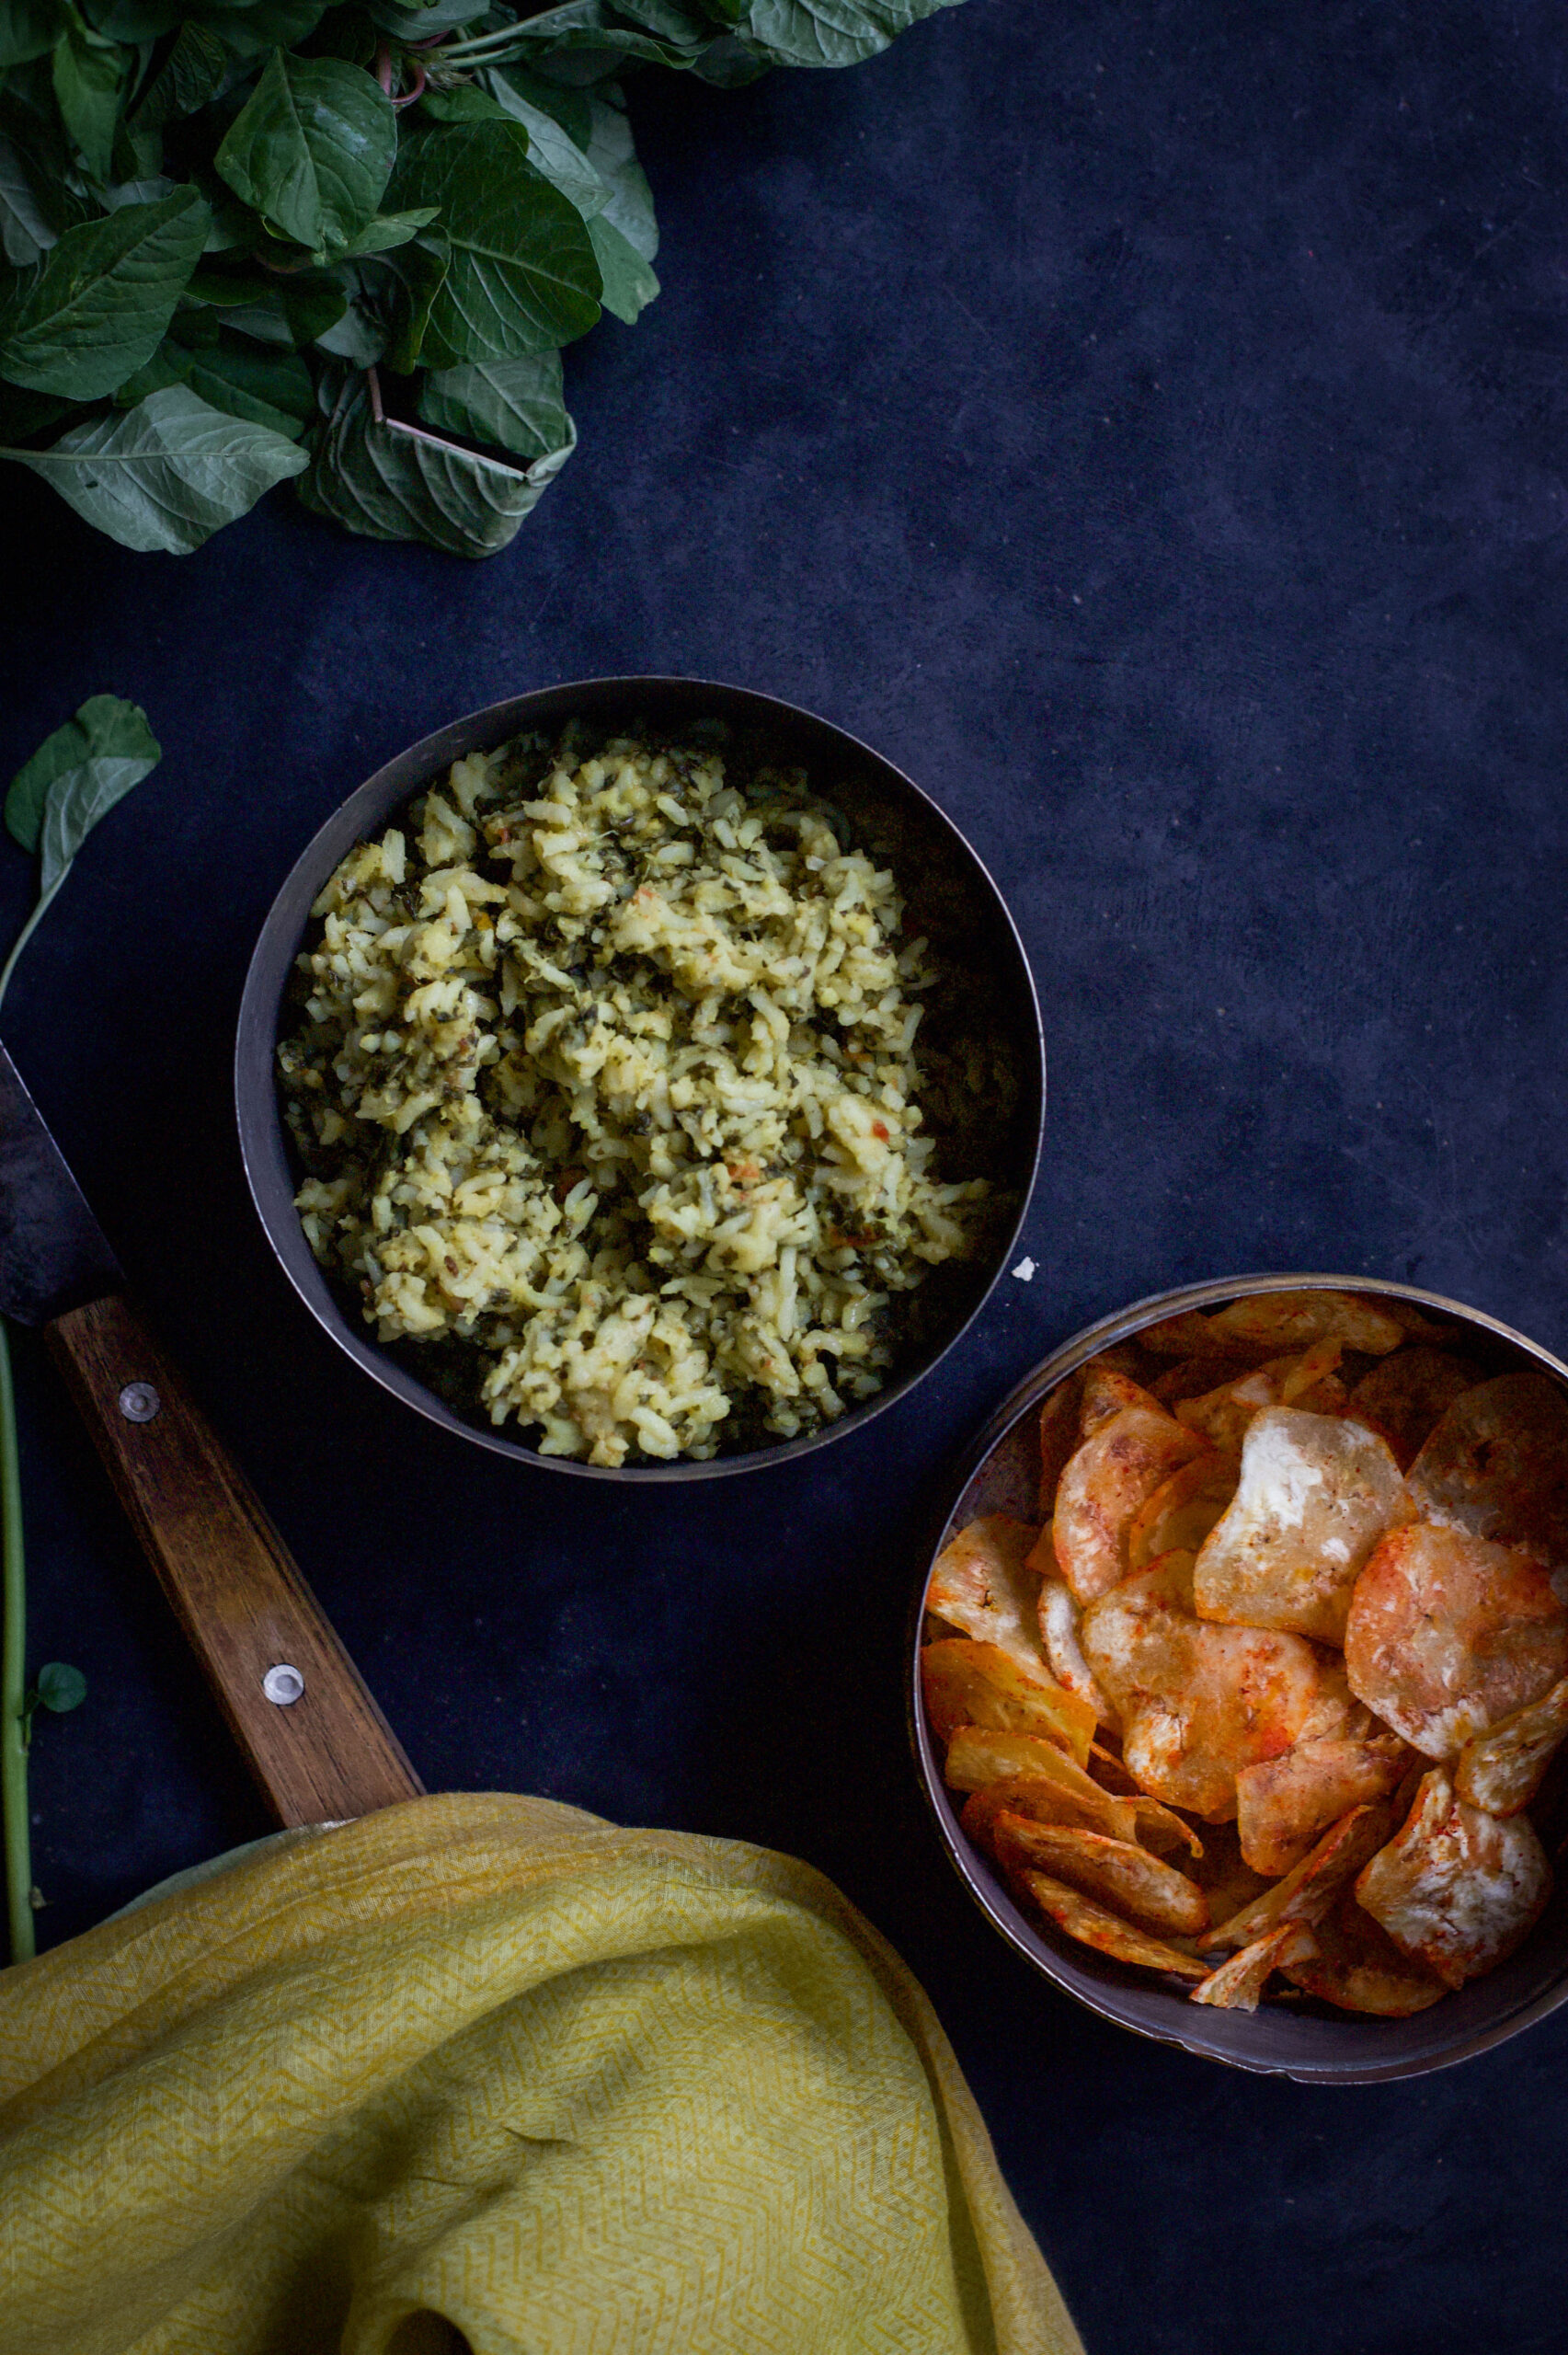
When my daughter was in school, I would send her off every day with a lunchbox that contained as much variety as possible. Whether it was noodles, pizza or something else, I always made her something delicious – but with a healthy twist. Her best friend, a girl from Andhra Pradesh, brought her mother’s spinach rice in her own lunchbox every day. And the girls would exchange lunchboxes. My daughter loved that traditional spinach rice, and her best friend couldn’t get enough of my cooking experiments! When I discovered what was going on, I simply started packing extra of whatever I sent her, so both girls could eat more of our homemade meals.

Recently, this friend visited us, and the girls sat with me and reminisced about the good old days of their childhoods. Soon, they got to talking about the lunchbox swaps, and my daughter was nostalgic, saying how much she missed that spinach rice. As it is made of affordable and readily available ingredients, some variation of spinach rice is a staple in households all over the country. “Spinach” is an entire category of leafy greens. In South India, there are so many kinds available that certain dishes are matched according to the tastes of each. For instance, in Tamil Nadu, the thick small leaves of paruppu keerai (literally “dhal spinach”) go with dhal, the smaller leaves of siri keerai (“little spinach”) taste good with garlic, and are usually stir-fried with the same, and so on. What is known as dill rice in the West is also a kind of spinach rice here.

Spinach, as the cartoon character Popeye popularised, is great for developing a strong and healthy body. It is a muscle-builder, and packed with vitamins, calcium, antioxidants and other nourishing elements. It’s also collagen-rich, which means your skin and hair benefit from it. It is typically the kind of leafy green that kids resist eating, as some kinds are bitter, which is why I was so happy to find out about my daughter’s lunchbox exchanges long ago!

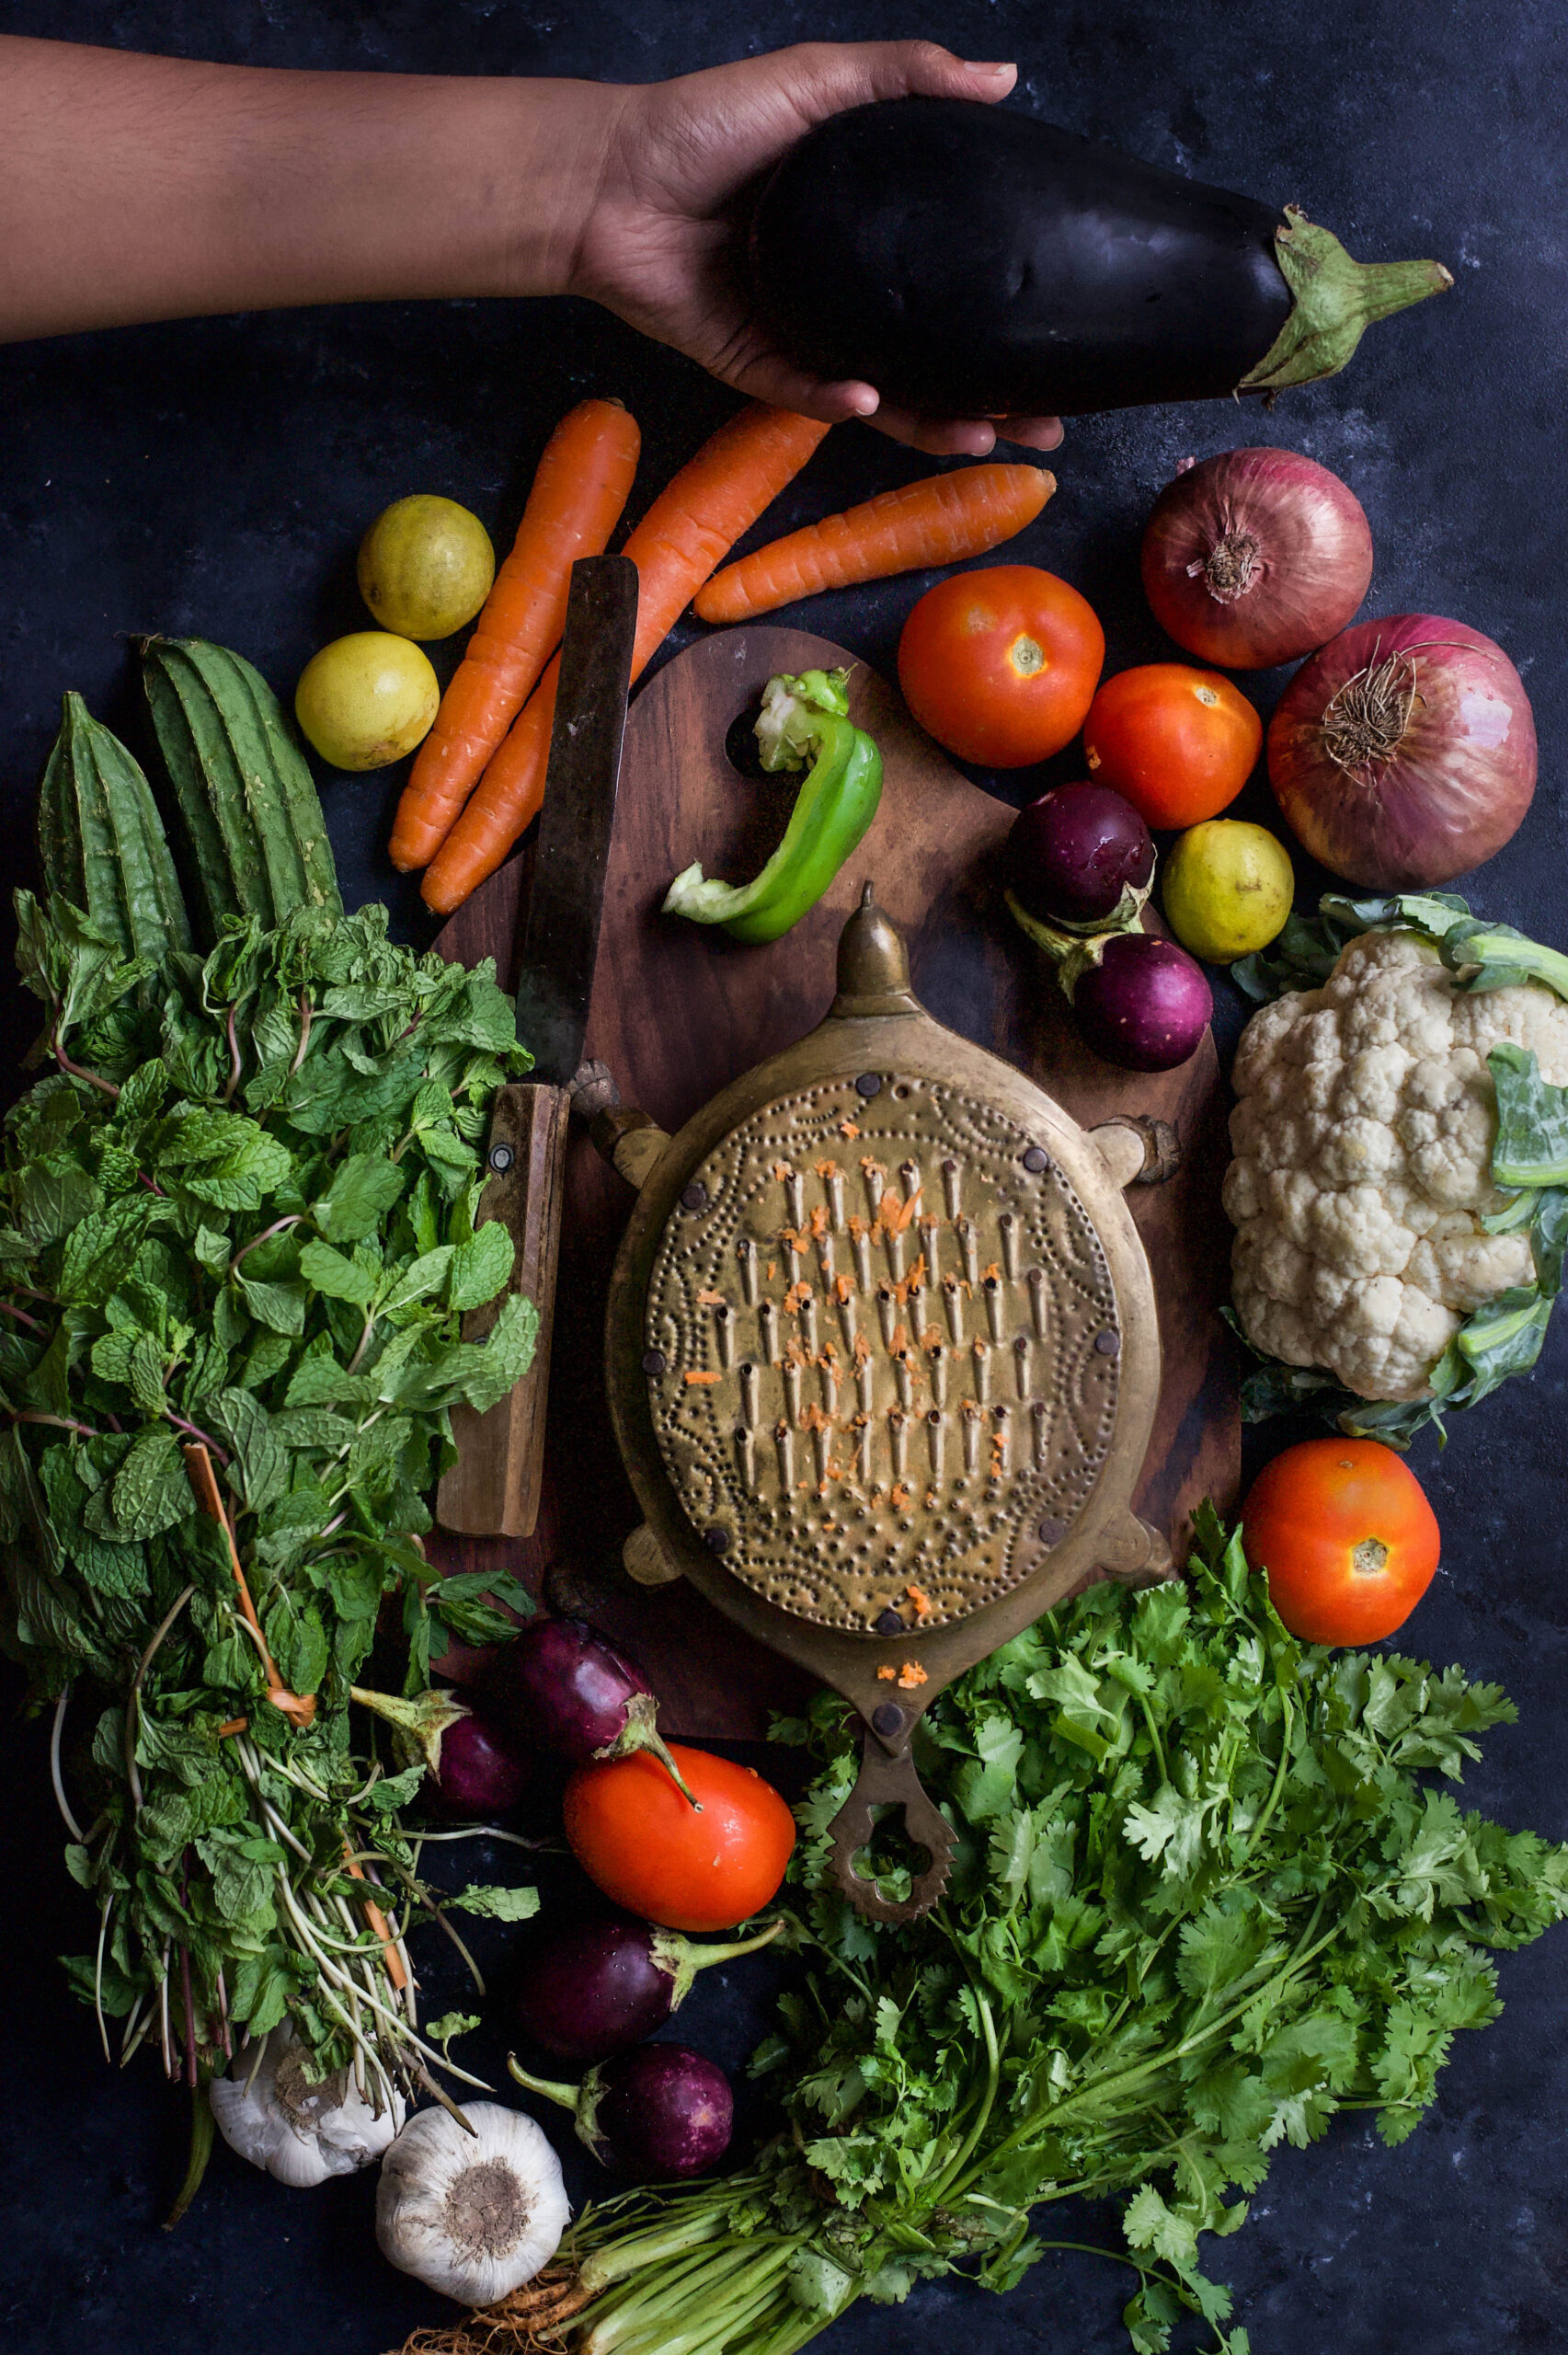
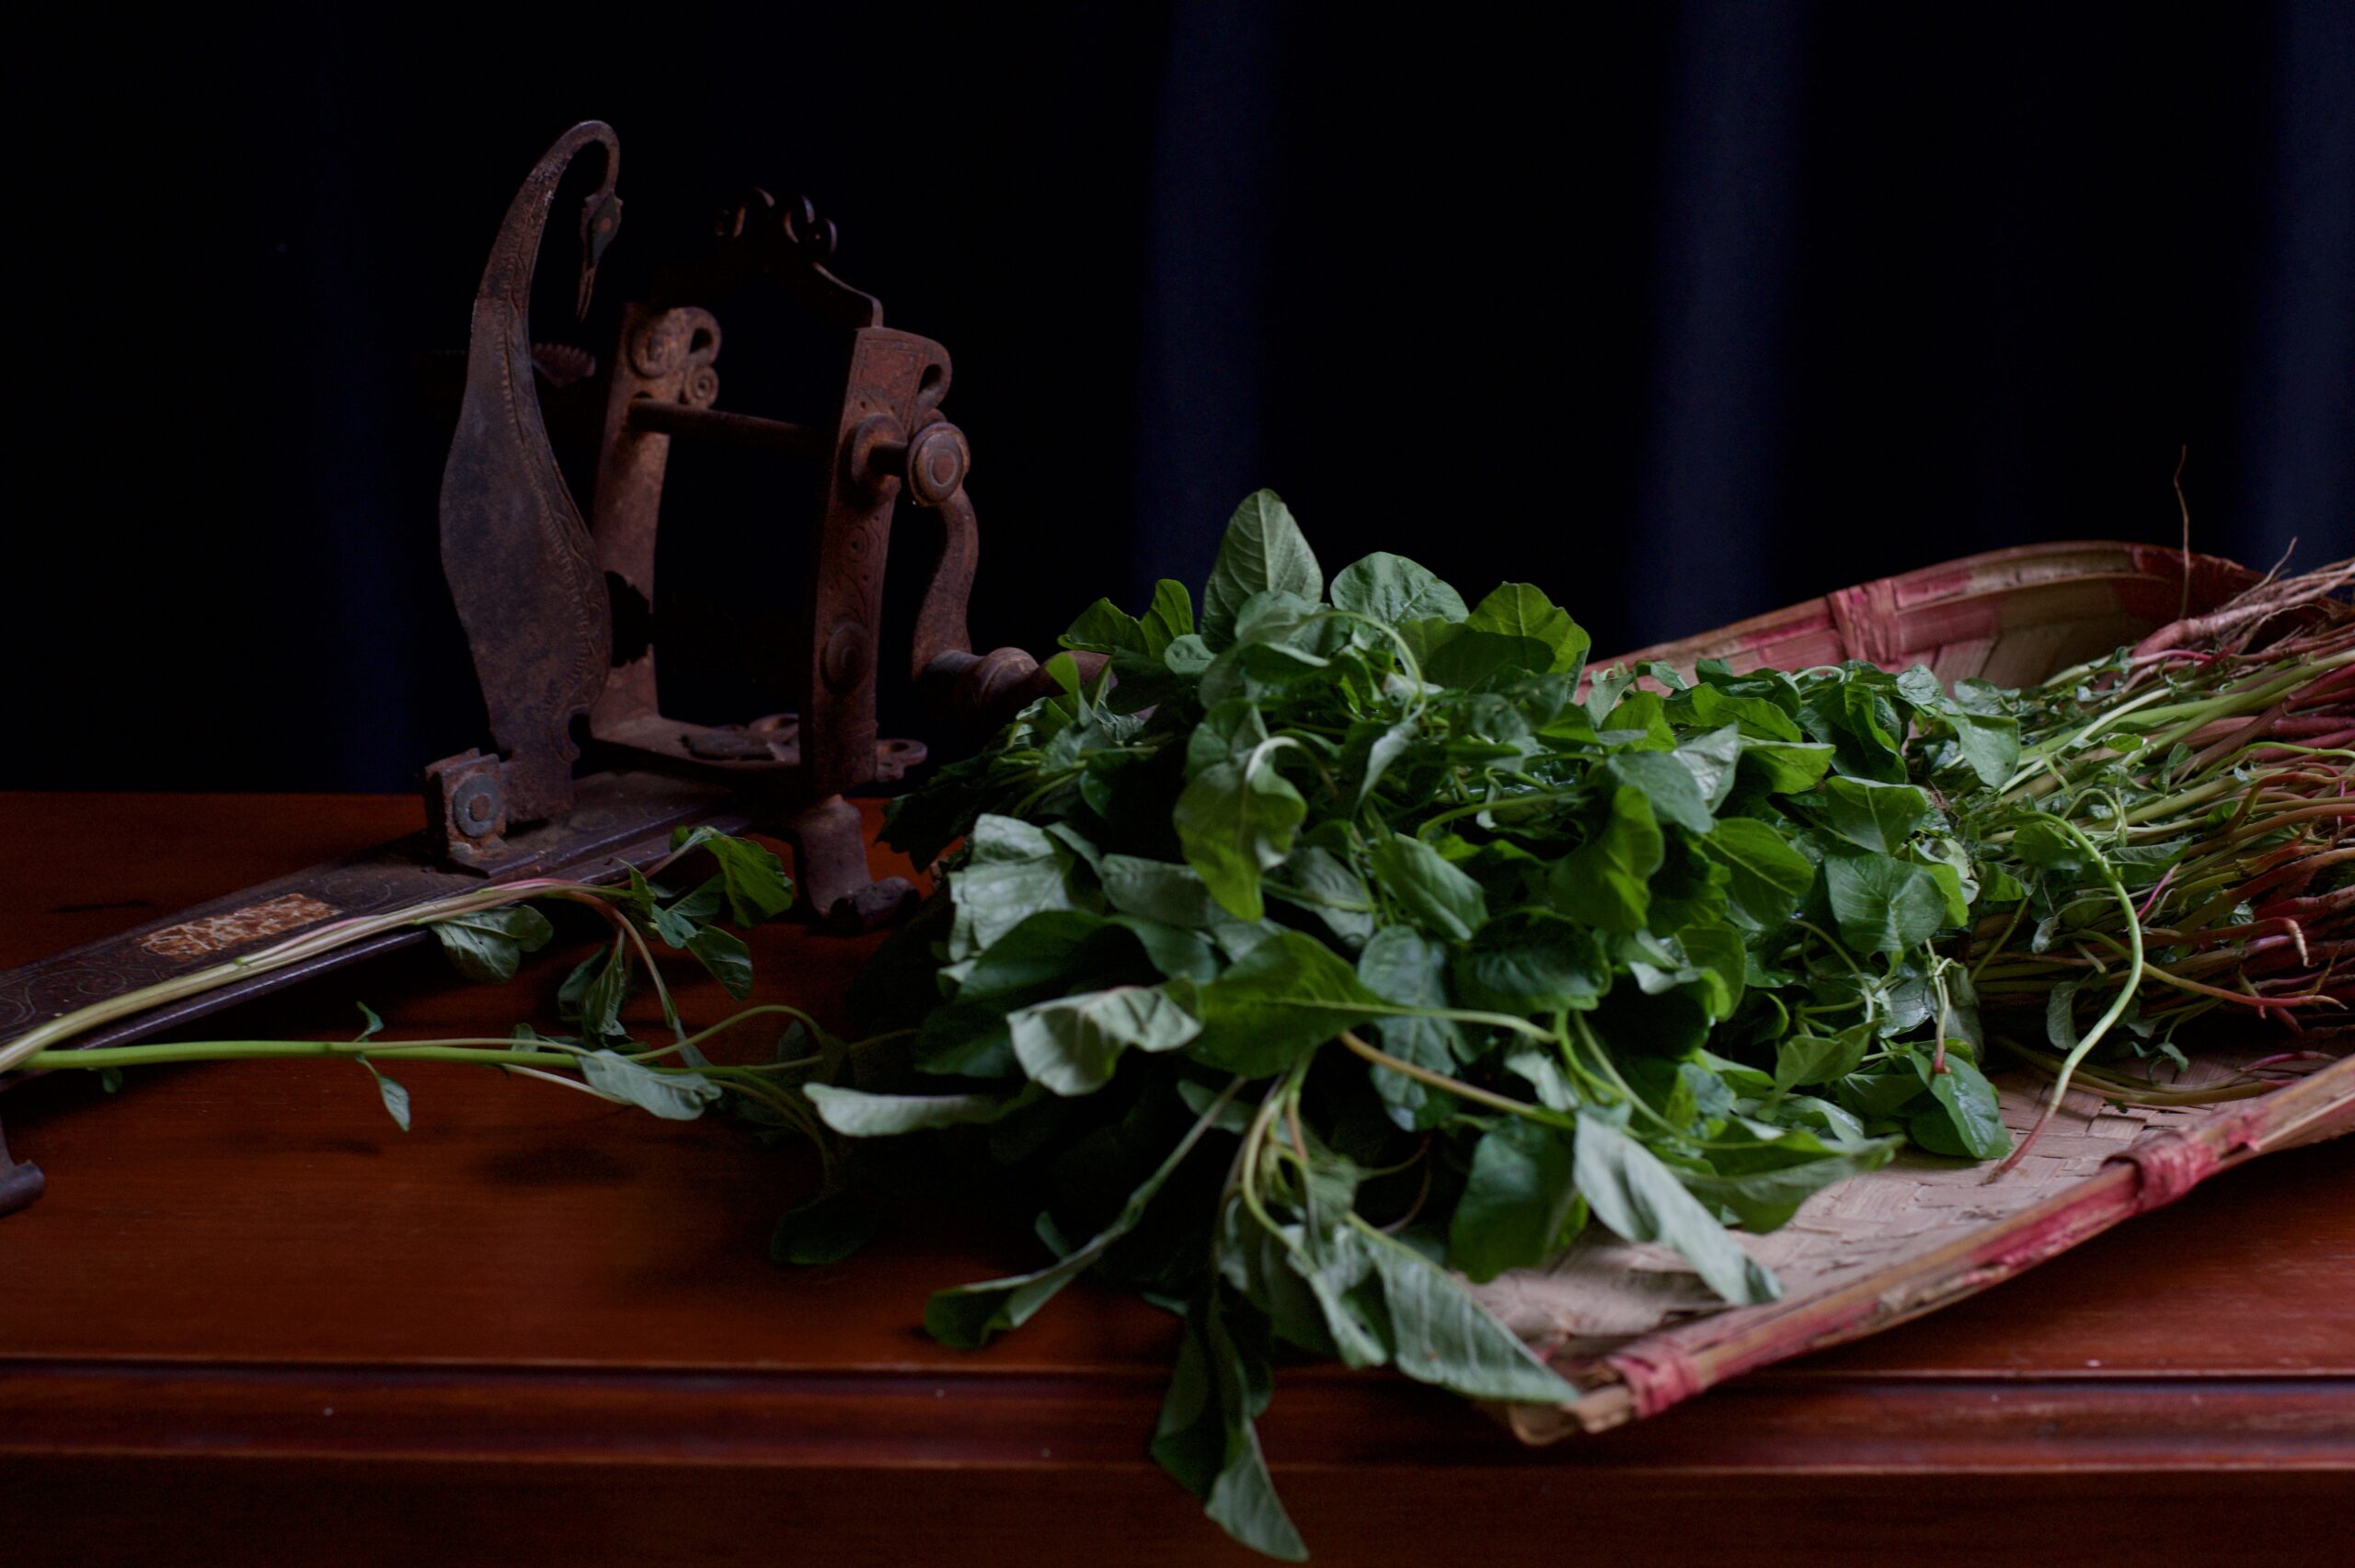
In my previous post, I mentioned a nifty slicer I picked up on my travels, and while these modern conveniences are much enjoyed, I still trust and hold on to our time-honoured appliances. For instance, I have the traditional Tamil aruvamanai, a hooked grater meant to be used while seated on the floor. The lovely thing about such devices is that they are durable in a way that modern devices, especially plastic ones, just aren’t. While this is mostly part of the décor, I’m not averse to using it when I want to. What better way to recreate a nostalgic dish than by using an antique appliance? I pulled out the old aruvamanai and sliced the spinach leaves for this recipe with it…


Spinach Rice

(Yield: 4-5 cups)

Ingredients
1 tomato
1 onion
2 cups spinach leaves
¾ cups raw rice
2 tablespoon mung dal
1 tooth garlic
1 green chilli
¼ teaspoon turmeric
¼ teaspoon cumin seeds
¼ teaspoon mustard seeds
1 tablespoon oil
Salt to taste

In a pressure cooker, add the spinach leaves, mung dal, onion, tomato, turmeric, chili, garlic, salt and 3 cups of water. Allow to cook for 2 whistles. In case you do not want to use a pressure cooker, you may cook the same ingredients covered with a lid on a medium flame, until well-cooked and soft to the touch.

Meanwhile, wash and soak the rice in water.

In a pan, add oil, then the cumin seeds and mustard seeds. Once they splutter, add the washed raw rice.

Now, open the cooled pressure cooker. Add the washed and soaked rice to the spinach and allow them all to cook for two more whistles. The spinach rice is now ready.

Serve hot – or in a lunchbox, for your growing children, who may surprise you with their tastes!

The Telugu cuisine of Andhra Pradesh and Telangana is known for being spicy, and the spinach rice recipe above, generously shared by my daughter’s friend’s mother, is no different. My daughter says that it tastes just like she remembered it from school. It’s in the original style, of course, but I must take credit for the most special ingredient – her mother’s love!


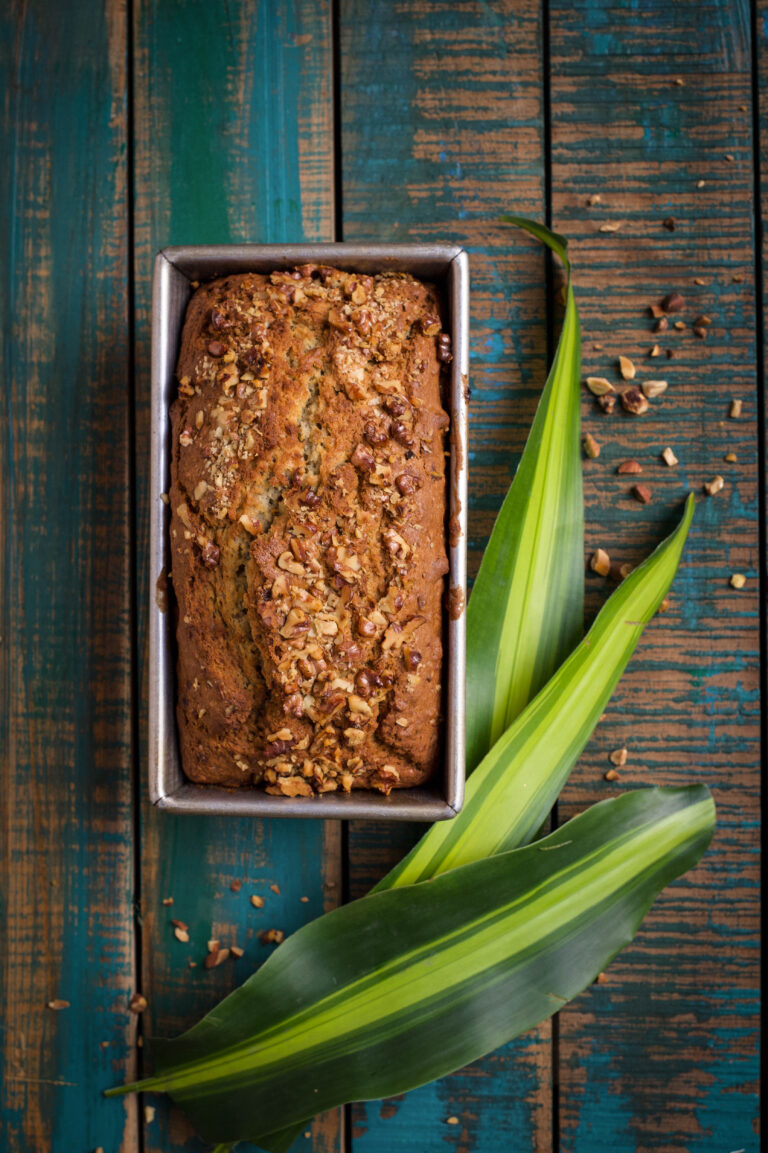
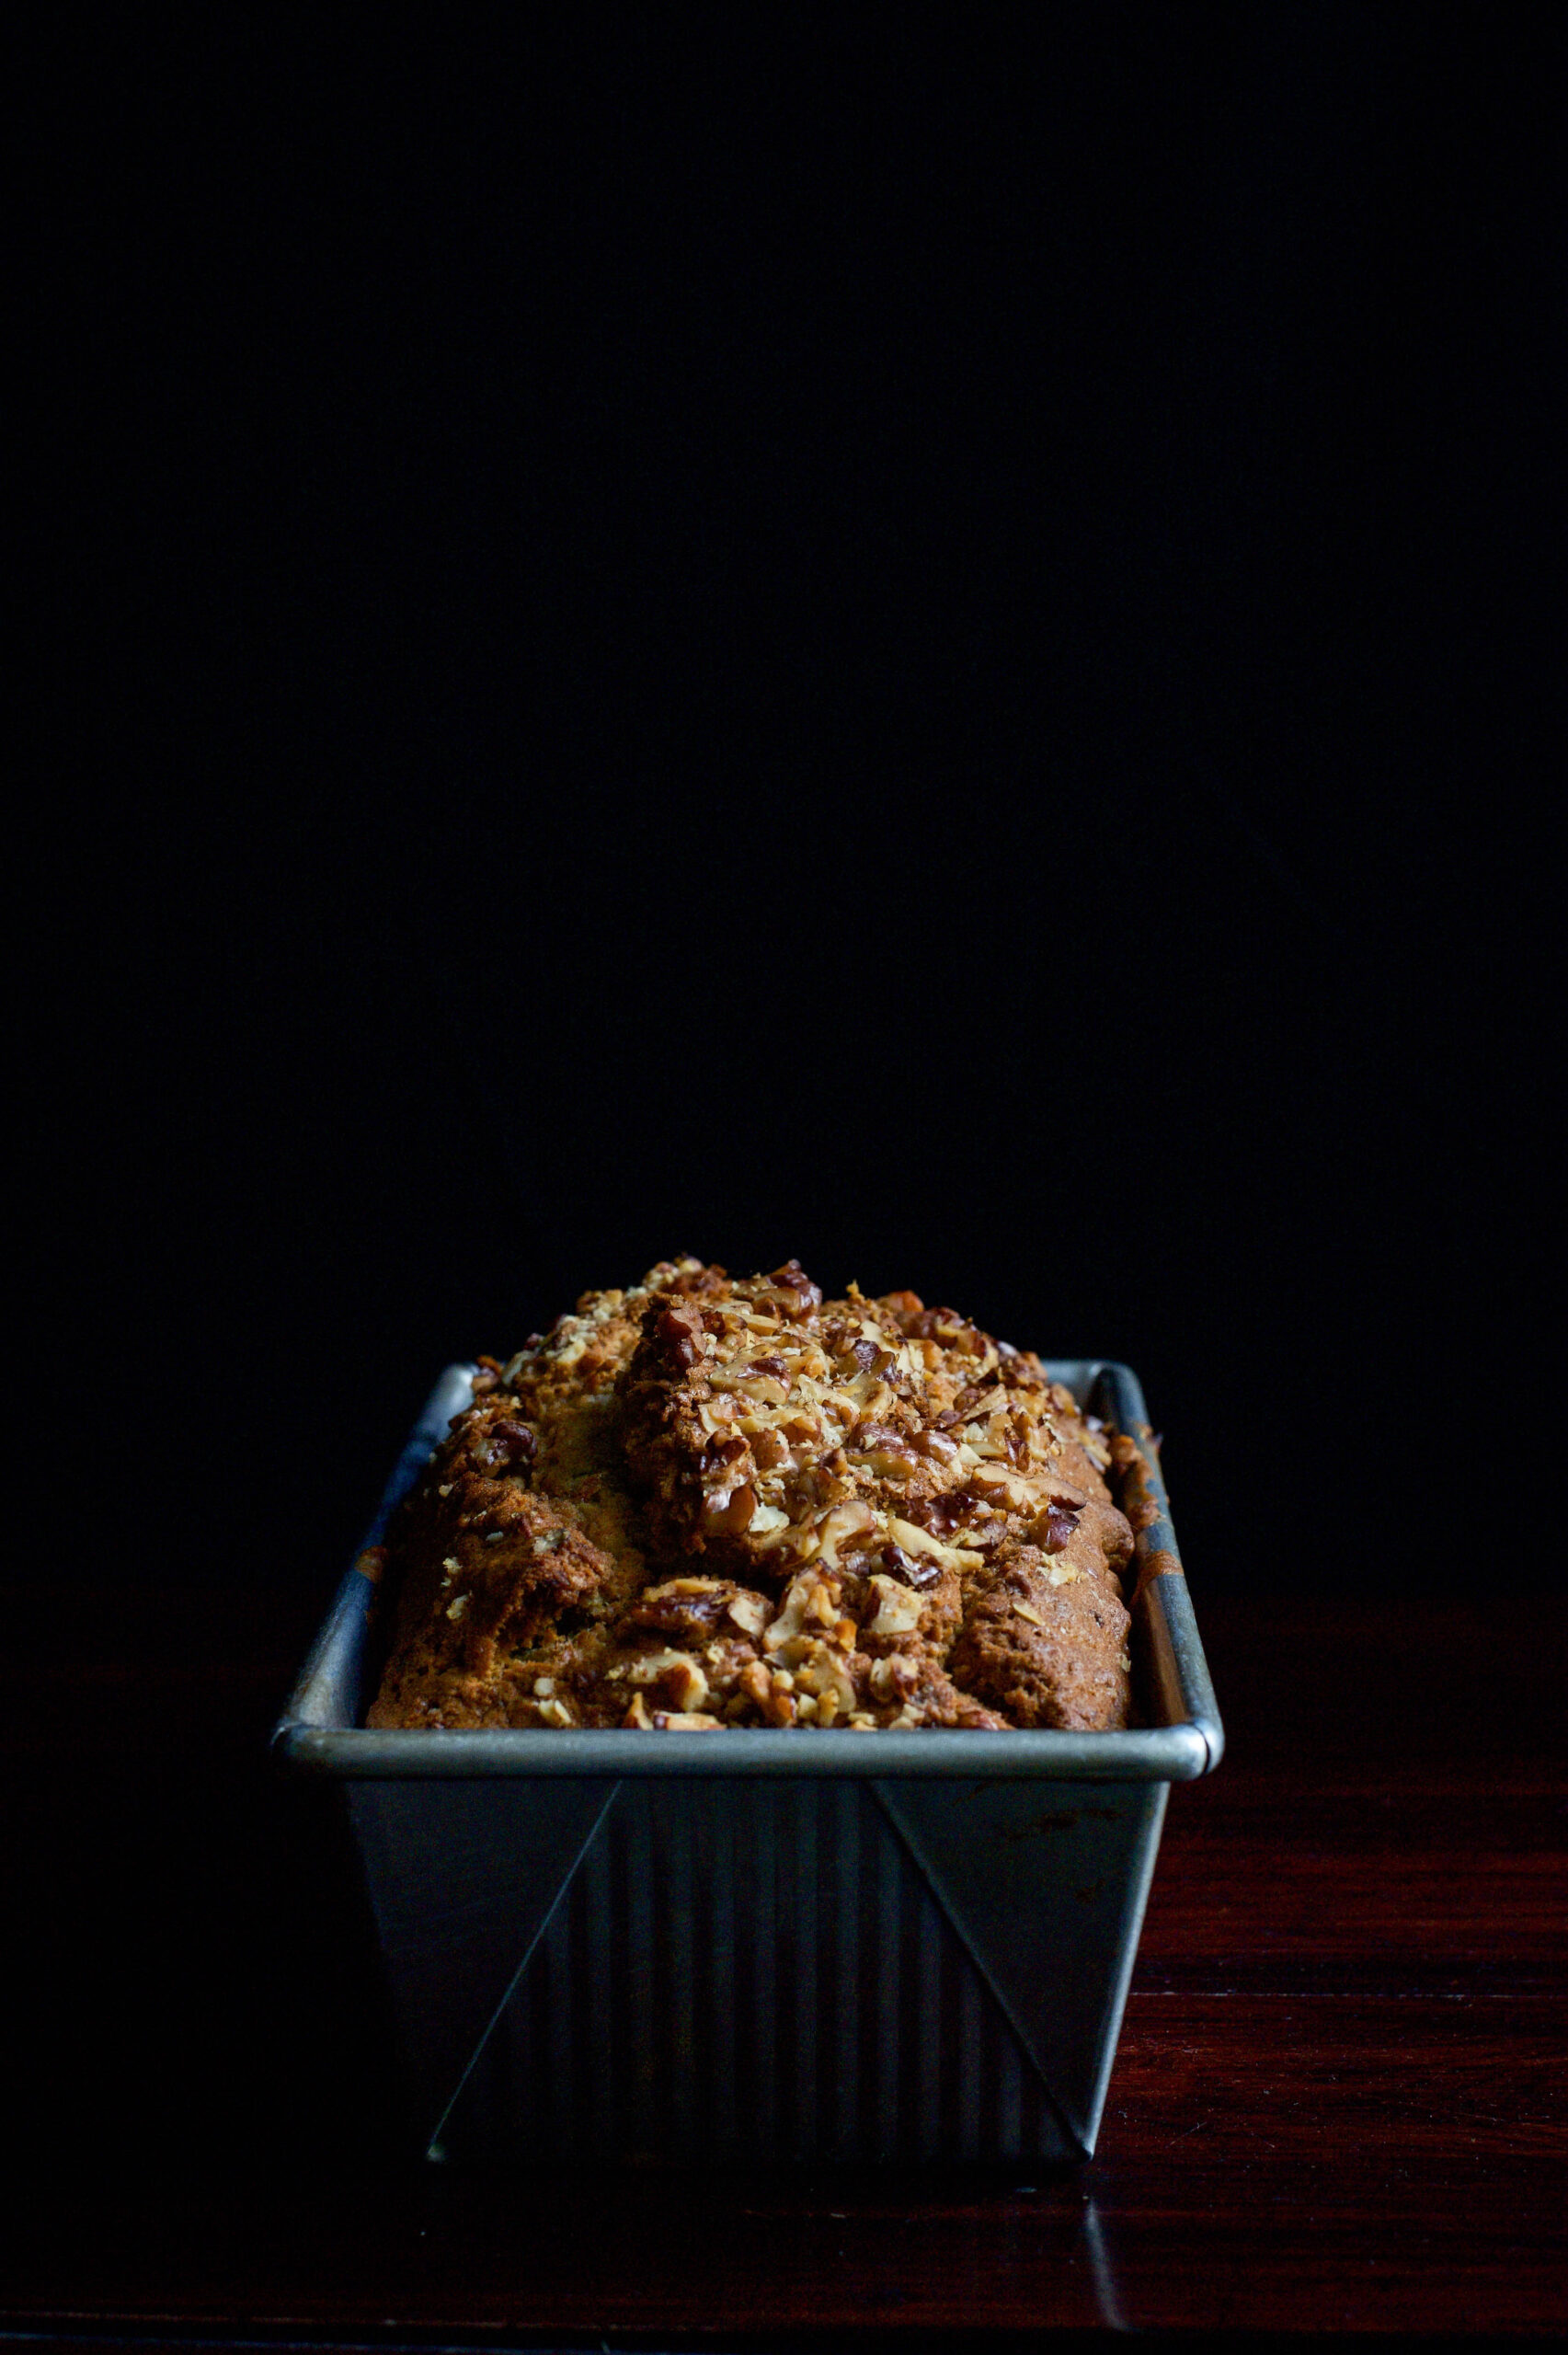
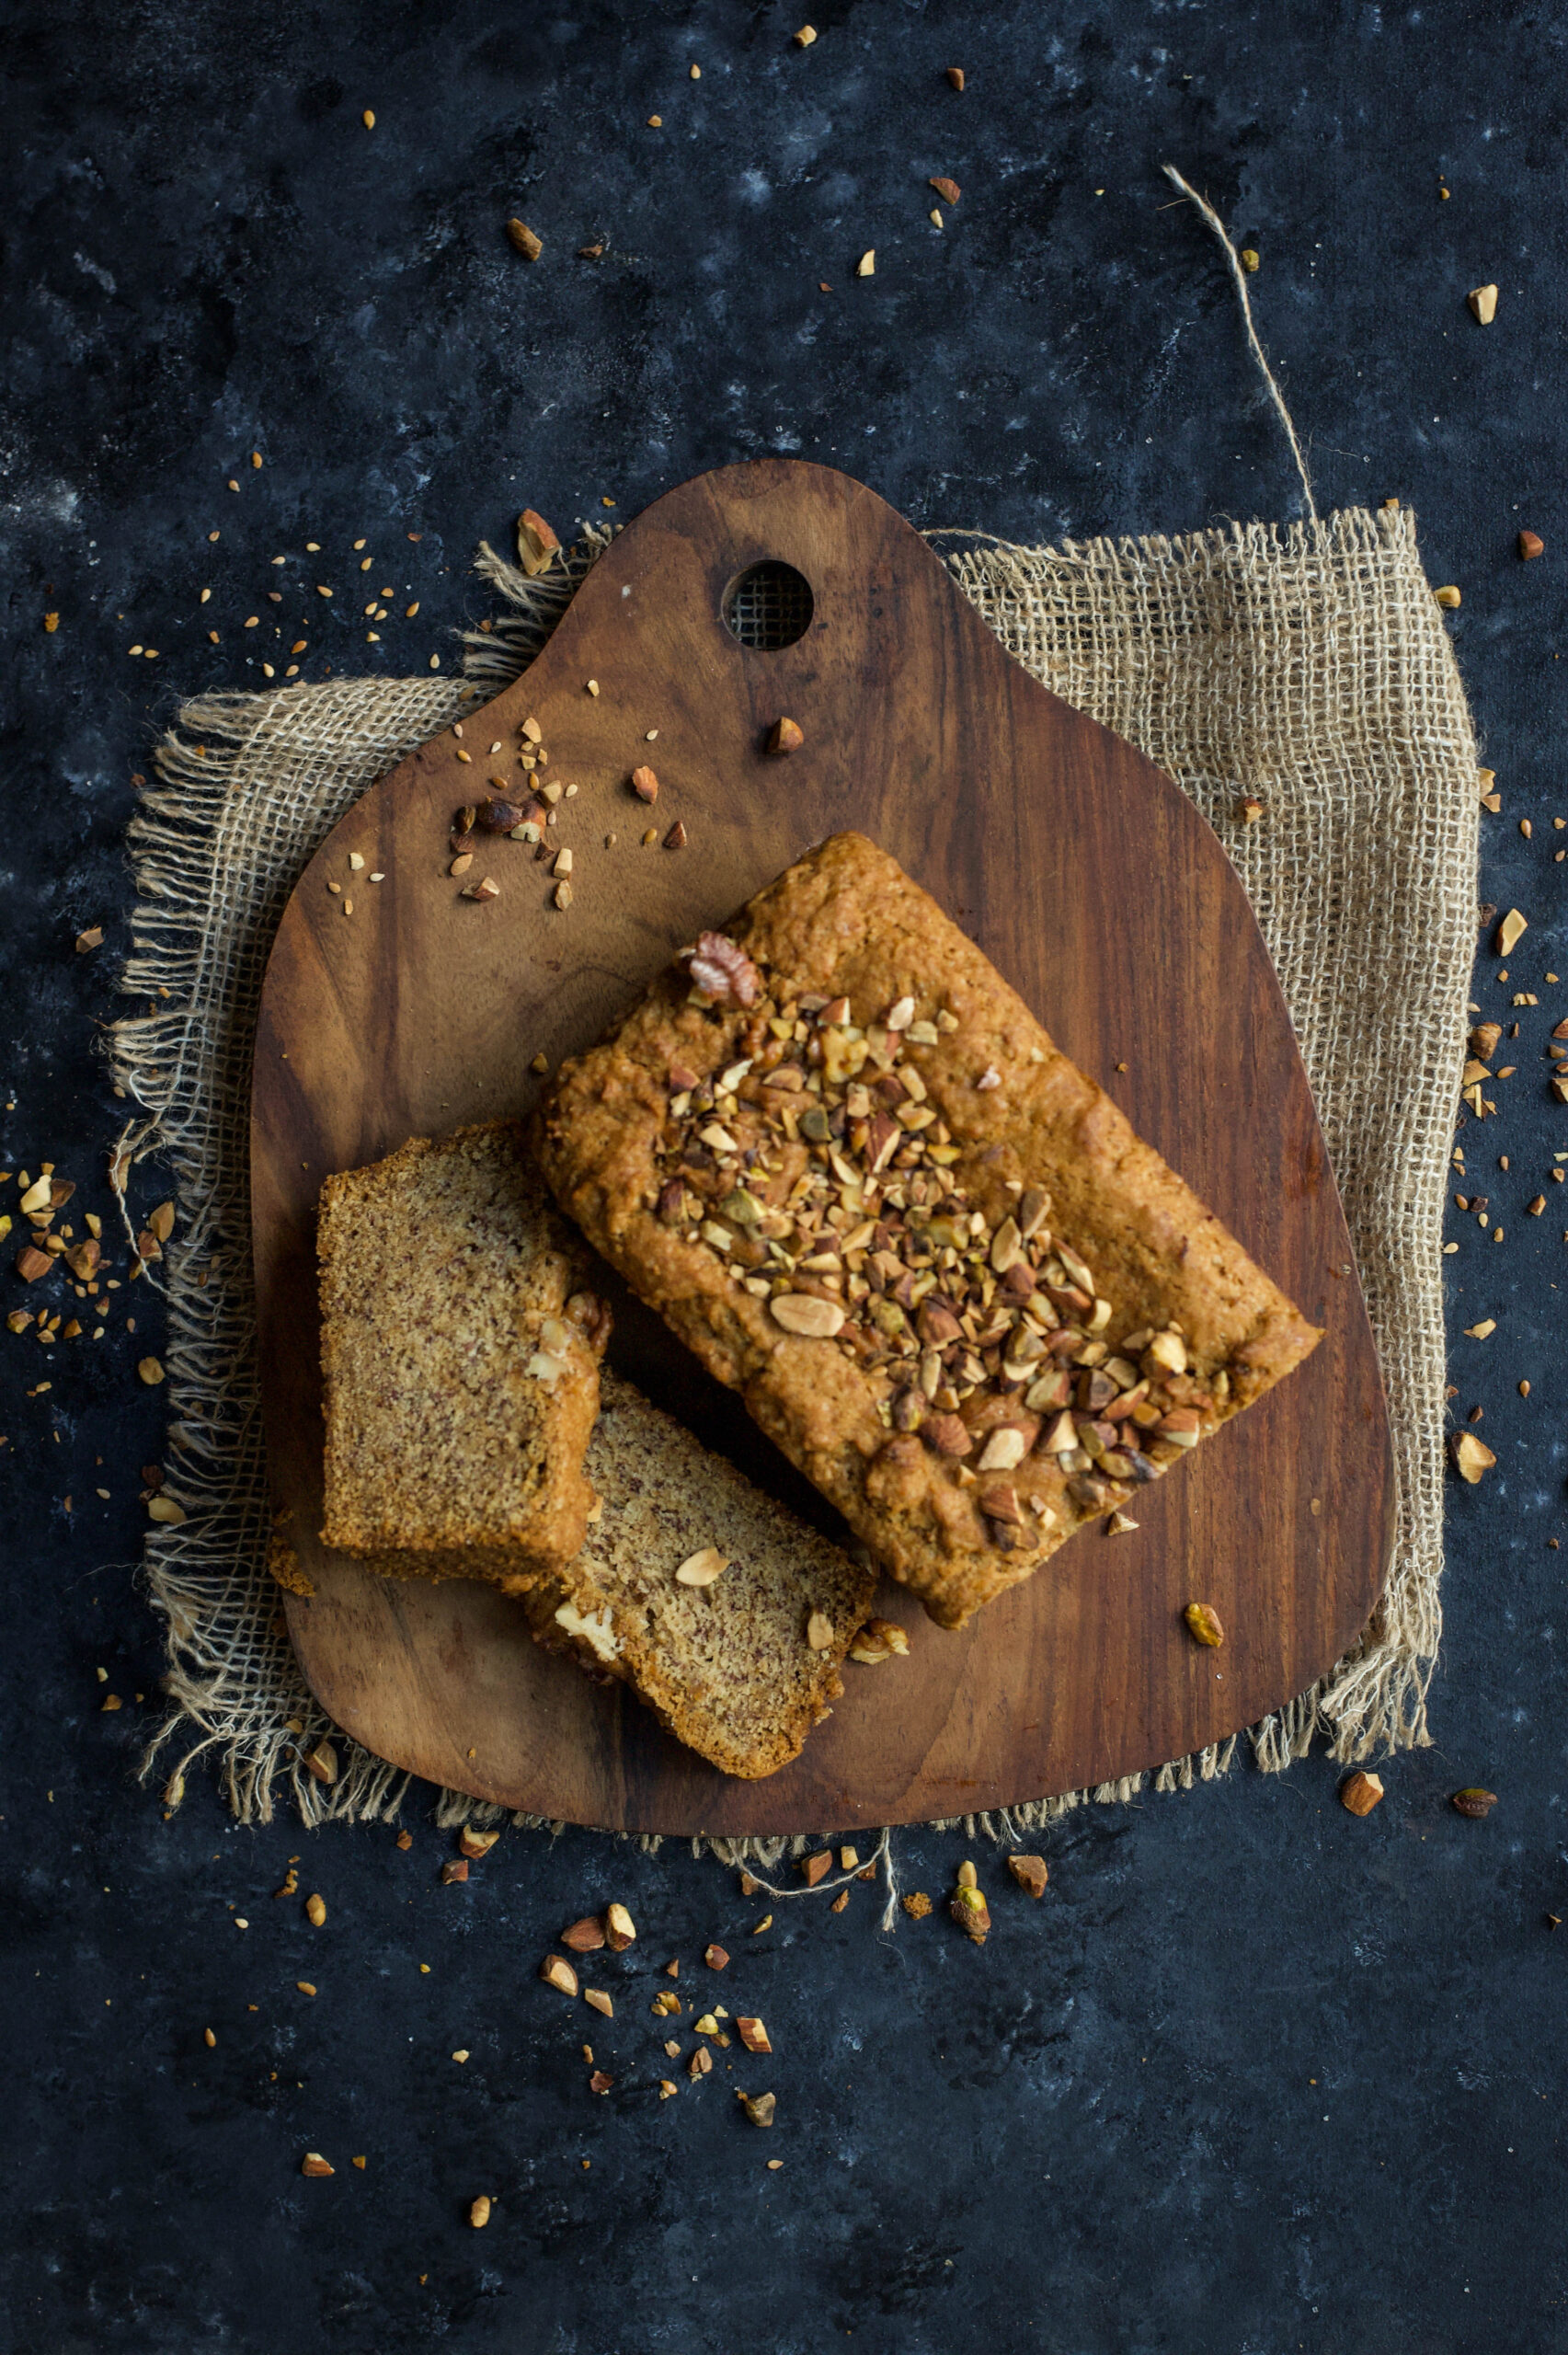
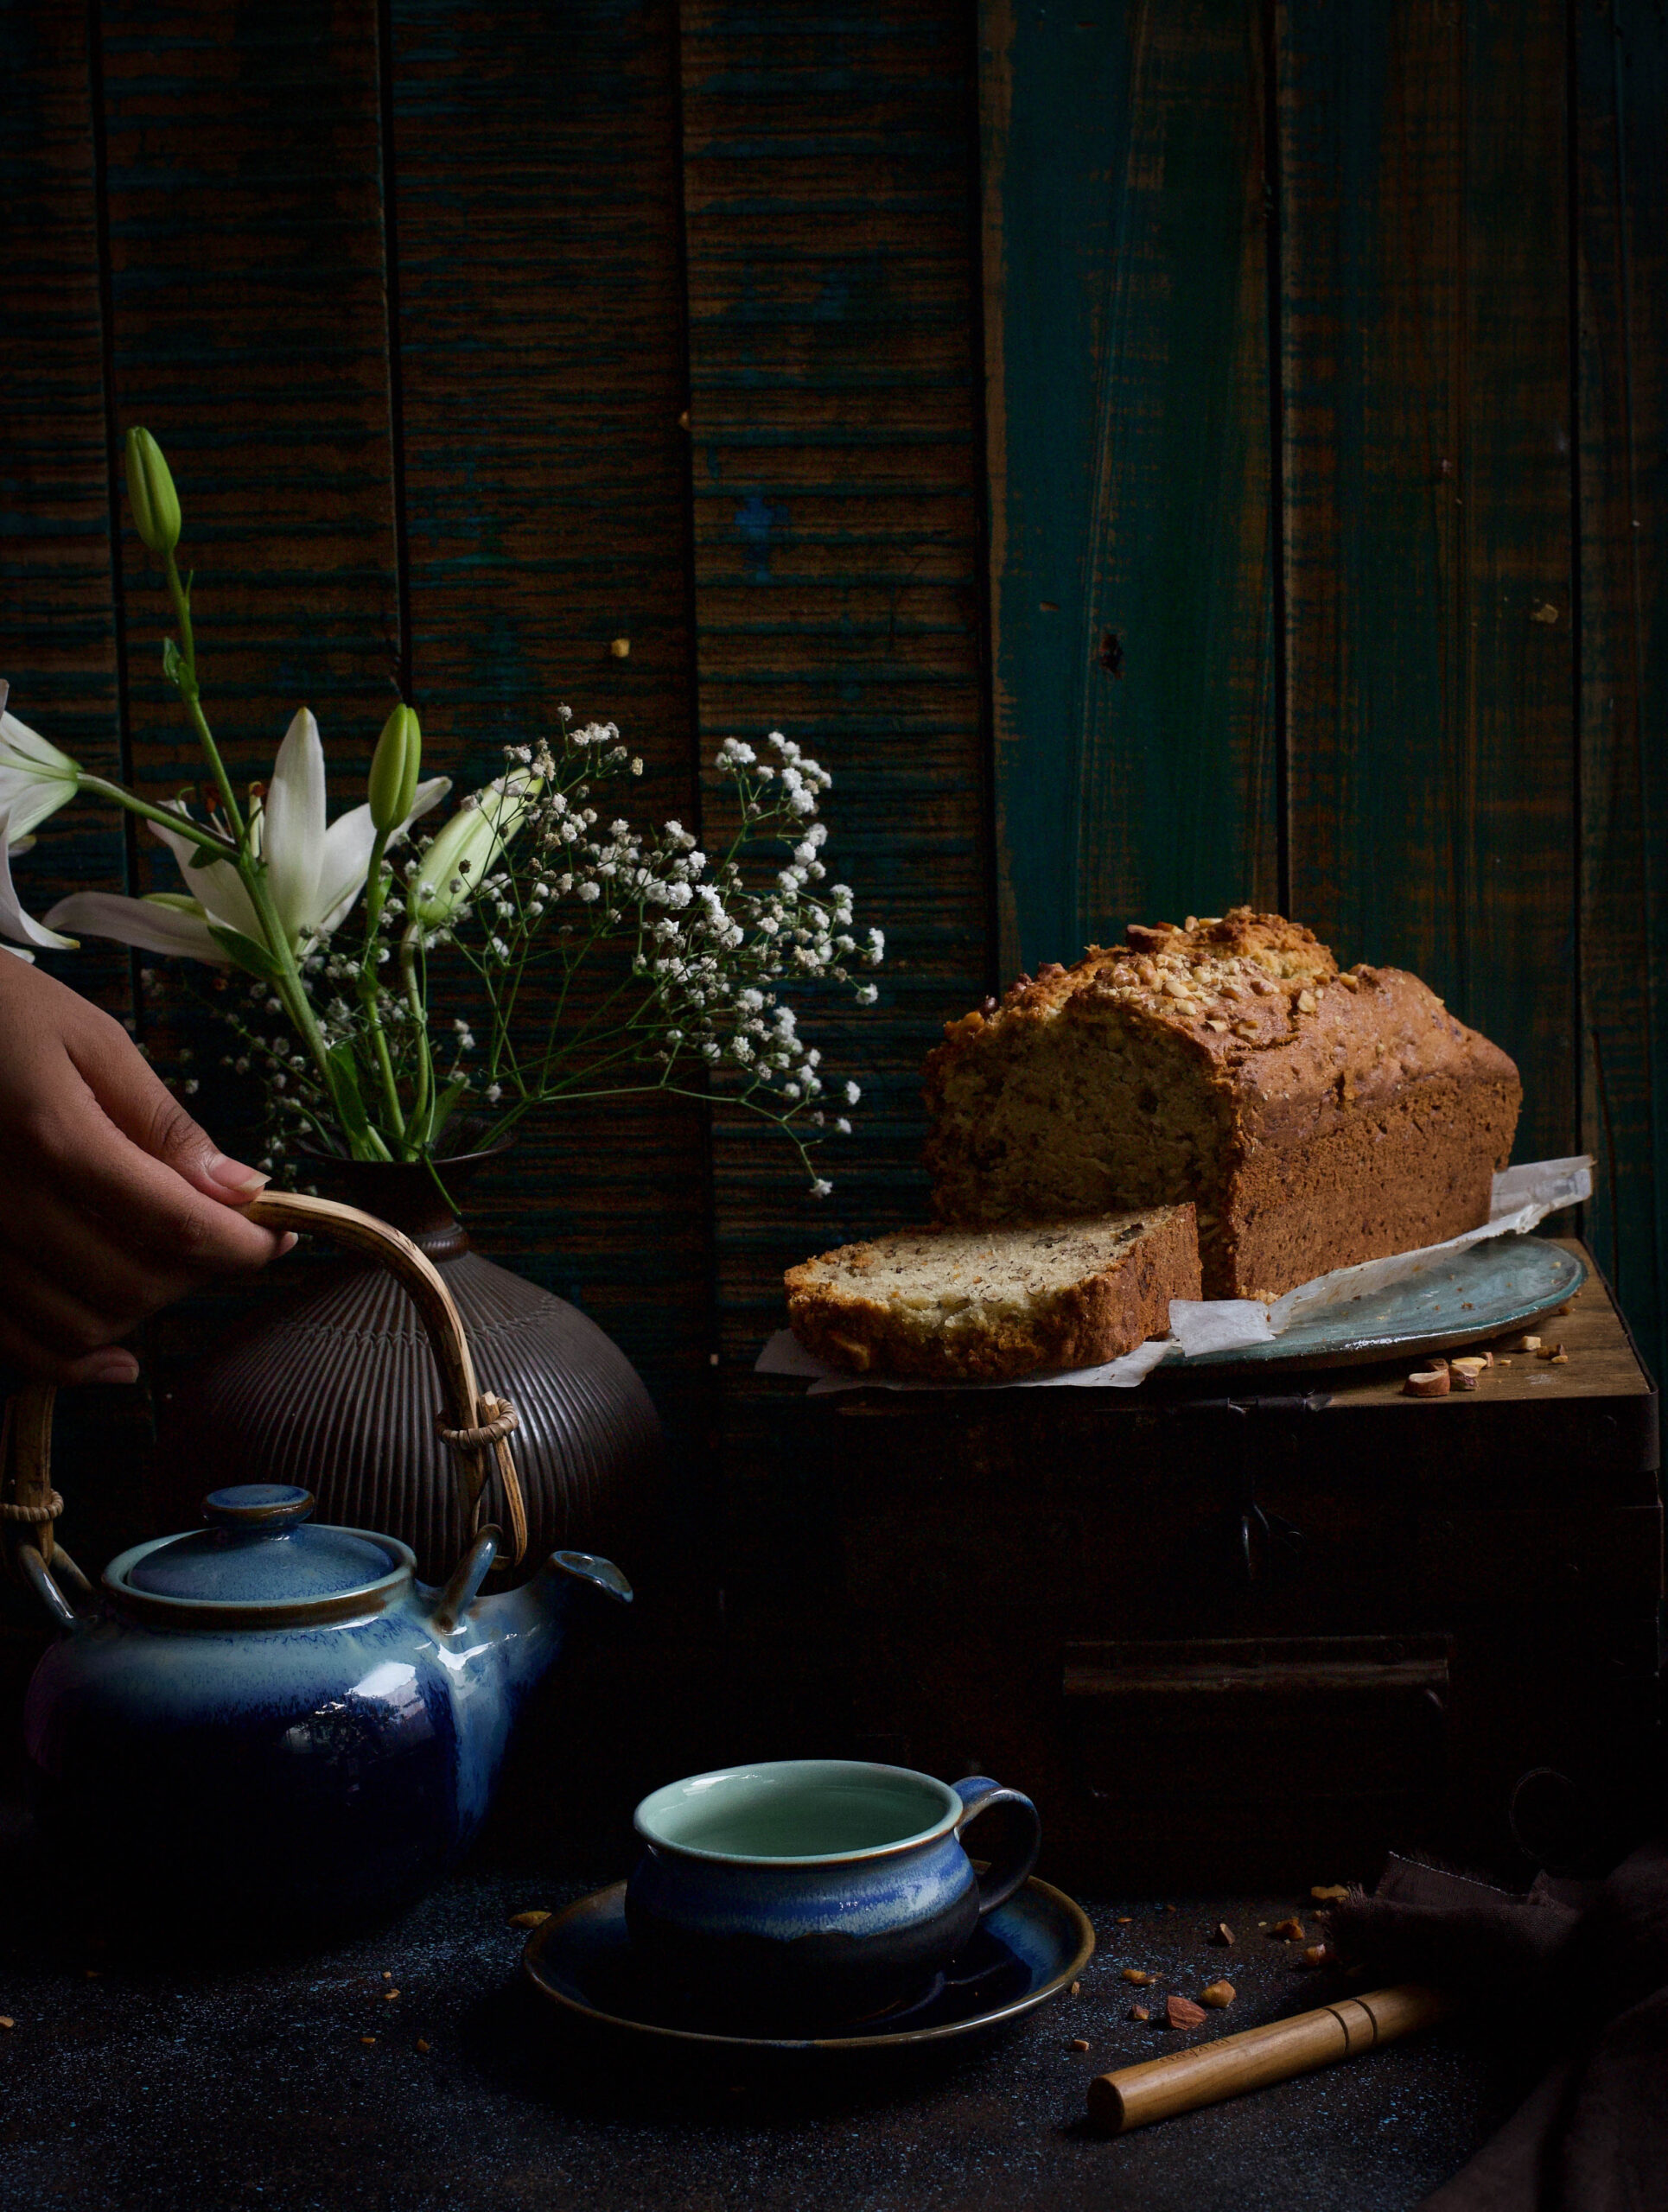
June is my birthday month, which means one word, and a very special one for re:store at that: CAKE! As I mentioned in an earlier post, my mother once attended a baking course at a catering institute in Chennai when my siblings and I were still in school. For an entire month, she’d bring home the most delectable samples. We couldn’t wait to get home and eat them! The smells and memories of that adventurous time when she started making all these new desserts for us are still with me, and a huge part of the inspiration behind re:store. During that course was when my mother had started to maintain a cherished notebook of baking recipes, which was gifted to me eventually. One of those recipes is what I’ve pulled out for you today – banana bread.

Growing up, I was not a great fan of the extremely nutritious banana, so this was a great way to make sure I ate it. Bananas have been proven to dramatically reduce the risk of heart disease, thanks to being packed with potassium. They improve the digestive system and are said to be beneficial for everything from asthma to weight loss. They are carb-rich, so they boost energy quickly. They are also naturally sweet, which means any dessert you put them in requires less sugar.

Lately I’ve been nostalgic about my growing years and it led me to dig out some old photos from back then. Here are two: an old studio portrait of my mother, who as you know inspires most of my work, and a shot of me from my teenage years by my dear friend Rags Raghavan, who has taught me a great deal about using the camera. Looking at the portrait of my mother, I feel grateful for how re:store has grown from my imagination into what it is today. My mother was in her 20s when it was taken and was about to be married. She went on to become my first, most important culinary mentor, and still is to this day. I remember days spent after school helping with chores in the kitchen; back then I didn’t realize the values I imbibed would be such an important part of me and my journey with re:store. Many of my cooking methods are identical to those of my mother’s kitchen. Grow your herbs yourself, never waste a morsel, always feed and care for staff, and a bunch of other values and tips. Even today, I pester my mother for traditional Gujarati recipes on my weekly visits, and she happily obliges.

Nowadays, I take so many photos digitally, carefully styling and selecting the best ones. Back then, we had manual cameras, with film rolls that had to be brought from abroad. You couldn’t edit those pictures, and you could not take so many either. My first film camera was a gift from my father-in-law, and my kids and family were my first subjects. I still have a soft spot for the old photography methods. They feel authentic to me in a way that I still try to replicate somehow in my modern shoots.

More than being commercially successful, what matters to me is that I am passionate about what I do. I enjoy styling my shoots so much. I am proud to say I work with pleasure!

Food and photography are two sides of re:store, and two big parts of my heart. So without further ado, here’s my birthday gift to you…


Birthday Banana Bread

(Yield: 1 loaf)

Ingredients

150 grams unsalted butter

200 grams sugar

3 eggs

110 ml buttermilk

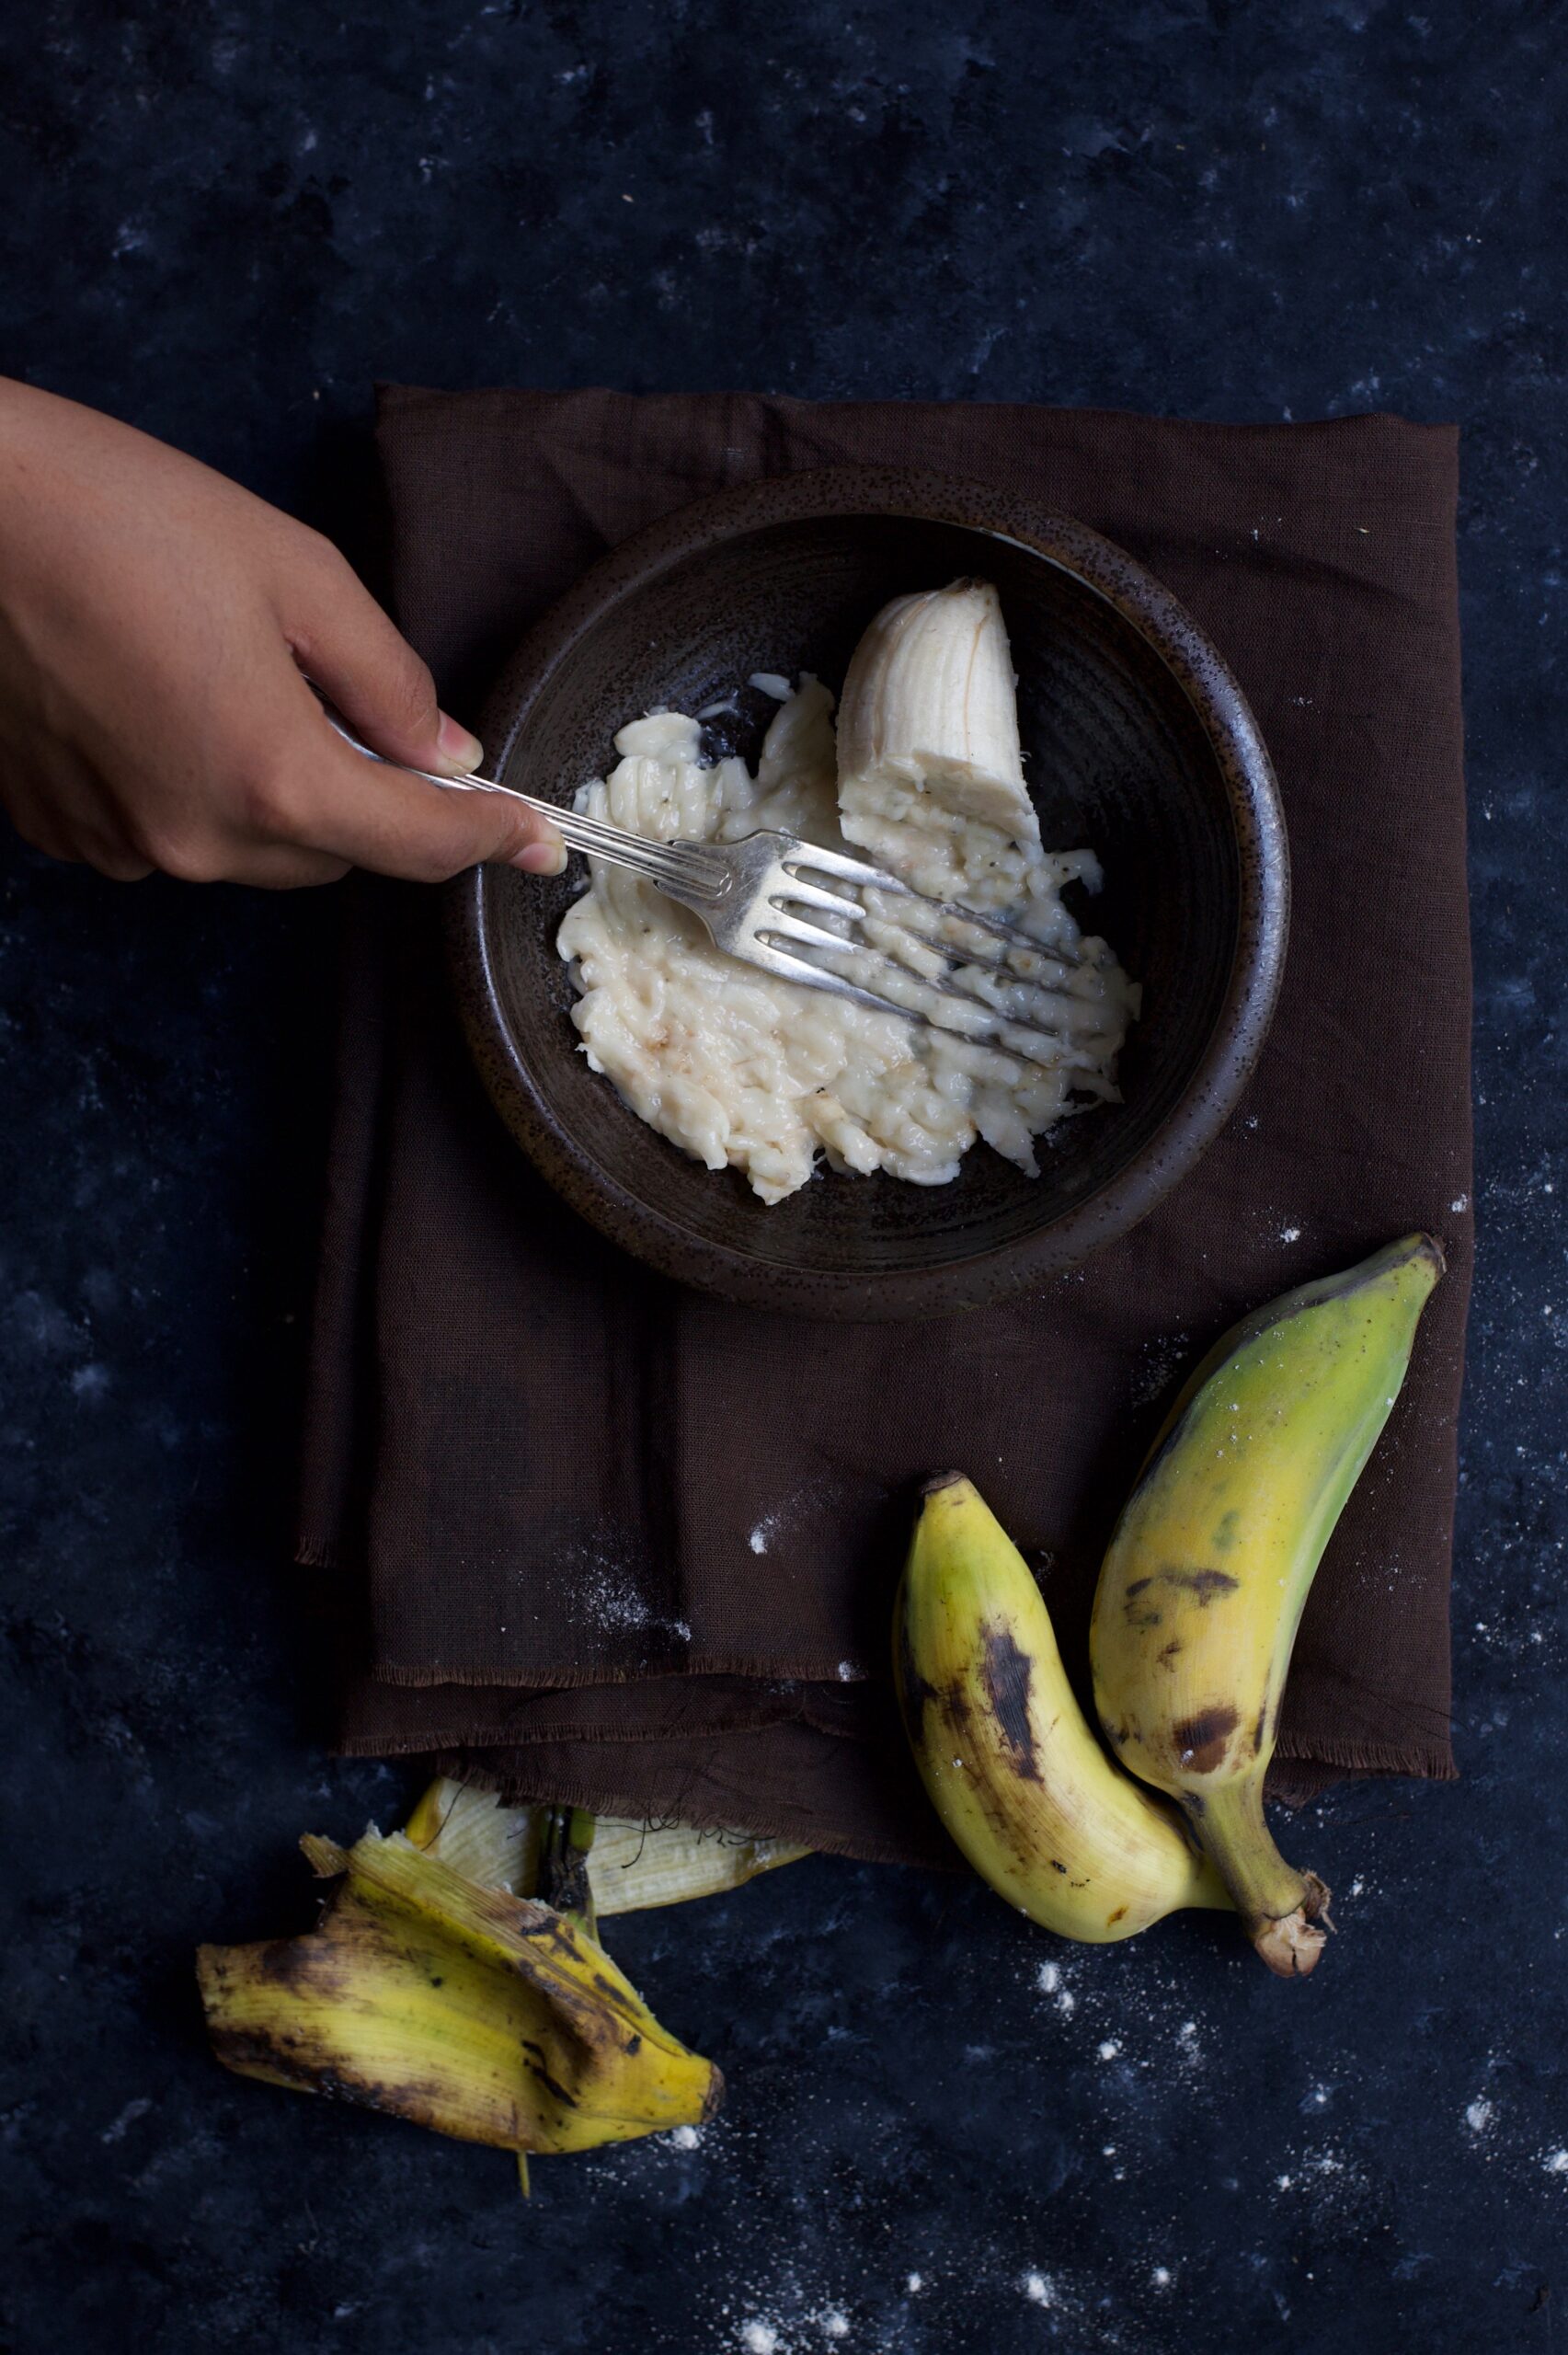
3 bananas

1 teaspoon baking soda

½ teaspoon salt

¼ teaspoon cinnamon

350 grams flour

100 grams walnuts


Prepare a 10′ loaf tin, by buttering and dusting with flour.

Beat the butter and sugar until light and creamy. Add the eggs one at a time, beating well after every addition. Once the eggs have been blended well, add the bananas and buttermilk.

Sift the flour, baking soda, cinnamon and salt. Fold into the batter. Now add half the broken walnuts as well.

Using a spatula, blend the batter well once more, then spoon it all into the loaf tin.

Take the remaining finely chopped walnuts and sprinkle on top to decorate.

Bake for 45 minutes to an hour, until a skewer comes out clean when inserted.

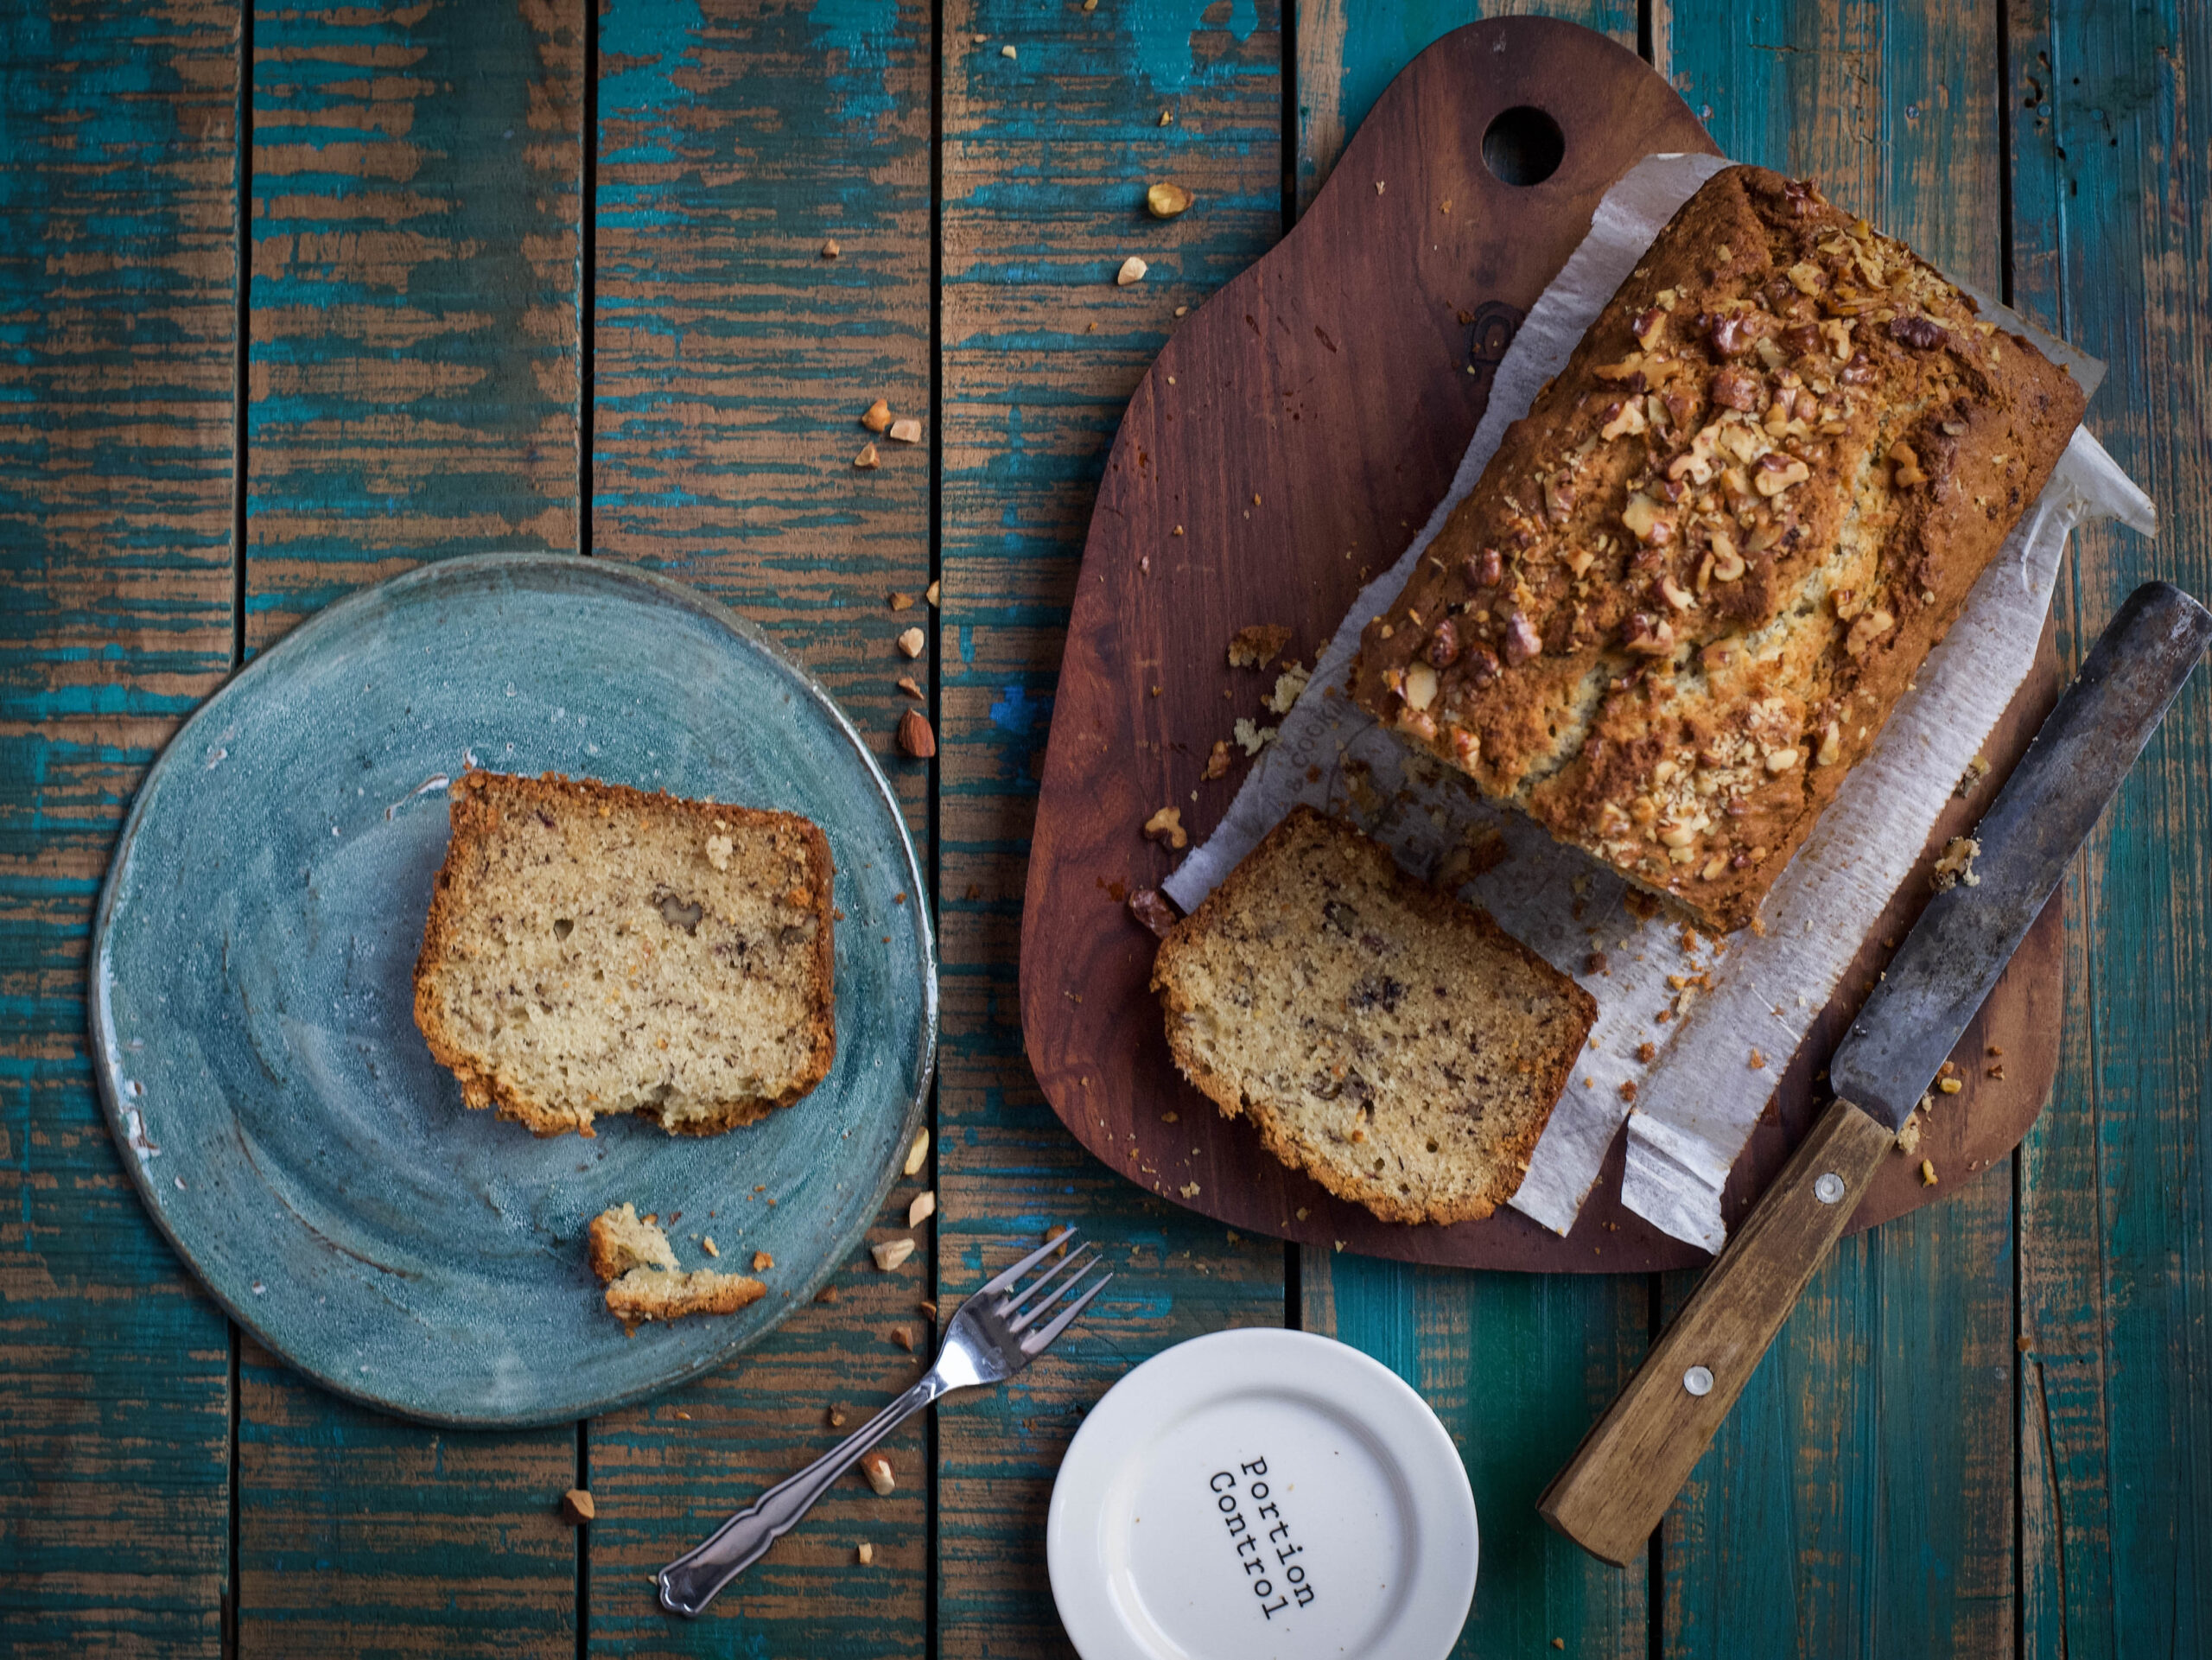
Allow to cool and remove from tin. Slice and serve with a hot beverage of your preference.

I’ve chosen to share this banana bread recipe with you because while it’s a cake, it’s also one of the healthier desserts you can have. If, like me, you have an eye on your fitness, you certainly won’t feel like you’ve cheated on your diet plan. If you’re a fan of banana and looking for something slightly more decadent, try the deep-fried deliciousness of my banana-methi fritters!

I always think of the recipes on this blog as a gift for those who live far away from my kitchen – if you can’t treat yourself to one of my homemade cakes, you can at least try to make it yourself!

The Indian palate loves a good pickle, and Gujarati pickles are especially famous! Made from an endless assortment of vegetables and fruits, pickles became a vital element of the Gujarati thaali probably because they can be kept for long periods without fuss. For travelling communities like Gujaratis, this would have been a reliable way to enhance the flavour of any meal, anywhere.

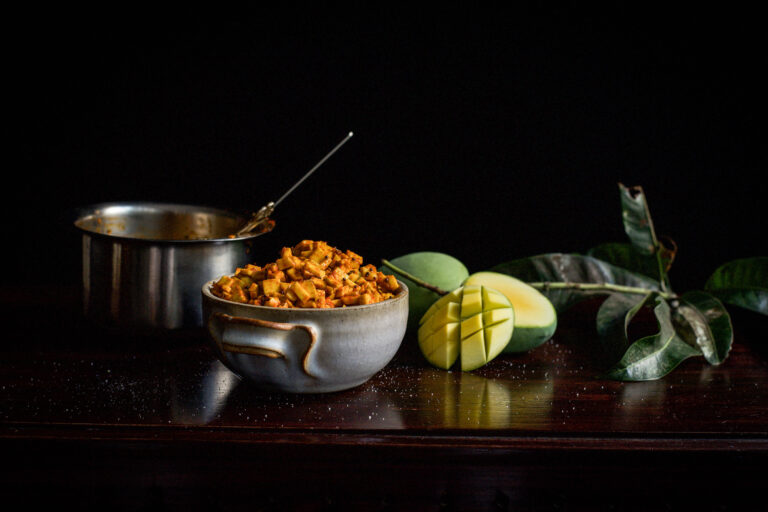
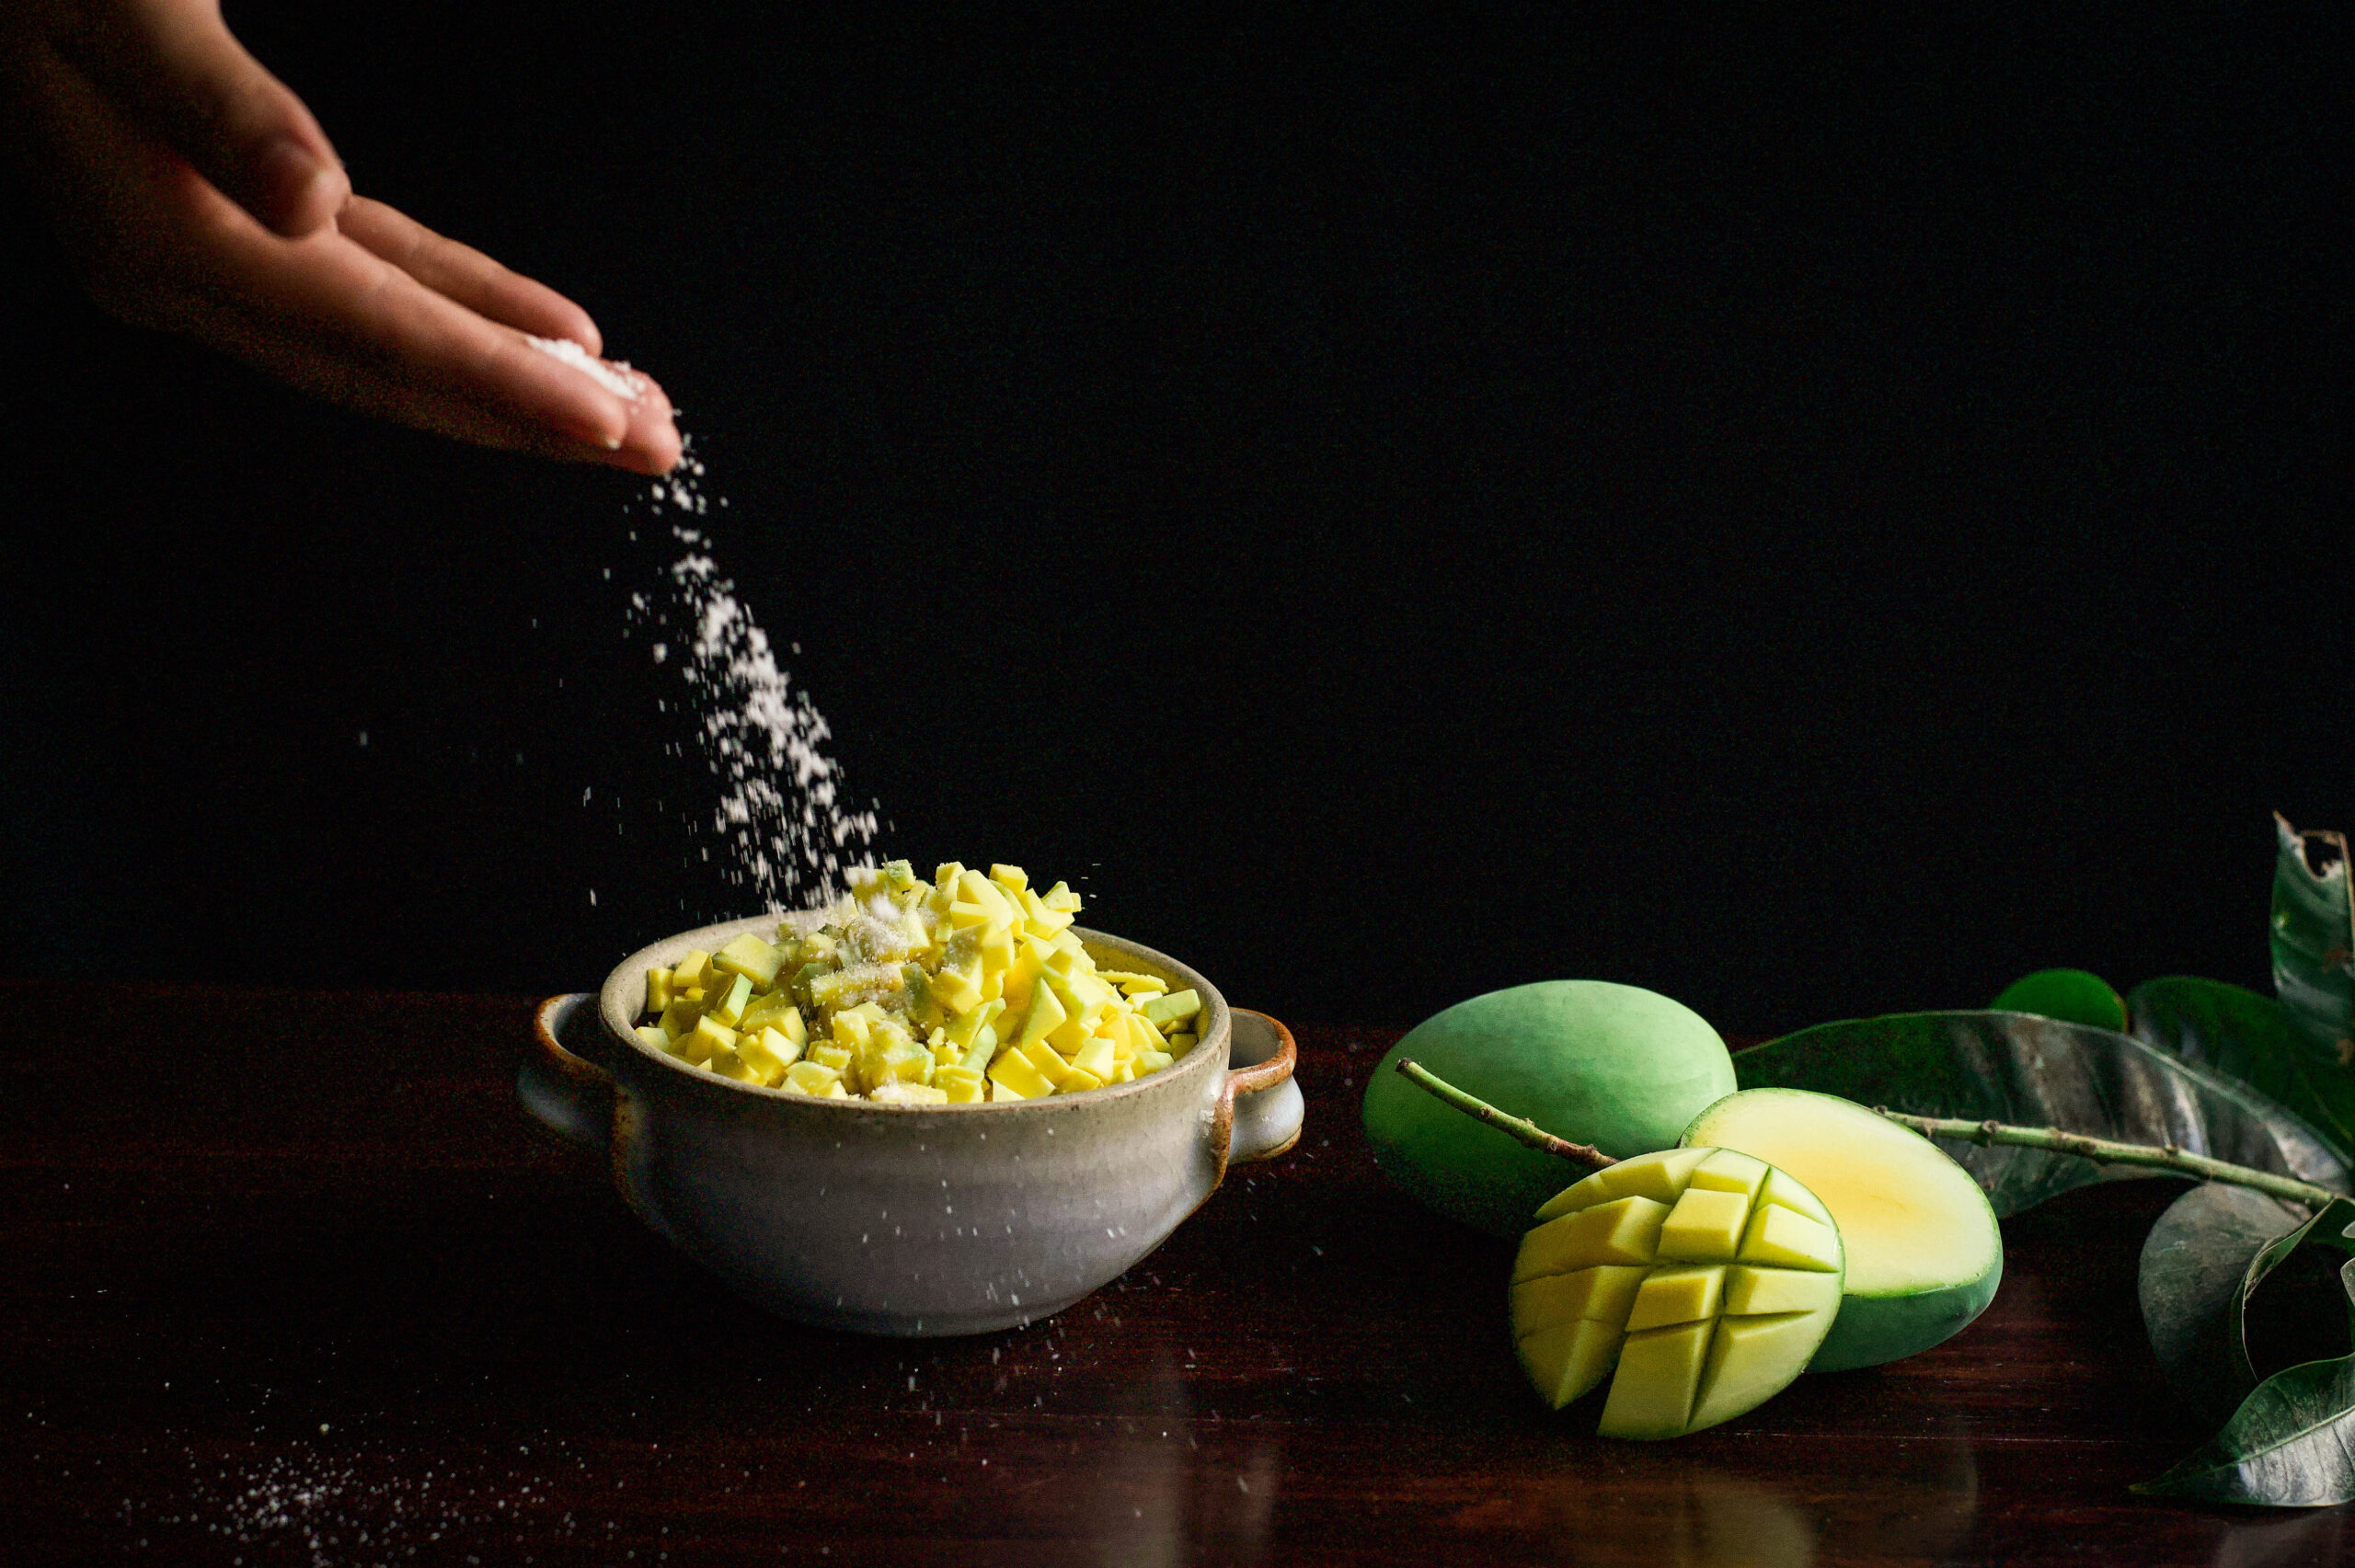
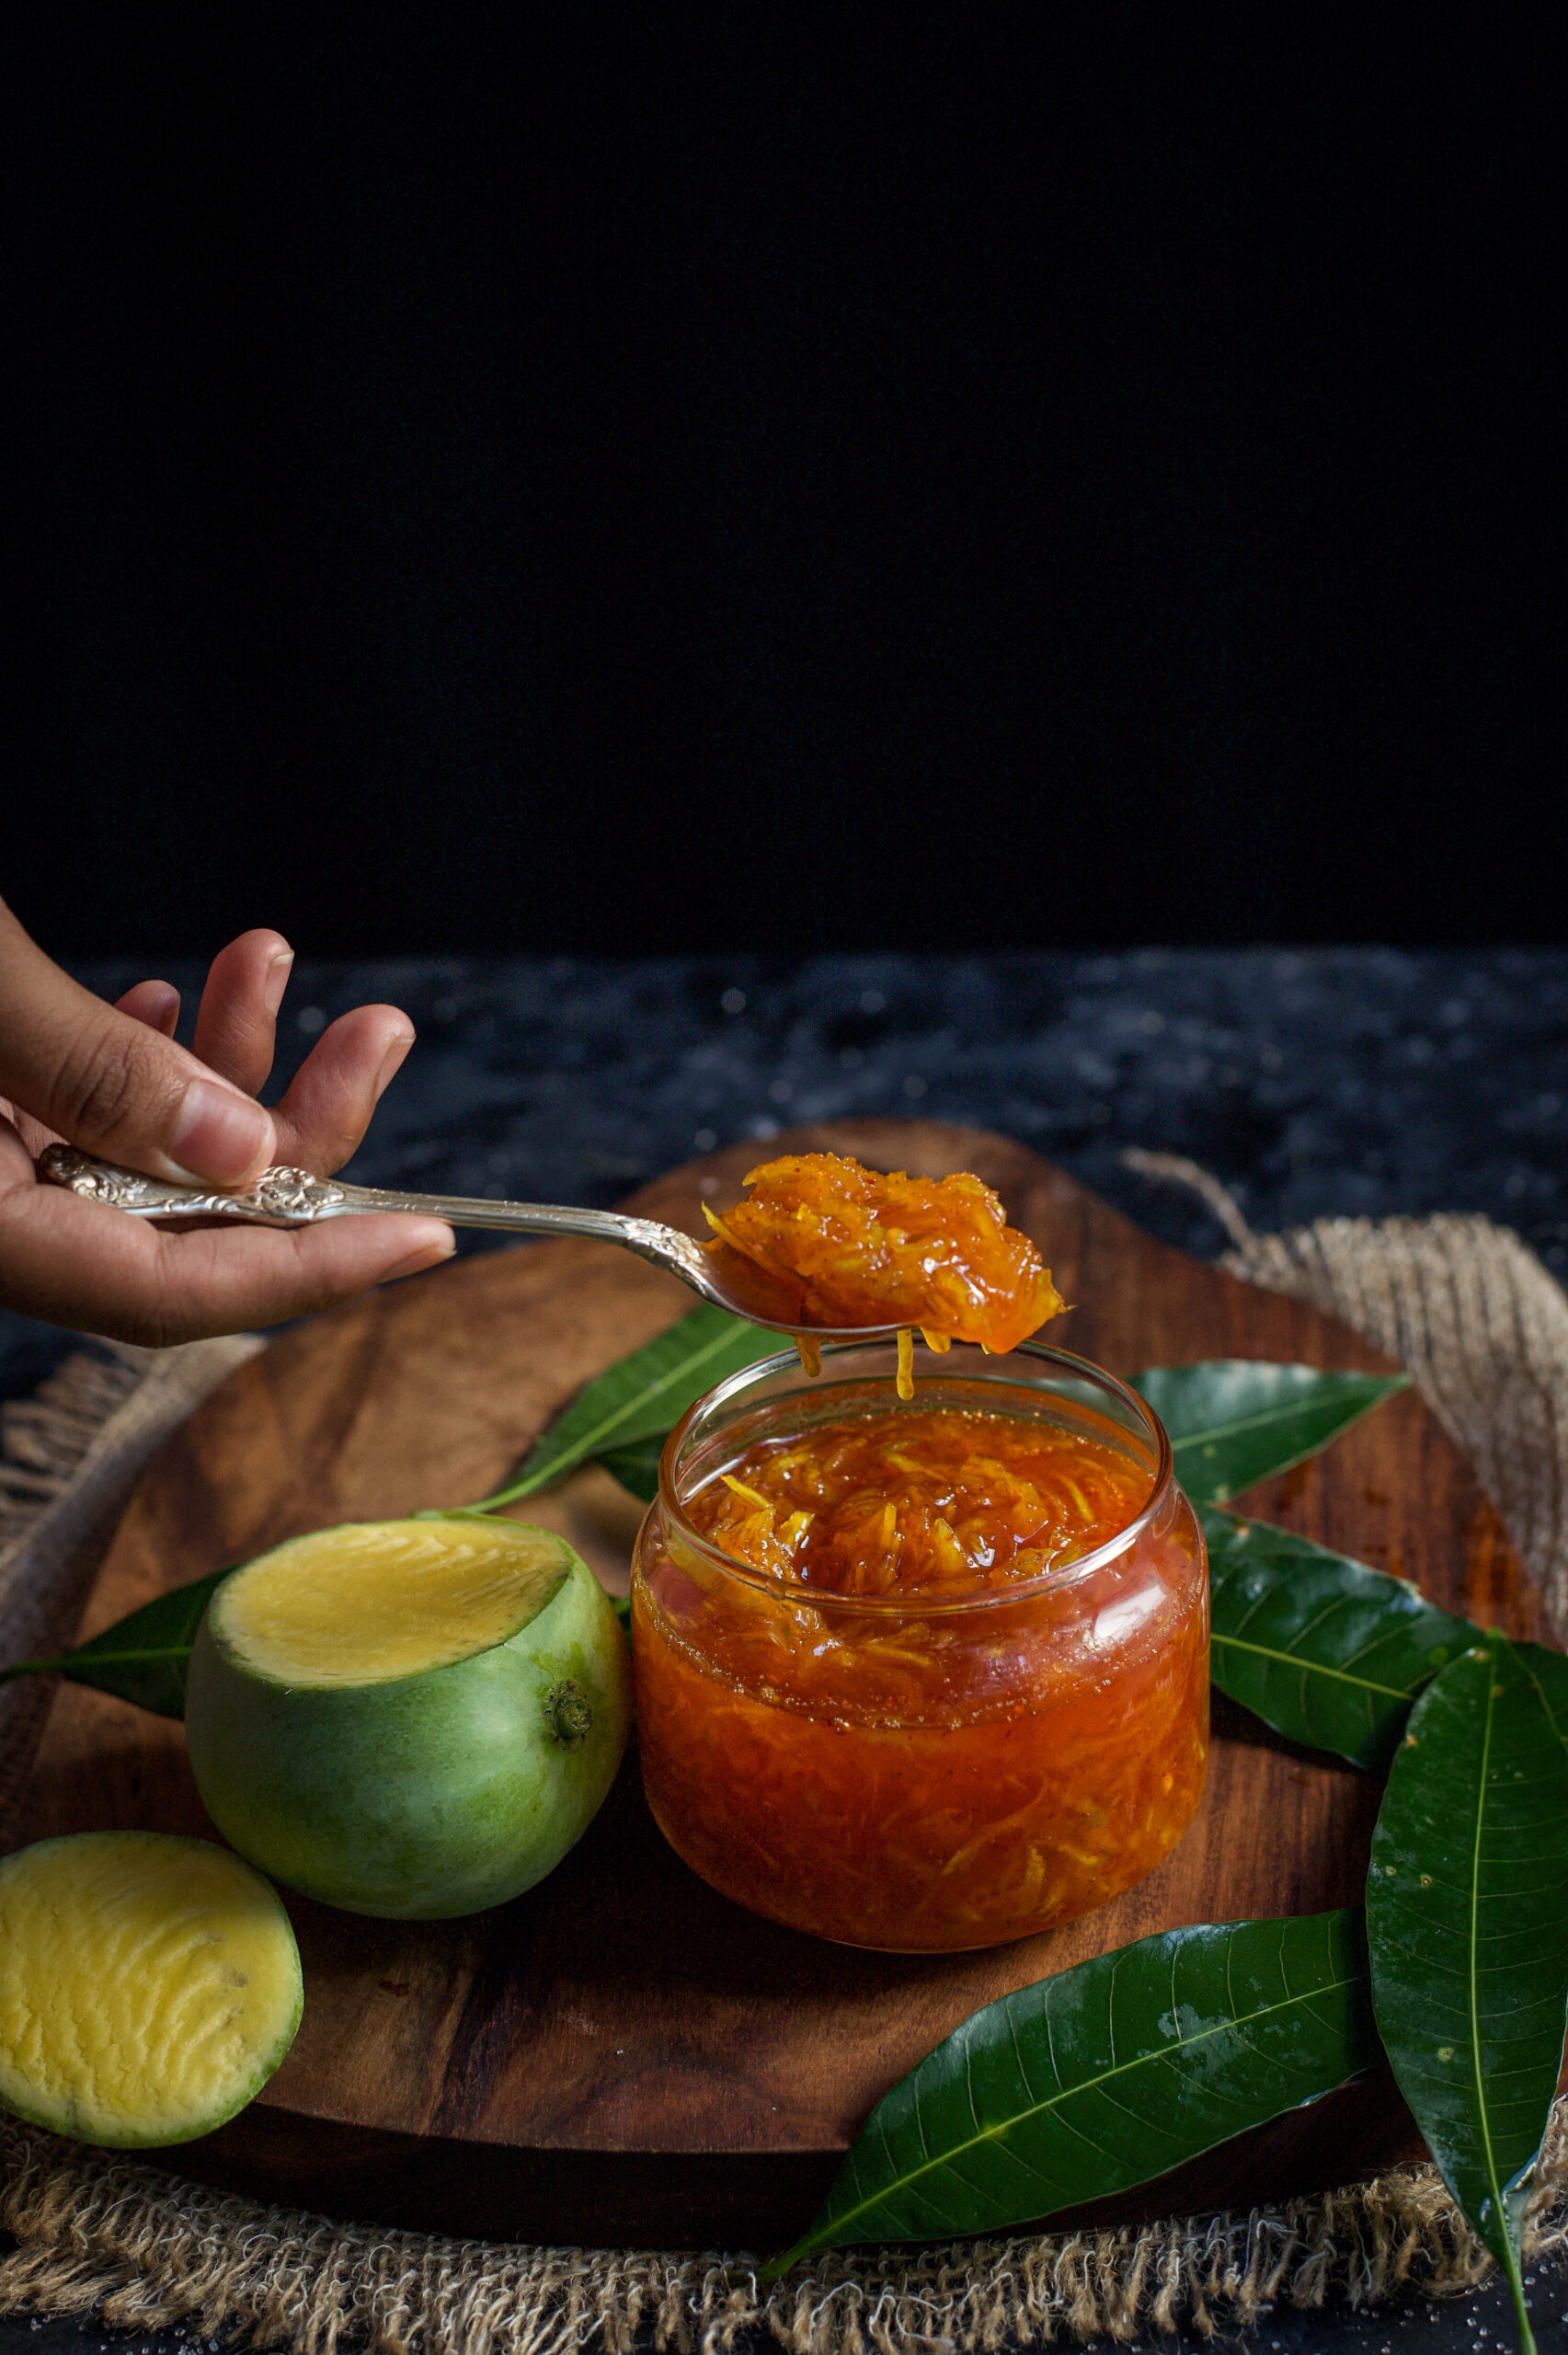
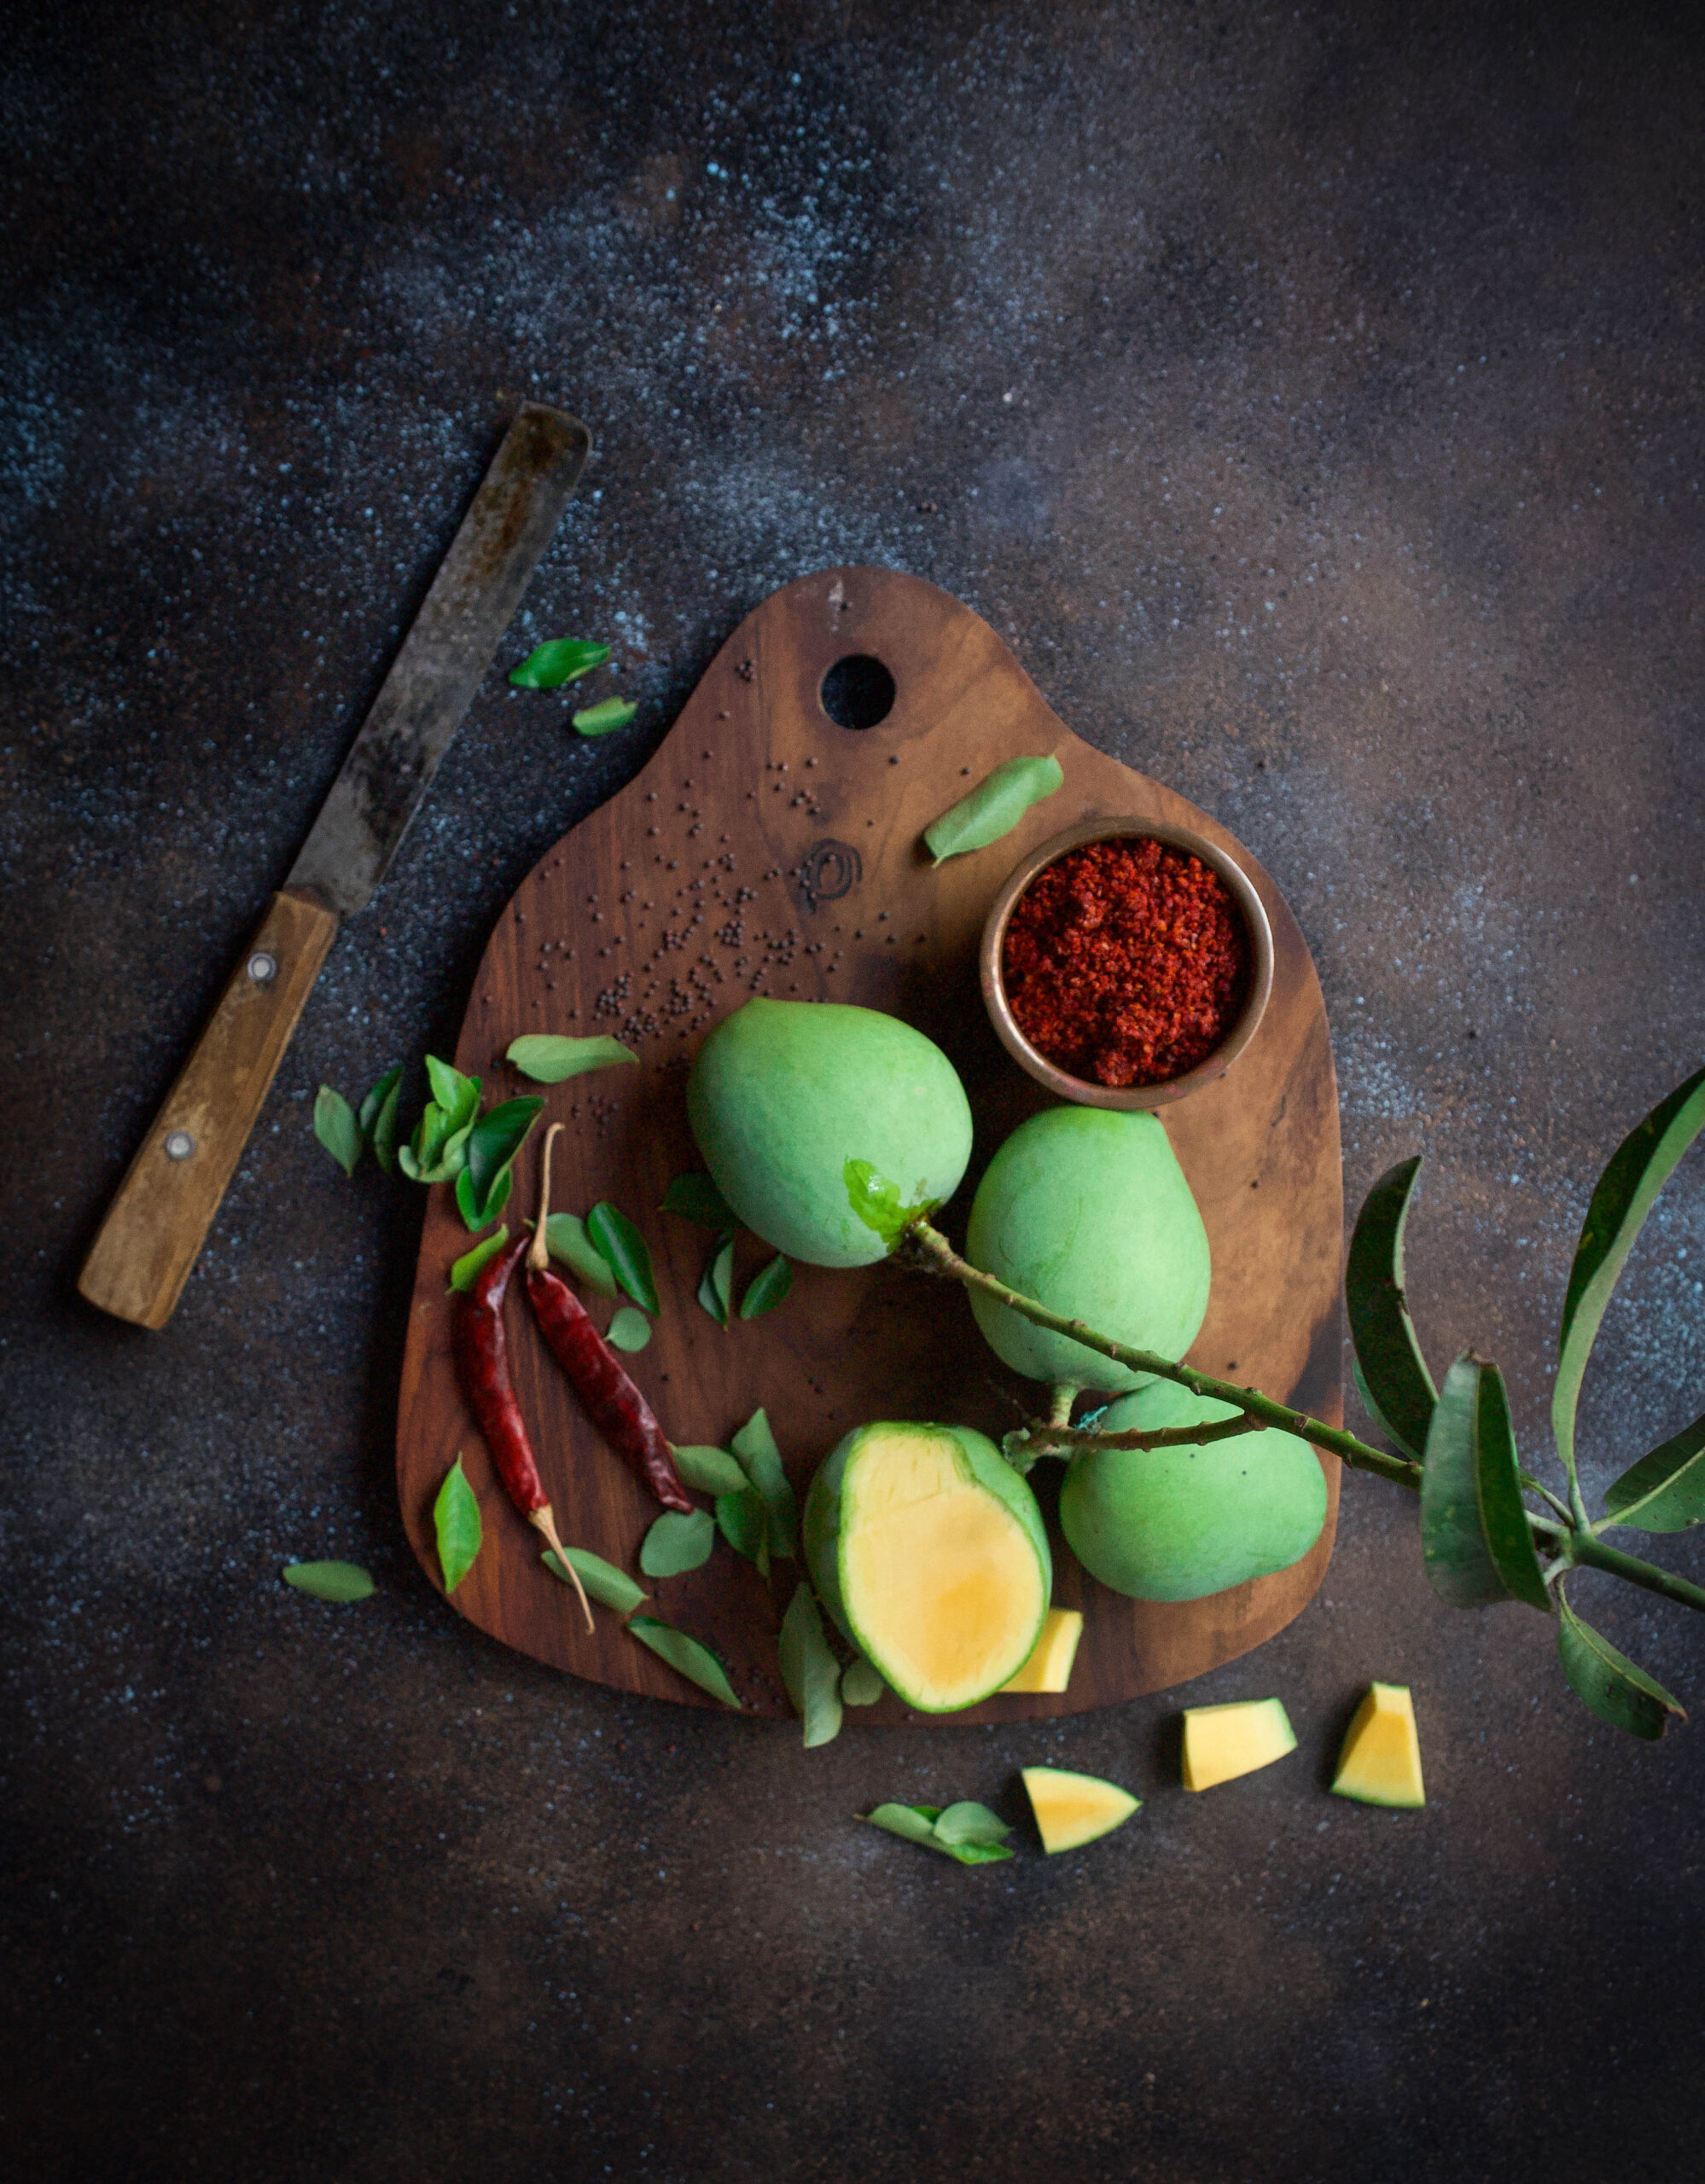
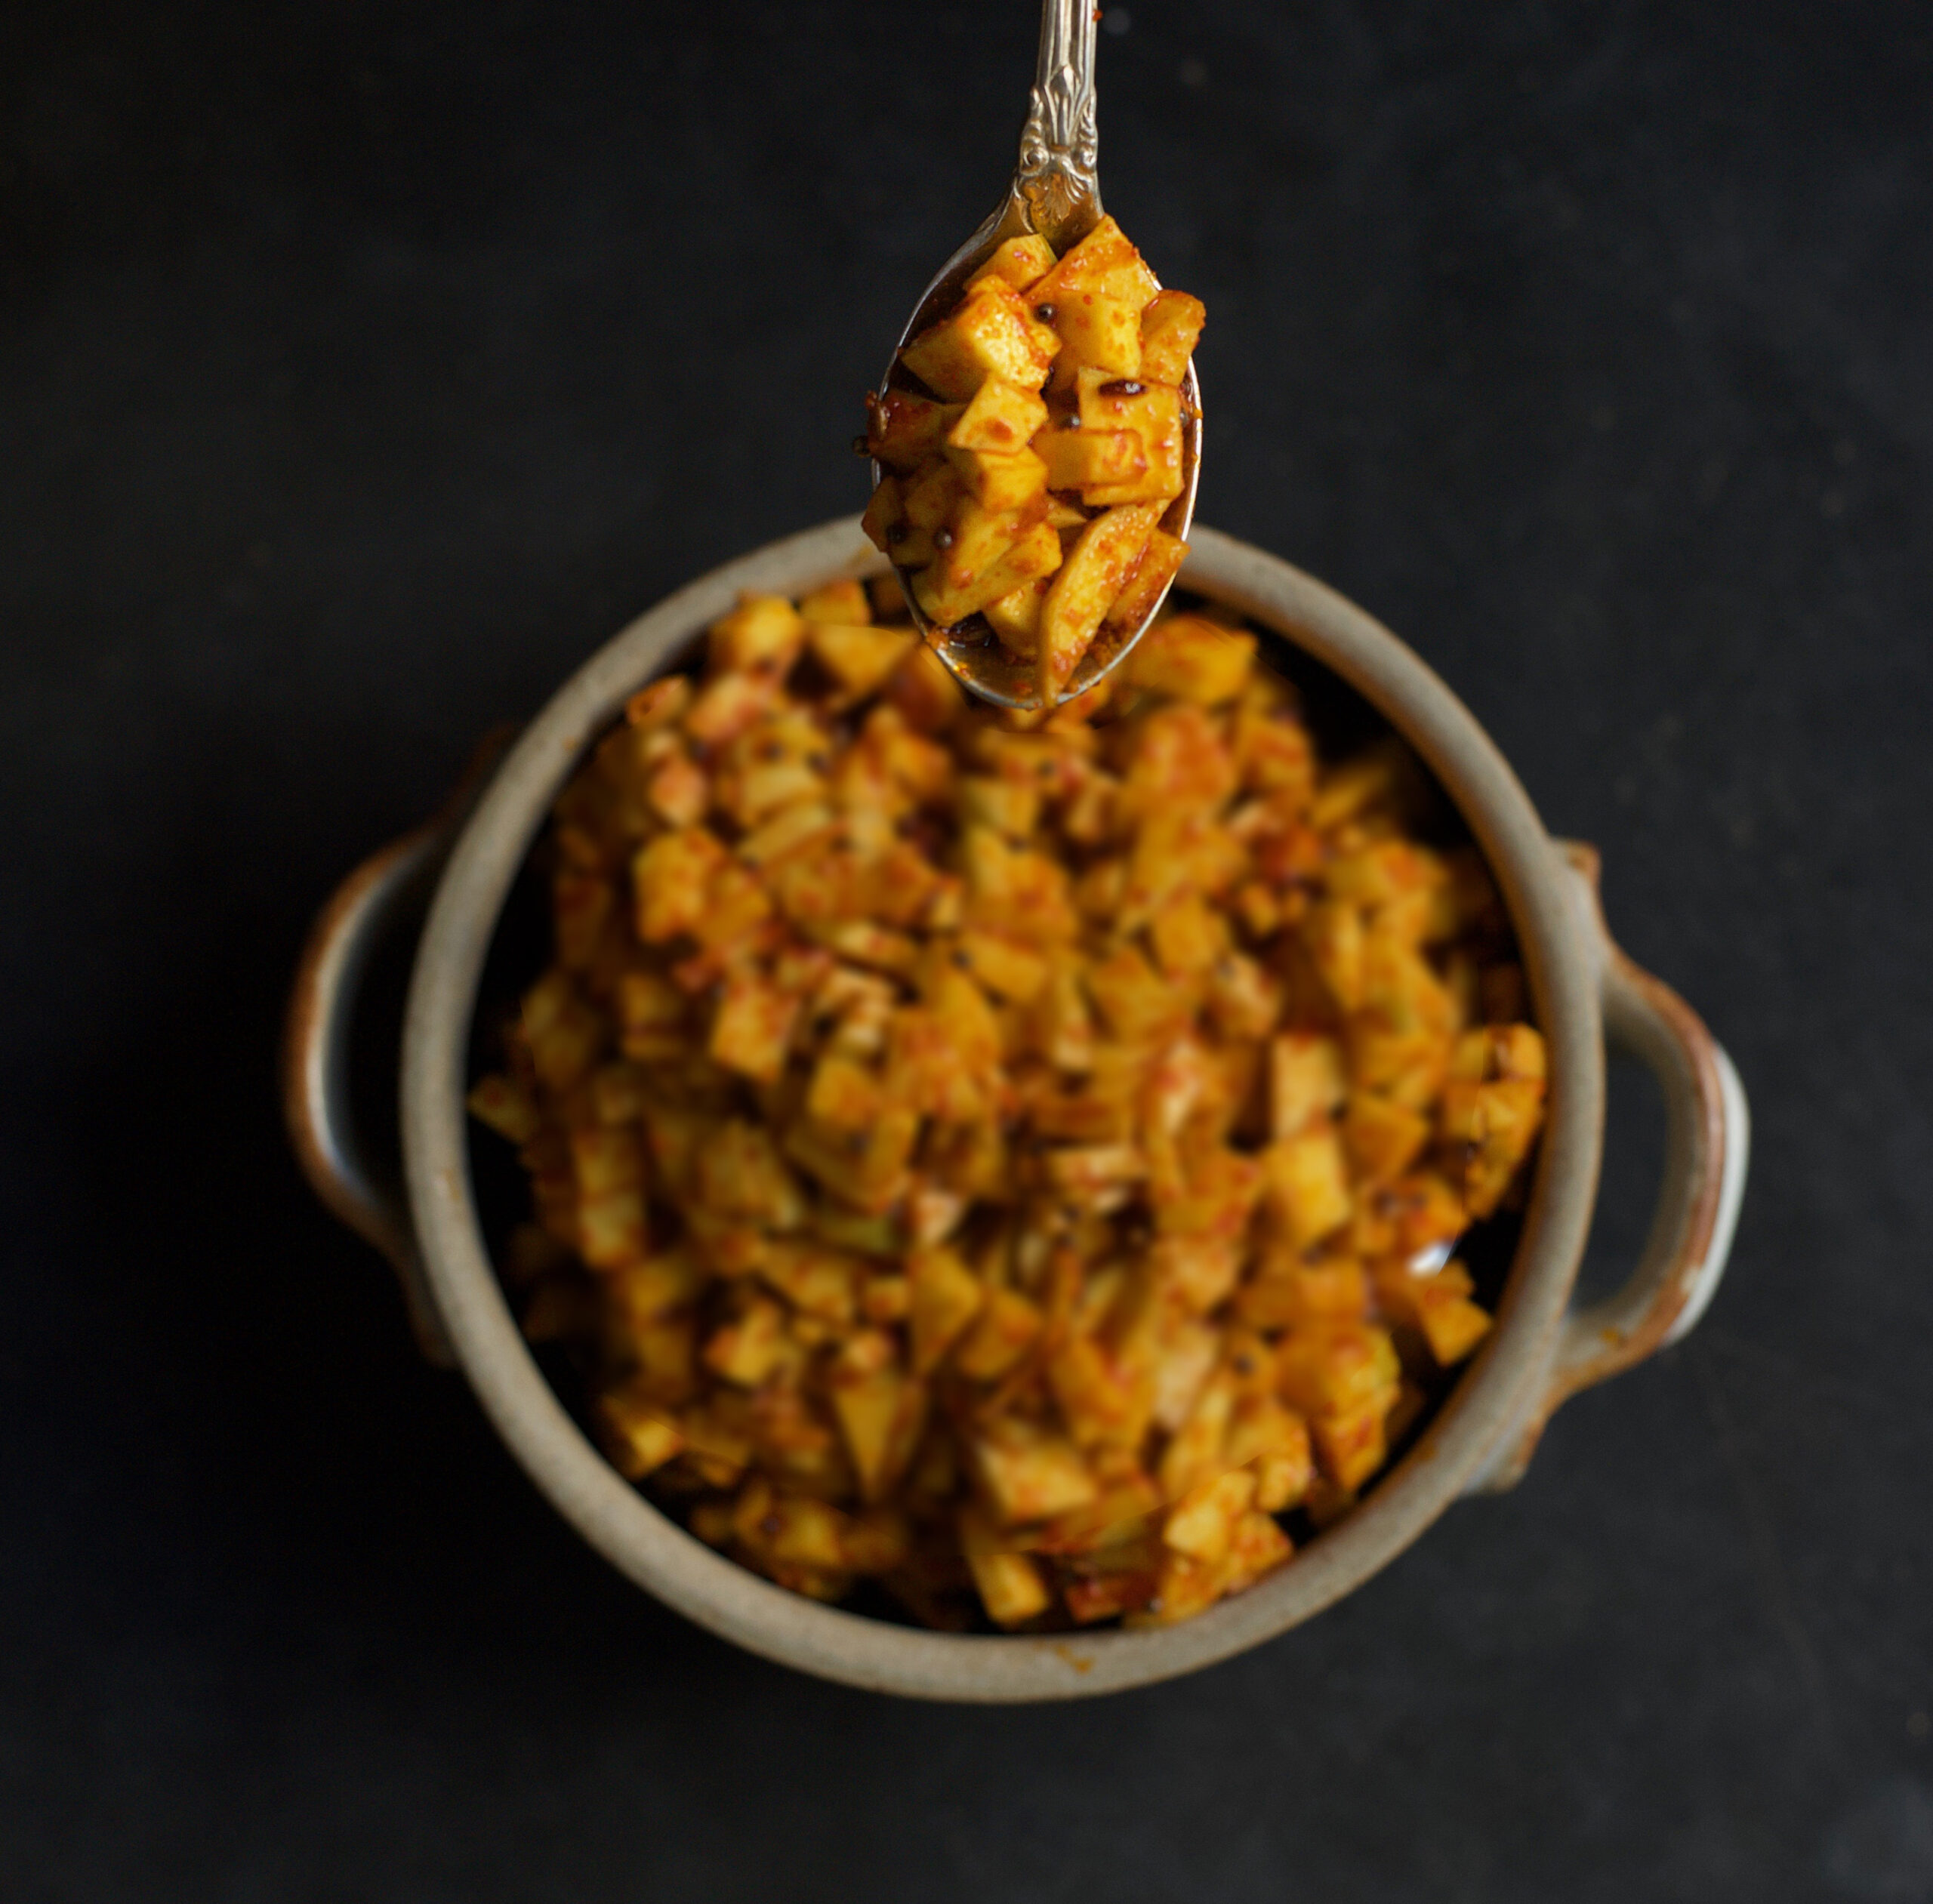
Pickles are made based on seasonal availability, so there are no prizes for guessing that once again, it is mangoes  that feature in the recipes I’m sharing today. There are many varieties of mango pickles, depending on the region – today I share my takes on a spicy one, and a sweet one named chhundo.

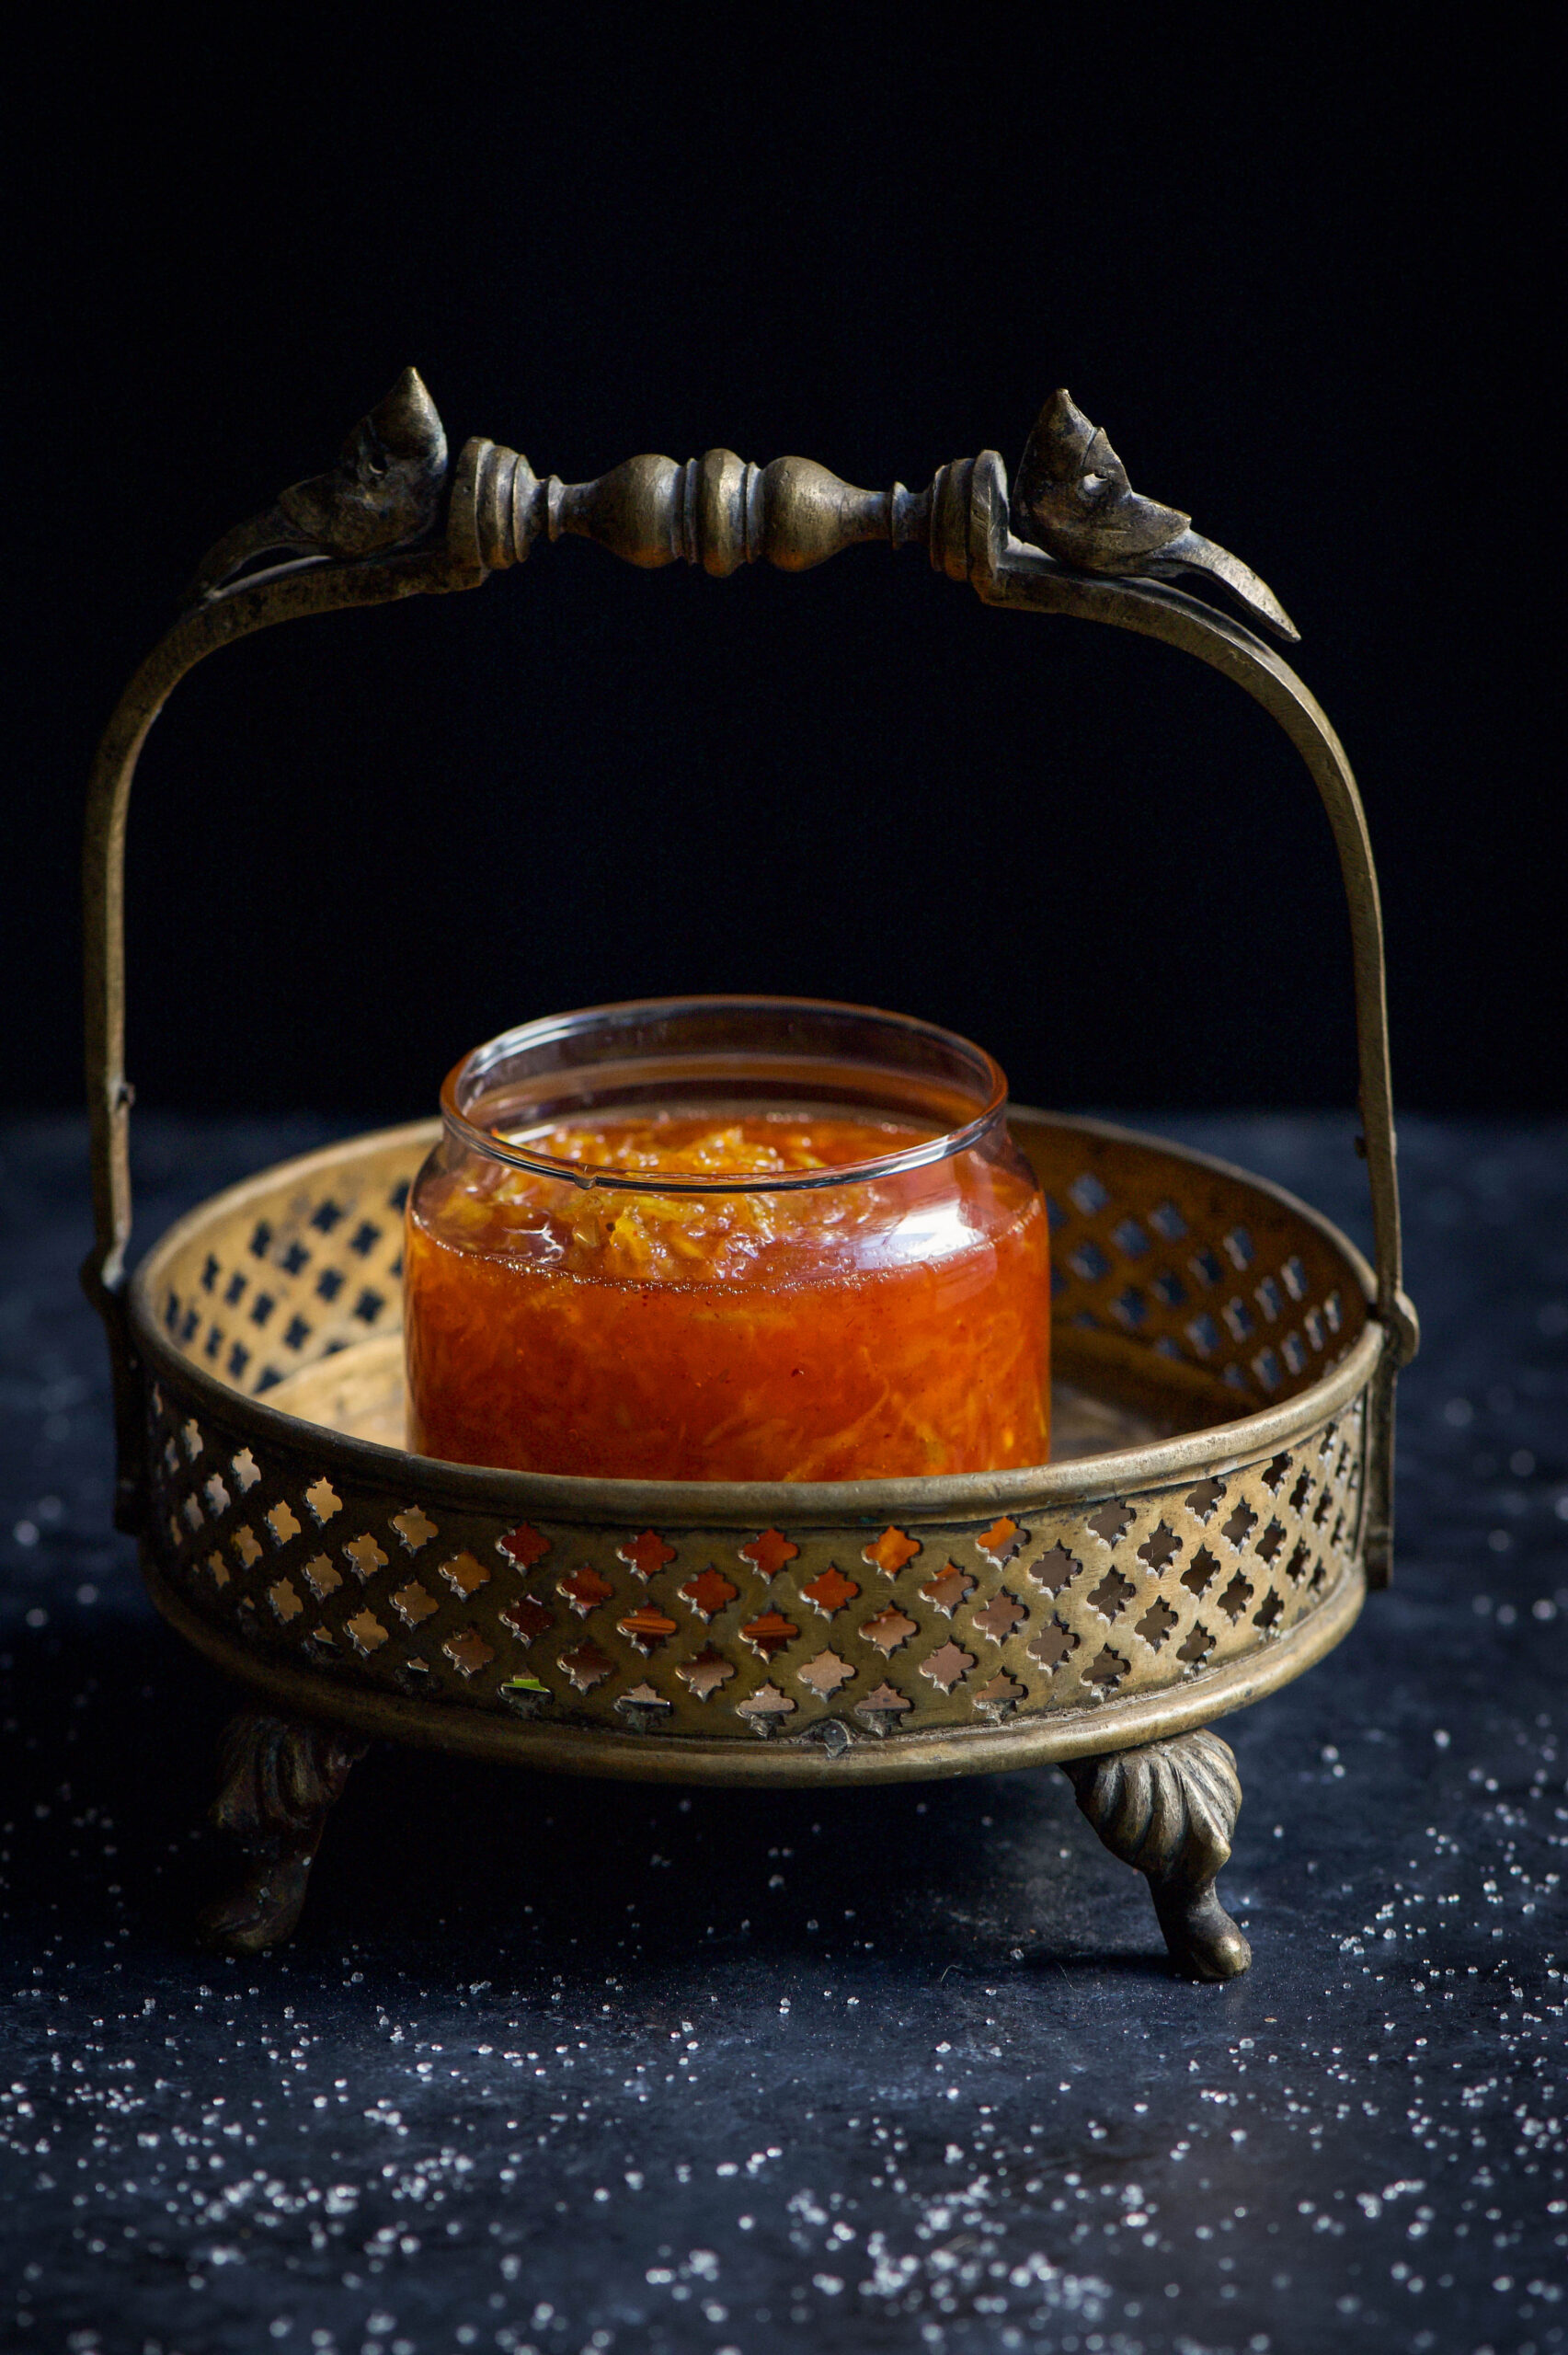
Indian pickling methods are different from Western pickling methods, and primarily use oil rather than vinegar. Homemade pickles rely on the peak summer heat, and this is why mango pickles are especially popular throughout the subcontinent now, as the fruit’s harvest season coincides with the ideal climatic conditions to make them. When I was little, a year’s supply of delicious mango pickles would be left to roast on our rooftop for days at a time by my mother. I would go up there and watch them cooking under the sun, covered in fine cloth, and desperately want to stick my fingers in and take some out to relish immediately. Grated mango with the sweetness of sugar and the tang of salt, warmed by sunlight – irresistible!

What I share today is an “instant” version of this time-tested method, meant for immediate consumption. In our fast-paced lives, we don’t always have the right circumstances or patience for the traditional methods, but we can take inspiration from them. The time has come when I now make pickles for my parents’ home, all the versions – the sweet kind as well as the spicy kind, the kind for immediate consumption as well as the kind that can be preserved for up to a year, in glass jars just like the ones that lined the kitchens of my childhood.

And now, in my own kitchen, just like the spice boxes that many keep in theirs, there is a pickle box, very much a homage to my Gujarati heritage. Every friend who comes home asks to see it. It is a point of conversation: which one has jaggery, which one is spicy, where does each recipe comes from? I keep 5 or 6 in this box at a time, and chhundo is always the star.

Nowadays, despite all the masalas and spices from across India and the ingredients from abroad that fill our kitchens, we still reach for the humble pickle. Its sharp taste is a necessary element, without which a meal is not complete. I’ve watched countless times as Indian people are made to remove their precious jars of pickles from their luggage at airport security counters all over the world! The look on their faces as they watch their lovingly bubble-wrapped bounty being chucked into the garbage says it all. No matter where we go, the pickle must never be far from us!


Sweet Mango Pickle (Chhundo)

(Yield: 1 cup)

Ingredients

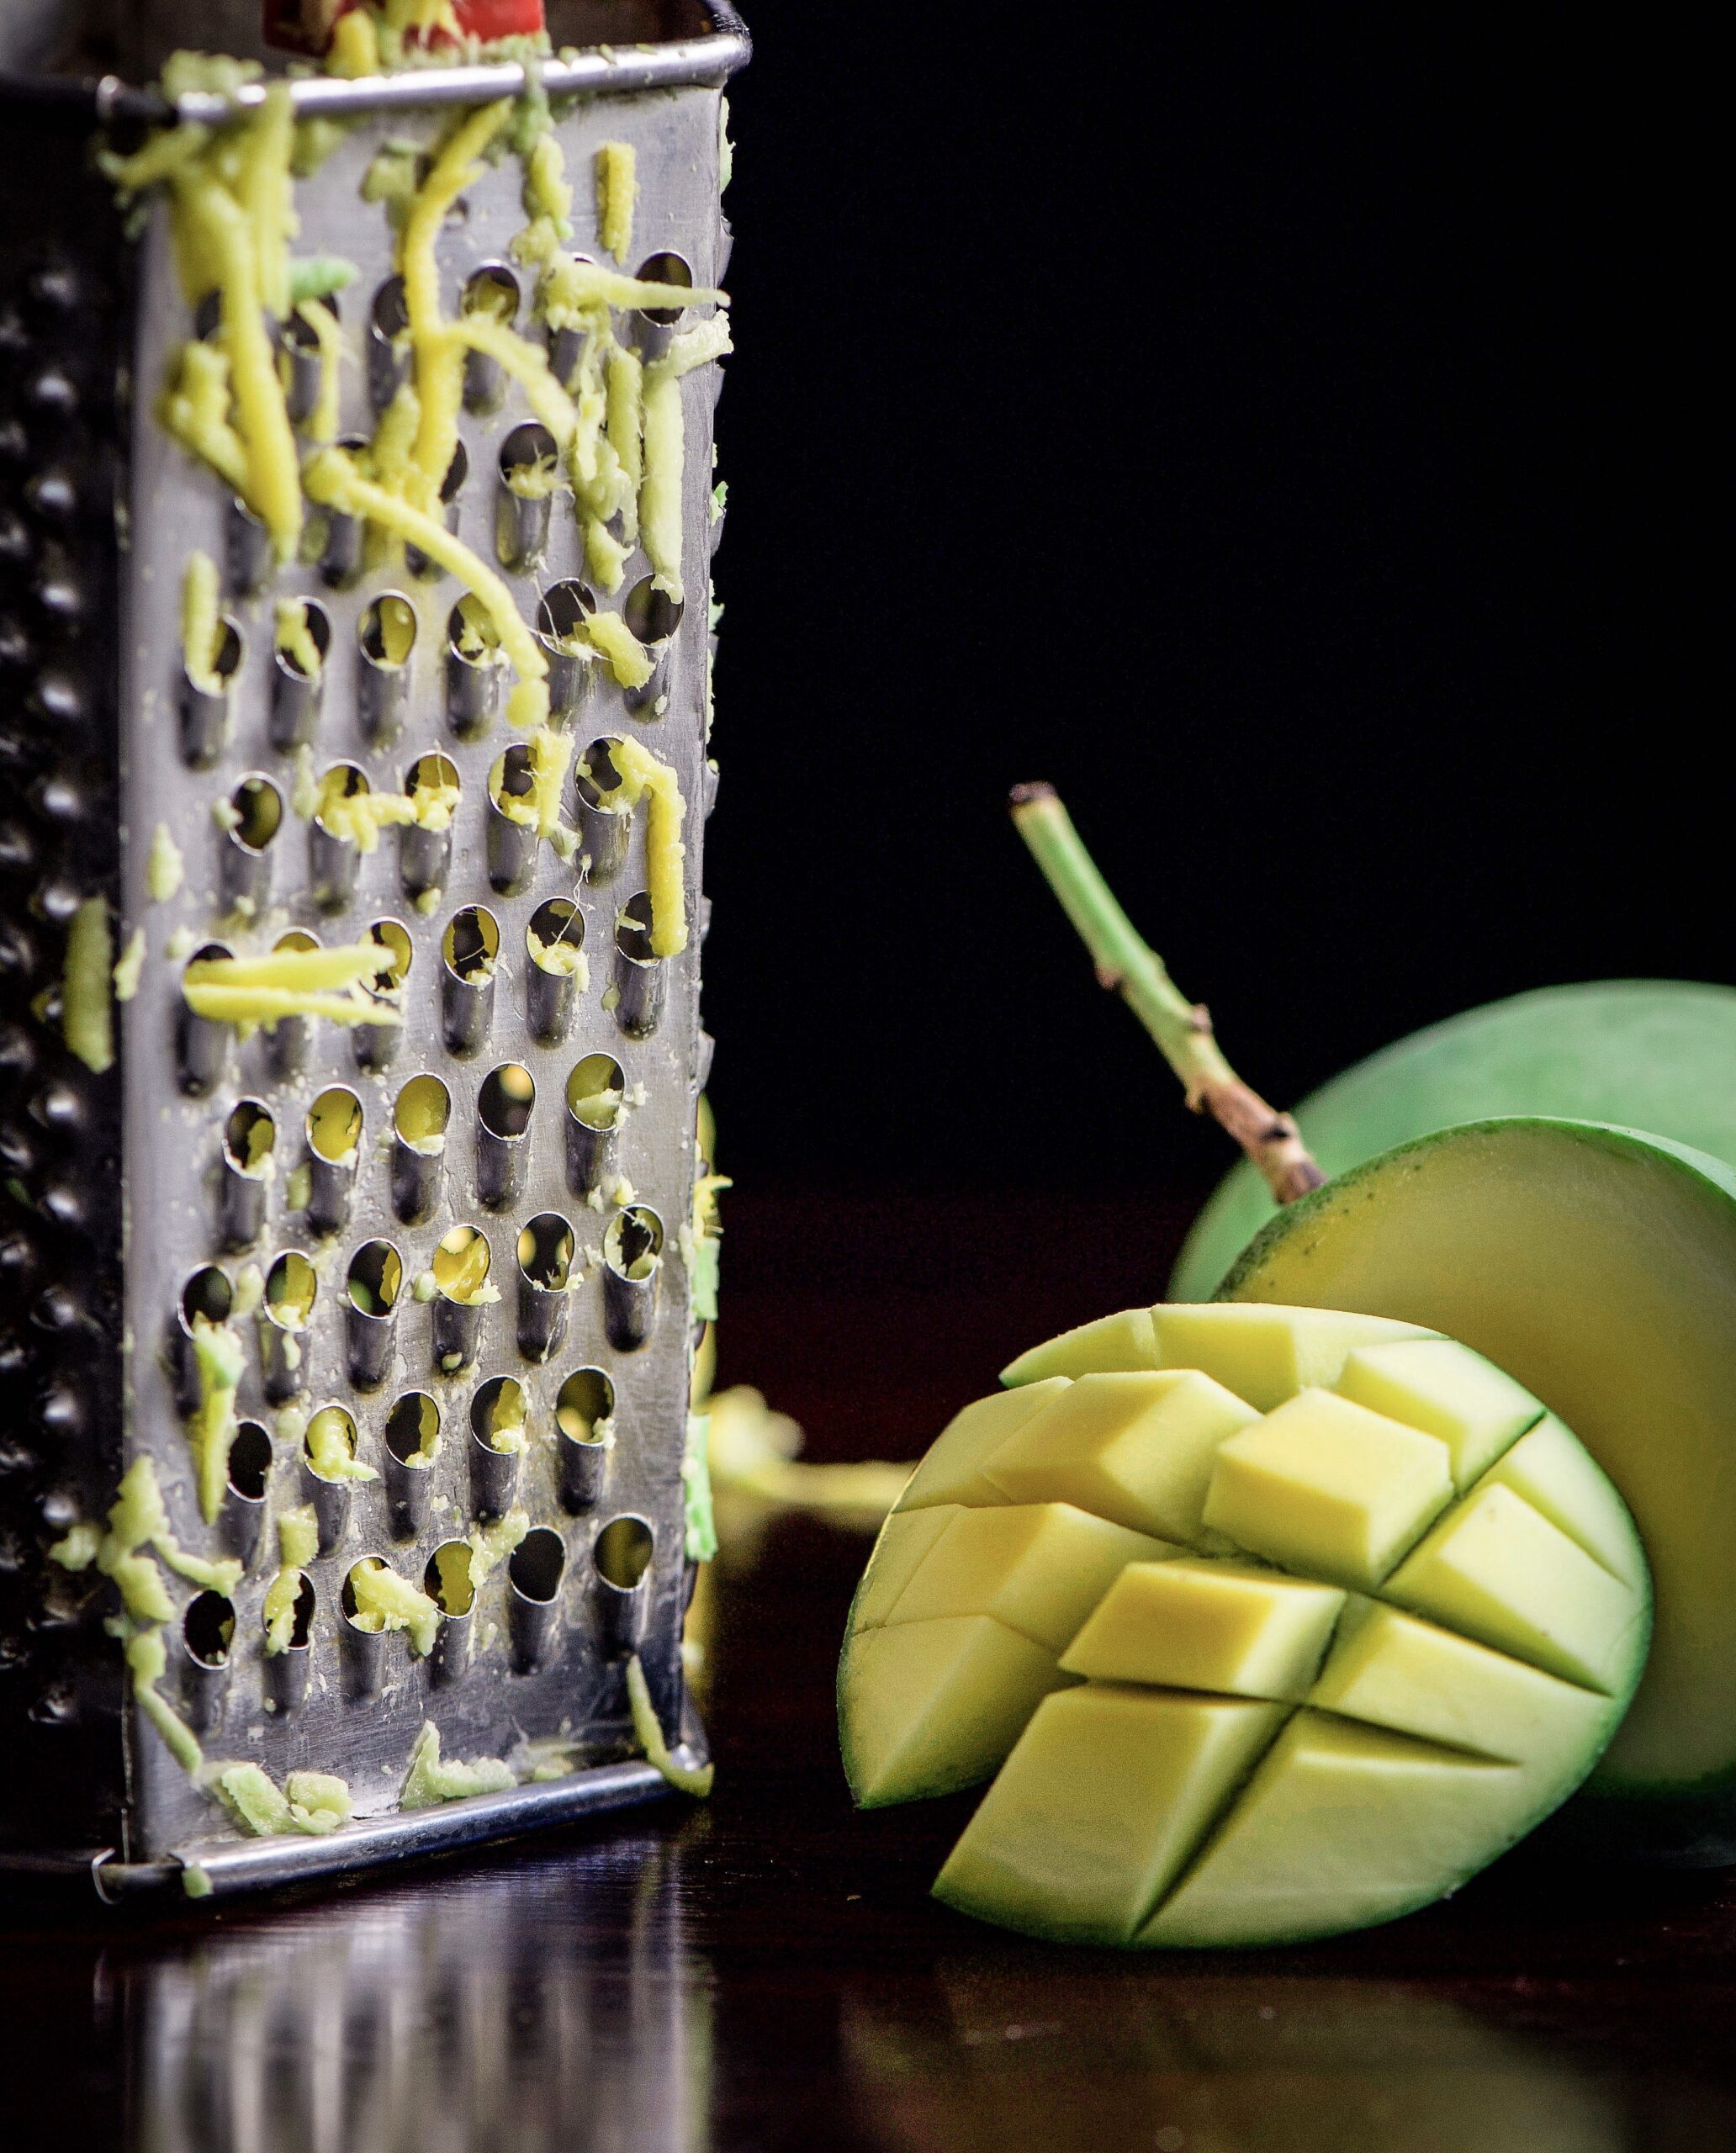
1 cup grated raw mango

1 ½ cups sugar

1 teaspoon coarsely ground cumin seeds

½ teaspoon salt

¼ teaspoon turmeric powder

1 teaspoon chilli powder


Place the grated mango in a pan. Add the salt and turmeric powder, and mix everything well using your hand, such that the juice is released from the mango.

Now add the sugar to the mango, and transfer to a pan. Place it on a medium flame. Stir gently to encourage the sugar to melt. In a few minutes, you will notice the sugar and mango bubbling away. Keep stirring until the sugar thickens slightly. When touched between your fingers it should be slightly sticky.  If you overdo this part, the sugar will crystallise, so be sure to turn off the flame before this happens.

My sweet mango pickle is usually stored for a few months, but this depends on the weather and storage conditions. I keep mine in a cool place, outside rather than in a cupboard. Always ensure that the utensils and jars you use when transferring or storing the pickle are clean and dry, otherwise it can quite quickly go bad.


Spicy Mango Pickle

(Yield: 1 cup)

Ingredients

1 cup finely cut raw tangy mango pieces

½ teaspoon salt

1 pinch turmeric

¼ teaspoon ground fenugreek seeds

1 teaspoon red chilli powder

¼ teaspoon mustard seeds

1 tablespoon oil


Place the cut mango in a glass bowl. Now sprinkle all the remaining spices. Keep aside.

In a small pan, add the oil and the mustard and cumin seeds. Wait till the mustard seeds splutter, and then pour the entire sauté into the bowl of cut mango. Mix well with a spoon.

This easy, spicy mango pickle is now ready. Store it in the refrigerator and it will last for up to a week.


Ripe mango, raw mango, spiced mango, sweetened mango – the possibilities really are endless for this beautiful fruit. These pickles are a way of incorporating this fruit into your daily meals. If you prefer it to be the star of the show, try out my ripe mango rasam or my curry leaf and raw mango cooler.

These lovely pickles are not only made for the traditional thaali, but can be eaten as a condiment for a variety of snacks. I even add the spicy pickle to cheese platters as it is quite versatile, and I recall how my friend Vikram once used the chhundo as a marinate for a shrimp starter. It was simply delicious. Be innovative, and be sure to let me know how you eat these pickles!

Come summer, every family in India uses the mango in their daily cooking. It can be found in literally every dish: dals, sabzis (cooked with vegetables), pickles, curries, desserts and more. Everybody wants to get creative with the mango, and why not? With 1,500 varieties said to grow in the country, each one sweeter than the other, we are rightly proud of the fruit and look forward to the season eagerly. The different varieties have such beautiful names too: the neelam in Gujarat, the alphonso in Maharashtra and the nectar-sweet imam pasand of South India are but some. While we are unfortunate to not have the pleasure of berries here, the mango more than makes up for it.

Mangoes are popular globally, though they originated in the Indian subcontinent, and are cultivated everywhere from Andalusia to the Caribbean. They are the national fruit of three countries (India, Pakistan and the Philippines) and the national tree of Bangladesh. I have yet to meet a single person who doesn’t like mangoes!

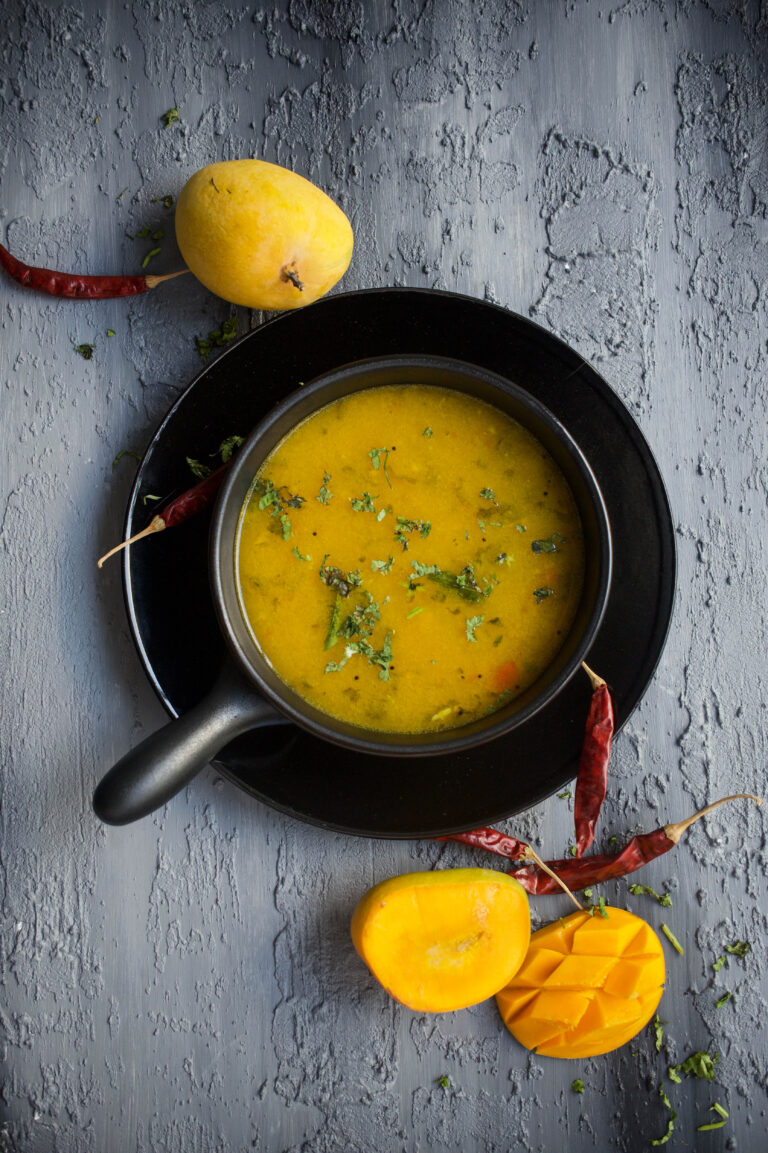
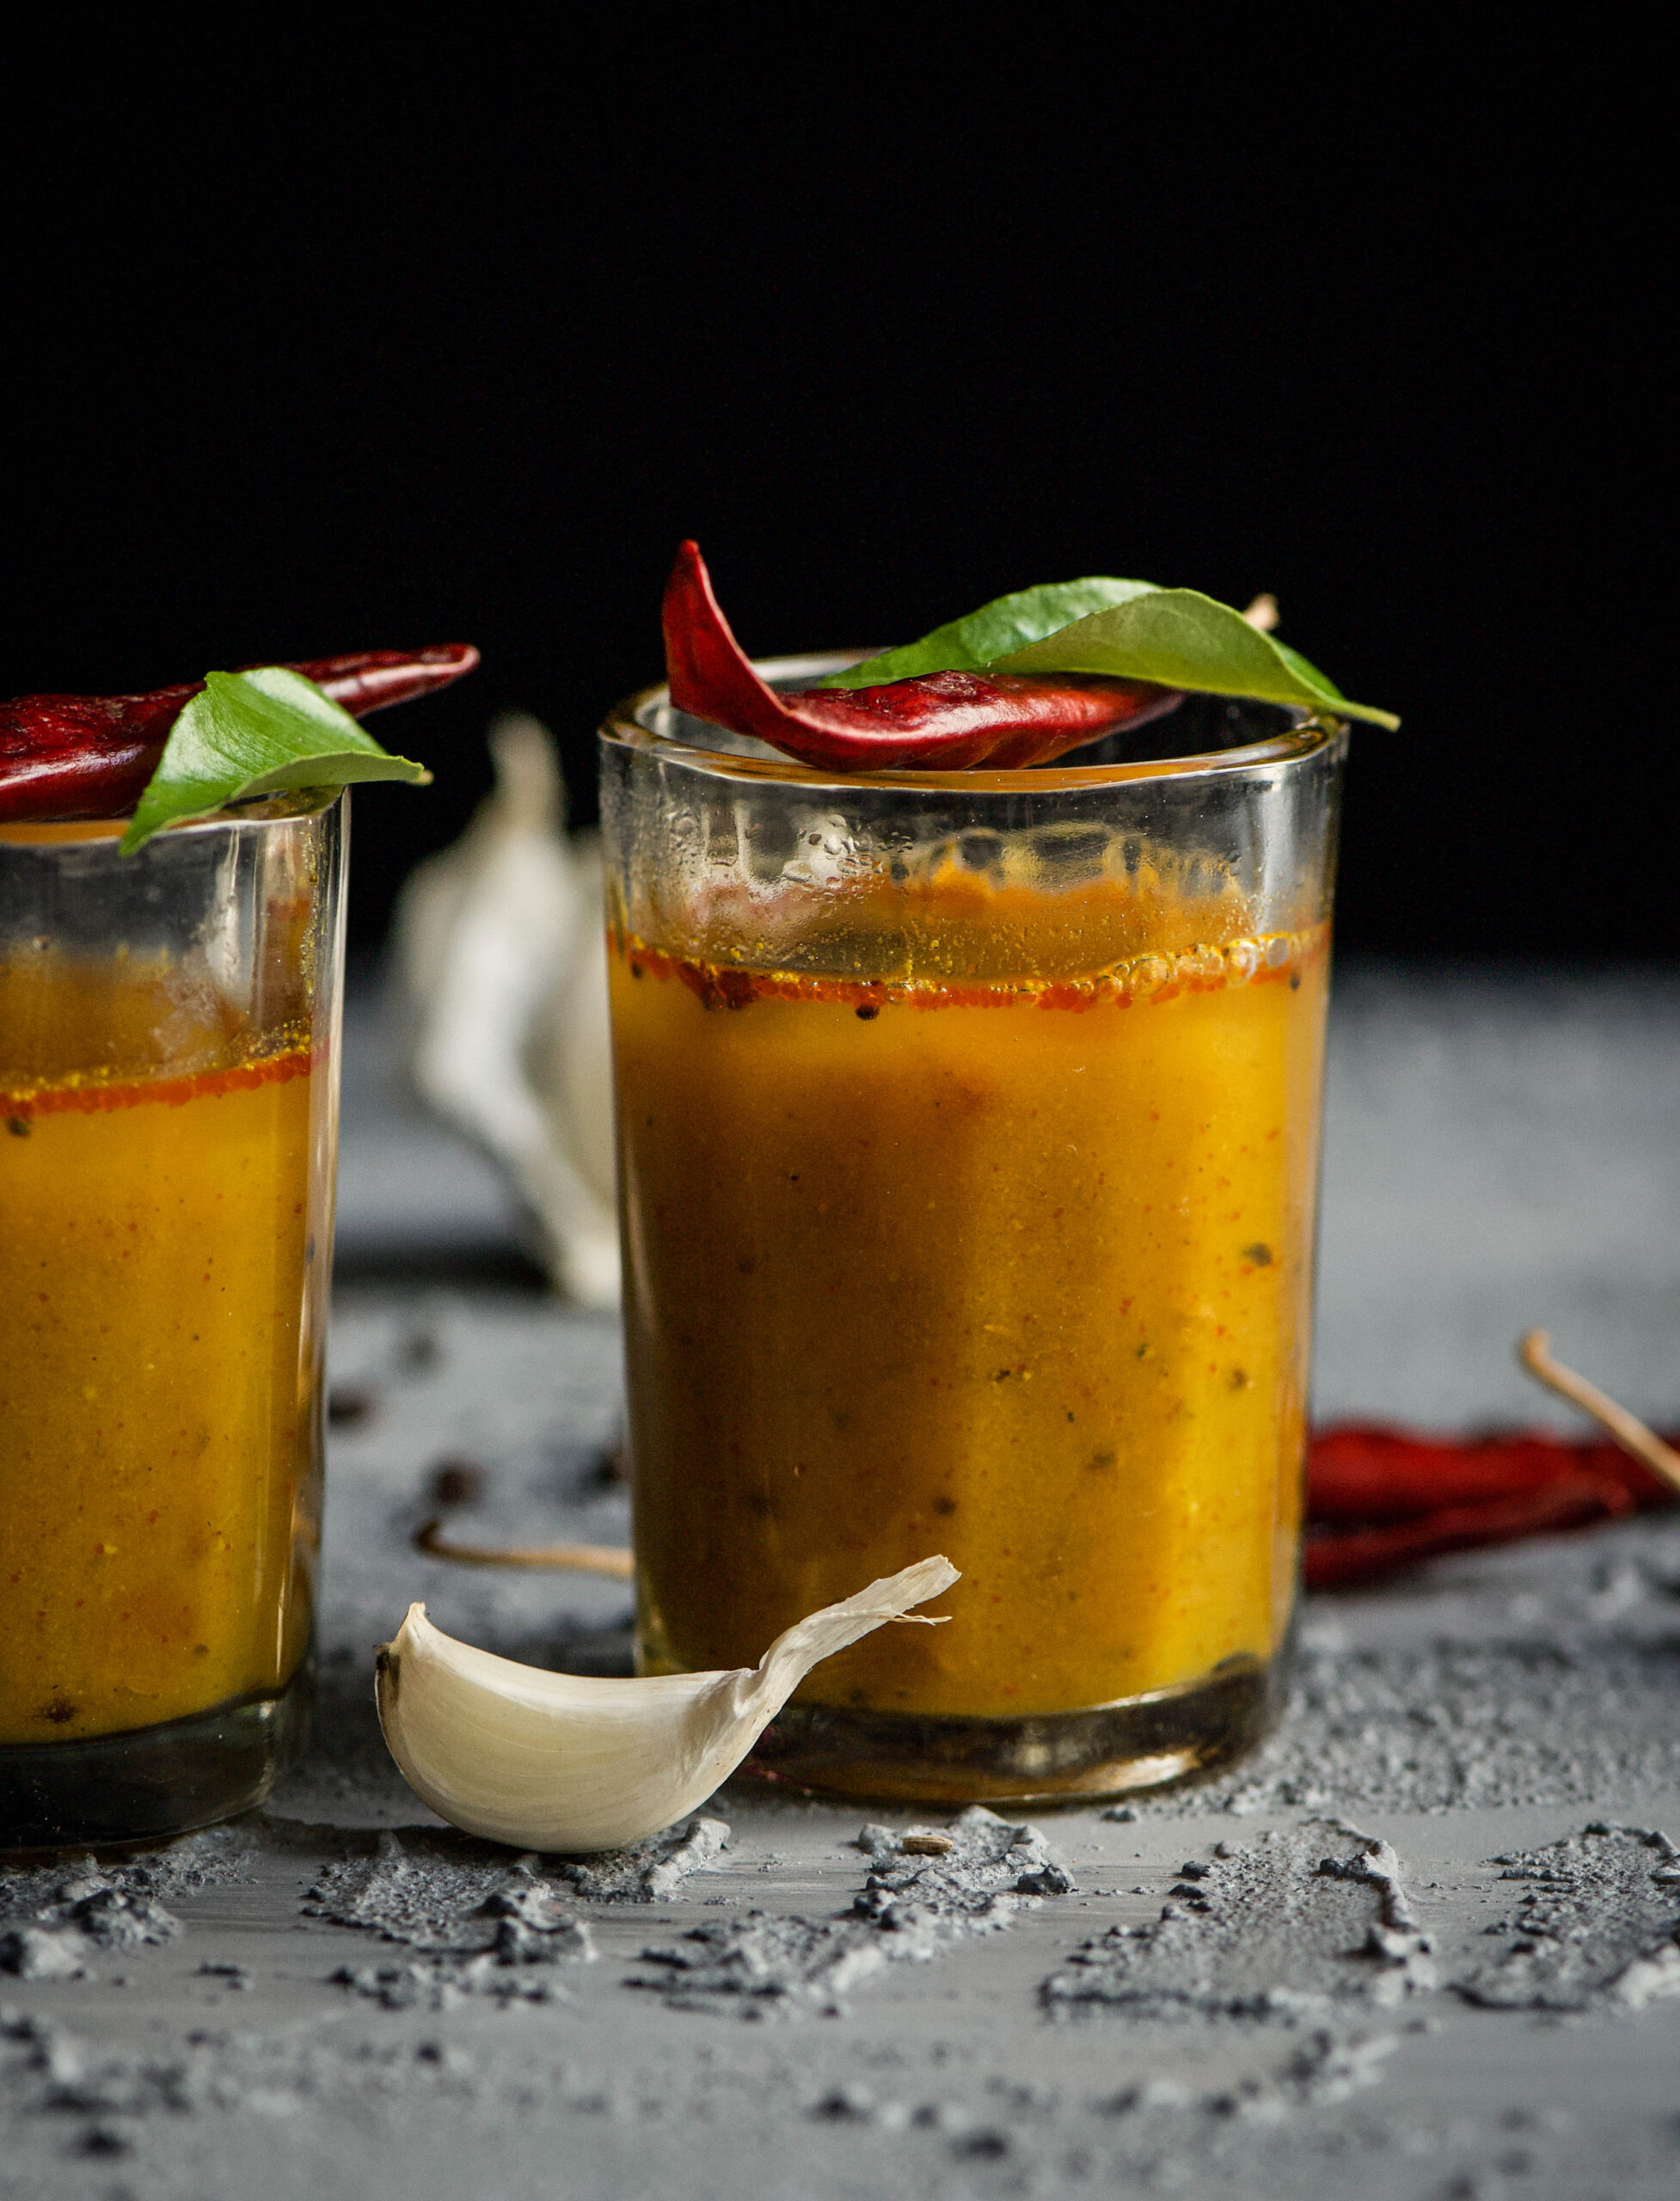
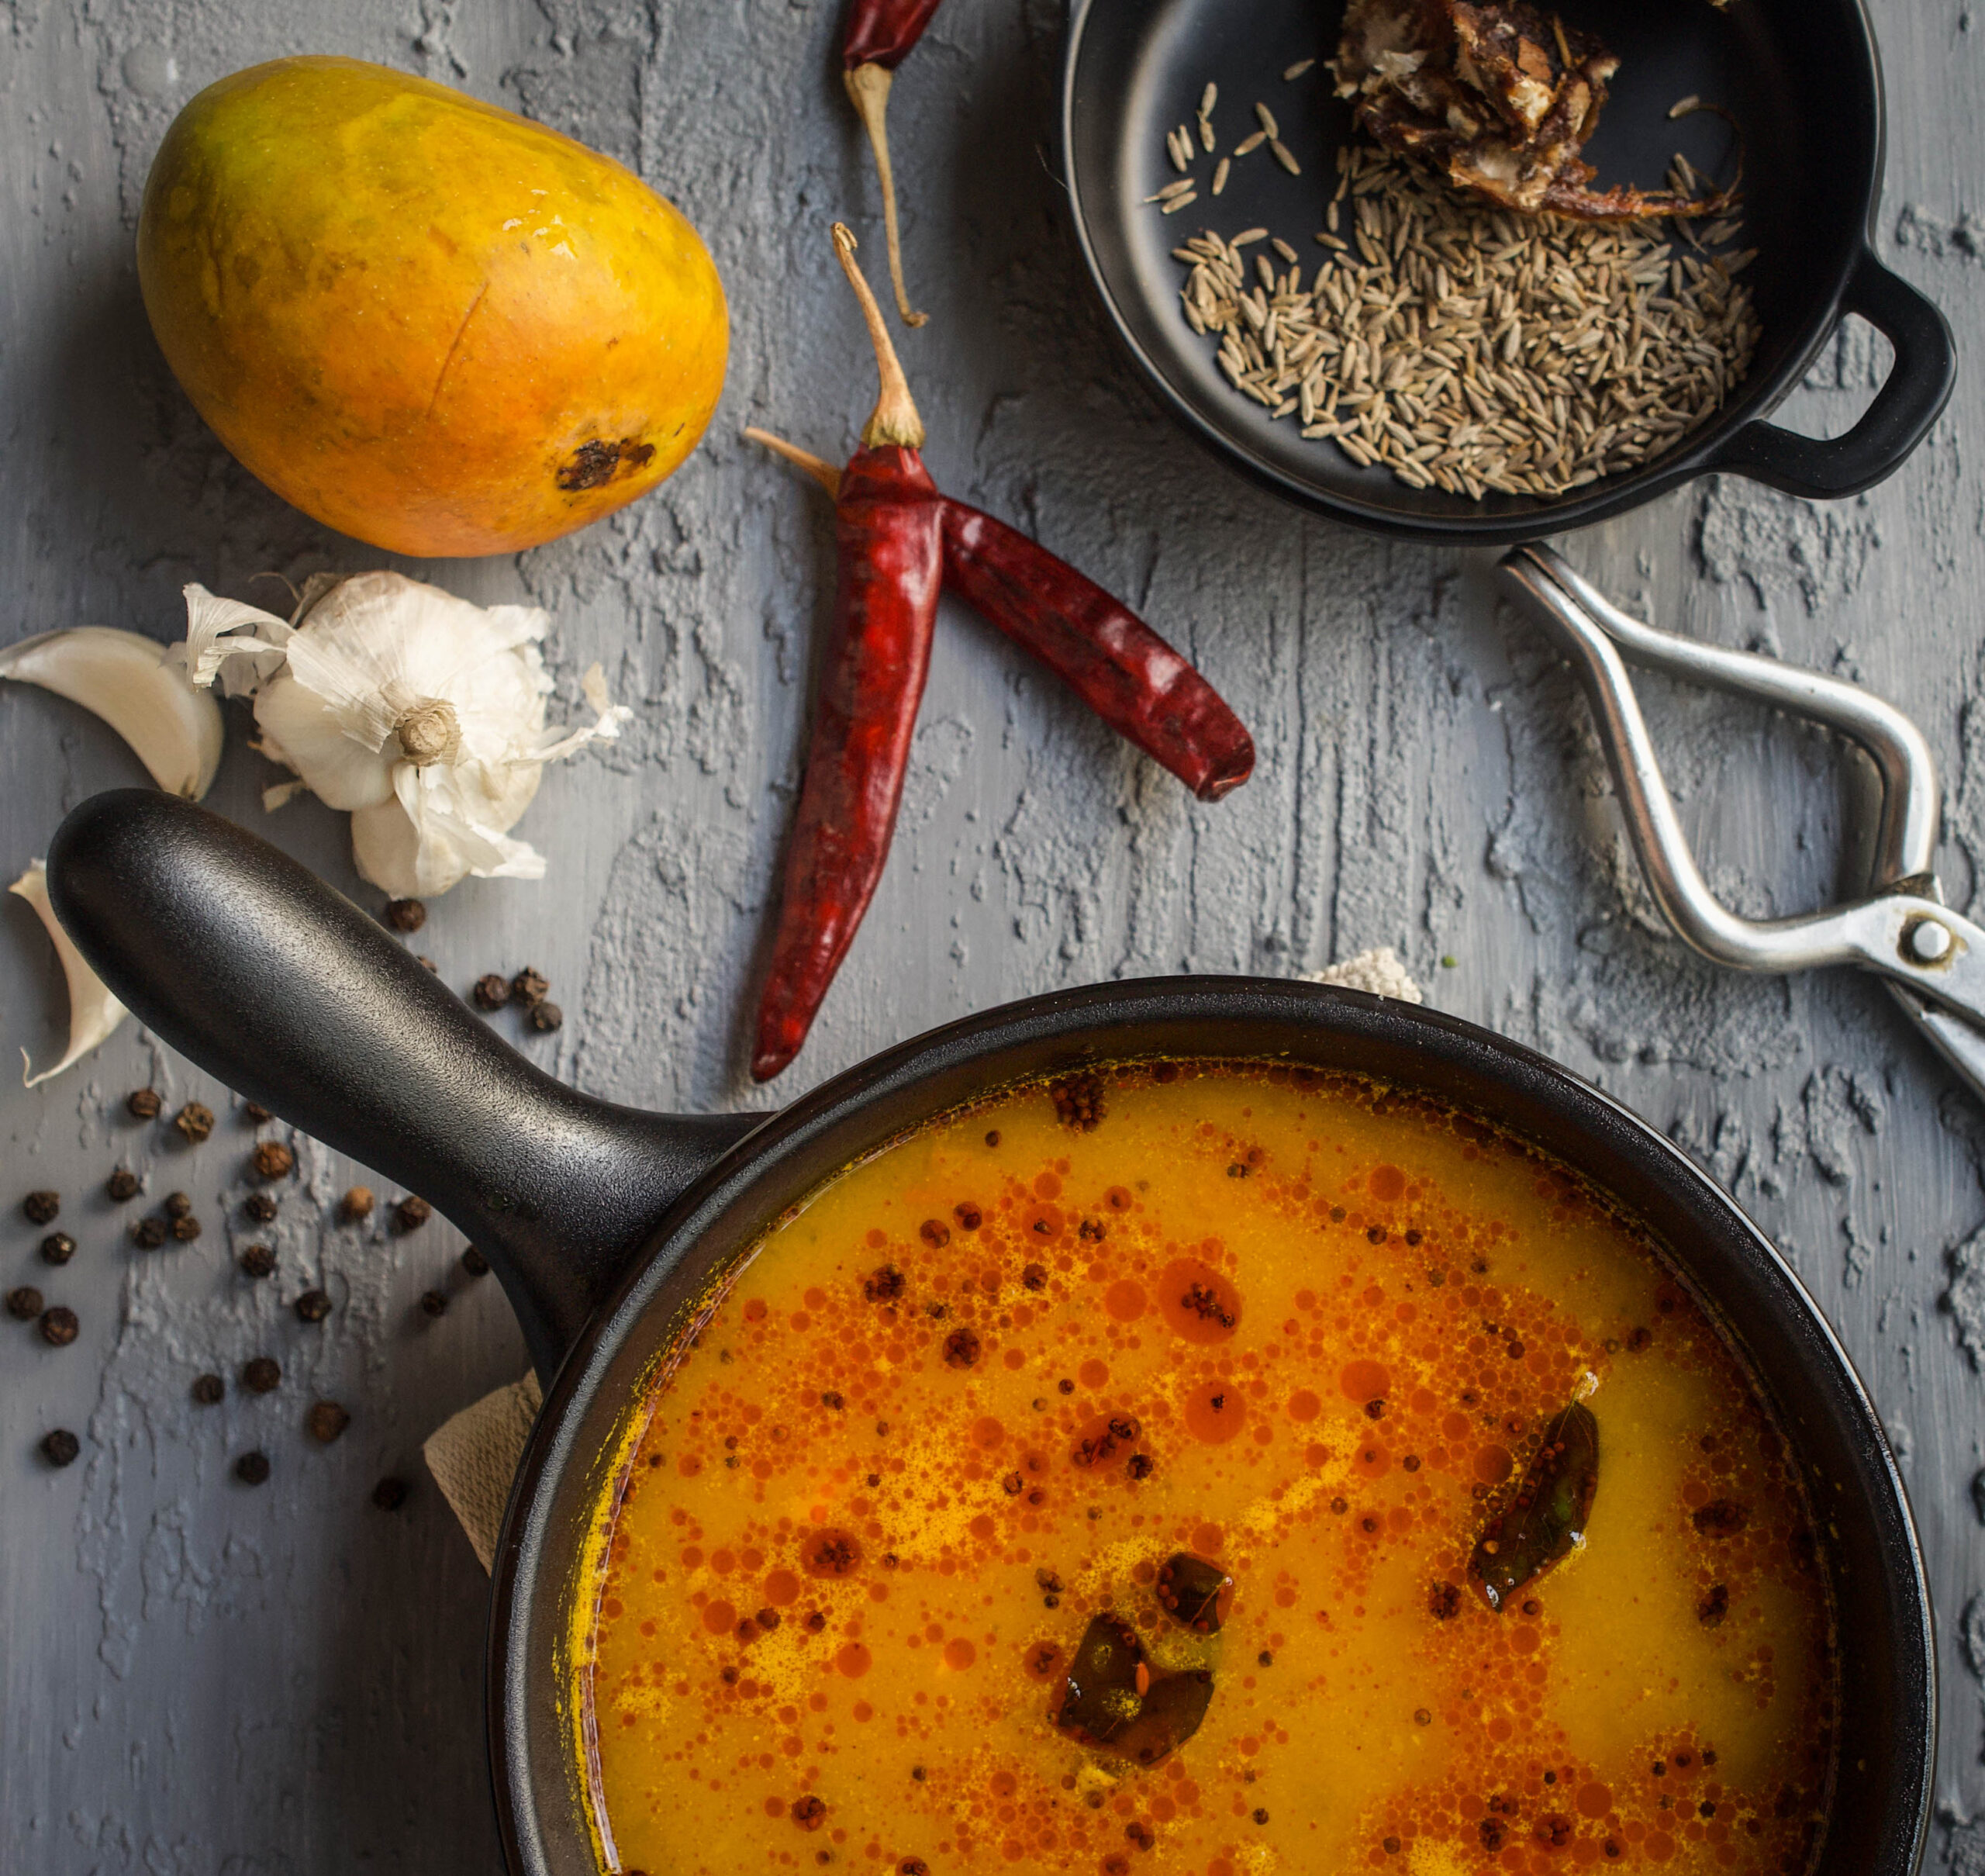
Even if it wasn’t my national fruit, I would consider it a star among fruits. And it’s the star of a recipe my family has been simply loving this summer: mango rasam. Rasam is a thin, spicy South Indian soup which is usually eaten with rice or consumed as a beverage. This mango rasam is a seasonal staple, and is similar to the fajeto, which is also a staple in the typical Gujarati thaali in summers. A summer thaali comprises of layered rotli, a vegetable, dal, buttermilk, aamras or mango pulp in a bowl, raw mango pickle and fajeto. You’ll notice that half the plate is filled with mango in some form! After such a big fat meal, a siesta is also a part of the traditional lunch!

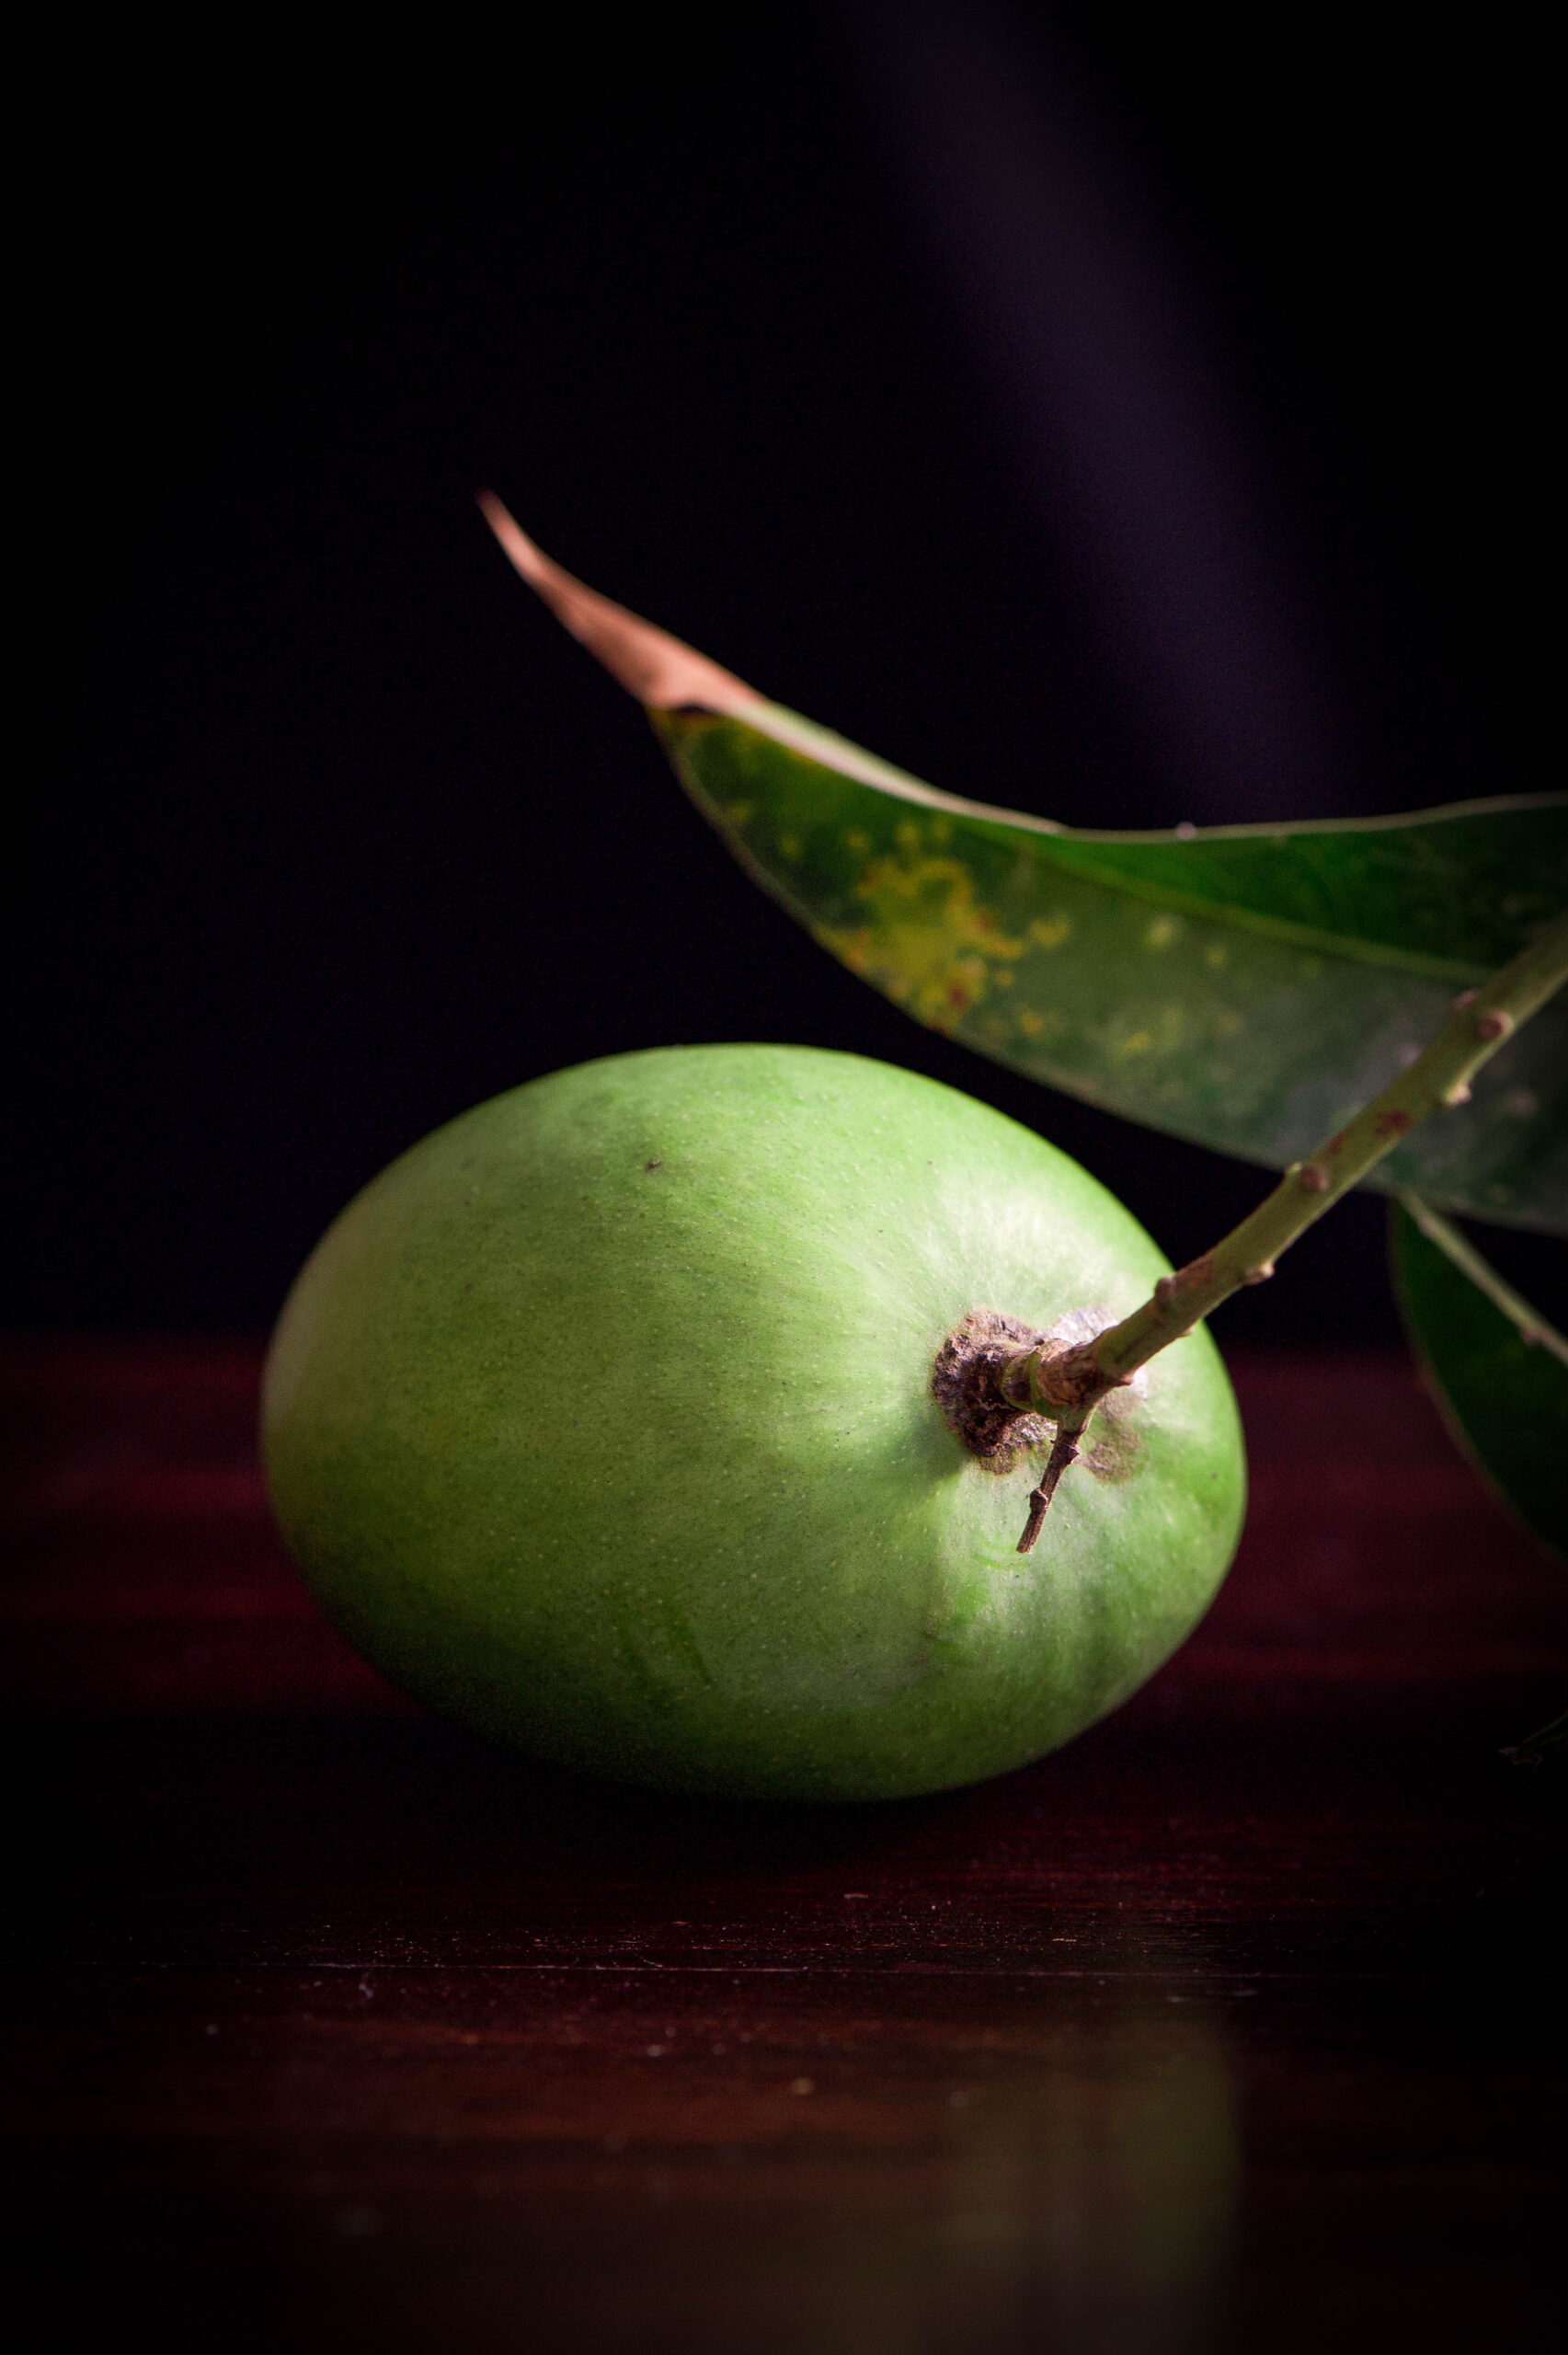
As you may know, I am all about growing my own produce, and this season I am happy to say I’ve been plucking mangoes in my own backyard. You really have to nurture your garden with love and care, and I am a big believer in spending time there, talking to the plants. They do respond, as I have seen for myself. I have learned how to tend to two variants, the killimooku, so named because it is shaped like a parrot’s beak, and the sindura, which is so sweet it is also known as the honey mango. Looking after these trees is an ongoing process. A few months ago, I used a neem spray to prep them for the harvest season, and learned from an organic farmer how to dig a pit a few feet away from the main trunk and fill it with mulch. Dried leaves, coconut husk, a little soil and other compost ingredients decay into fertiliser, giving the tree nourishment. These methods have really worked, as the bounty of fruit from my garden have proved. I knew a couple of months ago when I saw the young, tender leaves come out that the harvest this year would be good. And so it is.

I was making aamras when the idea for mango rasam came to me. As I squeezed the mango pulp and put the seeds in water, I recalled how my mother – who taught me how to never waste food – uses this water to make fajeto. I decided to make it the South Indian way, with garlic and curry leaves. These are not used in the Gujarati version, which utilises yoghurt.


Ripe Mango Rasam

(Yield: 3-4 cups)

Ingredients
Rasam

½ cup ripe mango pulp

½ cup cooked, boiled and mashed toor dal

2 cups water

1 crushed tomato

2 teaspoons cumin seeds

1 teaspoon black pepper

2 dried red chilies

4 cloves garlic

¼ inch piece of ginger

1 tablespoon tamarind pulp

Salt to taste

Sauté
1 teaspoon oil

¼ teaspoon mustard seeds

A few curry leaves

A pinch of asafoetida


In a pot, mix and stir the mango pulp and dal. I have used the alphonso variant, but you can use any ripe mango. Add the water.  Now add the salt, turmeric, asafoetida, crushed tomato and tamarind pulp.

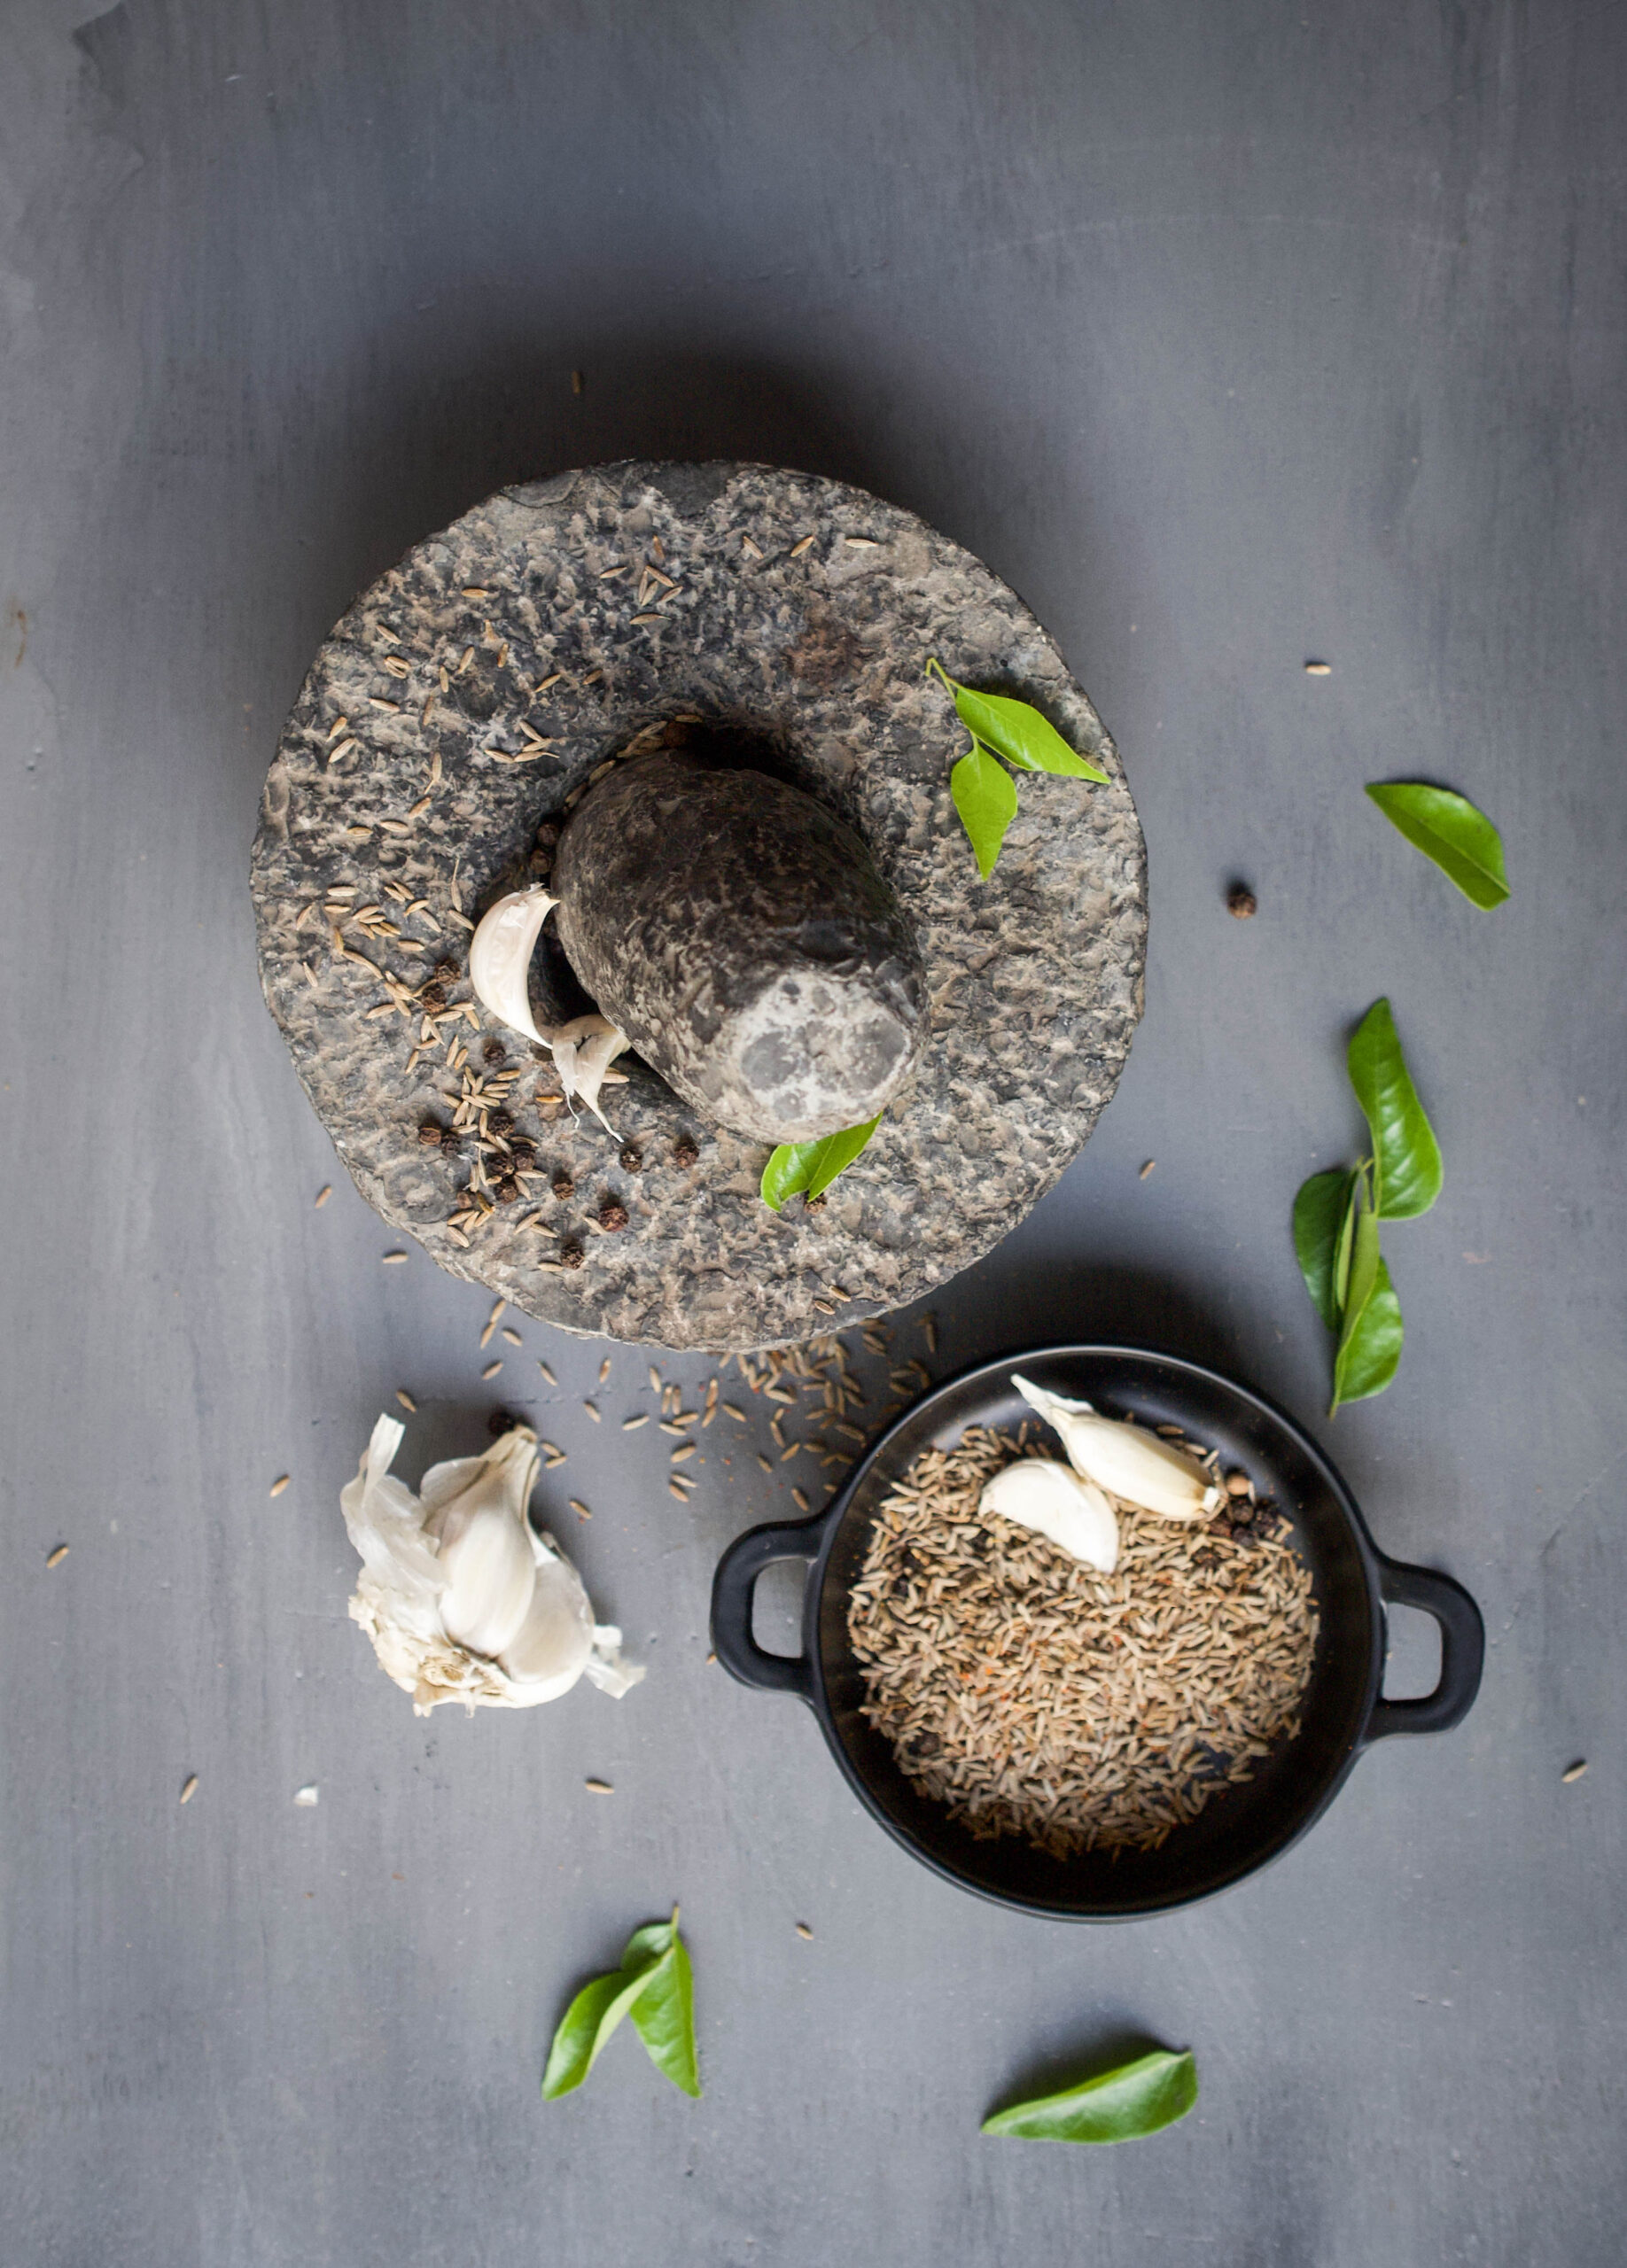
Crush the cumin, ginger, garlic and black pepper coarsely together. Now add this to the mango pulp mix. Place on the stove and allow to boil for approximately 10 minutes. Do not allow it to over-boil – take it off the stove a minute after it starts to bubble.

Separately, heat the oil. Once it’s hot, add the mustard seeds. When they splutter, add the curry leaves. Finally, pour this sauté into the pot of boiled rasam. Serve hot with rotlis or rice.

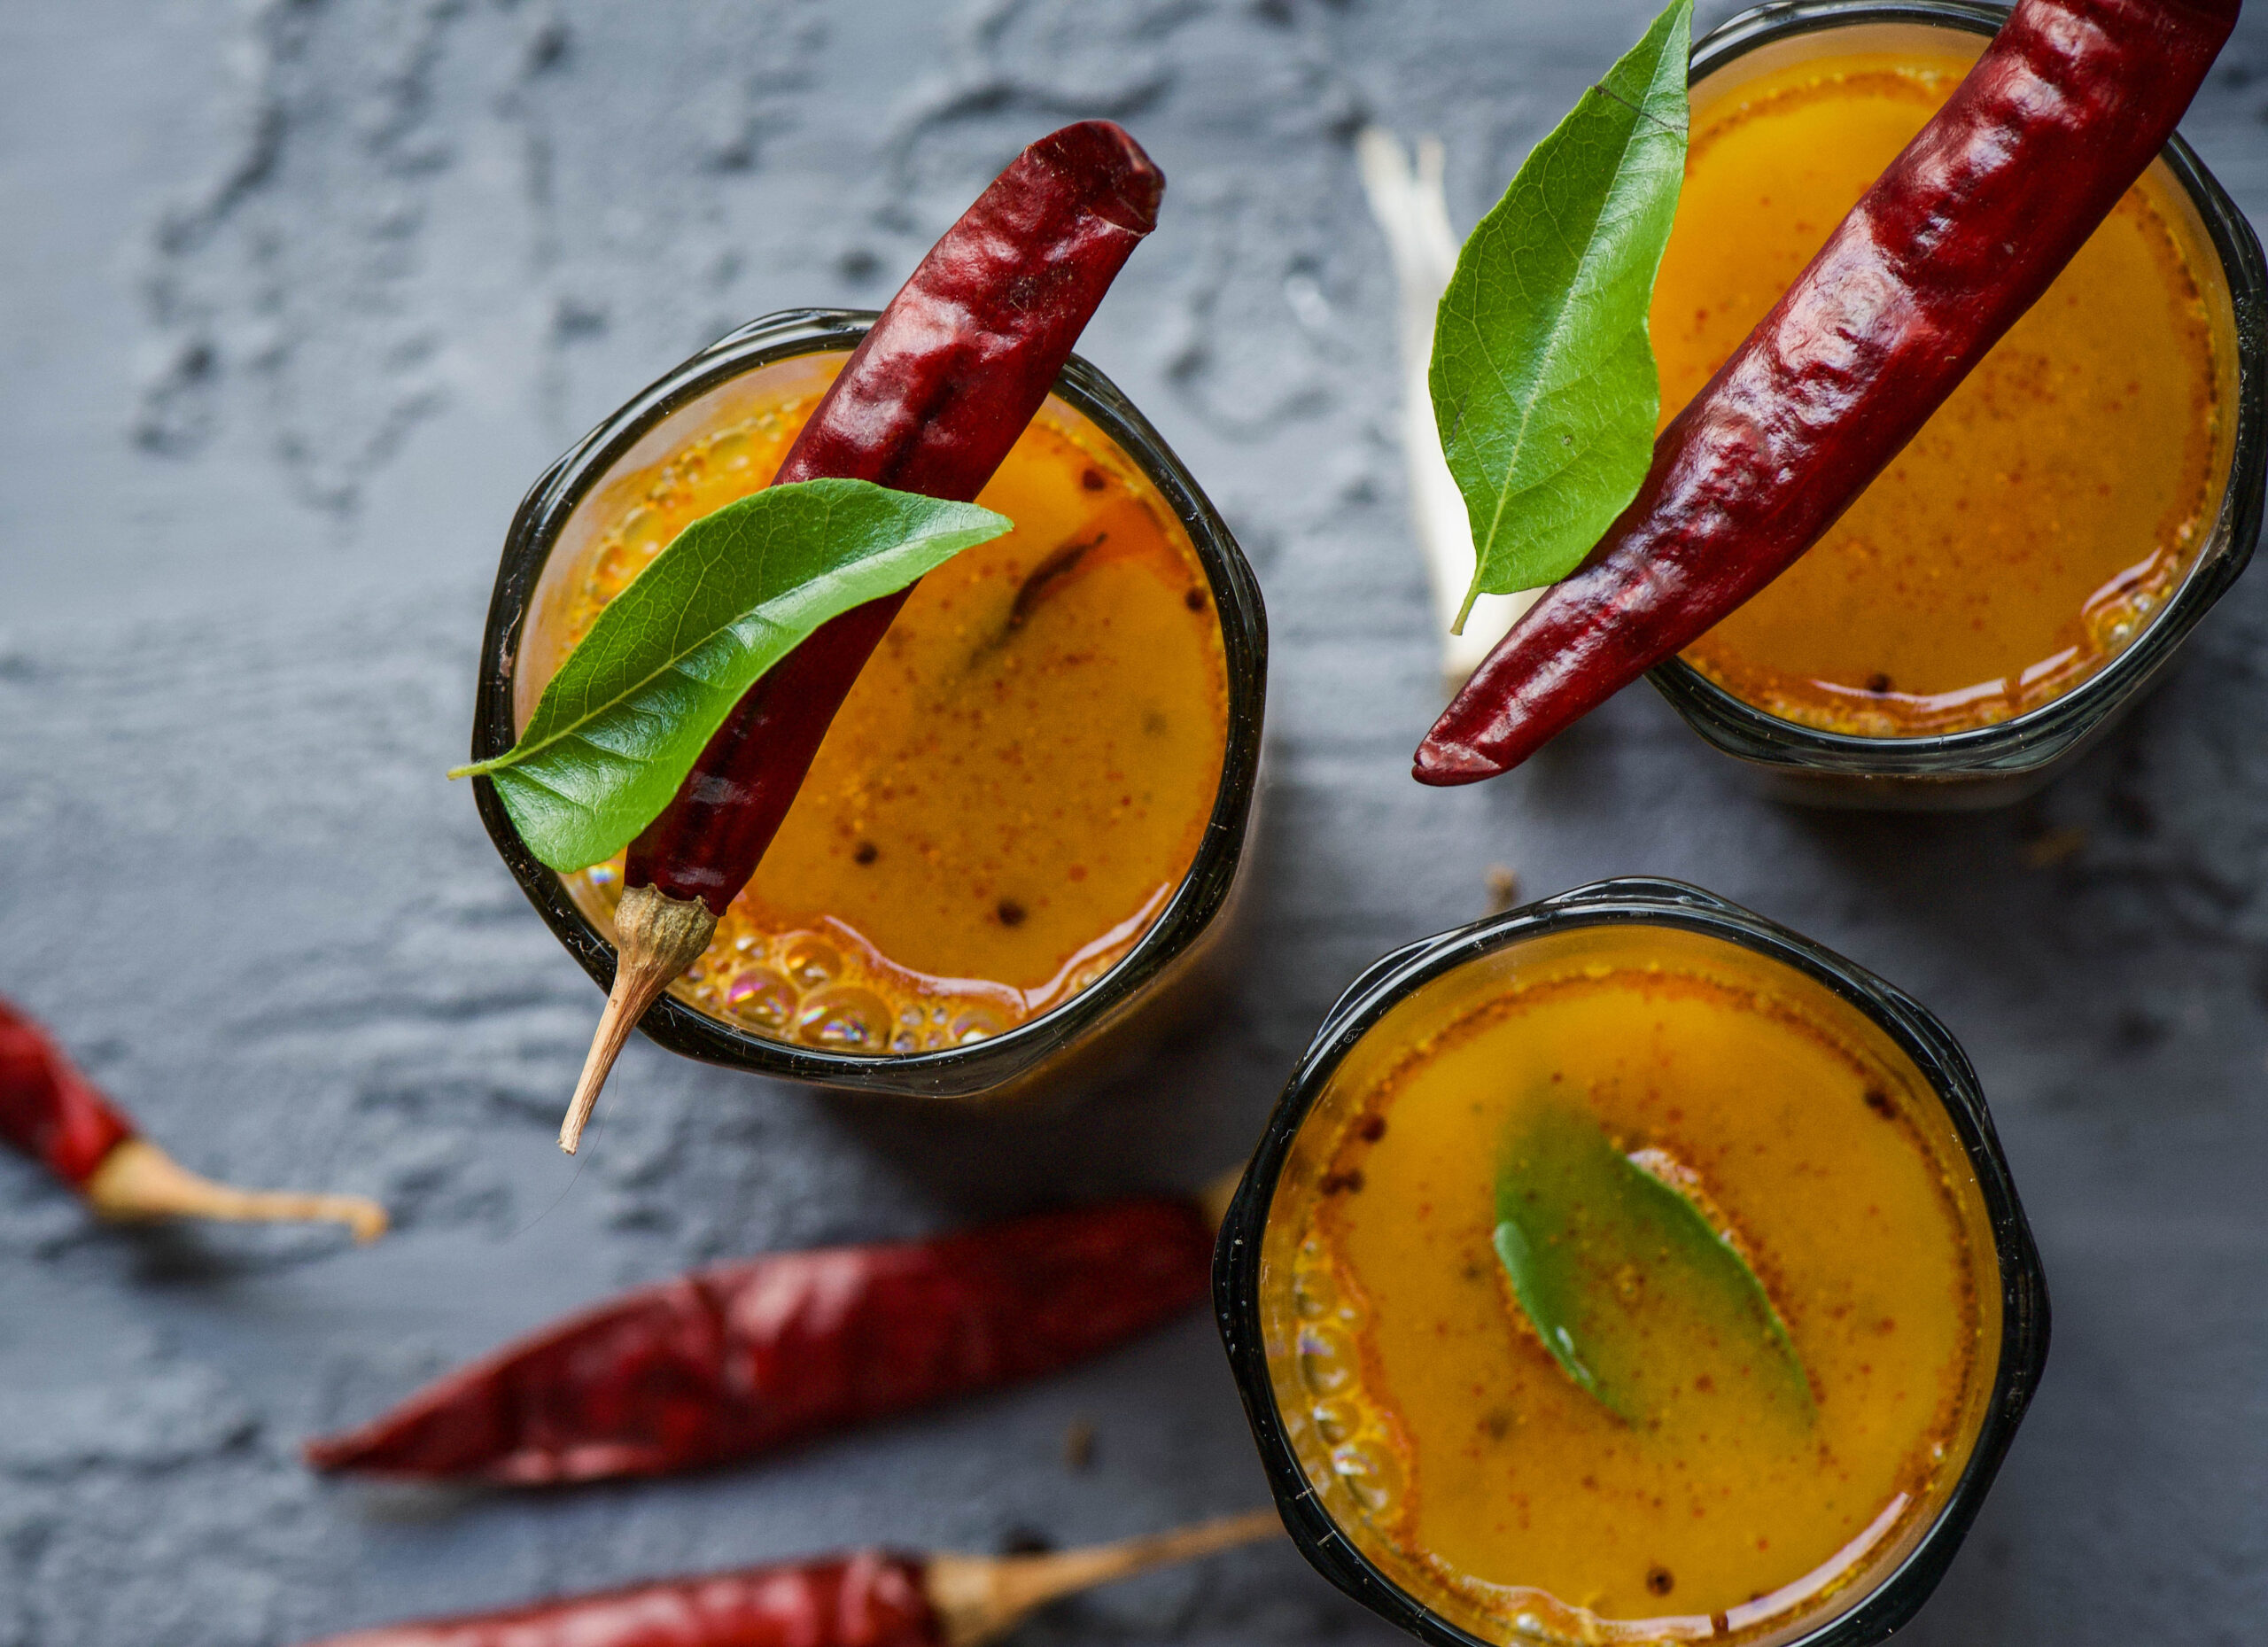
Look at that colour – simply irresistible. Every time I set up a photoshoot, I am dying to finish it so that I can eat whatever I’ve been shooting! All the more so when it’s something that should be eaten hot, like this rasam. There’s a particular joy in the question of whether to eat a little, then shoot, or shoot first and eat later. As I was pouring this vibrant, fragrant rasam into the vessel and styling it for my shoot, I decided I would wait. This time, anyway!