Tag

breakfast

Browsing

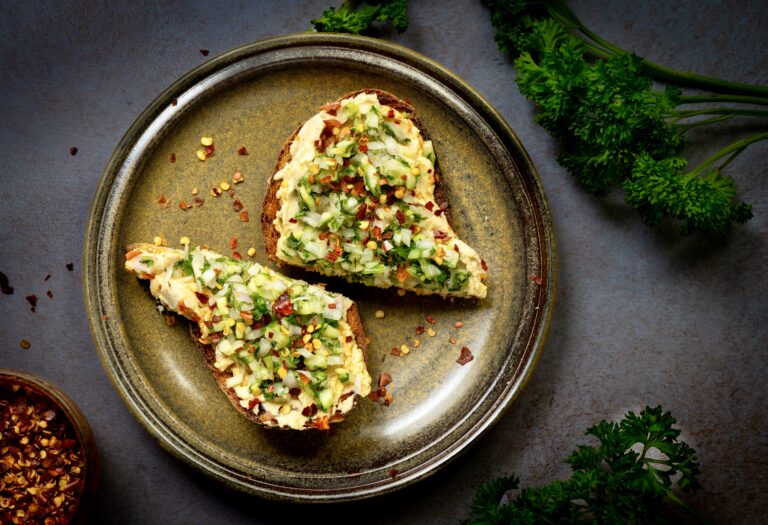
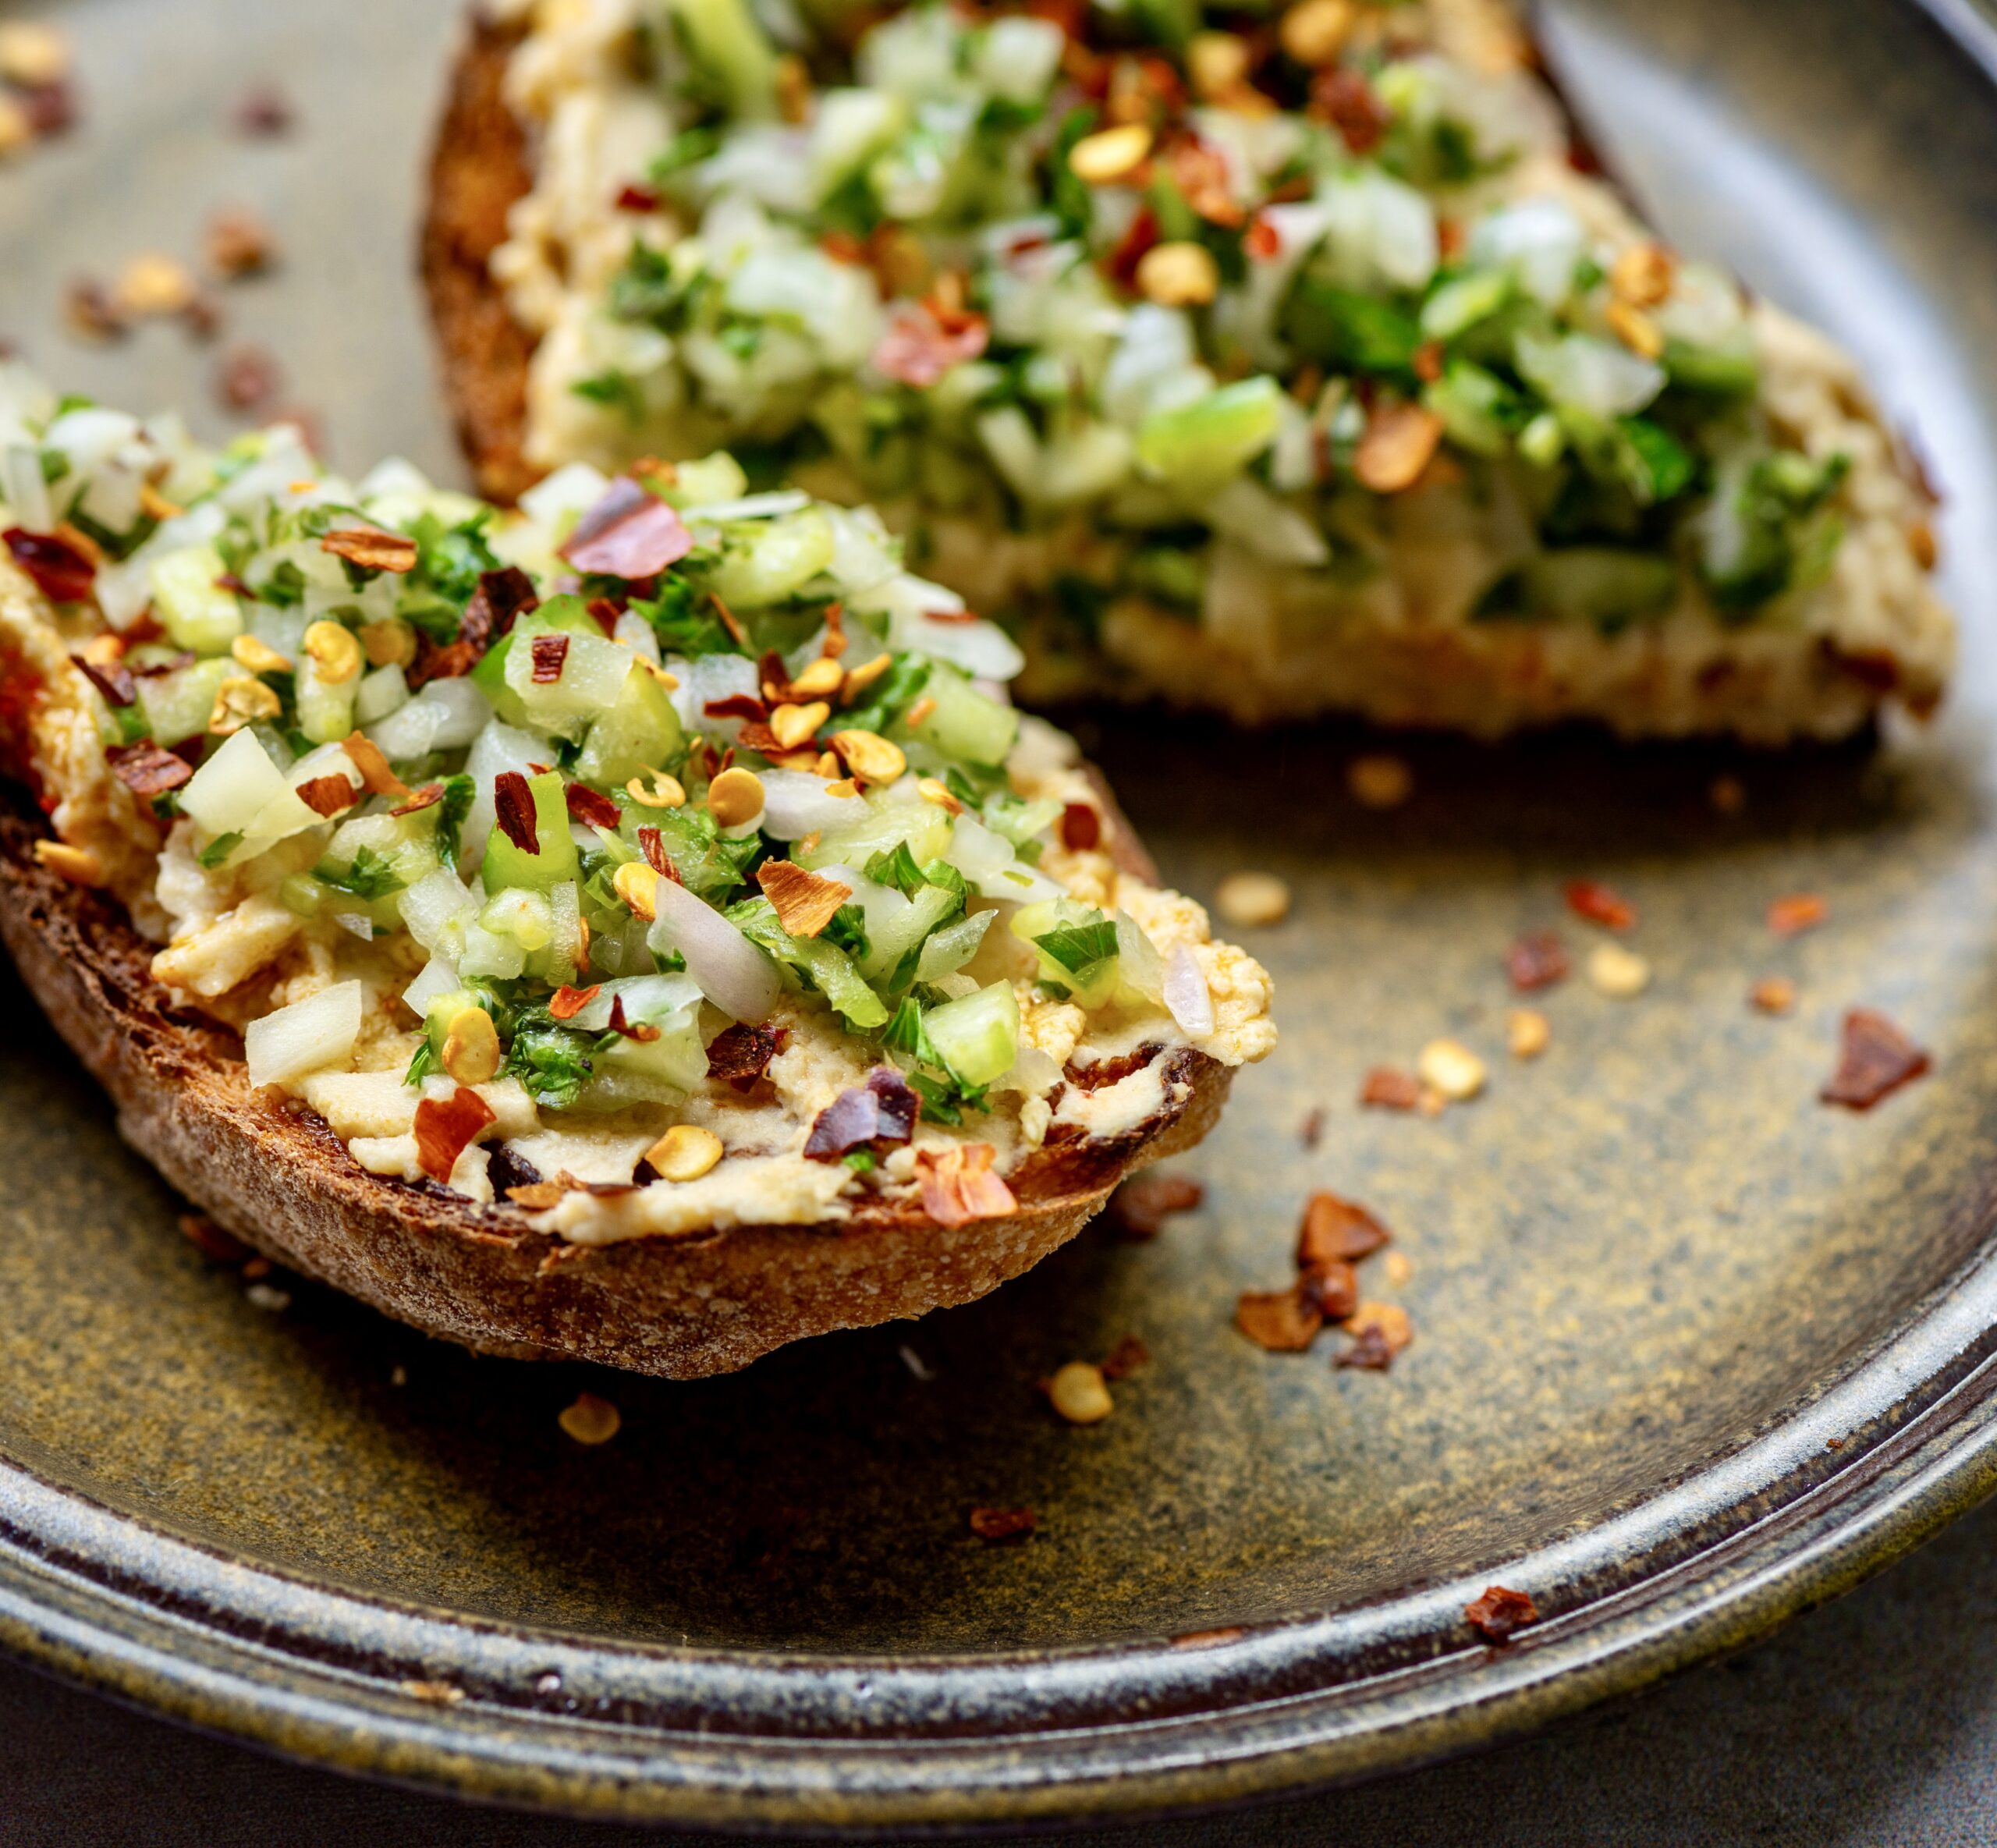
Trying to incorporate a lot of protein into my meals is how this hummus toast loaded with veggies came into being. It’s just perfect for right after my workout, when I’m most hungry. Putting it together is easy on mornings when there has been hummus and pita bread at home for dinner the previous evening. The leftover hummus is put to good use with this lovely toast, or else eaten as a snack with fruit later in the day.

Hummus originated in West Asia and is a versatile dish which utilises protein-rich chickpeas. I have shared two very appetizing hummus recipes on this blog so far. If you would like to make the hummus rather than buy it, you could choose from this coriander hummus or this curry leaf and green chilli hummus. For a plain and basic hummus, just eliminate the flavouring ingredients from the recipe.

The boost of protein aside, another reason why I enjoy this hummus toast with veggies as my morning meal is probably because of the novelty factor. It is so different from the kind of breakfasts that I grew up with, and I often find myself dreaming about travels past and future when I prepare something from another cuisine. Instagram also inspires me, and I love learning about dishes from everywhere, and figuring out how to fit them into my repertoire at home.

While authentic Indian breakfasts are absolutely wonderful, and traditionally wove the logic of seasonality into them, they also tend to be carb-heavy. I am not trying to find fault with them at all, for I understand that they were primarily designed for people from historical periods when everyone needed to labour a lot more, and usually had much less to consume or choose from. But as we move with the times, we need to adjust these diets to suit our contemporary needs. Now, for our present lifestyles, we need fewer carbohydrates and much more protein. I still remain an advocate of Indian cuisine, but I am equally a believer in adapting, evolving and exploring!

You can use any chopped salad as a topping for this toast, although I’ve suggested my preferred ingredients below. I’d also like to share a tip about cutting vegetables. In the morning, I make sure that my vegetables are finely chopped because I have a tendency to gobble breakfast up as quickly as possible post-workout. Knowing this about myself means that I not only cut my vegetables in a certain way at that time, but also that I cut them differently for my lunch preparations. When cooking for the afternoon meal, the vegetable slices are always larger in size, so that I take my time to chew them properly and digest them better. Small changes like these make us more mindful about both cooking and eating. It’s all about calibrating our choices so that they suit us well.

Hummus Toast With Veggies

1 slice sourdough bread
2 tablespoons hummus
Salad (as per recipe below, or make your own)
1 tablespoon olive oil

Veggies
¼ cup parsley (finely chopped)
¼ cup coriander leaves (finely chopped)
¼ cup cucumber (finely chopped)
2 tablespoons onions (finely chopped)
Salt to taste

Toast a slice of sourdough bread. Add the dollop of hummus and spread it over the toast.

Put all the finely chopped salad ingredients in a bowl and mix.

Sprinkle the salad over the hummus on toast. Finally, drizzle some olive oil. Your hummus toast with veggies is now ready to be enjoyed.

I have shared many toasties here on this blog. You probably know that I am a big fan of sourdough, based on how often I have used it in recipes here. It tastes fantastic on the day it is baked but turns hard by the following day, which is when it becomes ideal for toasties. So this hummus on toast with veggies joins that list too, bringing more pep – and of course, more protein – into my mornings, and hopefully yours too!

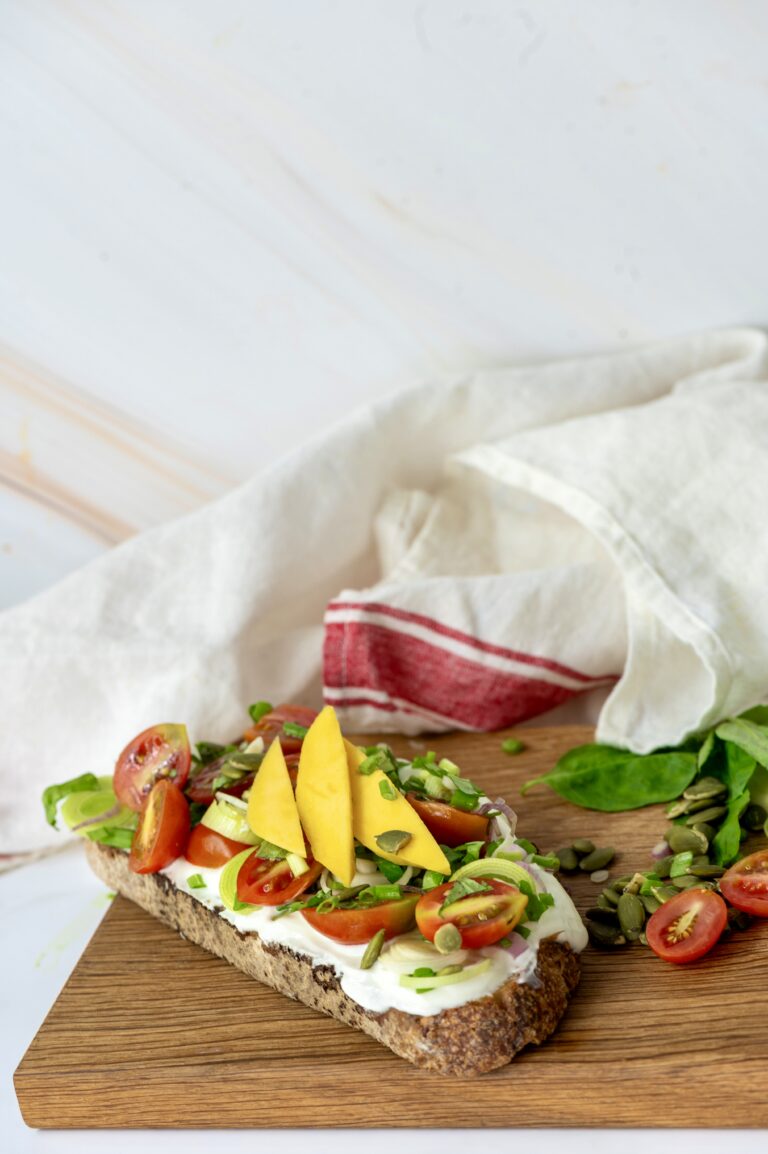
I went through a phase of being obsessed with open toasts, made using homemade sourdough bread. I shared some recipes during that time, including cherry tomato yoghurt toast and pesto Parmesan toastie. With mangoes being in season right now (and like many if not most Indians, my love for mangoes is well-established!), I thought: why not mango toast? I decided to make mine healthy and loaded with nourishing ingredients, with the fruit adding a touch of sweetness and fun. So here’s a recipe for a healthy veggie toast with mango, one that brings the best thing about the summer into your breakfast!

During my open toast era, I also tried to make reels for Instagram. I was quick to realize where my forte lies: in photography, and not in videomaking. To be more accurate: my interest lies there as well, not just my forte. I began to focus – pun intended – then on what I enjoy most, and incidentally do better, and decided to keeping trying to do even better. I wrote about this recently too, and I continue to muse about the role of photography in my life. It is an artform that has given me so much, and I continue to learn and to grow within it. To aspiring artists of any kind, including the culinary forms, I want to say that the key to longevity is in figuring out and forging your strengths. For instance, I had various short-lived attempts at using the ever-popular Photoshop, but found that Lightroom suited me much better as a photo editing software. I would love to master Photoshop, for it has some excellent features and tools, but I use what I am most comfortable with for the majority of the time, and it yields good results.

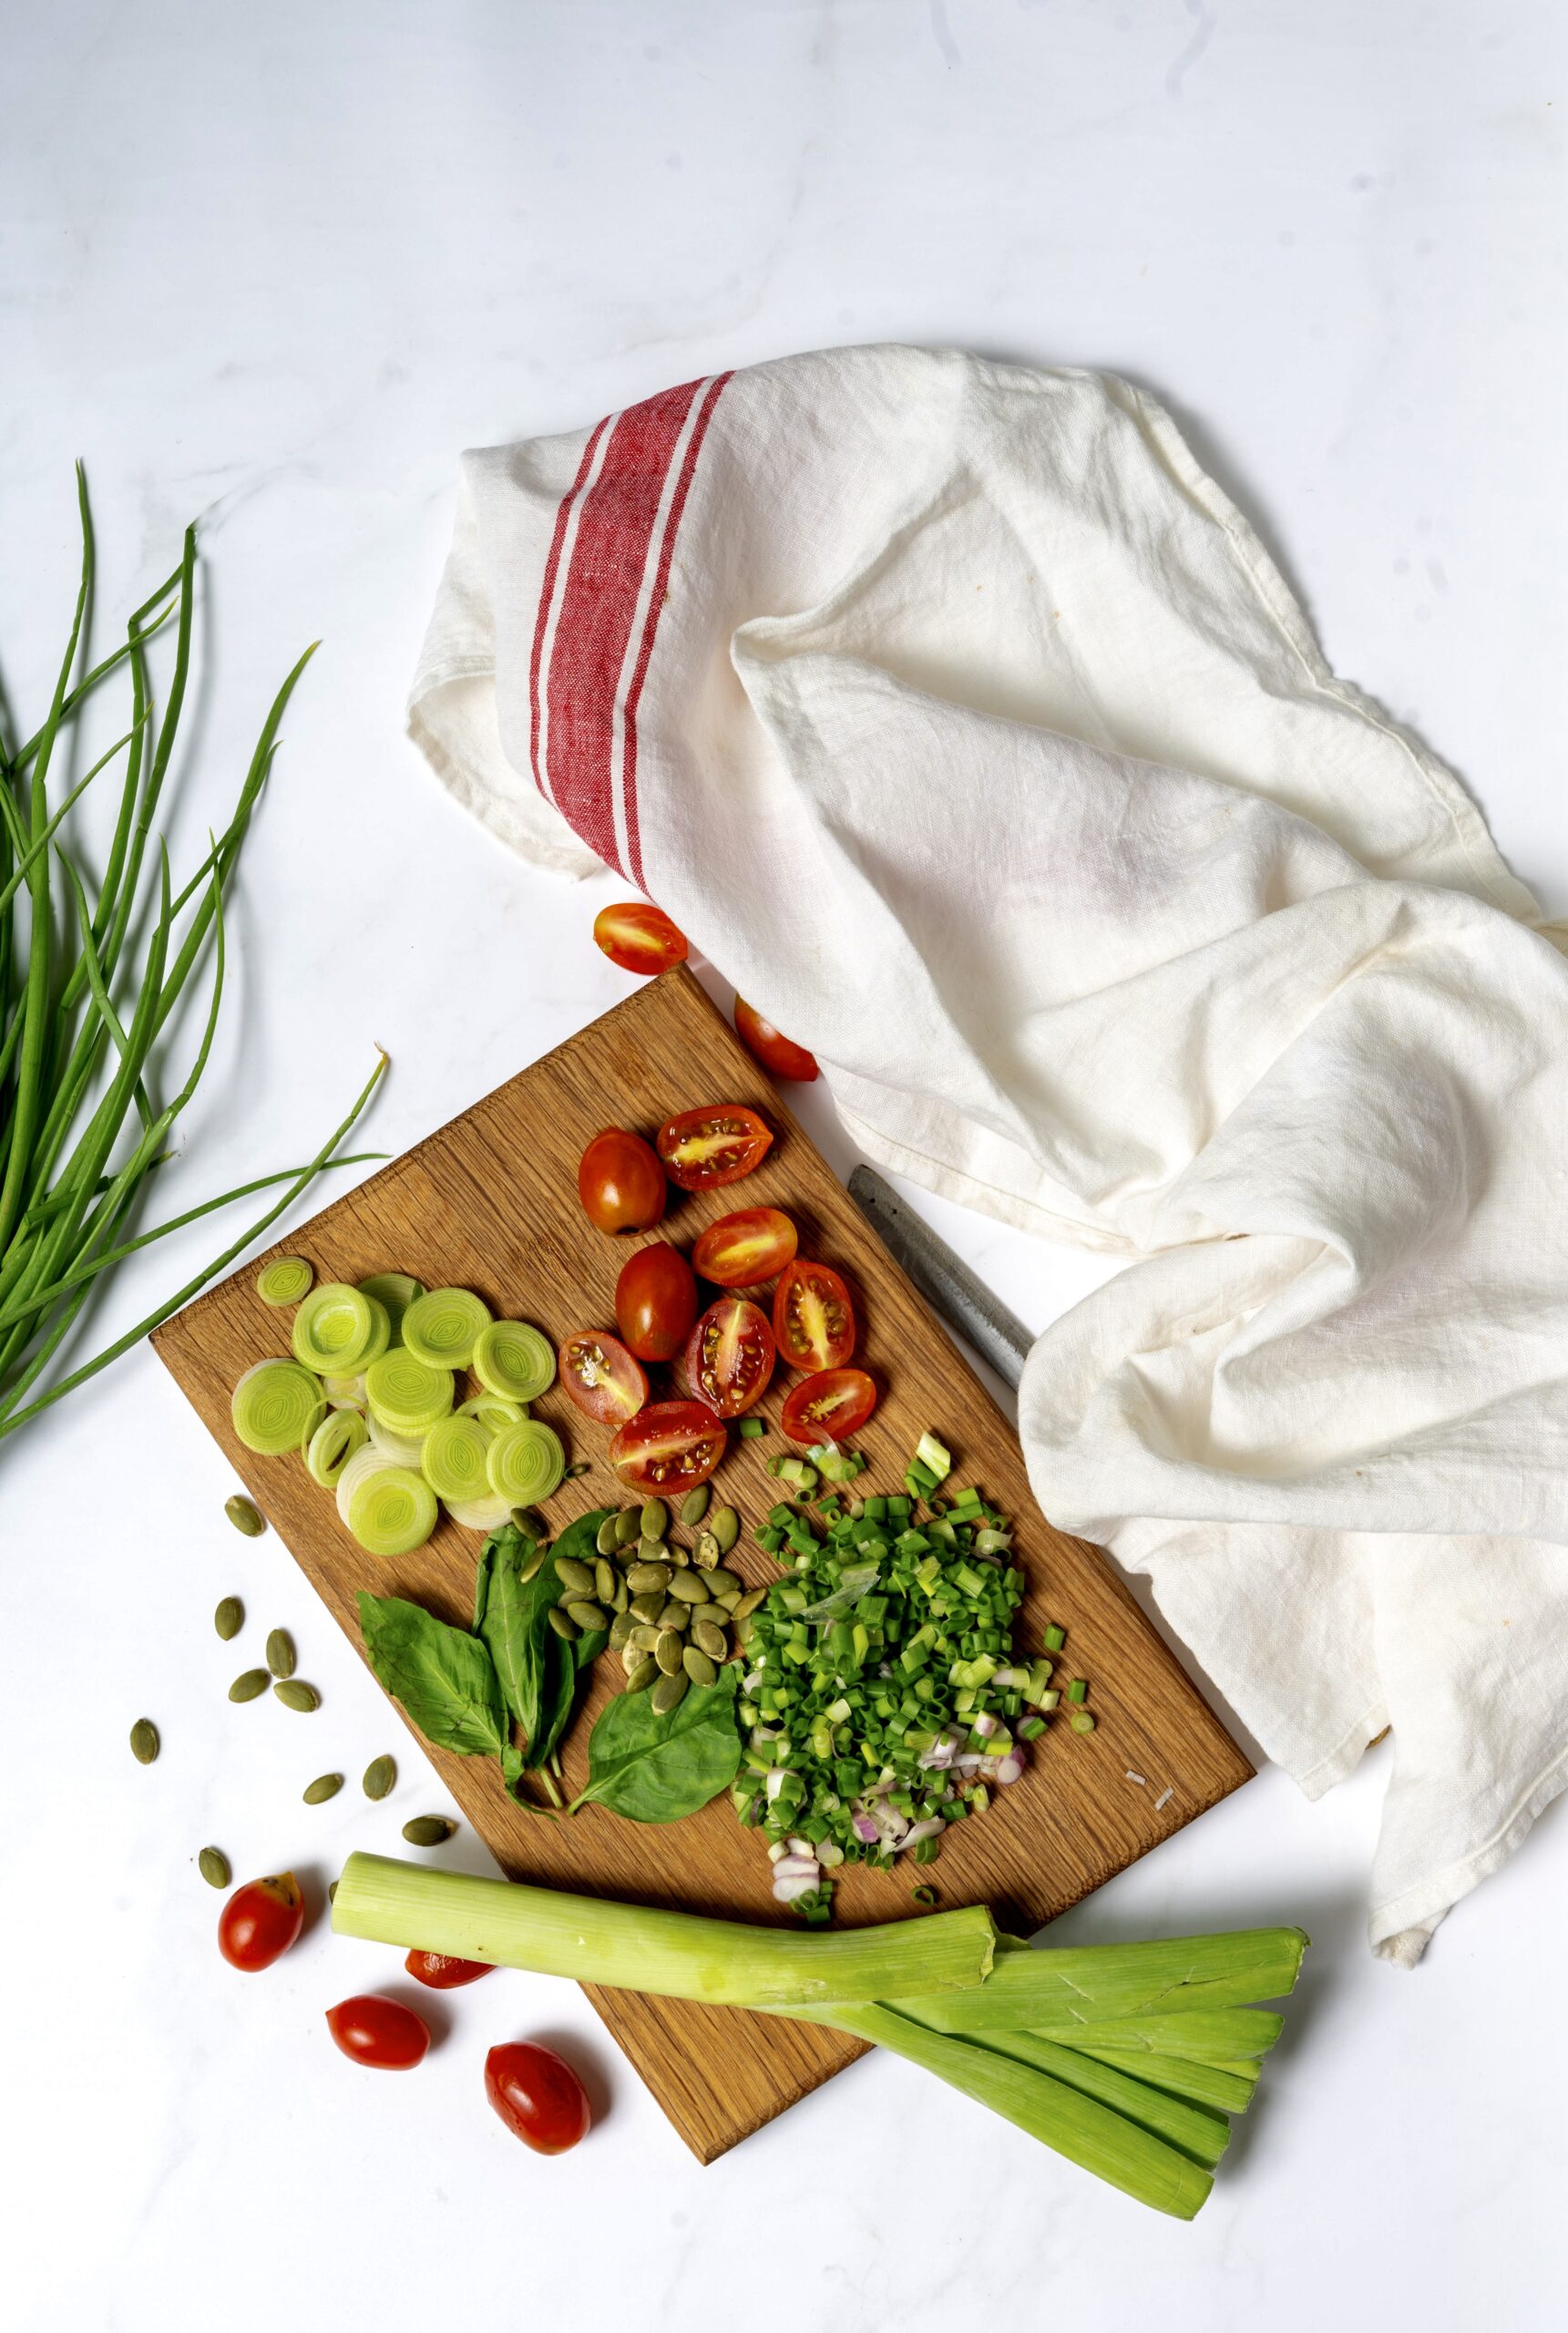
Coming back to this healthy veggie toast with mango, the ingredients used were also selected based on what feels right. I am going through a pumpkin seed phase right now, so of course there is a generous sprinkling of those. There’s some yoghurt, so that there’s a protein boost right in the morning (I have used Greek yoghurt). Then, an assortment of leaves and staples found in my fridge. You can replace any of these with something more to your liking, or depending on what you have on hand. As for the mango itself: Alphonso is probably the best cultivar for this dish, but I have a particular South Indian favourite called Banganapalli which is also very sweet, and that’s what I’ve gone with.

This year, climate-related changes did impact the quality of some of the fruits on the market. Here in Chennai, I was a bit saddened by the effect of recent rains on my own mango trees, which were at peak flourishing. During the very hot days, however, I had been quick to make all my sun-dried spices – including amchur or raw mango powder, which is used as a souring agent in place of lime in many Indian dishes.

Speaking of seasons and phases, and as I mentioned earlier too, our menu at home also goes through these. Sometimes, as a family we develop a fancy for one item and simply must have it every single day for months. For a little while at one point, we started every morning with poha. At the moment, every morning begins with mango for us – specifically, this healthy veggie toast with mango. It’s a nutritious and delicious all-rounder, which makes it perfect for breakfast. How lucky that the fruiting season and our own foodie phase have coincided!

Healthy Veggie Toast With Mango

(Serves 1)

1 large slice sourdough

1 tablespoon yoghurt

A handful of cherry tomatoes

Lettuce leaves of your choice

Spring onions

Leeks (sliced)

1 tablespoon pumpkin seeds

2-3 basil leaves

3-6 slices ripe mango

Olive oil (for drizzling)

Salt and pepper to taste

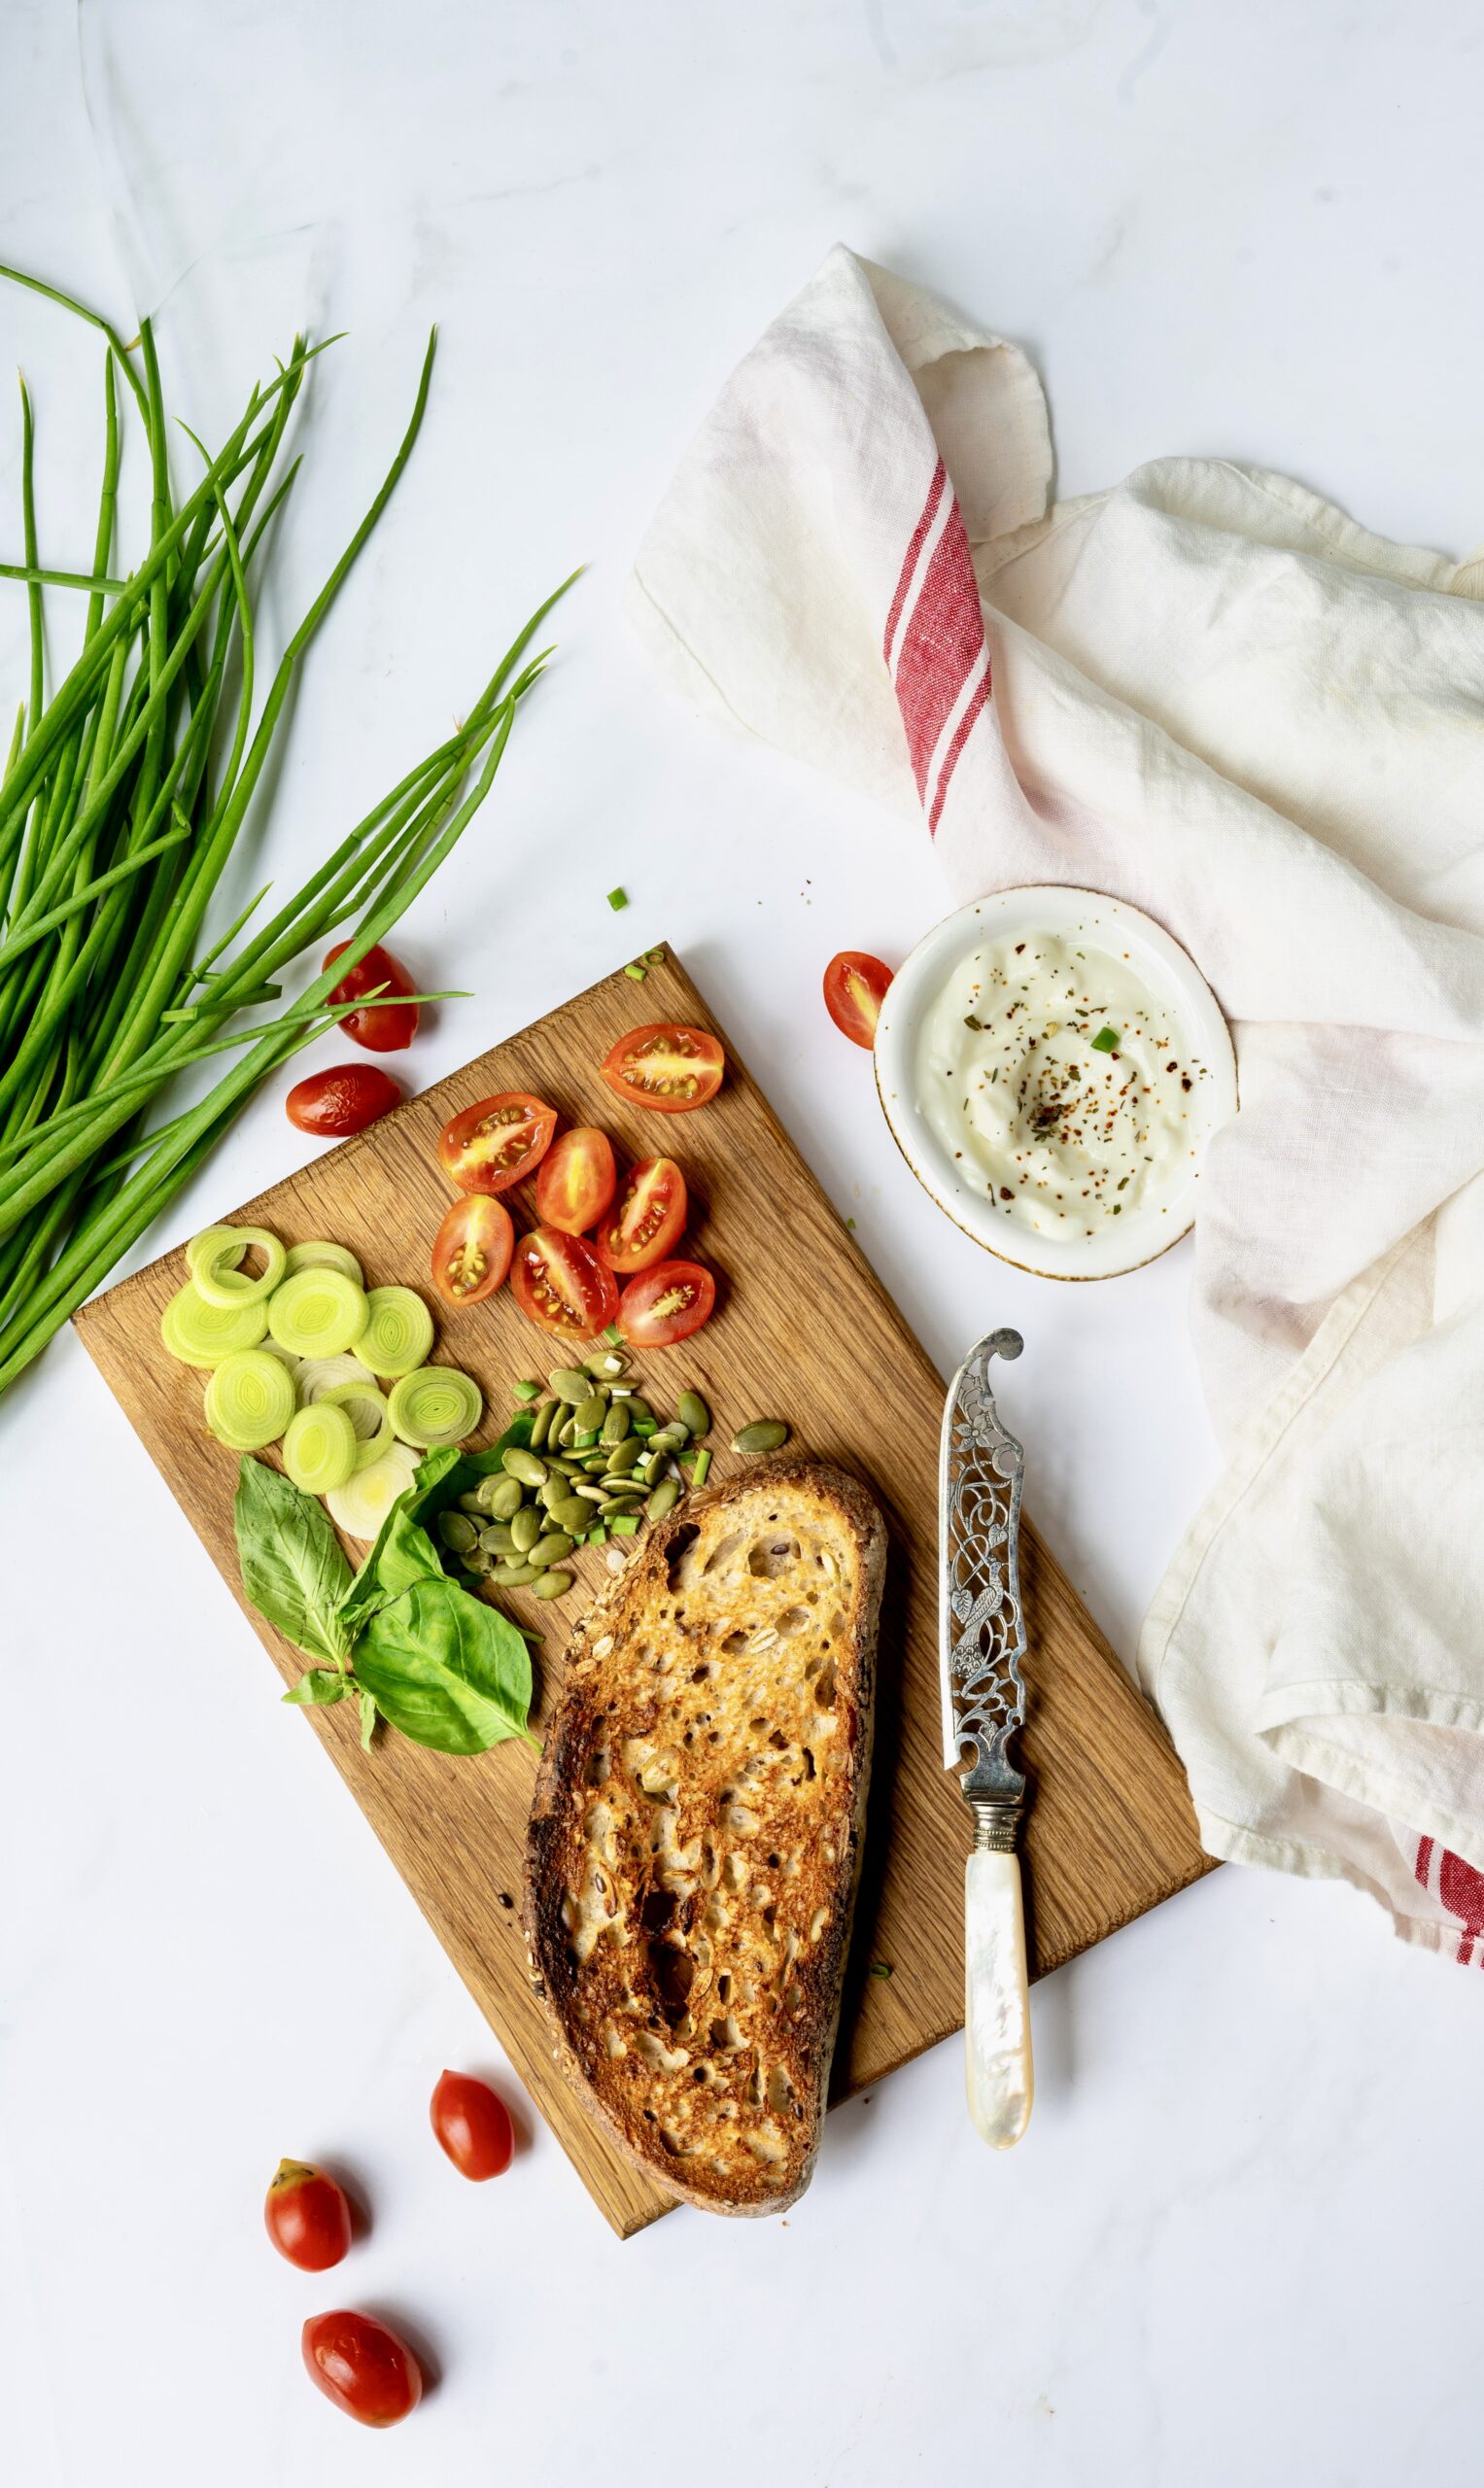
Toast the sourdough slice and set aside.

Prepare all the veggies. Use what you like, in the amount that you wish to use. This is why I have been vague about the quantities in the ingredients list, and just given you the gist of what goes into mine.

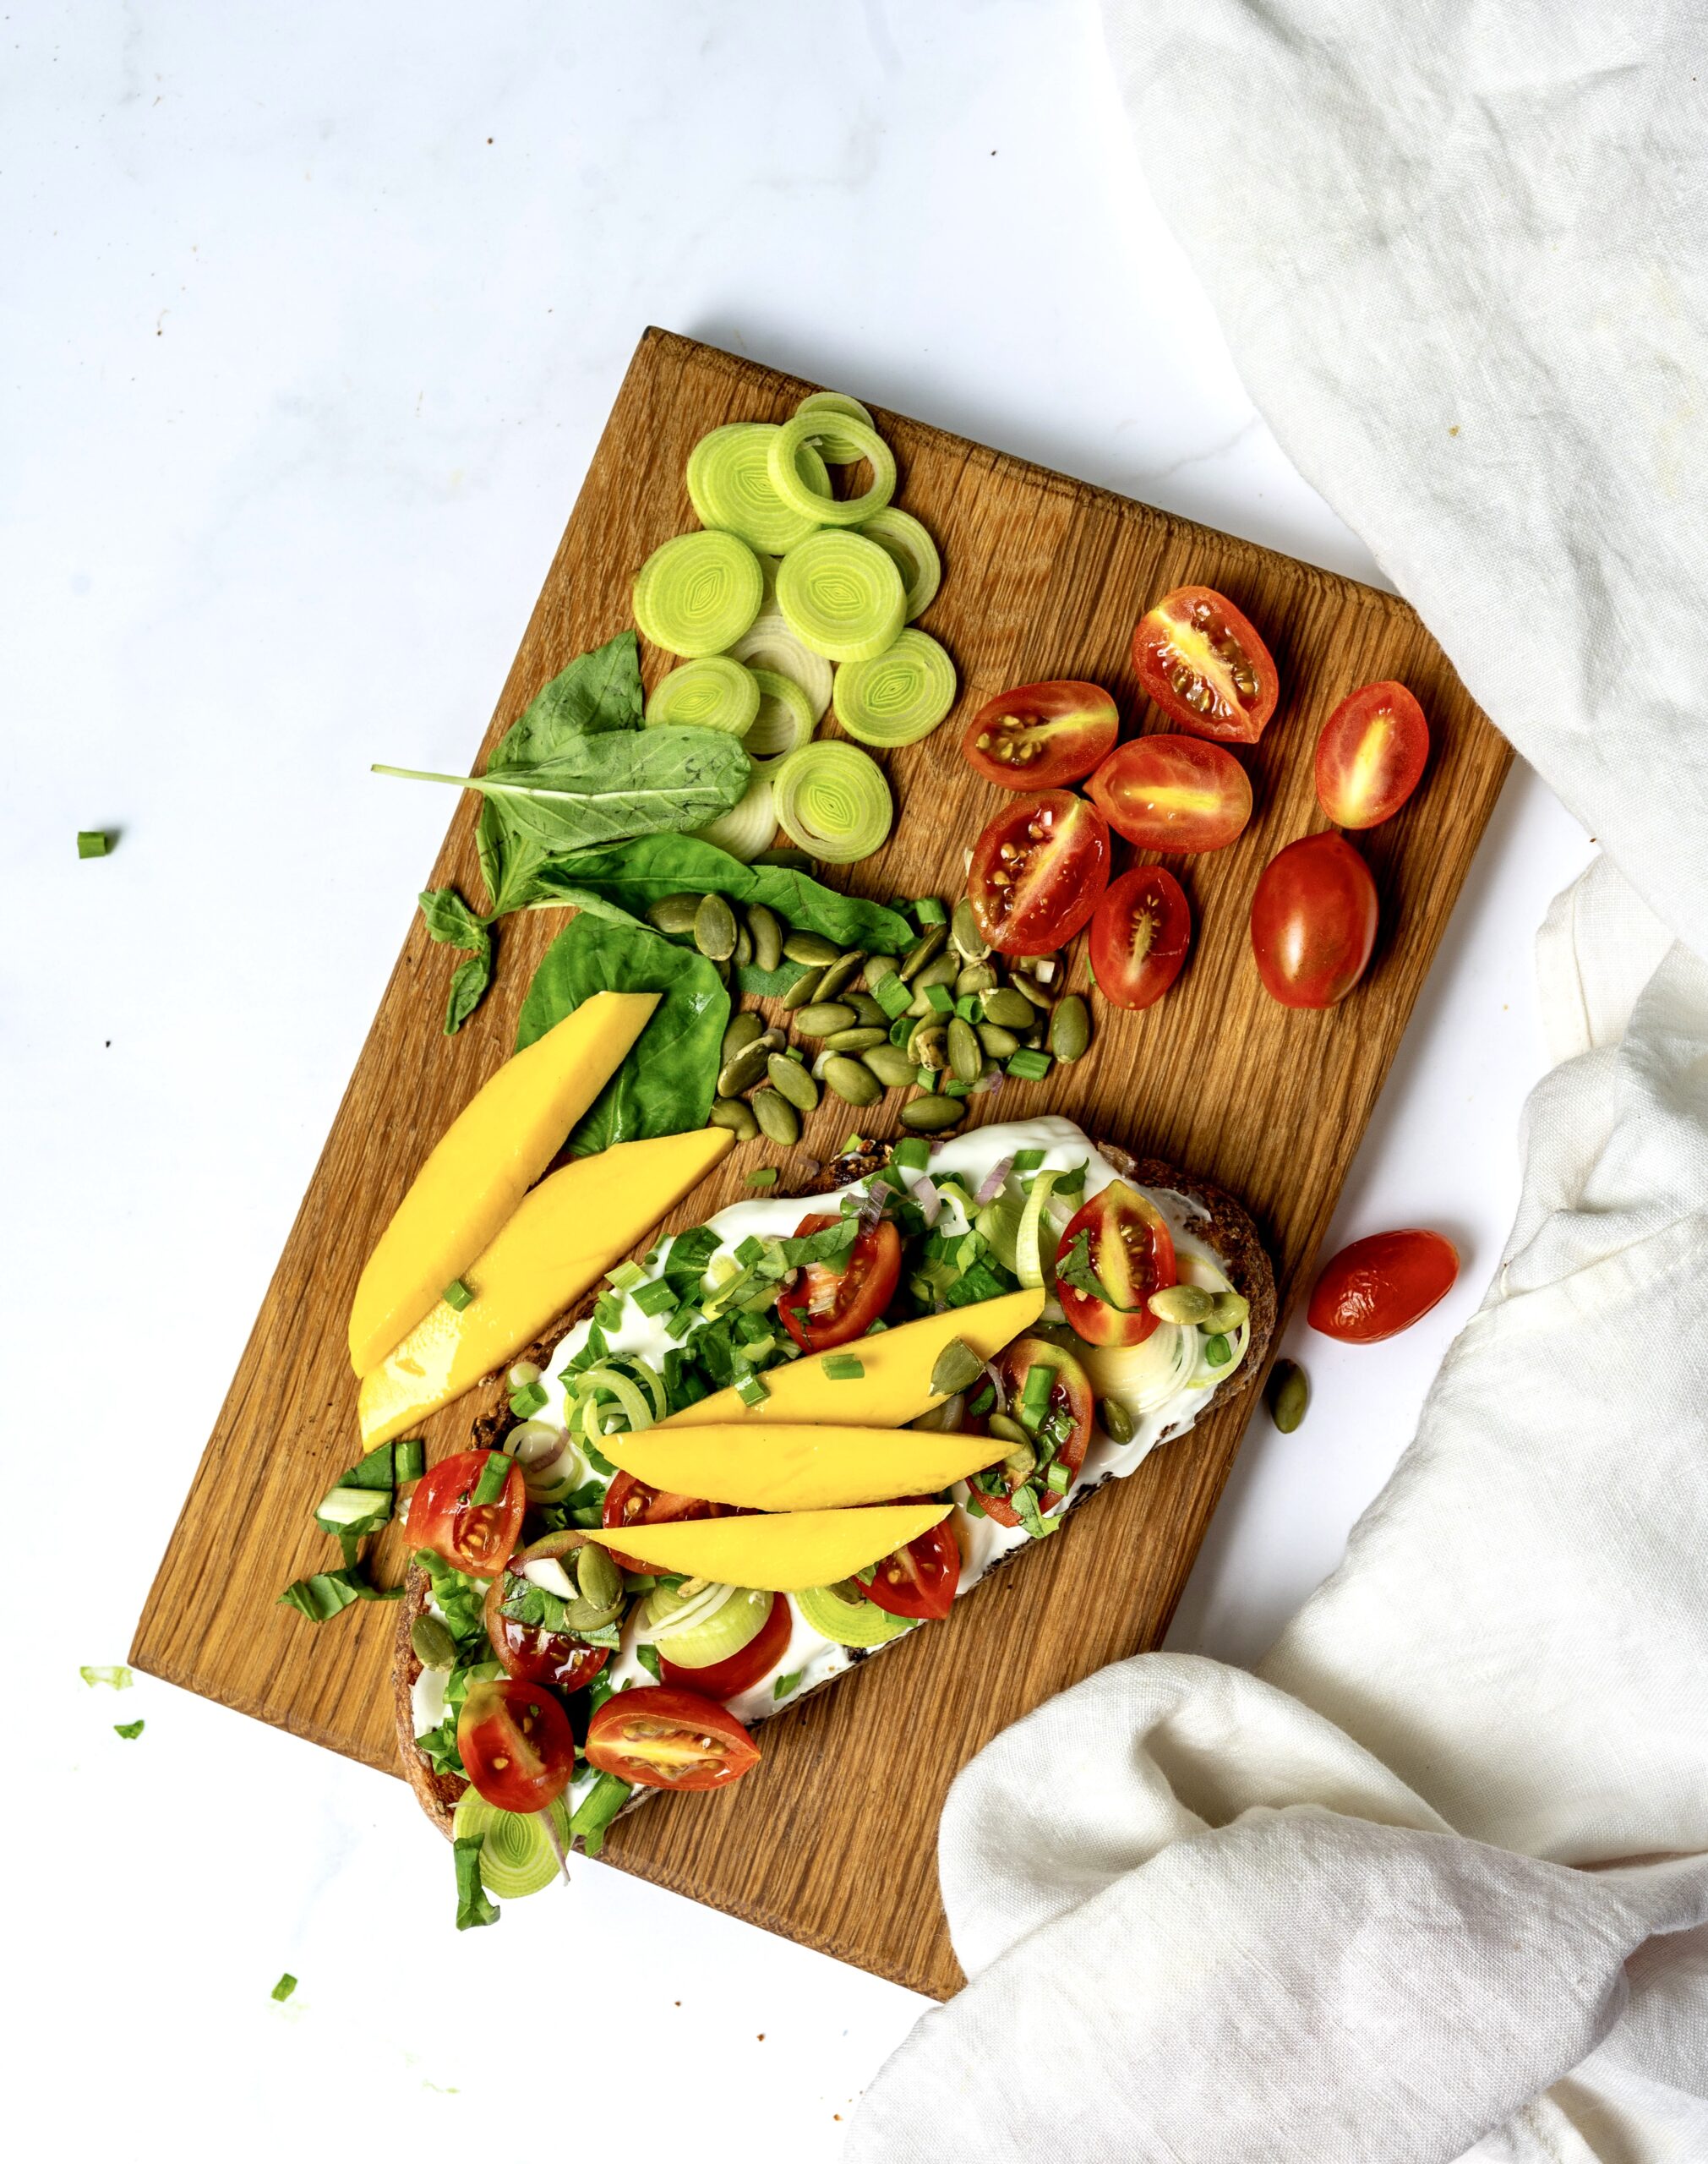
Now, top the toast with the yoghurt, followed by the prepared veggies. Layer the mango slices at the end, then drizzle with olive oil. You may also want to add a sprinkling of salt and black pepper.

Your healthy veggie toast with mango is now ready. Savour the mix of flavours and textures, from the sweetness of the fruit to the crunchiness of the seeds and everything else in the mix!

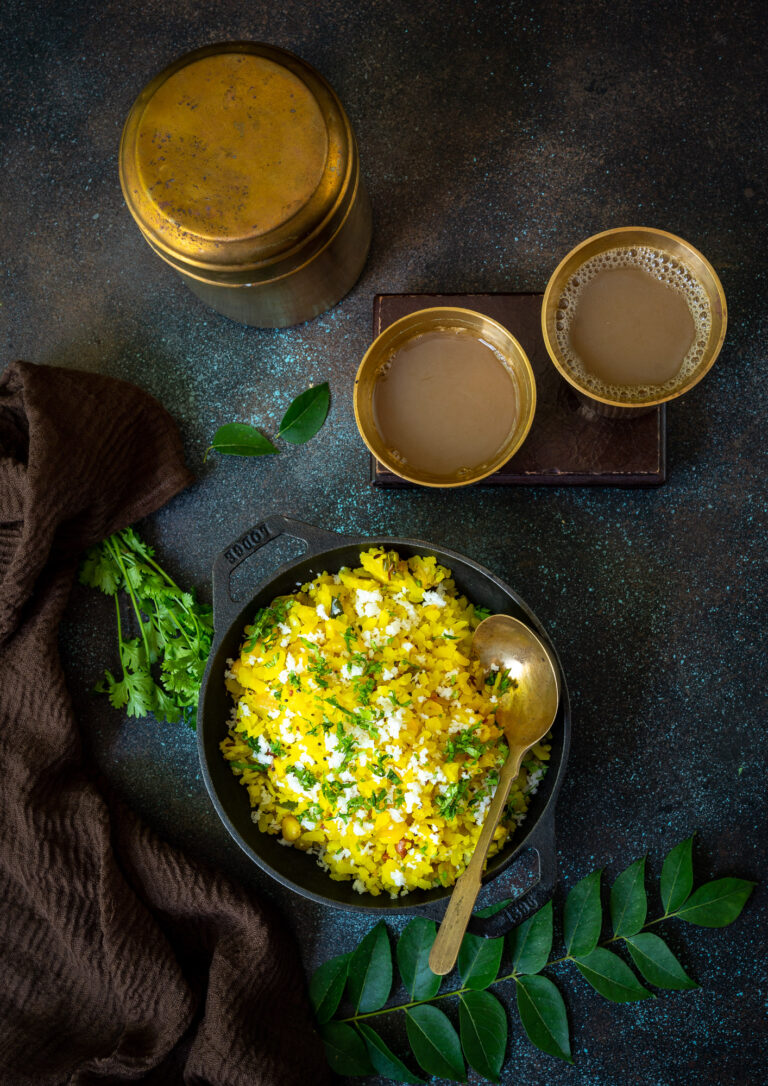
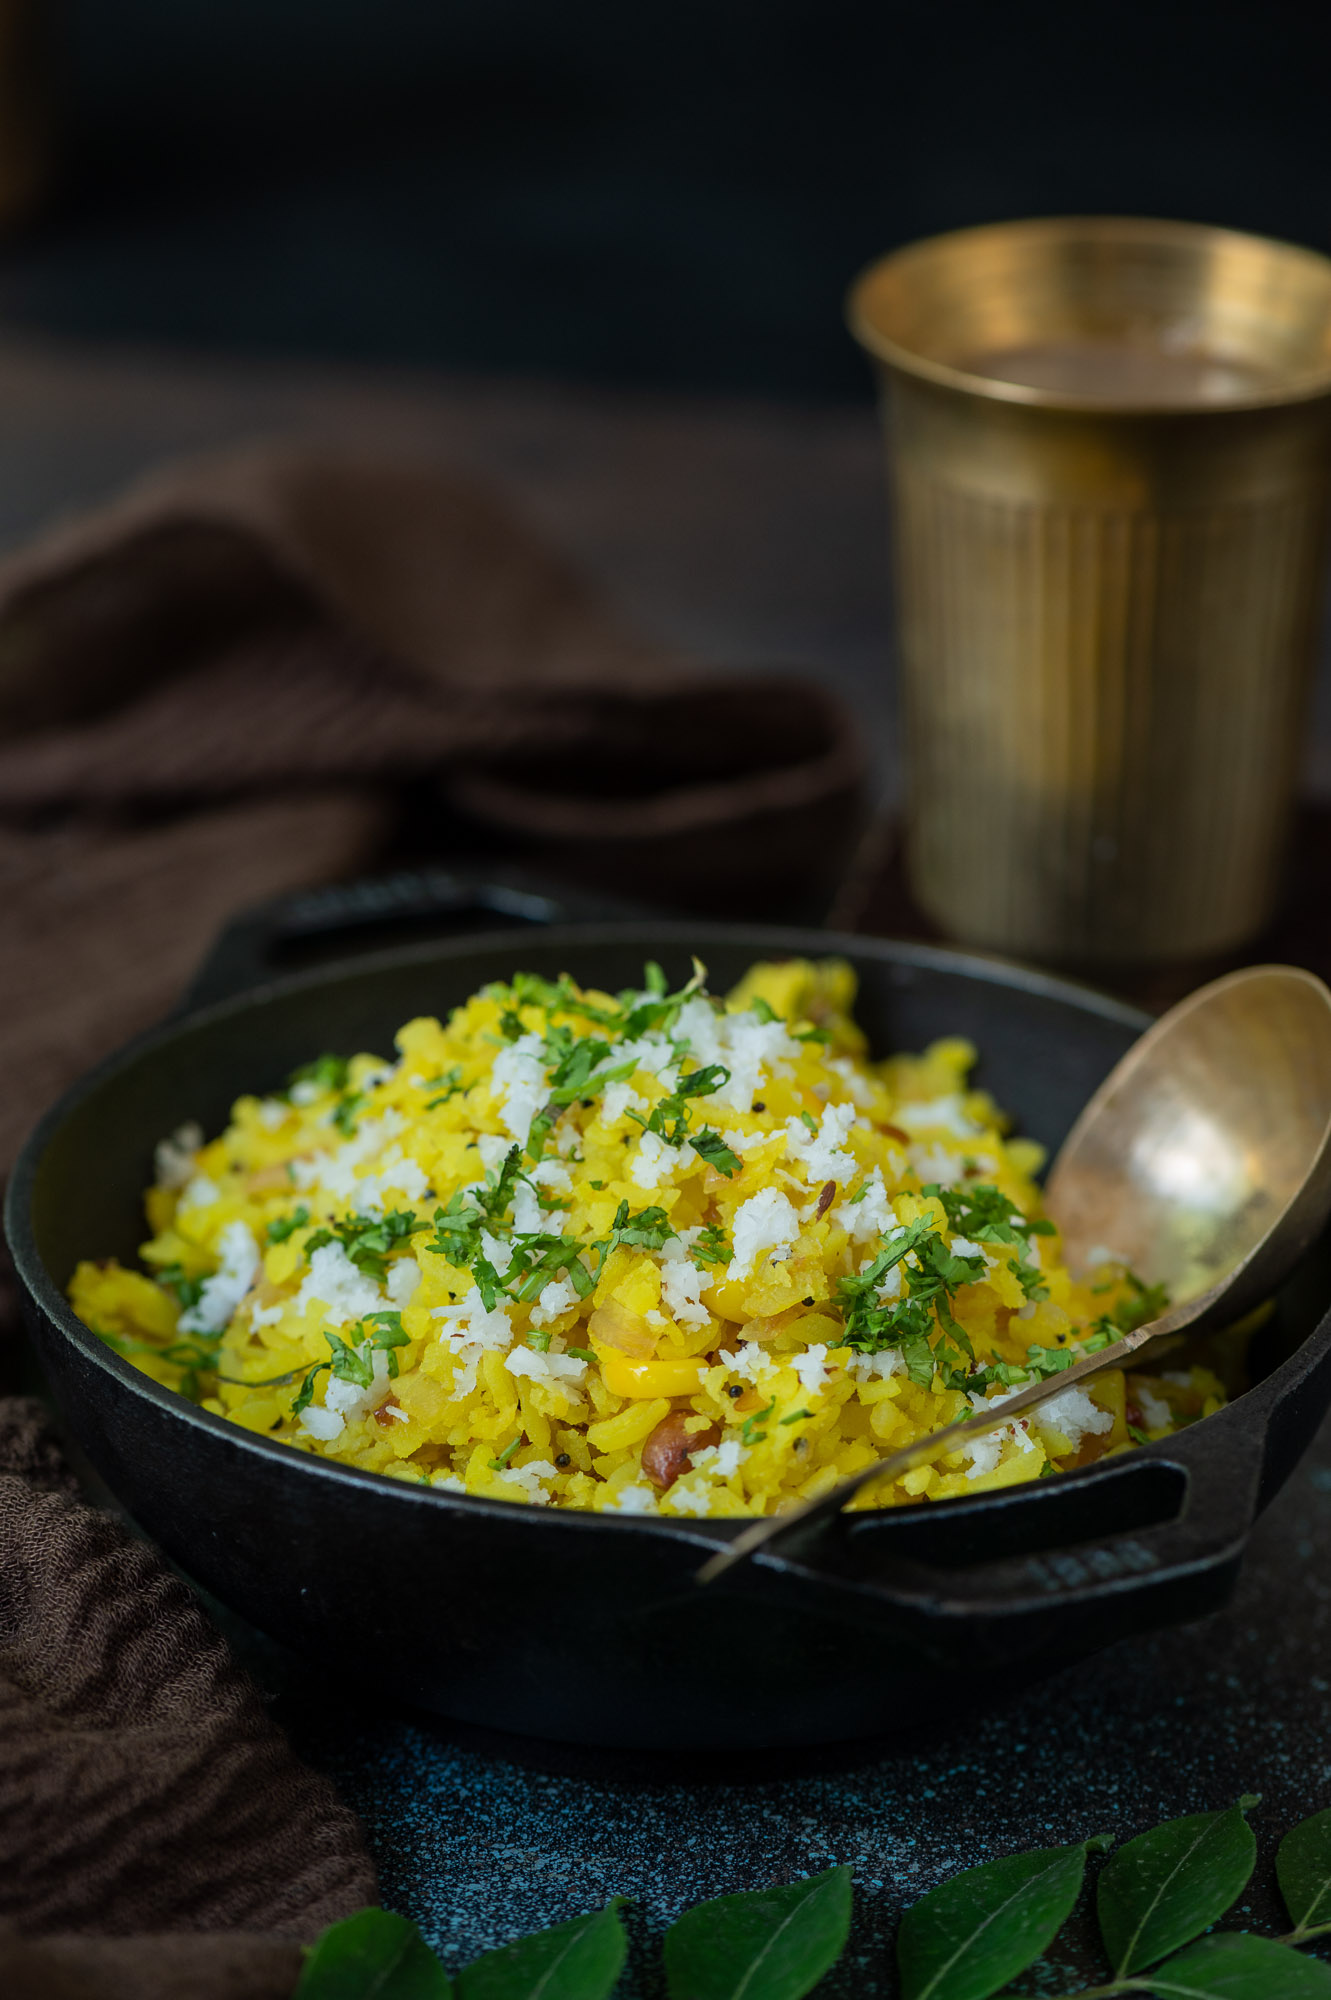
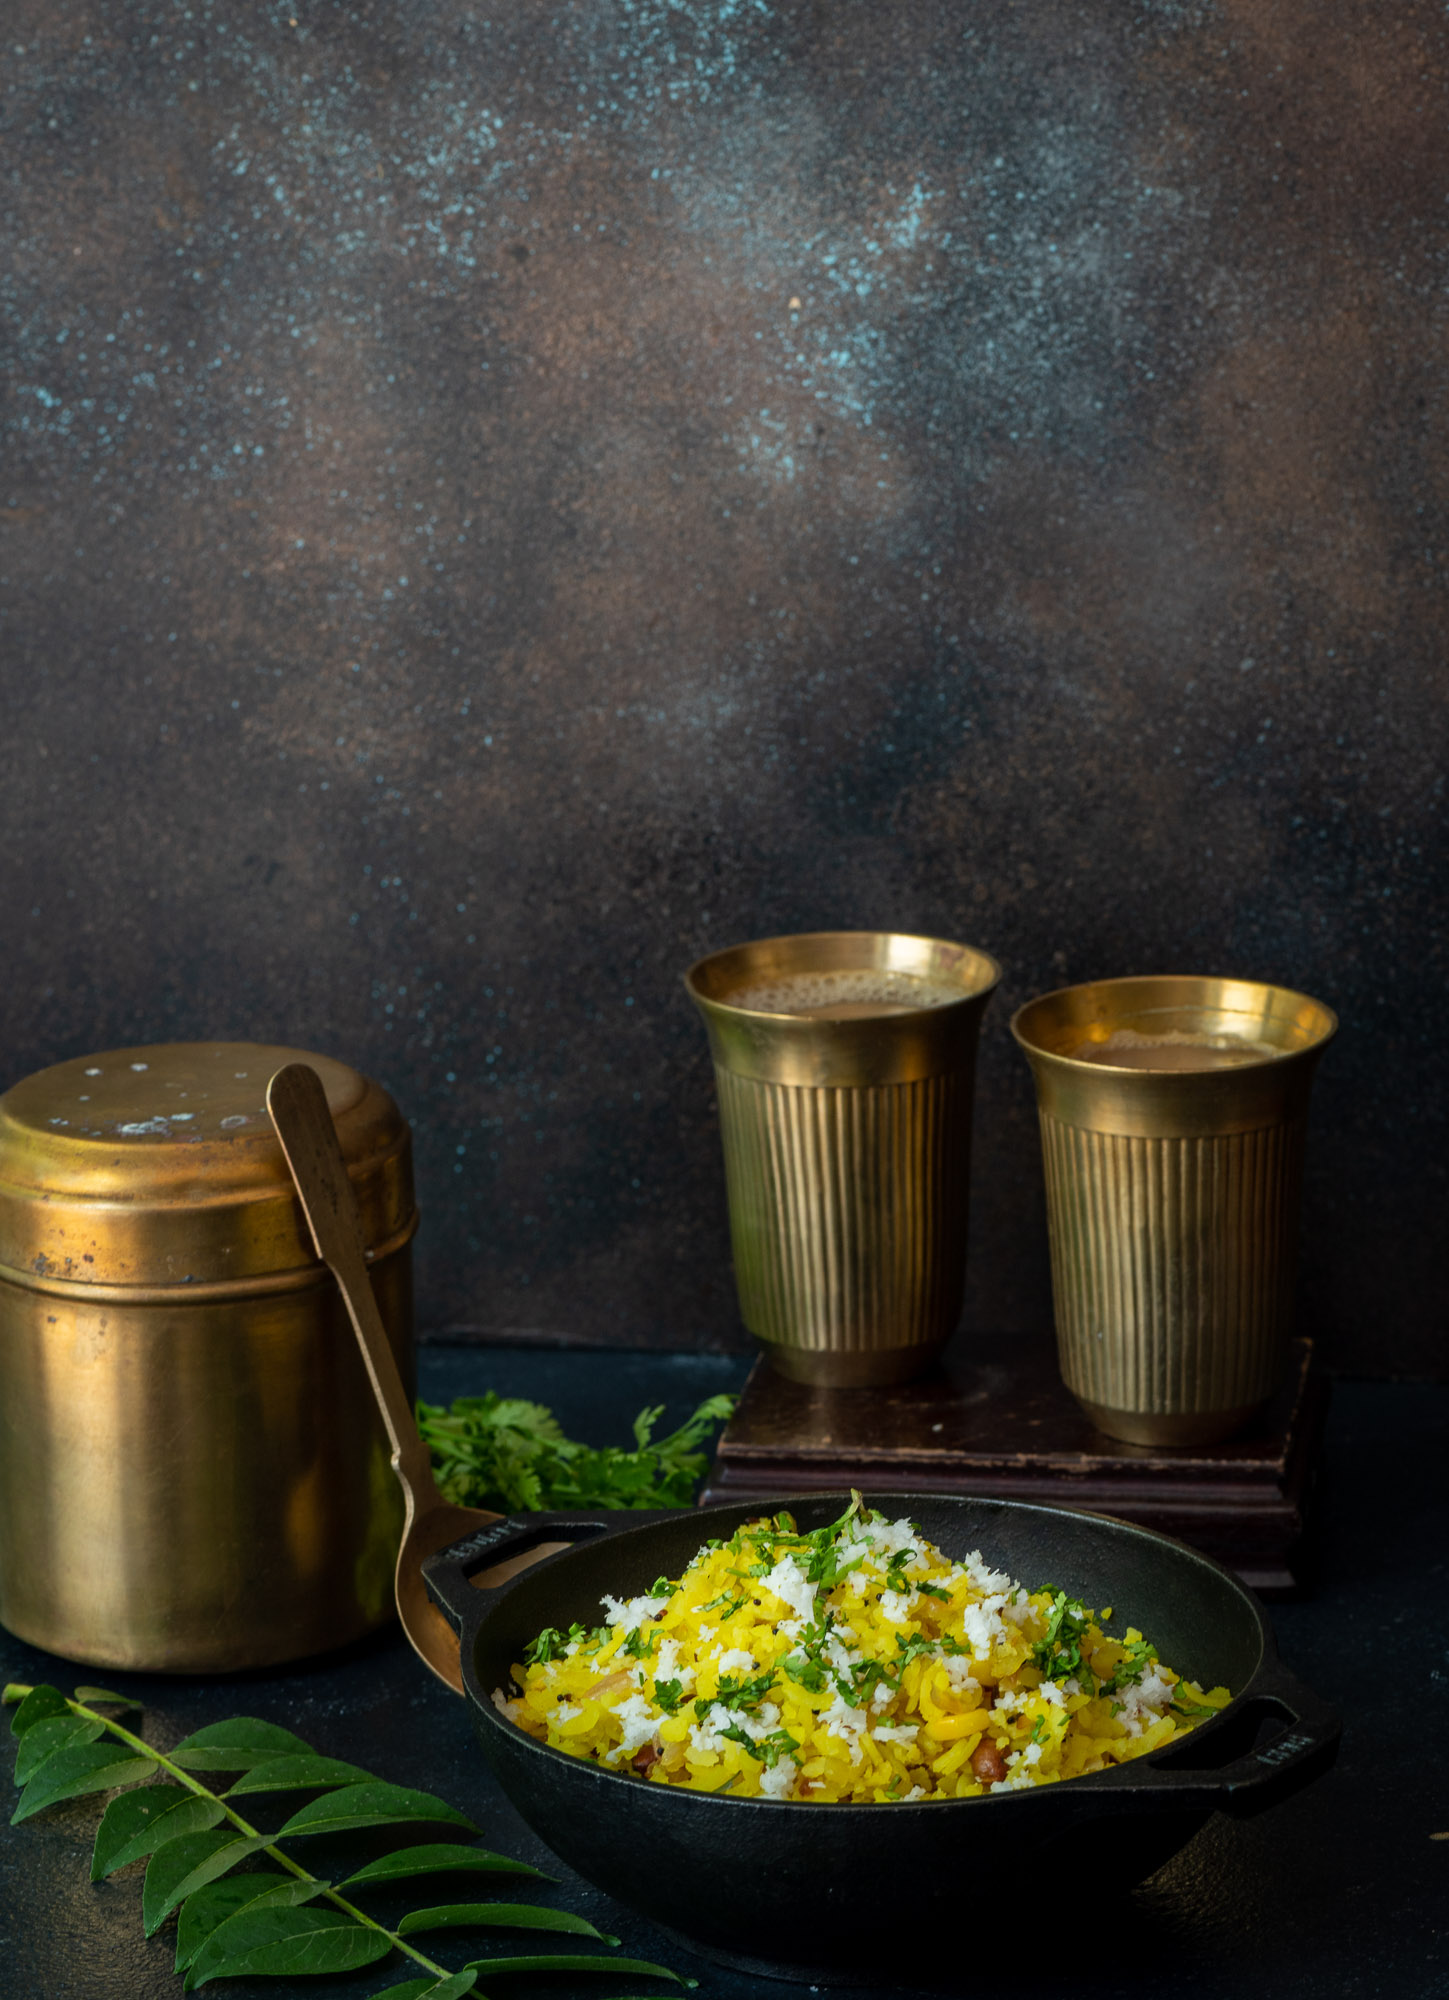
When people say Gujaratis are synonymous with dhoklas, I often think about how it is probably actually poha that’s a better symbol of our eating habits. Even though it is originally a Maharashtrian dish, Gujarati-style poha has been tweaked to suit our palates and makes such a frequent appearance at our meals that it is also quintessential to us. At any Gujarati home – including mine – on literally seven days of any given week, you are very likely to get to see, and of course taste, poha.

The Gujarati palate likes a bit of sweetness and a bit of tanginess in every dish, which is the tweak that this recipe contains. There is some sugar, of course. There is also a squeeze of lime and some green chilli paste. These additions bring in a perfect combination of three flavours: sweet, tangy and spicy.

Poha is, as established already, a staple. It is flattened rice prepared in a savoury way. It is a reliable dish, and made with easily accessible ingredients. It is basic, simple and nourishing. It is healthy and light on the system. It is versatile: good to serve to guests, good to have when unwell or recuperating, and even good at certain celebrations (such as the morning functions of weddings). It is mainly a morning dish, and it is ideal for an everyday breakfast too.

For me, poha is so essential that if it is served every day in my home, I must also have it at least on three days of the week when I travel abroad. Be it London or New York, I must have poha. I carry the ingredients with me and prepare it wherever I am. When I’m travelling, I like to make it in my own special way, by topping it with lots of vegetables. I do know that some people add green peas during pea season, but otherwise this isn’t typically Gujarati. I add the vegetables to suit my health and lifestyle requirements. In this recipe, I have used corn along with a handful of peanuts, to bring in more of the nutrition quotient that I strongly prefer.

Gujarati Poha

(Serves 2-3 people)

2 cups poha

1 medium size onion (finely chopped)

1 medium sized potato (finely cut)

½ cup corn niblets

1 tablespoon peanuts

1 green chilli

A handful of curry leaves

3 tablespoons oil

1 teaspoon cumin seeds

½ teaspoon mustard seeds

Salt to taste

¼ teaspoon turmeric powder

1 tablespoon sugar

Juice of 1 large lime

You may want to use the red rice variety of flattened or beaten rice to prepare this dish, but I like to use the thinner white rice variety. The advantage of it is that you don’t have to soak it for fifteen minutes to half an hour beforehand. You only have to rinse it. Do keep this in mind; if you use the thicker variety, you must soak and drain it.

Rinse the poha under running water and allow to drain, half an hour before cooking. Set aside.

Heat a kadai, and add the oil. Add the cumin and mustard seeds. Once they splutter, add the peanuts and then the onions, curry leaves and green chilli. Sauté until the onions are tender and then add the potatoes. Now, cover the kadai with a lid and allow the potatoes to cook on a low flame. Sprinkle a little water if required.

Next, add the corn and sauté until all the vegetables are tender.

Add the salt, turmeric powder, sugar and lemon juice and mix. Add the poha and mix gently. Sprinkle a little water and cover again for a few minutes.

Mix again gently and serve. You can garnish this dish with grated coconut and coriander leaves. As I mentioned, you can also top with vegetables for a greater nutritional boost. This will give you a re:store-tweaked, Gujarati-style poha!

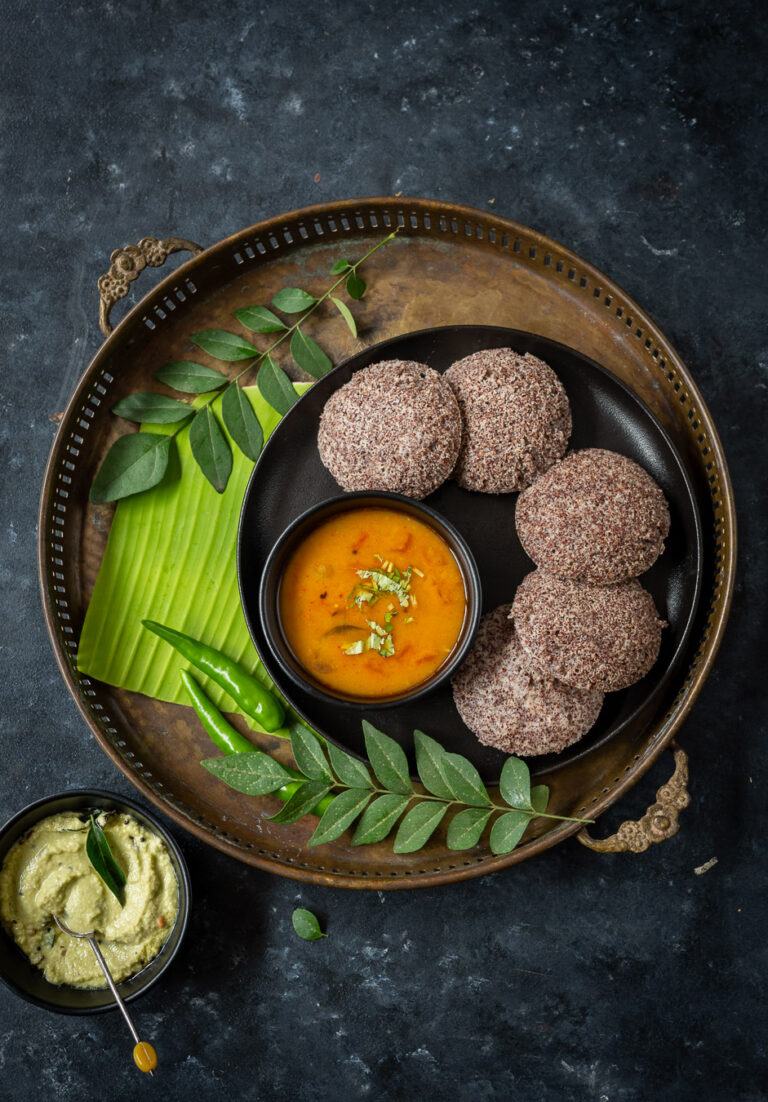
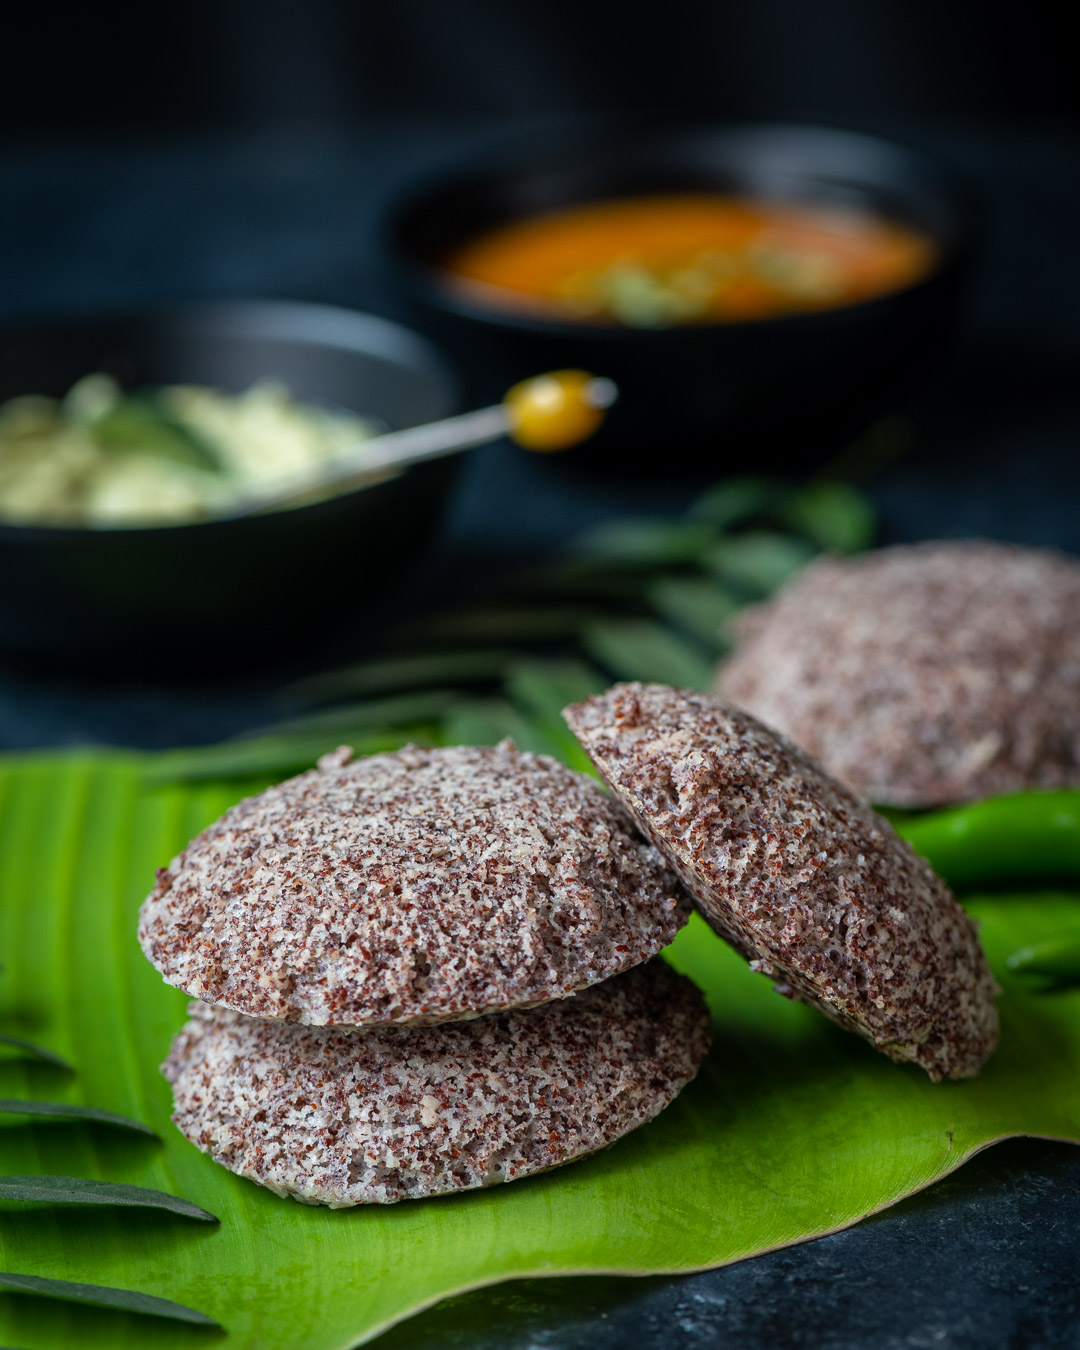
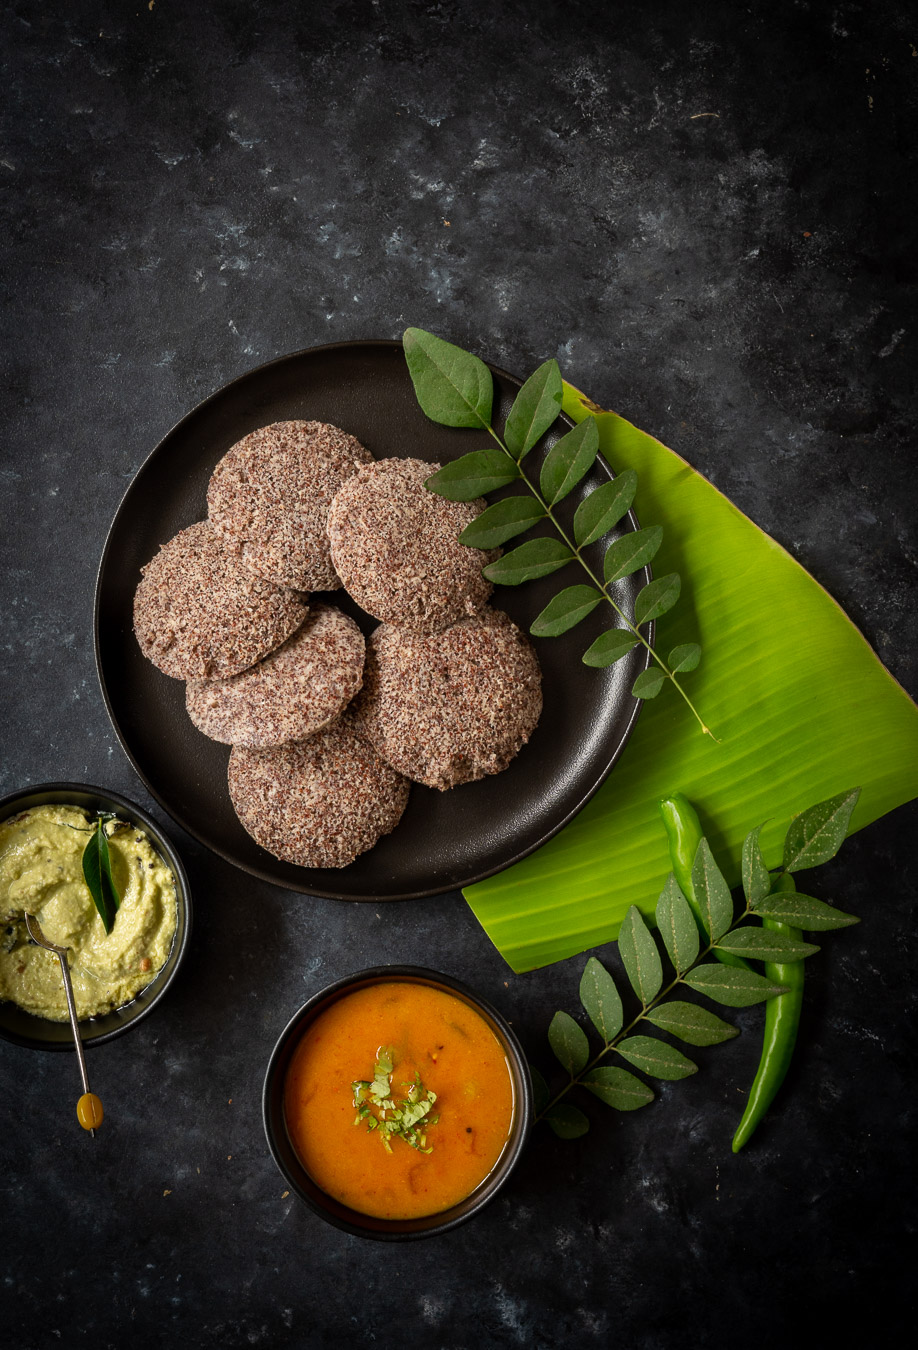
I believe that South Indian breakfasts are probably the healthiest ones prepared pan-India. I may be biased, of course, as I live here. But my belief comes from how they tend to contain some amount of protein and probiotics, and are centred on something as basic and easily digestible as rice. Rice is used in the batter for idlys and dosais, which are breakfast staples. If you travel across Tamil Nadu, especially by road, you’ll see just how prevalent these items are across all communities and economic backgrounds. Naturally, I grew up eating them too. Nowadays, I like to boost the protein quotient, as I get very hungry immediately after my morning workout and crave more of it. This is why I decided to substitute rice with ragi – finger millet – in my idlys. They are high in both protein and iron, and provide an even more nutritious start to the day.

We grow ragi on our farm, and making these idlys is a great way to put it to use. During harvests, I have quite an abundance of ragi in my kitchen, and versatile ways to consume it were introduced to me by my household staff, Vijaya. I was fortunate that she came into my family when my daughter was only a few months old. Now, my daughter is an adult, and whenever she visits, Vijaya is always so happy to see how she’s grown and how she looks after herself. It’s a joy to share these moments, as we raised her together. Over the years, we have also exchanged many recipes. Among them is this ragi idly.

I’m currently hooked to this dish, and have it at least twice a week. I alternate it with other protein-rich breakfasts such as overnight oats, quinoa porridge, moringa leaves omelette and so on. As far as eating preferences go, I tend to have a “flavour of the season”, and just as I was hooked for each of the prior recipes for a spell, the ragi idly is my current favourite breakfast. It is satisfying, filling and ticks all the boxes for a post-workout meal in a healthy and traditional way.

It’s also on-trend, as the United Nations has declared 2023 to be the International Year of Millets. I’ve been enthusiastic about millet usage for years, and have shared numerous recipes that are based on a variety of them before. I’ll be sure to share more in this category over this coming year. Please let me know if there are any millets or millet-based dishes you are curious about.

Coming back to this dish: all kinds of idlys are usually served either with a chutney, or a sambar. I will share the recipe for sambar, as well as for homemade sambar powder, in upcoming posts – so do stay tuned. The recipe below includes the traditional process of preparing and fermenting the batter.

As I said earlier, idlys are available anywhere in Tamil Nadu, but the difference when they are homemade is that they somehow feel lighter on the stomach. You can eat many idlys and not feel too full, yet you’ll have plenty of energy all the way into the afternoon. This is all the more true when it’s a millet idly, like this one.

Ragi Idly

(Yield: 20 pieces)

2 cups ragi (finger millet)

½ cup urad dal (split black gram)

¼ tsp methi (fenugreek)

½ cup water to grind dal

½ cup water to grind ragi


Soak the urad dal and the methi together. In a separate bowl, soak the ragi. Allow the grains to soak for between 4-10 hours, as required.

Then, grind the urad dal, adding the water only as needed, at approximately a ¼ cup at a time. Grind until it’s smooth between fingers. Set aside in a bowl.

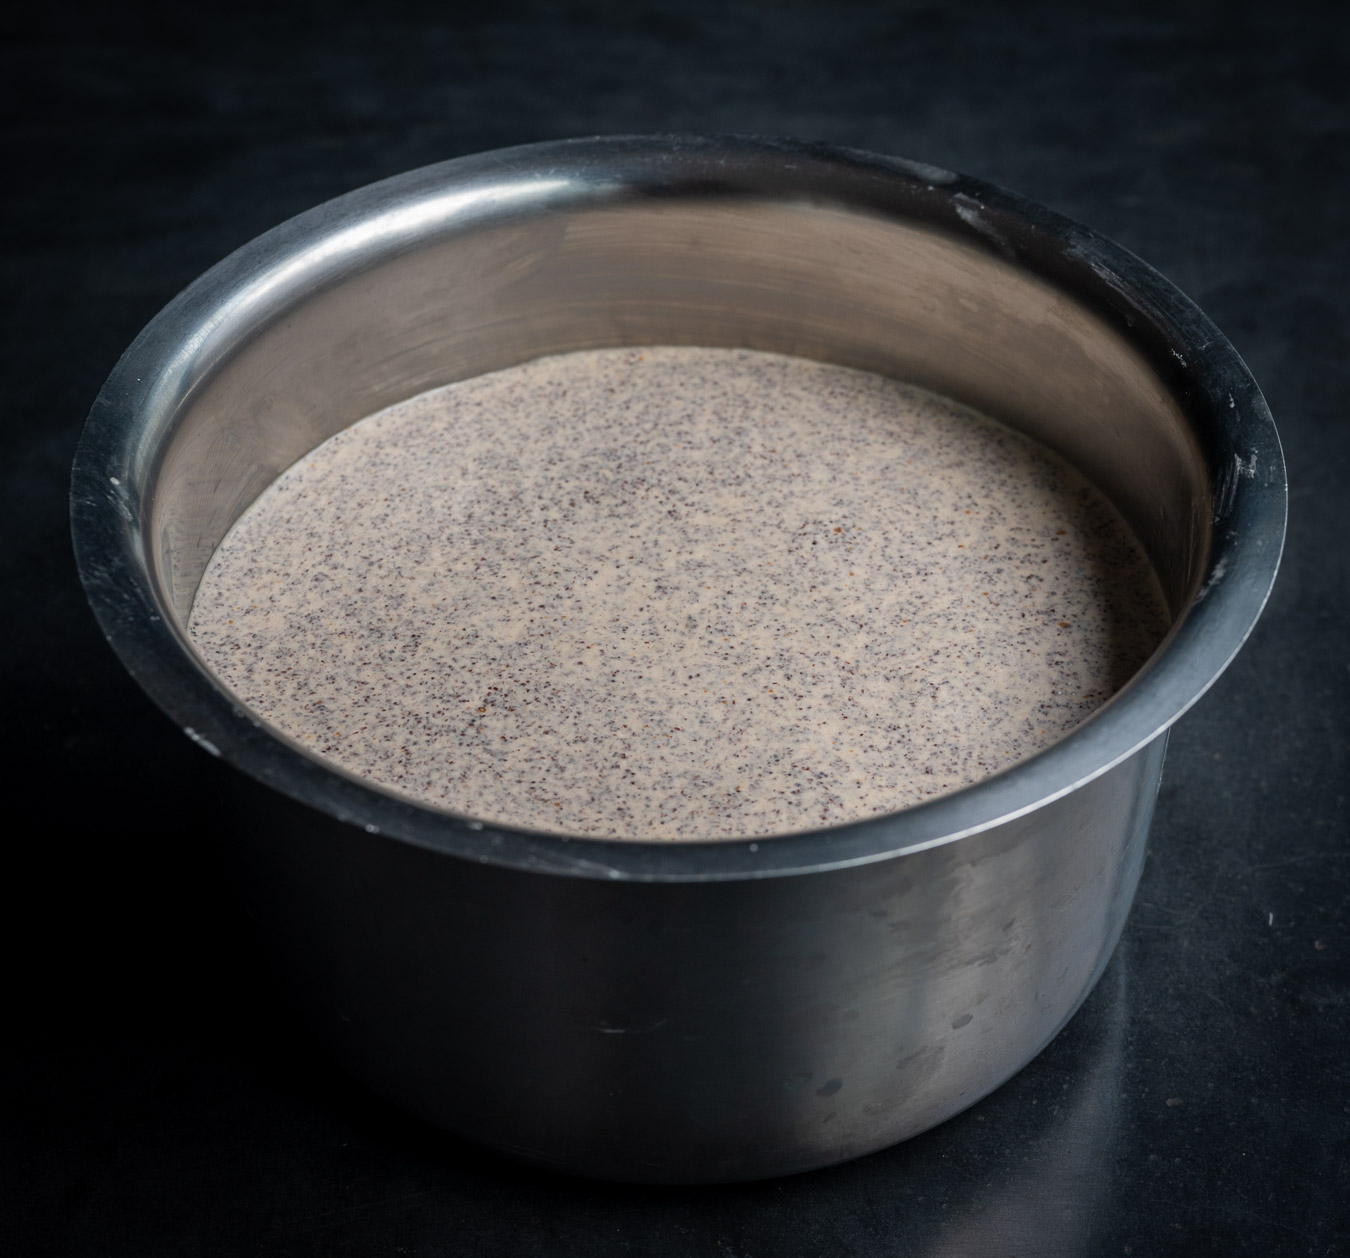
Grind the ragi, along with water as required, until coarse. Add the ground ragi to the urad dal. Add salt to taste and mix with your hand. Set aside overnight and allow to ferment.

The following morning, the ragi batter would have risen for fermentation.

Prepare the idly mould by spreading a drop of ghee into each mould. This will help you remove the steamed idly with ease later. Set aside.

With a ladle, stir the batter gently and pour it into the prepared idly trays. Steam for 10-15 minutes. Remove from the cooker and allow to cool a little. Gently remove the idlys individually from the mould.

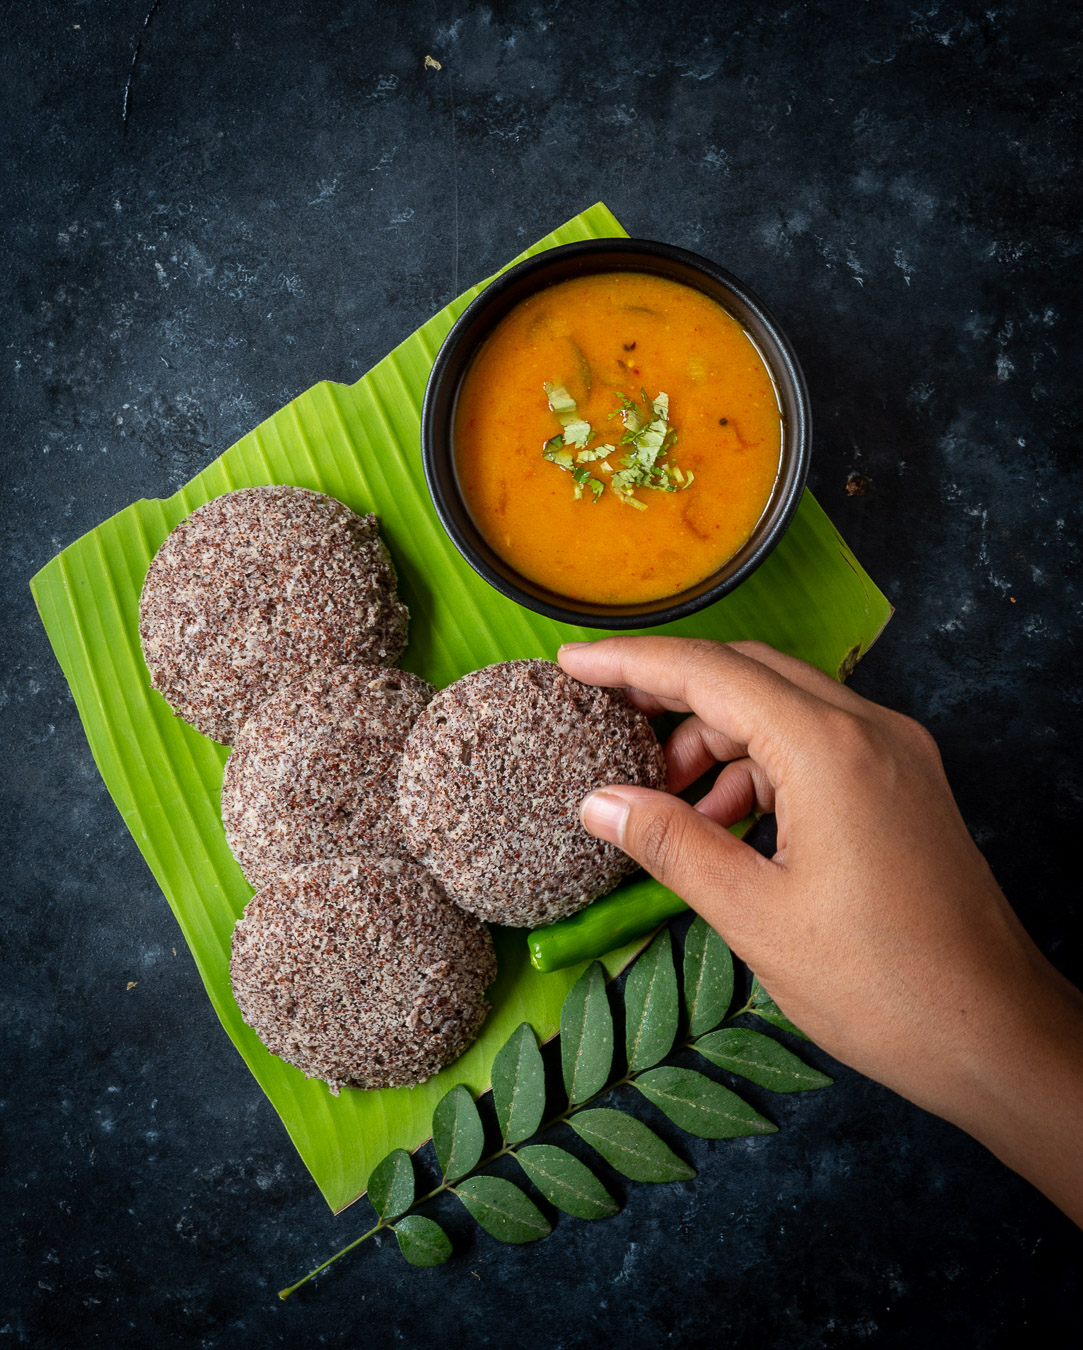
Serve topped with ghee, along with chutney and sambar, or both. There you have it: a traditional staple, superpowered by ragi!

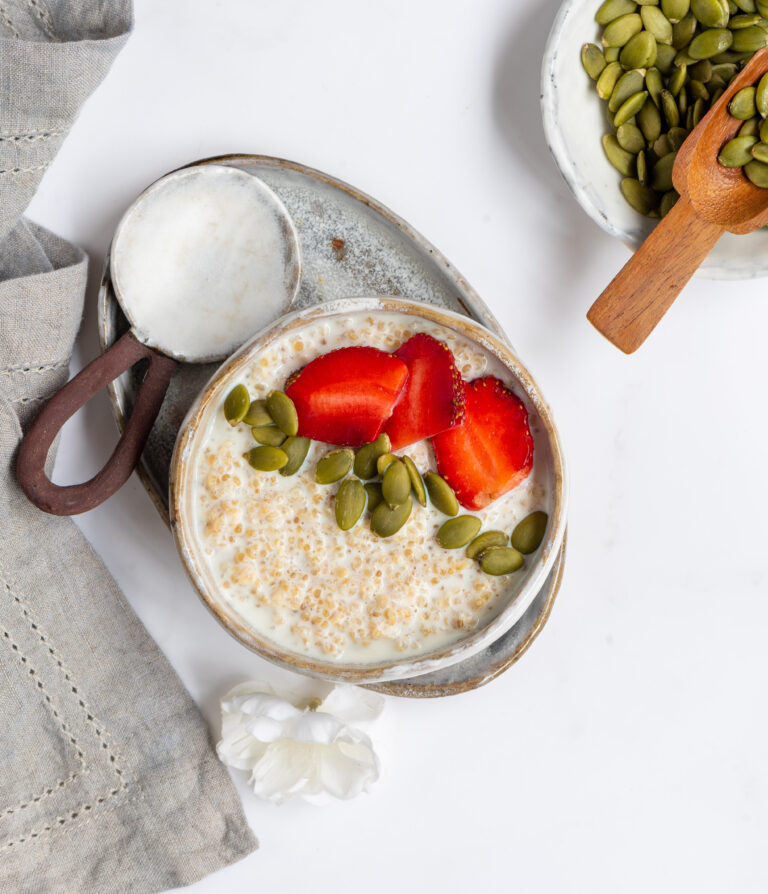
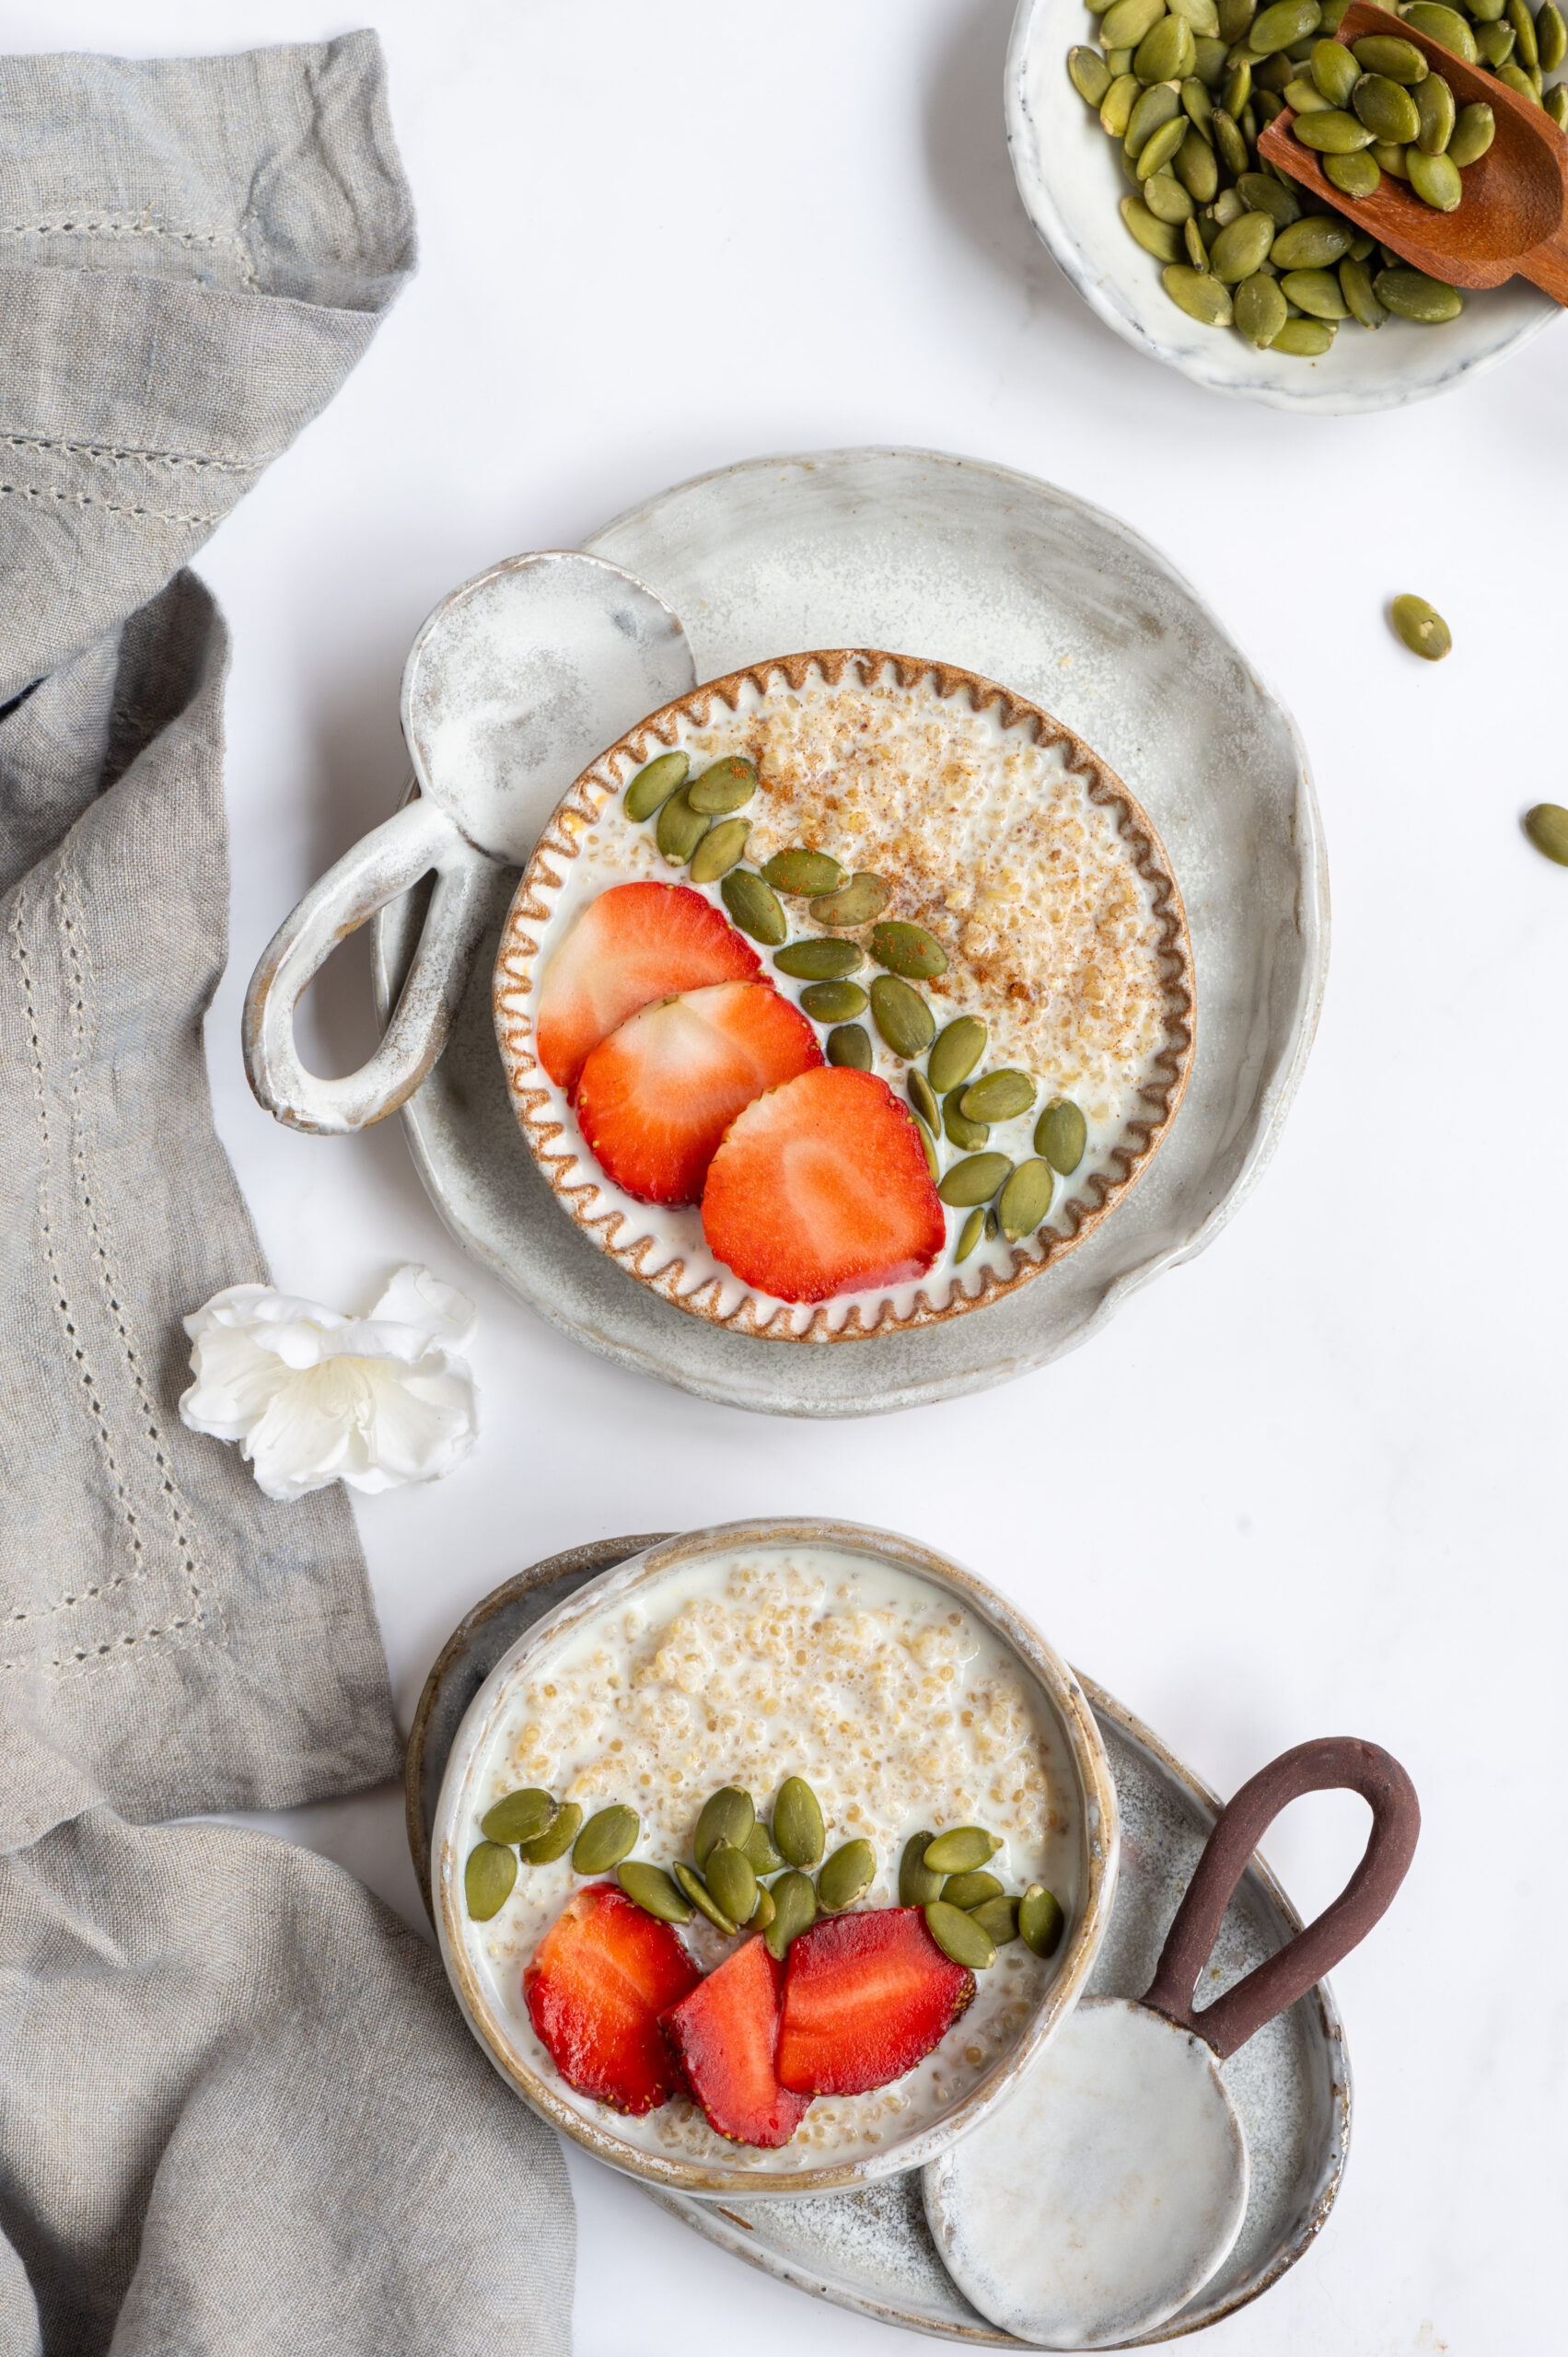
Happy new year! Now that the festivities are over, this is usually the time when everyone decides to start eating more nutritiously and to set goals for ourselves in terms of fitness. With that in mind, I too chose to bring some healthy recipes into the picture, after a spree of indulgent ones. Hence, this quinoa porridge to kickstart the year.

You may know that I love my overnight oats as a breakfast dish, but oats contain a lot of carbs, as they are a grain. Many of you also know that cutting down on carbs has been one of my own big ongoing goals, as I’ve shared umpteen times. The use of quinoa as an alternative is something I wanted to explore.

Quinoa is also one of those trendy ingredients at this time, and I know that other people are just as keen to explore new ways to bring it into their diets. This is because it is packed with antioxidants, fibre, protein and other nutrients and is great for those who eat gluten-free. This dish is a simple and delicious way to consume more of it.

The beauty of a porridge is that it can be made with any grain or grain substitute. In South India, we have numerous varieties that use millets, such as ragi kanji. My mother-in-law would make some from Gujarati cuisine too, like bajra ghensh. The concept is traditional in many cuisines.

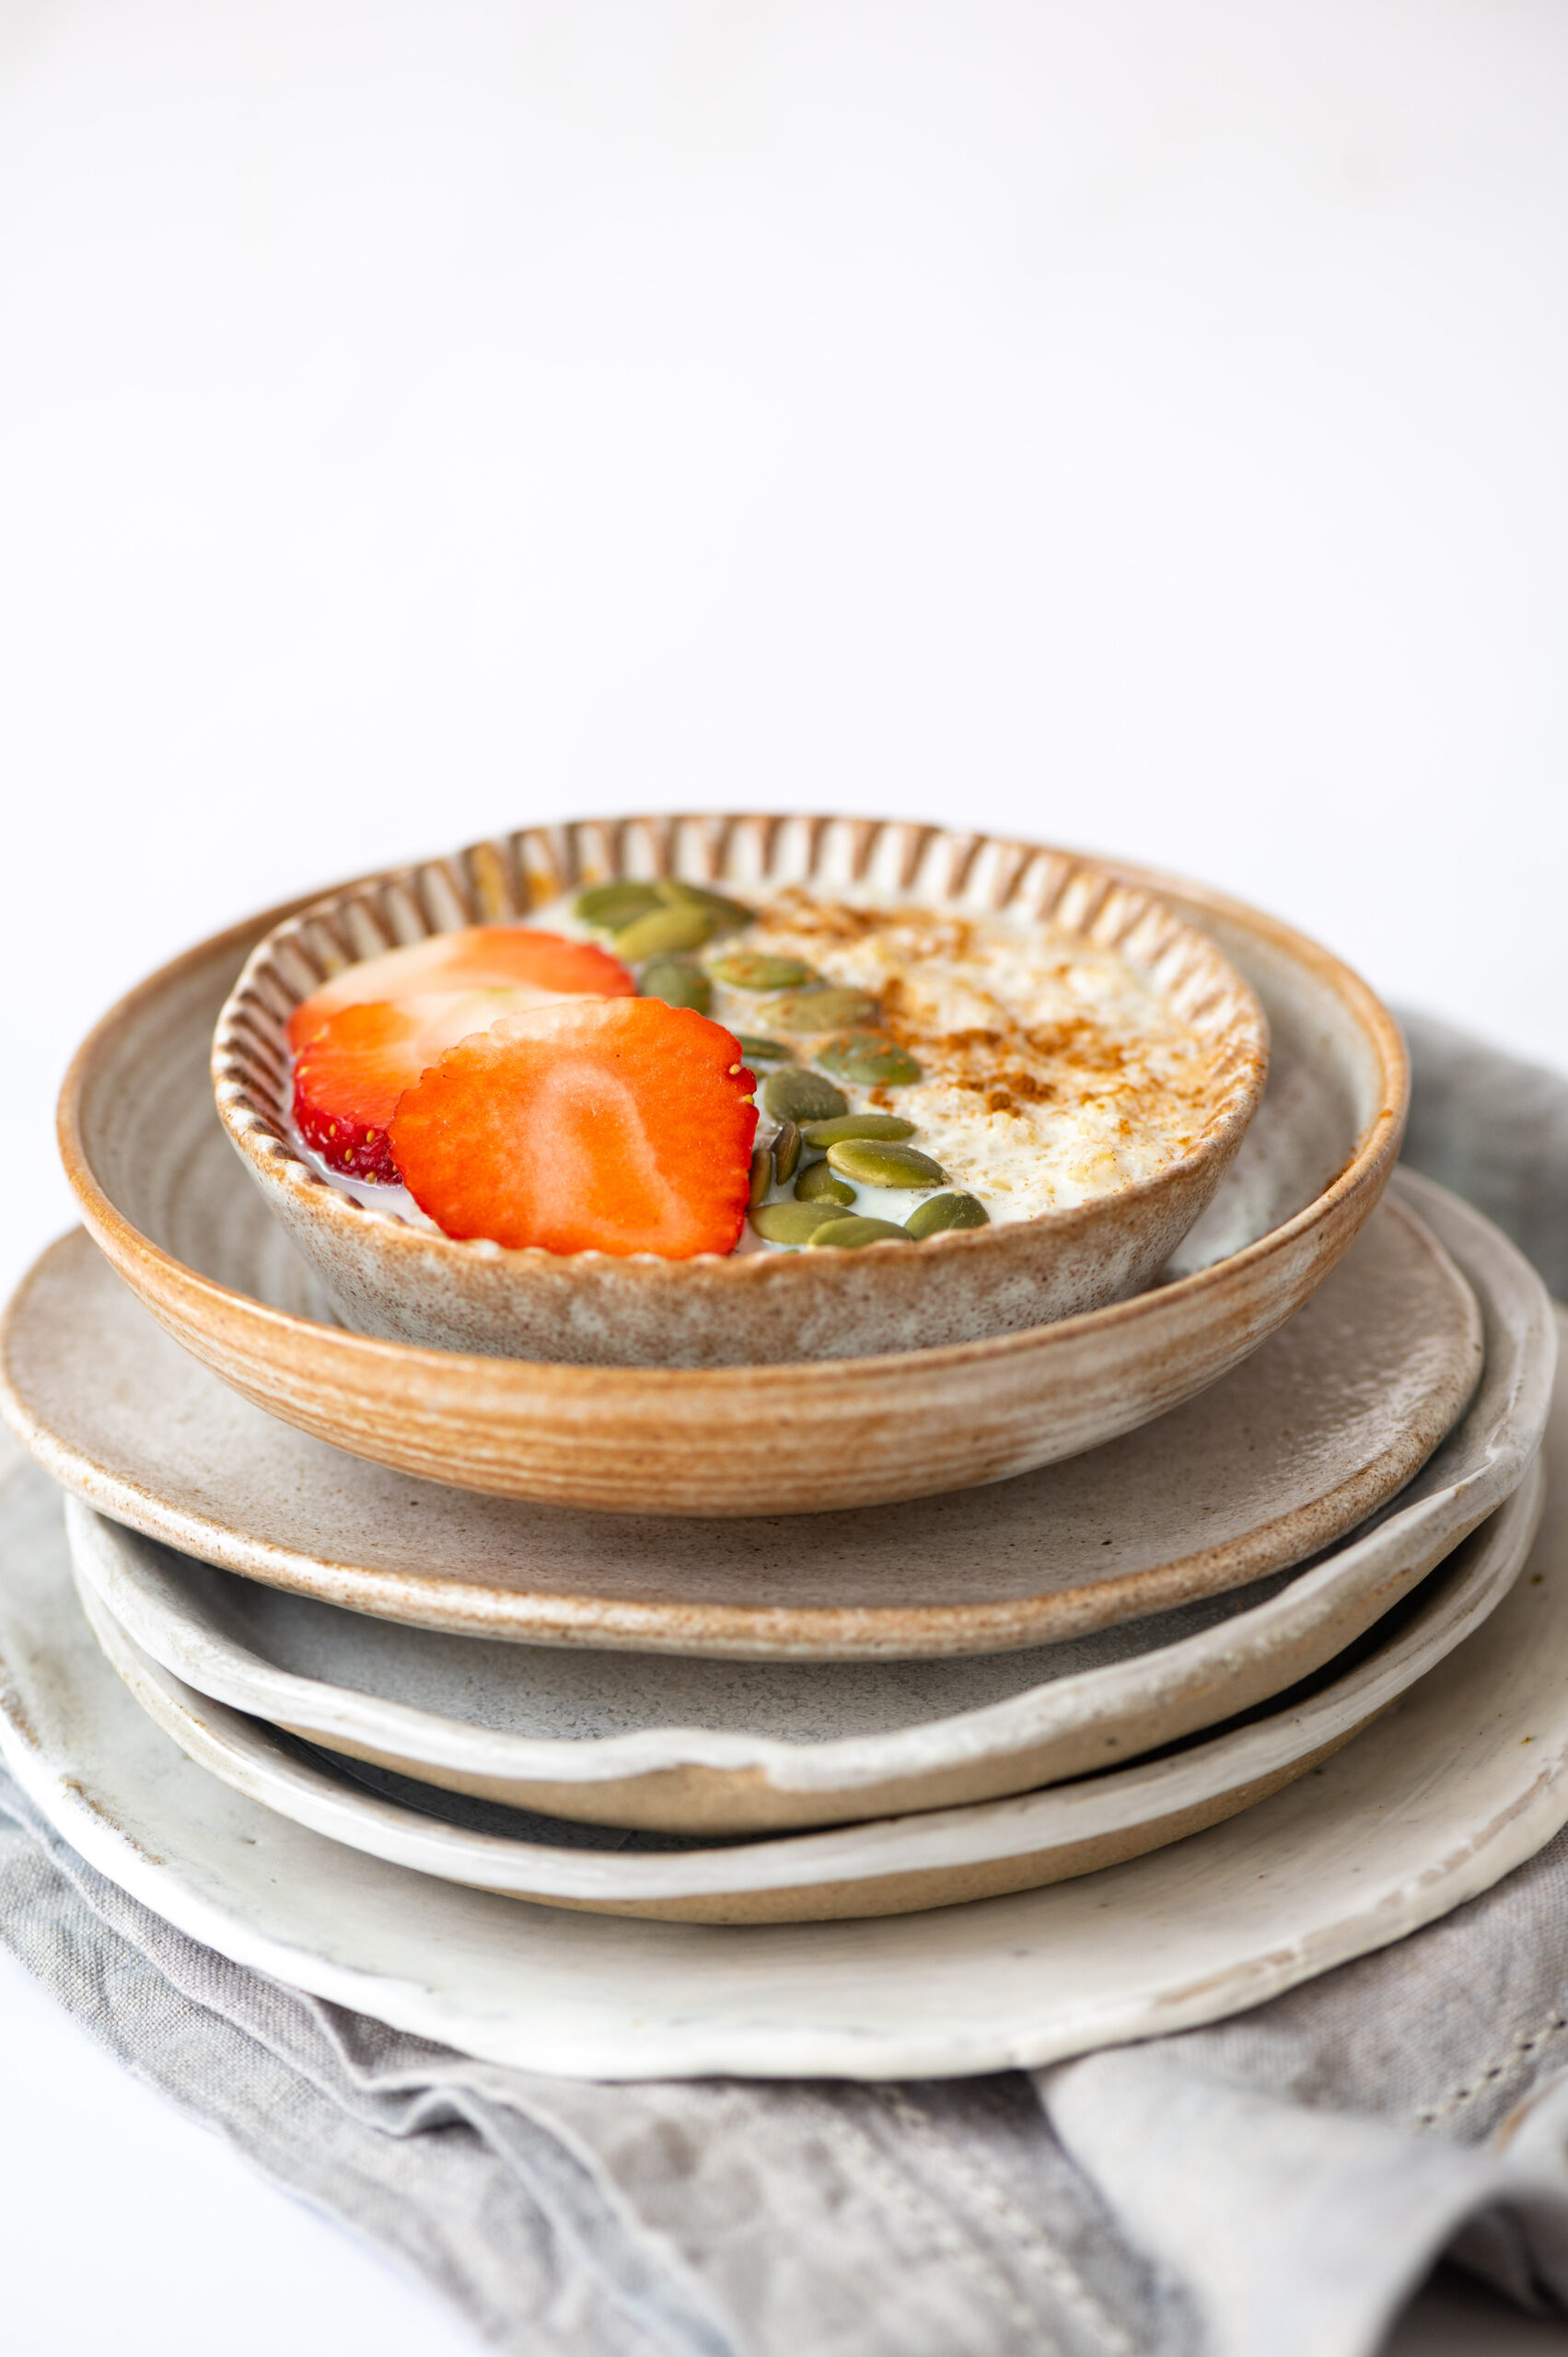
You can also dress up a porridge any way you want. For instance, you could prepare this quinoa porridge as a savoury dish – with dollops of Greek yoghurt, cumin powder and salt. However, I am sharing the sweet version today. I use cinnamon, either honey or maple syrup, and top it up with fruits and nuts for added flavour and a protein boost.

I love the fact that porridge can be used as a base and then built up any way you want. All options seem to work with the base. It’s such a great way to start the day, and indeed the year too.

Of course, my favourite porridge will always be the one I have whenever I visit my friend in Singapore. It’s a delicious local congee with rice, starch and other additions like onion, chicken, shrimp and so on. I don’t have the recipe for that, but I hope to learn it some day. Or maybe you know how to make it, and can share it with me?


Quinoa Porridge

(Yield: Serves 1)

Porridge

½ cup quinoa

½ cup water

1 cup milk of your choice

1 teaspoon honey/maple syrup

Topping

1 teaspoon seeds of your choice

Fruit of your choice

1 pinch cinnamon powder


In a saucepan, add the quinoa, water and part of the milk. Allow to boil. Once the quinoa is cooked and fluffy, add the remaining milk along with the honey or maple syrup. You can add or reduce the milk quantity to your taste.

Put the cooked quinoa into a bowl and top it up with fruit and seeds of your choice, and a sprinkling of cinnamon powder. Enjoy this delicious start to your day, knowing that it is full of nourishing goodness!

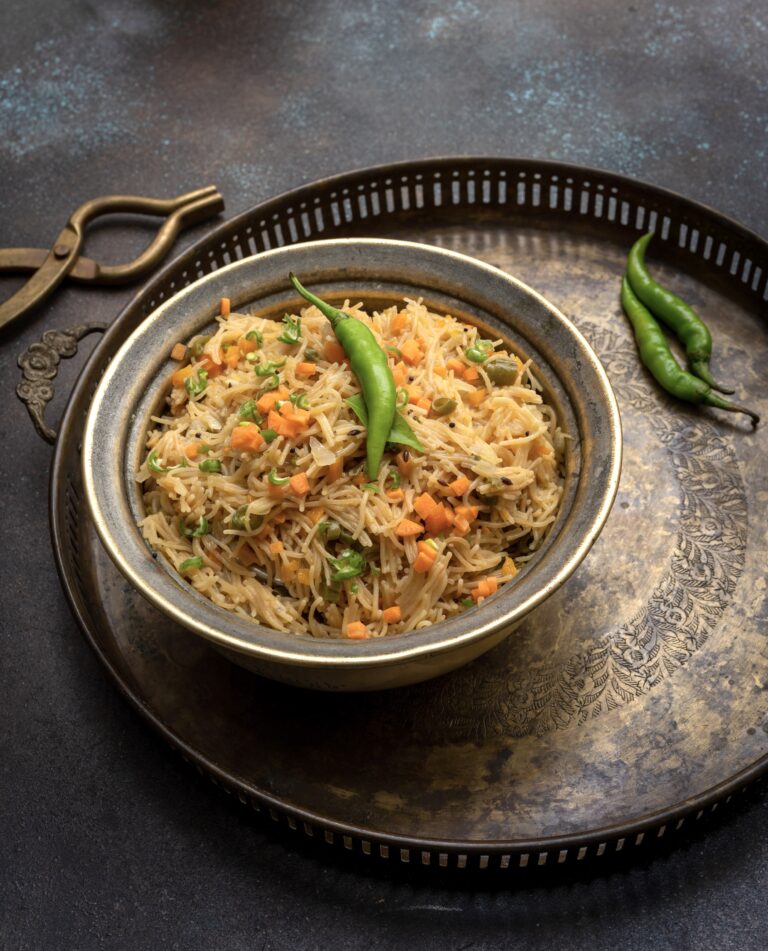
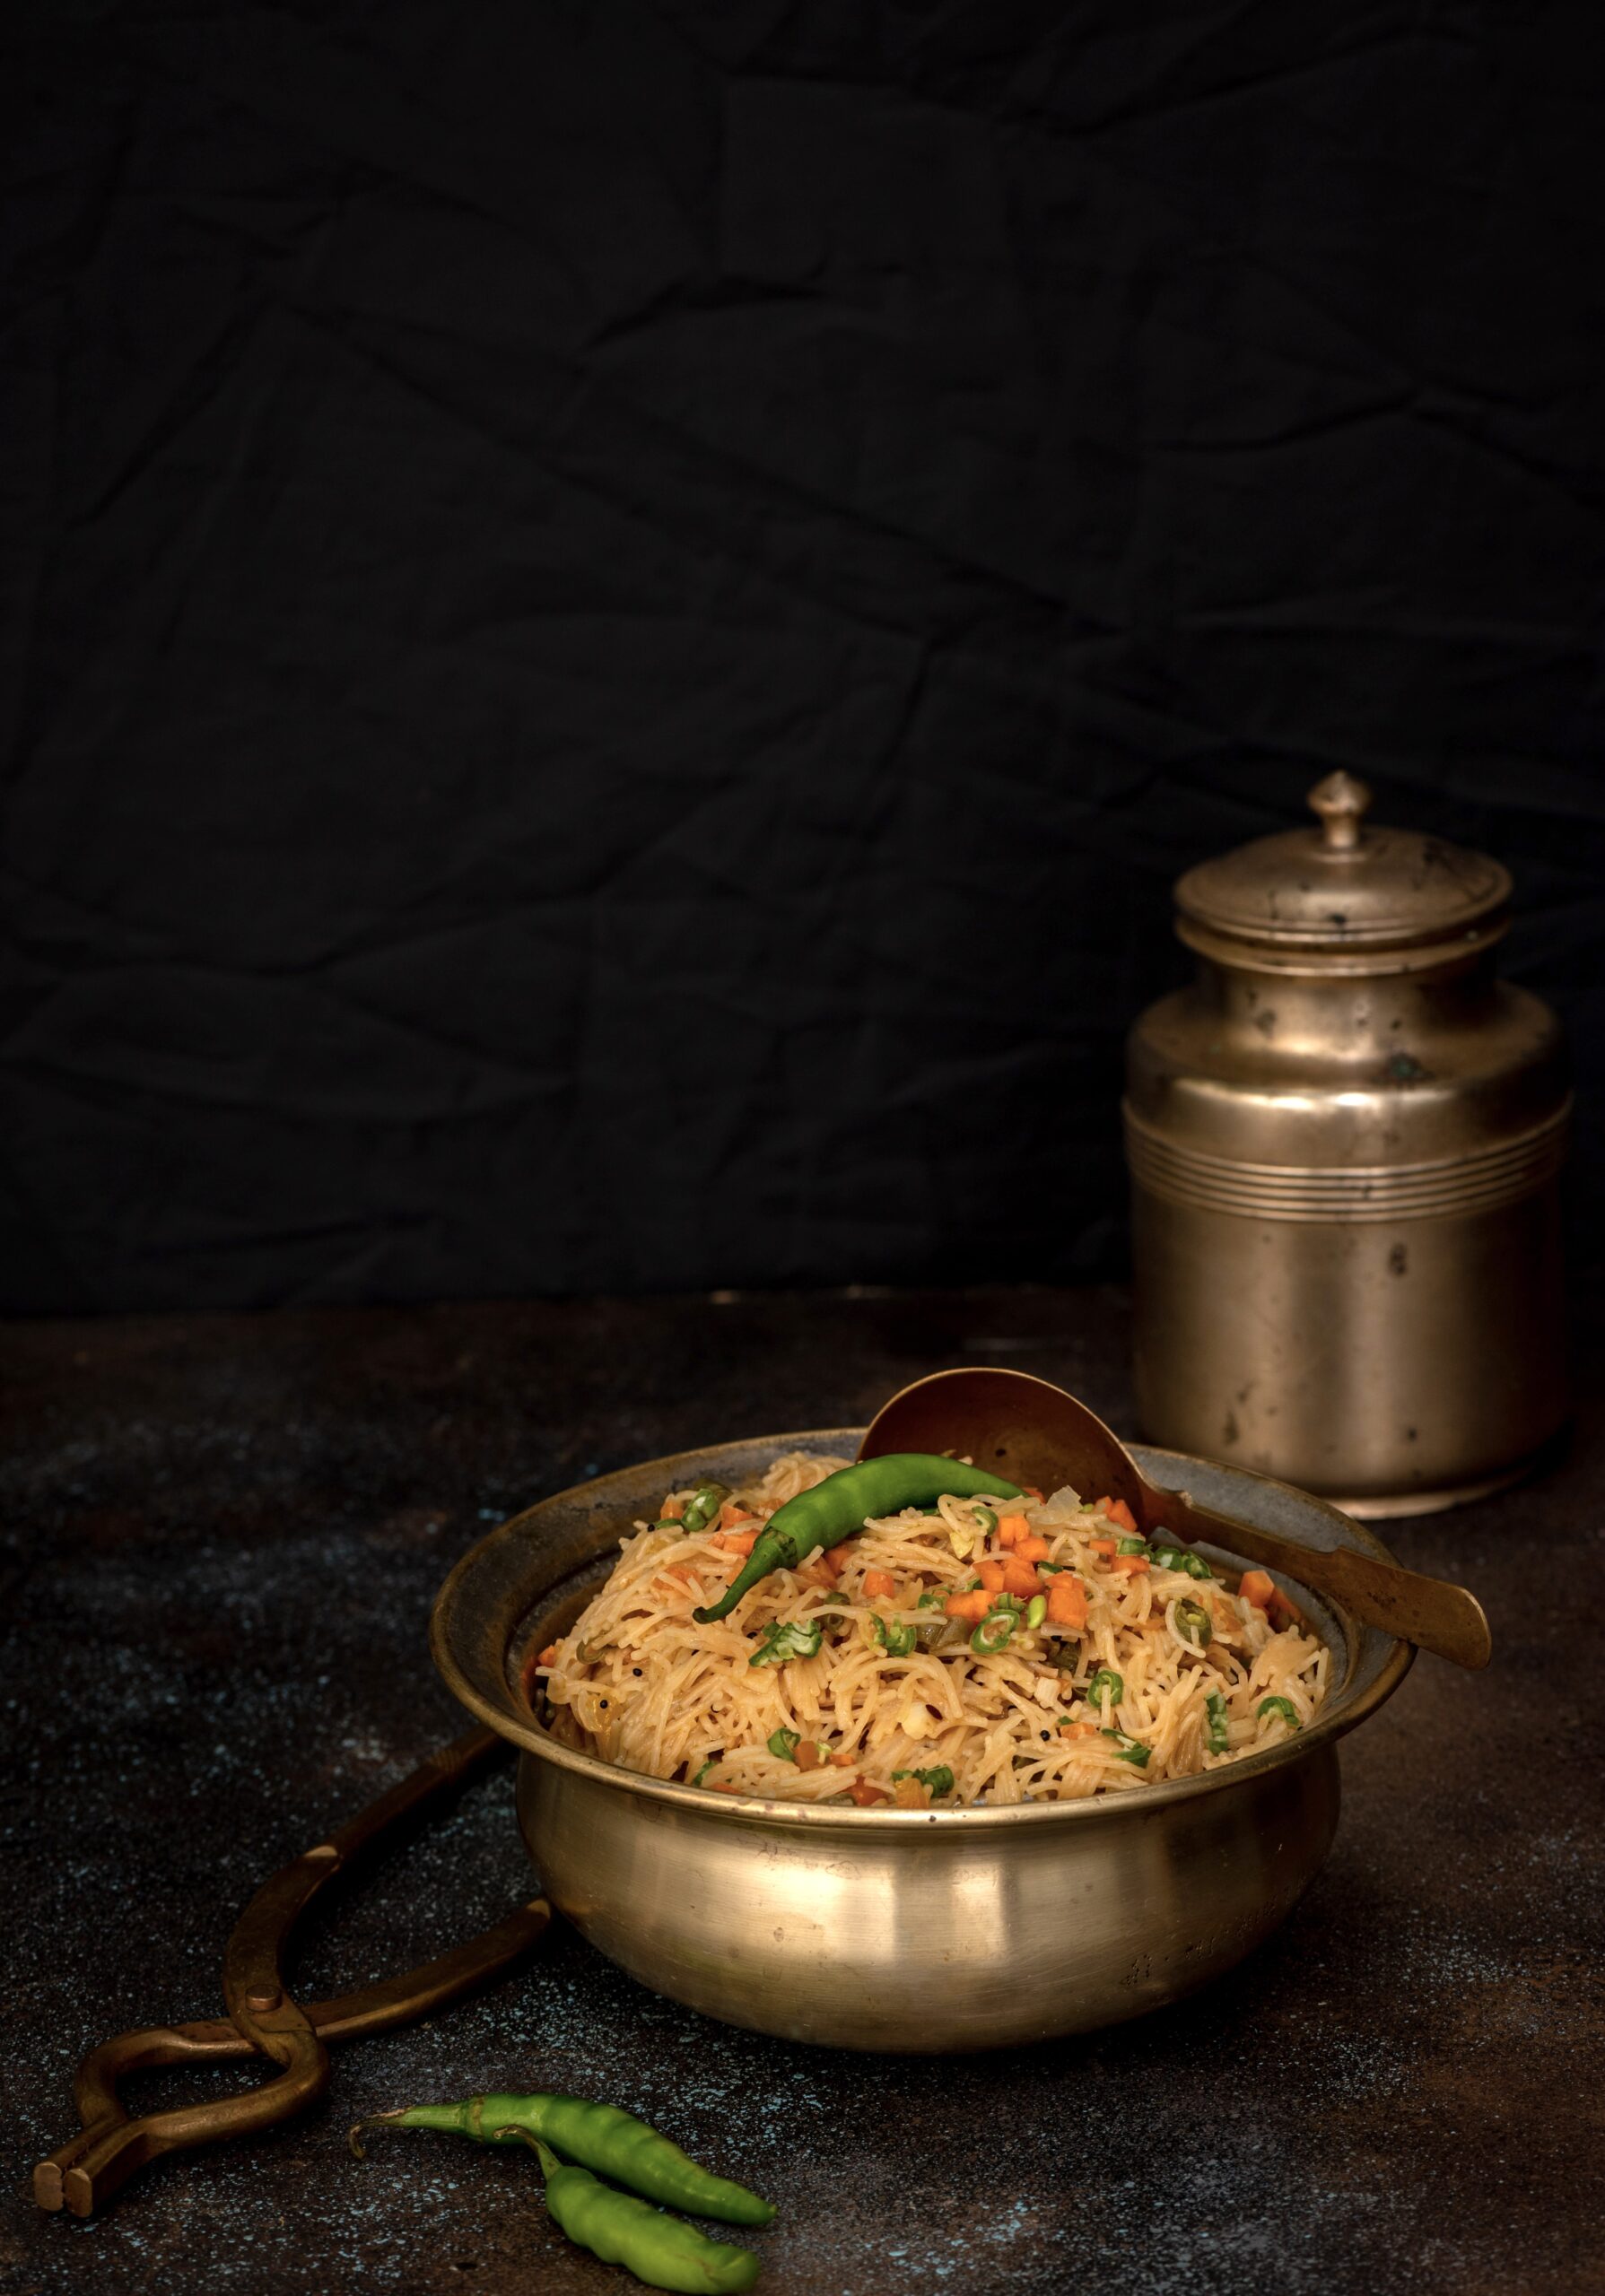
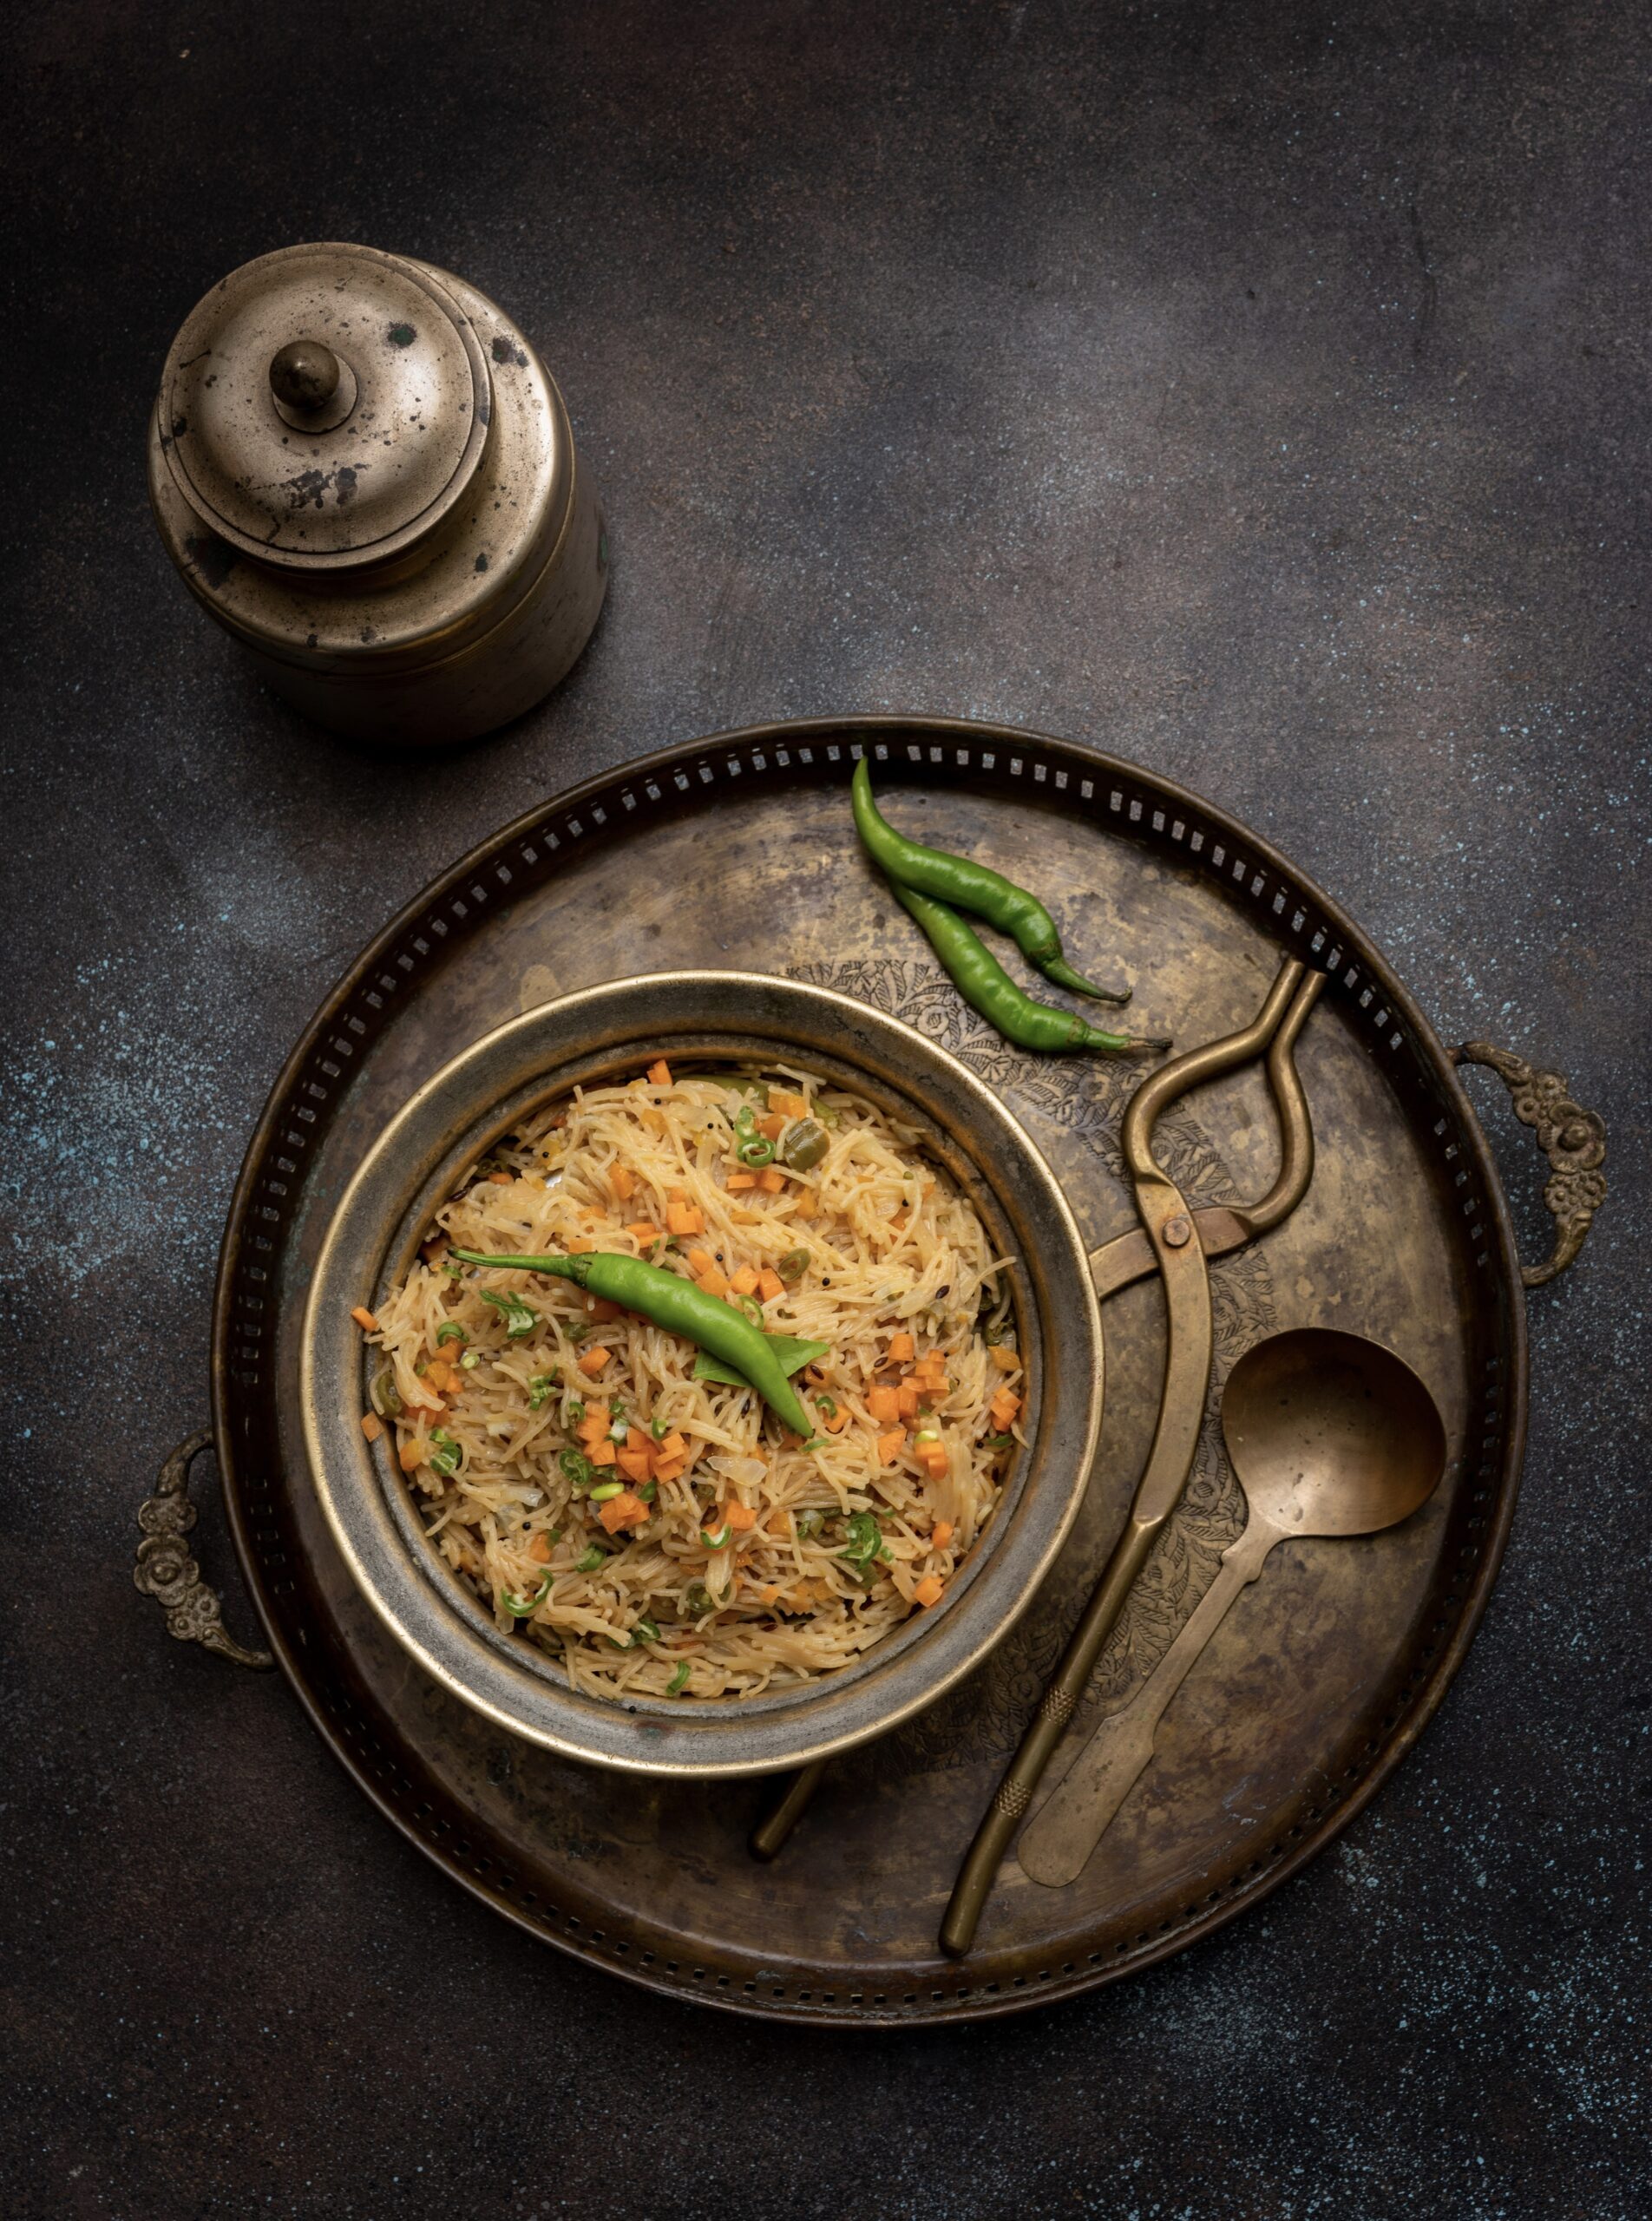
For the longest time, from when I was a child, I’ve been eating semiya upma as a breakfast dish. Our mother prepared it often when we were growing up. Back then, cereals and so on were not readily available (at best, some cornflakes would show up at the grocery store, but they were a rarity, as were items such as baked beans). We would make a big fuss about wanting bread, buns or what to us were more interesting fare, but the fact is that our mother made us a hot, fresh breakfast every morning – and we were all the luckier for it. Things have really reversed now, and I understand that such thoughtfully prepared breakfasts are simple luxuries. I find myself doing the same now, giving my family the same benefits of a home-cooked meal.

After eating copious amounts of sugar for Diwali, this makes for a healthy and comforting breakfast. Many people feel like they really don’t want to reach out for sweets at this time, and are almost sick of them, so nutritious foods like a good semiya upma are ideal.

Upma is a South Indian dish that is usually made with any grain: poha, rava, broken wheat, millet and so on. Semiya is a kind of roasted vermicelli, and this is what my mother and now I mostly use to prepare upma.

My mom’s upma contained onions, as is usually the case, and I take the vegetable quotient further by adding carrots and beans. As children, we would often ask for a sprinkling of sugar over the dish, which she gladly agreed to in order to get us to consume it. She would occasionally take this to the next level and prepare a sweet upma with sugar and ghee too. I have yet to try this dessert version, but regularly have a variety of savoury upmas at home. We enjoy exploring an assortment of dishes, but upmas and pohas appear on our table at least once a week each.

Upma cooks very quickly, so aside from being a good breakfast it’s also perfect when you have a guest over suddenly during the day and need to whip up a meal fast. As far as breakfasts go, I have made various attempts at intermittent fasting but this semiya upma is the thing that gets in the way. It is just too dear to me and I don’t want to miss it, so I guess you could say it’s a cheat day special!


Semiya Upma

(Serves 2-3)


2 tablespoons oil

½ teaspoon mustard seeds and cumin seeds

1 cup carrots and beans (finely chopped)

½ cup onions (finely chopped)

1 cup semiya

1 green chilli

Salt to taste

3-5 curry leaves

3 cups water

1 lime


Heat a kadai. Add the oil. Once it has heated, add the mustard and cumin seeds. Allow to splutter, and then add green chilli and curry leaves.

Next, add the onions and sauté for a minute. Now add the vegetables. Cover and allow to become tender on a low flame.

Next, add the water and salt. Increase the flame and once the water boils over, add the roasted semiya.

Mix gently. Cover and allow to cook on a low flame until the water evaporates and the semiya is tender to the touch.

Finally, squeeze the lime juice in and mix gently. Garnish with coriander leaves.

Your semiya upma is now ready to be served. It can be eaten plain, or with some coconut chutney on the side.

While I’ve shared a traditional Indian favourite this time, breakfast does come every day and you may want to explore the varied recipes I’ve shared before from different cuisines. They will all give you a happy start to the day!


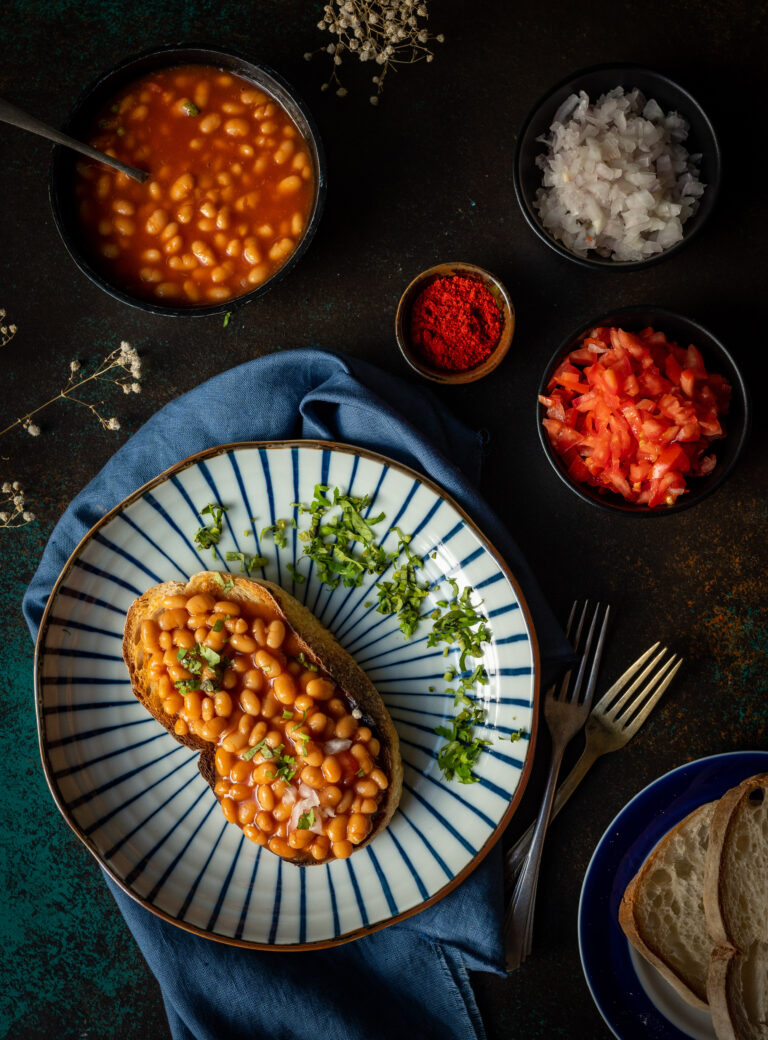
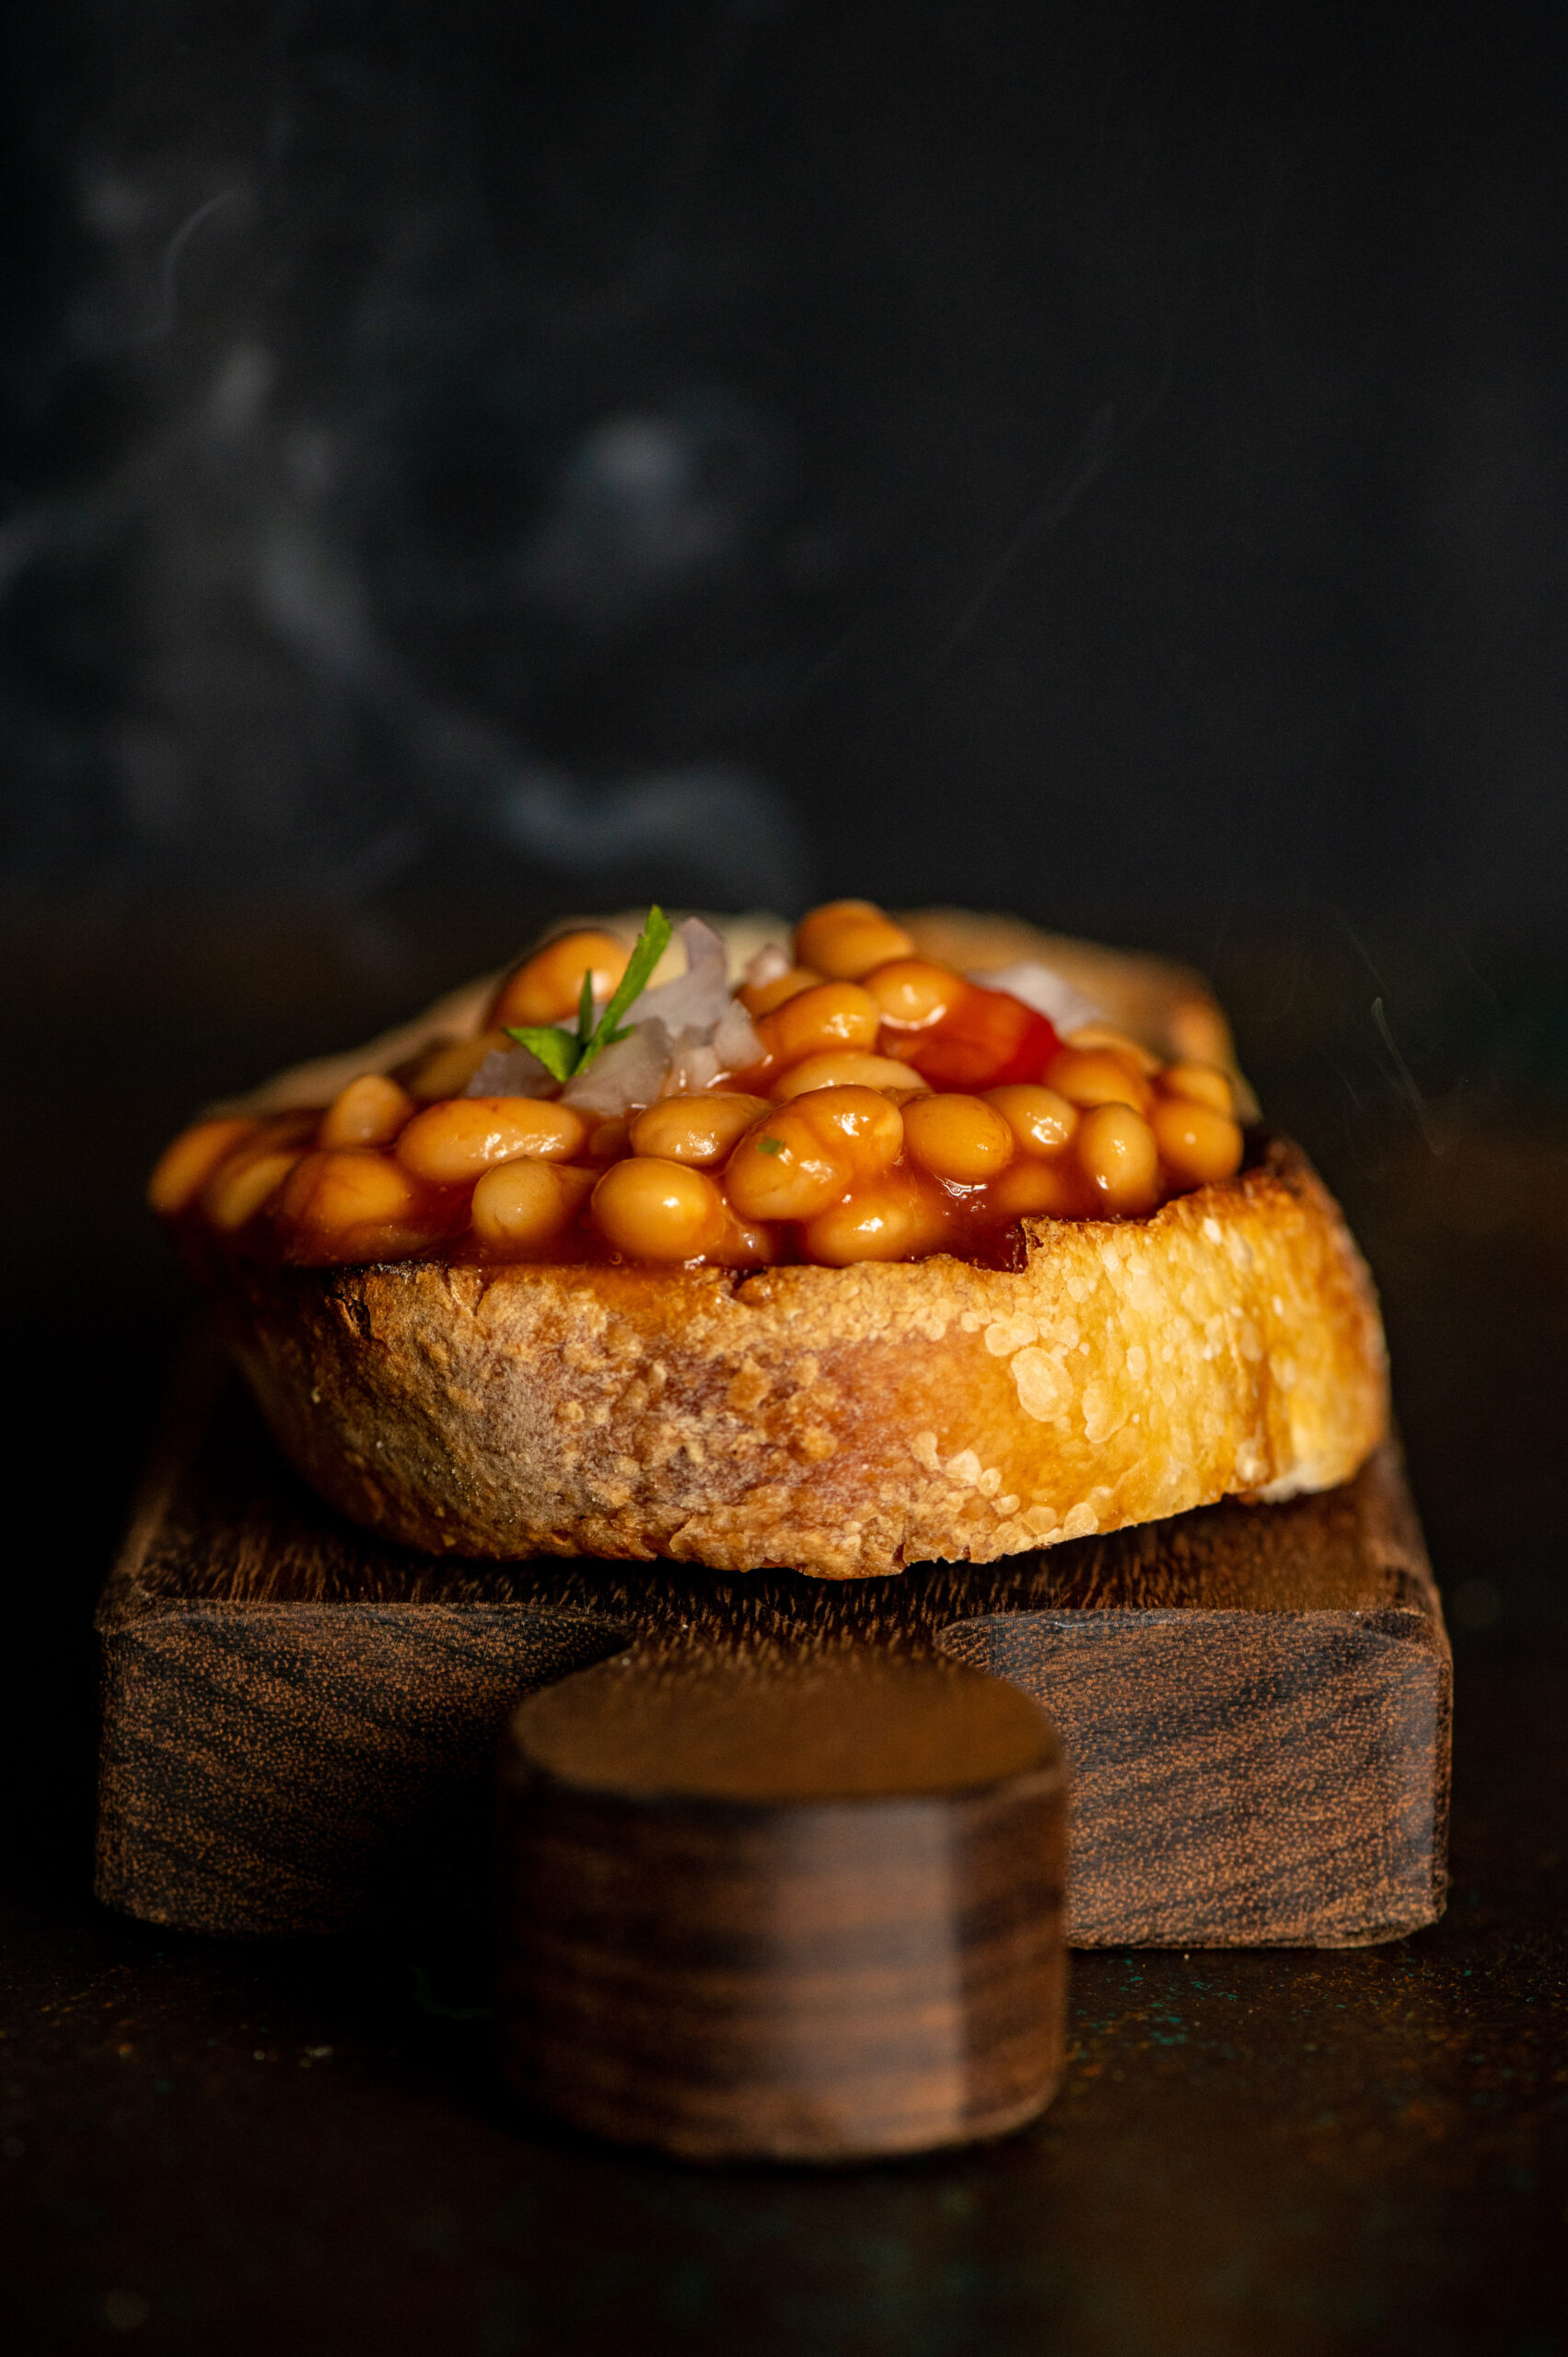
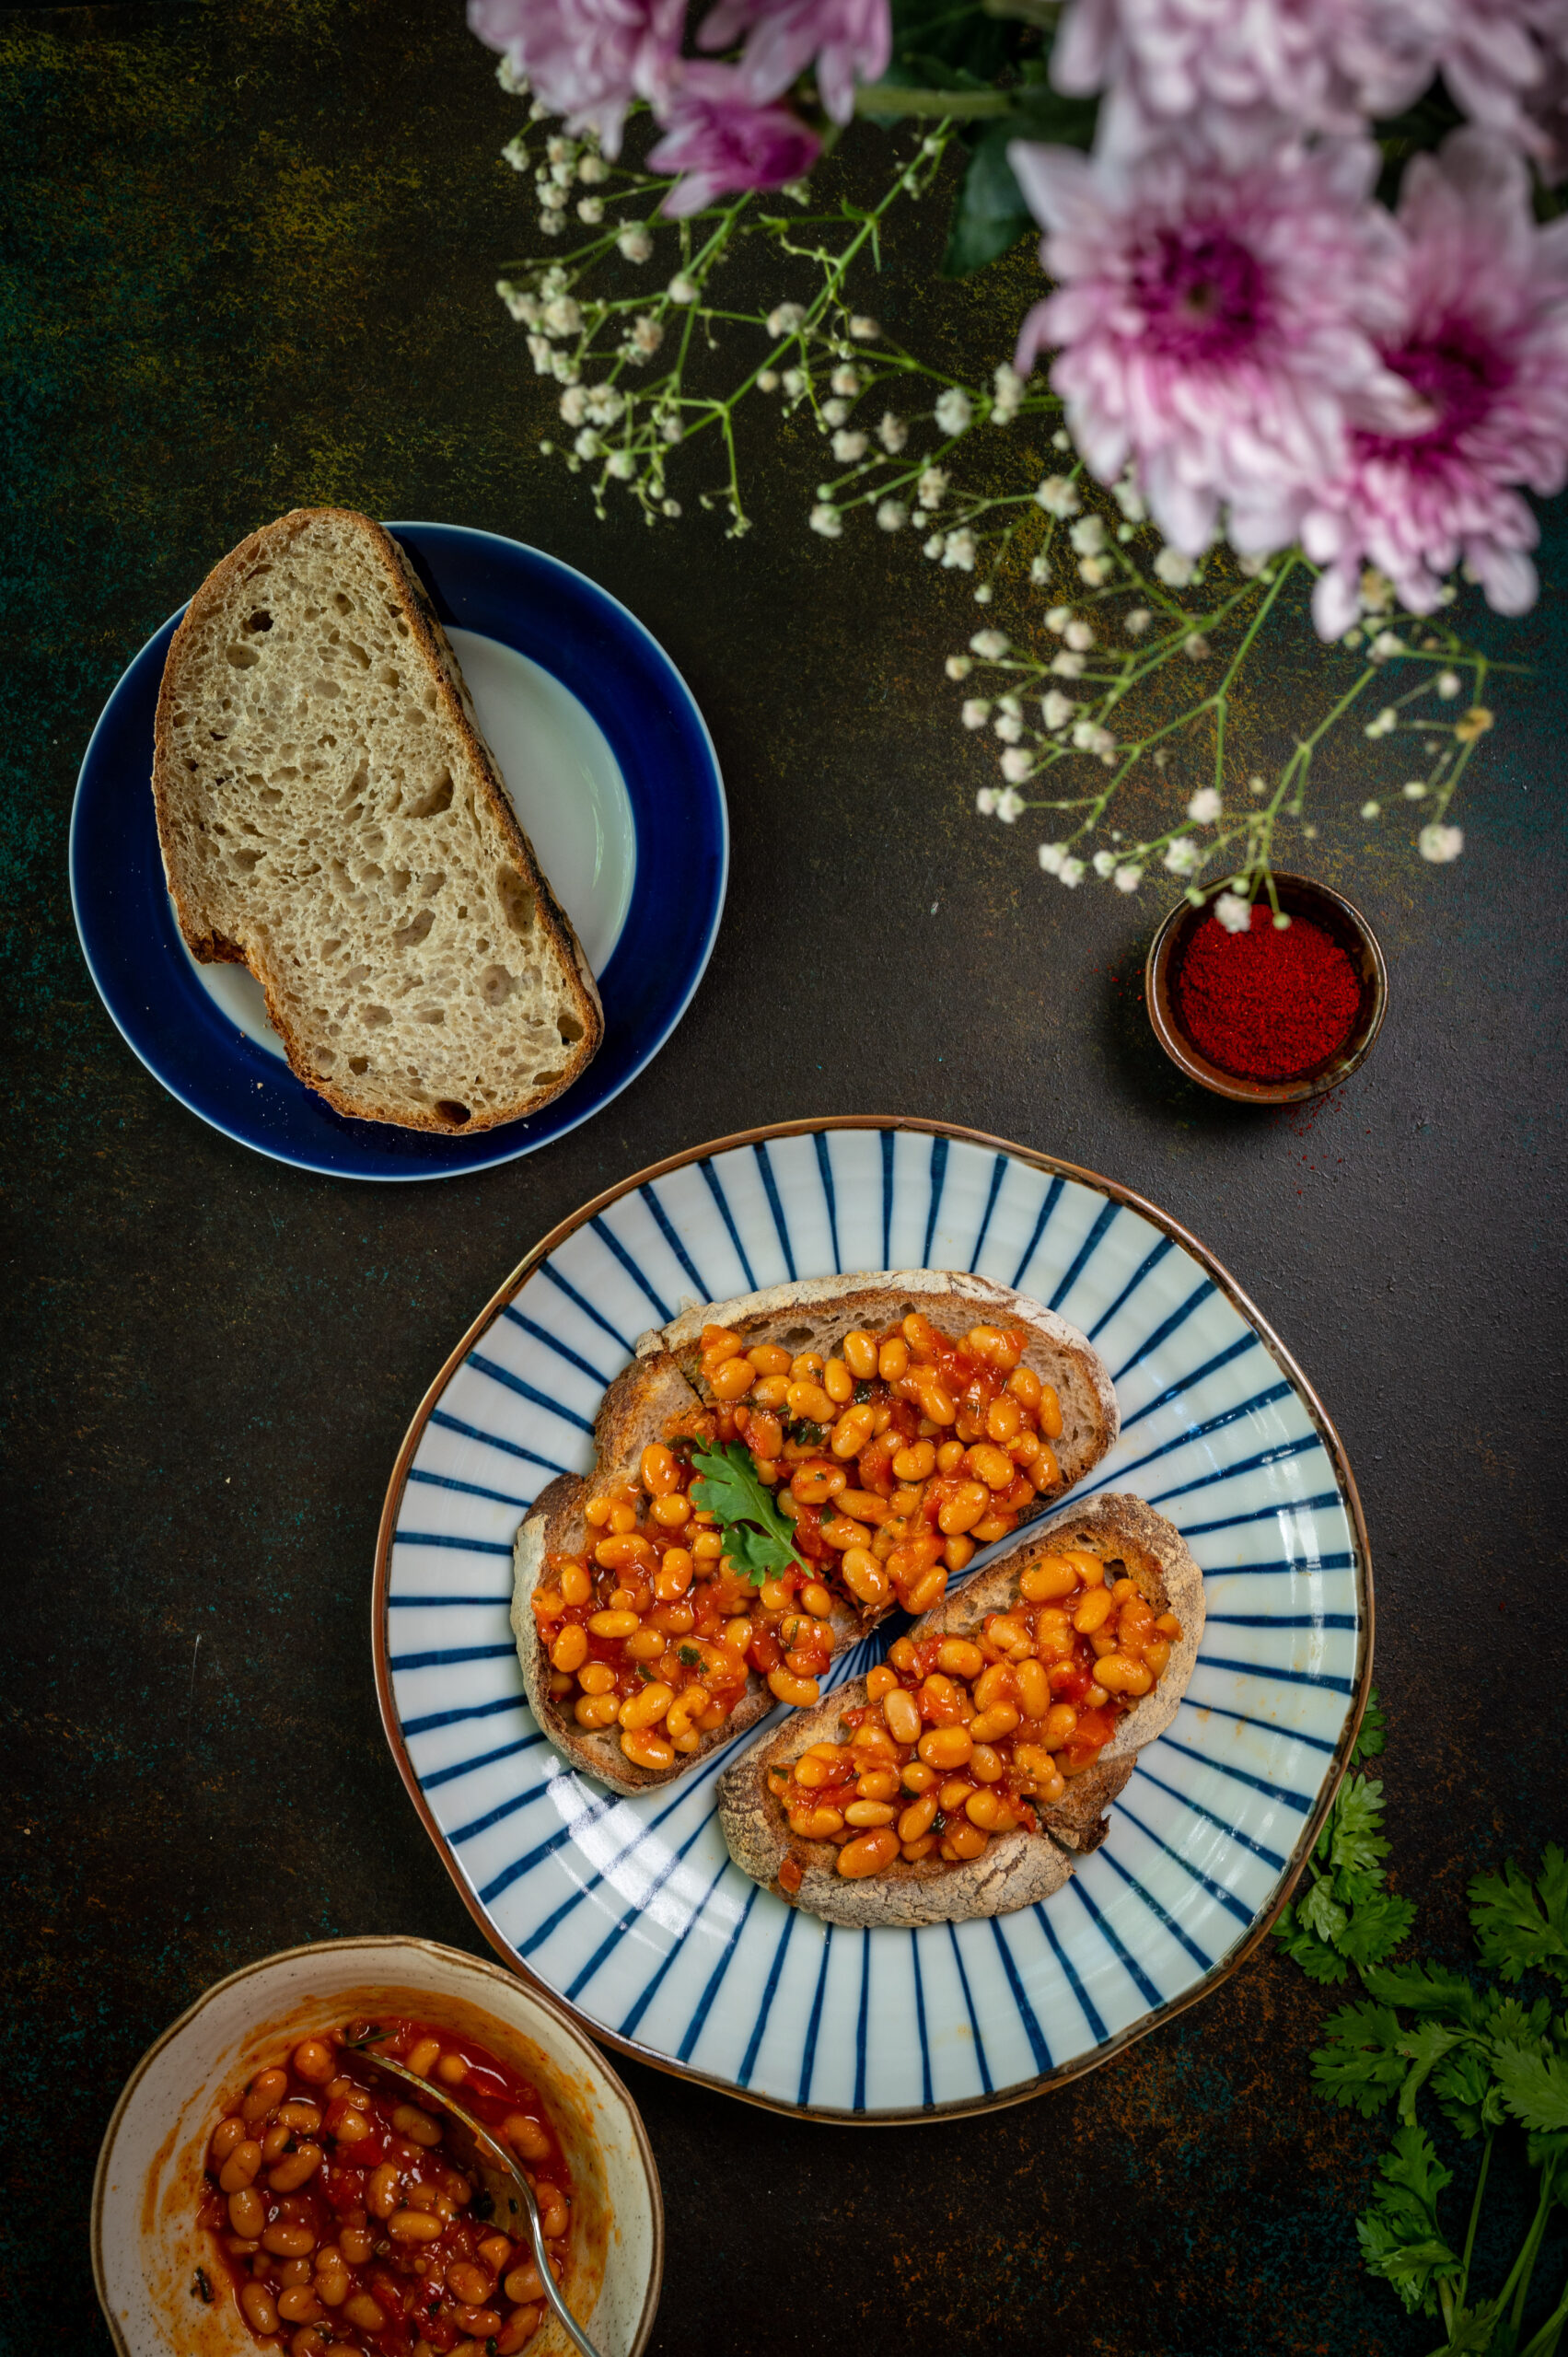
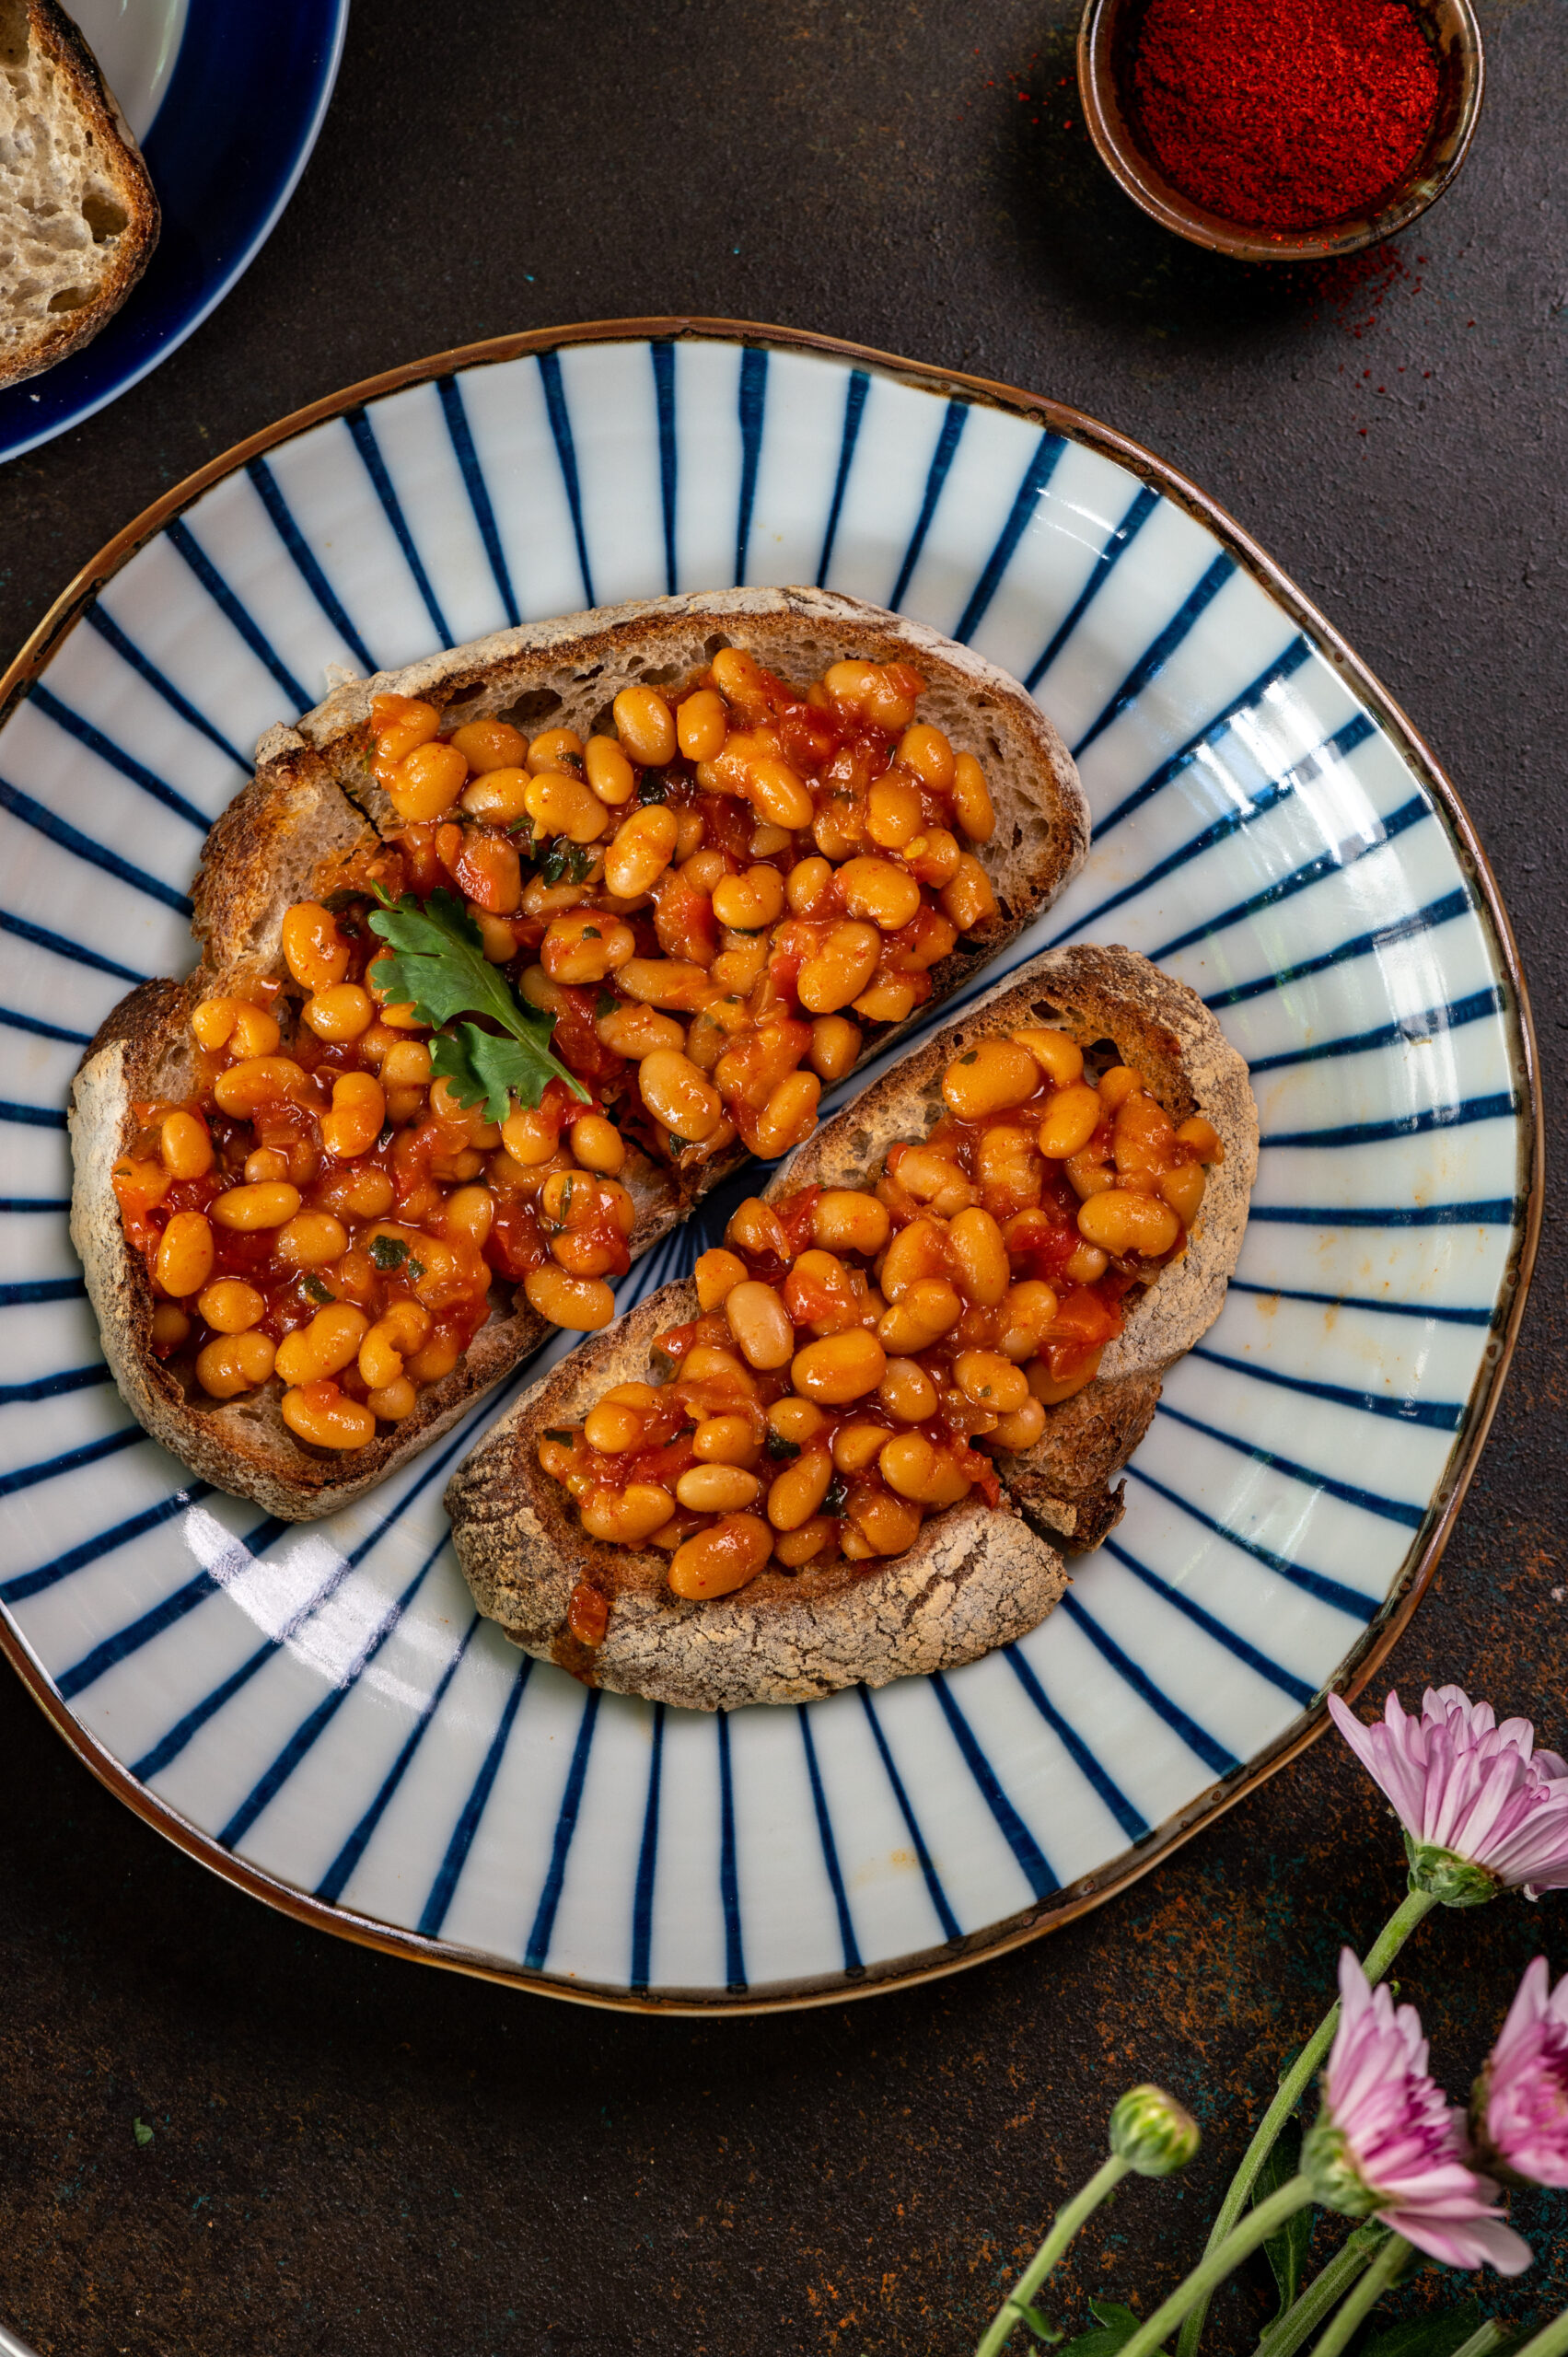
Growing up in India, baked beans and eggs were one of the few non-traditional breakfasts that we ate at home. While eggs were easy to come by, and provided a necessary source of protein for us as kids (we were otherwise vegetarian), cans of baked beans were not as readily available. Whenever our parents managed to find them in stock while purchasing our groceries, my siblings and I would know that there would be a very special breakfast the following day, and would eagerly anticipate it. All three of us craved those delicious canned beans. There would never be any for our parents as we would finish them off between us, often fighting over them too! Memories of those childhood mornings inspired me to create homemade, Indian-style masala baked beans – served, of course, on my beloved sourdough toast.

My brother was a rower at a national and then a professional level, and I looked at him in awe for this and many reasons. His diet was naturally that of an athlete’s, and when those precious cans came our way he would make a claim on how he deserved the biggest share for this reason. There would be arguments over the baked beans at the breakfast table, but in the end, we all got a good portion. His was quite a large one, of course. Watching my brother wolf down six whole eggs and a bowl full of baked beans is still a sight I can conjure up before me!

Fast forward to the present day and canned baked beans are everywhere at any supermarket. They were off my menu at home for a long time as I tend to avoid food that is overly processed or contains too many preservatives. At one point, I even tried to soak the beans and make them myself, but never got around to doing it regularly. More recently, I’ve found that when I stay at hotels and head down to the buffets in the morning, the baked beans that are always a part of the spread often look so bland compared to the other items.

However, I’ve found a beautiful middle ground between my childhood memories of coveting baked beans to how they seemed to have lost their charm for me as an adult. That is by spicing them up a bit, making an Indian-style version that suits our palates. Using these masala baked beans as a topping for sourdough toast, which I bake regularly as you may know, turned out to be a great idea.

While my morning protein intake in terms of legumes had long been replaced by homemade moong sprouts, which are non-sweet and healthy, it was fun to bring this nostalgic dish back to my dining table. While pondering my own history with the dish, I also wondered when baked beans had come to India, and whether the British brought them here. To my surprise, I learned that the dish was originally Native American, transforming over time due to colonization, and later on through mass production in the 20th century. Would you know when they first came to India? Do you also have childhood memories of occasional days when an elusive can had been attained?

Masala Baked Beans On Toast

(Yield: 1 slice)


1 slice sourdough

1½ cups baked beans

½ cup finely chopped onions

1 tablespoon olive oil or butter

Salt to taste

1 teaspoon chilli powder

½ cup chopped tomatoes

¼ cup finely chopped coriander leaves


Heat the oil in a pan. Add the onions and sauté. Then, add the tomatoes and all the masalas (spices and condiments) one by one. Allow the mixture to bubble up.

Toast the sourdough bread slice and spread the masala baked beans over it. Be generous. Then, simply enjoy!

In case you missed it, my previous recipe was also a toast – a rather more exotic cherry tomato and Greek yoghurt toast to be precise! I hope you’ll check that out too. There will probably be a few more interesting toast toppings coming up on this blog soon, so I hope you’re in the mood for some fun breakfasts!


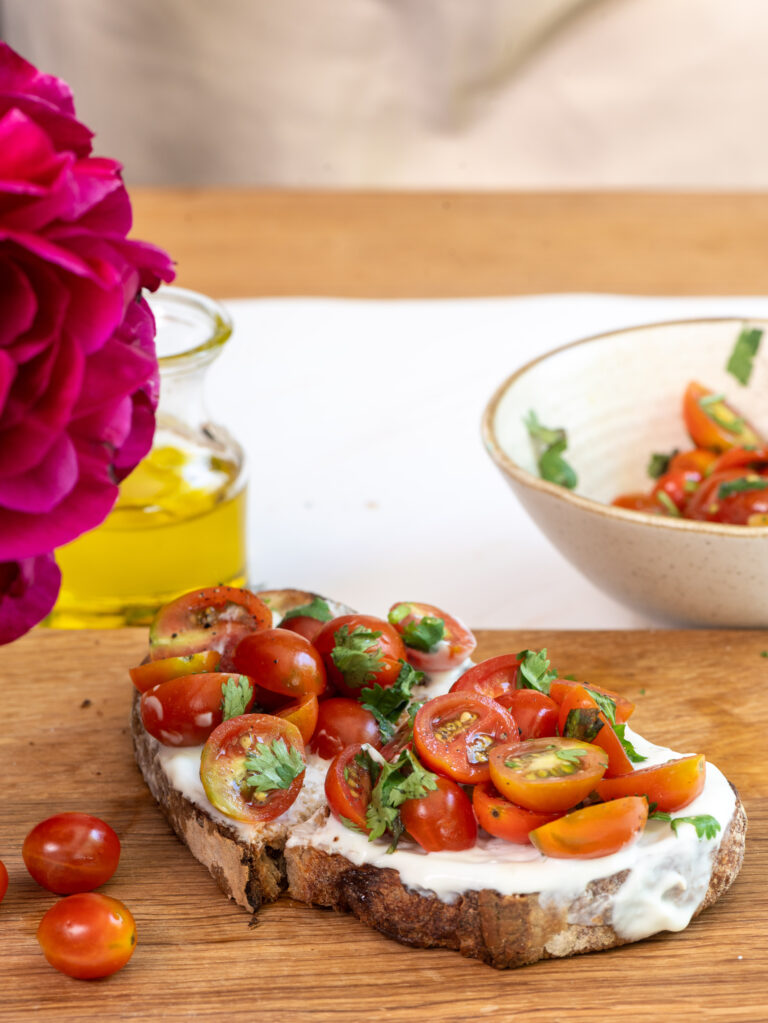
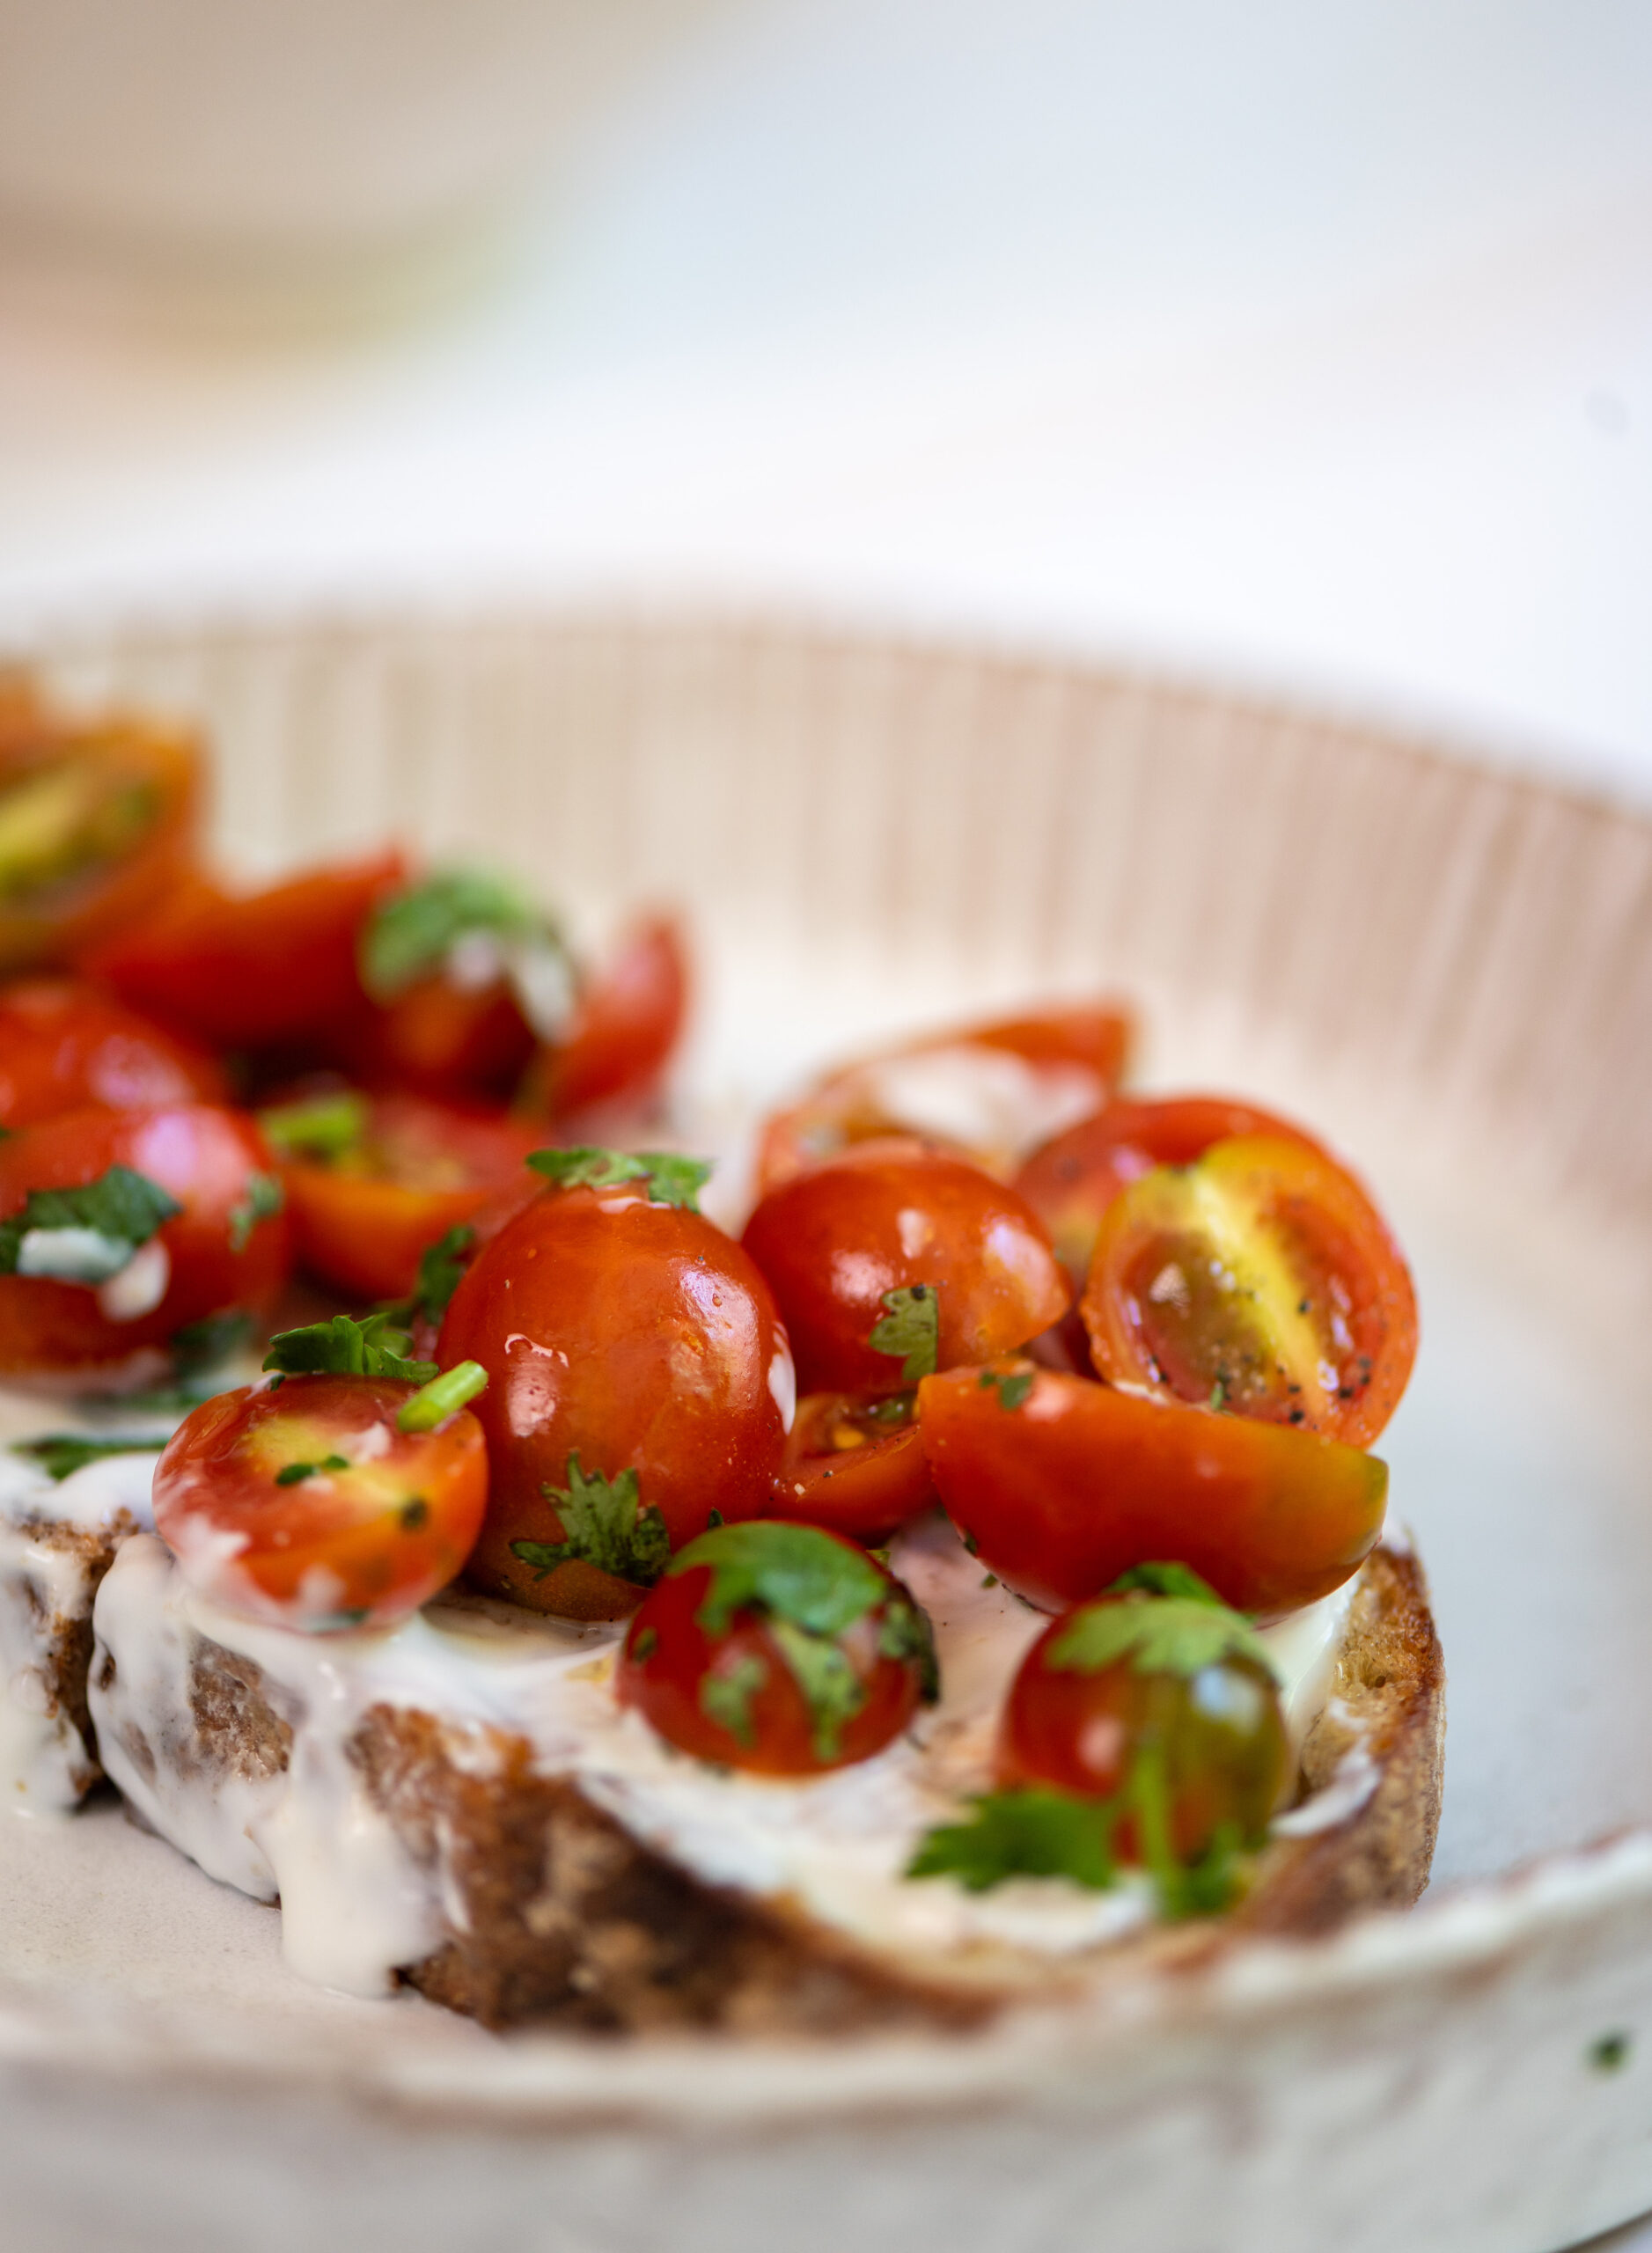
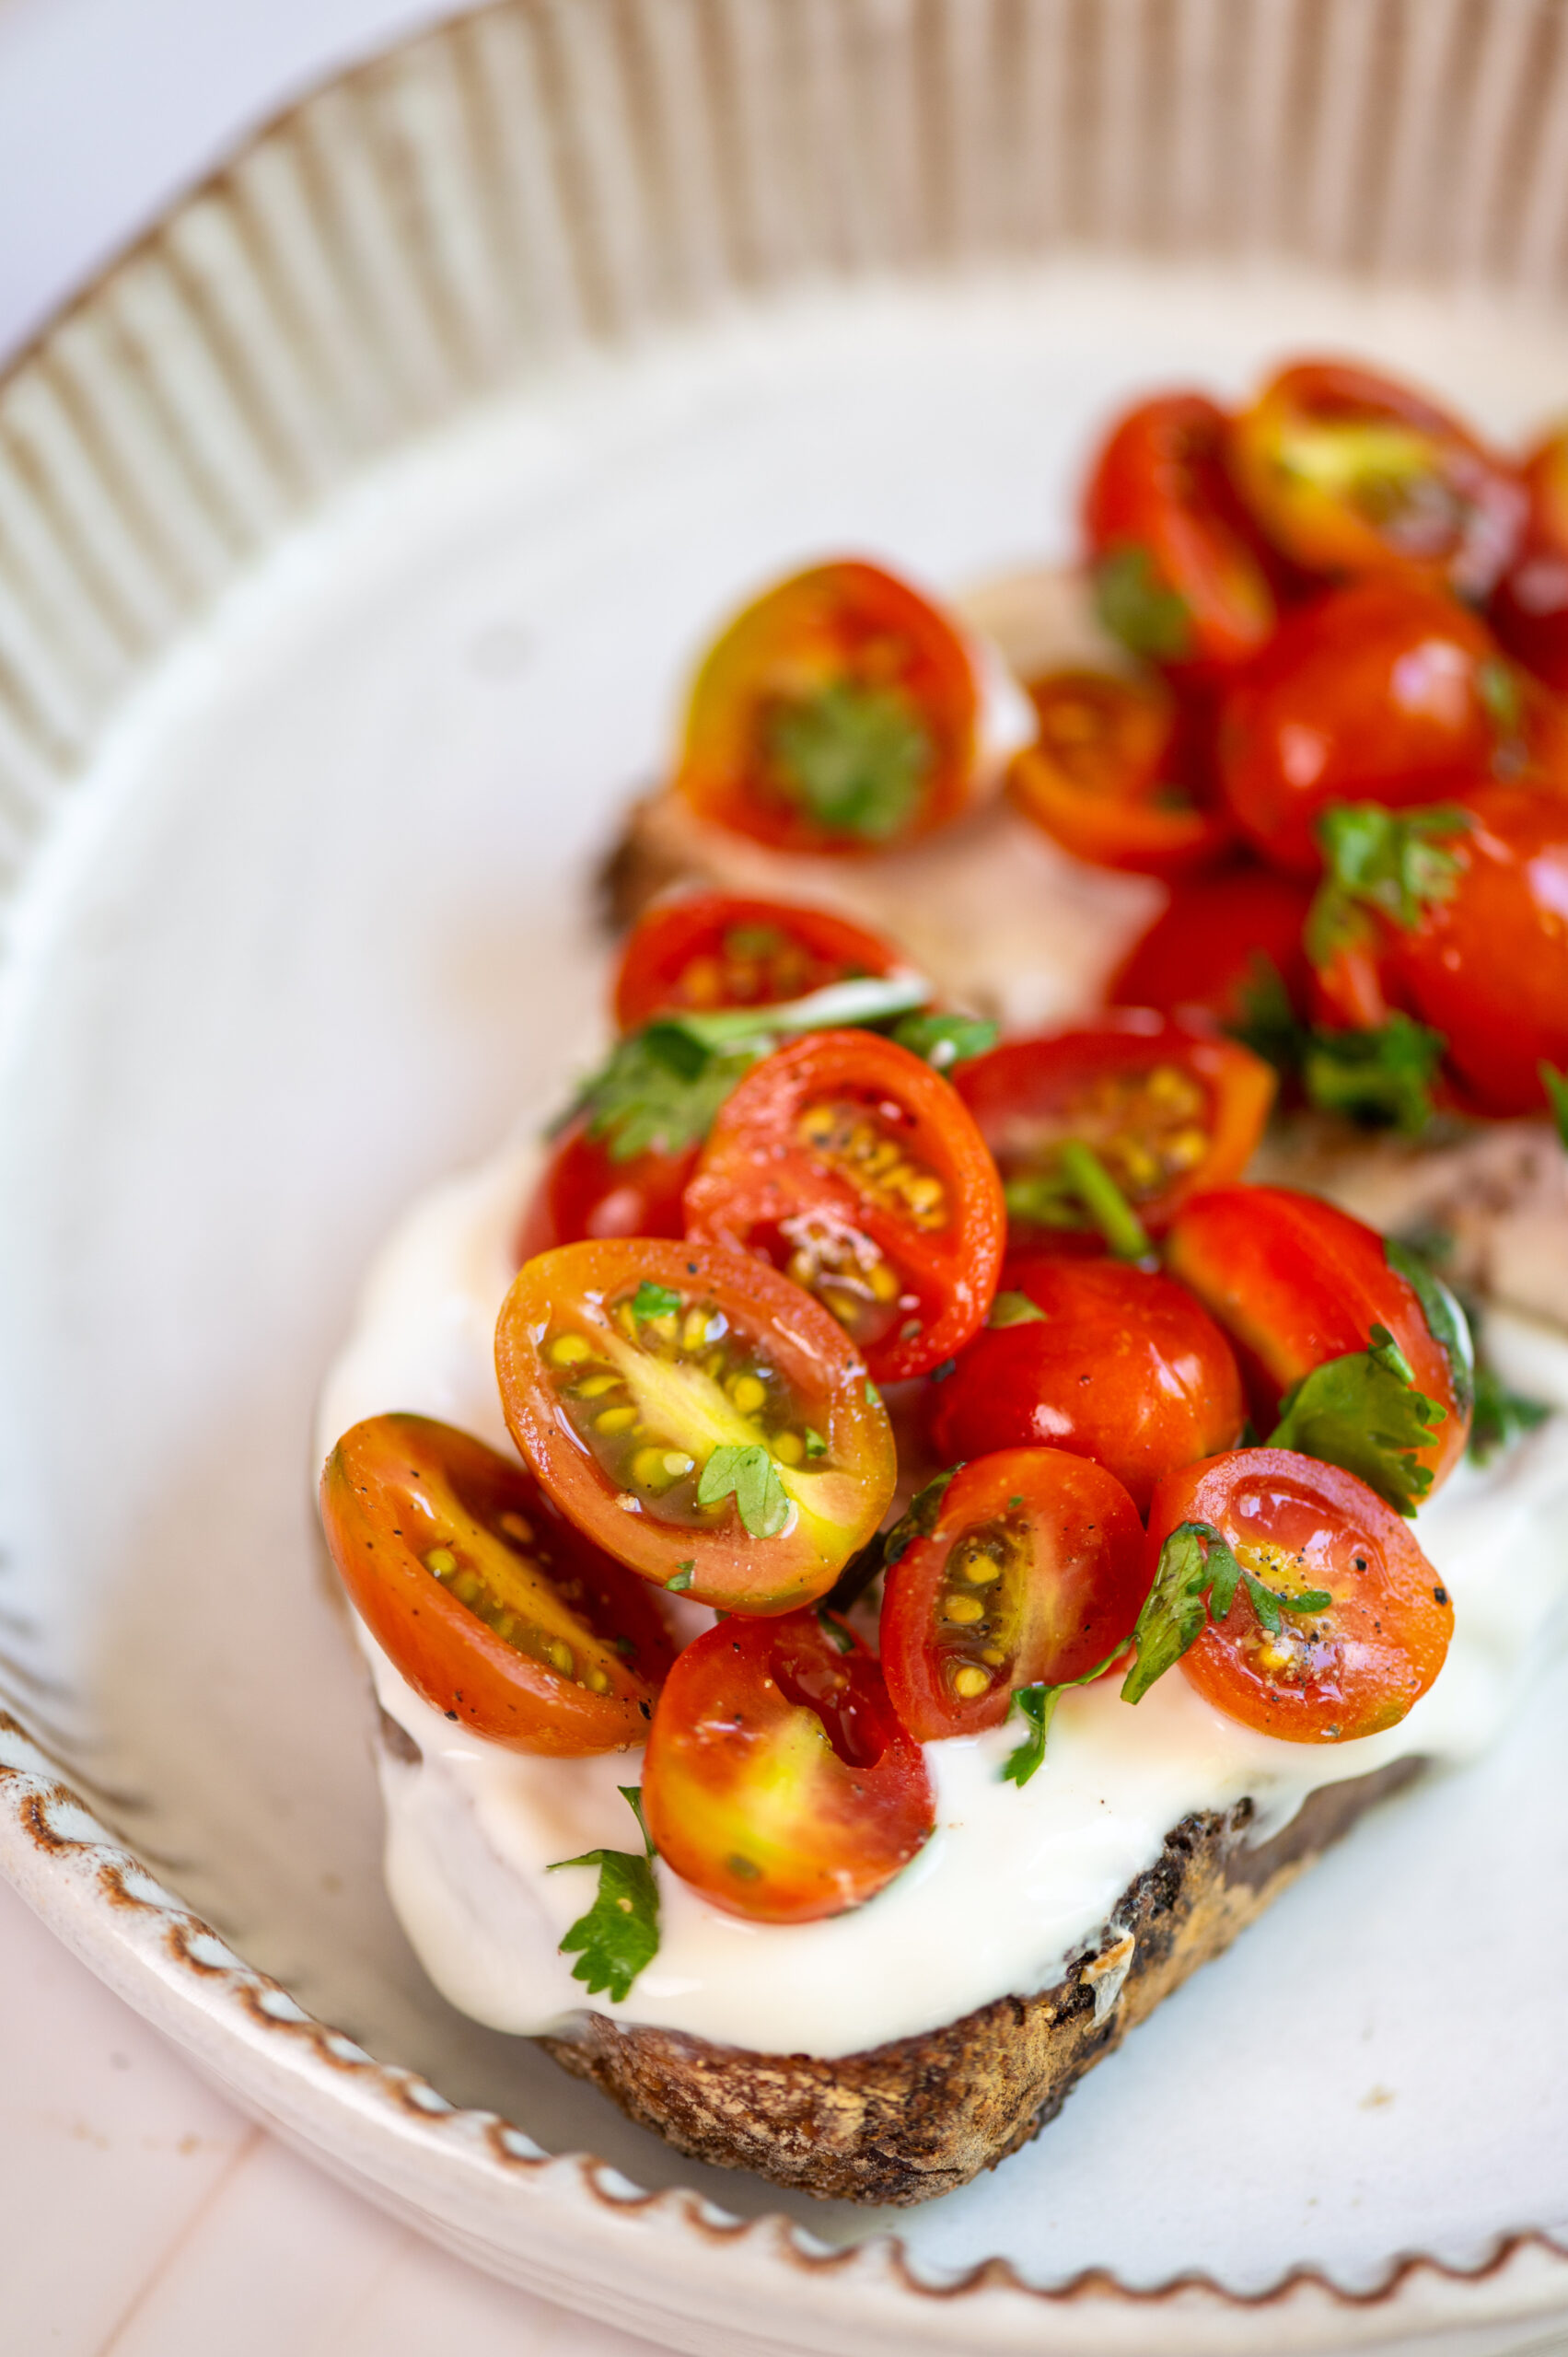
I seem to be on a toast spree at home, as my family has been very thrilled by my sourdough stylings lately. This has been a hassle-free and highly creative time of experimenting, as I have been exploring the use of different toppings to break the monotony of having toast at breakfast. In addition to my family, in the recent past we have been entertaining quite a bit with house guests. While most out-of-towners prefer the idli and dosa standards of local cuisine here, the toasts I whip up add some variety to their choices. This cherry tomato yoghurt toast in particular was perfect for a day when a friend from the Mediterranean was feeling a little nostalgic for some comfort food.

That’s right: Greek yogurt is one of the key components to this dish. I came across the use of yoghurt on toast during various travels in Europe, and the dahi-lover in me was naturally charmed. I believe it is used as it is lighter than ricotta and mozzarella, yet provides the nutrients of dairy while being easier to digest. However, it can certainly be substituted with feta cheese or any other fresh cheese that is available in your part of the world. If you don’t have Greek yoghurt, hung curd is a great option.

The beautiful organic cherry tomatoes I had at home, which I’d been using on pizzas, were perfect to layer on the toast. The overall effect was quite visually pleasing too.

While I had been toying with the idea of a European-style open-faced toast with yoghurt for a while, I only prepared it for the first time quite recently. This was when the Italian friend I mentioned earlier visited us. He would speak often about his Nona (grandmother) and her amazing cuisine and how much he was missing her during his travels. One day, he remarked that he was craving for a dish that was not Indian and that could sort of transport him back to her kitchen. I can safely say from his appreciative reaction that this toast did exactly that. While the varieties of tomatoes available here differ, he told me that this simple breakfast was the closest he had felt to the tastes of home.

I must say, I too have had a craving for a while: to study authentic Italian cooking. My friend has been asking me to come visit and learn his cuisine from his beloved Nona. If I take him up on his offer, I will be sure to come back with a crateful or two of fresh Italian tomatoes!

Cherry Tomato Yoghurt Toast

(Yield: 1 slice)

I large sourdough slice

½ cup Greek yoghurt or hung curd

1 cup cherry tomatoes

Salt to taste

A pinch of pepper

2 teaspoons olive oil


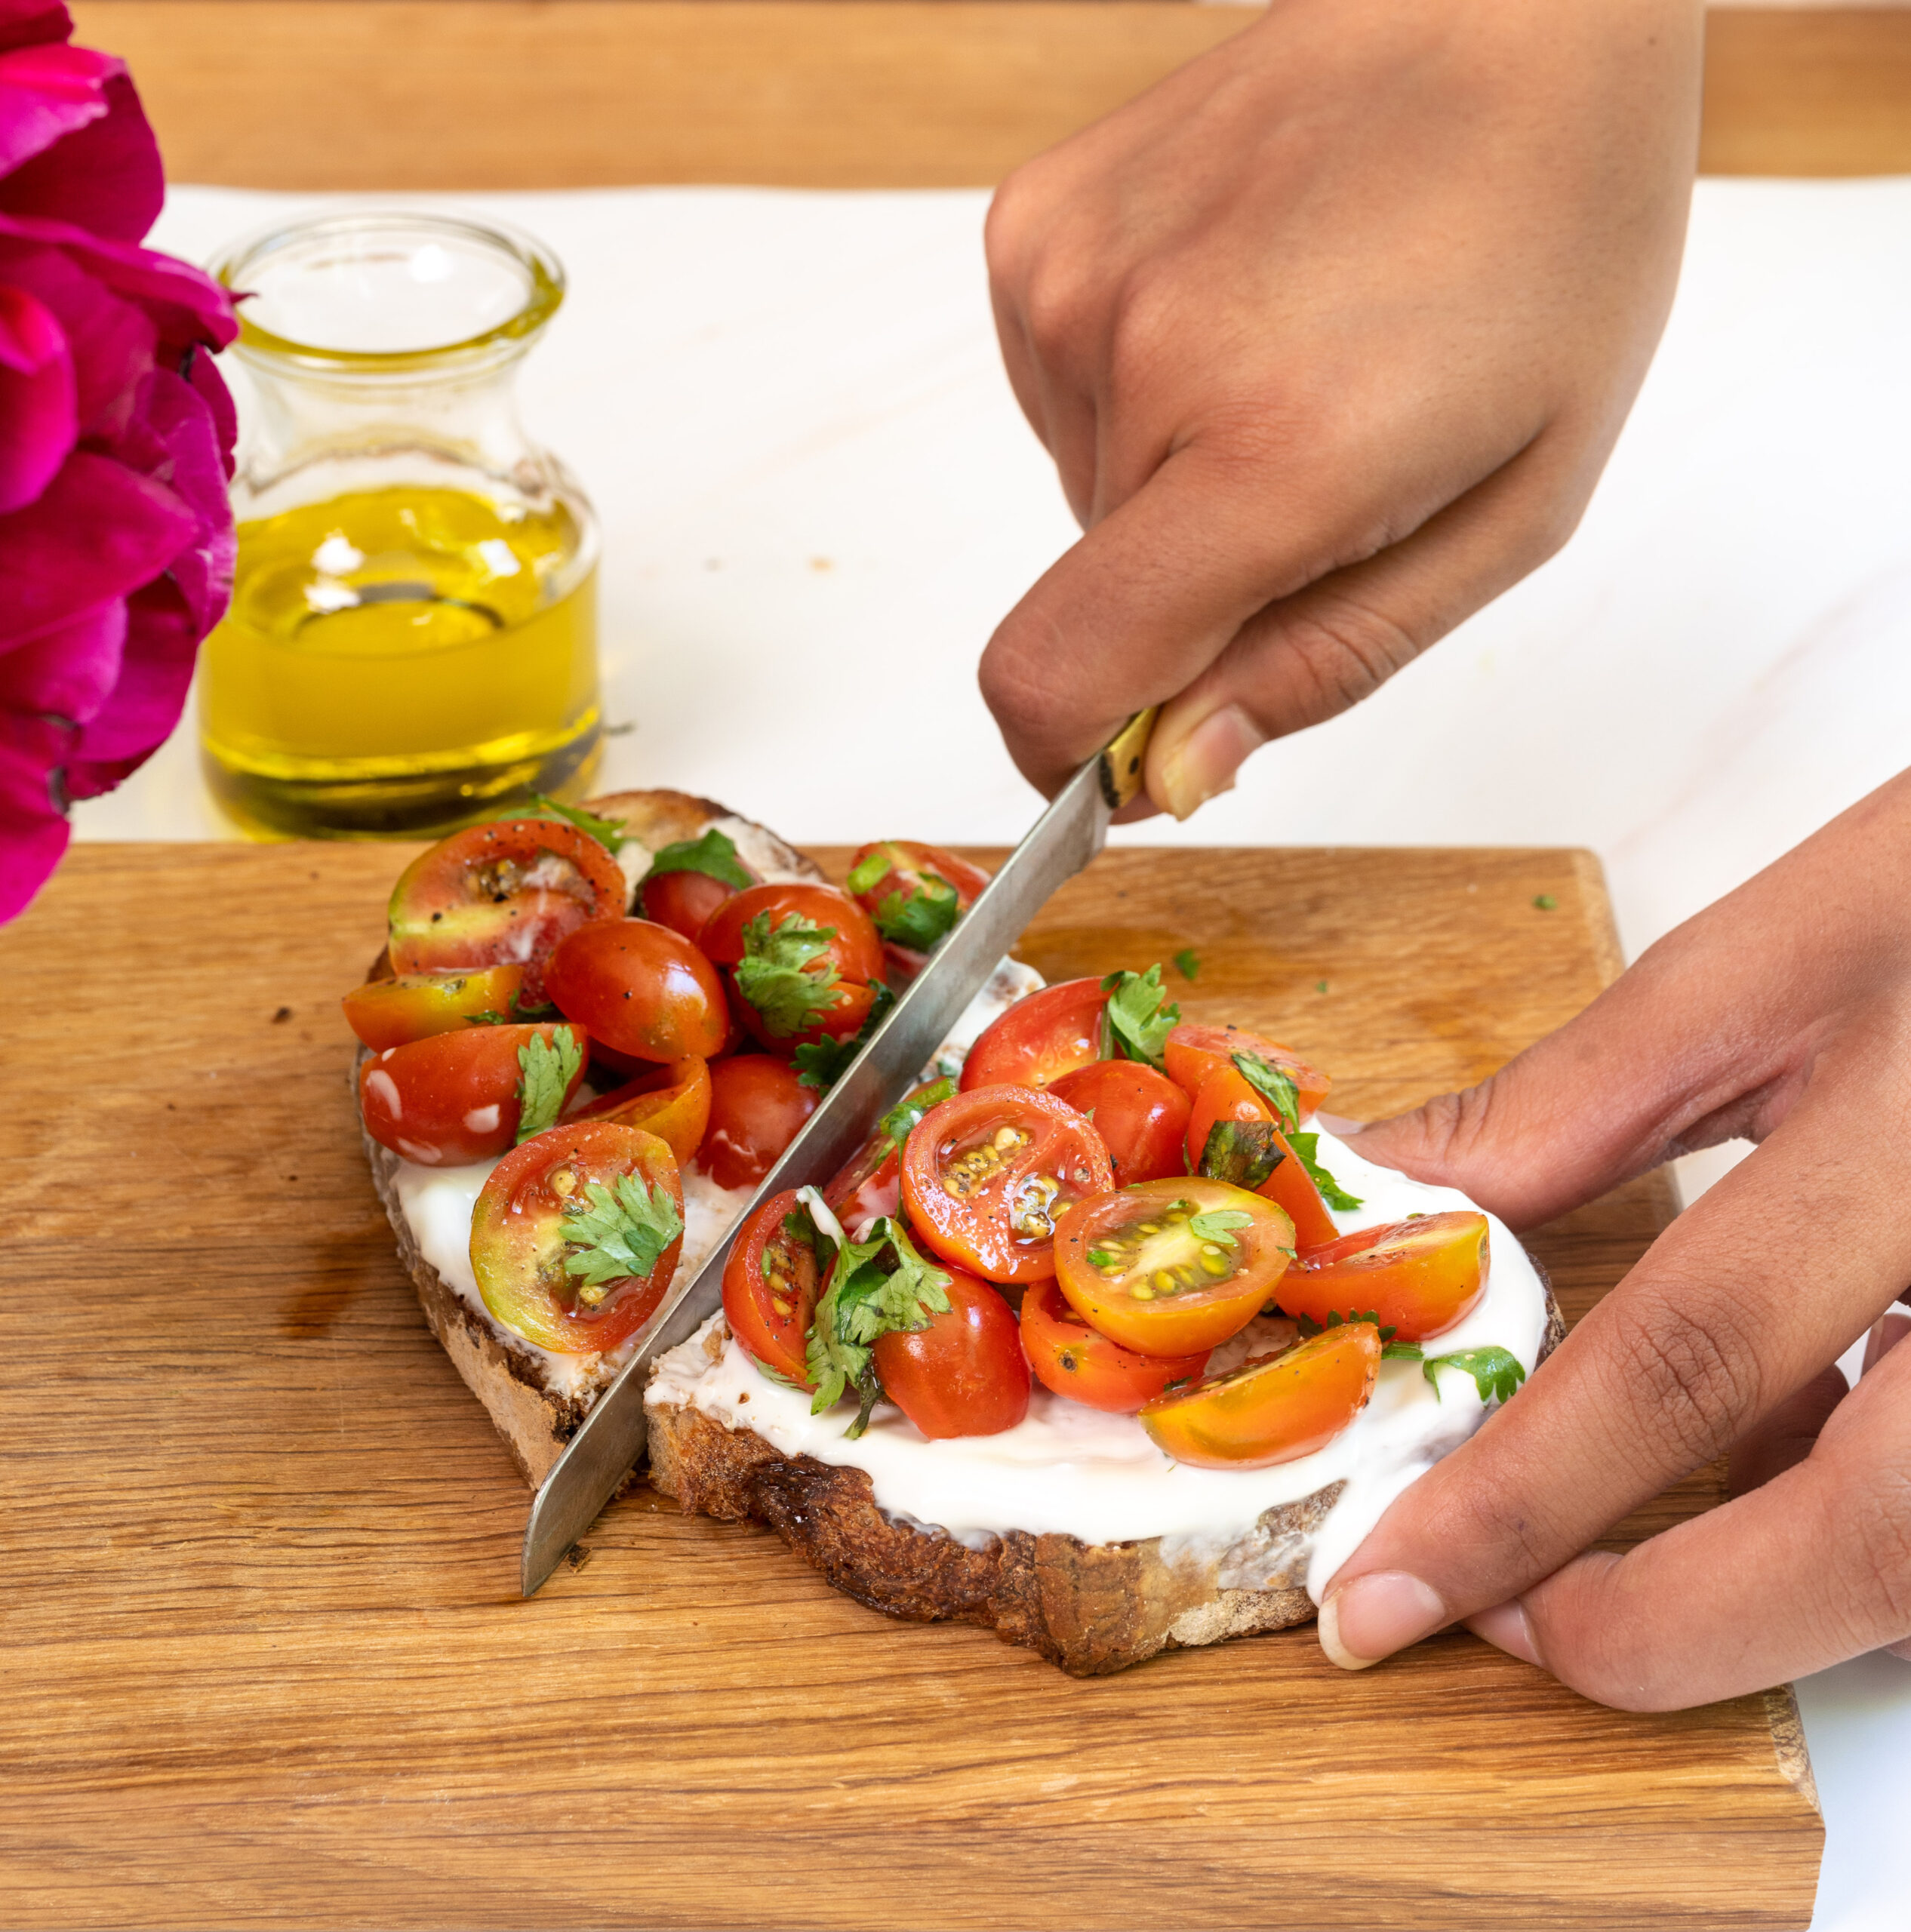
Toast the sourdough slice.

Spread the Greek yoghurt over the toasted slice.

Bake or sauté the cherry tomatoes in a pan, and arrange them over the yoghurt. Sprinkle salt and pepper. Add any herbs you like, such as fresh basil or oregano, drizzle with the olive oil, and serve.

Simplicity is crucial in putting a good breakfast toast together, to save time in the mornings. As you can see, this is a recipe that perfectly fits that criteria. It is easy to prepare, and is very healthy. Honestly, even one slice is quite filling. Did I mention that it’s also delicious? Try it out for yourself and tell me what you think!

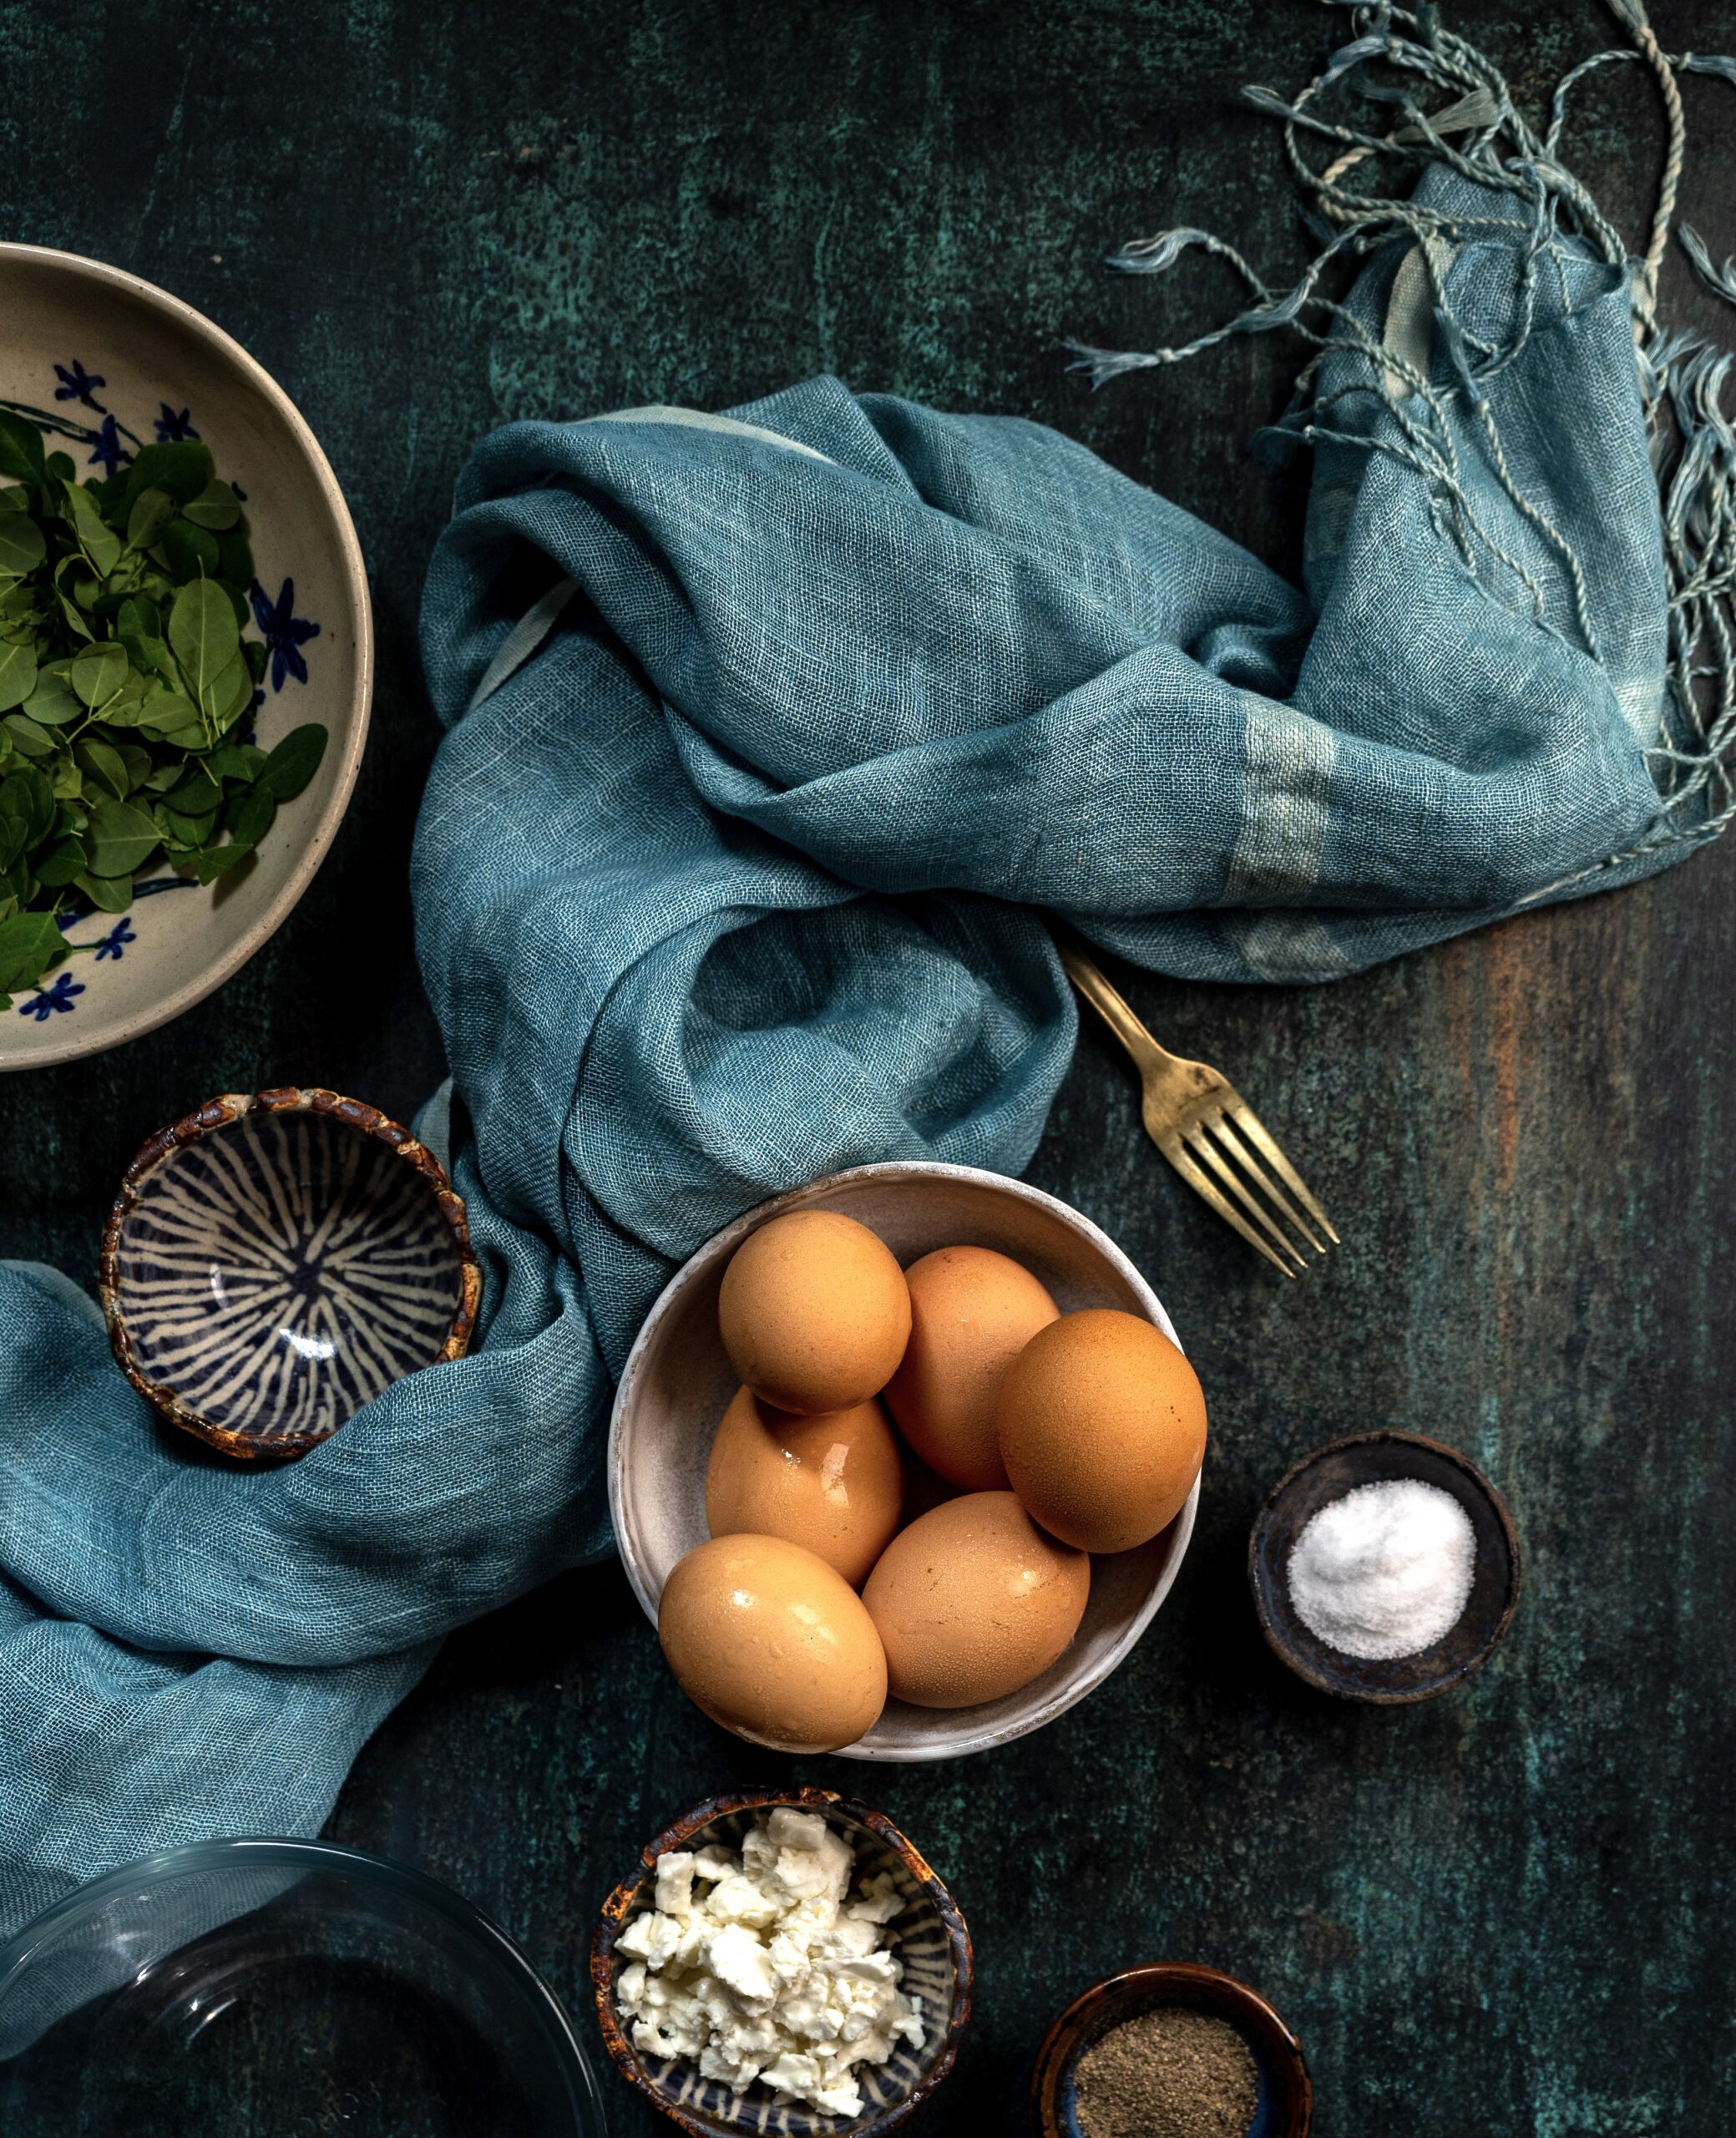
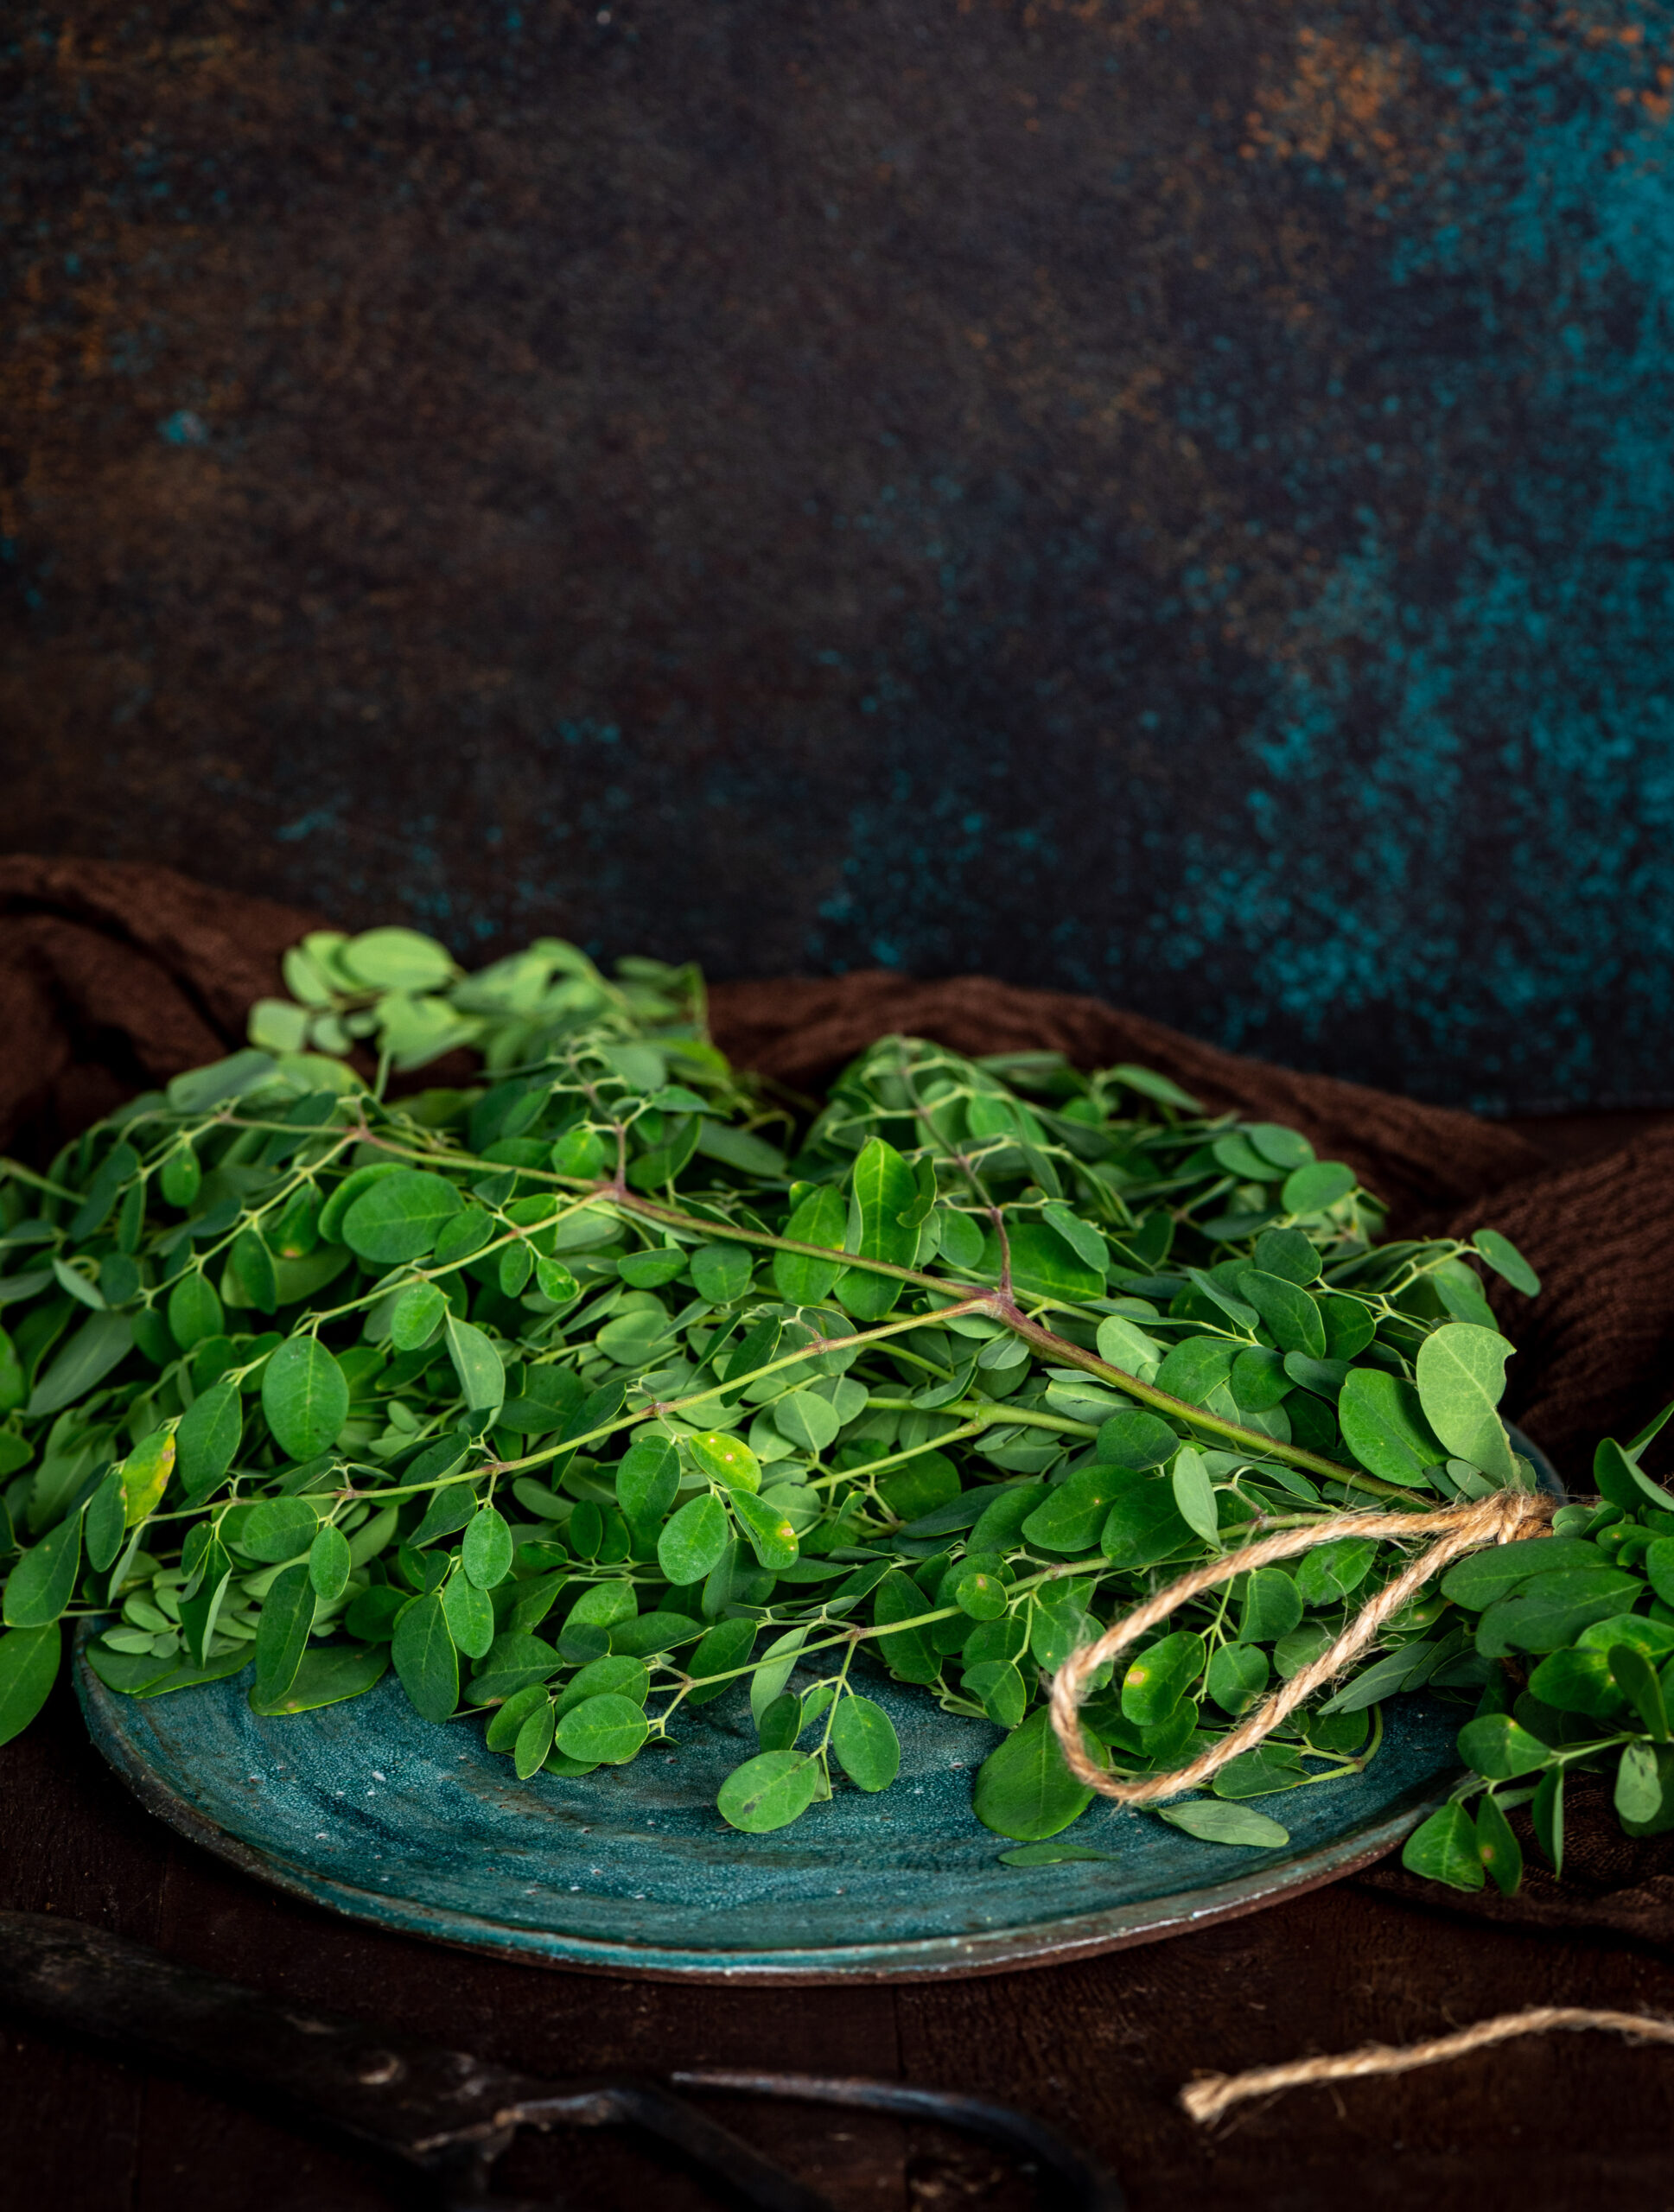
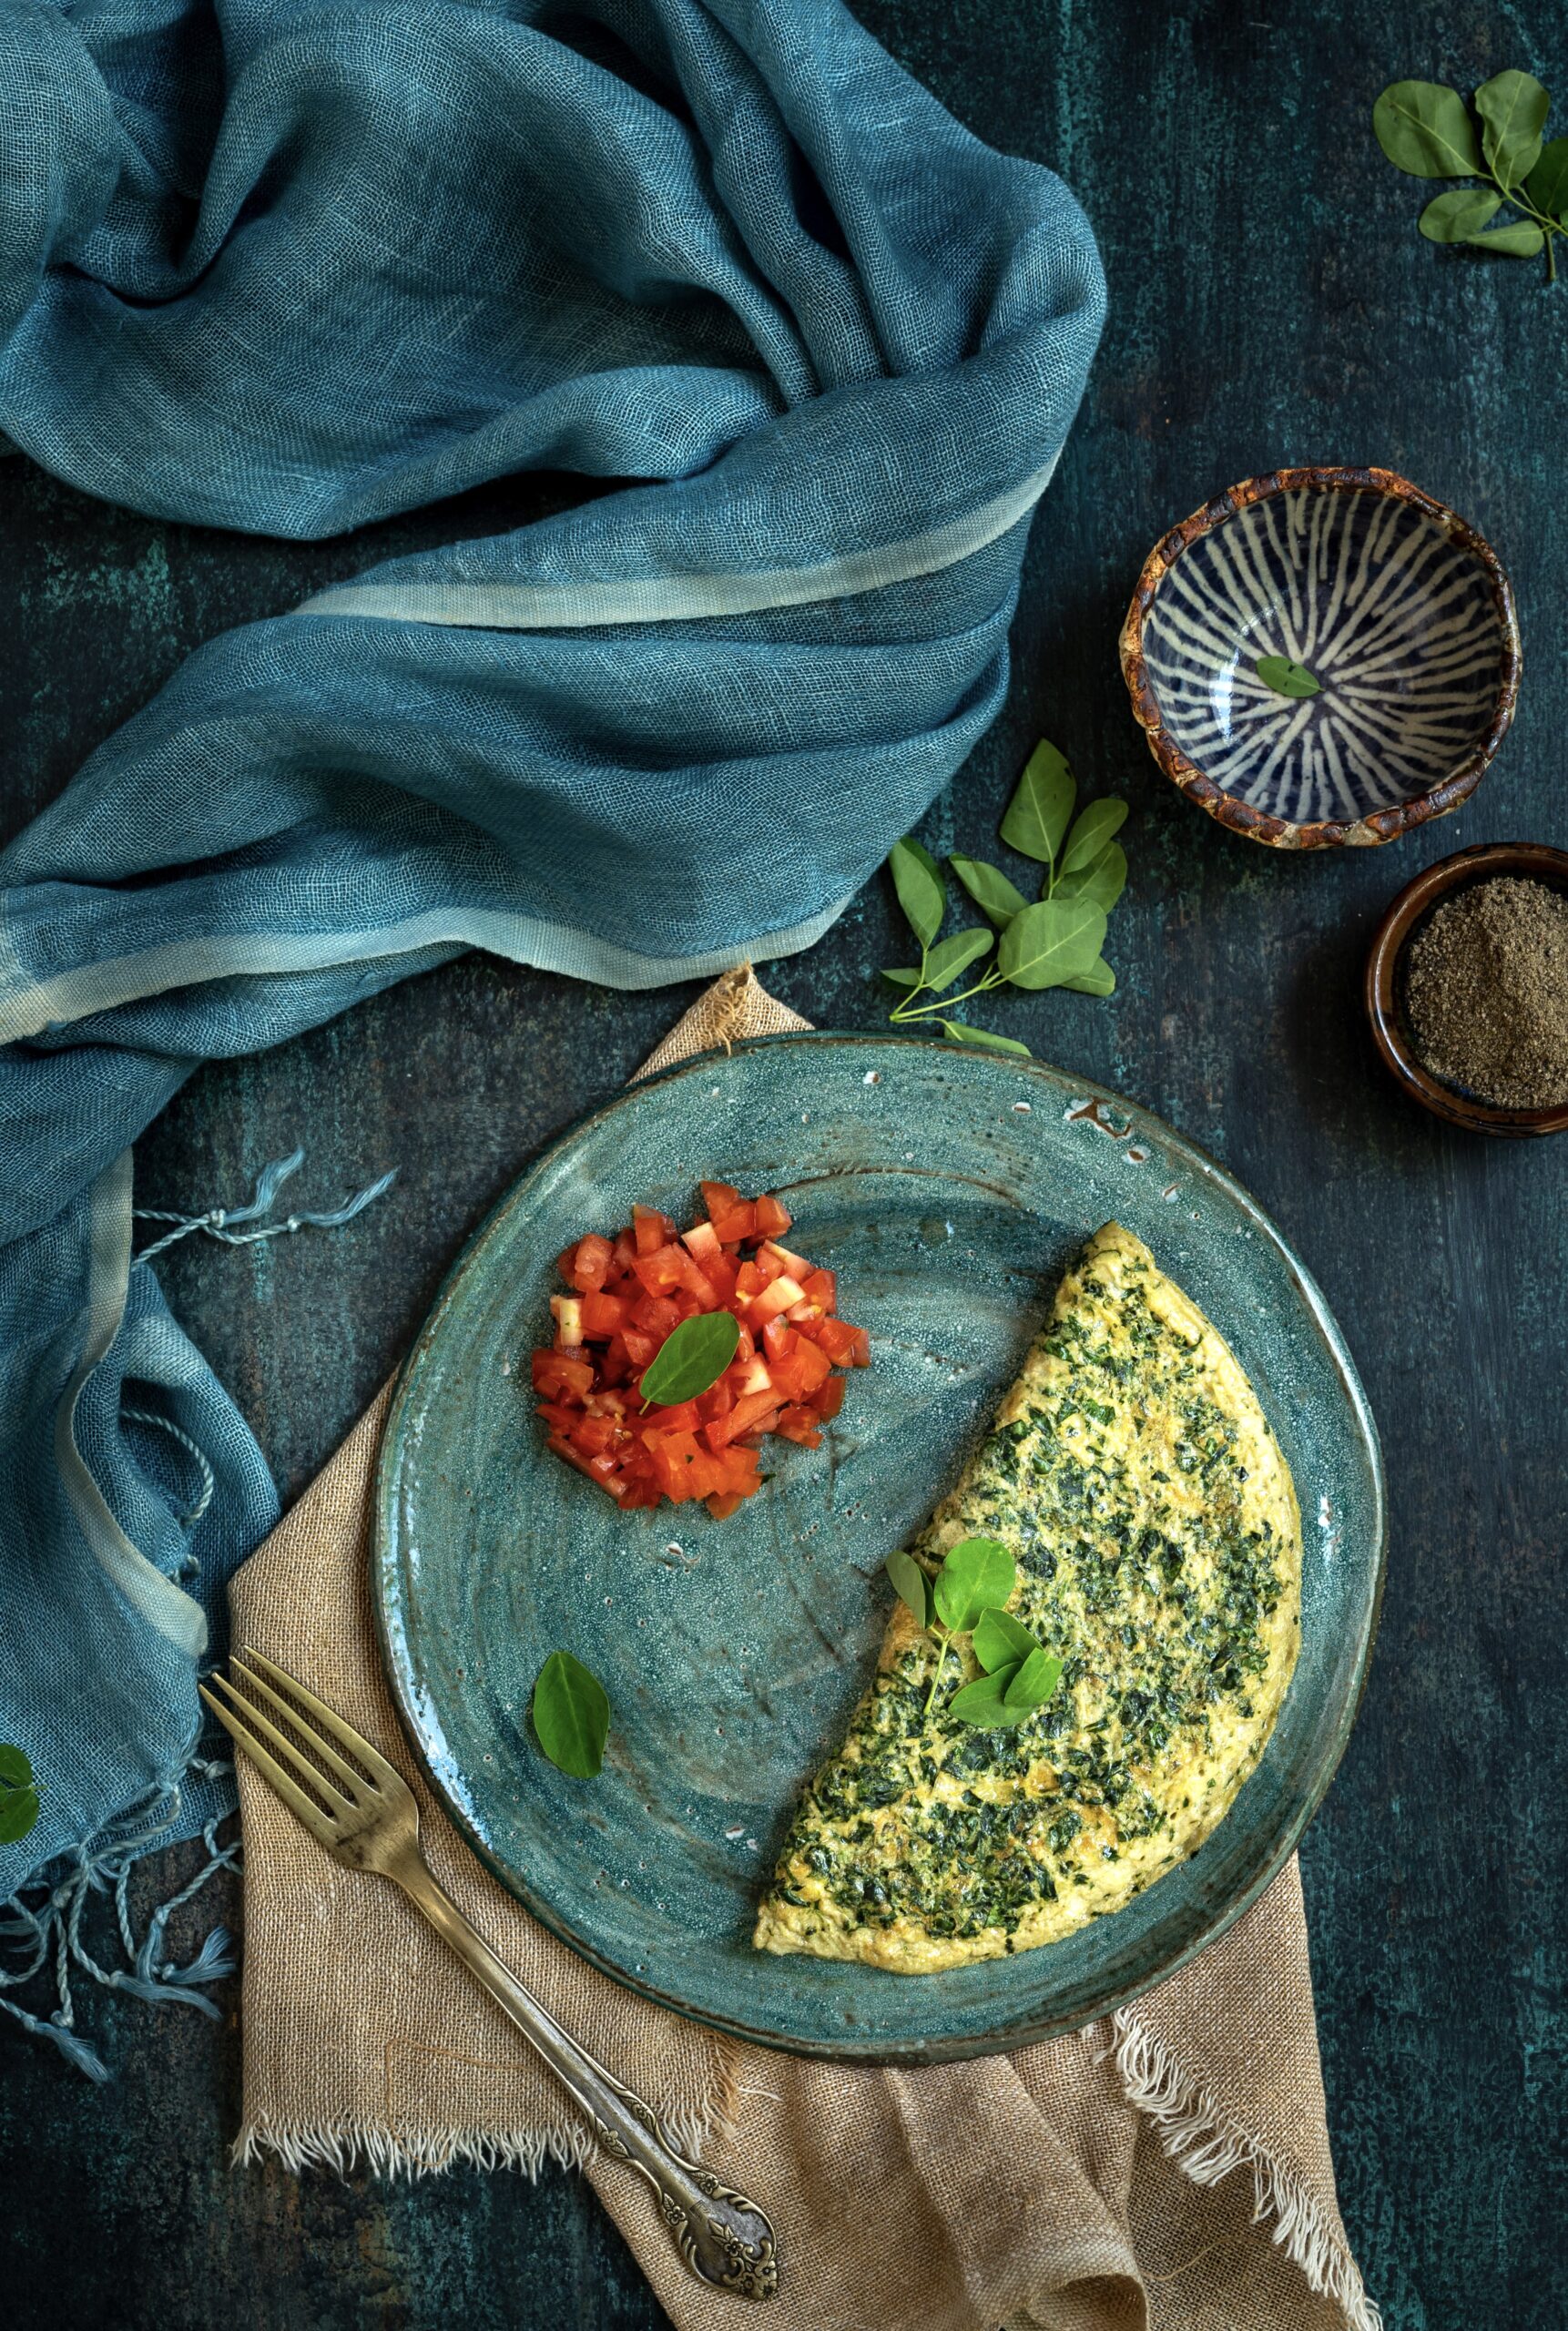
Moringa leaves are considered a superfood by many. For us in South India, the moringa plant literally grows in our own backyards and we take it for granted. In fact, the English word comes from the Tamil word for the plant – “murunga”. As you may know, my family are Gujaratis who have been settled in Tamil Nadu for generations, so it was very much a staple ingredient in my growing years. It was just convenient for my mother to go to the back garden, pluck some moringa leaves, chop them up, cook them and throw them into our theplas if there were no methi (fenugreek) leaves on hand. Moringa leaves are versatile that way, and lately I’ve been taking my mother’s Gujarati-Tamil fusion to another level with a Continental-Tamil fusion: moringa leaves omelette.

Unlike other green leaves, moringa cannot be eaten raw and takes some time to cook. Also, the stalks are not usually consumed, as they can cause indigestion. Funnily enough, I have noted that the stalks can be safely used in soups. The vegetable of the tree, which is commonly known as drumstick, is certainly edible of course.

If you don’t have access to fresh moringa leaves in your part of the world, you can easily replace this ingredient with kale or another type of leafy green, or with moringa powder. I make moringa powder at home, since the method is quite easy during the summers. I pluck the leaves, pat them to clean them, and leave them out in the sun. The heat at this time of year is so intense that the leaves dry up in just a few hours. I then dry-blend them to create the powder. I usually prepare about six months’ worth of stock, to reach for when I don’t have fresh moringa leaves or the time to go out and pluck them for a dish.


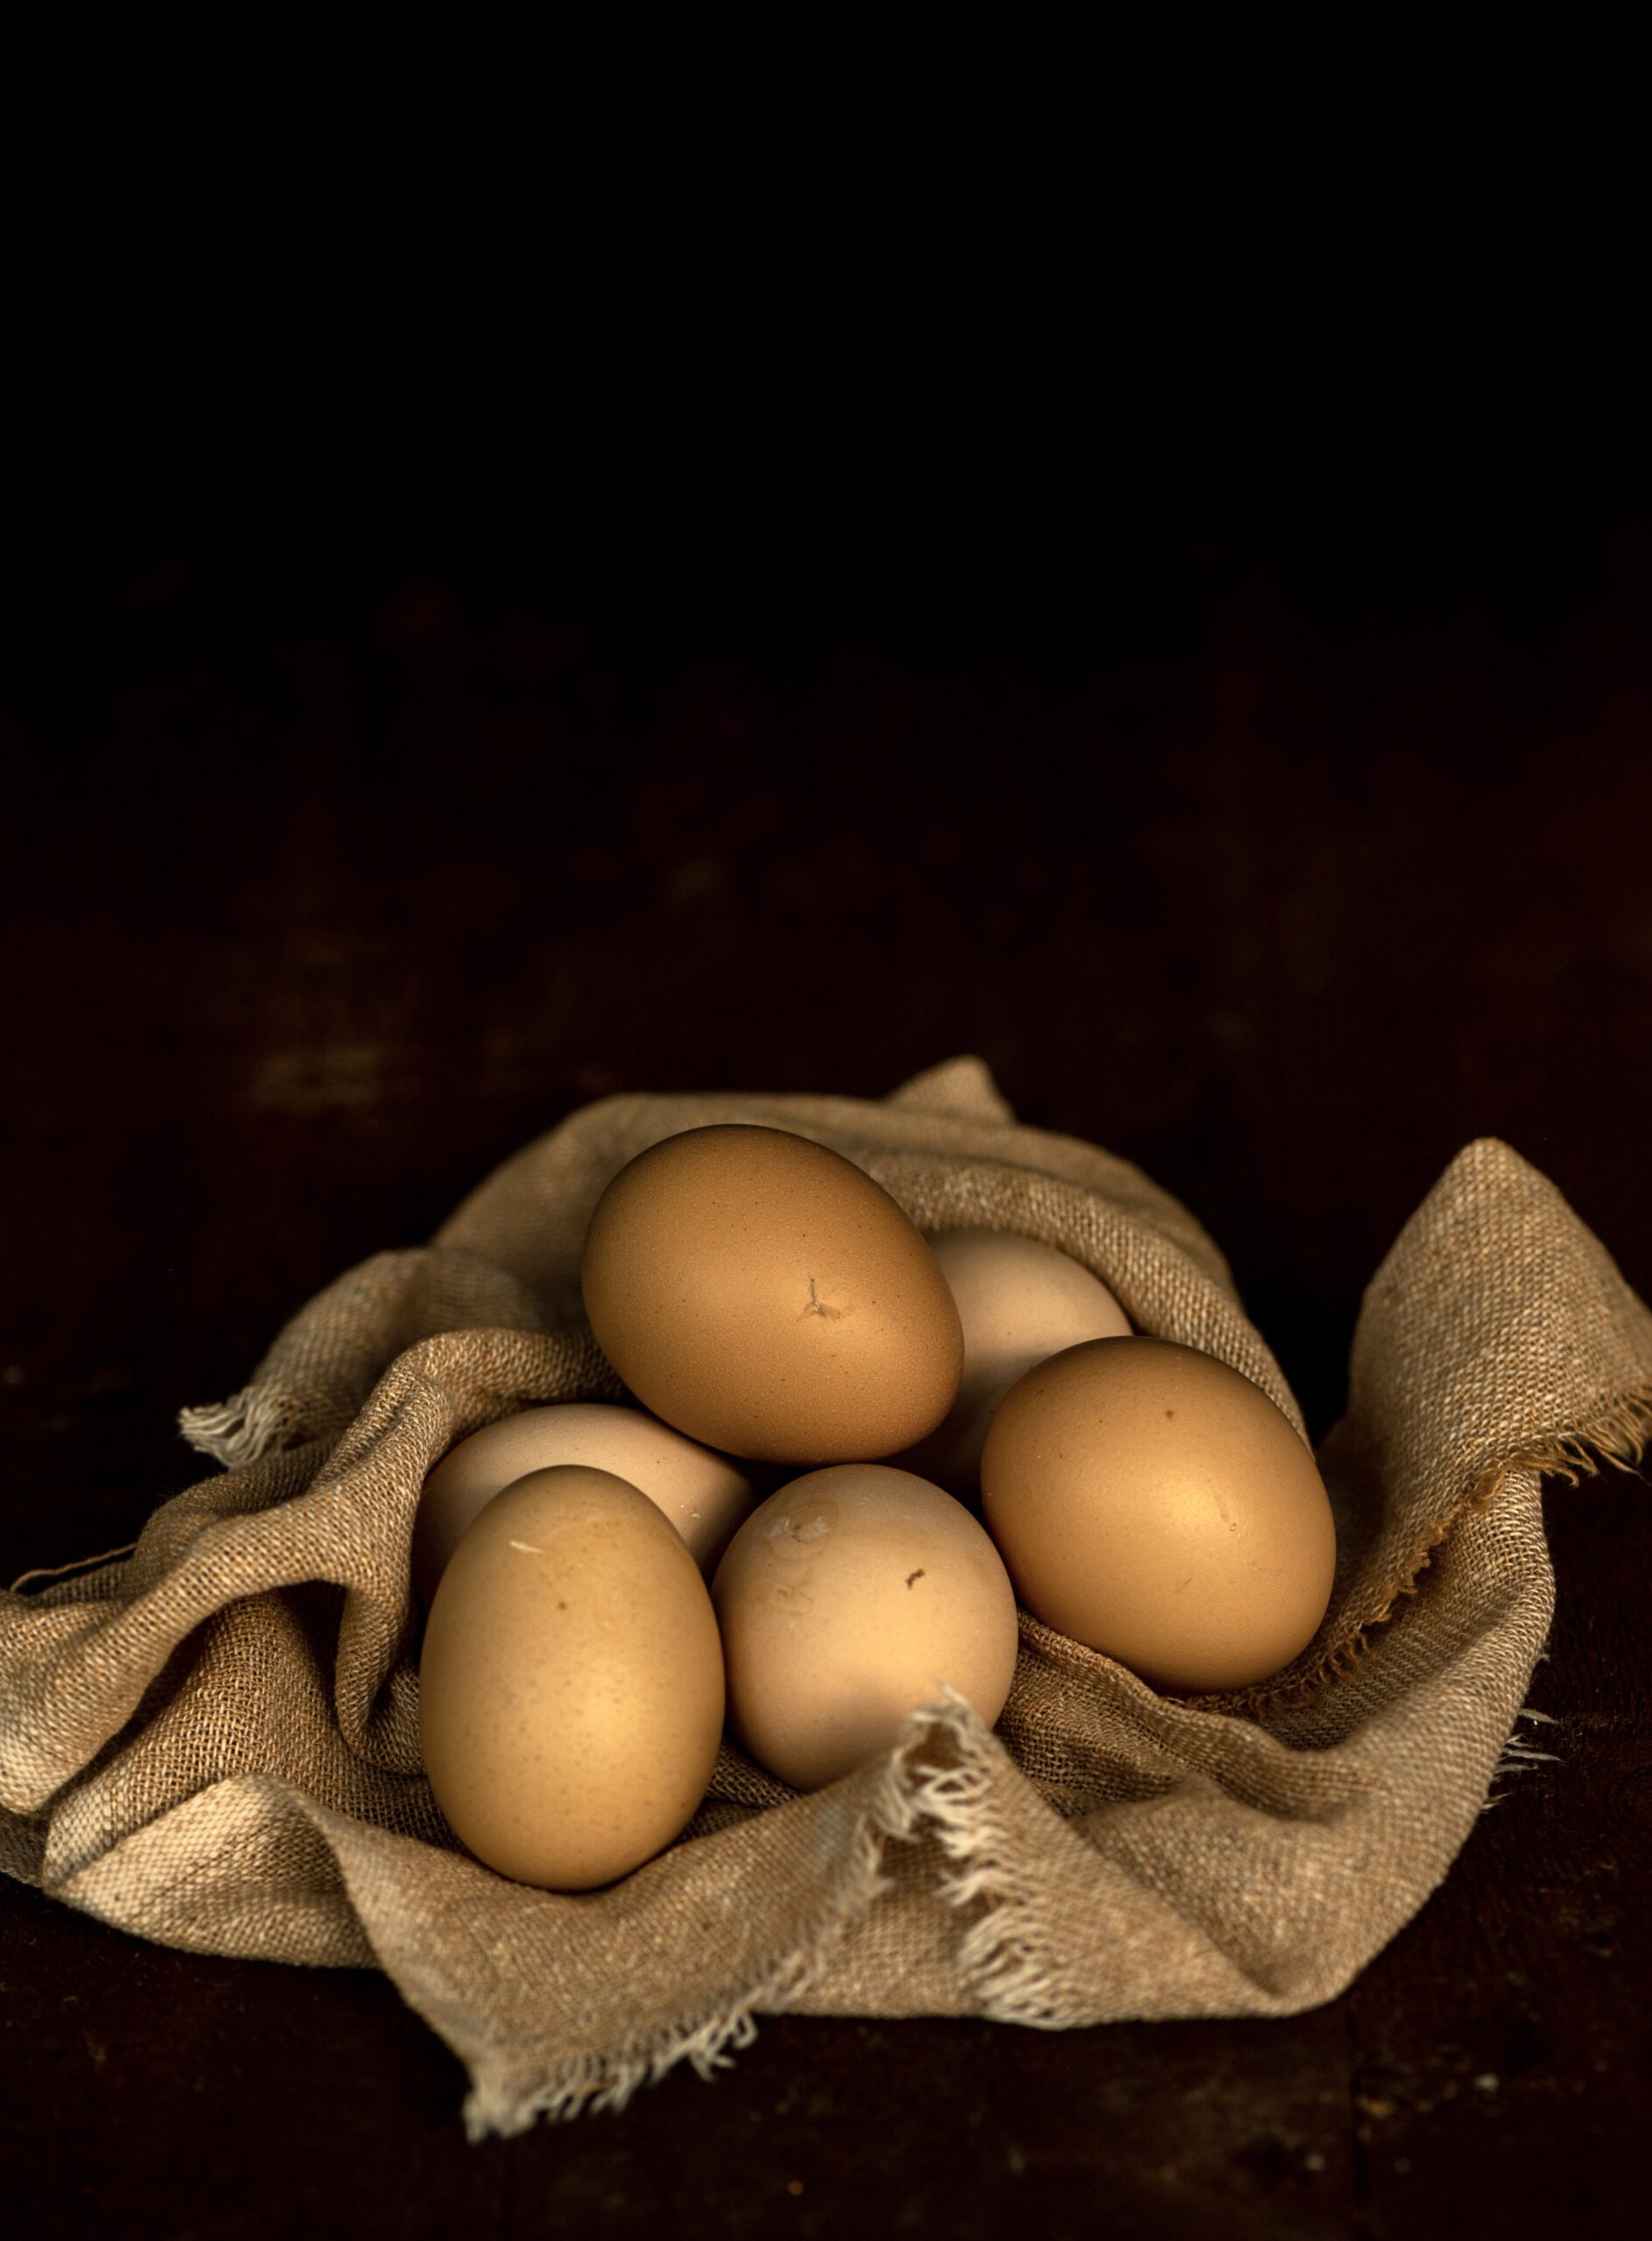
The eggs I use in this recipe come from our hens – happy, bullying free range hens that produce organic eggs. I use the whole egg, and I don’t believe in removing the yolk, which is full of nutritious goodness, including protein. While I’m on that thought, I should also say that I don’t believe in using skim milk. Skim milk is processed milk; I would much rather drink natural milk with all the fat in it and retain all the nutrients we are supposed to get.

I realise that vegetarians or vegans may be wondering if there’s any chance of salvaging this recipe for them, and this is what I suggest: besan chilla is often known as vegetarian omelette, and you can make it with moringa leaves. Moong dal is also a good substitute.

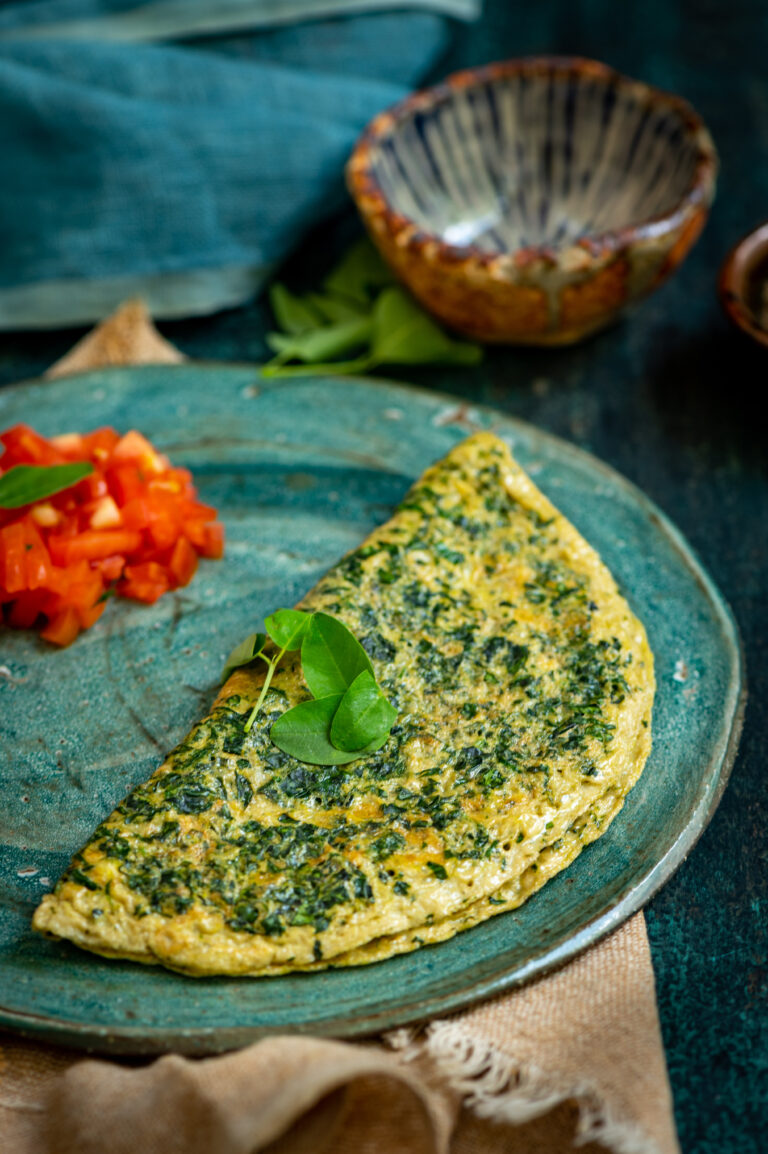
The idea for this recipe came because I had eaten eggs with spinach and feta cheese at many places, and one day I thought – why not moringa? Why not indeed, given that I routinely throw those leaves into dals, rotis and theplas just like my mother used to. It’s a very simple and very satisfying recipe, I hope you’ll try it out.

Moringa Leaves Omelette

(Yield: 1 omelette)

2 eggs

½ cup finely cut moringa leaves

Salt to taste

A pinch of pepper

¼ cup feta cheese

1 tablespoon butter


Heat a pan and add the butter. Once it sizzles, add the moringa leaves. Allow to cook for a few minutes.

In a bowl, crack the eggs and beat them well. Now, add the sautéed moringa to the eggs and beat again.

Heat the pan again and pour the egg mixture into the pan. Allow to cook on a medium flame and then flip until both sides of your omelette are well done.

Serve with any garnish or accompaniment of your choice.

As you can see, this is a very easy recipe with minimal ingredients – moringa leaves, eggs, seasoning and some cheese (which is optional). If you’d like to boost both the protein and fusion quotients of this dish, you could even sprinkle some paneer on top. It will make the omelette more filling overall, as well.

Omelettes go well with any main meal, so I’d love to know what time of day you wind up eating this one! Let me know in the comments if you enjoy it.

Still on the theme of post-festive millet-based goodness, after the previous post’s millet upma, I’m glad to share another recipe that I’ve been turning to frequently. This is another breakfast dish, and what’s even better is that it makes use of the previous day’s leftovers, maximizing resources and minimizing time. There’s a long tradition of innovative dishes that do this, as we’ve seen in my second helpings series from a few years back, and this bajra rotlo cereal fits beautifully into that category too.

Bajra, or pearl millet, is a long-fingered crop with hundreds of grains on the cob. It has been cultivated on the Indian subcontinent for thousands of years, and is a staple across different cuisines in this region. As a darker coloured millet, which indicates that it is heavier on the digestive system, it is perfect for monsoons and Indian winters. It keeps the body warm, since the digestive system is active for longer, working on those slow-release carbs, and thus reduces hunger between meal-times. I have noticed that it is one of the key ingredients consumed by farmers, such as the people I’ve met on my travels to the Rann of Kutch, where the salt-harvesting community eats bajra with chutney daily.  It has a high iron quotient, is gluten-free and is rich in amino acids, fibre and antioxidants.

Bajra rotlo is a flatbread, one of many varieties enjoyed by the Gujarati community. It is most often accompanied by a garlic chutney, but while I was growing up my mother would usually serve it to us with jaggery and ghee or else with homemade white butter. In those days, the milk quality of brands that are still around today was pure and excellent, which meant we could extract our own buttermilk from the curd, and from this the butter. I remember watching my mother churning the buttermilk, which would make the butter float on top. She would often ask me for my help. We would collect the white butter and set it aside. Having it with some bajra rotlo over dinner was one of my favourite meals.

Of course, the homemade butter no longer exists and the store-bought ones just don’t compare when it comes to this purpose. Which brings me to my second-favourite way of eating bajra rotlo: as cereal.

It’s funny how things come full circle. As a child, this was a dish that I scorned at the breakfast table. My mother would always prepare a few extra bajra rotlos, to be kept overnight for my father and her to have in the morning. She would crumble these with her hands, turning them into a cereal consistency, and my parents would eat this cereal with milk. It looked like cornflakes to us kids, which was interesting in theory, but we did not like the taste back then. I grew to love it, however. In fact, I now enjoy this deconstructed version more than I enjoy the previous night’s freshly-made, unbroken bajra rotlos themselves!

Now, when I prepare bajra rotlo cereal, the memory of my mother’s hands and the way she would crumble the rotlos always comes to me. The dish is all the more special because of this.

For the time being, no one else in my family likes bajra rotlo cereal. But they watch me eat it, just as I once watched my parents eat it. I’ve never forced it on my kids, but maybe somewhere later down the line, they’ll reach out for this comfort food on some mornings too. Fond memories really are what make food palatable, above all else. Besides, as parents we always set an example. The next generation, be they little or a little older, will make similar choices to ours. So the more healthily we eat, the better a model we set for them.

Bajra Rotlo Cereal

(Yield: 4 servings)

1 cup bajra flour

½ cup water

A pinch of salt

½ cup flour for rolling


Optional (non-cereal version)

1 tablespoon finely chopped onion

1 tablespoon finely coriander leaves


Put the flour in a bowl, add the pinch of salt and stir. If you plan on having the bajra rotlo as a bread, not a cereal, then make the savoury version and add the onion and coriander now. Skip these optional ingredients if you plan on having the cereal version.

Add the water. Leave a little bit behind in the cup – use just enough to make a malleable dough.

Once the dough is made you, don’t let it sit. You will have to roast the rotlo immediately.

Make four smooth balls with the dough. On a rolling board, sprinkle more flour. Place a ball of dough on it and use your palms to gently pat it out. Use your fingers to press down the edges of the rotlo. If you need the help of the rolling pin, you may use it, but very lightly and gently. Since there is no gluten, the dough will be soft and needs to be handled with care. Add more flour if necessary. Each rotlo needs to be ¼ inch in thickness. Keep dusting with flour at the bottom too. Make all four pieces.

On a hot griddle, place each rotlo individually. Use your fingers to wet the top of the rotlo with water.

Roast on one side and flip over. Cool on a medium flame. As it’s thick, it needs to cook well on the inside. Once it has spots on both sides, place the rotlo directly on the flame to cook further.

Remove from the stove and top with ghee. Allow to cool. You can now serve this bajra rotlo with chutney or dal, if you like.

To make a cereal, once it has cooled, either the same day or the next morning, simply crush or crumble the rotlo with your hands.

You can have this with cold milk, if you prefer that. I usually have mine with warm milk. Specifically, I enjoy it with almond milk, which I’ve been reaching for more and more in my quest to make my diet more vegan. You can also add some sugar, if you wish to sweeten the cereal. All in all, it makes for a complete and healthy breakfast.

The festive season also coincides with the wedding season, which means that there is a general period of celebration until February or so in most Indian communities, peppered with religious occasions as well as personal gatherings. Foods like this dish, which nourish the body and let it recover from the heavy, fried, sugary, buttery, ghee-rich foods that are eaten at special events, are welcome and appreciated after and between feasts. This isn’t to knock indulgent foods at all – in fact, I have noticed how traditional ingredients like gond or gum resin, which are used in laddoos, are a warming agent and boost immunity. There’s a culinary and seasonal logic to indulgence too. But the body really does feel better when some millets are in the mix, balancing out the treats.

I’ve got quite a repertoire of millet-based dishes in my recipe archive, if you are keen to bring this nutritious category into your kitchen more often. Having tried this bajra rotlo cereal, if you find that you’re a fan of pearl millet at breakfast, the traditional Gujarati bajra ghensh is also a fantastic option. Here’s to happy, healthy mornings!