Tag

banana

Browsing

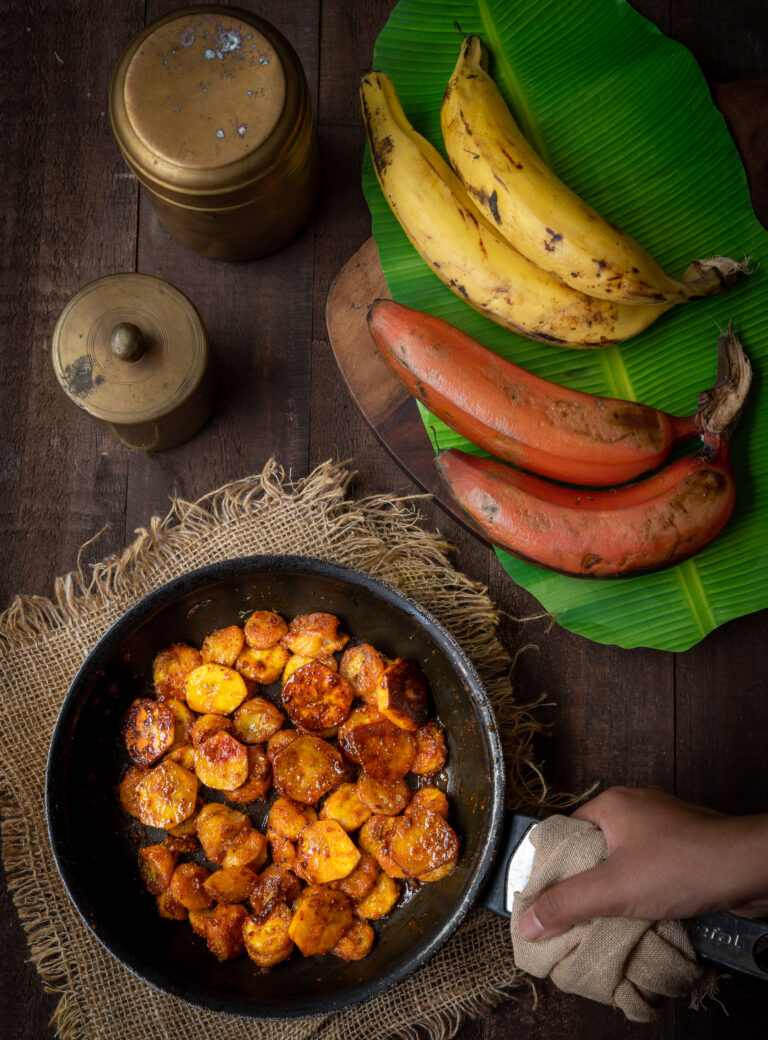
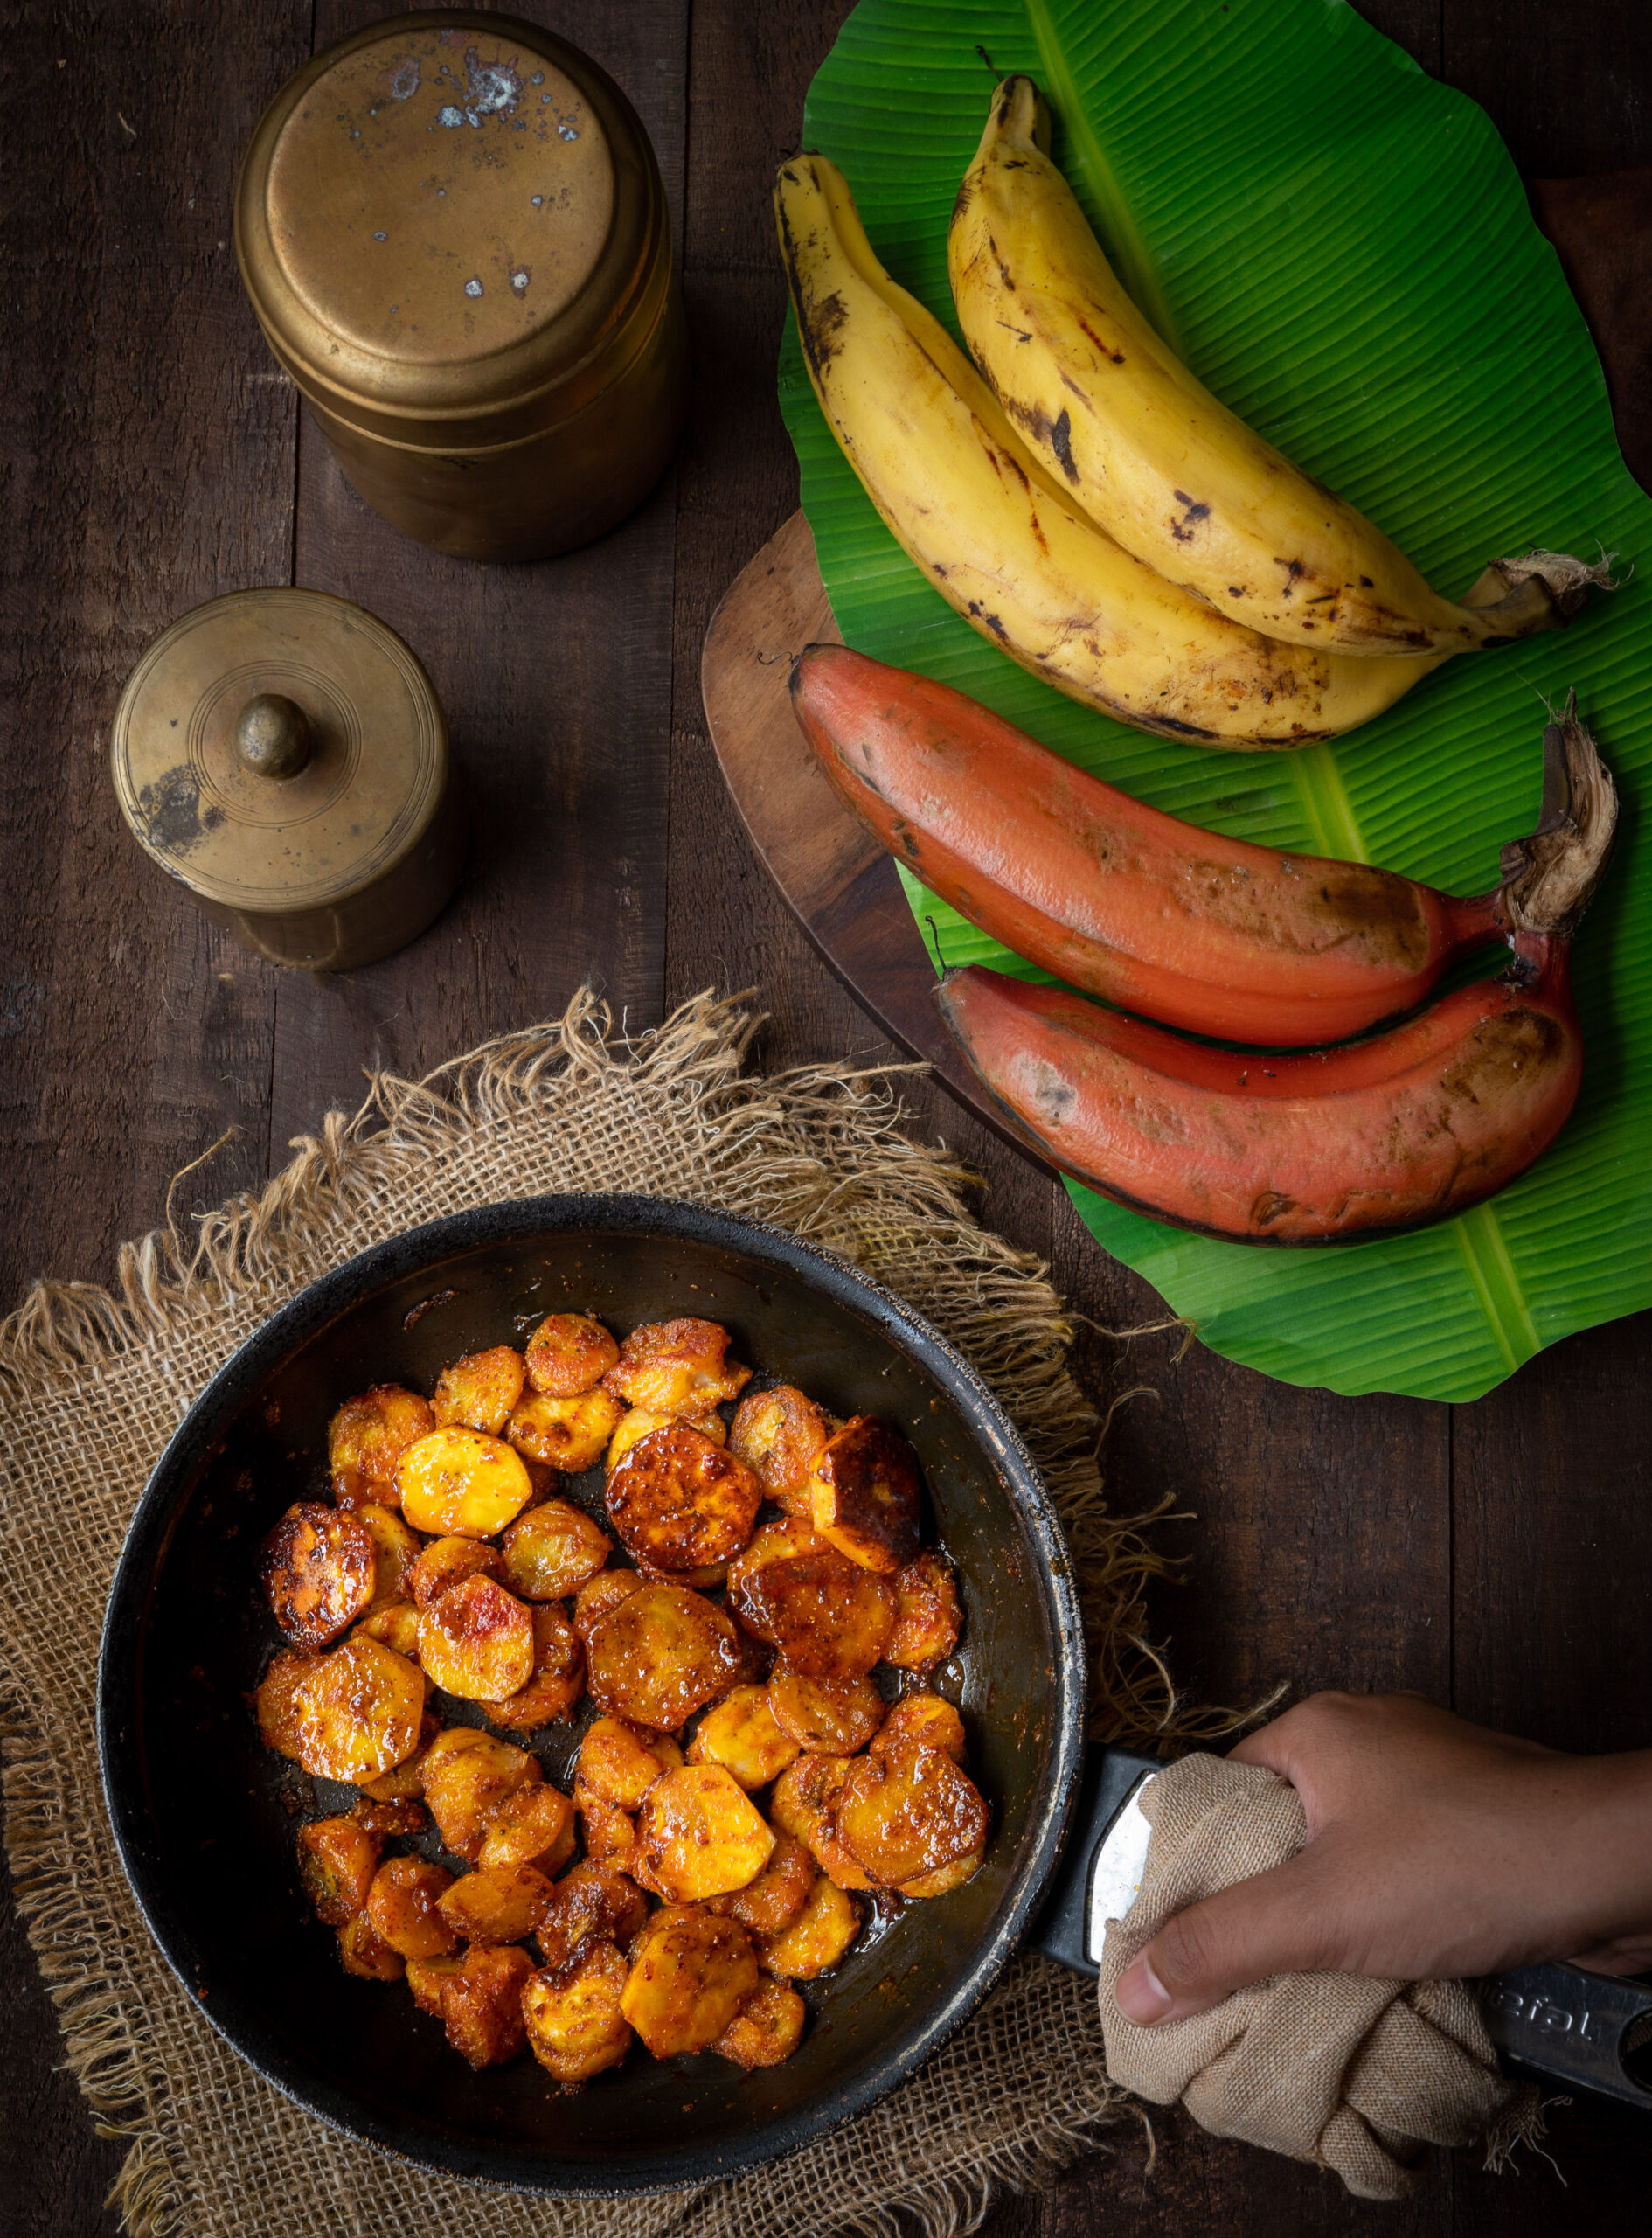
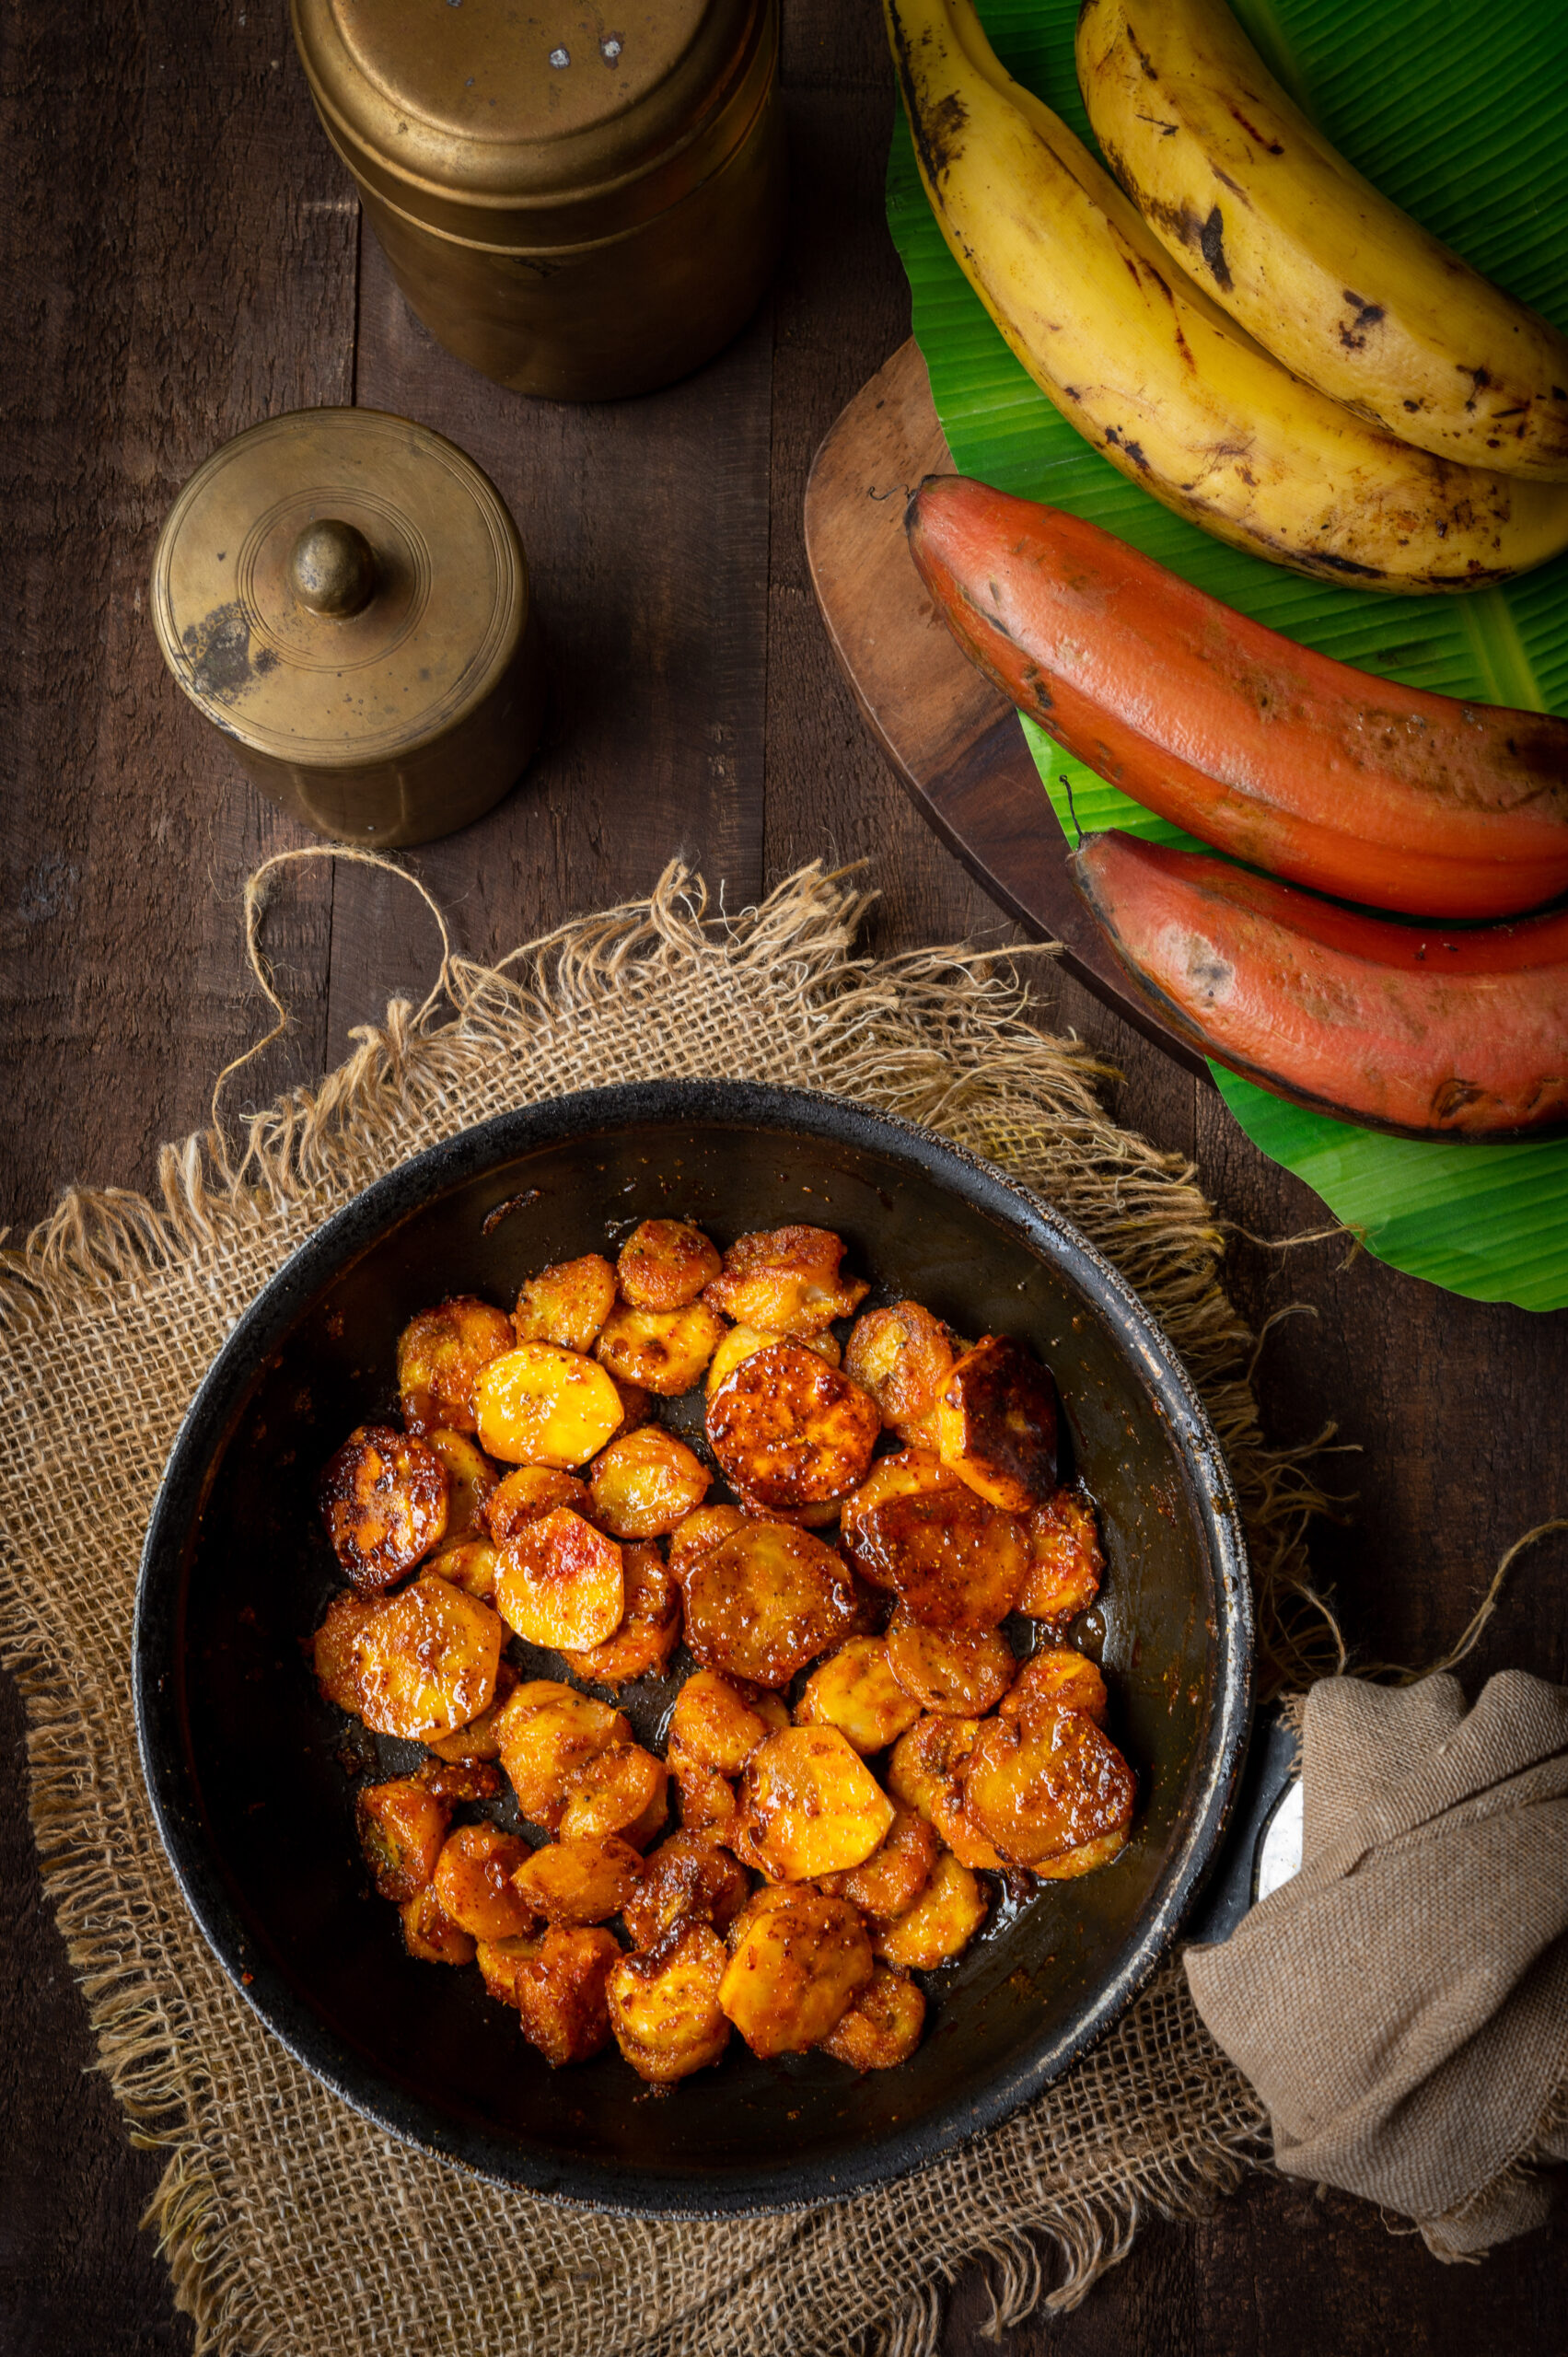
The festive season is about to begin here in India, and sweets galore are going to be produced, shared and consumed across the length and breadth of the country. It will be almost impossible to avoid consuming significant amounts of sugar at this time, but aside from moderation, we can also tweak the dessert offerings in our own homes and serve sweet but balanced treats. This will add a touch of novelty too. These caramelized bananas are a perfect addition to a more thoughtful celebratory menu.

Bananas provide not only a great sugar rush, but they are high in potassium and kept on hand by many gym-goers as they replenish electrolytes. Living in a country that produces over a quarter of the world’s bananas, and especially in a region where the plant is prevalent everywhere, my exposure to the fruit and the plant are certainly high. The plant itself is one of my favourites, and is beautiful to look at. I frequently use the stems and flowers in dishes, such as this banana stem buttermilk. I do bake the fruit into a loaf now and then, or cook it in a kela nu shaak but to tell you the truth, I am personally not a great fan of it. The fact that I thoroughly enjoy these caramelized bananas is therefore a testament to their tastiness.

The first time I had them was on a surprise holiday with my husband. We went on a really long trek wherein we got lost. Two hours later, we found the little spot that we were supposed to reach, and here, the organizers of the journey prepared a freshly-made picnic for us. It is difficult to carry a lot of items on a tedious hike, so the meal contained simple ingredients. Bananas, being such a portable fruit and good for after a workout like an outdoor trek, were a practical part of the menu, in the form of this dessert.

Despite everything I said earlier in praise of the fruit’s nutritional qualities, my longstanding dislike usually trumps my desire to consume it. Still, a few bites of this dish during that picnic were all it took to charm me. You can imagine my surprise when I found myself carefully observing as more caramelized bananas were being prepared, mentally noting how to make them myself later! They were made in a jiffy, too. I knew right then that I’d found a lovely dessert that would be easy and quick to make, and possibly healthier than most traditional treats.

I believe what made me like them so much was the use of cinnamon and other spices, which flavoured my far-from-favourite fruit in a lovely way. Who knew that a fruit we take for granted and a few ingredients common to an Indian kitchen could result is something so delightful?
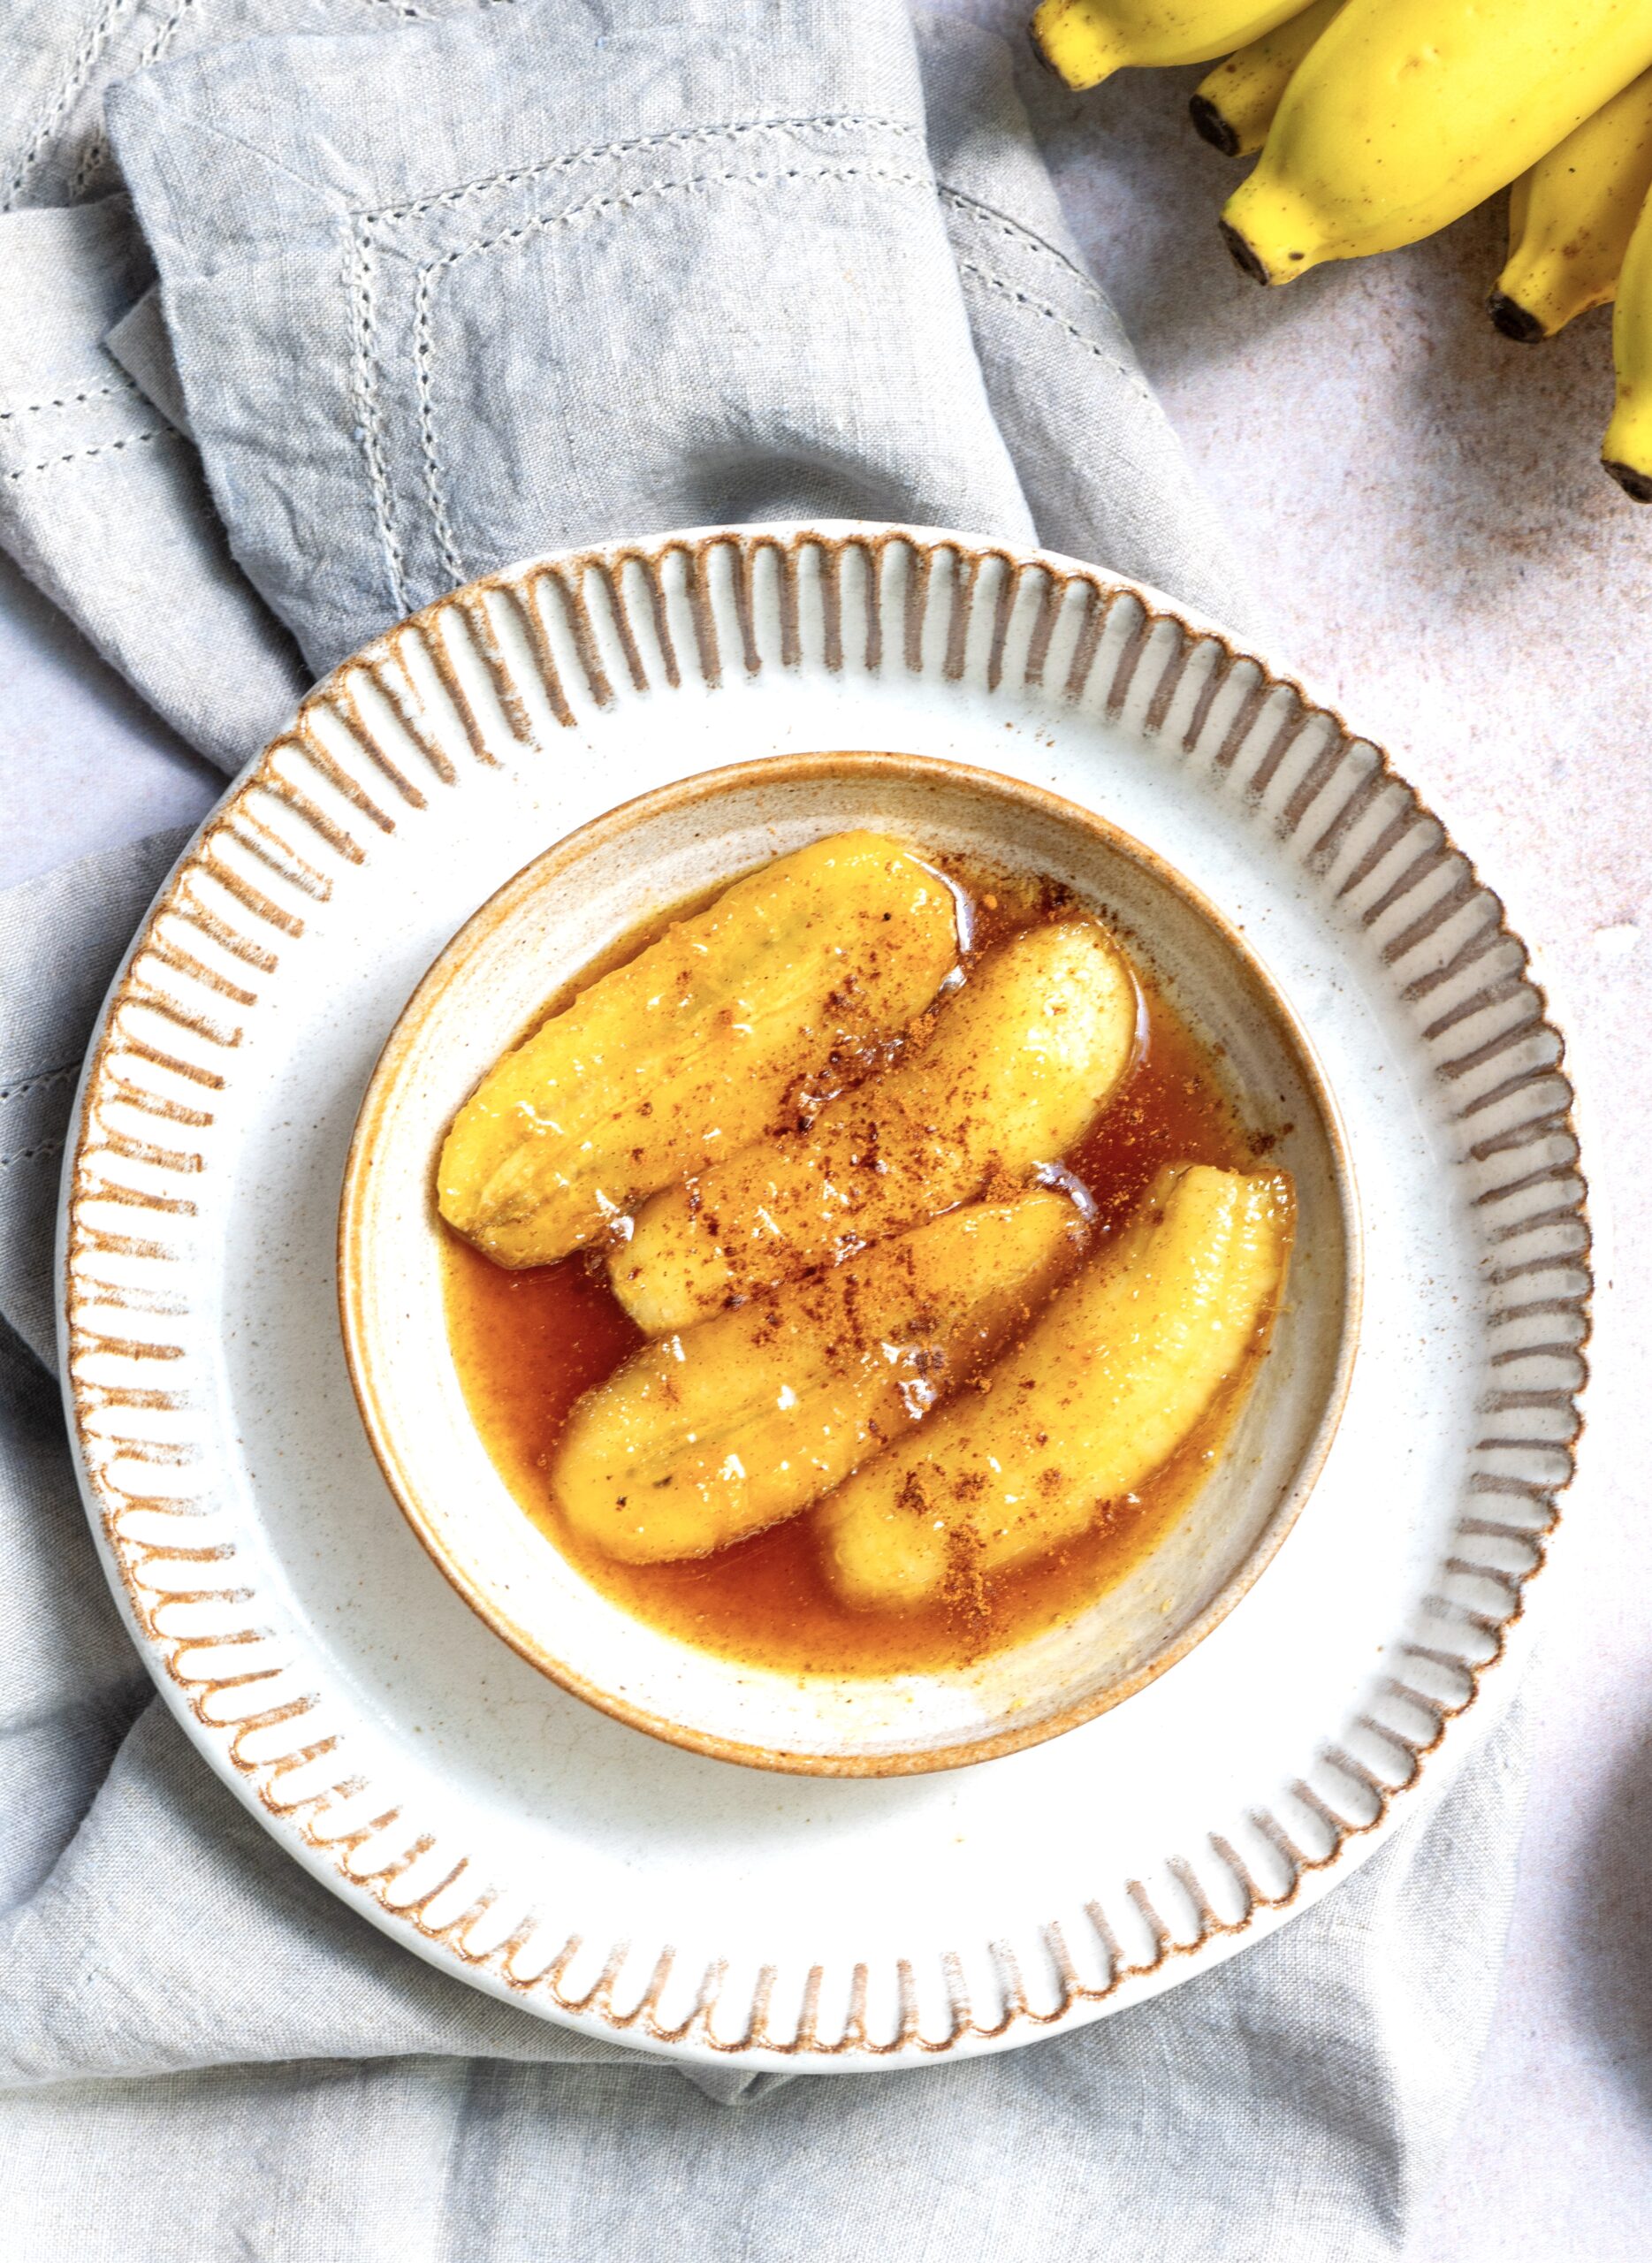
Caramelized Bananas

(Serves 2)

1 tablespoon butter
2 small bananas (cut lengthwise)
¼ cup sugar (use less if you prefer)
3 tablespoons water
½ teaspoon cinnamon
1 teaspoon grated ginger
A pinch of salt

Heat a flat pan. Add sugar and allow it to melt. Once it has melted, add water and stir continuously so it all comes together. Now, add the ginger, cinnamon powder and salt and keep stirring.

While the sugar is melting, heat another pan and add the butter. Once it melts, place the sliced bananas on the pan and allow them to turn golden on both sides.

When the sugar syrup is ready, add it to the bananas. The mixture will splutter so be careful. Sauté for a minute on a medium to high flame. Turn off the flame and allow to cool a little.

Serve with fresh cream, or just on their own.

These caramelized bananas really changed the way I think of bananas for the better. They are such a simple dessert. I can attest that they satisfied someone who doesn’t even enjoy the fruit, which says a lot about how tasty they are!

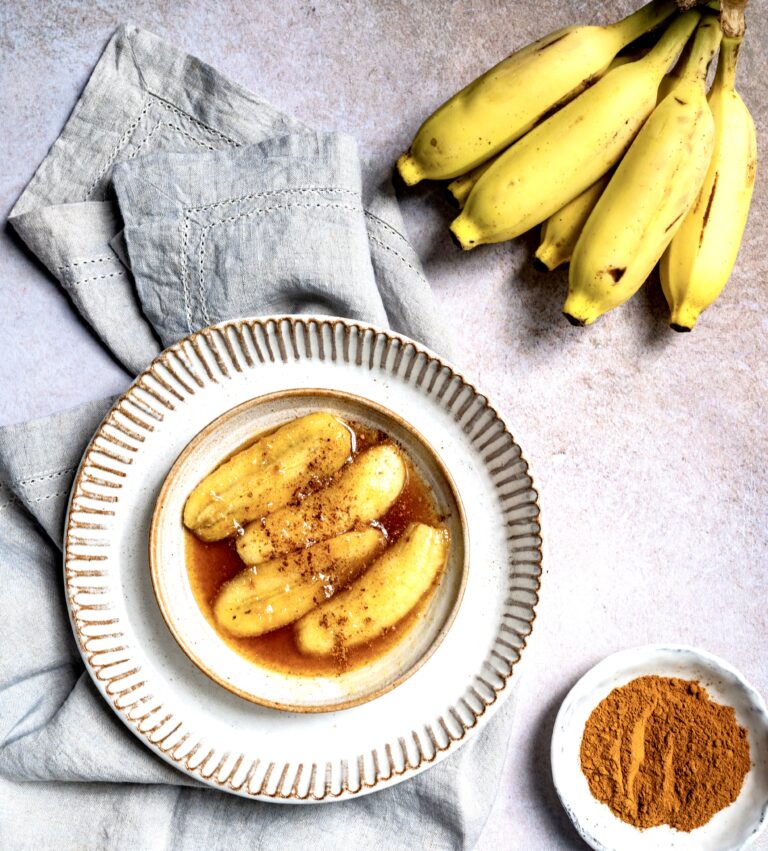
I am visiting Kerala at the moment. Being in God’s own country, as this state is often called, has been a great experience. This is because Nature can be very inspiring. There is barely a single dry leaf anywhere – it is that beautiful. The lush greenery is all around, everywhere I go: mangoes hanging over the backwaters or down to the ground, coconuts, and plenty of banana varieties. The bananas called to mind some recipes that I really enjoy, including this delicious Gujarati dish named kela nu shaak.

Kela nu shaak is very popular among Gujarati Jains during fasting periods, when they may avoid greens. Thus, this savoury dish works as a vegetable substitute, and is eaten along with chapatis. That is, it is basically a banana subzi (“subzi” being the term for vegetable dishes). But it really is so delicious that it is a regular staple in the cuisine even beyond fasts. It goes quite well with other savoury dishes like kadhi, as well as various vegetable accompaniments too.

It was a dish my husband grew up eating, so it counts among his comfort foods and makes regular appearances in my cooking too as a result. It is really quite simple: the bananas are sautéed in ghee, and a few spices are added. I like to make it in a non-stick or iron pan, adding a little jaggery which turns crispy and golden at the bottom, almost caramelized. I find that this is a great way to lift the flavours of the dish.

If you don’t know what to do with overripe bananas, kela nu shaak is the dish for you. As you know, when they ripen the whole bunch does at once, so you may have quite a bit of fruit that doesn’t taste as good eaten raw. If you prefer something sweet instead, this banana bread recipe that I shared a while back is ideal.

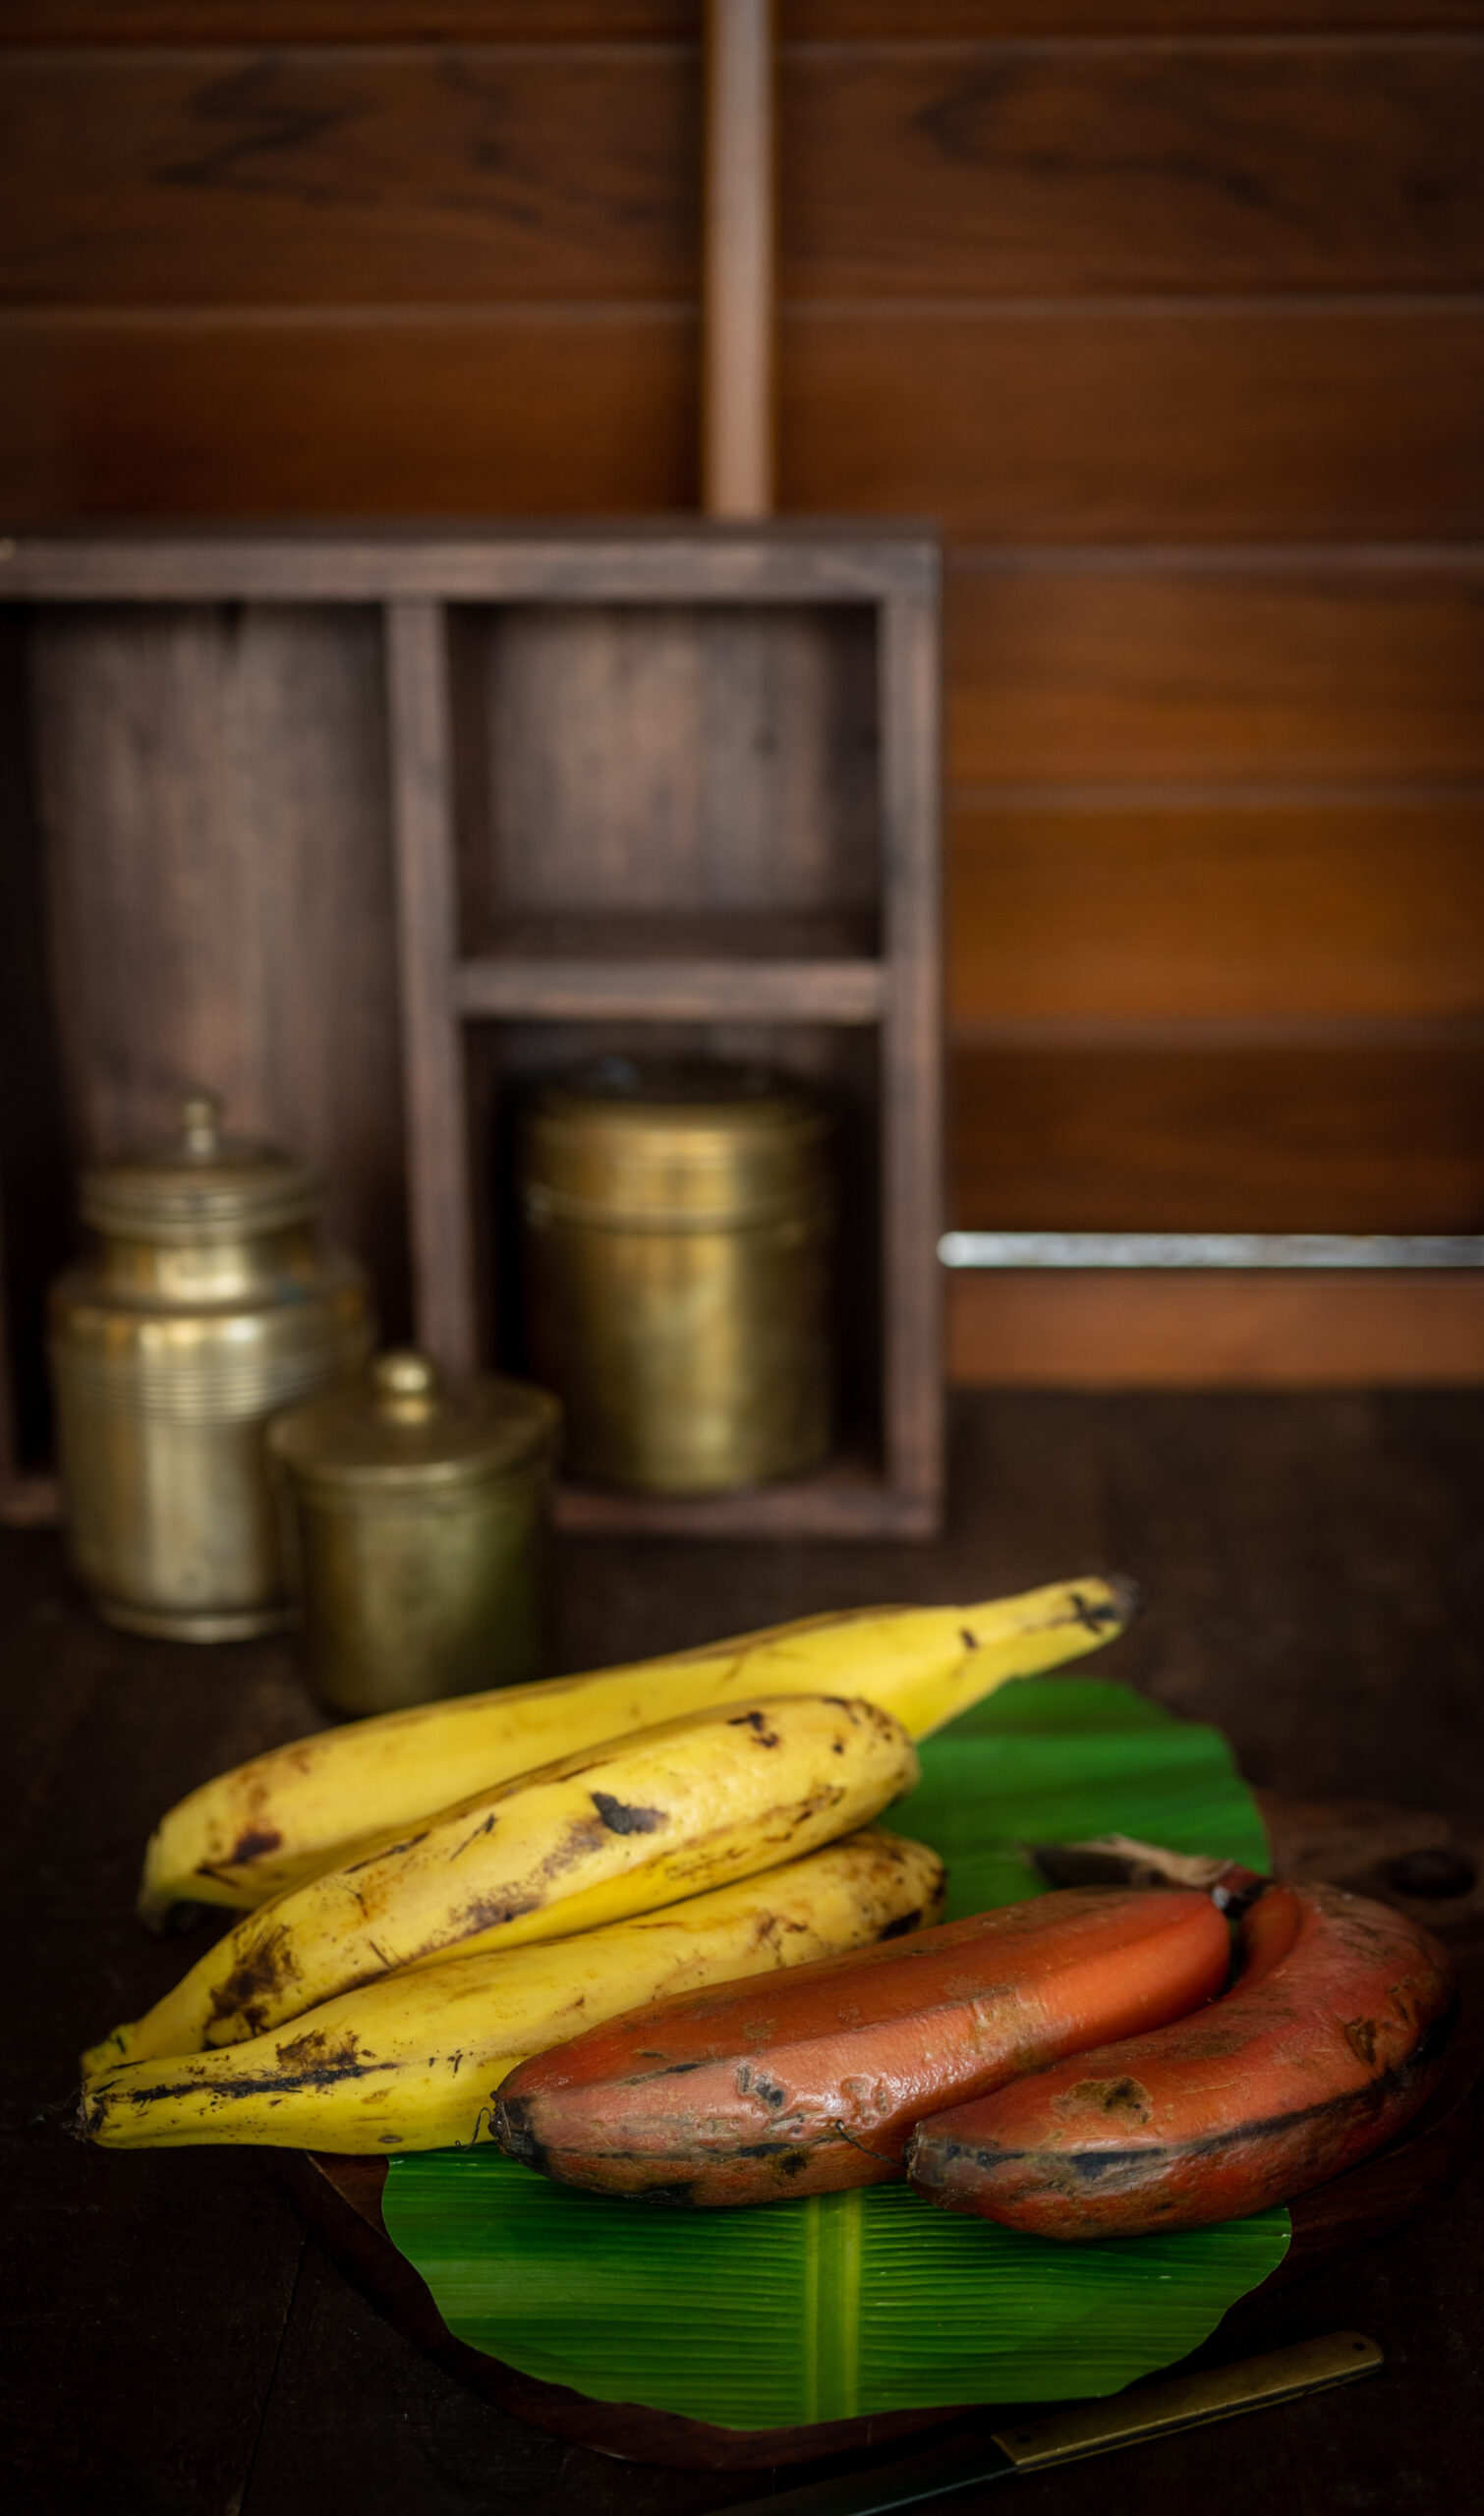
I will be carrying back with me a few varieties of Kerala bananas, and it will be interesting to see the differences in flavours and the kinds of dishes they lend themselves well to. I will certainly share my findings with you once I get a good sense of how to use them. As for kela nu shaak, any of the usual green or yellow bananas that you have access to will do.

Kela Nu Shaak / Banana Subzi

(Yield: Serves 2)

5 small ripe bananas

1 tablespoon ghee

½ teaspoon jeera (cumin) seeds

½ teaspoon mustard seeds

Salt to taste

¼ teaspoon turmeric powder

½ teaspoon chilli powder

½ teaspoon dhaniya (coriander) powder

½ teaspoon jeera powder

2 tablespoons jaggery


Peel and slice the bananas. Set aside.

In a non-stick pan, add the ghee. Once it’s heated, add the cumin and the mustard seeds.

Wait for them to splutter, then add the sliced bananas.

Move the bananas around on the pan a little bit without mixing too much, and allow the slices to cook on both sides, flipping at intervals until lightly brown.

Now, add the spices and the salt. Mix very gently until the slices are coated. Next, add the jaggery.

Allow to cook on a low flame, making sure the jaggery doesn’t burn.

Once the bananas has turned golden and the jaggery has almost caramelized, turn off the flame. Your kela nu shaak is ready to serve. Enjoy hot, with chapatis.

I hope you will enjoy this savoury use of a sweet fruit!

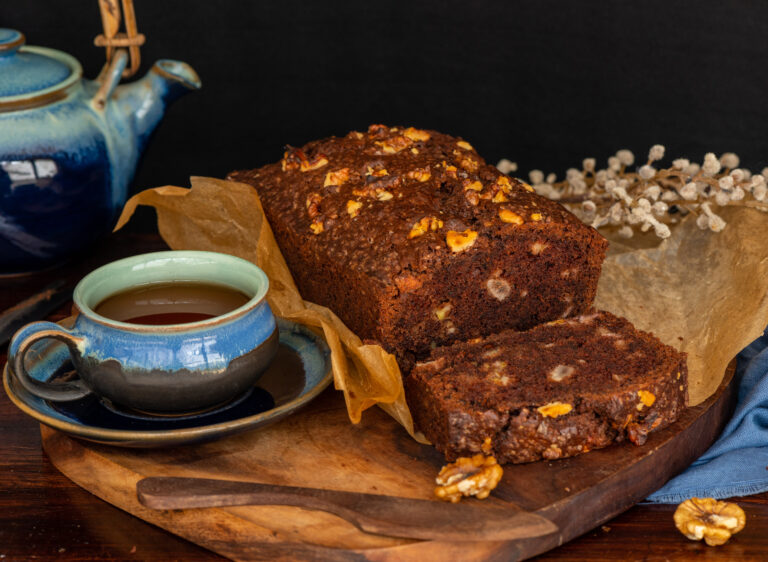
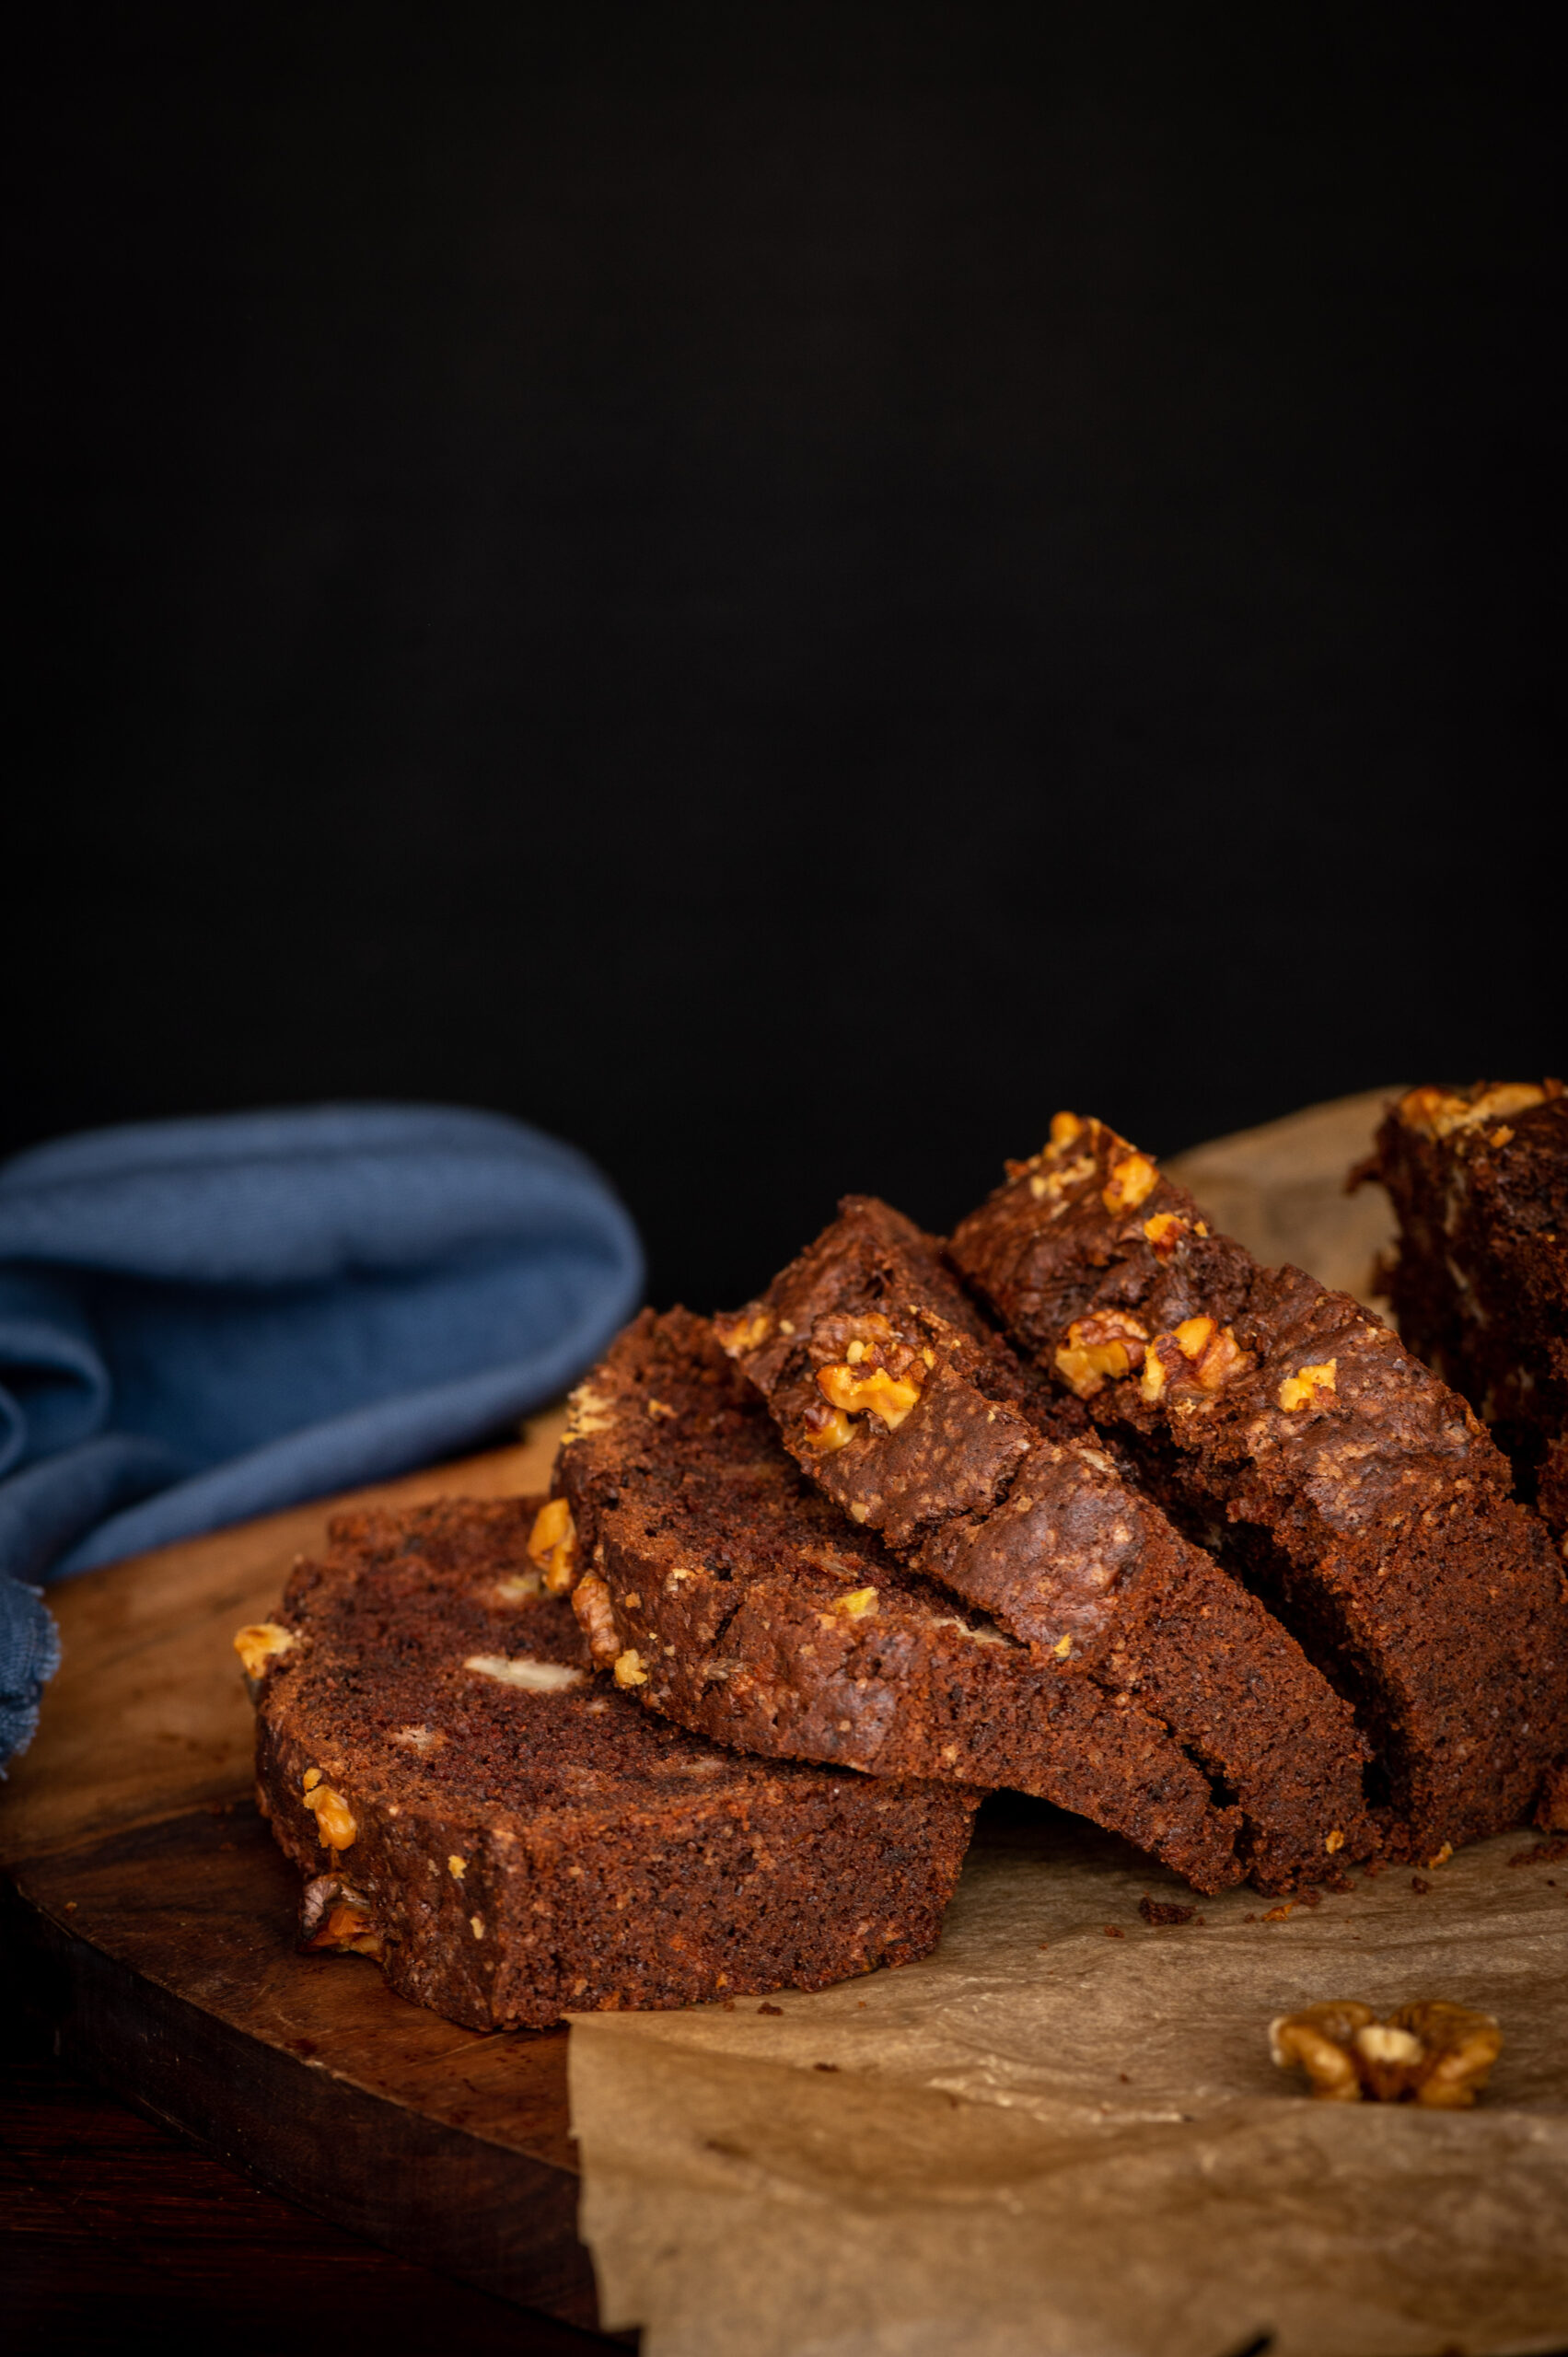
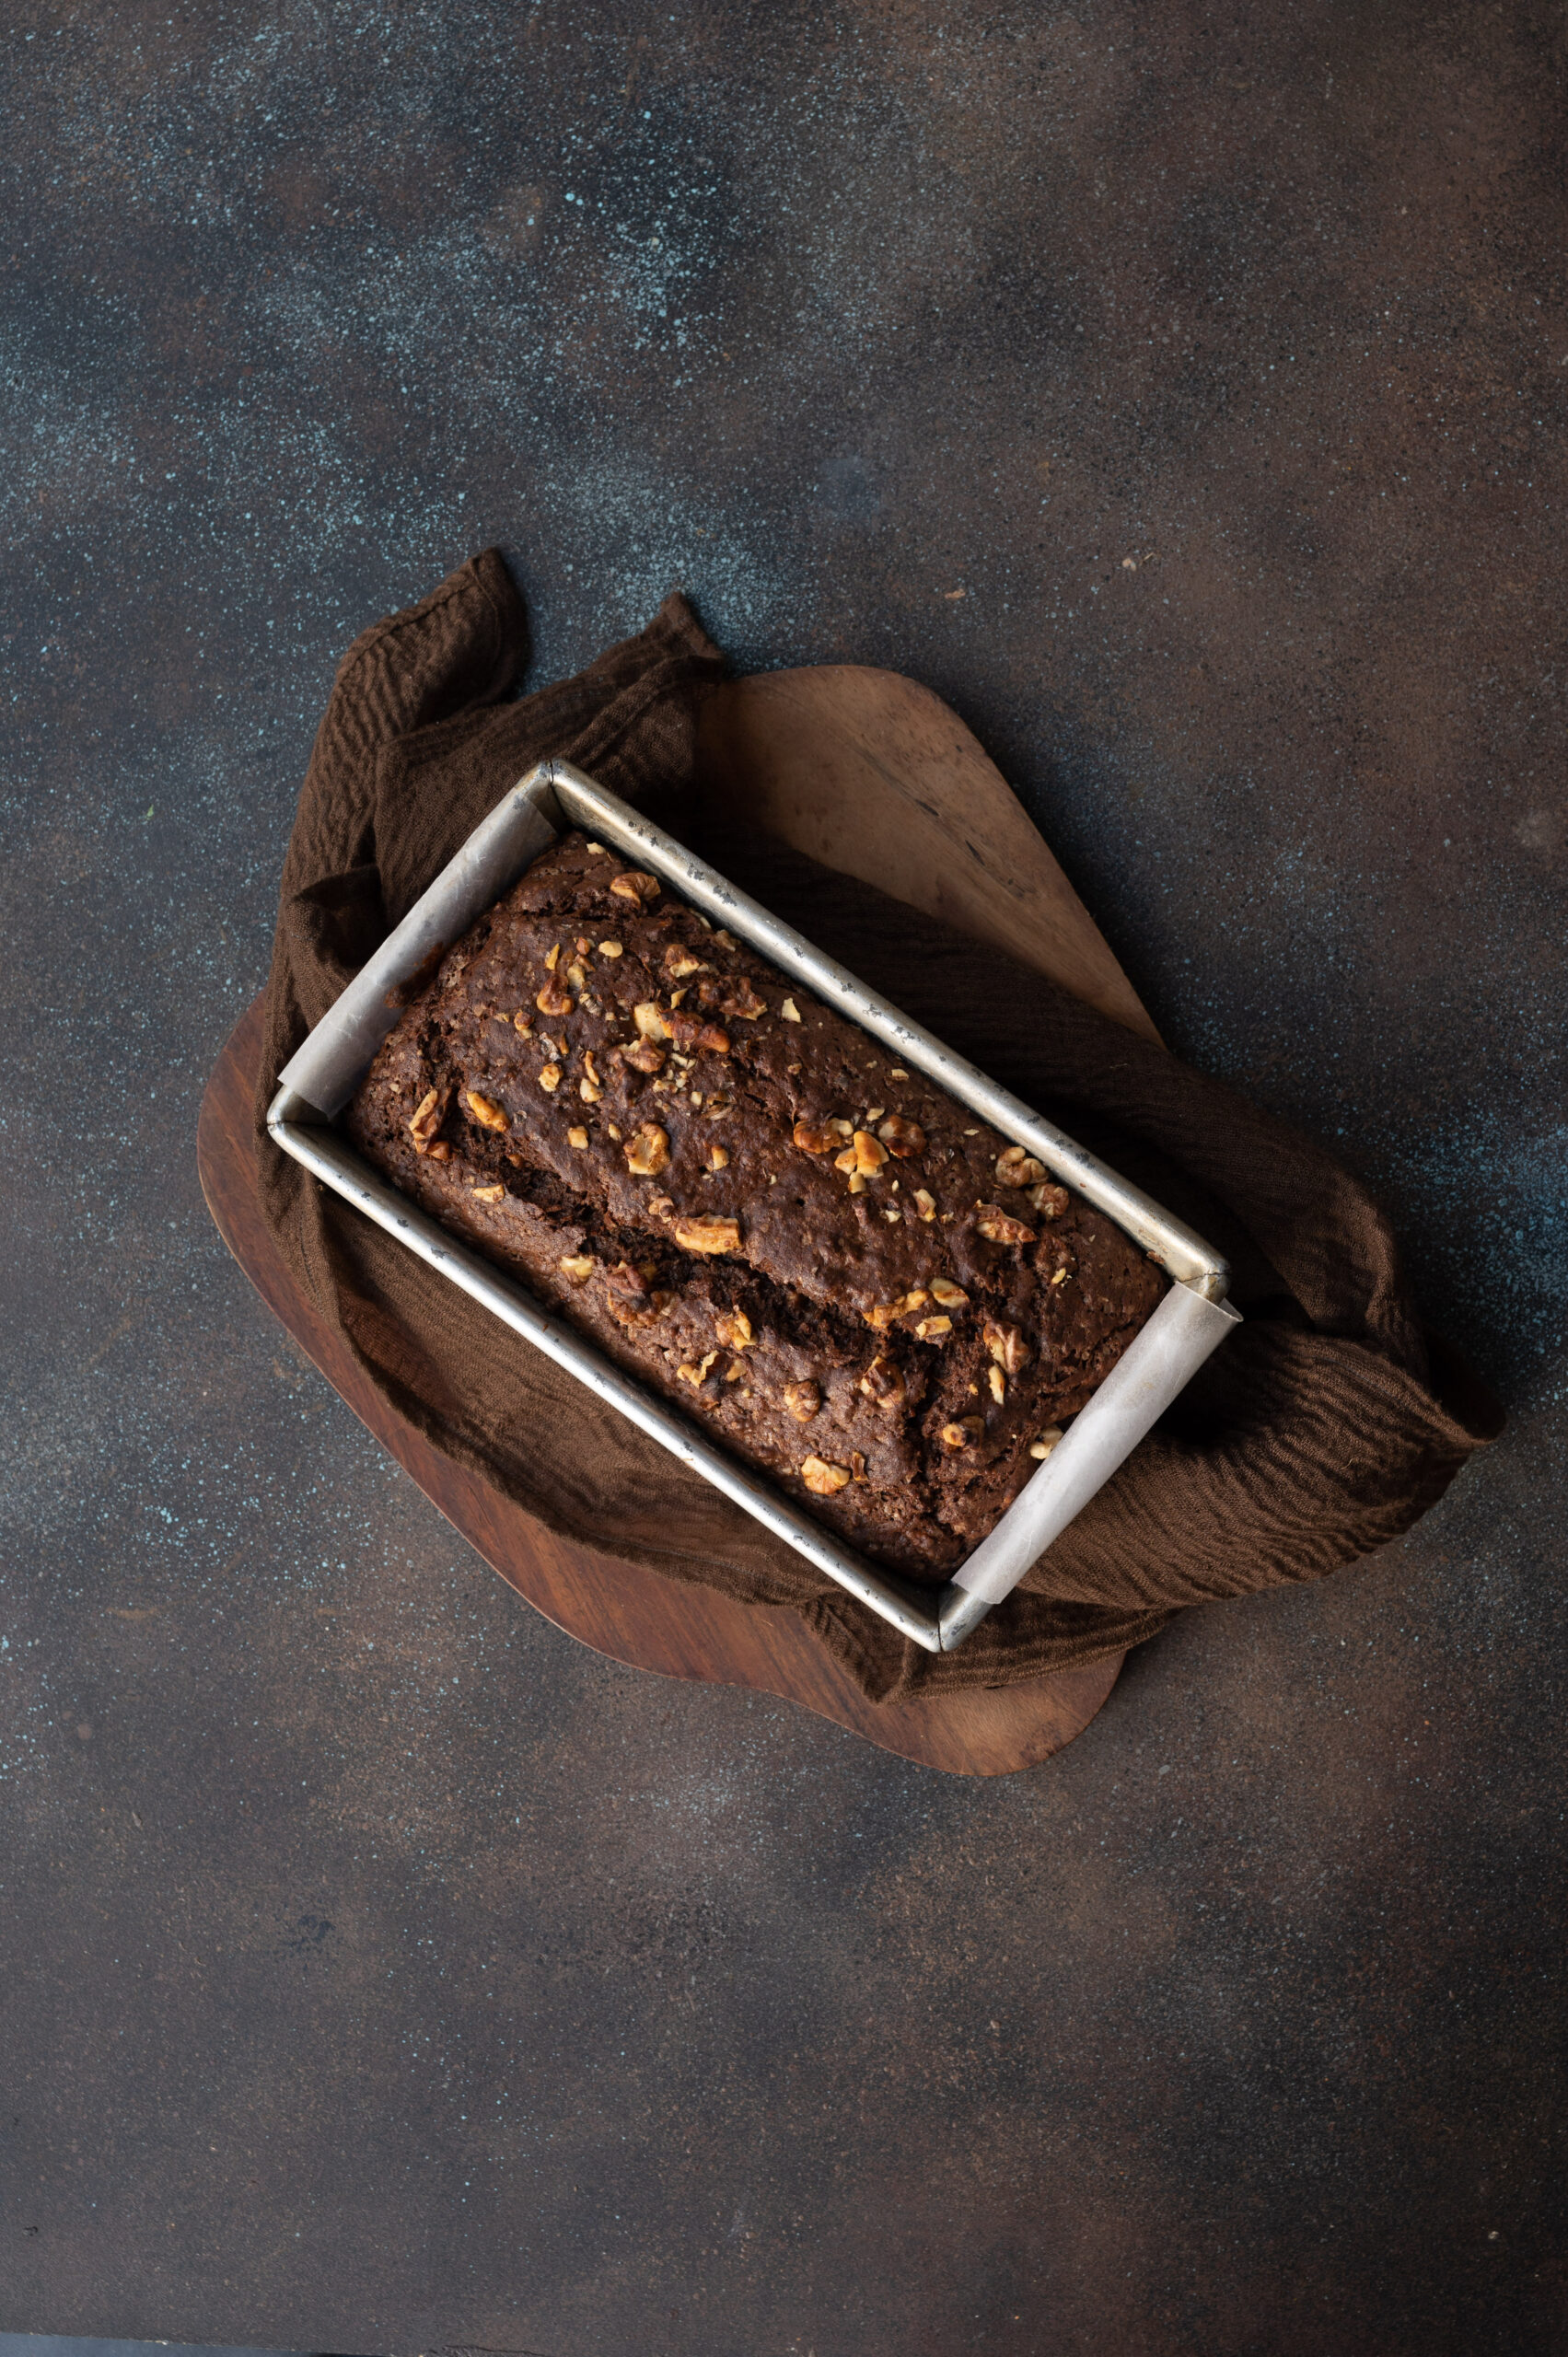
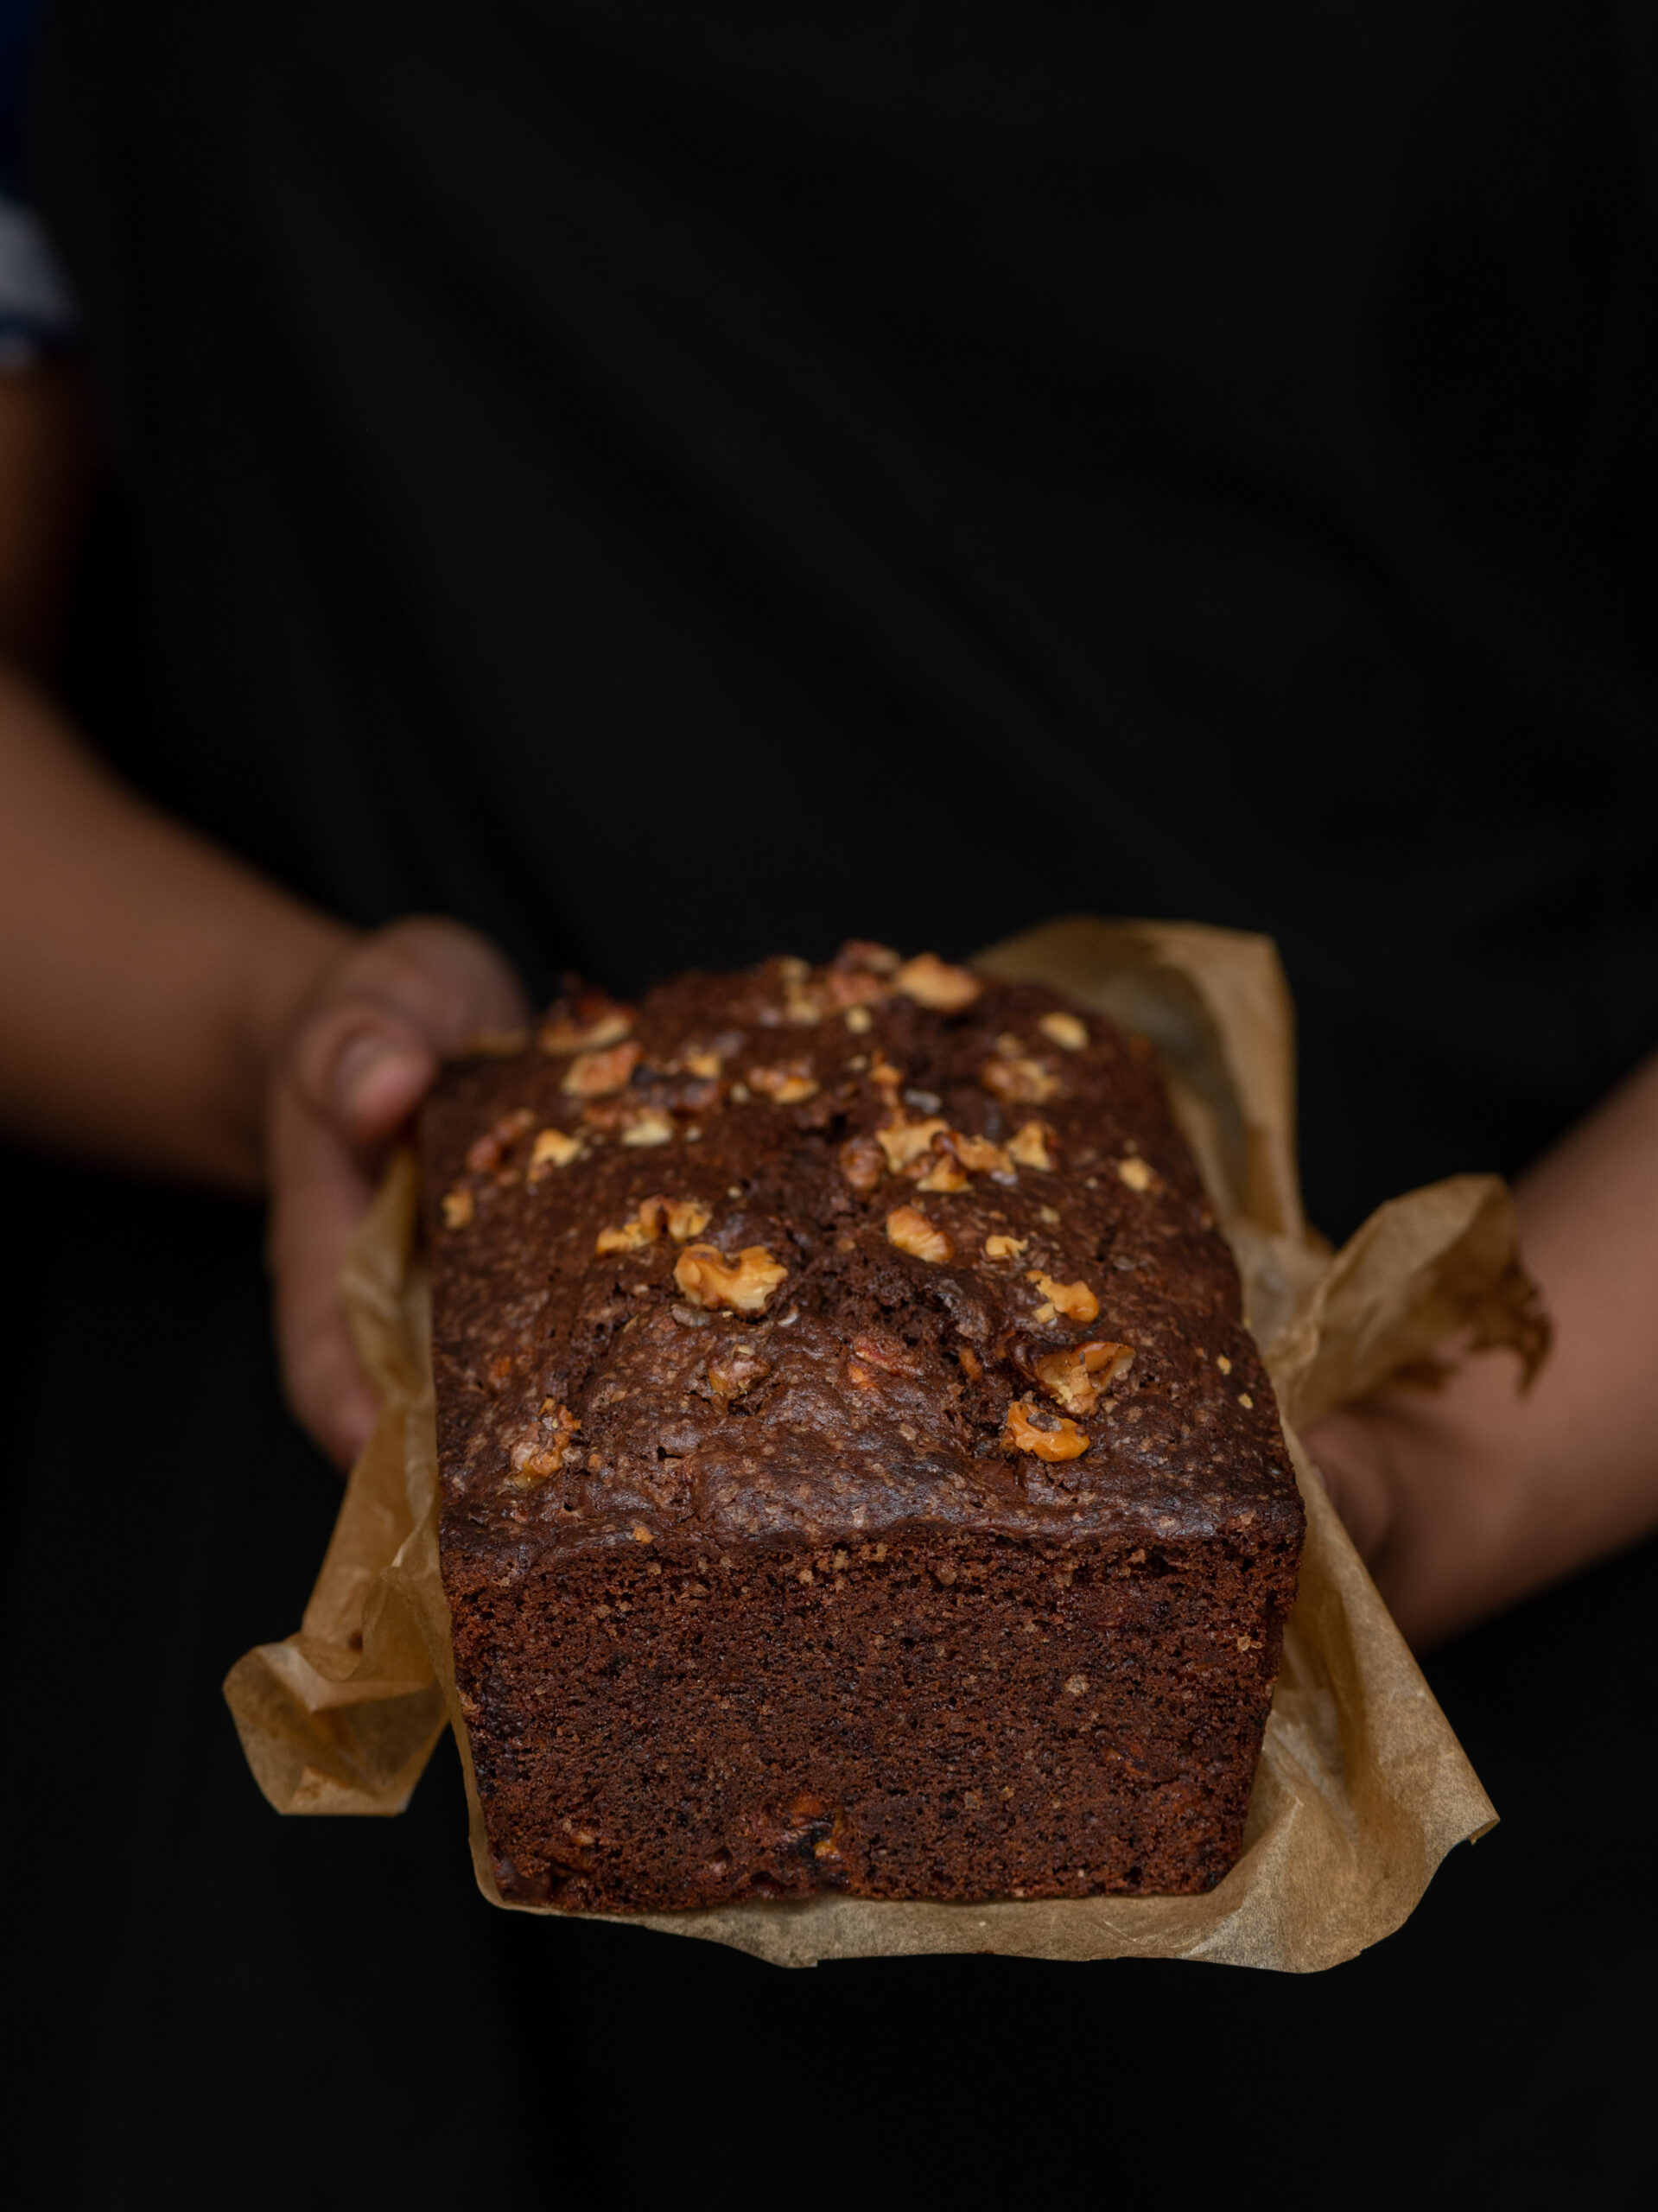
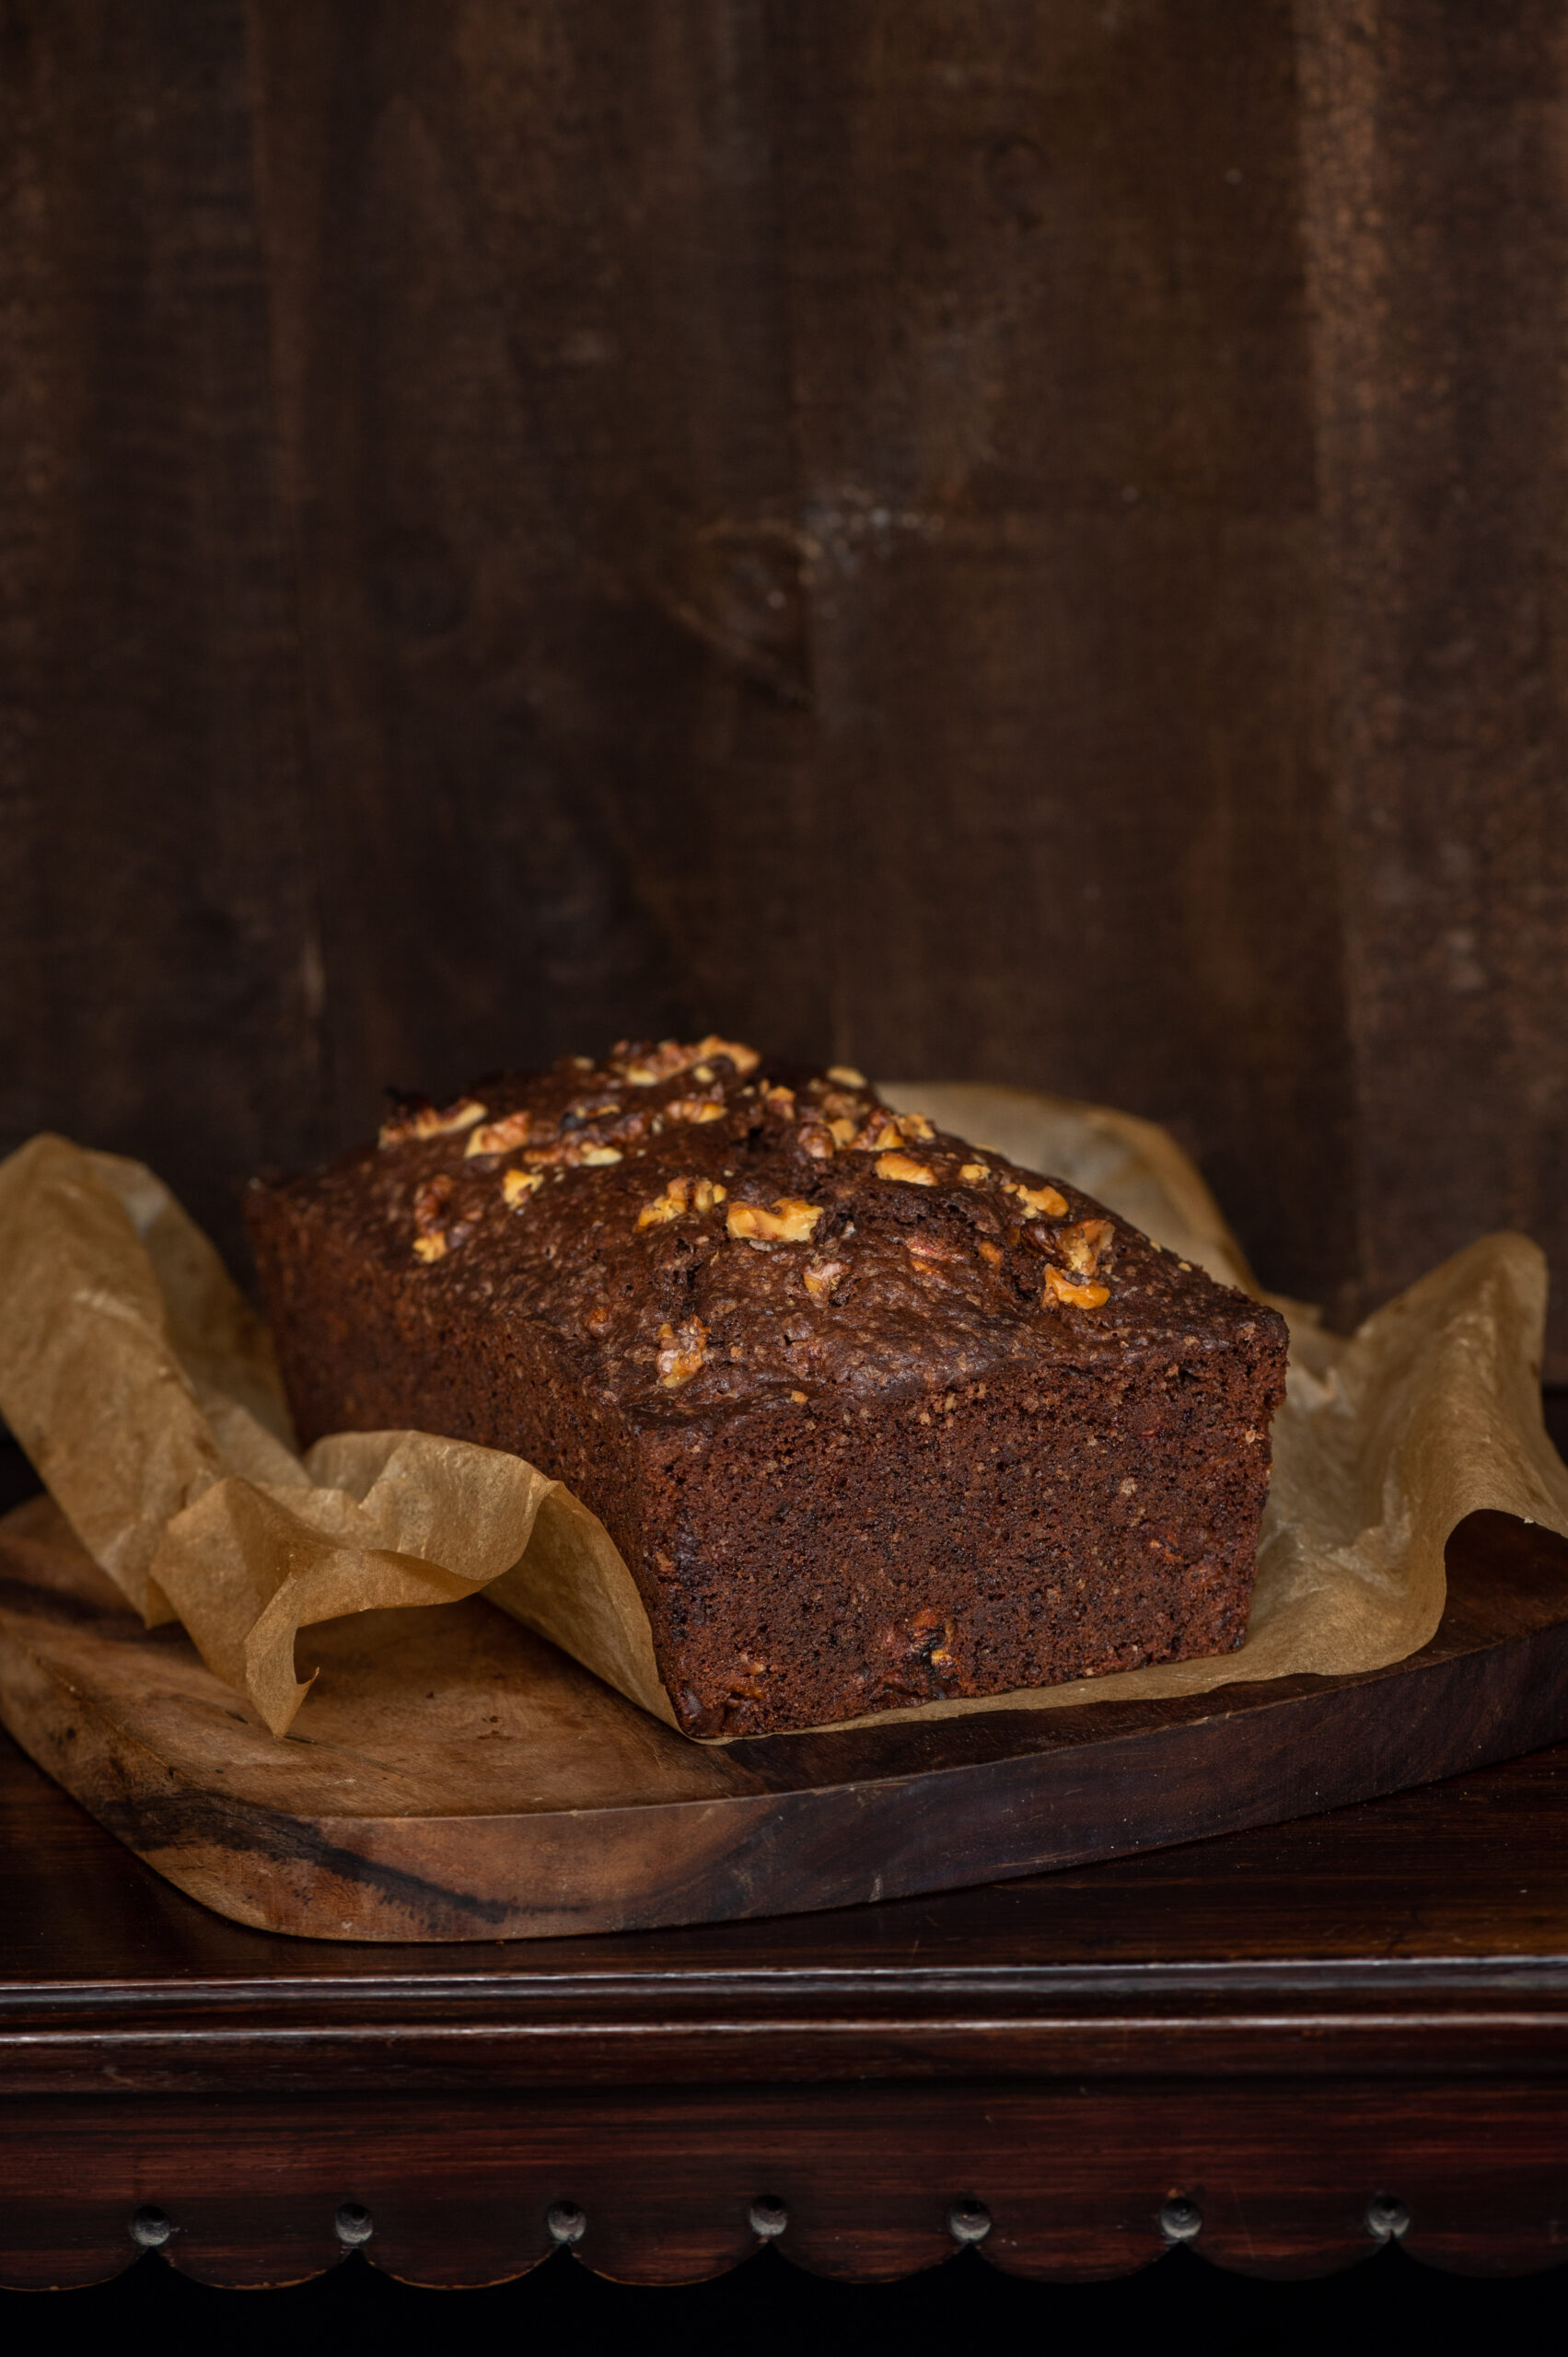
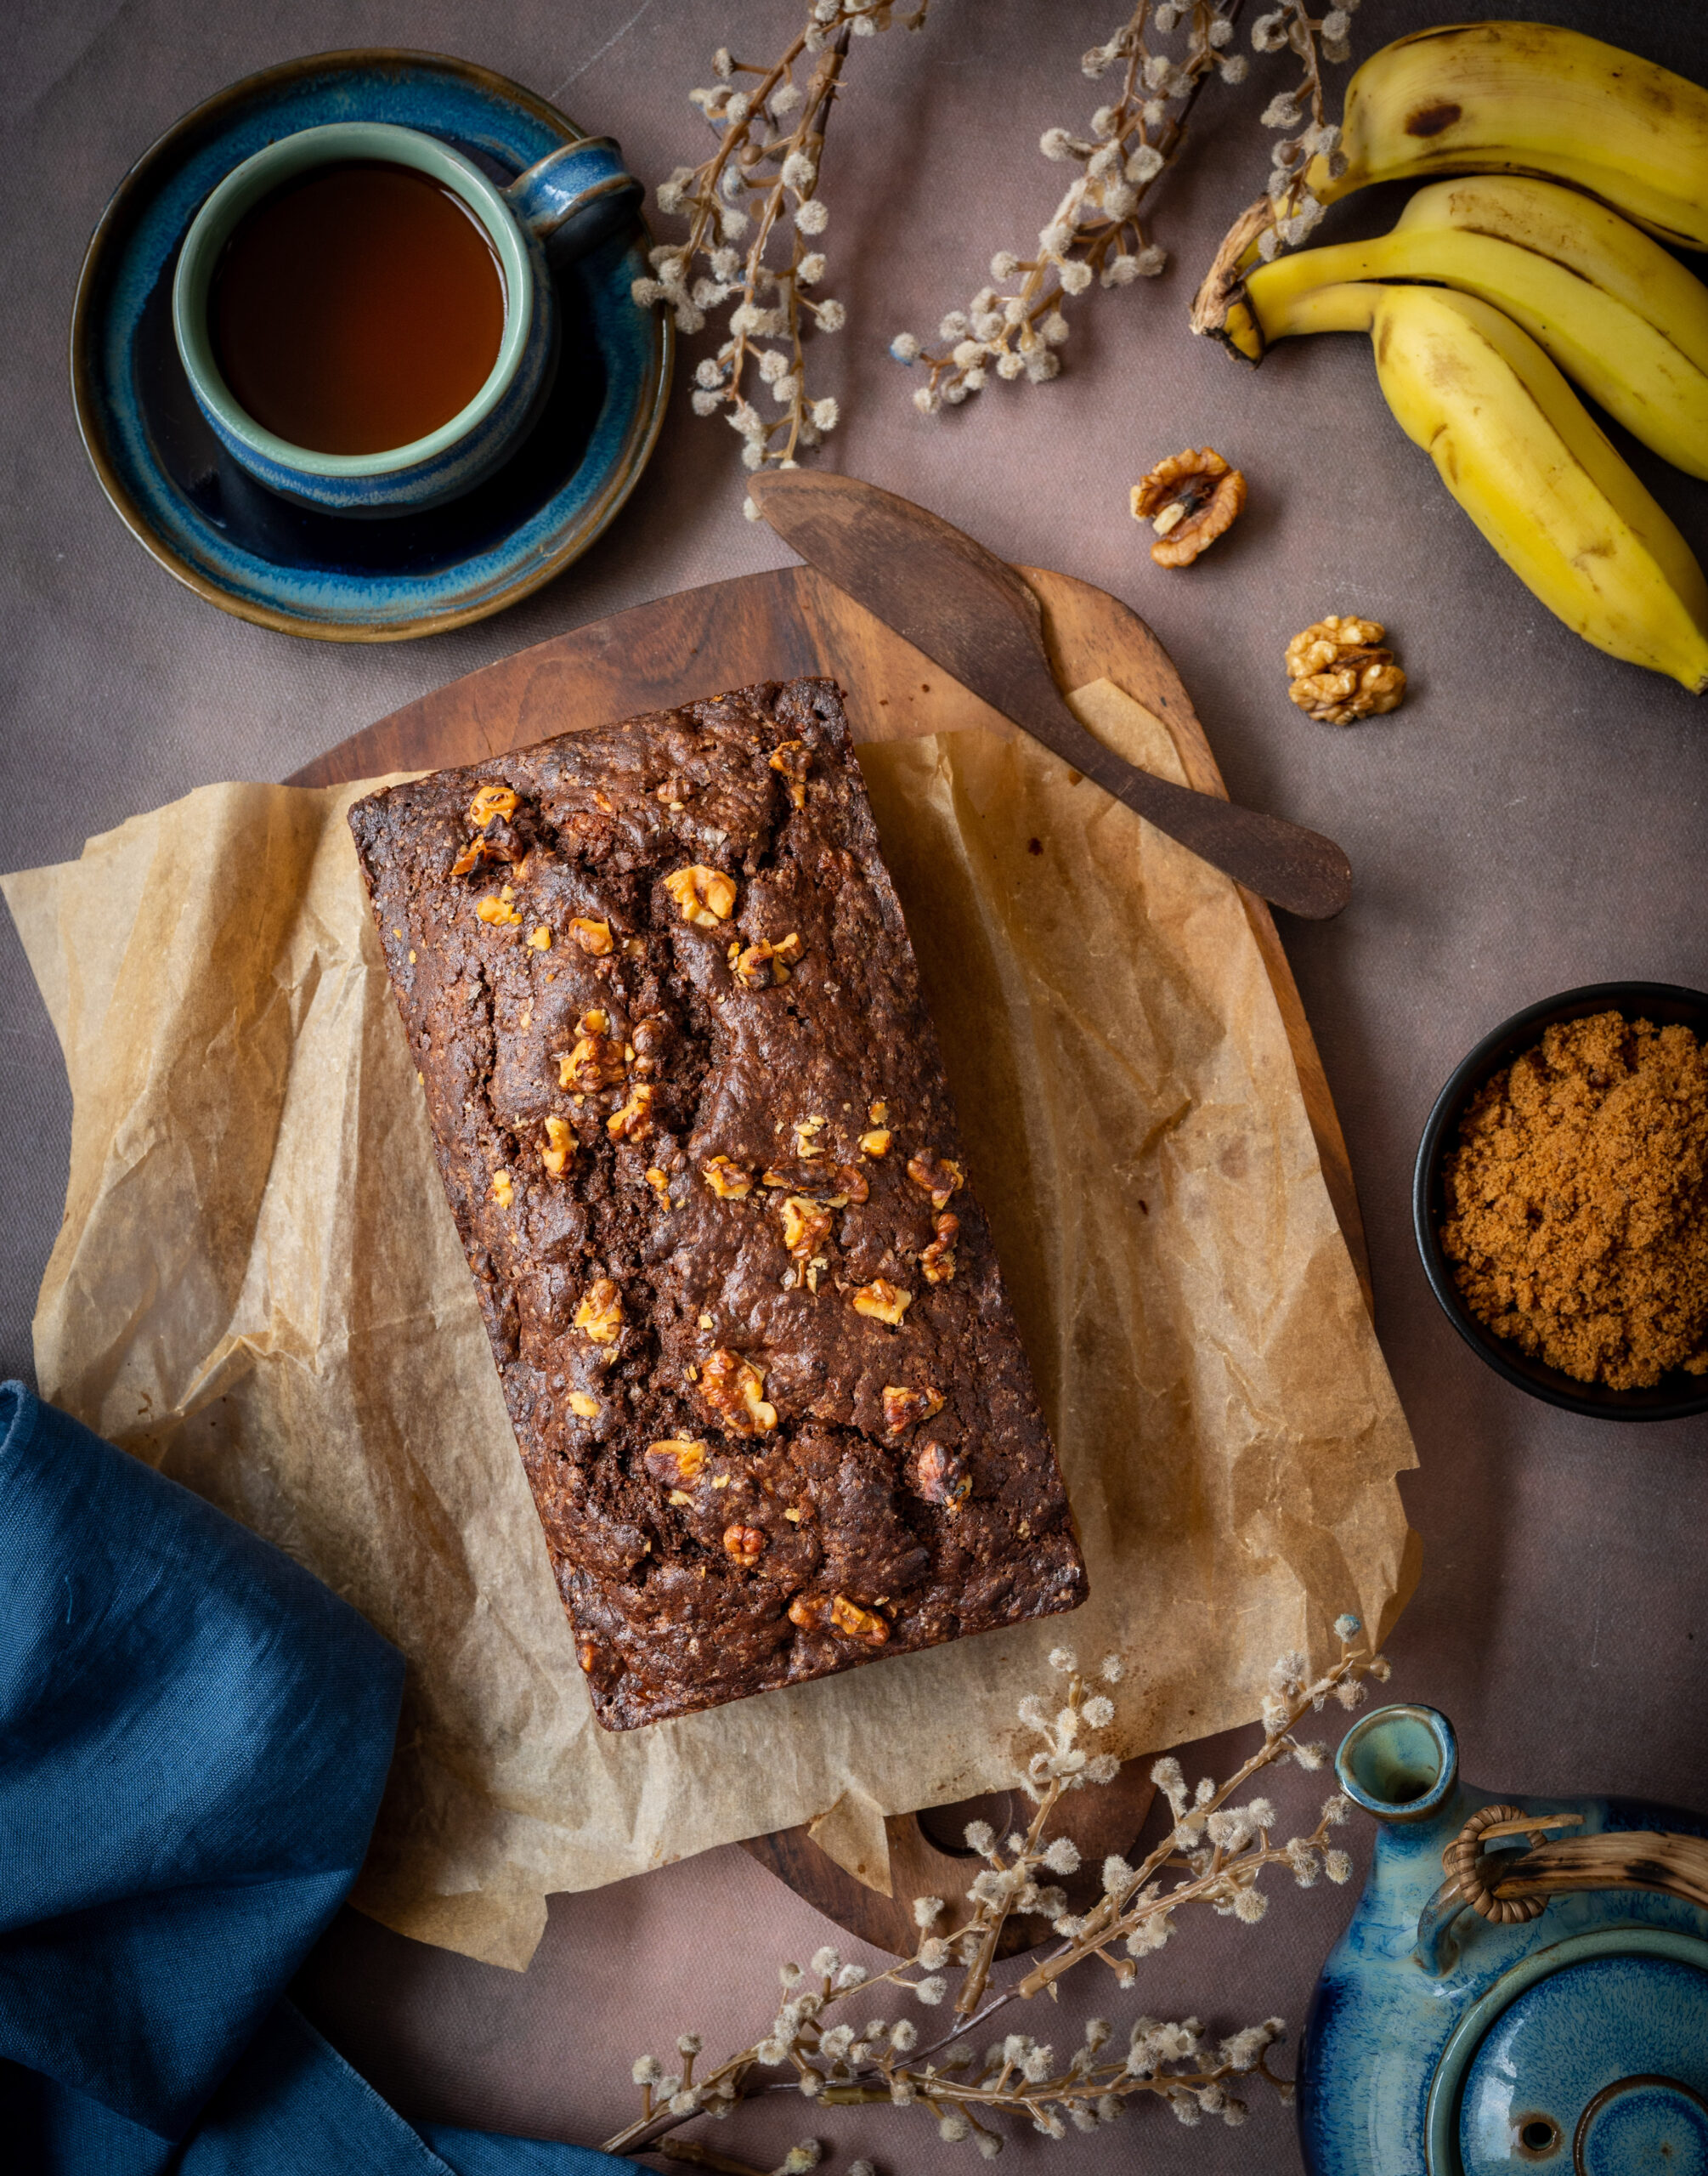
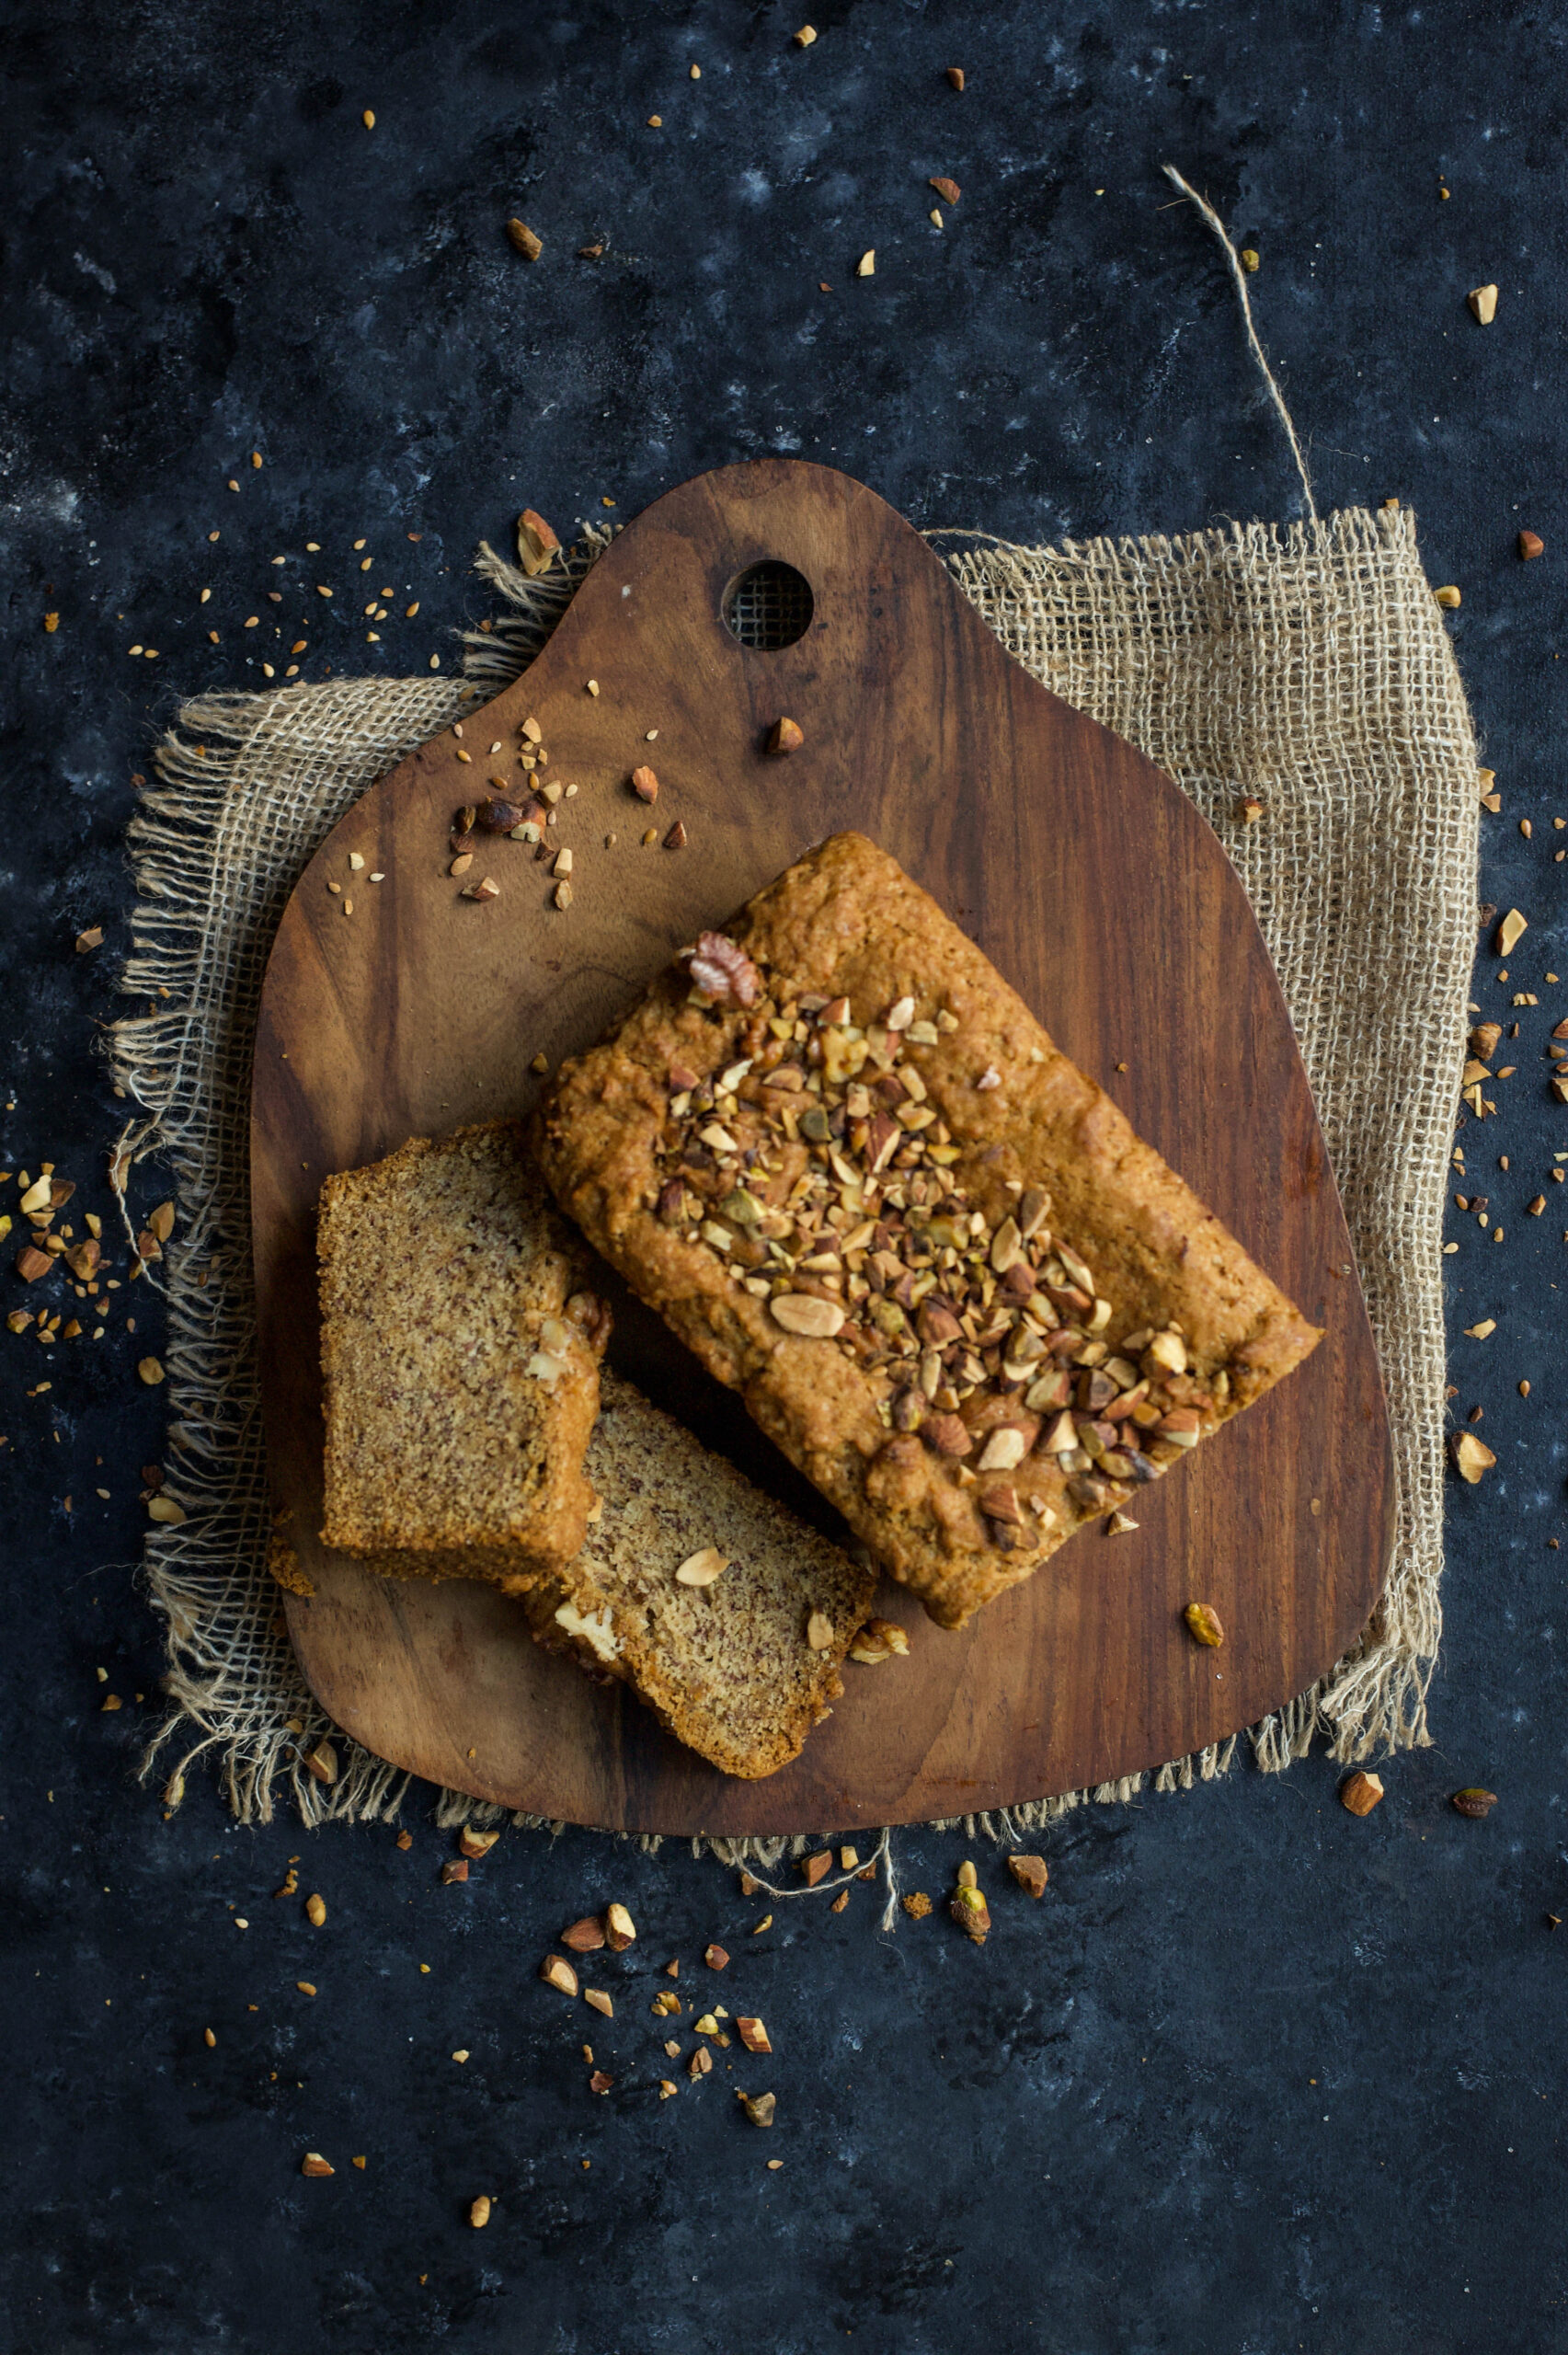
I shared a banana bread recipe with you a few years ago, which I hope you enjoyed. I encourage you to try it out too, if you have not already. I more recently began experimenting with a chocolate-banana combination, and this new version of deliciousness is what I’d like to share with you today. This banana chocolate loaf is not just an upgrade, but an entirely new recipe. As I’ve shared before, especially in this post, baking is a science, so please do go through the ingredients and method step by step when you prepare it, even if you are familiar with my earlier banana bread.

My first trial for this recipe didn’t include chocolate at all. The thought process behind it was that as I am not a fan of raw bananas, but appreciate the fruit’s amazing nutritional qualities, baking it into another cake was a fun way to incorporate it into my diet. After all, Indian meals often end with a banana, eaten for its digestive benefits, so why not end with a banana cake?

Keeping the health quotient in mind, as I have introduced chocolate into this cake, I have been mindful about its sugar quotient. I have chosen to use dark chocolate pellets, which are less sweet. I have also used brown sugar in a reduced quantity since the flavour of the banana already imparts the dish with natural sweetness. You may wish to substitute the same with jaggery powder, if you prefer. You will notice that this one also has a special ingredient, something that gives it a different zing from the earlier banana cake recipe.

I absolutely must have something to munch on along with my tea or coffee in the late afternoons, and this banana chocolate cake or my date cake (a favourite among re:store clients too) are what I find myself reaching out for often lately.

In fact, one of the best things about this banana chocolate loaf is that it packs and travels very well, which means I’ve gotten my fix of it even when I’ve not been at home. Recently, I made a trip with a dear childhood friend, and this treat was our companion for the first few days. Even though we were seeing each other after a long time, we picked up where we left off with ease. That’s how it usually is with childhood friends, isn’t it? You just catch up, and the happy memories from decades ago flood back afresh, and renew the bond quickly. The same thing happens with food, too. That’s why it is said that food is emotional: it helps one express and relive one’s memories, attachments and experiences.

I baked and carried this beautiful banana chocolate loaf with me on that holiday with my childhood friend. We travelled everywhere by train and by road, and enjoyed bites of this cake in the English countryside whenever we stopped to take in the scenery. Our afternoon tea in charming little villages had the requisite freshly-made traditional scones and clotted cream, of course, and I hope to master the recipe for that sometime. But my banana chocolate loaf was also present, loving parcelled and equally lovingly shared, and to me it was just as delicious as our authentic holiday treats.

Banana Chocolate Loaf

(Yield: 9 inch loaf)


175 grams maida

20 grams cocoa powder (unsweetened)

¼ teaspoon salt

1 teaspoon baking soda

½ teaspoon cinnamon

1 cup brown sugar

2 eggs

120 grams butter

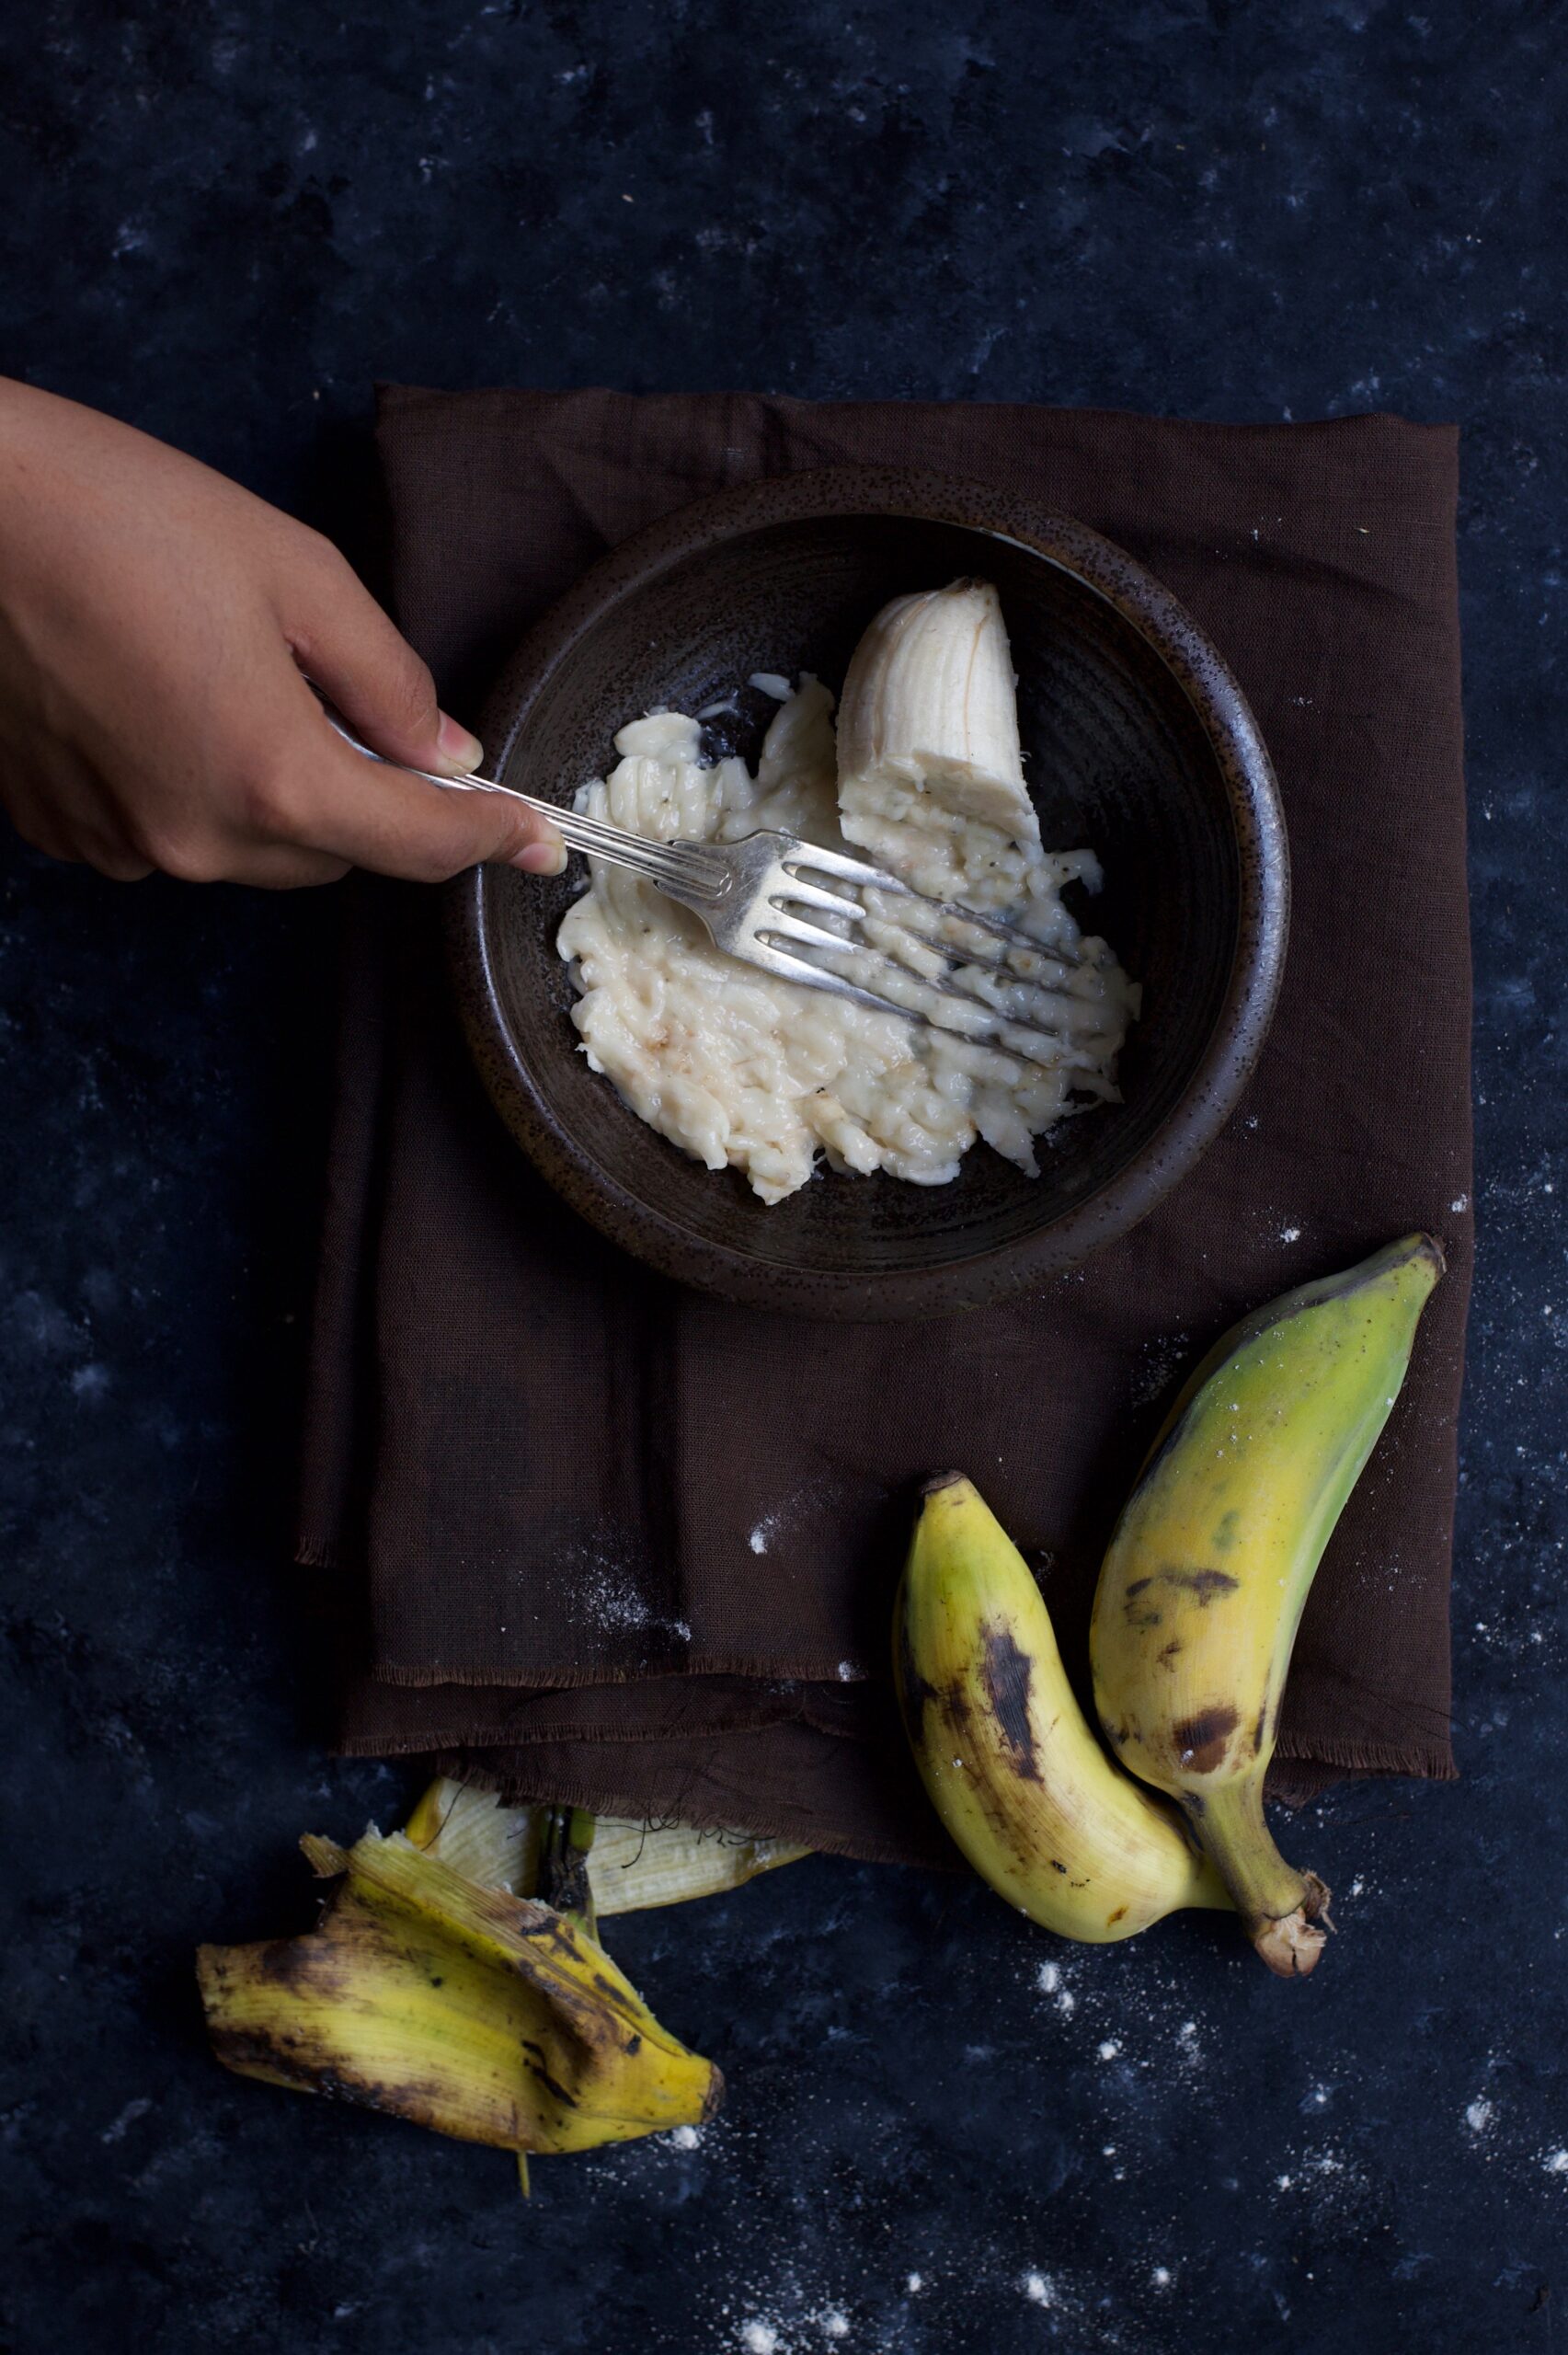
1¼ cups very ripe bananas (mashed)

1 teaspoon vanilla extract

13 cup yoghurt and cream (mixed)

½ cup chocolate chips

¼ cup broken walnuts (for garnishing)

Preheat the oven at 160°-170° and grease and dust a 9-inch loaf pan.

In a bowl, sift the dry ingredients well. Set aside.

In another bowl, beat the butter and sugar well, scraping down sides and making sure they’re all mixed well. Now, add the eggs one by one and continue beating. Next, add the mashed bananas and vanilla extract and beat slightly.

Now, add the cream and yoghurt mixture and beat again. Next, add the dry ingredients as well as some of the walnuts and all the chocolate chips. Fold over lightly.

Pour the batter into the loaf tin and sprinkle the remaining walnuts on top.

Bake for about 30-40 minutes or until a skewer inserted comes out clean.

Rest the loaf in the tin for 10-15 minutes. Then, upturn and remove from the tin. Allow to cool.

Your banana chocolate loaf is now ready to be sliced and served. I do hope you’ll enjoy this recipe, and that you’ll make some special memories with it just like my friend and I did on our travels recently. Whenever I share cake recipes, it’s so that more people can enjoy the pleasure of baking, and I encourage you to try them out for yourself. But if you would rather have me whisk a cake up for you, I’m always happy to do so too. Just drop me a line!

As I may have said a few times before: I’m very, very fond of yoghurt! Ever since childhood, it’s been an absolute requirement for me that every meal must contain yoghurt in some form. As I most often consume traditional Indian (particularly my native Gujarati) cuisines, this doesn’t require me to stretch my imagination or change my palate in any way. You may also recall that my yoghurt is homemade. It is made from a small amount of curd culture saved from the previous pot-full, allowed to set overnight, and consumed delicious and fresh every day.

I find that yoghurt enhances and adds flavour, and depending on how it is made can also add textures and tastes that go beyond what you imagine curd can do. Because it is such a staple in Indian homes, you will find that there are unique systems of making it that depend entirely on the people there. Even a religious view plays a role. For example, my mom’s home is Vaishnav and my in-laws are Jain. So the latter use onions and garlic very sparingly, whereas these were not restricted while I was growing up. The recipes I learnt in both homes were different. So although yoghurt is a vital part of the diet in both my homes, this particular dish is something I learnt after getting married.

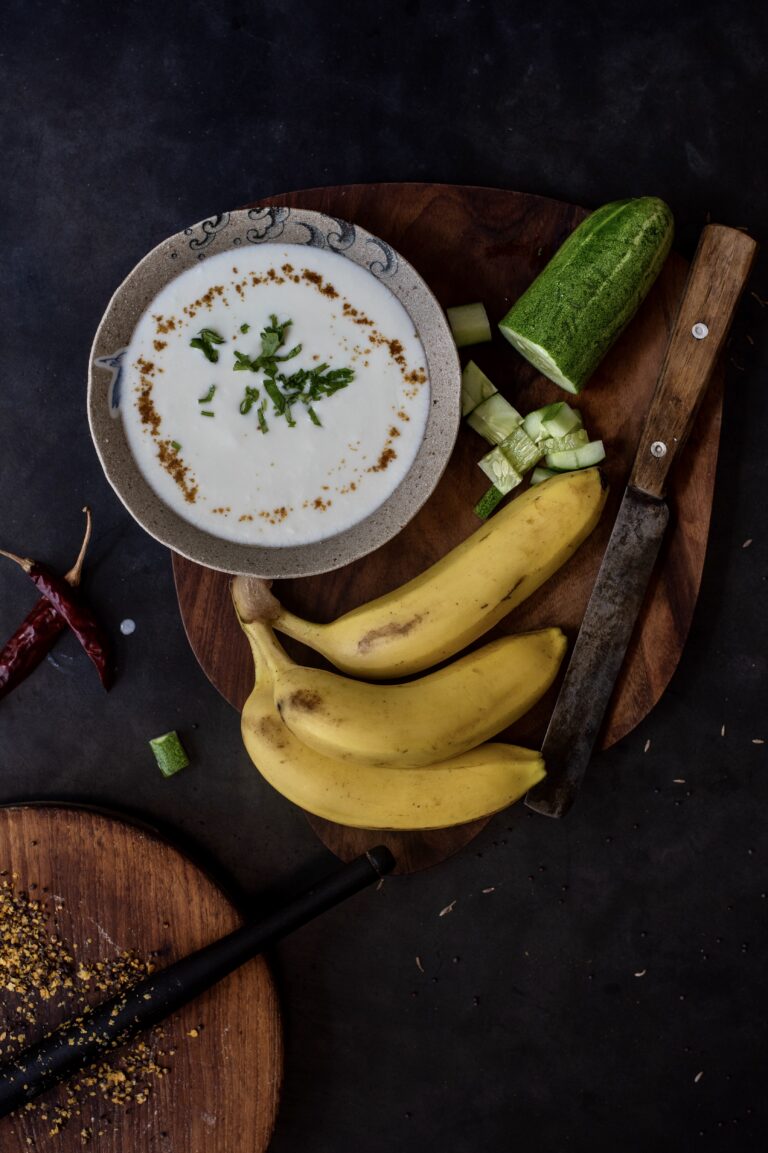
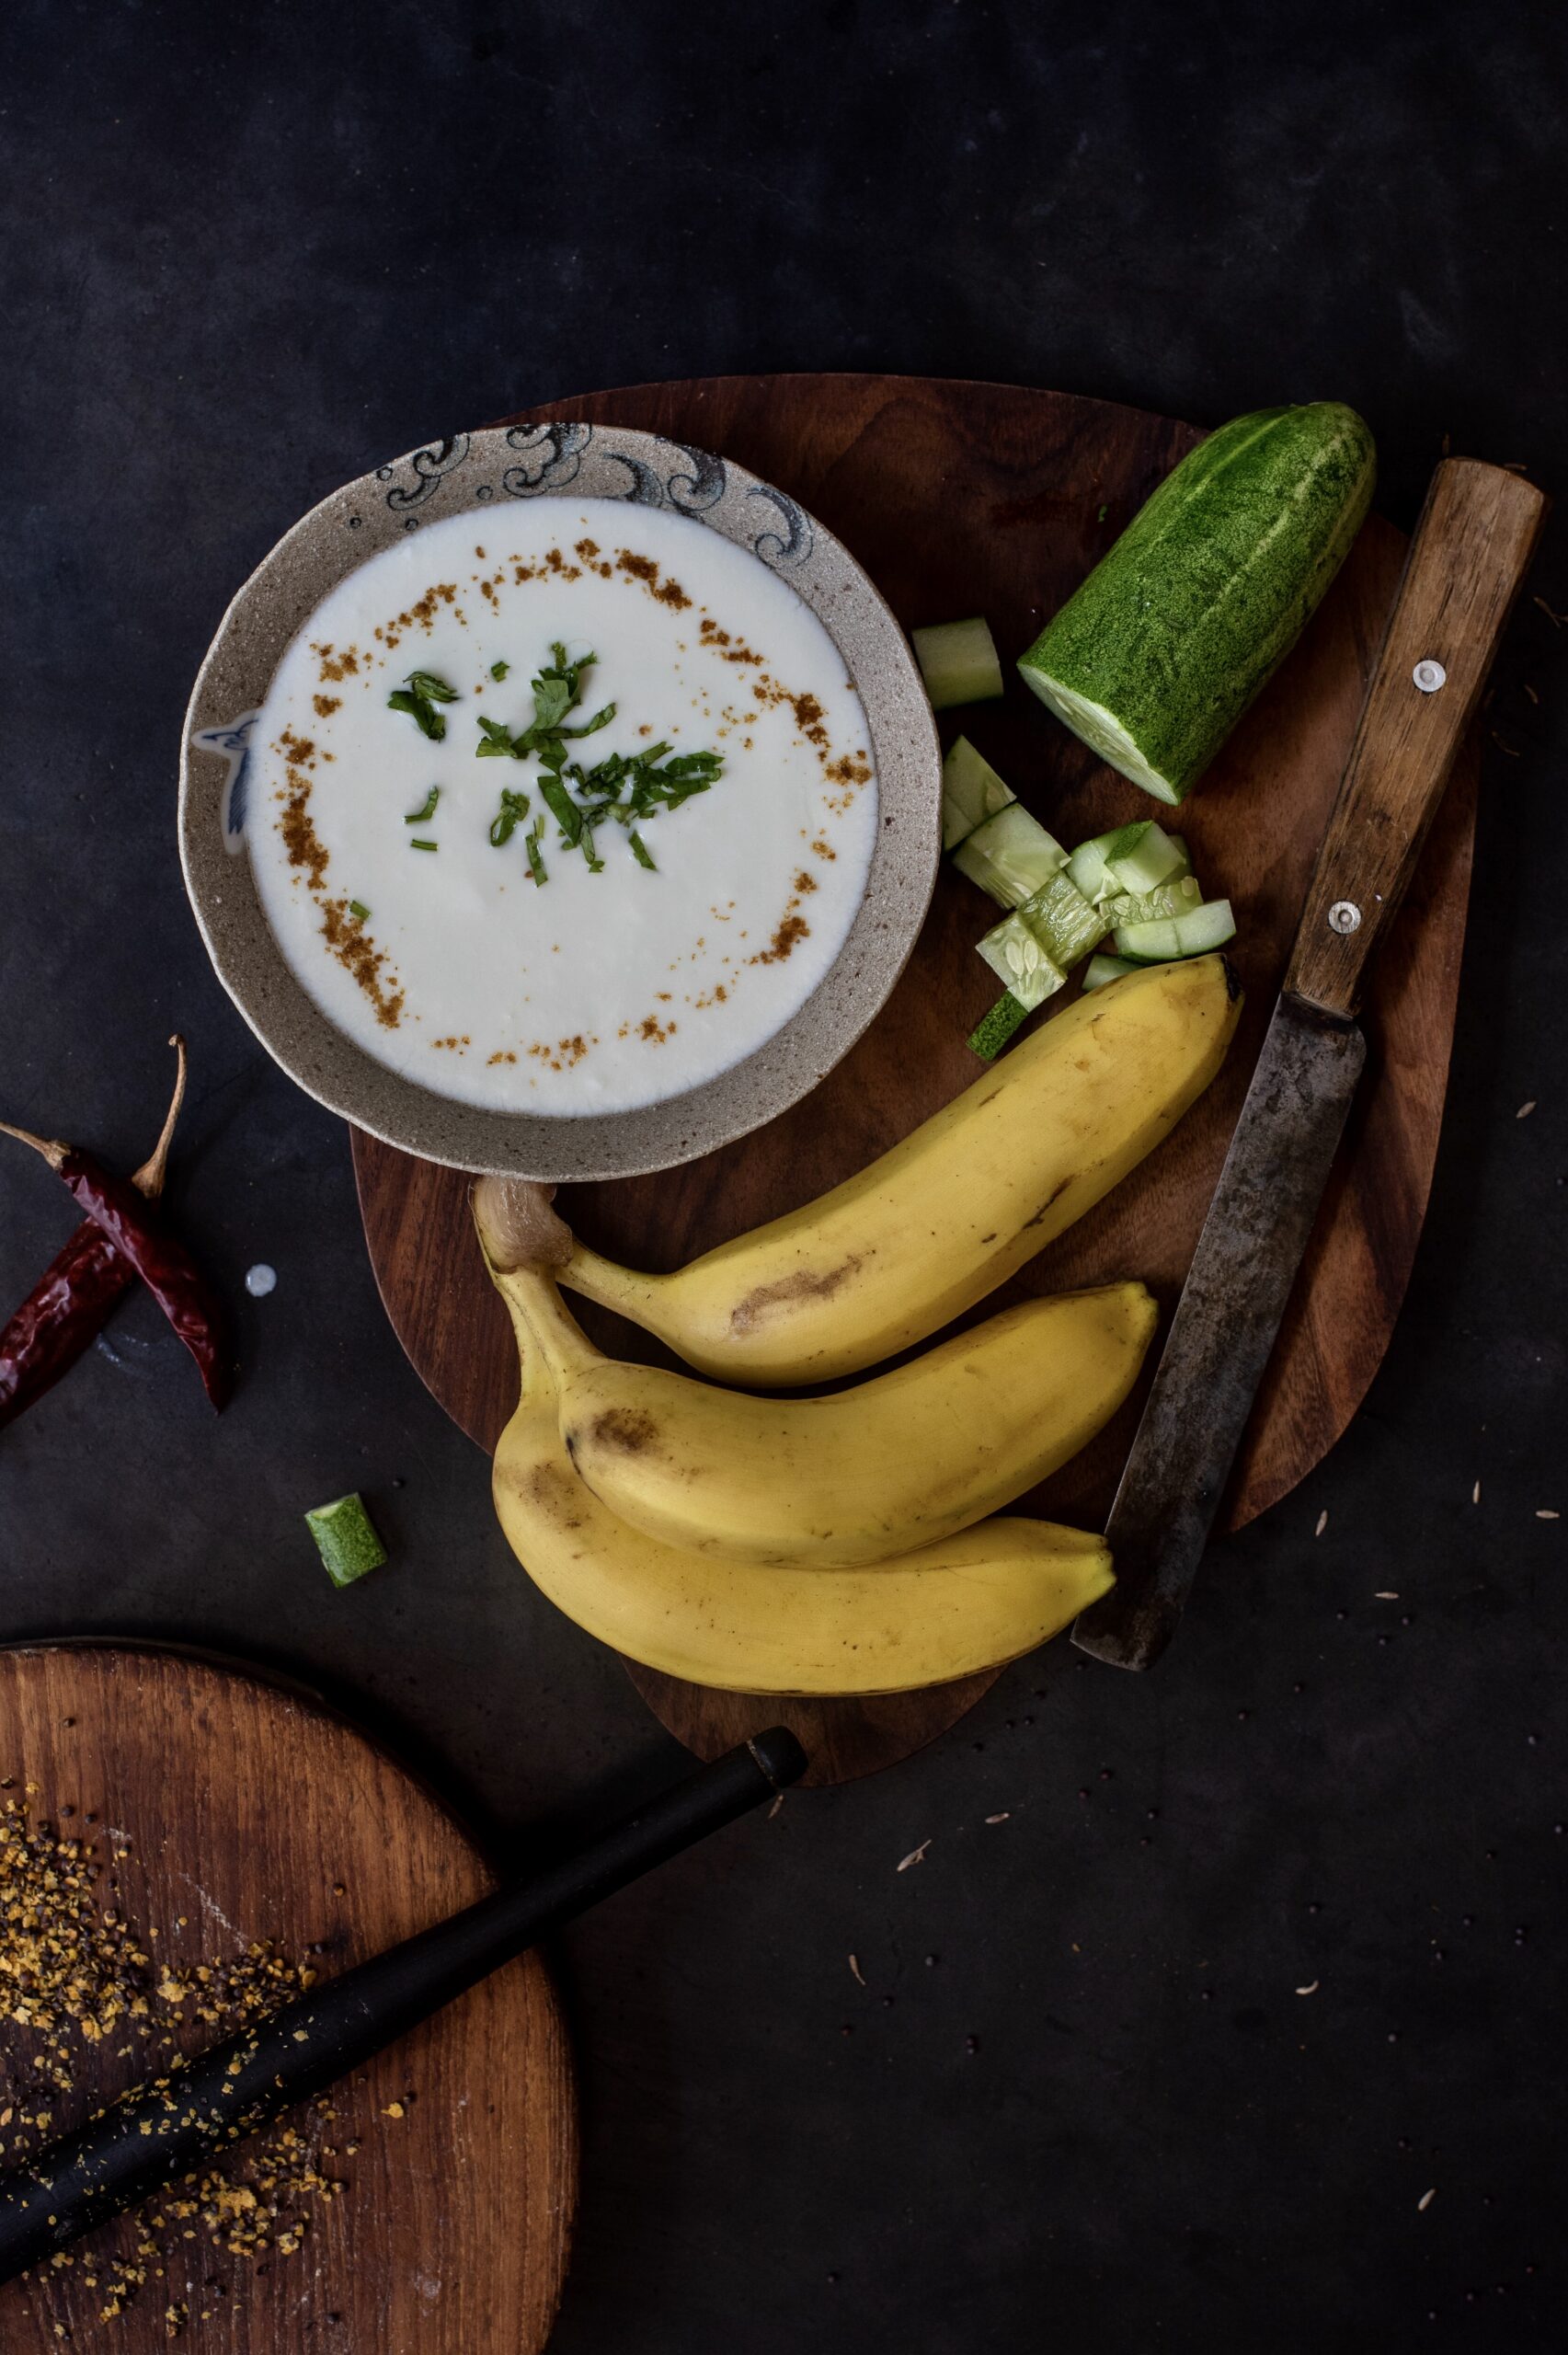
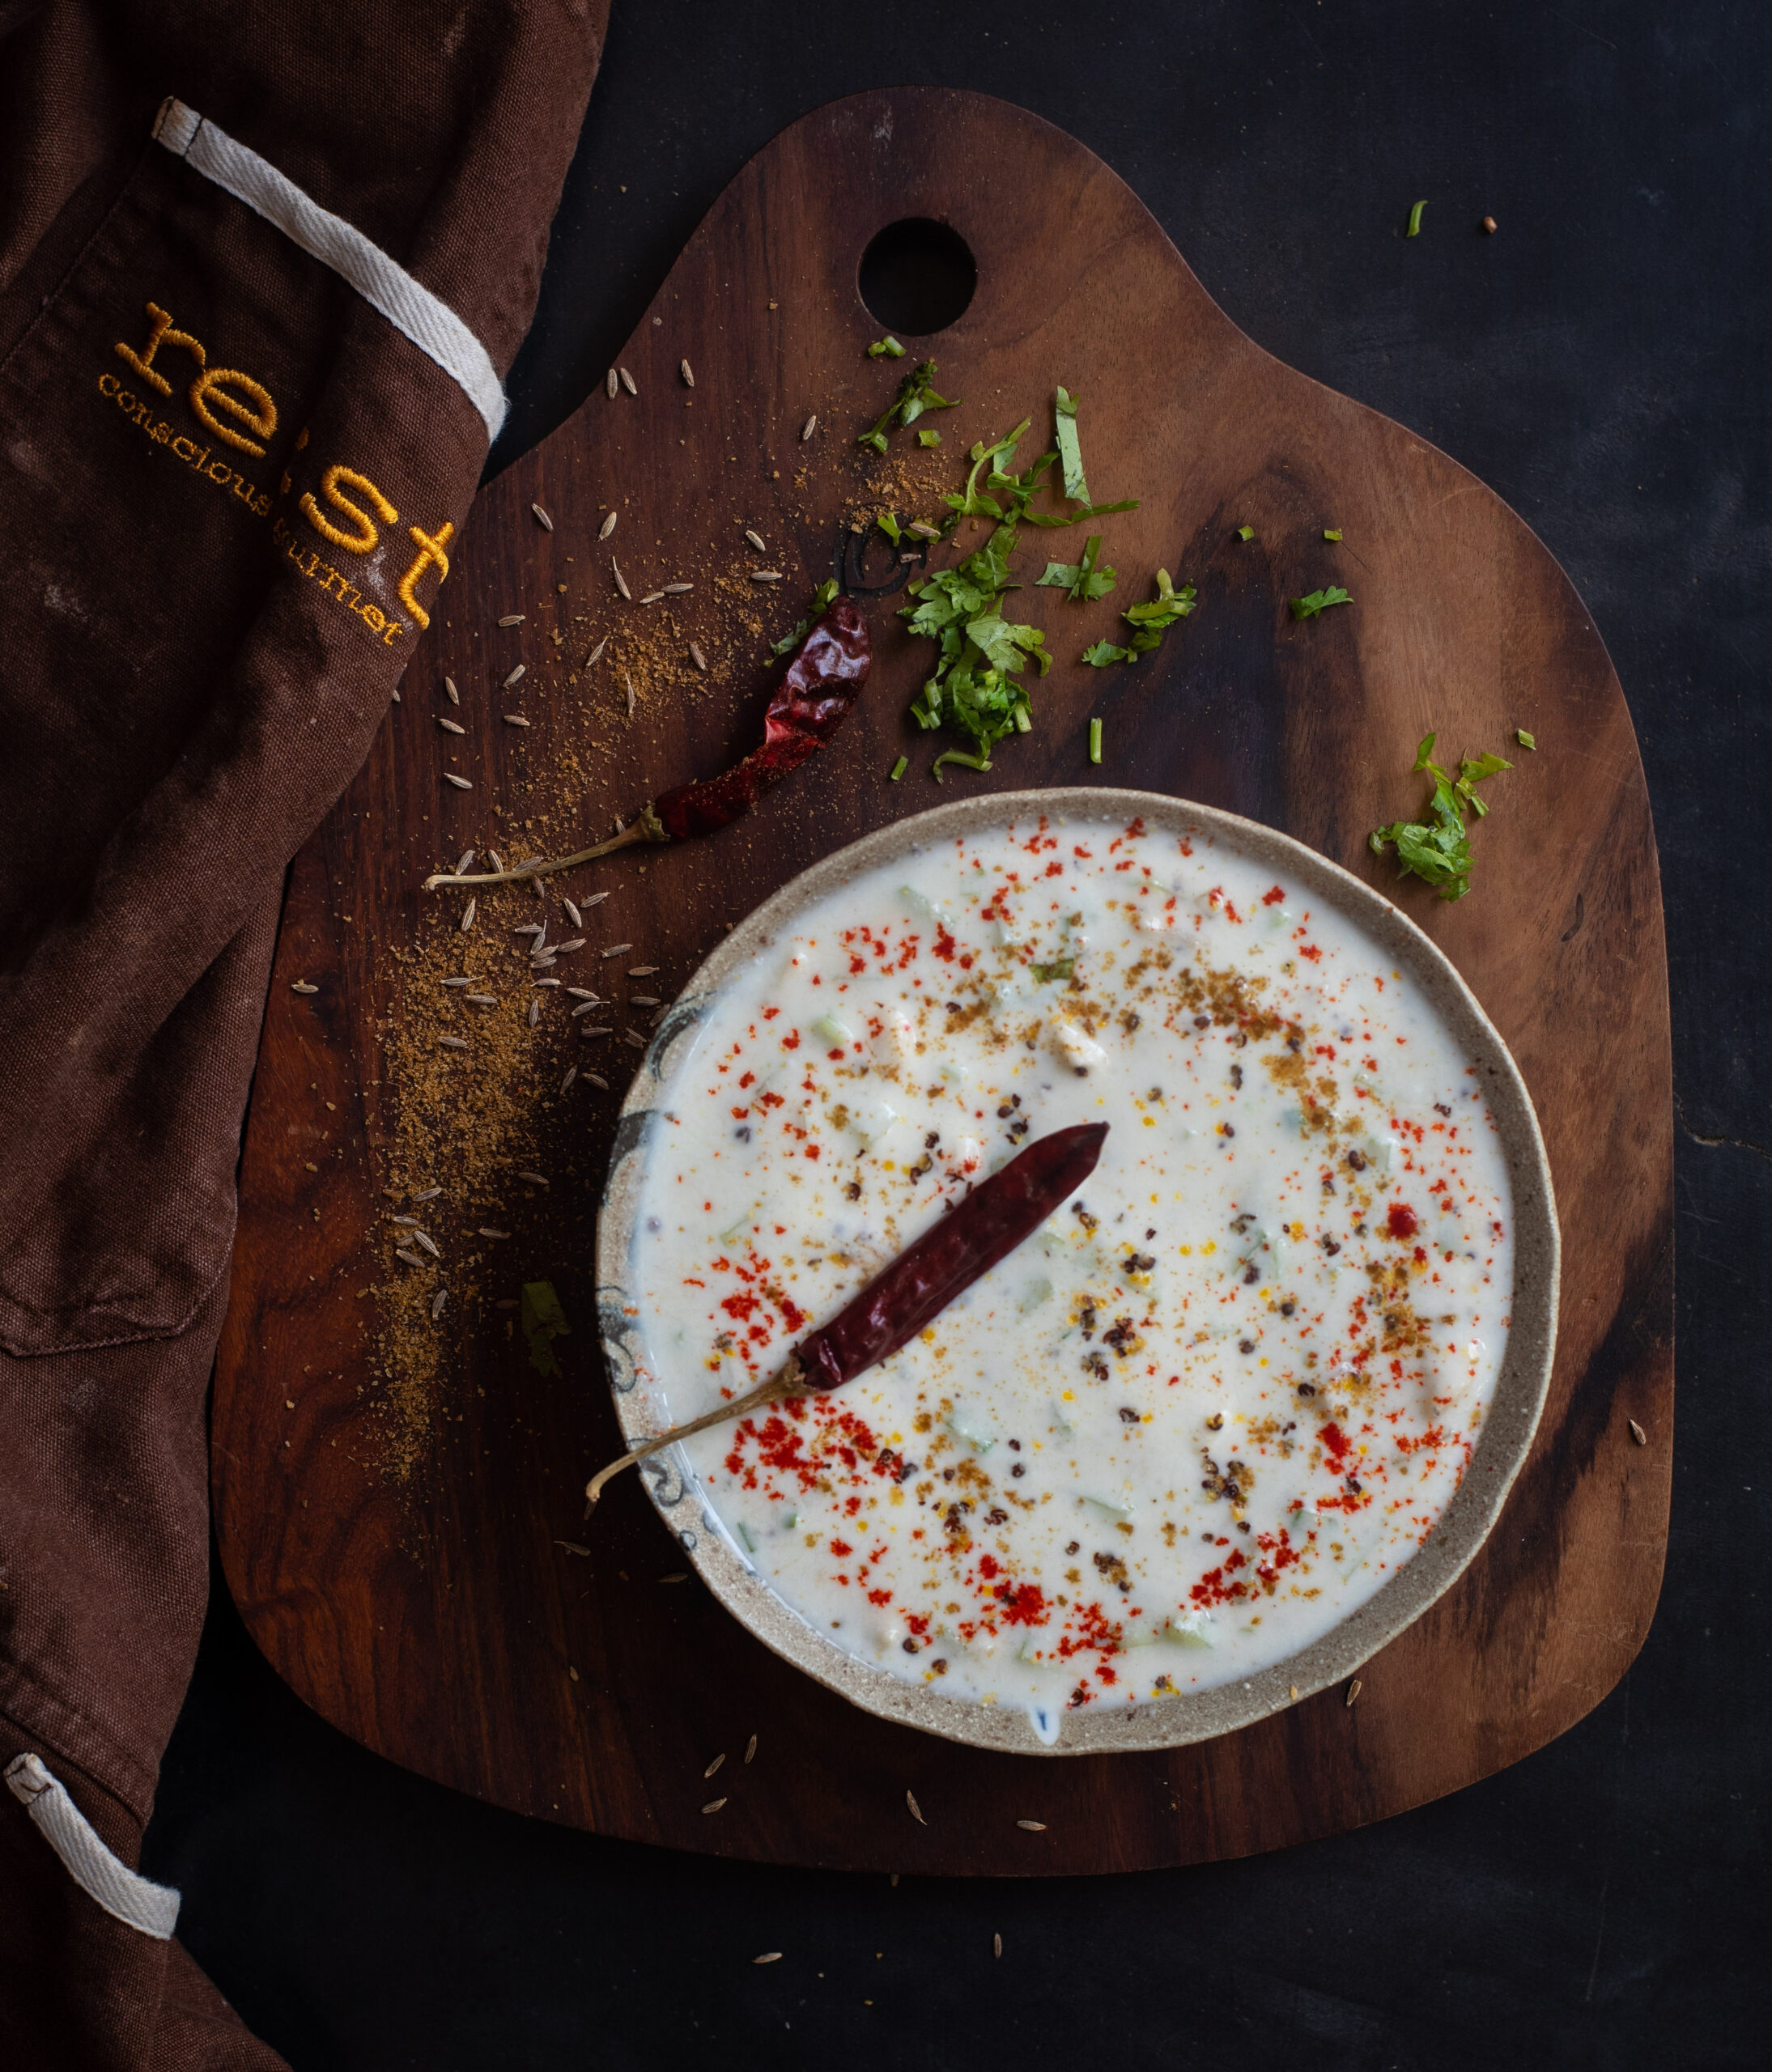
From various previous posts, you would know about the Gujarati thaali, the set meal that contains a little bit of every flavour and texture. So you’d be familiar with raita, the thin yoghurt condiment that adds a bit of coolness of the meal, and helps with digestion. Raita is eaten throughout the subcontinent, in dozens of variants. For instance, an onion or kara boondi raita goes perfectly paired with a biryani, adding crunch as well. I have fond memories of long, lazy Sunday lunches during which I’d reach for more helpings of my mother-in-law’s banana-mustard-cucumber raita. I’m delighted to share the recipe for this simple but complexly flavoured dip today.

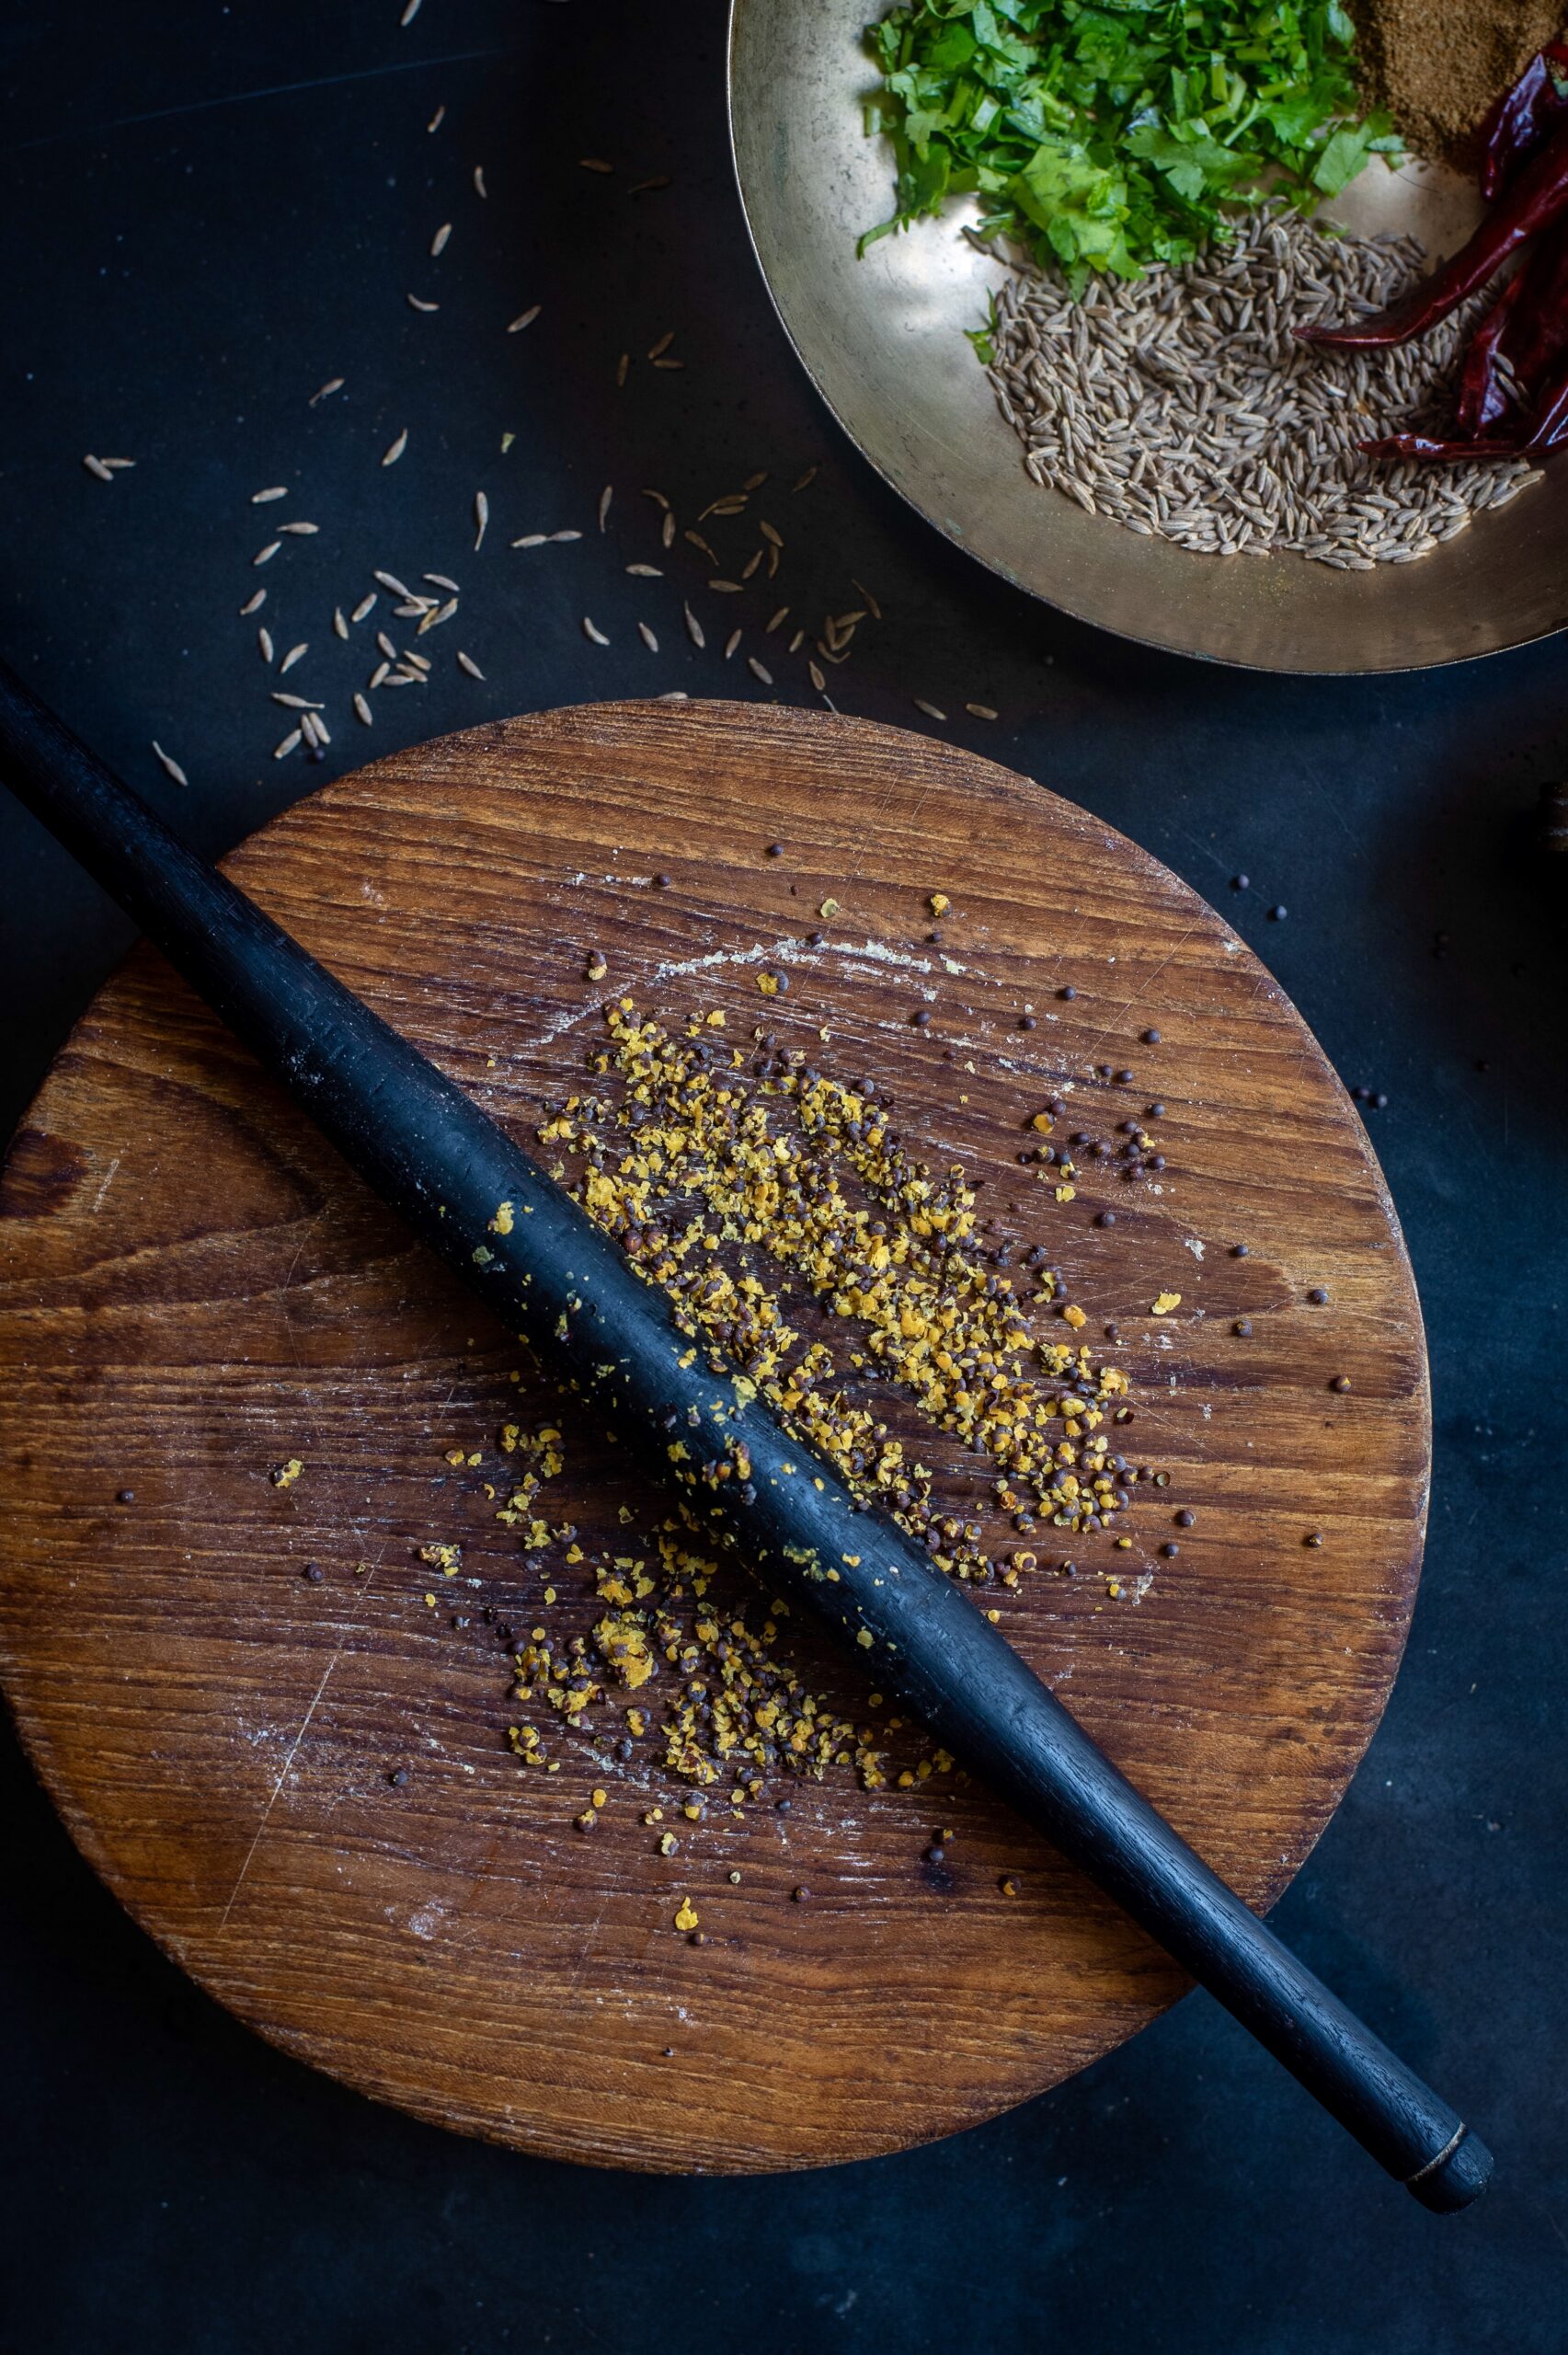
Banana, as you may remember from this banana-methi fritters recipe is a powerhouse of a fruit, packed with nutrients. It’s also a natural sweetener, and you know how Gujaratis love our sweets. In every kind of dish, you’ll find either jaggery or banana, or both! The sweetness of the banana in this raita naturally offsets the bitterness of the cucumber, which is another powerhouse. Cucumbers have a high water content, aiding rehydration, and are rich in potassium, magnesium and fibre. Adding a touch is spice is the mustard, which is a great source of selenium, zinc and calcium and known for its anti-inflammatory properties. Let me let you in on a secret – I never use the grinder to grind mustard as I don’t like the taste. Instead, I use the rolling pin that we use for rotlis. It’s lovely how such simple and clever innovations happen in the kitchen. I love picking up such techniques.

The flavours and textures of the three, as different as they are, blend very well in the yoghurt base: the banana soft and sweet, the mustard sharp, and the cucumber crunchy.


Banana-Mustard-Cucumber Raita

(Yield: 2-3 cups)


Ingredients

Raita:

2 cups plain yoghurt

1 cup finely cut banana

½ cup cut cucumber

1 tablespoon finely cut coriander leaves

1 ½ teaspoons mustard seeds

1 teaspoon roasted cumin powder

Salt to taste


Seasoning:

½ teaspoon sunflower oil

¼ teaspoon whole mustard seeds

¼ teaspoon cumin seeds


Take the mustard seeds and crush them using any simple method that you use at home. As I said above, I use a rolling pin and board, the same as I use to make rotlis. This crushes the seeds just the way I like it – not too fine, but uneven and broken. You can use the hand pounder too, if you prefer. Crush and set aside.

Place the yoghurt in a bowl and beat well until there are no lumps and the yoghurt is smooth. Now add the salt, cumin powder and crushed mustard powder. The fresh flavour is the key element to this raita.

Now, add the banana, cucumber and coriander leaves. Mix well.

Then, prepare the seasoning. Pour the oil into a small pan. Once hot, add the mustard seeds and cumin seeds. Wait till the seeds splutter, then pour over the raita. Decorate by sprinkling some chili powder for colour, along with some roasted cumin powder and some finely cut coriander leaves.

As I said earlier, there are numerous other kinds of raita, enjoyed all over India. And while I’m nostalgic for my mother-in-law’s Sunday lunch raita, this banana-mustard-cucumber combination I’ve shared above, the current favourite in my home is in fact the sweet and crunchy pomegranate raita. Do you have a variant that you make often? I’d love to know what you think of mine in the comments.

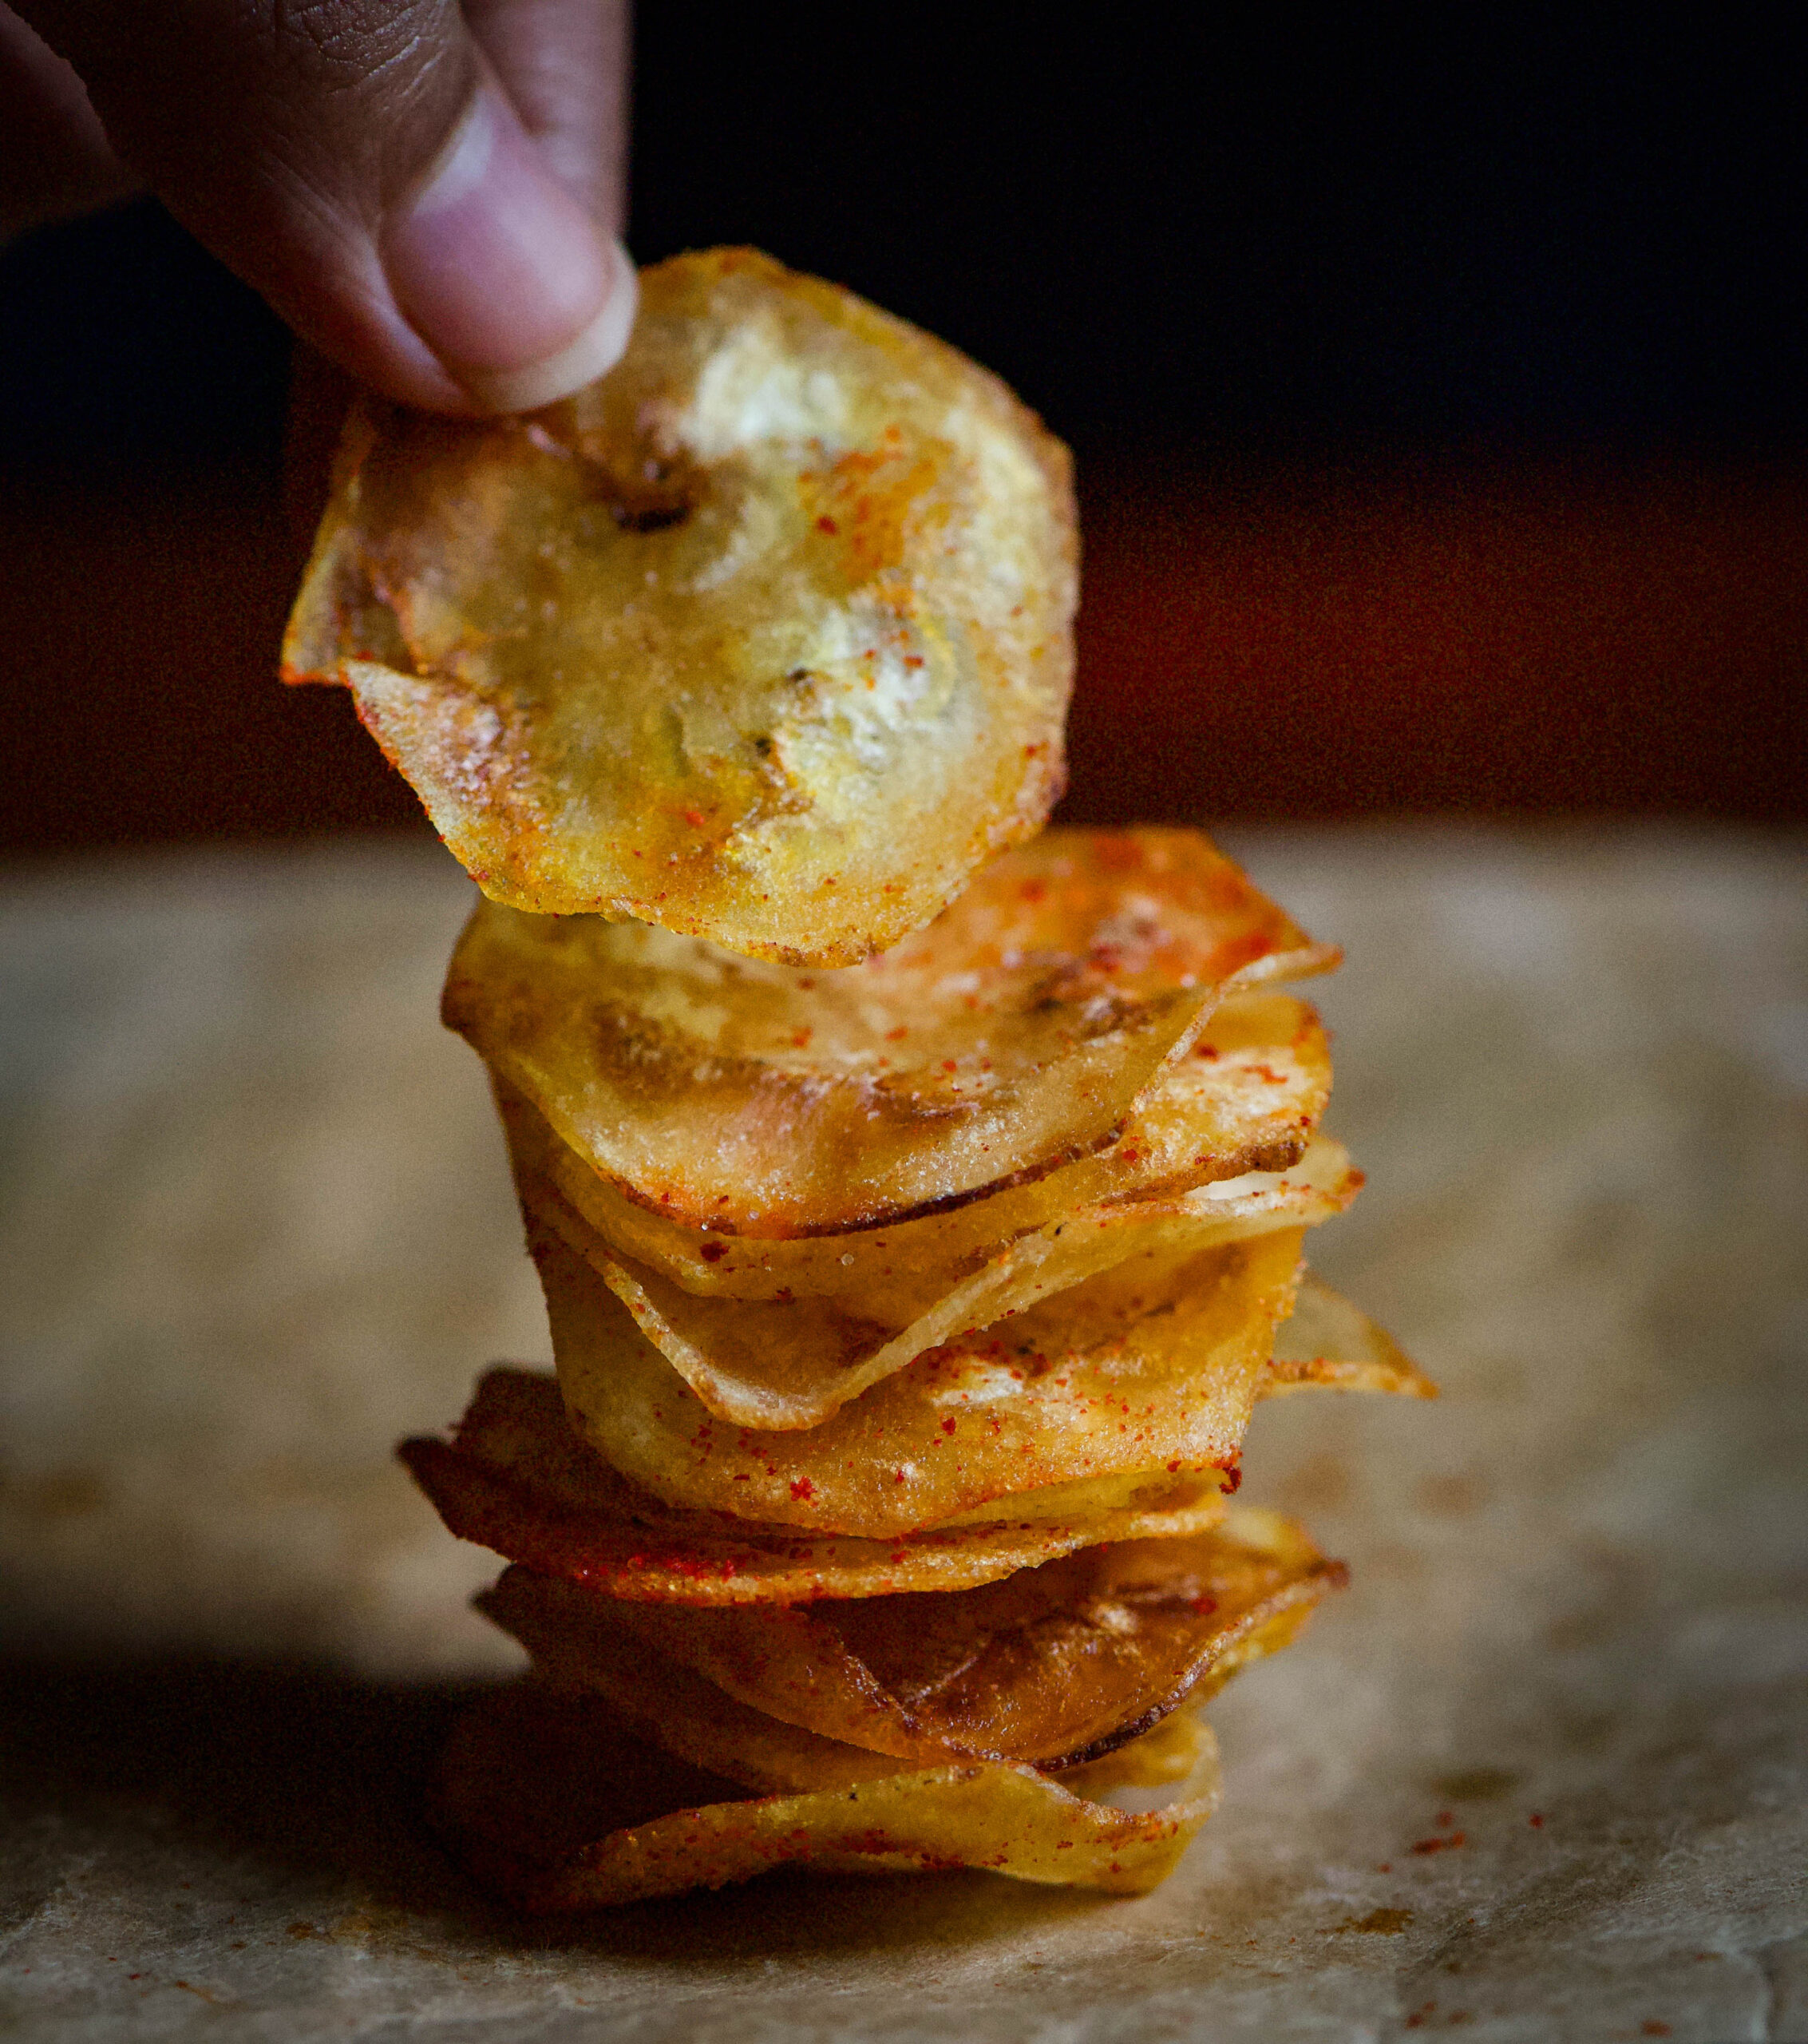
For someone who grew up disliking bananas, I’ve simply not been able to get enough of them this month! I hope you enjoyed my previous recipe for banana bread. There’s been a windfall of plantains on my farm, and so the fruit has found its way into several more dishes I’ve made lately. The recipe I’m sharing today adds a bit of crispiness to my traditional lunch thaalis. It’s so easy to make, and so difficult to resist. I really have gone bananas for these banana chips!

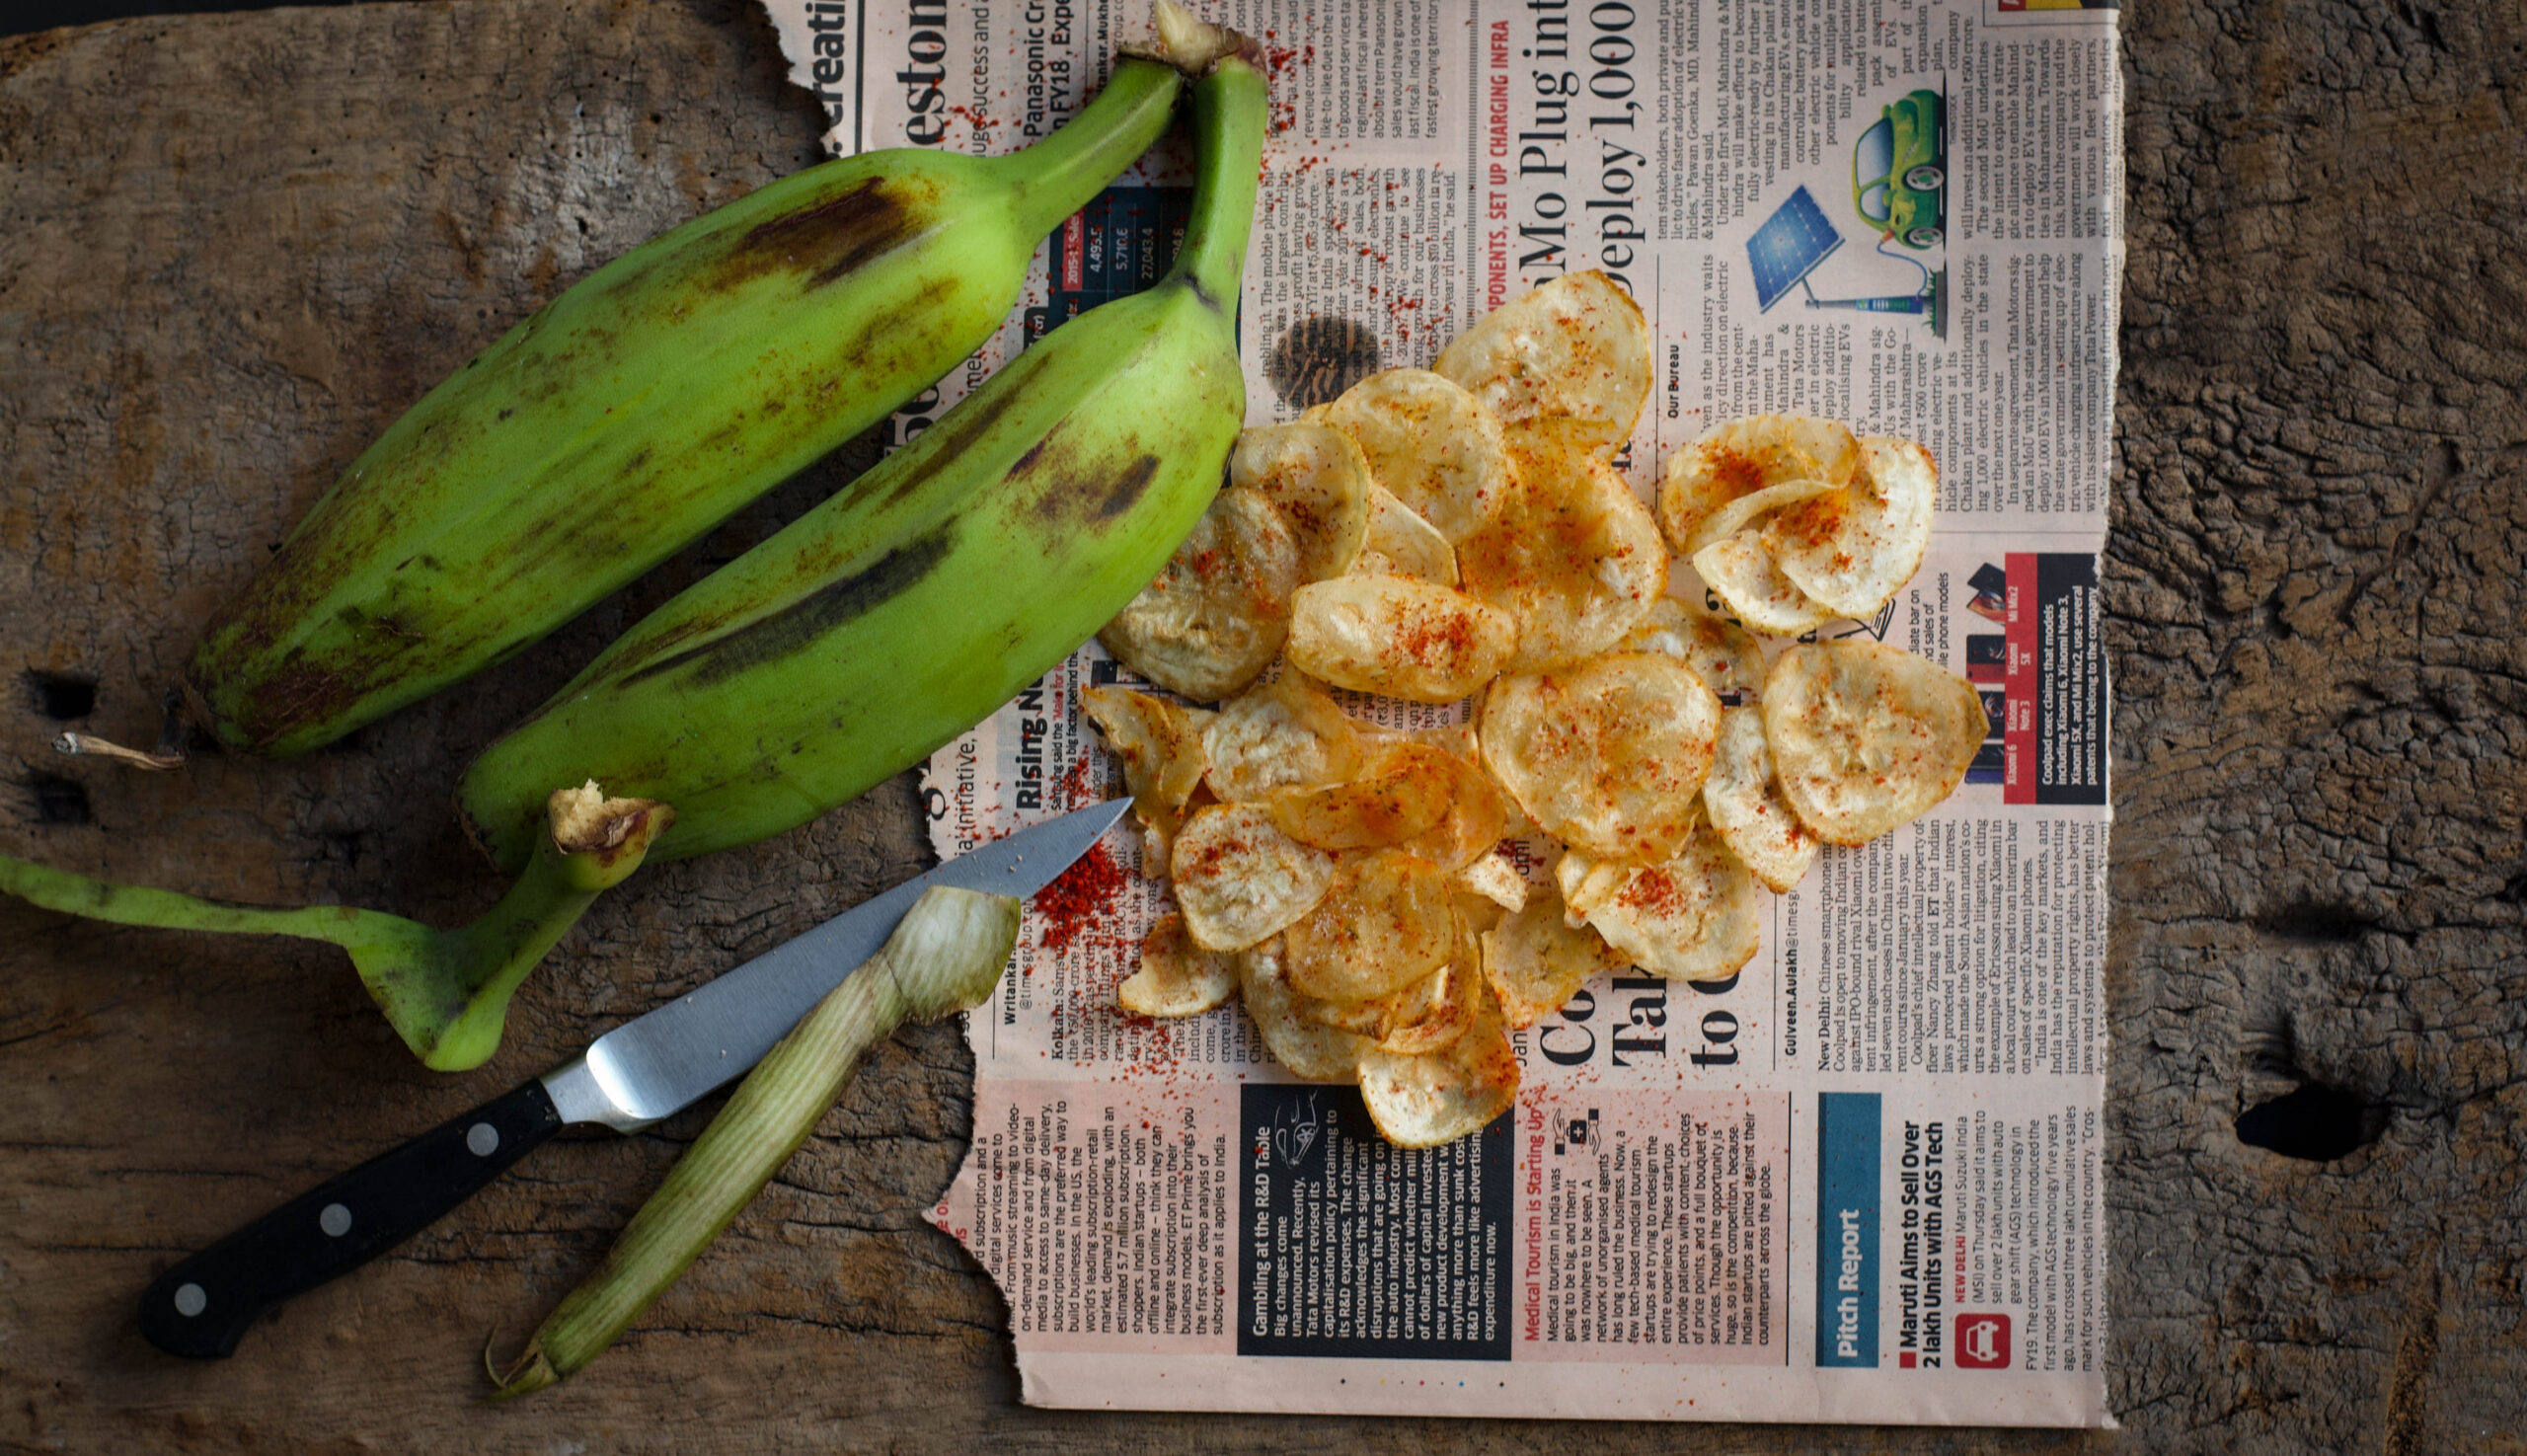
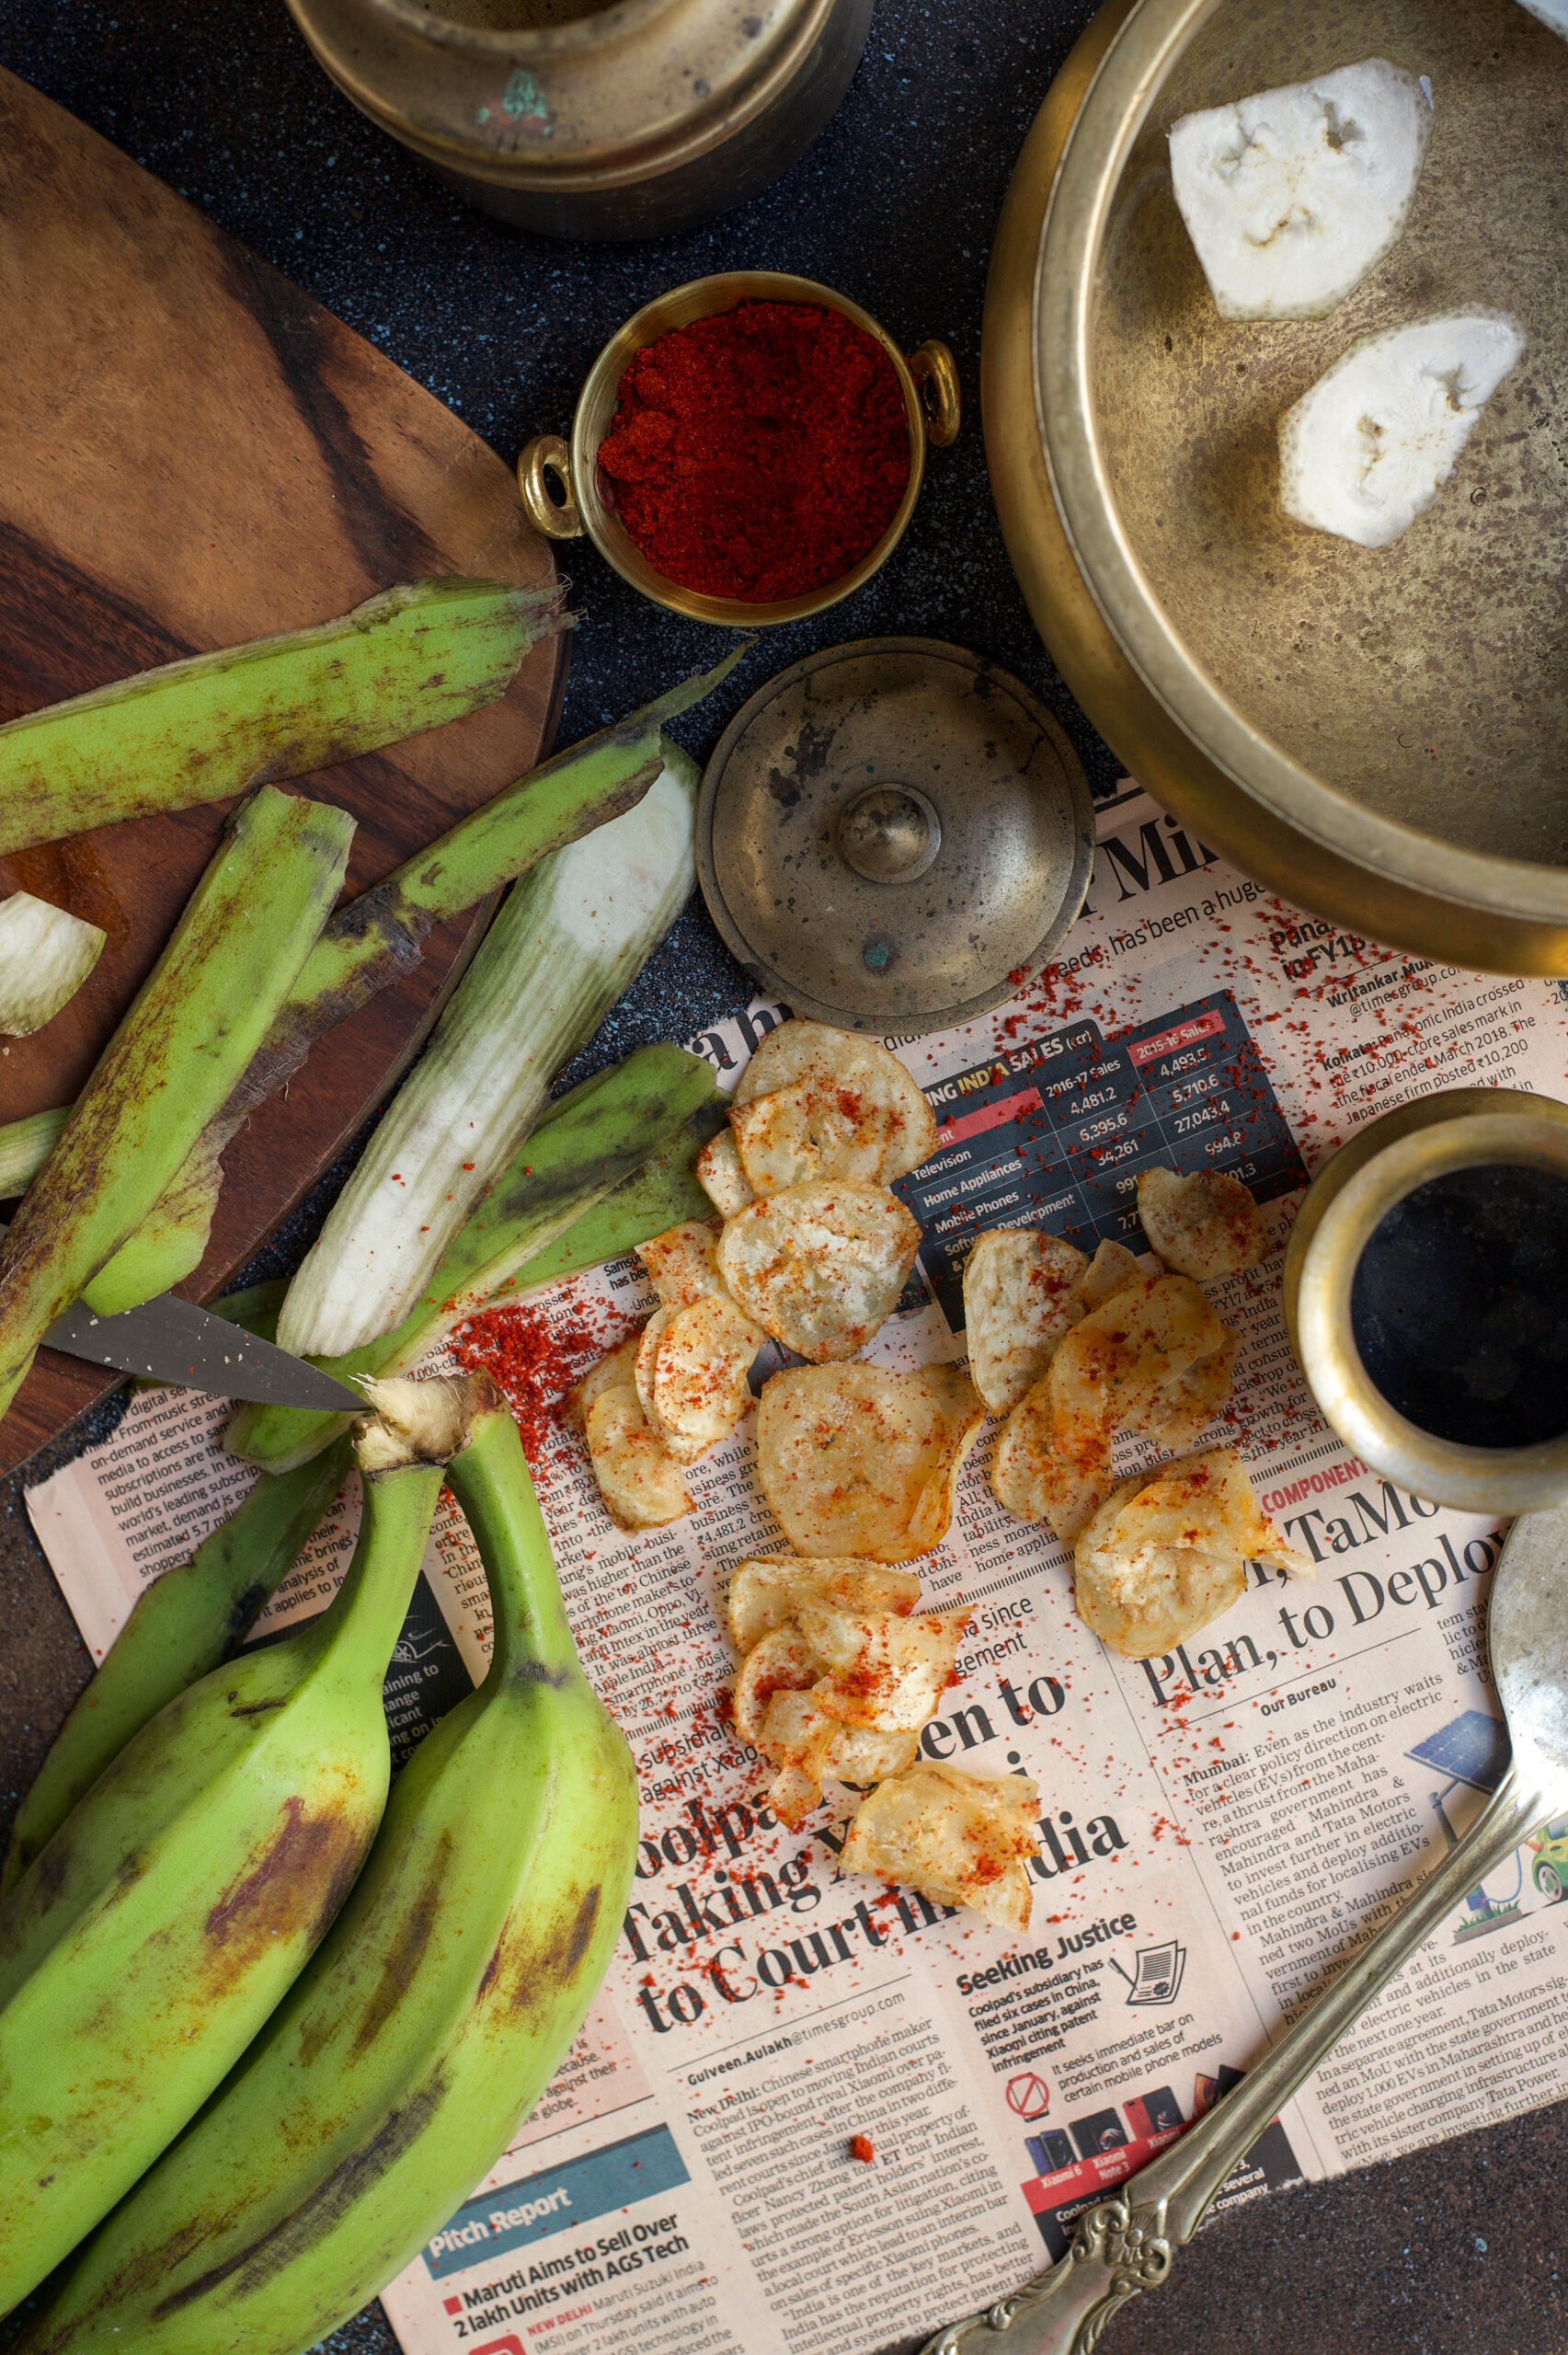
These chips don’t use the ripe bananas that we peel and eat when in need of a portable snack. Instead, they use unripe green plantains of the Monthan variety, which fruit in the 8th or 9th month after planting. They are not sweet, unlike ripe ones, but are edible both raw and cooked. Rich in potassium, iron and several vitamins, they are used in cuisines in Polynesia, Jamaica, and here in India of course. The banana tree itself is considered sacred in Hinduism, and is worshipped in some sects and used in wedding ceremonies. Not only the fruit but the flower too can be consumed, and food is traditionally eaten on a banana leaf itself.

I have a new gadget in my kitchen that I picked up on one of my travels – a nifty slicer that lets me quickly slice the banana directly over hot oil, so I was quite excited to use it when my sister taught me how easy these chips are to make.

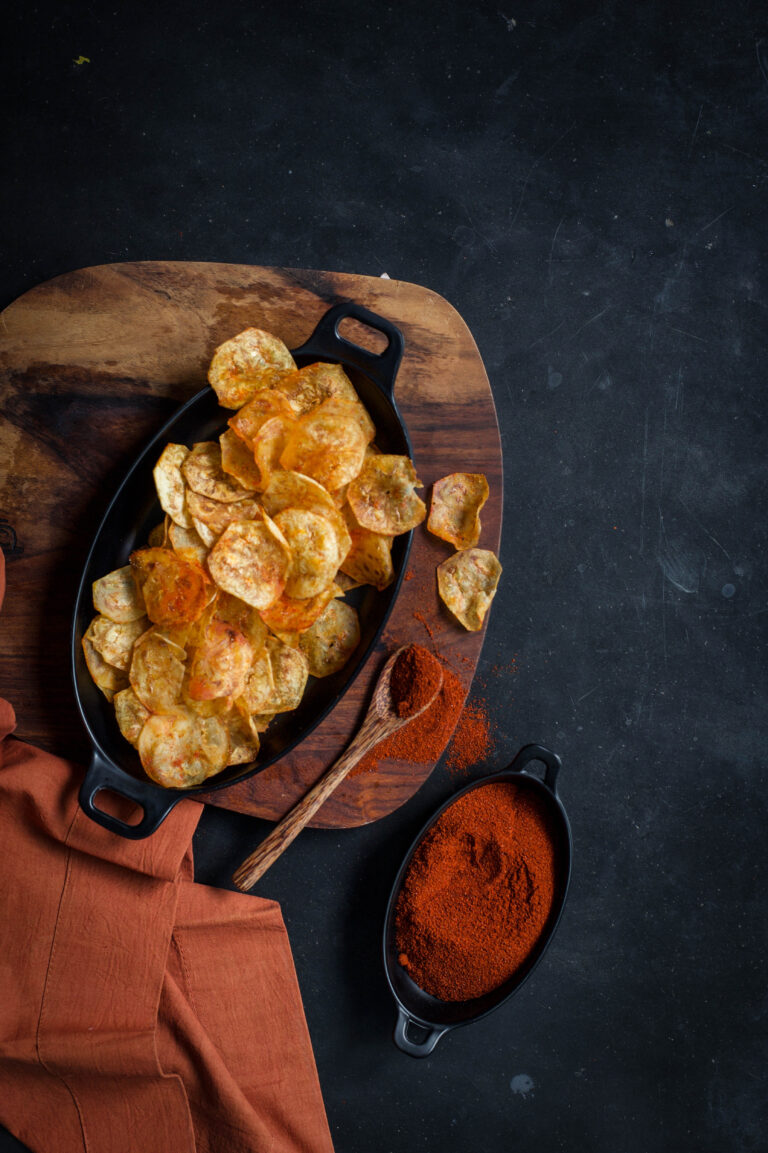
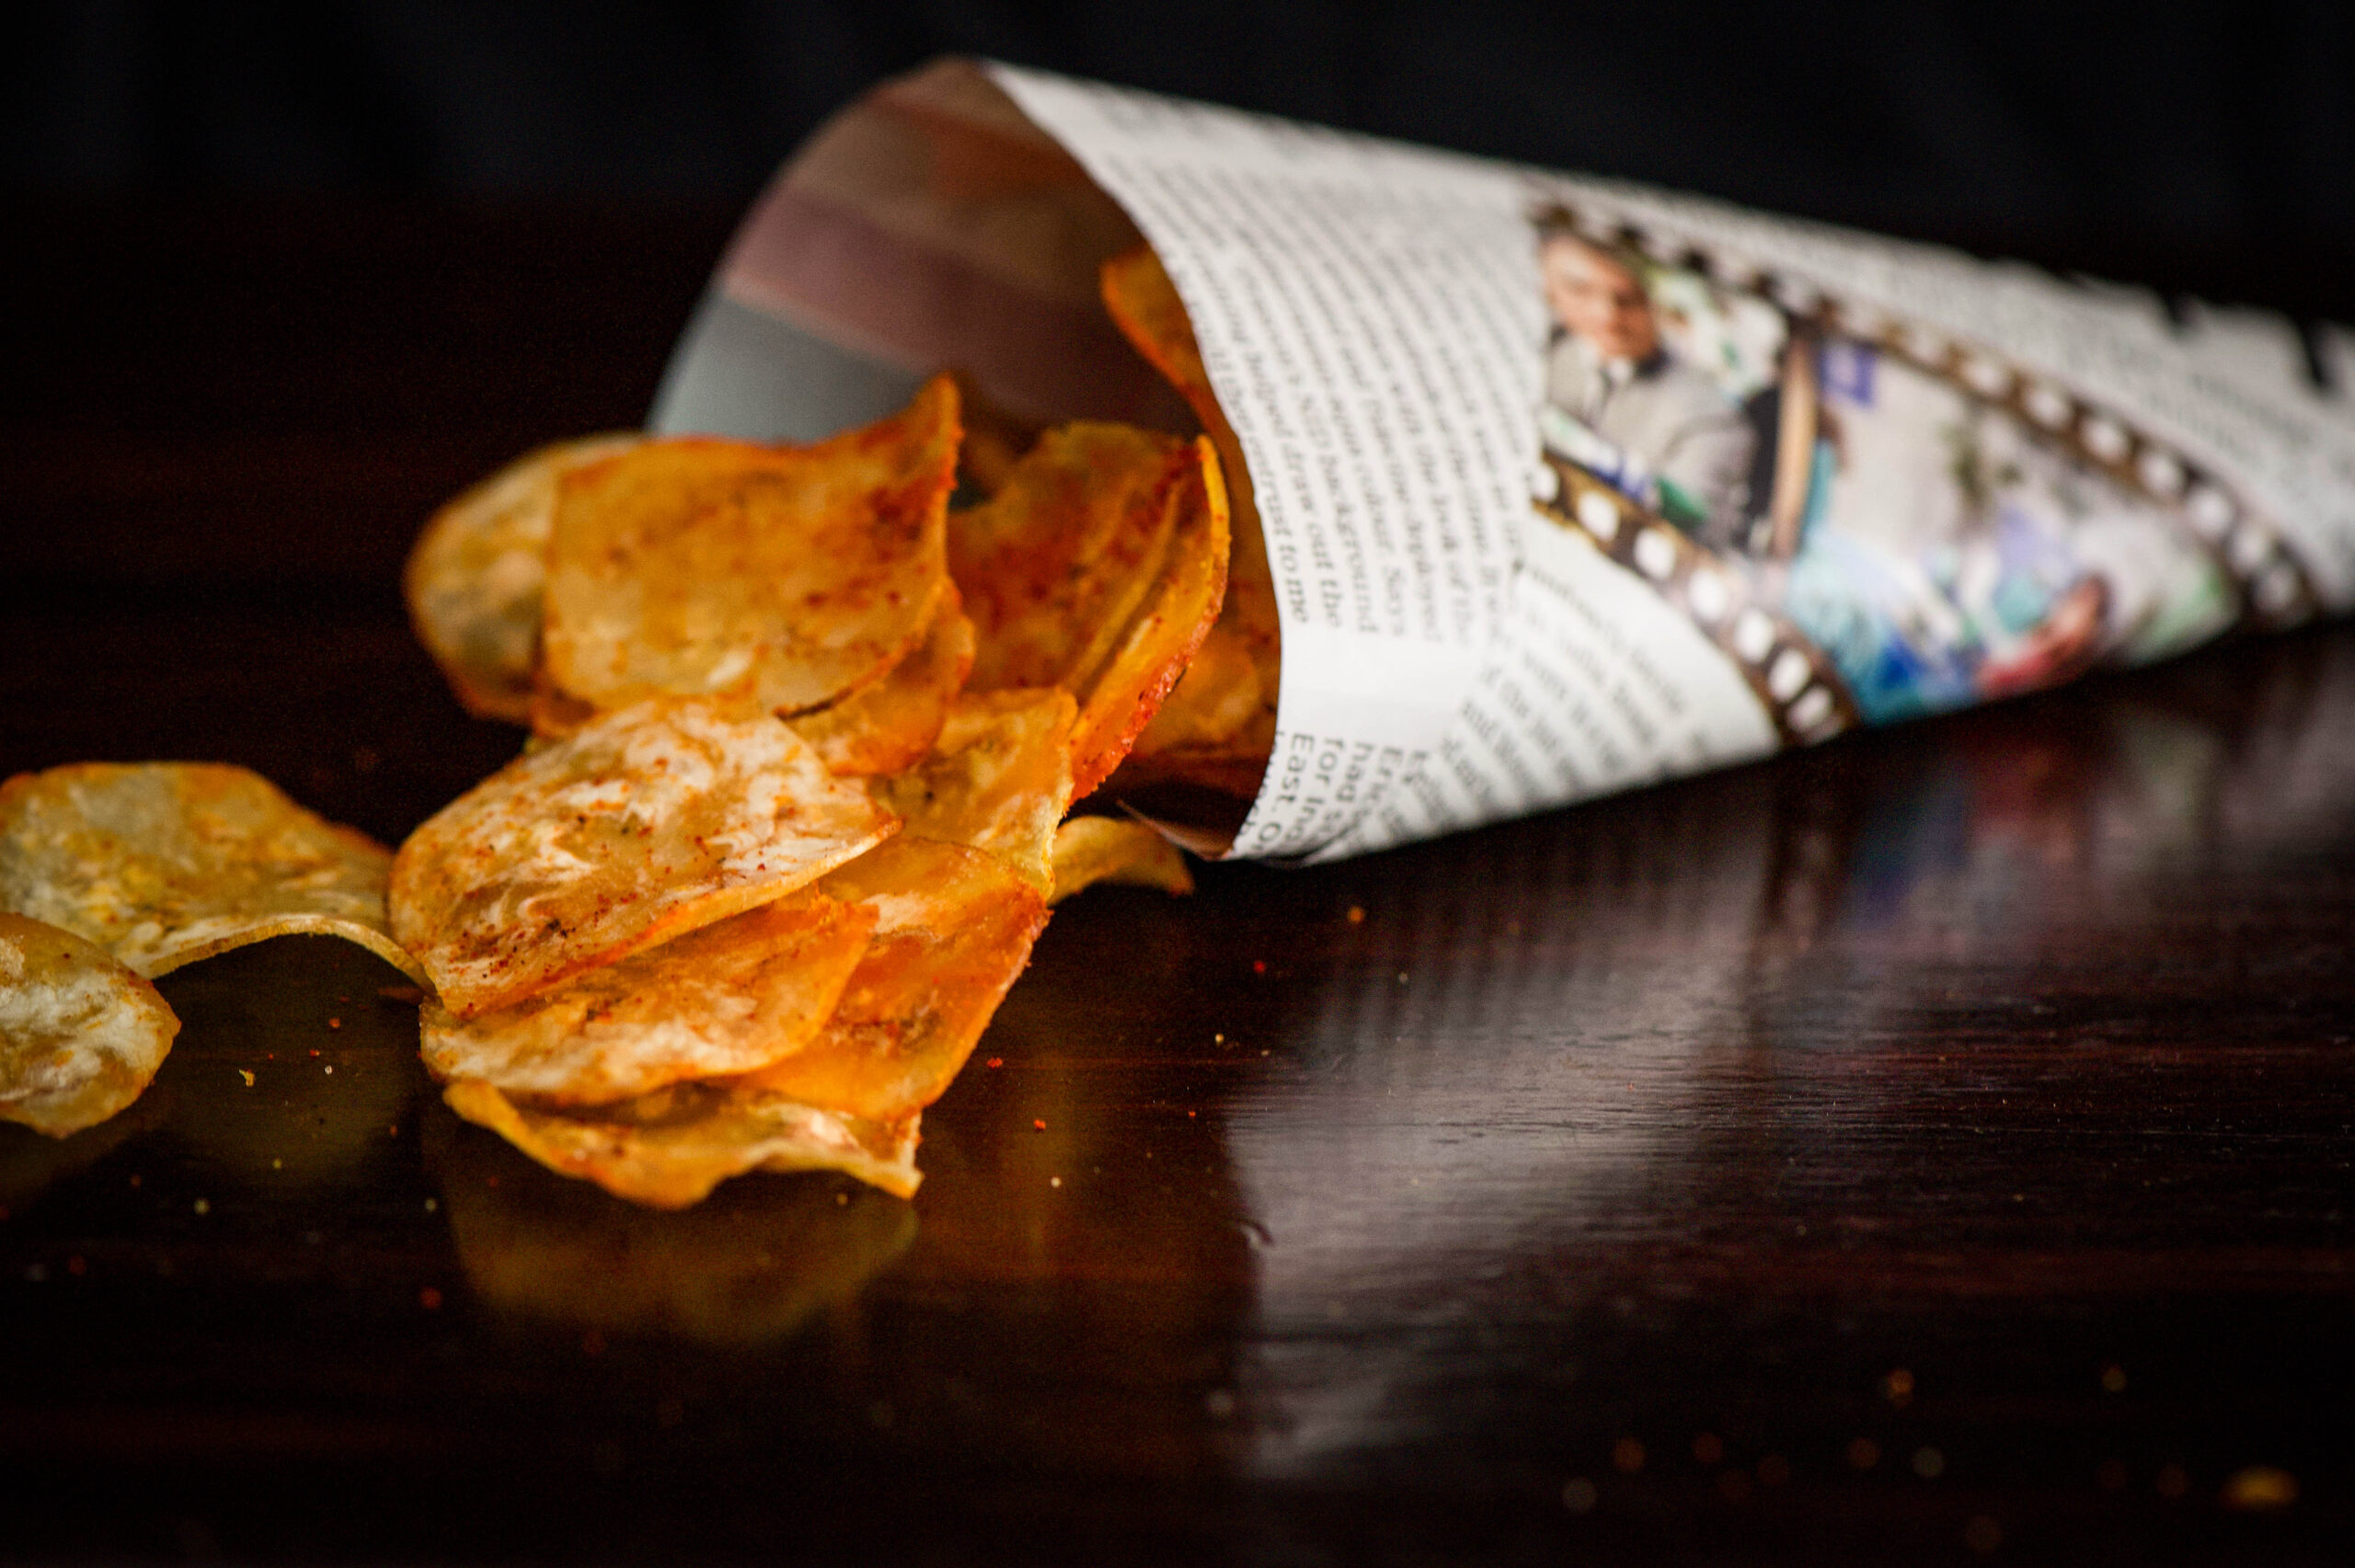
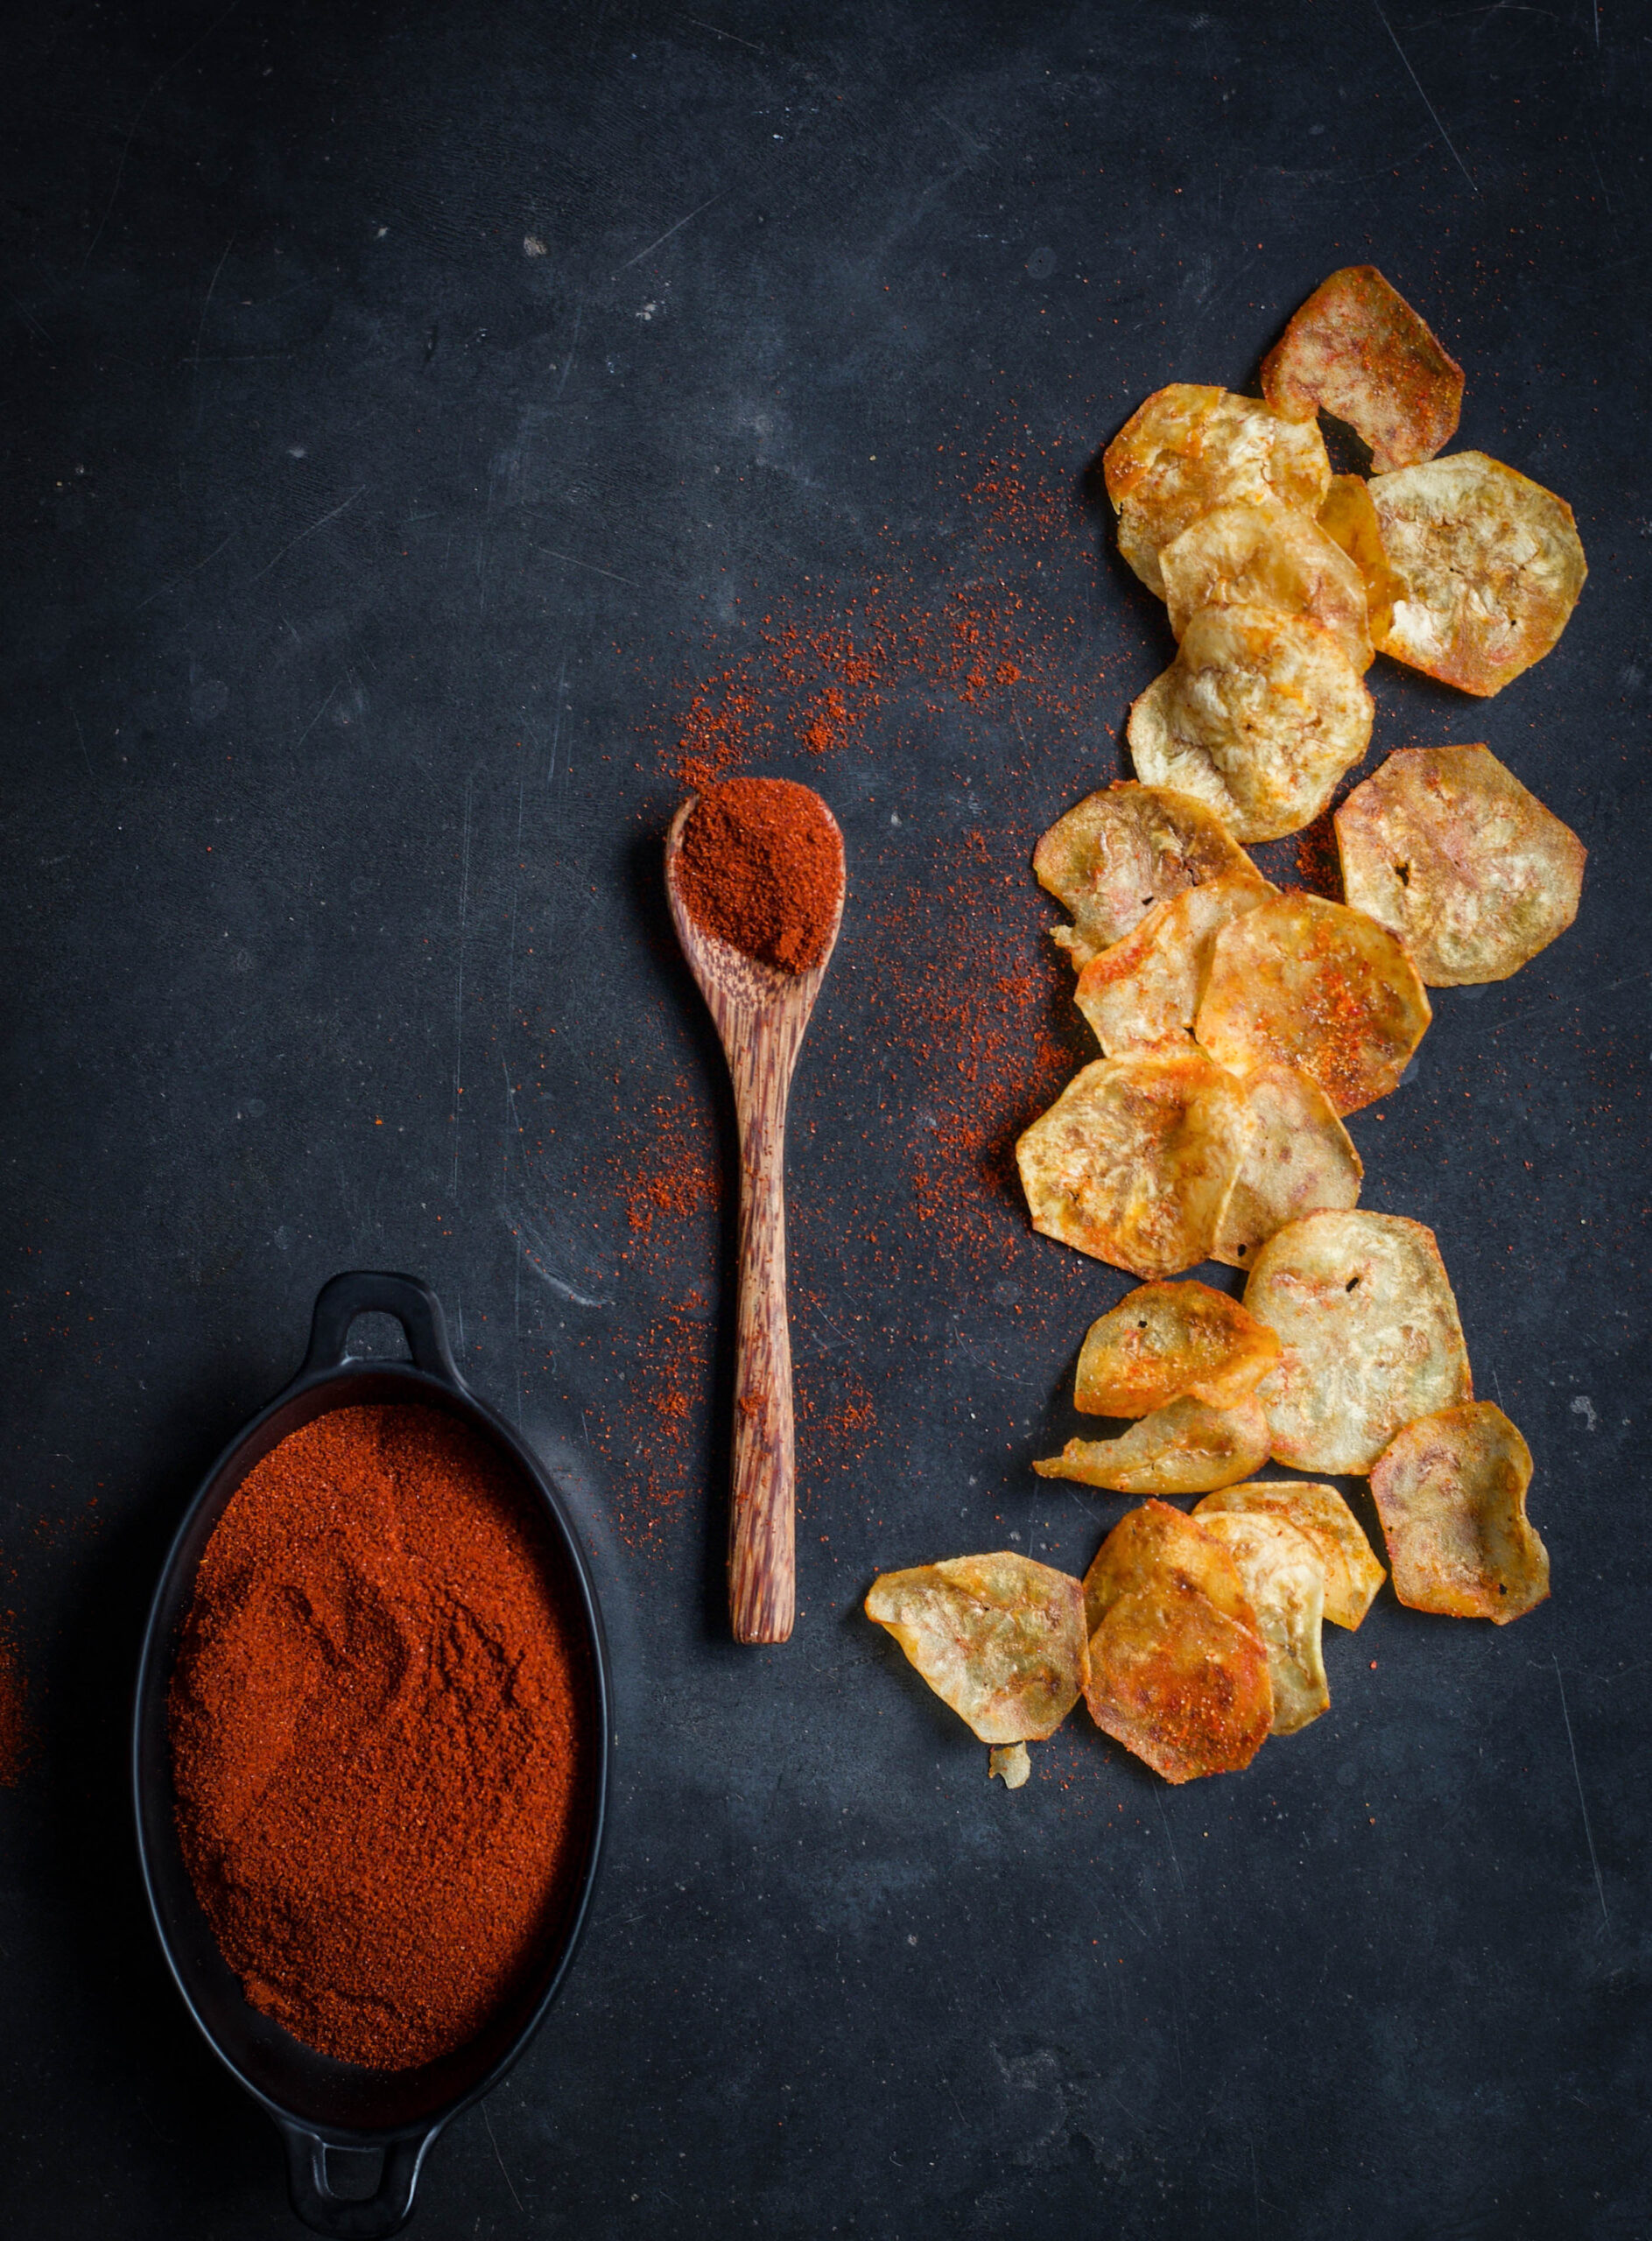
Banana chips are made all over India, but they differ from state to state. The famous Kerala ones, for instance, are cut thicker and are bright yellow. These Gujarati-style ones are thin and reddish-coloured because of the spices used. They are called “kudkudiyas” – a bit of onomatopoeia, because of the “kud kud” crunch sound. They remind me of all my visits to Ahmedabad, and in fact my husband (aka The Dark Prince!) is so partial to them that I order them for him all the way from that city. Fortunately, everyone at home loves my banana chips too, so they can now have them fresh and not imported!

Gujarati-Style Banana Chips

(Yield: Approximately 1 bowl)

Ingredients

1 large raw plantain

Salt to taste

¼ teaspoon chili powder (or to taste)

¼ teaspoon powdered sugar

2 cups oil (for deep frying)

Heat the oil in a frying pan. Peel the plantain and wash it. Be watchful as it may be a bit sticky to the touch.

Slice the plantain and immediately drop the slices into the hot oil. If you use a gadget like I do, you can slice them directly over the pan.

Now reduce the flame to medium. Turn the slices around a few times until they turn golden.

Remove them from the oil, placing them onto an absorbent paper. Immediately sprinkle the salt, chili powder and sugar. Make them your way by adding spices of your choice, such as pepper or chaat masala. The trick is to add the spices as soon as they’re off the oil because this is the only way the spices will stick to the chips. Also remember that the thinner the slice, the crispier and tastier they’ll be. Store in an air tight jar. Enjoy the crunch!


This exact same recipe can also be used for sweet potato chips, if you prefer them to green bananas or find them more readily available.

I prefer using these homemade banana chips instead of any store-bought snack to add crispiness to our lunch thaalis at home. They are cleaner and healthier, and I know exactly what’s going into our mouths, so I don’t mind that they are deep fried.

Even though these banana chips are made in a popular and easy style, you will surely agree that every dish tastes different depending on the cook. Each home and each hand has its own flavour, despite the recipe being exactly the same. Even something as simple as banana chips will have a unique taste. When you try this recipe, be sure to let me know how yours tastes!

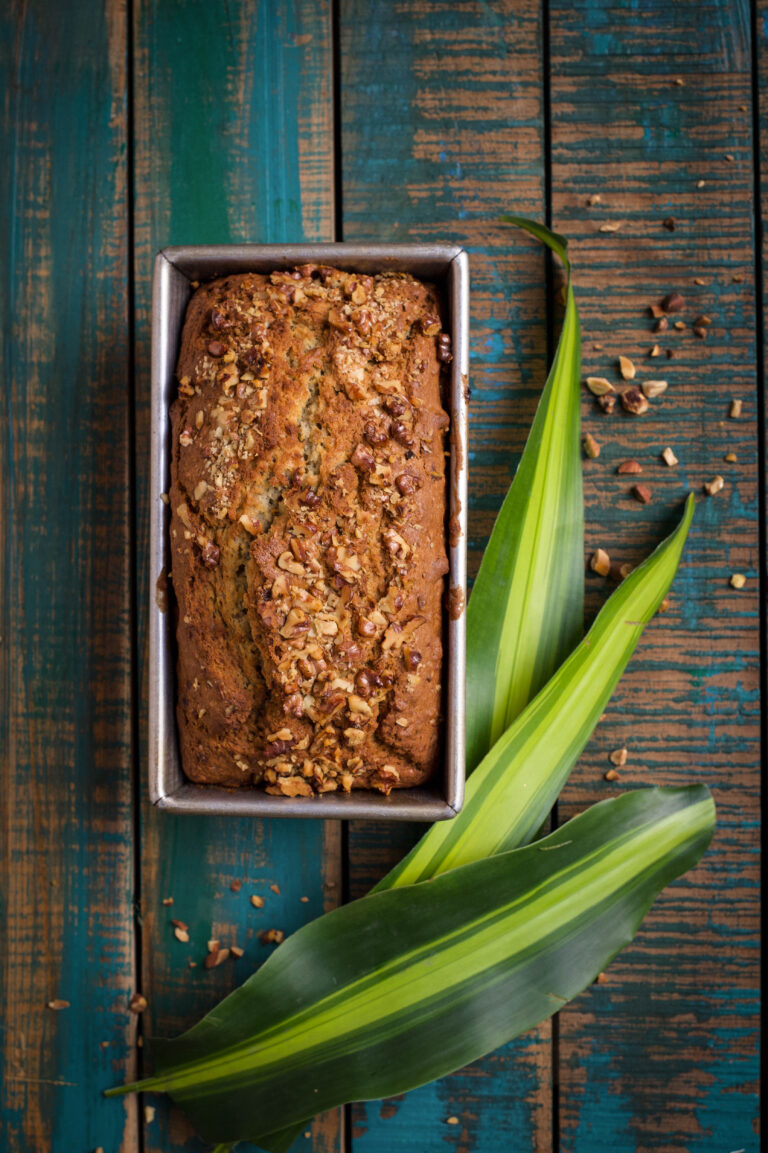
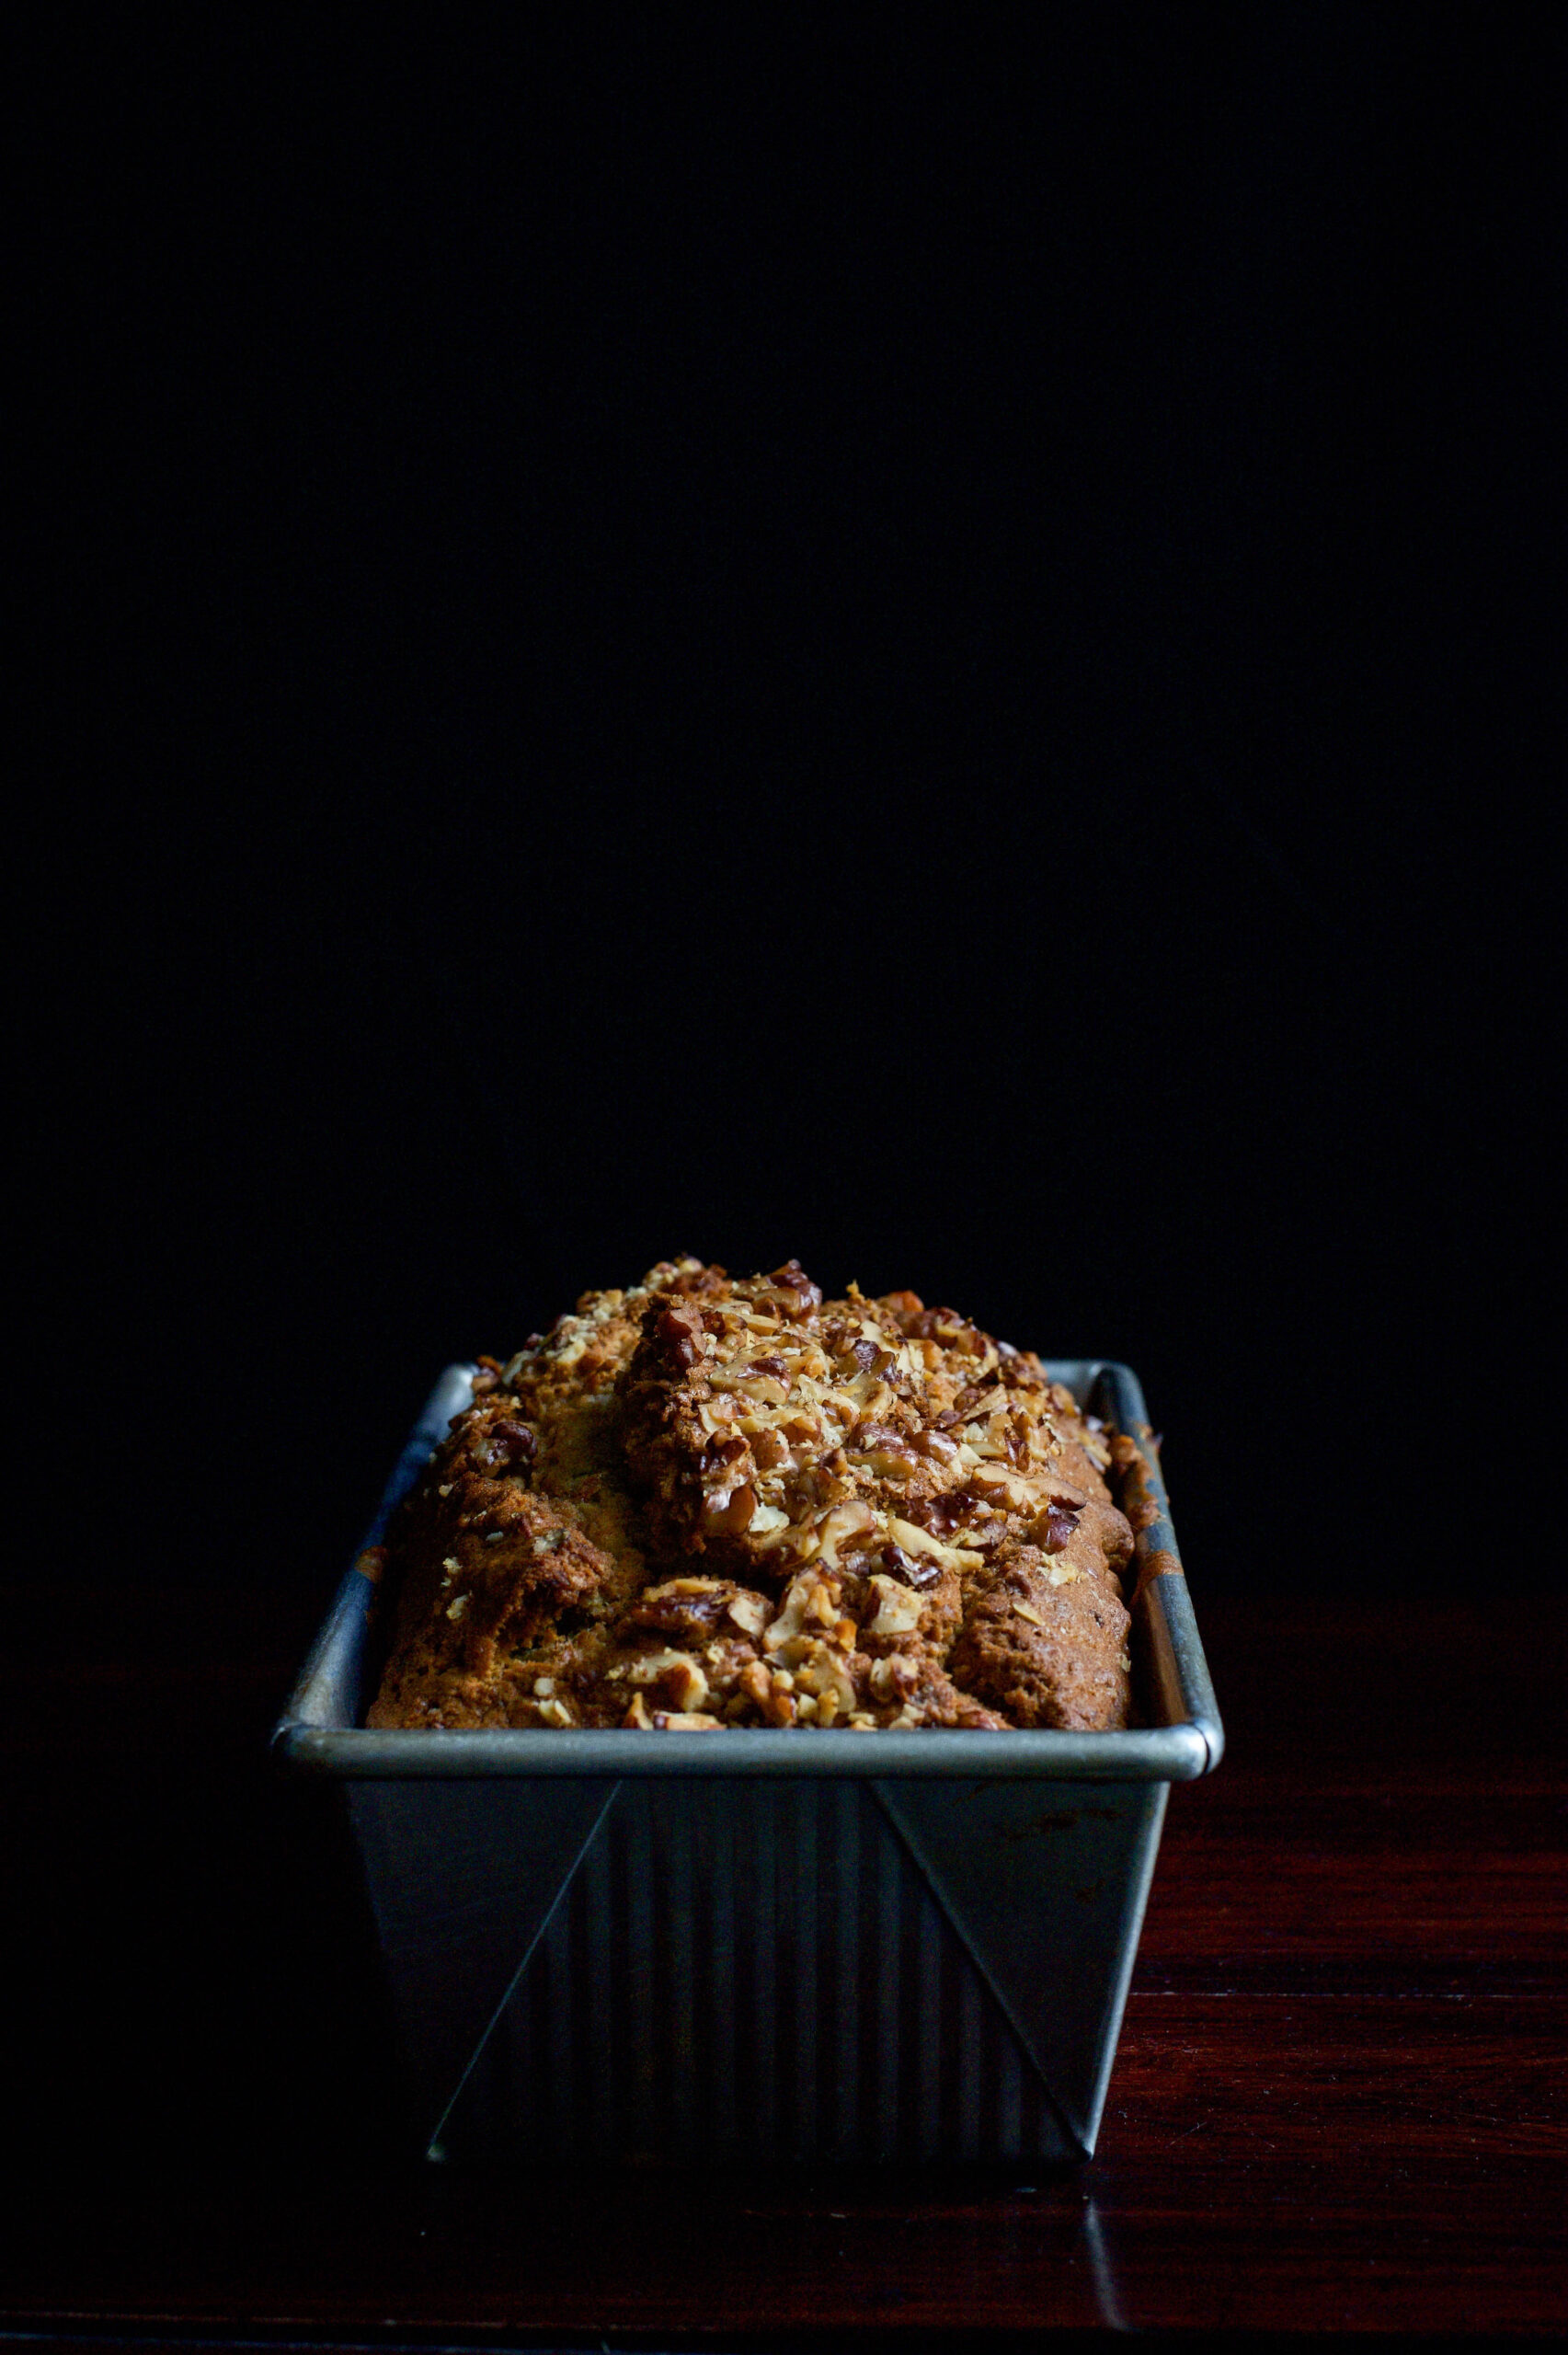
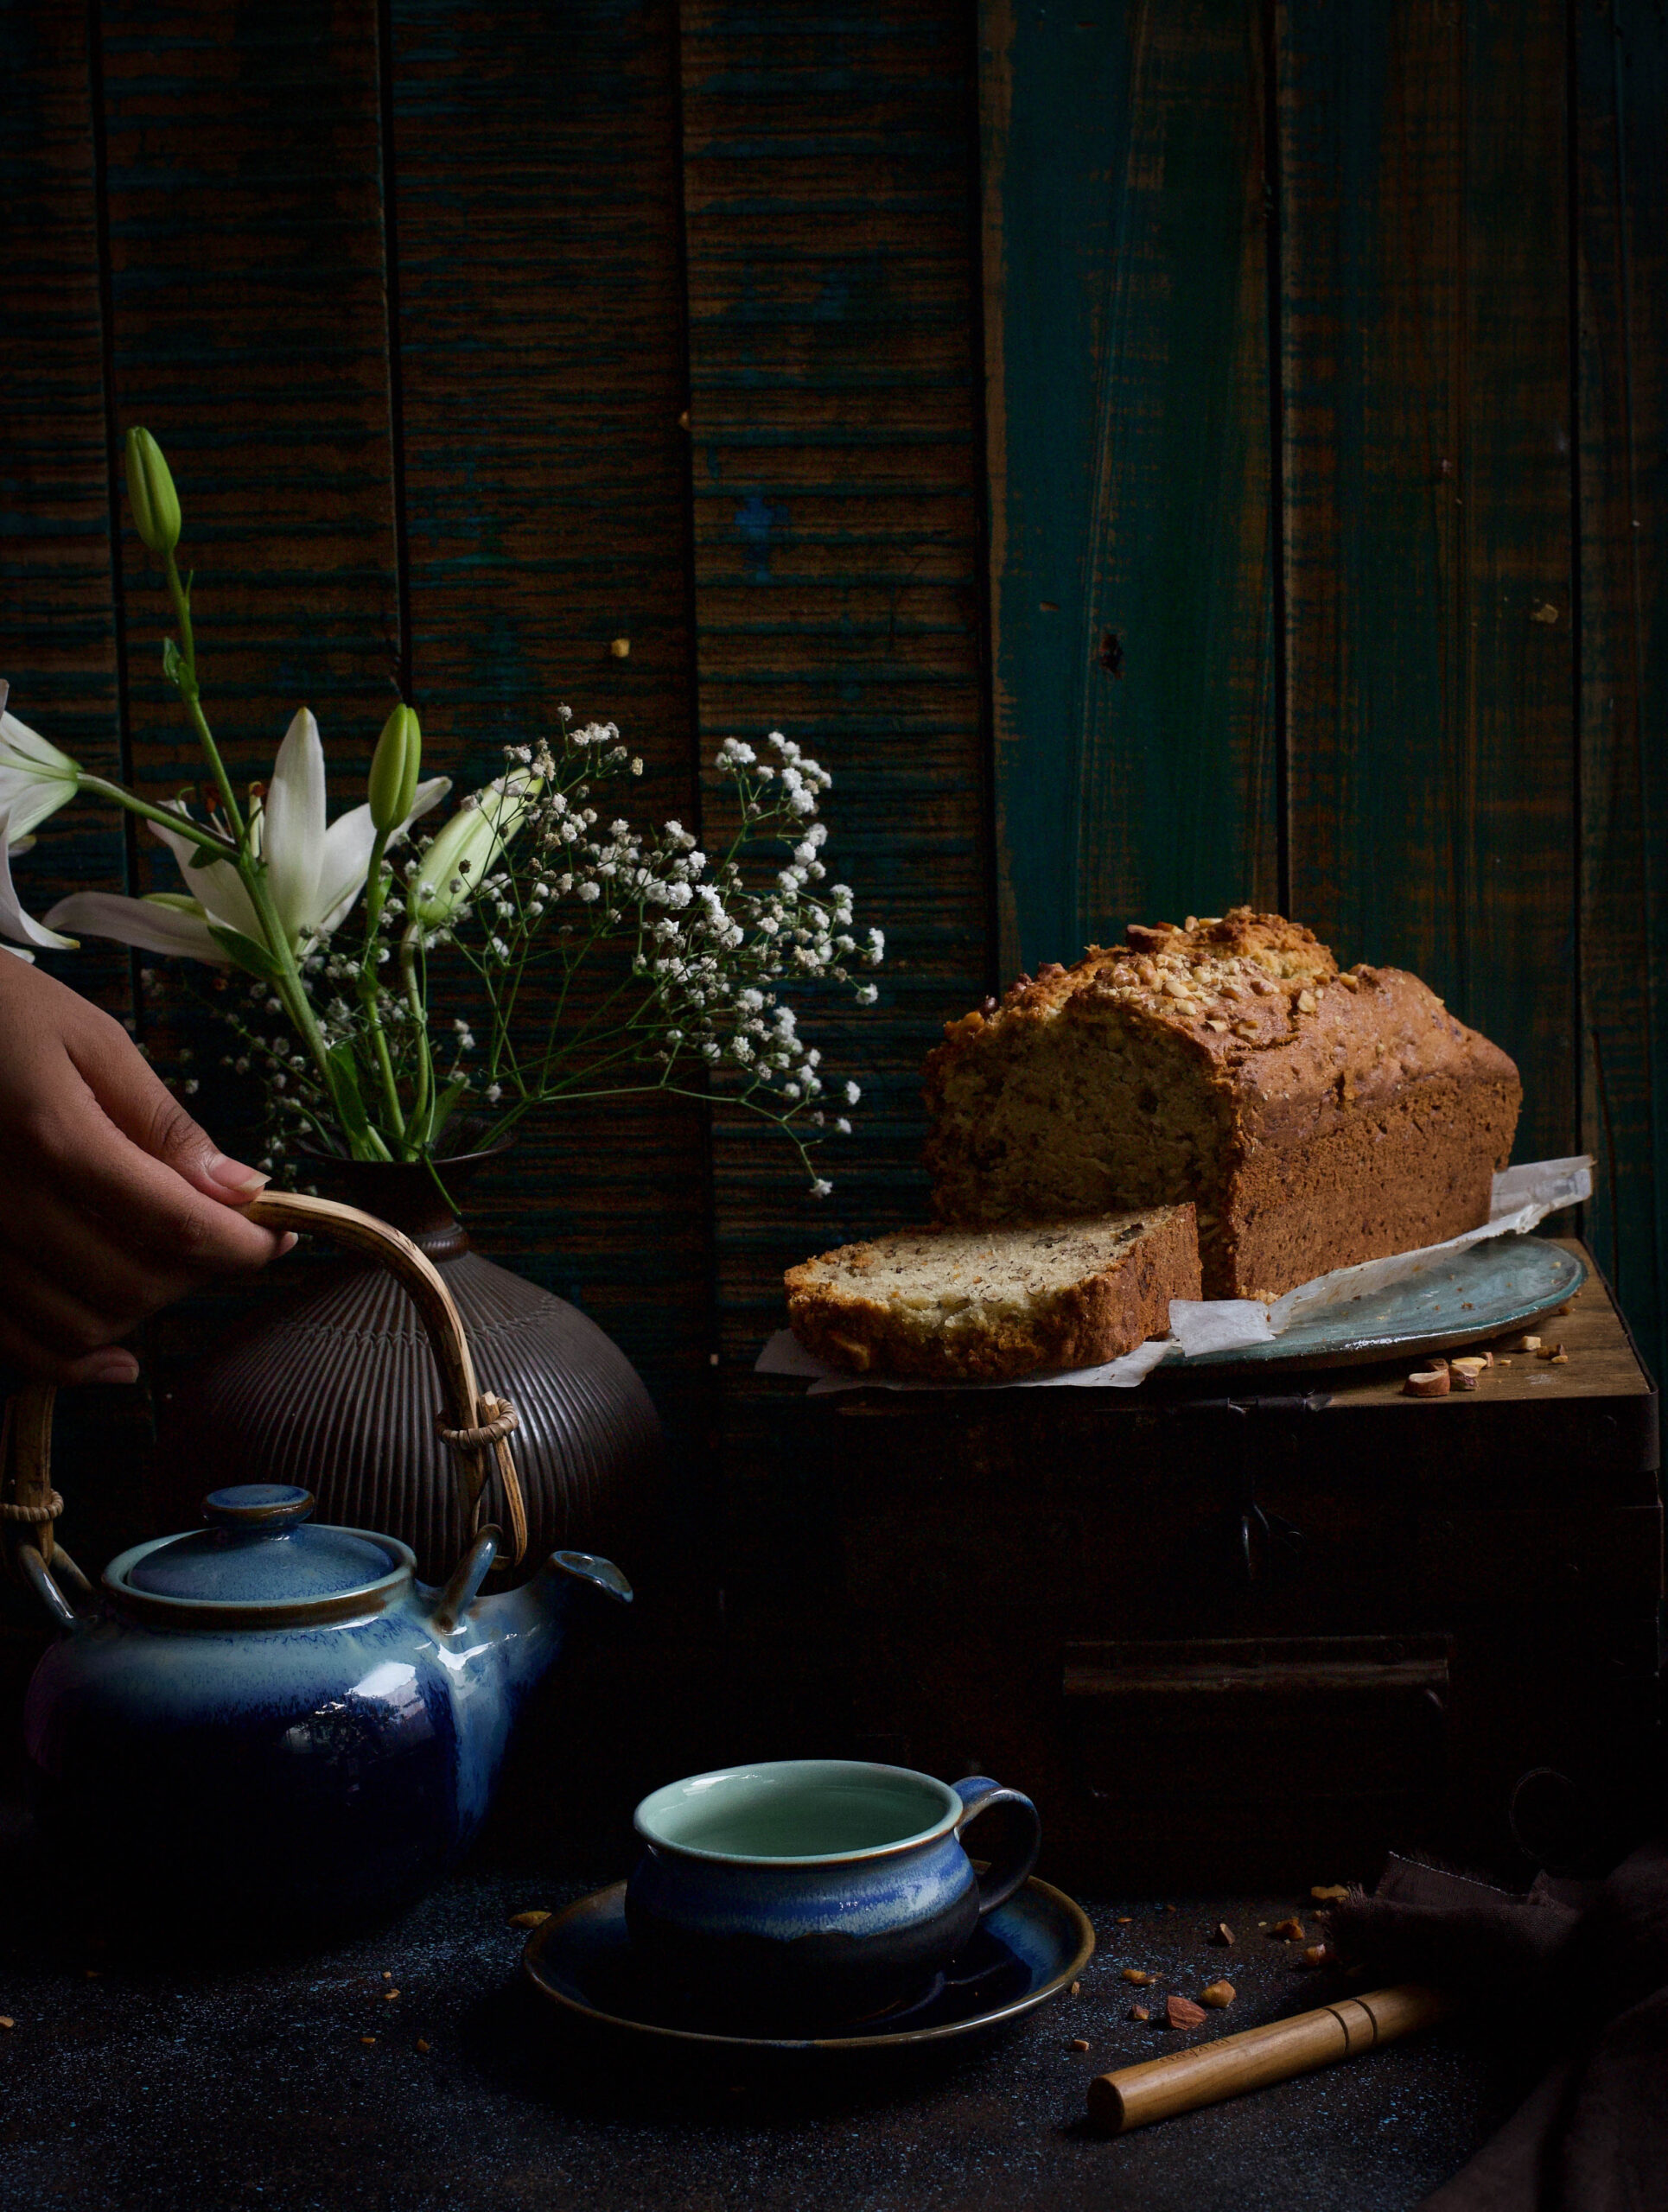
June is my birthday month, which means one word, and a very special one for re:store at that: CAKE! As I mentioned in an earlier post, my mother once attended a baking course at a catering institute in Chennai when my siblings and I were still in school. For an entire month, she’d bring home the most delectable samples. We couldn’t wait to get home and eat them! The smells and memories of that adventurous time when she started making all these new desserts for us are still with me, and a huge part of the inspiration behind re:store. During that course was when my mother had started to maintain a cherished notebook of baking recipes, which was gifted to me eventually. One of those recipes is what I’ve pulled out for you today – banana bread.

Growing up, I was not a great fan of the extremely nutritious banana, so this was a great way to make sure I ate it. Bananas have been proven to dramatically reduce the risk of heart disease, thanks to being packed with potassium. They improve the digestive system and are said to be beneficial for everything from asthma to weight loss. They are carb-rich, so they boost energy quickly. They are also naturally sweet, which means any dessert you put them in requires less sugar.

Lately I’ve been nostalgic about my growing years and it led me to dig out some old photos from back then. Here are two: an old studio portrait of my mother, who as you know inspires most of my work, and a shot of me from my teenage years by my dear friend Rags Raghavan, who has taught me a great deal about using the camera. Looking at the portrait of my mother, I feel grateful for how re:store has grown from my imagination into what it is today. My mother was in her 20s when it was taken and was about to be married. She went on to become my first, most important culinary mentor, and still is to this day. I remember days spent after school helping with chores in the kitchen; back then I didn’t realize the values I imbibed would be such an important part of me and my journey with re:store. Many of my cooking methods are identical to those of my mother’s kitchen. Grow your herbs yourself, never waste a morsel, always feed and care for staff, and a bunch of other values and tips. Even today, I pester my mother for traditional Gujarati recipes on my weekly visits, and she happily obliges.

Nowadays, I take so many photos digitally, carefully styling and selecting the best ones. Back then, we had manual cameras, with film rolls that had to be brought from abroad. You couldn’t edit those pictures, and you could not take so many either. My first film camera was a gift from my father-in-law, and my kids and family were my first subjects. I still have a soft spot for the old photography methods. They feel authentic to me in a way that I still try to replicate somehow in my modern shoots.

More than being commercially successful, what matters to me is that I am passionate about what I do. I enjoy styling my shoots so much. I am proud to say I work with pleasure!

Food and photography are two sides of re:store, and two big parts of my heart. So without further ado, here’s my birthday gift to you…


Birthday Banana Bread

(Yield: 1 loaf)

Ingredients

150 grams unsalted butter

200 grams sugar

3 eggs

110 ml buttermilk

3 bananas

1 teaspoon baking soda

½ teaspoon salt

¼ teaspoon cinnamon

350 grams flour

100 grams walnuts


Prepare a 10′ loaf tin, by buttering and dusting with flour.

Beat the butter and sugar until light and creamy. Add the eggs one at a time, beating well after every addition. Once the eggs have been blended well, add the bananas and buttermilk.

Sift the flour, baking soda, cinnamon and salt. Fold into the batter. Now add half the broken walnuts as well.

Using a spatula, blend the batter well once more, then spoon it all into the loaf tin.

Take the remaining finely chopped walnuts and sprinkle on top to decorate.

Bake for 45 minutes to an hour, until a skewer comes out clean when inserted.

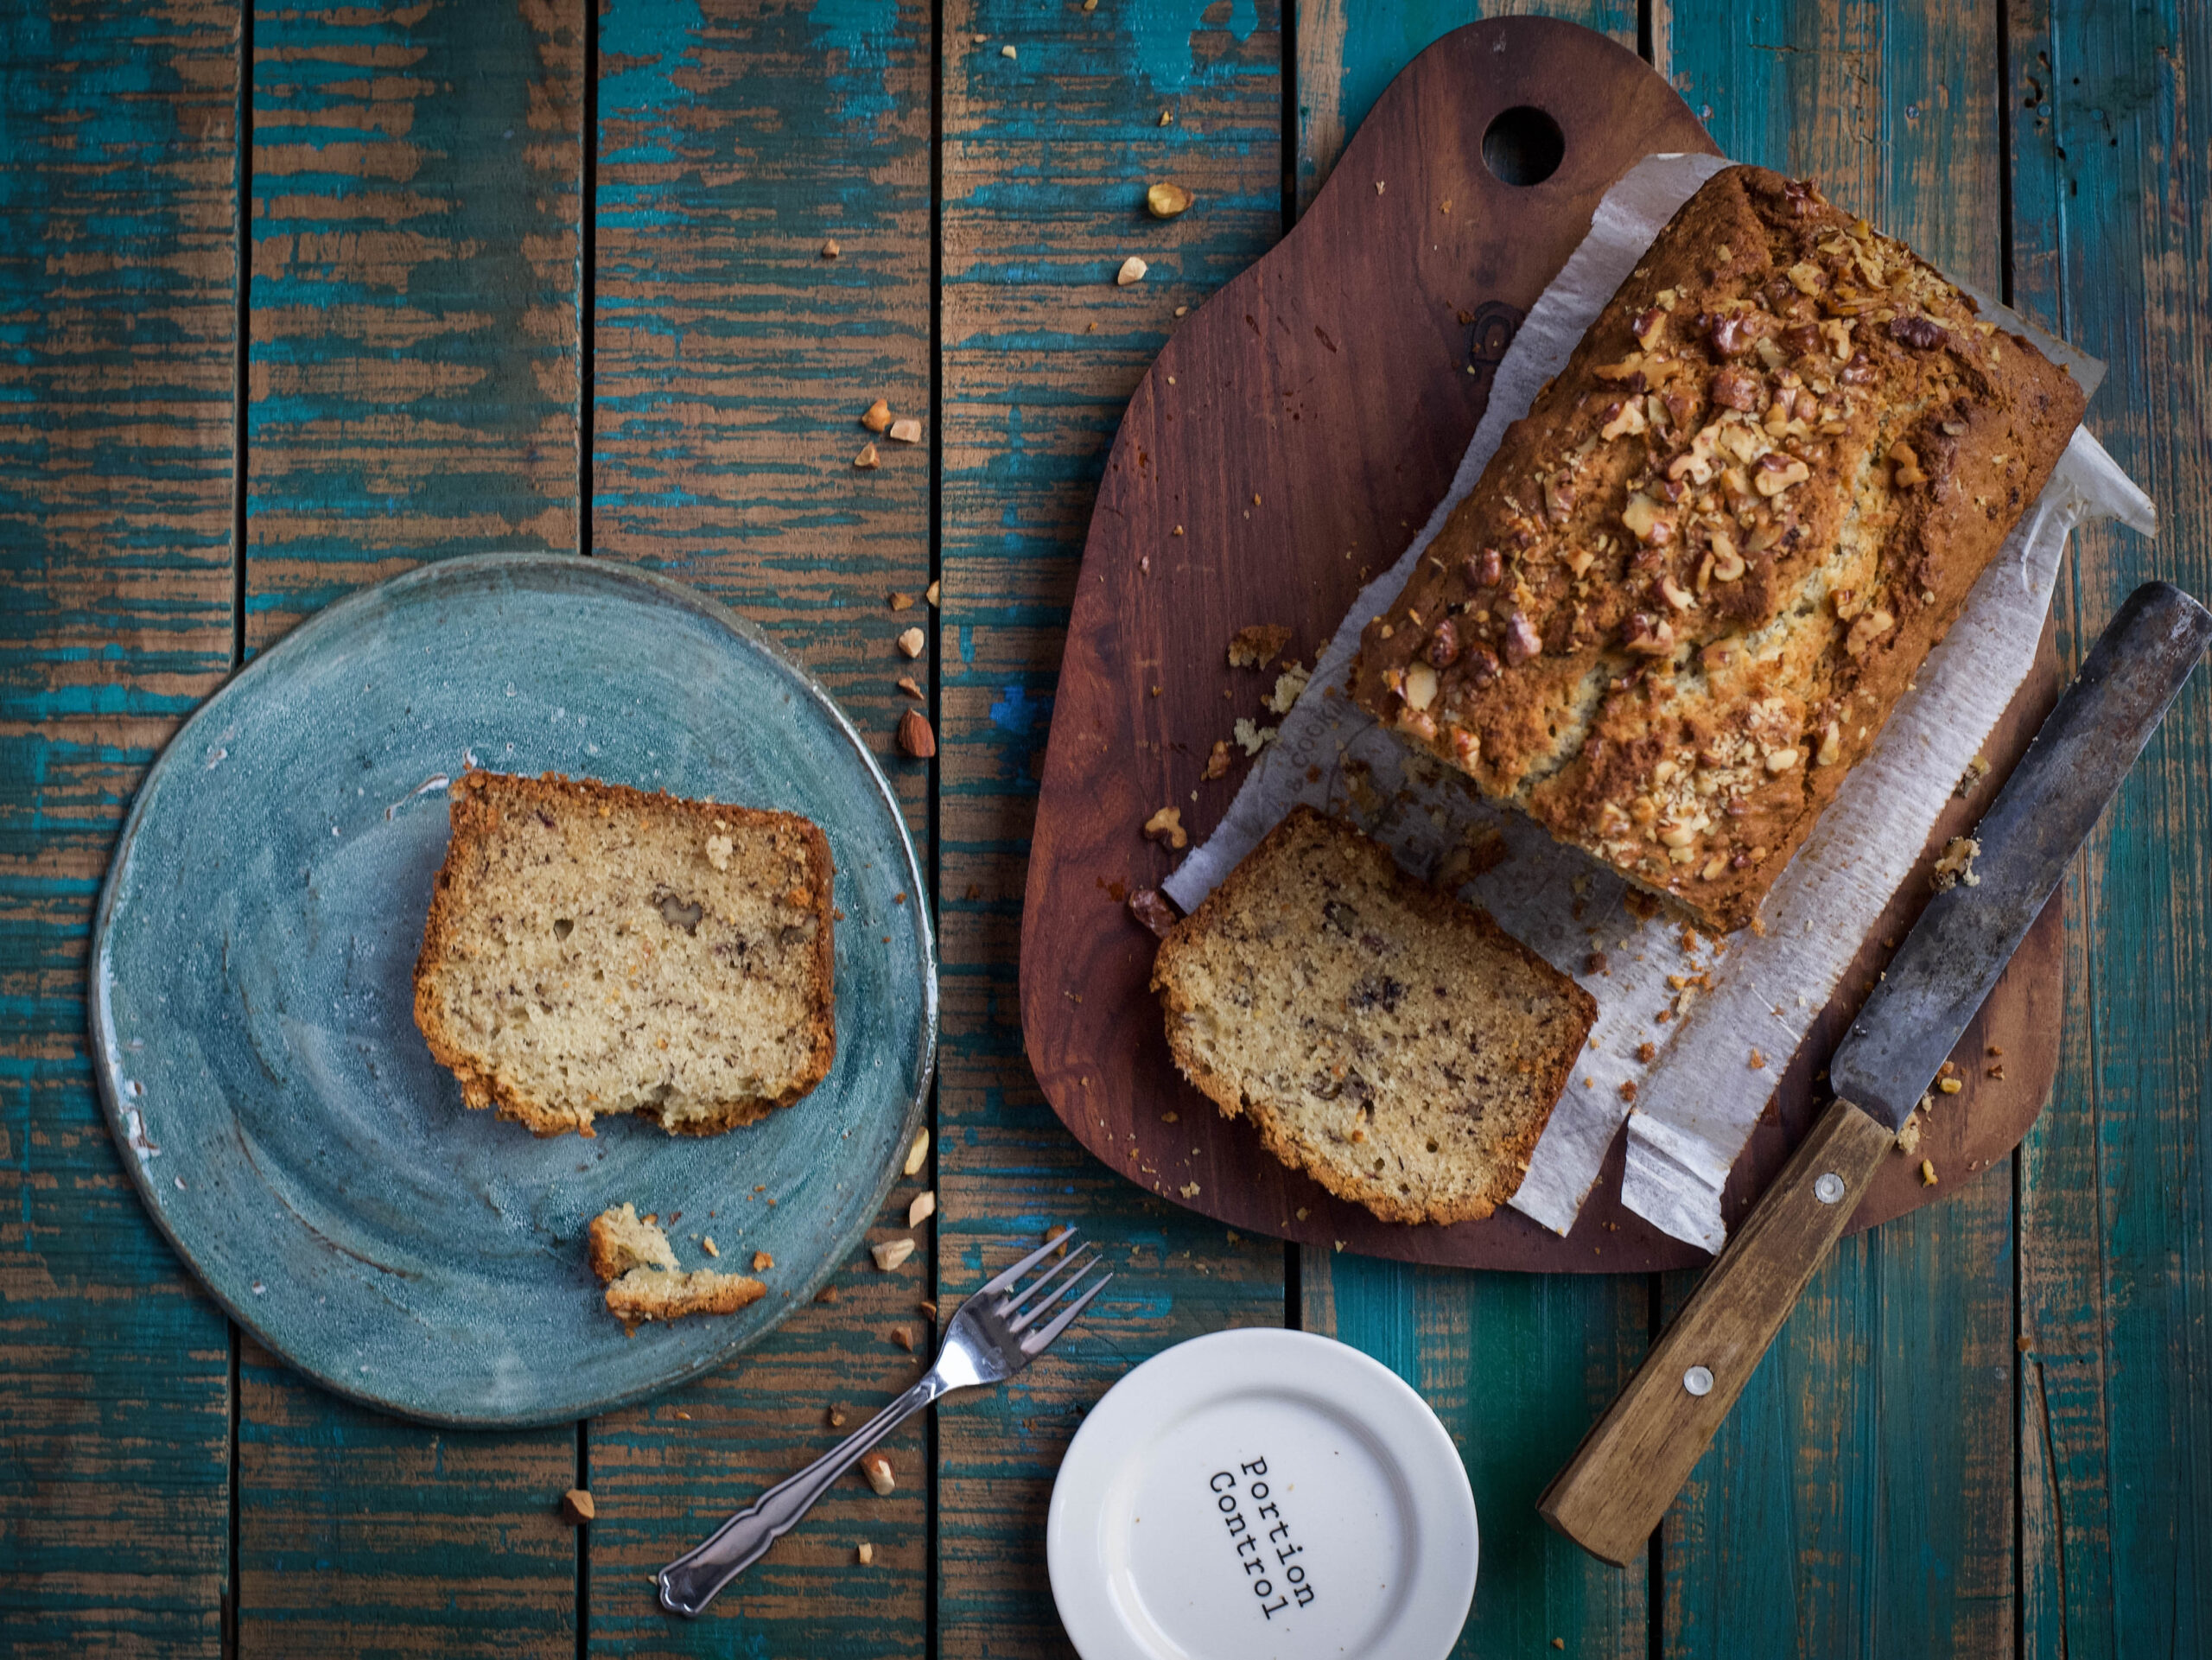
Allow to cool and remove from tin. Slice and serve with a hot beverage of your preference.

I’ve chosen to share this banana bread recipe with you because while it’s a cake, it’s also one of the healthier desserts you can have. If, like me, you have an eye on your fitness, you certainly won’t feel like you’ve cheated on your diet plan. If you’re a fan of banana and looking for something slightly more decadent, try the deep-fried deliciousness of my banana-methi fritters!

I always think of the recipes on this blog as a gift for those who live far away from my kitchen – if you can’t treat yourself to one of my homemade cakes, you can at least try to make it yourself!

If you’ve been following my blog, you’d have noticed that despite my quintessentially Gujarati sweet tooth, my culinary adventures are often based on healthy eating. I hardly ever reach for a fried item first, but these banana-methi fritters are a part of our wide kitchen repertoire at home during Diwali. Perhaps one just can’t feel guilty about indulgence when it comes to special occasions! The festive season isn’t far away, so you may want to try your hand at these fritters and see if you’d like to share them with your friends and family too this year.

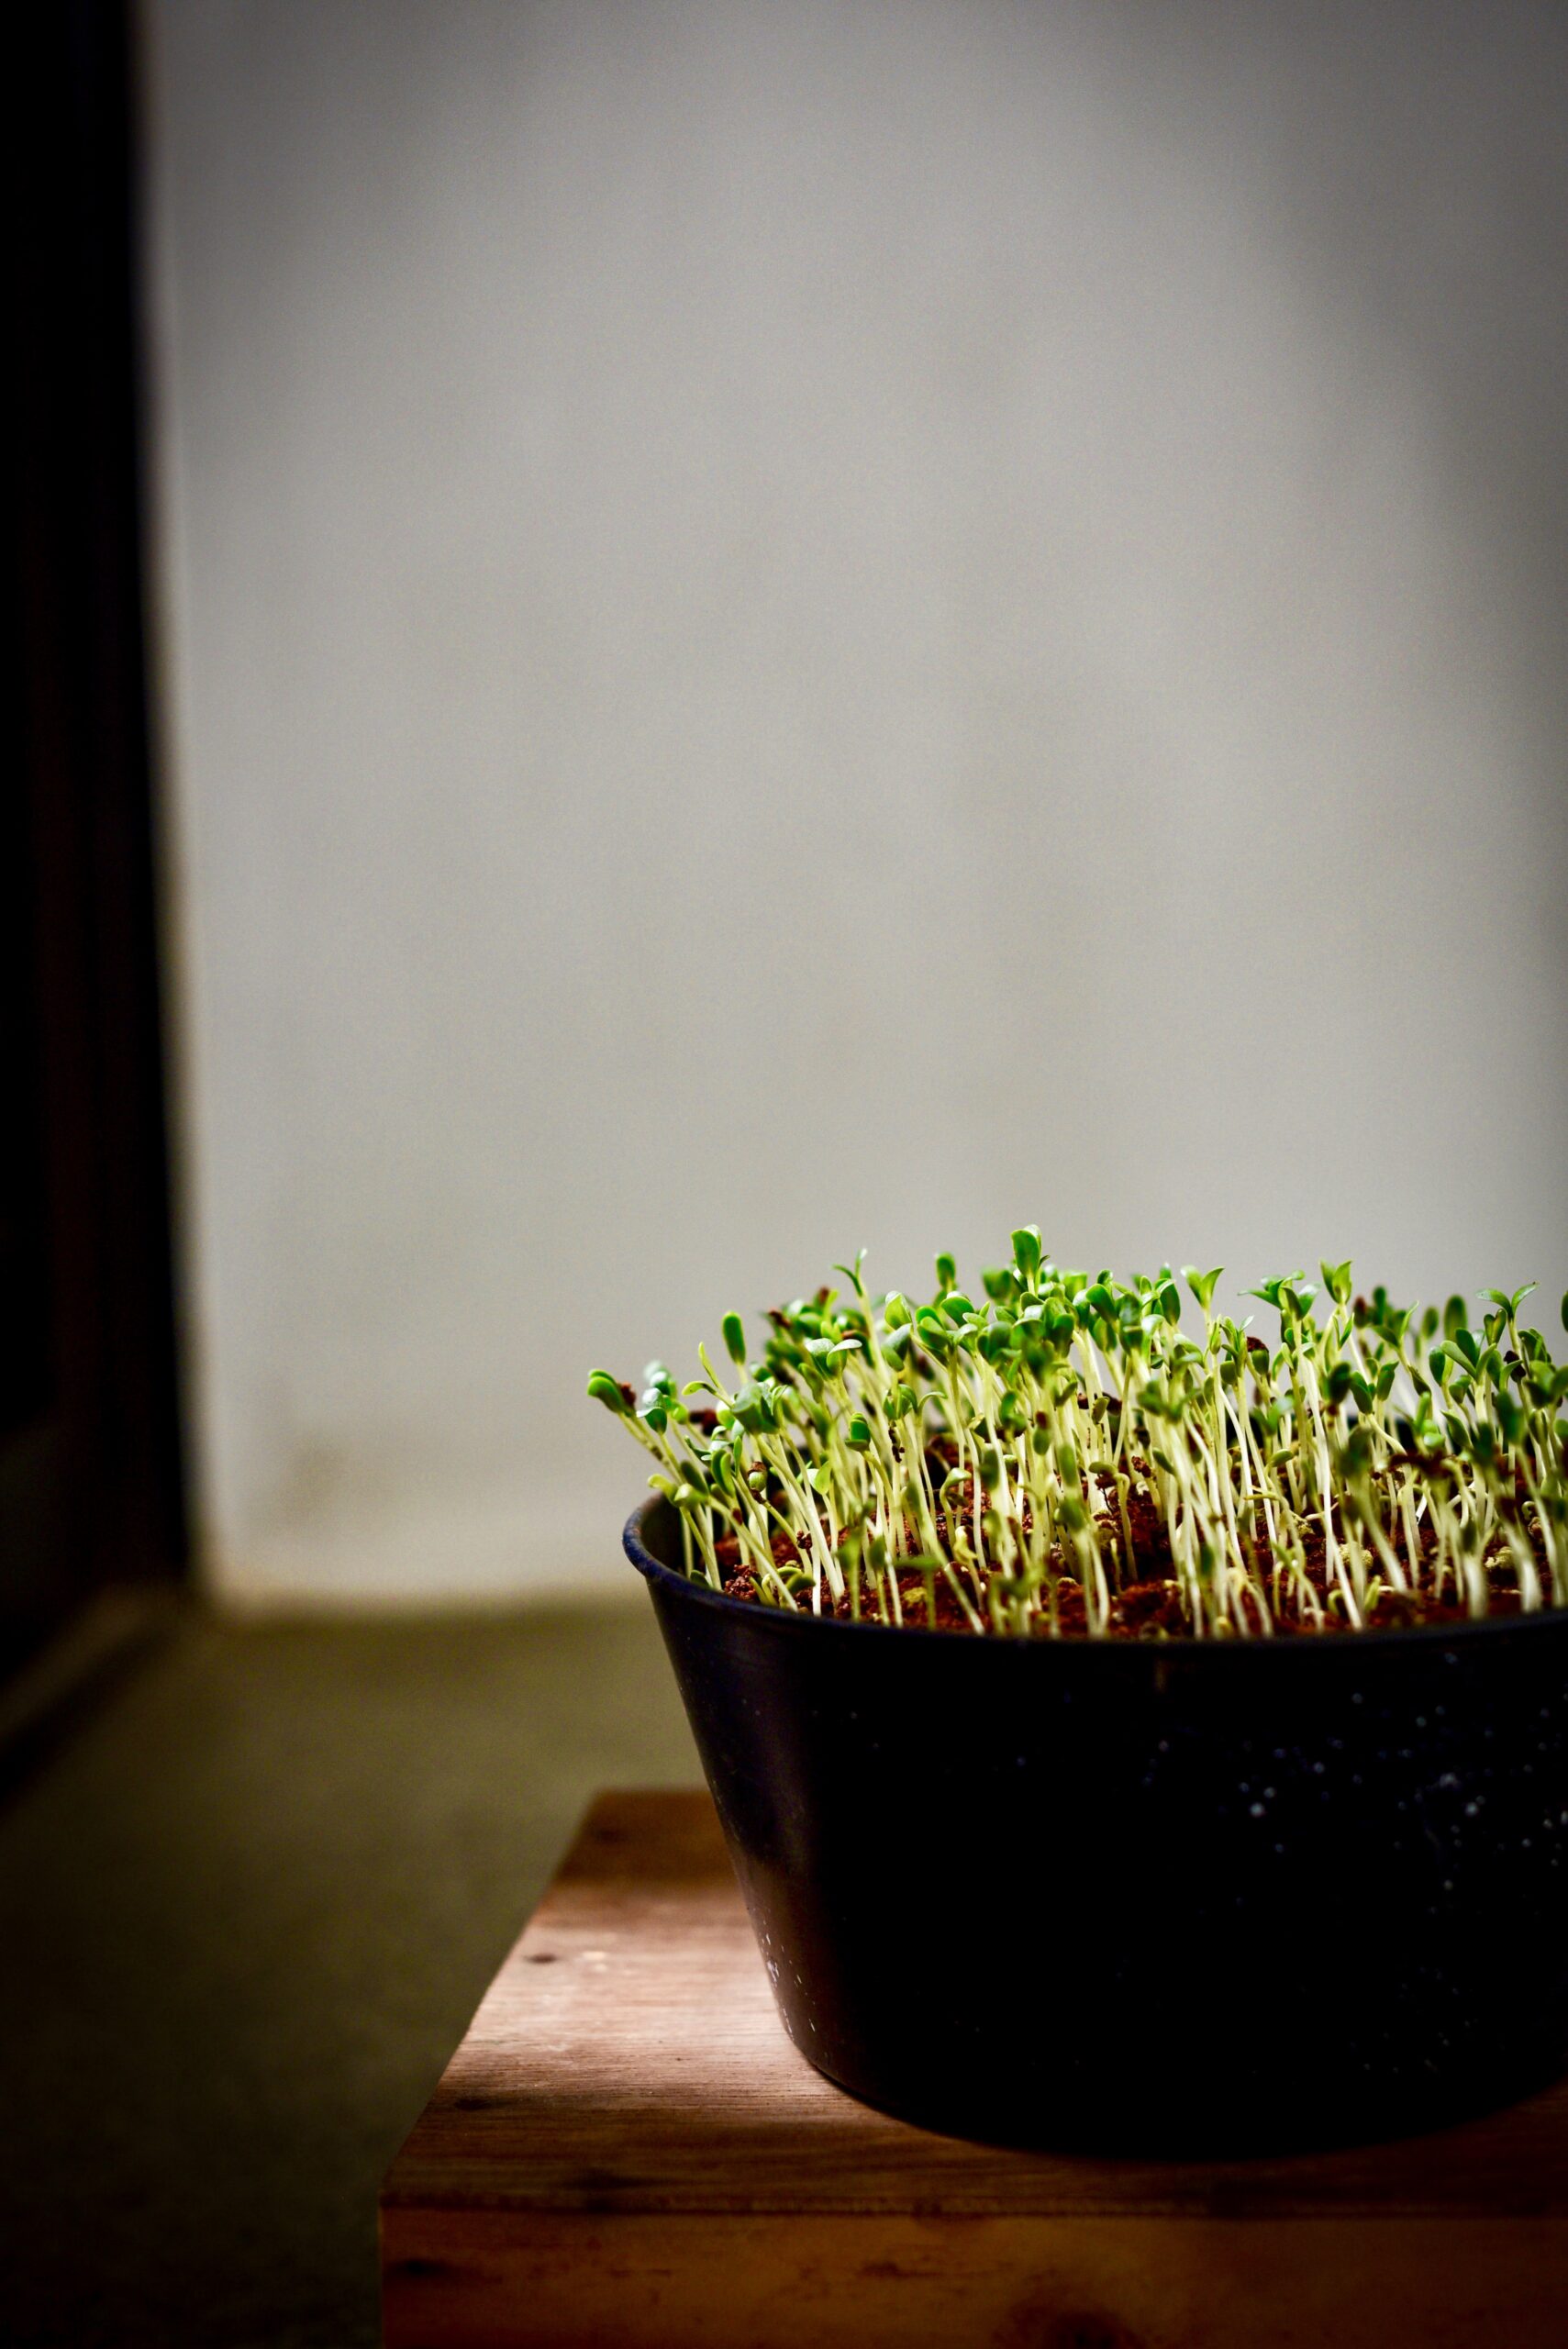
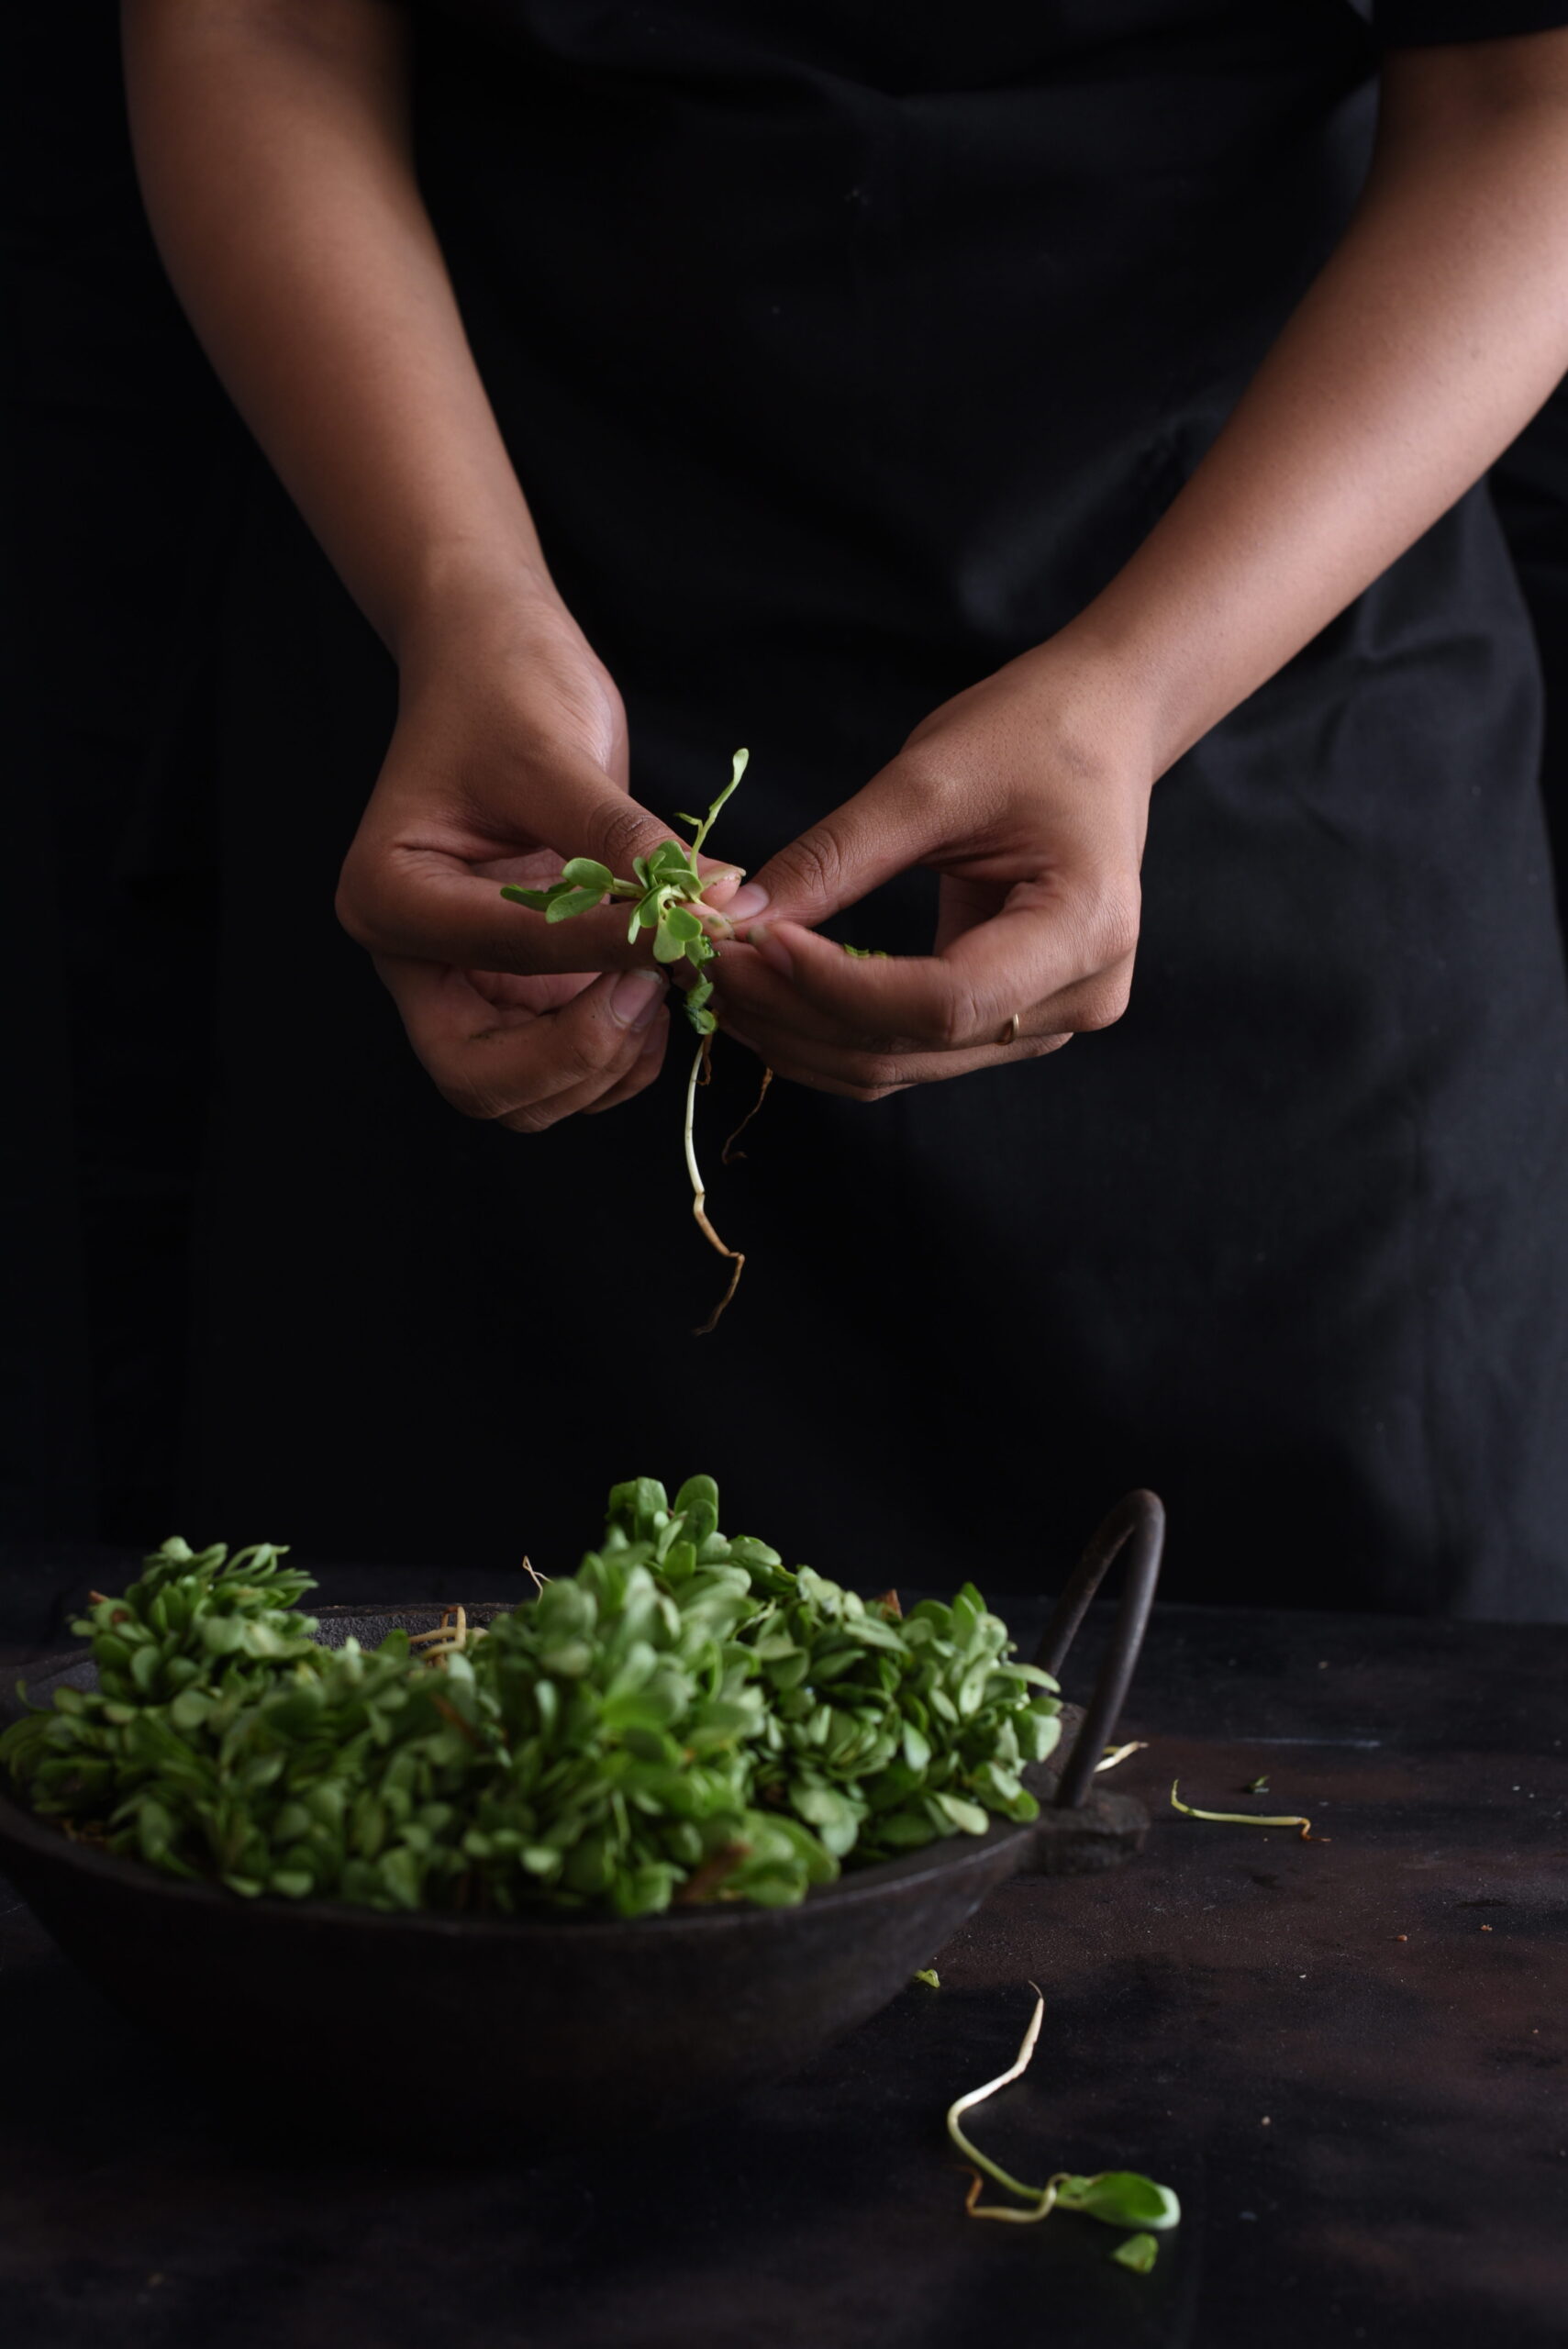
Growing methi (known in English as fenugreek, and in Tamil as vendeyakeerai for the leaves and vendeyam for the seeds) is as easy as throwing a few seeds in the soil and allowing them to sprout in a matter of days. This is why I can use freshly-plucked methi leaves for so many of my dishes. Alongside tulsi, lemongrass and numerous herbs, fruits and vegetables, it flourishes right in my home. Whether it’s a traditional Indian staple or a salad (Chennai’s weather makes fresh lettuce difficult to find in the city sometimes, and I love experimenting with healthy substitutes), these pretty greens are a familiar ingredient in the re:store kitchen.

Methi has an array of health benefits. Among them, it helps improve digestion, tackle respiratory allergies, cure anaemia, and lower cholesterol and blood sugar levels (which is why it is used in diabetes management). Due to its high estrogen content, it even helps lactating mothers in the production of milk – I remember being given lots of methi laddoos after giving birth. In addition to these benefits, methi is also known to have a beautifying effect on the hair and skin when used in a paste form as a mask or conditioner.

I’m telling you all this to put a healthy spin on the recipe below – which is a fried indulgence!

The other ingredient in this spicy, crispy snack I’m about to share with you hardly needs to be promoted on the basis of health, because it is so very sweet and tasty. That filling, versatile, portable and very nutritious fruit – the banana! It just so happens that bananas are rich in potassium, fibre, antioxidants and share blood sugar-lowering, cholesterol-management and overall wellness-boosting benefits with methi.

Hundreds of banana varieties are grown in India through the year, and with Tamil Nadu being the source of 23% of the country’s supply, we really have our pick of the fruit here. In fact, the banana tree is auspicious in many Indian cultures, and has a place in wedding and fertility rituals. Similar to the coconut, its various parts have many uses. The banana flower, known as vazhaipoo, is diced and eaten in Tamil cuisine – and traditionally, South Indian food is always served on a banana leaf.

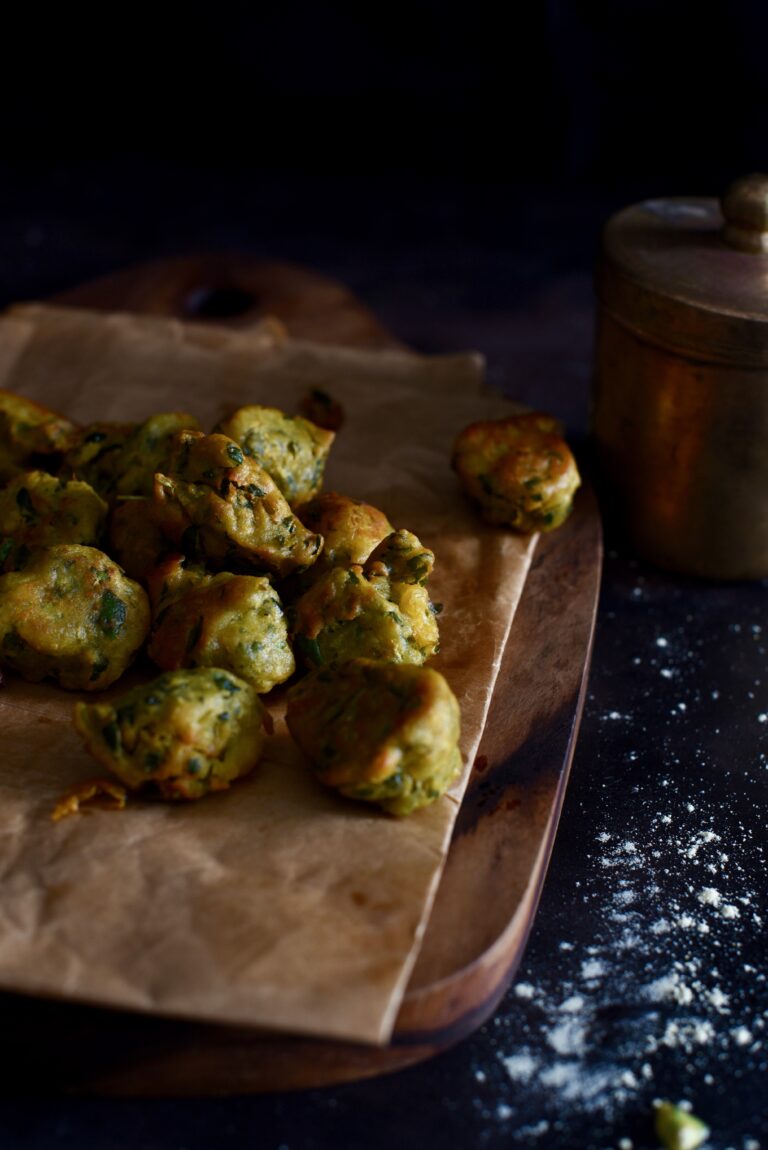
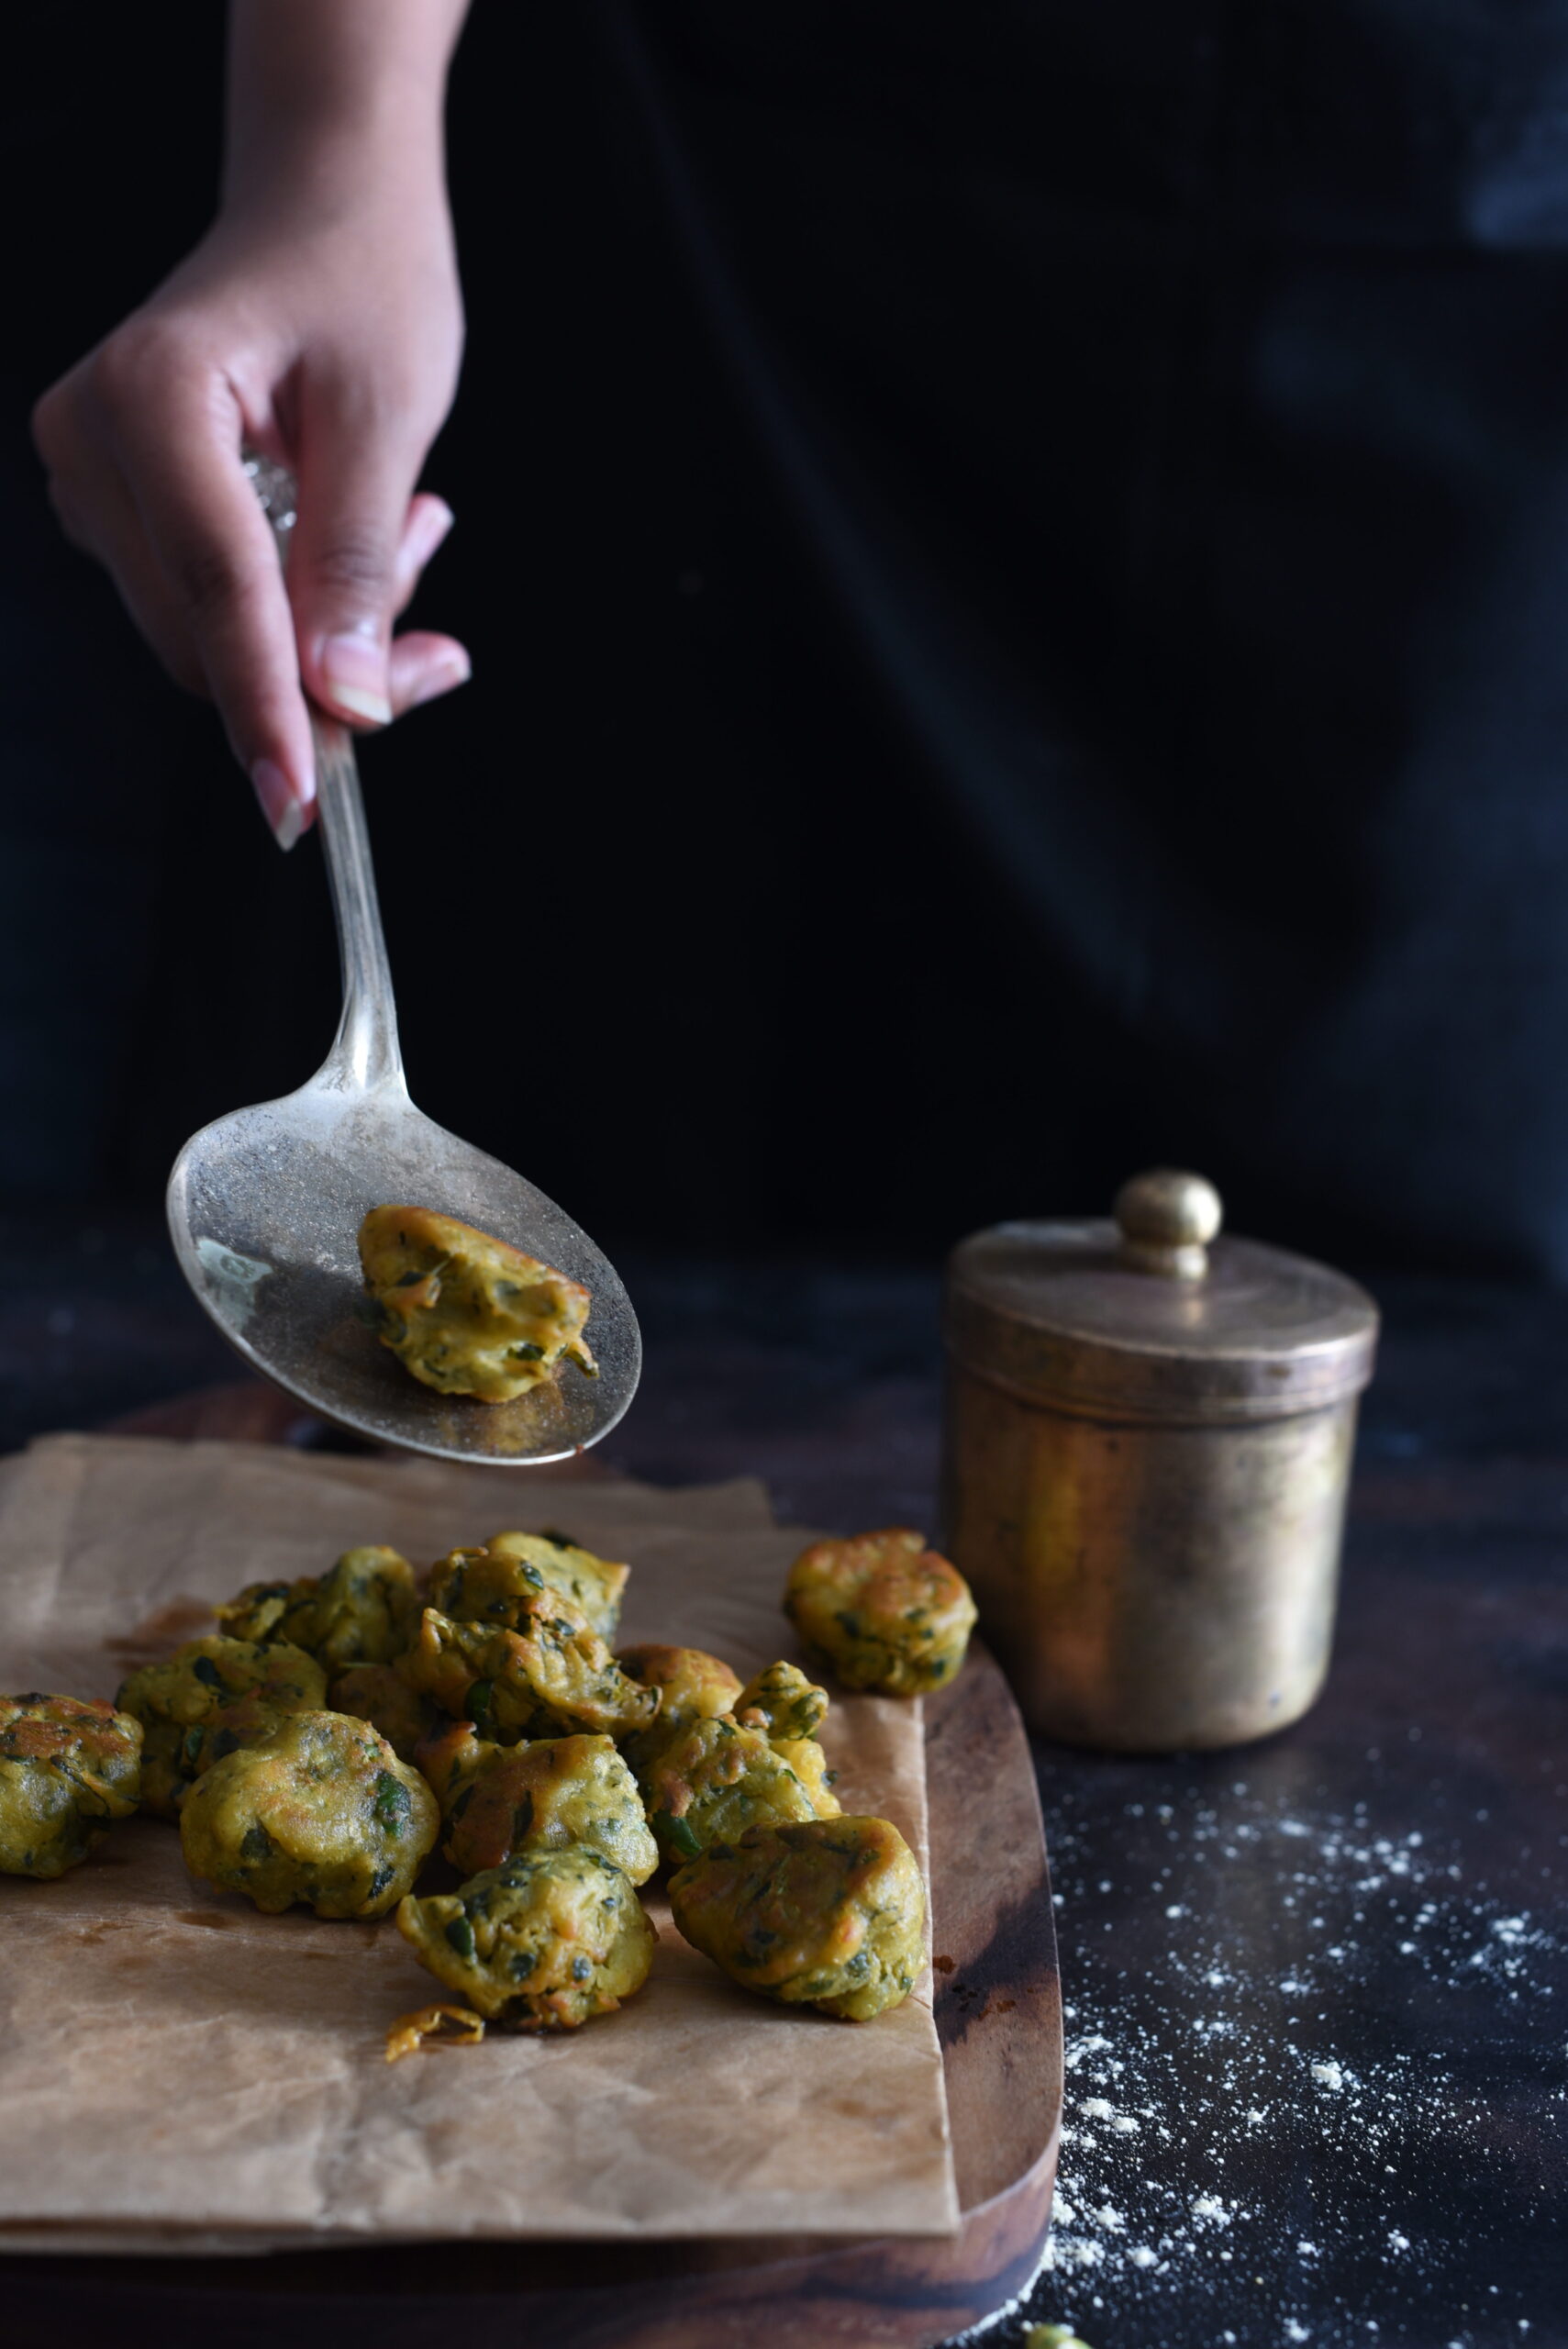
So we have here two key ingredients so nourishing that you can forget you’re chomping on fried deliciousness. Without further ado, here are my banana-methi fritters, served with a green coriander chutney.


Banana-Methi Fritters With Green Coriander Chutney

(Yield: 20-25 small fritters)

Fritters
¾ cup chickpea flour
¾ teaspoon salt
¼ teaspoon turmeric
½ teaspoon cumin powder
1 teaspoon grated ginger
1 finely chopped green chilli or 1 teaspoon chilli ginger paste
¾ cup methi leaves, washed and finely chopped
½ cup ripe banana, pulped or finely chopped
2 cups of oil + 1 tablespoon hot oil
¼ cup water

Chutney

1 cup coriander leaves, washed and finely chopped
1 green chilli
1 tablespoon peanuts
1 teaspoon lemon juice
2-3 tablespoons water
1 generous slice raw mango (optional)
Salt to taste

In a mixing bowl, add the flour, salt, turmeric, cumin, grated ginger and green chilli and mix. To this, add the banana and the methi leaves. Mix them well with your hands, adding enough water to make a paste-like consistency. Allow this batter to sit for a minimum of half an hour.

Heat the 2 cups of oil. Add 1 tablespoon of hot oil to the batter. The hot oil in the batter helps make the fritters soft. Blend well with your hands.

The remaining oil should be in a pan on the stove, and you can check its heat by adding just a drop of the batter into the oil to see if it sputters. If it does, the oil is ready. Lower the flame and add small spoonfuls of batter into the oil.

Keep the flame low and allow the fritters to fry well. Once the fritters have cooked on one side, flip them over using a butter knife. At this point, you may increase the flame slightly then lower it again, ensuring that the oil doesn’t get so hot that the fritters burn and blacken. You want them to be fried to a golden colour on both sides. Once this colour is achieved, remove the fritters from the stove and drop them onto an absorbent paper to remove excess oil.

Serve hot. I like to complement these crispy banana-methi fritters with a green coriander-based chutney. For this, I use coriander, green chilli, ginger, peanuts, salt, lemon juice and water, usually with a generous slice of raw mango. Simply blend all the ingredients together well in a mixer-grinder. The result is a flavourful chutney that perfectly accompanies the fried fritters.

Between the sweetness of the banana, the bitterness of the methi and the tangy kick of the chutney, you won’t be able to stop at just one! Try it for yourself and see. Let me know what you think in the comments.