32 Results

farm

Search

What did you think of the raw mango thovayal that I shared in my previous post? I hope it added a tangy kick to your meals, and if you used it in any offbeat ways (such as as a marinade, or in a fusion dish), I’d love to know. The next dish I’m sharing in this dip series is another recipe that could lend itself to versatile use too. It also has an interesting dry-to-wet storage solution built into its preparation, which you’ll learn about below. This lasun ki chutney (dry garlic chutney) is a Gujarati condiment, one that always existed in my childhood food experiences, and I know it is also made Maharashtra, which borders Gujarat.

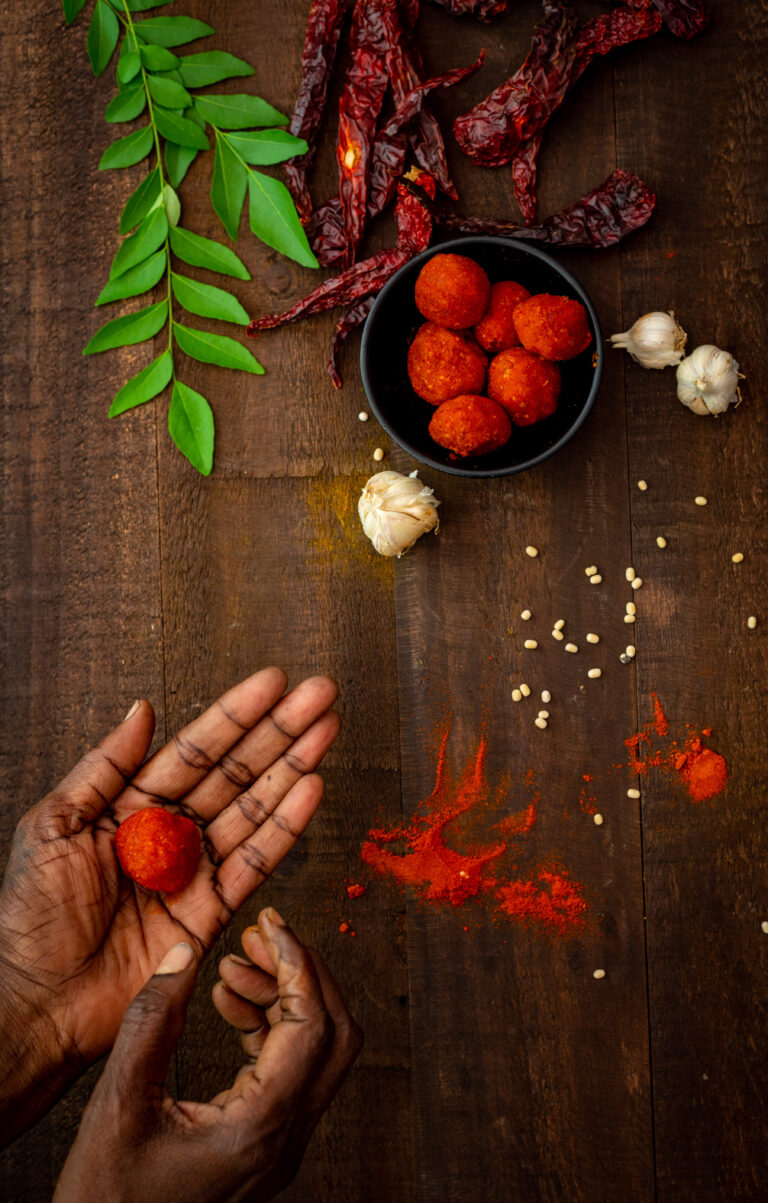
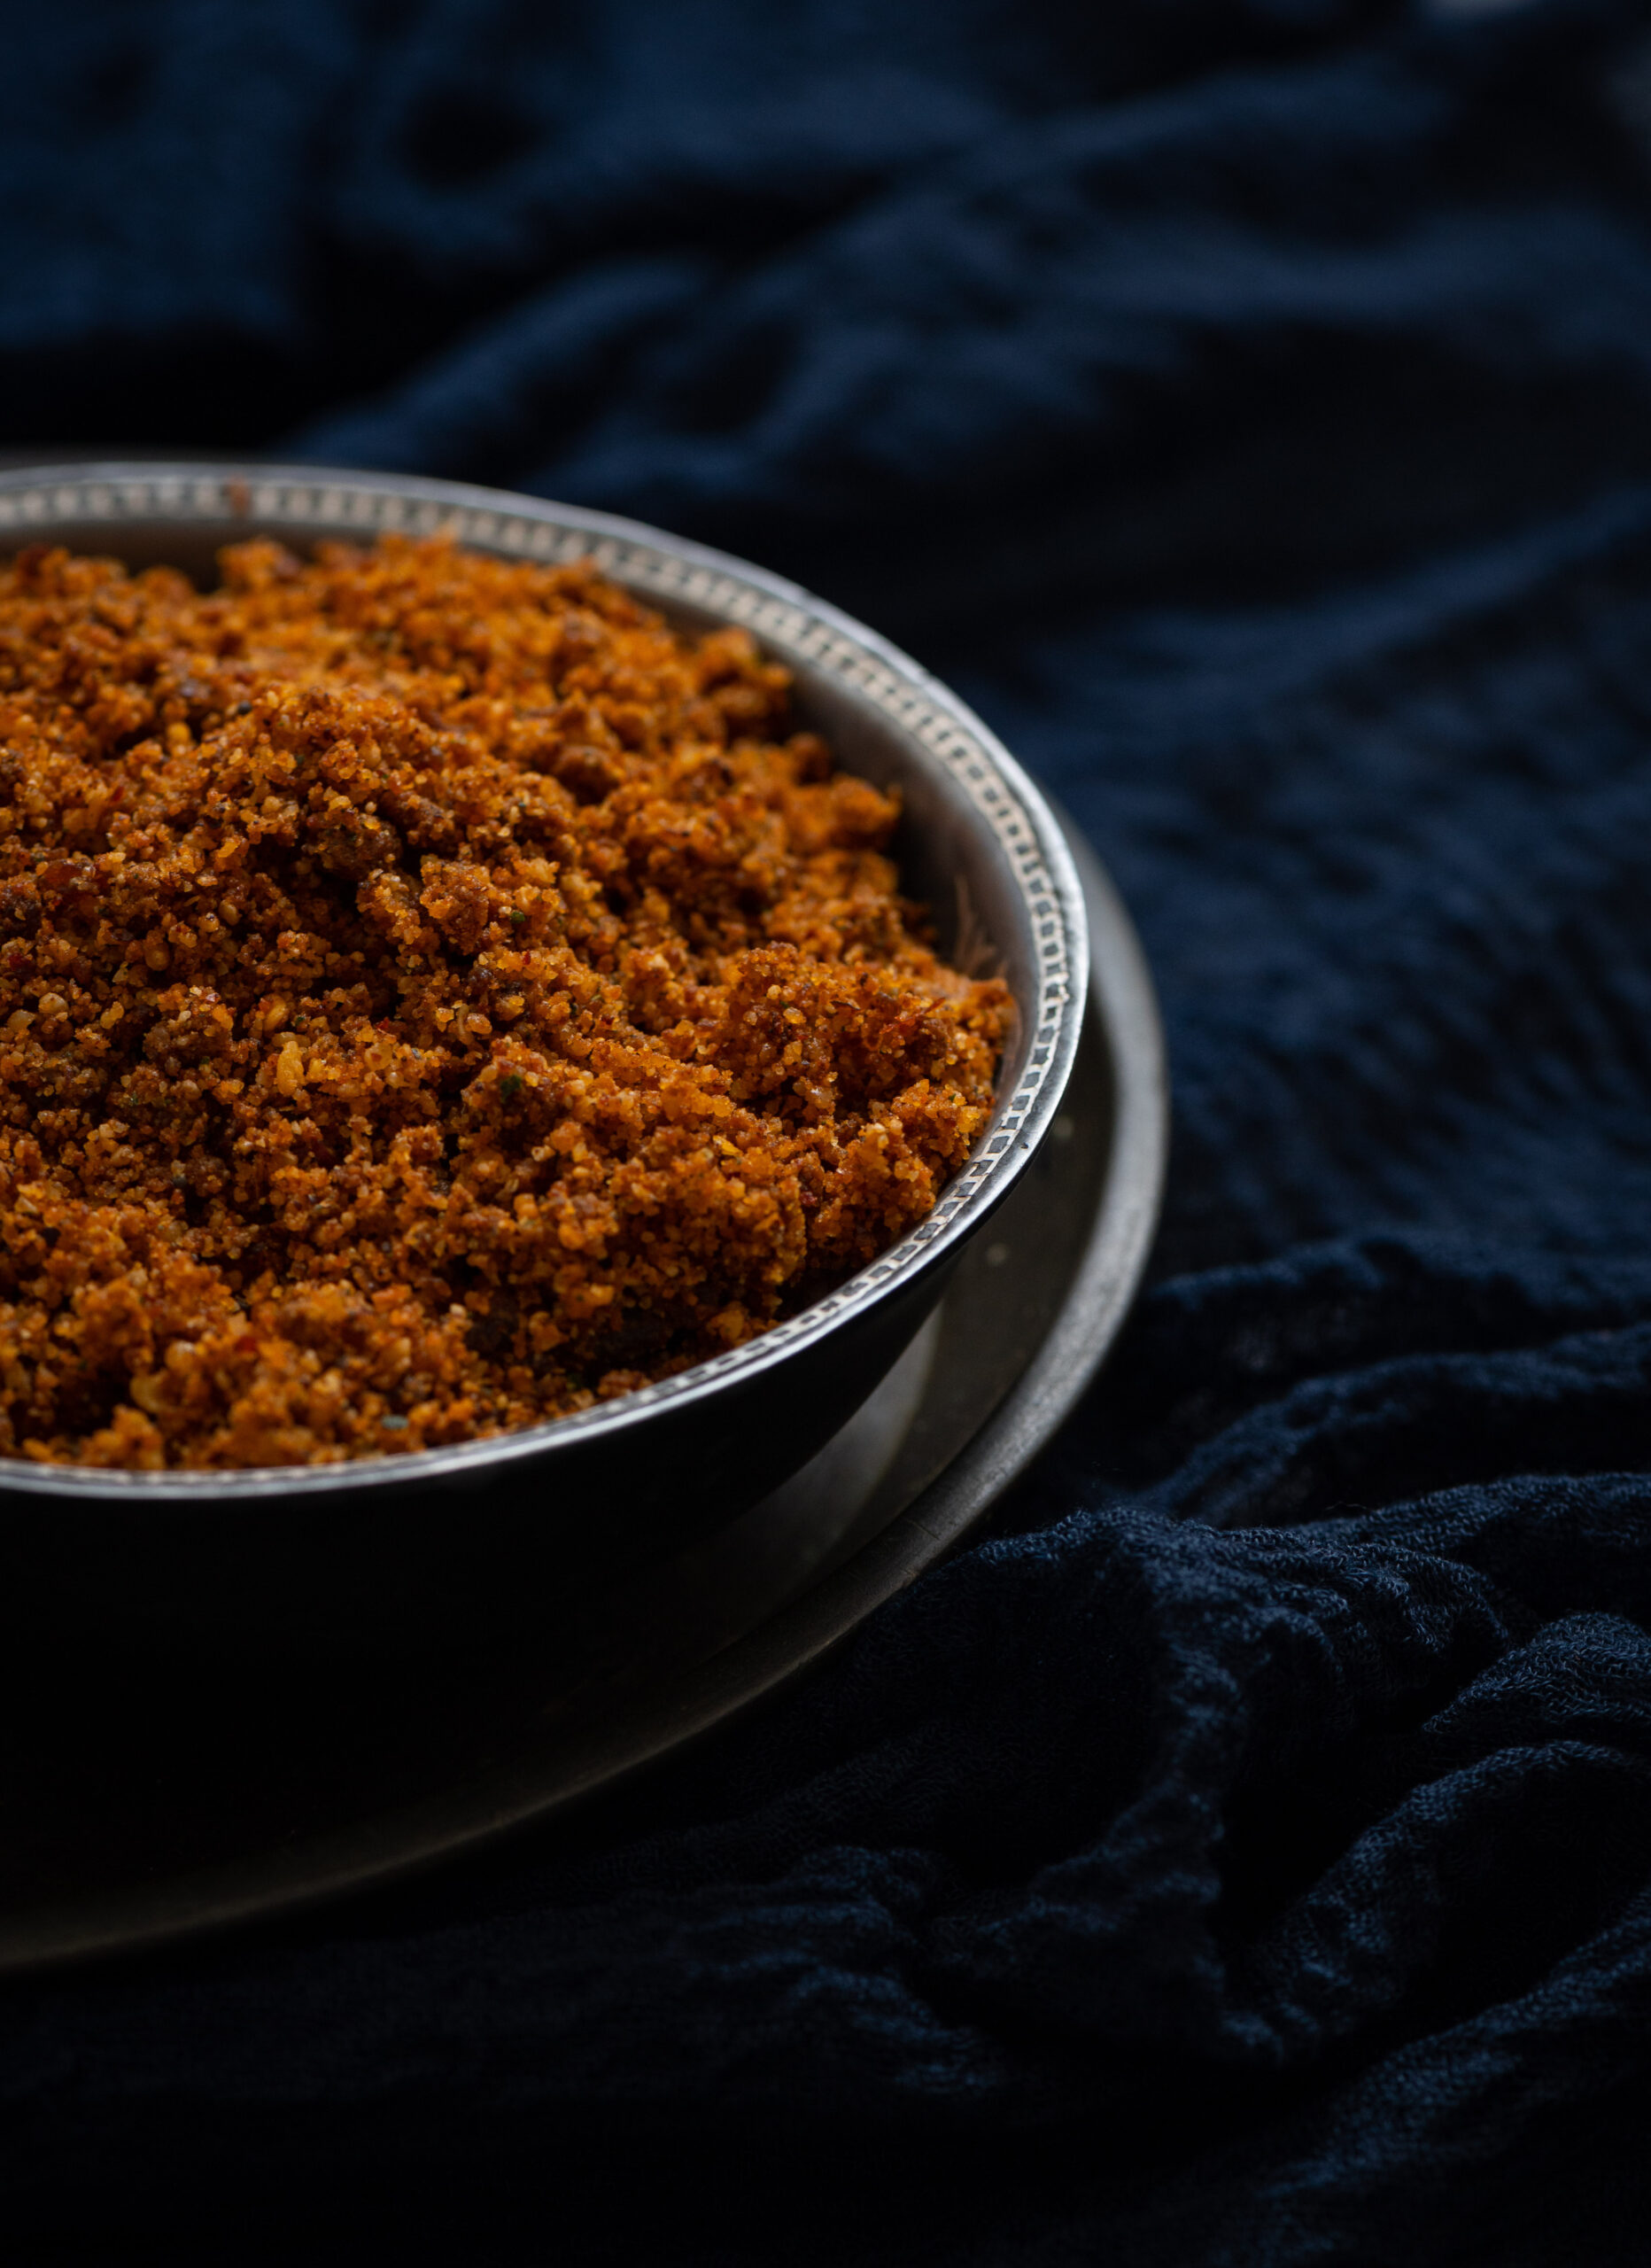
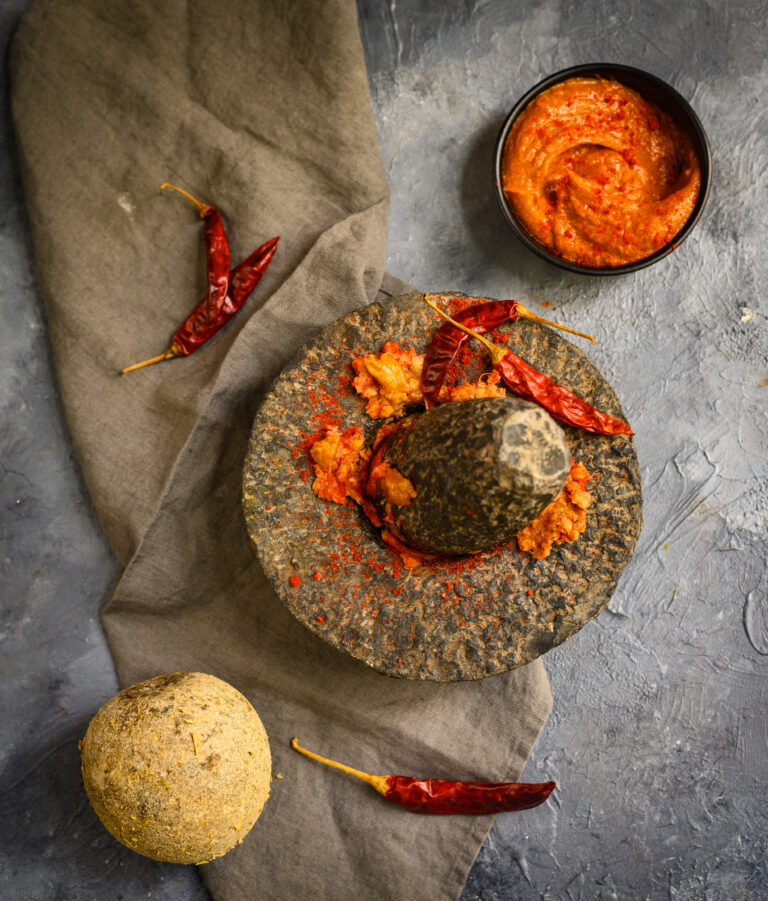
It is a dry garlic chutney with a fiery colour, and is made in a ball form that is supposed to last two or three days without refrigeration. This means it travels well, so it is often paired with the equally durable thepla on train journeys and so on. While I was growing up, my mother kept her lasun ki chutney in the fridge, which extended its shelf life a little further too. The concept is like this: it’s a dry chutney, made with minimal water, that is rolled into a ball and stored. Whenever one wants to consume it, one simply pinches some off, adds warm water, makes a paste and enjoys it as an accompaniment. Once water is added, it needs to be consumed immediately.

Aside from theplas, it is typically an accompaniment for bajra ki rotla, dhokla or handvo. Although we now enjoy it year-round, in concept it is the ideal winter condiment for more frugal meals. I am told that farmers in Gujarat typically consume it with bajra ka rotla, a flatbread made with pearl millet flour, in winters. Being very flavourful, it uplifts the thepla or other main staple without the need for other side dishes, especially when the harvest is scarce.

When I first started making lasun ki chutney, I began by making the soft version directly rather than the storable dry balls. I learnt the recipe for my grandfather, who came to live with us when he was 93 and absolutely had to have some of this lovely condiment at every meal. And at every meal, without fail, he would always say, “Garlic is very good for you.” He would sit on the floor and have a full Gujarati main course served to him, and he relished dipping his chapati into a bowl of ghee and eating it with lasun ki chutney. Perhaps because he reminded us every day that this is a nutritious dish, it grew on the rest of us too, and soon we began to have a side of spicy garlic chutney with most of our meals as well.

Garlic is indeed very good for us, and is well-known as an immune system booster, and as an ingredient that keeps blood pressure and cholesterol under control. It’s rich in antioxidants, manganese and fibre, among other nutritious elements. Plus – it’s delicious. Aromatic and pungent, it’s a pleasure for the senses.

That said, I would be remiss not to mention that there are communities that avoid garlic entirely as some believe that it affects the hormones in such a way as to charge us up and make us express our anger. If you do not eat garlic for this reason or any other, I’m afraid this recipe won’t suit you – and I hope you’ll explore the archives and find another one that does.
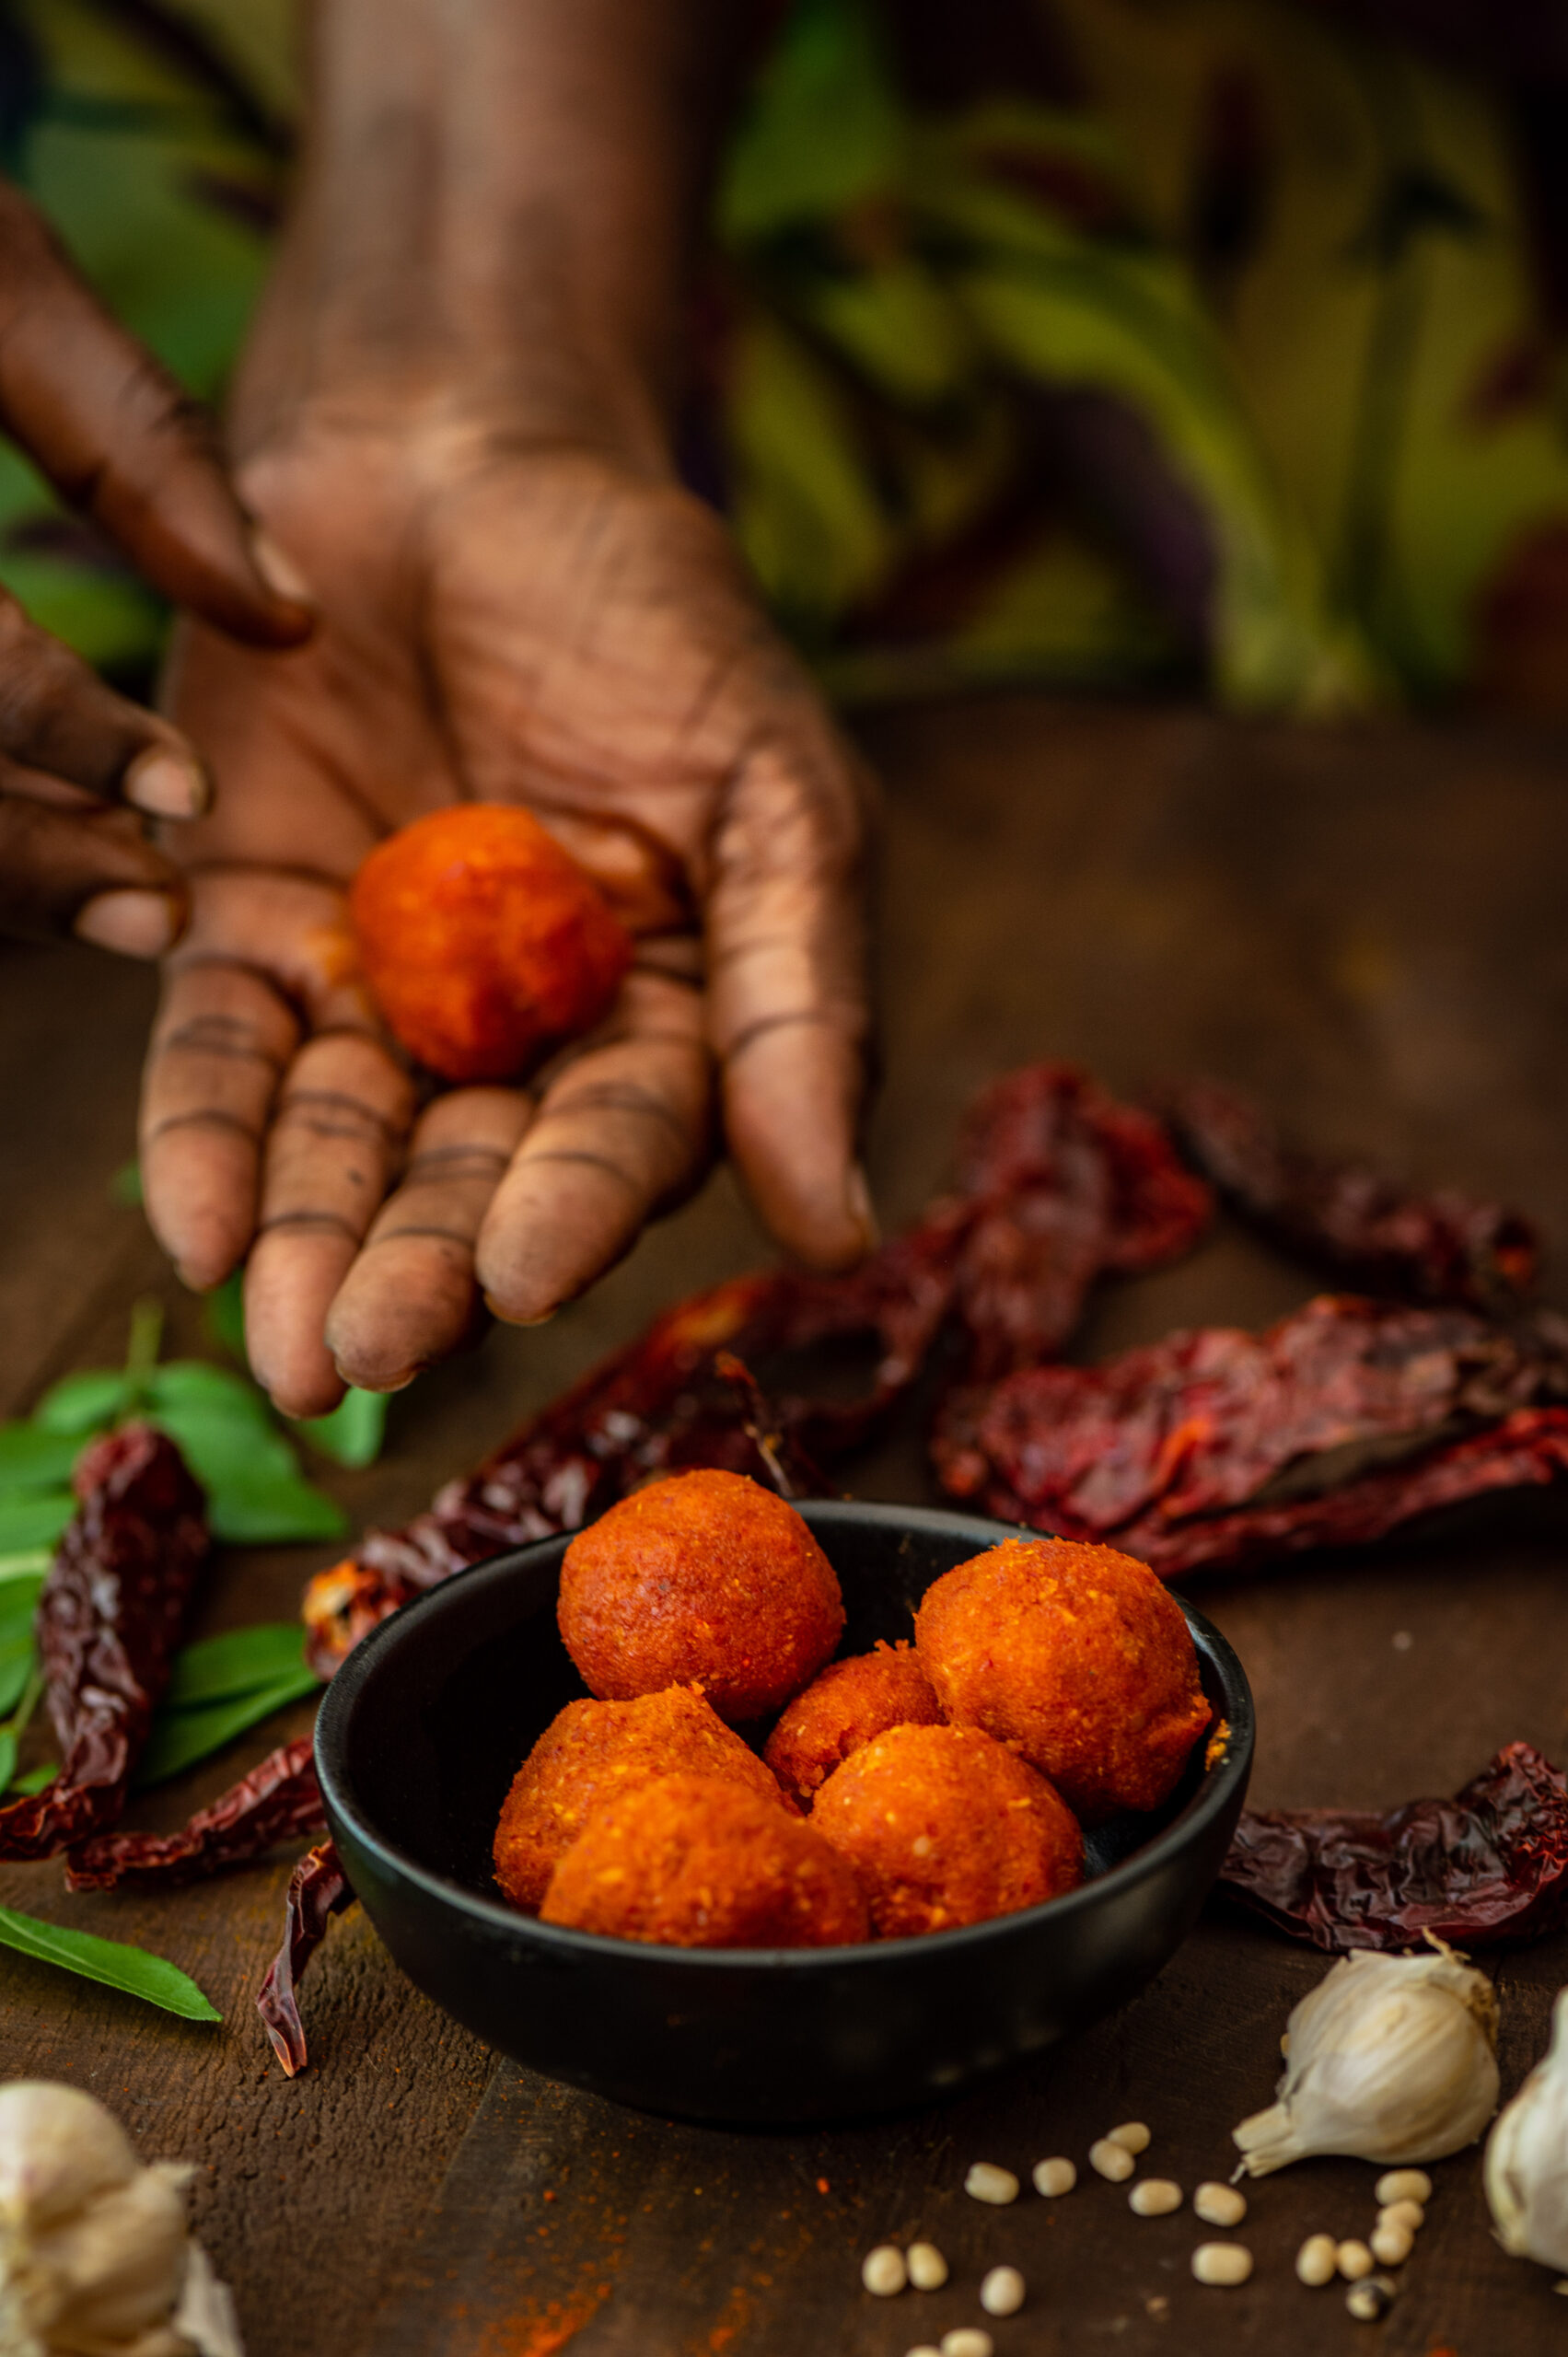
 

Lasun Ki Chutney

(Yield: 1 small cup)


10-12 cloves garlic

1 tablespoon toasted sesame seeds

4 Kashmiri red chillies (fried)

½ cup shredded coconut

1 tablespoon sesame oil

Salt to taste


Set aside all the ingredients, except the oil, in a food processor. In a flat pan, add the oil and once it has heated, pour the oil into the food processor along with the other ingredients. Make sure that you grind the mixture well. Your dry, coarse garlic chutney is now ready.

Now, make small balls and store them in the refrigerator. When you’re sitting down to a meal over the next few days, pinch off as much as you need, add warm water to make a paste, and enjoy. Have it with dhoklas or theplas, or even add it to Asian stir fries to spice them up, like I do. I’d love to know how you use it!

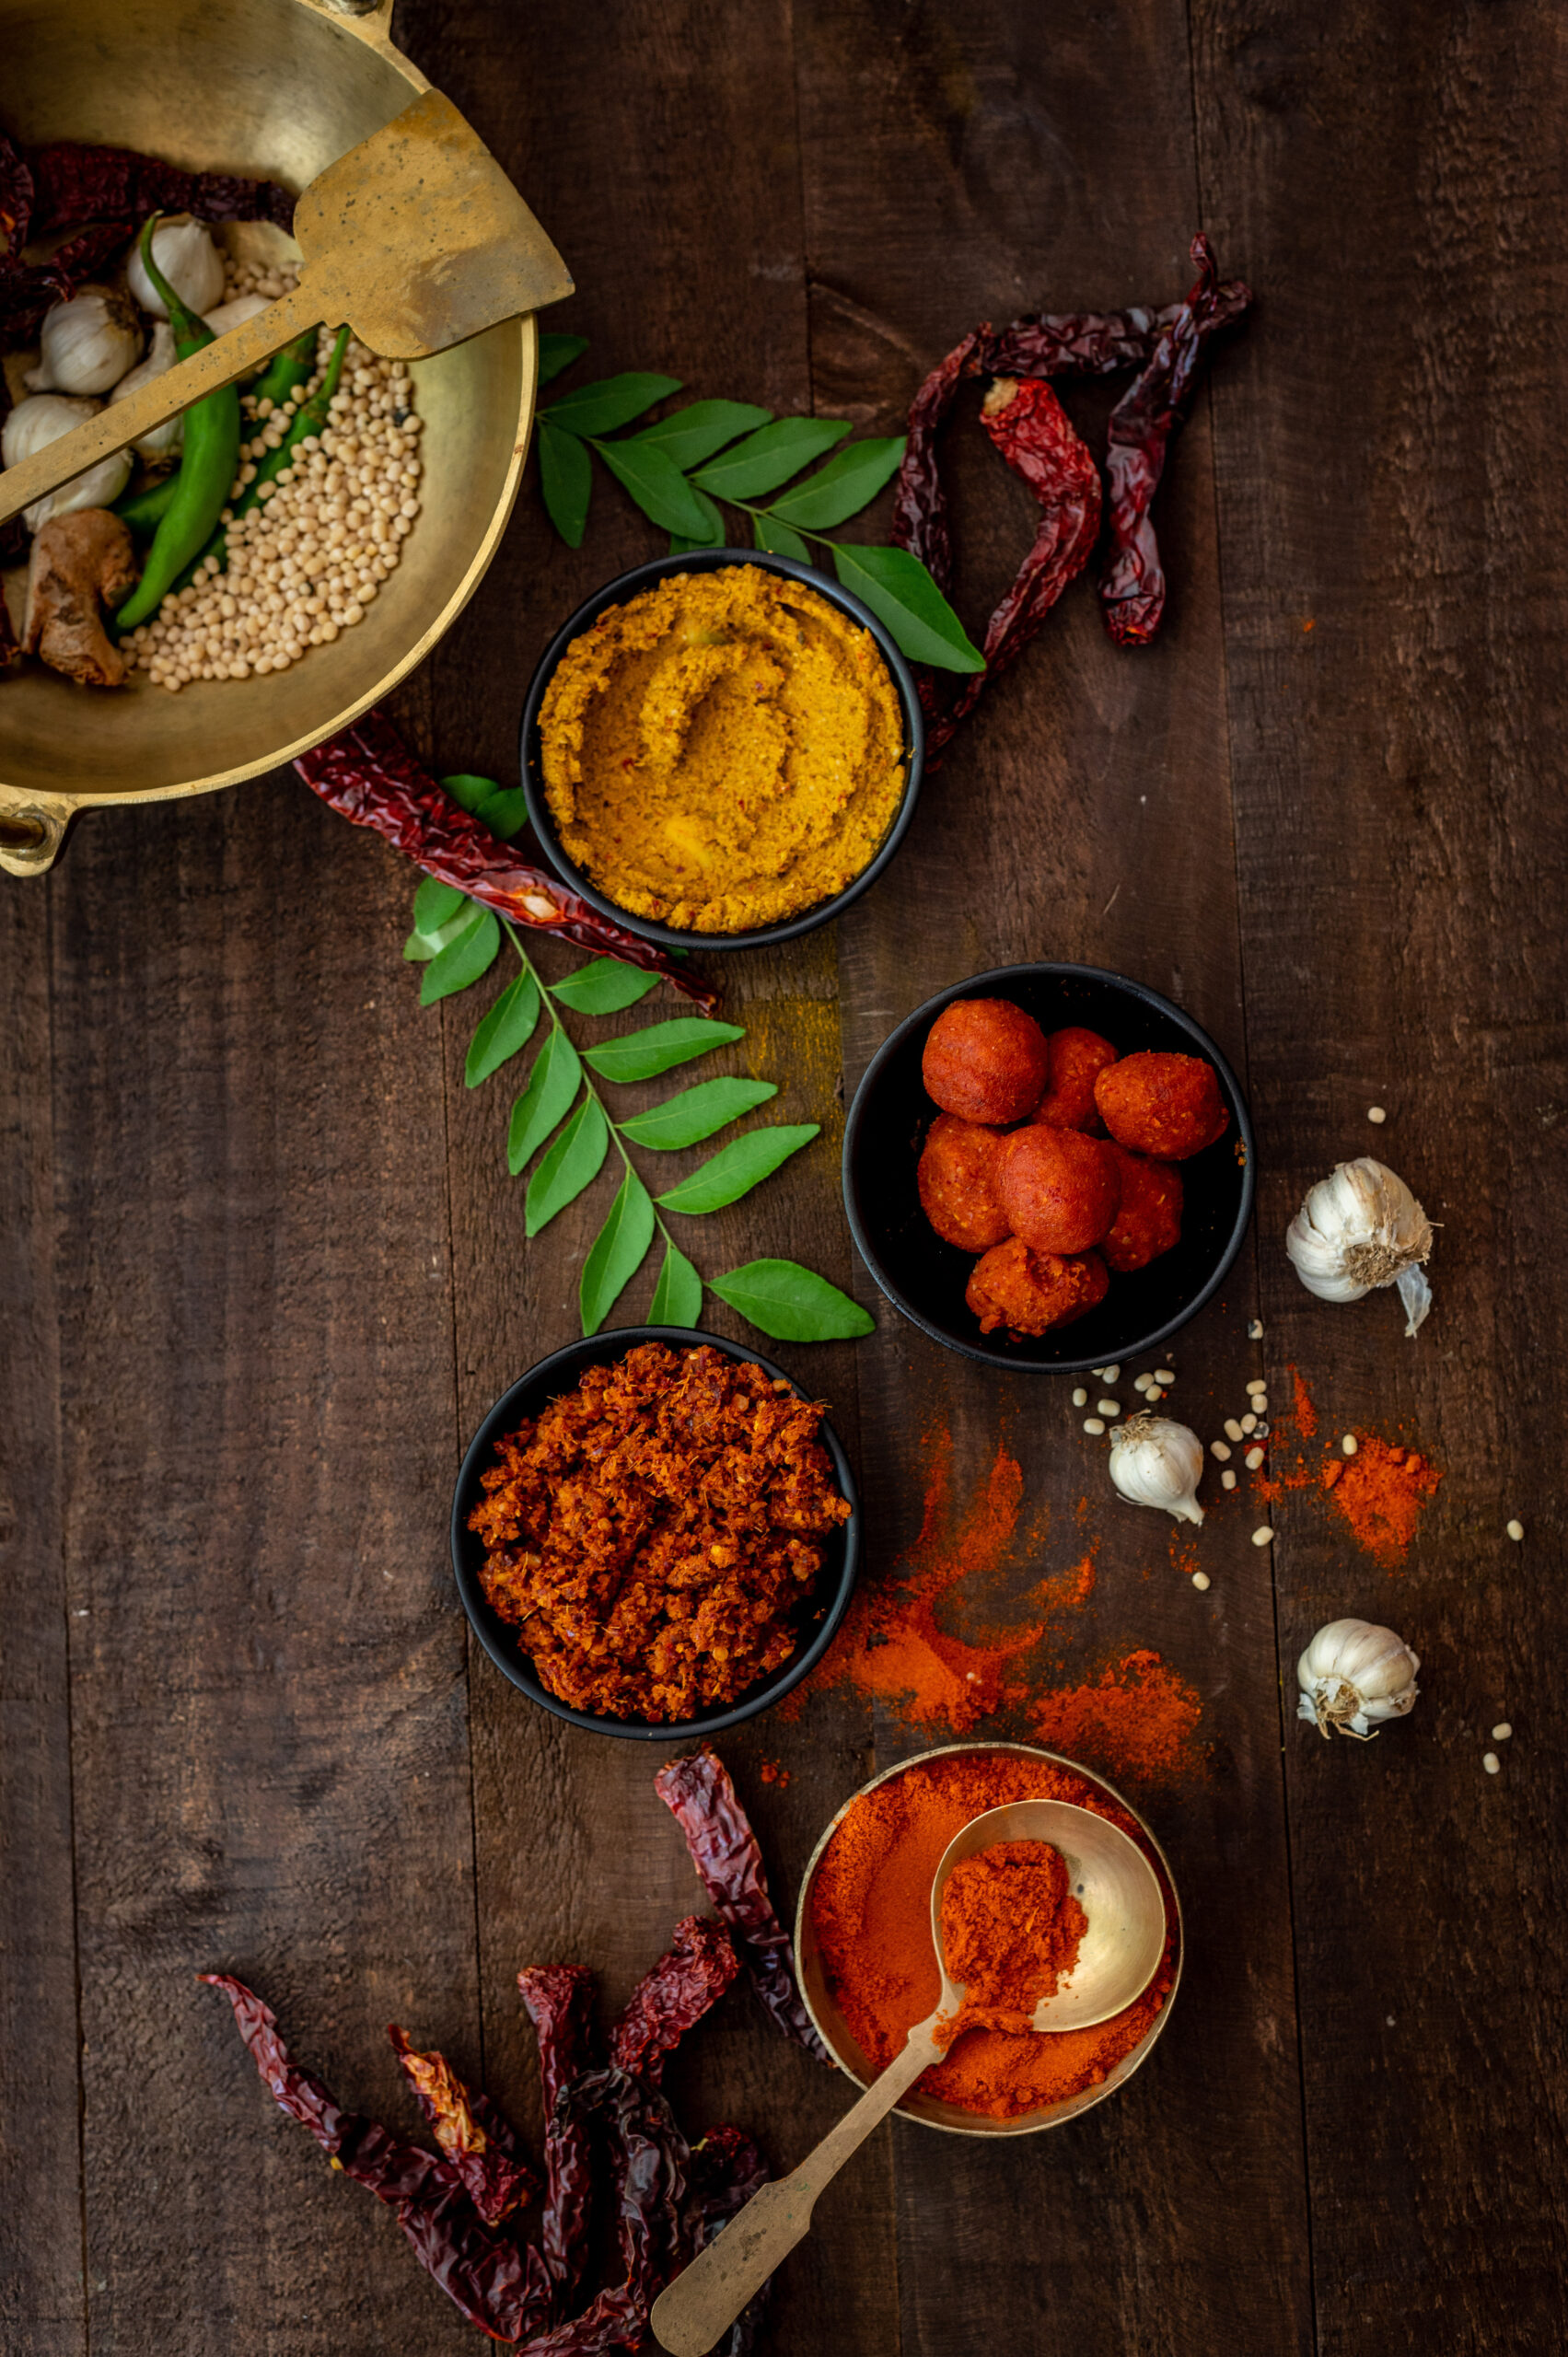
I’ll end this post by giving you a visual glimpse of the recipe that will round out this dip trilogy. In the photo below, you can see the raw mango thovayal and the lasun ki chutney – along with the forthcoming dish. Any guesses about what it is, or what its chief ingredient is?
 

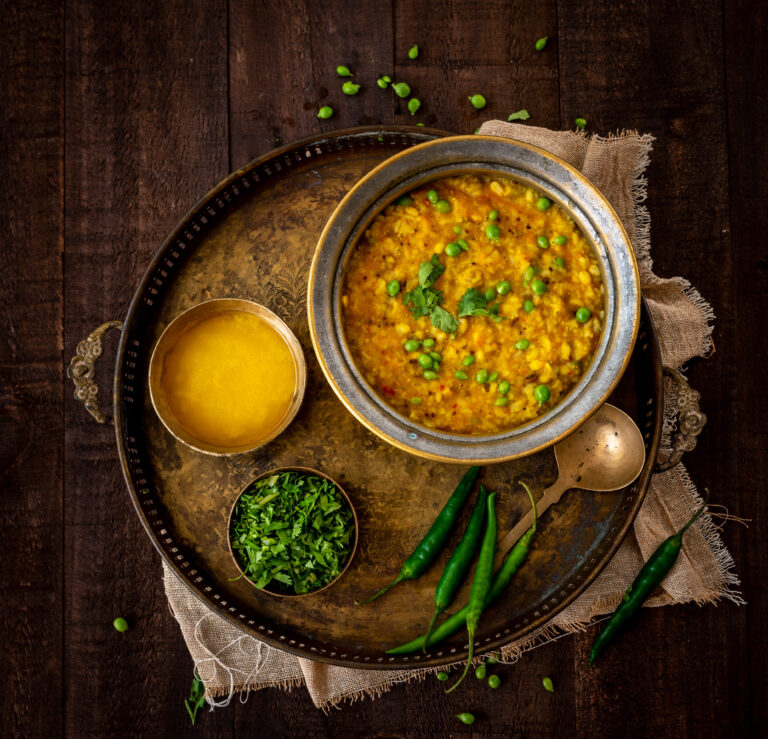
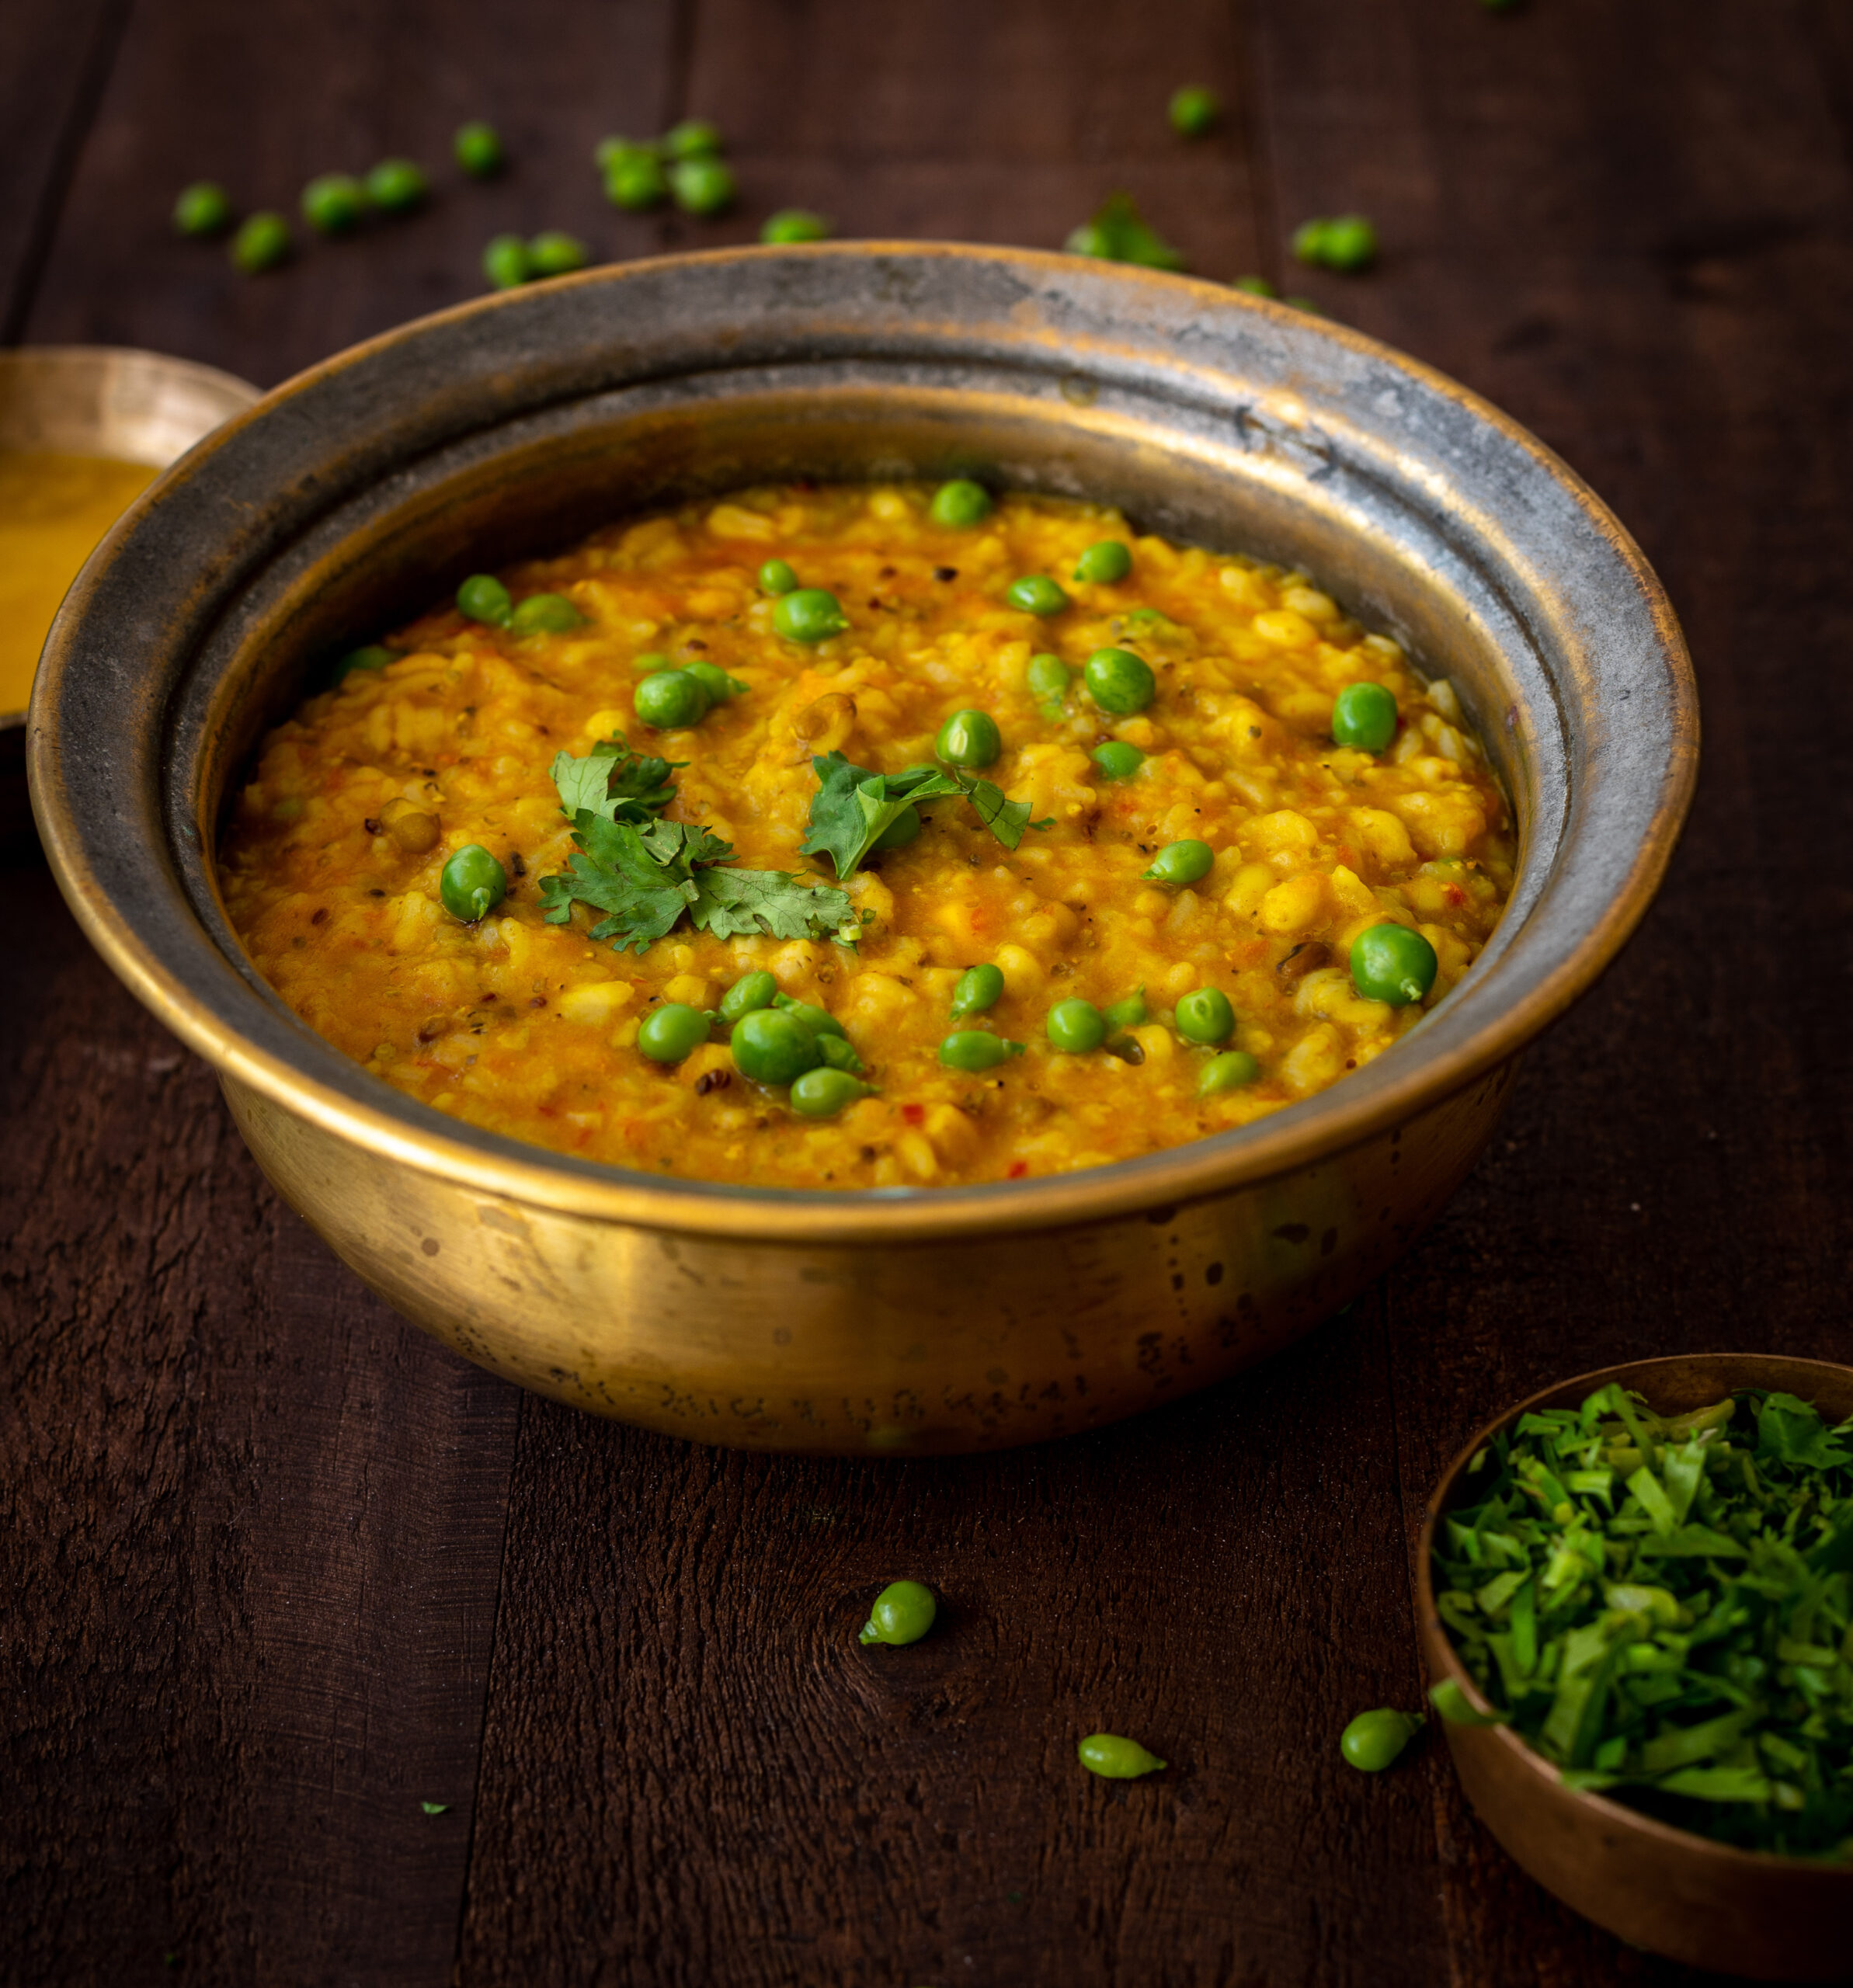
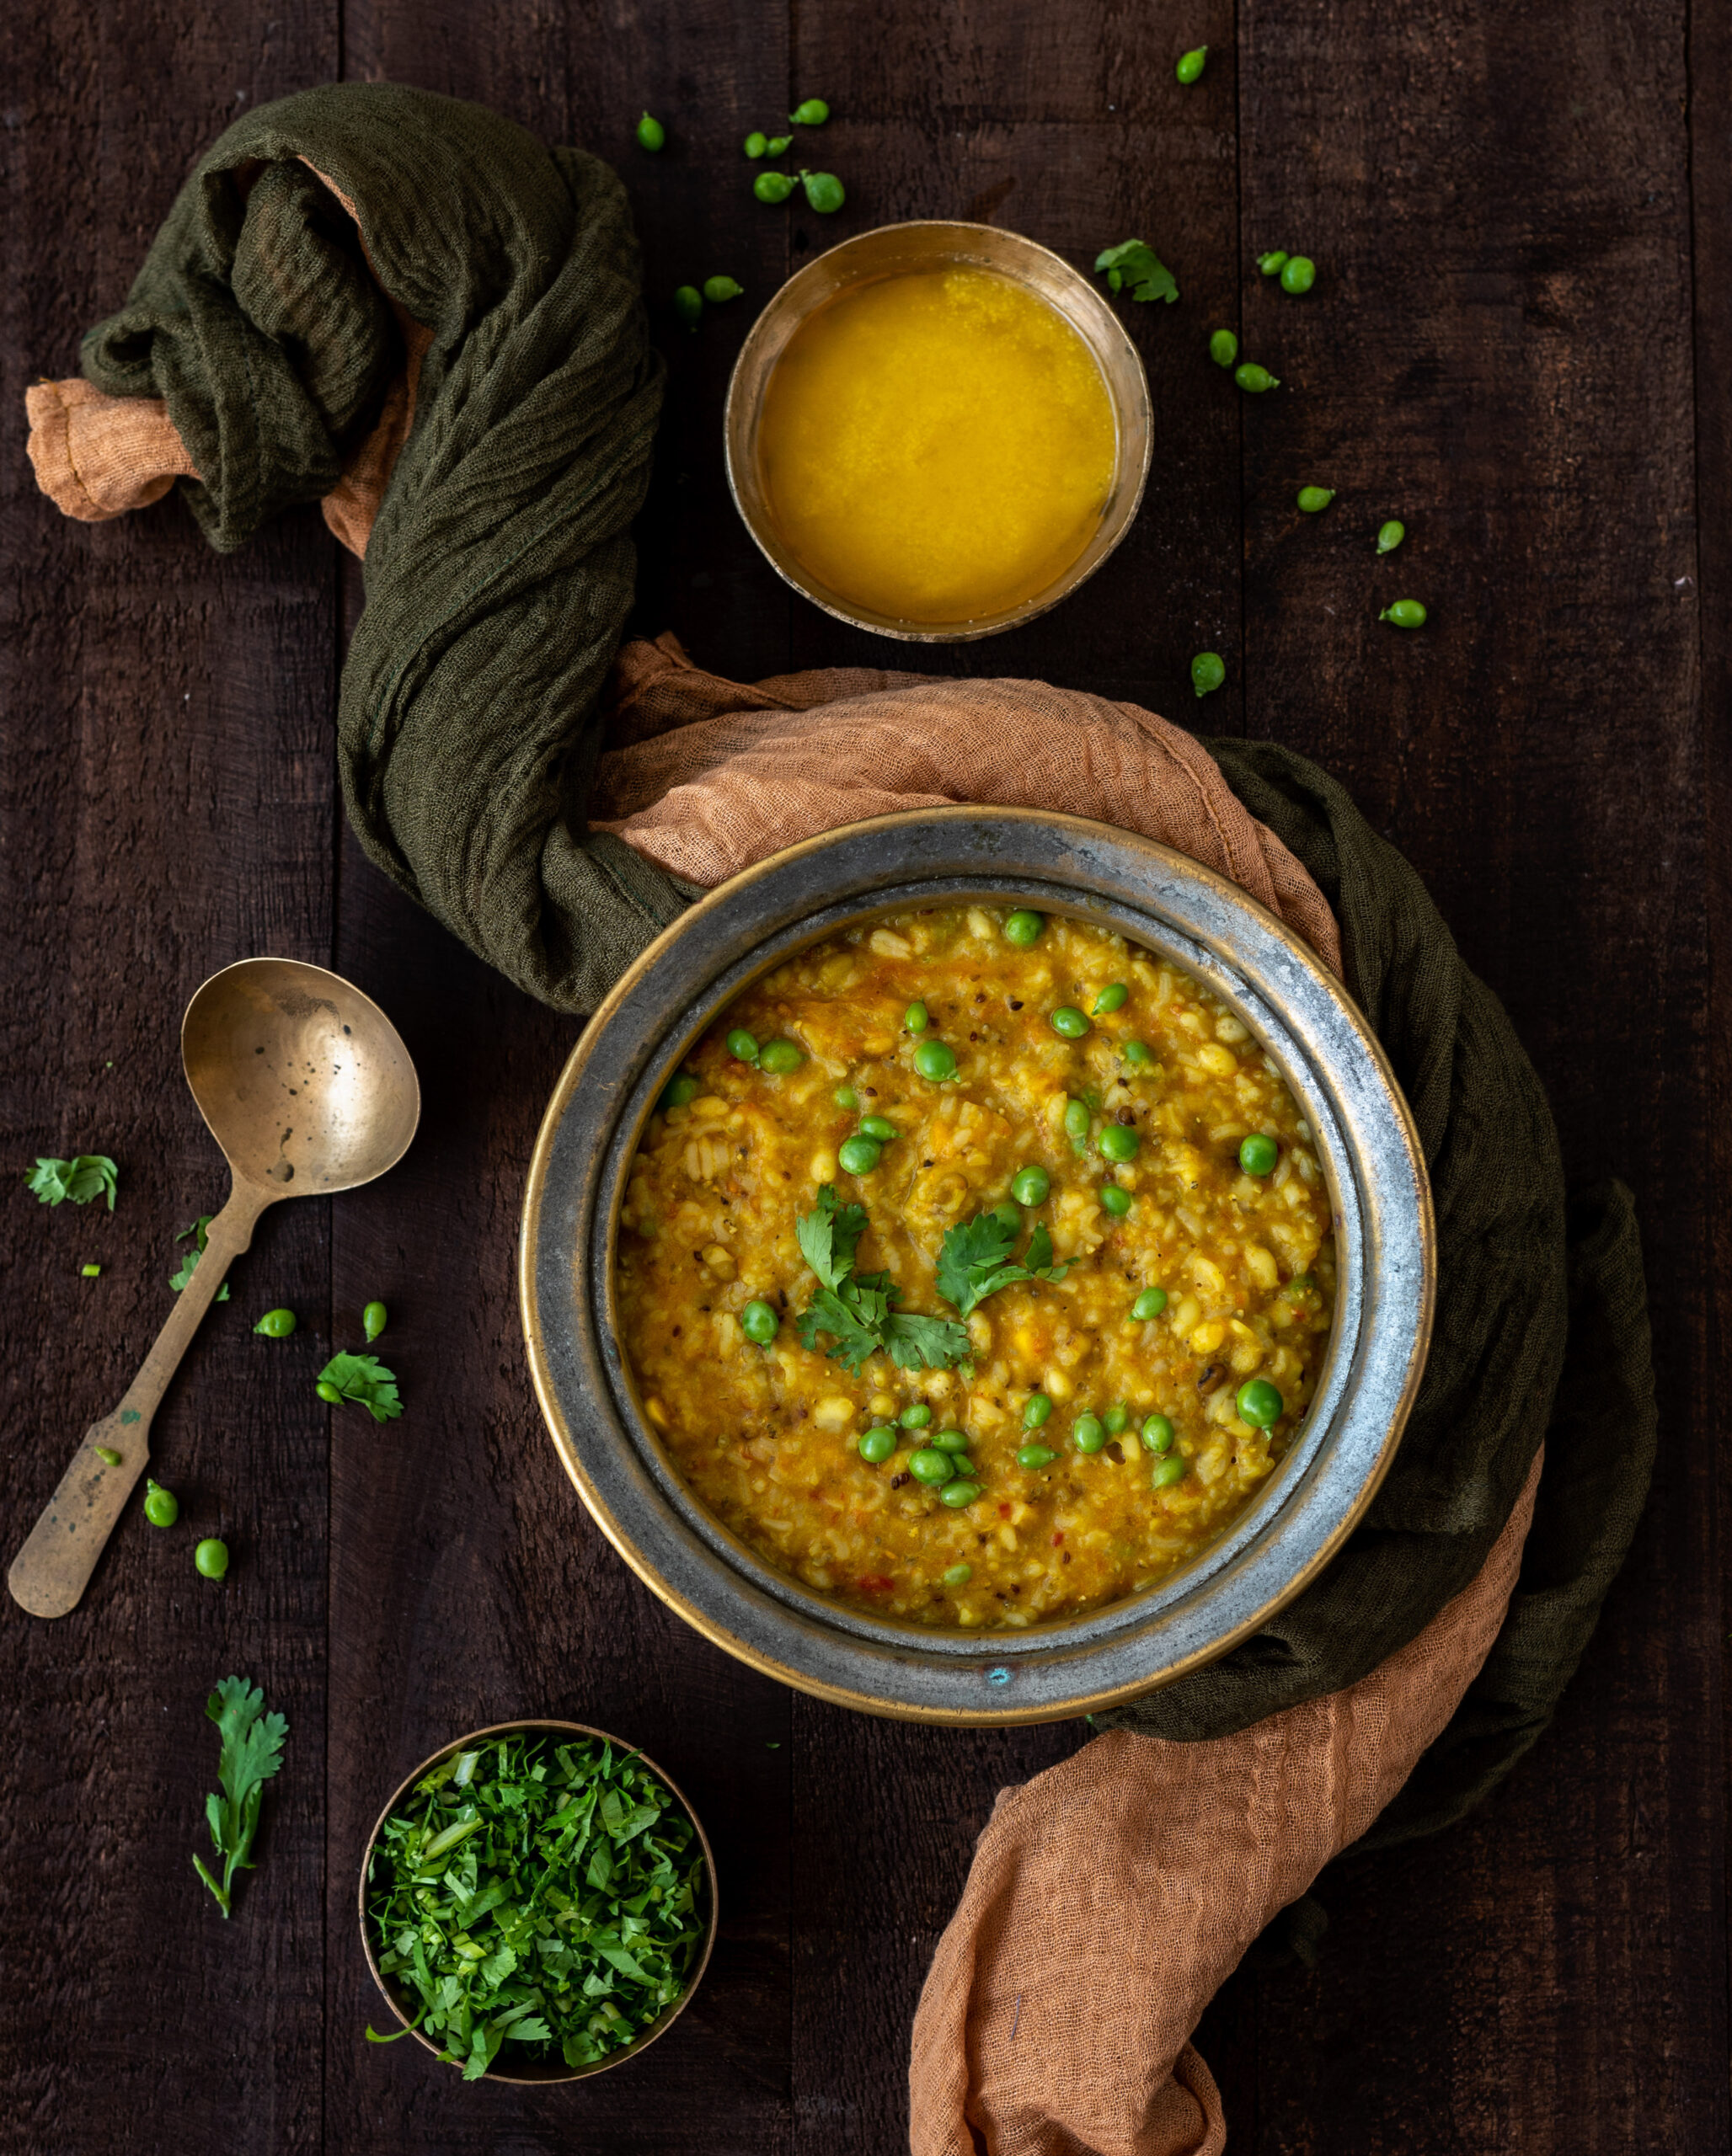
For centuries, Gujaratis observed the harvest season of Sankranti (which takes place in January) with a special dish, a seven-grain khichdo which celebrated the bounty of the earth. It was originally made with fresh, still green grains, and cooked for many hours in a large brass pot on coal. It would be prepared right before the harvest itself, when the grains would be ripe and tender. What constituted the seven key ingredients of the recipe depended on what was being grown, and some ingredients that we may think of as being legumes or lentils also qualified. It was also sometimes made with fewer. It was called “saat dhaan” – “seven grain” – when made with all the staples, and “paanch dhaan” – “five grain” – when a couple were eliminated for reasons of convenience, availability or taste. Pearl millet (bajra), wheat, rice, split pigeon peas (toor dal), sorghum (jowar) and green gram (moong dal) were among the traditional staples used. Over time, changes in agriculture and culinary life have allowed us to enjoy this wonderful dish whenever we please.

Even still, it’s a dish with a long preparation and cooking time, so I think of it as a Sunday dish – the kind that you begin working on as soon as you wake, and which is hot and ready just in time for lunch with the whole family. This was exactly how I used to see it being prepared in my sister’s home when I would visit her when she first got married. Her mother-in-law made an amazing seven-grain khichdo, and I would observe as she soaked each ingredient separately early in the morning, then as she literally pulled out the big old brass pot and coal in order to cook it in the time-honoured way. I had the good fortune of experiencing this whole process, just as I used to watch my own mother make Navaratri handvo authentically. Biting into the piping hot khichdo when she served it at lunch after having worked on it since the crack of dawn was unimaginably beautiful. My sister and I now make this khichdo in our own ways, with our modern appliances, but of course it’s her mother-in-law’s recipe that inspired us to keep this time-consuming (but so rewarding) dish in our own repertoires.

Another significant change that has come with urbanisation is that while certain ingredients began to become available year-round, access to fresh ingredients became limited. Thus, a contemporary saat dhaan khichdo will be more likely to use dried ingredients. Here, too, availability determines what you can use. For instance, in Gujarat and Maharashtra you can get readymade chaffed wheat, with the skin removed. I haven’t been able to procure the same in Chennai, so I have to pound the grain gently, to remove the outer covering.

Hand-pounding each grain individually is an important part of the process when using dried ingredients. Each one needs a different type of pressure. Bajra and jowar can be pounded very coarsely, for example, whereas wheat breaks when you do so. Of course, if you happen to have the tender green grains, there’s no pounding required.

Then there’s the individual soaking too, with each grain requiring a different duration. Wheat, bajra and jowar take the longest, whereas rice can be soaked a few hours after the overall preparation has started. As you will likely be making this khichdo with a mix of readymade, hand-pounded or fresh grains that you have available, do use your familiarity with the ingredients to determine the preparation time you need. In addition to the grains mentioned earlier, some I have used or heard of being used in this khichdo include black-eyed peas and green chickpeas too. It just comes down to availability, but the trick is to strike a balance between heavy grains and the lighter variants.

That is because this seven-grain khichdo is itself a very filling dish. While it was a part of Sankranti traditions that honoured the harvest, there is also a science as to why it was made this way. Mid-January would still be winter in Gujarat, and a heavy dish like this made of up whole grains would take a long time to digest. It would increase the metabolism and keep the body warm through the day. It is meant to be enjoyed at lunch, served hot and without need for accompaniments, except some pickled green chilli and kadhi (which is similar to more kolumbu) if you have it.

In terms of spices, the authentic version of this dish required no sautéing and very minimal spices. Everything just went into the large brass pot and cooked away for hours. The flavours of the grains would be allowed to dominate, with just a bit of ajwain (which aids digestion), and the two quintessentials of turmeric and salt being added. That and ghee – a couple of dollops of glorious ghee are an important part of this khichdo.

My sister’s mother-in-law would include a bit of dhaniya-jeera (coriander-cumin) powder, while my sister chooses to add curry leaves and garam masala. I don’t use any of these, but I do use tomato. Play around as you wish to as well, until you hit on the seasonings you most enjoy.

Seven-Grain Khichdo

(Yield: 2-3 persons)

25 grams whole wheat (chaffed)

15 grams broken bajra

50 grams rice

15 grams green whole mung

15 grams yellow split mung dal

¼ cup green peas

¼ cup fresh green pigeon peas

Water to cook

2 tablespoons ghee

½ teaspoon ajwain (carom seeds)

¼ teaspoon asafoetida

1 crushed tomato

¼ teaspoon turmeric

Salt to taste

1 – 2 cups hot water

Soak the grains individually until they are tender to touch, in water about an inch higher than the level of the grains.

When cooking, add 2½ times water to the quantity of grain.

You may pressure cook the bajra and wheat together as it takes a longer time to cook these grains. Set aside.

Next, pressure cook the rice and green whole mung and yellow split mung dal together. Set aside.

In a kadai, add ghee and once it becomes hot, add the ajwain first and then the asafoetida. Next, add the crushed tomato and then all the spices.

Now, add all the grains together to the hot, spiced ghee in the kadai. Stir on a medium to low flame.

Keep stirring. Add some hot water if required, especially if you like the khichdo to be soft as I do.

Once cooked, serve hot along with a garnish of green chili and coriander leaves.

The long preparation and cooking processes that go into a good seven-grain, or even five-grain, khichdo mean that it’s really meant to be a feast, just as it originally was during Sankranti. I recall how whenever my sister’s mother-in-law prepared it, she would distribute it to their neighbours as well. It is a meal in itself, meant to be shared, and meant to be consumed immediately after the many hours that the cook would have spent putting it together.

As with all tasty things that are best shared, I hope you’ll whip up a nice big batch the next time that you have half a day to linger over putting a meal together. Then, I hope you’ll gather your favourite people around the table, and enjoy this traditional Gujarati khichdo, with all the joy that the farmers of yore would have felt as they feasted with their loved ones right before the big harvest.

Christmas was always a very special occasion in our home when my children were growing up. They would be so excited about setting up the Christmas tree, going shopping to find beautiful decorative ornaments, and simply enjoying the festive atmosphere. While Diwali always held its own importance as as our main religious event, Christmas was something we enjoyed as pure celebration. We had our own little Christmas traditions, and as the kids started leaving home, these slowly disappeared. But this year, for the first time in a while and with nothing but this pandemic to credit for it, we are all at home together. And once again, Christmas feels just like it used to, full of camaraderie and deliciousness – except, now that my kids are adults, we’re all raising toasts together. The beverage we’re clinking glasses with? This orange-kissed, boozy hot chocolate!

There are scores of recipes for hot chocolate all over Instagram this time of year. But this is my version, and I can assure you that it’s absolutely delicious. I first tried hot chocolates like this one abroad, but these days you not only find excellent brands here in India but also have homegrown confectioners who work with small-scale farmers, are eco-conscious and create locally-made chocolates of a high quality. You can use the dark chocolate of your preference for this recipe.

The booze quotient here comes from Cointreau. A French liqueur containing bitter orange peels, it adds a wonderful citrusy kick to the beverage. While I’ve used whole milk, you can try this recipe with almond or coconut milk too – let me know what you think of the results, if you do? You can also play around with the liqueur, perhaps substituting a mint-based one or some other flavour. But for me, chocolate-orange is an unbeatable combination, and that’s why this is my favourite version of this festive drink.

Every day during this pandemic, we’ve been drinking tonics that boost our immunity: warm turmeric, herbal anti-sniffle concoctions and more. I’m sure you’ve been doing the same at home. Hot chocolate – hot, boozy chocolate, to be accurate – is a nice change! The weather in Chennai has also been changing for the better, and there’s a nice nip in the air and the season of heavy rains has passed. This is such a lovely and appropriate dessert for this time of year, especially as we reflect on all that has passed and all that is to come.

The theme of hope is on my mind constantly of late. I believe hope is what separates us from others in the animal kingdom, and is the only thing that has kept and still keeps us going through the pandemic. “Hope, gratitude and good health” is truly going to be our mantra for the coming year. I wish for you that all three are in abundance always.

The lockdowns in various parts of the world have taught us all so much. We have changed and we have learned. We’ve understood what bears meaning, and what doesn’t. For me, one of the most important learnings is that Nature rules us all. We have to be mindful and respectful of the health of the planet and the co-existence of all living things. Our interconnectivity has never been clearer than through the spread of the pandemic. I believe that now that we have seen this, we must change our individual habits. I also believe that it is never too late to start doing so. Even though the planet is on the brink of climate collapse, we can still do our part to contribute to its healing. I have hope. I have hope that hope itself, combined with a strong sense of responsibility, can save us.

Just look at how much we have overcome already. We are no longer scared and confused. We’ve figured out how to cope, and we’ve also been able to bring little rays of sunshine back into life.

The beginning of a new year usually inspires optimism, but this year I’m feeling it all the more. I truly feel like I’m seeing everything in a fresh light, and I am looking forward to good things to come

It so happens that even our home has also undergone a bit of a transformation, and has been repainted and rejuvenated. It’s also our wedding anniversary in late December, so there’s a double reason to celebrate. We have had decades together, with all the ups and downs, and thick phases and thin ones, that such a duration invariably brings. It has been a beautiful journey, and has contained so much. I hope that you too have something to toast as this year winds down.


Boozy, Orange-Kissed Hot Chocolate

(Yield: Serves 2)


1 ½ cups whole milk

¼ cup cream

75 grams dark chocolate

1 tablespoon cocoa powder

1 teaspoon corn flour

¼ teaspoon vanilla extract

1 tablespoon sugar

1 star anise

1 tablespoon Cointreau


Garnish options (pick any, or all!)

Dried or candied orange slice

Cinnamon stick

Whipped cream

Caramel sauce


In a ¼ cup of milk, add the corn flour and whisk until the mixture is smooth.

Add the remaining milk and cream to this and stir. The cream is optional, depending on your tastes. Vegans – you may replace the milk with almond milk, and eliminate the cream. Next, add the cocoa powder and mix it all up.

In a heavy bottomed pot, place the concoction on a low flame and stir constantly.

You can now add the star anise. Do not allow the milk to boil, but once it is heated up, turn off the flame and then add the chocolate, sugar and cinnamon powder. We like our boozy hot chocolate only lightly sweetened so I use just a tablespoon of sugar, but you may double this quantity if you prefer. Stir constantly at this time, making sure the chocolate melts and the milk turns silky smooth.

Add the Cointreau. Use more liqueur if you want to make it boozier. Garnish as you wish to and serve immediately.

I believe that thoughtful portion sizes are very important, both aesthetically and as well as in terms of what is good for us. I always say that the eye feasts first, and I knew this from a culinary perspective even before I understood it as a photographer. Serve this beverage in small cups or glasses. It’s a heavy, filling drink that keeps you warm and cozy and you will not need a whole mug of it to enjoy it. What a perfect symbol for the year that has ended too, which has taught us all to be grateful for the little things. Look more closely at what you have, rather than take it for granted, and you will cherish it all the more.

I am cherishing having my family around, and having the joy of my work to keep me busy. The re:store kitchen is always especially busy and beautifully aromatic at this time of year as I bake an array of goodies for the year-end festivities. I would love to bring some deliciousness and warmth to your home as well. If you are in Chennai, please take a look at my product catalogue  and see if anything catches your fancy. May I draw your eye to the almond cakes, available in a range of flavours and with an eggless option, to complement this wonderful beverage? Or how about my latest addition to the menu: a caramel-pecan cake that simply uplifts everything through its sweetness? I can’t wait to hear from you, and to place something special into the oven for you and your loved ones…
I’ve spoken often about how I love growing many of my own ingredients, whether at home or on our farm. I’m excited about sharing this new series about one that is a staple in so many dishes here, and which I’m fortunate to have a lovely homegrown supply of. That hero ingredient is the coconut, and over the next few weeks I’ll be sharing several recipes that star it. We have our own coconut trees in the backyard, and I am always looking for ways to put the yield to use. The coconut climber came by recently, to harvest the trees, and from this abundance of crop I’m making as many things as I can. For any recipe at all that calls for coconut, I use a fresh one. Even coconut milk is squeezed at home.

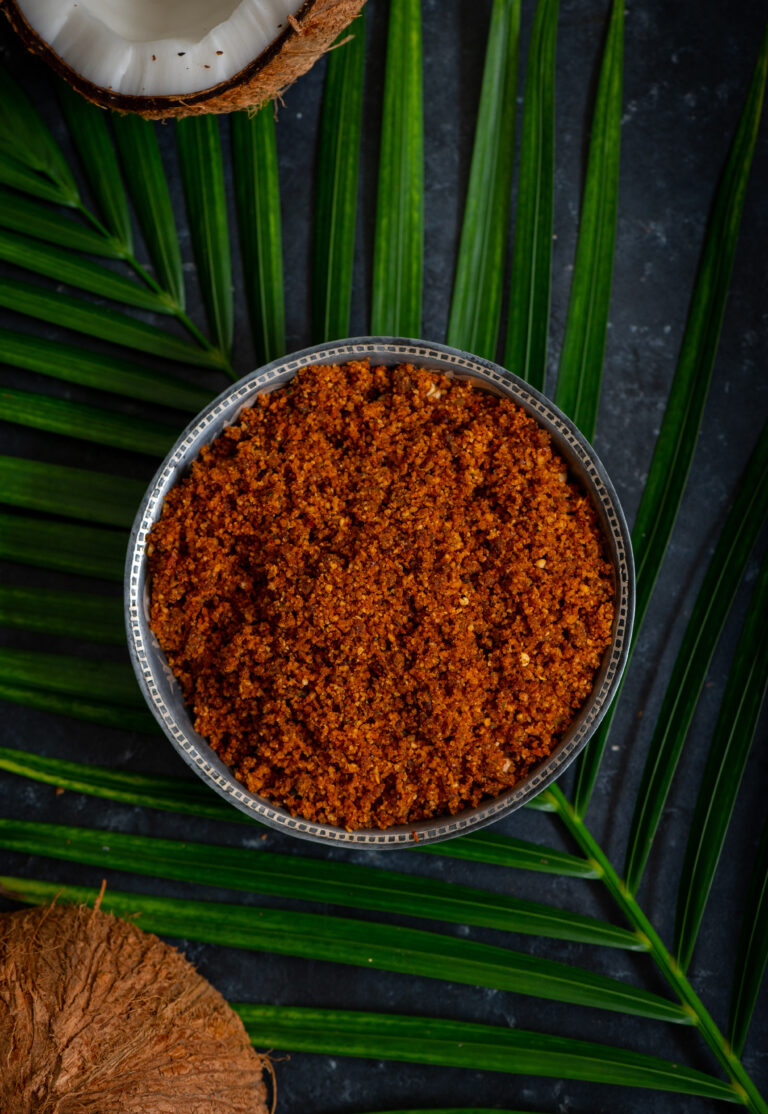
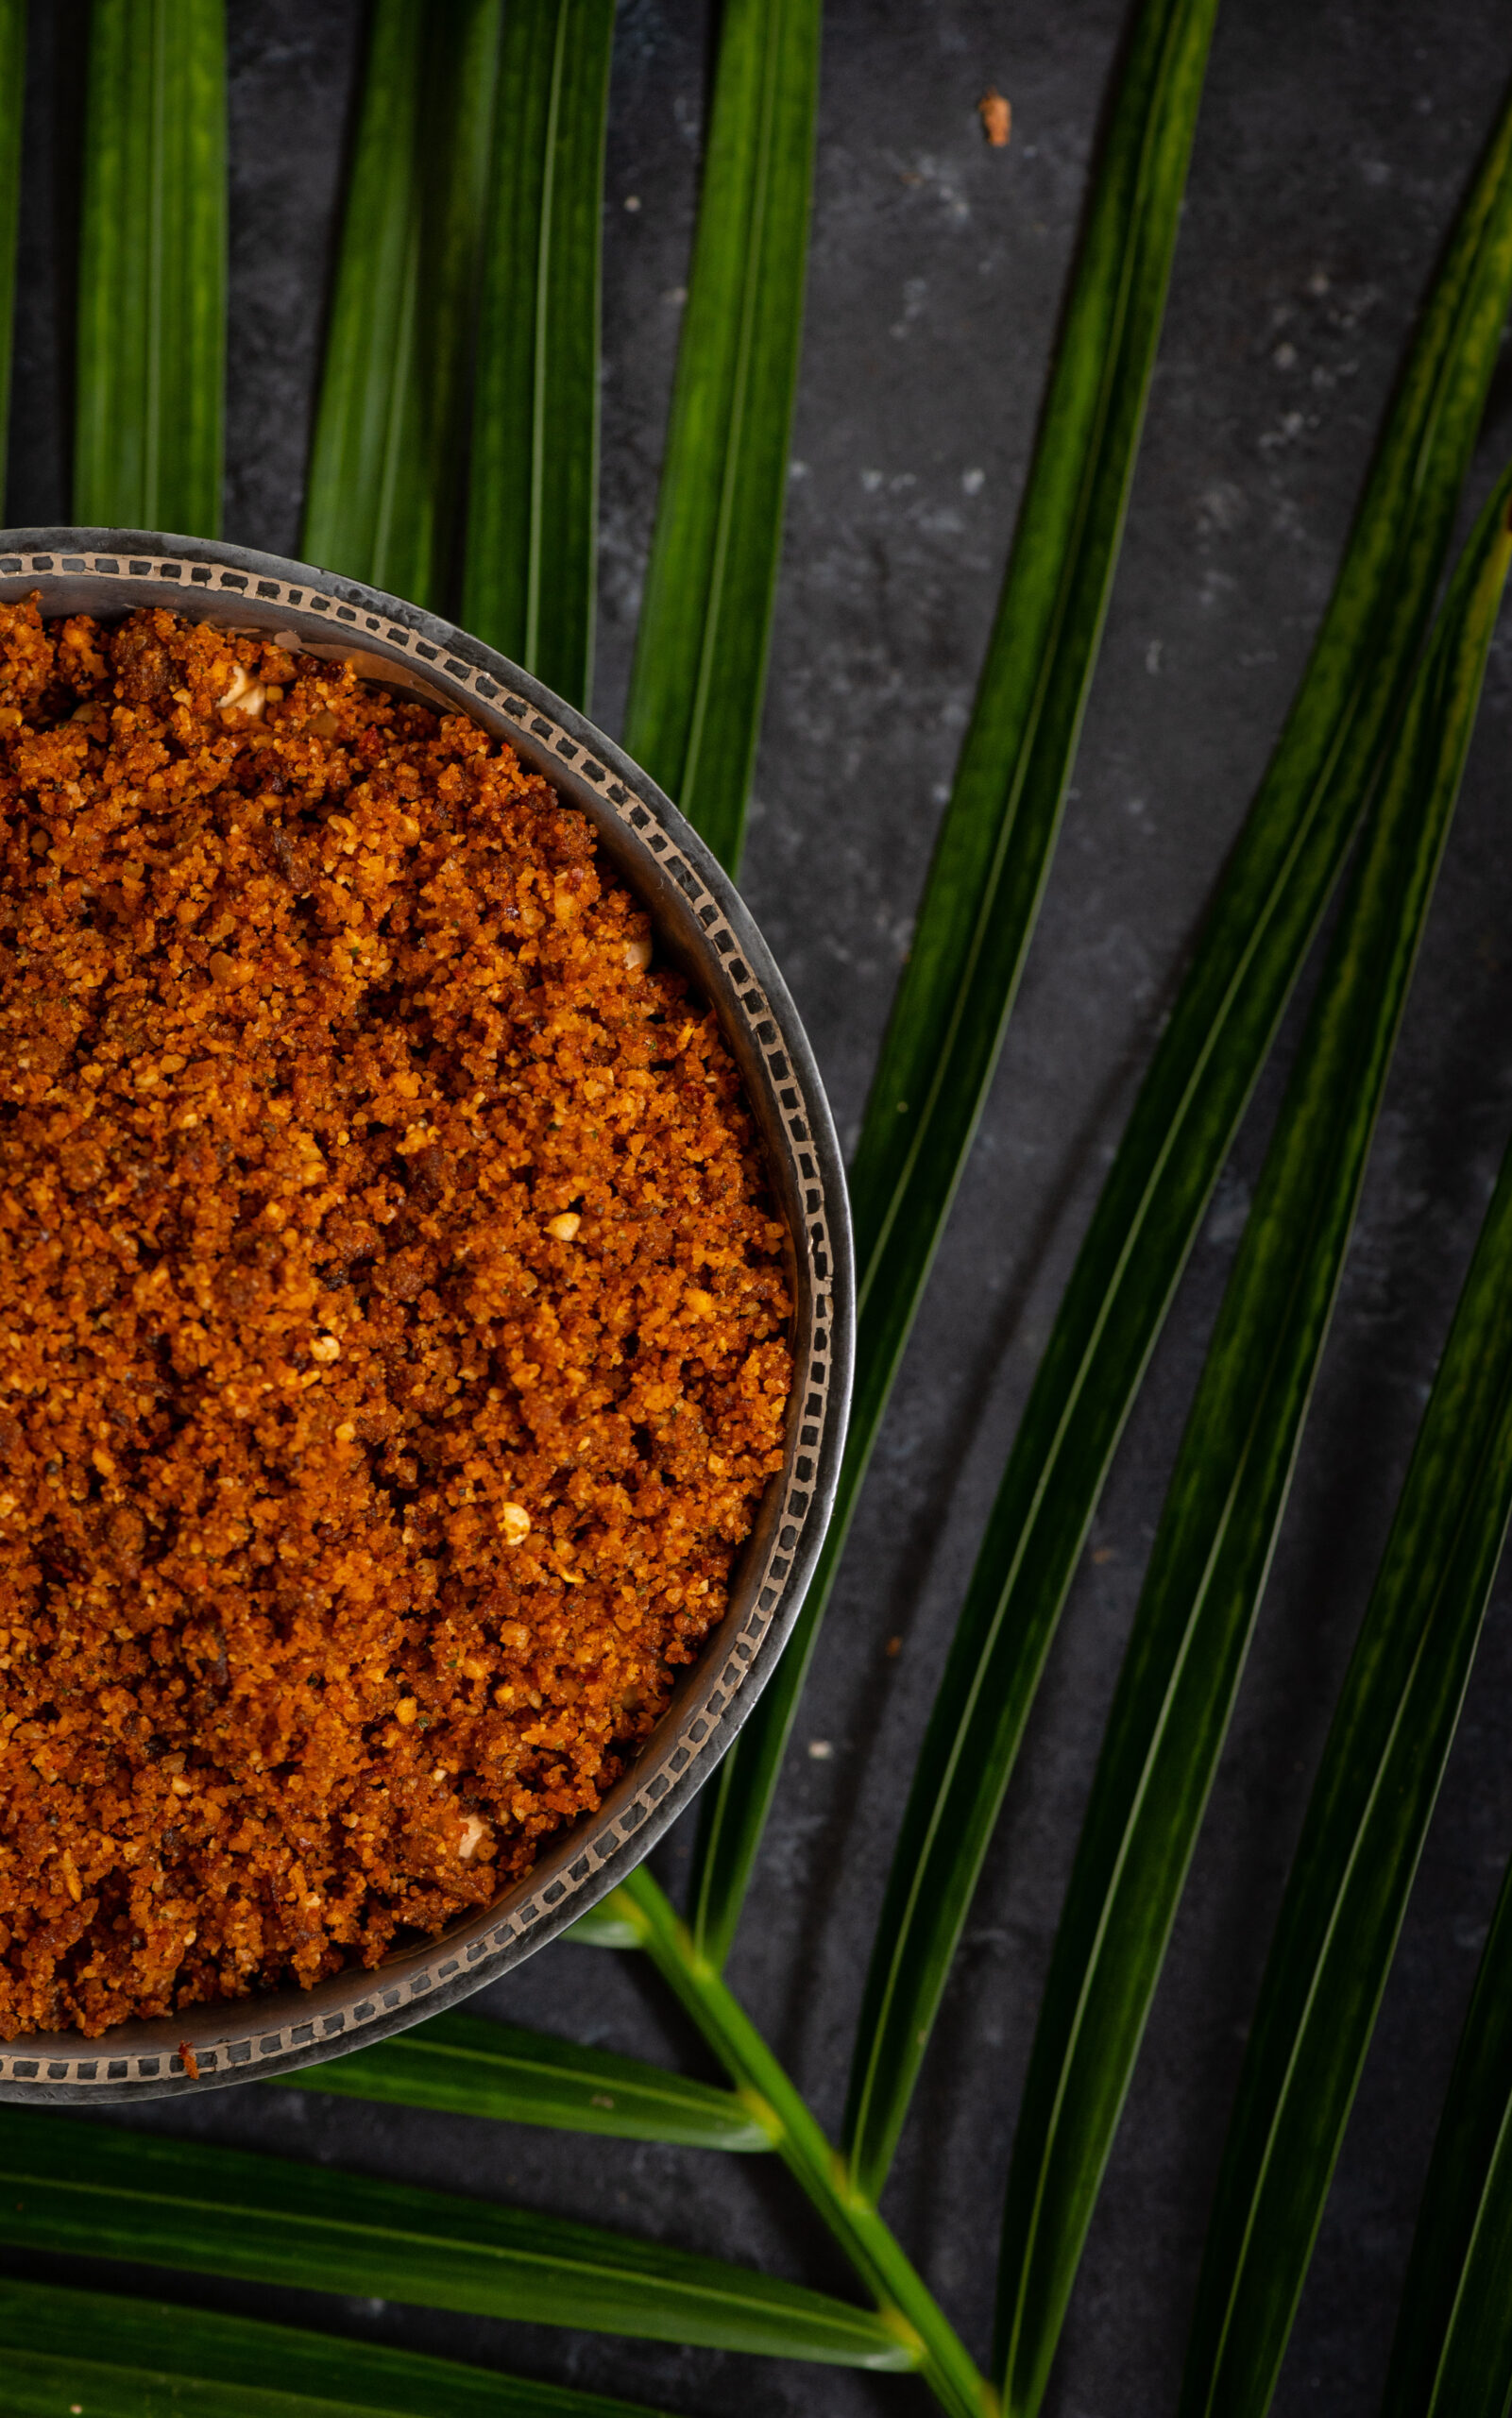
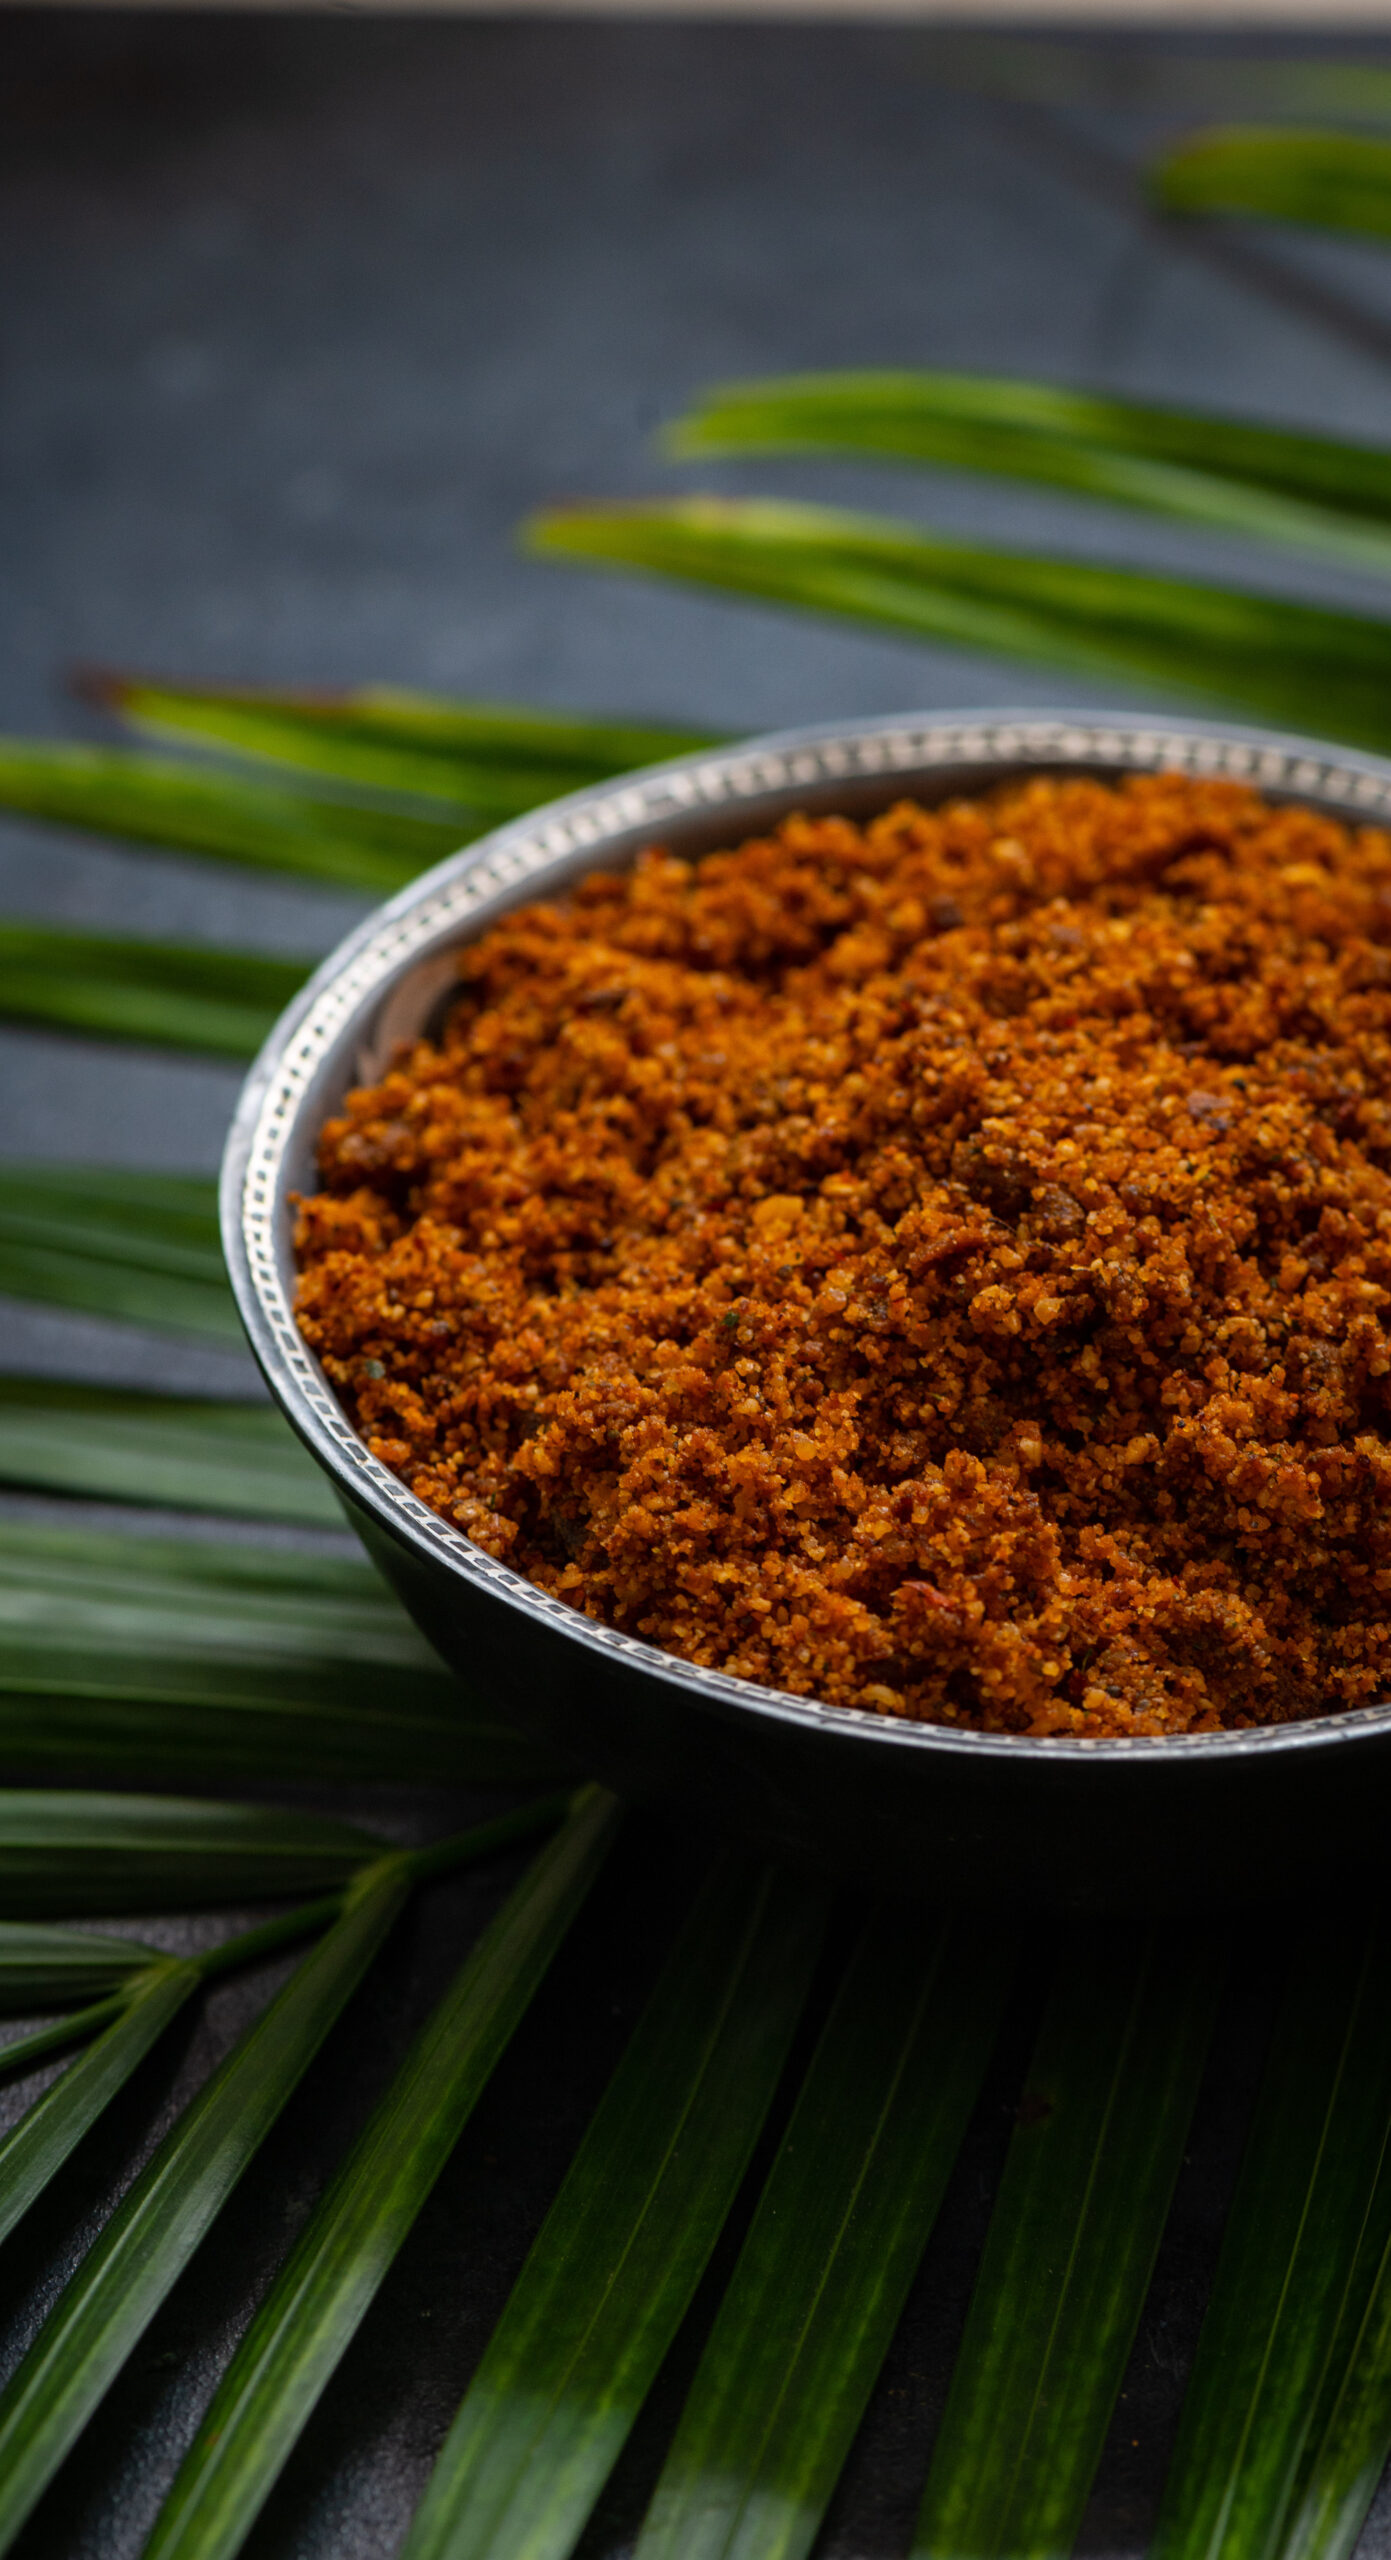
Kicking off this series is a condiment, coconut podi. Condiments are popular across Indian cuisines, and South India has a fair share. Dry podis (“podi” means “powder” in Tamil) and wet chutneys, as well as semi-wet, semi-dry variations are made using a variety of spices, dals and ingredients like curry leaves, raw mangoes and more. The idli podi, for instance, is made to last long. Coconut is not an ingredient that can be be kept for that long, so this one has a shorter shelf life. But I can almost guarantee that you’ll reach out so often for it that your stock won’t expire. If made correctly, this coconut podi remains fresh for around 3-4 weeks, stored at room temperature.

One of the reasons why I was especially keen to make a coconut condiment is that I personally love the Sri Lankan sambol, and wanted to see if I could make a vegetarian version of sorts. While sambol uses seafood, I feel this recipe is similar. Like sambol, this podi is not a finely-ground one, and has many tiny coconut pieces. My friend Akila also encouraged me to try this experiment out, and she was happy to share her own basic coconut podi recipe. I’m always aware that different communities and families have their own ways of making the same recipe.

With Akila’s recipe as a base, layered with things I learnt from other recipes I’ve tastes over the years, and finally through speaking with various families to retain some kind of local authenticity, I added my own touches: tamarind and curry leaves.

While I was growing up, we often ate some kind of podi mixed with ghee and rice. It was the perfect impromptu go-to in case the day was too busy to prepare a curry or a dal, and I still reach out for this for the same reason. This podi is also delicious with a bit of ghee and a dosa, or to add flavour to yoghurt. One of the great things about any podi is that it tends to be easy to carry to work, since it won’t cause a mess or have a strong smell in one’s lunch carrier, whereas a curry might.

It smells divine as it roasts, however. The morning that I made this coconut podi, using those freshly-harvested coconuts, my whole home was filled with the most beautiful aroma as it was being prepared. Everyone wanted to have it for breakfast, immediately, lured by that fragrance. I wonder if the same thing will happen in your home!

Coconut Podi

(Yield: 2 cups)

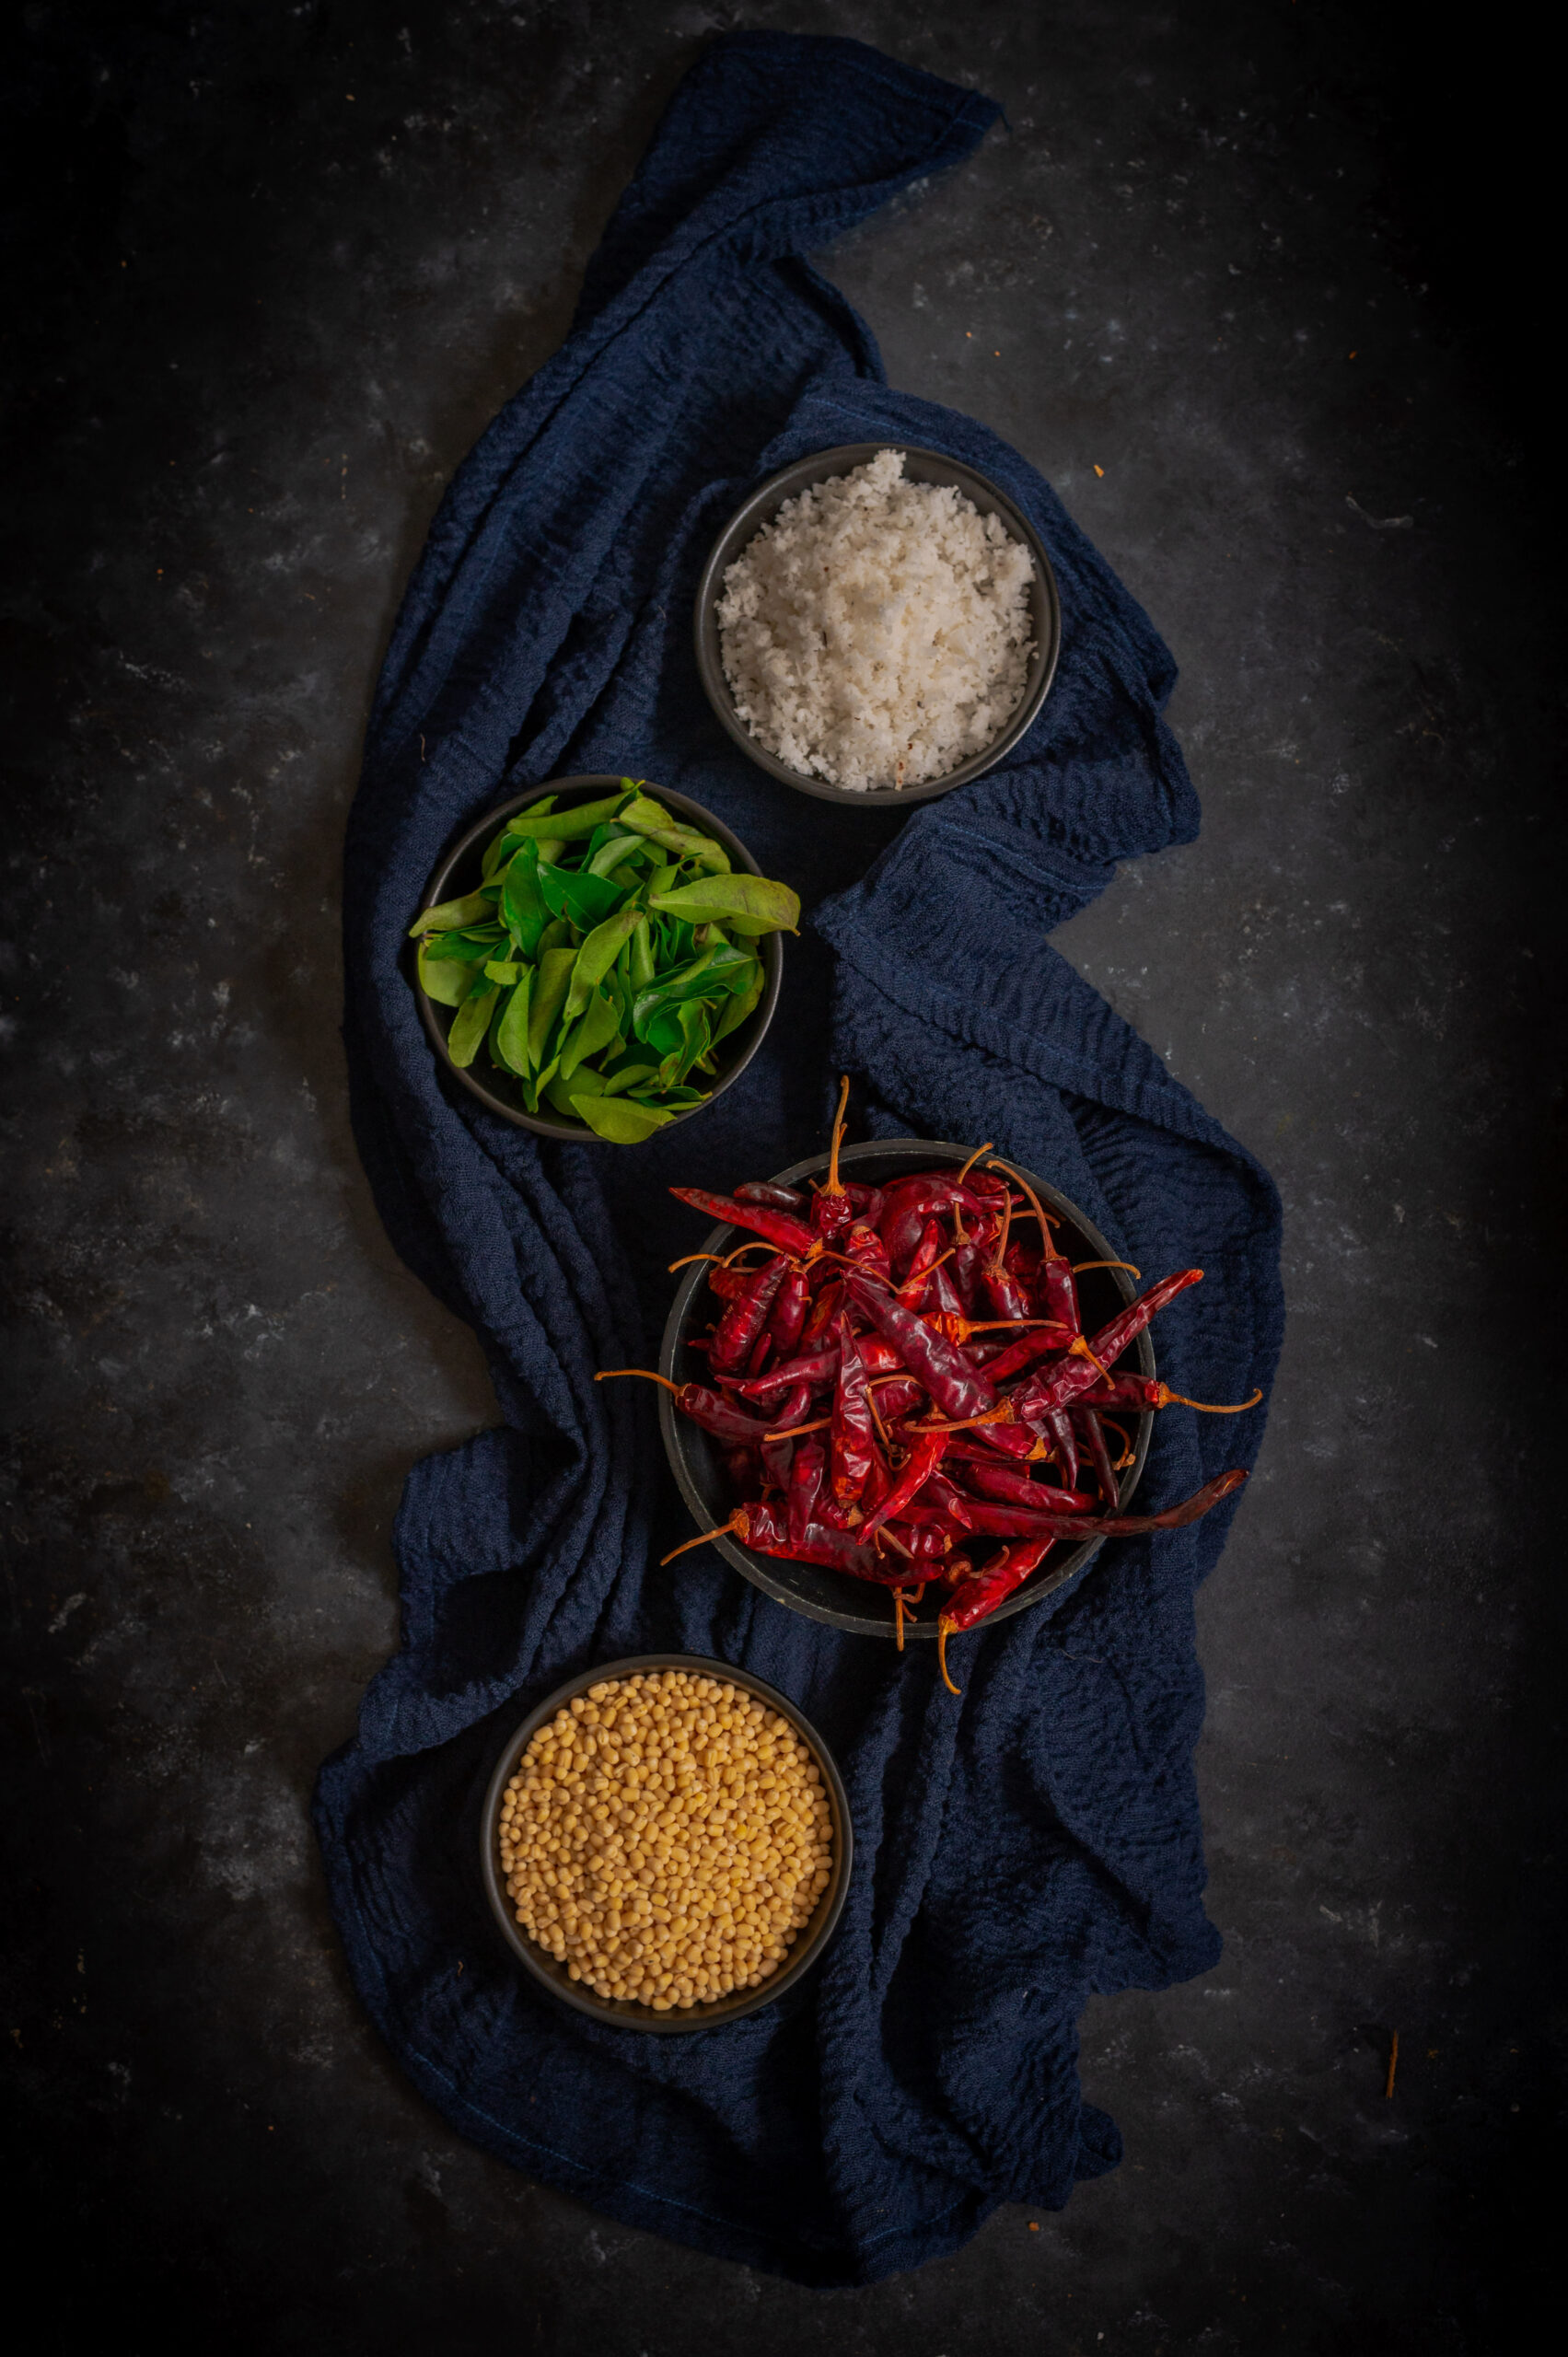
1 cup fresh coconut (shredded)

2 tablespoons urad dal

2 teaspoons sesame oil

¼ teaspoon asafoetida

2 -3 dry red chillies

¼ teaspoon mustard seeds

Salt to taste

6-8 curry leaves

1 marble-sized ball of tamarind


Add oil to a pan. Once it has heated, add the asafoetida, urad dal, mustard seeds, tamarind, red chillies and curry leaves.  Roast until the urad dal turns golden. Set aside.

In the same pan, dry-roast the coconut on a low flame, using just a few drops of oil, until it turns reddish in colour. Set aside.

Use a spoon to remove only the urad dal from the earlier mixture. Coarsely blend the remaining ingredients together, adding salt. Use a blender, and keep it at room temperature. Once a coarse blend is achieved, add the urad dal and blend everything again. The reason for adding the dal only at the end is so that there is a bit of crunch in the podi. You’ll see what I mean when you taste it!

You may also want to add just a pinch of jaggery to this recipe, if you’d like to enhance the flavour with some sweetness. That was an element I used in some trials of mine, and ultimately eliminated from my final version. If you’d like to, you can eliminate the curry leaves too. It all depends on what combination of spice, sweetness and tang (which comes in this case from tamarind) you most enjoy.

Store at room temperature, and enjoy with dosa, idly, rice, roti or any combination you prefer.

Over the next few weeks, I’ll be sharing more coconut-ty goodies, from anytime staples to festive specials. Please do subscribe to this blog, so that you’ll know as soon as a new post goes up! Don’t forget to let me know in the comments what you think of the recipes, too. As always, I love hearing from you about how you’ve translated my recipes to suit your own tastes!


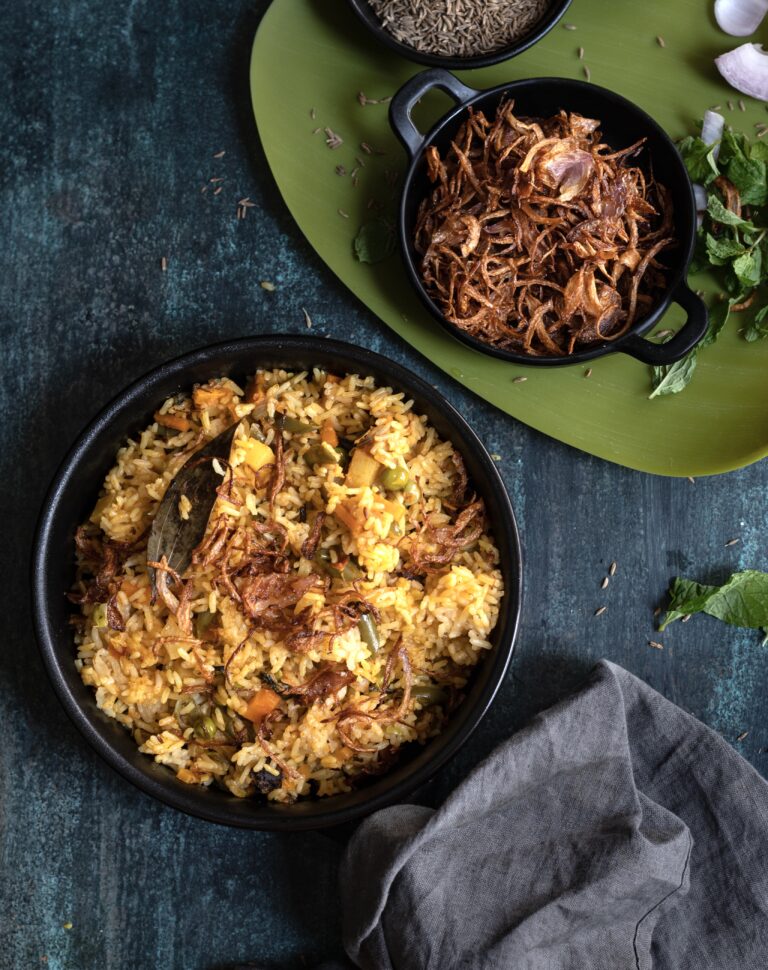
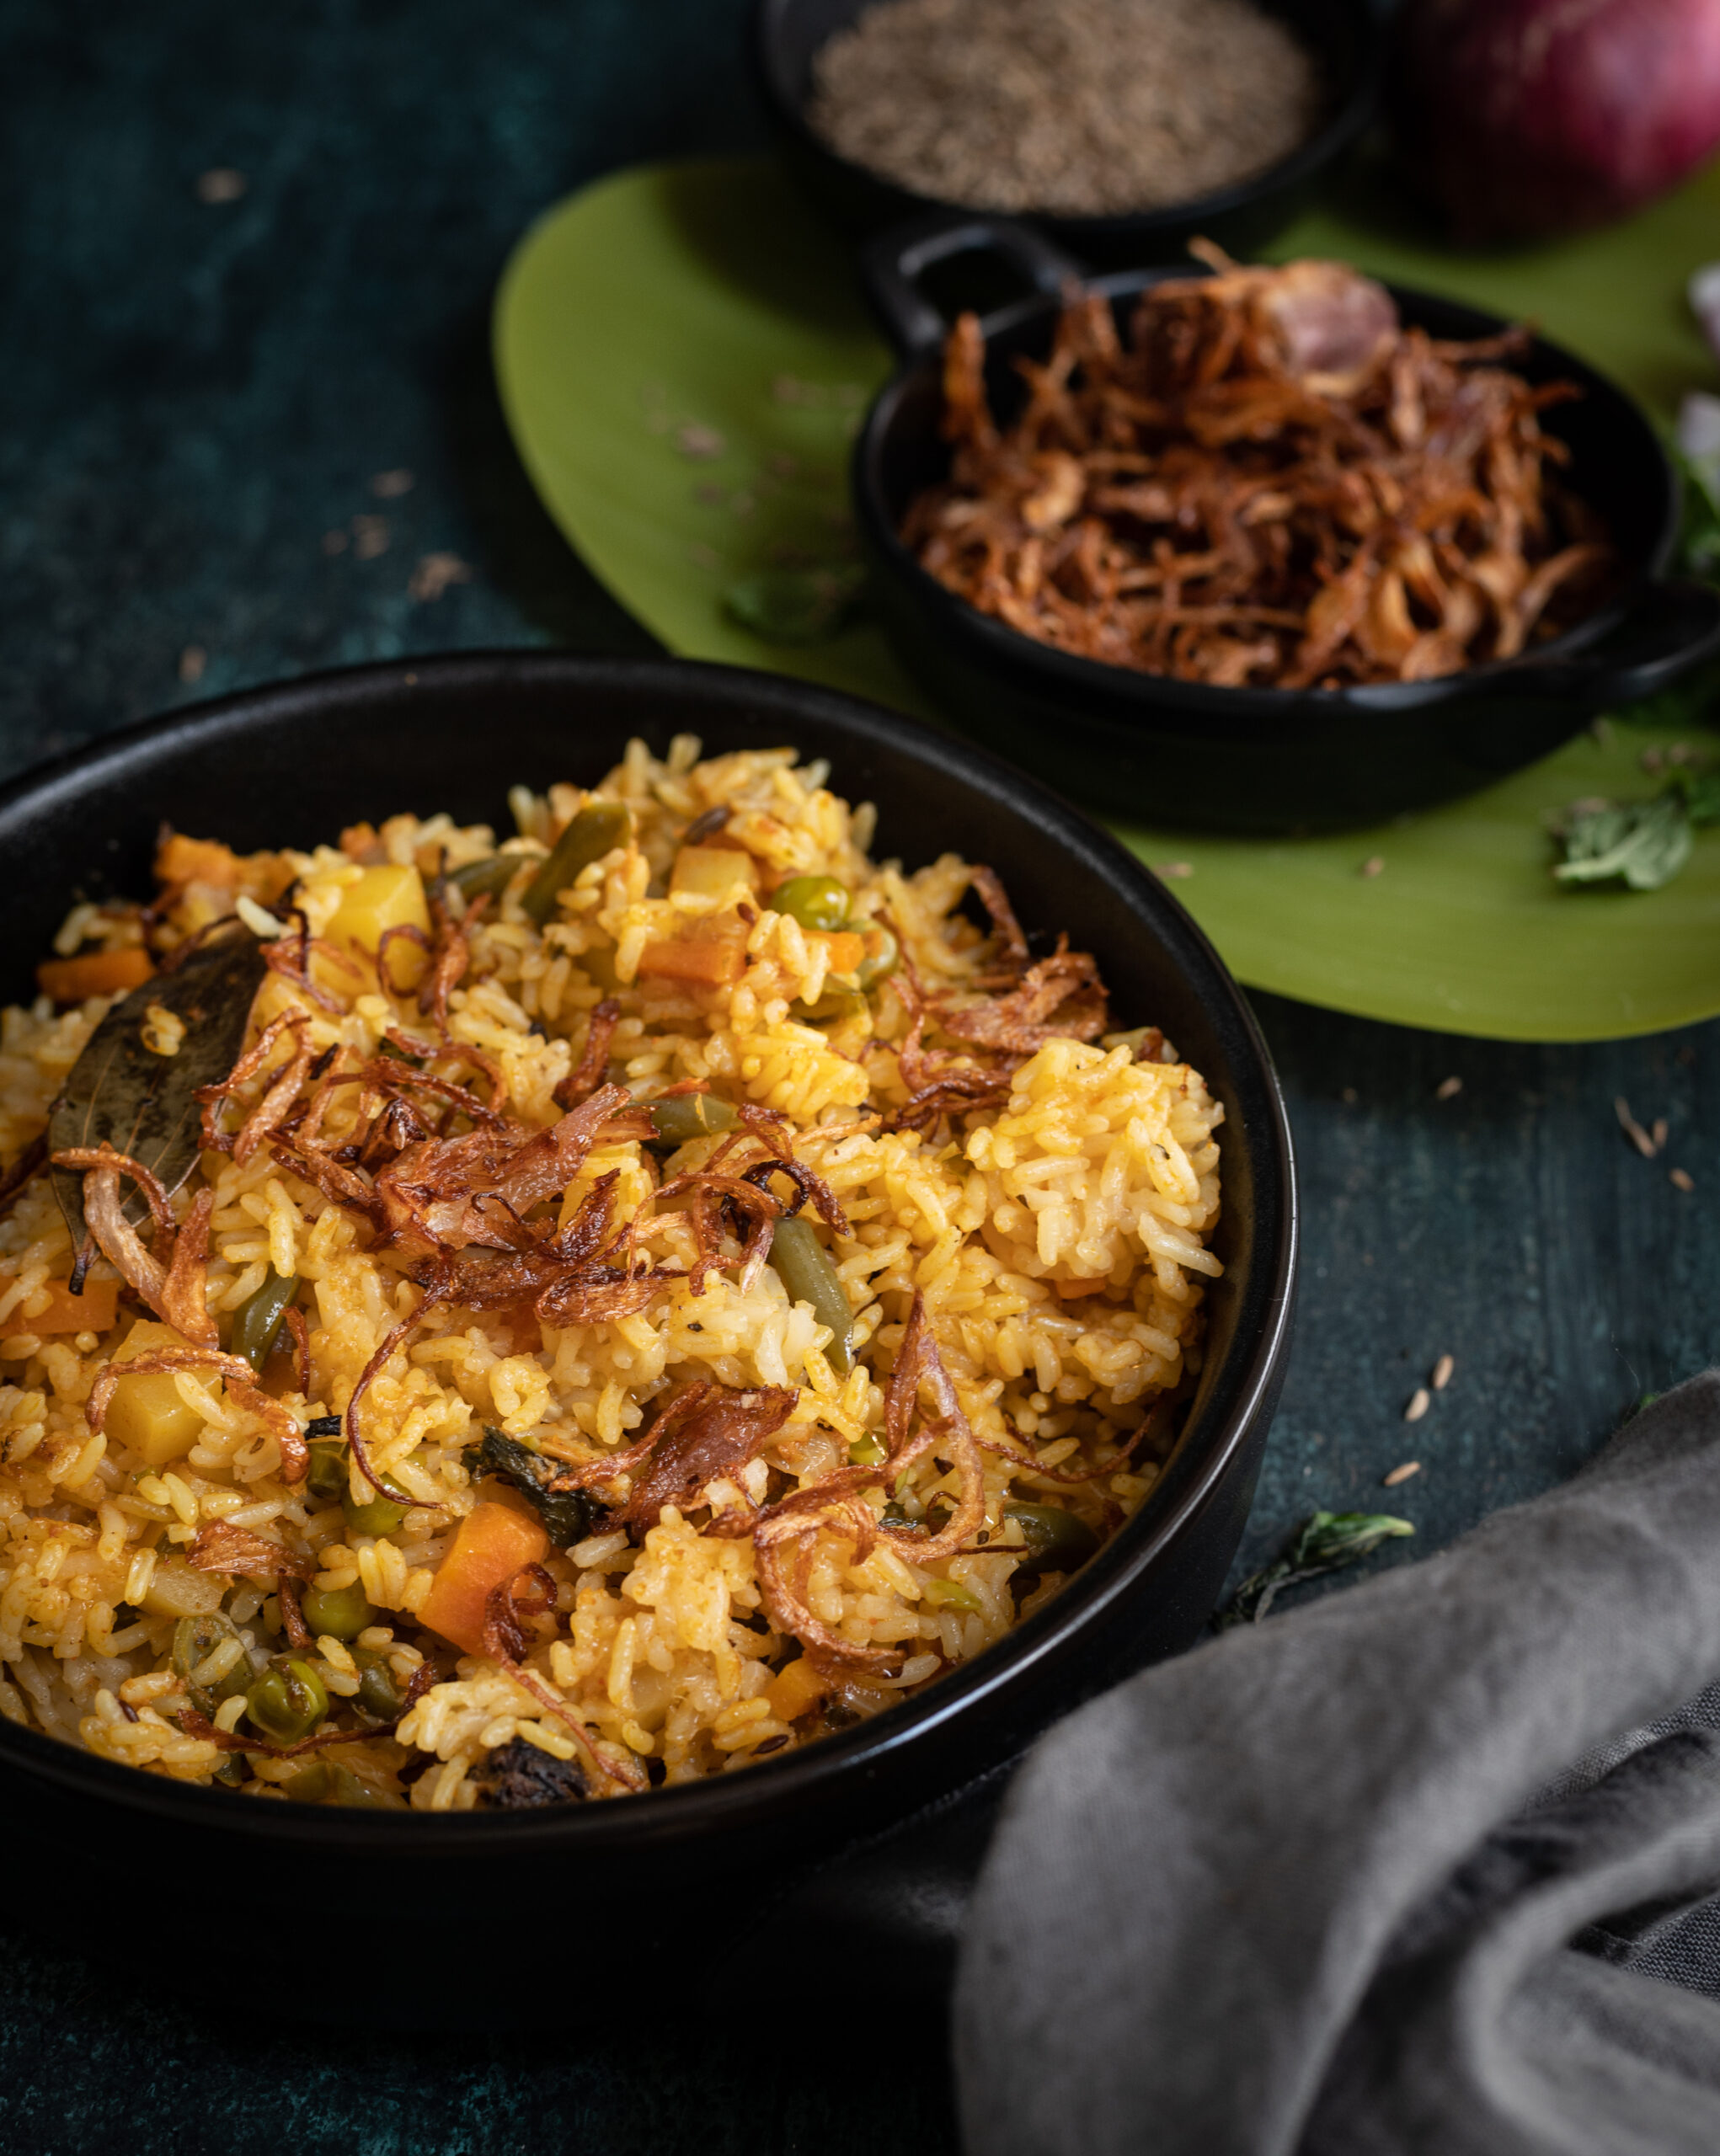
My children are at home through this lockdown, and I’ve been striving to make their favourite dishes for them while being mindful about how to make every ingredient go the extra mile. As we’ve discussed many times before on this blog, Indians have a knack for being resourceful in the kitchen, whether that’s through reusing leftovers creatively or coming up with innovative ways to cook with less. I believe that we should not neglect our nutrition or our taste buds, even now, and I’ve been thinking of how to share recipes with you that can be made with what you already have on hand in the fridge, but which don’t compromise on deliciousness. This vegetable biryani is a perfect example – flavourful, comforting, and made from just the staples.

The great part about this dish is that you can throw in any vegetable you like, which is especially useful at a time like this. It’s a very easy recipe for young adults who are just stepping out and learning to cook on their own, as well as for beginners in the kitchen. If you have a pressure cooker and follow the recipe to a T, you’ll soon be able to enjoy homemade biryanis on the regular.

Biryani is a savoury rice dish from the Mughal empire of India, and variations are made throughout the country. It is often prepared with long-grained basmati rice. In South India, we tend not to grow this variant, so different locations are famous for using their own rice types and methods. Popular regional biryanis include Dindigul, Hyderabad, Ambur and more. Meat is a common ingredient, but I’ll share a vegetarian recipe for the benefit of a wider number of readers.

That said, even the vegetables in this recipe are optional, although of course I don’t recommend that you leave them out for nutrition’s sake. But if you are short of groceries right now, be assured that the rice will be just as flavourful even without them. The subtle tastes and fragrances of the many spices used amply make up for them.

When my children were still little, and like many children disliked eating vegetables, they were absolutely delighted by a discovery made on a holiday. My brother had taken us to Dubai, to a restaurant that made a wonderful selection of biryanis. My kids were kicked to see that the restaurant offered a vegetarian version with no vegetables! I guess you could call it the kids’ option. That’s where they got the idea of having this flavourful rice with no vegetables at all, and got me to start making it for them that way too.

Like many of you, if not all of you, there have been some disruptions for us due to the current situation. We had been renovating our house, and had temporarily shifted to a smaller flat, where we now find ourselves until this crisis passes. Living in apartments, you can get the smells of cooking from different homes wafting into yours. This piques my curiosity delightfully. Sometimes I wonder: I think she’s making biryani, and that smells like this masala or that spice; perhaps I can incorporate it next time… Biryanis vary not just regionally, but also  between communities, and from family to family. No one can really replicate another’s, yet they are all fragrant – and tasty! I am certain yours will be too.

I have many other memories of biryani as a dish that encouraged bonding, and these go back to my childhood. At the time, the beach was the only place of outing for us in Chennai. We went there whether it was for a special occasion, like Sharad Purnima, or just as a treat. Most of us have lovely recollections of time spent there. On summer evenings, my extended family would head there with a big pot of biryani. We’d enjoy dinner on the beach along with the light, cooling sea breeze. People would also bring accompaniments, including a sweet, raita, drinks, crispies like appalams and so on, so it became a potluck. We would tuck into a feast as we enjoyed one another’s company as well as the beauty of nature. I so look forward to doing that again one day, when it becomes possible to. A simple picnic with loved ones, in the beautiful outdoors, with a basket or two of delicious food…


Vegetable Biryani

(Yield: Serves 4)

Ingredients:

2 tablespoons ghee

2 teaspoons cumin seeds

1 teaspoon saunf

2 bay leaves

1 long cinnamon stick

2-3 cloves

2 cardamom pods

1 star anise

200 grams rice (approximately 1¼ cups)

200 grams cut vegetables (beans, carrots, small potatoes, peas)

100 grams finely cut onions

1 tablespoon tomato purée

1 green chilli

A few mint leaves

1 tablespoon finely cut coriander leaves

1 tablespoon yoghurt

2 cups water


Masala:

½ teaspoon turmeric powder

Salt to taste

1 teaspoon cumin powder


Raita:

1½ cups yoghurt

½ cup onions

Salt to taste

1 teaspoon roasted cumin powder

First, prepare the raita, so it’s ready when you serve the biryani. Add the yoghurt in a bowl, then add the salt and the cumin powder. Mix well. Now, add the onions and stir. Store in the refrigerator.

Pick, rinse and soak the rice in water for about ½ an hour. I have used rice from our farm as we prefer that at home. However, if you prefer basmati, then use that by all means. It’s possible that the water content may change, so adjust accordingly.

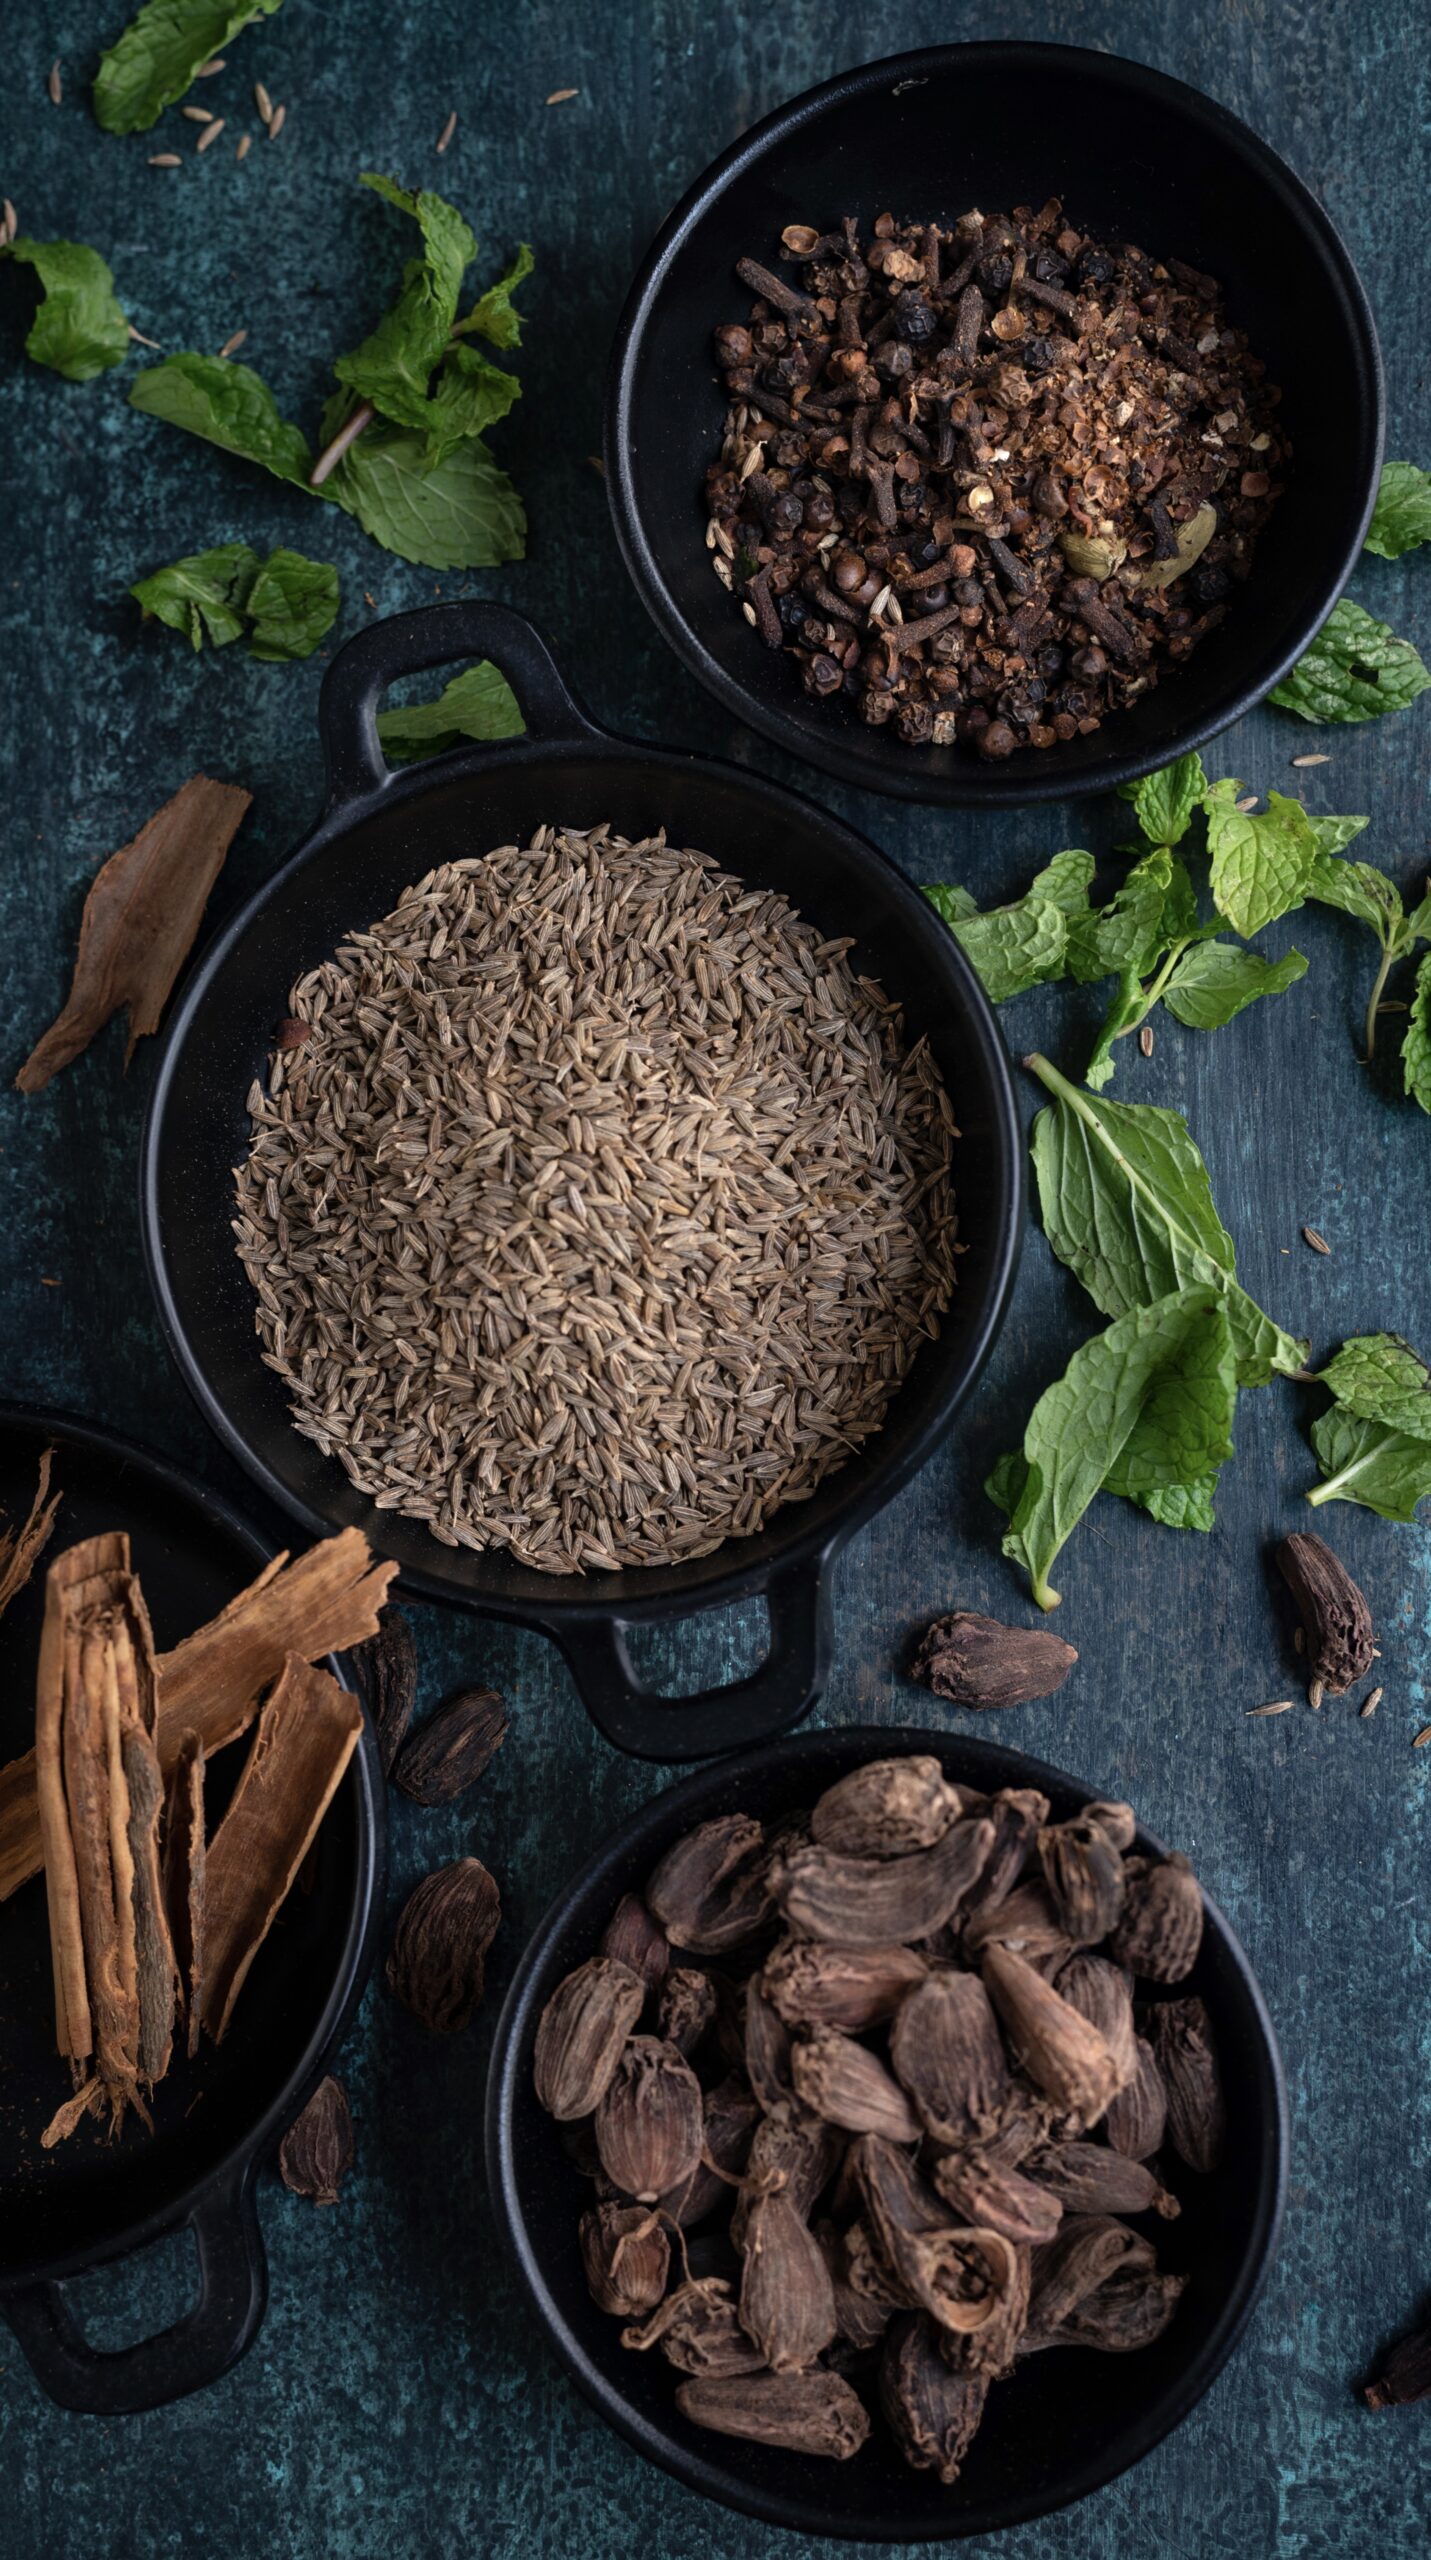
In a pressure cooker, add the ghee. Once it becomes hot, add the cumin seeds and saunf, followed quickly by the spices (cardamom, cinnamon stick, bay leaf, cloves, star anise). You can substitute the ghee for oil, especially if you are vegan.

Sauté for less than a minute or until the flavours come together in the ghee.

Next, add the finely cut onions and sauté until transparent. Once it turns golden, add the tomatoes and the green chilli. I have used a homemade tomato purée, the recipe for which was shared recently. But feel free to use fresh tomatoes, diced.

Now, add the masala and stir well. Once that is mixed thoroughly, add all the vegetables along with the mint and coriander leaves. You may use any vegetables that are available to you. Fortunately, my usual method for this biryani requires simple ones that I still have on hand easily – beans, carrots, small potatoes and peas.

Next, add the yoghurt. Blend everything well. Discard the soaking water and add the rice.

Now, add 2 more cups of water to the rice mixture. Cover the pressure pan and allow 1 whistle. Then, lower the flame and allow to cook for another 5 minutes.

Turn off the flame and allow to cool in the cooker until it is ready to open.

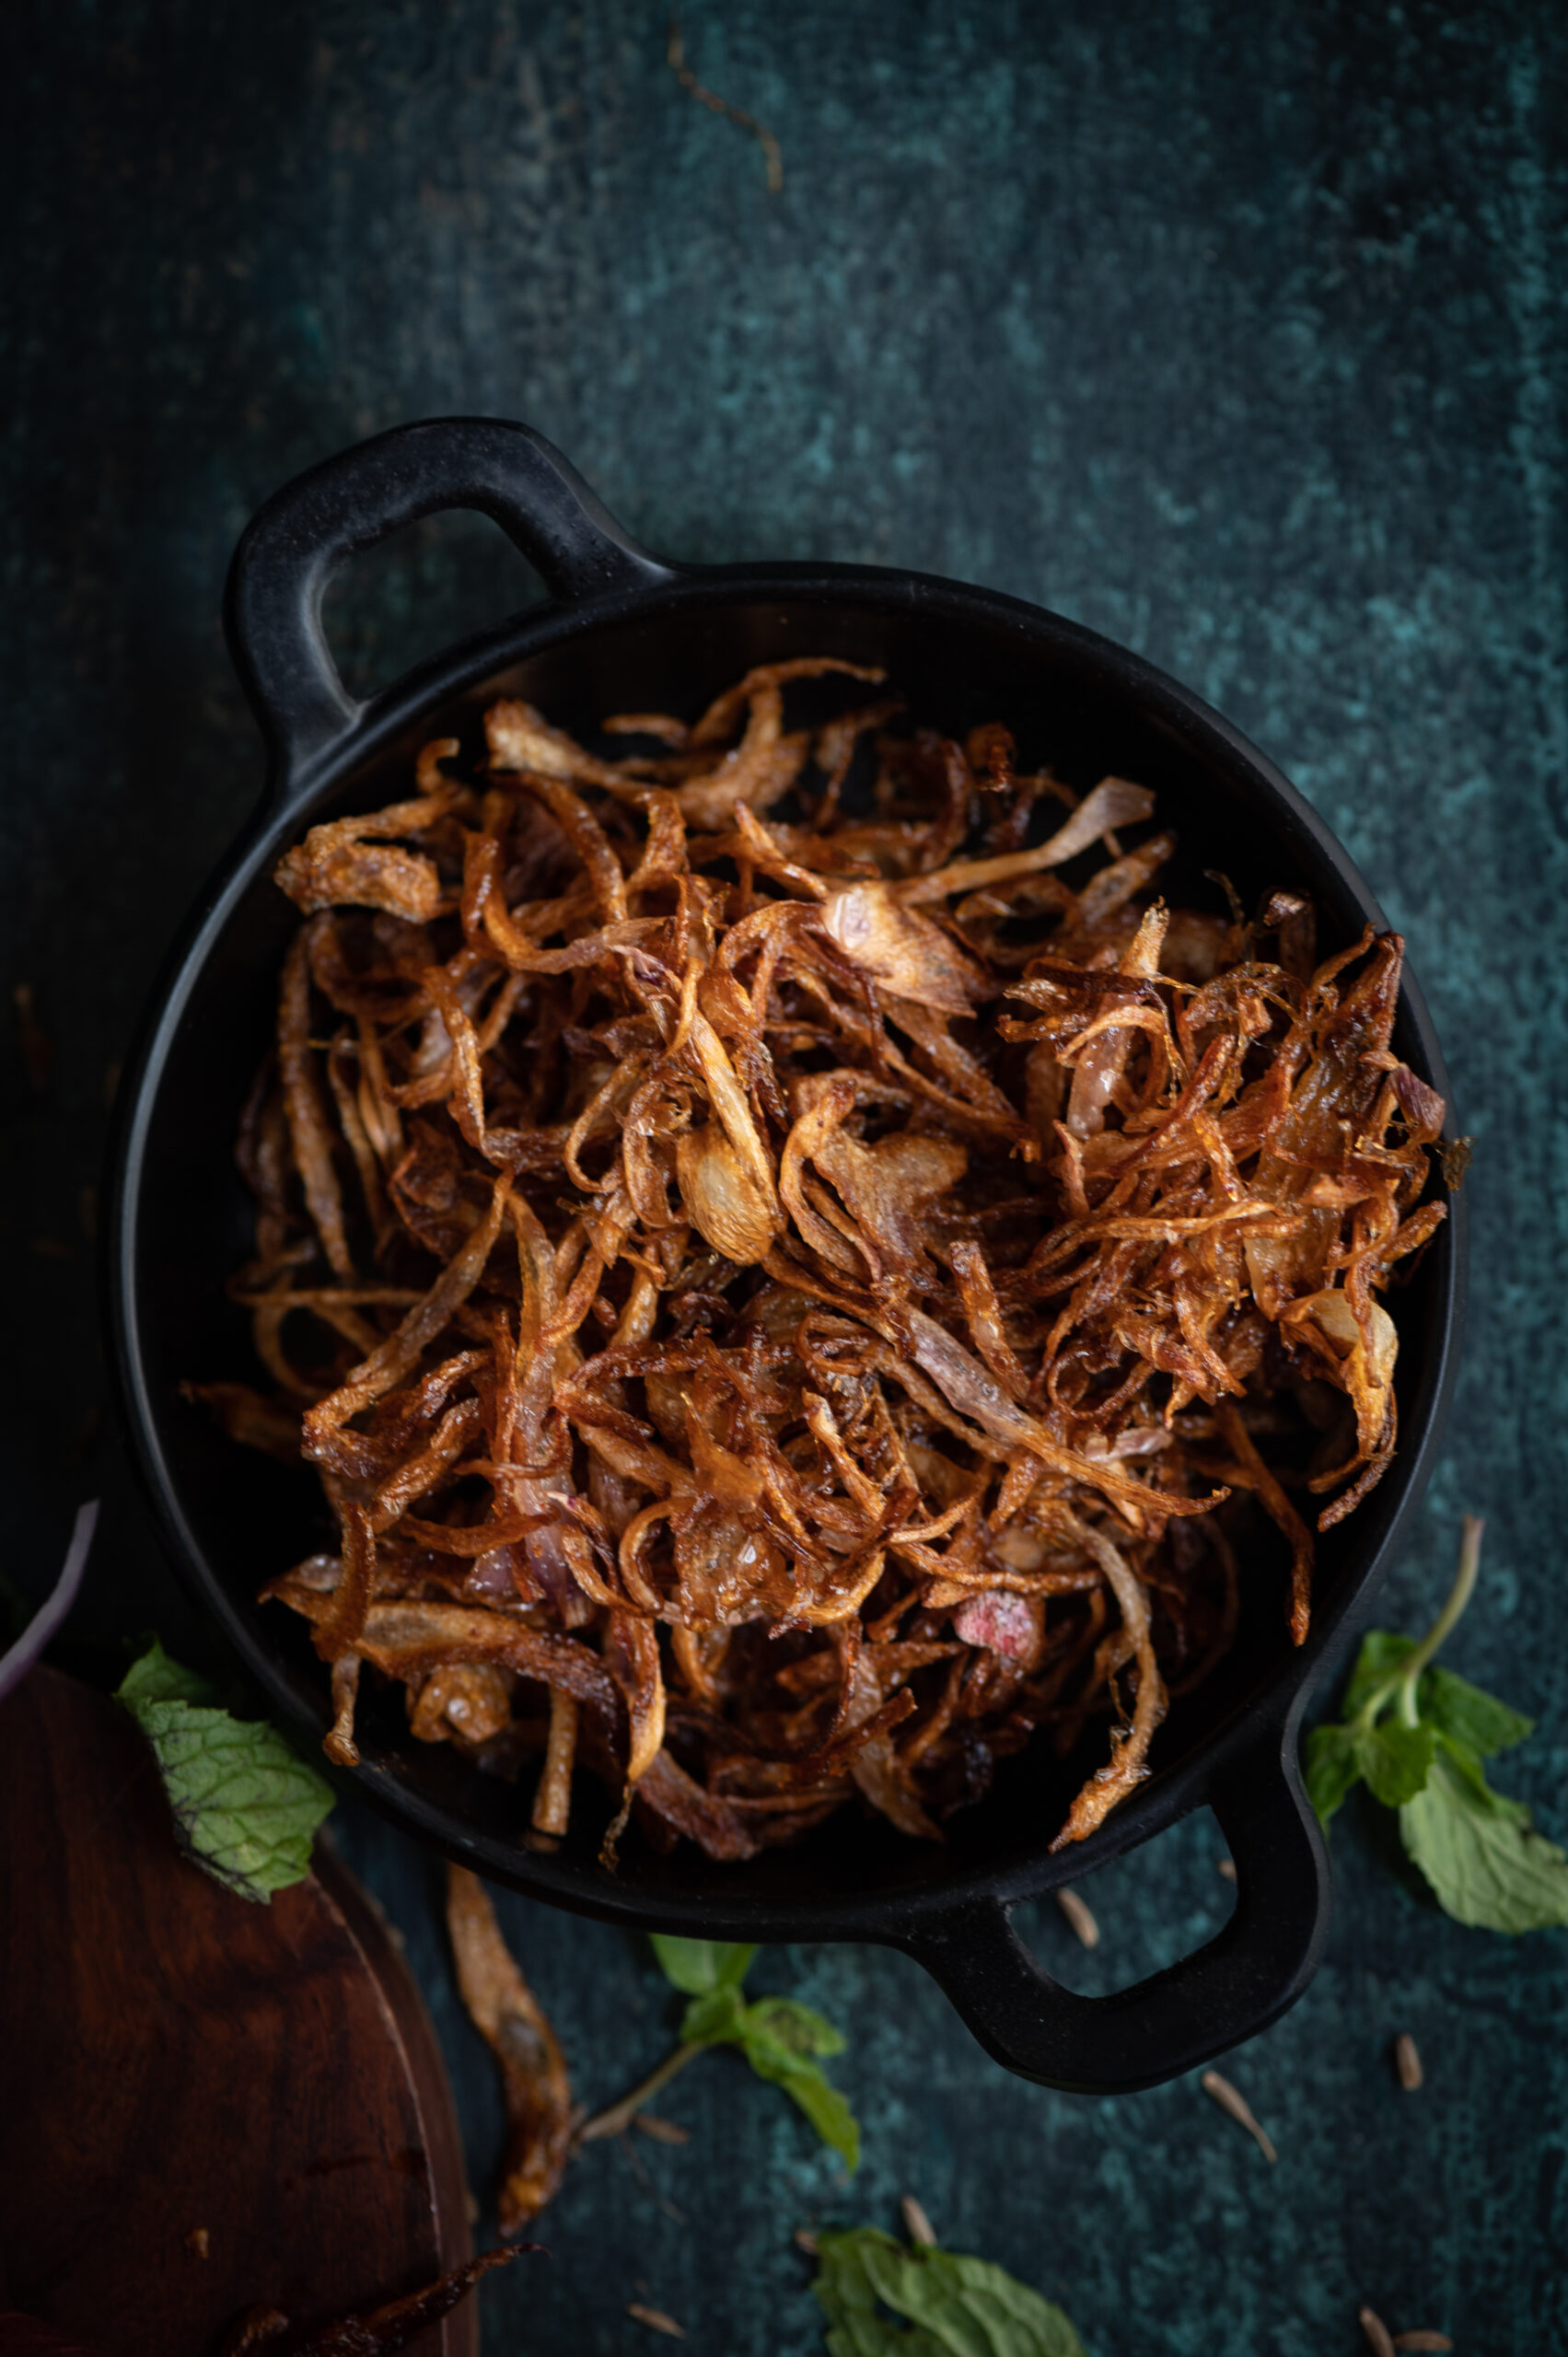
Once open, mix gently and serve with the onion raita. I garnish the biryani with a sprinkling of golden burnt onion slices.

And there you have it – a recipe from the royal kitchens, adapted for our lives today. I hope this simple vegetable biryani will bring you some joy in this surreal time. I’ll keep sharing more recipes in the next few weeks which I hope will also do the same.

If “biryani” has been considered a fancy dish in your mind till date, I encourage you to drop the notion. Let’s return once more to the fact that there are numerous kinds of biryanis – with meat, without meat, with vegetables, without vegetables, with some kinds of rice or with some other kinds of spices. This is why I want to say with confidence – give it a try! I am sure it will be great, and I would love to hear about your own variant in the comments.

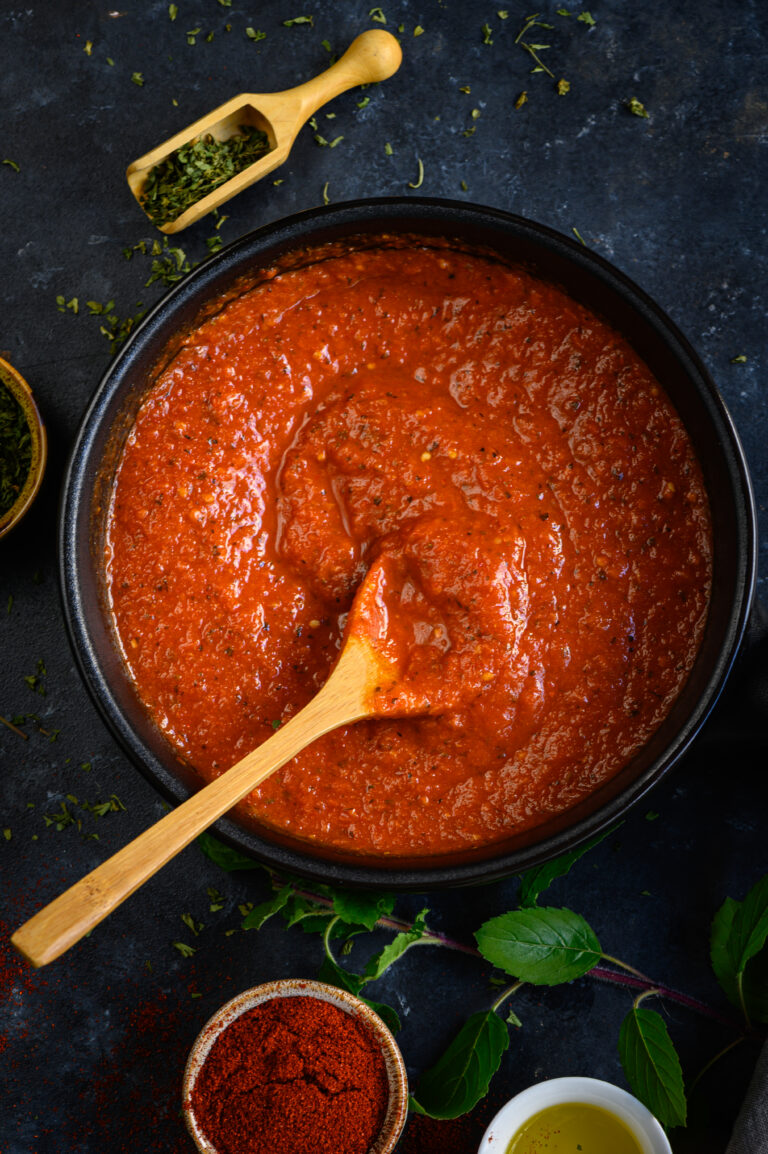
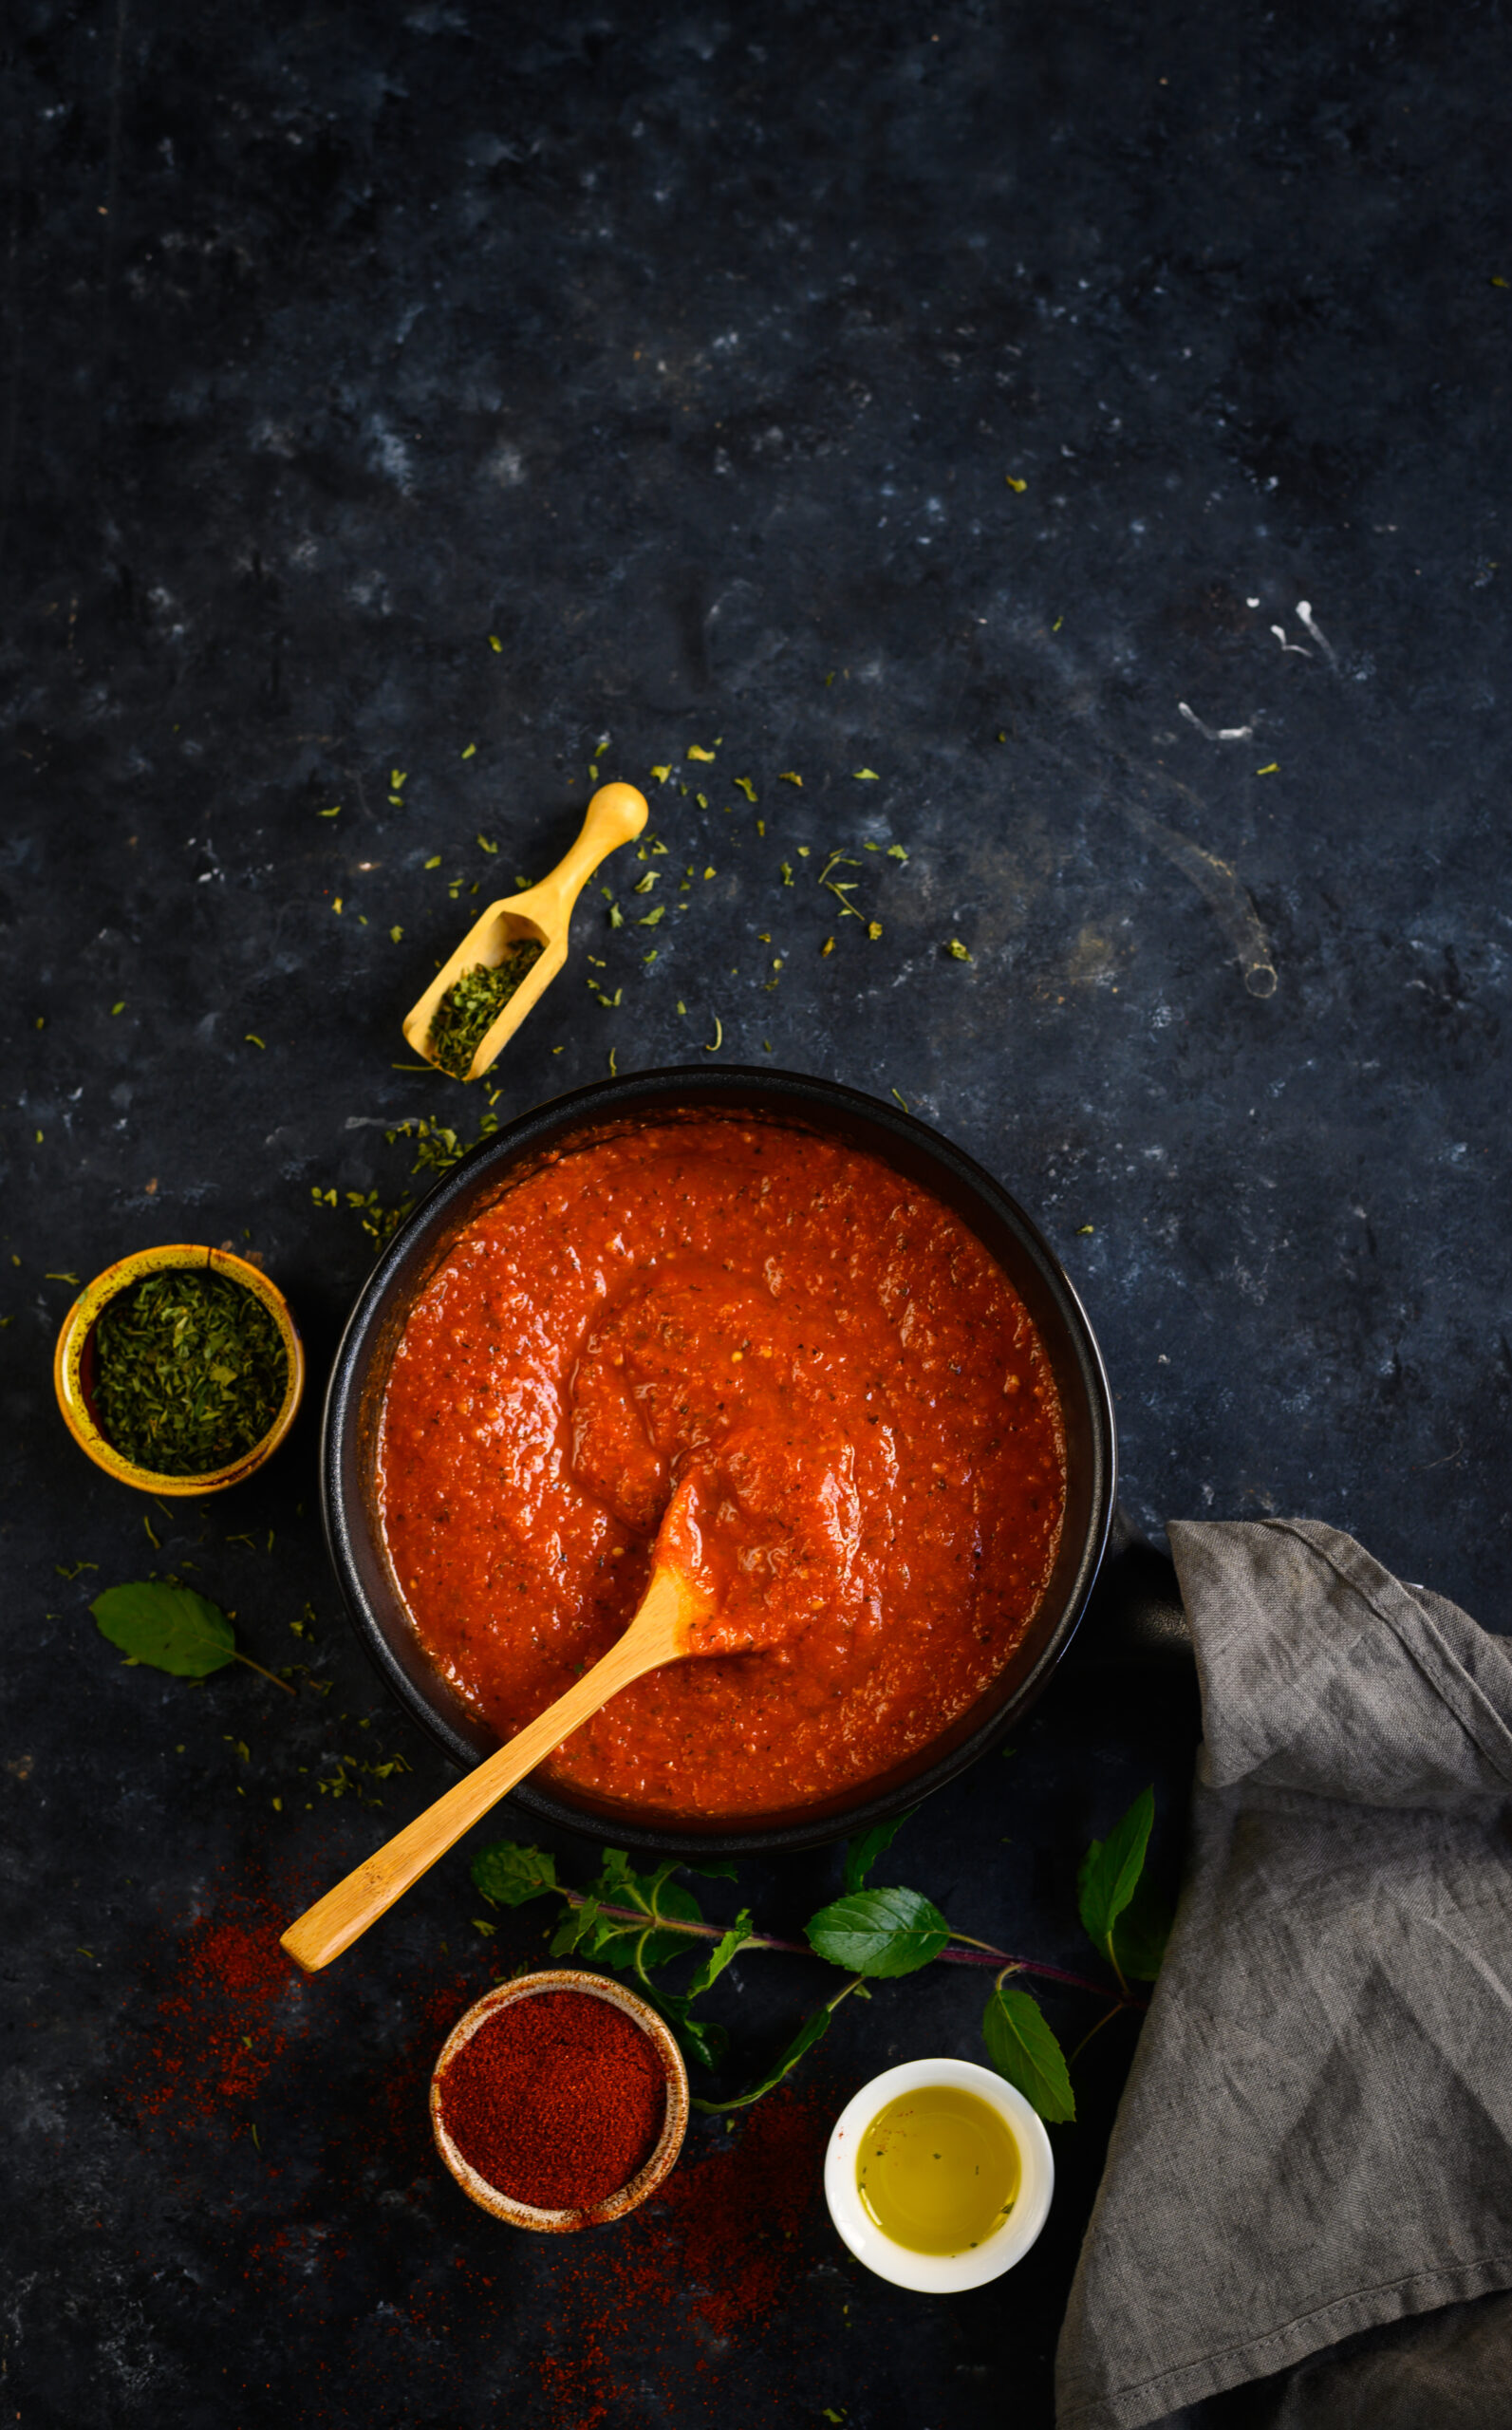
Being resourceful in the kitchen comes naturally to many of us, and I’m someone who has long included homemade flours and powders and organic produce as parts of my everyday cooking. To me, preparing big batches of dishes that keep well and can be reheated is just the smart thing to do. I’ve noticed that canning is a culinary and DIY trend that has really been catching on on social media. I admire the trend as it takes a lot of hard work, and requires being inventive and patient. I think it’s similar in some ways to the Indian art of pickling. I don’t seem to have the talent for canning, but I do the next best thing and make a delicious tomato purée that can be kept for several days, and used in several ways. The wonderful part of it is that it’s a very versatile item. This all-purpose tomato purée works in myriad cuisines effortlessly.

It suits kids’ cravings, adults’ larger appetites, and everything from Continental meals for those with a wide palate and traditional Indian dishes for those seeking comfort food. That it can be stored for a while is a big plus. My daughter who lives in Mumbai insists that I bring her a batch whenever I visit her, or packs a big jar into her luggage each time she returns there from home, and uses it for over the course of a whole week.

When I’m in a hurry for a curry, I just take the jar or pot out of the fridge and have a readymade base on which to build the dish. The same goes for when there’s a request for a homemade pizza, or more likely a pasta – my son is notorious for changing his mind, and my menu, last minute! So it’s great that I have something that works both ways.  Sometimes, I’ll scoop a dollop of this tomato purée into minestrone soup as well (the recipe for it will follow sometime soon).

That’s why having an all-purpose key product helps me so much. It cuts down on the prep time regardless of what I’m making that day. My tomato purée imitates the famous pasta sauce called ragú, except it is vegetarian whereas the traditional Italian recipe is meat-heavy.

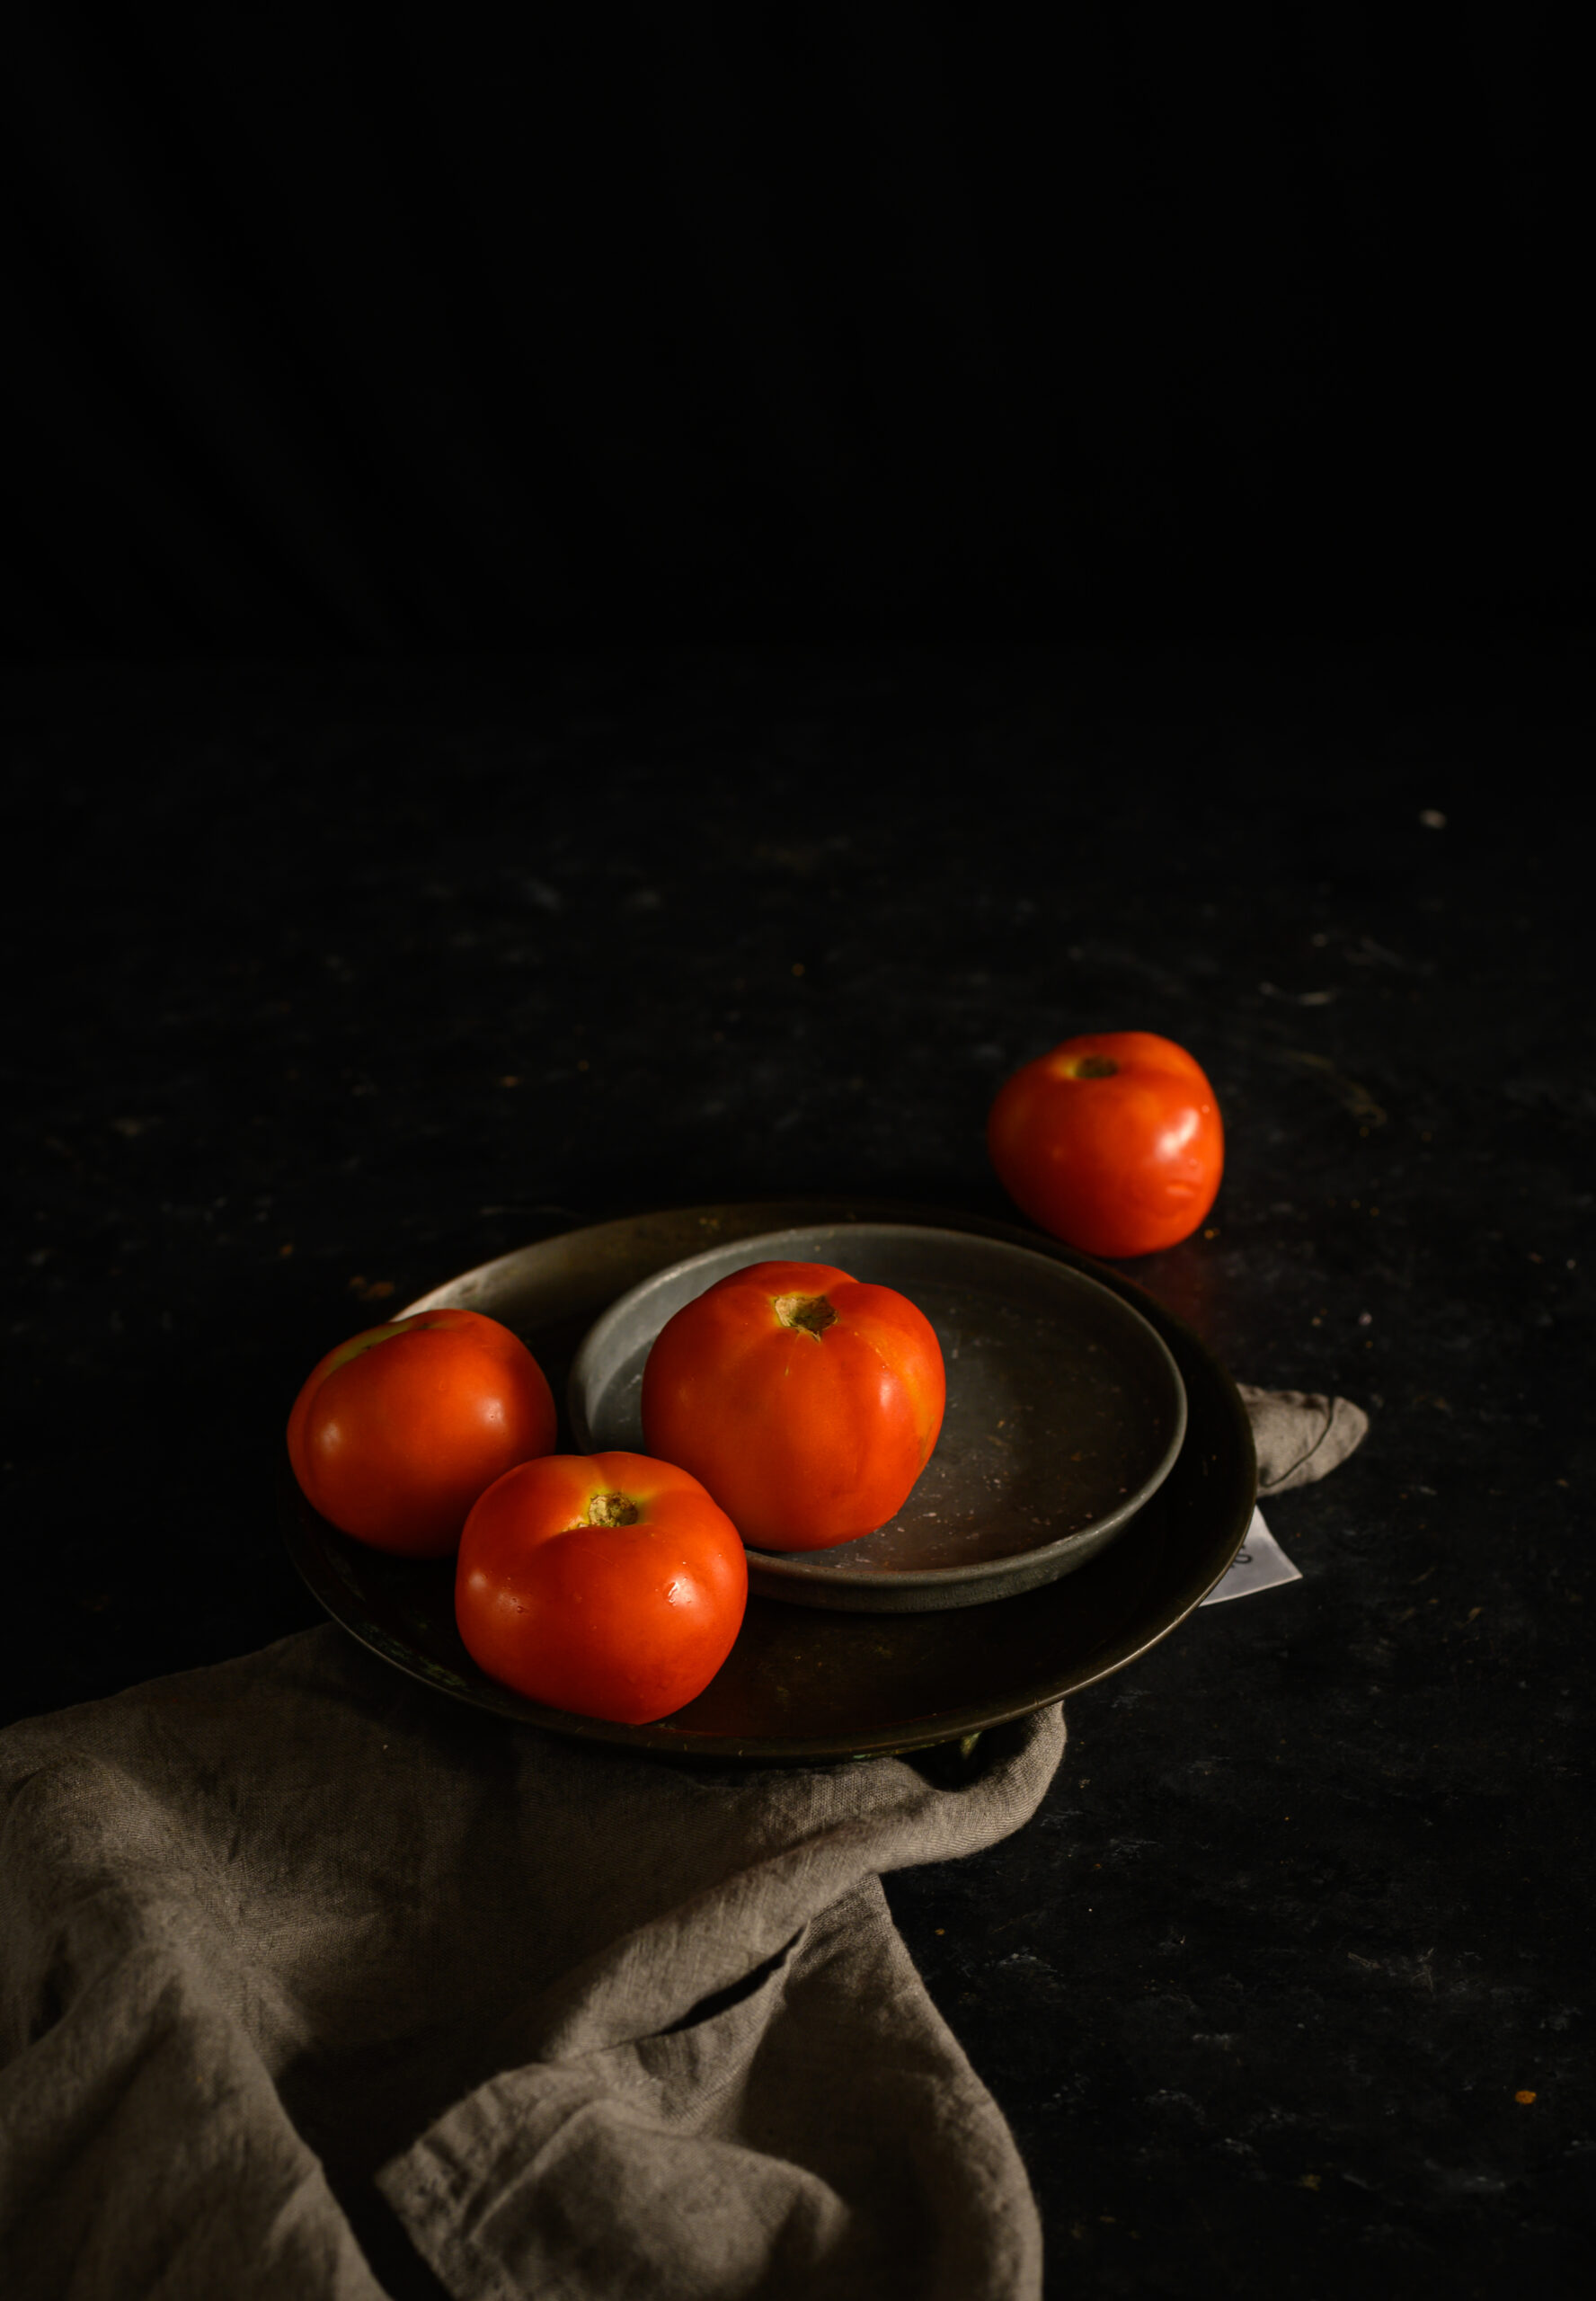
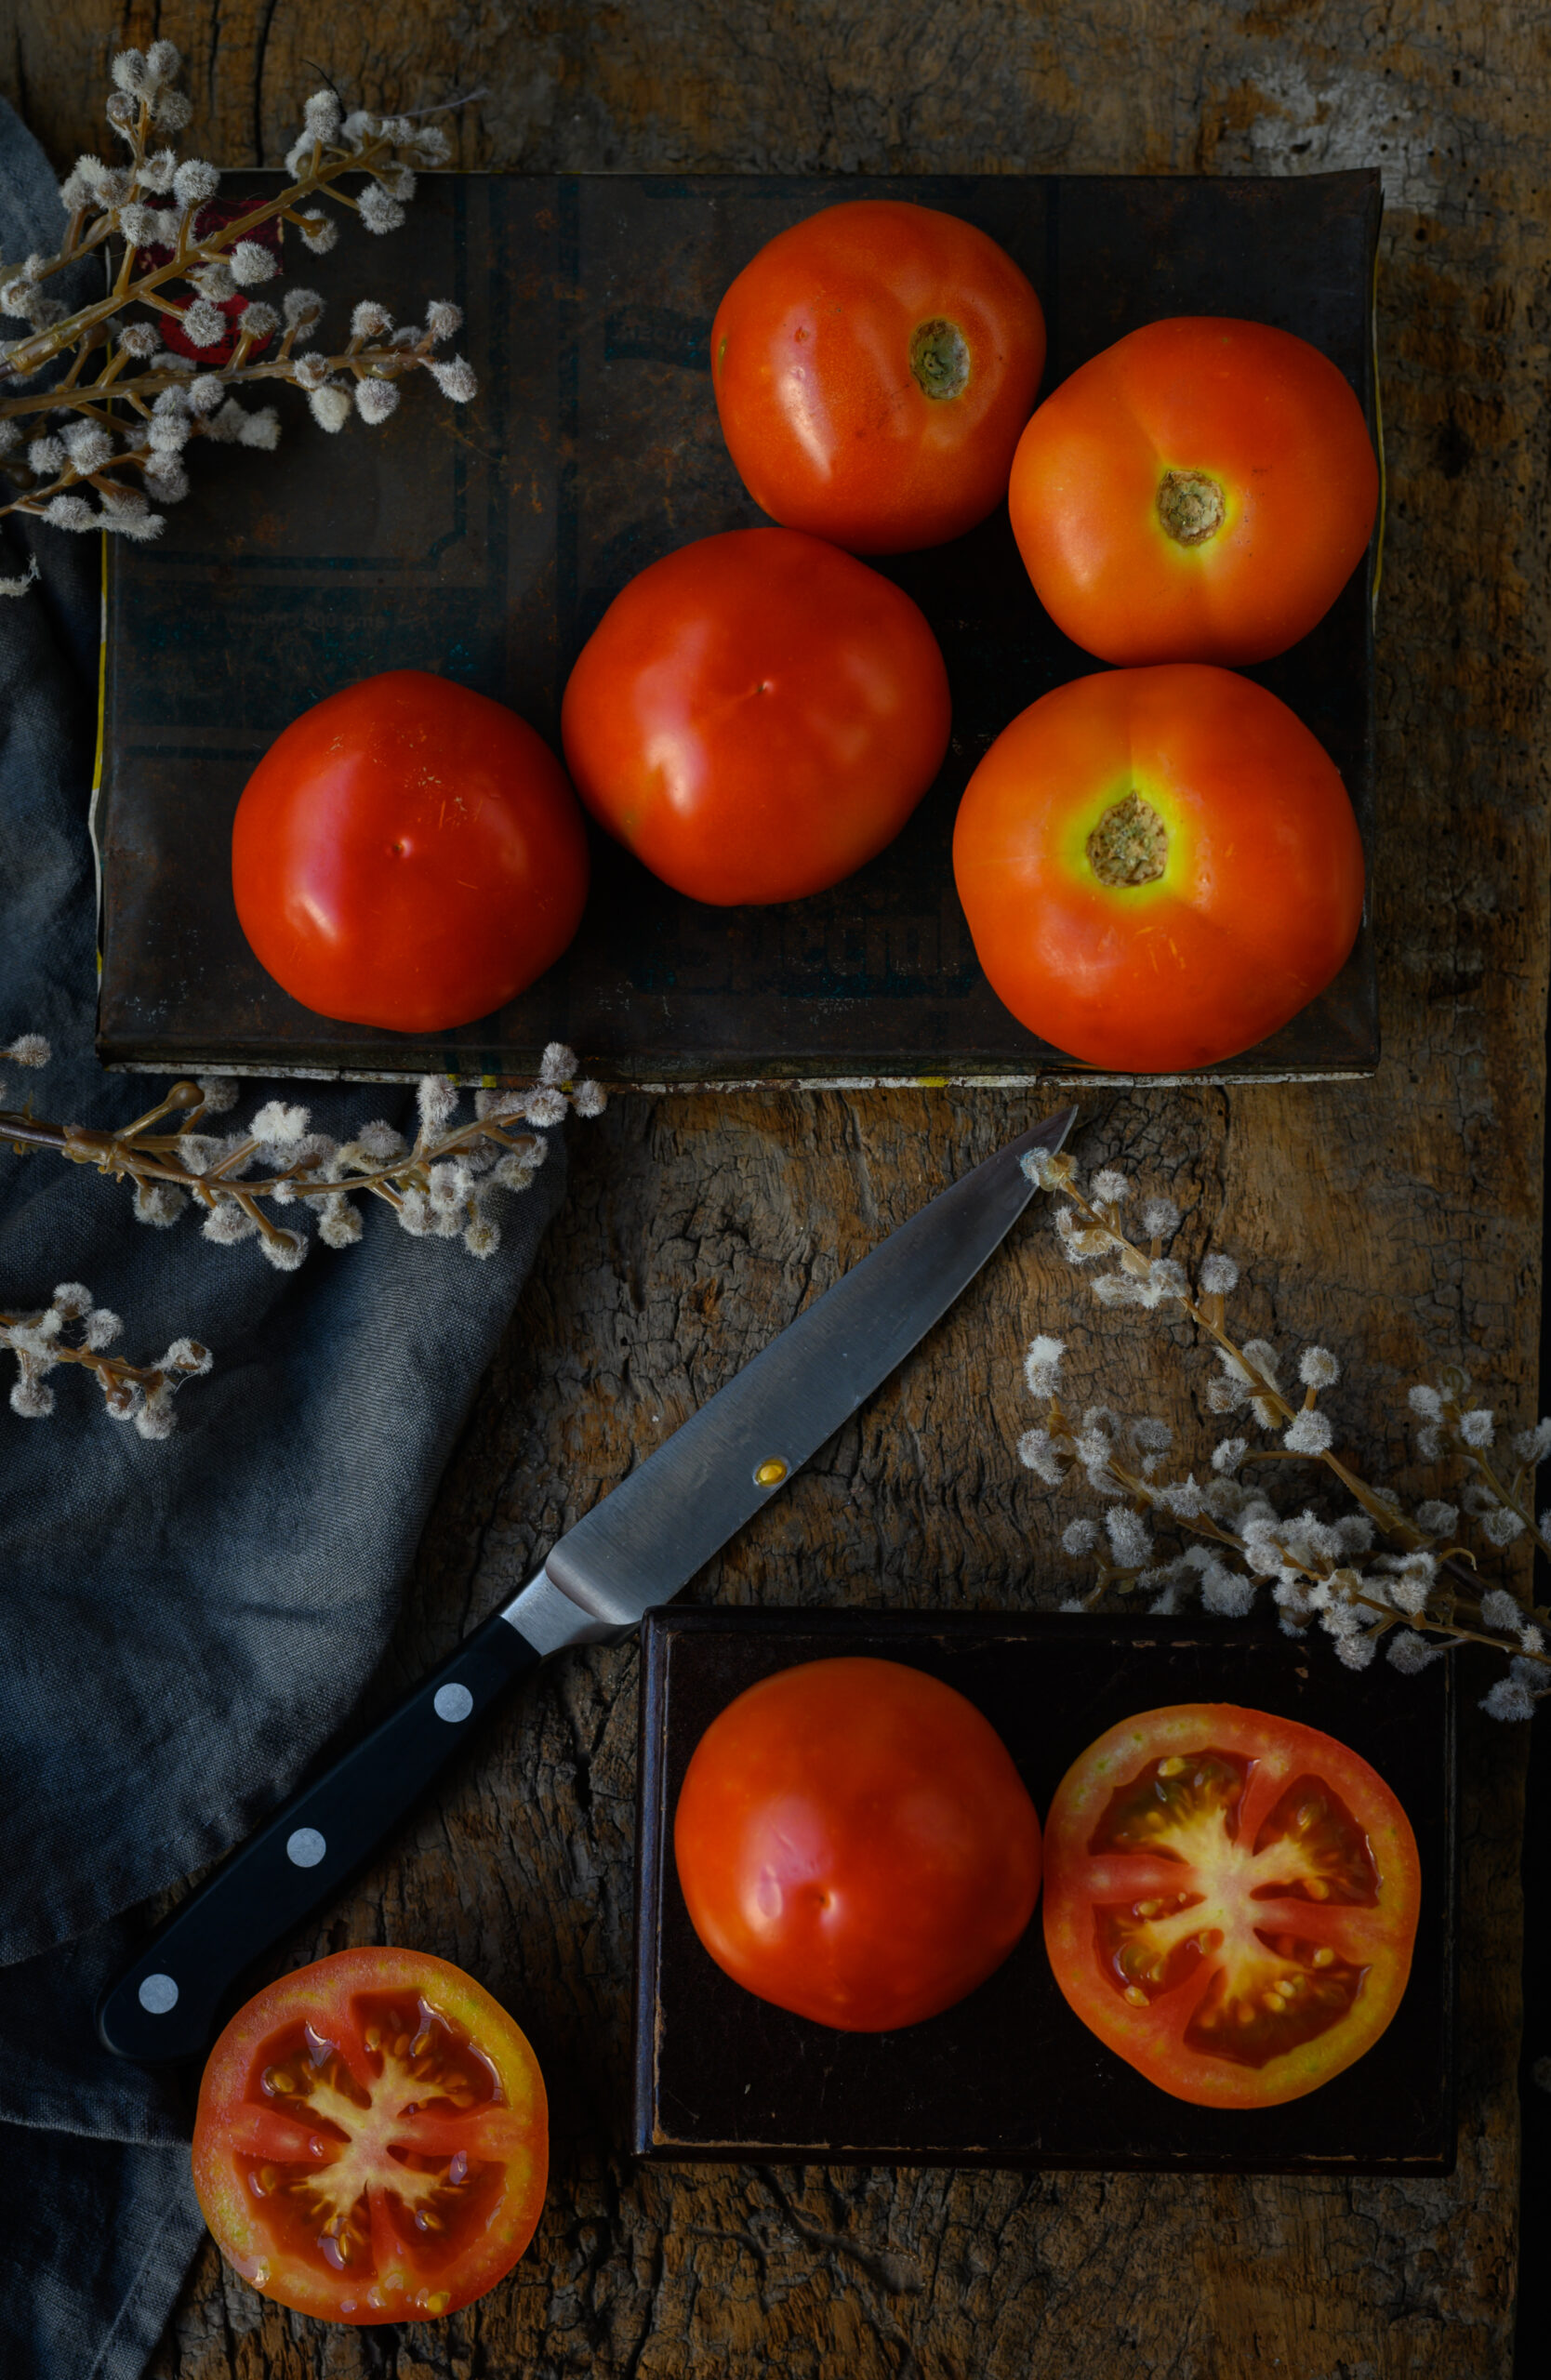
What makes this tomato purée extra special is that we’ve been growing the tomatoes ourselves on our terrace. I often talk about our farm and the varieties of produce and plants we grow there, and it’s really special to me that I get to bring some of that spirit back home too. Once you get a knack for gardening, you realise just how easy is it to cultivate some of the staples we reach for in our kitchens often. Many people I know grow herbs, vegetables and even fruit trees, which go directly into their diets. We are currently enjoying an abundant harvest of tomatoes, and are putting these lovely vegetables (or more accurately, fruits) to good use in a wide variety of dishes.

I guess you could say that while I haven’t yet found the talent for canning the way the Instagrammers do it, I’ve definitely had the patience to develop other culinary skills. Tending to homegrown produce is one, and making sourdough is another. Those of you who have followed my own IG stories for a while now would have noticed my eventual success in making that complicated bread! Whenever it’s pasta night at home, I put some into the oven and bake it an hour before dinnertime. A fresh, warm loaf accompanied by this tomato purée as a dip is served alongside delicious plates of pasta, which themselves are rich with this purée in the sauce. Now, I have my sights on mastering a sourdough base for pizza. My homemade pizza has been a hit in my household ever since my kids were little, and my daughter would often take some to school (to promptly exchange for spinach rice!). Her friends still ask me for some when they all visit together, and I’d love to surprise them with a sourdough twist to their childhood favourite soon. Made, of course, with this all-purpose tomato purée as a pizza sauce. Wish me luck, and be sure to follow my journey of trials, errors and triumphs on social media!


All-Purpose Tomato Purée

(Yield: 1 jar)

½ kilogram tomatoes

150 grams onions

4-5 garlic cloves

Salt to taste

1 teaspoon sugar (optional)

¼ teaspoon basil powder

2 tablespoons olive oil

1 teaspoon paprika

Roast the tomatoes over a flame until the skin is charred. Discard the skin and purée the tomatoes in a blender. Set aside.

Purée the onion in a blender along with the garlic cloves.

Heat a pan and add the olive oil. Then, add the puréed onion mixture and sauté till it turns golden. Next, add the tomato purée and mix well. Keep the flame to a medium heat and stir occasionally, making sure that the mixture does not stick to the bottom and sides. Be careful as the purée will soon start to bubble. Reduce the flame intermittently. When the purée begins to reduce, add the remaining ingredients and stir well.

Some notes on adjusting the ingredients to suit your taste: change the proportion of onions or garlic depending on how you like them, substitute chili powder for paprika if that’s your preference, and adding a sprinkling of fresh basil towards the end of the reduction adds a nice flavour, if you have that ingredient on hand.

Reduce the purée until it is thick and spreadable, or to the consistency you desire.

Allow to cool and store in a glass jar in the fridge. This all-purpose tomato purée lasts for approximately a week, and up to ten days with good storage. As it keeps well, you can also adjust all the proportions to make a batch in a size that’s ideal for all the ways you may use it over the course of a week.

Whether it’s a pasta, a pizza, a sandwich, or even an Indian curry with a hint of Mediterranean flavours, this all-purpose tomato purée just adds so much convenience to my regular cooking. I’d love to know if you try it out, and I’d especially love to hear about the creative ways in which you add it to your own menu!

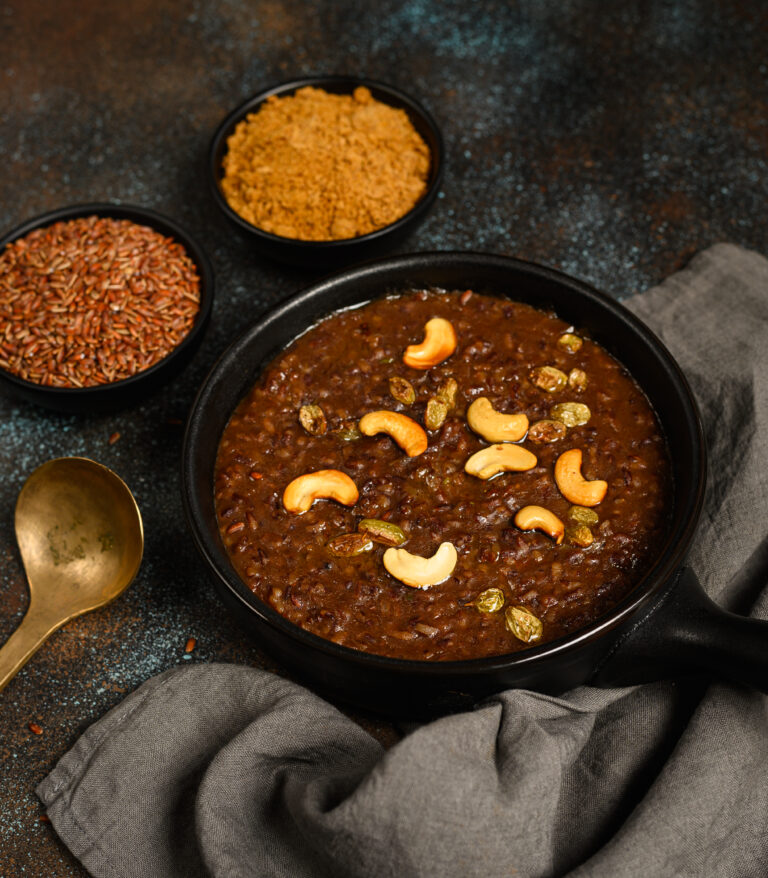
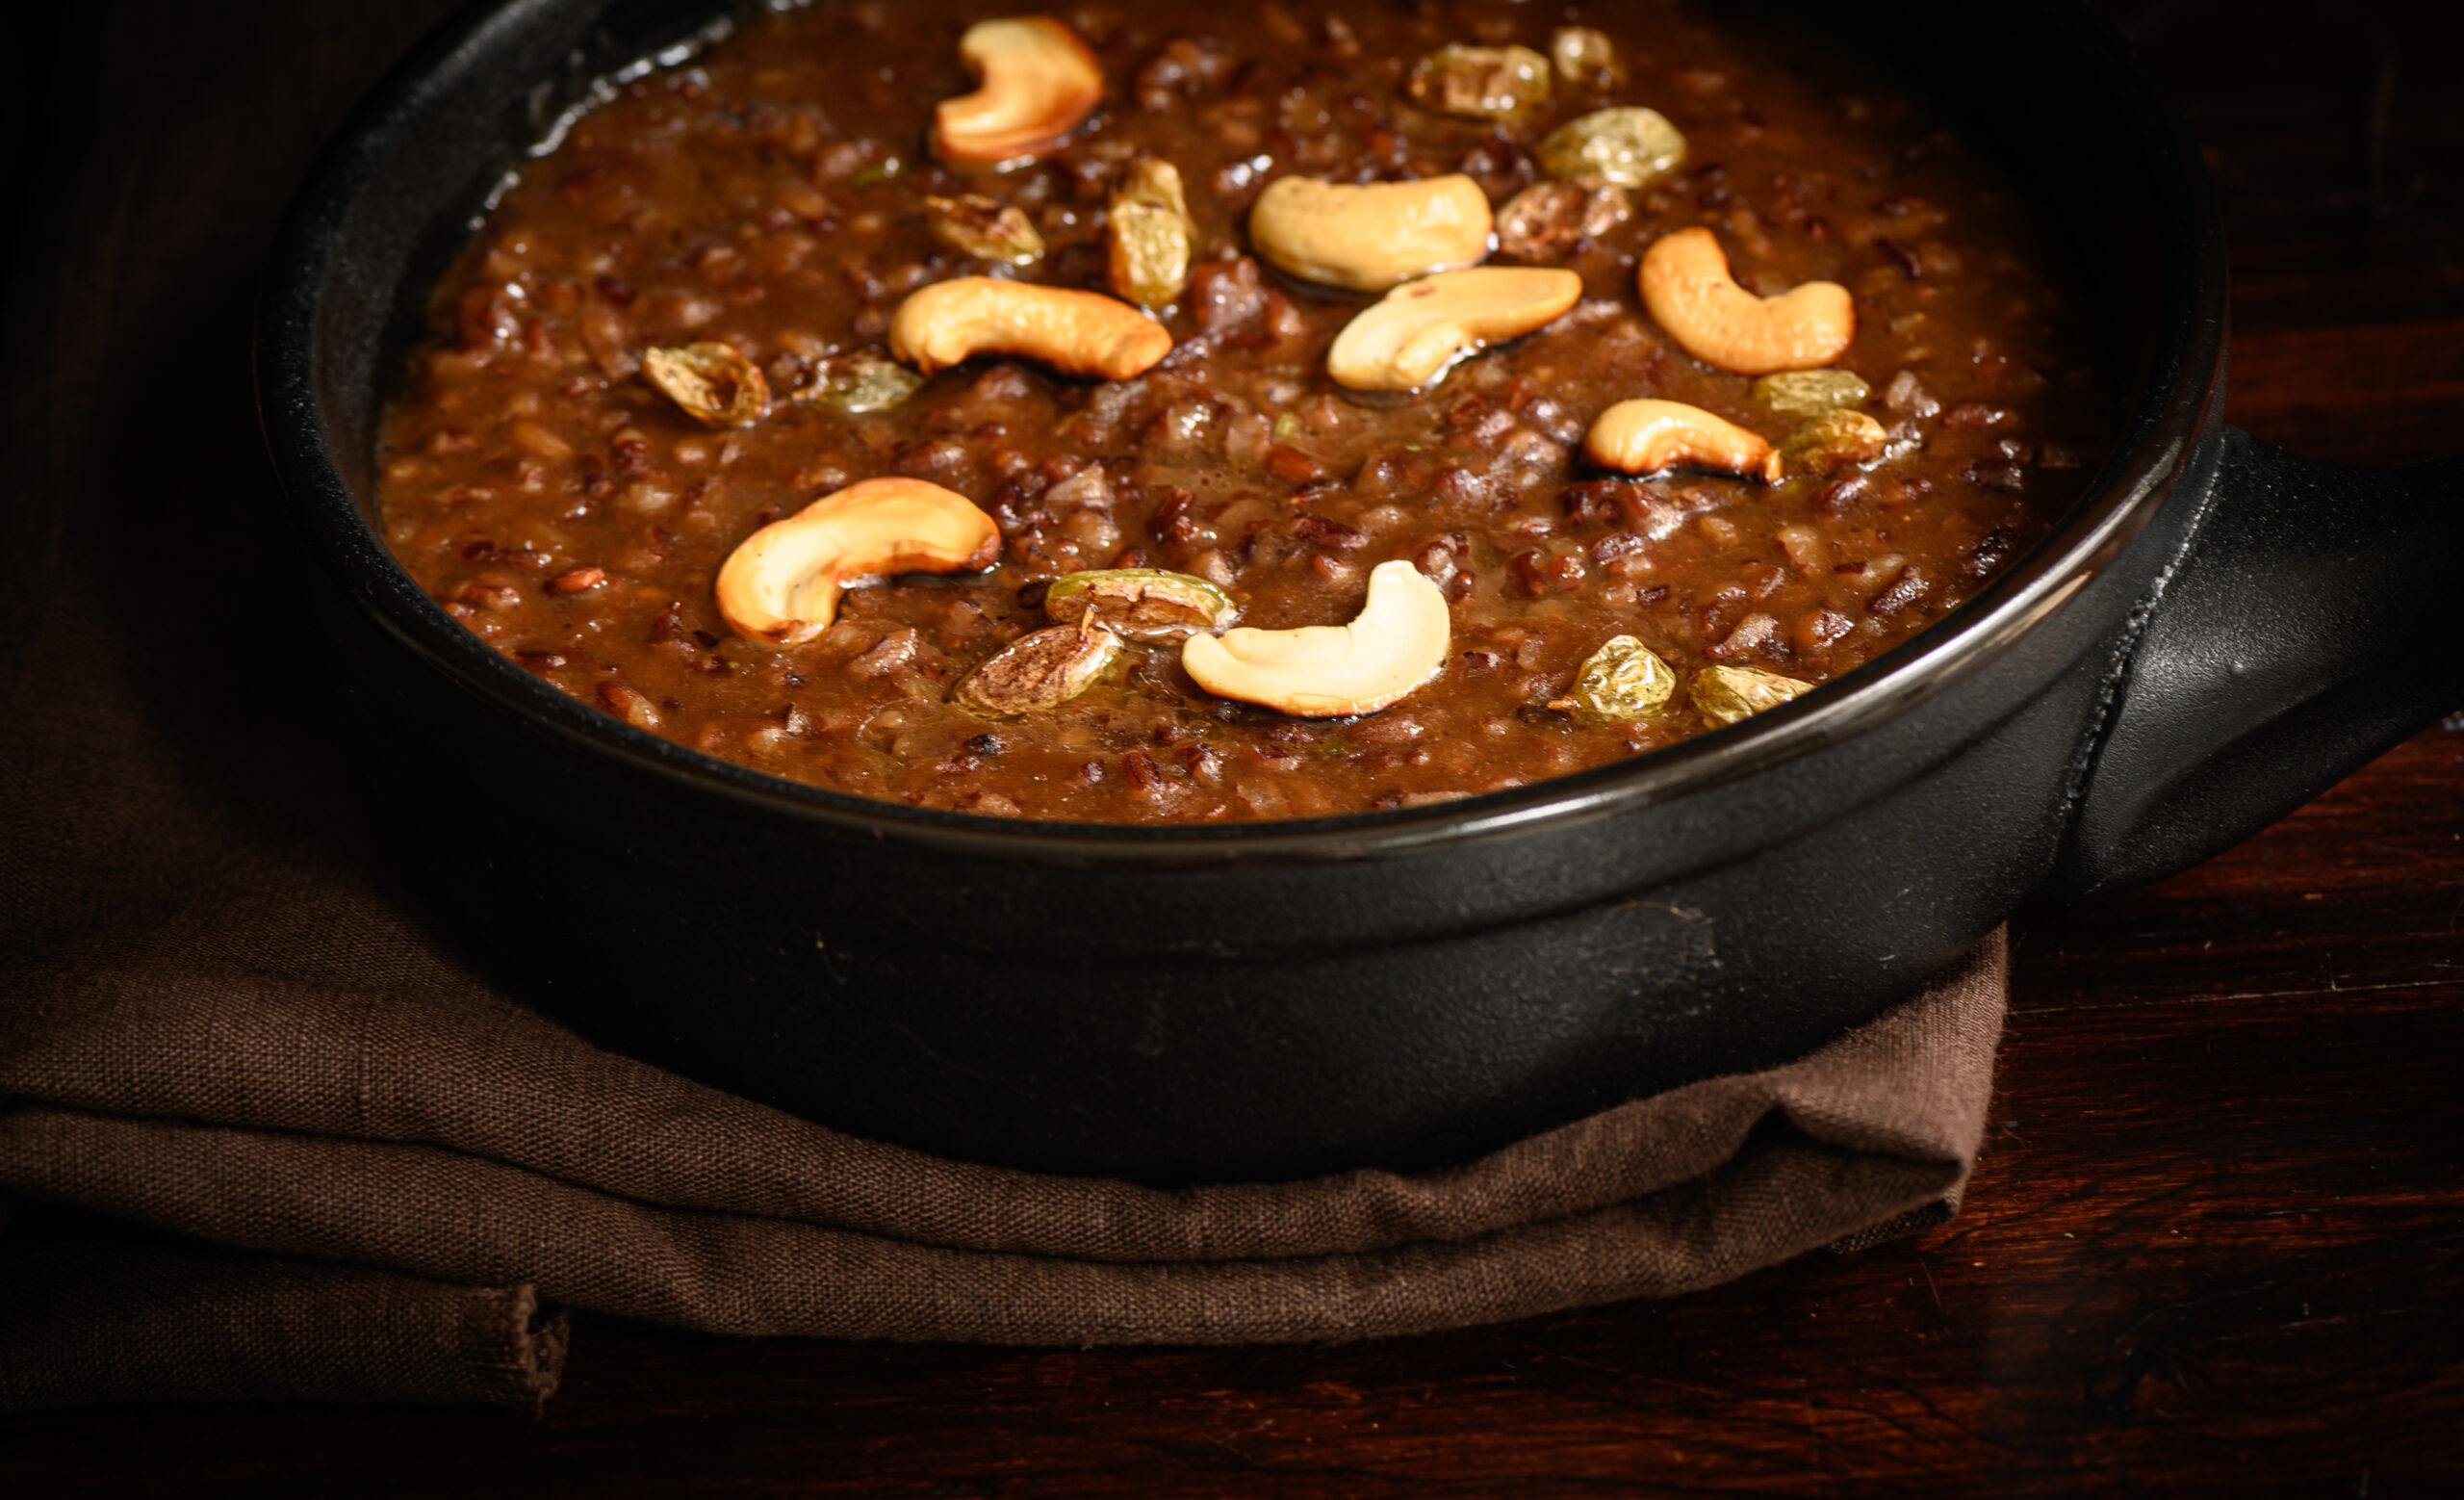
The revival of traditional ingredients and culinary methods is something very close to my heart, and you may have noticed this passion in everything from the cookware you see in my photographs to the recipes I’ve shared on this blog over the years. This is also the reason why I celebrate so many festive occasions, and believe in passing on traditions to my children, be they cultural (such as certain Diwali or raksha bandhan rituals) or sentimental (such as heirloom recipes). This return to a time-honoured way of life is very valuable to us. It was in this spirit that I accepted the opportunity to create a recipe over the Pongal festival for a special feature in The Hindu. Although Pongal has now passed, any time is a good time to try something delicious, and I hope you’ll like this recipe for traditional South Indian red rice and jaggery pongal.

When I discovered an organic store in Chennai, Spirit of the Earth, I really enjoyed looking at the hundreds of varieties of locally produced rice from around India. I especially love black rice, which has a nutty flavour and appealing colour as well as being nutrient-rich. As someone with Vitamin B12 deficiency, it provides a source of iron that I’m glad to incorporate into my diet frequently. It’s also a very versatile grain, and I enjoy using it in dessert, specifically in Thai-inspired sticky rice with mango pudding. The red rice varieties were also very intriguing to me, and one of them is the key ingredient of this recipe.

Having experimented with growing organic produce on our farm over several seasons now, I now truly understand why turning away from chemical-heavy and industrialised agriculture is good for us. What we do is on a small scale, and mostly for our own sustenance, although we do sell to selected organic stores as well. We cultivate traditional varieties of fruit, flower and produce, and the only kinds of rice and millets we usually eat at home are from our own fields. Among the produce we grow are: ragi, green moong, black rice, barnyard millet, samai and thinnai. Even taste-wise, I find that hybrid varieties of fruit simply don’t taste as sweet. The sight of blossoms like the manoranjitha, which I grew up with but hardly find in Chennai anymore, warms the heart.

It is deeply meaningful to me to be able to provide all these forms of a sense of belonging to my children, who are grown up and live in different parts of the world. They know that they have a home to return to, which will be filled with love and tradition, where meals will be served with ingredients we have carefully cultivated ourselves. When they are not here, they have the recipes on this blog, which will teach them (no matter what time zone they’re in!) how to whip up their favourite comfort foods for themselves. This was one of my core reasons for beginning this blog. While it may look like a motley collection of recipes, that is only because I want it to speak to many generations and tastes, and span influences that reflect all our travels and dreams. We are all multi-taskers with many interests, which is why I keep things varied.

Beginning with my love of cooking for others, I then also started taking photographs. After early trials and errors, I attended workshops to hone my skills, and practiced hard. I think the results of these efforts will be clear even if you look back at old posts. I am proud to have come a long way since then, and especially that I took the step to establish Nandi Shah Photography in 2019. I think it’s still early enough in the year to share again this calendar, which showcases the combination of two of my great loves: baking and photography.

Another very important component of this blog is the health aspect, and whether it’s vegan, Macrobiotic or simply a smarter ingredient substitute, I am always on the look-out for how to create the most nutritious recipes. This red rice and jaggery pongal checks all the boxes here.

Pongal is a traditional South Indian rice porridge, and red rice is a perfect substitute for white rice. I like using Onamatta rice in this recipe as it has a beautiful fragrance. It also tends to cook faster and is a soft rice variety. Originating in Kerala, it is also known as Rosematta rice. A highly nutritious and filling grain, it keeps you full for a long time, making it an ideal appetite-curbing dish during dieting or fasting. I find that red rice also has a way of uplifting the flavours of local vegetables and dhal. It tastes delicious with palm jaggery, which is great sweetener. I’ve had the opportunity to see it being made as well, and I highly encourage it as a sugar substitute. Jaggery has long been the traditional sweetener in Tamil Nadu cooking, and I believe that ancient pongal varieties would have also been made with millets and older grains.

What I am sharing today is a traditional recipe, relished for centuries. You’ll see why when you taste it.


Red Rice & Jaggery Pongal

(Yield:  3-4 cups)

½ cup red rice

½ cup jaggery

6-8 cashews

2 tablespoons mung dal

2 ½ cups water

3 + 1 tablespoons ghee

1 pinch of cardamom powder

1 handful of raisins


Roast the cashews in a ½ teaspoon of ghee. Add the raisins and roast until they bubble up. Set aside.

Roast the mung dal in a ½ teaspoon of ghee until it releases an aroma. Now, add the cleaned and washed Onamatta rice to it. Add water and allow the rice and dal to cook until tender in a pressure cooker on a medium flame.

In a pan, add ghee. Now, add the palm jaggery. It will begin to melt in a few minutes. Then, add the rice mixture and blend well.

Add the cardamom powder, raisins and cashews, mix well and top it off with a drizzle of ghee before serving.

Preparing a traditional dish like this, no matter when, always has a comforting feeling to it. I truly believe in the adage “We are what we eat.” Food has a unique way of expressing this. Four generations of my family have lived in South India now, and it’s a part of who we are. This red rice and jaggery pongal is a beautiful way for me to honour that connection, as well as my personal appreciation for all things organic. I’d love to know what you think when you try it out!


When I began to imagine this post, it was with the idea that there was not much of a memory storyline behind the recipe I am sharing today. All that had come to mind when a friend gifted me a basket of plums, and I wondered what I could make with them, was that I would pluck the tiny, country variety from trees in Ooty during our summertime holidays when I was growing up… And then, before I knew it, an abundance of recollections came flooding back – of reaching with my own hands for something to eat, raw and delicious and freshly-plucked. Before I get carried away with those reminiscences, let me just say that the recent occasion of Thanksgiving, which is important to my American friends and family, as well as the upcoming Christmas season also gave me inspiration. The plum relish that is traditionally enjoyed during those festivities has been Indianised in my home as plum chutney, and that’s the recipe that this trip down memory lane will culminate in.

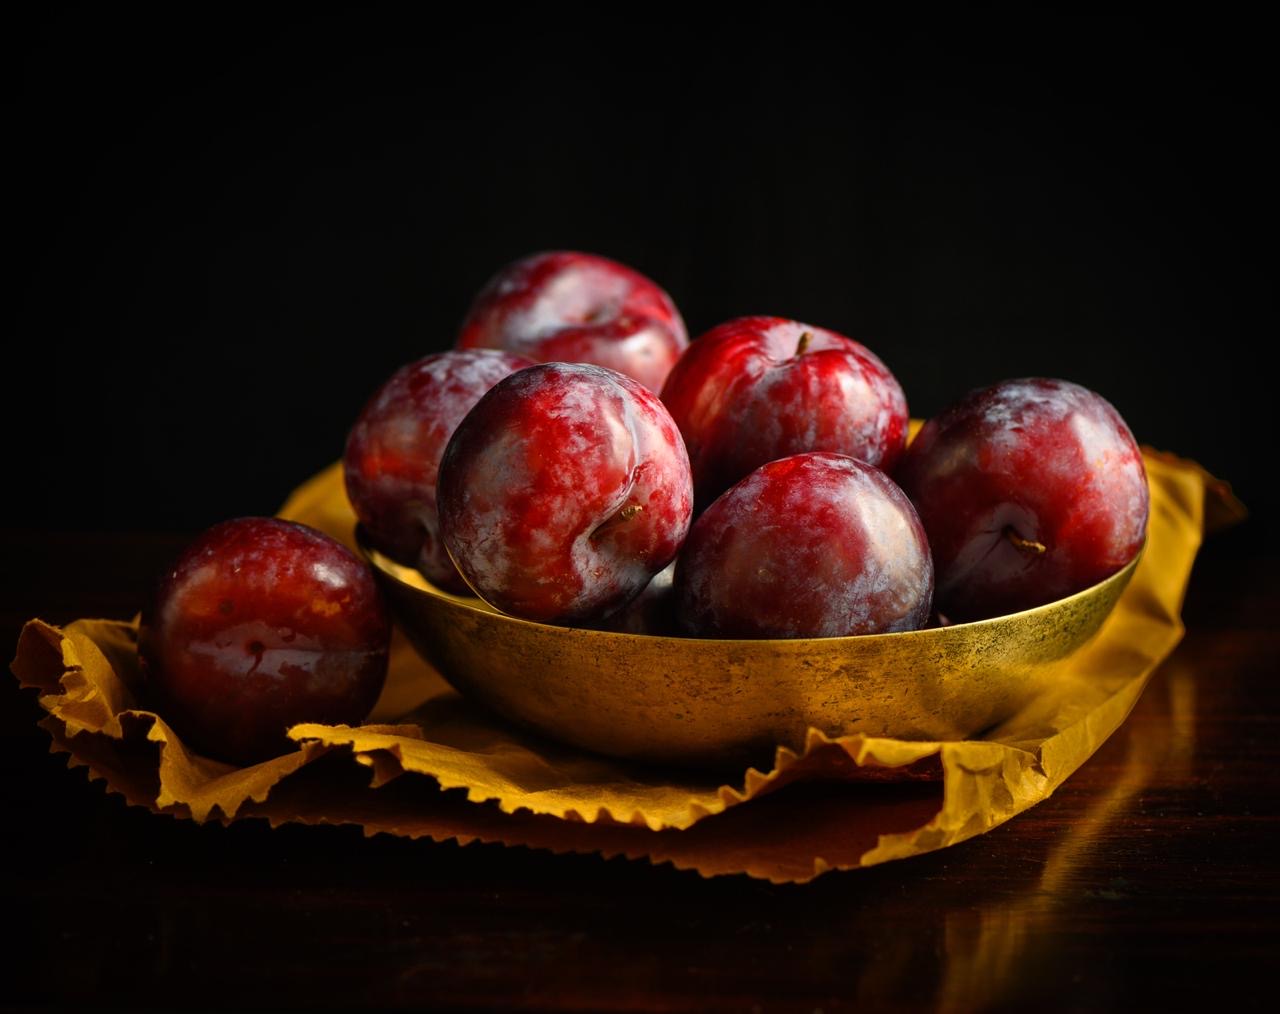
The gift basket I received contained what I call “the millennial plum”, a delicious hybrid cultivar which is large and has a deep maroon colour. It usually tastes sweet. The country plums of my childhood, by contrast, were sour and tangy. They came in an orangeish shade and were relatively tiny. Still, as little children, my siblings, cousins, friends and I absolutely delighted in them. There was just a certain immense joy in picking fruits right off a branch and eating them unwashed. There was a rawness to the experience that brought us closer to Nature. Even the sourest fruit was enjoyed in this way.

Fruit-picking was always a thrilling activity for us, both with and without permission. When we had the chance to go abroad for holidays with our aunt, she would give us baskets of our own and take us to strawberry farms, where we would spend the day indulging this hobby of ours to the fullest. We would cherish and guard those baskets full of fresh, ripe fruit. Every last berry was special, plucked with our own hands, and tasted all the more delicious for this reason.

Back home, far from the hills of Tamil Nadu or the strawberry farms of Europe, we still pursued our fruit-gathering in earnest. We would run loose in our neighbourhood and steal mangoes from the trees, as I think I’ve mentioned a number of times on this blog before. It was certainly one of our favourite past-times, even if scoldings were a natural consequence!

The fruit-bearing local naatu cherry tree and the nellika or gooseberry tree were two that I grew up under, and to this day the sight of either of these can make me feel a bit emotional. The gooseberry tree in our garden was laden with kambilipoochis (hairy caterpillars), which would invariably leave a hair or two on me when I reached up to grab those fruits, and I would have to go crying to my mother to get her to remove those caterpillar hairs! Those naatu (country) cherries weren’t the beautiful, glossy-looking ones that top my cakes today, but a small, orange-coloured variety with a tiny, grain-like seed inside. There was also a black-coloured berry, sour and with a high Vitamin C content, with a name that slips my mind. These local, edible fruits were so plentiful in Chennai in those days, available to anyone who knew how to climb a tree.

I’ve spoken before of how much I long to revive different varieties of plants and flowers in our little farmland. I really believe that some of our green wealth is disappearing, and it hurts to find proof of it, as I did when I went looking for wood-apple recently. I dream of planting the trees of some of the fruits I plucked and ate in childhood. I’ve started the process by asking everyone I know for cuttings. Would you have some – of any kind of fruit, flower or plant that seems to be scarce in and around Chennai these days, but which you remember from before? I only specify Chennai because the cutting needs to be suitable to our climate.
The more time I spent reminiscing, the more I remembered: not only did we love eating freshly plucked (and sometimes stolen) fruit, but we even foraged for plants and flowers! The three leaf clover that grows like a weed was one of these. We’d just pop one into our mouths and enjoy its sour, earthy taste. There were also certain flowers, like the gorgeous orange trumpet flower, which we would suck the nectar out of after removing the stem. Did you do any of these activities growing up, when it seemed like we played in the outdoors so much more than the children of today do?

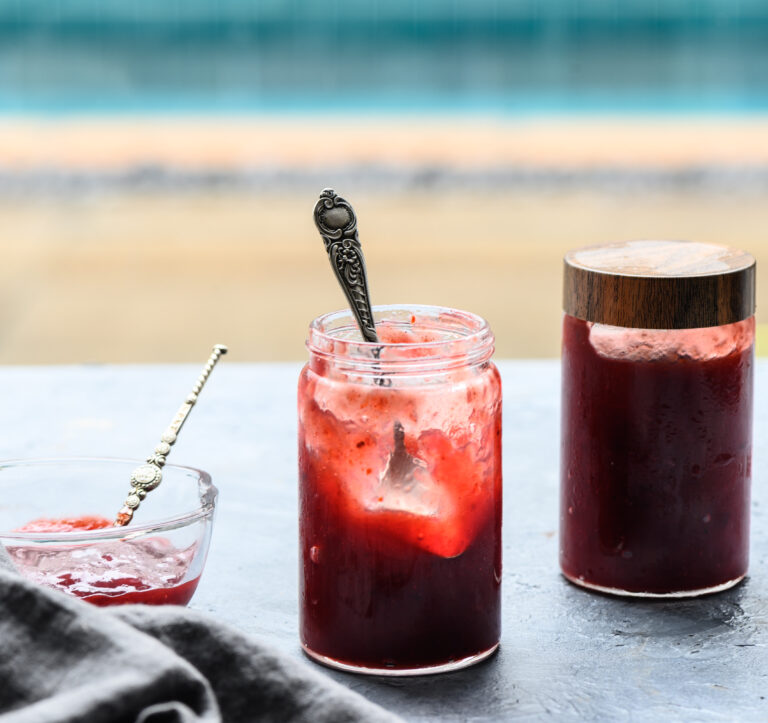
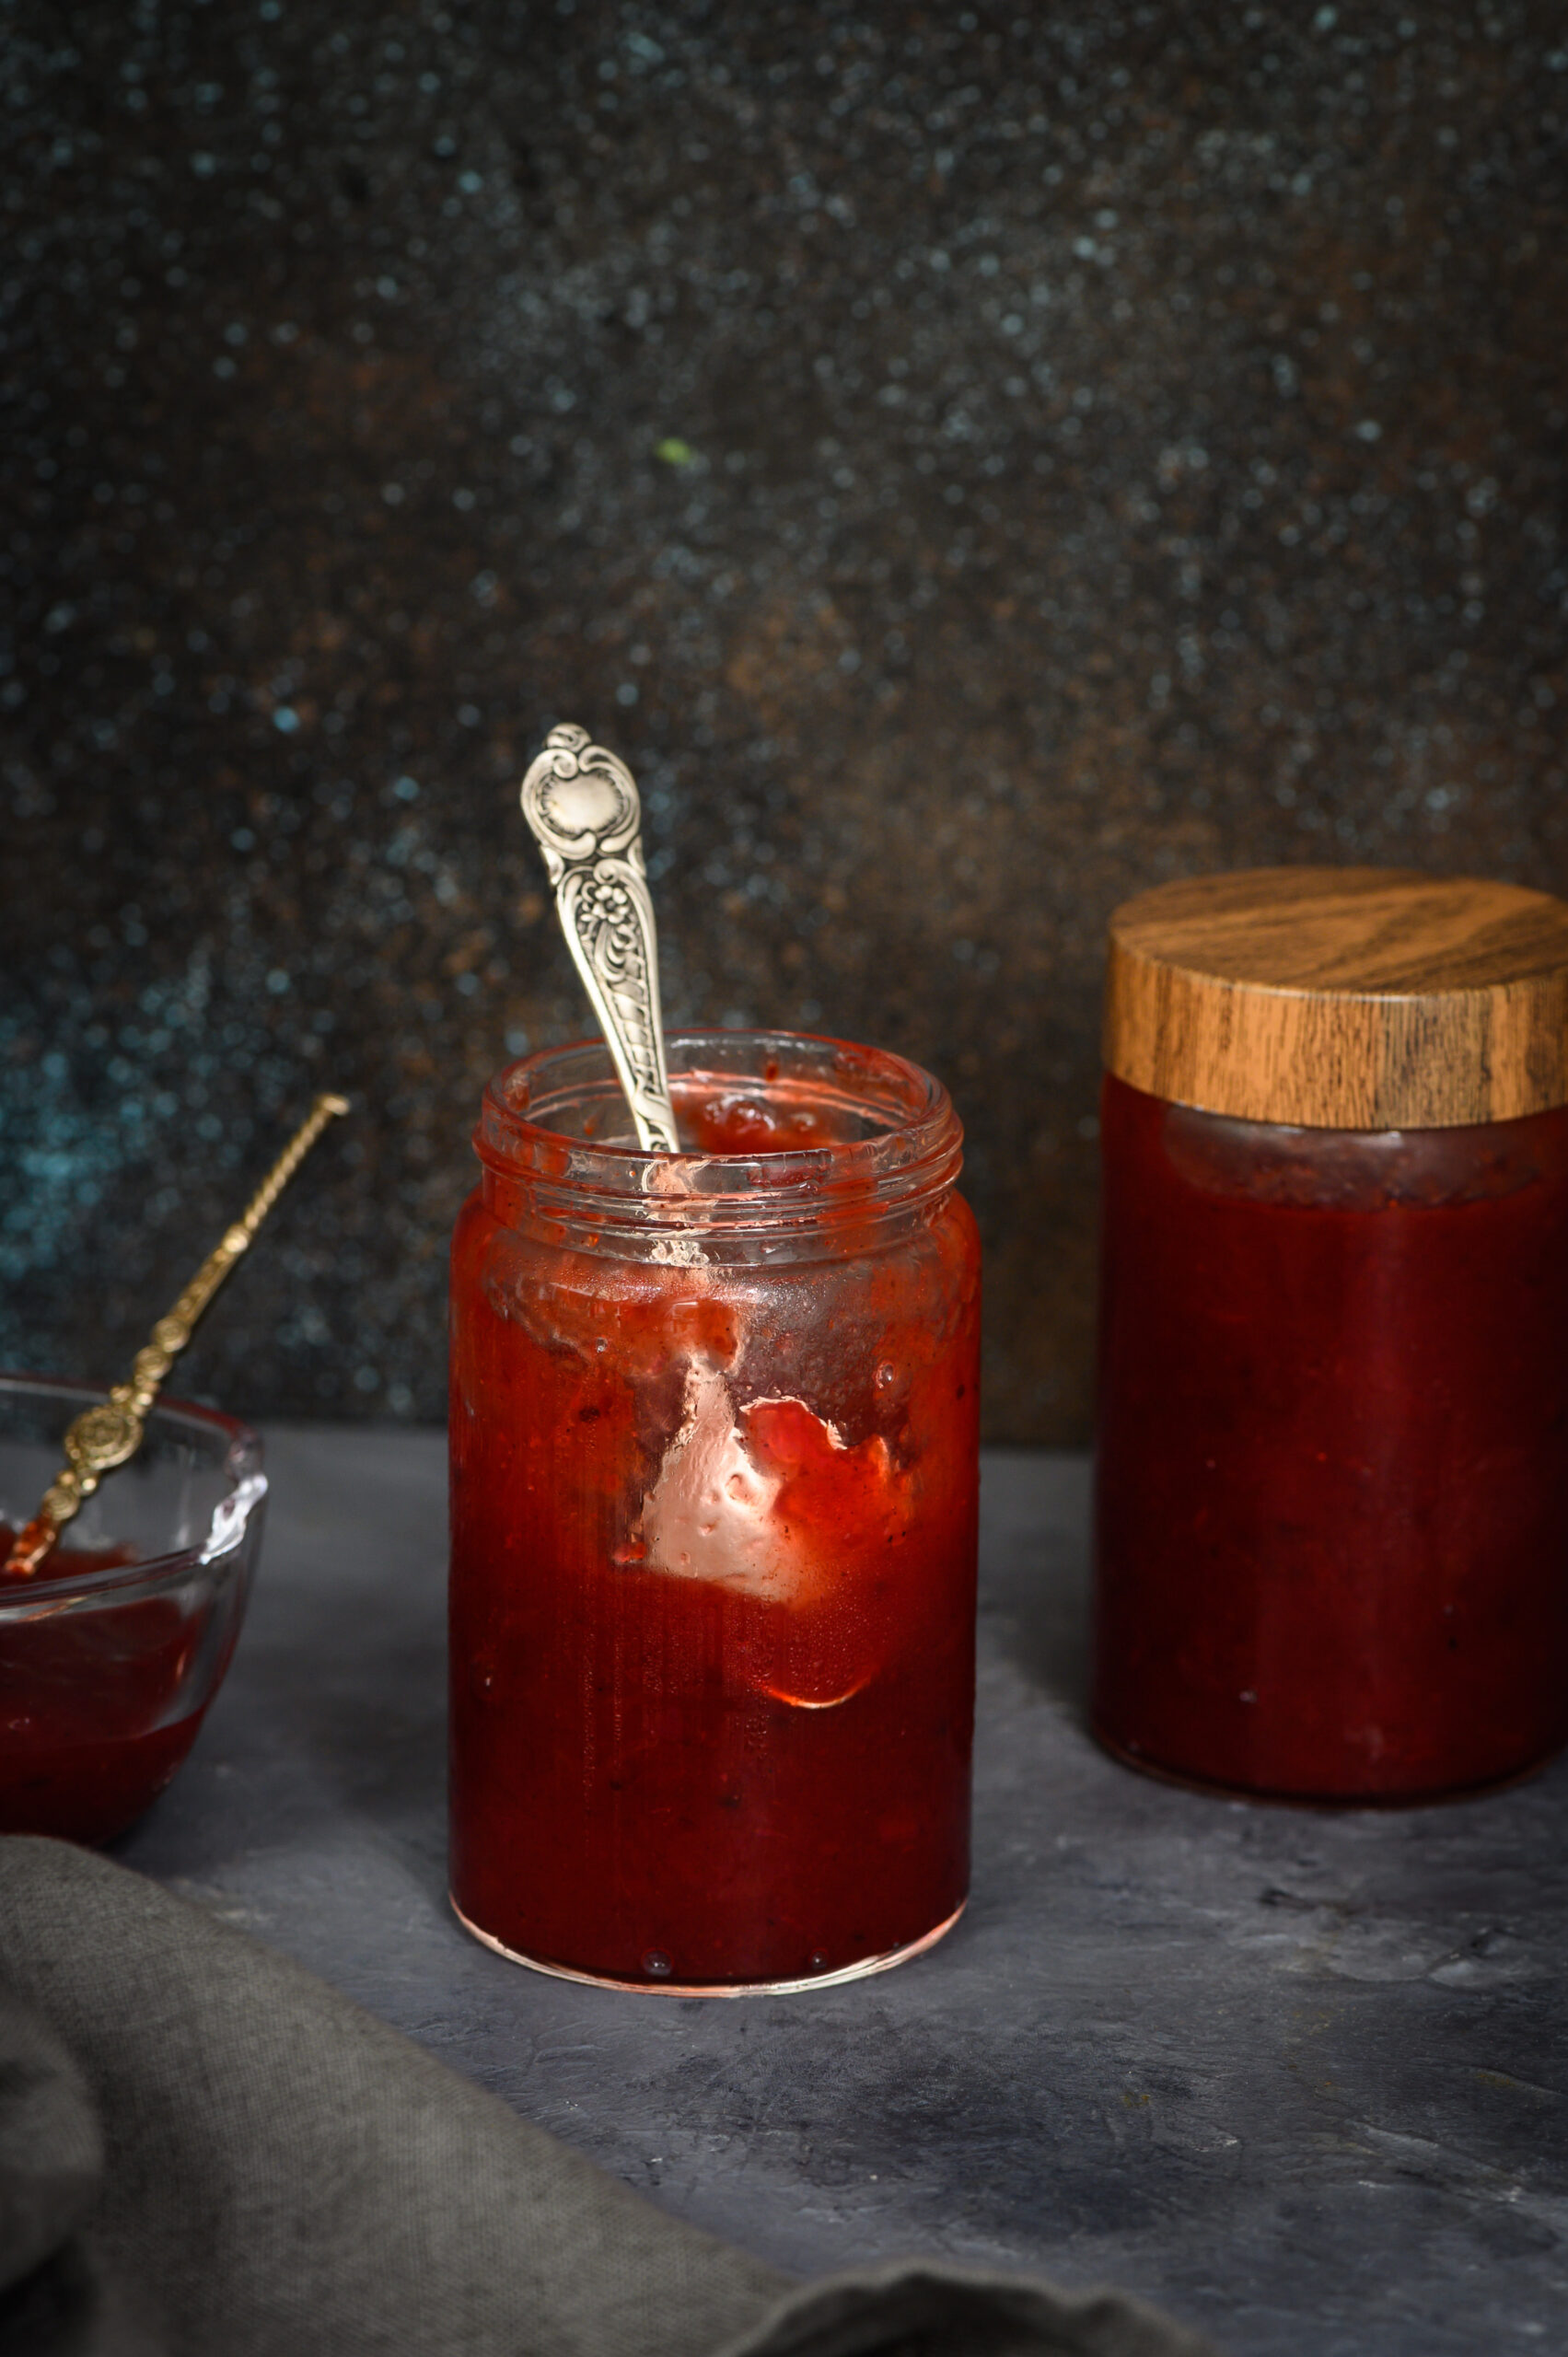
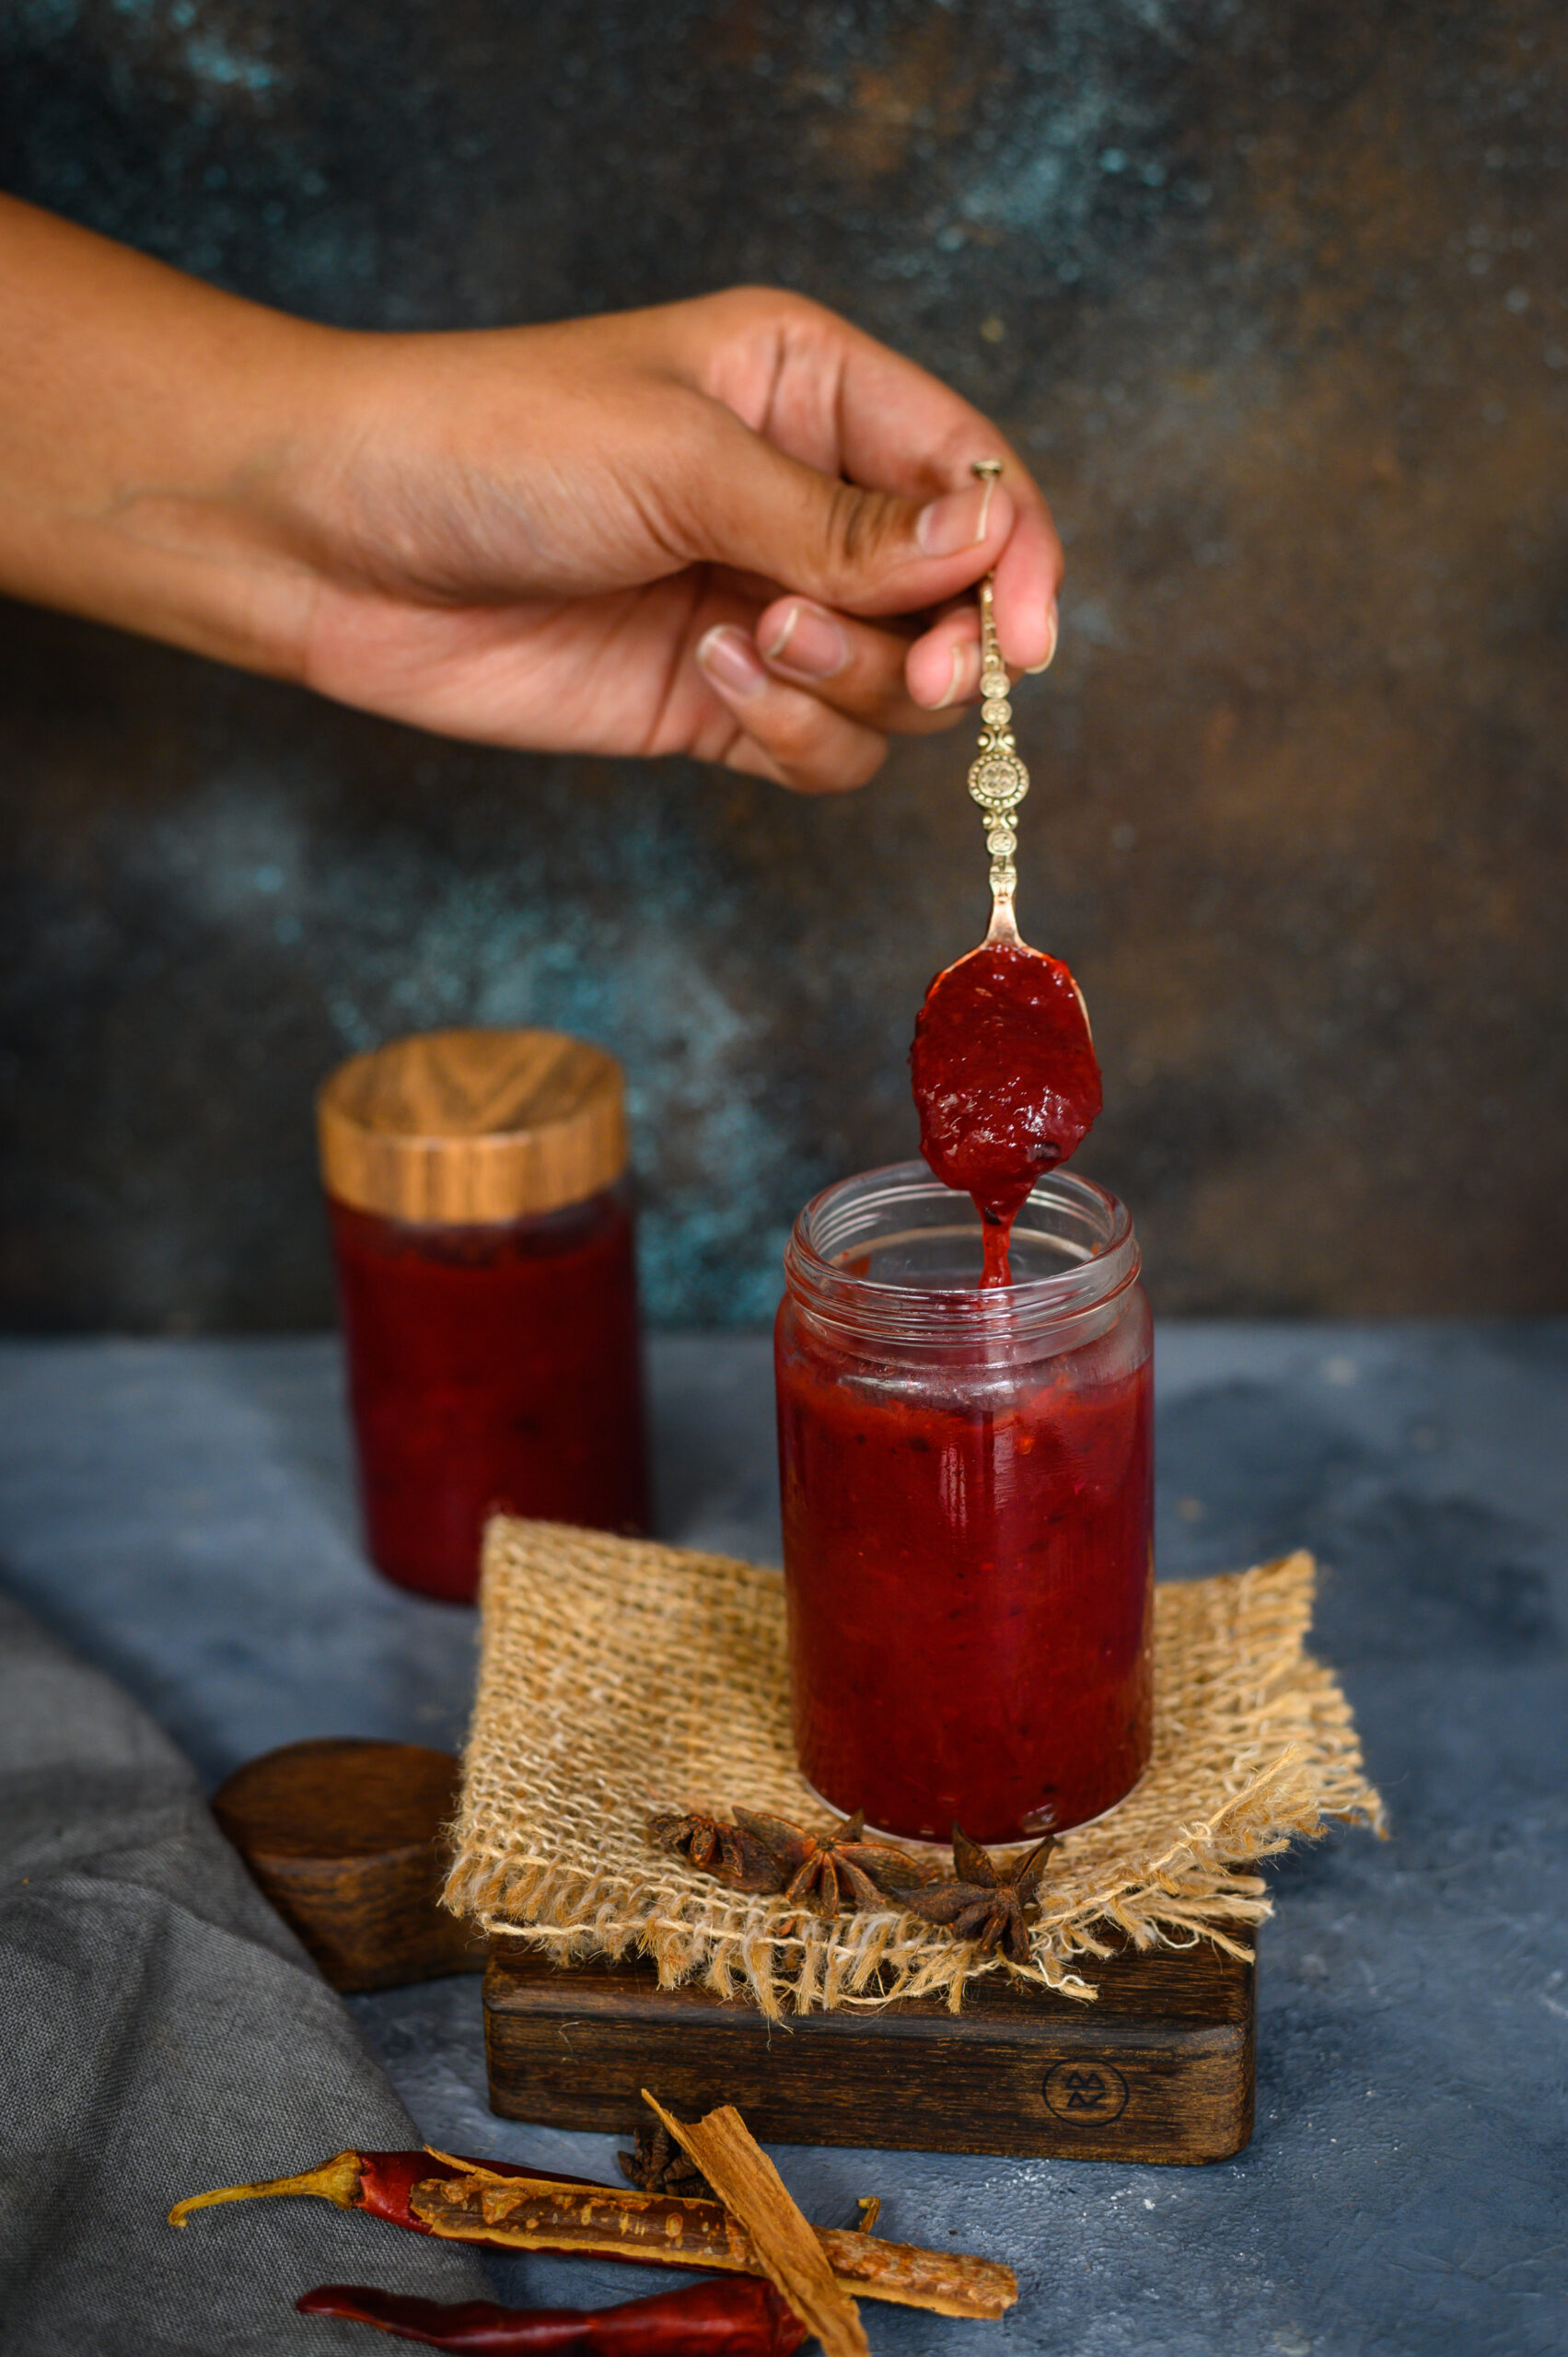
Let me bring this little trip down memory lane, lined with fruit-bearing trees, full circle by coming back to the gift of plums. In India, you can make a chutney with pretty much anything, and I was curious to try out this fruity one. My husband is a big fan of chutneys, and will even have some on the side with a pasta, so I know for a fact that this plum chutney is very versatile. You can also roll it up in a chapatti for a tiffin box, or spread it on toast. It has a sweet, spicy flavour that lends itself as an accompaniment to many dishes.


Plum Chutney

(Yield: 350 grams)

500 grams plums

150 grams sugar

1 small onion

⅛ teaspoon ginger powder

1 star anise

Salt to taste

2 teaspoons dry chili flakes

2 tablespoons apple cider vinegar

Lemon zest


Plums are a succulent fruit with a vast number of health benefits, from improving cardiovascular health to reducing the risk of osteoporosis to promoting skin health. They are packed with Vitamin C and Vitamin A, as well as antioxidants and minerals. They have been grown since ancient times, and the hybrid types we get today thrive in various places in India – which means we are fortunate that the market is abundantly flooded with them too.

This plum chutney is very simple to prepare, but requires one step of overnight prep. Chop the plums and discard the seeds. Add sugar to the fruit pieces, and cover with a lid. Allow to soak and refrigerate overnight, as this will reduce the cooking time.

The following day, add all the remaining ingredients to the sugar-soaked fruit. Boil on a medium flame. I lightly blended the mixture with a hand blender to break down and bring the flavours together.

Allow to simmer until the chutney thickens. Then, allow to cool.

With a clean spoon, transfer the plum chutney into a clean jar and refrigerate. As long as dry spoons are used and the container is refrigerated, a batch can be kept for up to a couple of weeks.

You may serve it with cheese as they do in the West, or with chapatti as I do at home, but either way, I hope a jar of it finds a place at your table this Christmas – and I hope you’ll simply relish it!

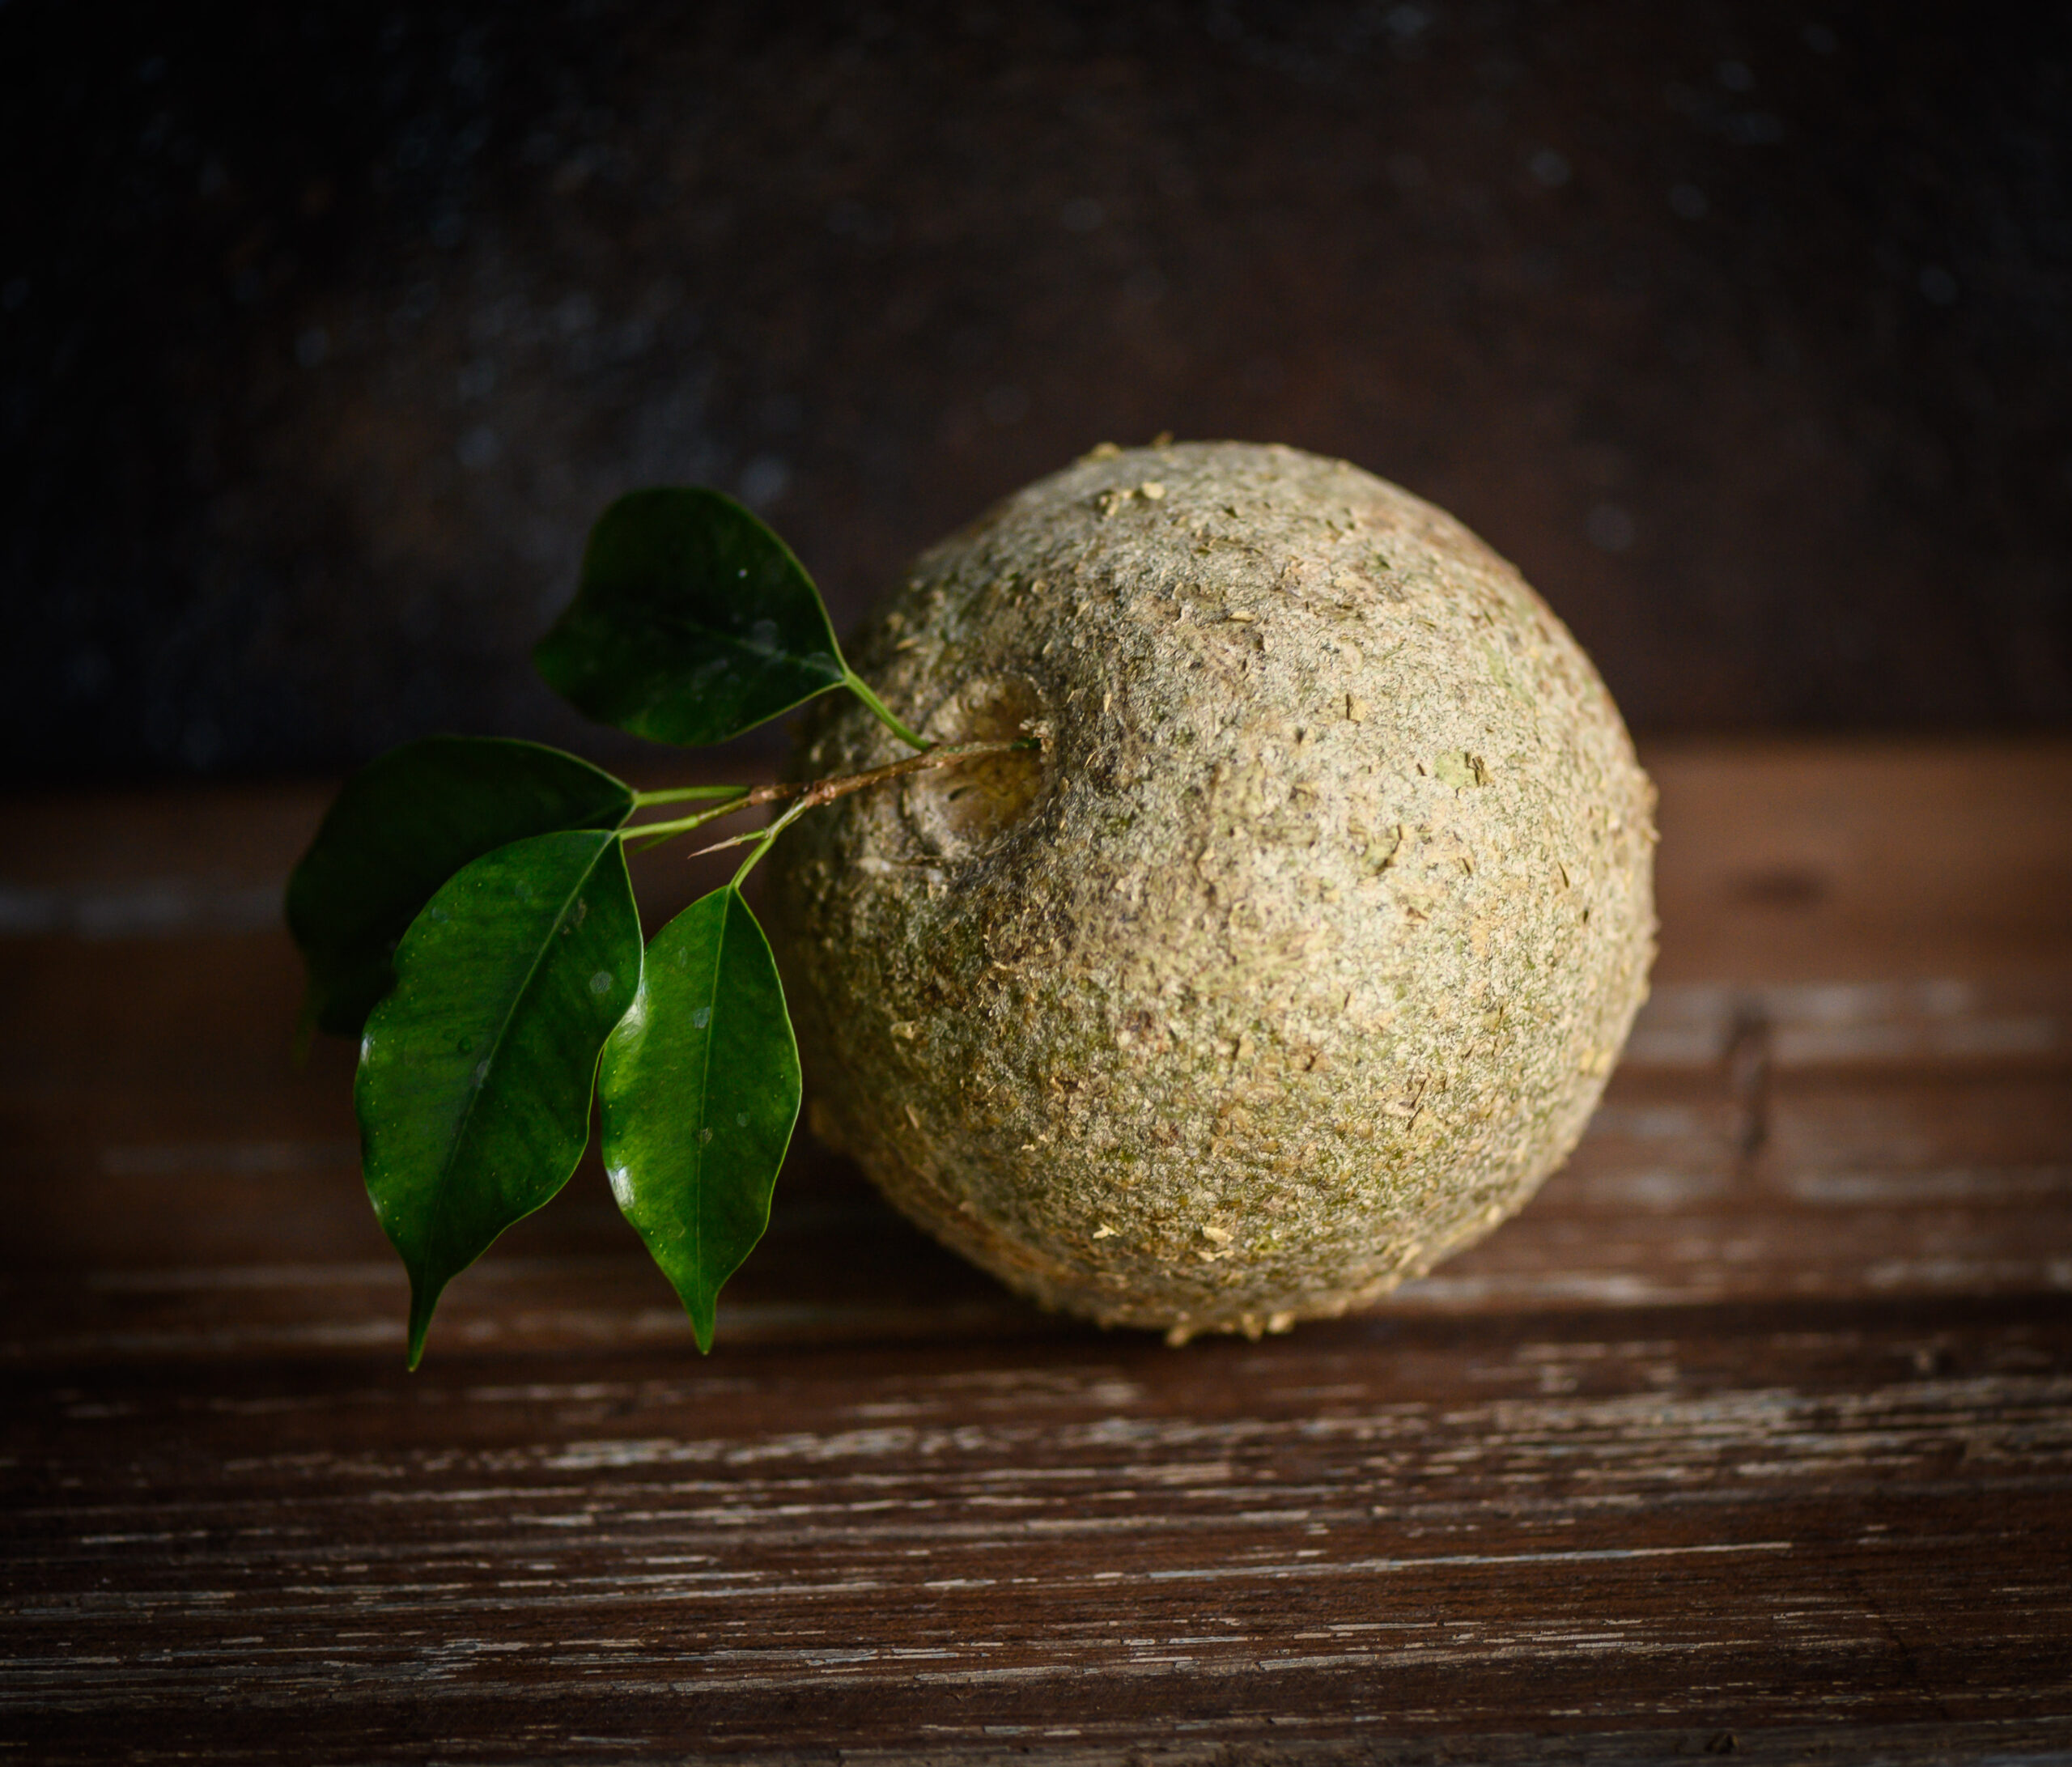
There are two things from the past that I have recently had a hankering for: wood rose trees and wood-apple fruits. For over a year, I’ve been asking people if they know where I can find a cutting of the wood rose tree, which I remember from gazebos at a club in my childhood. I loved to break its pods open and see the black seeds. Many cannot even recall such a plant, and it is sad to know how something that had once been familiar has almost faded from public memory. The wood-apple fruit, however, is one that everyone knows. Or rather, they remember its existence. Even if they may not be able to remember when they last tasted it. This fruit has slowly been disappearing from our palates, as I realised over recent months when this craving hit me and it became almost impossible to source.

Thanks to my good fortune, I found a vendor near the Mylapore market who had some wood-apples in stock. I asked him why I hadn’t been able to find it of late, and he told me that demand for the fruit has gotten so low that farmers no longer have an incentive to grow it. It is just not financially viable for them to do so. The wood-apple season that I remembered from my childhood is right around this time, in conjunction with the festive period and the colder months, and it seems that somewhere in the state, perhaps in a scarce way, there is a small harvest after all.

As I said, I have been craving this wood-apple chutney for months, and it means a lot for me to be able to share the recipe with you, since it took so long to source the chief ingredient! I consider this a “revival recipe”, one which I hope will inspire you to bring this fruit back into grocery shopping. This is the only thing that will allow farmers to cultivate it again as they did before.

Known as “kotha” in Gujarati and “vizhampazham” in Tamil, wood-apple is known to be a tonic for the heart and the liver, and is good for treating intestinal, throat and gum ailments. Many parts of the tree, including the pulp, also have anti-venom properties. It is a pungent fruit, which like jackfruit is something people either love or hate. Needless to say, I love it. My mother often made this wood-apple chutney for us when we were growing up, when the fruit was abundantly available.

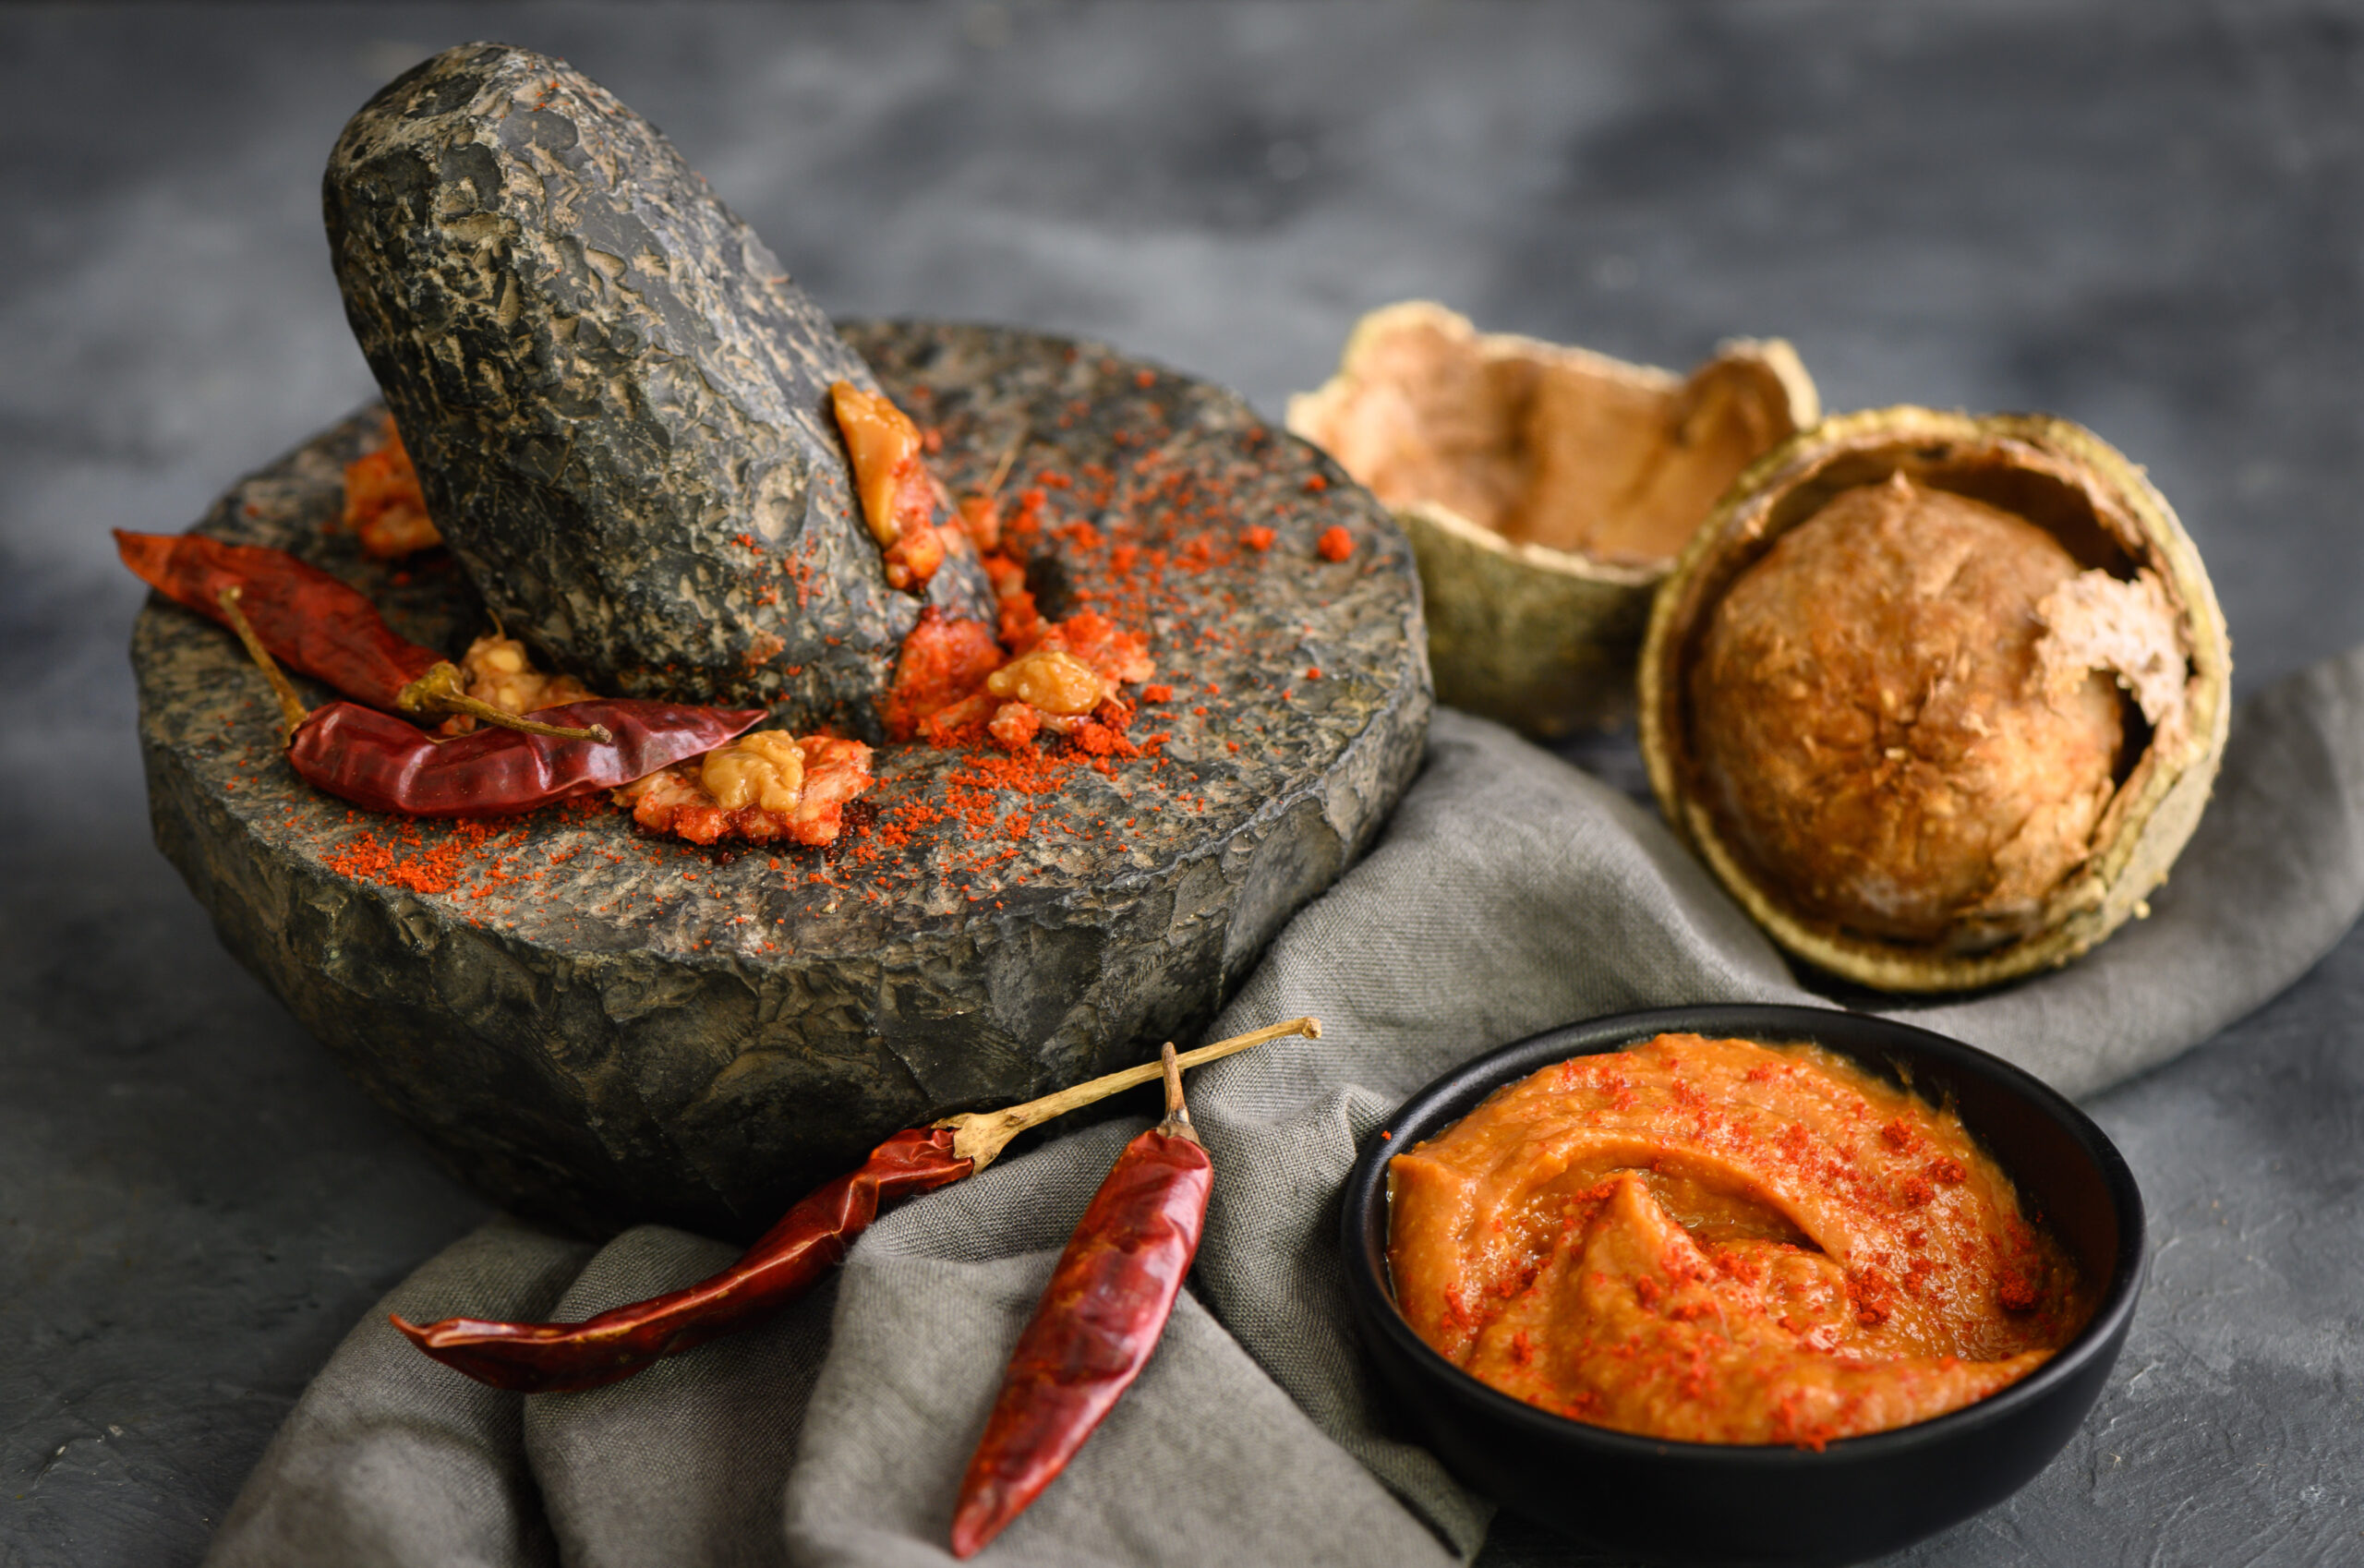
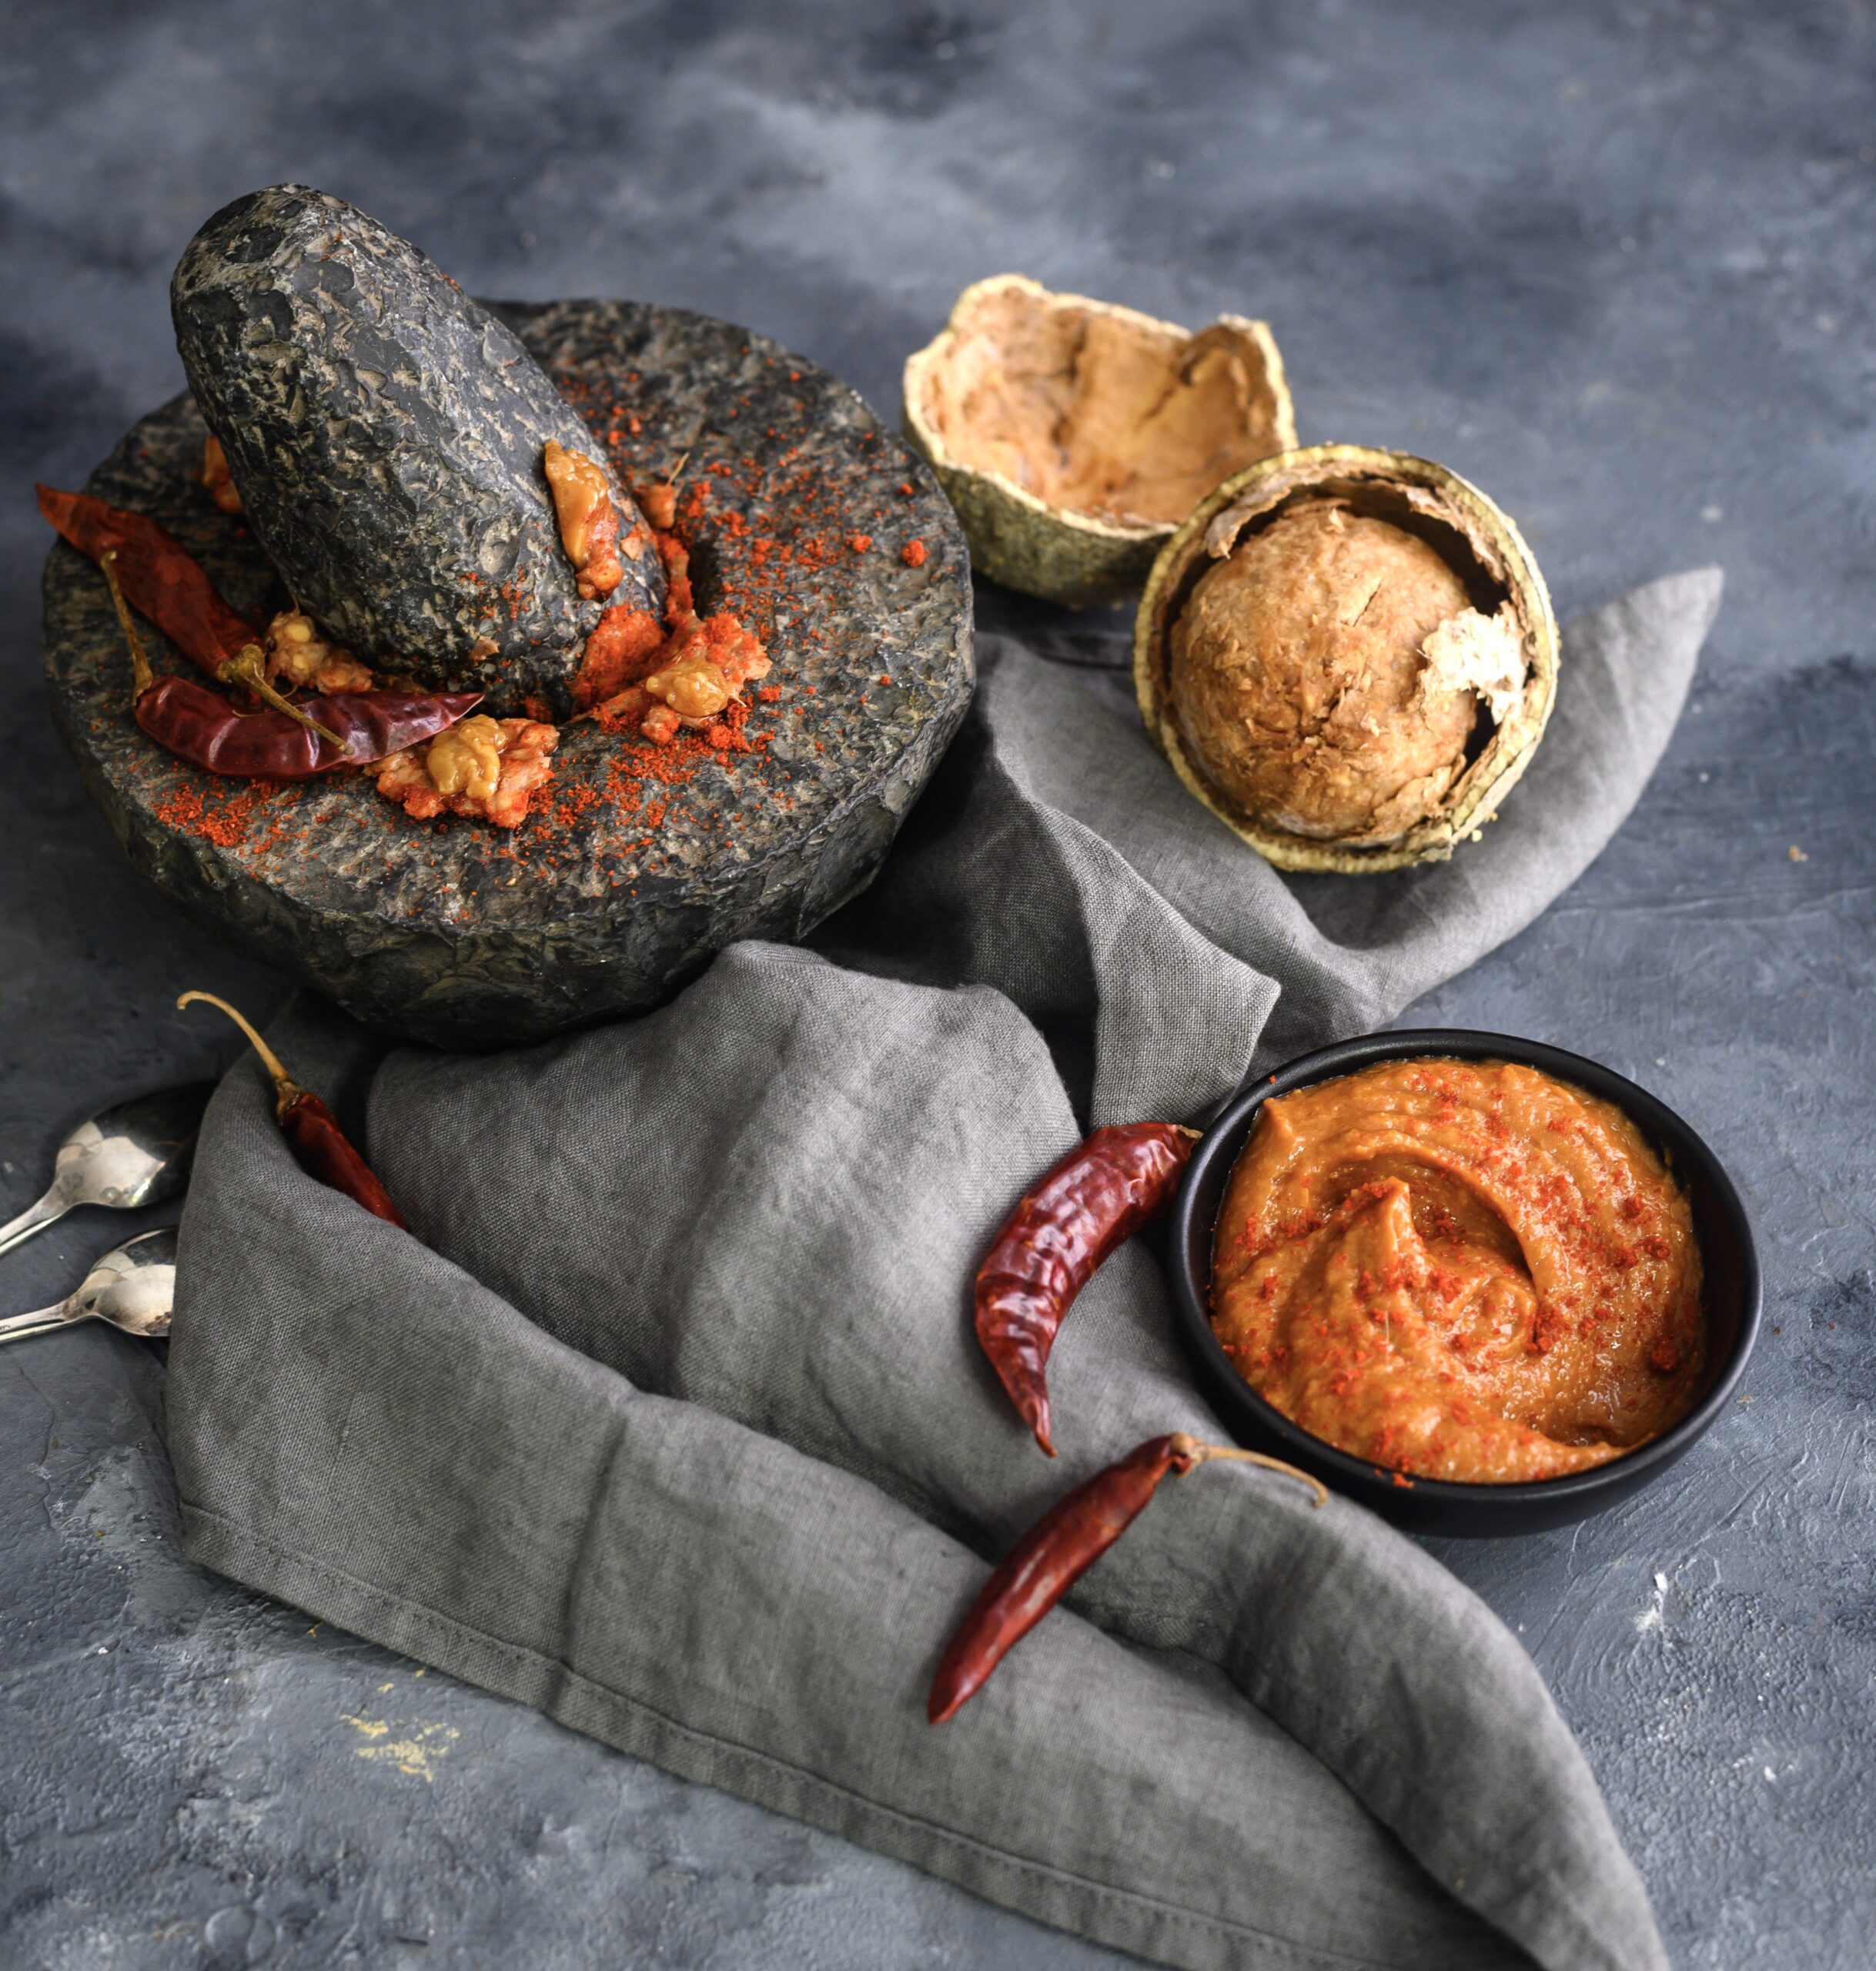
This incredibly simple vegan chutney contains just a handful of basic ingredients: wood-apple, jaggery and chilli powder. Some sweetness, some spice and the fruit pulp combined together create an addictive dip that can be eaten in many ways. I am told by a Sri Lankan friend that they often eat their version, which doesn’t contain spice, as a jam on toast. There are of course innumerable recipes in different homes, communities and regions.

What I am sharing today is my mother’s recipe for wood-apple chutney, which I recall eating along with leftover rotis as an after-school snack. I used to think of it as being a part of the larger category of homemade condiments that she would make and bottle at home. Many Indians used to do this – do you remember those pickles that would last a whole year? We would reach out for these pickles, chutneys and more whenever we were in a pinch and just needed something to eat between meals. This wood-apple chutney always satisfied the craving. It’s no wonder that “craving” is really the only way to describe how I kept searching for it for months, and how satisfied I am to have found it.


Wood-Apple Chutney

(Yield: 1 cup)

1 wood-apple

3 tablespoons jaggery

1 teaspoon chilli powder

1 teaspoon roasted cumin powder

1 teaspoon/small ball of tamarind paste

Salt to taste


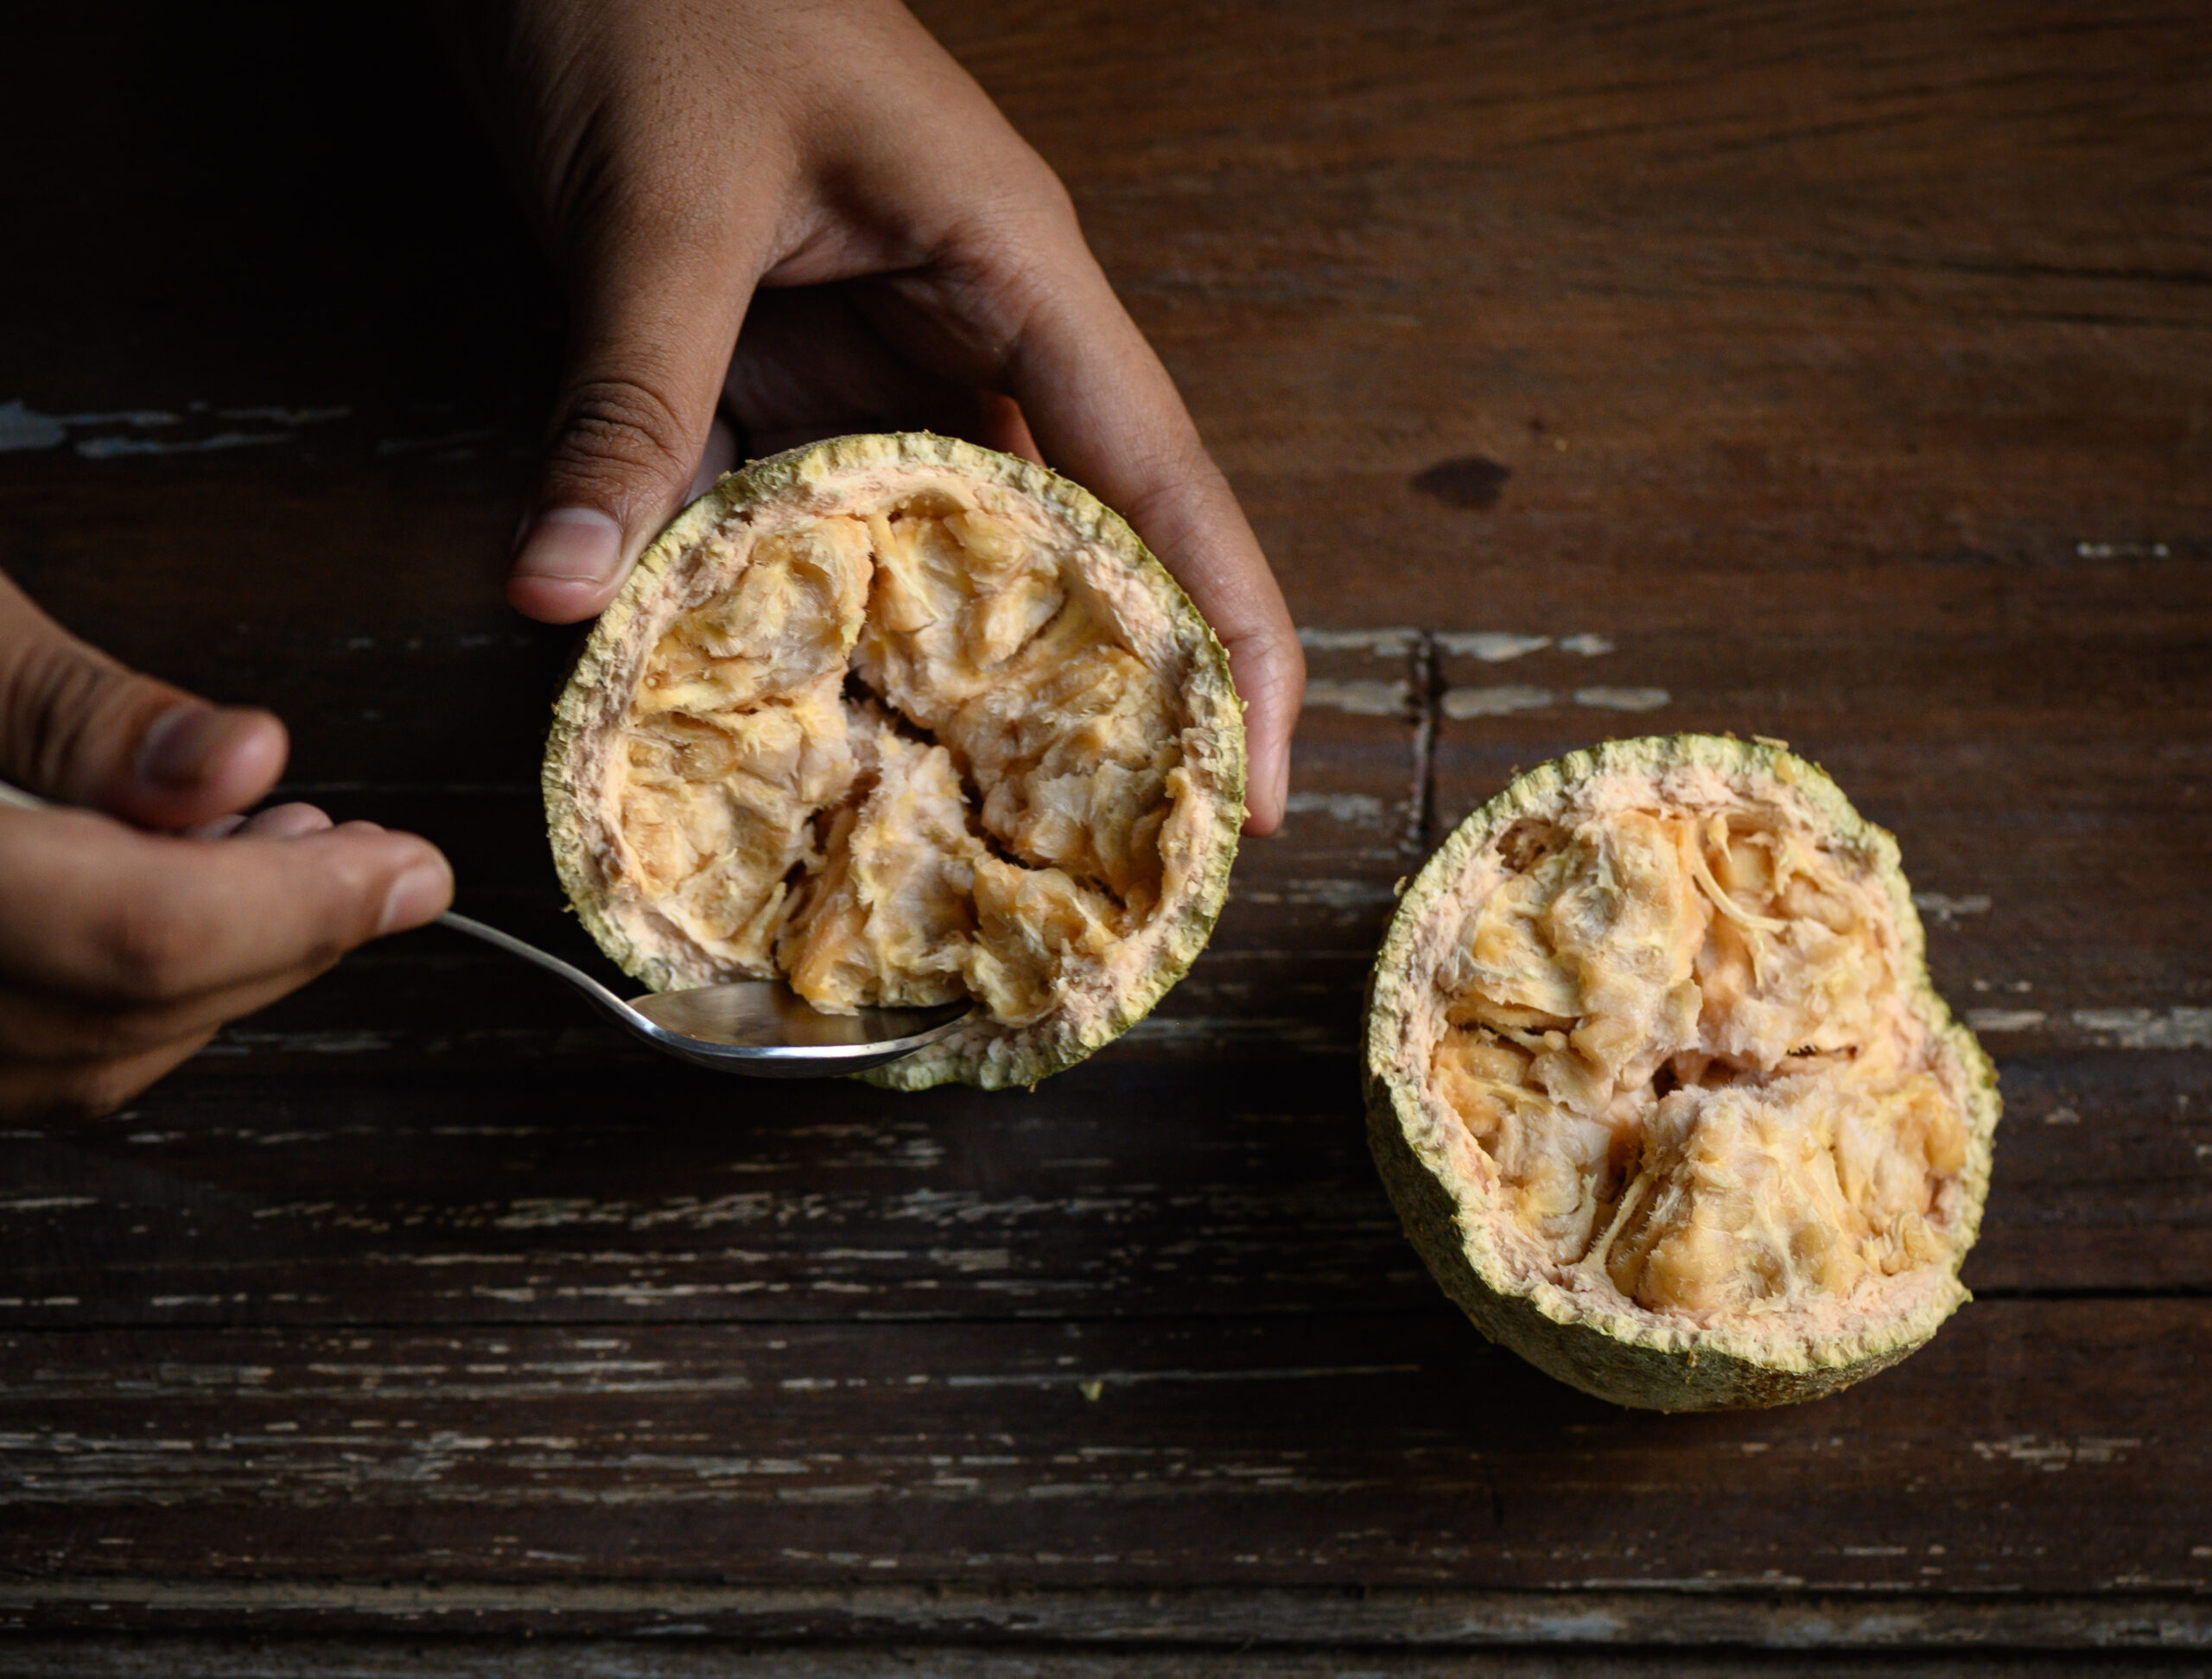
A ripe wood-apple gives out a faint fragrance and tastes a bit pungent on the tongue. It has a soft flesh of an orange-ish colour. You will know that a wood-apple is ripe when the fruit smells. Until then, there is no fragrance.

Scoop the flesh from the wood-apple and keep aside.

Instead of a blender, I used a mortar-and-pestle like my mum used to, which is the traditional way to grind chutneys. I reach out for it for certain recipes, even though we use the blender today for convenience’s sake. Blend the the wood-apple flesh, chilli powder, jaggery, roasted cumin powder, tamarind and salt to taste, either by hand or in a machine. Do so until it becomes of a chutney consistency.

Move to a bowl. You may enjoy it immediately, or refrigerate. It will stay good for 3-4 days, if it lasts that long. When I make bigger batches, I warm a little oil and pour it on top, so that it is preserved for longer.

This simple and tasty wood-apple chutney is a wonderful dish through which to discover (or rediscover) the fruit, which as I’ve shared earlier seems to be disappearing quickly from our markets. What are some of the fruits and vegetables that you recall from your childhoods which we rarely see anymore? Let’s figure out together how to bring them back into circulation. It’s important for us as mindful consumers to consider the origins of the produce we purchase and eat, and to be supportive of those who make it possible for us to do so. Looking forward to your ideas in the comments!

Perhaps the combination of the sweltering Chennai summer and the memories evoked by my last post, on travels through Spain, were what made me crave this Andalusian dish. Gazpacho is a kind of cold soup, not soup gone cold but rather soup which has never been heated. Tomato is often the base, but I took the element of cooling a step further and used a fruit that is a staple for us during this time of year: juicy, ripe, sweet watermelon.

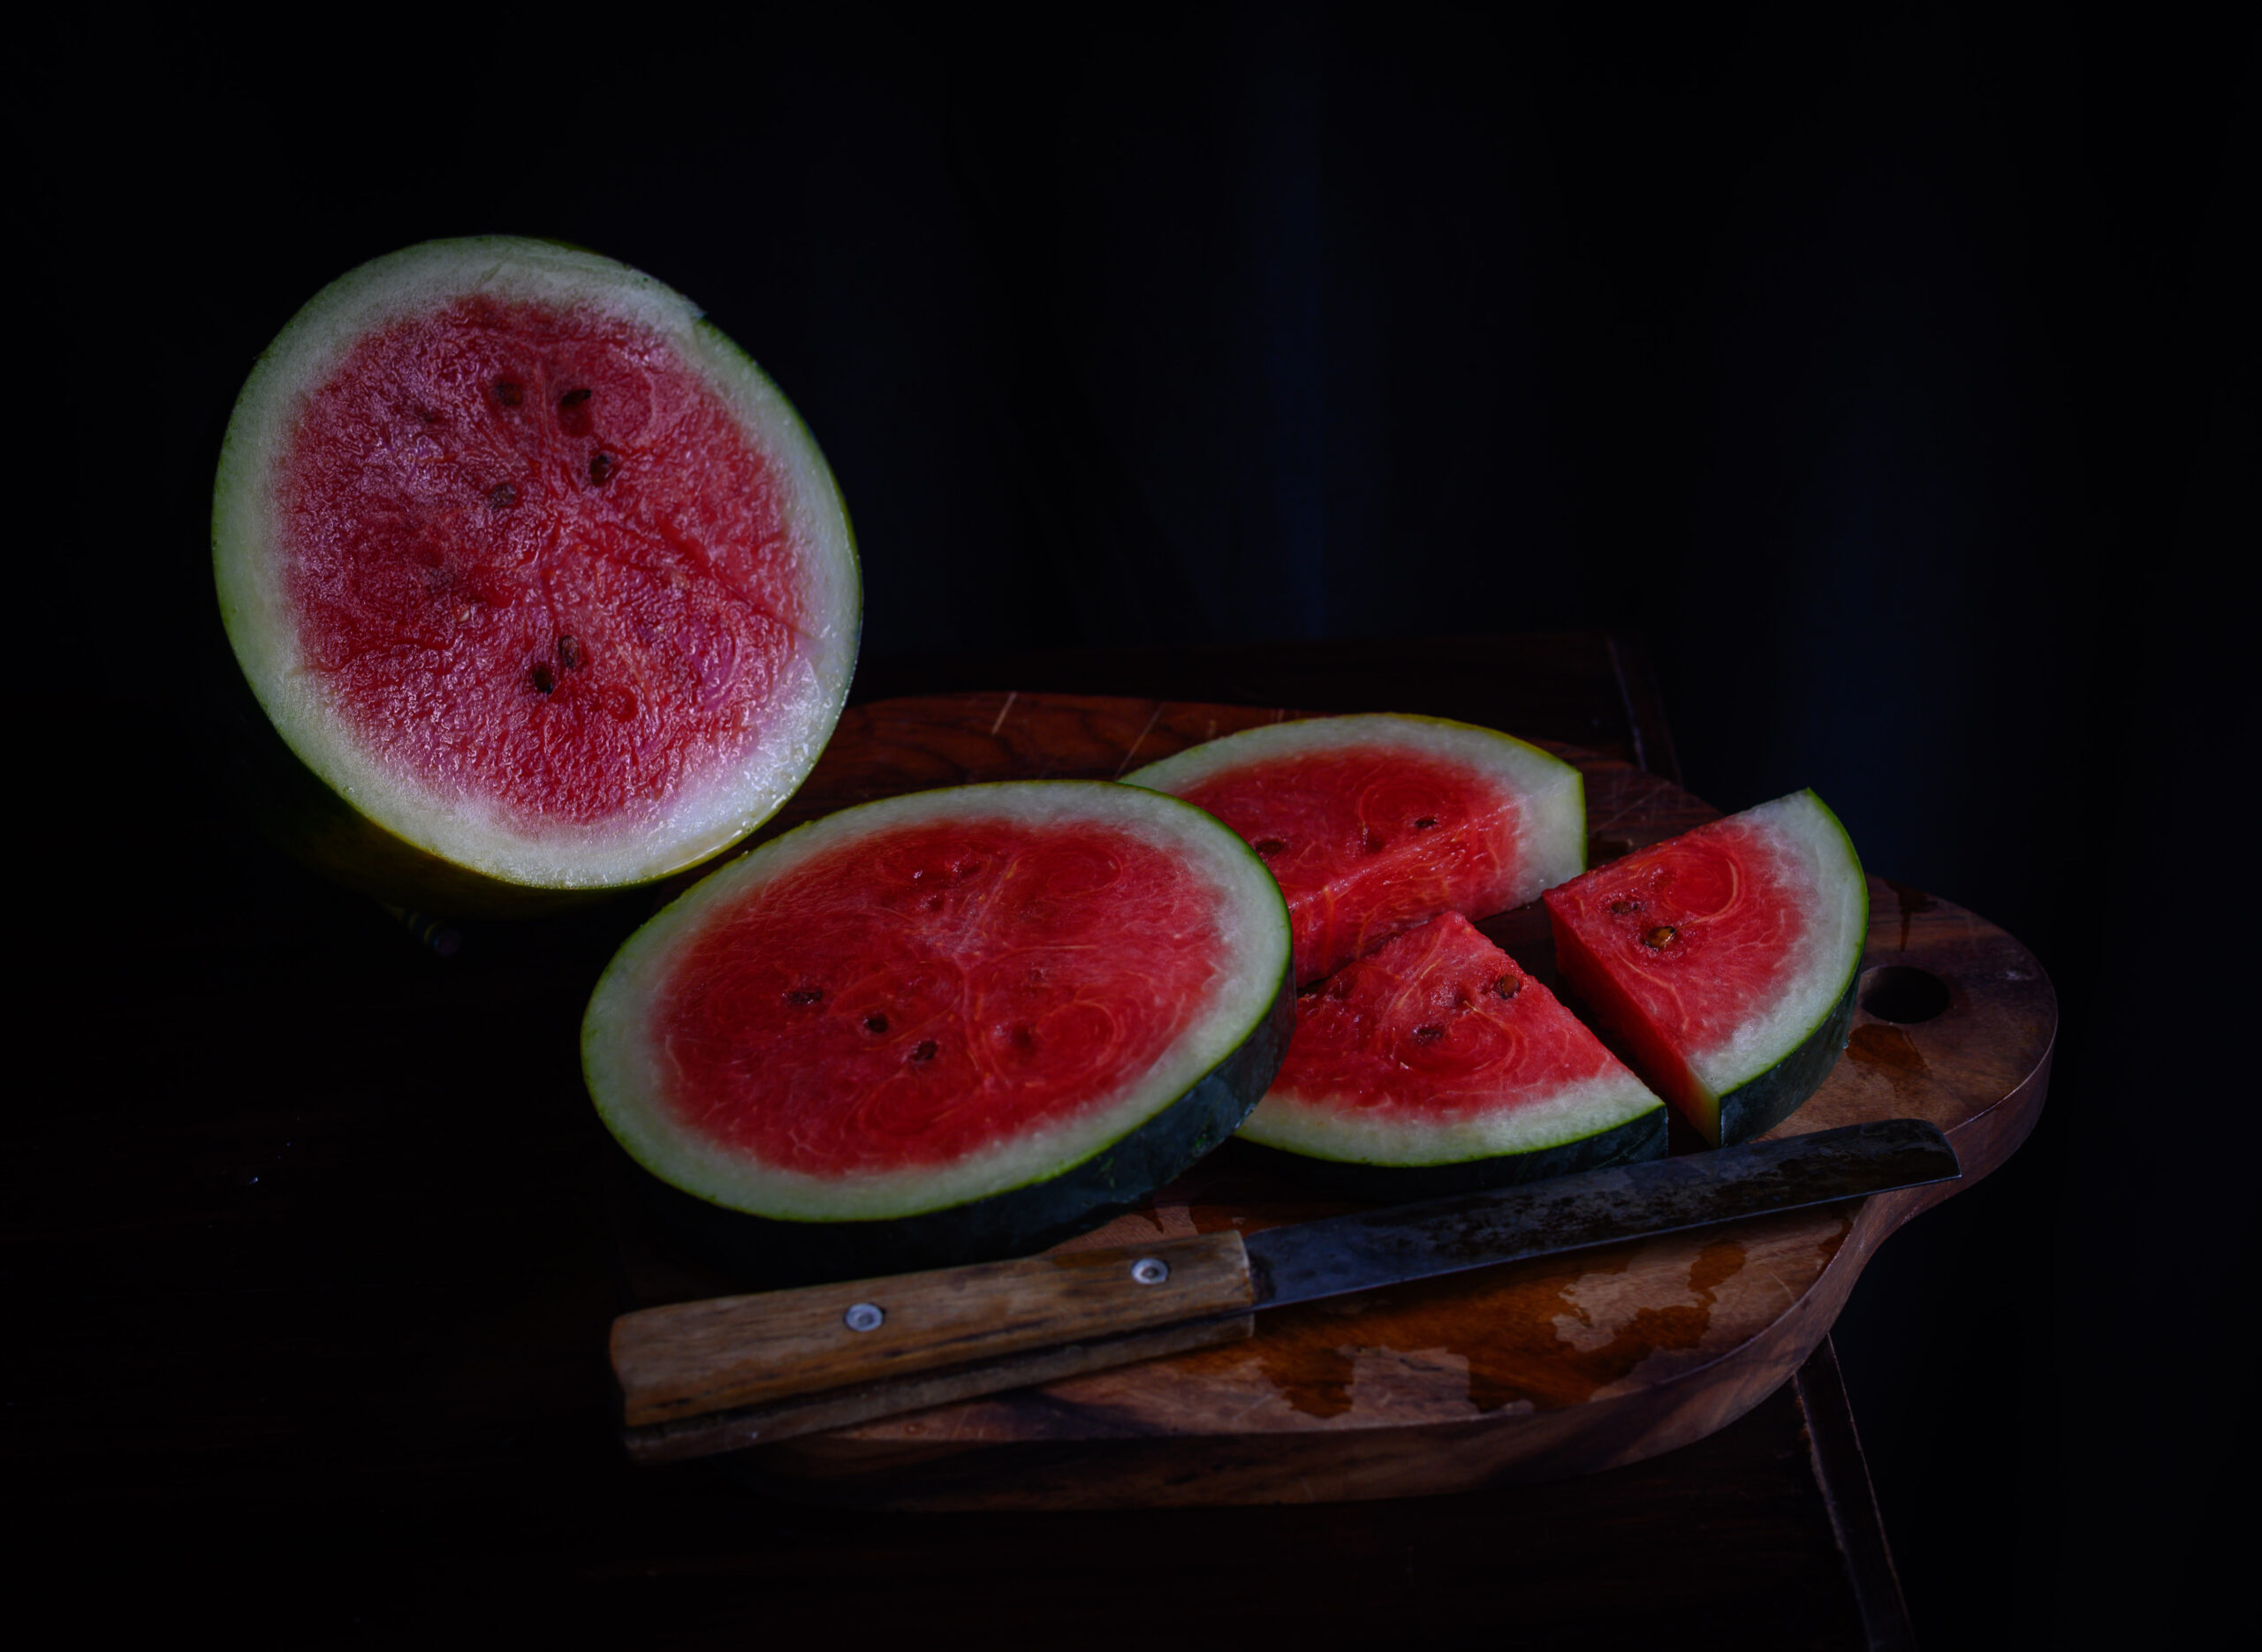
Chennai being hot through most of the year, gazpacho is always welcomed in my home. But the summer demands extra cooling, so first I tried my hand at a yoghurt-based soup with mint. But it ended up tasting a bit like raita and was quickly dismissed from my dining table. That’s when the burst of seasonal fruit at Namma Suvai  – a place I like both for their honest and open policy of having back end (farmers) and front end operations meet, as well as for their superb organic range – gave me a brainwave. I picked up the watermelons, which grow best in warm climates and provide a much needed hydrating and cooling effect to the body. I had not eaten watermelon gazpacho before, even though I knew it existed, and so was all the more excited to try it.

Gazpacho is exceedingly easy to make, just a simple puree, and as I prepared it, I recalled how I used to try to get the kids to eat healthy when they were younger. It’s quite a task, as all moms know, and most of you will be familiar with the technique of disguising (or as the kids say “disgust-ing!”) soups with all kinds of vegetables. I would add locally grown, water-based vegetables like bottle gourd or ridge gourd along with carrots and onions to the basic tomato – all while making sure the red colour of the tomato, the vegetable most popular to their palate, remained. Needless to say, I’d feed it to them quickly, before they noticed their red soup was full of green goodness! As they grew older, they caught on to the trick and refused to eat soup unless it was made to their taste and preferred proportions. Sometimes, they would eat it just to please me, but then say “Ma, did you think we didn’t know?” Fortunately, their tastes became refined once they saw their own friends beginning to enjoy soups socially. Of course, no matter what age the kids are, a parent is still a parent, and those of us who are parents never stop trying to ensure that they are eating well.

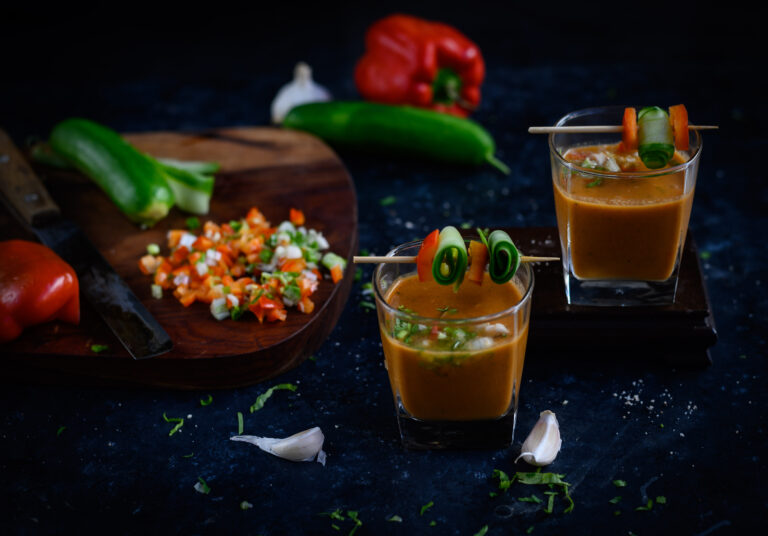
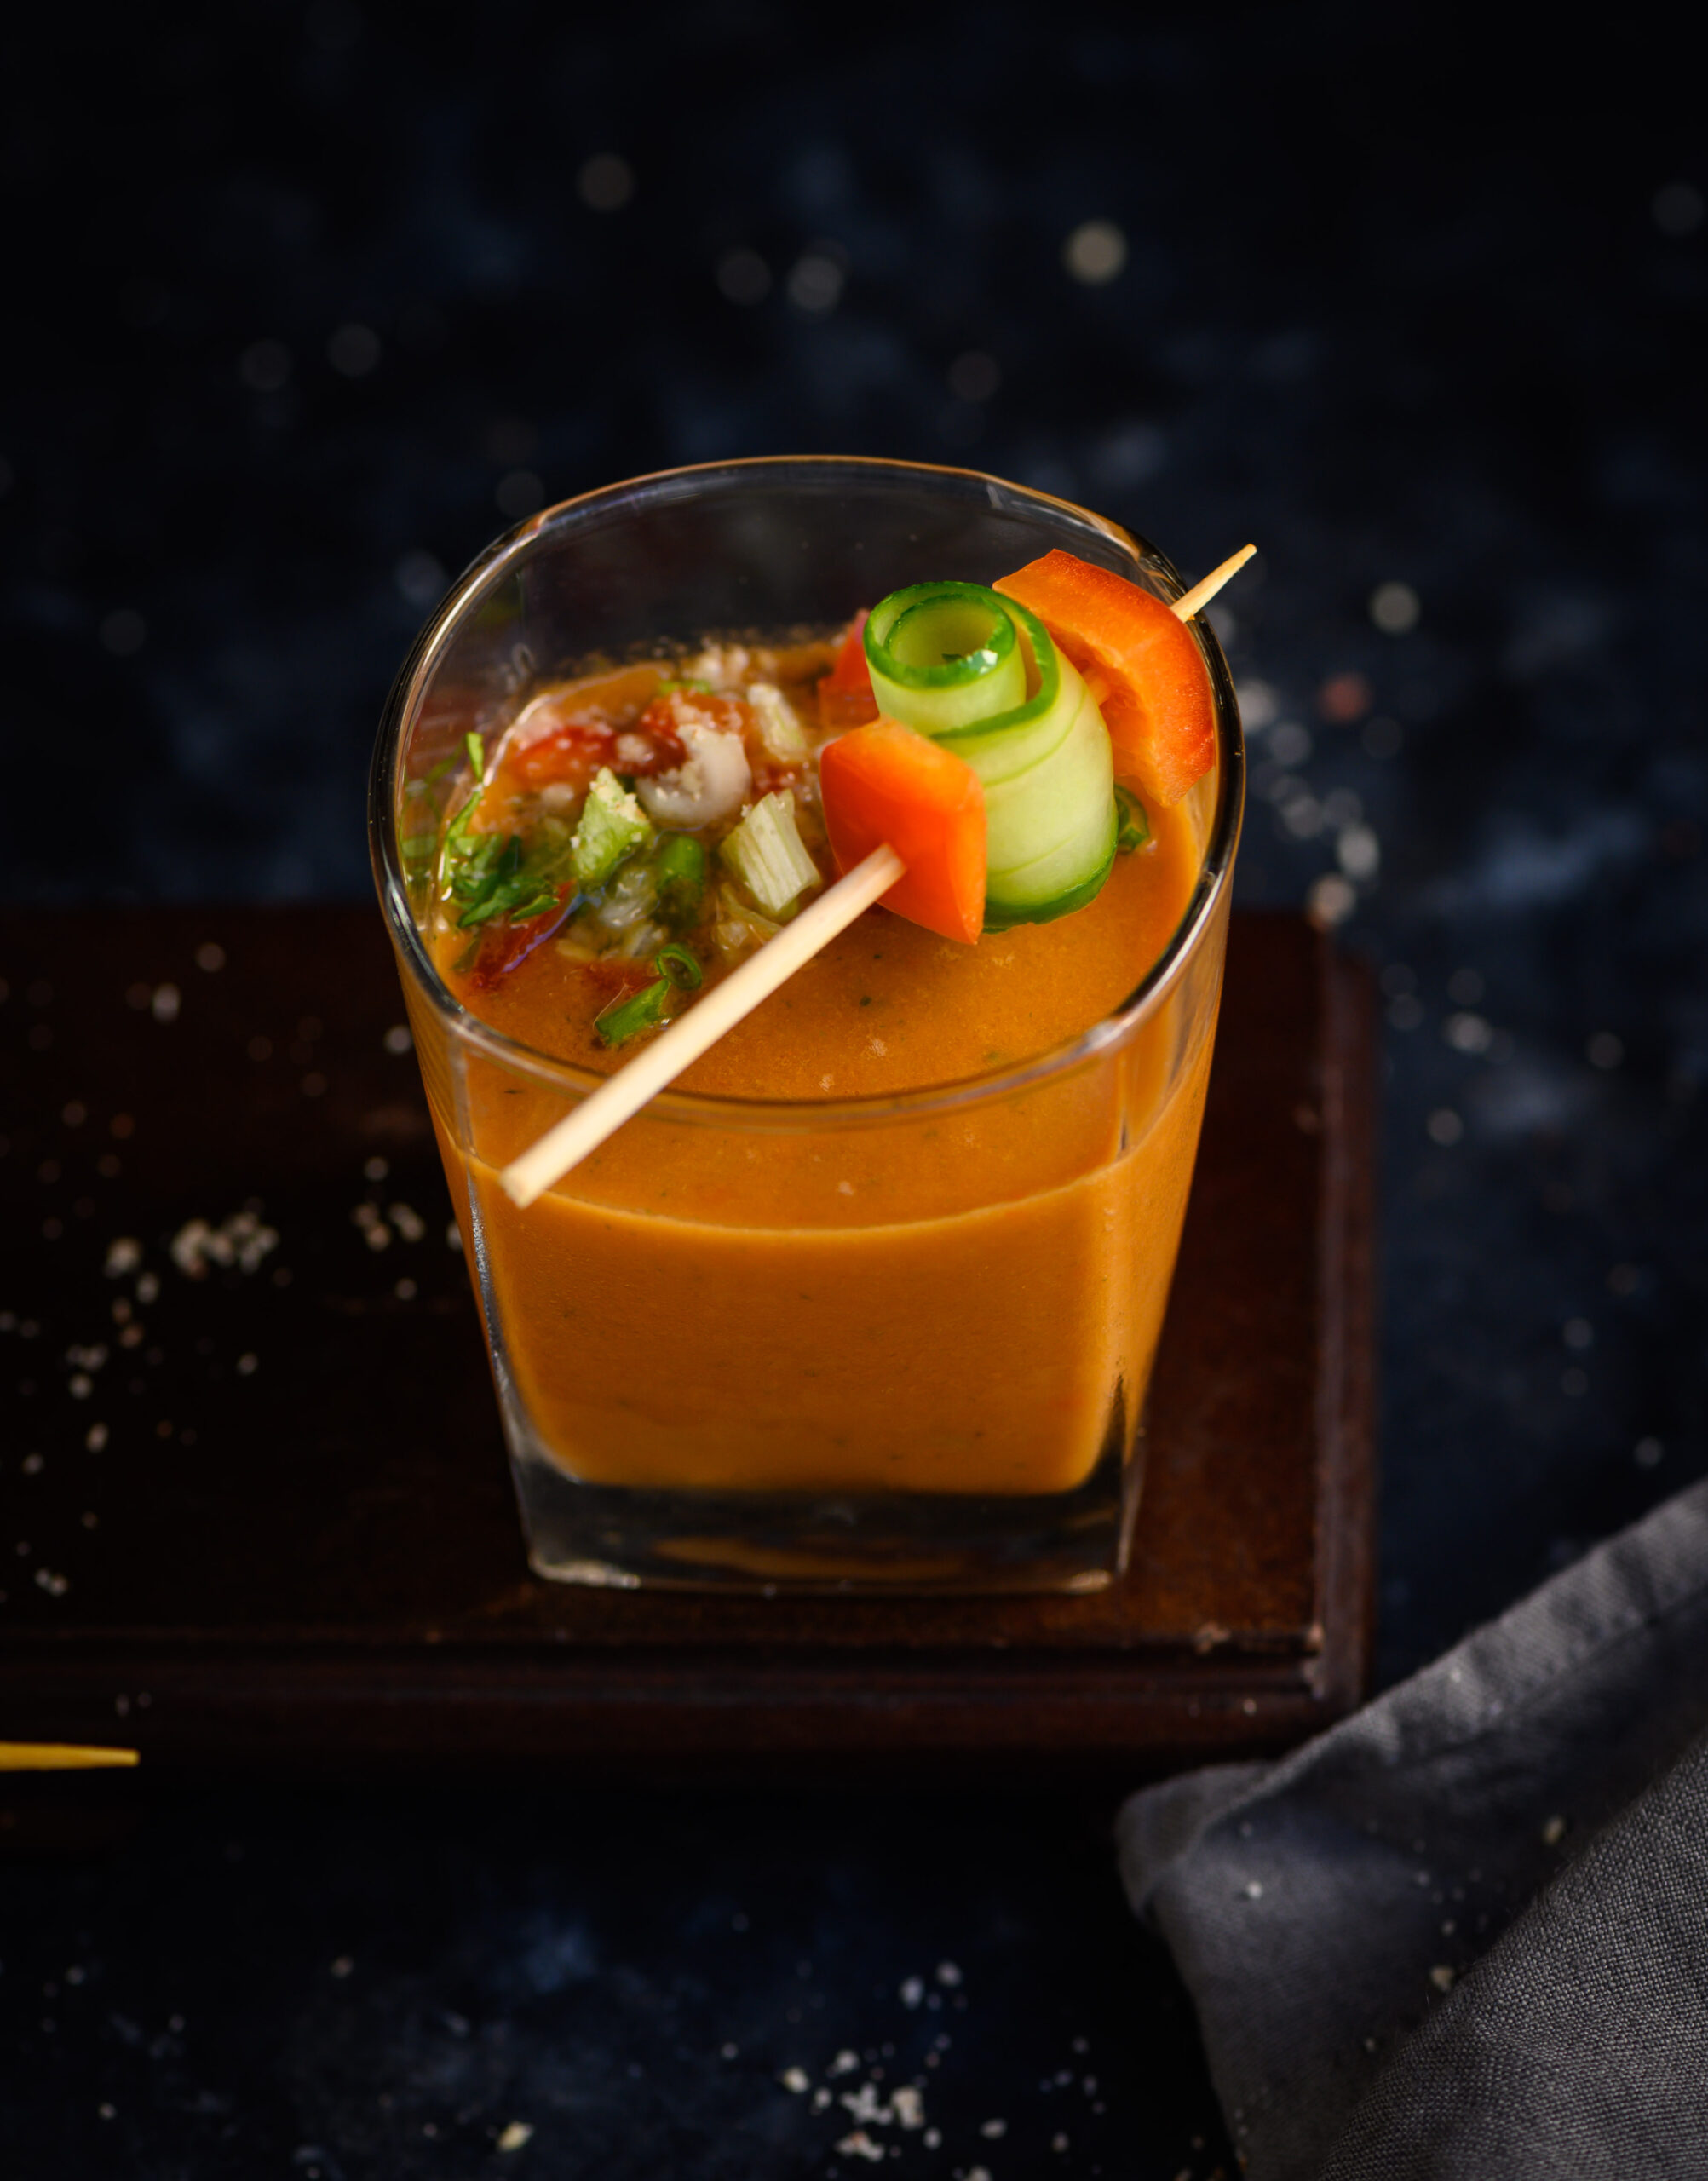
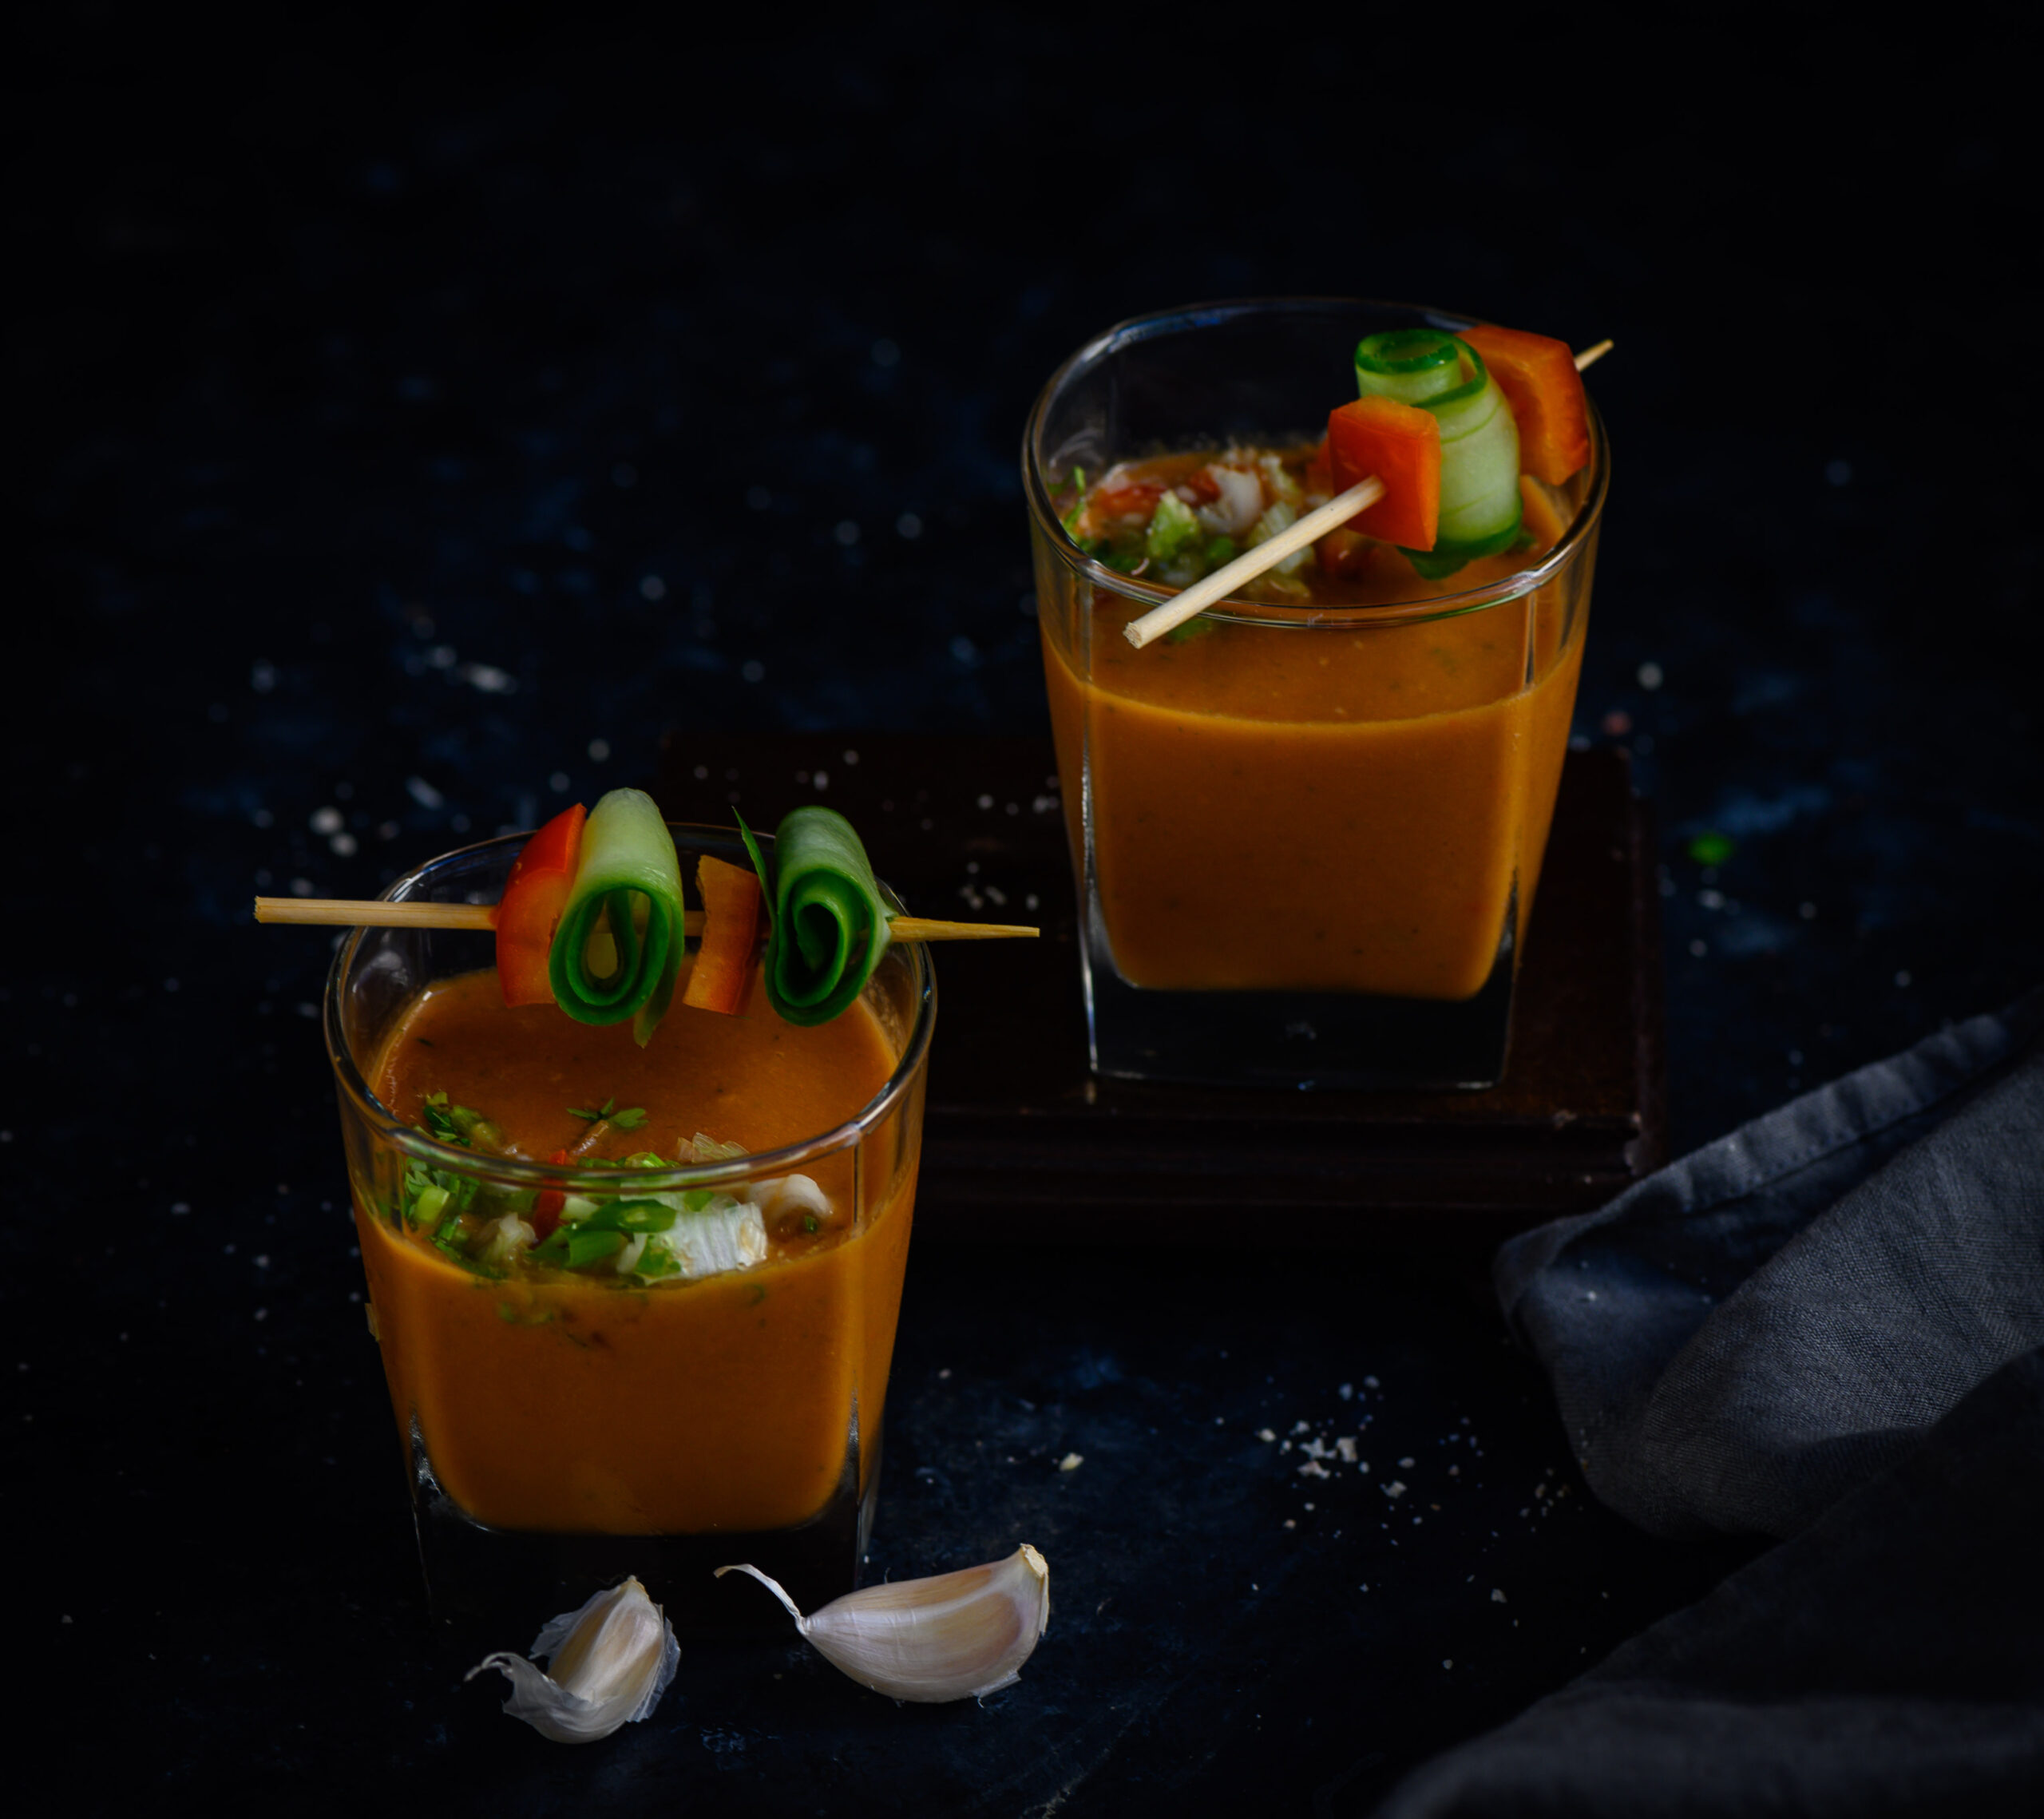
Even though I no longer needed to disguise this soup so it looked like tomato, maybe a little of that old desire to make my dishes as attractive for my kids as possible was still in me, so I wanted this gazpacho to be not just tasty but also vibrant both visually and on the tastebuds. So I added garlic, some colourful bell peppers and a hint of tomato to it. Raw chopped mango brought some tangy Indian-ness too, and a hint of chaat masala added familiar spice. The garnishing was meant to catch the eye, and so it did. Not only did the kids reach for it, but we had a surprise guest for dinner, and she thoroughly enjoyed my watermelon gazpacho along with my homemade sourdough.

As those of you who have followed my Instagram Stories for a while know, sourdough was something I worked at every day, entirely convinced I would eventually get the hang of it, and I did. It’s a very long and cumbersome process, but one every baker should experiment with. Sourdough is a way to make bread without yeast, allowing the natural bacteria to ferment in the air. I now make it so often that I have so much bread that I end up making accompaniments to it instead of the other way round.

One such accompaniment, of course, is this bright and flavour-rich watermelon gazpacho, which brings together sweetness, spice and some much-needed summer cooling.

Watermelon Gazpacho

(Yield: 5-6 cups)

2 ½ cups watermelon – deseeded

¼ cup tomato

¼ cup chopped red capsicum

¼ cup spring onions

3-4 cloves garlic

2 tablespoon olive oil

5 basil leaves

2 teaspoons any good vinegar/red wine/sherry or a big squeeze of lemon

3 small slices jalapeño

2 tablespoons finely chopped raw mango

¼ teaspoon chaat masala

Salt to taste (I used Himalayan pink)

Toppings:

Finely sliced avocado

¼ cup finely sliced red capsicum

2 tablespoons finely sliced spring onion

2 tablespoons olive oil

The method to make this watermelon gazpacho is extremely simple. Just keep the toppings aside and put all the other ingredients into a blender. Blend, but let the mixture remain coarse.

Pour into pretty serving glasses or bowls and garnish with the toppings. Gazpacho is meant to be served cold, and whether your guests will enjoy it as a soup or as a crunchy beverage is up to how you serve it!

This watermelon gazpacho is truly a mélange of flavours: from spicy chaat masala to sweet watermelon, and the textures of soft avocado and crisp raw mango in between. You may think so many ingredients wouldn’t go well together, but believe me – they do. I so enjoyed having this gazpacho with sourdough slices, a light and healthy combination that formed a perfectly filling (and very satisfying!) dinner. Do give it a try while watermelons are in season, and let me know what you think!