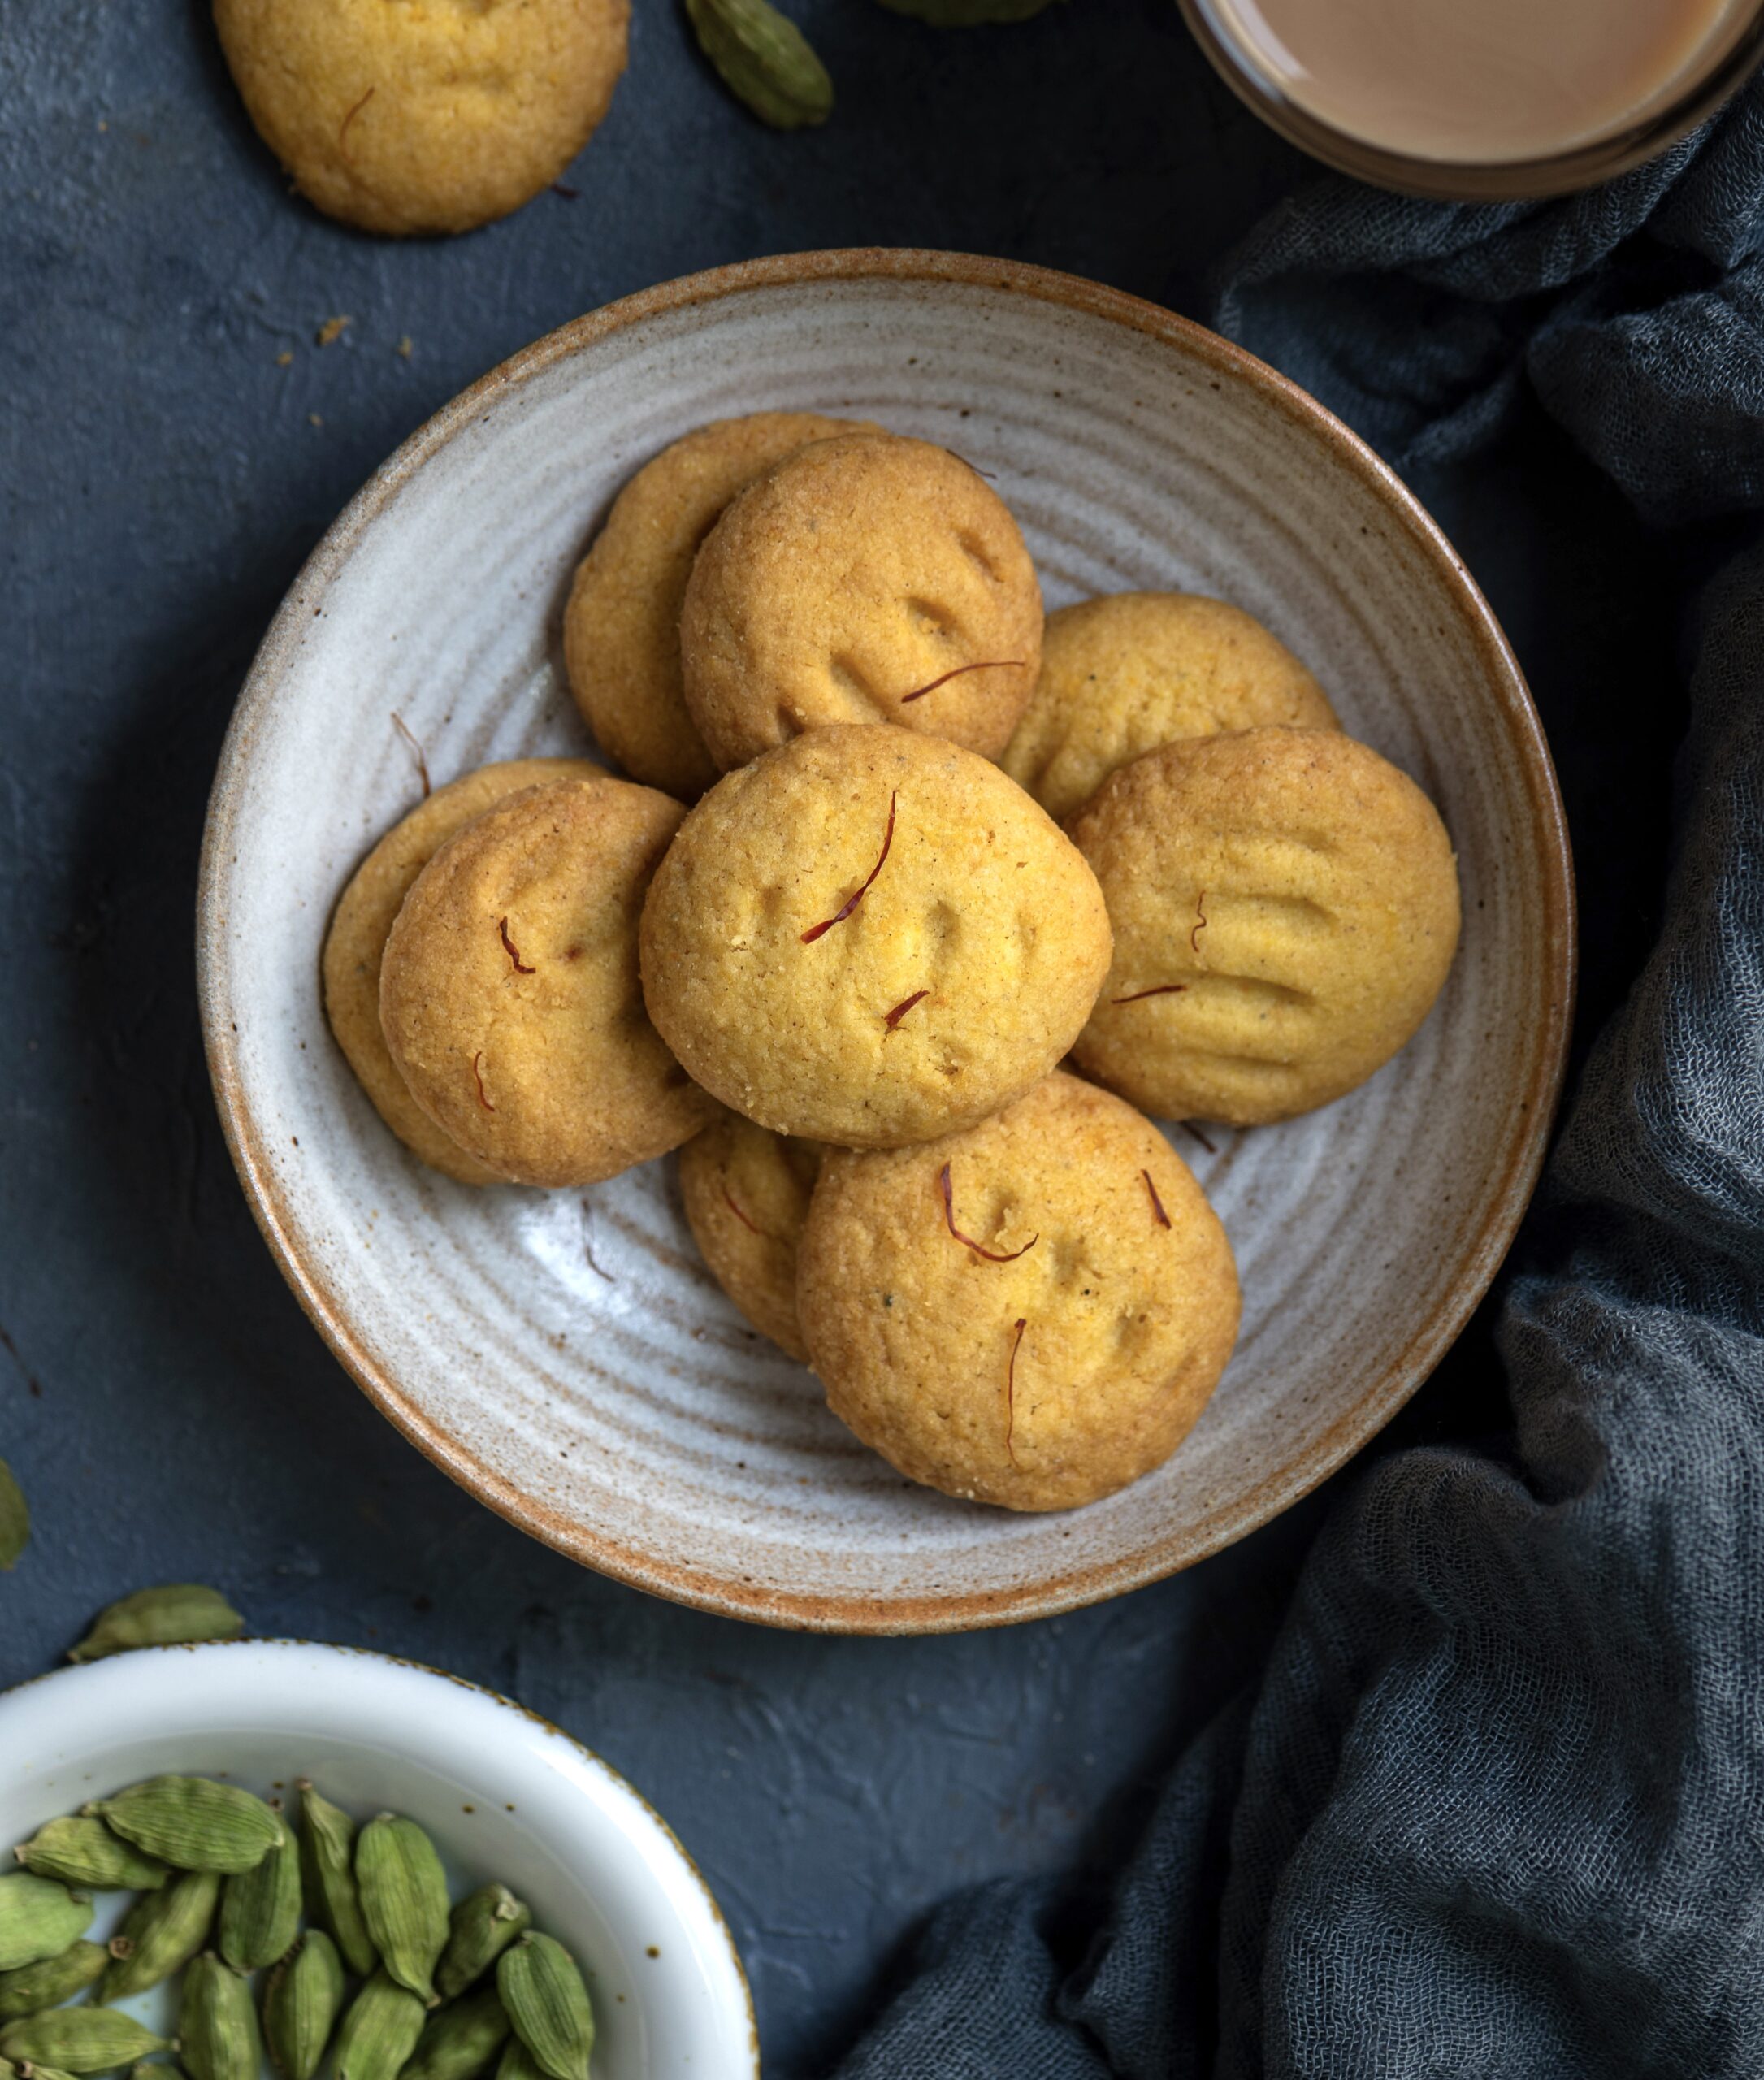
I suppose that biscuits were originally an English concept, known as cookies in the USA and popular across the world. Here in India, we do have our own versions and adaptations. Take for instance the nan kattai, which I shared my own pistachio-rose rendition of a few festive seasons ago. It is believed to have been created by Dutch bakers in 16th century Gujarat. Similarly, all over India today, little bakeries utilize millets and Indian flavours to make their own biscuits, giving us treats like ragi cookies. All these inspirations put together made me decide to bake Indian spice biscuits, and to share the recipe with you too.
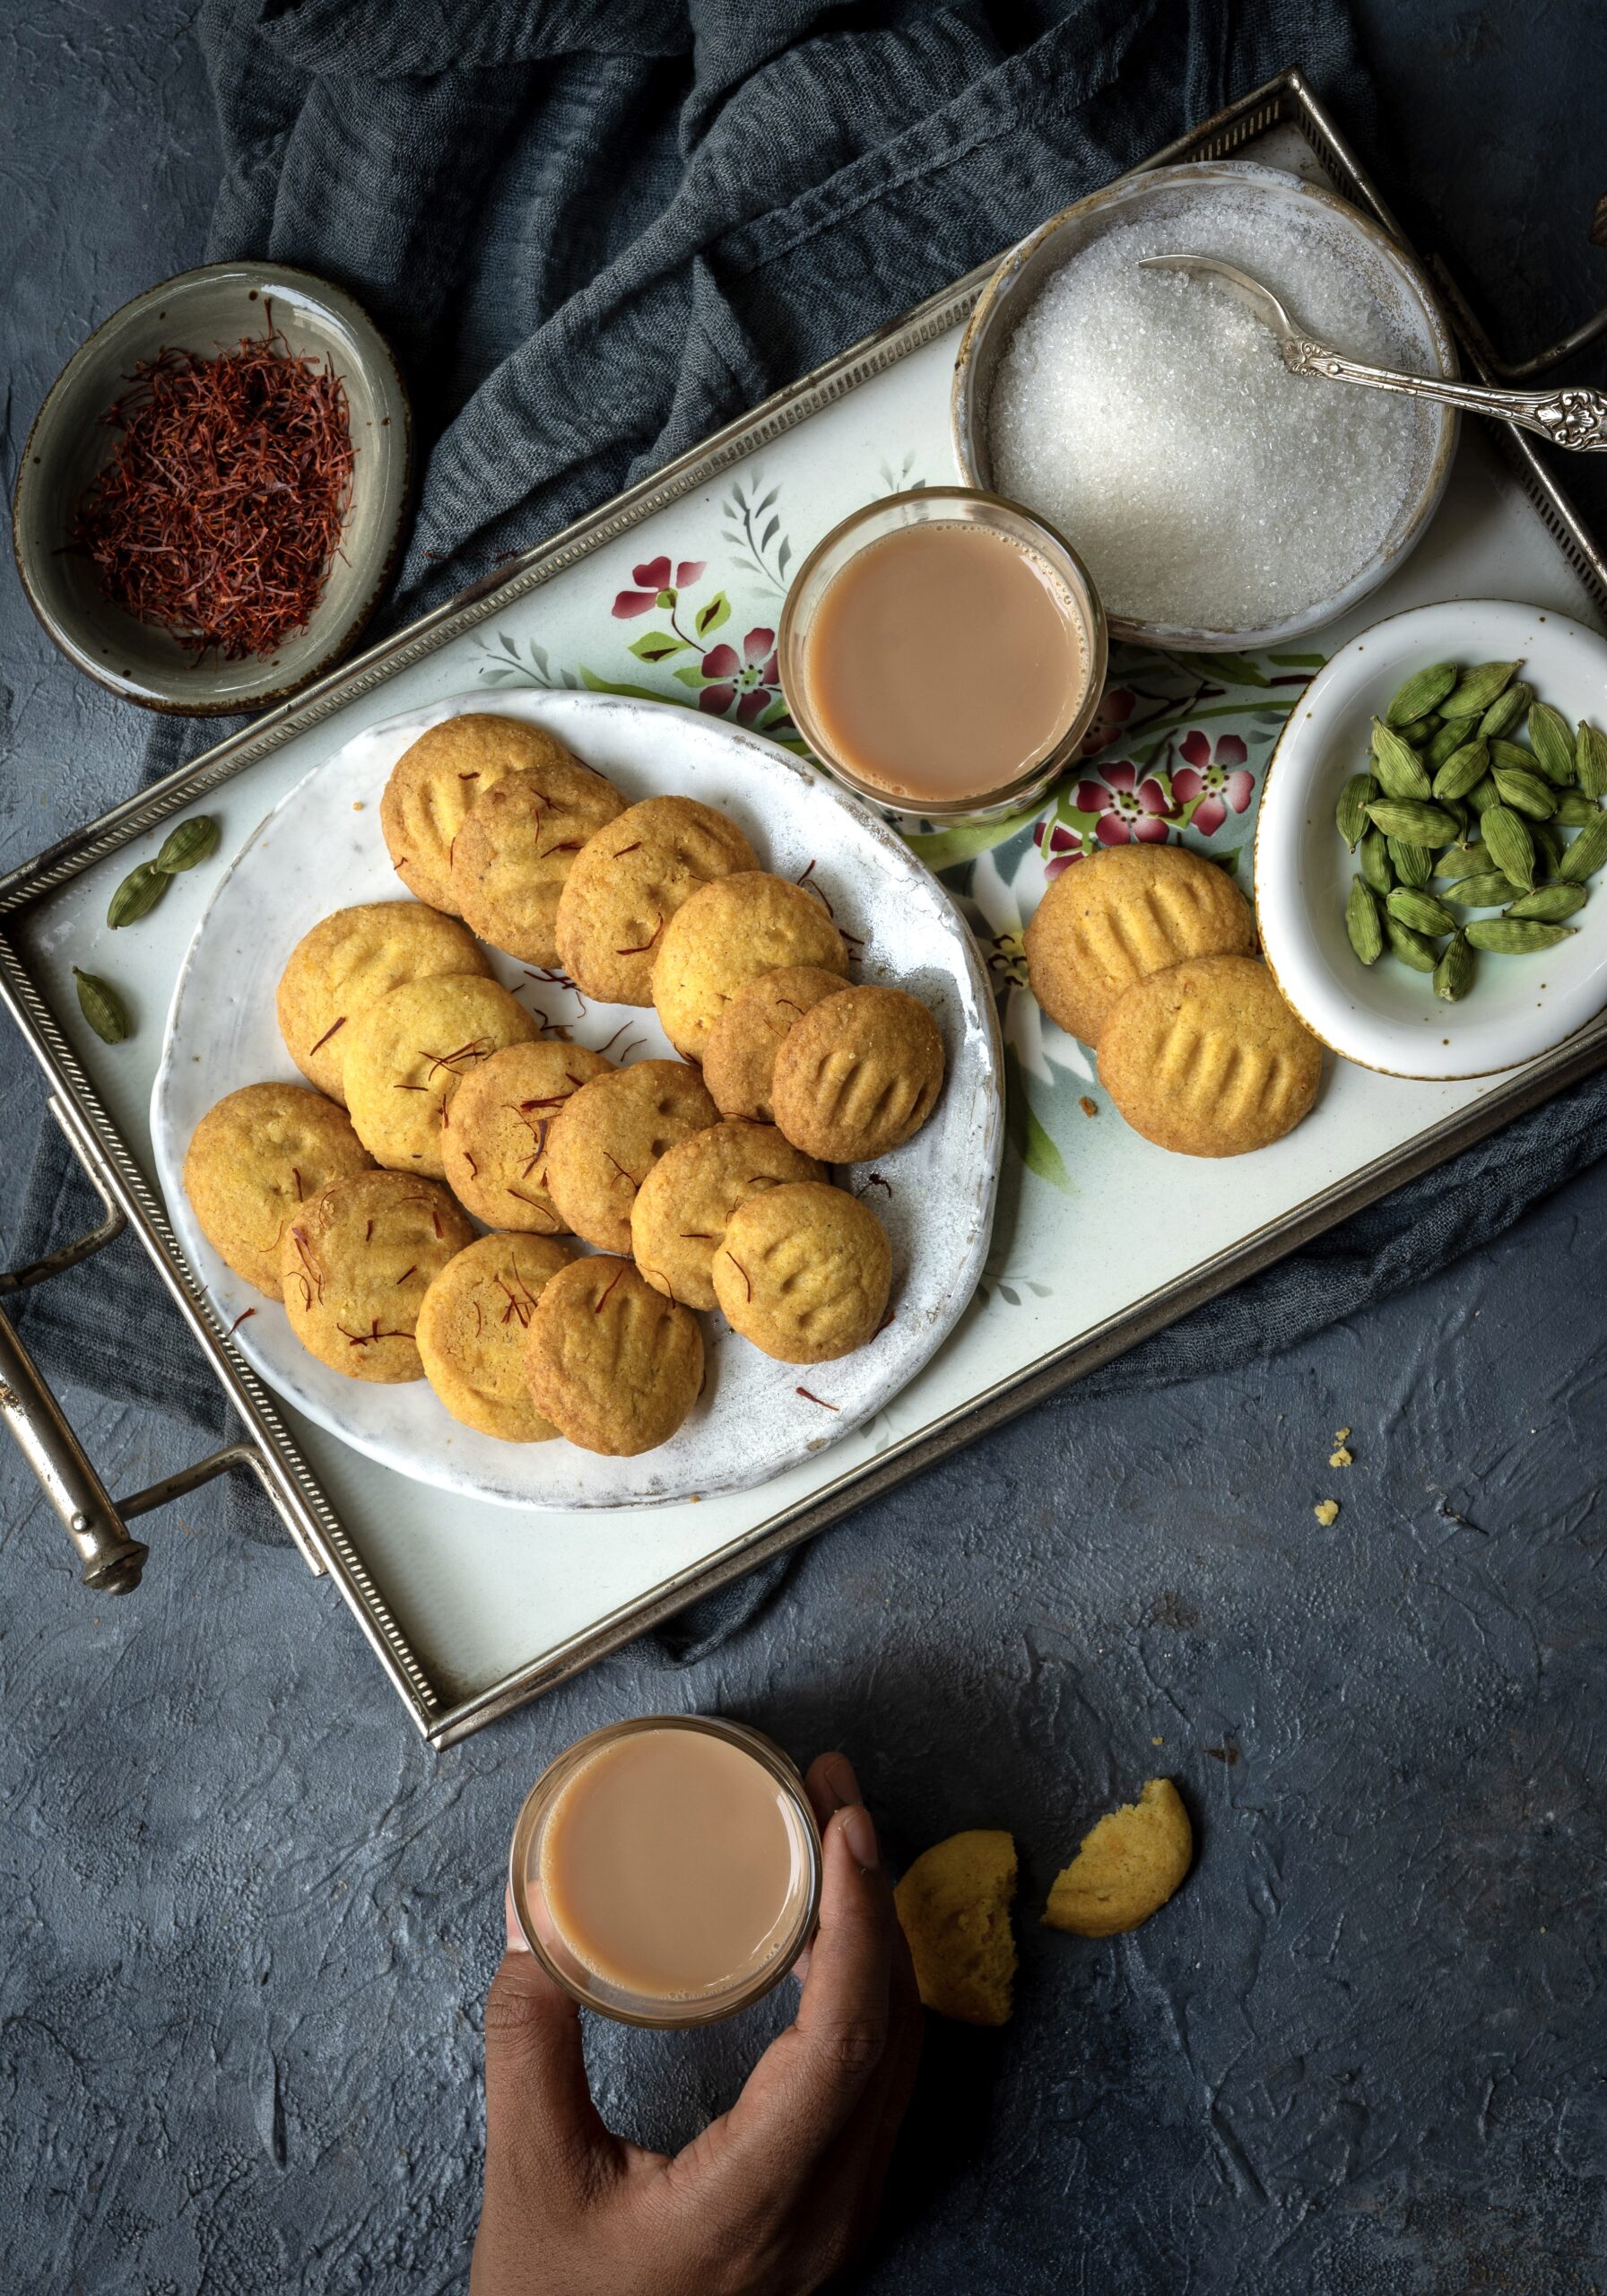
I feel that Indians give a lot of importance to spices in general, and this is in part because many of them grow in India and are either native or at least traditional in this part of the world. They hold a very special place in our cooking, which is why they appear in everything from meats to sweets. Nutmeg, mace, saffron, cardamom and cinnamon come to mind as common elements. I’ve chosen to use a few of these to flavour these biscuits.
It is the beginning of the festive season this year, and of culinary indulgences, so I thought this would be the perfect time to share this recipe. These biscuits go well with the mood and the weather, and are ideal to have at tea time. If you are seeking more recipes in this vein to serve at your special occasions, the archive has lots to offer.
Another reason why I chose to try out a new biscuit is because I realised that I love hoarding props. I have quite a large collection in my kitchen, and I wanted to use some of my cookie cutters out of that array.
Strictly speaking, it’s not really a new biscuit for me, just one I haven’t made in some time. When my daughter was living here, we often baked together, and this recipe was one of our usual choices. It was so lovely having her company, with her young mind and her penchant for ideas and innovations. Baking these made me miss her, and I think I will send her a care package with these home-baked Indian spice biscuits.
Baking also makes me miss my mother. As I have mentioned in numerous posts over the years, she attended a baking class when we were growing up, and this meant that we had all kinds of interesting treats at home. For instance, she made cornflake cookies, dipping the dough in cornflakes before baking. At a time when cornflakes themselves were an unusual concept for us, we were fascinated by these. I remember plucking the cornflakes and eating them separately. I remain deeply inspired by my childhood memories of my mother in the kitchen.
I hope these Indian spice biscuits become a part of many more happy memories – for my loved ones and I, and for you and yours.
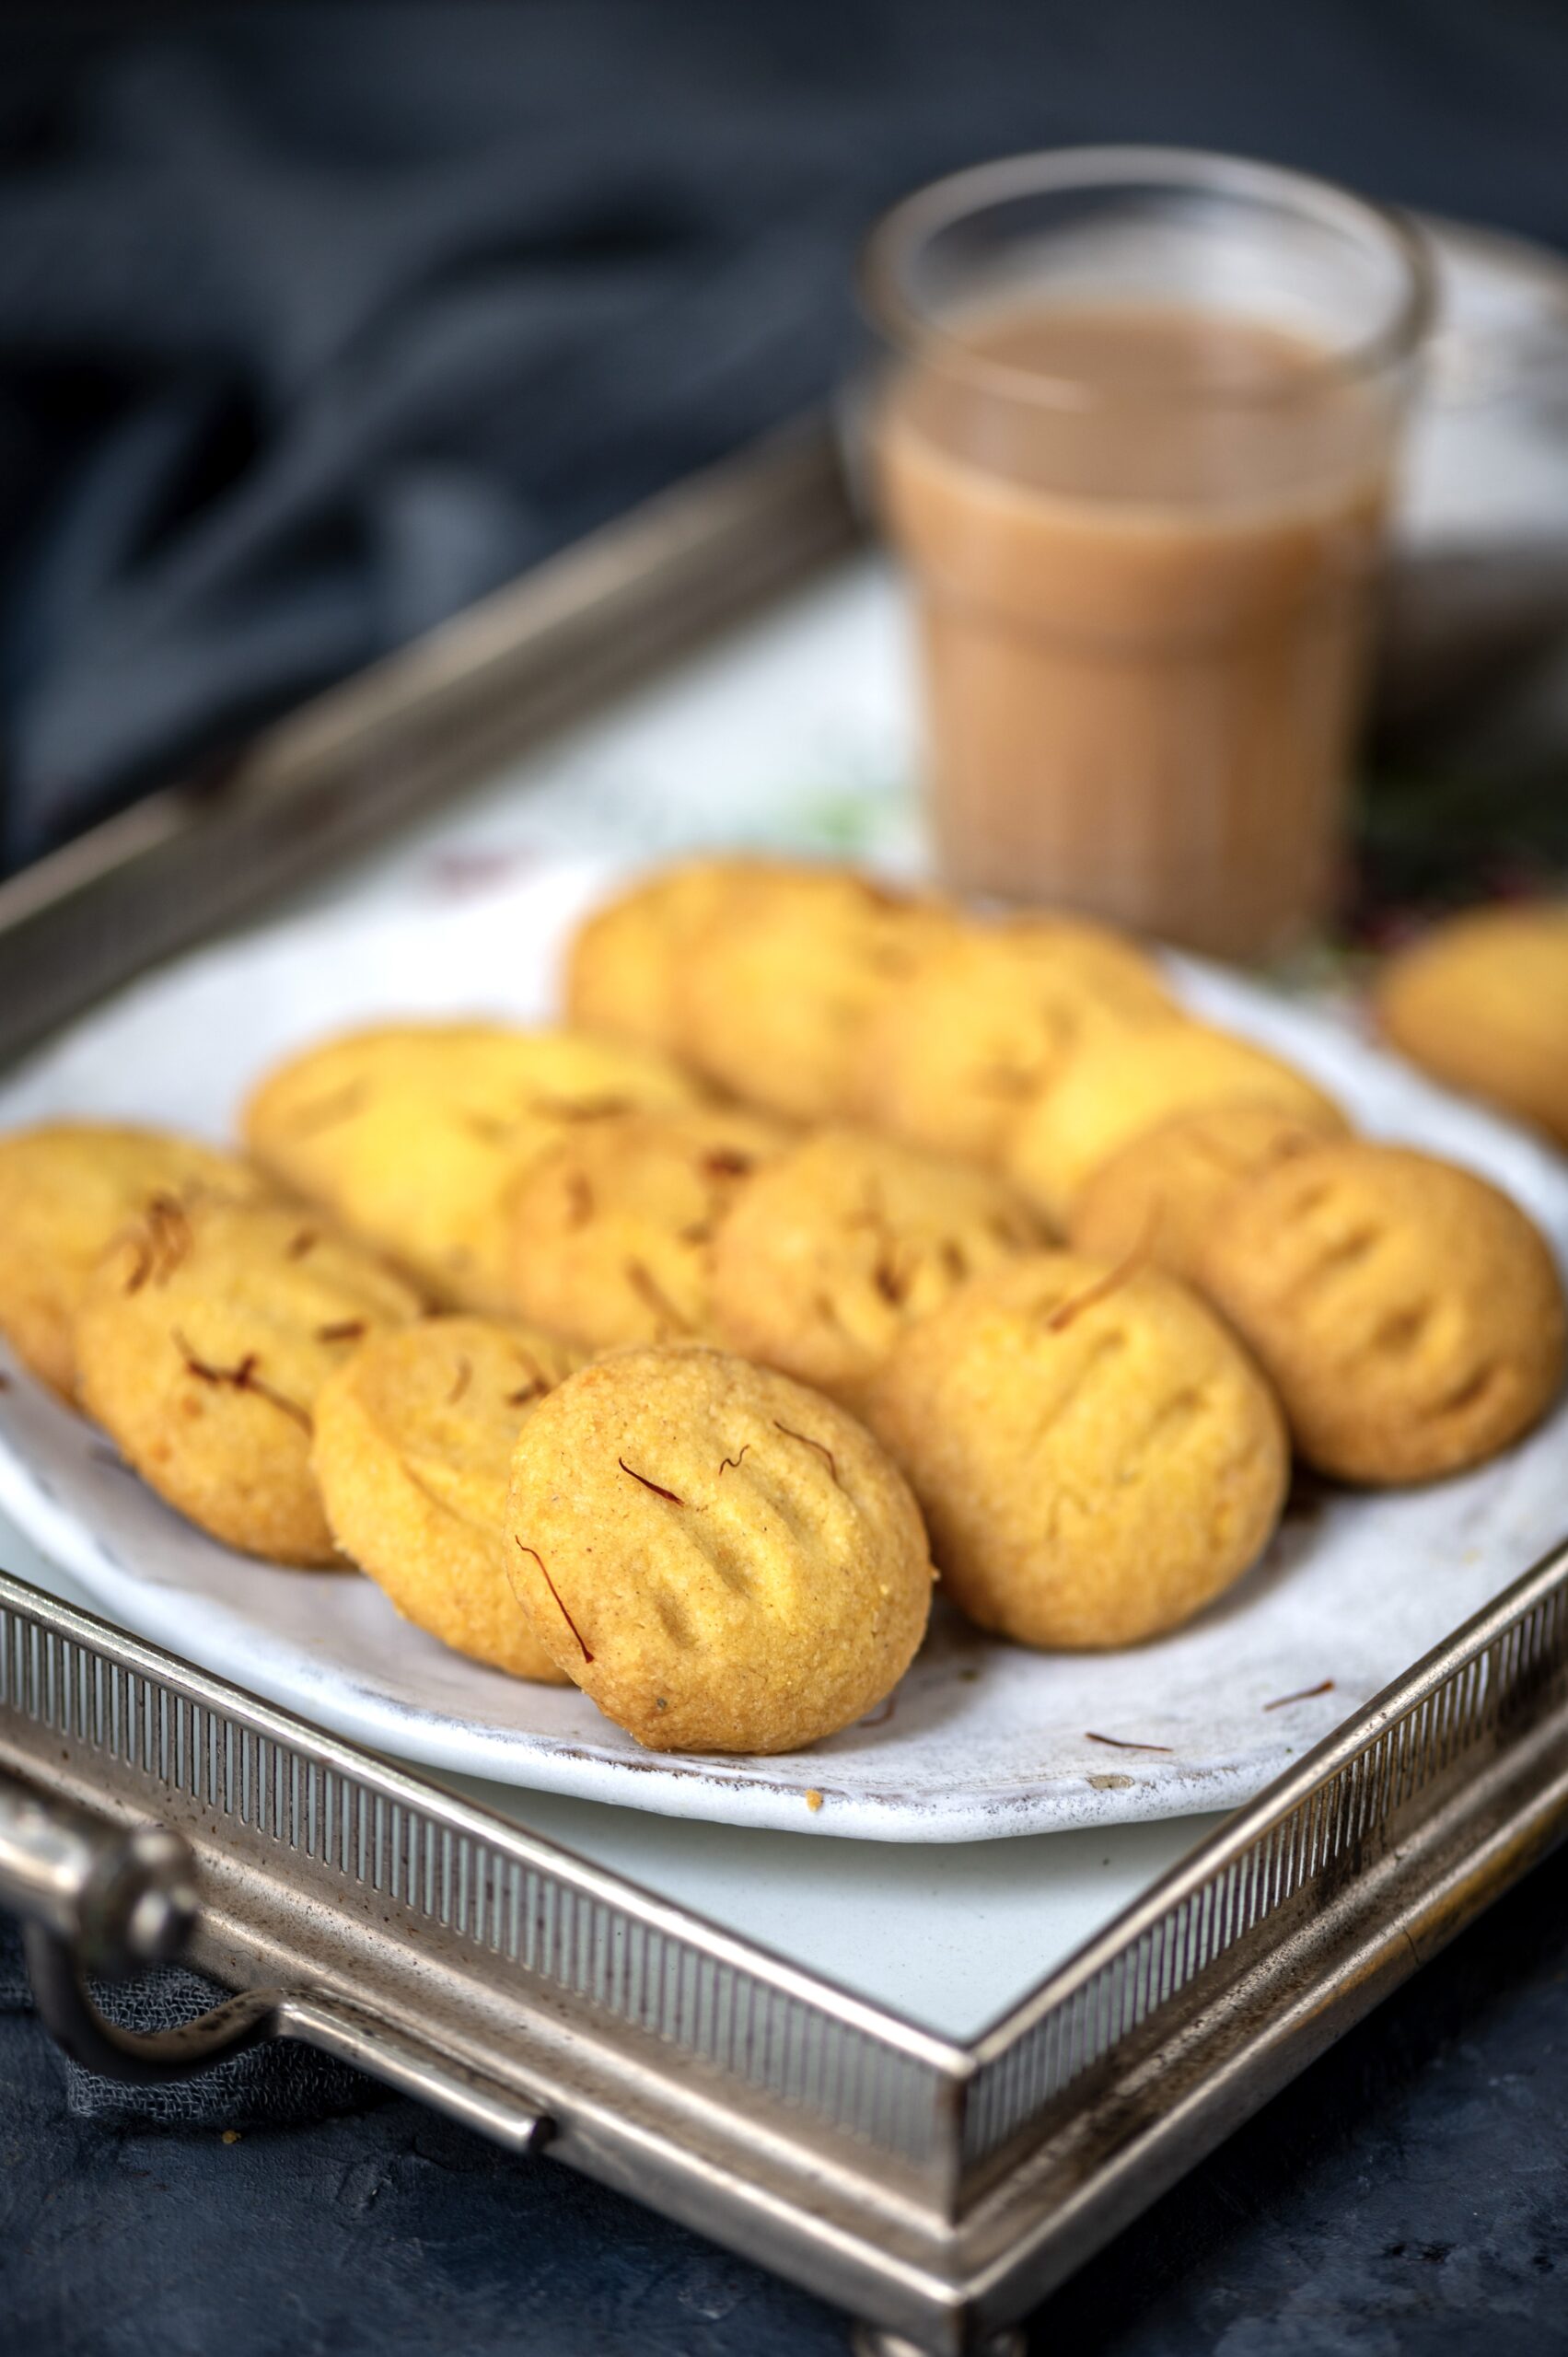
Indian Spice Biscuits
(Yield: Approximately 20 pieces)
175 grams unsalted butter
75 grams powdered sugar (sifted)
55 grams custard powder
175 grams flour
¼ teaspoon cardamom powder
½ teaspoon cinnamon powder
8-10 strands of saffron
1 teaspoon milk
¼ teaspoon salt
1 teaspoon baking powder
Preheat the oven to 170°.
Meanwhile, in a small cup, add the saffron and the milk and allow to steep.
Line a baking tray with a silicone mat. Set aside.
With an electric beater, beat the butter until light and fluffy. To this, add the sugar and then the custard powder.
Beat gently, and now add all the spices. Sift the flour and baking powder and add it to the mixture.
Mix gently using your hands. Cling wrap the dough and refrigerate for 5-10 minutes.
With the help of a spoon, or using your hands, make small discs of the dough. Place them apart on the prepared tray.
Bake in the oven for 12-15 minutes or until the edges are golden.
Remove and cool on a wire rack before consuming.
These delicious biscuits have a beautiful flavour to them, one that I am sure will pep up your mood in the late afternoon. You may notice that they are also eggless, which makes them ideal for serving vegetarians. Here’s wishing you a wonderful festive season ahead!