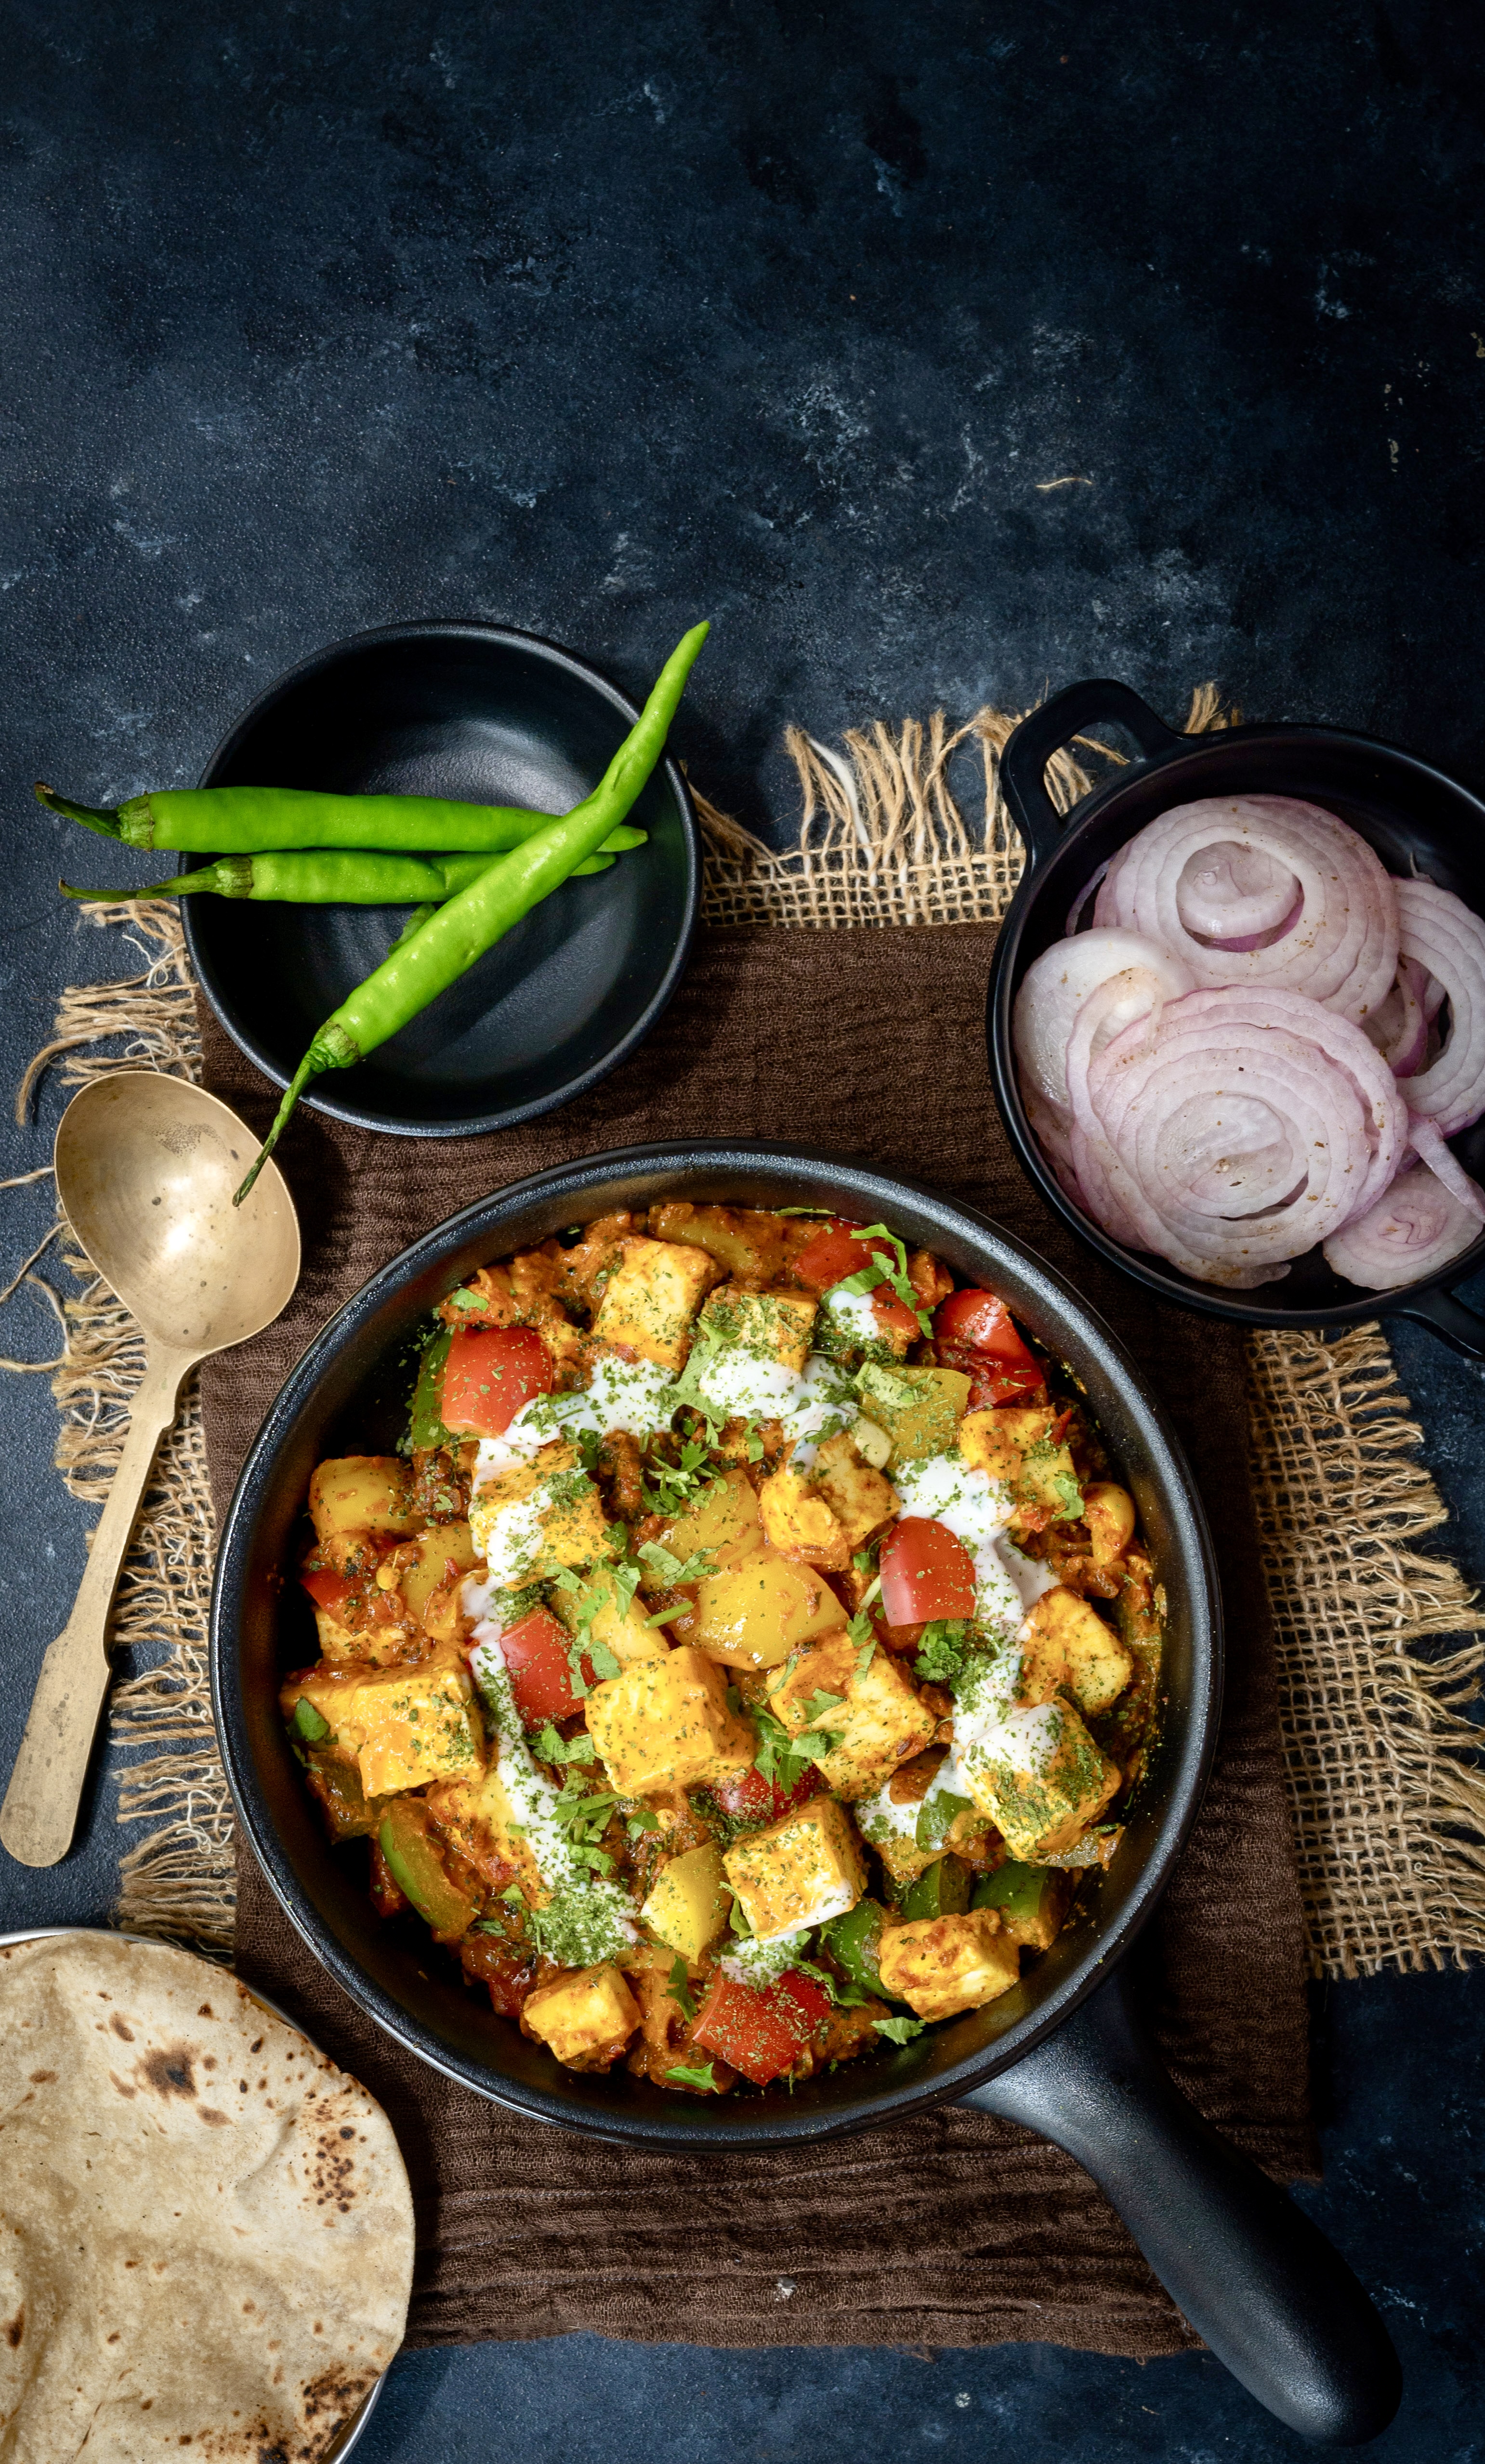
There is a universal love for paneer makhani or for paneer butter masala among those who frequent Indian restaurants anywhere. These are the two most popular dishes when it comes to paneer, and it would be rare to find an Indian eatery that doesn’t offer them. When my kids were growing up, we ate paneer makhani all over the world because that is what they ordered straightaway, without having to check a menu. You may also remember my recipe for paneer makhani, one which our relatives also learnt so as to make my son happy when he visits them. However, as much as I enjoy these dishes too, I believe that the fact that they are the standard go-tos gets in the way of exploring the wide and diverse range of paneer preparations that actually exist. My own personal favourite is kadhai paneer, or a paneer stir-fry that is so named because it is made in a kadhai (a deep, flat-bottomed pan), and that’s the recipe I am sharing today.
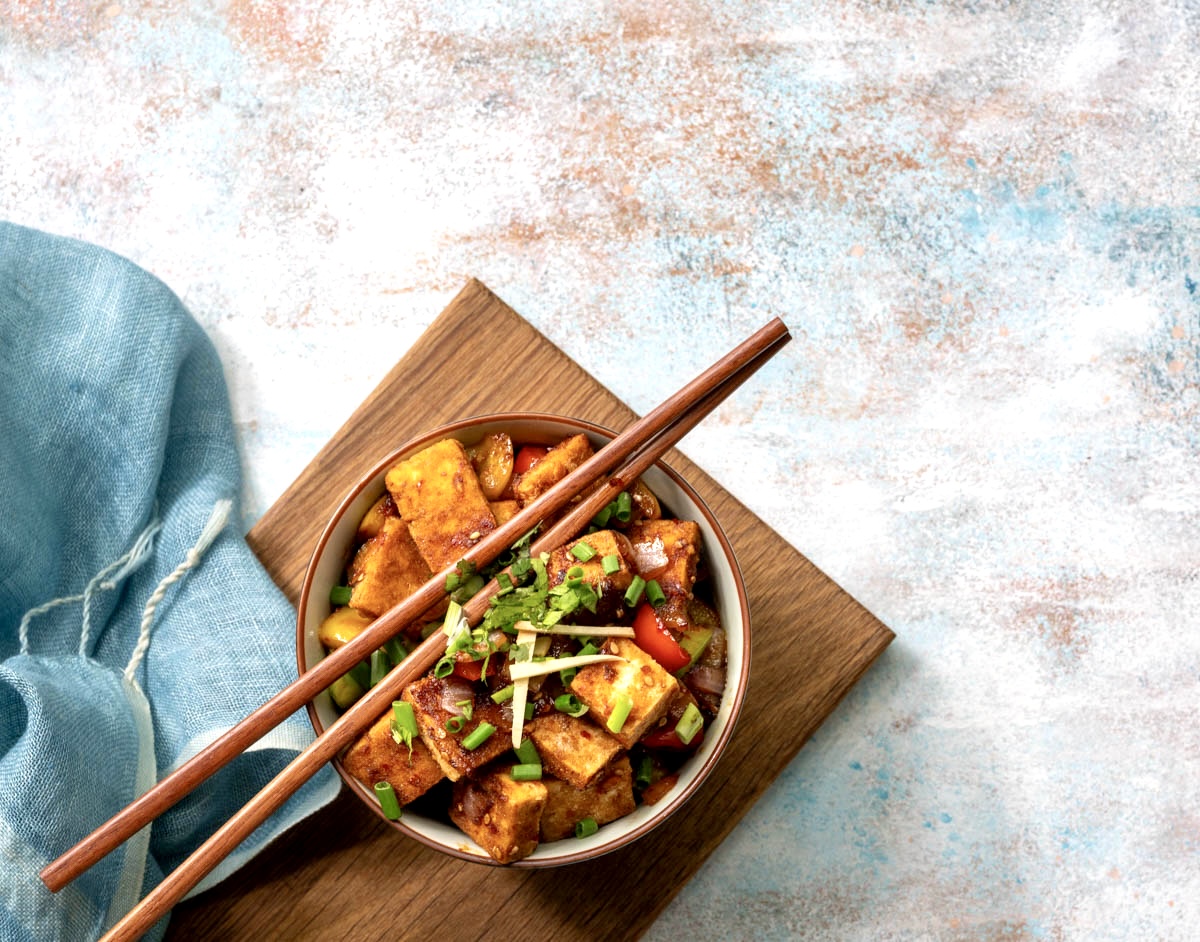
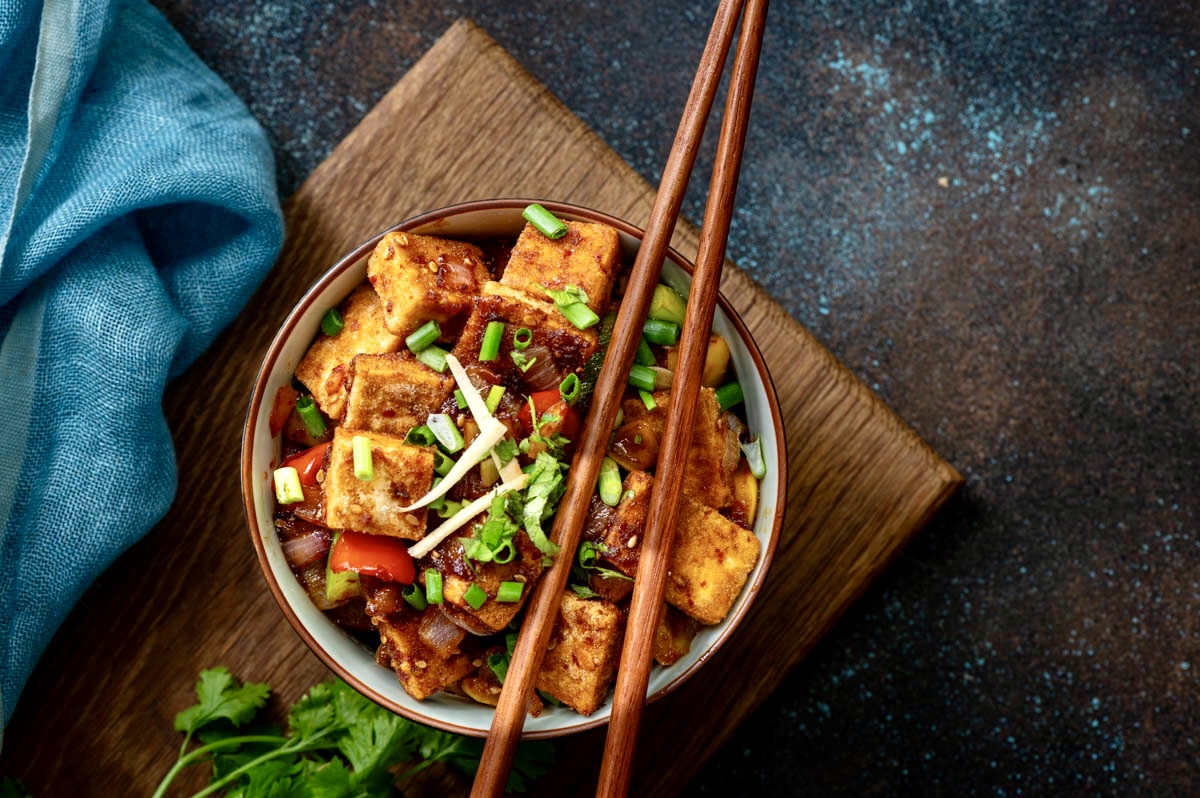
I recently shared a recipe for chilli tofu, and this one is distinct from that one because of the spices that I use. What makes my version different from a restaurant version is that it also incorporates some vegetables. In fact, I think this is true when it comes to most household paneer preparations anyhow, if not in the dish itself then in accompaniments. Paneer dishes I have eaten at people’s homes always tend to be healthier and to utilize more greens and vegetables rather than just paneer. When it comes to home cuisines one doesn’t usually see oil floating at the top of the gravy or other such excessive uses, which are delicious during an outing but better avoided regularly. There is more variety too, as there is so much more to paneer than what has been popularized by restaurants.
I’m a big advocate of home-cooked meals, always: you know what goes into every dish, and will take care to make sure it’s good for you and for your family. I believe there’s a world of difference between restaurant food and household preparations in terms of healthiness. All that said, one nutritious paneer dish that is also available at eateries is the palak paneer, which features spinach. Of course, if you make it at home, which you can with my recipe [hyperlink], it’s even better!
Paneer really does pair well with most vegetables, taste-wise and not just as a way to make meals healthier. Here, I have used chopped bell peppers. I usually like to cut them tiny as they look beautiful, but this time I decided to do bigger cuts. This is because bigger vegetable cuts require us to chew better, which makes our digestion easier. However you choose to cut them, I would suggest adding an array of any vegetables you enjoy, keeping in mind that a colourful presentation is pleasing to the eye, to the tastebuds and to your overall well-being too. As many have said before, “eat the rainbow”.
This will certainly not be the end of the paneer recipes that I will share on this blog, especially as I’d like to highlight more diverse preparations. I am sure there is more to come, as and when a recipe strikes, a mood hits or a desire to eat a particular food occurs. Sometimes the inspiration is creative: a visual will come to mind and I will write it down quickly so that I don’t forget, and then recreate it in a photoshoot later. For me, these recipes are so that nothing is lost amongst the memories in my head, and so that my children can retrieve them whenever they wish to – and so can you.
Kadhai Paneer
(Serves 2)
2 cups bell peppers (different colours)
1 cup diced paneer
1 tablespoon oil
1 teaspoon cumin seeds
½ cup onions (finely chopped)
2 cloves garlic
1 green chilli
1 large tomato finely chopped
1-inch ginger (grated)
Salt to taste
½ teaspoon turmeric
1 teaspoon Kashmiri red chili powder
1 teaspoon garam masala
1 teaspoon coriander powder
1 teaspoon kasoori methi (crushed)
1 tablespoon milk
Garnish
Kasoori methi
Cream (optional)
Beaten yoghurt
Coriander leaves
Heat a kadhai and add the oil. To this, add cumin seeds, grated garlic and onions. Roast until golden. Now add the green chilli, ginger and tomato. Sauté until tomatoes are tender. Add the salt, turmeric powder and red chili powder.
Add the bell peppers. Sauté, then cover until they are tender but not releasing water. Once they cook a little, add paneer followed by garam masala and coriander powder. Finally, add kasoori methi and milk.Garnish with beaten yoghurt, kasoori methi and coriander leaves.
I find that this kadhai paneer is best with plain roti and works well as a tiffin box item as well as served hot and fresh. I hope you’ll enjoy it as much as I do, and I also encourage you to explore the other paneer recipes I’ve shared here over the years.