As I have mentioned at various times on this blog, I do love the festive season. Diwali is an occasion I look forward to very much, but I also enjoy the December festivities, in particular Christmas. I find that people tend to be in a more buoyant spirit now, and I love to elevate that further through providing recipes that add more cheer. This past year has been rather difficult and very busy for me, and I would not be surprised if it has been the same for you, but I believe you can always make time to bake an orange cake. It will immediately improve your mood, as I have experienced time and again.
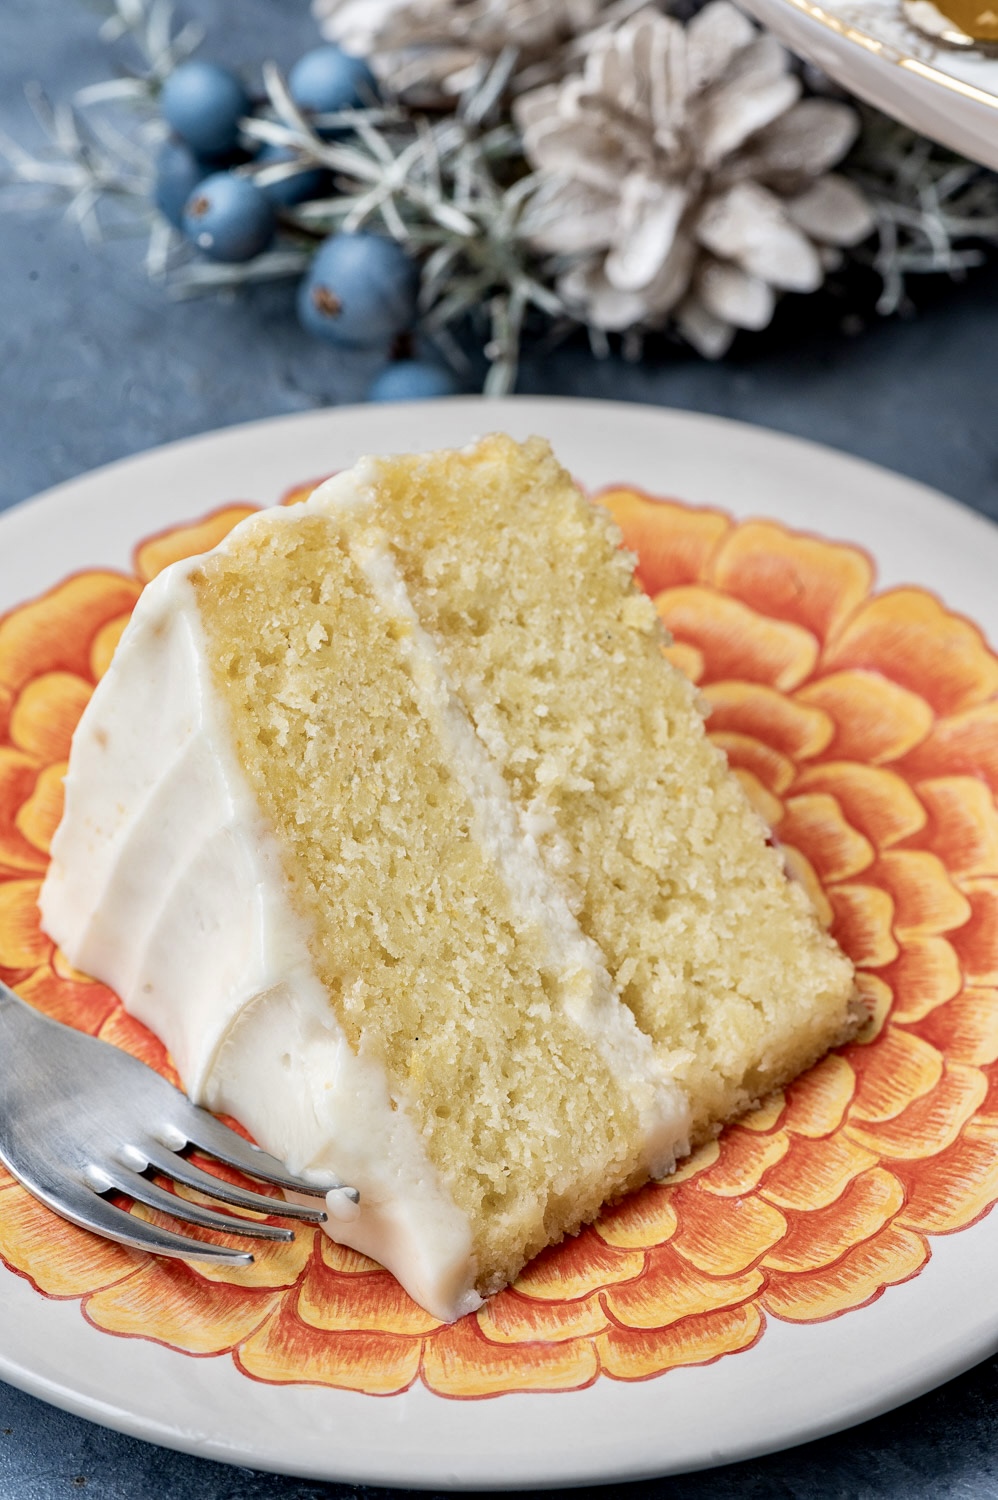
So yes, let’s bring the coming year in on a happy note. To me, there is something about the scent of oranges that is particularly uplifting, and Nagpur oranges happen to be in season. They are particularly juicy and sweet right now, as well as inexpensively available. These fruits were what inspired me to come up with this recipe. It was such a pleasure to put this one in the oven. The whole house smelled of citrus fruit, and was imbued with a sense of celebration. It was a treat to slice it up after the photoshoot. I like to bake my cakes lightly sweet, so that we can eat more without finding them too rich, and with less guilt over the indulgence. This one has the perfect combination of citrusy, sweet and buttery flavours, resulting in a moreish delight.
Long-time readers may recall a date and orange cake and a citrus bundt that have made appearances on this blog, but this one is different. It has a beautiful balance of tartness and sweetness that I love.
Yes, it really is all about balance at the end of the day. But I do believe in something called hope, which is why I dare to say: I hope that no matter what has come before, let the coming year bring a large share of sweet experiences our way. I read somewhere long ago that one of the things that differentiates human beings from animals is our capacity for hope. It is a mental concept that comes from higher evolution, and is what makes us innovate. That idea has stayed with me.
It is said that we have to consciously manifest what we want, asking the universe to provide it. This requires a positive mindset: thinking positive, wishing for positive things, even as we work hard to bring our dreams to life.
“Manifest” happens to have been the Cambridge Dictionary’s Word of the Year 2024, and I have been pondering the concept. I know that nothing happens overnight. Hard work must be present, and we must change things for ourselves in small ways wherever possible (and in larger ways if we get a chance to). It’s not like we can sit still and just wait for the Universe to give us what we want. We have to reach out, choose and act. There will undoubtedly be challenges along the way, but what allows us to stay motivated is hope.
I want to say another word here about manifestation, though. It’s not, if you don’t mind the pun, “as easy as cake”. When we put our intentions out there, even with all sincerity, we still have to make sure that we don’t feel dejected if things don’t play out like we thought they would. I once tried to manifest something in my life. I deeply wished and wished, and it didn’t happen – at least not in the way I expected it to. Now, much later, I feel glad, because what did happen instead turned out much better in the long run. But at the time, I was very sad. In retrospect, the lesson for me is in trusting the bigger picture. The Universe knows what it is giving each of us, and whatever happens is for the best. We may not feel that right away, but some day we might. Hopefully. Yes, it really is all about hope when it comes down to it. Let’s enter 2025 with hearts full of hope about what we can look forward to, and how we can make peace with all that has already come to pass.
Orange Cake
265 grams maida
45 grams corn flour
2¼ teaspoon baking powder
½ teaspoon salt
250 grams sugar, granulated
⅓ cup oil
¾ cup unsalted butter
3 teaspoons orange zest
½ cup milk
½ cup orange juice
1 teaspoon vanilla extract
3 eggs
Cream cheese frosting
1 cup butter
450 grams icing sugar
1 cup unsalted butter
1 cup cream cheese
1 teaspoon vanilla extract
2 tablespoons orange juice
2 teaspoons zest
To prepare the cream cheese frosting, which you can do ahead of time, cream the butter using a hand-held blender. Now, add in the sugar slowly. Making sure the sugar is covered as you pour, as it can fly all over the counter.
Next, add the cream cheese, zest and orange juice. Mix well until it all comes together. Refrigerate until use.
To bake the cake, preheat the oven at 160°C. Prepare two 8-inch cake tins by greasing and dusting them. Set aside.
Sift the dry ingredients: the flours, baking powder and salt. Set aside.
In a mixing bowl, add the sugar, butter, oil and orange zest. Using a hand-held blender, beat this mixture well until it is creamy. This will take approximately 1-2 minutes.
Now, slowly add the eggs one at a time, beating continuously. Add the milk, orange juice and vanilla extract. Beat well. Now rest the hand blender.
Next, add the dry ingredients to the wet. Use a spatula to fold the mixture gently until it all comes together. Do not over beat at this stage.
Divide the mixture evenly into the two prepared baking tins. Bake in the oven for approximately 30 minutes. Check that it is thoroughly baked by inserting a toothpick. If it comes out clean your cake is ready.
Remove the tins. Allow them to cool on the counter for 10-15 minutes before turning them on to a wire rack to cool completely.
Now you can ice the two cakes, layering them with cream cheese frosting in between as well as on top.
Your festive, fruity orange cake is now ready to charm anyone you serve it to – and I hope that by sharing this recipe, I have brought more joy to you, too!