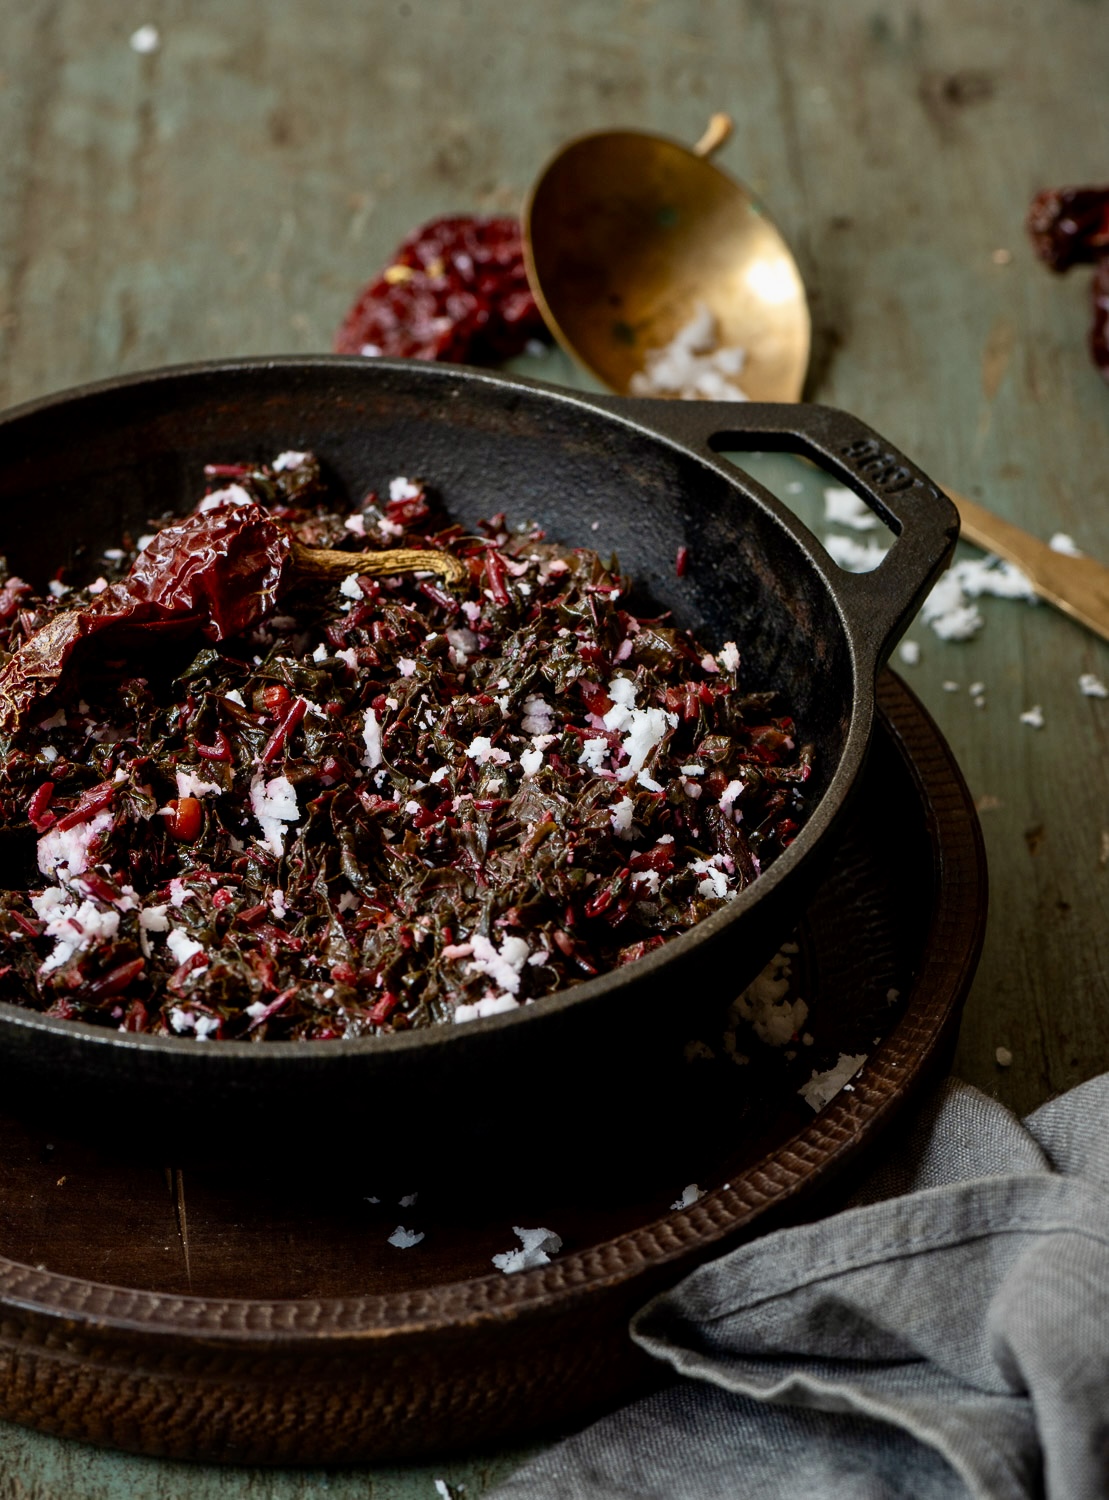
Often, I find that I have cravings to eat leafy greens. Yes, cravings for dishes that most of us start out rejecting! As we grow older, we come to appreciate their tastes better, as well as begin to understand the numerous benefits that come from consuming them. Now, I am eager to discover the subtle flavours of each variety I encounter. When I say leafy greens, I don’t necessarily mean lettuce, arugula and the like. Here in India, we have hundreds of varieties of what can broadly be called spinach. Amaranth is one of them, and this simple red amaranth stir-fry is a lovely way to add more greens to your meals. Or in this case: reds!
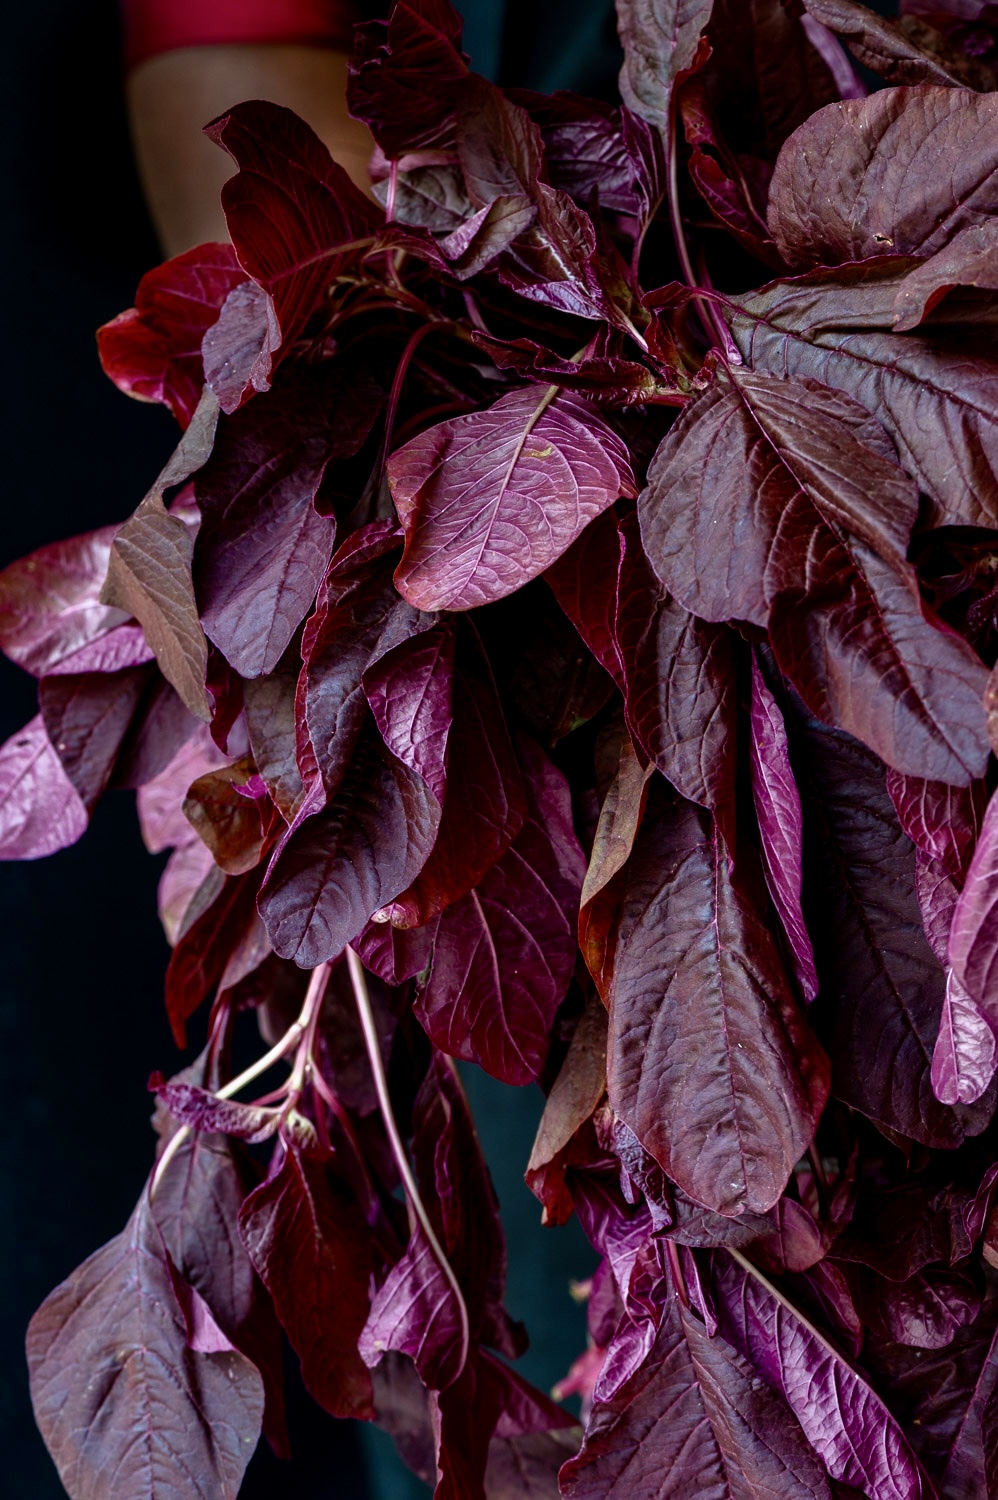
These amaranth leaves are reddish-purple, which make them quite eye-catching both fresh and once they have been cooked. I would describe red amaranth as being bold, both in its hue and its flavour, which is quite savoury. Green amaranth also exists, but the red variety has more antioxidants, as well as more protein as compared even to spinach. It has become quite a popular vegetable of late, and while I don’t have that many memories of it in particular, it’s possible that I’ve eaten it innumerable times in the past without thinking too much about it – until I really began to get interested in leafy goodness, that is.
Red amaranth has been catching my eye at my local market lately, which is why I picked some up. I often do this. I visit the market and explore whatever is in season. Through the year, I find different kinds of leafy vegetables, and am often curious to learn their names and uses. In Tamil, all greens are broadly defined as “keerai”. Amaranth is “thandu keerai”, “aru keerai” or “senkeerai”. My daughter always makes fun of me because every other month I say she should be eating “this keerai” or “that keerai”, and it’s a running joke in our house that she constantly has to learn the names of new keerais – and eat them too, of course.
Both of these – learning about food and eating it – are activities I enjoy, so of course I hope to spread the love of both. For instance, I know that my local market, while perfectly sufficient for my usual needs, does not actually bring in all the varieties of greens available in this region. I know this because I have seen other culinary bloggers post online about certain kinds which I haven’t had access or exposure to. It’s always so inspiring to see the amazing work that people are doing when it comes to returning to roots and eating traditionally, locally and seasonally. I’m intrigued by what interesting new-to-me ingredients are out there, and sometimes I keep an eye out for a particular one that I’ve heard about and hope to experiment with, especially when I am travelling within the state.
I like to cook most of the greens that I work with in a simple way, one that is adaptable across varieties. You can use the method below for greens other than red amaranth too. It’s a basic South Indian stir-fry style, specifically Tamil Nadu style, that I use here, which results in a spicy side dish that is both delicious as well as healthy. No matter what kind of greens I prepare, I like to have a big cup with my lunch, which is more often than not a Gujarati thaali.
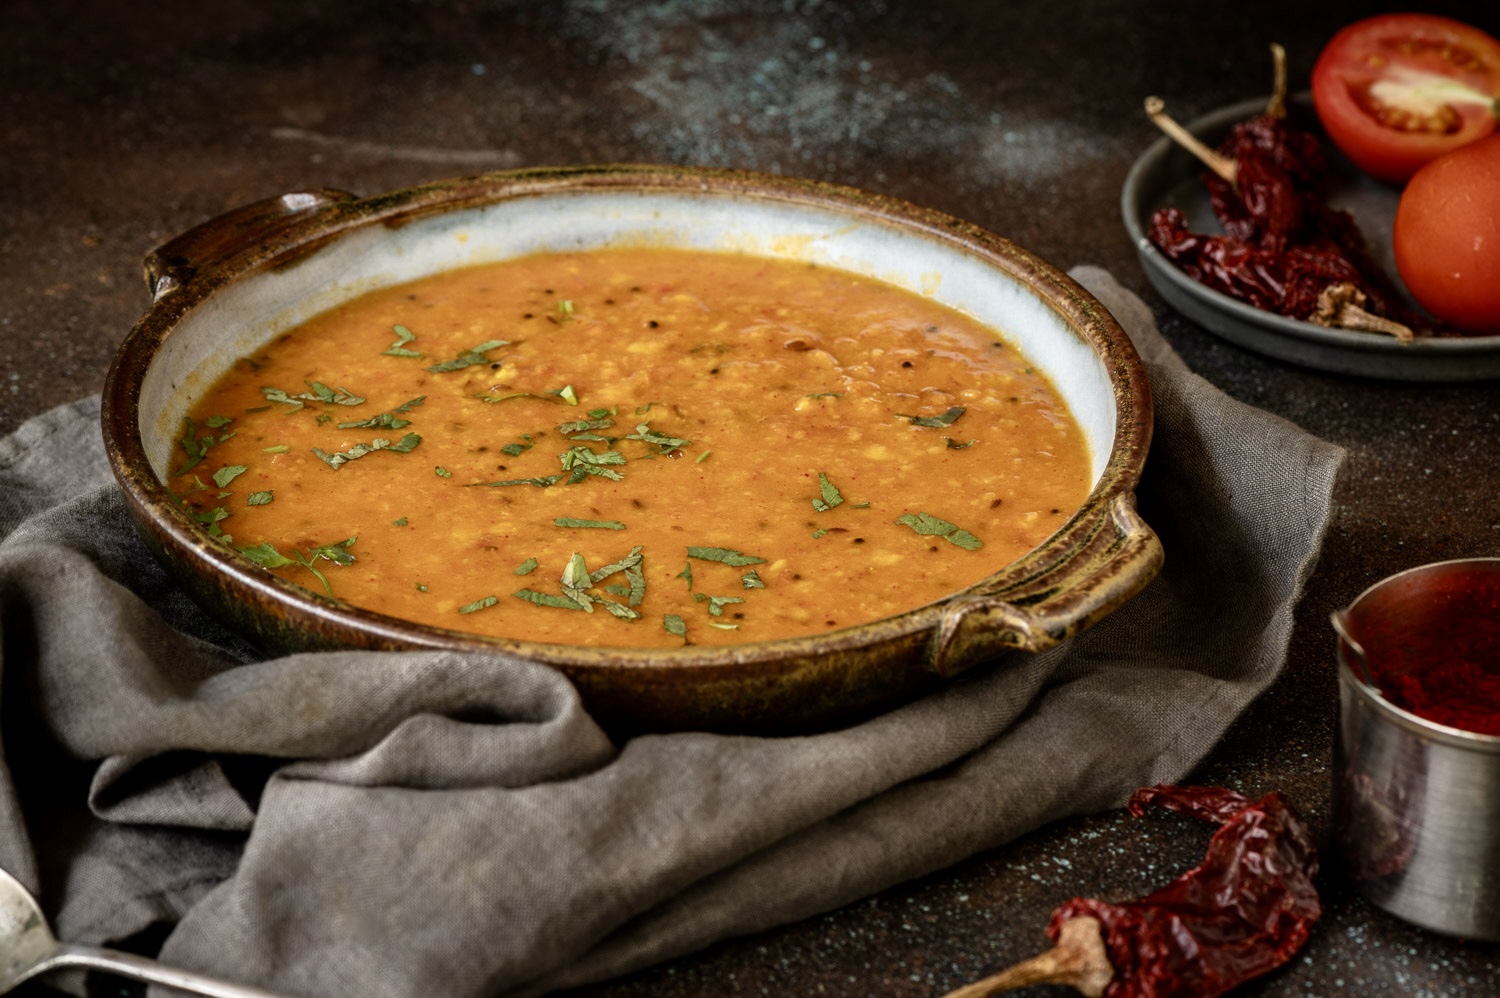
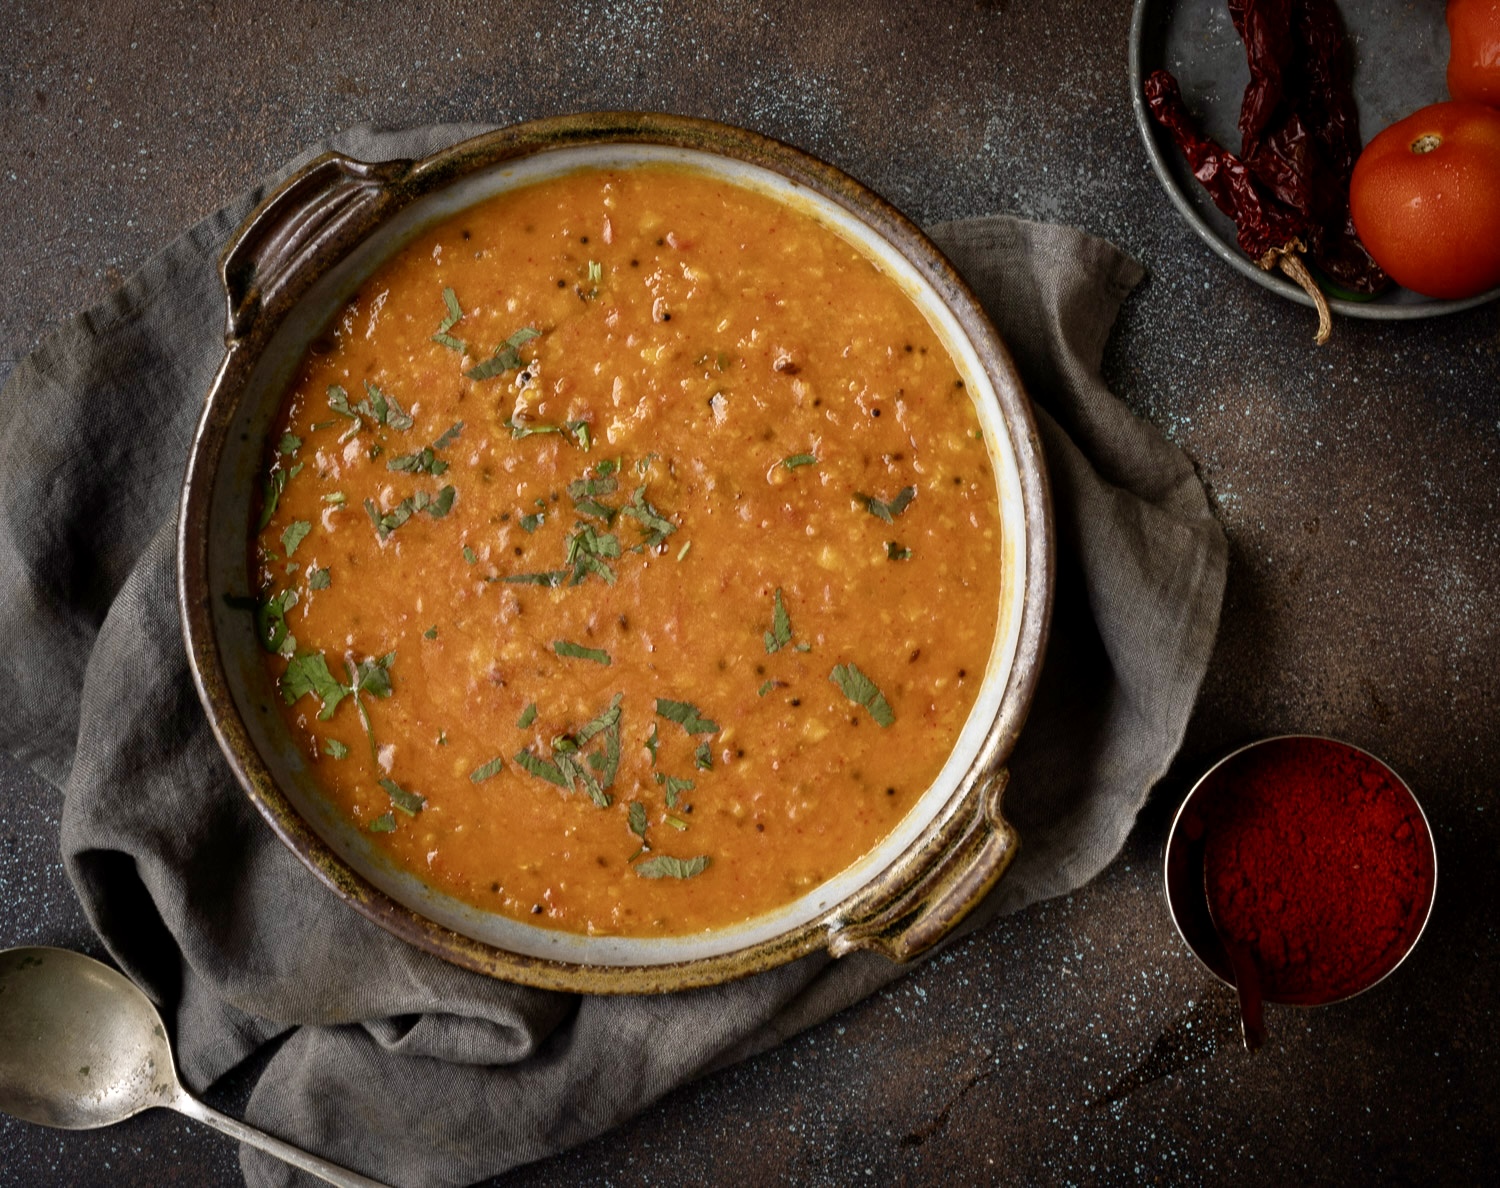
This is where my own roots come in. While I will prepare a South Indian spinach, I’ll enjoy it with a Gujarati kadhi. This is my preferred combination for summer, as the yoghurt-based kadhi offsets the flavour of the stir-fried greens. I find that a dal will make the meal too heavy at this time. But a cooling kadhi and a bold red amaranth stir-fry are just perfect together.
Simple Red Amaranth Stir-Fry
(Serves 3-5)
5 cups chopped red amaranth
3 tablespoons gingelly oil
½ teaspoon urad dal
¼ teaspoon mustard seeds
1 green chilli
¼ cup grated coconut
Salt to taste
Rinse the red amaranth, or any spinach or greens of your choice. Do so well, in 2-3 changes of water. Set aside.
Heat a kadai and add the oil. Then, add the urad dal. Once it turns golden, add the mustard seeds. When they splutter, add the green chilli. Sauté these, and then add the spinach. Stir, then cover with a lid for about 5-8 minutes.
Remove the lid and allow the water to evaporate.
Next, add the salt and the grated coconut. Mix well.
As I said, this is indeed a simple stir-fry, and I’m sure you’ll find that the preparation method works for most kinds of greens. I would recommend enjoying your stir-fried red amaranth leaves with warm rice or rotis.
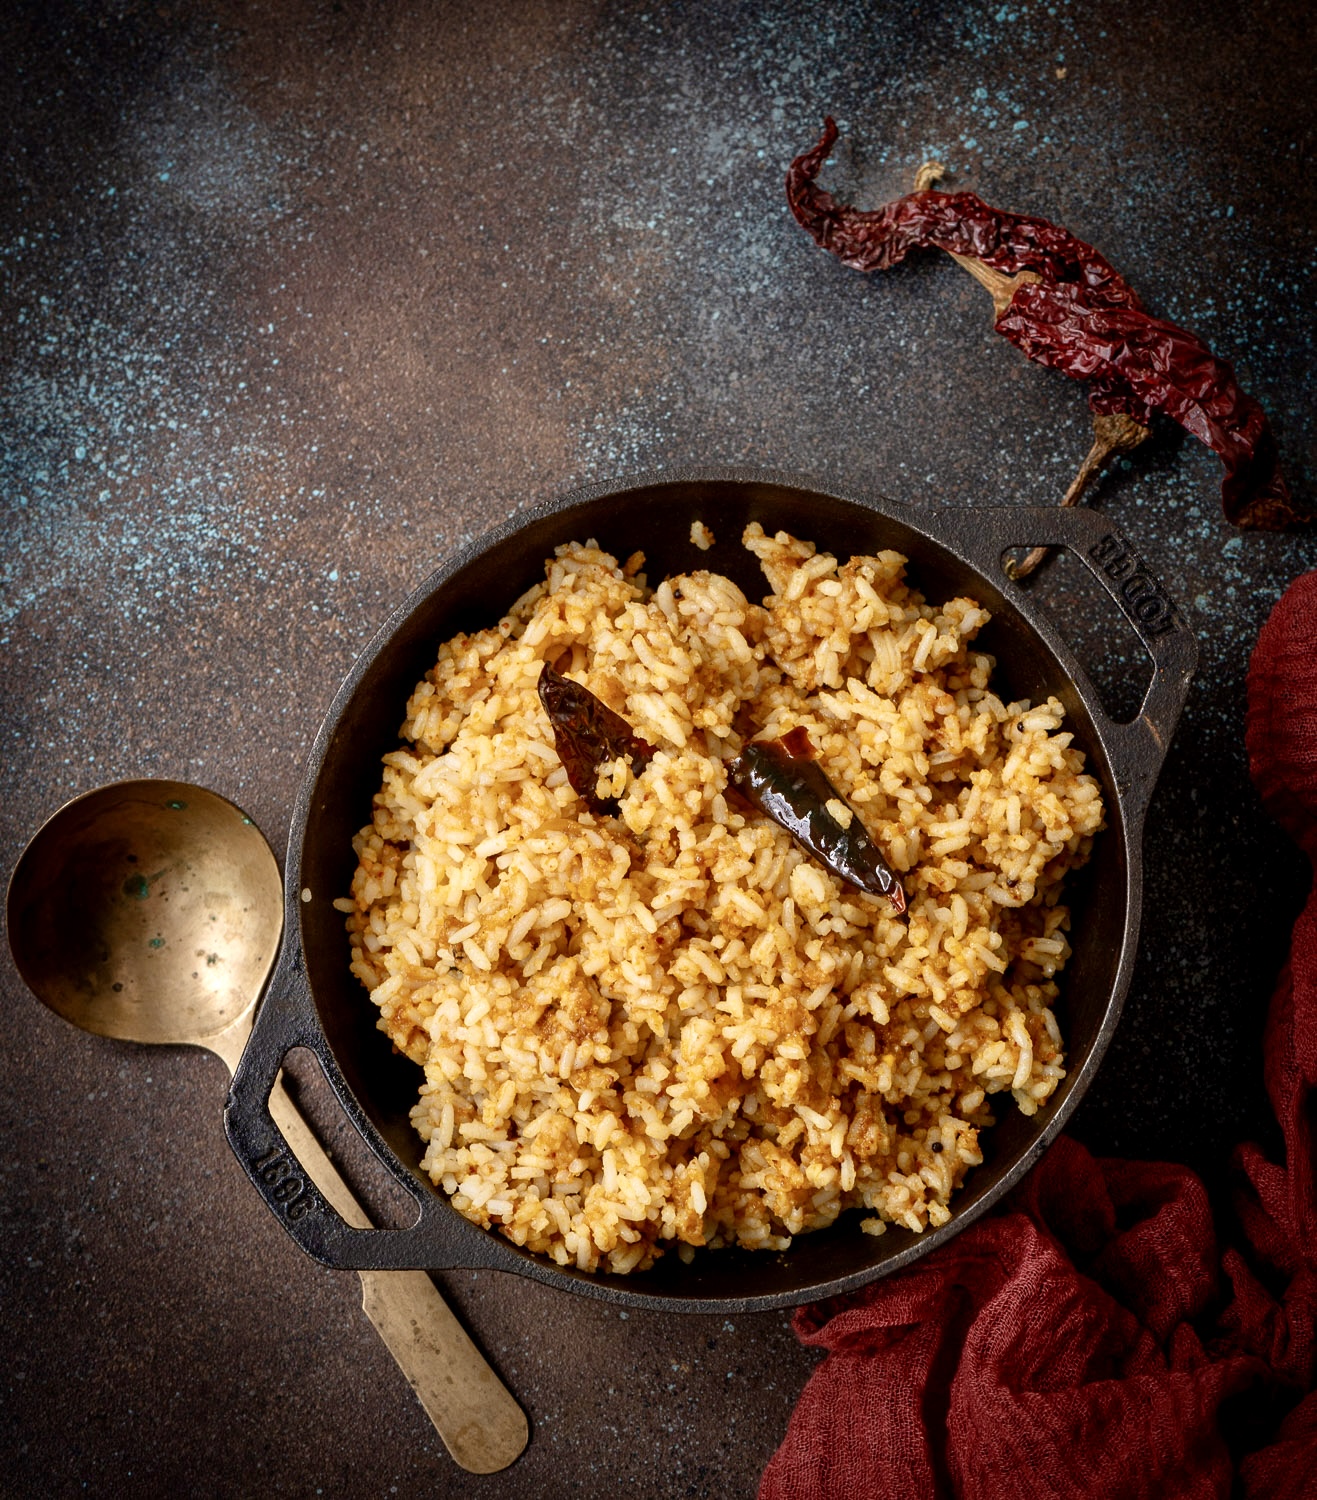
If you would like to explore more greens-based recipes from my archive, I’d recommend starting with purslane dal or spinach rice, in keeping with the South Indian theme, and then following the tags to discover more dishes for you to enjoy!