When it comes to any dish that I’m a novice at, I love making it as often as possible so that I can learn from each attempt. Novelty is part of the motivation, but improving my success rate is the real goal. The more you use your hands, the better you get at anything. For you, this may be true for one of your own creative passions, and for me this is all about baking and photography. This was certainly the case for me with sourdough. Those of you who’ve followed my sourdough journey through my Instagram Stories over the past couple of years will know how enthusiastically I’ve pursued working on it. Sourdough is all the rage everywhere at the moment, since the pandemic has made so many people explorers in the kitchen, so it’s especially exciting for me to share this sourdough toast recipe today.
I bake sourdough every other day, and ever since I began doing this, my family doesn’t eat any other kind of bread. They prefer this natural variety to yeast-filled commercially-produced bread, and we use it in many ways. I make pizza bases, loaves and more all the time, and use them in main courses, sides (such as with a lovely minestrone soup, the recipe for which I promised you recently and will share soon) and snacks. At home, we are all very into daily exercise and healthy eating, so we have lots of one pot meals, and a slice of sourdough on the side is always nice. I find that this sourdough toast especially makes for a filling lunch, and that helps us reduce the number of heavy meals we have at supper time.
The idea of making a simple, yet fabulously delicious, sourdough toast came up during our planning for my husband’s birthday recently. This is not an innovative recipe as such, yet it’s one that suits the occasion of a celebration during lockdown. It’s a lovely appetizer using wholesome and easily available ingredients for a small celebration. We decided to have a picnic in our own garden, and I was thinking about which healthy dishes I could make to balance out the indulgence of the white cake I’d be baking when I came up with this idea.
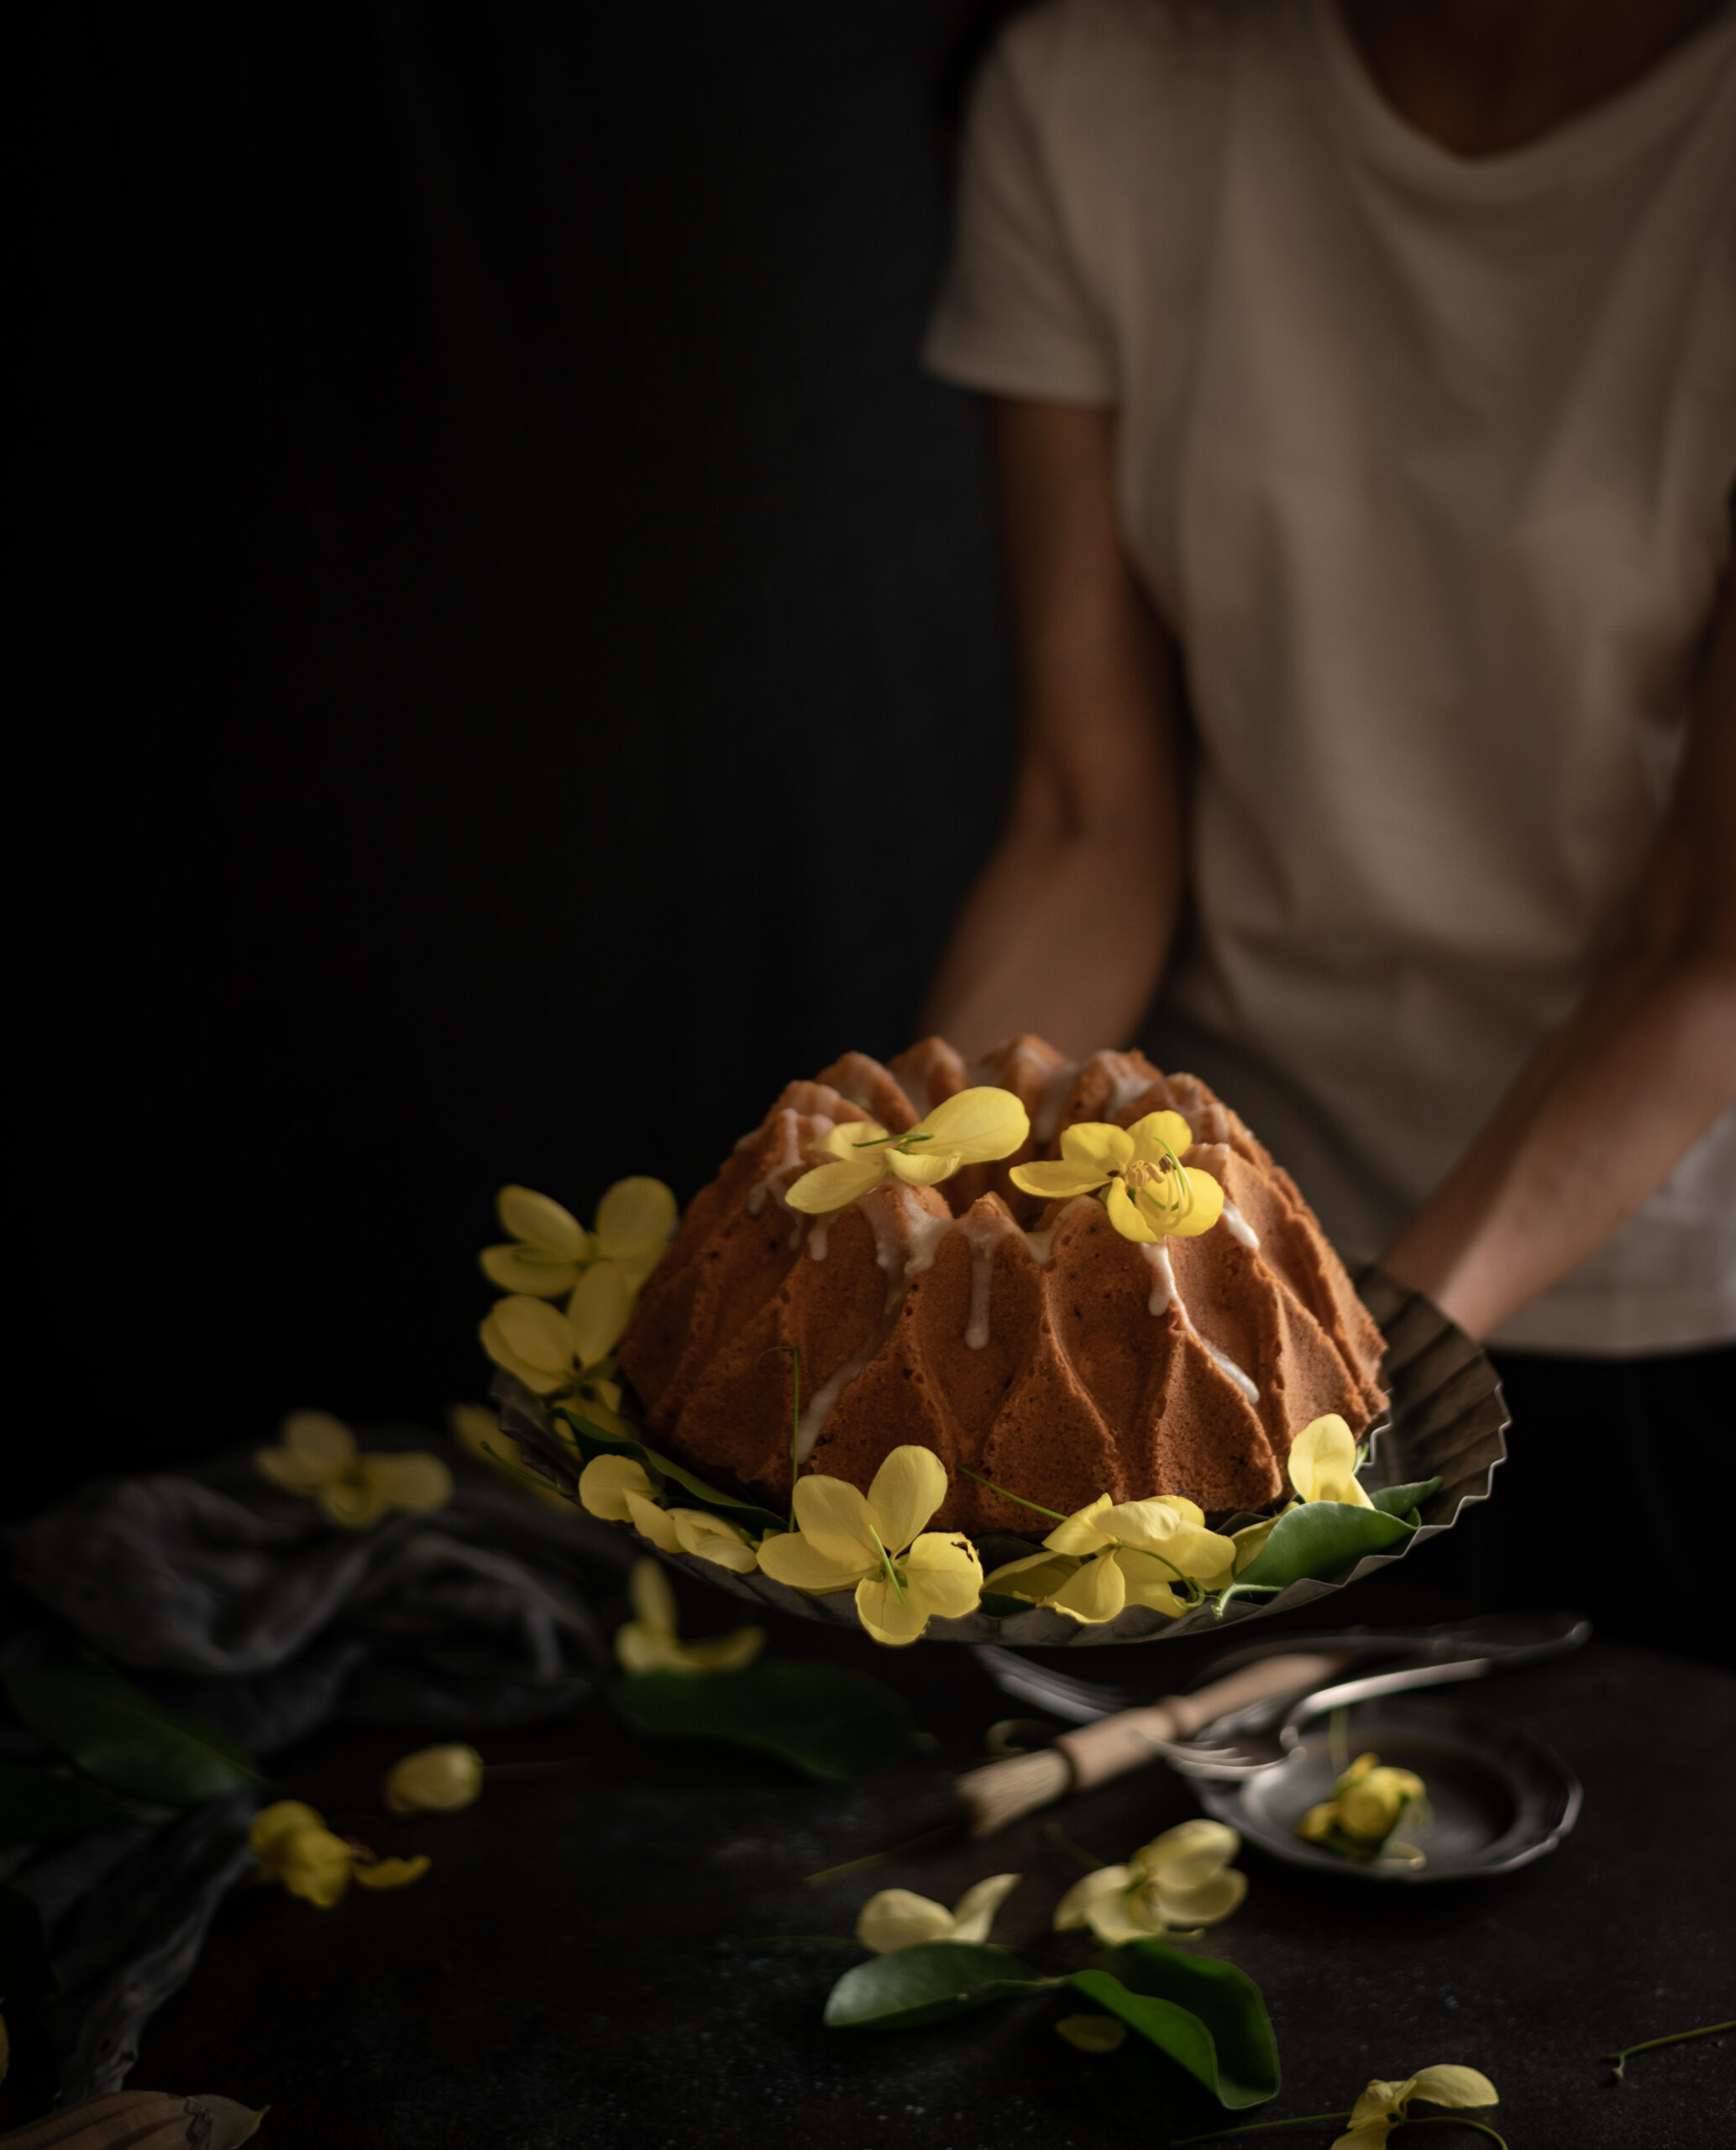
Now, the white cake itself has a funny story behind it. You see, my husband adores the tea cake from the McRennett bakery, which many of us who grew up in Chennai will associate with childhood memories. As it happens, I can’t stand that cake, as it has a very strong vanilla essence smell. We have a running joke in the house that no matter what fabulous thing I have baking in the oven, my husband will say, “I’m going to get a McRennett cake!”, knowing it will tick me off. This year, I turned the joke on him by saying that I’d order him that tea cake for his birthday and not bake any of my own specialties. Secretly, I had a plan to prepare a cake that was inspired by his lifelong favourite, but which I would elevate with my own twists to a level that would make him forget the original. He must have gotten a whiff of my plan, because he said to me that if I could achieve the softness of the original, he wouldn’t mind trying mine. Well, I baked a lovely tea cake with real vanilla and pretty white icing (I rarely ice my cakes at re:store, so you know this was a special treat!) which he enjoyed very much… but it didn’t quite unseat the McRennett as his favourite!
Oh well! At least I can safely say that this cheesy, spicy, garlicky sourdough toast was the hit of the picnic! I’ll always associate it with the memories of the fun we had that day, spending time together as a family in our garden. That’s the thing about food prep: when something is made to suit a particular need or occasion, the dish also gains meaning. Is it for a daily meal, is it for a special person, is it for an event? By thoughtfully planning the lockdown birthday picnic menu to feature a healthy but delicious snack like this, and making sure I prepared it in a way that was also special, the dish became impressed upon my memory and in my culinary repertoire.
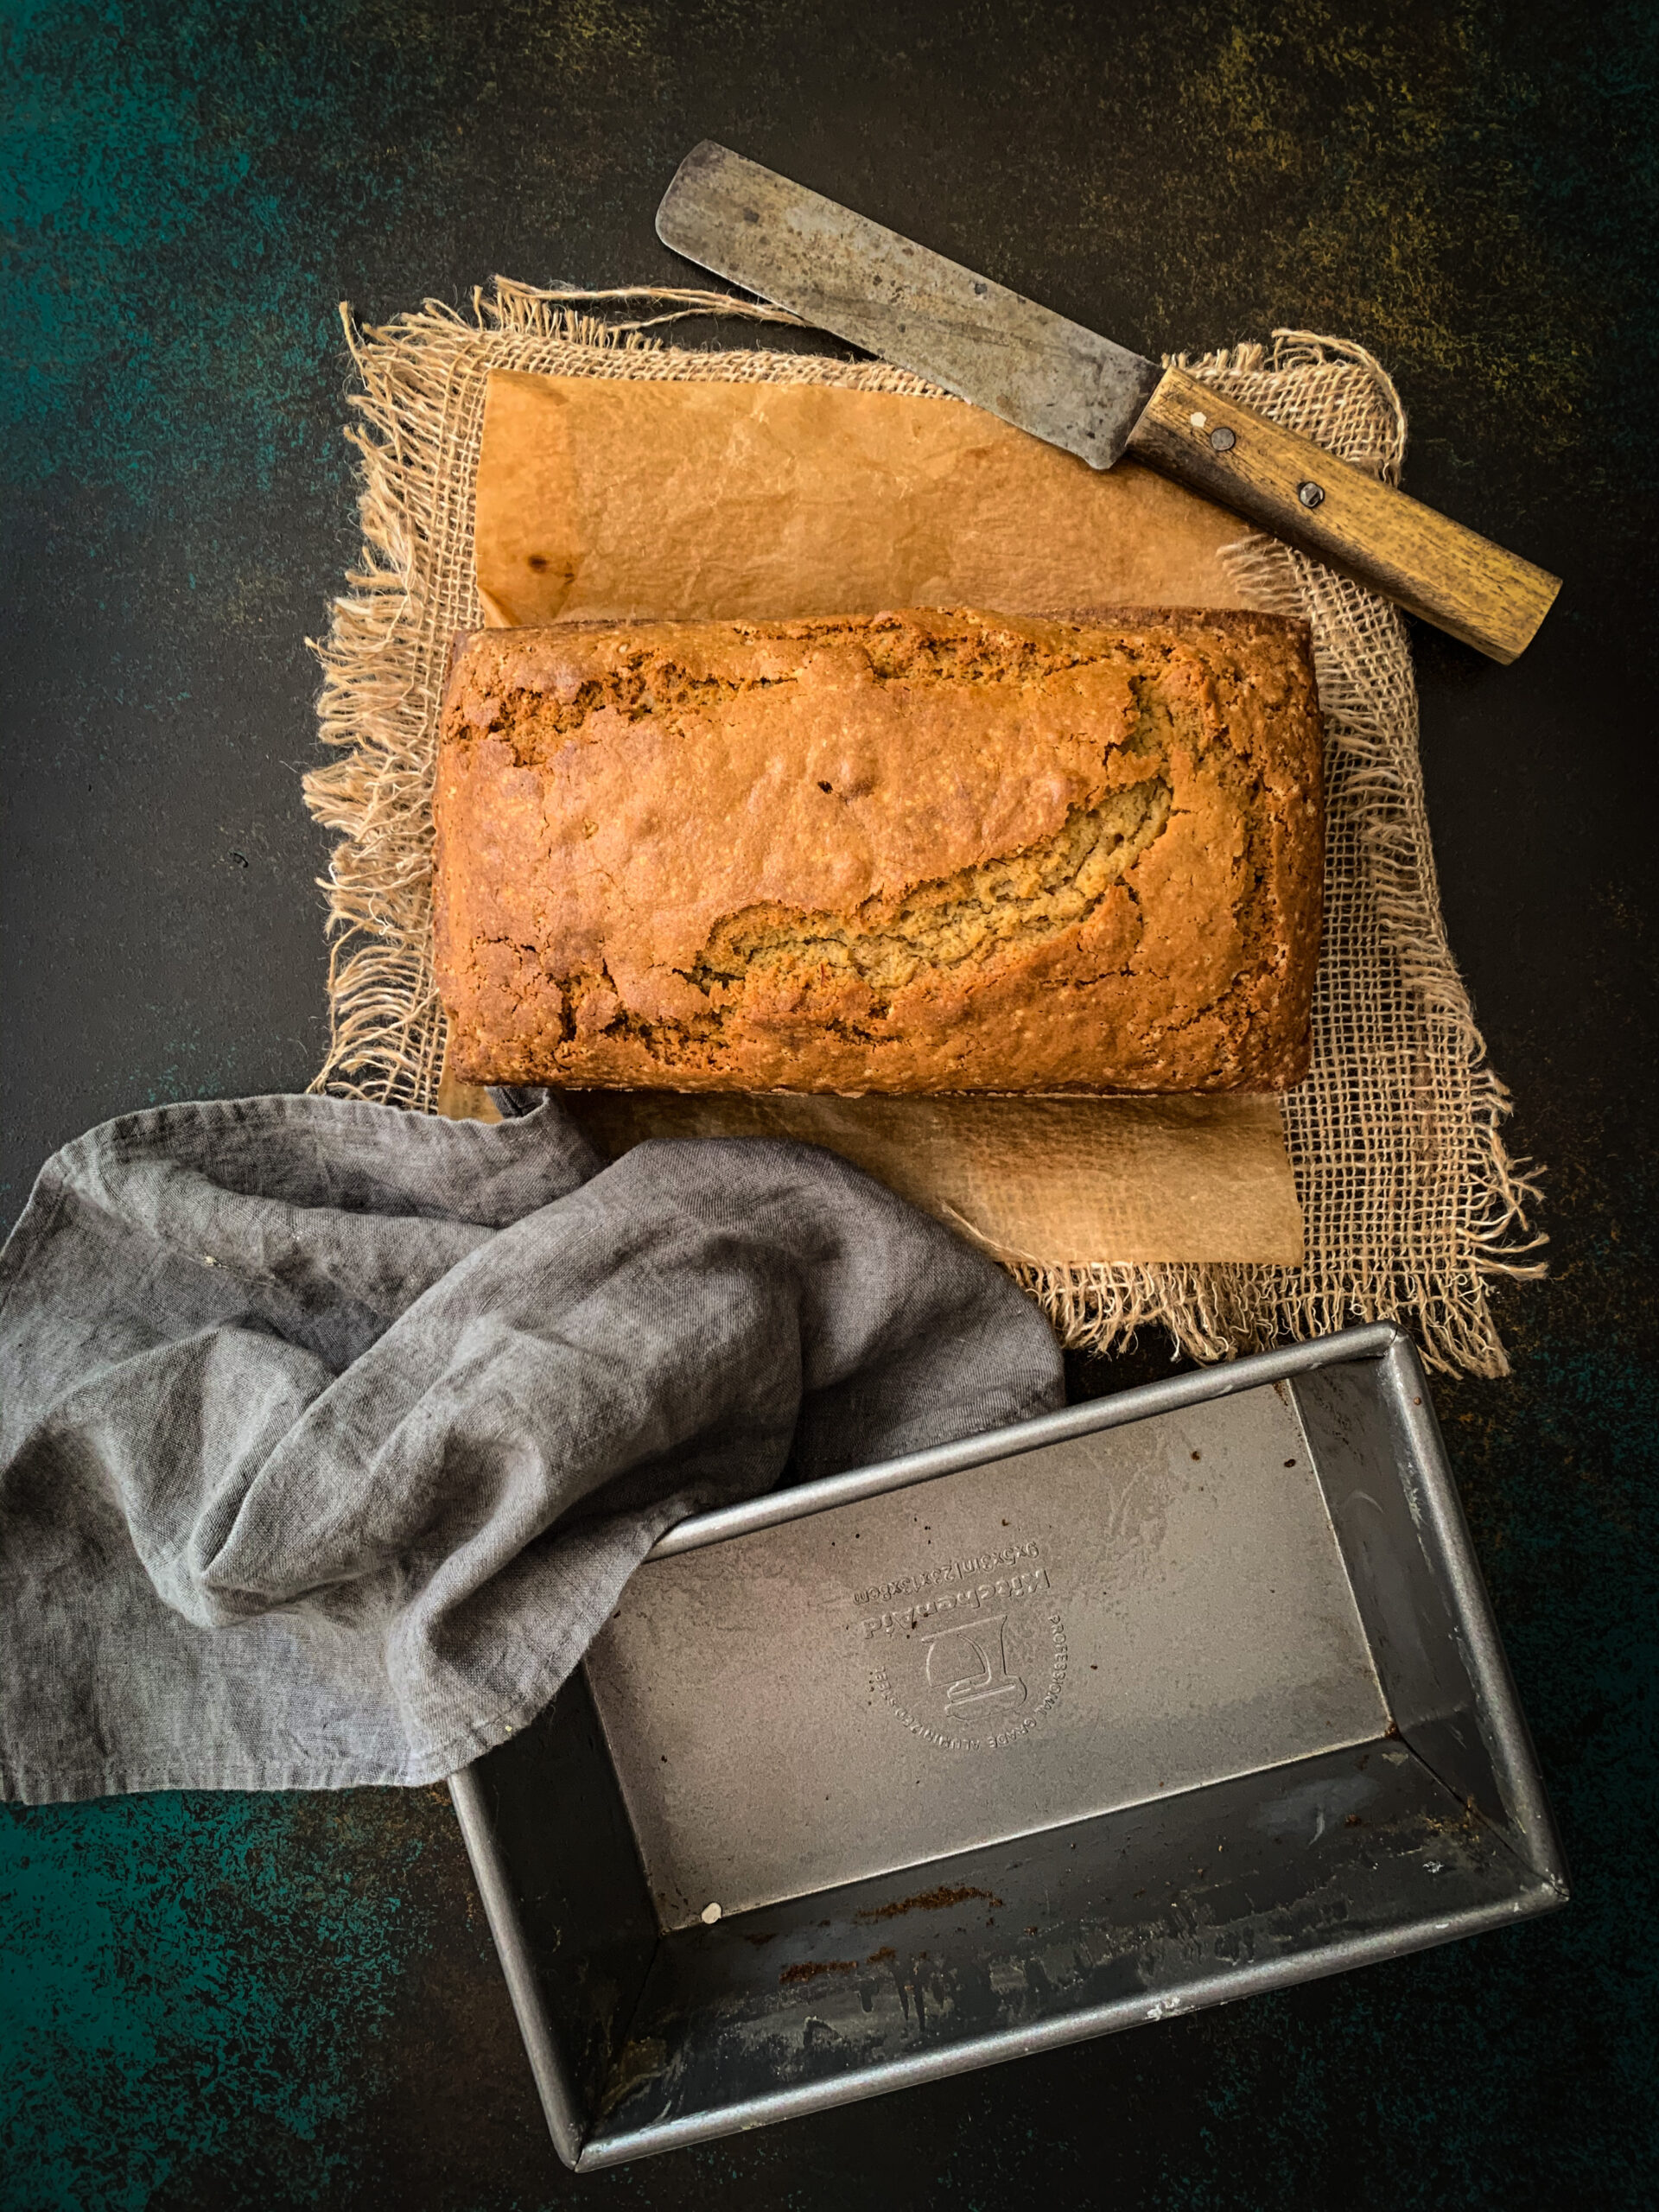
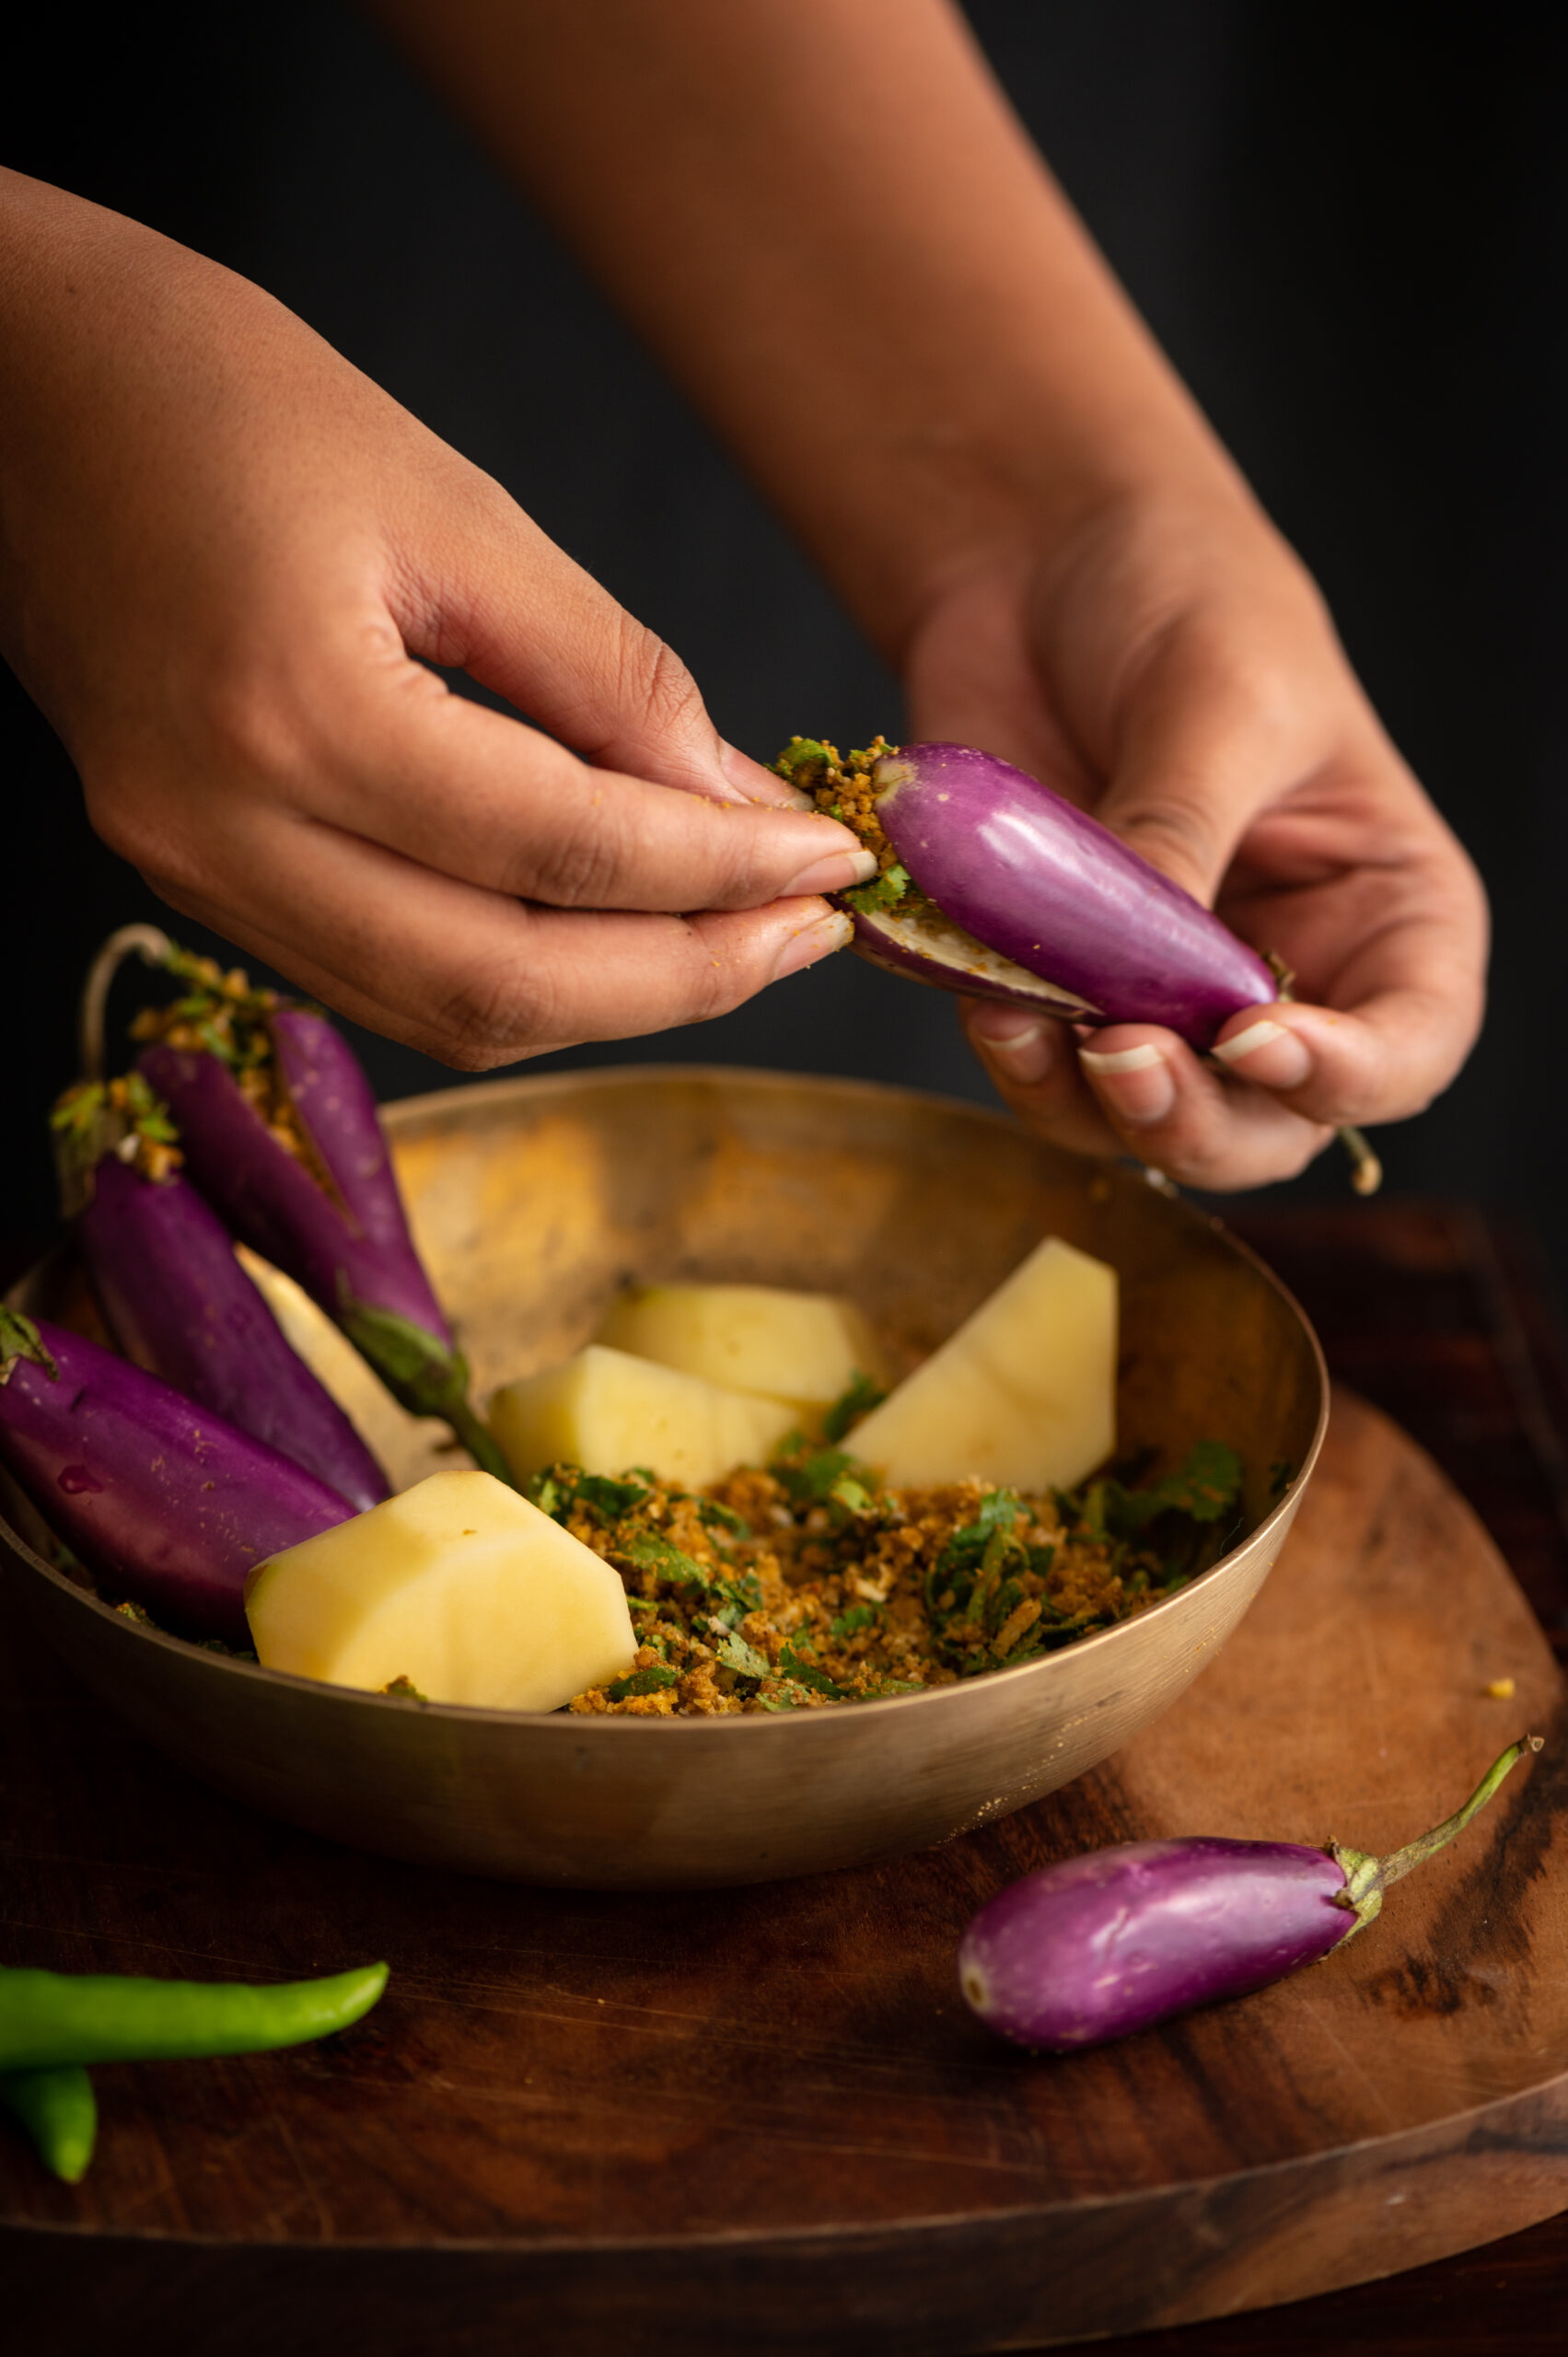
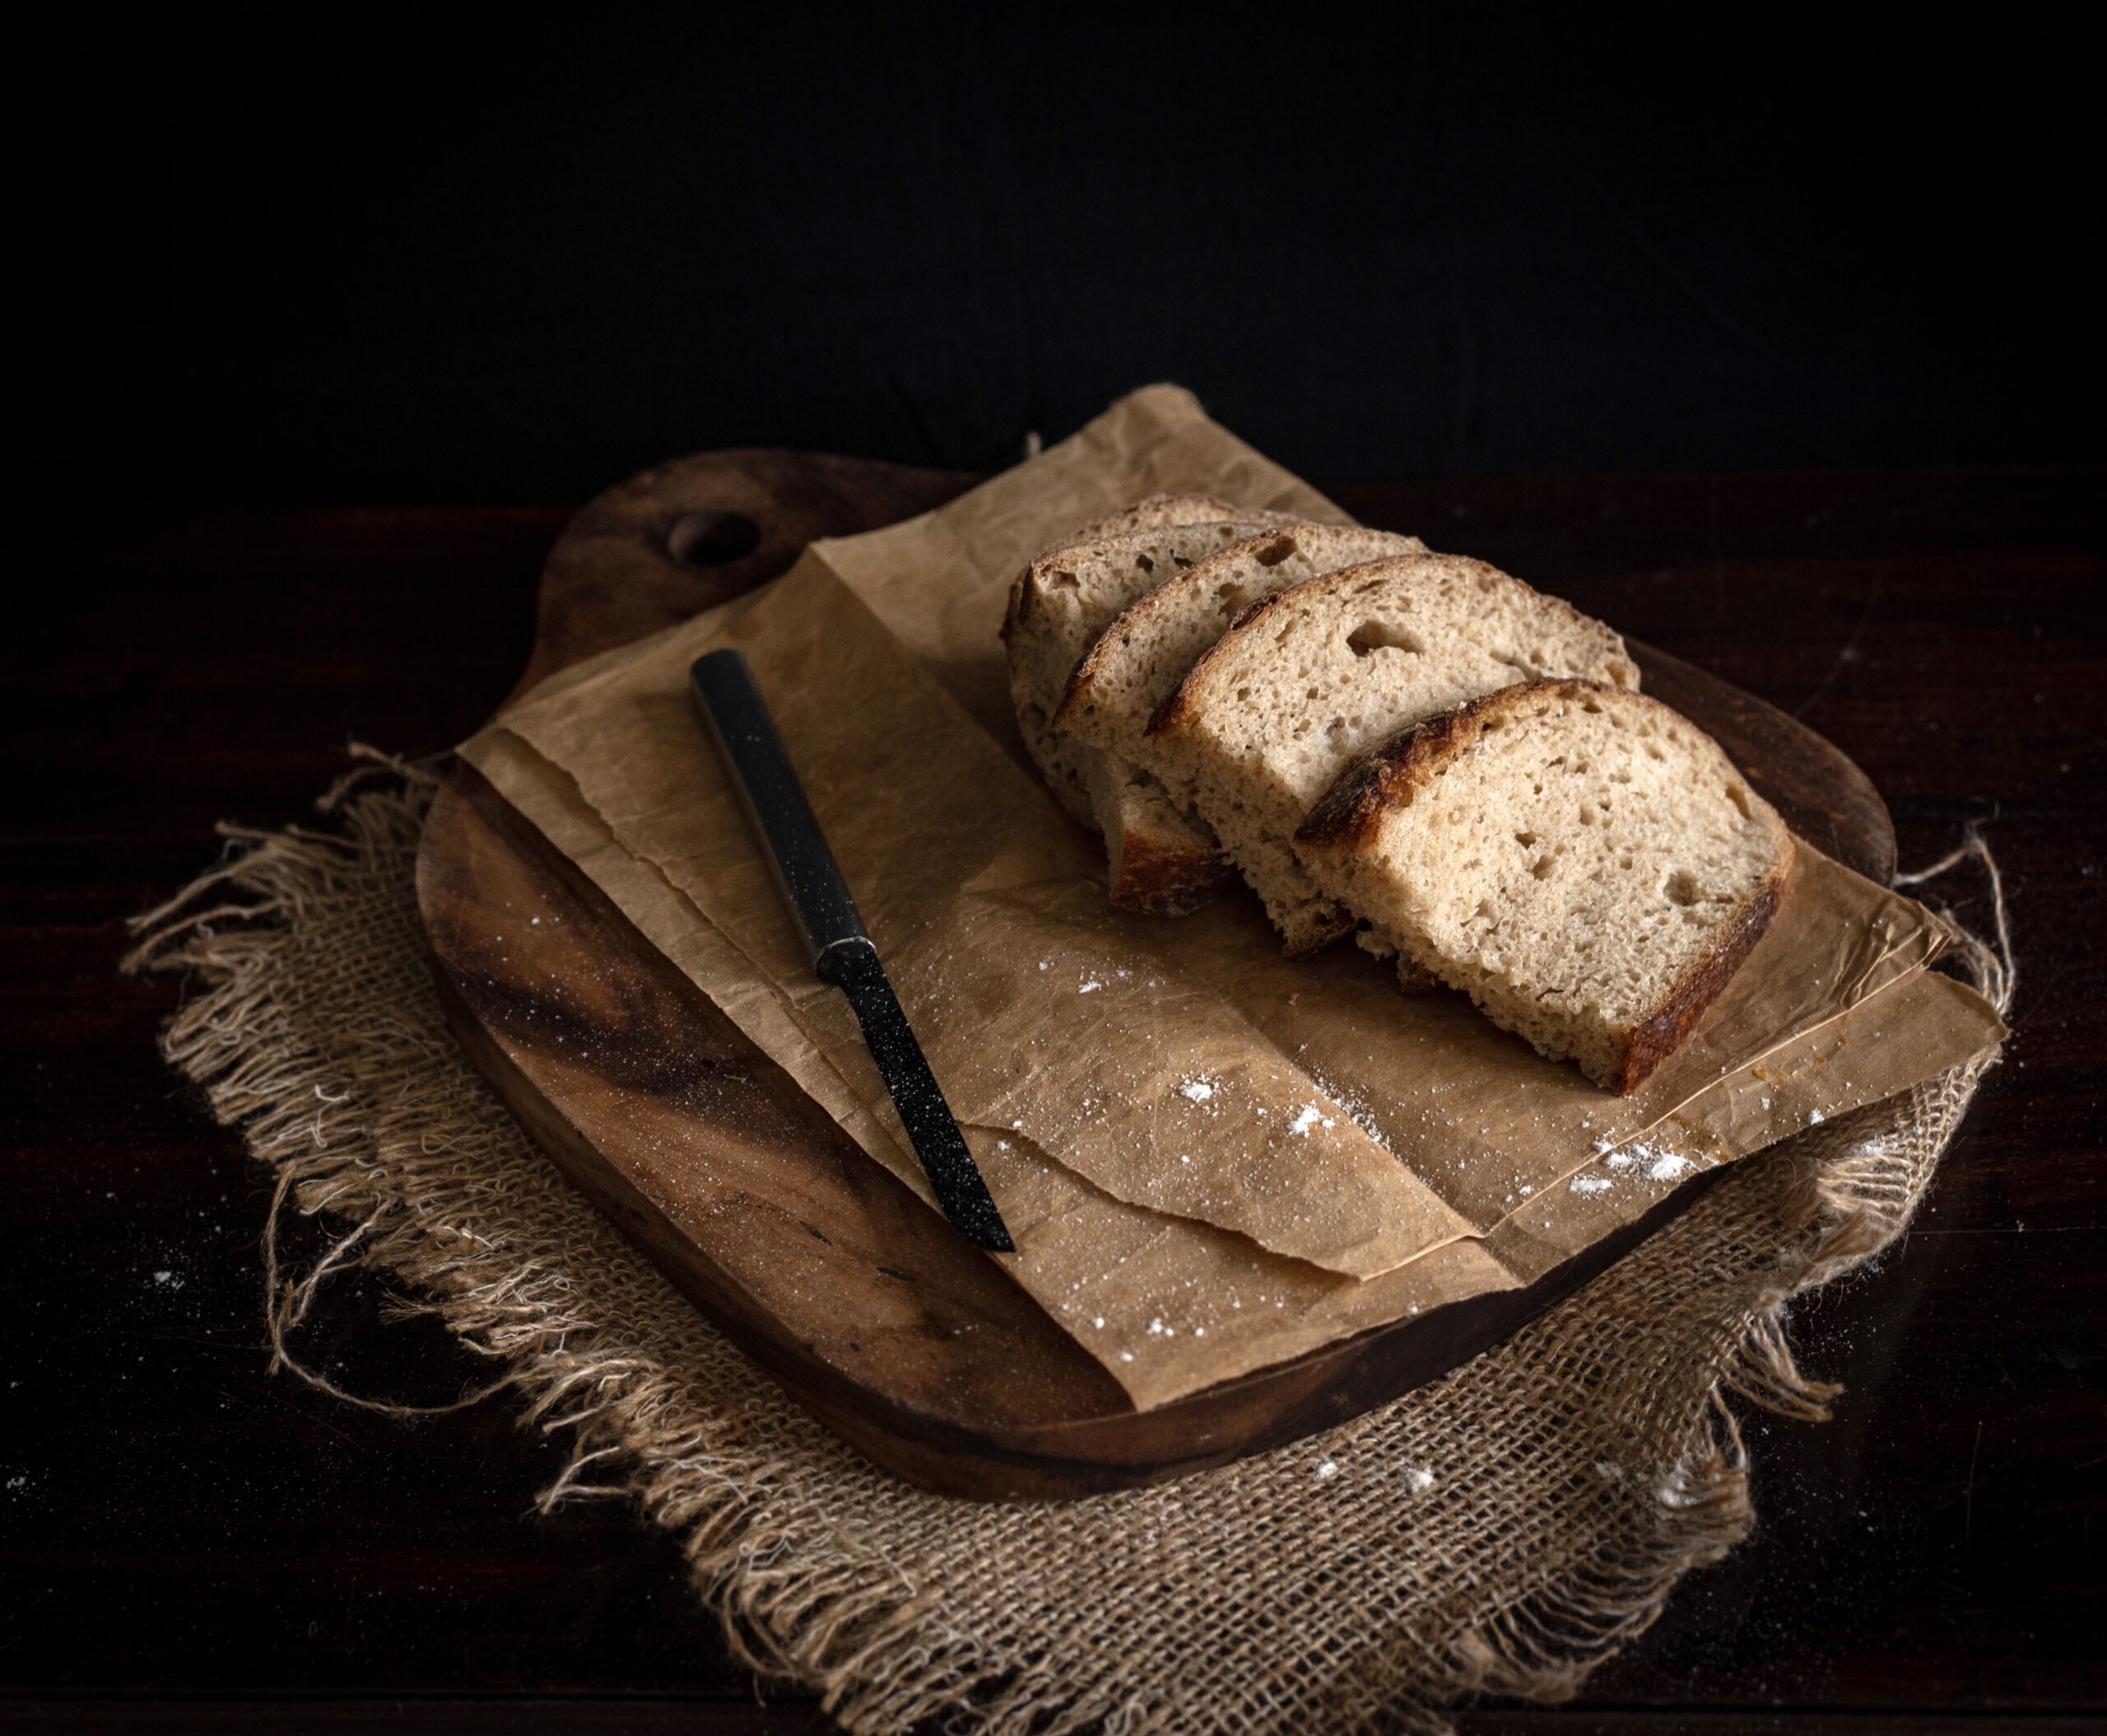
Before I share the recipe, here’s a quick note on sourdough itself, just in case you’re curious about what it is. It’s the traditional, ancient way of making bread, which people around the world used for millennia before baker’s yeast was invented. It’s based on natural fermentation, with air pockets created by the same, and it rises beautifully. You can keep the starter going for ages, just like yoghurt. For me, it took a few miserable failures before I managed to get mine going. Before that, friends generously shared their own starters with me, which I fed and nurtured, but there’s a different kind of challenge and a sense of achievement when you’ve made your own. The learning is continuous, especially when you have to take into account variables like weather conditions. Sourdough maintenance is like plant maintenance. Making sourdough in Chennai weather is a struggle, as the natural temperature is not really conducive, while air-conditioning dries out the starter. I’ve managed to make a few chips and freeze them just in case my sourdough dies on me, and I’ll need to start it all over again. In the meanwhile, we are truly enjoying the bounty of the current batch.
I am almost sure that foodies following this blog have either been making their own sourdough, or have access to a store-bought loaf, so I’ll jump right ahead to what you can do with it, rather than spend time on how to grow it. In case you don’t have it on hand, you can use white bread or any bread you like.

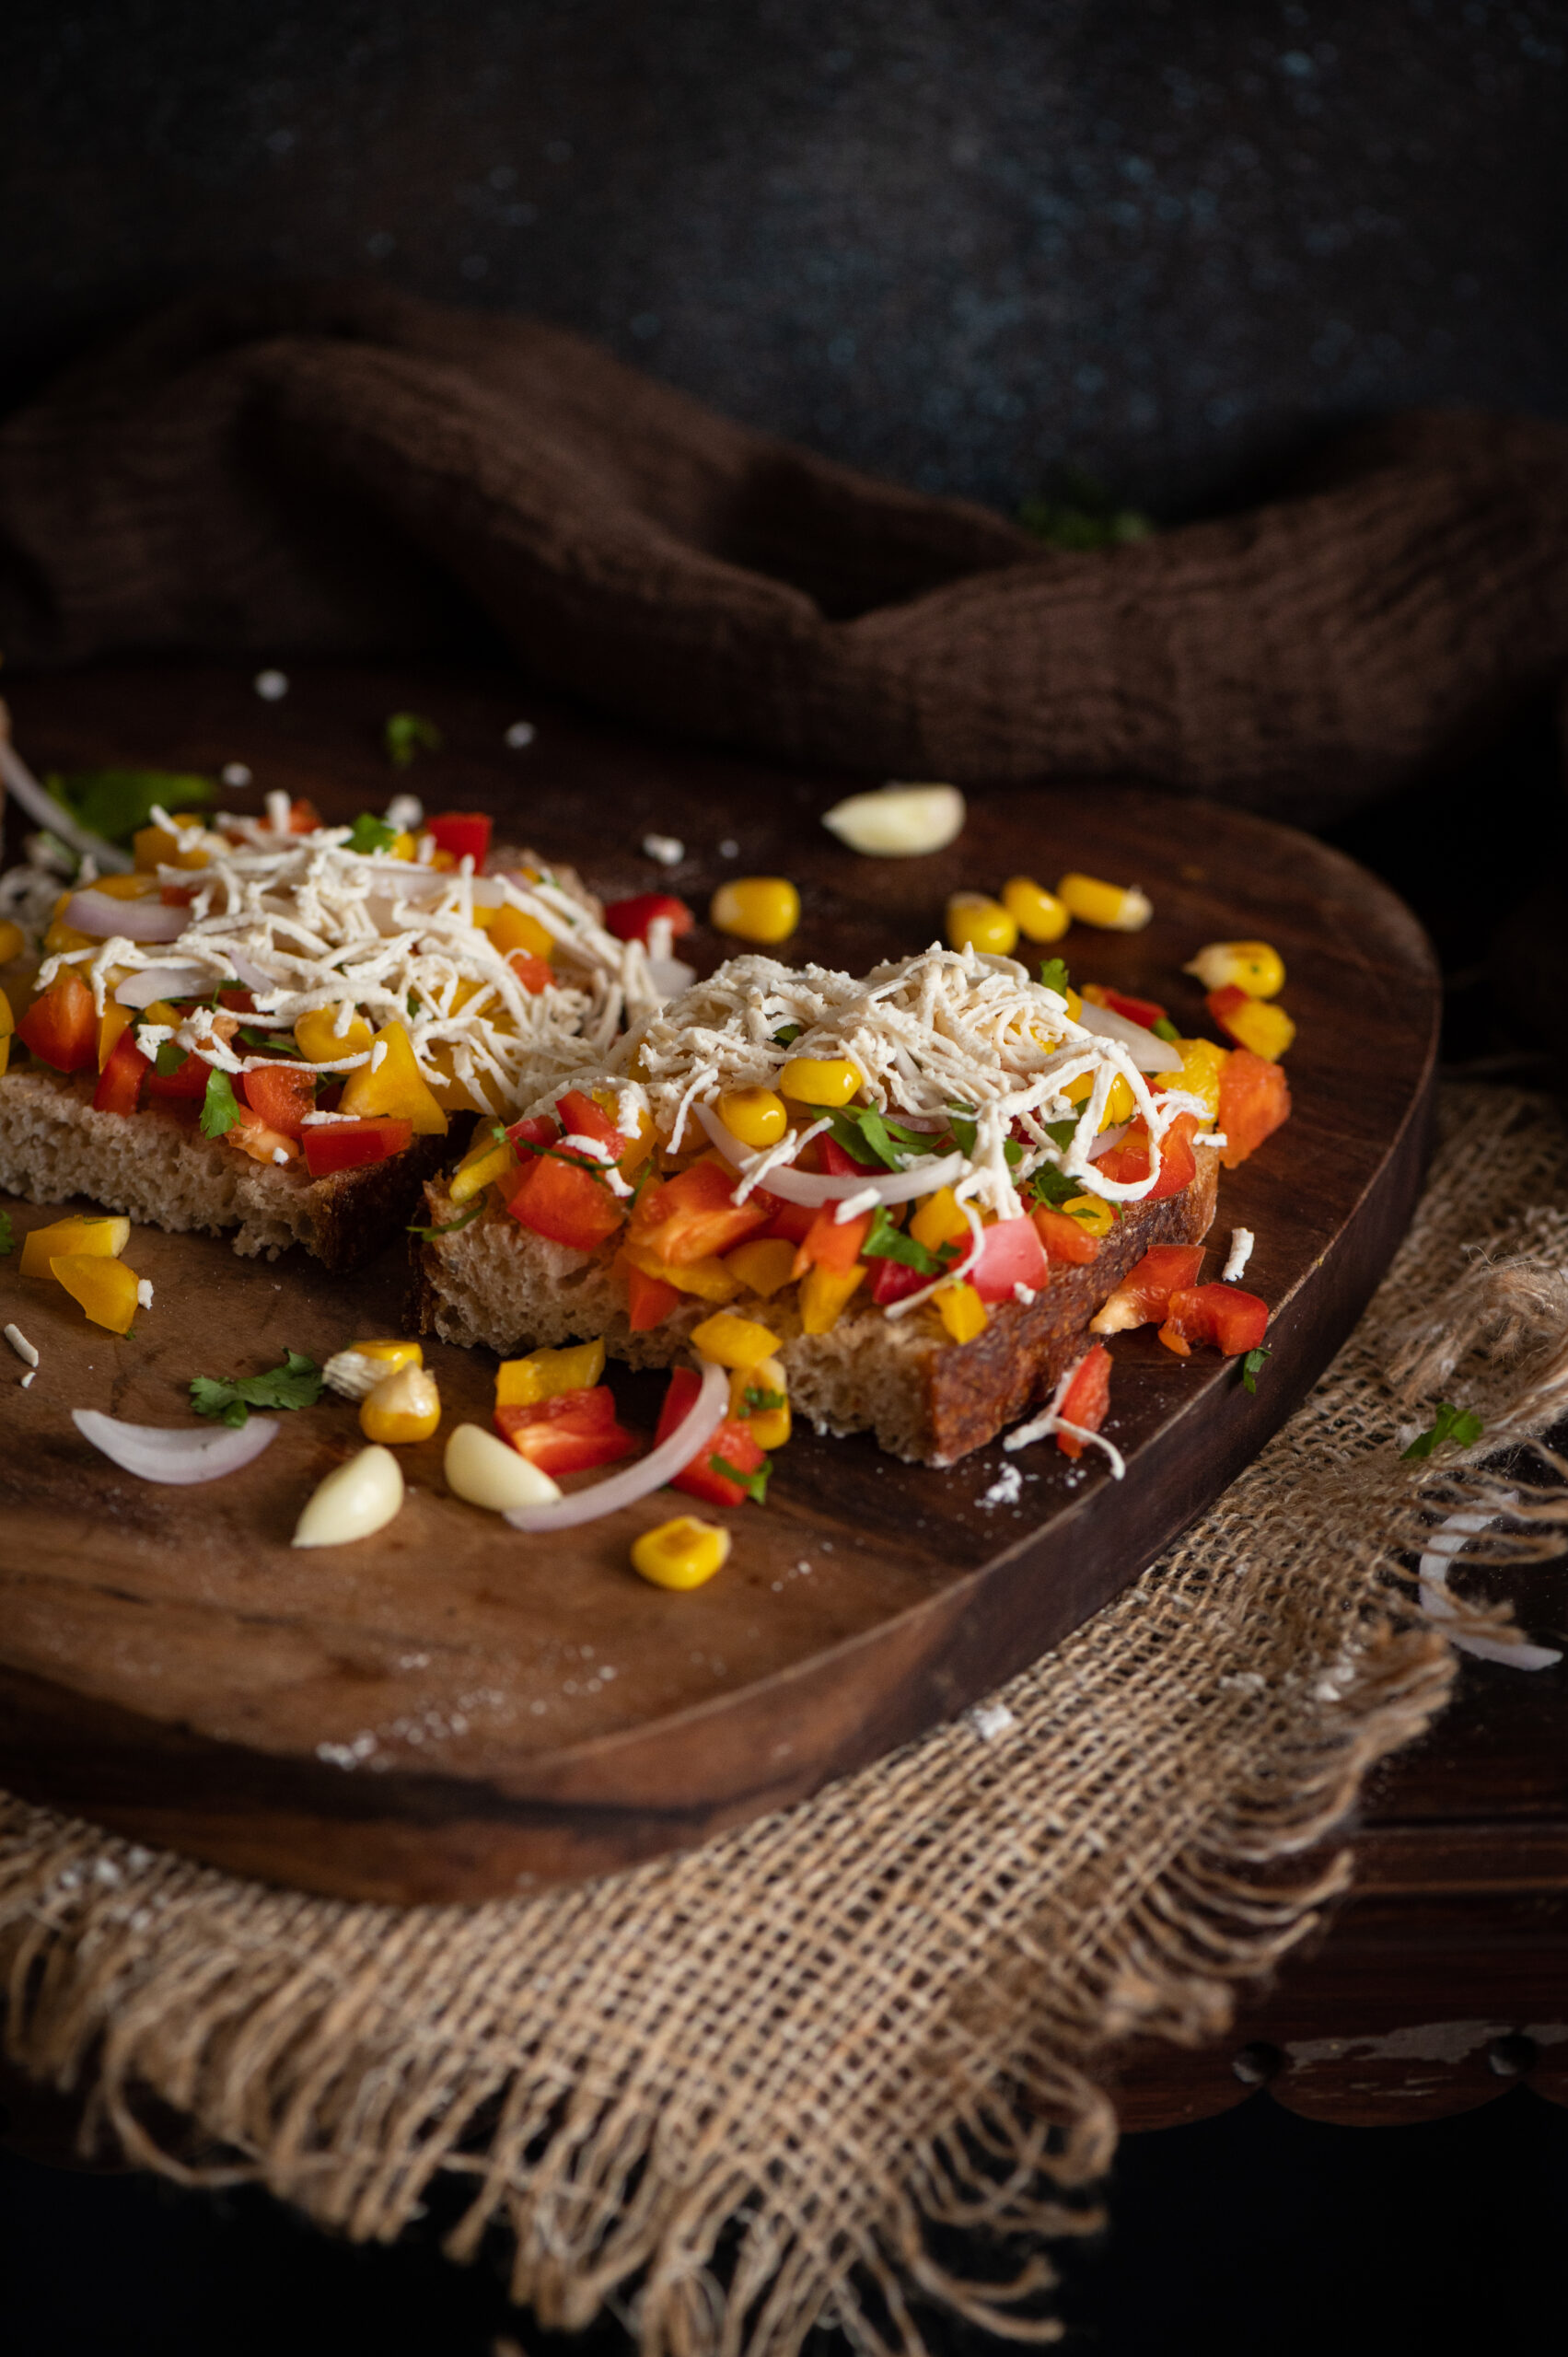
Cheesy, Spicy, Garlicky Sourdough Toast
(Yield: 4 slices)
4 slices toast
1 teaspoon oil
2 cups chopped vegetables (bell peppers, onions, garlic, coriander or parsley, cooked corn)
1 tablespoon chopped jalapeño peppers
¼ teaspoon grated ginger
Coriander chutney (alternative: pesto)
Salt to taste
Chili flakes
Butter as required
1 cup grated cheese (alternative: tofu/paneer)
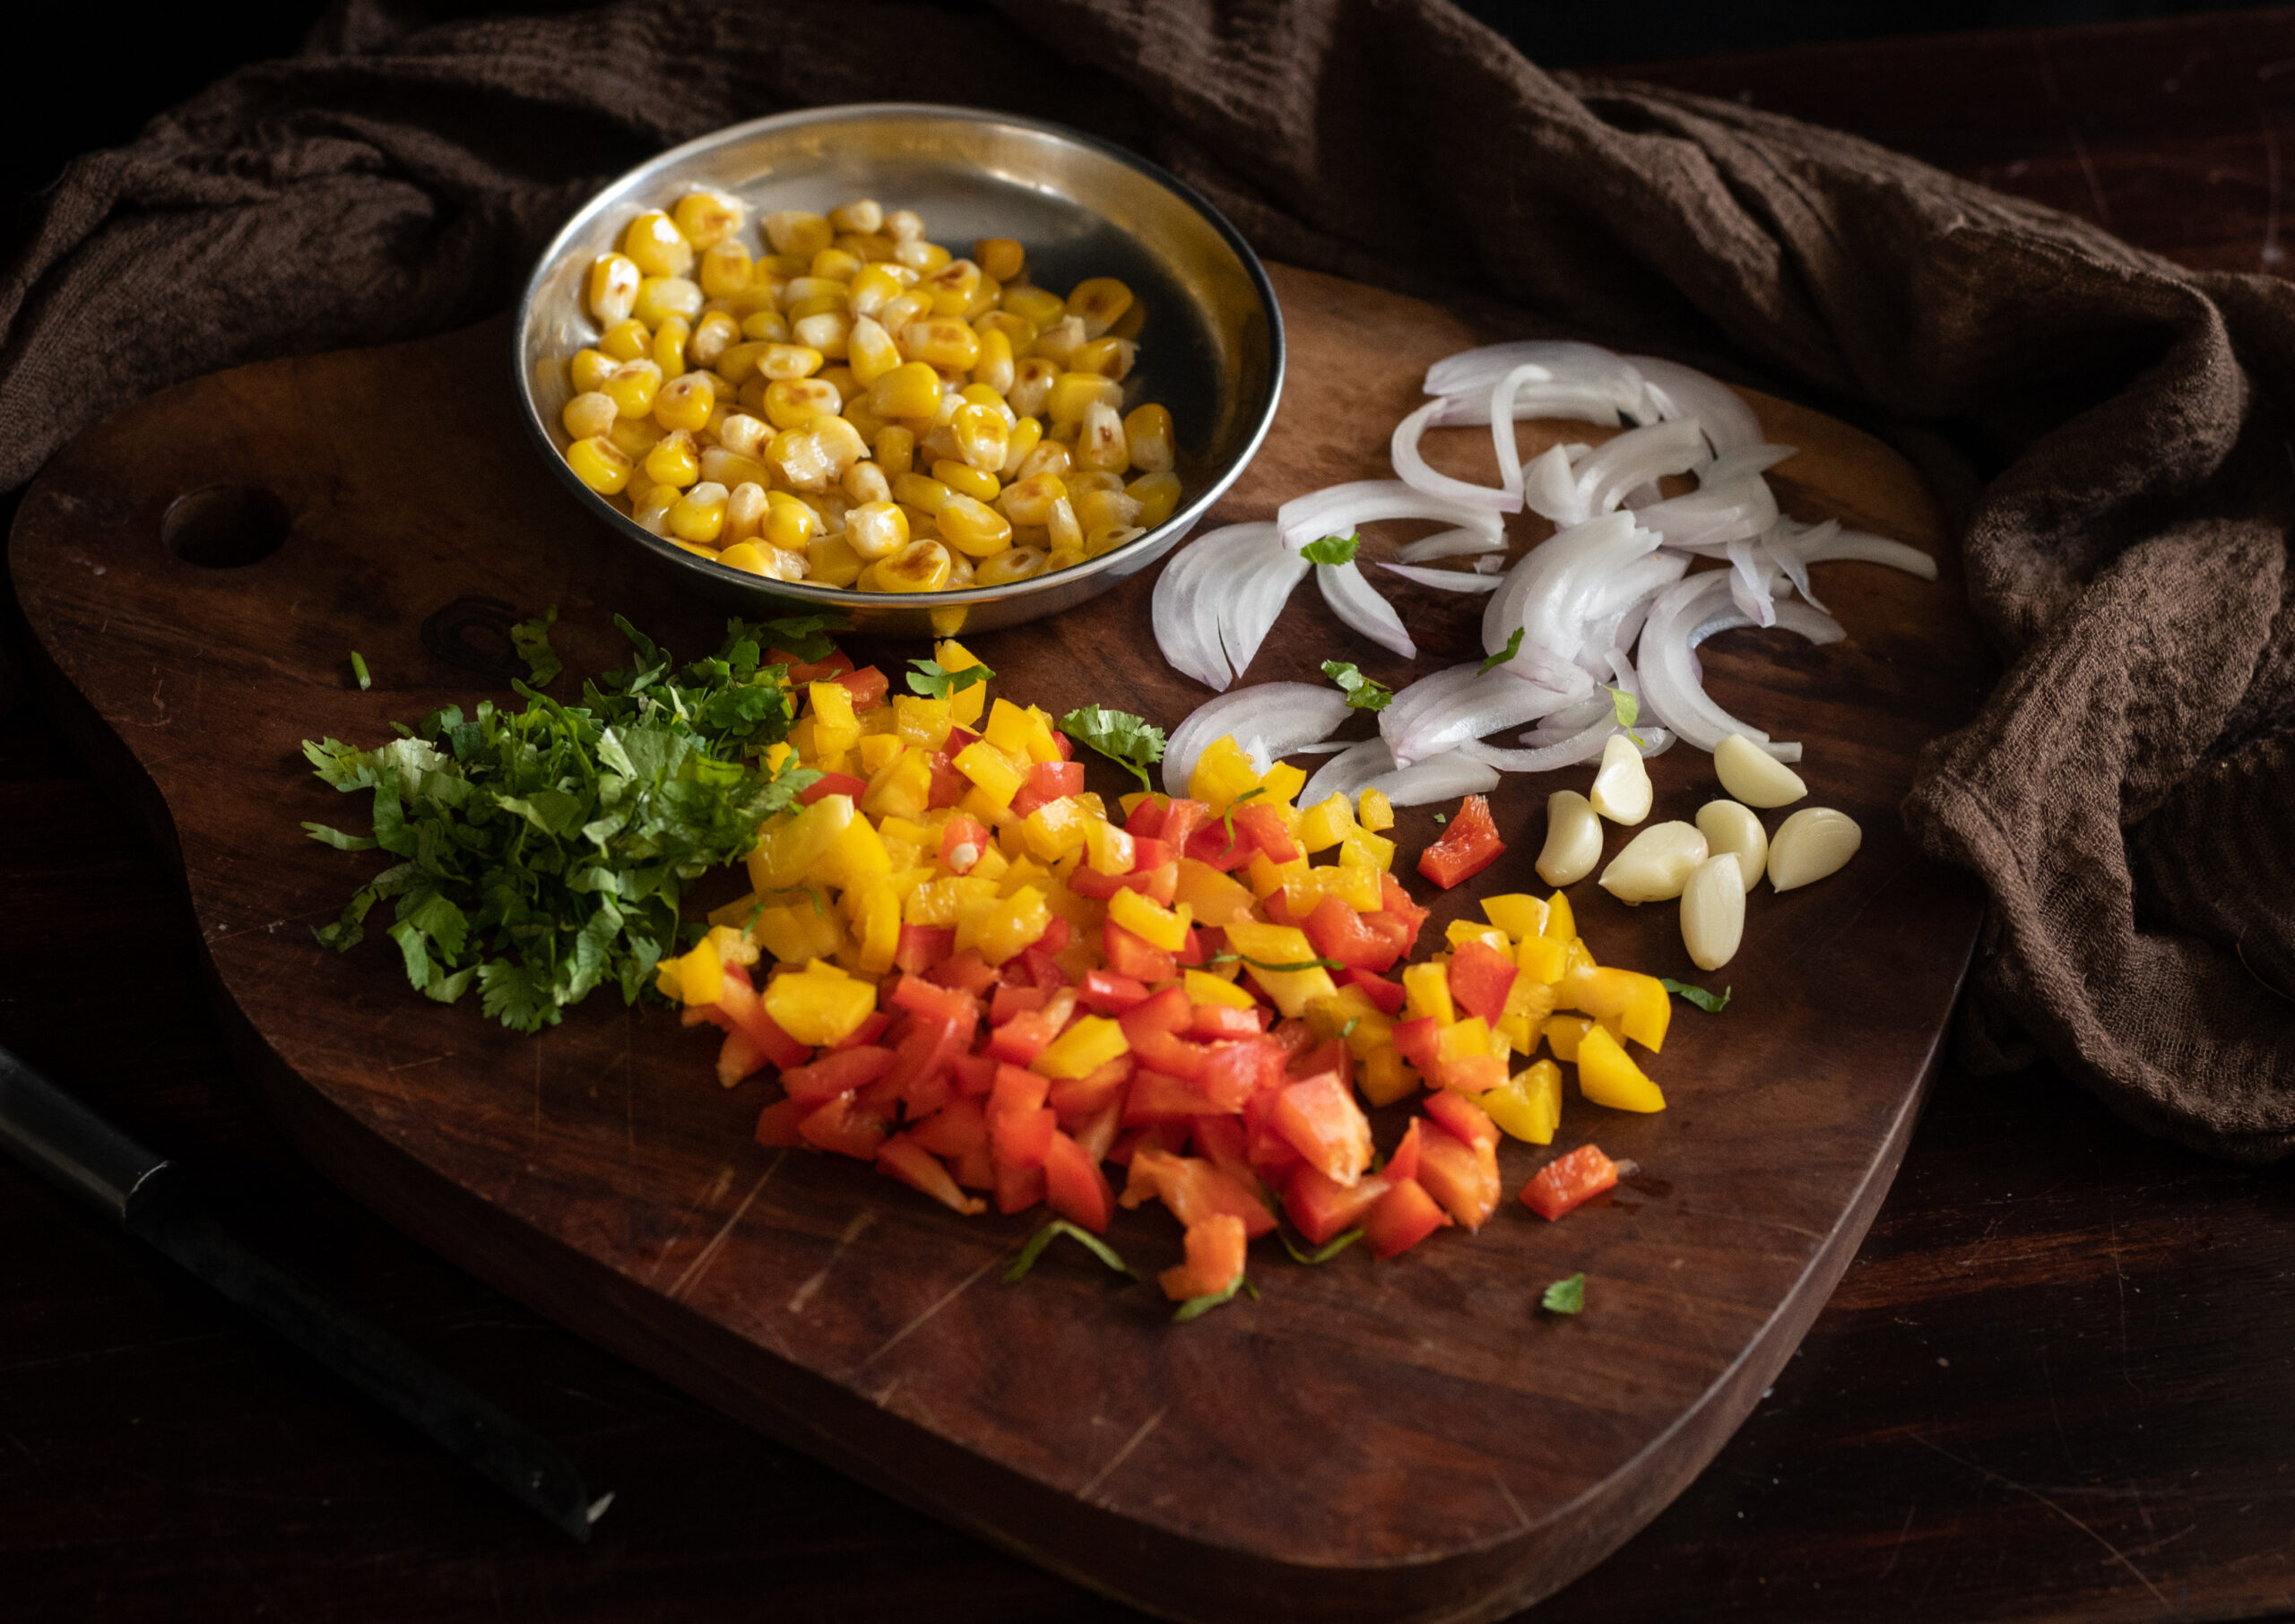
Heat a pan and add the oil. Add the garlic and ginger, and then add the chopped vegetables. Stir-fry on a high flame. This mixture doesn’t take more than 5 minutes to sauté. Add the salt. Set aside. Allow to cool.
Prepare the slices of sourdough by buttering them lightly. Next, spread the coriander chutney (or pesto, if you prefer) over the butter.
Now, add a heaped spoonful of vegetables over the chutney/pesto. Top this with grated cheese or tofu.
Place the bread in the oven and allow to toast/bake for about 10 minutes or until the cheese melts and the slice of sourdough turns golden underneath.
Remove the slices from the oven and sprinkle with the chili flakes. Serve warm.
This cheesy, spicy, garlicky sourdough toast called to mind a variety of toasts my family has enjoyed over the years. When I was growing up, my mum used to make a version of masala and mashed potatoes with toasted bread. My husband is an ardent fan of Bombay toast, as you may remember. In lieu of either, my sourdough toast – rich in fresh vegetables – is healthier, without skimping on taste.
Feel free to substitute the vegetables or even the spices as per availability and preference. You may want to increase the quantity of some based on your taste as well (I’m personally a big fan of corn and bell peppers too). If you prefer to go vegan, just replace the butter with olive oil, and either tofu or paneer are tasty and healthy alternatives to cheese.
This version has become my go-to every time I feel like having a snack. When I’m done with my workout and feel peckish, I whip up a slice or two. I sometimes also have it drizzled with olive oil and a sprinkling of salt without adding the spices. Given the lockdown and the limited vegetables that are on hand on some days, I improvise the ingredients. No matter how I make it, it’s unbelievably tasty!


 – Mango Salad")