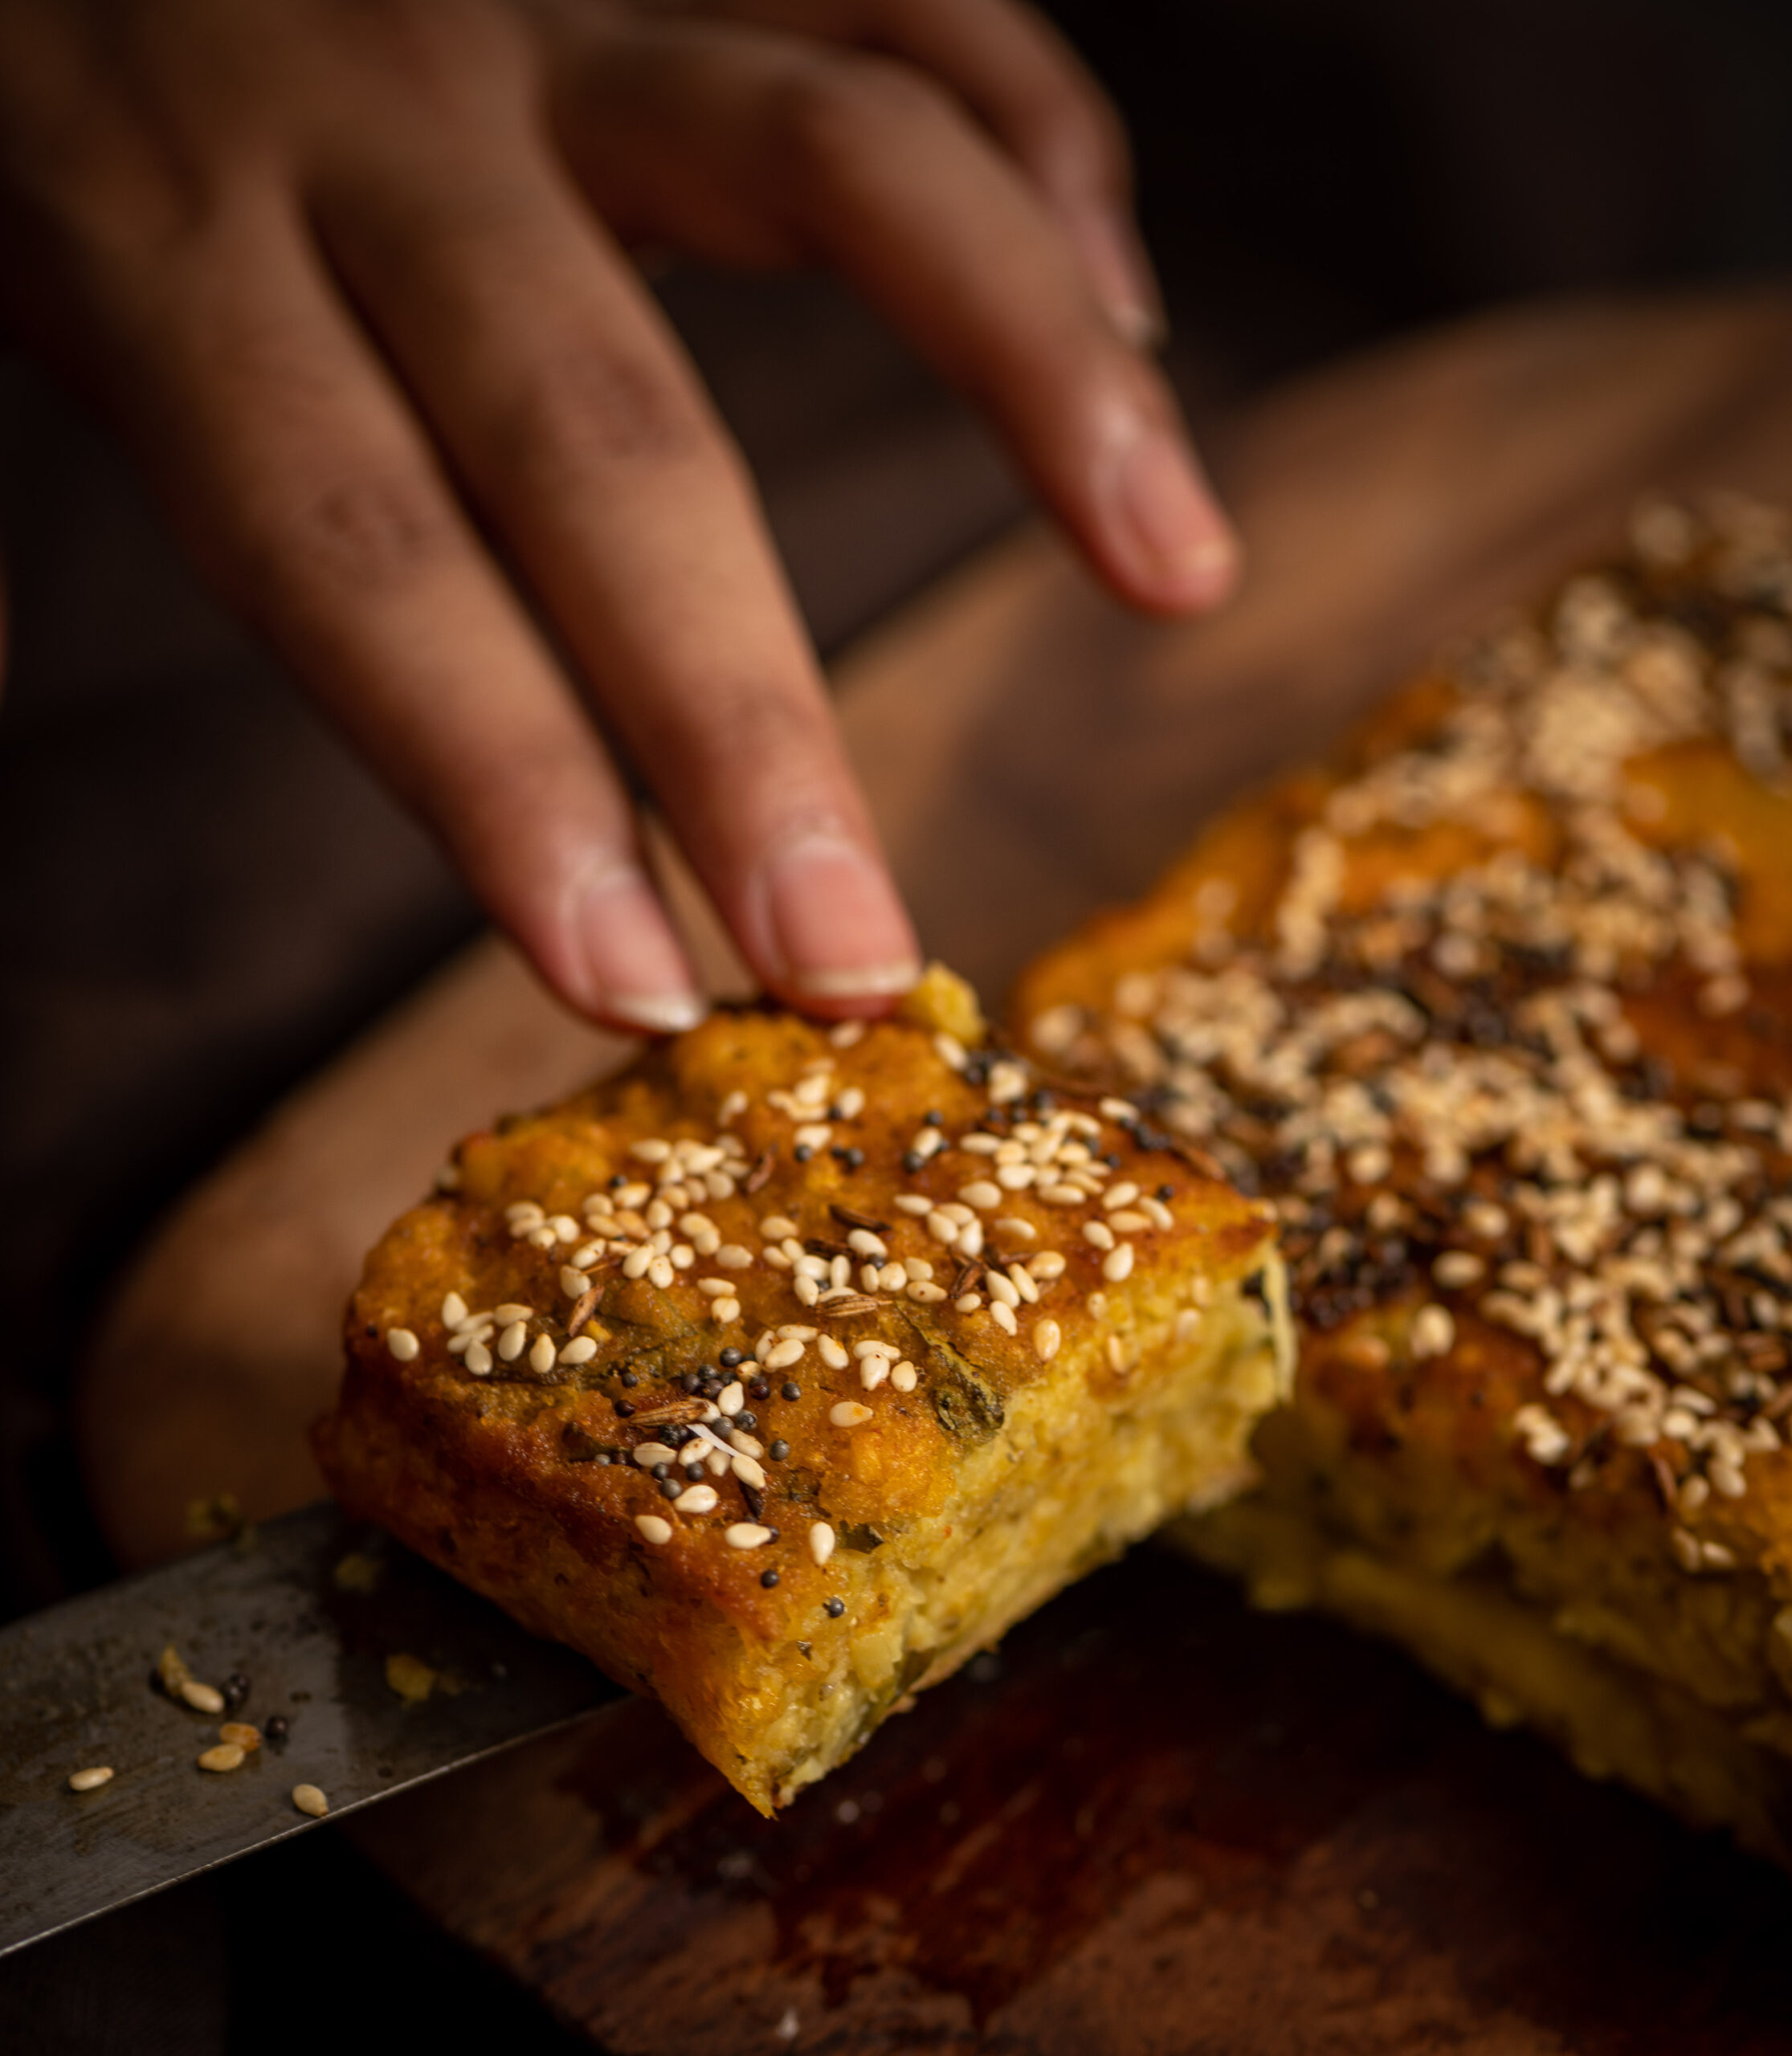
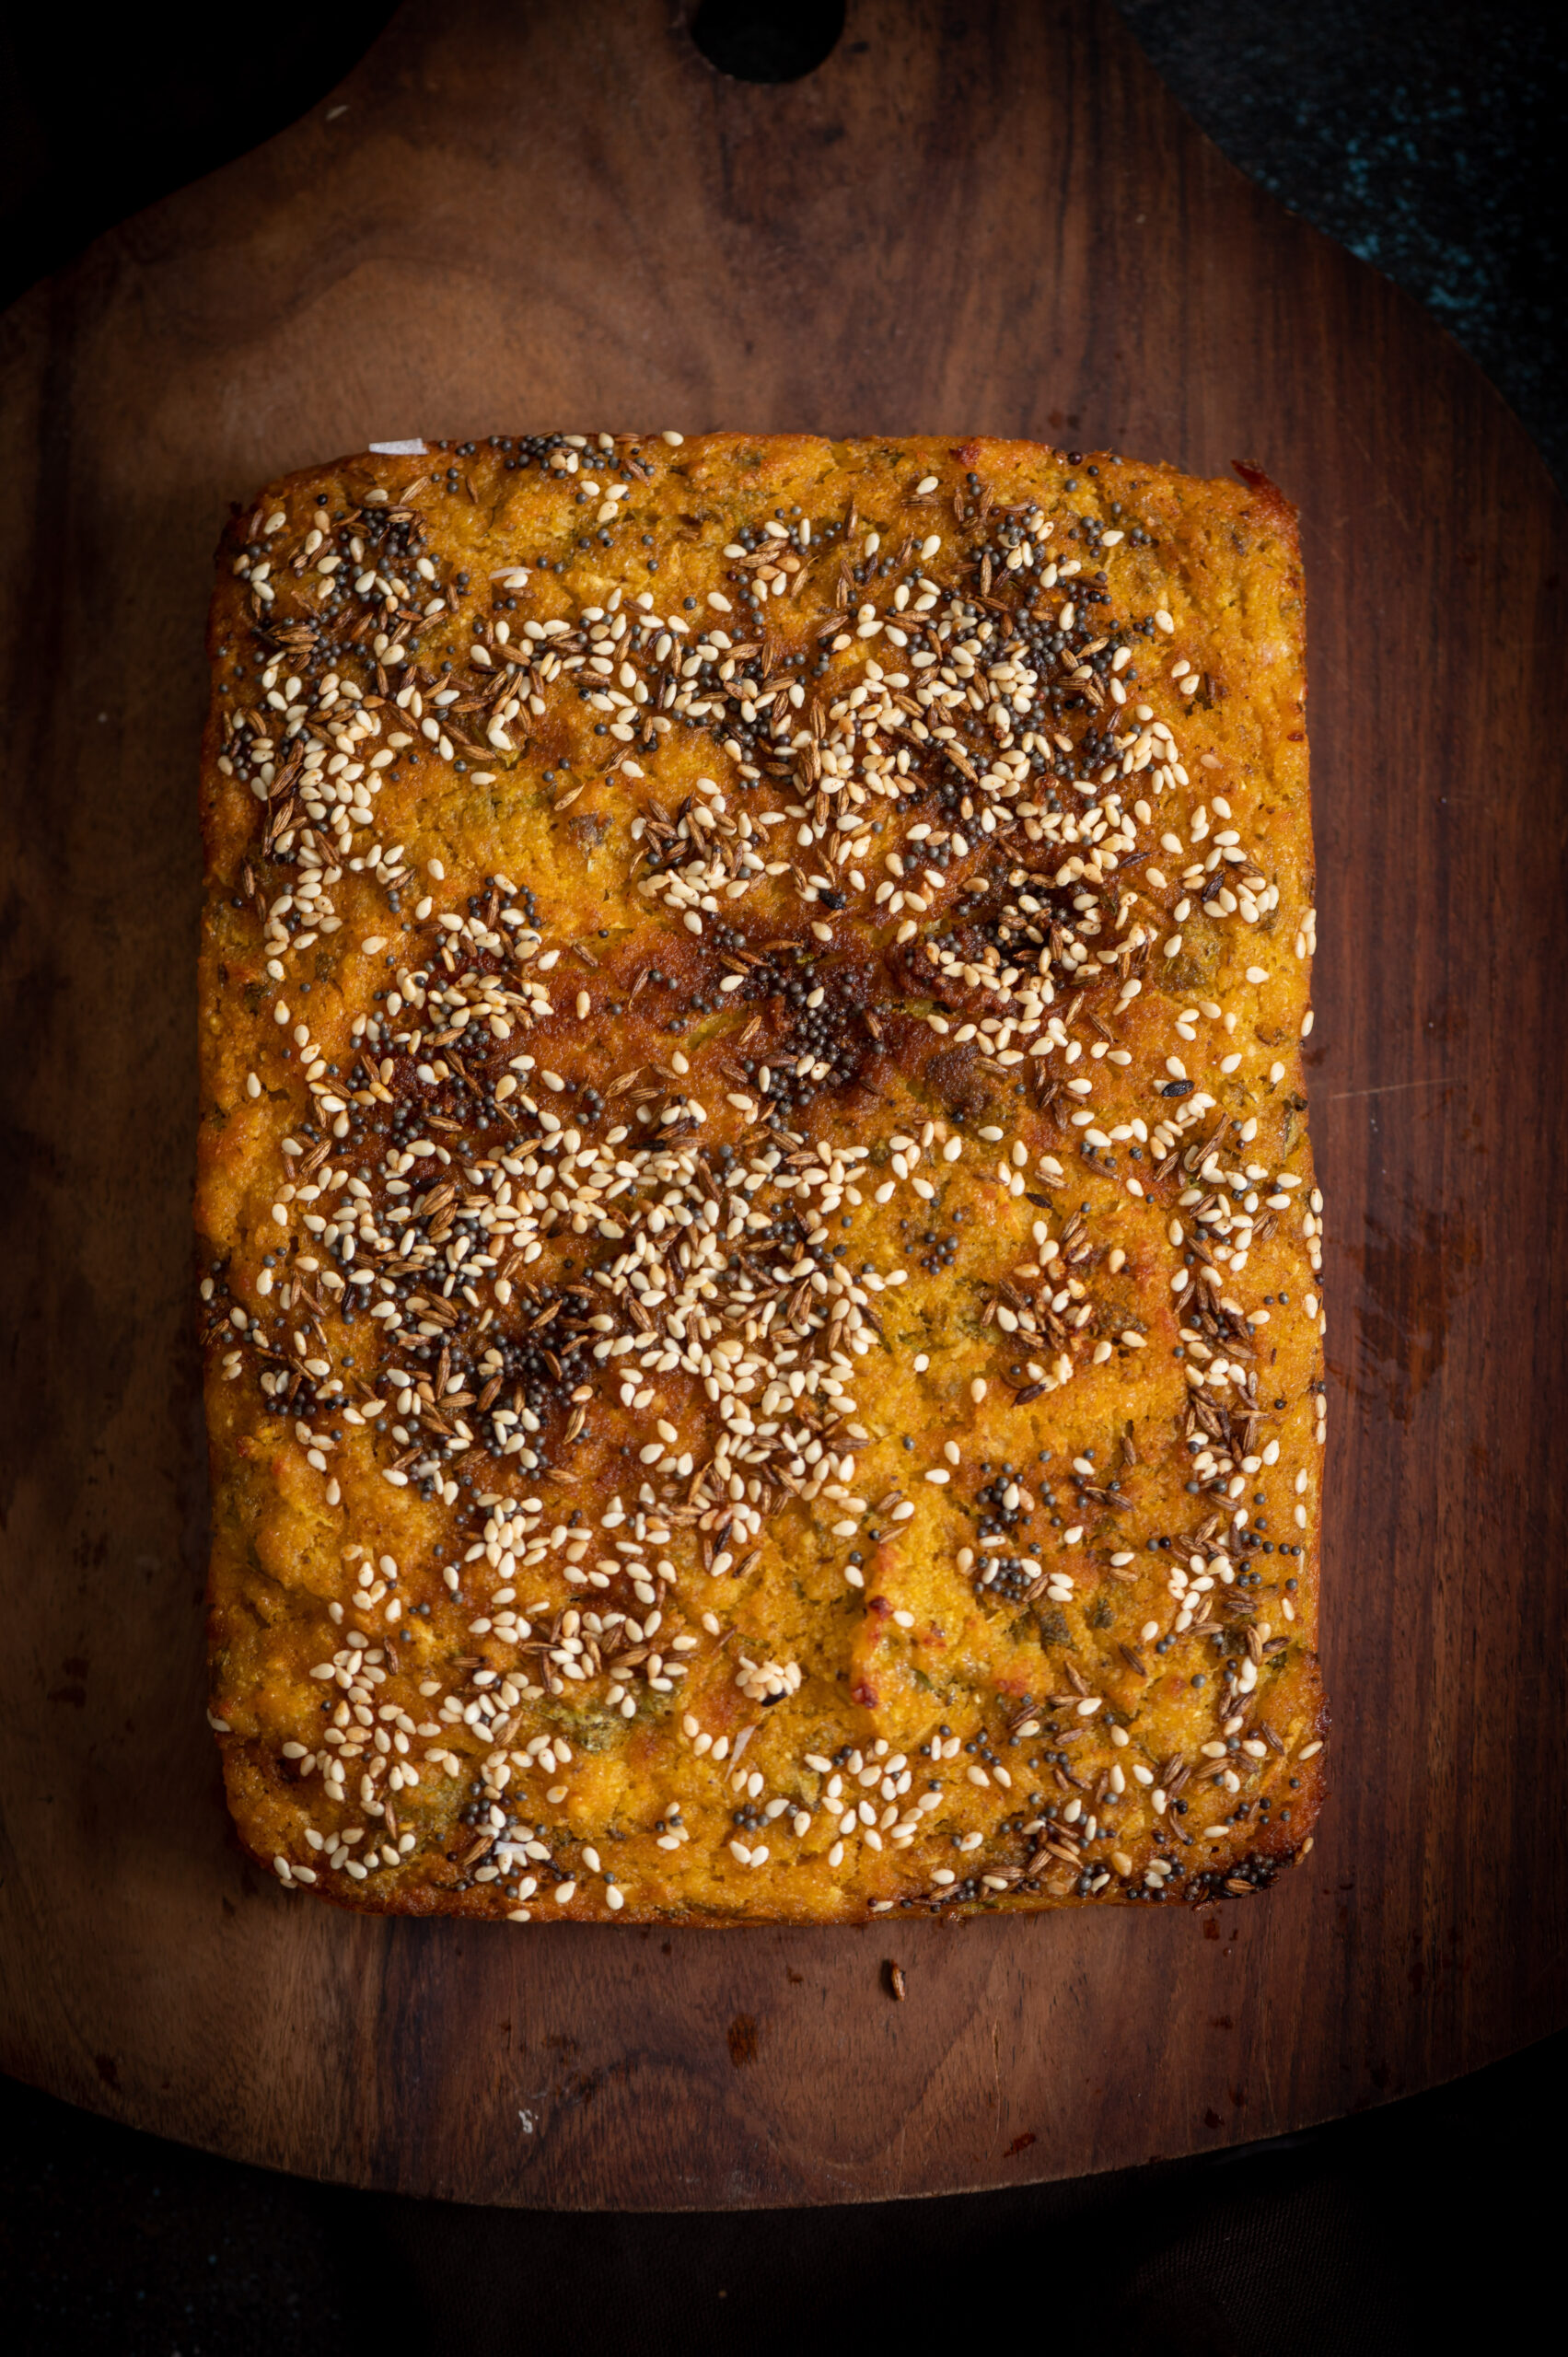
Handvo is a savoury cake made with lentils, from the Gujarati repertoire. Growing up, I would see it being made by my mother in the traditional way: in the backyard, she would prepare it in a heavy-bottomed brass pot placed on charcoal. She would pour the batter – containing lentils, rice and vegetables – into the vessel, then cover it with a heavy iron lid and let it cook. This was how it was made in most Gujarati homes back then. The funny thing is that although I enjoyed watching the elaborate process outside the kitchen, I found the dish itself quite boring. My mother had given herself a culinary education, learning baking and international cooking styles at a time when such classes were considered unusual, and as a child, I much preferred the foreign dishes she was learning to whip up. Over time, my appreciation for traditional cuisine blossomed, and this is why I am sharing the recipe for this handvo today, during the auspicious period of Navaratri.
I recall that my mother would make a large pot of handvo only about once a month or so. She would bake it in the evening and we would have it fresh for dinner, with the leftovers becoming our breakfast. The baked handvo comes out looking like a cake in height and shape, with a beautiful crust on top, which as kids we prized and fought over (for a dish I had thought dull, that was my favourite part!). So our mother had to divide it equally amongst us all. During Navaratri, however, handvo became our nightly staple. There’s no real link to the festival itself, except that this was my mother’s go-to during that very busy time of year. Even though the process seemed complicated to a watching child, it is actually a simple one-pot meal. It’s also lovely to have during the monsoon season, which usually coincides with the festival.
For us, Navaratri meant having a quick dinner and then heading out for the garba, a wonderful celebration that my siblings and I looked forward to with great anticipation. In those days, those nine nights of dancing, feasting and prayer were one of the major highlights of the calendar for us Gujaratis in Chennai. No more than 50 to 70 families would get together over the nine nights, and some of these families we’d only get to meet annually, so it was a very special occasion for the whole community. I remember how the fathers would be responsible for blocking the hall and all the event logistics, while the mothers would make the prasad for the Goddess. Each evening would begin with a prayer, followed by the distribution of prasad, and then… the moment most of us would be waiting for: the dancing would begin. First, the women would begin dancing in a circle. Then, the children would come in, and finally everyone else would join. There would be competitions too, and I would always win a prize.
Garbas and dandiya these days don’t bear much resemblance to how they used to be while I was growing up. Now, they are just another party. The ones in my memory were very graceful and traditional, with a sense of propriety. The whole family used to be involved in those days, and the occasion was about keeping our culture alive. Even the little love affairs and marriages that used to come out of these events all happened under the watch of the parents, and with their blessings. Everything was about a sense of family and community back then, and I cherish those memories. Something about the handvo, which always preceded those evenings of fun, invokes them for me.
There are many varieties of handvo, which use different kinds of grains and dals based on what is in season; warmer grains like bajra are used in winters, while lighter rice and millets are used in summers. Rice leftover from lunch is also used, as are seasonal vegetables, the most common of which is the bottle gourd.
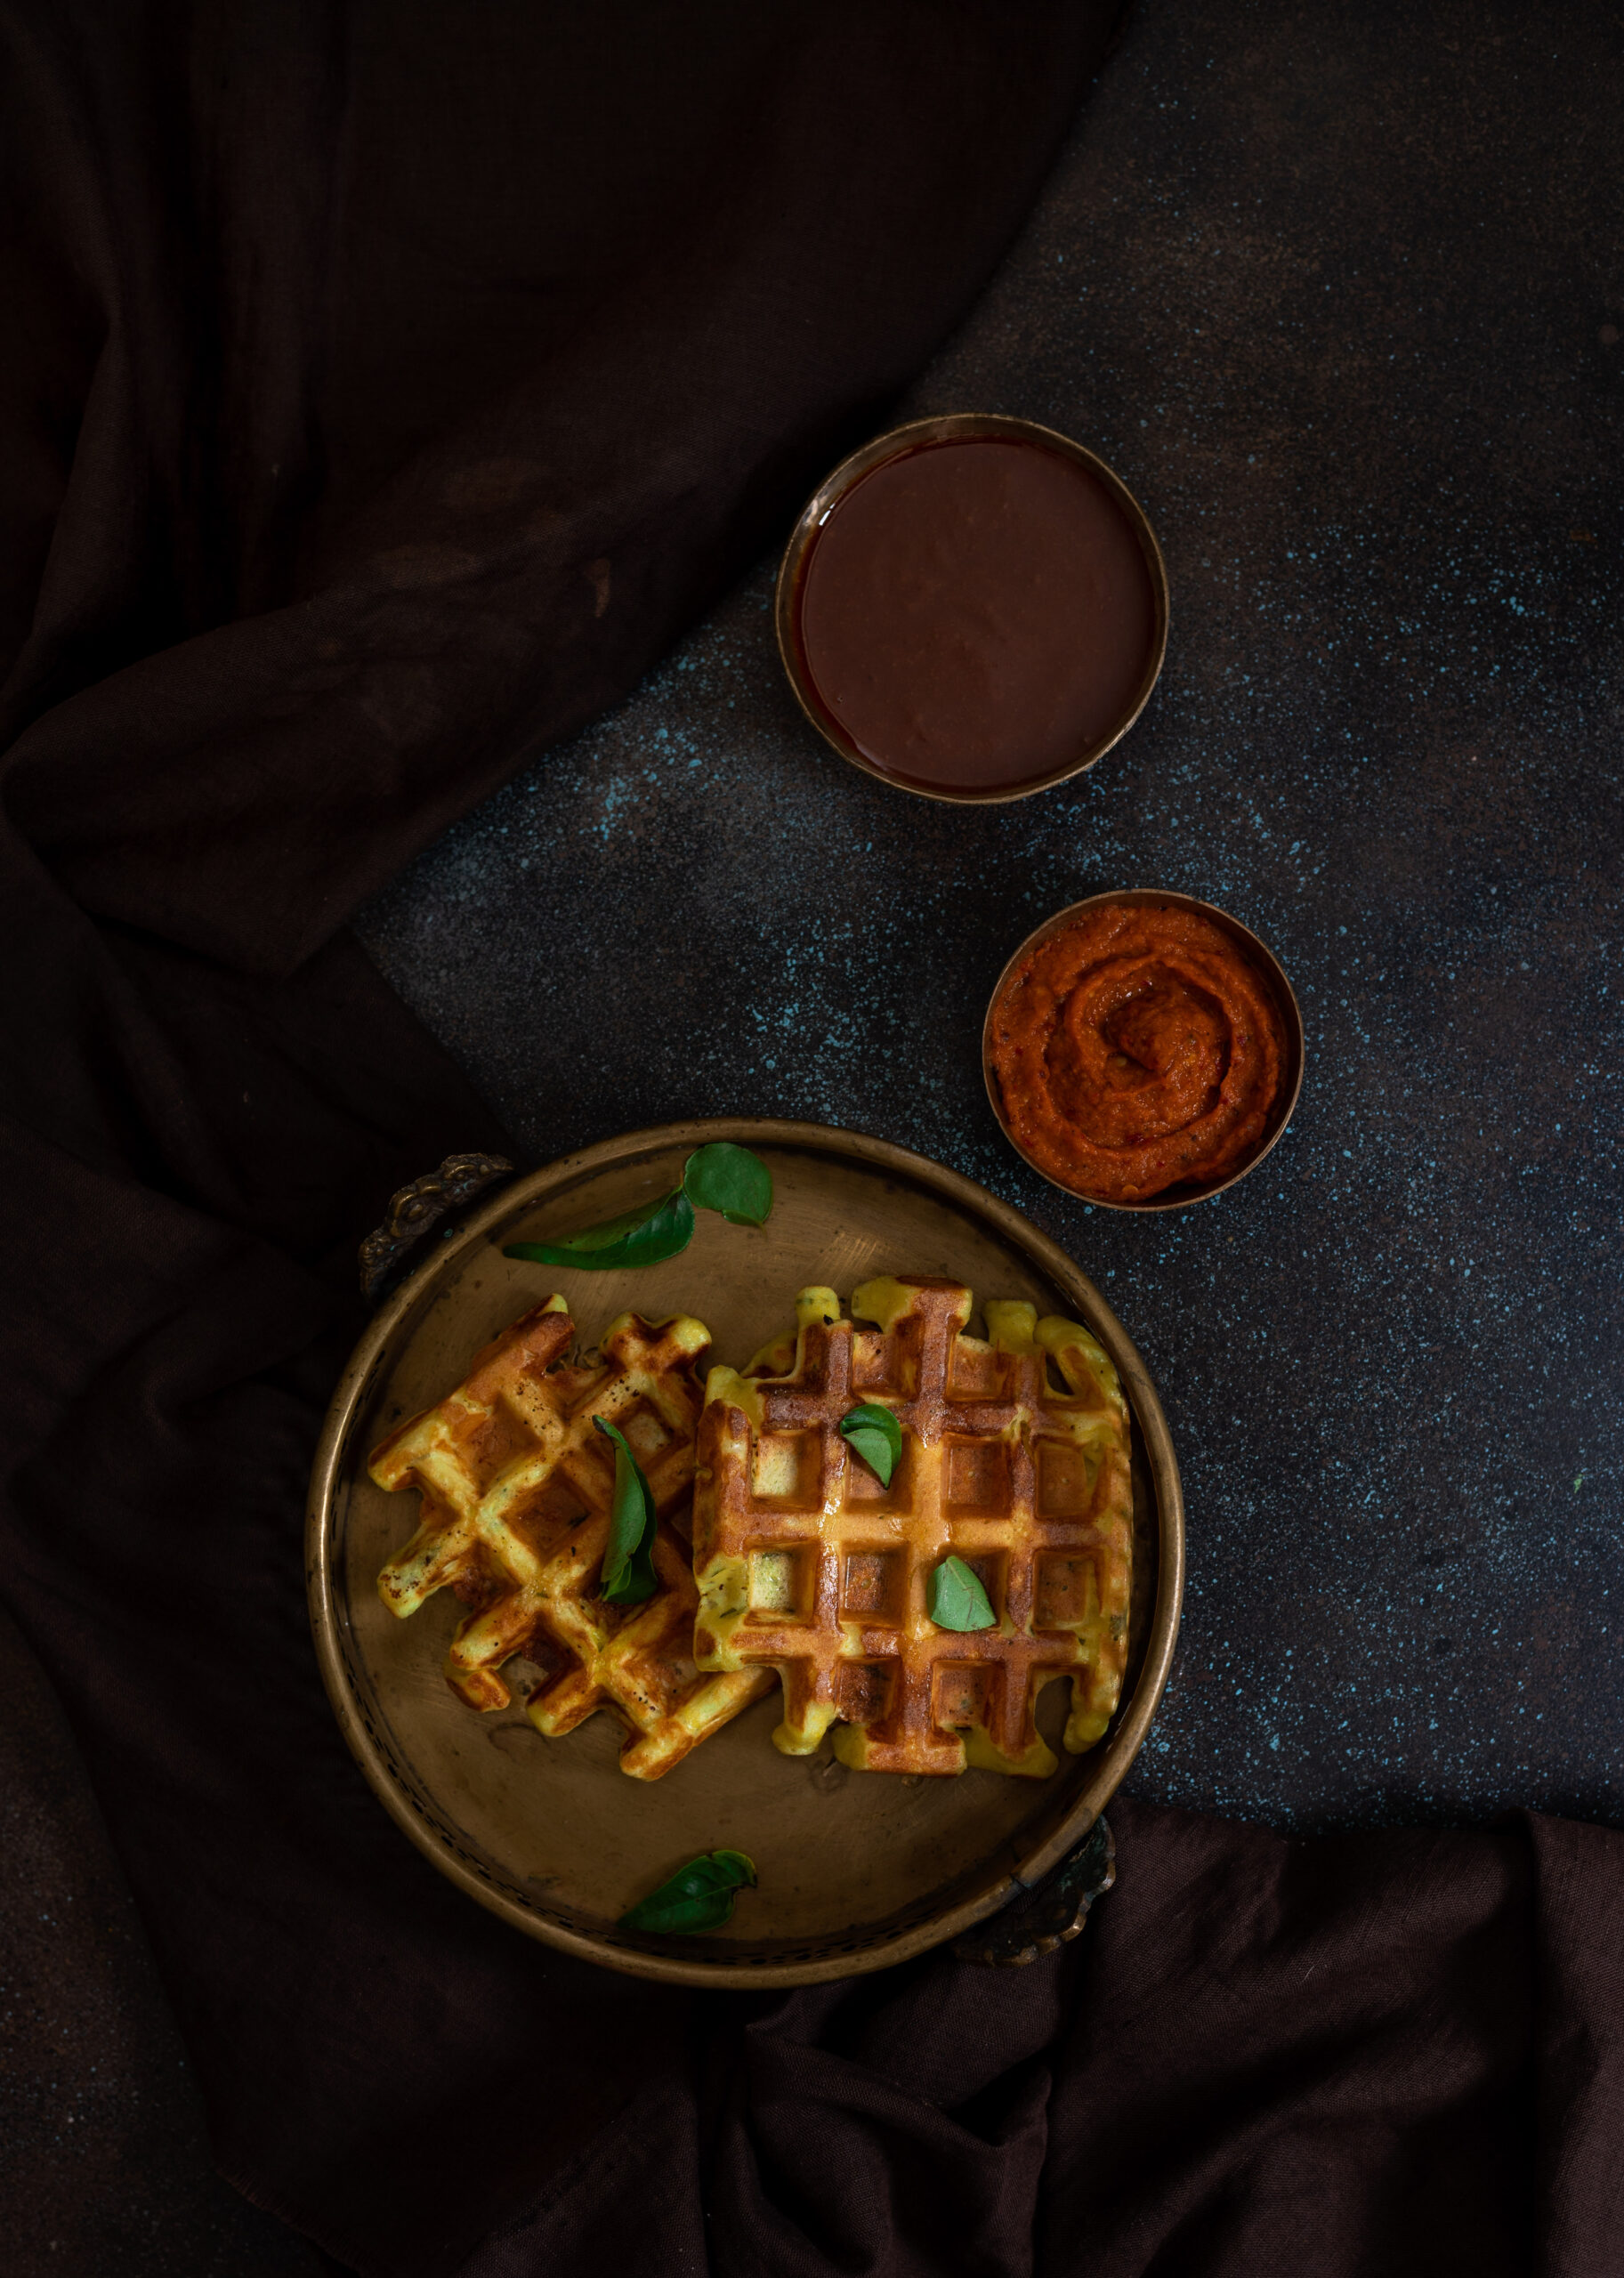
Over the years, the brass pot in the backyard kind of disappeared, and nowadays we see handvos being made in casseroles and glass containers that can be stuck in the oven. This year, I’m making my handvo the same way too, especially as I know that this is how most of you will try out this recipe. In fact, I felt tempted to modernise the method a step further and try out a batch in my waffle pan, as well! (If you’re one of those cooks who uses such tricks-of-the-eye to convince your fussy eaters at home to eat simply and well, this may be something to try out too!)
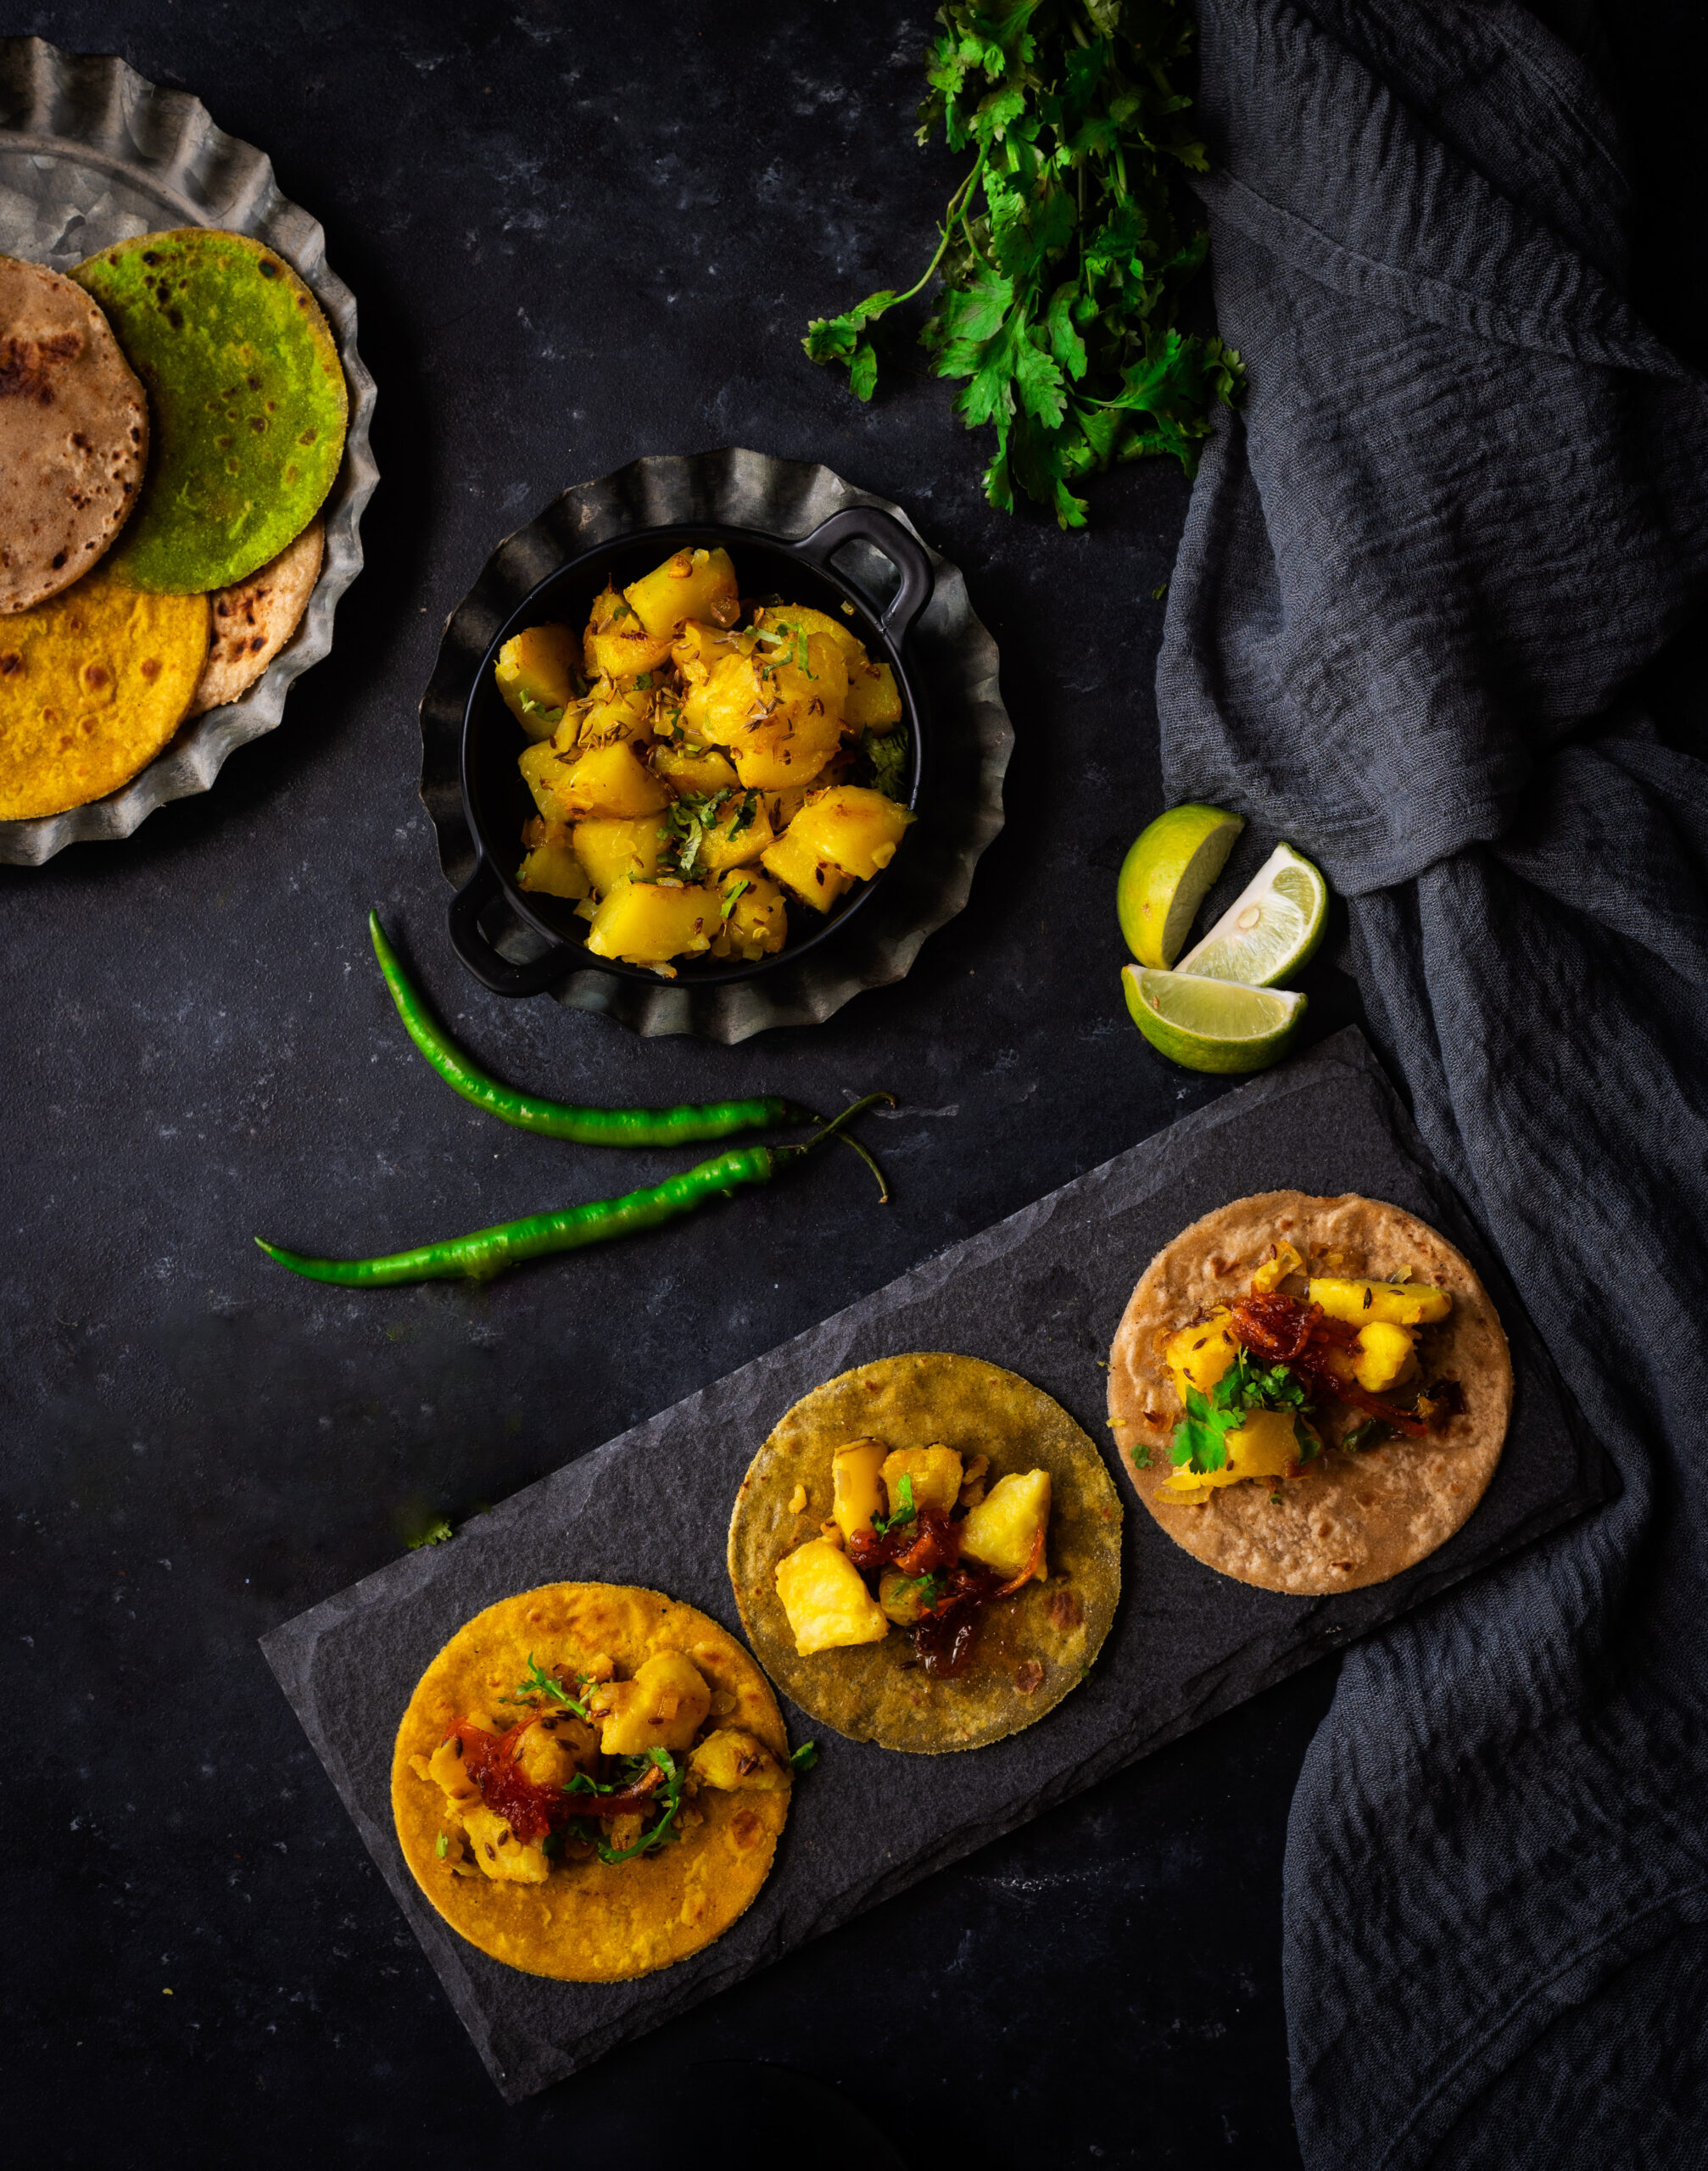
There are a few other keynotes that make my re:store style handvo distinct from the traditional kind. Firstly, I’ve eliminated the usage of rice, so as to ensure that the dish is carb-free. Most importantly, rather than bake a single large cake-like handvo and cut it into pieces, I’ve experimented with preparing individual portions, similar to dosas or crepes. I find that making the handvo in this method makes the cooking process easier and faster. The fermenting and soaking still require a day’s advance planning (unless you use readymade dal powders), but the actually frying up happens much faster than baking.
Handvo
(Yield: For 3-4 people)
1 cup toor dal
¼ cup urad dal
¼ cup moong dal
½ cup channa dal
¼ cup dahi + 2 teaspoons lemon juice
¾ cup grated bottle gourd (+ optional methi leaves)
¼ cup coriander leaves
2 teaspoons oil
¼ teaspoon turmeric
½ teaspoon green chili paste
½ teaspoon ginger paste
1 teaspoon sugar
Salt to taste
Tempering:
2 teaspoons oil
½ teaspoon mustard seeds
½ teaspoon sesame seeds
¼ teaspoon cumin seeds
½ teaspoon carom seeds
A few curry leaves
Clean the dals and soak them in sufficient water for 5-6 hours.
After this, remove the water and blend the dals coarsely. Add the dahi and lemon juice. Allow to rest for 3-5 hours.
Once the soaking and fermentation processes are completed, add the vegetable of your choice and the remaining spices to the batter. While I’ve made the batter from scratch, you may wish to use readymade dal powders instead.
Heat the oil in a flat pan. Add all the different seeds. Wait till they splutter and then add some curry leaves. Immediately, add 2 cups of the batter. Spread it a little, as you would a thick dosa or uthappam, then lower the flame. Cover the pan with a lid. Allow to cook for about 5-7 minutes. Now open the lid, and be careful as it would have trapped a lot of steam. Flip the handvo. Repeat the same process on this side.
After the handvo cooks and turns golden on both sides, remove it from the pan and make the next one. Cut into pieces and serve with green chutney or sweet mango pickle.
Over a few trials, this was the easiest method of preparing handvo that I discovered. You may of course choose to bake it instead. In that case, put all the batter in a bake-proof bowl. In a small pan, sauté the oil and seeds. Once they splutter, use a spoon to gently drizzle the tempering evenly on top of the batter. Bake at 160°C for half an hour, then slice and serve with the condiments.
The days of brass pots in the backyard and wholesome garba gatherings may have gone by, but the great thing about food is that it lets you keep making new memories. I wish you and your loved ones an auspicious Navaratri. I’d love to know if my easy, uthappam-inspired handvo finds a place in your festivities!