Time and again, I have spoken on this blog about how eating seasonal produce is the best thing for our bodies. We are a part of Nature, and it is intrinsic in us. We cannot look at it from the outside, or even objectively, because we belong to it. We cannot go against its flow, which is what we often try to do today. However, I believe that even as the world changes and decentres Nature, in our own lives we can actively choose – at the very least – to listen to our bodies. When we do, we will quickly realise that our hunger cravings have a rhythm with climatic cycles. Here in India, while the peak of summer is behind us, the winter is still far enough away that lighter grains are what we need. Hence, jowar (known in English as sorghum) is something I am making meals from these days. This jowar roti is an excellent use of the same, incorporating the ingredient into a daily staple.
I am fortunate to have access to very good quality, homemade jowar flour through my sister. She has a small mill in her kitchen, which she uses to prepare her own flours and powders. I have observed many other households in Mumbai doing the same. When I visited her recently, she was making jowar flour. What intrigued me was that she added a handful of soyabeans to it. I found this an interesting, and very healthy, combination. I don’t have a mill of my own back in Chennai yet, but as I teased my sister, I don’t need to, as I can just keep asking her for homemade flours. She gave me a kilo of jowar flour on that visit, and it’s being used liberally – and I’ll soon need more, as I’ve already warned her!
If jowar is used in warmer months, it is bajra (known in English as pearl millet) that is preferred in winters. Jowar is not only lighter on the digestion, but in flour form also easier to fold into roti dough. It really is so simple to make, requiring no pre-prep. All you do is add warm water, which brings out a glutinous consistency, then make the dough and roll it out immediately in order to fry it up. Bajra flour, on the other hand, tends to break apart as you roll it out due to a complete lack of gluten.
Both jowar and bajra rotis are eaten in my home. Depending on the season, one or the other will be served at lunch – except during the height of summer, when rice replaces roti altogether. Other than during that time, these two are staples, even though a wide variety of other flatbreads are brought into our meals too. I have been rolling out rotis since I was a young girl, and am able to handle different flours, but it does take practice. The trick is in the hand, and in being patient.
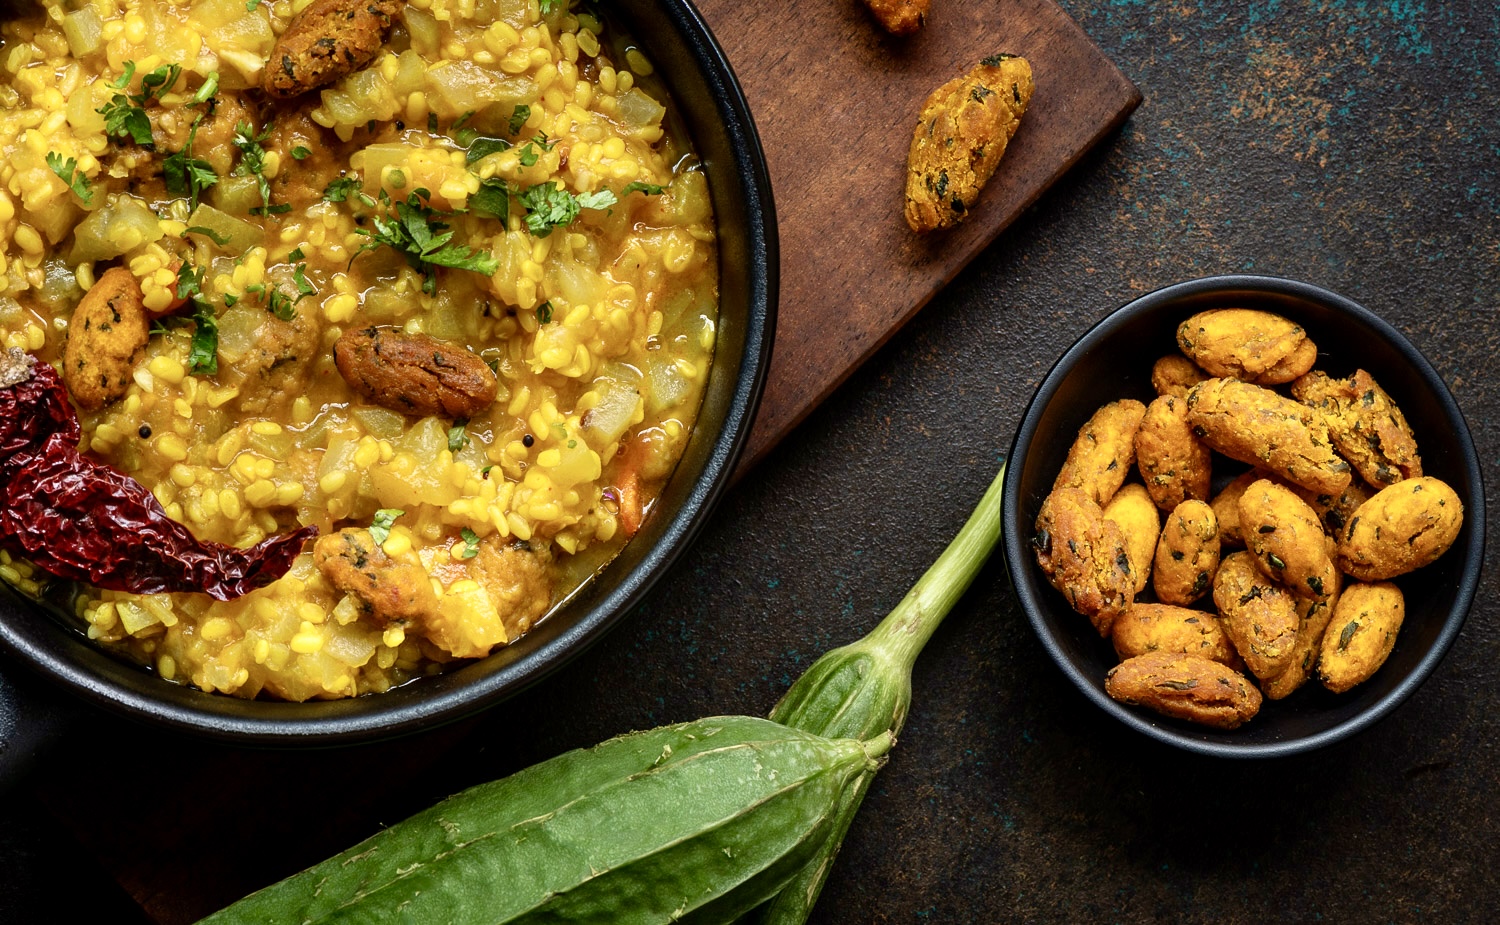
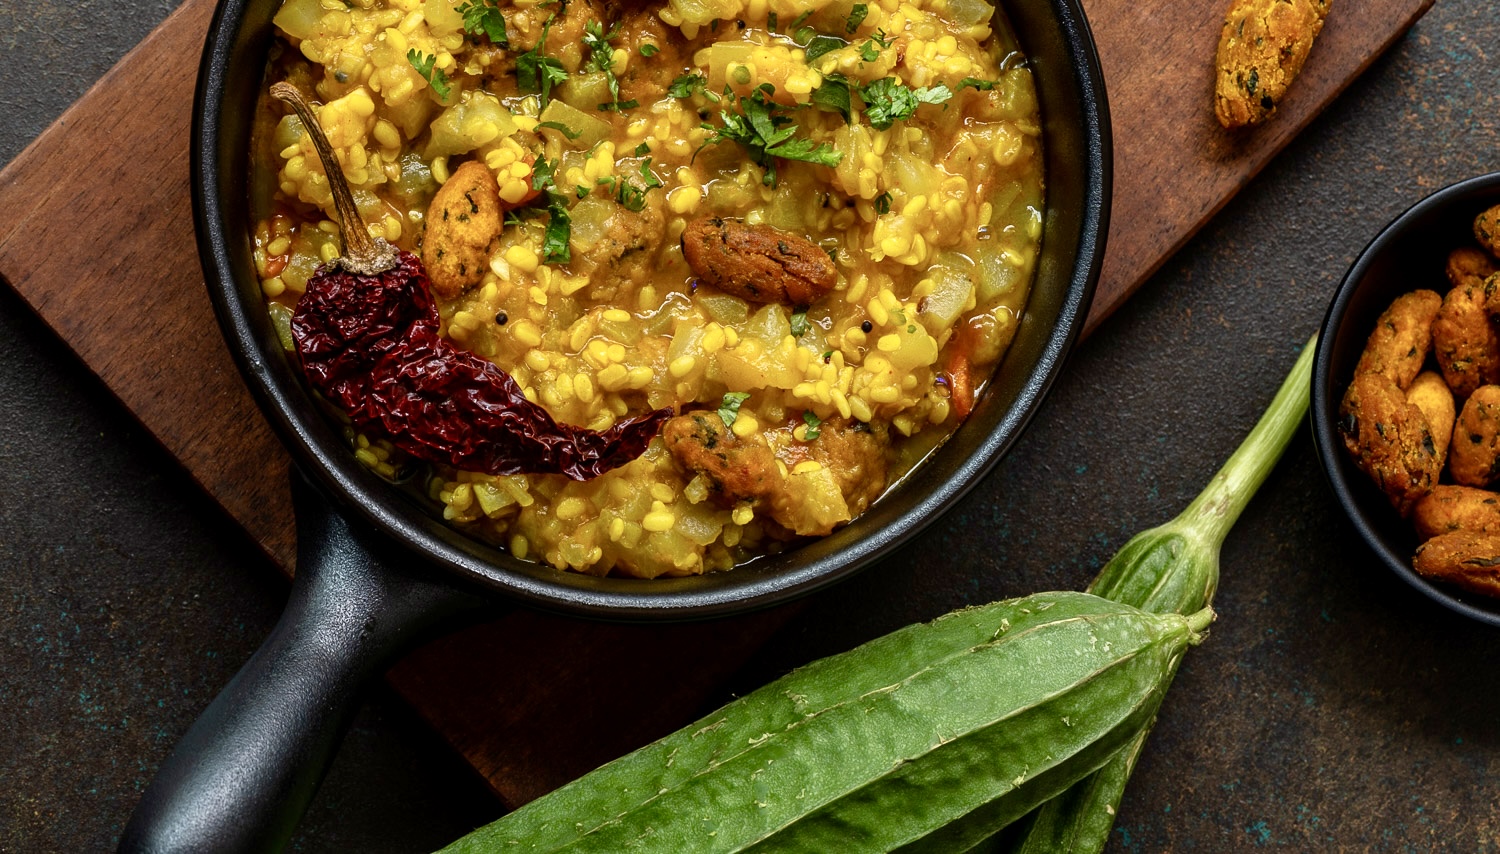
Jowar roti, despite being made of a lighter flour, is very filling. Just one piece, with a cup of dal or two cups of vegetables, is a perfect lunch. You don’t need anything else for hours after.
This may be why my mother would have some jowar roti during days on which she performed certain kinds of fasts, for instance. I am not entirely sure because the truth is that I paid very little attention to some of the items that my parents ate when I was a kid, and jowar roti was one of them. My siblings and I would screw up our noses when we saw it, so our mother always prepared regular whole wheat rotis for us instead of these healthier ones. I regret not having eaten jowar roti back then, but I am grateful that I learned how to make it.
Exposure plays such an important role in what we reach out to – or return to – in terms of food as we grow older. What we saw being prepared or consumed as children, whether we appreciated it or not, stays with us and informs our choices later on. Sometimes, I think about whether my kids – now grown and with homes of their own – will ask for these recipes when they have children of their own, whom they will of course want to provide the best of everything to. That is one of the core reasons behind this blog: it is my legacy to my loved ones, just as much as it is my offering to anyone in the world who seeks the comfort of a well-made meal.
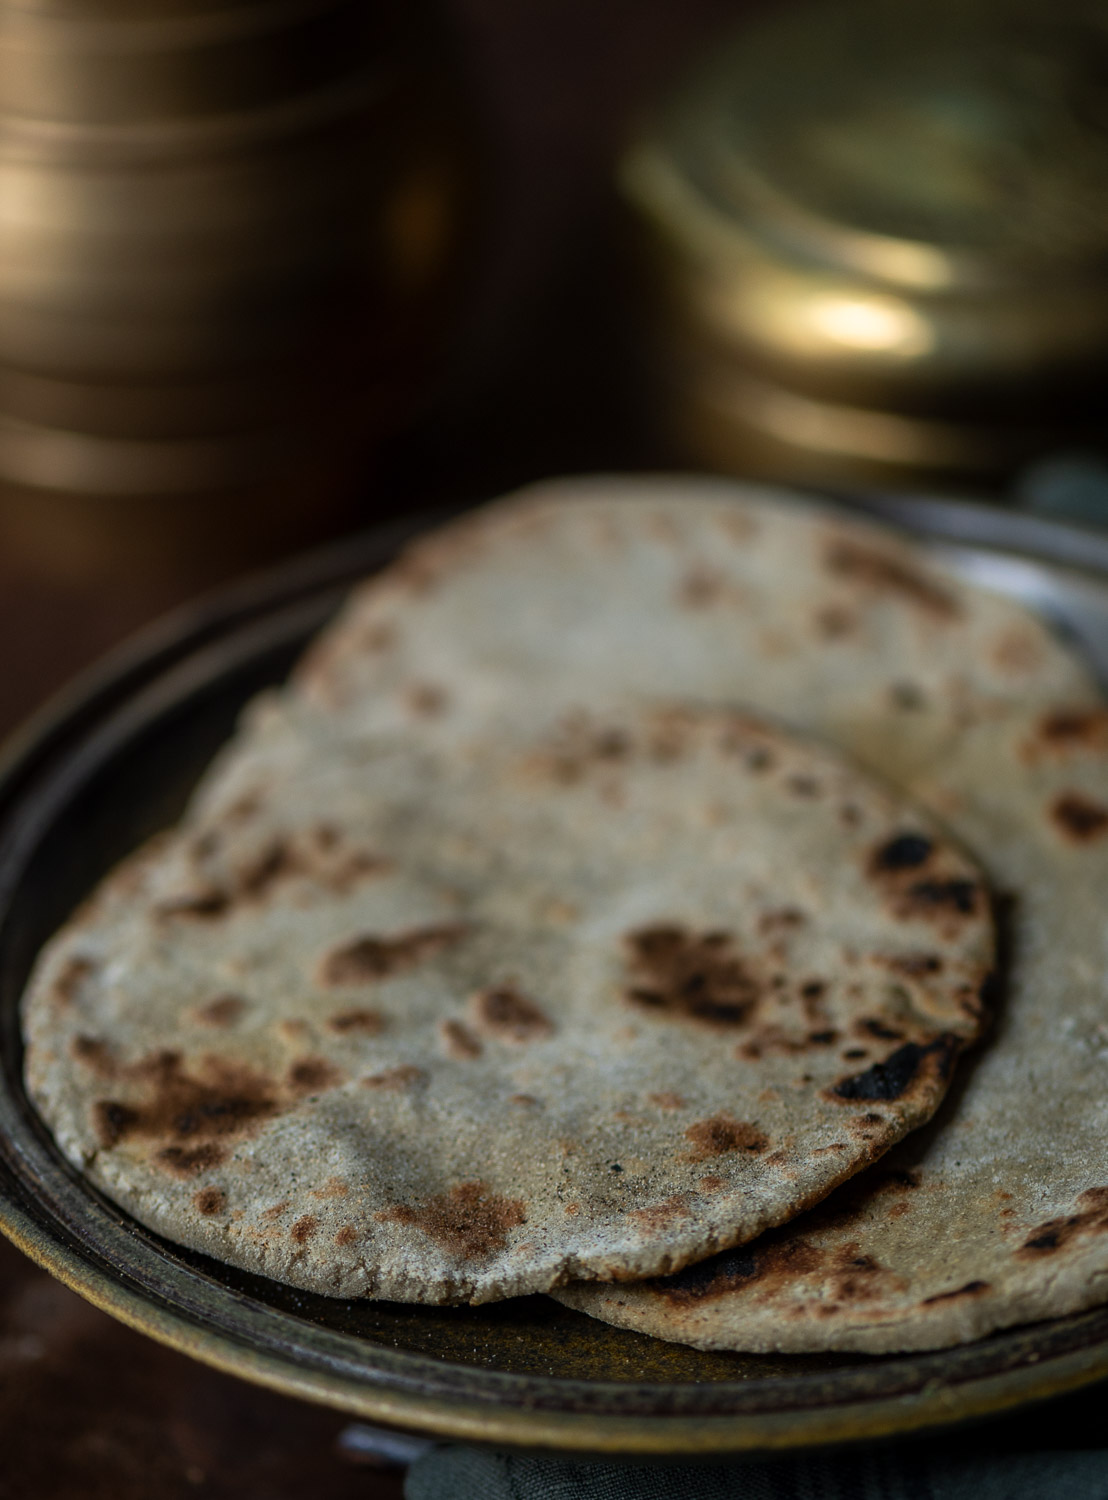
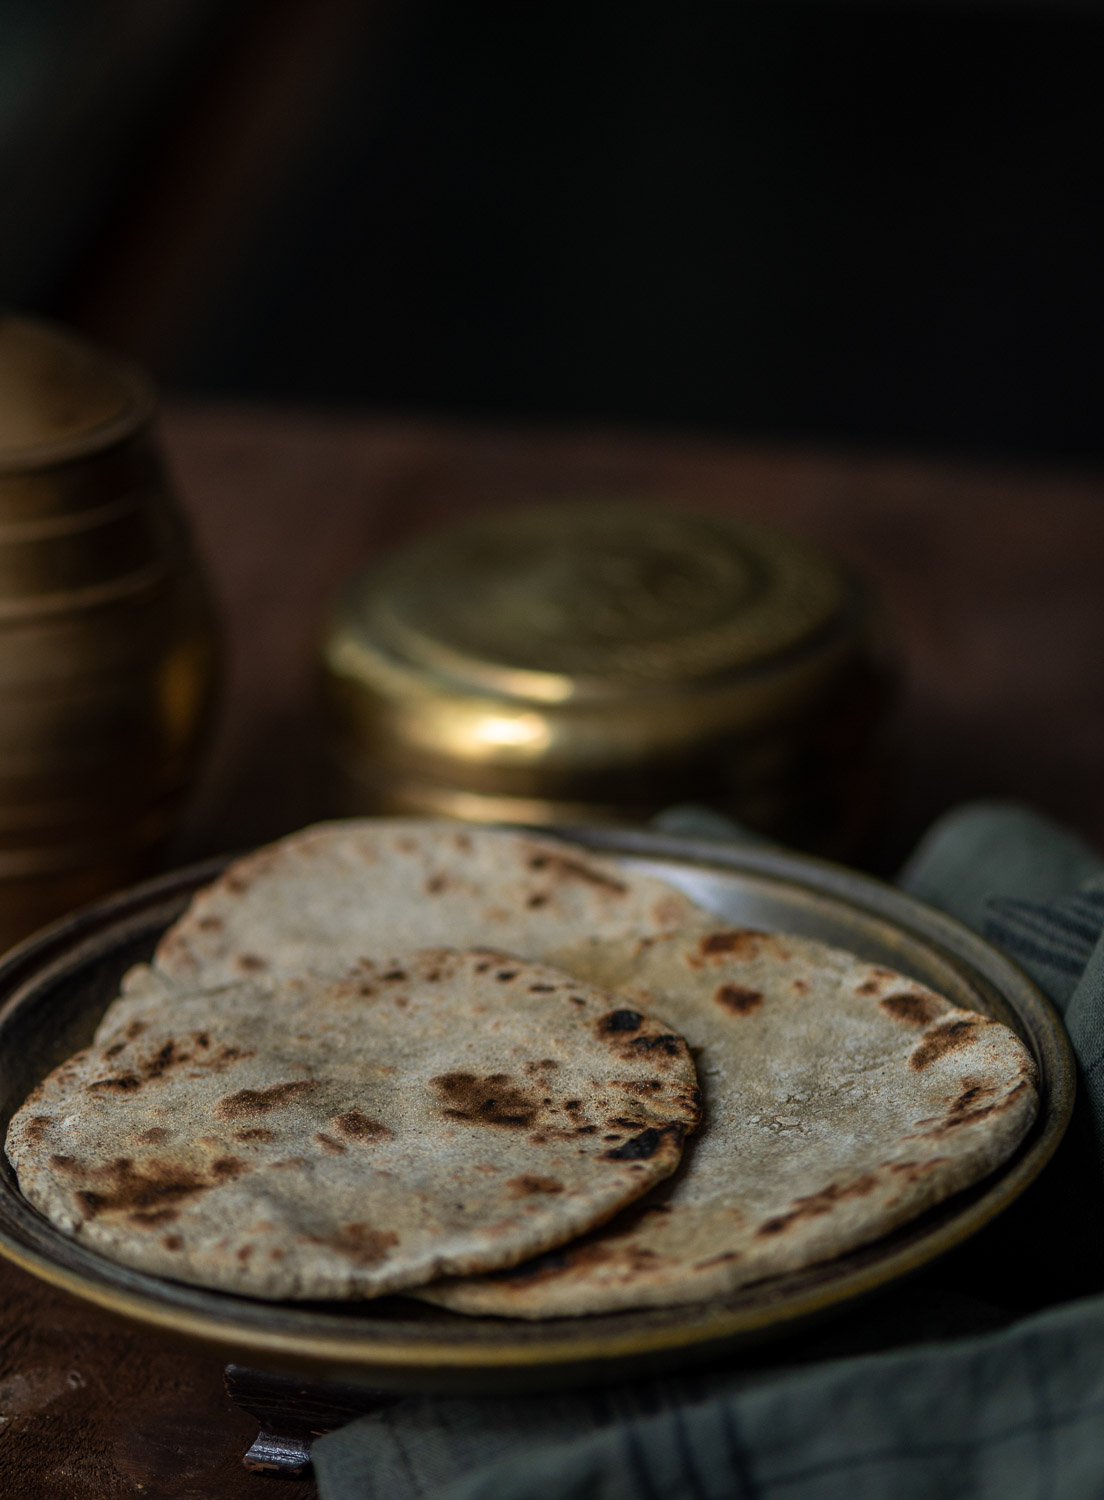
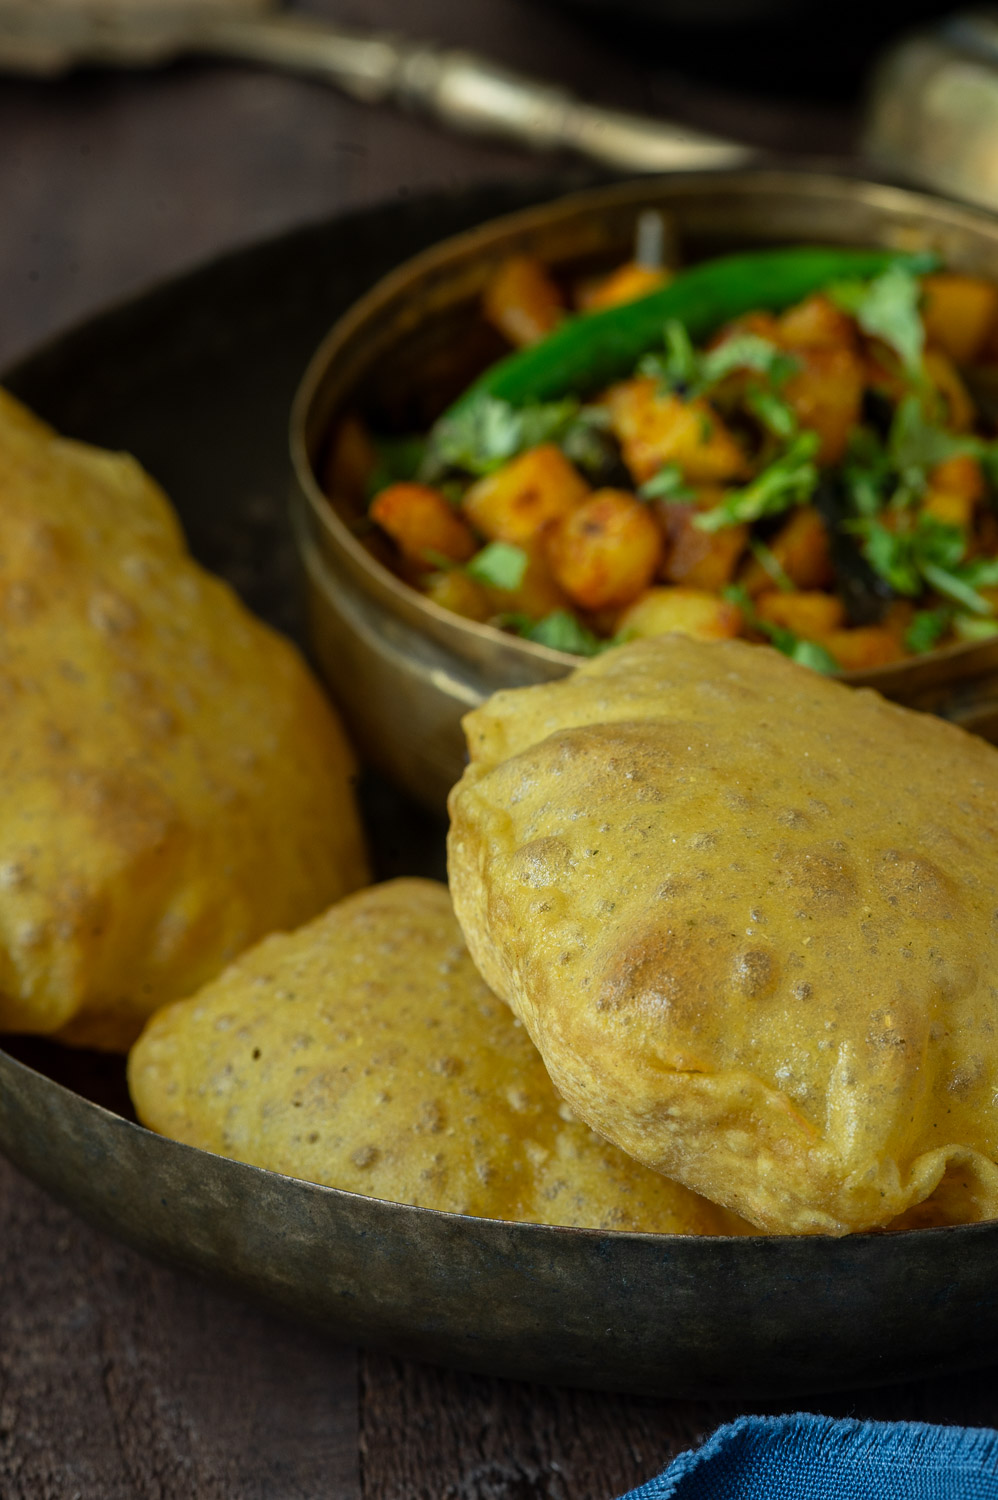
Jowar Roti
(Yield: 3 pieces)
1 cup jowar flour
1/2 cup water
A pinch of salt
In a bowl, add the flour. To this, add water and salt. Mix all the ingredients with your fingertips and massage well, binding them all together. Make 3 balls of the dough and set aside.
Using your palms, roll out the balls. Sprinkle some flour onto the rolling board, and add some flour on top of each ball as well. Gently roll out the balls into flat discs.
Heat a roti pan and add 1 disc at a time. If the roti is thick, then keep your flame on low or medium and cook the roti on both sides.
Now, with the help of tongs, place the roti on the stove or directly on the flame and allow to cook until spots appear. Set aside.
Repeat with the remaining balls.
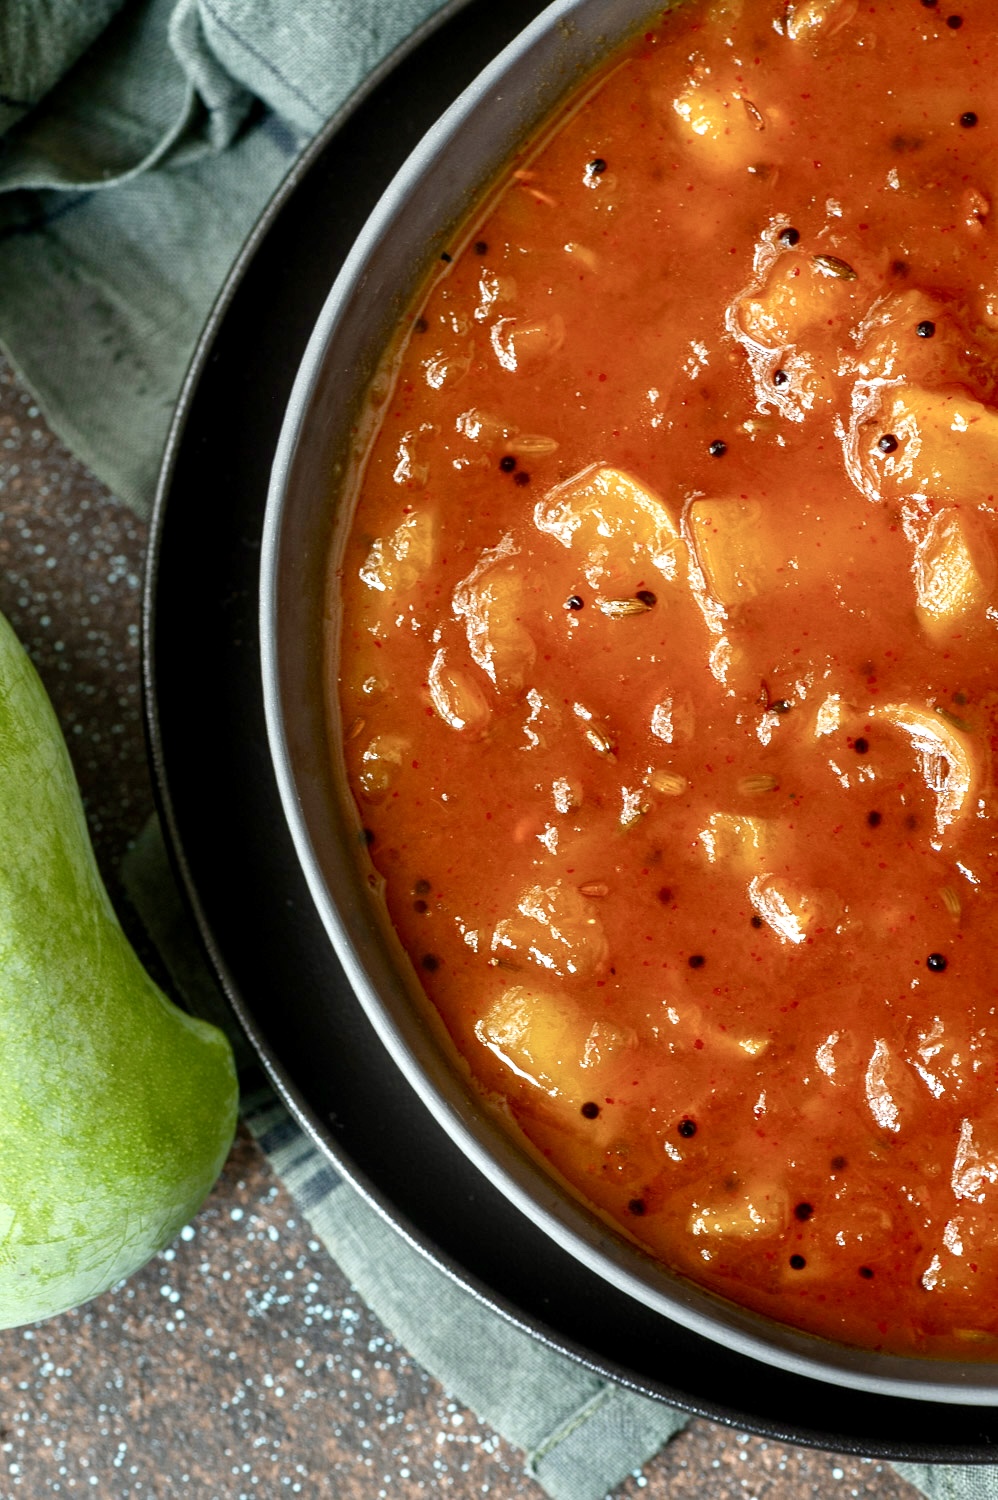
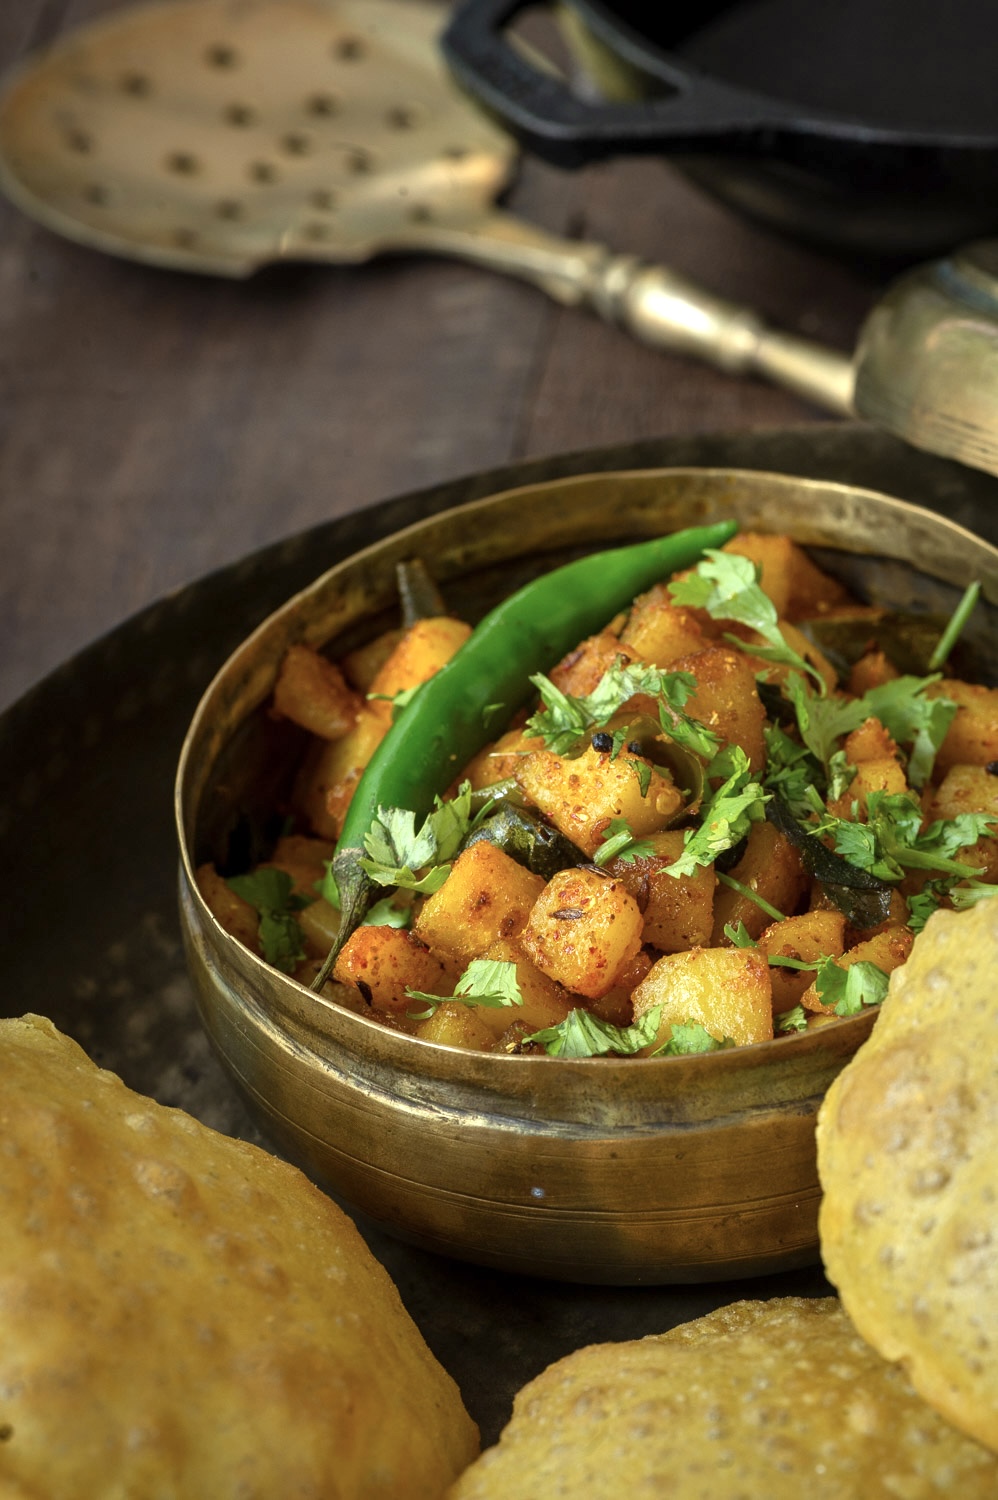
Serve with hot ghee and/or along with subzi or pickle.
Stay tuned for another jowar-based recipe that I’ll share here soon. You may also wish to explore other millet dishes that I’ve shared over the years.