Tag

paneer

Browsing

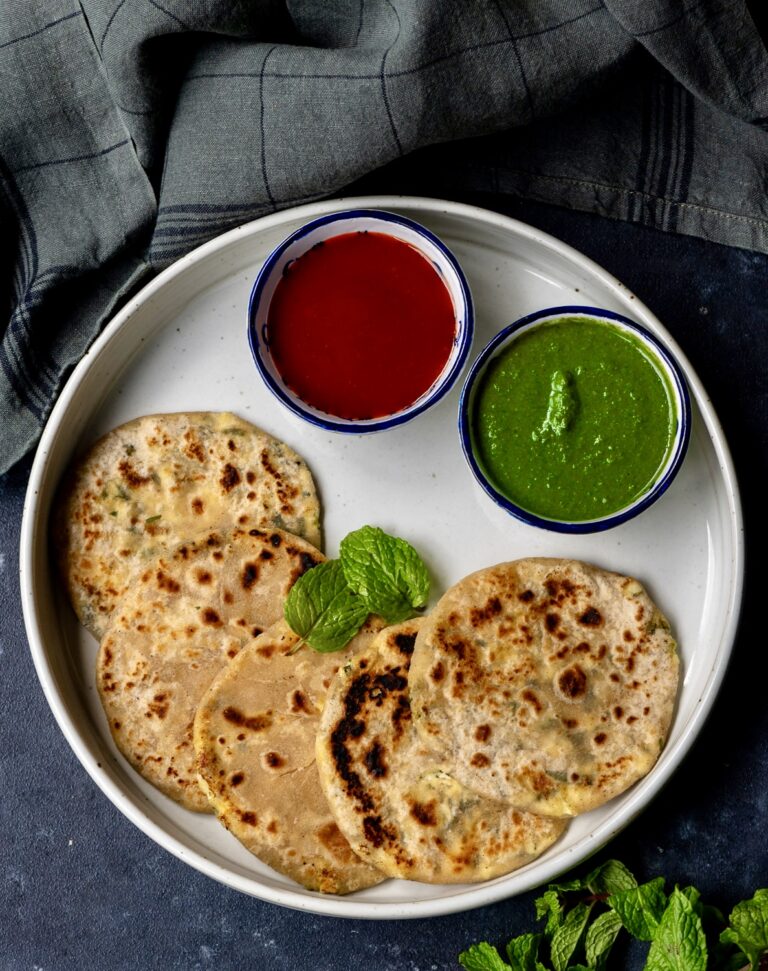
What has become a challenge for me recently, cooking-wise, is figuring out how to pack nourishing and interesting lunches for the office-goers in my home. While I love having a hot Gujarati thaali ready for them, it isn’t always possible for them to come home mid-day. Sometimes, they have to travel a little far, as is common in India, or the day’s schedule is especially busy. It is always better to have home-cooked food in any case, and I prefer that they do so. This means that quite often lately, my mornings begin with a question: “Oh gosh, what shall I prepare for them today?” This is different from the regular daily musings over what to cook, because time is of the essence. The food has to be packed, and made to suit various likes and dislikes, before they leave. This paneer mint paratha is a recipe that came about to fulfil exactly this need.

I know that some of my readers may wonder why these lunchboxes aren’t prepared in advance, but that is because in India it is customary to cook fresh food each day. It is rarely carried forward, except for specific dishes, such as those in the Second Helpings series that I did long ago. Leftovers are consumed as soon as possible, and innovatively. Even so, fresh, hot, home-cooked food is just a preference and a way of life for most Indians.  I think there are many reasons behind why this is the norm. One is that culturally, we don’t believe in wastage so we tend to cook in exact quantities. More often than not, even if we can afford to waste food, we prefer not to because the high levels of poverty here make an impression on us and make us conscientious. The idea is to cook only as much as is required, consume all of it, and then make more food for the next day.

Coming back to the paneer mint paratha: as I said, it is one among several recipes that I’m able to make fresh in the mornings and pack off with my loved ones for their workday lunches. My own workday therefore begins even earlier than theirs, but I’m fortunate to have household staff who help me cope with the demands of a very active kitchen that functions both for my family as well as for re:store. If you have a similar lifestyle, juggling other people’s schedules and preferences while also working either at home or beyond it, dishes like this will come very handy. The same is true if it’s your own lunchbox that you’re packing for.

A good lunchbox has to have a fair bit of thought behind it. The items in it should keep well and still maintain their taste and texture hours after packing, even if reheating is not possible. Items that may spill need to be very carefully packed. Something like this paratha, which doesn’t require a curry and is flavourful on its own, is a safer bet. That said, some curd or buttermilk on the side rounds out the meal, as does a pickle or chutney. These enhance the experience of eating on the go. I really believe that there should be something to look forward to during such lunch breaks, even if they are short and without frills. Filling the tummy is only one aspect of it. Even if eaten straight out of a lunchbox while pausing for just a few minutes, the meal should be appealing and rejuvenate the person who eats it so that they can carry on with the rest of their busy day.

I also came up with this particular paratha because I’ve been growing some herbs and basic vegetables in my garden, including tomatoes and – you guessed it – mint. These grow fast and are pretty easy to cultivate too. Little experiments like this are a lifelong fascination for me. As a child, I would sprinkle mustard seeds on a steel plate and be fascinated by the little shoots that appeared when I would check on them a few mornings later. That always excited me and made me proud. Now, we call these microgreens and incorporate them into healthy diets. Growing various sprouts or certain herbs ourselves is not difficult at all, even if we don’t have the space to grow plants.

Mint works especially well in summers as it has a cooling effect, but I feel it’s great at any time. It pairs well with so many other ingredients, and always gives a very refreshing touch to a dish. The paneer here can be replaced with peas, for instance. Or you can keep the paneer – that is, retain the protein boost – and include peas too. This is a compact lunch, flavour-packed, healthy and very delicious. Whether you’re eating it on the go or in a more relaxed way at home, you and your family are sure to enjoy it too.

Paneer & Mint Paratha

(Yield: 5 parathas)

Paratha

1 cup whole wheat flour
½ cup maida
¼ teaspoon salt
2 teaspoons oil
¾ cup water

Filling

1 cup paneer
2 tablespoons mint leaves (finely chopped)
1 tablespoons coriander leaves (finely chopped)
¼ teaspoon aamchur powder
¼ teaspoon chaat masala
½ teaspoon green chili-ginger paste
Salt to taste

Ghee for frying

First, prepare the dough for the paratha. In a bowl, add the flours and the salt. To this, add water. Make a tight and smooth dough. Set aside for at least 30 minutes.

Prepare the filling by adding all the ingredients to a bowl. Mix gently. Set aside.

Now, roll out the dough into 5 balls. You may find that you have some extra, which you can use for plain parathas.

Using the help of some flour, dust 1 ball and roll it out into a disc. Repeat with all five. Place a spoonful of the filling in the centre of each disc and seal the edges by folding the corners of the dough. Gently roll out the filled discs into small parathas.

Heat a griddle on a medium flame, and place a rolled-out paratha on it. Allow to cook on both sides with the help of some ghee. Roast both sides well until golden. Repeat with the remaining parathas.

Your paneer mint parathas are now ready. You may want to serve them hot with pickle or chutney of your choice, or else pack them into a lunchbox that you or a loved one can look forward to, a little later in the day! If you’re a fan of Indian breads, don’t miss my post on different rotis. There are also a range of paneer dishes to explore on the blog.

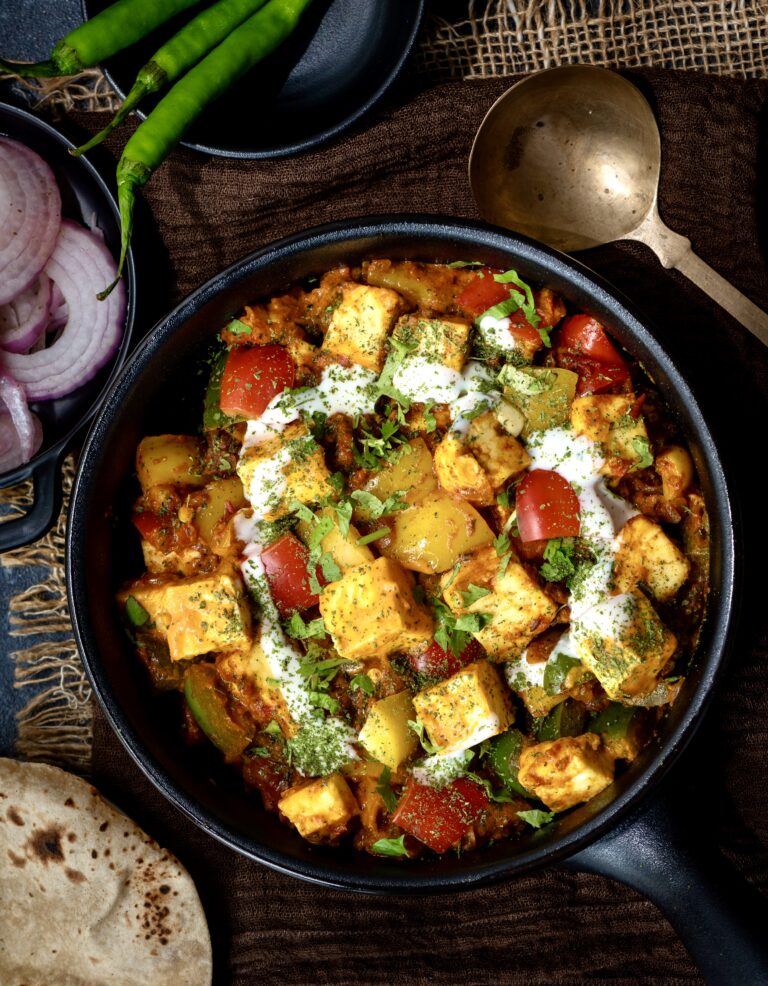
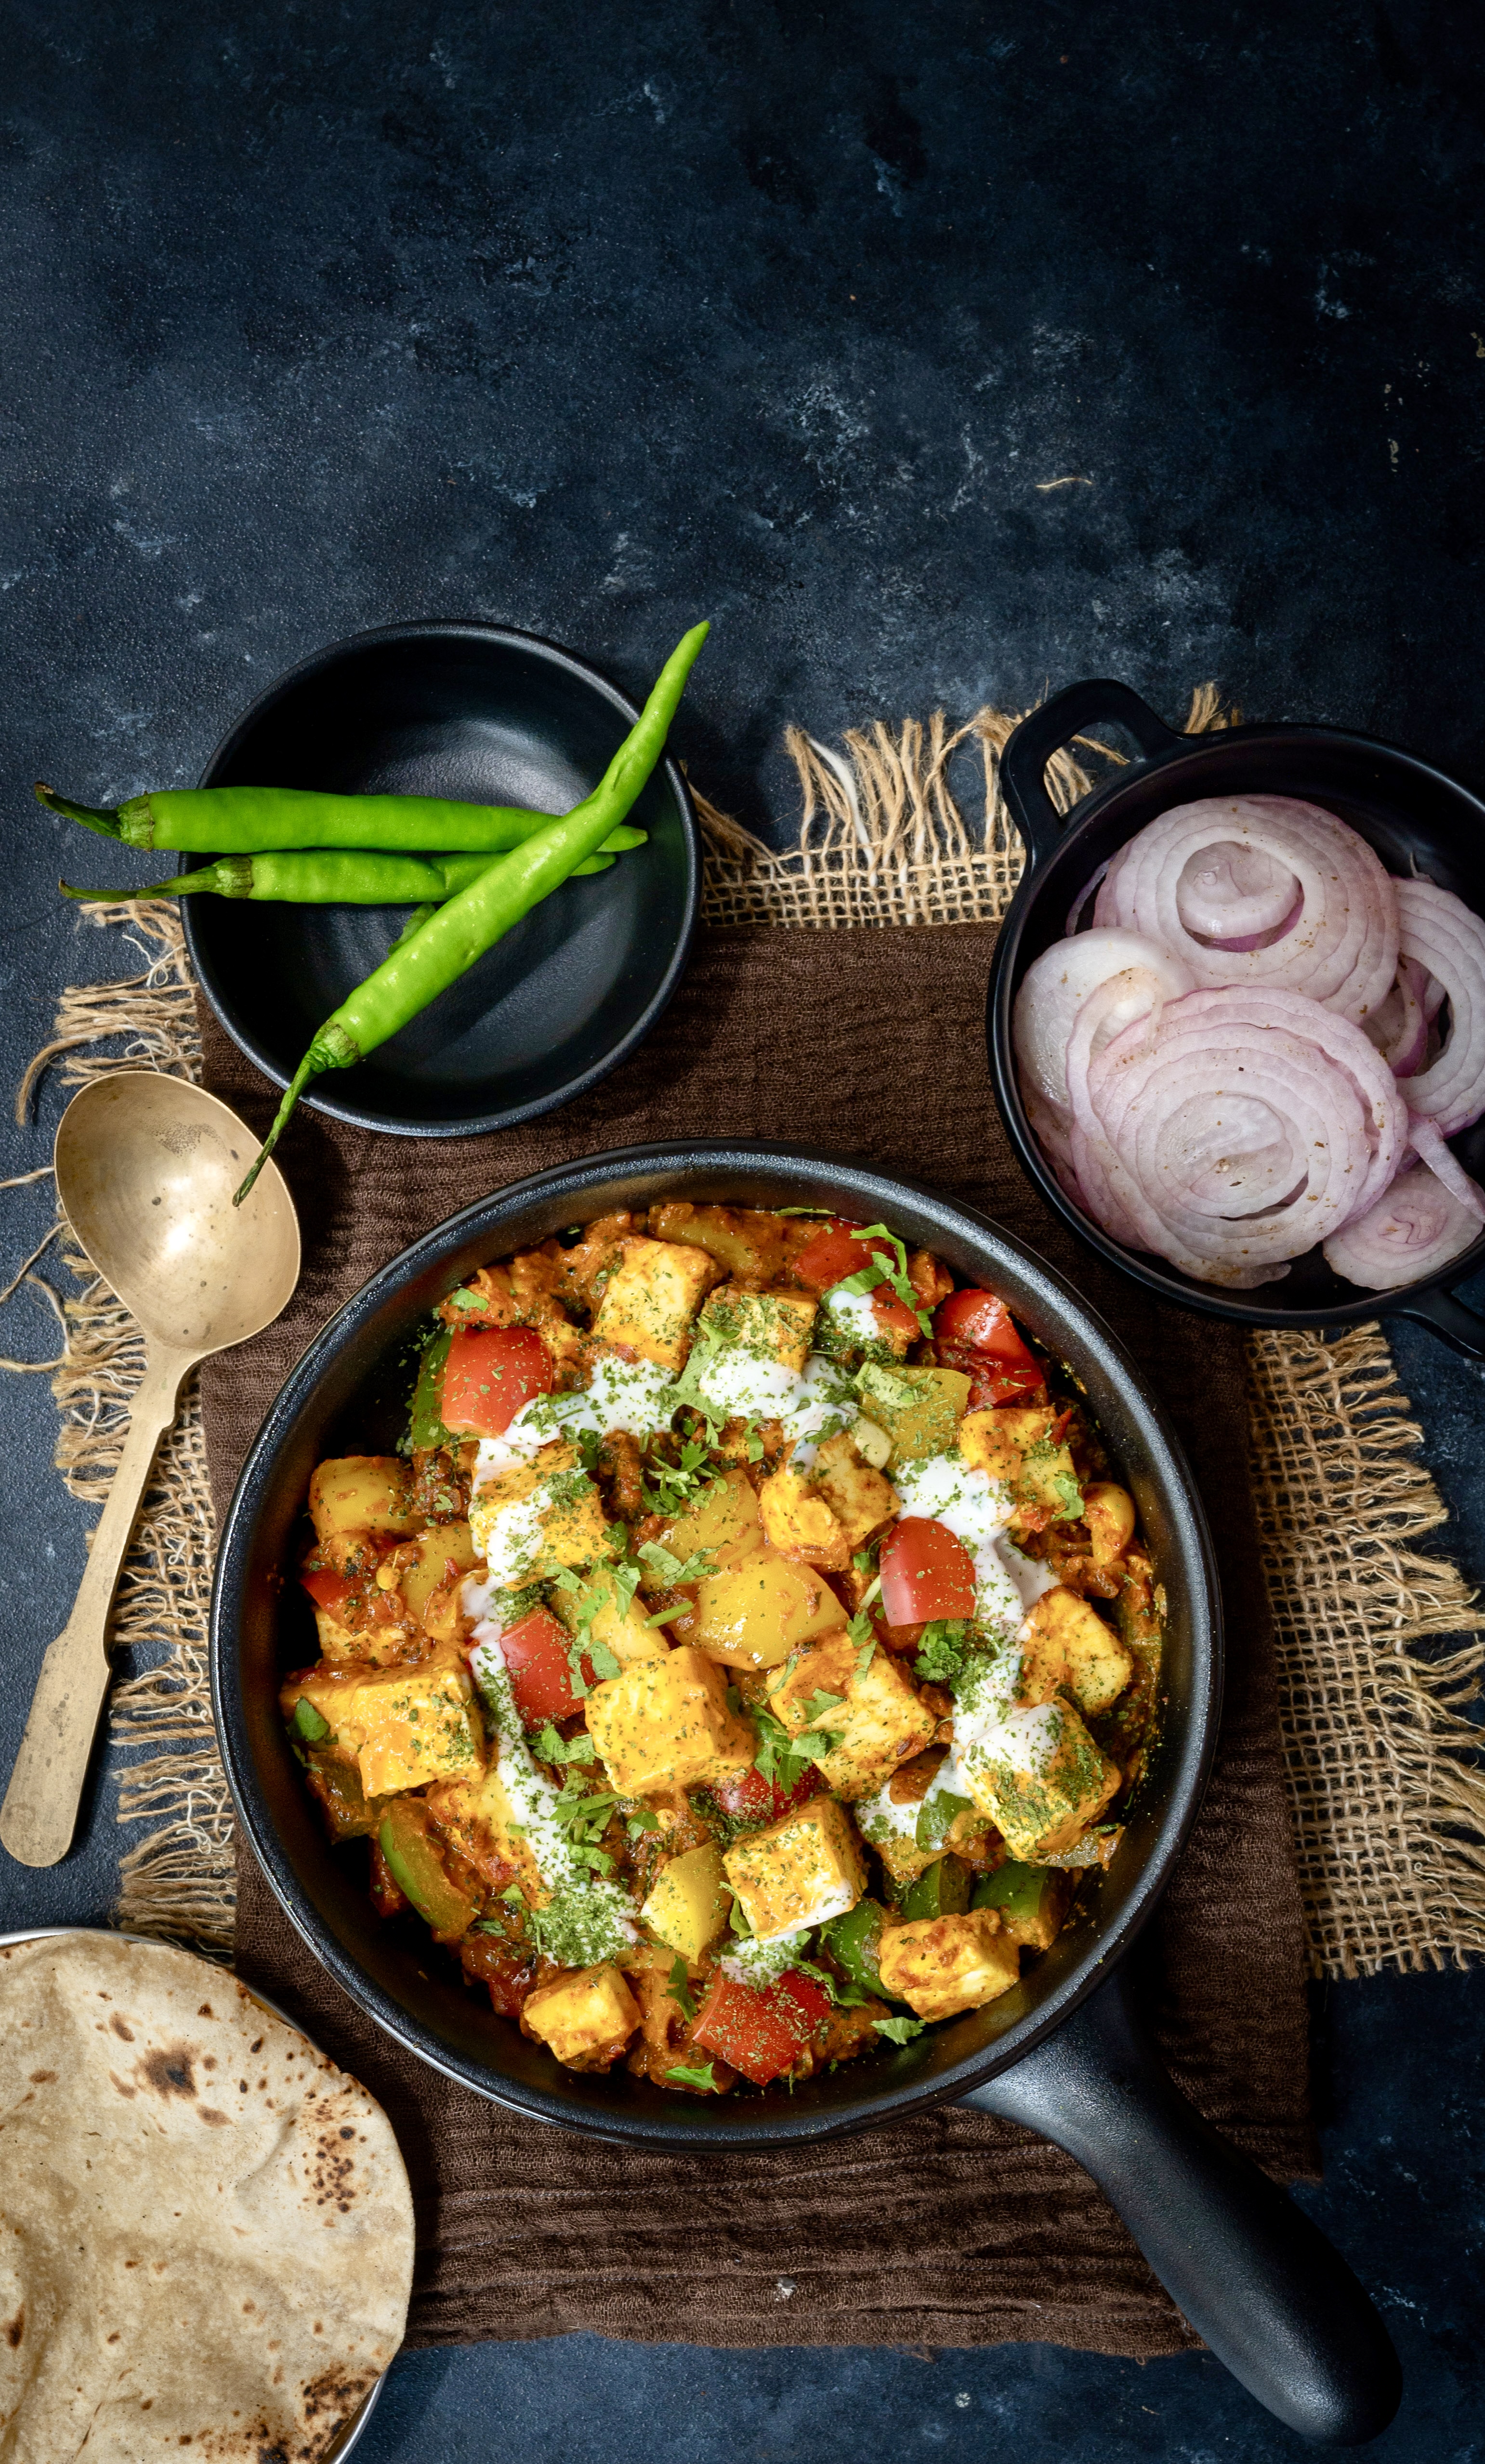
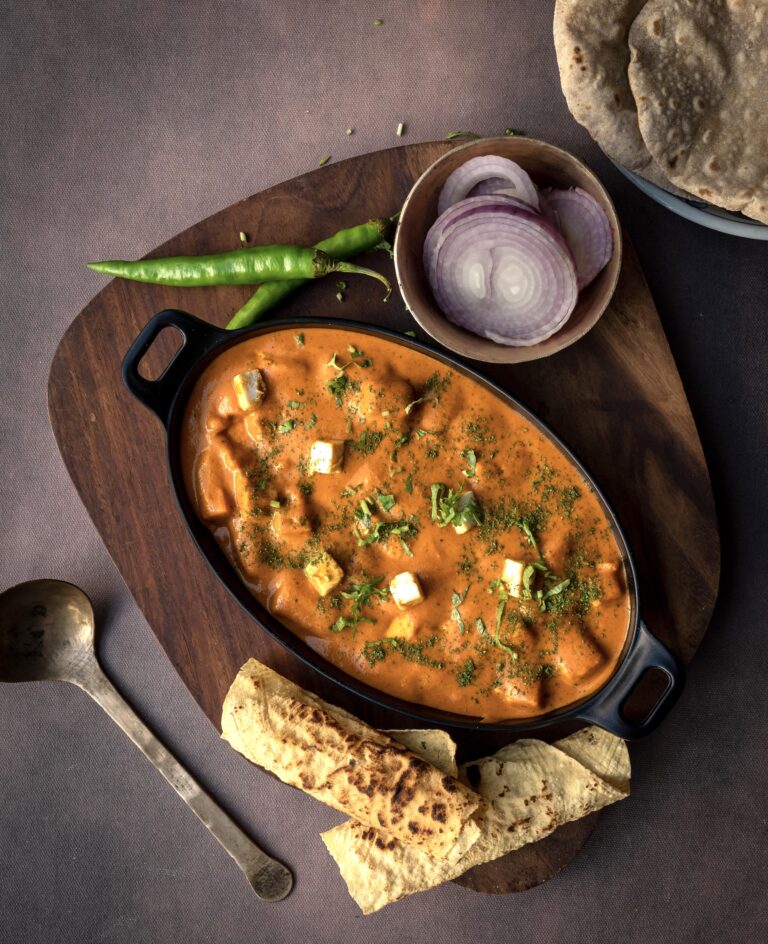
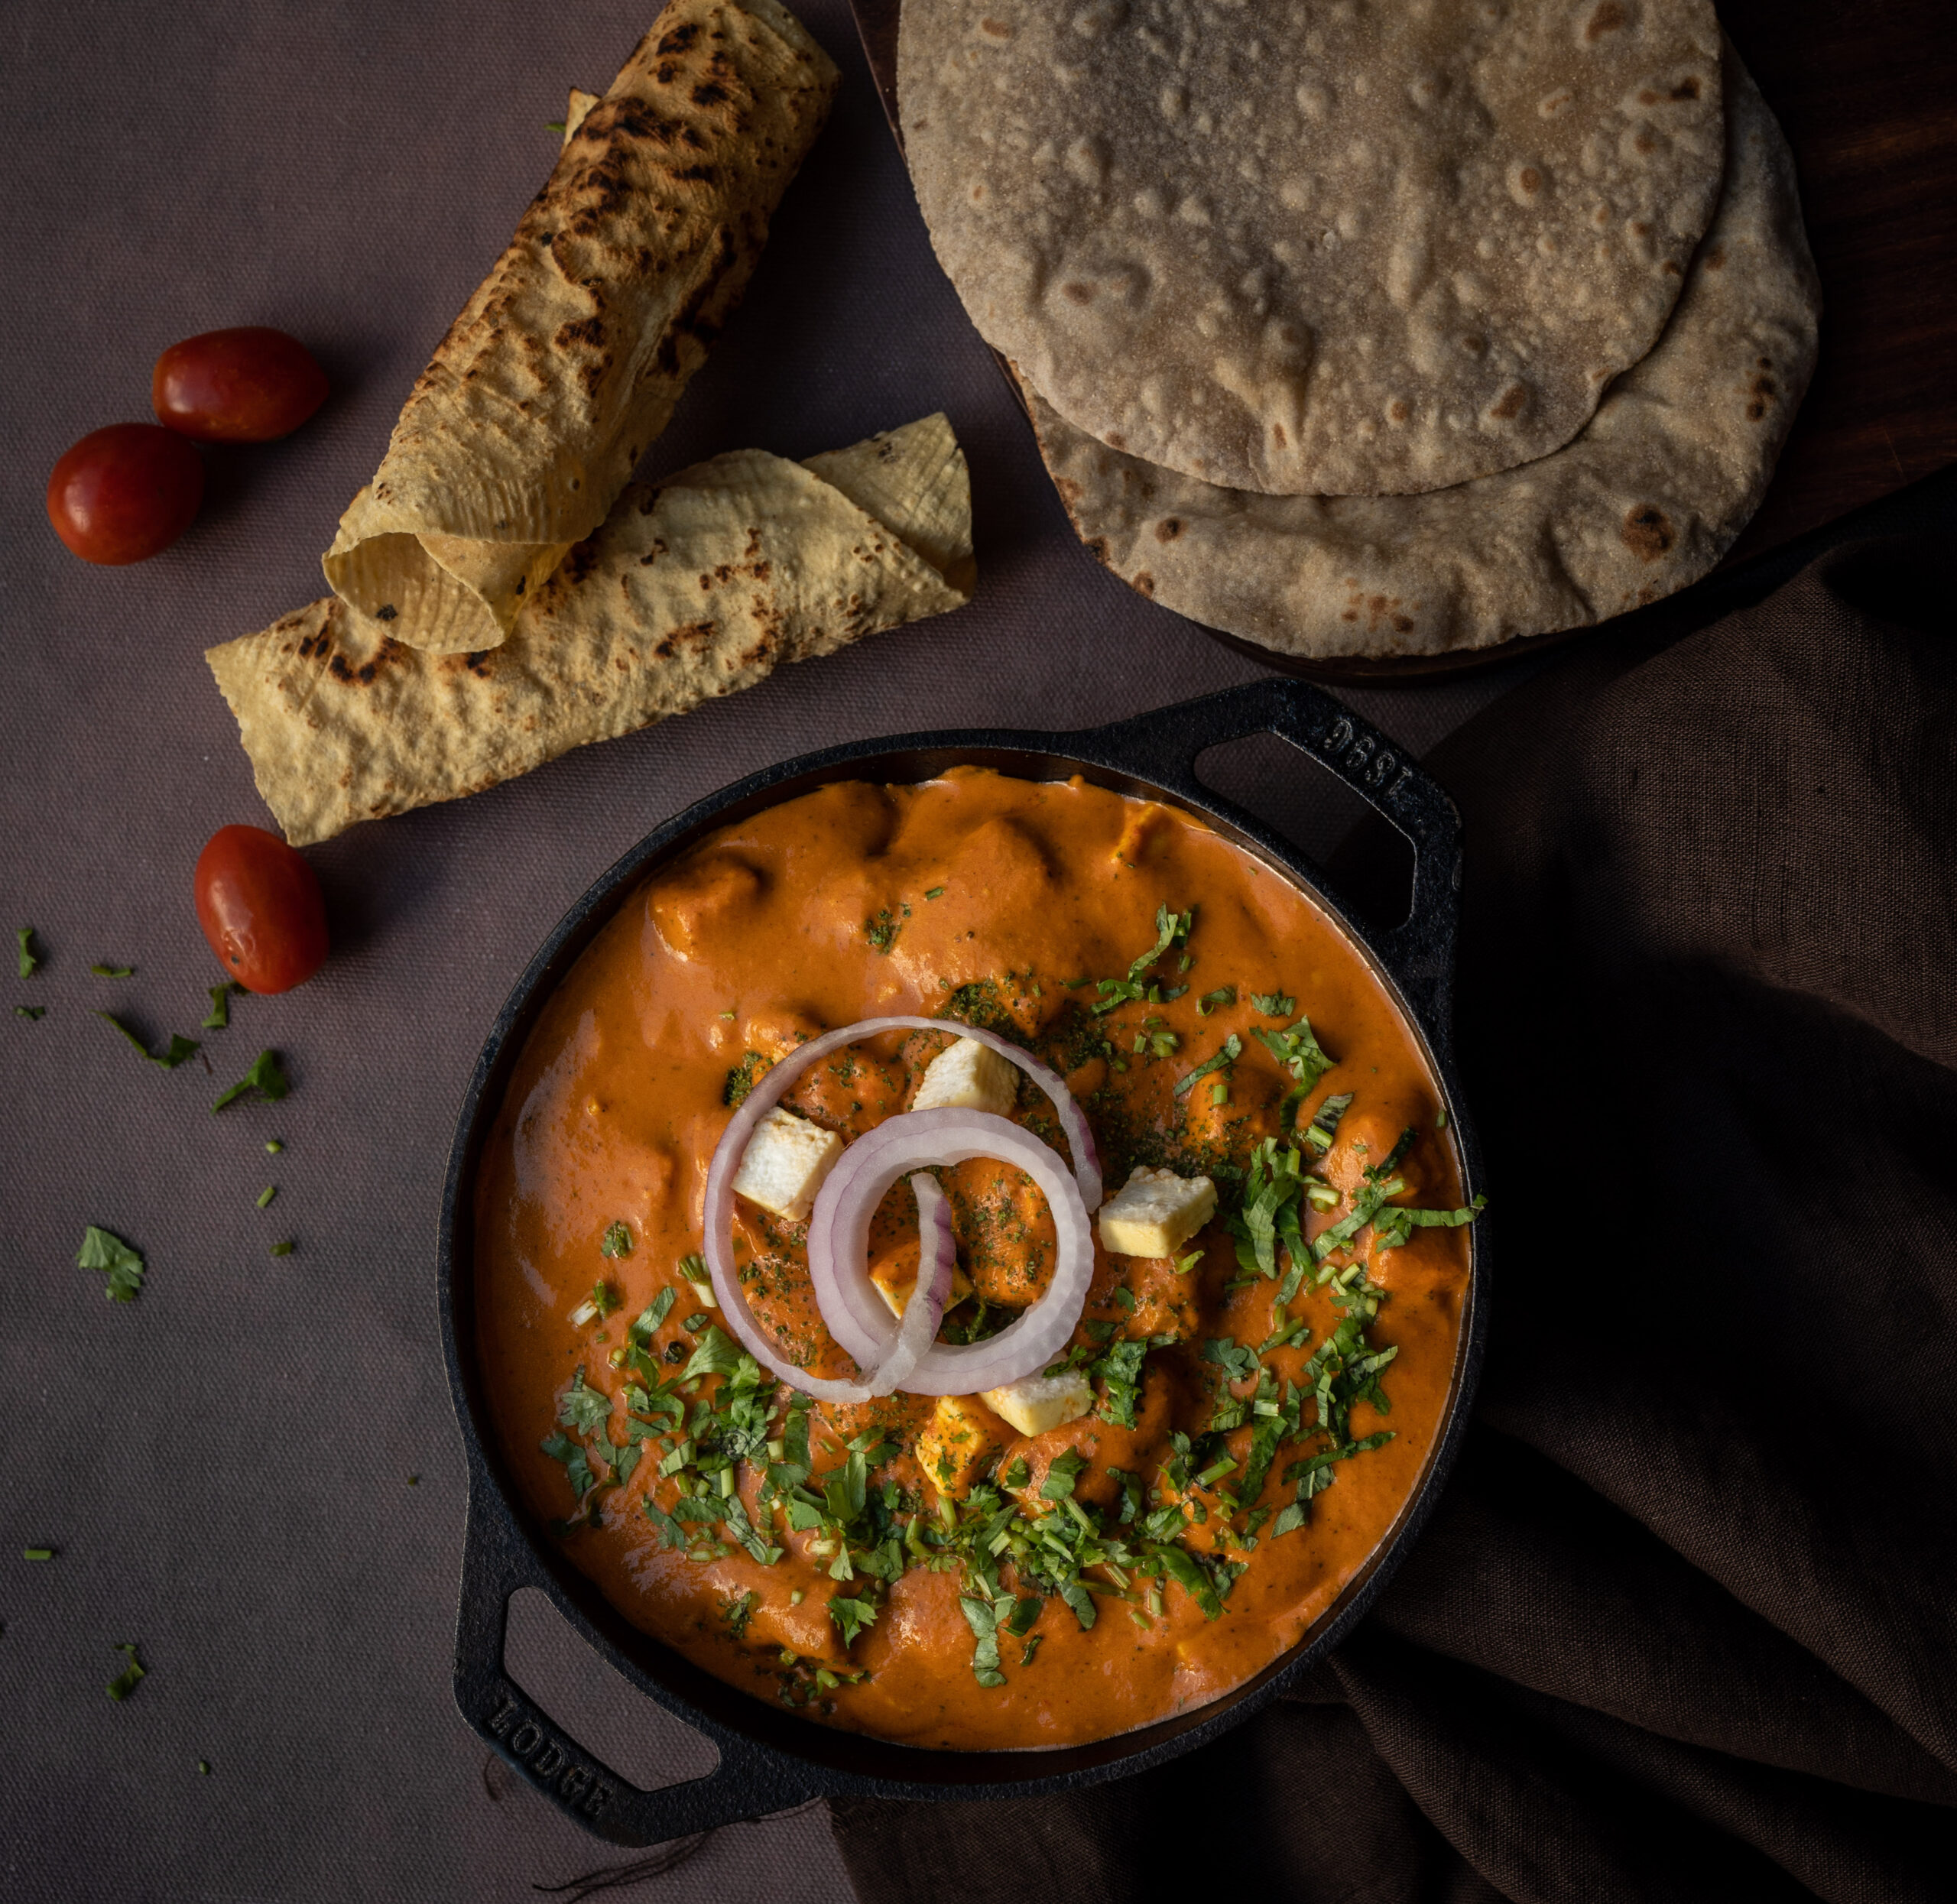
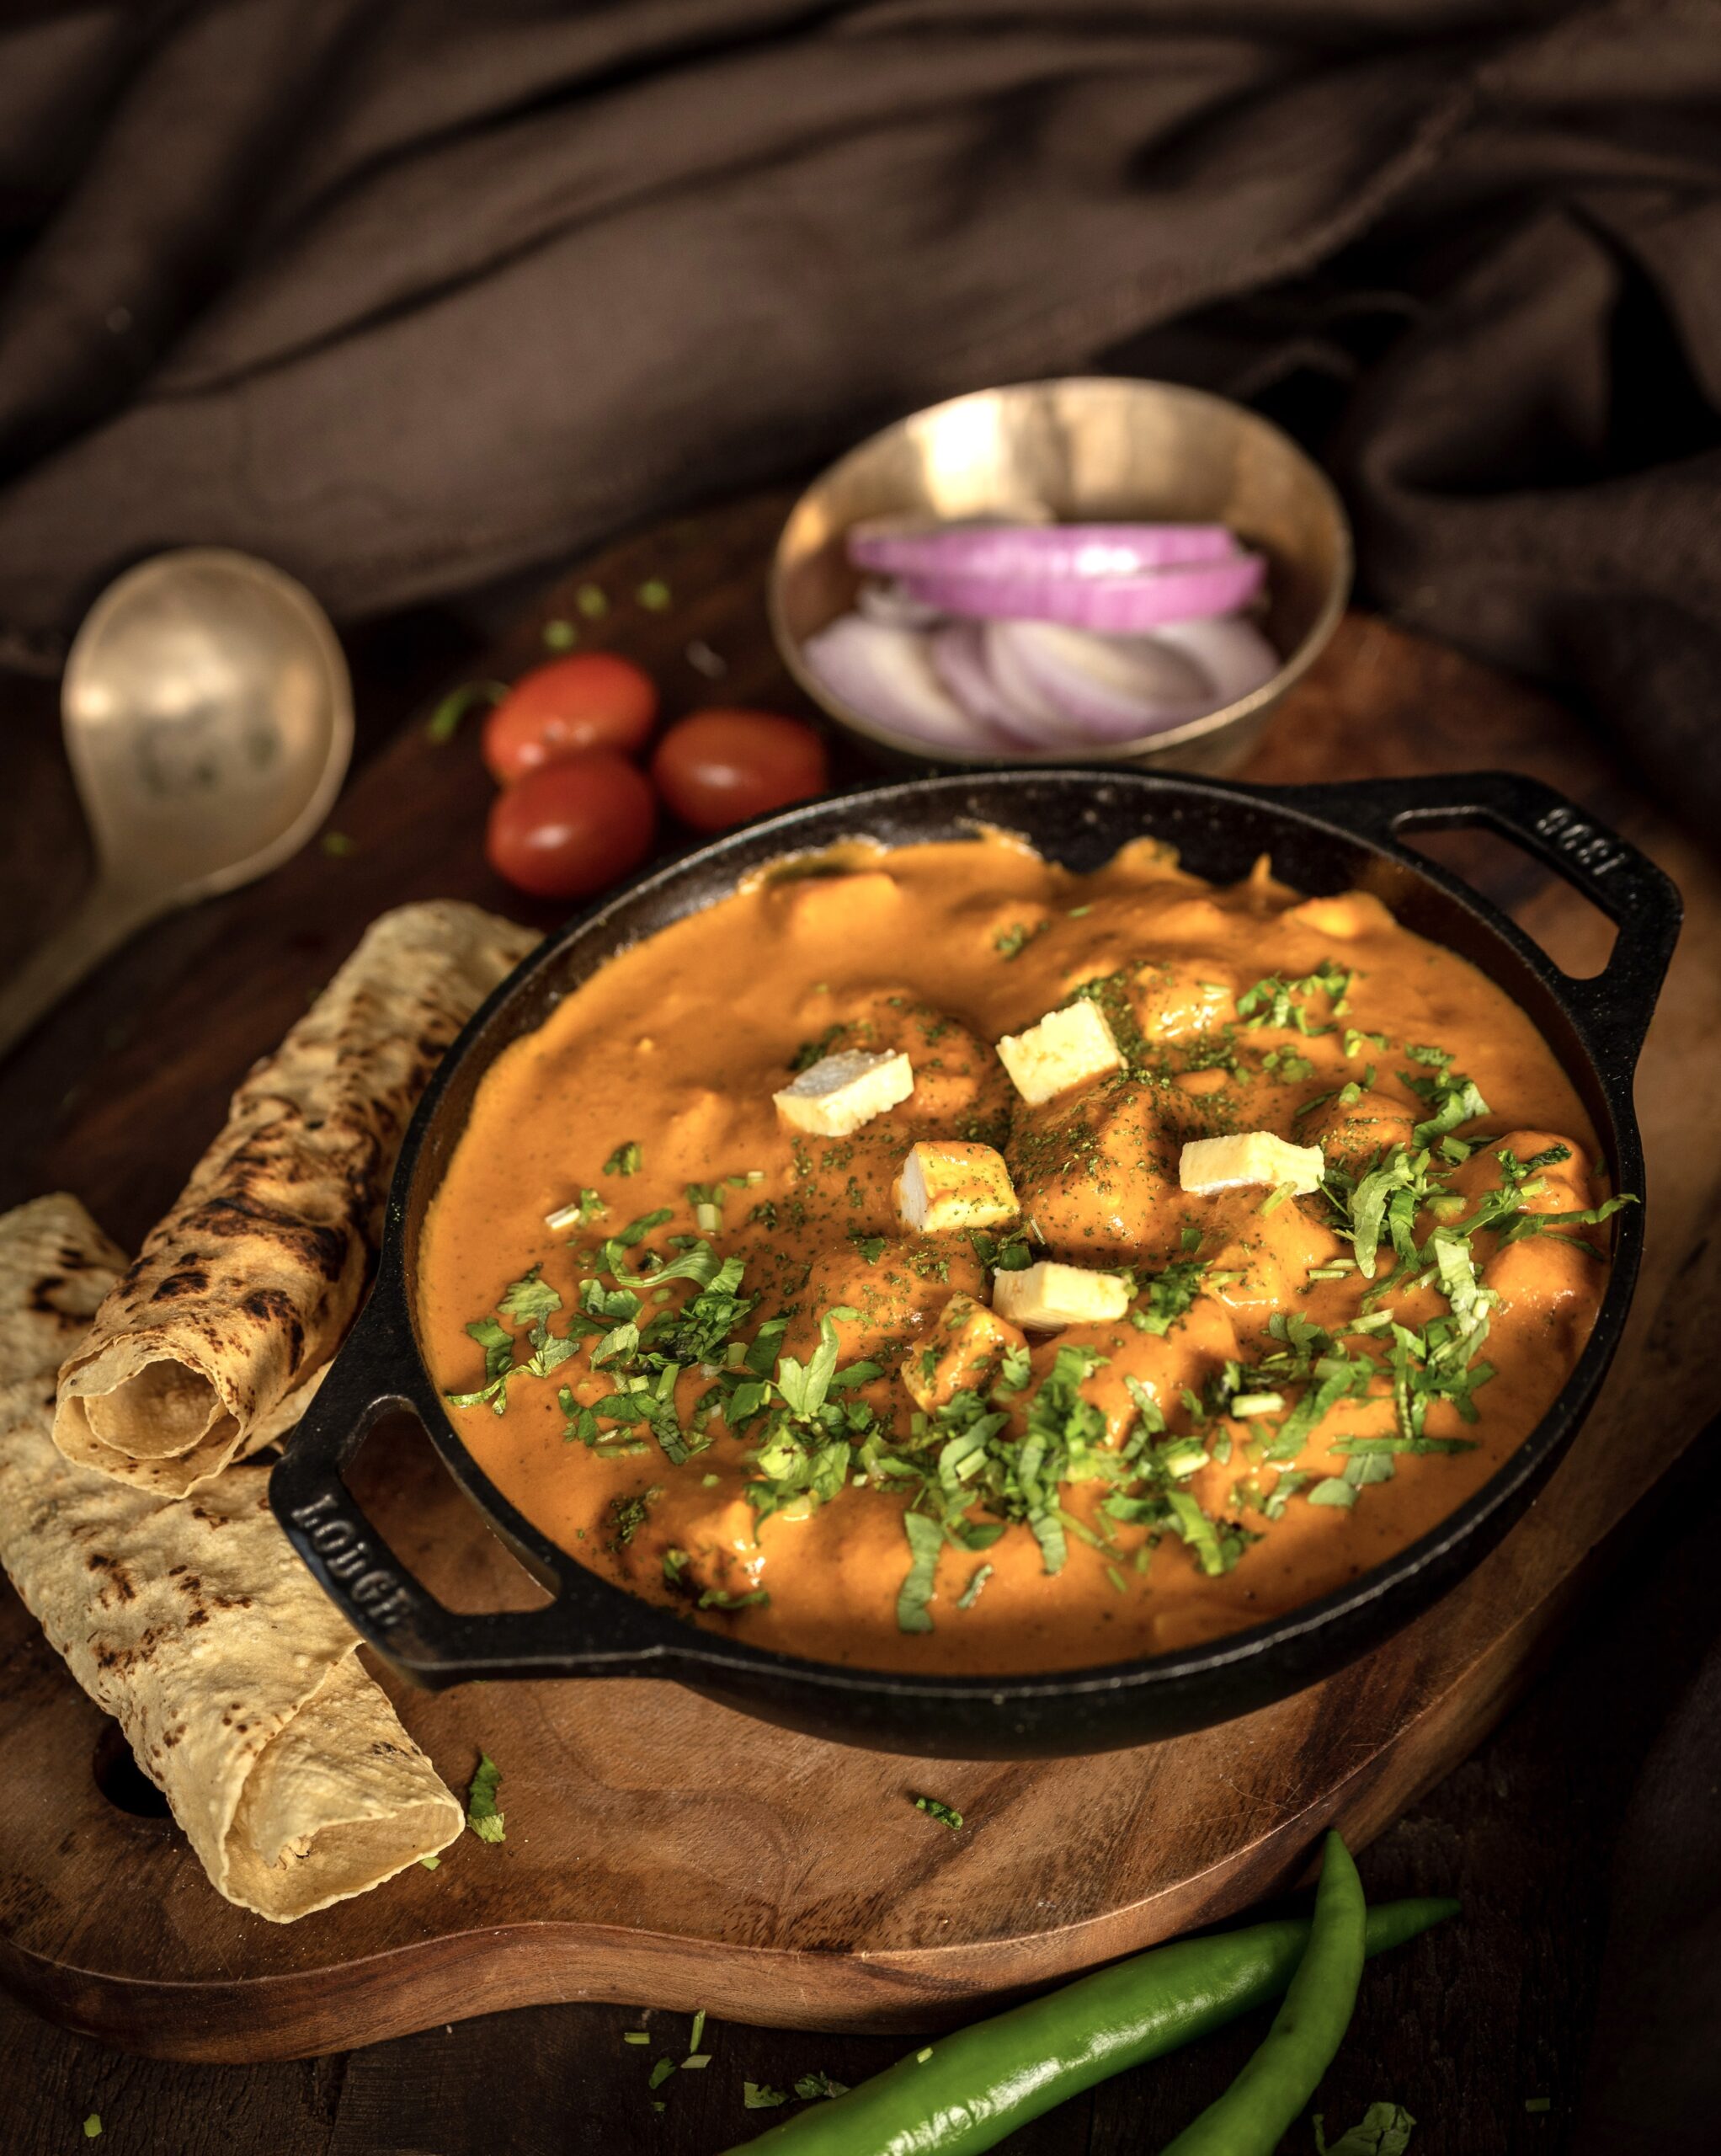
There is a universal love for paneer makhani or for paneer butter masala among those who frequent Indian restaurants anywhere. These are the two most popular dishes when it comes to paneer, and it would be rare to find an Indian eatery that doesn’t offer them. When my kids were growing up, we ate paneer makhani all over the world because that is what they ordered straightaway, without having to check a menu. You may also remember my recipe for paneer makhani, one which our relatives also learnt so as to make my son happy when he visits them. However, as much as I enjoy these dishes too, I believe that the fact that they are the standard go-tos gets in the way of exploring the wide and diverse range of paneer preparations that actually exist. My own personal favourite is kadhai paneer, or a paneer stir-fry that is so named because it is made in a kadhai (a deep, flat-bottomed pan), and that’s the recipe I am sharing today.

I recently shared a recipe for chilli tofu, and this one is distinct from that one because of the spices that I use. What makes my version different from a restaurant version is that it also incorporates some vegetables. In fact, I think this is true when it comes to most household paneer preparations anyhow, if not in the dish itself then in accompaniments. Paneer dishes I have eaten at people’s homes always tend to be healthier and to utilize more greens and vegetables rather than just paneer. When it comes to home cuisines one doesn’t usually see oil floating at the top of the gravy or other such excessive uses, which are delicious during an outing but better avoided regularly. There is more variety too, as there is so much more to paneer than what has been popularized by restaurants.

I’m a big advocate of home-cooked meals, always: you know what goes into every dish, and will take care to make sure it’s good for you and for your family. I believe there’s a world of difference between restaurant food and household preparations in terms of healthiness. All that said, one nutritious paneer dish that is also available at eateries is the palak paneer, which features spinach. Of course, if you make it at home, which you can with my recipe [hyperlink], it’s even better!

Paneer really does pair well with most vegetables, taste-wise and not just as a way to make meals healthier. Here, I have used chopped bell peppers. I usually like to cut them tiny as they look beautiful, but this time I decided to do bigger cuts. This is because bigger vegetable cuts require us to chew better, which makes our digestion easier. However you choose to cut them, I would suggest adding an array of any vegetables you enjoy, keeping in mind that a colourful presentation is pleasing to the eye, to the tastebuds and to your overall well-being too. As many have said before, “eat the rainbow”.

This will certainly not be the end of the paneer recipes that I will share on this blog, especially as I’d like to highlight more diverse preparations. I am sure there is more to come, as and when a recipe strikes, a mood hits or a desire to eat a particular food occurs. Sometimes the inspiration is creative: a visual will come to mind and I will write it down quickly so that I don’t forget, and then recreate it in a photoshoot later. For me, these recipes are so that nothing is lost amongst the memories in my head, and so that my children can retrieve them whenever they wish to – and so can you.

Kadhai Paneer

(Serves 2)

2 cups bell peppers (different colours)
1 cup diced paneer
1 tablespoon oil
1 teaspoon cumin seeds
½ cup onions (finely chopped)
2 cloves garlic
1 green chilli
1 large tomato finely chopped

1-inch ginger (grated)
Salt to taste
½ teaspoon turmeric
1 teaspoon Kashmiri red chili powder
1 teaspoon garam masala
1 teaspoon coriander powder
1 teaspoon kasoori methi (crushed)
1 tablespoon milk

Garnish
Kasoori methi
Cream (optional)
Beaten yoghurt
Coriander leaves

Heat a kadhai and add the oil. To this, add cumin seeds, grated garlic and onions. Roast until golden. Now add the green chilli, ginger and tomato. Sauté until tomatoes are tender. Add the salt, turmeric powder and red chili powder.

Add the bell peppers. Sauté, then cover until they are tender but not releasing water. Once they cook a little, add paneer followed by garam masala and coriander powder. Finally, add kasoori methi and milk.Garnish with beaten yoghurt, kasoori methi and coriander leaves.

I find that this kadhai paneer is best with plain roti and works well as a tiffin box item as well as served hot and fresh. I hope you’ll enjoy it as much as I do, and I also encourage you to explore the other paneer recipes I’ve shared here over the years.

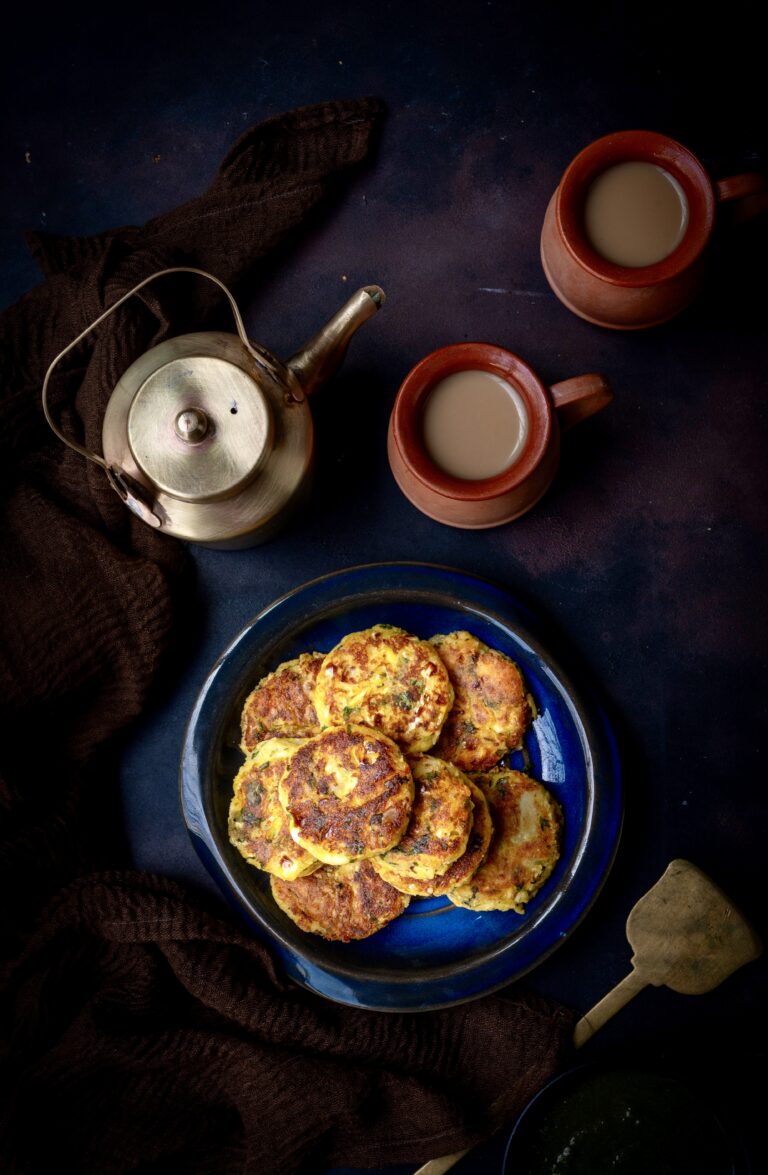
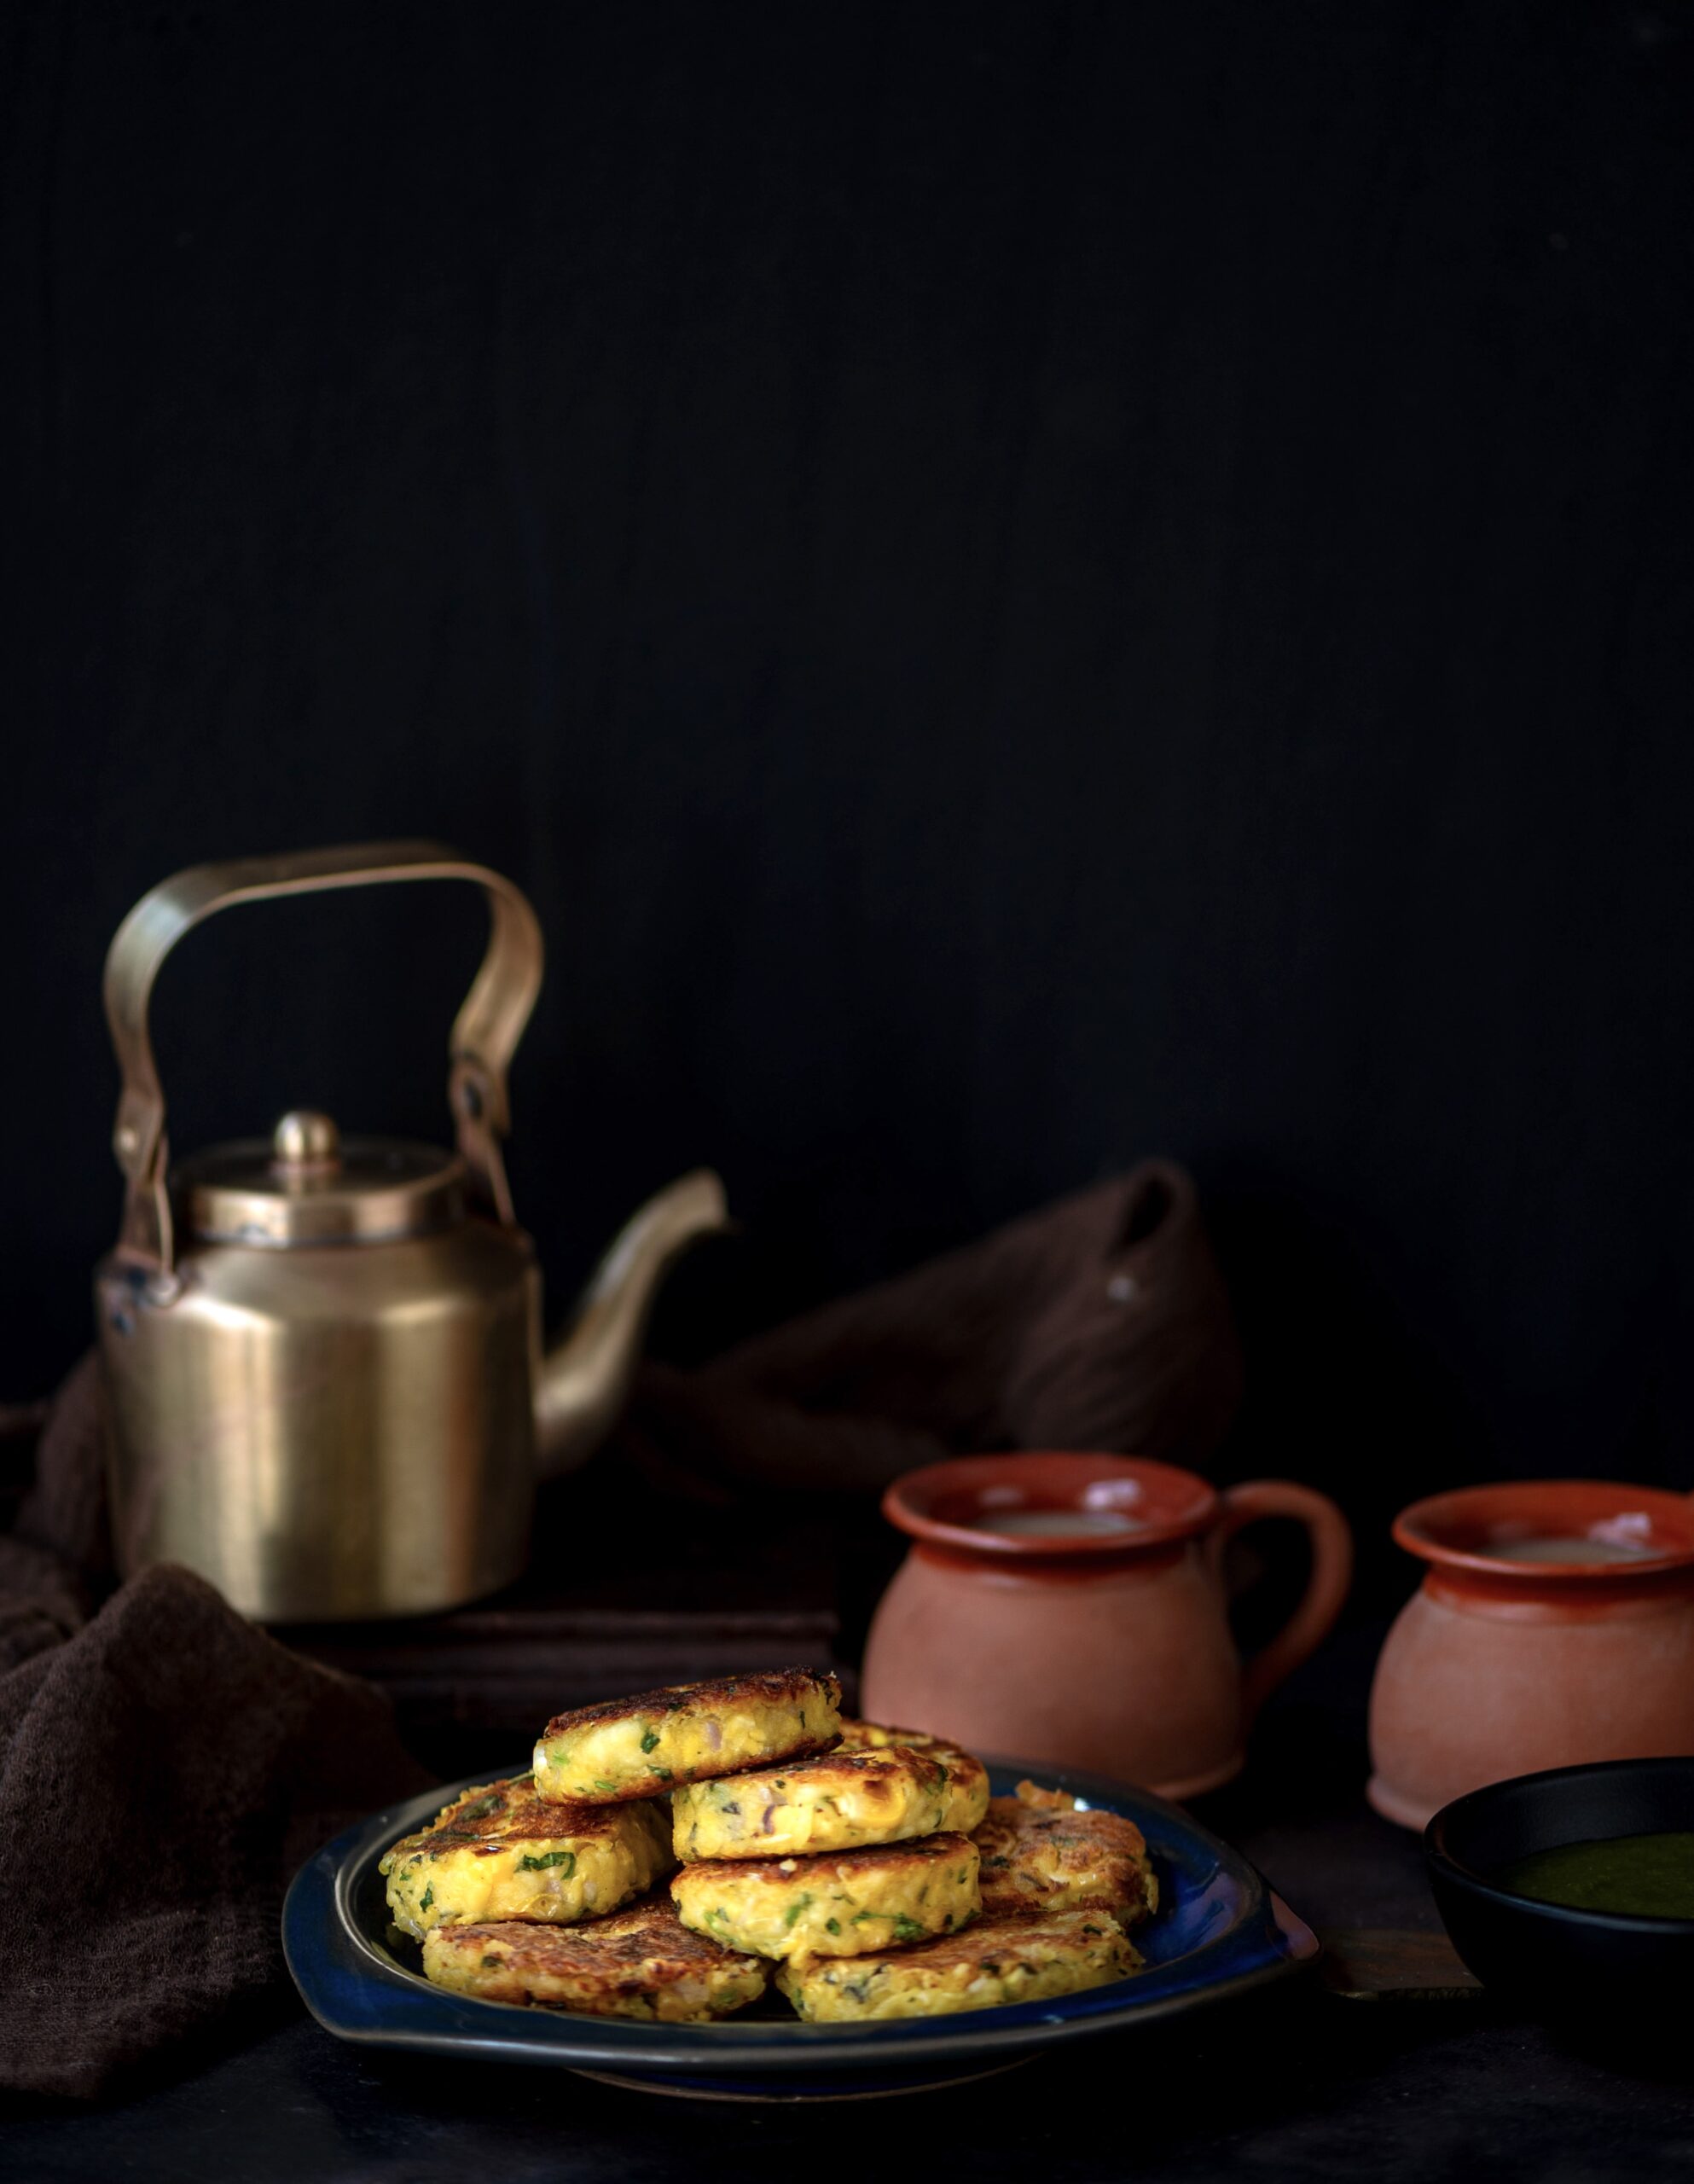
I am among a lovely group of friends who make it a point to carve out time from our respective schedules and meet often. We are always there to entertain one another, to lend an ear during times of trouble, and to celebrate birthdays and other special occasions. At least once a month, we get together just to catch up – sometimes these are wine evenings, and yes, sometimes these are “whine” evenings too, but all said and done we just love to have fun! A part of having fun means taking the pressure off any individual to cater and host, so we usually have potlucks. We come from different backgrounds and have different culinary skills and styles, so we wind up enjoying an eclectic spread. My forte is homemade cakes and desserts, although I’ll occasionally bring a salad along. One particular friend in this group is famous for her paneer and corn cutlets, and in the spirit of creating even more fun, here is the recipe for it.

Whenever she brings her cutlets to our gatherings, we simply swoop down on them as they are amazing. We never tire of eating these, and she was generous with the recipe so that we could all have them more often too. For me, they called to mind my mom’s cutlets, which utilized potatoes rather than paneer. I made some tweaks, as I usually do, and this recipe is a combination of both of theirs.

This is a bit different from the usual cutlets that have only a single main ingredient. You can choose to substitute either the paneer or the corn with a filling of your choice. For some inspiration, you can check out some of my cutlet recipes from earlier too.

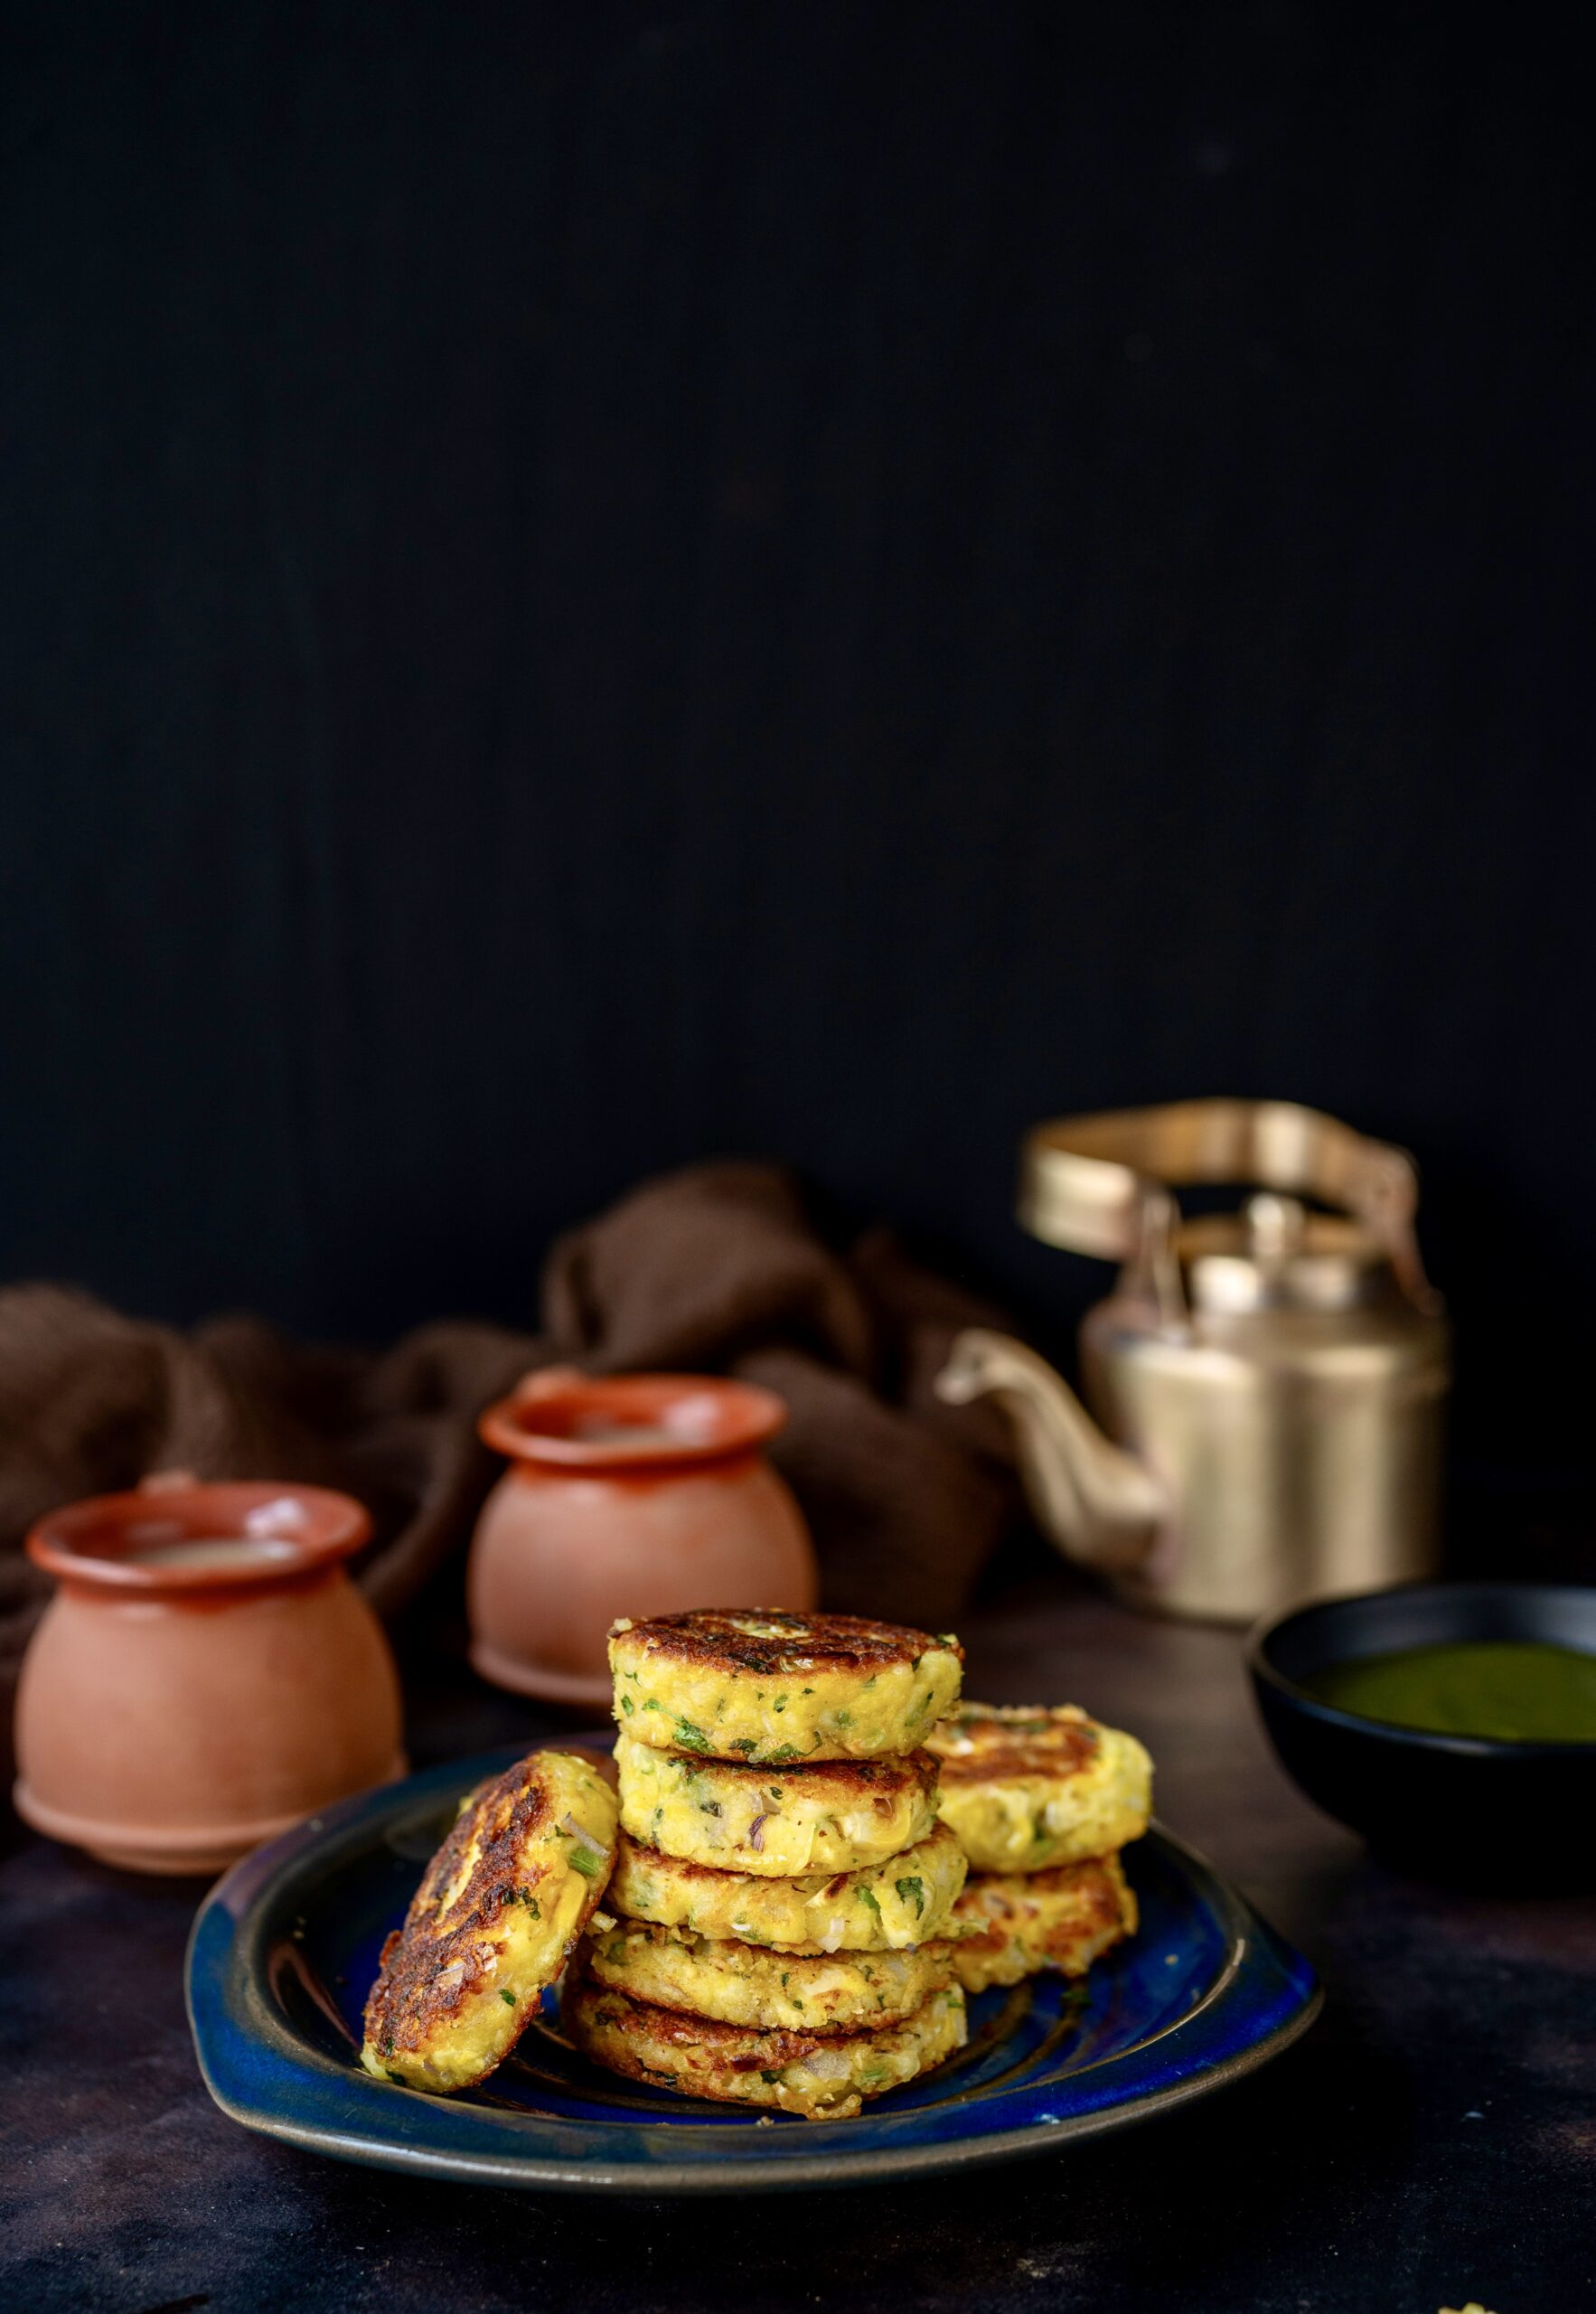
I chose to use paneer as I try to avoid using gelling agents like potato, cornflour and breadcrumbs in my cutlets to make them healthier. You can certainly use these if you prefer, especially as you will get a firm and thick cutlet with a proper shape if you do. Mine are softer, and cooking them in a flat pan can be a bit more difficult. I use a non-stick pan with very little oil and cook each cutlet on both sides. I don’t deep-fry them, so that they make for a somewhat more nutritious snack or starter.

Aside from my girly gang, my family also love these corn paneer cutlets, so I try to use them in versatile ways. Aside from being served with a dip or chutney, they also work well as patties. The large ones can even be served as the main part of a meal when you are avoiding grains. To make them bigger, you’ll need to dip them in egg and breadcrumbs, in that order, and pan-fry them. Then, layer them with vegetables and bread and have them as burgers or sandwiches. The mini ones can be turned into sliders too.

Corn & Paneer Cutlet

(Yield: 6-10 pieces)

1 cup grated paneer

½ cup whole corn (finely chopped)

1 teaspoon ginger green chili paste

1 teaspoon garam masala

1 teaspoon chaat masala

2 tablespoons coriander leaves (finely chopped)

Salt to taste

2 tablespoons oil

In a bowl, mix all the above ingredients using your fingertips.

Now, make small discs. Press them well so that they do not split while cooking and are slightly flat.

Add some oil to a heated pan and place the flattened discs on it.

Do not move them too much or flip them too quickly. Allow to cook on one side and only then gently flip them. Let them turn a golden colour on both sides.

Remove them and serve hot with a chutney of your choice.

Personally, I love making them bite-sized and popping them into my mouth with green chutney. As with many things, these corn and paneer cutlets are even better in the right company! I hope these make their way into your potlucks and parties too.

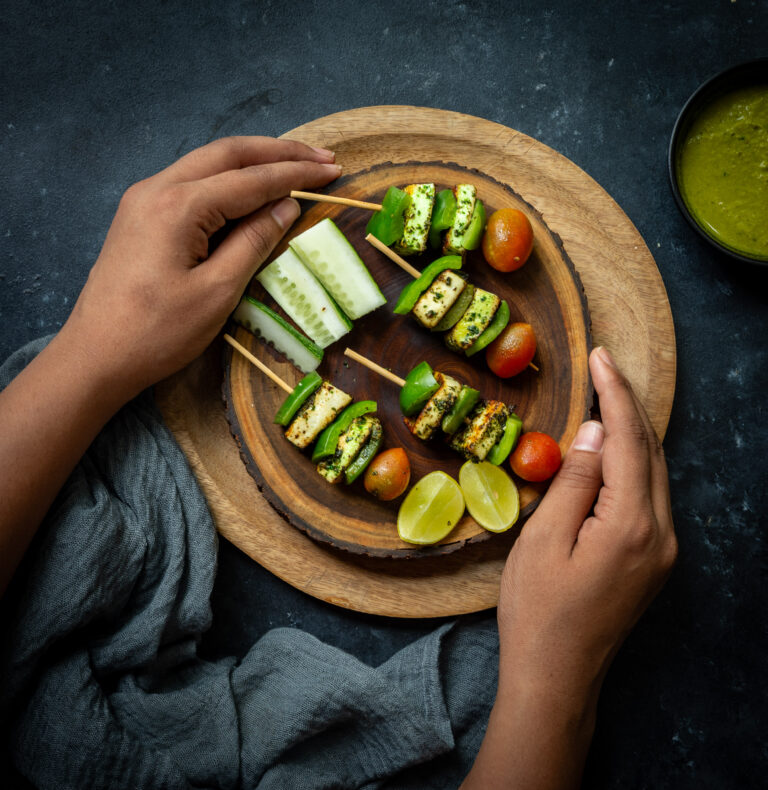
Paneer is a great source of protein, especially for vegetarians (although unfortunately, not for vegans). It is an ingredient that is widely considered as being iconic of Indian cuisine. In fact, even within India I find that restaurants seem to offer fewer vegetables and greens on their menus and a wider variety of paneer options. This is probably because it is very versatile, and goes with any sauce or gravy. Personally, as much as I love it, I do reach out for paneer a bit less as it has a high fat content, and is made of dairy, which I find myself a little lethargic after consuming too much of. Which is easy to do, of course, given how delicious paneer is. As I’ve said before, all food is good within a limit. And this grilled pesto paneer, which is a fusion dish that further expands the possibilities of paneer, is very good indeed.

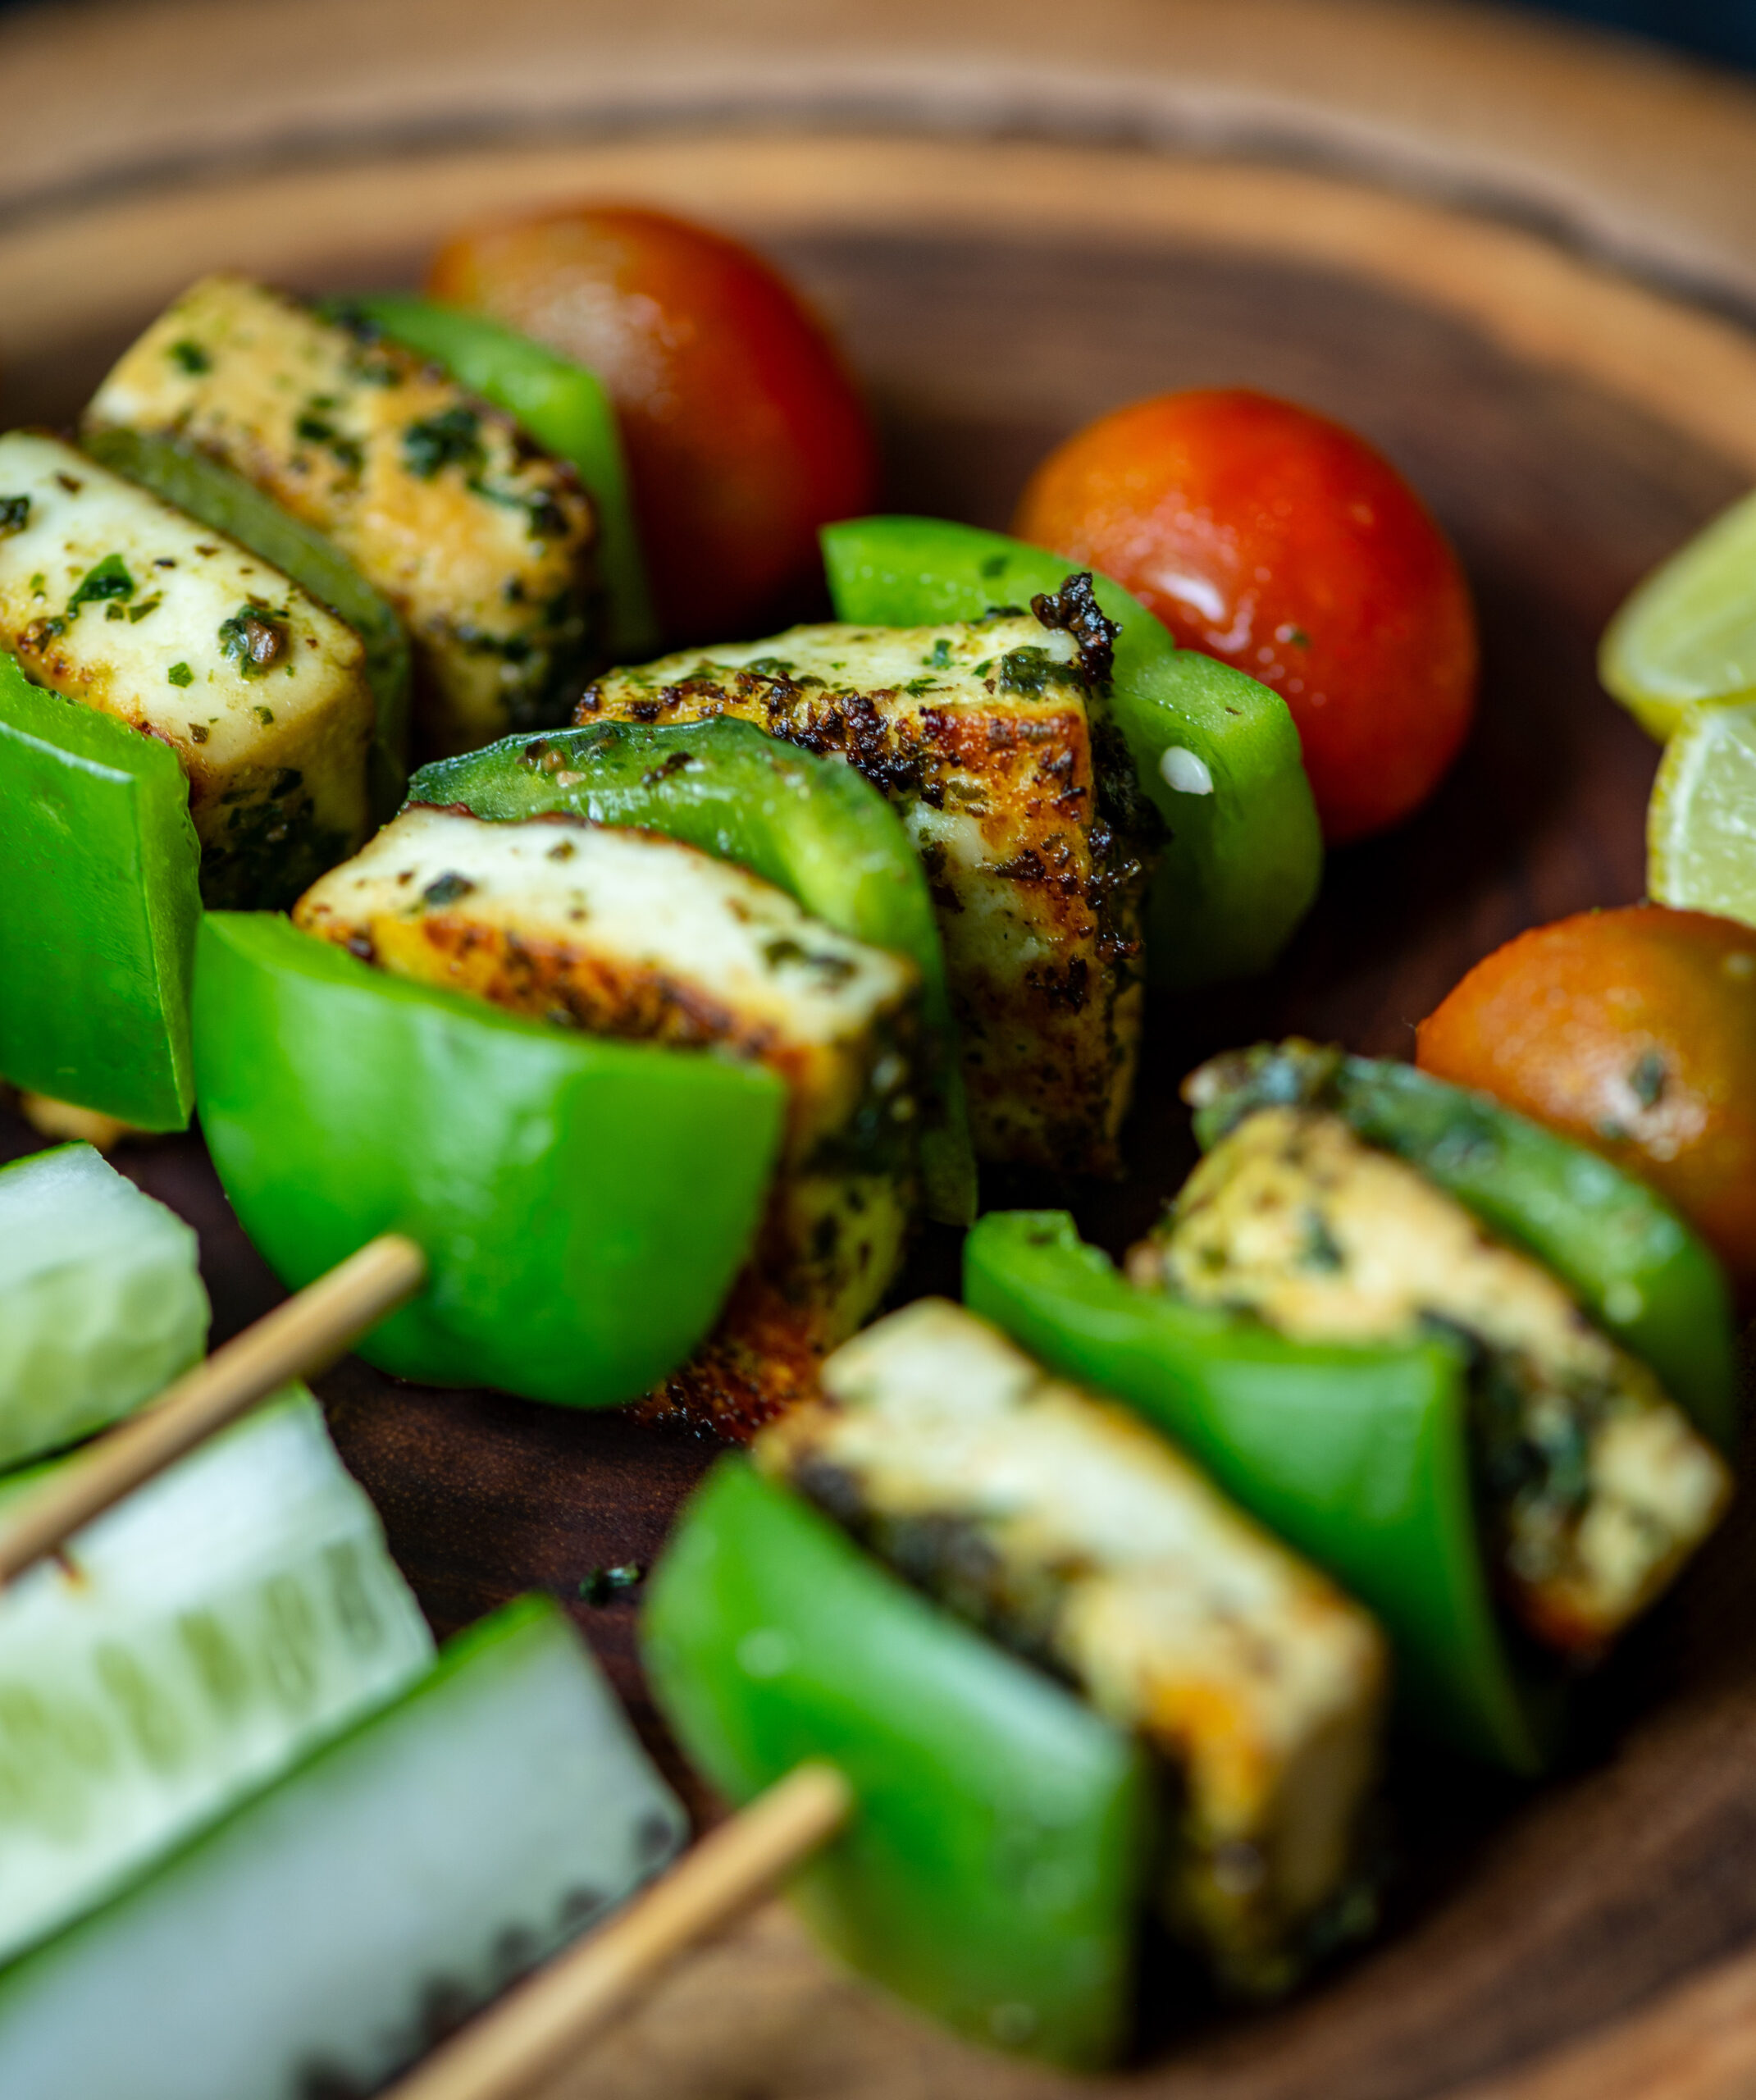
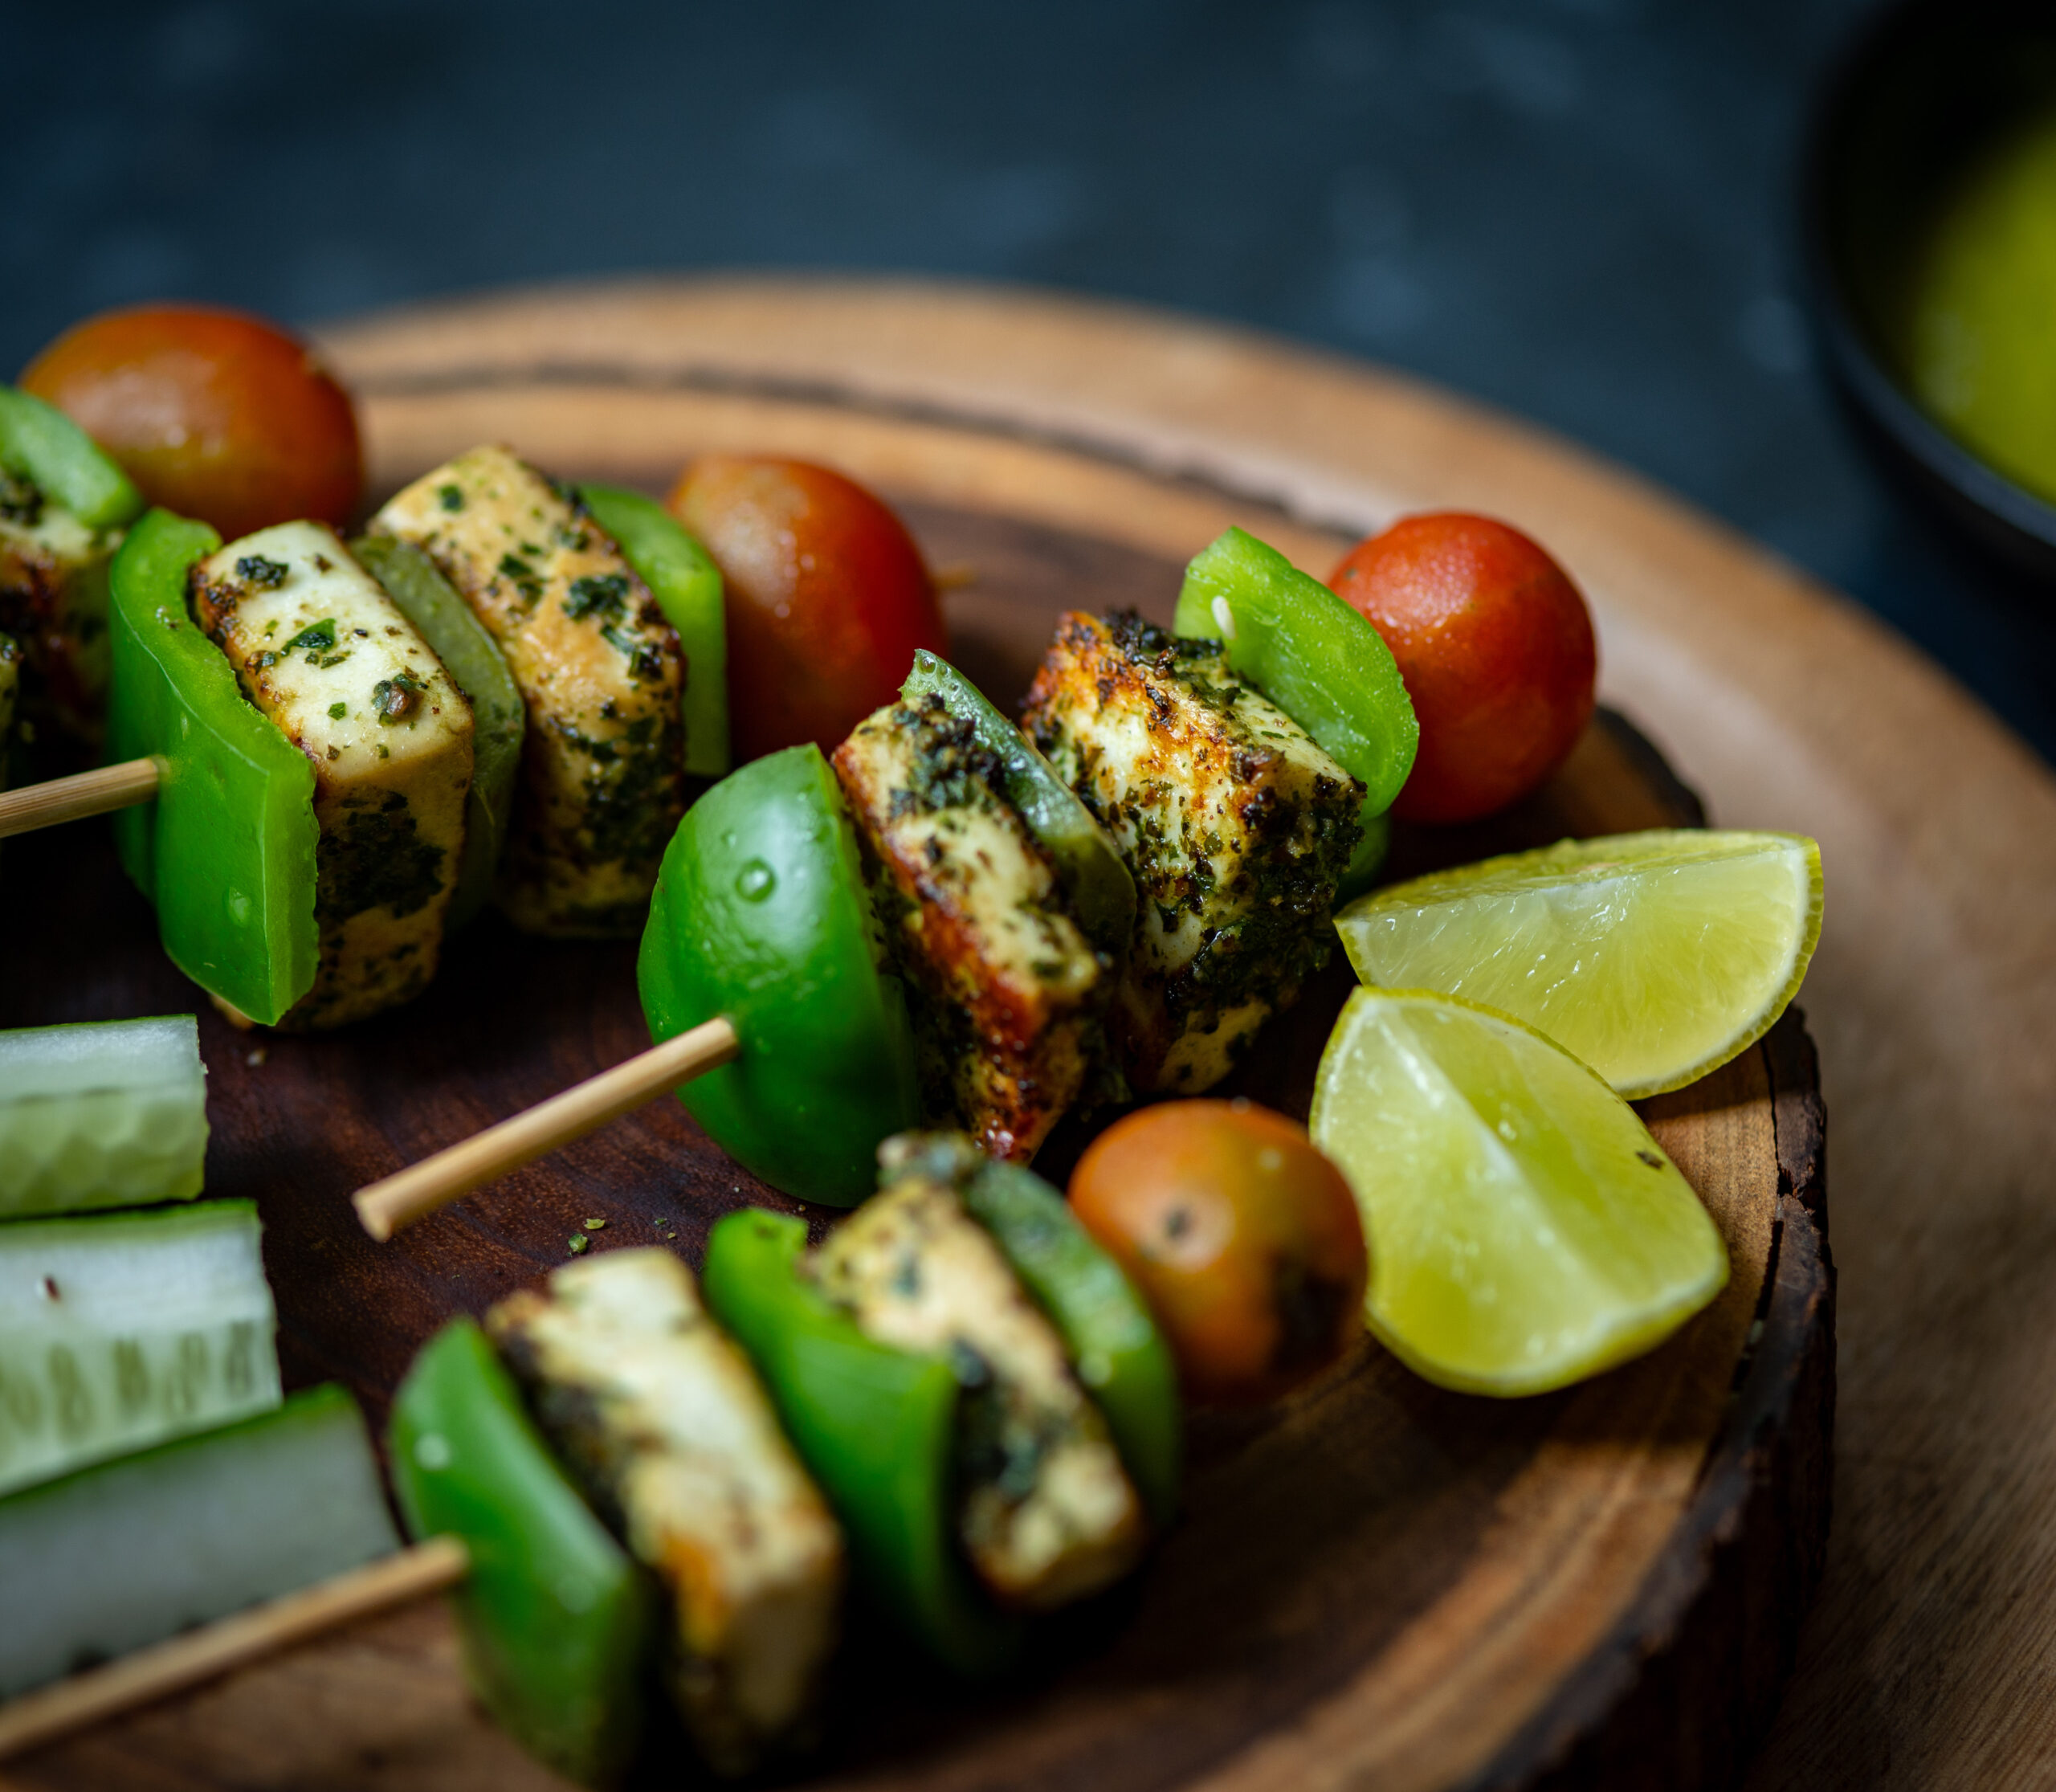
These paneer skewers make for a great appetizer and are a fun way to enjoy the ingredient as something other than a curry accompaniment to rice or breads. Another method you can try is making a paneer stir-fry with a pile of veggies, to be had as a meal in a bowl (this is quite a satiating breakfast).

When I decided to give basil-based pesto a go instead of the standard coriander, tomato or mint pairings that are typically used for paneer, and it turned out to be a hit at home. If you are a meat eater, this method will work just as well on chicken skewers too.

Using paneer and pesto together is a bit of a new innovation for me, even though I’ve been making the sauce for a long time and paneer for even longer. I struggled to make pesto initially, but have improved a great deal. I share this so that you don’t feel intimidated by it – many times, a recipe just takes practice. I have shared the recipe for this deliciously flavourful sauce earlier, and you can use the same one to prepare the grilled paneer. Here, it works as a marinade.

Of late, I have also been seeing a lot of basil in the markets in Chennai – both the Thai and Italian kinds. To be honest, I am not able to tell the difference on sight, but I ensure that I purchase the Italian basil when I am making pesto. I used to grow some at home too, but I haven’t been able to sustain that plant recently, so I am grateful that it is widely available.

An exciting discovery I made recently that I’d love to share with those of you in India is that I don’t have to buy imported pine nuts anymore. Pine nuts – a key ingredient of pesto – are grown in North India and are known in Hindi as chilgoza. A friend brought me some from Delhi and said they are quite easily available, and now that I know that I only need to ask for chilgoza, I’m going to stick to the regional variety for sure.

Pesto has recently found a notable place in my fridge as an always-there item, similar to my tomato purée. They are both multipurpose. They complement many dishes. The pesto in particular has a unique flavour and can be had in pasta, on toast, as a marinade and as a dip too. While I had been making it for quite a while as I said earlier, it only became a staple in my home when my son who lives in another city began to have cravings for it. He asked me to send it through visitors a few times recently, and I found myself making it a lot more frequently. Since there are so many ways to use it, it never goes to waste. Whether I’m tossing it into a main course or just dipping some cucumber or carrot sticks into it as a healthy snack, there are many reasons why it’s popular on a daily basis. It can also be a bit festive: this grilled pesto paneer is perfect for parties, or just for some novelty.

Grilled Pesto Paneer

(Serves 2-4)

150 grams paneer (cut into cubes)
2-4 tablespoons pesto
1 tablespoon olive oil
1 small bell pepper (cut in cubes)

Place the paneer in a wide bowl and add the pesto. Gently massage the paneer, making sure it gets coated. Set aside and allow to marinate for 20-30 minutes.

Pre-heat the oven on grill mode for 20 minutes.

Alternate the paneer and bell pepper cubes onto a skewer. Brush with olive oil. Repeat on more skewers.

Place the skewers on a tray and grill until they are well done. Flip and repeat on the other side.

You may wish to grill the paneer on a pan if you are not using an oven. In that case, put the cubes on the skewer after the pan-grilling is done and serve kebab-style.

Enjoy this grilled pesto paneer hot. I hope you’ll find this preparation exciting. If you are a fan of paneer in general, you may also want to explore a few other recipes I’ve shared that make use of this tasty and trusted ingredient.

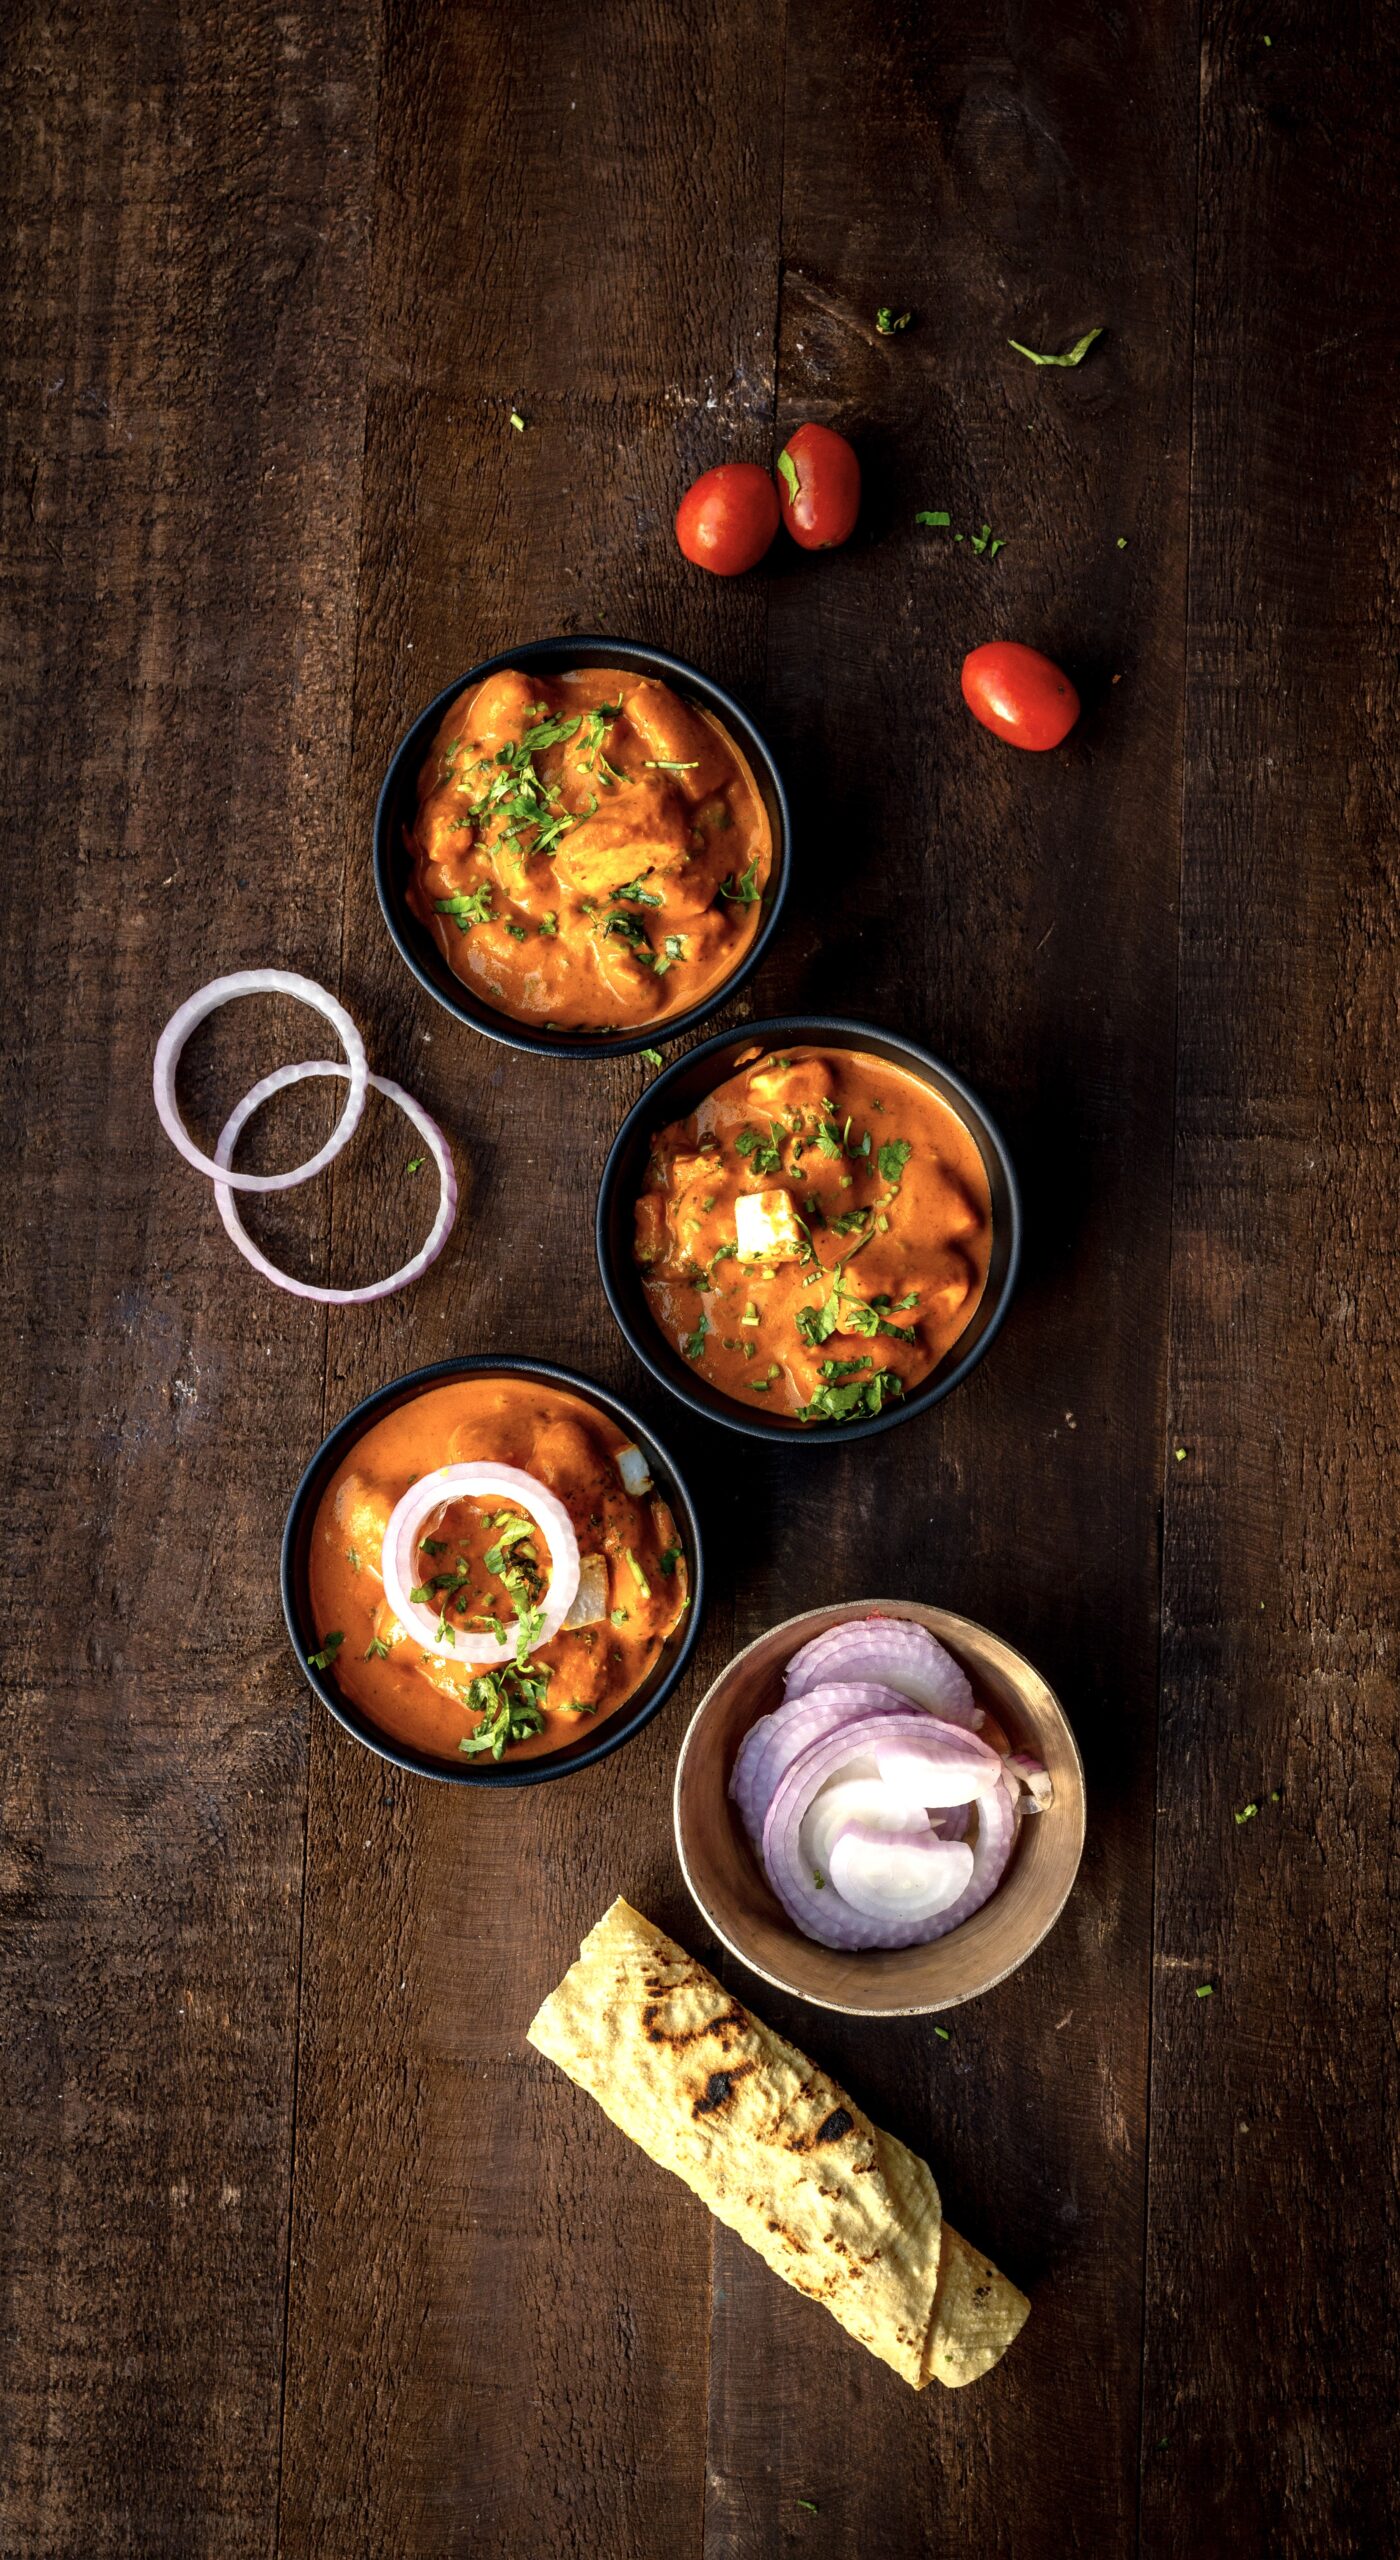
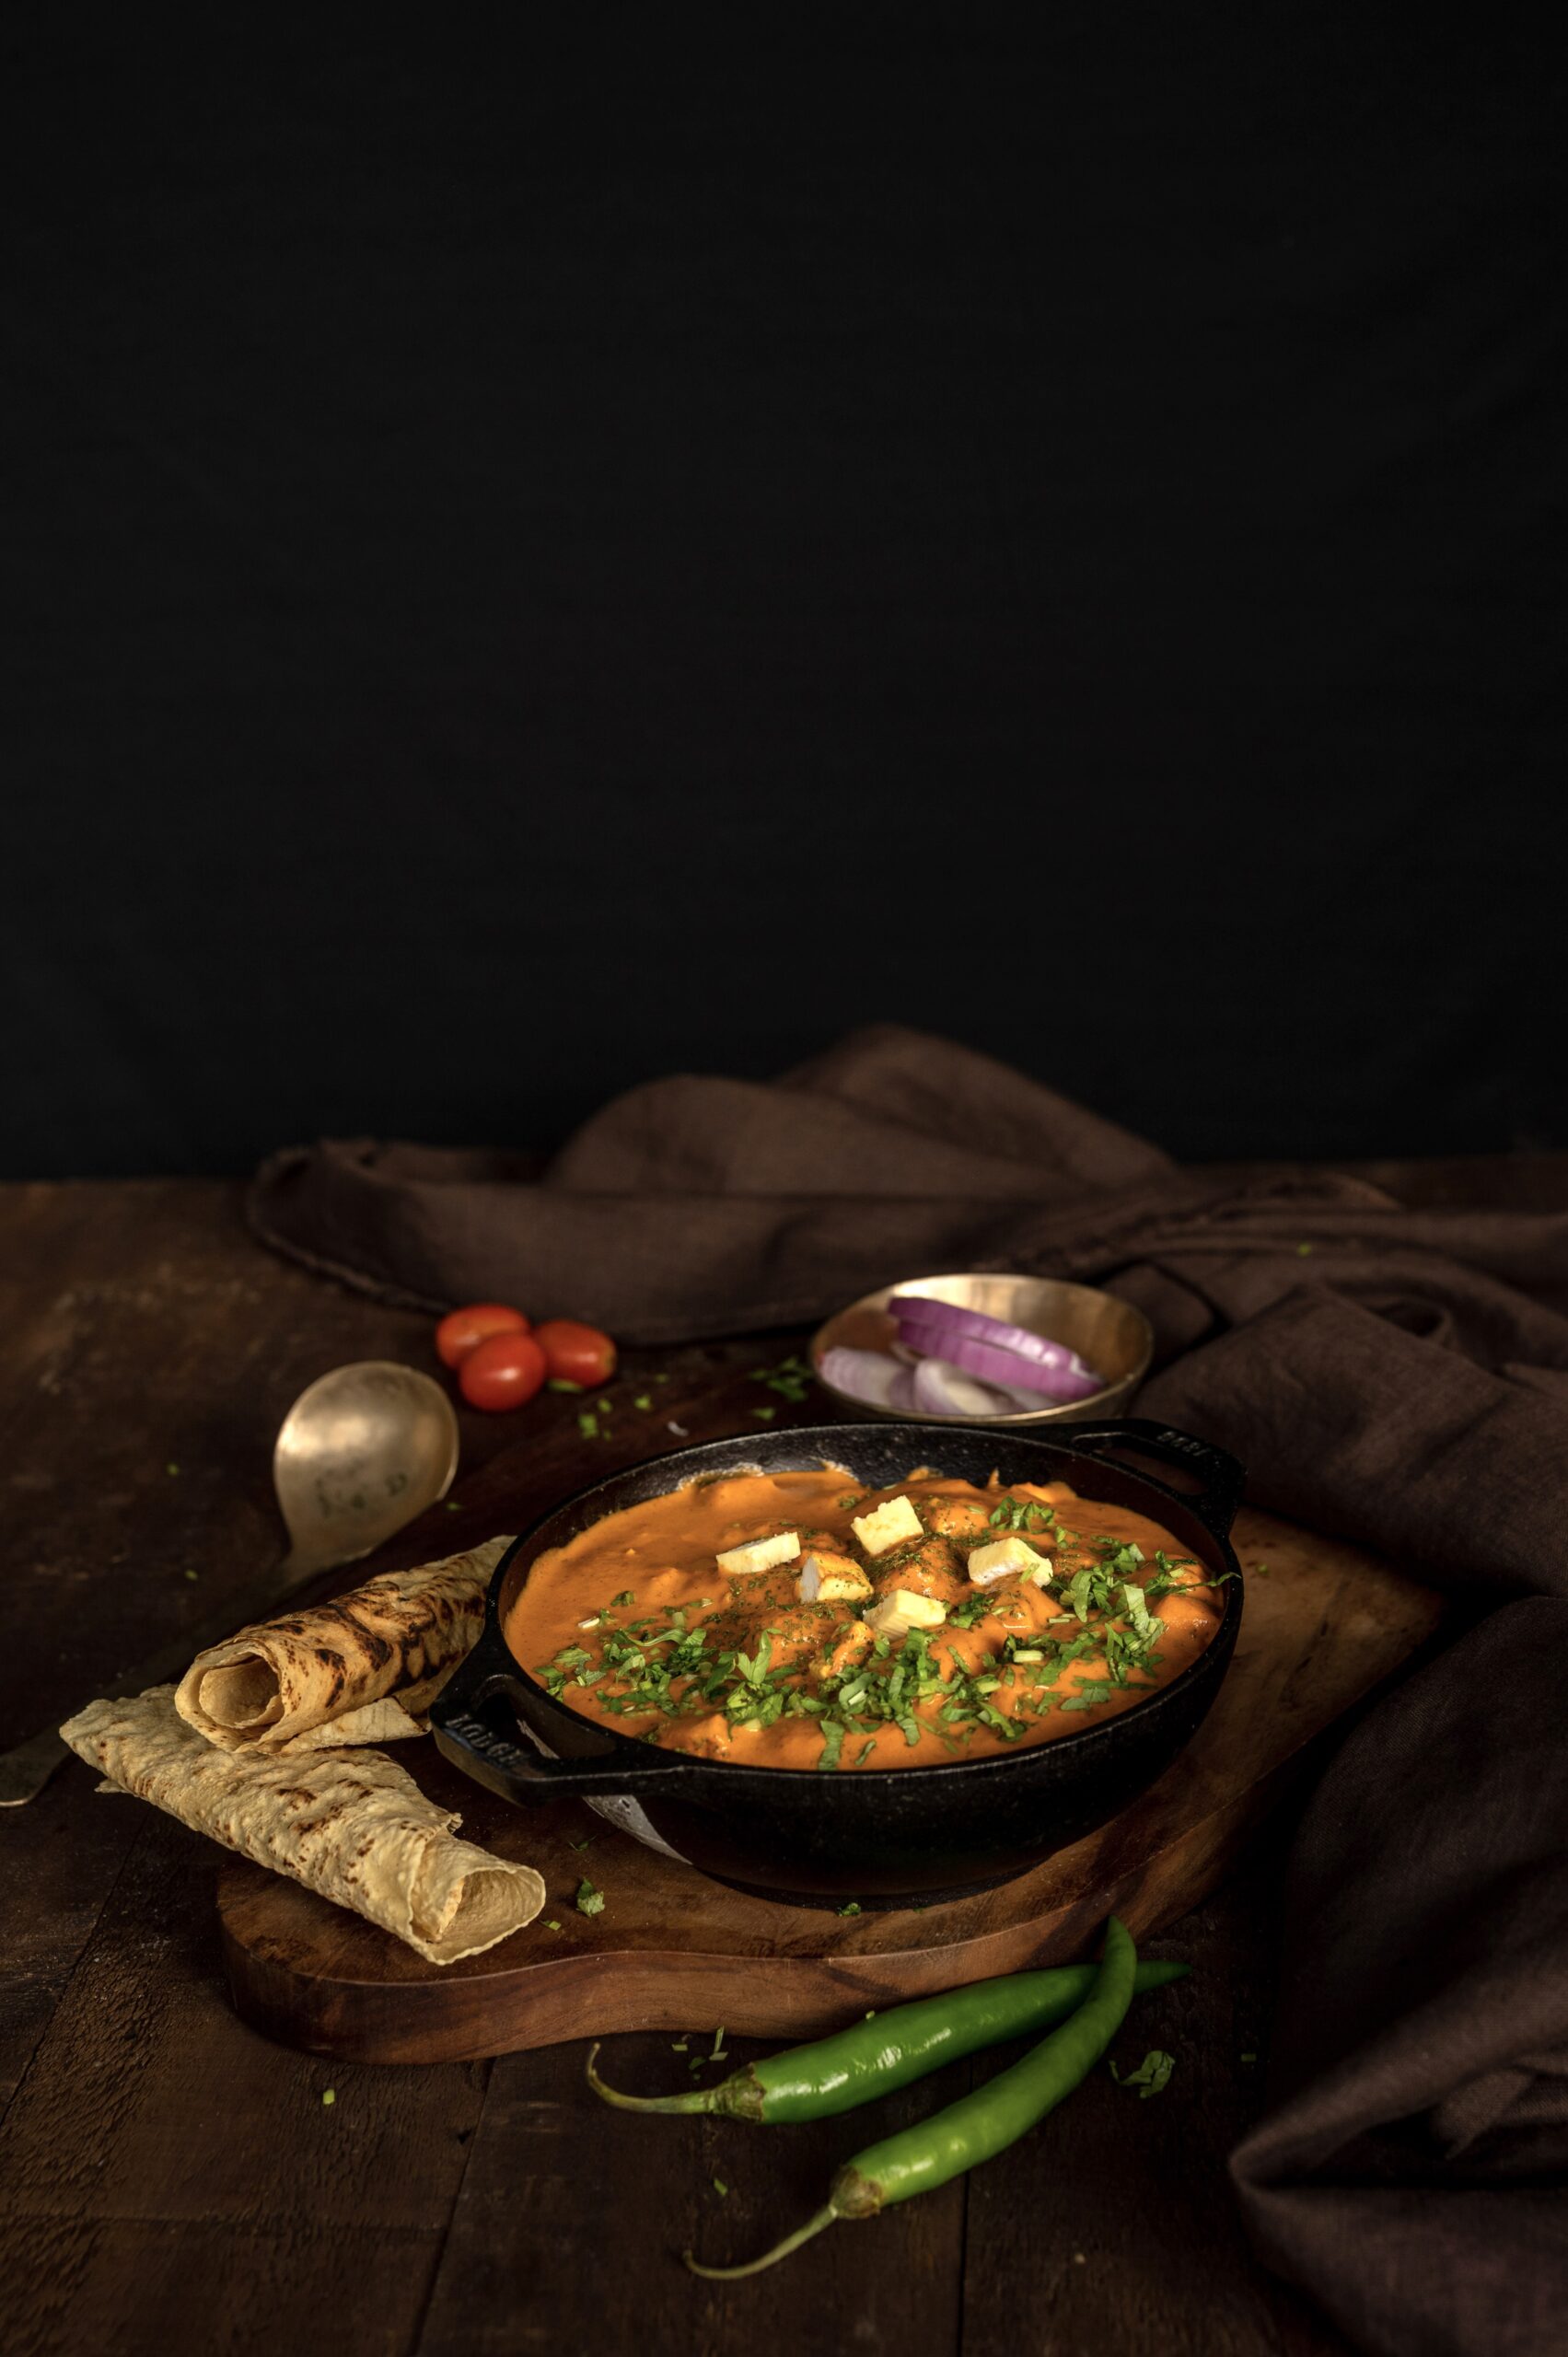
Paneer makhani is a staple in North Indian cuisine, and is loved by people across the country, but not many know that it is a far cry from the original preparation that it is based on. From my understanding, the authentic Mughlai dish did not use tomatoes, which were not available or at least not widely cultivated in India till the last couple of centuries. Tomatoes are a major part of the recipe as it is widely made today. Another element is that the cooks who invented the dish did not use fat such as oil, butter or ghee. Instead, they splashed yoghurt, which would release natural fat. This is what the meats and the gravies of the Mughlai kitchen would be cooked in. Having a sense of the evolution of paneer makhani – a curry using paneer, or Indian cottage cheese – has made me quite happy to share the version that is made in my own kitchen.

While my version caters to my family’s likes and dislikes, it is really focused on one member in particular. Everyone who knows us knows how much my son Prasan loves his paneer makhani. If I talk about this love in detail, he will be furious with me for putting it out in public, so I’ll try not to divulge too much. Suffice to say: he has adored it since childhood. When he visits our relatives, like my aunt or my sister, they usually ring me up and ask me exactly how to make it in the way he prefers. They know that he will only be satisfied with their meal if there’s a serving of his favourite dish. If they’re unable to prepare it that day, they organise for it to be at the table anyway. So this recipe is for them also – next time, they can just find it right here on this blog, as can you.

When we get together as an extended family, a good paneer makhani is a mainstay at most meals. I’ve noticed this to be true at all sorts of gatherings and feasts across communities in India as well. It is also a dish that pleases people of all ages. Children seem to appreciate it as much as the elderly. Whether it was one of my kids when they were little or my mother-in-law as a senior citizen today, I’m never surprised to see anyone at all reach out for another helping.

Paneer Makhani

(Yield: Approximately 2 servings)


50 grams onion

180 grams tomato (roughly chopped)

2 cardamom pods

½ teaspoon cumin

2 cloves

1 piece cinnamon stick

1 bay leaf

1 teaspoon garlic-ginger paste

4-5 pieces broken cashewnut

1 tablespoon oil (to sauté)


1 teaspoon Kashmiri chilli powder

Salt to taste

½ teaspoon turmeric

¼ teaspoon dhaniya-jeera (coriander-cumin) powder


1 tablespoon ghee

½ teaspoon sugar

¼ teaspoon garam masala

100 grams paneer

½ teaspoon kasoori methi (dried fenugreek leaves)

Add the oil to a kadai. Allow to heat, then add the cumin seeds. Immediately after, add the onions, cloves, cinnamon, cardamom, cashew nuts, garlic-ginger paste and the bay leaf. Sauté for about 1 minute. Then, add the roughly chopped tomatoes.

Now, add the salt, turmeric, chilli powder and dhaniya-jeera powder. Stir, cover and allow to cook until the tomatoes are tender.

Allow to cool and blend well. Strain and set aside.

Heat a kadai, and add the ghee. Once it has melted, add the blended purée that had been set aside. If required, add a little water to make the gravy in the consistency you prefer. Other options are to add butter or 2 tablespoons of fresh cream. I have added neither. I sometimes do, but rarely, as Prasan and the rest of us prefer it with less of the same. If you choose to, remember to add the milk or cream finally, else it will split.

Now, add the sugar and allow the gravy to cook well. Finally, add the paneer pieces. I occasionally sneak in some green peas, but my kids don’t like them in this dish. But they do go well with paneer in general, so you may want to try them out. Garnish with a sprinkle of kasoori methi. The gravy can be used as a base for other dishes, such as chicken or vegetable curries, and I’d love to know how you decide to use it.

Serve with flatbread, such as naan or rotis, or rice. Now that I have the hang of sourdough naan, that’s what I tend to serve my Prasan-style paneer makhani with.

There you have it: one of the top dishes at my dining table, made with love every single time. On that note… I’ve mentioned my son quite a number of times in this post, which means I may just have to head to the kitchen and whip up a fresh bowl of paneer makhani. You see, it’s become a bit of a running joke that whenever he is annoyed or upset, a little bit of his beloved gravy will calm him down! Having said this, I’d better get to making it right away, I suspect!

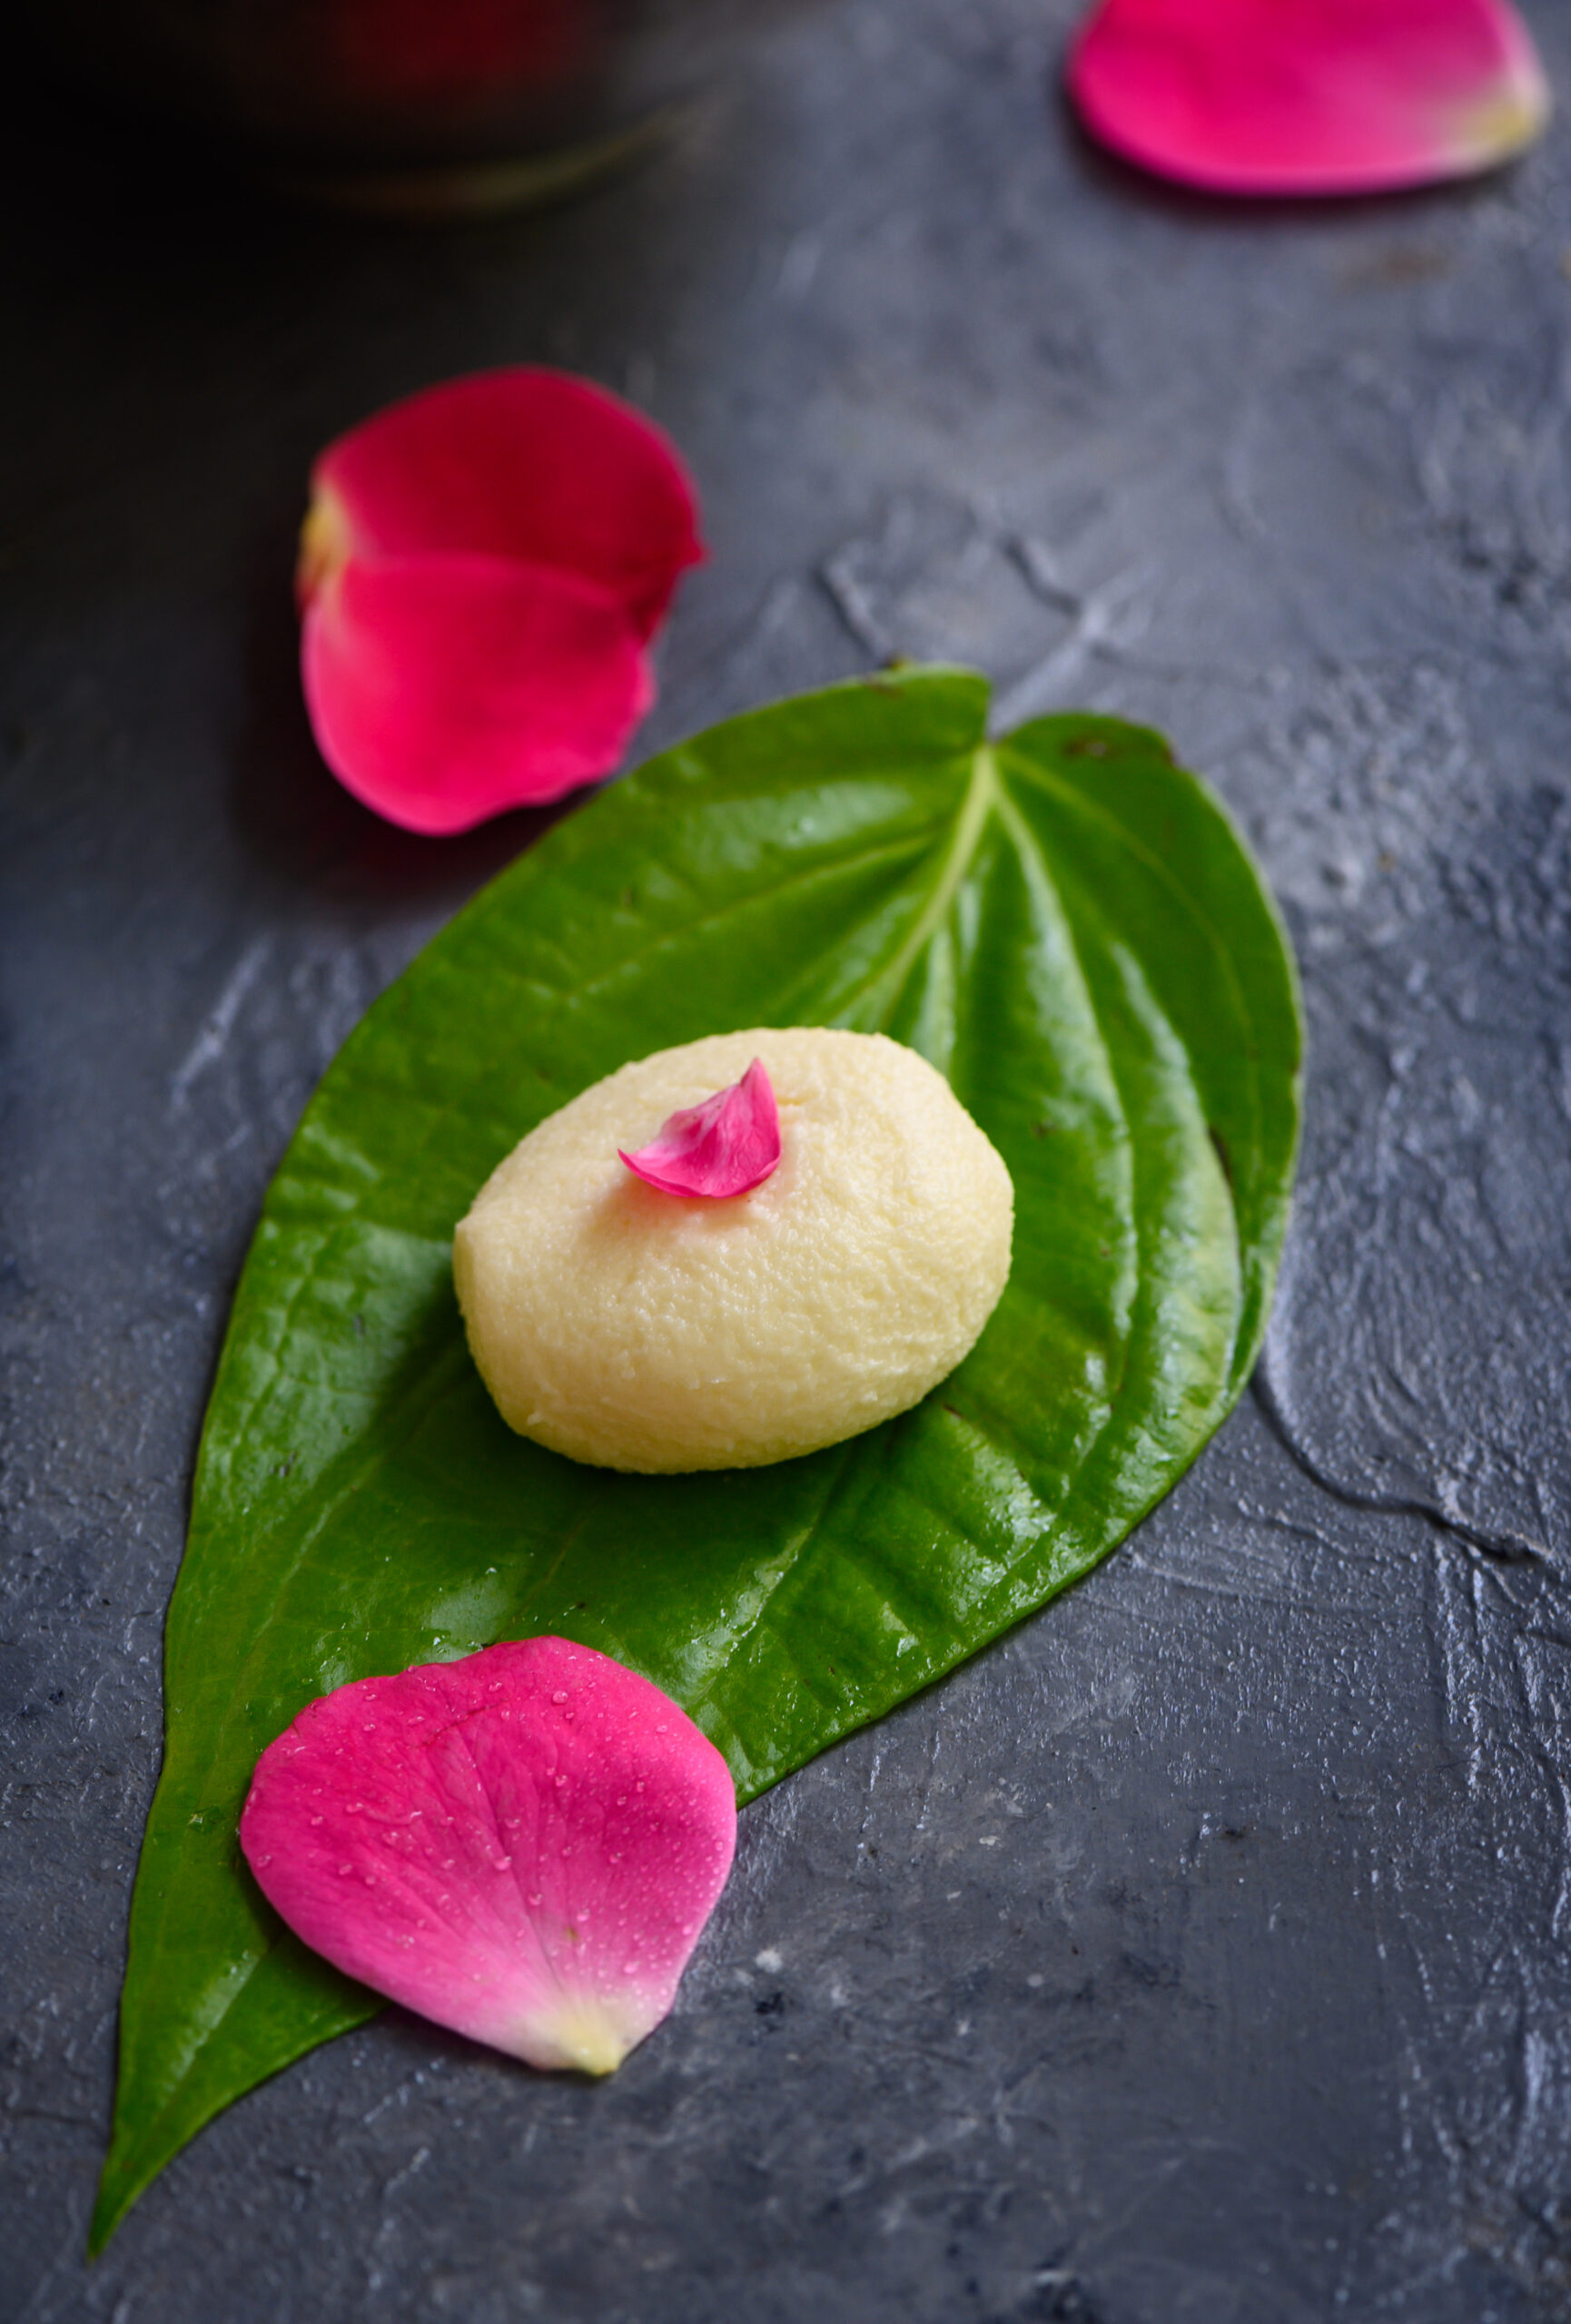
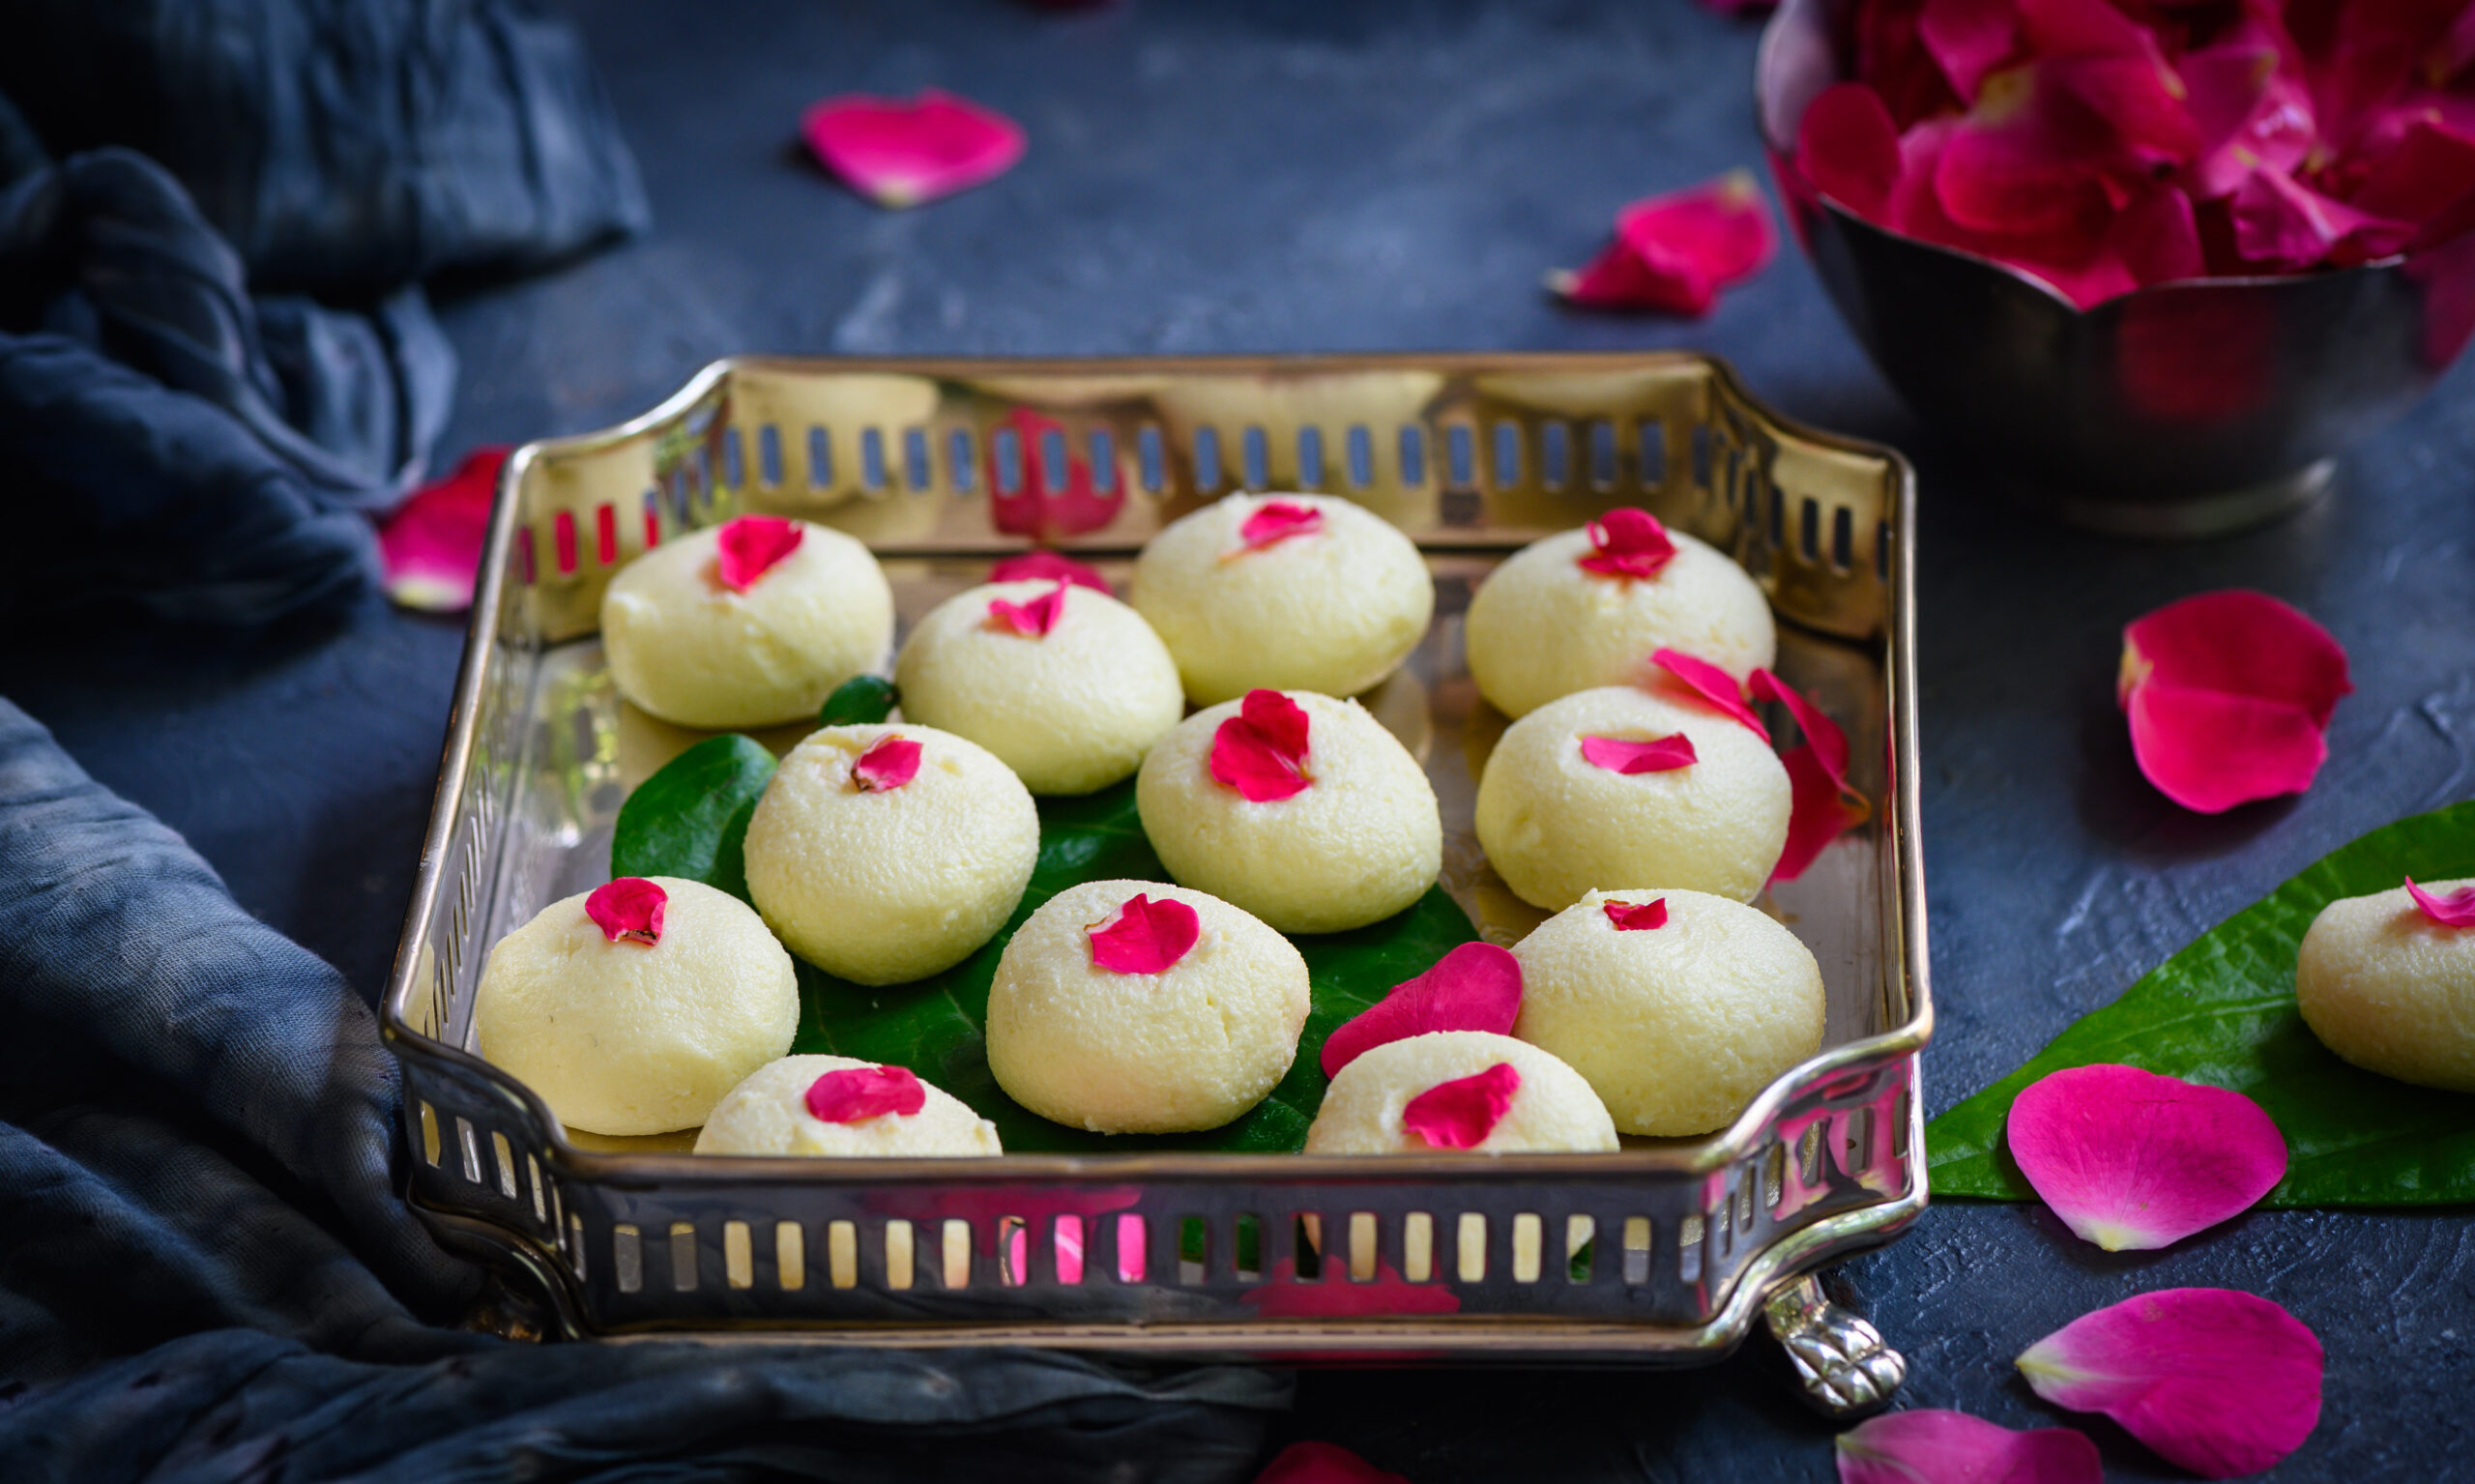
Festivals are a big part of Indian culture and making a sweet (or many!) at home during special occasions is almost mandatory.  Growing up, my mother would make an array of them, along with savouries, and we would wait to devour those goodies. I prefer to keep some of those traditions alive so that future generations may understand and value our heritage. Even today, I make sweets and savouries at home, although less than my mum used to. However, with the festive season having begun, and orders pouring in, I’ve been making so many lately that I really felt  I needed to make a dish that was just for me. Although most of the members of my family are not fans of this one, and it being a quickly perishable item means that it isn’t ideal for my clients at re:store, this soft sandesh is something I simply had to make for myself the other day. I’m a huge fan of this delicate milk sweet, and I relished having it to myself.

Typically from Bengal, sandesh is prepared in myriad ways and each version seems tastier than the other. While there is a popular version where the mixture is heated and stirred until dry, I prefer this one. During my trial for the perfect recipe, I made a small batch of the dry version. I dry roasted the chenna in a non-stick pan until it was about to become grainy and then shaped it. While it did taste fine, I prefer the softer version, and that is what I am sharing below.

Chenna is essentially a milk solid, with the whey removed. Also known as paneer or Indian cottage cheese, it is high in protein and calcium and is popular in so many Indian dishes, from sweets to curries.

As I have mentioned in my blog before, milk is considered an important food for the gods and almost all communities use milk to prepare sweets as offerings. Milk is considered sacred in India, perhaps because of its relationship with the cow. Veganism is beginning to catch on here, but milk remains a key ingredient in our sweets. As you know, I have been going more and more vegan myself, and I feel that it’s high time that almond milk or coconut milk become more popular here. Below is a traditional recipe, however.

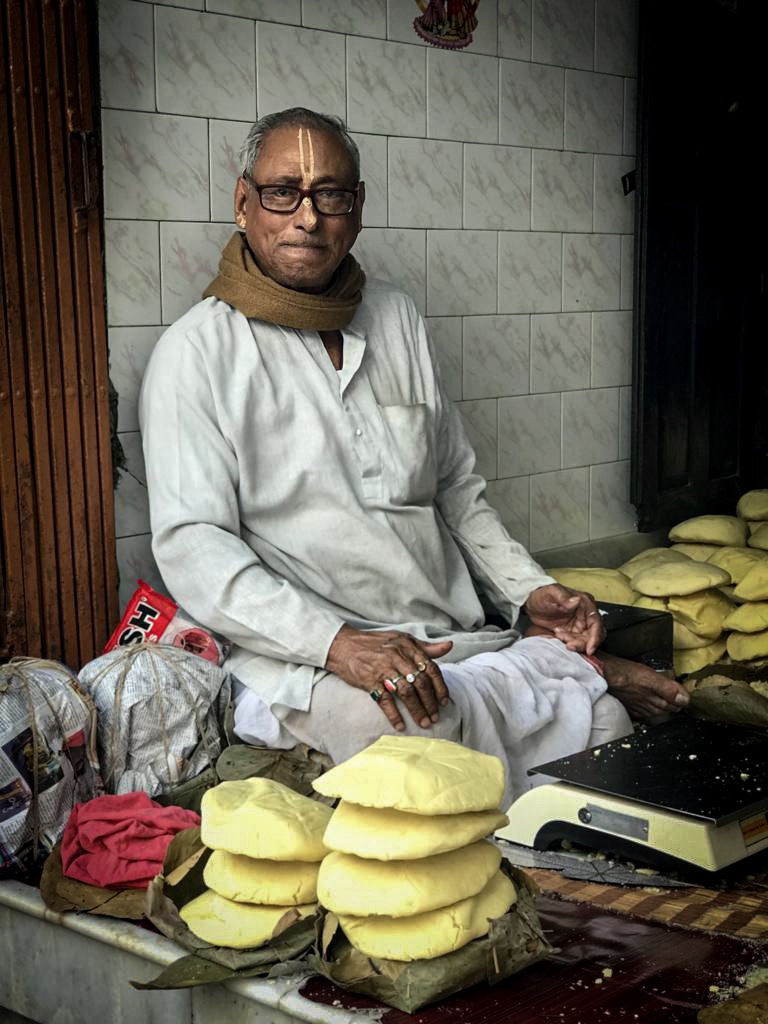
This delicious sandesh is very quick and easy to make if you have chenna/paneer handy, which most Indian homes do. I recall how on one of my Kolkata visits, I happened to get to see an entire chenna market. Huge piles of it were sold there. Just like there are exclusive flower markets and so on, an exclusive chenna market made sense because of the popularity of the ingredient. I had noticed how the famed Bengali sweet culture was dairy-based, and clearly there are reliable sources where stores can purchase their key ingredient daily.

This chenna vendor posed for me that day, and I watched him work for a while. I was intrigued by how the chenna is wrapped in leaves and newspapers instead of plastic packaging, a wonderful way to use biodegradable materials.

A Spanish friend of mine whom I met on the day of the photoshoot had a serving of my sandesh and remarked that it tastes a bit like cheesecake! I would think it’s somewhat lighter than cheesecake, both in terms of richness and how it sits in the stomach.

Not long ago, I mentioned panch-phoron and wanting to explore more of Bengali cuisine on my blog, and this soft sandesh is an auspicious start to more such culinary journeys…

Soft Sandesh

(Yield: 15-20 pieces)


1 ½ cups chenna (paneer)

¾ cup powdered sugar (coconut blossom/sugar)

½ teaspoon rose water


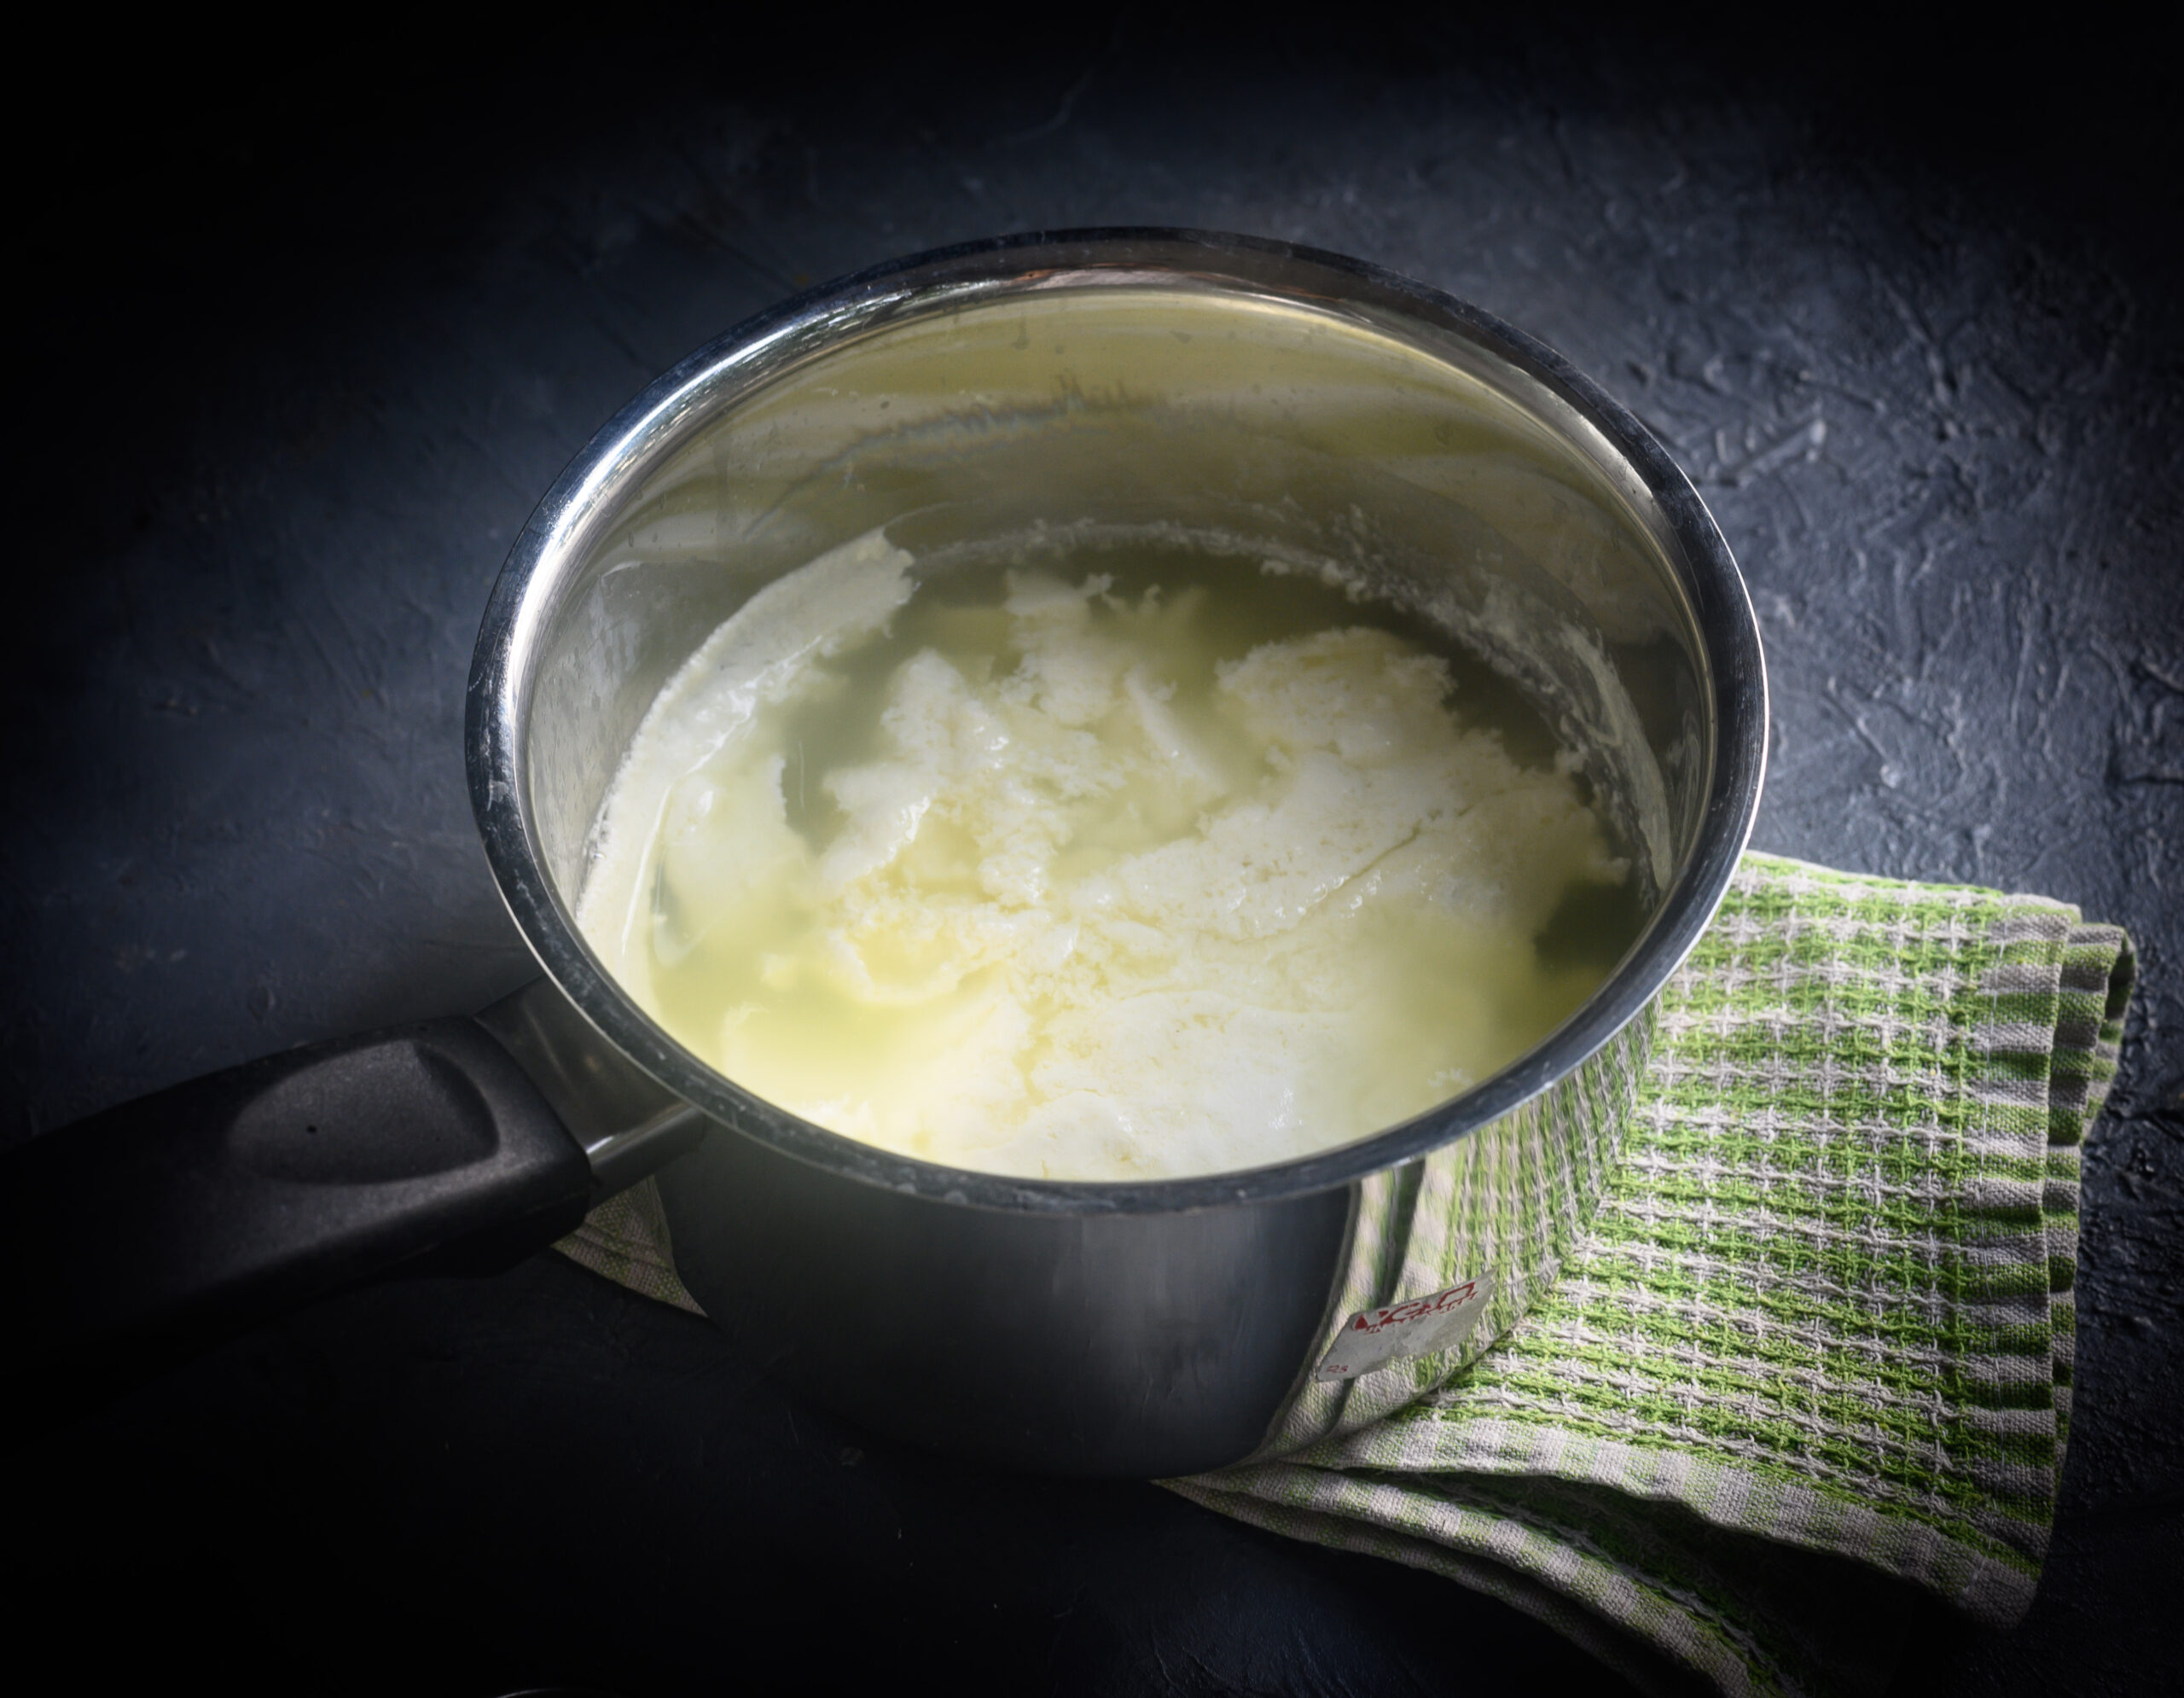
I made this soft sandesh from scratch, and the chenna or paneer is easy to make it at home. In many Indian homes, we prefer homemade paneer so as to ensure quality. The following is my method to prepare it.

Boil 1 litre of milk over a medium flame in a pan, stirring occasionally. Once it reaches close to boiling stage, add 1-2 tablespoons of lemon juice. This will help the milk to curdle and the whey to separate. Do not stir too much at this point. Only ensure that it does not stick to the bottom. The milk solids will appear evidently separate.

Now, pour the mixture into a large-sized cheese cloth. Gather the ends of the cheese cloth and tie them into a big knot. Place a container below the bundle to collect the whey. I usually tie it to the kitchen sink (something you may remember from my lavender shrikand recipe). Allow it to drain for about 1 hour.

Next, place the bundle onto a plate and add some weight on top of it to ensure that it drains completely. Once drained, open the bundle. Rinse the chenna under running water, to ensure that the lemon which was added earlier is removed. Allow it to drain again (add more weight on top of it to help the process). Your chenna is now ready to use. Due to the weather in Chennai, where it’s mostly warm, I usually put it away in the refrigerator for about half an hour before preparing the sandesh.

Since the whey is high in protein, I use it to make roti dough or add it as a gravy to any vegetable being cooked that day. Very little goes to waste in most Indian kitchens!

The next stage is very simple. Place the chenna on a plate and add the sugar. With your palm, blend the sugar and chenna well together. It should be soft and pliable at this point. I’ve found that using less sugar, as I have, or using a substitute like jaggery or any other form of natural sweetener, makes it all the more delectable.

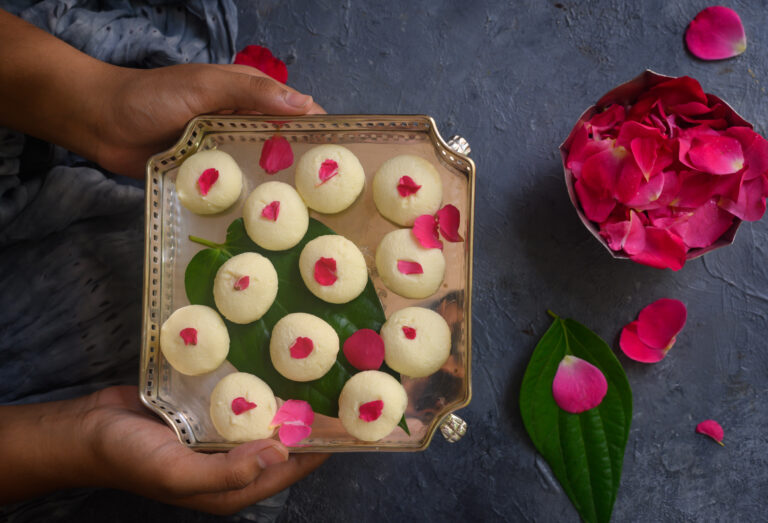
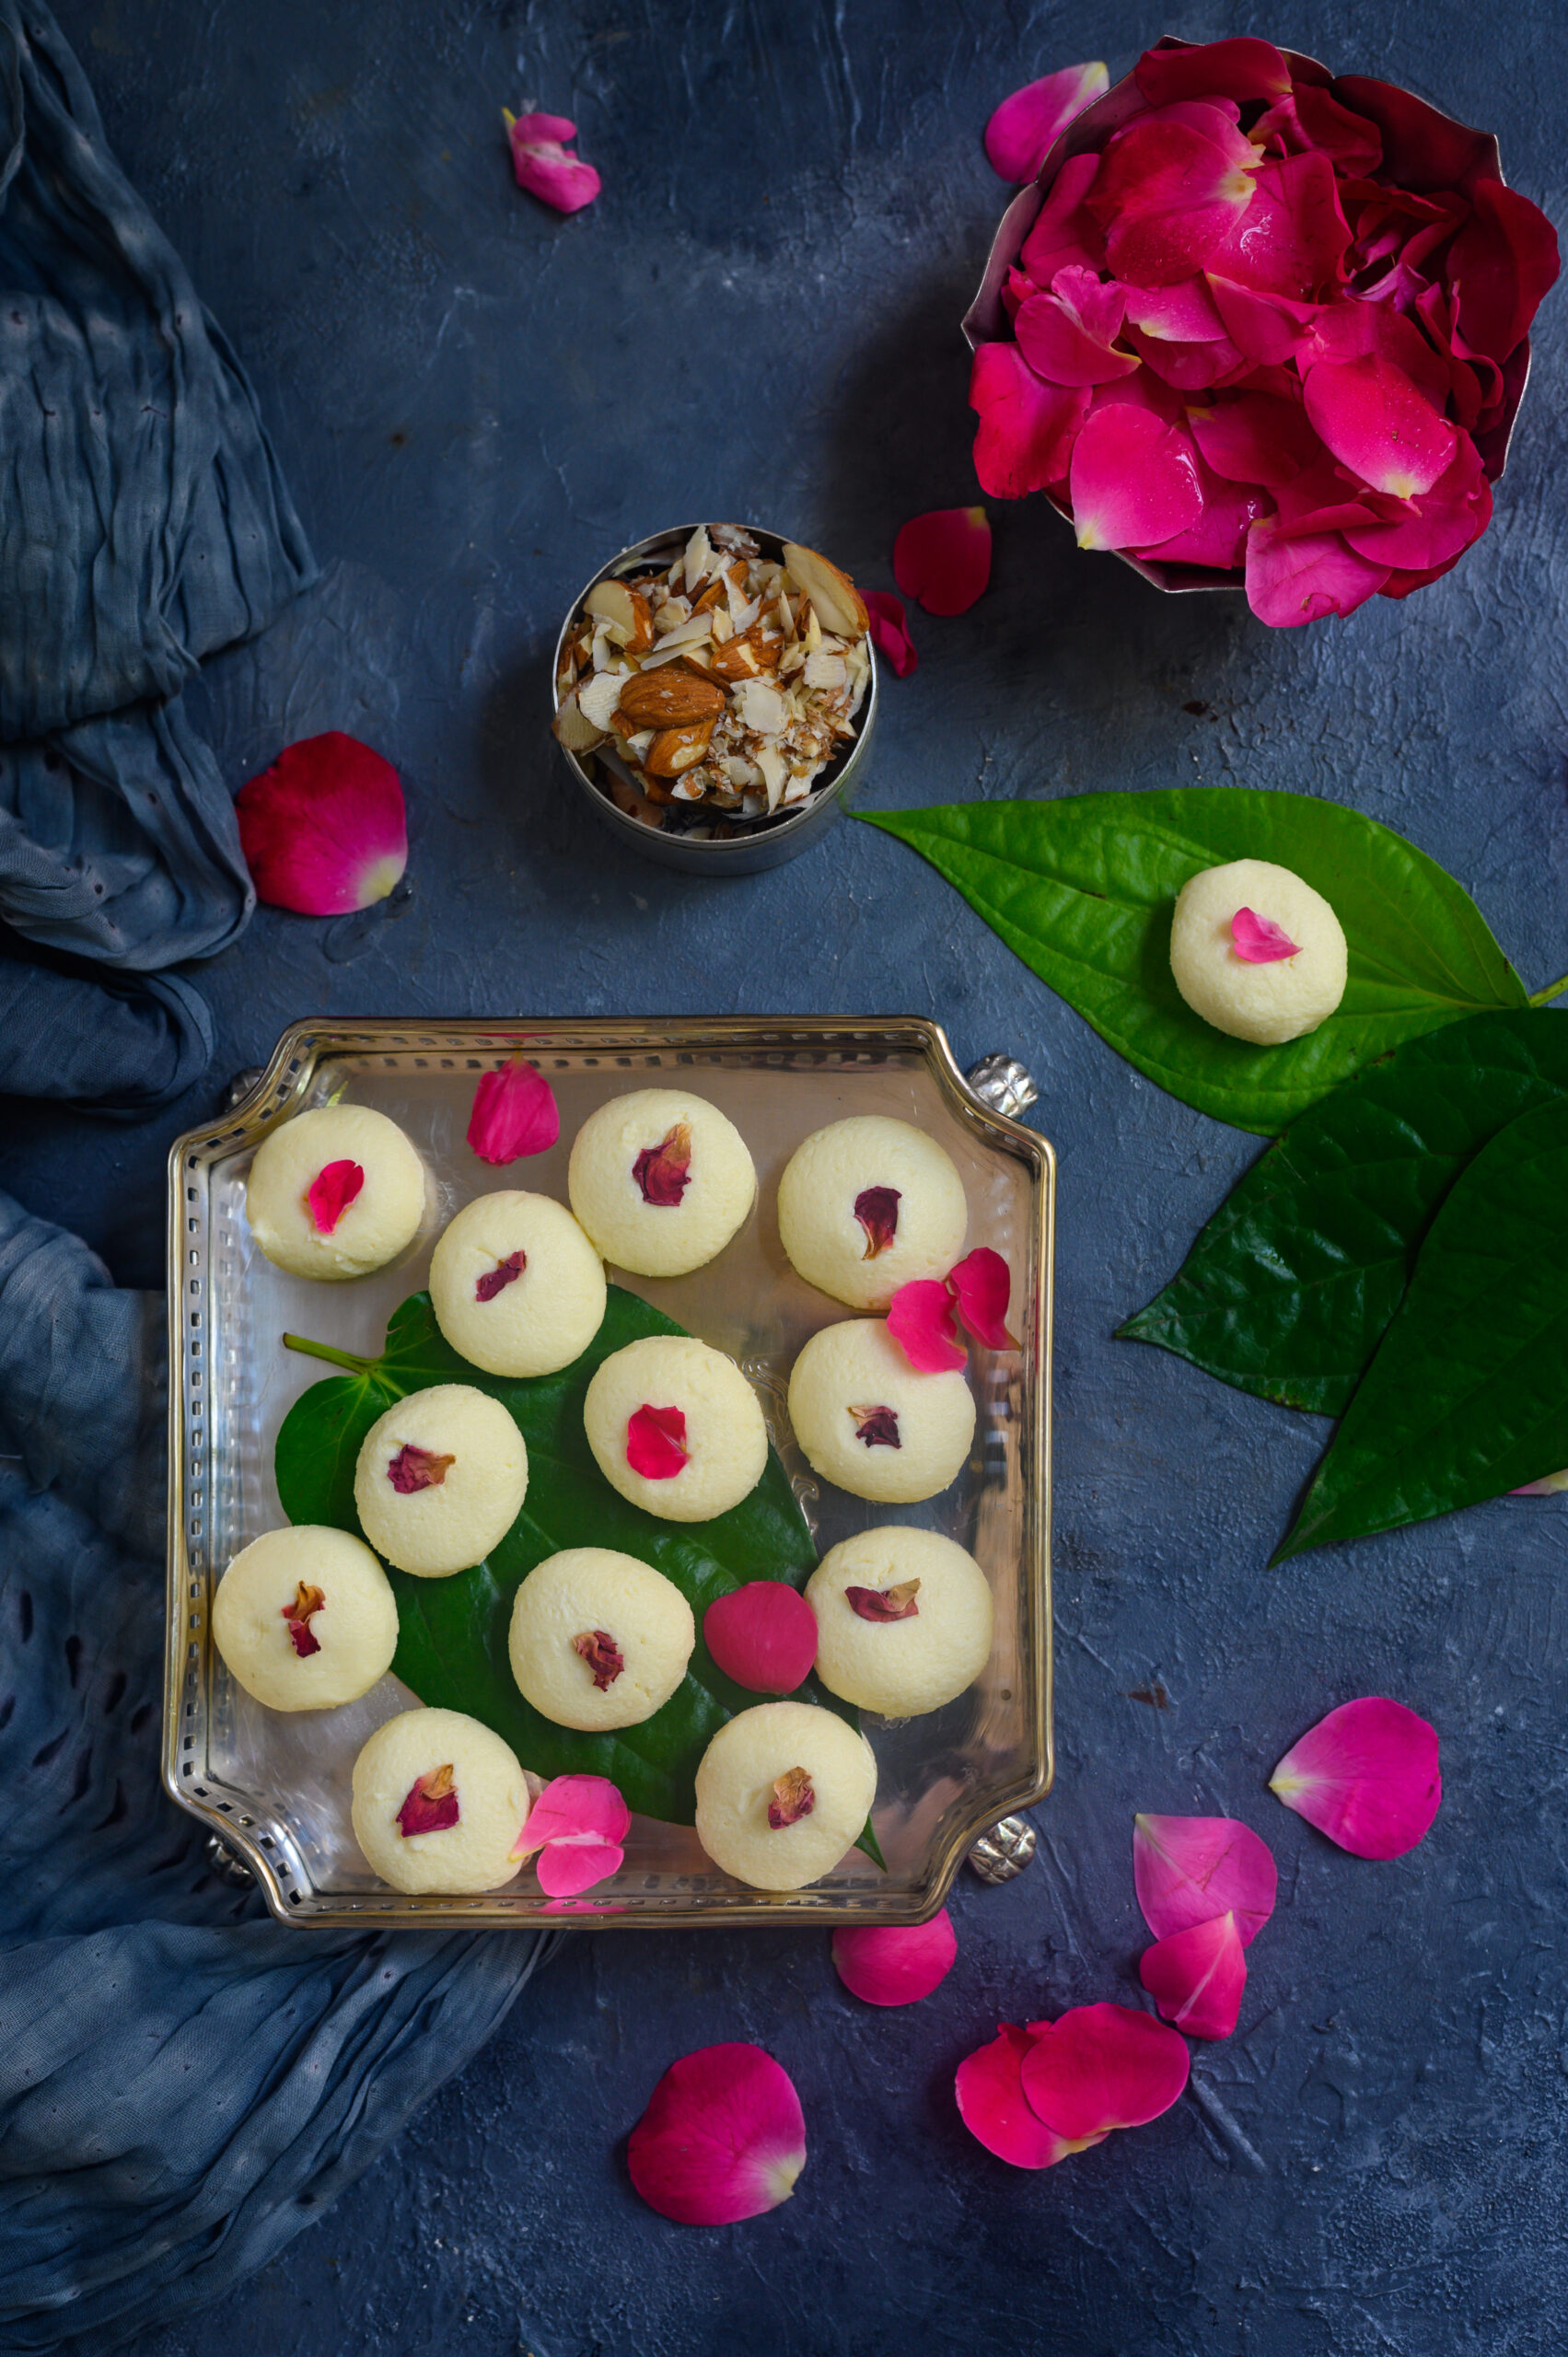
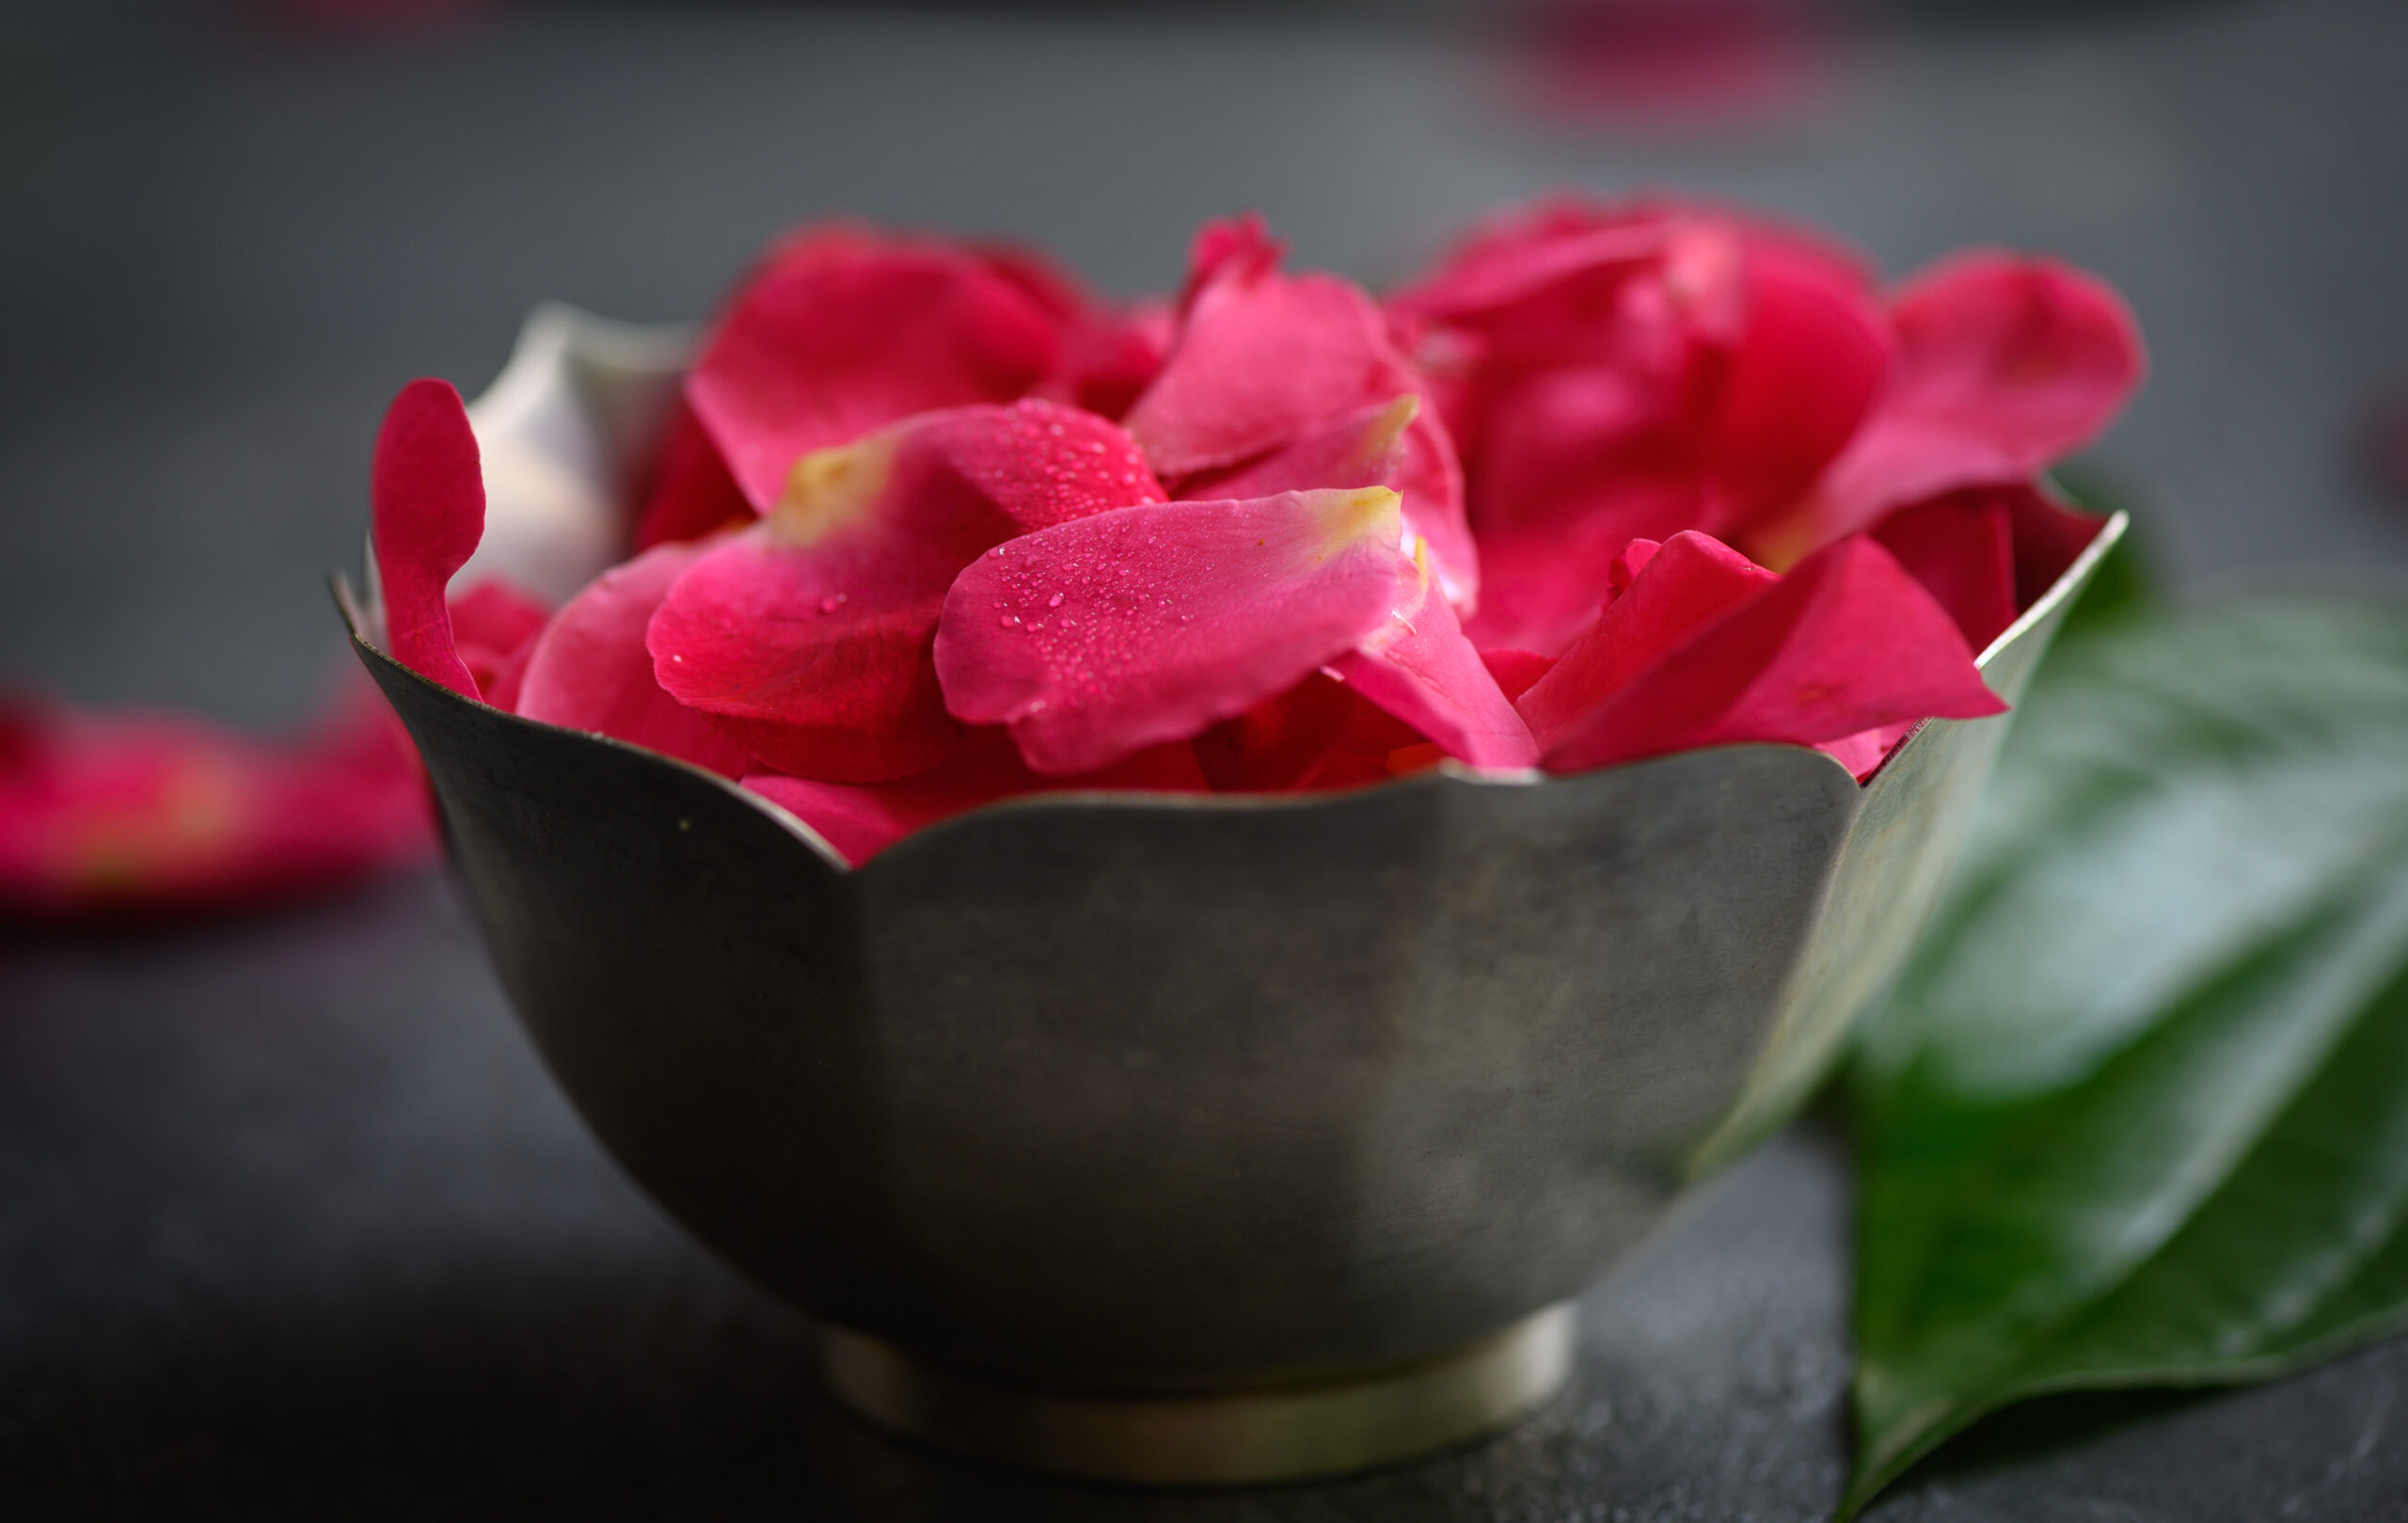
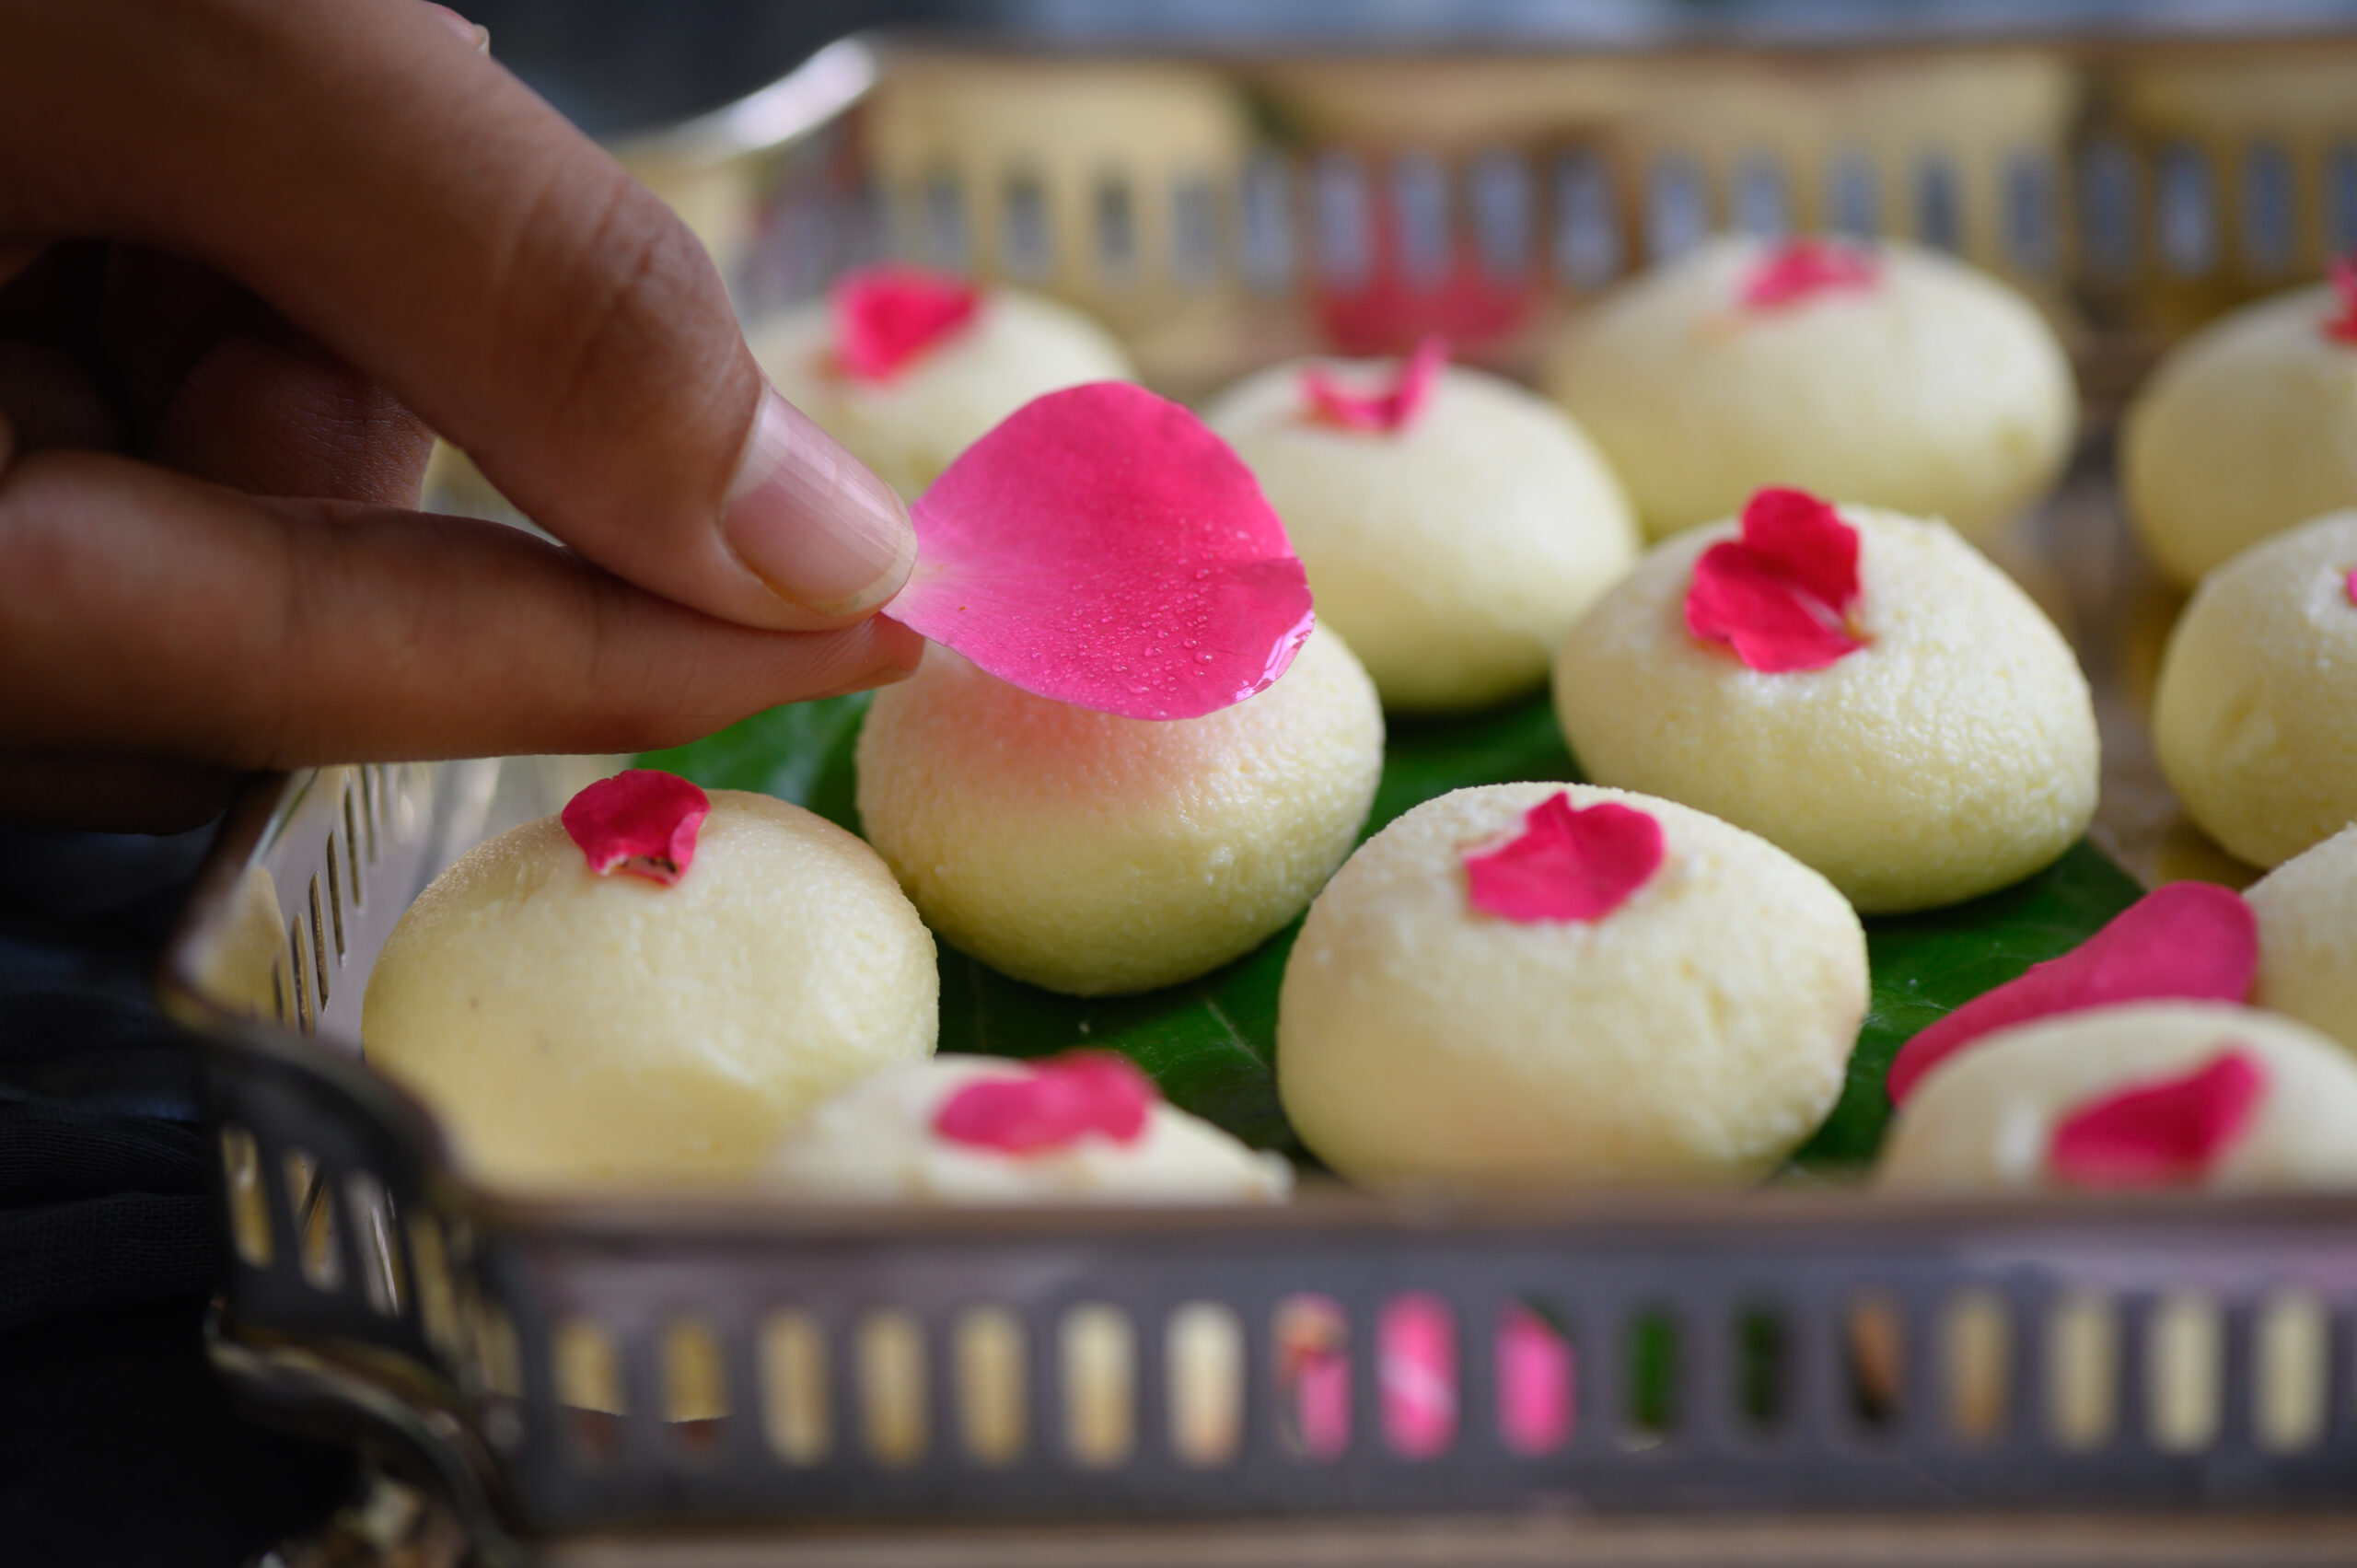
Finally, add the rose water and blend once again. Make small balls with your palm and decorate with rose petals. Store in a container. Sandesh needs to be refrigerated and consumed within 3-4 days.

You may add any flavour of your choice. Sometimes, I add saffron to the chenna and decorate it with a slice of almond. You may sprinkle cocoa powder on top after rolling it with a small piece of chocolate at the centre. You can decorate it as beautifully as you wish to, or keep it plain. There are many choices, as the light flavour of this sweet can be adapted in versatile ways. I’d love to know how you get creative with this recipe. Please tell me more in the comments!