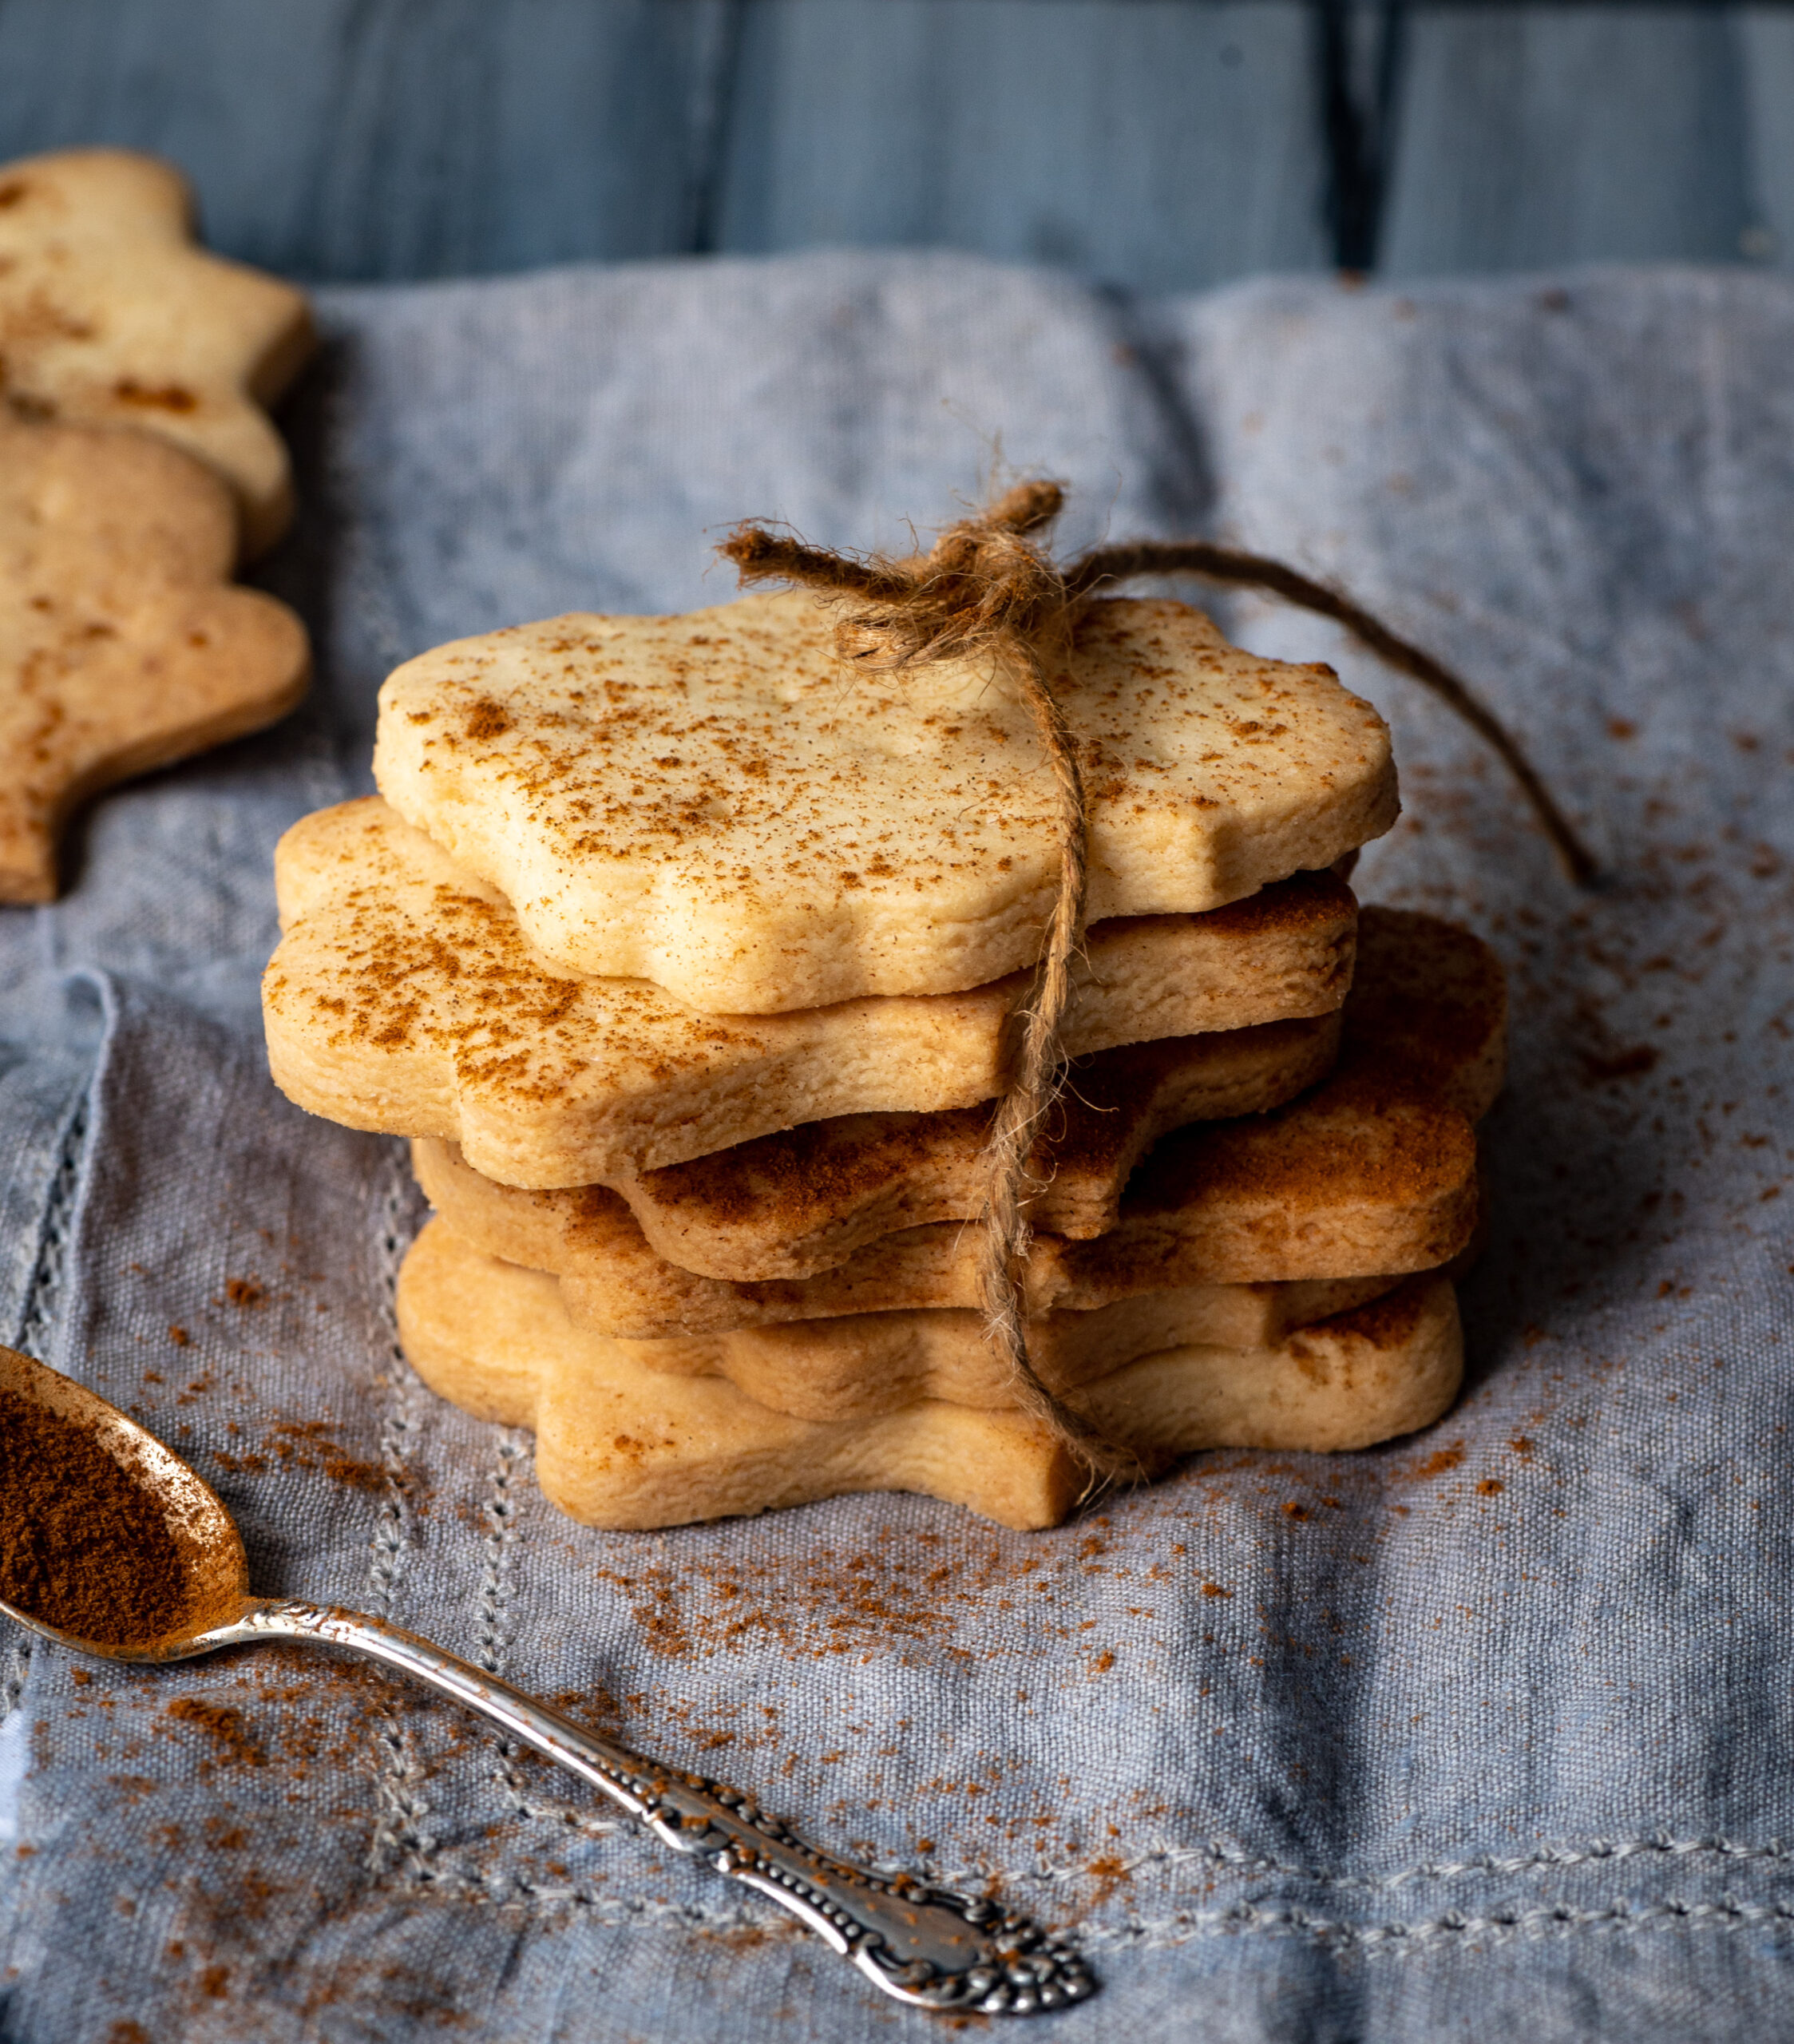
Over the last several years, I have really felt like I am expressing my artistic side and my creativity through re:store. I pour everything into cooking and photography. So much so that I sometimes believe that I can make anything in the kitchen: cakes, fig rolls, the works. Now and then, however, I come up against my limitations and learn a bit more about myself and about cooking too. For instance, I found that cookies are not my forte, and that cakes are where I tend to shine. That said, I still love baking both, and sharing them with you too. So just in time for Christmas, here is my recipe for eggless cinnamon cookies.
I’m not one to go down the street and find a store in order to satisfy a craving. I would much rather eat home-made fare as much as possible, even when it comes to snacks. I enjoy having a cookie or a biscuit along with my late afternoon tea, so I quite often put something in the oven just for that.
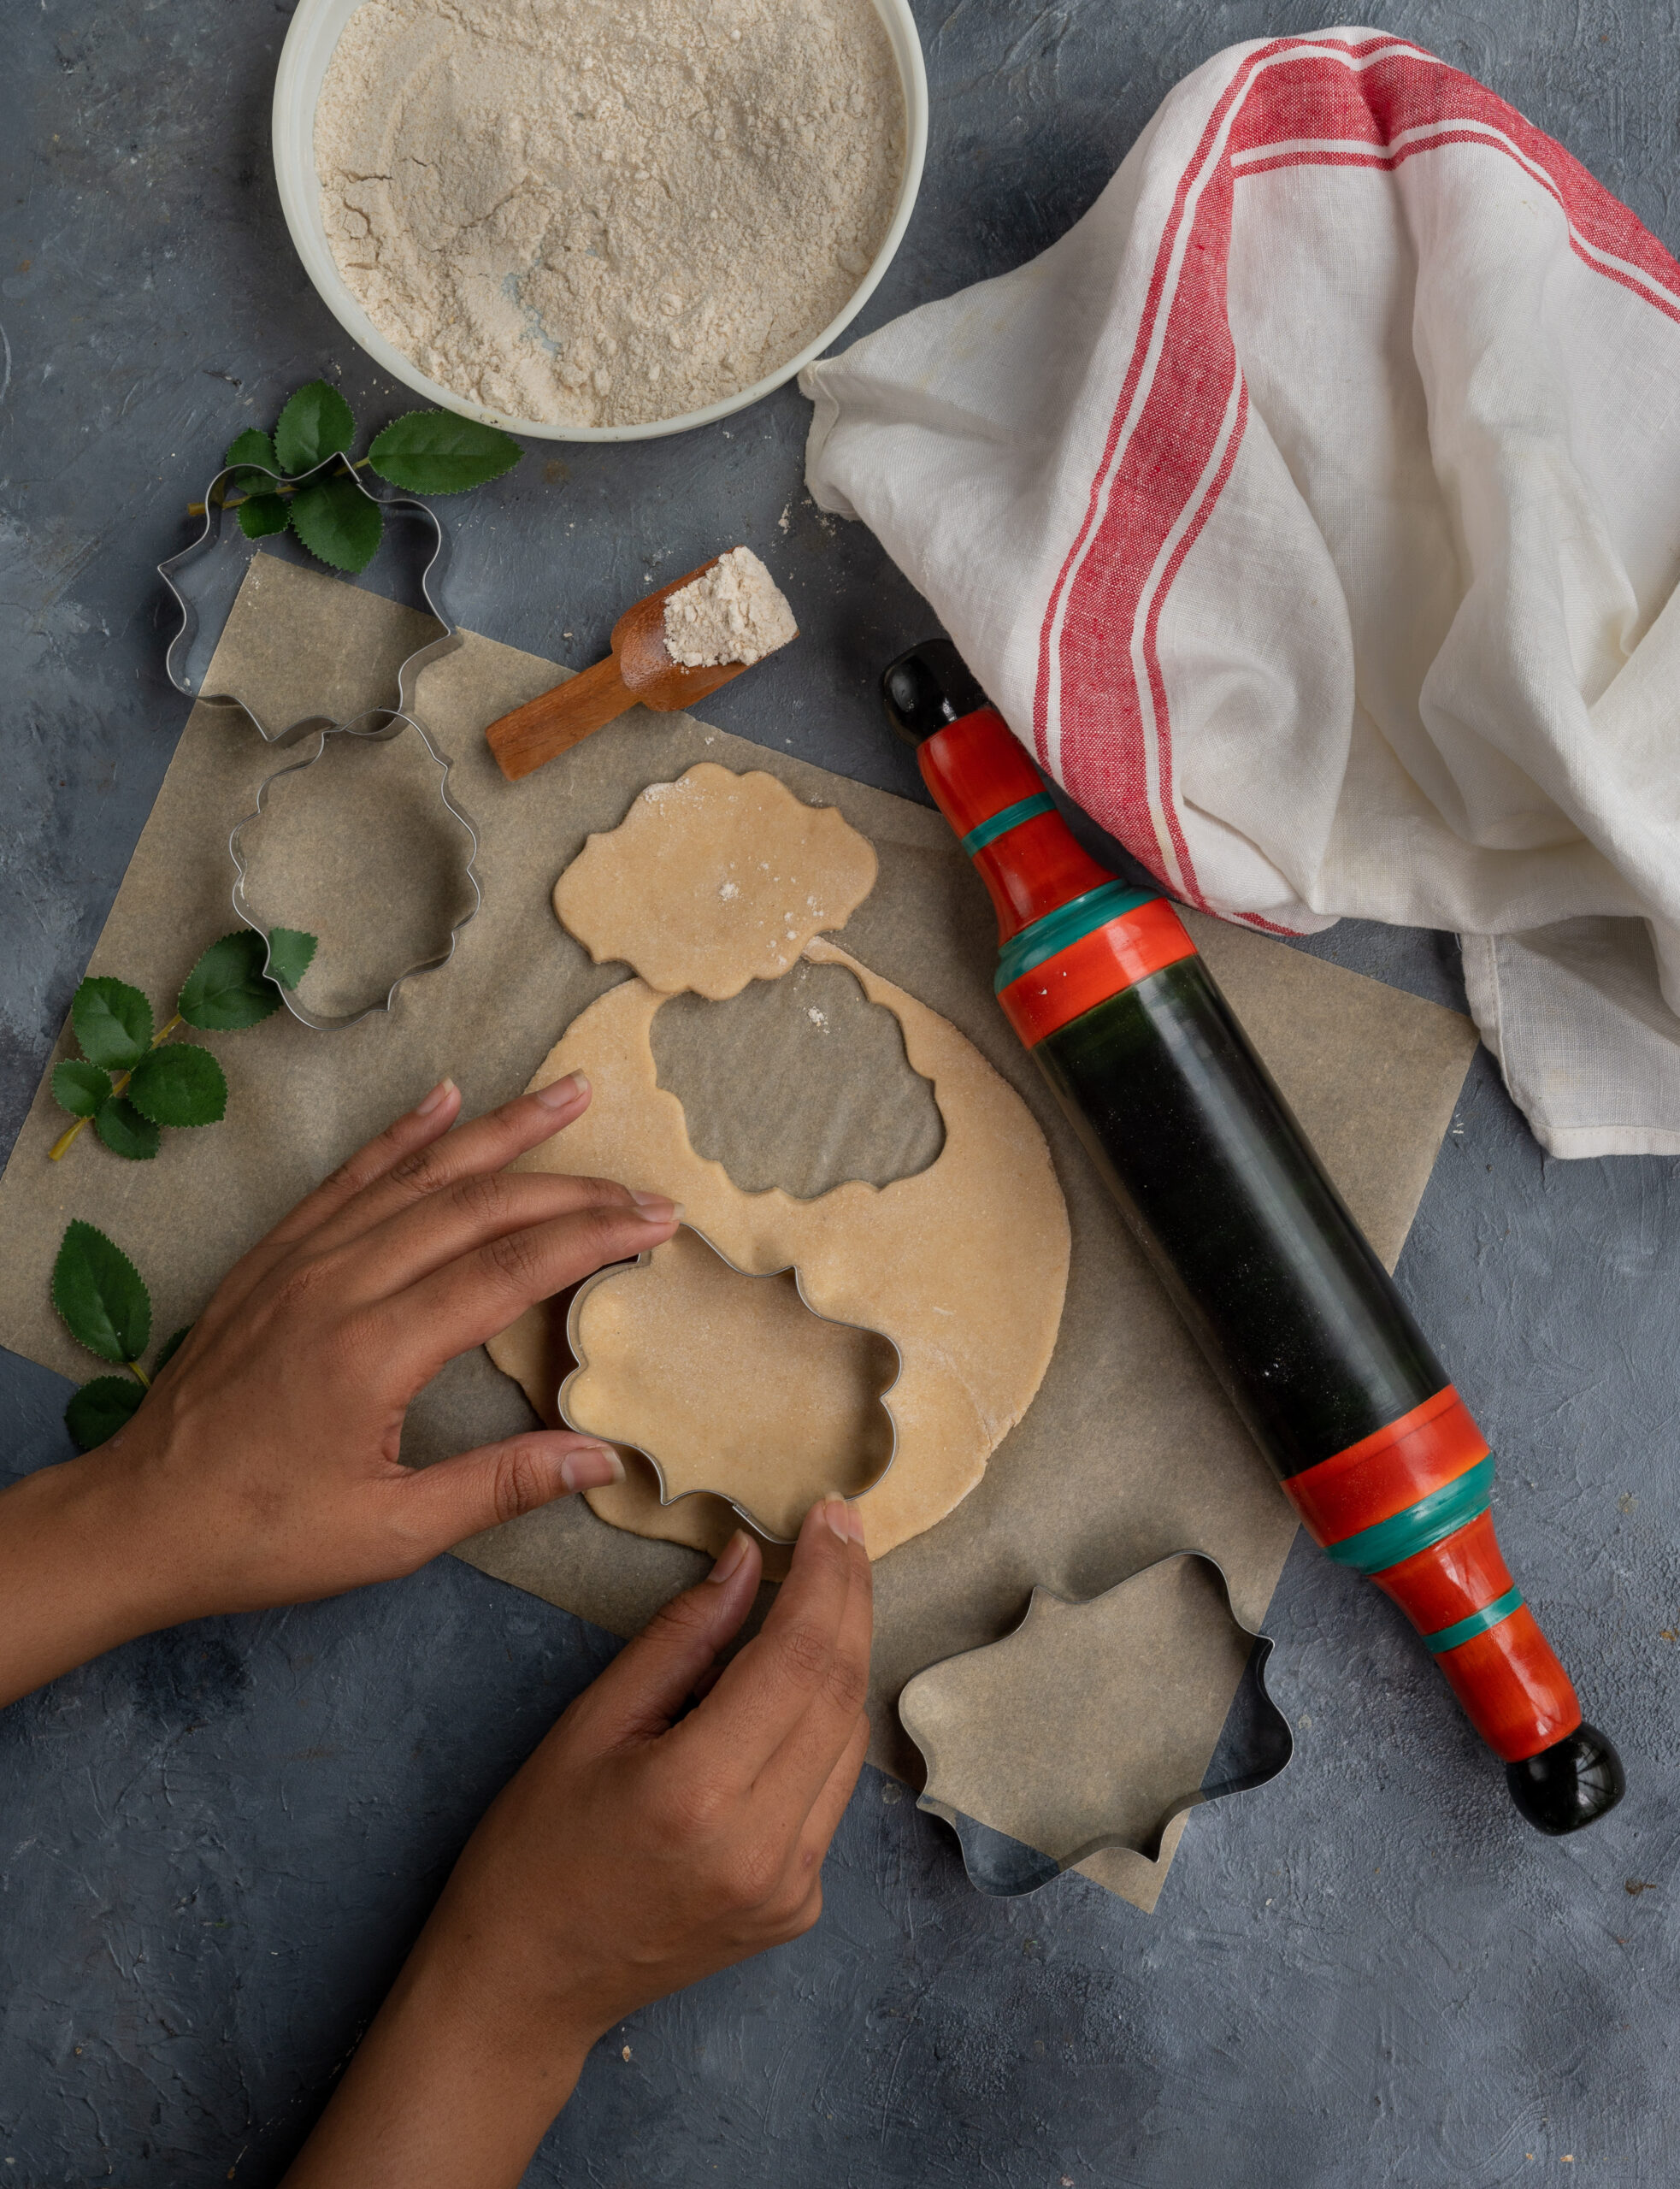
What I am sharing with you here is a very basic cookie which is eggless, easy to make and easy to decorate. I’ve used some fancy cookie cutters just for the fun of it, and in the festive spirit. After all, how long can you go on denying yourself the things you love and enjoy?
On that note, you may have noticed that I’ve shared quite a few sugary desserts of late, and that is because of all the special occasions and entertaining that you (and I) may be doing at this time of year. I assure you that I have lots of lovely recipes lined up for January that are all about healthy and clean eating though!
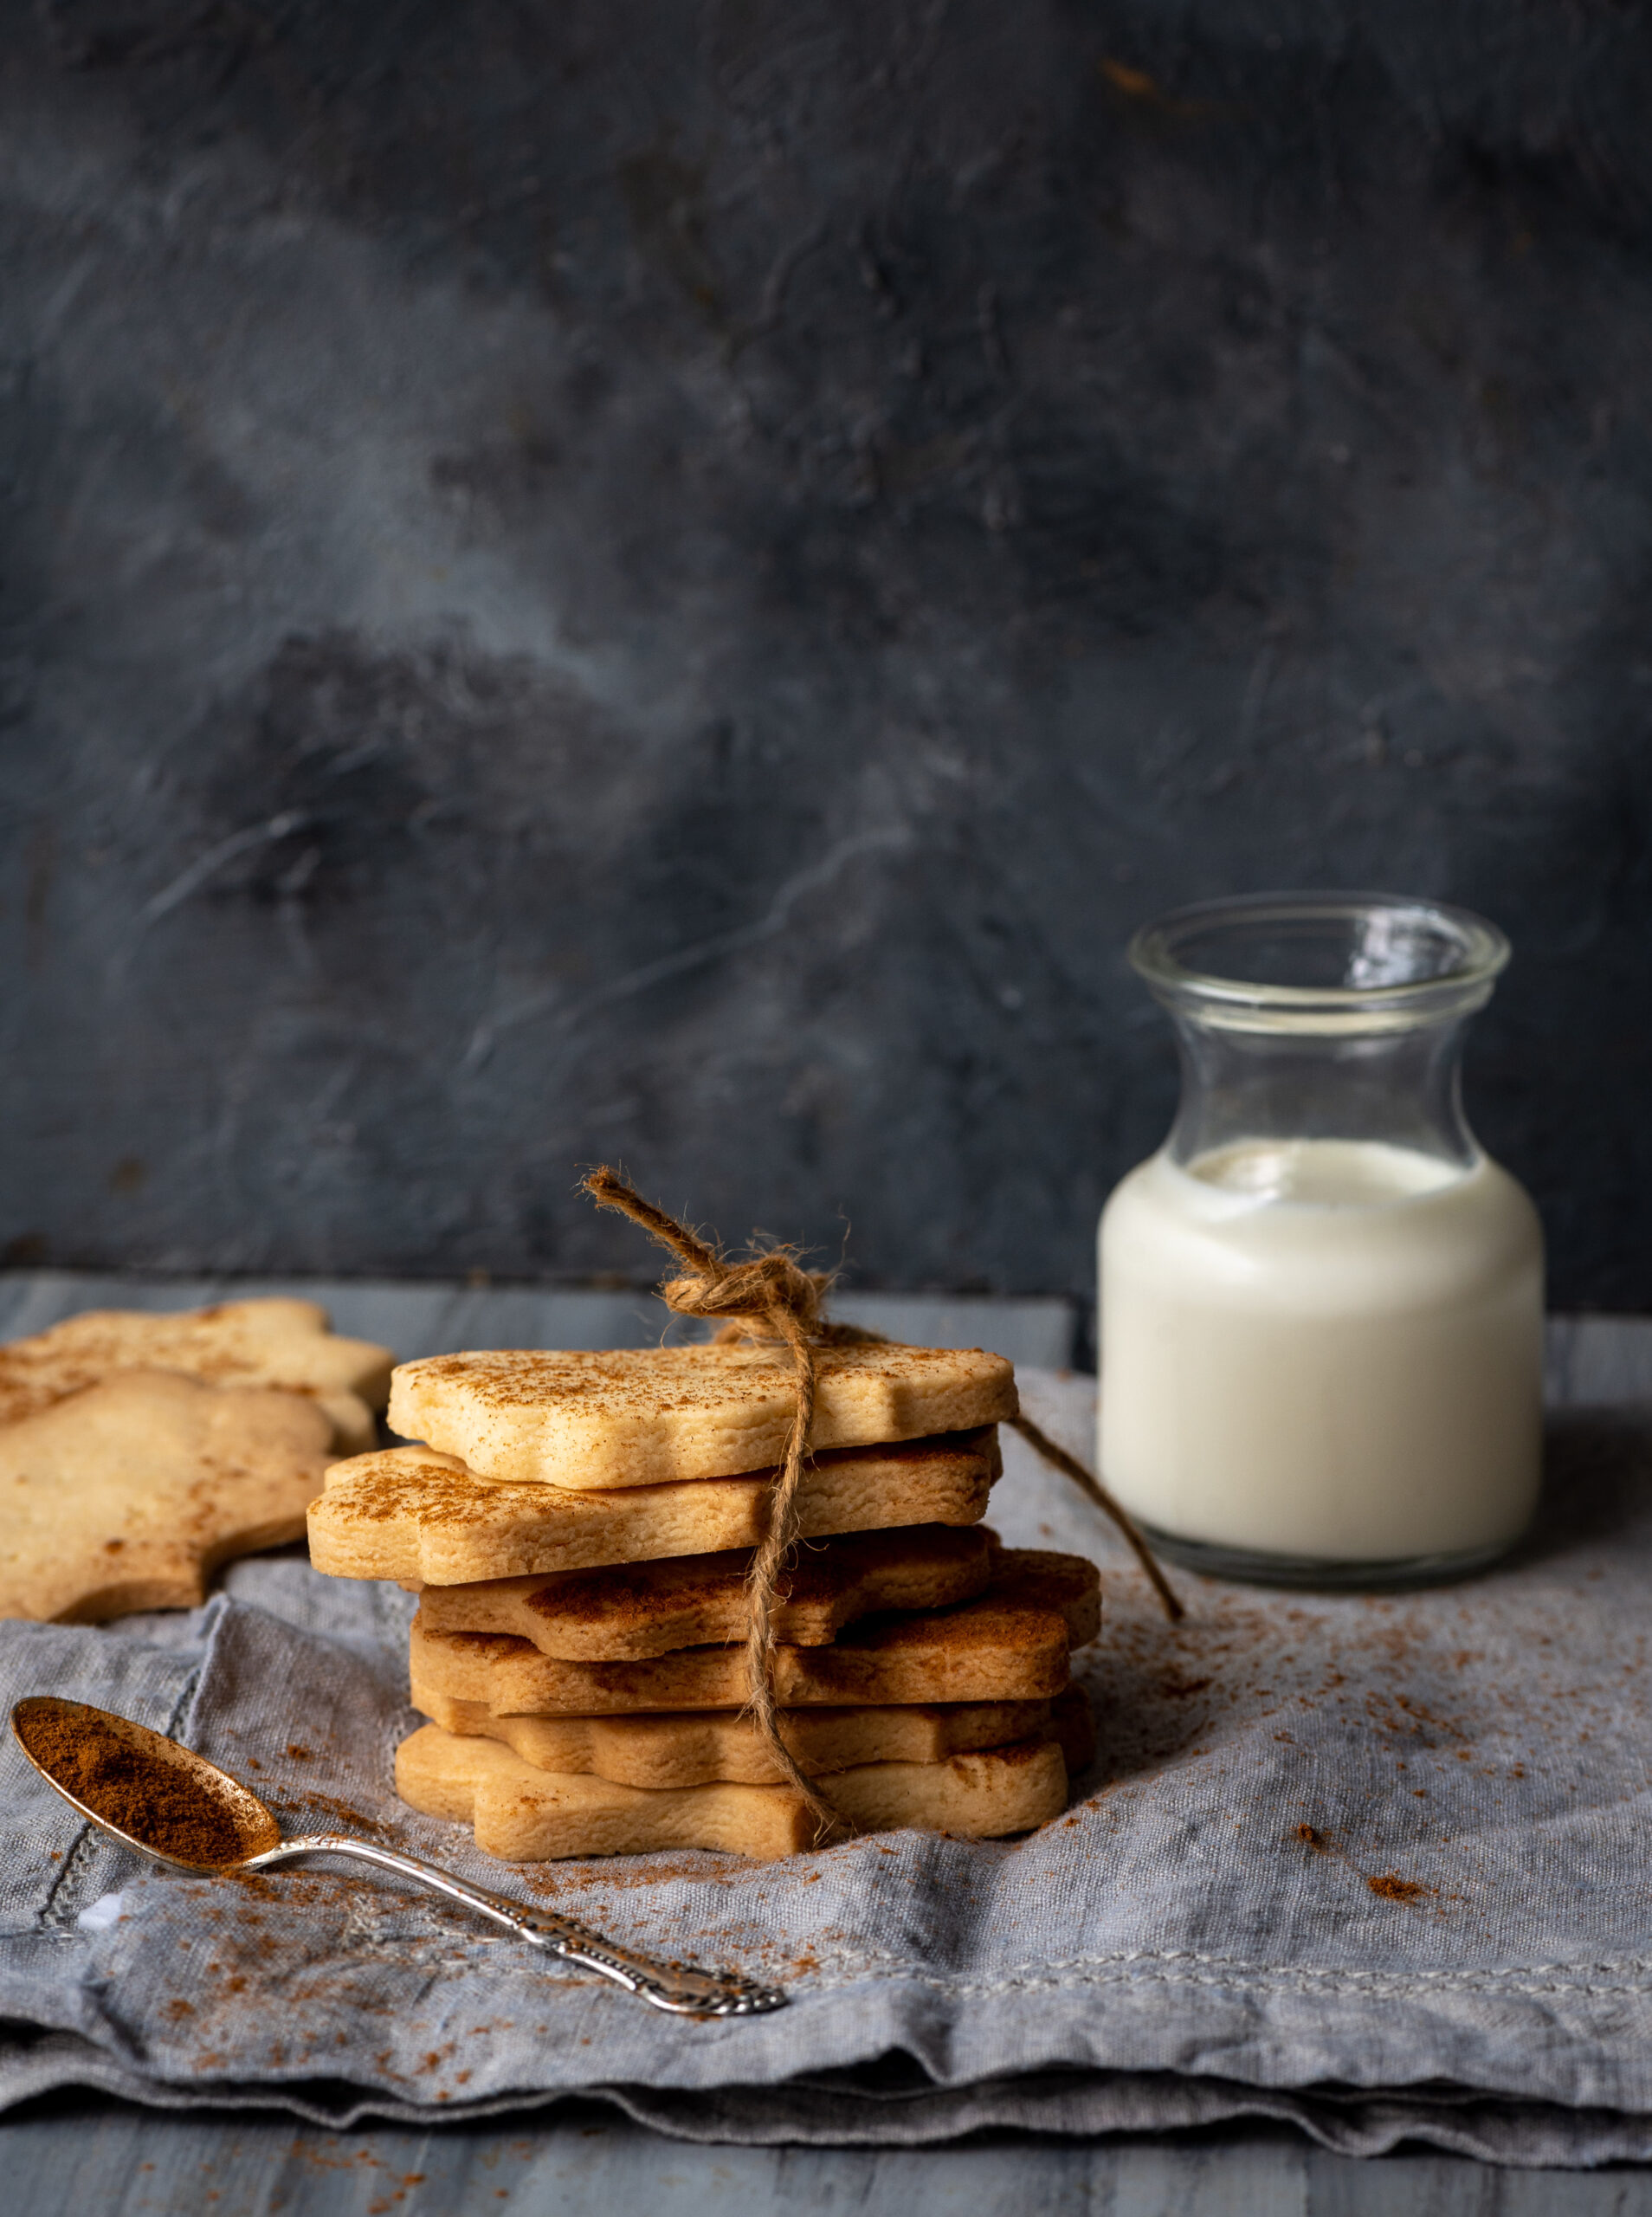
In the meanwhile, let’s indulge: eggless cinnamon cookies, dipped with chocolate, love and good tidings!
Eggless Cinnamon Cookies
(Yield: 12-15 cookies)
150 grams all purpose flour
75 grams powdered sugar
50 grams cornflour
½ teaspoon salt
85 grams butter
1 tablespoon milk
1 teaspoon vanilla extract
½ teaspoon cinnamon powder
1 cup chocolate chips
Mix all the ingredients (except the chocolate chips) together well with your palm. Form a dough and wrap it in cling film. Refrigerate for an hour.
Preheat the oven to 160° C. Divide the dough into two discs, and with the help of parchment paper, roll them out. Use a cookie cutter of any desired shape.
Bake the cookies for 12-15 minutes or until they turn slightly golden at the edges.
Remove from the oven and allow the cookies to cool completely.
Meanwhile, melt the chocolate chips on a double boiler or in a microwave. Stir constantly.
Remove from the heat. Dip the cookies into the melted chocolate. Then place them on a tray and cool in the refrigerator, or at room temperature in a cool room, until the chocolate sets.
Store the cookies in an airtight tin and enjoy them with your favourite beverage. Whether you have a little treat daily or only now and then, these simple yet satisfying eggless cinnamon cookies are sure to delight you! If you enjoyed this recipe, you may also want to explore these sugar-free almond cookies and these ginger-jaggery Christmas cookies too!