Tag

yoghurt

Browsing

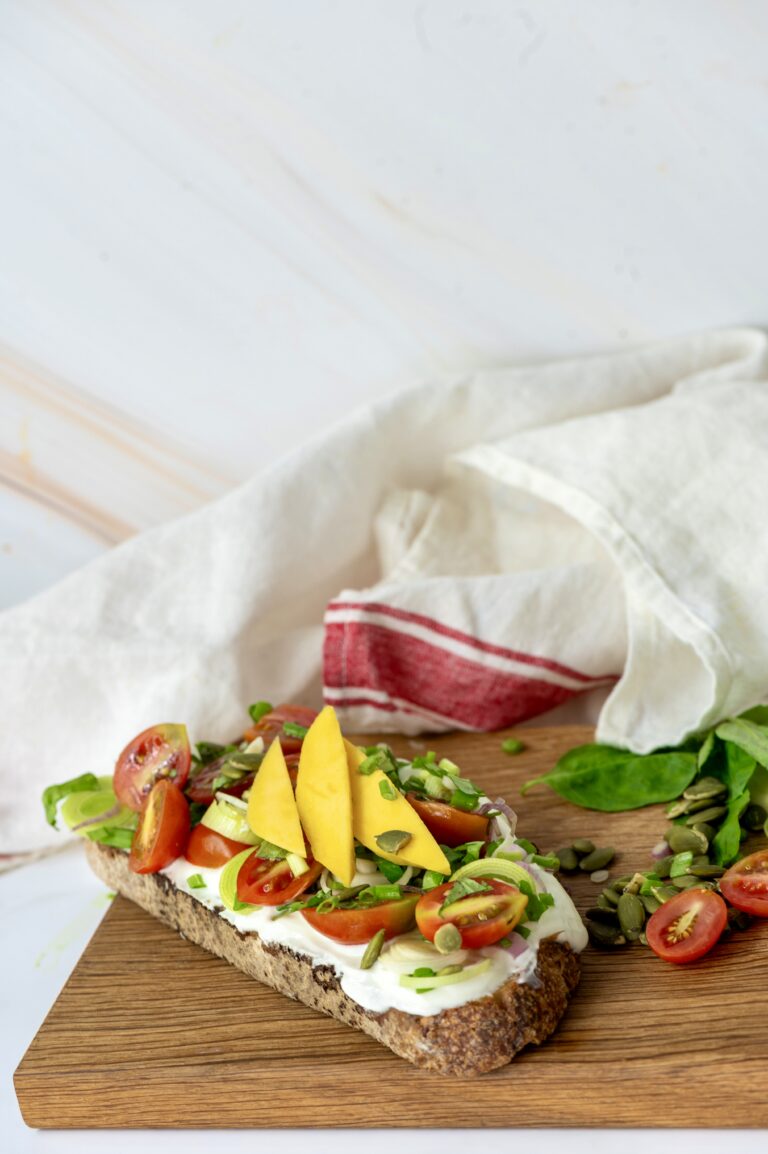
I went through a phase of being obsessed with open toasts, made using homemade sourdough bread. I shared some recipes during that time, including cherry tomato yoghurt toast and pesto Parmesan toastie. With mangoes being in season right now (and like many if not most Indians, my love for mangoes is well-established!), I thought: why not mango toast? I decided to make mine healthy and loaded with nourishing ingredients, with the fruit adding a touch of sweetness and fun. So here’s a recipe for a healthy veggie toast with mango, one that brings the best thing about the summer into your breakfast!

During my open toast era, I also tried to make reels for Instagram. I was quick to realize where my forte lies: in photography, and not in videomaking. To be more accurate: my interest lies there as well, not just my forte. I began to focus – pun intended – then on what I enjoy most, and incidentally do better, and decided to keeping trying to do even better. I wrote about this recently too, and I continue to muse about the role of photography in my life. It is an artform that has given me so much, and I continue to learn and to grow within it. To aspiring artists of any kind, including the culinary forms, I want to say that the key to longevity is in figuring out and forging your strengths. For instance, I had various short-lived attempts at using the ever-popular Photoshop, but found that Lightroom suited me much better as a photo editing software. I would love to master Photoshop, for it has some excellent features and tools, but I use what I am most comfortable with for the majority of the time, and it yields good results.
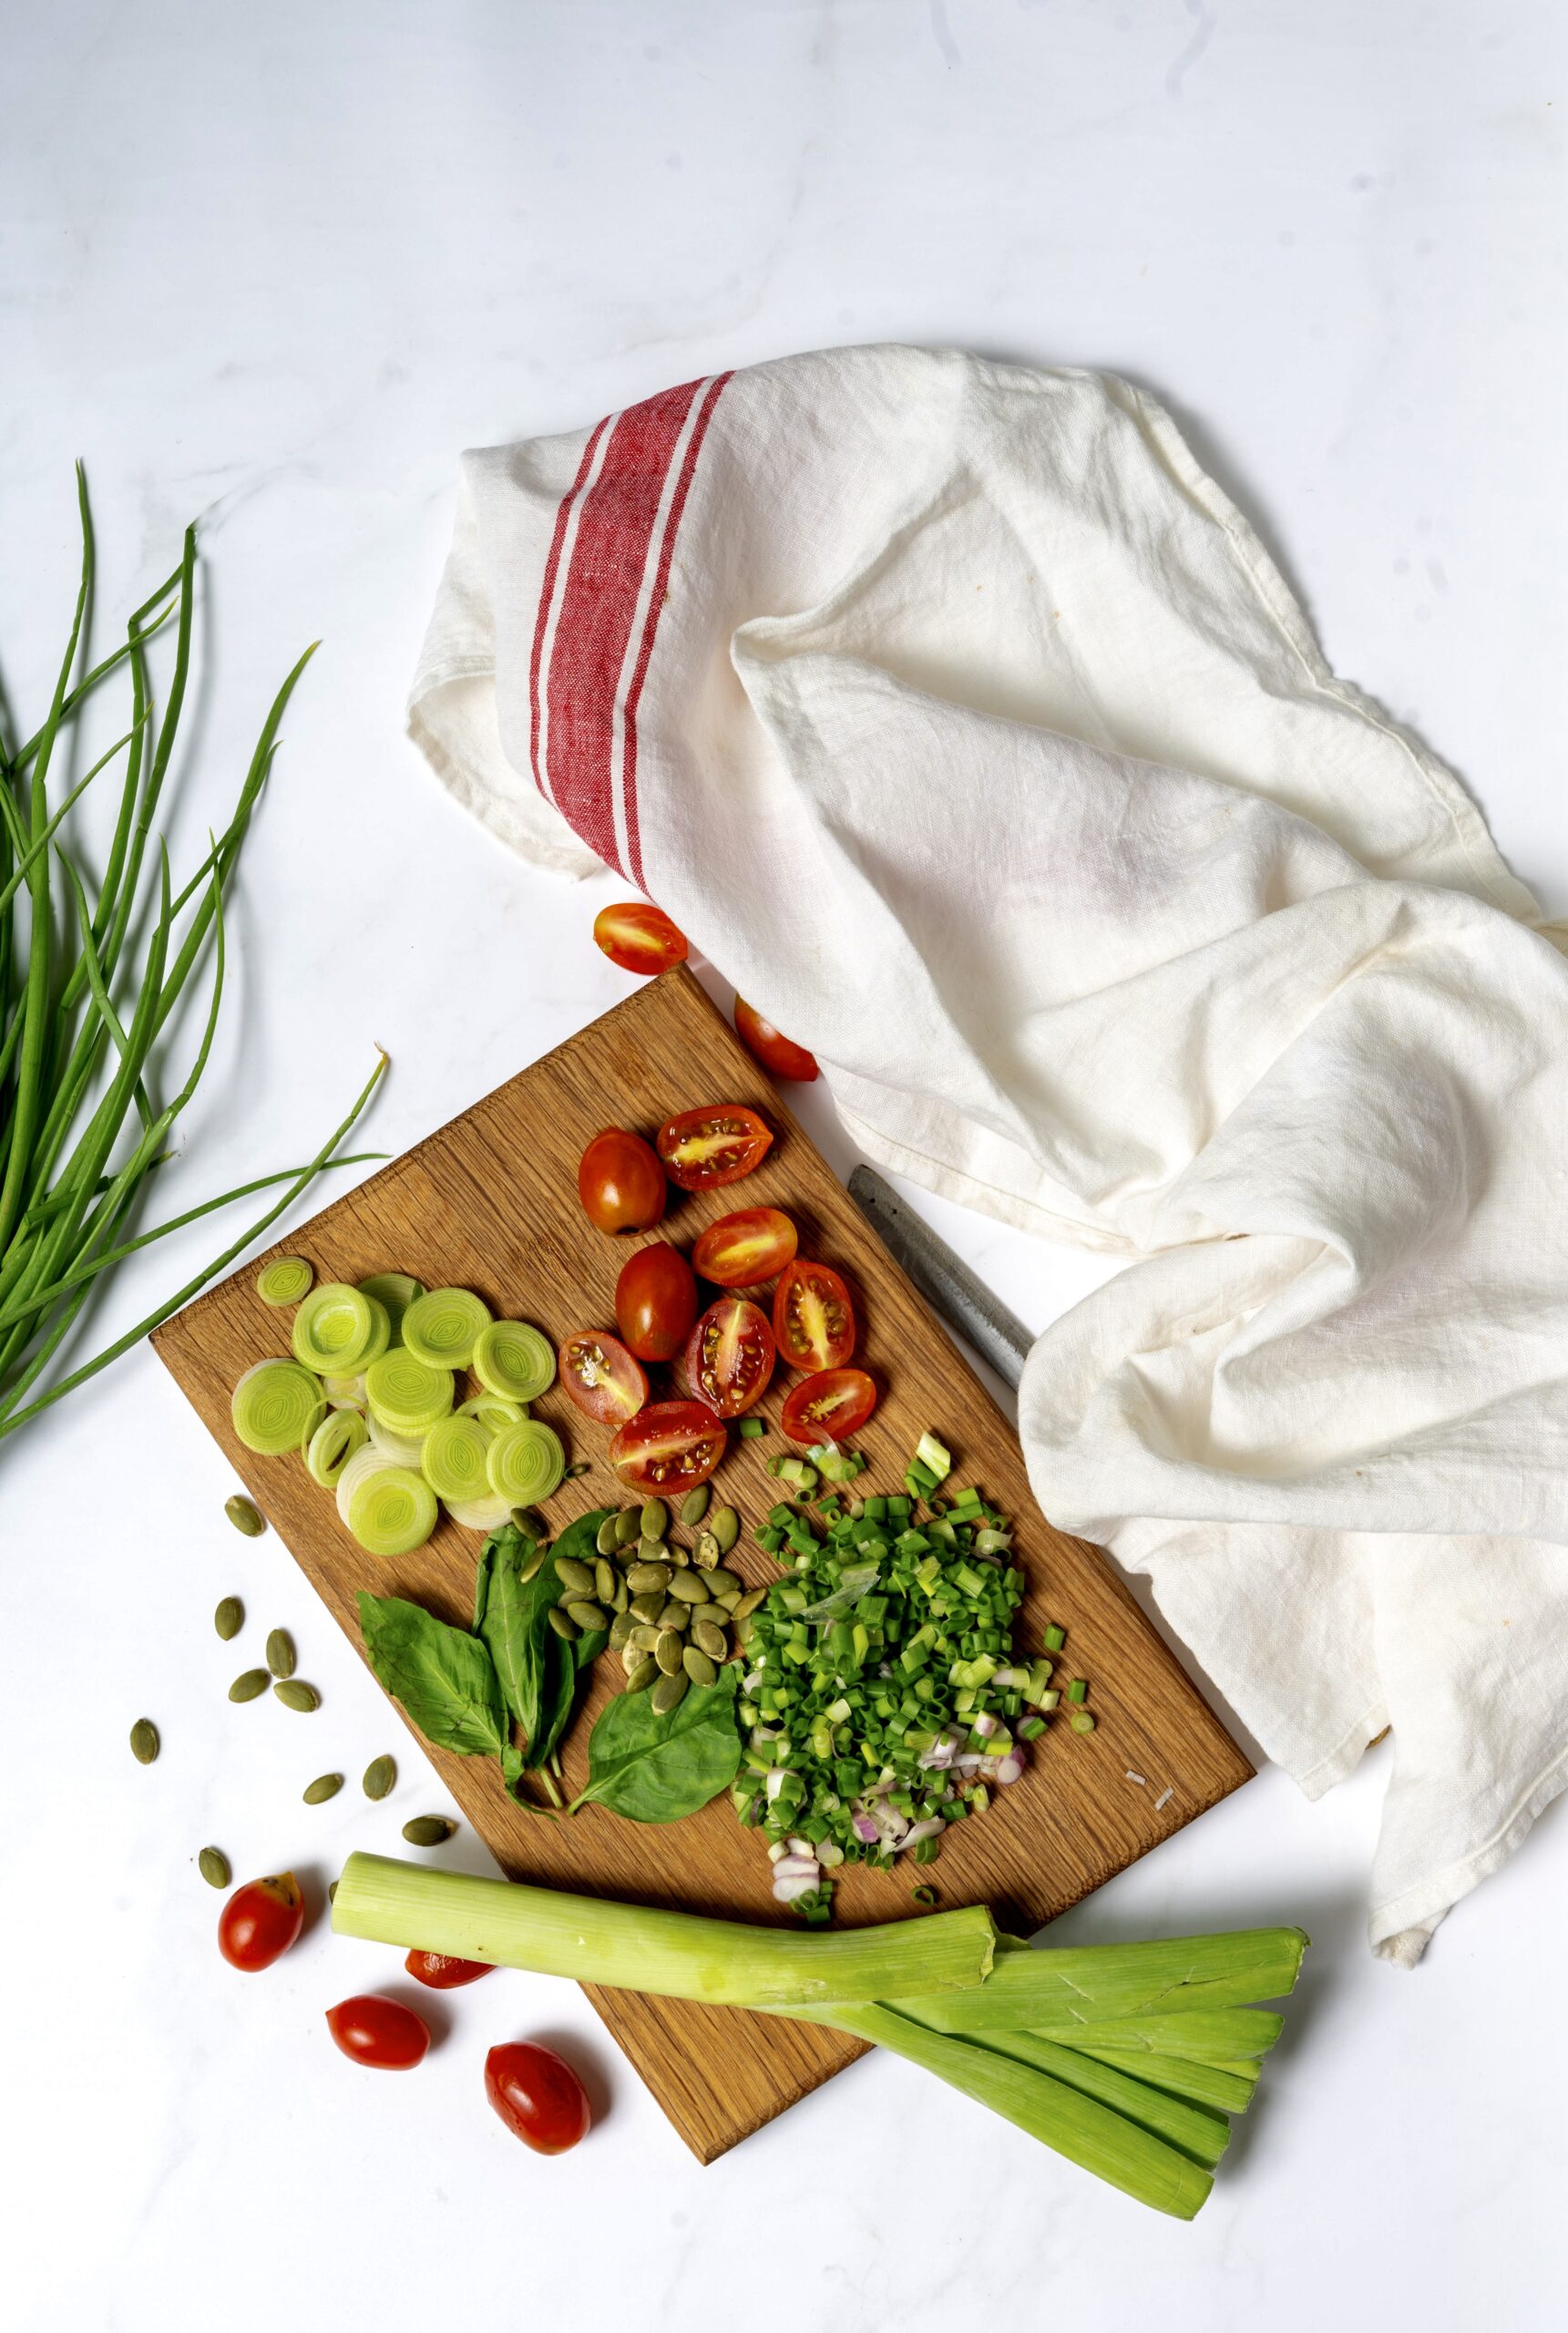
Coming back to this healthy veggie toast with mango, the ingredients used were also selected based on what feels right. I am going through a pumpkin seed phase right now, so of course there is a generous sprinkling of those. There’s some yoghurt, so that there’s a protein boost right in the morning (I have used Greek yoghurt). Then, an assortment of leaves and staples found in my fridge. You can replace any of these with something more to your liking, or depending on what you have on hand. As for the mango itself: Alphonso is probably the best cultivar for this dish, but I have a particular South Indian favourite called Banganapalli which is also very sweet, and that’s what I’ve gone with.

This year, climate-related changes did impact the quality of some of the fruits on the market. Here in Chennai, I was a bit saddened by the effect of recent rains on my own mango trees, which were at peak flourishing. During the very hot days, however, I had been quick to make all my sun-dried spices – including amchur or raw mango powder, which is used as a souring agent in place of lime in many Indian dishes.

Speaking of seasons and phases, and as I mentioned earlier too, our menu at home also goes through these. Sometimes, as a family we develop a fancy for one item and simply must have it every single day for months. For a little while at one point, we started every morning with poha. At the moment, every morning begins with mango for us – specifically, this healthy veggie toast with mango. It’s a nutritious and delicious all-rounder, which makes it perfect for breakfast. How lucky that the fruiting season and our own foodie phase have coincided!
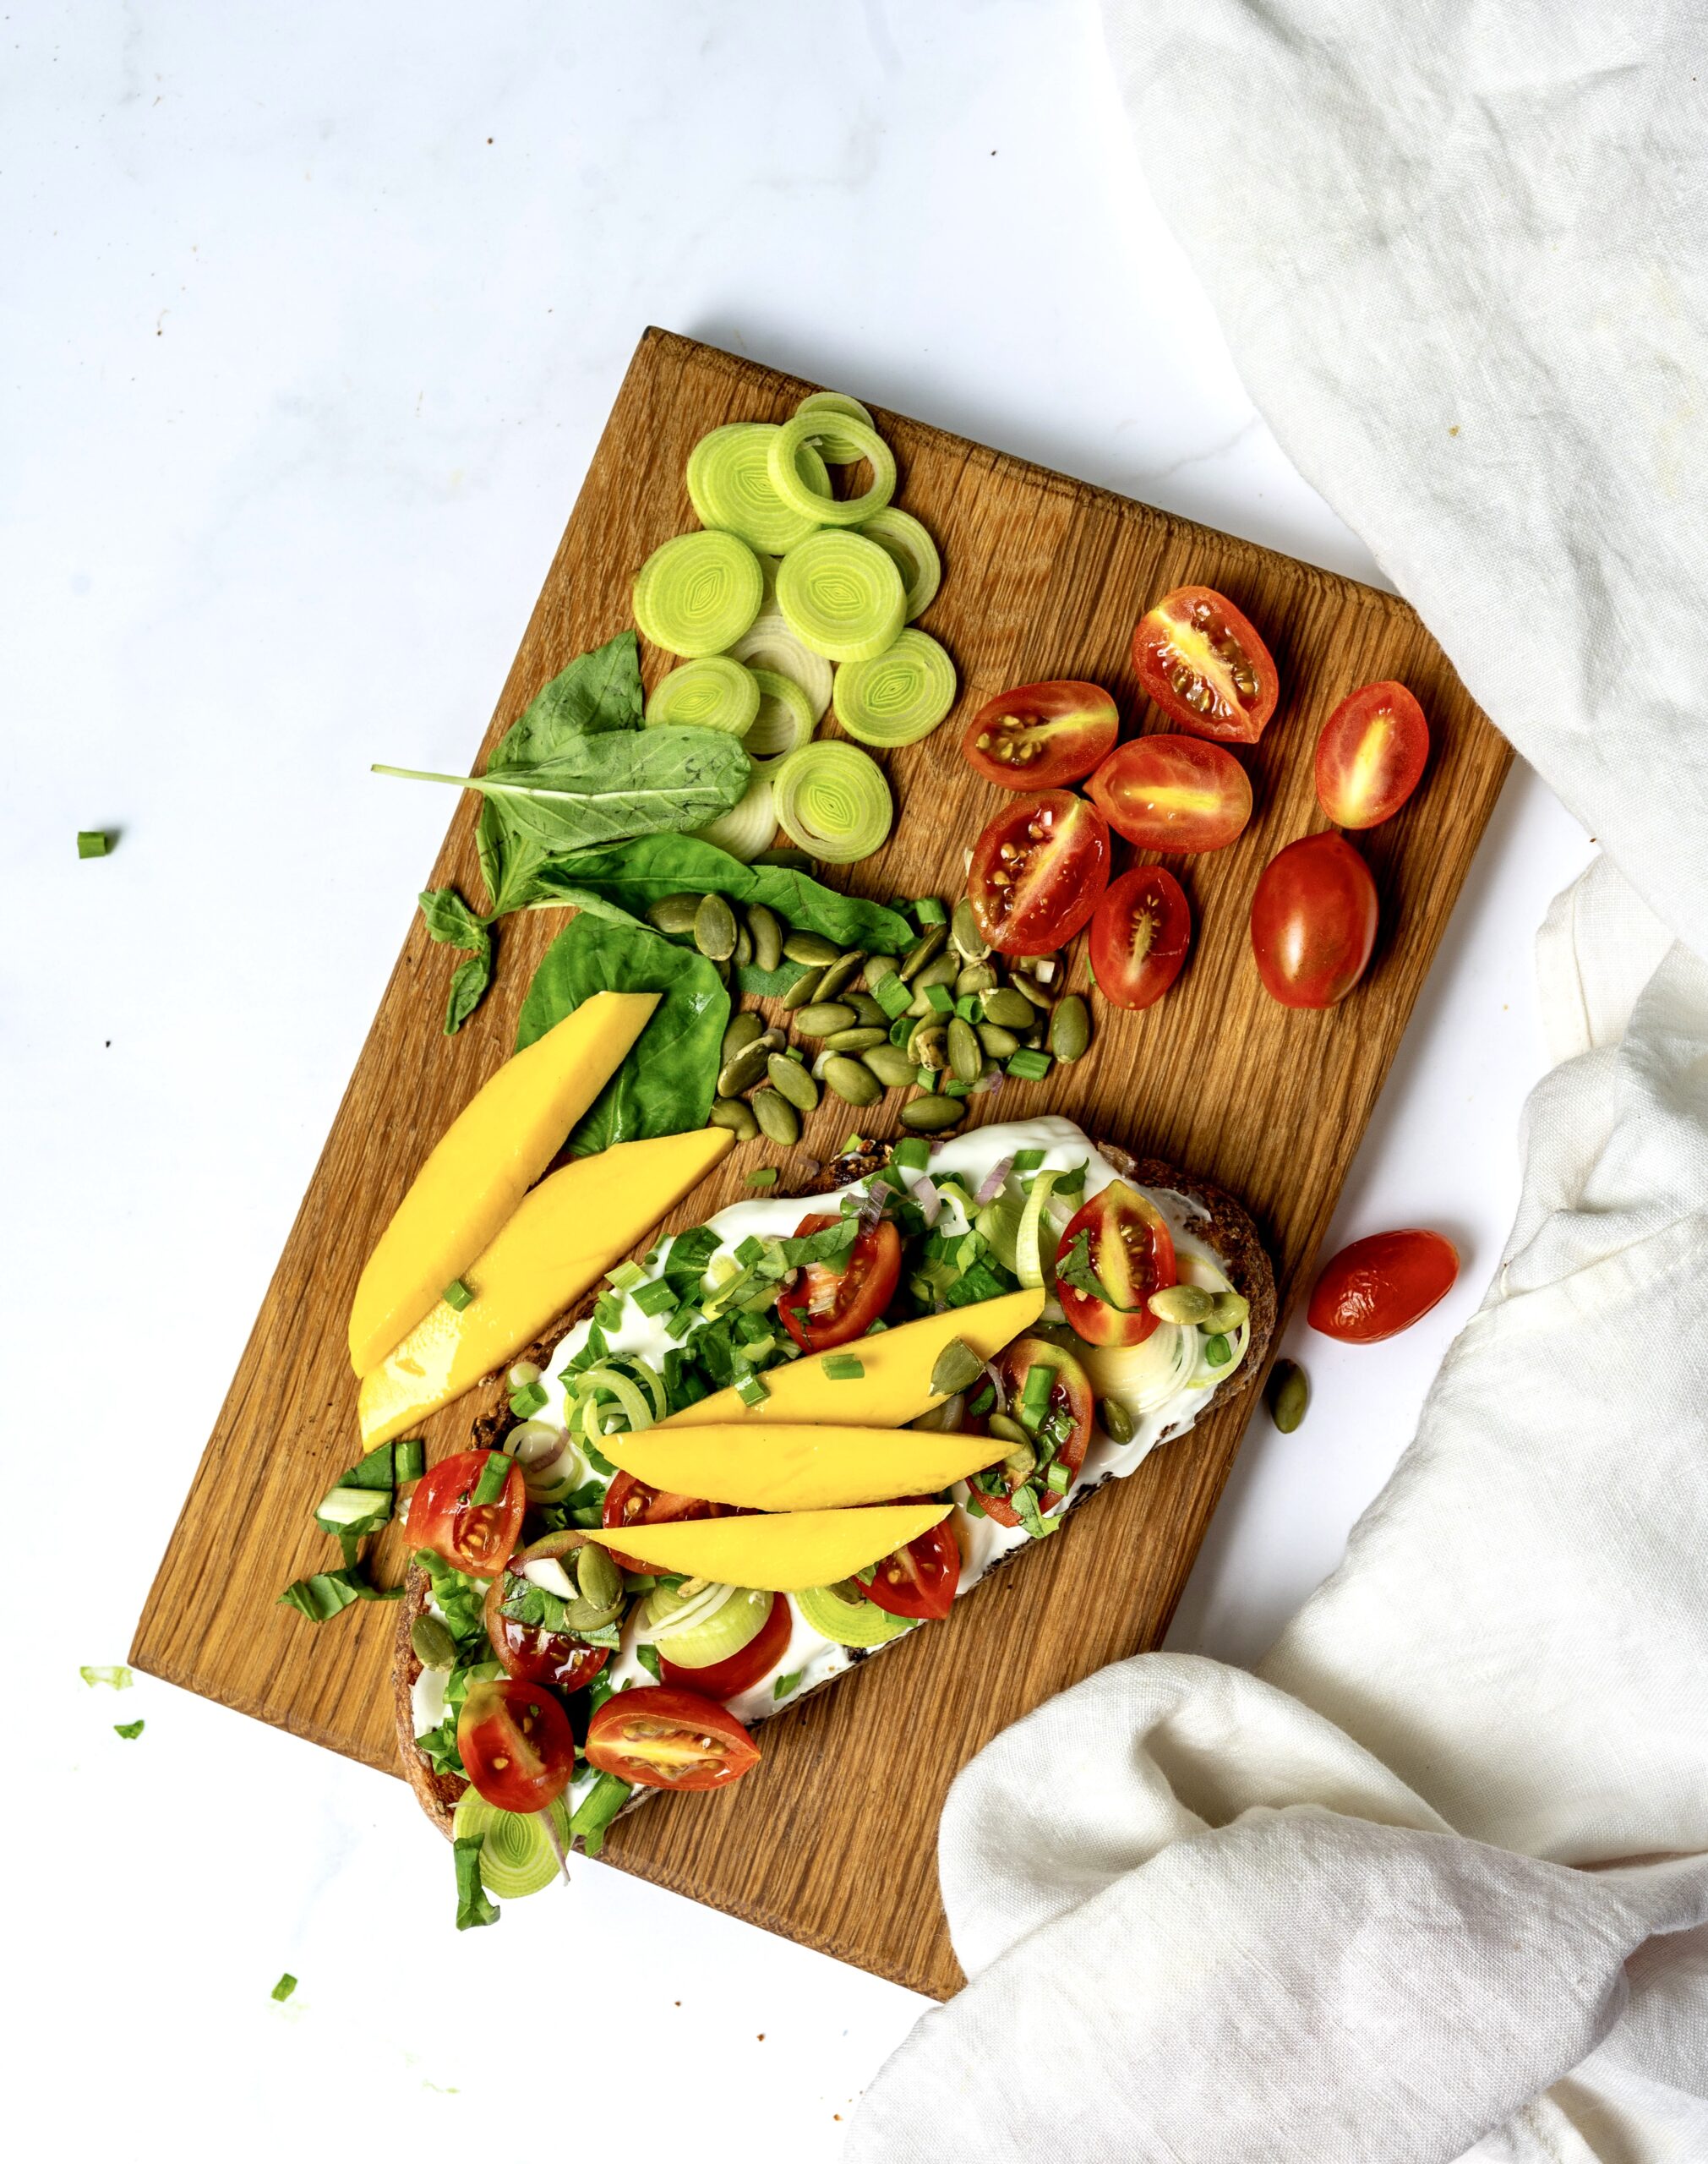
Healthy Veggie Toast With Mango

(Serves 1)

1 large slice sourdough

1 tablespoon yoghurt

A handful of cherry tomatoes

Lettuce leaves of your choice

Spring onions

Leeks (sliced)

1 tablespoon pumpkin seeds

2-3 basil leaves

3-6 slices ripe mango

Olive oil (for drizzling)

Salt and pepper to taste

Toast the sourdough slice and set aside.

Prepare all the veggies. Use what you like, in the amount that you wish to use. This is why I have been vague about the quantities in the ingredients list, and just given you the gist of what goes into mine.

Now, top the toast with the yoghurt, followed by the prepared veggies. Layer the mango slices at the end, then drizzle with olive oil. You may also want to add a sprinkling of salt and black pepper.

Your healthy veggie toast with mango is now ready. Savour the mix of flavours and textures, from the sweetness of the fruit to the crunchiness of the seeds and everything else in the mix!
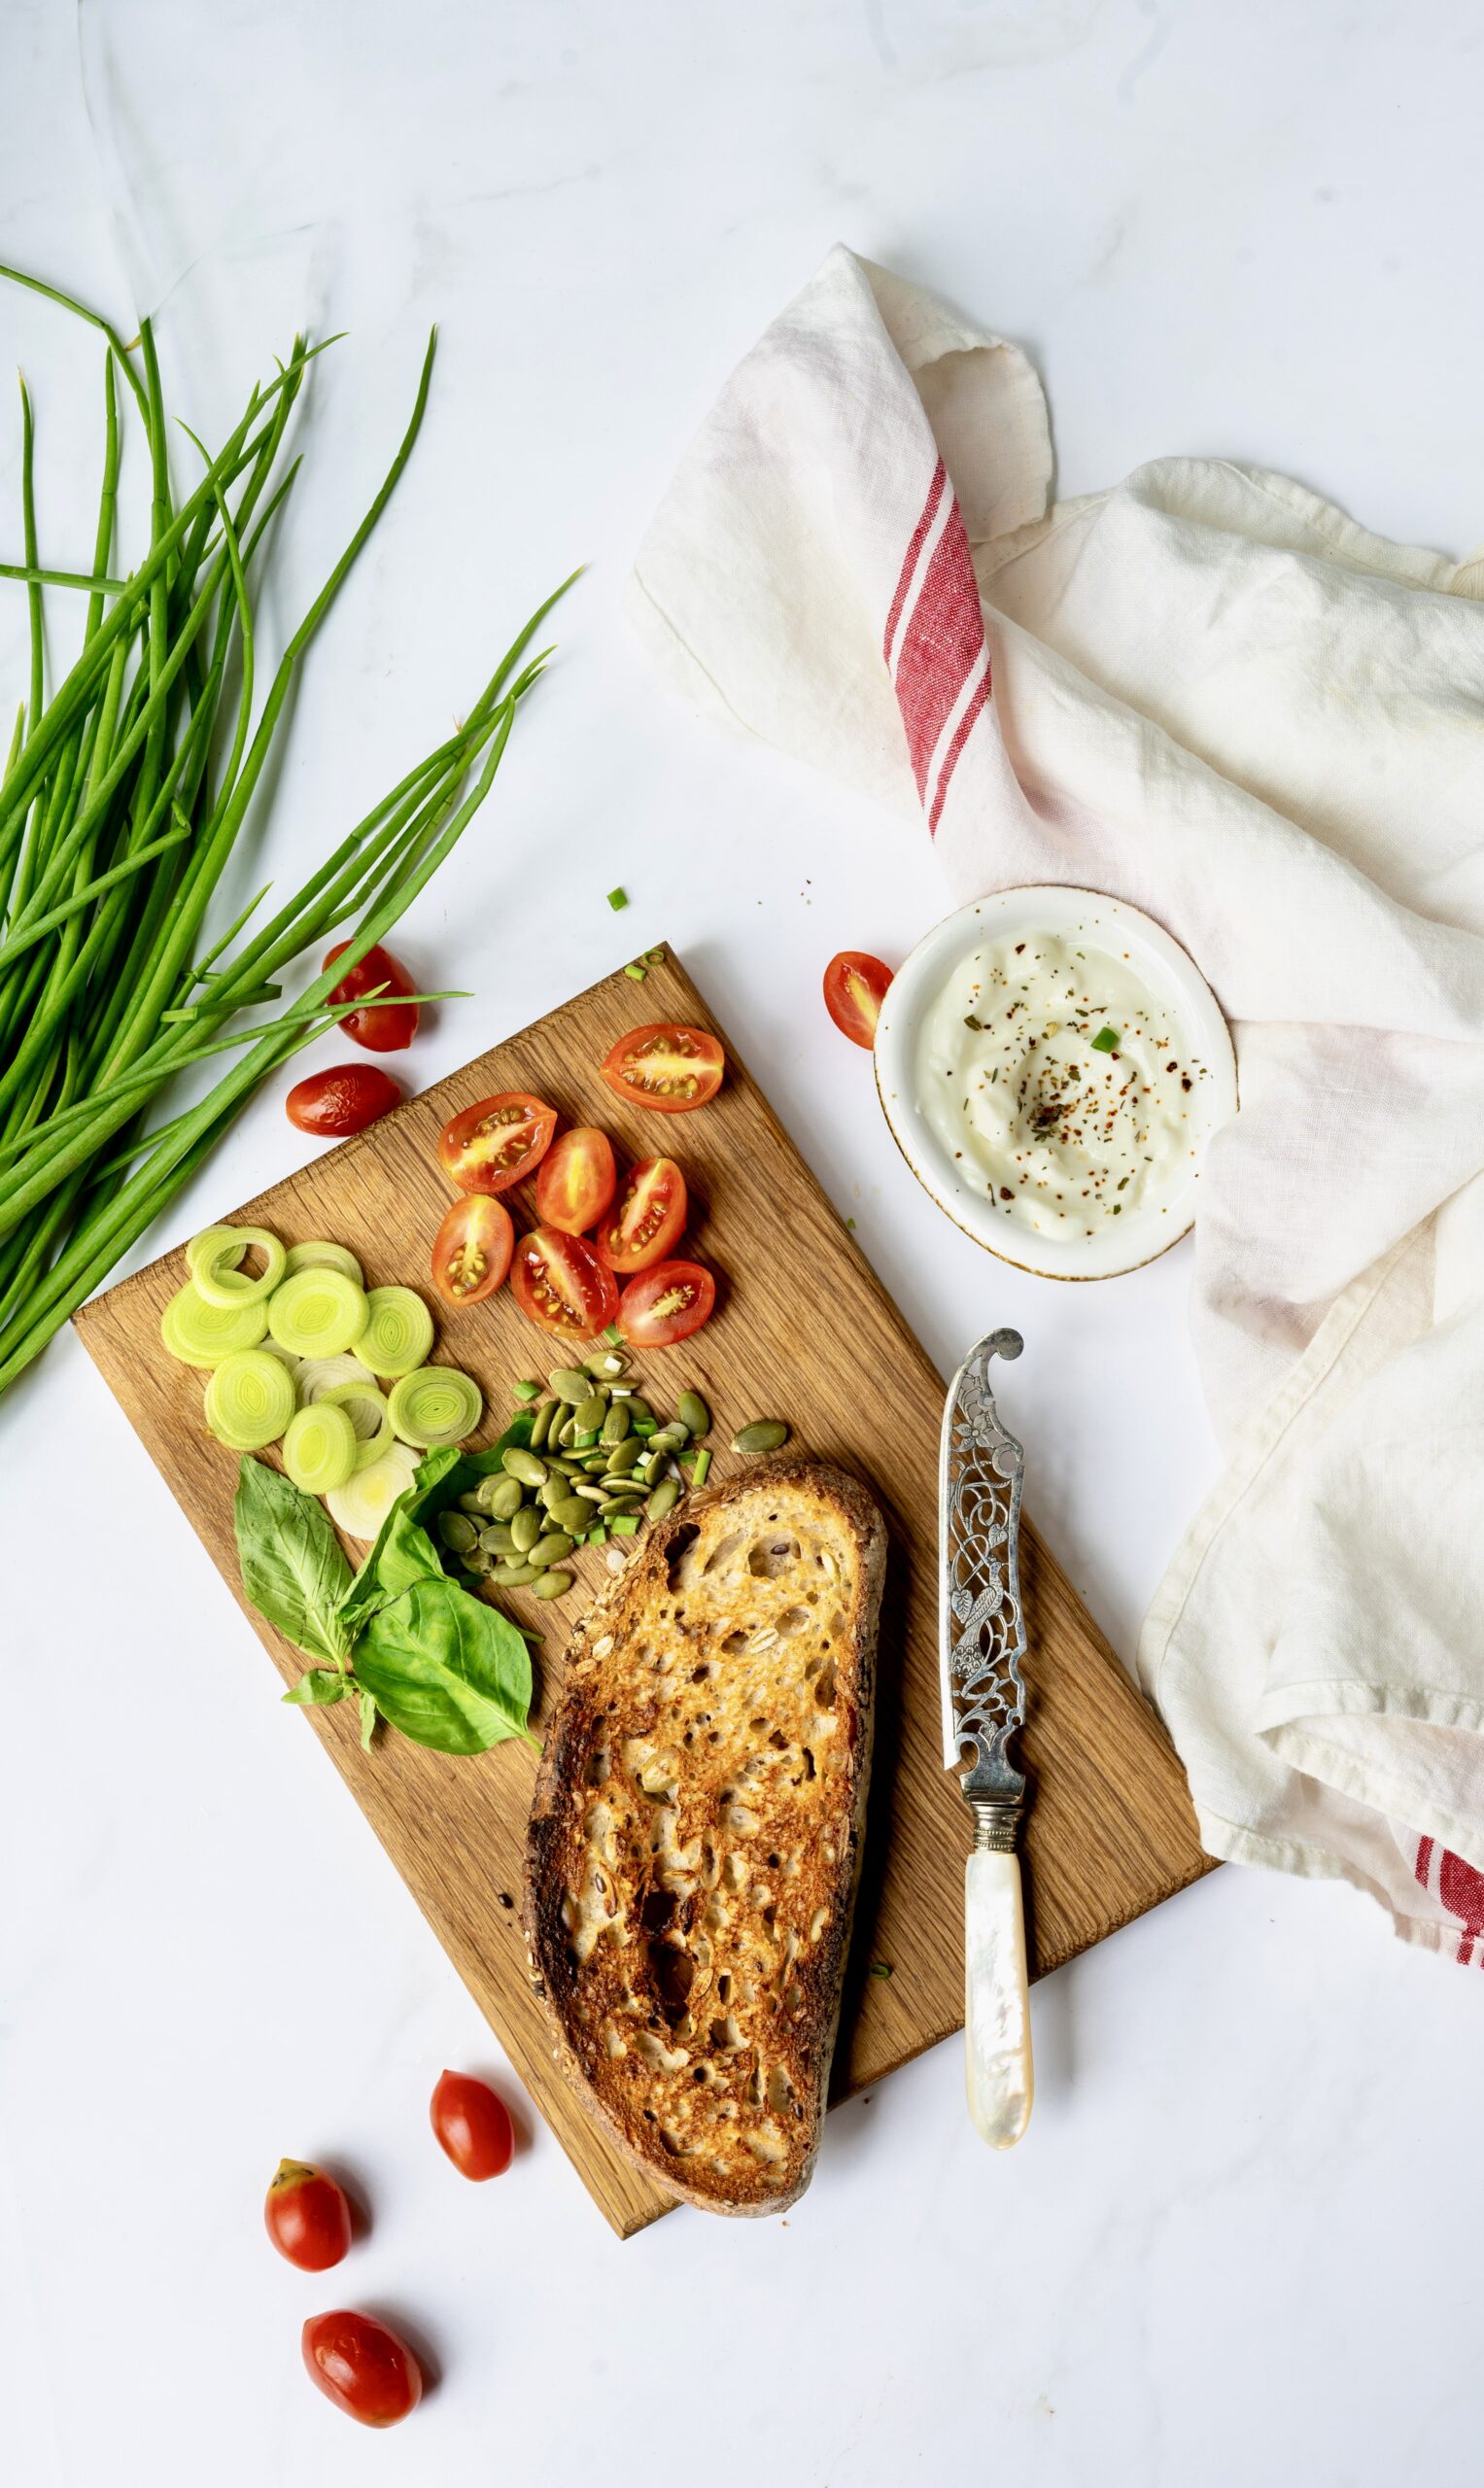
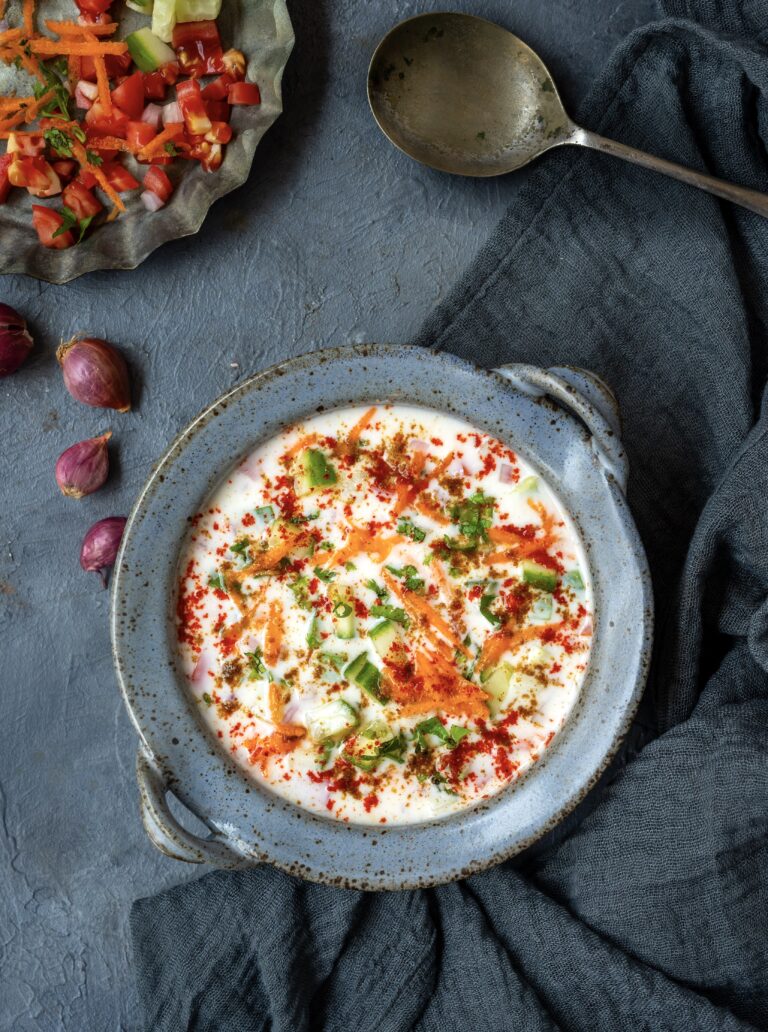
In the past, I have shared the recipes for Indian-style homemade yoghurt as well as for a typically Gujarati banana-mustard-cucumber raita and a slightly elevated cucumber raita. A raita is a cooling curd-based accompaniment that is usually served with biryani or any rice-centred meals, but I find it goes well even with upma and other dishes. Raita can be made in numerous ways, and as I keep reiterating on my blog when it comes to just about any popular food item, each household, each community and each region will have unique takes. I have tasted okra raita, which is quite delicious, as well as beetroot raita, which has a lovely colour. Today, because Spring is in the air and my mood too is bright, I have decided to make a colourful mixed vegetable raita.

When I say “Spring”, in my part of the world that means that we can feel the heat beginning to set in, and are in the phase immediately before the heat truly takes over. Here in Chennai, I am able to see lovely flowers everywhere right now: from mango flowers in the trees (the fruits will soon be in season, and you can expect several more mangolicious recipes from me soon) to hibiscus blooming in my garden.

Right now, it is a joy to go to the fresh fruit and vegetable market, as a variety of produce comes into season. When I travel, this happens to be my favourite pastime no matter which city I am in. I love to explore markets, taking photographs, admiring the colours, textures and arrangements. It feels like that here in my own city too right now – where strawberries, other kinds of berries and oranges are in abundance at the local market and inspire my creativity.

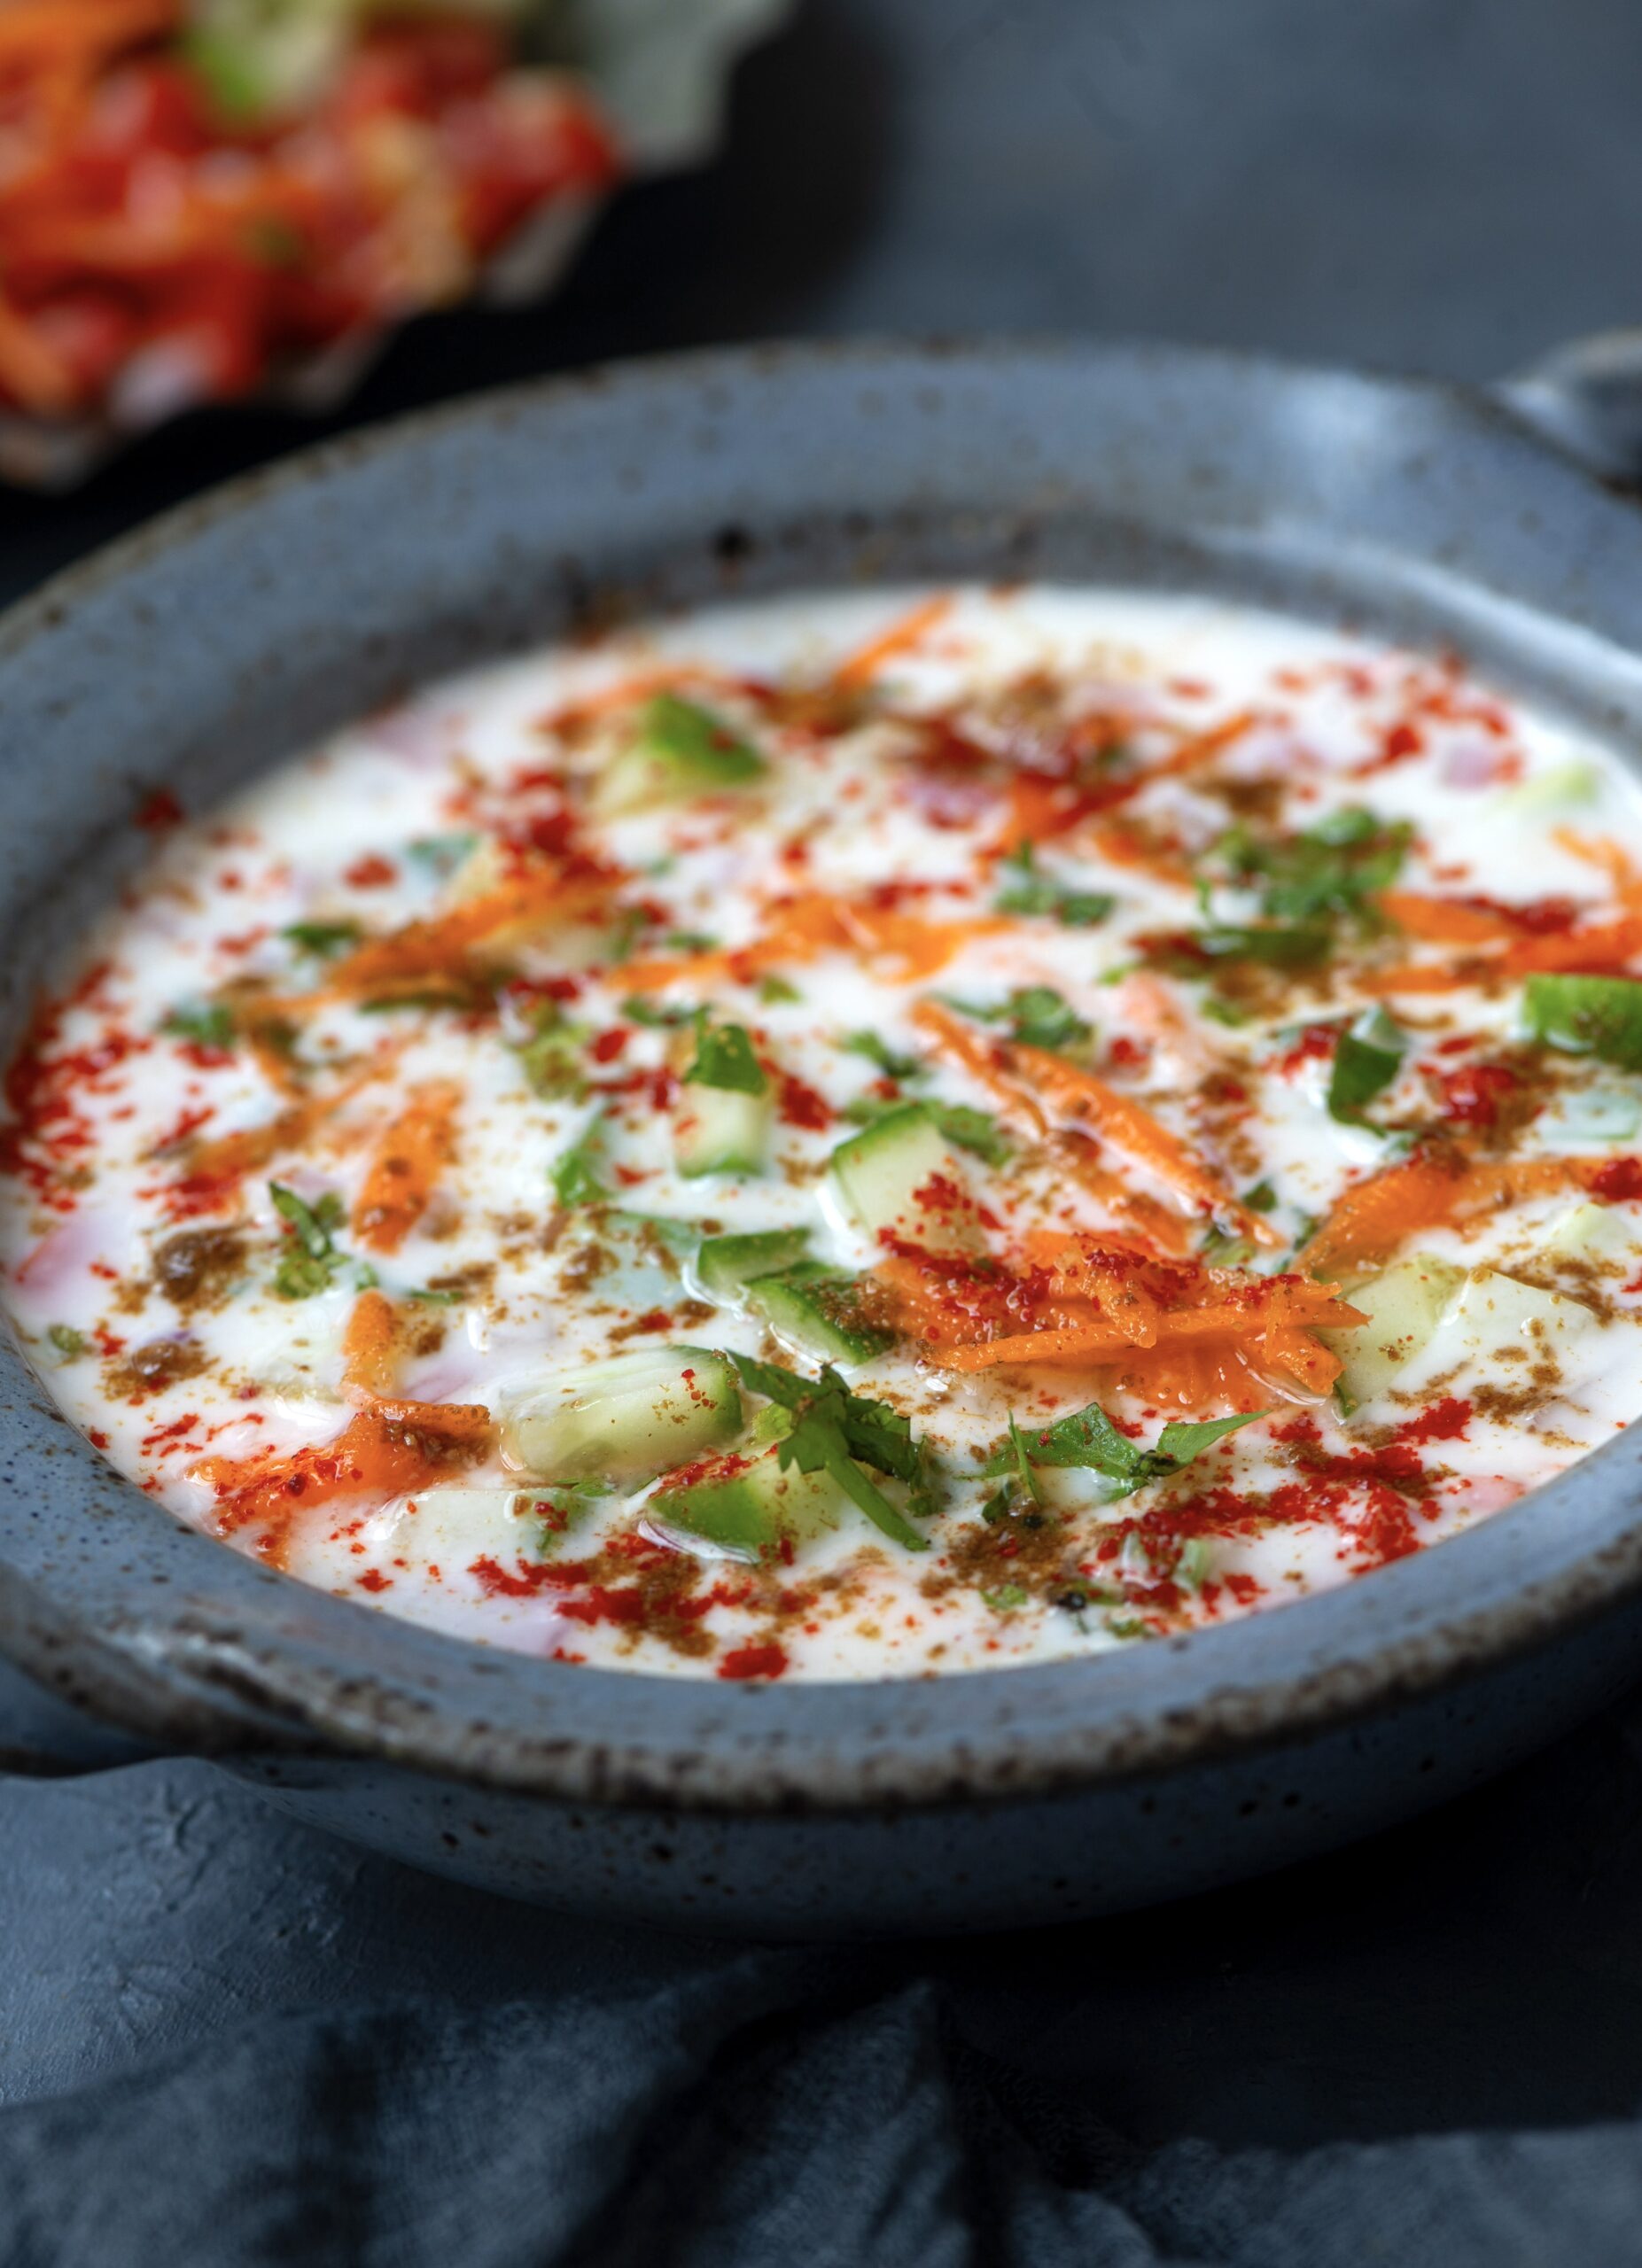
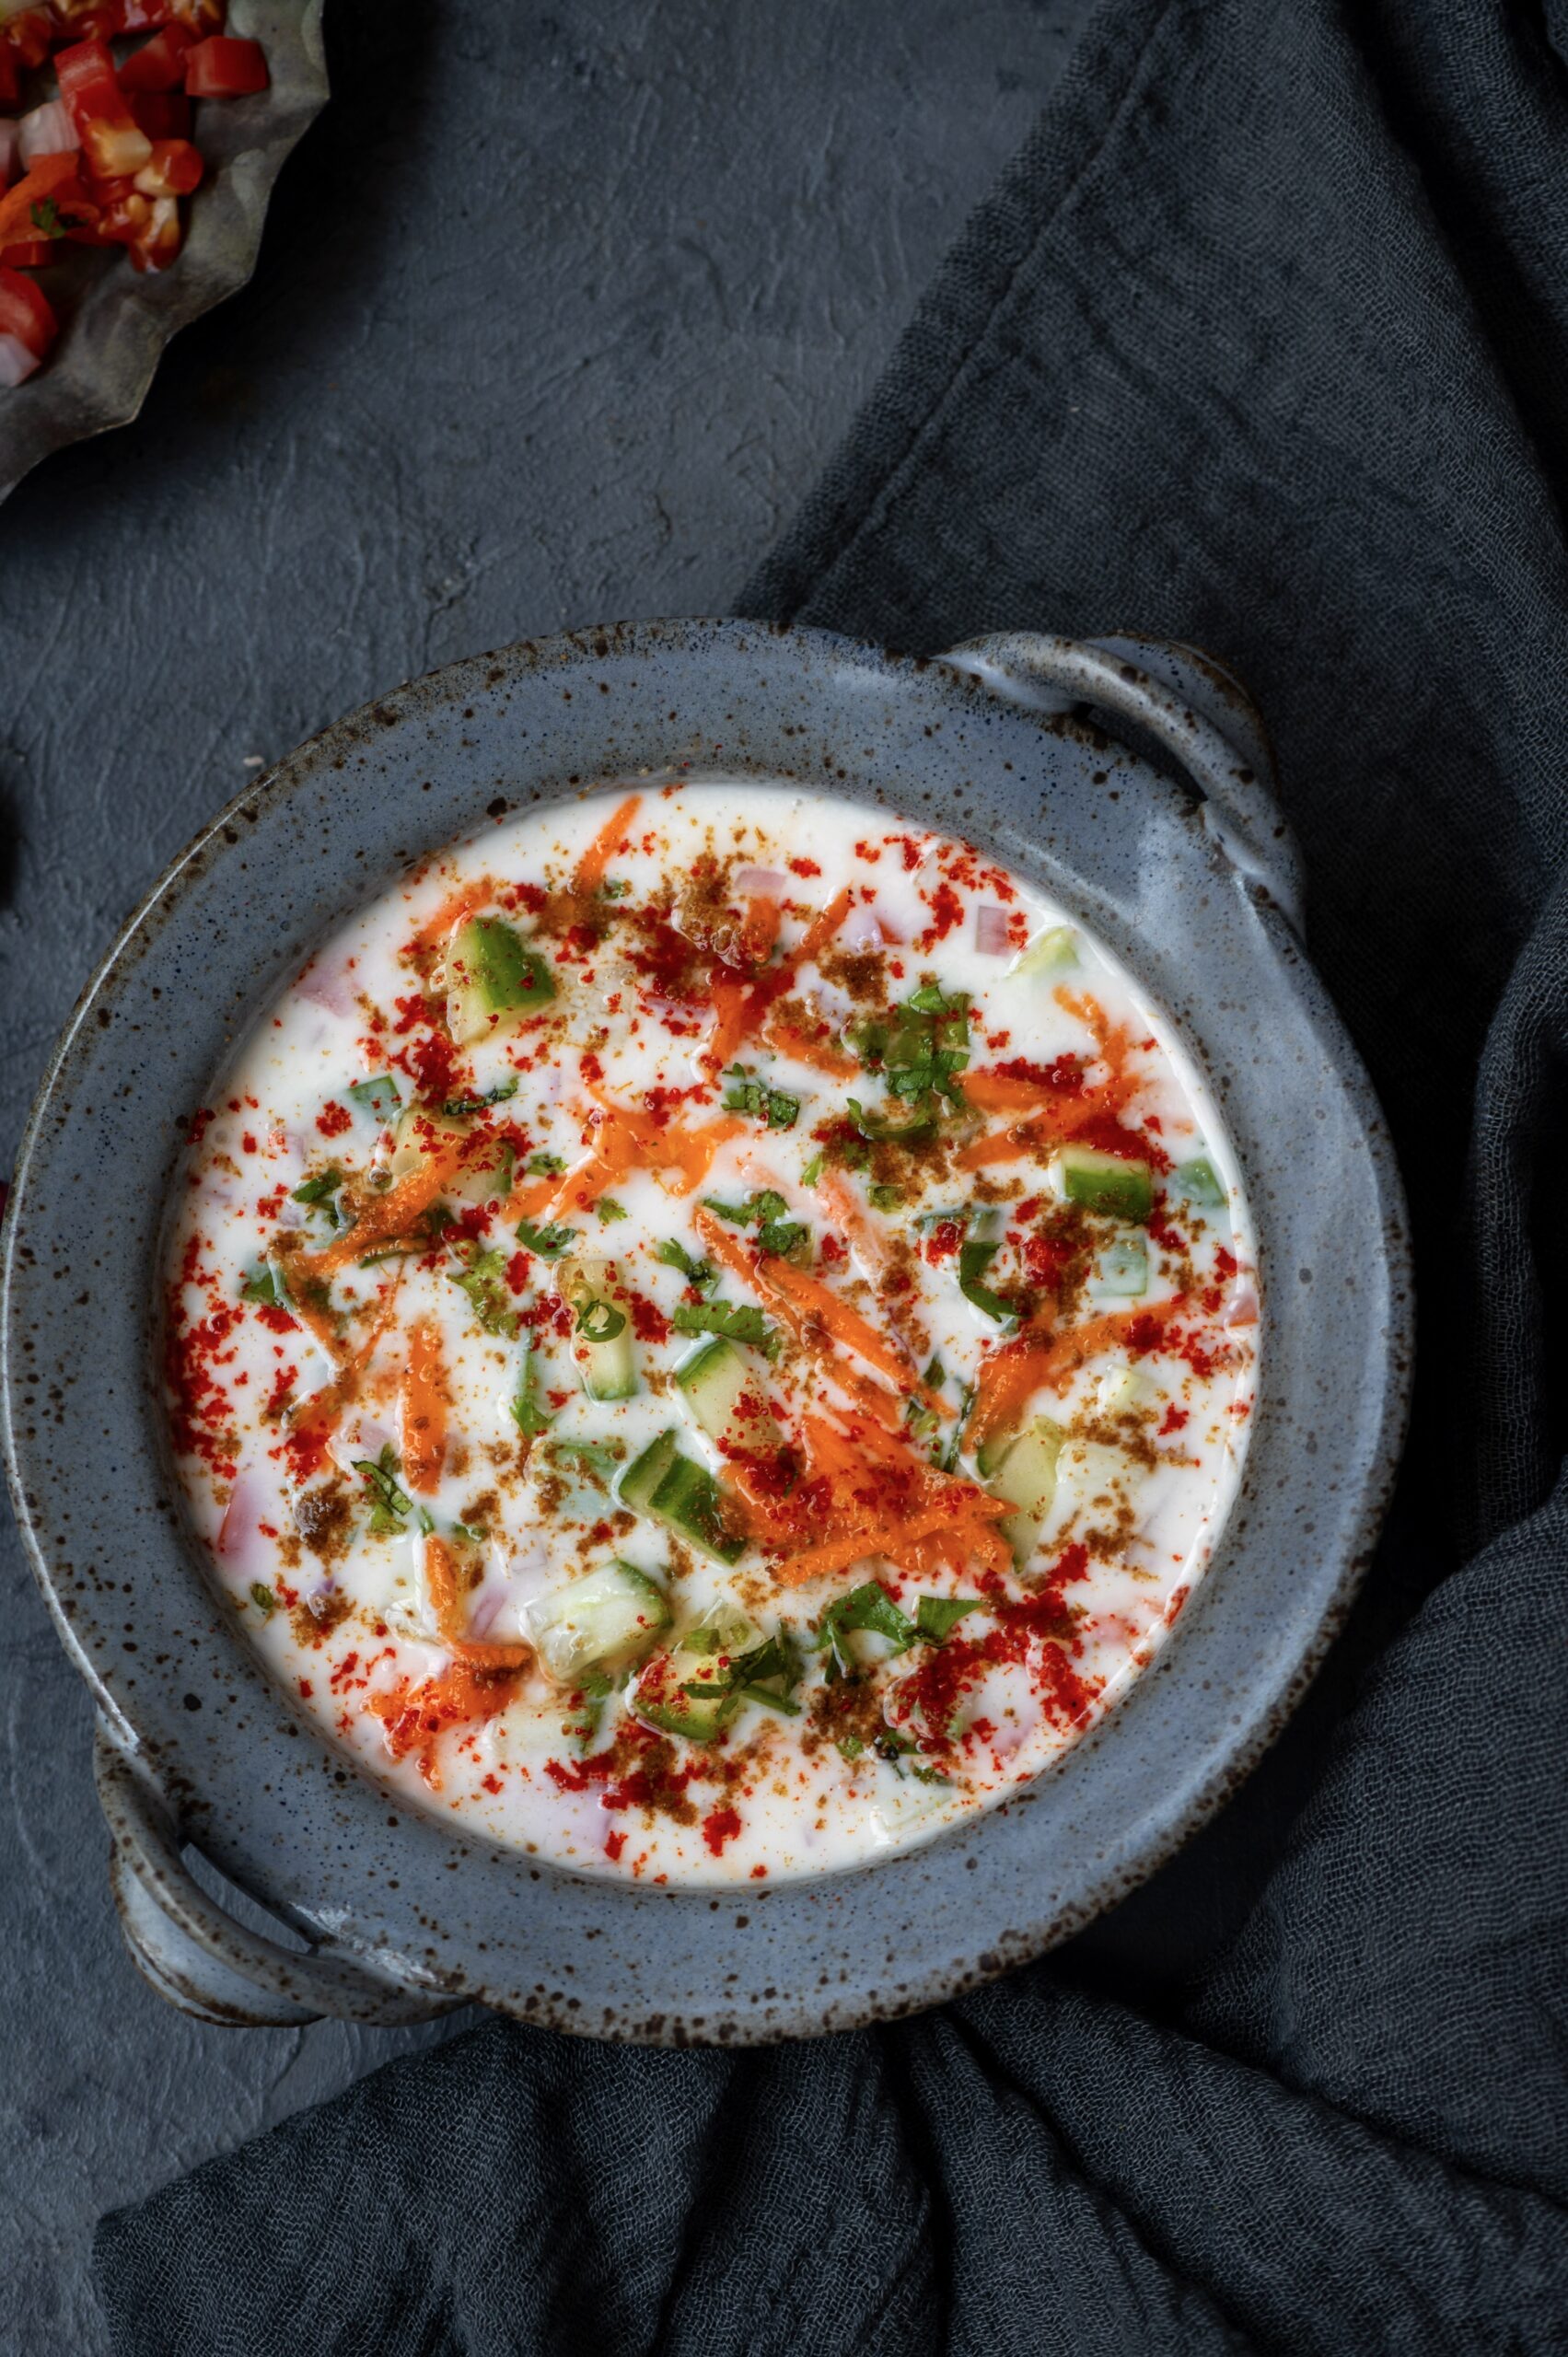
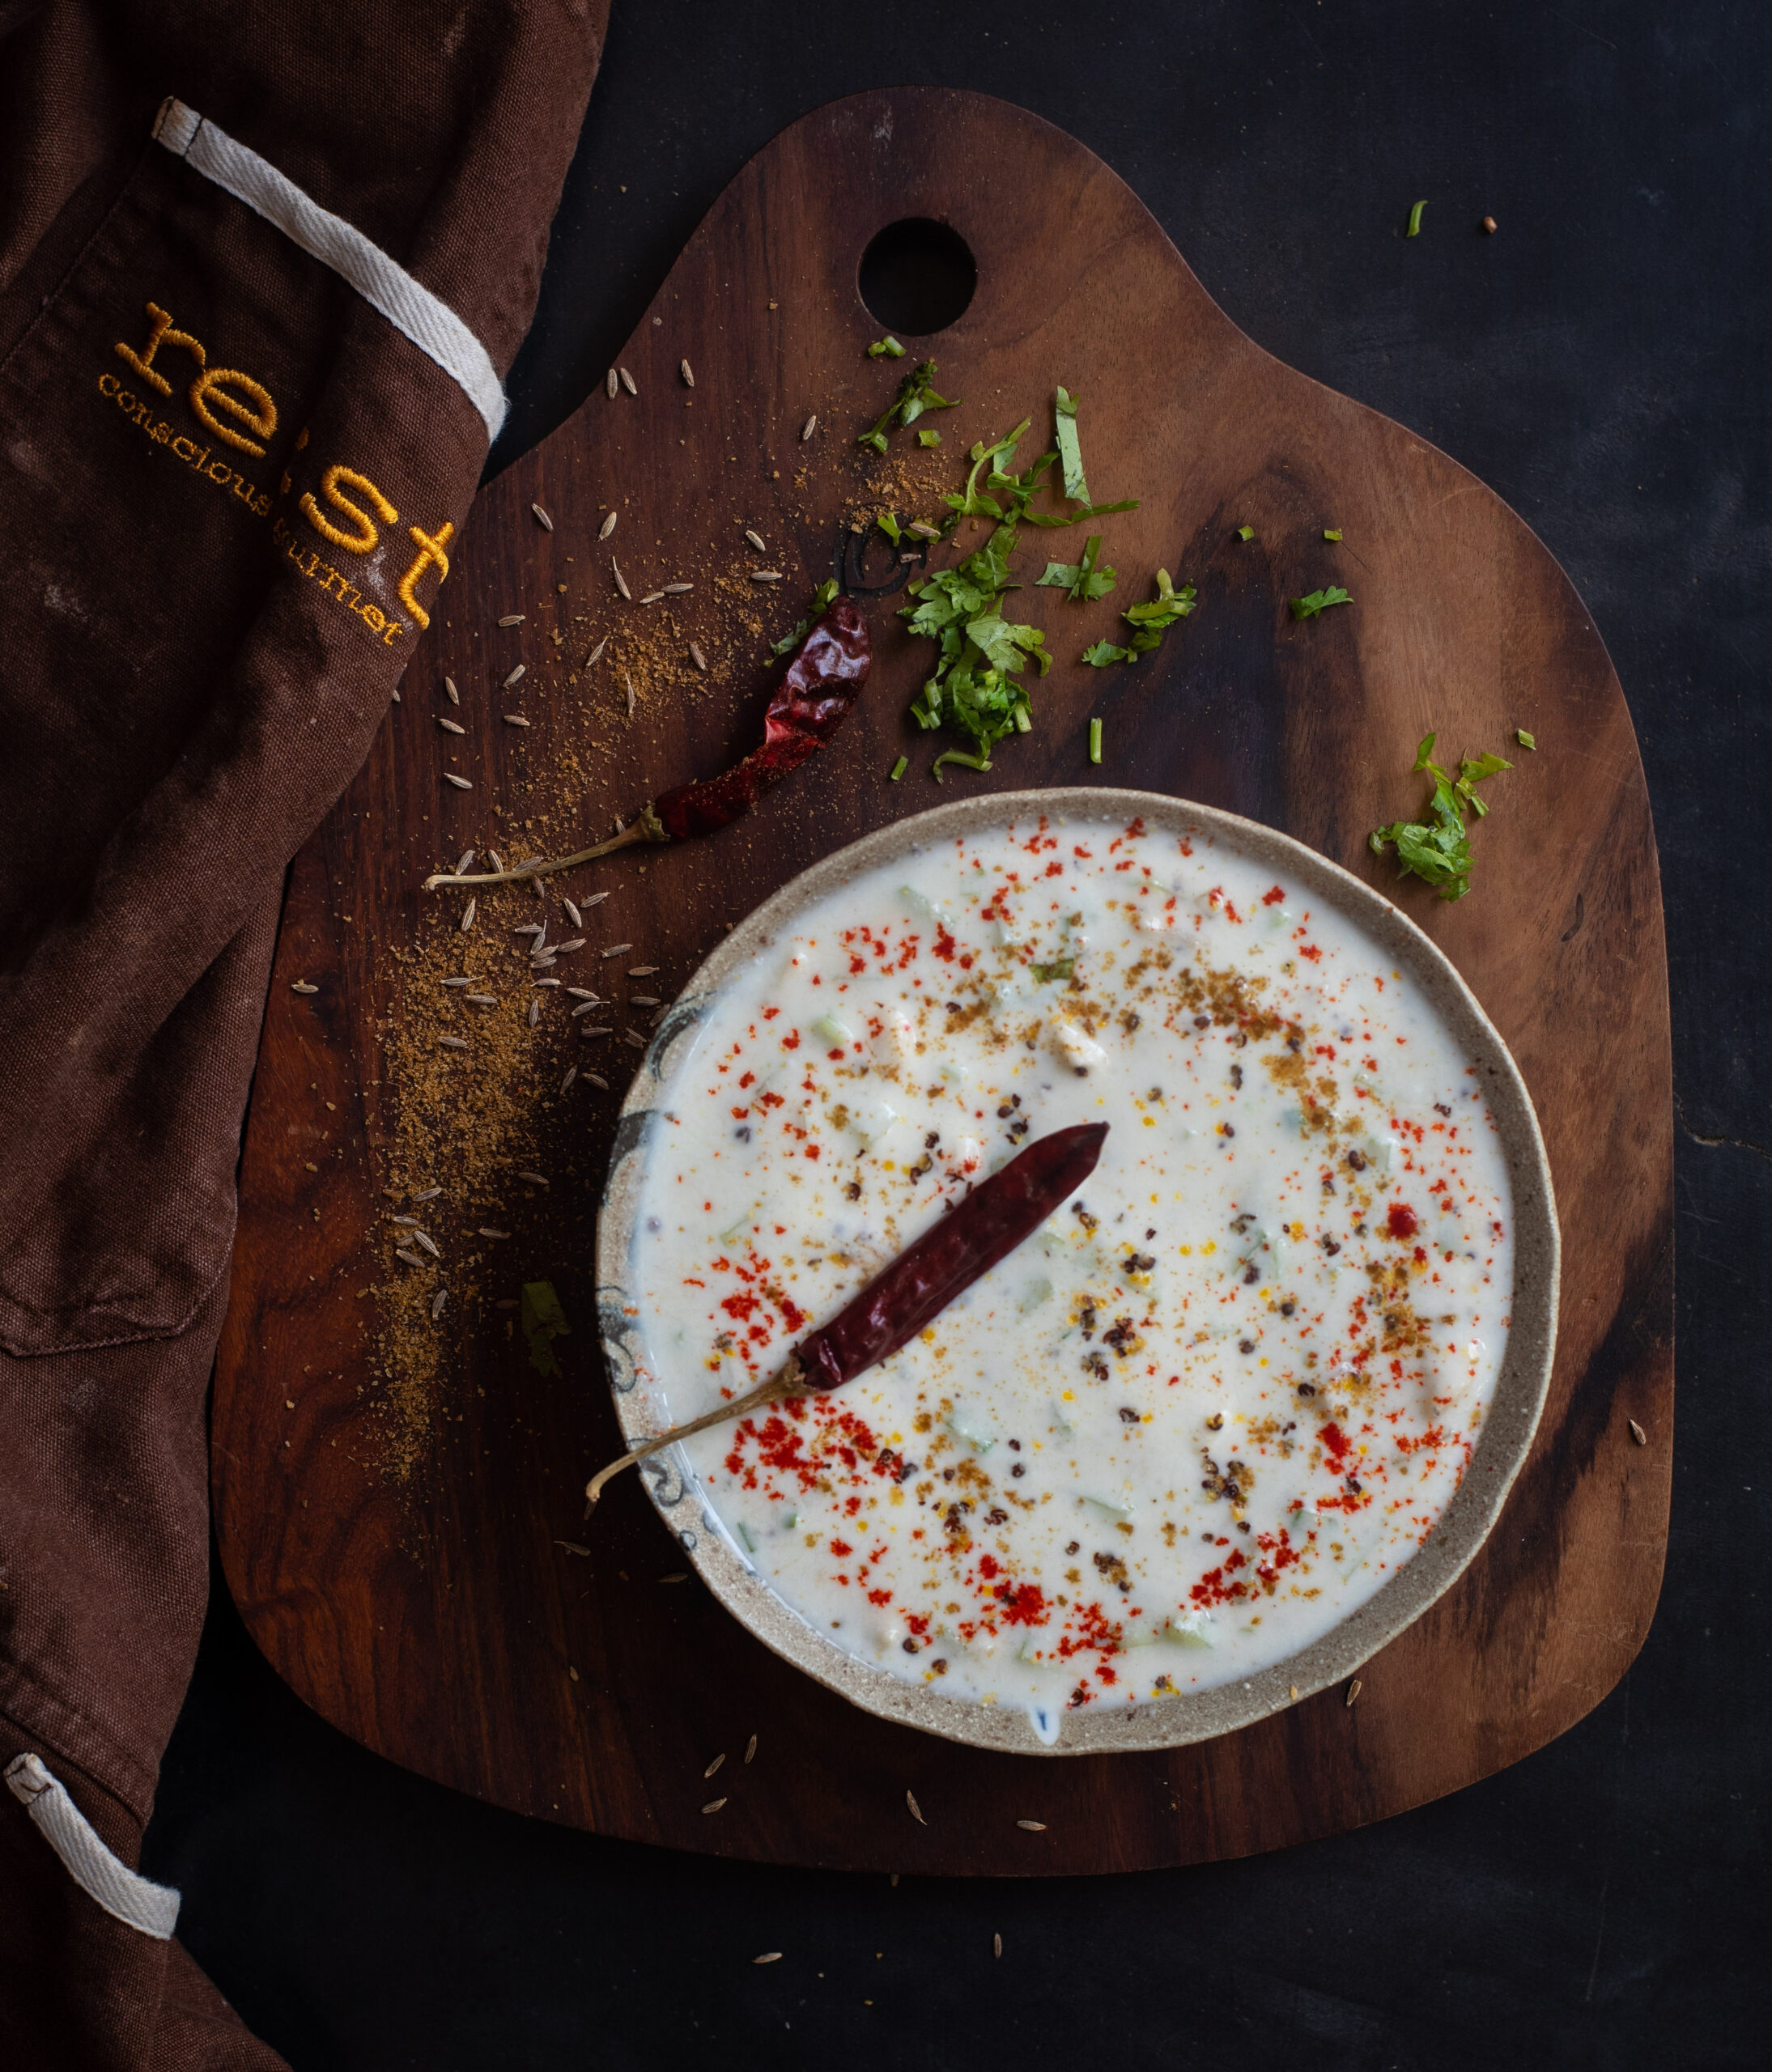
So this raita captures the vibrance that is around us during this time of year. I have used carrots, cucumbers, shallots and tomatoes along with mint and coriander leaves, so the raita has a mix of lively shades.

I have mentioned in the past that the desire to consume yoghurt at every single meal is the only thing that keeps me from going completely vegan. At the moment, I am trying to reduce my intake at least. Which means that if I’m only going to have some for one meal of the day, instead of all of them, why not make that dollop or two a little more exciting? That’s where this raita really comes to my rescue, fulfilling my craving while adding novelty to my basic but essential curd.

Mixed Vegetable Raita

(Yield: 1 bowl)

2 cups curd

2 tablespoons grated carrot

½ cup diced cucumber

¼ cup chopped purple shallots

¼ cup diced tomato

2 tablespoons coriander leaves

1 tablespoon mint leaves

Salt to taste

½ teaspoon ground cumin powder

¼ teaspoon chilli powder


Add the curd to a bowl along with the spices. Beat well.

Add the diced and chopped vegetables. Mix well. Adjust the flavours by adding more if required.

Pour into a serving bowl and garnish with some more of the spices as well as the green leaves. Serve as an accompaniment to a wide range of dishes.

This mixed vegetable raita is so simple and so summer-friendly that I am sure you will be preparing it often over the next couple months. It will be refreshing on your plate, especially if you like me are in a part of the world that’s getting hotter by the day!

Yoghurt, curd, dahi – whatever you want to call it, this essential dairy product is a staple at home with every single meal. It has been this way for many years. When I was growing up, my family would tease me about my love for dahi. It was often joked, “She will even have dahi with bread!” It’s true: I loved it so much that I would eat it in any form. Nowadays, I am equally happy just having it plain, without accompaniments. Sometimes, it’s nice to dress the dahi up and enjoy its versatility, and that’s when a recipe like this cucumber raita gets made.

Later, once I moved into my marital home, I discovered that curd was not a big part of their meals. It began to be included because of me, and gradually it became a staple here as well. So much so that my entire extended family on both sides have another running joke about how dahi should be kept ready whenever I’m about to visit.

Truly, it’s a lifelong love. I have shared in the past that my love for curd is the key reason why the vegan lifestyle is a challenge for me, and for those of you who have mastered it, I hope you’ll explore the many vegan recipes I’ve shared.

Plain homemade curd is my go-to. Greek yoghurt and so on were unknown to me while I was growing up, although I have explored it since. I’m happy to say that my simple, traditional homemade curd literally travels the world. There is a Spanish family whom we are close with, and they visit us every year. Each time, they take back a little bit of curd culture from my kitchen so that they can make their own Indian dahi when they are back home. My friend used to ask me for the recipe each time to jog her memory, but over the last five years, I’ve been able to simply direct her to the method that I published here. You can make it too, and the technique is right here.

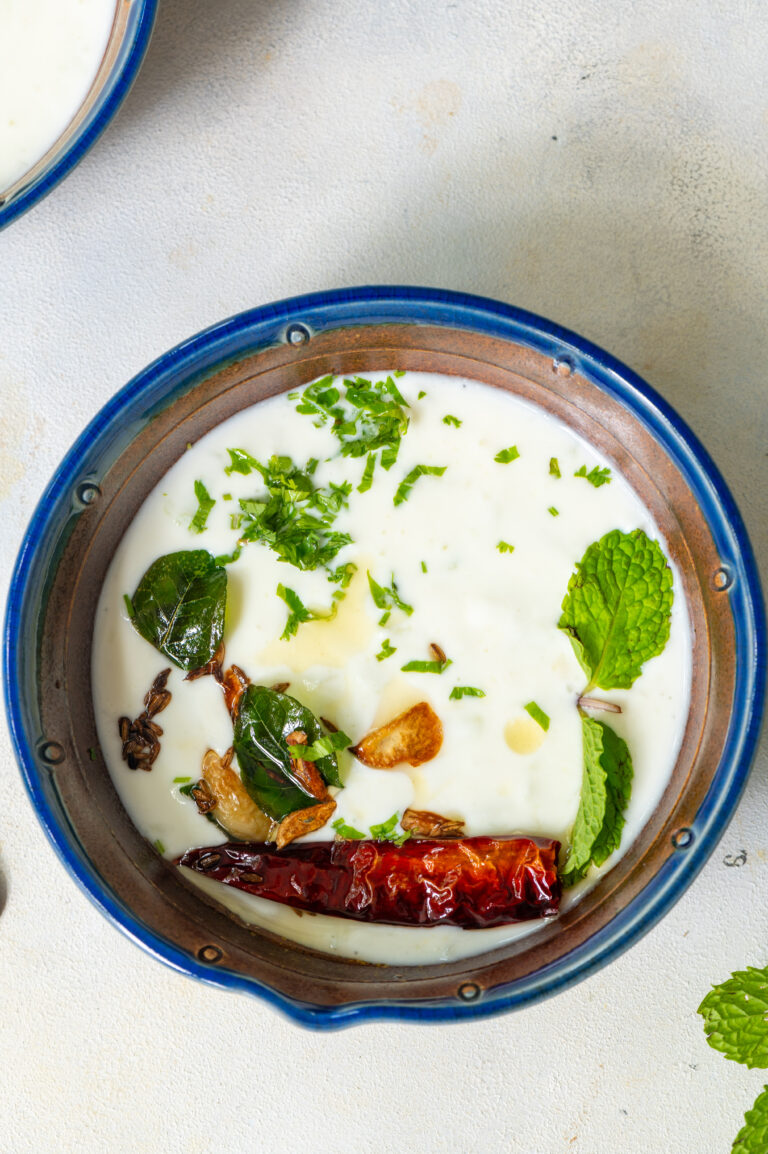
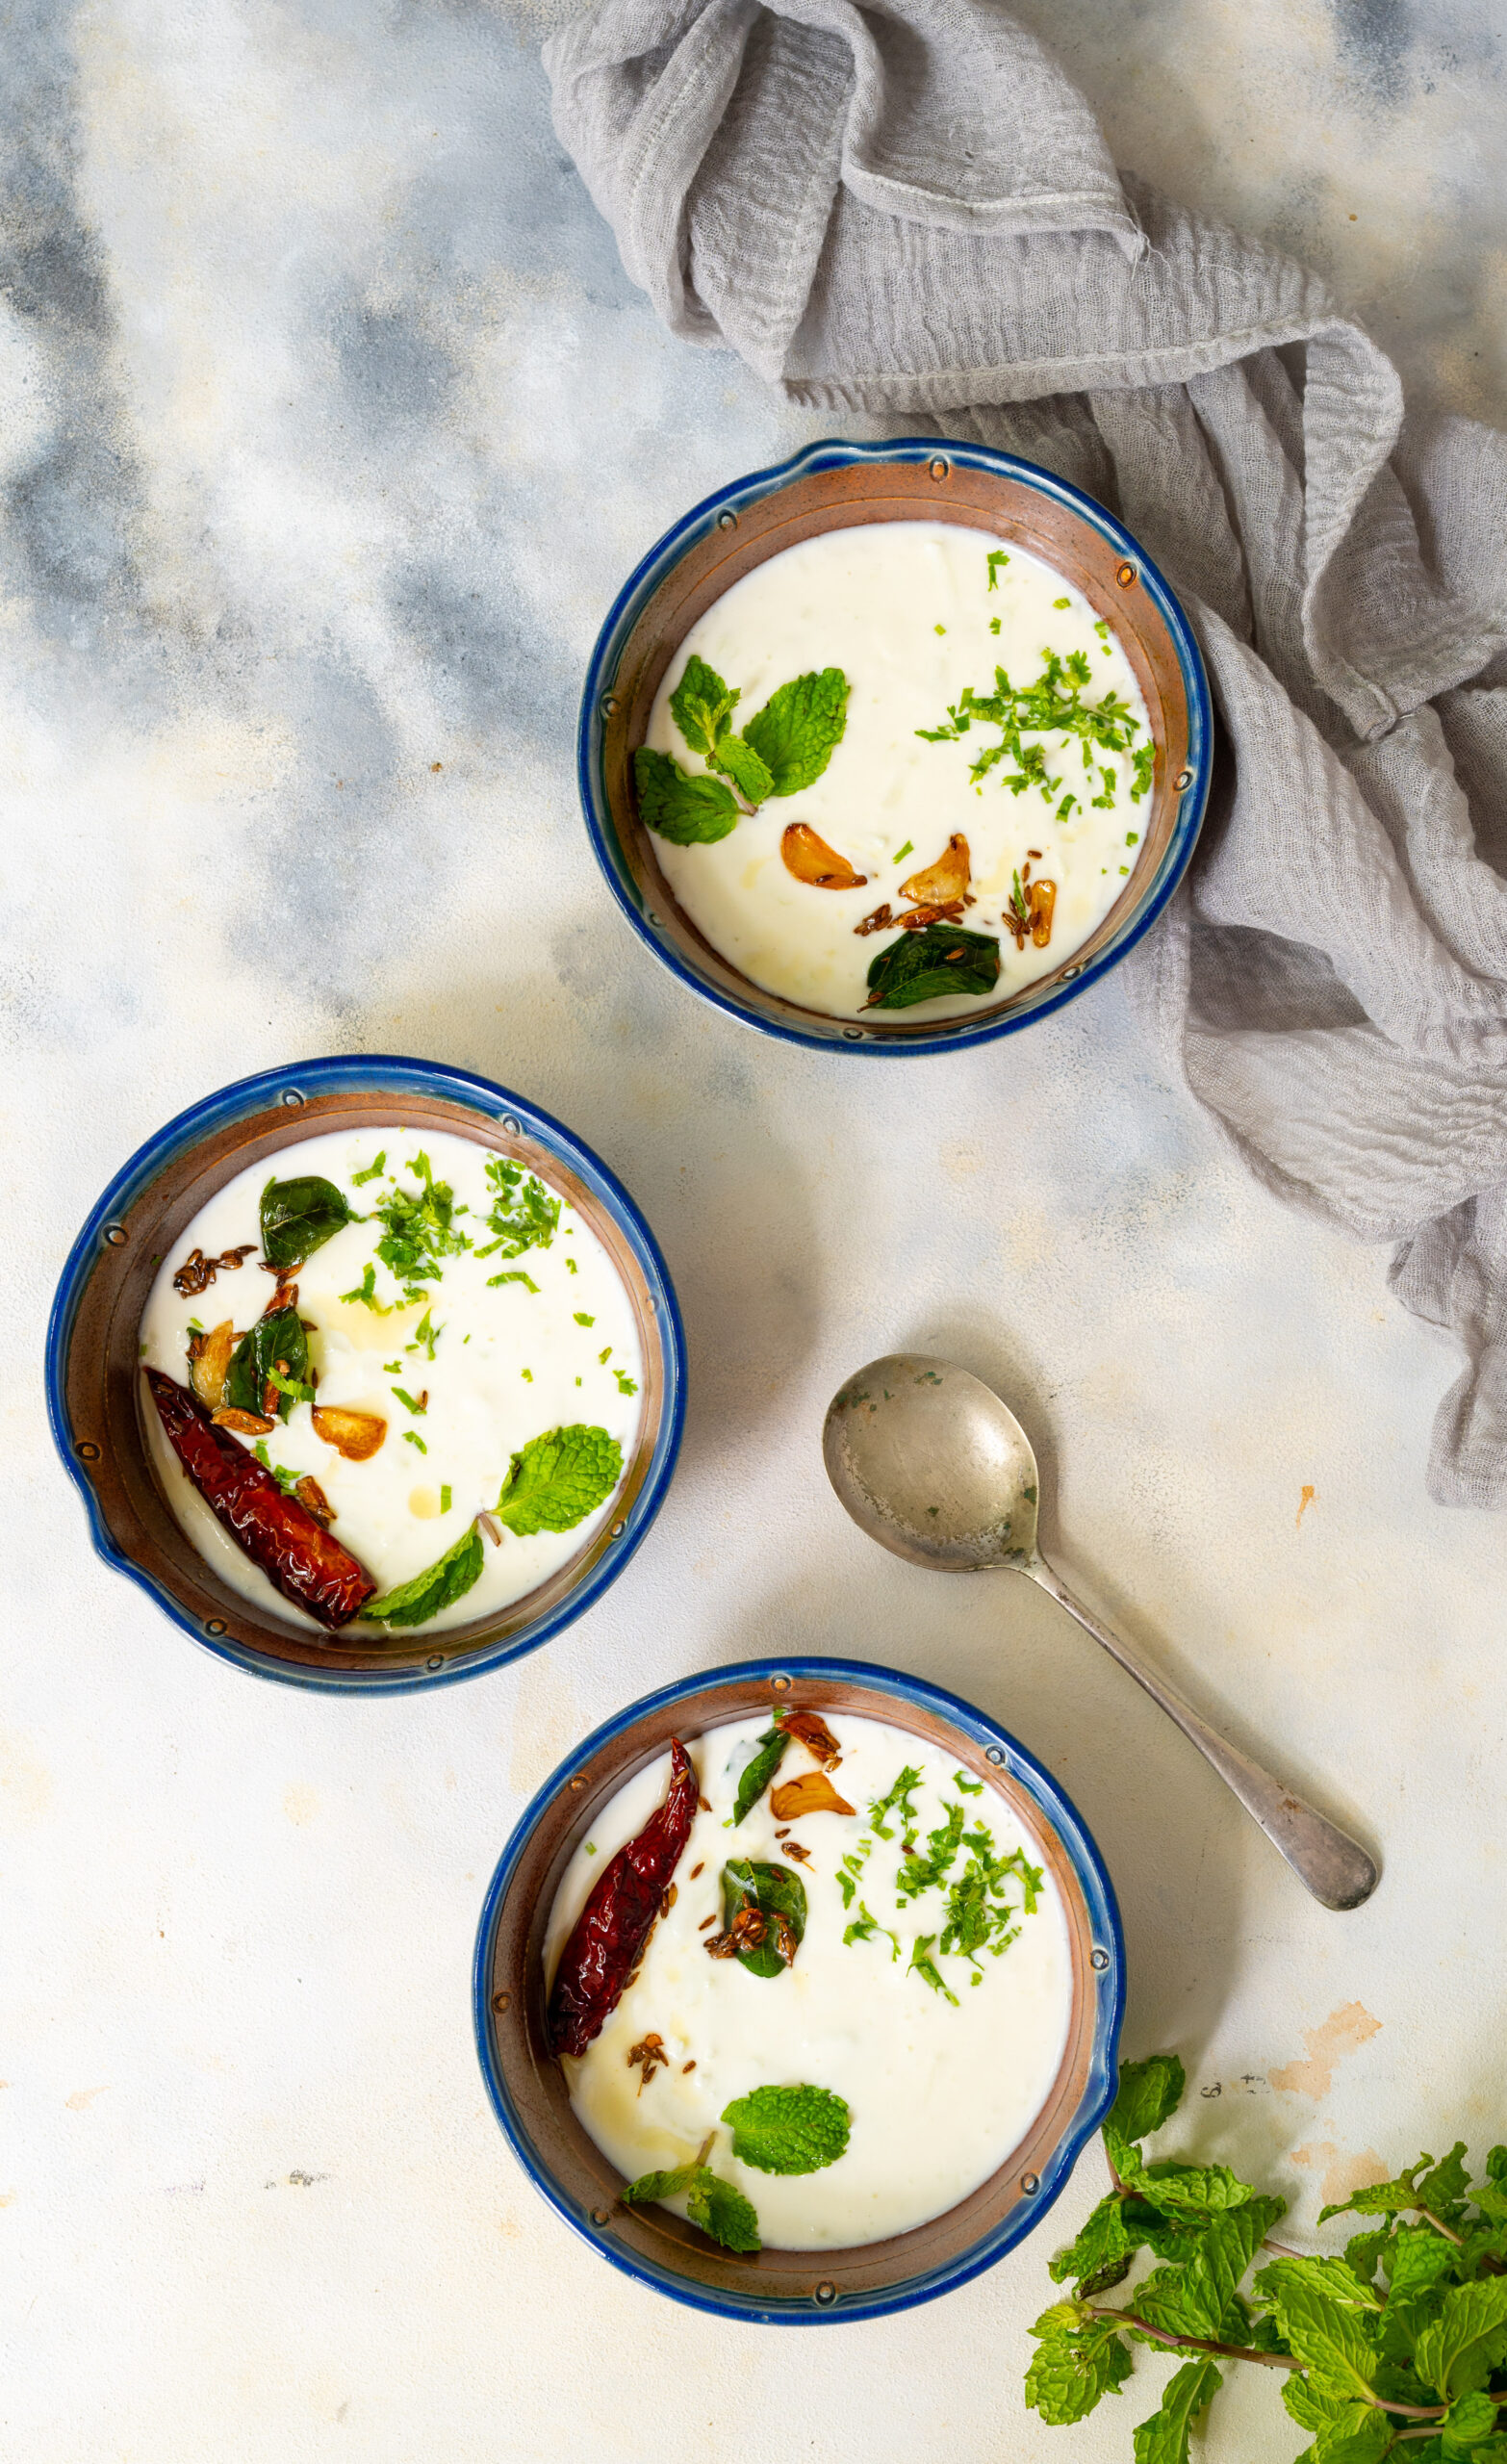
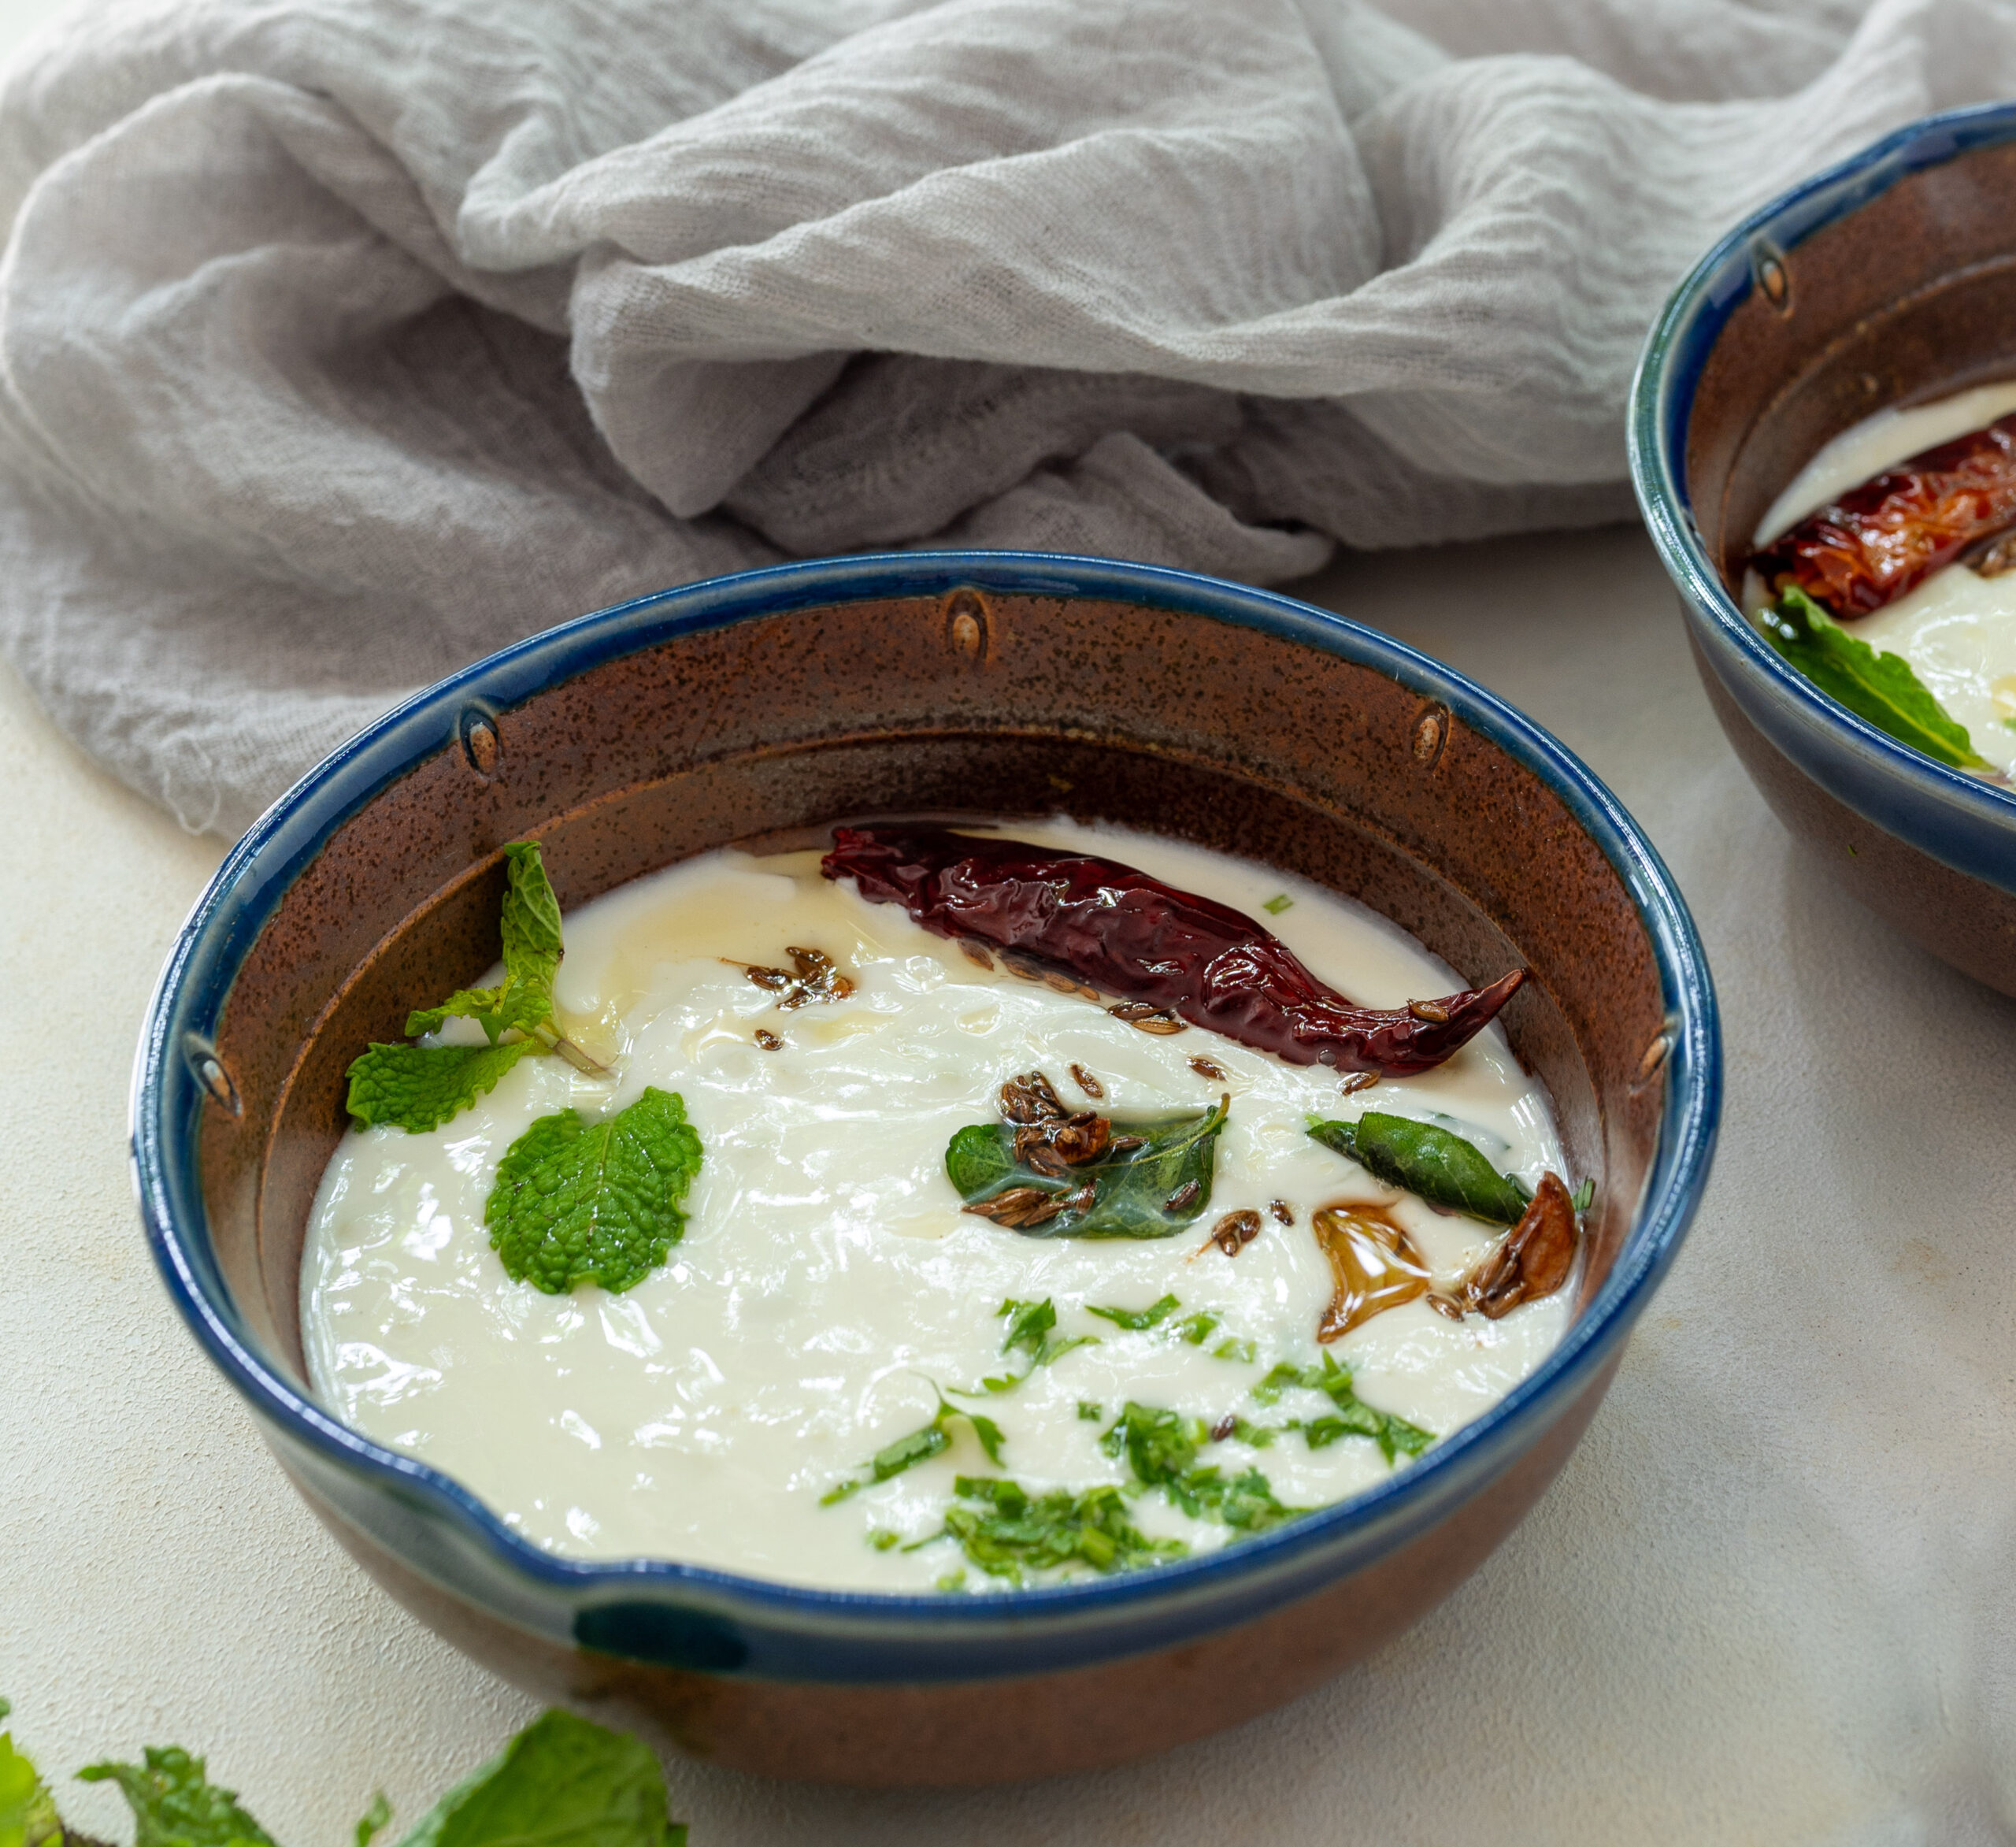
Coming to the raita, I’ve made mine a little more exciting. Traditional cucumber raita is a two-ingredient dish, but I’ve added some spices, some mint and some garlic. This brings out a medley of flavours. You may want to try your own variations. For instance, why not replace cucumber with beetroot and watch the dish change colour? It will add quite a bit of novelty, especially when you are entertaining.

Cucumber Raita

(Serves 2-4)


1 cup grated cucumber

2 cups thick yoghurt

Salt to taste

2 teaspoons oil

½ teaspoon cumin seeds

A few curry leaves

2-3 pods garlic (cut lengthwise)

2-3 dried red chilies

Mint leaves (for garnishing)

Finely chopped coriander leaves (for garnishing)


A point to be noted is that you must be certain that the yoghurt is not sour. If you’re making it at home, follow the technique carefully to ensure this. If you are using it store-bought and find it slightly sour, adding a splash of milk will fix this.

In a bowl, grate the cucumber. Discard a little bit of the released water. Add the yoghurt and salt. Mix well.

In a hot pan, pour the oil to prepare the tempering. Add the cumin seeds to it. Then add the sliced garlic and allow these to turn golden. Once this is done, add the curry leaves.

Pour this tempering over the yoghurt. Garnish and allow to cool in the refrigerator.

As with all other raitas, this is meant to be served cold. It beautifully accompanies certain kinds of rice, such as biryanis, as well as Indian breads. I’ve also served it in a Lebanese spread, alongside pita bread and hummus. It’s quite versatile as a dip or side dish. If you enjoy this raita, why not try my banana-mustard raita too?

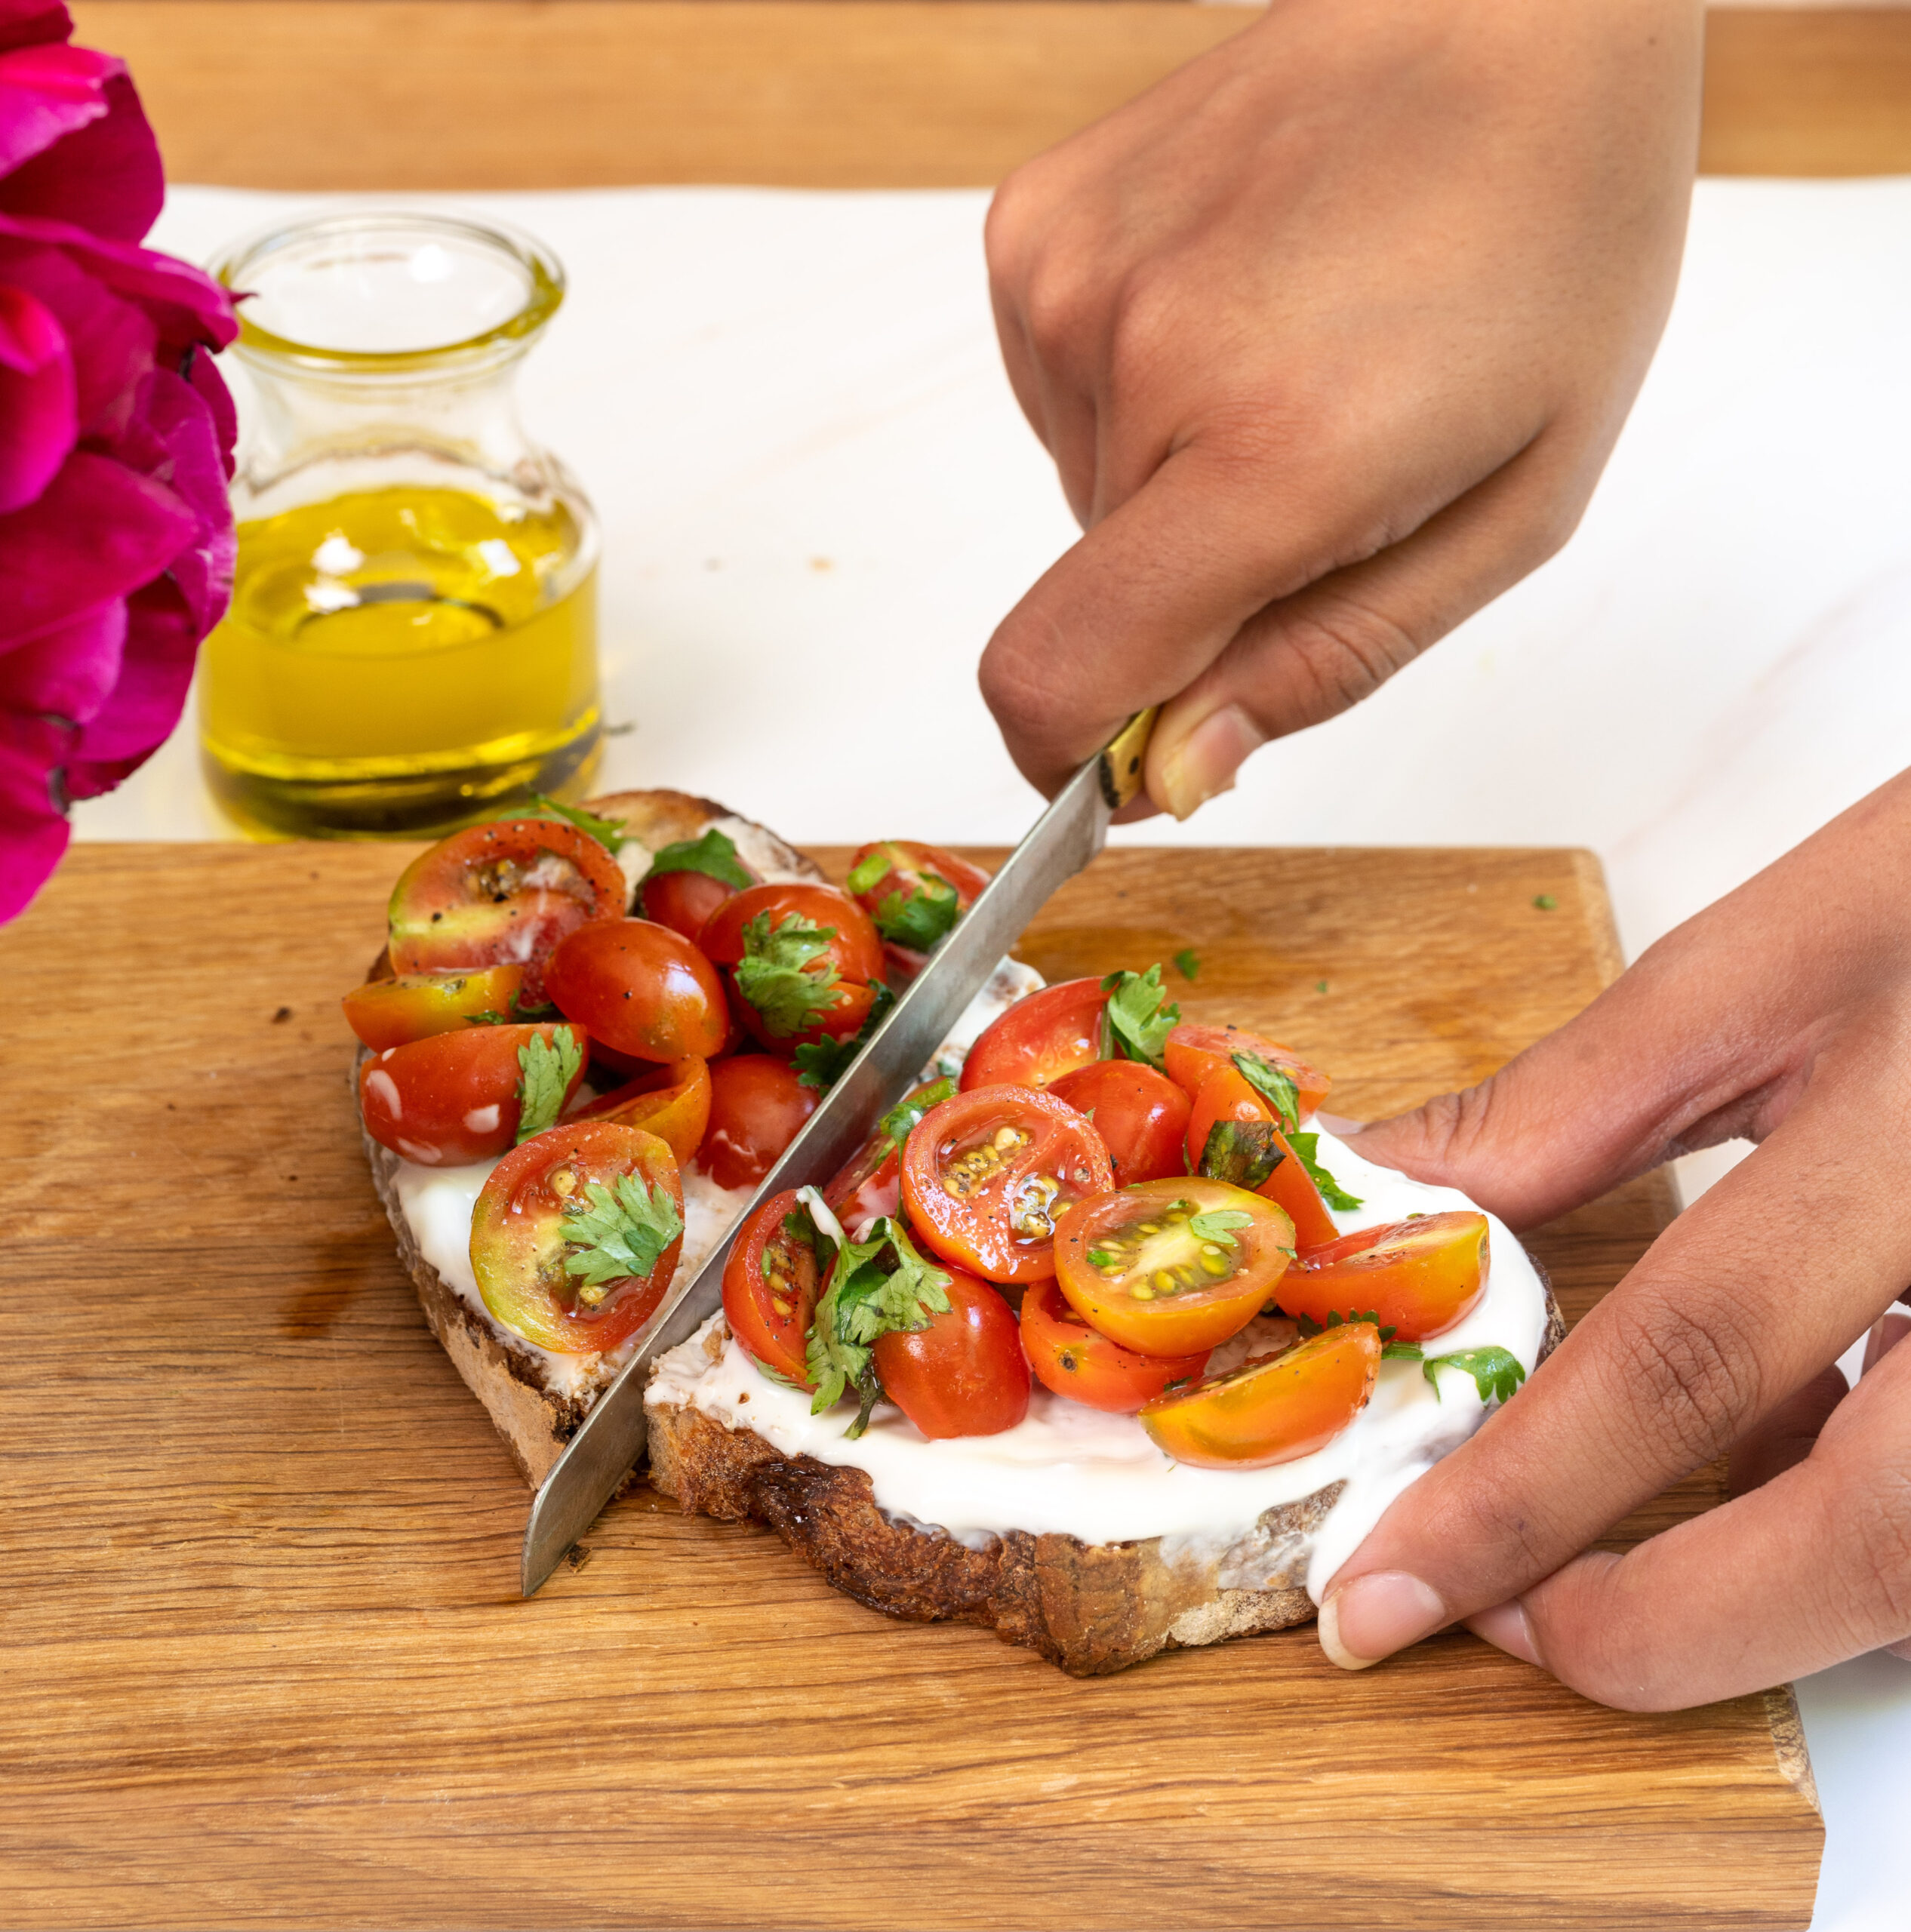
I seem to be on a toast spree at home, as my family has been very thrilled by my sourdough stylings lately. This has been a hassle-free and highly creative time of experimenting, as I have been exploring the use of different toppings to break the monotony of having toast at breakfast. In addition to my family, in the recent past we have been entertaining quite a bit with house guests. While most out-of-towners prefer the idli and dosa standards of local cuisine here, the toasts I whip up add some variety to their choices. This cherry tomato yoghurt toast in particular was perfect for a day when a friend from the Mediterranean was feeling a little nostalgic for some comfort food.

That’s right: Greek yogurt is one of the key components to this dish. I came across the use of yoghurt on toast during various travels in Europe, and the dahi-lover in me was naturally charmed. I believe it is used as it is lighter than ricotta and mozzarella, yet provides the nutrients of dairy while being easier to digest. However, it can certainly be substituted with feta cheese or any other fresh cheese that is available in your part of the world. If you don’t have Greek yoghurt, hung curd is a great option.

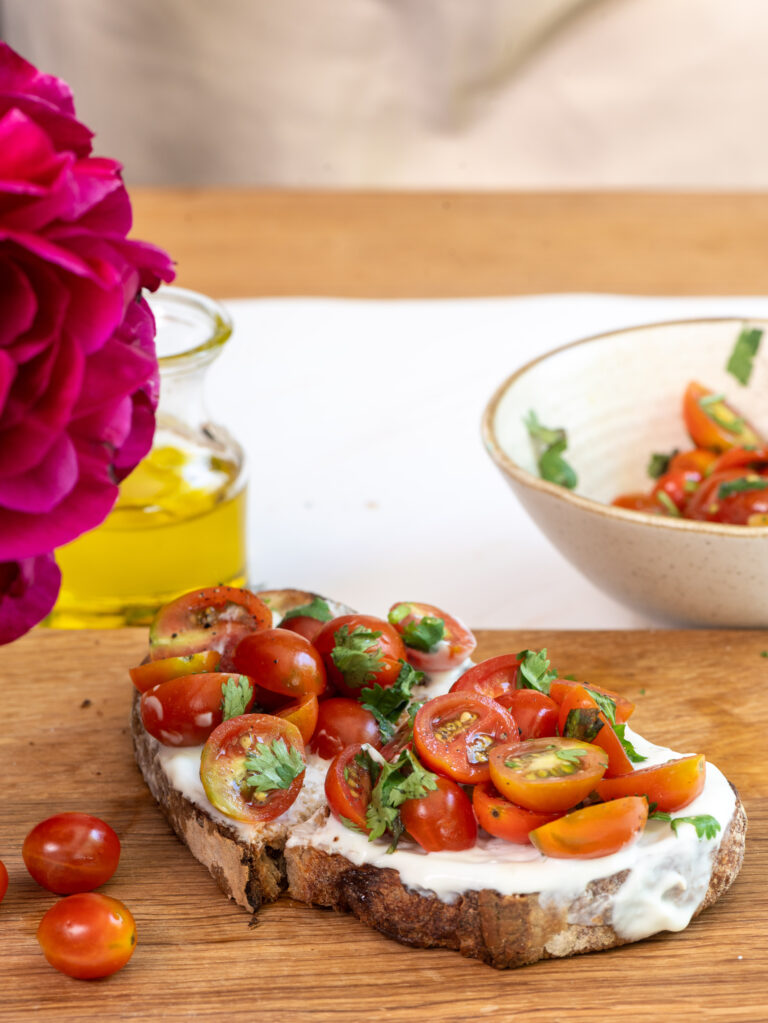
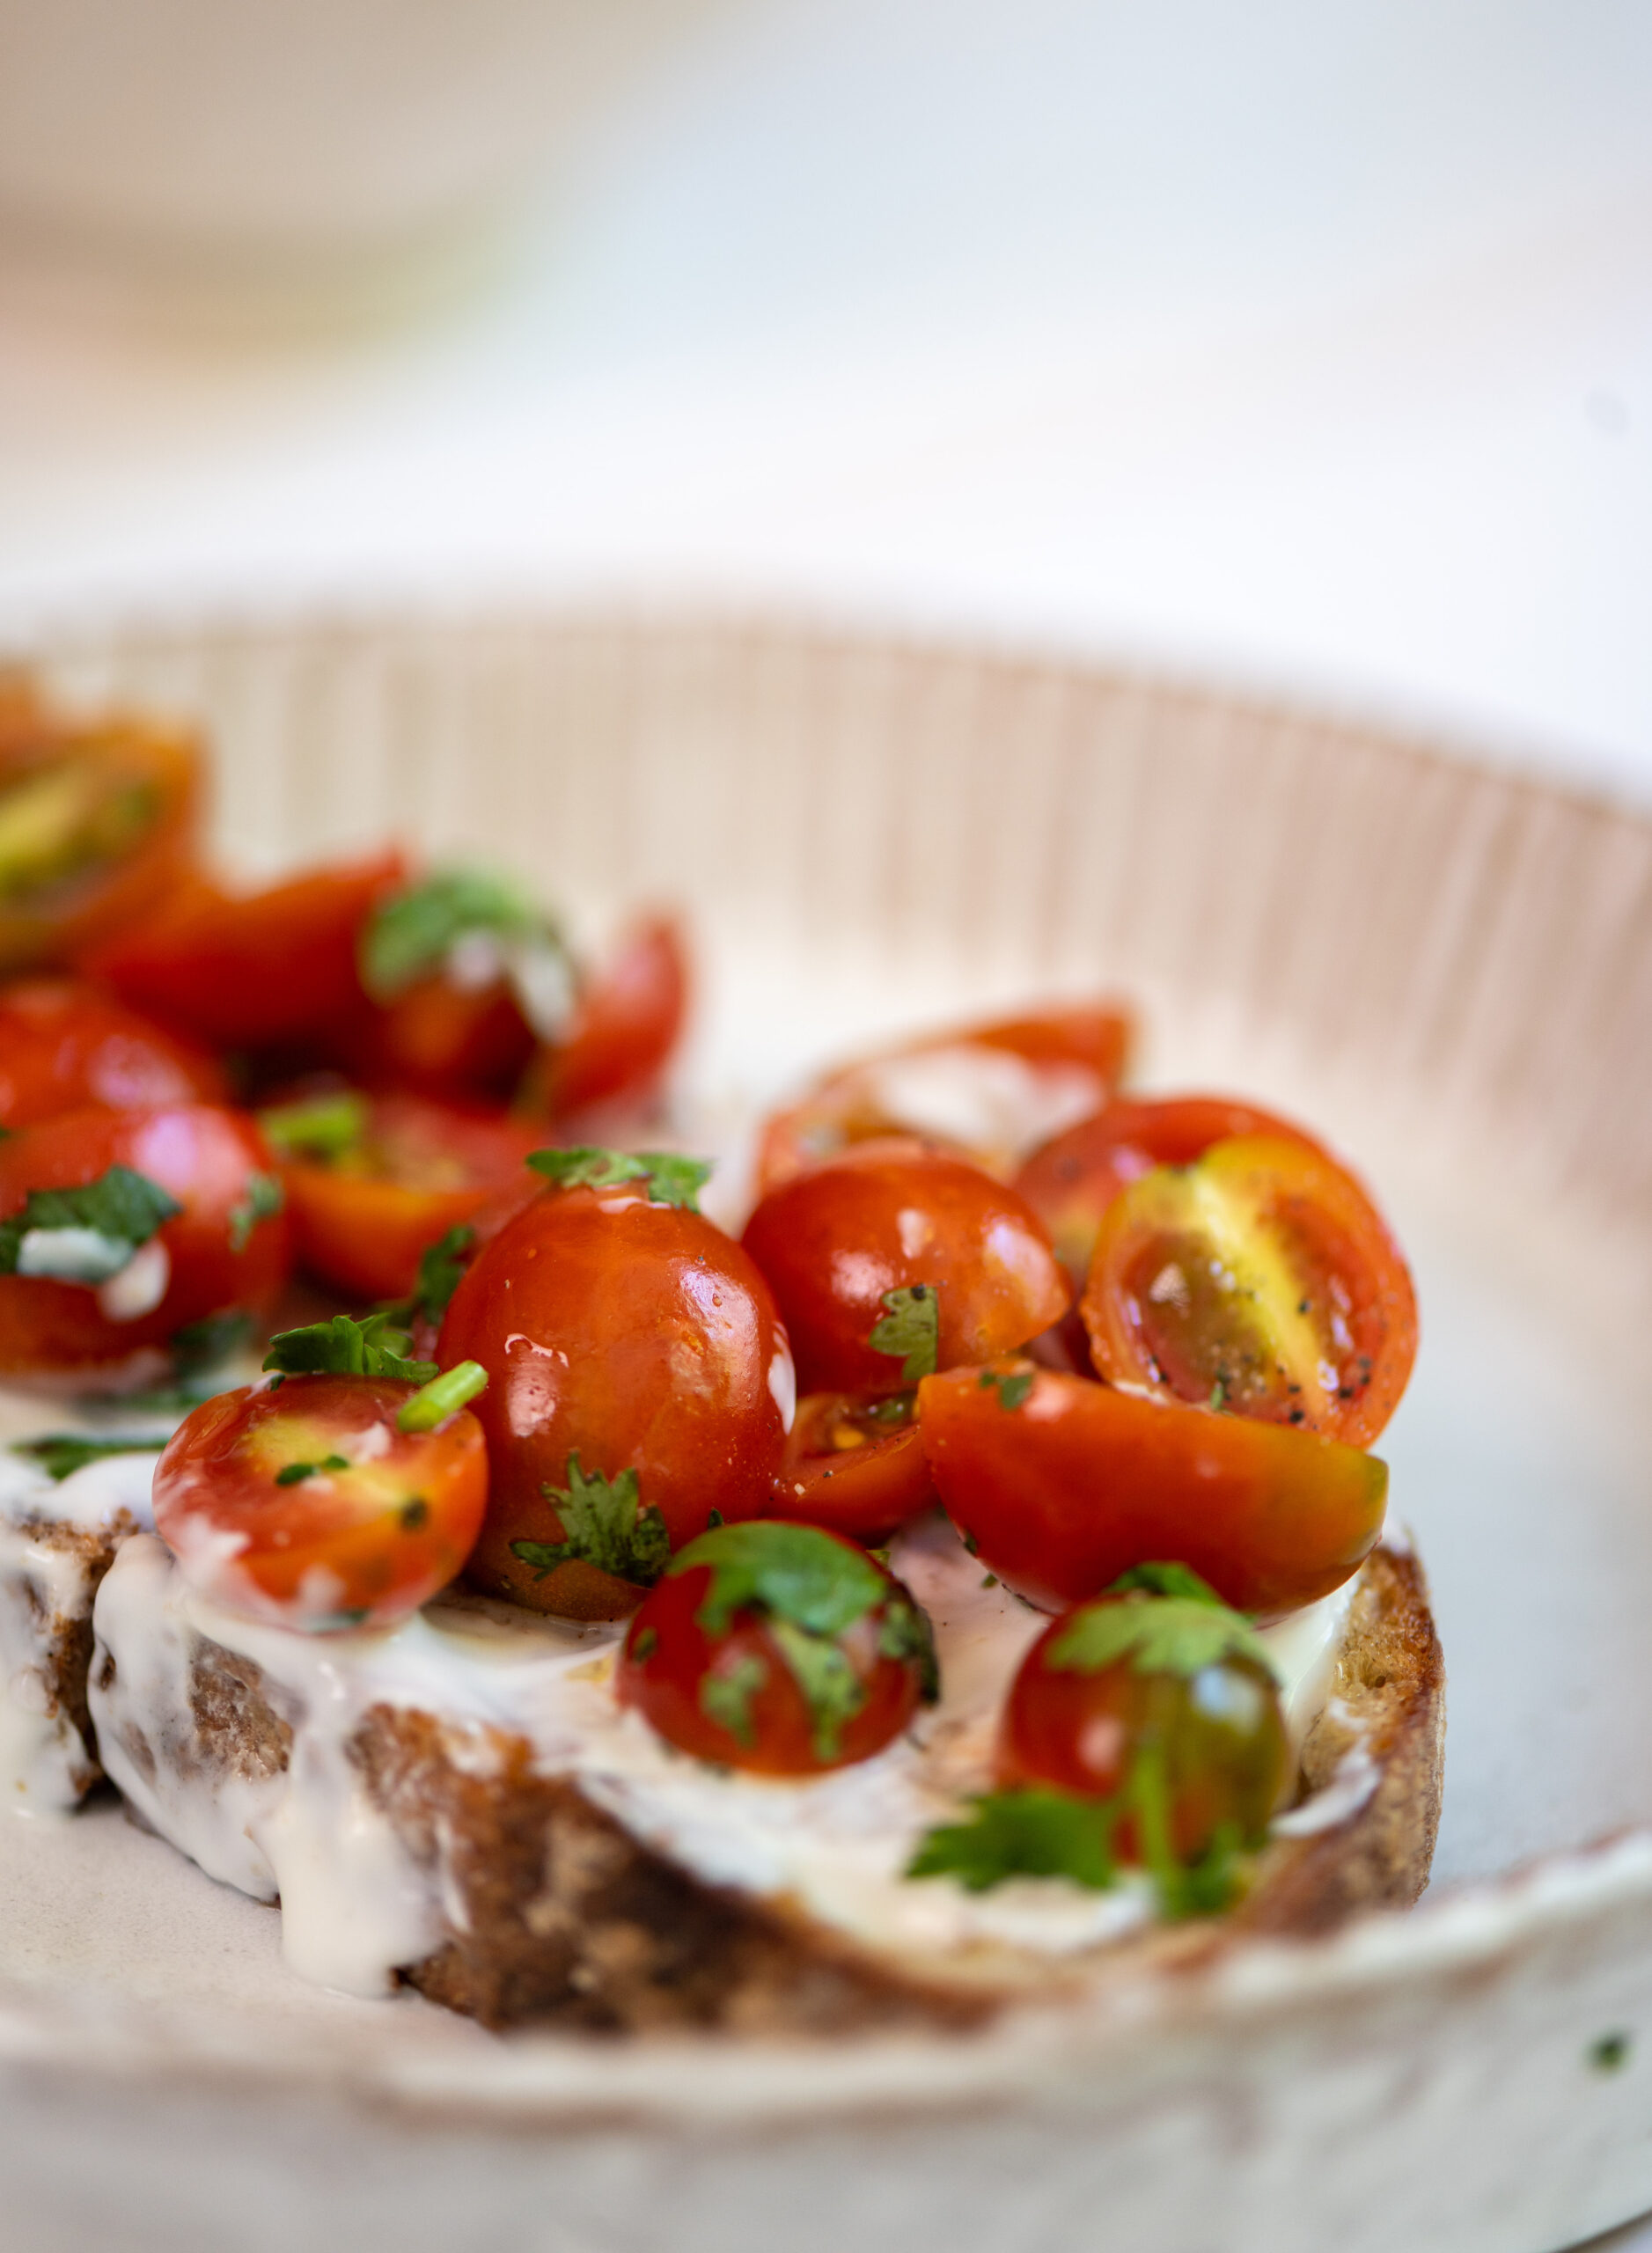
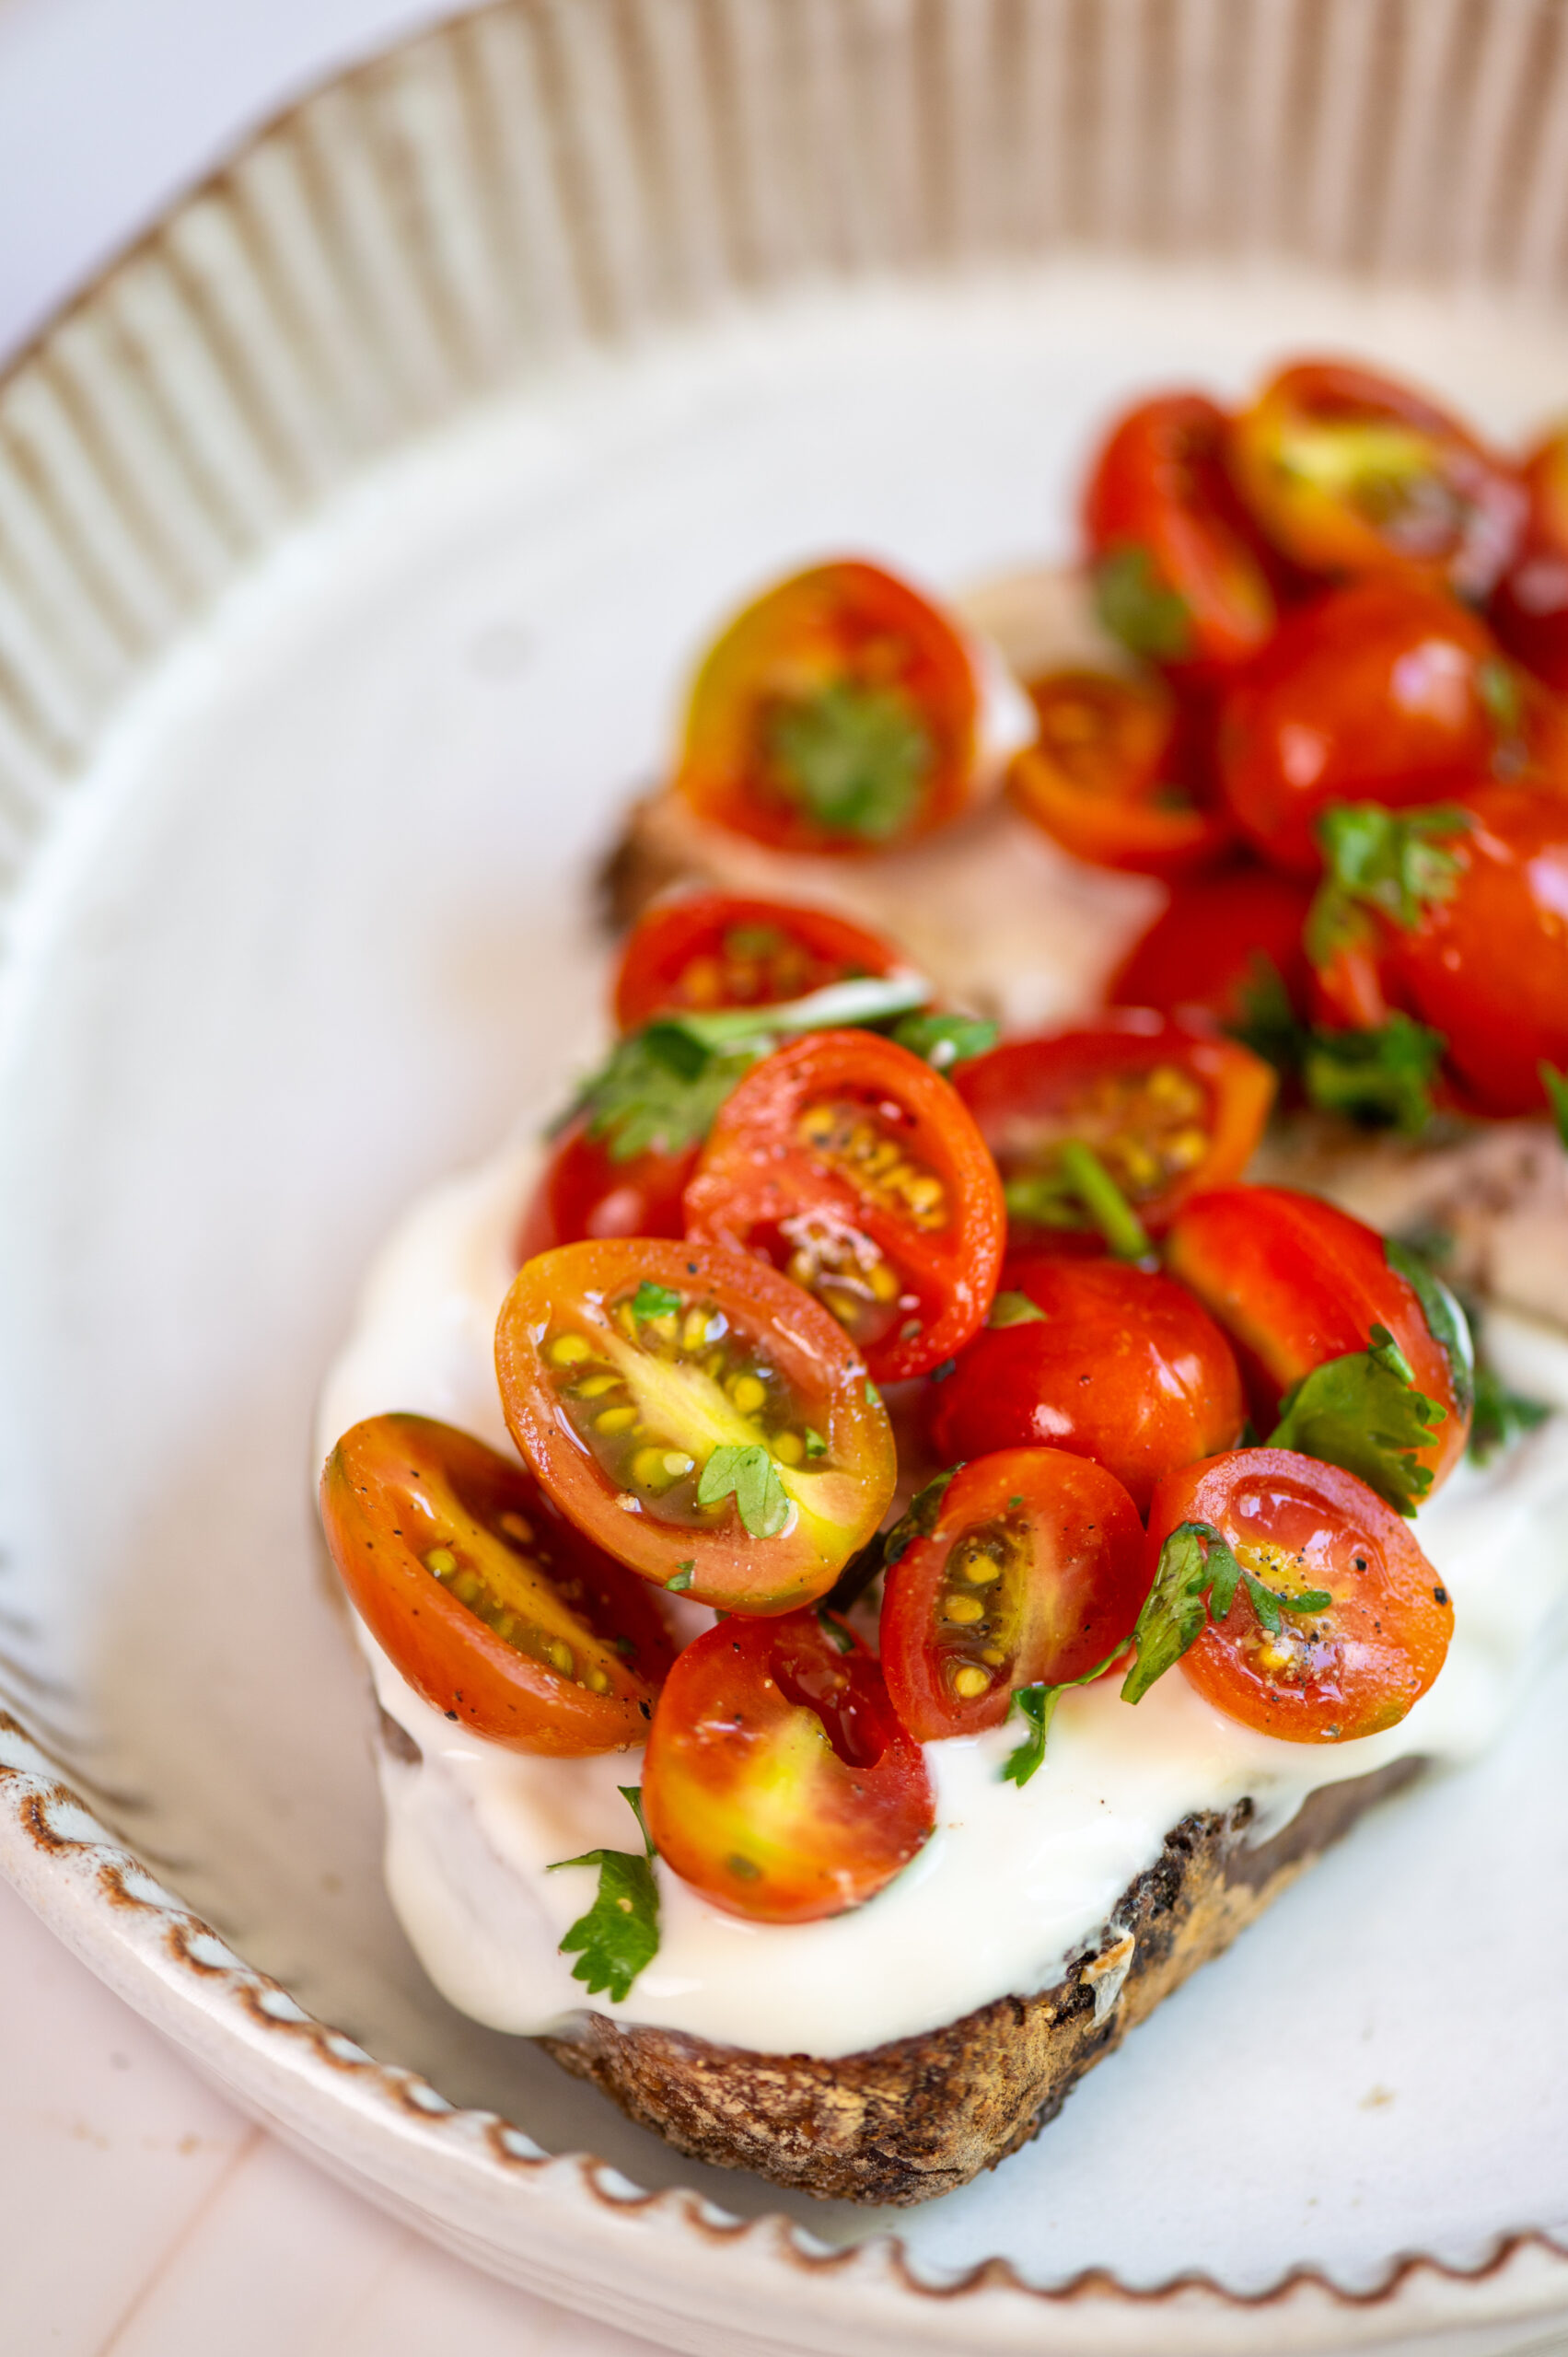
The beautiful organic cherry tomatoes I had at home, which I’d been using on pizzas, were perfect to layer on the toast. The overall effect was quite visually pleasing too.

While I had been toying with the idea of a European-style open-faced toast with yoghurt for a while, I only prepared it for the first time quite recently. This was when the Italian friend I mentioned earlier visited us. He would speak often about his Nona (grandmother) and her amazing cuisine and how much he was missing her during his travels. One day, he remarked that he was craving for a dish that was not Indian and that could sort of transport him back to her kitchen. I can safely say from his appreciative reaction that this toast did exactly that. While the varieties of tomatoes available here differ, he told me that this simple breakfast was the closest he had felt to the tastes of home.

I must say, I too have had a craving for a while: to study authentic Italian cooking. My friend has been asking me to come visit and learn his cuisine from his beloved Nona. If I take him up on his offer, I will be sure to come back with a crateful or two of fresh Italian tomatoes!

Cherry Tomato Yoghurt Toast

(Yield: 1 slice)

I large sourdough slice

½ cup Greek yoghurt or hung curd

1 cup cherry tomatoes

Salt to taste

A pinch of pepper

2 teaspoons olive oil


Toast the sourdough slice.

Spread the Greek yoghurt over the toasted slice.

Bake or sauté the cherry tomatoes in a pan, and arrange them over the yoghurt. Sprinkle salt and pepper. Add any herbs you like, such as fresh basil or oregano, drizzle with the olive oil, and serve.

Simplicity is crucial in putting a good breakfast toast together, to save time in the mornings. As you can see, this is a recipe that perfectly fits that criteria. It is easy to prepare, and is very healthy. Honestly, even one slice is quite filling. Did I mention that it’s also delicious? Try it out for yourself and tell me what you think!

Thayirsadam is a typically Tamil dish, and translates literally to “curd rice”. It is exquisitely simple and accessible food, which is why it is eaten here on practically a daily basis at households of every background. Even though we are Gujaratis, as lifelong Chennaiites, it is also a go-to in our home. It’s among the comfort foods we reach for whenever we feel down, or when we come back tired from a long trip. It’s also ideal for the day after late night parties, when not much has been prepped for the day’s meals, other than the homemade yoghurt that we ensure is made nightly without fail.

I’ve spoken many times of my deep love for yoghurt ever since childhood, and of how I used to consume it even by mixing it into upma and in other unconventional combinations. My love for it is something I brought into my new home when I got married, and I made it a staple in this household too. It truly is the ingredient that I find most difficult to give up even as we as a family make further inroads into a vegan lifestyle. For a variety of reasons, ranging from wanting to eating healthier to having doubts about the quality and purity of store-bought milk to being moved by the plight of mistreated dairy cows, we have all been veering towards the vegan way. My struggle to at least consume less yoghurt, even if I can’t quite give it up, has made me explore healthy and conscious alternatives. It’s such an integral part of Indian cuisine that it’s not a matter of finding a simple substitute for one or two recipes. I have to match each replacement to the dish, and see how it fares in that unique combination.

I have also been trying to make vegan yoghurt at home. Many of my experiments have failed, but a few attempts have brought me some degree of success. However, as I have yet to perfect a recipe that I feel I can confidently share with you, I won’t do so for now. My fingers are crossed that a vegan homemade yoghurt recipe will one day be featured on this blog.

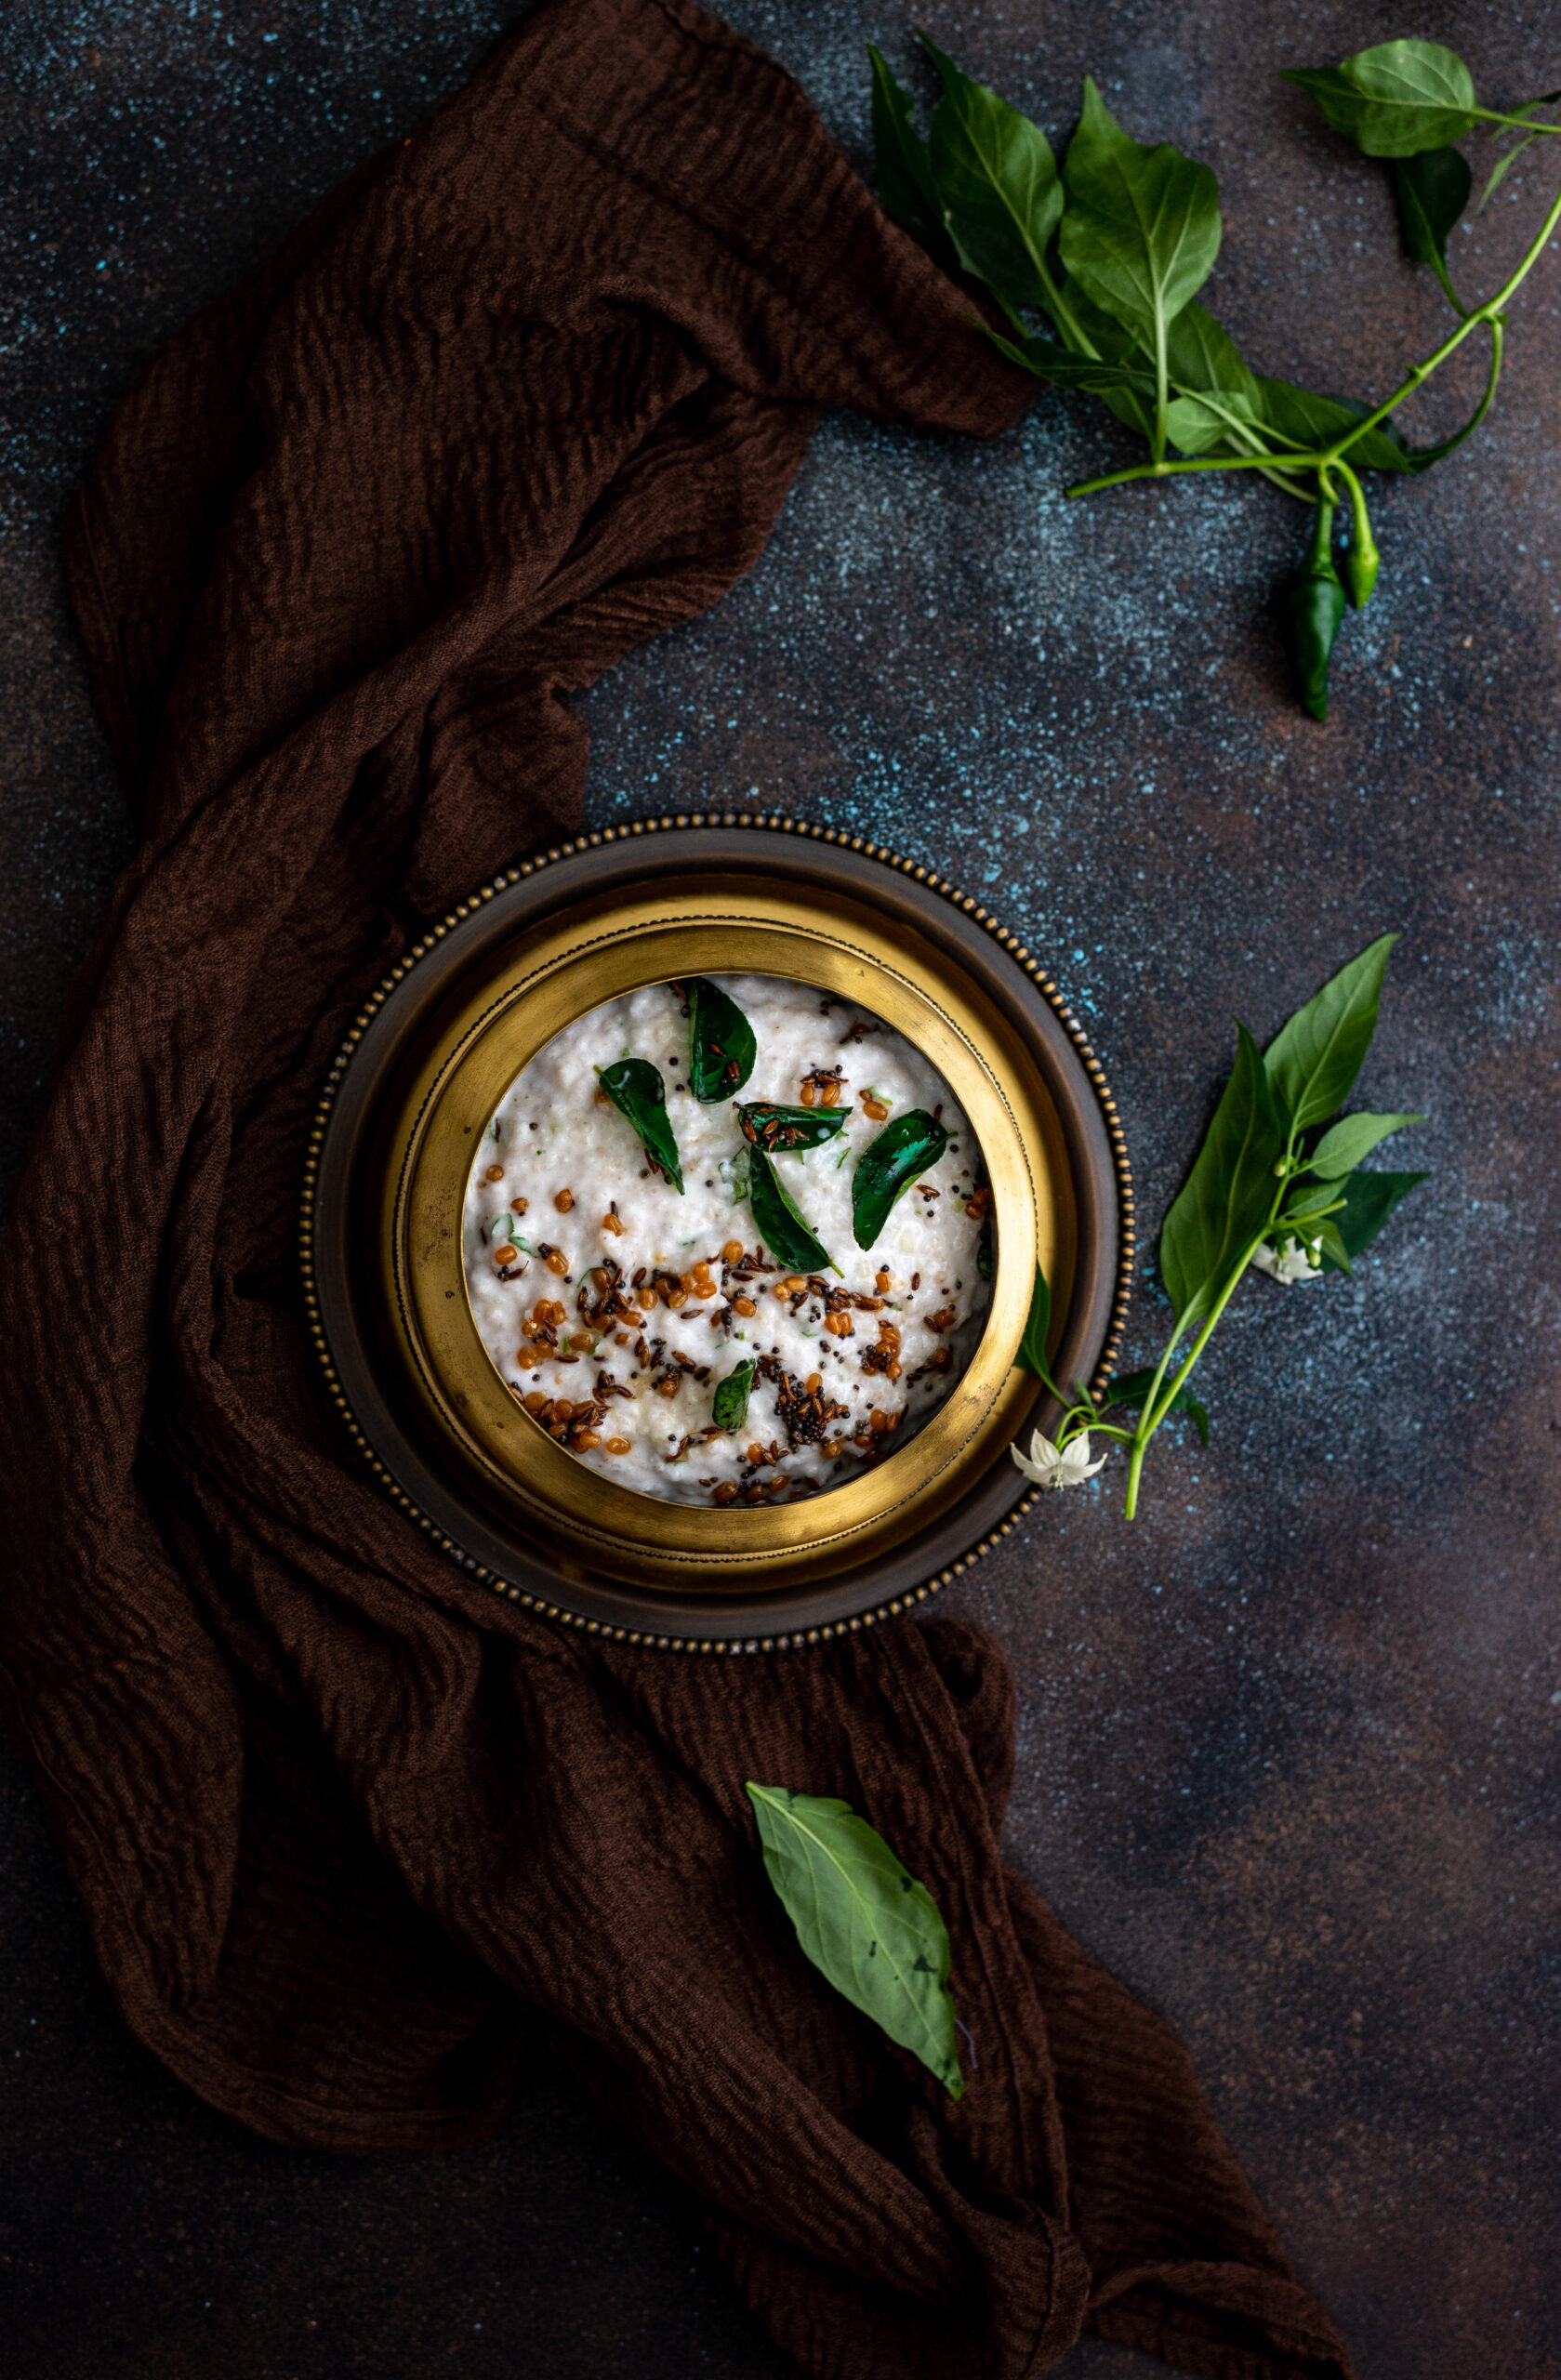
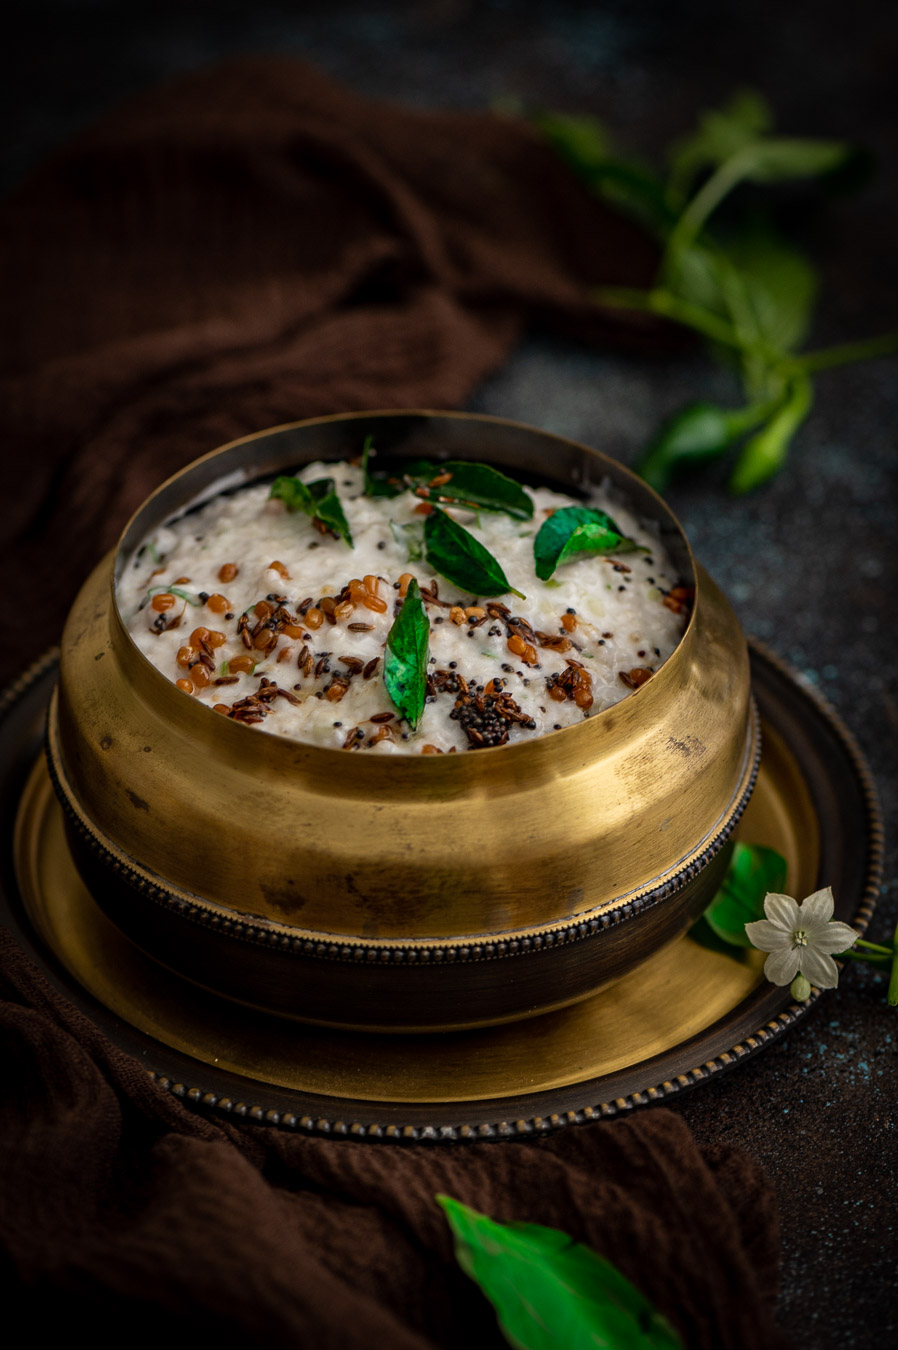
So for now, we will stick to store-bought vegan yoghurt. Coconut yoghurt is my preferred one for this dish. I love the flavour: simple, versatile and a little sweet. Coconut also takes on the flavour of whatever you add it to, while retaining its own standalone taste. I add a dash of lemon to it so as to evoke the slight sourness of dairy yoghurt.

In addition to trying to eat vegan more often, I am also going through a phase where I am cutting down carbs, which means white rice is something I avoid. This leads me back to a food category that I’m passionate about: millets. Millets have made many appearances on this blog due to my belief in their importance in terms of good health and eco-sustainability. If you haven’t already enjoyed the following recipes, I hope you’ll check out: my vegan chilli bowl starring kodo millet, Indian vegetable salad starring foxtail millet or some authentic local dishes that showcase how millets have always been eaten in this region, such as chakkara pongal and ragi kanji.

In this dish, I have used kodo millet, also known as “varugu” in Tamil. Millets are fibre-rich, which makes them more filling, as well as good for your digestive system. Kodo millet is a gluten-free alternative to rice that I enjoy as much for its taste as for its benefits in regulating blood sugar and cholesterol levels, and the boost in antioxidants that it gives too. For me, veganism is about healthy eating, and that remains the impetus behind many of my food choices.

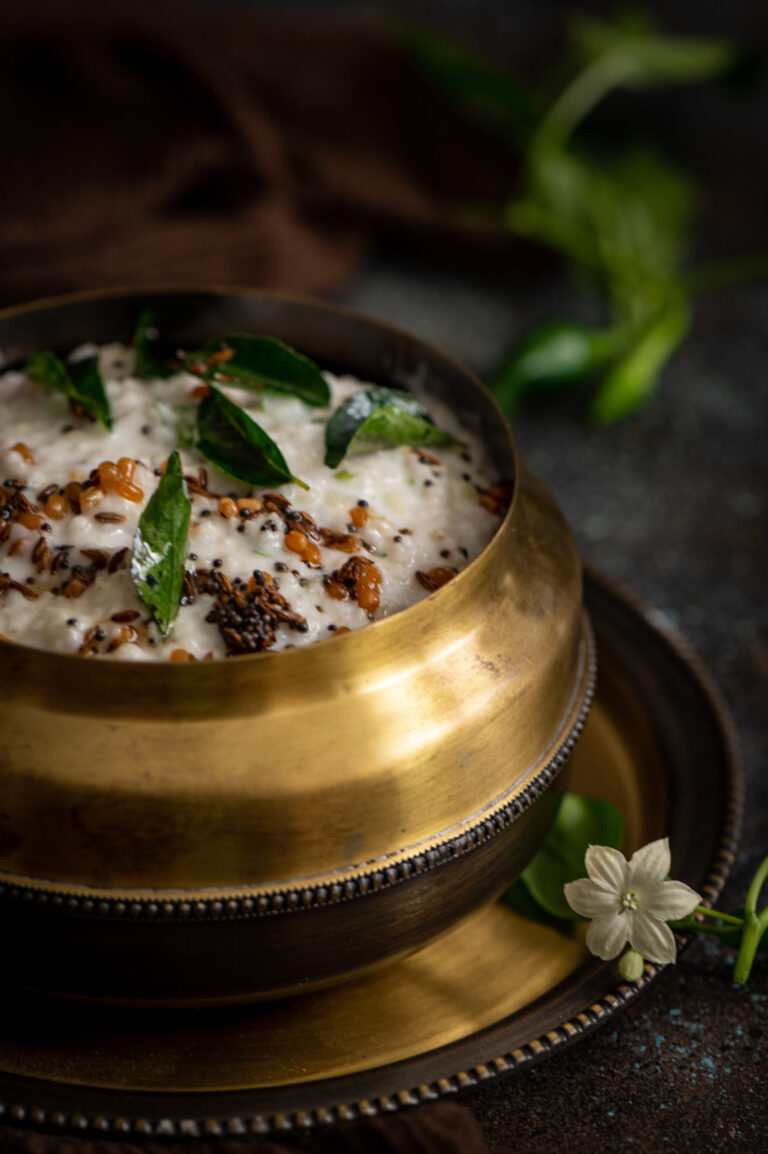
I’ve always seen food as a vital component of living in alignment with nature. Many of you know that I also maintain a home garden with various daily ingredients, from lemongrass to coconuts to tomatoes. Green chillies are among them, and as I stepped out of my kitchen to pluck a fresh one for this vegan millet “thayirsadam”, some pretty white flowers on the plant caught my eye. I paused to admire them, and I loved being able to include them in the styling for my photoshoot. How special and gratifying it was, to have my abiding love for all things culinary, my intensifying passion for photography, and my reverent love for nature come together…

Vegan Millet “Thayirsadam”

(Yield: 3-5 cups)

50 grams kodo millet

160 grams coconut yoghurt

¼ cup water

2-3 tablespoons raw mango

1 tablespoon coriander leaves

1 tablespoon chopped cucumber

Salt to taste

A dash of lemon


Tempering:

1 tablespoon oil

¼ teaspoon mustard seeds

¼ teaspoon cumin seeds

1 green chilli finely chopped (optional)

A few curry leaves

Rinse and cook the kodo millet in 3-4 cups of water. This will take about 15 minutes. Allow to cool.

Once cooled, transfer the millet into a bowl. Add the coconut yoghurt, salt and water. Mix thoroughly. Next, add the cucumber, raw mango and coriander leaves. You may include your choice of crunchy ingredients to add more texture and taste to the dish. Sometimes I use pomegranates or grated carrots, either as a substitute for cucumber or along with it.

Now, add the dash of lemon.  Set aside.

For the tempering, heat the oil and then add the mustard and cumin seeds. Once they splutter, add the green chilli and curry leaves and immediately pour over the millet-yoghurt that was set aside.

Stir gently and refrigerate. Serve once slightly cooled again.

And there you have it: thayirsadam with neither thayir (curd) nor sadam (rice)! This vegan curd millet dish truly becomes a filling meal-in-a-bowl once you scoop in a spoonful of pickle on the side, and add a handful of some delicious, crispy banana chips to add more variety to your meal.

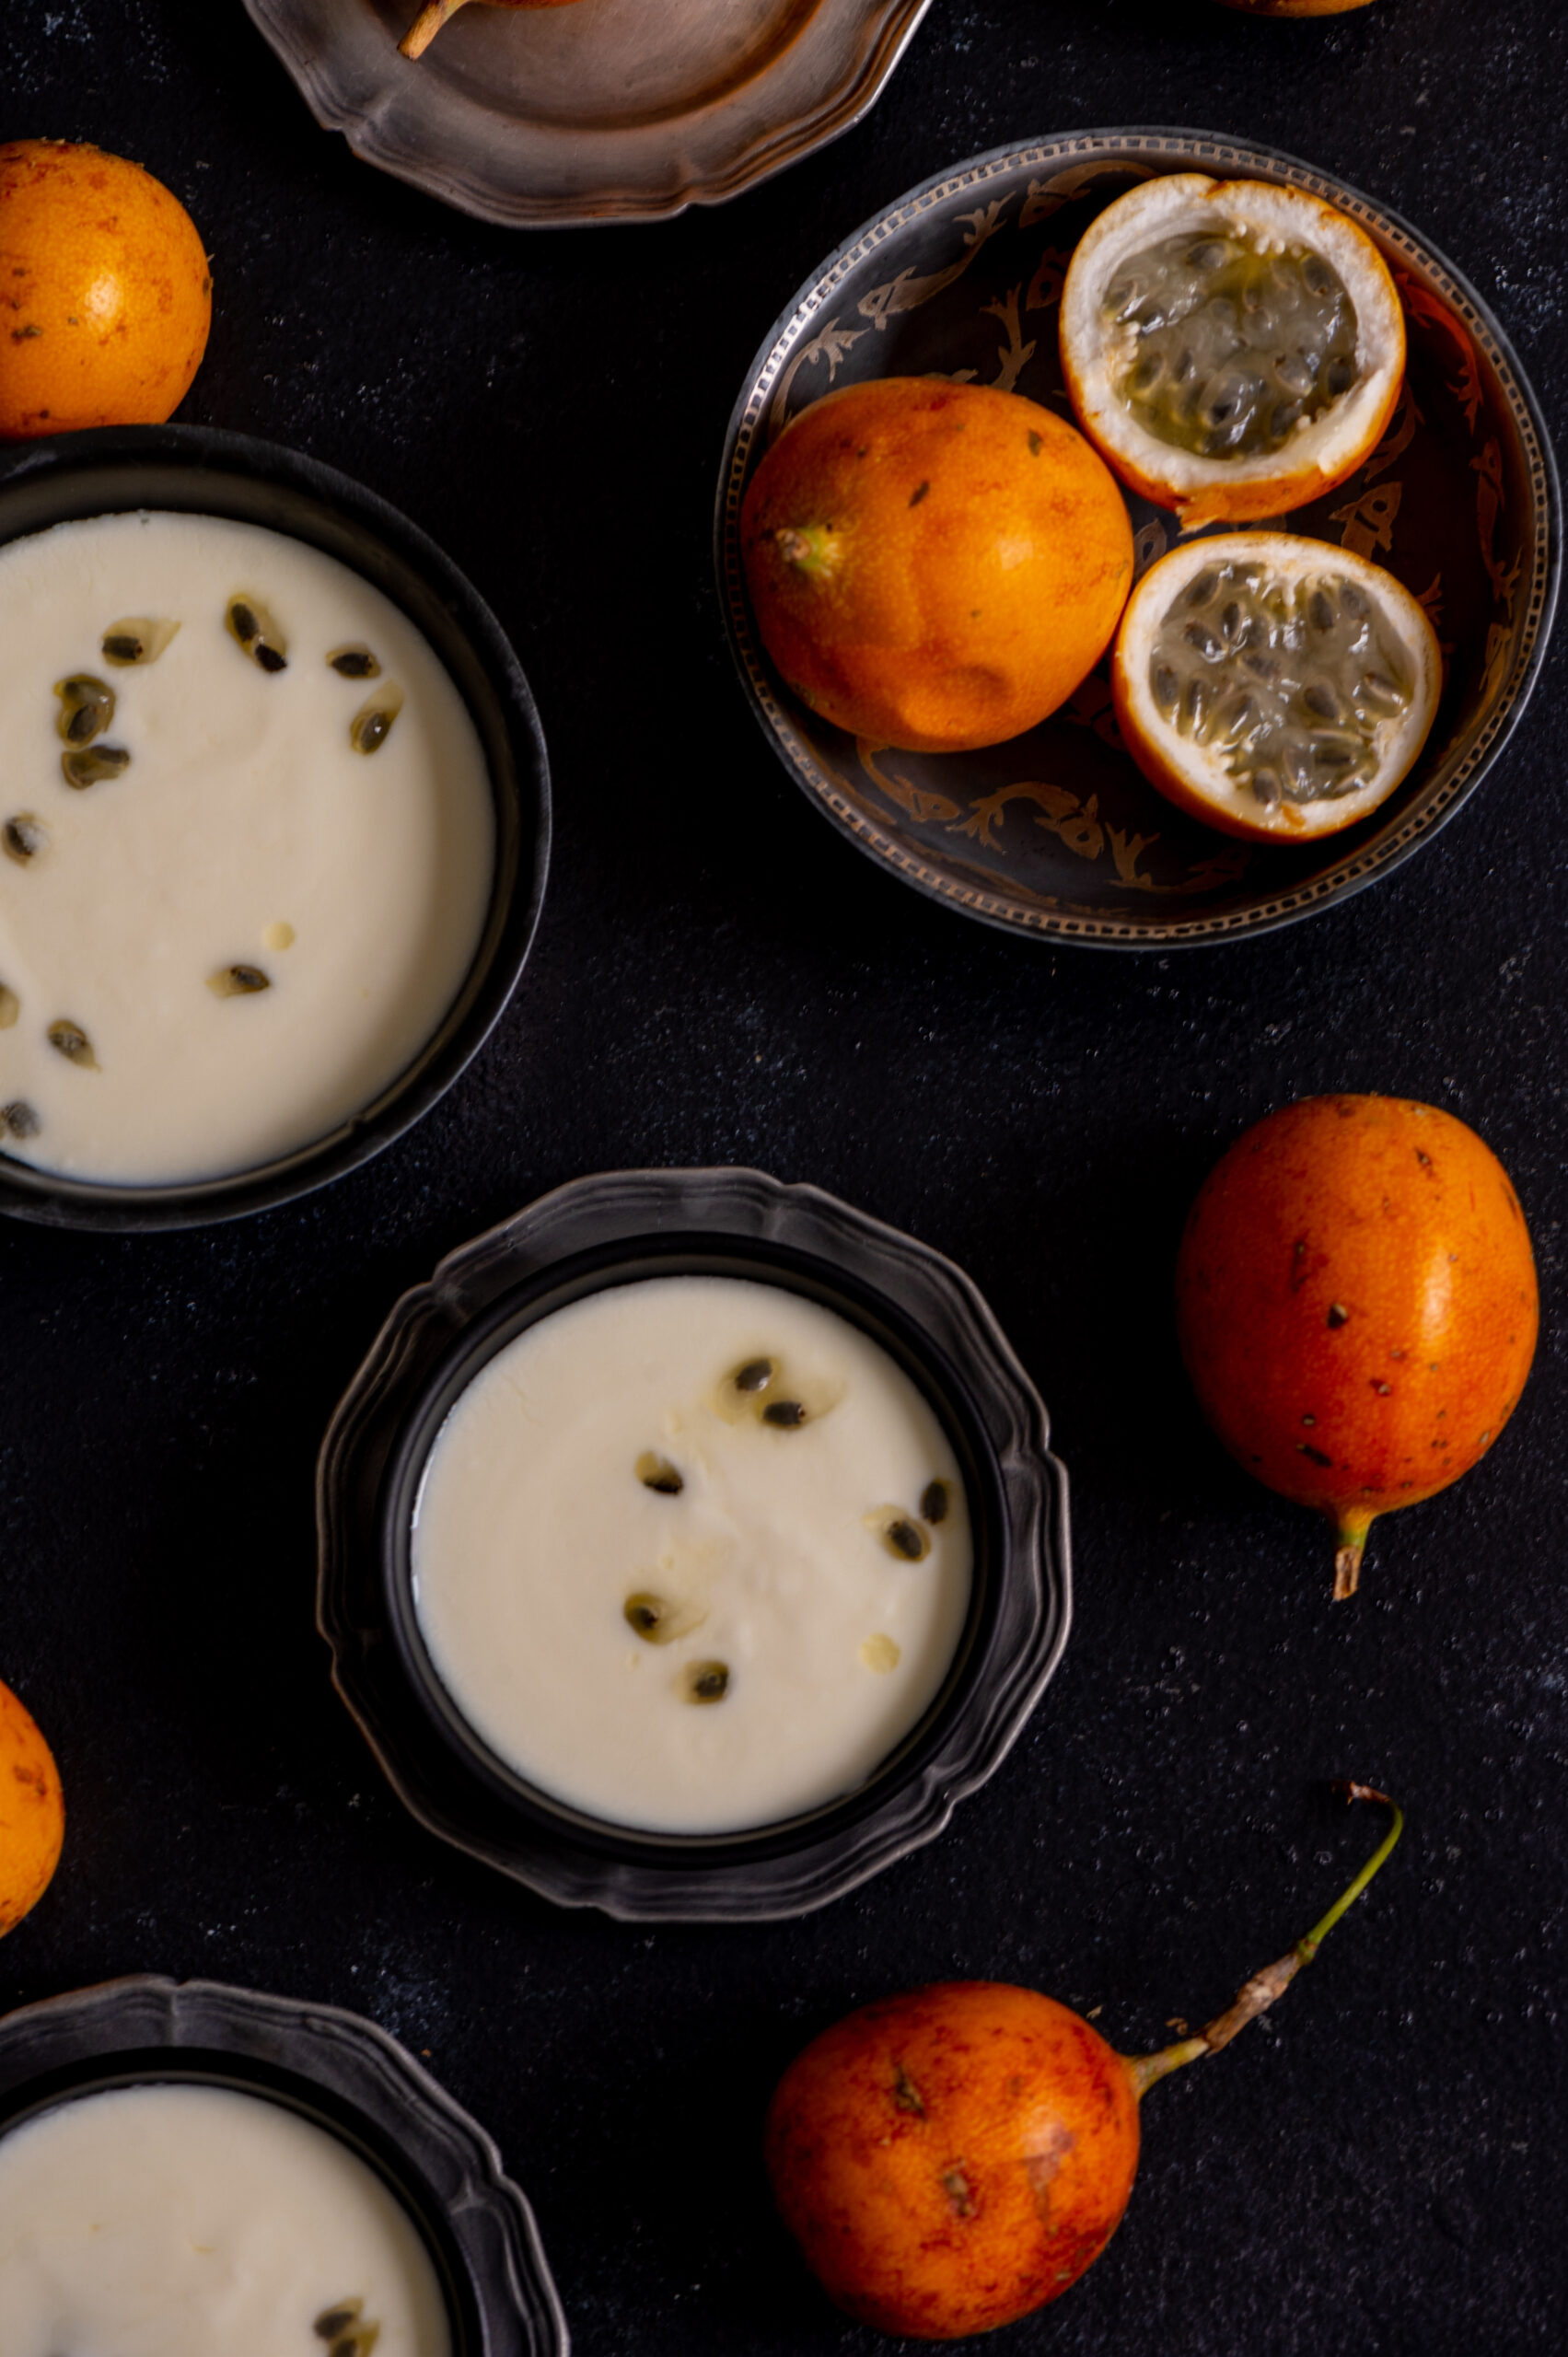
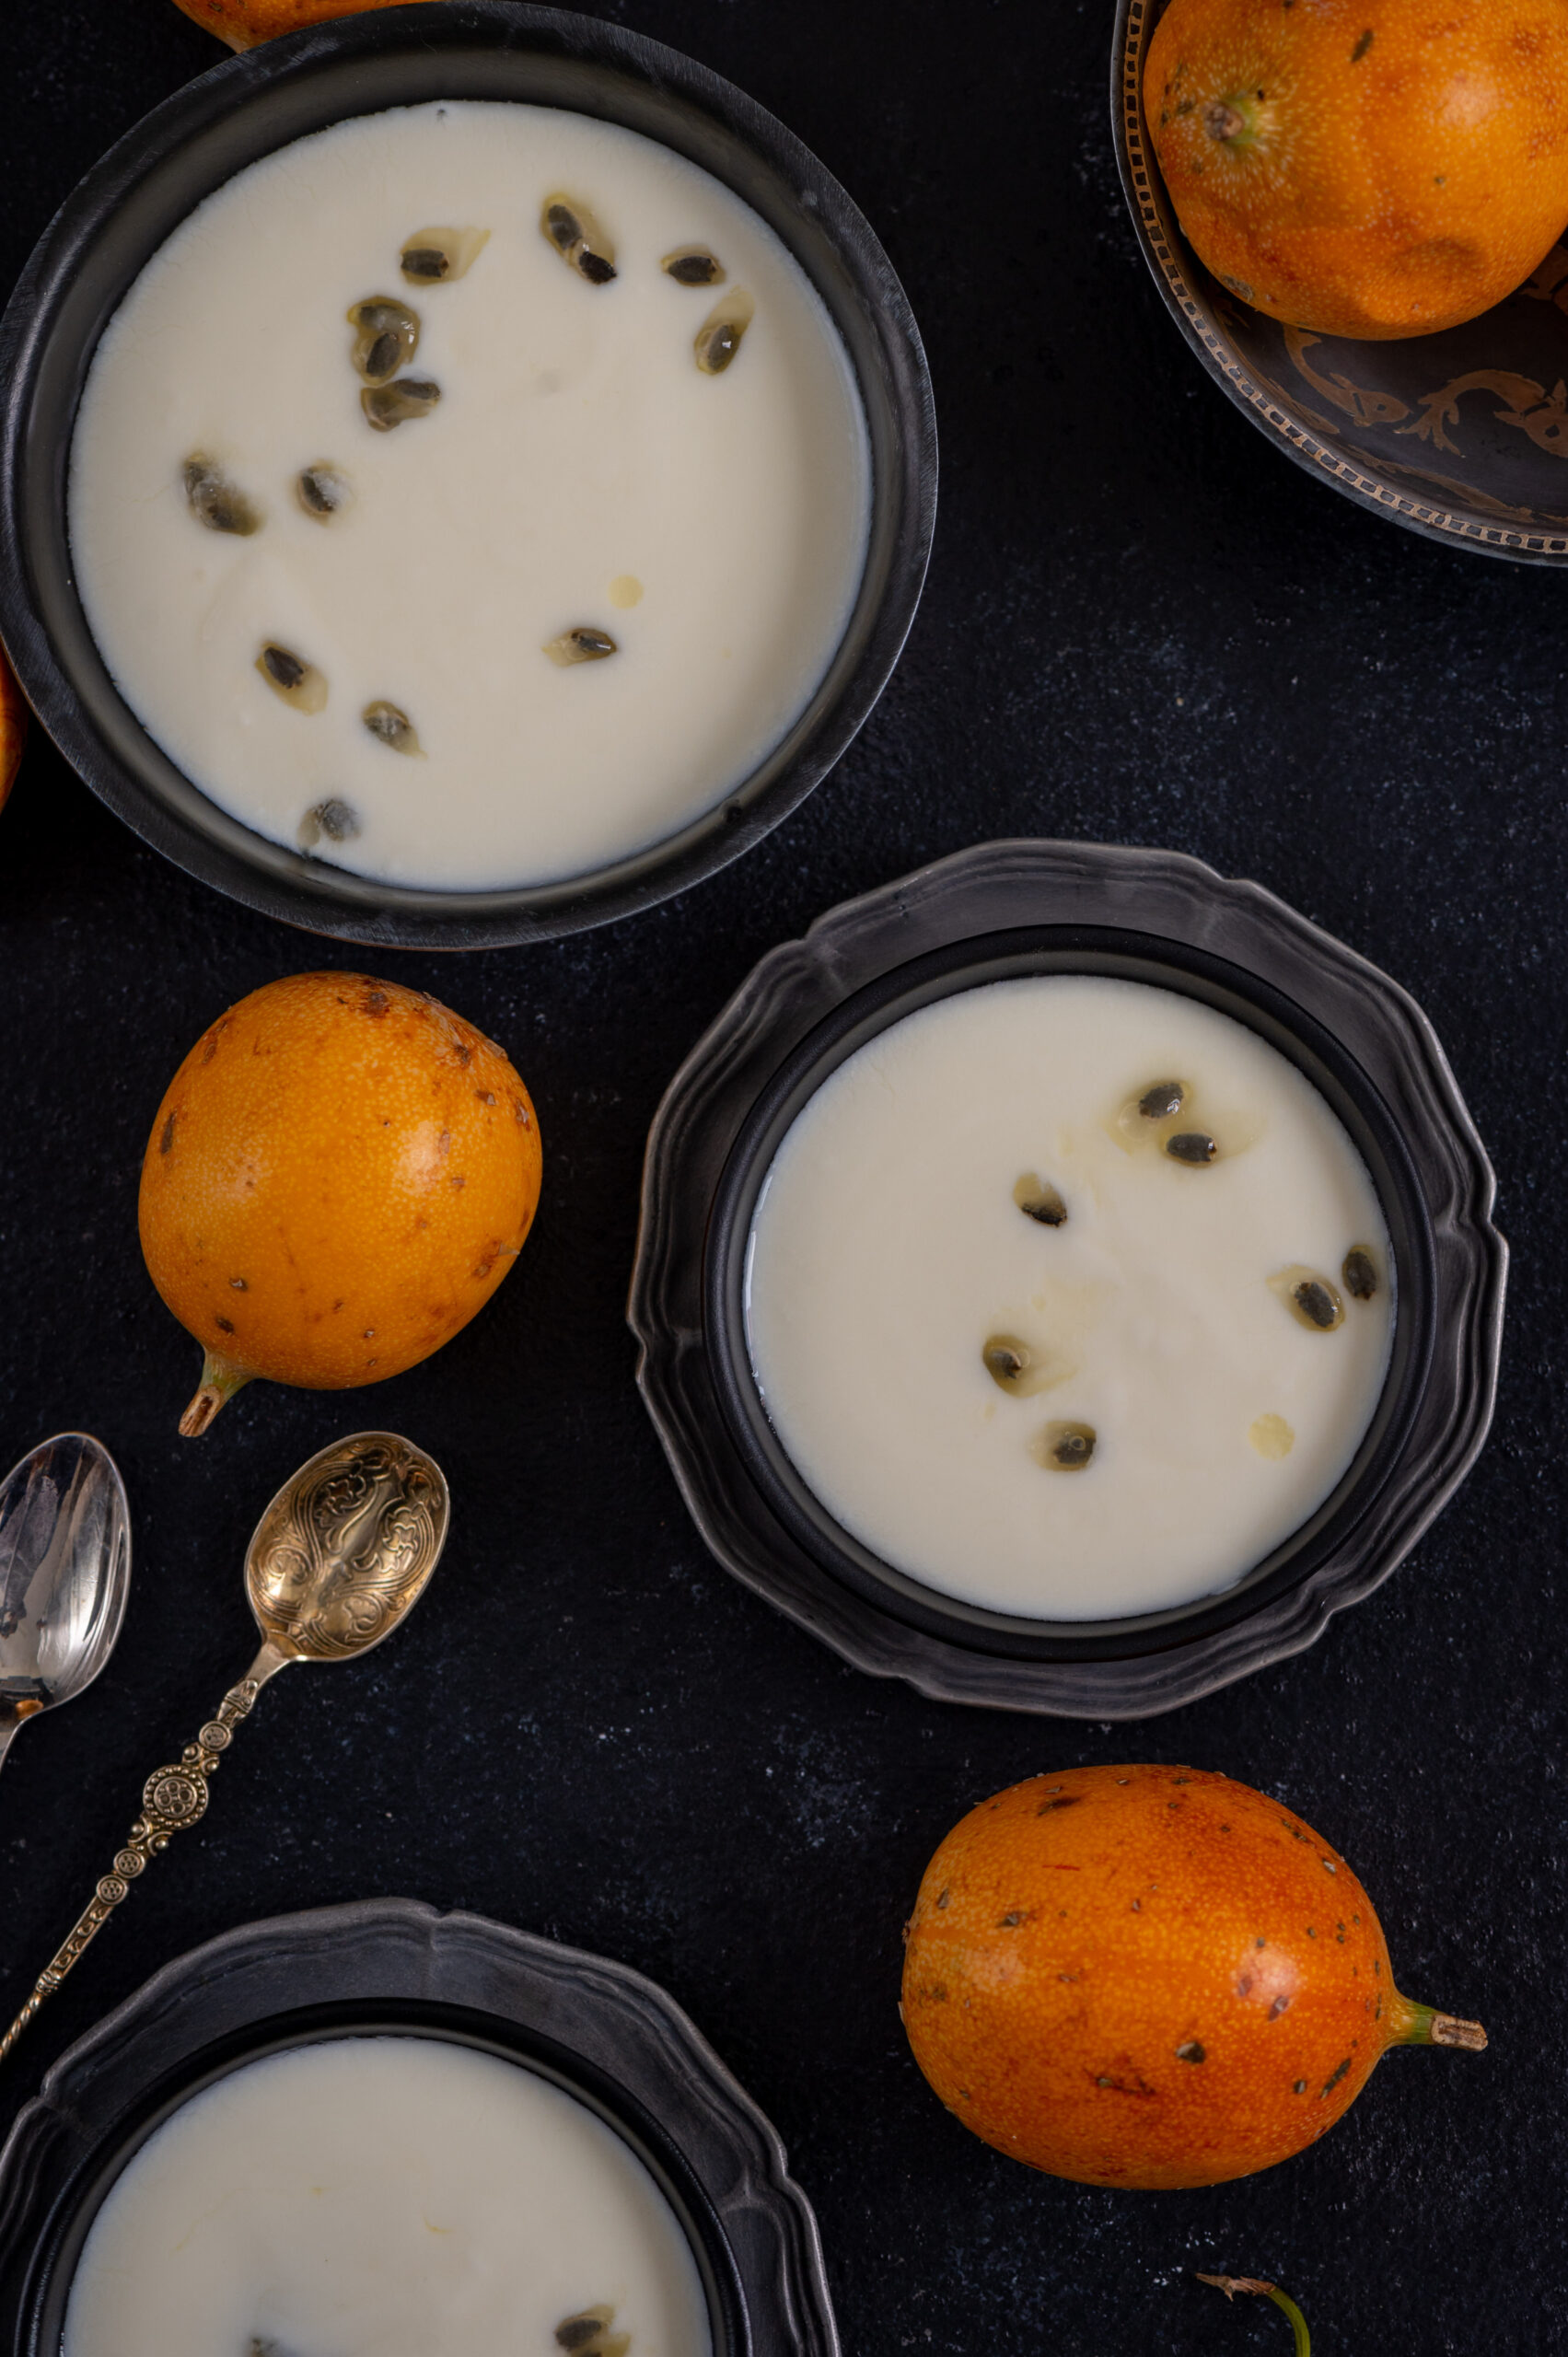
By the way, if you are a fan of curd rice in general, may I suggest that you also try my recipe for Gujarati masala curd rice? And if you’re a vegan who is looking for dairy-like but dairy-free desserts, my take on another Gujarati speciality, in the form of this vegan passion fruit shrikand, may be right up your alley!


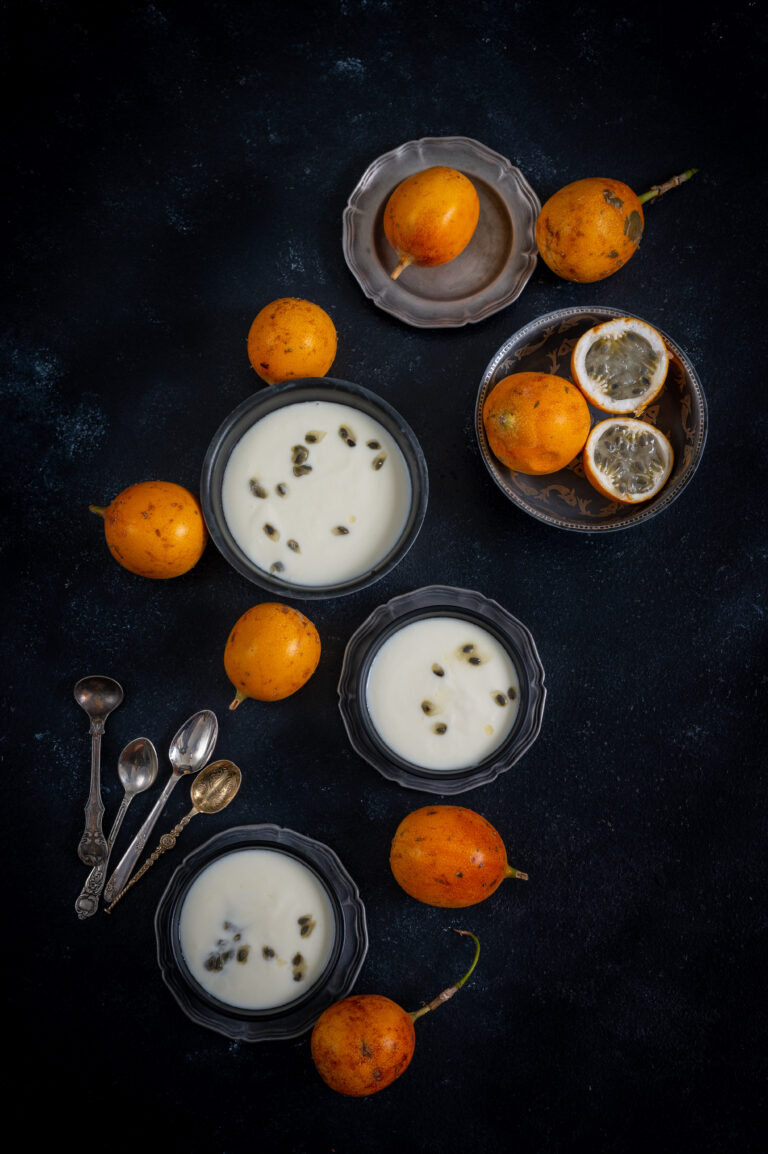
A friend and I were on a weekend getaway in the hills when another friend, who coincidentally had embarked on the same idea of a little escape to the same sleepy town, dropped by to visit us. We were enjoying each others’ company and trying to pep up the meal we would share, wanting to make it as fancy as possible with the simple but fresh ingredients at our disposal. There was a lot of yoghurt on hand, and perchance, some luscious passion fruit. Voilà, inspiration struck! We were quick to leap into action and put together a beautiful shrikhand for dessert, and even quicker to polish it off as we caught up on our conversation.

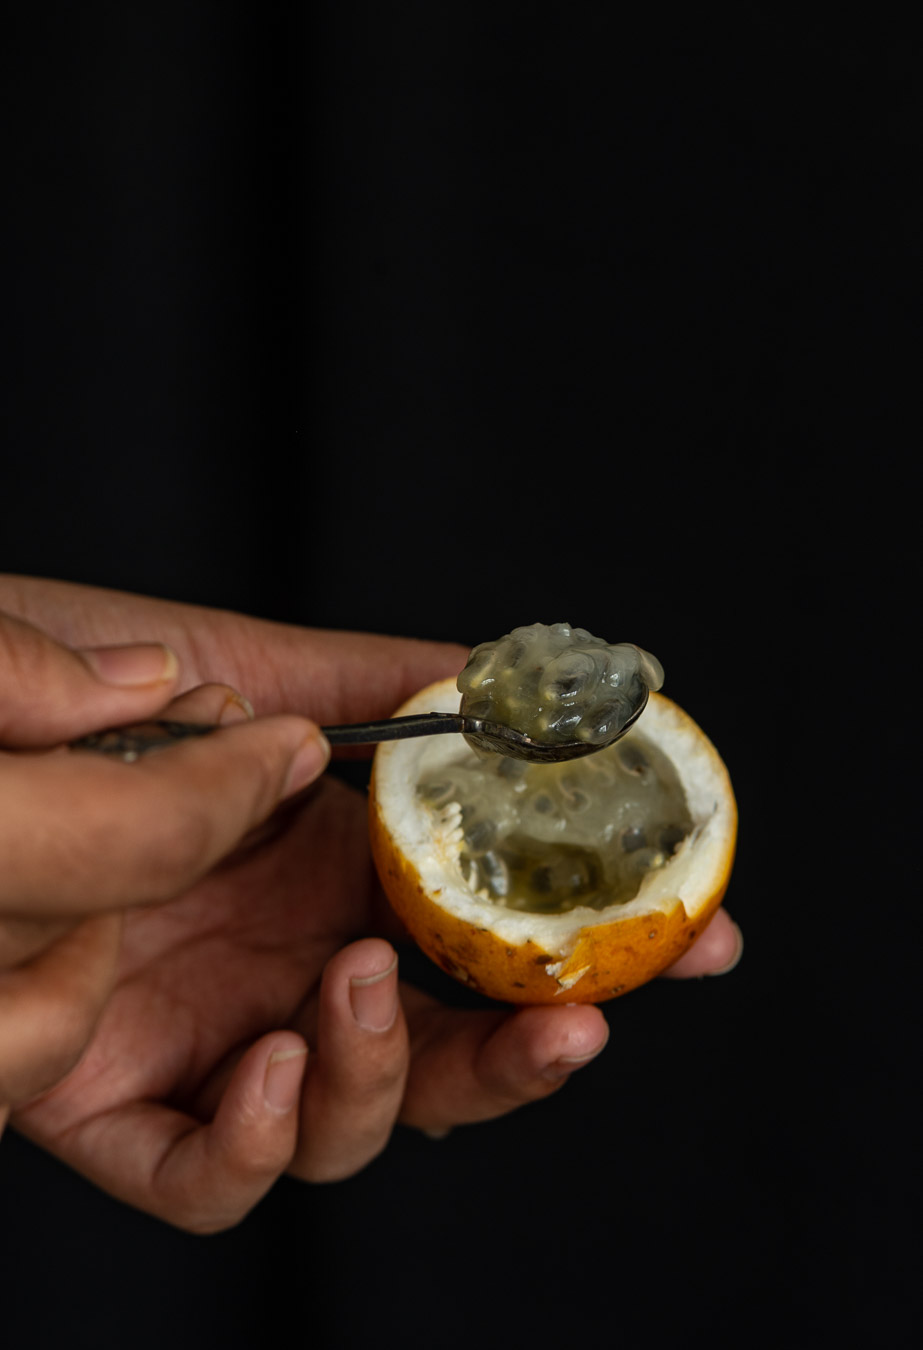
Both passion fruit and shrikhand have been celebrated on this blog before, and bringing them together felt like a lovely stroke of luck. Passion fruit always has a short season, so I suggest that you take advantage of the same and try this recipe as soon as you find the fruit. It truly is one of the most beloved fruits in my home, as you may remember from this recipe for a passion fruit salad dressing that I still make as often as possible. At the very least, sliced passion fruit or passion fruit juice is a daily feature whenever we’re able to get a fresh harvest.

While I had prepared this dish using dairy while on the getaway, once I got back home I tried it again in a vegan preparation. I had initially wanted to make a vegan version of the coconut pudding that was shared last week, but wasn’t able to do enough trials due to the festive rush. So this time, what I am sharing is a tried and tested vegan dessert, made with coconut yoghurt.

Quite like the sitaphal kheer that needs very little to enhance it, being so flavourful on its own, the passion fruit shrikhand too does not need the the usual frills of a typical or traditional shrikand. It doesn’t need saffron or slivers of almond or pistachio to elevate it. All I used was a little bit of cardamom. The focus is very much on the taste of the fruit, which happens to be quite sweet, and this means that you can cut down on the sugar quantity used in the dish.

Gujaratis take pride in our shrikhand, and it is even eaten as part of a main meal in a great combination known as shrikhand-poori (I’ve written many times on this blog about that famous Gujarati sweet tooth!). So while I don’t want to make an easy comparison to flavoured yoghurts you can get in supermarkets, I can definitely say after this experiment that it’s very easy to flavour your shrikhand too, using different kinds of fruits. It’s very easy to prepare overall, too. The best part of it is that being homemade, we know exactly what goes into it. A flavoured shrikhand is a healthy treat, and a fun and simple way to add a twist to this immensely popular Gujarati dish.


Vegan Passion Fruit Shrikhand

(Yield: 4-5 cups)

5 cups coconut yoghurt

½ cup icing sugar (substitute: ½ cup honey or maple syrup)

¼ teaspoon cardamom

Pulp of 2 passion fruits


Take a fine muslin cloth, put the 5 cups of coconut yoghurt into it and tie the cloth. Use plain yoghurt if you prefer a vegetarian rather than vegan version. Hang this yoghurt for about 2-3 hours or until all the whey drips out. You can use this whey to bind dough for rotis.

Then, put the yoghurt into a strainer and add the sugar to it. Sieve the yoghurt with the help of a spoon and collect it into a bowl. Add the cardamom powder and passion fruit pulp. Mix well.

You may garnish the bowl with a pinch more of cardamom and some lovely passion fruit seeds. Serve chilled.

While you can use almost any fruit as flavouring, there’s just something about a naturally sweet one such as passion fruit that brings this dessert together so beautifully. Do be sure to take advantage of the season for it.

We returned from our trip to the hills with lots of fruits, bringing bags of avocado and passion fruit back to our urban lives. The cooler climes really do have such an interesting variety of produce, and if you have access to these at the moment, I’d love for you to check out some other posts using peas, plums, strawberries and peaches. Fruits had been such an integral part of our meals on our getaway, and usually made up our entire breakfasts too. Given the nutrition quotient of this food category, I think I’m going to keep looking more deeply into bringing more fruits into more dishes, innovatively…

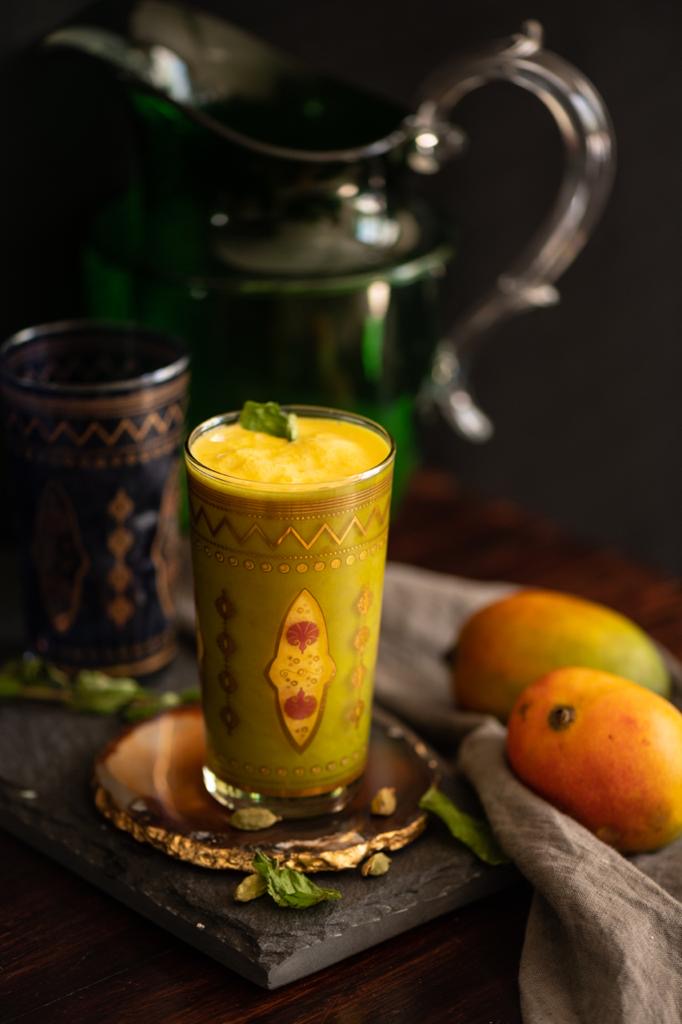
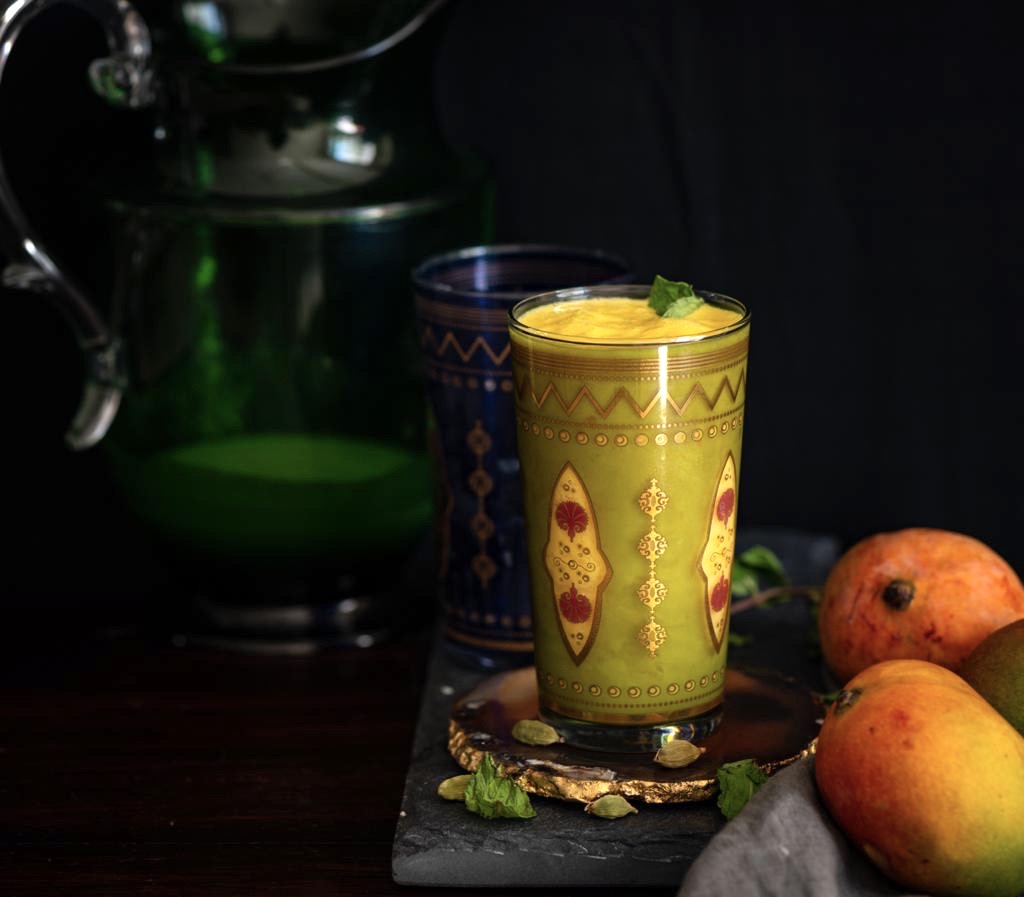
Lassi is an extremely popular and very effective Indian beverage, a coolant that’s popular in the summer months. Being yoghurt-based, it not only reduces the heat in the body but is also rich in probiotics. Naturally, the classic mango lassi had to find a place in my ongoing mango series here on the blog!

This wonderful, lip-smackingly good mango lassi doubles as a dessert. The natural sweetness of the fruit is enhanced by the use of honey (or a sweetener of your choice). I like a flavourful lassi, so a little cardamom and a sliver of ginger go into mine as well.

Some wonder whether mangoes, which are known to be a “heaty” fruit, can really be eaten so much during the summer, despite this being the season when they are most delicious. I’d like to share a very interesting Ayurvedic technique that I came across. It seems that by simply soaking the fruit in water for at least half an hour before consumption, the heat is depleted from it. Mixing it with yoghurt as one does with this lassi also neutralises the heat.

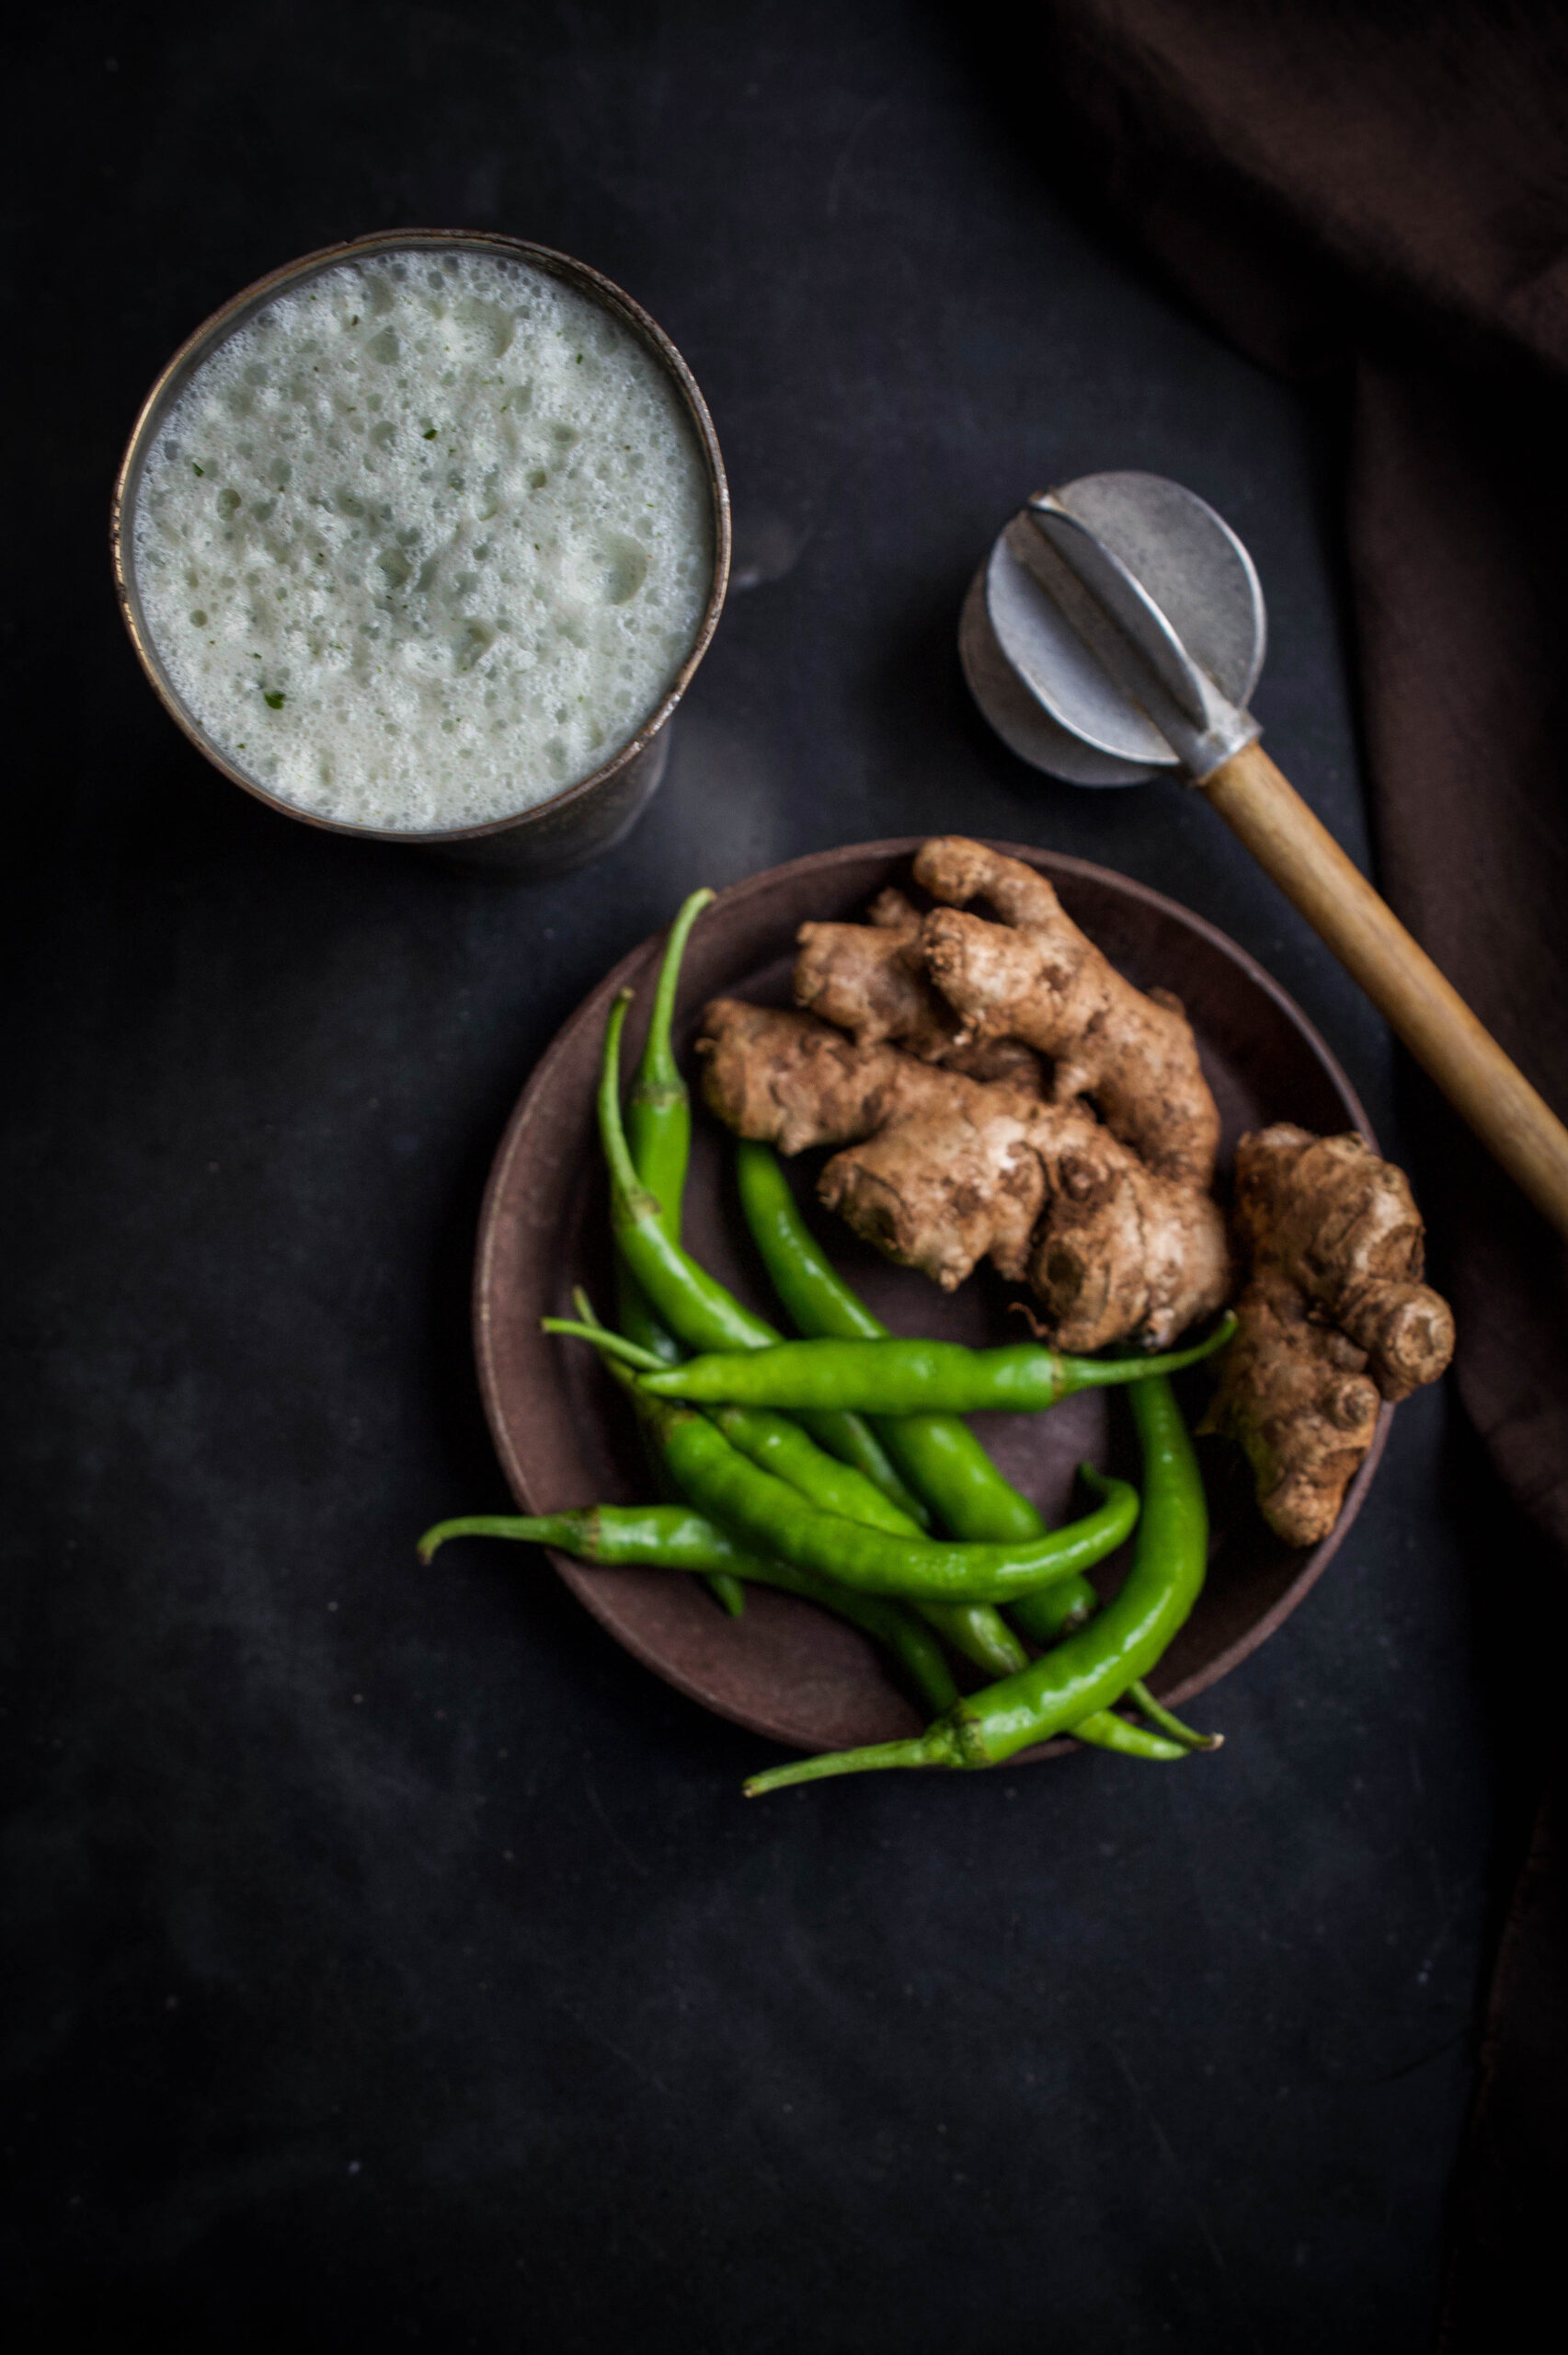
Yoghurt in India is usually homemade, and dairy is consumed regularly. Chaas, also known as buttermilk, was a daily drink for us when we were growing up, as our mother insisted that we always had it after lunch. Lassi is a more indulgent dairy drink that has the same beneficial effects. It can be had salty or sweet, and flavoured in many ways. As a child, I enjoyed a watery lassi best. An excellent savoury variant uses ginger, green chilli, mint, coriander and salt. As for the best sweet variant, well, the recipe is below!


Mango Lassi

(Yield: 2 servings)

½ cup peeled & cut Alphonso mango

½ cup plain yoghurt

¼ cup plain milk

1 cup water

A pinch of salt

1 heaped teaspoon sugar or honey

¼ teaspoon cardamom powder

½ teaspoon grated ginger

A few mint leaves

Blend all the ingredients together, except the mint leaves. Adjust the water quantity based on your requirement. If you prefer a thick lassi, use less. Or use more to thin it according to your preference.

Top with ice and serve with the mint leaves as a garnish. Sliced nuts or saffron also work well as garnishing options.

Mango season will continue on this blog, and hopefully in the world too, and I have a variety of innovative dishes I’m excited about sharing with you soon. So do stay tuned for more fruity deliciousness to come!

It was Raksha Bandhan a few days ago, and my home was reverberating with boisterous laughter and shouting, filled with the joy and commotion of having all three of my children visiting. This was no coincidence, as Raksha Bandhan is one of the special occasions on which I enforce a very strict rule: no matter where they are in the world, they must return to Chennai to be with their parents and each other.

Raksha Bandhan is doubly special as it is in honour of their relationships to one another. This North Indian festival is a unique one that celebrates one of the most important bonds of all, the one between a sister and her brother. My daughter is fortunate to have two loving elder brothers, and the older they all get, the more precious this day has become to my family. It’s a delight for me as a mother to have them all come home at the same time, as well as a wonderful opportunity for me to fully express my “love language” – cooking!

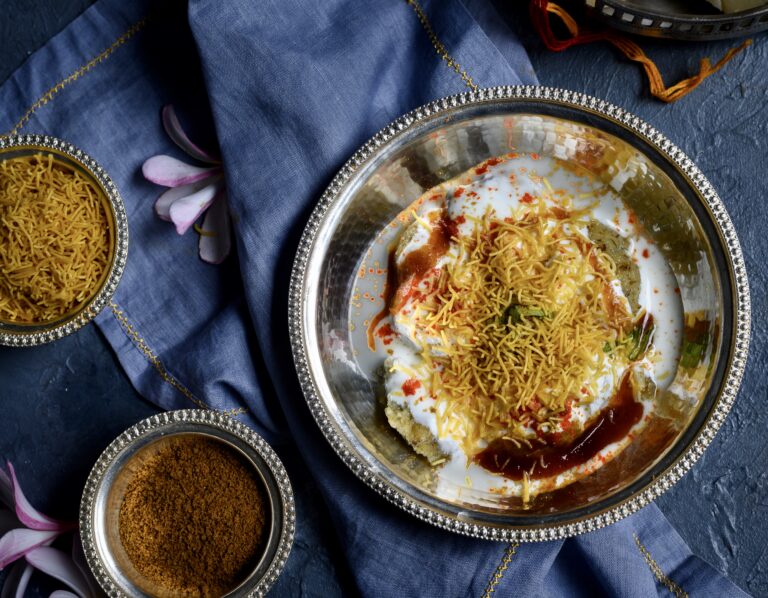
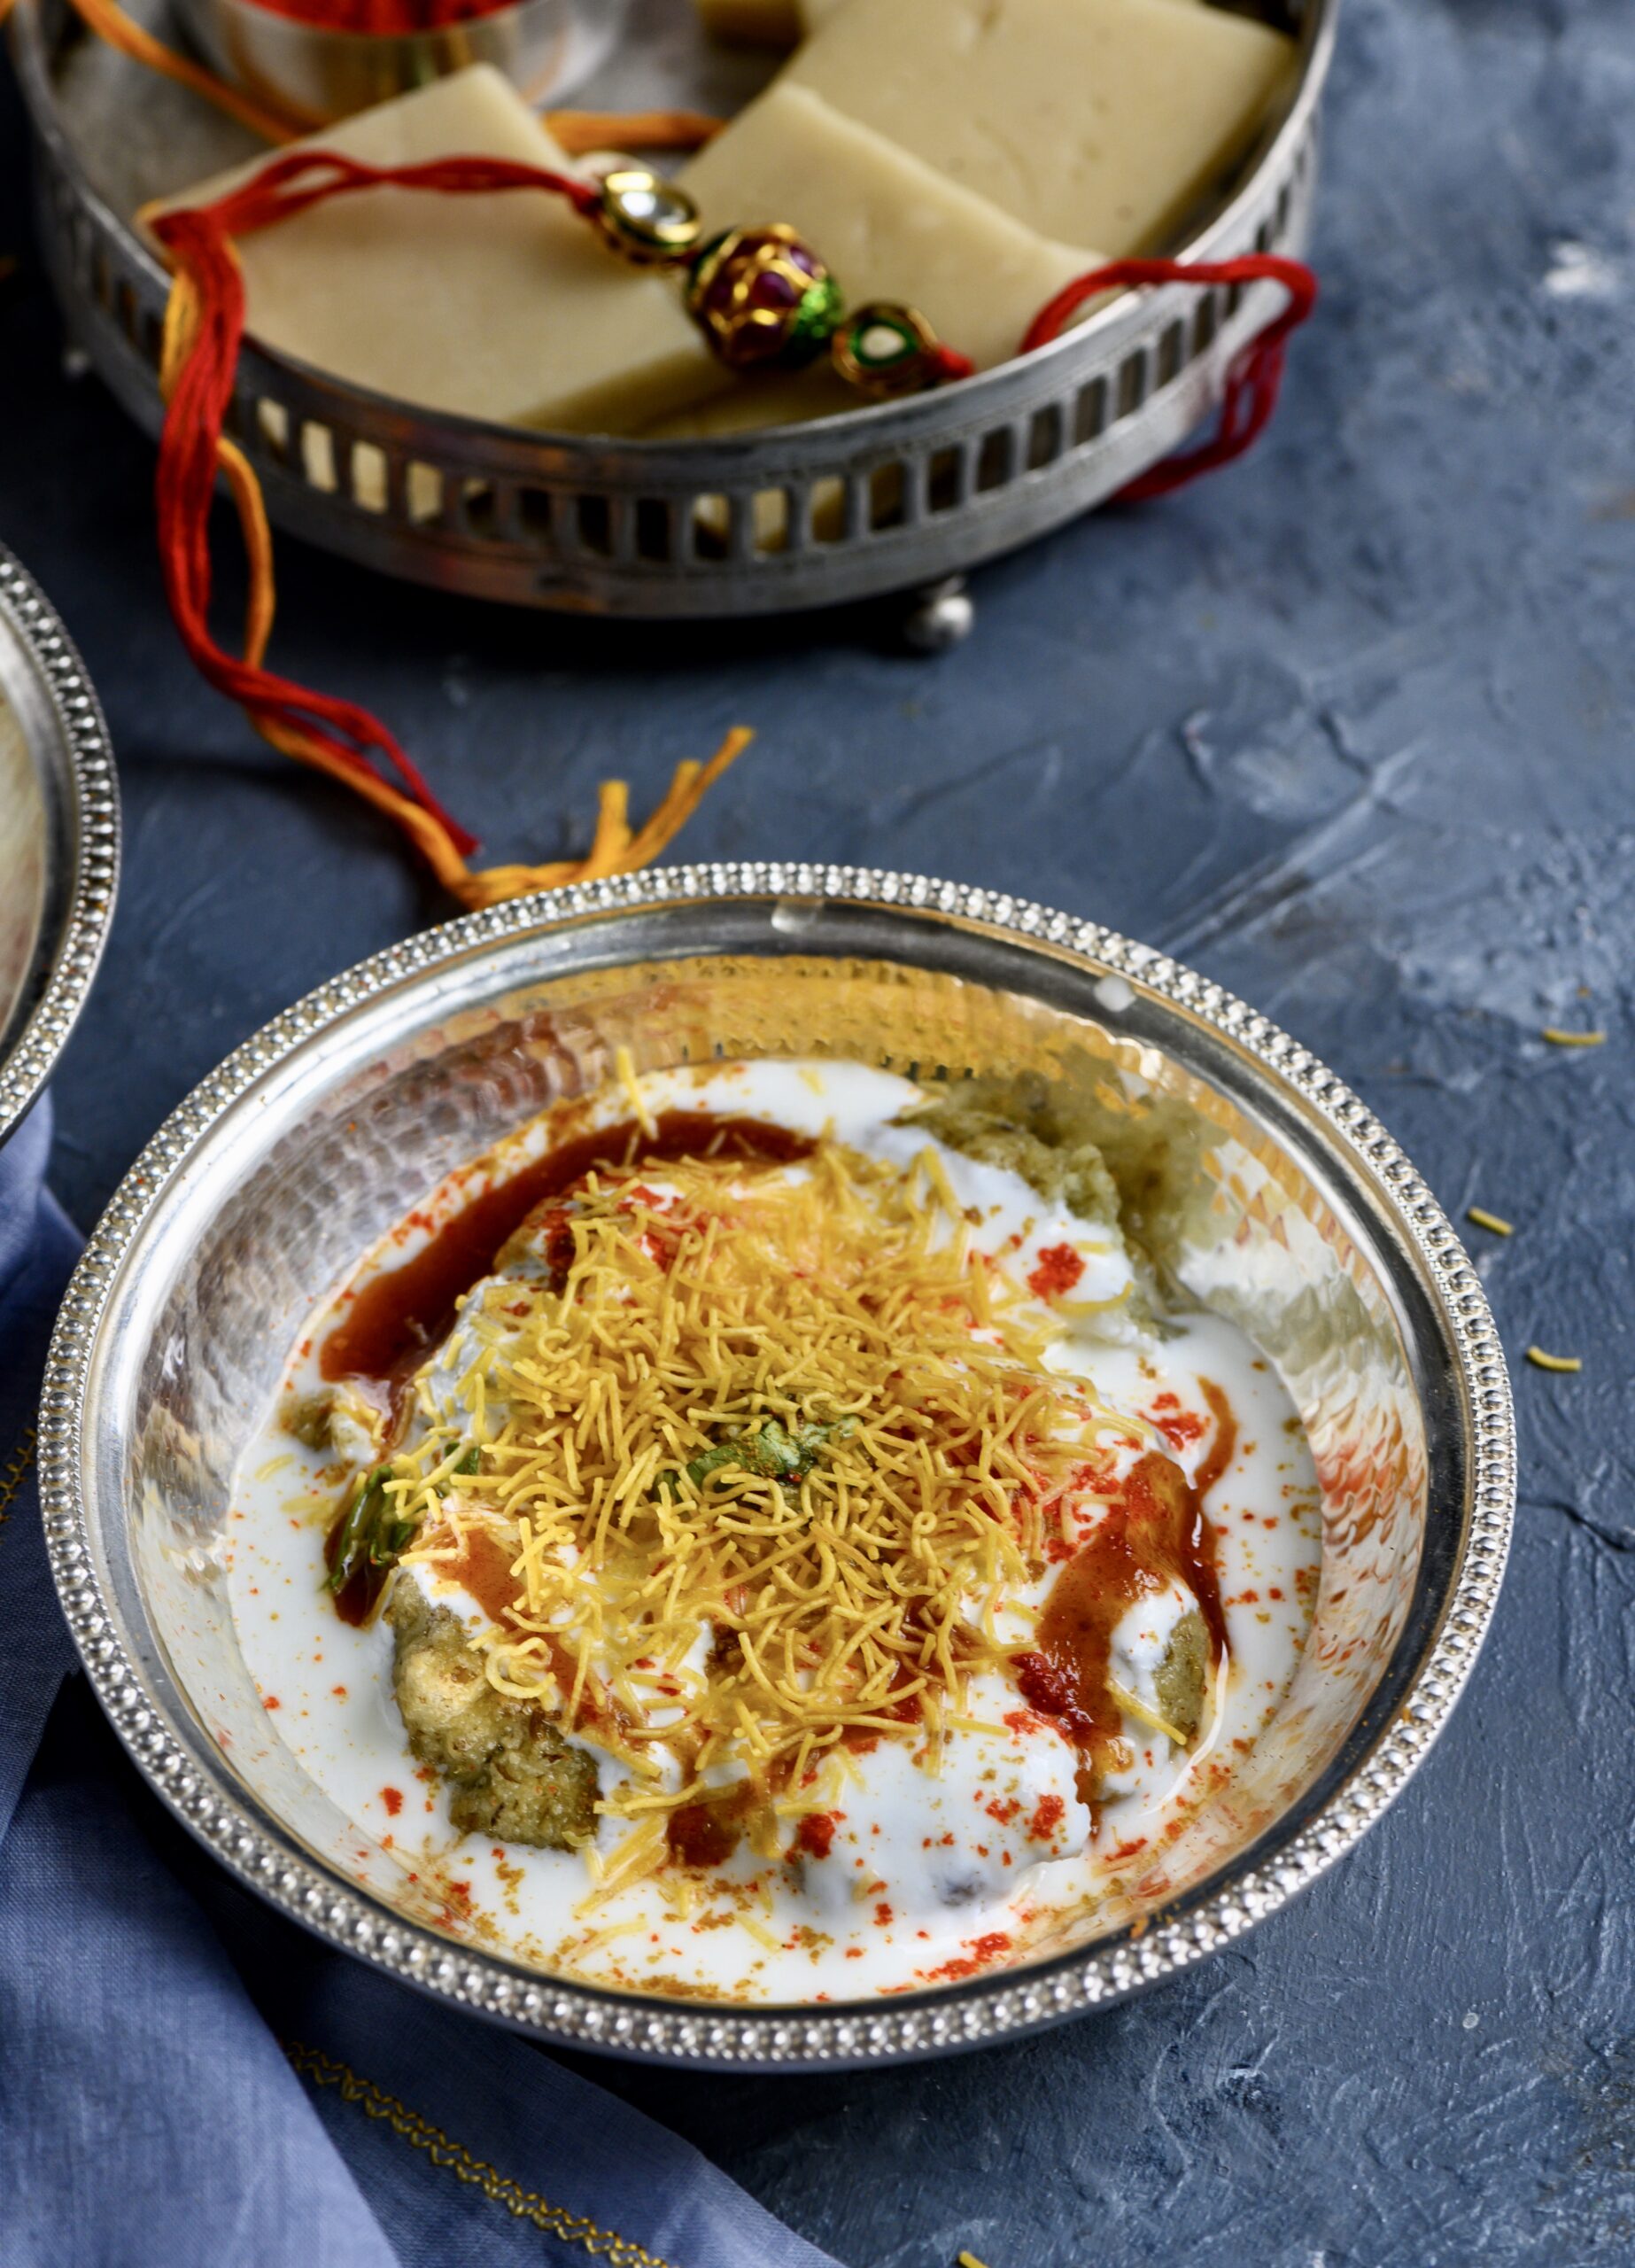
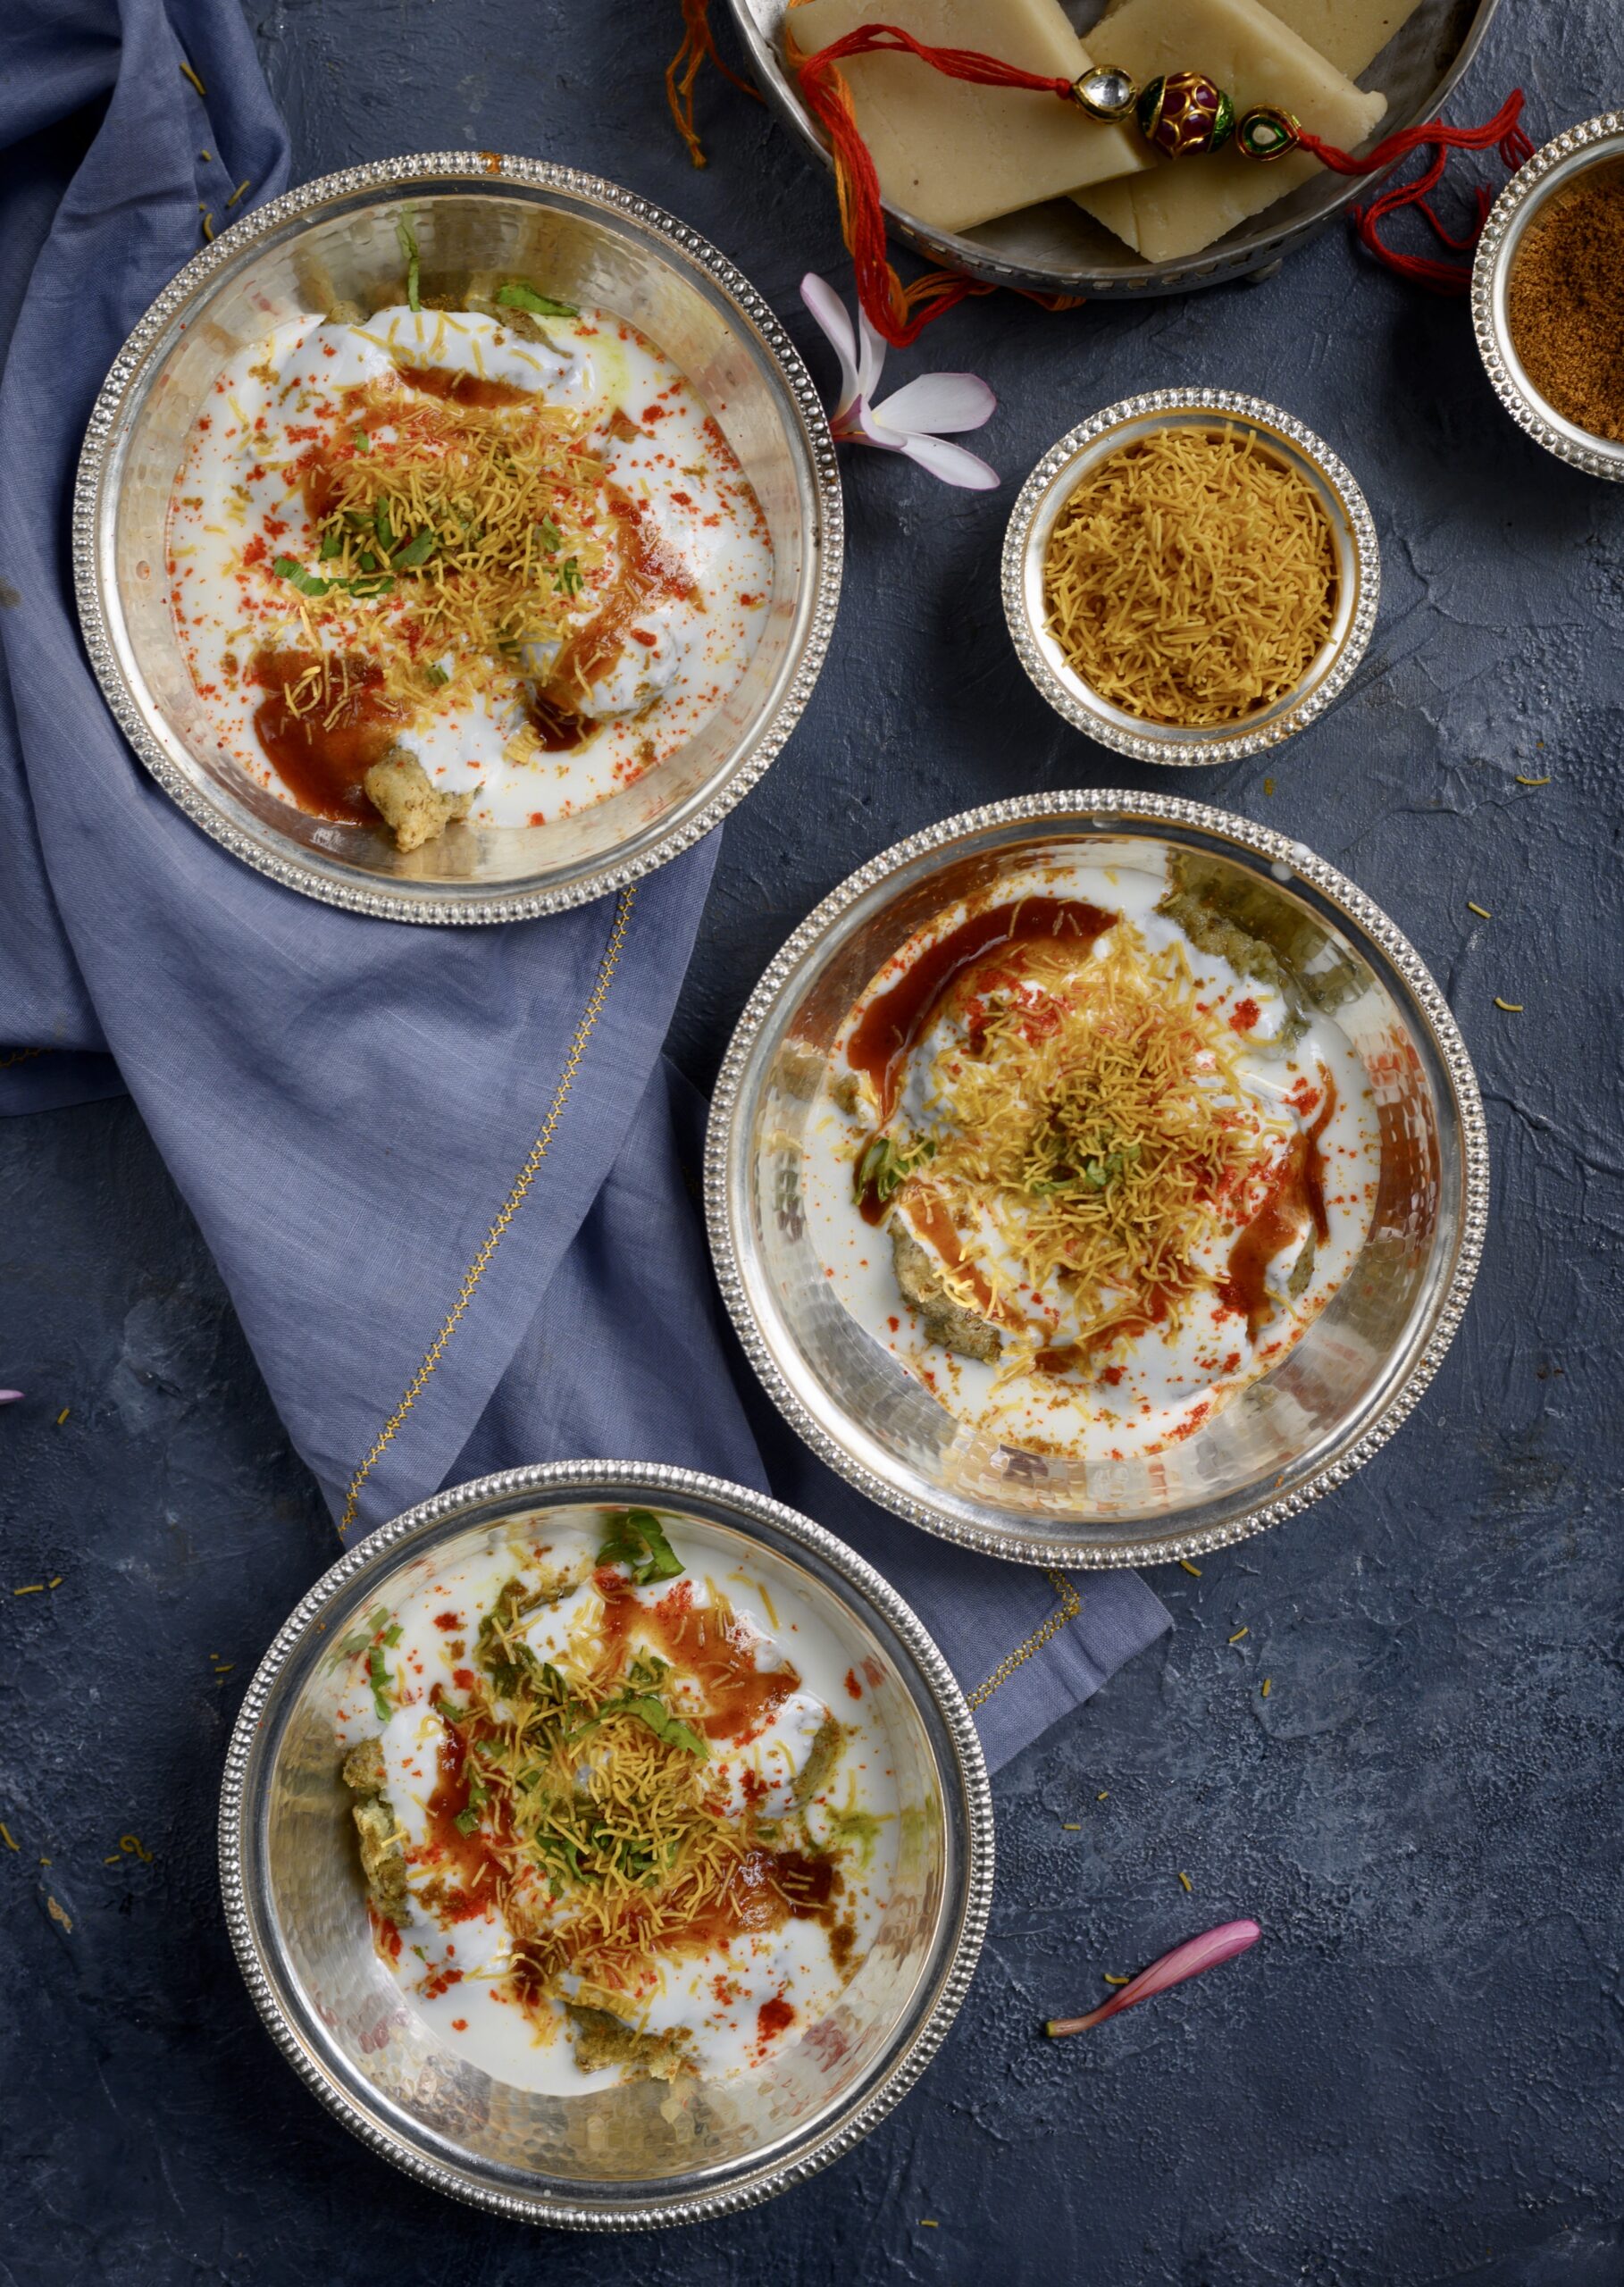
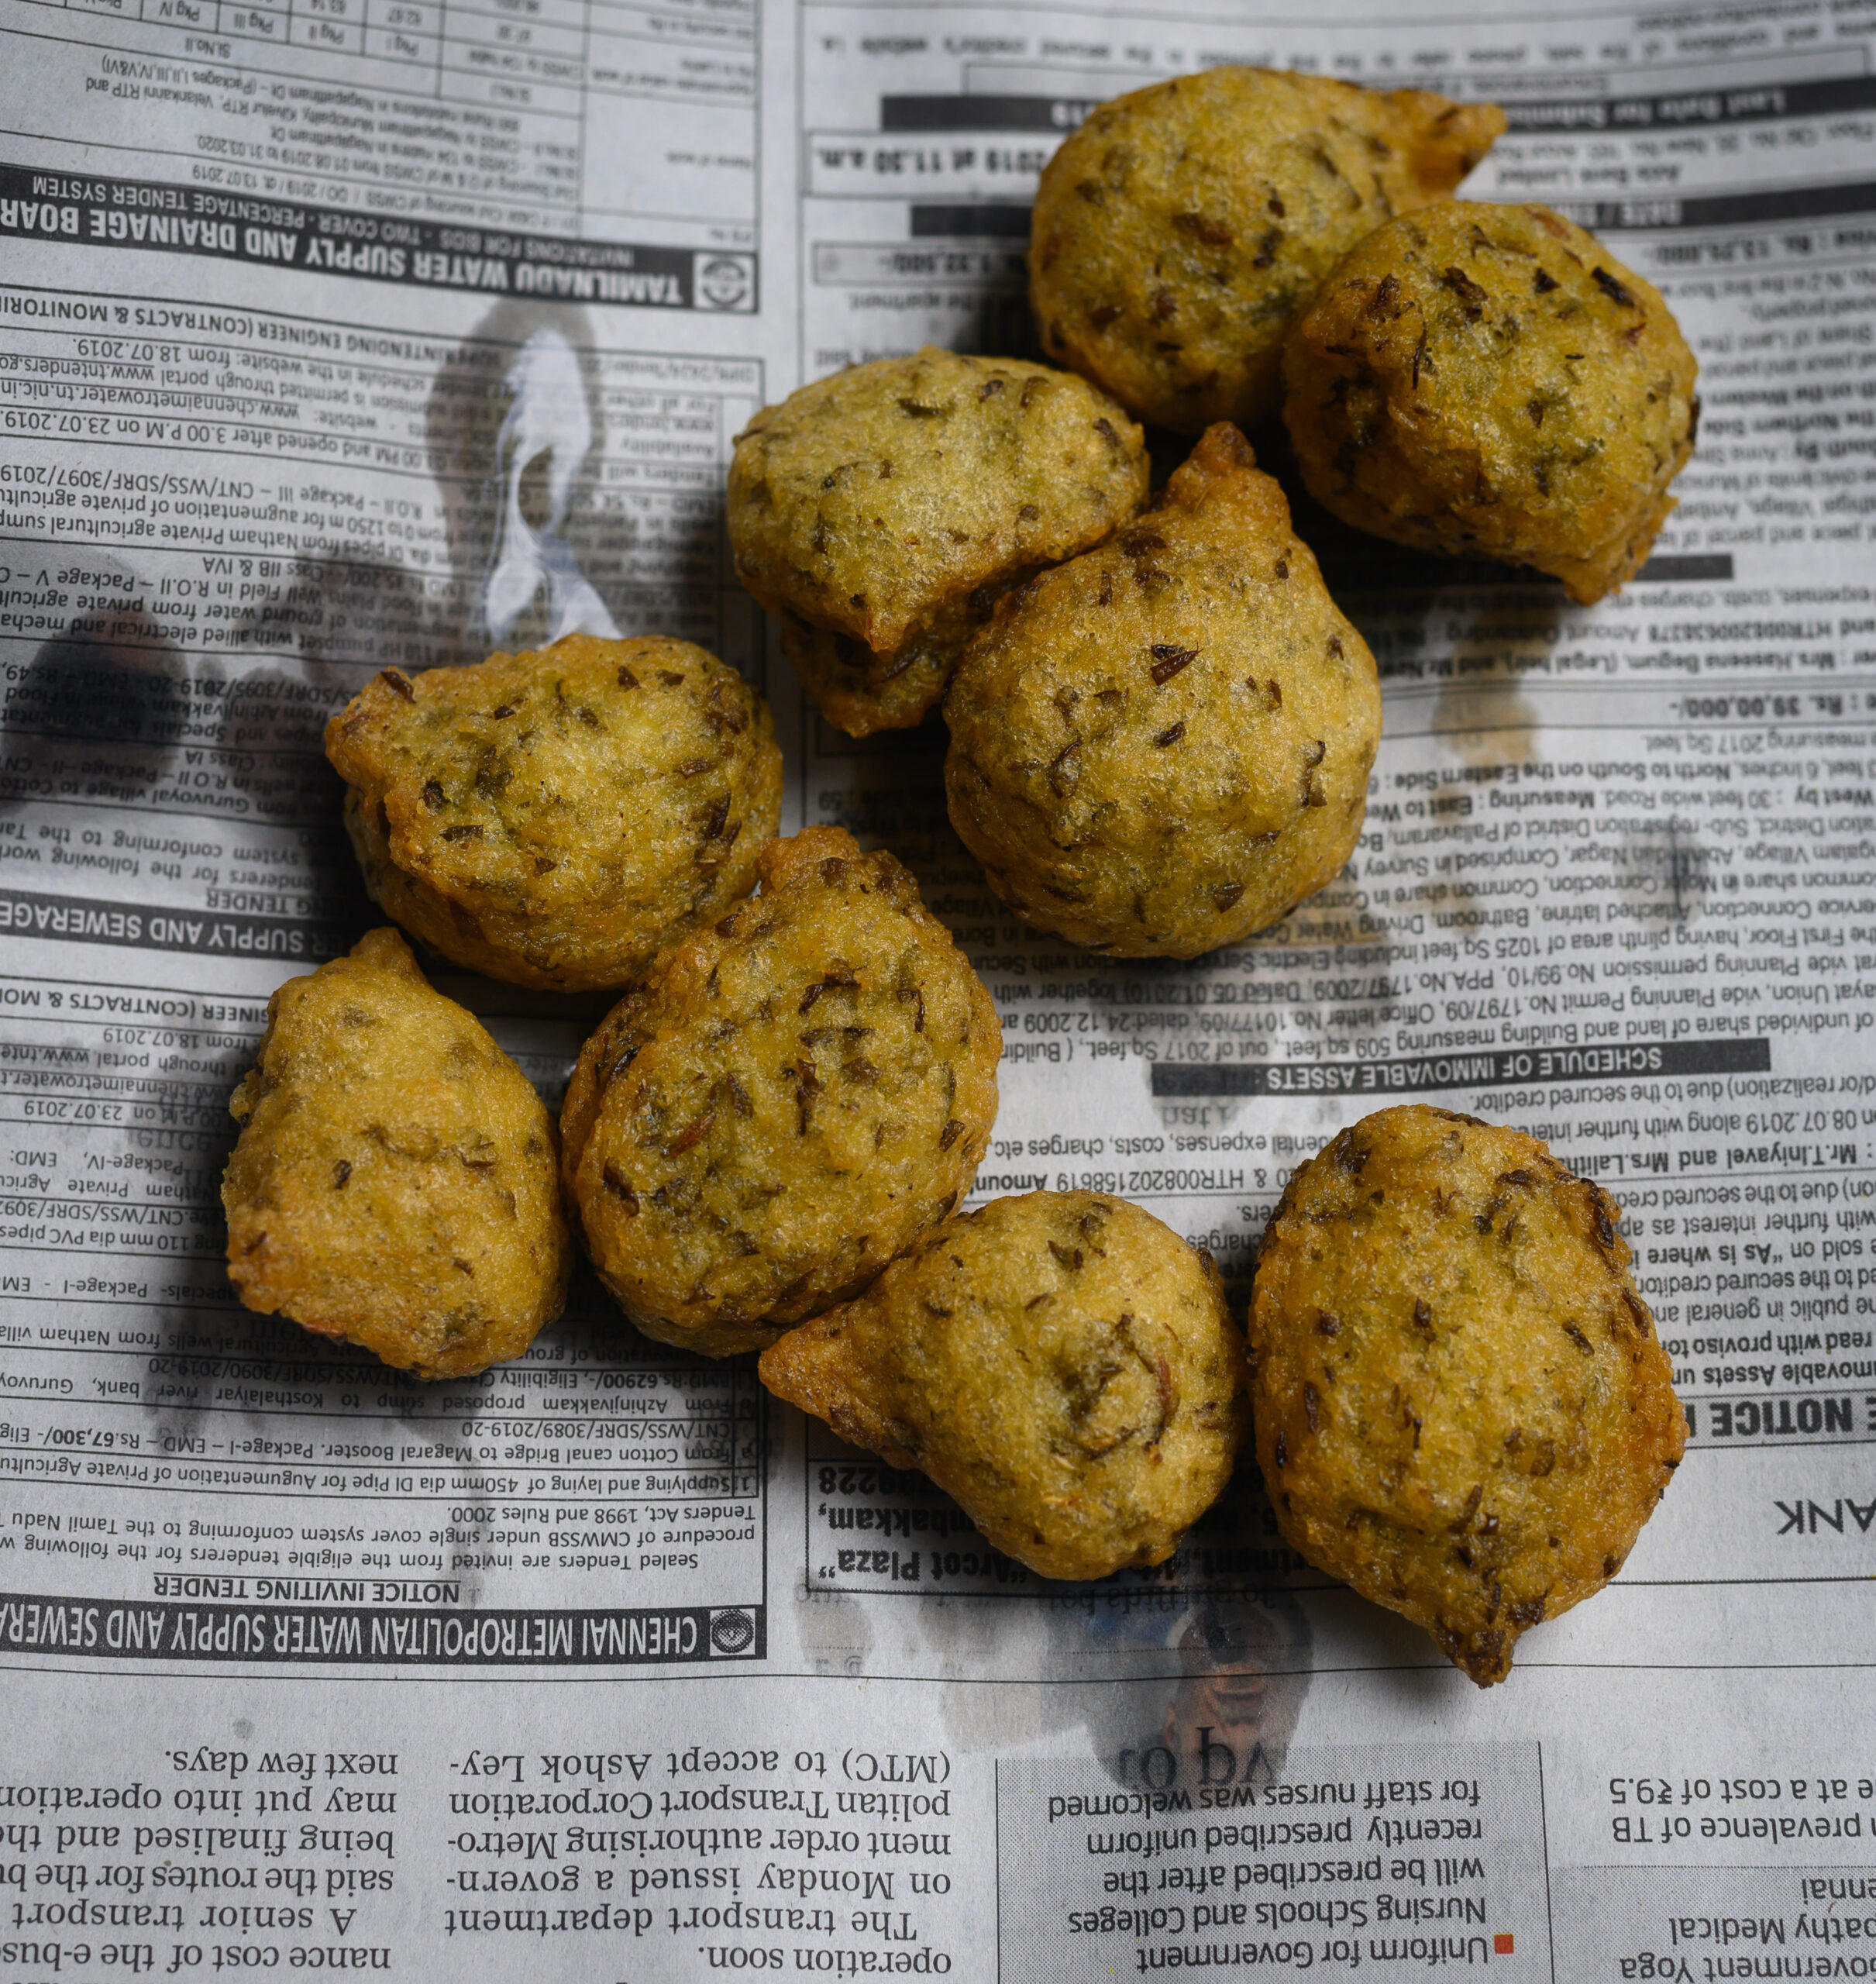
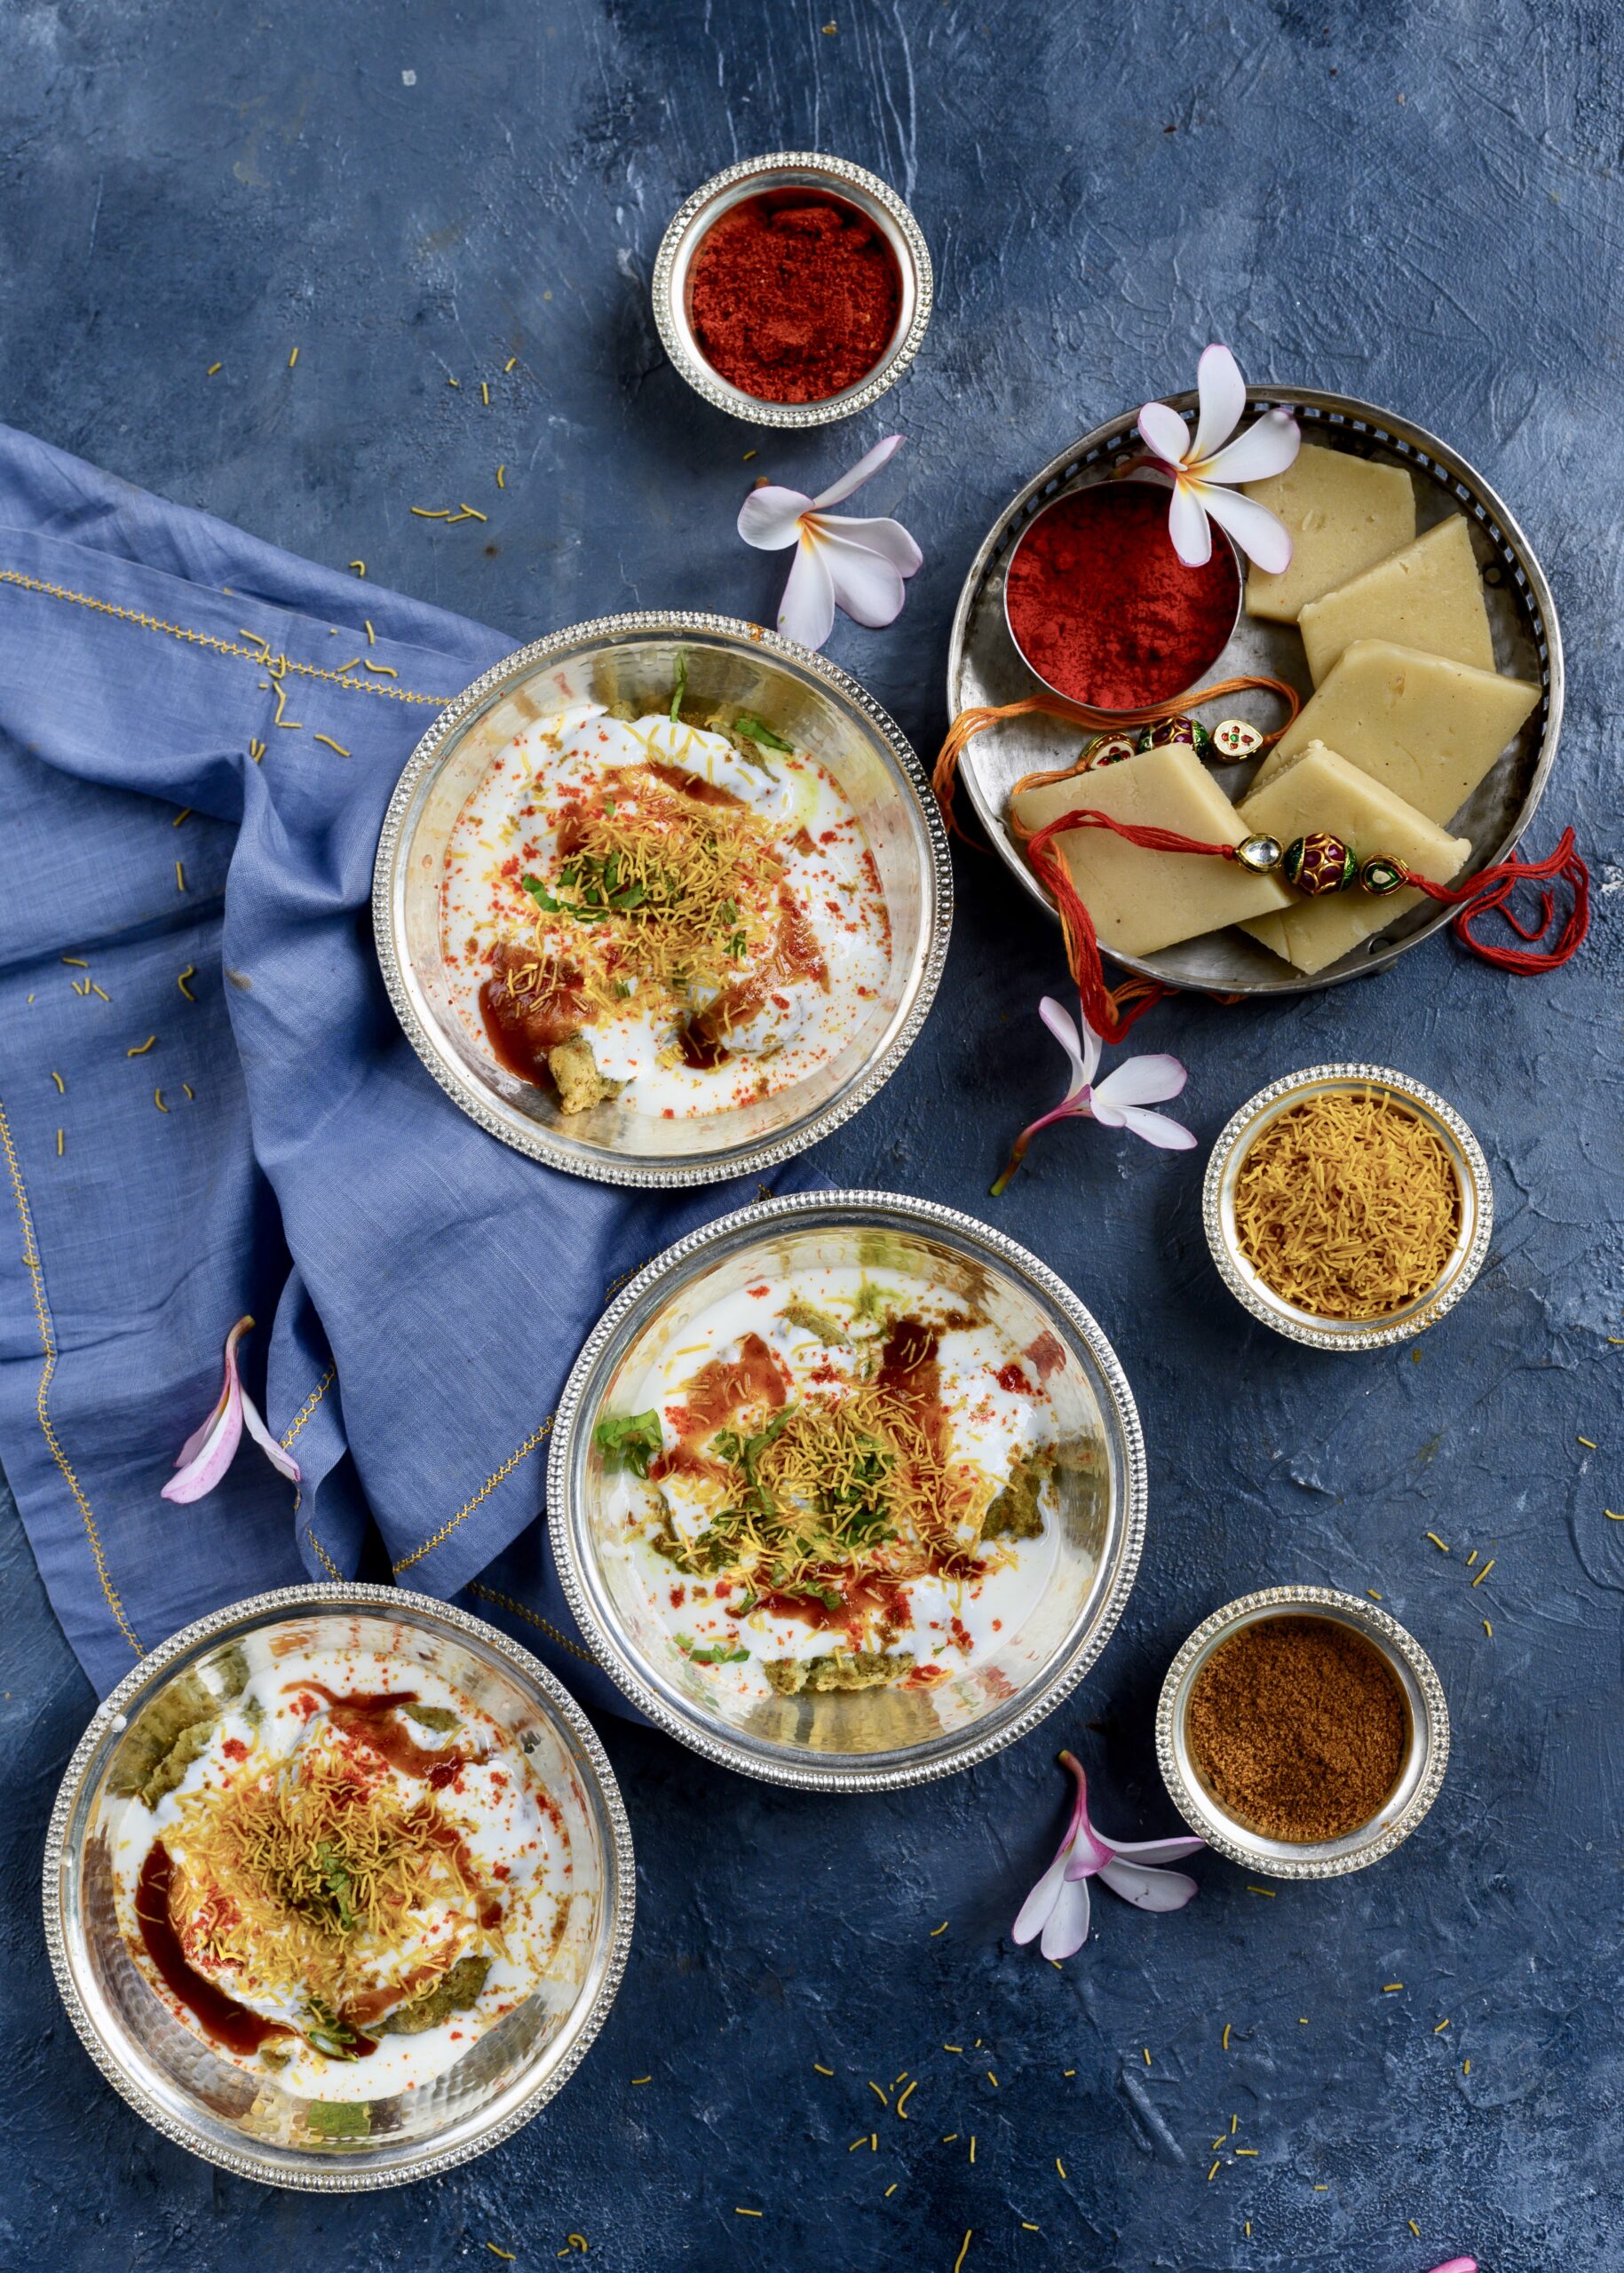
This time, I chose to make dahi vada, a simple yet important traditional dish. A vada is a kind of deep-fried doughnut or dumpling, made from ground lentils (sago or potato may be used in some varieties). You may remember that vadas have ritual symbolism to Gujaratis during our new year.  Dahi vada is made by soaking the plain vada in yoghurt (“dahi”) and serving it with light toppings ranging from basic curry leaves to more elaborate garnishings like pomegranate.  There are innumerable versions of the dish varying from state to state, community to community, and kitchen to kitchen. In Tamil Nadu, it’s the popular snack item known as “thayir vadai”. The Gujarati variant is made in an exciting way, almost like a chaat, with an added tangy flavour thanks to the use of date or tamarind chutney. It is one of my favourites to prepare on auspicious occasions.

On Raksha Bandhan, the traditional ritual is for the sister to place a sweet in her brother’s mouth so that his life will be blessed. In turn, he promises to protect her and take care of her for the rest of his life, and she ties an amulet called a “rakhi” around his wrist to seal this. At home, we love renewing this vow annually. There is a cheerful feel in the air, and we enjoy catching up over the delicious feast that I always prepare. But more than that, it’s the kind of vow which I take very seriously. I know that my children, who are young and full of ambition and who crib about having to shuffle their schedules around to be here, will some day understand why I insist on observing this occasion. I tell my daughter that I don’t care if she has to take the last flight out after her tough day as a law student, and ensure that both my sons (especially the one who must come from abroad) have planned their schedules around the dates that I insist that they spend here together. I am confident that they will carry this ceremony forward even decades into the future, and will continue to meet across continents to celebrate special occasions.

The recipe I am sharing today is from my own sister, who loves to spoil me every time I visit her in Mumbai by making these traditional dishes that I so enjoy. In exchange, she asks me to bake some kind of bread or to teach her how to make an eggless cake, and in this way we deepen our bond and expand our culinary repertoires too.

I hope this recipe below is also a healthier version of the usual vada, as it uses split mung, also known as moong beans, instead of urad dal or black grams. I prefer this lentil for its many nutritious benefits, especially its richness in minerals, vitamins, fibre and protein.

Although dahi vada is commonly seen as a snack or side dish, we love it so much at home that with enough servings, it simply becomes our dinner. As it uses ingredients which are always on-hand in the Indian kitchen, and combines two basic staples (vadas and yoghurt), it’s a great dish to serve to unexpected guests and as a light festive dish for upcoming occasions like Ganesh Chathurthi and Diwali. It’s also ideal for those who have senior citizens at home, as it’s soft to chew and yoghurt always has a soothing effect. Given the mix of ages in my household, especially during festivals, I find it works very well to please everyone. The young ones find it tasty and chatpata (tangy and flavourful), while the older people enjoy it as a type of comfort food.

Dahi Vada

(Yield: approximately 15 vadas)

For the vada

1 cup split mung

½ teaspoon asafoetida

Salt to taste

1 teaspoon cumin seeds

½ teaspoon green chili paste

Other ingredients

4 cups water

Oil for deep frying

3-4 cups yoghurt

Coriander leaves

Green chutney

Sweet date chutney

Roasted cumin powder


Wash the split mung and soak it in water for 4-6 hours until tender.

Rinse and then grind the soaked mung coarsely, without adding water, in the idly grinder.

Then, beat the batter in a bowl. Make sure that it is nice and frothy. This will ensure the fluffiness of the vada.

I like to add all the spices and other ingredients in the last whiz of the batter and fry the vadas immediately after.

In a wok, heat the oil and make small vadas by shaping and then dropping the batter into the hot oil. These vadas are dumpling-shaped, and you can make them in your palm.

Once golden, remove the fried vadas and sink them in the 4 cups of water. This will ensure they become softer. Once all the vadas are fried and soaked, remove them individually. Gently squeeze out the water and arrange them on the plate for serving. I like to serve individual portions.

In the meantime, beat the curd, adding the salt and roasted cumin powder and mix thoroughly. Many Indian families eat homemade yoghurt, and the recipe to make the same is here. You can use store-bought curd as well. If you have access to coconut yoghurt or soy yoghurt, feel free to substitute accordingly. In India, these innovative items have yet to hit the market, so I’m afraid this is very much a dairy post, with apologies to my local vegan readers!

Pour the curd over the vadas, just enough to cover them.

Finally, top the curd with the green coriander chutney and sweet date chutney. Sprinkle some more roasted cumin powder and garnish the dish with some finely-cut coriander leaves.

When the weekend after Raksha Bandhan ends, my house will slowly quieten down as one by one, each of my children return to the places where they are establishing their own lives. Eventually, if they get married or have kids, I will look forward to them all coming home with their families. I can already imagine how Raksha Bandhan and Diwali will be exuberant get-togethers of the entire clan, giving us a chance to rekindle our bonds as well as get to know new members. There is already so much warmth and love between the five of us now, and I only want it to keep growing.

This warmth and love is something that we strive to build and to keep, and we never take it for granted. You have to learn how to tide over difficulties and manage practical struggles like living far apart. This is a choice. I believe that families with close ties exist because someone chose to take on the responsibility of creating and maintaining those ties. In mine, I am that person. My grandfather used to call me “the Lady of the House” for this reason. He would say that the entire family bond was in my hands, because I take my role as the one who holds it together seriously. Many women of my generation do, and I am sure you may feel the same way. We hold the bond together through tradition, love – and always – food. Here’s to all the joyous feasts in my home and in yours, right now and far into the future…

As I may have said a few times before: I’m very, very fond of yoghurt! Ever since childhood, it’s been an absolute requirement for me that every meal must contain yoghurt in some form. As I most often consume traditional Indian (particularly my native Gujarati) cuisines, this doesn’t require me to stretch my imagination or change my palate in any way. You may also recall that my yoghurt is homemade. It is made from a small amount of curd culture saved from the previous pot-full, allowed to set overnight, and consumed delicious and fresh every day.

I find that yoghurt enhances and adds flavour, and depending on how it is made can also add textures and tastes that go beyond what you imagine curd can do. Because it is such a staple in Indian homes, you will find that there are unique systems of making it that depend entirely on the people there. Even a religious view plays a role. For example, my mom’s home is Vaishnav and my in-laws are Jain. So the latter use onions and garlic very sparingly, whereas these were not restricted while I was growing up. The recipes I learnt in both homes were different. So although yoghurt is a vital part of the diet in both my homes, this particular dish is something I learnt after getting married.

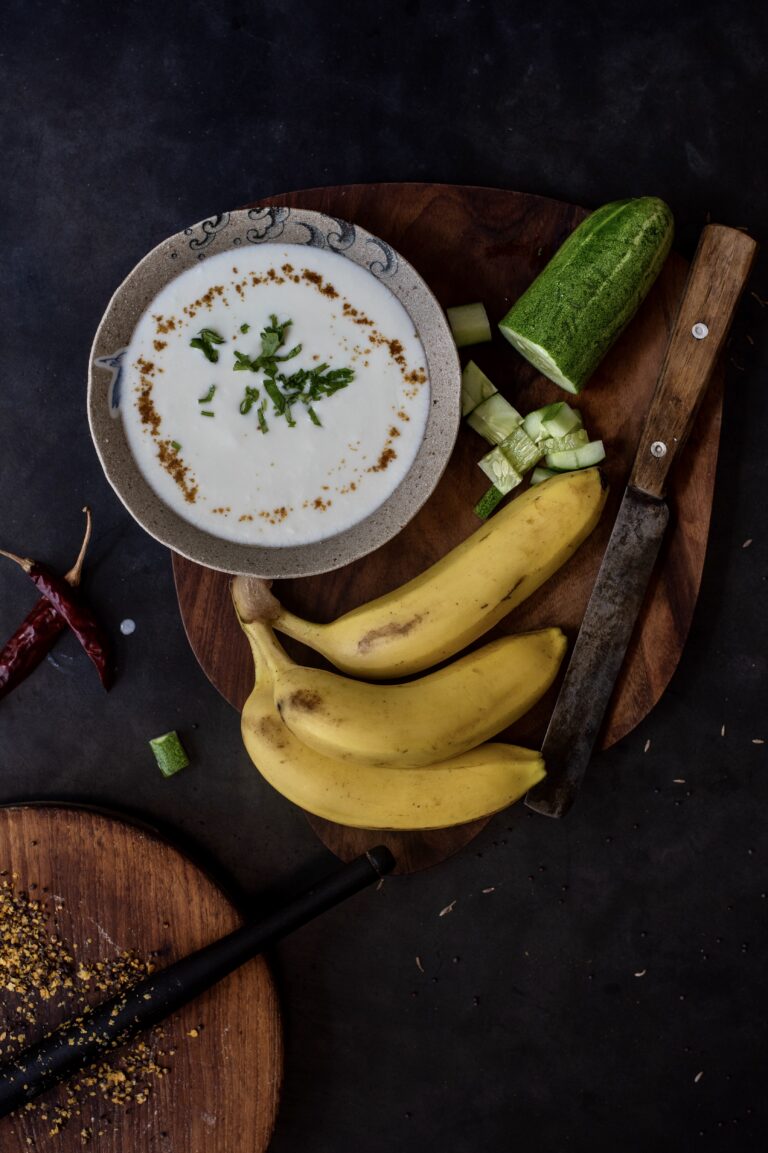
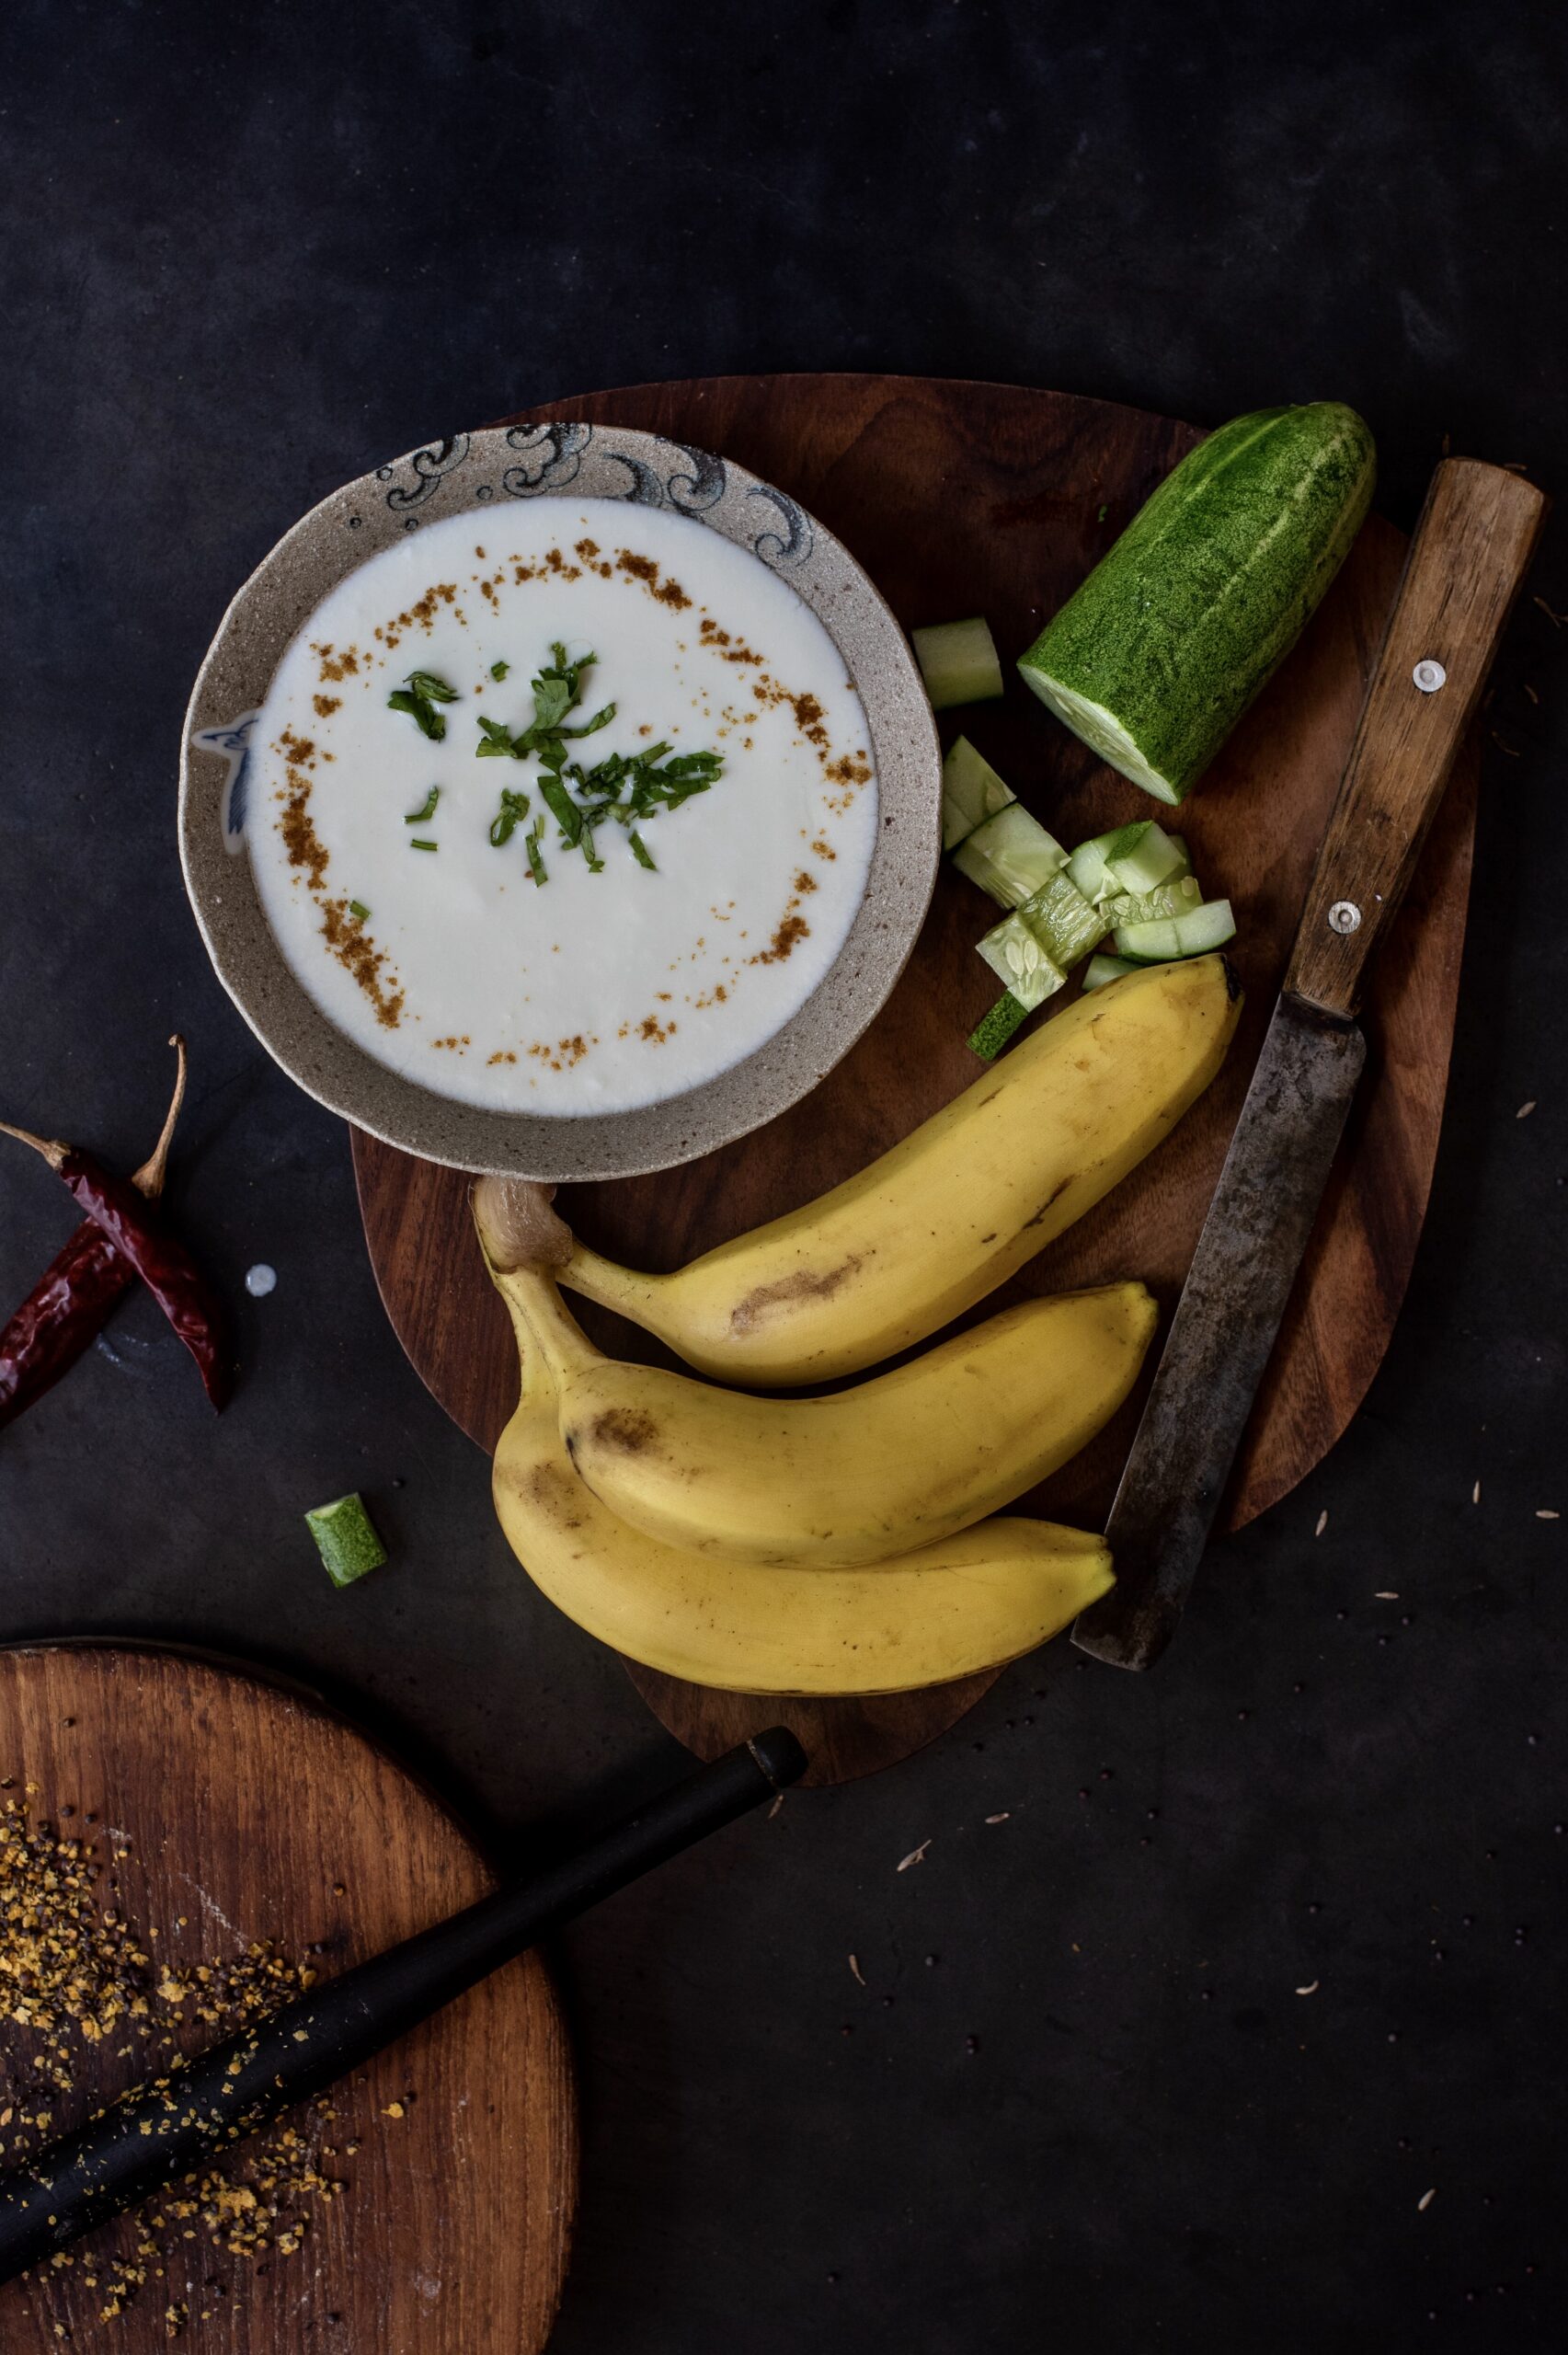
From various previous posts, you would know about the Gujarati thaali, the set meal that contains a little bit of every flavour and texture. So you’d be familiar with raita, the thin yoghurt condiment that adds a bit of coolness of the meal, and helps with digestion. Raita is eaten throughout the subcontinent, in dozens of variants. For instance, an onion or kara boondi raita goes perfectly paired with a biryani, adding crunch as well. I have fond memories of long, lazy Sunday lunches during which I’d reach for more helpings of my mother-in-law’s banana-mustard-cucumber raita. I’m delighted to share the recipe for this simple but complexly flavoured dip today.

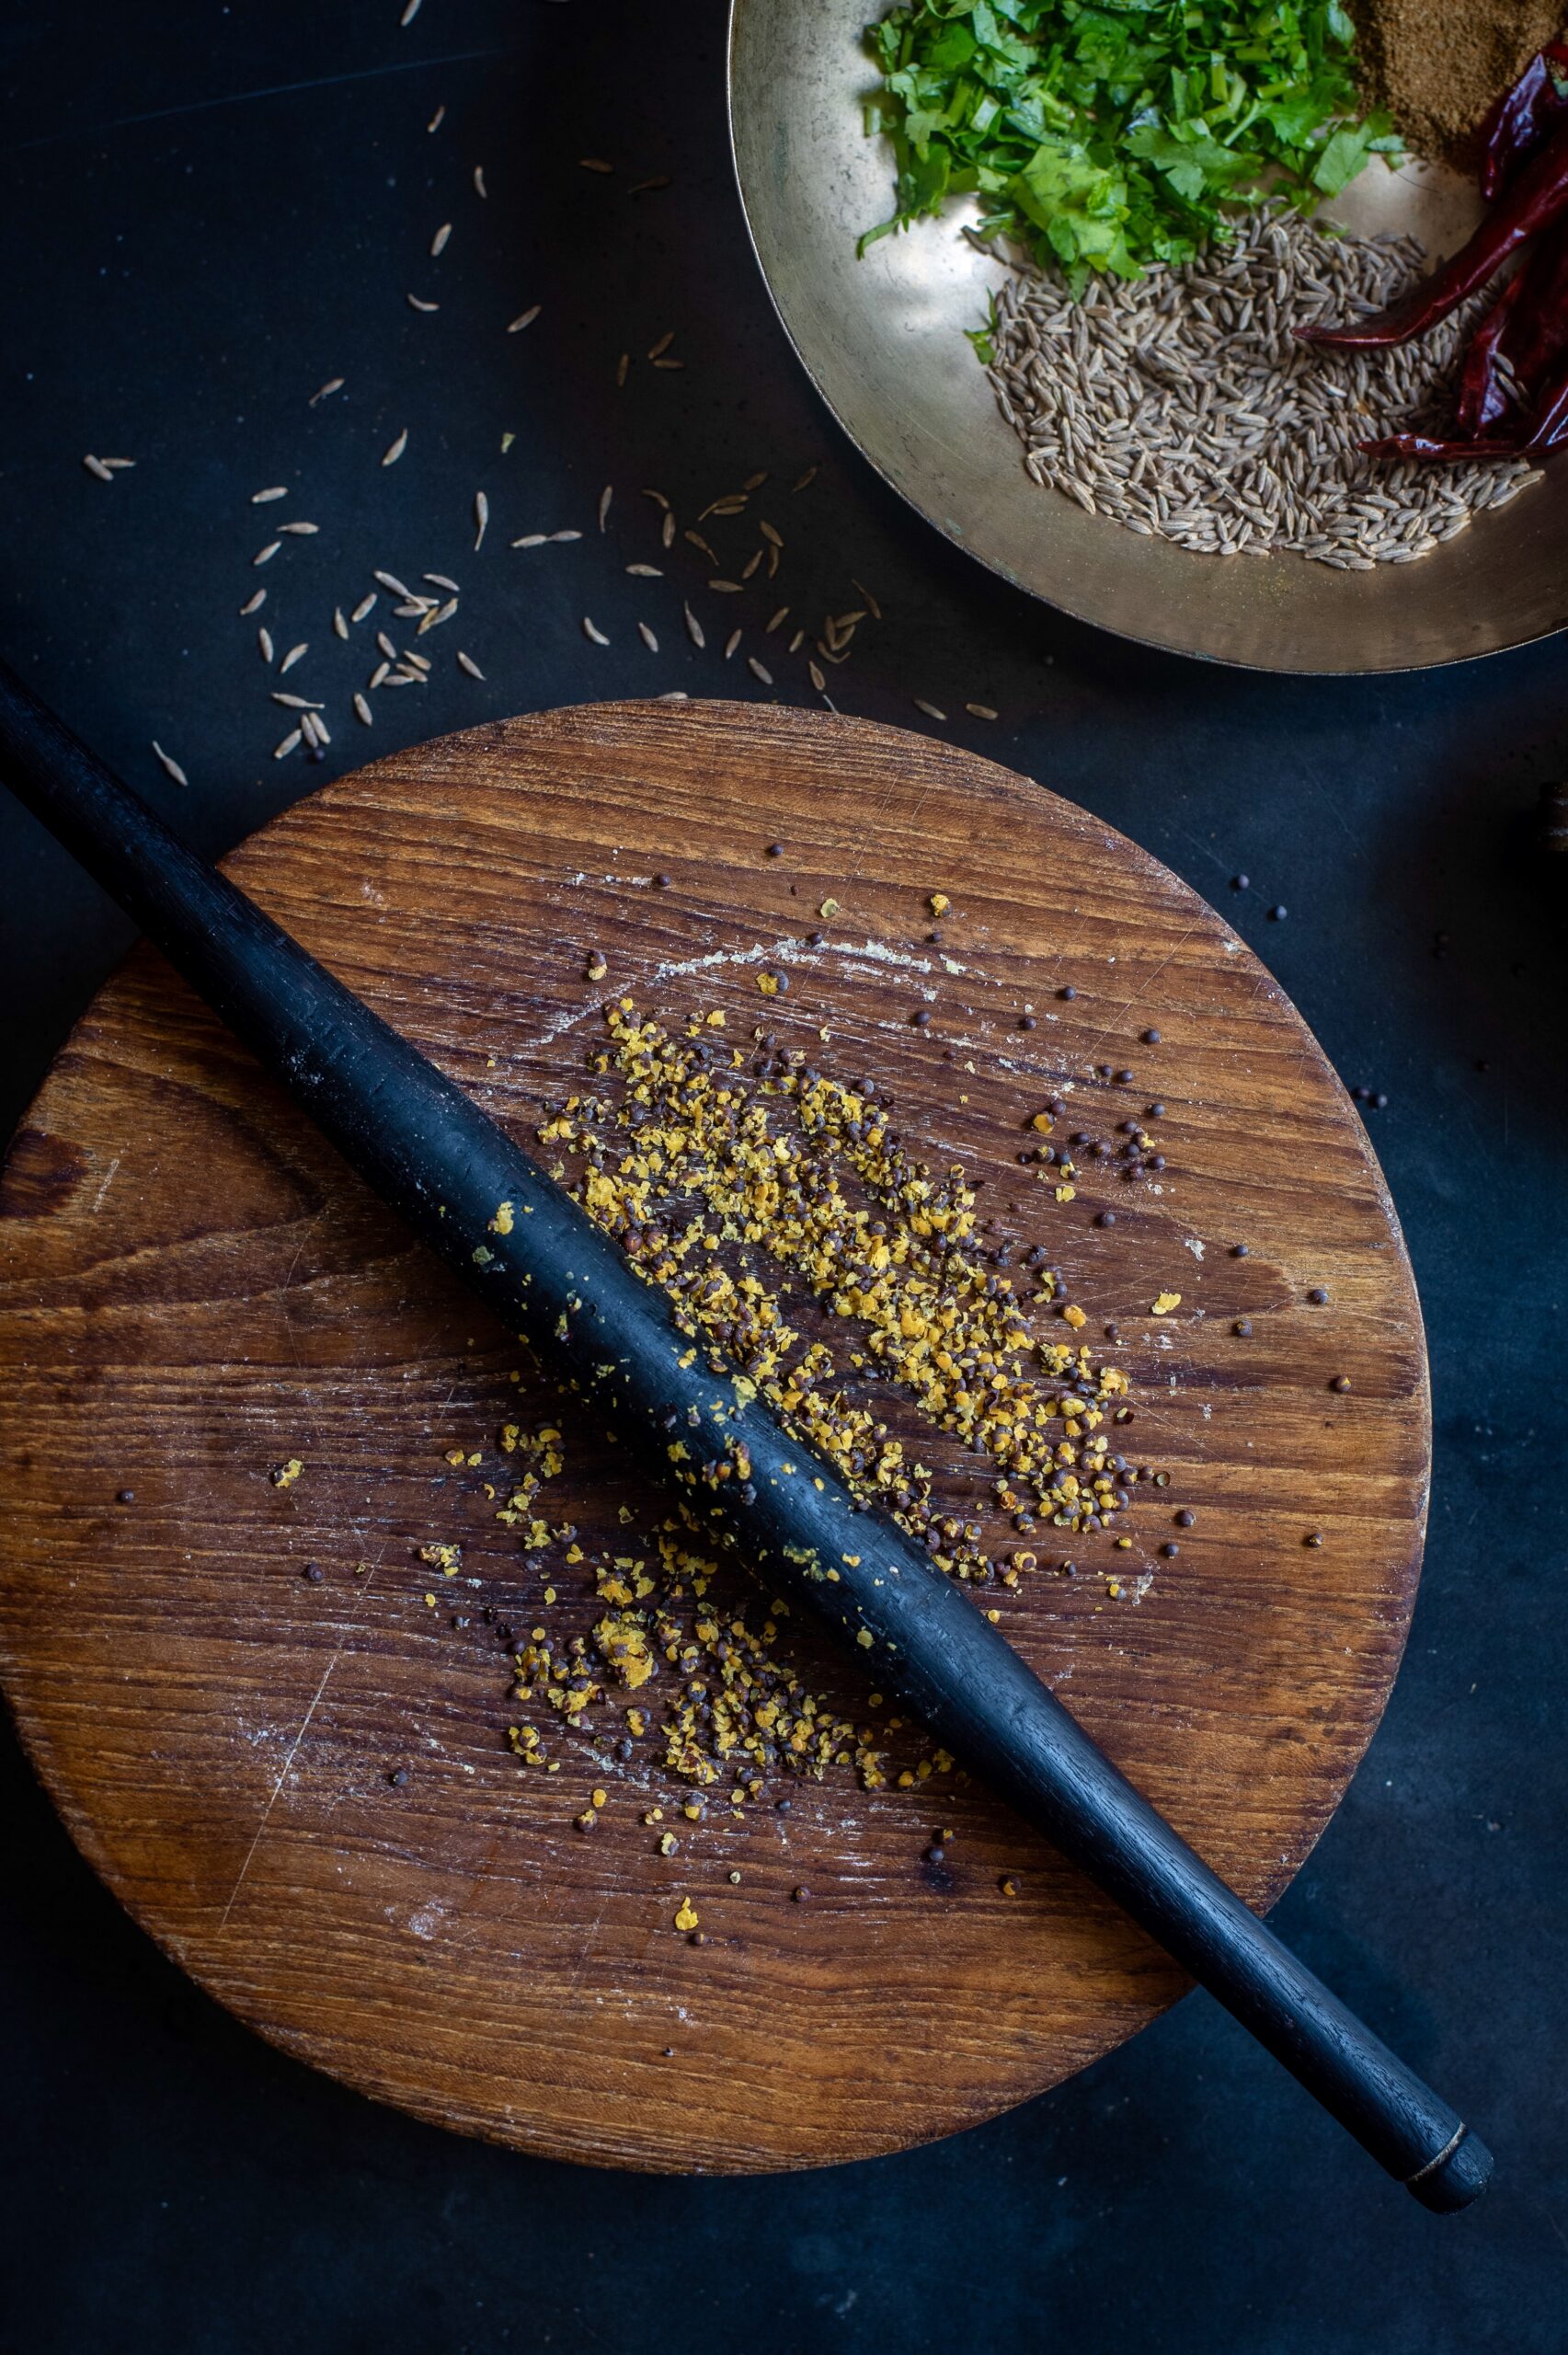
Banana, as you may remember from this banana-methi fritters recipe is a powerhouse of a fruit, packed with nutrients. It’s also a natural sweetener, and you know how Gujaratis love our sweets. In every kind of dish, you’ll find either jaggery or banana, or both! The sweetness of the banana in this raita naturally offsets the bitterness of the cucumber, which is another powerhouse. Cucumbers have a high water content, aiding rehydration, and are rich in potassium, magnesium and fibre. Adding a touch is spice is the mustard, which is a great source of selenium, zinc and calcium and known for its anti-inflammatory properties. Let me let you in on a secret – I never use the grinder to grind mustard as I don’t like the taste. Instead, I use the rolling pin that we use for rotlis. It’s lovely how such simple and clever innovations happen in the kitchen. I love picking up such techniques.

The flavours and textures of the three, as different as they are, blend very well in the yoghurt base: the banana soft and sweet, the mustard sharp, and the cucumber crunchy.


Banana-Mustard-Cucumber Raita

(Yield: 2-3 cups)


Ingredients

Raita:

2 cups plain yoghurt

1 cup finely cut banana

½ cup cut cucumber

1 tablespoon finely cut coriander leaves

1 ½ teaspoons mustard seeds

1 teaspoon roasted cumin powder

Salt to taste


Seasoning:

½ teaspoon sunflower oil

¼ teaspoon whole mustard seeds

¼ teaspoon cumin seeds


Take the mustard seeds and crush them using any simple method that you use at home. As I said above, I use a rolling pin and board, the same as I use to make rotlis. This crushes the seeds just the way I like it – not too fine, but uneven and broken. You can use the hand pounder too, if you prefer. Crush and set aside.

Place the yoghurt in a bowl and beat well until there are no lumps and the yoghurt is smooth. Now add the salt, cumin powder and crushed mustard powder. The fresh flavour is the key element to this raita.

Now, add the banana, cucumber and coriander leaves. Mix well.

Then, prepare the seasoning. Pour the oil into a small pan. Once hot, add the mustard seeds and cumin seeds. Wait till the seeds splutter, then pour over the raita. Decorate by sprinkling some chili powder for colour, along with some roasted cumin powder and some finely cut coriander leaves.

As I said earlier, there are numerous other kinds of raita, enjoyed all over India. And while I’m nostalgic for my mother-in-law’s Sunday lunch raita, this banana-mustard-cucumber combination I’ve shared above, the current favourite in my home is in fact the sweet and crunchy pomegranate raita. Do you have a variant that you make often? I’d love to know what you think of mine in the comments.

I must have yoghurt with every single meal – a meal is never complete without it, and I am never full! I have tried over the years to go vegan and all that jazz but my love for yoghurt makes this impossible. I can give up milk, but yoghurt? Never. In fact, I loved it so much as a child that my mother had to ration it – she restricted me to a single cup per meal. But how I loved that one cup!

In South India, we take our yoghurt seriously. It has to be perfect – it should not be too sour, it should not have a thin film on top, and it should be smooth not broken. This is how it must be served at the table – and you can be assured that it is served at every table.

I have a friend in Barcelona who visits me each year and takes back a little bit of the yoghurt culture as a starter to make her own. The temperature, quantity of culture and the quality of the milk are very important. Yet, somehow, yoghurt is also very simple to make, which is why it is made in households every single day without fail. I wish sourdough was as easy to make. If you follow me on Instagram, you’d have seen my attempts and adventures at sourdough on my Instastories!

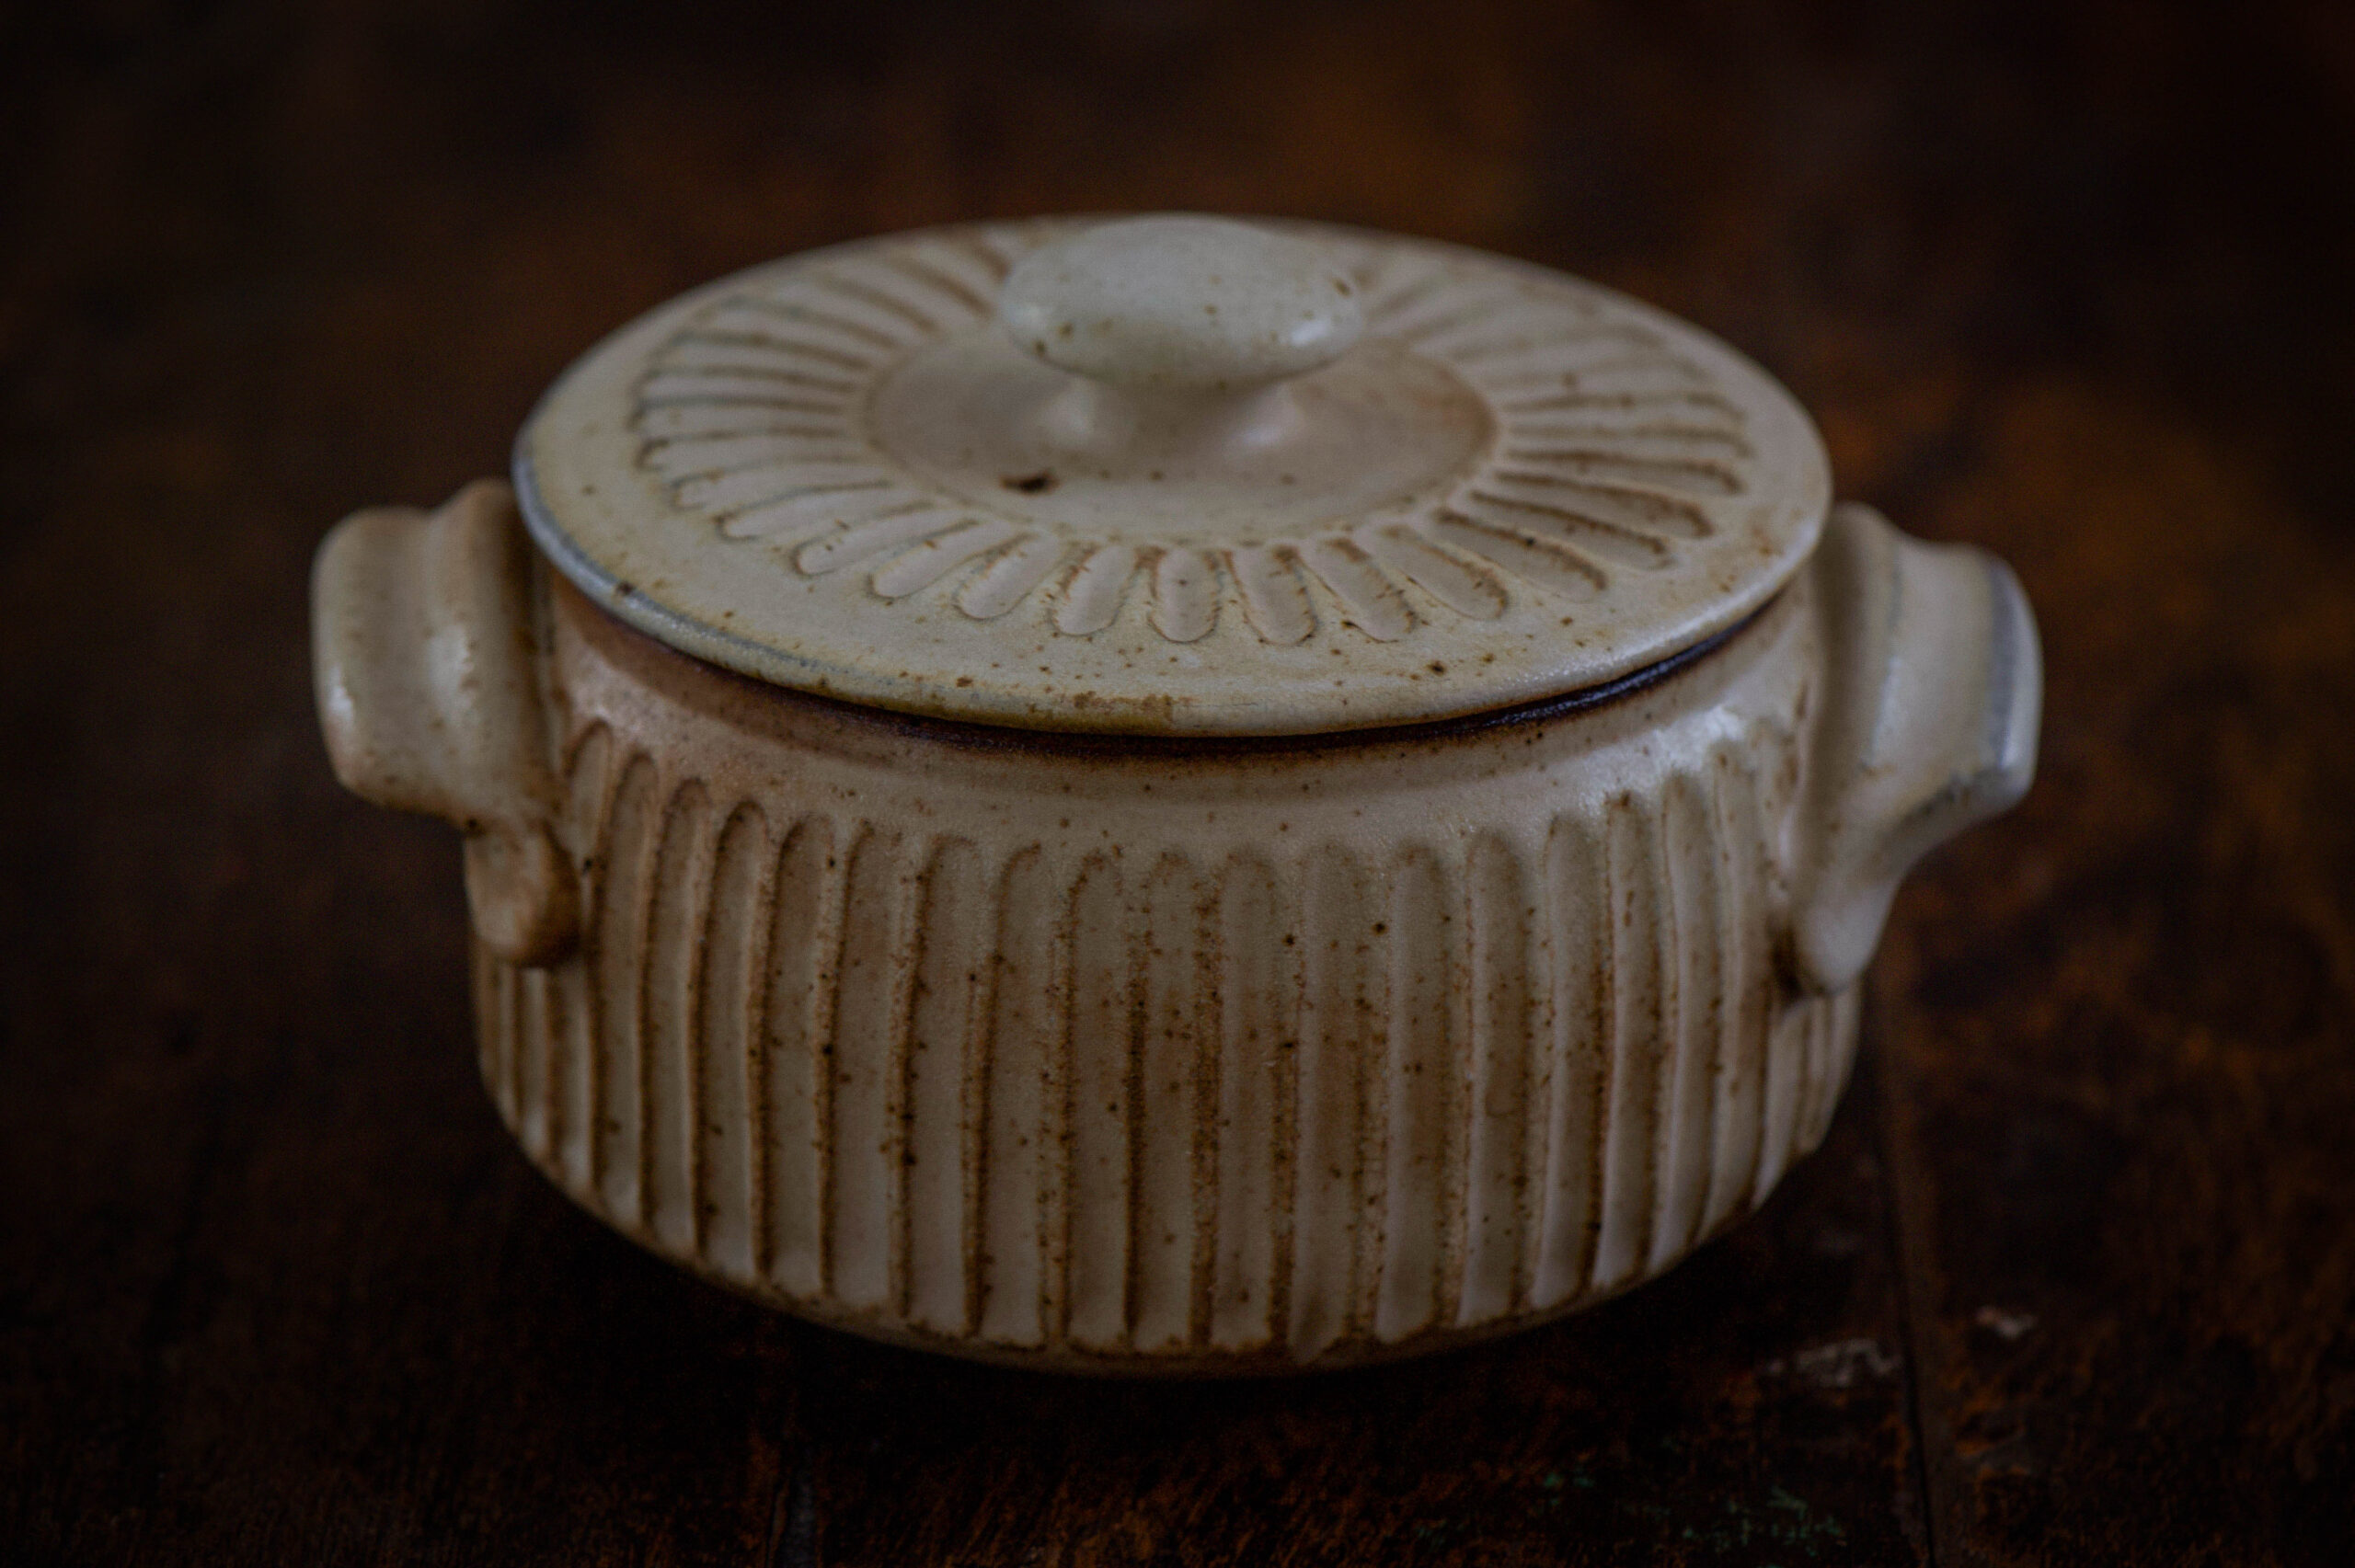
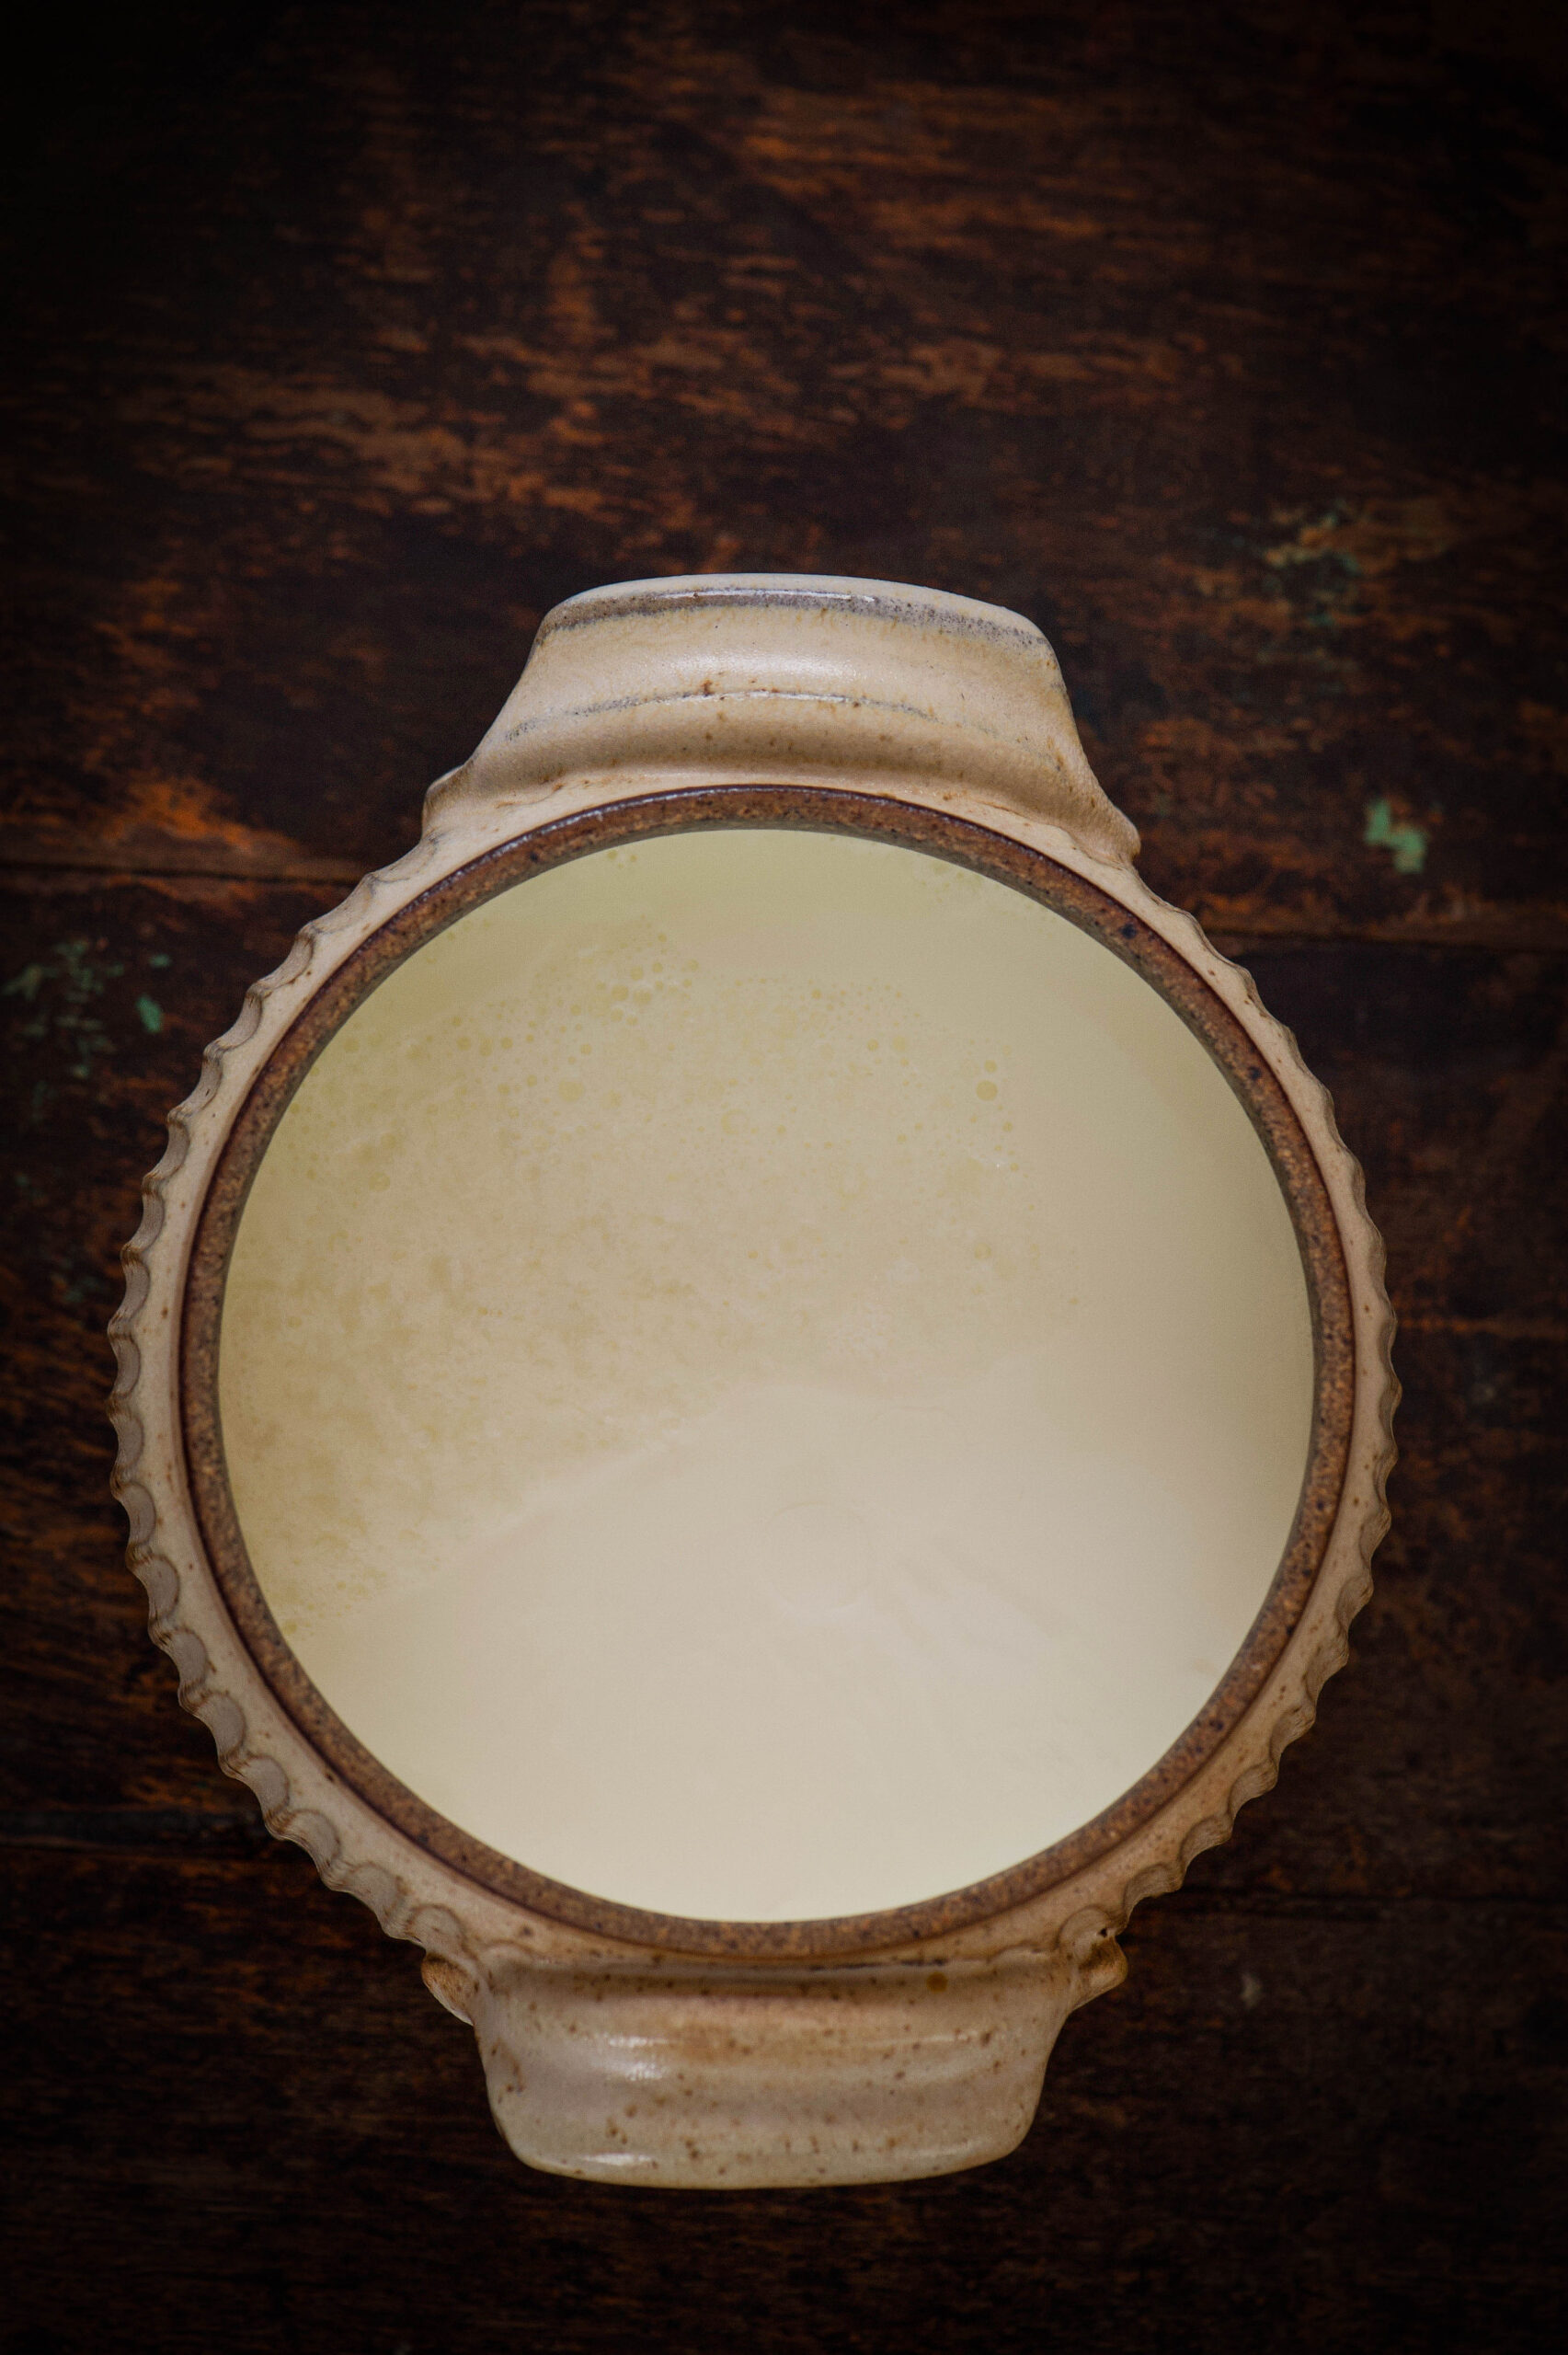
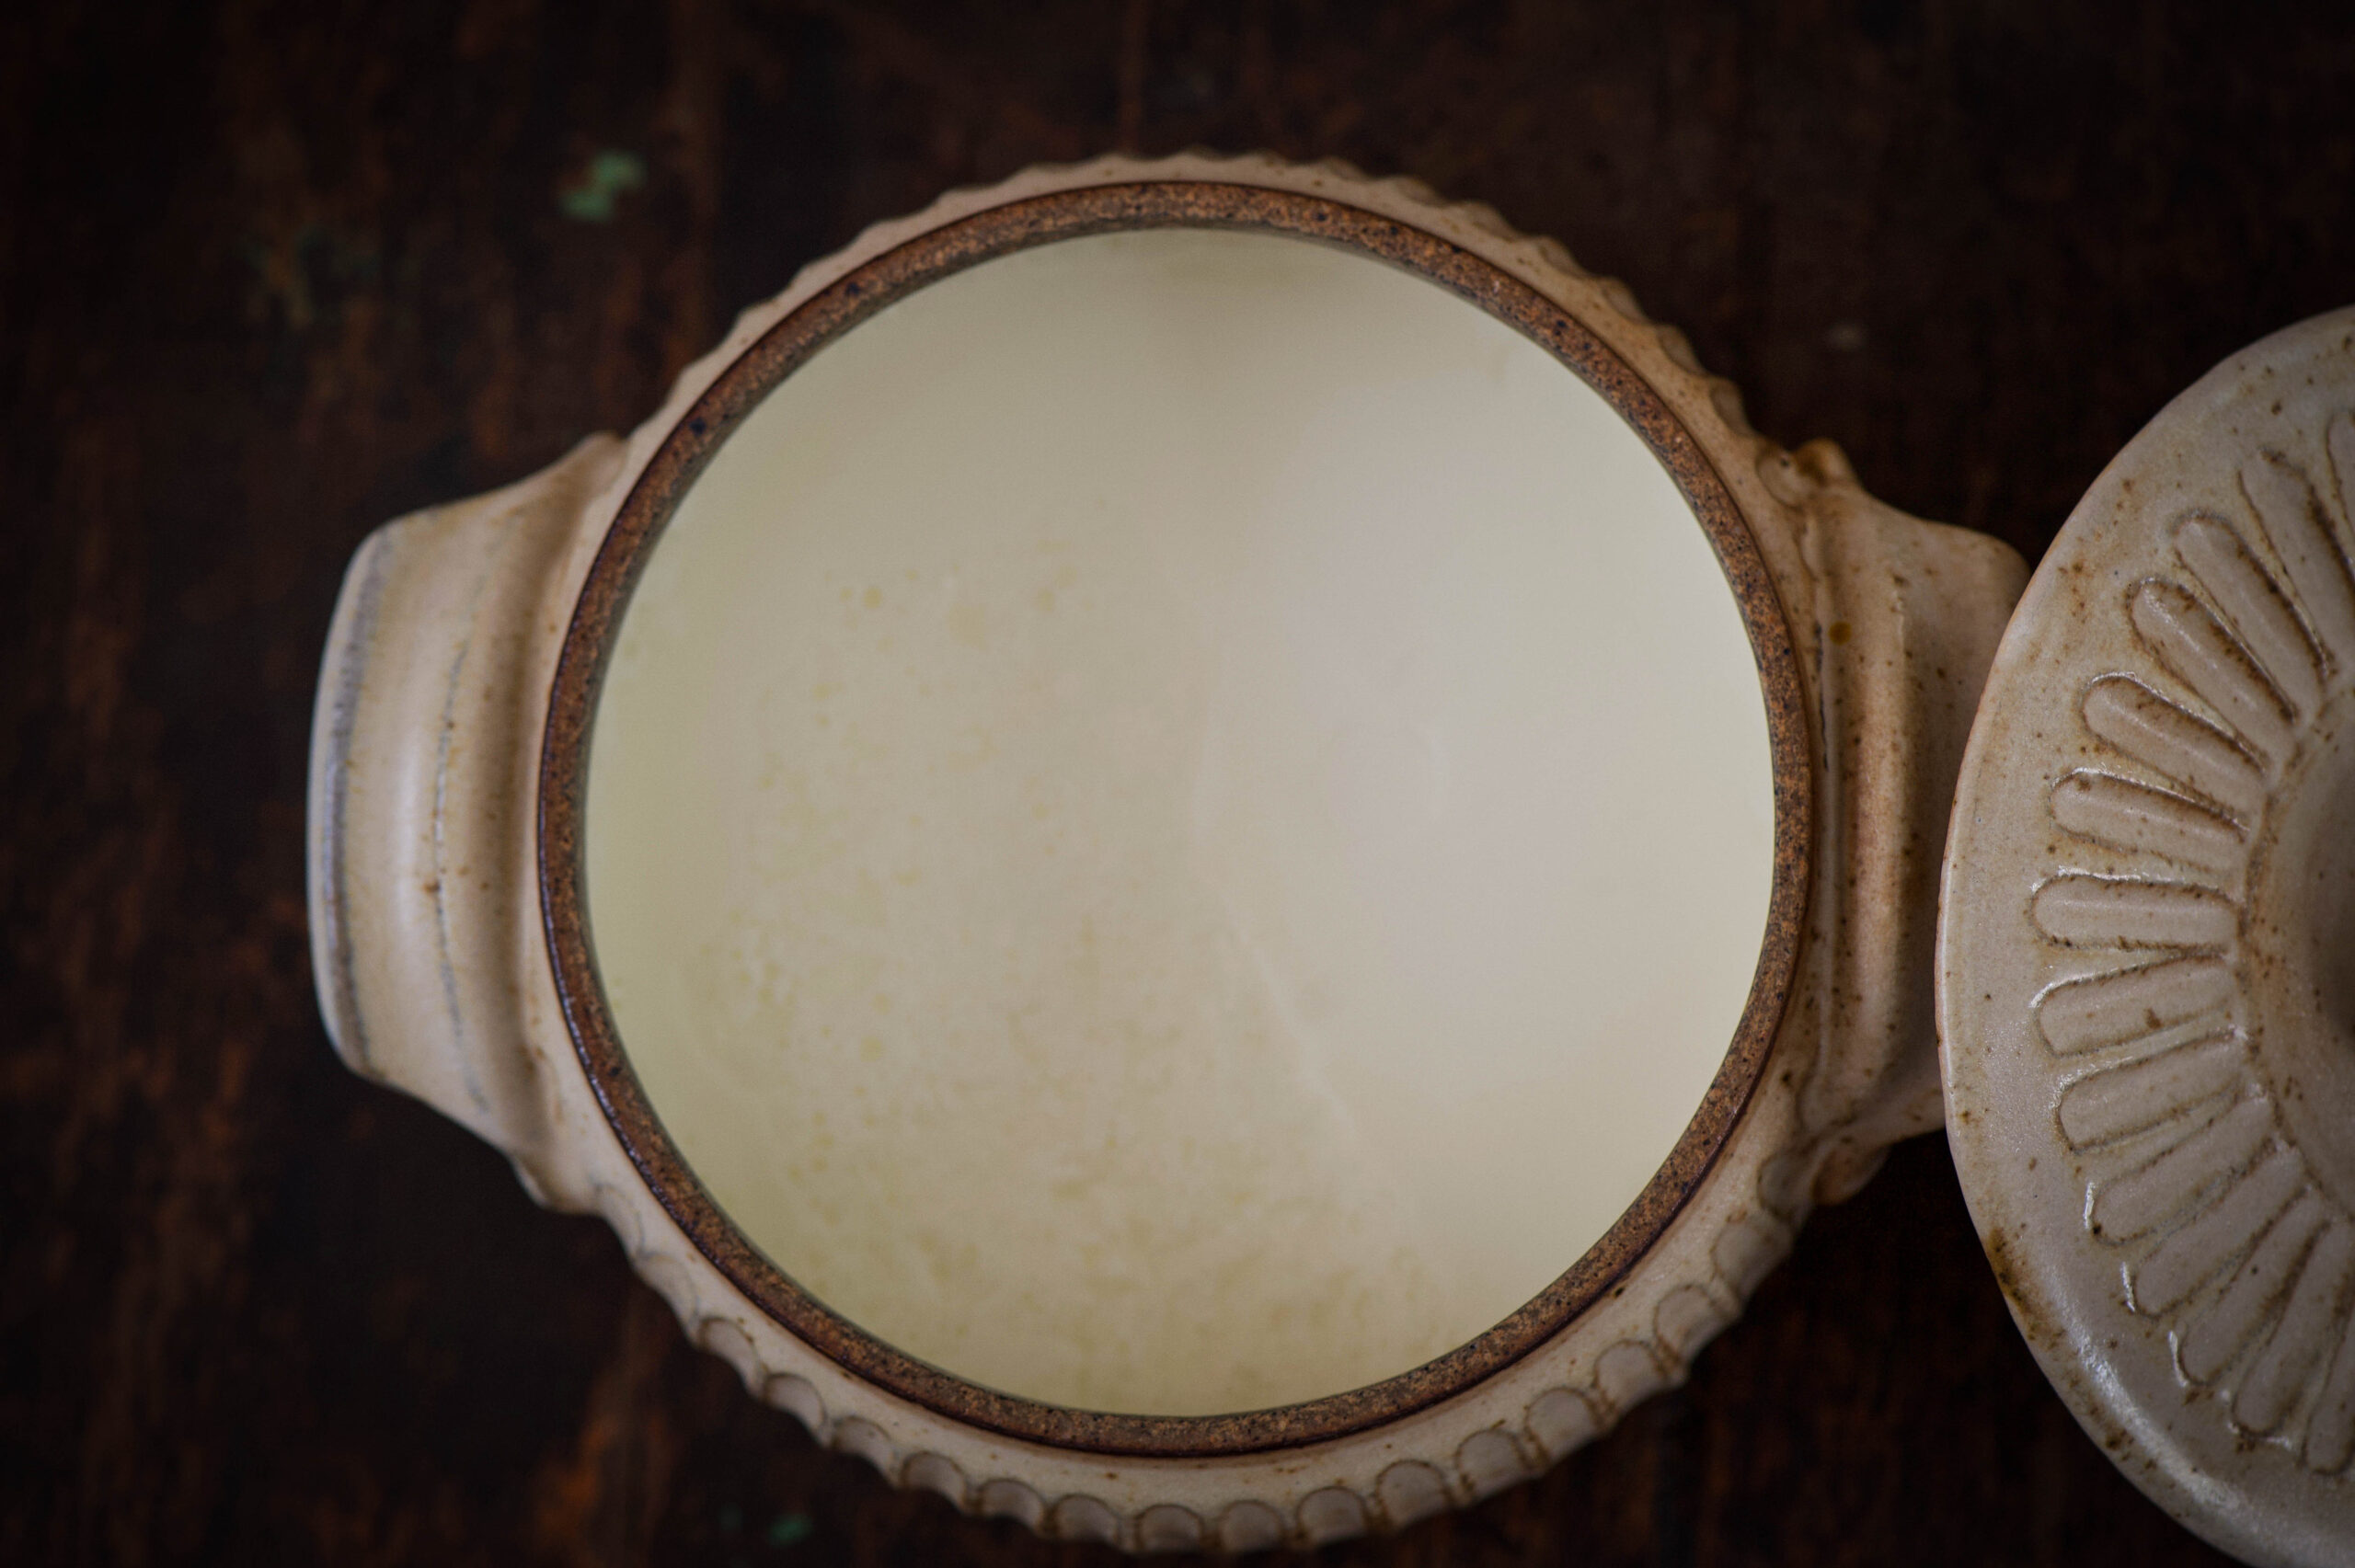
Traditionally, in my home, we set the yoghurt in an earthenware or stoneware pot. I set it both in the mornings and in the evenings, so that we have it fresh at both lunch and dinner. Yoghurt usually sours within a day, so it is one of the ingredients that is often used in leftover-based dishes. Refrigeration can prolong this slightly.

It sets faster in the summers, within 5 to 6 hours. In cooler months, if you set it just before bed, you will certainly be able to have it first thing in the morning. But be warned that these standards are for my climate, here in India. When I visited my son in New York last winter, he had a craving for homemade yoghurt. In the depths of icy November, it took two whole days to set!

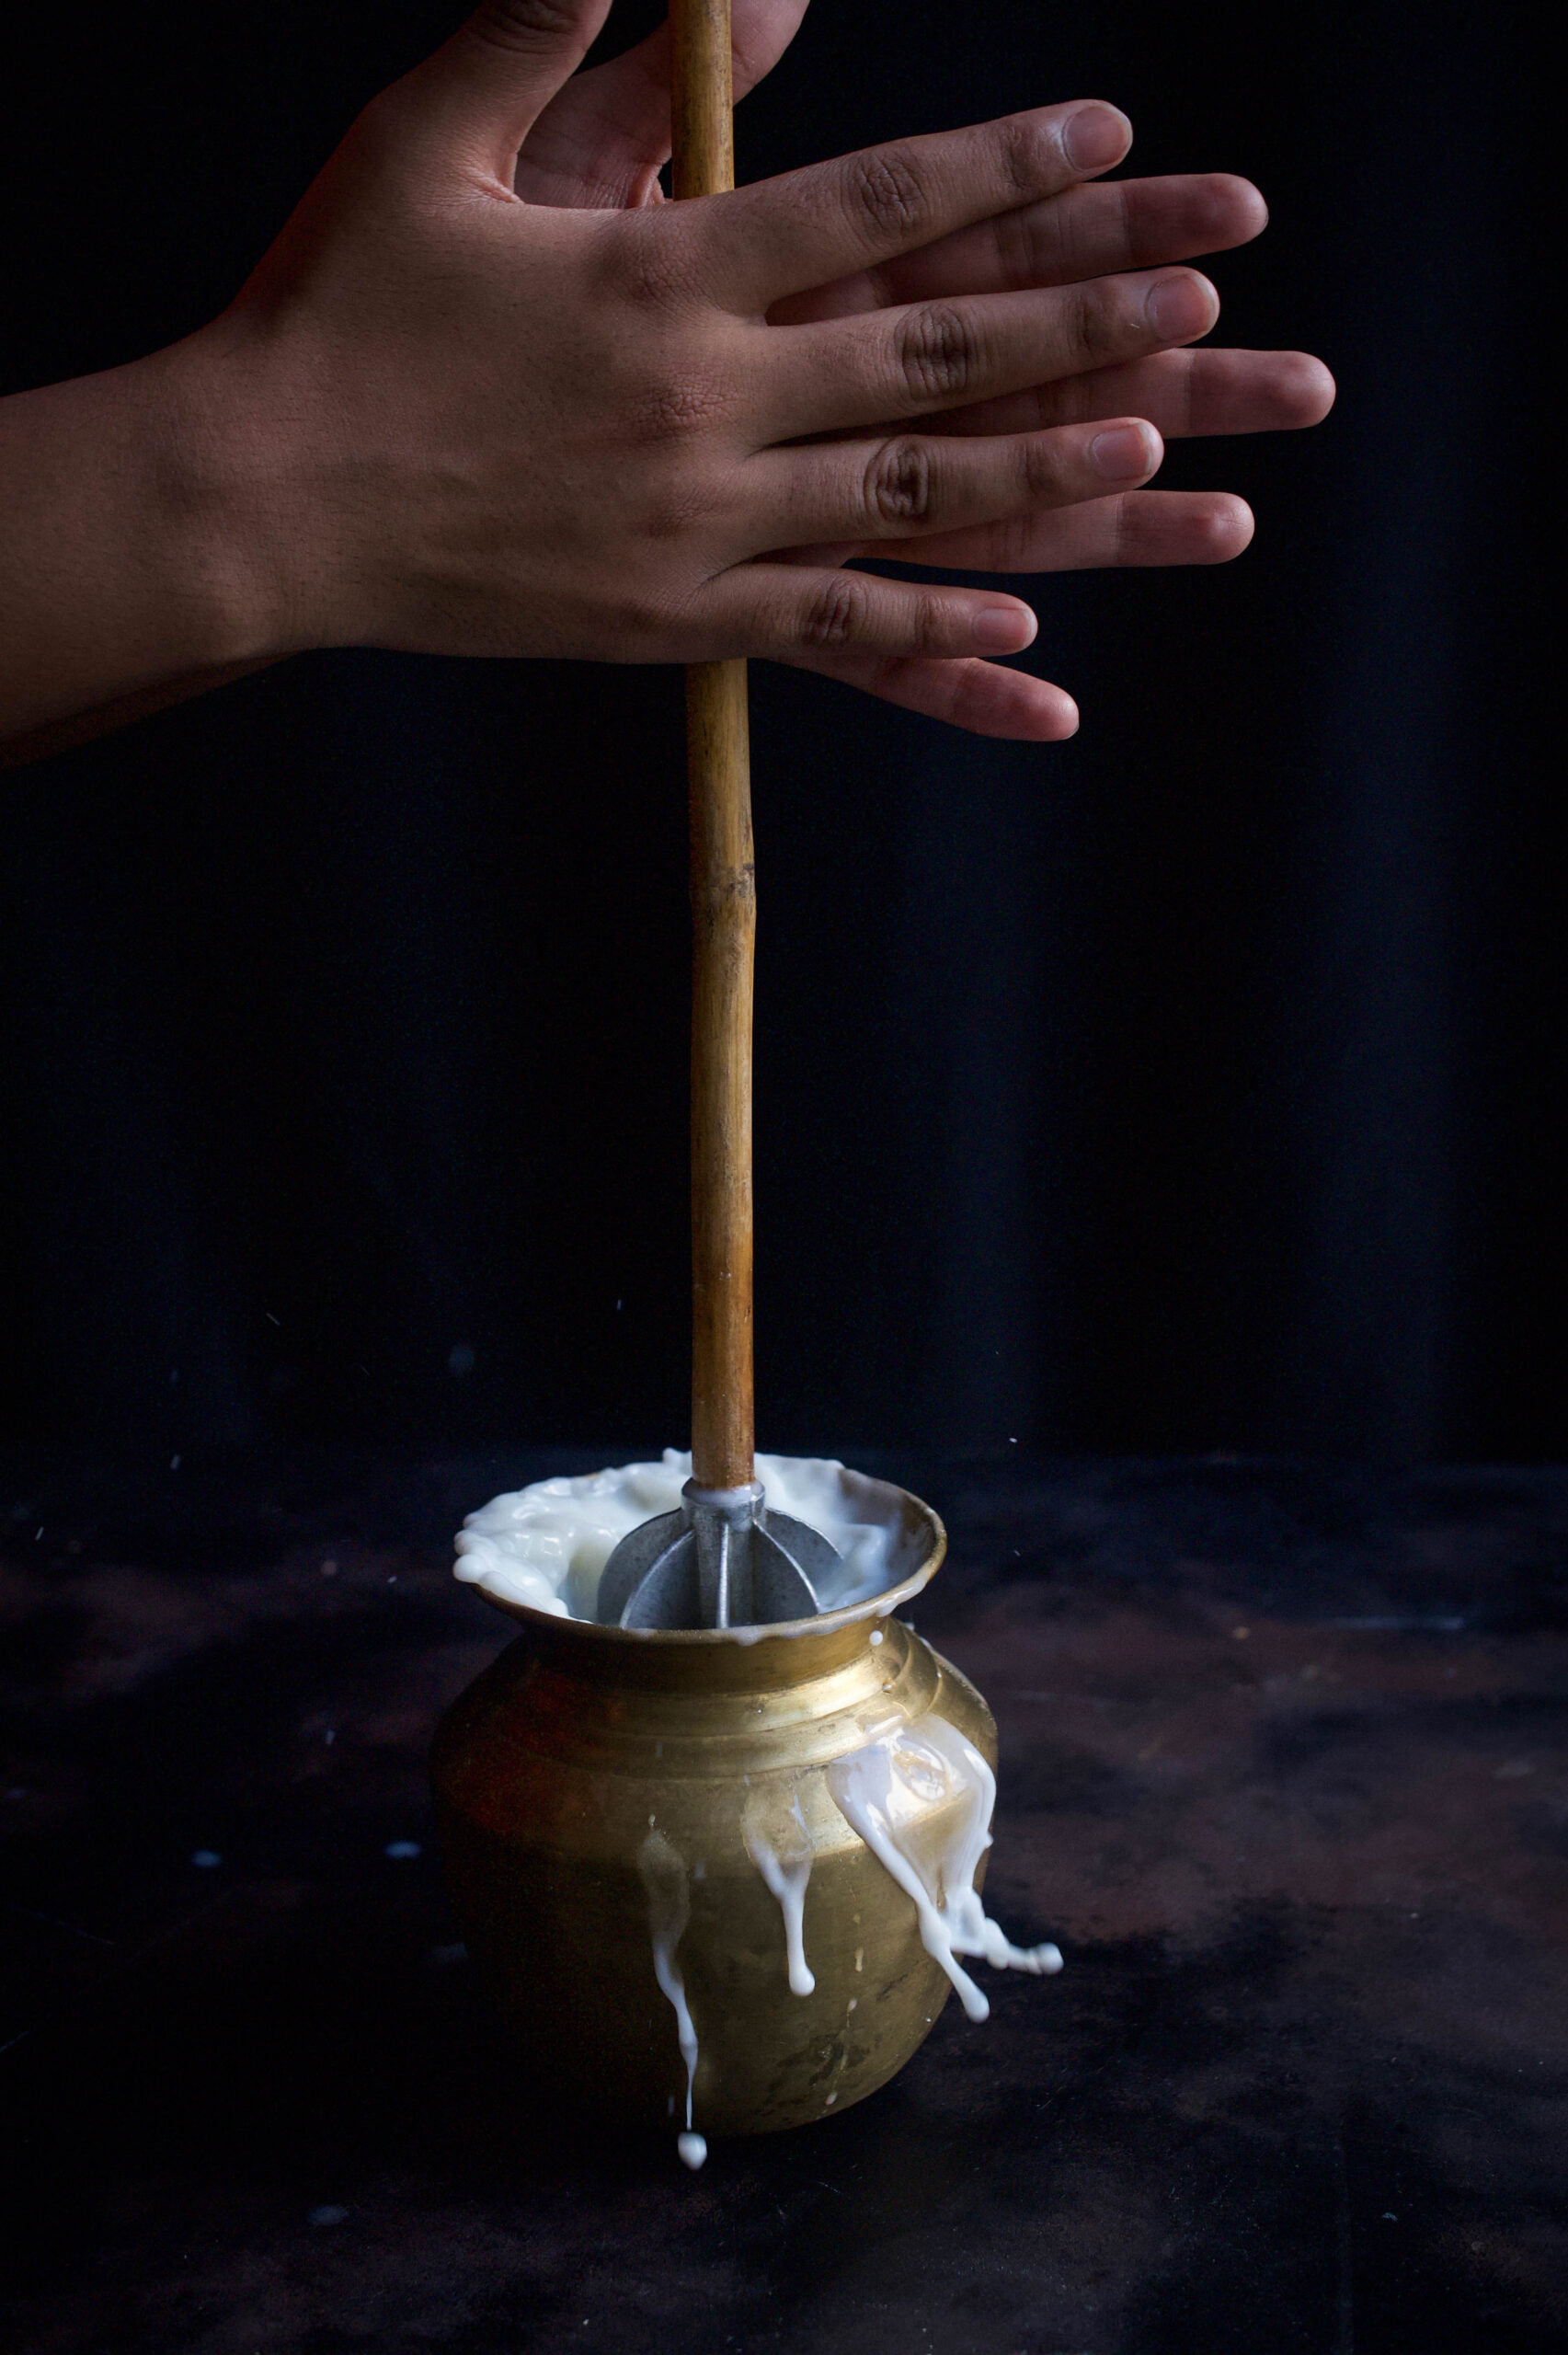
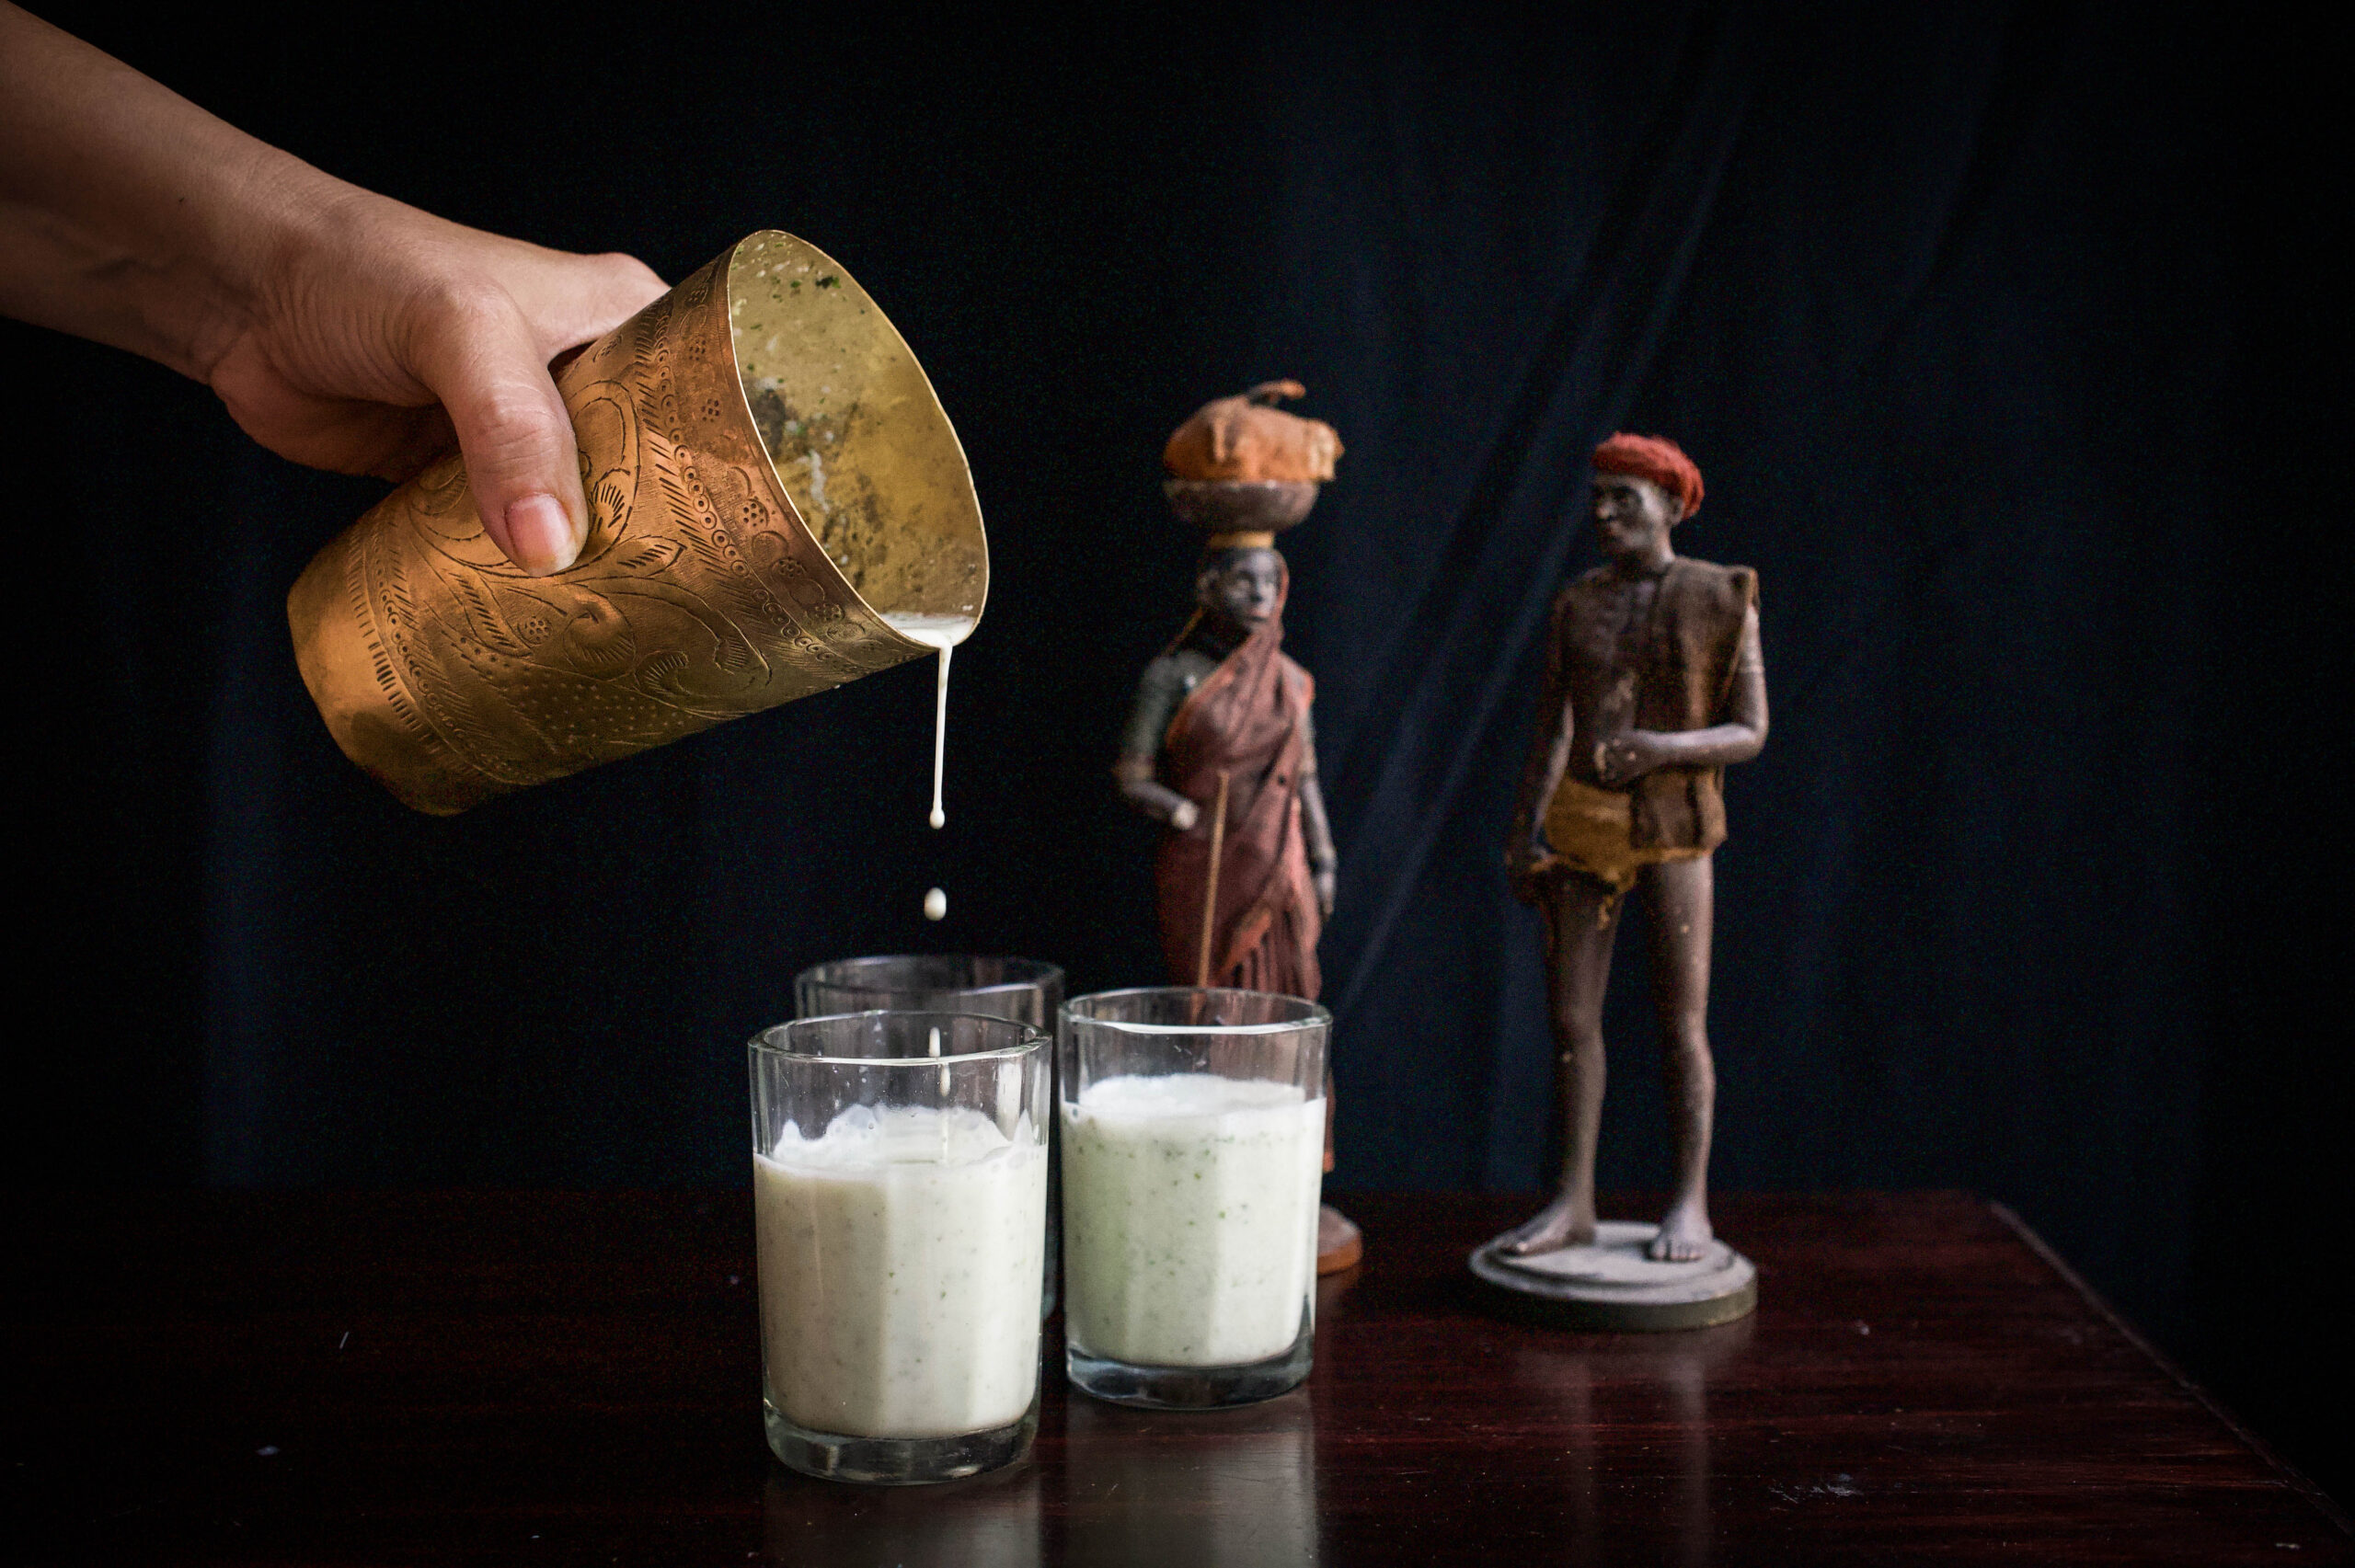
So many of my summer stories revolve around my grandparents’ home in Vijayawada. If you went down memory lane with me and my aunt’s rose sherbet or their vetiver-scented curtains which inspired my chia pudding, here is one more from my childhood memories to enjoy: spiced buttermilk. It is a flavour I remember from those summers with my cousins, when we would each be given 25 paisa to go buy ourselves a treat. Someone would get soda, someone would get raw mango slices… My favourite was guava, but buttermilk was what we were always encouraged to have, for its health benefits. What I’ll share with you today is my friend Anandhi’s recipe, made with her guidance. Its core ingredient is homemade yoghurt.

Both yoghurt and buttermilk are great for digestion, and have a cooling effect on the body, which is why they are summer essentials. If you love your dairy like I do – with apologies to my vegan and lactose-intolerant friends! – you’ll absolutely love being able to switch from store-bought yoghurt. After a while, setting it becomes a habit, and it’s always so delicious when it’s fresh.


Spiced Buttermilk

(Yield: Approximately 5 glasses)


Ingredients

1 cup yoghurt

1 teaspoon roasted cumin powder

1 teaspoon grated ginger

1 tablespoon finely chopped coriander leaves

1 finely chopped green chilli

Salt to taste

3 cups water

A dash of lemon

1 pinch asafoetida (optional)

In a blender, add all the ingredients, except the water, and whir until everything is well blended. Now add the 3 cups of water. You can adjust the consistency by increasing or reducing the quantity of water to your preference. The dash of lemon gives you a little spring of energy, and the spices add such delicious flavours to the drink. Serve immediately.

Known for its probiotic properties, buttermilk acts as a coolant in the summer months, especially when eating heat-inducing mangoes is a full time pleasure!


Homemade Yoghurt

As I said earlier, setting yoghurt is both very delicate and very easy. To set the yoghurt, the temperature of the room, the temperature of the milk and the quantity of the starter are all very important in order for the yoghurt to be plain and not sour.

In India, where summers are very hot, I add a ¼ teaspoon of starter yoghurt to a bowl and pour room temperature milk into it. I then cover it with a lid and set it aside for 5-6 hours. Do the same if you are working in a similar climate. After the stated time, open the lid and see that the milk is set and rather tight when moved a little. Now refrigerate. Serve whenever you please.

During the winters, warm the milk and increase the quantity of the starter to ½ or even 1 teaspoon. Cover, and keep in a warm place for 10-12 hours or until set.

I am not a fan of sour yoghurt so refrigerating it once set is key, so it stays fresh for longer.

I’d much rather make my own yoghurt at home, where I know what exactly goes into it, as I’m always cautious about my food as far as possible.

This is the yoghurt I use when making buttermilk, as well as my regular accompaniment to my major meals. Yoghurt with rice, yoghurt with rotli, and of course, yoghurt with re:store’s bestselling muesli. It goes so well with everything, in my opinion!

I’d love to hear in the comments about how you’re keeping cool this summer!