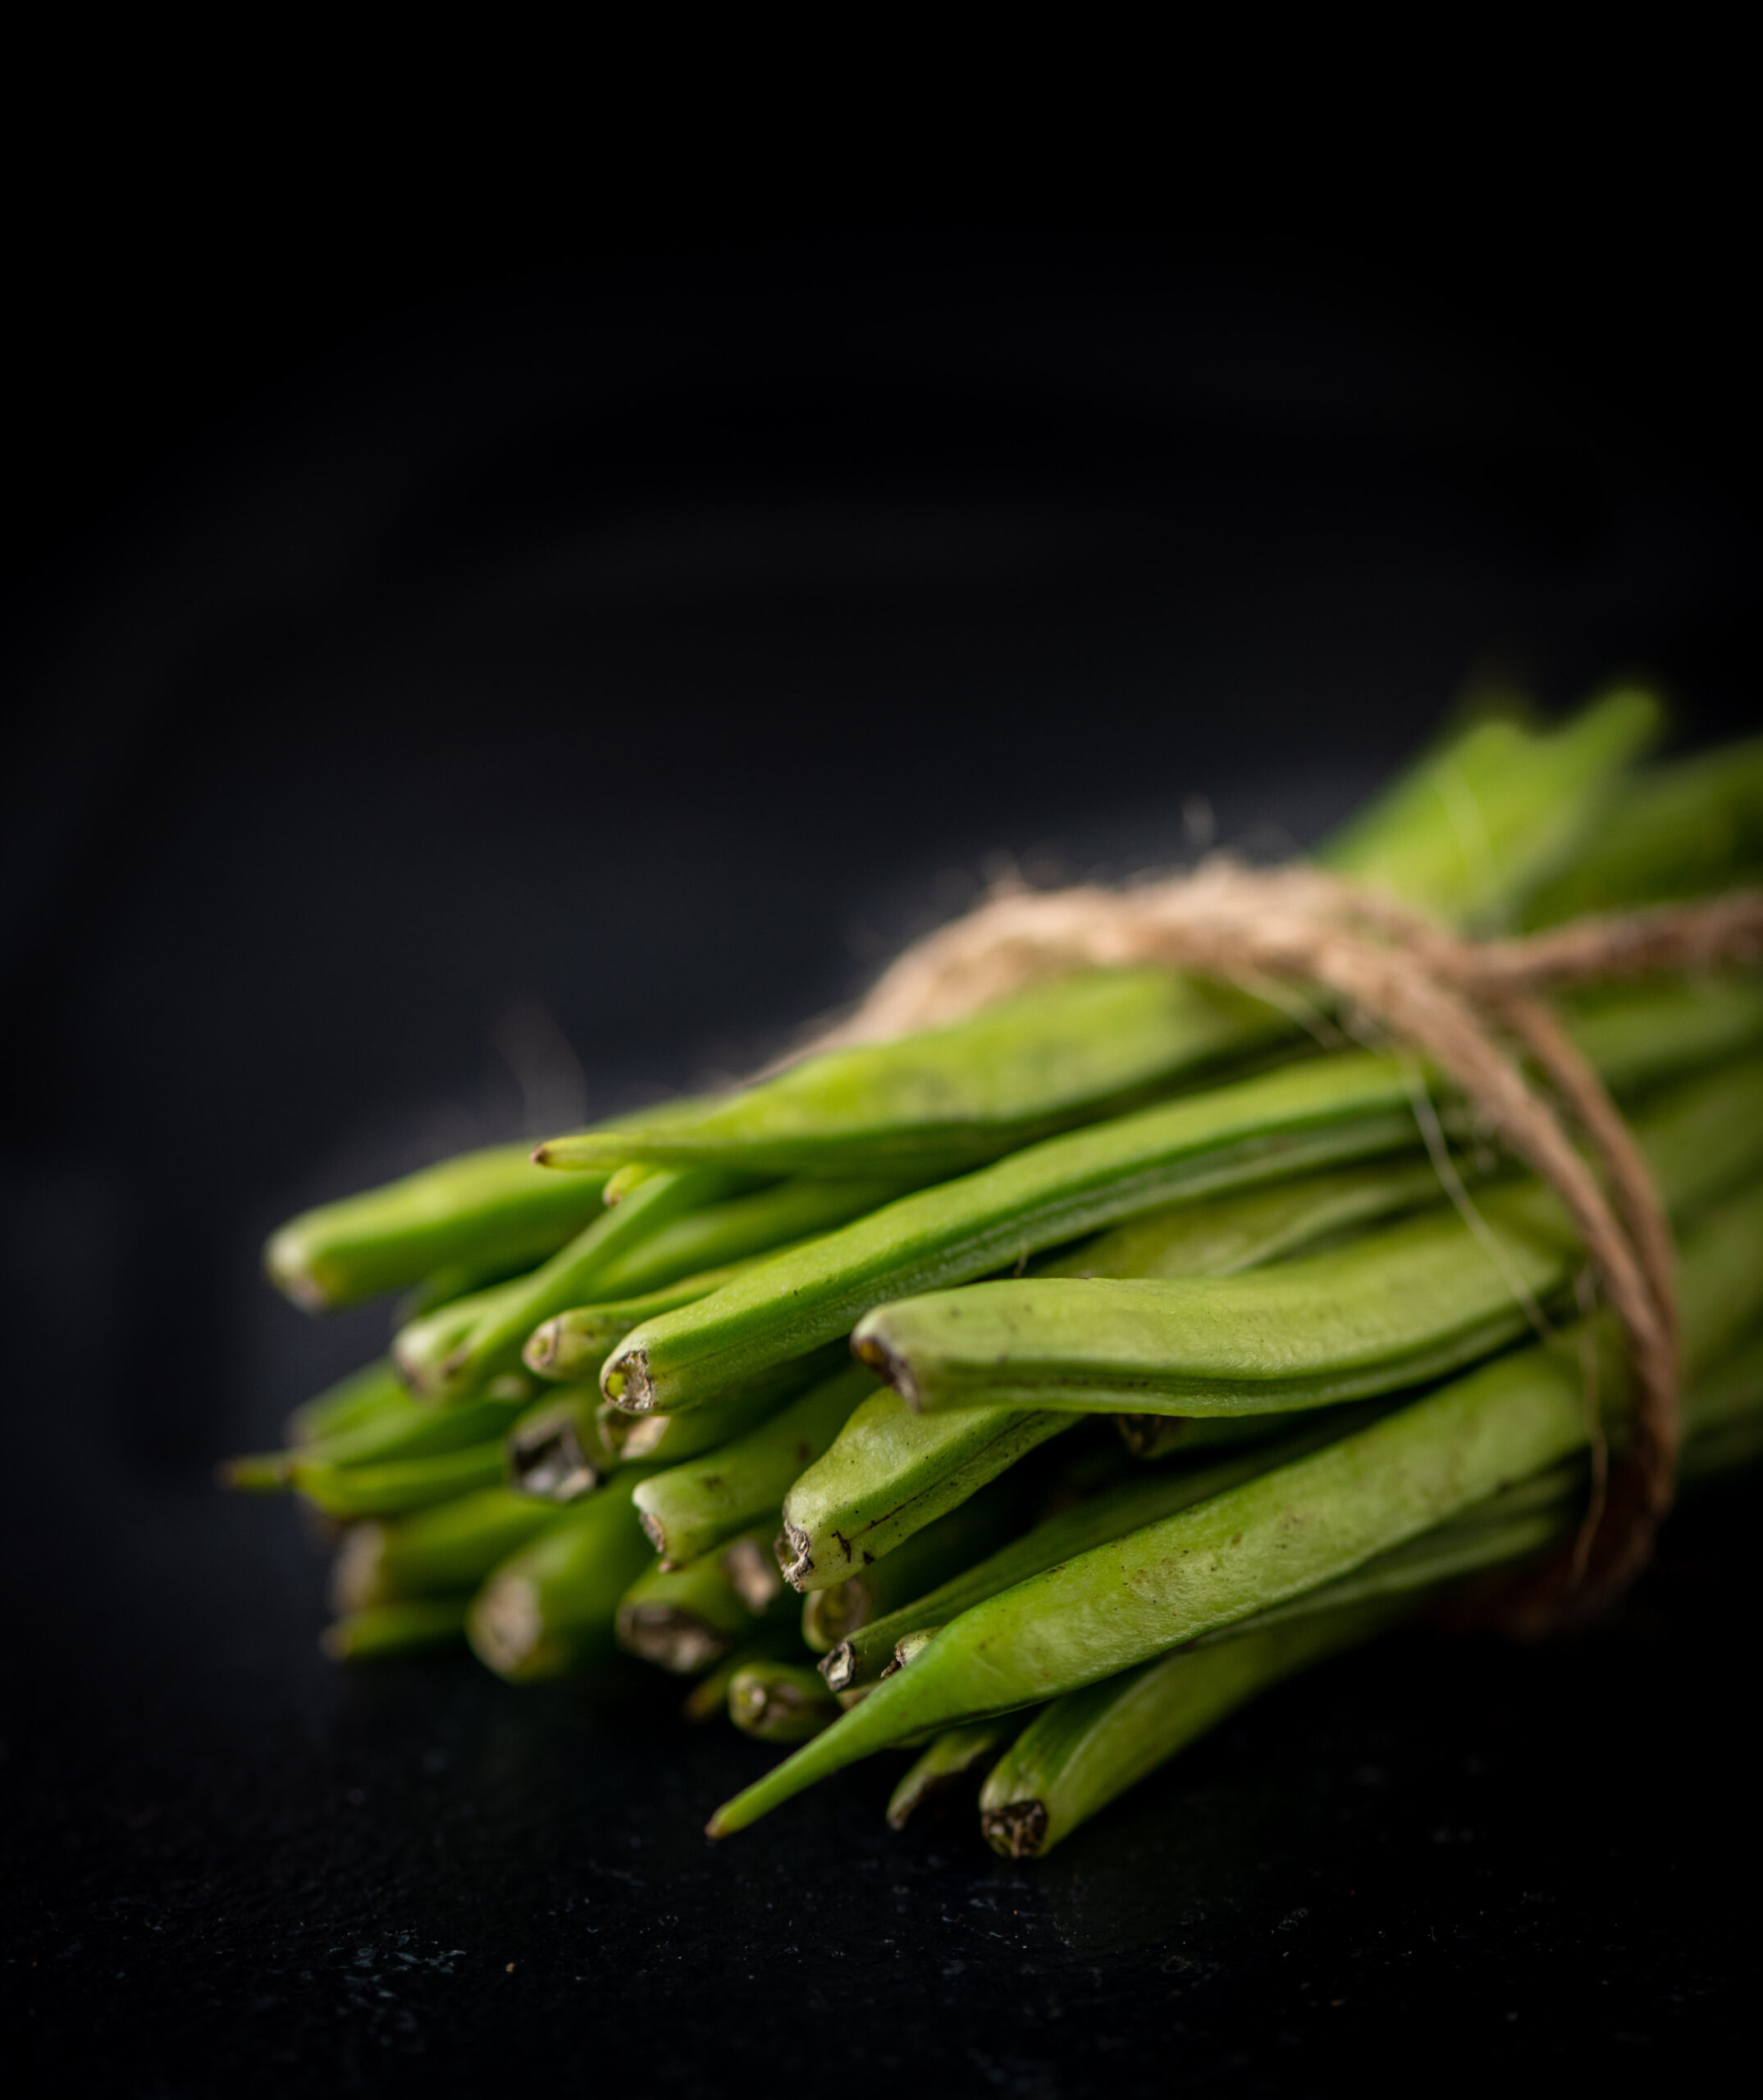
I’m the inquisitive type, and I love to know about everything that I eat. Recently, an ice cream recipe I was trying out called for guar gum, which made me wonder about its relationship to guar or cluster beans. With a little insight from Wikipedia, I learned this fun fact: guar gum, widely used internationally, comes from the guar seed and is exported from India. Guar gum is a thickening agent, and used in food industries around the world. Unfortunately, the processing the raw seed undergoes renders the final product rather unhealthy. Still, that takes away nothing from the goodness of guar itself. This wonderfully healthy vegetable hasn’t made an appearance on my blog so far, probably because it is not enjoyed by most of my family. But I know from experience that it is an acquired taste. I’ve been making it in a typical Gujarati style recently, in the form of guar dhokli. You may remember my dal dhokli recipe from years ago, and will be familiar with the stew-like concept behind it. This is similar: parcels of dough, known as dhokli, are cooked in a gravy – this one, full of nourishing guar.
Cluster beans are a bitter vegetable. The dhokli part of the dish balances this flavour out. Guar dhokli on the whole is a dish with several textures and flavours, and healthy too. As someone who enjoys a wide variety of vegetables, including unpopular ones like this one, I can safely say that a nice preparation, along with awareness of the benefits of an ingredient, can change one’s mind about it. This one contains: glyconutrients and a low glycemic index (making them good for diabetic diets) and folic acid (good for pregnancy diets). More generally, it is good for blood circulation, lowers bad cholesterol, and is rich in minerals, iron and Vitamins A, B and K.
As I mentioned, my family members aren’t fans, but I am. However, I too detested guar when I was growing up. My mother would make guar dhokli often and I would pick the guar out of the gravy and just eat the dhoklis, much to her fury! Funnily enough, once I got married and moved away, whenever I visited her I would request guar dhokli. It had a nostalgic quotient, and it truly began to grow on me. At this point, I would even go as far as to call guar one of my favourite vegetables. Some day, when my kids find themselves having a strange craving for it, they can look up this recipe. I am certain they will also have a change of palate as they get older.
The typical thaali that we eat at my house daily consists of a dal bhaat (dal and rice), rotli and a shaak, which is some kind of vegetable curry. This is the most basic Gujarati meal, and will be found at most households at lunch-time. Some may make it more elaborate by having one dry vegetable and a gravy one, or a savoury item and a sweet. But the core three elements remain. What happens in my home is that I often end up cooking some guar or some ridge gourd (which I I enjoy in a South Indian stir-fry, and have shared the recipe before) or some other vegetable that the others don’t like. So this just-for-me preparation becomes one extra dish, in addition to the core three.
When it comes to my kitchen, there are certain items that only I make. This guar dhokli happens to be one of them. Another one of my specialties is this Gujarati potato and brinjal curry. These recipes were transferred from my mother’s hands to mine, and somehow they just don’t taste the same unless I make them myself.
While preparing this guar dhokli, I pondered about how this authentic recipe has been preserved through the generations. My mother was only 19 when she moved to Chennai, and my siblings and I were born and raised here, just as my own children were. Still, we speak pure and perfect Gujarati at home, and the majority of the dishes we ate growing up were authentic ones. Even as I enjoy fusion food and amalgamating cuisines, I still find a way to maintain cultural and language traditions, even while integrating elements and influences. Food, of course, is the most beautiful way to do this – it’s amazing how we can enjoy diversity and also enjoy authenticity at the dining table.
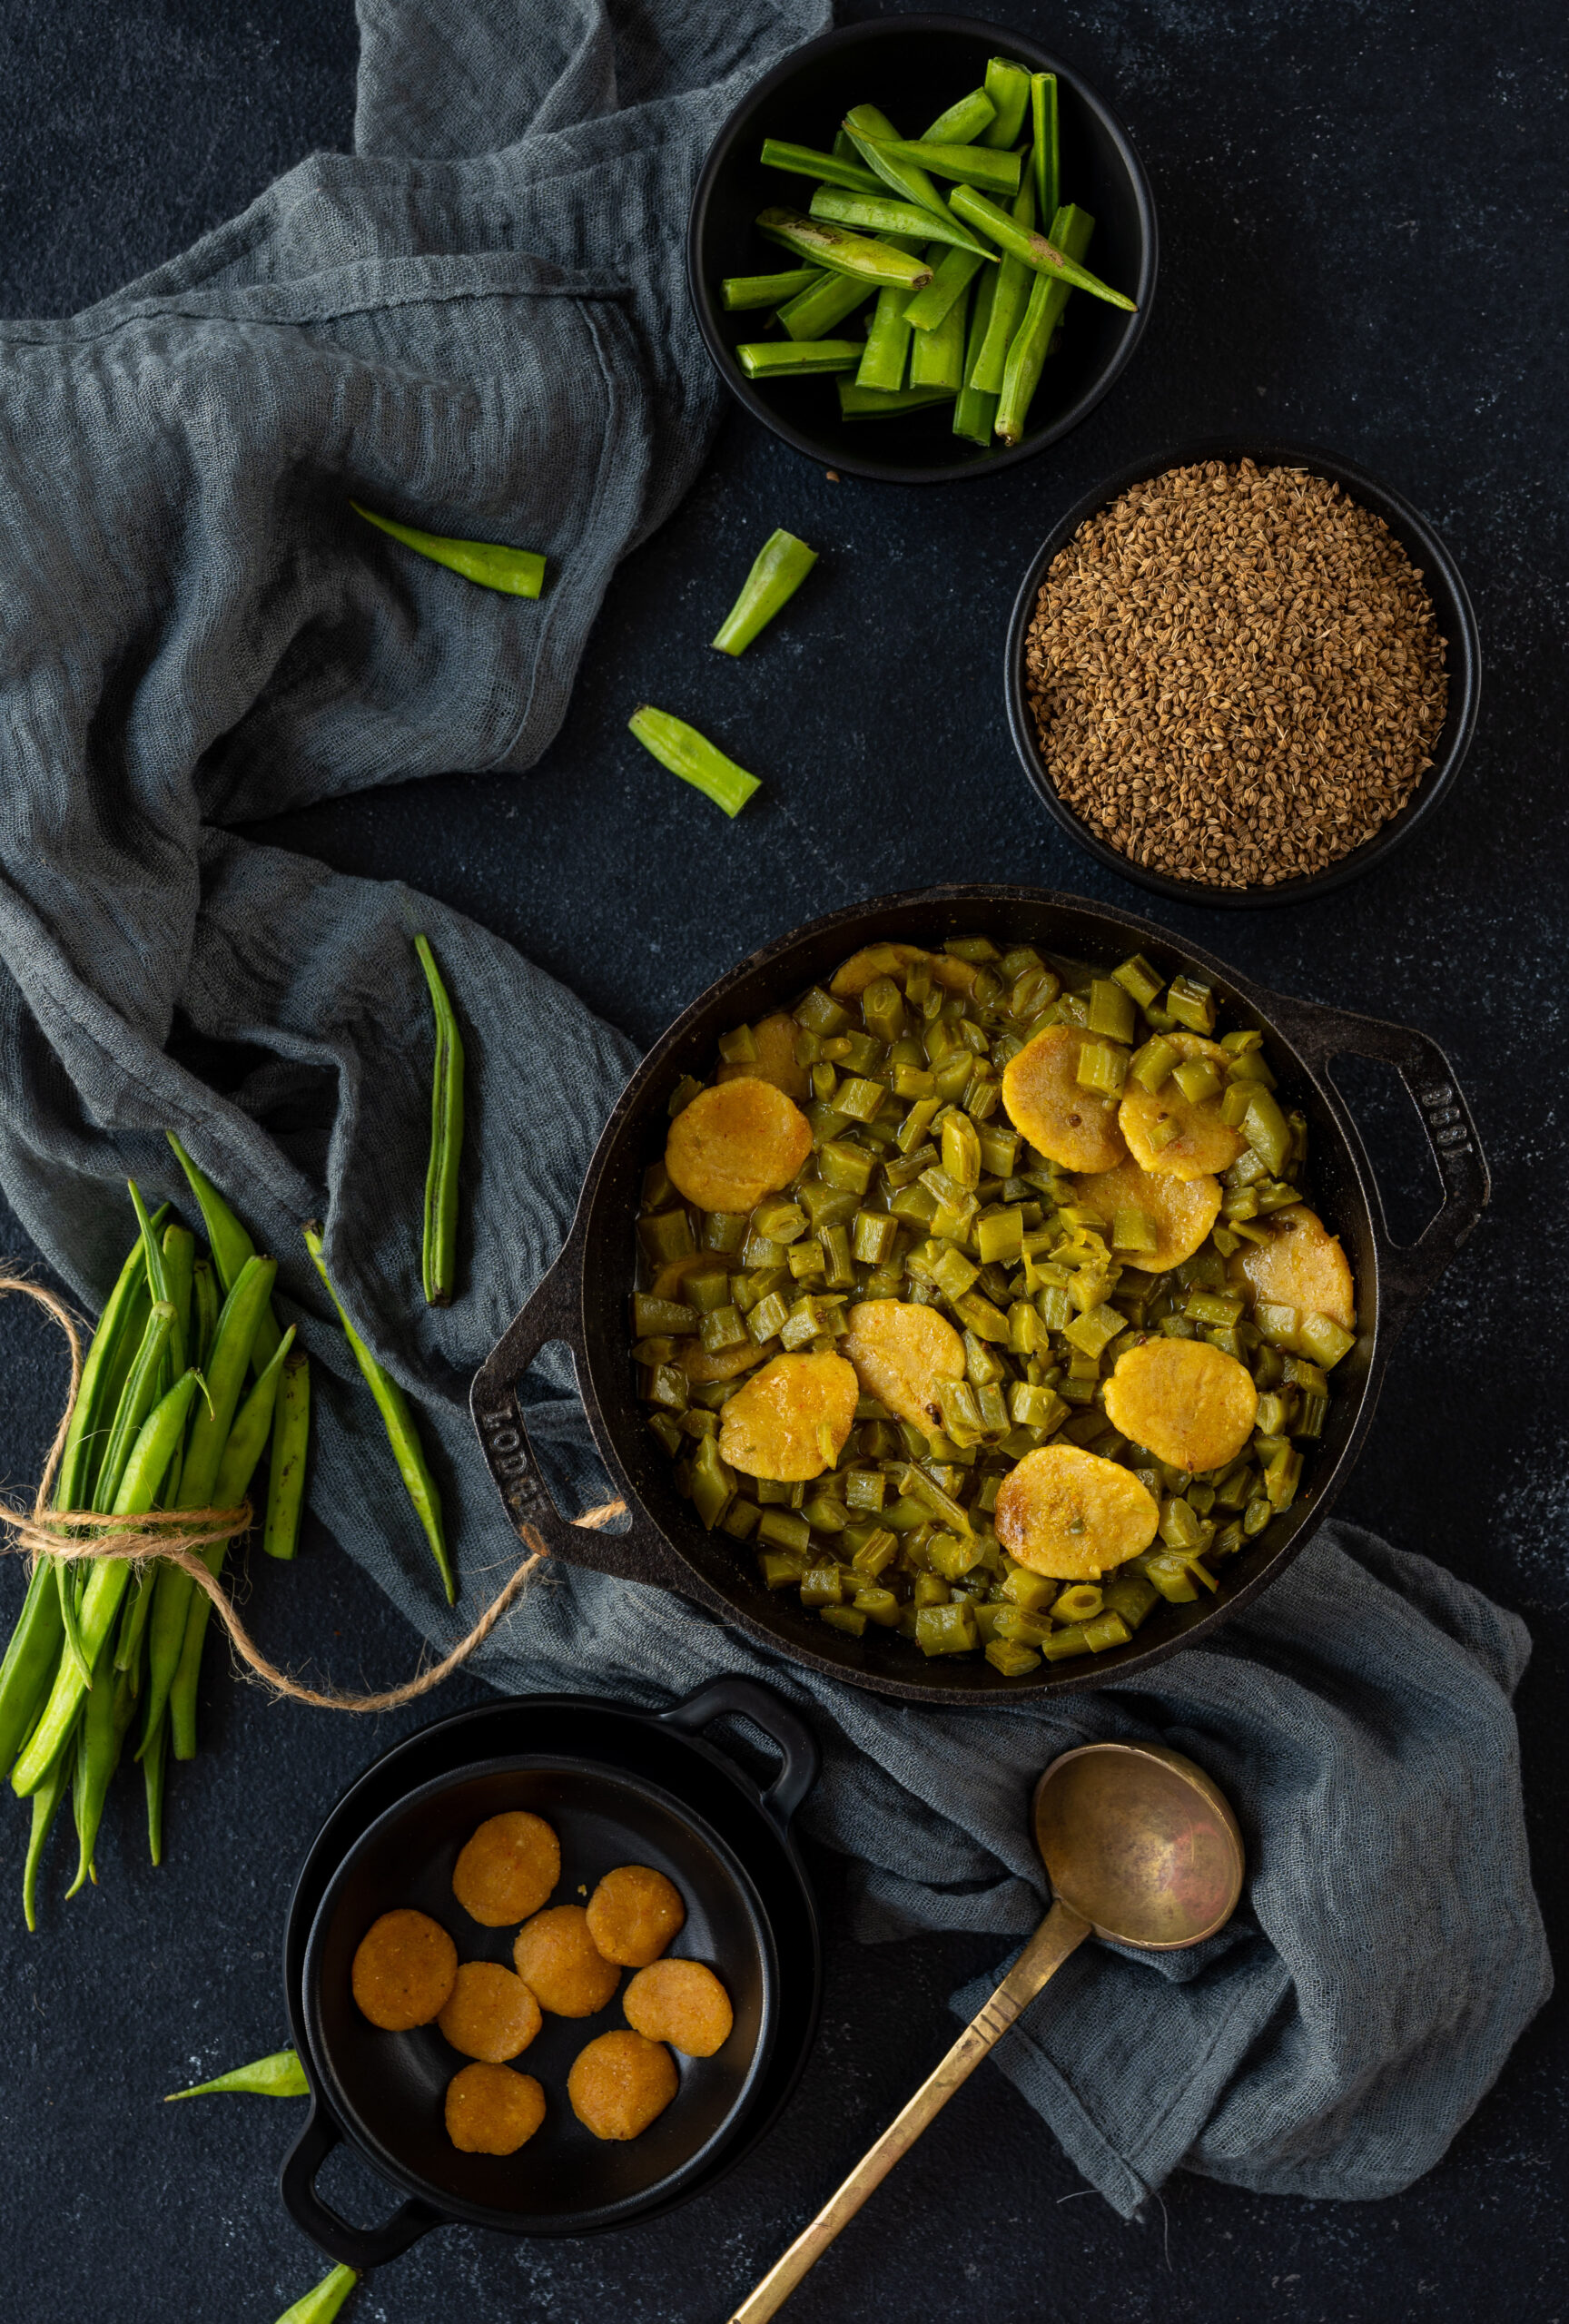
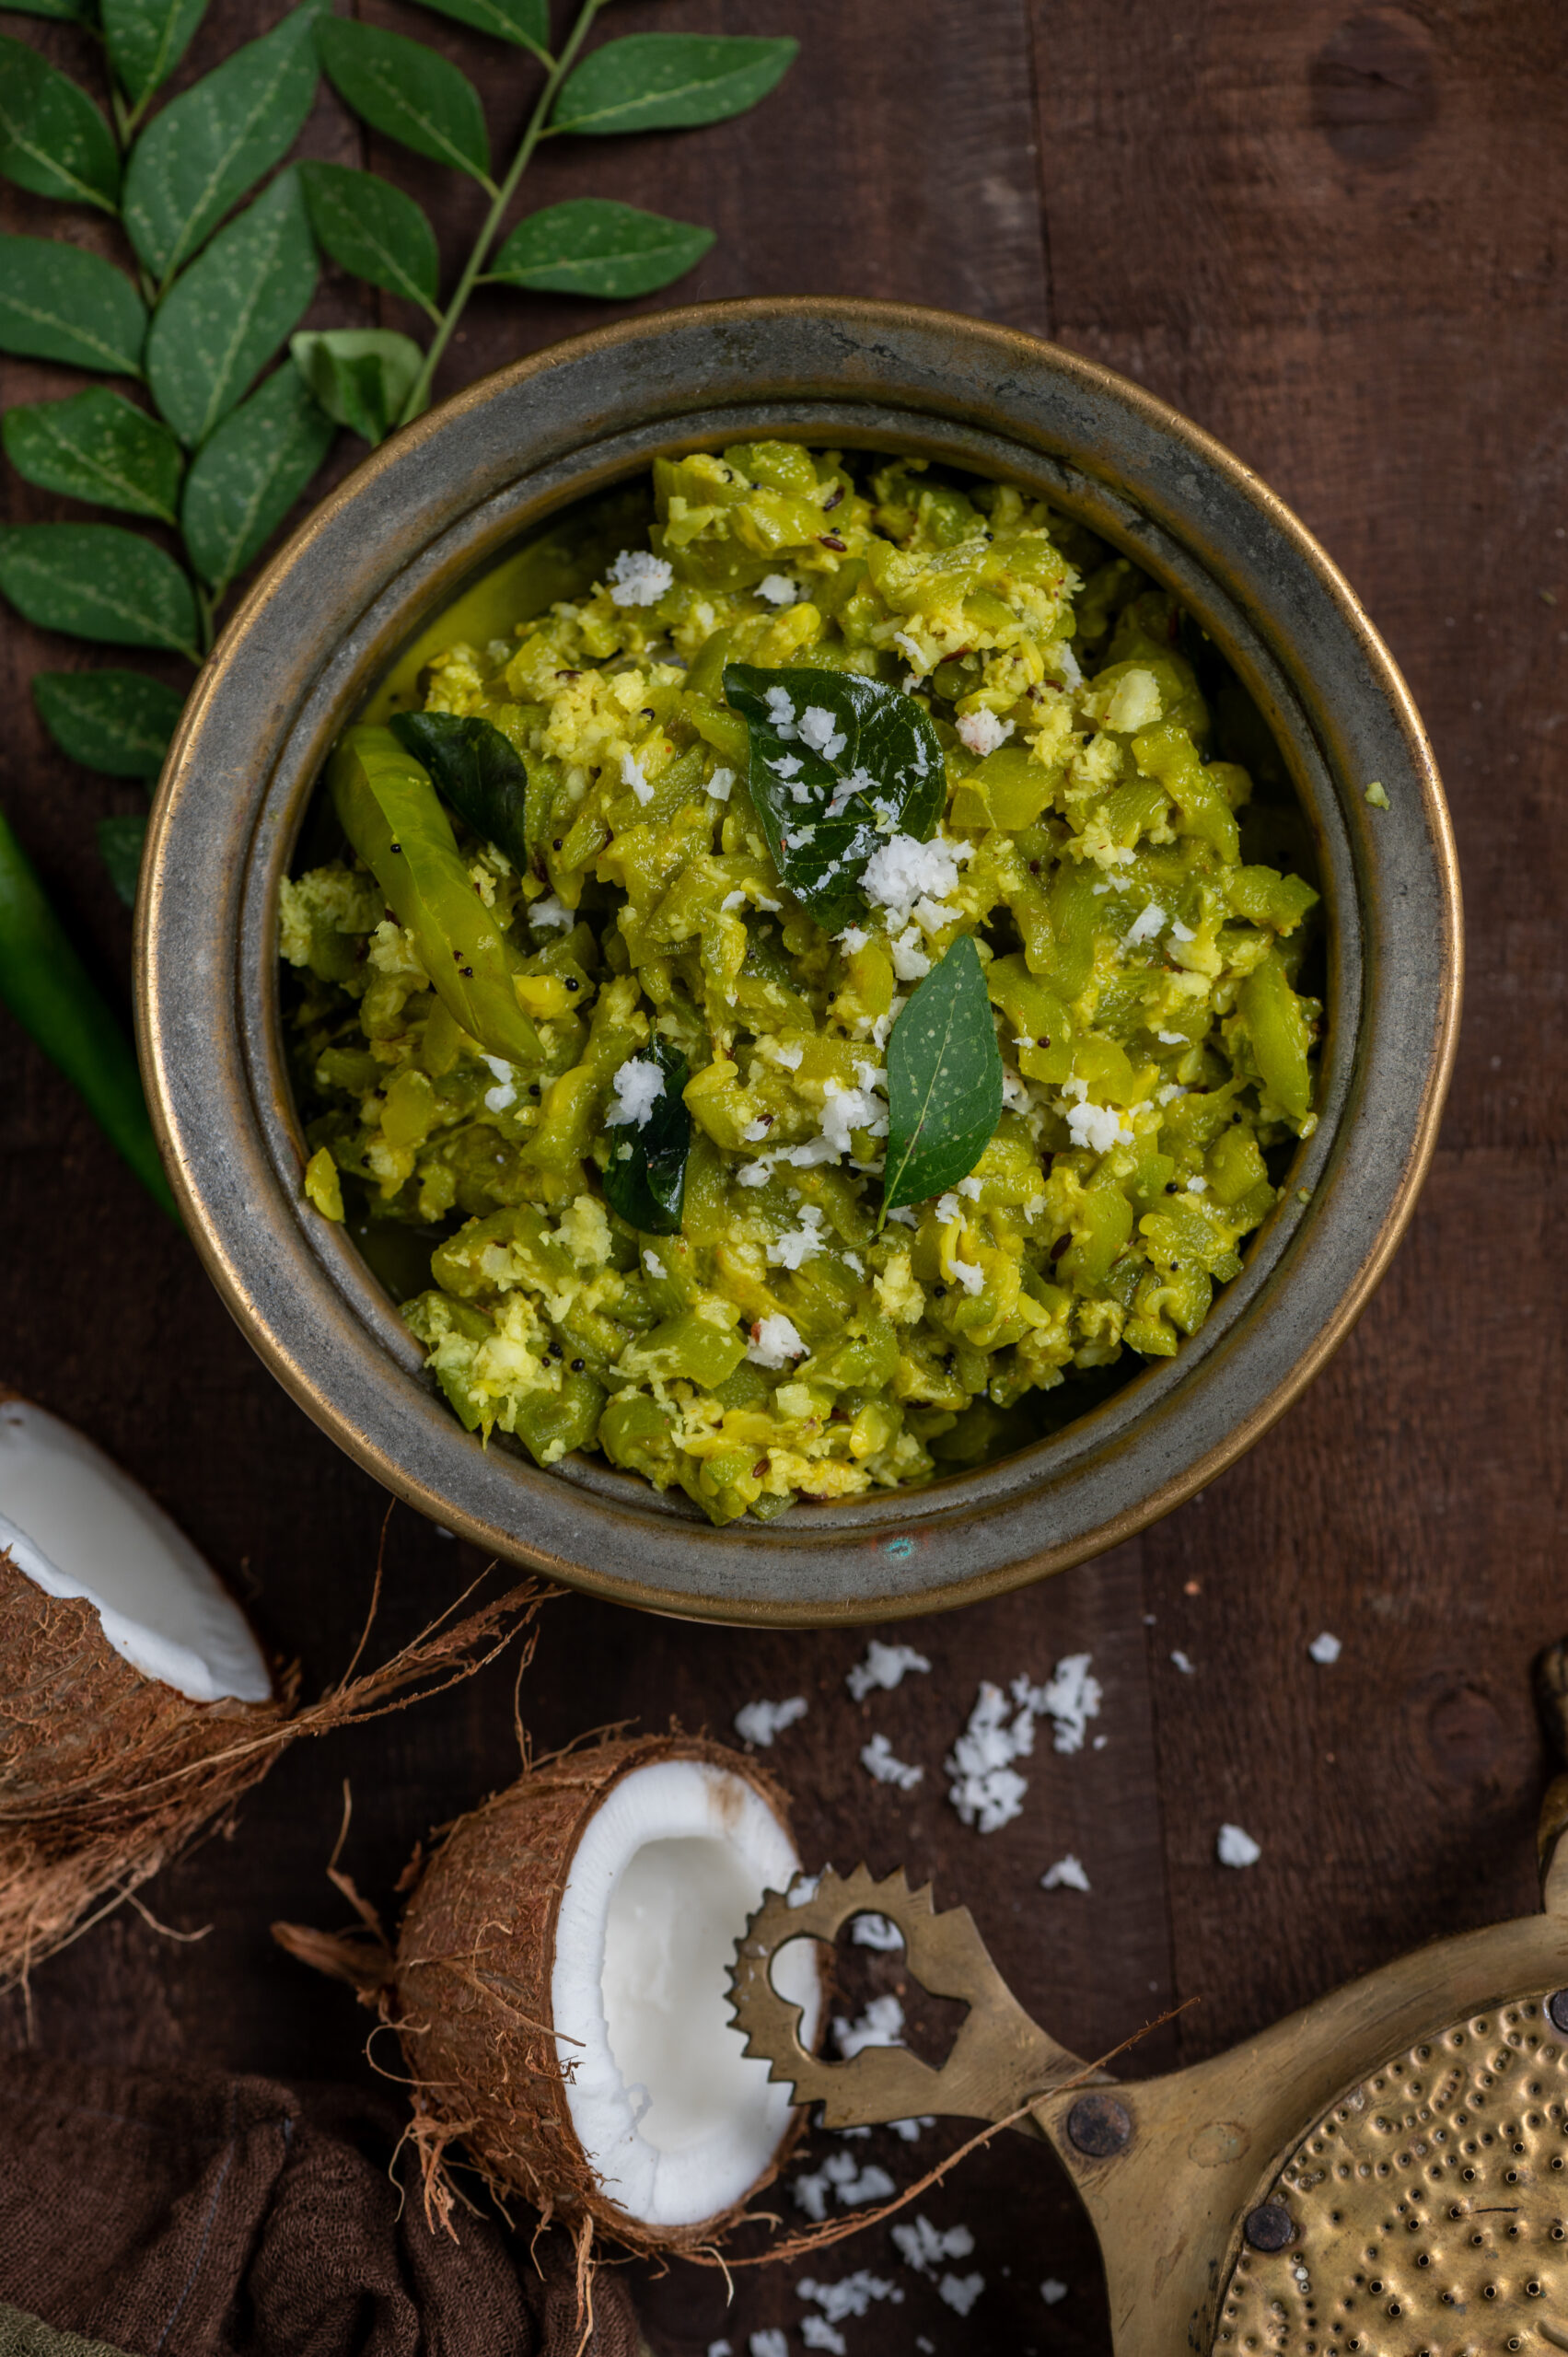
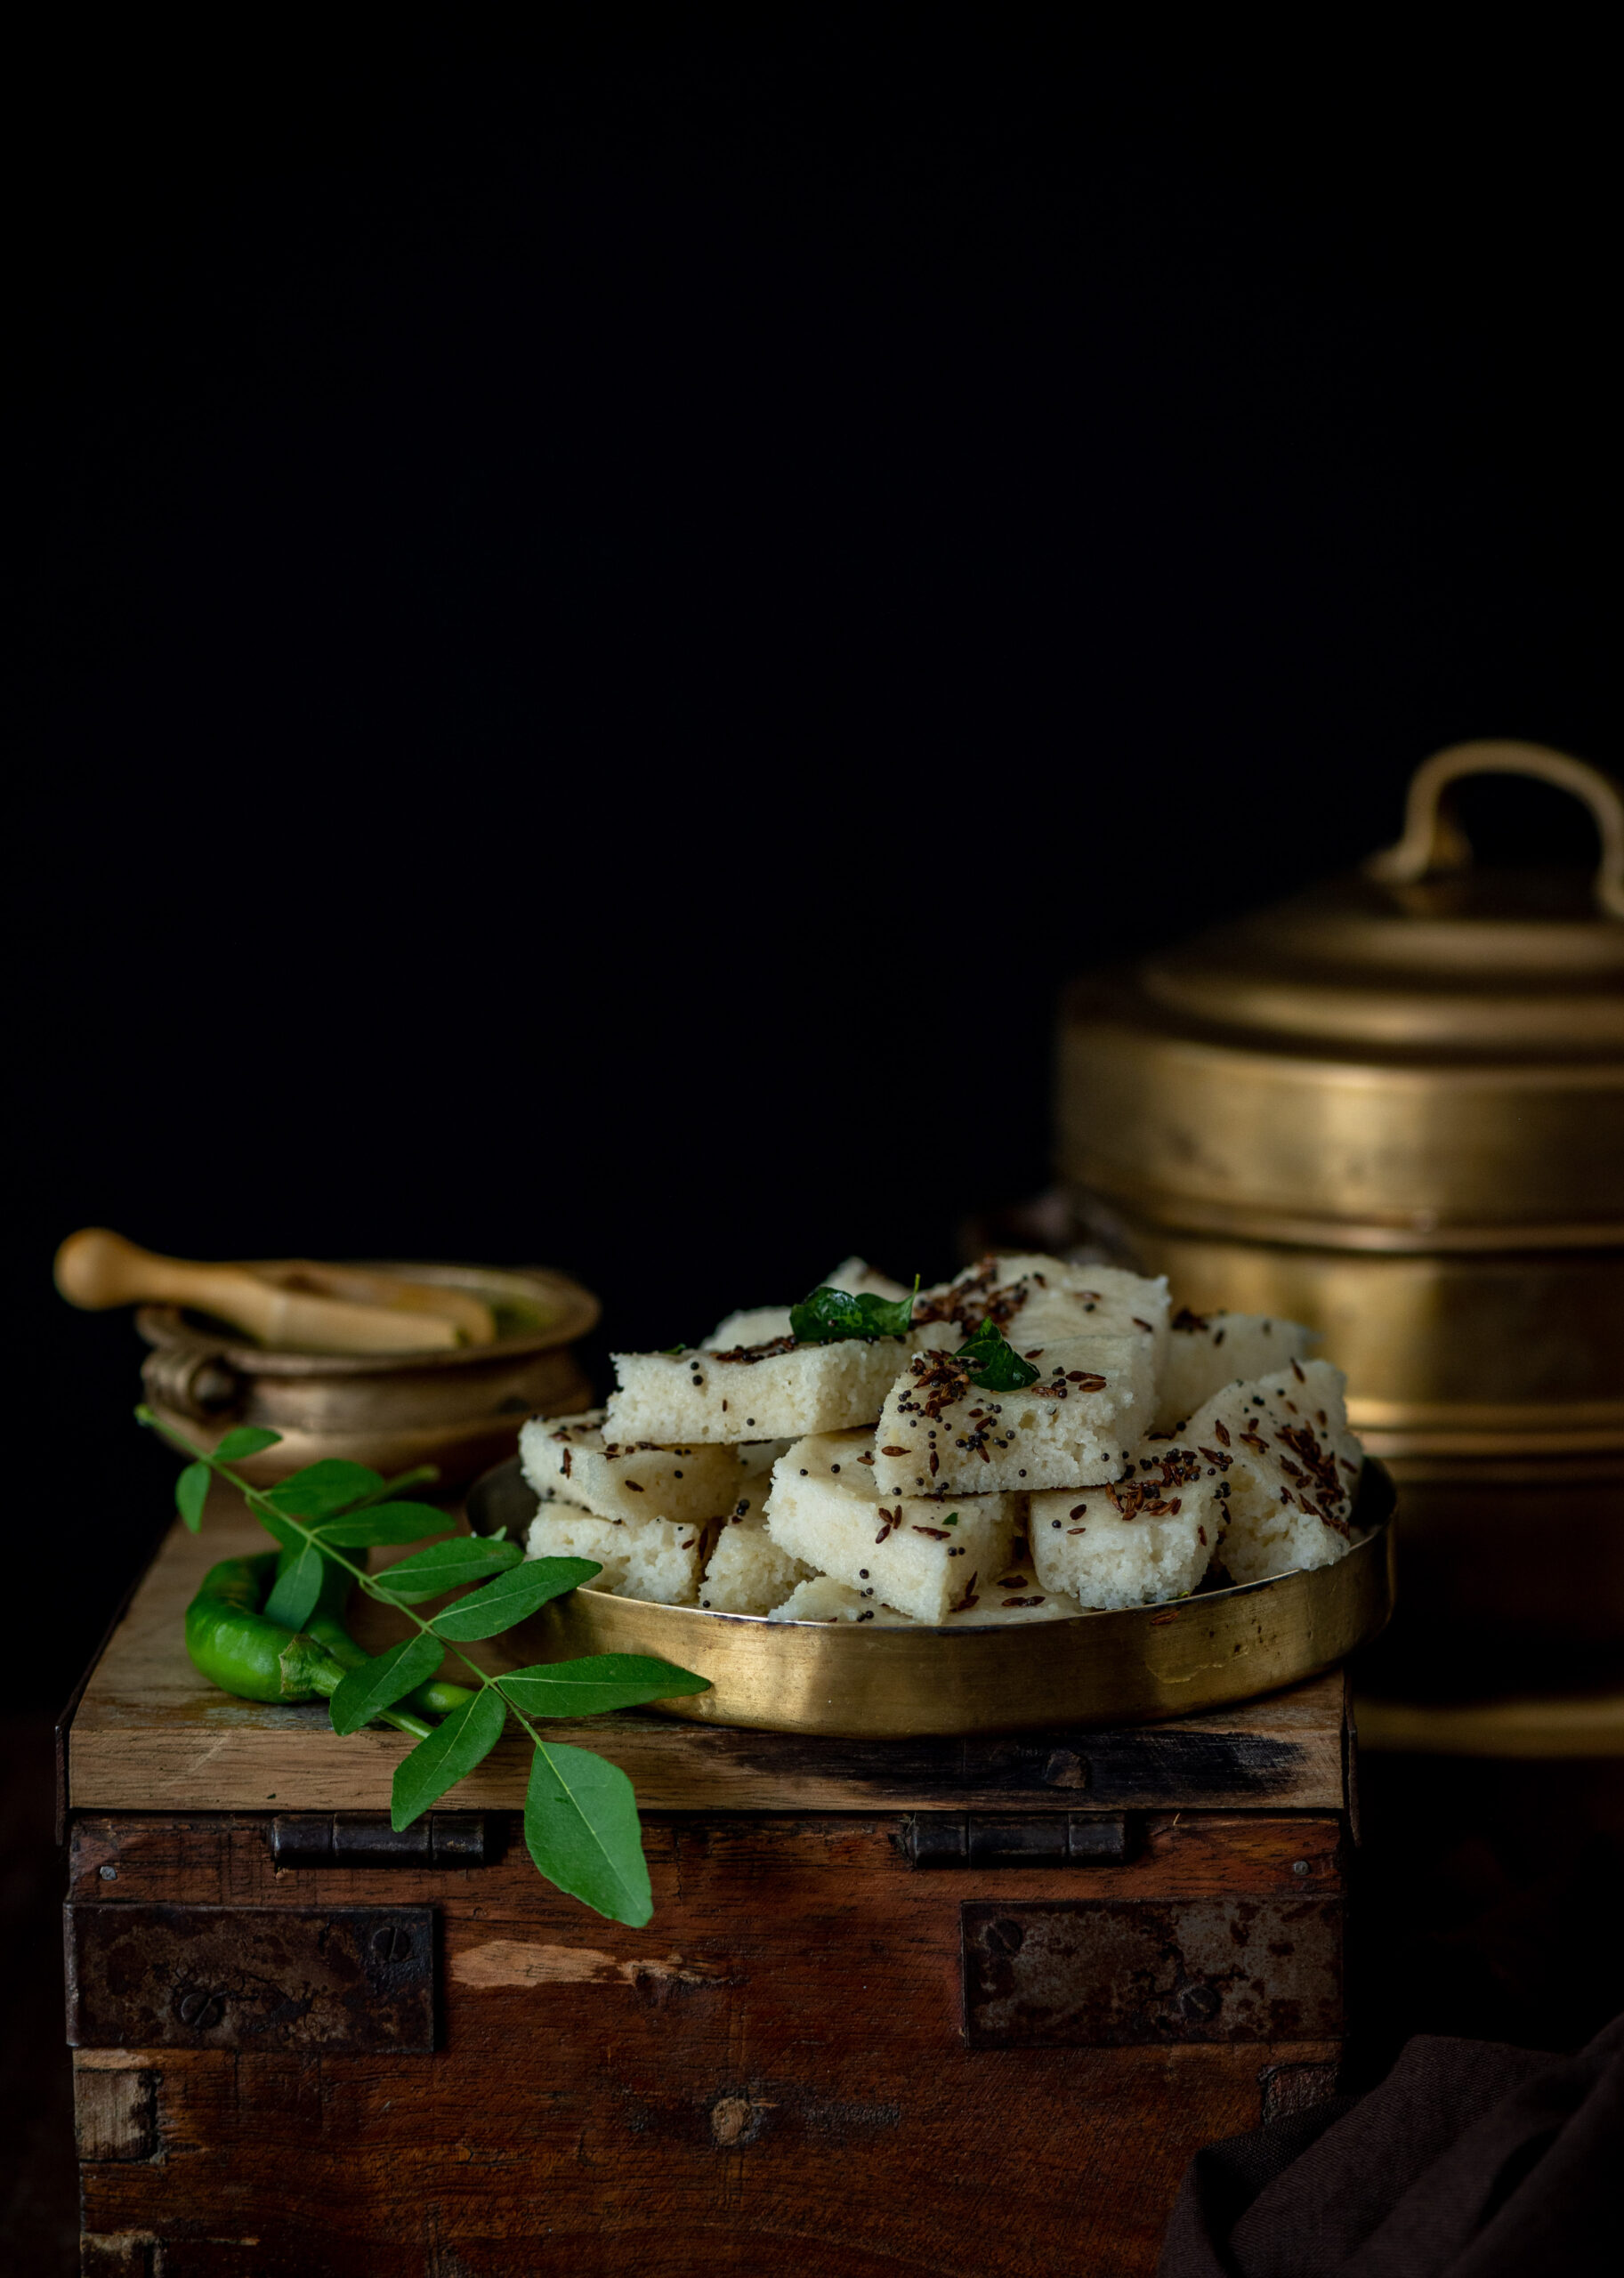
Guar Dhokli
(Yield: 3-4)
Gravy
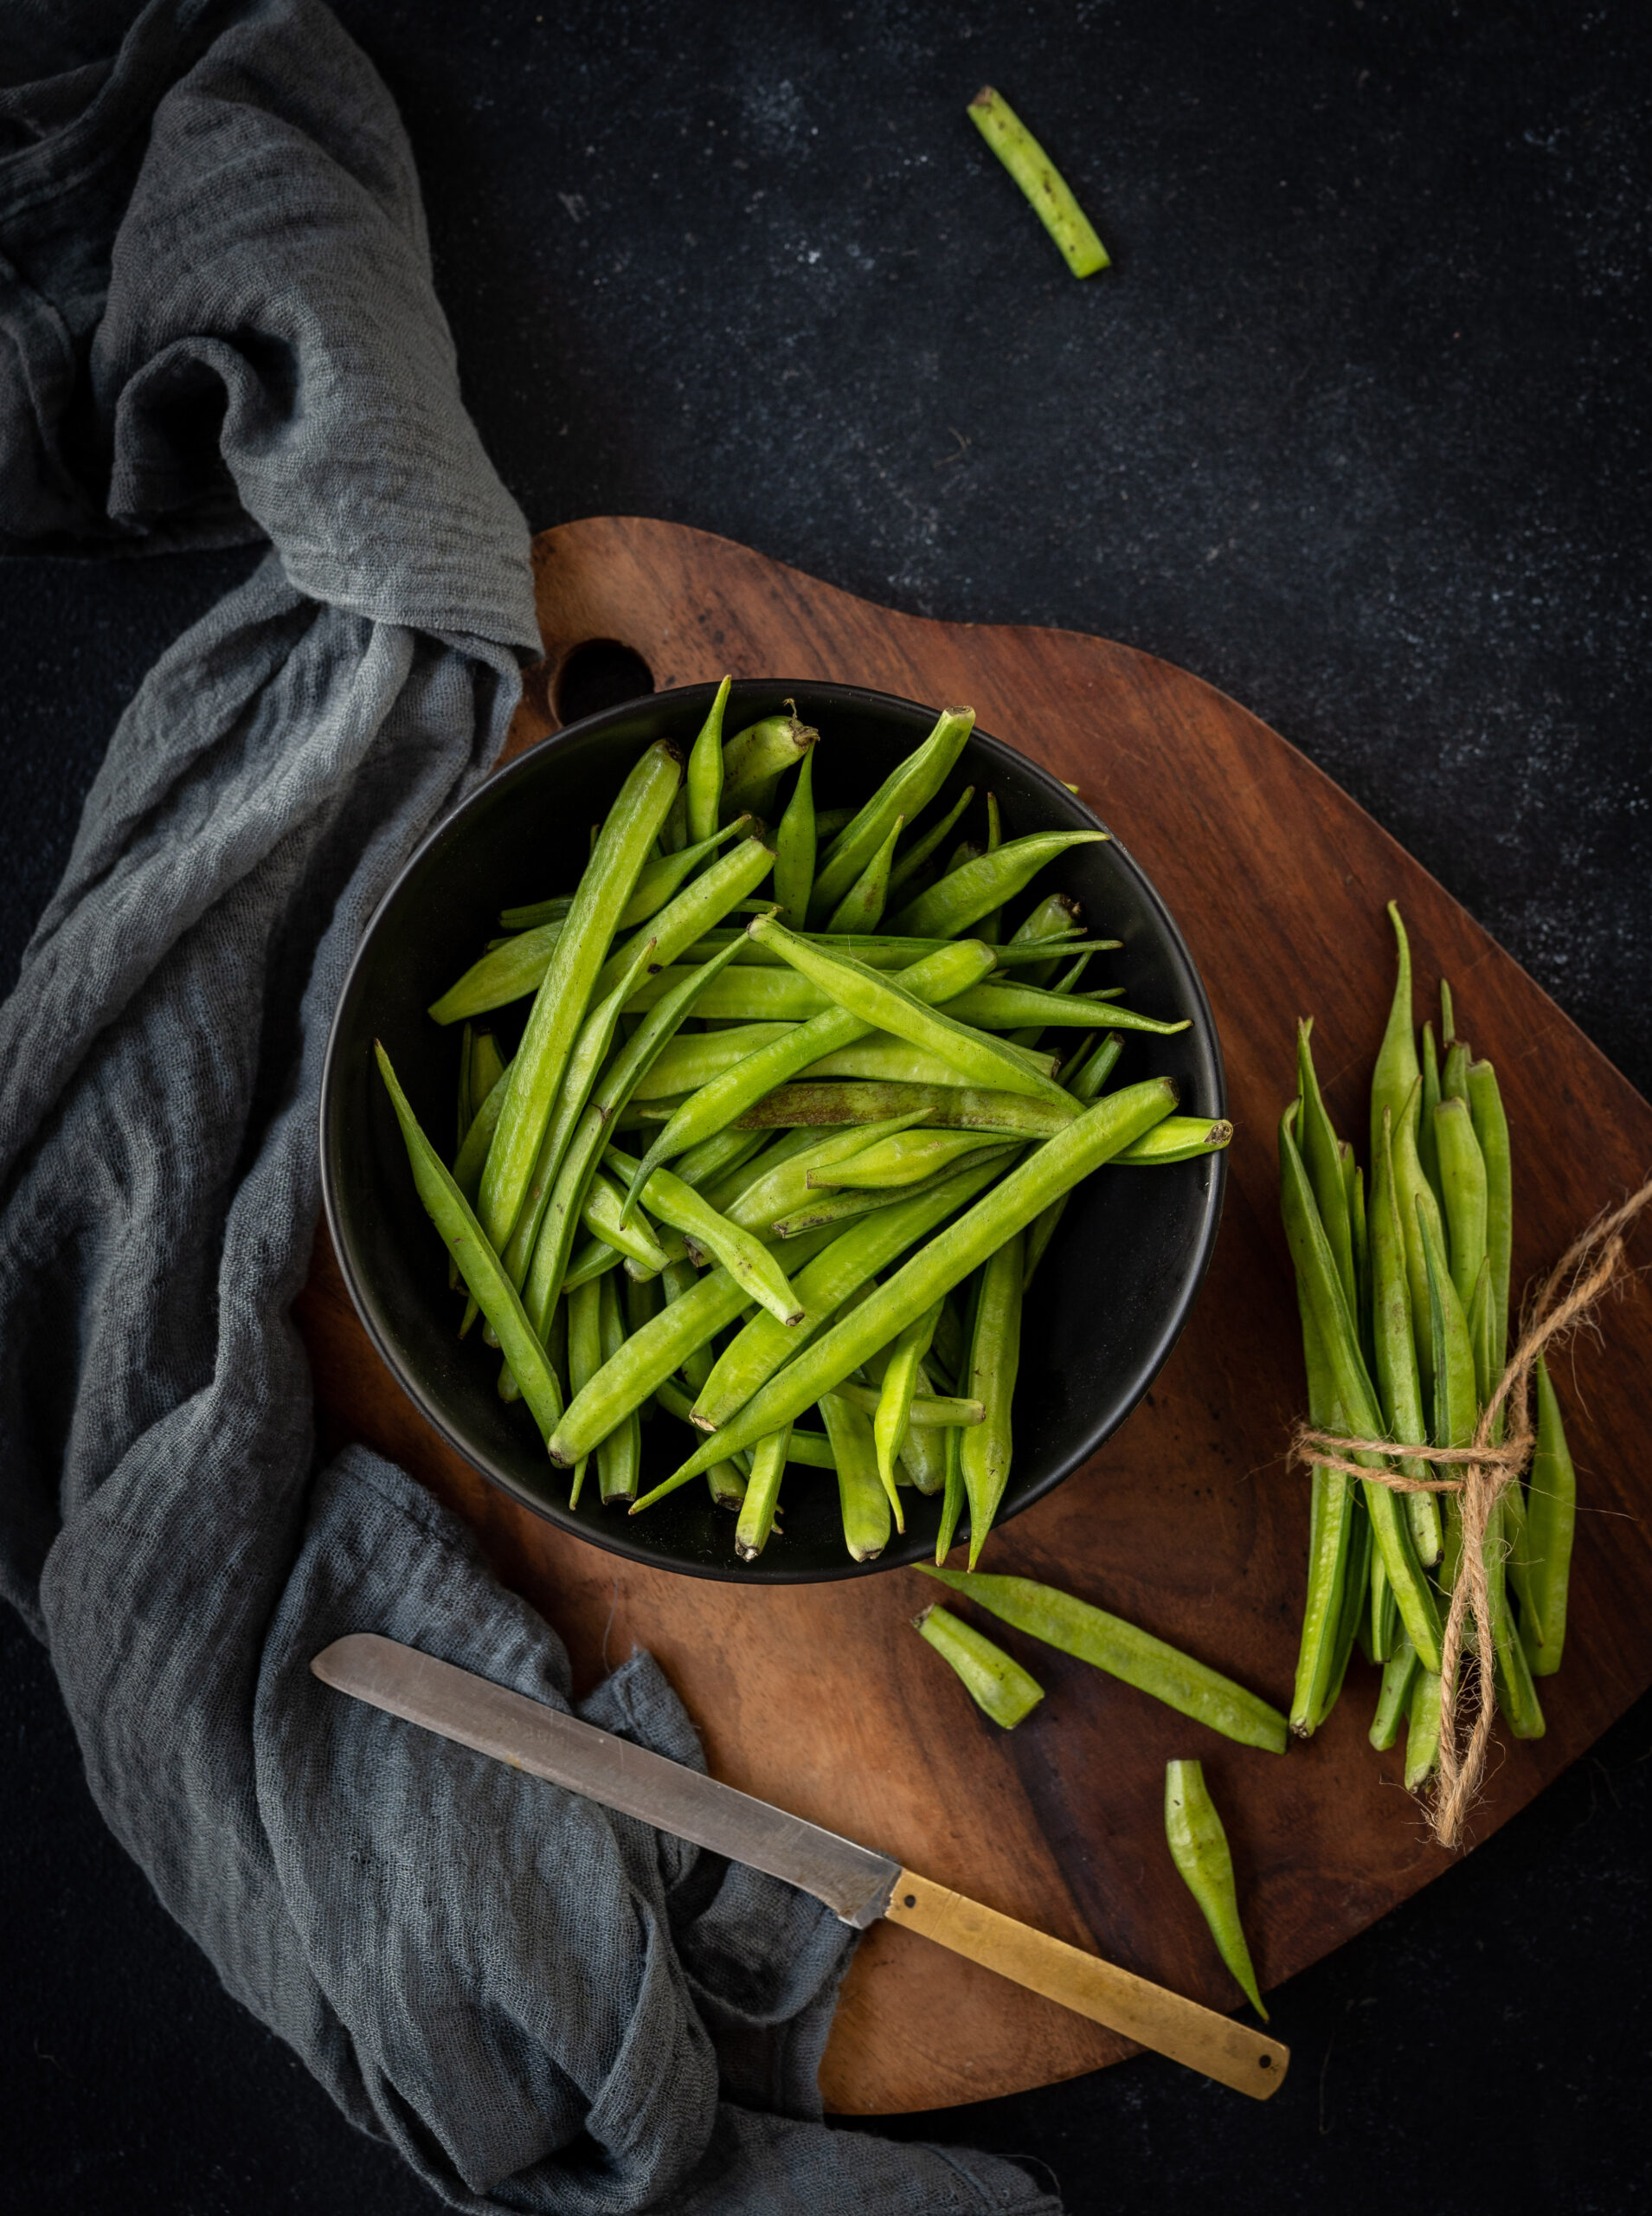
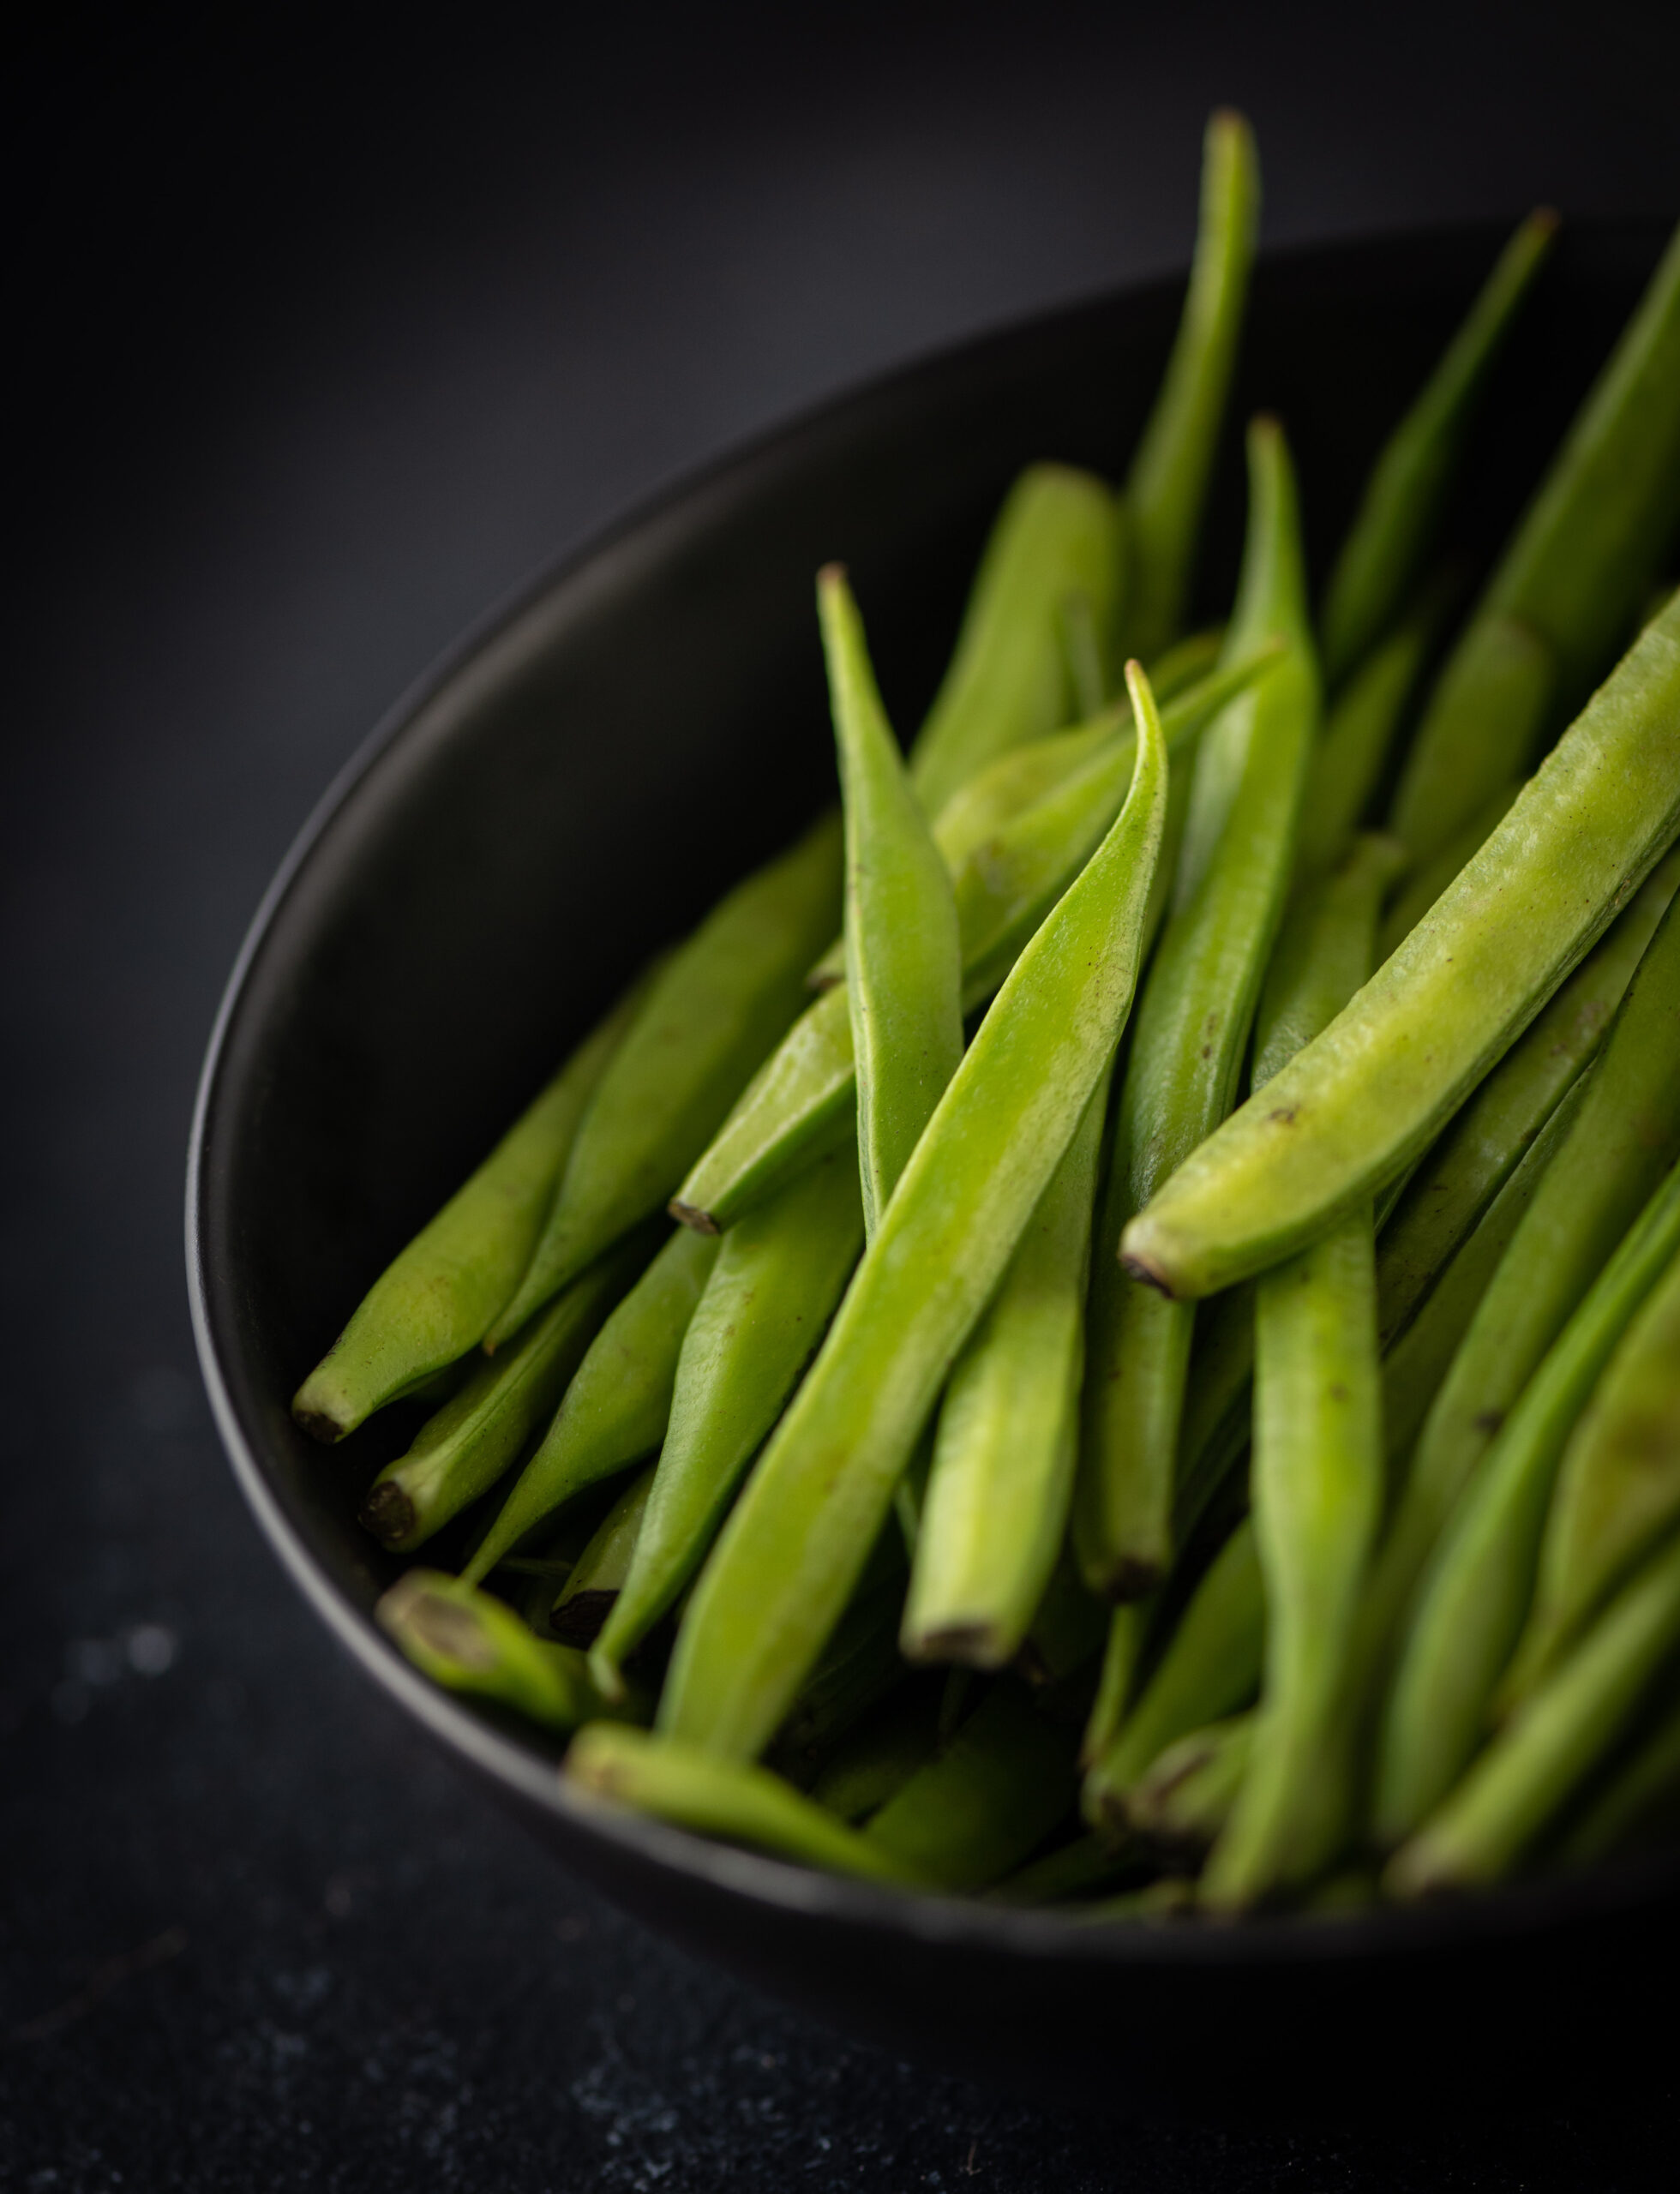
¼ kilogram cluster beans
2 tablespoons oil
1 teaspoon ajwain (carom seeds)
Salt to taste
A pinch of turmeric
1 tbsp dhaniya jeera powder (coriander and cumin powder)
½ teaspoon sugar
2 cups water
Dhokli
¼ cup whole wheat flour
¼ cup chickpea flour
Salt to taste
A pinch of turmeric
A pinch of chilli powder
1 teaspoon oil
¼ cup (or less) water
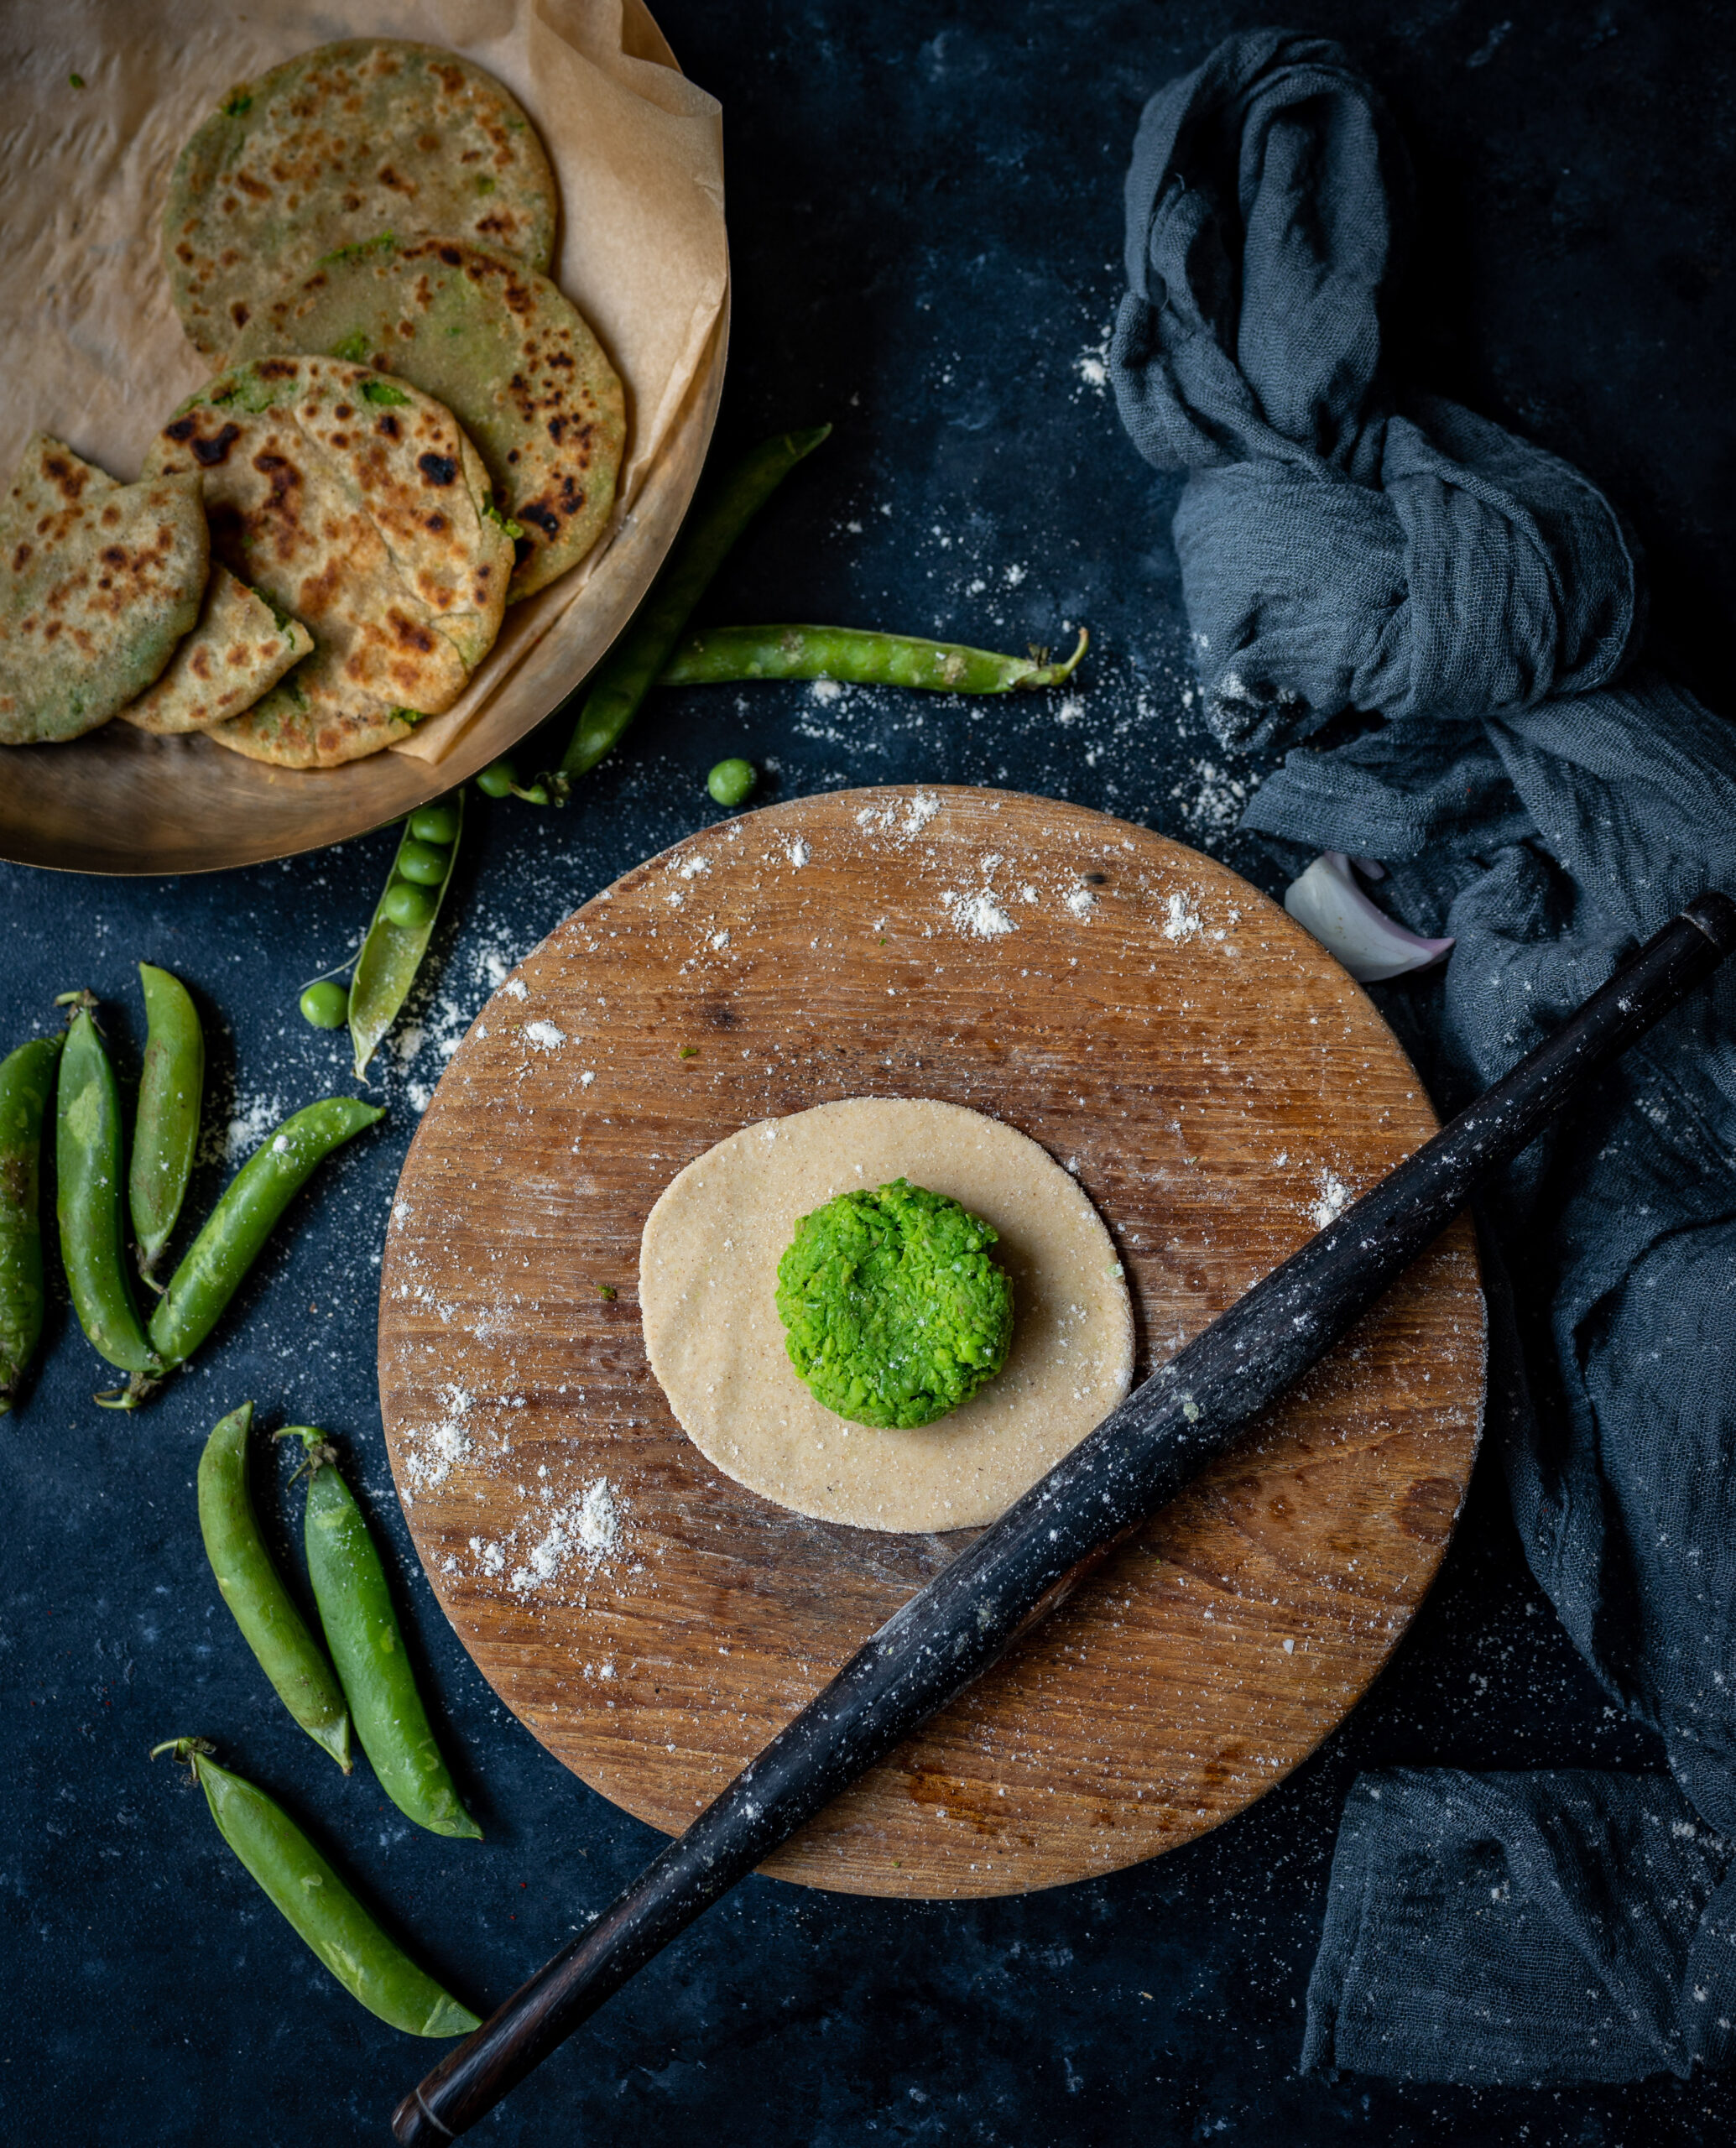
First, prepare the dhoklis. Make a tight dough with the above ingredients, adjusting the water accordingly. Now, make small discs with the palm of your hand. Set aside.
Then, prepare the gravy. First, wash and cut the guar into the desired size.
In a pressure cooker, add the oil. Once it has heated, add the ajwain. Next, add the chopped guar. Add 1 cup of water and allow the vegetable to cook until it is tender. This takes no more than 1 whistle.
Once cooled, open the lid and add another cup of hot water and then add the dhoklis that were set aside earlier.
Add the remaining spices and stir gently.
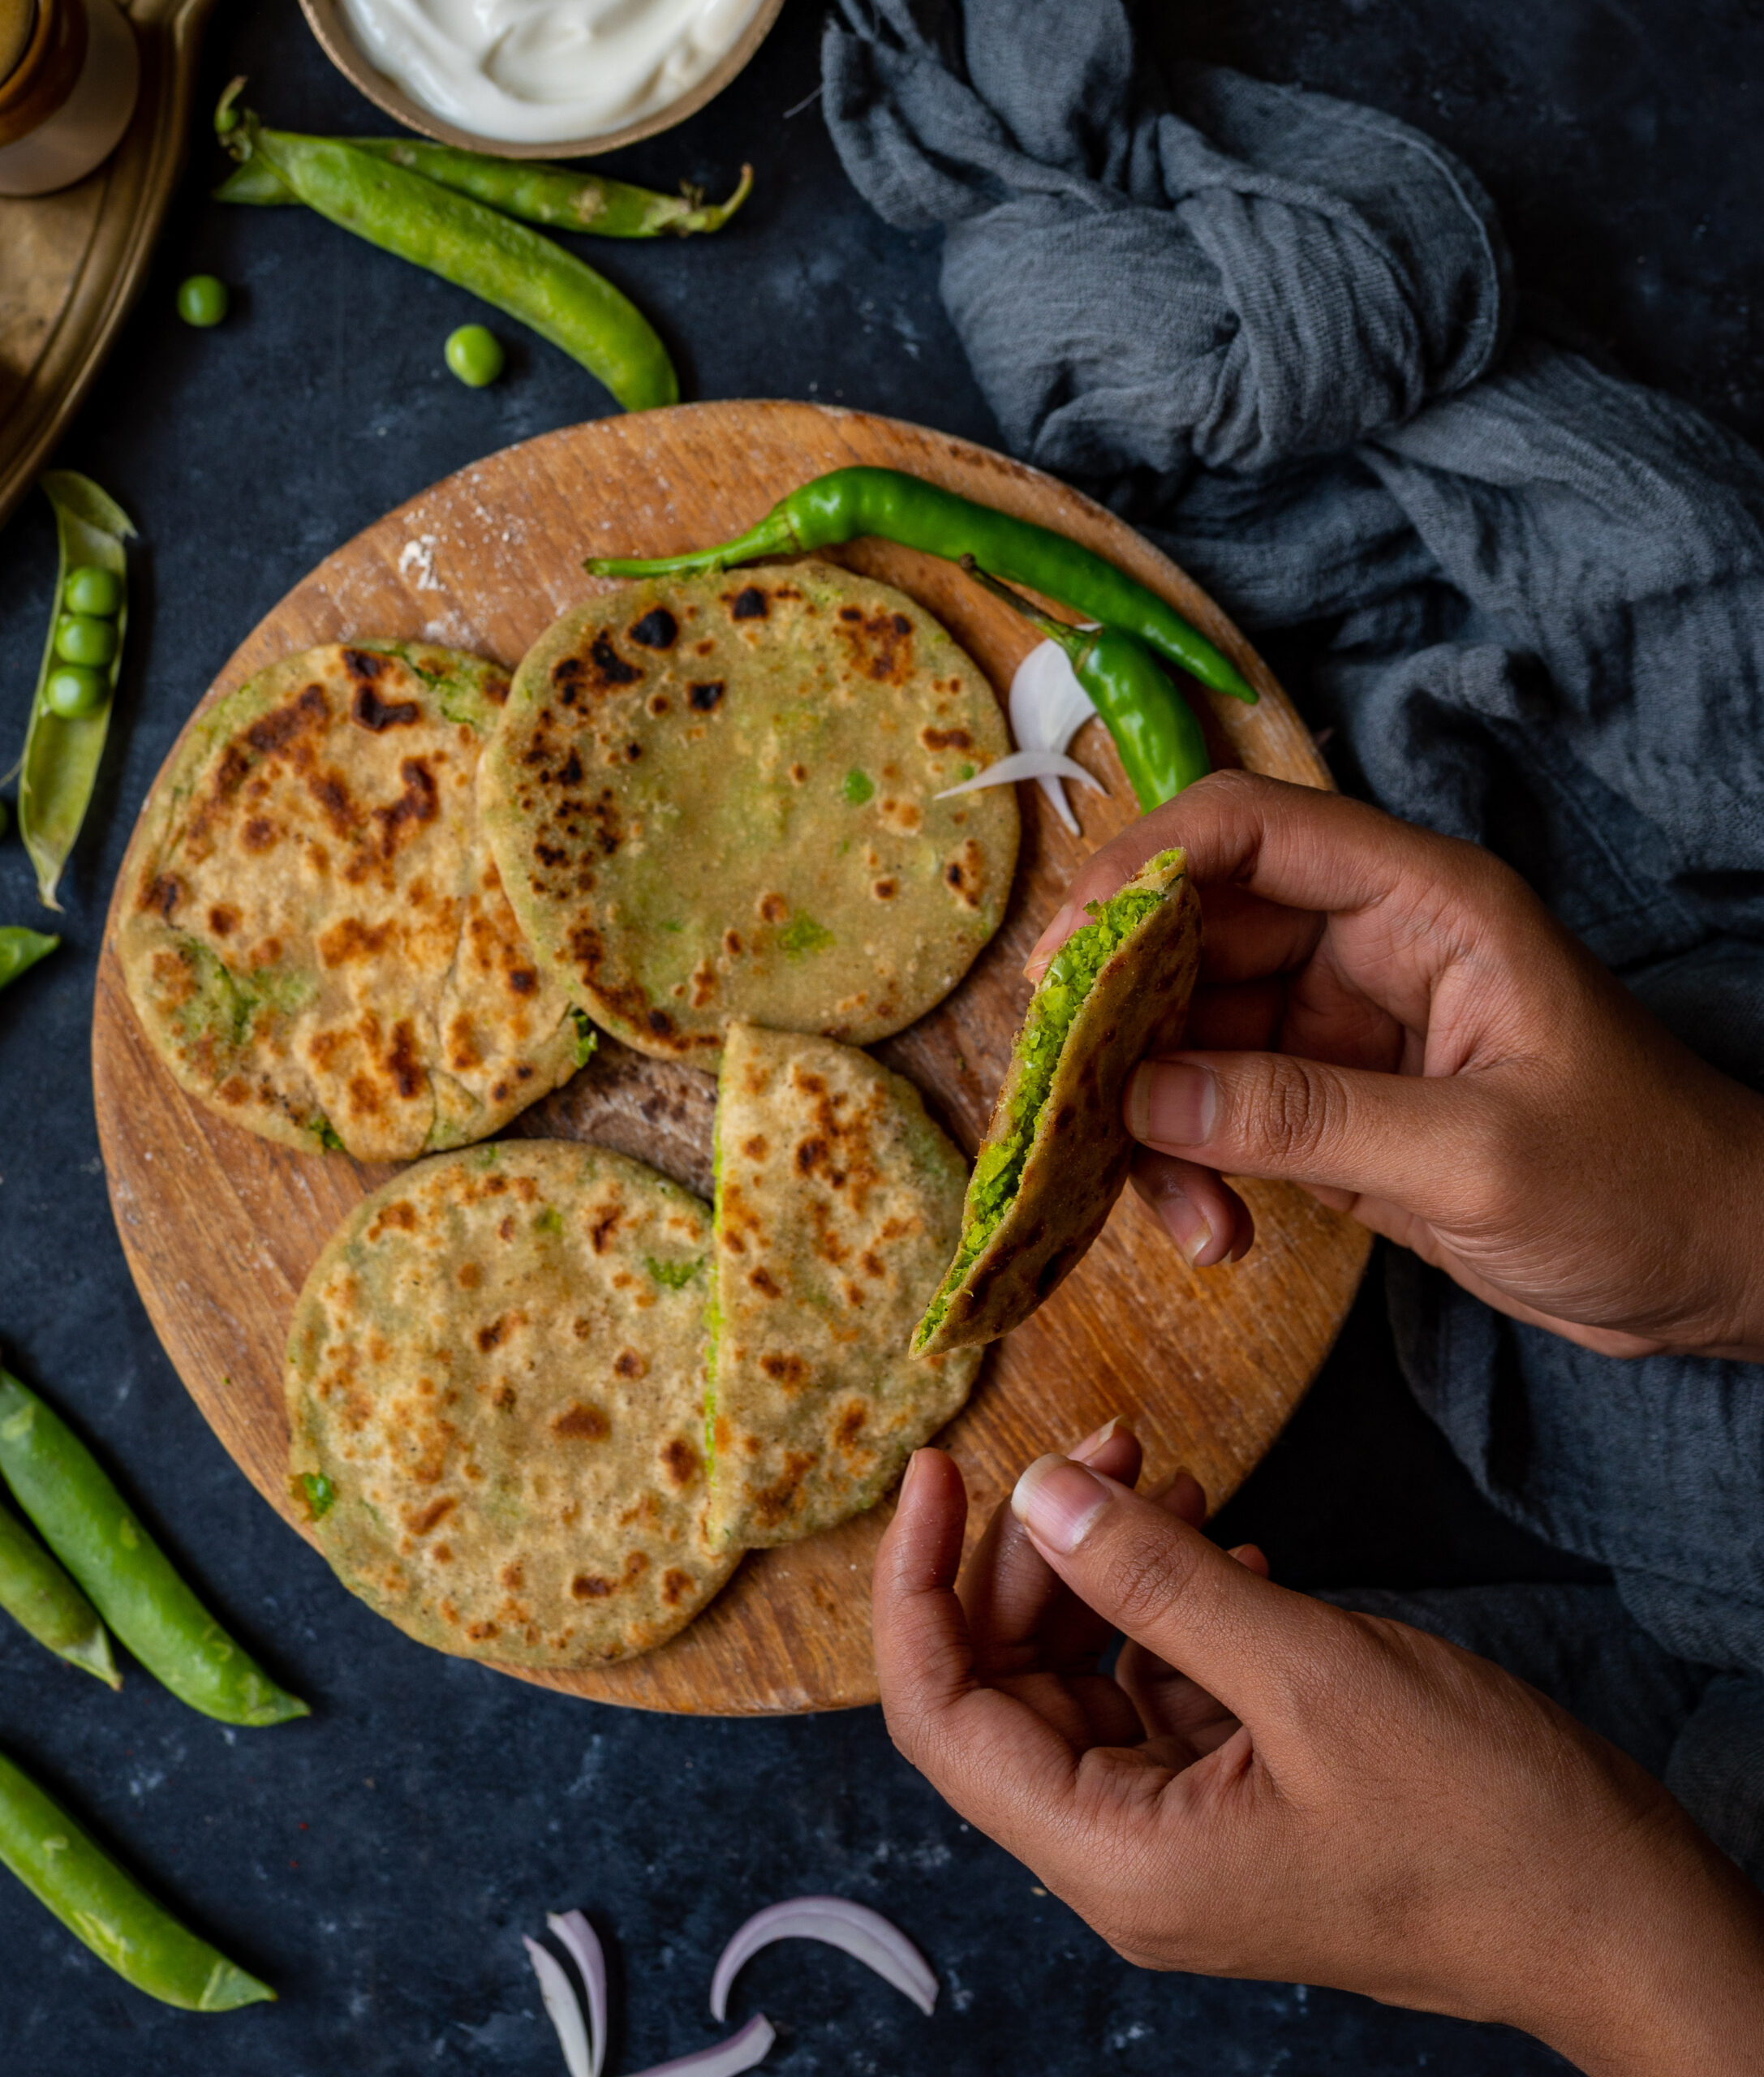
Once cooked, allow to cool for about 5-8 minutes. Your guar dhokli is now ready.
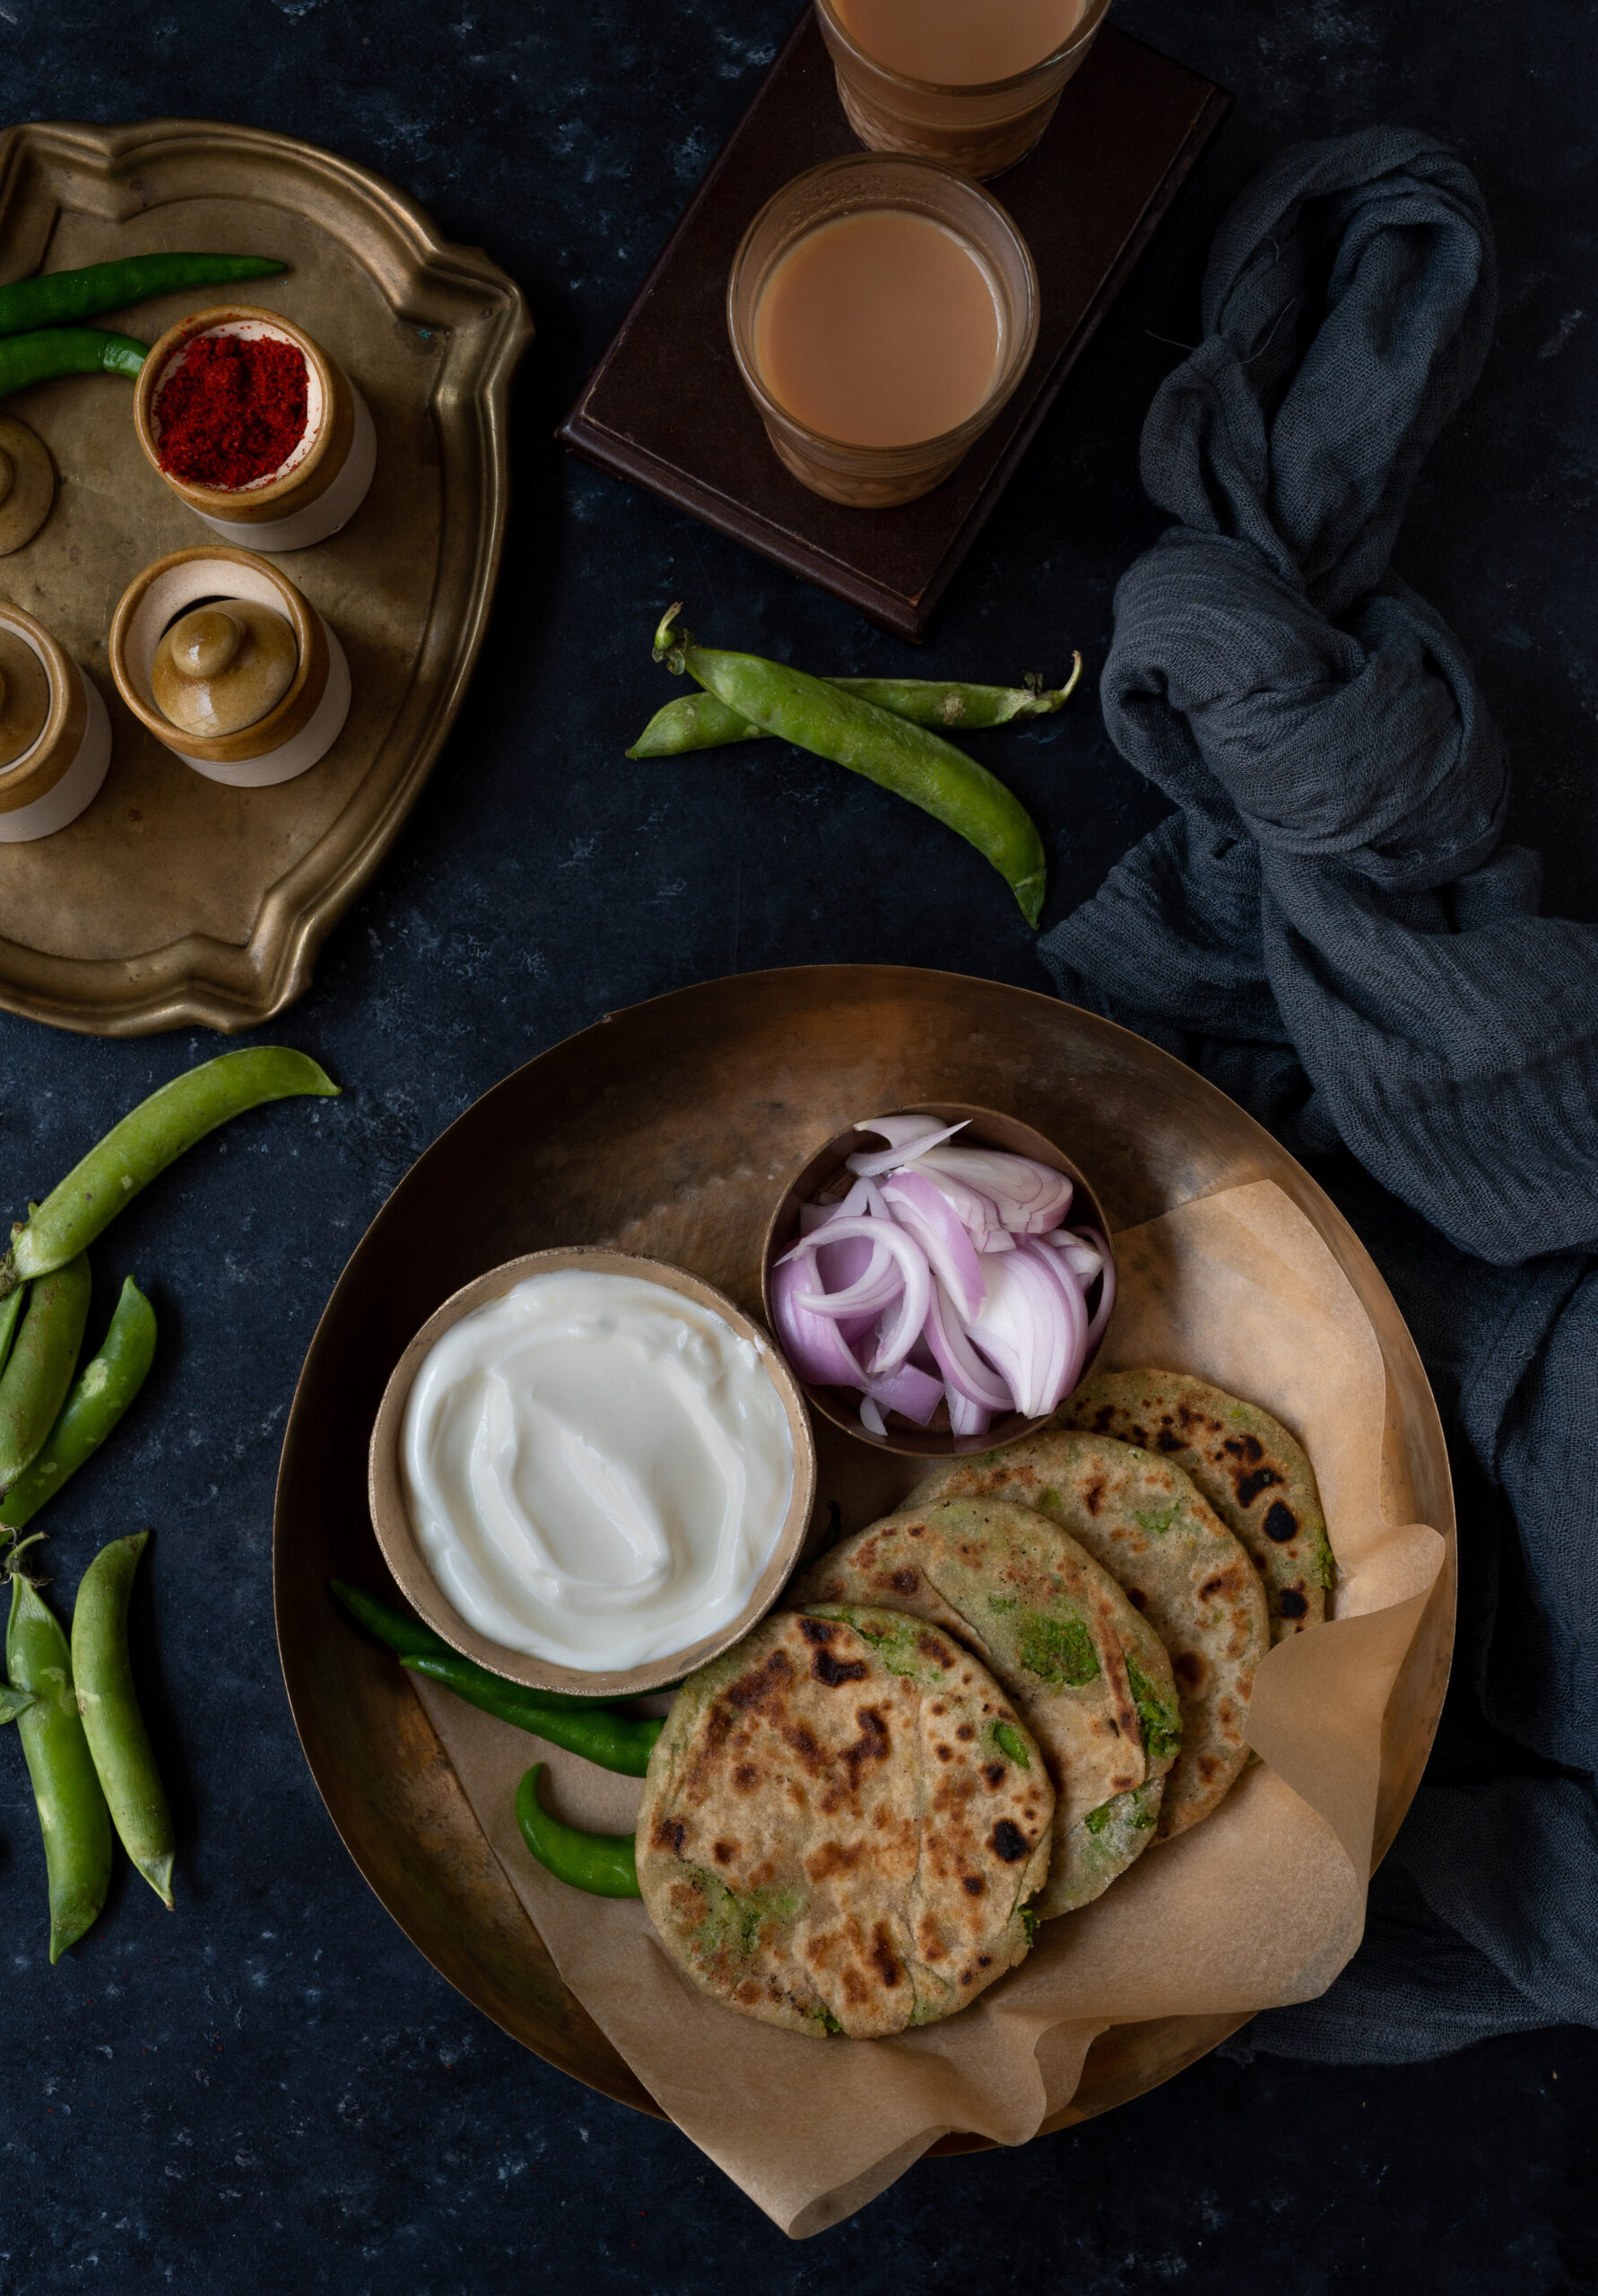
This dish is best served with rotis or rice, since it has a gravy component.
There you have it – guar dhokli, a dish that can turn a rather unpopular vegetable into a hit. Try it yourself and tell me what you think. I hope this recipe inspires you to bring the cluster bean into your repertoire, on repeat!