Confession: I have a dislike for cucumber. This has been a problem for me because for Indian salads, or at least the one I grew up having to eat, cucumber is a basic ingredient. At some point, I decided that I had better make friends with the vegetable. Not only is it present at so many meals, but it also happens to be very healthy, full of antioxidants and very hydrating. I knew that being innovative about the preparation, as well as making it attractive in its presentation, were the keys. That is how this Asian cucumber salad came to be.
The particular salad I grew up with was the Indian kachumber. It contains onions, tomatoes and cucumbers – all sliced and served raw, and seasoned with salt and chilli powder. My childhood impressions of it certainly did make me averse to cucumber, but in hindsight I recognise that it was the way it was presented that was as unappealing as the taste. Children’s palates veer away from vegetables. I eventually learned to love many of them, as you may have noticed from so many recipes and memories I’ve shared. But the way I saw cucumber changed only when I changed, well, the way I saw it.
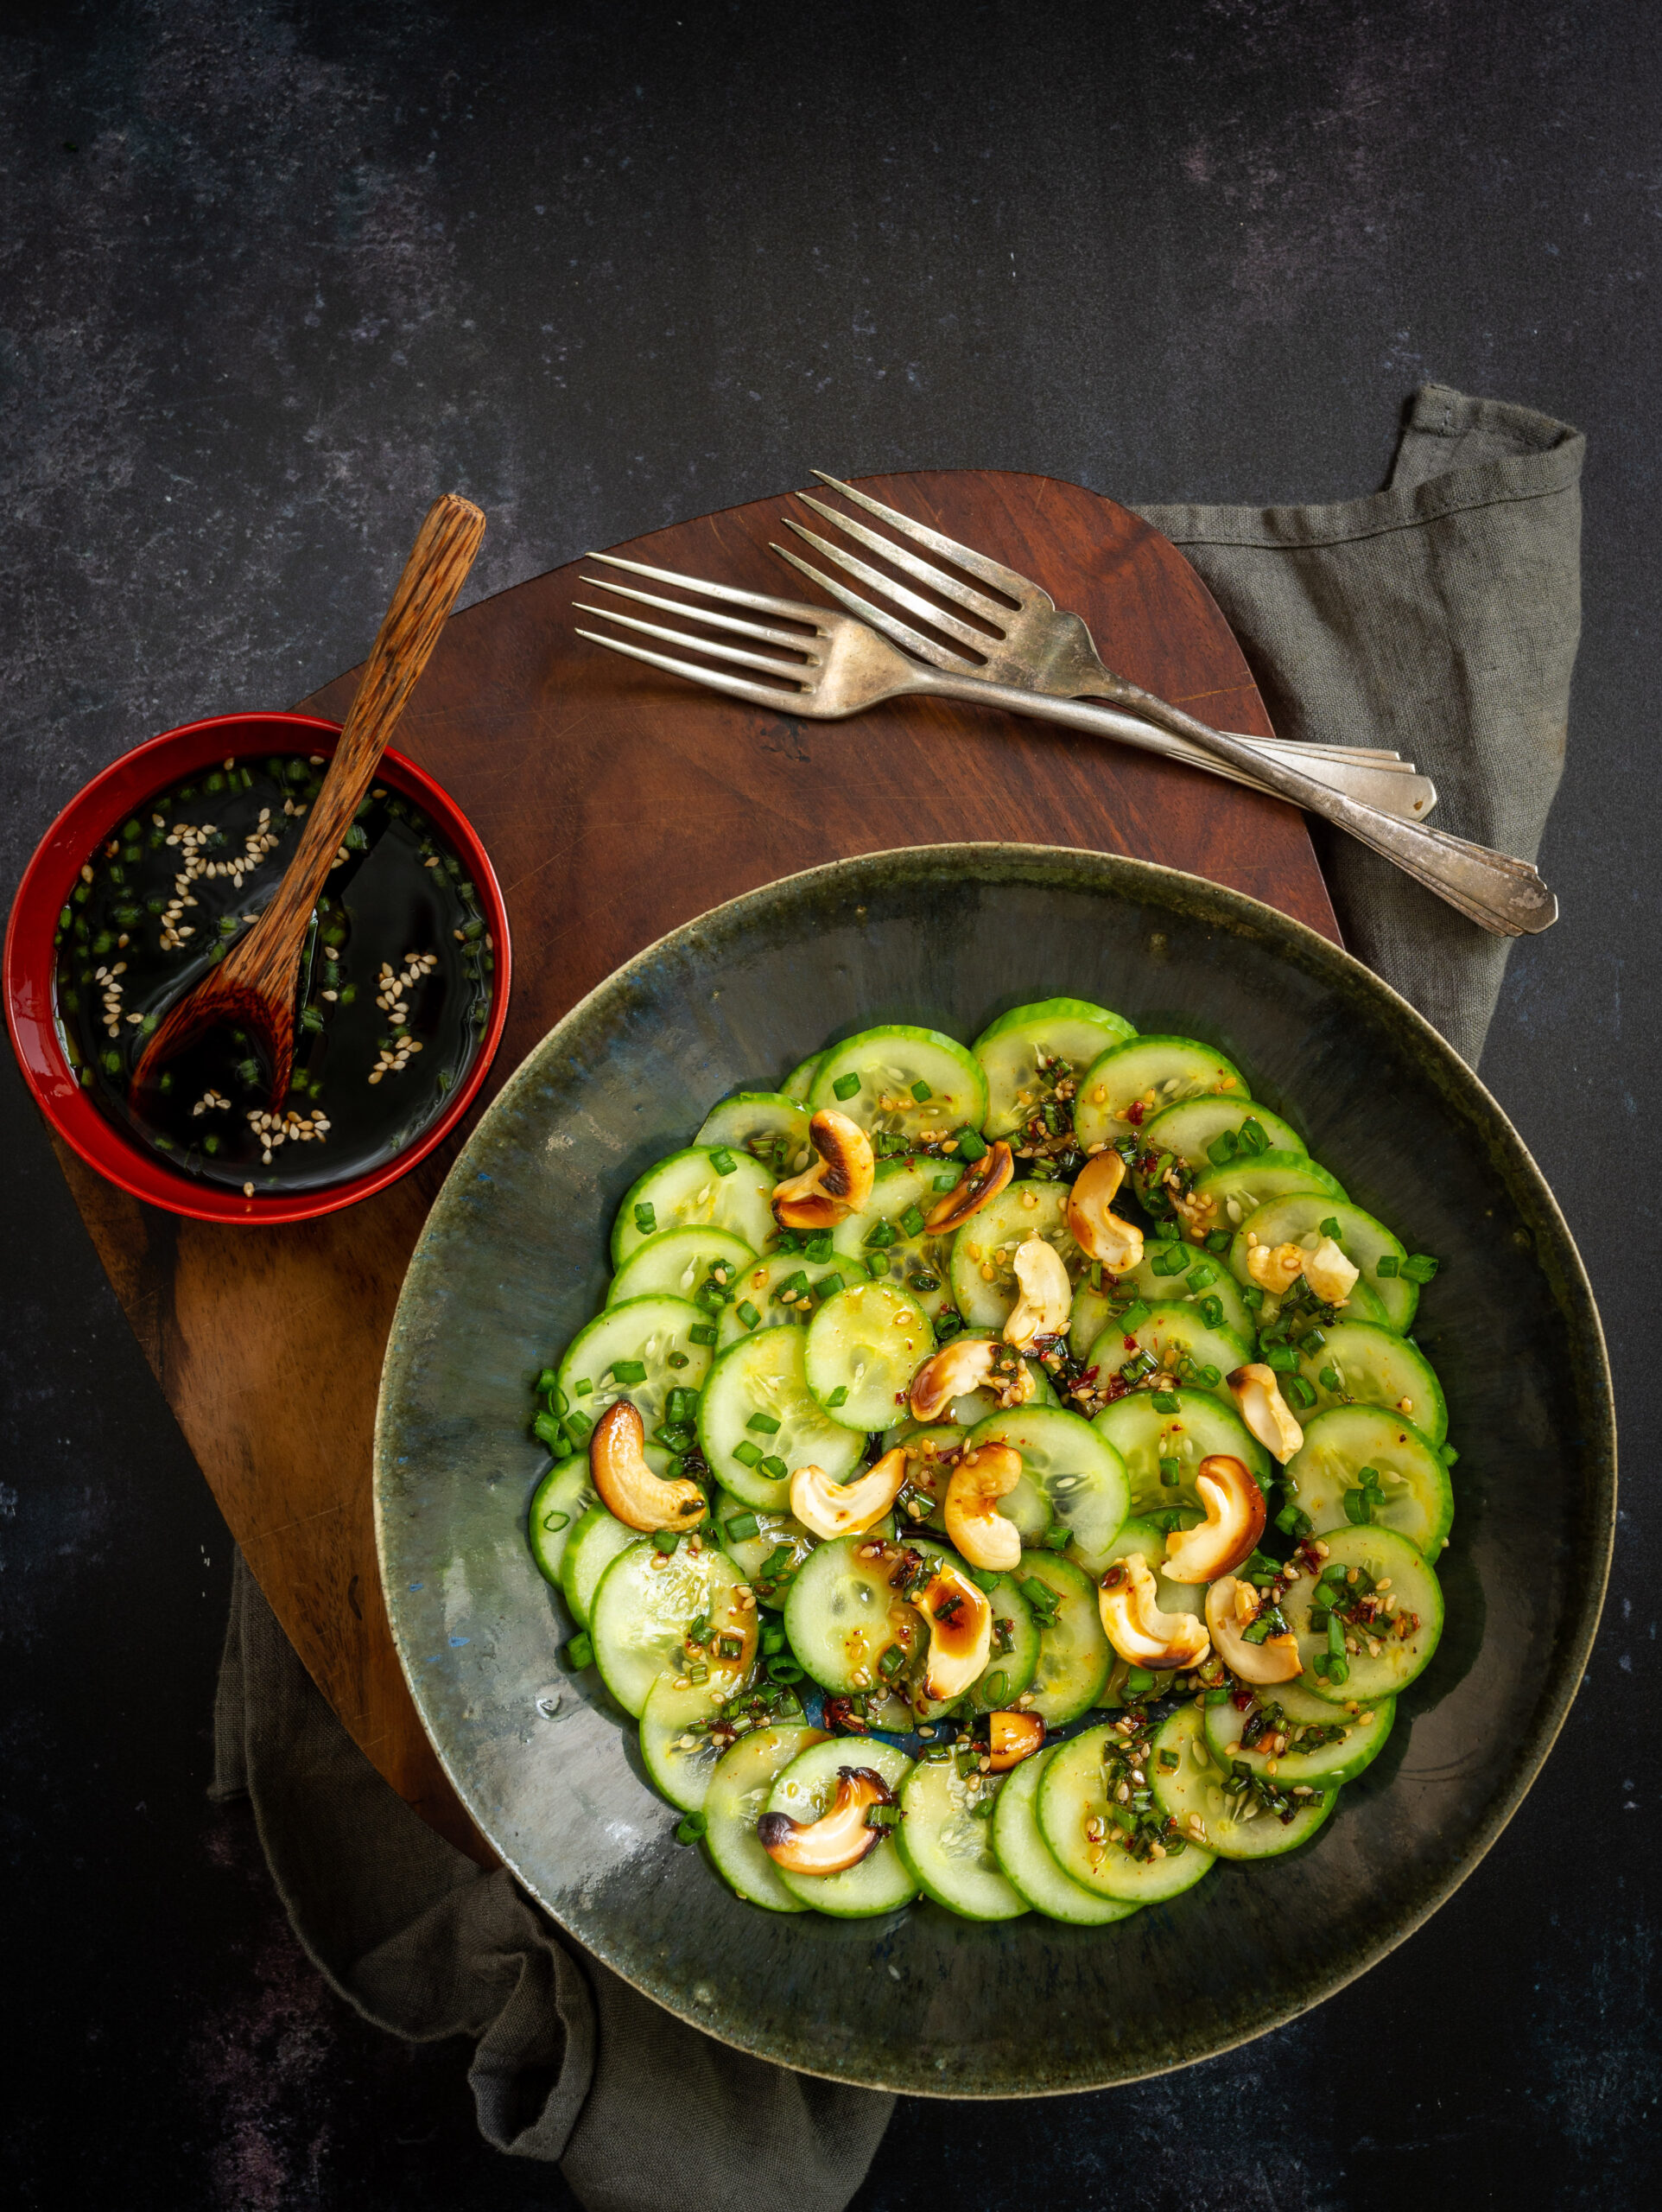
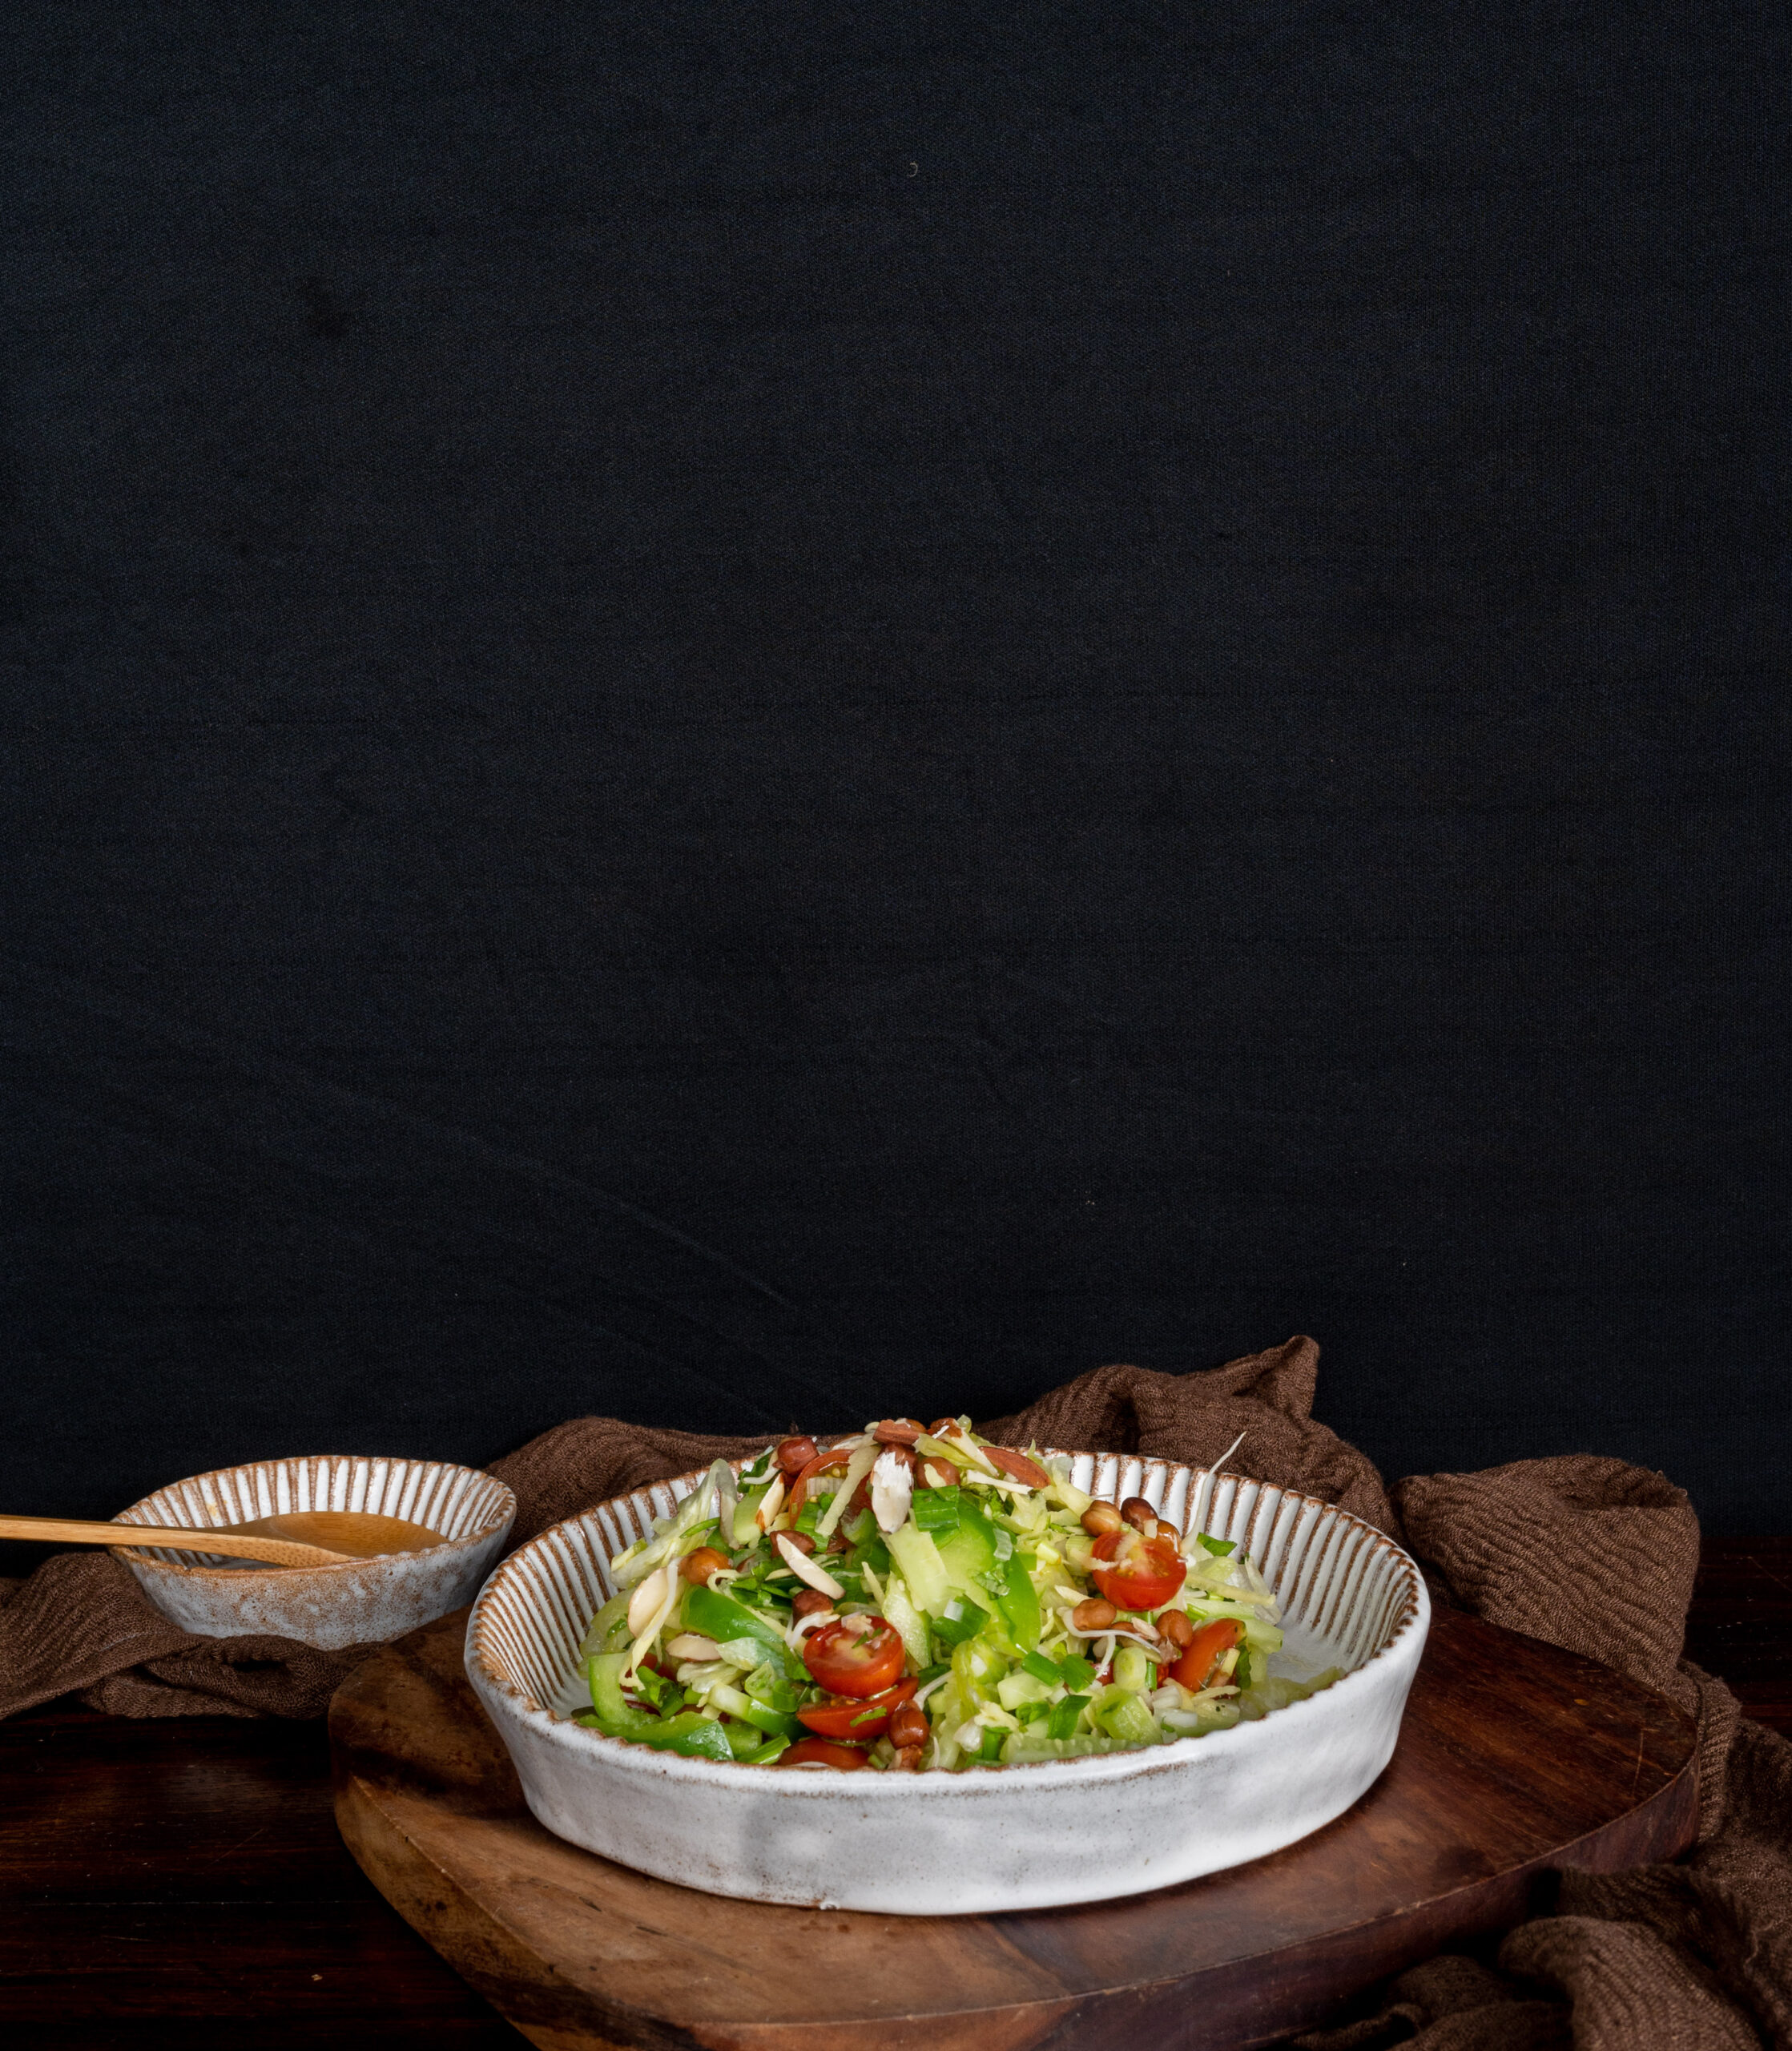
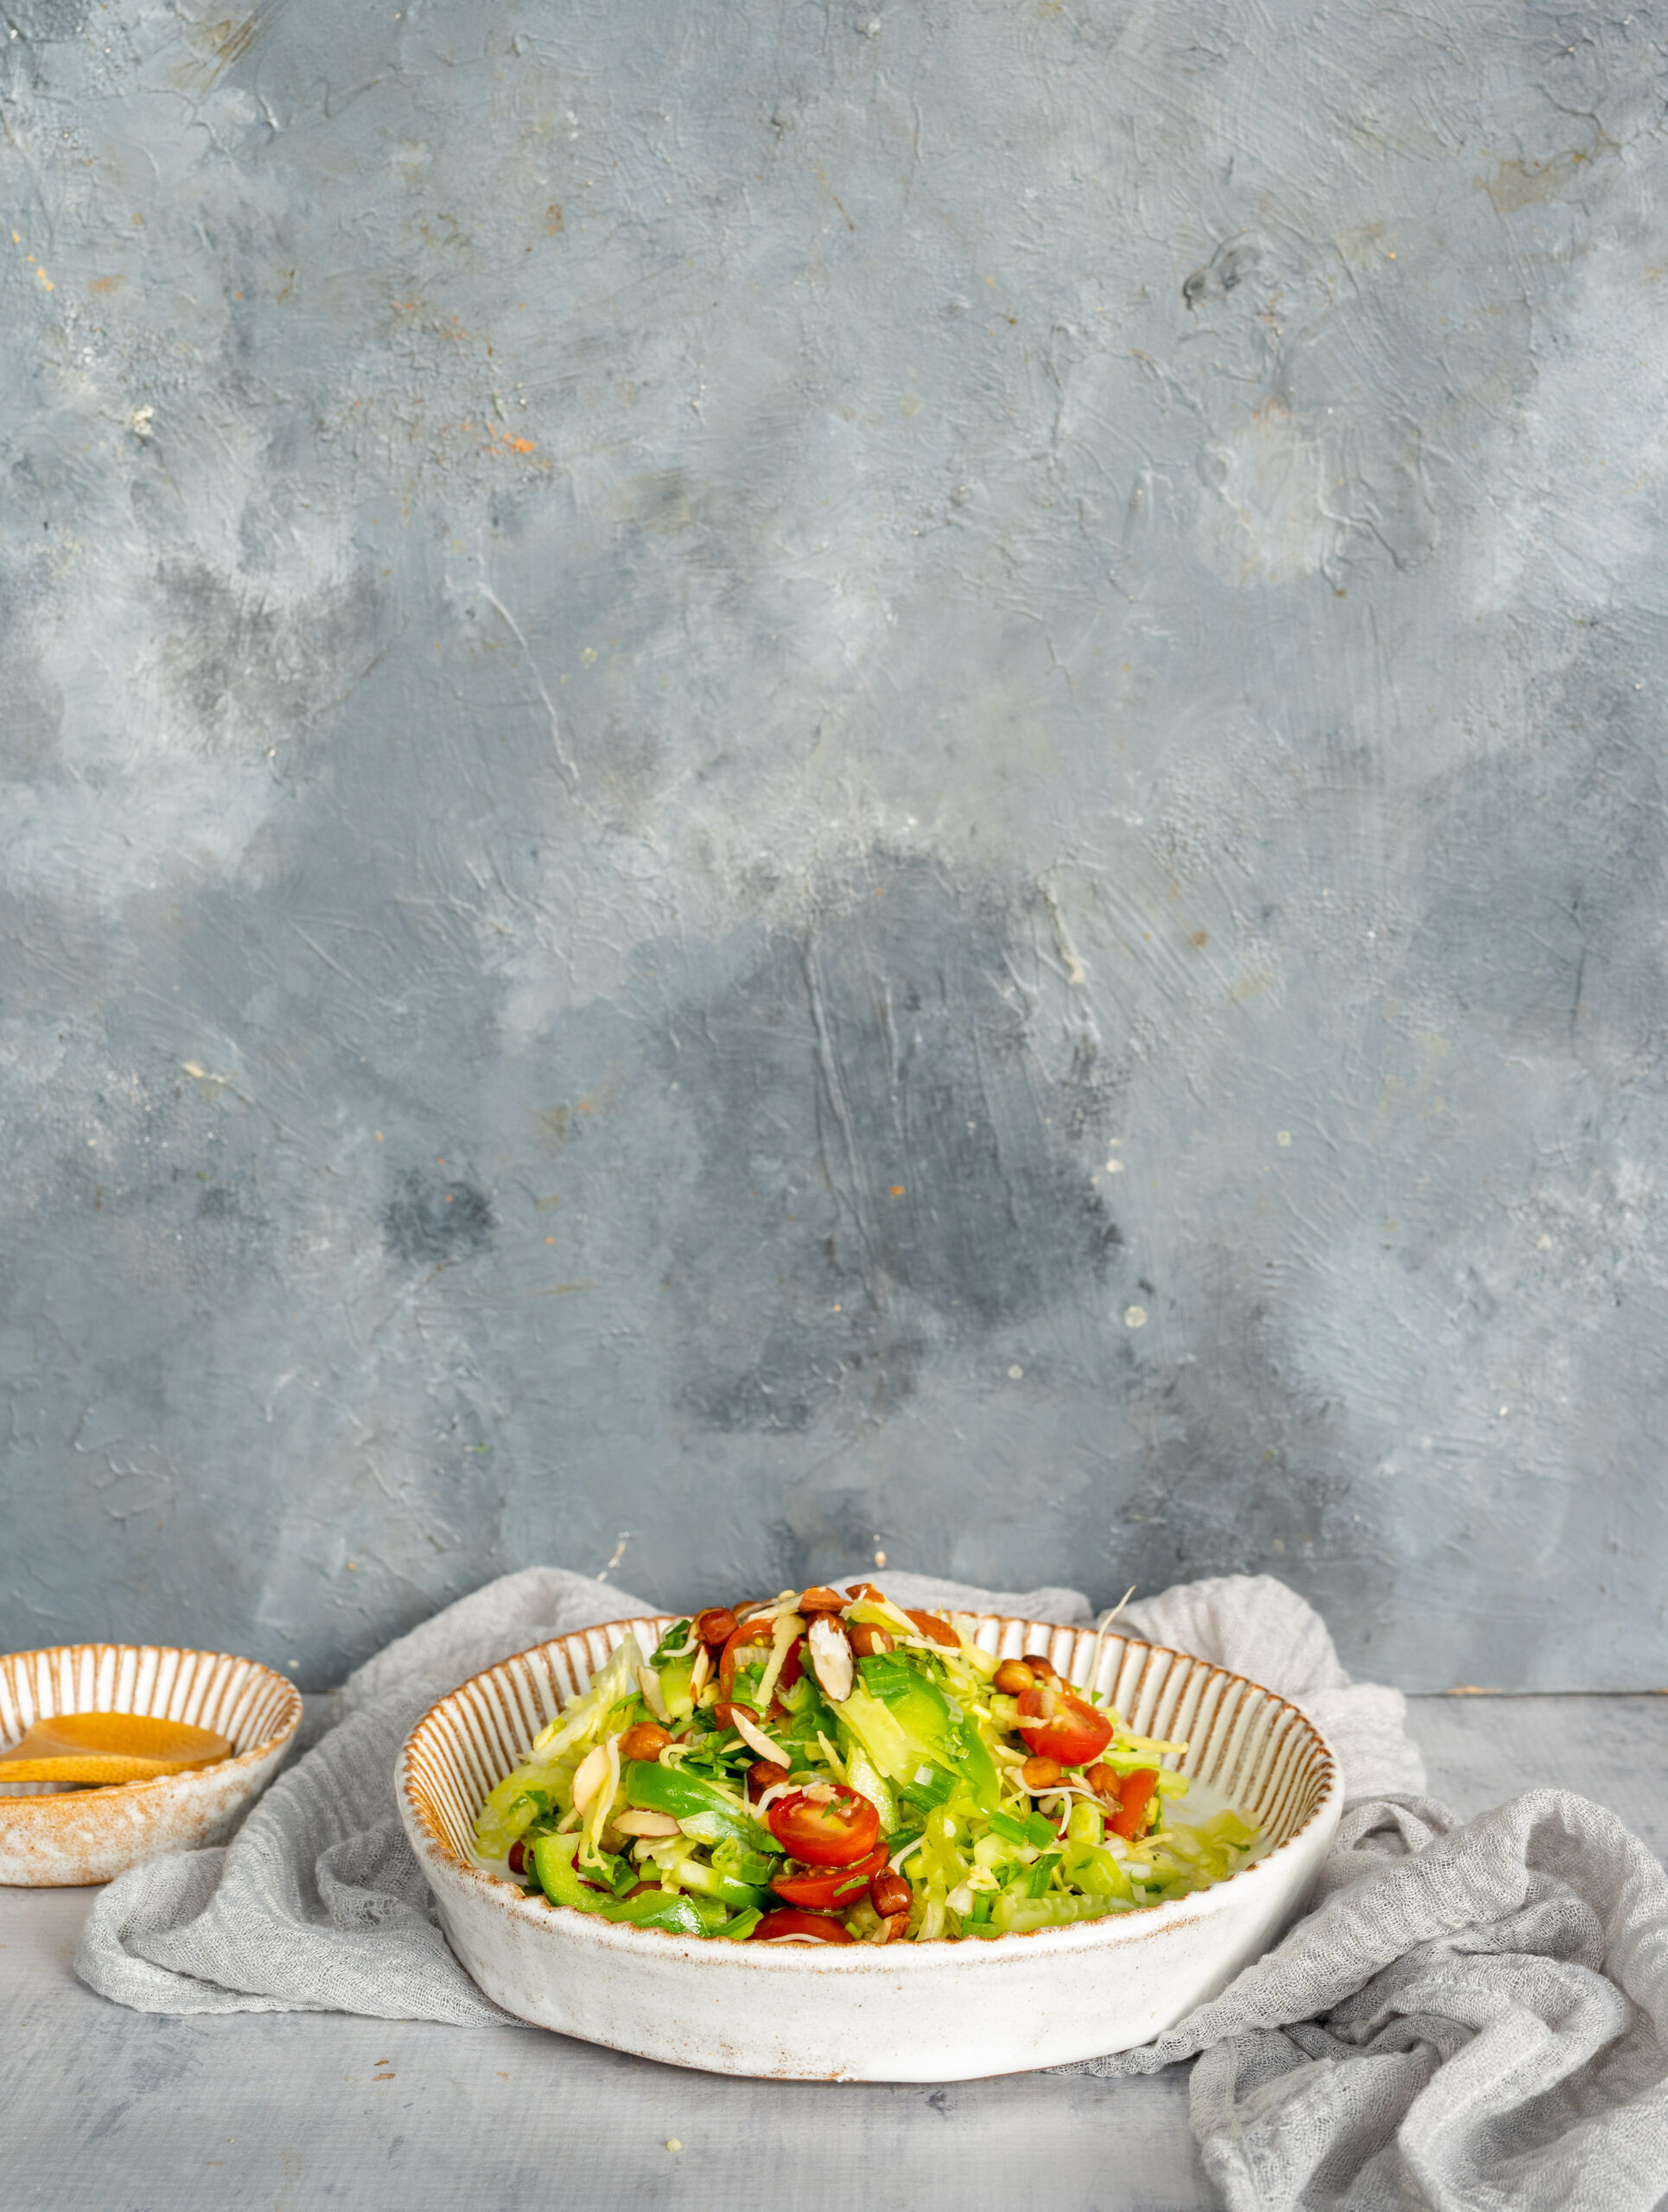
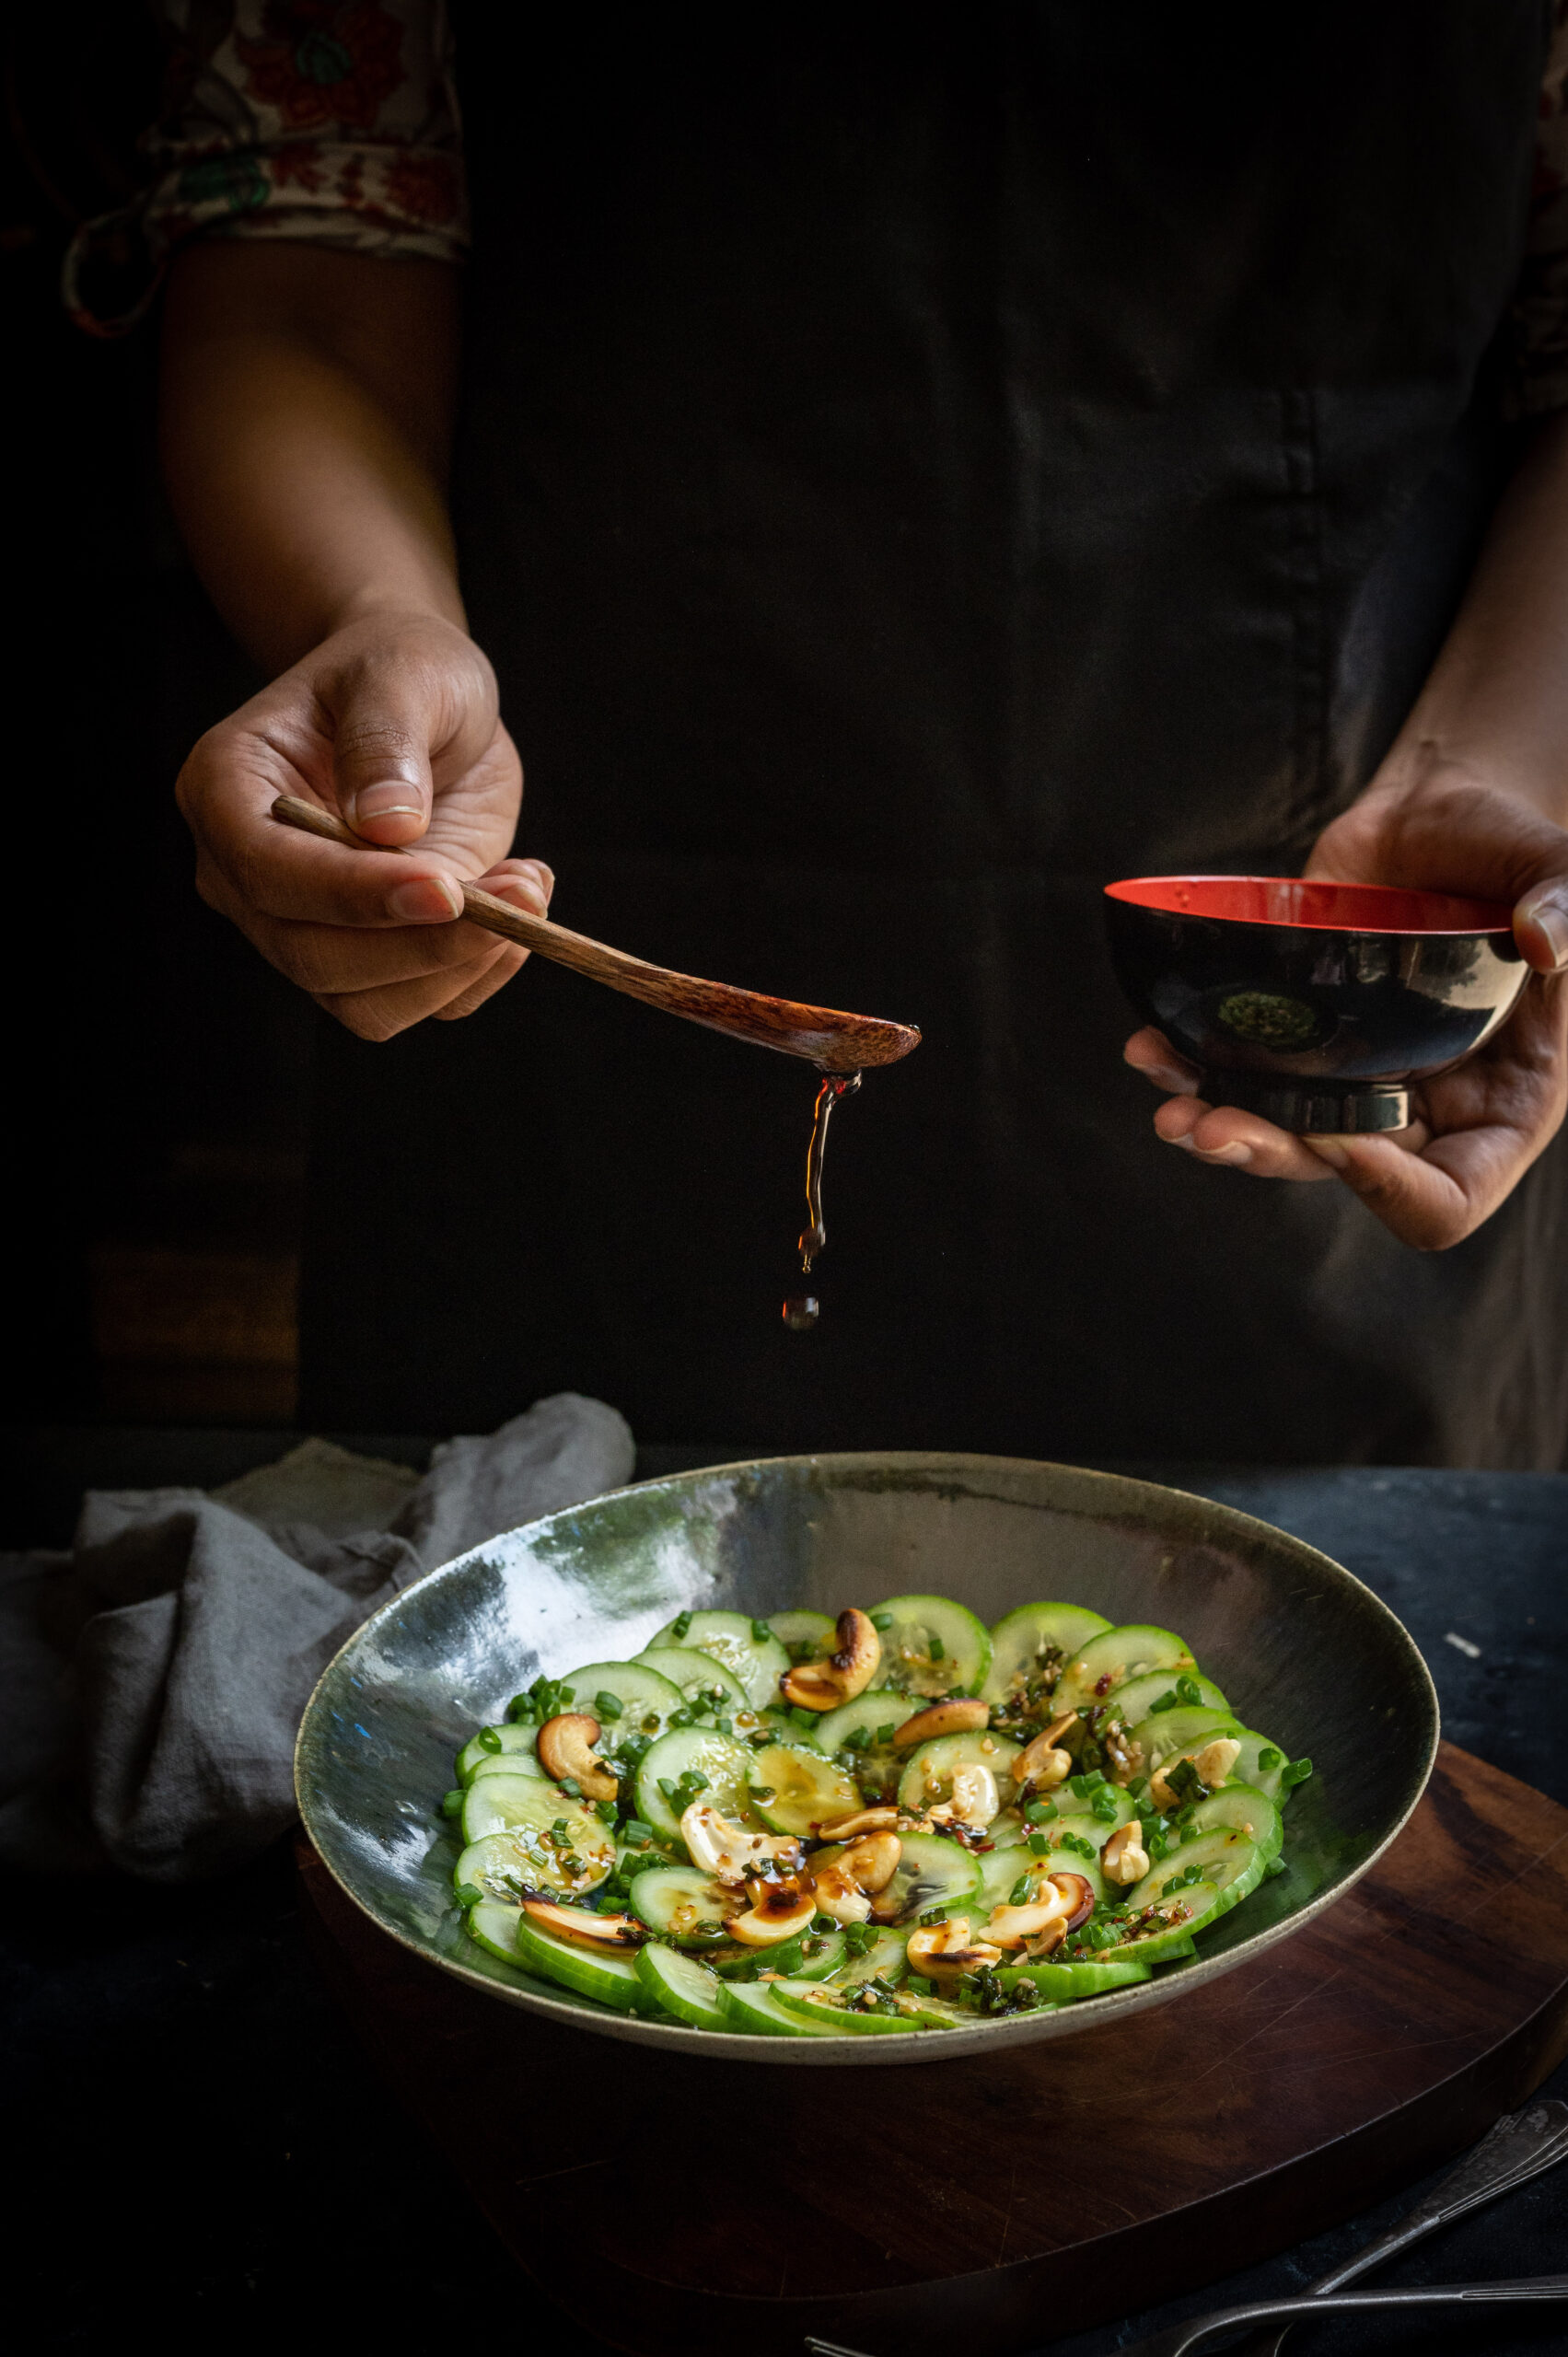
As you can see, I have used a pretty platter to serve the dish. That is a vital component in making any dish look more attractive. When making this salad, here are a few more tips that will increase its visual appeal. Ensure that the cucumber is sliced just before serving, so that it doesn’t look wilted at all. I feel that round slices work better in terms of the look, but if you prefer long ones, go ahead. There are plenty of fancy slicers available too, to play around with shapes and cuts. They could especially increase the fun quotient for kids.
We eat first, but we also make things in our mind before we consume them. For instance, have you ever wondered why red wine is served in a certain glass or white wine in another? A plate, a cup, a serving spoon… It became the standard because someone began using it, and others followed suit. Make your own style, break out. It makes the whole culinary experience more interesting.
But it isn’t just the way the salad looks when well-plated that matters, but the dressing does as well. I found that an Asian-style dressing completely transformed the vegetable and perked it up beautifully. This really is the element that makes this whole dish what it is.
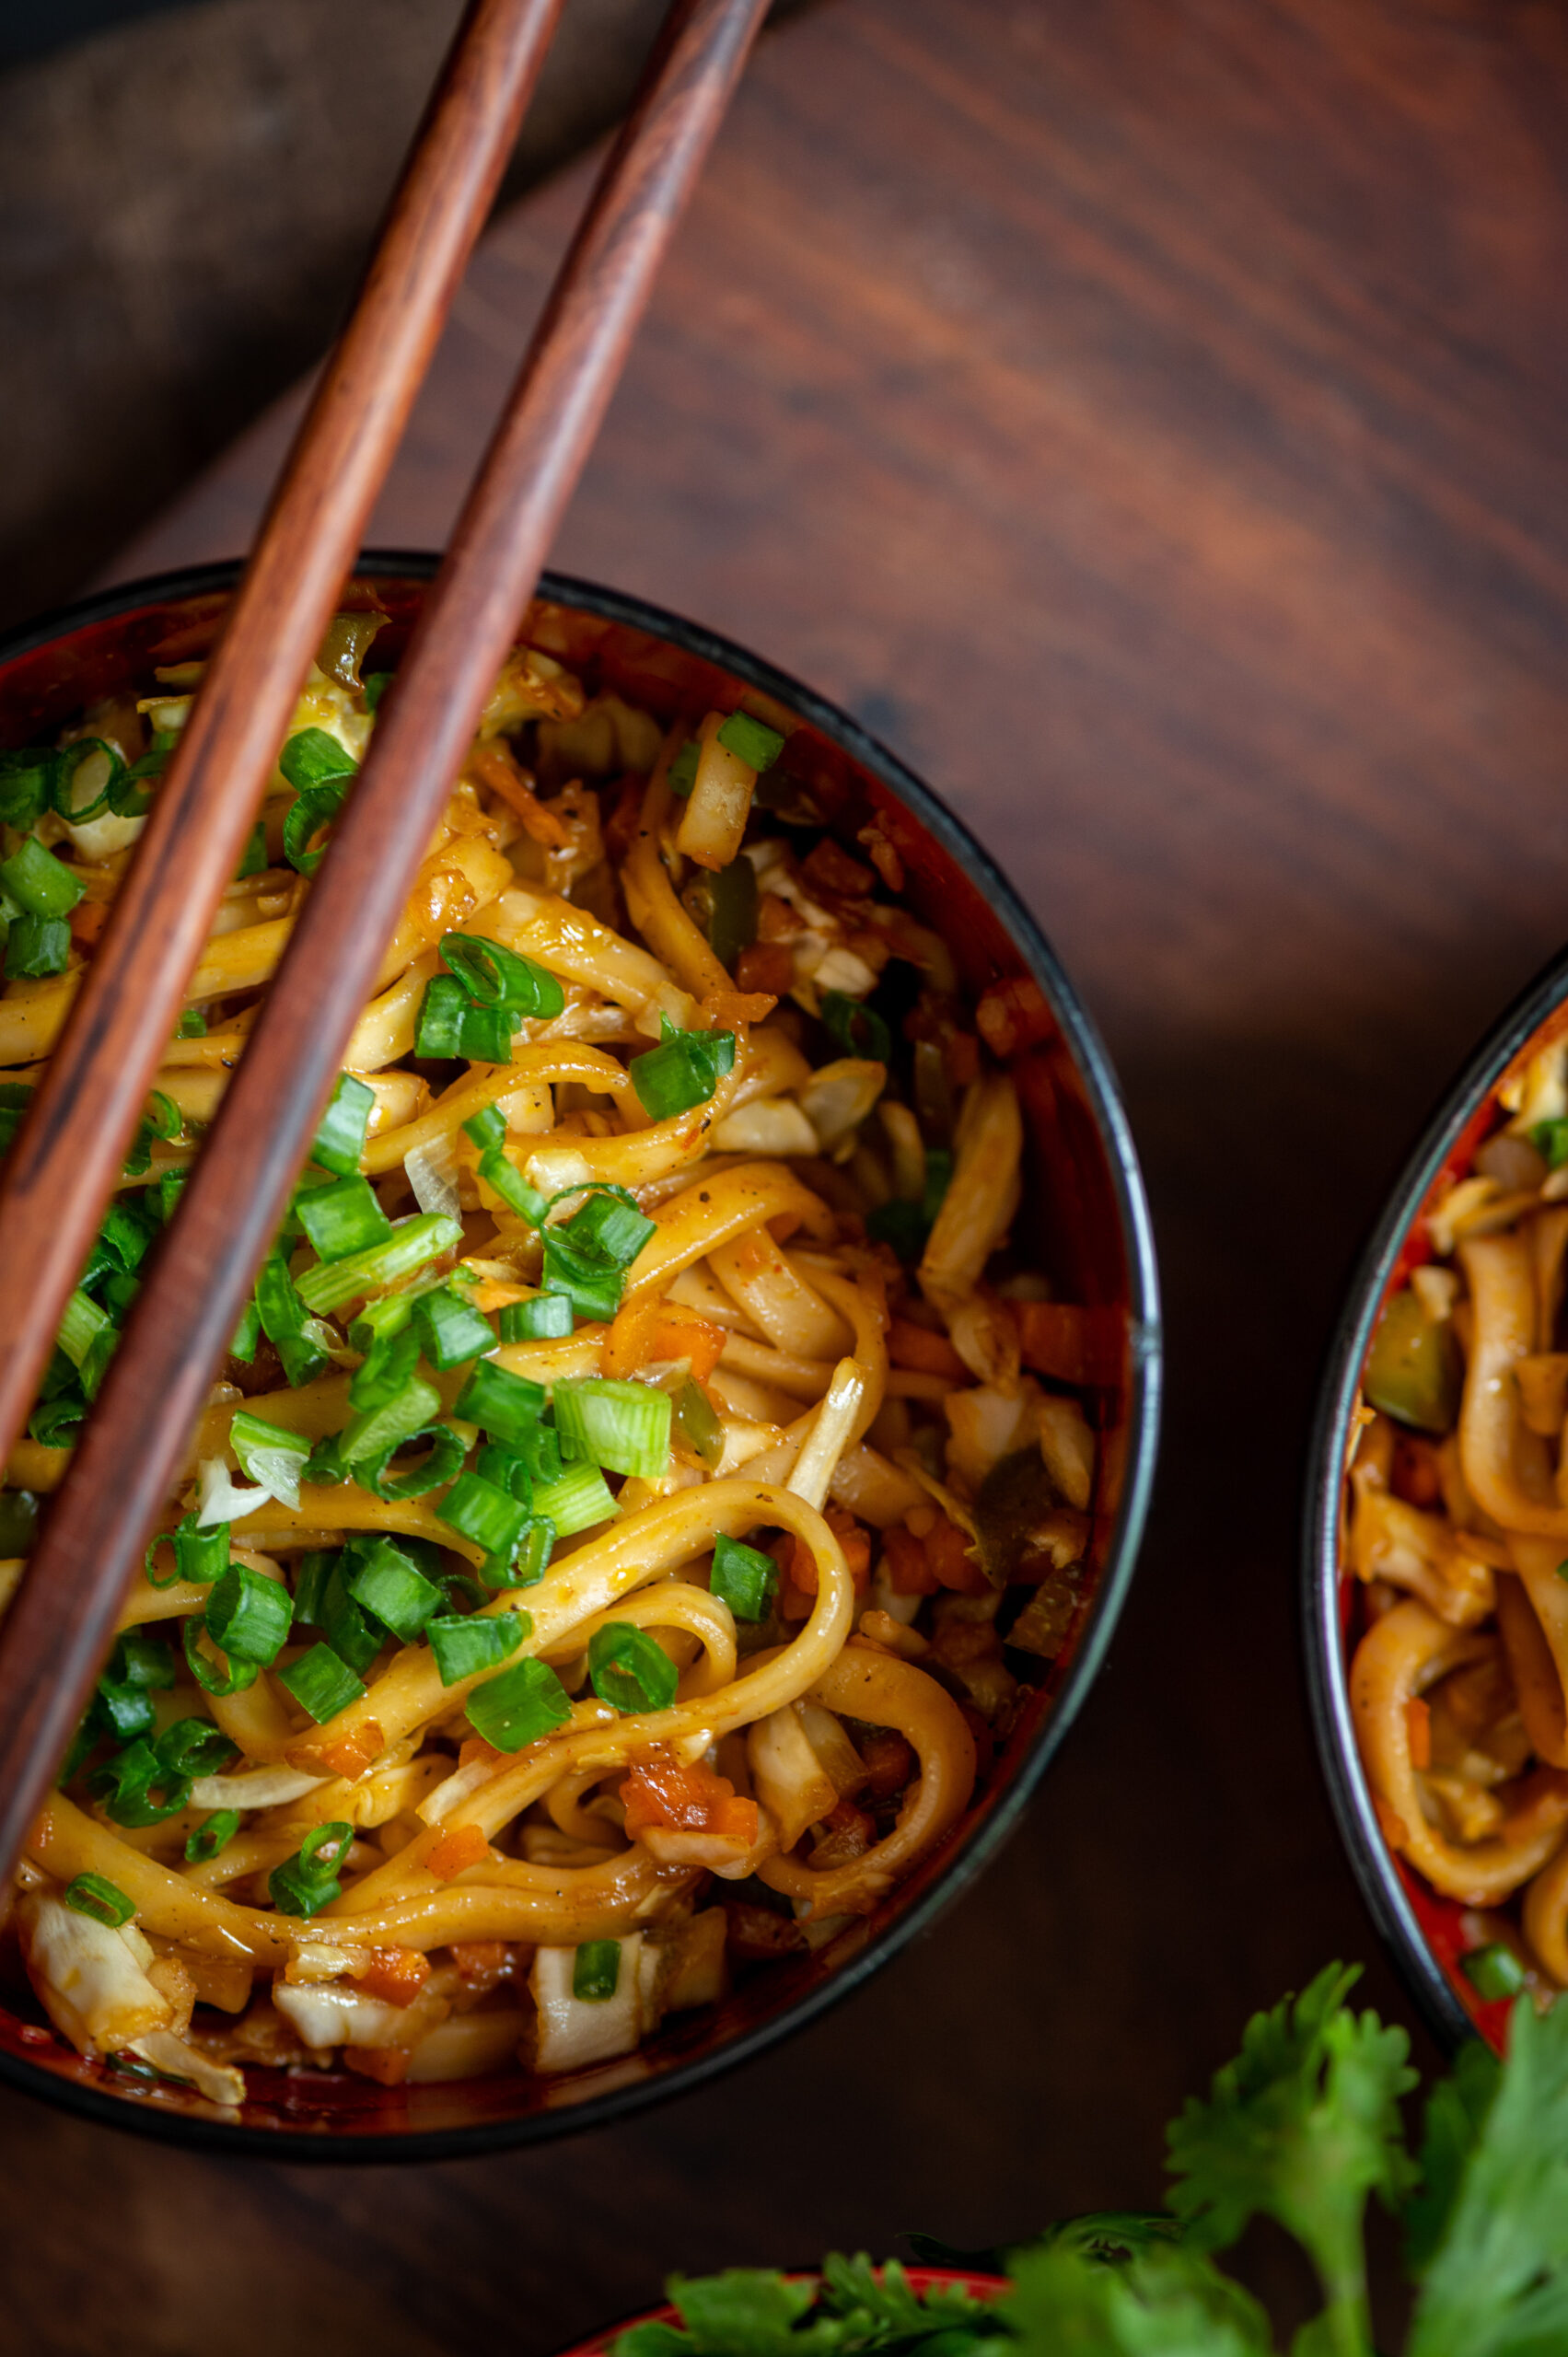
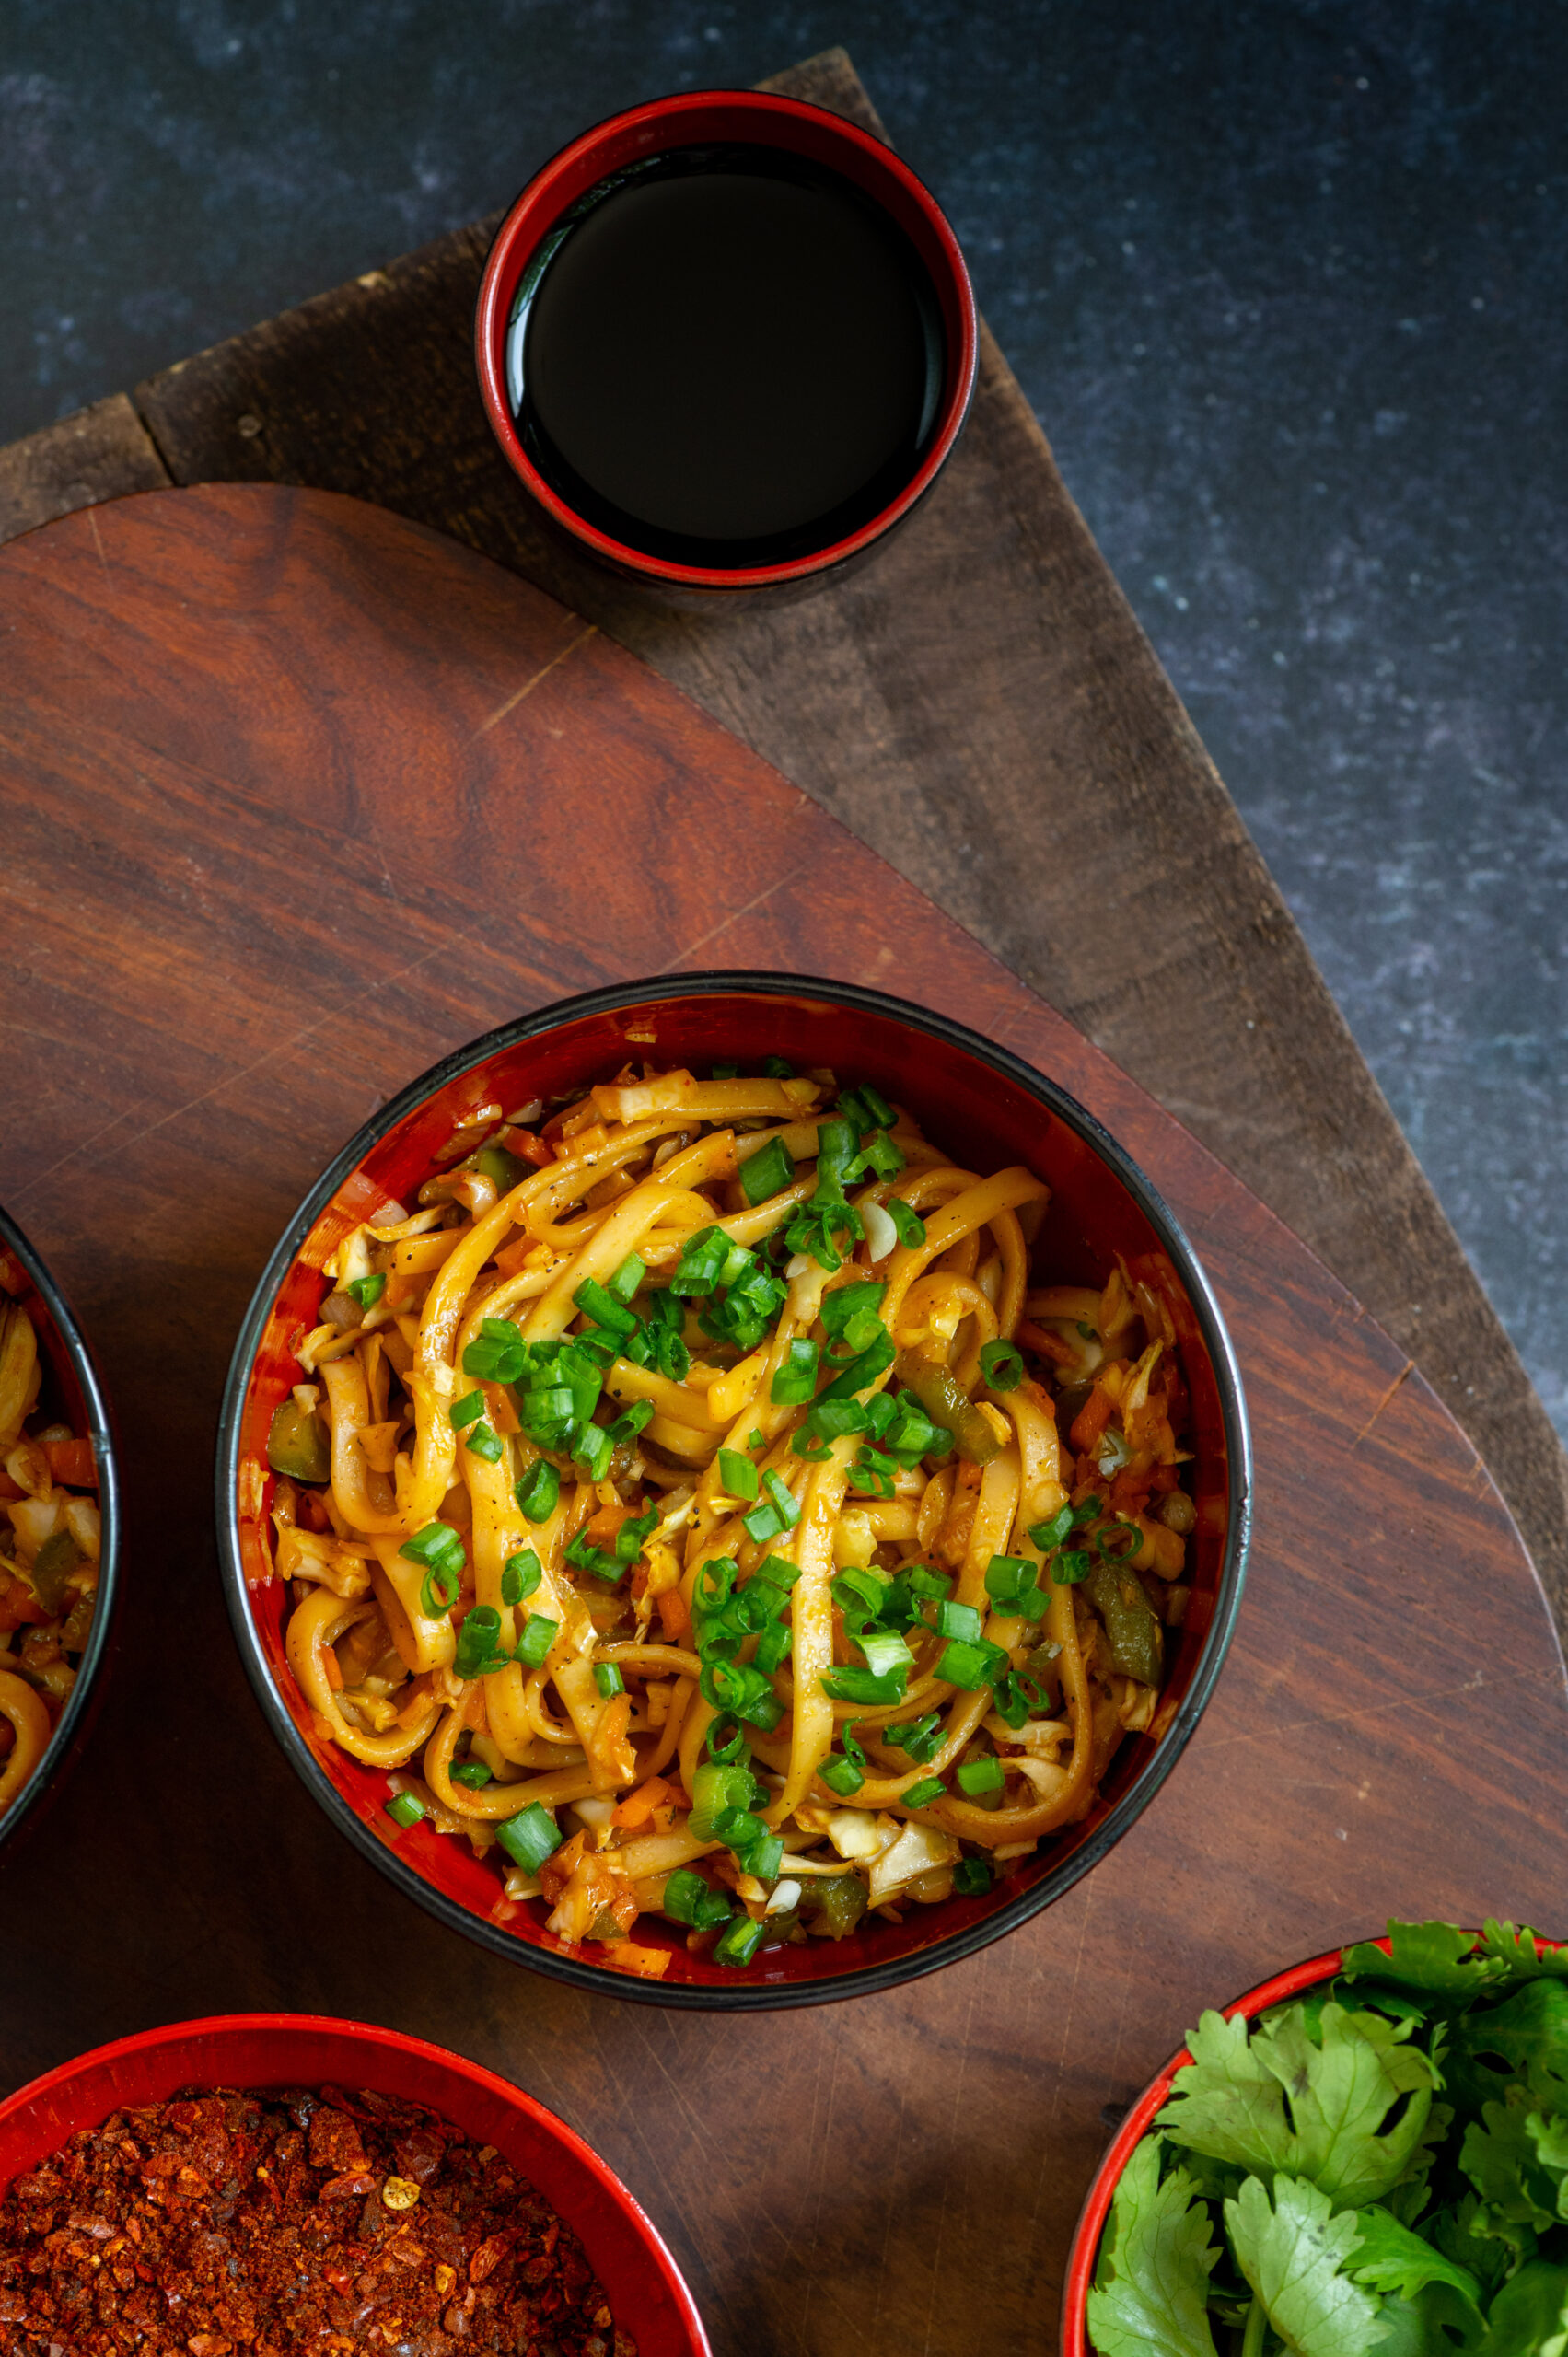
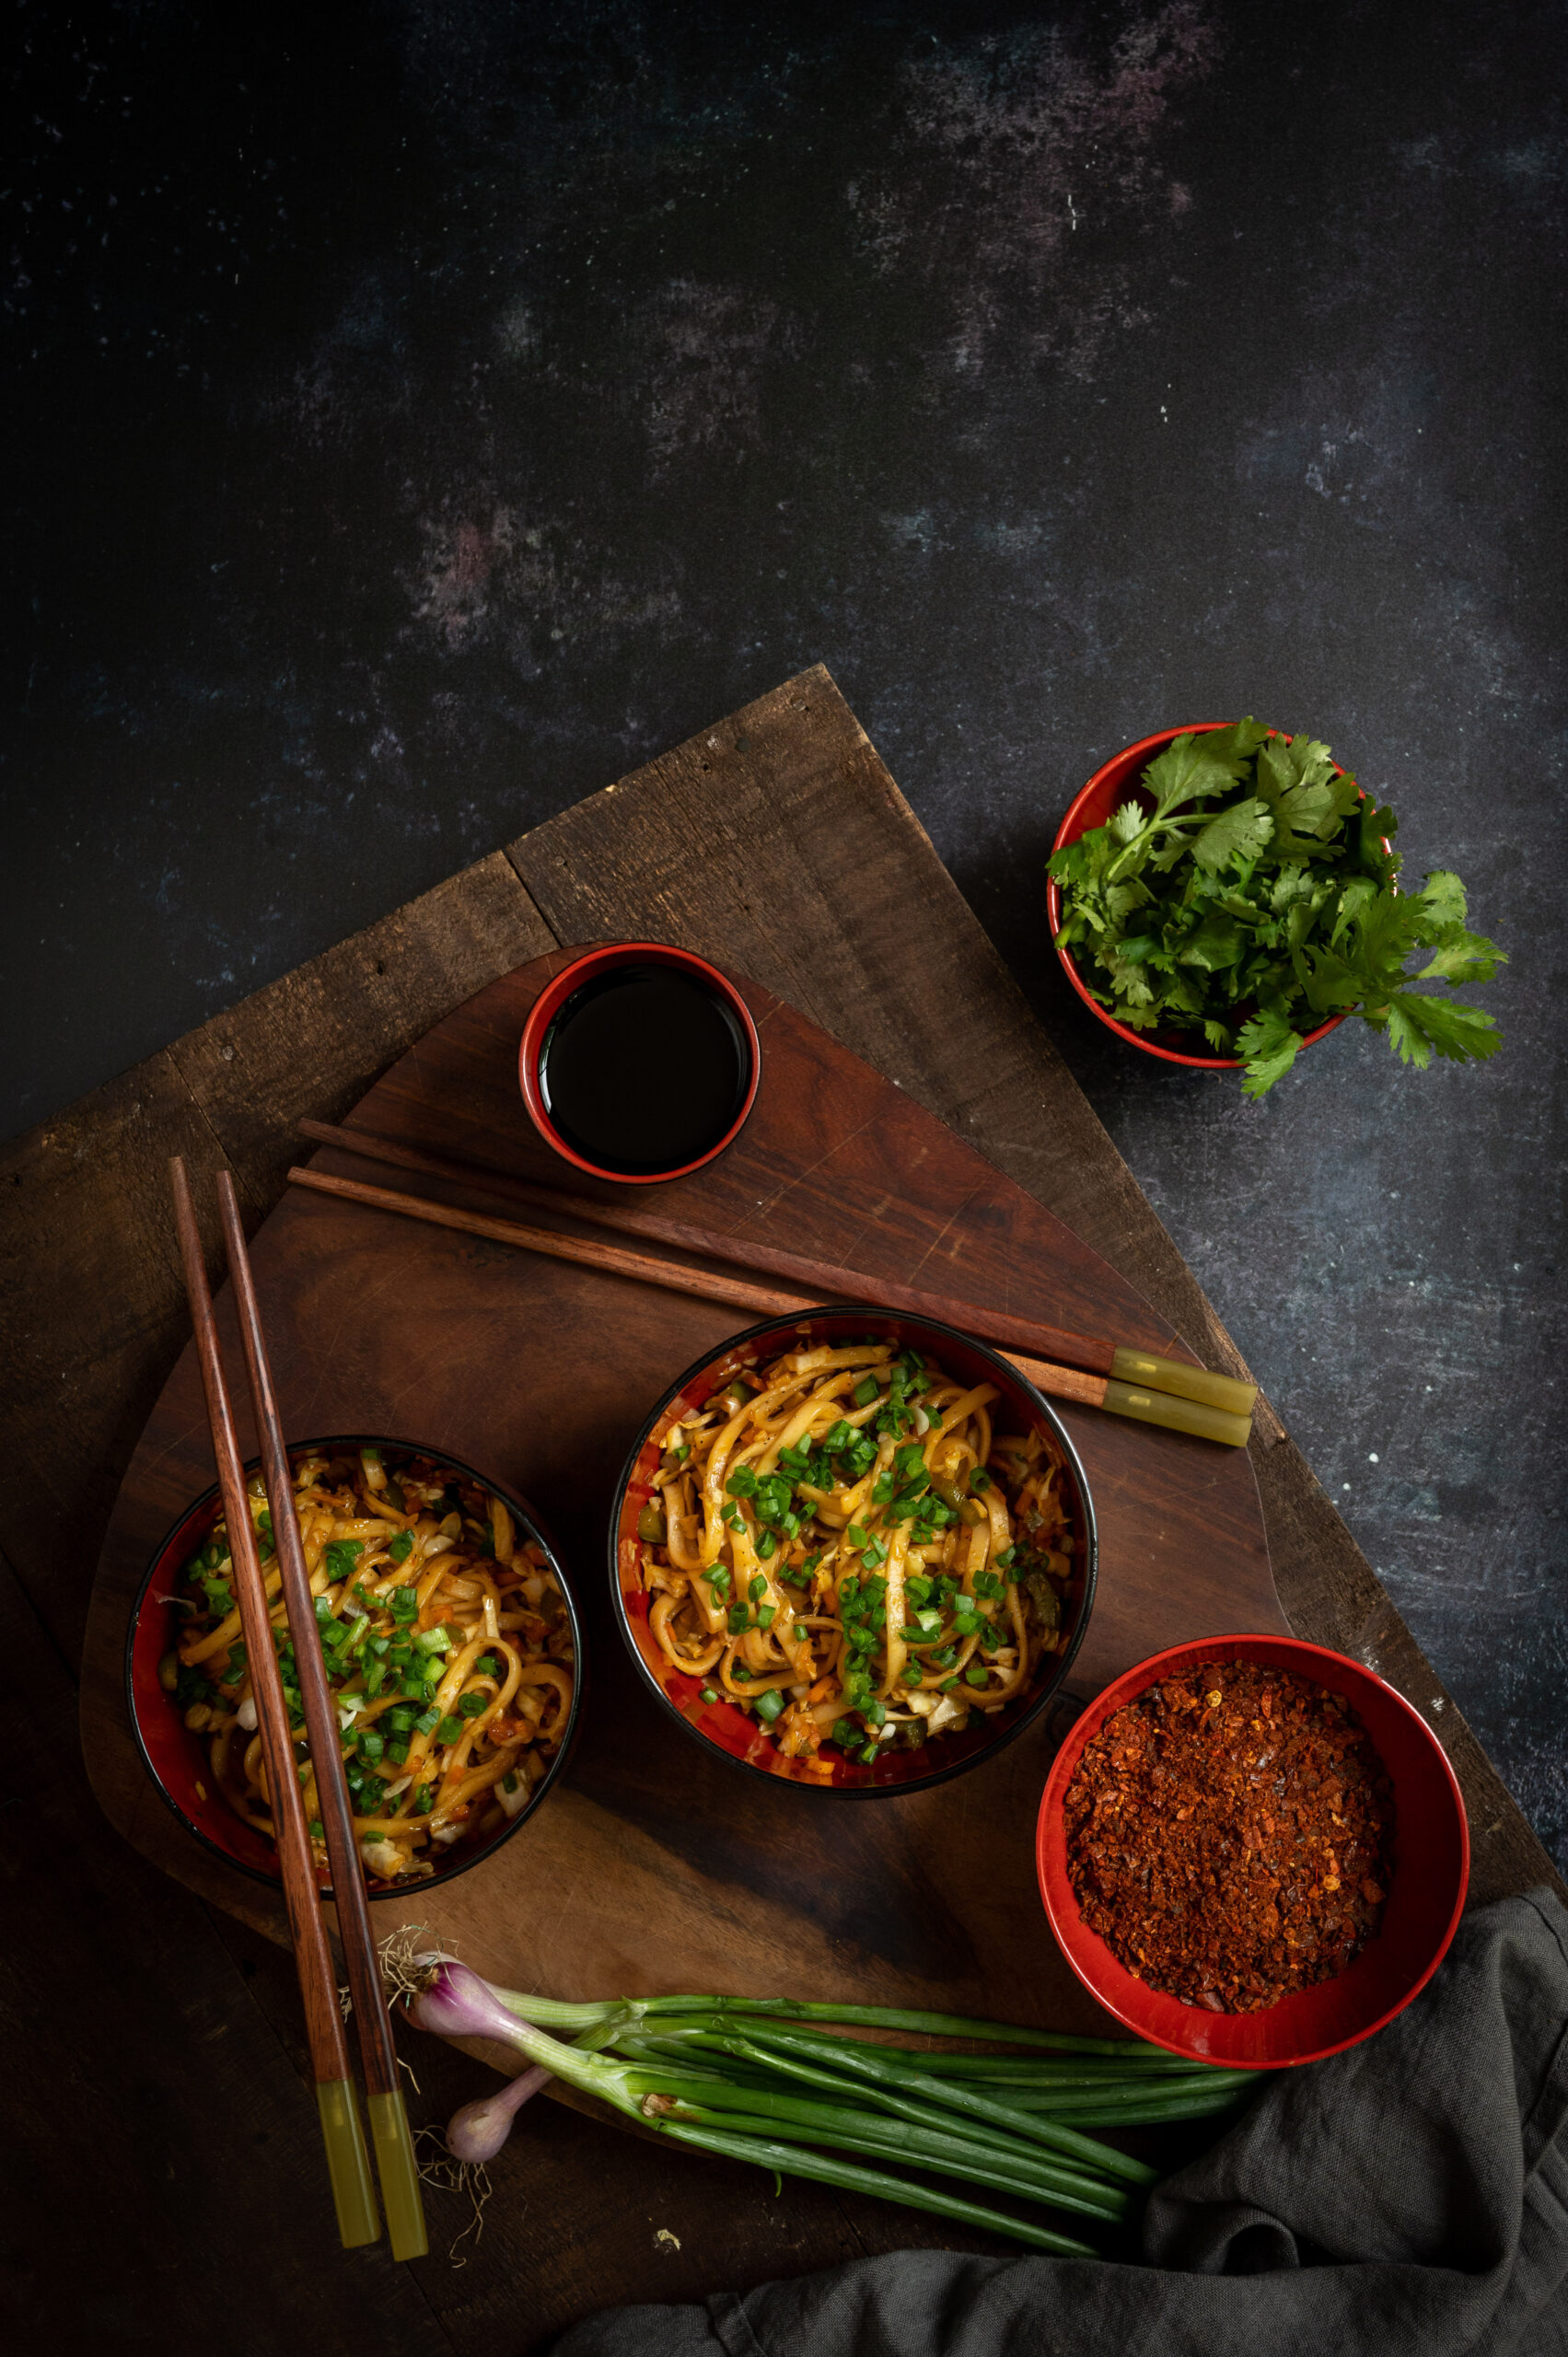
I’m very interested in Asian cooking and really enjoy the sauces used therein, along with certain techniques. For instance, vegetables are not always fully cooked. They are stir-fried in a variety of sauces that greatly increase their flavour and make you want to eat them in that semi-raw state. Being semi-raw, those vegetables are healthier and add more texture to the dish too. You may want to check out some recipes I’ve shared like this rice stir-fry and last week’s udon noodles to see what I mean.
My daughter happens to be quite talented at Asian cooking, and I love discovering dishes with her. We recently made kimchi together, which I shared on my Instagram. It was delicious, and also happens to be very good for gut health. When we get together, we explore this cuisine, and always make our regulars: burnt garlic rice and dim sums. If you happen to visit me when she’s in town, there’s bound to be something Asian on the menu. A really simple way to start trying out that range of cuisines is through a salad like this one.
Asian Cucumber Salad
(Yield: Serves 2)
1 tablespoon soy sauce
1 teaspoon rice vinegar
3 cucumbers (medium-sized)
1 teaspoon brown sugar
1 teaspoon sesame oil
1 teaspoon sesame seeds
10-12 cashews (split and roasted)
½ teaspoon chilli flakes
Toast the cashew and set aside.
In a bowl, prepare the dressing. Add the soy sauce, rice vinegar, brown sugar, sesame oil and chili flakes. Mix well.
When you are ready to serve the salad, slice the cucumbers into rings, as thinly as possible. As I said before, this is my preferred method, but you should do yours. Arrange the slices on a plate of your choice.
Pour the dressing over the sliced cucumber. Sprinkle the toasted cashew. Serve immediately. Enjoy the burst of flavours as they mingle with the texture and coolness of the fresh vegetable. See what a big difference a good dressing and a pretty plate can make?