When people say Gujaratis are synonymous with dhoklas, I often think about how it is probably actually poha that’s a better symbol of our eating habits. Even though it is originally a Maharashtrian dish, Gujarati-style poha has been tweaked to suit our palates and makes such a frequent appearance at our meals that it is also quintessential to us. At any Gujarati home – including mine – on literally seven days of any given week, you are very likely to get to see, and of course taste, poha.
The Gujarati palate likes a bit of sweetness and a bit of tanginess in every dish, which is the tweak that this recipe contains. There is some sugar, of course. There is also a squeeze of lime and some green chilli paste. These additions bring in a perfect combination of three flavours: sweet, tangy and spicy.
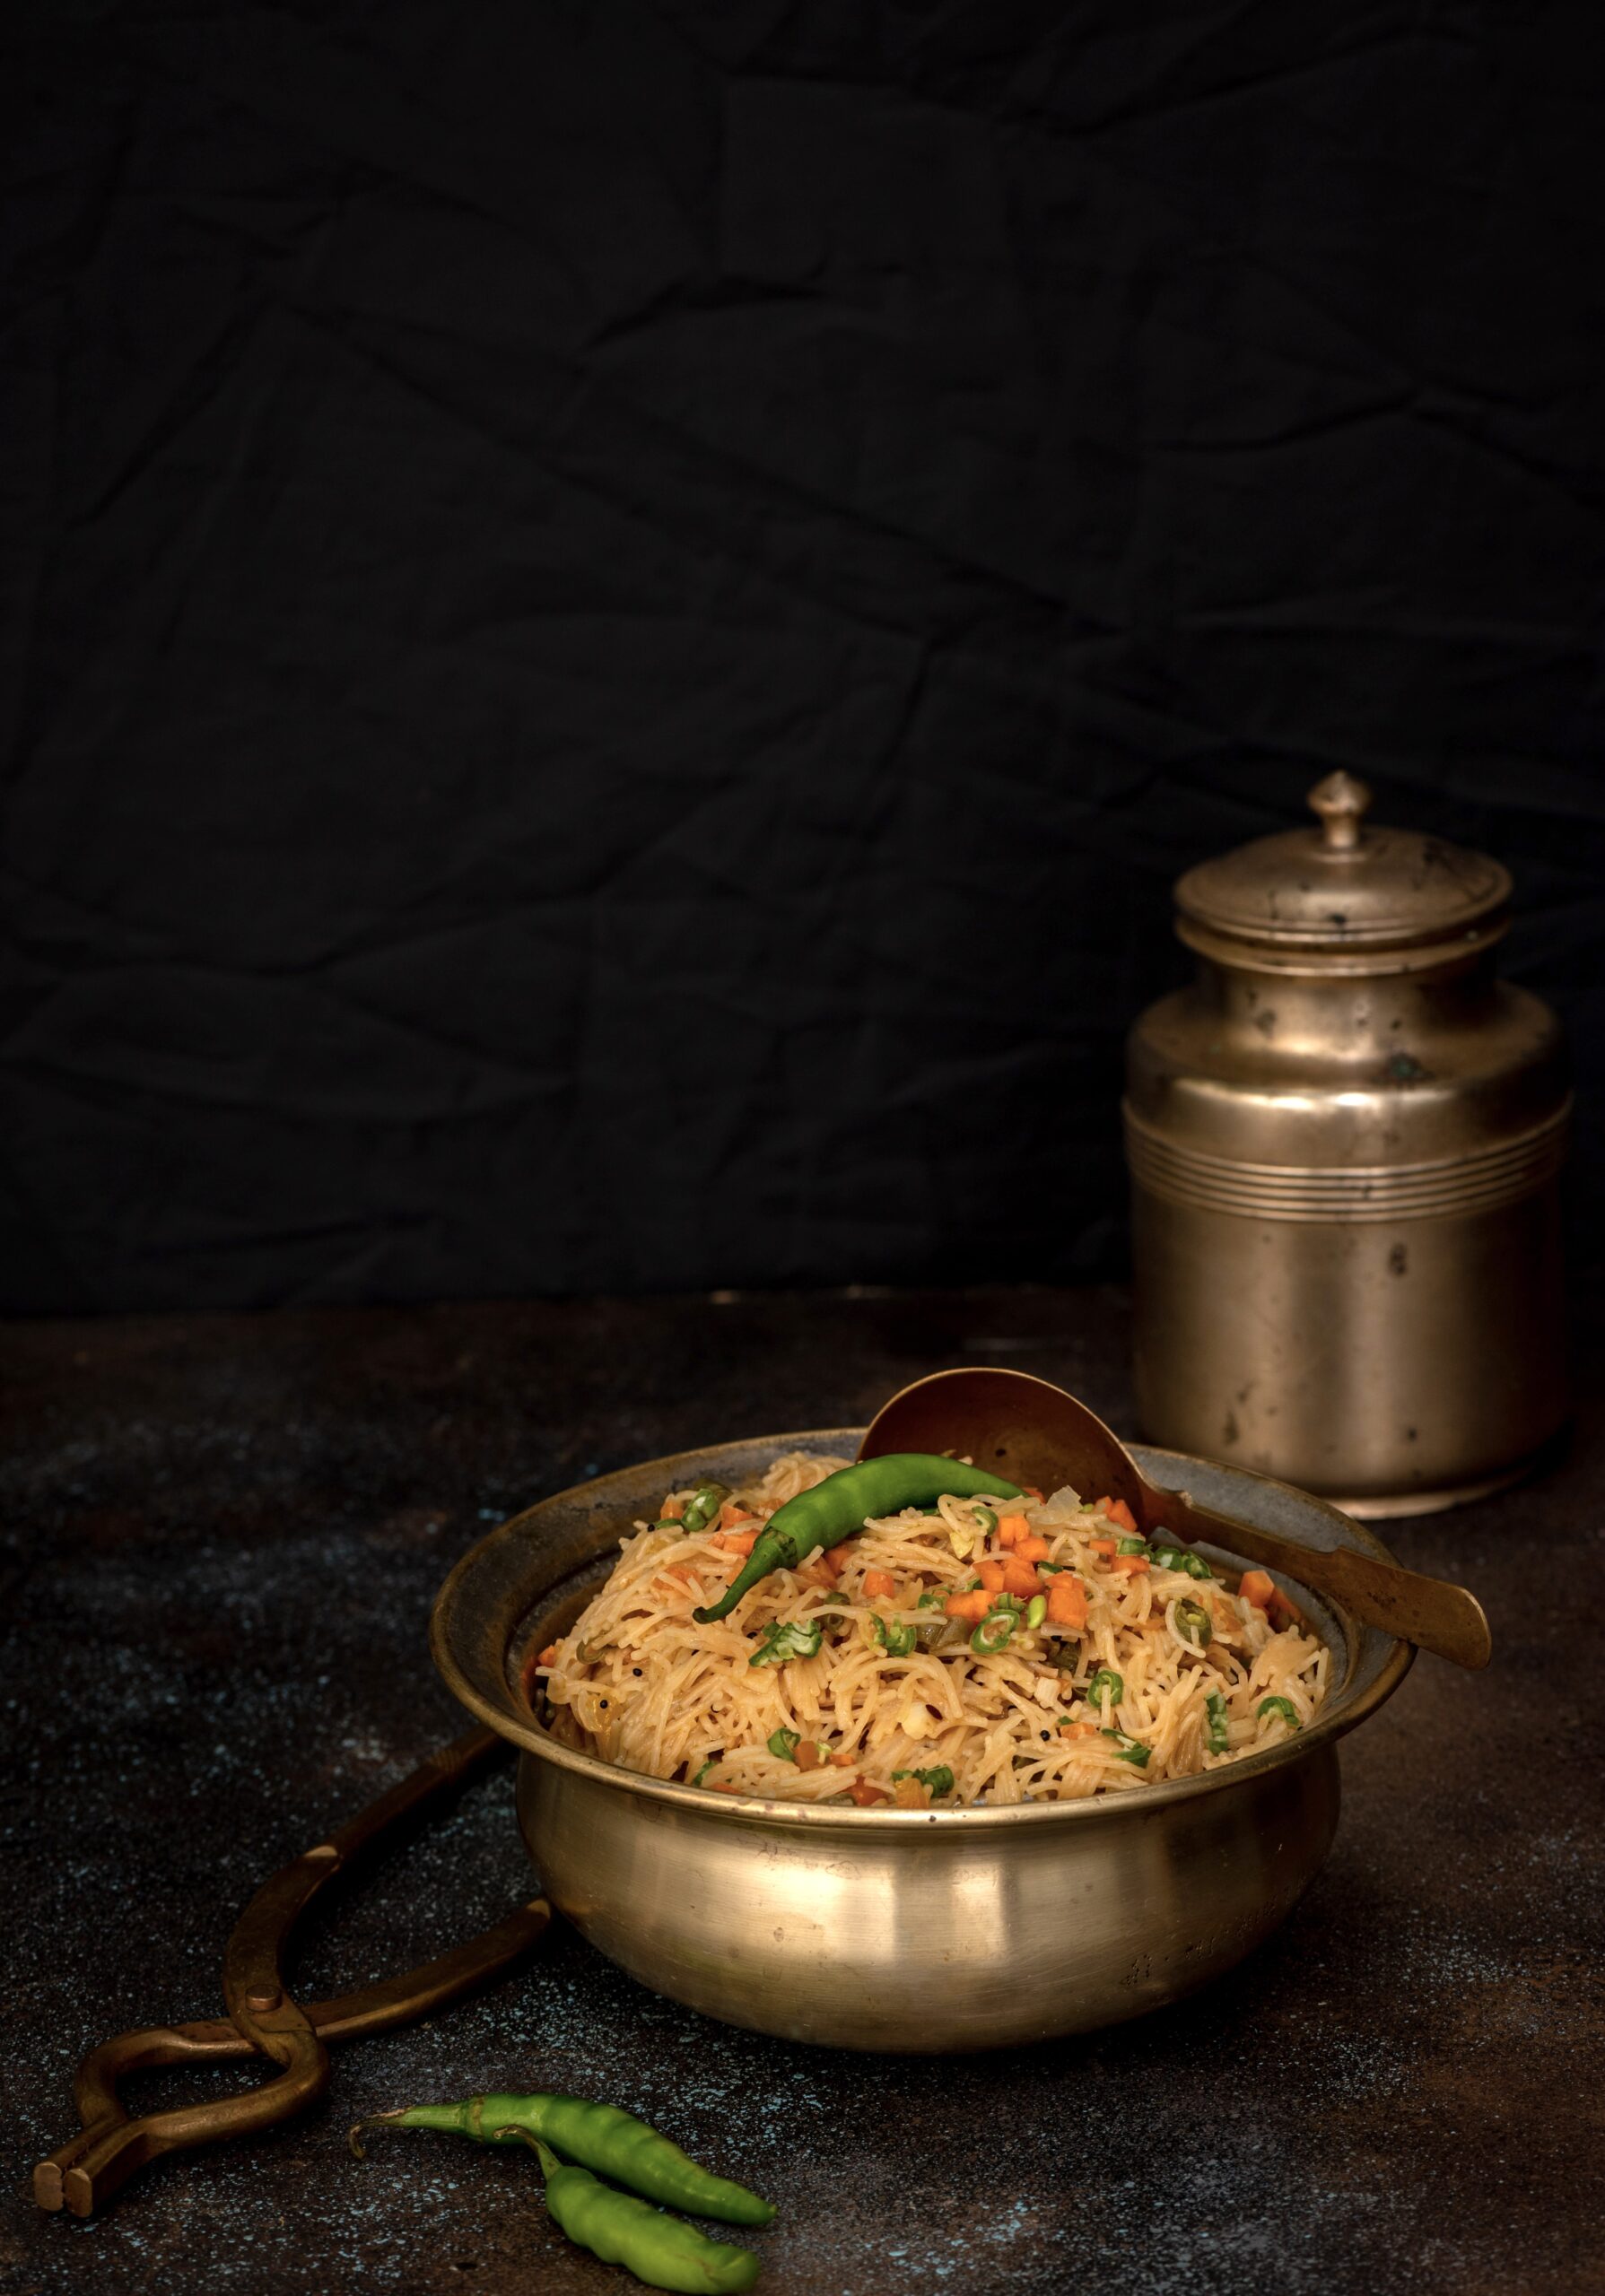
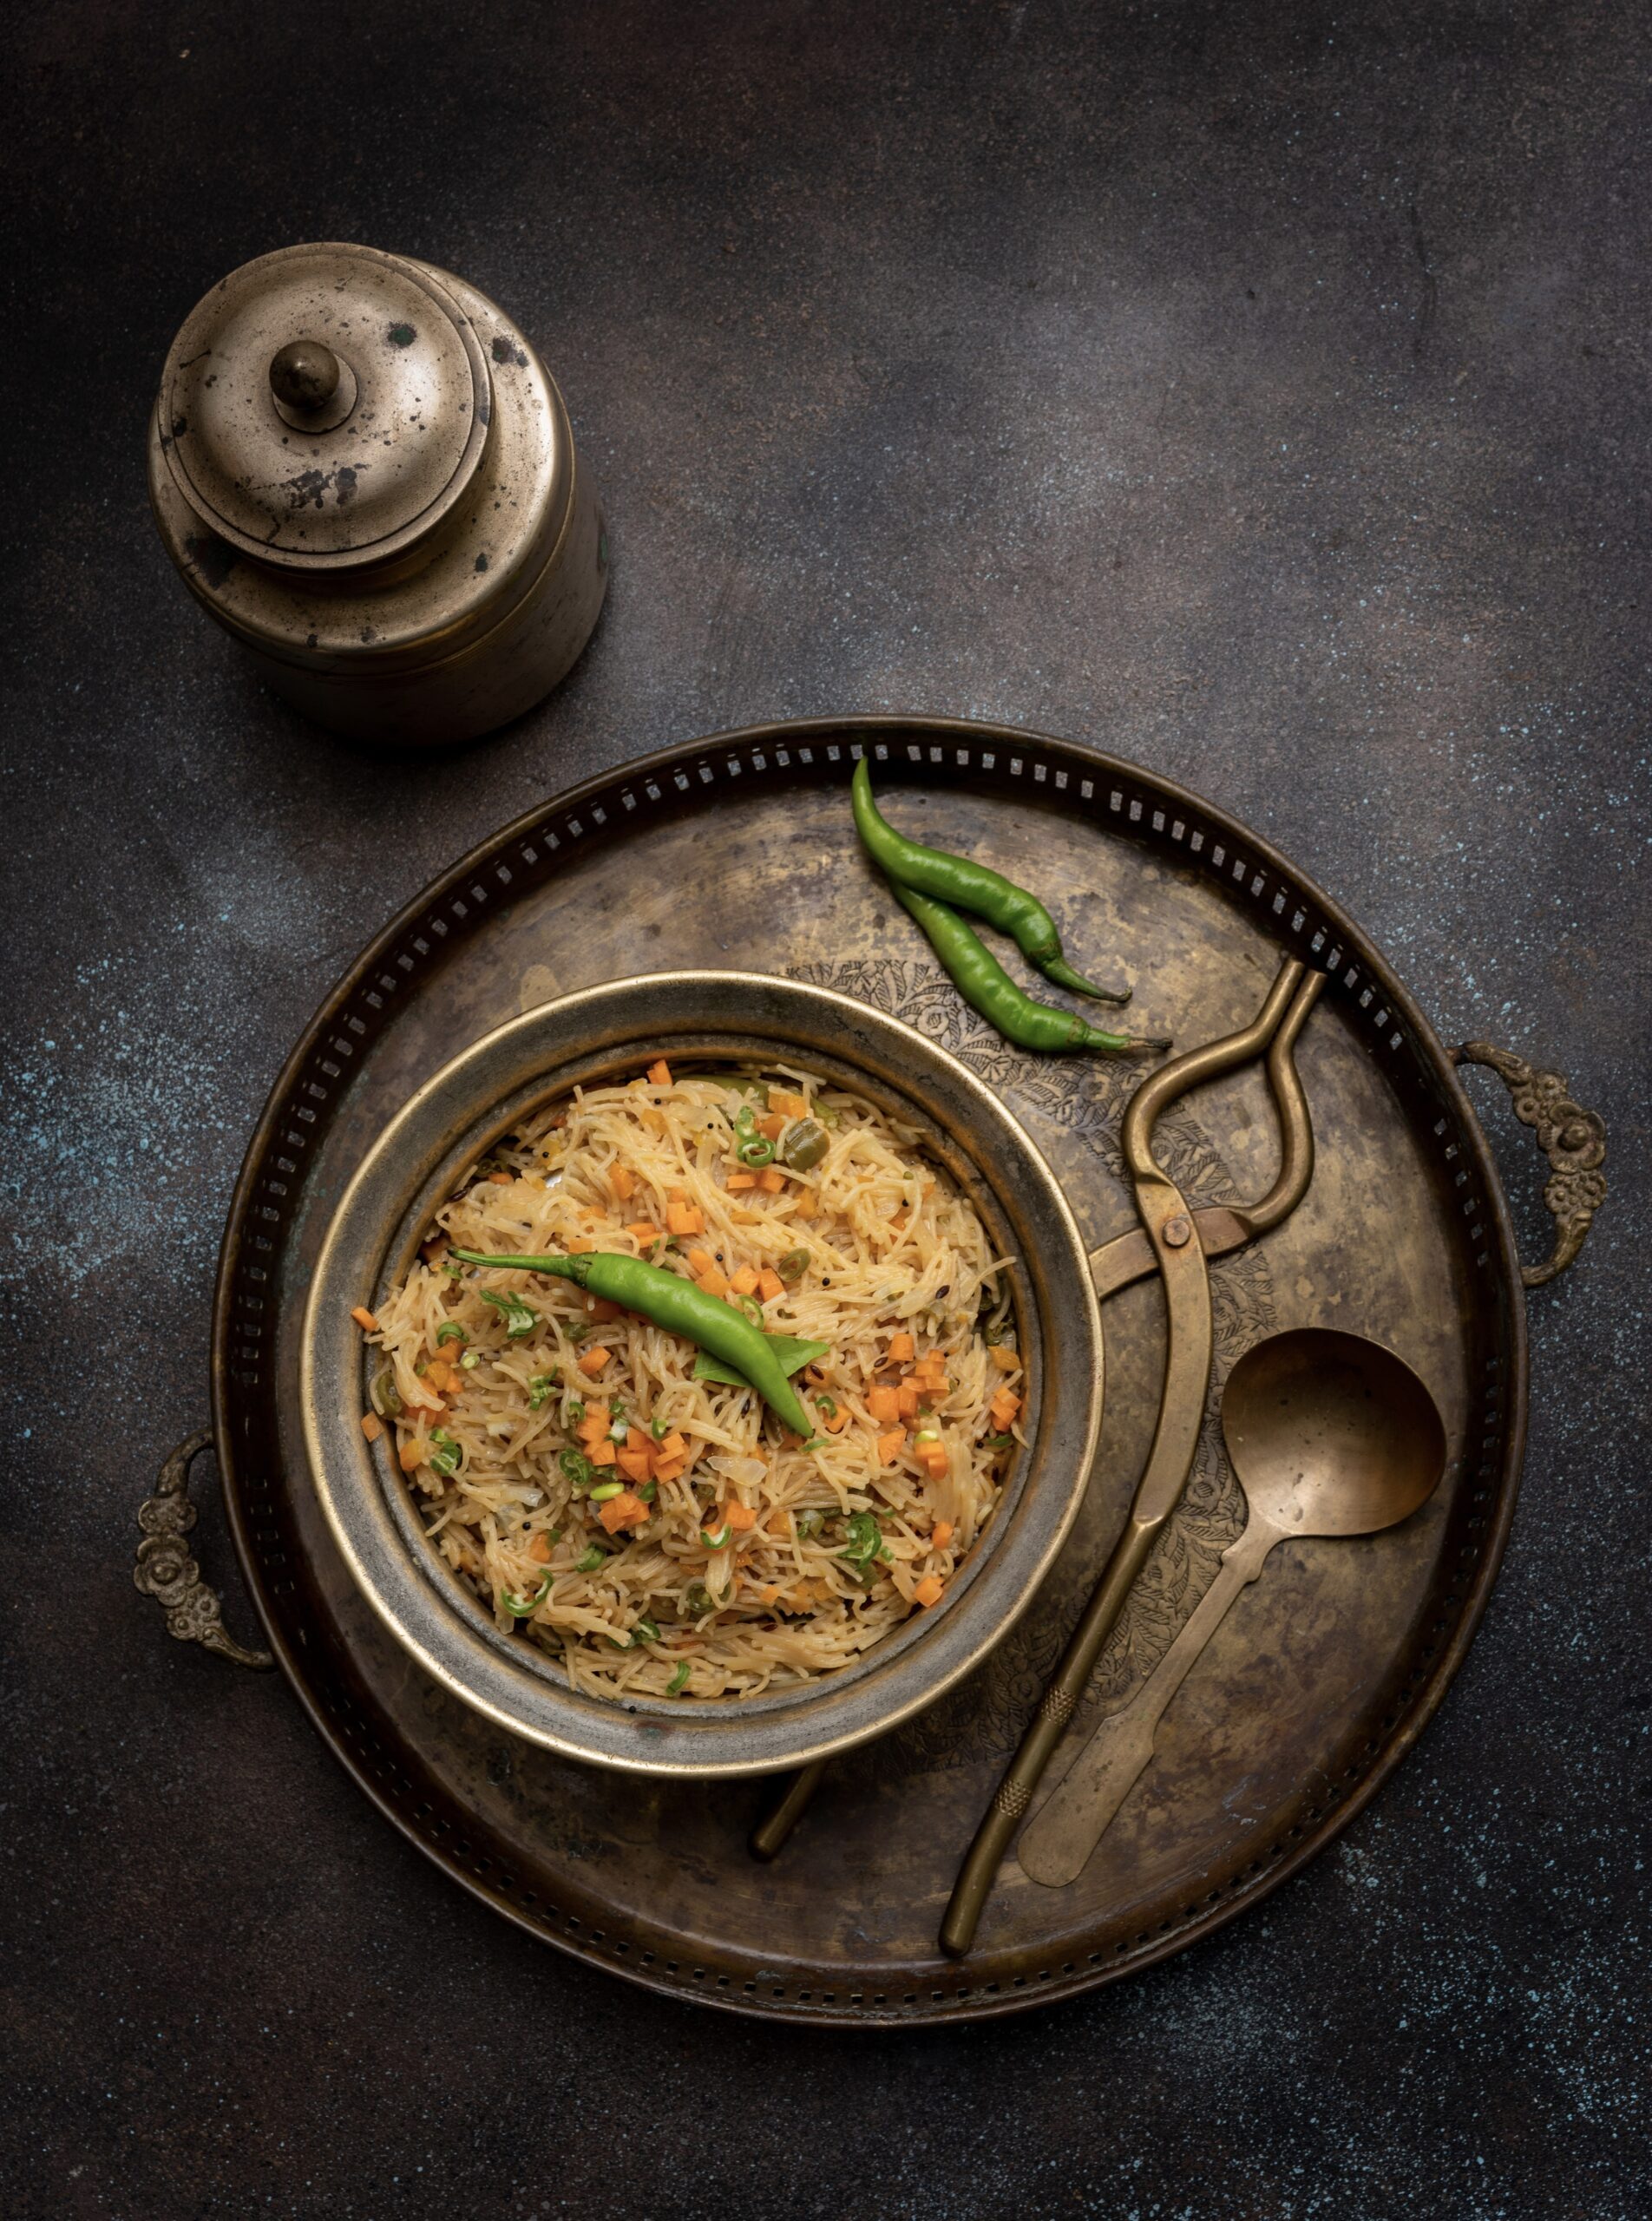
Poha is, as established already, a staple. It is flattened rice prepared in a savoury way. It is a reliable dish, and made with easily accessible ingredients. It is basic, simple and nourishing. It is healthy and light on the system. It is versatile: good to serve to guests, good to have when unwell or recuperating, and even good at certain celebrations (such as the morning functions of weddings). It is mainly a morning dish, and it is ideal for an everyday breakfast too.
For me, poha is so essential that if it is served every day in my home, I must also have it at least on three days of the week when I travel abroad. Be it London or New York, I must have poha. I carry the ingredients with me and prepare it wherever I am. When I’m travelling, I like to make it in my own special way, by topping it with lots of vegetables. I do know that some people add green peas during pea season, but otherwise this isn’t typically Gujarati. I add the vegetables to suit my health and lifestyle requirements. In this recipe, I have used corn along with a handful of peanuts, to bring in more of the nutrition quotient that I strongly prefer.
Gujarati Poha
(Serves 2-3 people)
2 cups poha
1 medium size onion (finely chopped)
1 medium sized potato (finely cut)
½ cup corn niblets
1 tablespoon peanuts
1 green chilli
A handful of curry leaves
3 tablespoons oil
1 teaspoon cumin seeds
½ teaspoon mustard seeds
Salt to taste
¼ teaspoon turmeric powder
1 tablespoon sugar
Juice of 1 large lime
You may want to use the red rice variety of flattened or beaten rice to prepare this dish, but I like to use the thinner white rice variety. The advantage of it is that you don’t have to soak it for fifteen minutes to half an hour beforehand. You only have to rinse it. Do keep this in mind; if you use the thicker variety, you must soak and drain it.
Rinse the poha under running water and allow to drain, half an hour before cooking. Set aside.
Heat a kadai, and add the oil. Add the cumin and mustard seeds. Once they splutter, add the peanuts and then the onions, curry leaves and green chilli. Sauté until the onions are tender and then add the potatoes. Now, cover the kadai with a lid and allow the potatoes to cook on a low flame. Sprinkle a little water if required.
Next, add the corn and sauté until all the vegetables are tender.
Add the salt, turmeric powder, sugar and lemon juice and mix. Add the poha and mix gently. Sprinkle a little water and cover again for a few minutes.
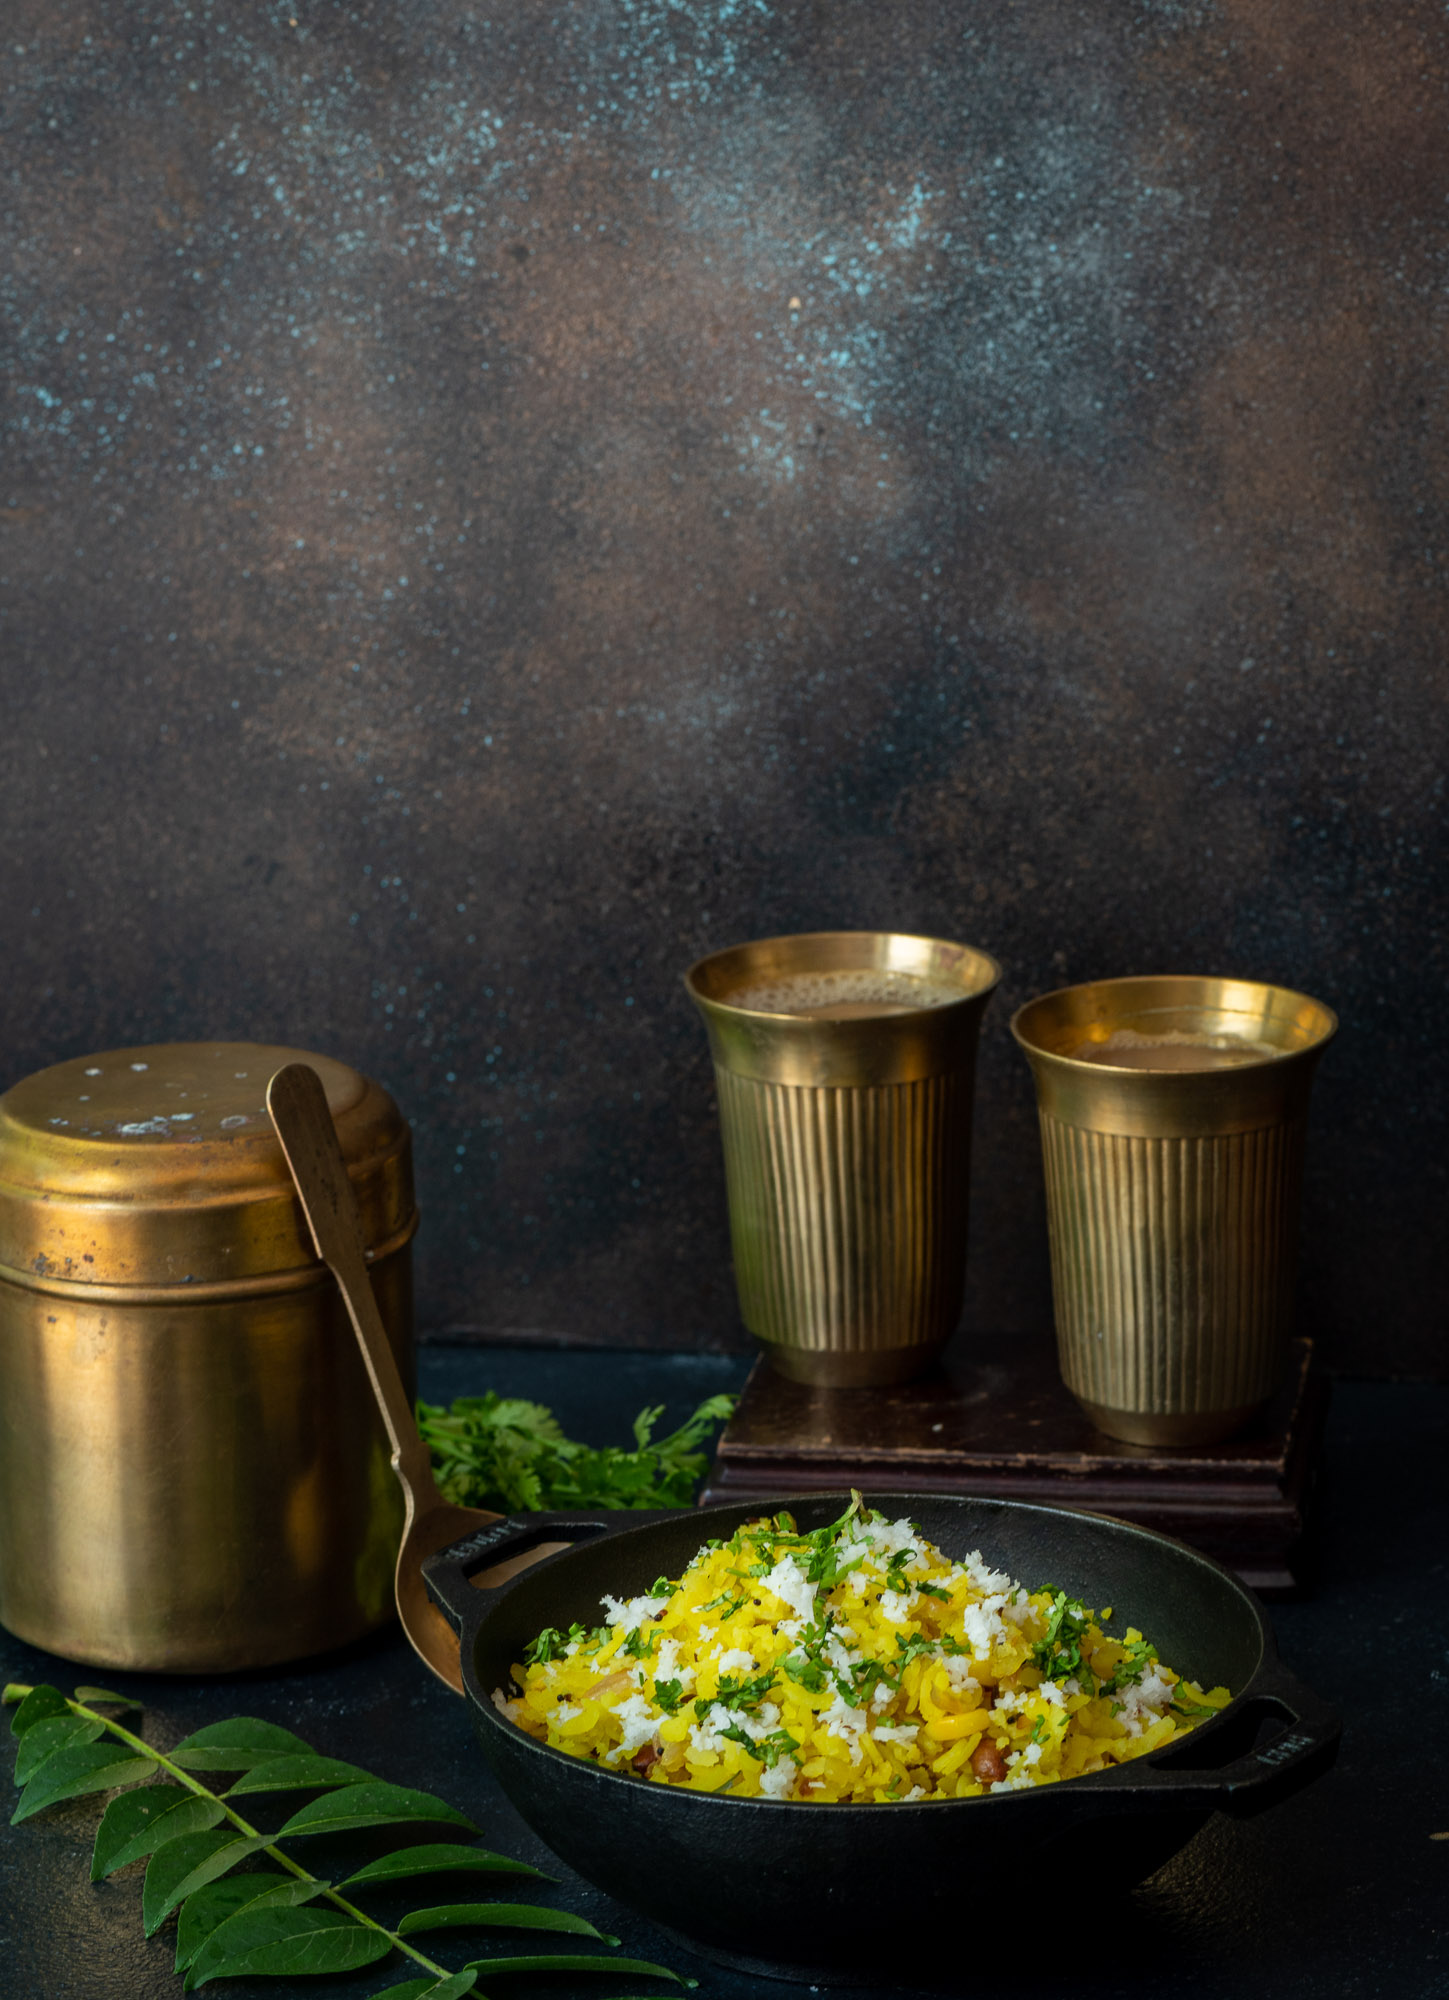
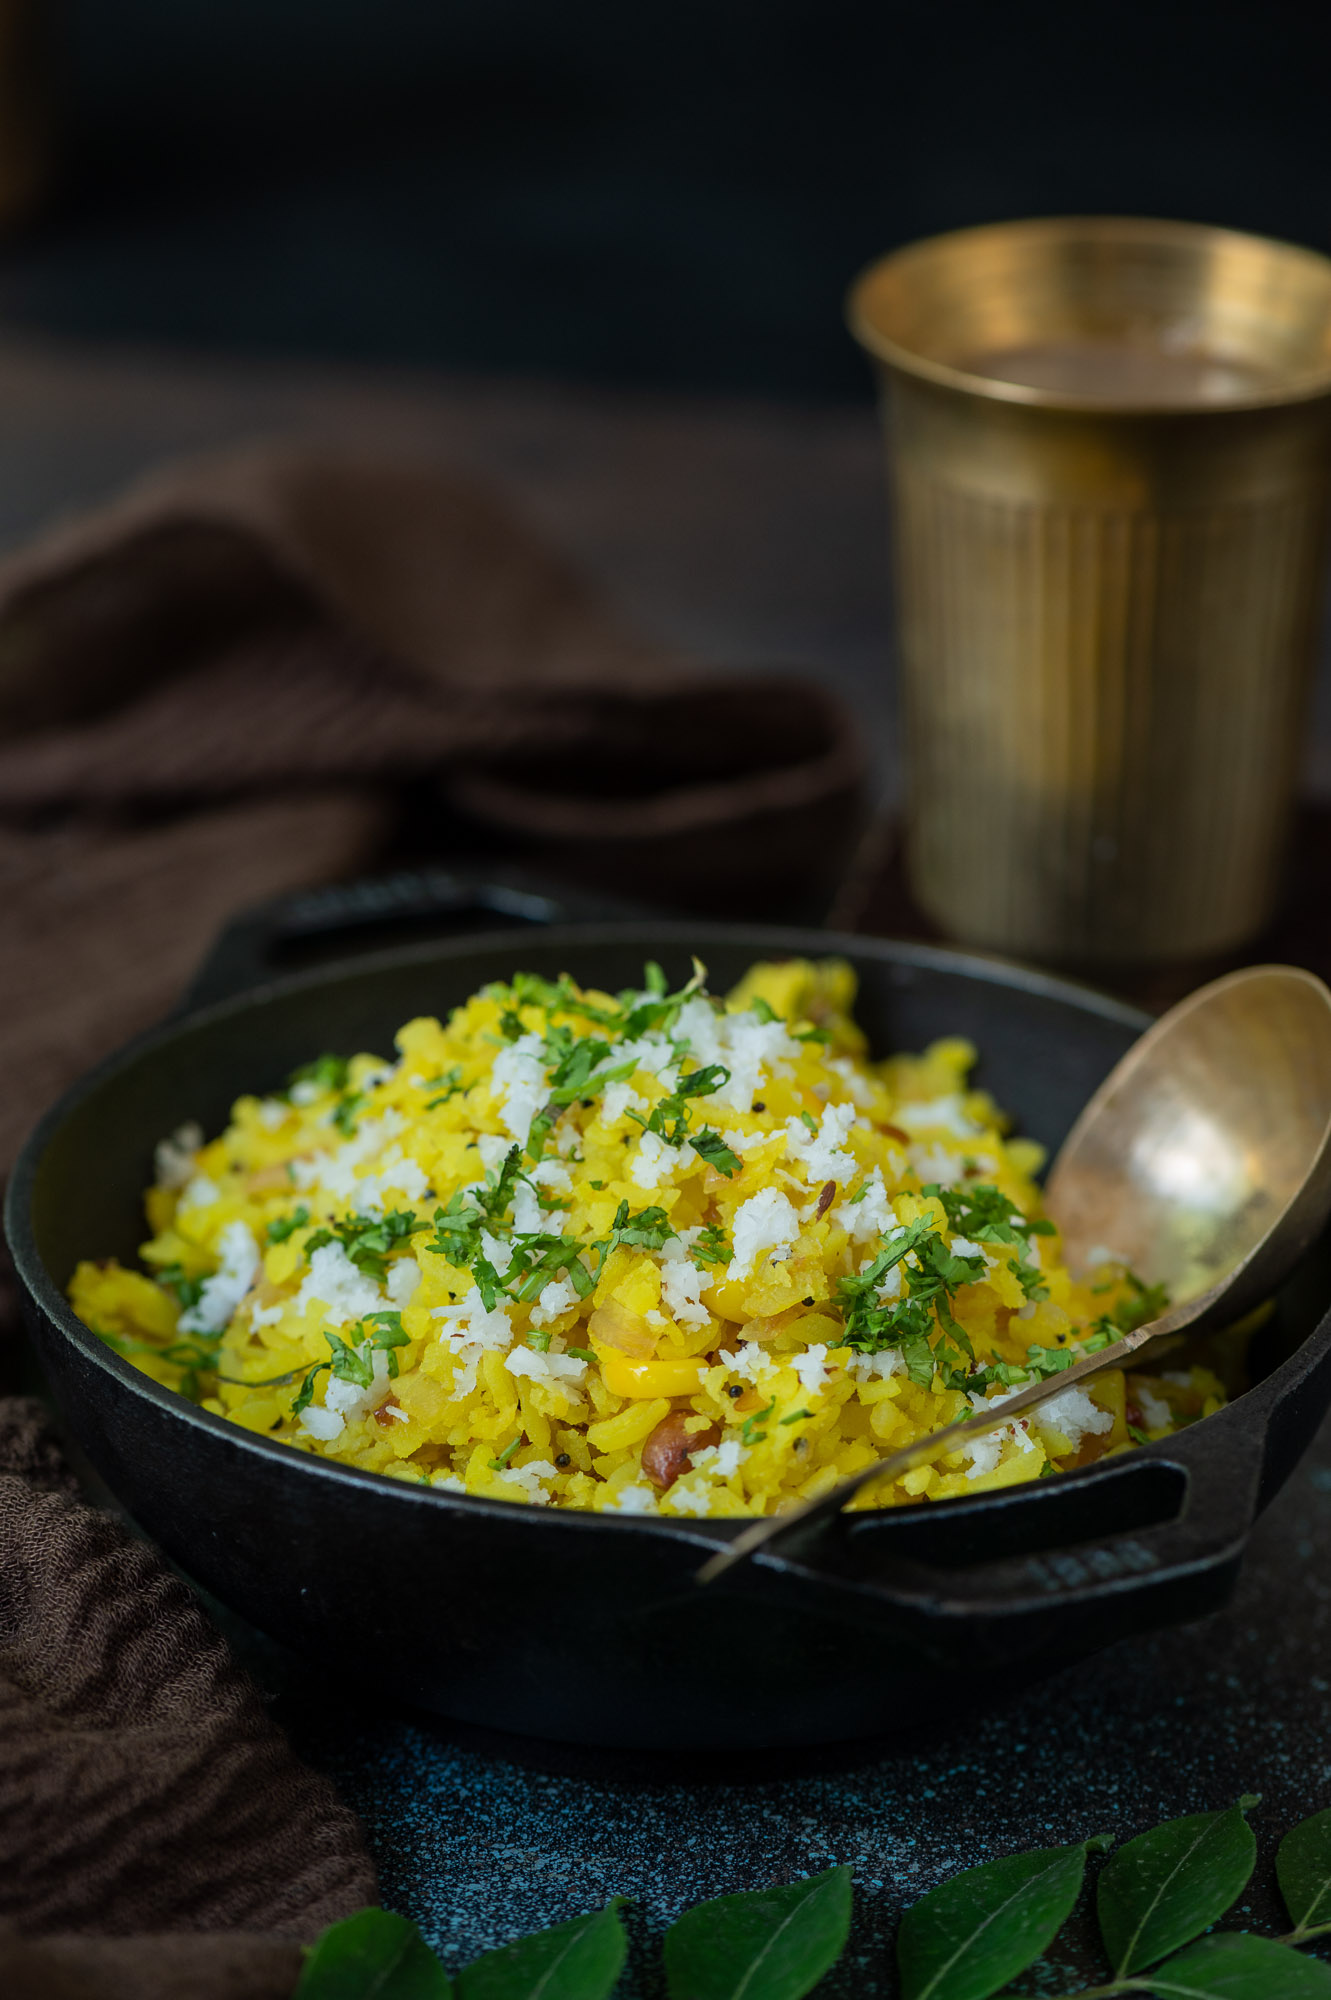
Mix again gently and serve. You can garnish this dish with grated coconut and coriander leaves. As I mentioned, you can also top with vegetables for a greater nutritional boost. This will give you a re:store-tweaked, Gujarati-style poha!