Tag

vegetables

Browsing

I hope you enjoyed my previous post, in which I gave away the recipe for one of re:store’s bestsellers. As mentioned then, I was on a stop motion video kick and was determined to produce at least a couple of those cute videos, with Anushka’s help to bring everything all together, of course. The chocolate cupcakes were the first star, and I must admit they were the more difficult to shoot of the two dishes I had zeroed in on for this experiment. The second one (the recipe for which I am sharing today) was much easier to shoot, perhaps because the composition was within a single bowl and the overall motion was more stable, and I love the result.

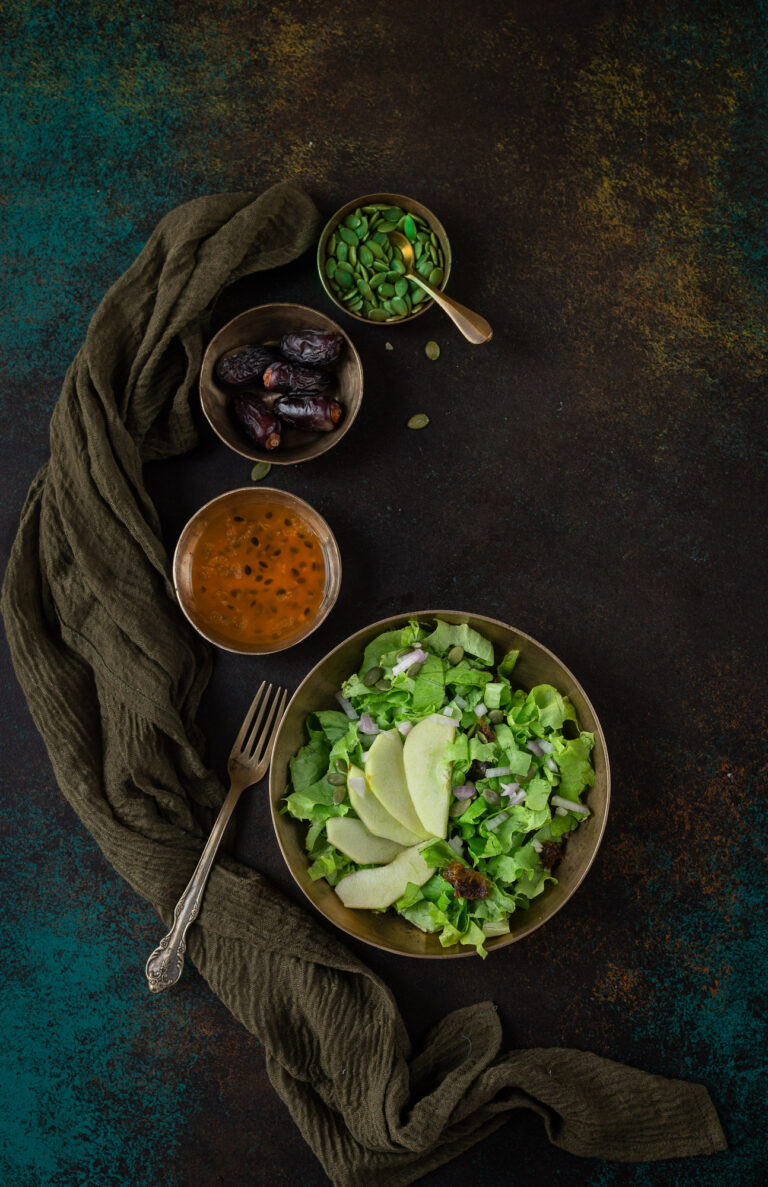
Before we go any further, here it is: the stop motion video for this recipe, a delicious salad with passion fruit dressing.

As you can see, with the shoot for this video, I wanted the dark and moody theme that I usually use in my photography to be reflected too. I also wanted to showcase what a stop motion video looks like when the recipe is simpler, as opposed to the more complex chocolate cupcakes one. As for whether or not I was looking for a contrast between tastes, health quotient and so on – honestly, not really. In this experiment, it was my aesthetic side that took over and determined my choices more than my culinary side.

At the moment, we are enjoying a bounty of hydroponically-grown varieties of greens in Chennai. This form of small-scale agriculture seems to be all the rage in the city, and as we grow some of our own produce ourselves, and as I personally always have an eye on natural and nourishing ingredients, we couldn’t be more pleased by this trend. These organic vegetables grow without soil, and so suffer less from worms and other issues. We have so much at home at the moment that I’ve been making lots of green smoothies and salads. For this recipe, you can use any kind of lettuce that you have available.

When it comes to salad dressings, those of us who opt for healthier dressings tend to stay with the simple staples like lemon, salt or pepper, but I’ve found a way to retain the health aspect while increasing the flavour of the dressing. This is where the passion fruit comes in.

Whenever a fruit or vegetable retains its foreign name on the market, and doesn’t have a commonly used local Tamil or other Indian name, I know that it’s something that has only in the recent past been cultivated here. So it is with passion fruit, and this post by a fellow food blogger has lots of information about the supply we get here in India, which is grown in the hilly regions.

Long before I began to enjoy this taste, there used to be a passion fruit shrub at our house in Kotagiri. Not having learned yet how much I love it, I would simply give away its yield to our neighbours. The plant is long gone now, but how I wish I had eaten that bounty while I could! I feel this now all the more because passion fruit has a very short growing season here in India. Just in case you happen to try this recipe at a time when it’s scarce on the market, rest assured that you can use a store-bought syrup instead of fresh pulp too. While it may contain added sugars or other ingredients I prefer to avoid, the taste will be the same. It’s the fruit’s unique flavour that really elevates this salad. Passion fruit has a slightly sour flavour and a high citric content, and it goes very well with crunchy apples. The two fruits complement each other, with their mix of textures and tastes. They have a beautiful contrast when put together here.

Passion fruit is a hardy fruit, not very pretty in appearance, but slice it open and you’ll find just the opposite. Its soft pulp looks just lovely speckled with black seeds. My husband loves having some for breakfast whenever it’s in season, slicing it in half, sprinkling some sugar on top, and scooping the flesh out with a spoon. As for me, I enjoy the juice very much and even make it daily when I can. It’s a healthy ingredient, one that’s great to start the day with, and we make ample use of it whenever we get our hands on some. Luckily, I had enough left over during the last passion fruit spree to make it the star of this salad…


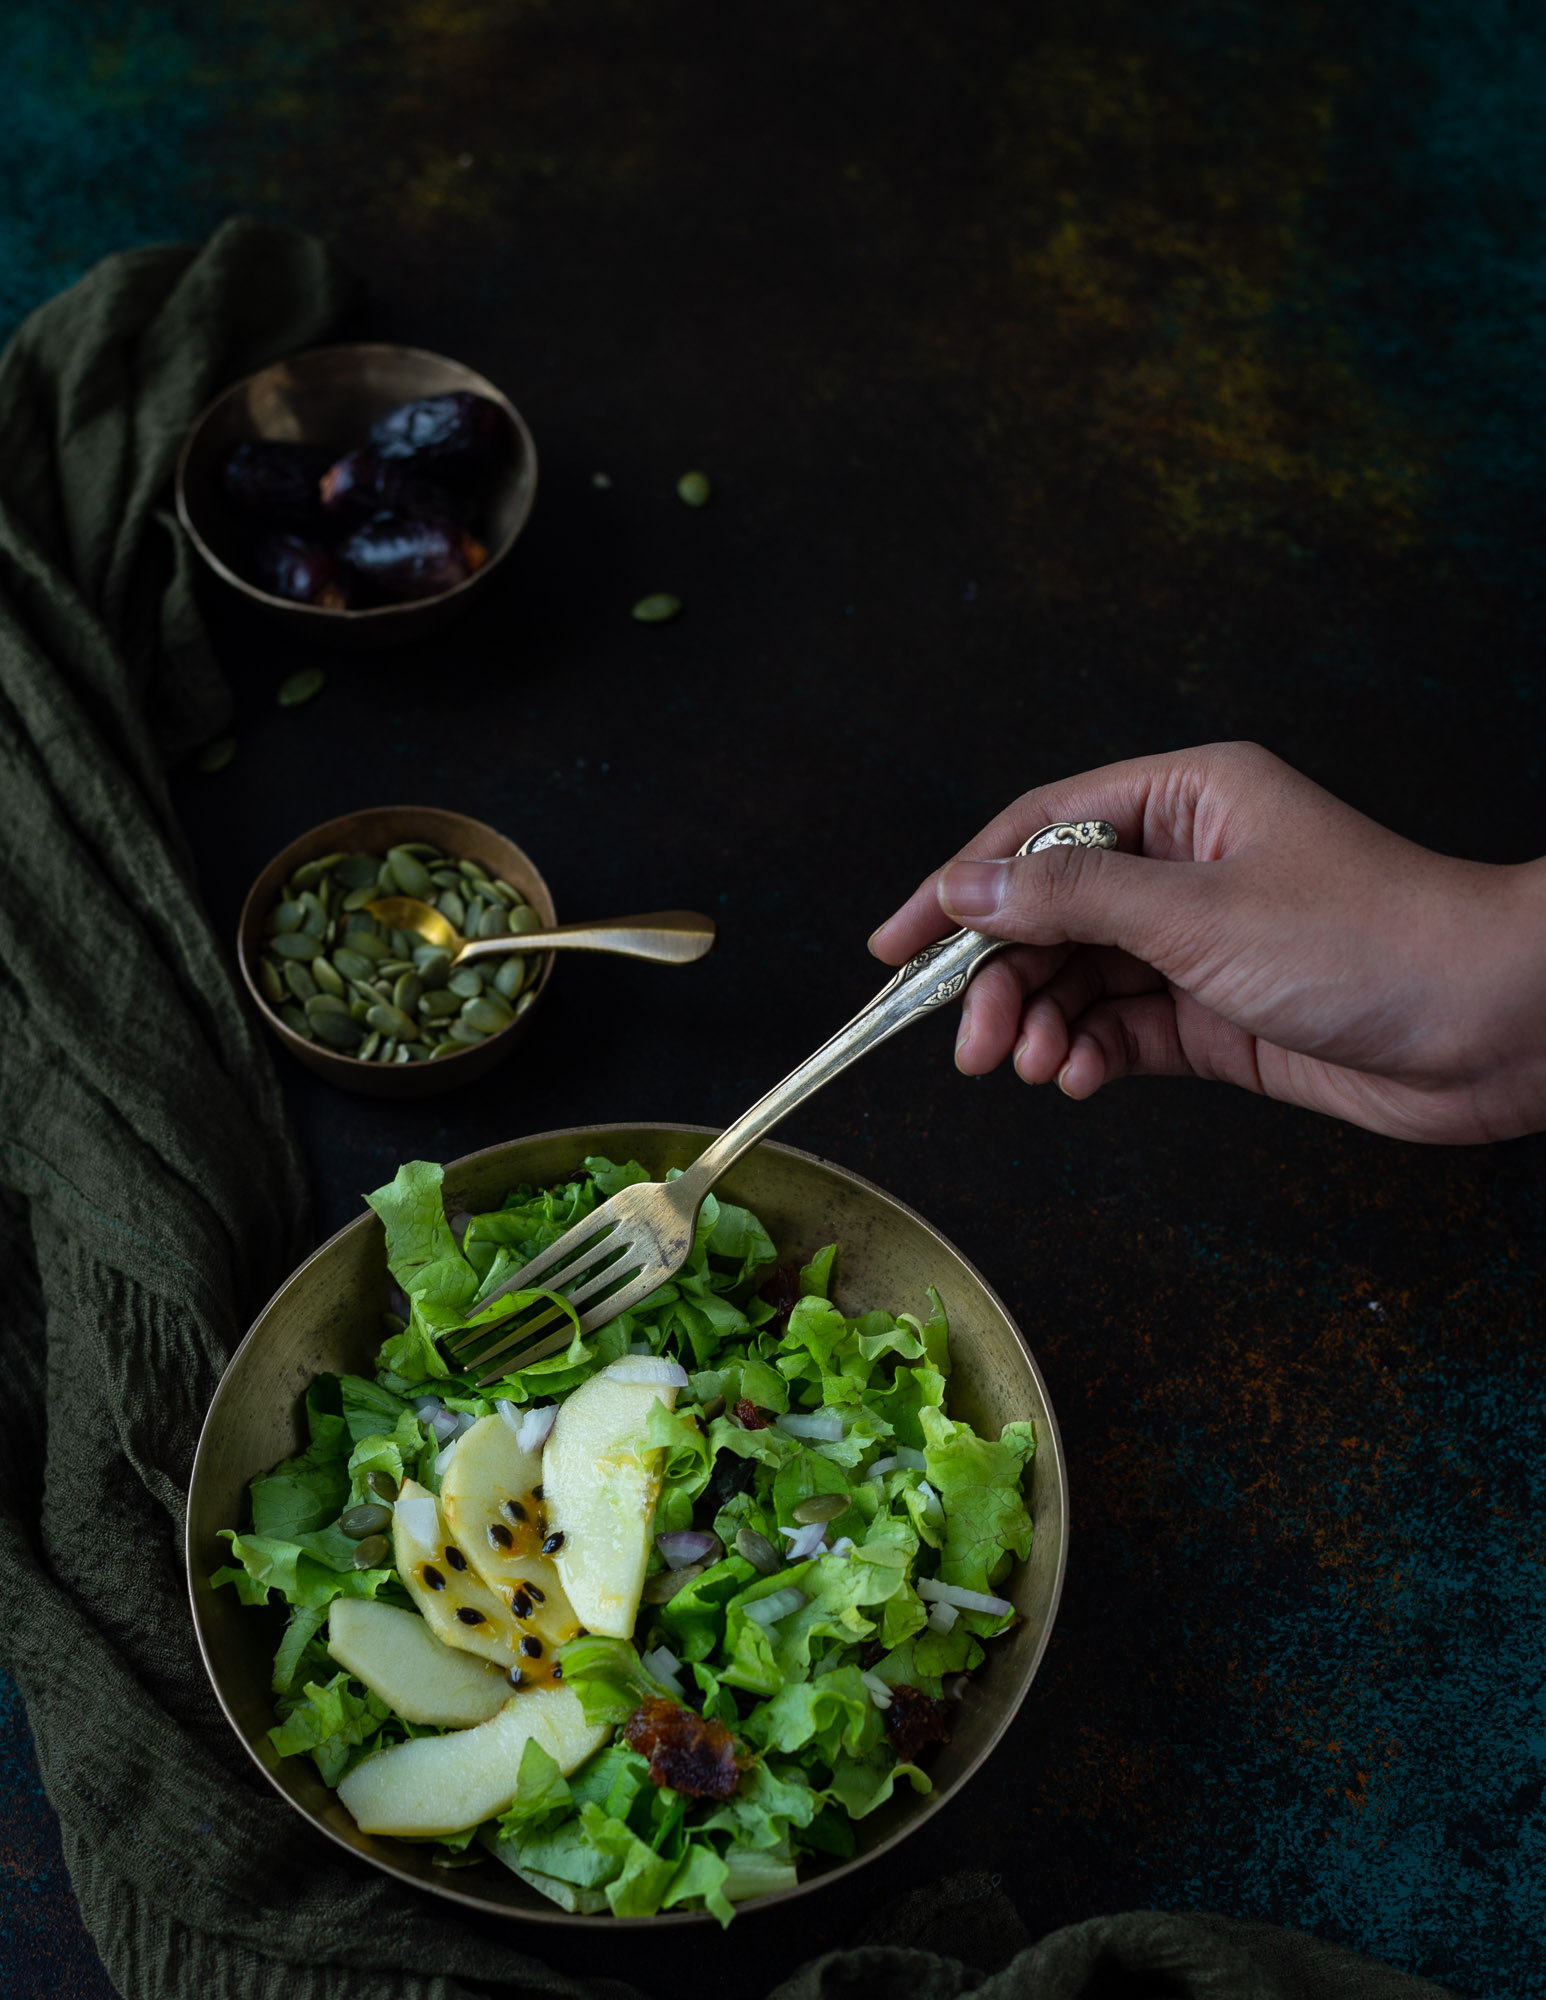
Salad With Passion Fruit Dressing

(Yield: 1 bowl)


Dressing

½ cup passion fruit pulp

2 tablespoons olive oil

1 tablespoon honey

1 tablespoon lemon juice

Salt to taste


Salad

2 cups lettuce

¼ cup finely cut spring onions

½ apple (core and sliced)

2 tablespoons chopped dates

2 tablespoons toasted pumpkin seeds


Simply put the salad ingredients together in a bowl and set them aside. Then, whisk the ingredients of the dressing until they are blended well. Pour this over the salad before you serve it. Enjoy!

Sometimes, there really is nothing else easier to prepare than a salad. I’m a huge fan of the food format itself, as you may know, and here are several you may also enjoy: mango salad, millet salad and sundal.

Salads are a great way to increase your vegetable intake, and they give you a boost especially as a mid-day meal that keeps you light on your feet but sated. Do try this one out and let me know what you think? Before I forget, here’s another look at the stop motion video that started off the idea for this post! In case you missed it, do check out my cupcakes recipe too, and the stop motion video that accompanied it. If you use the app, I’m looking forward to connecting on Instagram too.
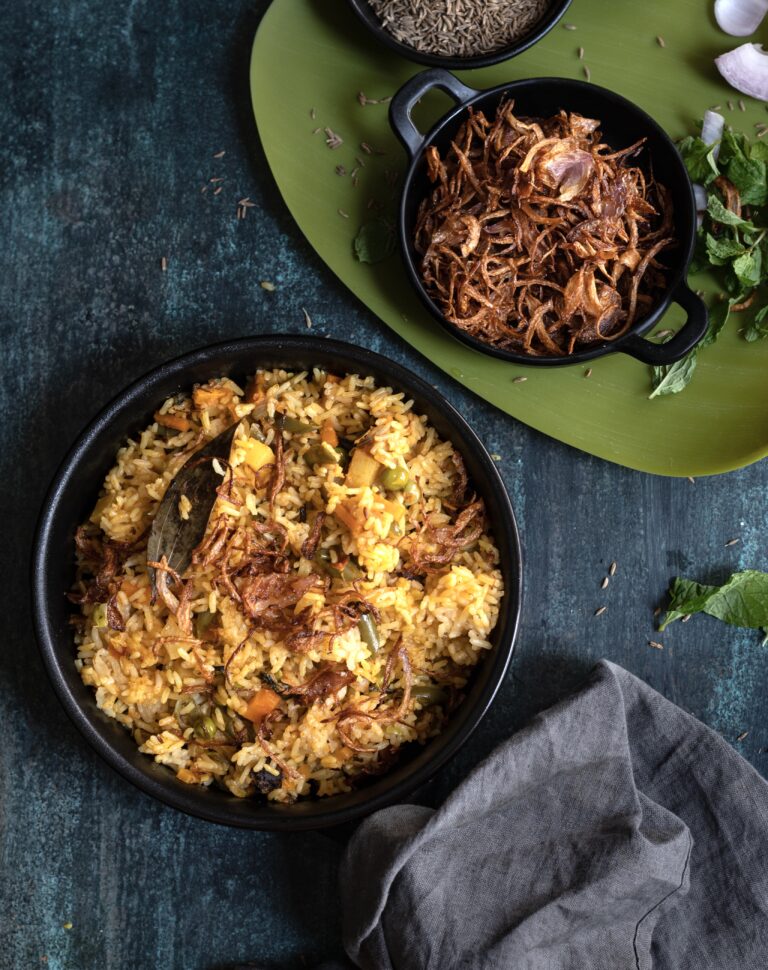
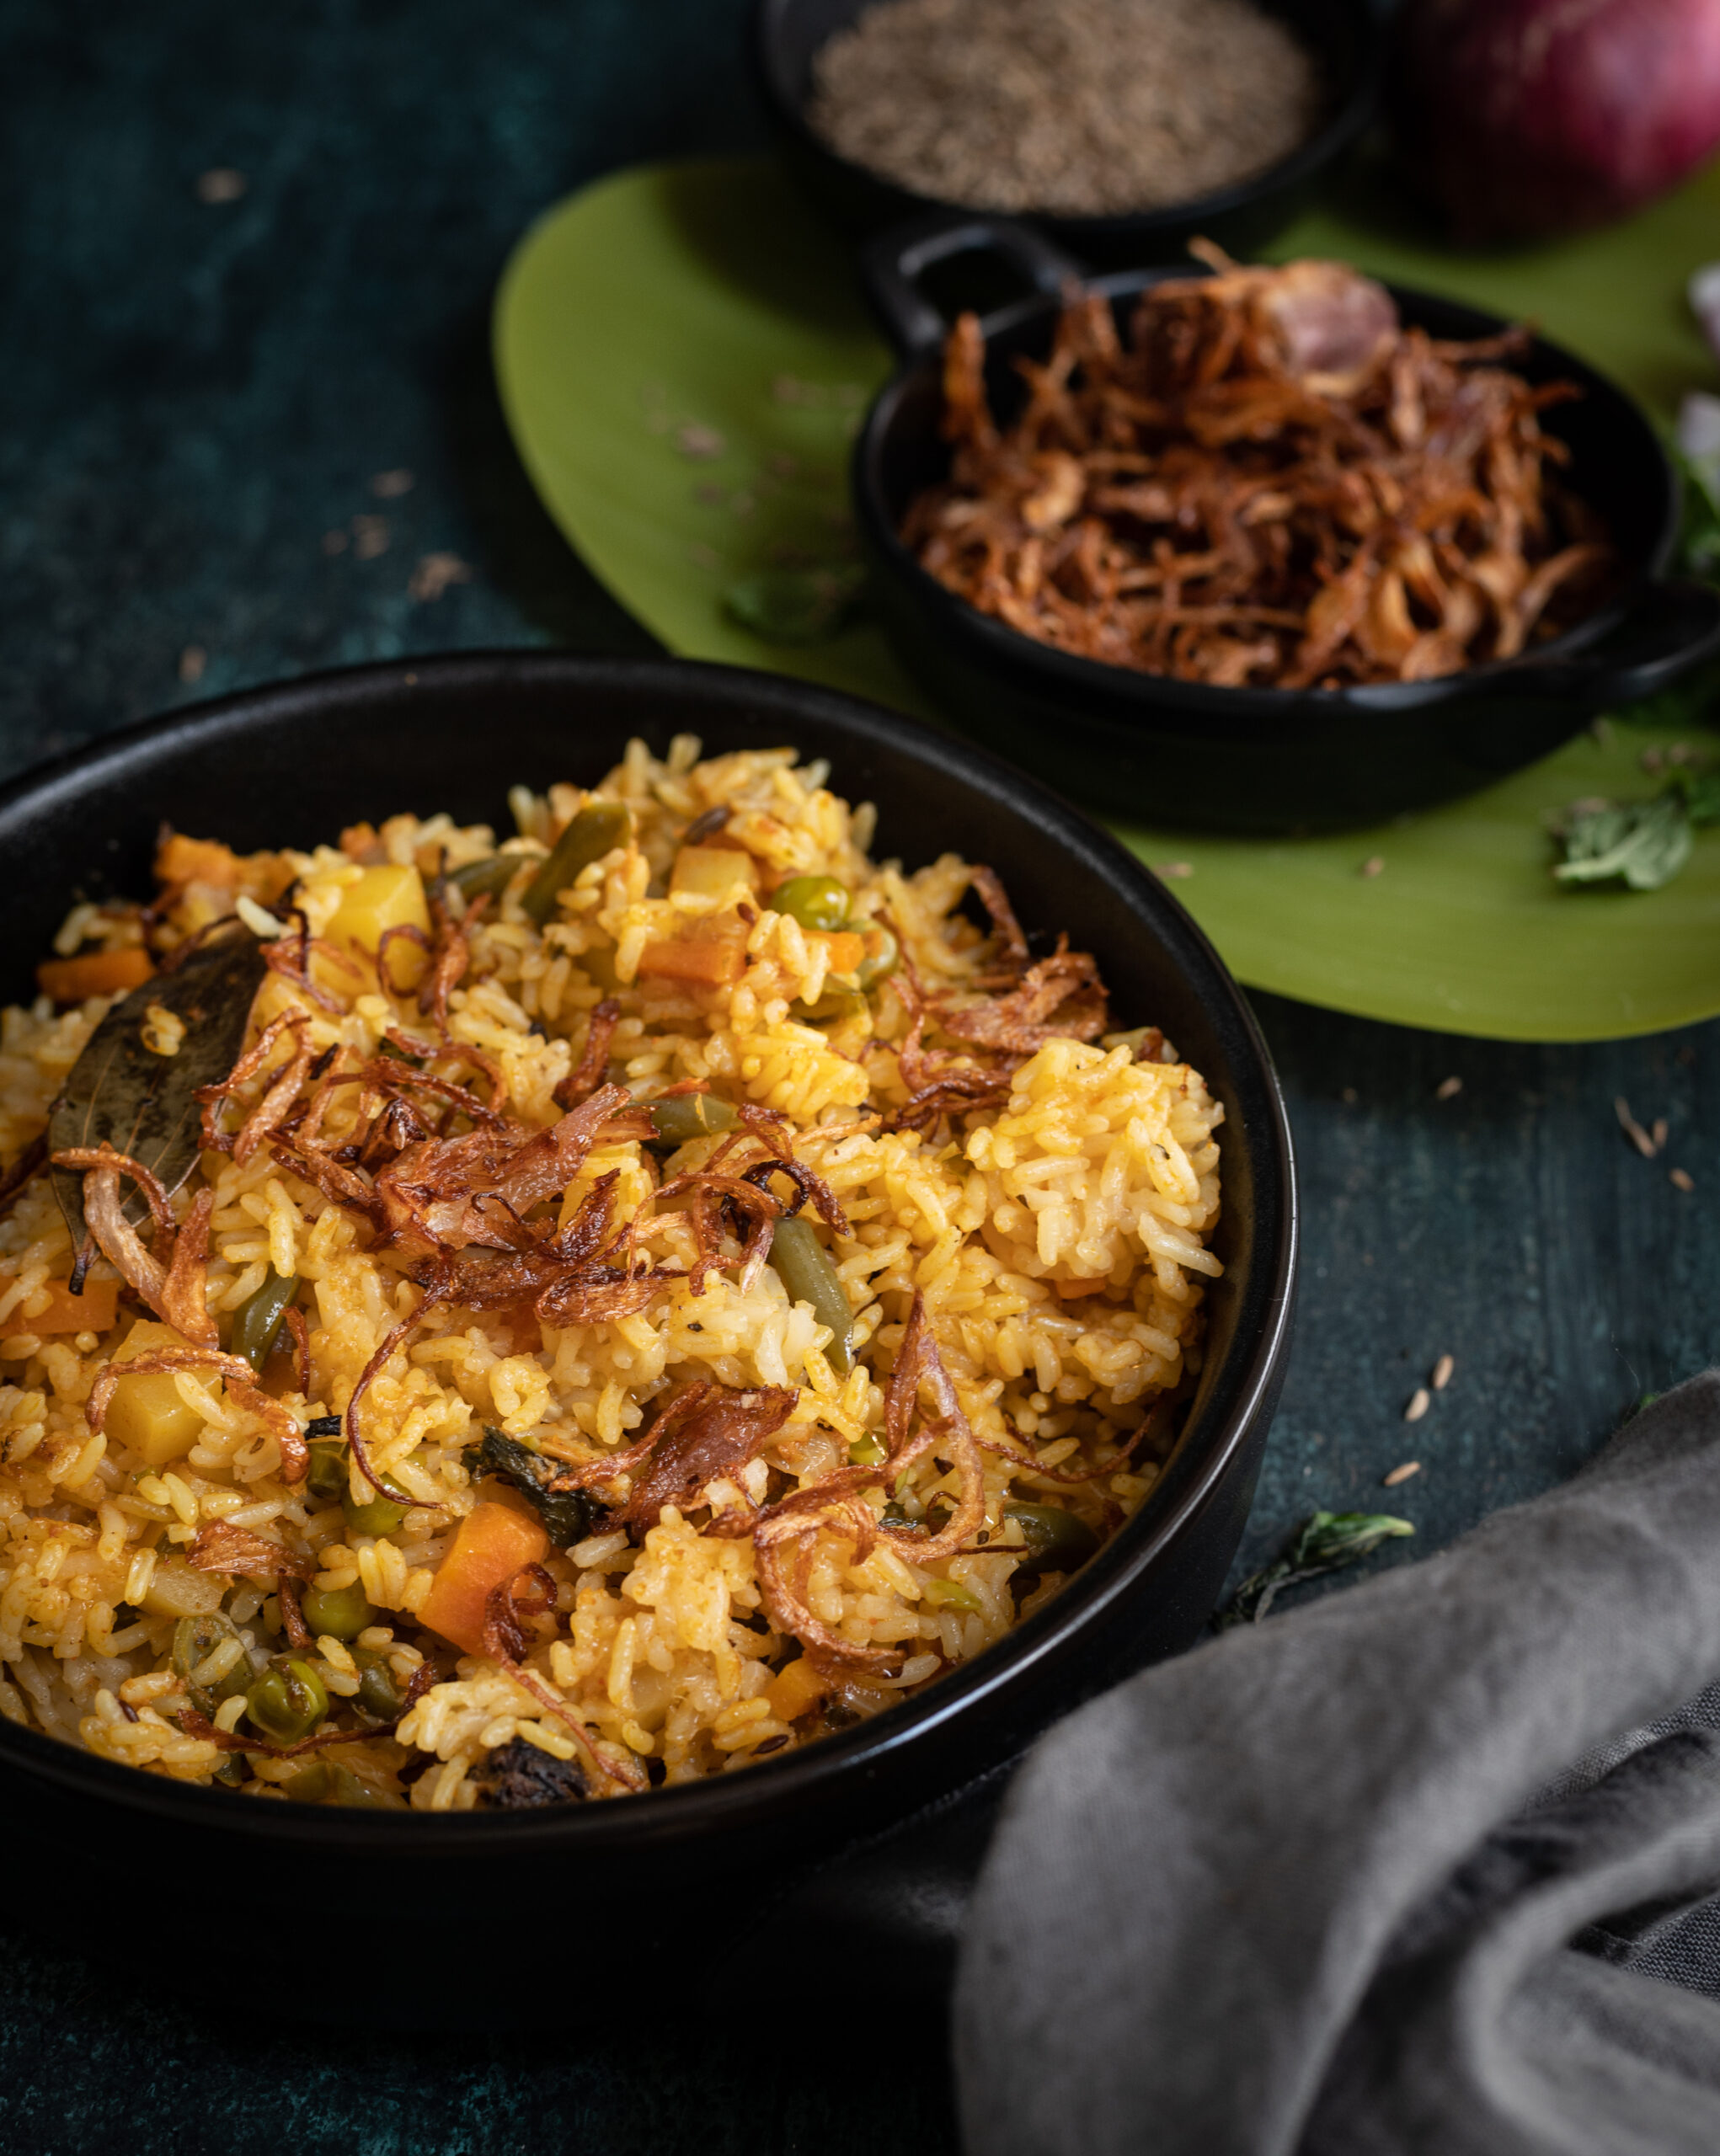
My children are at home through this lockdown, and I’ve been striving to make their favourite dishes for them while being mindful about how to make every ingredient go the extra mile. As we’ve discussed many times before on this blog, Indians have a knack for being resourceful in the kitchen, whether that’s through reusing leftovers creatively or coming up with innovative ways to cook with less. I believe that we should not neglect our nutrition or our taste buds, even now, and I’ve been thinking of how to share recipes with you that can be made with what you already have on hand in the fridge, but which don’t compromise on deliciousness. This vegetable biryani is a perfect example – flavourful, comforting, and made from just the staples.

The great part about this dish is that you can throw in any vegetable you like, which is especially useful at a time like this. It’s a very easy recipe for young adults who are just stepping out and learning to cook on their own, as well as for beginners in the kitchen. If you have a pressure cooker and follow the recipe to a T, you’ll soon be able to enjoy homemade biryanis on the regular.

Biryani is a savoury rice dish from the Mughal empire of India, and variations are made throughout the country. It is often prepared with long-grained basmati rice. In South India, we tend not to grow this variant, so different locations are famous for using their own rice types and methods. Popular regional biryanis include Dindigul, Hyderabad, Ambur and more. Meat is a common ingredient, but I’ll share a vegetarian recipe for the benefit of a wider number of readers.

That said, even the vegetables in this recipe are optional, although of course I don’t recommend that you leave them out for nutrition’s sake. But if you are short of groceries right now, be assured that the rice will be just as flavourful even without them. The subtle tastes and fragrances of the many spices used amply make up for them.

When my children were still little, and like many children disliked eating vegetables, they were absolutely delighted by a discovery made on a holiday. My brother had taken us to Dubai, to a restaurant that made a wonderful selection of biryanis. My kids were kicked to see that the restaurant offered a vegetarian version with no vegetables! I guess you could call it the kids’ option. That’s where they got the idea of having this flavourful rice with no vegetables at all, and got me to start making it for them that way too.

Like many of you, if not all of you, there have been some disruptions for us due to the current situation. We had been renovating our house, and had temporarily shifted to a smaller flat, where we now find ourselves until this crisis passes. Living in apartments, you can get the smells of cooking from different homes wafting into yours. This piques my curiosity delightfully. Sometimes I wonder: I think she’s making biryani, and that smells like this masala or that spice; perhaps I can incorporate it next time… Biryanis vary not just regionally, but also  between communities, and from family to family. No one can really replicate another’s, yet they are all fragrant – and tasty! I am certain yours will be too.
I have many other memories of biryani as a dish that encouraged bonding, and these go back to my childhood. At the time, the beach was the only place of outing for us in Chennai. We went there whether it was for a special occasion, like Sharad Purnima, or just as a treat. Most of us have lovely recollections of time spent there. On summer evenings, my extended family would head there with a big pot of biryani. We’d enjoy dinner on the beach along with the light, cooling sea breeze. People would also bring accompaniments, including a sweet, raita, drinks, crispies like appalams and so on, so it became a potluck. We would tuck into a feast as we enjoyed one another’s company as well as the beauty of nature. I so look forward to doing that again one day, when it becomes possible to. A simple picnic with loved ones, in the beautiful outdoors, with a basket or two of delicious food…


Vegetable Biryani

(Yield: Serves 4)

Ingredients:

2 tablespoons ghee

2 teaspoons cumin seeds

1 teaspoon saunf

2 bay leaves

1 long cinnamon stick

2-3 cloves

2 cardamom pods

1 star anise

200 grams rice (approximately 1¼ cups)

200 grams cut vegetables (beans, carrots, small potatoes, peas)

100 grams finely cut onions

1 tablespoon tomato purée

1 green chilli

A few mint leaves

1 tablespoon finely cut coriander leaves

1 tablespoon yoghurt

2 cups water


Masala:

½ teaspoon turmeric powder

Salt to taste

1 teaspoon cumin powder


Raita:

1½ cups yoghurt

½ cup onions

Salt to taste

1 teaspoon roasted cumin powder

First, prepare the raita, so it’s ready when you serve the biryani. Add the yoghurt in a bowl, then add the salt and the cumin powder. Mix well. Now, add the onions and stir. Store in the refrigerator.

Pick, rinse and soak the rice in water for about ½ an hour. I have used rice from our farm as we prefer that at home. However, if you prefer basmati, then use that by all means. It’s possible that the water content may change, so adjust accordingly.

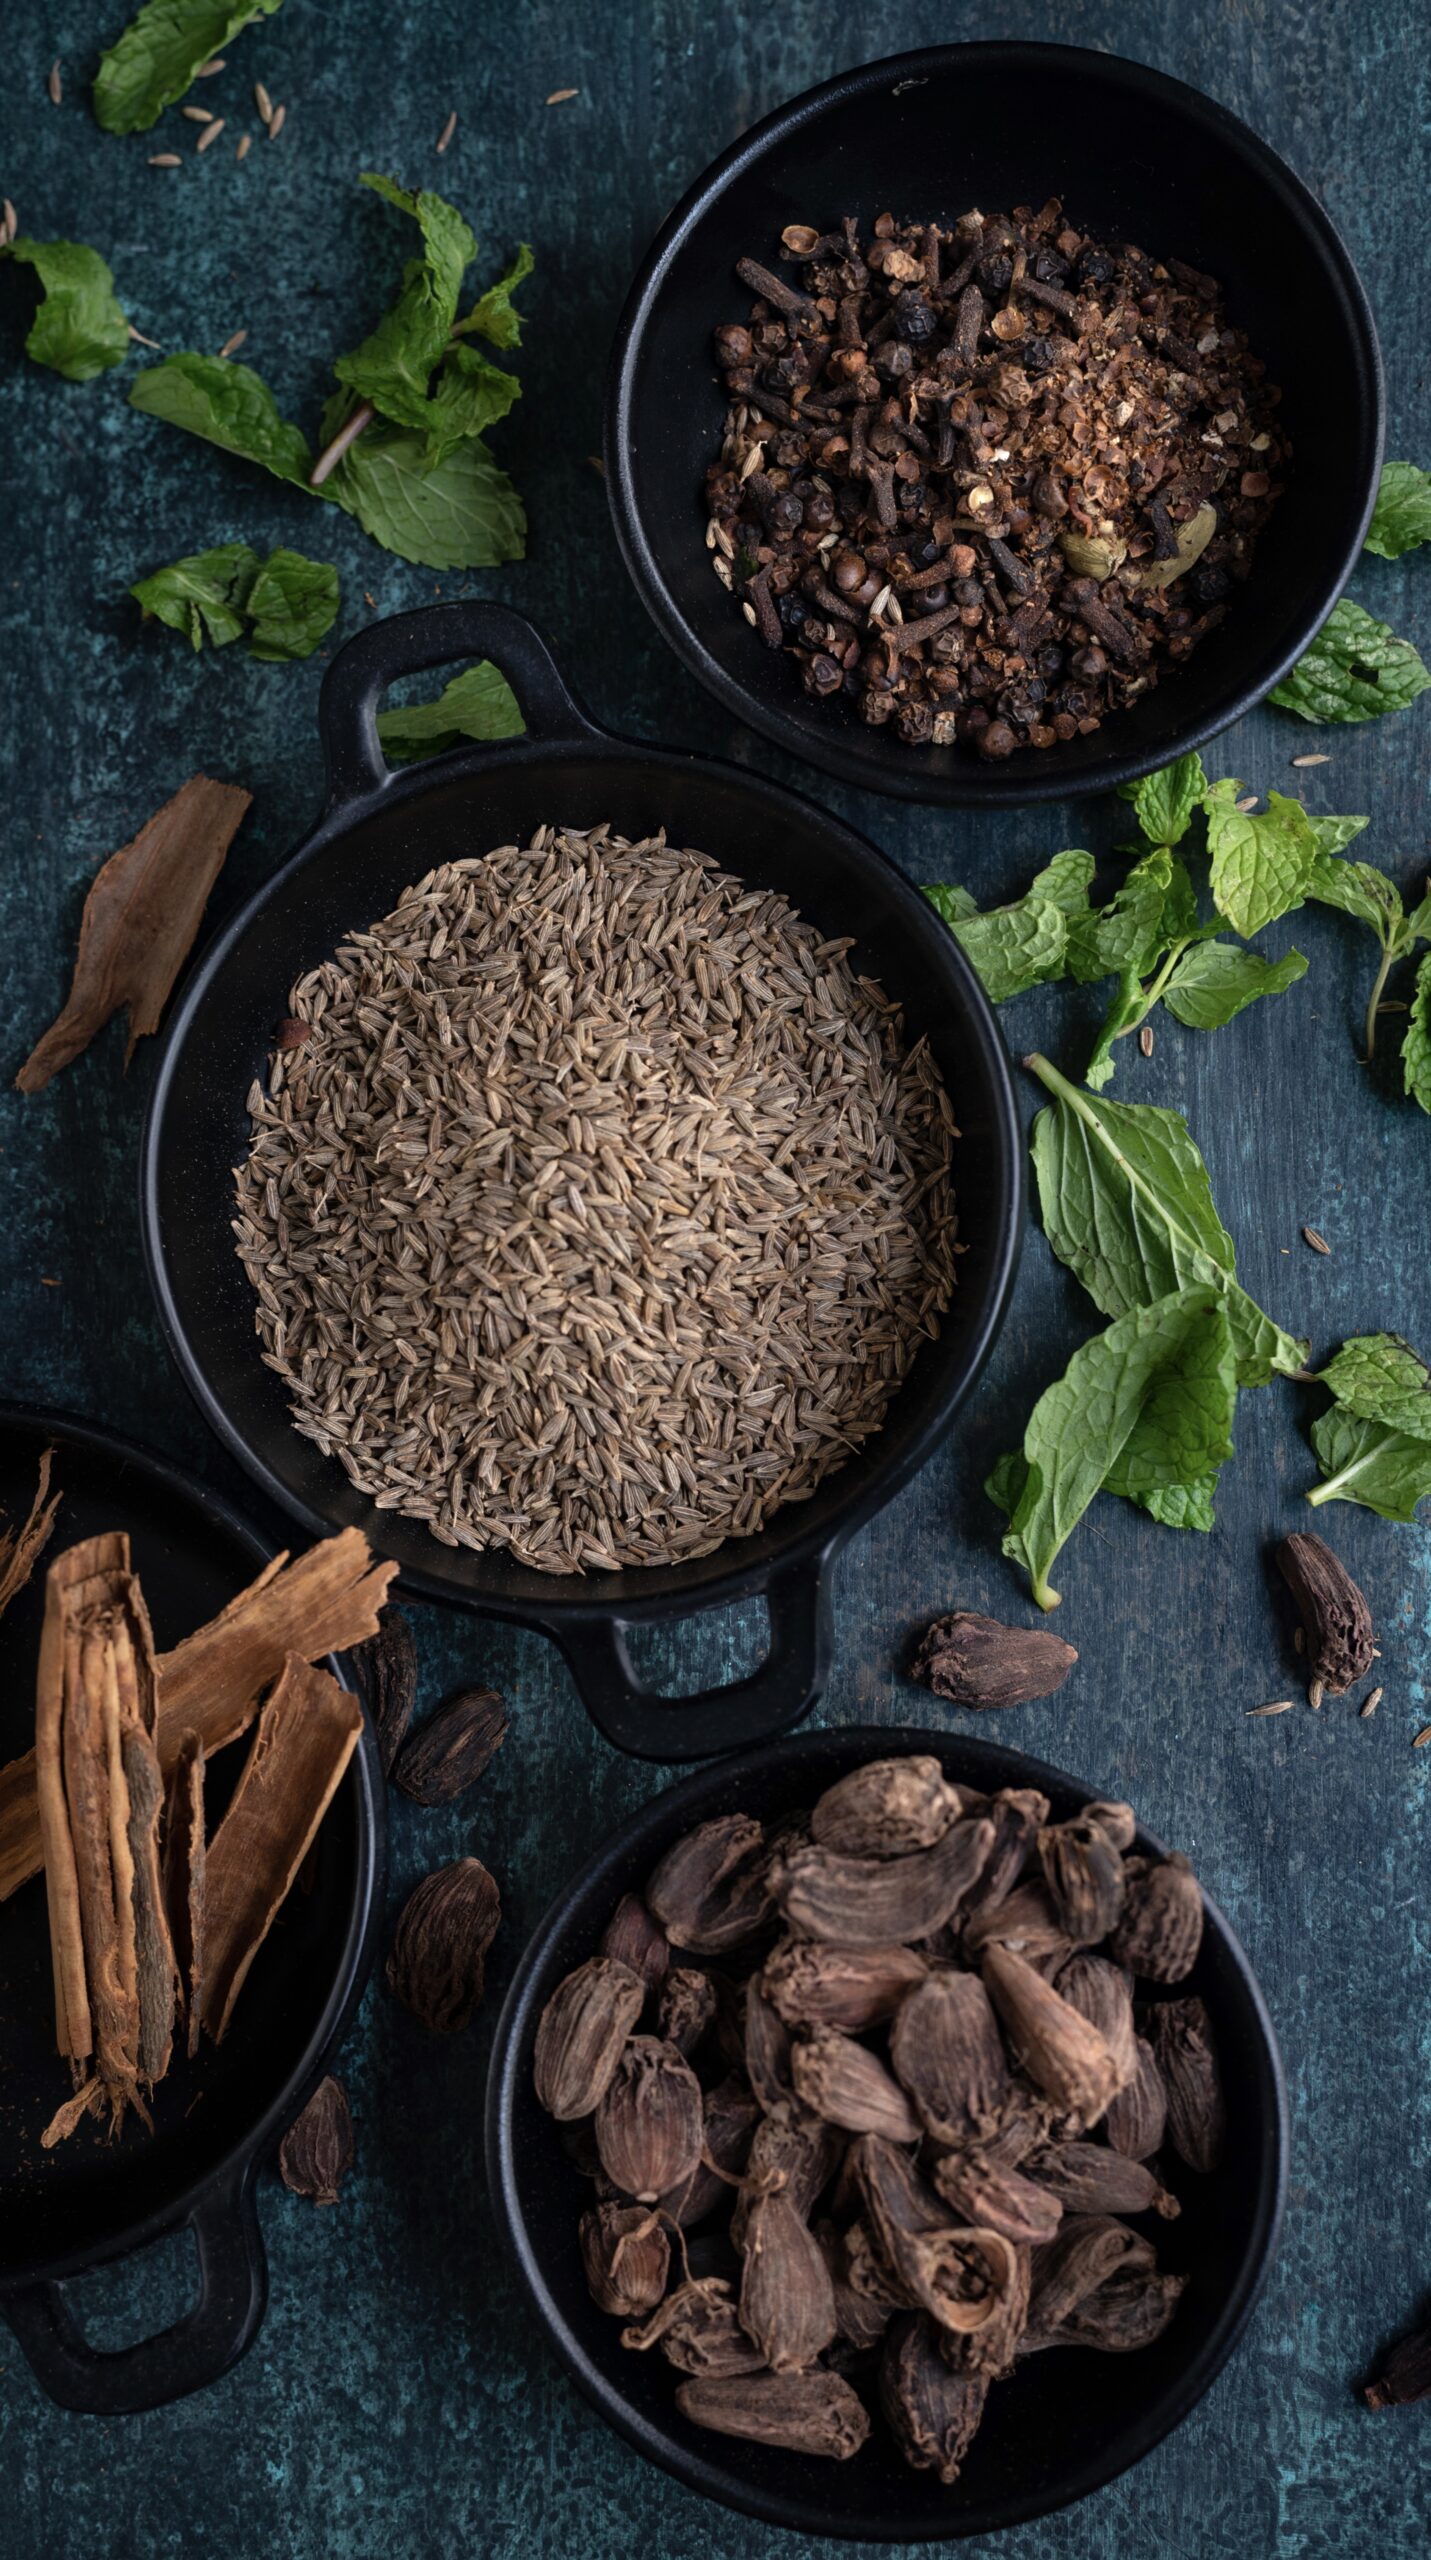
In a pressure cooker, add the ghee. Once it becomes hot, add the cumin seeds and saunf, followed quickly by the spices (cardamom, cinnamon stick, bay leaf, cloves, star anise). You can substitute the ghee for oil, especially if you are vegan.

Sauté for less than a minute or until the flavours come together in the ghee.

Next, add the finely cut onions and sauté until transparent. Once it turns golden, add the tomatoes and the green chilli. I have used a homemade tomato purée, the recipe for which was shared recently. But feel free to use fresh tomatoes, diced.

Now, add the masala and stir well. Once that is mixed thoroughly, add all the vegetables along with the mint and coriander leaves. You may use any vegetables that are available to you. Fortunately, my usual method for this biryani requires simple ones that I still have on hand easily – beans, carrots, small potatoes and peas.

Next, add the yoghurt. Blend everything well. Discard the soaking water and add the rice.

Now, add 2 more cups of water to the rice mixture. Cover the pressure pan and allow 1 whistle. Then, lower the flame and allow to cook for another 5 minutes.

Turn off the flame and allow to cool in the cooker until it is ready to open.

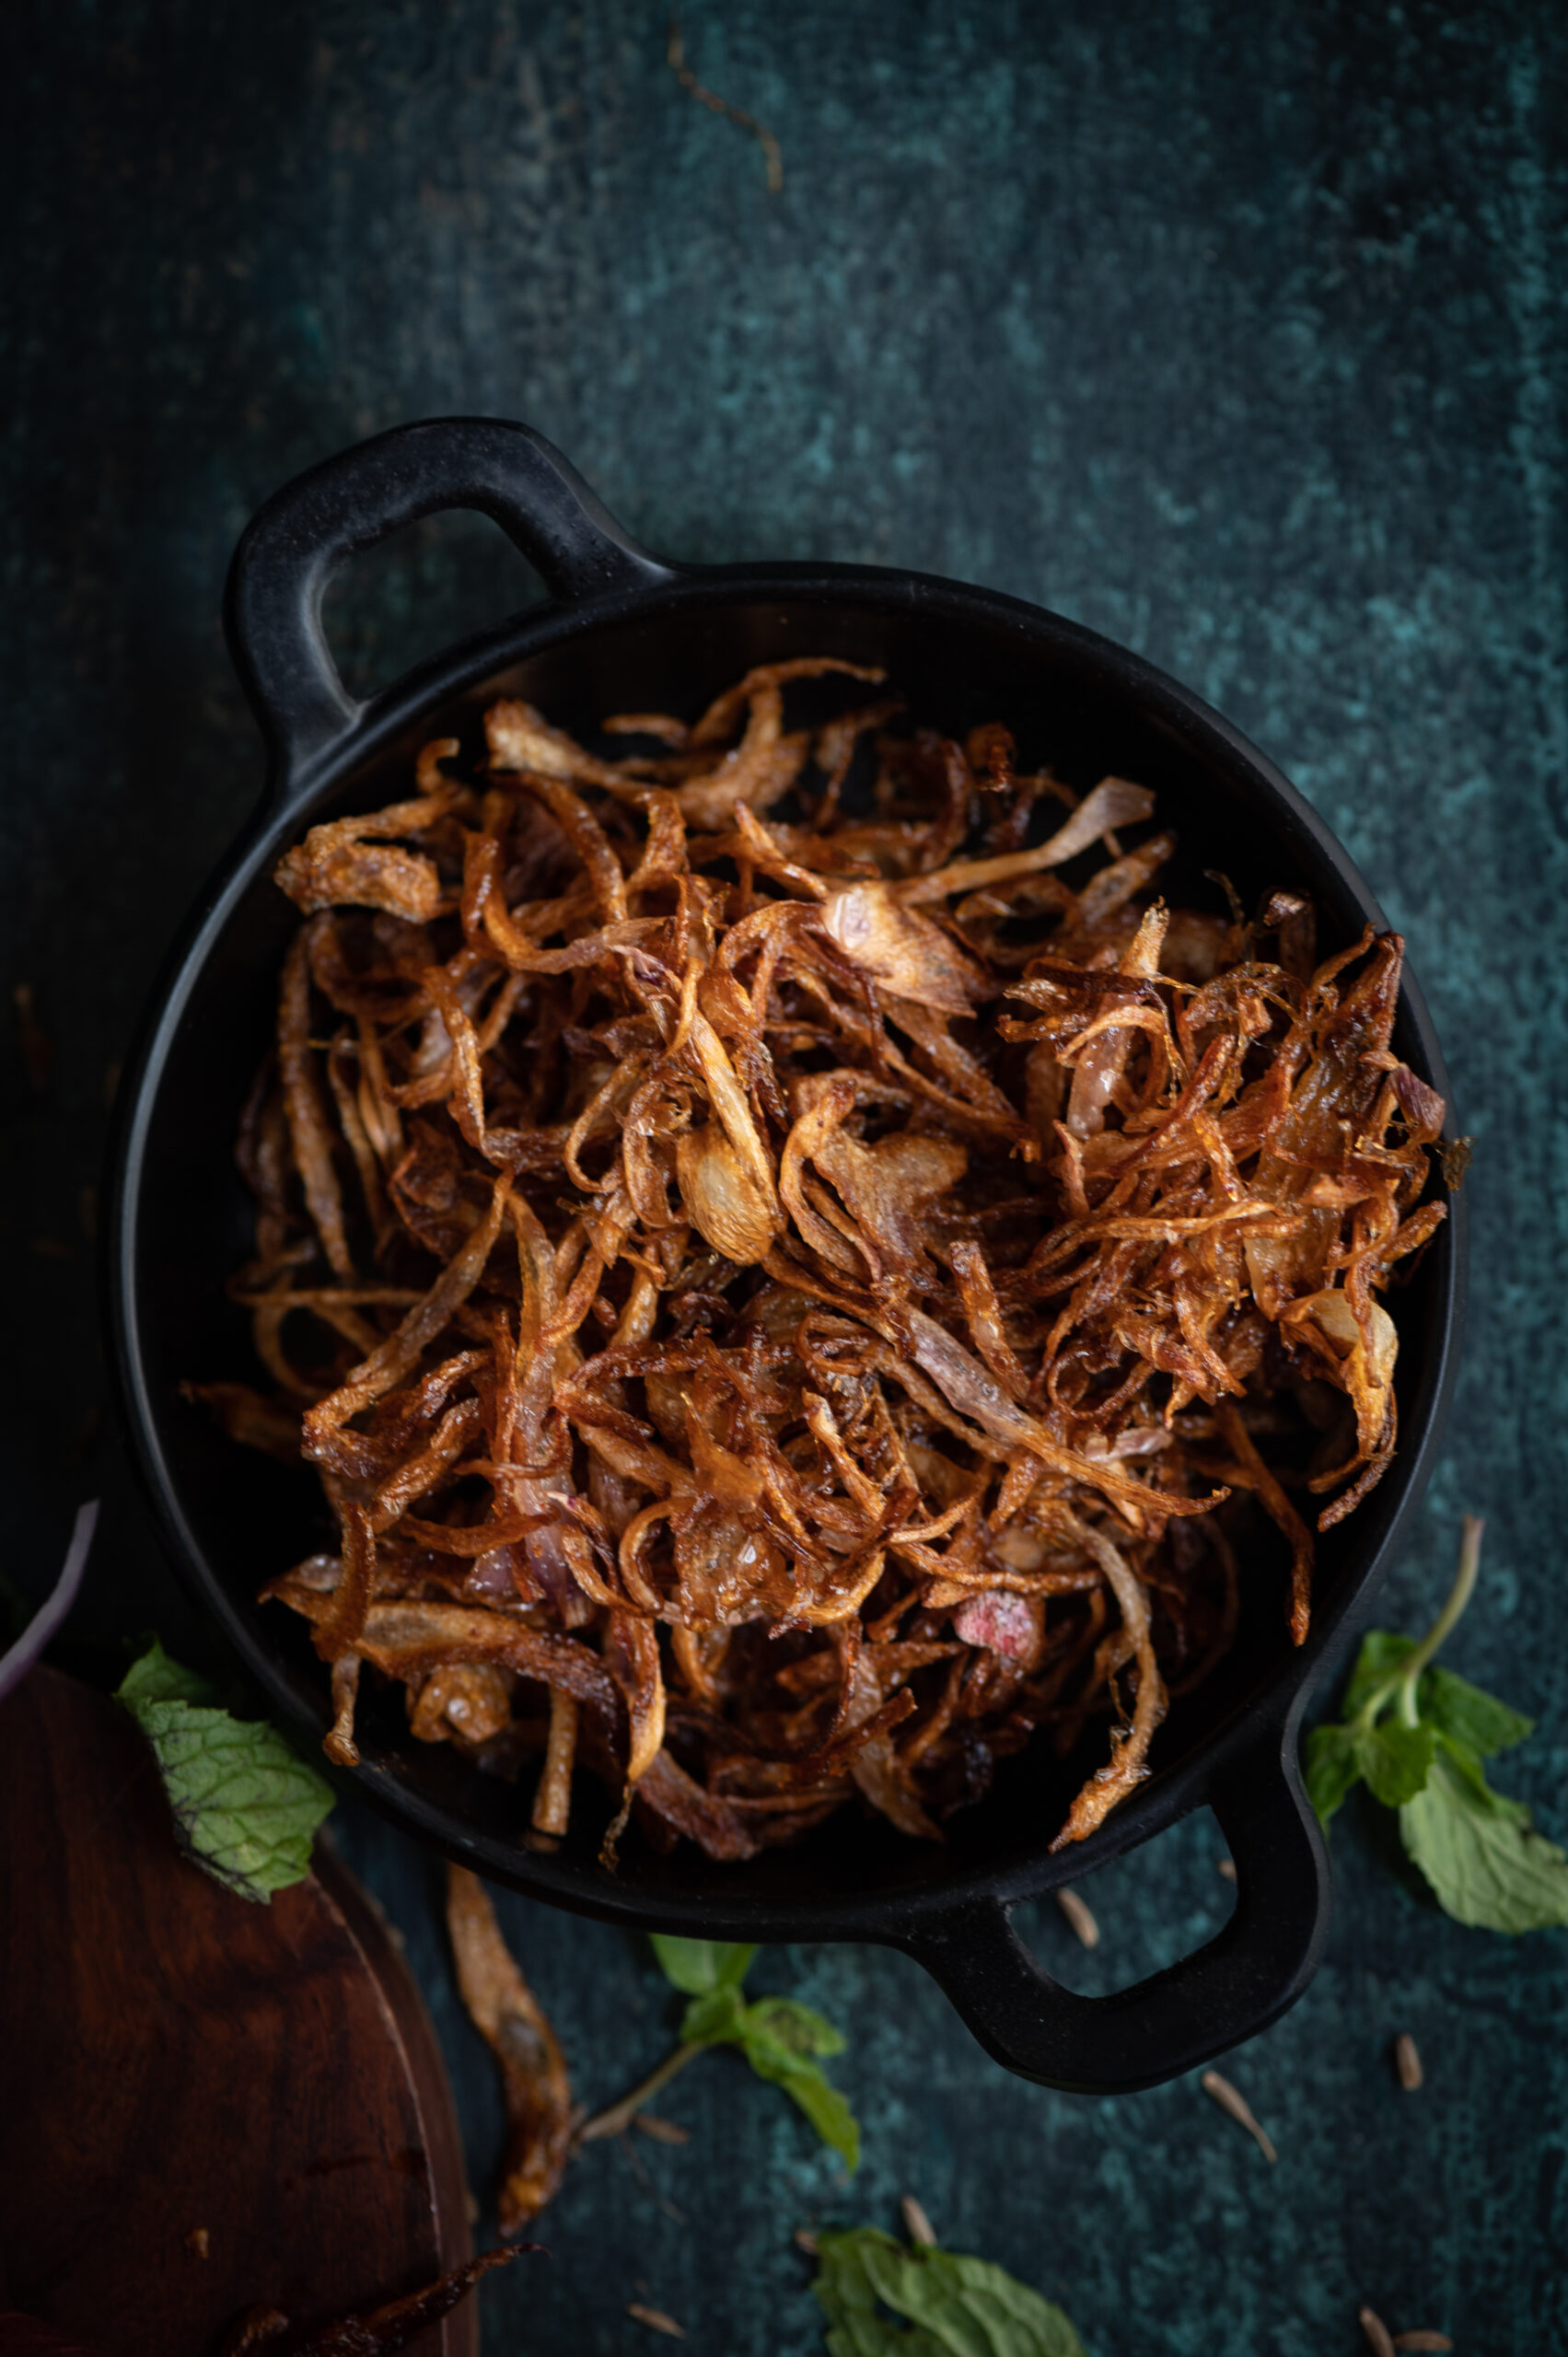
Once open, mix gently and serve with the onion raita. I garnish the biryani with a sprinkling of golden burnt onion slices.

And there you have it – a recipe from the royal kitchens, adapted for our lives today. I hope this simple vegetable biryani will bring you some joy in this surreal time. I’ll keep sharing more recipes in the next few weeks which I hope will also do the same.

If “biryani” has been considered a fancy dish in your mind till date, I encourage you to drop the notion. Let’s return once more to the fact that there are numerous kinds of biryanis – with meat, without meat, with vegetables, without vegetables, with some kinds of rice or with some other kinds of spices. This is why I want to say with confidence – give it a try! I am sure it will be great, and I would love to hear about your own variant in the comments.

Here in lockdown mode, due to the global pandemic, I feel now more than ever that memories, bonding, love and food are what keep us going and make it possible to manage this difficult time. I sincerely hope that you and your families are keeping well, and that my recipes will offer you some comfort.

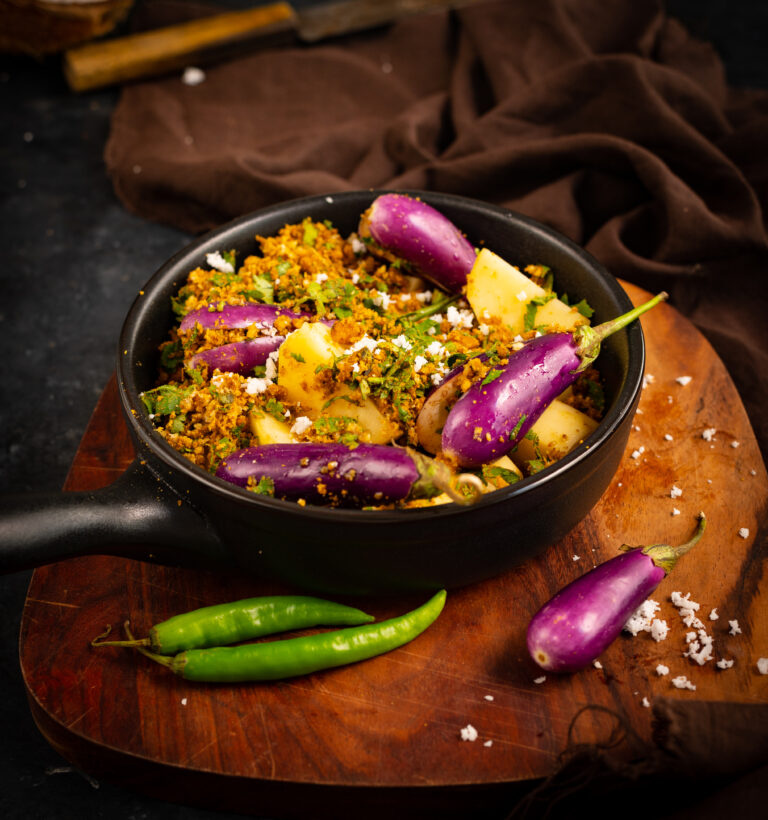
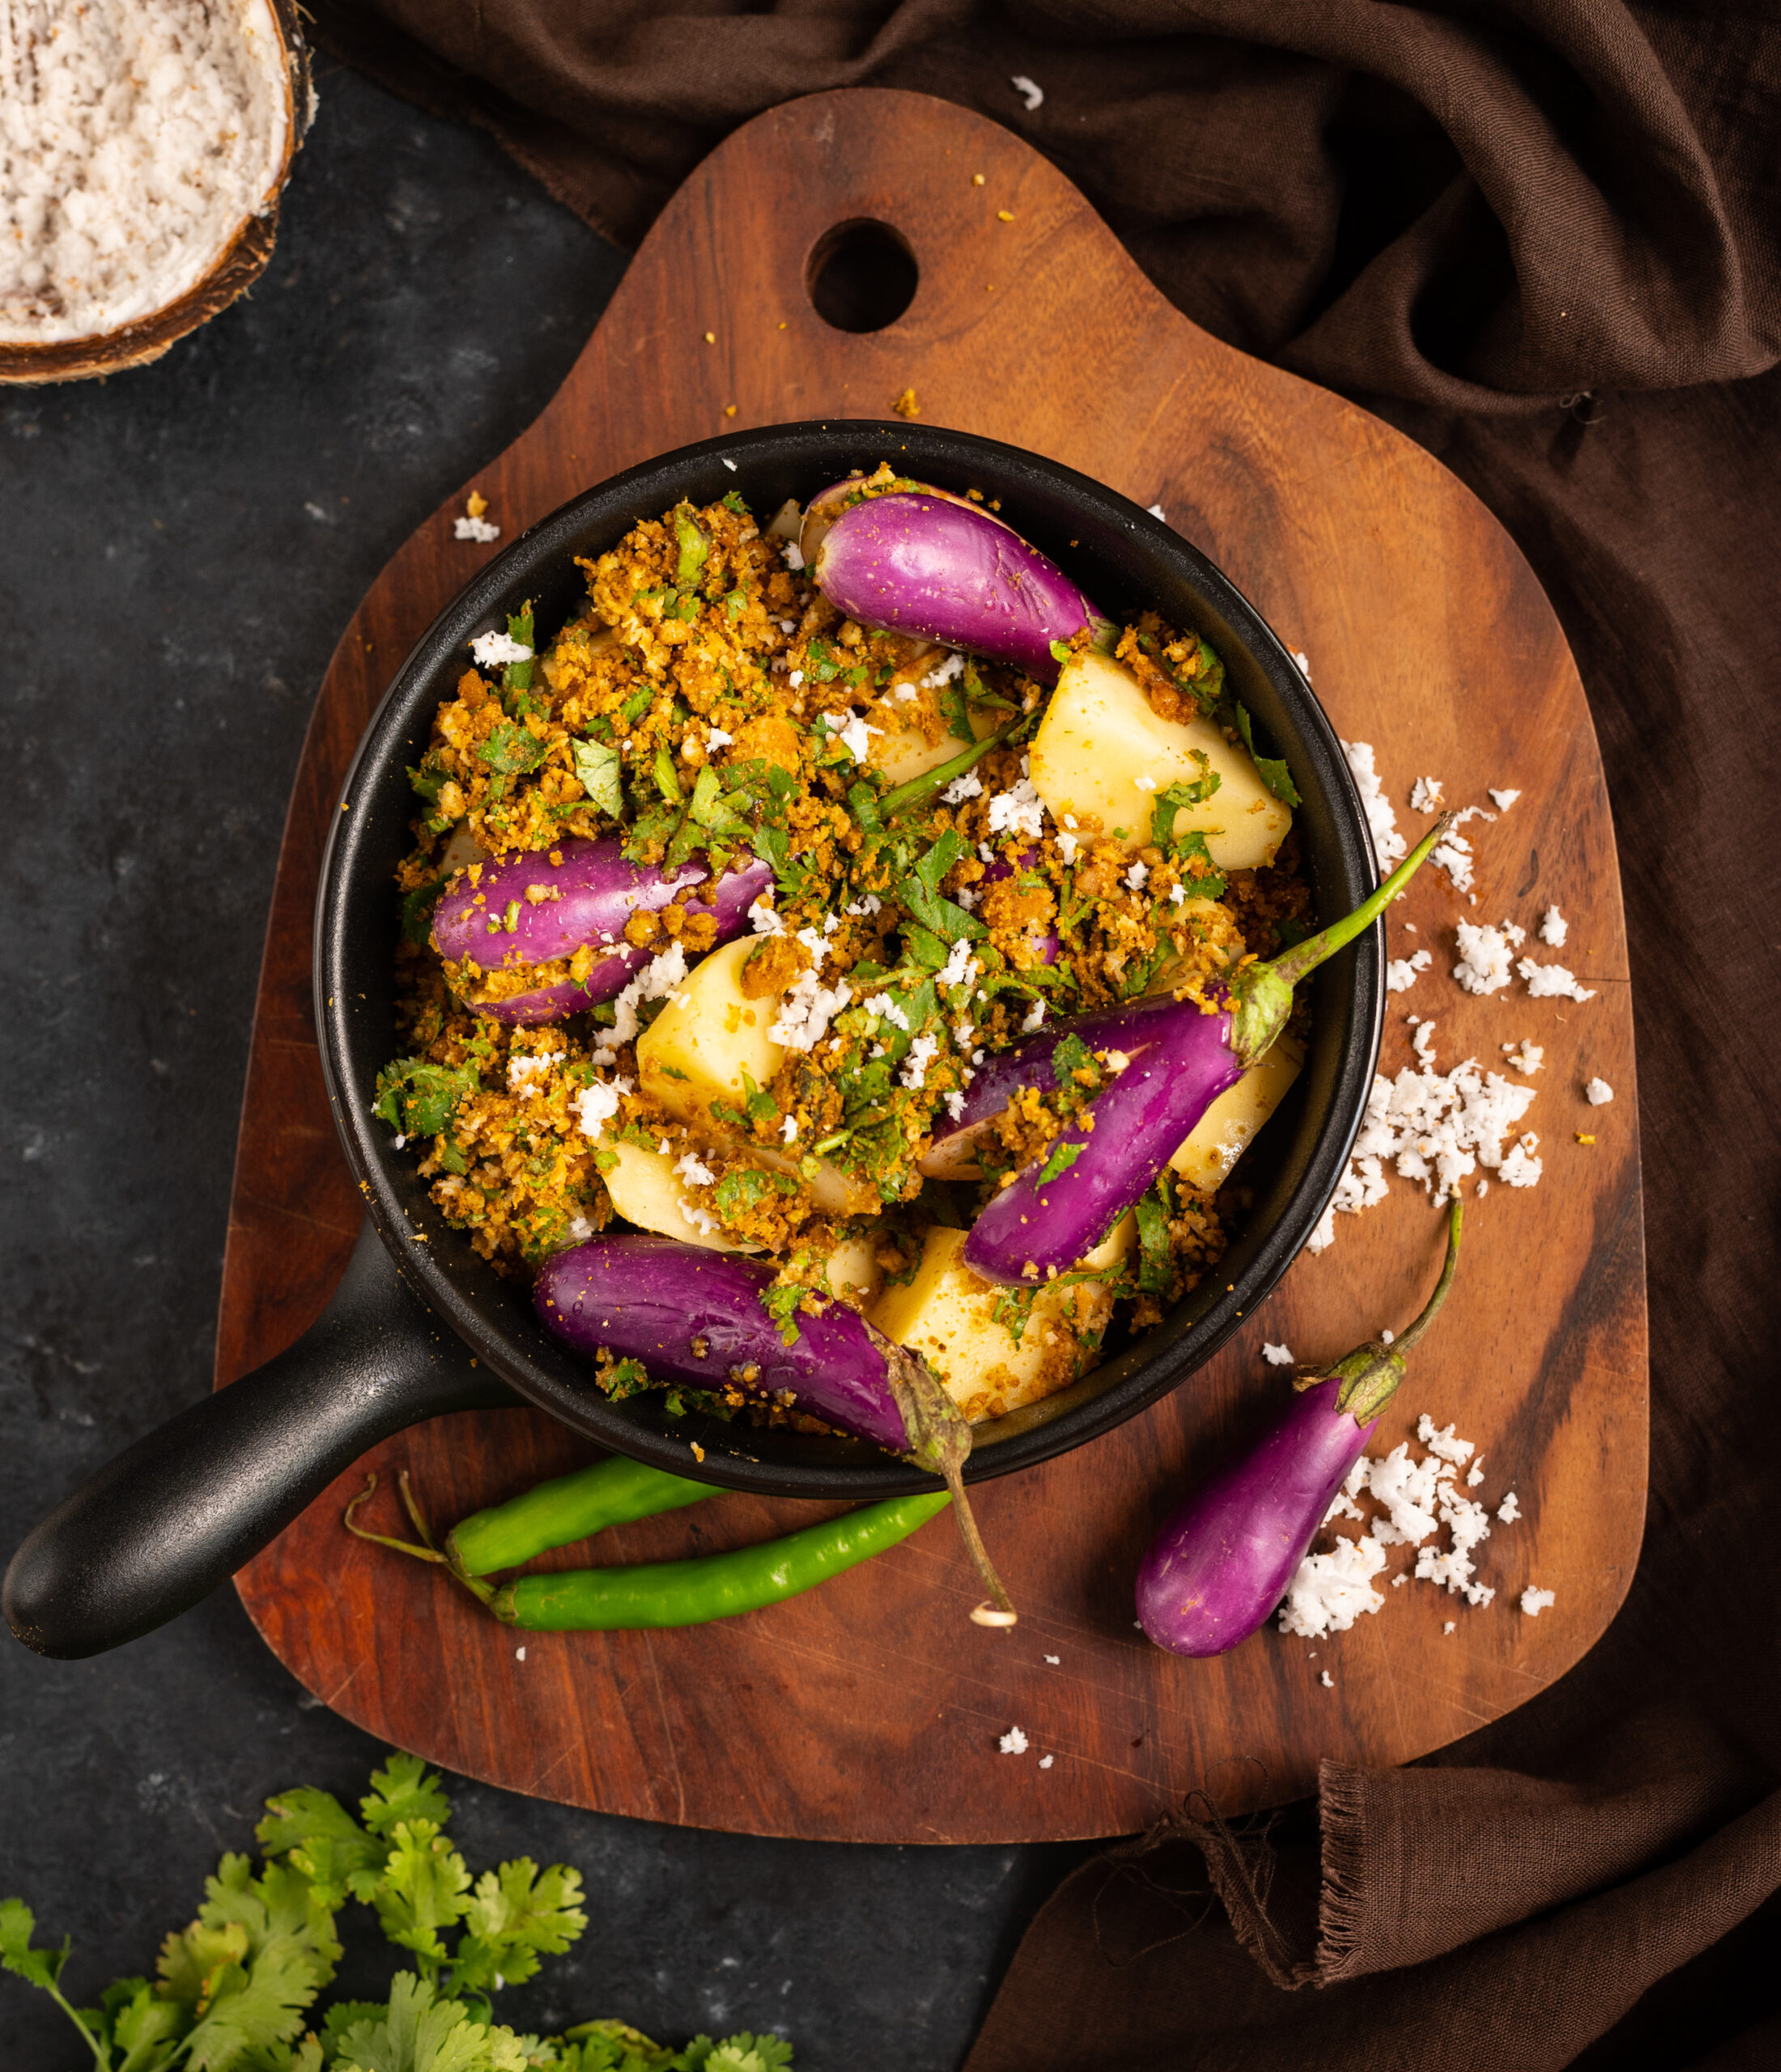
Ever since I can remember, this traditional stuffed vegetable dish has been a part of my life. It’s typically Gujarati, in the sense that every Gujarati household makes it. Some use onions and garlic, while for others these ingredients are not permitted religiously. Some use peanuts to add more texture. This dish is true to its region, so the taste and style you experience will also vary depending on where in the state the family originated from. No matter the variant, the base recipe for this Gujarati Potato & Brinjal Curry, which can be made either as a gravy or dry, is the same.

Needless to say, it’s a favourite and frequent dish in my home today, just as it was when I was growing up. It was a trademark preparation of my mother’s. When I first got married, she would speak to me often on the phone and if she sensed that I was feeling down, she would always say, “Come home for a meal. I made your favourite vegetable dish today.” Till she was 84 years old, she cooked this sabzi regularly for me. In that last year when she was unwell, it became my turn to. I would cook it and send it to her, made with all the love I have for her and the memories she had given me, and she would enjoy it just as much as I did.

And how many memories I have of this dish! Memories of eating it at home as a child, memories of making it for my own family once my kids were born, memories of visiting Gujarati relatives and friends for a meal and almost invariably being offered their own personal rendition of it. Perhaps there was something extra special about it to me always, and maybe this was the reason why my mother recognised that it was my favourite. That was because it was always served during our Sunday lunches when we were growing up. We would all be glad for the weekend, enjoying our leisure, and this delicious concoction of potato and stuffed brinjal would fill our tummies and become associated with the joy of a day of rest itself. Funnily, for such a quintessential and ubiquitious dish, Gujaratis don’t have a special name for it. We just call it “potato-brinjal curry” in our language too!

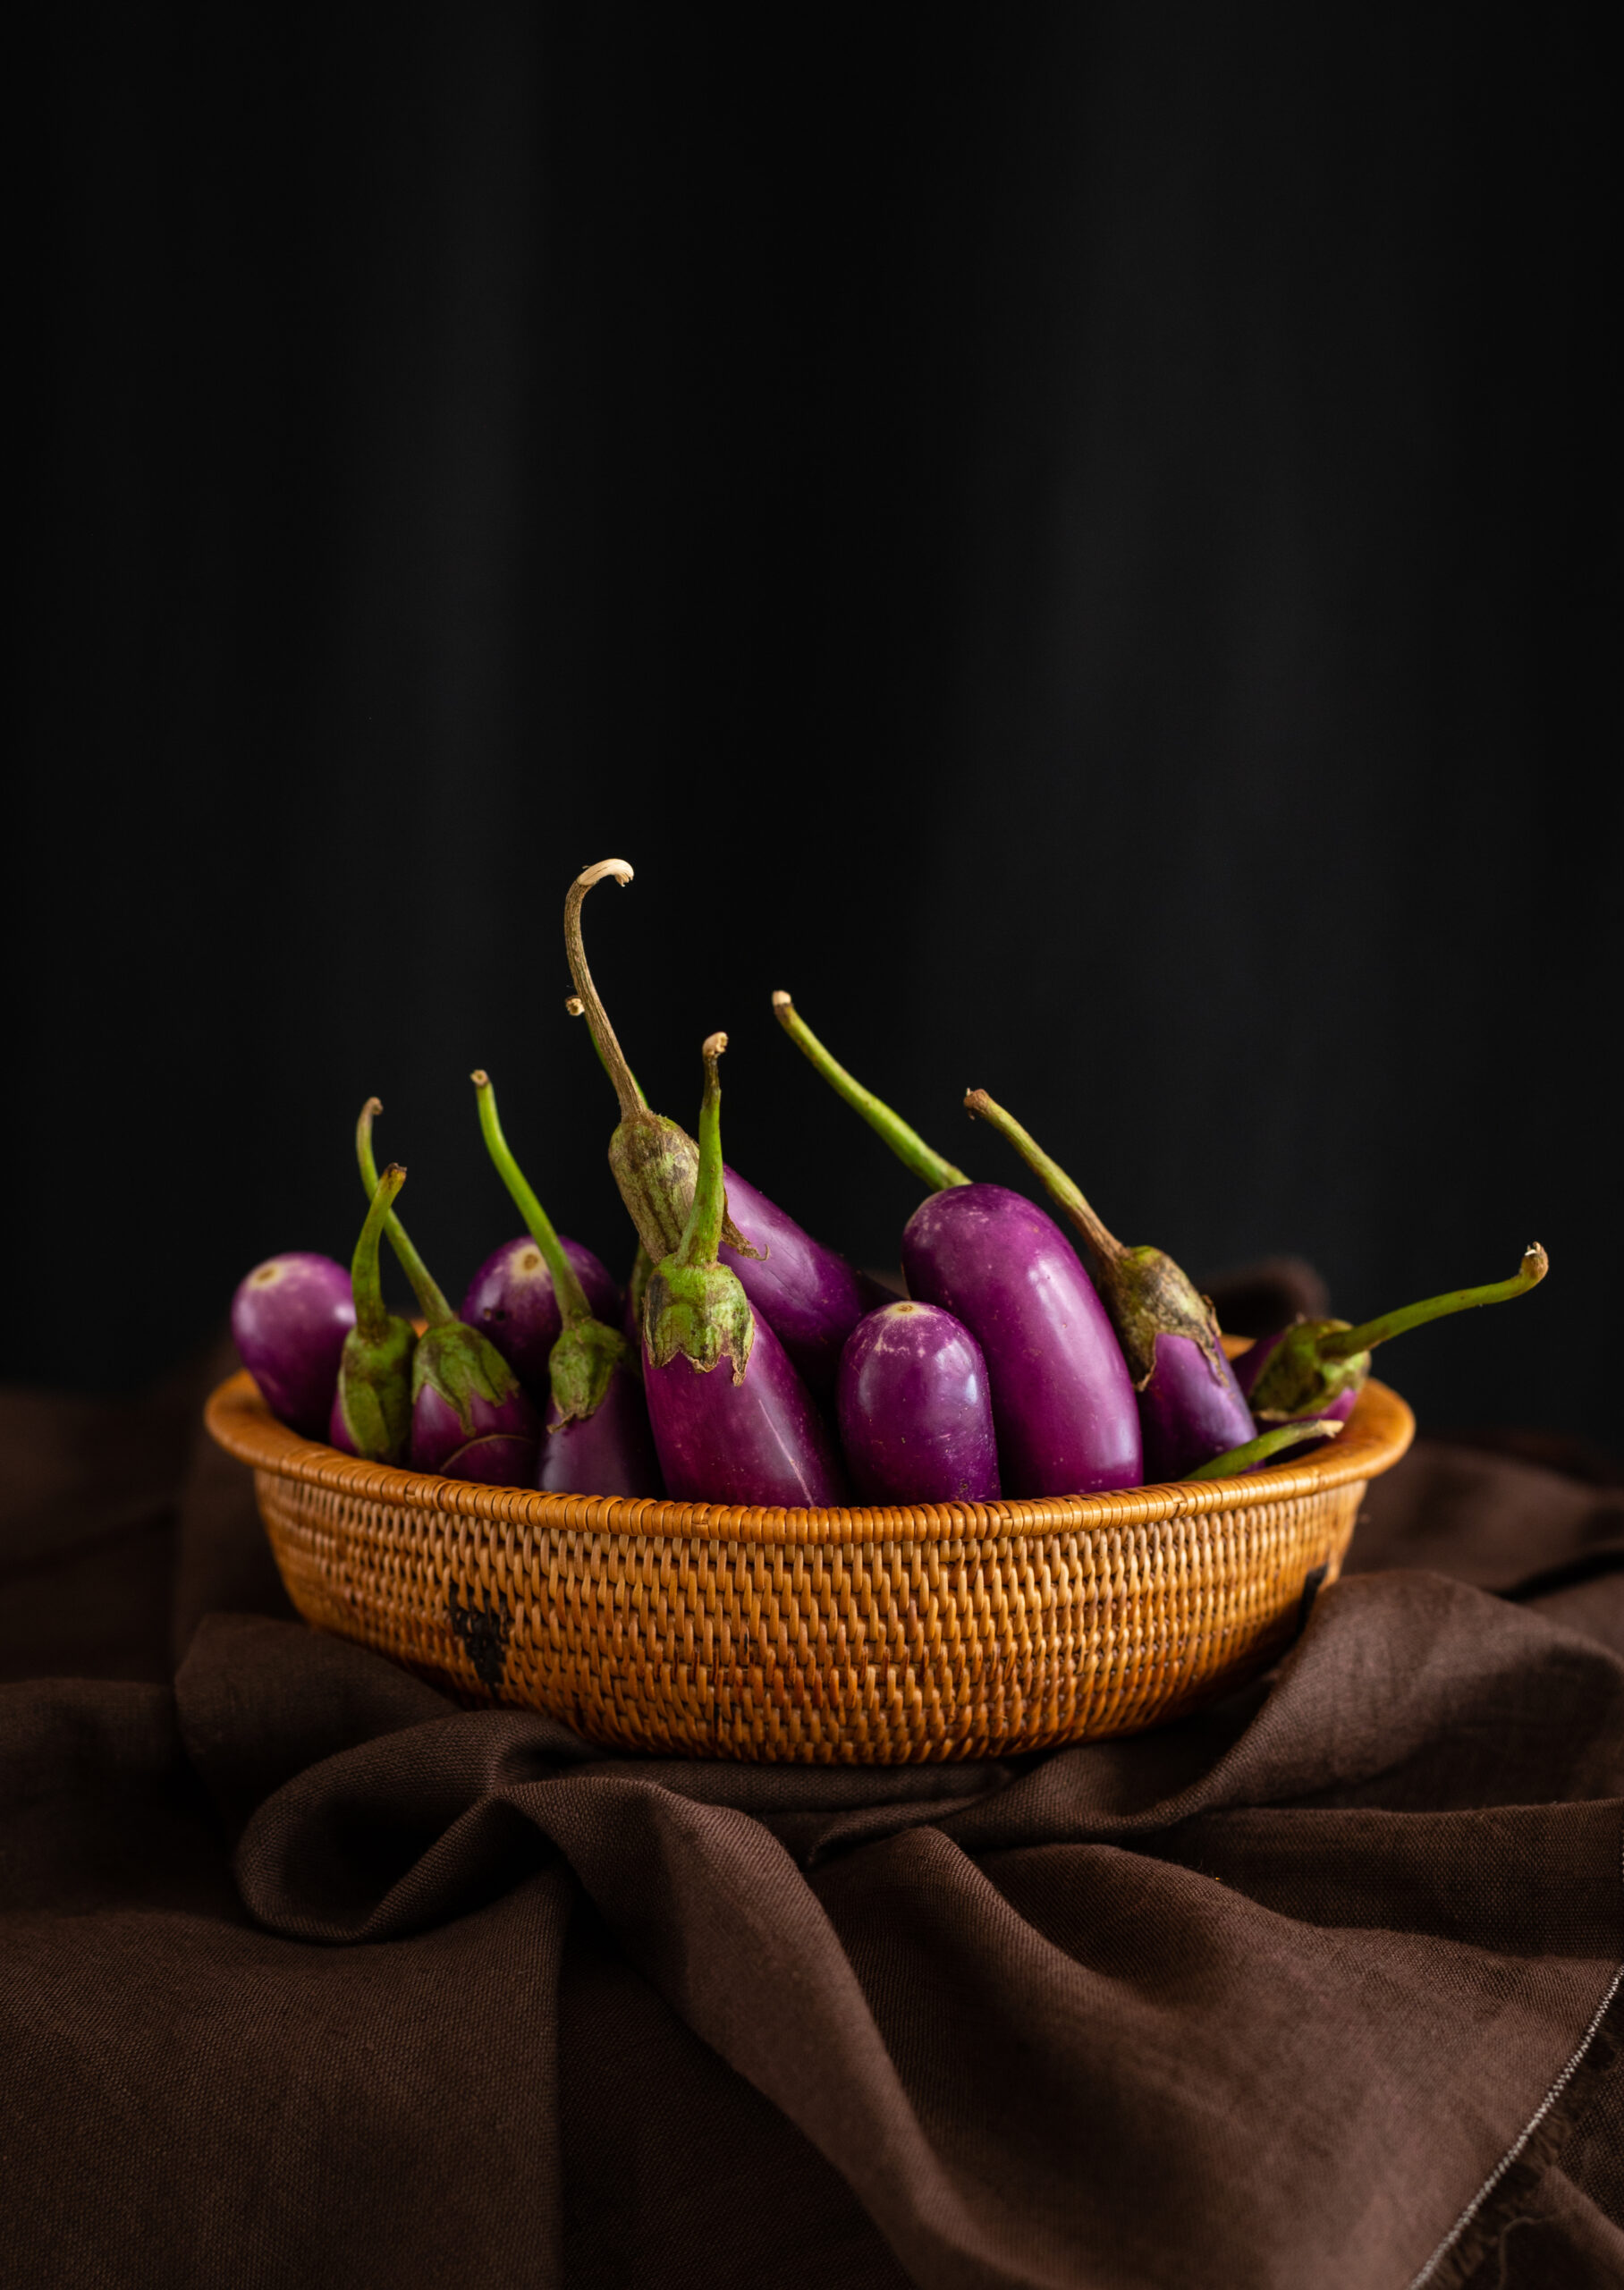
There are certain dishes which, even if one usually dislikes the main ingredient, the magic of the preparation always sways the eater to relish it. I’ve heard quite often that people who don’t enjoy eggplant in other ways do so when they have a bite of this. (People not liking potatoes is much rarer, of course!). Whether you call it brinjal, baingan, aubergine or eggplant, it’s a vegetable that has a host of benefits, and which can be made in delicious ways so that your family receives these. This Gujarati curry, for which I will provide both the gravy and the dry options in the method below, is the perfect way to bring the antioxidant-rich, fibre-rich, nutrient-rich vegetable into your regular diet.

Gujarati Potato & Brinjal Curry (Gravy/Dry)

(Yield: 1 bowl)

½ cup grated coconut

¼ teaspoon turmeric powder

2 tablespoons cumin/dhania (coriander) powder

1 teaspoon amchur (mango powder)

1 teaspoon garam masala

2 tablespoons jaggery

1 teaspoon chilli powder

Salt to taste

½ teaspoon grated ginger/green chili

½ cup finely chopped coriander leaves

2 tablespoons oil

6 baby eggplants

3 large potatoes

3-4 cups water

First, let me share the gravy version of this dish. The dry version is provided further below.

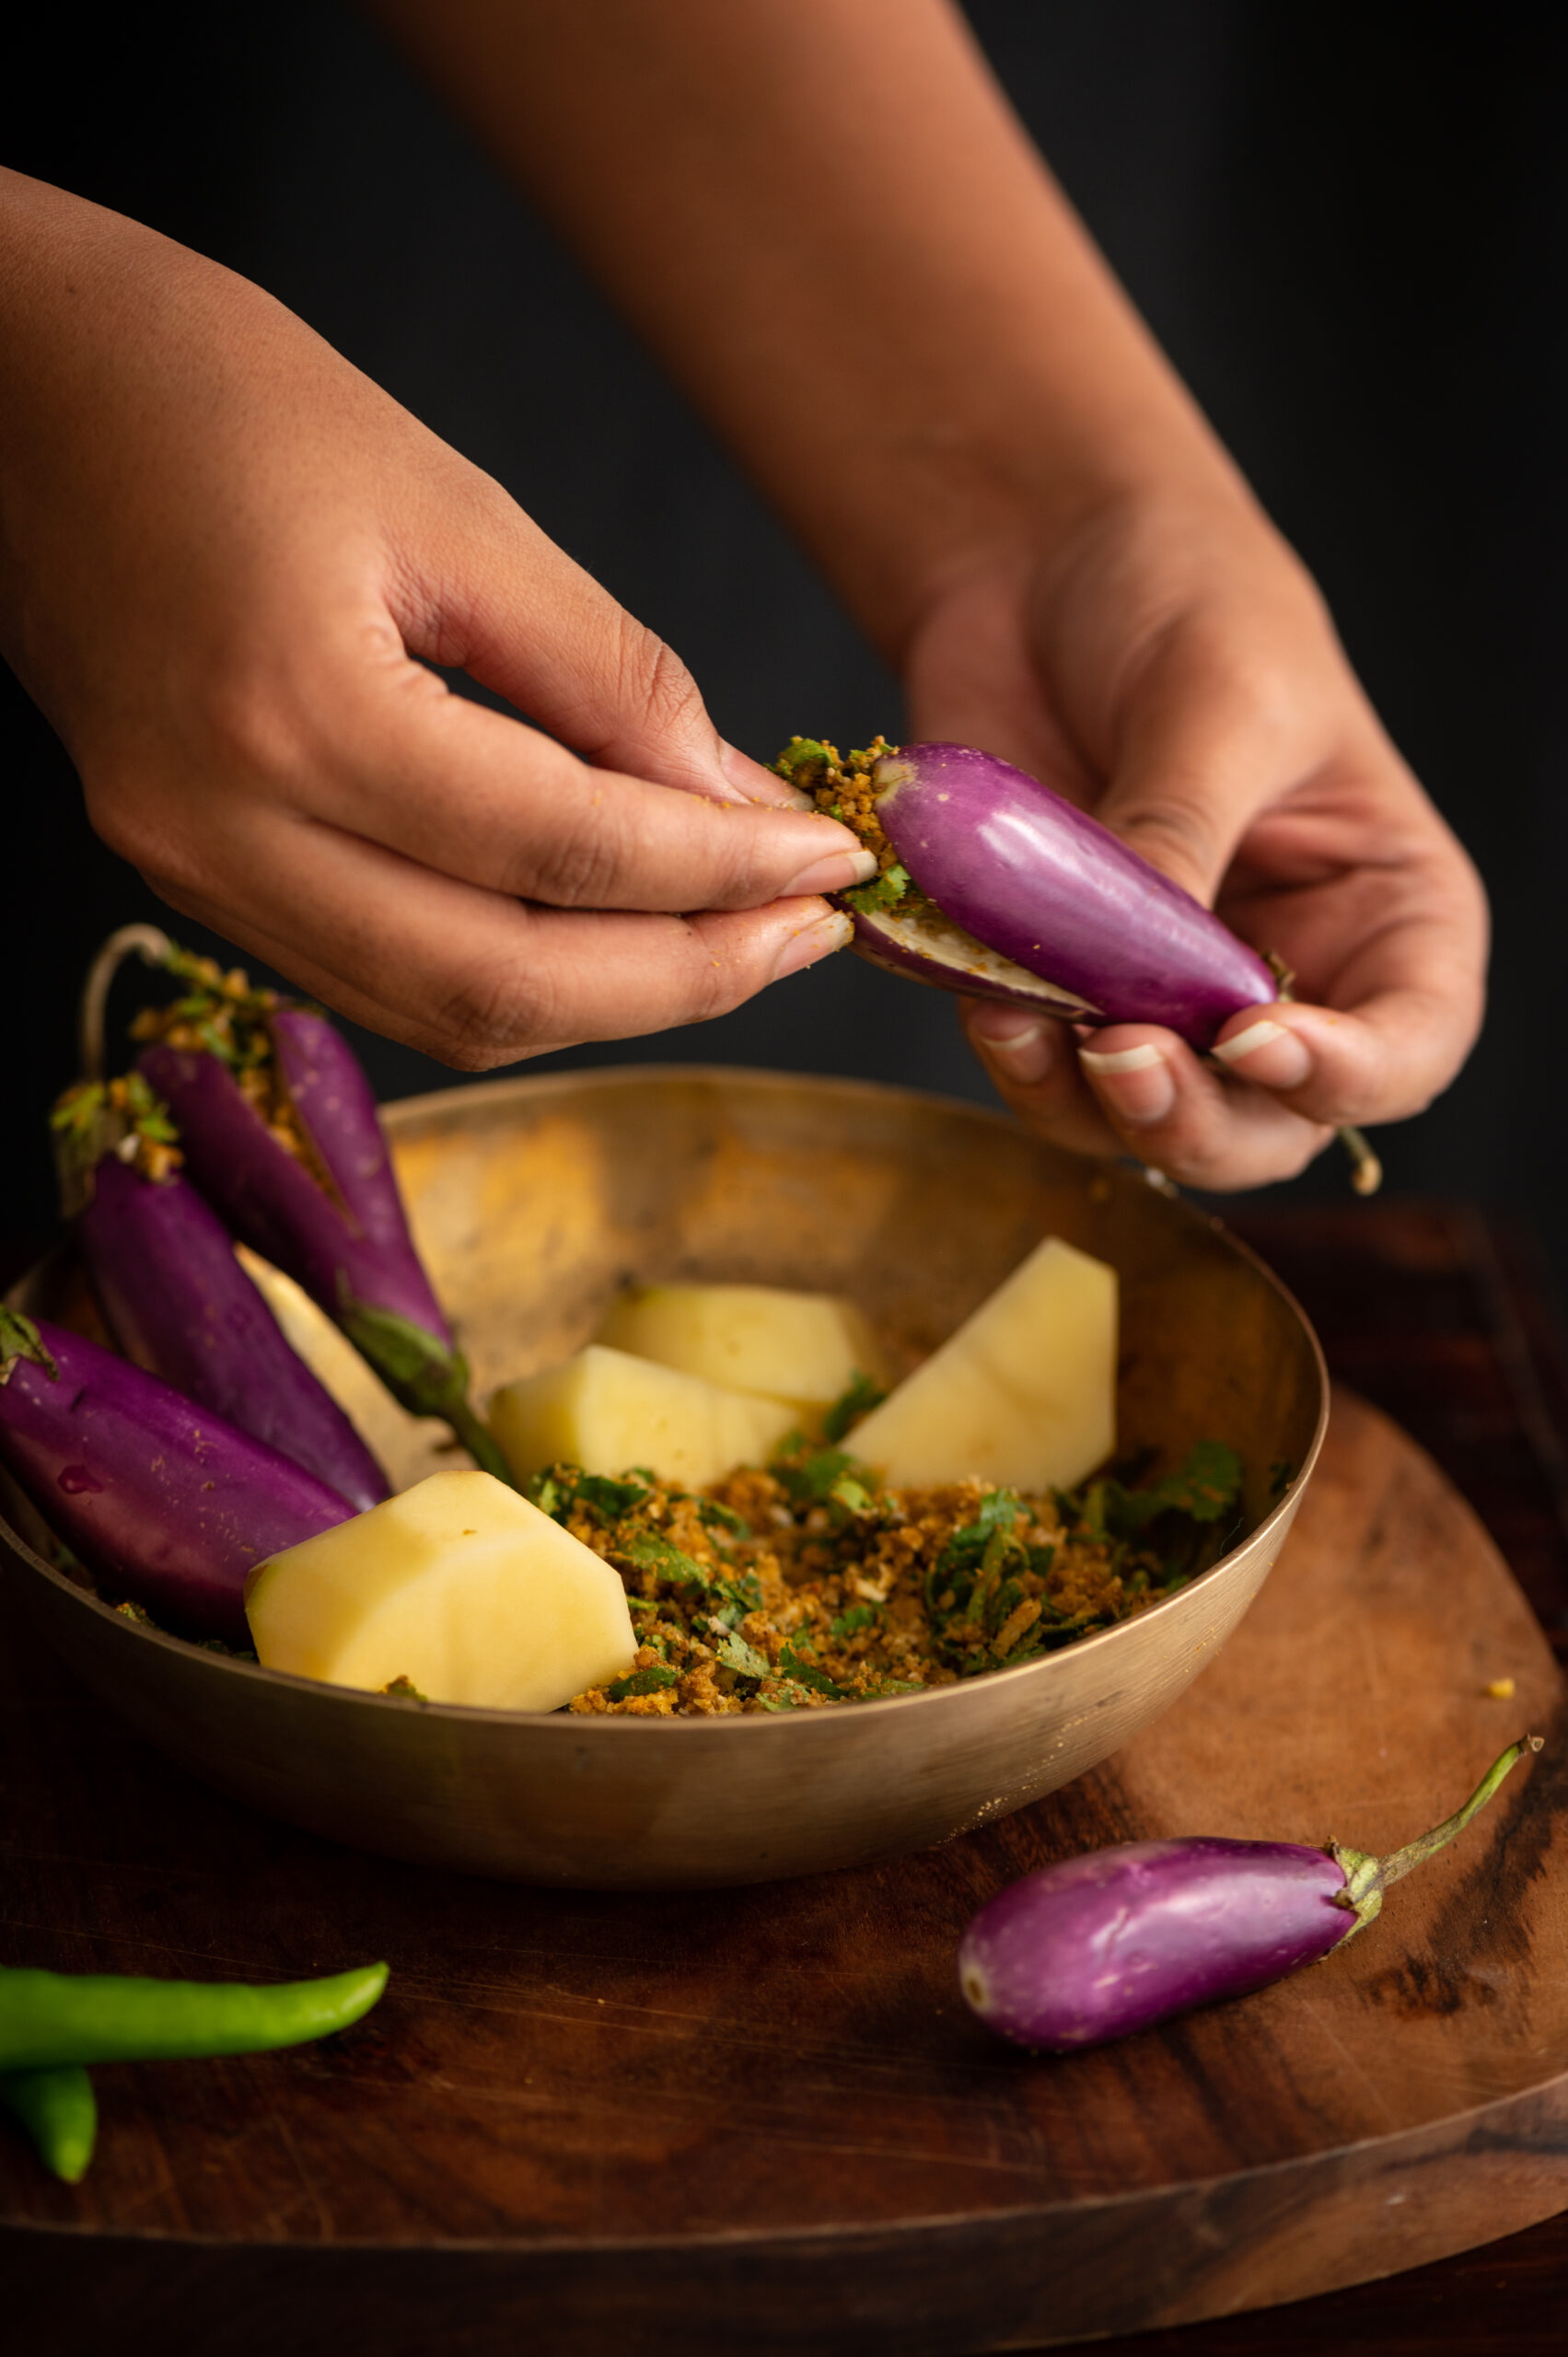
Wash the baby eggplants. Slit them lengthwise (so that they can be stuffed; be careful not to cut completely) and keep the slices in water.

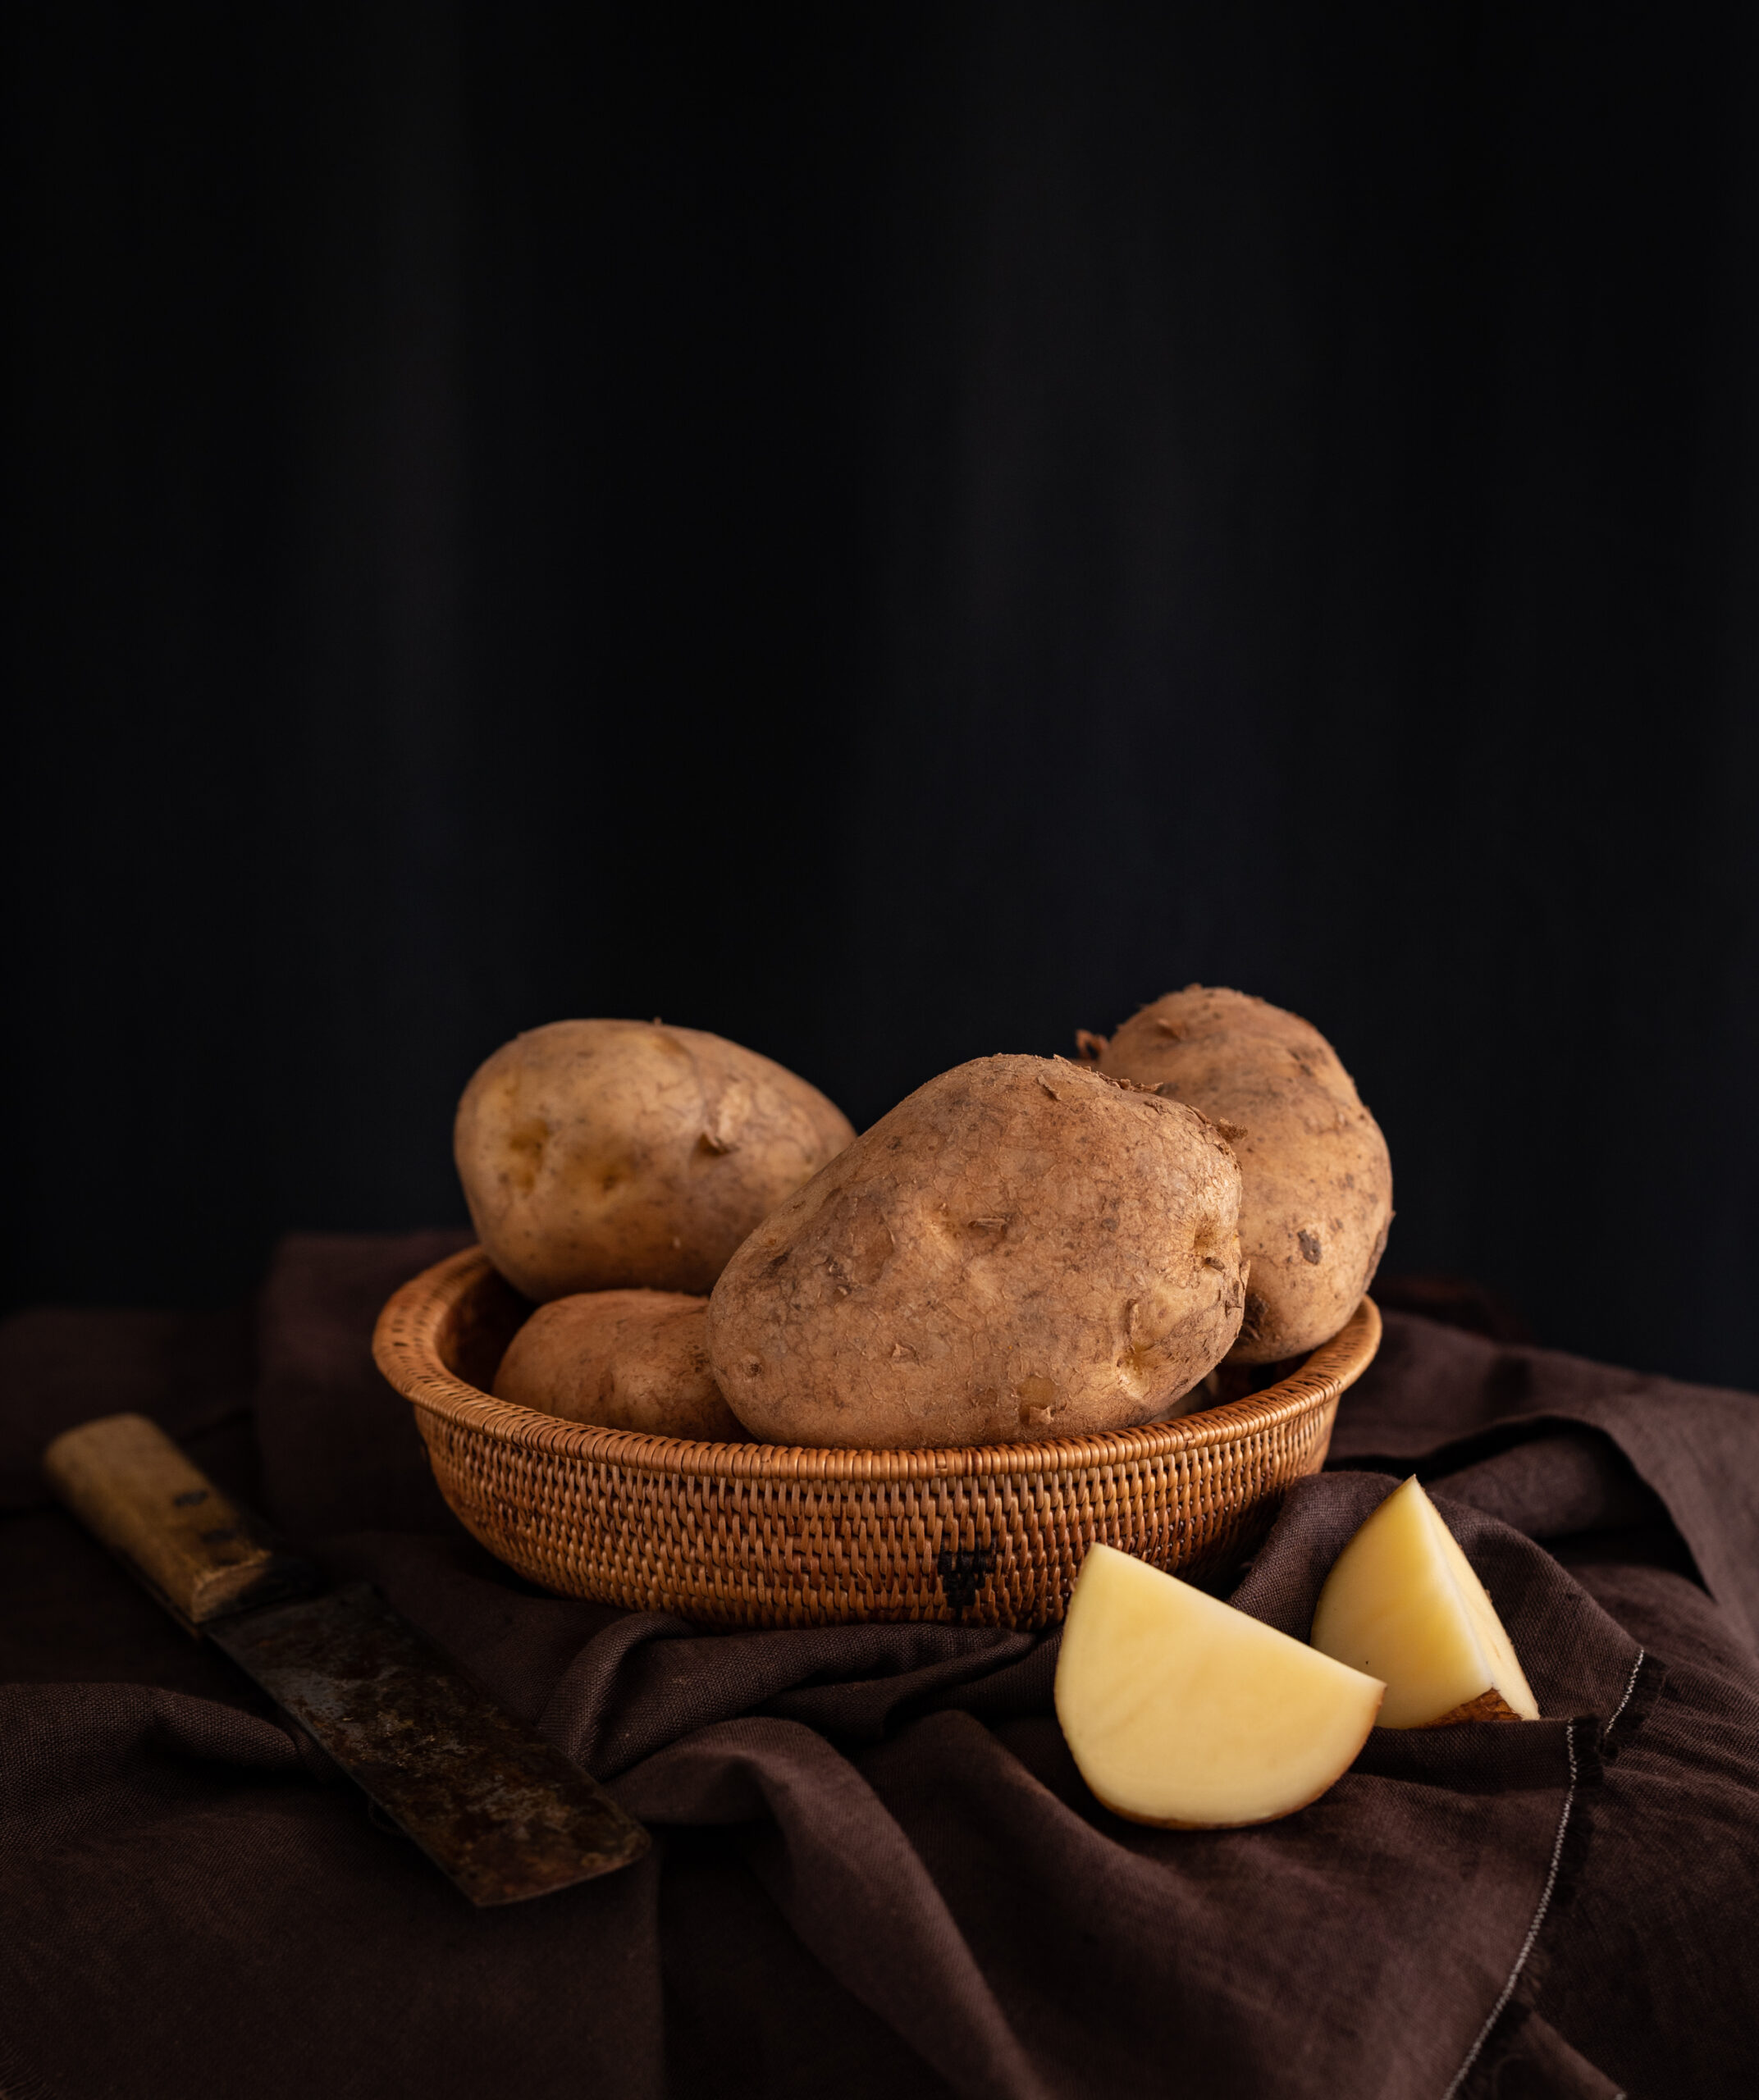
Peel the potatoes and cut them into big pieces. Set aside.

In a plate, prepare the stuffing by adding together the coconut, salt, spices, coriander leaves, ginger chili paste, and jaggery. Mix it well with your fingertips and set aside. Now, take each eggplant and stuff it with this prepared masala. Keep aside.

Heat the oil in a pressure cooker and gently add potatoes, making sure the oil doesn’t splutter. Next, gently add the stuffed eggplants over the potatoes. You will find that there is a lot of masala left over. Sprinkle this over the vegetables, leaving just a little on the plate for later. Again, gentleness is key so that the stuffed eggplants don’t break.

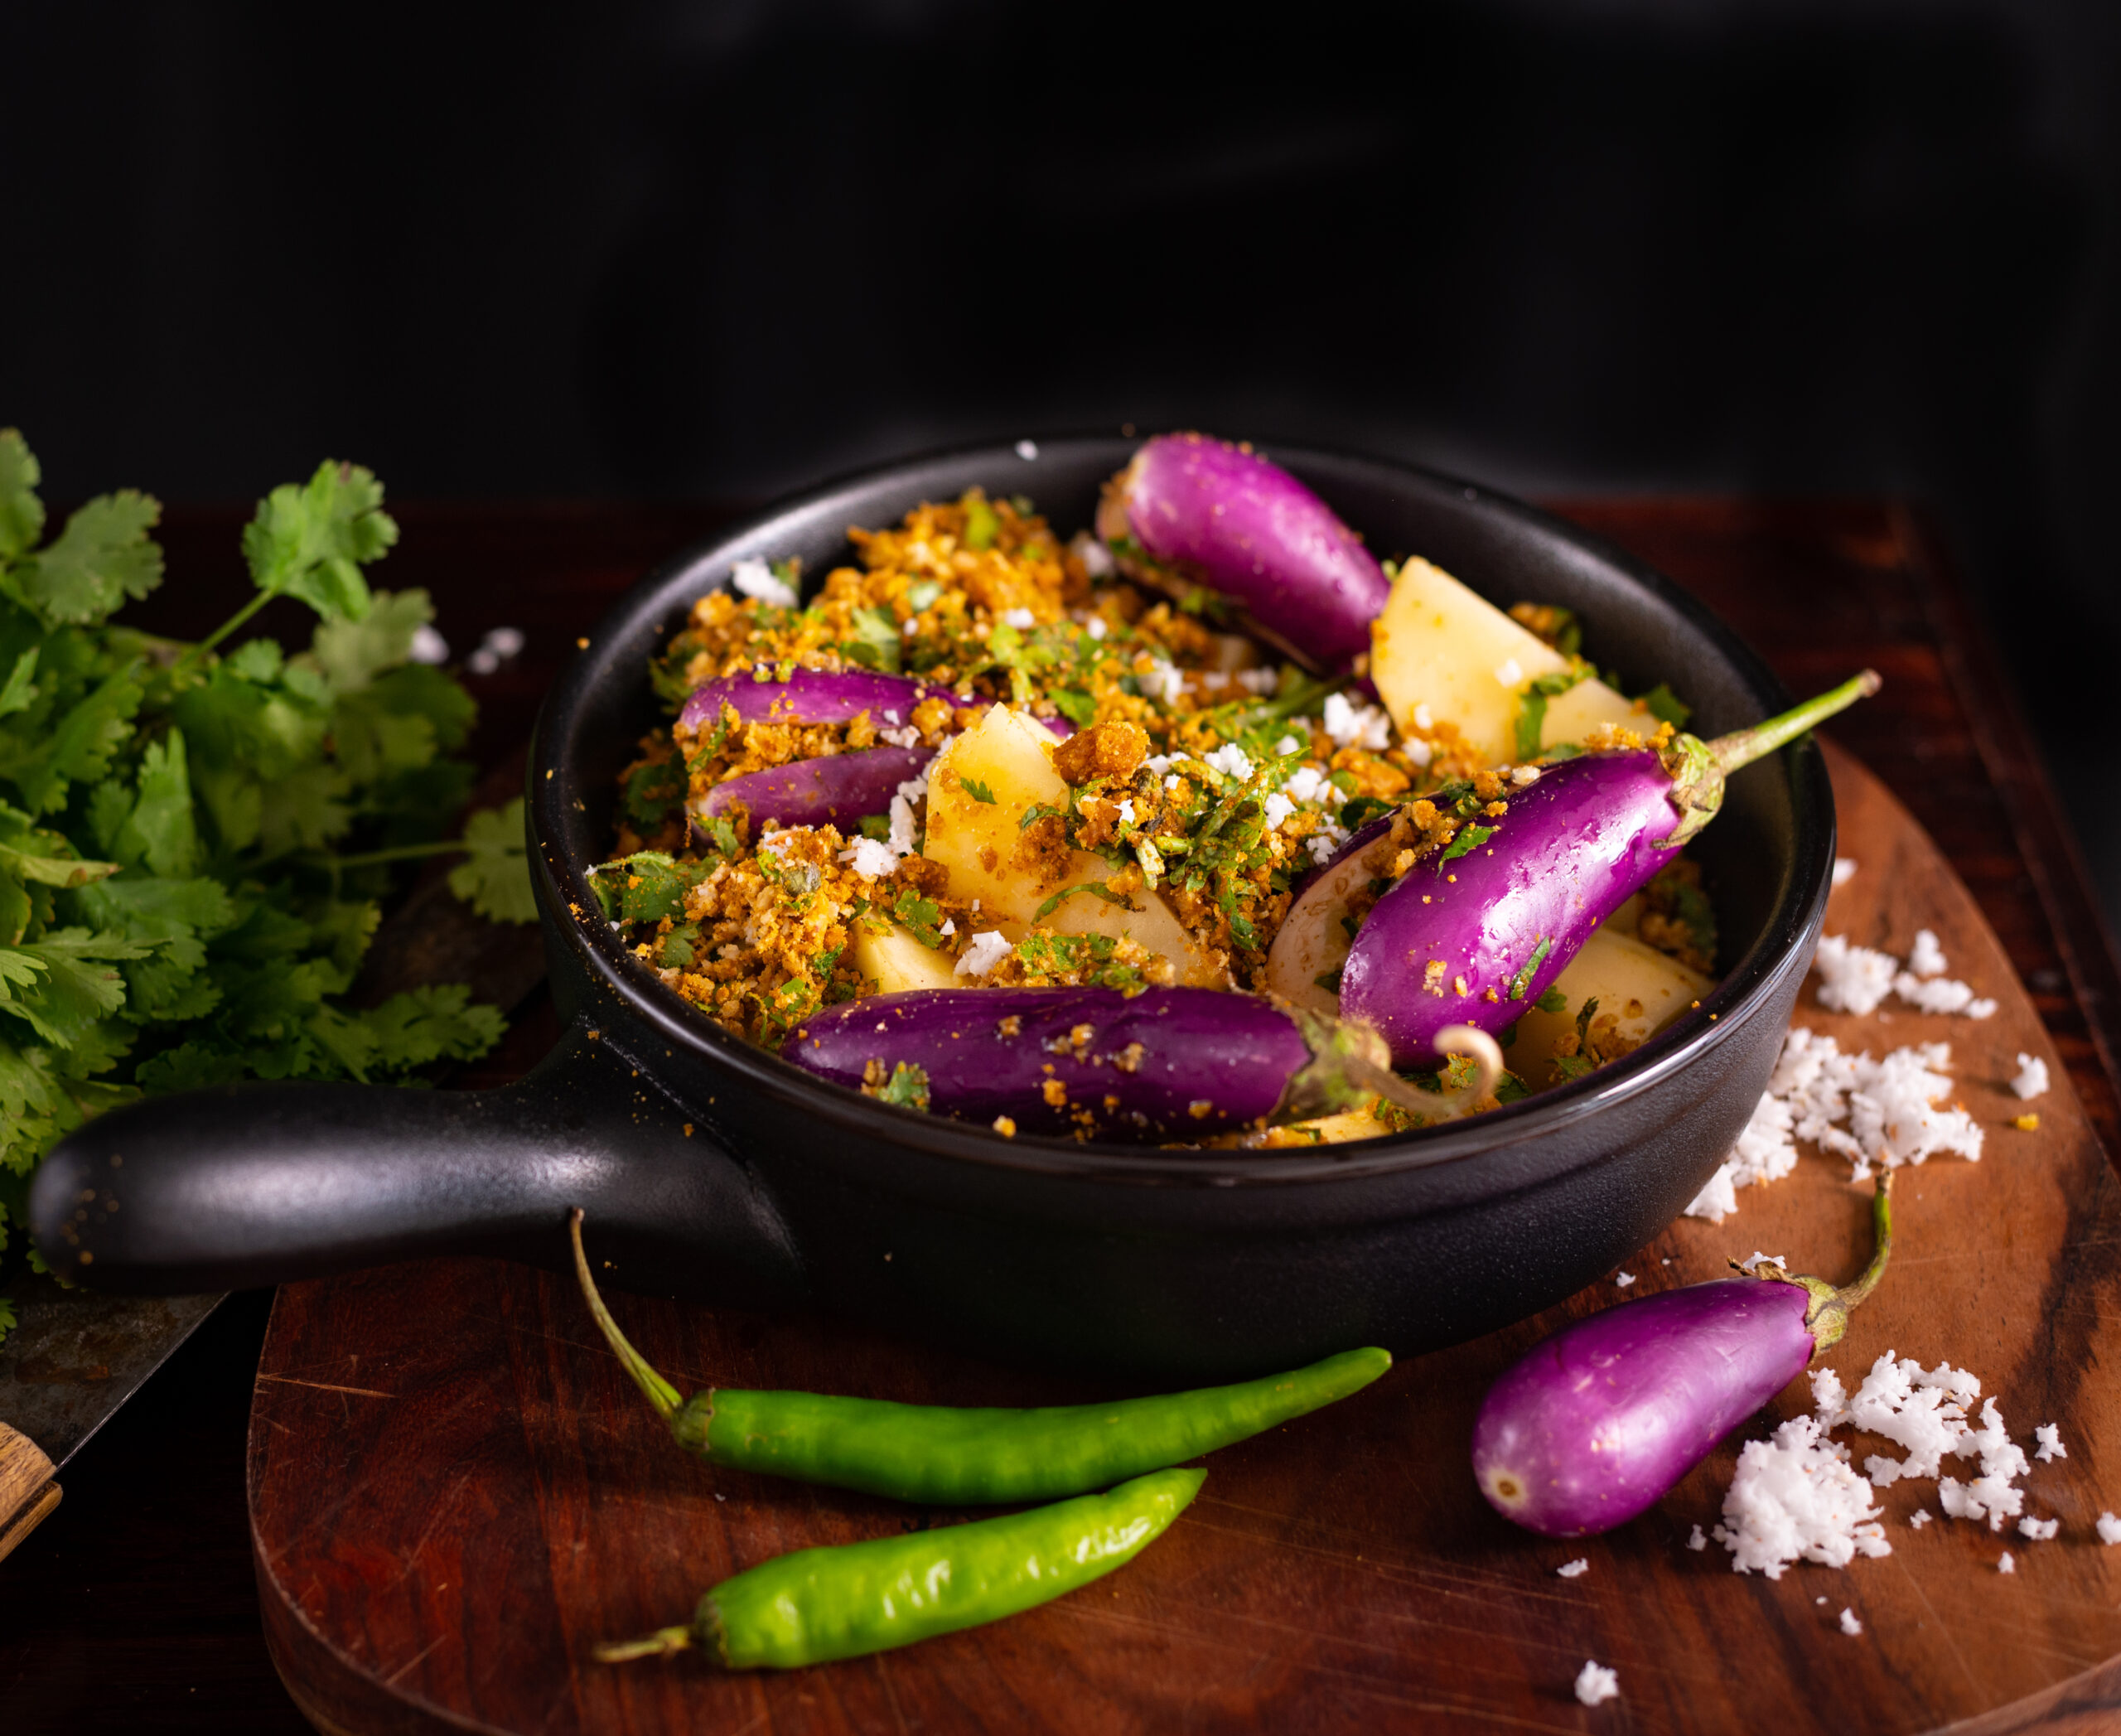
Now, add the water and mix the concoction – again, gently! Cover the cooker and wait for three whistles. Allow to cool, then open the lid and add the remaining masala. Stir once again. Your gravy Gujarati Potato-Brinjal Curry is ready to serve.

If you prefer a dry version of the same, follow the first three steps as above: cleaning and preparing the eggplants for stuffing, cutting the potatoes, and preparing the masala.

Then, add the oil in a kadai. Once it has heated, add the potatoes. Stir them, then cover with a lid on a slow flame. Stir occasionally, making sure they do not stick to the bottom. Once the potatoes are slightly tender to the touch and not overcooked, open the lid and add the stuffed eggplants. Remember that potatoes take longer to cook than eggplants so gauge the time well.  Cover again.

If required, especially if the vegetables are sticking to the bottom of the pan, sprinkle some water and cover. Continue to allow the dish to cook until all the vegetables are well-done. Finally, add the masala and stir gently. Cover again and allow it to sit. The dry version of this dish is now ready to serve.

As you prepare the dish, adjust the spices as per your preference. If you don’t like the standard Gujarati-style touch of sweetness, don’t include jaggery. If you want to spice it up while maintaining colour, chopped green chillies will do the trick. Don’t forget the versions mentioned at the beginning, which incorporate peanuts, garlic or onions.

No matter which way you choose to make it, I hope this Gujarati Potato-Brinjal Curry brings as much comfort and deliciousness to your home as it does to mine. As with all Indian curries, it’s perfect with rice and a range of breads. It’s got the spiciness of our masala, is tummy-filling thanks to the potatoes, and just has such a feel-good effect on the heart. Trust me: generations of Gujaratis have been turning to this dish as nutritious comfort food!


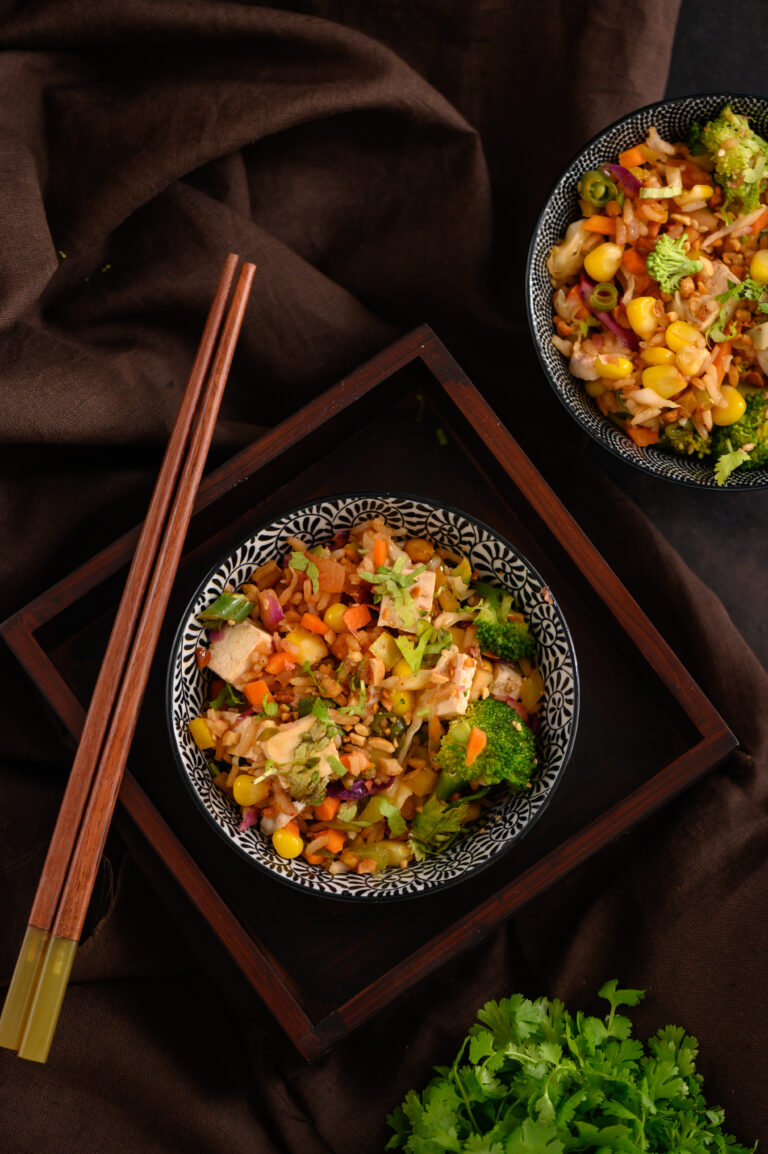
I love, love, love stir-fry and could eat it every day, and some weeks I think I actually do, making different versions of it as per my craving or mood. A stir-fry is more of a category than a dish, of versatile meals-in-a-bowl that cater to any kind of dietary restrictions, lifestyles or personal taste. My boys love theirs with meat, so I regularly add chicken or prawns to theirs. Vegan versions are protein-rich with tofu. When it comes to stir-fries, to each their own.

The simplicity of my preferred version of a stir-fry, replete with healthy ingredients and subtly flavoured, is something I arrived at after sampling numerous versions in many places. For a long time, I would gravitate towards stir-fries in restaurants, which would be made in an elaborate way with different additives and sauces. Then, I encountered them again when I was studying Macrobiotics at the Kushi Institute, where we ate a lot of steamed and sautéed vegetables. Realising how adaptable this dish was, and how it could be cooked to suit a diverse range of diets, made me introduce it into my repertoire frequently.

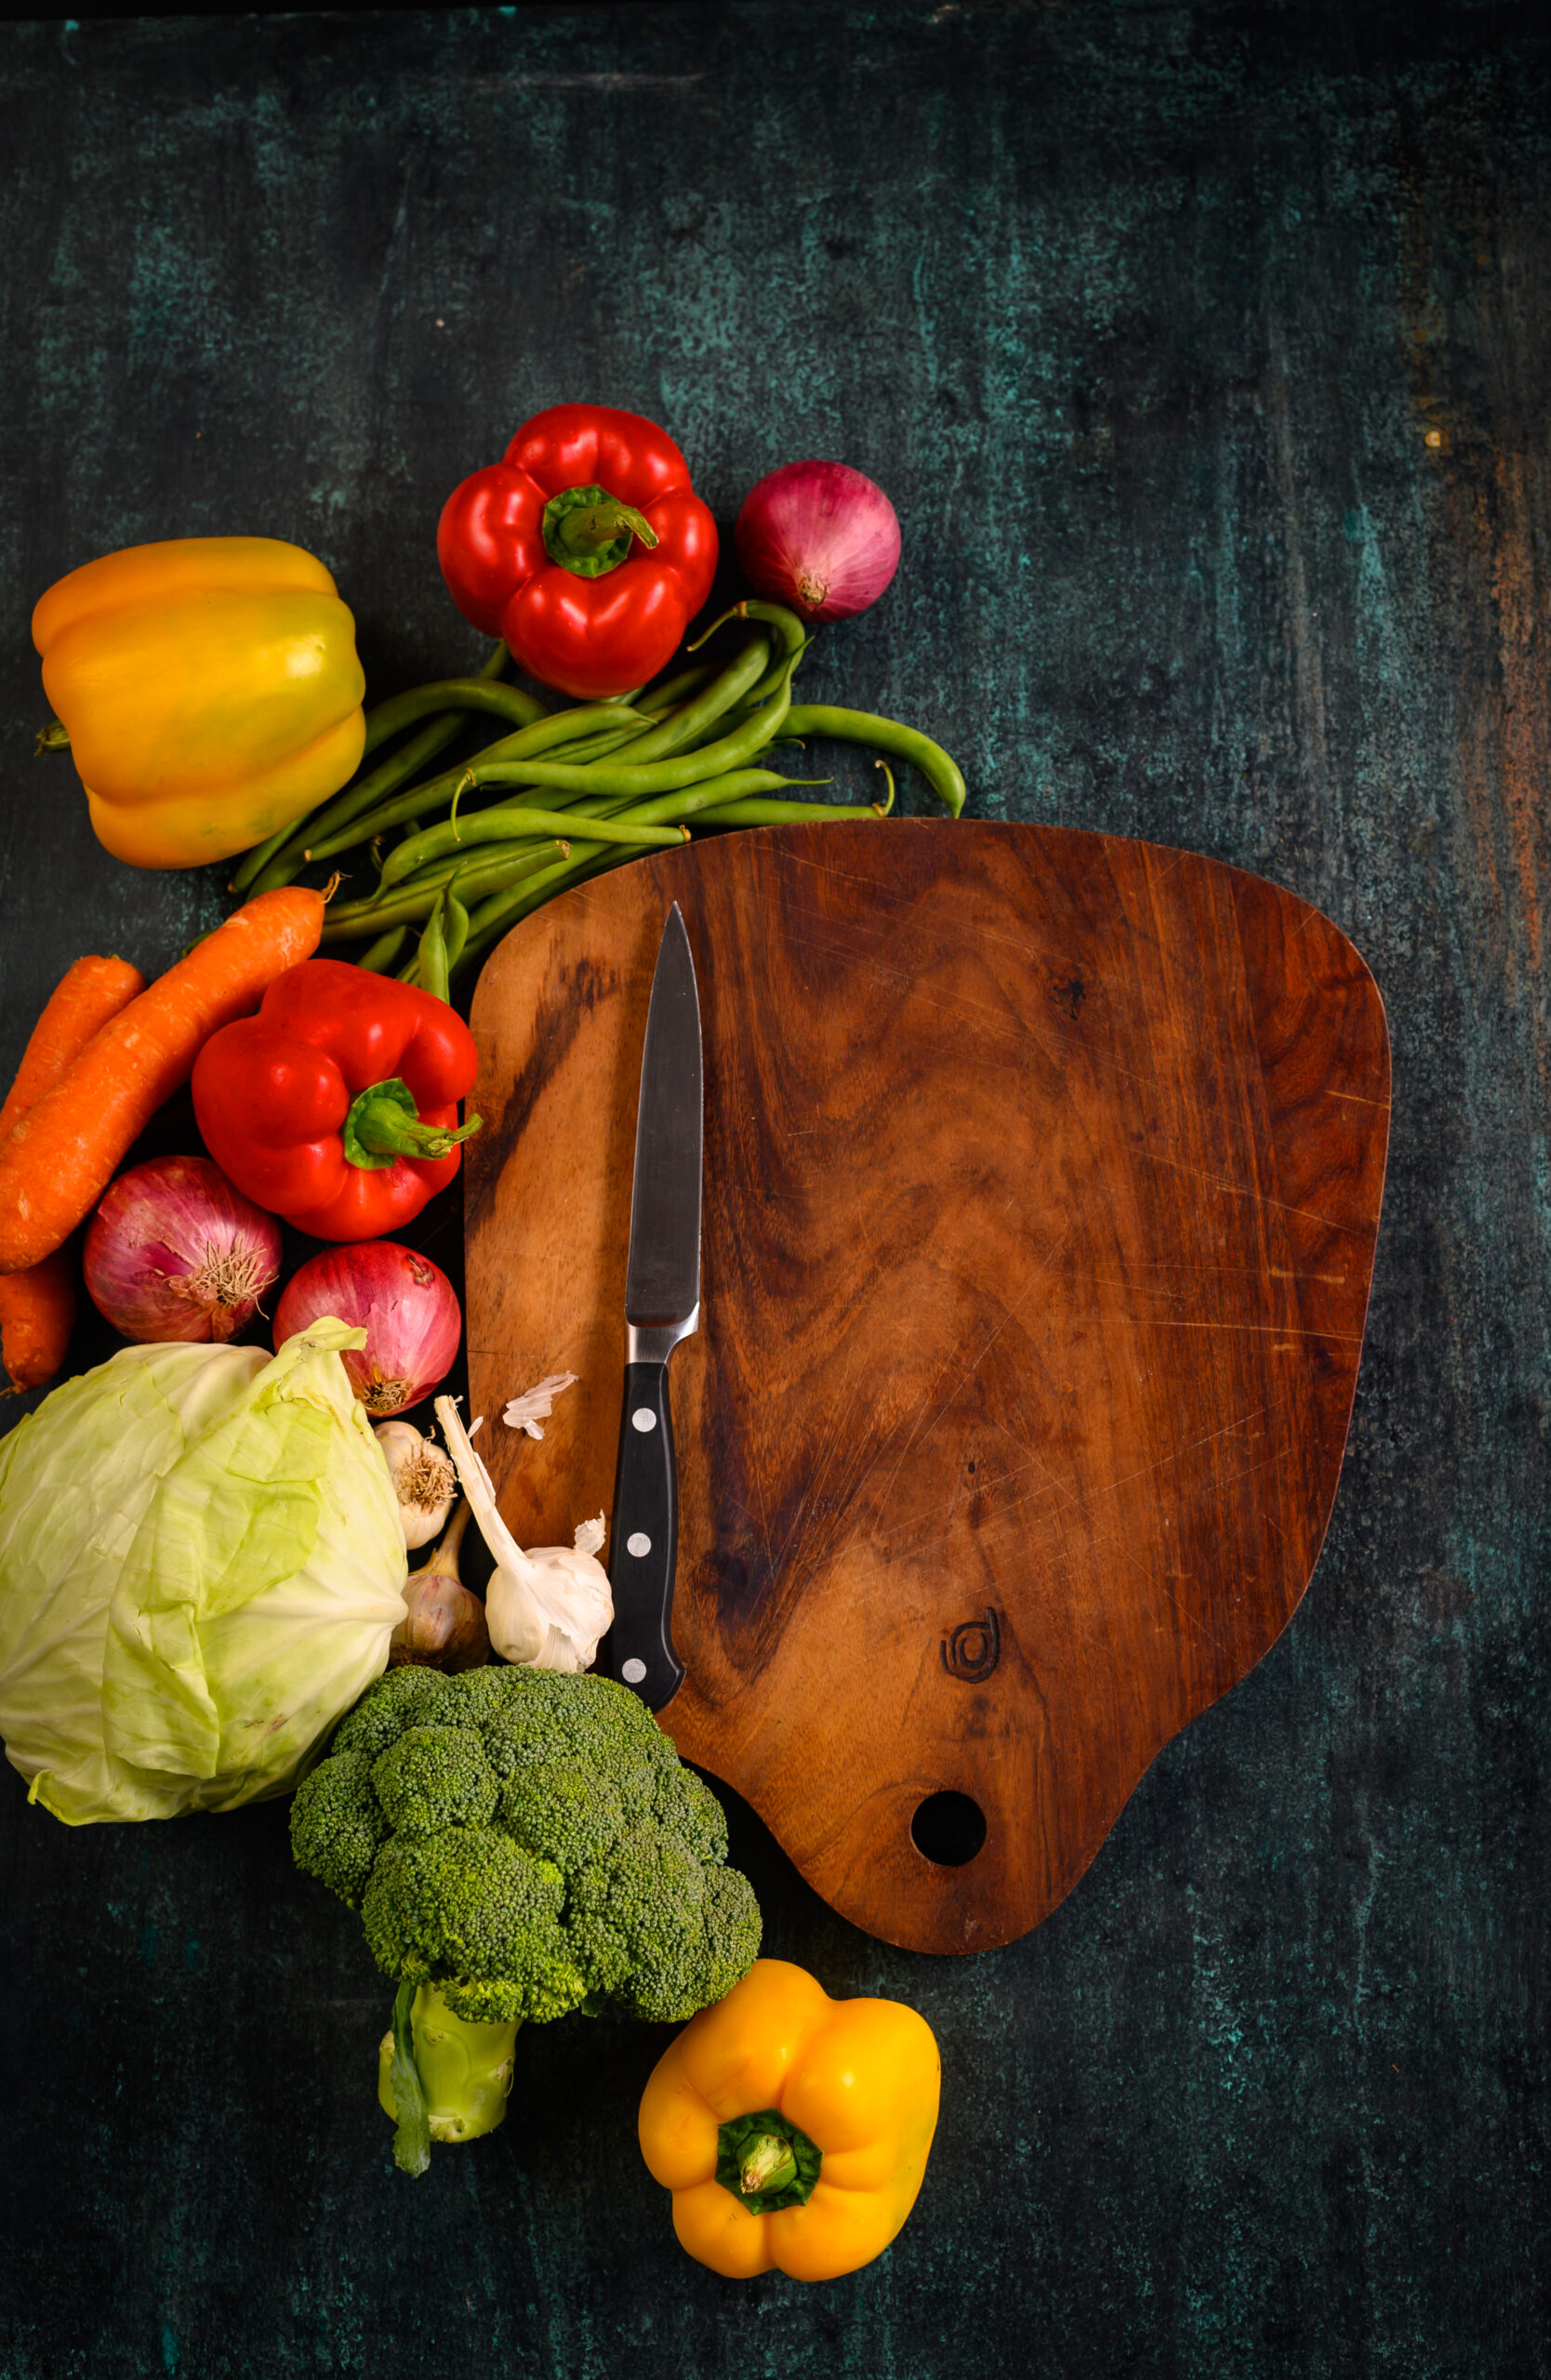
Stir-fries are built through a checklist of choices: pick a protein, some vegetables, the oil you’re using, nuts or seeds for texture if you like them, and an optional carb. They can literally be made with whatever basic produce you have available at home on any given day. For me, the vegetables are the star ingredients and I have certain time-tested preferences about which ones are good when cooked in this style. I prefer to avoid water-based vegetables as the stir-fry technique works best for firmer, crisper ones. Baby corn, aubergine, bok choy, spinach and kale are among my favourites.

When I want my meal-in-a-bowl stir-fry to be extra filling, I add a carb to it. This can range from red rice, white rice, millets and pasta, depending entirely on what I already have on hand. All these carbs work well when layered with the other ingredients. Without them, a stir-fry can be enjoyed as a hearty salad. When I am including a carb, I tend to avoid starchy vegetables such as potatoes, so as to keep the dish light. You may also choose to avoid sugary vegetables like peas and baby corn if you’re being strict with what you’re consuming. See what works for you. Ultimately, I still feel that vegetables are vegetables and you can’t really go wrong with them. Sometimes, it’s about using your own intelligence. For instance, in Macrobiotics, nightshades such as tomatoes are believed to not be good for you. That doesn’t mean that you have to eliminate them completely. Instead, you balance them by using a smaller portion and adding extra leafy greens as a counter.

I enjoy the crunchiness and slight rawness of the vegetables so much, as well as the feel-good factor to eating them. At the Kushi Institute, I also learned that chewing is absolutely essential. In fact, at mealtimes we sometimes actually counted the number of times that we chewed one mouthful. The maximum I got to was 25! With the slightly undercooked vegetables, you have to be sure to chew them well. To keep the focus on their natural tastes and textures, I ensure that the spices I use are minimal.

The trick is to incorporate all the colours of the rainbow within the dish, which specialists say will cover a broad spectrum of your nutritional needs in a single meal. Here is a convenient list that explains how and why. I try my best to do this when putting together a stir-fry. Visually too, there’s something so beautiful and appealing about this method. It really does make me feel like I am eating a bowl of sunshine.

Not only is this perfect meal-in-a-bowl versatile in terms of the ingredients you can use, but it can work for any time of the day. Aside from lunch and dinner, I find that a portion of it with a couple of boiled eggs makes for a superb, energy-boosting breakfast. The best part is that it takes all of fifteen minutes to put a bowl together, right from chopping to serving. Sometimes, when my son says he won’t be coming home for lunch but then suddenly shows up because a meeting got cancelled, all I have to do is throw together a few fresh vegetables with a bit of chicken, the way he likes it. Within minutes, not only does he get a delicious home-cooked meal, but he is also fully fortified to get back to work.


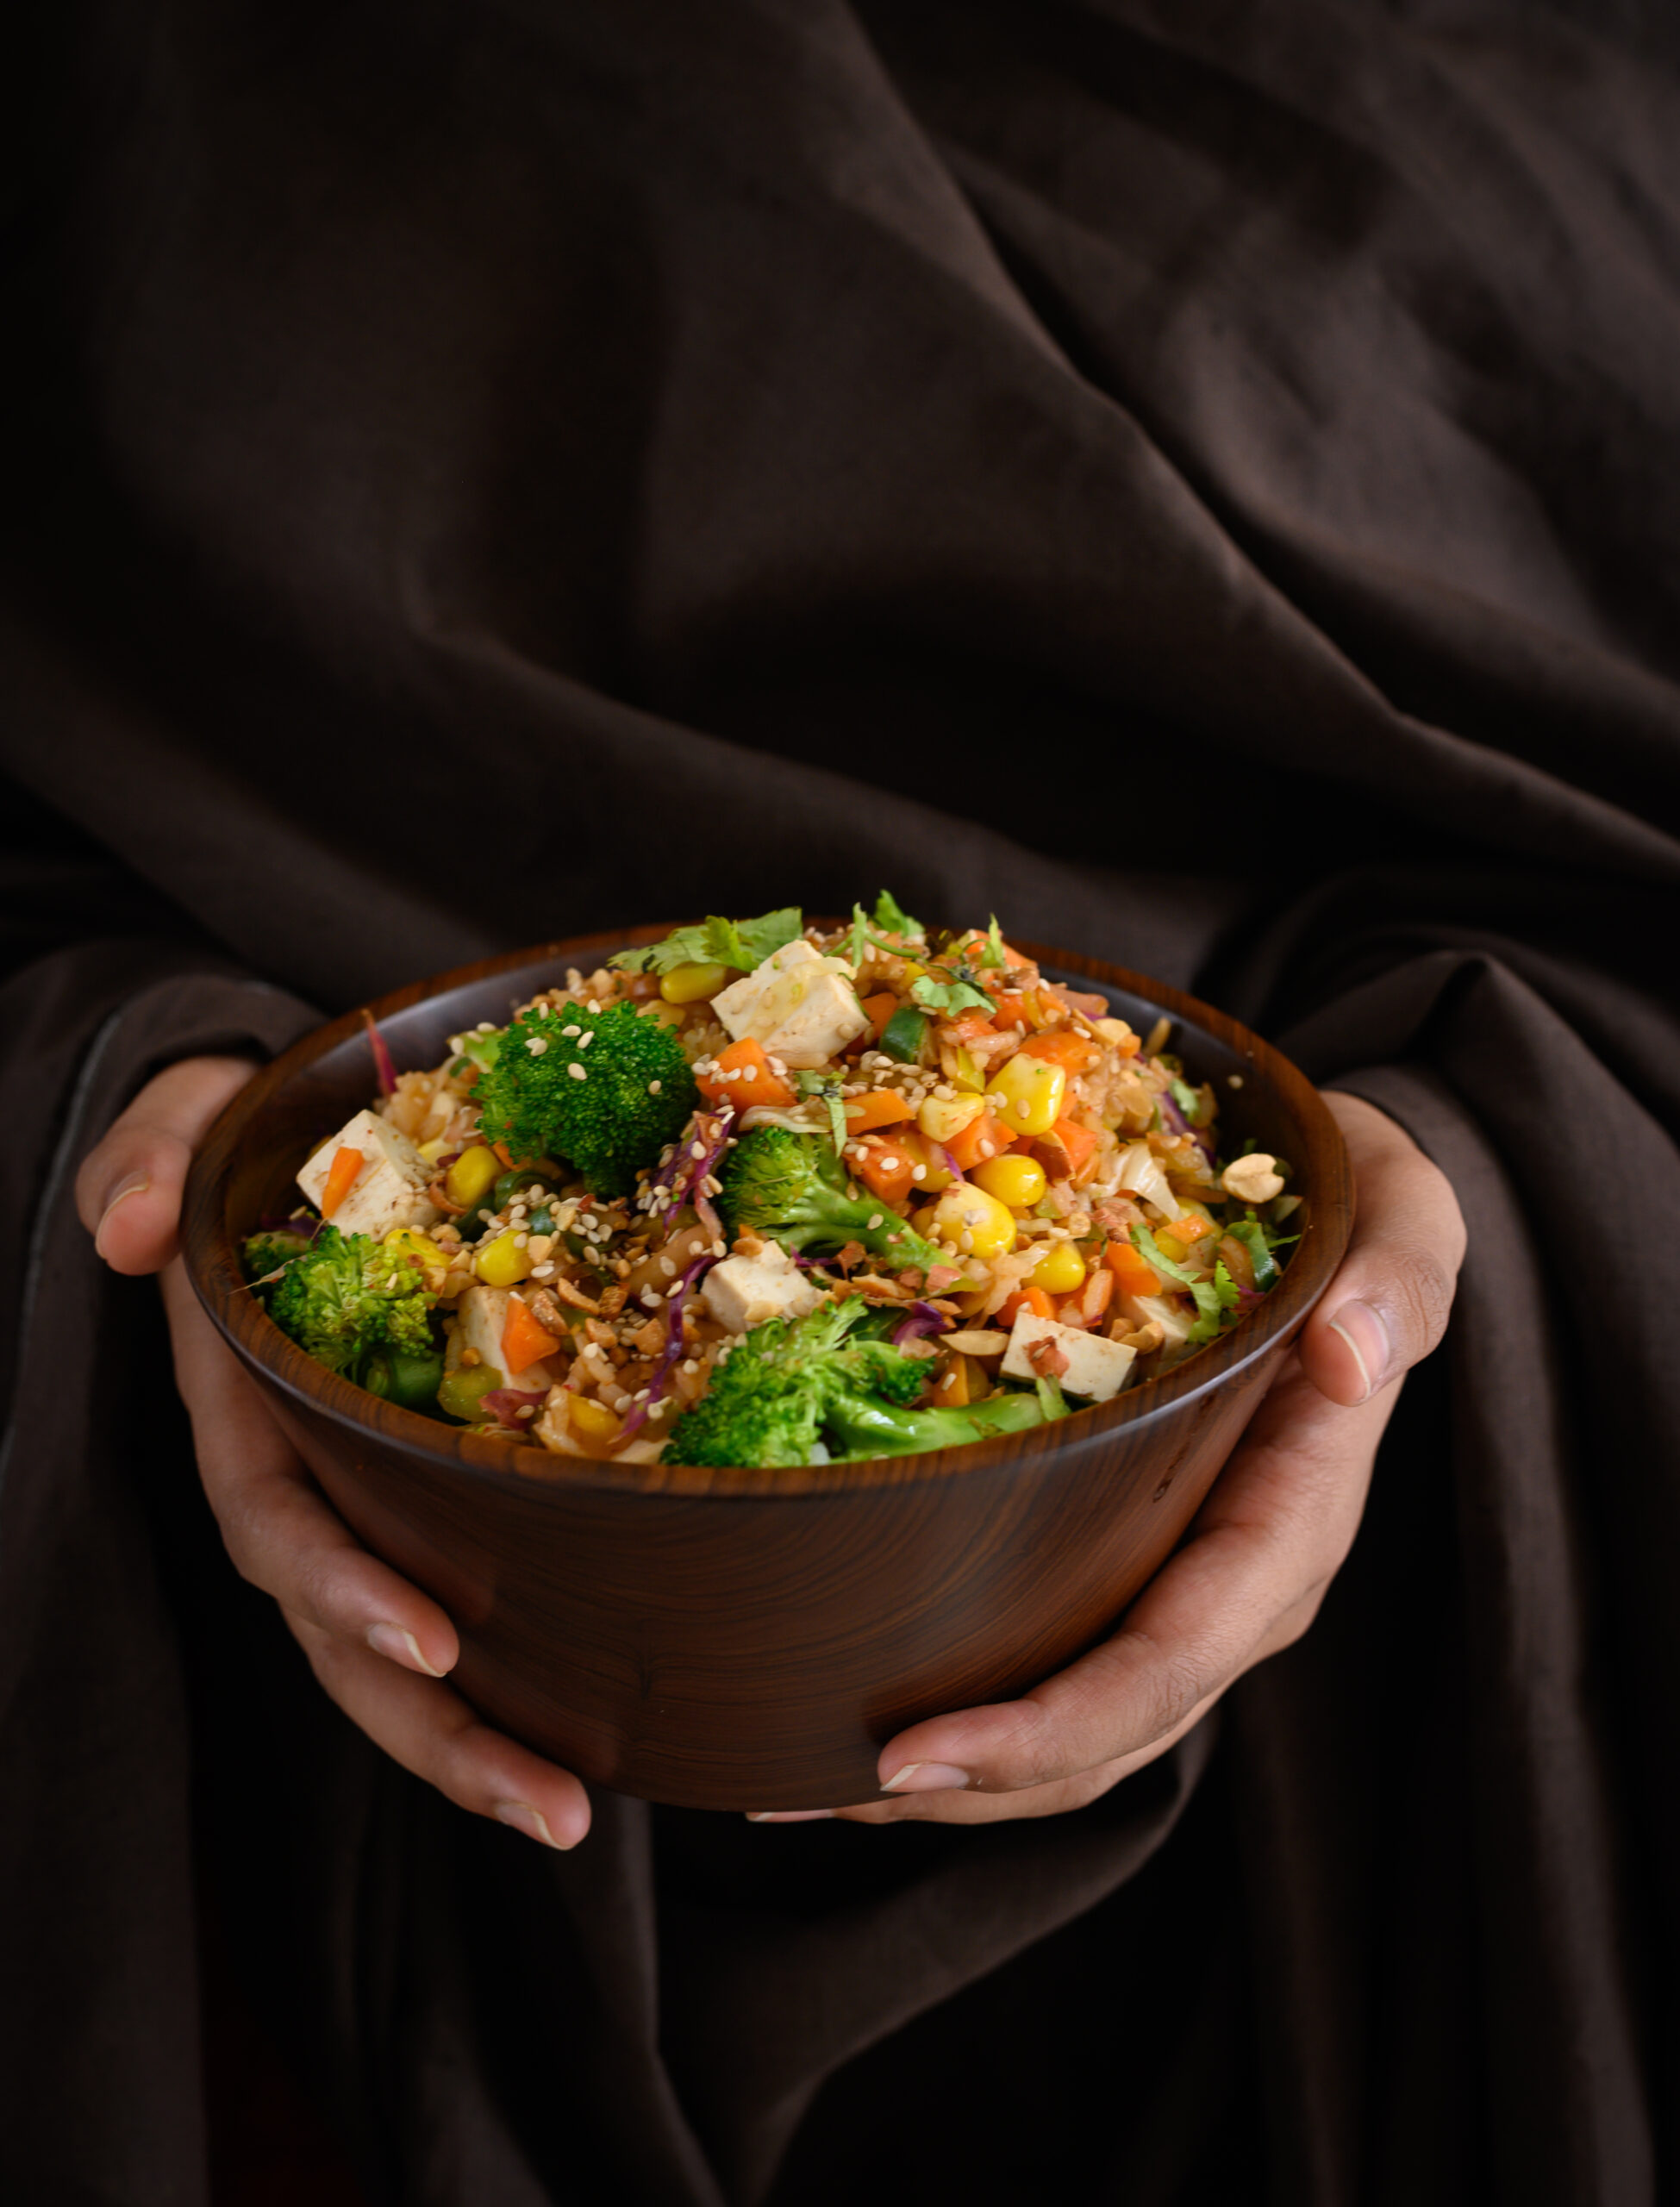
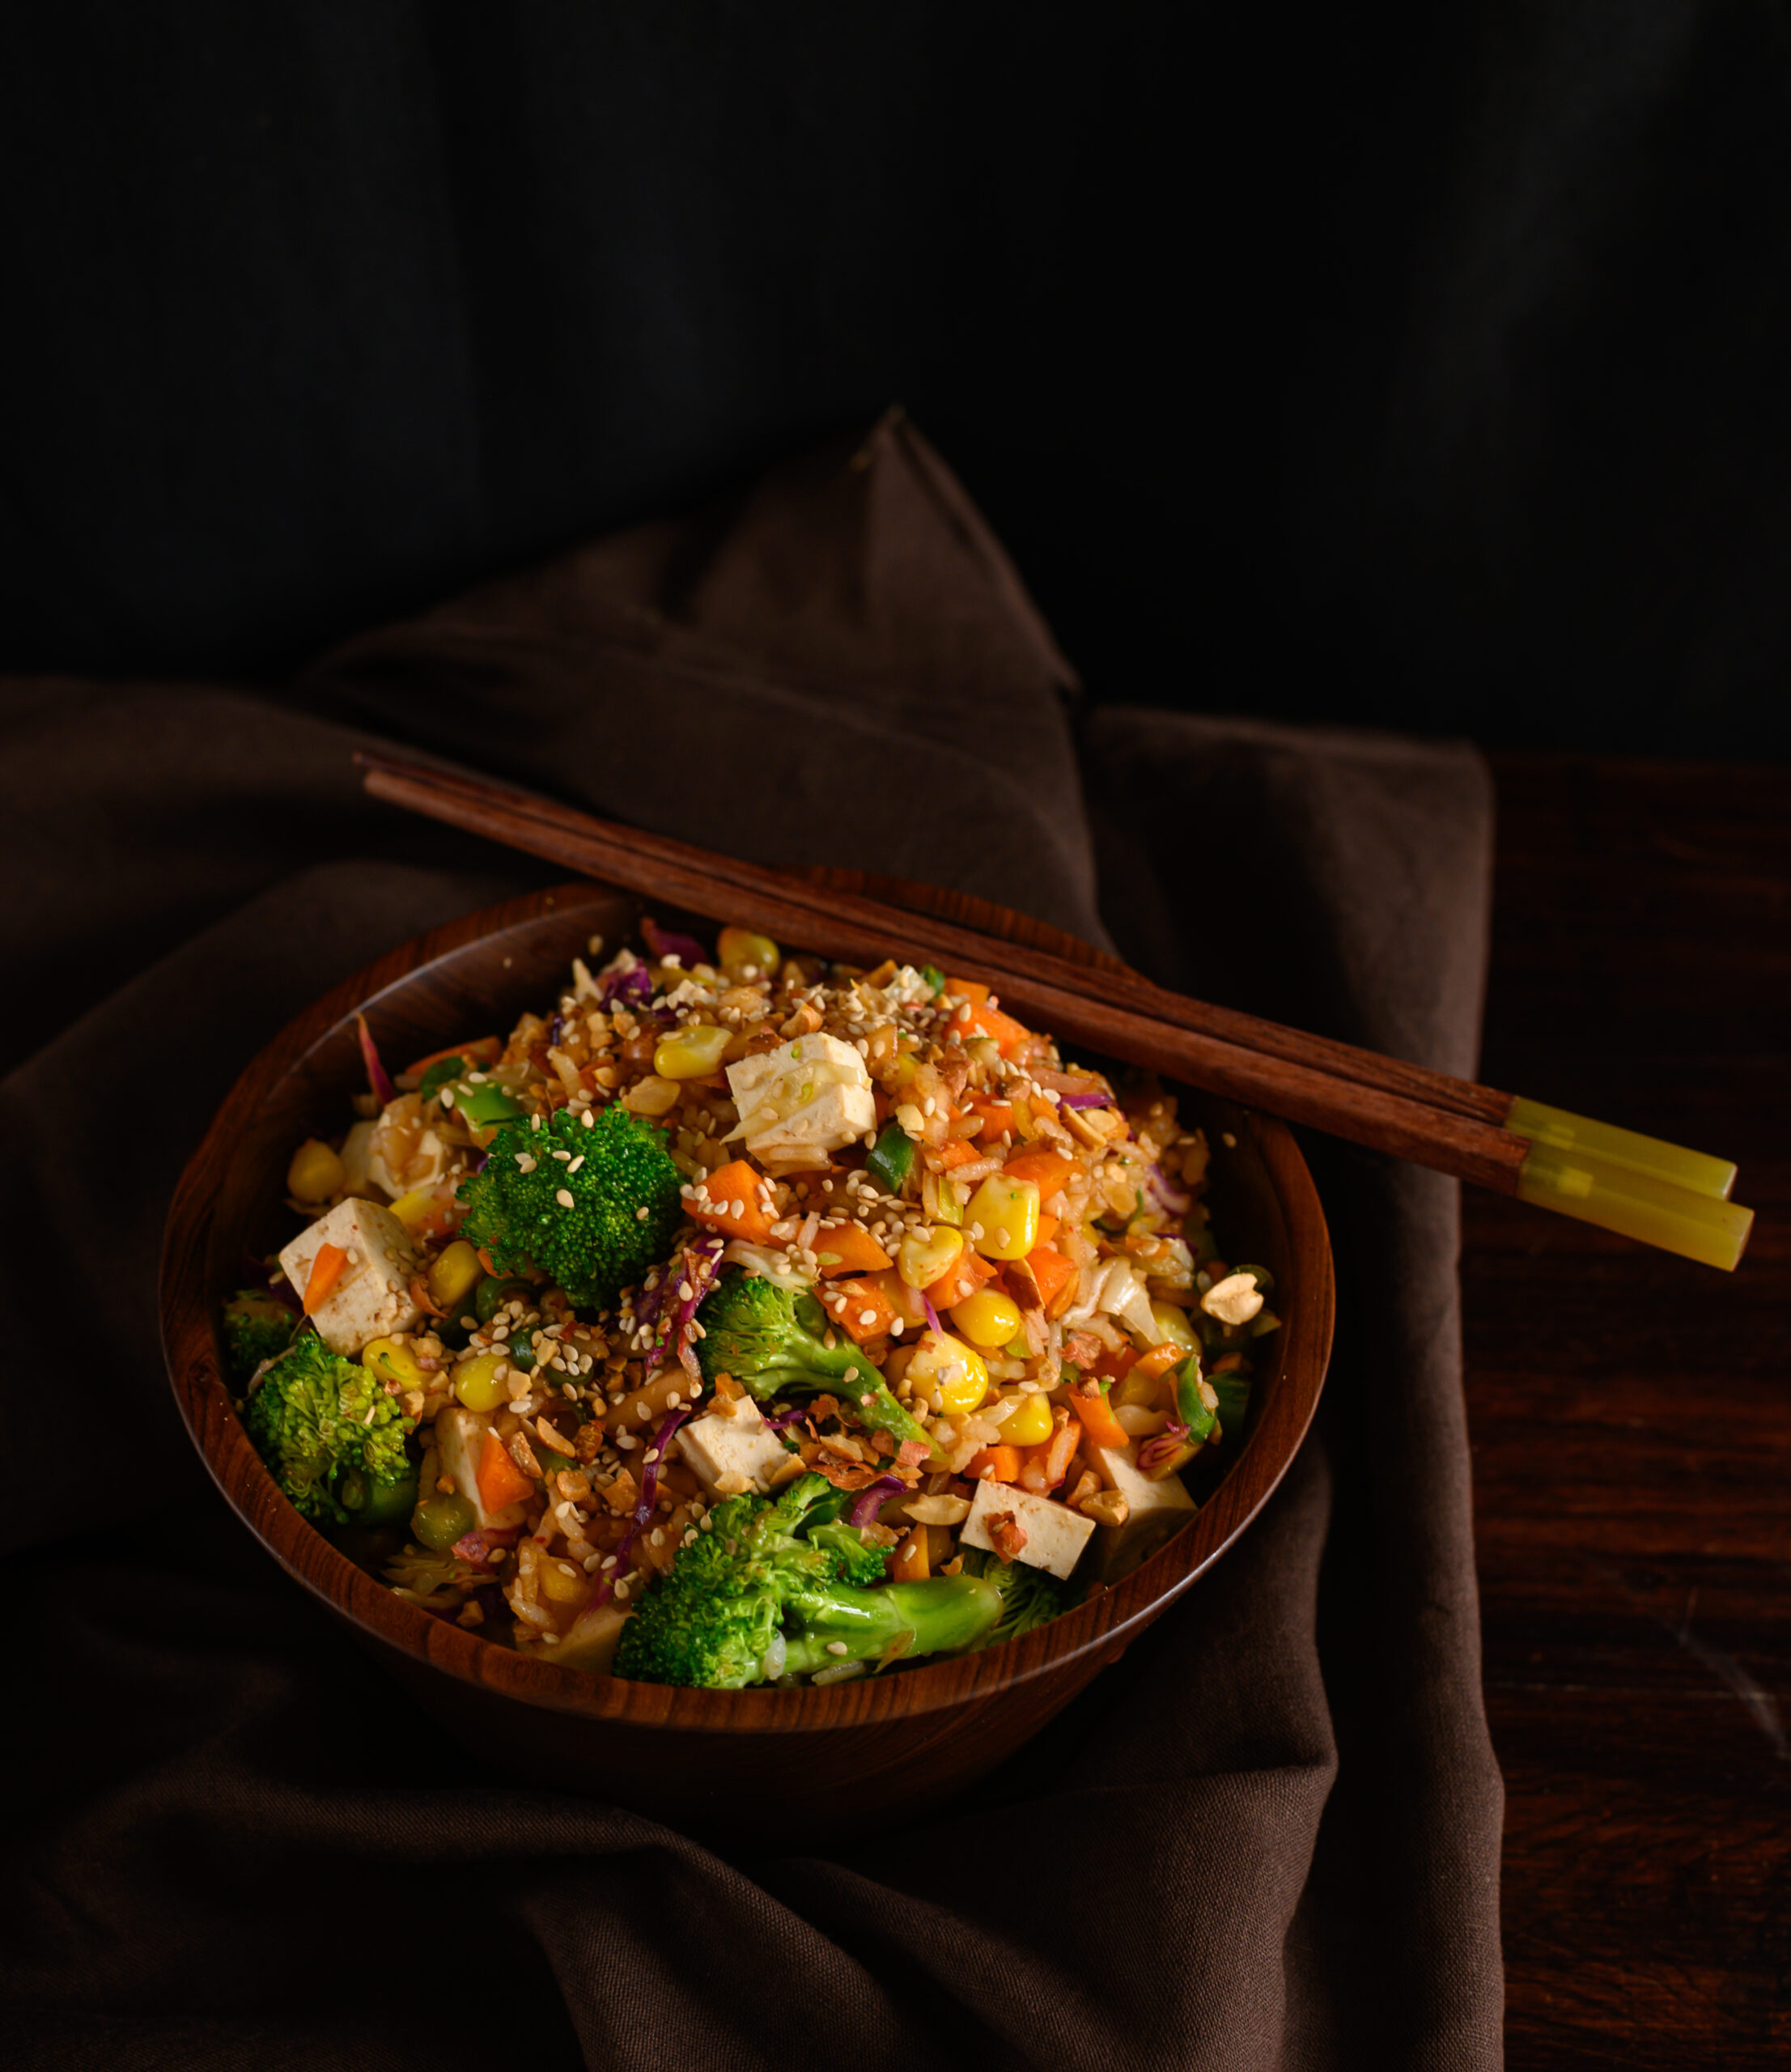
Meal-In-A-Bowl Stir-Fry

(Yield: 1 bowl)


2 cups vegetables of your choice

½ cup cooked rice

1 tablespoon groundnut oil

¾ teaspoon ginger/garlic paste

3 tablespoons cut tofu

2 tablespoons soya sauce

1 tablespoon lemon juice

½ teaspoon honey

1 teaspoon white sesame seeds

1 teaspoon chili paste

2 tablespoons coarsely crushed peanuts

Coriander leaves to garnish

Salt to taste


Add the groundnut oil in a wok. Once it’s hot, add the sesame seeds and allow them to lightly change colour.

Next, add the garlic/ginger paste. Stir for a minute.

Now, add the vegetables and stir them on a high flame. Do this for about 3 minutes. I like my vegetables to be a bit crunchy so I don’t allow them to cook until tender. Be careful not to burn or singe the ingredients at the bottom of the pan, as this will reduce their nutritional value.

I often use carrots, bell peppers, beans, broccoli, spring onions, raw mango for a bit of tang, and some corn. If you decide to follow the same choices, make sure that the carrots and beans go first as they take a while longer than the others to cook, even slightly.

If you are including a carb, add the cooked rice now. I prefer organic rice varieties, and you can also use millets or orzo pasta. Then, add the tofu.

Finally, add the salt and the remaining ingredients, substituting peanuts and sesame seeds for cashew nuts or walnuts if you prefer. In terms of flavours, some of the best ones are soya sauce, lemon juice, honey glaze and chili sauce/paste. Stir fry for a few minutes on a high flame. Serve hot, garnished with coriander.

There is no single recipe for stir-fry, but this is my favourite. I like the mix of East Asian seasonings with familiar local flavours like raw mango and peanuts, and I find they blend together beautifully. Remember that you can substitute any ingredient for another in its own category; protein, veggies, oil, nuts/seeds and carbs. And most importantly: remember the rainbow, and let green reign!

I enjoy the creative challenges of coming up with innovative dishes, and salads are a category I worked on happily during the earlier stages of re:store’s journey. Before turning my focus more intently towards baking and photography, I used to take orders for salads. The orders generally came from people who were fitness-focused or preferred to eat smaller meals at work. But that was no reason to eat the same thing every day. So I planned menus of 10-15 salads, rotating them every 3 months.

The salads were inspired by so many cuisines, and people I met, and using a schedule was also something new for me. Before going into business, I’d usually just throw whatever was on hand into a salad. Another thing I learnt was that keeping veggies fresh in India was not easy when they weren’t consumed immediately. Especially when the salad travelled from the re:store kitchen to another’s home, and then commuted with them to their office. So if I put in a fancy leafy vegetable, by the time the customer opened the container at their desk at lunchtime, it would have started to look and taste different. Through trial and error, I figured out ways to use only local and seasonal produce in my salad experiments.

Another thing I don’t believe in is using store-bought dressings, so I made them all from scratch, matching each one to the ingredients used. Naturally, I am also very particular about the hygienic handling of raw vegetables, so I always prepared salads only on the day of delivery.

We often think of salads as a part of Western cuisine, but they are often found in Indian cuisines as well. Whether it’s a home-cooked Gujarati meal or a South Indian one, some kind of raw, cut veggies will be served. While a vegetable smoothie may be a great way to substitute an unhealthy beverage, there are benefits to salads that go beyond taste. God made vegetables crunchy because they are meant to be eaten that way – it all begins by using the teeth and jaw muscles!

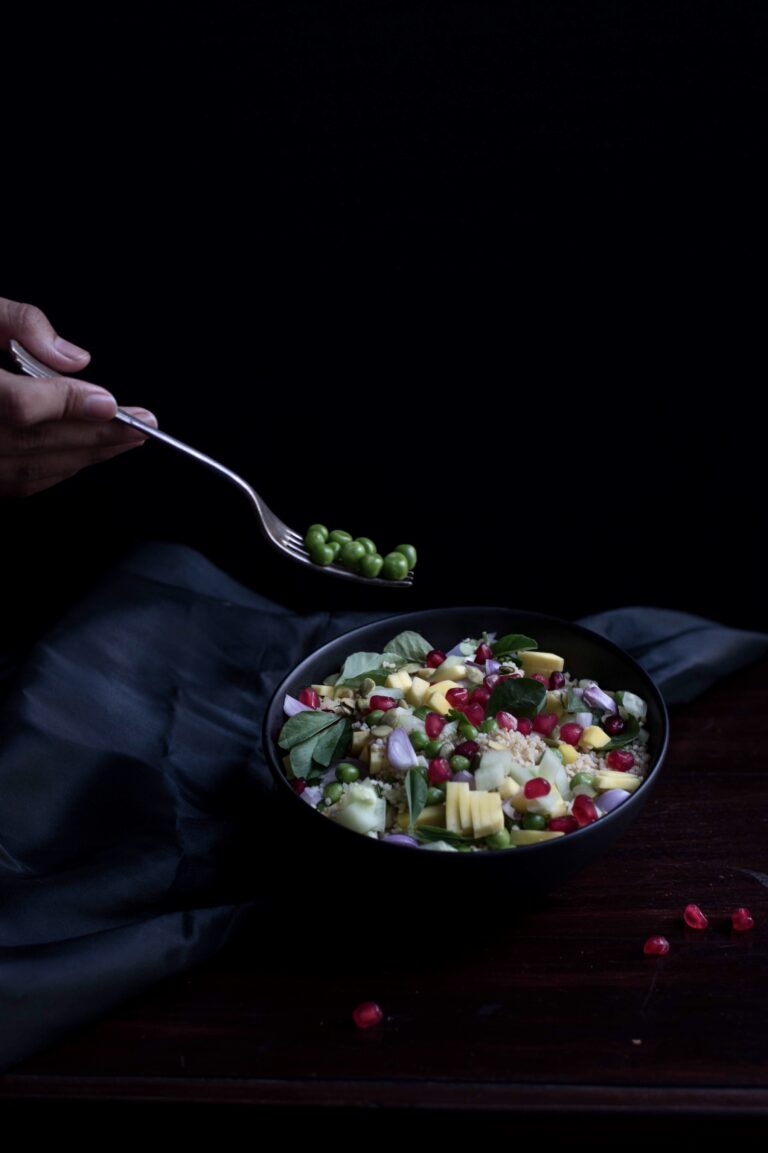
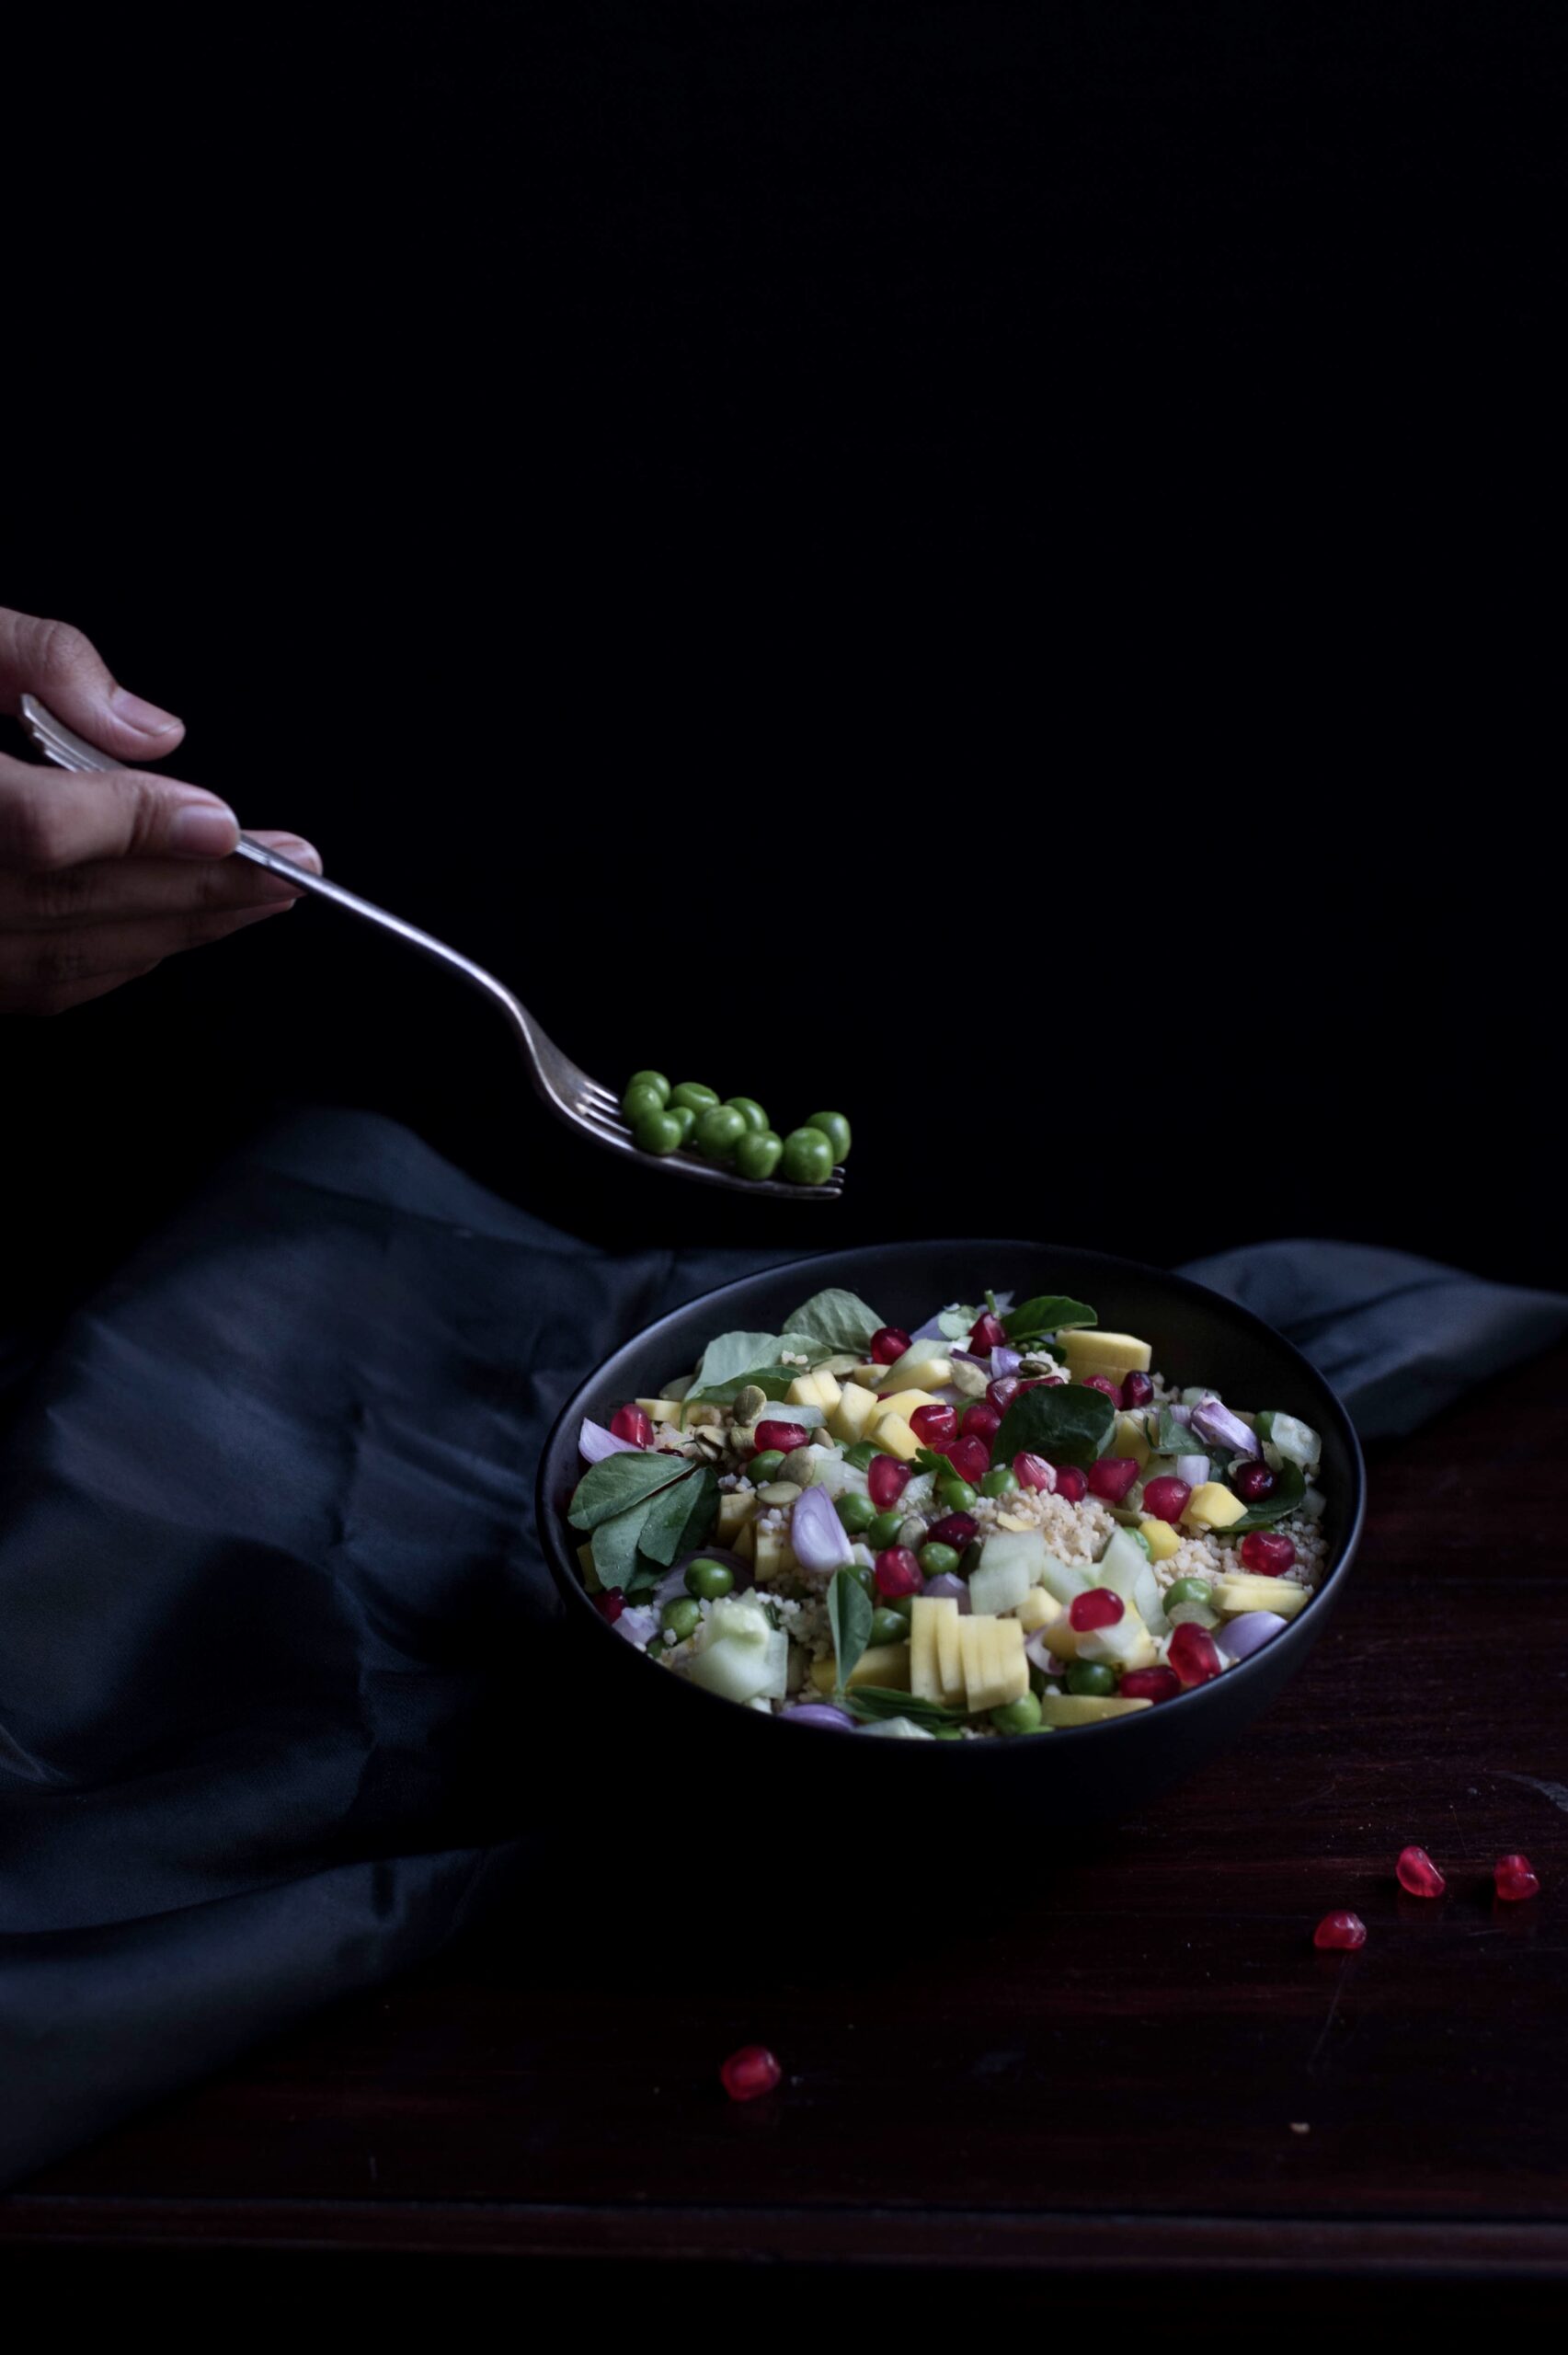
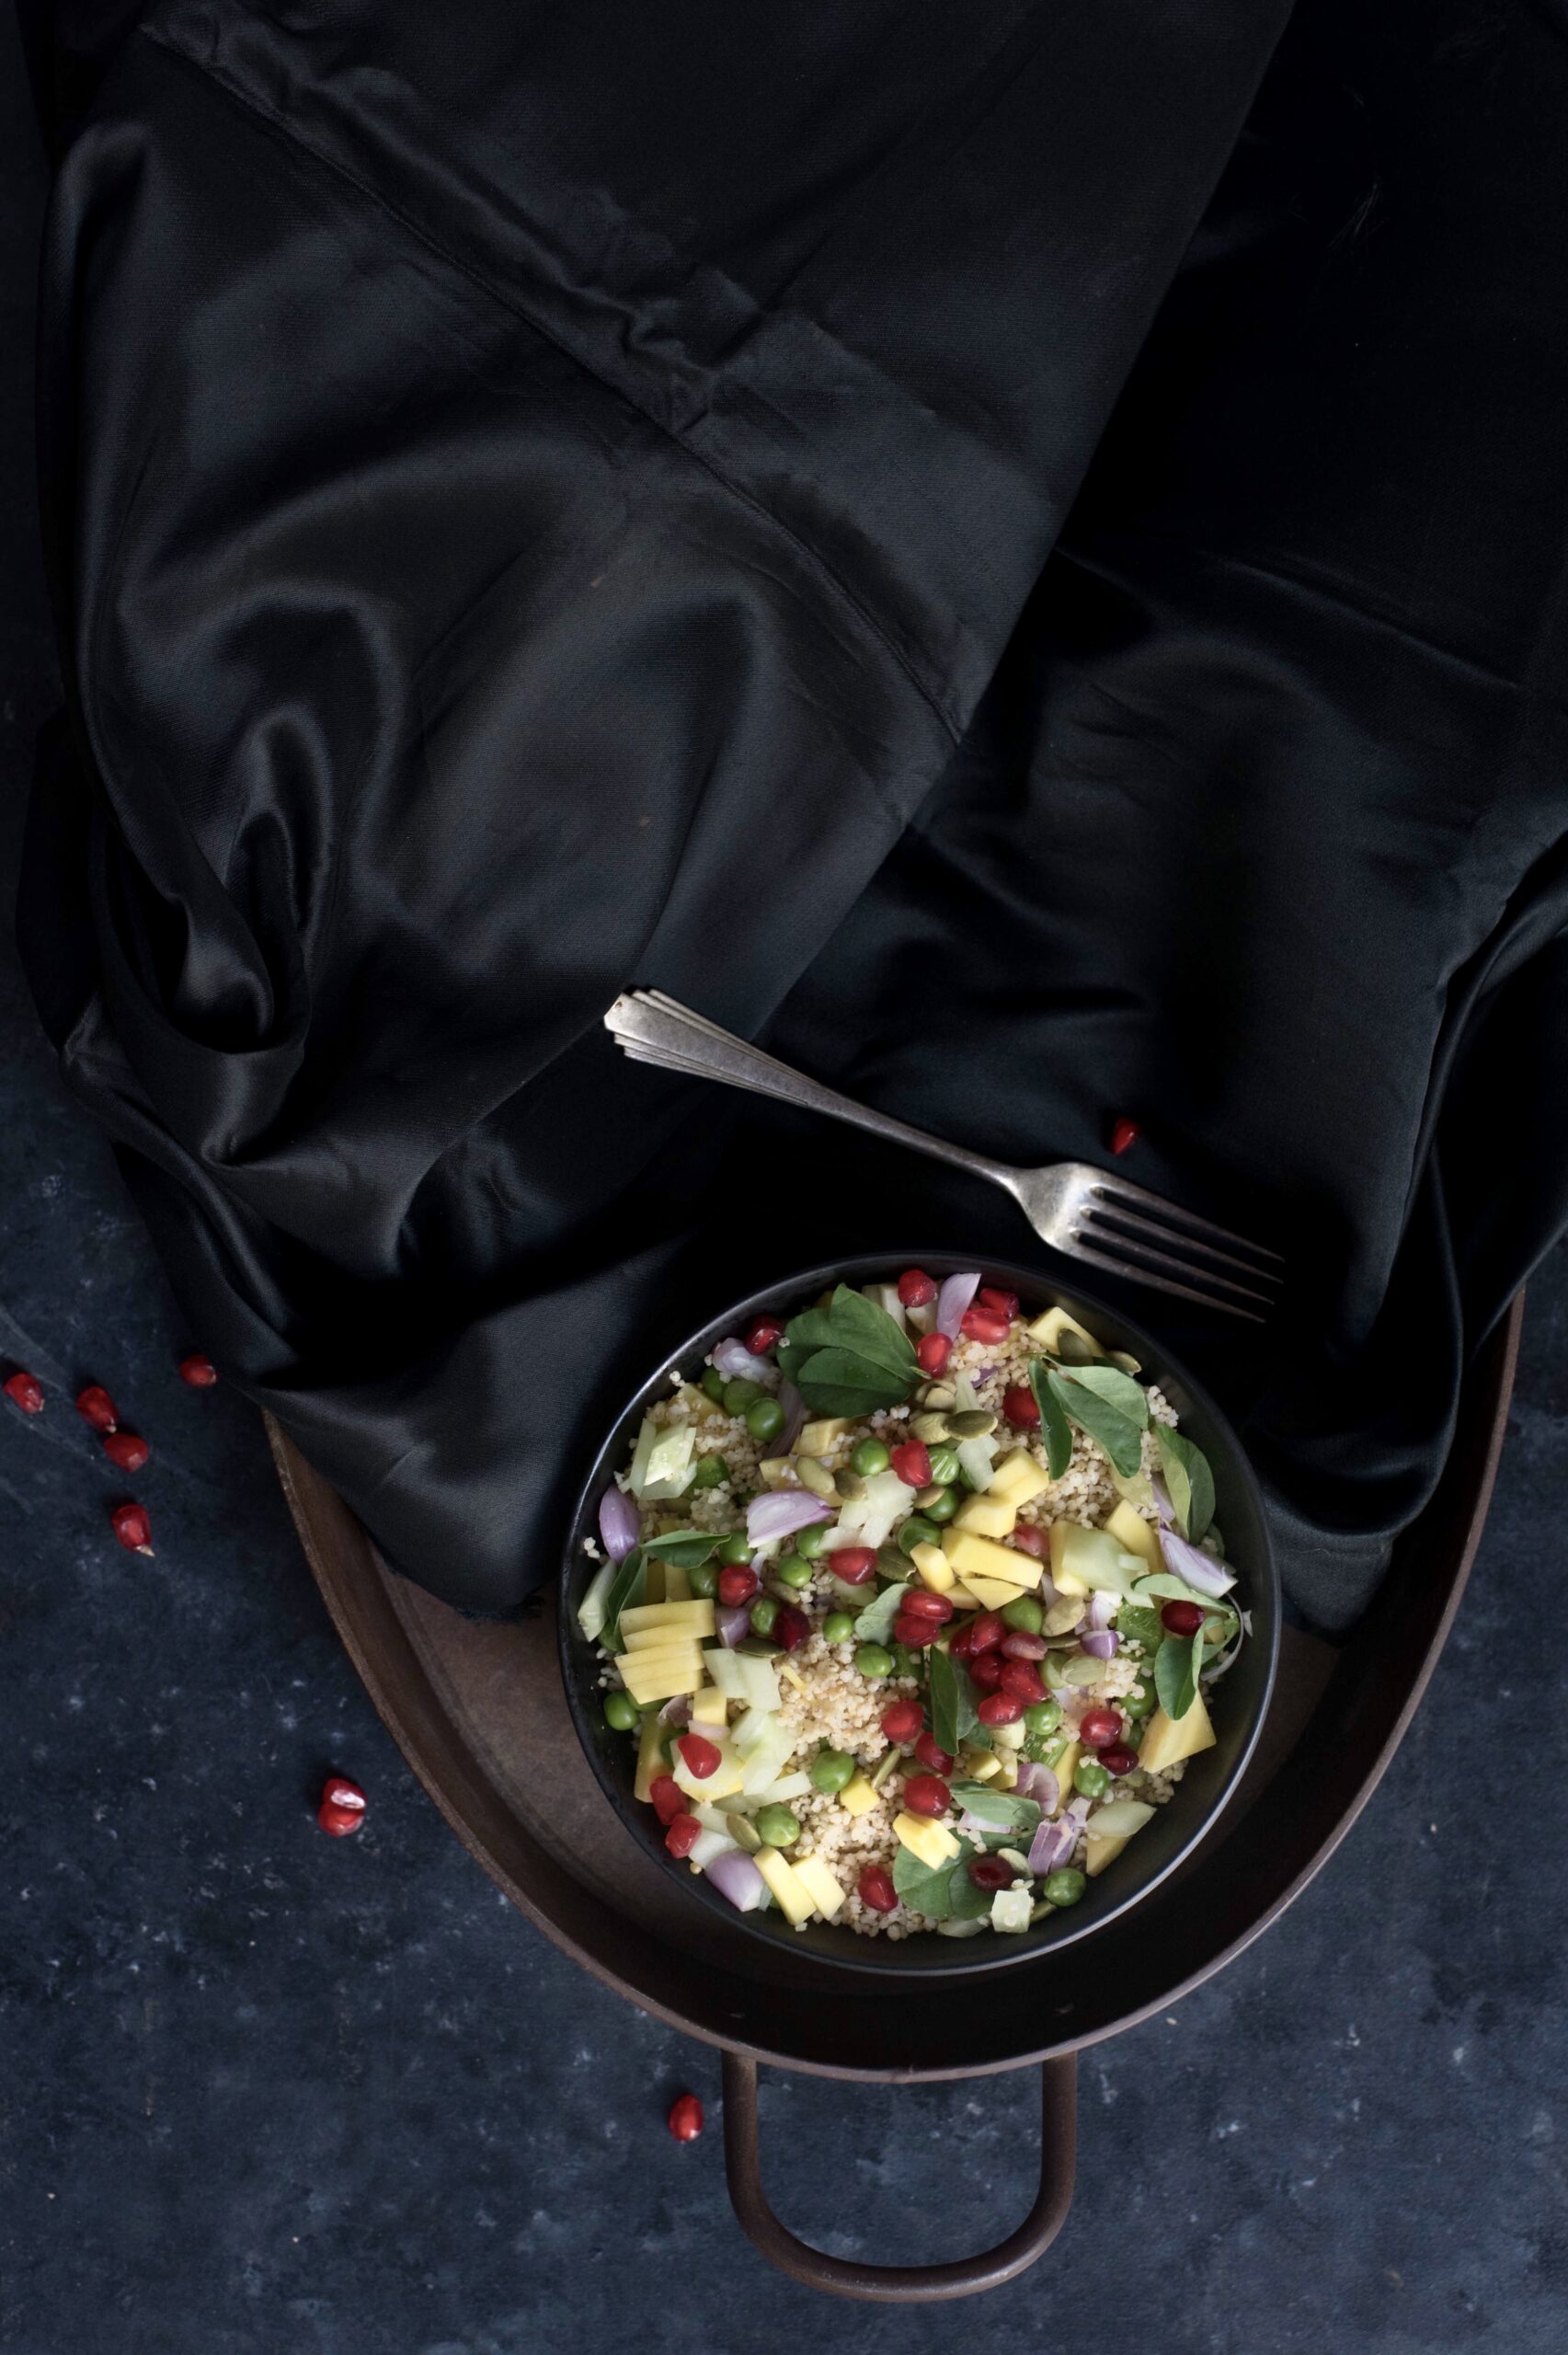
The Gujarati word for salad is “kachumber”, and while my recipe contains very diverse ingredients, at its core you could consider it an update on the traditional one. You know how much I love millets, and this salad uses foxtail millet as a base, for substance as much as for its many superfood properties. All the ingredients are available locally and inexpensively. I sometimes use sunflower seeds instead of pumpkin, but the latter are more authentically Macrobiotic here. Even the green peas come from Ooty, not so far away from me at all.

I’d love to share with you some nostalgia about salads and childhood, but let me be honest. Like many people, I often refused to eat vegetables growing up – but now look me, advocating for them!


Indian Veg Millet Salad

(Yield: 1 bowl)

Ingredients

Salad

120 grams cooked foxtail millet

½ cup steamed green peas

1 tablespoon pumpkin seeds

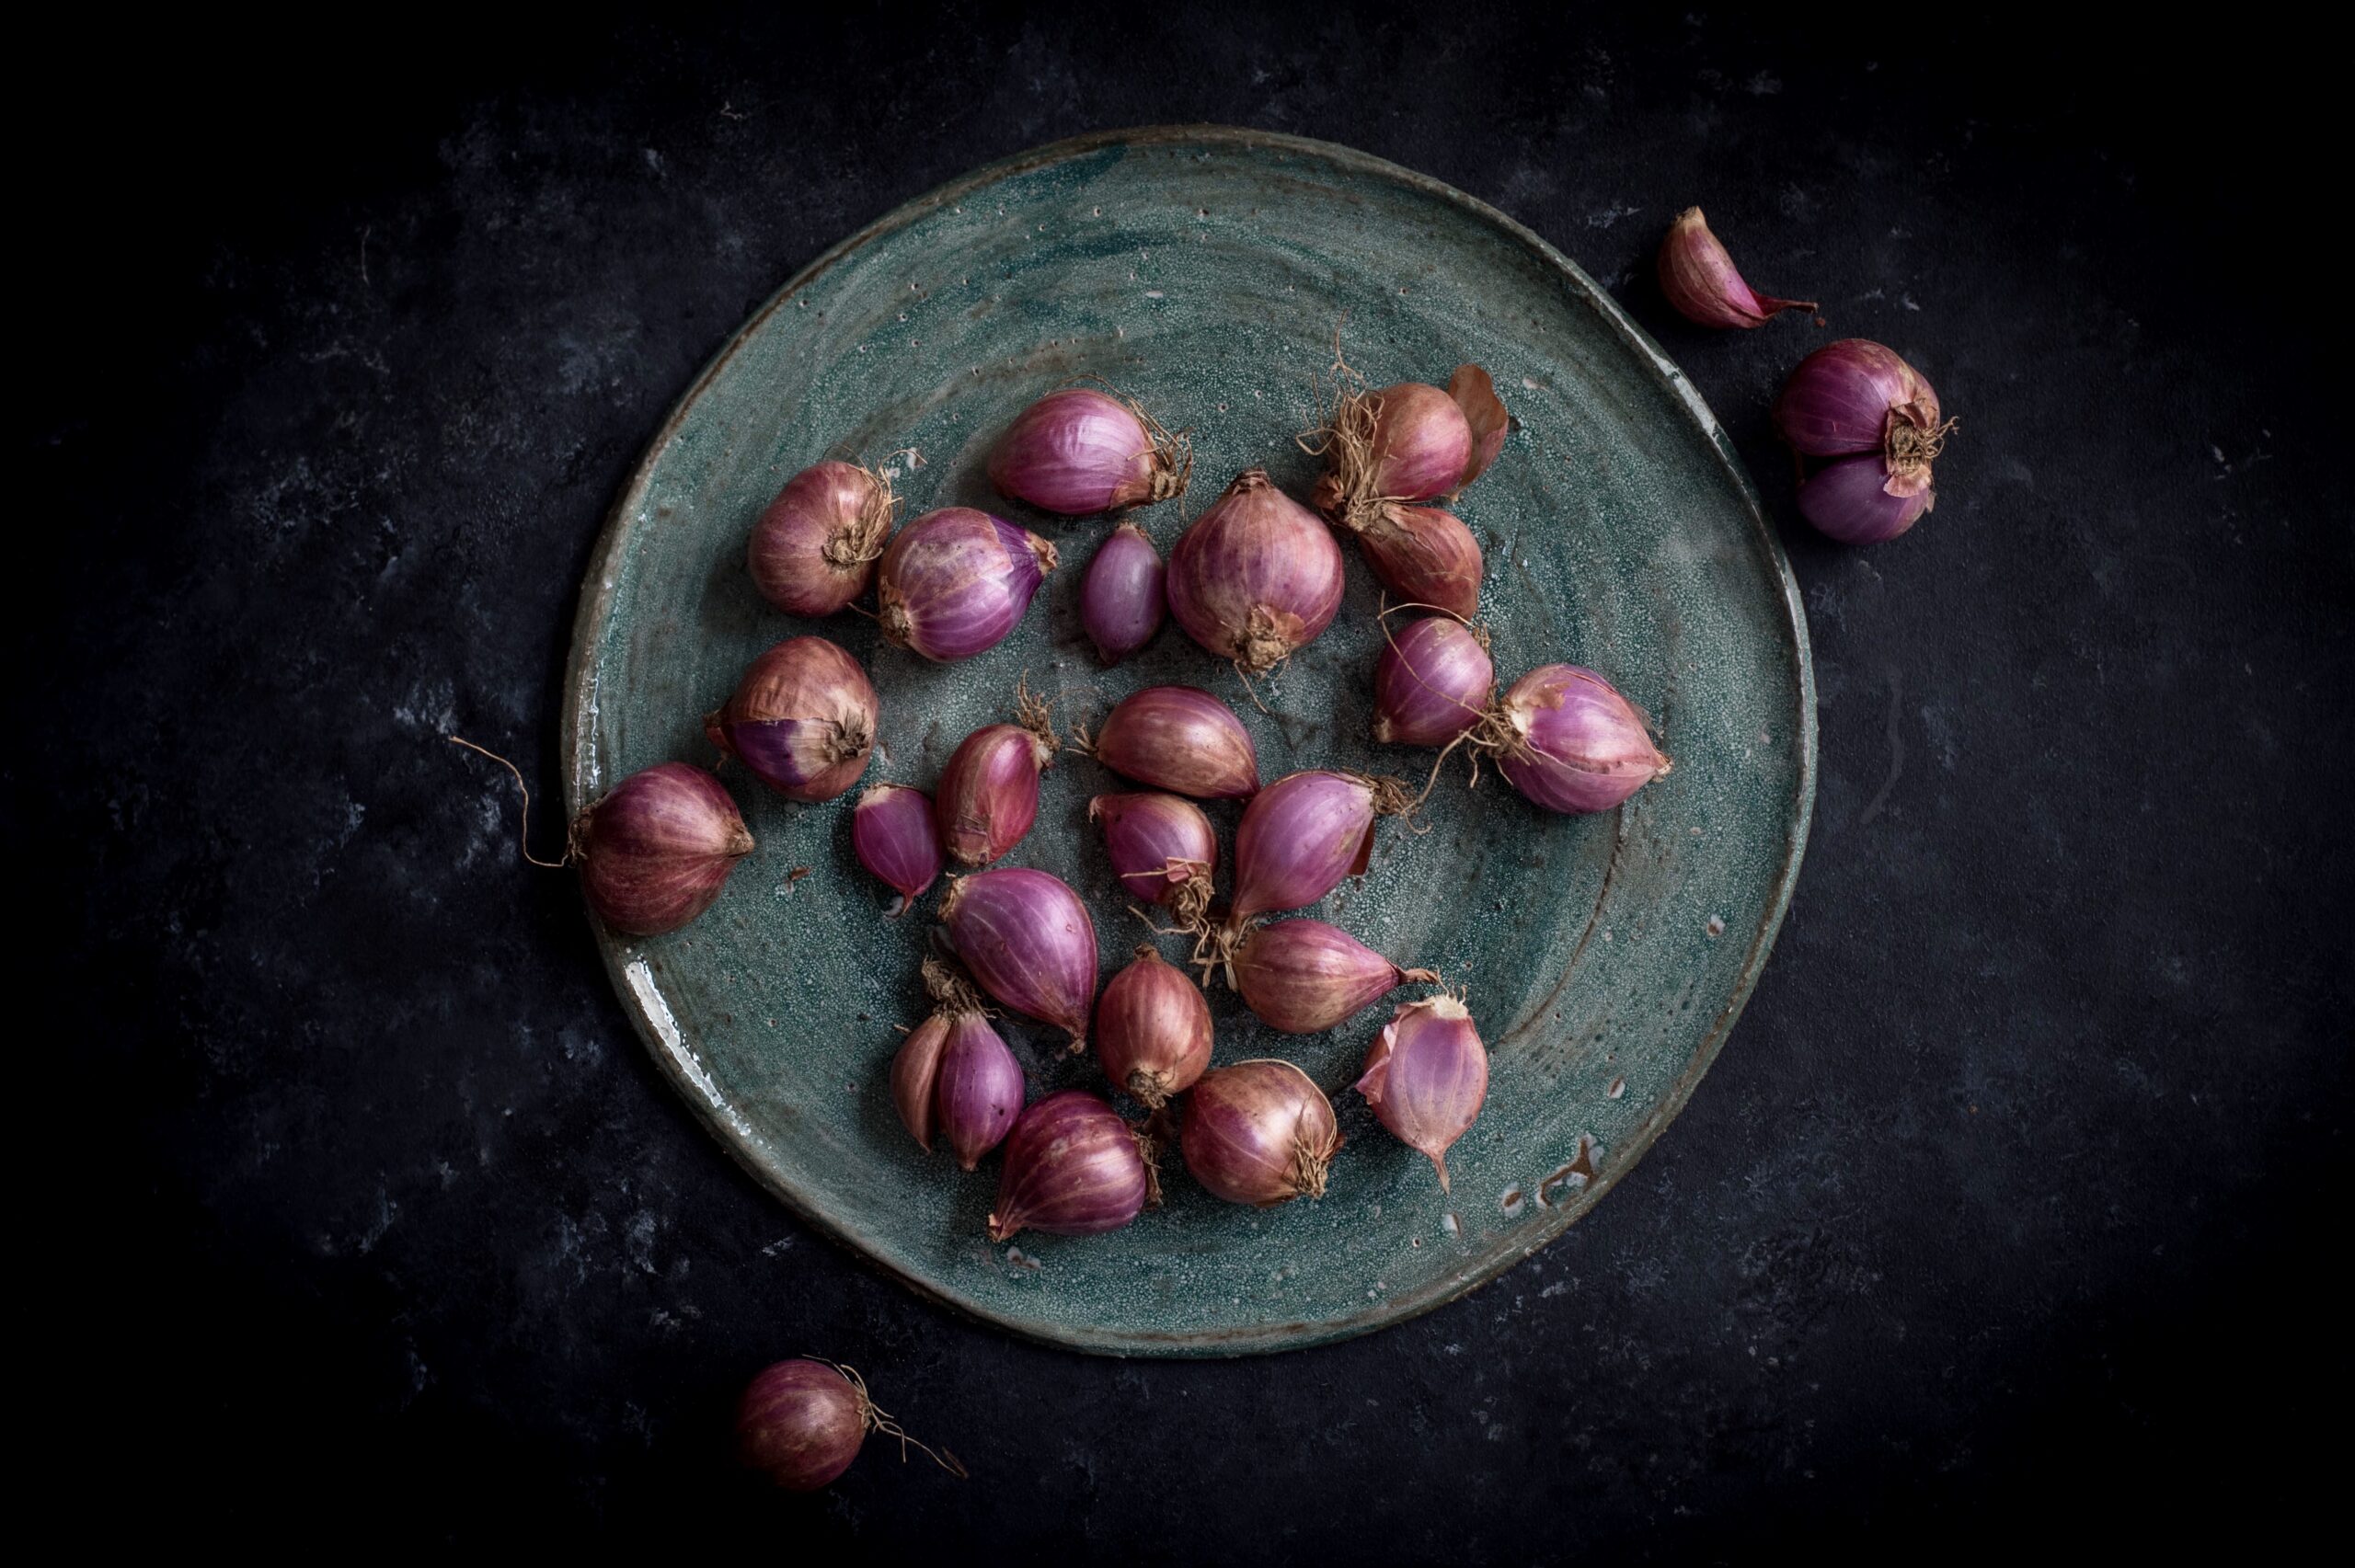
1 tablespoon finely chopped shallots

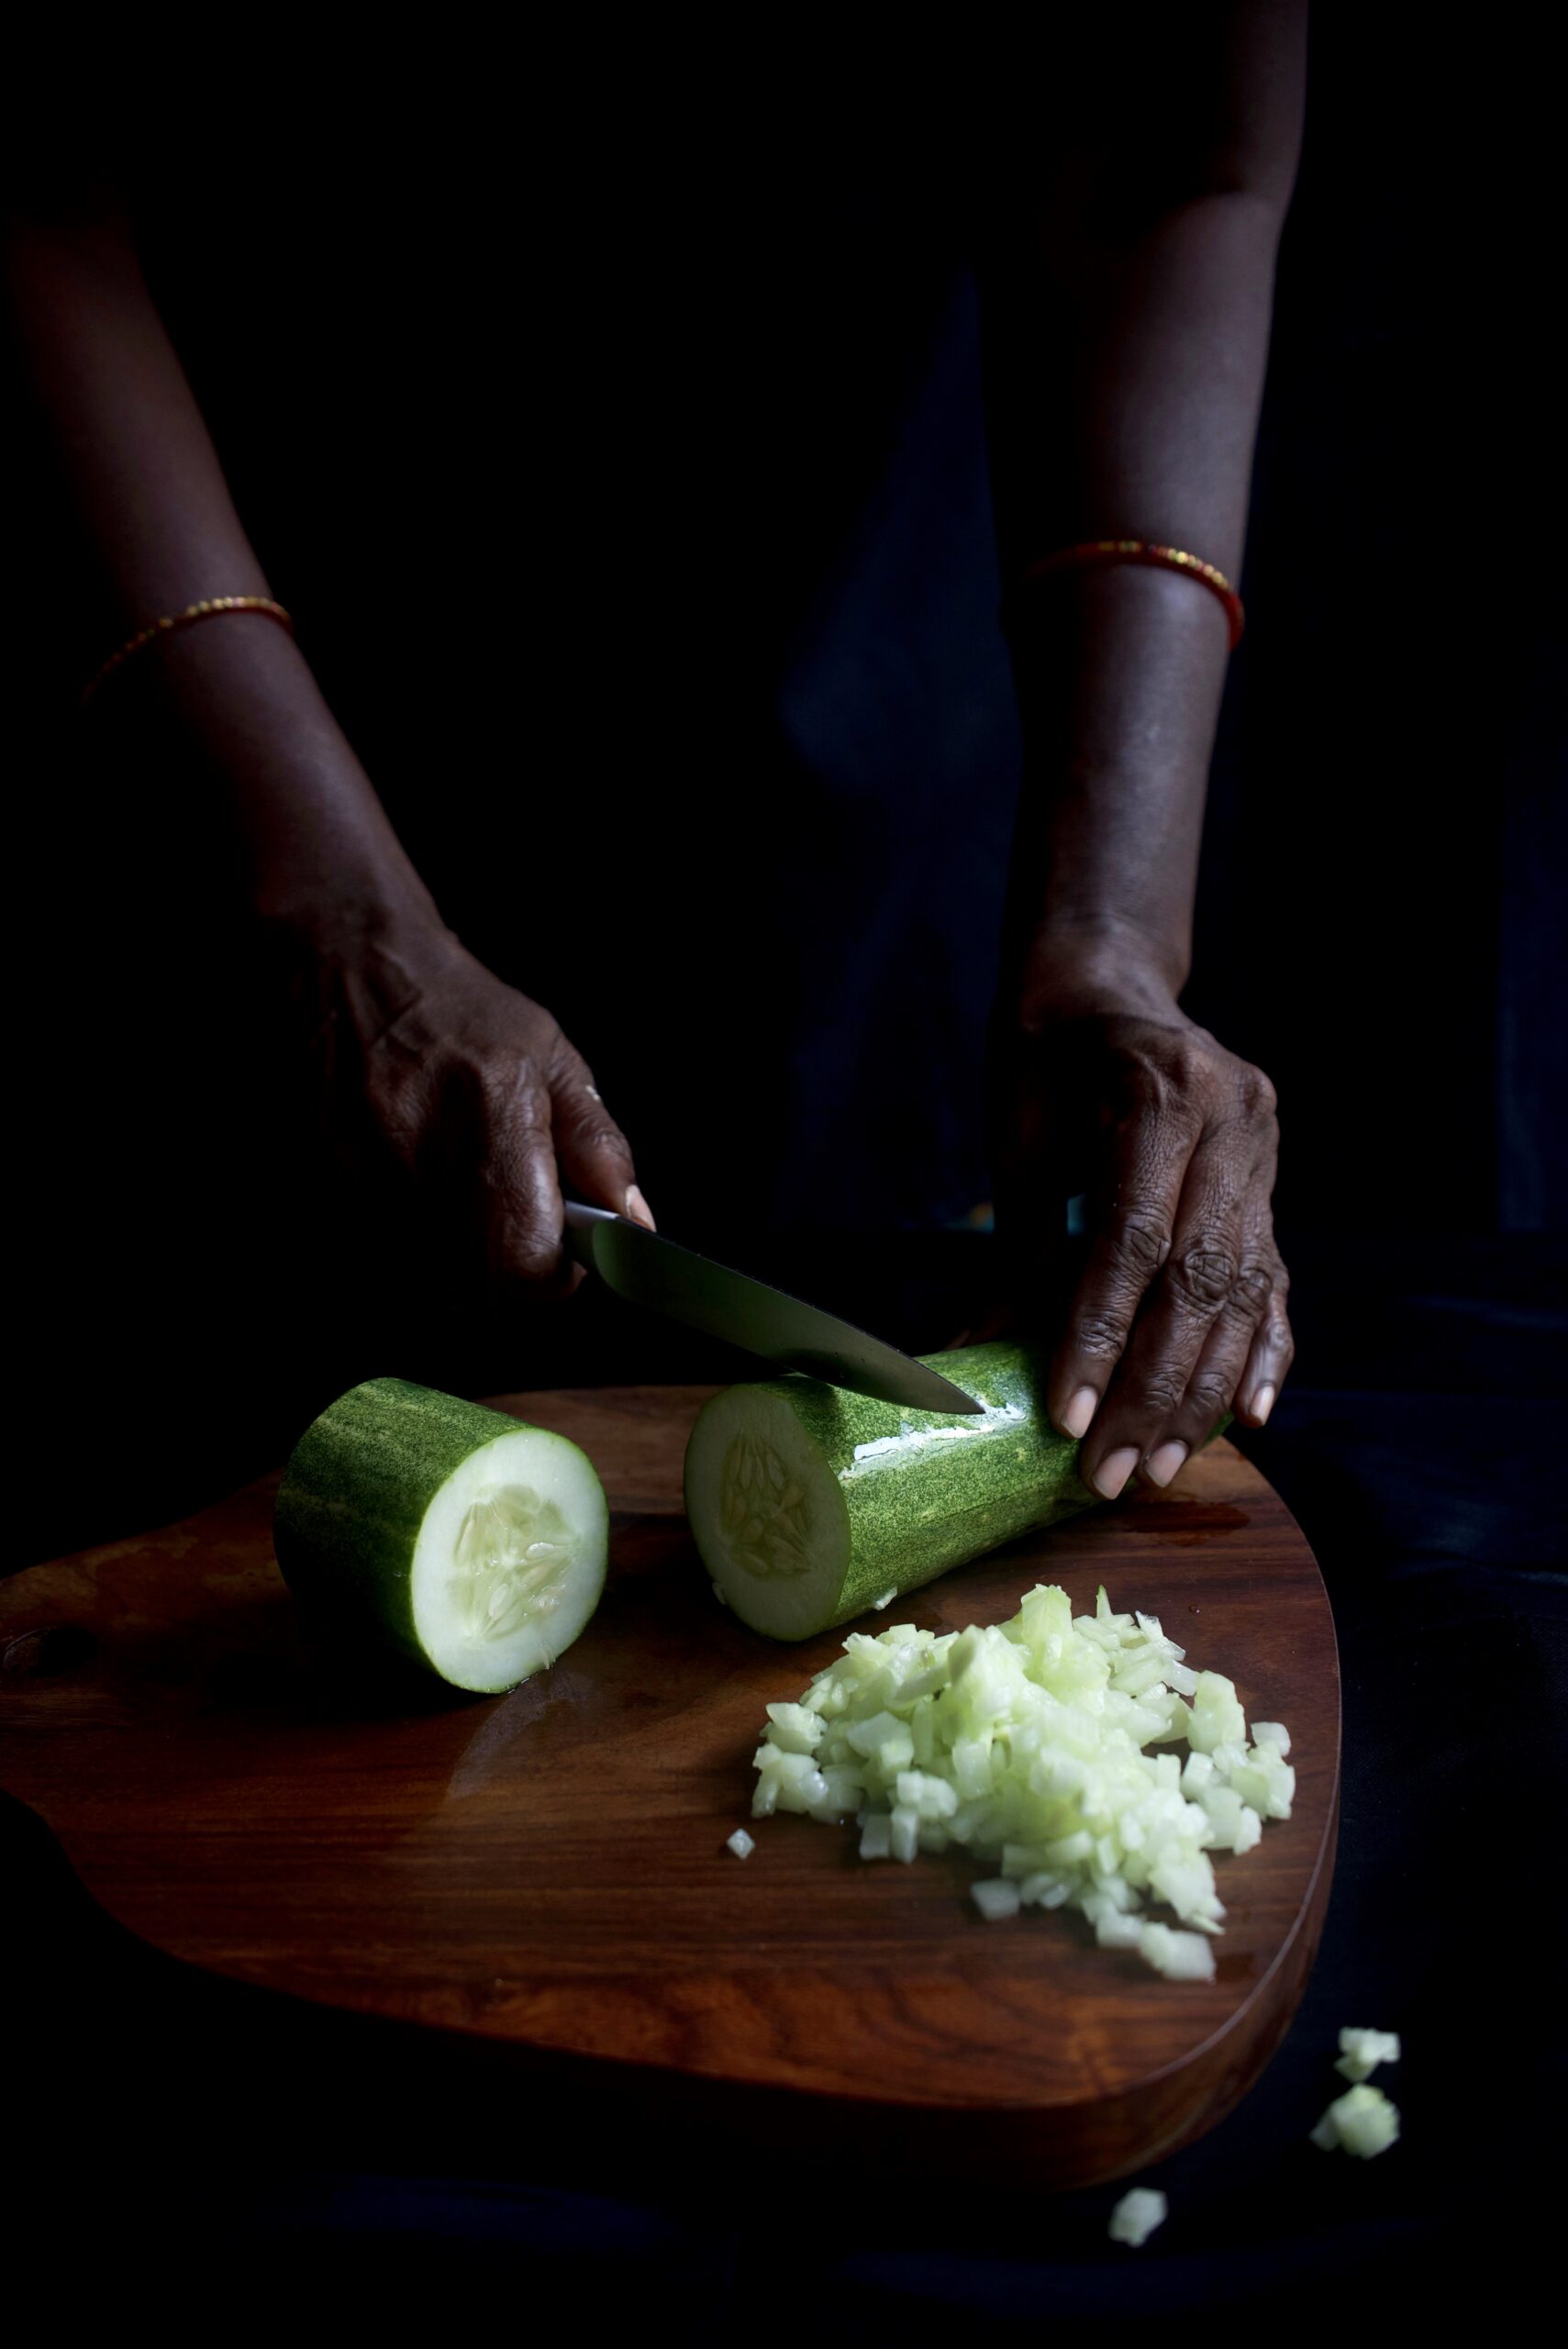
¼ cup cucumber

¼ cup finely cut raw mango

A handful of pomegranate arils

A few sprigs of fresh methi (fenugreek) leaves


Dressing

2 tablespoons sweet lime juice

1½ tablespoons lemon juice

1 tablespoon honey

1 tablespoon olive oil

A pinch of pepper

Salt to taste

Place all the fresh ingredients in a beautiful bowl. I have mentioned the quantity of the vegetables – however, you can eyeball the amount and decide for yourself how much you want to use. And of course, innovate. Add or delete ingredients depending on your fridge stock. You could even use any other millet if that suits you.

In a small jar, add all the ingredients for the dressing. Shake vigorously. Pour on the salad before serving and mix together till the dressing coats all the vegetables.

That’s all there is to it. A citrusy, profoundly simple dressing lifts the flavours of an unusual but deeply Indian salad. You have the sweetness of pomegranate, the tartiness of raw mango, the crunchiness of seeds and more. A medley of textures. Just mix it all up! I hope you’ll enjoy this easy recipe from the “salad days” of re:store, excuse the pun!

If you ask me what I think of as the star among all vegetables, you may be surprised to learn that in my opinion it is the underestimated radish. Specifically, I mean the long-rooted winter radish known as “daikon”, from the Japanese words for “big root”. In India, you may know it as “mulli”, the main ingredient of mulli-mulli paratha in the North; its leaves are eaten in the South as “mullangi-keerai”. My appreciation for daikon was inculcated when I was a student of Macrobiotics at the Kushi Institute a few years ago. The Macrobiotic principle of yin & yang is based on the belief that food has healing properties, and that with the right food we can actually improve our health and immune system in many ways. It is an old Indian Ayurvedic principle too, and the two differ only slightly.

Macrobiotics is a culinary science with a foundational principle of the incorporation of local and seasonal logic to our cooking and eating methods. Logic, not just ingredients. It is a holistic system that considers the effect of food on mind, body and spirit. While Macrobiotics began in Japan, daikon is locally-grown and widely-available in India, and so the daikon tea recipe that I am sharing today fits the principle well.

This daikon tea is known for being effective against deep-rooted cancer and pain. In general, it also has a cooling effect, and is anti-inflammatory. Daikon itself is highly nutritious, and contains phosphorus, calcium, magnesium, vitamin C and potassium. It is beneficial for kidney function, respiratory health and immunity. Its high folate content makes it good for pregnant women, while its low carb content makes it good for diabetics. Daikon can be eaten raw, so you can have it sliced or grated too. In a future post, I’ll discuss Macrobiotic pickling (which is often probiotic), which is something this ingredient is good for as well. In tea form, it helps remove the oil from any heavy food consumed, and lowers cholesterol and cleans the intestines.
As it is quite powerful, daikon tea is recommended only for healing purposes. It is to be had a couple of times a day for three days, with a break afterwards, and for no more than two weeks at a stretch (including breaks).


Daikon Tea

(Yield: 1 small pot)

Ingredients

½ cup grated daikon

3 portions water

Place the grated daikon in a cheese cloth and squeeze out the juice into the pot. Add 3 equal portions of water to it.

Place the pot to boil gently on a medium flame. Lower the flame when it begins to boil, then allow it to simmer for 1-2 minutes. Add a pinch of sea salt.

Switch off the stove. Your daikon tea is now ready to be served. Drink sparingly, and remember that this is a medicinal supplement.

I learnt some very important basics during my Macrobiotics course, about how the energy and environment matter to what is being cooked and eaten. While in the kitchen, and especially when preparing healing food, it is important to keep sound to a minimum. For instance, while stirring the tea, do not allow the spoon to clank with the pot or cup.  Try and maintain a calm, almost meditative, state. So as you stir this tea, serve it, and and sip it, always allow good thoughts to be the most important ingredients.

This is something I’ve never done before – sharing the recipe for a dish I’ve recently added to the re:store menu – but this cake is so divine that I can’t help but want to shout about it from the rooftops! Despite my interest in healthy eating, I’ve never really been one for vegetable-based cakes. But this carrot-ginger cake is simply outstanding. From the moment I took my first attempt out of the oven, I was stunned. And every slice since has simply vanished in a matter of hours in my home, and from the re:store kitchen. And for all the love you, my well-wishers and friends, have shown me, this recipe is just a small gesture of gratitude.

I am always on a quest for perfection, and to me there are four types of cakes that every baker should master: chocolate, vanilla, vegan and carrot. These are the basics, and over the years I have strived to do better and better with each kind. Flavour-wise, there are many ways to innovate on these basics and tweak them to suit your palate. My friends Michael and Sujata’s cook once shared a carrot cake recipe which used pineapple and coconut, for instance. That was what I used to bake until I found my own way of literally spicing it up. When I melded the zesty taste of ginger into what I’d use to think of as the somewhat boring carrot cake, I knew I had hit gold.

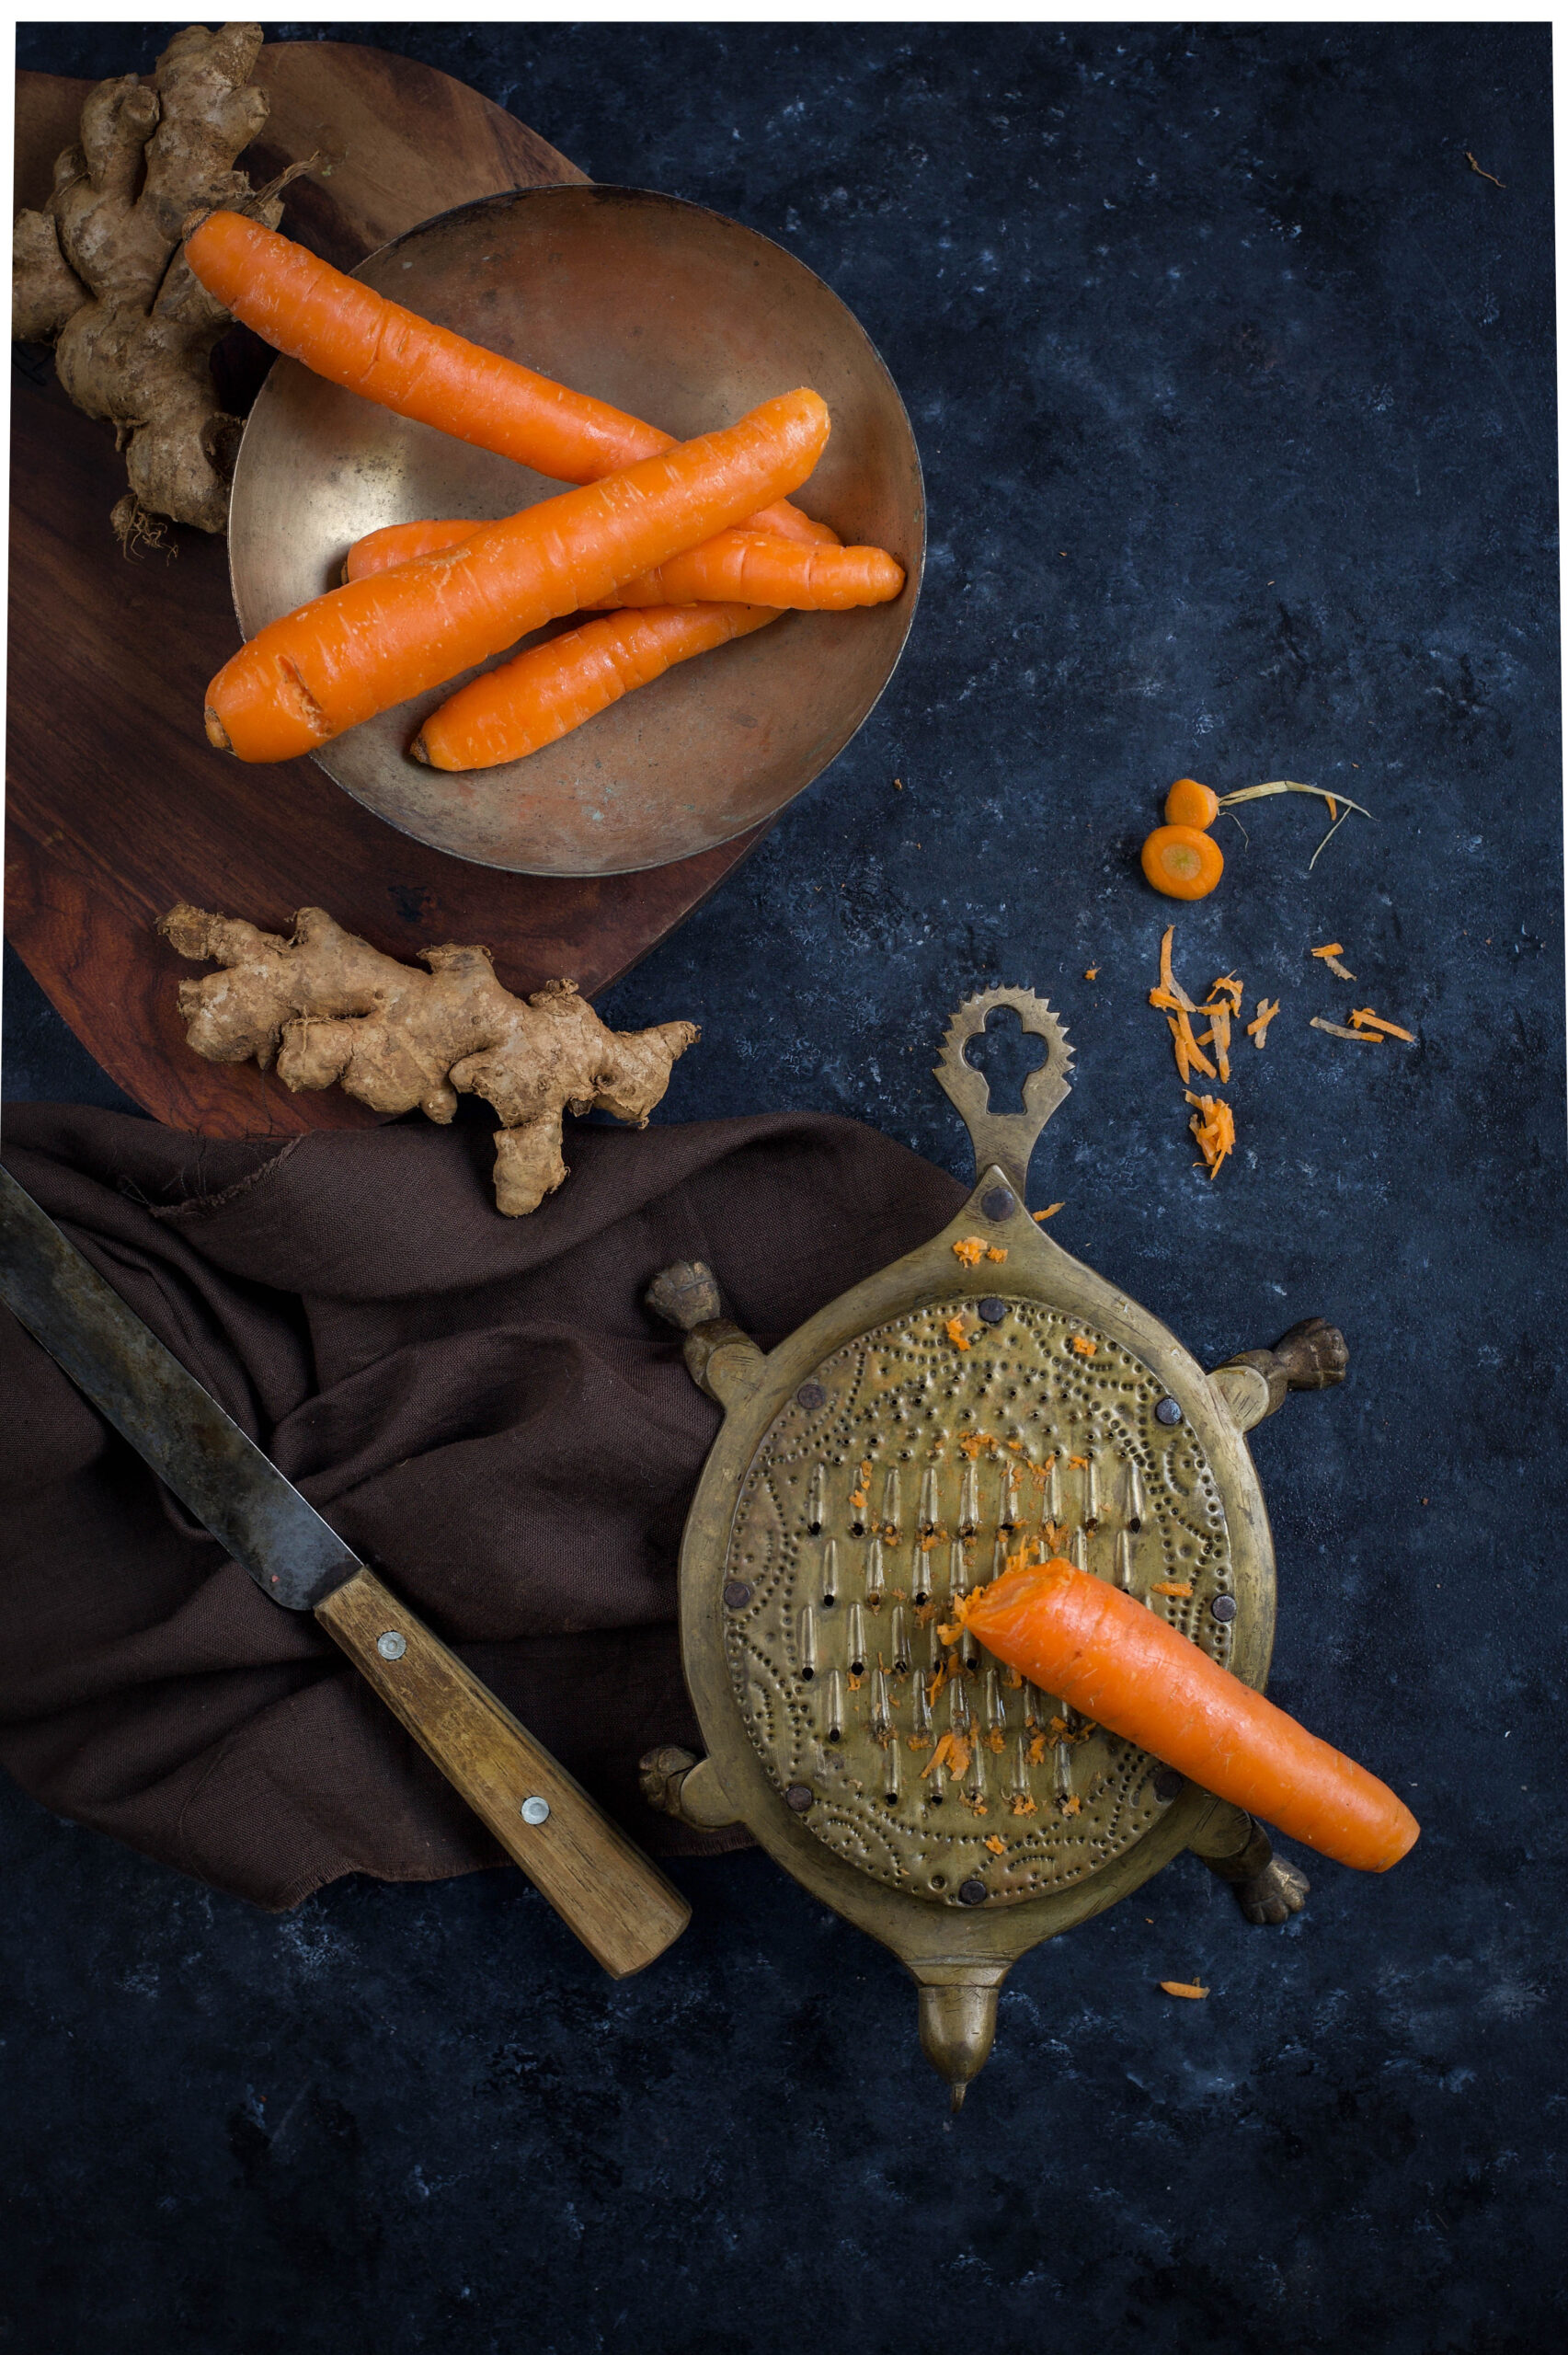
Ginger is the rhizome of a flowering plant by the same name, and is widely used in Indian cuisine for its fragrance, spiciness and health benefits. It was one of the first spices that Europeans imported, so world cuisines have also used it for centuries. It is great for treating nausea and appetite loss, has anti-inflammatory properties, and is believed to lower blood sugar and to help reduce the risk of heart disease.  For this cake, I used stem ginger soaked in sugar syrup as well as freshly grated ginger.

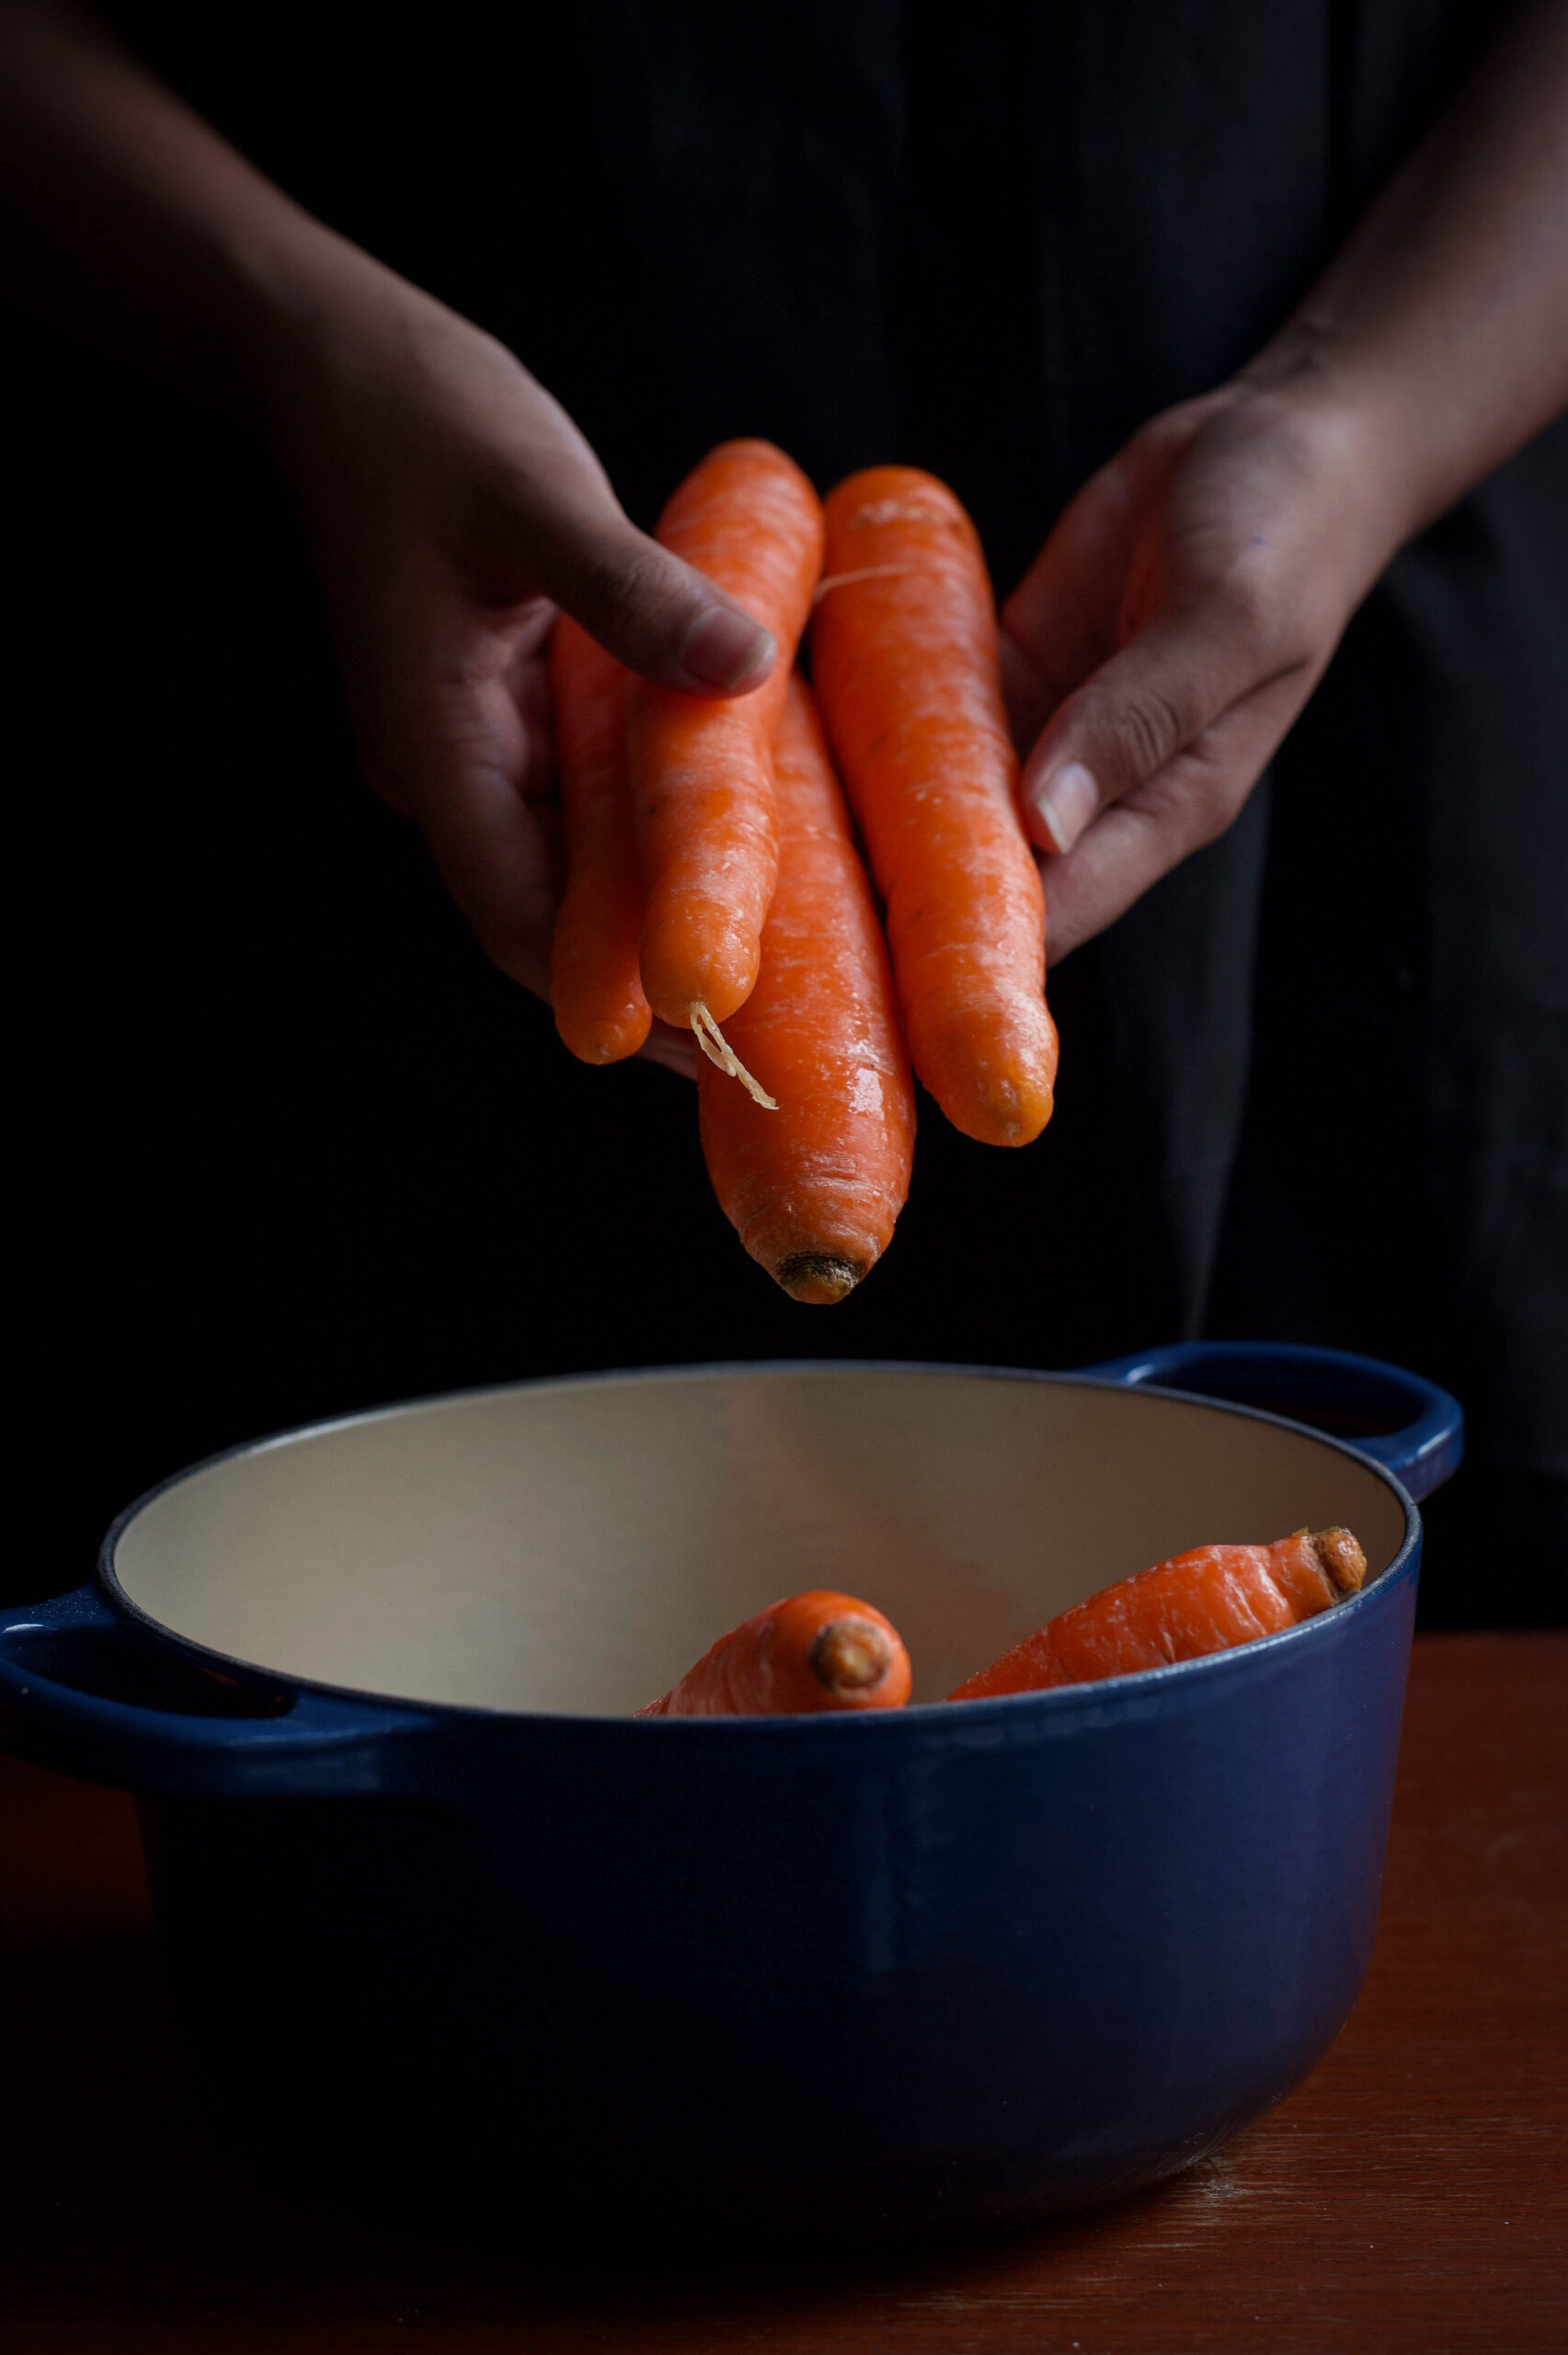
Carrot, like ginger, is also an edible root – and it is an extremely popular vegetable in Western cuisine. In India, it is added to salads, stir-fries (known as poriyal in Tamil) and even a milk dessert called gajar ki halwa. It also has a range of health benefits, including better eyesight and lowered cholesterol, and is a source of potassium, antioxidants, vitamins and fibre.

Two nourishing ingredients – and one delicious dessert. This cake is so appetizing that icing is completely optional! Also, it is lactose-free, which means that those of you with dairy allergies can indulge without stress!

Irresistible Carrot-Ginger Cake

Ingredients
1 cup brown sugar
1 cup plain flour
2 eggs
1 teaspoon baking powder
1 teaspoon baking soda
¼ teaspoon salt
⅔ cup vegetable oil
1 ½ cups grated carrots
½ cup sweet ginger in syrup (substitute: ½ teaspoon dry ginger powder)
½ cup chopped walnuts
1 teaspoon grated fresh ginger

Grease an 8’ inch square pan and line with butter paper. Dust with flour.

Sift the flour along with the soda, baking powder and salt – as well as the ginger powder if you’ve opted to use it. Set aside.

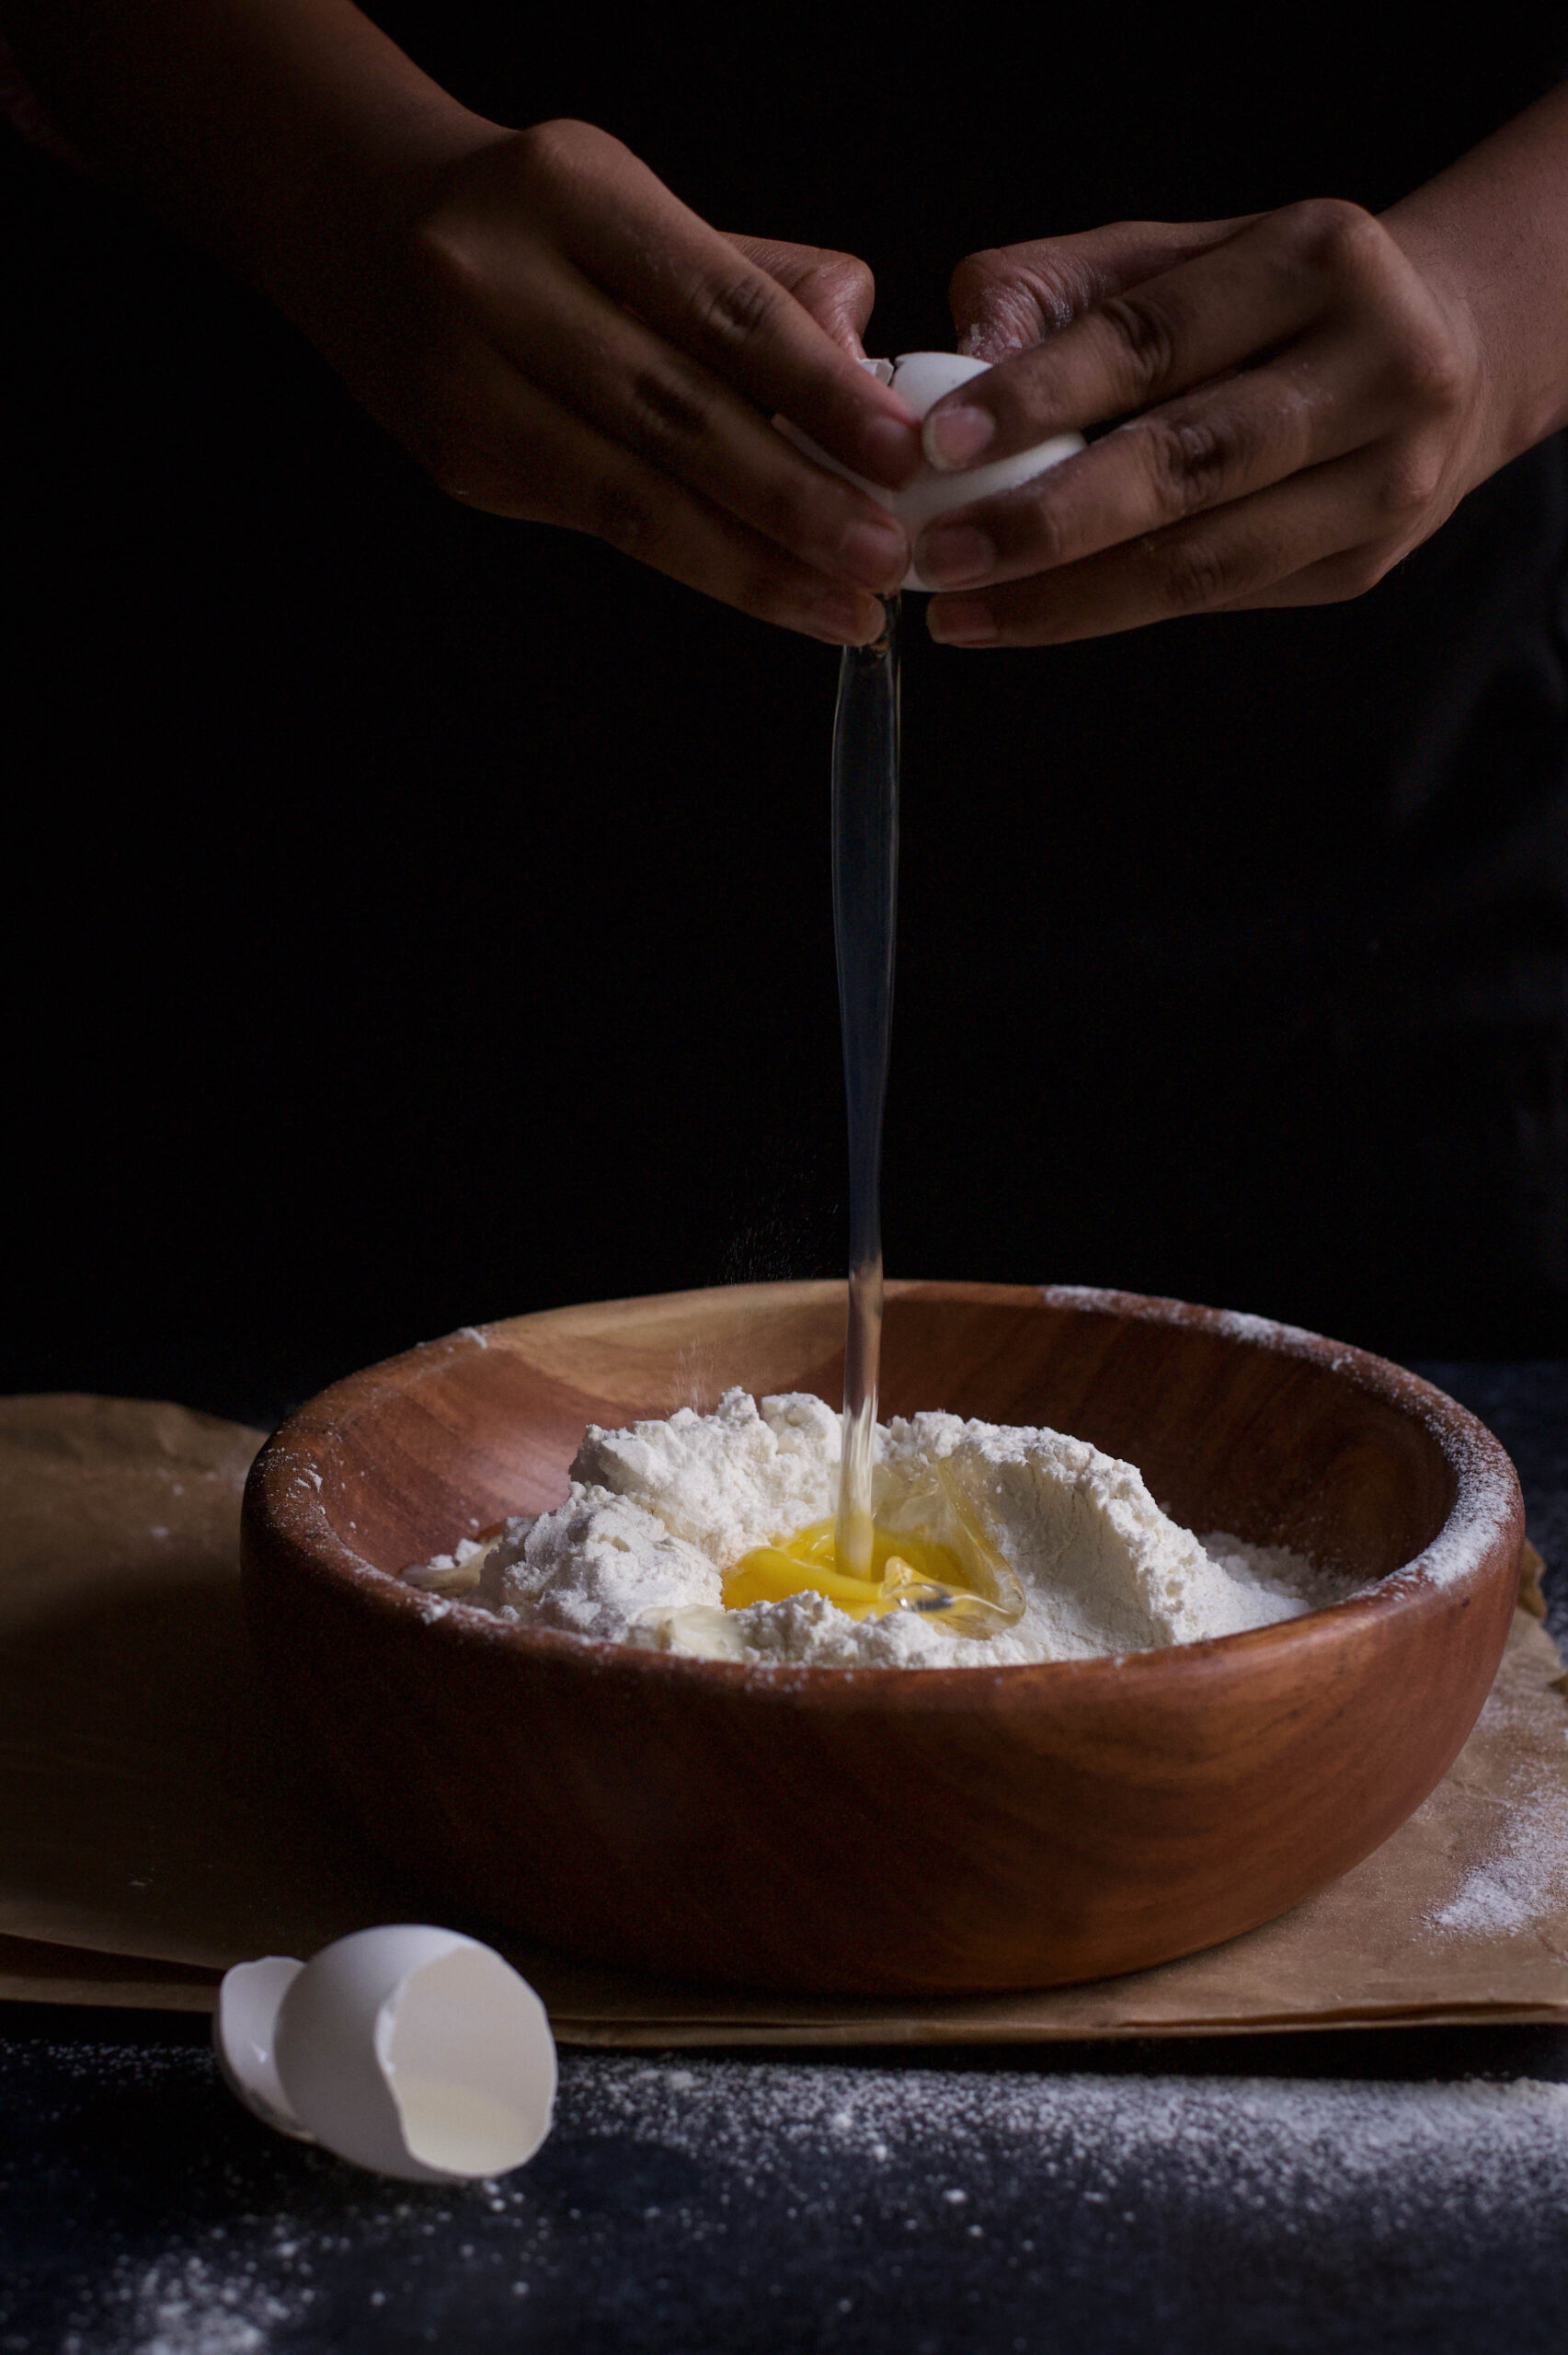
Combine the eggs, oil, sugar and flour until well-mixed. Now add the carrots, fresh ginger and walnuts to the mixture.

Pour this batter into the prepared tin. Bake for about 45 minutes to an hour, until the tooth pick comes out clean.

Once baked, allow to cool. Turn onto a wire rack.

As I said earlier, icing is completely optional. But if you’d like the extra sweetness, or just the visual effect, decorate with the cream cheese frosting that is traditionally paired with carrot cakes. It has a slight tang to it, and lifts the flavours nicely.

Serve – and prepare to watch the slices simply vanish from their plates. This carrot-ginger cake is irresistible. Don’t take my word for it. Try it out yourself, or if you’re in Chennai, buzz me and put in your order!

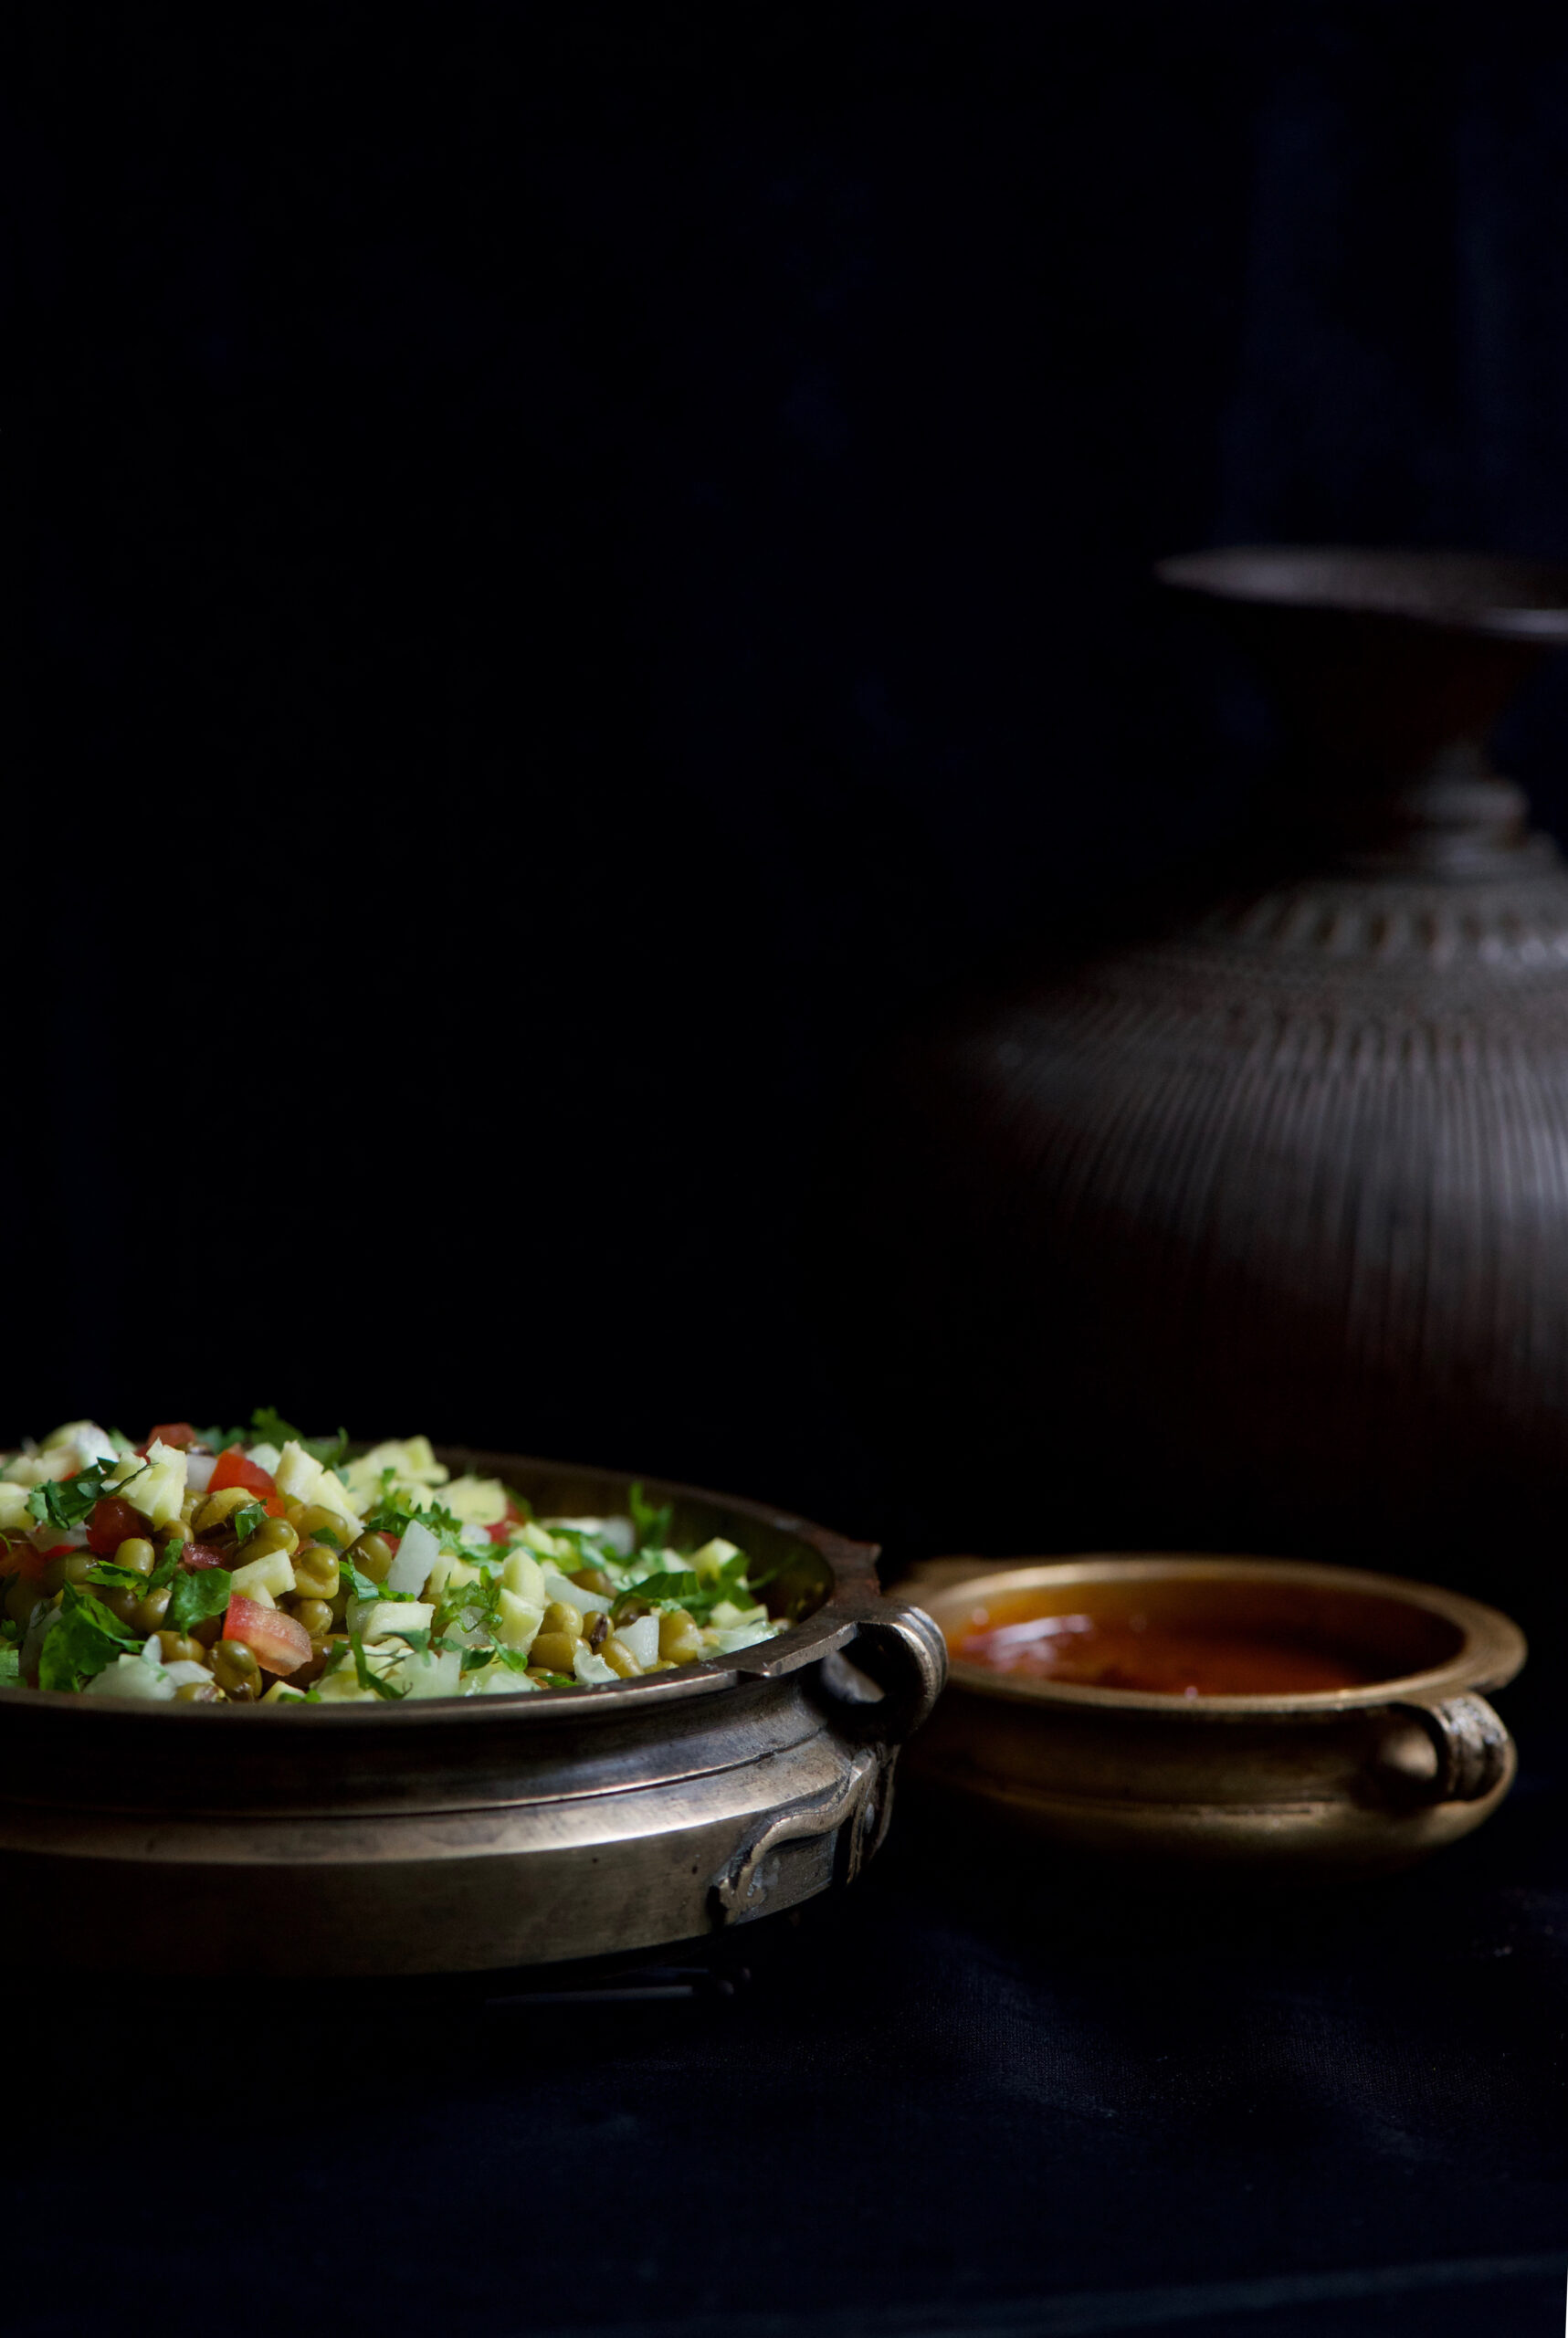
When it comes to Indian street food, the first and last word is always “chaat”. Yes, the vendors of sundal and cotton candy on my beloved Marina Beach will put up a fight, but when it comes to tastes savoured throughout India, chaat wins hands down. Chaat is a catch-all term, and extends from fried breads like pav bhajji to pastries called puris, filled with everything from potato to spiced water. Among the popular ones is bhel, also known as bhel puri.

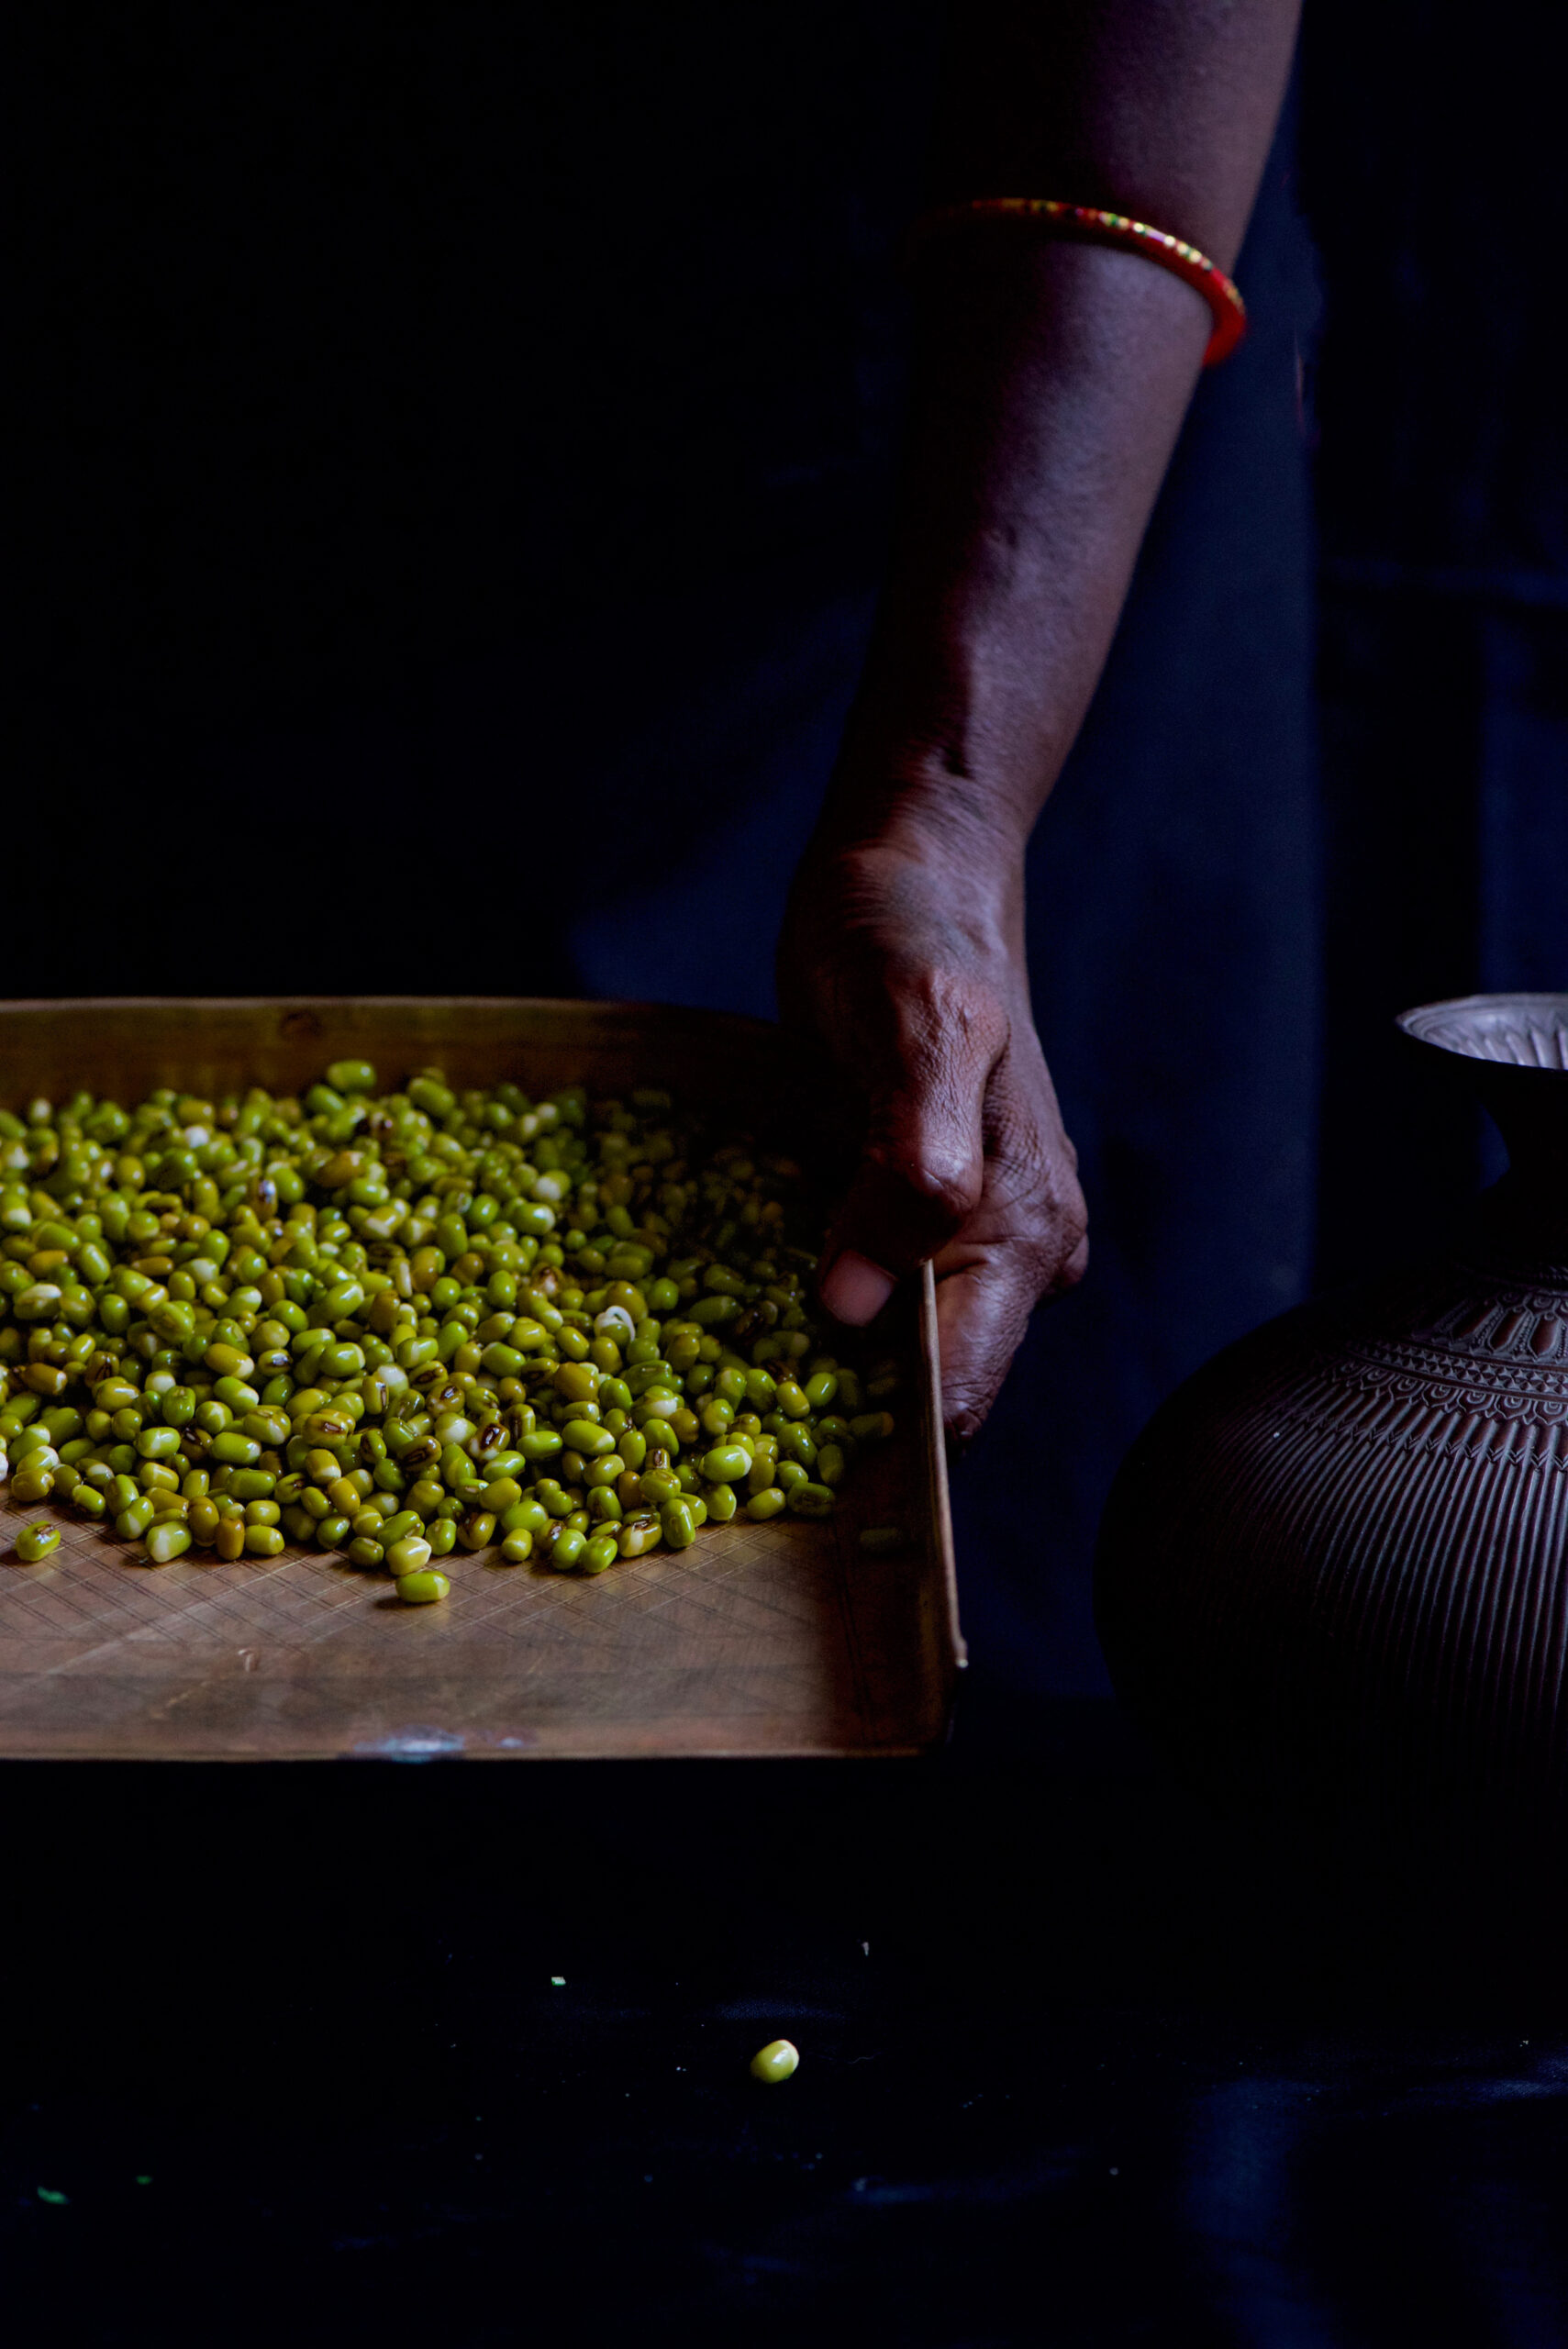
Bhel is usually made with puffed rice as the main ingredient. As I’m always trying to make all the food we enjoy healthier, without compromising on taste, I substituted the puffed rice for the humble and very nutritious mung bean, also known as green gram or moong.


Moong is a versatile legume, used extensively in Asian cuisines. It can be eaten sweetened as a filling in pastries like mooncakes, stir-fried with vegetables, soaked and softened into a dal, ground into paste for crepes like dosa, and even made into noodles once starched. Moong beans are high in protein, low in carbs as compared to other legumes and pulses, and rich in antioxidants, phytonutrients and fibre. Unlike various other kinds of beans, they are also easy to digest, meaning you won’t feel bloated after eating them.

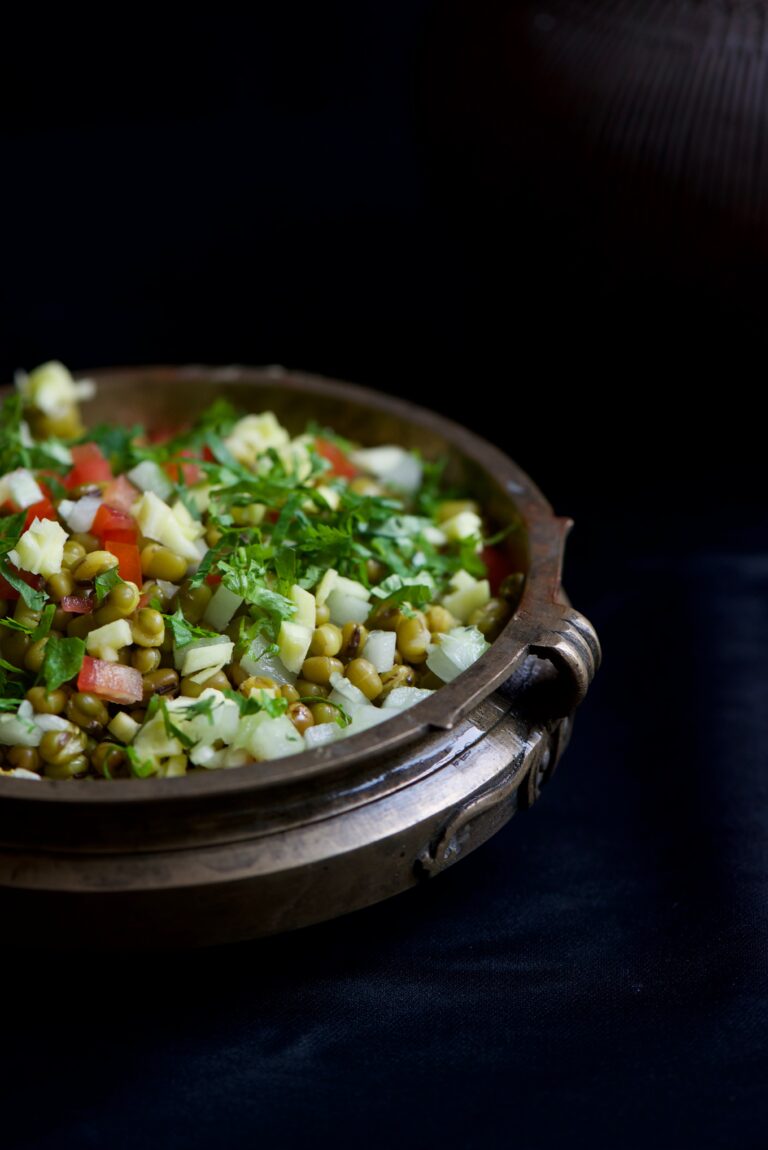
This Green Moong Bhel brings the tanginess of authentic streetside chaat, thanks to a blend of two chutneys, to the wholesomeness of mung beans. Like all chaat, it’s an anytime dish – and like all chaat, once you’ve enjoyed it, you’ll always have a craving for it.


Green Moong Bhel

Ingredients
Bhel (Yield – 4-5 small cups)

½ cup moong beans
½ cup finely cut cucumber
¼ cup finely cut onions
¼ cup cut tomatoes
¼ cup cut raw mango
¼ cup finely chopped coriander leaves
¼ teaspoon roasted cumin powder
3 cups water
Salt to taste

Date Chutney (Yield: 3 Cups)

1 cup jaggery
1 cup chopped dates
1 cup tamarind
¼ cup sugar
1½ + 1 + 1 cups water
2 teaspoons roasted cumin powder
1 teaspoon black salt
¼ teaspoon chilli powder
Salt to taste

Soak the moong beans overnight, or for 6-8 hours. They will triple in size when they have been well-soaked.

On a medium flame, add 3 cups of water, ¼ teaspoon of salt and a pinch of turmeric to the beans and allow to cook. This will take 15-20 minutes. The beans should be soft to the bite.


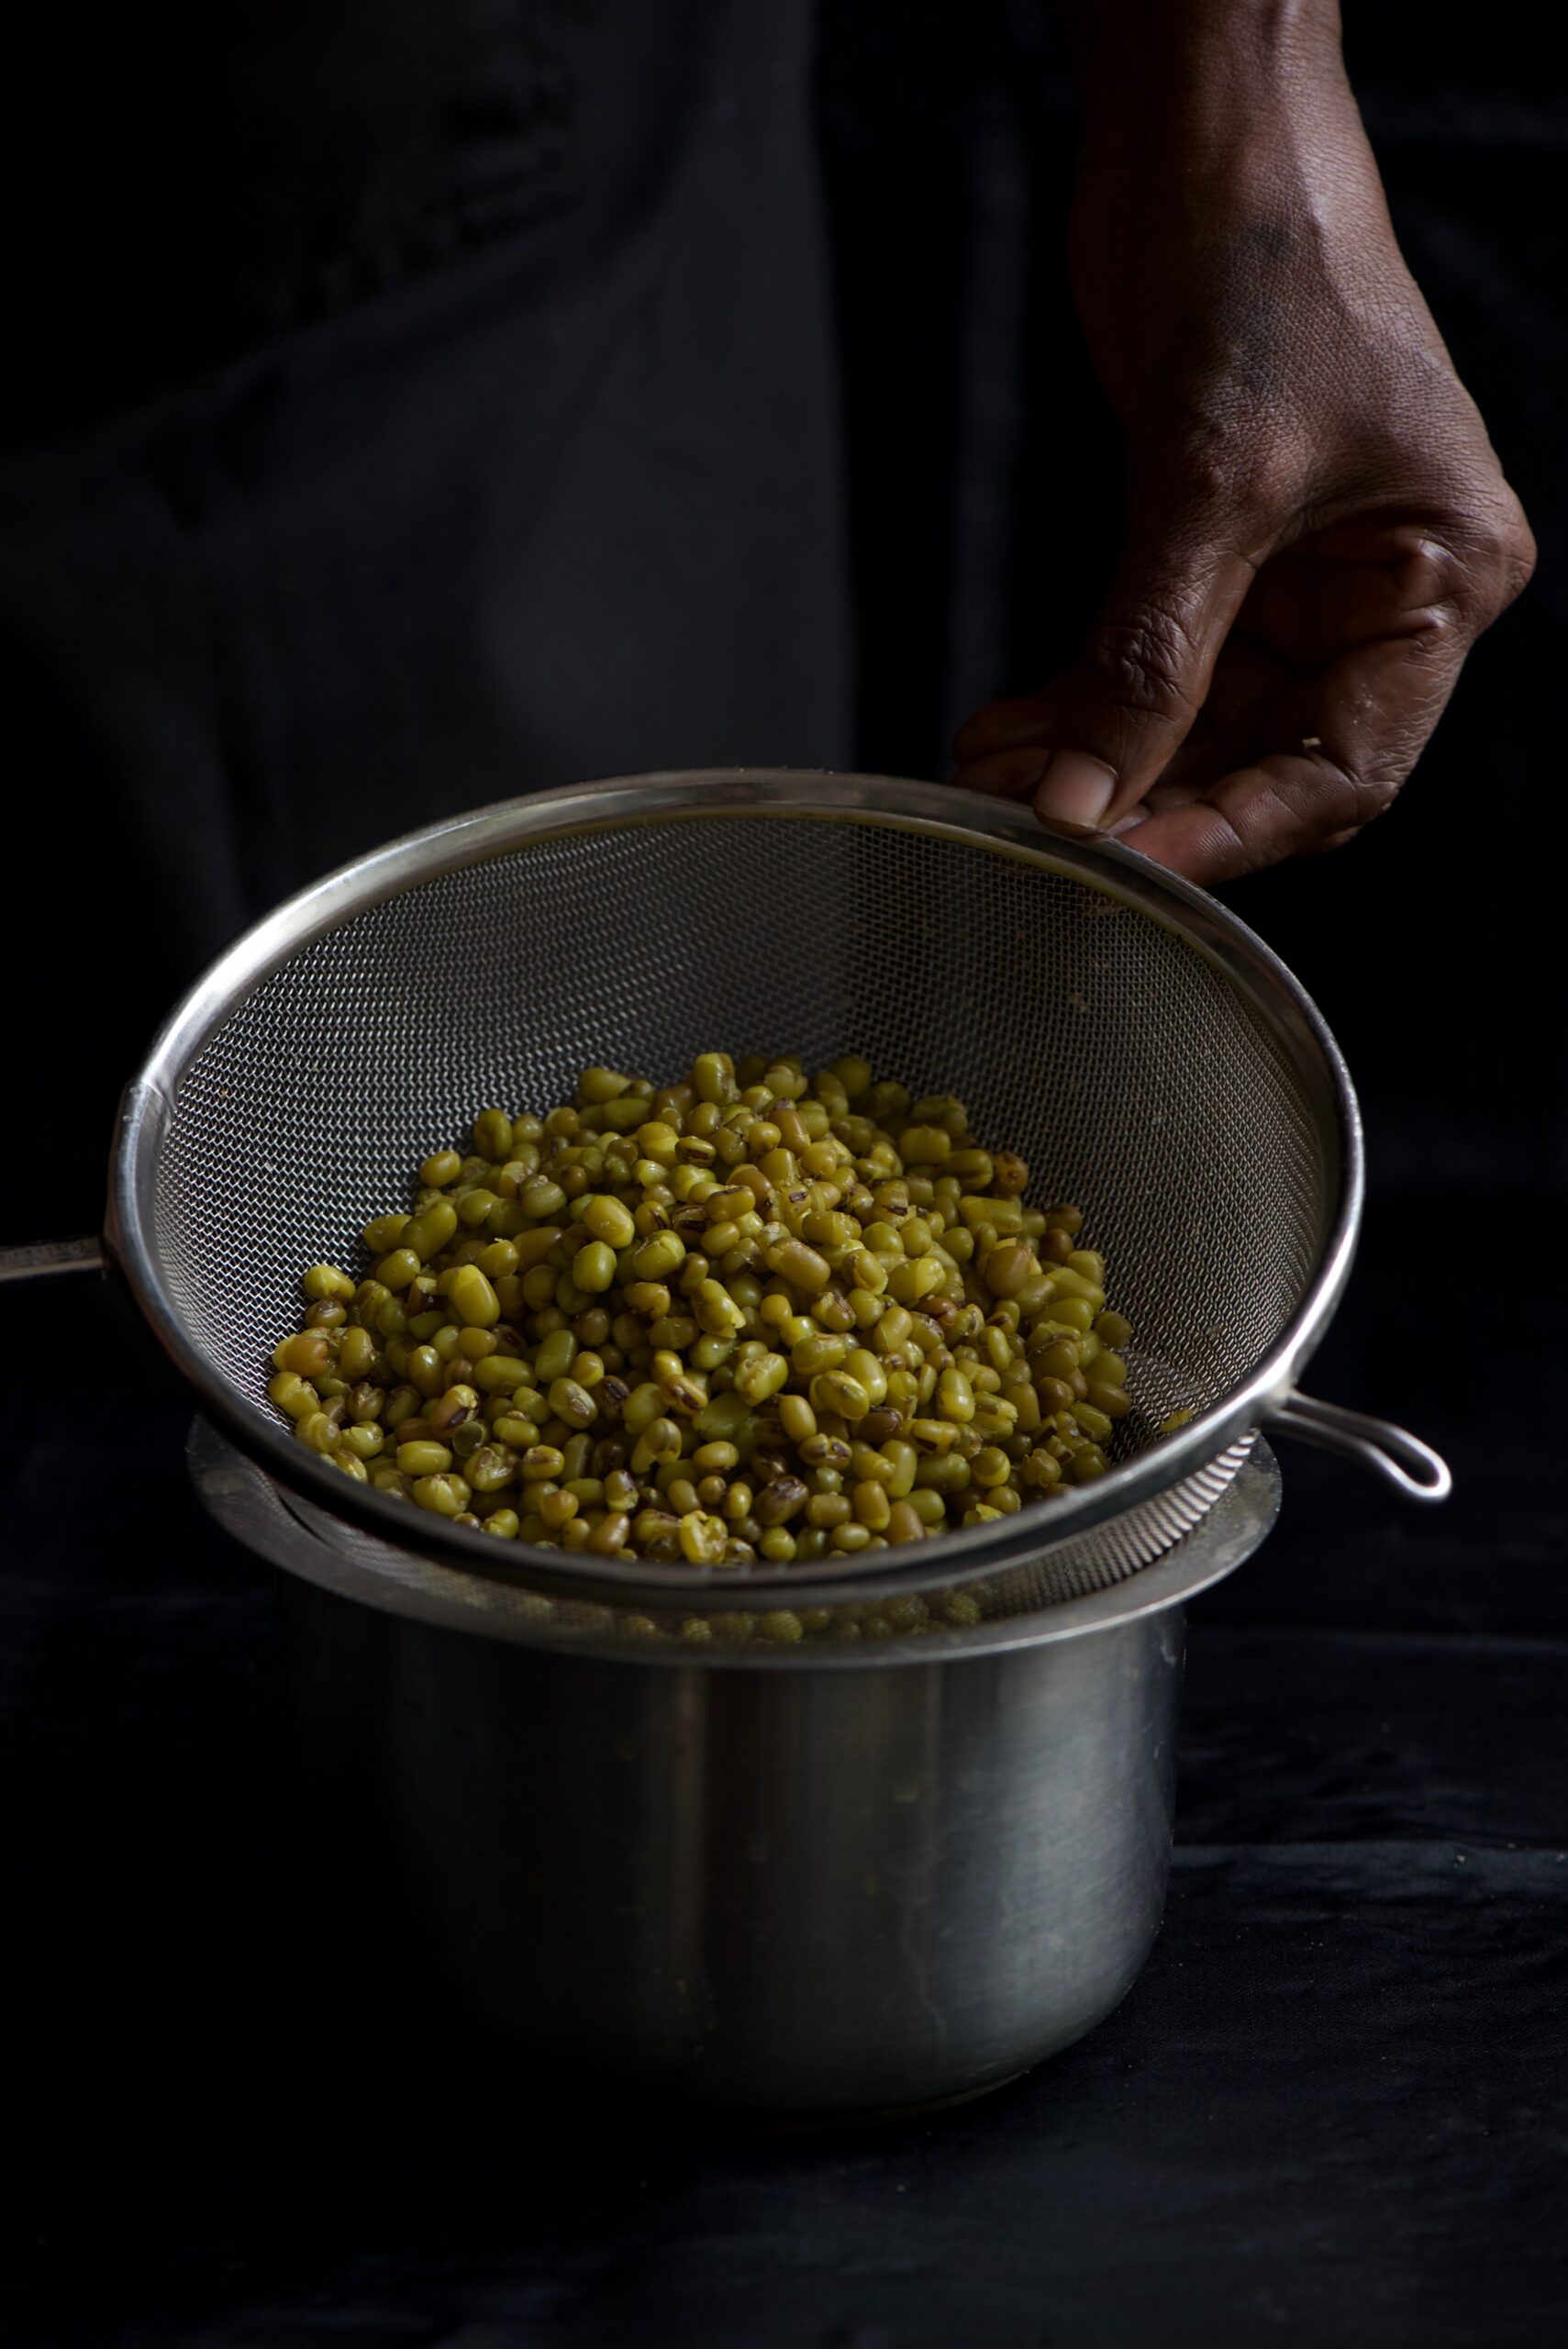
Strain the beans and allow them to cool.


In the meantime, put all the cut vegetables and the raw mango into a bowl. You can add any vegetables of your choice, whatever you find handily available, and increase or decrease the quantities to your preference. My selection here is a very typically “chaat” selection of fresh, affordable local produce. Keep aside some coriander for garnishing.


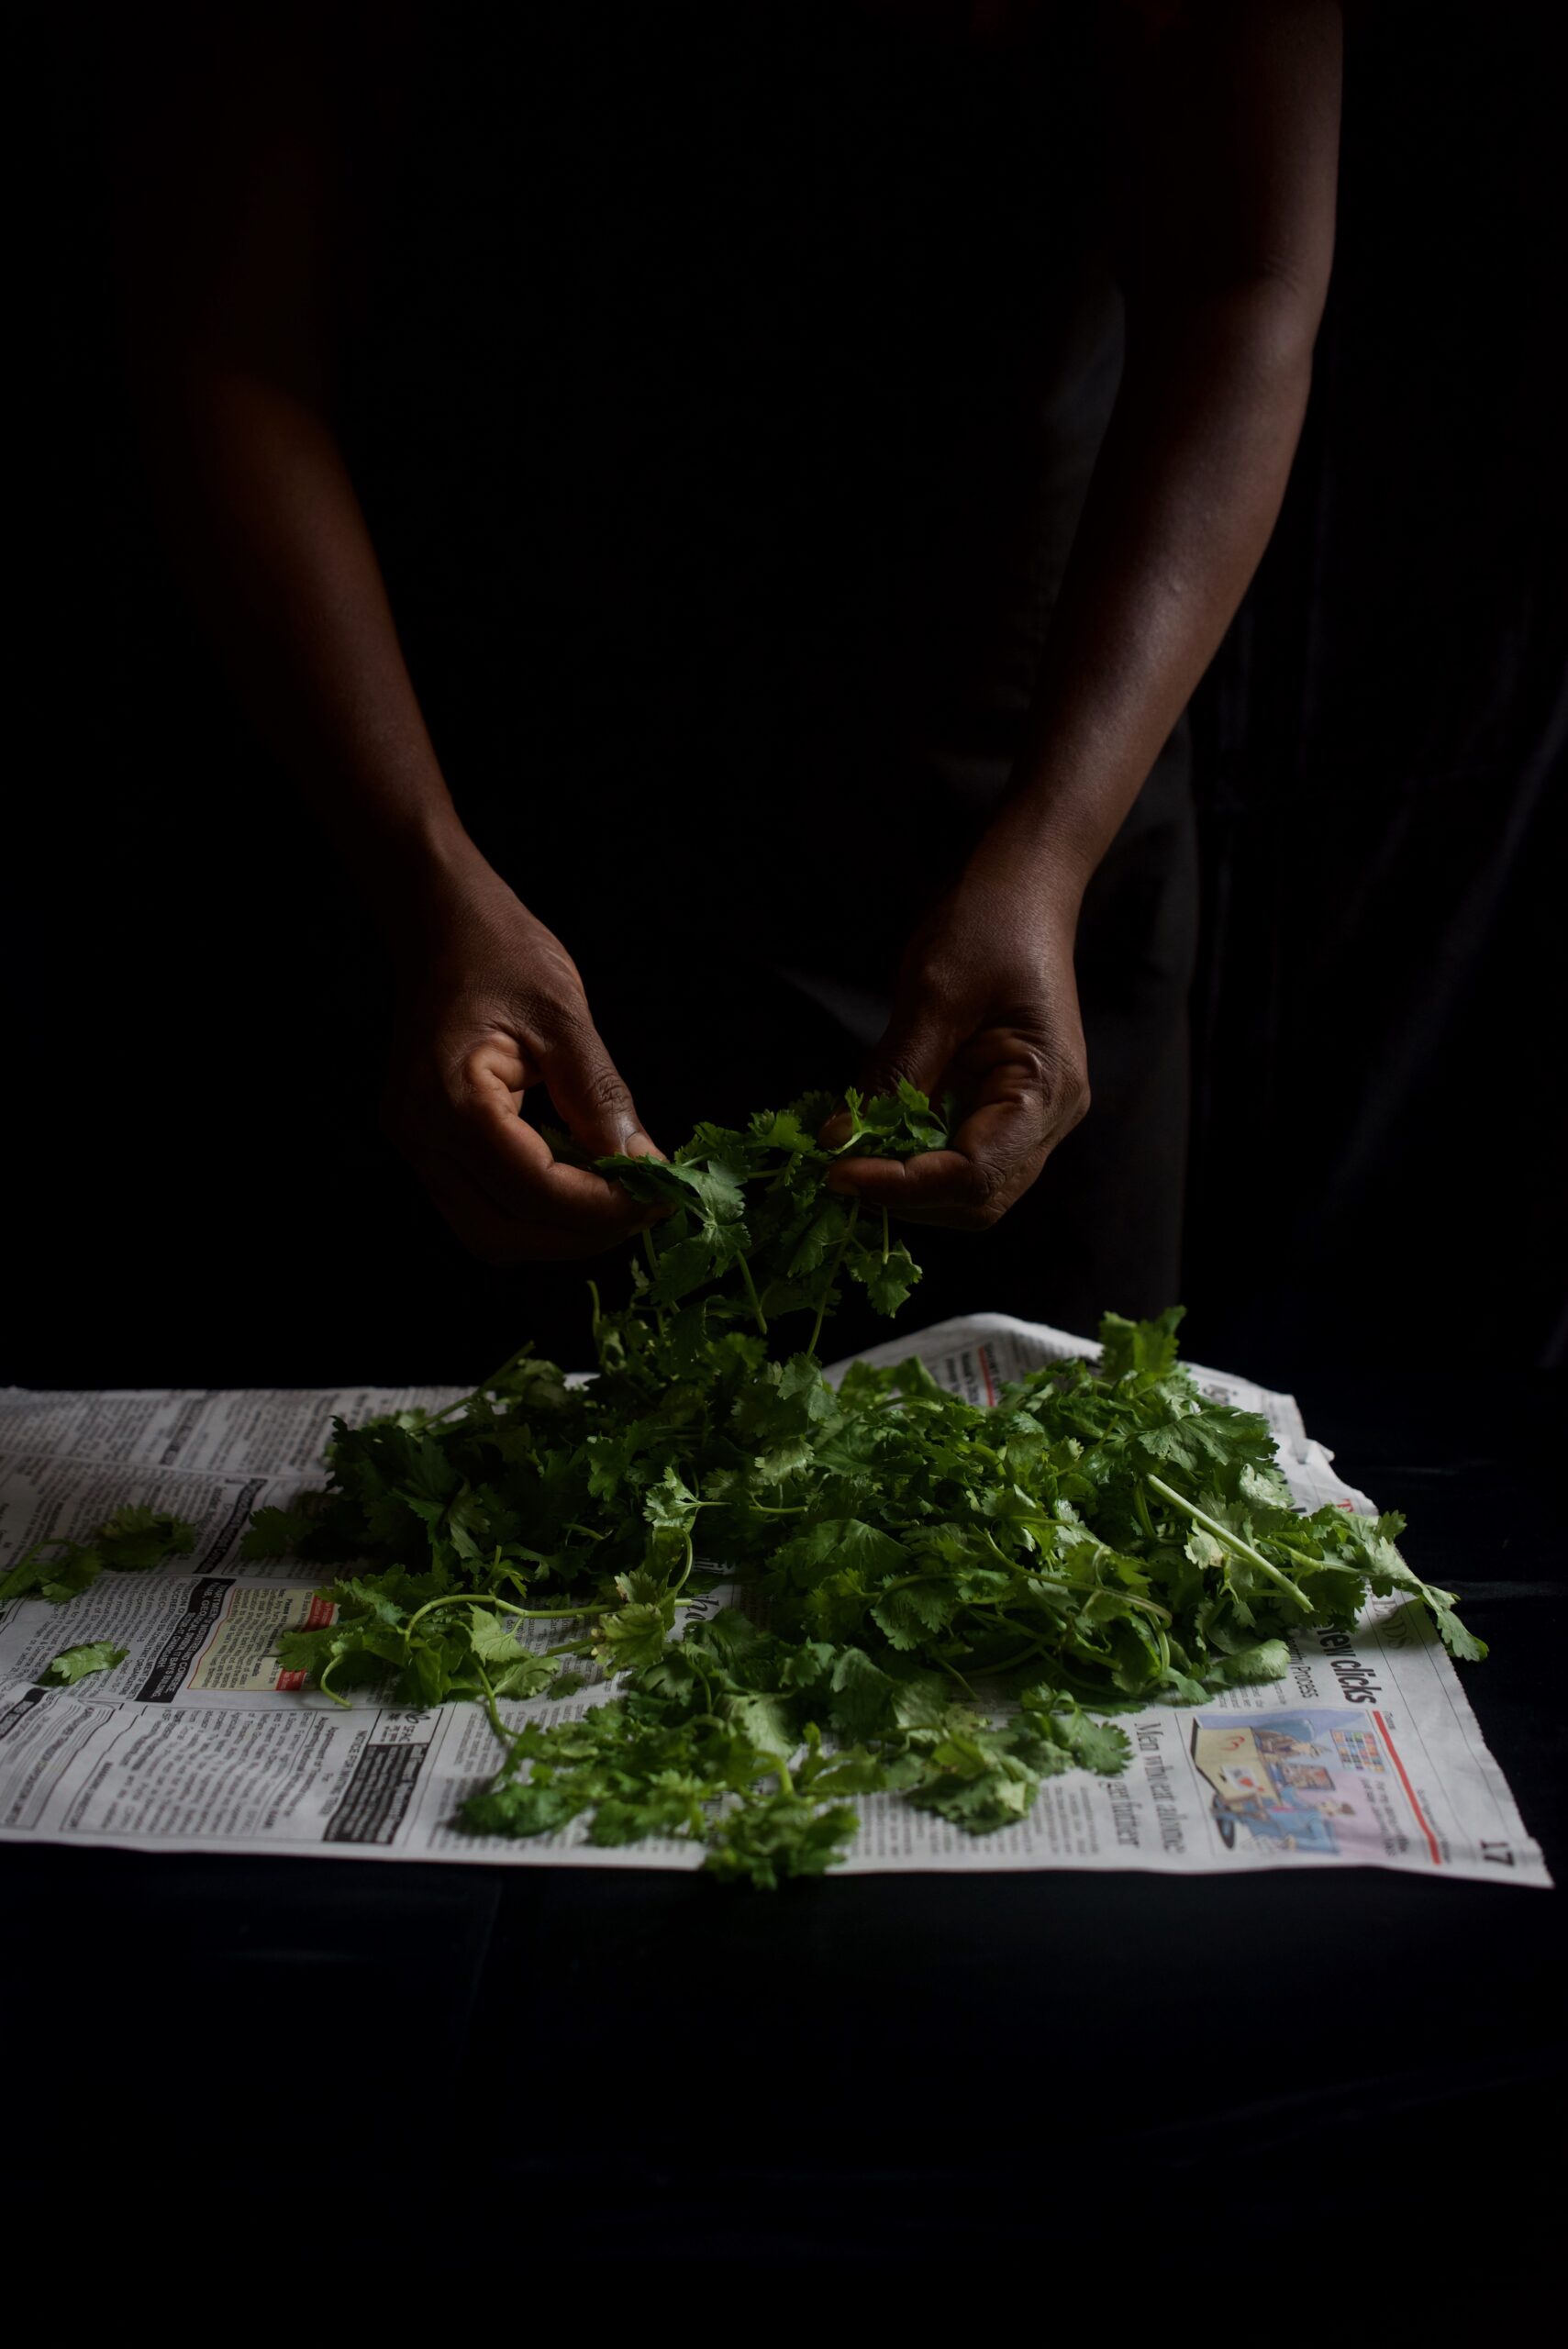
To this bowl of vegetables and fruit, add two chutneys. You can find the green coriander chutney recipe here (if you’re on a health kick, try not to get distracted by the banana-methi fritters recipe!). It’s an extraordinary simple just-blend-it-chutney, and you can use it in versatile ways.

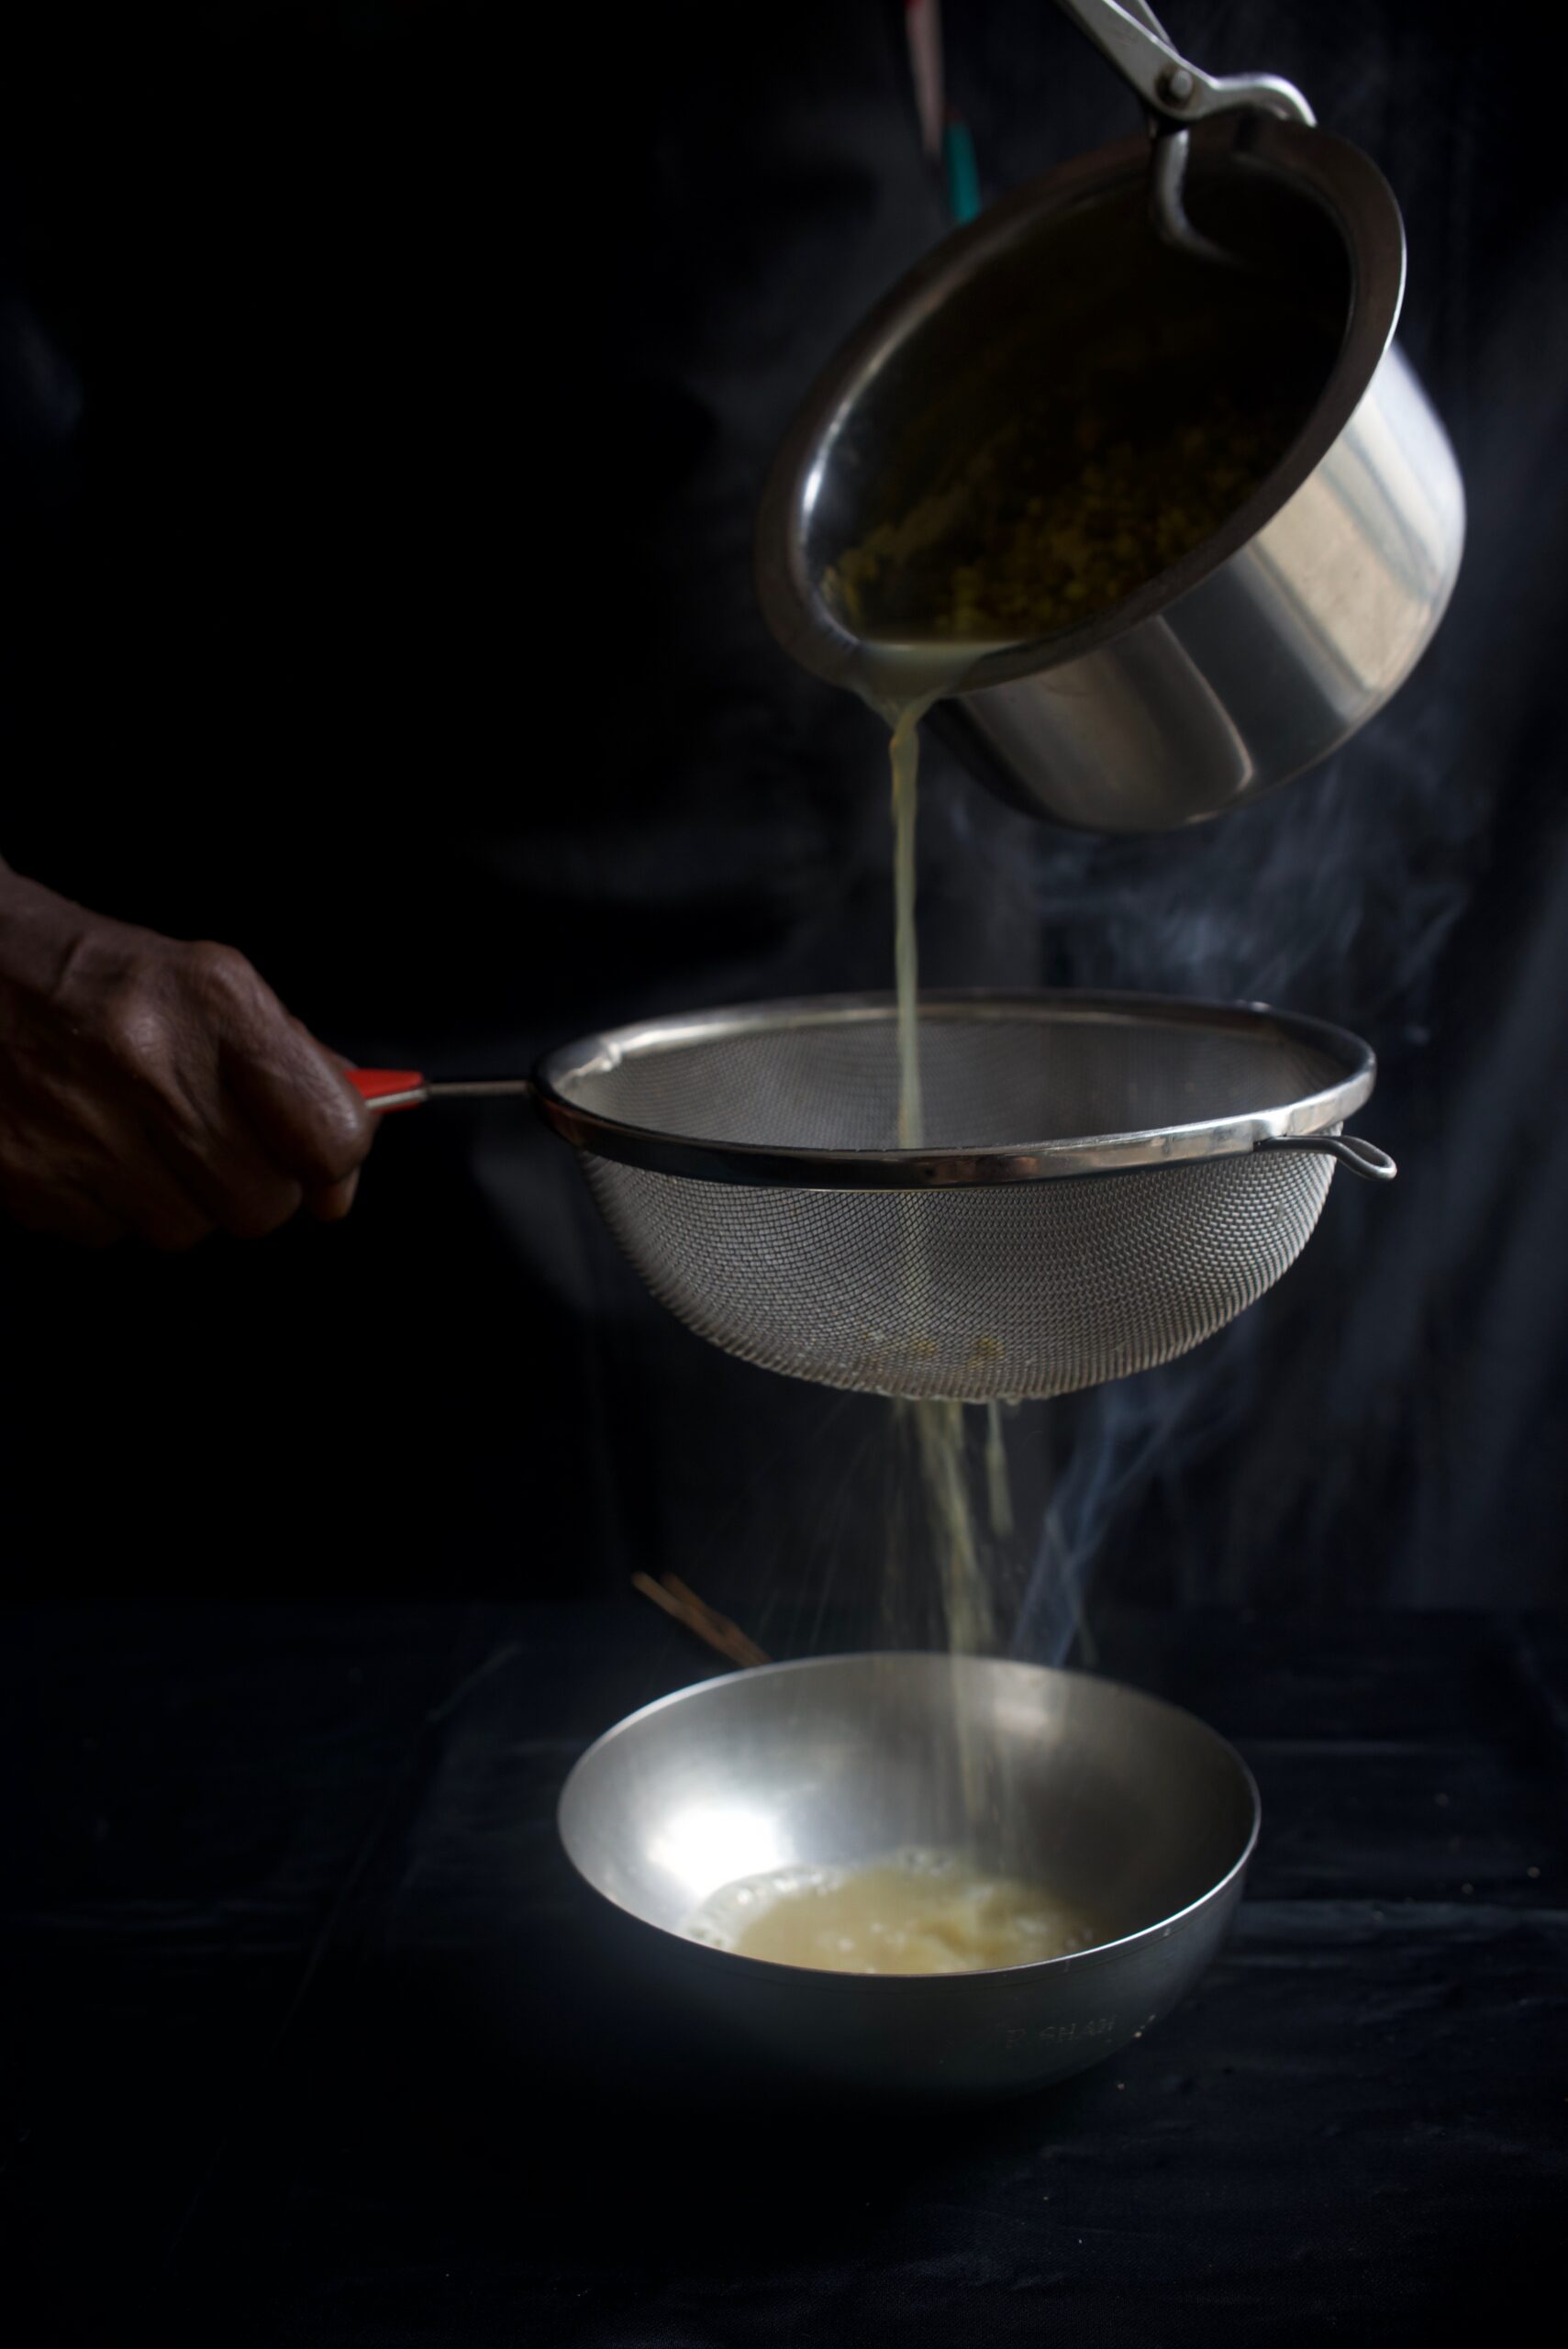
The date chutney requires just a few more steps. Soak the jaggery, chopped dates, tamarind and sugar in 1½ cups of water for at least half an hour. Then blend this very well with 1 cup of warm water. Sieve the mixture to remove any sediments. Now, add the roasted cumin powder, black salt, chili powder and salt, as well as an additional cup of water, and boil for approximately 15 minutes. You will notice the mixture thickening, and you can adjust this to the consistency you desire by adding more water. This recipe yields a generous three cups of date chutney. Use only as much as you need for the green moong bhel dish, then save the rest in the fridge.

Blend 2 teaspoons each of the two chutneys into the bowl of cut vegetables and raw mango. Then add all the spices as well as the cooled moong beans to the bowl. Mix all the ingredients together nicely, making sure the chutneys coat them well.
Now, serve the green moong bhel in smaller bowls, garnishing with the coriander leaves. I often like to add a bit of crunch on top too, such as crushed peanuts, pomegranate, fried crisps or the puffed rice that is reminiscent of traditional chaat.

You can put this healthy snack on the list along with sundal, pea-pomegranate kachoris, sweet ghugras and, of course, banana-methi fritters and enjoy it with some piping hot chai or coffee. Or have it as an alternative to salad or quinoa, and enjoy a big bowl as a full breakfast or a light lunch. As simple as the dish looks, it’s absolutely loaded with flavours. Healthy can taste so good, sometimes!


As I write this in the days after Diwali, the home and the kitchen table are empty. For a few days, the house was abuzz with visiting friends – all we did was eat, compare notes on each other’s specialties, learn, devour and enjoy our time together. Now, even the family have all gone back to their respective workplaces – and it’s me time. How do you re-enter the kitchen after the busiest time of year has quietened down? I cleaned up the home, missing everyone deeply, while contemplating food, love and life. And then I decided to follow the order of the typical restaurant menu, and start with a soup.

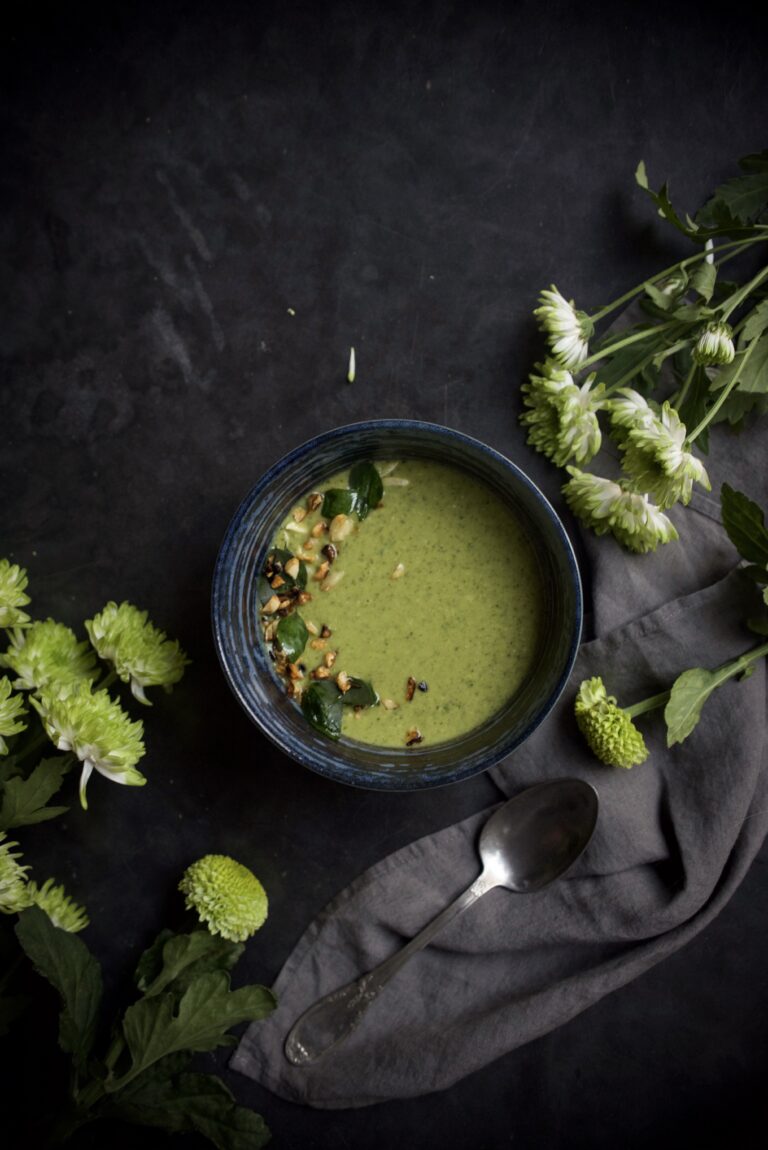
A soup is the perfect post-festive dish both as a detox for the infinite quantities of sweets consumed, and as comfort food that beats the empty-nest blues. As the monsoon continues, I’ve made three things a part of my regular intake: lots of water, this remedy for the sniffle season, and this delicate yet flavourful broccoli and almond soup.

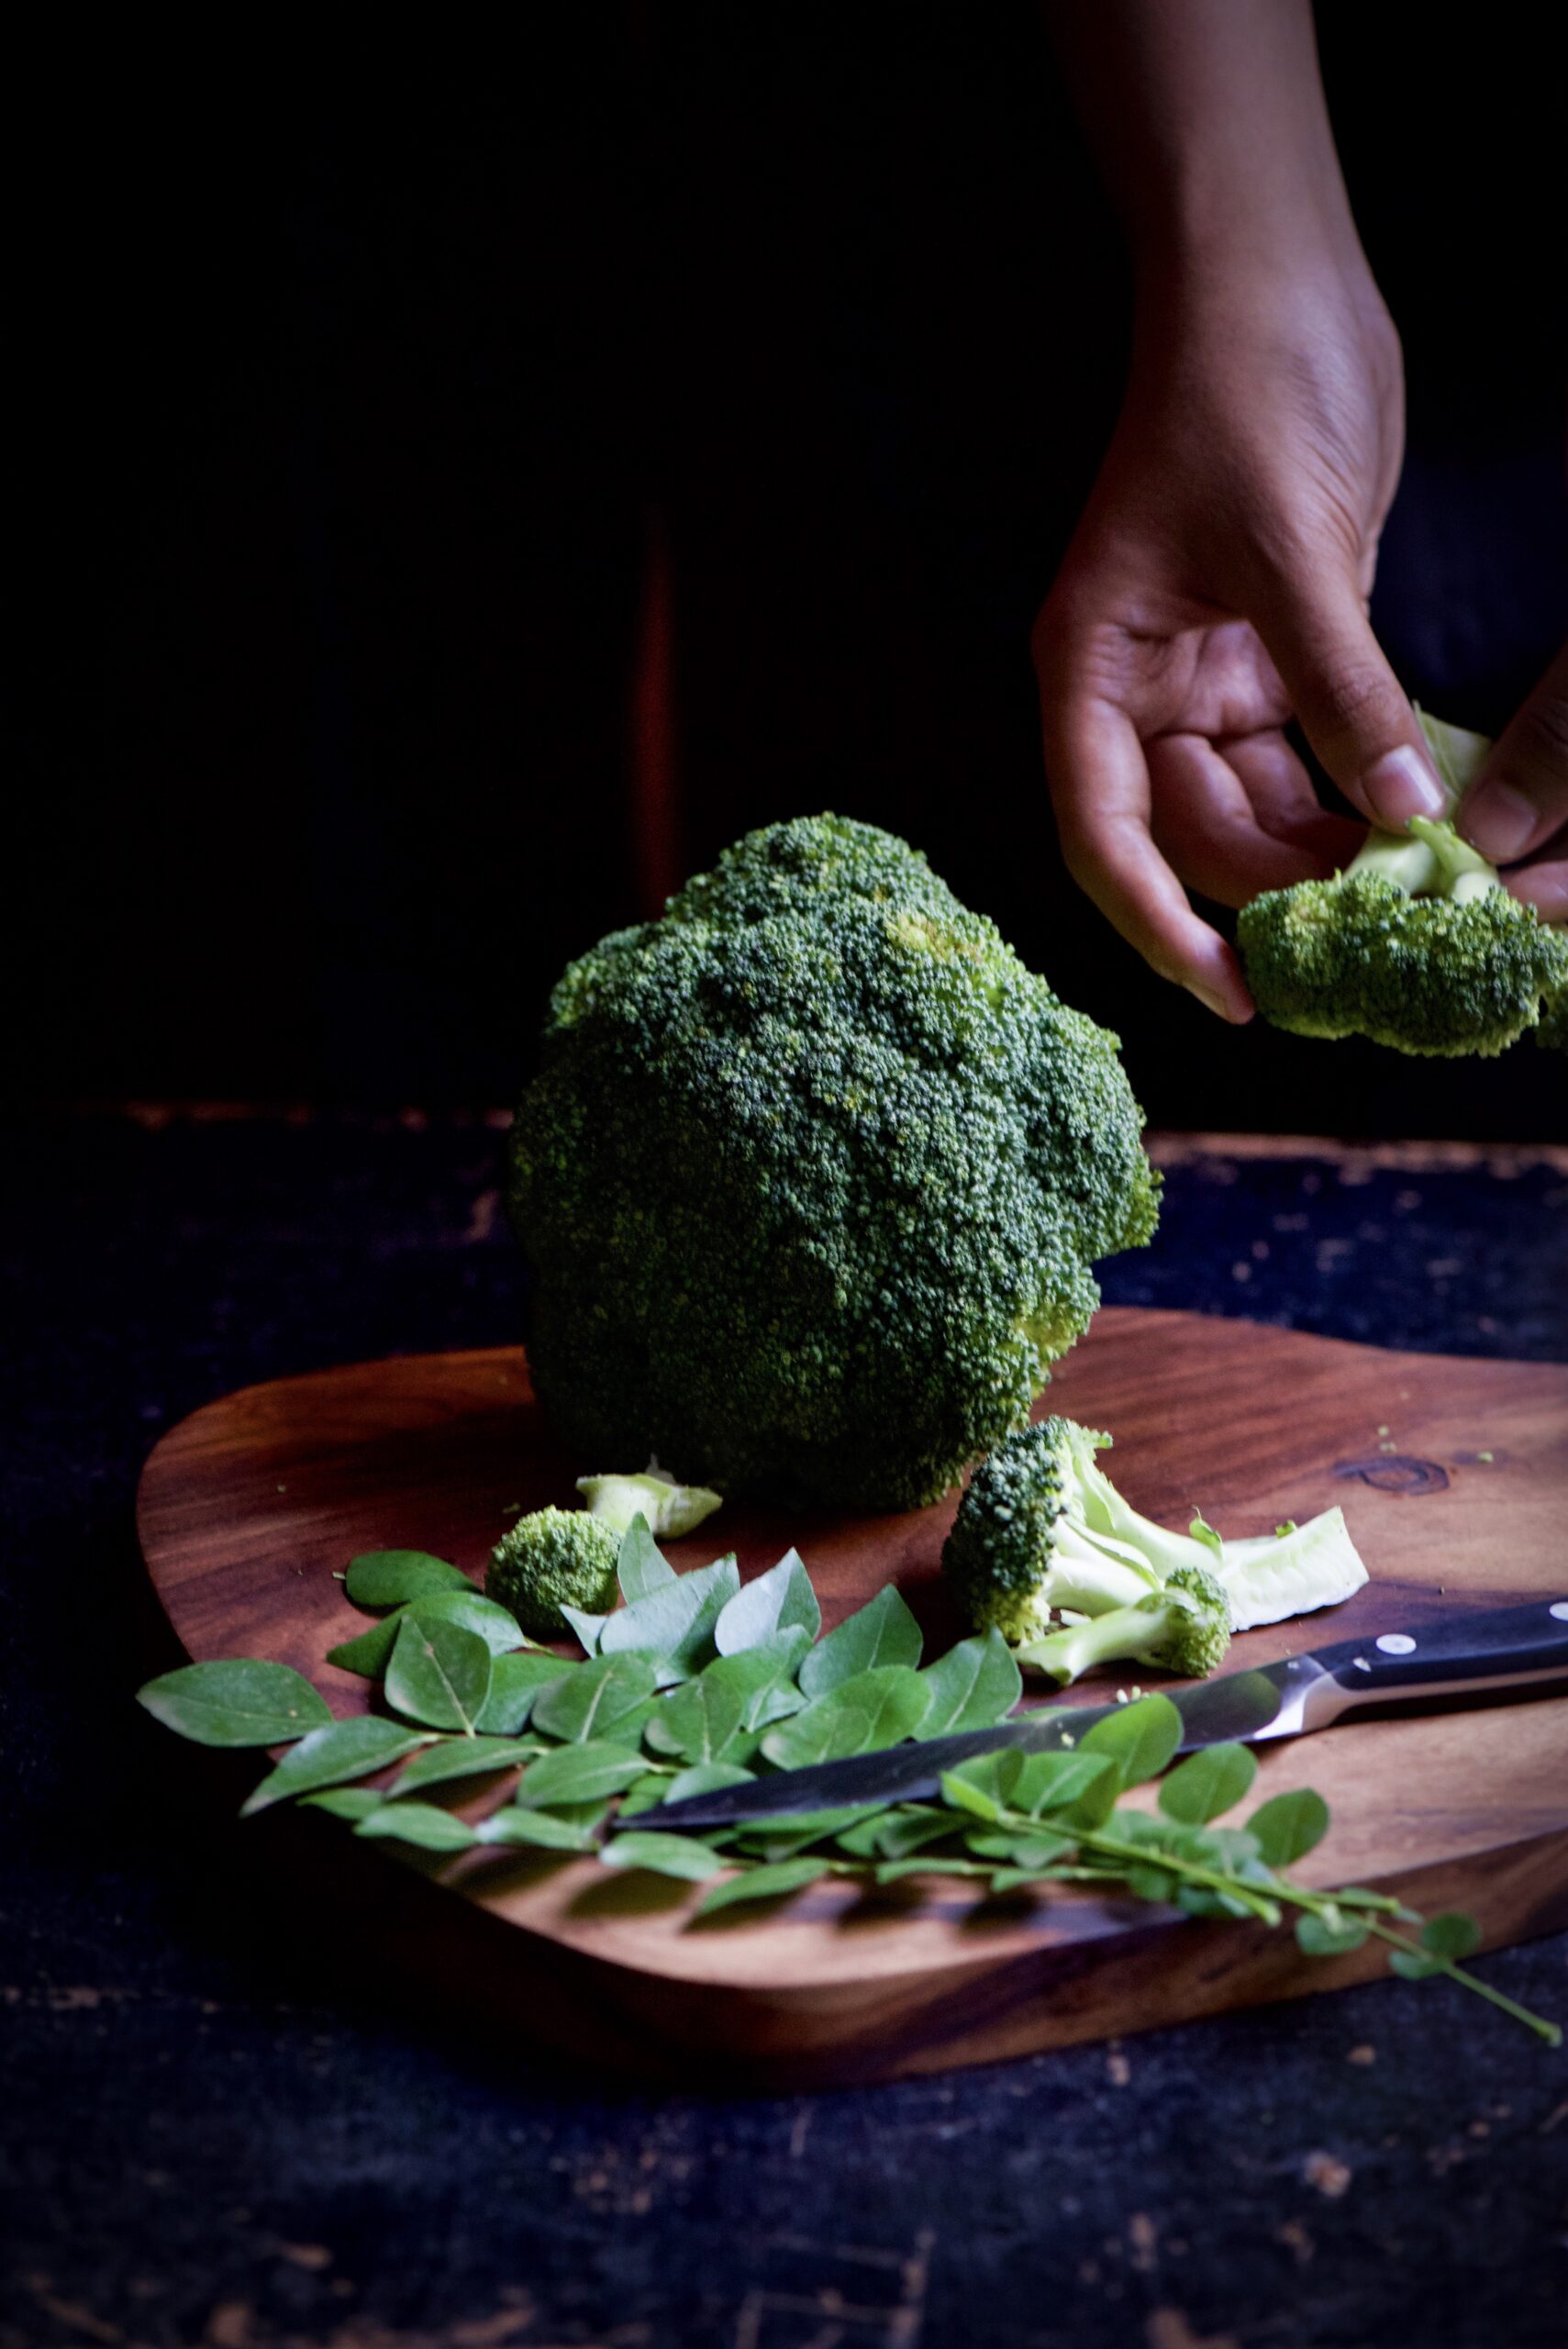
Occasionally, I like to shift from my mainstay local, seasonal vegetables and bring a little bit of the exotic into my kitchen. In Chennai, it is quite rare to find organic “English” vegetables, as we call them here, so when I came across some organic broccoli at my grocer’s, I picked up a few fresh bunches. To these, I added another ingredient from afar: organic almonds from Kashmir. If you’ve been following this blog, you’ll know that even when I go adventuring in my culinary repertoire, I like to add a homegrown twist to anything foreign. And this is where my trusted curry leaves, packed with nutrients and not just a spicy flavour, come in.

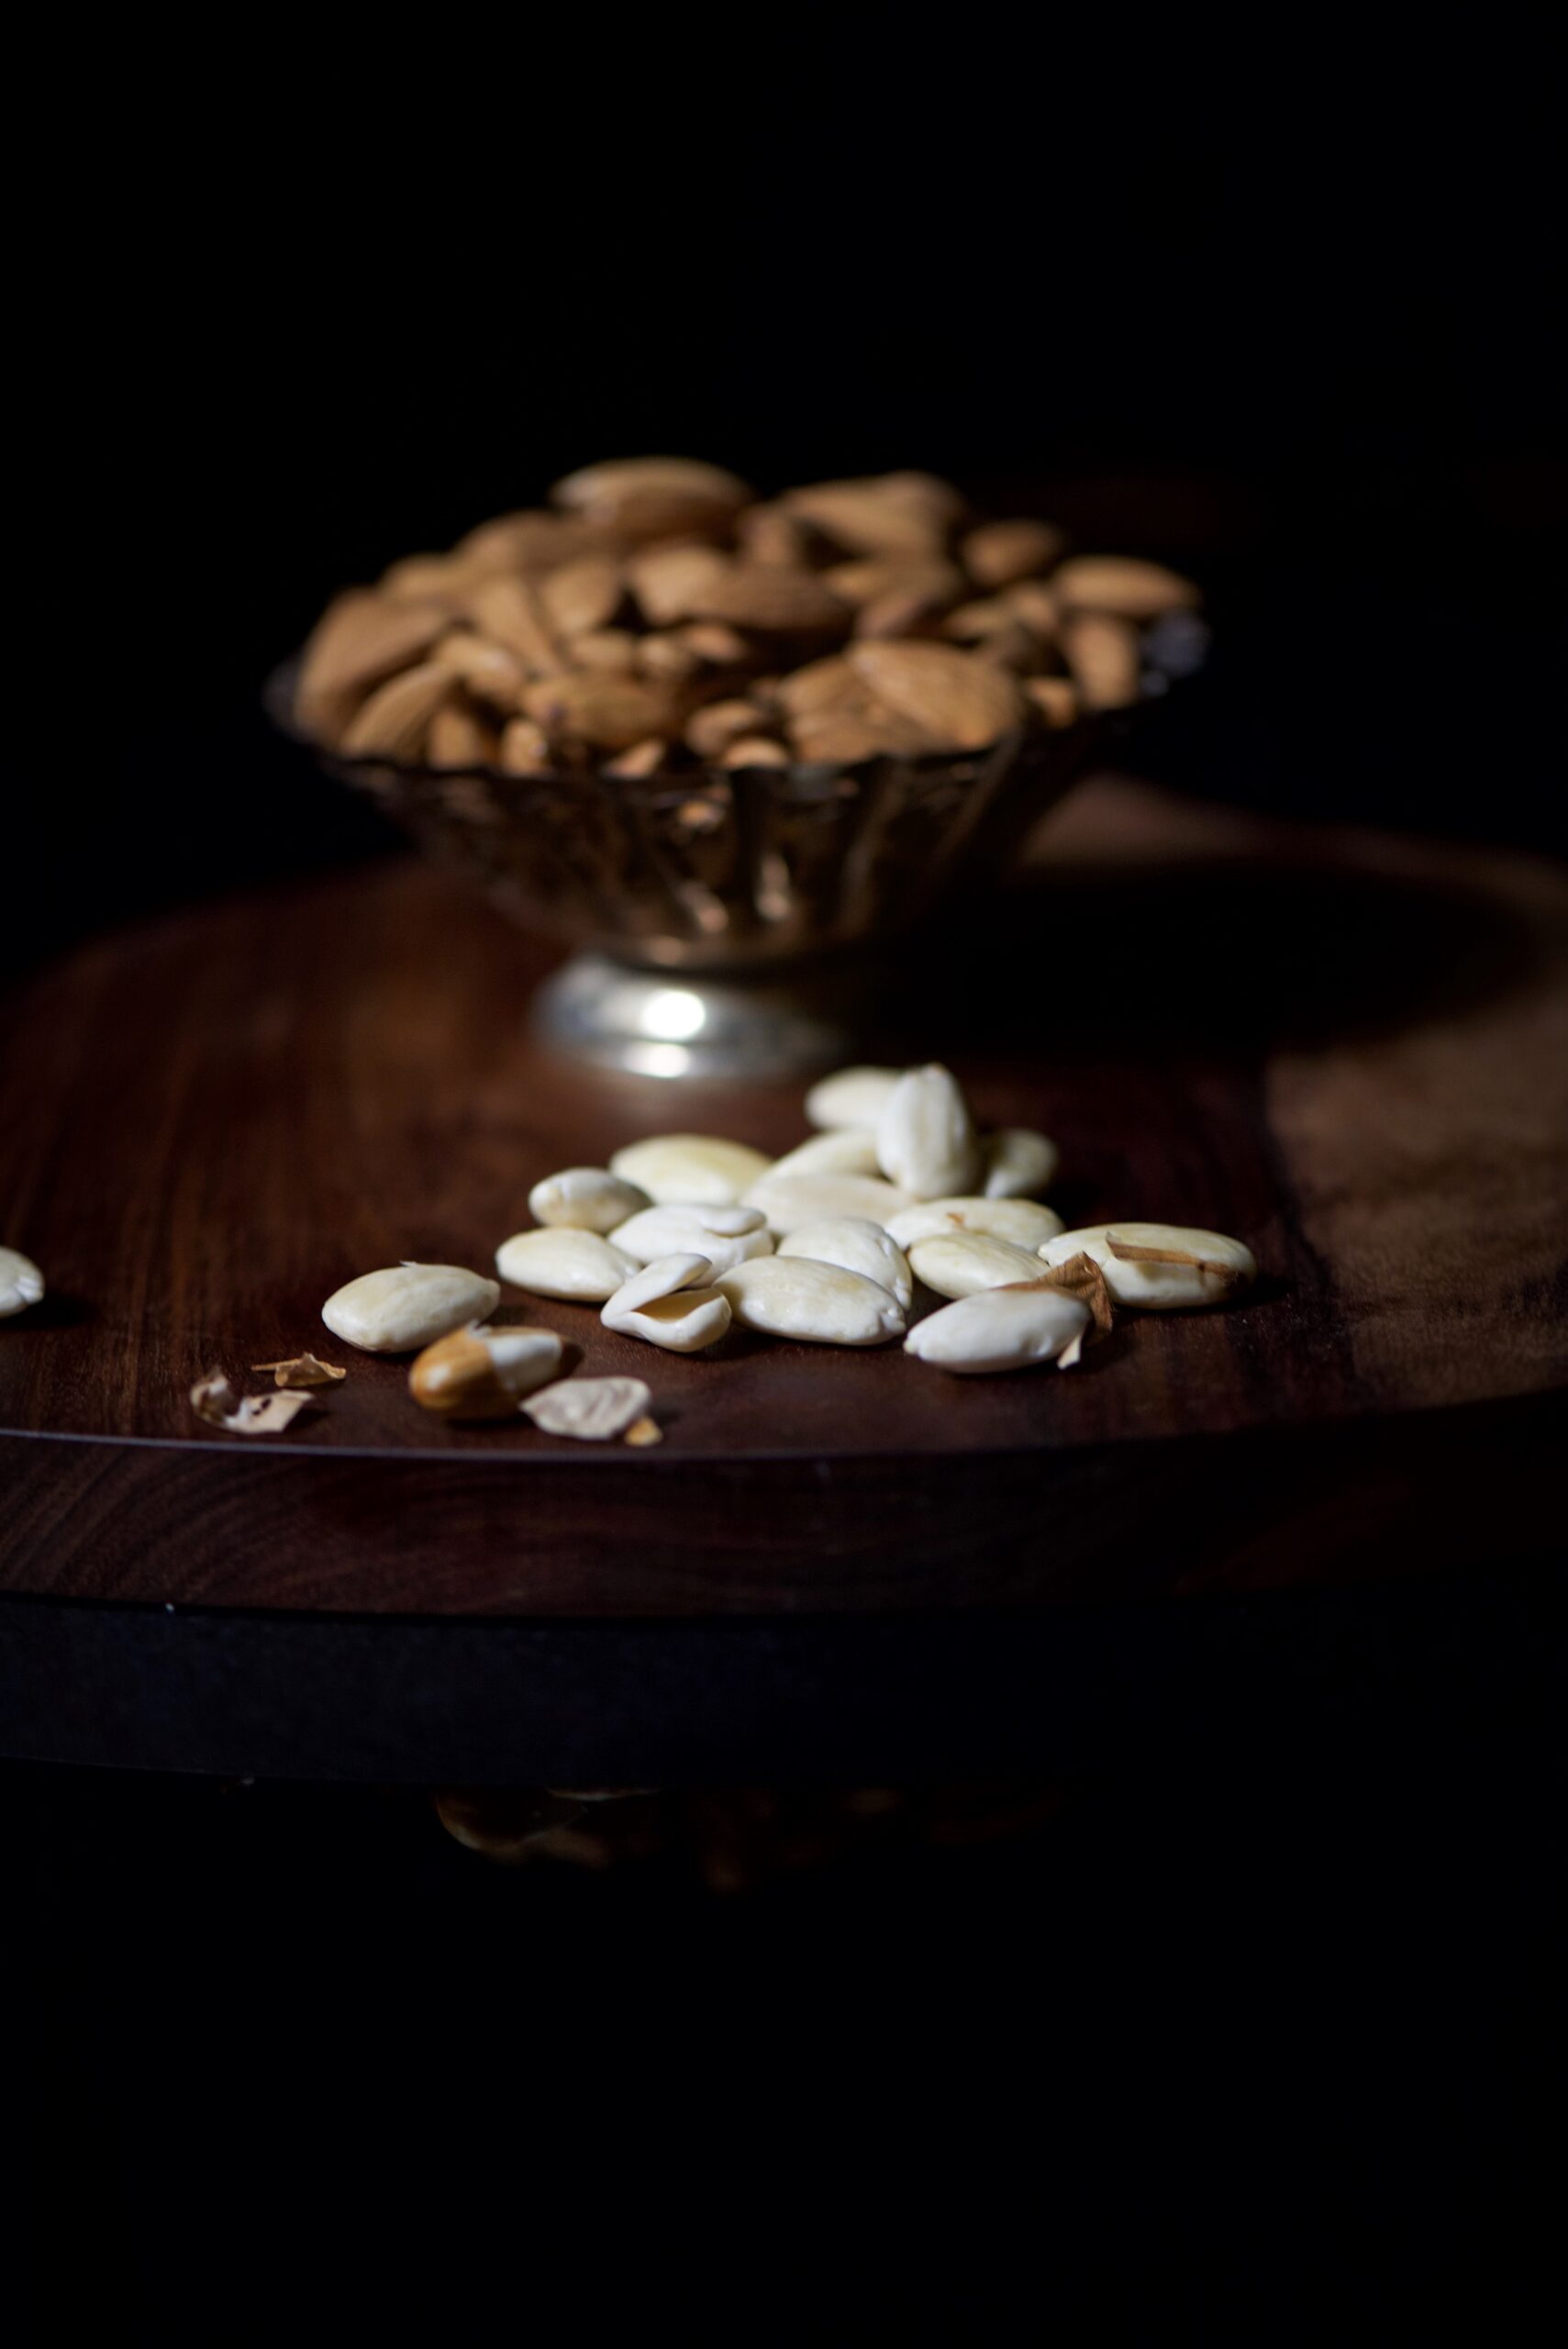
Almonds are well-known for their benefits, and are one of the first types of nuts that are recommended as substitutes for unwholesome snacks. Rich in healthy fats, vitamin E, magnesium, antioxidants and other nutritious elements, they reduce blood sugar, blood pressure and cholesterol levels. They happen to be a favourite in the cakes that are baked in the re:store kitchen, so there are always some on hand – whether to pop into my mouth on the go or to toast and drizzle over a blues-busting soup like this one.

Broccoli is so healthy a vegetable that you may have noticed that it’s almost a synonym for so-good-it-has-to-taste-bad for children’s characters in films and books! This is of course simply untrue, for it’s a tasty ingredient that can be used in versatile ways. From vitamin C to anti-inflammatory Omega 3 fatty acids to antioxidants and studies that support its consumption as being preventative of cancer and heart disease, a bunch of broccoli really is a bouquet of benefits. And as it is rich in fibre, it promotes detoxification – which is what makes it ideal for a post-festive diet.


Broccoli-Almond Soup

(Yield – 4-5 cups)

Ingredients

2 tablespoons + 1 tablespoon virgin olive oil

150 grams diced broccoli florets

3 tablespoons chopped onions

1 small cup washed, finely chopped coriander leaves

3 garlic cloves (smashed) + 3-5 garlic cloves (sliced)

2 cups vegetable broth

2 cups water

½ tablespoon ground black pepper

Salt to taste

2 sprigs curry leaves

3 tablespoons + 1 tablespoon slivered, toasted almonds

1 teaspoon lemon juice


Heat the oil in a medium-sized saucepan. To this, add onions and garlic. Allow them to sauté till golden, before adding the broccoli. Continue sautéing for a few minutes.

Next, add the vegetable broth, cover the pan with a lid and leave to cook for 10 minutes. Then remove the lid and let the dish cool a little. Blend in the coriander leaves with the rest, and add more water to adjust the consistency of the soup to your preference. Finally, add salt and pepper as well as the slivered, toasted almonds.

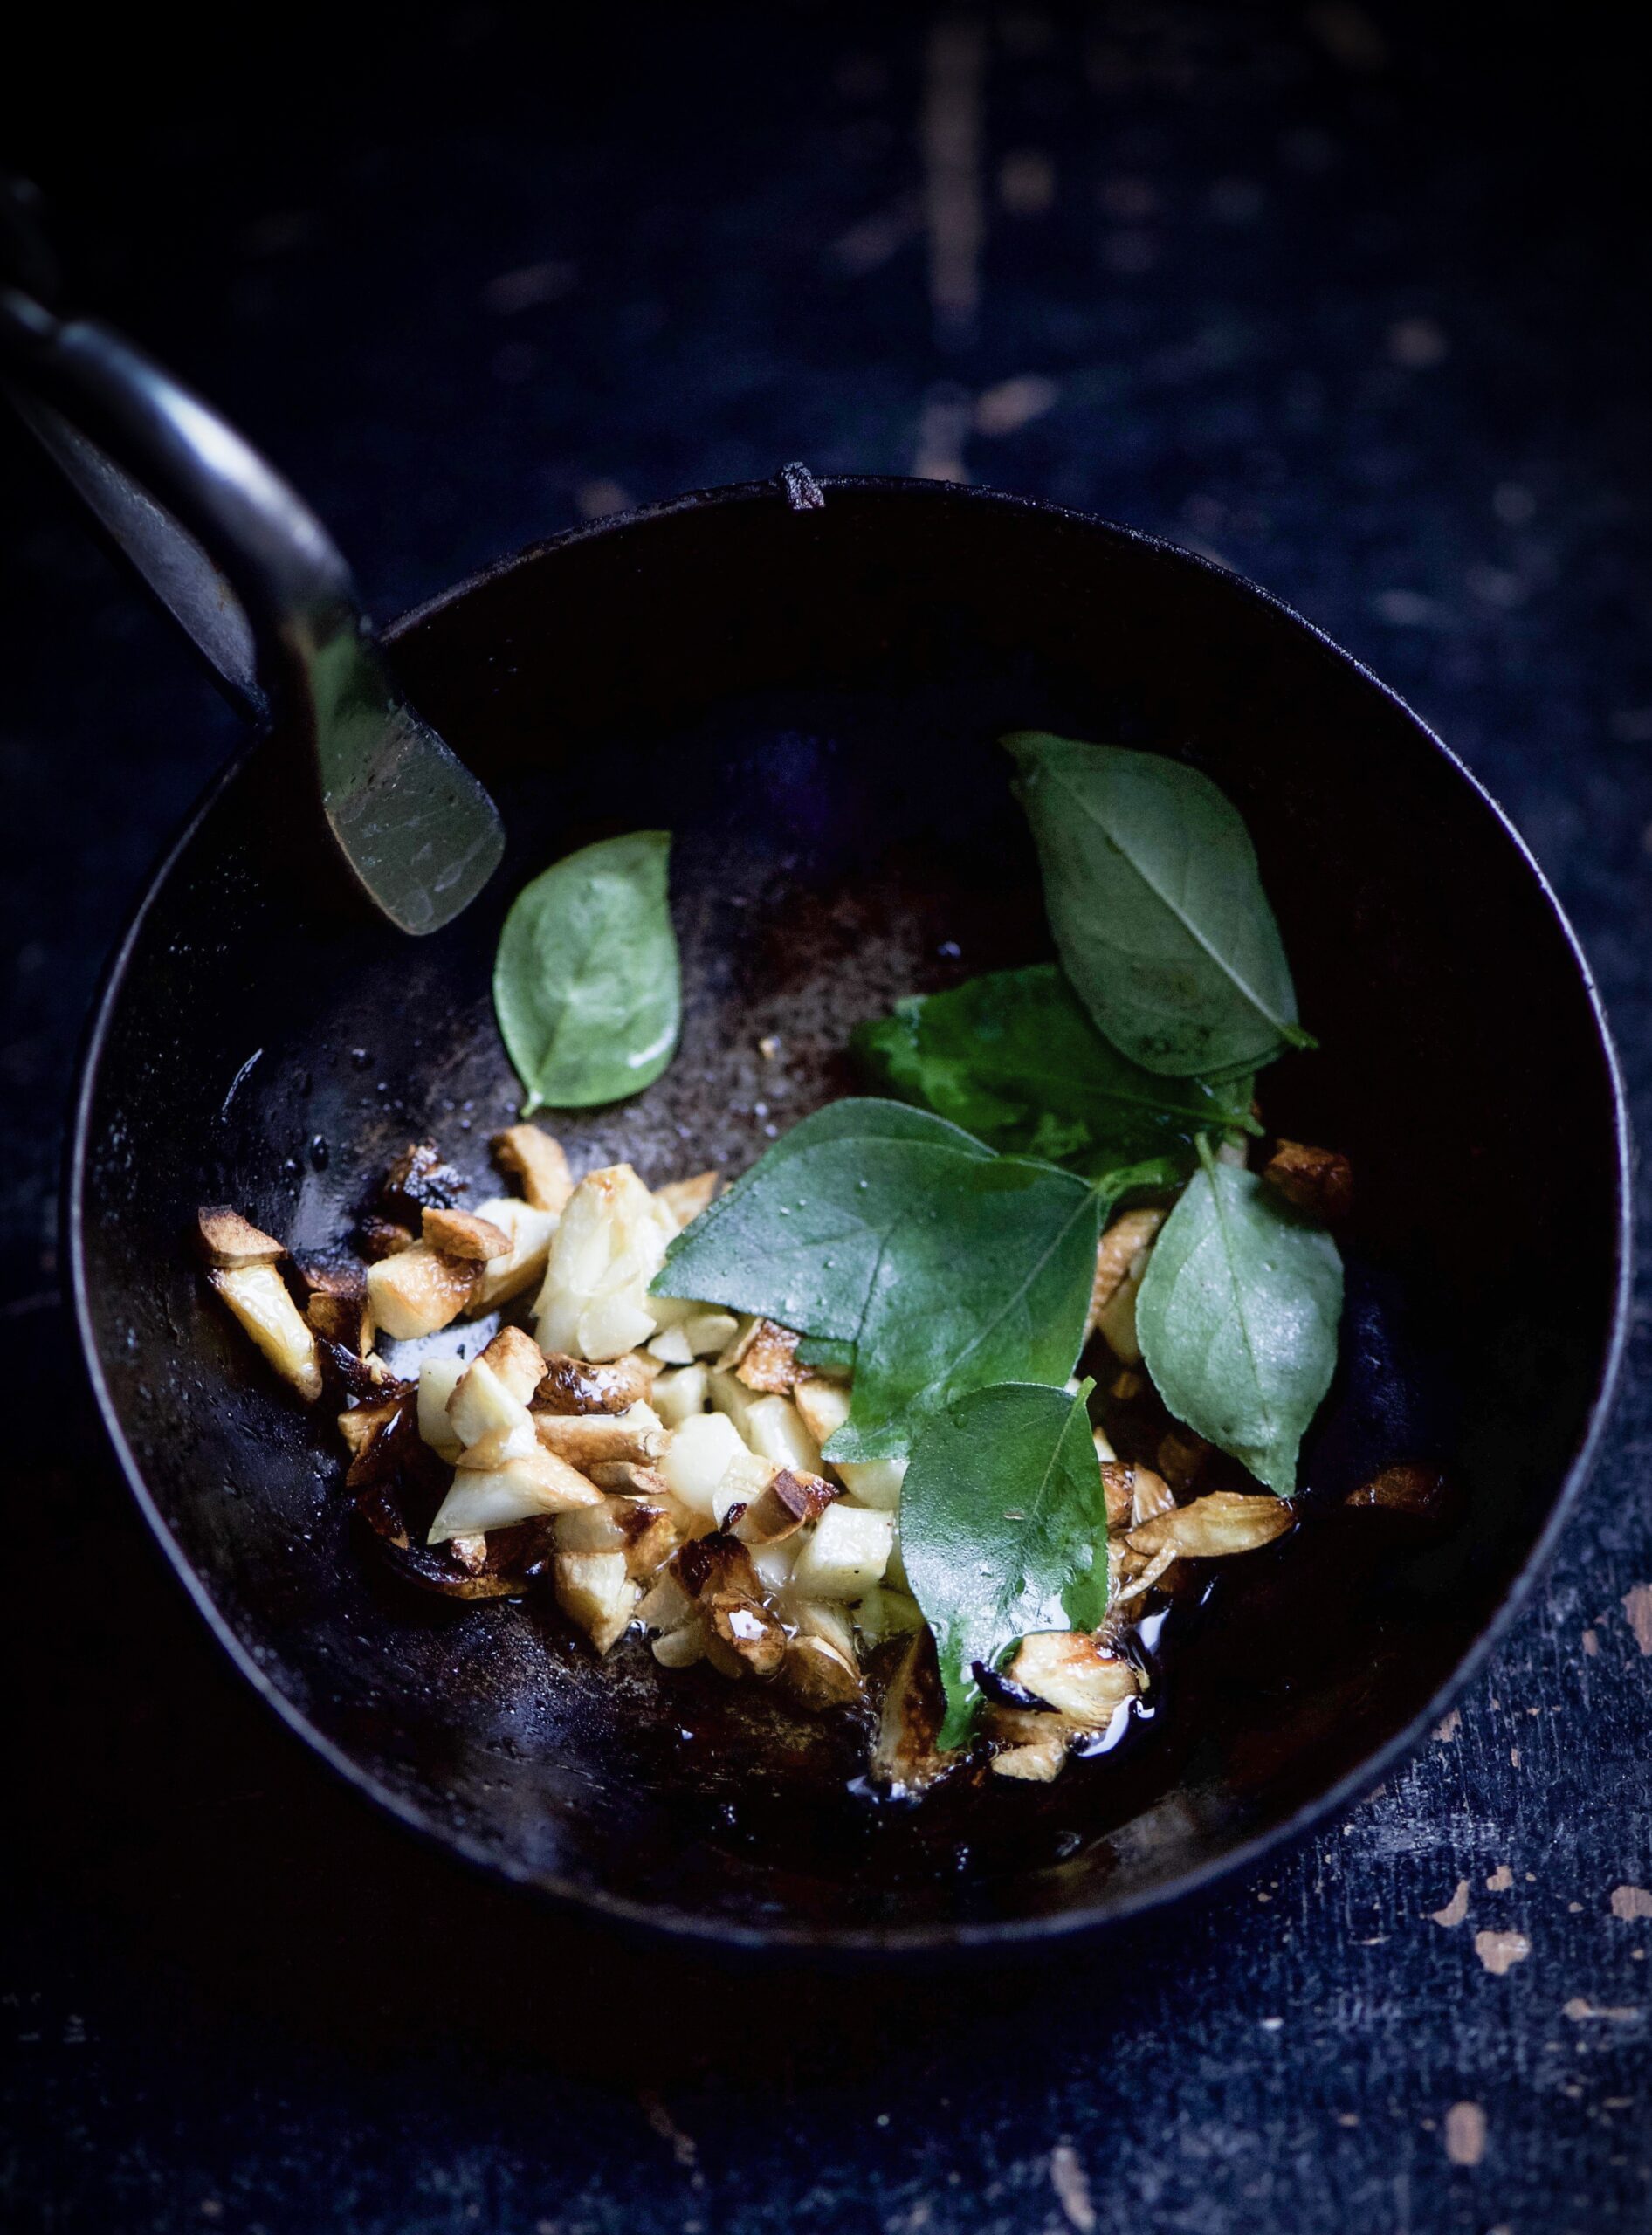
In a separate pan, heat 1 tablespoon of oil and fry the sliced garlic cloves. As they turn golden, add the curry leaves and turn off the flame. Just the rich, warm aroma of this garnishing as it is being prepared will lift your mood!

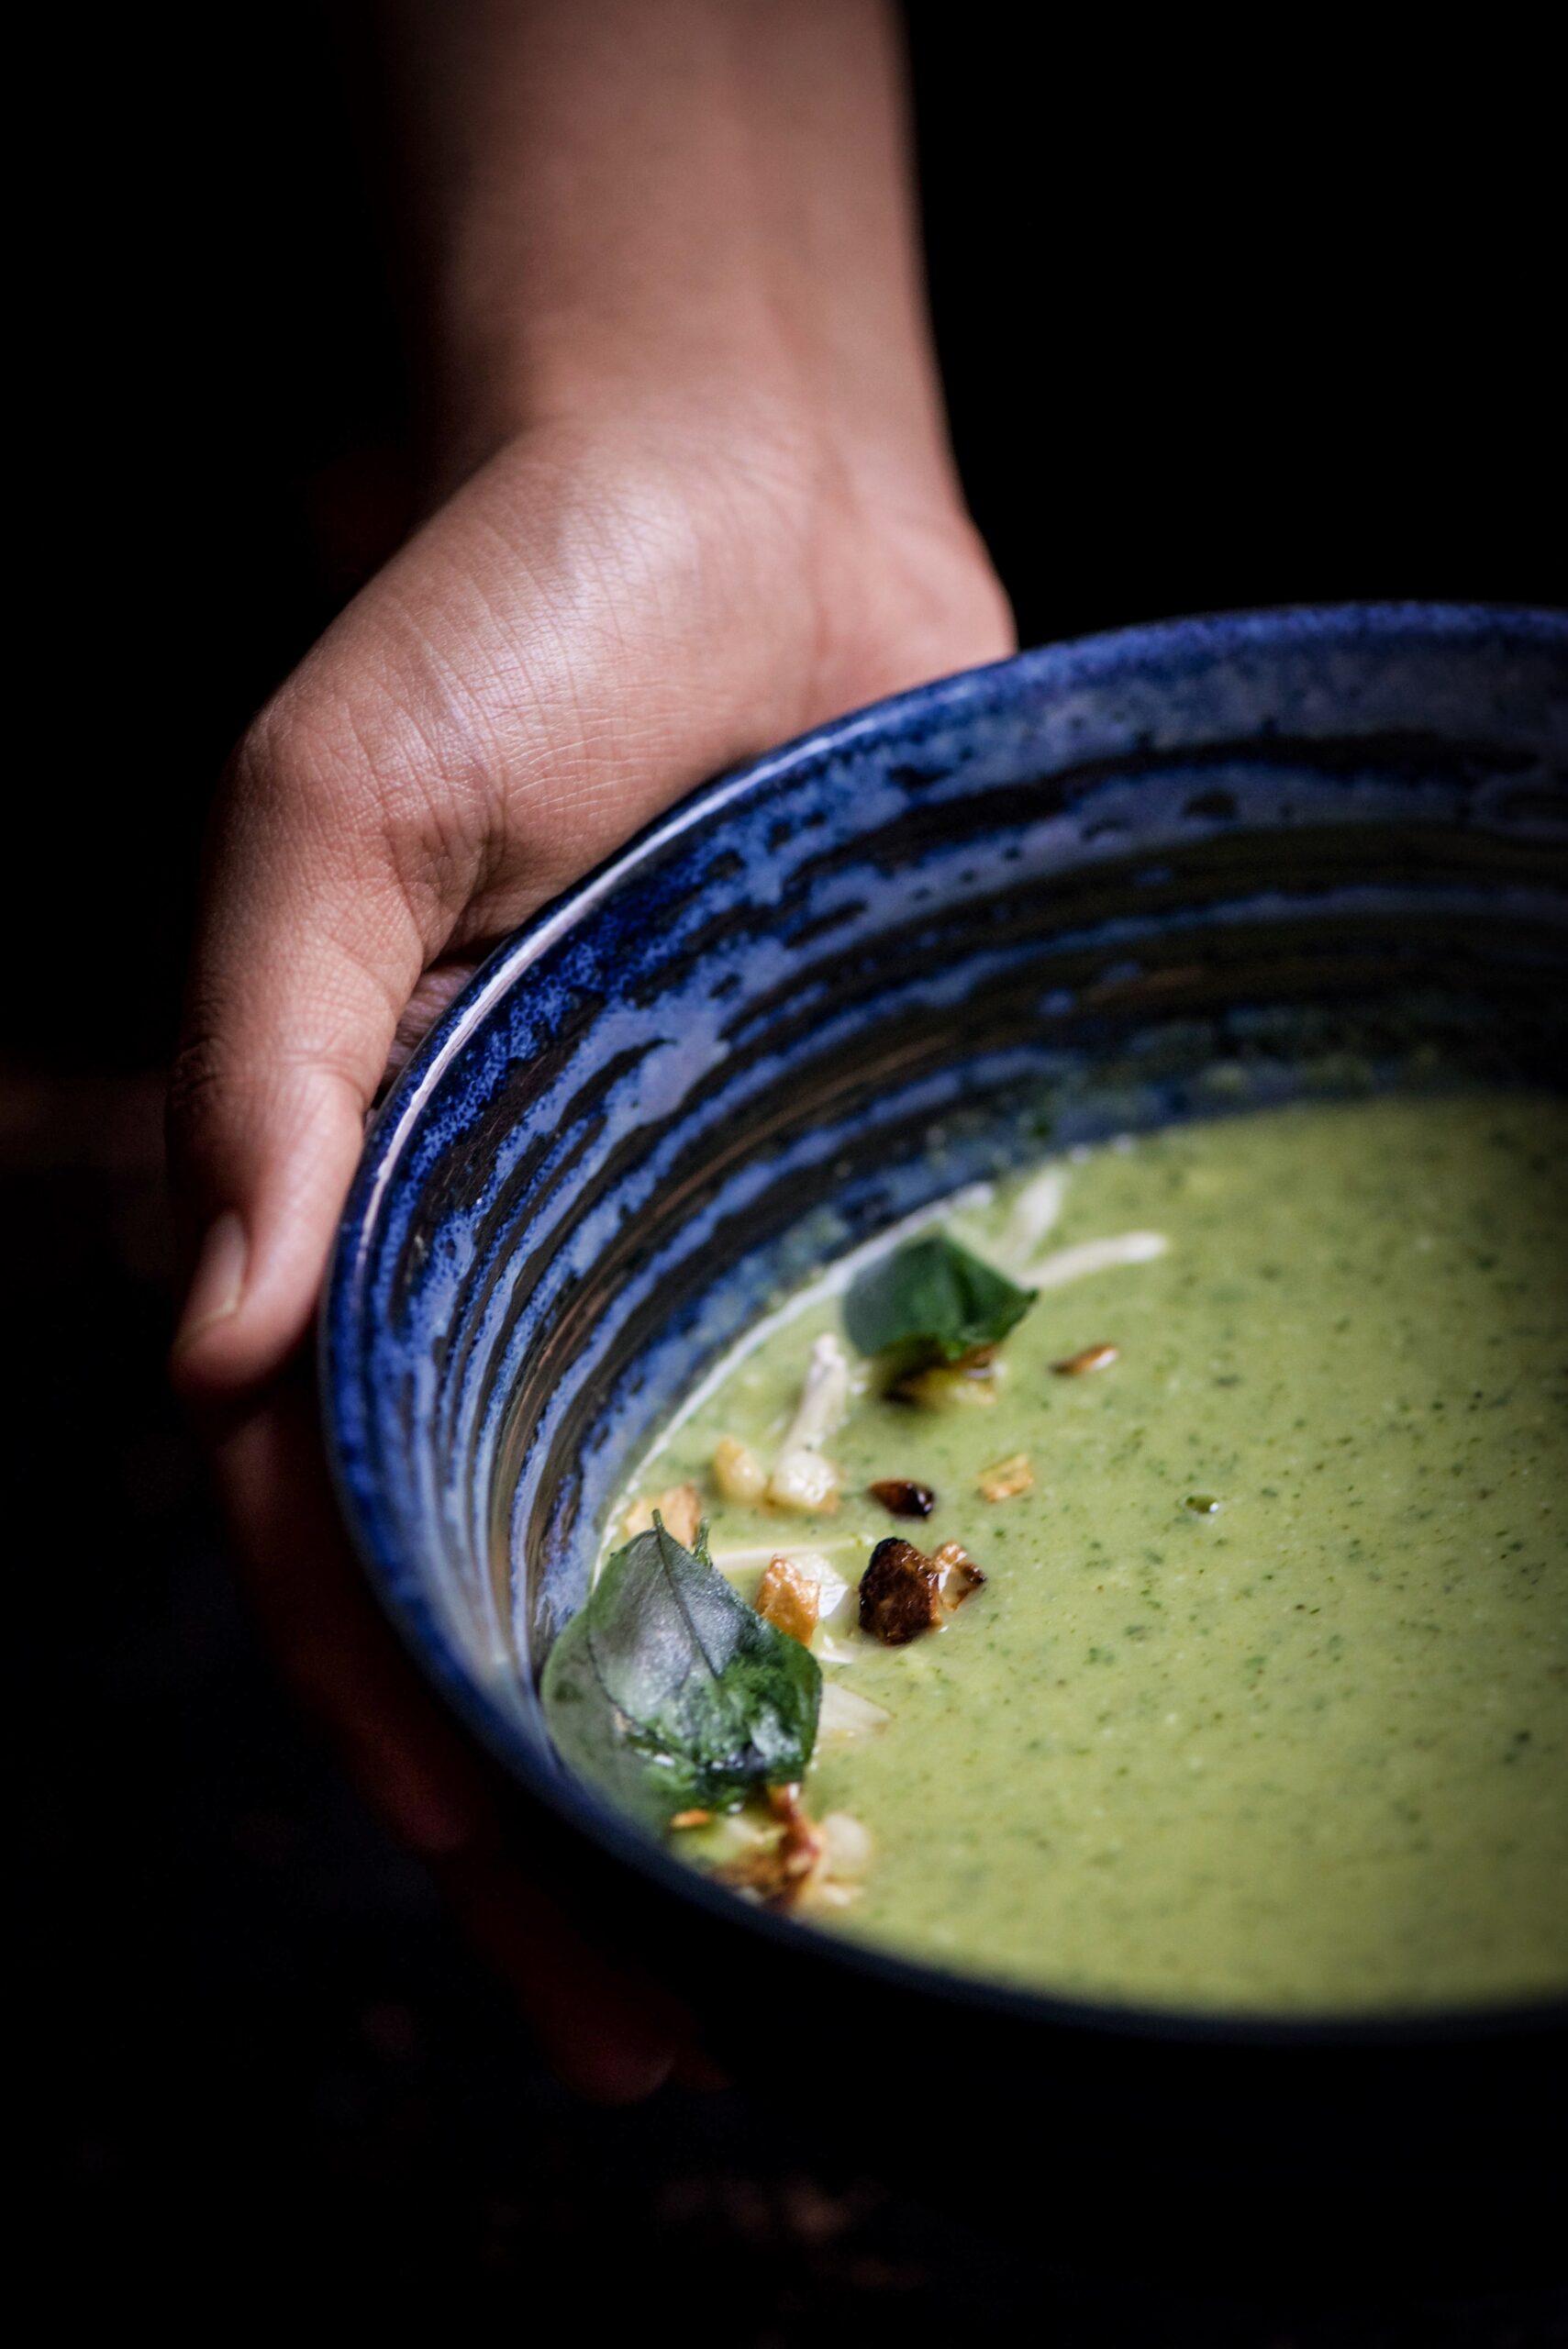
Just before serving the soup, pour the cloves and curry leaf garnishing on top. I added a dash of lemon too. Sprinkle the last of the slivered, toasted almonds as the final touch.

I love my soups with a bit of crunch, and the broccoli and especially the almonds bring texture to this simple dish. Perfect for when you aren’t up to making full meals, when you’re feeling under the weather, or when you just need to cut back on the sugar and carbs, this lovely one-pot meal is light and healthy yet so filling. A cup or two of this broccoli-almond soup with just the sound of afternoon rain for company is so satiating. Please try it. I’d love to know what you think in the comments.

Once upon a time, before I decided to turn completely vegetarian again, I used to enjoy the very occasional meat dish. And more often than not, the particular dish that would kickstart my cravings was the chili bowl I discovered in L.A. some decades ago while pregnant. A rich, spicy stew with Tex-Mex origins, it’s a quintessential part of the cuisine of the southern American border regions – and something which reminded me of Indian food whenever I was homesick or longing for comfort food while travelling in the States.

Chili is a meal-in-a-bowl, although you can eat it with tortillas, rice, nachos, fries or other accompaniments if you like. Did you know that the Nahuatl (indigenous Mexican) word chīlli is what gives the chilli pepper its English name too? The dish too takes its name from this most vital ingredient. If you’re interested in a history of the dish, do read this comprehensive article with various legends and records.

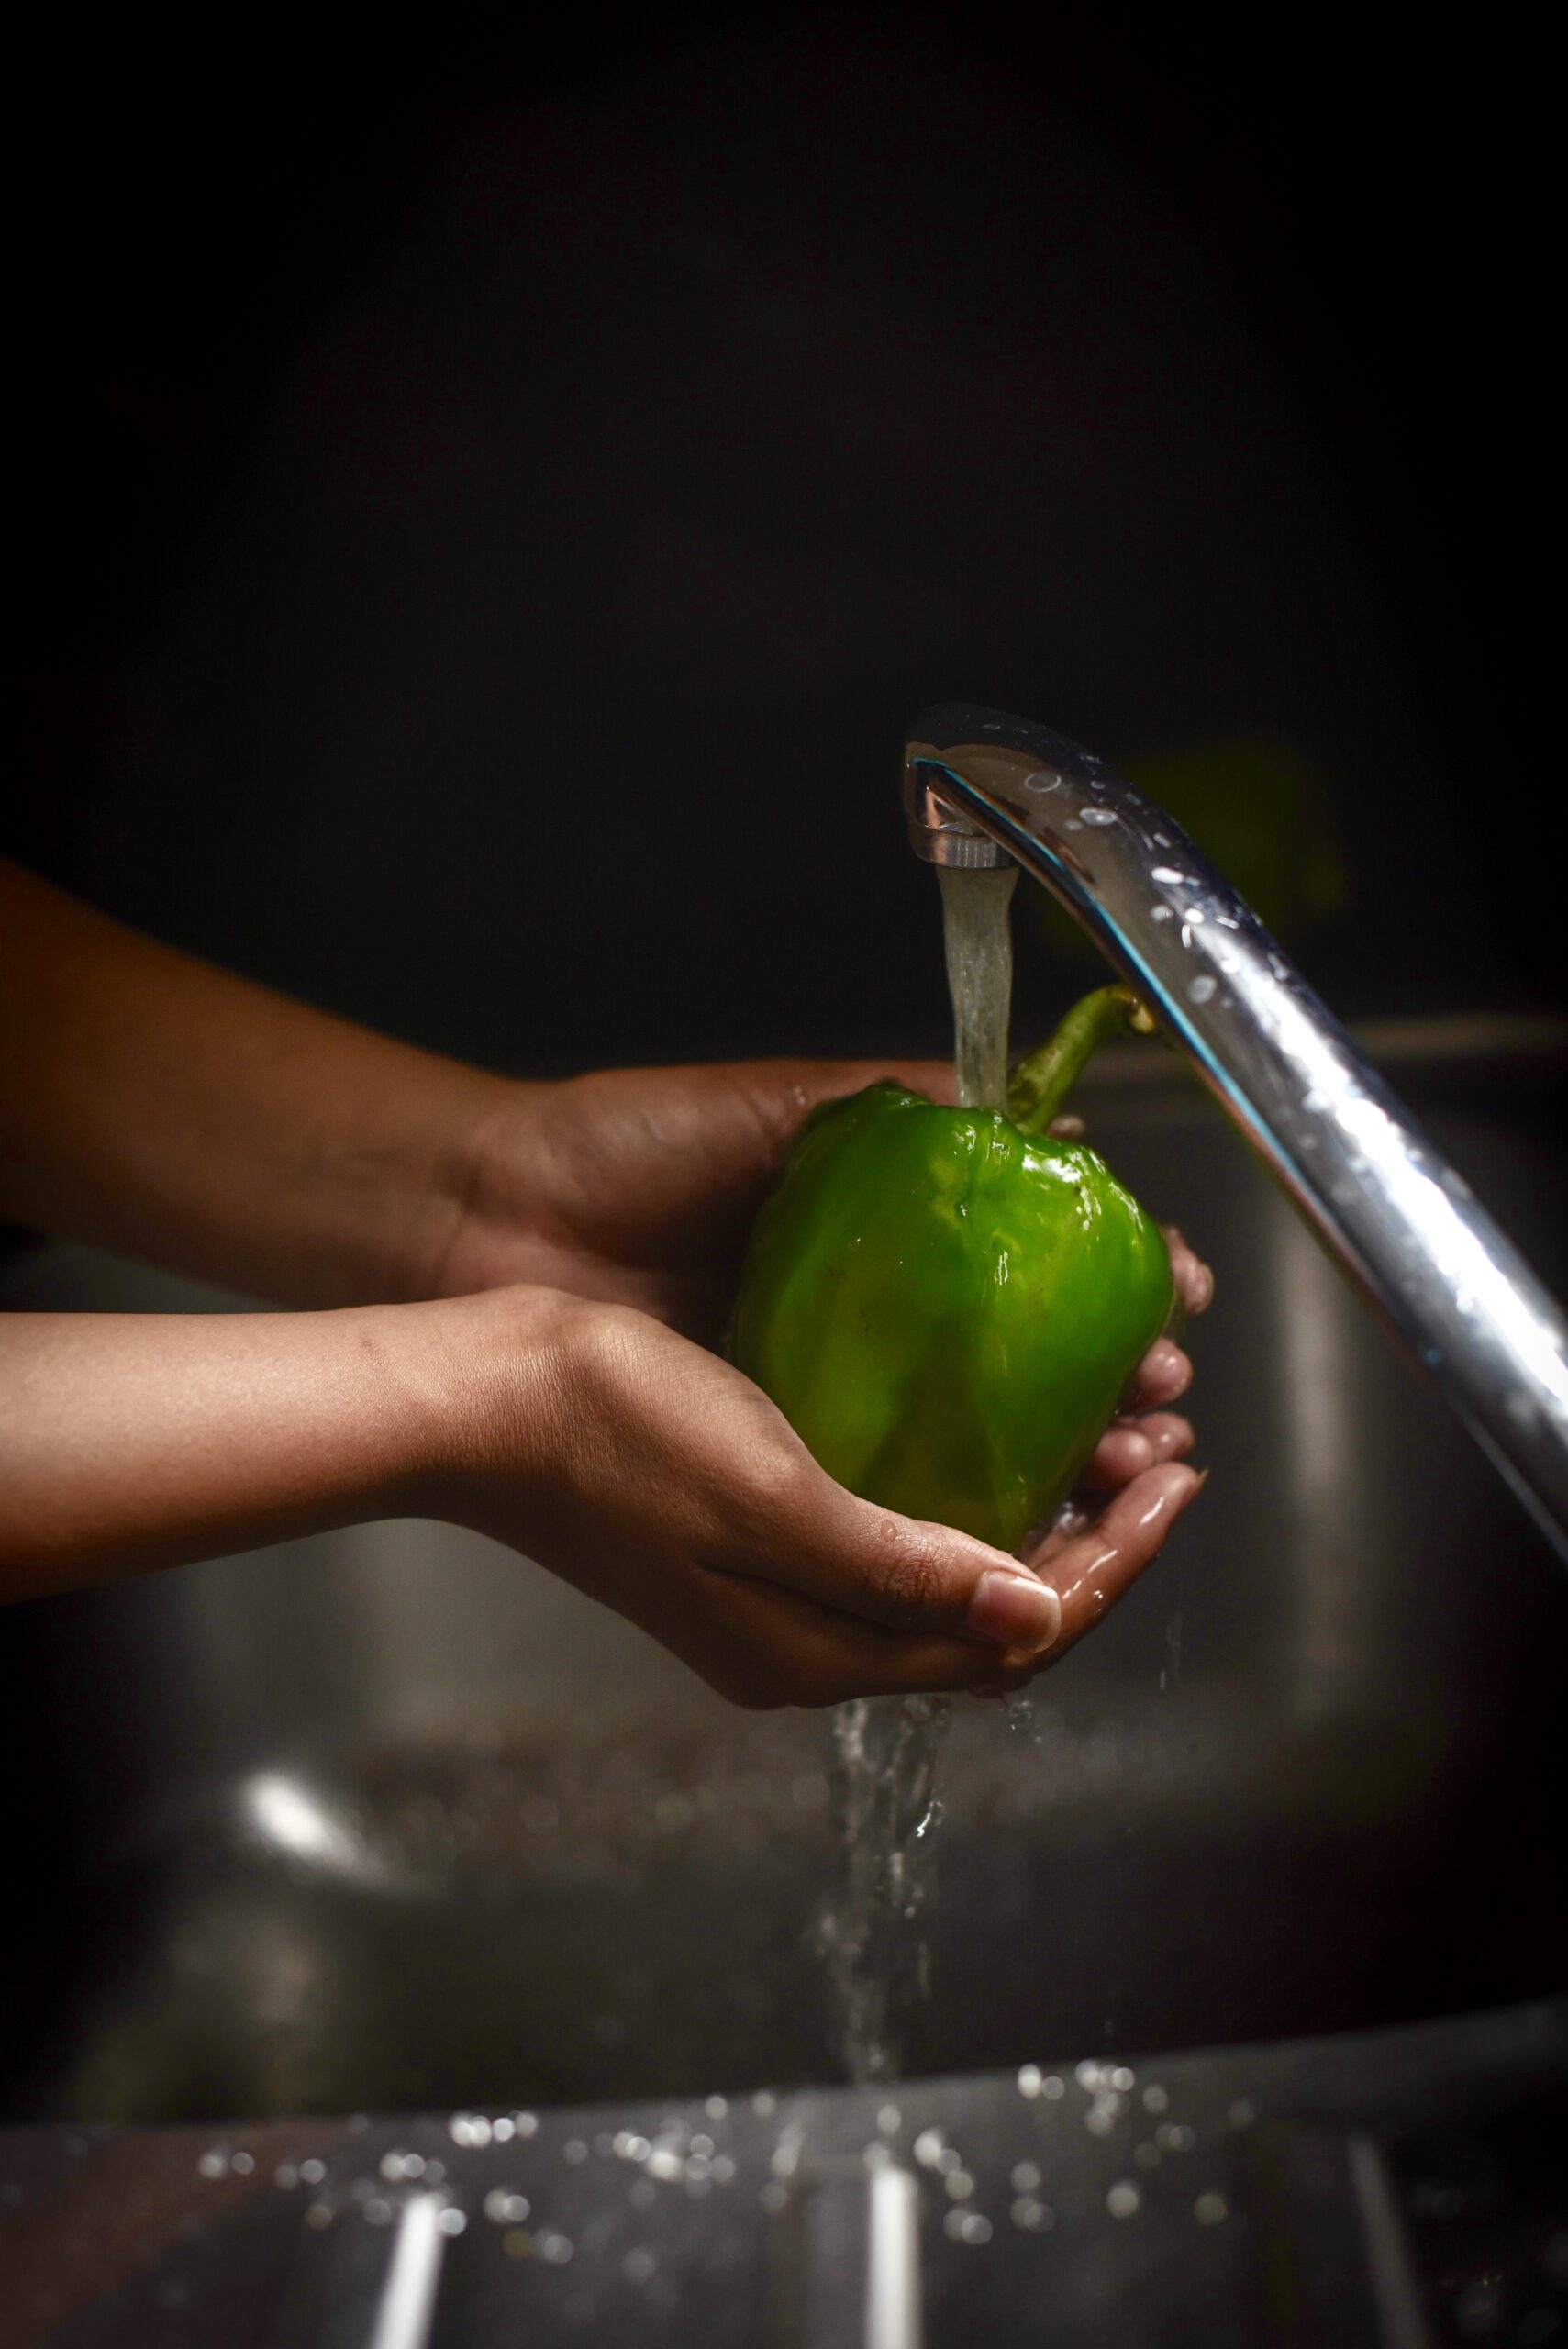
Chilli fruits – yes, fruits! – were cultivated in ancient Mexico, and were introduced to the rest of the world through European colonists and traders. Then, based on different climactic conditions, certain places grew famous for particular cultivars: e.g. bhut jolokia (or “ghost peppers”) in India and Malawian kambuzi. In fact, the chilli powder I use to make my chili (yup, the spelling of the two words is close but not exact!) is a ground Hungarian spice known as paprika, made of sweet bell peppers and occasionally cayenne peppers. Each cultivar varies in pungency and intensity, and chillies are eaten in red, green, dried or capsicum/pepper variants. I also use capsicums in this dish.

The festive season has found me inundated with cupcake orders. Despite seeing so many in my kitchen every day now, I haven’t grown tired of stealing one now and again – all under the claim of checking the sugar level of course! Between some recent travel abroad and the sugar buzz around me now, I’ve missed the flavours and smells of Indian spices. Inspired equally by the memory of those long-ago chili bowls and my ongoing delving into the super-foods and smart-foods in our own Indian fields and forests, I decided to make a vegan millet-based chili. I tried and tested this recipe a few times before perfecting it. Fusion food can sometimes be a blunder, and sometimes be a wonder. I’d love to know what you think of this!


Vegan Chili Bowl

Ingredients:

1 tablespoon oil

1 teaspoon cumin

¾ cup carrots (chopped)

½ cup rajma/kidney beans (soaked)

½ cup onions (finely chopped)

½ cup capsicum (finely chopped)

½ cup green beans (finely chopped)

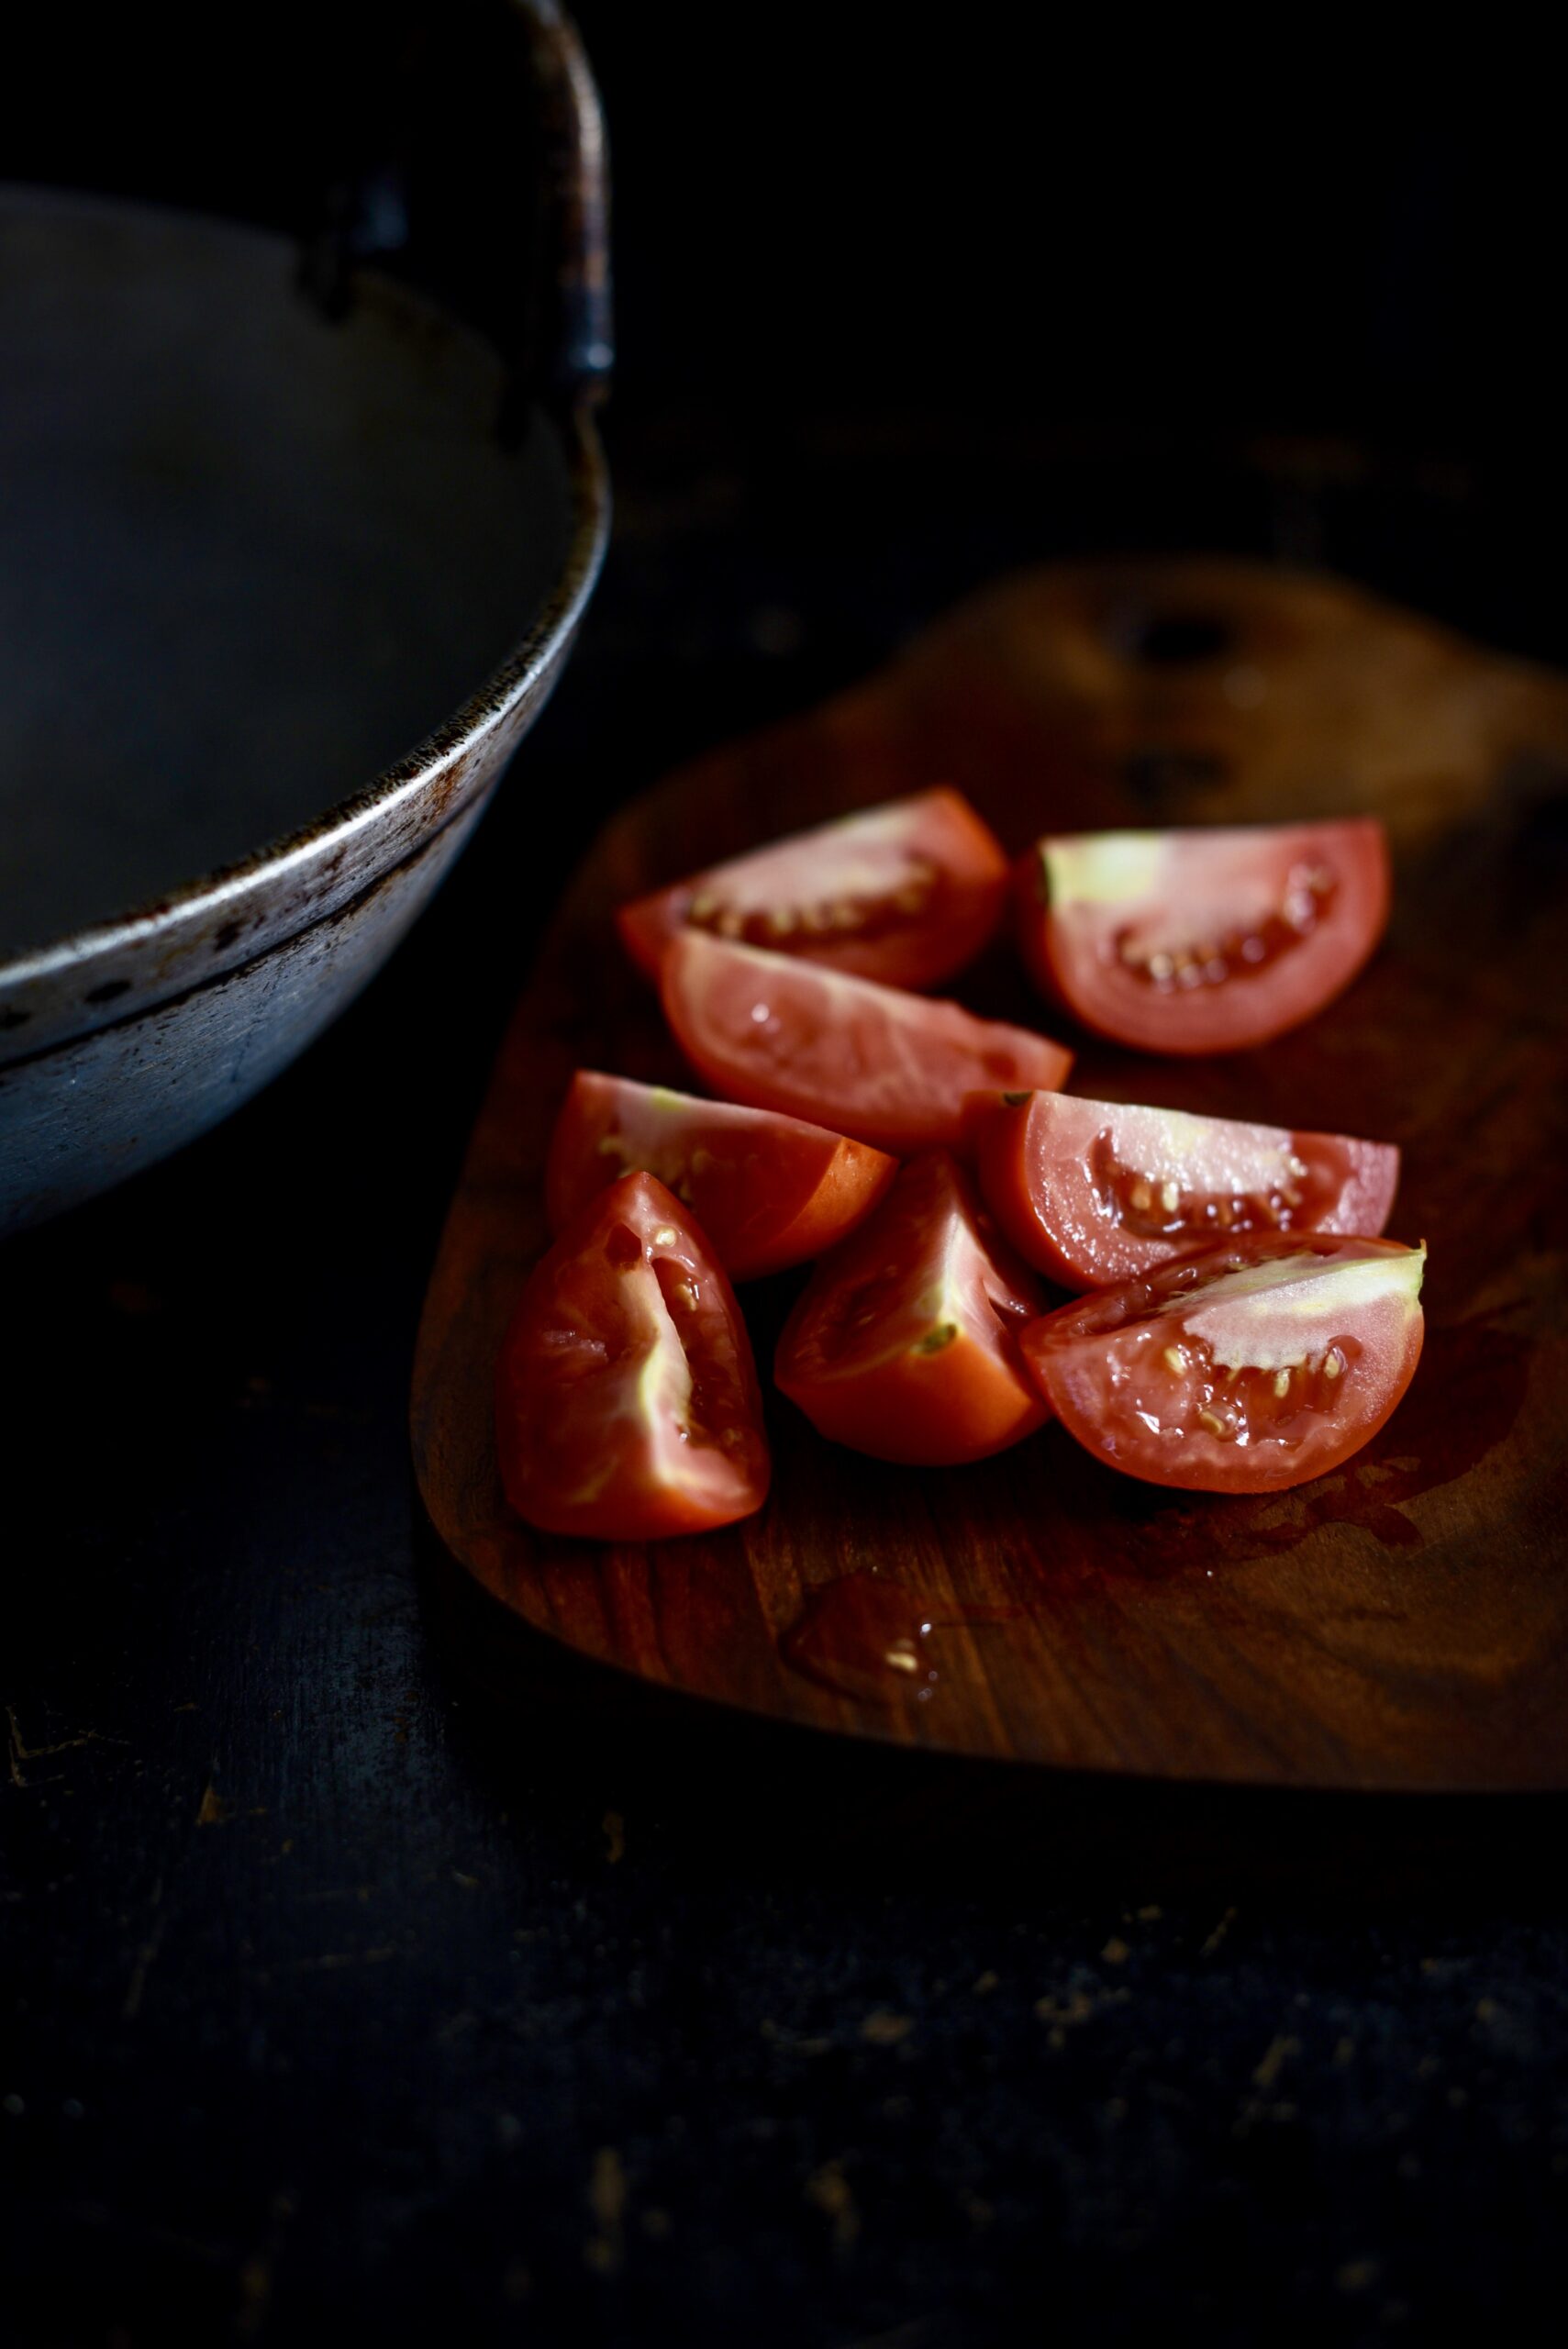
2 medium size tomatoes blended into a puree (approximately 1 cup)

3 pods garlic (grated)

1 piece ginger (grated)

¾ cup kodo millet

½ cup corn niblets and/or peas

Salt

Paprika

1 tablespoon lemon juice

4 cups of hot water

Chili may be Tex-Mex in origin, but the ingredients of my Vegan Chili Bowl are all easily available and highly affordable in India and elsewhere.

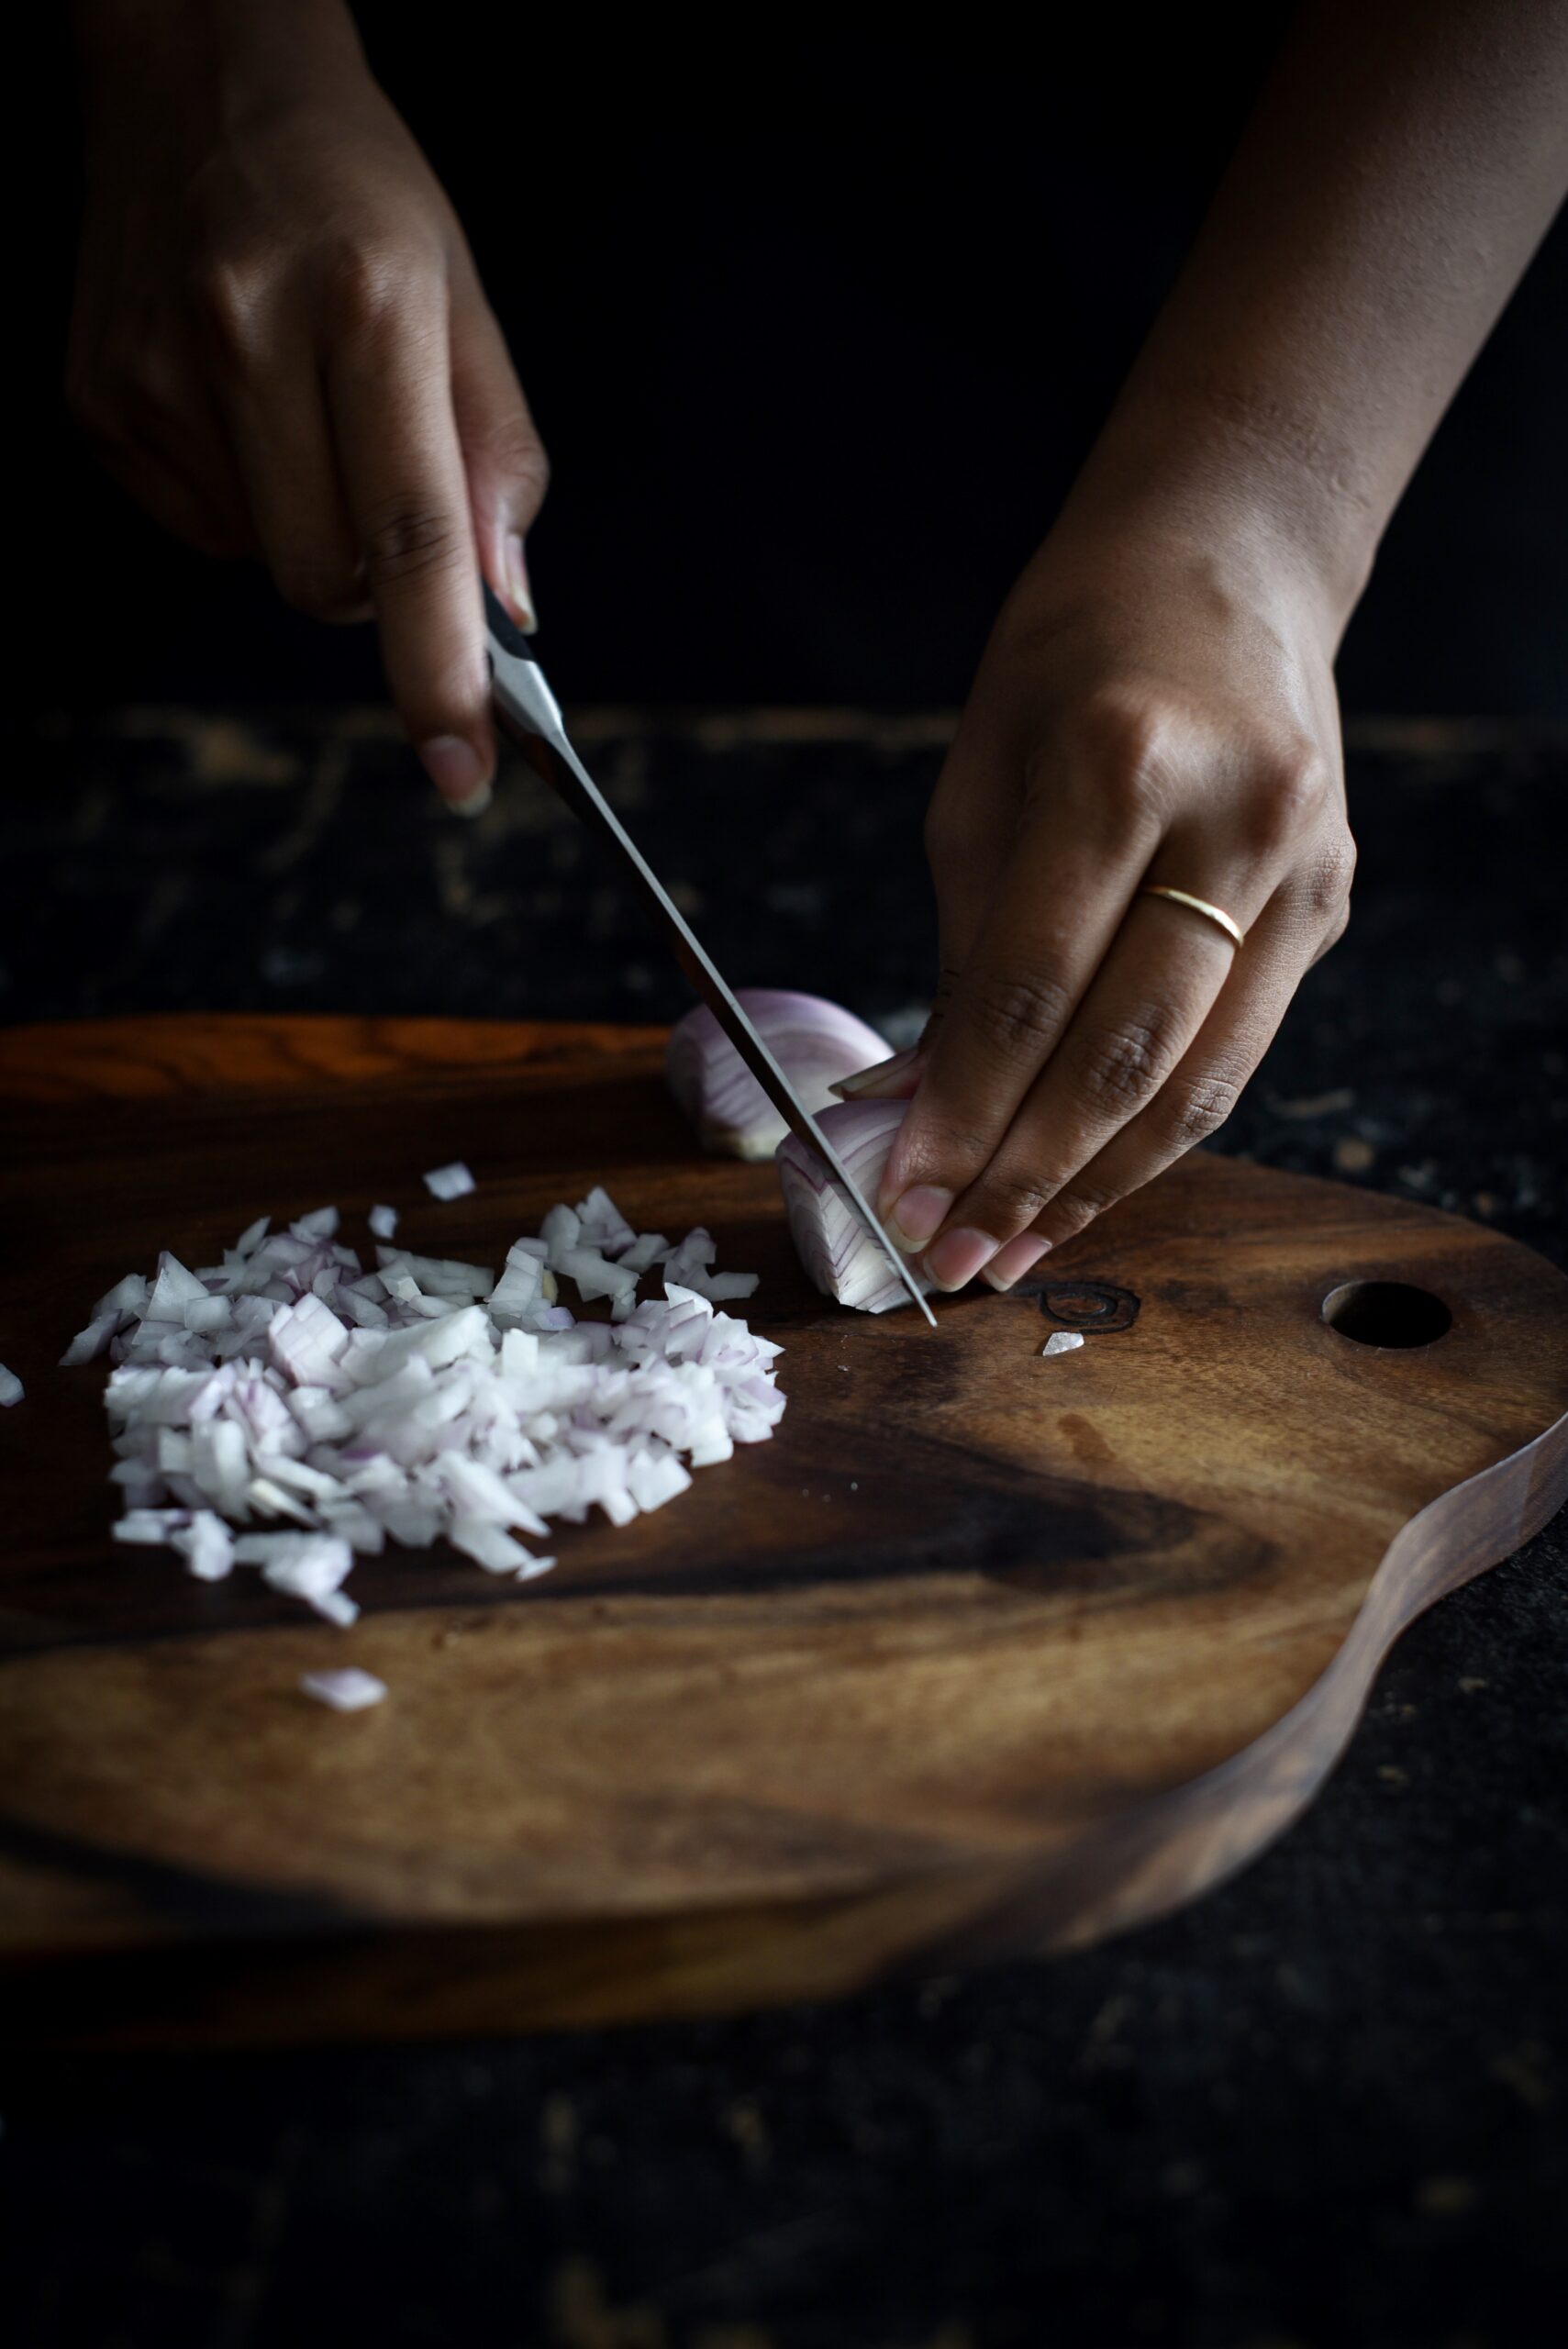
Take a pot and add oil to it. Once it is hot, add the cumin, followed by the grated garlic, ginger and onions. Sauté till golden brown.

Boil the green beans, peas and carrots and strain these. Keep the water aside.

Kidney beans take longer to cook so pressure cook or par-boil them before adding them to the pot. You may substitute the kidney beans for a lentil of your choice. Please note cooking time will differ based on which ingredient you use.

Add all the cooked vegetables to the onions along with the tomato puree, corn, capsicum (I used green capsicum, but you can use yellow or red too), millets, paprika and salt.

Now, add the strained water (approximately one cup) and the cooking water to the above ingredients. Cover with a lid and lower the flame. Allow this to cook for 20-25 minutes, stirring occasionally. I have used kodo millets, known in Tamil as varagu, which like all local millets has an extensive range of health benefits when eaten regularly. You can just as well substitute this with broken rice or wheat if you have them on hand, if you prefer. However, the cooking time will depend on the grain you’ve used.

Also remember that you can add all sorts of leftover vegetables to this chili – don’t feel restricted by the list I’ve suggested. They will only enhance the flavour and health quotient.

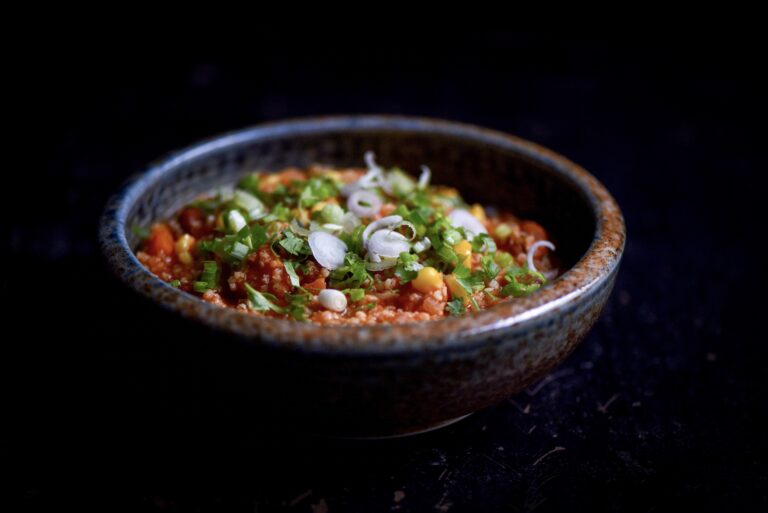
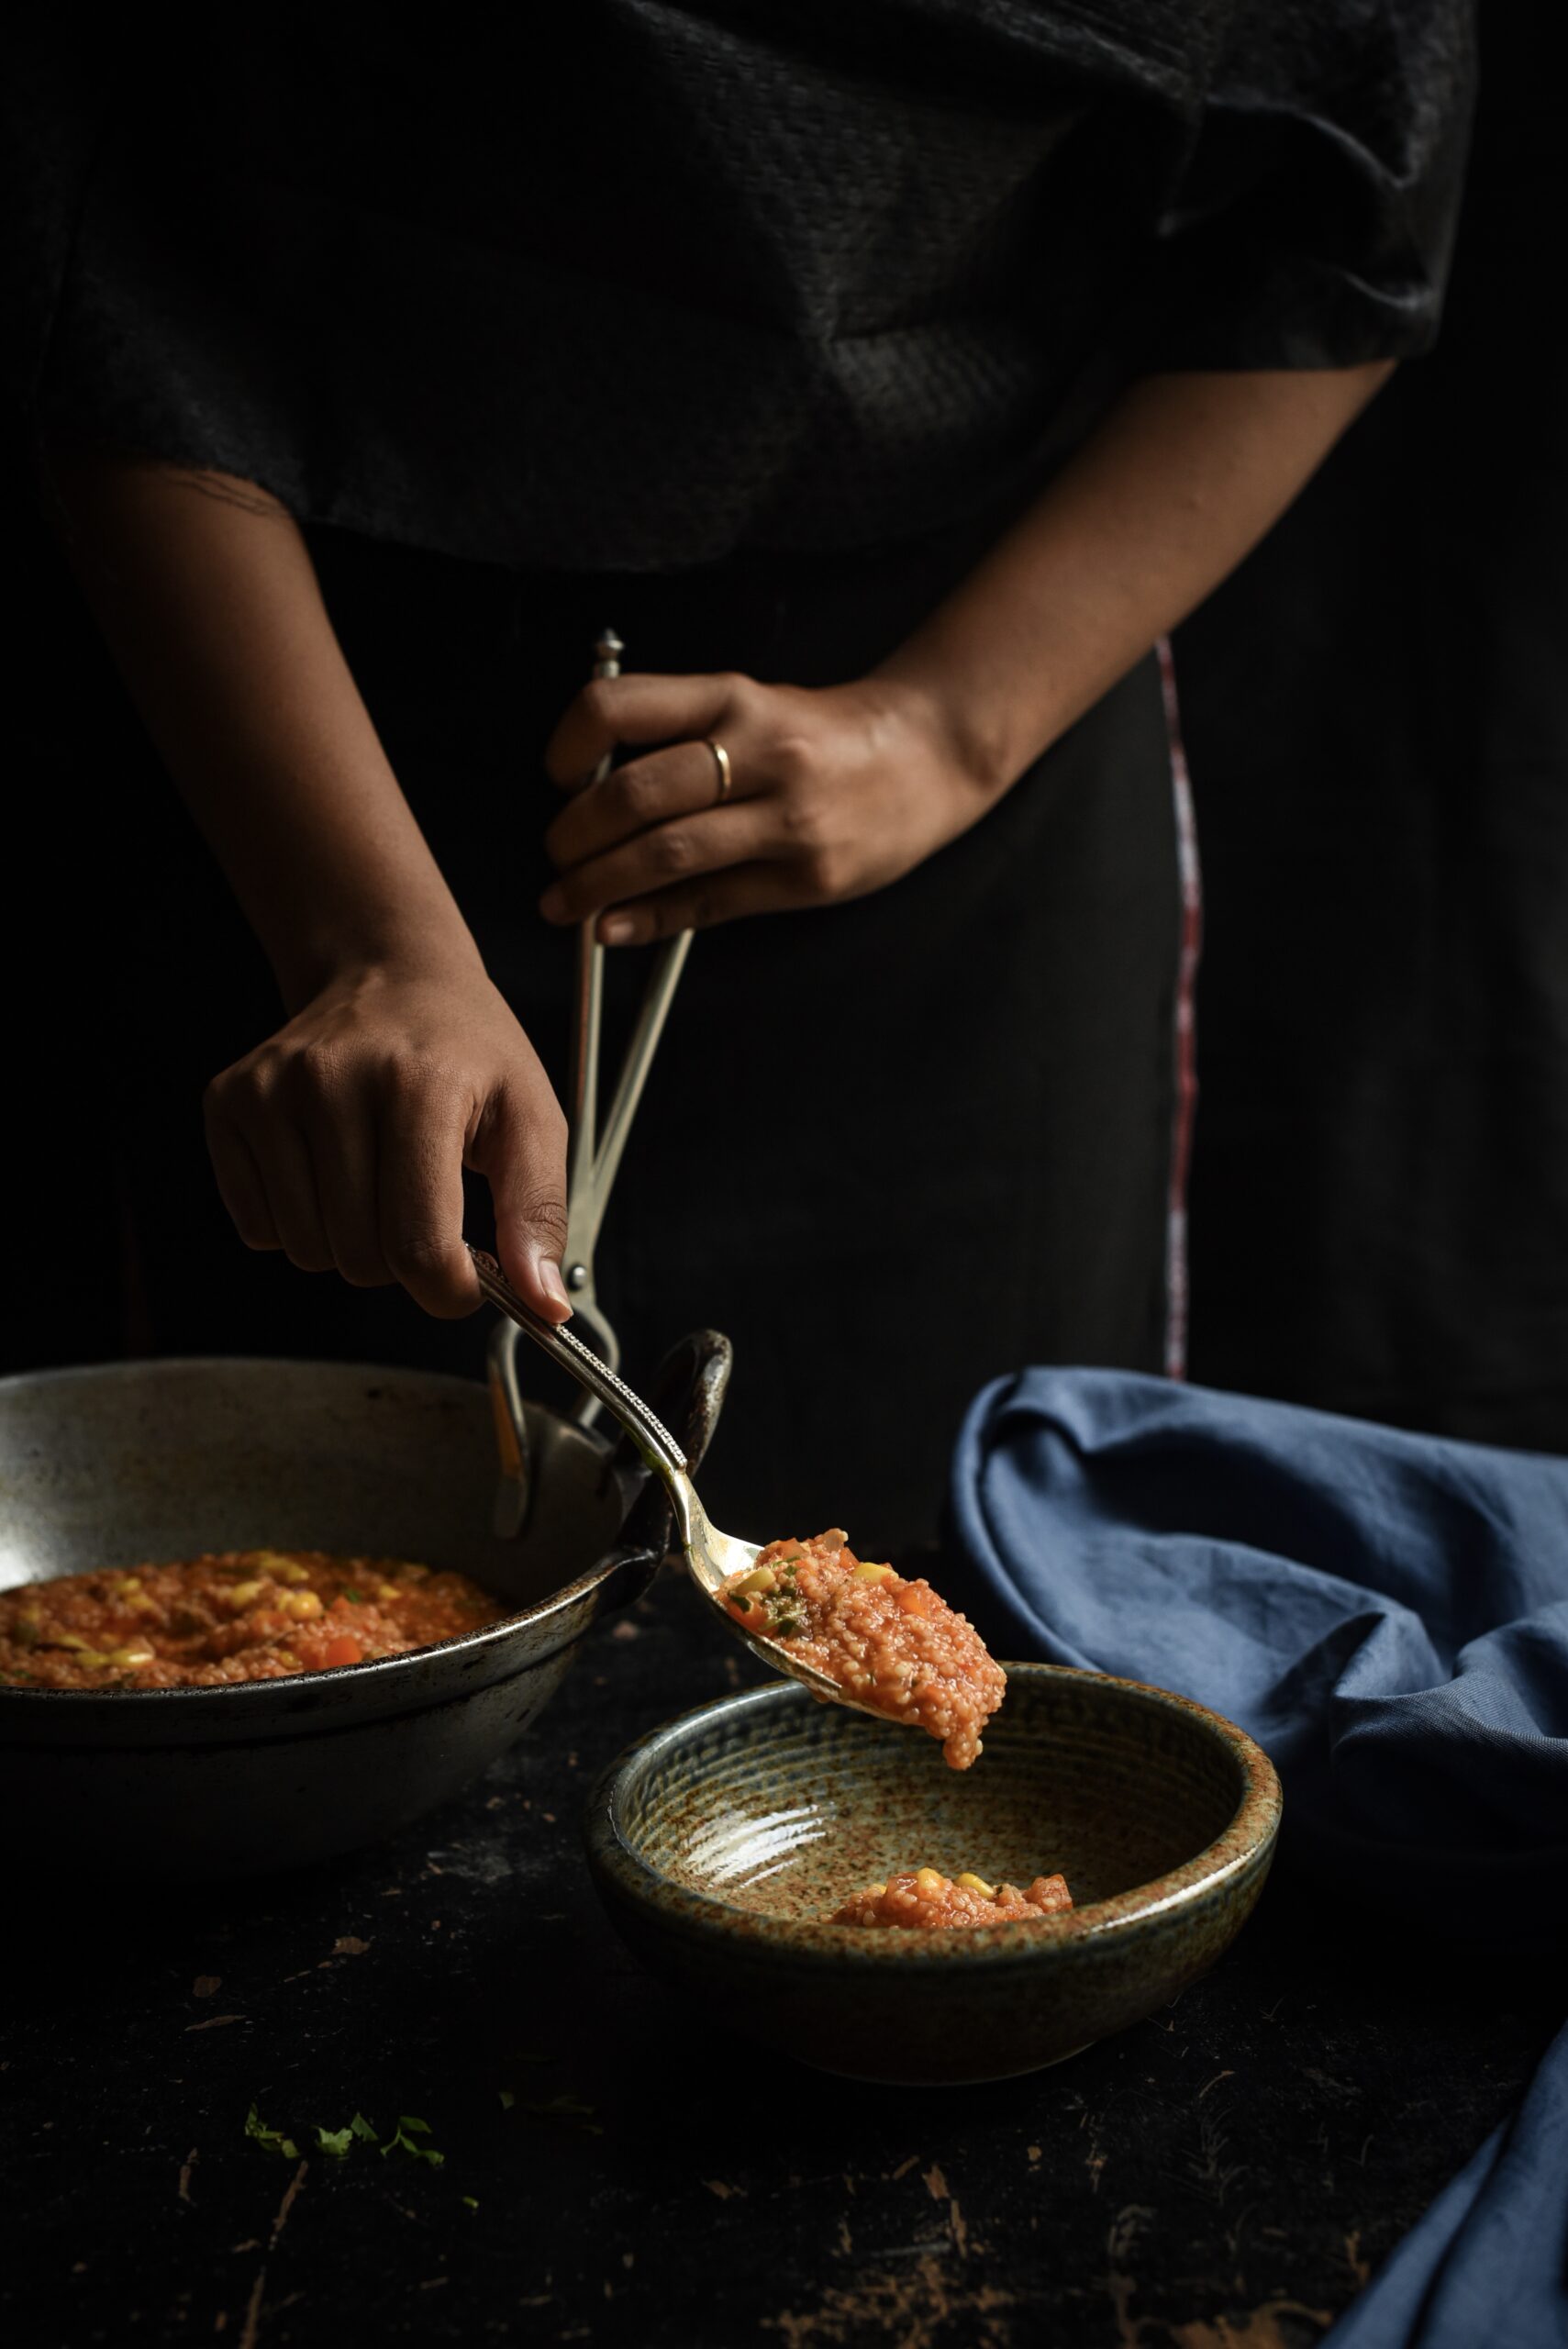
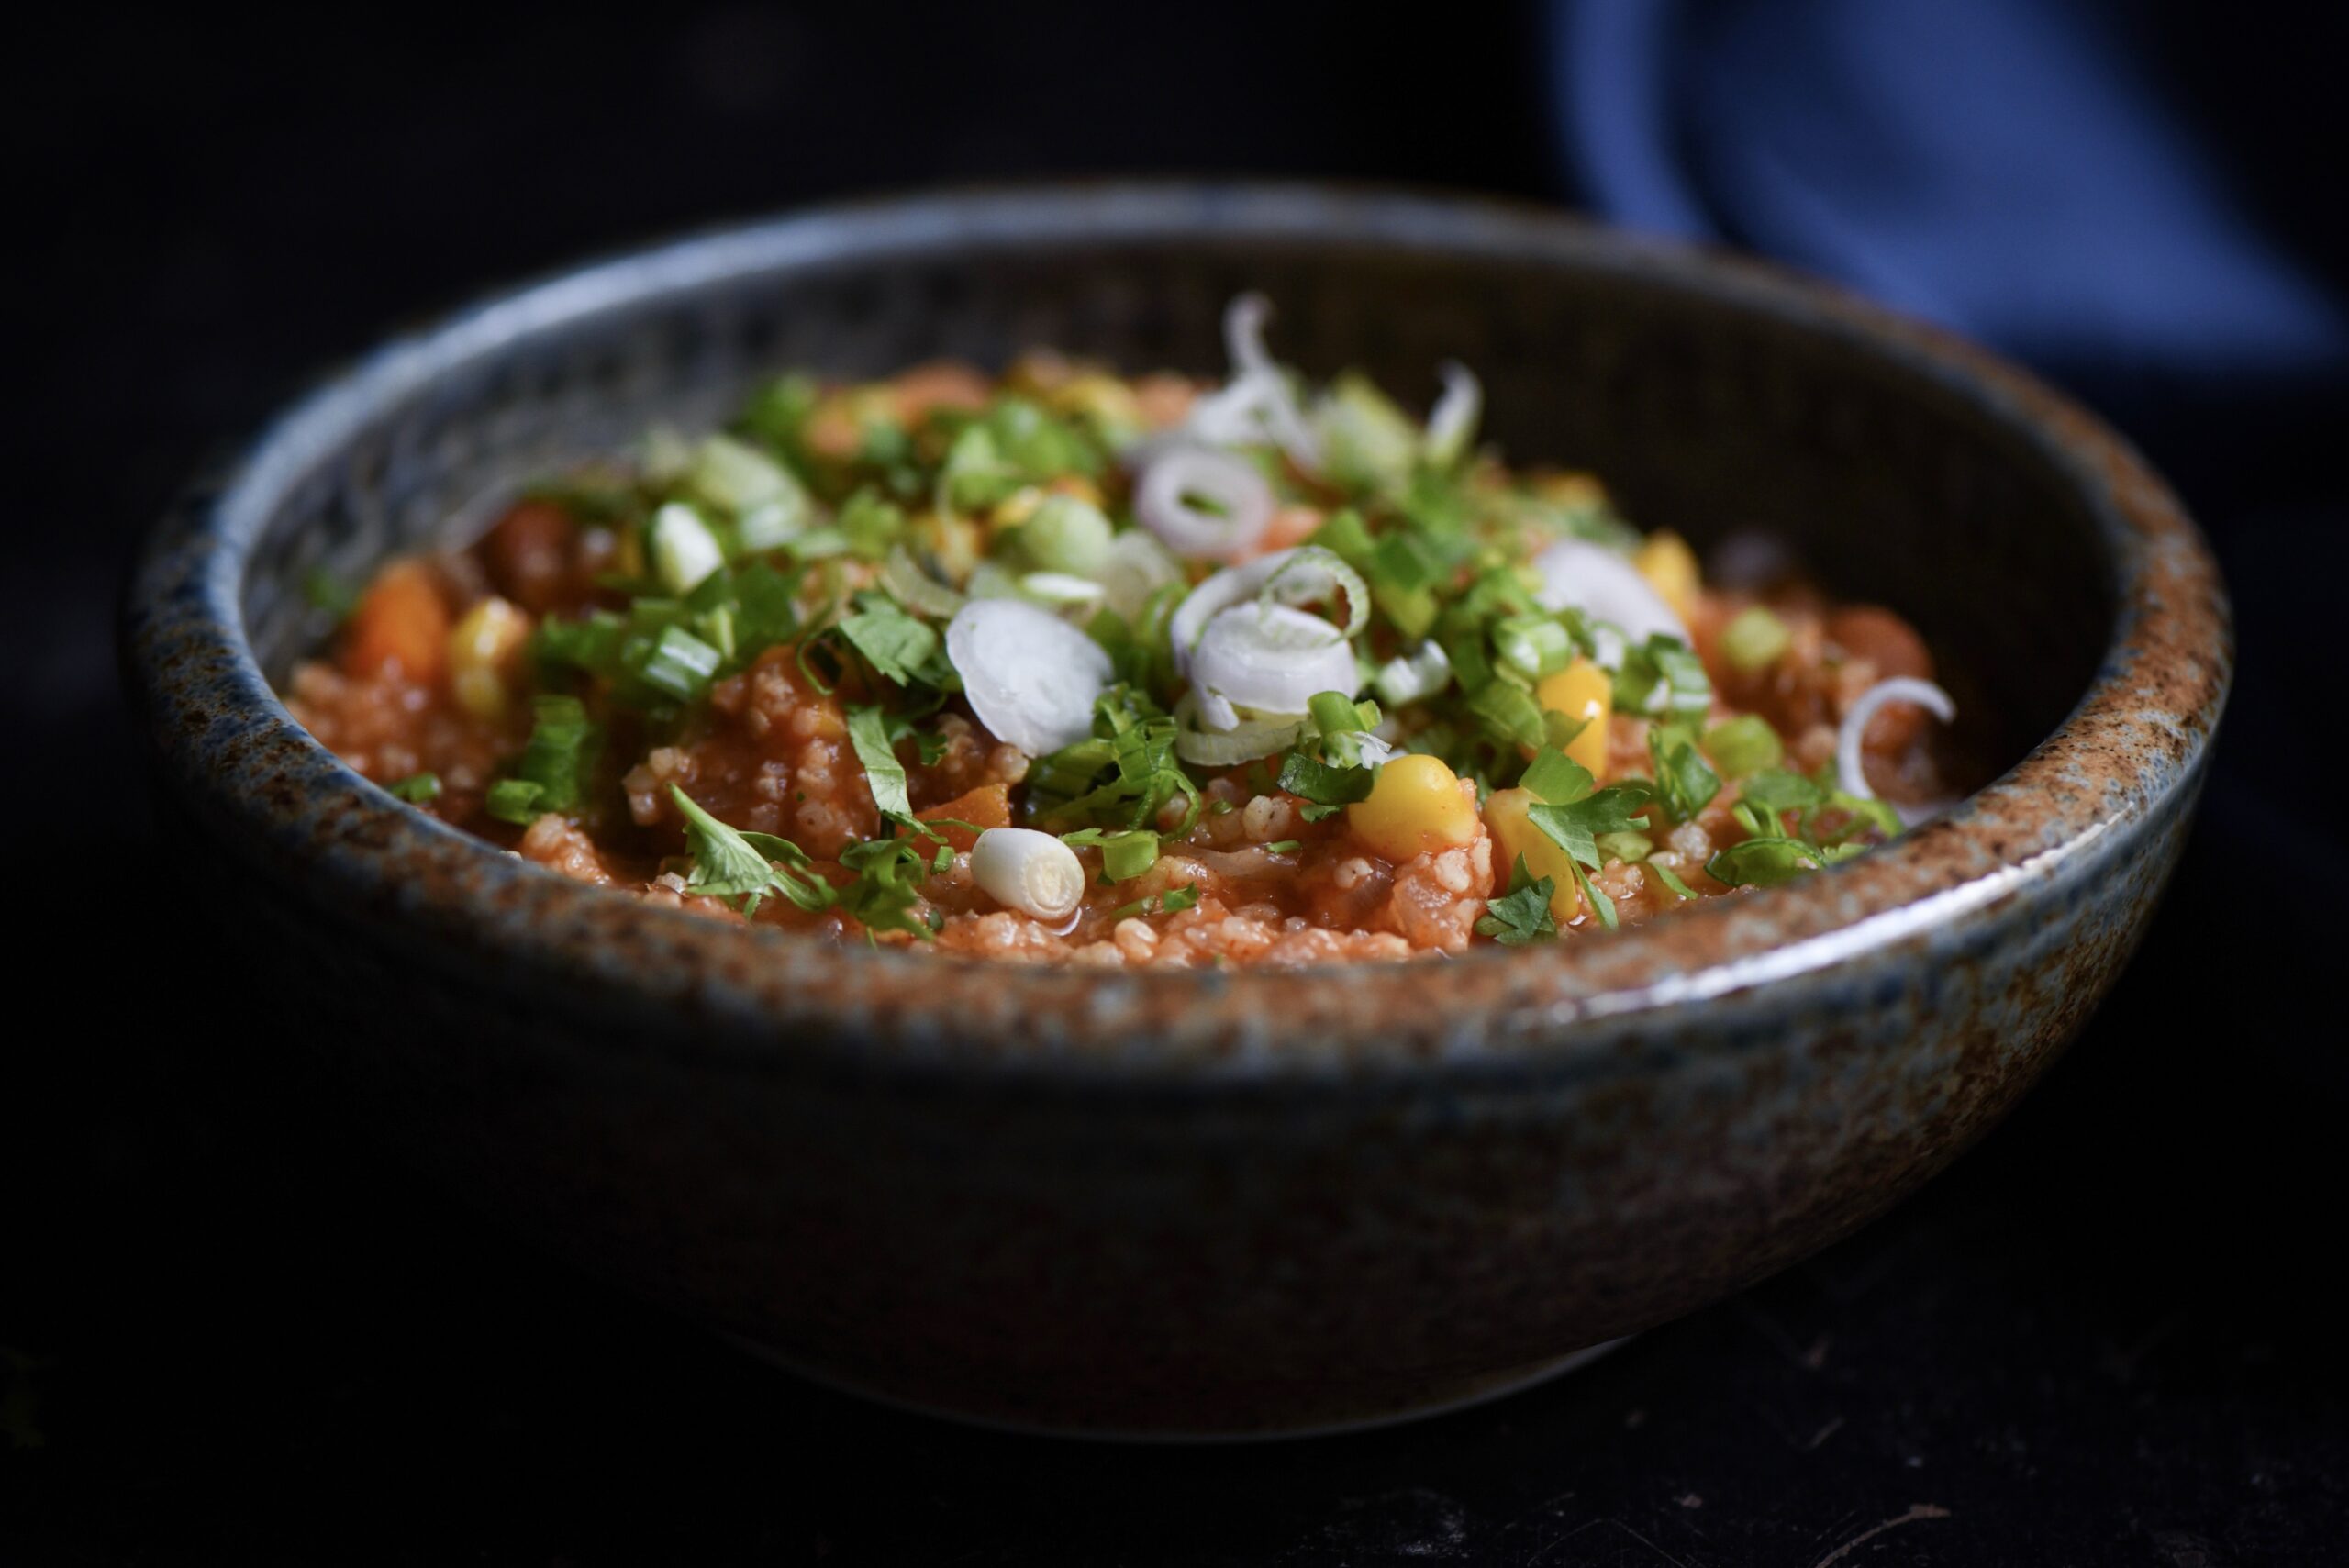
Once the grains are cooked well and tender, add the lemon juice and stir. Then, transfer the hot chili to small bowls and serve with some freshly chopped coriander leaves, fine slices of spring onions and other garnishings like roasted garlic or a handful of nuts. Chili is best eaten warm and fresh.

I love collecting beautiful crockery, and considering that this is a meal-in-a-bowl, I always take a little extra moment to choose the bowl itself well. When I made this the other day, I chose this pretty one with concentric blue circles on the bottom. It’s always a compliment to the cook when something is relished to the very last spoonful, and a nice design on the tableware is revealed.

As more people explore healthy or ethical dining options like turning vegan, our kitchen repertoires should also expand beyond serving and eating obvious items. This Vegan Chili Bowl is just the kind of unexpected dish that will make a vegan guest feel welcomed by your thoughtfulness. They are sure to enjoy it far more than picking at an ordinary salad or an unimaginative dressed-down version of the main course. The best part is that as it is a meal-in-a-bowl, you can be assured that they will be fully satisfied.