Tag

vegan

Browsing

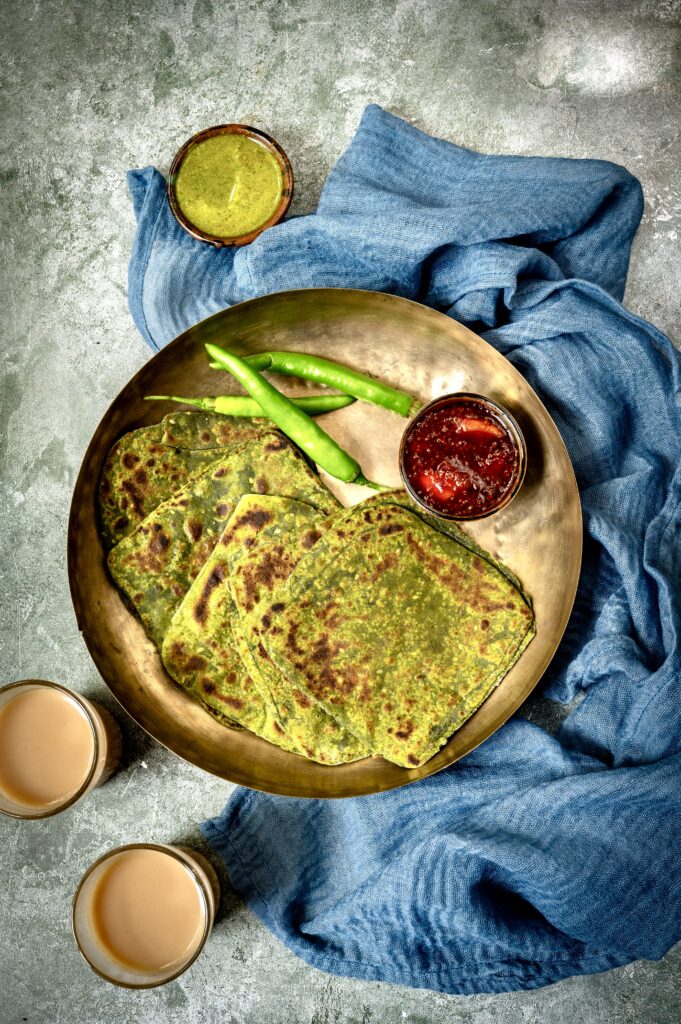
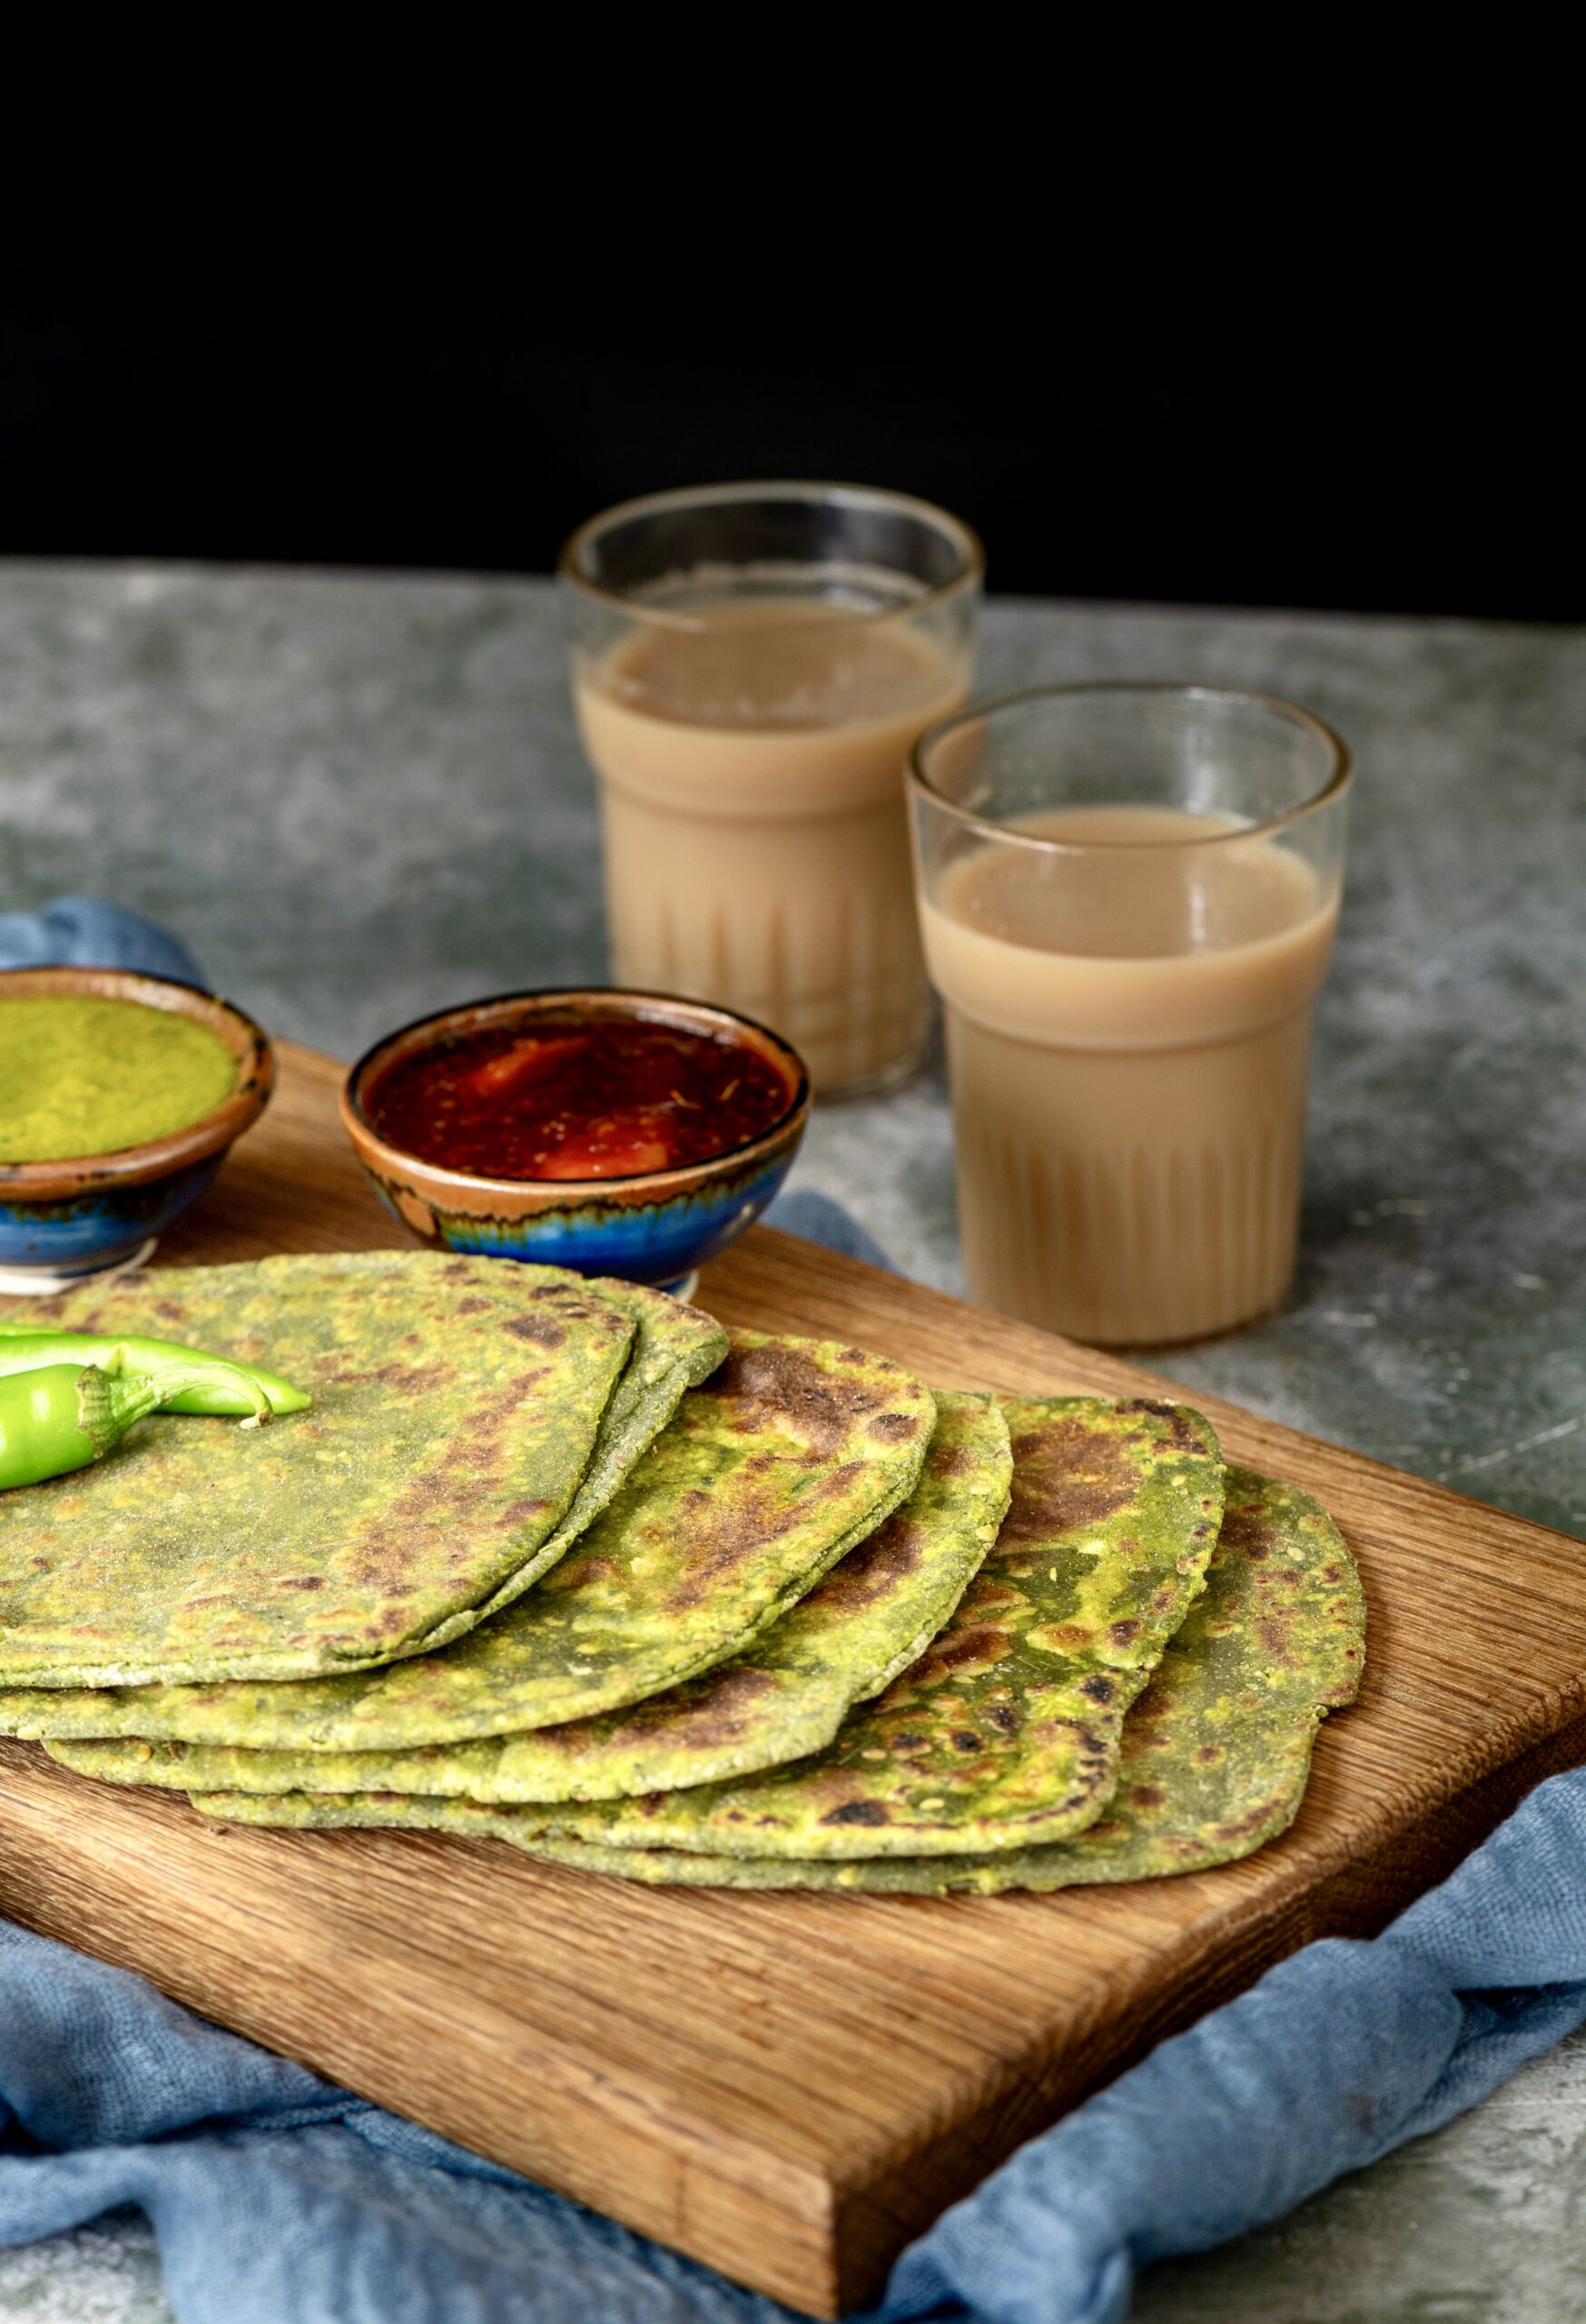
In my last post, I shared a recipe for a delicious stuffed paratha using radish, something I first began enjoying on my trips to Delhi. Today, I share another paratha, but this one is made differently. This lovely vegan palak paratha (using spinach) is a healthy upgrade on your regular parathas, and is perfect for those who often eat flatbreads at home.

The spinach is blended into the dough directly, which gives this paratha a lovely green colour. This also means that it is an excellent way to get people to eat their greens – not just school-going children, but even young adults or anyone who is picky about them, really. I imagine that the very first palak paratha must have been put together by an inventive mother who was trying to trick her kids into getting more nutrition. So this recipe is dedicated to everyone who is on a quest to serve healthy food to their children. Another thing that helps is to make the parathas in an unusual shape, to add a touch of fun.
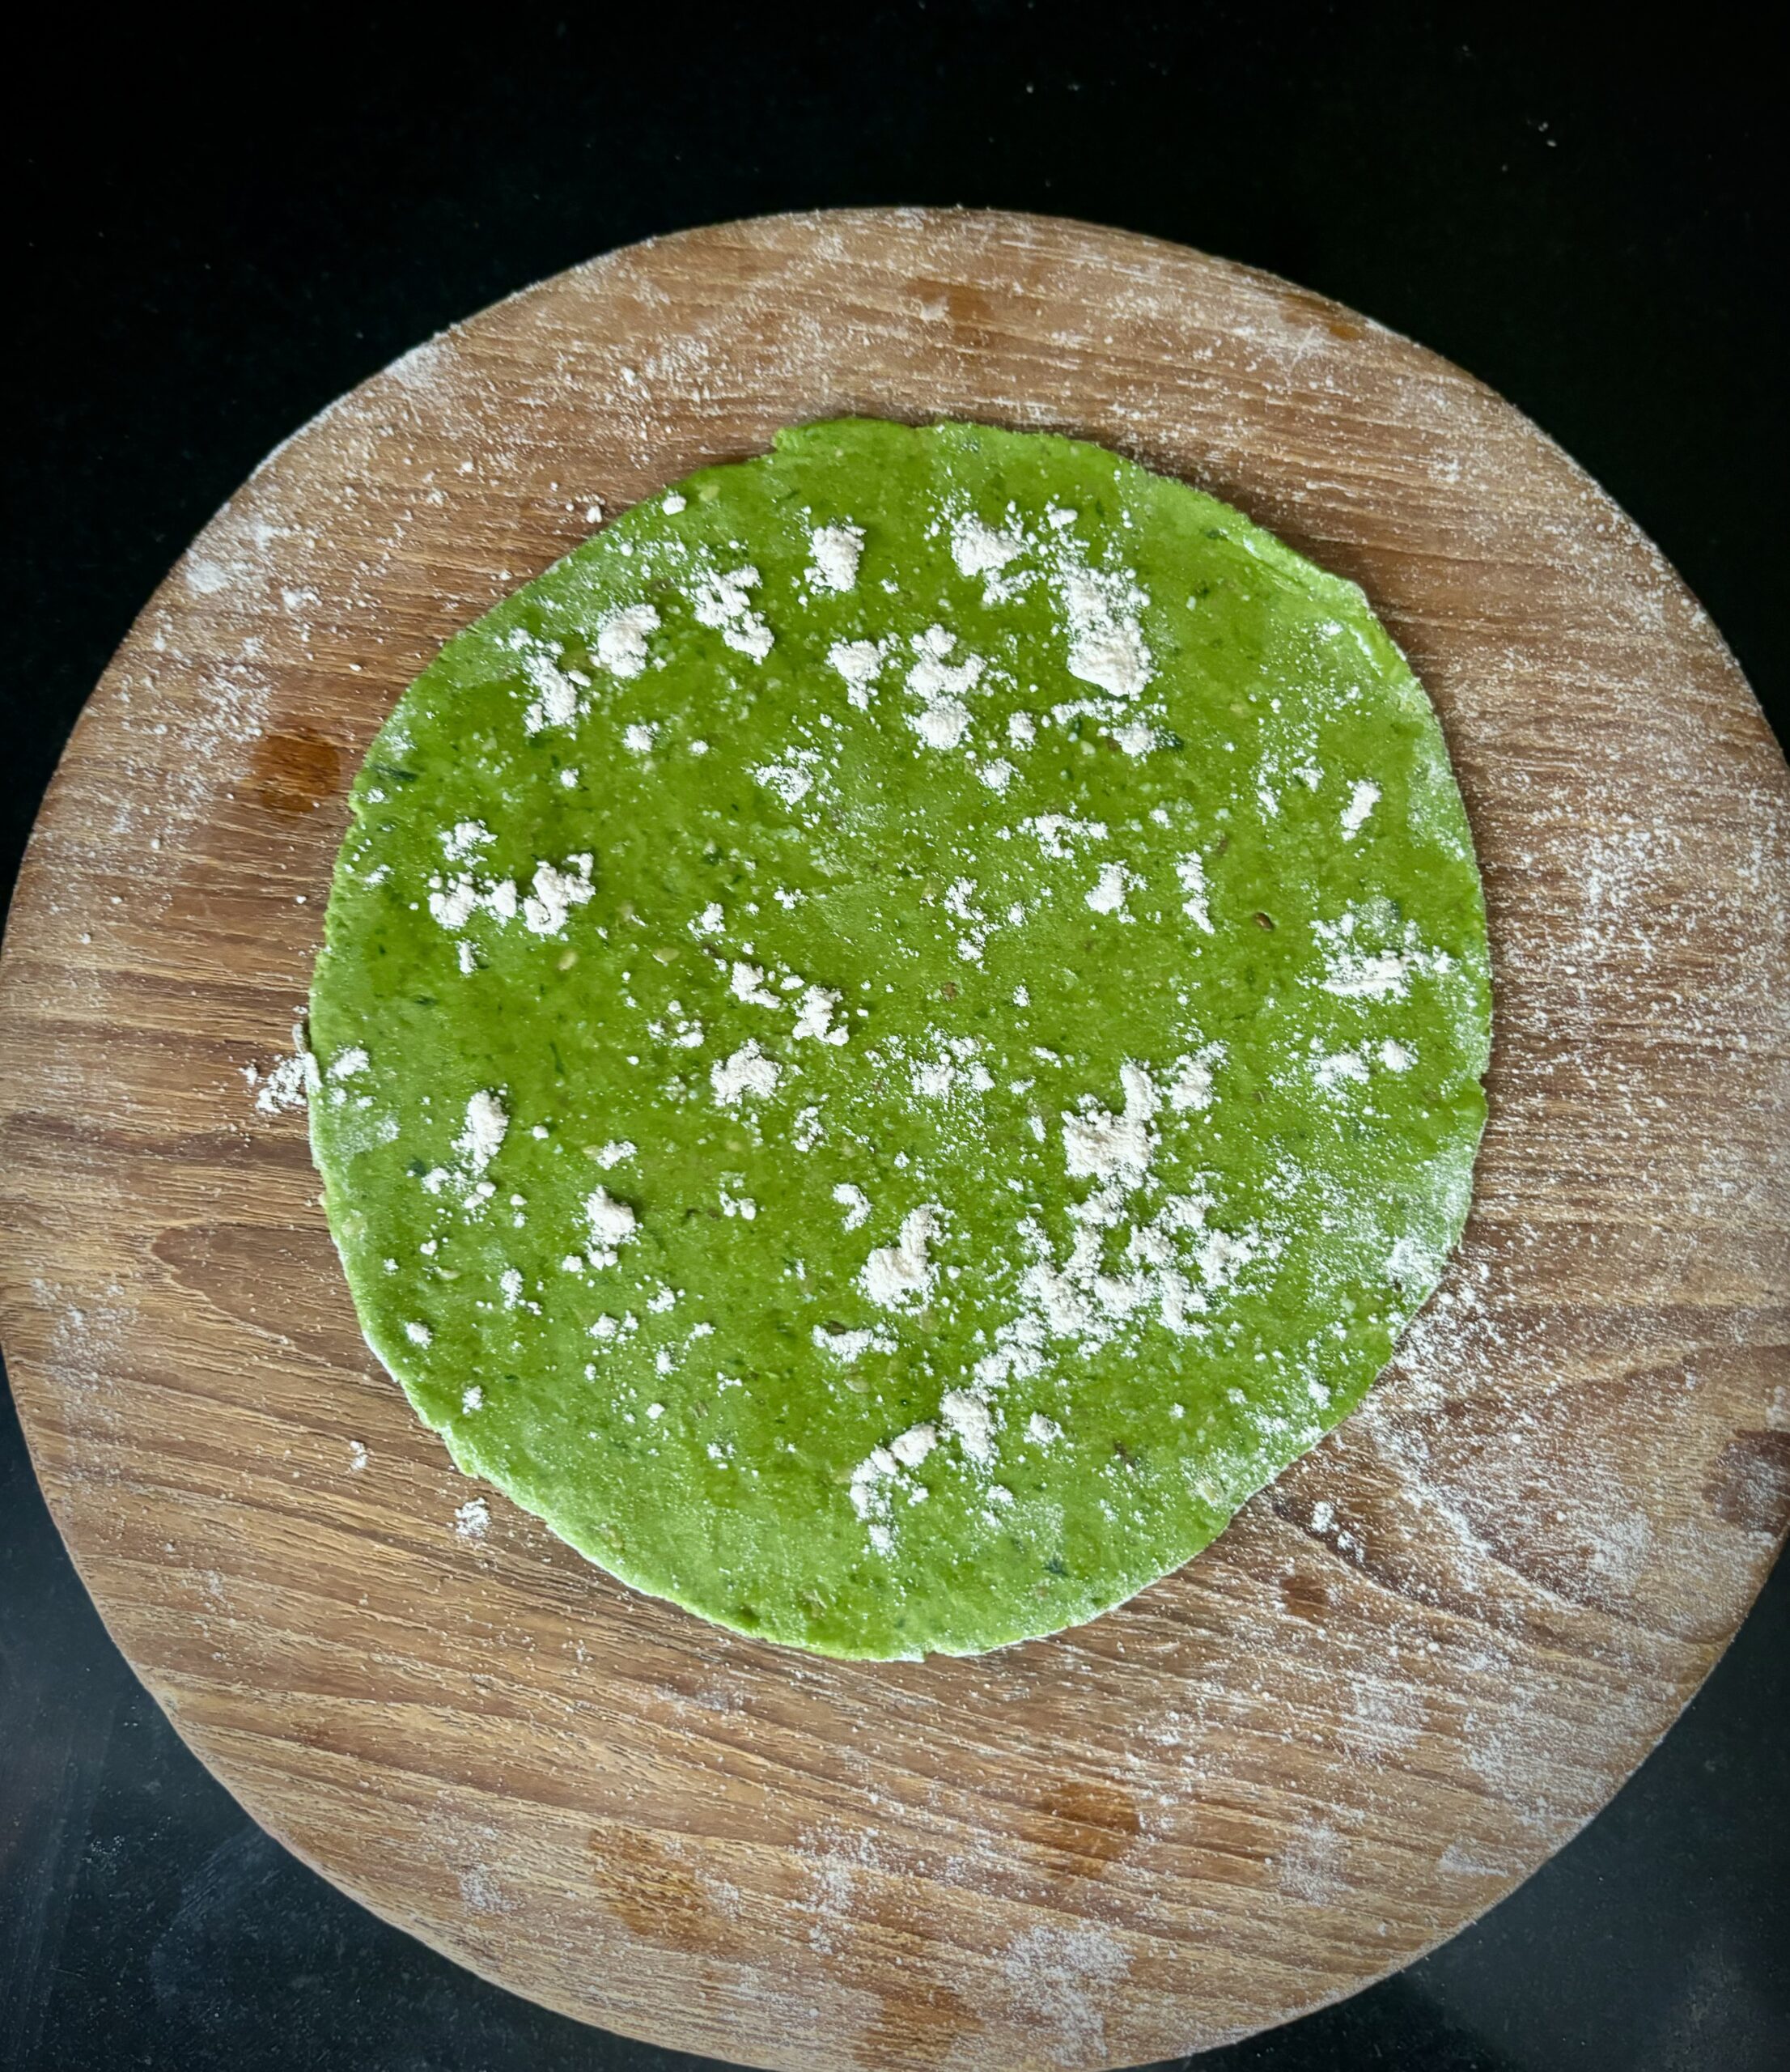
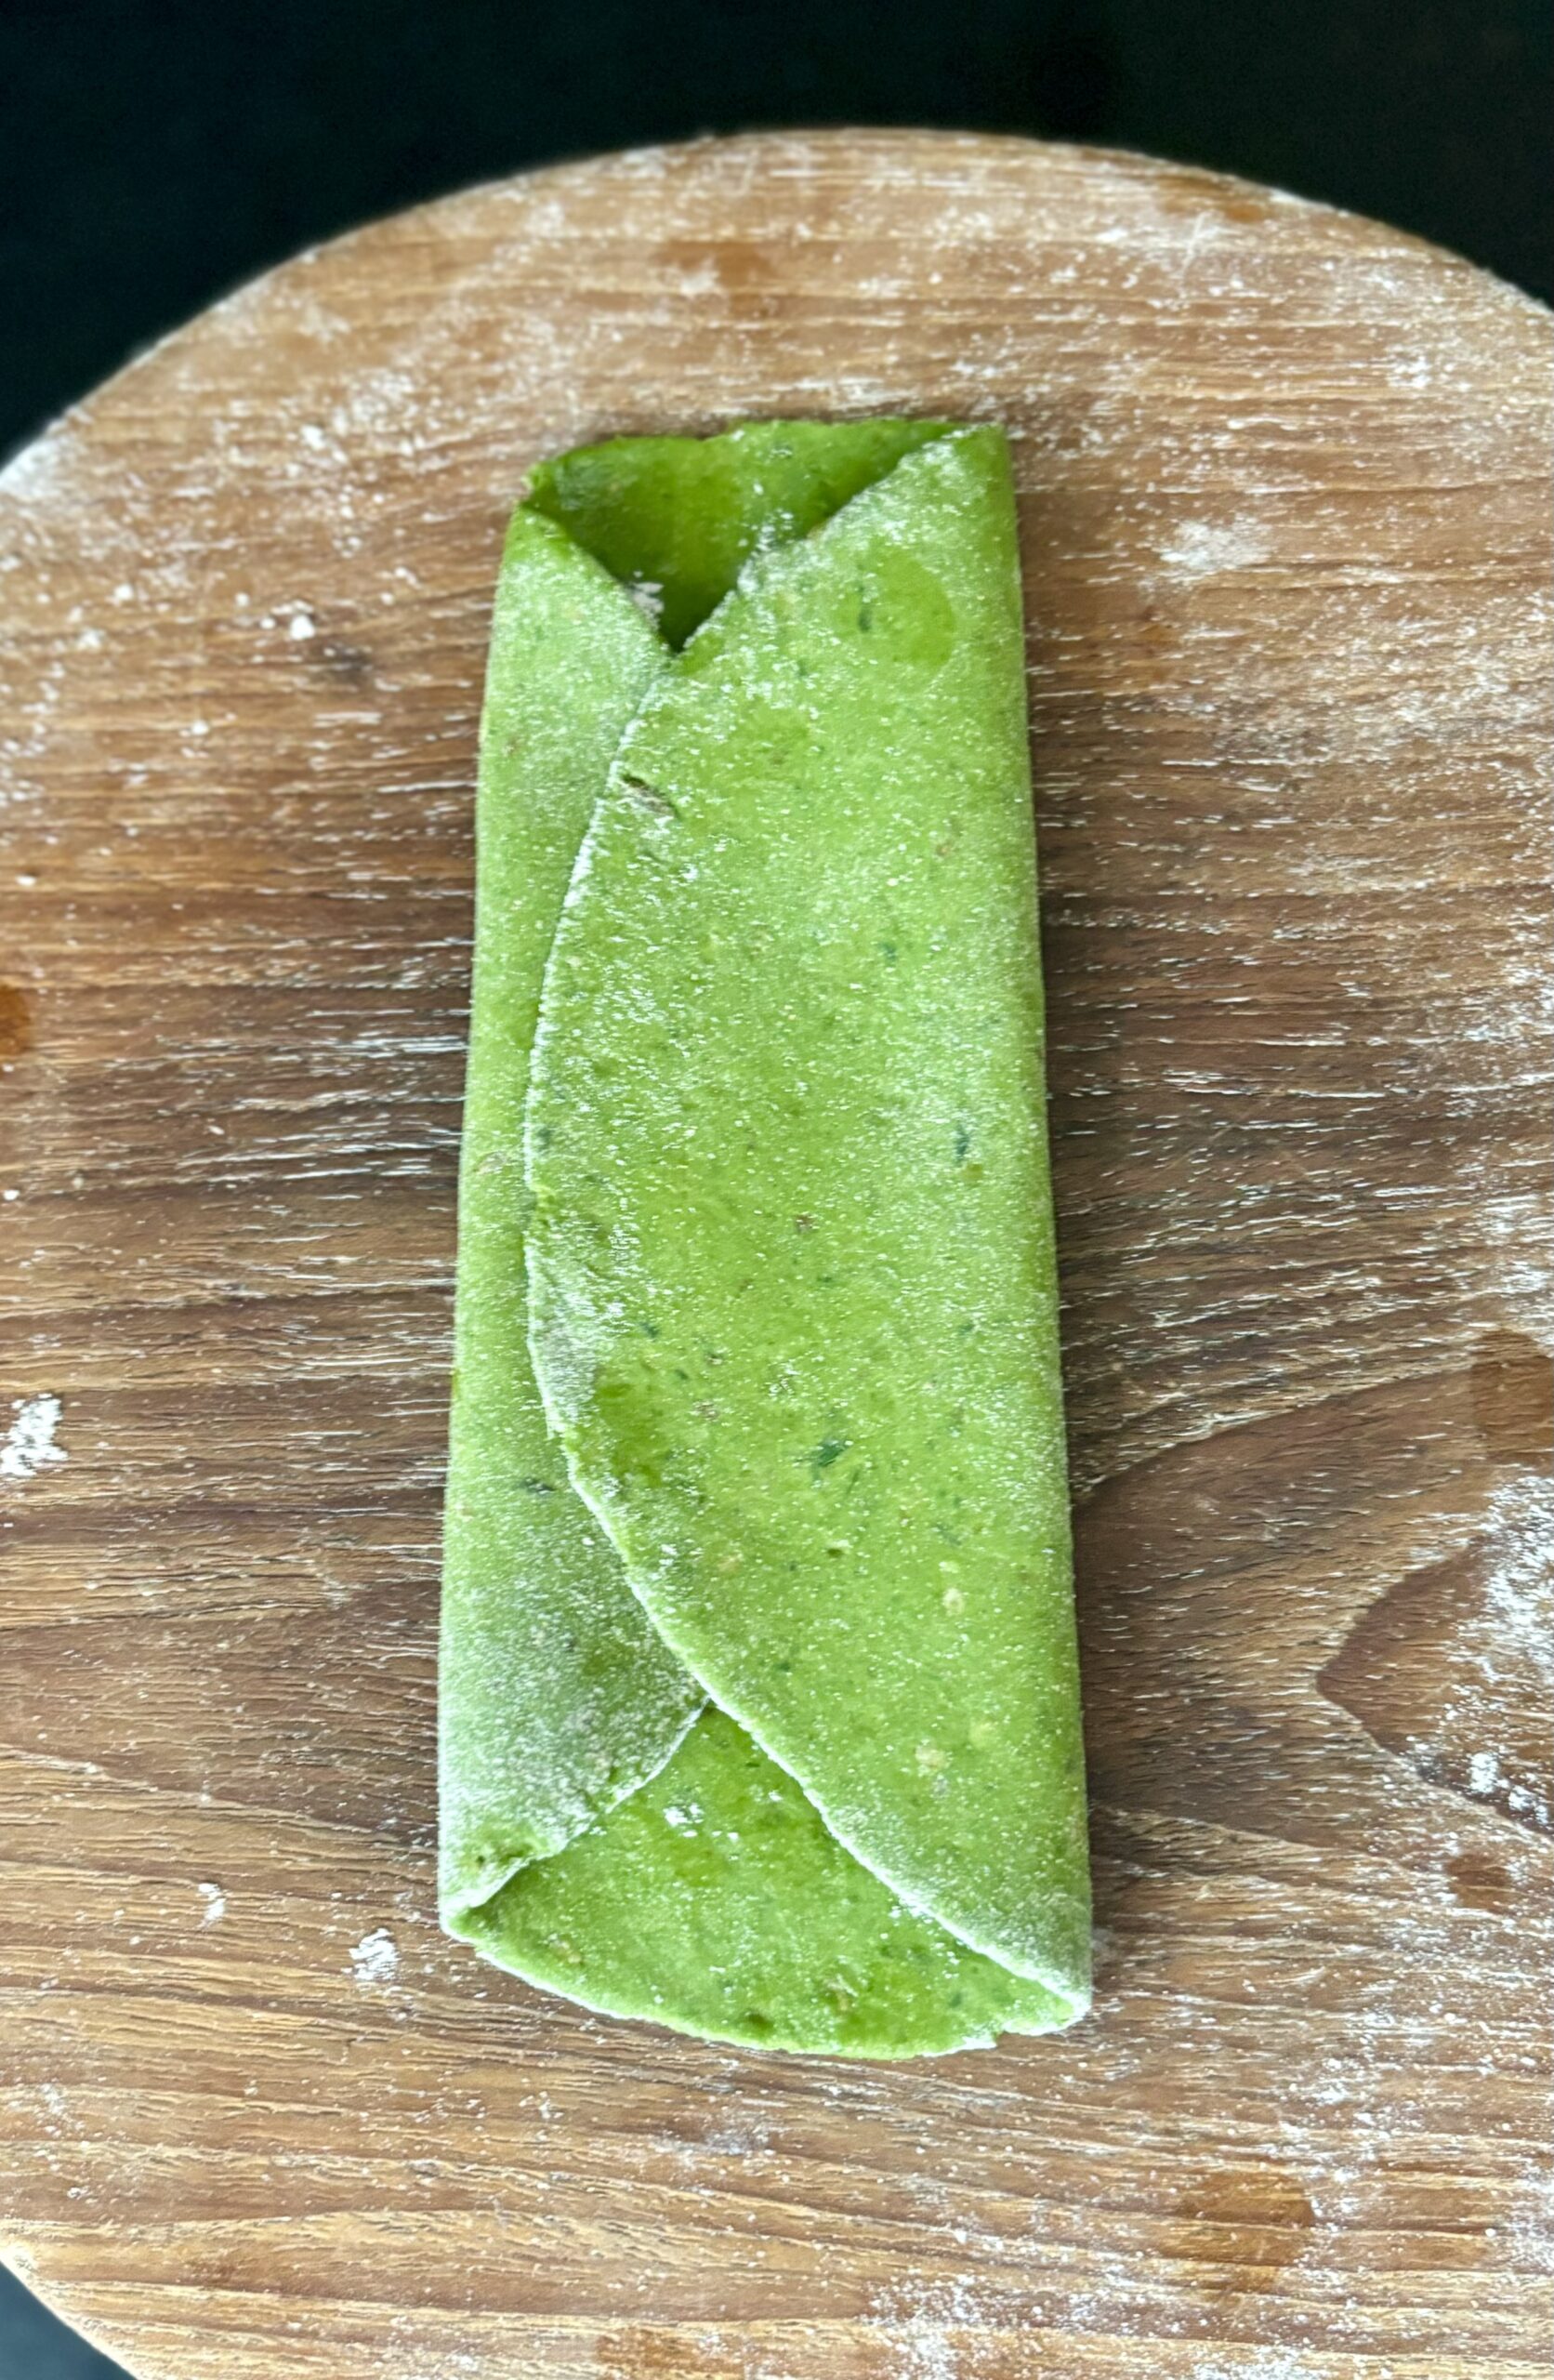
You would think that I would have lots of childhood memories of palak paratha myself, but I don’t, and the reason is that my mother didn’t resort to this particular trick. Two or times a week, some kind of leafy vegetable would be spooned onto our plates, and we just had to eat it. That was that. Growing up in South India, this meant that a large selection of seasonal greens was a part of our diets. I may have made a fuss about it as a child, but I am grateful for it now. As I got older, I began to genuinely enjoy the different varieties of local spinach, and I understood just how much our bodies love the chlorophyll too. If you’d like to explore a few dishes that utilise South Indian greens, you could also take a look at my recipes for purslane dal and araikeerai vadai.

Speaking of stuff that’s good for you, I like to make these palak parathas with ghee, which has begun to shake off its bad reputation and is now being embraced everywhere as a superfood. That’s right, our humble ghee that we health-conscious Indians shunned is back with a bang, and is being acknowledged as being not just tasty but also nourishing. However, I have provided the recipe below with oil so that it remains vegan. Substitute accordingly, if you prefer.
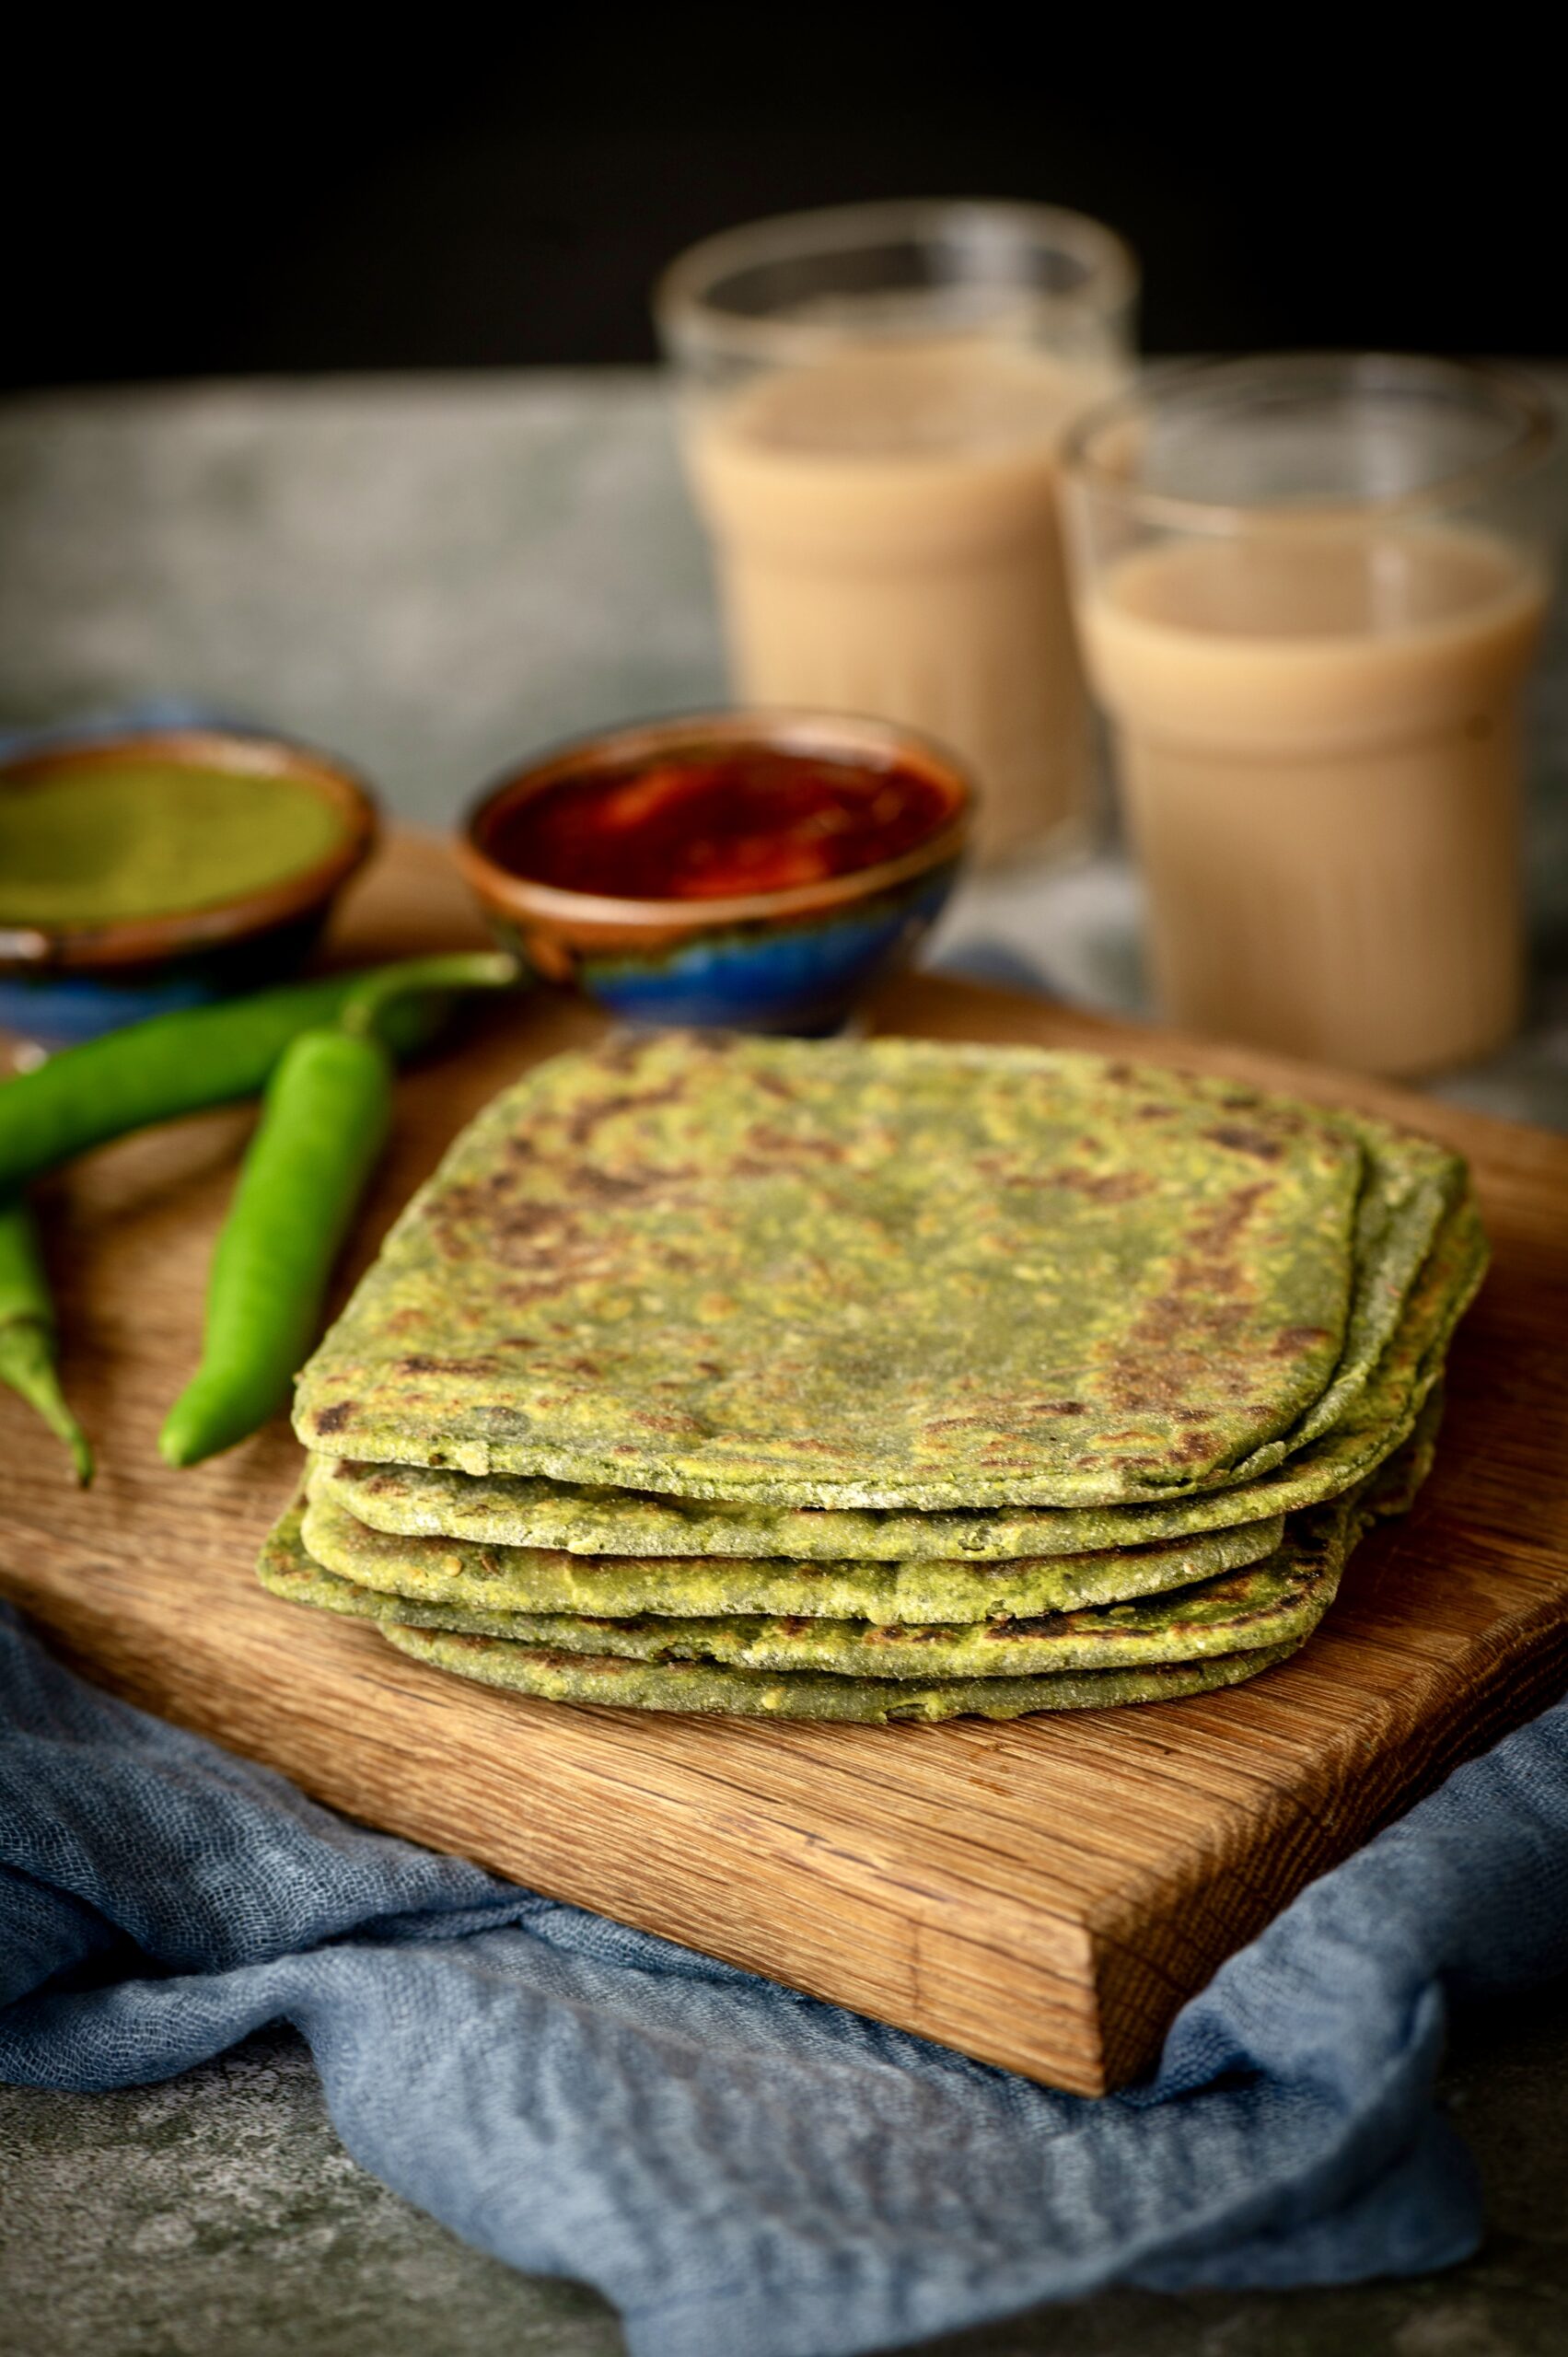
Visually appealing, full of goodness and so very delicious – what more could you ask of this dish?

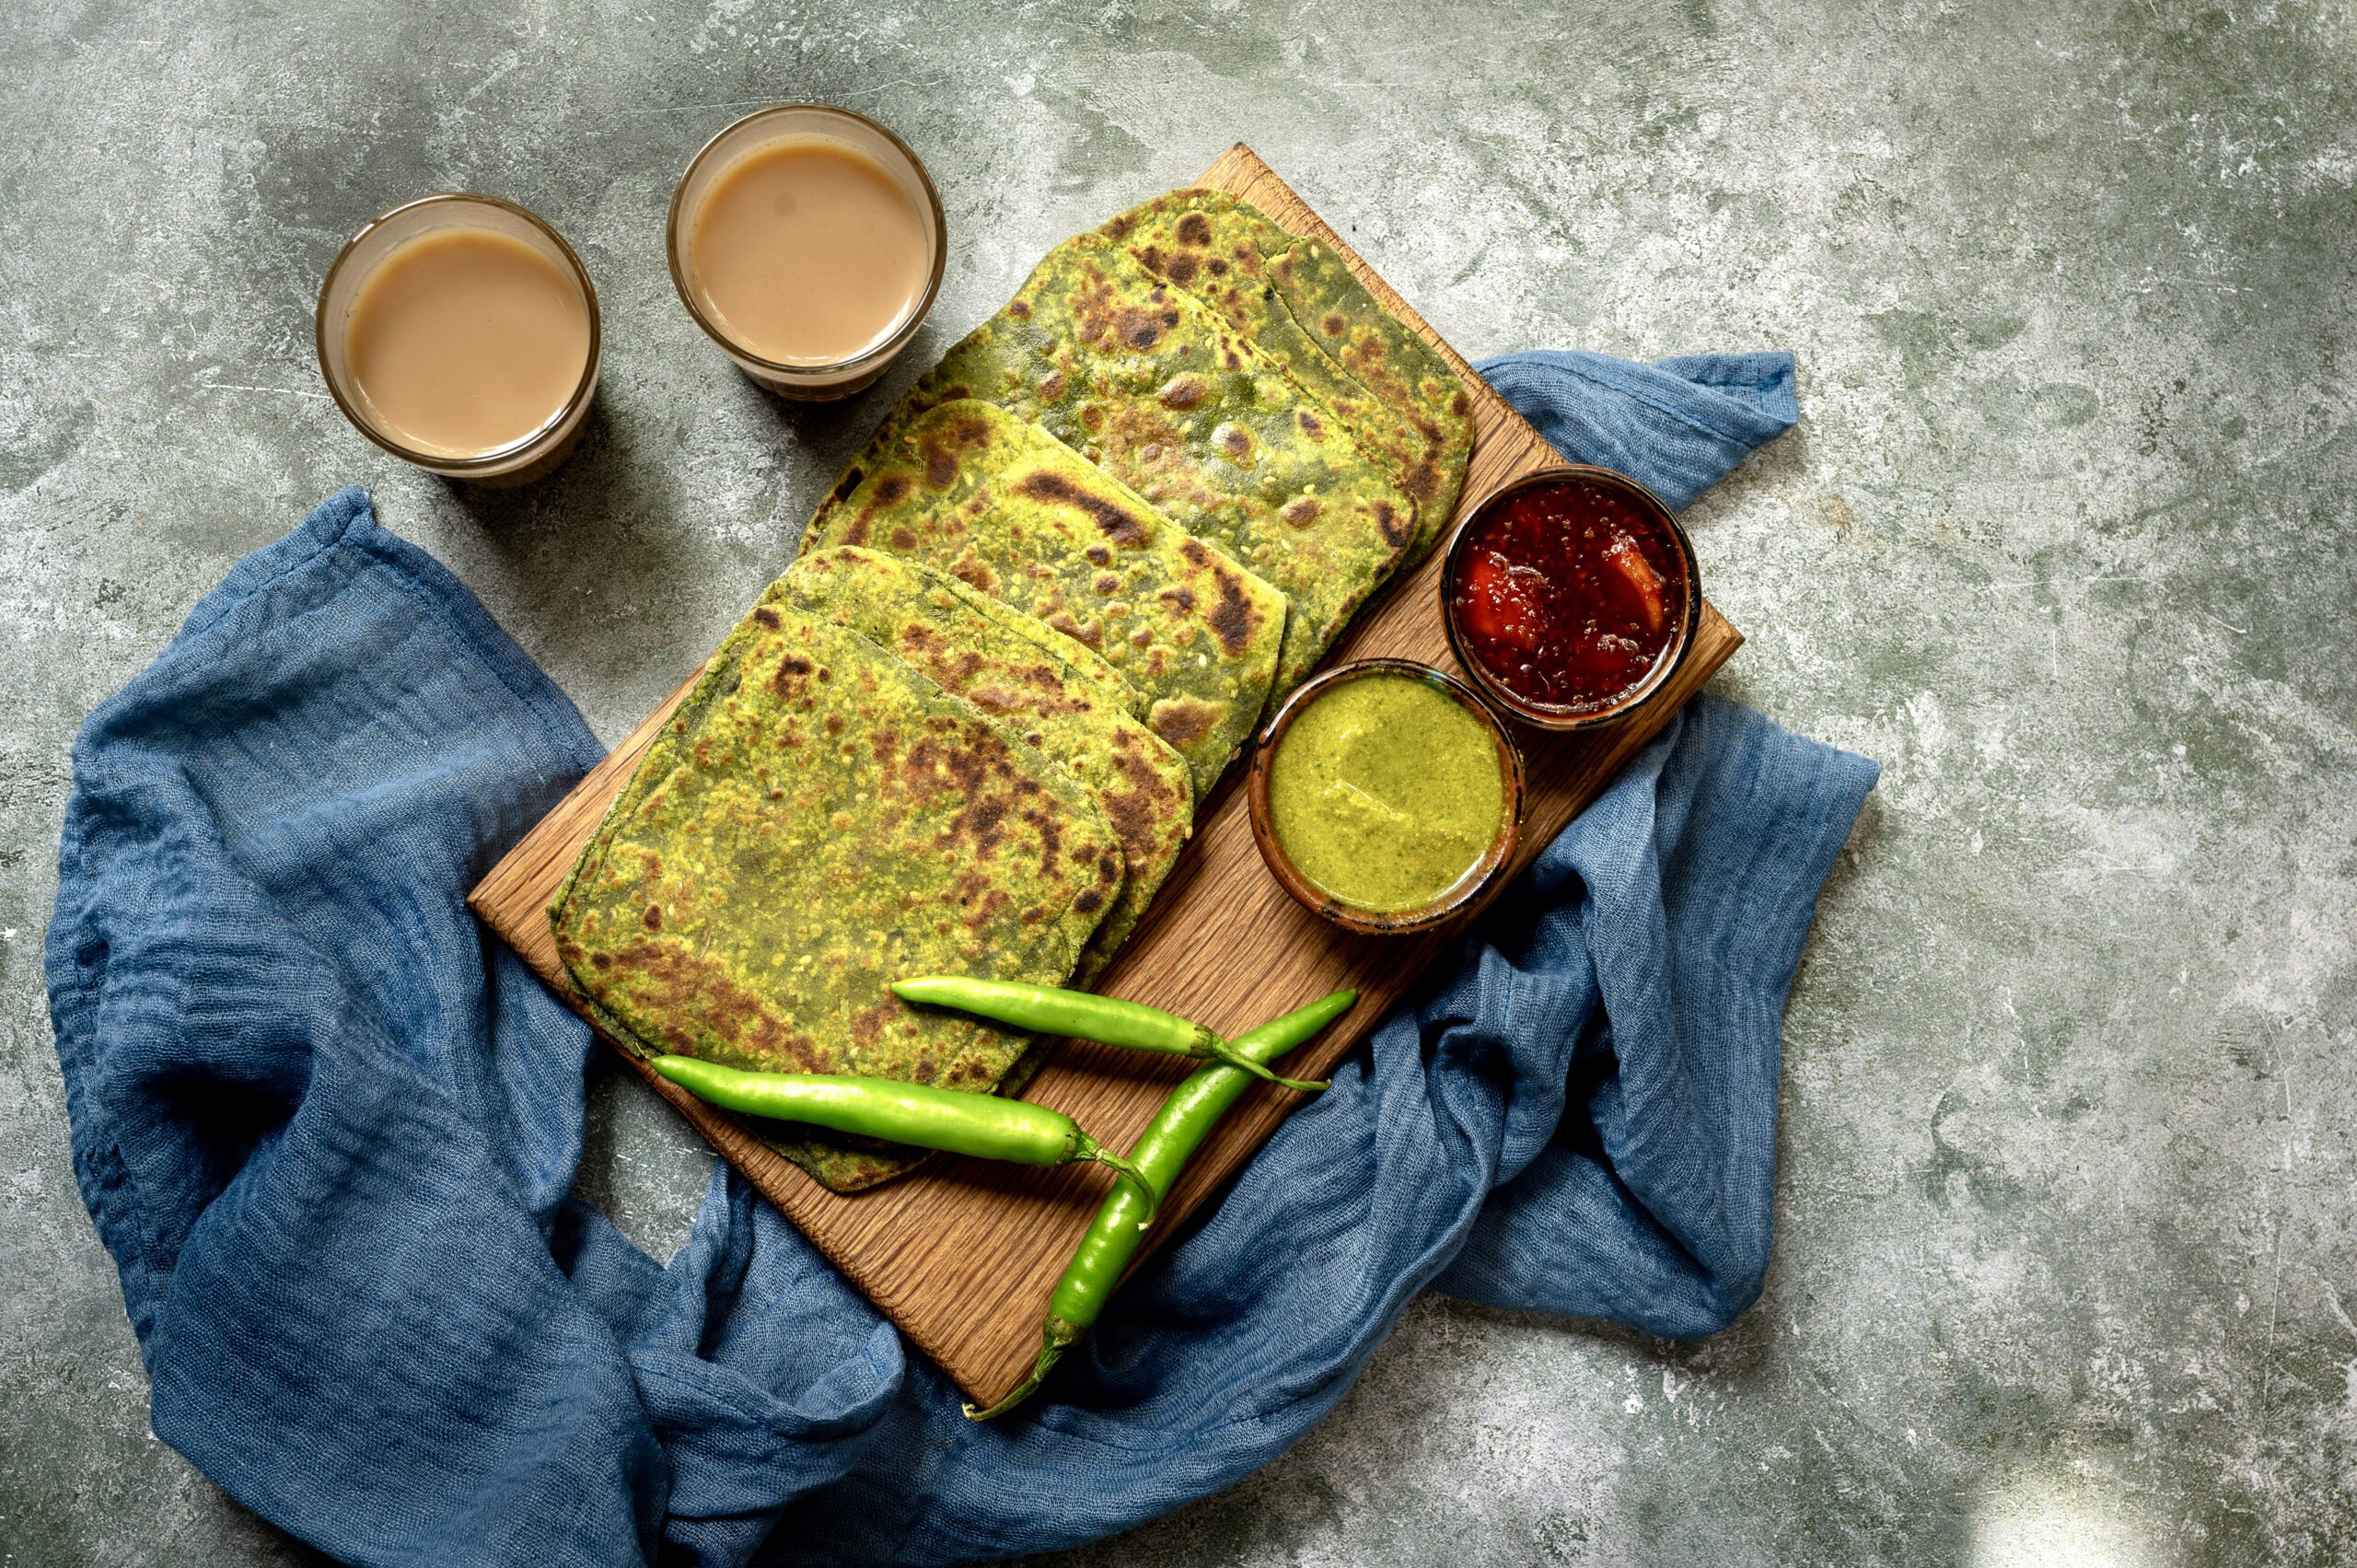
I feel that this palak paratha is best eaten hot off the griddle, and it goes very well with a dry roast paneer (which I will share the recipe for soon). A dal will also pair nicely. Sometimes I have this with a small bowl of tomato soup and a few scoops of that paneer stir-fry, and everything that’s on my table looks so beautiful. The reds, the greens and the aroma of them all together make for a gorgeous meal, in every way.
Palak Paratha

(Yield: 8 pieces)

1 bunch palak (spinach)
1½ cups whole wheat flour
1 teaspoon cumin seeds
1 teaspoon sesame seeds
Salt to taste
A pinch of turmeric
A handful of coriander leaves
1 tablespoon green chili ginger paste
1 teaspoon aamchur (raw mango) powder
2 teaspoons oil
Oil for cooking

Clean the spinach thoroughly. Put the spinach in hot water for a minute. Squeeze, remove and immediately place it in cold water. This will help retain the colour of the leaves. Squeeze the water out.

Place the squeezed spinach in a blender jar and add cumin seeds, a pinch of turmeric and coriander leaves. Blend. This will give you a ¾ cup of spinach purée.

In a bowl, add 1½ cups wholewheat flour.  To this add the aamchur powder, salt to taste, chili ginger paste, sesame seeds and 2 teaspoons oil.

Now, add the spinach purée to this mixture. Using your hands, make a smooth, pliable dough with the help of a few drops of oil. Cover and set aside for ½ an hour.

Make balls of the dough. With the help of dry flour, roll these out in any shape you desire. The paratha needs to be a little thicker than the regular rotis to get the most of the spinach flavour. Place on the griddle, and ensure both sides are cooked.

Serve hot with yoghurt or pickle or a vegetable of your choice.

If you’d like to explore more spinach recipes, do try out this spinach and corn bake and this spinach rice. As for parathas, my recent radish paratha and earlier peas paratha recipes may catch your fancy too!
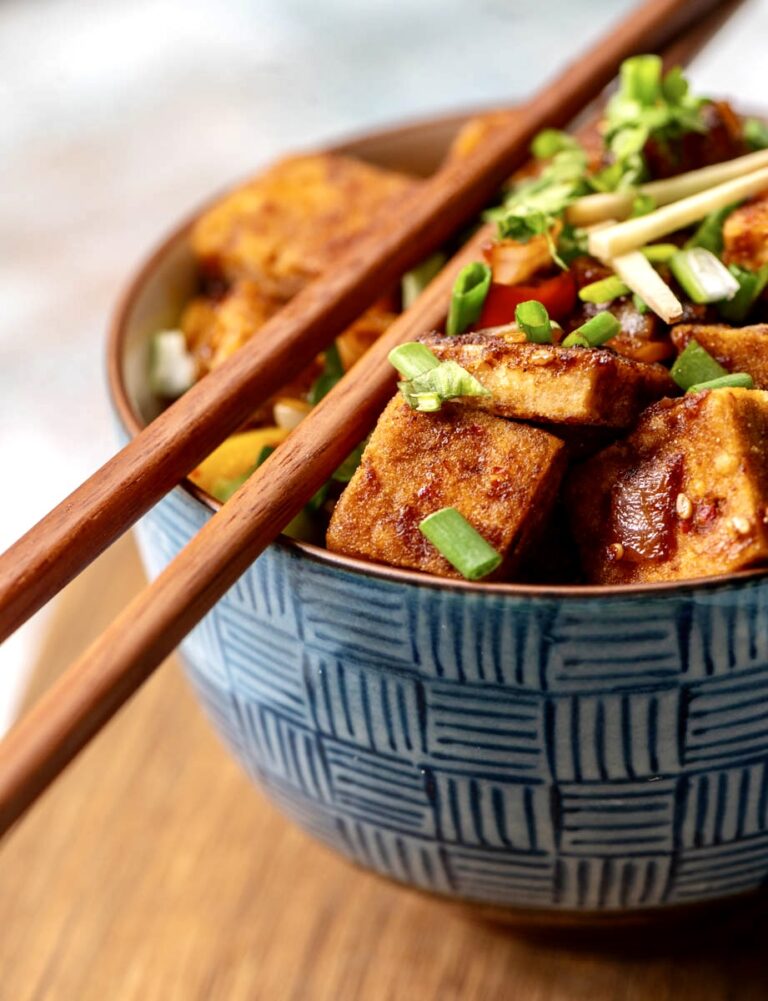
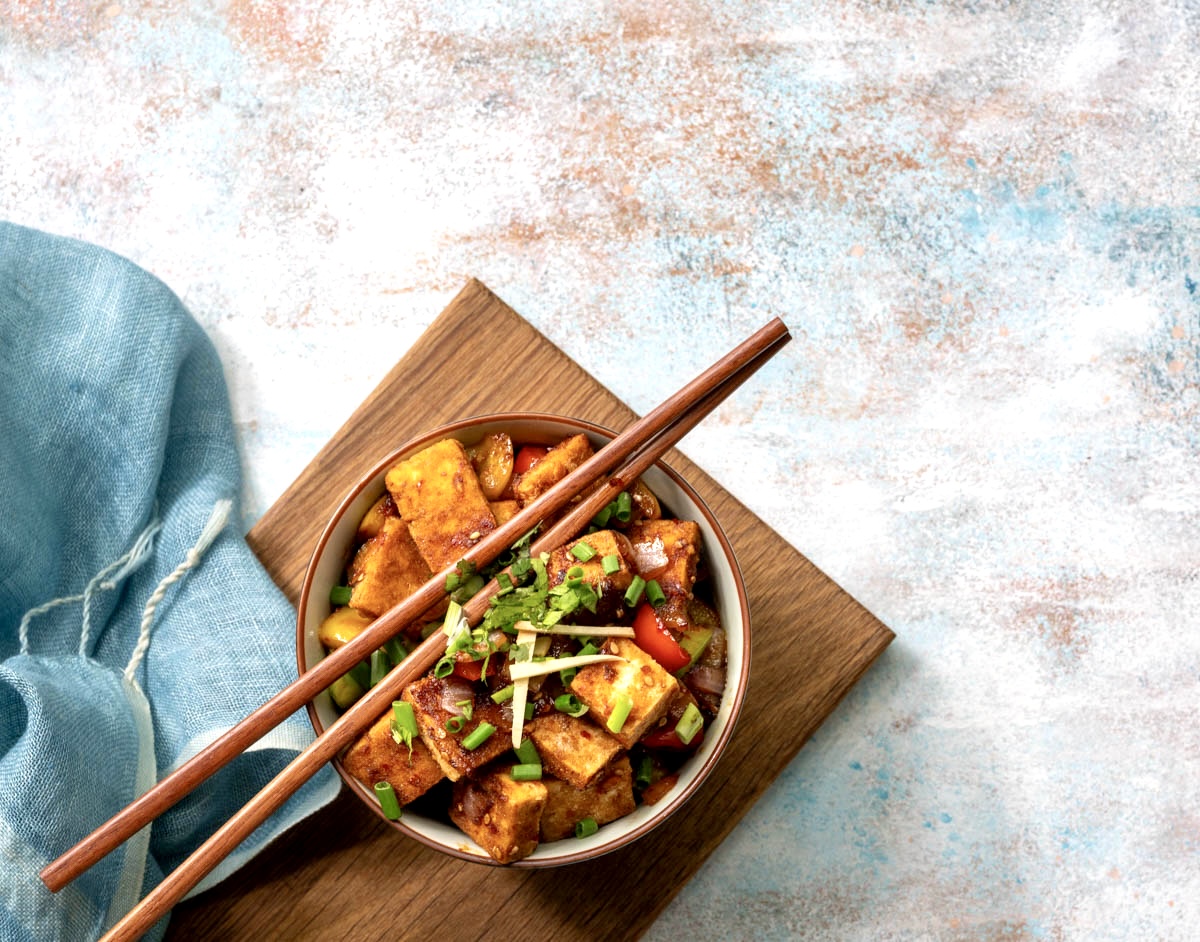
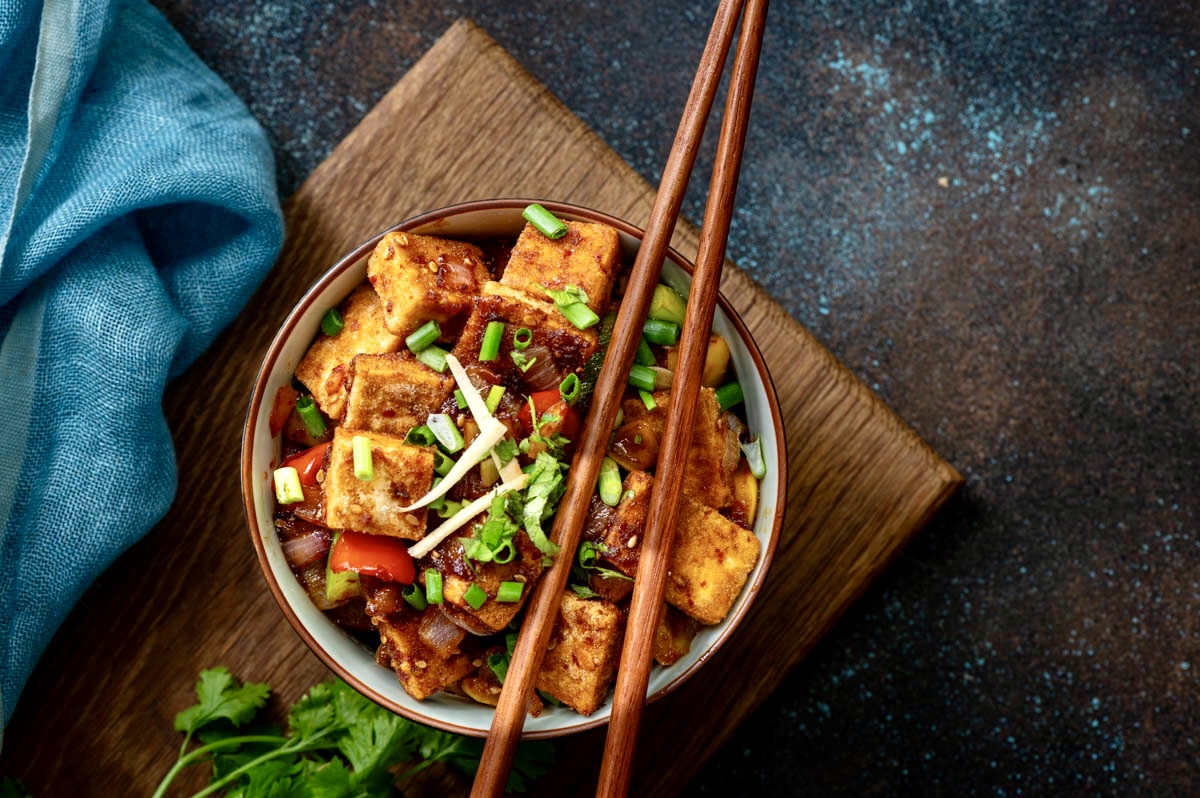
Recently, when sharing a recipe for tofu broccoli rice, I wrote about how tofu is a healthier replacement for paneer, which is an ingredient that vegetarian Indians simply adore. As mentioned there, tofu is not only higher in protein, but it is also lower in fat. Moreover, it helps those who are aiming for a vegan lifestyle or who are lactose-intolerant to avoid dairy too. Despite its reputation to the contrary, it can actually be very tasty. It all depends on the flavours you cook it with, and this chilli tofu is a perfect representation of exactly that.

You will probably be familiar with chilli paneer – a famous and ubiquitous dish on Indo-Chinese restaurant menus. This is essentially a more nutritious take on the same. I have mentioned in earlier posts that my daughter is a pro at Indo-Chinese as well as certain Asian cooking styles, and whenever she visits me, we love experimenting with these cuisines in the kitchen together. I made some trials of this one ahead of her next visit, and they came out great.

One significant difference is that I have only pan-fried the tofu rather than deep-frying it, which is what most Indian restaurants do when they do serve tofu. Lately, wherever I’m able to find it while dining outside, I have been opting for mapo tofu, in which the tofu remains soft and is marinated rather than cooked. It may be an acquired taste, but it is enjoyable. This pan-fried version meets both those methods in the middle, and results in a lovely dish.

Me being me, ever inquisitive about cooking techniques and all things food, I couldn’t resist giving making my own tofu a shot. I had tried making soya milk once before, and that didn’t work out, so I was thrilled that my tofu turned out well. I prepared it using soya beans and a coagulant called nigari. Perhaps I will share the recipe for this in future too.

Of course, readymade tofu will work just fine to prepare the recipe below. It’s just that in my case, tofu has been making an appearance on my plate more and more often, and for this reason I became intrigued about whether I could make it at home. I really love knowing exactly what goes into a dish, rather than always relying on store-bought items which may be processed in certain ways or contain unhealthy ingredients.

That said, I have noticed that the Indian market continues to expand with more options for all of us who want to increase our protein intake. For instance, there are now homegrown as well as imported brands selling tempeh here. You can cook tempeh using the method below, too.

Another ingredient that I hope to see in the shops soon is seitan, which was invented by Buddhist monks in East Asia who were on strictly vegetarian diets. While it contains gluten, seitan is also good for those who are trying to cut down on their meat consumption, as it is known to have a similar taste and texture, and is even called “wheat meat”. It is made of whole wheat flour that is stripped down, through a repetitive process, to its protein strands. I learned to make it when I was a student of Macrobiotics, but the process is rather long and the outcome is a large quantity. I’m the only one at home who wants to eat seitan, so it isn’t worth my while to make it myself.

Just like tofu has become more widely available, I am sure that tempeh and seitan – as well as other exciting options – will also become popular in time. So many of us are more health-conscious and are eager to explore new tastes. As I’ve said before, replacing our regular paneer with some lovely tofu is a great place to start. Which brings us back to today’s recipe…

Chilli Tofu

(Serves 2)

1 tablespoon rice flour

125g of tofu

½ cup bell pepper (finely chopped)

2 tablespoons spring onion (finely chopped)

½ teaspoon red onions (finely chopped)

½ teaspoon ginger (finely grated)

4-5 cloves garlic (crushed)

1 teaspoon chilli paste

1½ tablespoons soya sauce

2 tablespoons hot water

1 teaspoon vinegar

1 teaspoon lemon juice

1 teaspoon brown sugar

Chilli flakes (to garnish)

Coriander leaves (to garnish)

½ teaspoon sesame seeds

1+1 tablespoons sesame oil


Cut the tofu into the desired size. Coat the tofu pieces with the rice flour and allow to sit for 30 minutes.

Heat a pan and add 1 tablespoon of sesame oil. Once the oil is hot, add the tofu and sauté until the pieces are golden brown on both sides. Remove from the pan and set aside.

In the same pan, add 1 tablespoon of sesame oil. Once the oil is hot, add the sesame seeds and then the ginger and garlic. Sauté until they release their flavours and then add bell peppers, spring onions and red onions. Sauté on a high flame.

Now, add the golden tofu to the sautéed vegetables. Add soya sauce, hot water, vinegar, brown sugar, chilli paste and lemon juice and stir together until all the flavours mix well. Garnish with spring onions, chili flakes and coriander leaves.  Serve immediately as an accompaniment, usually to rice.

I hope you’ll enjoy this chilli tofu, which is simply bursting with flavours. It makes a beautiful addition to any high protein diet, especially for vegetarians and vegans. While most of the posts on this blog are vegetarian, if you are a vegan, you may want to explore some more recipes here.

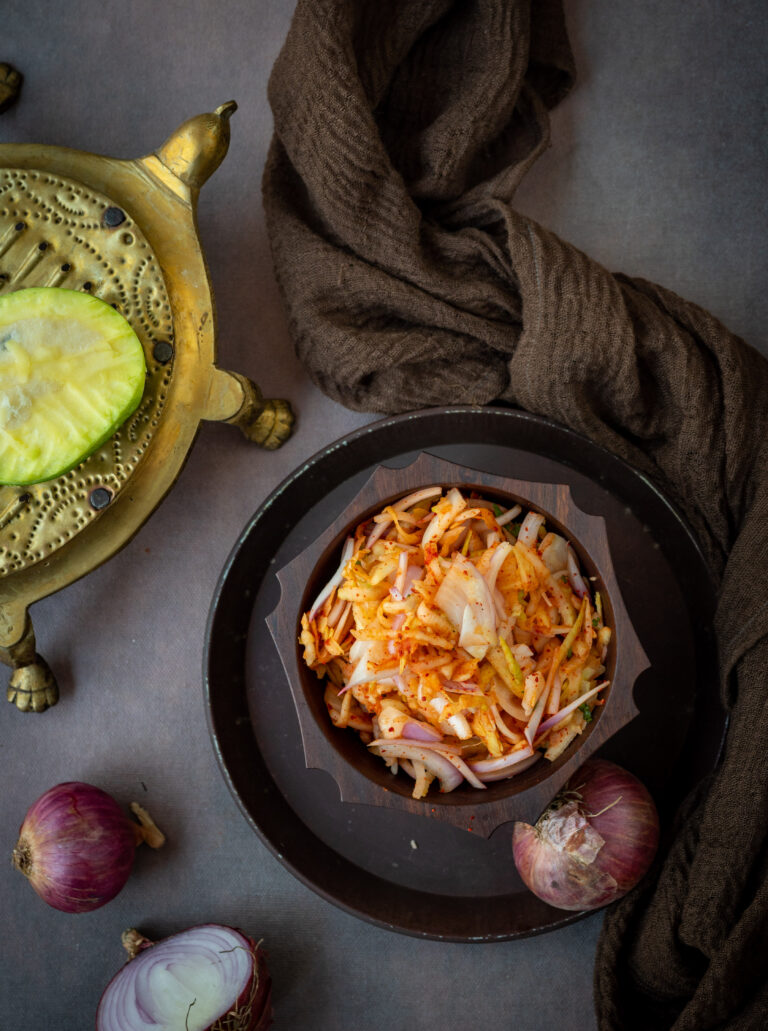
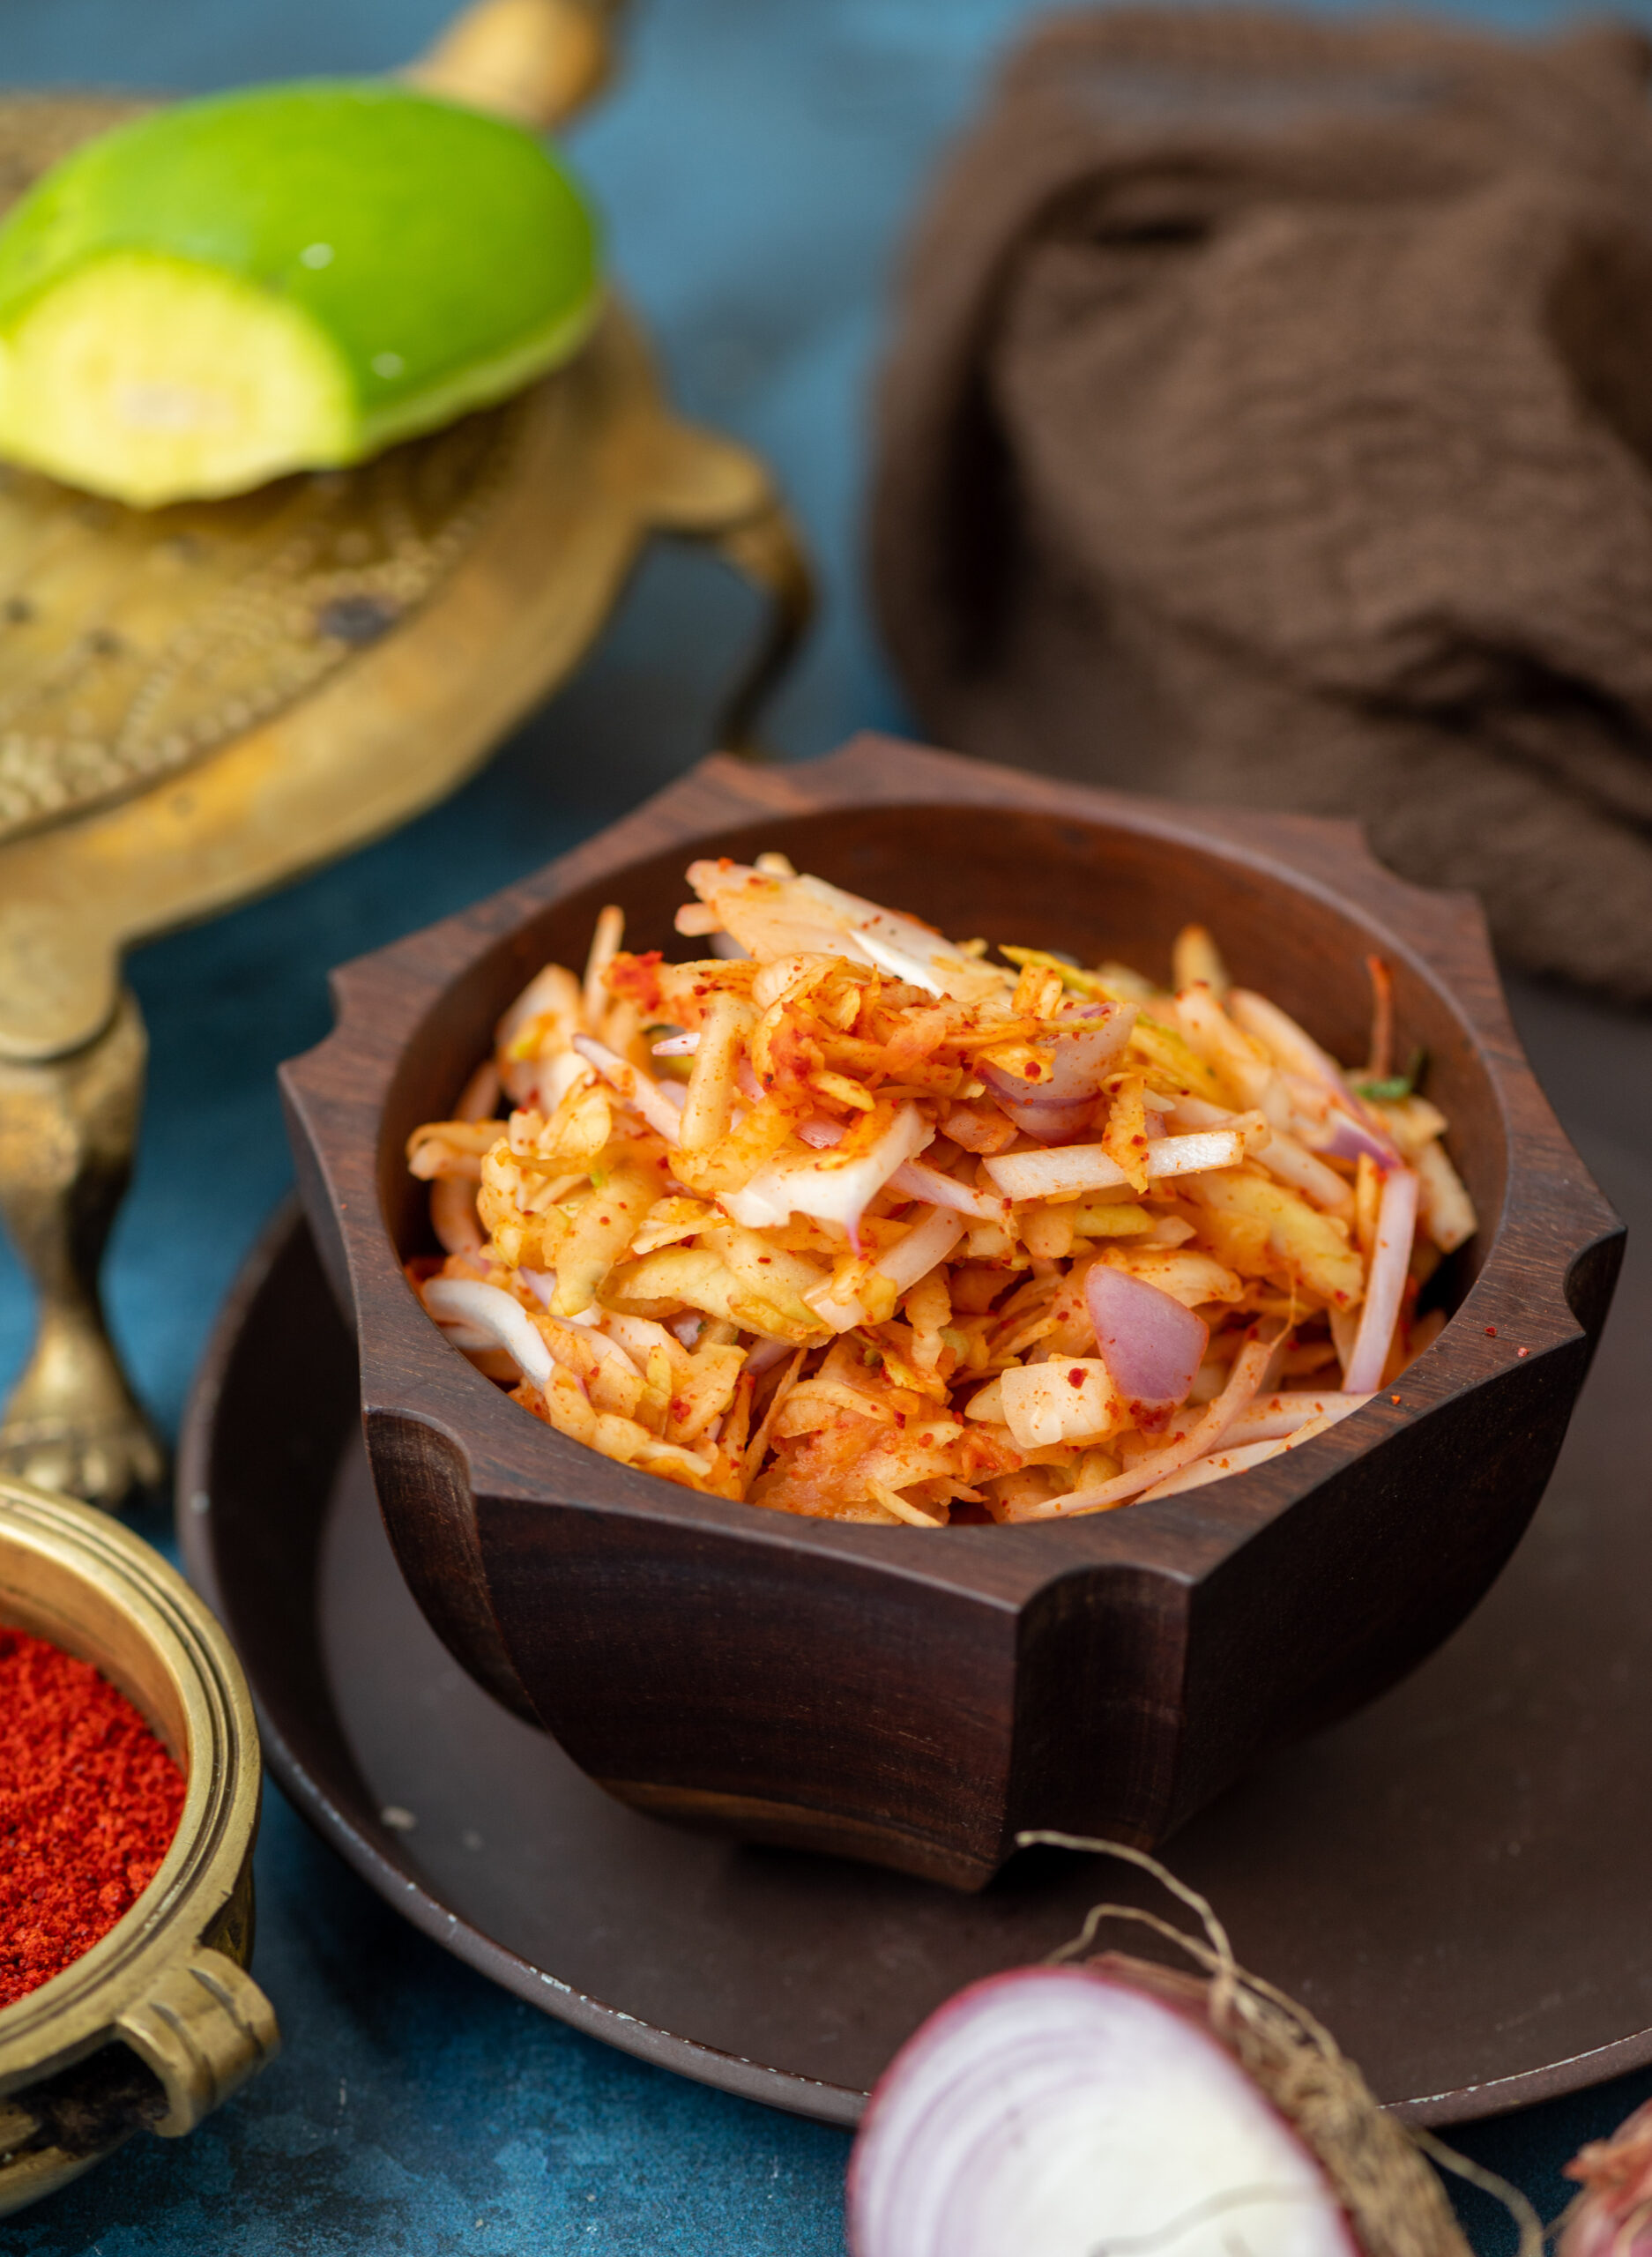
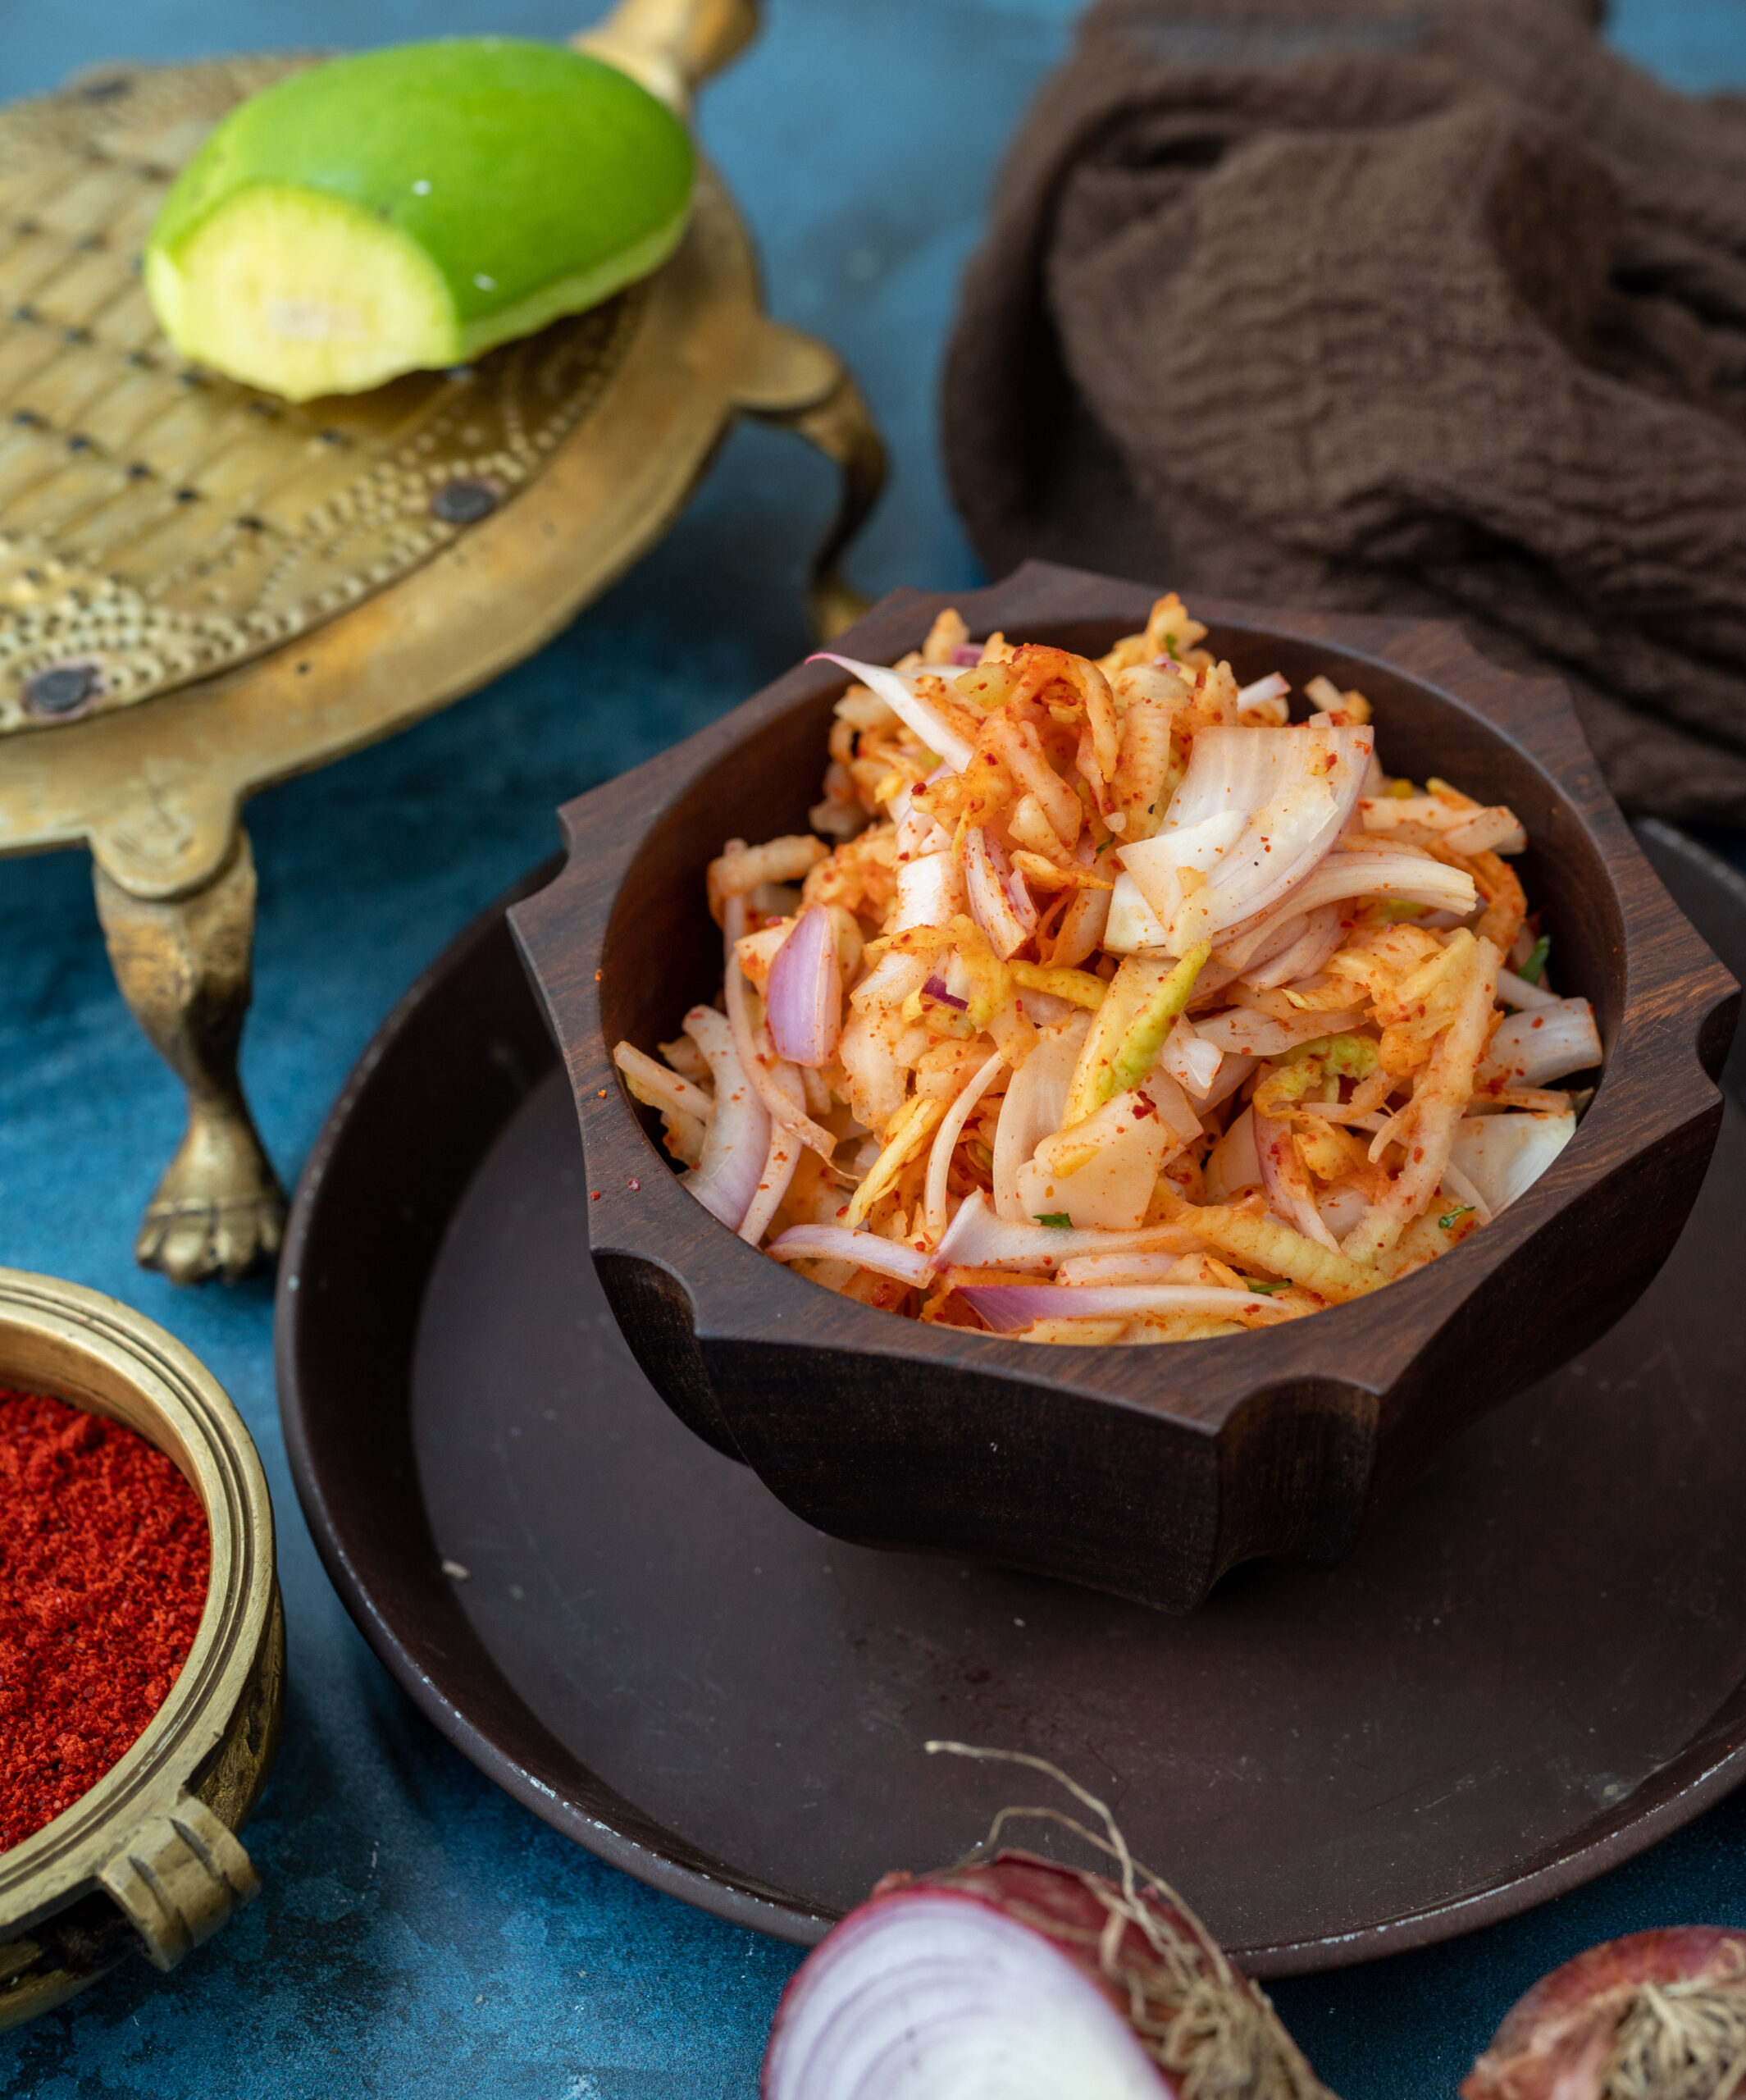
Kanda kairi is a traditional Gujarati condiment, but it is eaten in such large quantities in my home that it almost qualifies as a sort of salad. It features only two basic ingredients, as its name attests: onion (or kanda) and raw mango (or kairi). So it is remarkably simple to put together, and tastes great by itself and as an accompaniment.

Across Gujarati homes, you’ll find some kanda kairi being served on any thaali at this time of year. Similar to how buttermilk is a staple in the summer, so is this dish. It’s quite interesting how the kanda kairi has a reputation for being a cooling condiment, given the ingredients involved. Yet somehow, the combination works for this purpose. I recall how when I was growing up, my mom would insist that my siblings and I have a tablespoon of it daily during the hot months. I used to make a face every time, but now I do the same thing, and I love it.

Aside from onion and raw mango, I like to elevate the flavour with a bit of jaggery (which you don’t need if the fruit you use has a hint of sweetness), as well as some chilli powder. In India, we love to add that spice to raw mangoes as well as to guavas, as it adds a delicious edge.

Kanda Kairi

(Yield: Serves 2-4)

1 cup raw mango (grated)

½ cup onions (finely sliced lengthwise)

2 tablespoons coriander leaves (finely cut)

Salt to taste

1 teaspoon powdered jaggery

½ – 1 teaspoon red chili paste


In a bowl, add the raw mango and onions and coriander leaves. When ready to serve, add the salt, jaggery and chili paste. Mix well and gently, using your hands.

Your kanda kairi is now ready. Enjoy it as a salad or condiment. To me, it’s a bit of both – and so easy to bring together!

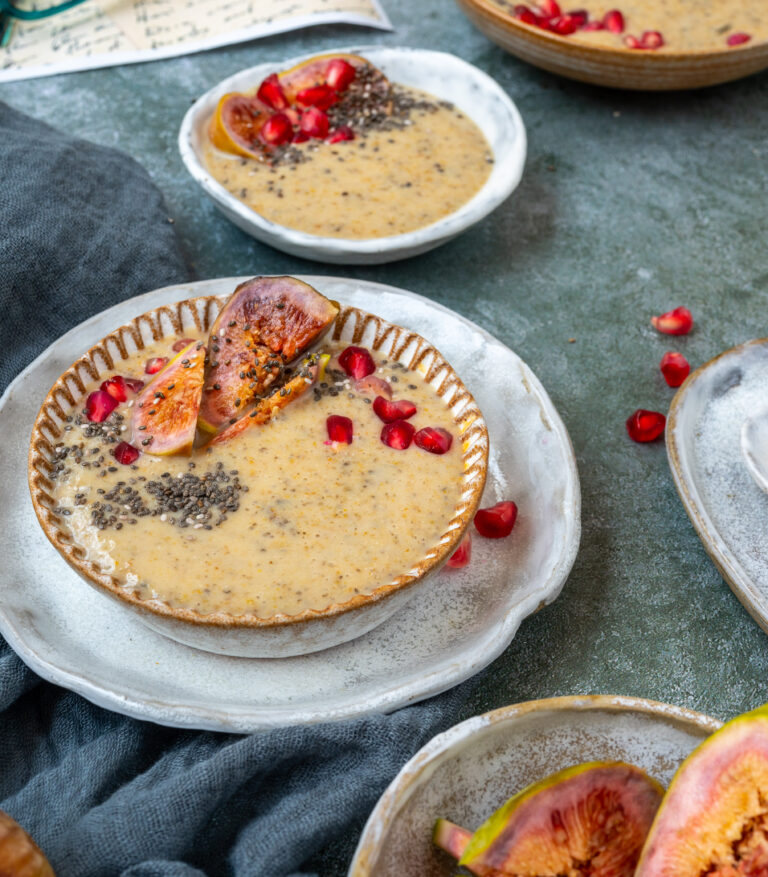
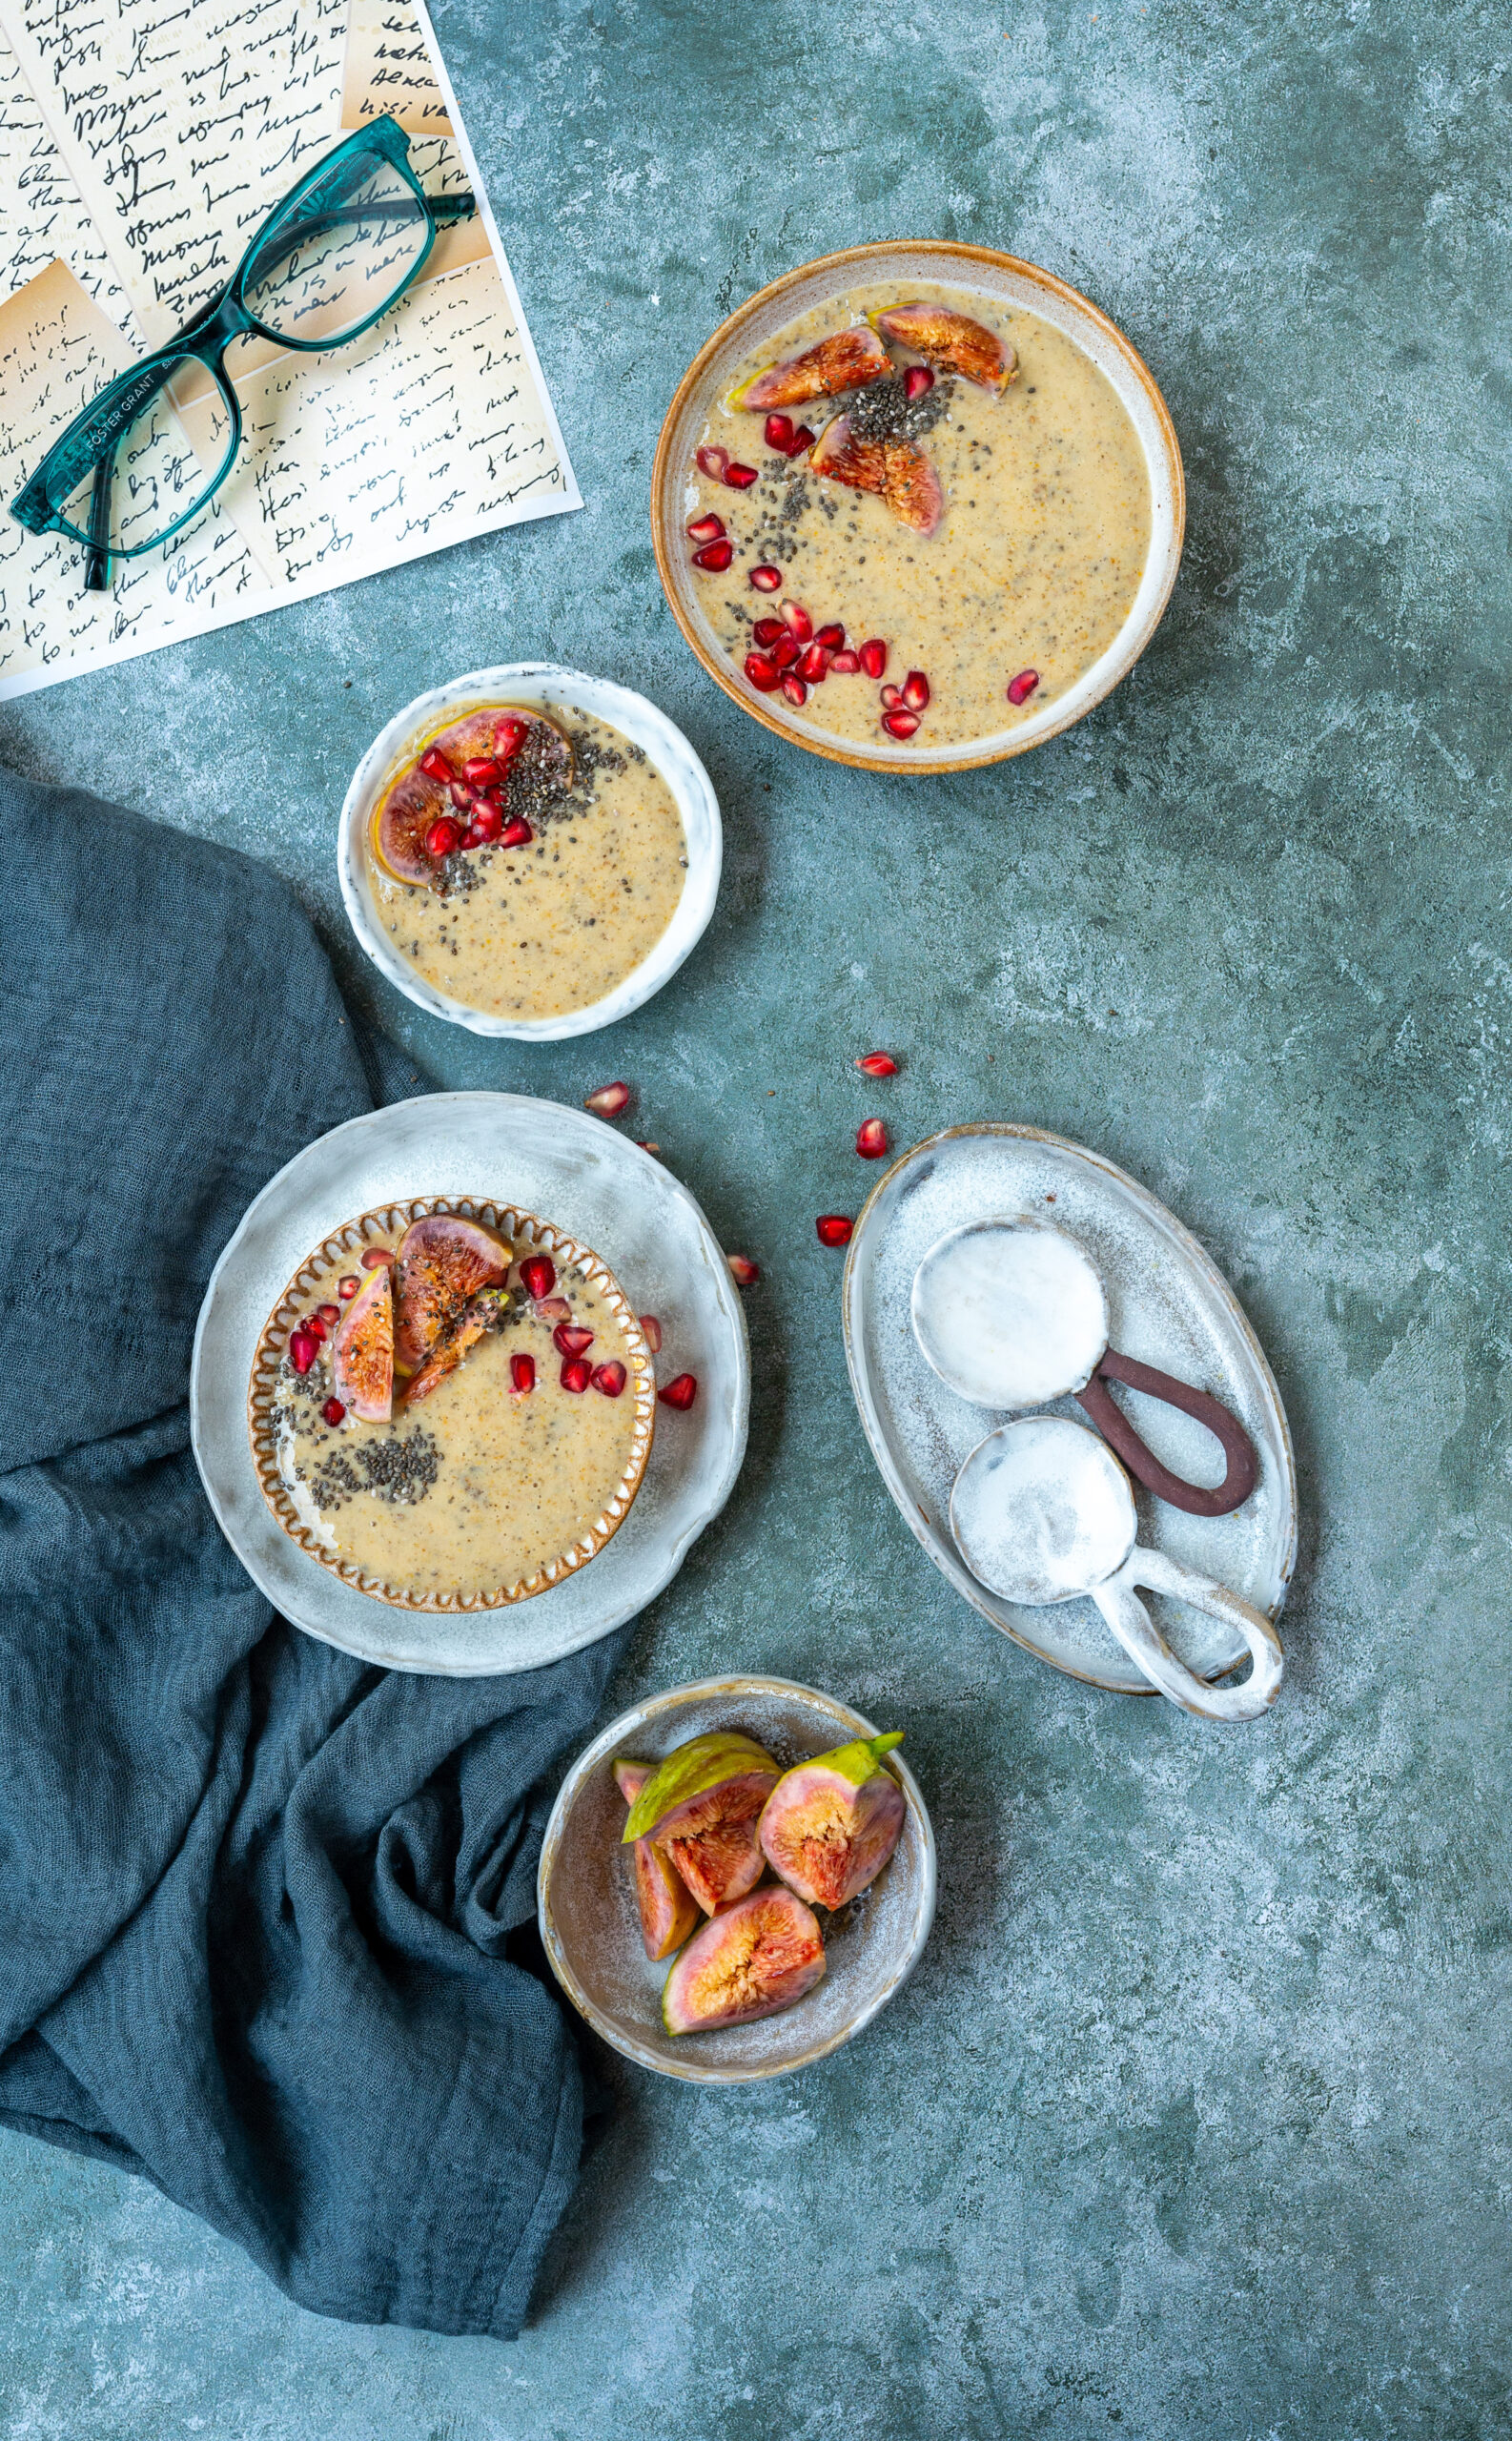
My ongoing sad saga is that I am trying to avoid carbs. I say “saga” because you’d have heard me repeat this time and time again on this blog over the last few months, as I sincerely share recipes that help me stick to my dietary plan. Truth be told, I probably say that I’m off carbs more often than I am actually off carbs, but to give myself due credit, I am constantly trying. The fruits of those efforts are recipes like this one, which indeed contains literal fruits! In addition to helping me in my anti-carb struggle, this vegan fig and chia smoothie bowl is also a great dish on my journey towards increased veganism. But the best part? Despite all these healthy-sounding proclamations, it’s simply delicious.

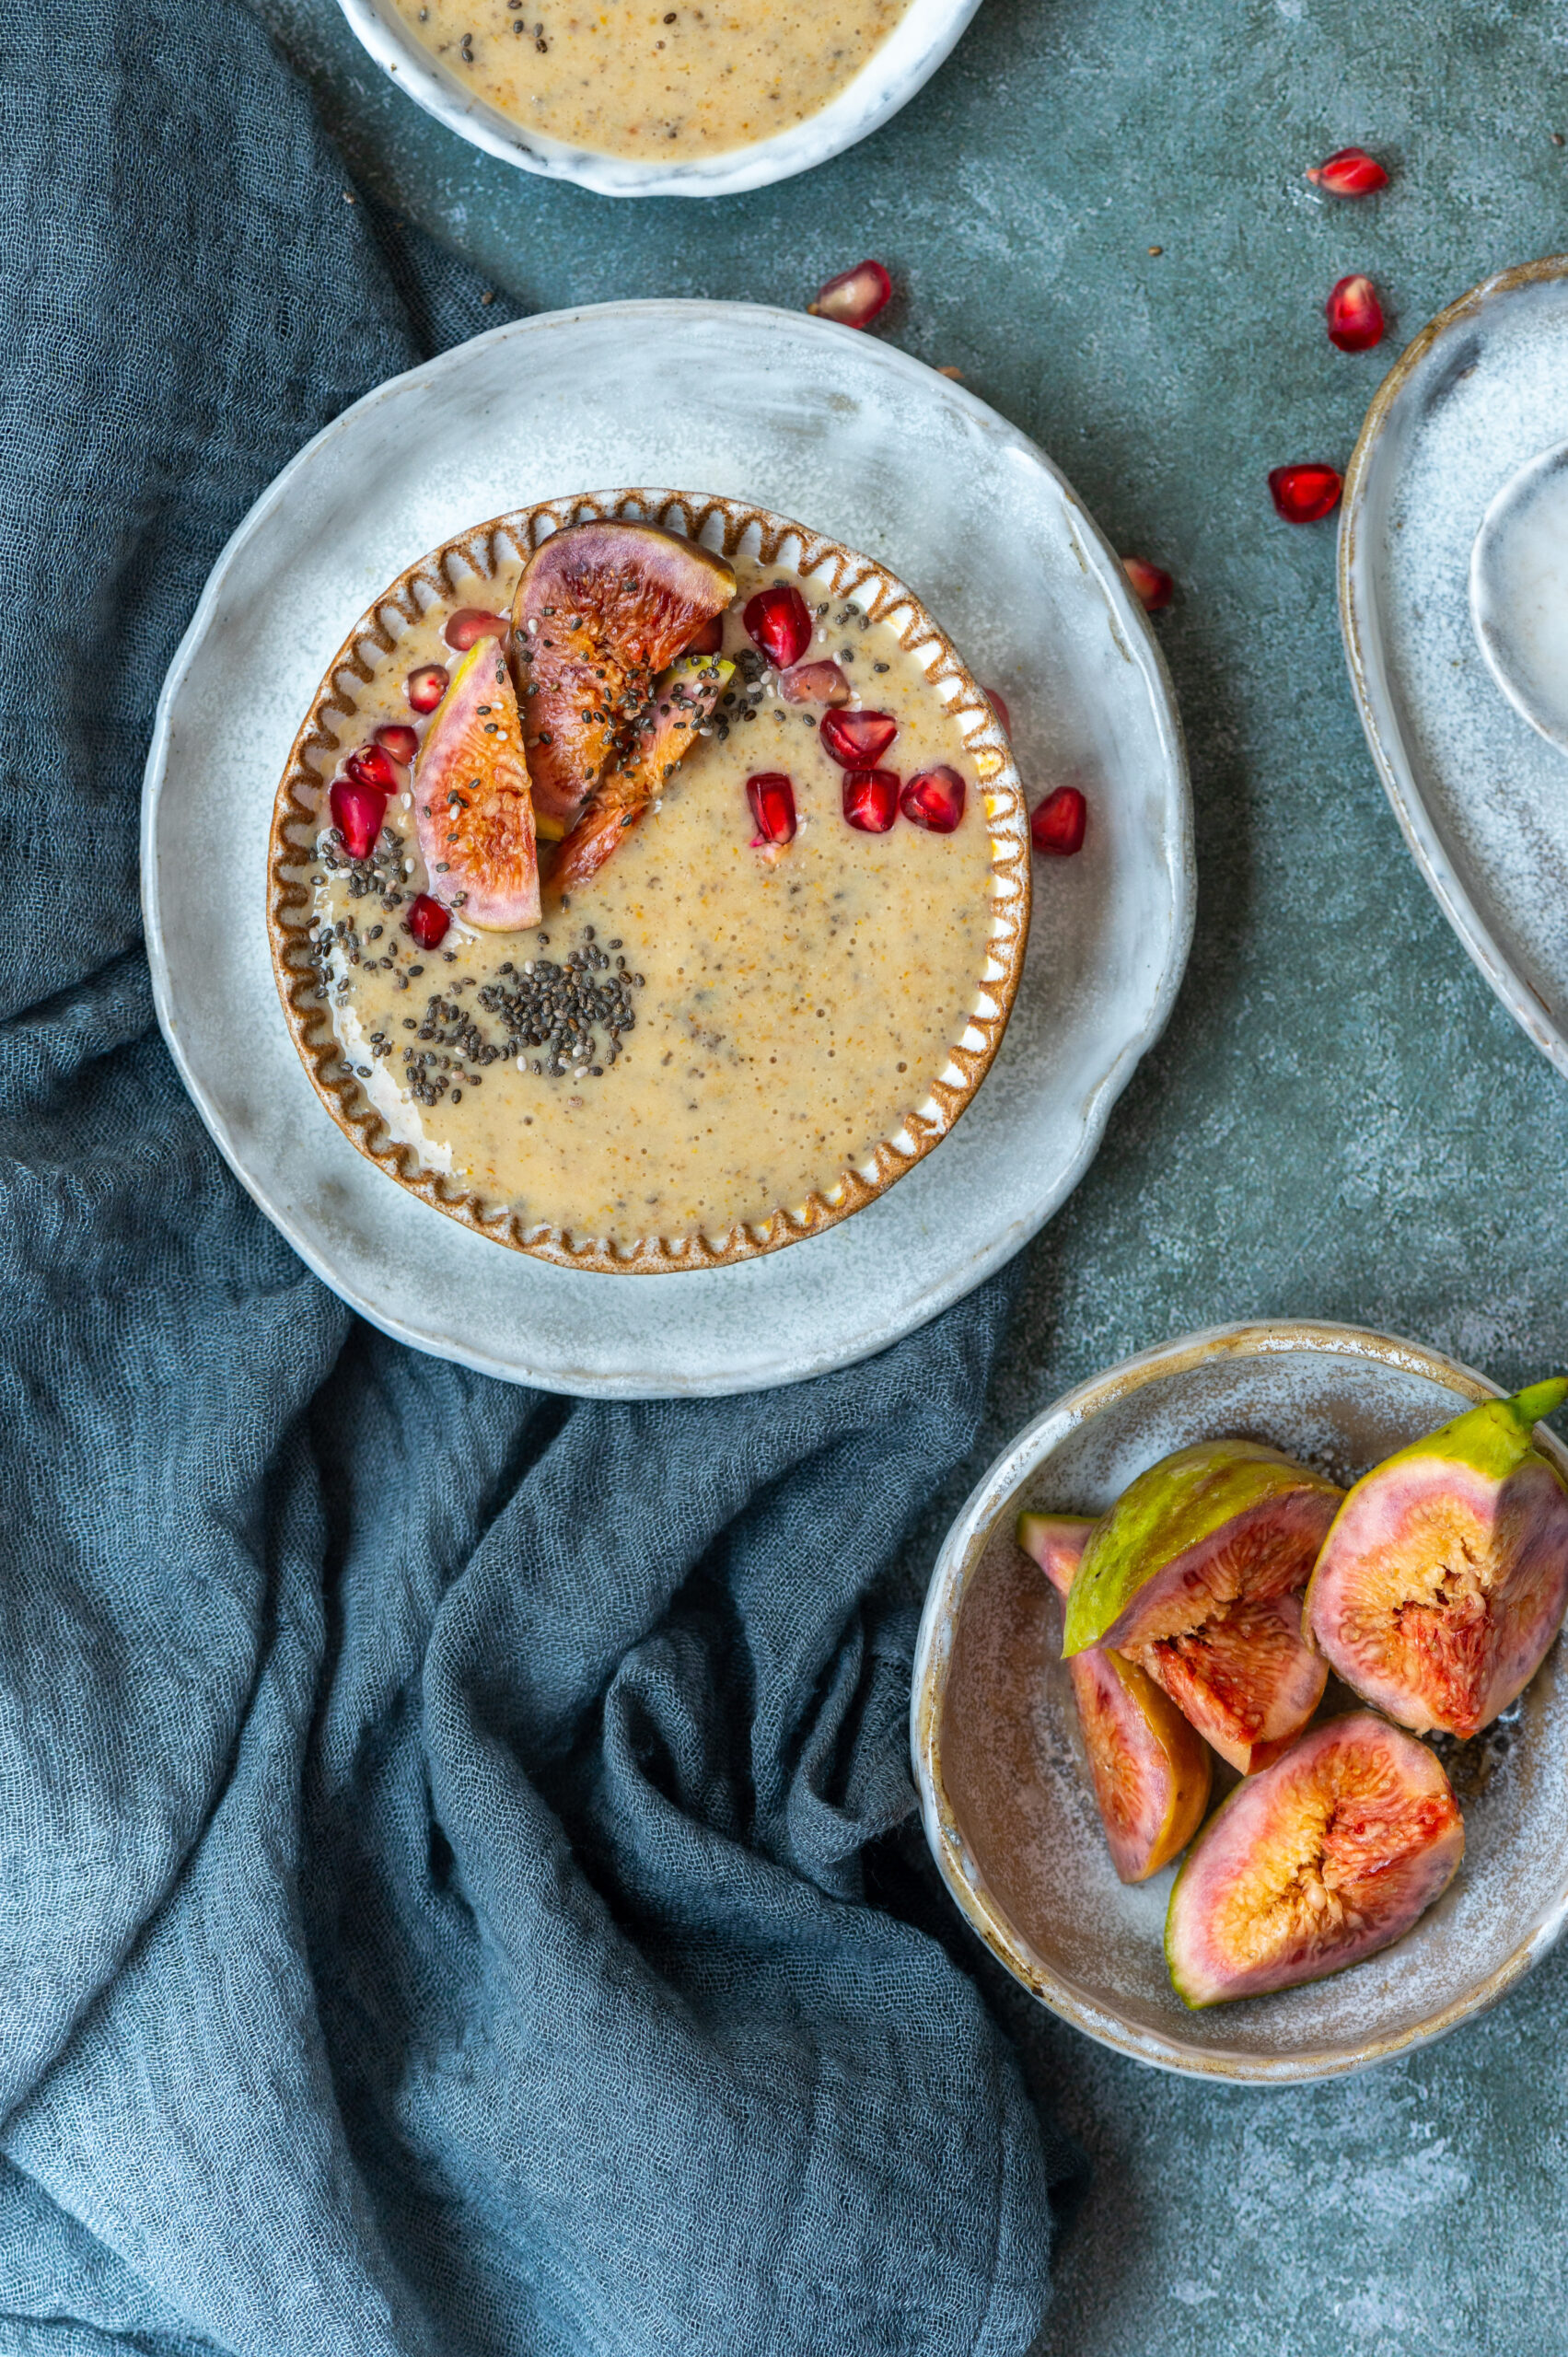
I have a mental block when it comes to smoothies: when I drink them, they don’t feel as filling as when I put them into a bowl. It’s a visual trick, convincing myself that this is indeed the full meal that it is. It also looks beautiful once you garnish it in a bowl setting. Whenever I prepare this for myself, some family member of mine inevitably walks by and says, “Hey, what’s that? It looks so good.” This reiterates the fact that presentation is key. We always eat with our eyes first.

The chia in this smoothie also makes it look and taste like a pudding, which dials down the feeling that one is consuming it only for its nutritional benefits. In addition to being a superfood, chia is a thickening agent, which is what provides that pudding feeling. Of course, this ingredient is also doing double duty as a superfood, being chock-full of antioxidants, omega-3 fatty acids, calcium fibre, magnesium, iron, Vitamin A and other very good things. One more advantage to it is that it has no flavour of its own, so it enhances the texture of whatever you put it into.

I tend to eat this fig chia smoothie bowl for dinner on days when I have had a very heavy lunch. Naturally, it will make an equally good breakfast. The versatility of this dish is fun to explore. This extends to the ingredients as well. Try your own variations with different flavours and garnishings, using the milk and chia base.

Vegan Fig & Chia Smoothie Bowl

(Serves 2-3)


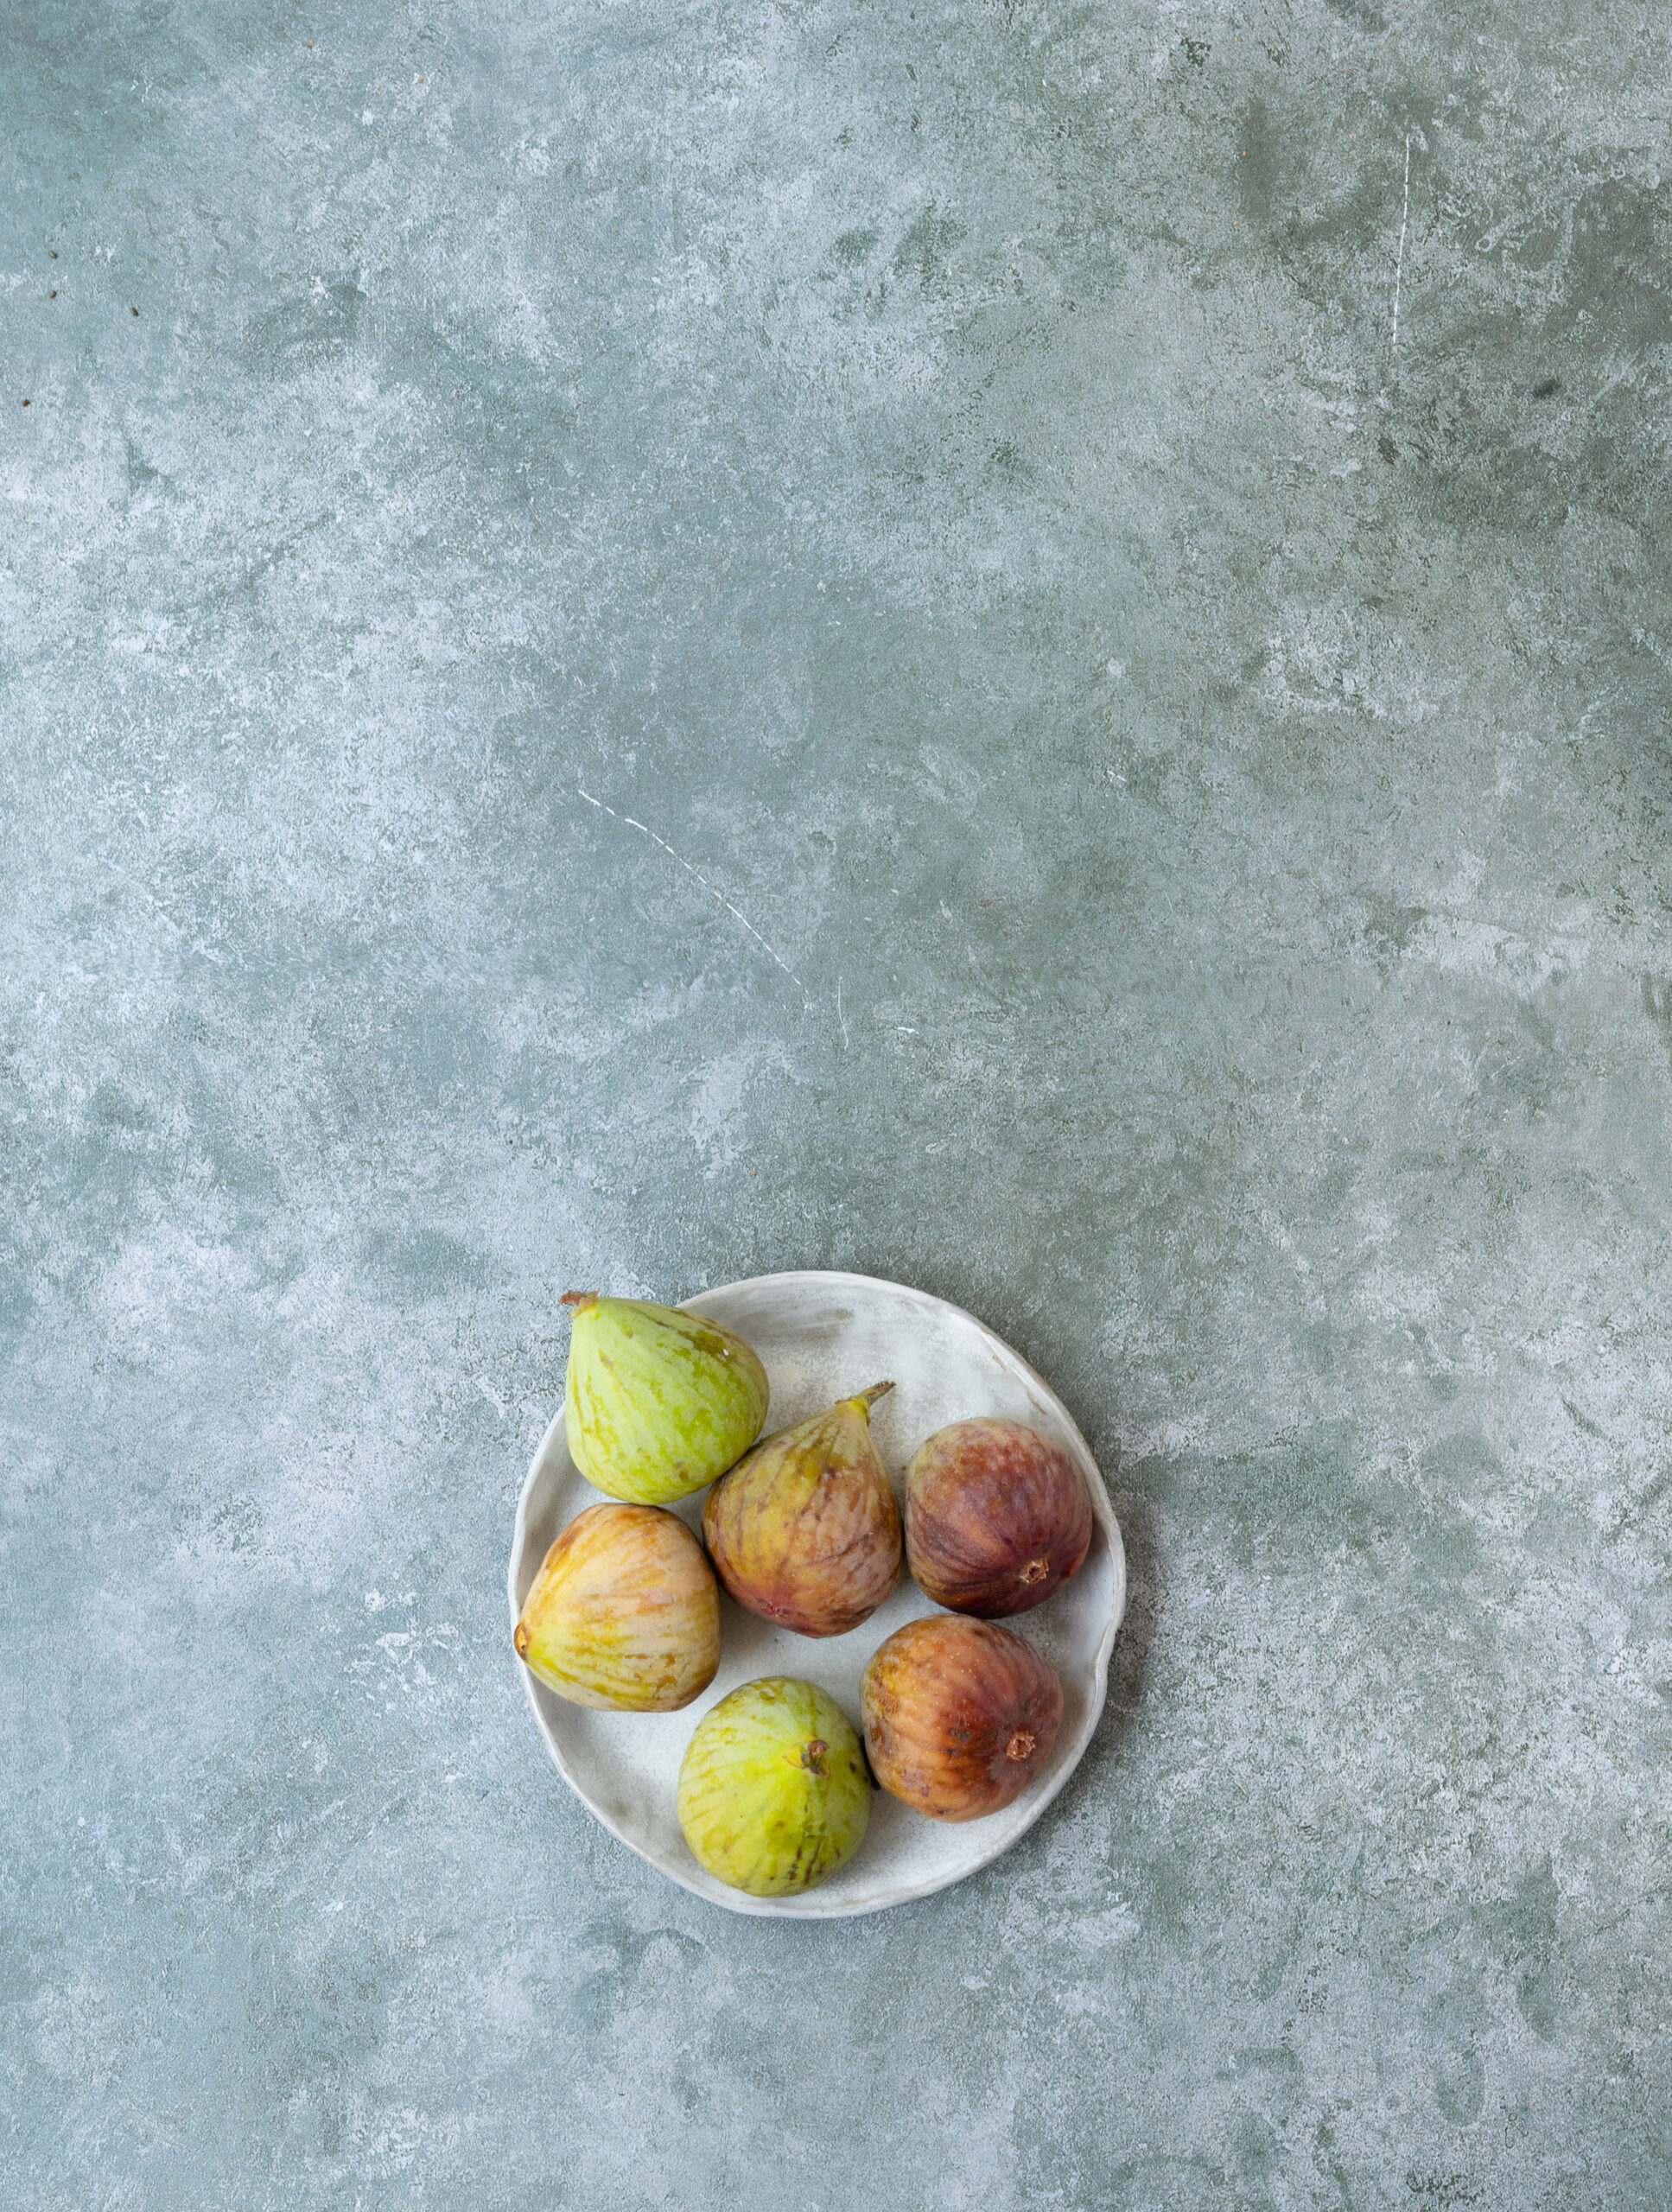
5 dry figs

2 cups almond milk

A pinch of cinnamon powder

1 tablespoon chia seeds

Ice cubes (optional)

Soak the figs in enough water so that they are fully covered. Allow to soak for 2-4 hours.

In a blender, add the soaked figs, almond milk and chia seeds and blend until smooth and frothy.

Add the cinnamon powder and blend again lightly.

Pour into bowls, or into tall glasses, and add ice if you prefer. Top with any garnishings of your choice. Serve chilled.

As mentioned earlier, you can scoop this up as I do, with a spoon from a bowl, or you can drink it from a tall glass. You can also replace almond milk with dairy. It all depends on your dietary needs or preferences, as well as whether you enjoy experiencing this dish as a smoothie or as a smoothie bowl.

For instance, I’ve used a pinch of cinnamon powder as I find that refreshing; you may wish to eliminate this and replace it with another refreshing ingredient such as chopped apples. While I’ve used dried figs in the smoothie blend, I’ve used fresh ones to decorate the bowl. You can use either, based on seasonal availability. I’ve also added pomegranates in the garnishing for some colour. Nuts will boost nutrition as well as add more texture and flavour.

This fig and chia smoothie bowl is naturally slightly sweet due to the fruits it contains, so it does not need additional sweetening. However, if you’d like to increase that taste, I would recommend going with honey, maple syrup or jaggery rather than refined sugar. There are wonderful ways to indulge one’s sweet tooth without having to use unhealthy ingredients.

Another showcase of its versatility is that this fig and chia smoothie bowl could indeed work as a dessert replacement. Although if that’s what you’re looking for, let me suggest some summer-friendly chia-based recipes, such as this chia-vetiver coconut pudding or this strawberry smoothie.

What will you have it as: breakfast, lunch, dinner or in lieu of dessert? Try it out and let me know!

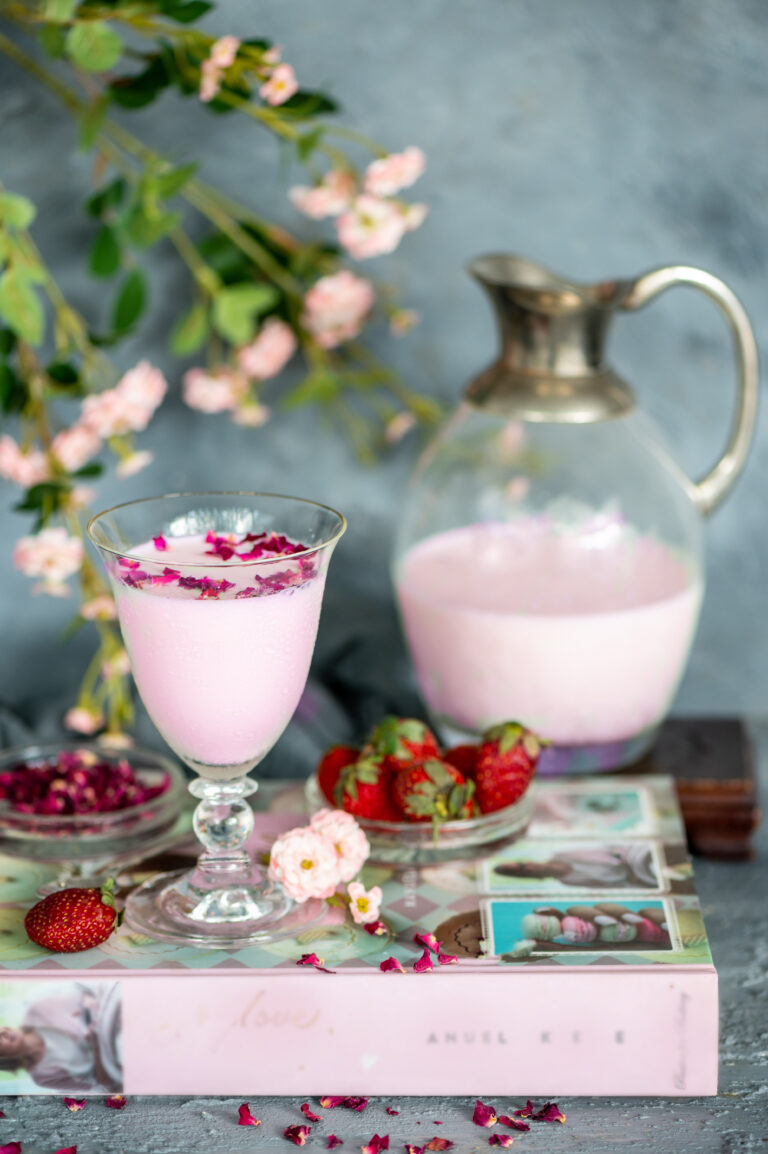
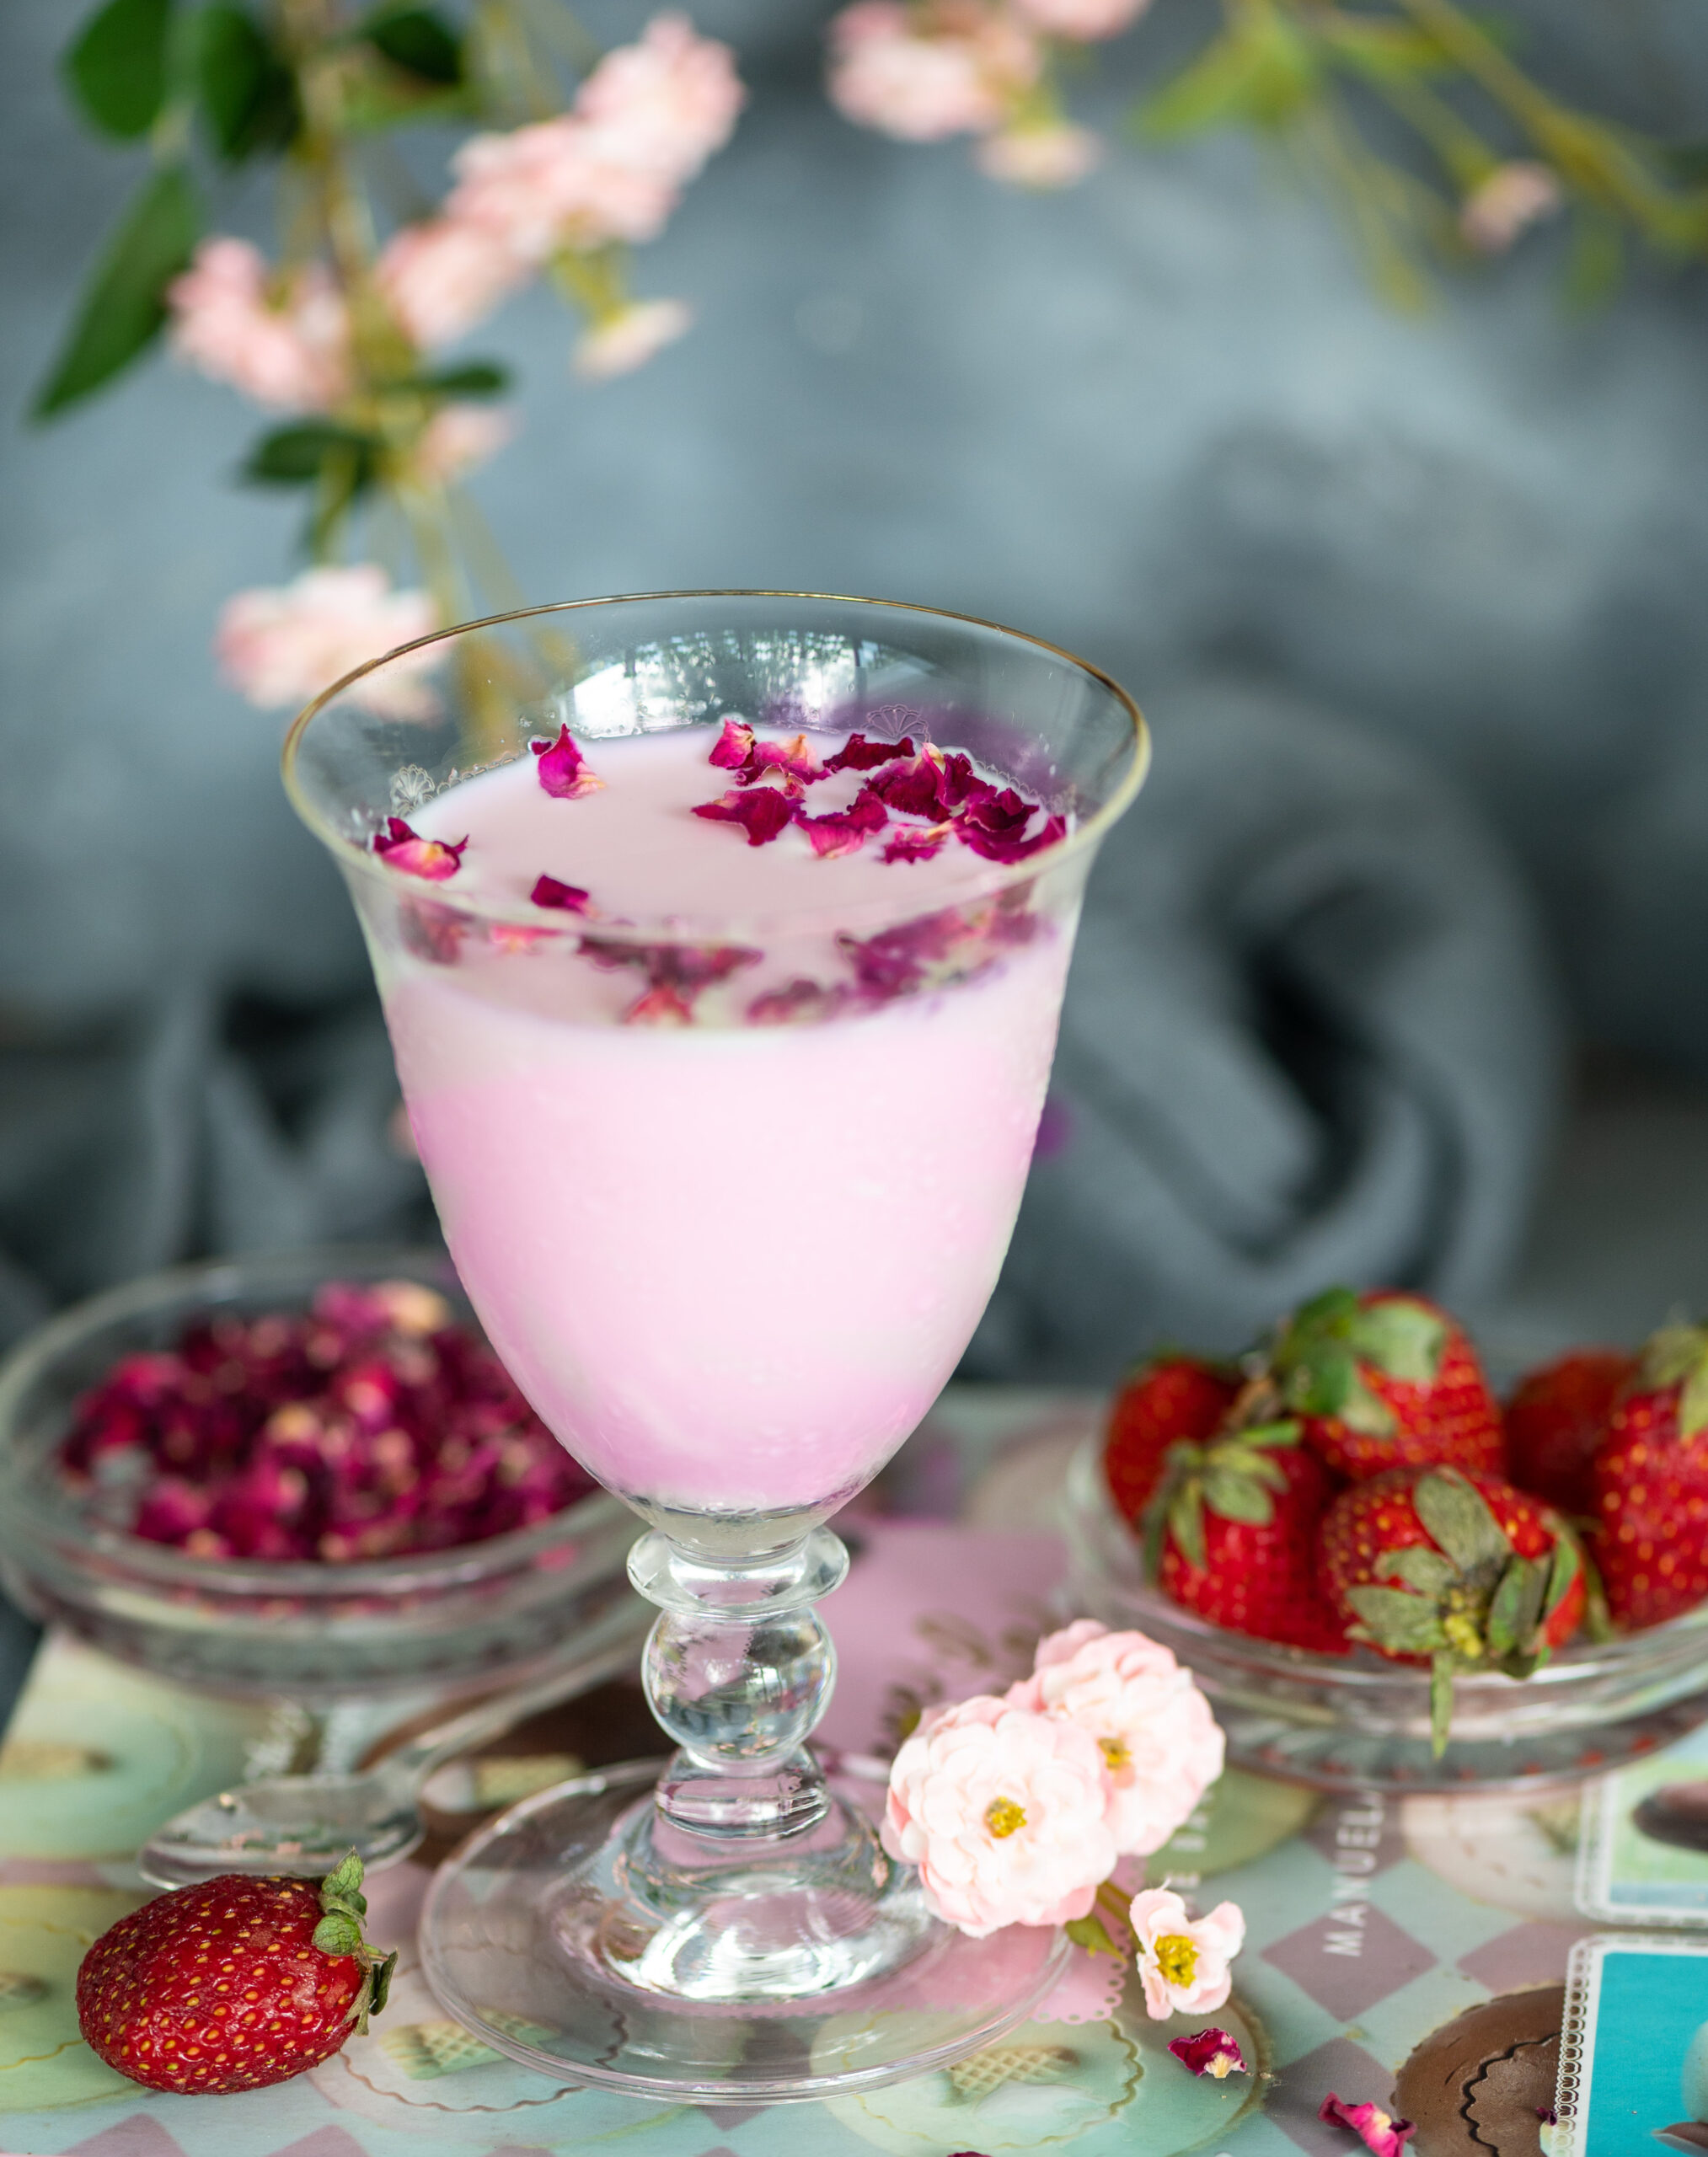
It’s an ongoing story of mine that I’m avoiding carbs, but I confess that I’m sneaking them in from time to time. To beat this craving, I’ve been reaching out for more smoothies than ever, as they are very filling, thus cancelling out the carb craving, and also take care of my protein needs. I always add a fruit of some kind, and with strawberries being in season right now, and a beautiful bounty of them in my fridge, they have been an obvious choice these days. Of course, this vegan strawberry-rose smoothie is also perfect for beating the summer heat!

This recipe features one of my all-time favourite elements – rose – and, all in all, it makes for a wonderfully uplifting and healthy beverage. Regular re:store customers will know that I’m obsessed with the flavour and that it’s a signature of mine. I have just not had my fill of adding rose to everything, and I hope that you will also enjoy its intoxicating aroma and delicate taste in this recipe just as much. But this is not just indulgence. This smoothie is vegan, and I usually use almond milk or oats milk (you can even just use water). It is also ideal for exercise enthusiasts like me, and lately I’ve been keeping a tall glass of it ready in my fridge as my post-workout boost each morning.

The rose plays so well with the strawberries, so while the drink itself may look a little bland, it is very flavourful. To offset the visual nondescriptness of the drink, however, I ensure that I serve it elegantly. The glassware that I use in these photos aren’t just props. During this lockdown, I’ve begun to use for our daily meals all the special crockery, cutlery and other serving ware that are usually saved for important occasions. I try to dress everything up, including myself. Even though I don’t leave the house, I put on clothing that makes me feel confident. Even though it’s just us family at home, I ensure the presentation of meals is just as attractive as it would be if we had guests over. I feel that these small things make a big difference. We should enjoy life, every day. Why wait? This is one of the many lessons of the pandemic.

So, my friends, let me encourage you to do the same. Don’t wait for the day when you will next be entertaining. Don’t wait for a celebration. Put up those beautiful curtains that you promised yourself you would deck your windows with when the lockdown lifts. Take the good porcelain out of storage, and see for yourself how it brightens the vibe at the dining table. Unfurl that gorgeous handmade bedspread you were saving for the guest bedroom and enjoy a hearty nap on it. All the carefully chosen things that have lain in cupboards for years deserve to be enjoyed, and you deserve to enjoy them! Use them, flaunt them, let them give you joy!

Bring more life into your home with small planters. A touch of green here and there not only adds beauty and freshness, but also helps purify the air. You don’t need a whole garden for this: old kitchen utensils are lovely spots to grow money plants and other low-maintenance greenery. The daily act of nurturing the plant is itself so fulfilling.

This is self-care, not selfishness. We must learn to do things for our own pleasure, to lift our own spirits. Live for today. Live for right now. We never know what may happen tomorrow, so we may as well enjoy what we have, when we have it.

So yes, this is just a recipe for a simple smoothie. But how I make it, how I serve it for myself (choosing a different cup or glass every day from my collection), how I set the table if I’m having it over a chat with a family member, how I put on some music as we share bigger meals together – these are the things that pep me up, keep me going, and help to create pleasant experiences even during a time that is frightening and difficult. This is what it means to bring positivity and hope into our day-to-day lives. It’s all about the small things, and showing gratitude by enjoying those small things. I really hope that the few minutes of your day in which you prepare and relish this vegan strawberry-rose smoothie will be one of those small things for you, too.

Vegan Strawberry-Rose Smoothie

(Yield: 2 small cups)


8-10 strawberries

2 tablespoons powdered almonds

Your preferred quantity of protein powder

2 cups almond milk (or milk of your choice)

1 teaspoon chia seeds

A drizzle of honey or maple syrup or a date (optional)

Rose extract

Rose petals to garnish (optional)


Simply put all the ingredients into a blender, and blend well. Make sure you use powdered almonds – that’s the trick to perfecting the texture, ensuring that there are no chunks. You may later garnish the drink with some whole or broken nuts, if you’d like more texture. You may eliminate the rose ingredients if you prefer and just enjoy the strawberries’ flavour on their own. The chia seeds make the drink deliciously creamy, in addition to bringing their numerous health benefits to it, so I would suggest that you retain them.

Pour into a glass and enjoy. Don’t forget to refrigerate it first, if you prefer it cool, or just add some ice if you’re in a hurry.

I hope this nourishing beverage brings some sweetness your way this summer. You may remember that I shared a different strawberry smoothie recipe last year too. I hope you’ll try both out and tell me which one you prefer and why, in the comments. One can never get enough of strawberry season – so why not?

What did you think of the raw mango thovayal that I shared in my previous post? I hope it added a tangy kick to your meals, and if you used it in any offbeat ways (such as as a marinade, or in a fusion dish), I’d love to know. The next dish I’m sharing in this dip series is another recipe that could lend itself to versatile use too. It also has an interesting dry-to-wet storage solution built into its preparation, which you’ll learn about below. This lasun ki chutney (dry garlic chutney) is a Gujarati condiment, one that always existed in my childhood food experiences, and I know it is also made Maharashtra, which borders Gujarat.

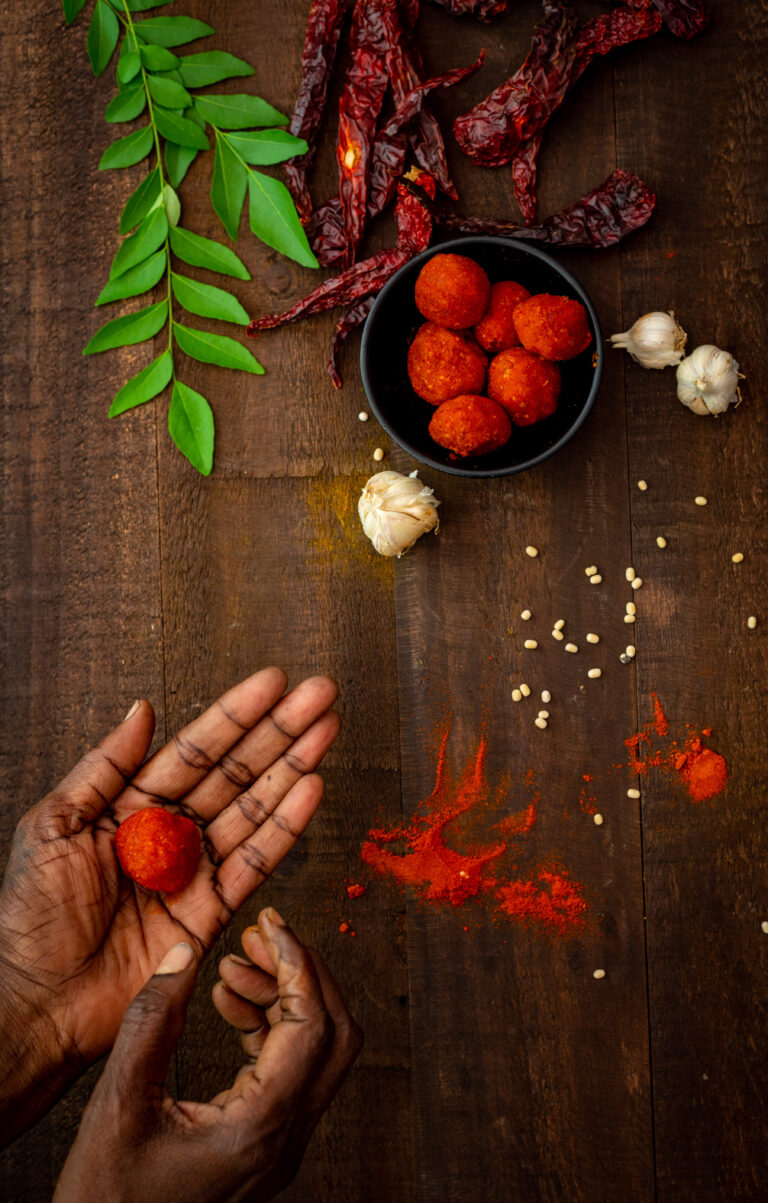
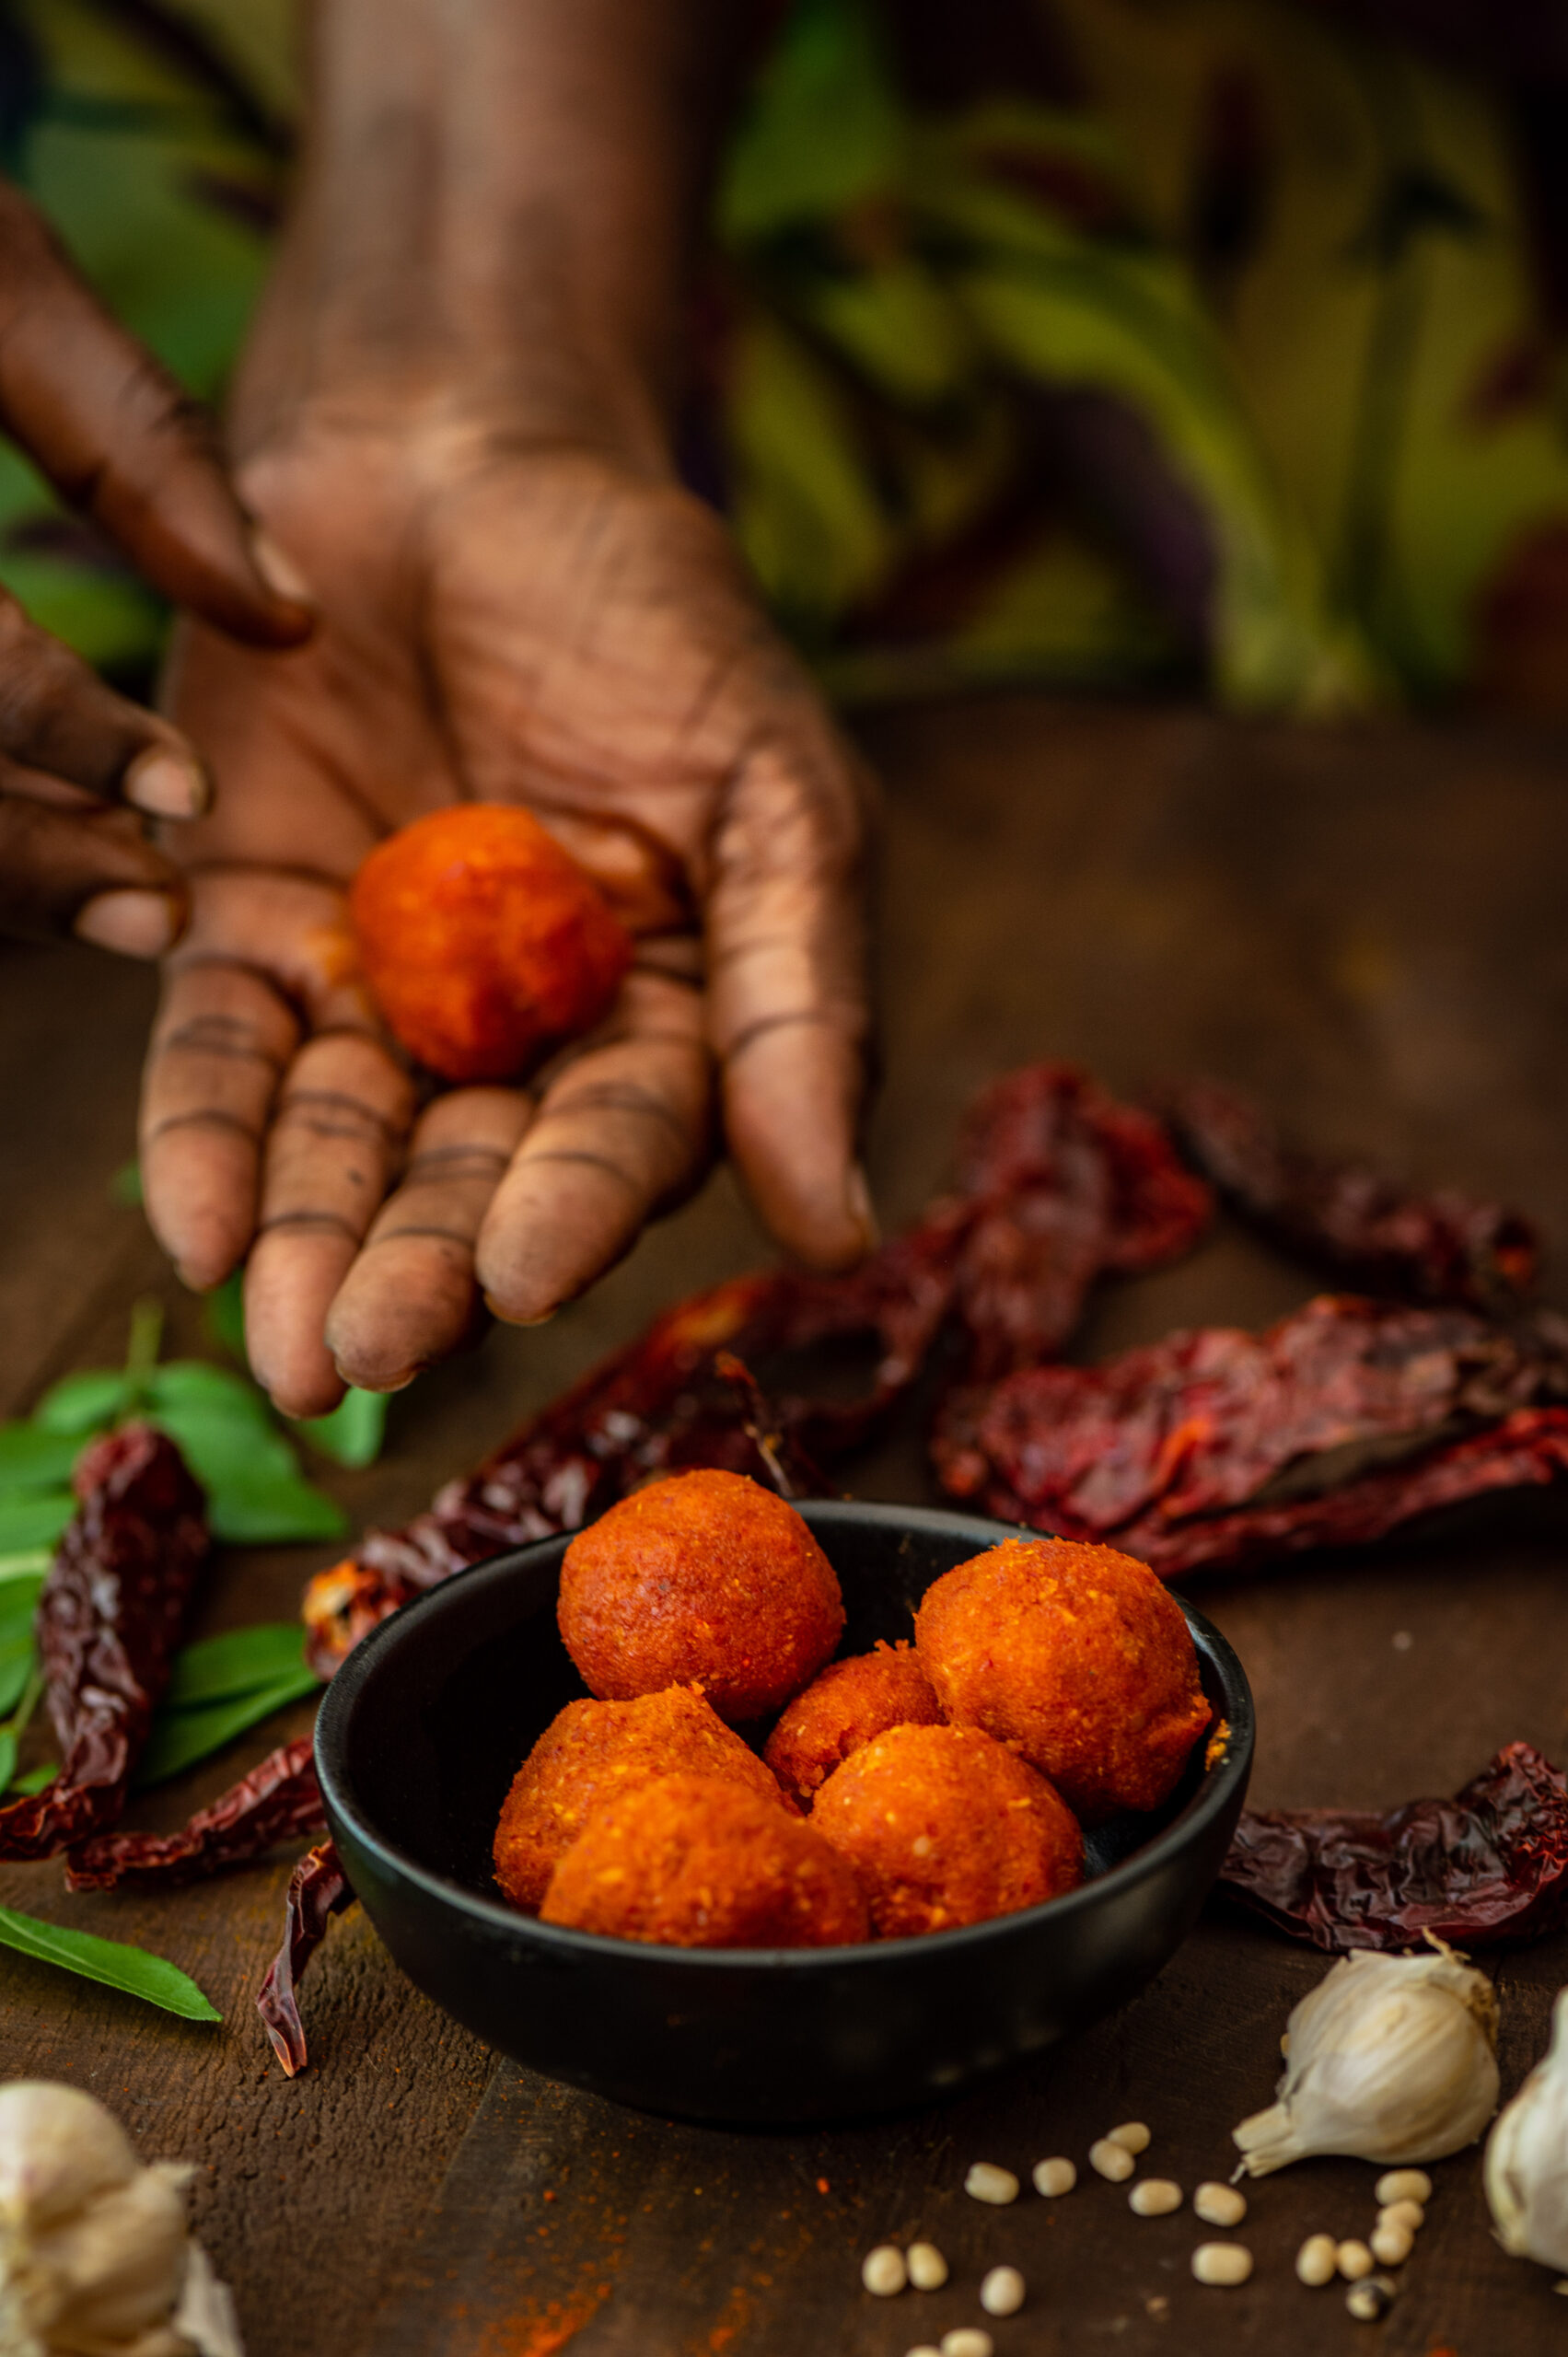
It is a dry garlic chutney with a fiery colour, and is made in a ball form that is supposed to last two or three days without refrigeration. This means it travels well, so it is often paired with the equally durable thepla on train journeys and so on. While I was growing up, my mother kept her lasun ki chutney in the fridge, which extended its shelf life a little further too. The concept is like this: it’s a dry chutney, made with minimal water, that is rolled into a ball and stored. Whenever one wants to consume it, one simply pinches some off, adds warm water, makes a paste and enjoys it as an accompaniment. Once water is added, it needs to be consumed immediately.

Aside from theplas, it is typically an accompaniment for bajra ki rotla, dhokla or handvo. Although we now enjoy it year-round, in concept it is the ideal winter condiment for more frugal meals. I am told that farmers in Gujarat typically consume it with bajra ka rotla, a flatbread made with pearl millet flour, in winters. Being very flavourful, it uplifts the thepla or other main staple without the need for other side dishes, especially when the harvest is scarce.

When I first started making lasun ki chutney, I began by making the soft version directly rather than the storable dry balls. I learnt the recipe for my grandfather, who came to live with us when he was 93 and absolutely had to have some of this lovely condiment at every meal. And at every meal, without fail, he would always say, “Garlic is very good for you.” He would sit on the floor and have a full Gujarati main course served to him, and he relished dipping his chapati into a bowl of ghee and eating it with lasun ki chutney. Perhaps because he reminded us every day that this is a nutritious dish, it grew on the rest of us too, and soon we began to have a side of spicy garlic chutney with most of our meals as well.

Garlic is indeed very good for us, and is well-known as an immune system booster, and as an ingredient that keeps blood pressure and cholesterol under control. It’s rich in antioxidants, manganese and fibre, among other nutritious elements. Plus – it’s delicious. Aromatic and pungent, it’s a pleasure for the senses.

That said, I would be remiss not to mention that there are communities that avoid garlic entirely as some believe that it affects the hormones in such a way as to charge us up and make us express our anger. If you do not eat garlic for this reason or any other, I’m afraid this recipe won’t suit you – and I hope you’ll explore the archives and find another one that does.


Lasun Ki Chutney

(Yield: 1 small cup)


10-12 cloves garlic

1 tablespoon toasted sesame seeds

4 Kashmiri red chillies (fried)

½ cup shredded coconut

1 tablespoon sesame oil

Salt to taste


Set aside all the ingredients, except the oil, in a food processor. In a flat pan, add the oil and once it has heated, pour the oil into the food processor along with the other ingredients. Make sure that you grind the mixture well. Your dry, coarse garlic chutney is now ready.

Now, make small balls and store them in the refrigerator. When you’re sitting down to a meal over the next few days, pinch off as much as you need, add warm water to make a paste, and enjoy. Have it with dhoklas or theplas, or even add it to Asian stir fries to spice them up, like I do. I’d love to know how you use it!

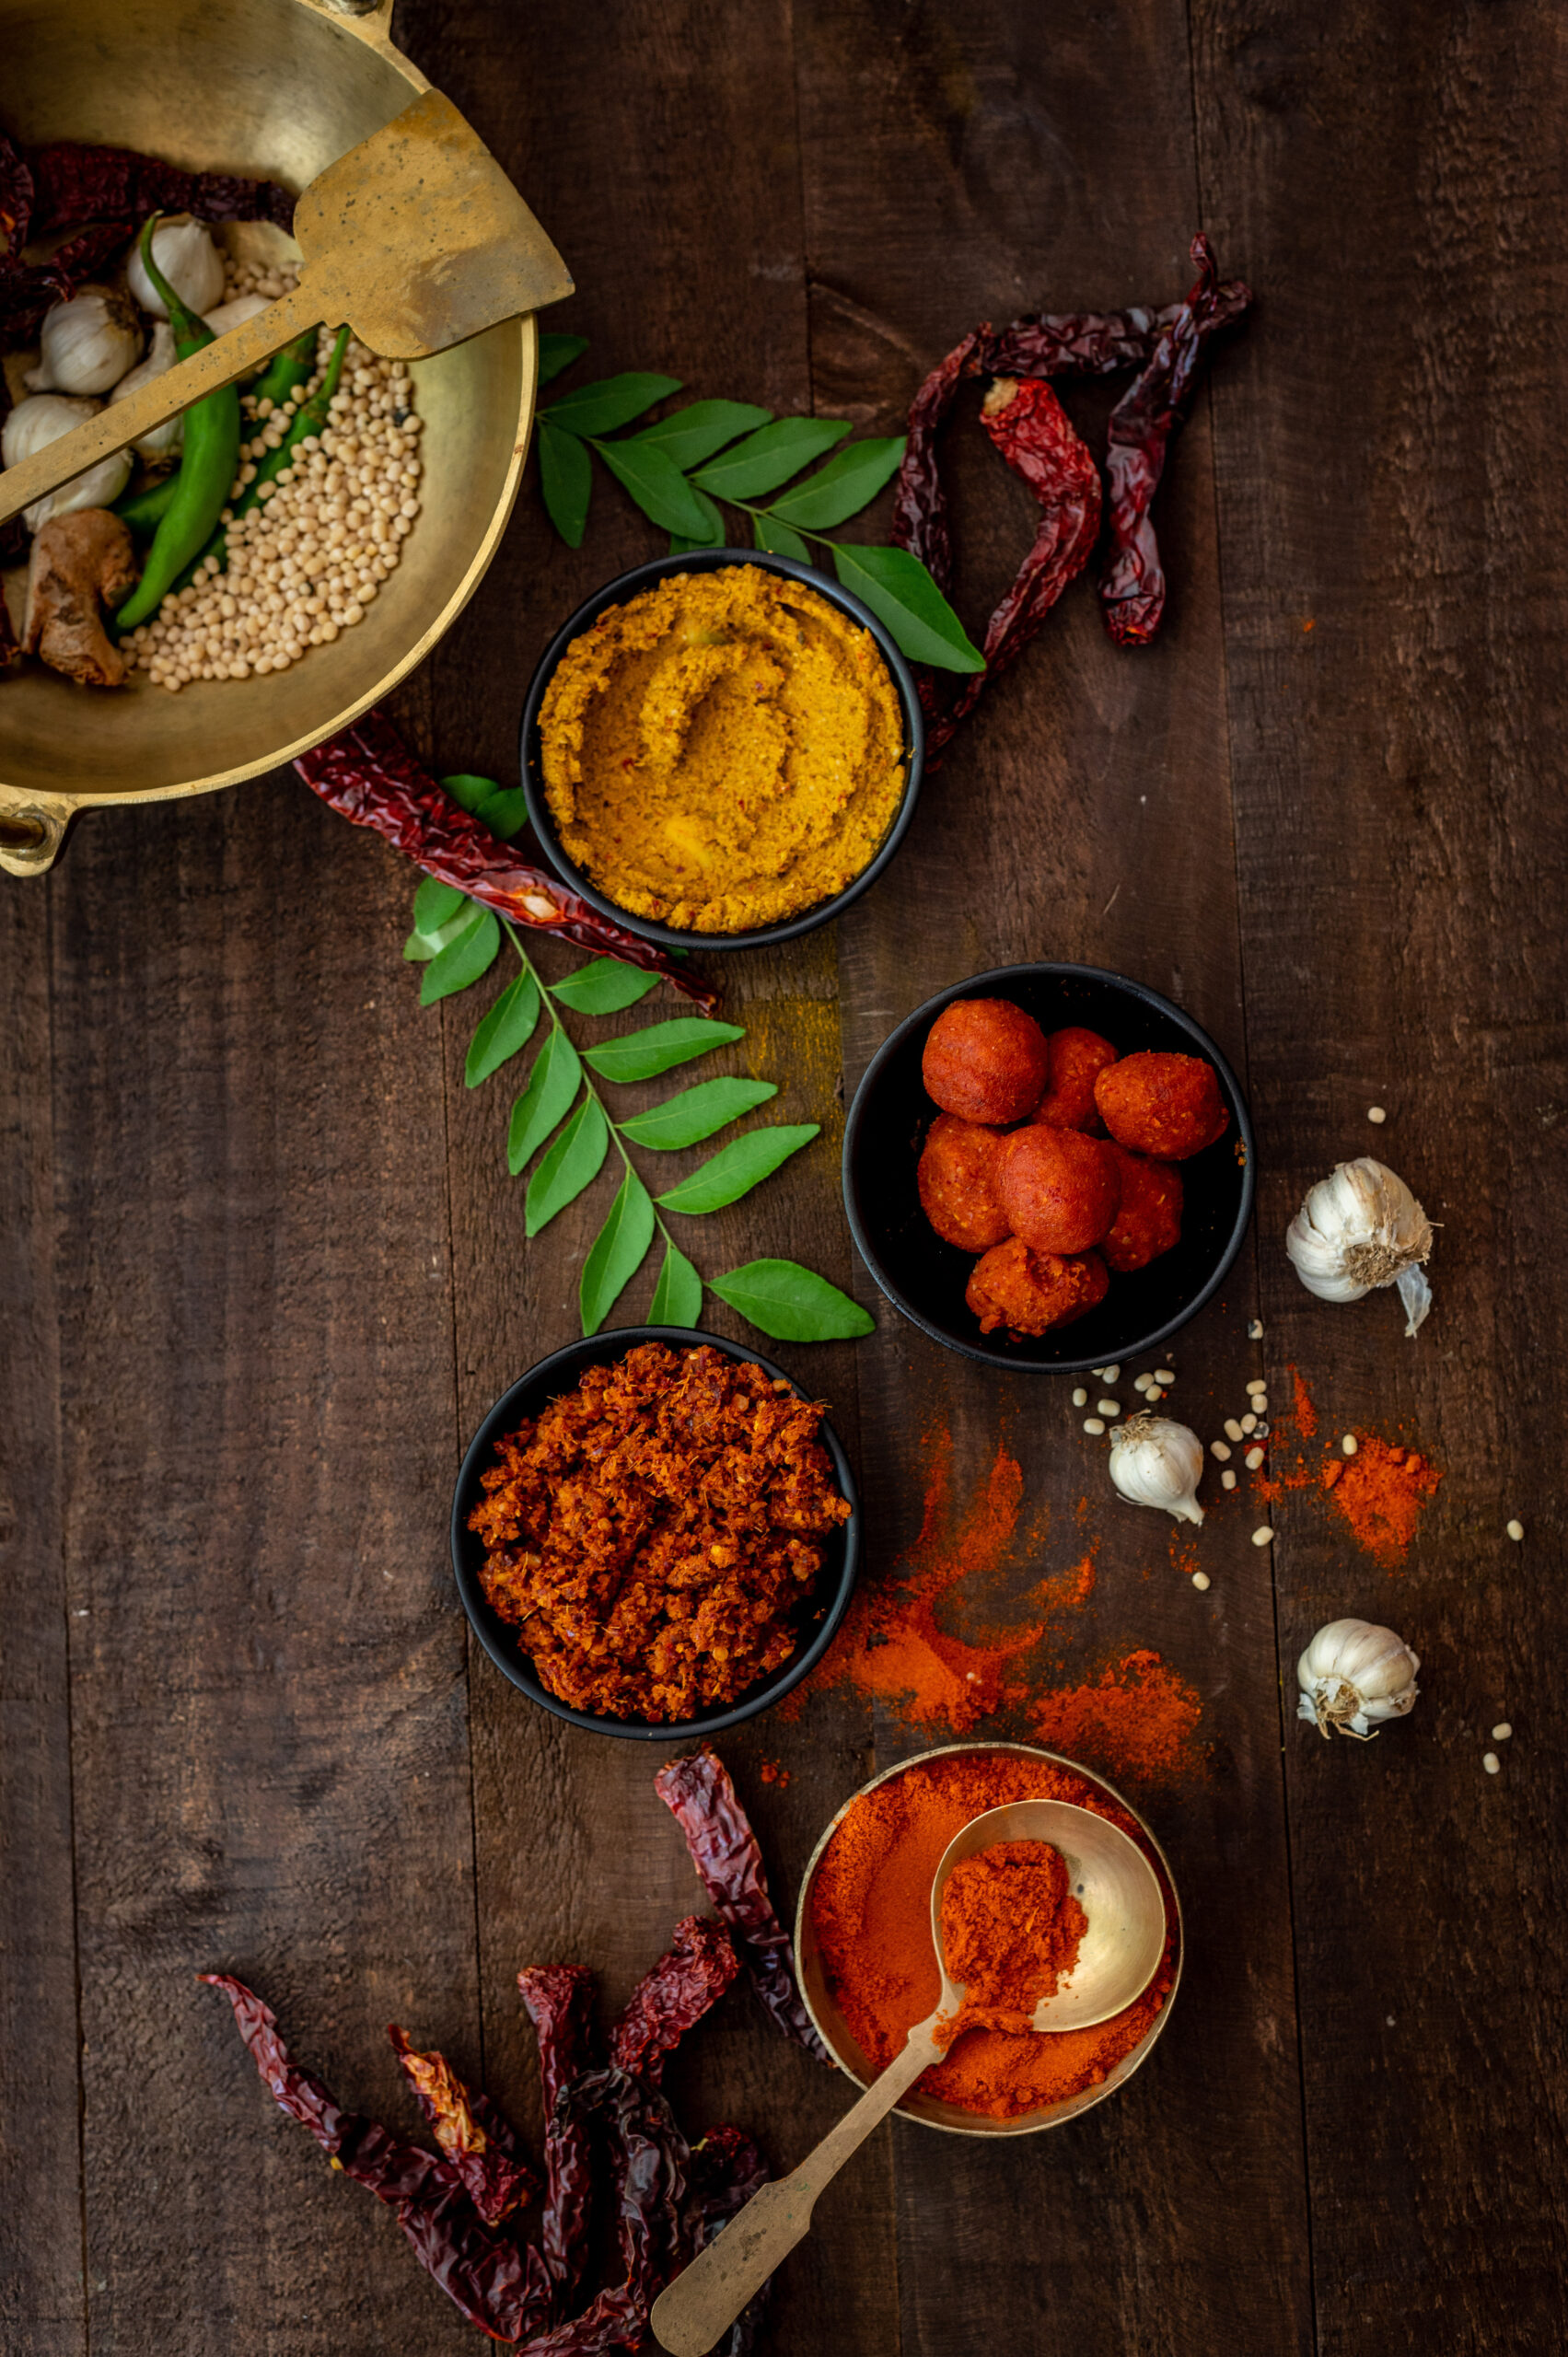
I’ll end this post by giving you a visual glimpse of the recipe that will round out this dip trilogy. In the photo below, you can see the raw mango thovayal and the lasun ki chutney – along with the forthcoming dish. Any guesses about what it is, or what its chief ingredient is?


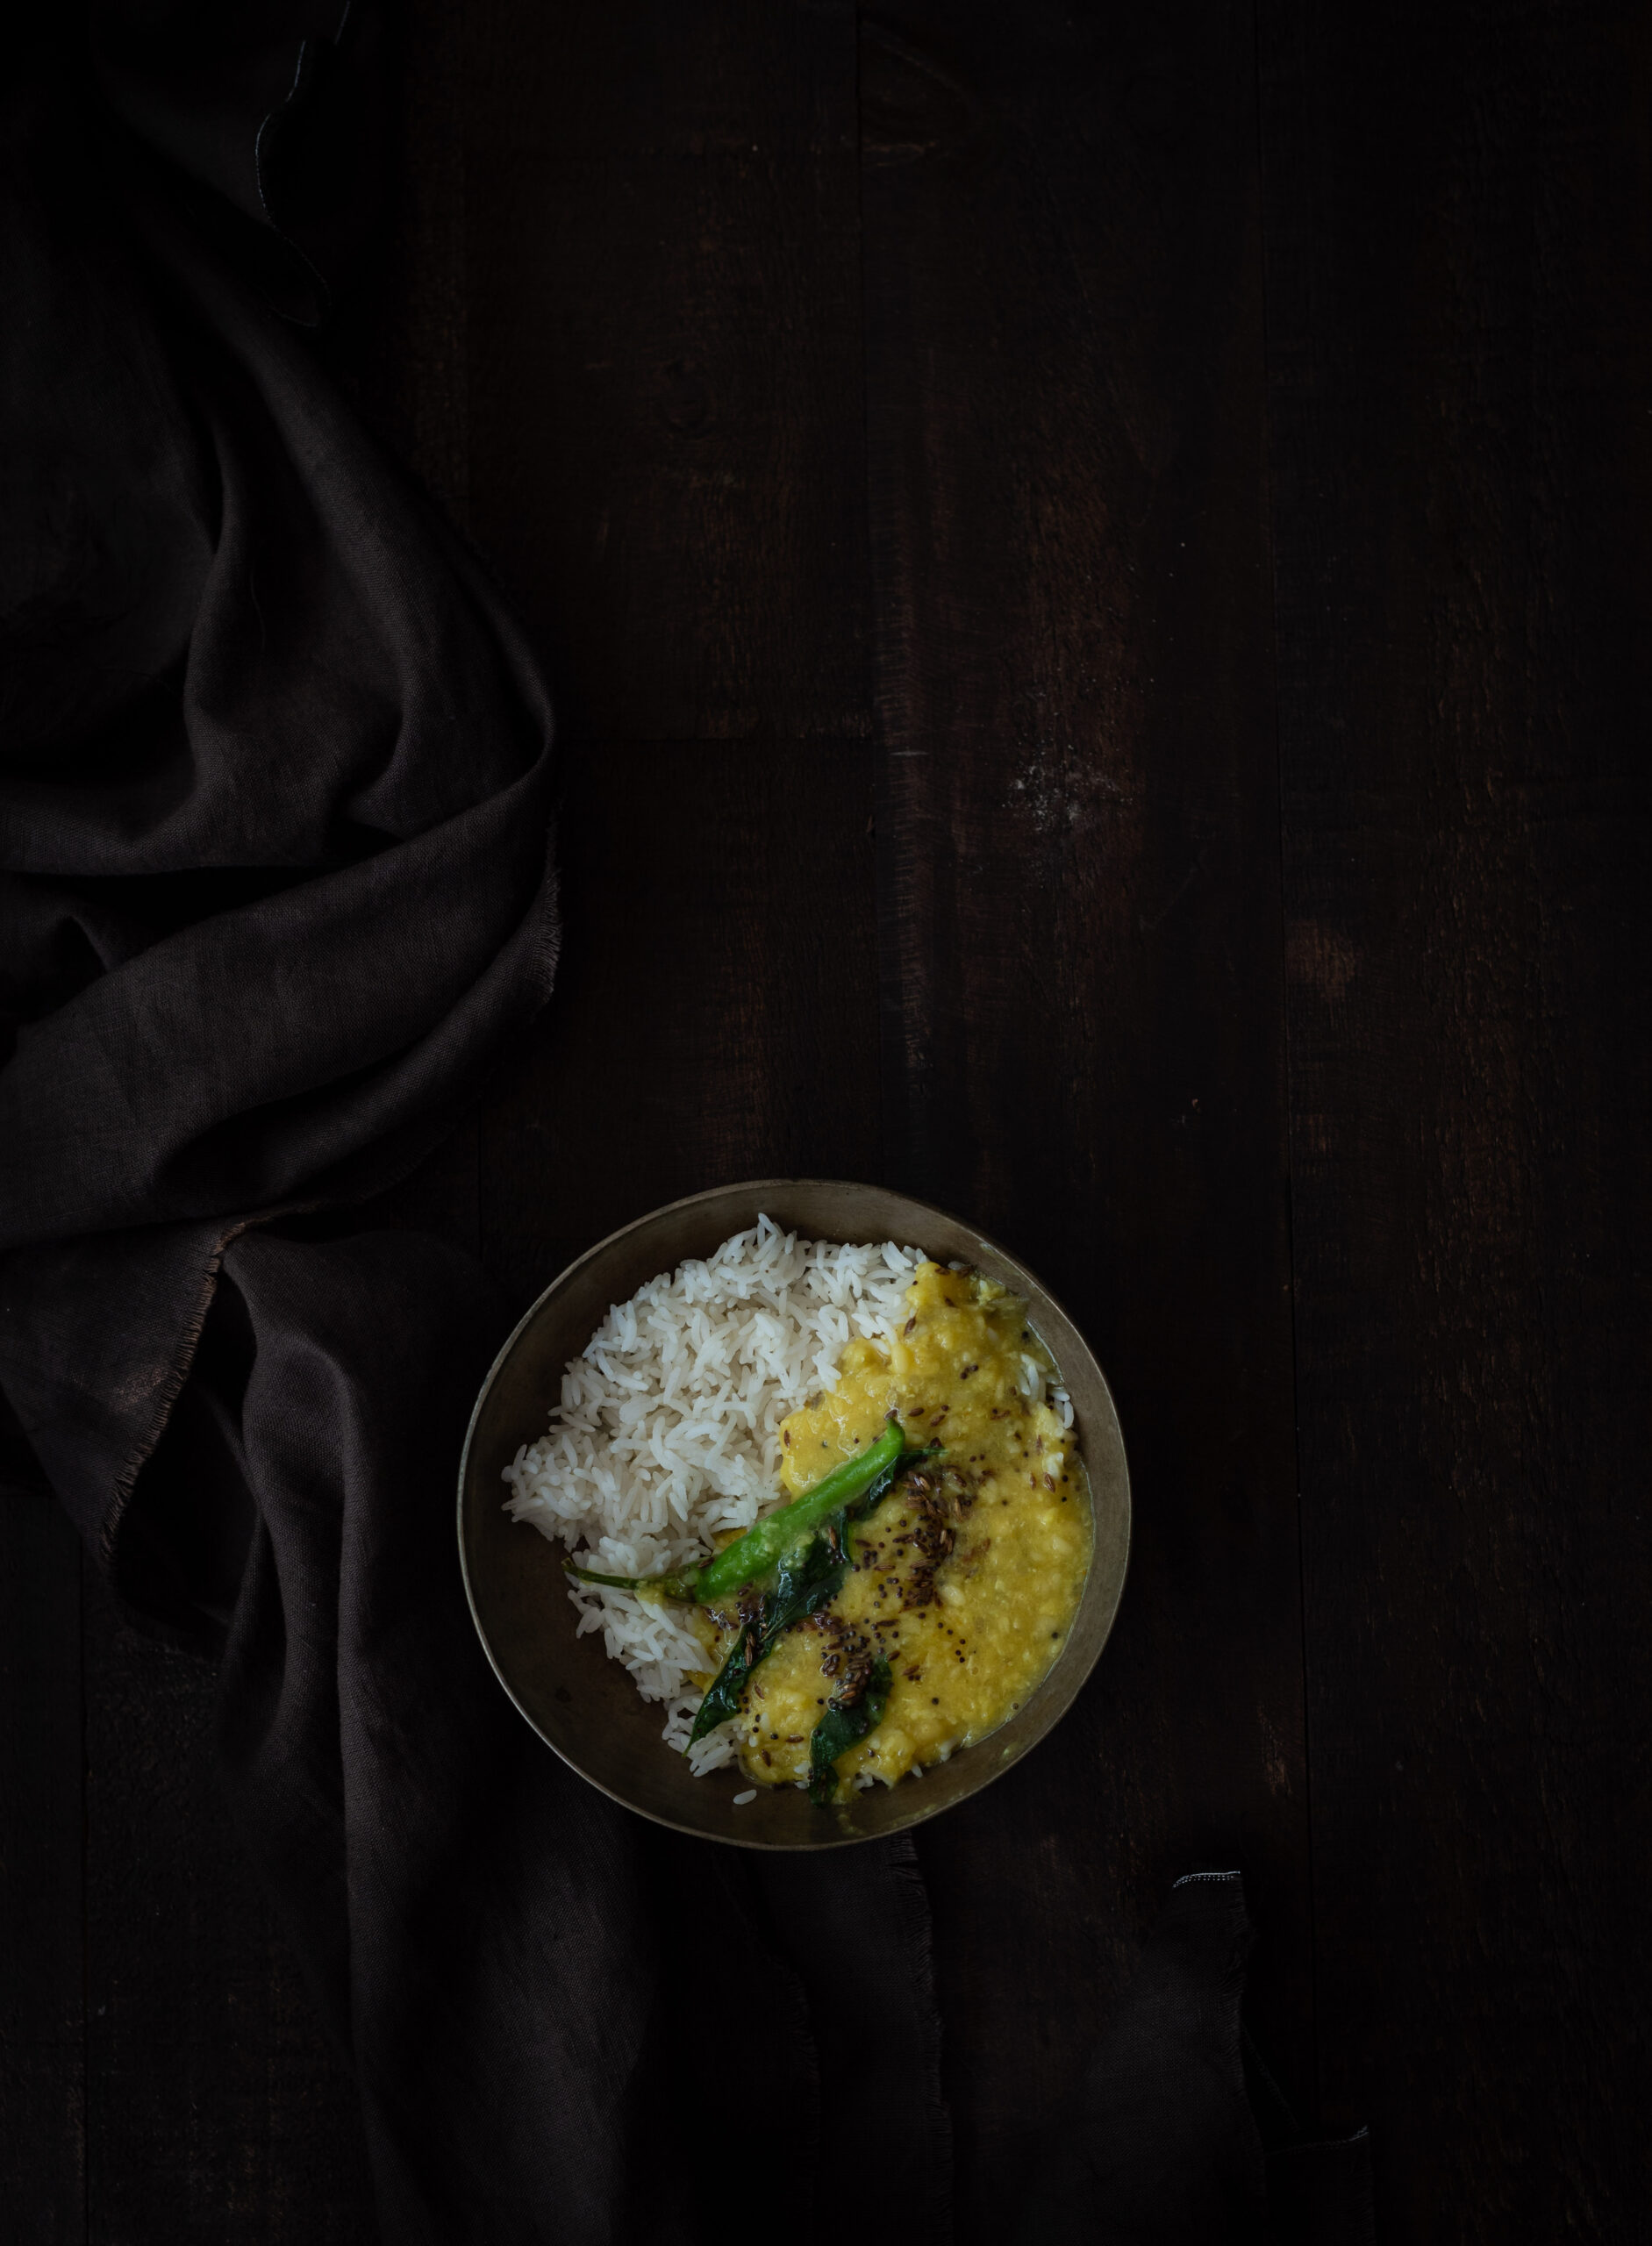
Dal is the daily staple in practically every Gujarati home, and it’s no different in mine. The classic style is slightly sweet and slight sour, and I shared the recipe for it a few months ago. I try to use a range of lentils, so that we get a good mix of nutritious elements as well as variety of tastes over the course of a week at home. Other dal recipes that I’ve shared earlier include this horsegram dal and this mixed dal. There are hundreds of varieties across India, and I’m happy to share one more recipe that I hope you’ll be able to add to your repertoire too.

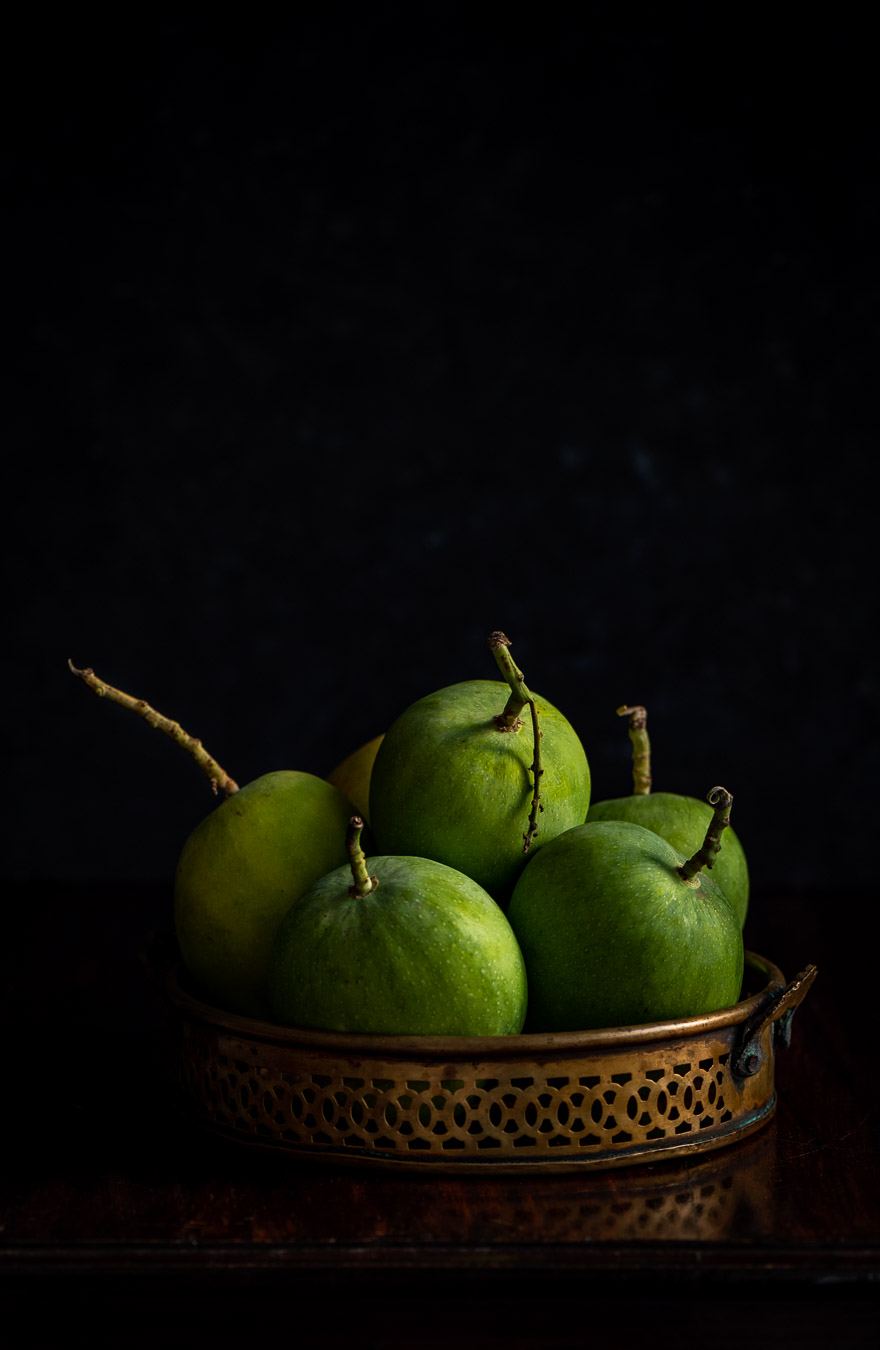
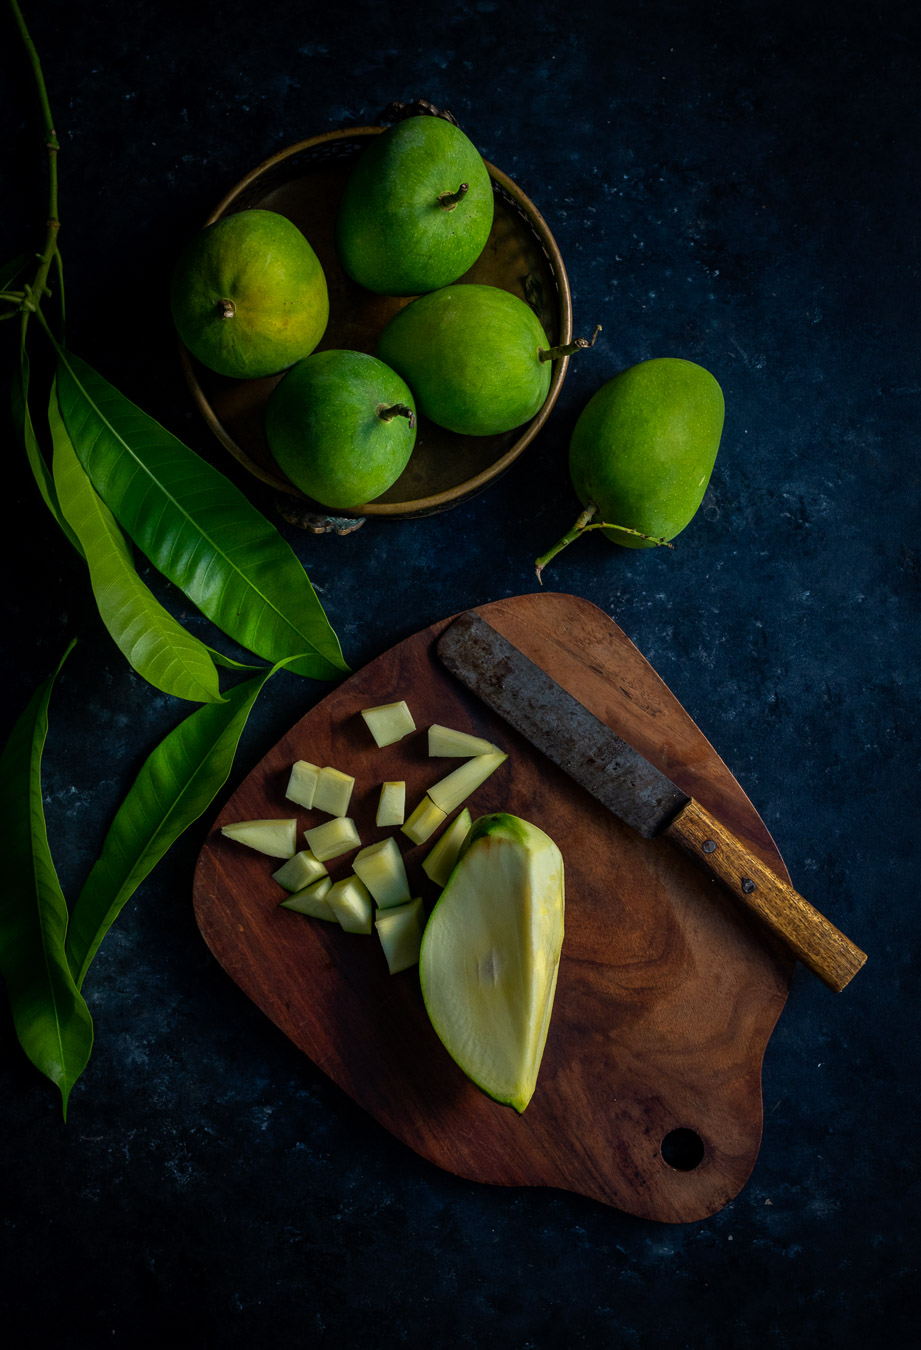
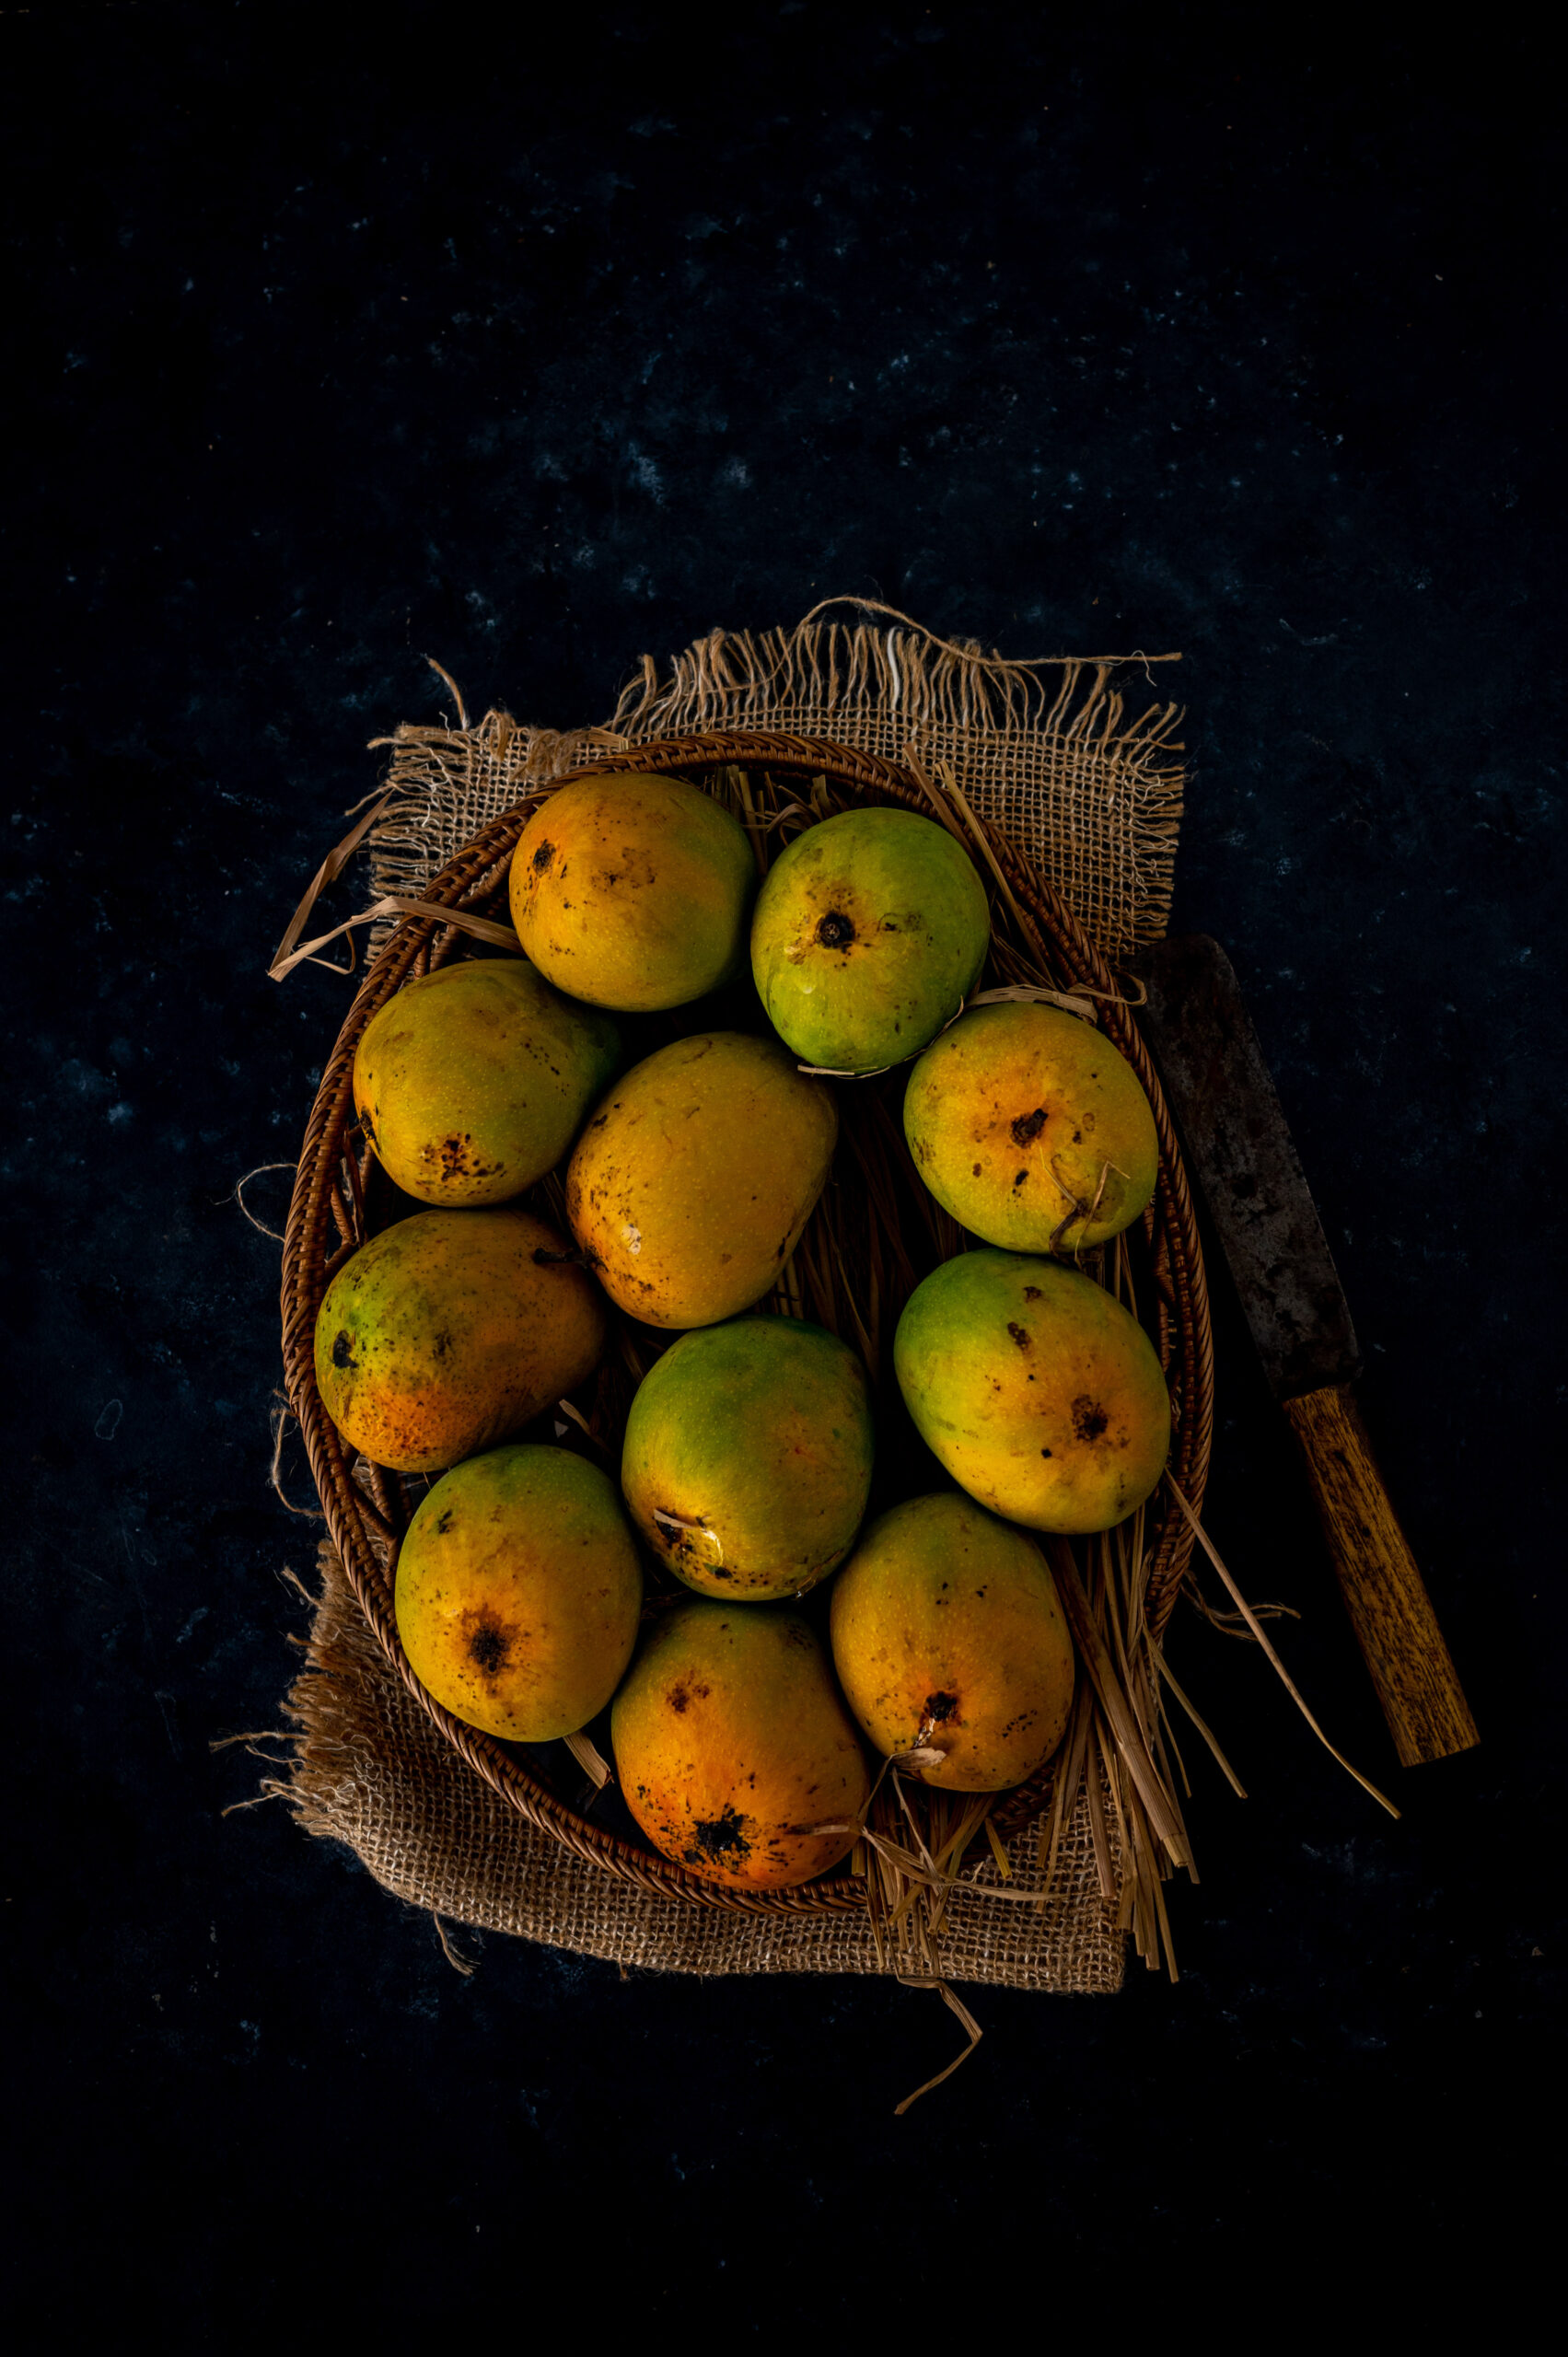
Just like there are hundreds of varieties of dal in India, there are also hundreds of varieties of mangoes. Other than the parrot-beaked, sweet-sour killimooku, I also have the not-sweet-at-all sindura growing in my garden. This won’t begin to fruit properly until May, however, and I had been eyeing it daily, wanting to make some amchur (dry mango powder), which requires a sour variant. Finally, I decided to put out an enquiry in a local resource group, asking if anyone had organic raw mangoes I could use for the same. Shefali, whom I had known through mutual friends, came to my rescue. She sent across a beautiful bounty from her own tree. Sour mangoes – and one very sweet gesture.

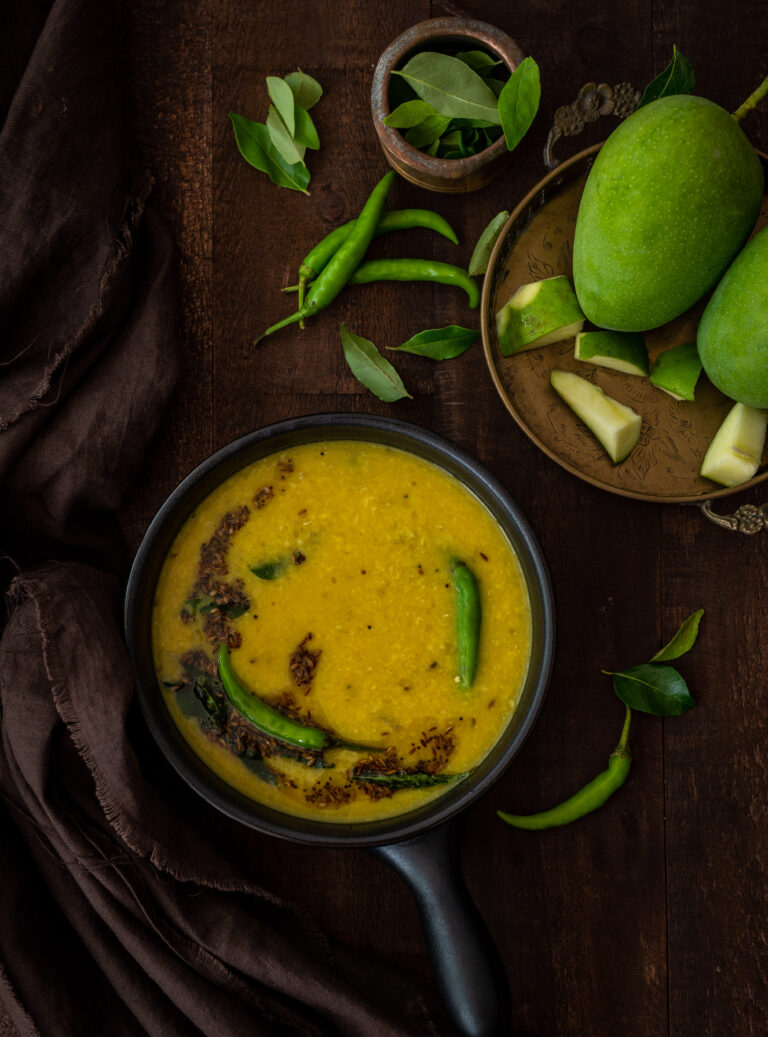
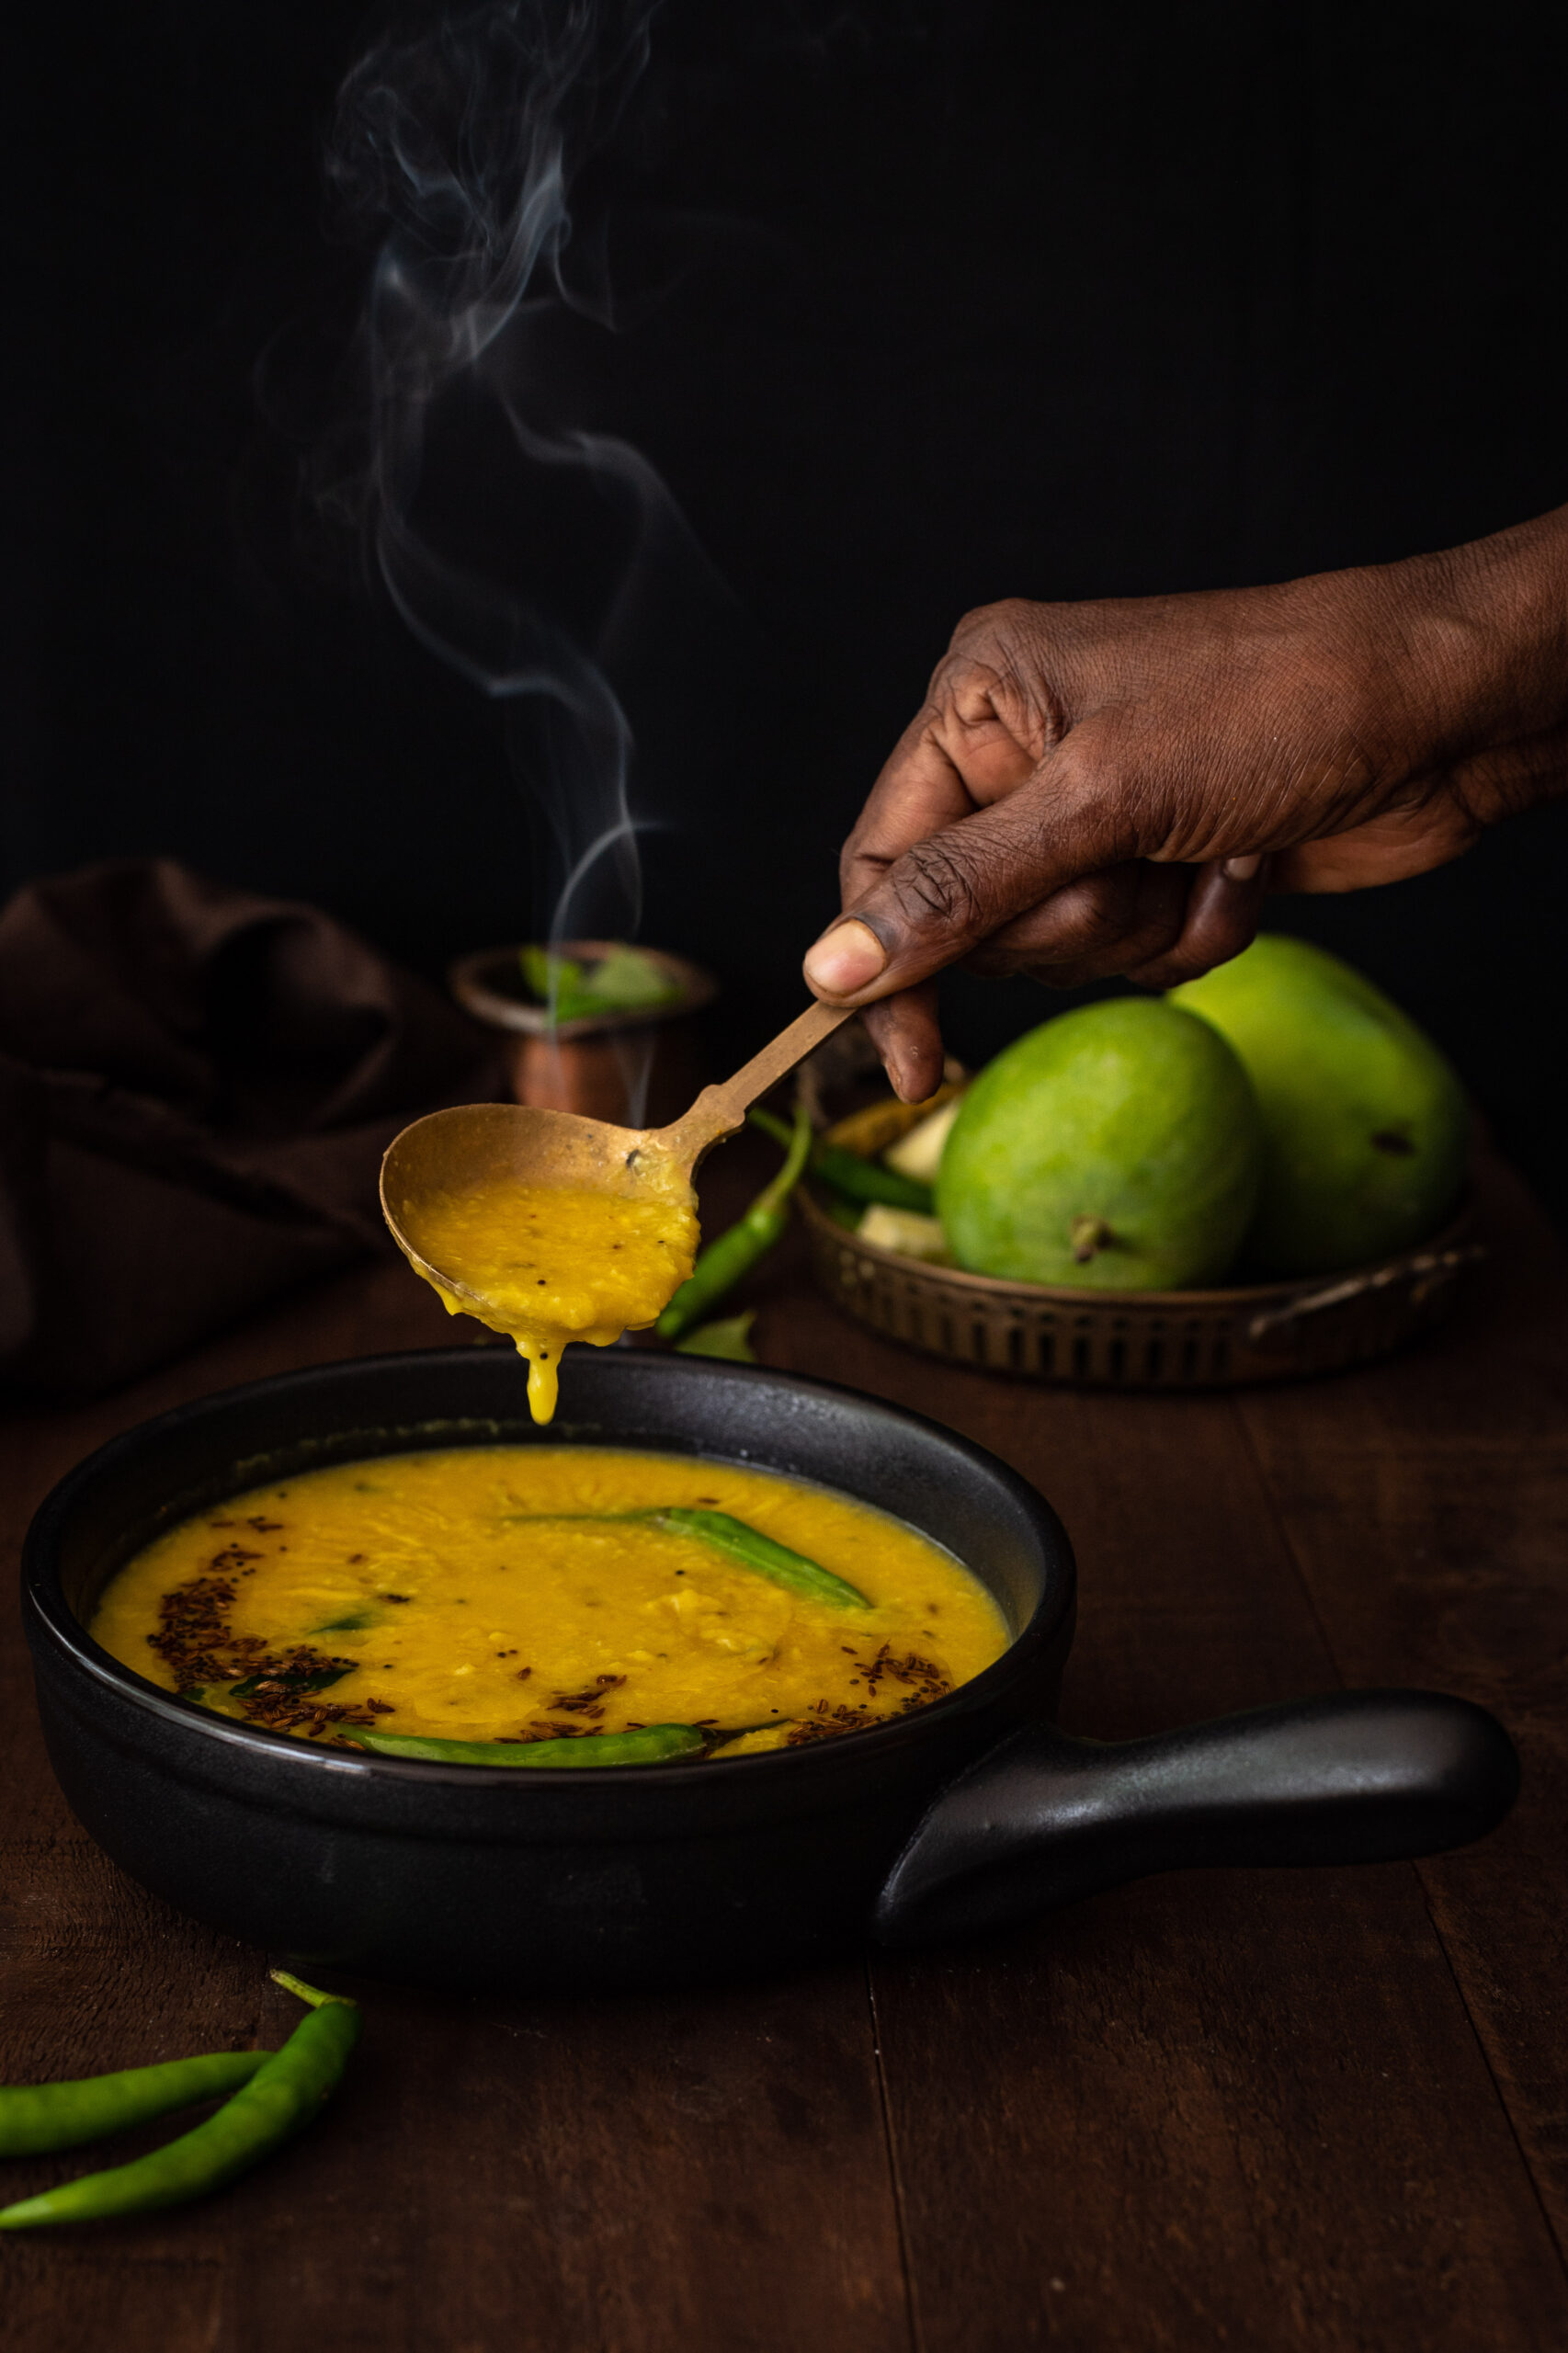
This vegan raw mango dal recipe came about because I had wondered whether raw mango would be a good substitute for the kokum or lime that I was using to add some tang to our daily dals. Since I had Shefali’s mangoes on hand for the amchur, I decided to give this a try. It worked out spectacularly – raw mango here isn’t just a condiment, but is in fact a vital component of this dal.

I know that many communities across the country make dals using either raw mangoes or ripe mangoes, and that this is especially common in Bengal and Kerala. The harvest in my home aside, I was already in ideation mode about what kinds of recipes to share with you through the season, and I knew I wanted to do something that would accompany rice or rotis. Having given you this ripe mango rasam a few summers ago, I was keen to offer a raw mango accompaniment this time. I had been thinking over how to, when this recipe grew organically from the kokum-substitution I’d mentioned earlier. Don’t you just love it when something simple clicks in a surprising way, and you realise that you’ve innovated something special? I’m all the more excited these days when I discover I can make something the vegan way, and this recipe is vegan too.

Raw mangoes are nutritious, as they are high in Vitamins A, B and C, as well as magnesium and calcium, thus offering health benefits ranging from the cardiac to the dental, with some heat-busting and hydrating properties to boot. They’re great for summers as they can prevent water loss, replenish the thirsty body, as well as help against stomach ailments arising from the heat. Digestive detoxification, lowering cholesterol levels and improving hormonal functions are some of the other qualities they are known to have.

As for the lentils I’ve chosen to use in this recipe, they are combination of split yellow mung dal and toor dal (pigeon pea). The former are lighter on the stomach than the latter, hence the mingling of the two to create a dish that’s easier to digest while still giving you the benefits and taste of both lentils. Since we mostly eat this dal at lunch time, I also avoid the use of garlic on weekdays as most of us have to get back to meetings and so on during the rest of the afternoon. If you make a thick preparation, this dal is ideal for rotis, whereas a thinner preparation is best enjoyed with rice.

As for me, being a carb-observant eater, I often consume a bowlful of dal with just a tablespoon of rice, topped with a liberal tempering of ghee (not vegan, I know – but this is completely optional). This becomes such a healthy, delicious meal all by itself. I am still light on my feet afterwards, and that little extra kick that comes from the raw mangoes when I’ve made this particular recipe that day is so satisfying in itself.

Raw Mango Dal

(Yield: 4 cups)

¼ cup toor dal
¼ cup split mung dal
½ cup cut raw mango
1½ cups water to cook
Salt to taste
1 tablespoon oil
½ teaspoon mustard seeds
½ teaspoon cumin seeds
¼ teaspoon turmeric powder
1 teaspoon green chili/ginger paste
¼ teaspoon asafoetida
½ teaspoon coriander/cumin powder
4-6 curry leaves
2 tablespoons finely chopped coriander leaves

Rinse the dals together and place them into a pressure cooker, along with the cut raw mango and turmeric.

Let this cook until tender. Mash the dal with a masher and set aside.

In a kadai, add the oil, and once it has heated, add the mustard seeds. You may substitute the oil with ghee if you are not making a vegan preparation. Once they begin to splutter, add the cumin seeds, curry leaves, asafoetida and finally the chili/ginger paste. Sauté for 2 seconds and add the mashed dal. If you like the flavour of garlic, you can add some during the sautéeing.

Add salt and coriander/cumin powder. Mix well and serve hot with the garnish.

If the mango is not sour enough you can add more chunks of it or even squeeze in some lemon or lime.

If like me or any Gujarati you know, you have a sweet tooth, you could also add some jaggery to compete with the tang of the raw mango. This would make for a most delicious dal, with a medley of tastes.

As it is, this is a very simple and appetising dal, with the flavours of the mango and the lentils evident because it is not overloaded with spices or condiments. It’s not the kind of dal one makes when a burst of masala is preferred; instead it is the comforting, homemade kind, albeit with a little kick from the raw fruit.

I hope that this vegan dal made with sour mangoes adds nutrition to your diet, gives you energy and strength, and as strange as it may sound – sweetens your day during these challenging times with its sheer deliciousness.

Sometimes, you just don’t have the energy to do much in the kitchen at all, but that’s no reason to skimp on having a dessert that can make you feel better. Whether the heat has enervated you, or the ongoing pandemic has dragged your cheerful spirits down, the key to preparing a pick-me-up is in one aspect only: the simplicity quotient. I’ve been making this mango twist nearly every day, and you can too.

What I love about it is that ticks all the boxes: it satisfies my sweet tooth without the use of refined sugar, allows me to have well-rounded meals while I am off carbs, makes the most of the earth’s seasonal bounty, and is practically effortless to prepare.

Really, it’s so easy that anyone can make it. Which brings me to another reason that I thought this fruity dessert would be perfect to share right now. It’s that making it is just the kind of activity to keep your younger kids happy, and that’s something I can imagine many of you doing with the little ones being at home all the time now. Putting this dessert together is a simple way to get them to explore the vast world of cooking. The sense of achievement they’ll enjoy will taste almost as good as the dish itself. This is a beautiful way impart the value of a home-made treat or meal, and it shouldn’t surprise you if they graduate to wanting to try out more culinary experiments too. As I’ve said before on this blog, I consider my recipes my heirlooms. There’s no reason to wait till they are older to share an elaborate traditional method when you can instill the love of cooking in them from a very young age through simple dishes like this one.

Here’s yet another amazing tick on that check-list: this mango twist is vegan! Of late, I have noticed that cutting down on my dairy consumption really does make me feel better overall. While I am not a hardcore vegan, as much as I would like to be, I do love the coconut milk I use in this dish and enjoy consuming it in this delicious way. You can use dairy, if that’s what you have on hand. Or you can substitute the coconut milk with almond milk, which will result in a thinner dessert that you can plump up with nutritious chia seeds.

Variety is certainly one of the elements that keeps a dish like this interesting. When mango season ends, simply use any other fruit that you have on hand.

I think of this Mango Twist as one of those recipes that is so common that it hardly warrants a recipe. Surely, everyone already knows it, I pondered to myself when the idea of this post occurred to me. Then, I realised how in any hectic time, we often get so carried away that we neglect to notice what is right before our eyes. So this recipe is really more of a reminder, something that tells you to open your fridge and see for yourself – you probably already have everything you need to whip up something wonderful right away.

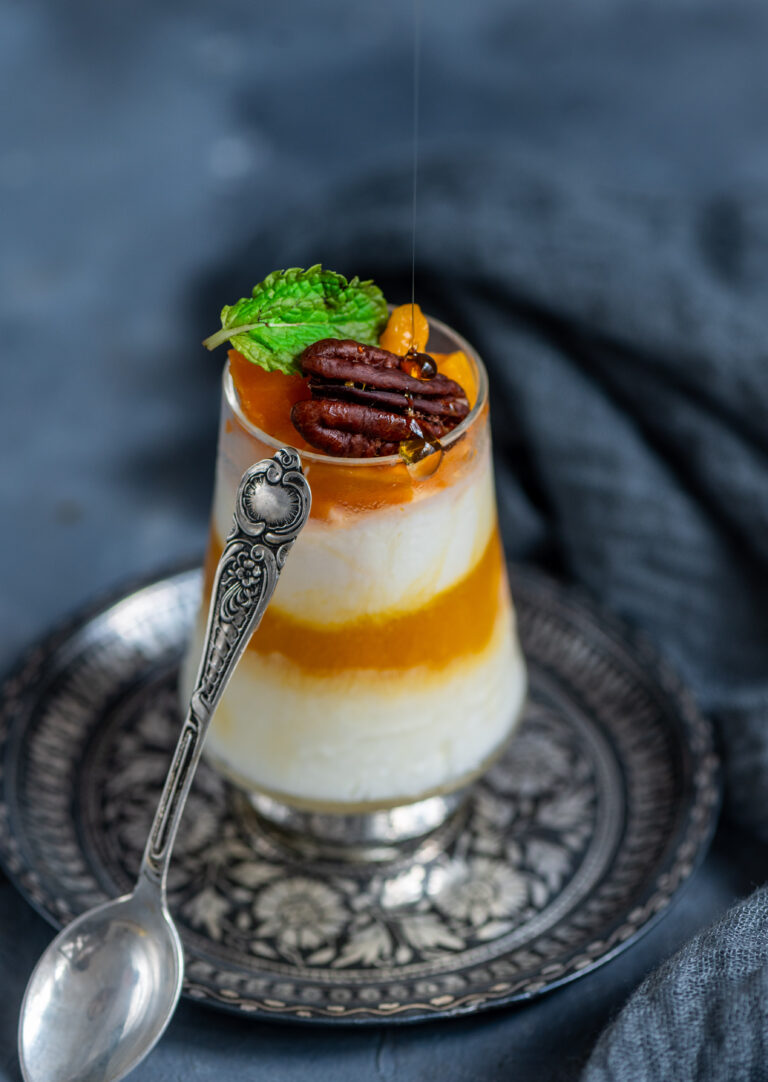
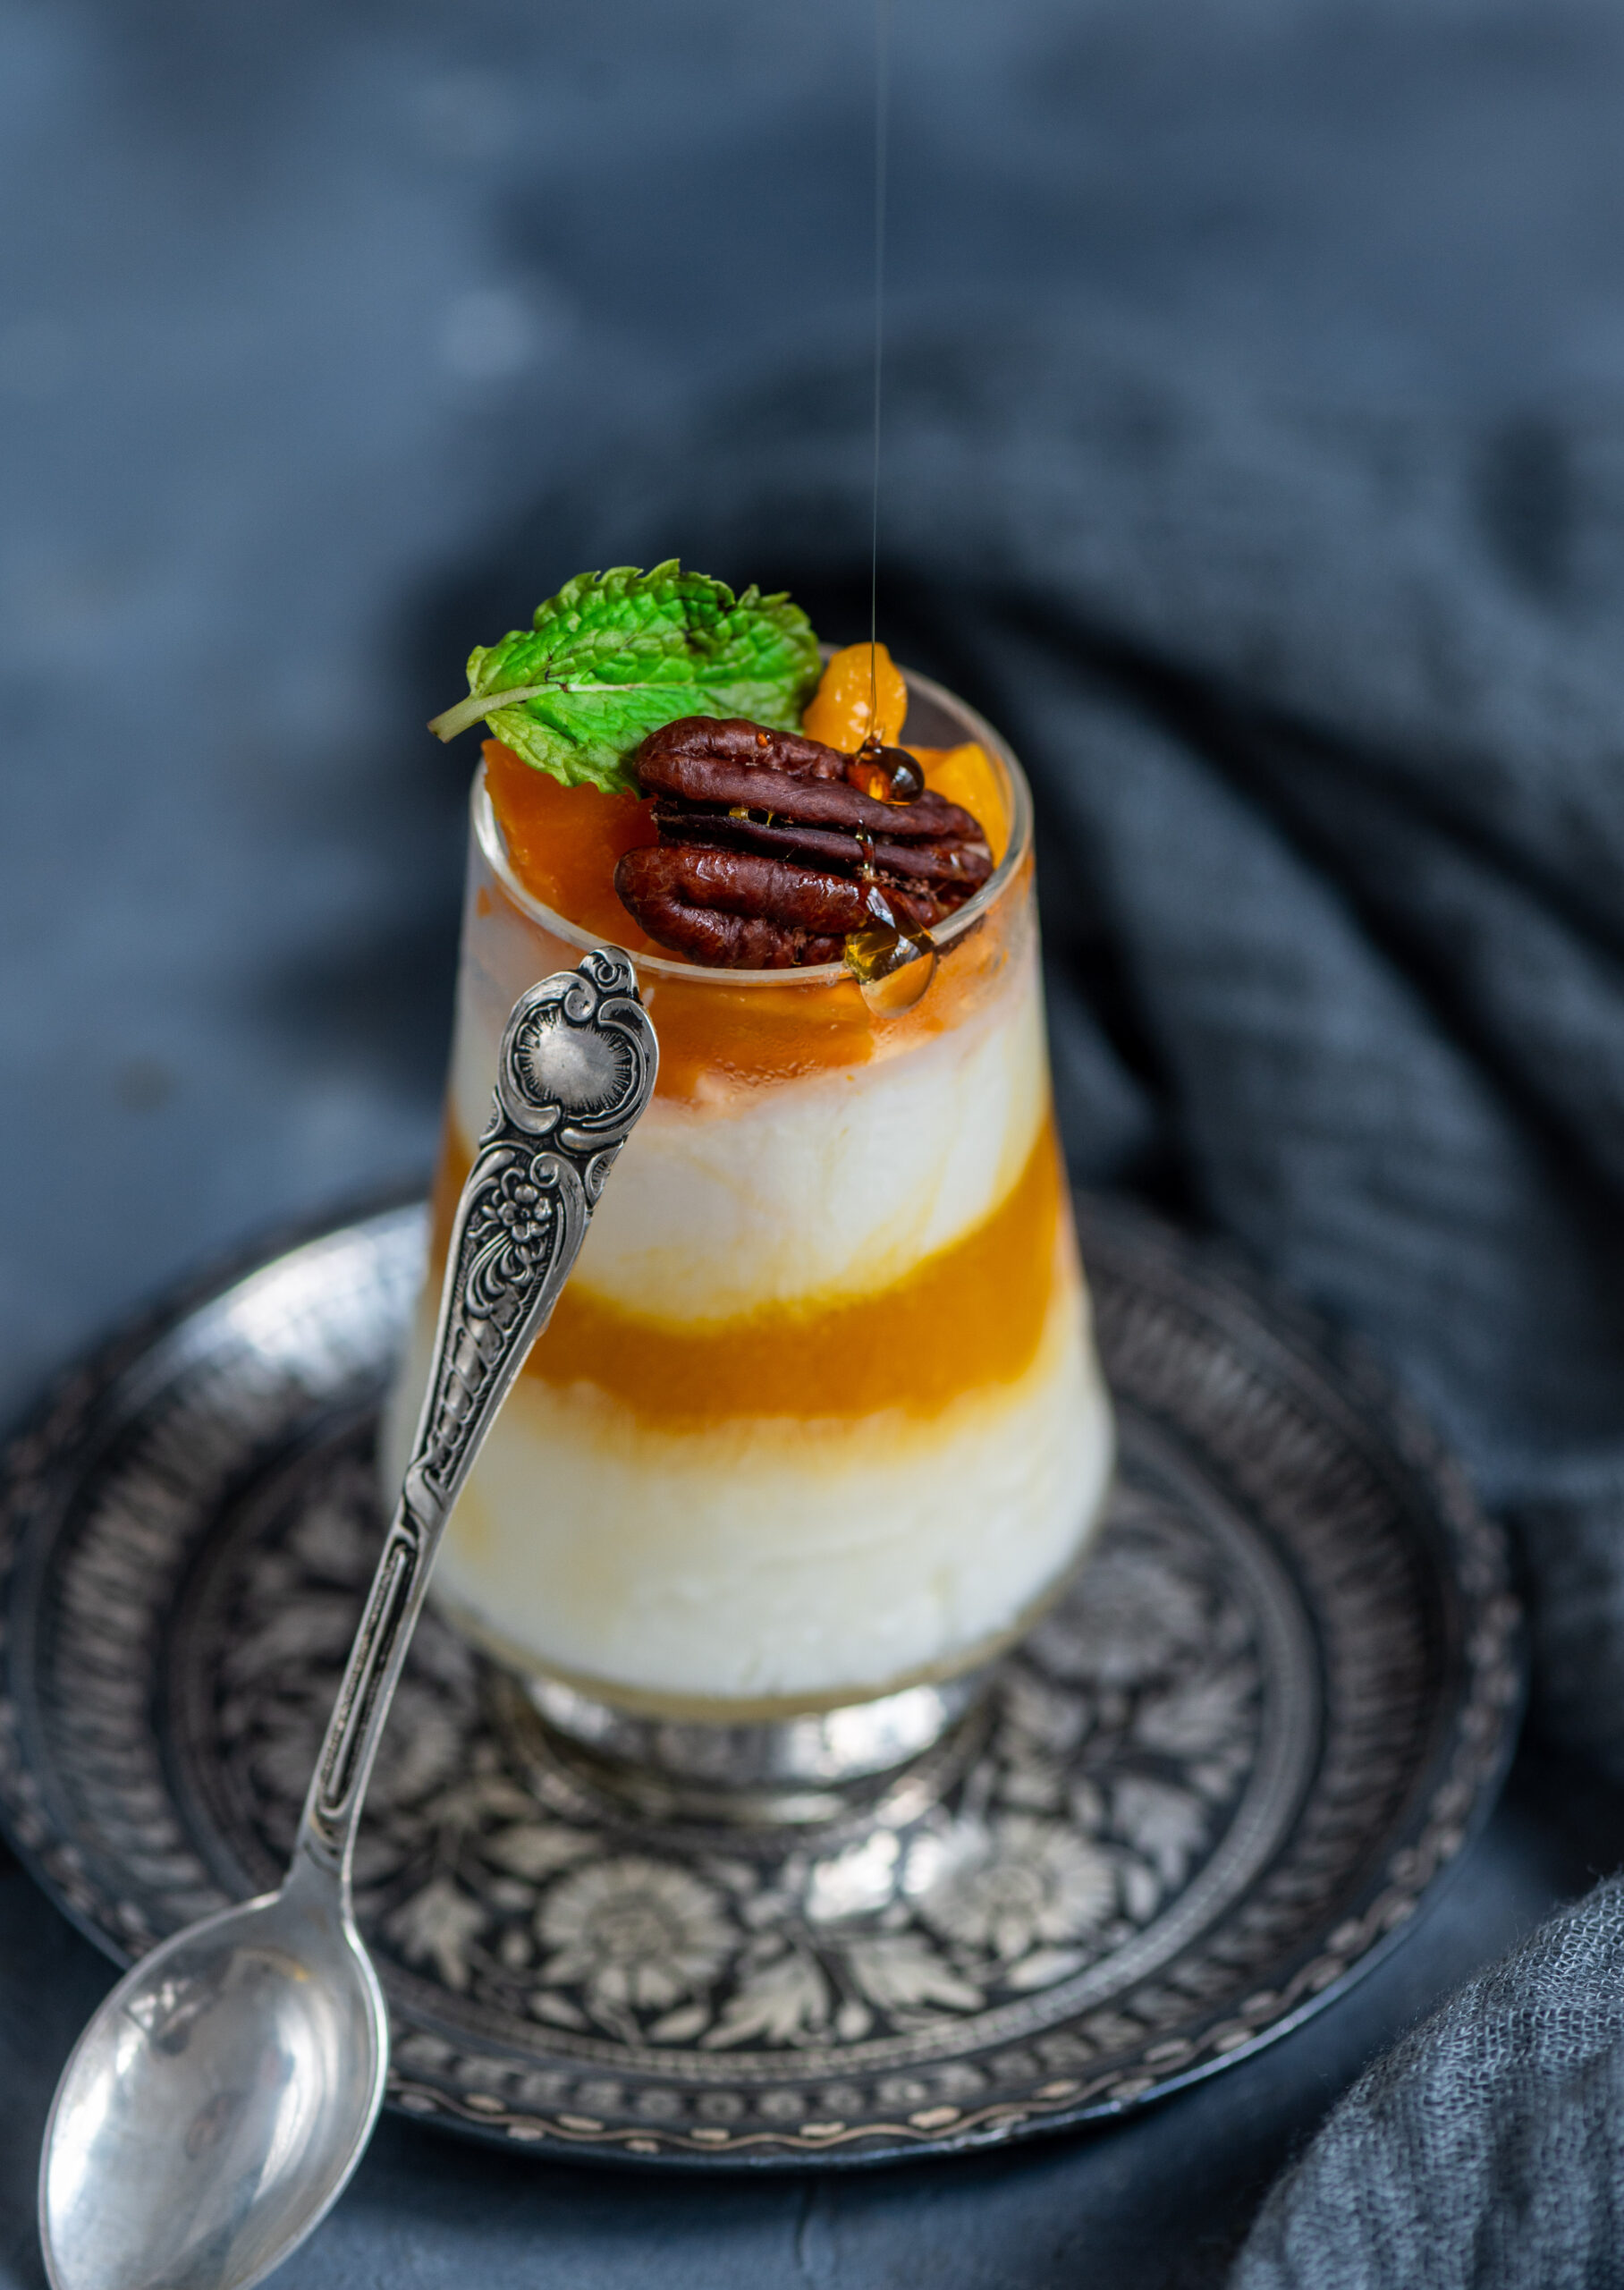
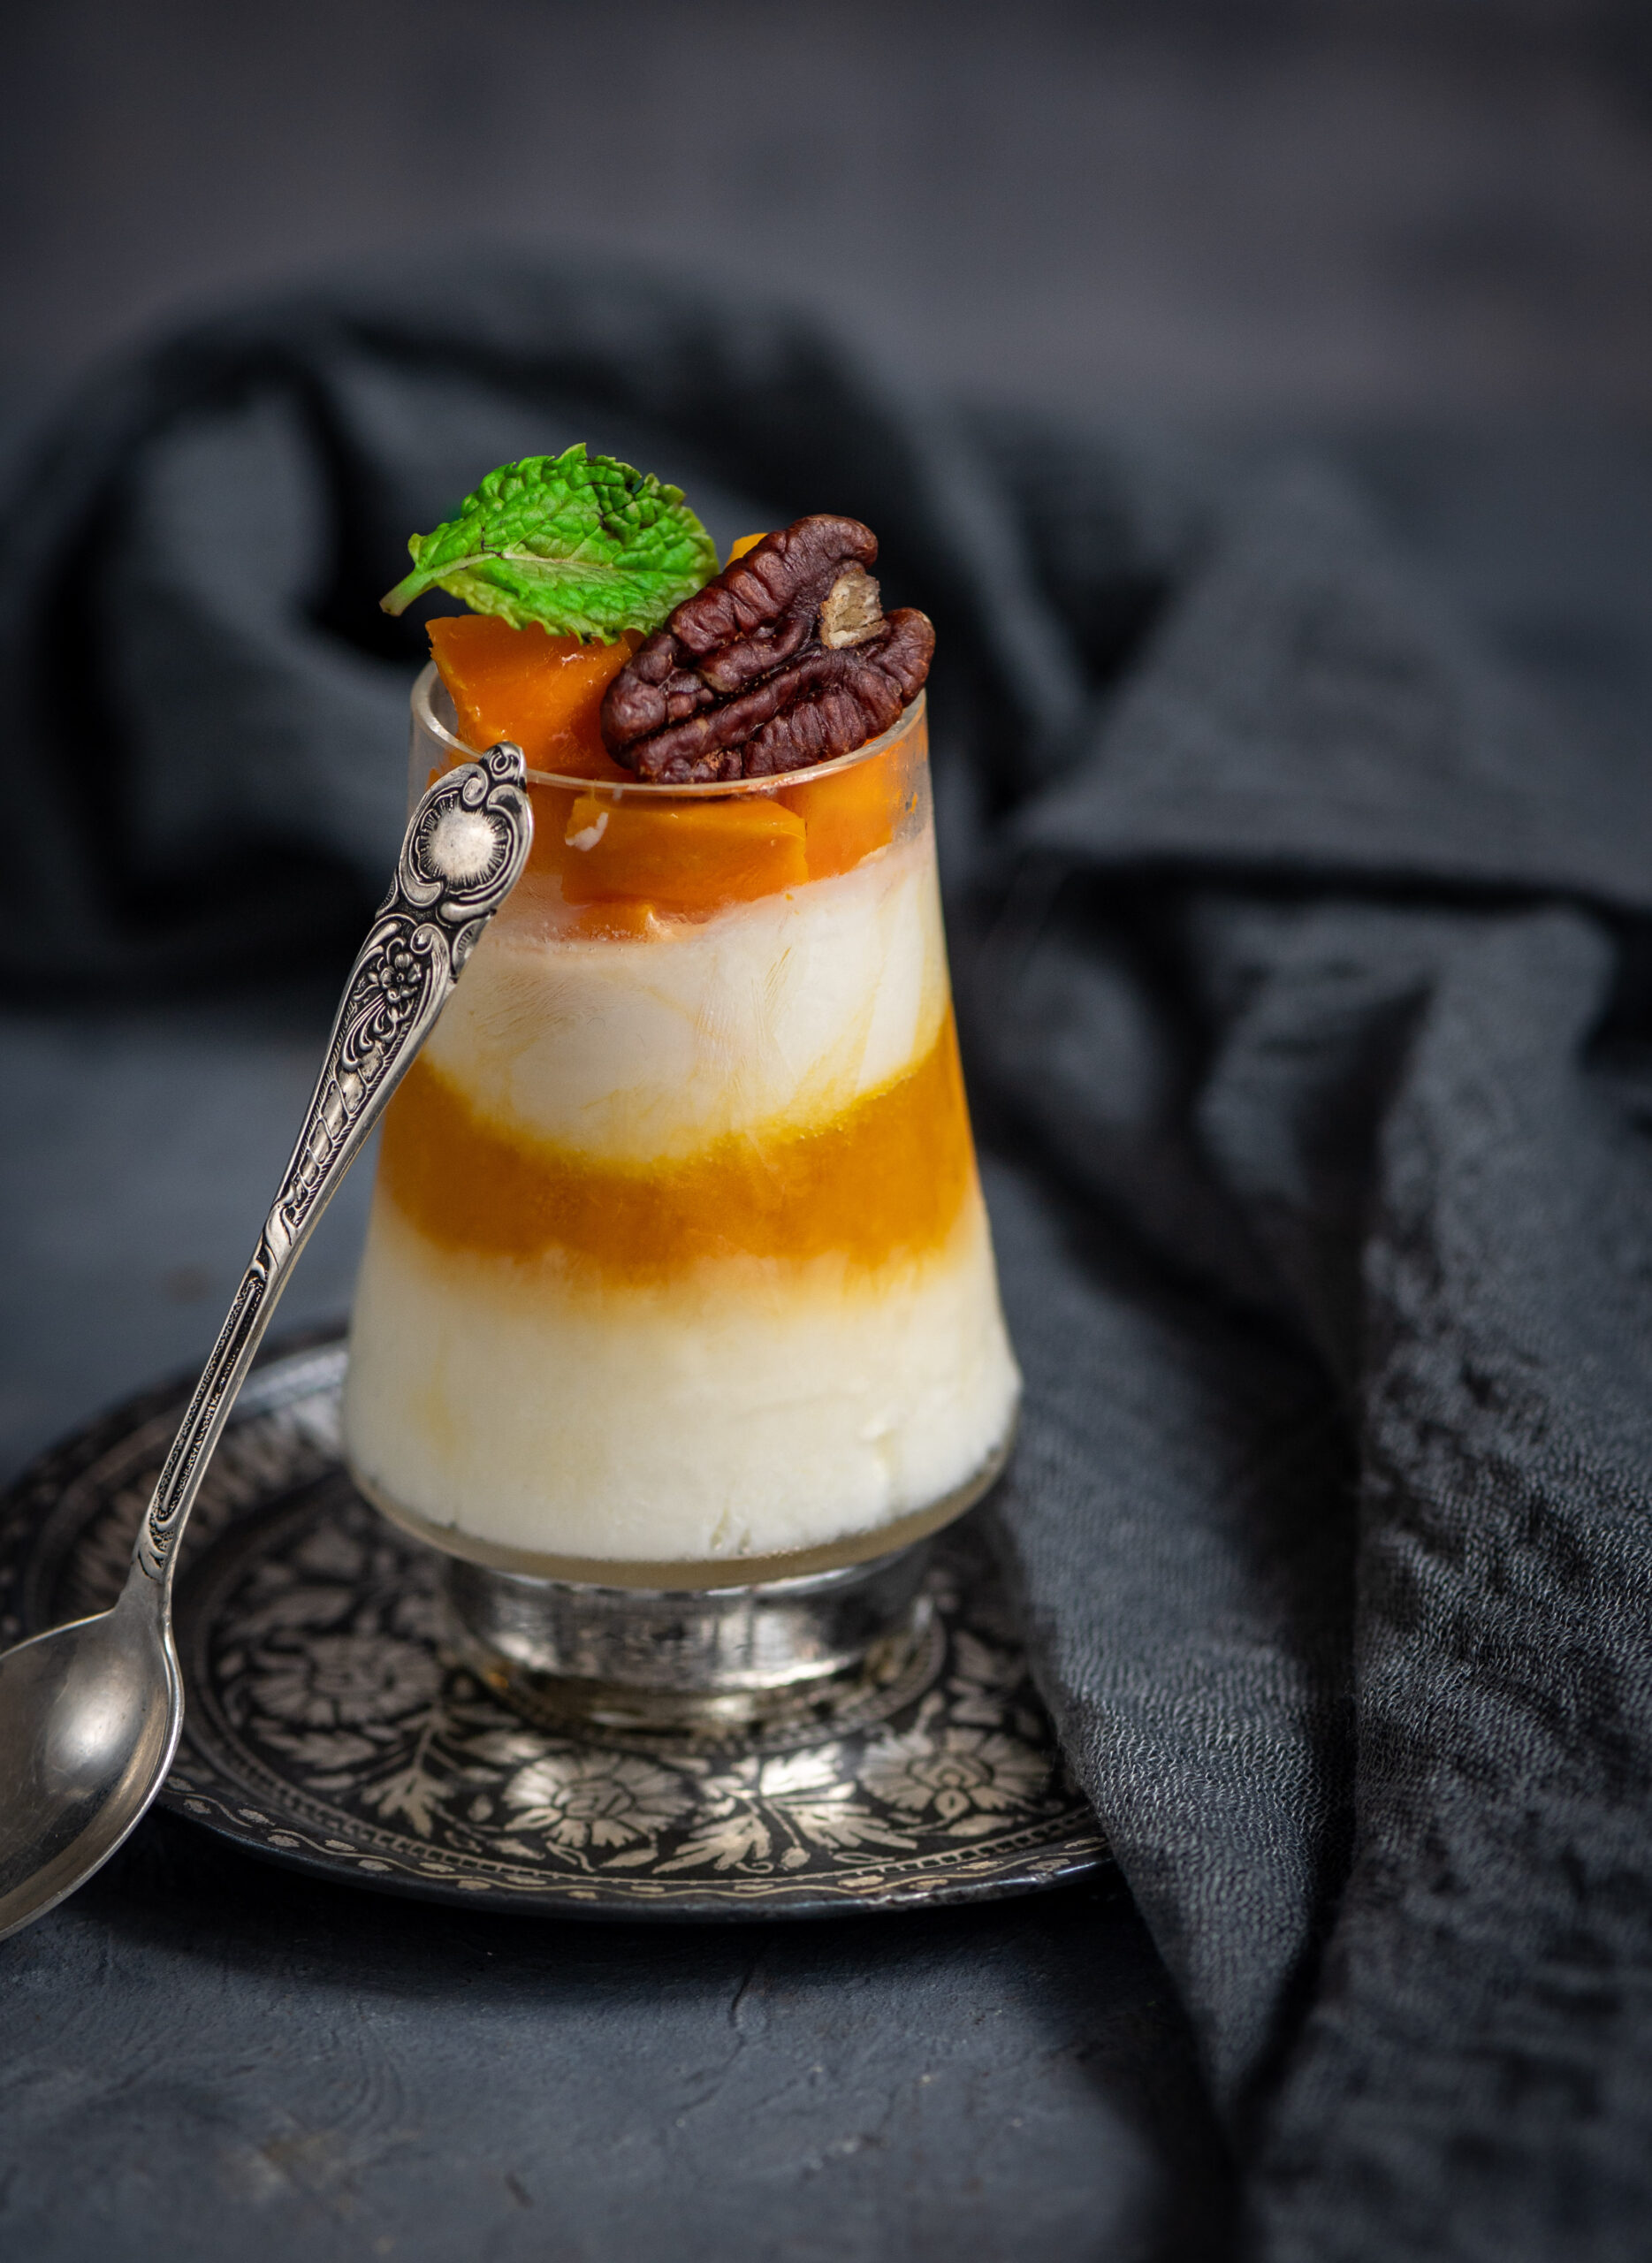
As a refrigerated dessert, you can also make it in advance so that it’s right there and ready for you when you desperately need something to cool off in this sweltering heat, or could use a pick-me-up. Some time in the hopefully not-far future, when we are back to entertaining guests as always, it’s also an ideal dessert to prepare earlier in the day so that you won’t have to take time putting a snack together after they arrive. Just take it out of the fridge and it’s ready to be served on a tray. It’s a visually attractive dessert, so presentation is key – what colours do you want to have pop inside the glass, and how will you layer the ingredients? You can go decadent, or you can keep it nutritious but still appealing by using fruits of different colours to create a tempting look.

Mango Twist

(Yield: 2 glasses)

1 cup coconut cream

½ cup mango pulp

Pecans or any topping of your choice

½ teaspoon maple syrup or honey (optional)


In each glass, add 2 teaspoons of coconut cream. I like to use small eatery glasses as they look very pretty. Layer this with the mango pulp. Freeze for sometime, then remove from the freezer. Now, top the pulp again with the coconut cream gently. Finally, add the pecans or any other toppings of your choice, and drizzle with some maple syrup or honey, as healthier sweetening substitutes. I only use these if I find the mango a little tart. Otherwise, the dessert doesn’t need it.

In lieu of coconut cream, you can also use pudding, fresh cream or other substitutes. Some other great toppings include caramelised nuts, maple syrup, honey, orange rind and seeds. Any kind of brittle, crumbled cake or re:store’s popular muesli will also add more taste and texture. Don’t forget that no matter what time of year you make this, you can use any seasonal fruit of your choice. When preparing it with your kids, indulge them with colourful jellies or cute chocolates that will make the smiles on their faces even bigger.

Given that this is a summer during which the simple pleasures are more important than ever, as we continue to collectively fight the pandemic, I intend to fully take all the joy I can get from the mango season. Do subscribe or connect over Instagram so that you’ll know as soon as my next few recipes go up – dishes that range from sweet to sour to savoury are coming, all thanks to this wonderful fruit!

As I said earlier, I think of this mango twist as a “reminder recipe” – is there anything similar that you’d like to share in the comments? I am sure we would all love to know more about each others’ summer go-to dishes and desserts!

Thayirsadam is a typically Tamil dish, and translates literally to “curd rice”. It is exquisitely simple and accessible food, which is why it is eaten here on practically a daily basis at households of every background. Even though we are Gujaratis, as lifelong Chennaiites, it is also a go-to in our home. It’s among the comfort foods we reach for whenever we feel down, or when we come back tired from a long trip. It’s also ideal for the day after late night parties, when not much has been prepped for the day’s meals, other than the homemade yoghurt that we ensure is made nightly without fail.

I’ve spoken many times of my deep love for yoghurt ever since childhood, and of how I used to consume it even by mixing it into upma and in other unconventional combinations. My love for it is something I brought into my new home when I got married, and I made it a staple in this household too. It truly is the ingredient that I find most difficult to give up even as we as a family make further inroads into a vegan lifestyle. For a variety of reasons, ranging from wanting to eating healthier to having doubts about the quality and purity of store-bought milk to being moved by the plight of mistreated dairy cows, we have all been veering towards the vegan way. My struggle to at least consume less yoghurt, even if I can’t quite give it up, has made me explore healthy and conscious alternatives. It’s such an integral part of Indian cuisine that it’s not a matter of finding a simple substitute for one or two recipes. I have to match each replacement to the dish, and see how it fares in that unique combination.

I have also been trying to make vegan yoghurt at home. Many of my experiments have failed, but a few attempts have brought me some degree of success. However, as I have yet to perfect a recipe that I feel I can confidently share with you, I won’t do so for now. My fingers are crossed that a vegan homemade yoghurt recipe will one day be featured on this blog.

So for now, we will stick to store-bought vegan yoghurt. Coconut yoghurt is my preferred one for this dish. I love the flavour: simple, versatile and a little sweet. Coconut also takes on the flavour of whatever you add it to, while retaining its own standalone taste. I add a dash of lemon to it so as to evoke the slight sourness of dairy yoghurt.

In addition to trying to eat vegan more often, I am also going through a phase where I am cutting down carbs, which means white rice is something I avoid. This leads me back to a food category that I’m passionate about: millets. Millets have made many appearances on this blog due to my belief in their importance in terms of good health and eco-sustainability. If you haven’t already enjoyed the following recipes, I hope you’ll check out: my vegan chilli bowl starring kodo millet, Indian vegetable salad starring foxtail millet or some authentic local dishes that showcase how millets have always been eaten in this region, such as chakkara pongal and ragi kanji.

In this dish, I have used kodo millet, also known as “varugu” in Tamil. Millets are fibre-rich, which makes them more filling, as well as good for your digestive system. Kodo millet is a gluten-free alternative to rice that I enjoy as much for its taste as for its benefits in regulating blood sugar and cholesterol levels, and the boost in antioxidants that it gives too. For me, veganism is about healthy eating, and that remains the impetus behind many of my food choices.

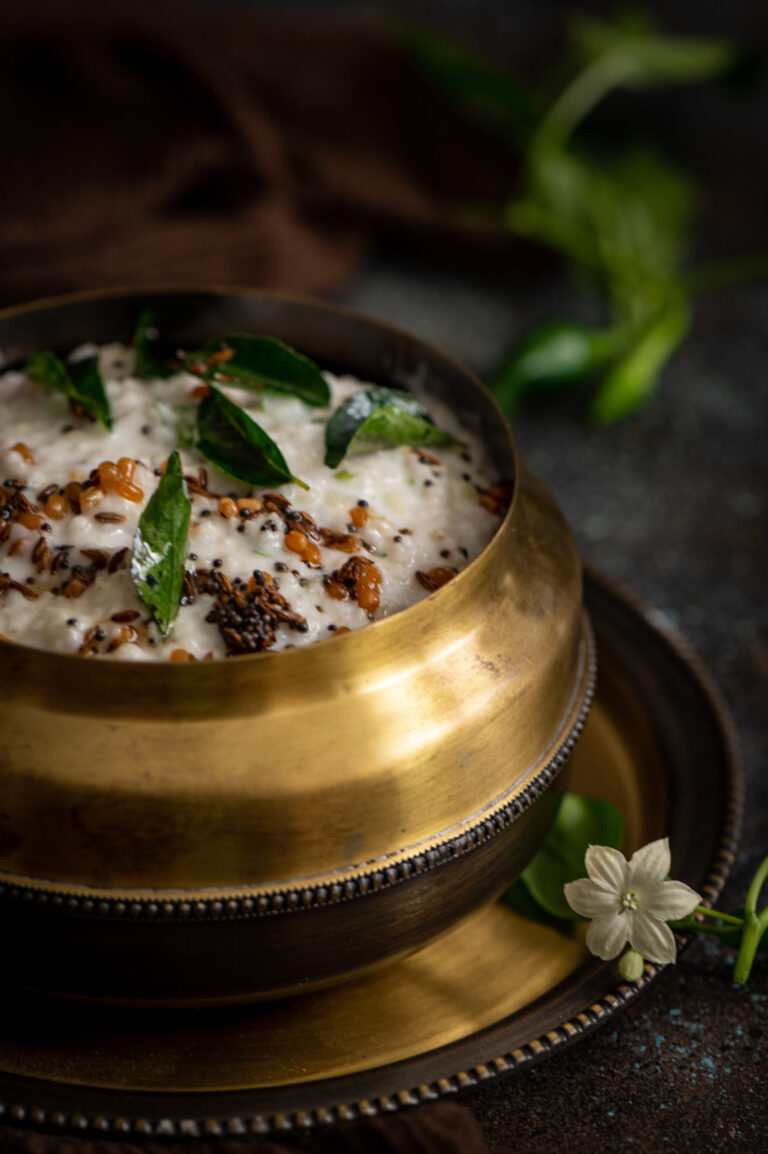
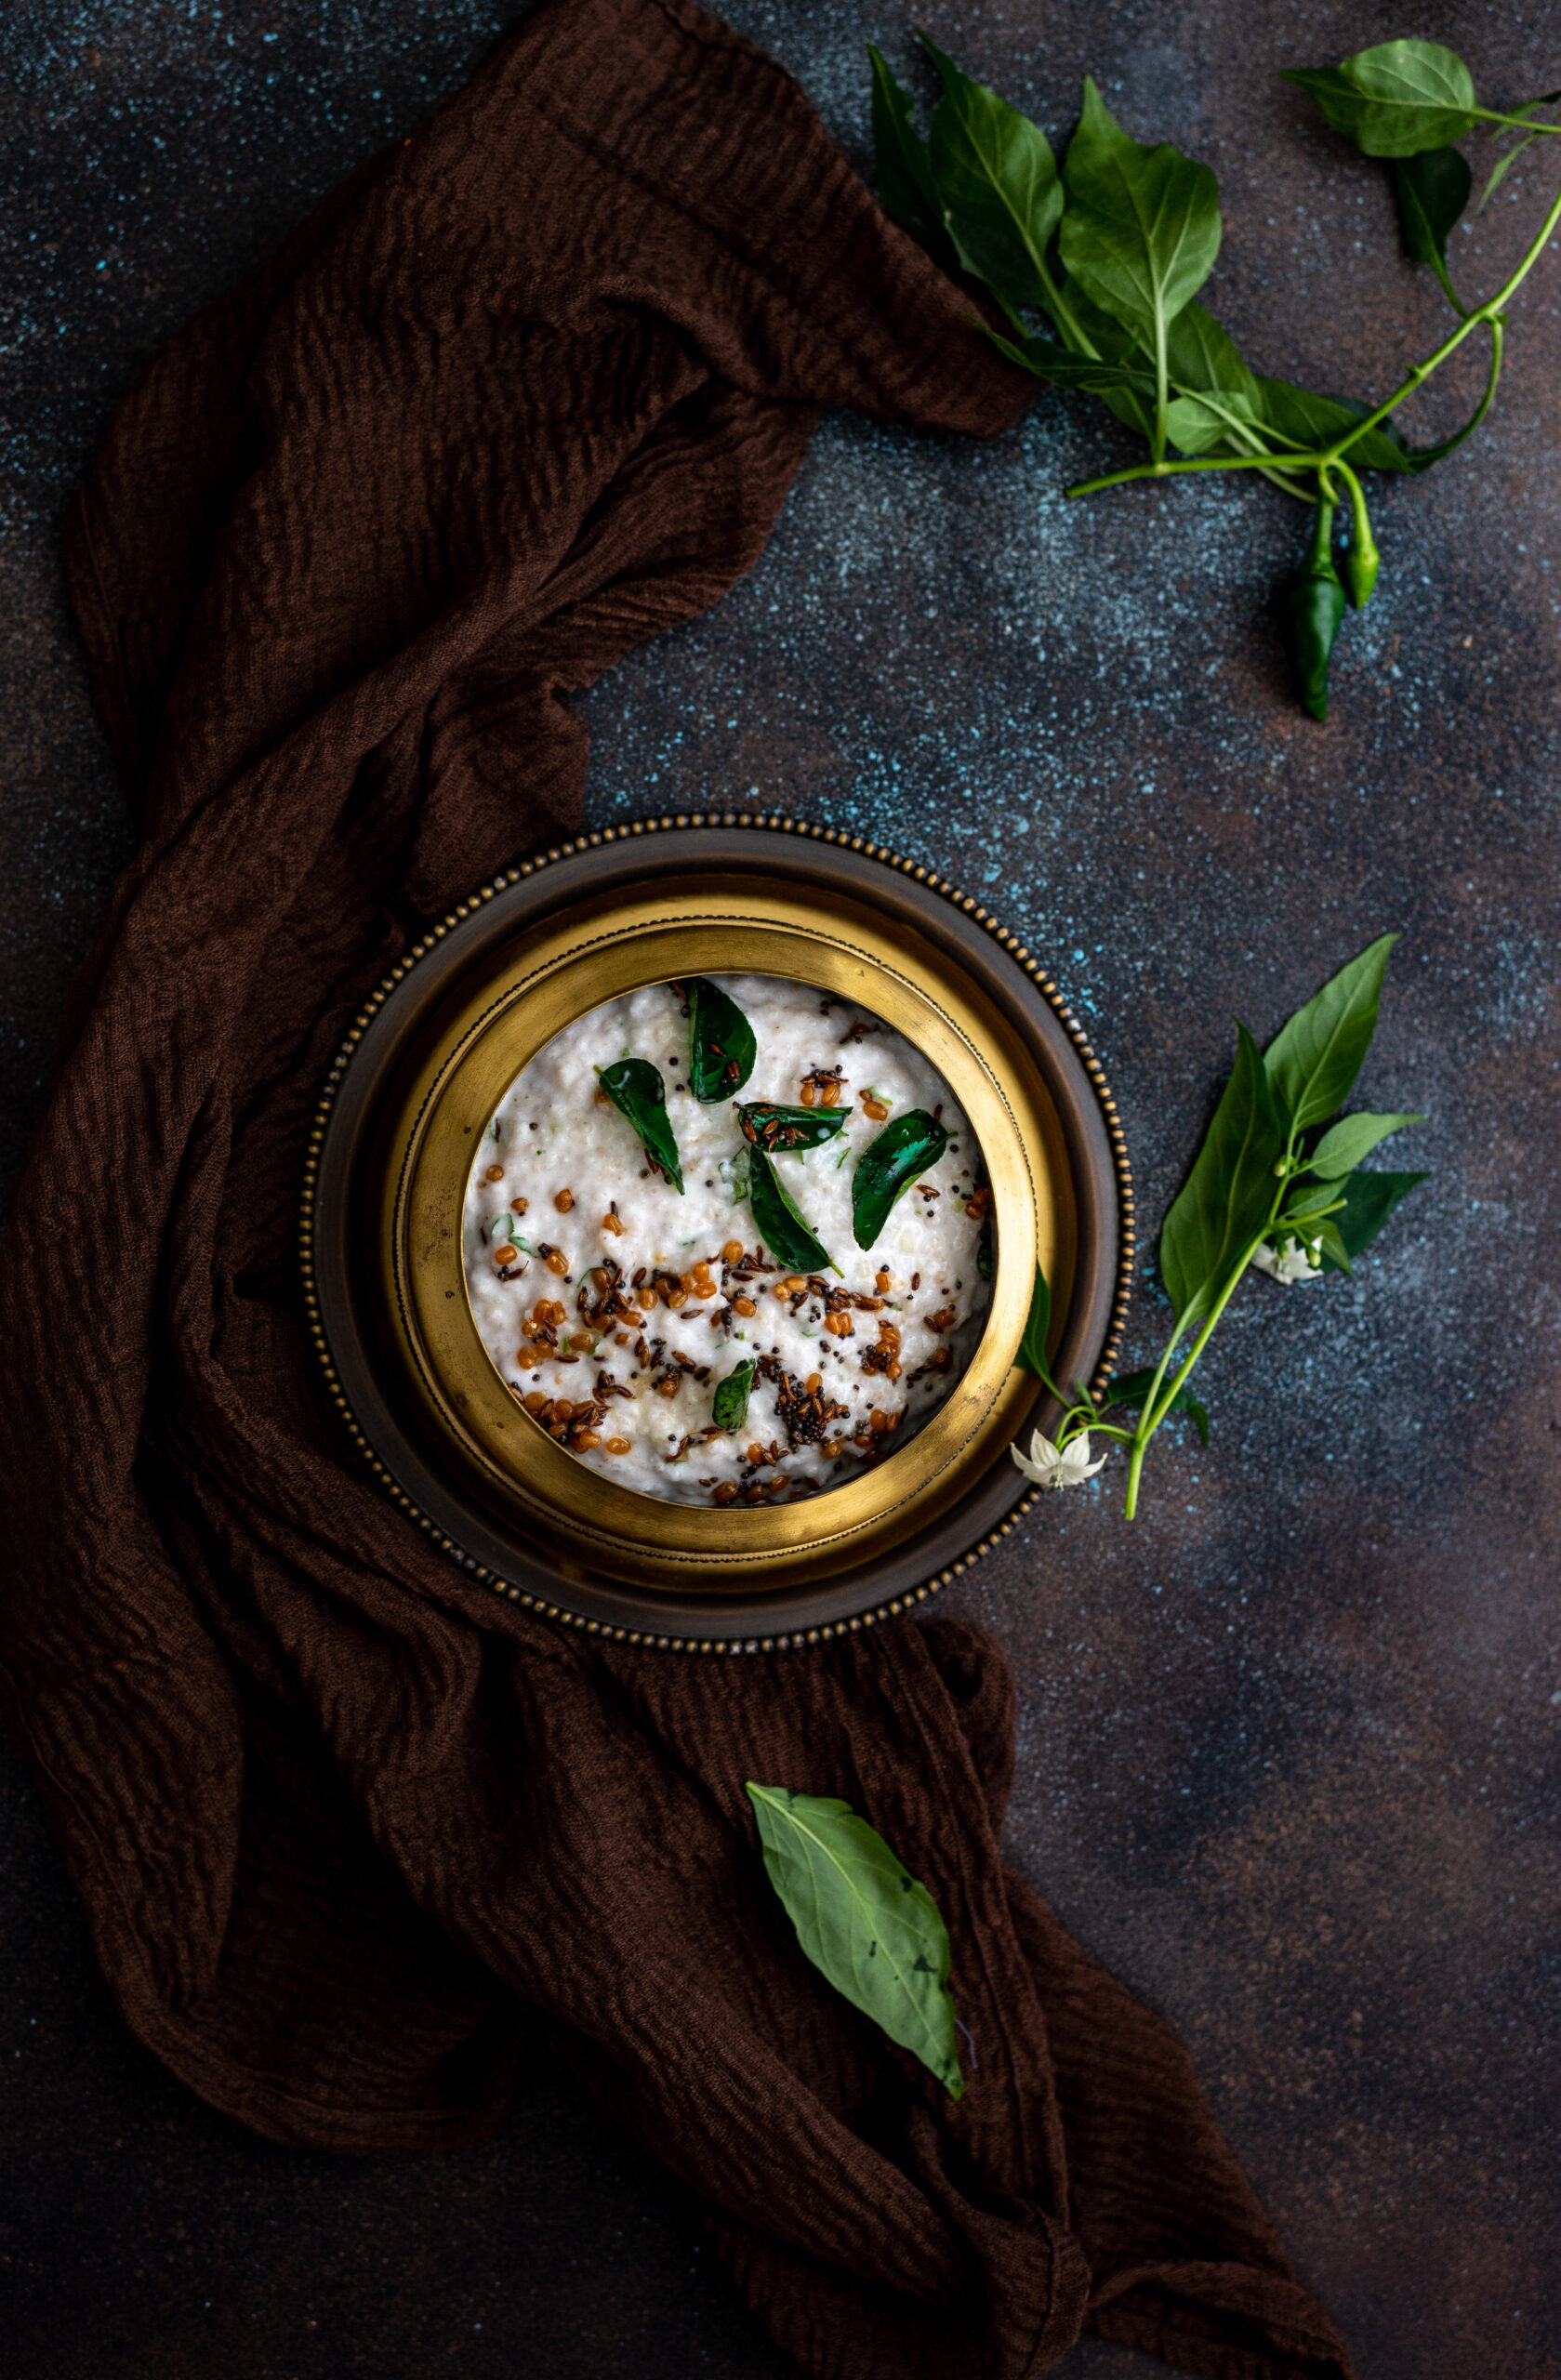
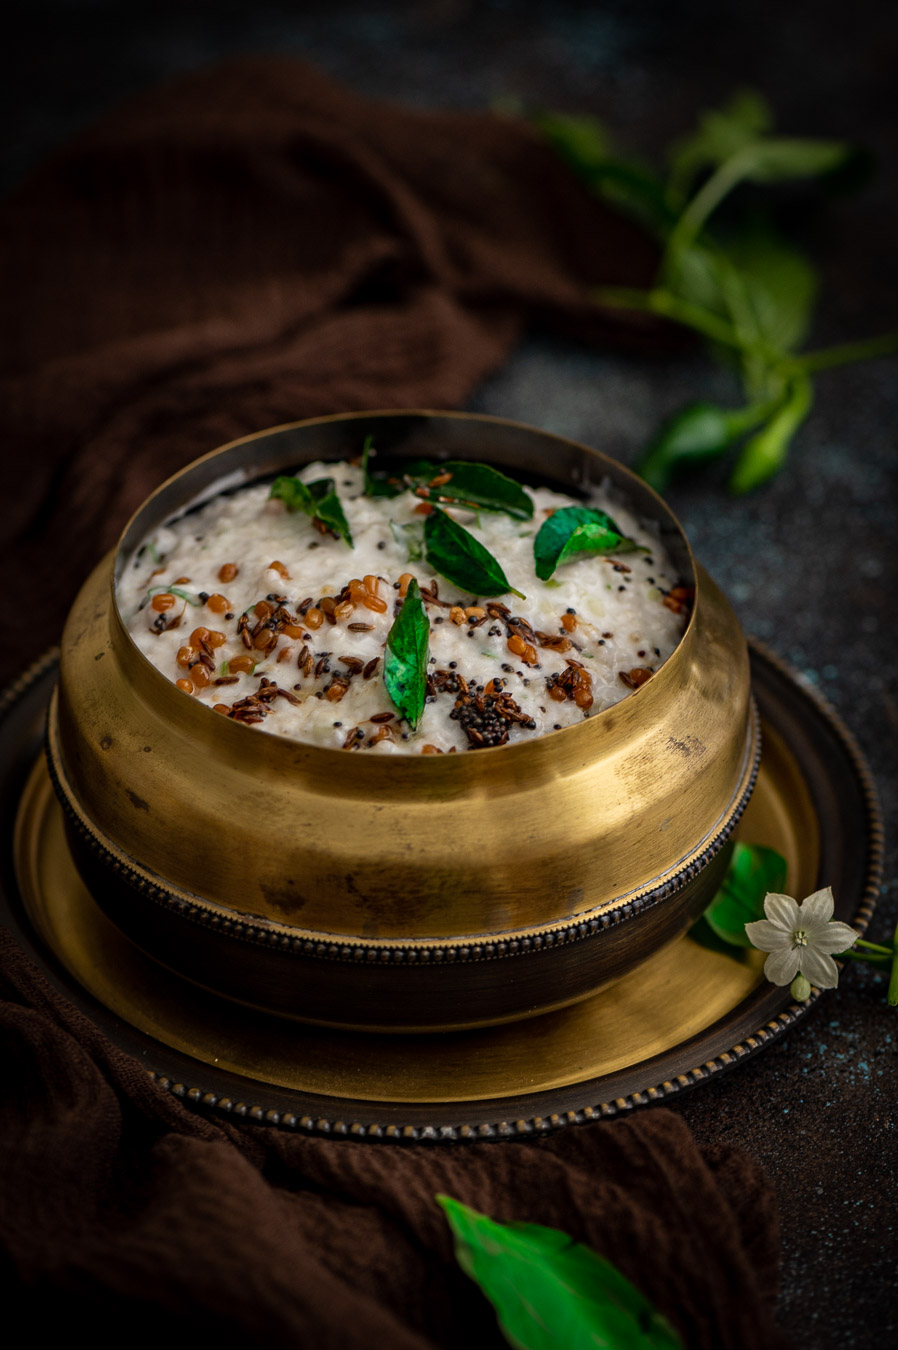
I’ve always seen food as a vital component of living in alignment with nature. Many of you know that I also maintain a home garden with various daily ingredients, from lemongrass to coconuts to tomatoes. Green chillies are among them, and as I stepped out of my kitchen to pluck a fresh one for this vegan millet “thayirsadam”, some pretty white flowers on the plant caught my eye. I paused to admire them, and I loved being able to include them in the styling for my photoshoot. How special and gratifying it was, to have my abiding love for all things culinary, my intensifying passion for photography, and my reverent love for nature come together…

Vegan Millet “Thayirsadam”

(Yield: 3-5 cups)

50 grams kodo millet

160 grams coconut yoghurt

¼ cup water

2-3 tablespoons raw mango

1 tablespoon coriander leaves

1 tablespoon chopped cucumber

Salt to taste

A dash of lemon


Tempering:

1 tablespoon oil

¼ teaspoon mustard seeds

¼ teaspoon cumin seeds

1 green chilli finely chopped (optional)

A few curry leaves

Rinse and cook the kodo millet in 3-4 cups of water. This will take about 15 minutes. Allow to cool.

Once cooled, transfer the millet into a bowl. Add the coconut yoghurt, salt and water. Mix thoroughly. Next, add the cucumber, raw mango and coriander leaves. You may include your choice of crunchy ingredients to add more texture and taste to the dish. Sometimes I use pomegranates or grated carrots, either as a substitute for cucumber or along with it.

Now, add the dash of lemon.  Set aside.

For the tempering, heat the oil and then add the mustard and cumin seeds. Once they splutter, add the green chilli and curry leaves and immediately pour over the millet-yoghurt that was set aside.

Stir gently and refrigerate. Serve once slightly cooled again.

And there you have it: thayirsadam with neither thayir (curd) nor sadam (rice)! This vegan curd millet dish truly becomes a filling meal-in-a-bowl once you scoop in a spoonful of pickle on the side, and add a handful of some delicious, crispy banana chips to add more variety to your meal.

By the way, if you are a fan of curd rice in general, may I suggest that you also try my recipe for Gujarati masala curd rice? And if you’re a vegan who is looking for dairy-like but dairy-free desserts, my take on another Gujarati speciality, in the form of this vegan passion fruit shrikand, may be right up your alley!


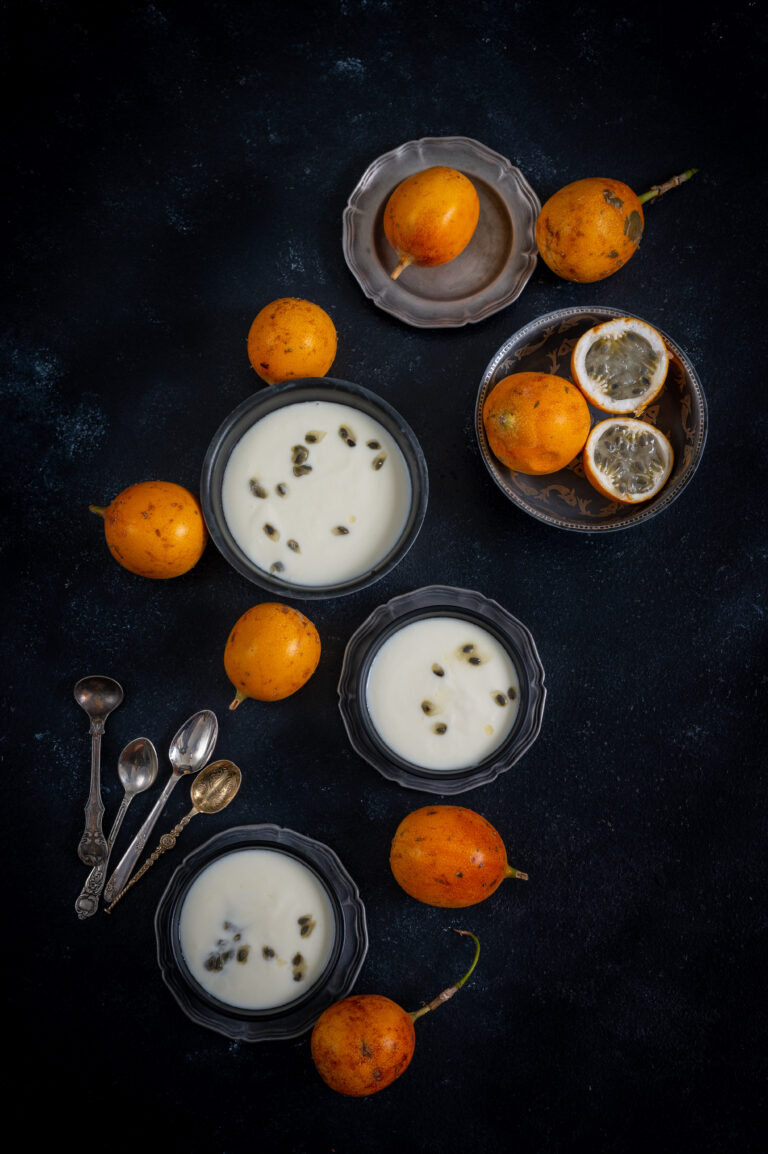
A friend and I were on a weekend getaway in the hills when another friend, who coincidentally had embarked on the same idea of a little escape to the same sleepy town, dropped by to visit us. We were enjoying each others’ company and trying to pep up the meal we would share, wanting to make it as fancy as possible with the simple but fresh ingredients at our disposal. There was a lot of yoghurt on hand, and perchance, some luscious passion fruit. Voilà, inspiration struck! We were quick to leap into action and put together a beautiful shrikhand for dessert, and even quicker to polish it off as we caught up on our conversation.

Both passion fruit and shrikhand have been celebrated on this blog before, and bringing them together felt like a lovely stroke of luck. Passion fruit always has a short season, so I suggest that you take advantage of the same and try this recipe as soon as you find the fruit. It truly is one of the most beloved fruits in my home, as you may remember from this recipe for a passion fruit salad dressing that I still make as often as possible. At the very least, sliced passion fruit or passion fruit juice is a daily feature whenever we’re able to get a fresh harvest.

While I had prepared this dish using dairy while on the getaway, once I got back home I tried it again in a vegan preparation. I had initially wanted to make a vegan version of the coconut pudding that was shared last week, but wasn’t able to do enough trials due to the festive rush. So this time, what I am sharing is a tried and tested vegan dessert, made with coconut yoghurt.

Quite like the sitaphal kheer that needs very little to enhance it, being so flavourful on its own, the passion fruit shrikhand too does not need the the usual frills of a typical or traditional shrikand. It doesn’t need saffron or slivers of almond or pistachio to elevate it. All I used was a little bit of cardamom. The focus is very much on the taste of the fruit, which happens to be quite sweet, and this means that you can cut down on the sugar quantity used in the dish.

Gujaratis take pride in our shrikhand, and it is even eaten as part of a main meal in a great combination known as shrikhand-poori (I’ve written many times on this blog about that famous Gujarati sweet tooth!). So while I don’t want to make an easy comparison to flavoured yoghurts you can get in supermarkets, I can definitely say after this experiment that it’s very easy to flavour your shrikhand too, using different kinds of fruits. It’s very easy to prepare overall, too. The best part of it is that being homemade, we know exactly what goes into it. A flavoured shrikhand is a healthy treat, and a fun and simple way to add a twist to this immensely popular Gujarati dish.


Vegan Passion Fruit Shrikhand

(Yield: 4-5 cups)

5 cups coconut yoghurt

½ cup icing sugar (substitute: ½ cup honey or maple syrup)

¼ teaspoon cardamom

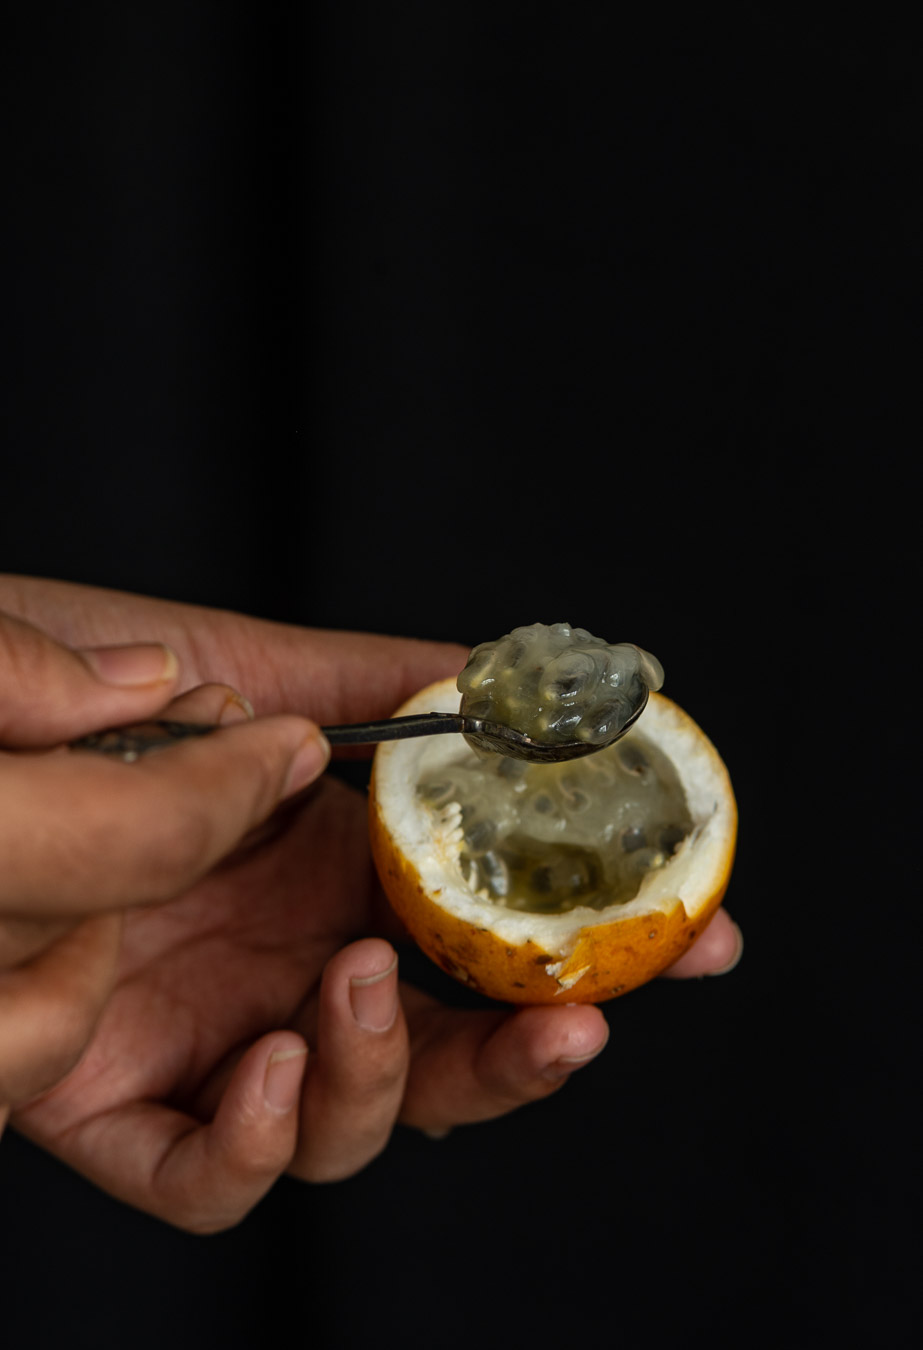
Pulp of 2 passion fruits


Take a fine muslin cloth, put the 5 cups of coconut yoghurt into it and tie the cloth. Use plain yoghurt if you prefer a vegetarian rather than vegan version. Hang this yoghurt for about 2-3 hours or until all the whey drips out. You can use this whey to bind dough for rotis.

Then, put the yoghurt into a strainer and add the sugar to it. Sieve the yoghurt with the help of a spoon and collect it into a bowl. Add the cardamom powder and passion fruit pulp. Mix well.

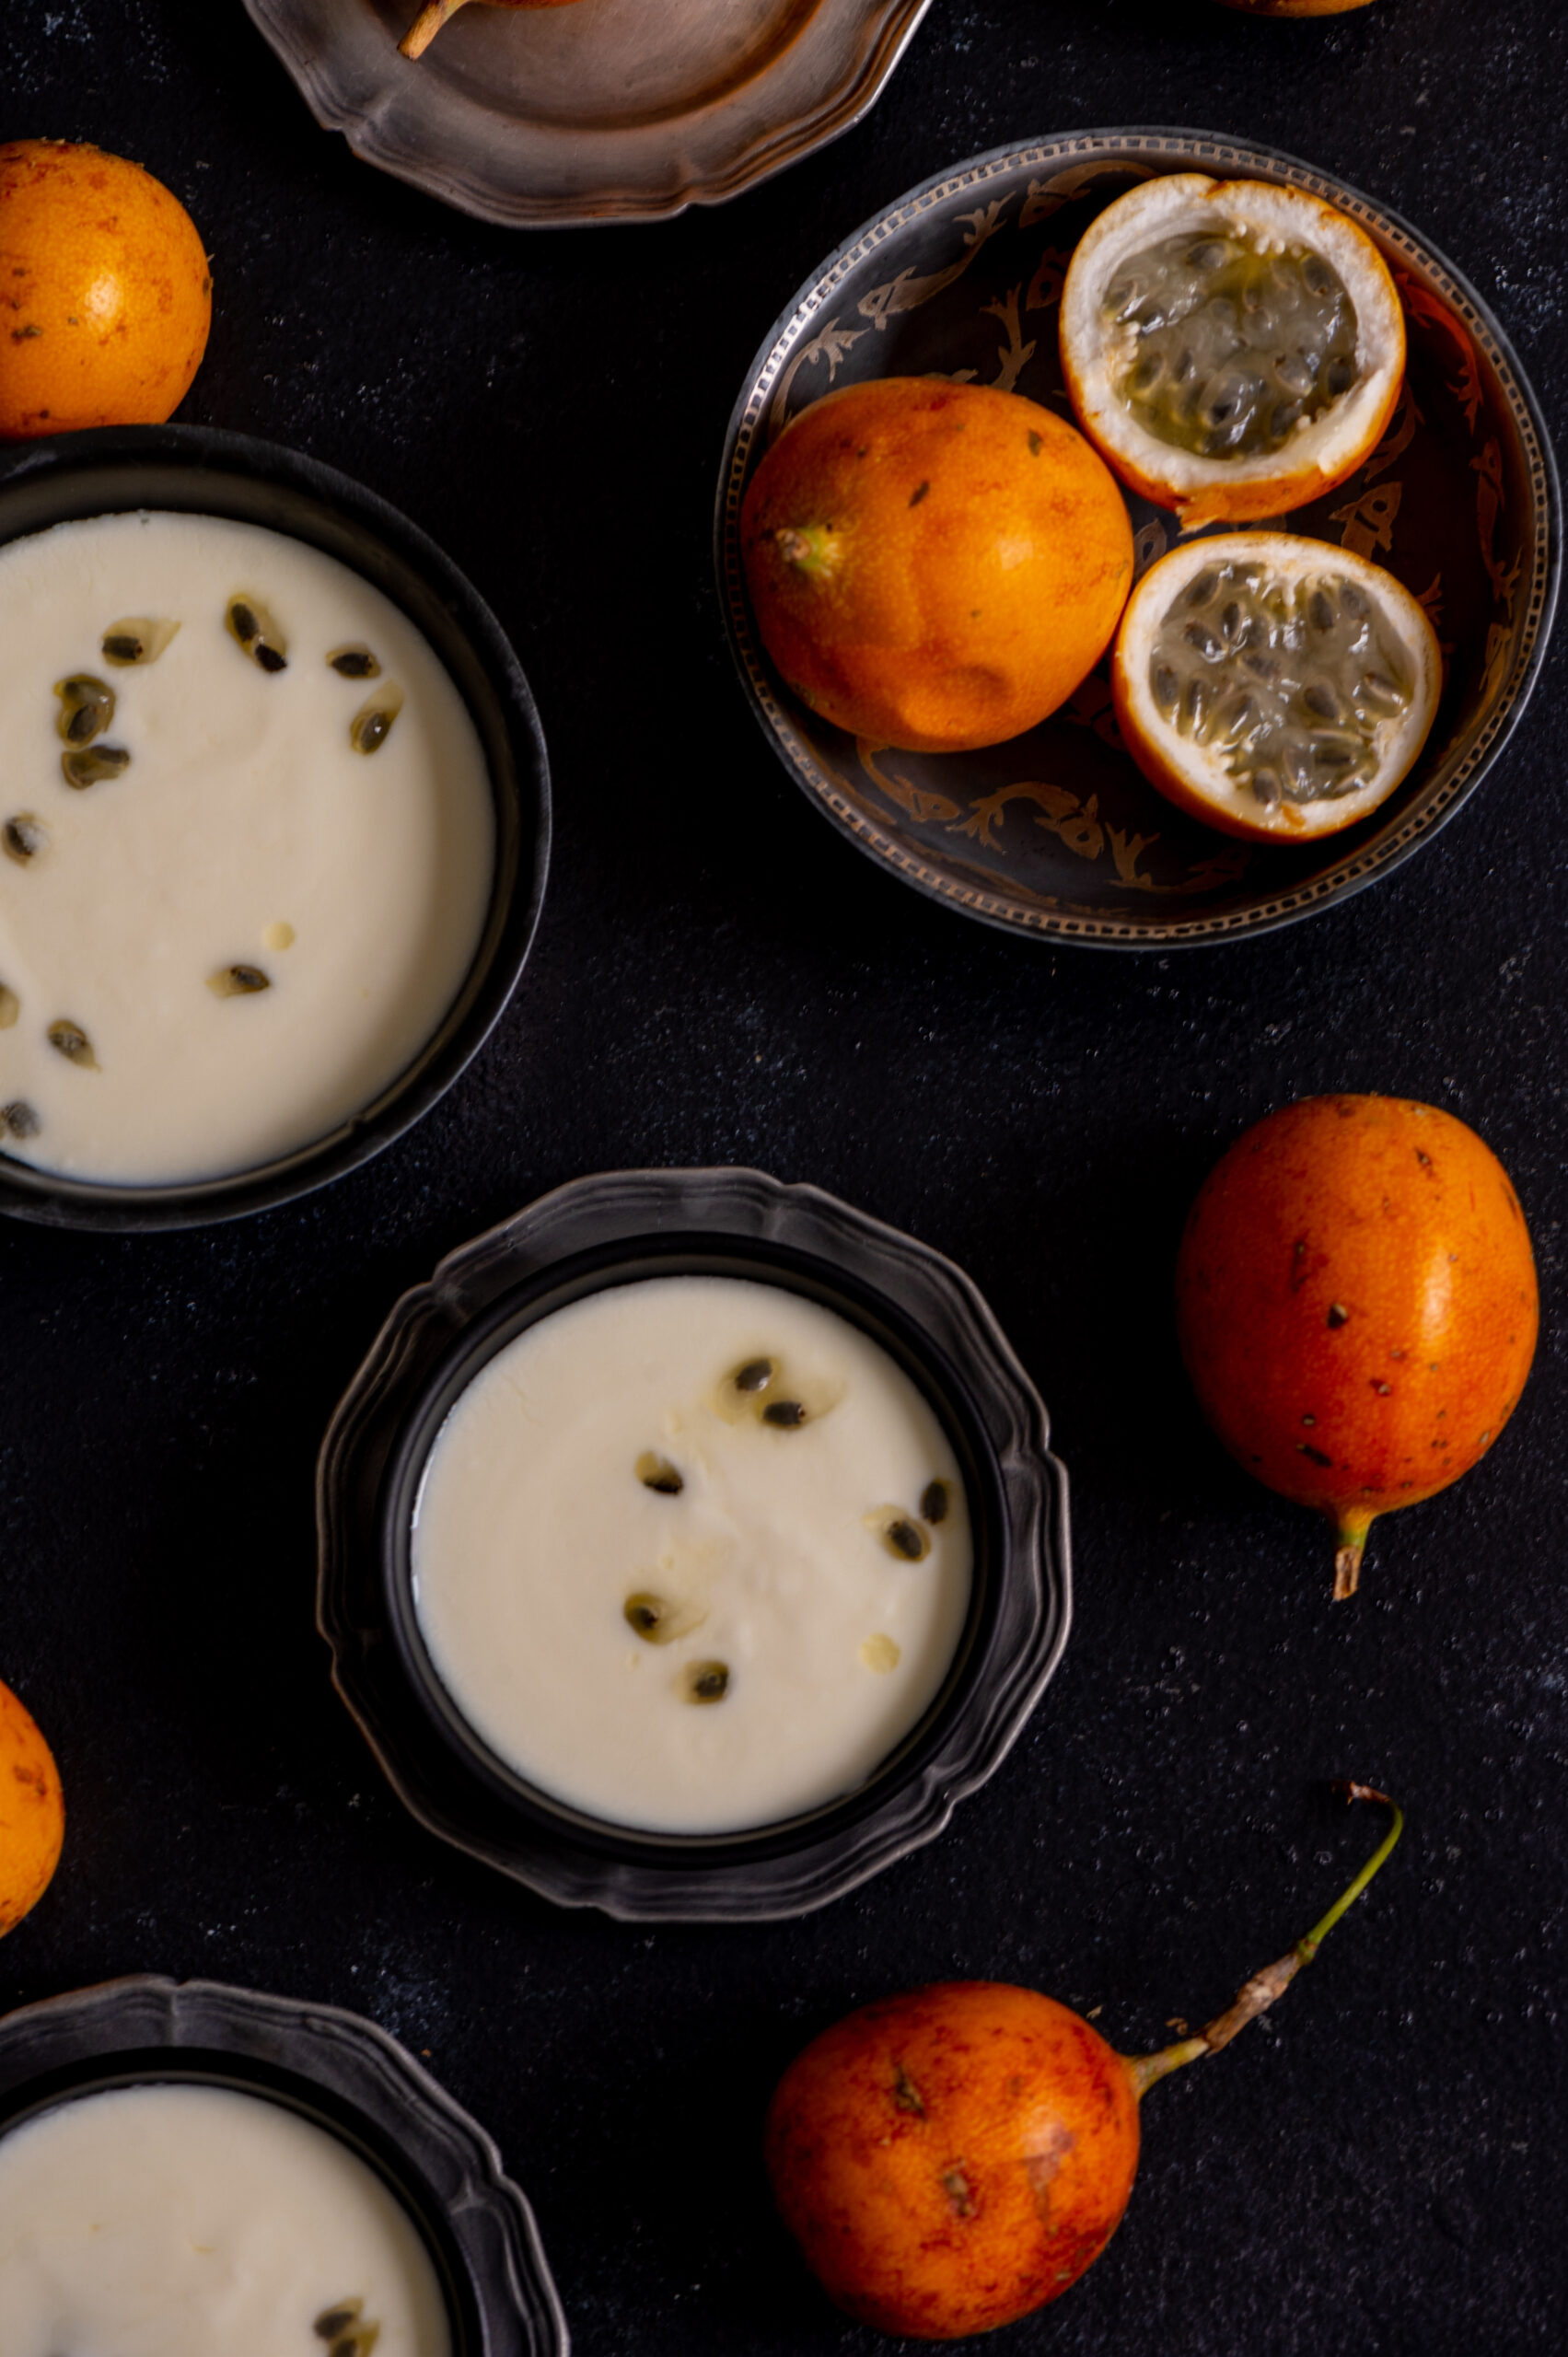
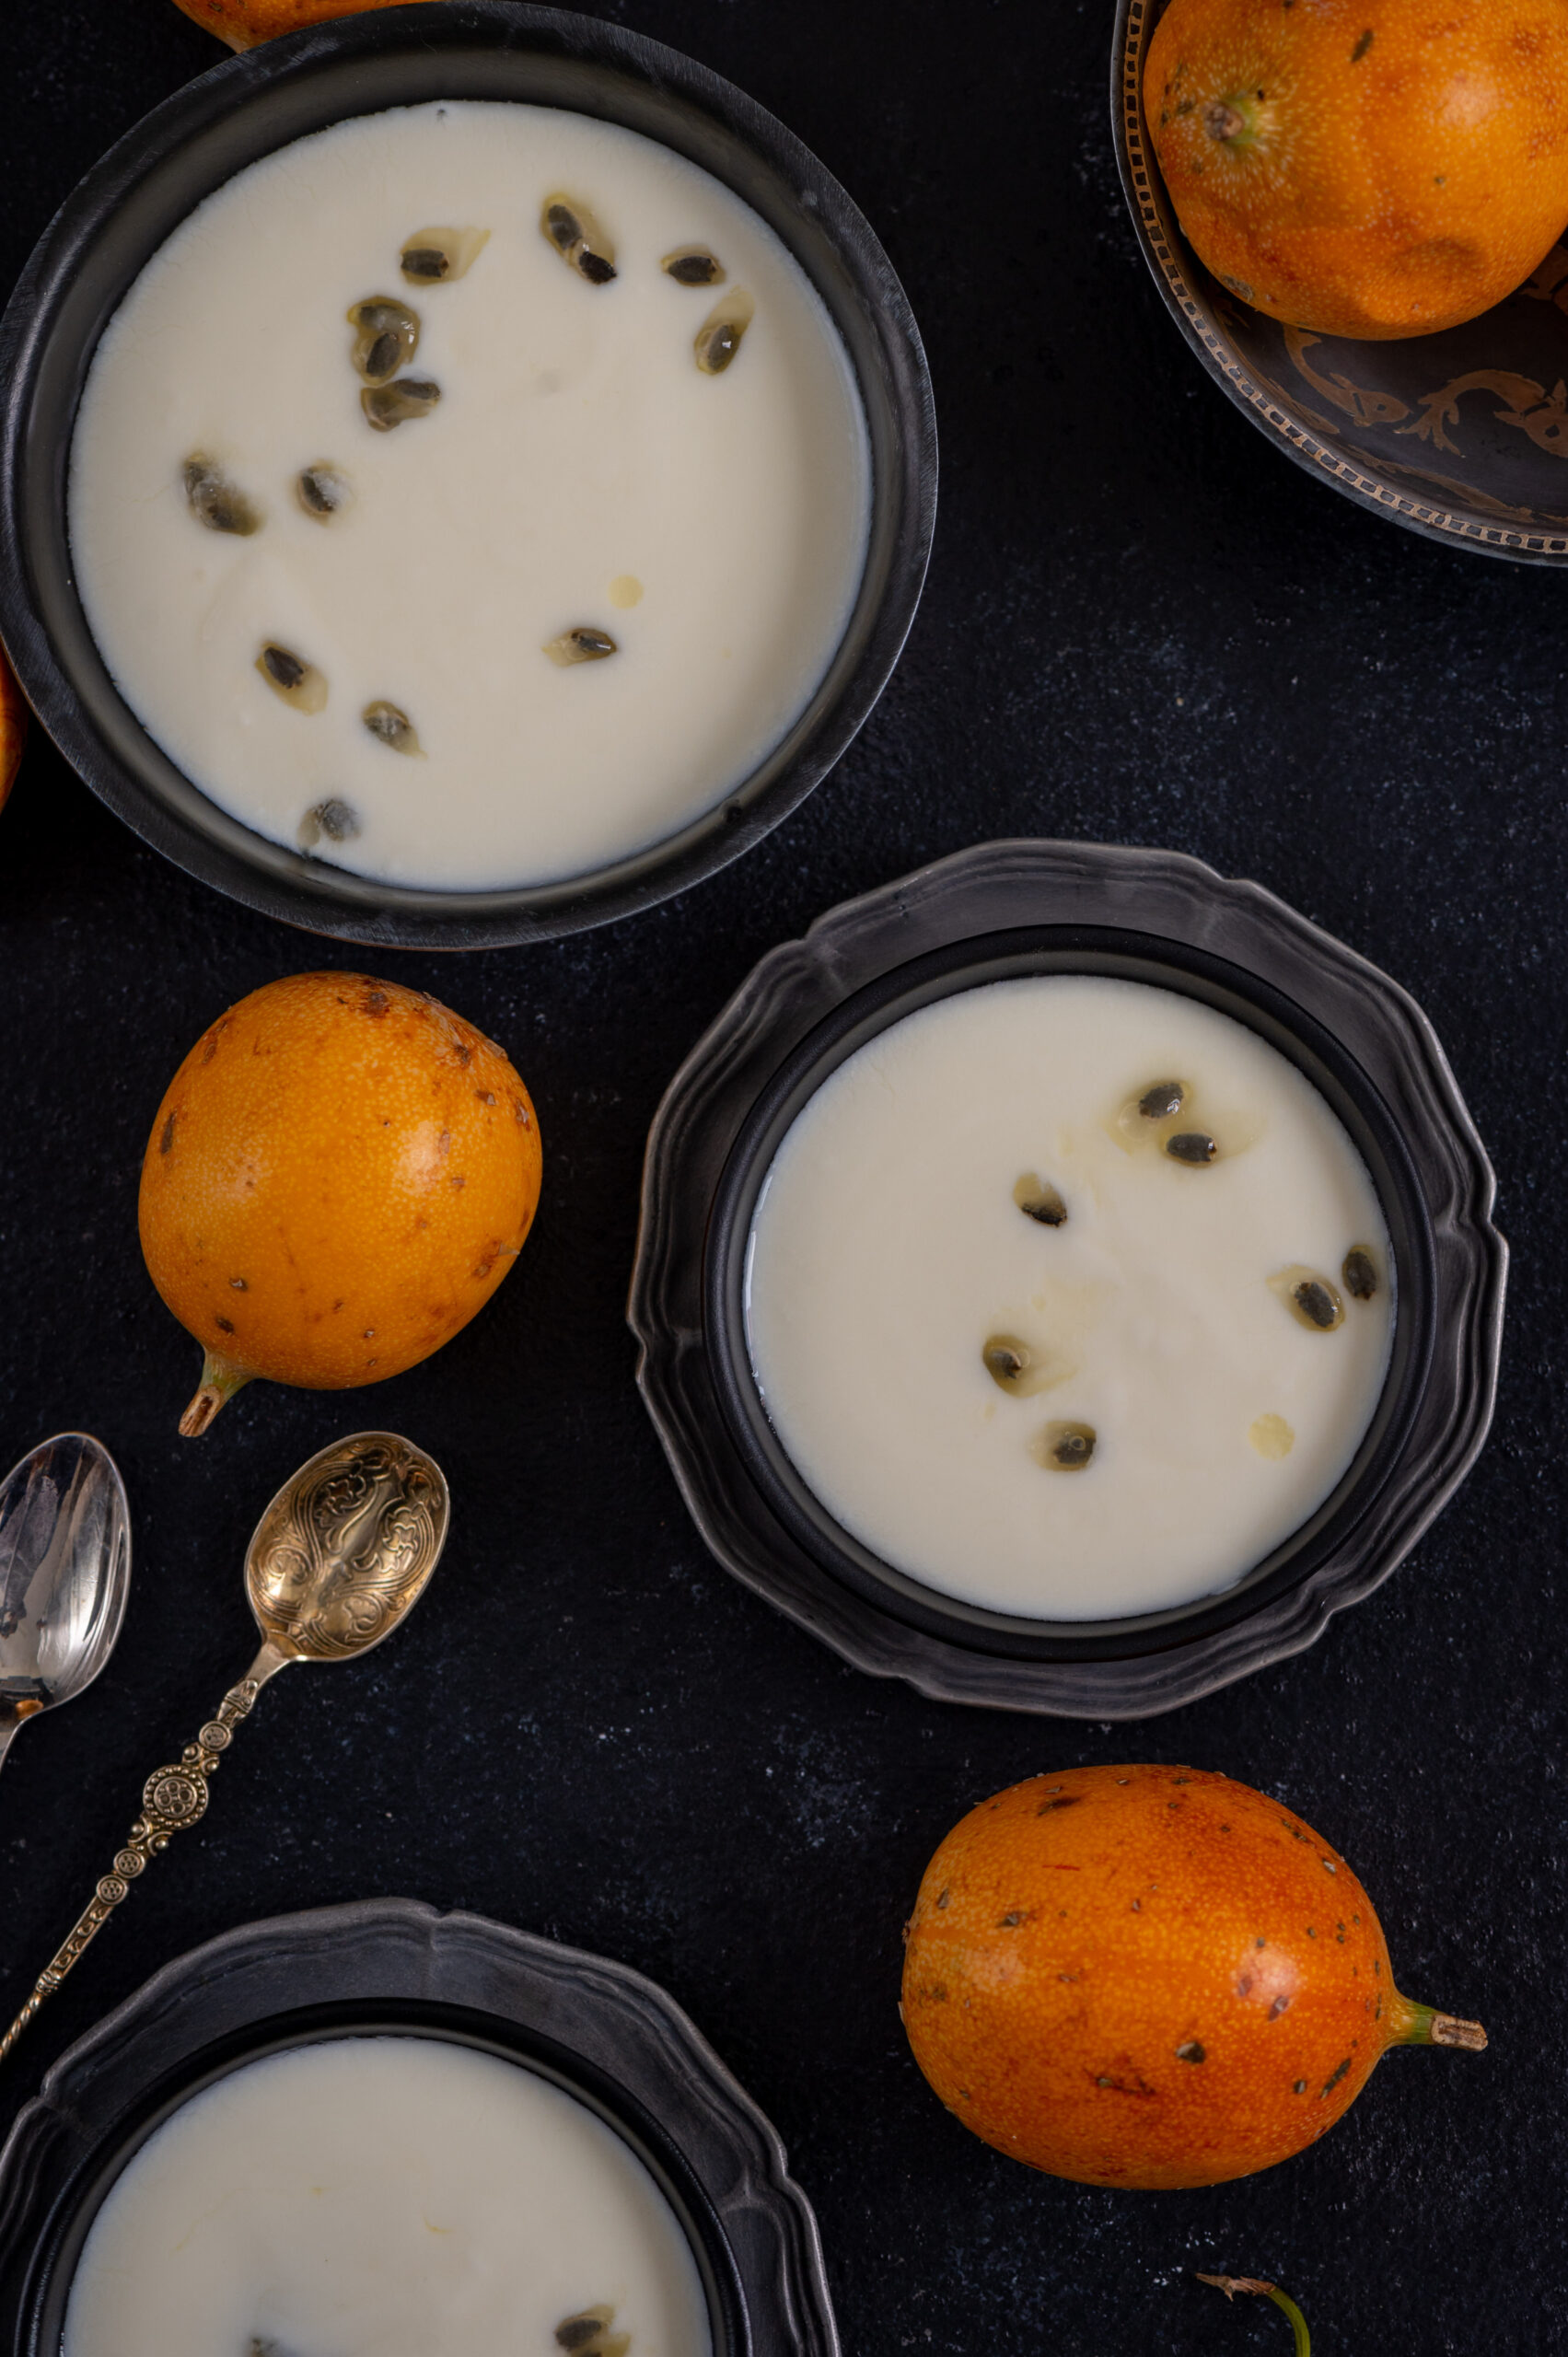
You may garnish the bowl with a pinch more of cardamom and some lovely passion fruit seeds. Serve chilled.

While you can use almost any fruit as flavouring, there’s just something about a naturally sweet one such as passion fruit that brings this dessert together so beautifully. Do be sure to take advantage of the season for it.

We returned from our trip to the hills with lots of fruits, bringing bags of avocado and passion fruit back to our urban lives. The cooler climes really do have such an interesting variety of produce, and if you have access to these at the moment, I’d love for you to check out some other posts using peas, plums, strawberries and peaches. Fruits had been such an integral part of our meals on our getaway, and usually made up our entire breakfasts too. Given the nutrition quotient of this food category, I think I’m going to keep looking more deeply into bringing more fruits into more dishes, innovatively…