Tag

trees

Browsing

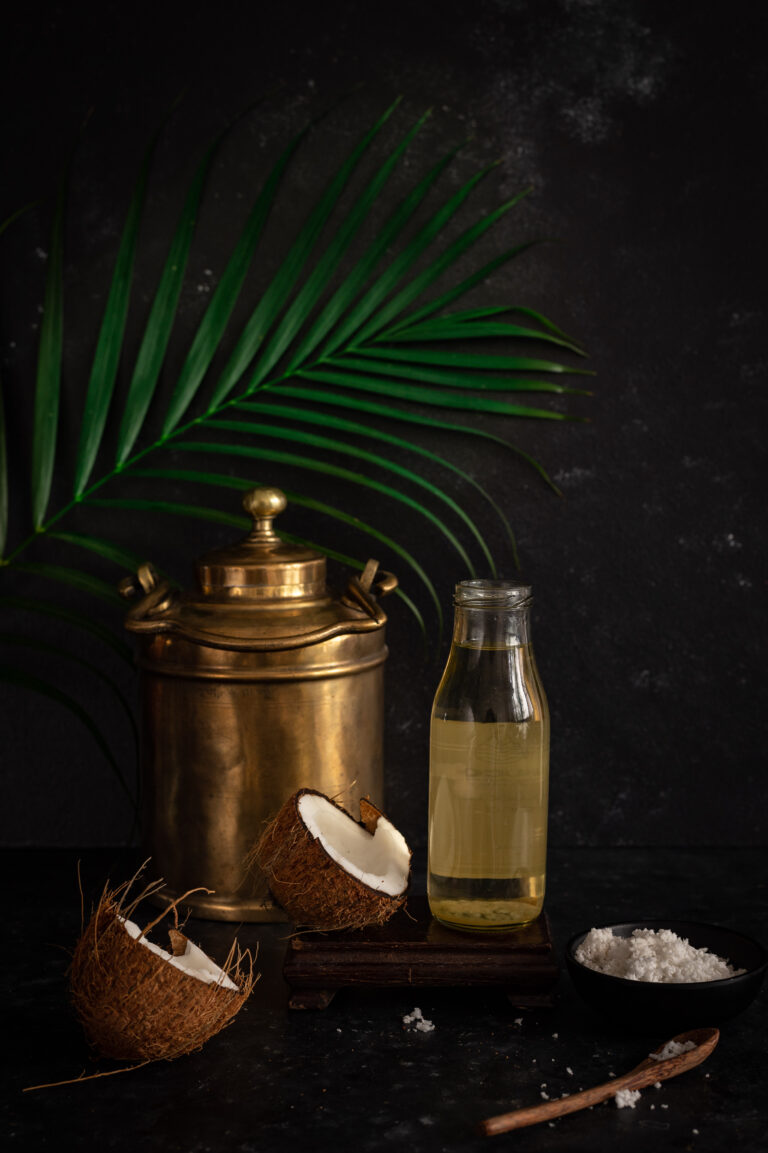
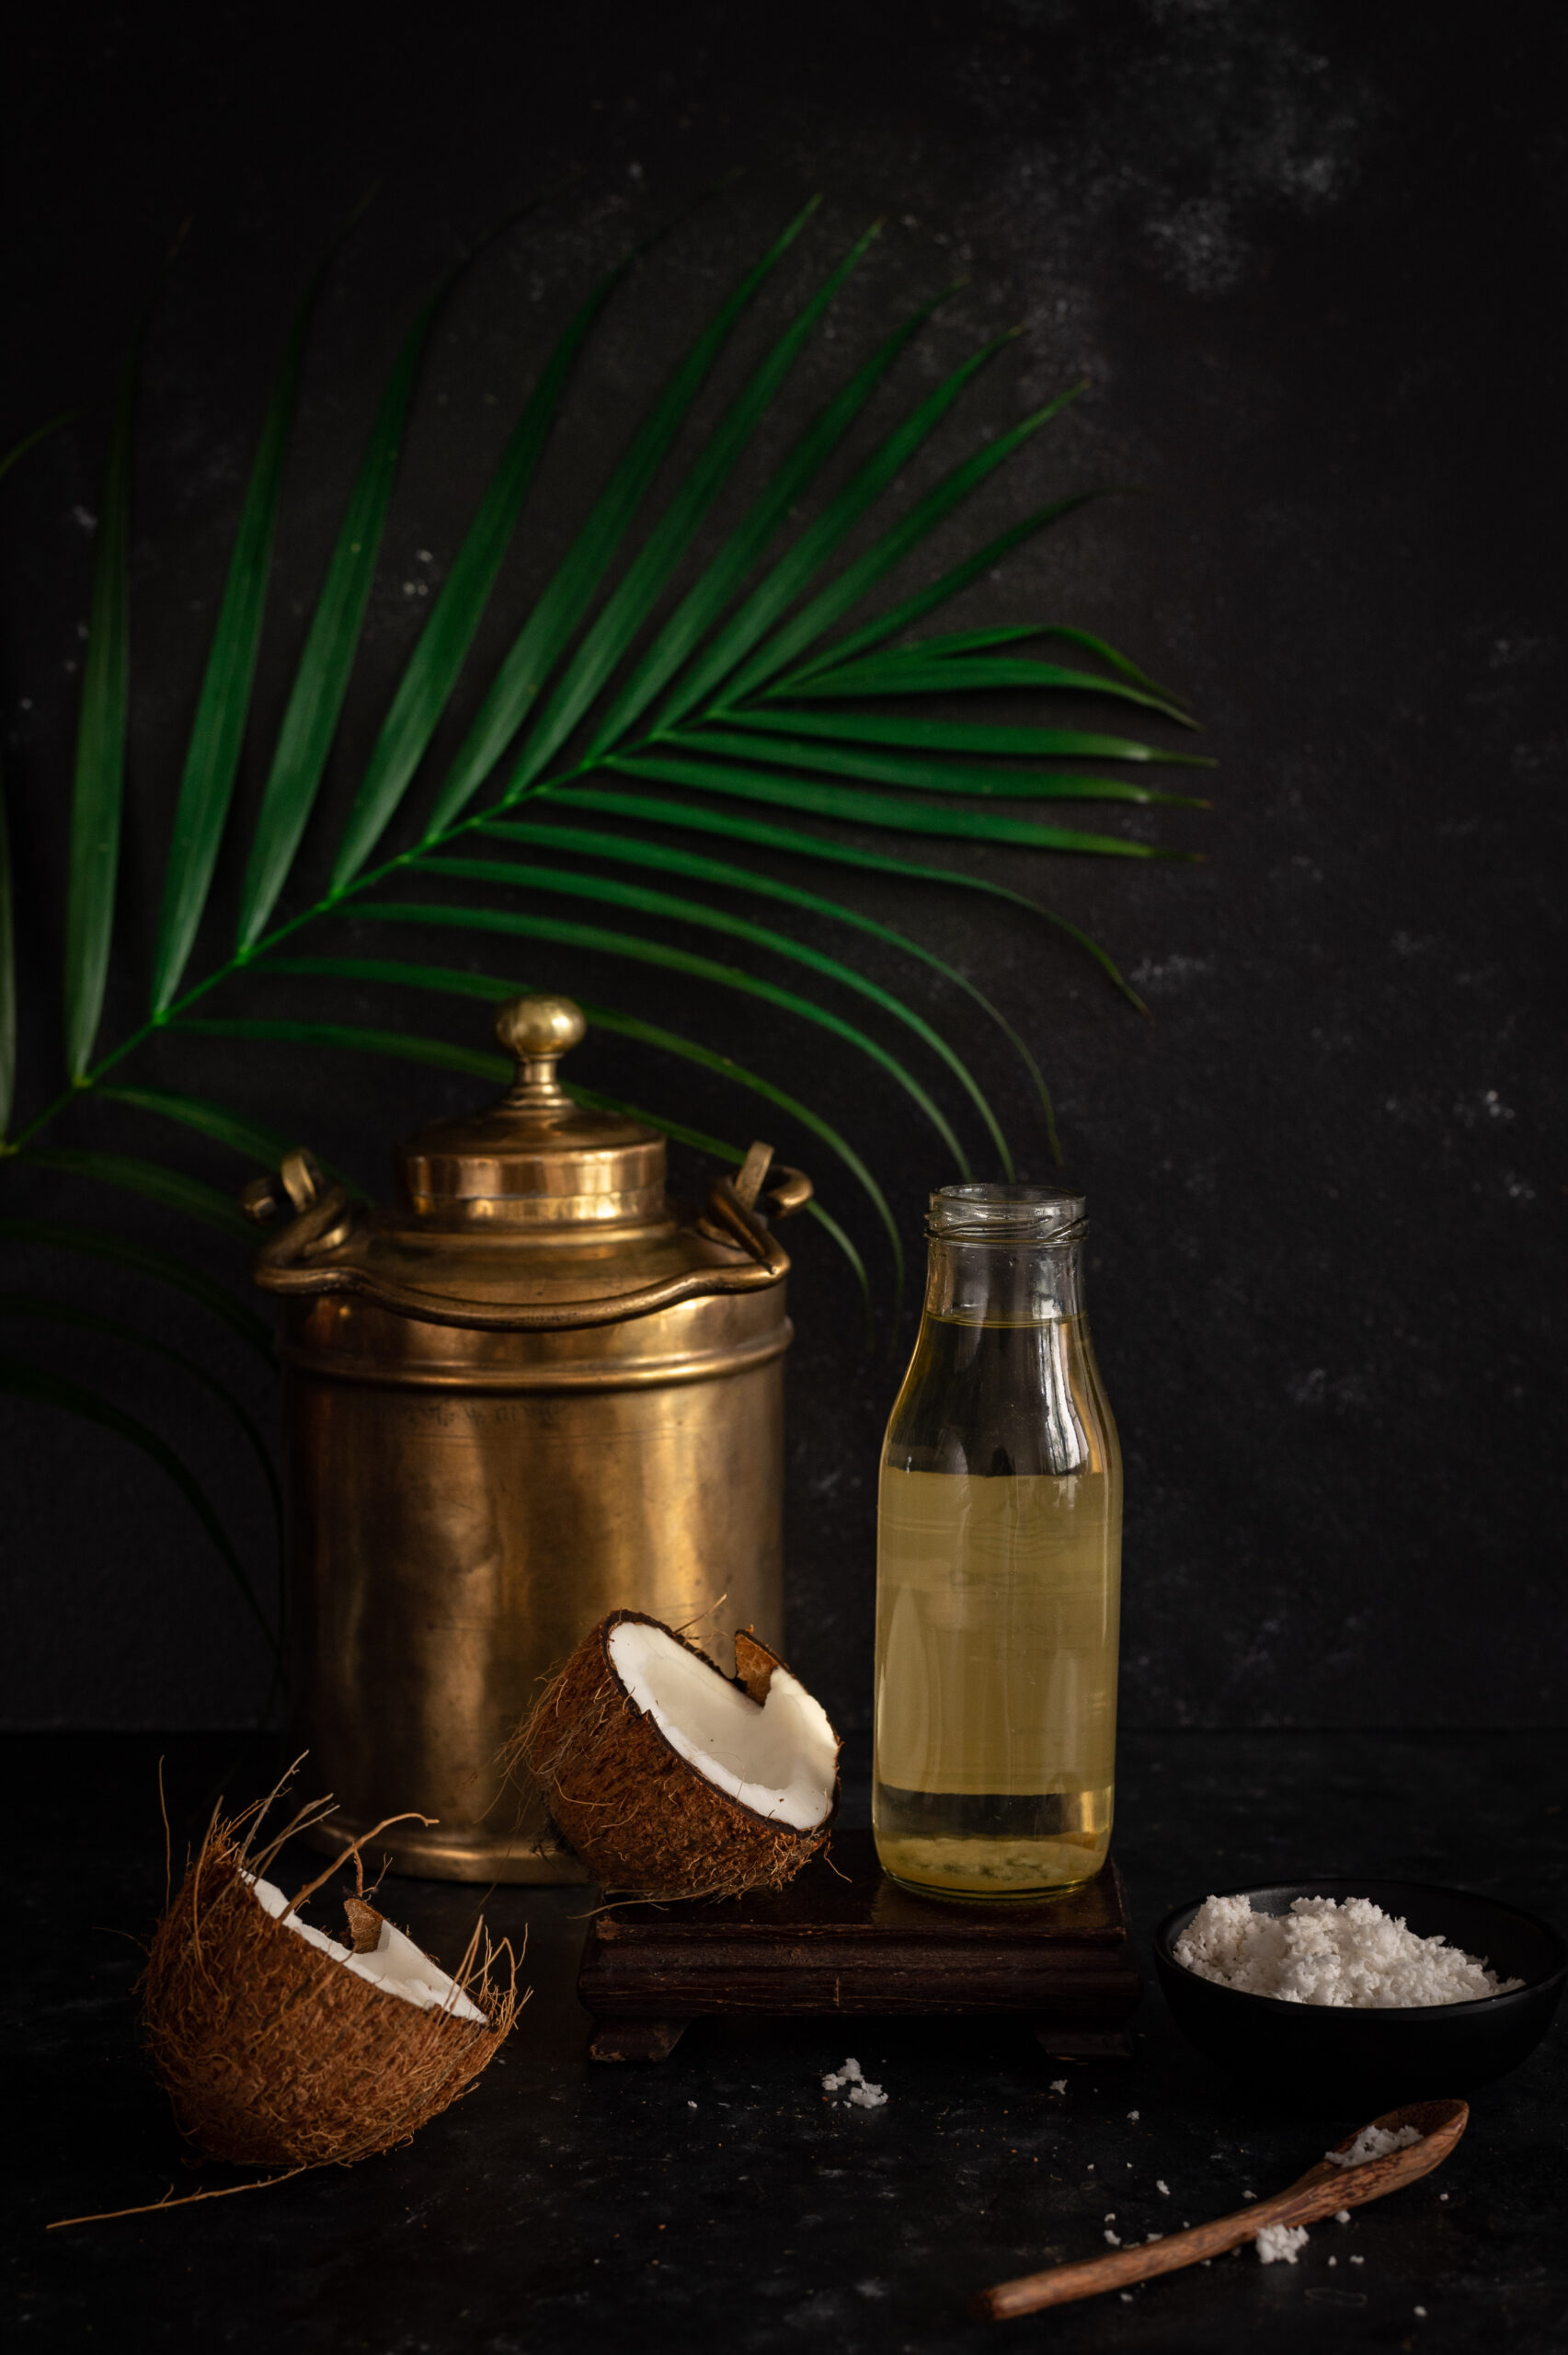
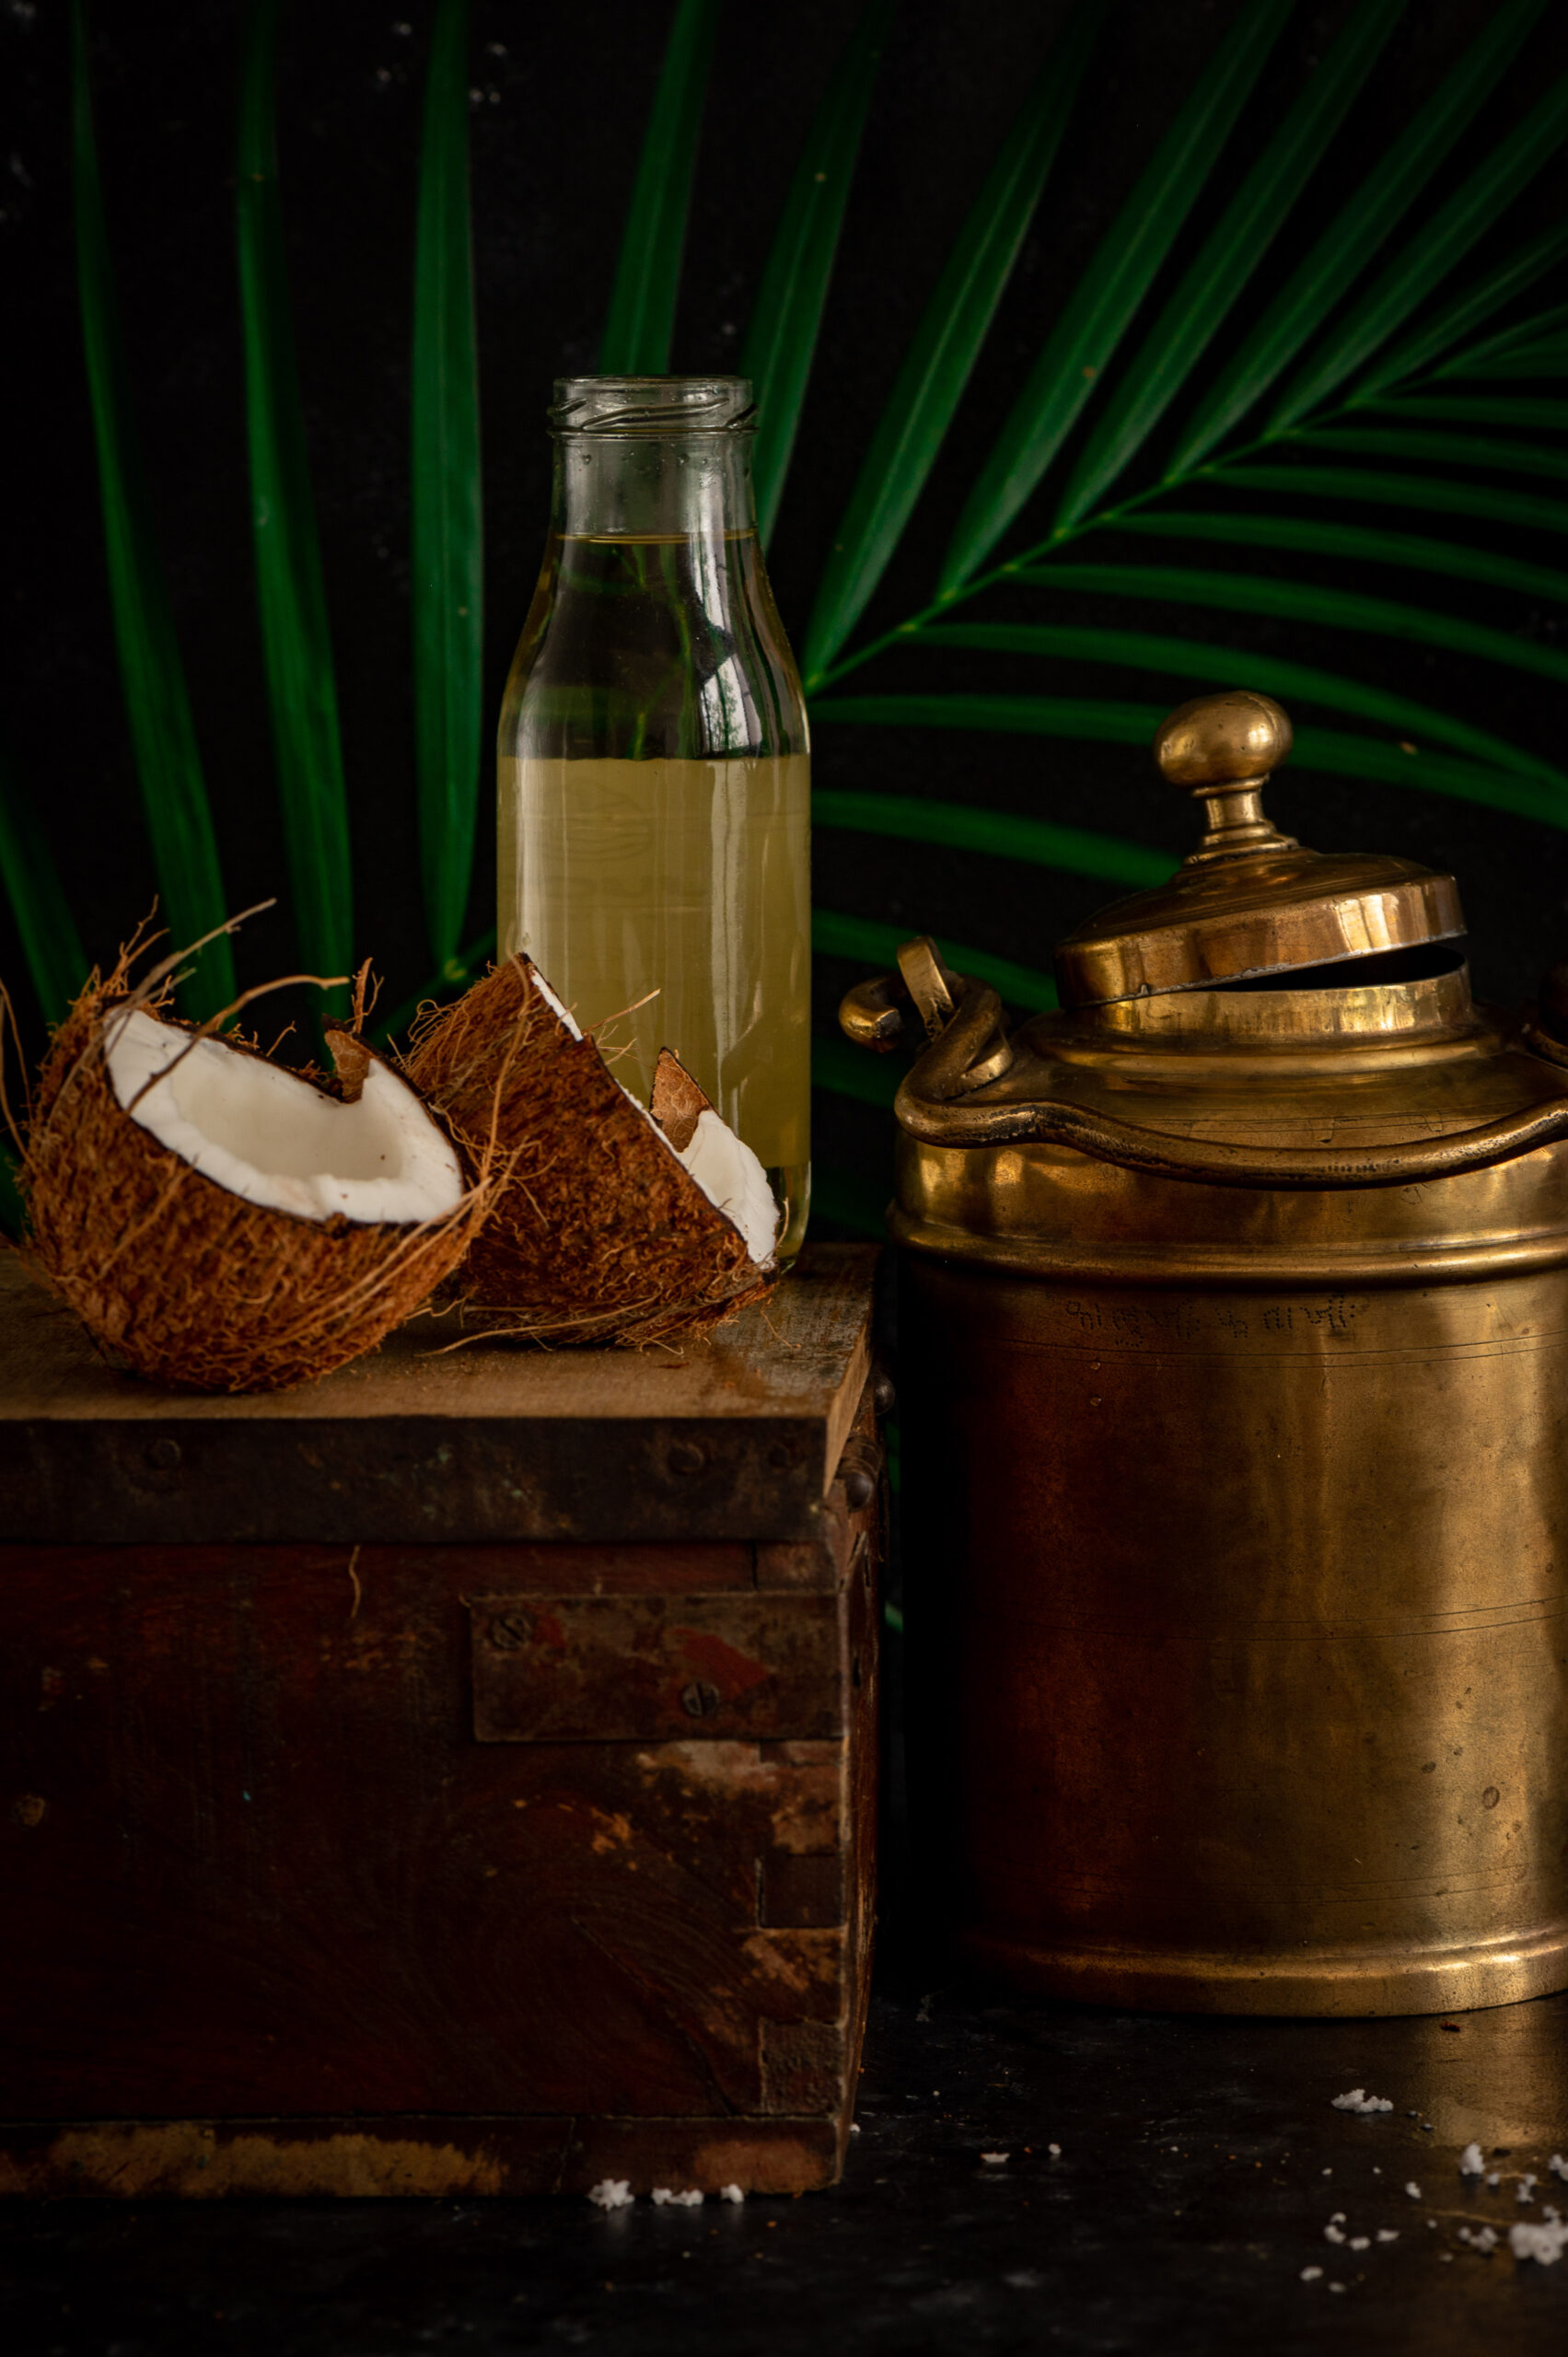
The coconut series continues with something a little different this time: coconut oil! Yes, the oil that most of us are used to purchasing can indeed be made not just at home, but even in a city like Chennai, as long as you have coconut trees around. With about a dozen coconut trees at home, and a reliable coconut harvester who was willing to visit, I collected a big batch of coconuts and embarked on my next adventure.

I’m going through a phase where I feel like I want to learn everything there is to know about food and cooking. Nowadays, when I hear about someone making a special jam or baking a new kind of cake, I experience FOMO (“fear of missing out”). Maybe this comes from having been very naughty as a child, and never focusing on my studies then – at least, that’s what I jokingly say to my kids each time they’re surprised to hear that I’ve taken up a new course or have signed up for some workshop. But I believe in challenging myself and growing. I want to be more self-reliant, and discover new things. Even though it’s impossible to truly learn, let alone master, every single possible recipe or method out there, I feel an urge to try. So when my friend Sujata told me that she had successfully made her own coconut oil, I immediately went, “OMG, I want to do this too!” My motivation was perfectly-timed, as the trees were ripe for harvest just then.

Coconut oil is only one of the many ways that the different parts of the bountiful coconut tree can be used. As I create this series for the blog, I’ve been reflecting on the versatility of the tree in its entirety, even though I’m personally only using its fruits. For instance, I recall how when I was growing up, there was a lady who would come home sometimes, take a knife, sit outside with some coconut tree fronds and use a knife to craft a broom (“thodapam” in Tamil) whenever a new one was needed. I’d watched this process many times over the years. Wherever the tree grows, the shells are used as utensils and even as a charcoal replacement, the husks to fashion ropes out of, the leaves in weaving and thatching, the flowers in herbal medicine, and so on. The edible flesh and water aren’t the only good things to come from this amazing tree.

What follows is more of a method than a recipe as such, and what is produced as a result will be a beautiful and versatile ingredient that you can use in everything from food to beauty essentials. Coconut oil is a staple in South India, used for everything from improving hair health to daily frying needs. It’s also something that has attracted the attention of beauty and health enthusiasts internationally. The latest trend I’ve read about is to have a spoonful of pure coconut oil in the mornings, as this is said to be good for the brain. What I will do in this post is walk you through my own process of preparing coconut oil, and my learnings from the same.
In order to prepare your own coconut oil, you’ll need: coconuts, access to a cold pressery, and space to sun-dry. There are many places in Chennai that do cold-pressing, and it should be possible for you to find a unit near you wherever you are.

The first step is to harvest the coconuts, of course. Then, they are peeled and chopped into smaller pieces (they will need to be small enough to feed to the cold pressing unit). The flesh is left to sun-dry for between four and seven days, depending on the coconut. You will know that it’s done when you press it with your thumb and it releases a little bit of oil.

Next, the dried pieces are sent to the cold pressery. I wanted to supervise the process to ensure that there was no dilution of any sort. The unit where I had my coconut oil made used a lovely old machine made of wood and canvas. I put in about 20 kilos of coconuts and got back about about half as much in raw oil.

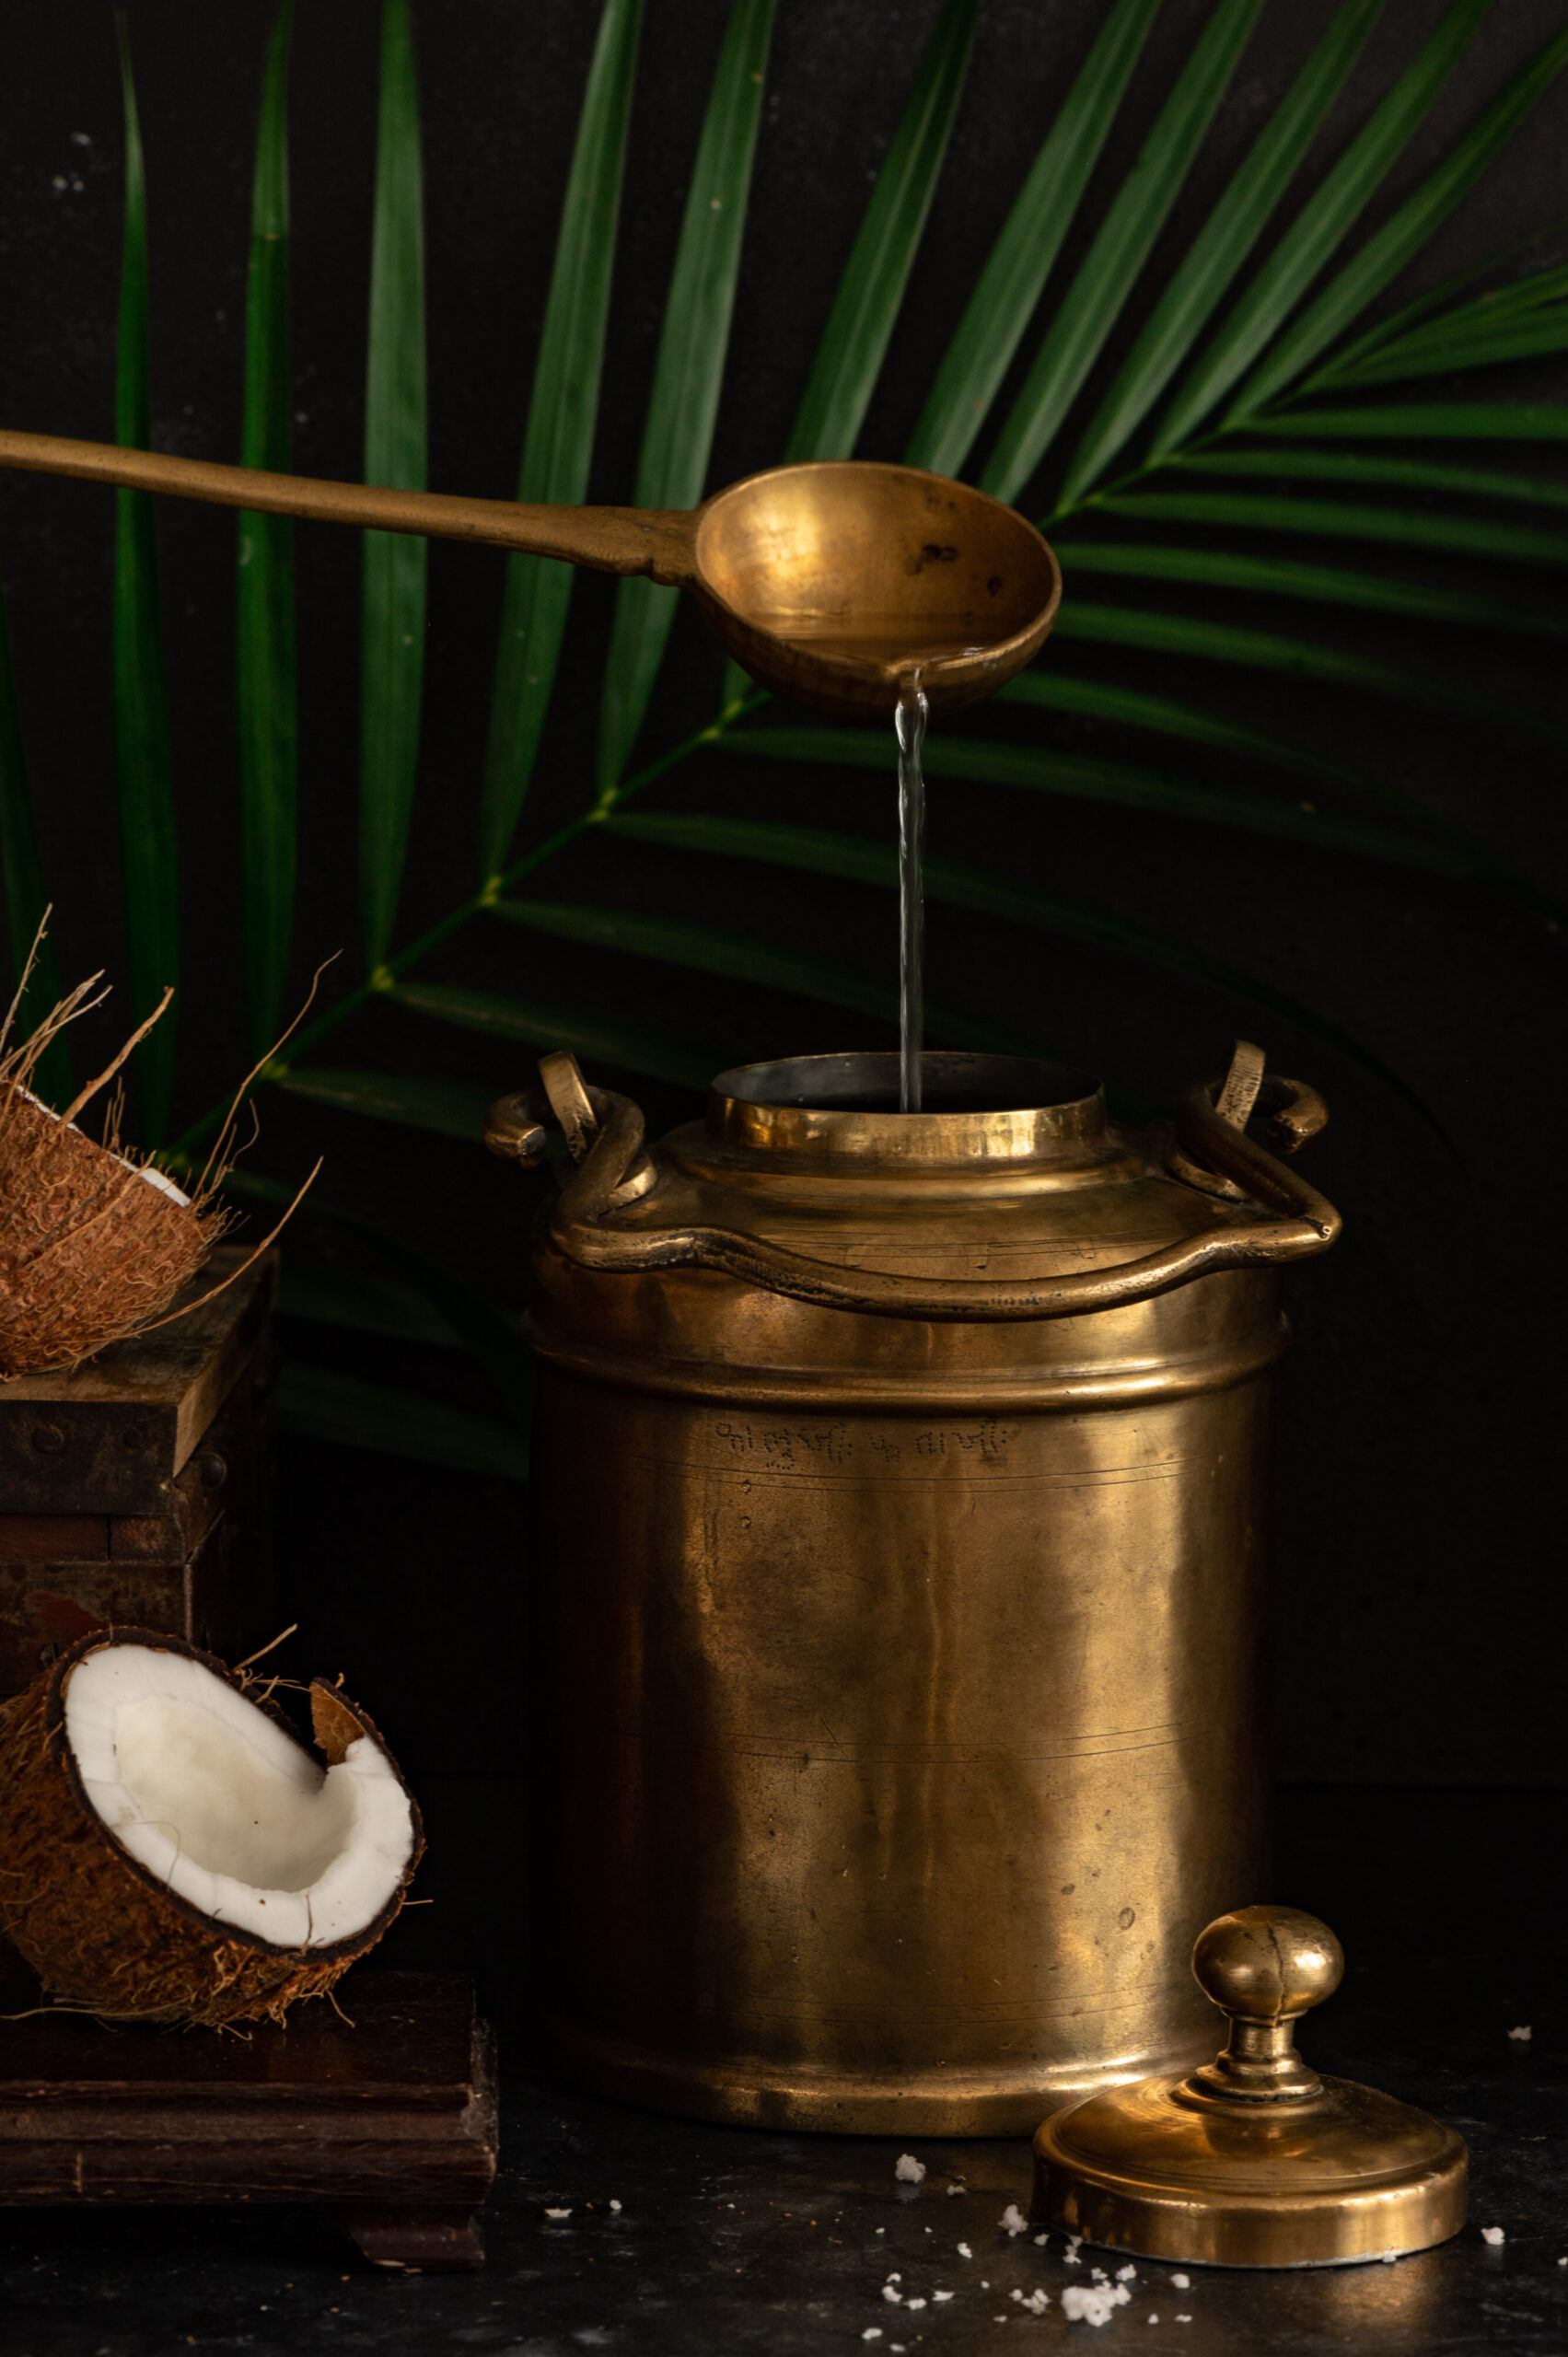
The process doesn’t end there, however. This huge container of oil I came home with then had to be dried again, so that residual moisture from the coconut flesh gets evaporated. What you have to do at this stage is to pour it out into flat pans, and allow these to dry in the sun for anywhere between three and five days. You will know that it is done when all the dust particles settle at the bottom, and the raw smell goes away. This being my first time making my own oil, I was not sure whether the final product was less fragrant than the store-bought versions because I hadn’t let the coconut pieces dry long enough, or simply because they were free of artificial additives. Either way, once the oil completed the drying stage, it was ready to use. I couldn’t help but marvel at the result.
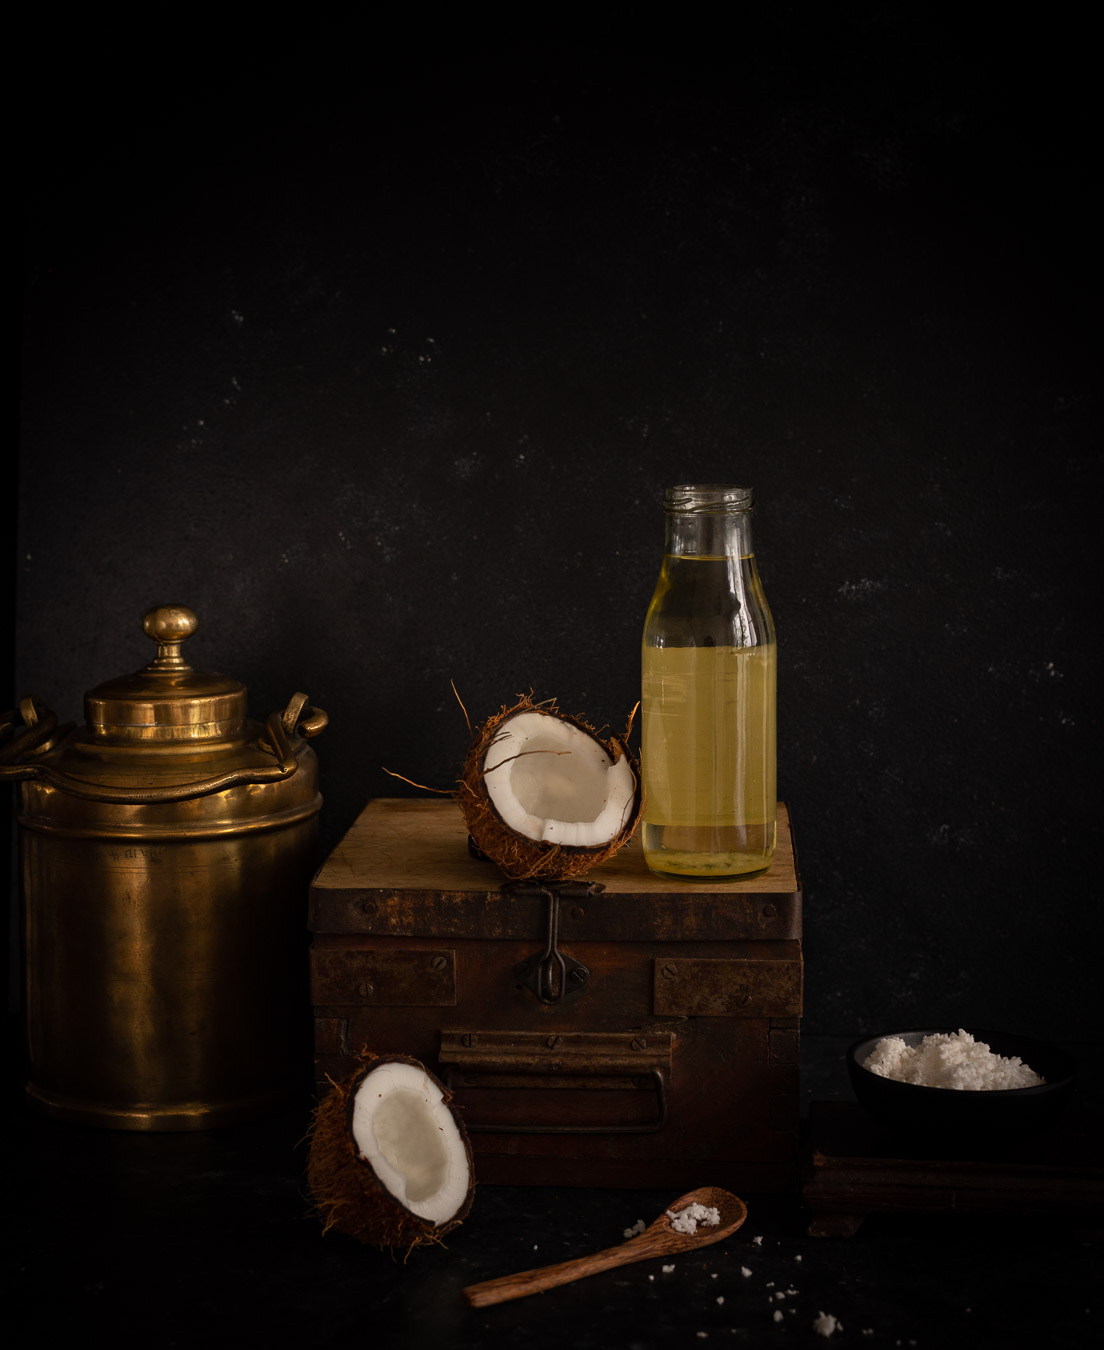
And there you have it: coconut oil that you can be sure is free of contamination, preservatives or any other issue that may come with commercially-produced brands. I can’t tell you what a delight it is to have your very own cold-pressed coconut oil. That’s something that you must experience for yourself, and if you can, please do.

Embarking on this little adventure was very rewarding for me, but the thing about my FOMO and subsequent hunger to do more is that sometimes experiments don’t turn out as expected. Whenever this happens, I always tell myself that it’s okay, and that I can focus on what I know I do well and can take pride in. For instance, expanding my repertoire of cakes is something that I am really keen to do, and I’m constantly exploring new recipes and whipping up trial batches. You may have seen the new additions I made to the menu recently, and it’s been really wonderful to prepare your orders for this festive season too.

I would even go as far as to say that I like to show off a little with each successful experiment, but when I share how I did it, I pass on that sense of achievement to you. It’s so exciting to have something that is all handmade, and made to order just for you. I’ve been sharing the oil from my coconut trees with very dear friends in glass jars, so in addition to being used at home both in cooking and in grooming, they’ve also become perfect for gifting this year.

I’d love to know if you try out preparing your own coconut oil based on my own experiment here. I’d also love to know how you use it. I am sure that you will find, as I have, that making your own batch of coconut oil is worth its weight in gold.
When I began to imagine this post, it was with the idea that there was not much of a memory storyline behind the recipe I am sharing today. All that had come to mind when a friend gifted me a basket of plums, and I wondered what I could make with them, was that I would pluck the tiny, country variety from trees in Ooty during our summertime holidays when I was growing up… And then, before I knew it, an abundance of recollections came flooding back – of reaching with my own hands for something to eat, raw and delicious and freshly-plucked. Before I get carried away with those reminiscences, let me just say that the recent occasion of Thanksgiving, which is important to my American friends and family, as well as the upcoming Christmas season also gave me inspiration. The plum relish that is traditionally enjoyed during those festivities has been Indianised in my home as plum chutney, and that’s the recipe that this trip down memory lane will culminate in.

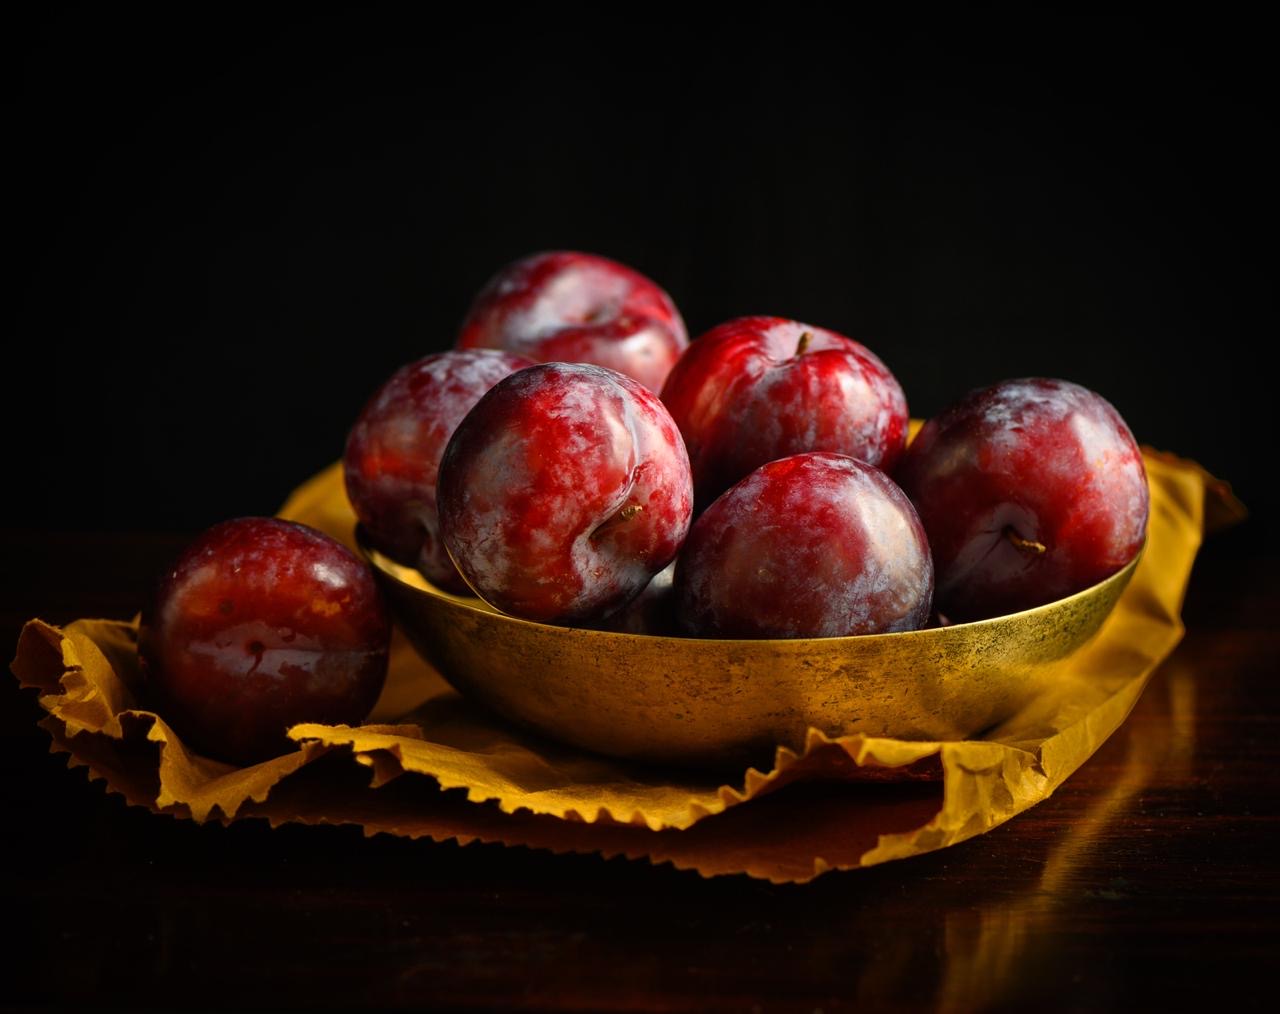
The gift basket I received contained what I call “the millennial plum”, a delicious hybrid cultivar which is large and has a deep maroon colour. It usually tastes sweet. The country plums of my childhood, by contrast, were sour and tangy. They came in an orangeish shade and were relatively tiny. Still, as little children, my siblings, cousins, friends and I absolutely delighted in them. There was just a certain immense joy in picking fruits right off a branch and eating them unwashed. There was a rawness to the experience that brought us closer to Nature. Even the sourest fruit was enjoyed in this way.

Fruit-picking was always a thrilling activity for us, both with and without permission. When we had the chance to go abroad for holidays with our aunt, she would give us baskets of our own and take us to strawberry farms, where we would spend the day indulging this hobby of ours to the fullest. We would cherish and guard those baskets full of fresh, ripe fruit. Every last berry was special, plucked with our own hands, and tasted all the more delicious for this reason.

Back home, far from the hills of Tamil Nadu or the strawberry farms of Europe, we still pursued our fruit-gathering in earnest. We would run loose in our neighbourhood and steal mangoes from the trees, as I think I’ve mentioned a number of times on this blog before. It was certainly one of our favourite past-times, even if scoldings were a natural consequence!

The fruit-bearing local naatu cherry tree and the nellika or gooseberry tree were two that I grew up under, and to this day the sight of either of these can make me feel a bit emotional. The gooseberry tree in our garden was laden with kambilipoochis (hairy caterpillars), which would invariably leave a hair or two on me when I reached up to grab those fruits, and I would have to go crying to my mother to get her to remove those caterpillar hairs! Those naatu (country) cherries weren’t the beautiful, glossy-looking ones that top my cakes today, but a small, orange-coloured variety with a tiny, grain-like seed inside. There was also a black-coloured berry, sour and with a high Vitamin C content, with a name that slips my mind. These local, edible fruits were so plentiful in Chennai in those days, available to anyone who knew how to climb a tree.

I’ve spoken before of how much I long to revive different varieties of plants and flowers in our little farmland. I really believe that some of our green wealth is disappearing, and it hurts to find proof of it, as I did when I went looking for wood-apple recently. I dream of planting the trees of some of the fruits I plucked and ate in childhood. I’ve started the process by asking everyone I know for cuttings. Would you have some – of any kind of fruit, flower or plant that seems to be scarce in and around Chennai these days, but which you remember from before? I only specify Chennai because the cutting needs to be suitable to our climate.

The more time I spent reminiscing, the more I remembered: not only did we love eating freshly plucked (and sometimes stolen) fruit, but we even foraged for plants and flowers! The three leaf clover that grows like a weed was one of these. We’d just pop one into our mouths and enjoy its sour, earthy taste. There were also certain flowers, like the gorgeous orange trumpet flower, which we would suck the nectar out of after removing the stem. Did you do any of these activities growing up, when it seemed like we played in the outdoors so much more than the children of today do?

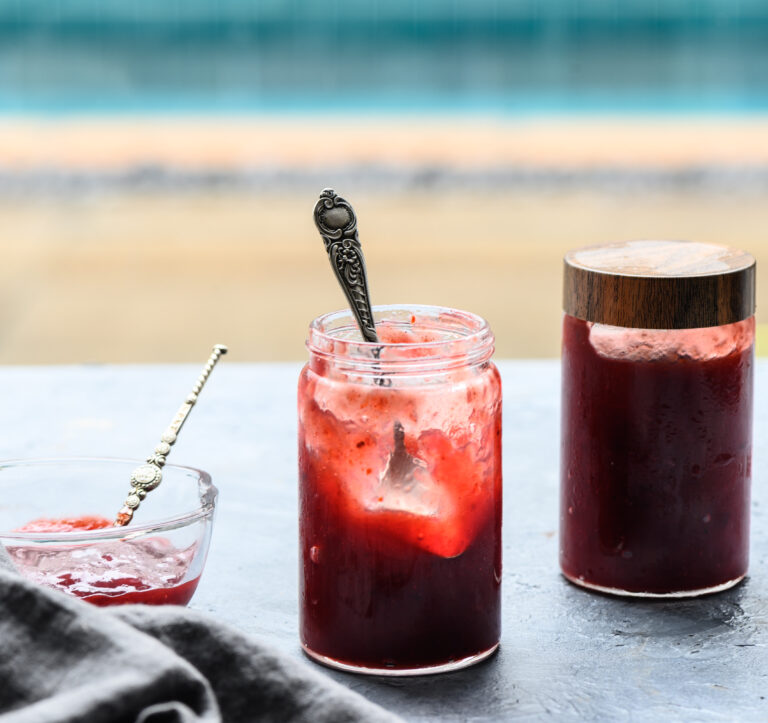
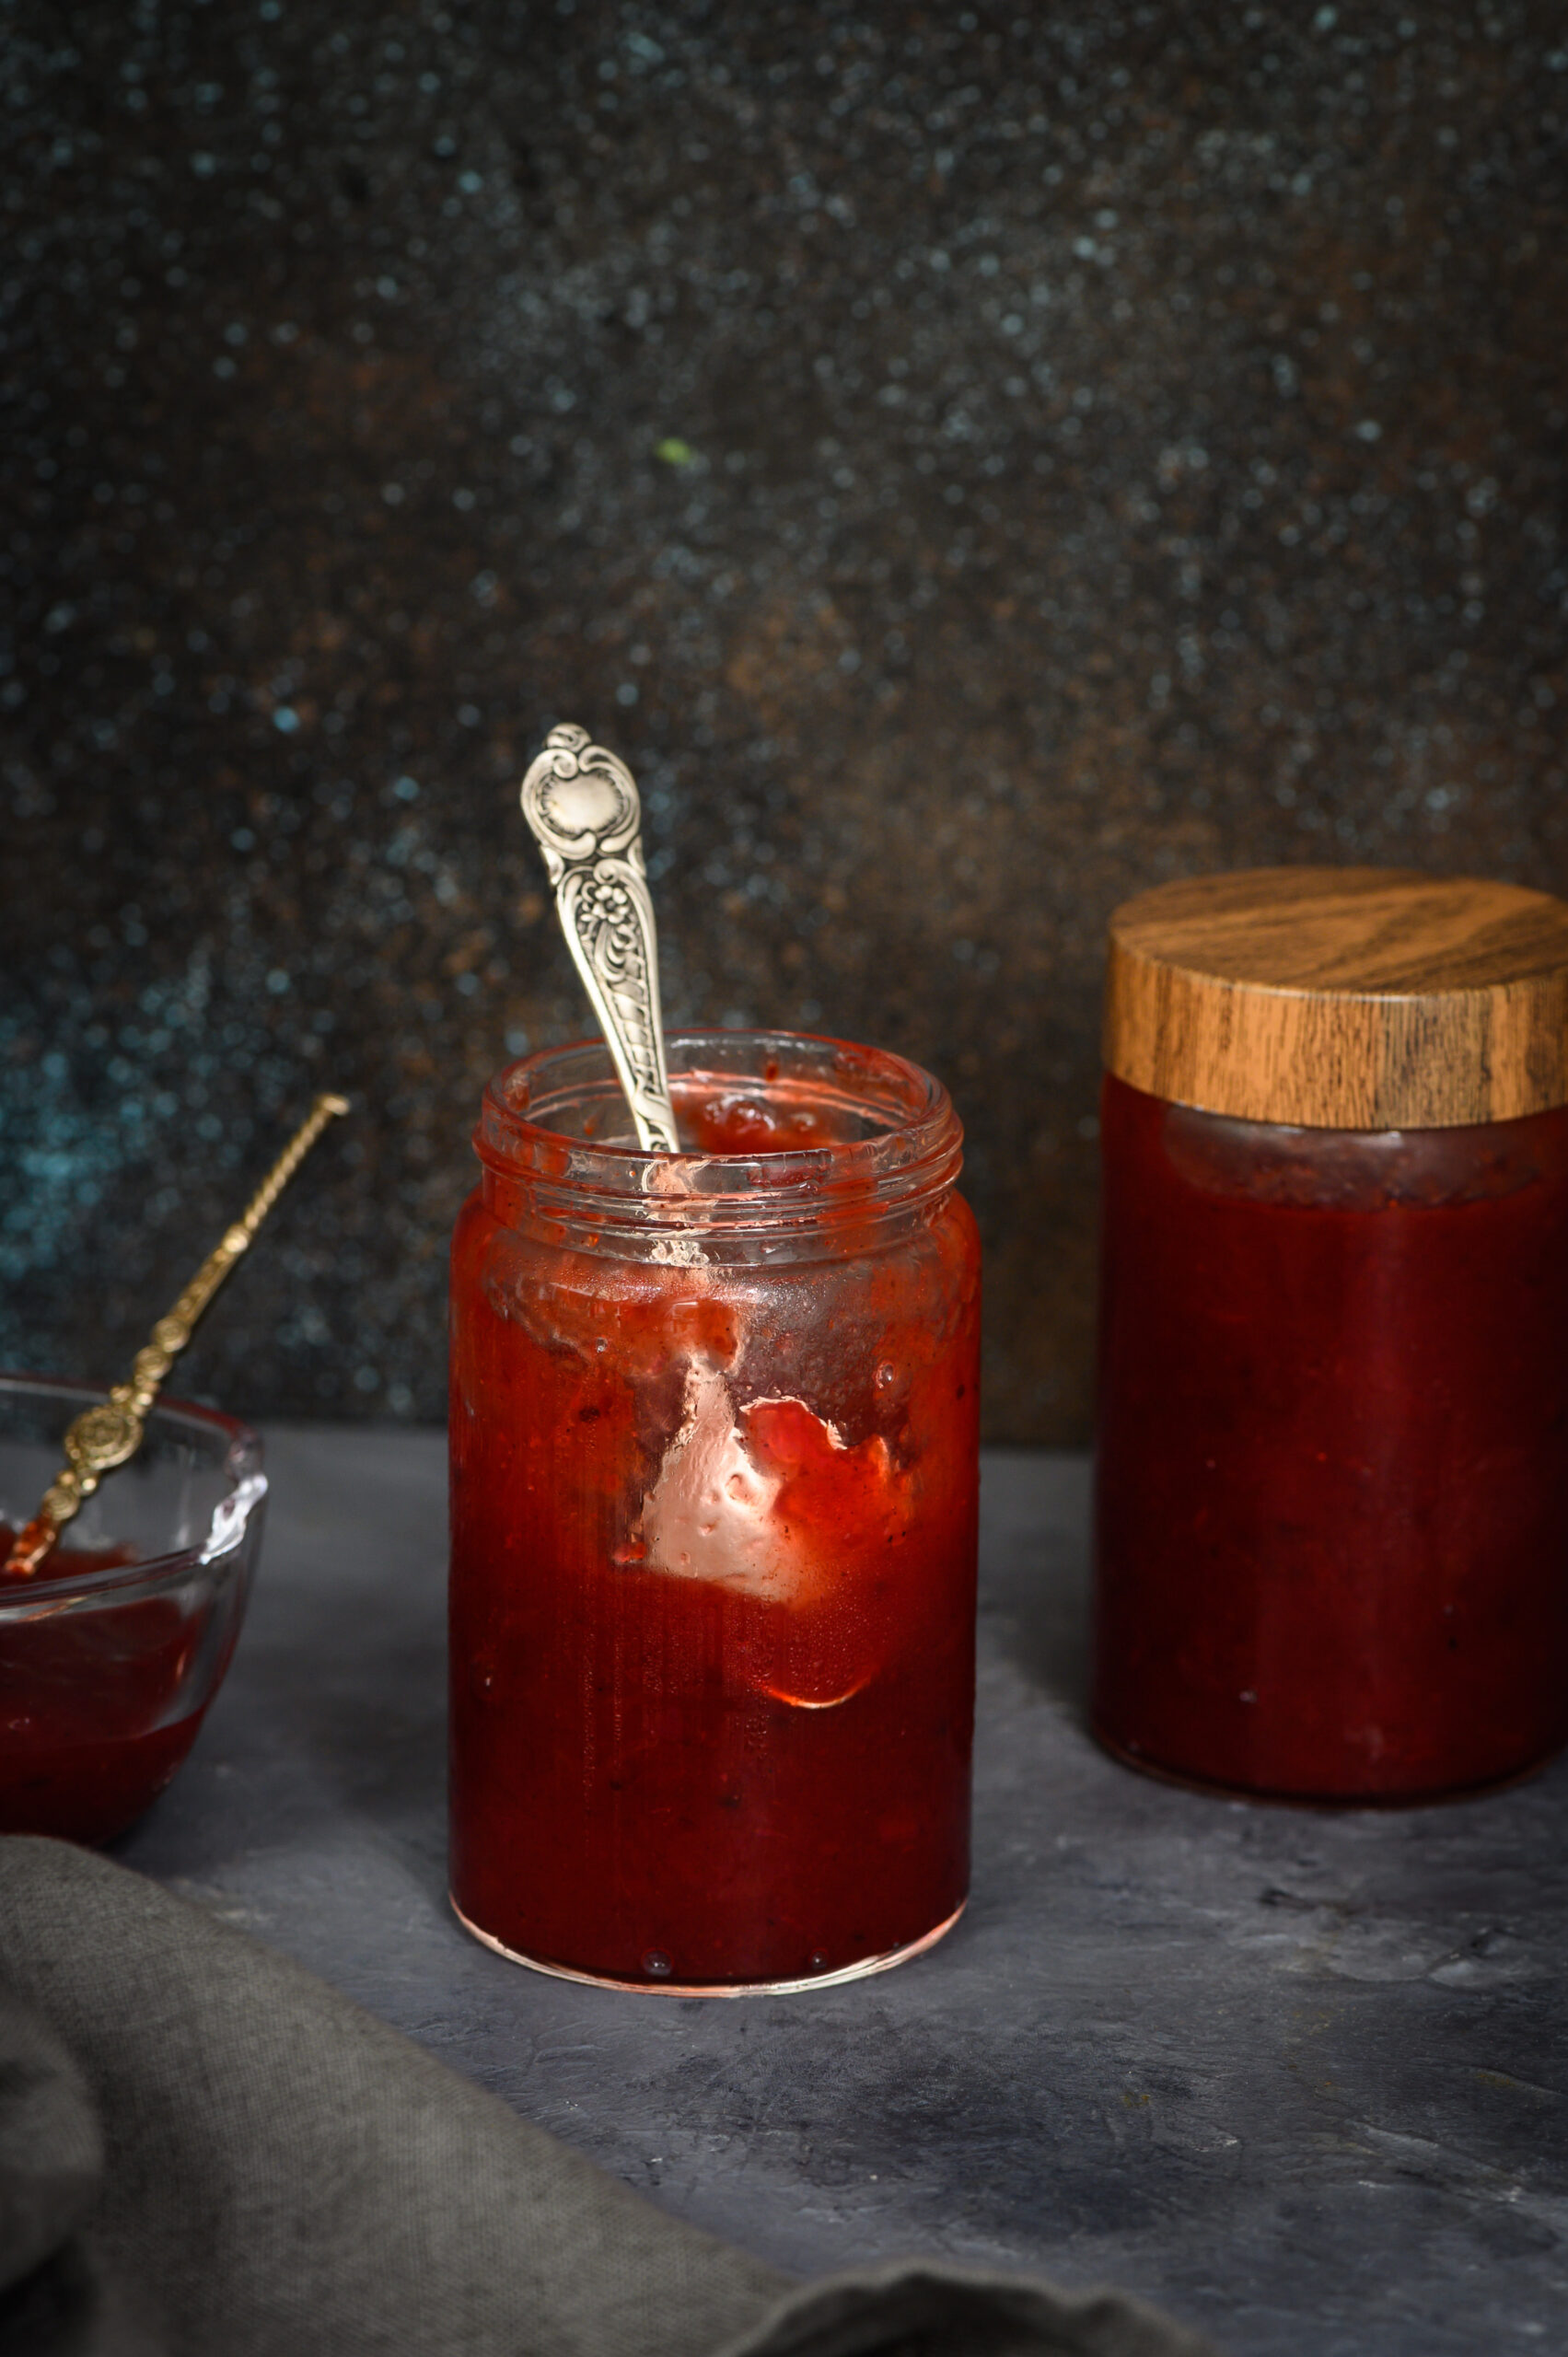
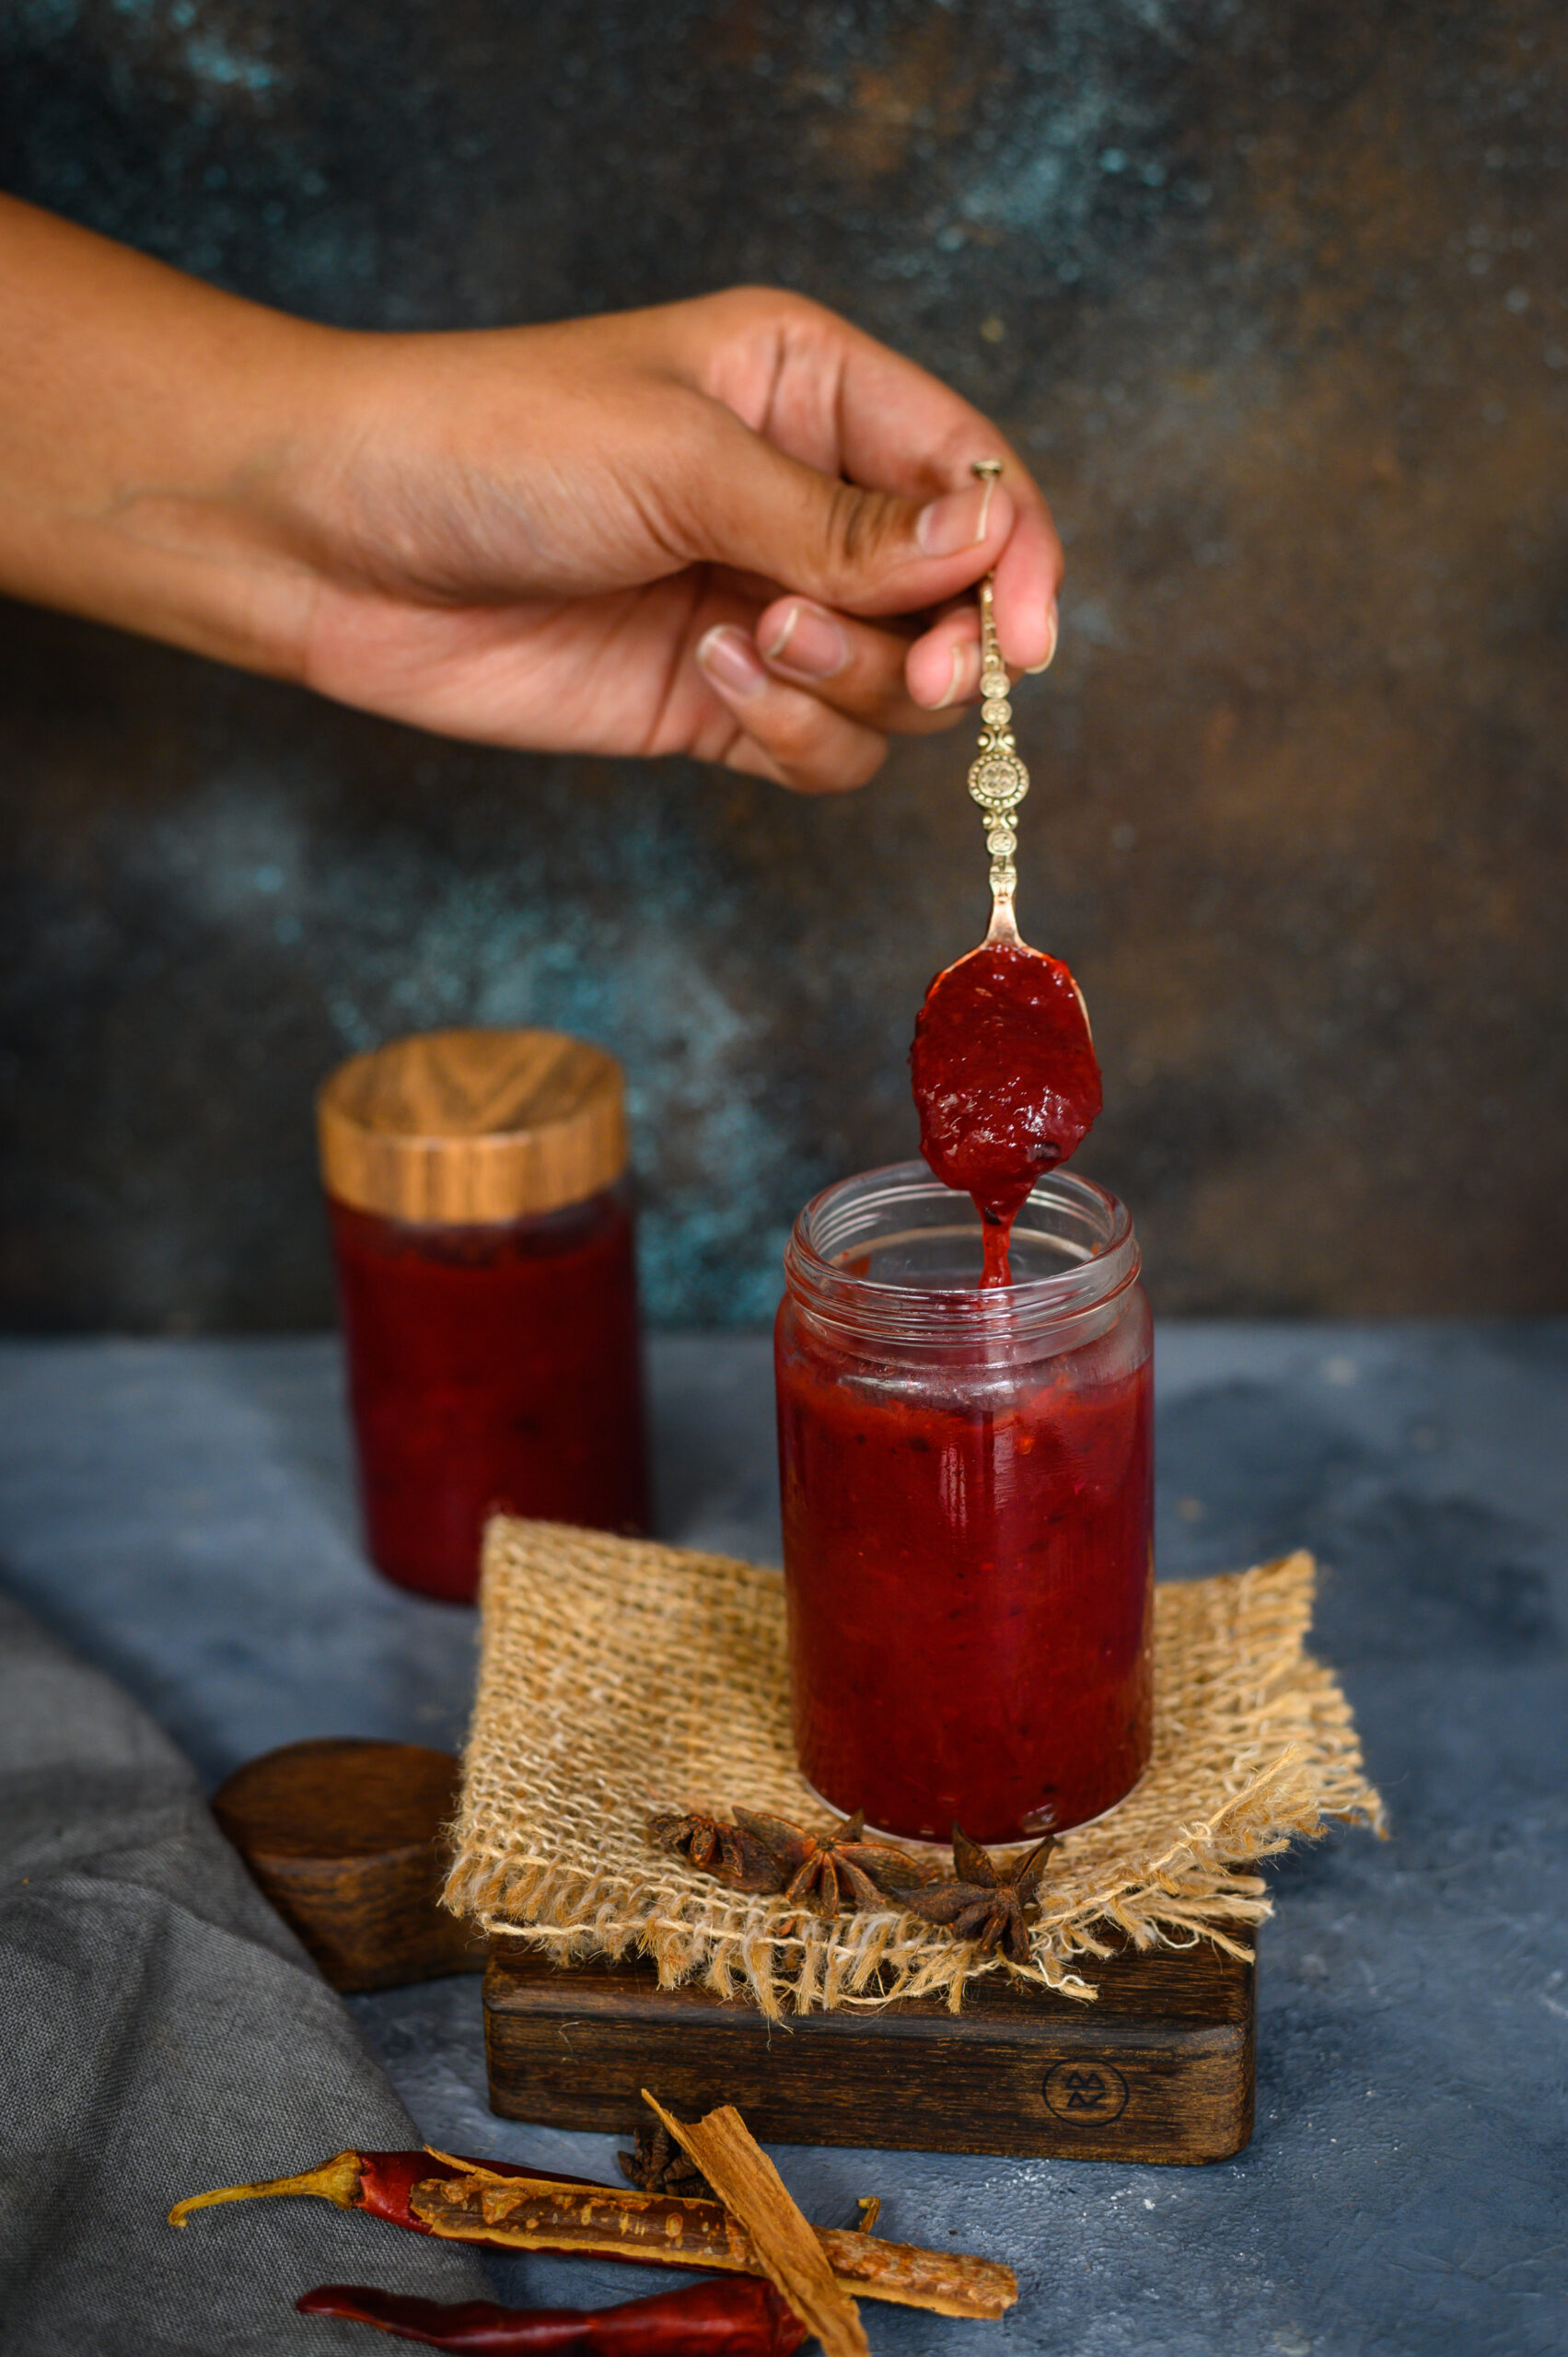
Let me bring this little trip down memory lane, lined with fruit-bearing trees, full circle by coming back to the gift of plums. In India, you can make a chutney with pretty much anything, and I was curious to try out this fruity one. My husband is a big fan of chutneys, and will even have some on the side with a pasta, so I know for a fact that this plum chutney is very versatile. You can also roll it up in a chapatti for a tiffin box, or spread it on toast. It has a sweet, spicy flavour that lends itself as an accompaniment to many dishes.


Plum Chutney

(Yield: 350 grams)

500 grams plums

150 grams sugar

1 small onion

⅛ teaspoon ginger powder

1 star anise

Salt to taste

2 teaspoons dry chili flakes

2 tablespoons apple cider vinegar

Lemon zest


Plums are a succulent fruit with a vast number of health benefits, from improving cardiovascular health to reducing the risk of osteoporosis to promoting skin health. They are packed with Vitamin C and Vitamin A, as well as antioxidants and minerals. They have been grown since ancient times, and the hybrid types we get today thrive in various places in India – which means we are fortunate that the market is abundantly flooded with them too.

This plum chutney is very simple to prepare, but requires one step of overnight prep. Chop the plums and discard the seeds. Add sugar to the fruit pieces, and cover with a lid. Allow to soak and refrigerate overnight, as this will reduce the cooking time.

The following day, add all the remaining ingredients to the sugar-soaked fruit. Boil on a medium flame. I lightly blended the mixture with a hand blender to break down and bring the flavours together.

Allow to simmer until the chutney thickens. Then, allow to cool.

With a clean spoon, transfer the plum chutney into a clean jar and refrigerate. As long as dry spoons are used and the container is refrigerated, a batch can be kept for up to a couple of weeks.

You may serve it with cheese as they do in the West, or with chapatti as I do at home, but either way, I hope a jar of it finds a place at your table this Christmas – and I hope you’ll simply relish it!