Tag

sweet

Browsing

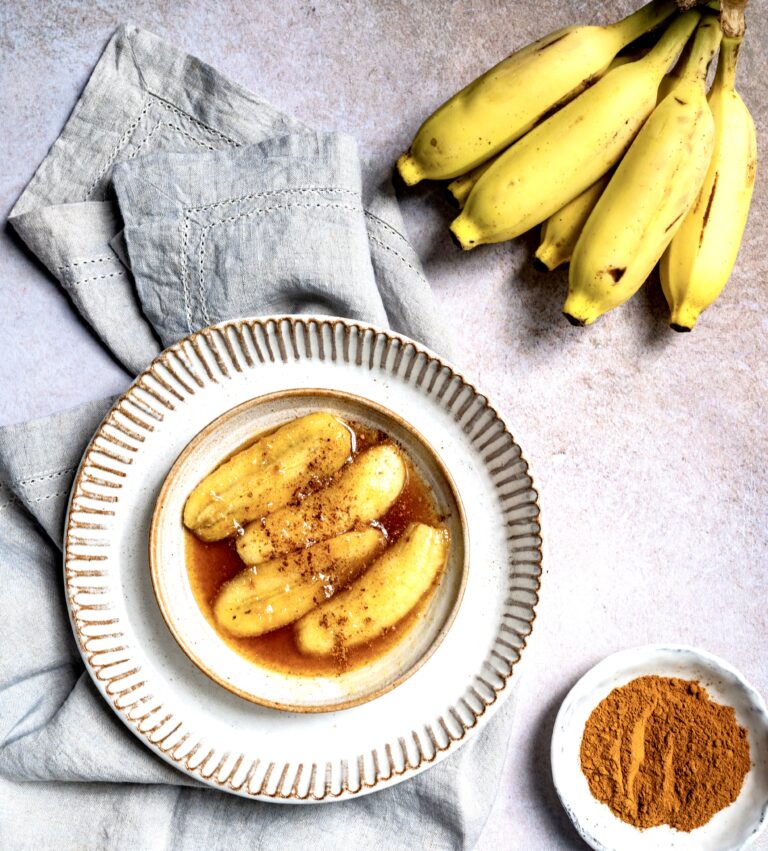
The festive season is about to begin here in India, and sweets galore are going to be produced, shared and consumed across the length and breadth of the country. It will be almost impossible to avoid consuming significant amounts of sugar at this time, but aside from moderation, we can also tweak the dessert offerings in our own homes and serve sweet but balanced treats. This will add a touch of novelty too. These caramelized bananas are a perfect addition to a more thoughtful celebratory menu.

Bananas provide not only a great sugar rush, but they are high in potassium and kept on hand by many gym-goers as they replenish electrolytes. Living in a country that produces over a quarter of the world’s bananas, and especially in a region where the plant is prevalent everywhere, my exposure to the fruit and the plant are certainly high. The plant itself is one of my favourites, and is beautiful to look at. I frequently use the stems and flowers in dishes, such as this banana stem buttermilk. I do bake the fruit into a loaf now and then, or cook it in a kela nu shaak but to tell you the truth, I am personally not a great fan of it. The fact that I thoroughly enjoy these caramelized bananas is therefore a testament to their tastiness.

The first time I had them was on a surprise holiday with my husband. We went on a really long trek wherein we got lost. Two hours later, we found the little spot that we were supposed to reach, and here, the organizers of the journey prepared a freshly-made picnic for us. It is difficult to carry a lot of items on a tedious hike, so the meal contained simple ingredients. Bananas, being such a portable fruit and good for after a workout like an outdoor trek, were a practical part of the menu, in the form of this dessert.

Despite everything I said earlier in praise of the fruit’s nutritional qualities, my longstanding dislike usually trumps my desire to consume it. Still, a few bites of this dish during that picnic were all it took to charm me. You can imagine my surprise when I found myself carefully observing as more caramelized bananas were being prepared, mentally noting how to make them myself later! They were made in a jiffy, too. I knew right then that I’d found a lovely dessert that would be easy and quick to make, and possibly healthier than most traditional treats.

I believe what made me like them so much was the use of cinnamon and other spices, which flavoured my far-from-favourite fruit in a lovely way. Who knew that a fruit we take for granted and a few ingredients common to an Indian kitchen could result is something so delightful?

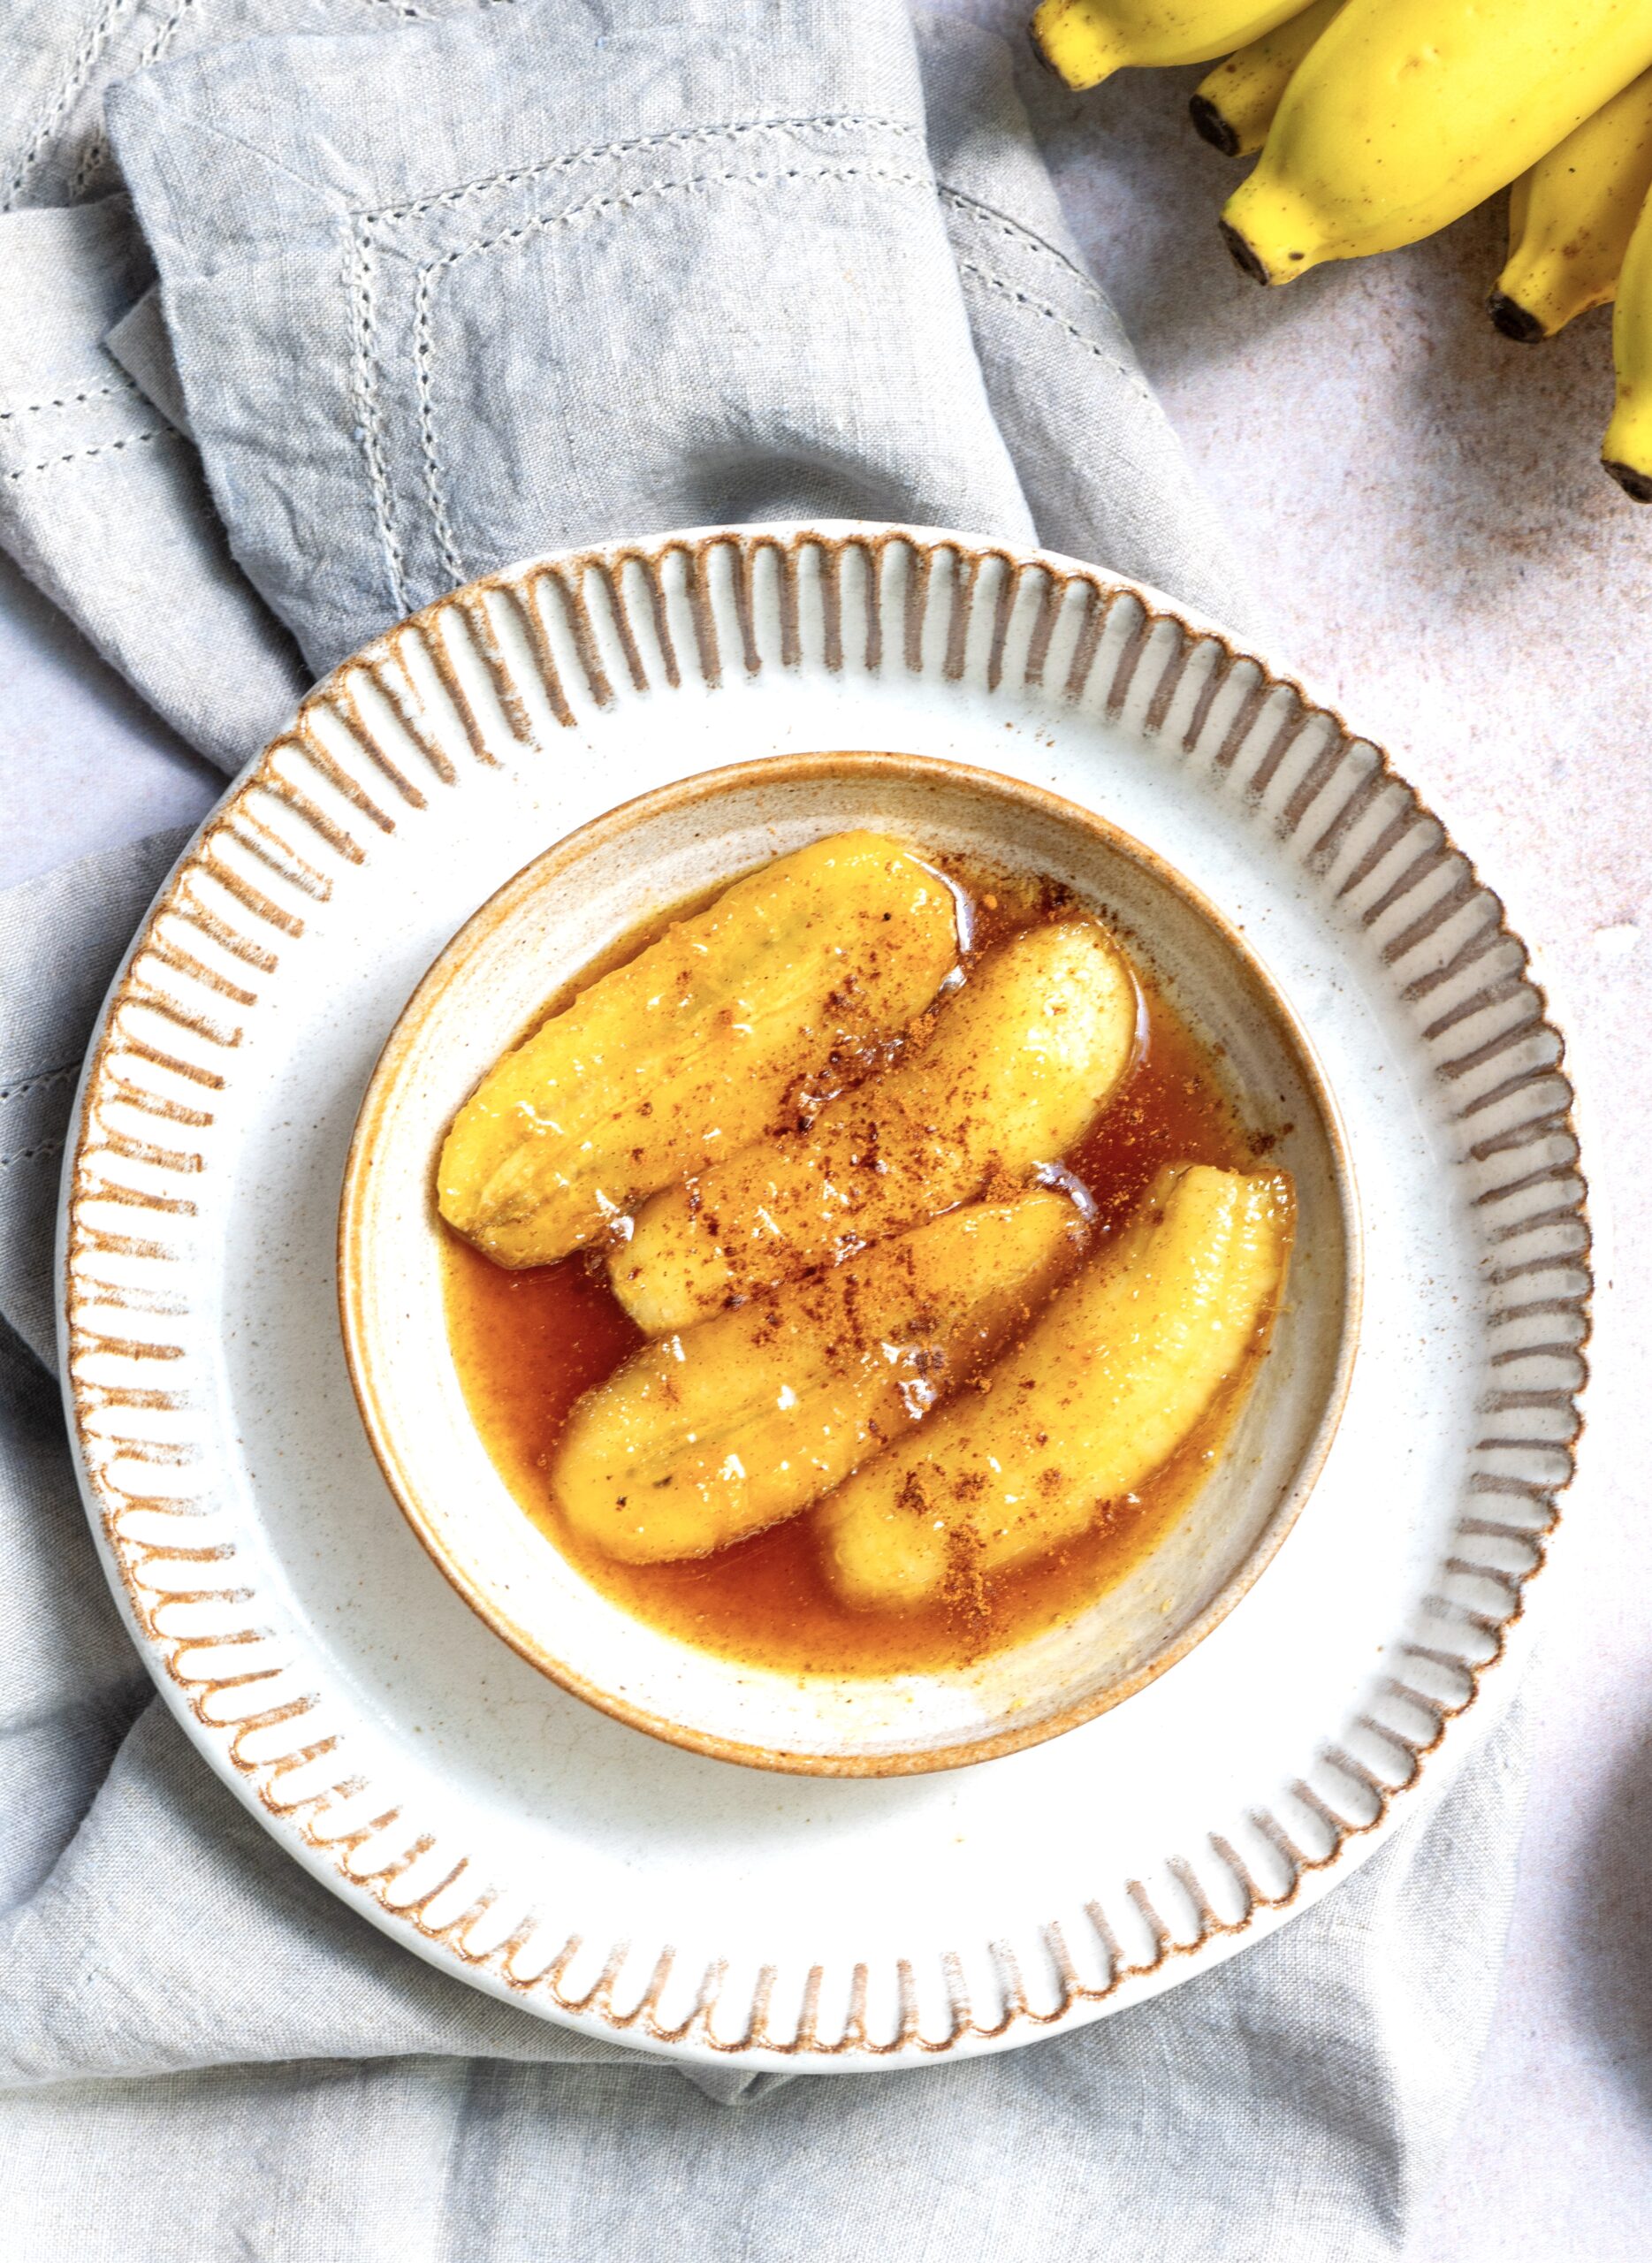
Caramelized Bananas

(Serves 2)

1 tablespoon butter
2 small bananas (cut lengthwise)
¼ cup sugar (use less if you prefer)
3 tablespoons water
½ teaspoon cinnamon
1 teaspoon grated ginger
A pinch of salt

Heat a flat pan. Add sugar and allow it to melt. Once it has melted, add water and stir continuously so it all comes together. Now, add the ginger, cinnamon powder and salt and keep stirring.

While the sugar is melting, heat another pan and add the butter. Once it melts, place the sliced bananas on the pan and allow them to turn golden on both sides.

When the sugar syrup is ready, add it to the bananas. The mixture will splutter so be careful. Sauté for a minute on a medium to high flame. Turn off the flame and allow to cool a little.

Serve with fresh cream, or just on their own.

These caramelized bananas really changed the way I think of bananas for the better. They are such a simple dessert. I can attest that they satisfied someone who doesn’t even enjoy the fruit, which says a lot about how tasty they are!

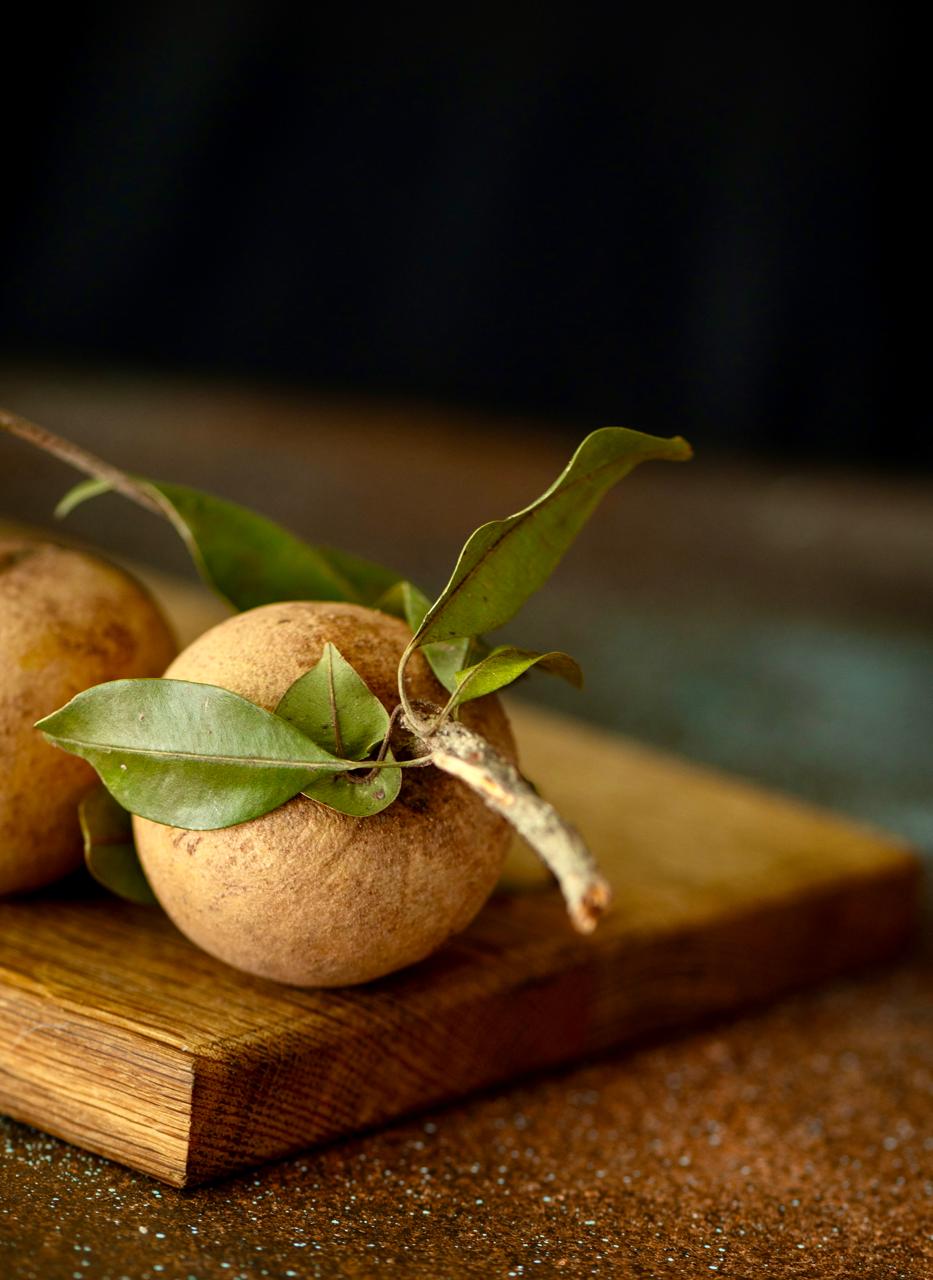
Chikoos – also known as sapotas or sapodillas – are common in India and other Asian countries, but not elsewhere, as far as I know. To me, this makes them a rather exotic fruit in other parts of the world. For instance, my aunt in the USA settles for frozen chikoos, which honestly are nowhere close to fresh ones in taste. Many other fruits are also in this category of best eaten fresh, but rarely found in that perfect state. While chikoos are widely available in India when they are in season, the season itself is short. I’ve made the most of it with this lovely chikoo-date shake.

When I say it’s lovely, I do acknowledge that chikoos are the kind of fruit that people either adore or don’t like in the least. In terms of Indian fruits, custard apples or sitaphals are another one that are equally divisive. I’m sure you know a few more like these.

As far as my home is concerned, my mother-in-law and I simply love it, and we love it in different forms, so we are big fans of this shake. My own enjoyment is to the extent that if there are three ripened chikoos in a bowl, I will eat all three and consider them a meal. Our chikoos come from a huge tree in our backyard, and the season is certainly not going to waste in our home.

I have consumed chikoos whenever I have been able to throughout my life, and there are two particular sets of memories that they evoke. One dates from when I was a newlywed visiting my husband’s family home in Ahmedabad. There was a lady there who used to take orders for homemade chikoo ice cream. It was so delicious that I ordered a scoop every single day during those early visits.

The other set of memories goes further back, to my childhood during which Chennai was a place in which just about every neighbourhood had both fruiting and flowering trees. This is not the case any longer, but back then, fresh, organic and free-of-cost fruits were literally in our backyards. I believe I have mentioned in previous posts that climbing trees was one of the regular activities that my siblings, friends and I enjoyed. Chikoo trees were too tall for this, so what we would do was to use a long, hooked stick to pluck the fruits. We would all gather together and stand beneath it and catch the fruits as they fell. If they hit the ground, they would splatter, so we would scramble to make sure they landed right into our hands. There was always an abundance of fruit, at the right time of year, so we didn’t care if we missed catching them – but the split fruit definitely attracted flies! I suppose you could say we built up our immunity this way. Summertime was always full of experiences like this.

I’ve found that this shake is tastiest when the chikoos are just a bit overripe. When you touch the fruit, if it has softened just a little, you know that it’s ripe and ready to peel and eat. If it is a bit too soft, it is overripe, and better for a shake. You can also eliminate the dates altogether, unless you prefer the shakes extra sweet. I use dates not only for their sweetness quotient, which I have a fondness for as I’ve admitted numerous times on this blog, but also because they also have nutritional benefits of their own, such as boosting iron in the body and a high fibre content.

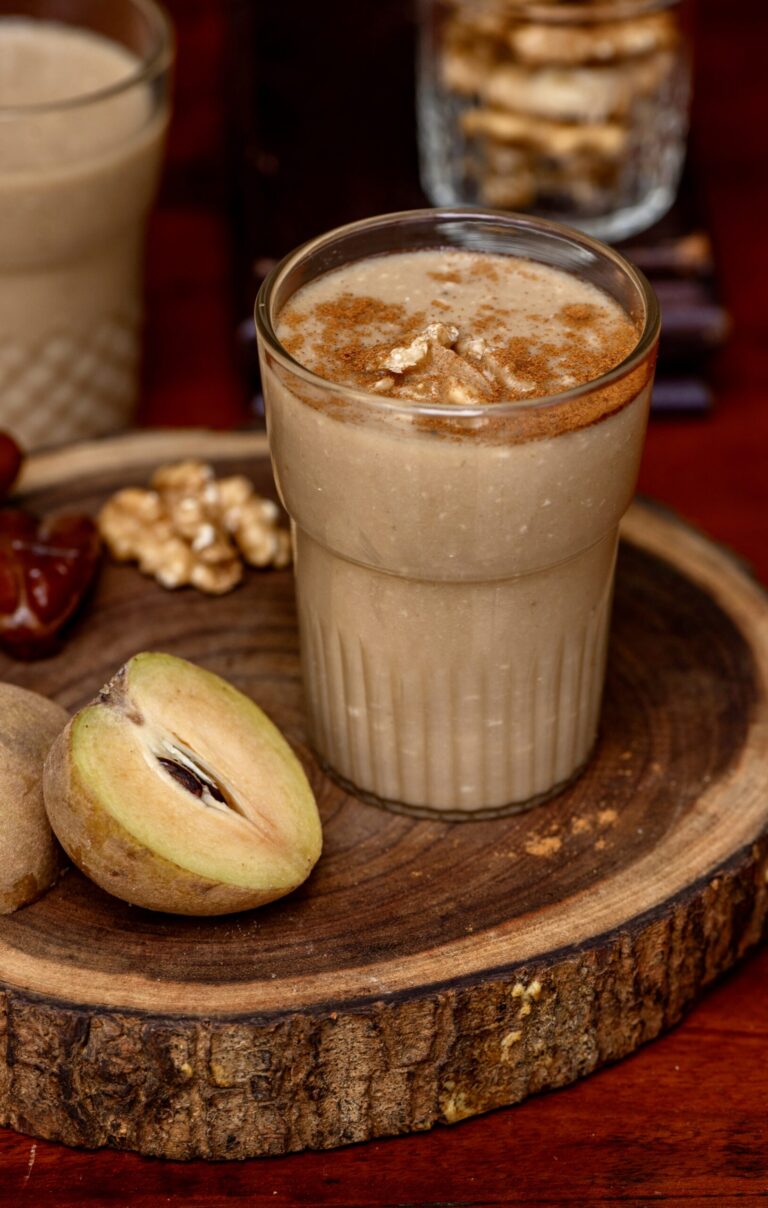
Chikoo-Date Shake

(Serves 2)

2 small ripe or slightly overripe chikoos

2-3 walnuts

2 dates (soft)

½ cup milk

1½ cups cold water

In a blender, add the walnuts and the dates and grind coarsely. Blanched almonds also work well in lieu of the walnuts.

To this mixture, add the milk and water. You may want to use milk only, undiluted. You can also add a protein powder. Blend well once again.

Pour into glasses and serve. I think this shake tastes great when topped with ice and cinnamon powder. You may want to garnish as you prefer.

If you’re a fan of shakes in general, even if you aren’t a fan of chikoos, you may want to check out other recipes that will quench your thirst while giving you a healthy boost!


I have often been attracted to making sugarless desserts for two reasons. First and foremost, for myself, as I have an incredibly sweet tooth that I can’t seem to control, and I hope to satisfy it without making as steep a health compromise. I try to convince myself that when a dessert is sugarless or sugar-free I can also eat it guiltlessly, or guilt-free! I know this isn’t true, of course. Natural sweeteners and the sweetness that is intrinsic in certain ingredients like fruits do contain sugar, and anything sweet will spike your glucose levels even if you don’t add processed sugars to it. Still, I know that so many of you struggle with the same concern, which is why a treat like this sugarless date payasam can still make a difference in our dessert indulgences.

The other reason why I learned how to make more sugarless desserts was that my father-in-law used to put me up to the challenge of inventing ones for him. He was diabetic, and he would always say, “Just add Splenda or aspartame!” I would always refuse to, knowing that these have other side-effects. I would instead reach out for natural sweeteners like coconut sugar or dates, as their glycemic index is lower than that of refined white sugar. While my father-in-law is no longer around, the dishes I learned or came up with for him remain in my repertoire, and so does the habit of cutting down sugar content as far as I can.

Awareness of the dangers of too much sugar consumption is of extreme importance in India, which has one of the largest percentage of diabetics in the world. I often have diabetic visitors, which doesn’t surprise me at all given the prevalence of the disease in our country, and I ensure that I serve sugarfree desserts when they come over. There are also sugarless options on the re:store product menu. Whether or not my guests or family members are diabetic, I do keep an eye on balancing out our sweet consumption in multiple ways. Making dishes like these is one such way, and a necessary concession since giving desserts up completely is quite a big ask!

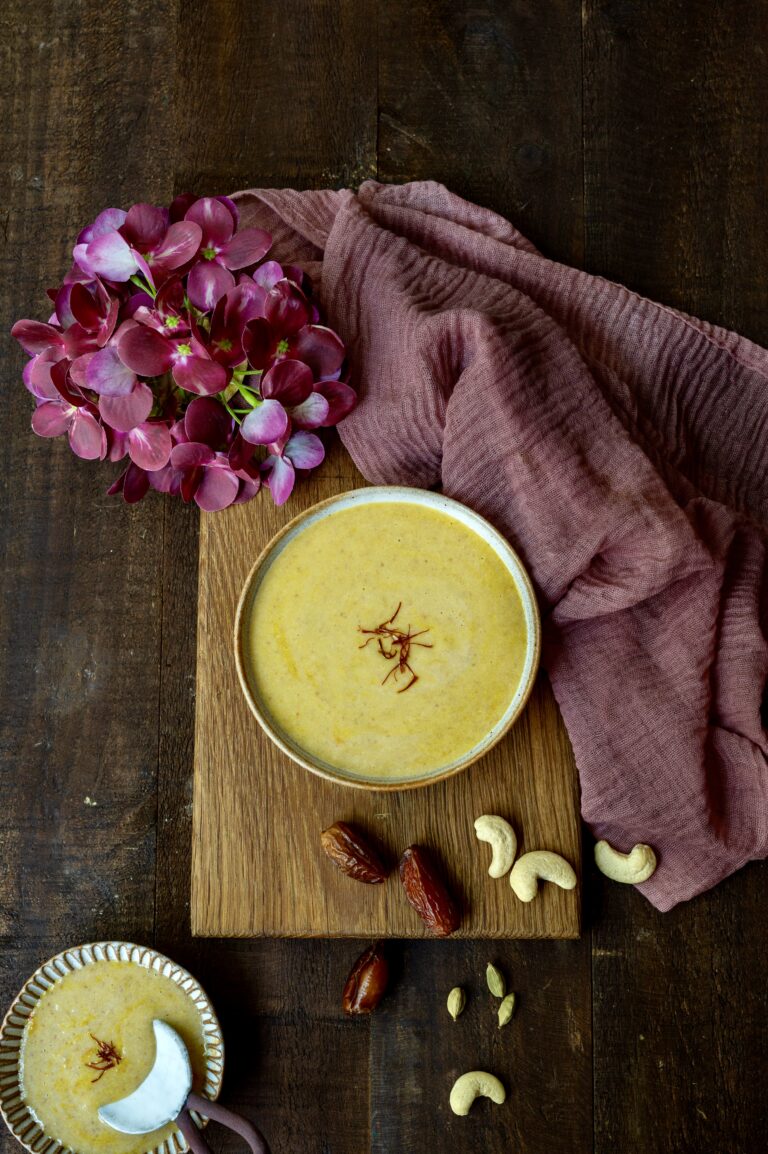
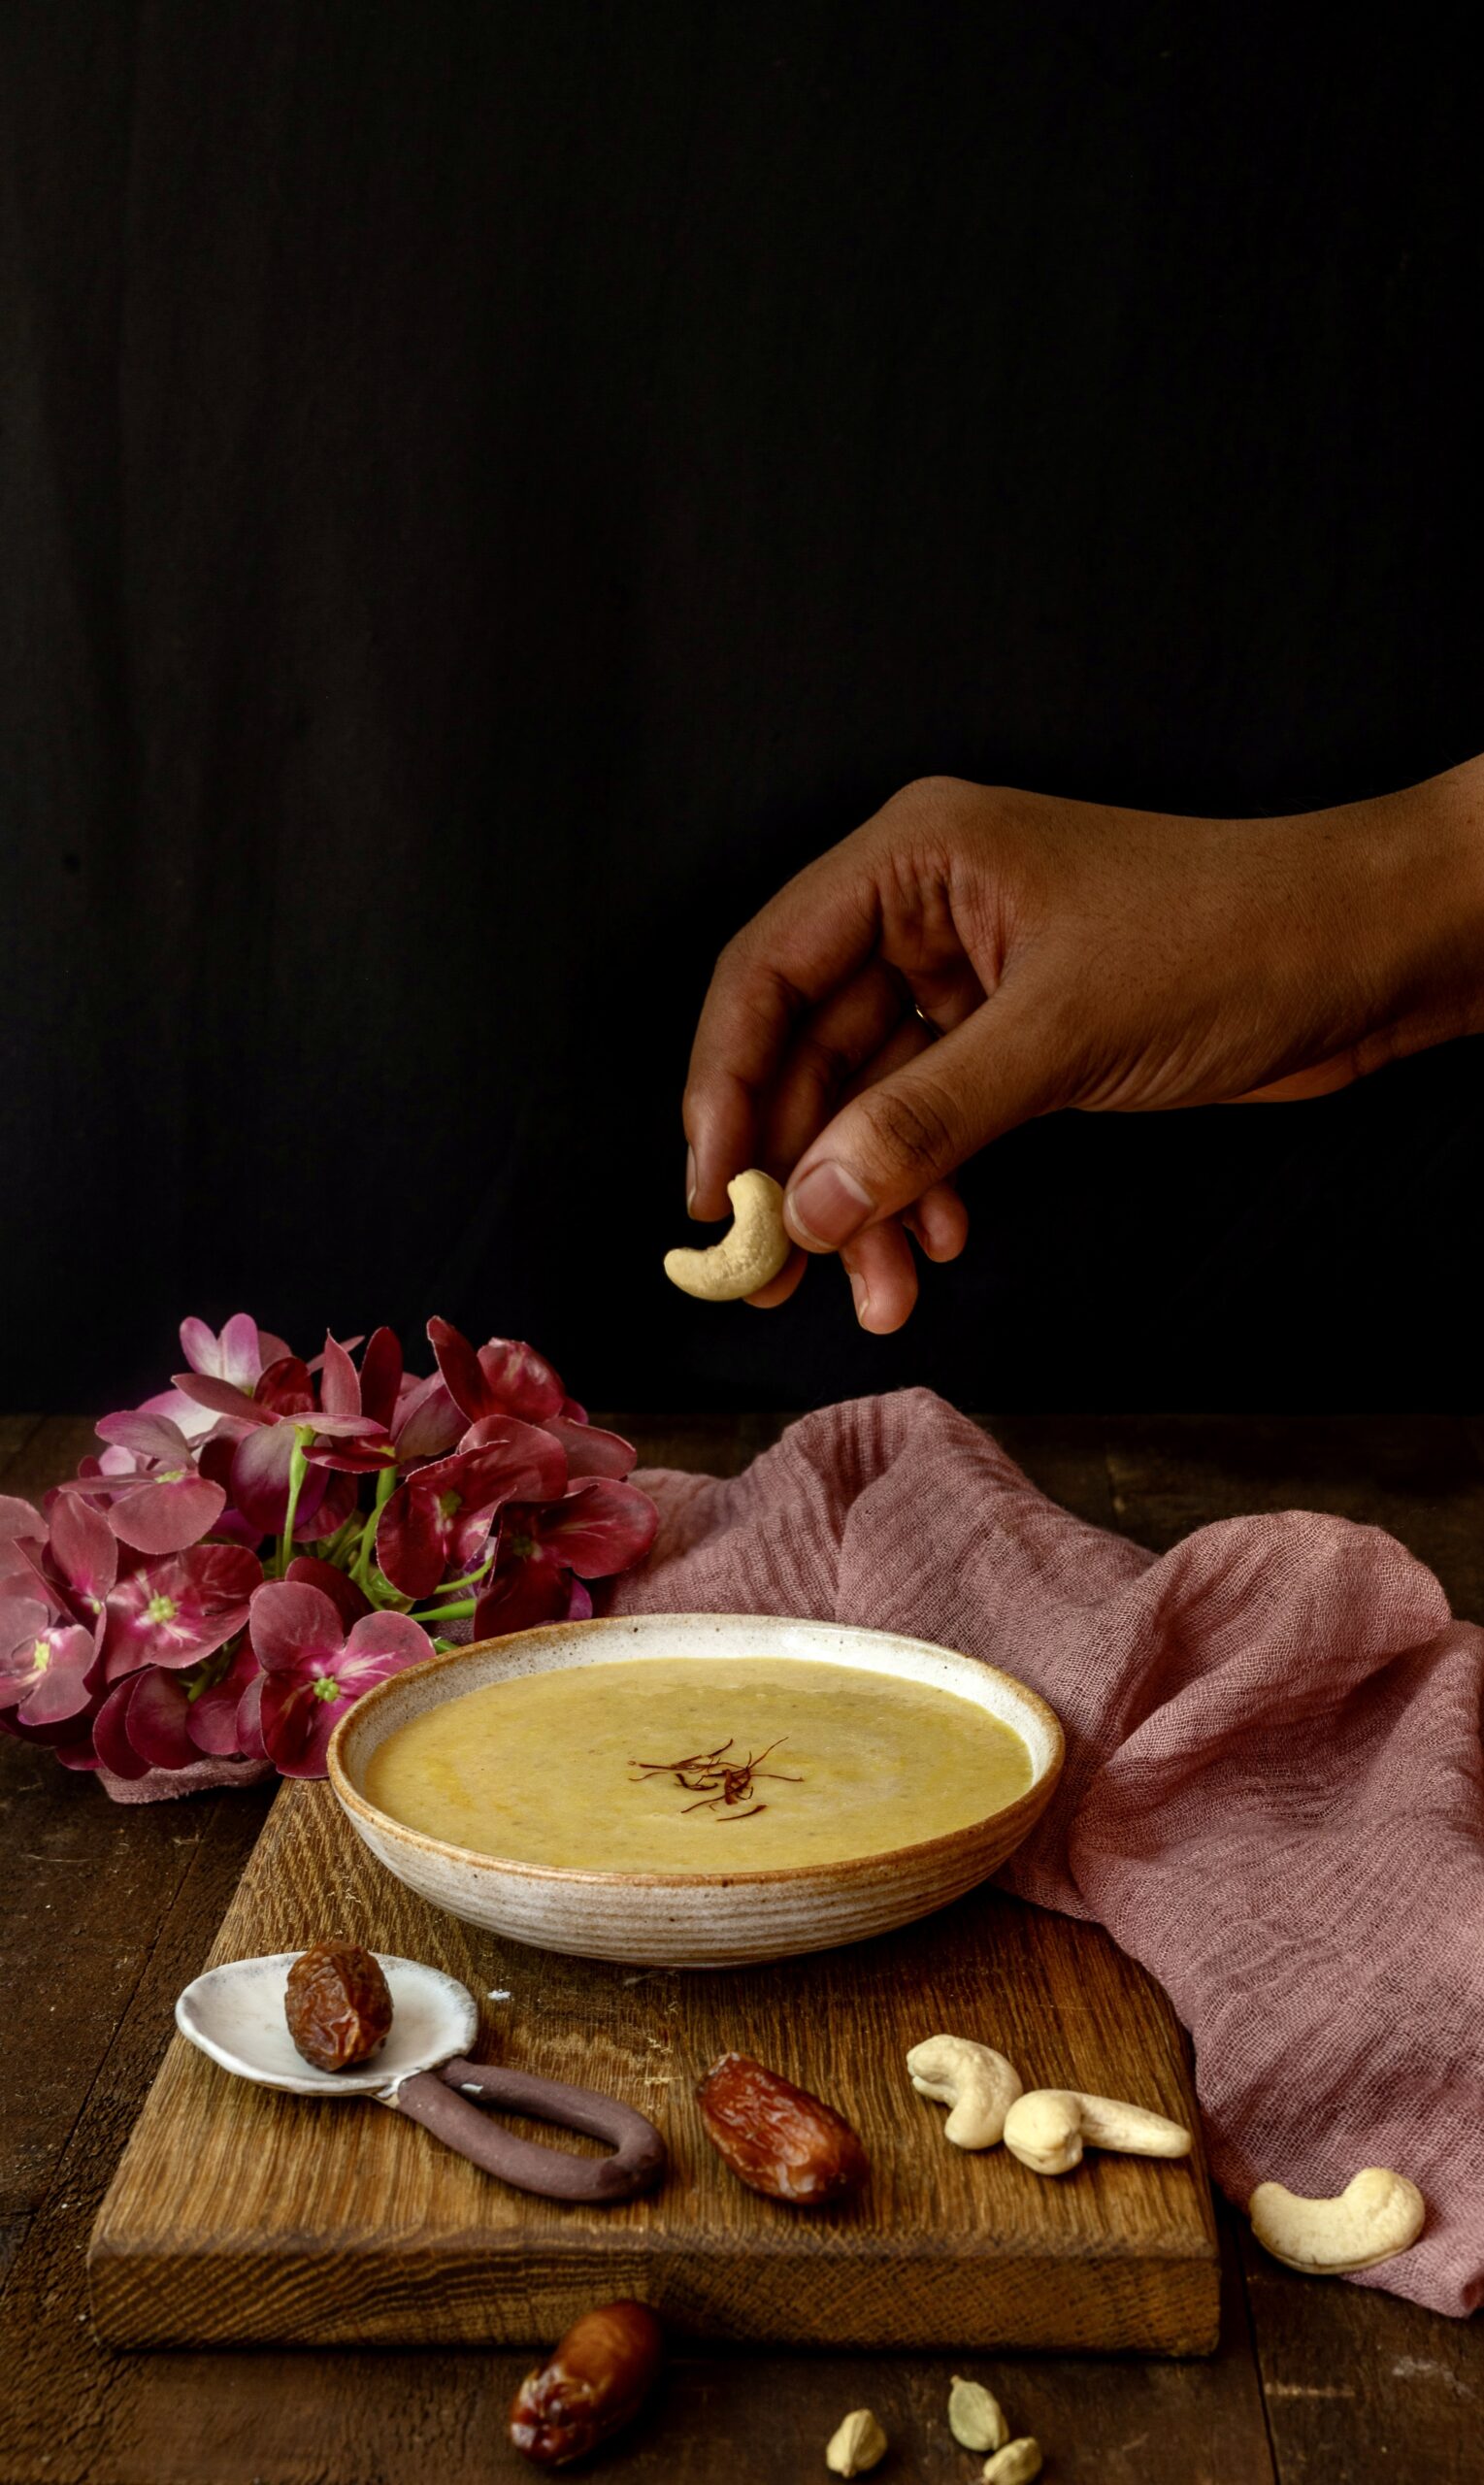
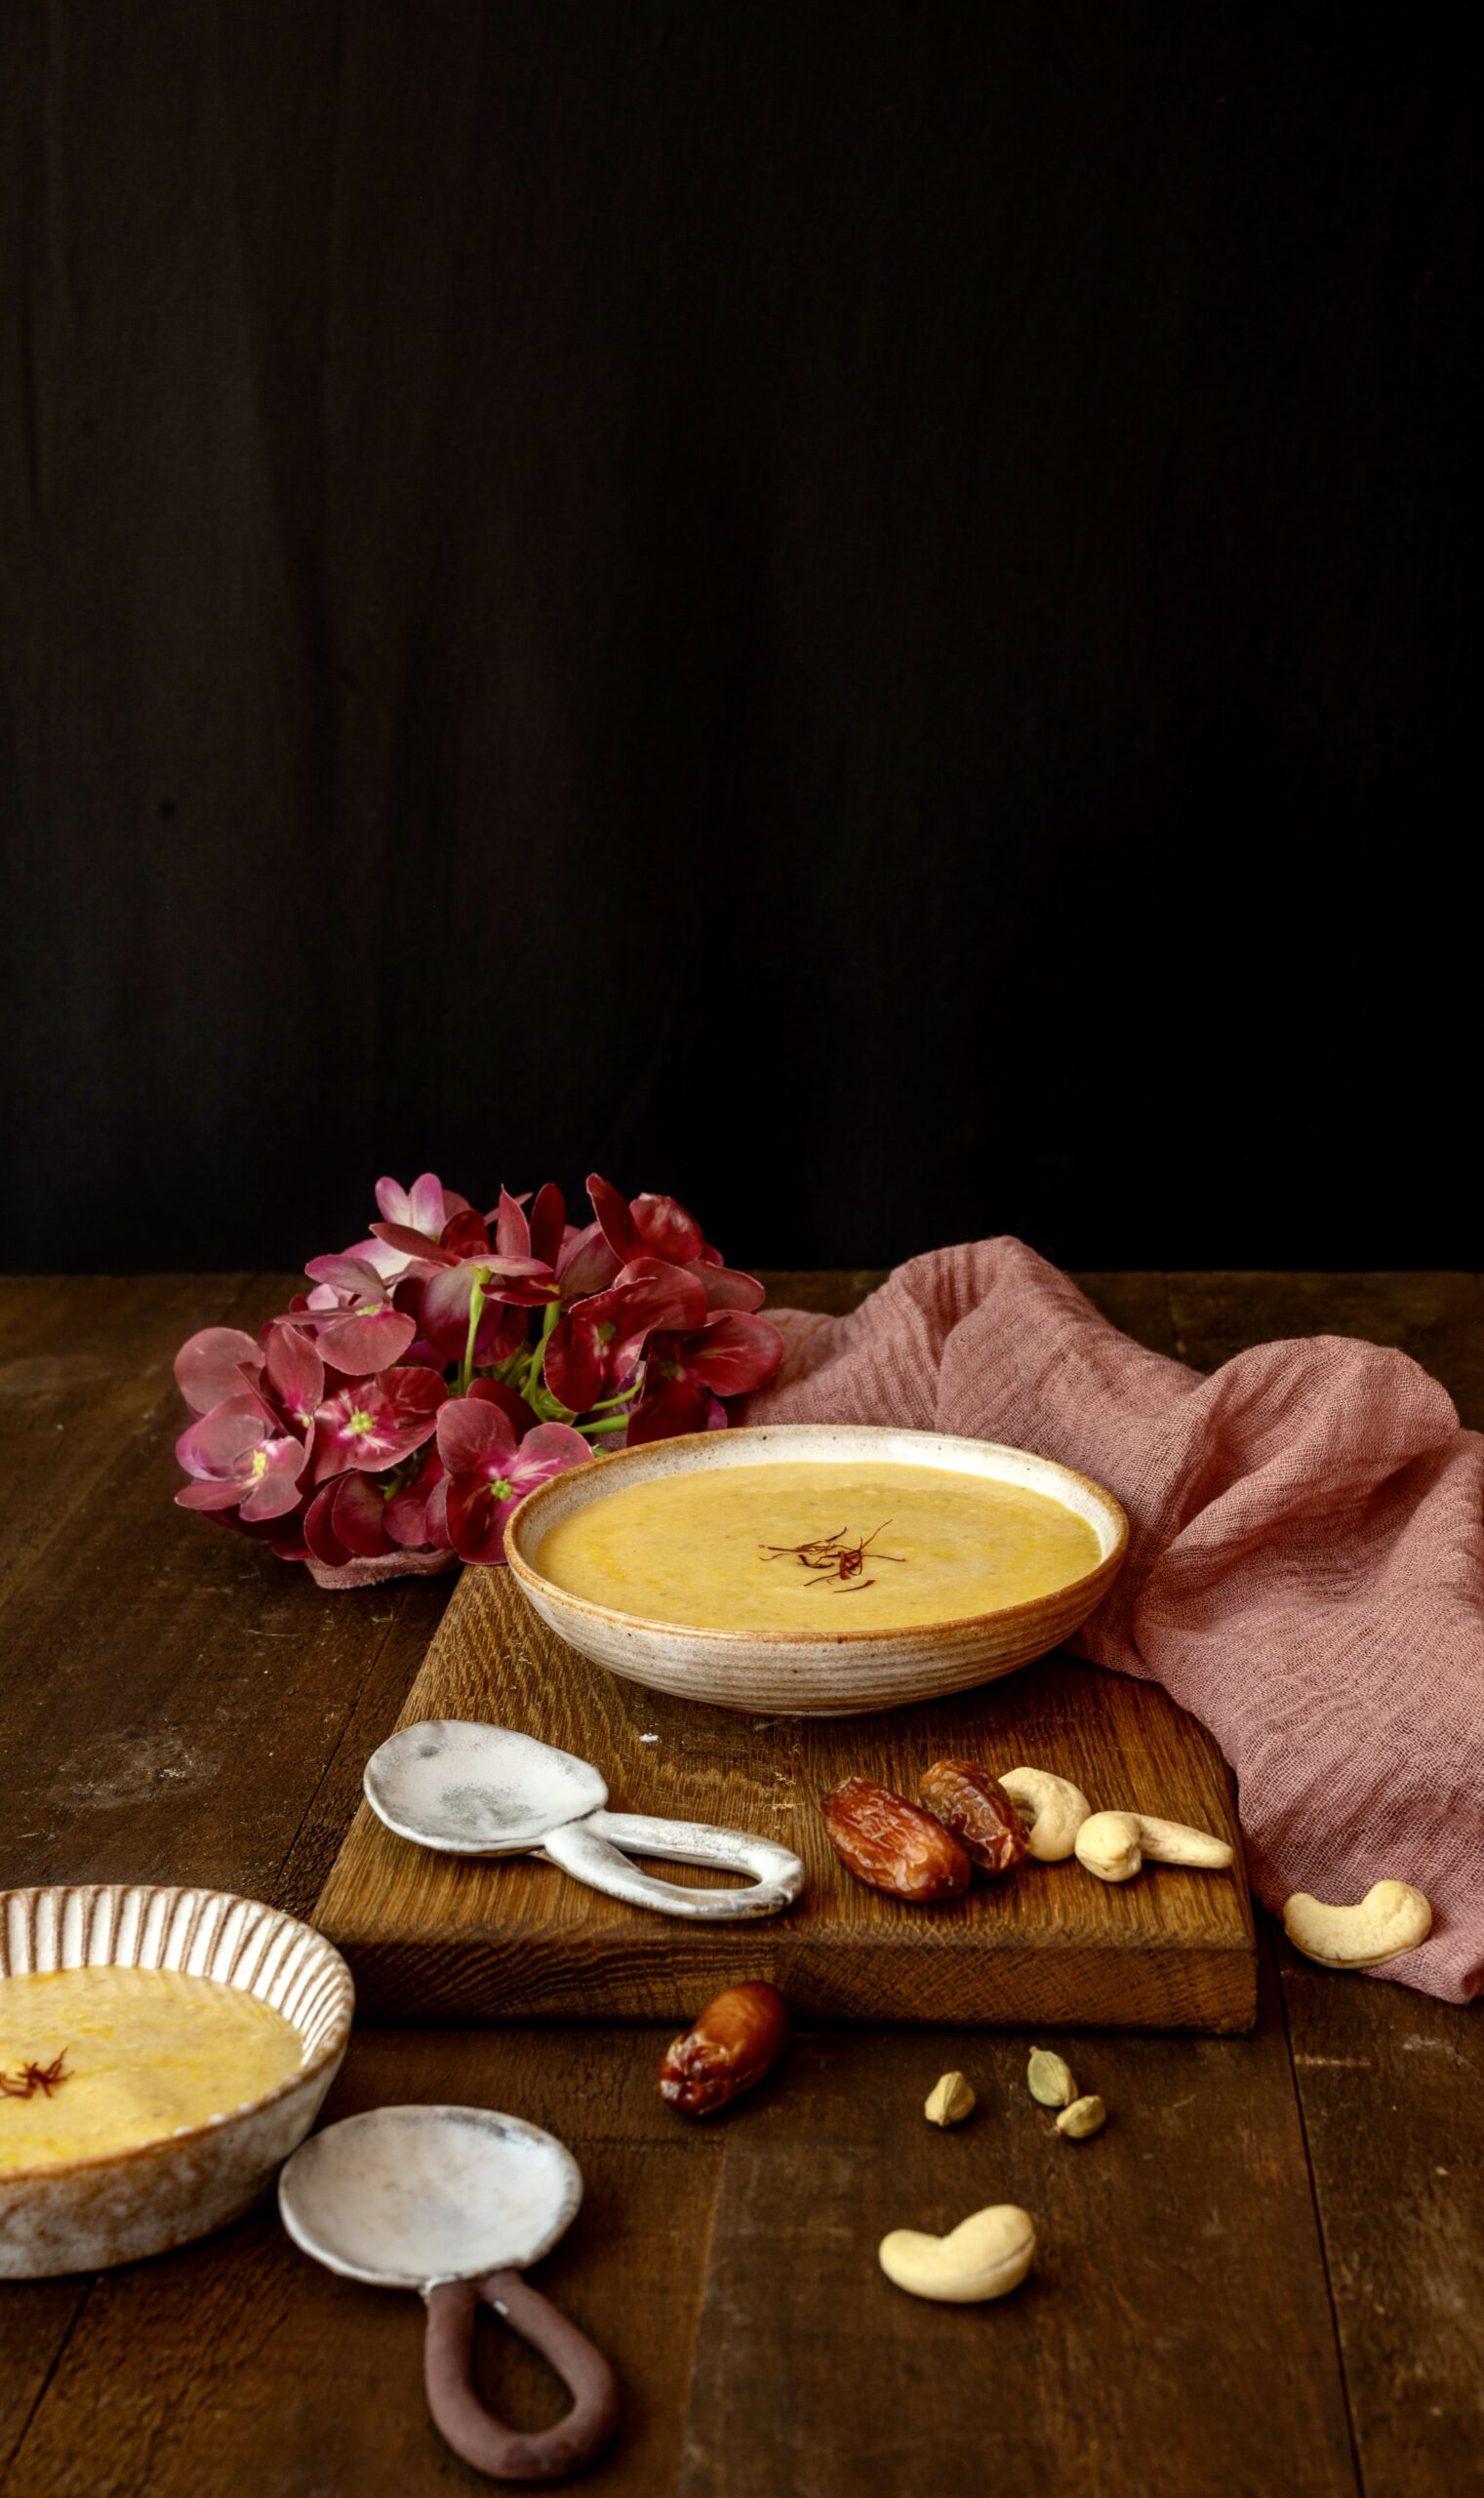
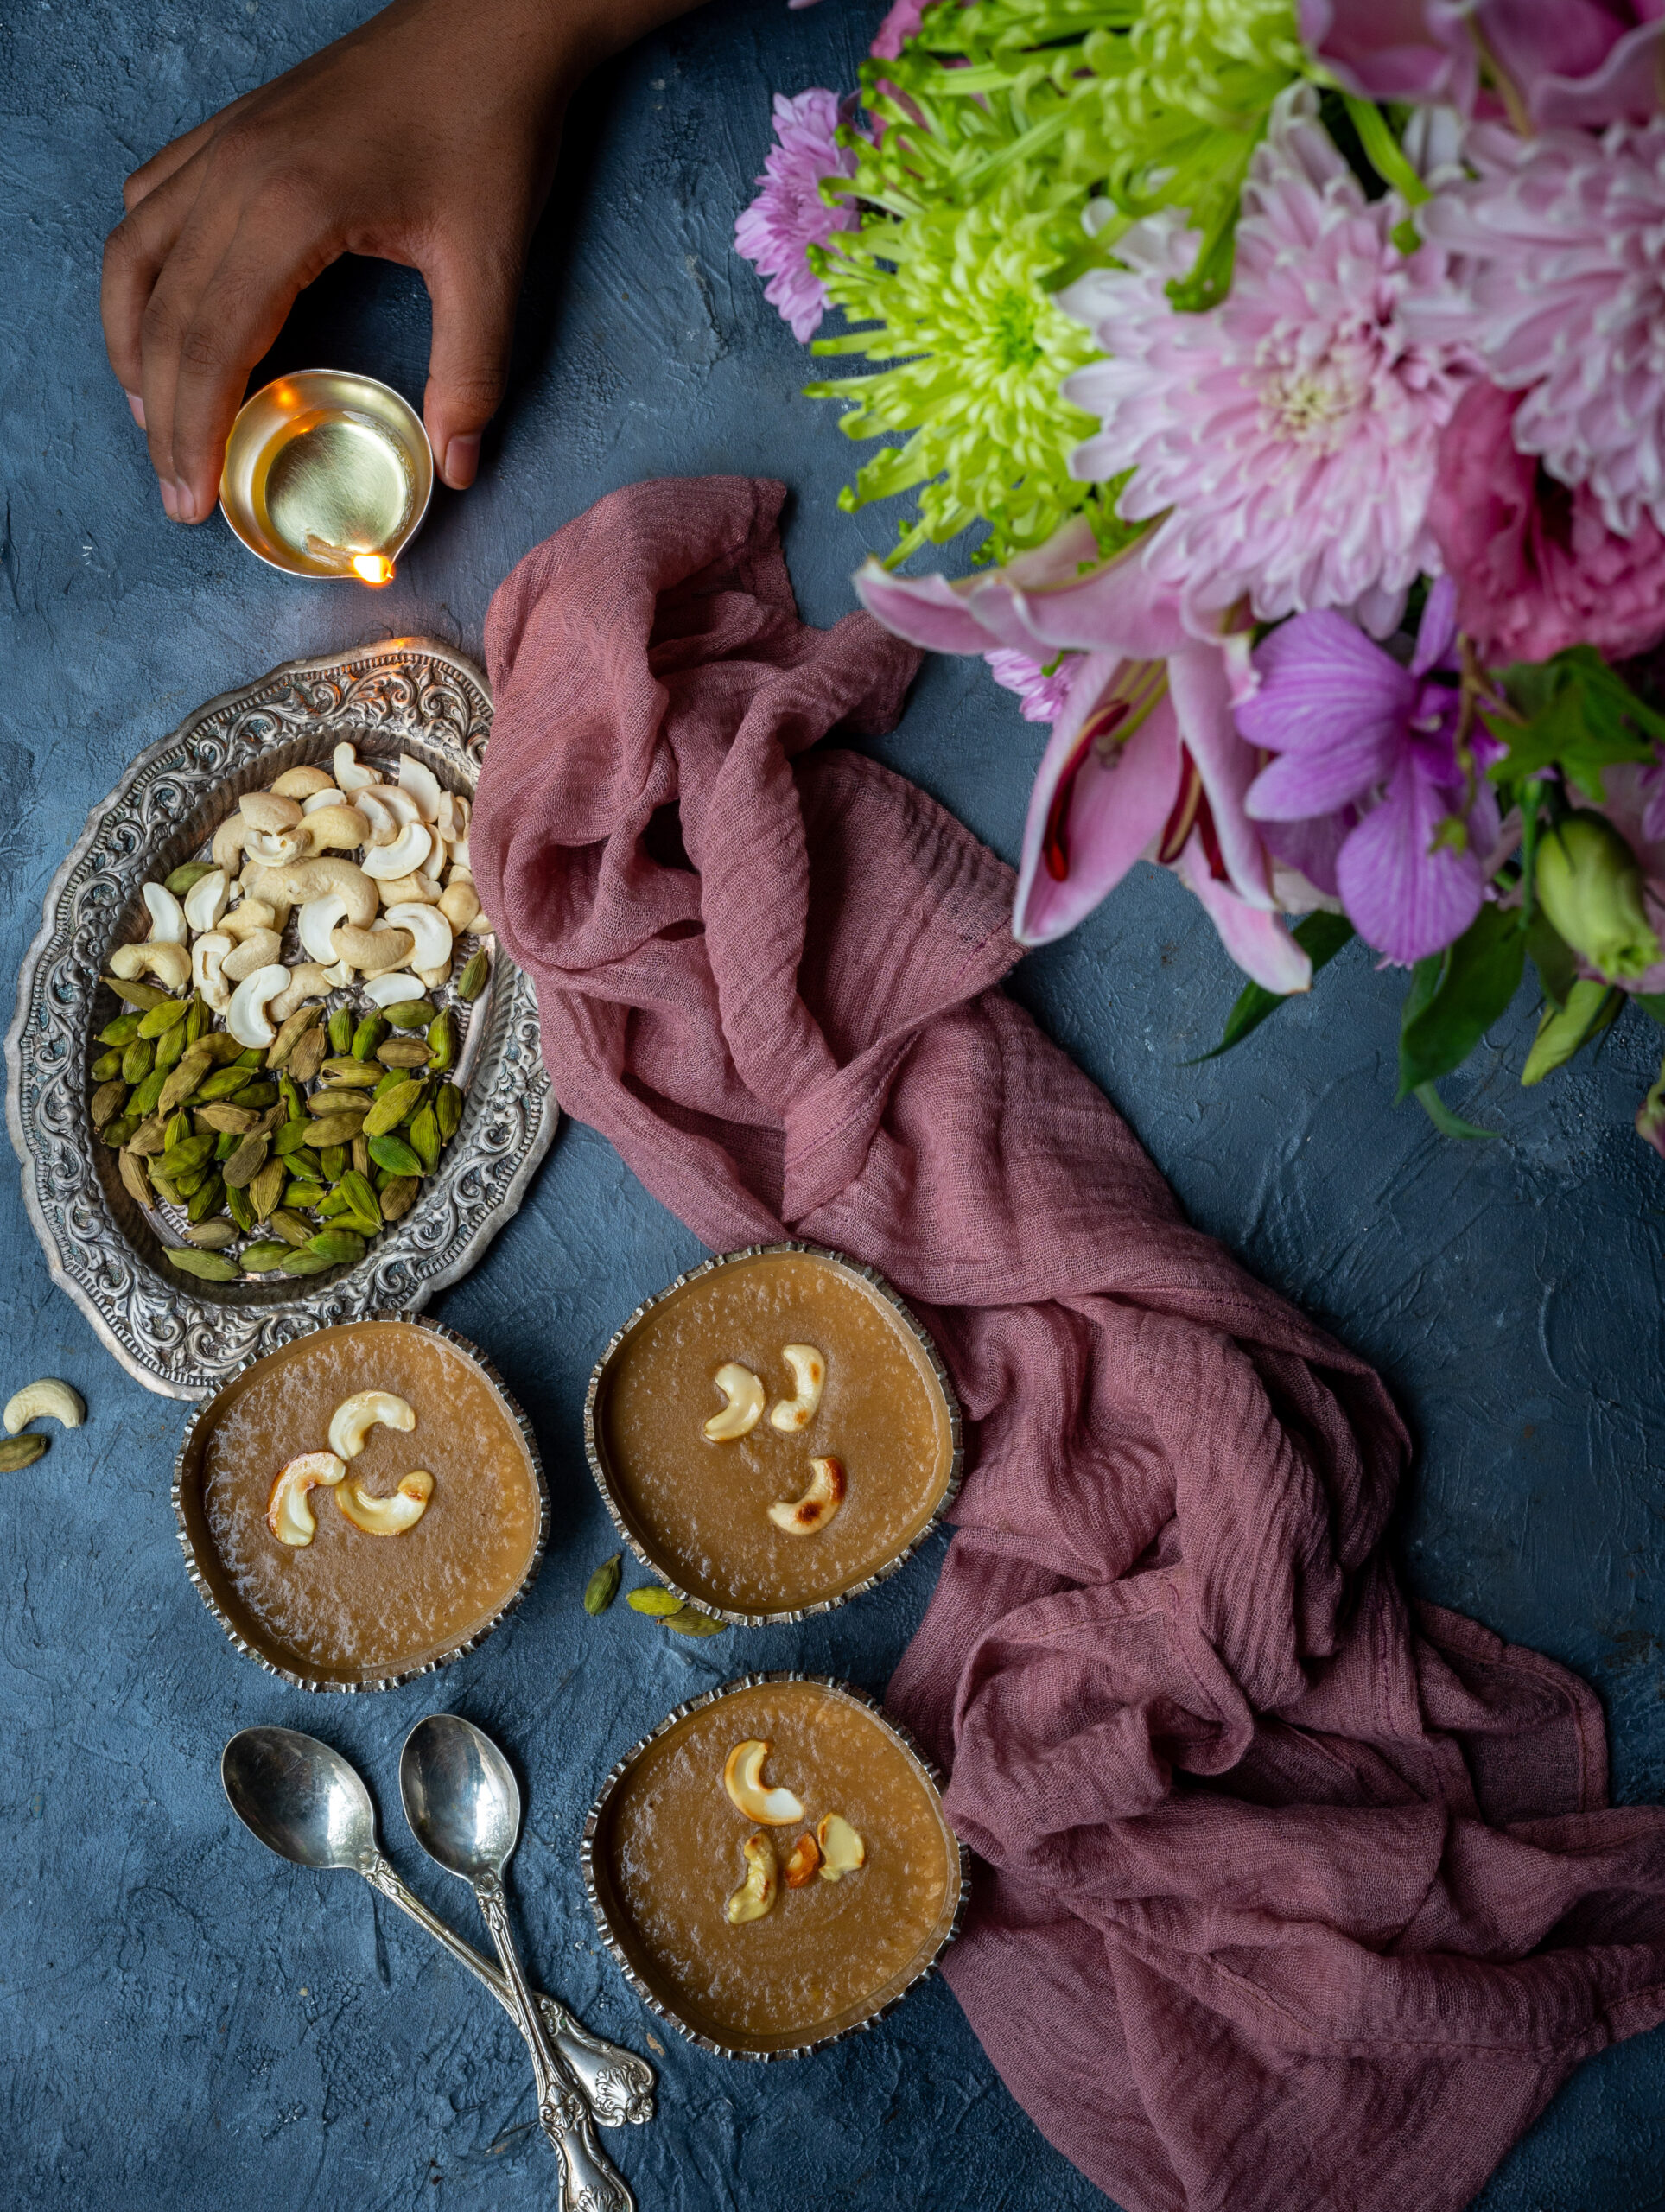
This particular sugarless date payasam is one that I learned from my dear friend Girija. I hadn’t heard of it before she served it to me, and I was wary of trying out the recipe, but I am very glad that I did. It is utterly delicious. For those who haven’t heard of it, a payasam is essentially a South Indian milk pudding, and I am thrilled to have a version of it that doesn’t require, let alone rely on, sugar or even jaggery. All it needs is the sheer sweetness of dates.

Sugarless Date Payasam

(Serves 6)

2 cups deseeded and chopped dates

1 cup cashew nuts

Water (for soaking)

2 cups milk

3-5 strands saffron

¼ teaspoon cardamom powder


Soak the dates and cashews separately in fresh drinking water for an hour.

Then, grind the cashews with the water that was used for soaking. Once the paste is smooth, add the dates. Grind once more until the paste is smooth again. Add the cardamom powder and saffron strands. Place the mixture in a pot and refrigerate until cool.

Once it has cooled, add the milk and stir well until it all comes together nicely. Adjust the milk quantity to your preference. I like it to be a little thick. Return to the refrigerator and let it cool again.

Serve very chilled. This is a perfect dessert for these hot summer months. As you can see, this delicious sugarless date payasam requires only grinding and mixing, which also makes it an easy dessert that even beginner cooks can prepare.

I have used cashews as I enjoy the rich flavour the nuts provide, but you can substitute them for another kind if you prefer. I also feel that the cashews sort of tone down the sweetness of the dates, which can be intense.

Ultimately, the payasam is both rich and sweet, which means that it is best in smaller portions.

Here is a suggested tweak to this recipe: add a handful of cooked rice to the milk, and then add then to the ground cashewnut-date paste and mix. This will give the dessert more substance, and more of a mouthful in each serving. The sweetness quotient will also further reduce. This preparation may technically turn it into a kheer rather than a payasam, but I have little doubt that anyone will complain! It will turn out delicious both ways, and while my father-in-law is not here to enjoy this dish in either variation, the rest of my family certainly does. As for me, my sweet tooth is sated, with a spoonful or two less of… guilt!

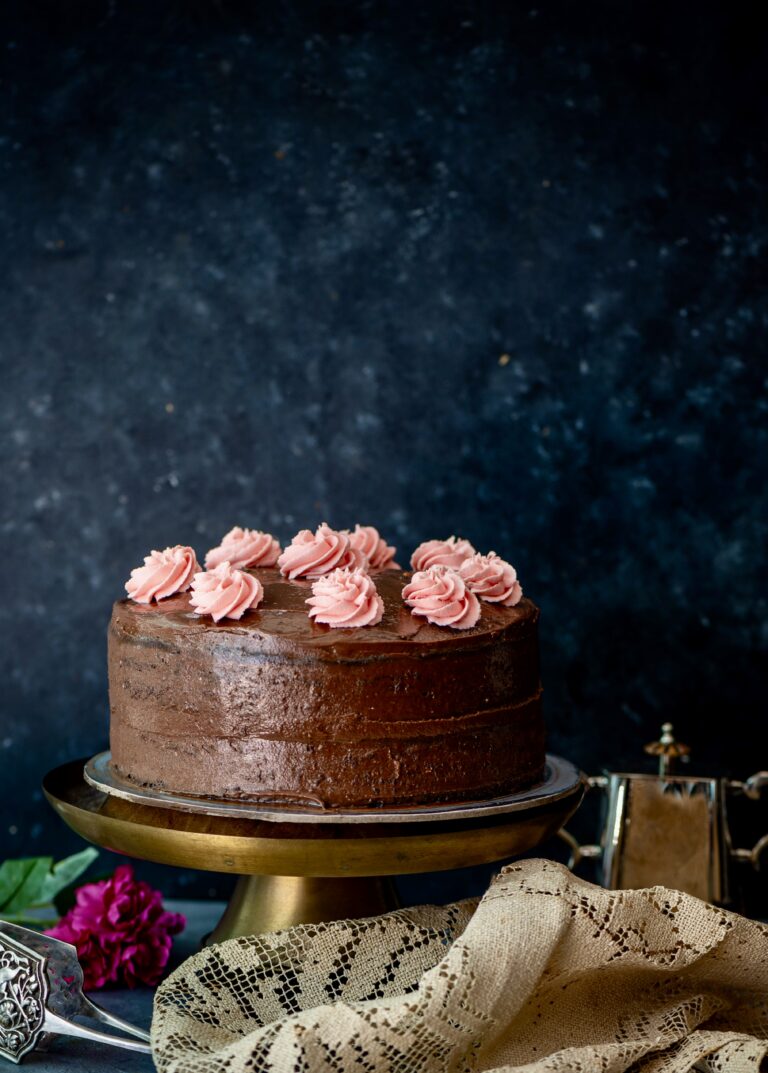
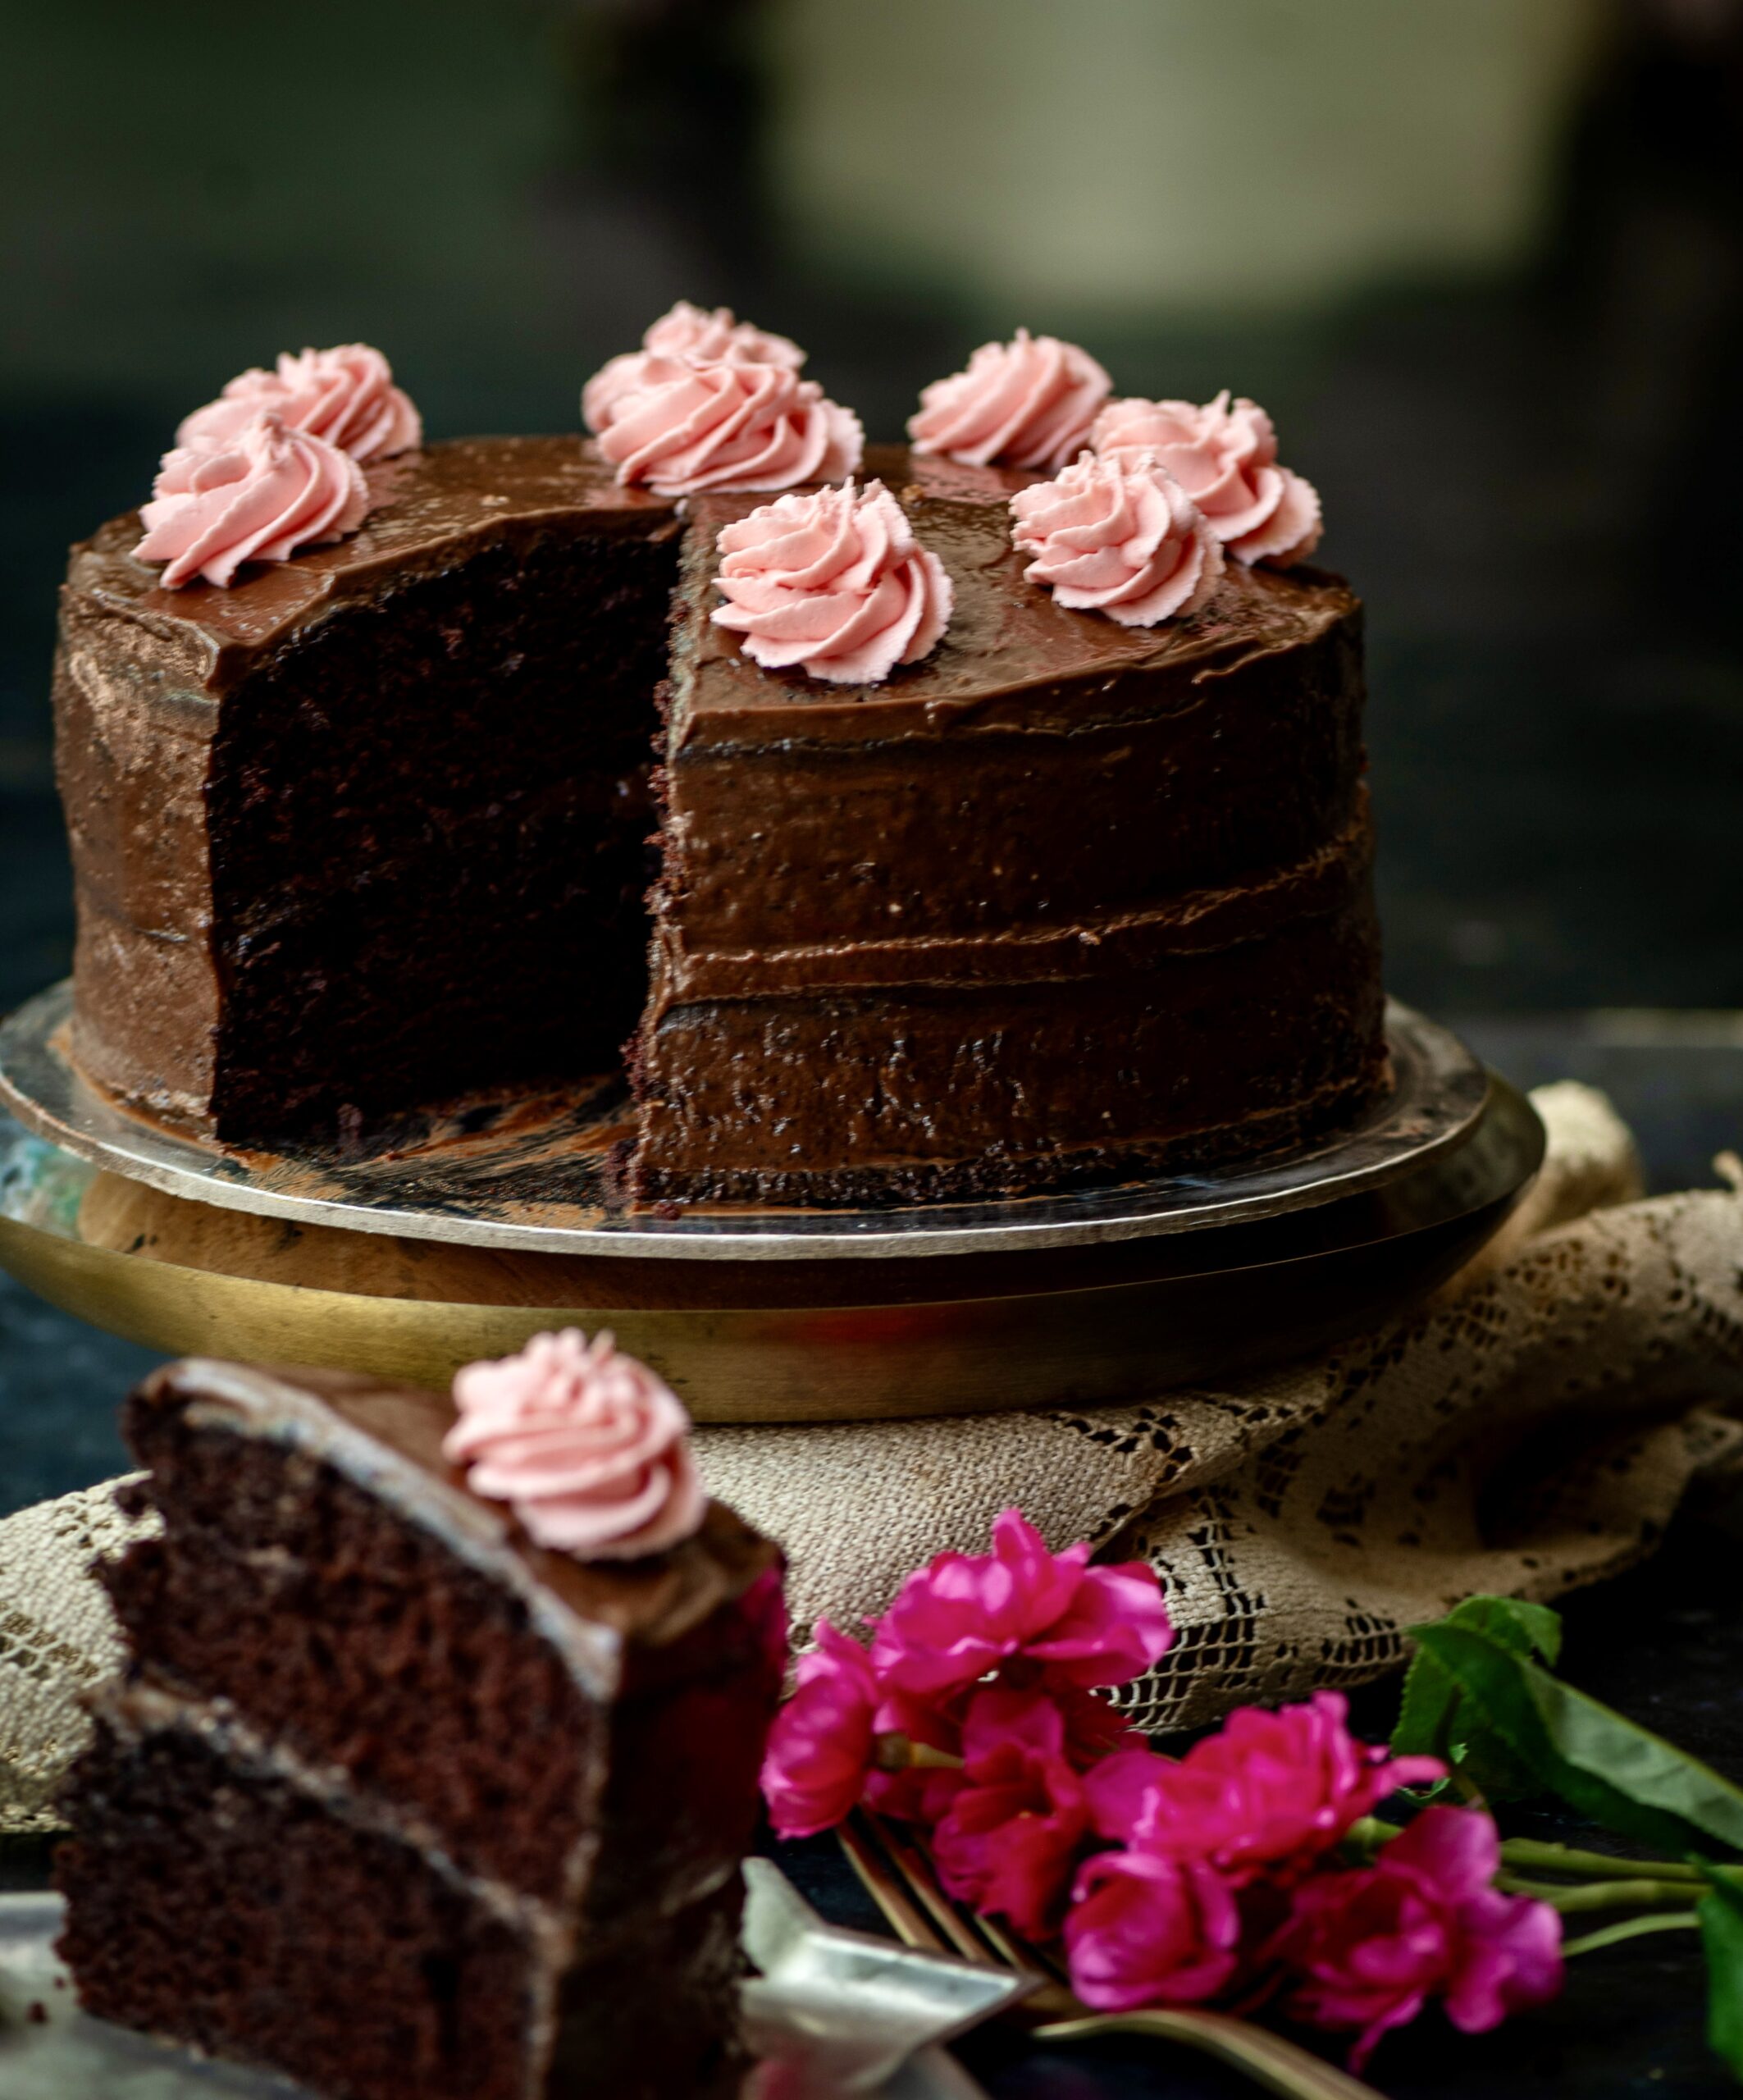
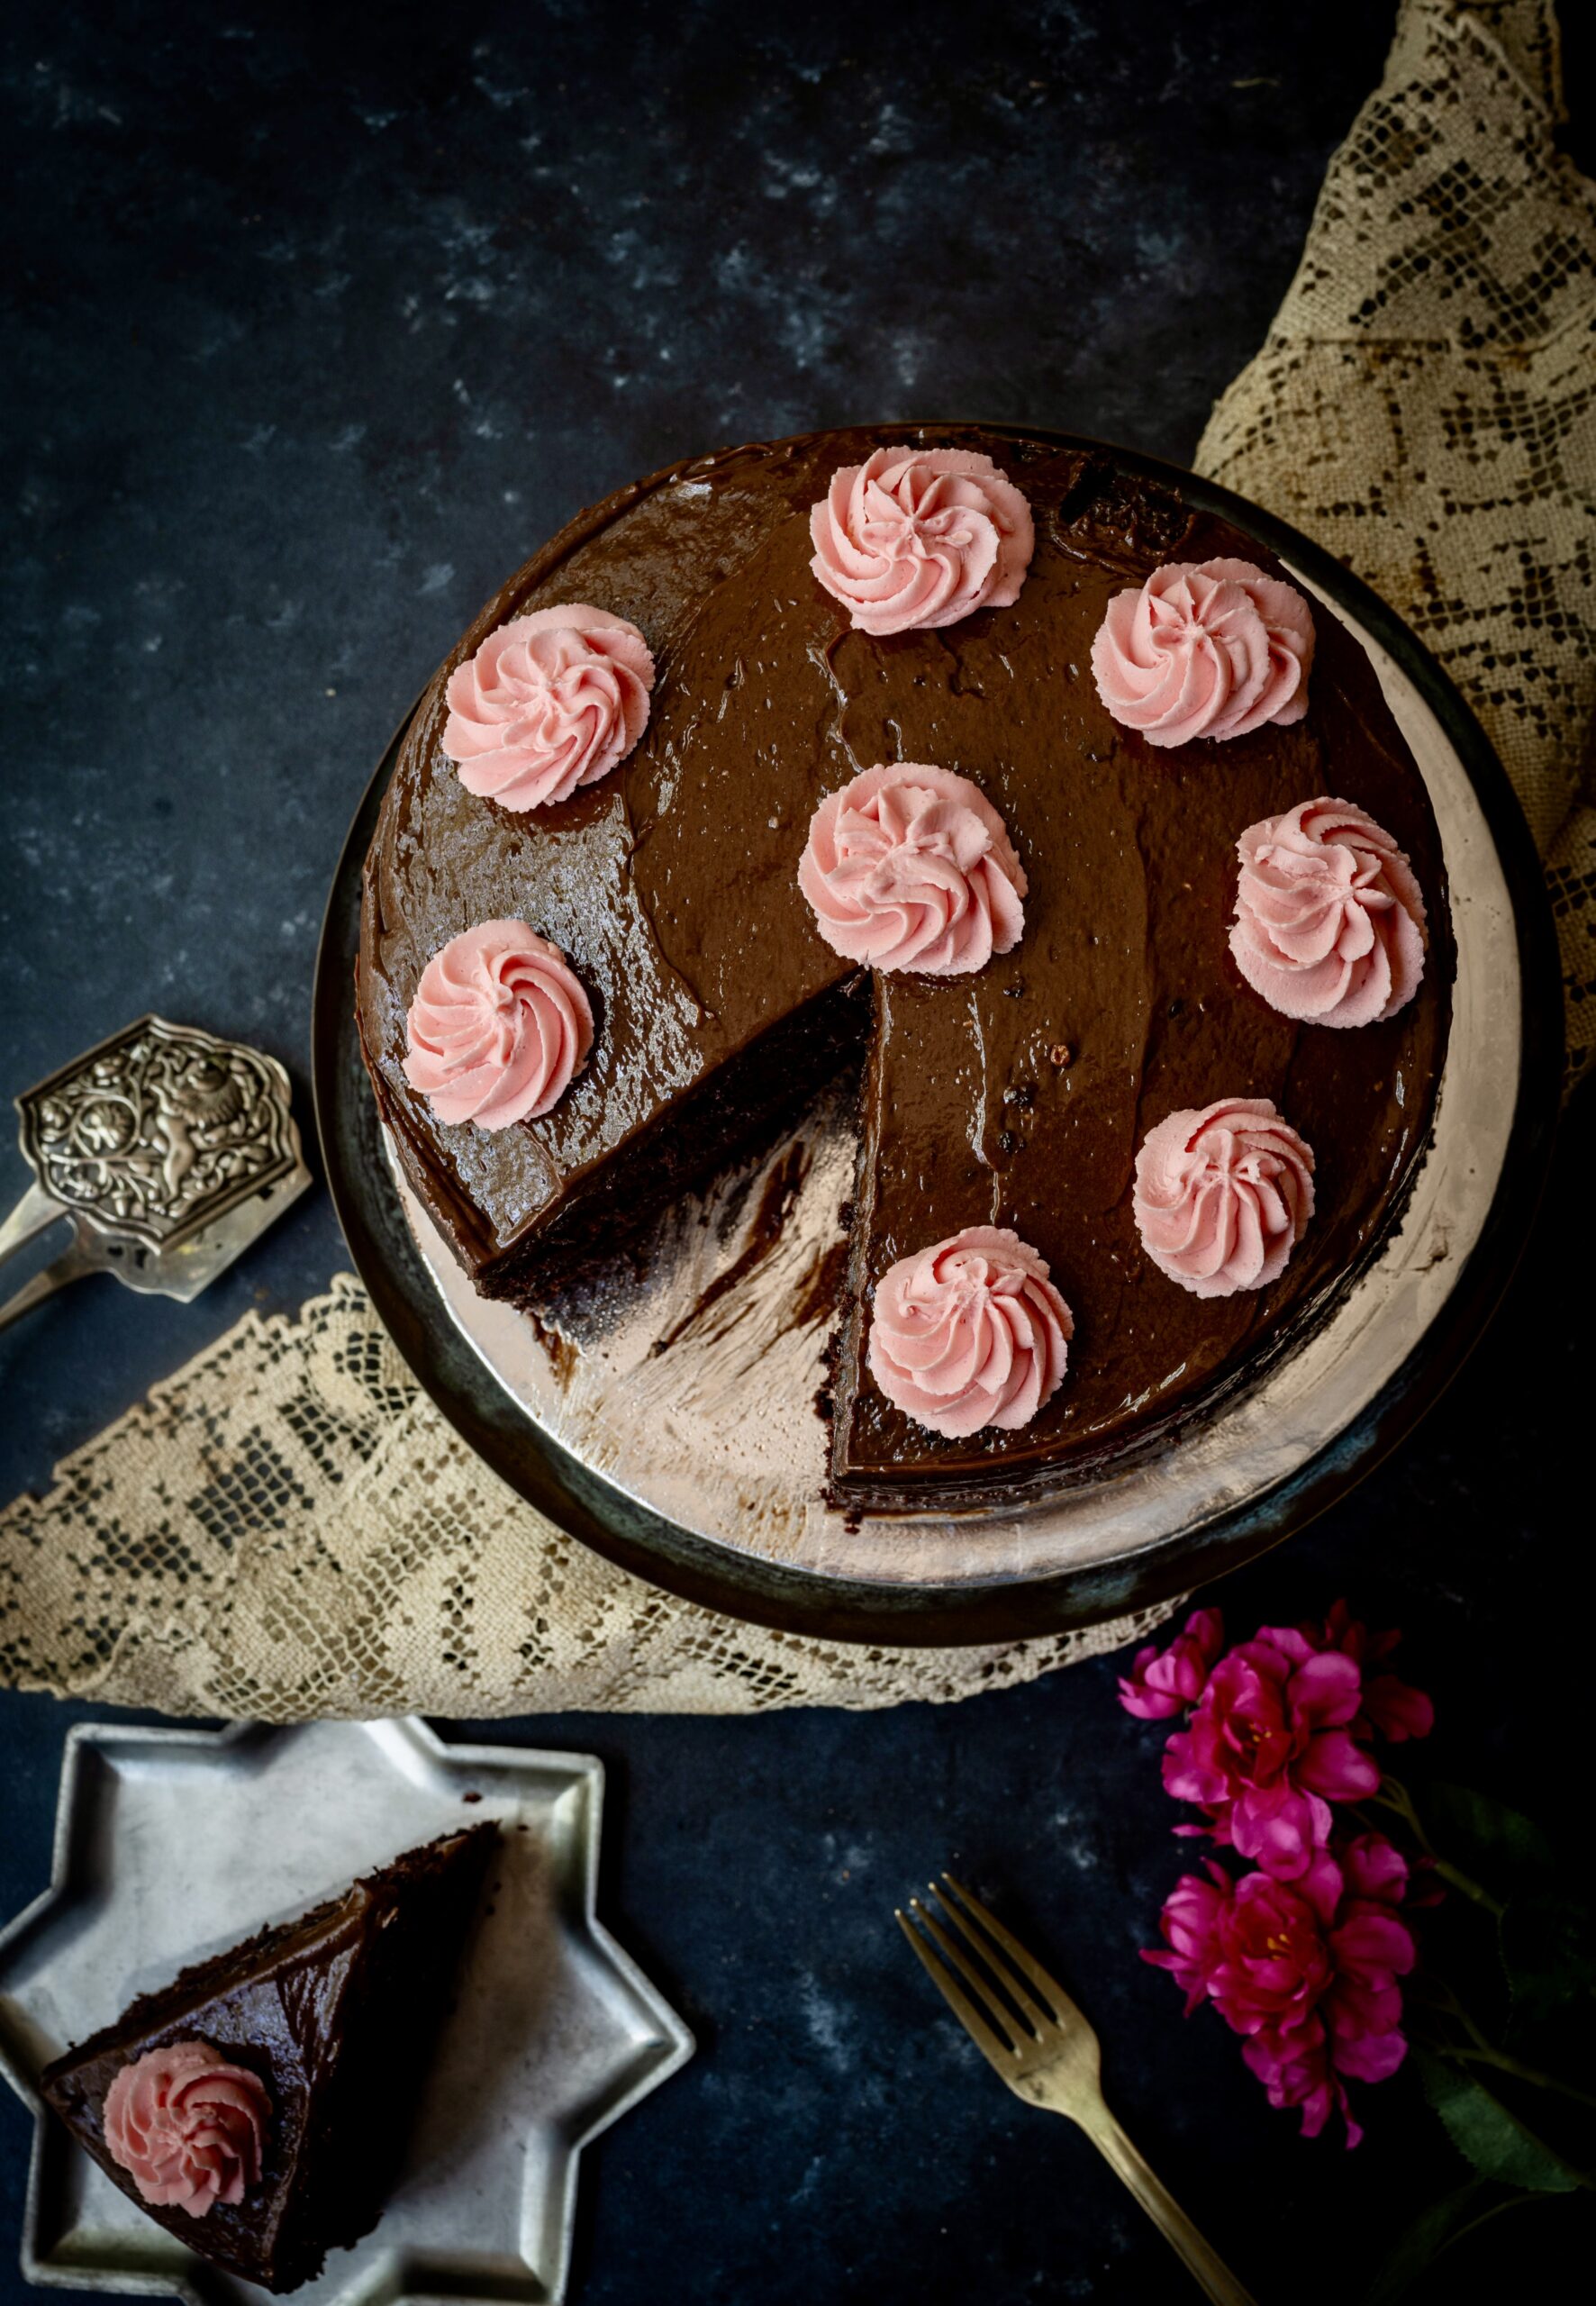
My children are all grown up and all of them live away from me, so every time they come to visit, I always try to think of what they will enjoy eating during their stay. One of my sons loves chocolate cake, so this particular treat is the welcome home dish that I currently have in the oven, ahead of his next arrival. It looks so beautiful that I couldn’t resist picking up the camera – and subsequently came the idea of sharing the recipe with you too.

Before I began to bake, many years ago now, we would often order from a friend of ours who used to bake from her home in Chennai too. Hers was one of the most fantastic chocolate cakes we had ever tasted, and it remains the benchmark for us all. It served as my inspiration too, when I became a baker myself.

Creating this recipe of my own was the result of many trials, exploring recipes from across cookbooks and the Internet, tweaking them based on my taste and my experience. Eventually, I formed a chocolate cake recipe that hit the spot, and became a personal benchmark. While my almond cakes are the most popular among customers (hyperlink), it’s this chocolate cake that is my own family’s favourite.

When I think about the experiments that lead toward this recipe, and indeed many others, I feel grateful for my blogger and Instagram friends and the accounts I have followed over the years who inspired me – both in terms of food and in terms of photography.

But there are many things that I have been contemplating lately about the world of food blogging and how it is changing. Now that re:store’s own online presence is over seven years old, I am able to observe and comment on the vast shifts that have taken place in this time and I wonder about what is still to come. For instance – many of the people whose work I used to look forward to no longer post, or sometimes have even disappeared altogether. Even though new bloggers have come up, some equally fantastic, there was a sense of community in the past that is less experienced today. It all feels different now, both as a creator and as someone who enjoys the content. I wonder if you feel similarly, or if you have other thoughts?

Then, there is the dominance of reels. Food photography as a genre is dwindling, and to be honest I don’t see the kind of aesthetic that I used to love exploring online and which challenged me to keep growing as a photographer too. While I respect reels as their own format, they are not for me. Even as photography loses popularity, I pick up my camera time and again because it is an artform that I am passionate about, and because in certain ways I would define myself as being old school – especially in the sense that I believe that if the going is good, keep going.

The going is good, so to speak, when it comes to photography. I am just as enthused and as inspired as ever as a photographer, and some of you may know that my explorations in this medium go beyond shooting for this blog. I also work with still life and nature themes, and I’ve been fortunate to have received gallery support for the same, and I sometimes accept commercial commissions too.

I still approach every kind of shoot with my old and faithful Nikon and the lenses I’ve used all these years, and remain perfectly happy with the outcomes. I don’t intend to go in for an upgrade because I know I don’t need to. Although I love finding new appliances for the kitchen, somehow with photography the tried and tested just works for me. I like to think that my not constantly seeking out new technology helps reduce my personal impact on landfills. None of us is perfect and none of us is going to avoid creating waste, but being mindful about our consumer choices is something that is in our hands.

And when it comes to something that is literally in my hands – my camera – I really don’t want to let go of the instrument that has brought me so much creativity and joy. I will also say that I sometimes feel disturbed when people say, “Oh your photographs are so nice – you must have a good camera”. I do, but there is so much more to this artform than just the device. Even as trends move away from it, I continue to learn and to grow within it.

So yes: the world, and not just the world of food blogging, is always changing – but we can have some constants, too. A decadent chocolate cake will almost without fail please anyone, for instance. In that sense, this is a timeless dish, and I hope you’ll enjoy my version of it.

Chocolate Cake

(Serves 5-6)

2 cups sugar
1¾ cups all-purpose flour
1 cup cocoa powder
1 teaspoon baking powder
2 teaspoons baking soda
1 teaspoon salt
2 eggs
1 cup buttermilk
1 cup hot water
1 tablespoon instant coffee
½ cup oil
1 teaspoon pure vanilla extract

Preheat oven to 170°. Prepare two 8’ cake tins by greasing, lining and dusting the pans.

Sift the flour, cocoa powder, baking soda, baking powder and salt – thus combining the dry ingredients. Add sugar.

Separately, add hot water to the coffee powder. Keep aside.

Using a hand blender, mix the eggs, vanilla extract, oil and buttermilk. You can make buttermilk at home by adding a tablespoon of white vinegar to a cup of room temperature milk, and allowing it to sit for 15 minutes before usage.

Add the dry ingredients to the wet ones and mix well.

Add the hot coffee to this mixture now. The batter will be a little runny. Avoid over beating.

Pour this batter into the two tins equally and bake for 30-35 minutes or until a skewer comes out clean. After the cakes sit for 15 minutes, turn them onto a tray and allow to cool completely. Decorate with chocolate icing.

If you’re new to all this and would like a little primer or refresher to the basics of baking, check out this citrus bundt recipe with lots of tips.

As I said earlier, this recipe is really the best one I know for the classic chocolate cake. I wonder how it will compare with ones you have made or tasted. I do hope you’ll enjoy it just as much as we do!

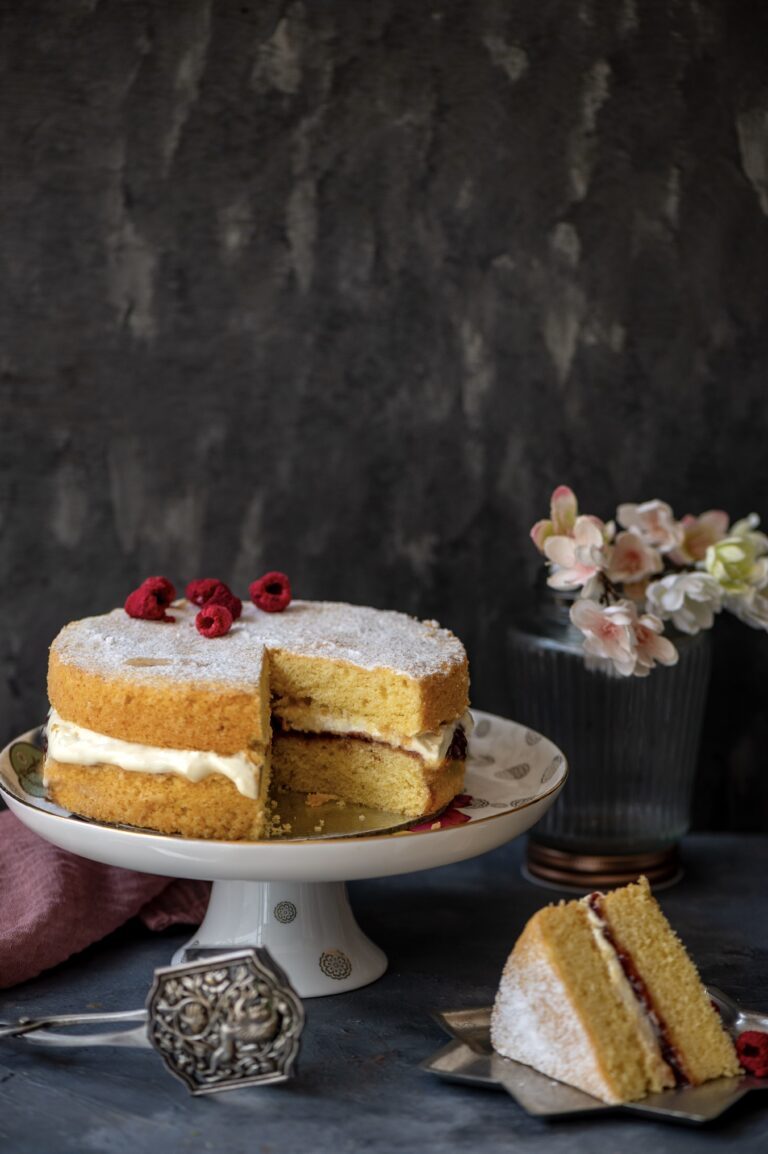
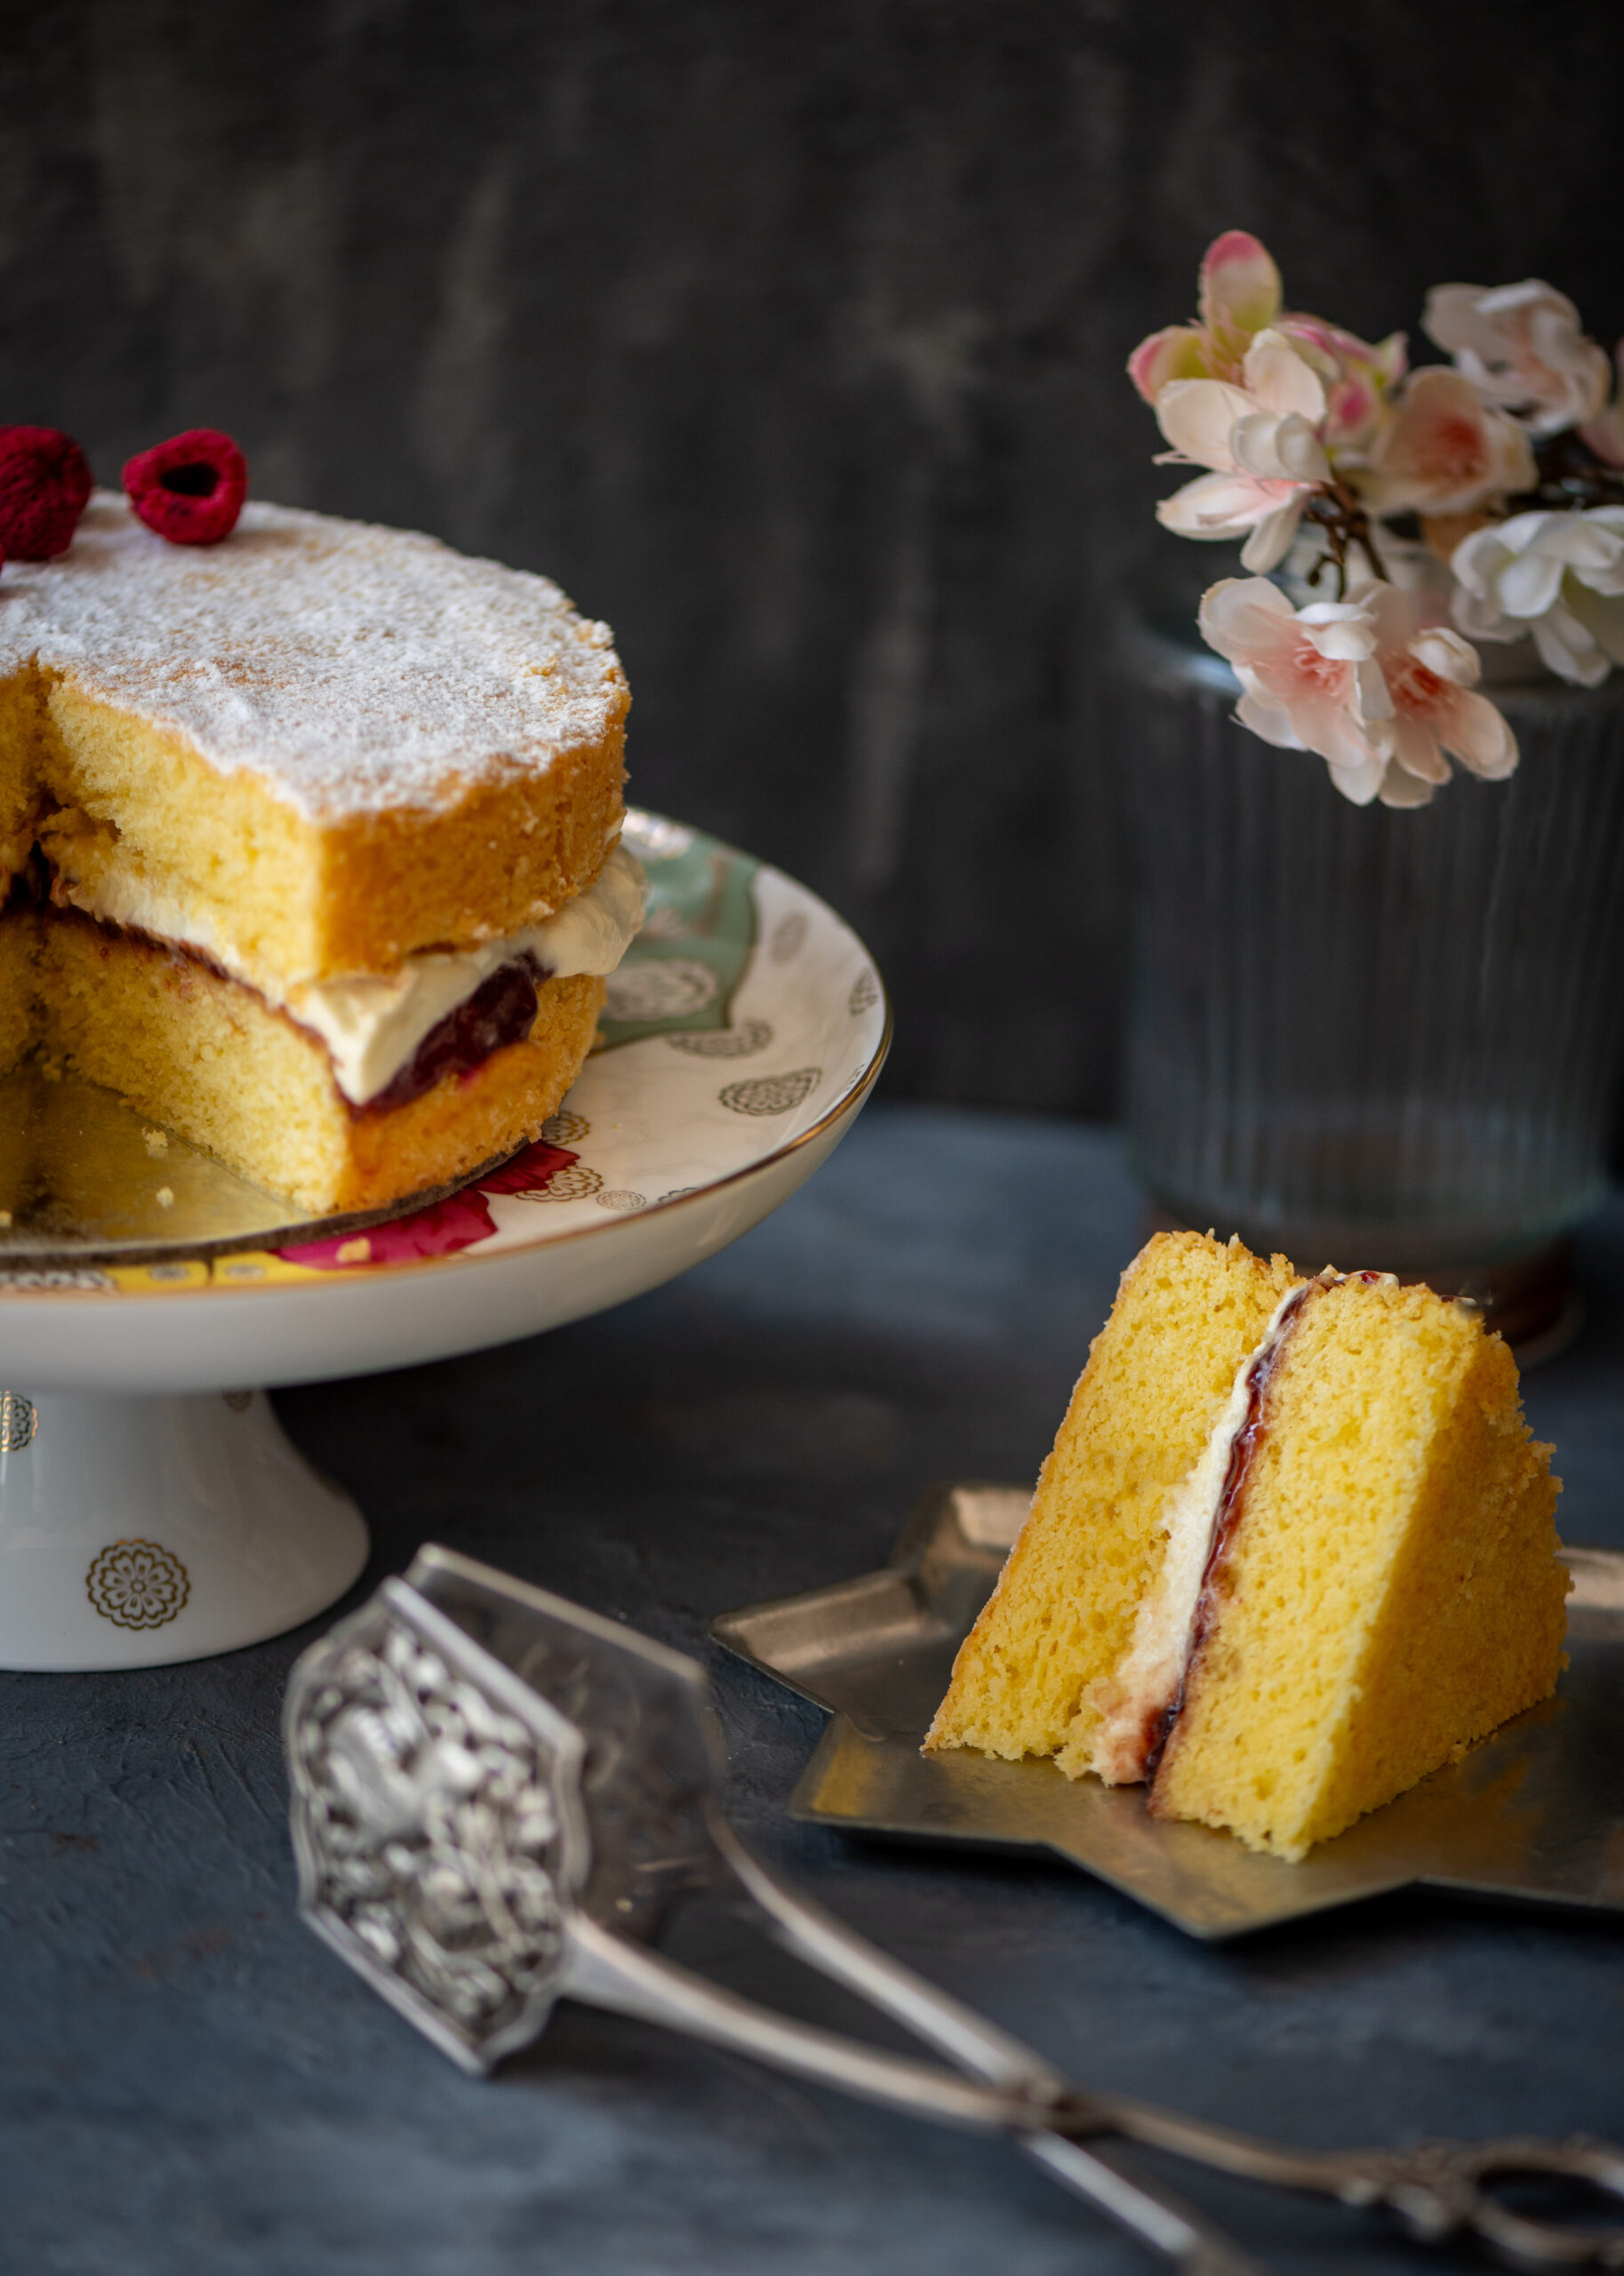
There are elaborate ways of making a Victoria sponge cake, but after various experiments, I came to realise that an easier method makes for a very satisfying dessert indeed. While it has a fancy name (it is called this because it was the favourite dessert of the British Queen Victoria), in truth the Victoria sponge cake is itself actually one of the simpler variations of the sponge cake. It consists of two layers, between which cream and berries are sandwiched. It’s a lighter cake, ideal for the summer, and I’m delighted to share the recipe with you.

It certainly wasn’t only Queen Victoria’s favourite. I think my mother enjoyed baking it too, as much as I enjoyed eating it, and it was often the special treat when we came home on some days, like birthdays. I can’t help but repeat myself, as I have so many times over the years, but my mom was my first teacher in the realm of the kitchen and my inspiration in all my culinary adventures – whether that’s cooking, exploring cuisines, food studies, eating mindfully or crafting this blog. She has been gone for a few years now, and nowadays I think often about how we as children both little and grown-up take our moms for granted. All those times when they call and we say, “Sorry, I don’t have time” – and all the regrets, later on… If your mother is still in your life, do try and spend more time with her. Take it from me, as someone who misses hers a lot.

Missing my mom also means reminiscing about all the food she made for us over the years, and returning to those experiences in my own kitchen. This Victoria sponge cake is obviously one such experience for me, for the scent in particular brings her to mind vividly. My mother’s handwritten cookbook contained a recipe for Victoria sponge cake. To me, the cookbook even smelled of this cake, so I have a strong association between it and my memories both of my childhood and of my mother herself.

Perhaps my kids will also associate certain dishes and their aromas with me. On Sundays, when they’re visiting, they invariably ask me what I plan to bake for them that day. During the week, they will claim to be on diets and refuse the many goodies that pop into my oven on a daily basis, especially as I’m always baking for customers. But come Sunday, come the demands for baked deliciousness. This Sunday, I’ve already anticipated this request. Guess what I’ll be preparing for them?

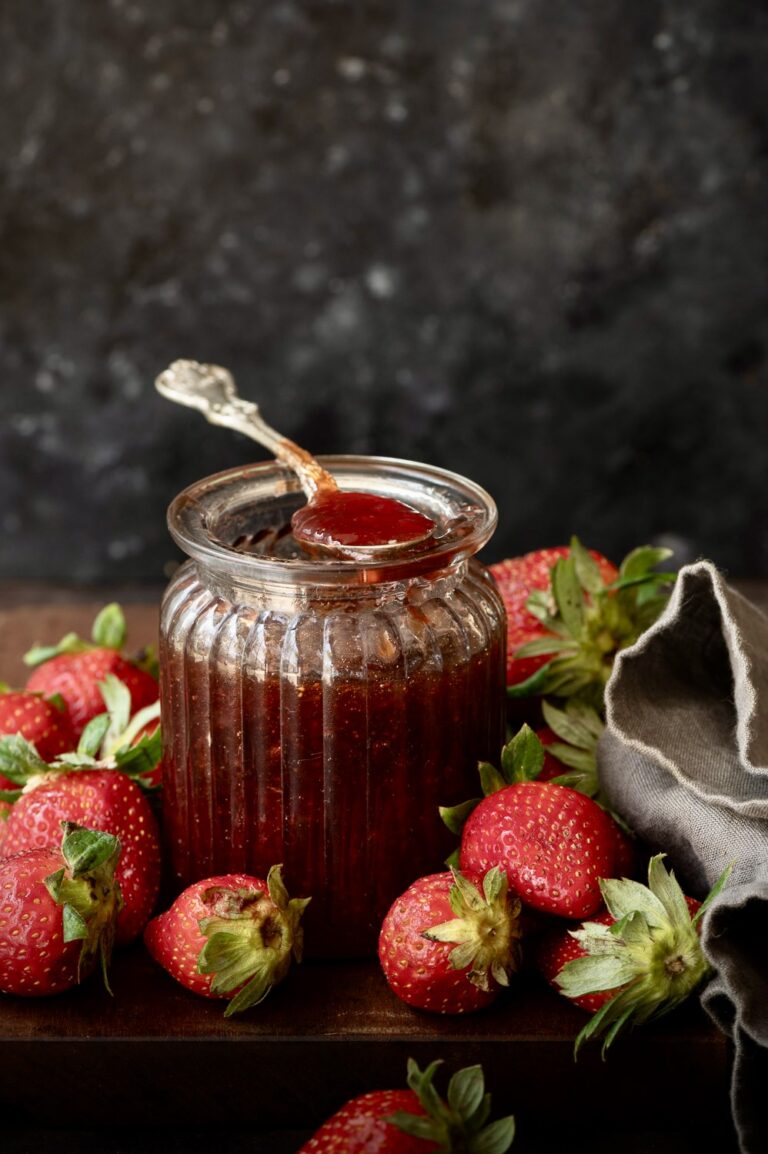
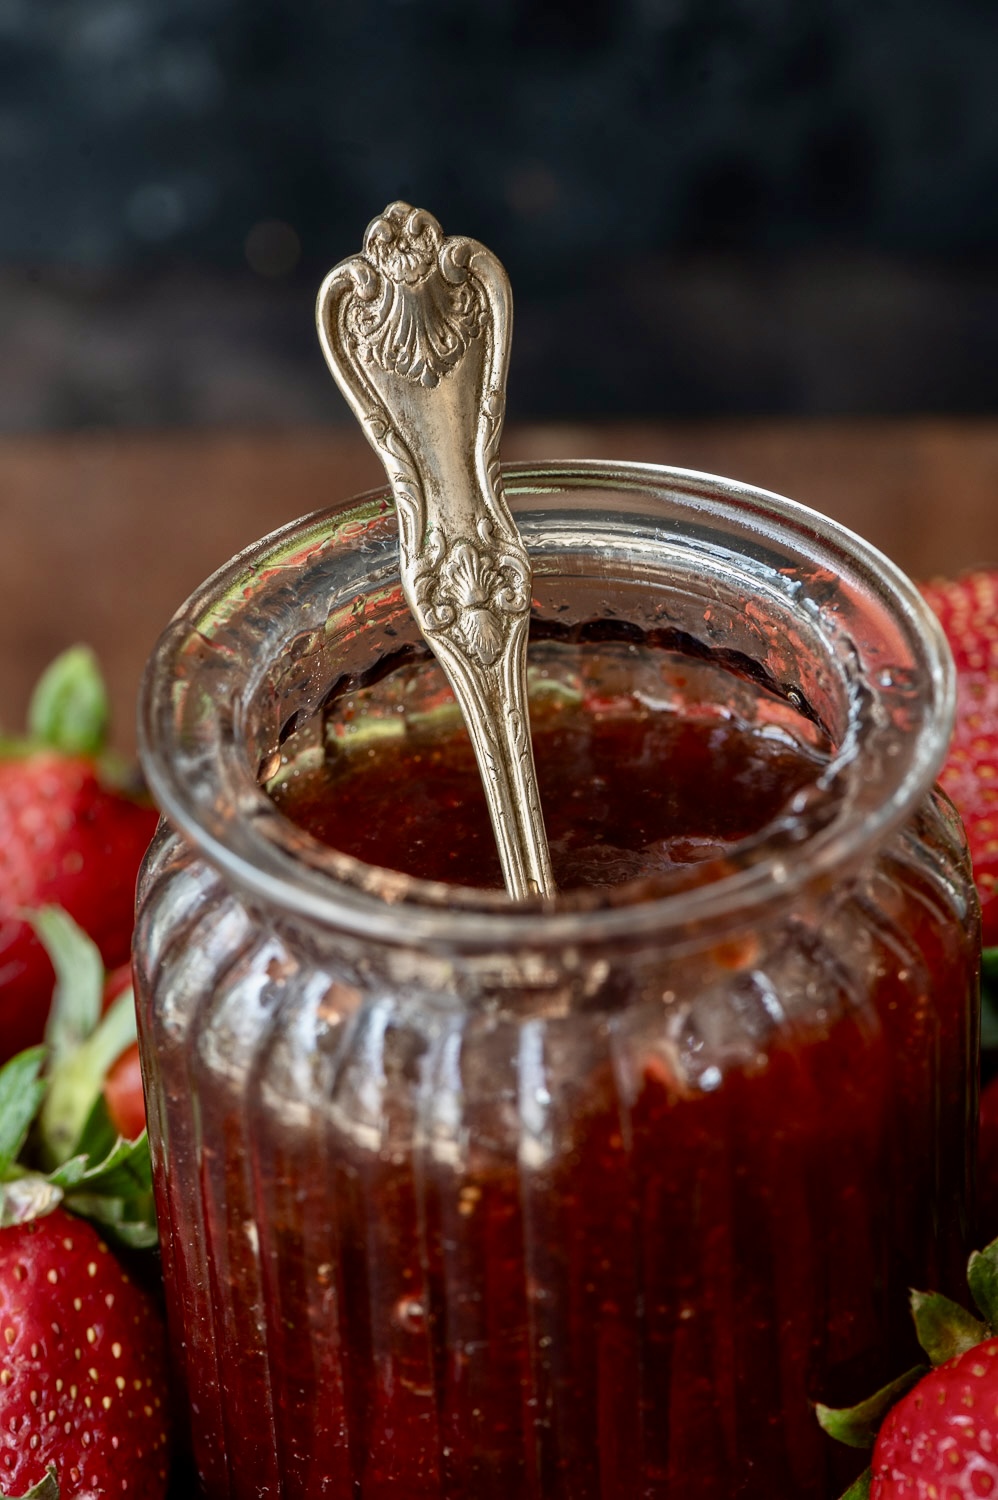
I said earlier that one of the key components of a Victoria sponge cake is the use of berries. Seasonal ones are ideal. For mine, I have used a strawberry jam that a dear friend makes at home every year from fruit grown in her backyard. It’s the only strawberry jam we consume. It really is the best there is, and we are lucky to have it.

Simple Victoria Sponge Cake

(Serves: 6-8)

150 grams self-raising flour

150 grams unsalted butter

150 grams powdered sugar

3 eggs

½ teaspoon vanilla extract

2-3 tablespoons strawberry jam

½ cup butter cream


Preheat the oven to 170°. Prepare two 8-inch tins by greasing the edges and dusting with flour. Set aside.

In a bowl, add the butter and sugar. Beat until light and fluffy. Next, add the eggs one at a time, making sure to beat well each time. Add the vanilla extract and beat again.

Sieve the flour and add it to the mixture. Fold the mixture and divide the batter into the two tins equally. Each of these will be one layer of the Victoria sponge cake.

Bake for 25 minutes or until the cake layers turns golden. Then, remove them from the oven and allow to cool.

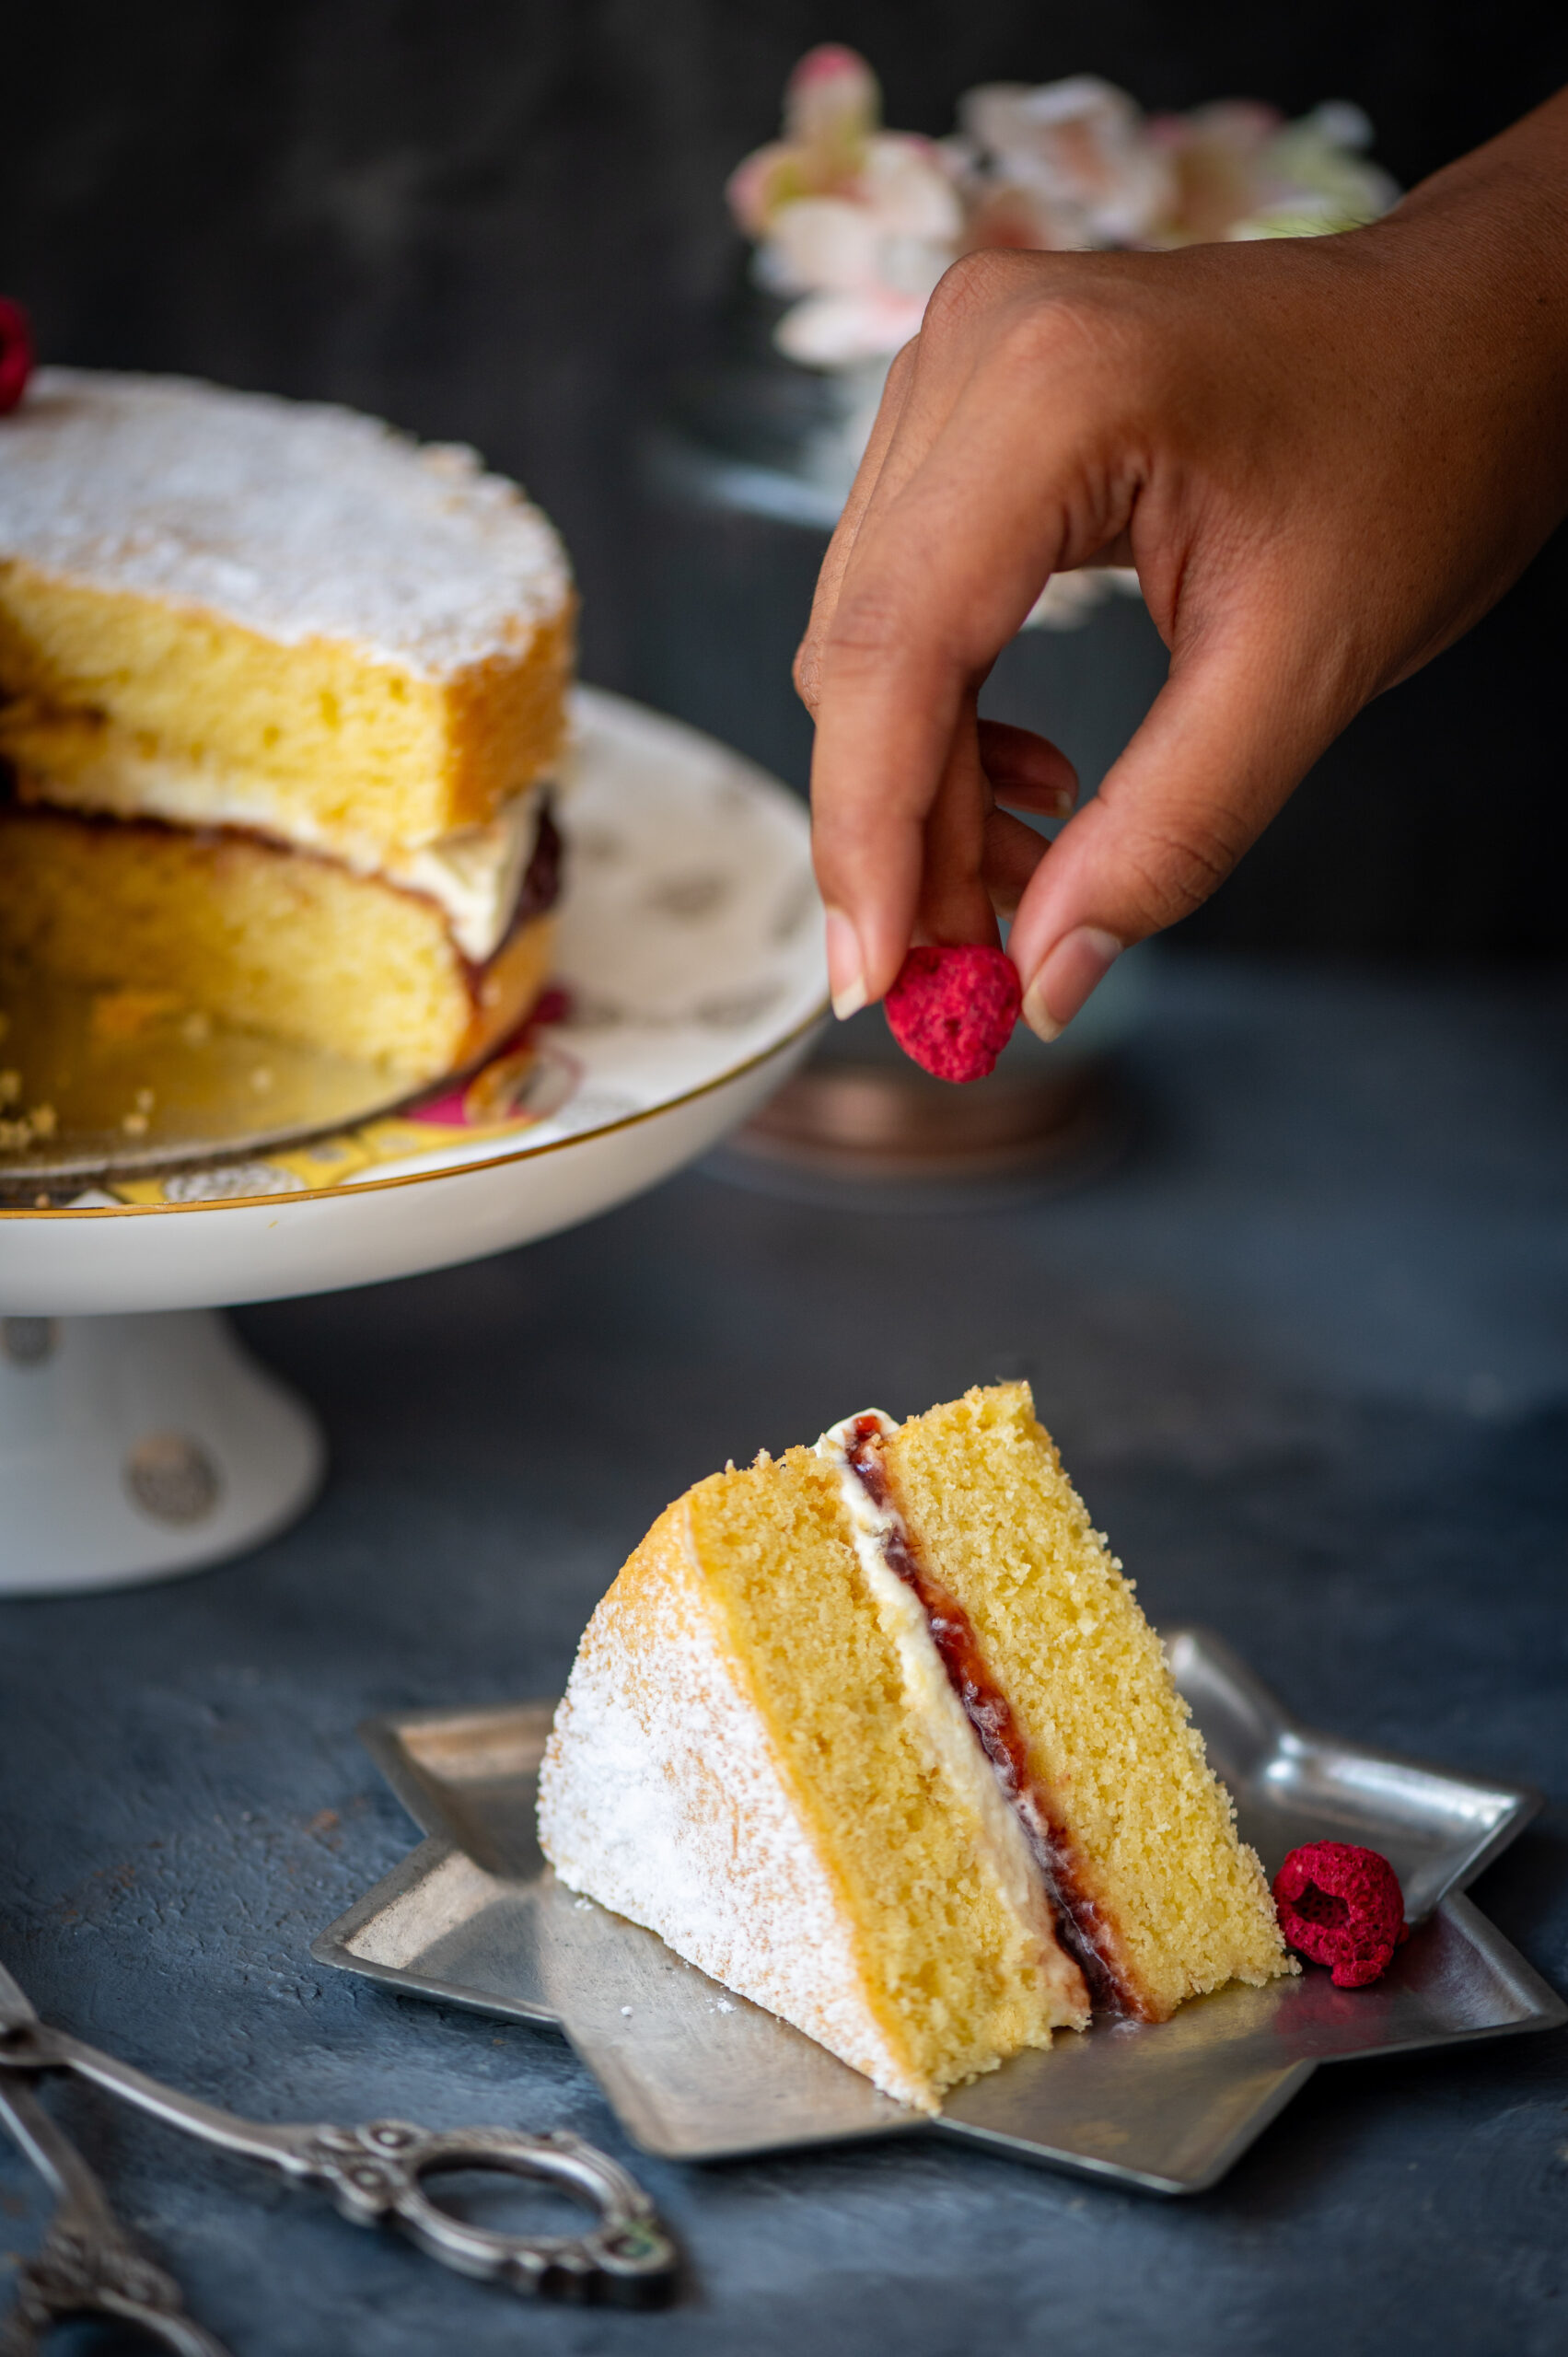
To assemble the Victoria sponge cake, apply strawberry jam generously on top of one layer. Over this, apply butter cream generously as well. Now, gently place the other layer on top of the first. Sprinkle some powdered sugar over the top.

Your Victoria sponge cake is now ready to be eaten. Slice and enjoy the delicious flavours of berries, cream and cake coming together. The cake can be stored in the fridge and enjoyed over a few days – or shared immediately with the whole family, the way I love to do.

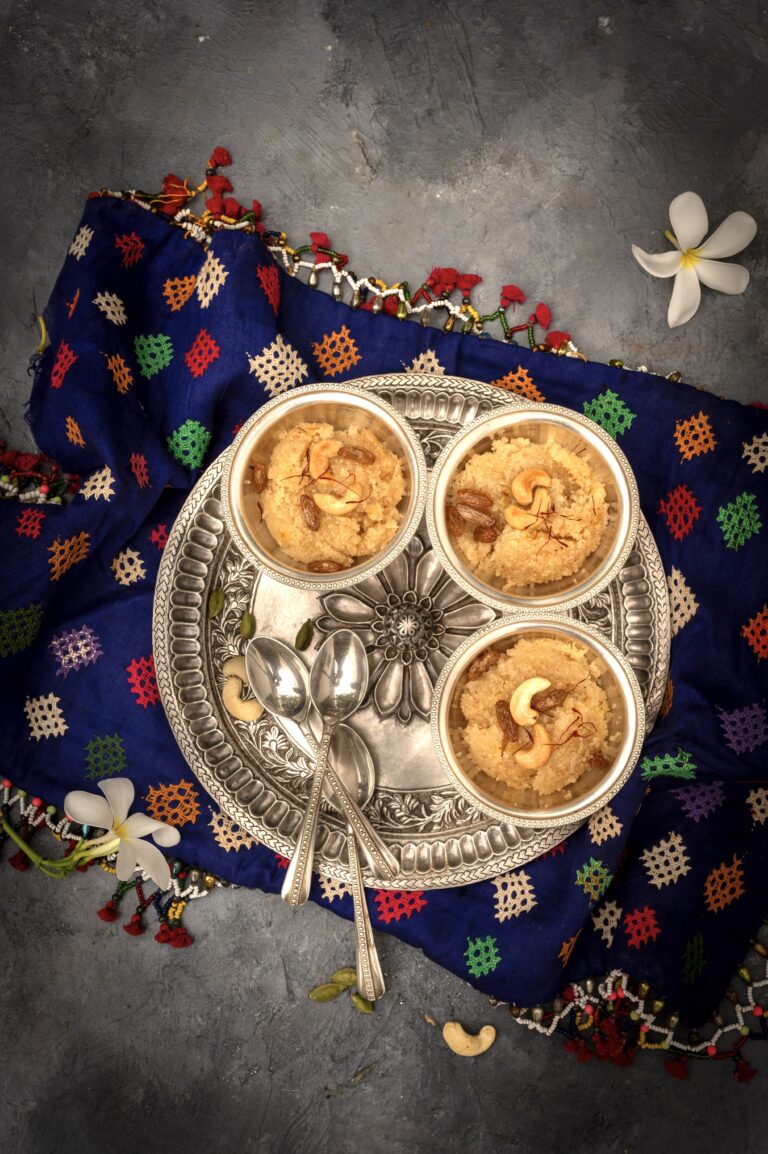
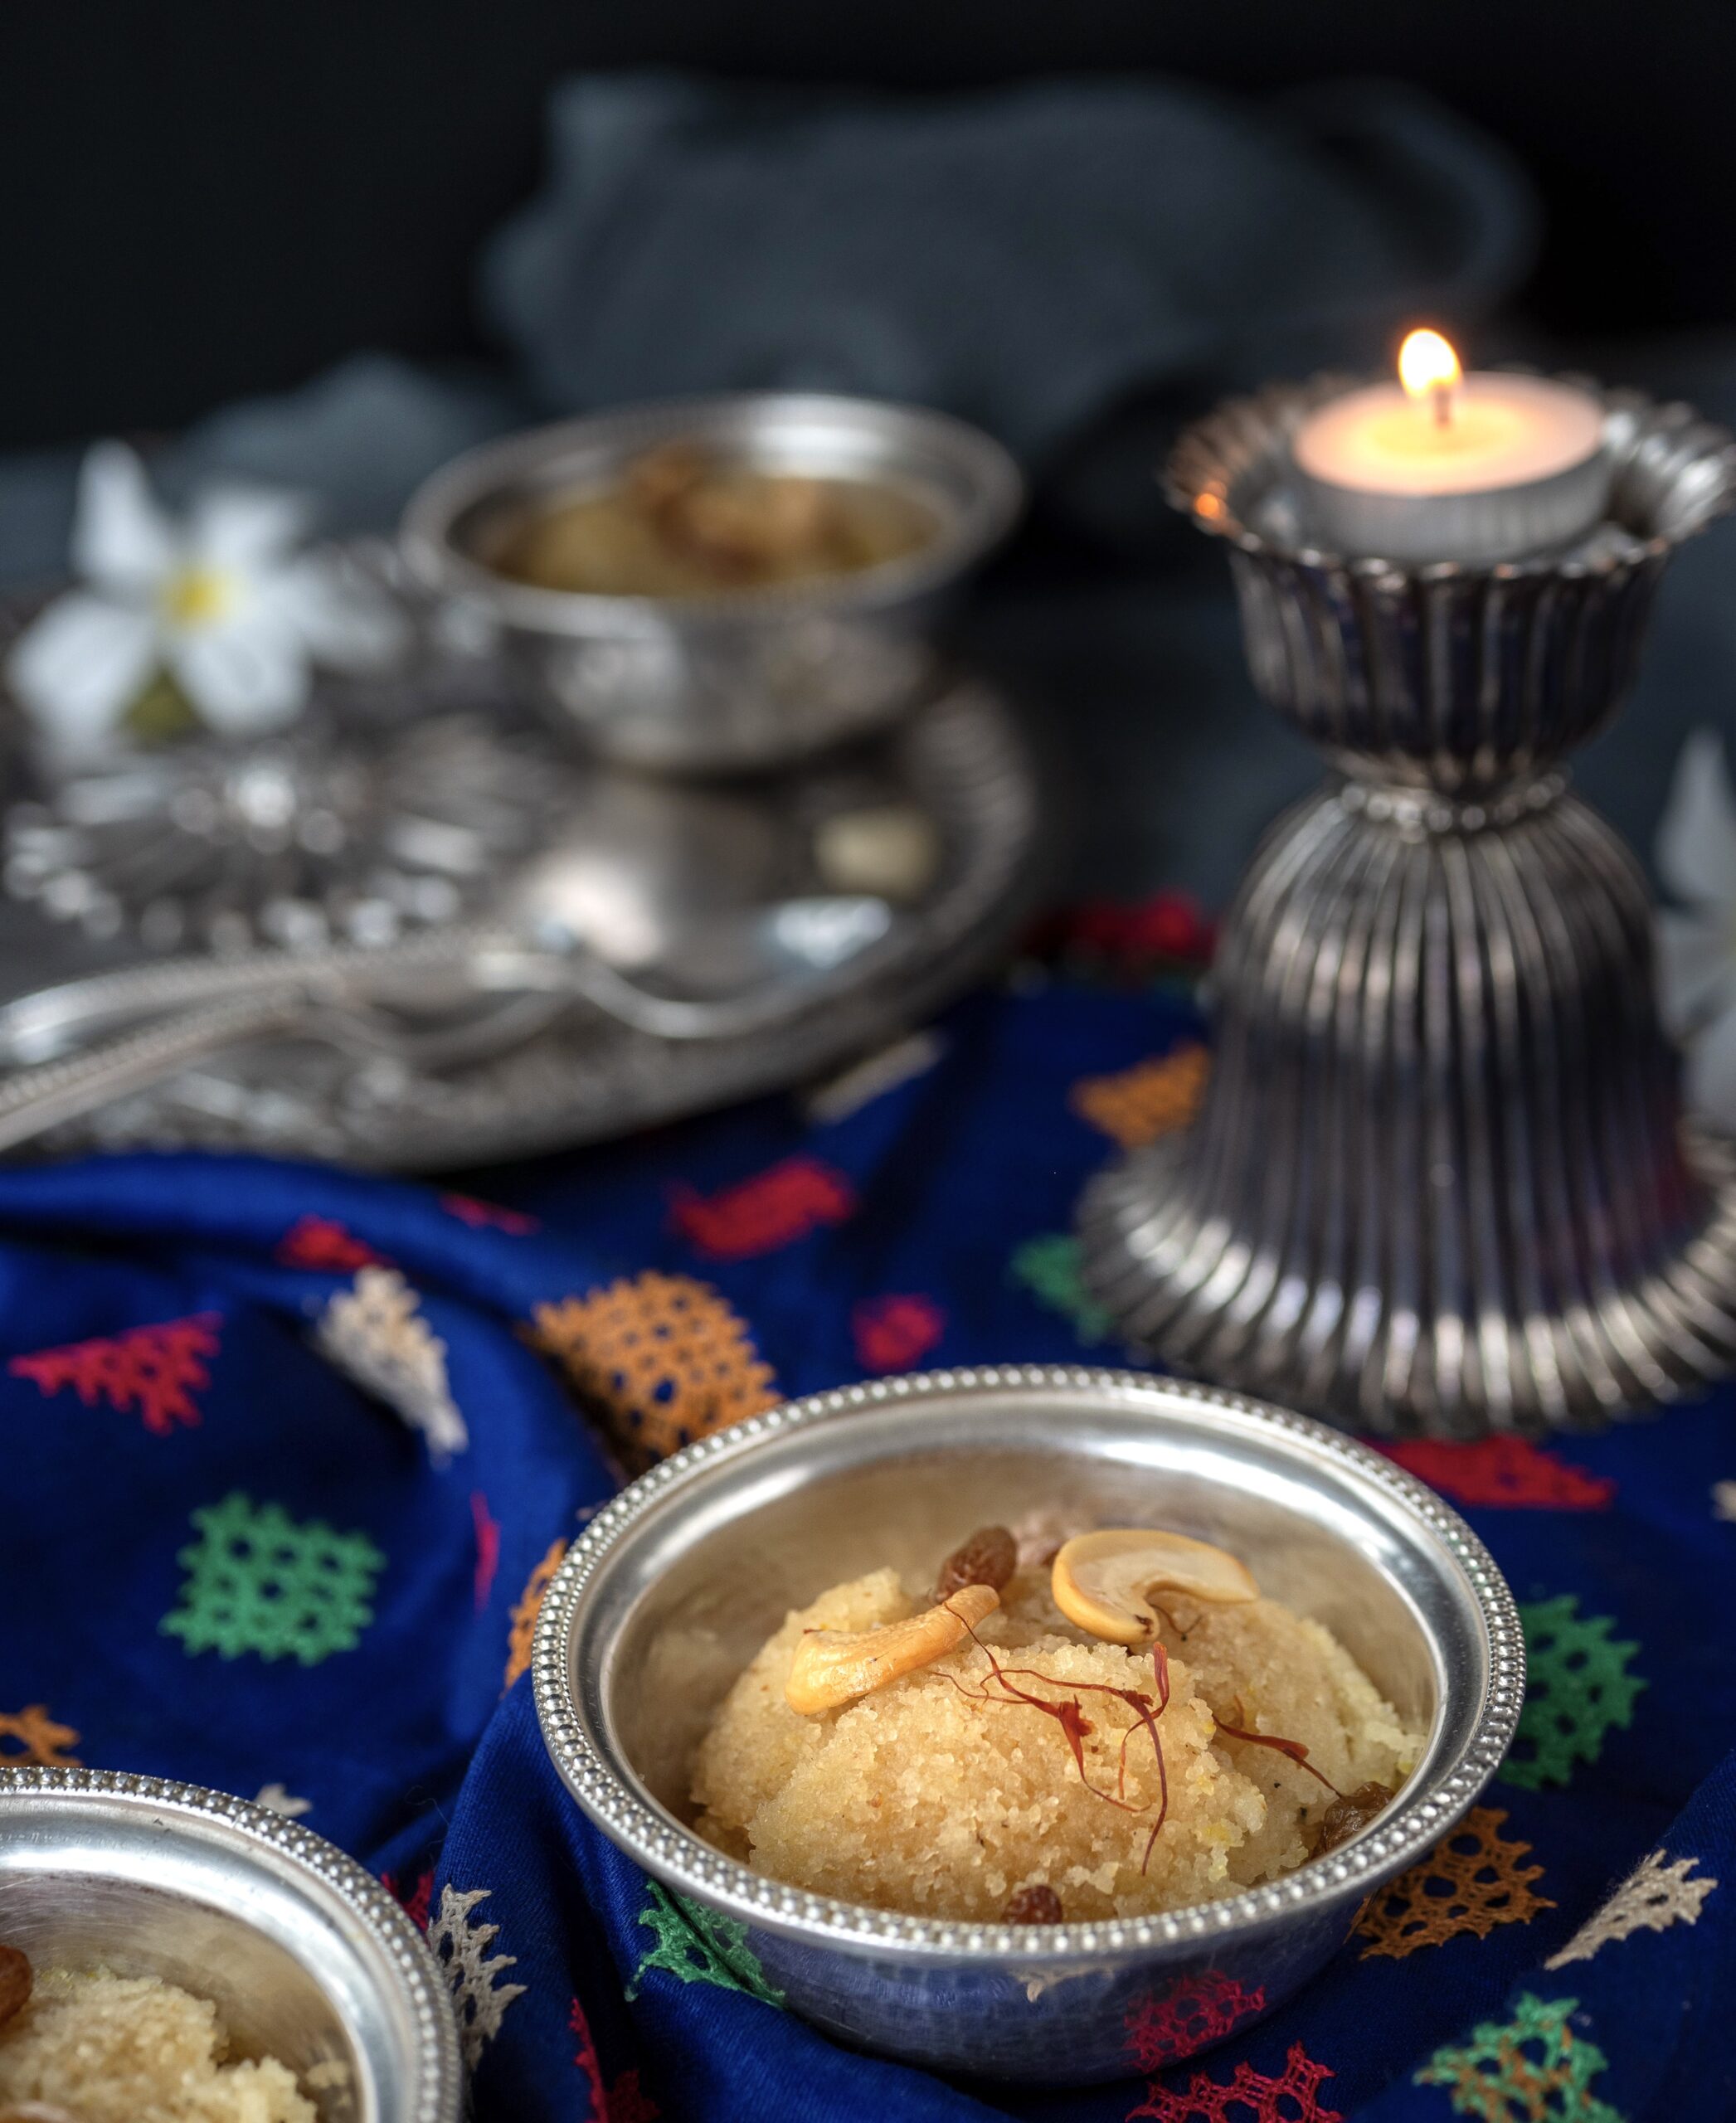
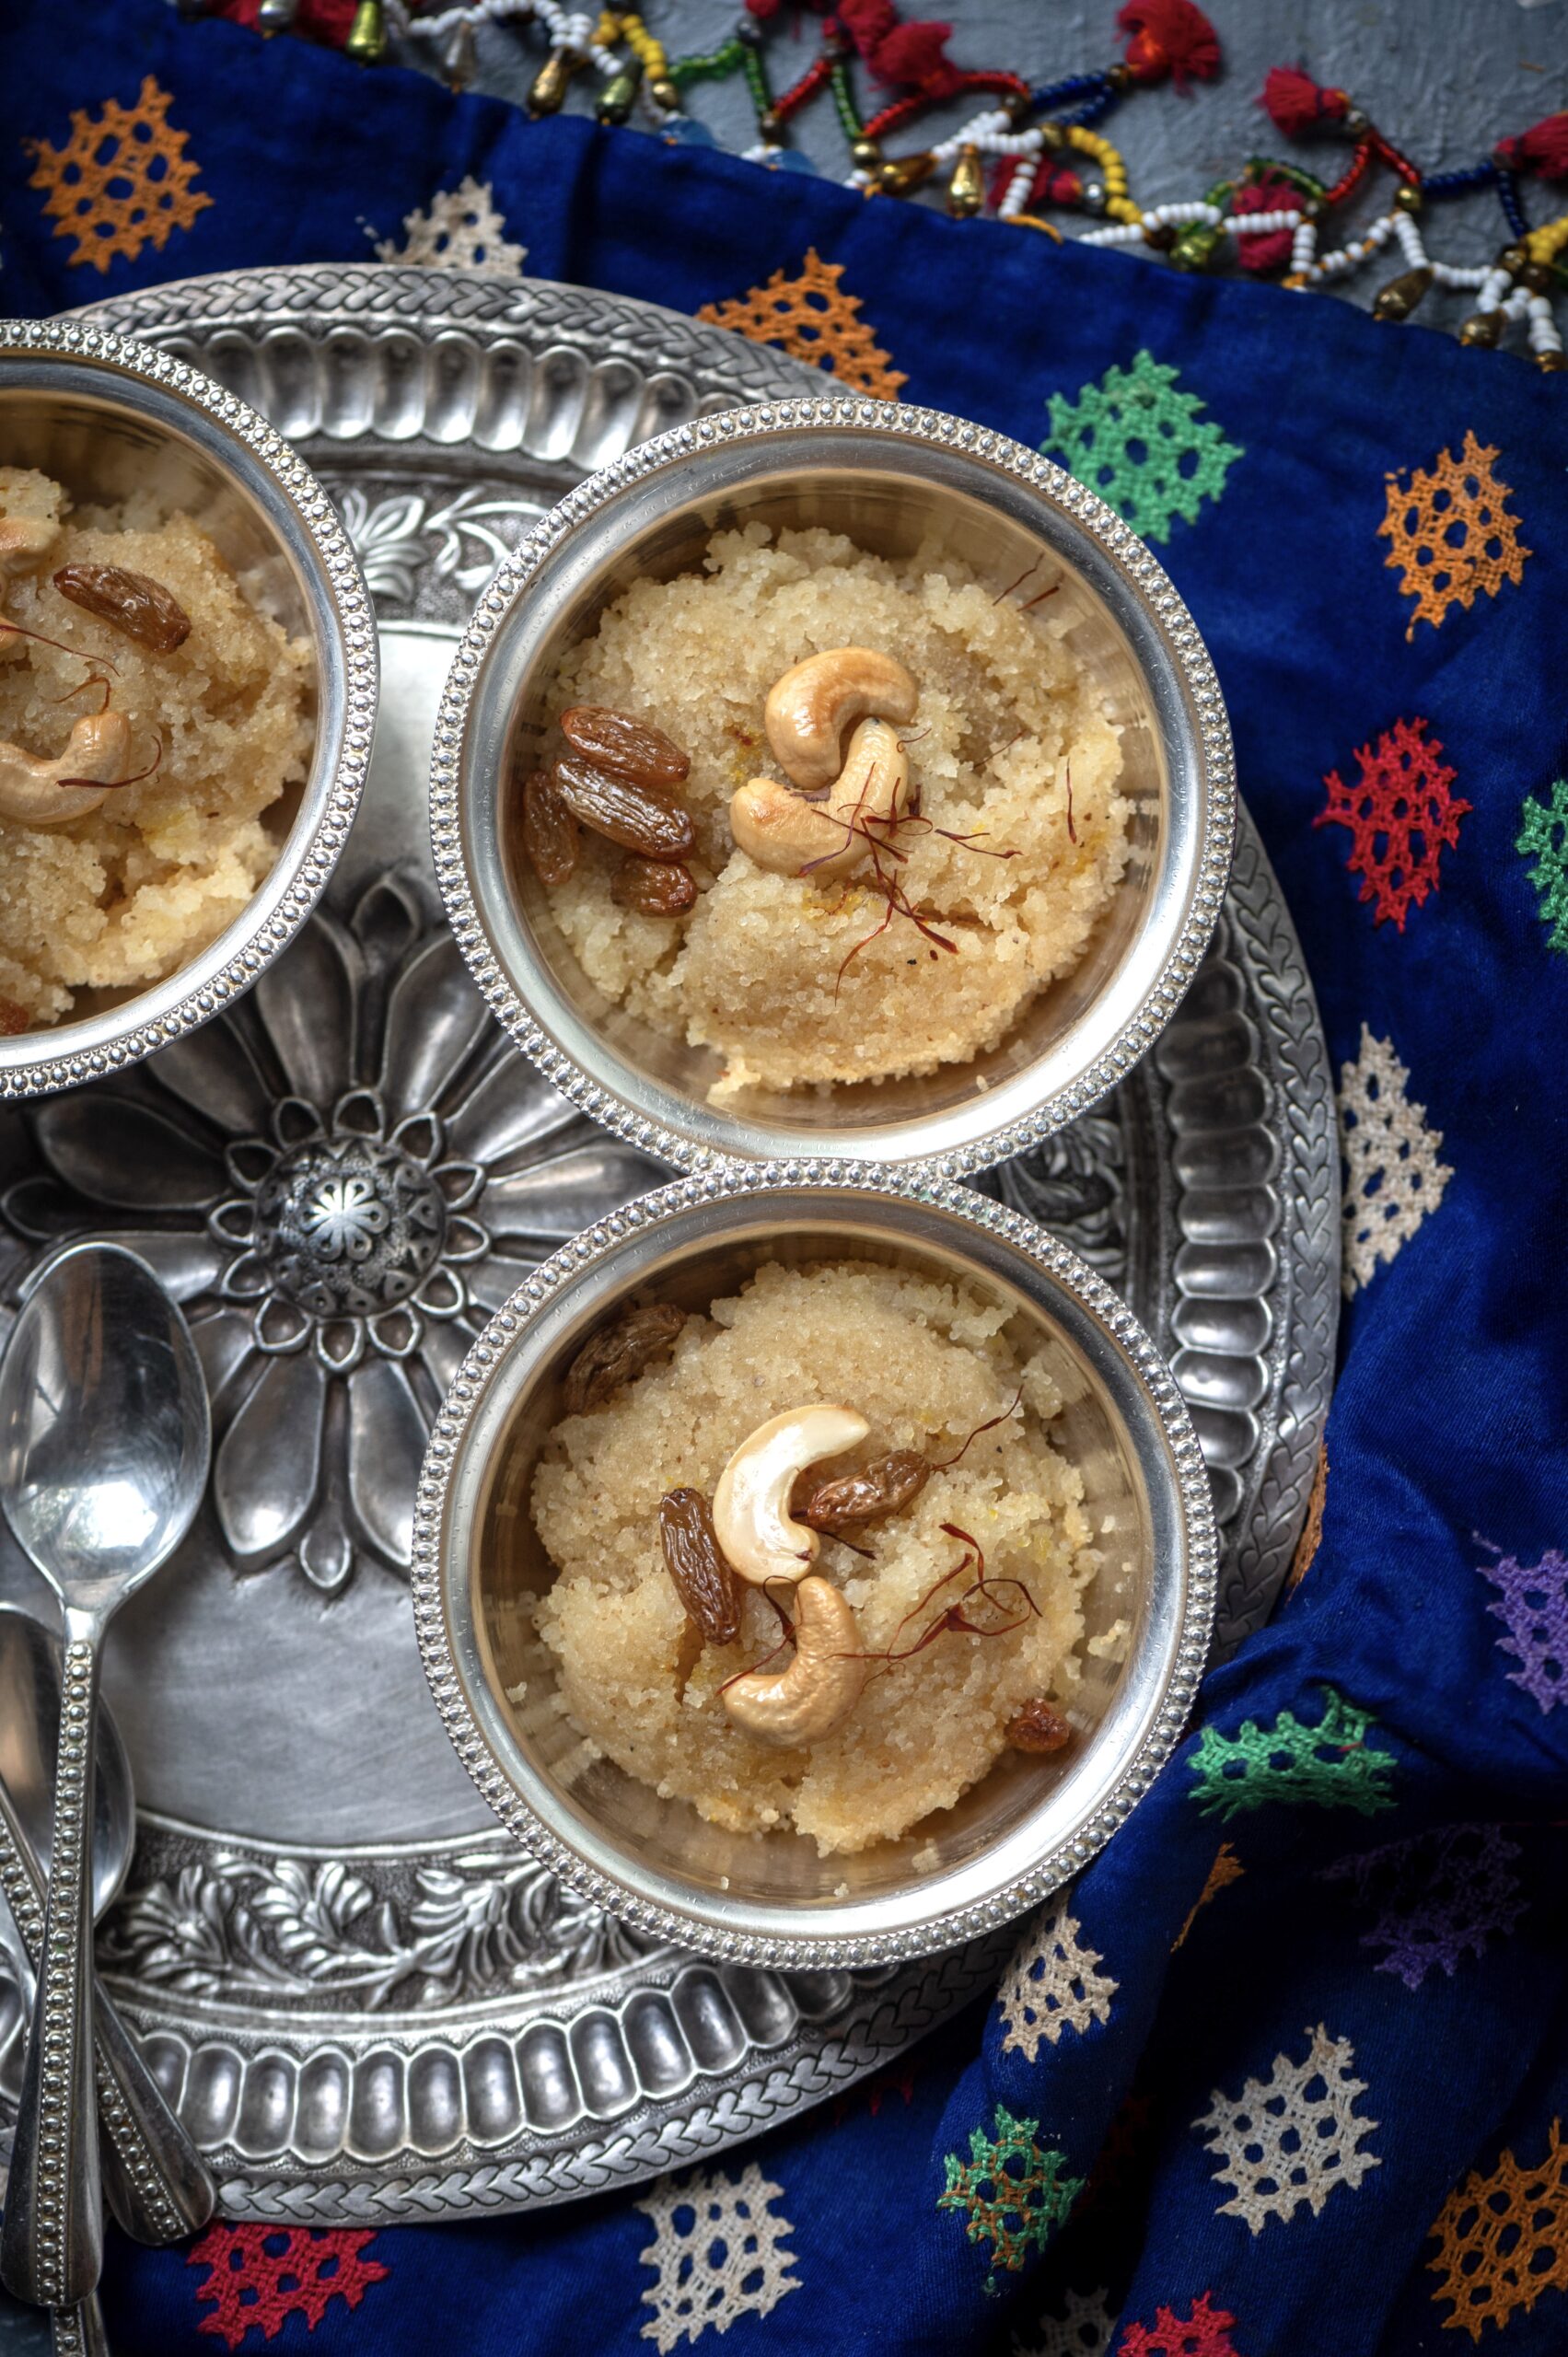
Kesari is a very common Indian sweet, one that can be prepared in a jiffy. Thus, it is perfect for when unannounced guests show up. Rava or semolina is the core ingredient, and most Indian kitchens will have some, alongside the other required basics. I find that it’s very useful to know a few simple desserts – whether to serve to guests or to satisfy one’s own cravings – and this kesari perfectly matches both requirements.

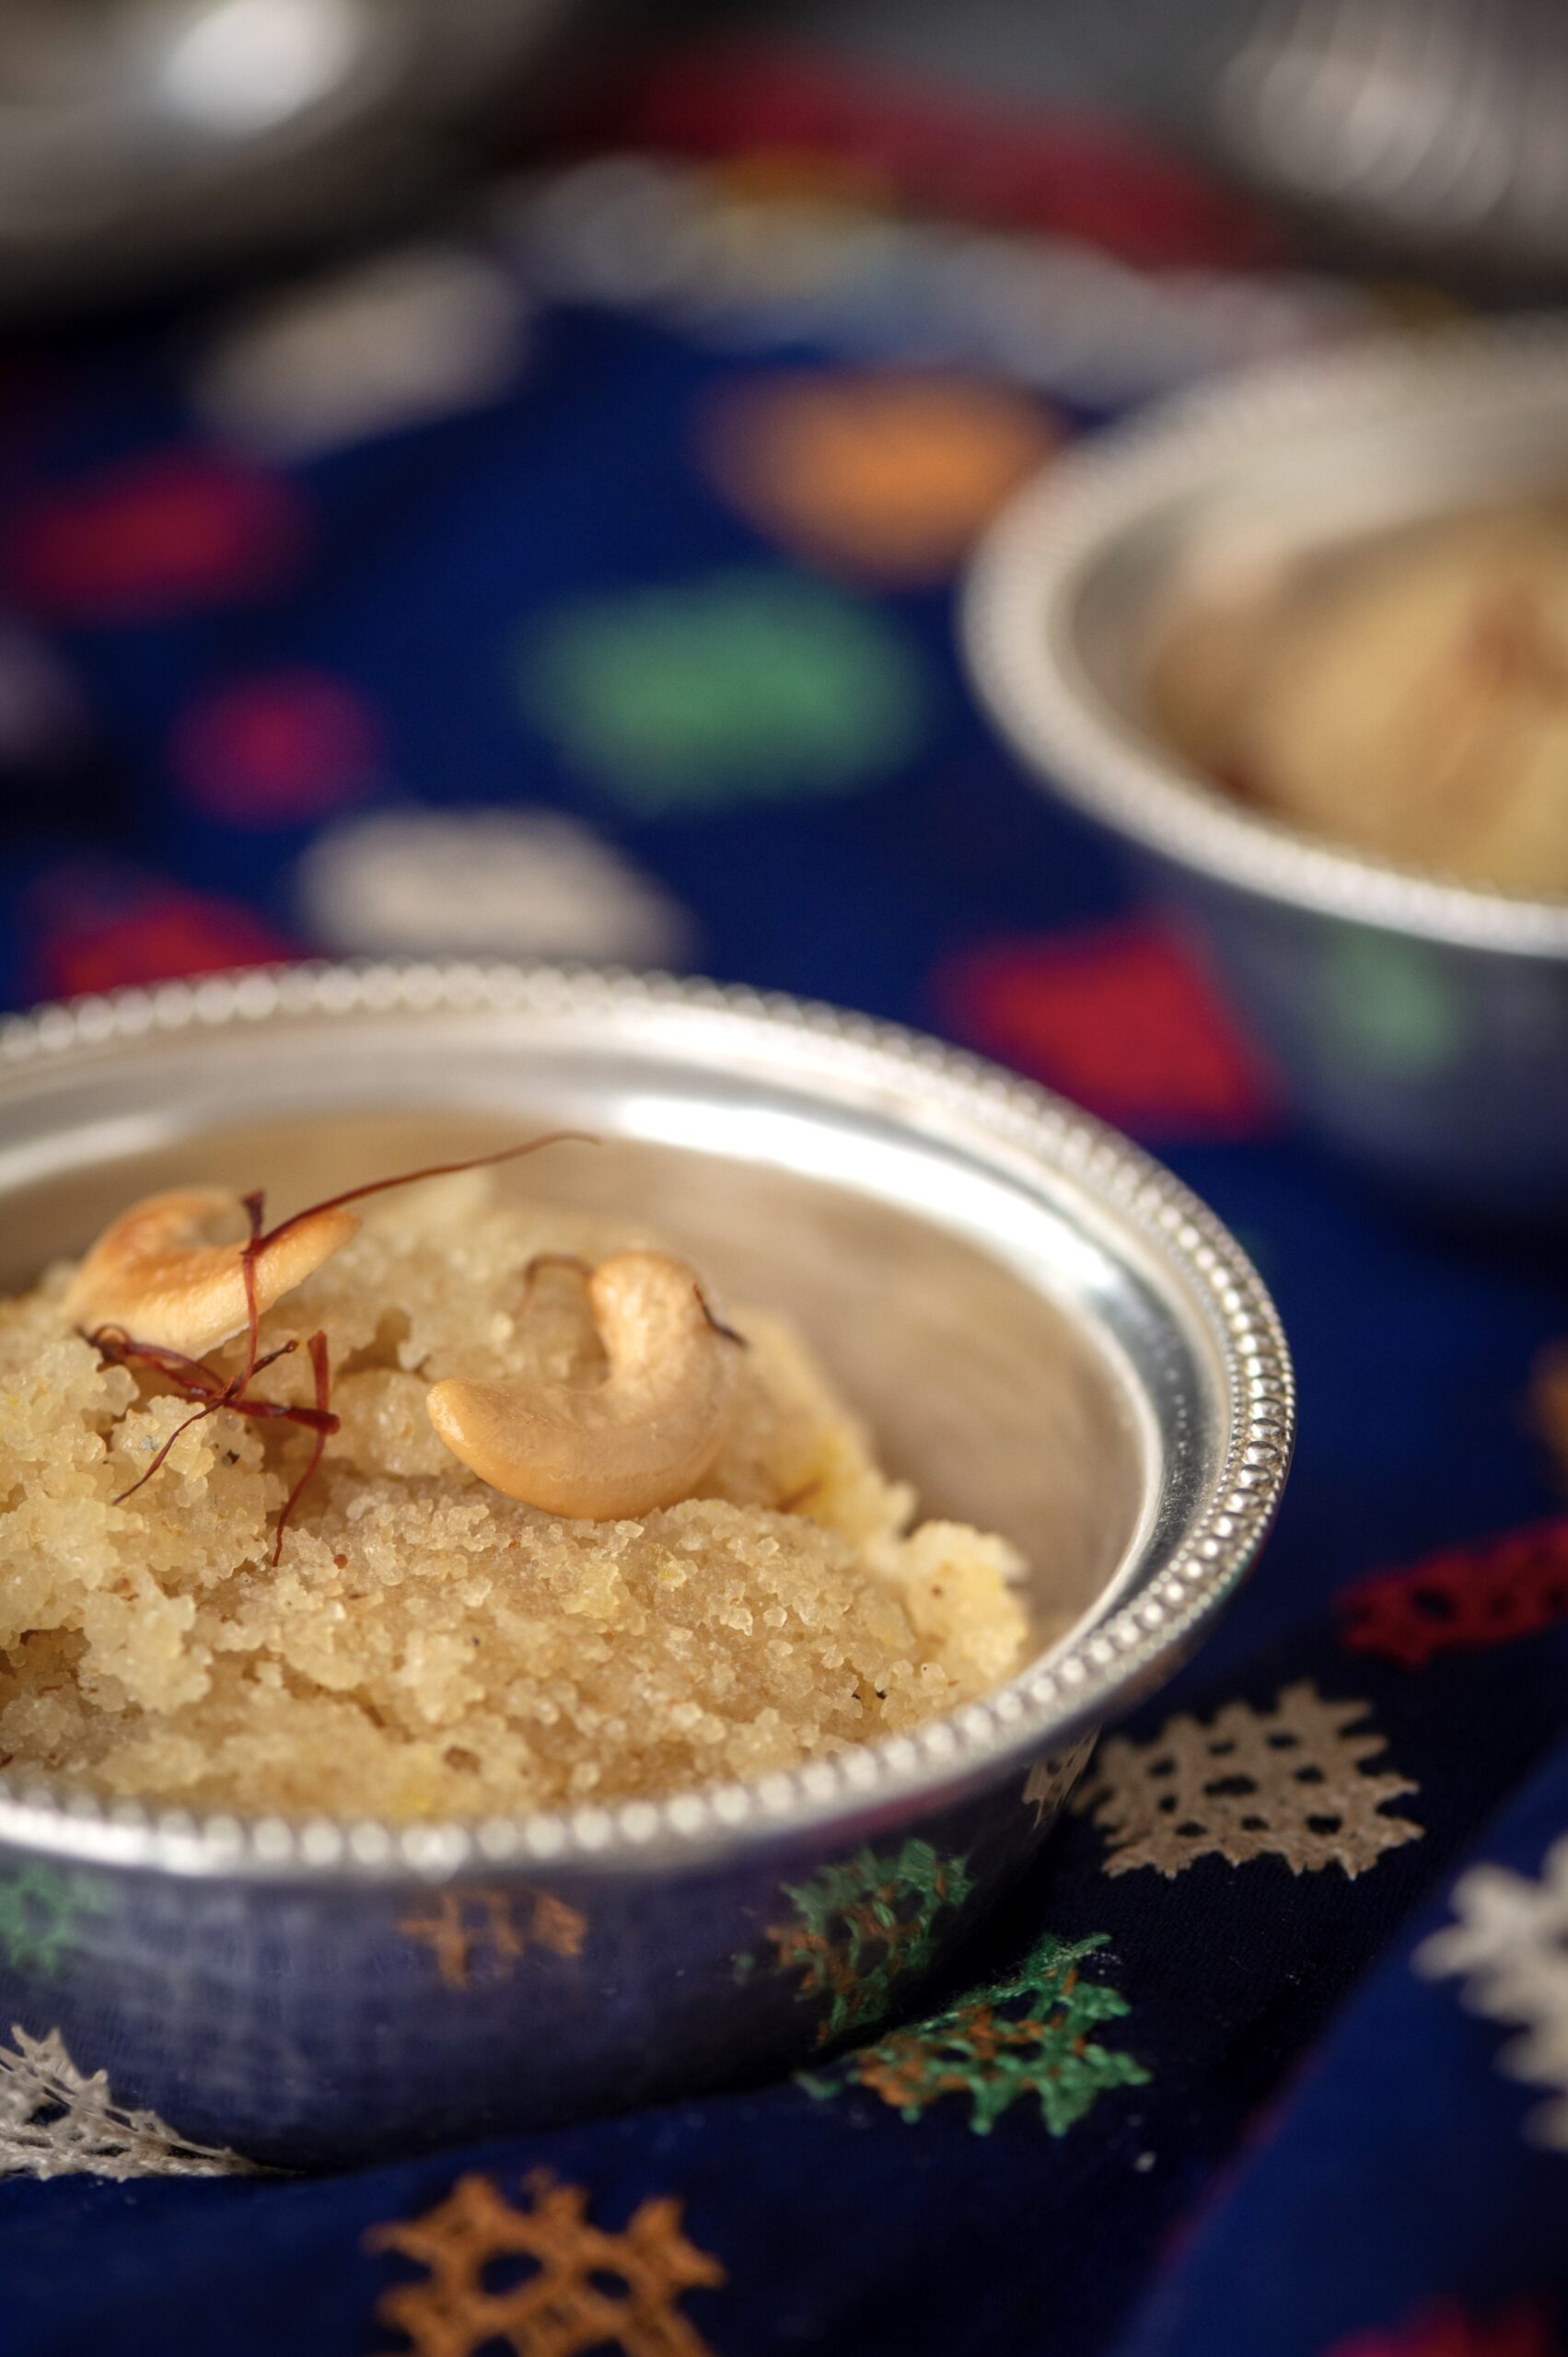
Kesari is named because of the traditional use of saffron or “kesar”. It is known in Gujarati as “sheero” and is also called “sooji halwa”. Saffron imparts a light yellowish tinge to the sweet, which is usually heightened by colouring. That is, if the spice is used at all, since it is an optional flavour and can be quite expensive. I have chosen to stick to the natural appearance of this sweet, and to avoid artificial ingredients. I have also used saffron – authentic Kashmiri saffron from my trip there this year. I have been fortunate to receive as gifts several boxes of saffron from other parts of the world, but I remain partial to what is grown in this region. However, you can prepare this recipe with colouring and without saffron, based on your preference or convenience.

And convenience really is the basis of the popularity of kesari. It can be made so quickly, and as I said earlier, its main ingredients are usually on hand. The reason why rava is almost always in an Indian kitchen is because it is so versatile. You can make upma, dhokla, porridge and so much more with it – which means it is ideal for savoury food as well as sweets like this one. It can be the base for either dessert, or for dinner – or both. There are numerous variants: refined wheat rava, wheat rava, rice rava and so on. I have used sooji, which is refined wheat rava.

Our mom seemed to make kesari very often in our childhood. It was what she whipped up as a treat whenever we came home from school with good grades or an achievement. While this demonstrates how kesari is ideal for celebrating unexpected joys, I also recall how it was made lovingly and with anticipation for certain special occasions too. For instance, it was usually kesari that was served to us as a greeting when we arrived at our dear grandparents’ home in Vijayawada. It was that “something sweet” that they had ready to welcome their daughter and her family – all of us – after our long journey to meet them. In these ways, it is a part of many memories of mine. If you make it frequently, it will become a part of many cherished moments of yours too.

Kesari

(Serves 4)

1 cup rava

¾ cup sugar

3¼ cups milk + water

8-10 split cashew nuts

8-10 raisins

75 grams ghee or clarified butter

A pinch of cardamom powder

A few strands of saffron in 1 tablespoon of milk


Add the ghee to a kadai. Once it has heated, add the split cashews and stir until golden. They darken quickly, so keep the flame low. Remove the cashews and set them aside. Repeat this process with the raisins.

Add the rava to the remaining ghee in the kadai. Roast on a low flame. Simultaneously, in a separate pot, add the sugar and water and stir until the mixture starts bubbling. The sugar water will be boiling while the rava turns golden. This will take about 15 minutes. Keep stirring the rava, ensuring the flame remains low.

The sugar quotient I have used is minimal. Add more if you prefer. I have not added colouring, but you may if you prefer to.

Then, gently add the boiling sugar water to the rava. Maintain a little distance between yourself and the pot as the contents may splutter. Stir. Add the saffron. Cover with a lid for five minutes.

Next, add the cardamom powder, along with the toasted cashews and raisins. Mix gently.

Your kesari is now ready to be enjoyed. You may wish to spread and slice it and then use cookie cutters to make shapes, or simply scoop it out and serve it. I suppose it depends on if you’re making it with or without advance notice. I hope you find this process simple and quick, and will now be able to add this easy dessert to your repertoire!

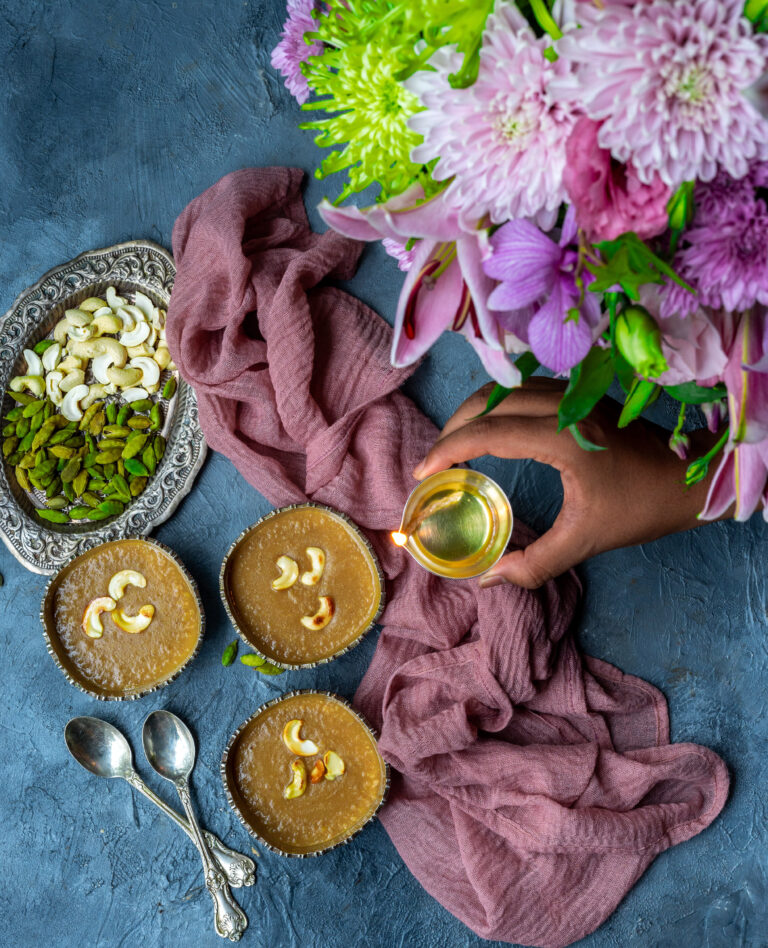
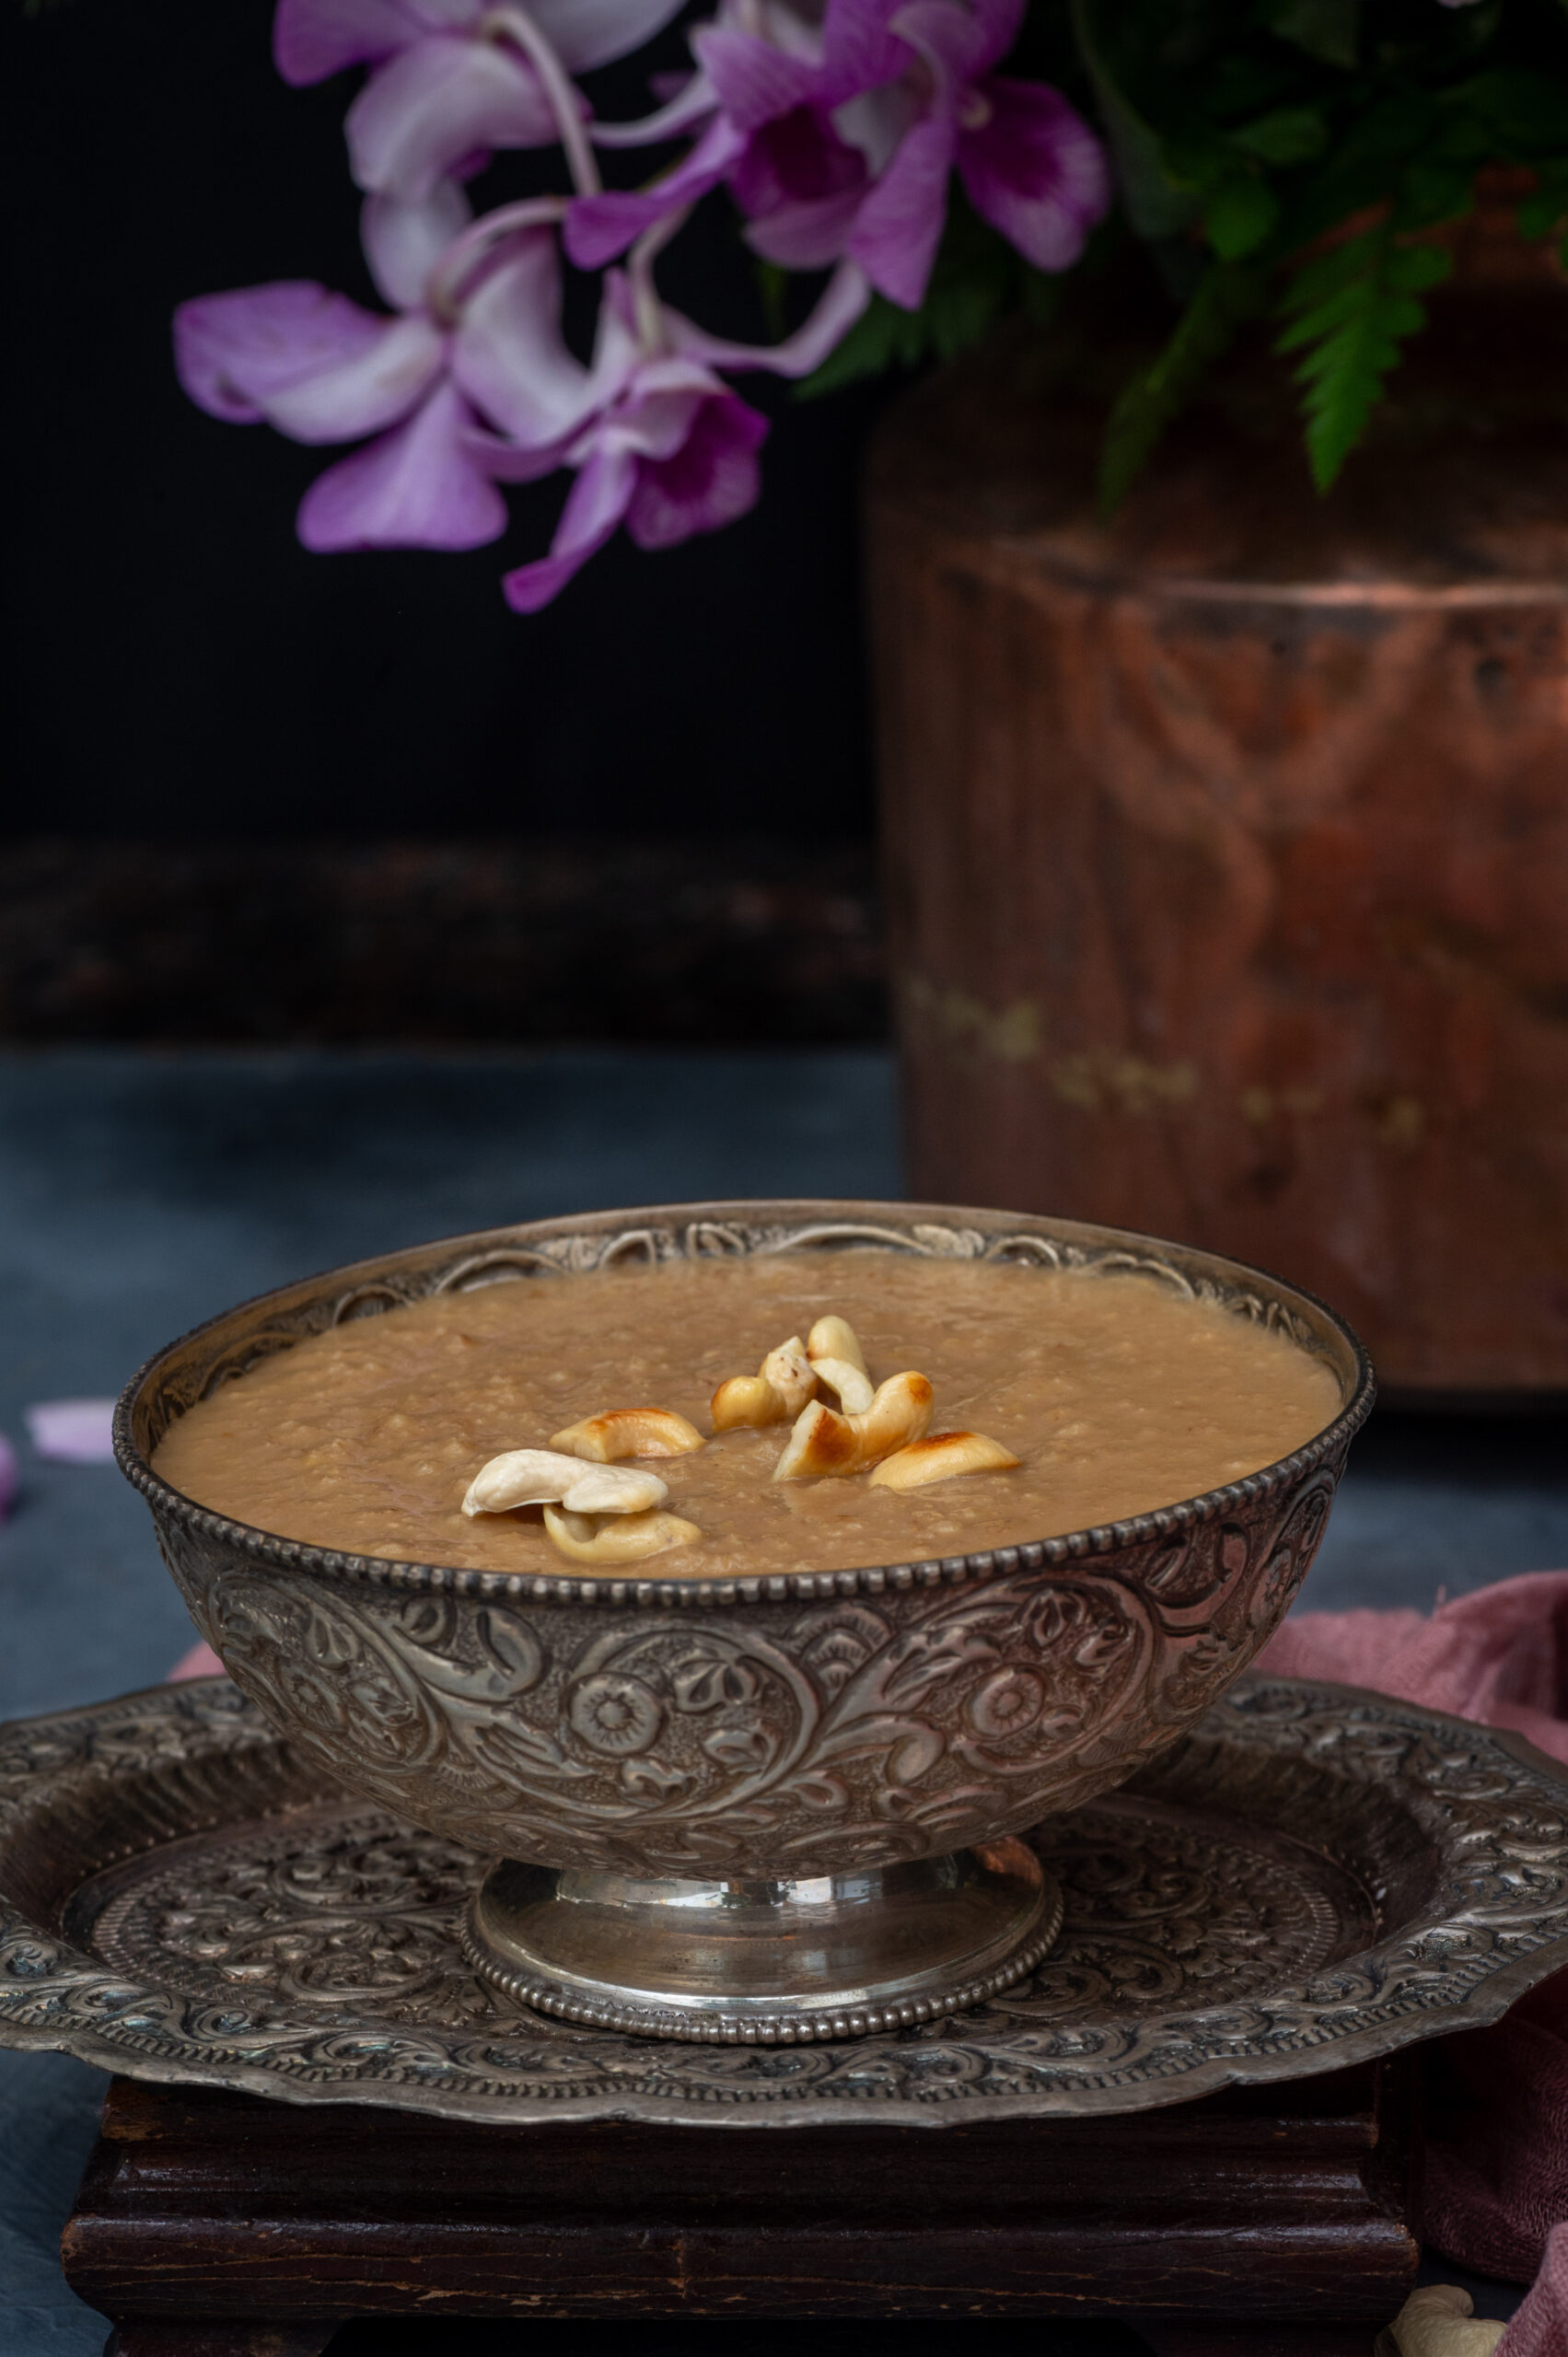
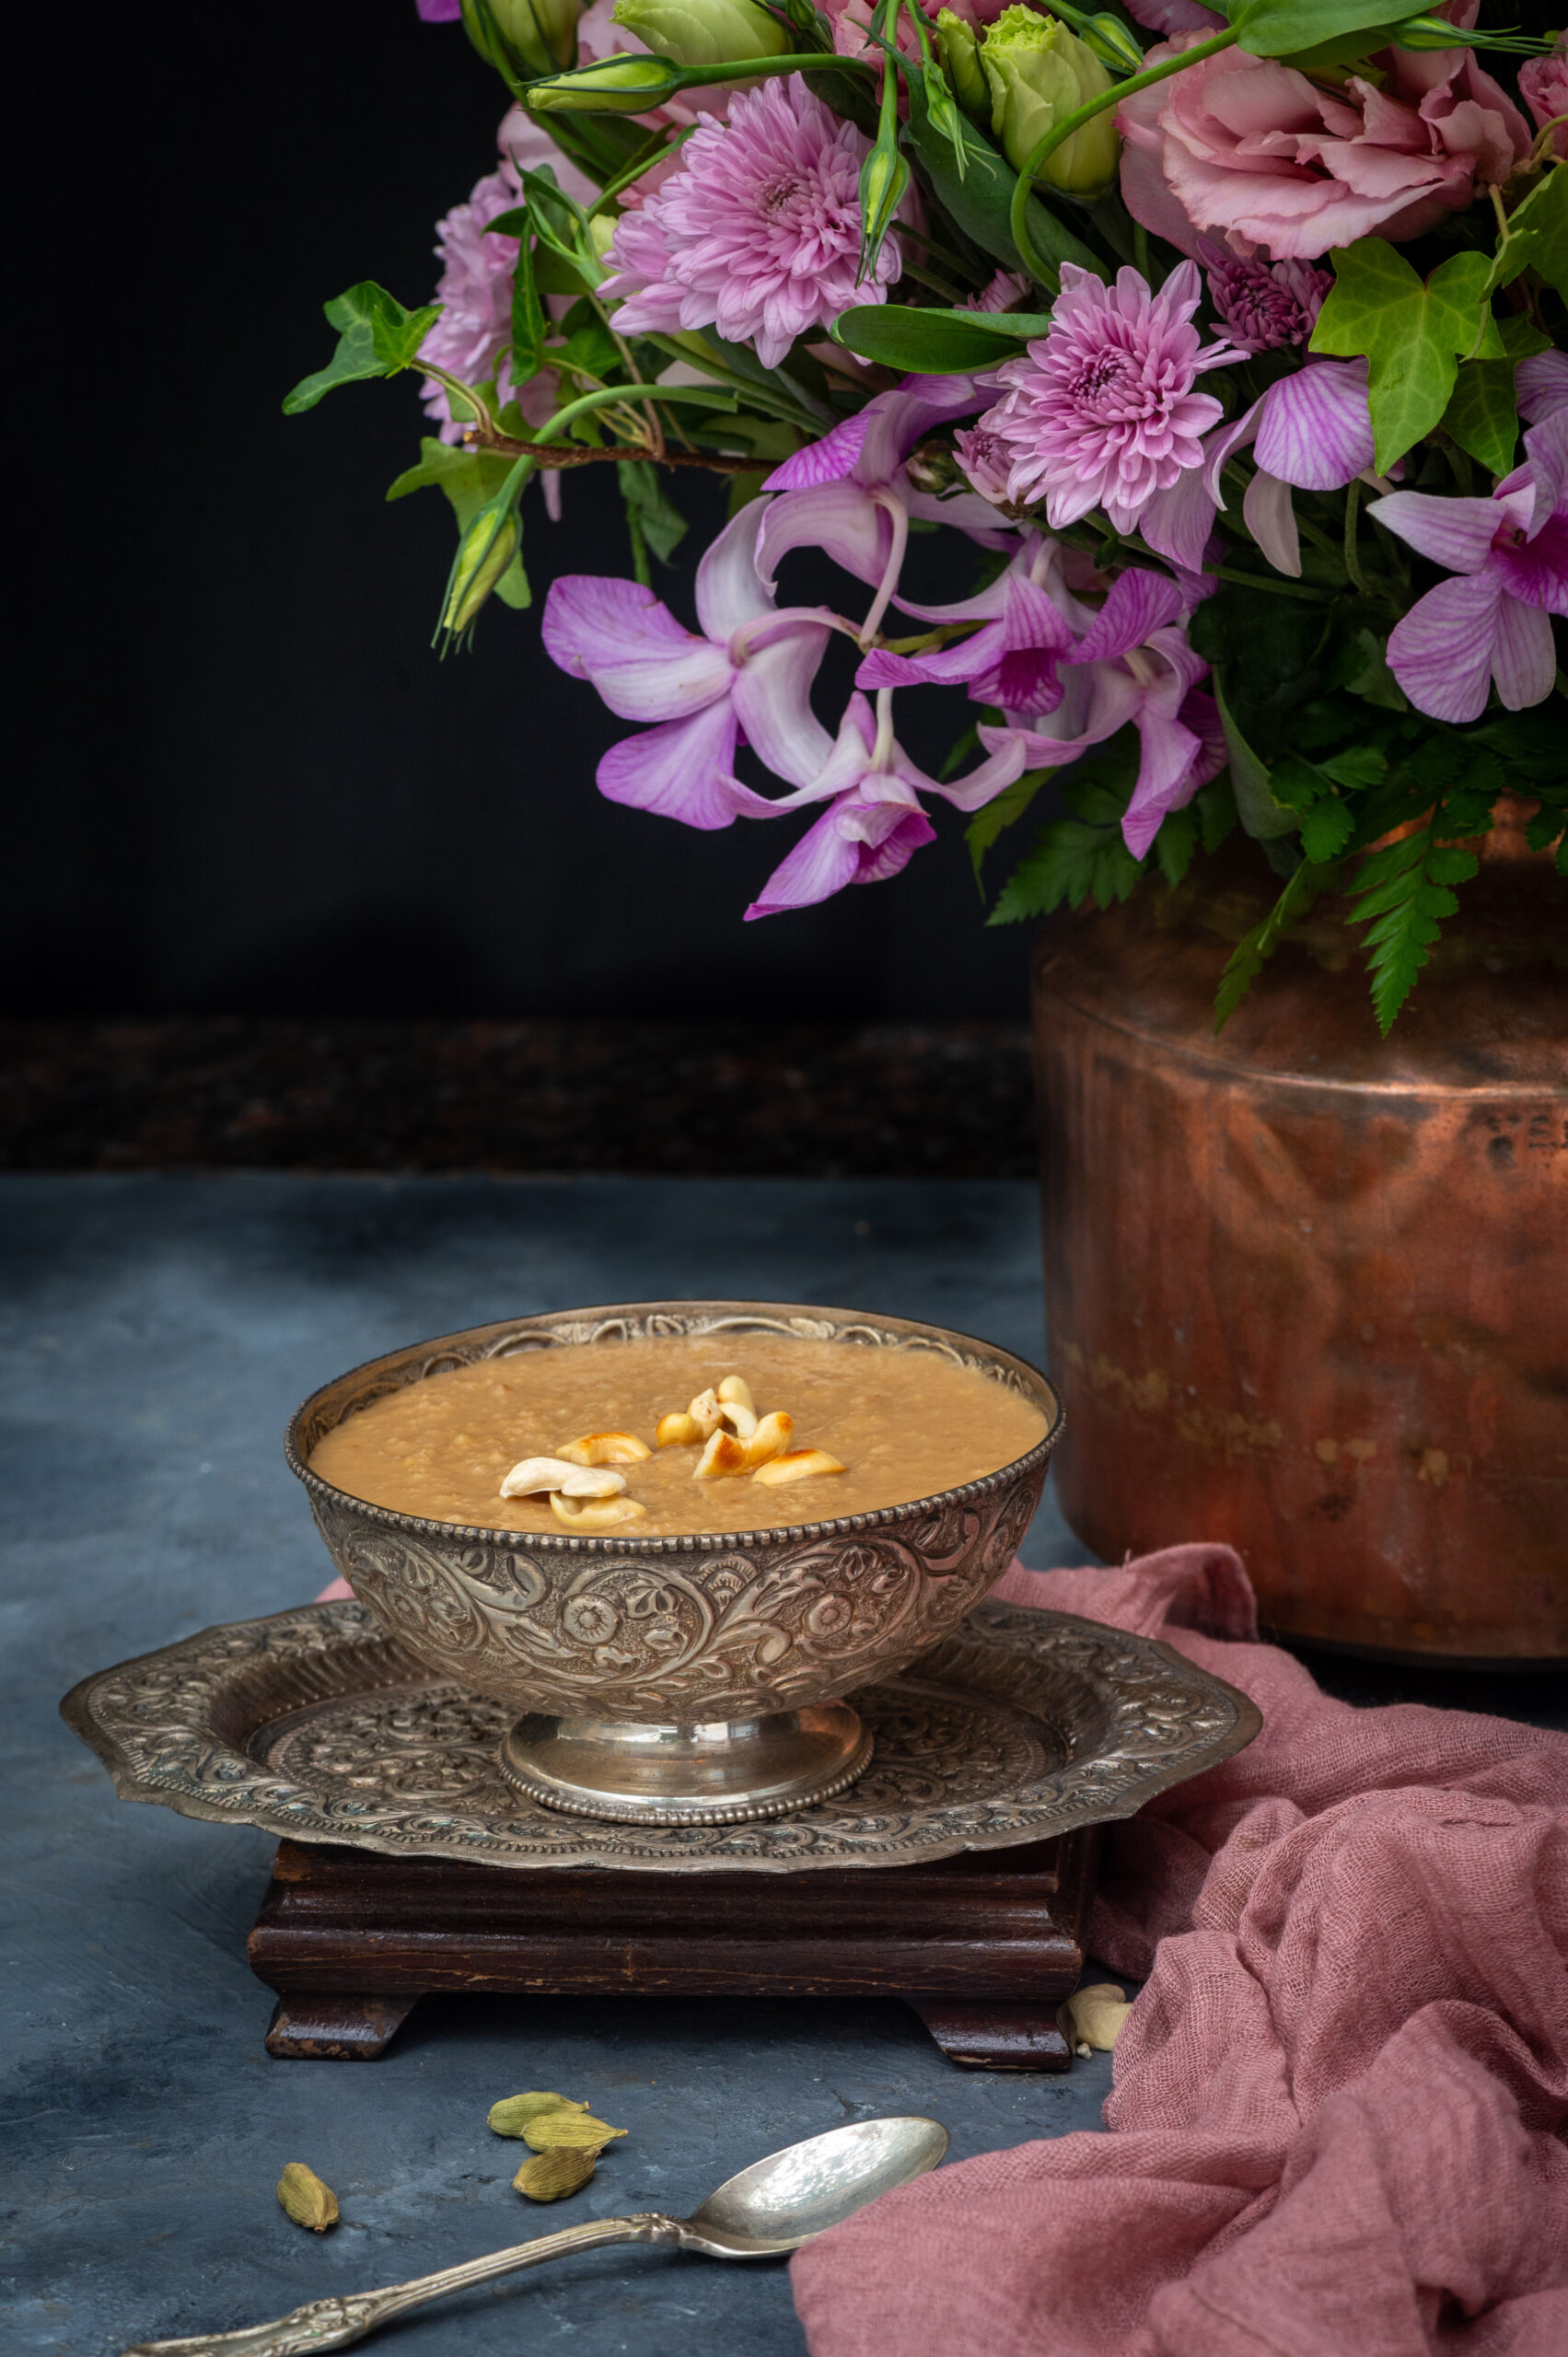
There are numerous milk-based sweets that are very popular in India, and several have made appearances on this blog over the years, as you can see here. While they are all fantastic, for this Deepavali I was thinking about making something that doesn’t require milk. This recipe is great for lactose-intolerant people, and can be tweaked and made vegan (all you have to do is to replace the ghee with your usual alternative). Additionally, the dessert I came up with is millet-based, so it is extra nourishing. Here it is: foxtail payasam.

Foxtail payasam, strictly speaking, is not quite my own recipe, even though I’ve substantially played with the basic ingredients. As a payasam, it can be said to be traditional in South India, where they are a well-known category of dessert, eaten often and not just on festive occasions. Here in Tamil Nadu, foxtail millet is known as thinai and is a widely-known native produce. Like all millets, it is nutritious and versatile.

Many of us have become conscious about our eating choices and have brought millets into our diets over the last few years as a white rice replacement. Even the Tamil Nadu state government has been promoting their use, and so has the United Nations. This is something that I’ve advocated for as well, across many recipes.

In terms of payasam, I think the paruppu payasam (made with dal) is probably the most common. I always reach out for it whenever I have a banana leaf meal at a South Indian restaurant. It uses dried coconut bits and also contains jaggery, which is healthier than sugar yet satisfies my sweet tooth. Drawing inspiration from it, but adding my own twist, I have opted to use coconut milk in my foxtail payasam. The coconut milk, along with a cashew garnishing, adds a richness to it. You may also wish to use raisins, and reduce the jaggery quantity accordingly. Or you may want to use coconut sugar instead of jaggery. You may even want to replace the millet itself, just as you can also replace the moong dal with toor dal.

If you are a young adult making festive goodies for the first time, this is an ideal recipe for you to try wherever you are. It is simple and utilizes easily available ingredients. The world has become a smaller place, and I have no doubt that you’ll be able to find them even if you’re spending Deepavali away from home.

I have a South Indian daughter-in-law now and I wanted to prepare something this year that is familiar to her and the region she comes from. Thus, this foxtail payasam serves as a welcoming sweet for her as she enters our family. It is her first Deepavali with us, so it is really special. This recipe is for her, most of all. It is also for my sister, who always asks me to show her something new from South Indian cuisine whenever she visits me, and is very curious about what I am making at this time of year. It goes without saying that it is also for you: I wish you and your loved ones a blessed festive season, and much joy ahead!

Foxtail Payasam

(Serves 4-5)

25 grams moong dal (green gram)

60 grams thinai millet (foxtail)

¾ cup jaggery

2 + 1 cups water

1 cup coconut milk

1 teaspoon ghee

A handful of cashews

Rinse and soak the moong dal in water for at least an hour. Strain the water and set aside.

Roast the thinai in a pan for a few minutes or until it releases an aroma.

Next, add the thinai to the strained dal and add two cups of water. Place these in a pressure cooker and cook until tender. Remove the pot once cooled.

In another bowl, add jaggery and to it add one cup of water. Boil this mixture until the jaggery has melted. Strain this liquid and add it to the dal-thinai mixture.

Allow to cook until it all comes together. Finally, add the coconut milk, mix well and turn off the flame.

To garnish: heat the ghee and add the roasted cashew nuts. Toast until golden. Sprinkle over the payasam. Serve hot.

I hope you’ll enjoy this delicious, nourishing sweet this Deepavali and for many years to come!

When I was growing up – and perhaps when you were too – cupcakes were a treasured treat. We all looked forward to birthdays because that was when we could visit each other’s’ homes and enjoy them. More often than not, our mothers were the bakers. Today, cupcakes convey memories of a special, and simpler, time. Despite the assortment of goodies that are now easily available, I still feel that homemade cupcakes are a very sweet but almost forgotten gift, especially during festive occasions. To me, they taste of nostalgia and celebration.

Even though I regularly bake cupcakes alongside various other delights for my customers at re:store, as we have now reached the 7th anniversary of this blog, I wanted to do a little more. So, I thought that I would give away a cherished recipe of mine, as a gesture of gratitude for your warmth and support. Here is the recipe for coffee cupcakes, the very same recipe that I use in my work.

My coffee cupcake recipe emerged as a response to a craving I had for something with a tiramisu flavour. While I have opted to use a simple buttercream frosting, you can try this out with mascarpone in order to elevate that tiramisu influence. You can also replace coffee with a different flavour altogether. Here’s another suggestion: include some maple syrup and adjust the sugar quantity accordingly, and the taste will change too. Have fun with how you use this recipe as a base!

I love making my cupcakes bite-sized, and just right. They are not too sweet, yet they conjure up such sweet memories. Here’s hoping to make many more: more gorgeous cupcakes and more great memories too!

Below are a few images of some of the cupcakes that are available at re:store. I hope that they give you some inspiration – either to prepare your own, or to drop me a line. If you are in Chennai and you’d like me to bake something for you, you know how to reach me.

Coffee Cupcakes

(Yield: 12 pieces)

185 grams all-purpose flour

1 teaspoon baking powder

1 teaspoon instant coffee powder

1 pinch salt

110 grams room temperature butter

200 grams granulated sugar

2 eggs

1 teaspoon vanilla extract

½ cup whole milk


Frosting

1 cup unsalted butter

Fresh cream as required

4-5 cups sifted icing sugar

1 teaspoon coffee powder


Preheat the oven to 170° C.

Line the cupcake tray with liners. Set aside.

In a bowl, sift all the dry ingredients together.

In a mixer bowl, add the butter and the sugar and beat for a couple of minutes or until the mixture is light and fluffy. Add the eggs one at a time, scraping down the sides of the bowl. Alternating them, add the milk and flour in two batches and mix gently. Do not over mix once the flour is added.

Now, divide the batter into the liners, filling them up to a 23 level.

Bake for 12-15 minutes or until the skewer comes out clean.

Remove and cool on a wire rack.


To make the frosting: mix the butter, cream and coffee powder. Add the icing sugar in batches and mix gently, making sure the icing sugar does not fly around. Add enough to make the frosting such that it holds up. Beat well into a smooth consistency.

Using a piping nozzle, ice the cupcakes and keep cool until serving. Refrigerate to preserve longer.

My older son loves my coffee cupcakes and asks me for some whenever he visits. He recently came home after a few months, which is a long time for us, and I baked some for him. From being a childhood favourite to becoming a treat that connects me to my own children, cupcakes and I have had a long journey. Those of you who have been with me since the start at re:store have had a long journey with me too, and I hope it’s been a delicious one. Thank you for being here.

I wanted to make a panna cotta recently but didn’t have the time, which is when I decided that something like a kheer would be the next best thing. Isn’t it lovely when we can almost match our cravings with something equally delightful, although different? This dish is all the more special because it uses lychees, which have a really short season. This lychee kheer is simply perfect as a cold dessert for the summer.

I really love Indian lychees, even though I know that they originate in East and South East Asia. The flavours of each variant depends on the location, and the Indian-grown ones are my favourite. Perhaps it’s just that I am used to that taste. Similarly, mangoes grow all over the world but there is nothing like an Indian mango to me, the ones we find in our own neighbourhoods. Incidentally, lychees are at their own best during a short time during mango season. They are also more suited to the heat, as they are definitely more cooling than mangoes. Since lychees have a short season, I want to add that you can use tinned ones too – the kheer will taste just as good.

In fact, the memory of some very cool lychees were what inspired this dish. I had visited a friend a while ago, during another lychee season, and she had peeled and frozen the fruit. We enjoyed these after a lazy afternoon lunch, and they tasted like ice cream. I will never forget how that day was: gossip, food, laughter and the delicious frozen lychees melting in the mouth.

I have shared below a very basic recipe that focuses on the flavour of this fruit, but I have found that it pairs quite well with coconut and/or rose too. As I have so much of it on hand from the trees at home, I’ve added some grated coconut, which is optional. I’ve also found that saffron and almond, despite being typical kheer flavourings, don’t quite match. Still, go with your gut instinct and choose to add what you’d like to. Or else just stick to the simplest version, for it really is quite wonderful as it is.

Lychee Kheer

(Yield: 6 cups)

1 litre milk

½ cup broken rice (washed and soaked)

½ cup sugar

1 cup lychees

2 tablespoons grated coconut (optional)


Boil the milk until it reduces a little, then add the soaked broken rice. Substitute with whole grain if you prefer.

Allow the rice to cook in the milk. You will notice when the rice cooks and the milk reduces further. Once cooked, the rice becomes tender. Now, add the sugar.

I used a hand blender to gently whip the mixture so the rice breaks down further.

Remove from the flame and cover. Allow to cool to room temperature, then refrigerate.

Meanwhile, peel the lychees and chop finely. Add them to the kheer along with the grated coconut, if you are using it, and stir well. Refrigerate again and serve cold.

The main thing that gets in the way of making this dish properly is that you will have to be careful as you peel the lychees not to pop them into your mouth! I hope you have a nice big bunch around, as you’ll find it very tempting to do so. Trust me, putting them in the kheer is well worth it – try it out, and you’ll see.

After many travels, I have finally been back home and quite gladly too. It has been lovely to just relax, and be right where I want to be. I was recently struck by something that Michelle Obama said in The Light We Carry, her interview with Oprah Winfrey: “Home is where Barack is”. These words were so sweet, and in some ways resonated for me too. I realised when I heard this line that I had been missing my husband while I was away. He may not be the president of a country, but he is certainly the president of this house. We were watching the interview together on a Sunday evening, and with those loving thoughts in my mind I set about baking for us as I often do on weekends – and the result that day was this vanilla coconut bundt.

A cake like this goes so well with this hot summer weather. It is extremely flavourful, and all the ingredients are easily available. The coconut grows in my own backyard, as I’ve said umpteen times before, and I thought it would be great not just seasonally but also as a fitting finish to this All Things Tropical recipe series I’ve recently shared.

A bundt is a kind of sponge cake or tea cake, and keeps for a bit longer. That’s one of the good things about it. We try to control ourselves by not eating half the cake in one go, and these days it’s keeping us happy over a few days for sure. I must admit that this may be because the kids are away, which is a bit of a sore topic for me. I never actually felt that empty nest problem when they went off to study. But I feel it now, now that they are in their late 20s and have their own lives as adults, their own worlds of friends and family. It is similar for my husband too. So small things like this vanilla coconut bundt cake cheer us up.

Speaking of our children’s generation and ours, and to return to Michelle Obama’s very impressive accomplishments and sentiments – I suppose it also has to do with age. When you are younger, you want to do everything – you want to achieve so much, you want to build empires, you want to make a name for yourself. But there comes a time in your life when all you really want, once you have met all your ambitions, is to spend time with your loved ones. Your partner first and foremost, and then the rest of your family. My husband and I now feel able to make time for each other despite our busy schedules. We come home to each other, and to treats like this recipe. This vanilla coconut bundt can pep up any evening and in my opinion can impress the president too – of a country, or at any rate of a home!

Vanilla Coconut Bundt

(Yield: Serves 6-8)


250 grams soft unsalted butter

225 grams granulated sugar

2 teaspoons vanilla extract

2 whole eggs

250 grams all purpose flour

½ teaspoon baking soda

1½ teaspoons baking powder

¼ teaspoon salt

¾ cup desiccated coconut

1 cup coconut cream

½ cup fresh cream


Preheat the oven to 160°C.

Grease and dust the bundt pan well. Set aside.

Add the flour, baking powder, baking soda and salt and sieve. Set aside.

In a bowl, add the butter, sugar and vanilla extract. Blend well until fluffy.

Now, add the eggs and beat well until incorporated. Next, add the flour mixture and fold gently. Then, add the coconut cream and desiccated coconut. Fold until it all comes together.

Spoon the mixture into the bundt pan and bake for 45 minutes or until a toothpick comes out clean. Then, remove from the oven and allow to cool for 15 minutes.

Upturn the bundt pan and tap gently. Remove the pan. Allow the cake to cool completely before you drizzle the fresh cream on top. Your beautiful vanilla coconut bundt is now ready to serve.

The bundt has made a couple of appearances on this blog before, such as this citrus bundt cake and this lemon poppy bundt cake. If you enjoy this style of cake, you may want to explore those recipes too.