Tag

spinach

Browsing

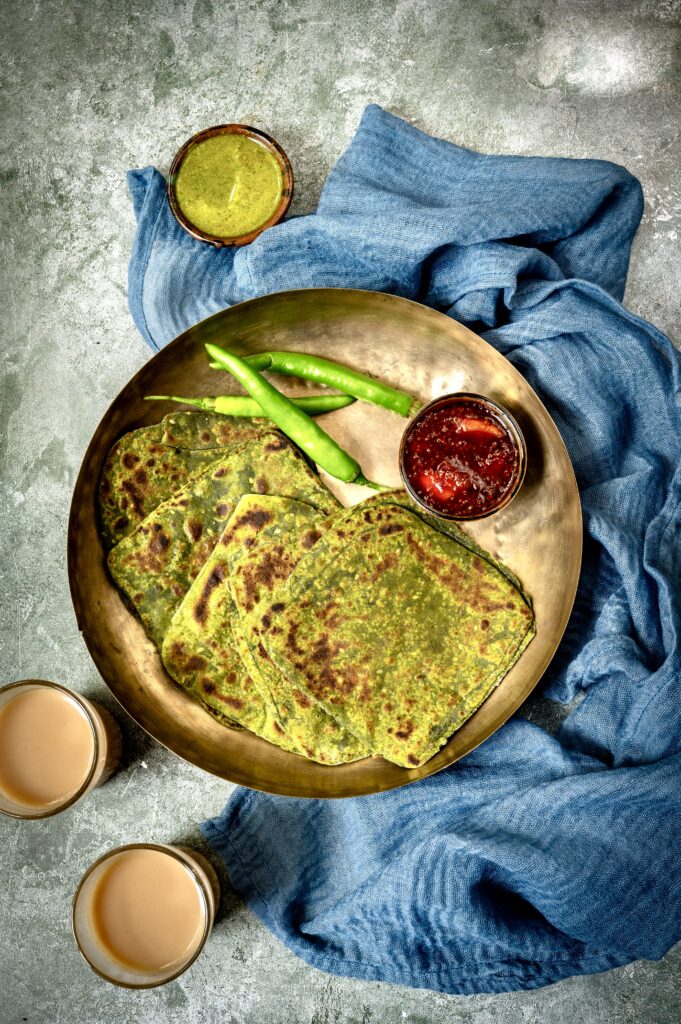
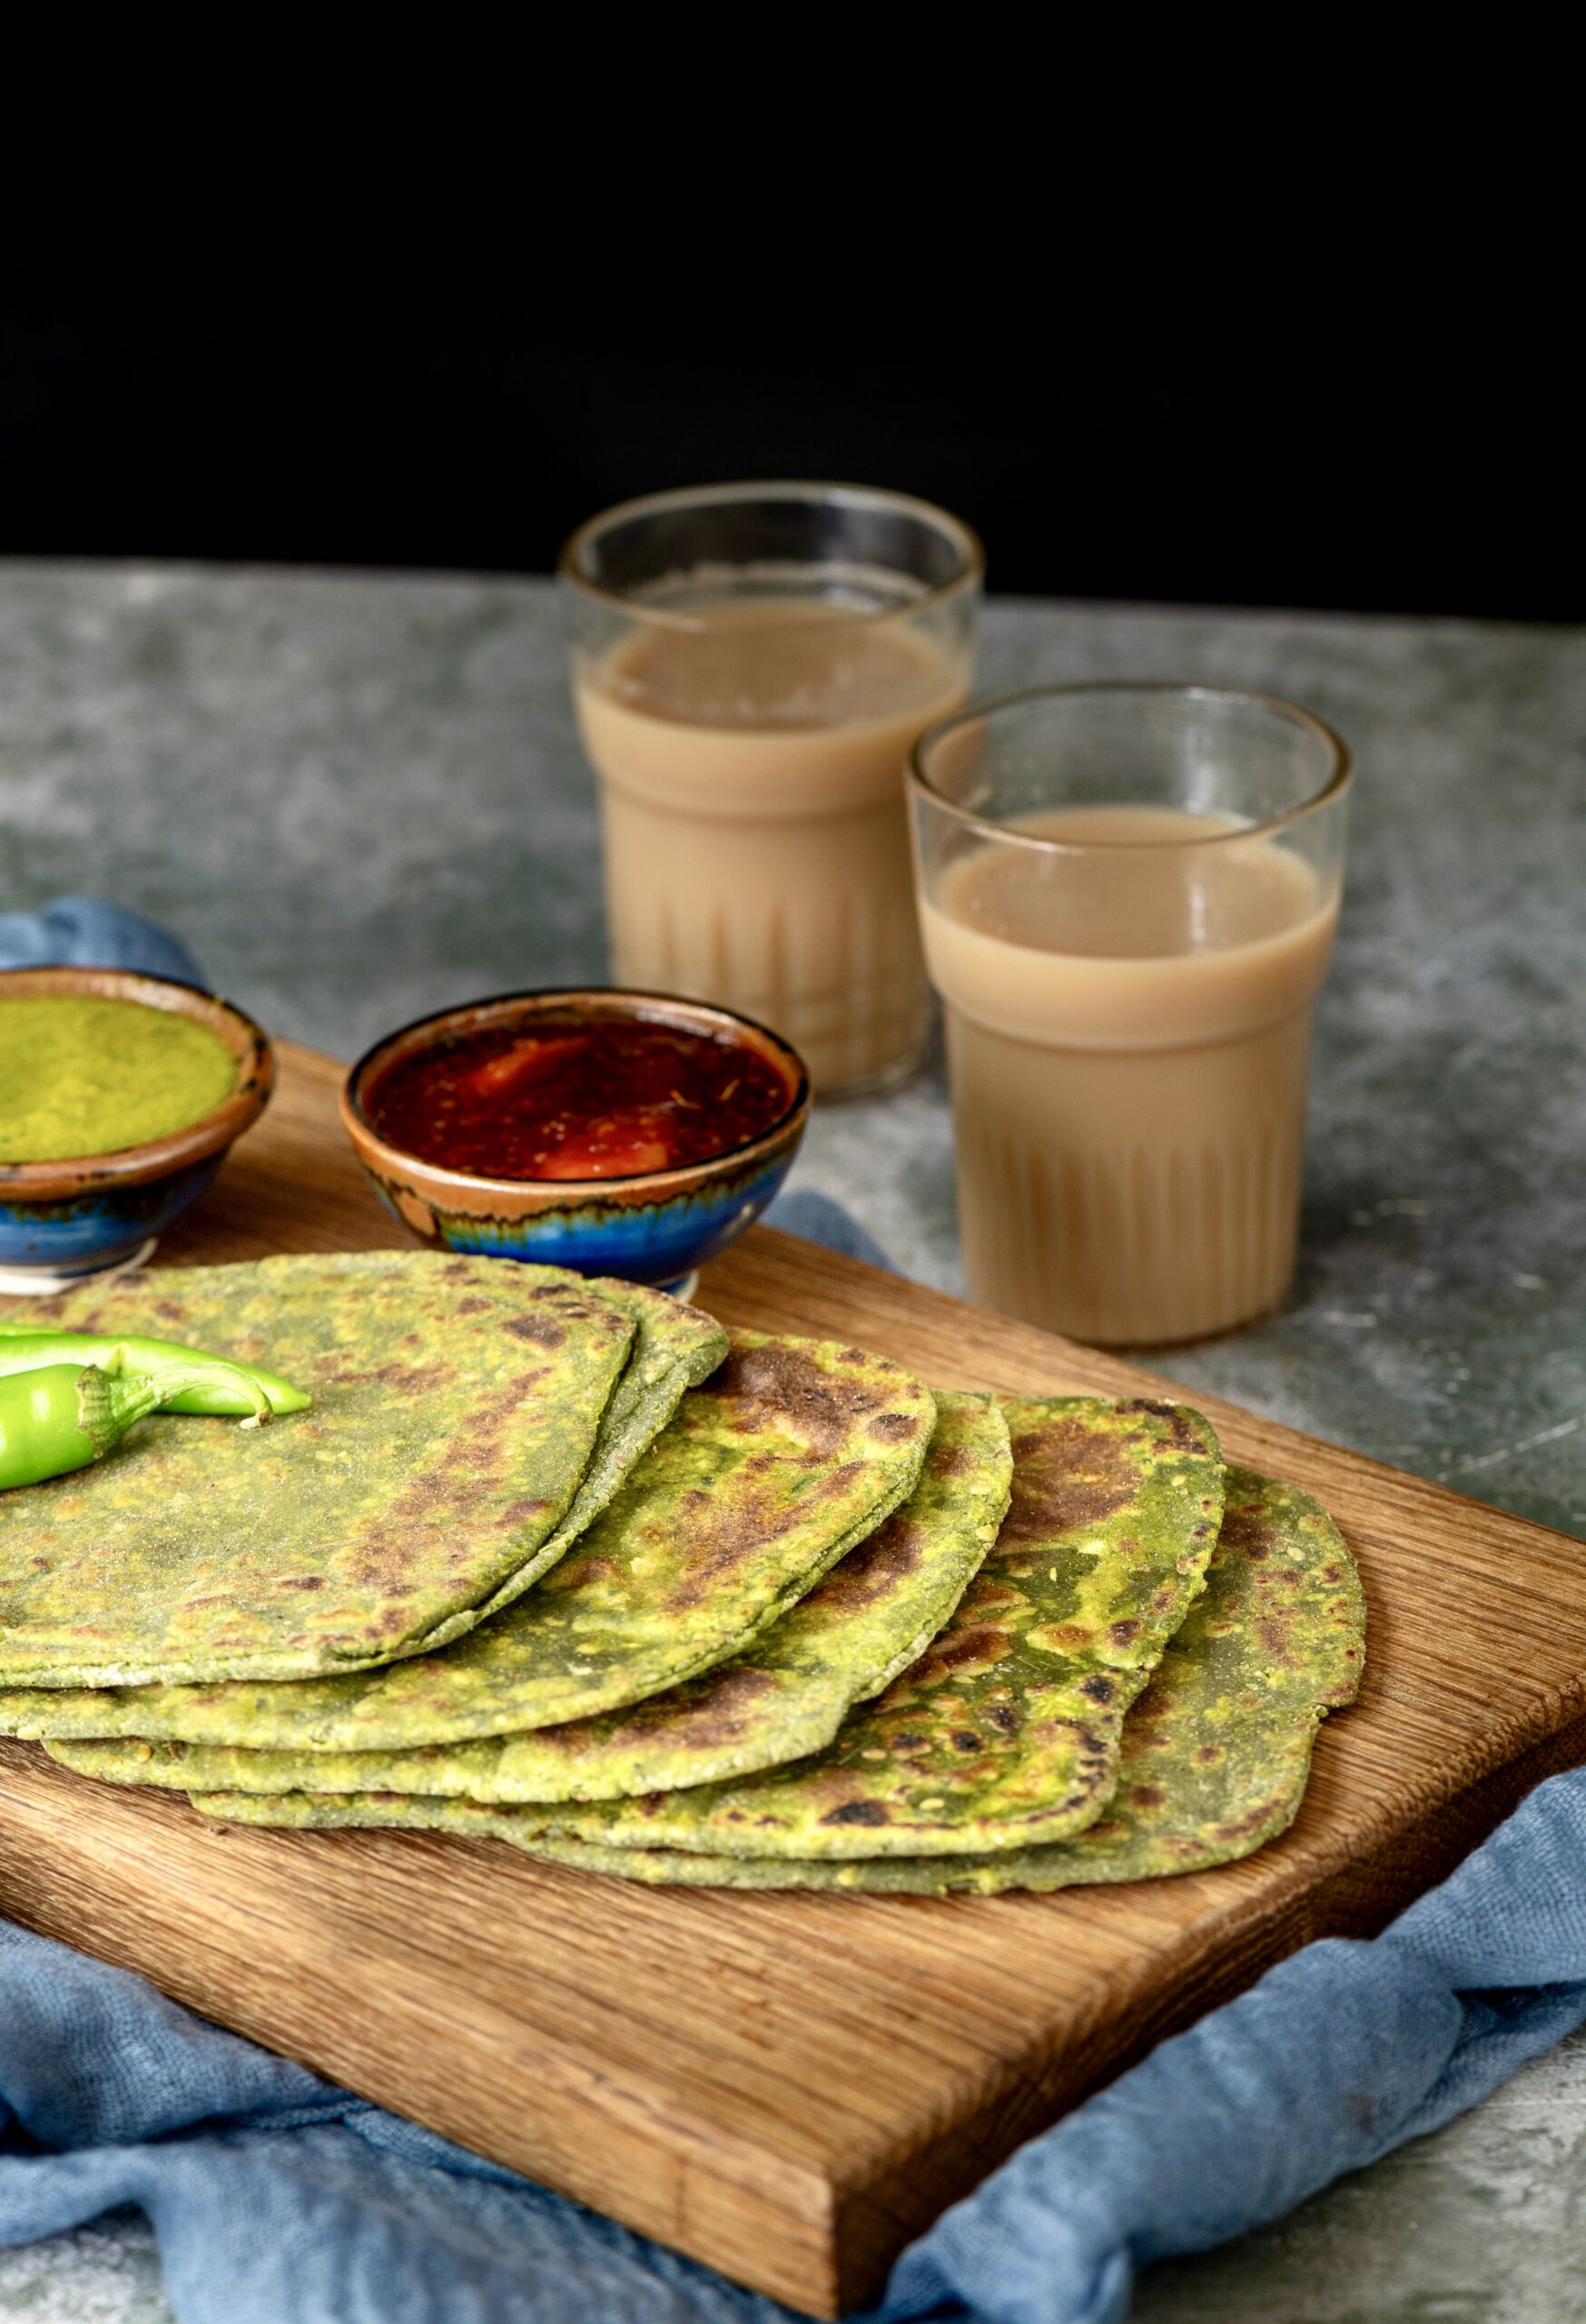
In my last post, I shared a recipe for a delicious stuffed paratha using radish, something I first began enjoying on my trips to Delhi. Today, I share another paratha, but this one is made differently. This lovely vegan palak paratha (using spinach) is a healthy upgrade on your regular parathas, and is perfect for those who often eat flatbreads at home.

The spinach is blended into the dough directly, which gives this paratha a lovely green colour. This also means that it is an excellent way to get people to eat their greens – not just school-going children, but even young adults or anyone who is picky about them, really. I imagine that the very first palak paratha must have been put together by an inventive mother who was trying to trick her kids into getting more nutrition. So this recipe is dedicated to everyone who is on a quest to serve healthy food to their children. Another thing that helps is to make the parathas in an unusual shape, to add a touch of fun.
You would think that I would have lots of childhood memories of palak paratha myself, but I don’t, and the reason is that my mother didn’t resort to this particular trick. Two or times a week, some kind of leafy vegetable would be spooned onto our plates, and we just had to eat it. That was that. Growing up in South India, this meant that a large selection of seasonal greens was a part of our diets. I may have made a fuss about it as a child, but I am grateful for it now. As I got older, I began to genuinely enjoy the different varieties of local spinach, and I understood just how much our bodies love the chlorophyll too. If you’d like to explore a few dishes that utilise South Indian greens, you could also take a look at my recipes for purslane dal and araikeerai vadai.

Speaking of stuff that’s good for you, I like to make these palak parathas with ghee, which has begun to shake off its bad reputation and is now being embraced everywhere as a superfood. That’s right, our humble ghee that we health-conscious Indians shunned is back with a bang, and is being acknowledged as being not just tasty but also nourishing. However, I have provided the recipe below with oil so that it remains vegan. Substitute accordingly, if you prefer.
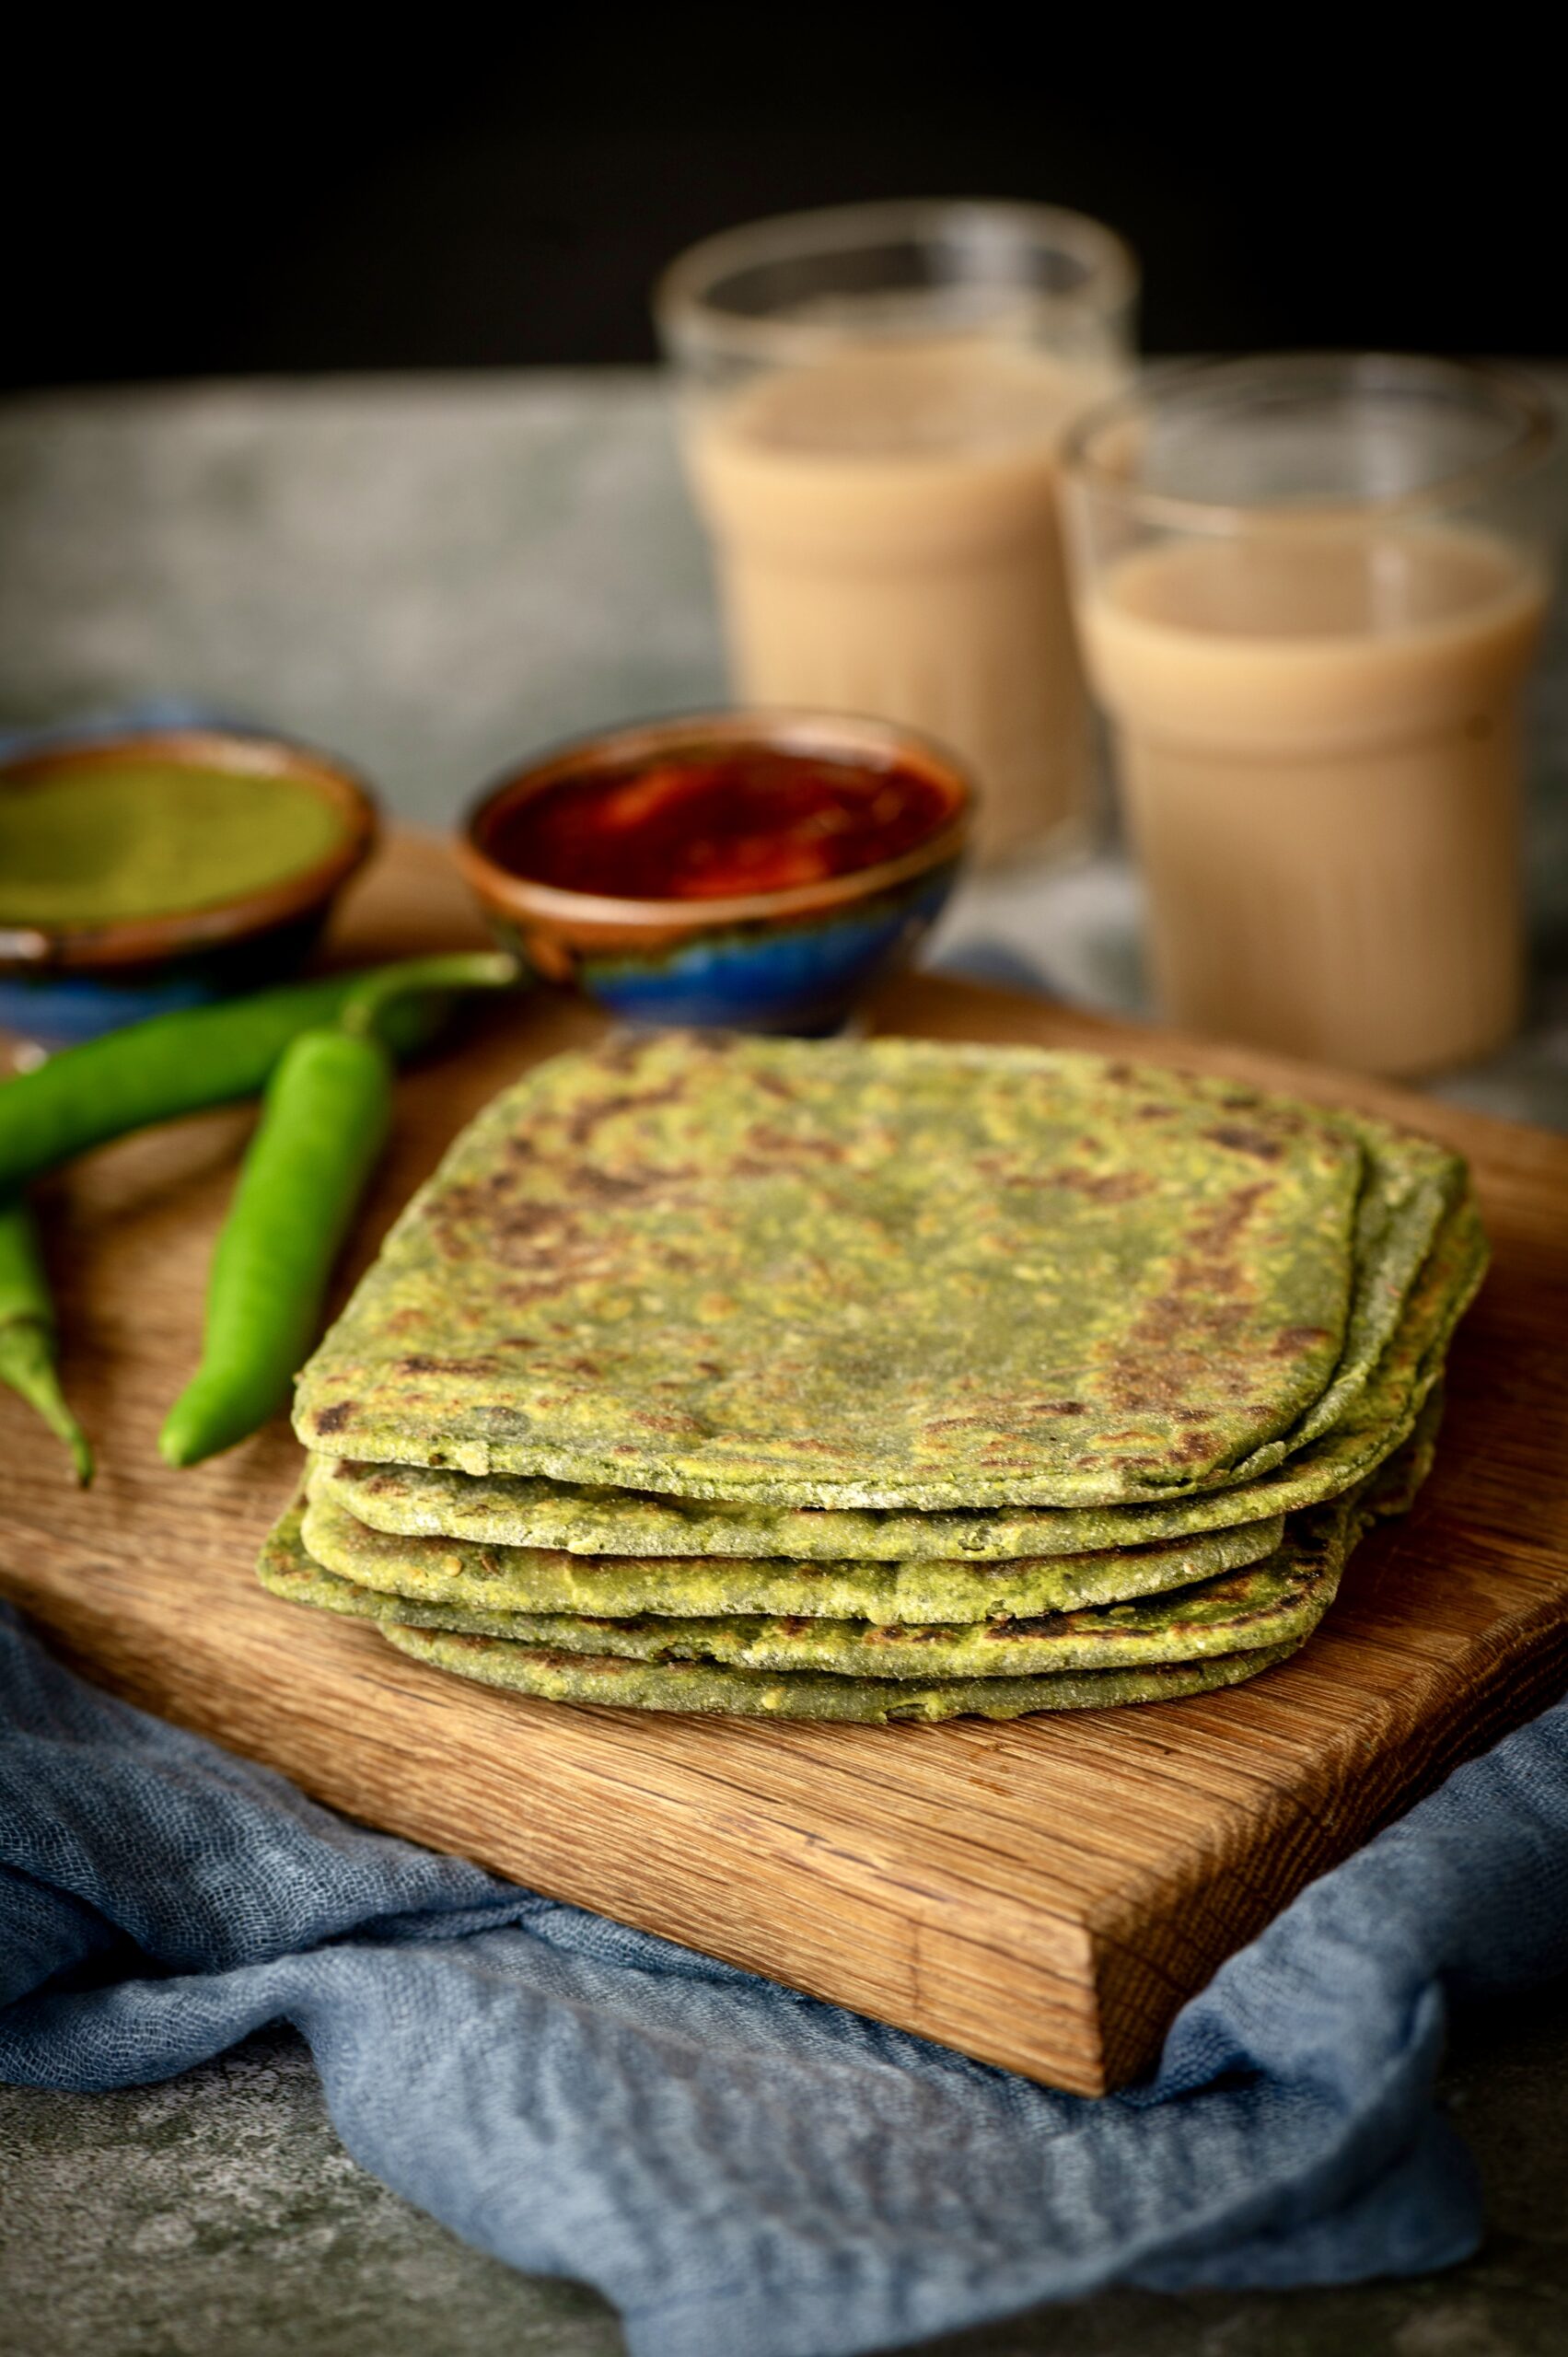
Visually appealing, full of goodness and so very delicious – what more could you ask of this dish?

I feel that this palak paratha is best eaten hot off the griddle, and it goes very well with a dry roast paneer (which I will share the recipe for soon). A dal will also pair nicely. Sometimes I have this with a small bowl of tomato soup and a few scoops of that paneer stir-fry, and everything that’s on my table looks so beautiful. The reds, the greens and the aroma of them all together make for a gorgeous meal, in every way.
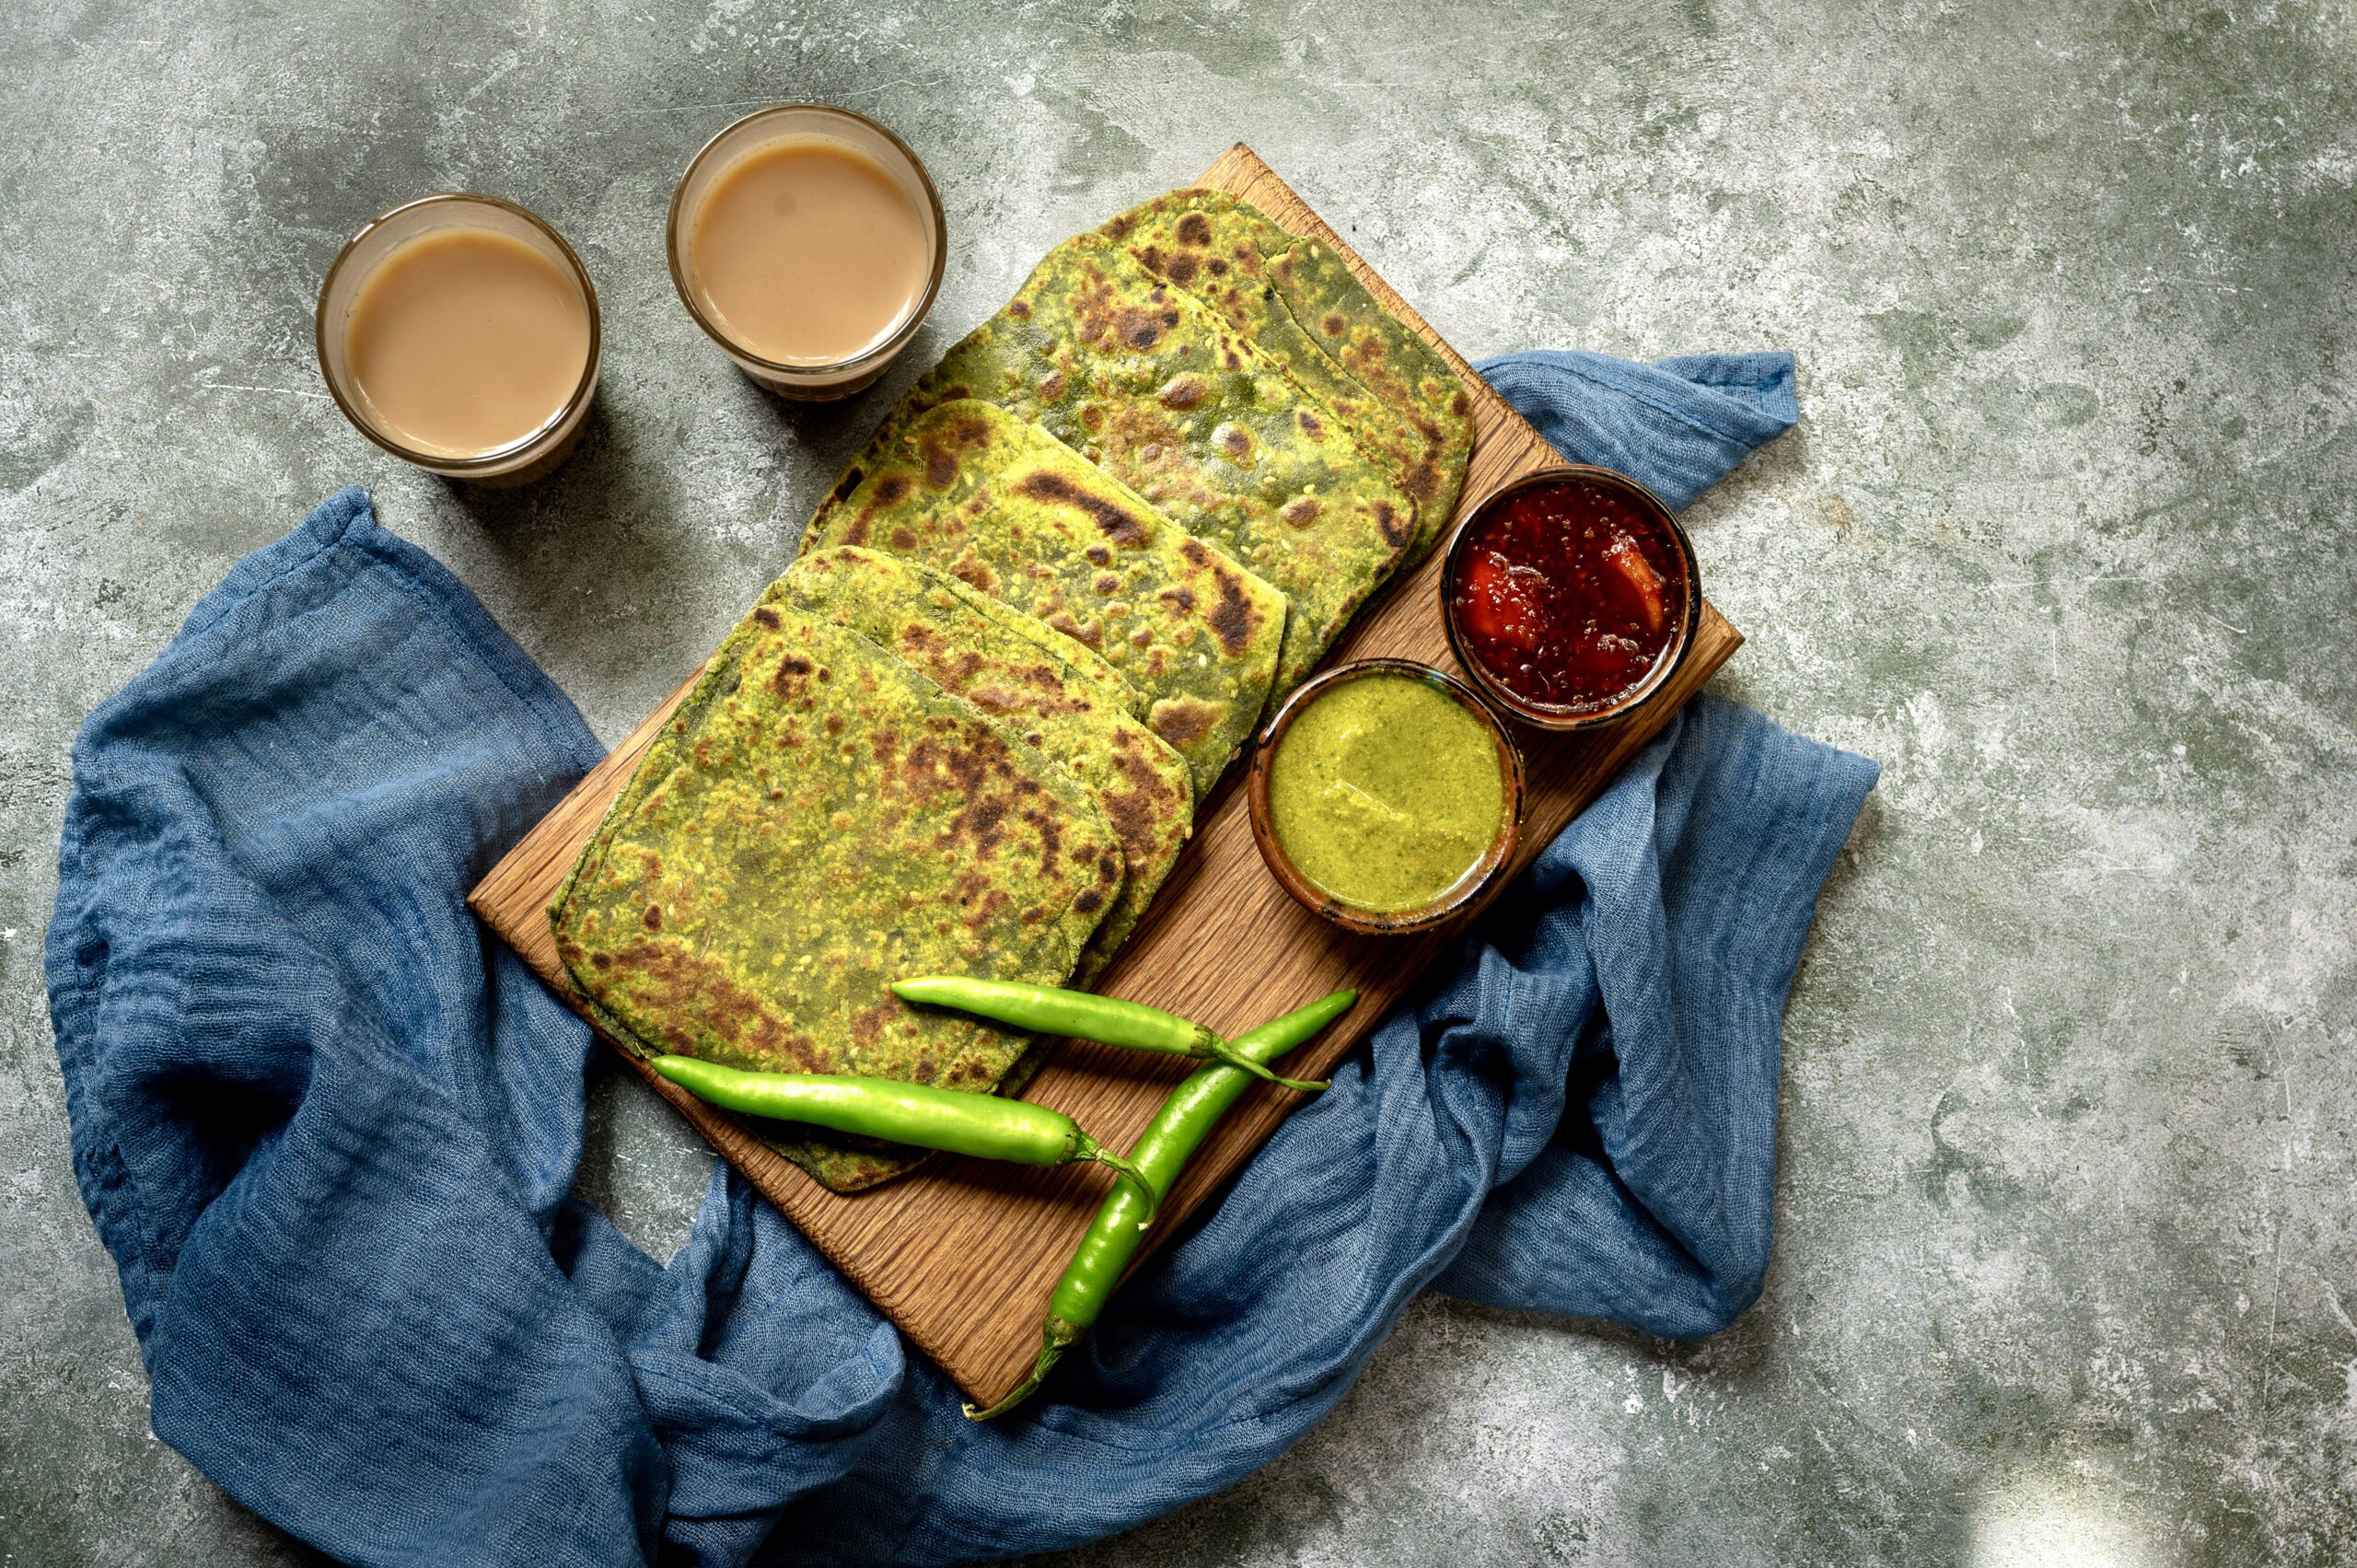
Palak Paratha

(Yield: 8 pieces)

1 bunch palak (spinach)
1½ cups whole wheat flour
1 teaspoon cumin seeds
1 teaspoon sesame seeds
Salt to taste
A pinch of turmeric
A handful of coriander leaves
1 tablespoon green chili ginger paste
1 teaspoon aamchur (raw mango) powder
2 teaspoons oil
Oil for cooking

Clean the spinach thoroughly. Put the spinach in hot water for a minute. Squeeze, remove and immediately place it in cold water. This will help retain the colour of the leaves. Squeeze the water out.

Place the squeezed spinach in a blender jar and add cumin seeds, a pinch of turmeric and coriander leaves. Blend. This will give you a ¾ cup of spinach purée.

In a bowl, add 1½ cups wholewheat flour.  To this add the aamchur powder, salt to taste, chili ginger paste, sesame seeds and 2 teaspoons oil.

Now, add the spinach purée to this mixture. Using your hands, make a smooth, pliable dough with the help of a few drops of oil. Cover and set aside for ½ an hour.

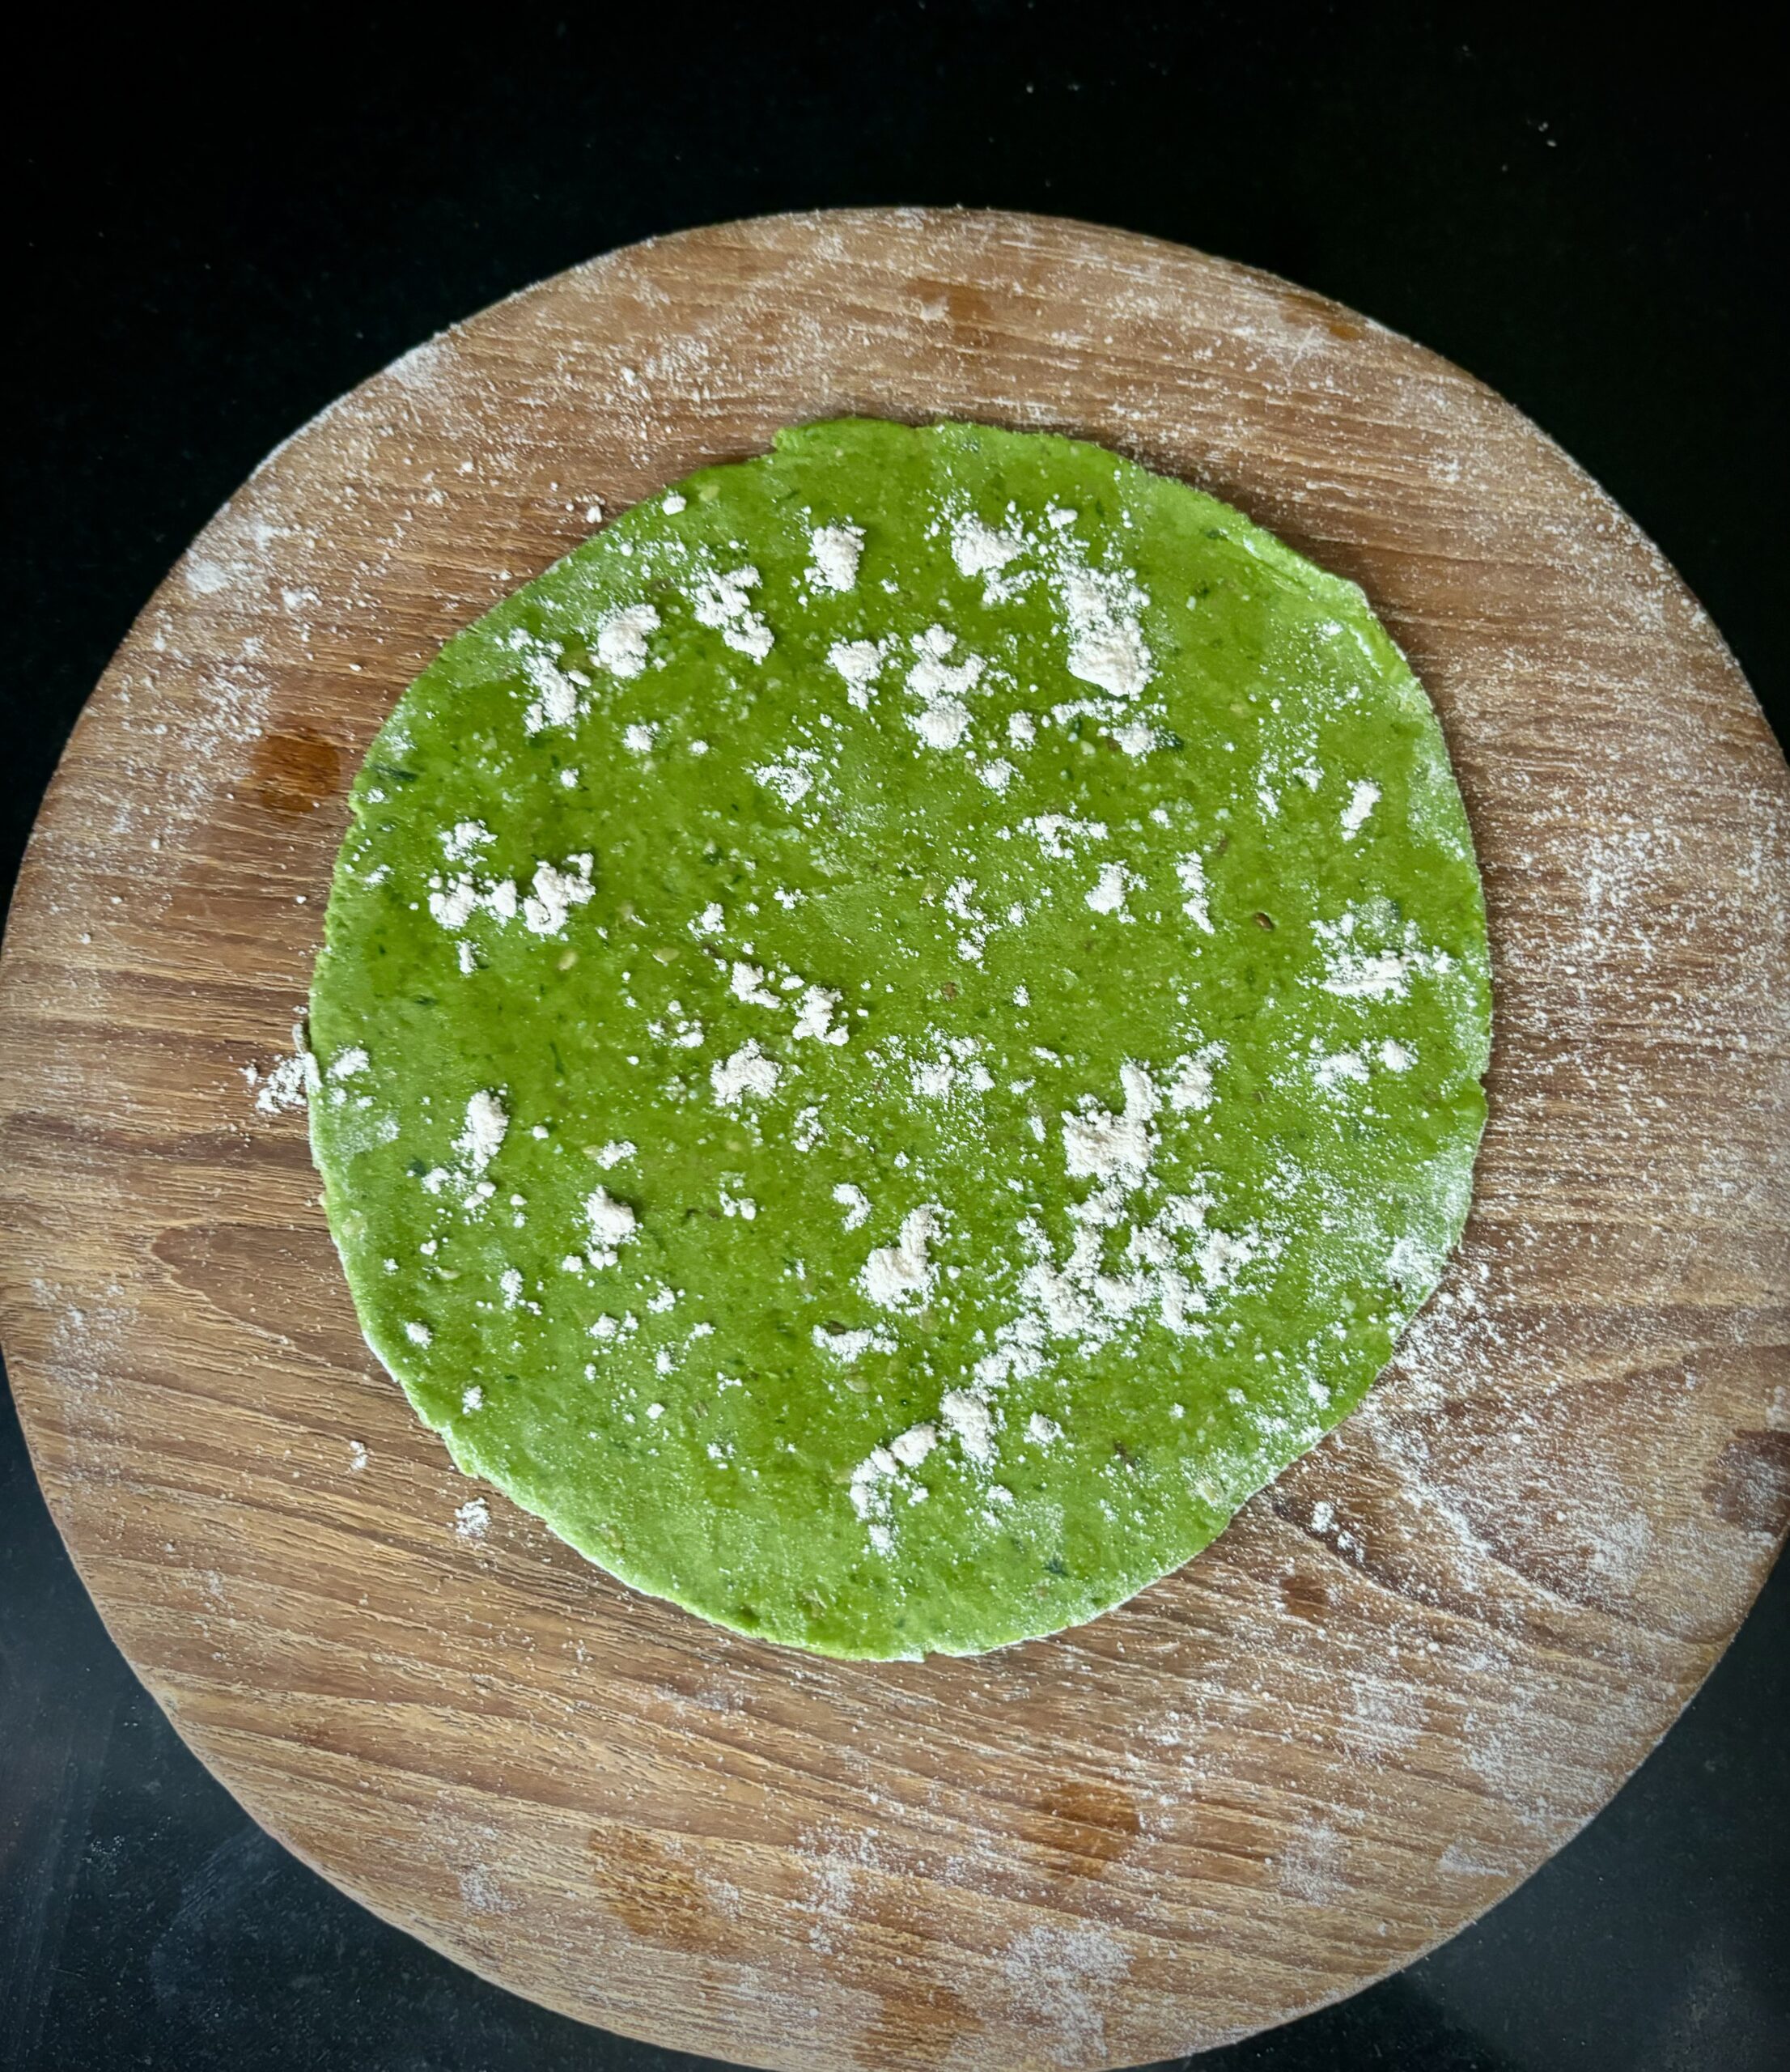
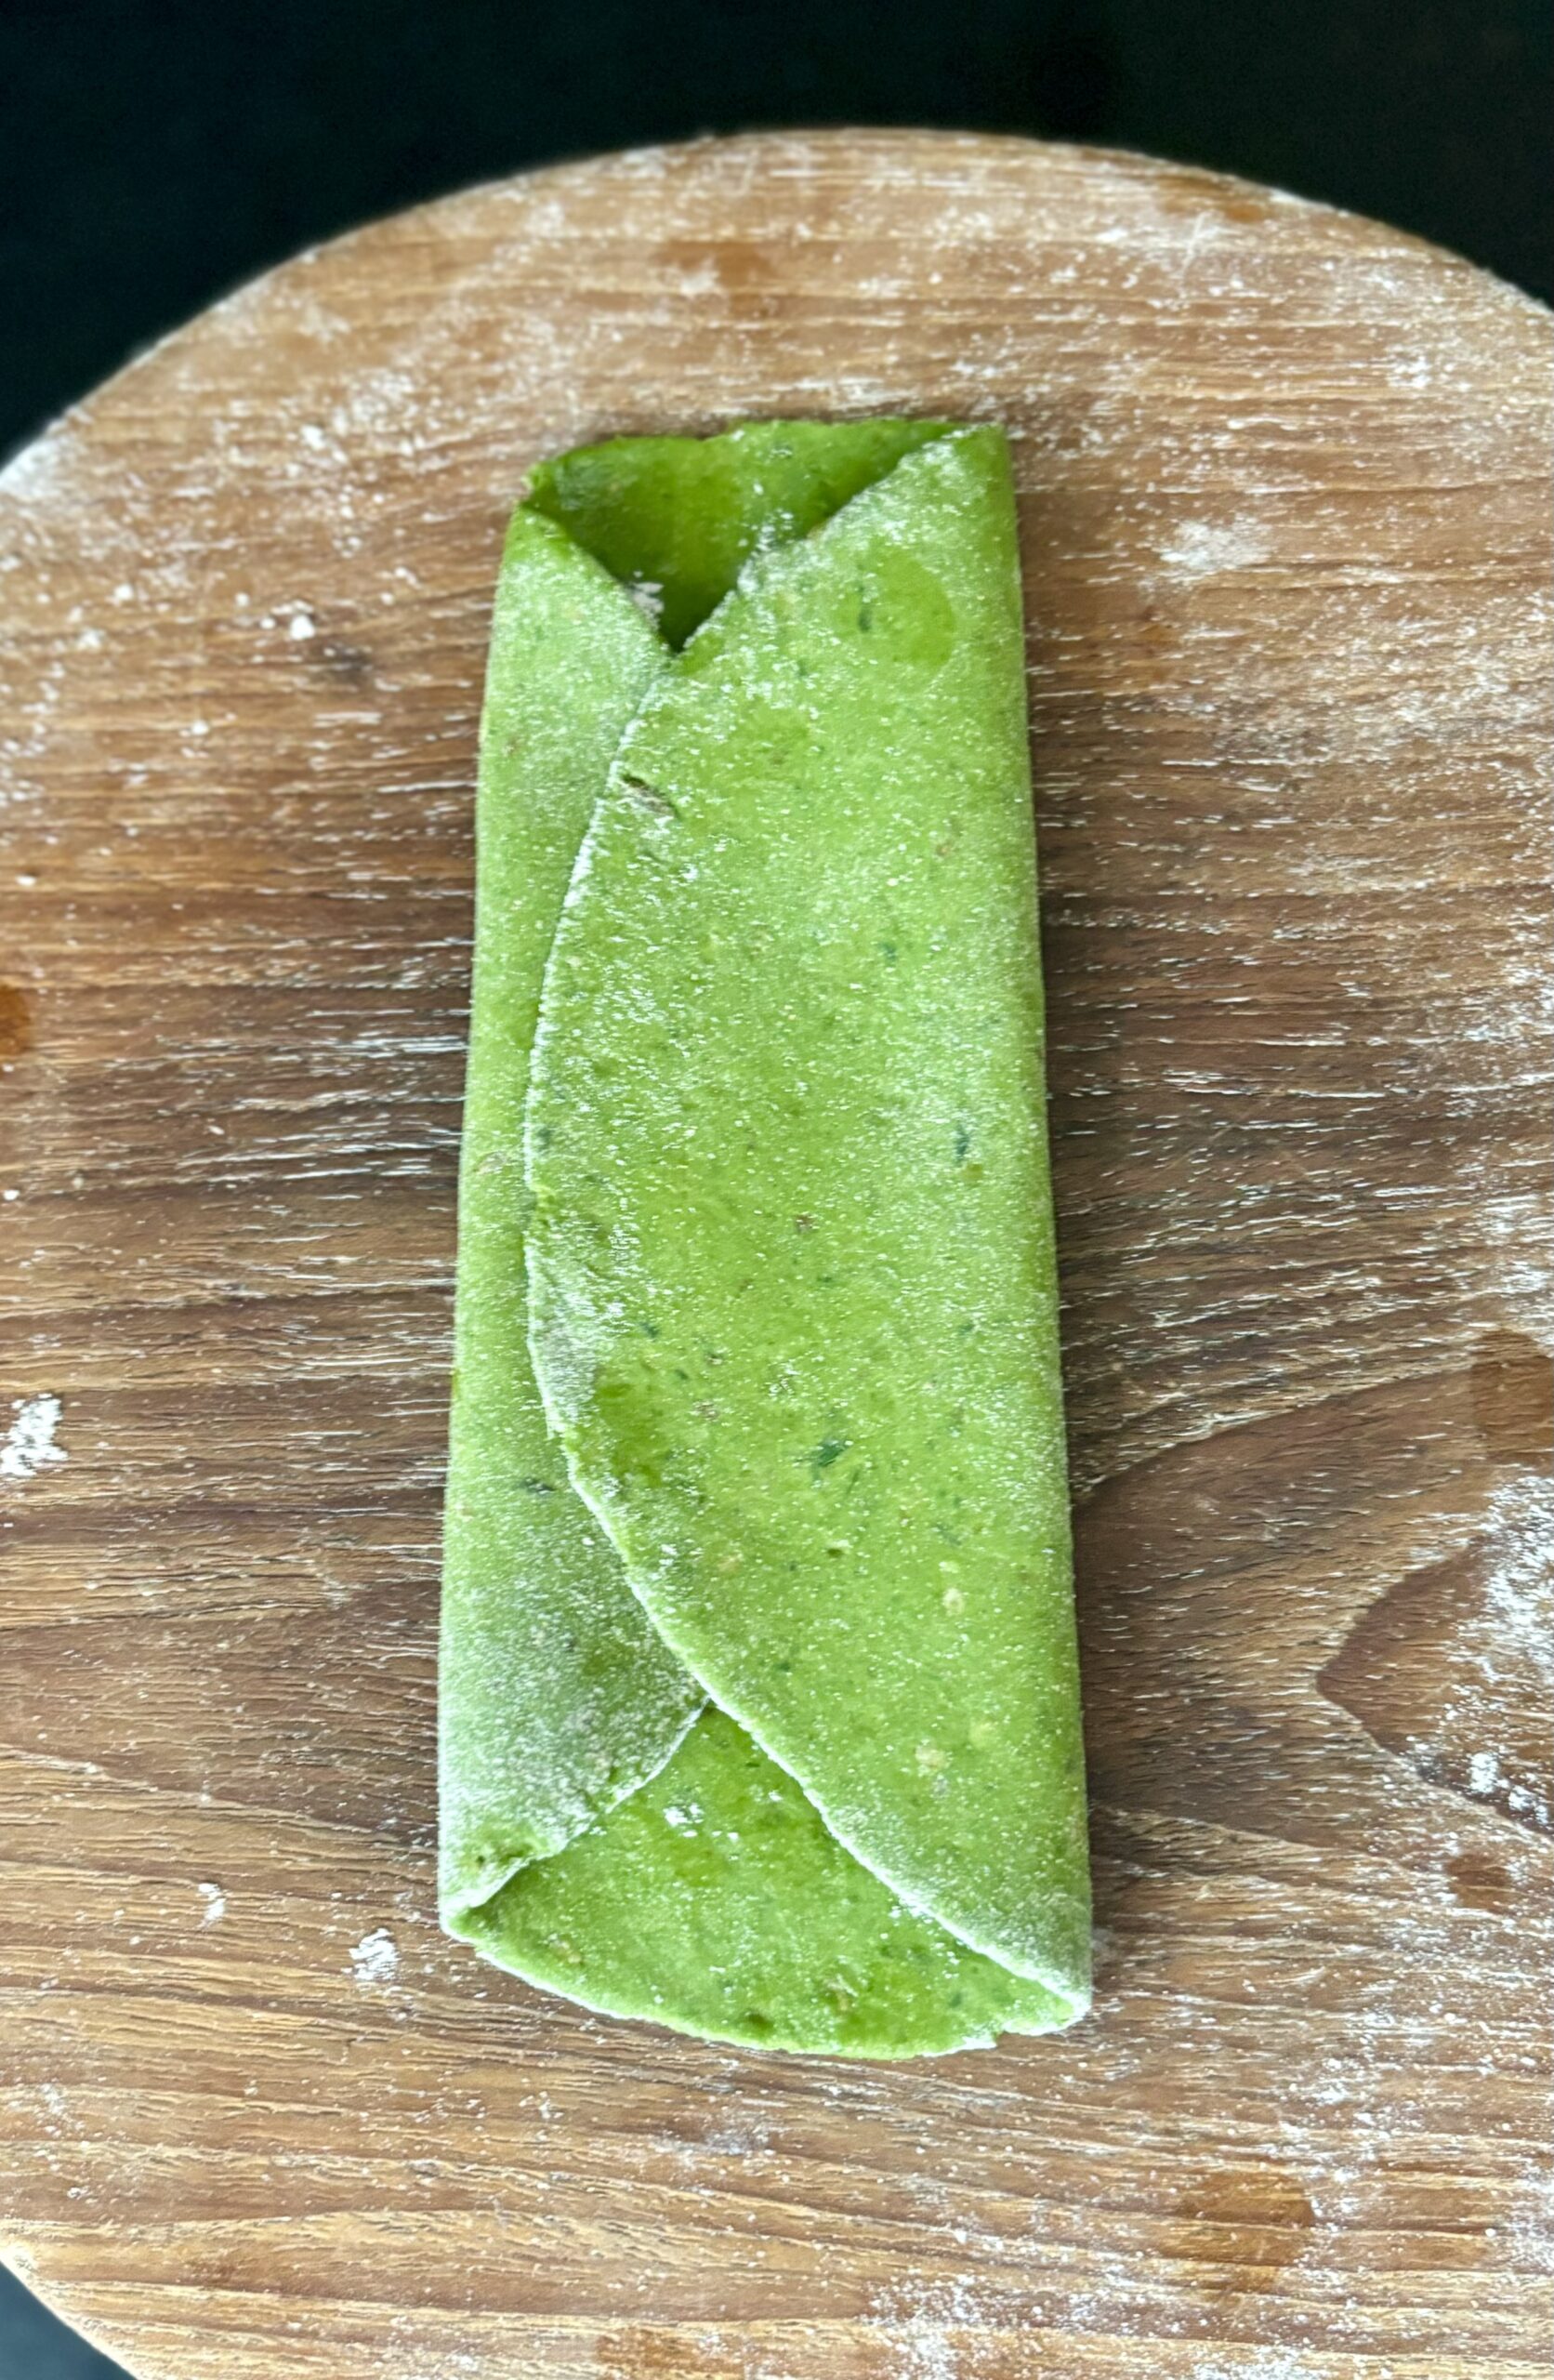
Make balls of the dough. With the help of dry flour, roll these out in any shape you desire. The paratha needs to be a little thicker than the regular rotis to get the most of the spinach flavour. Place on the griddle, and ensure both sides are cooked.

Serve hot with yoghurt or pickle or a vegetable of your choice.

If you’d like to explore more spinach recipes, do try out this spinach and corn bake and this spinach rice. As for parathas, my recent radish paratha and earlier peas paratha recipes may catch your fancy too!
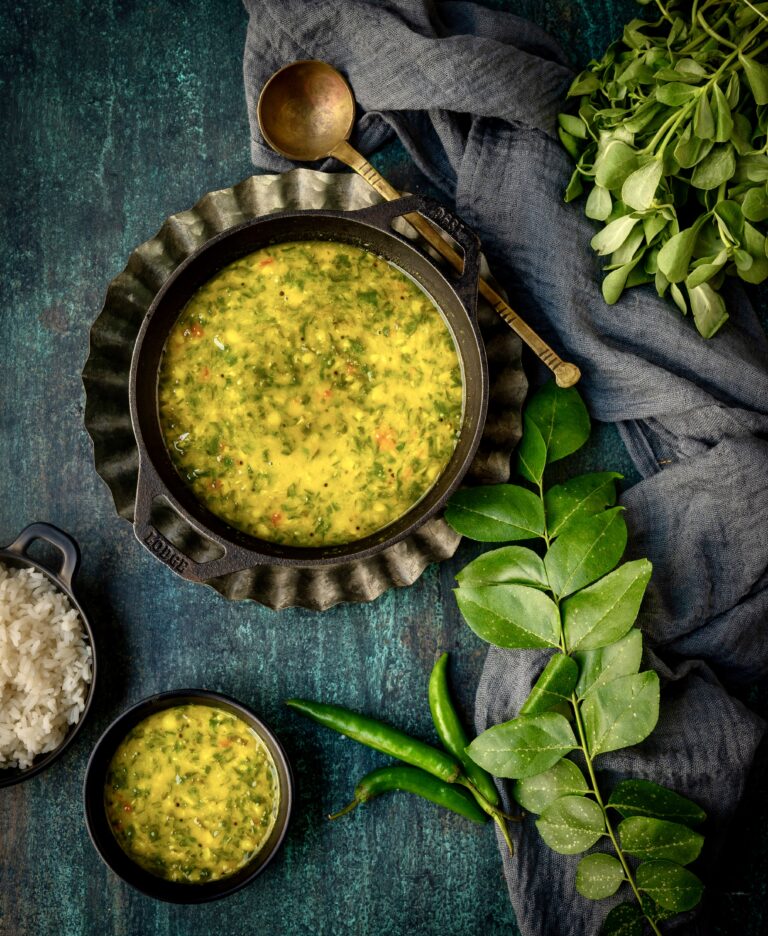
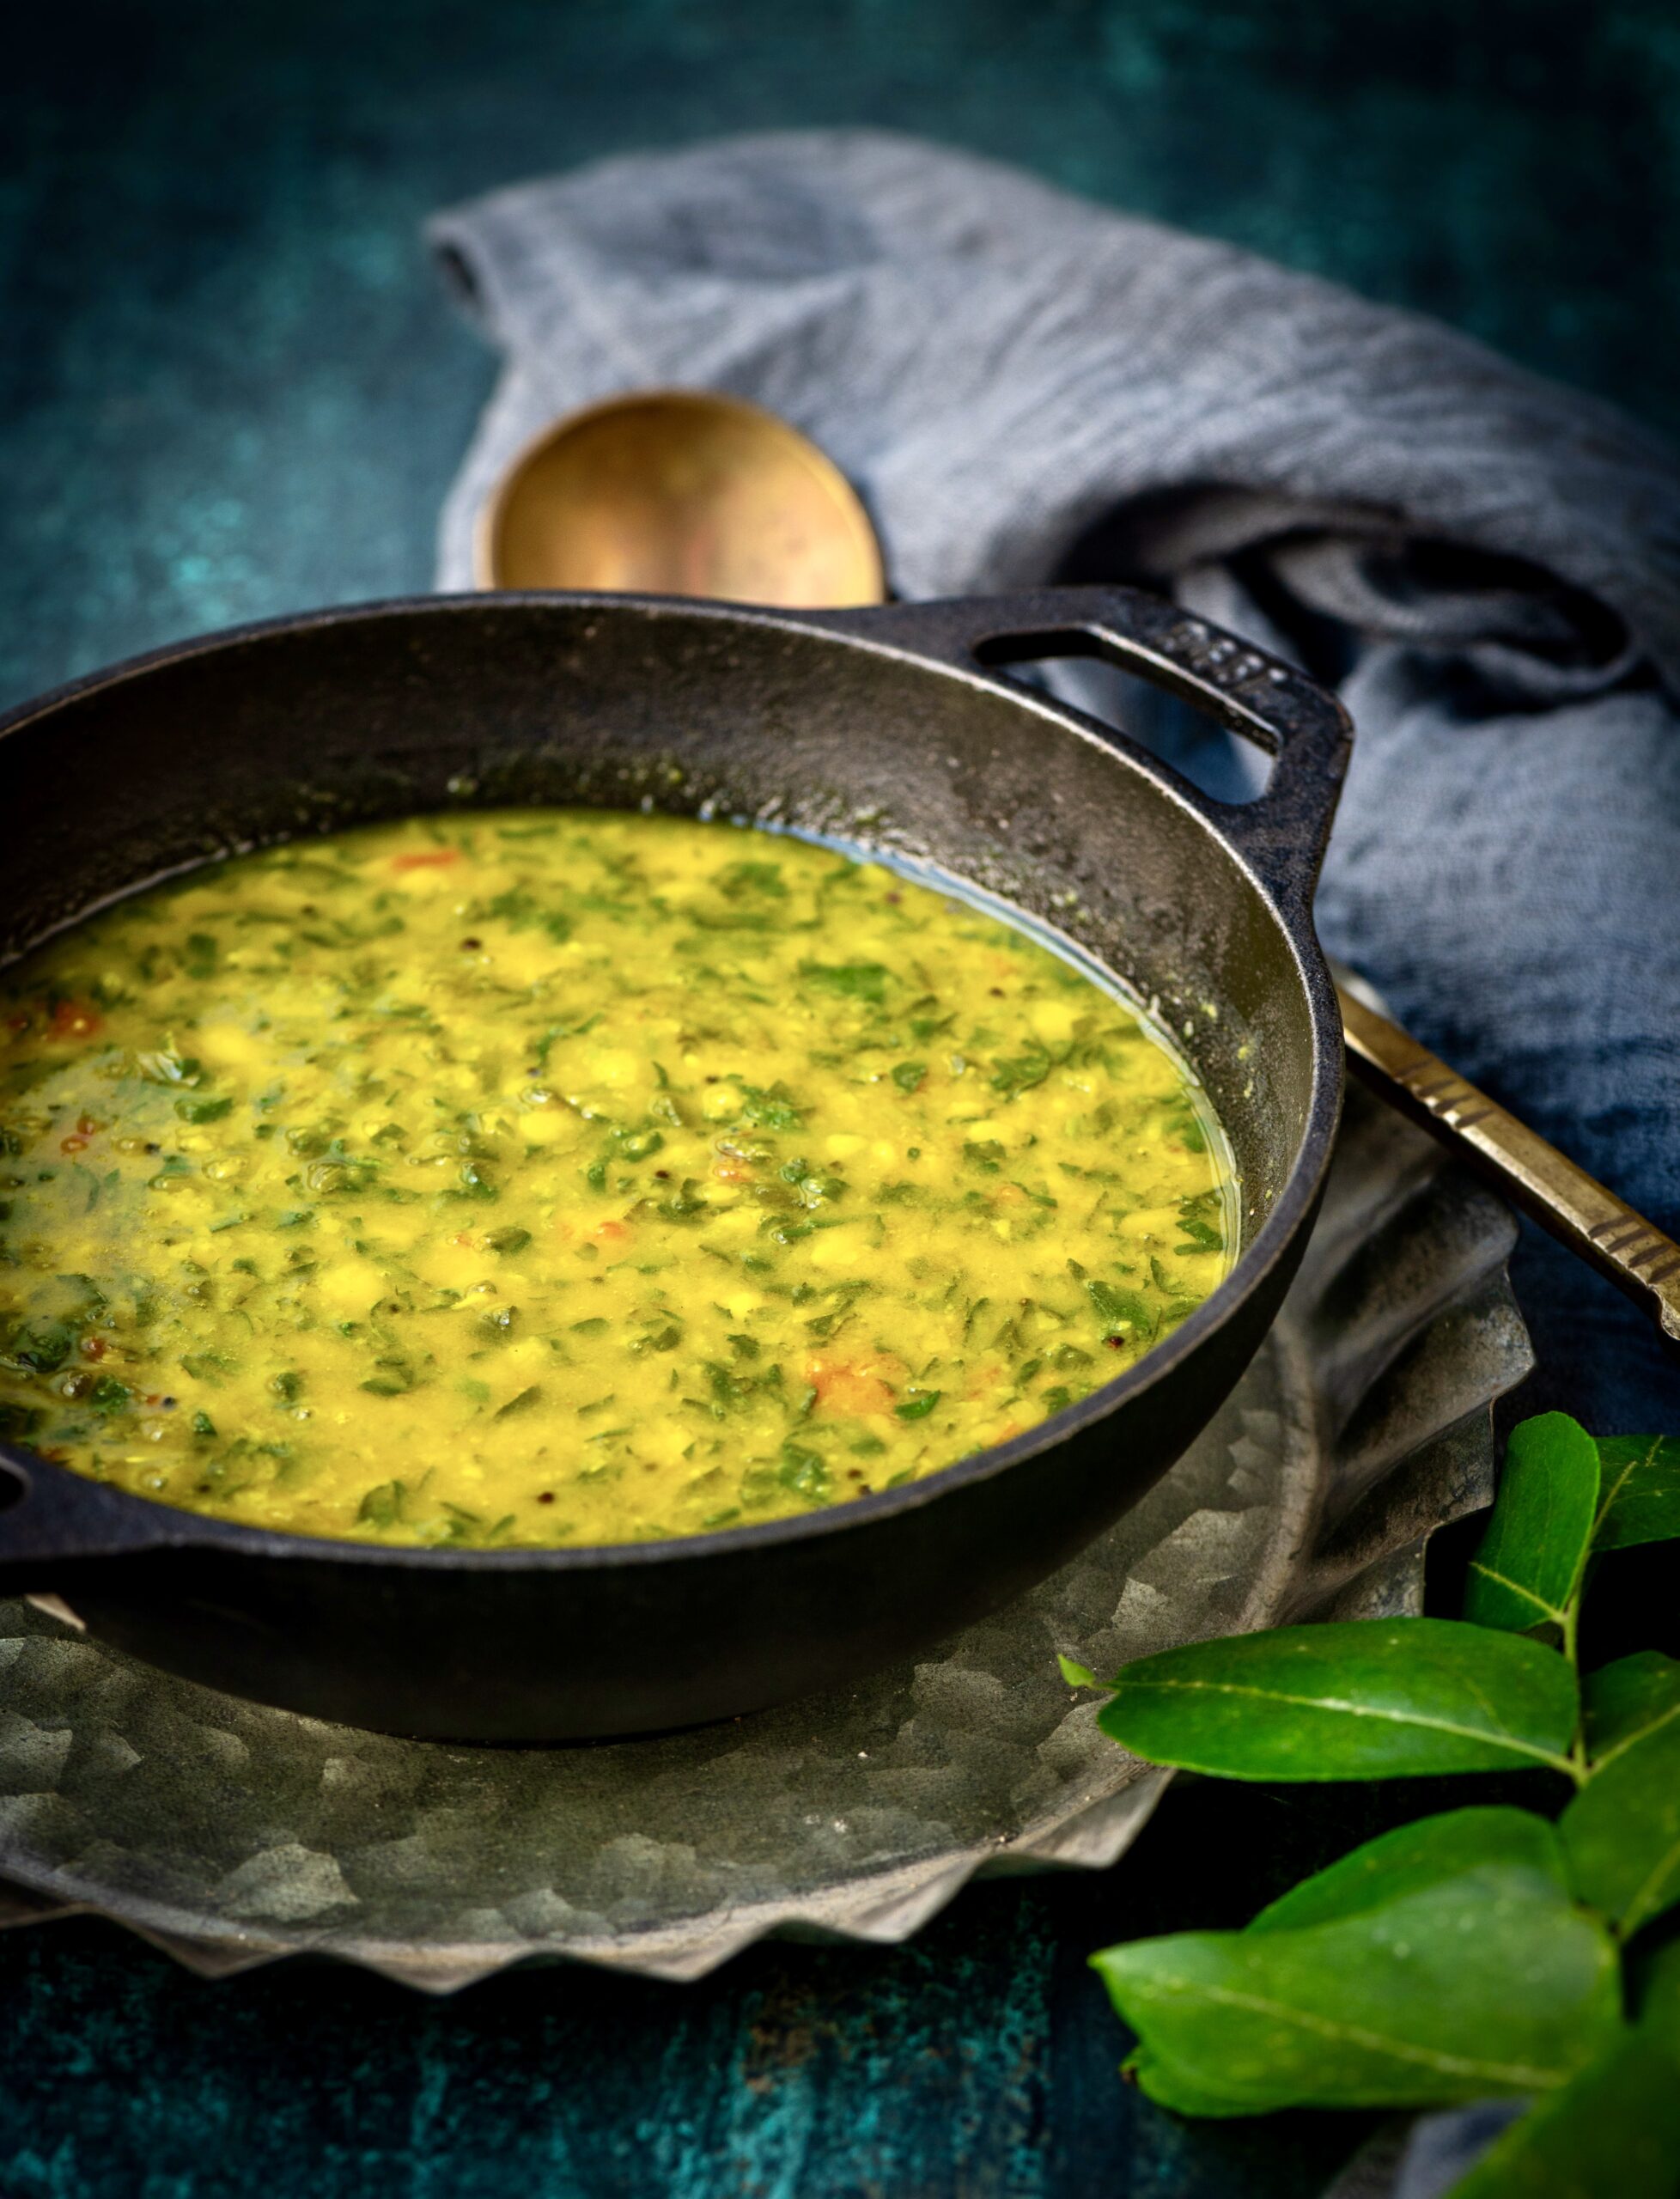
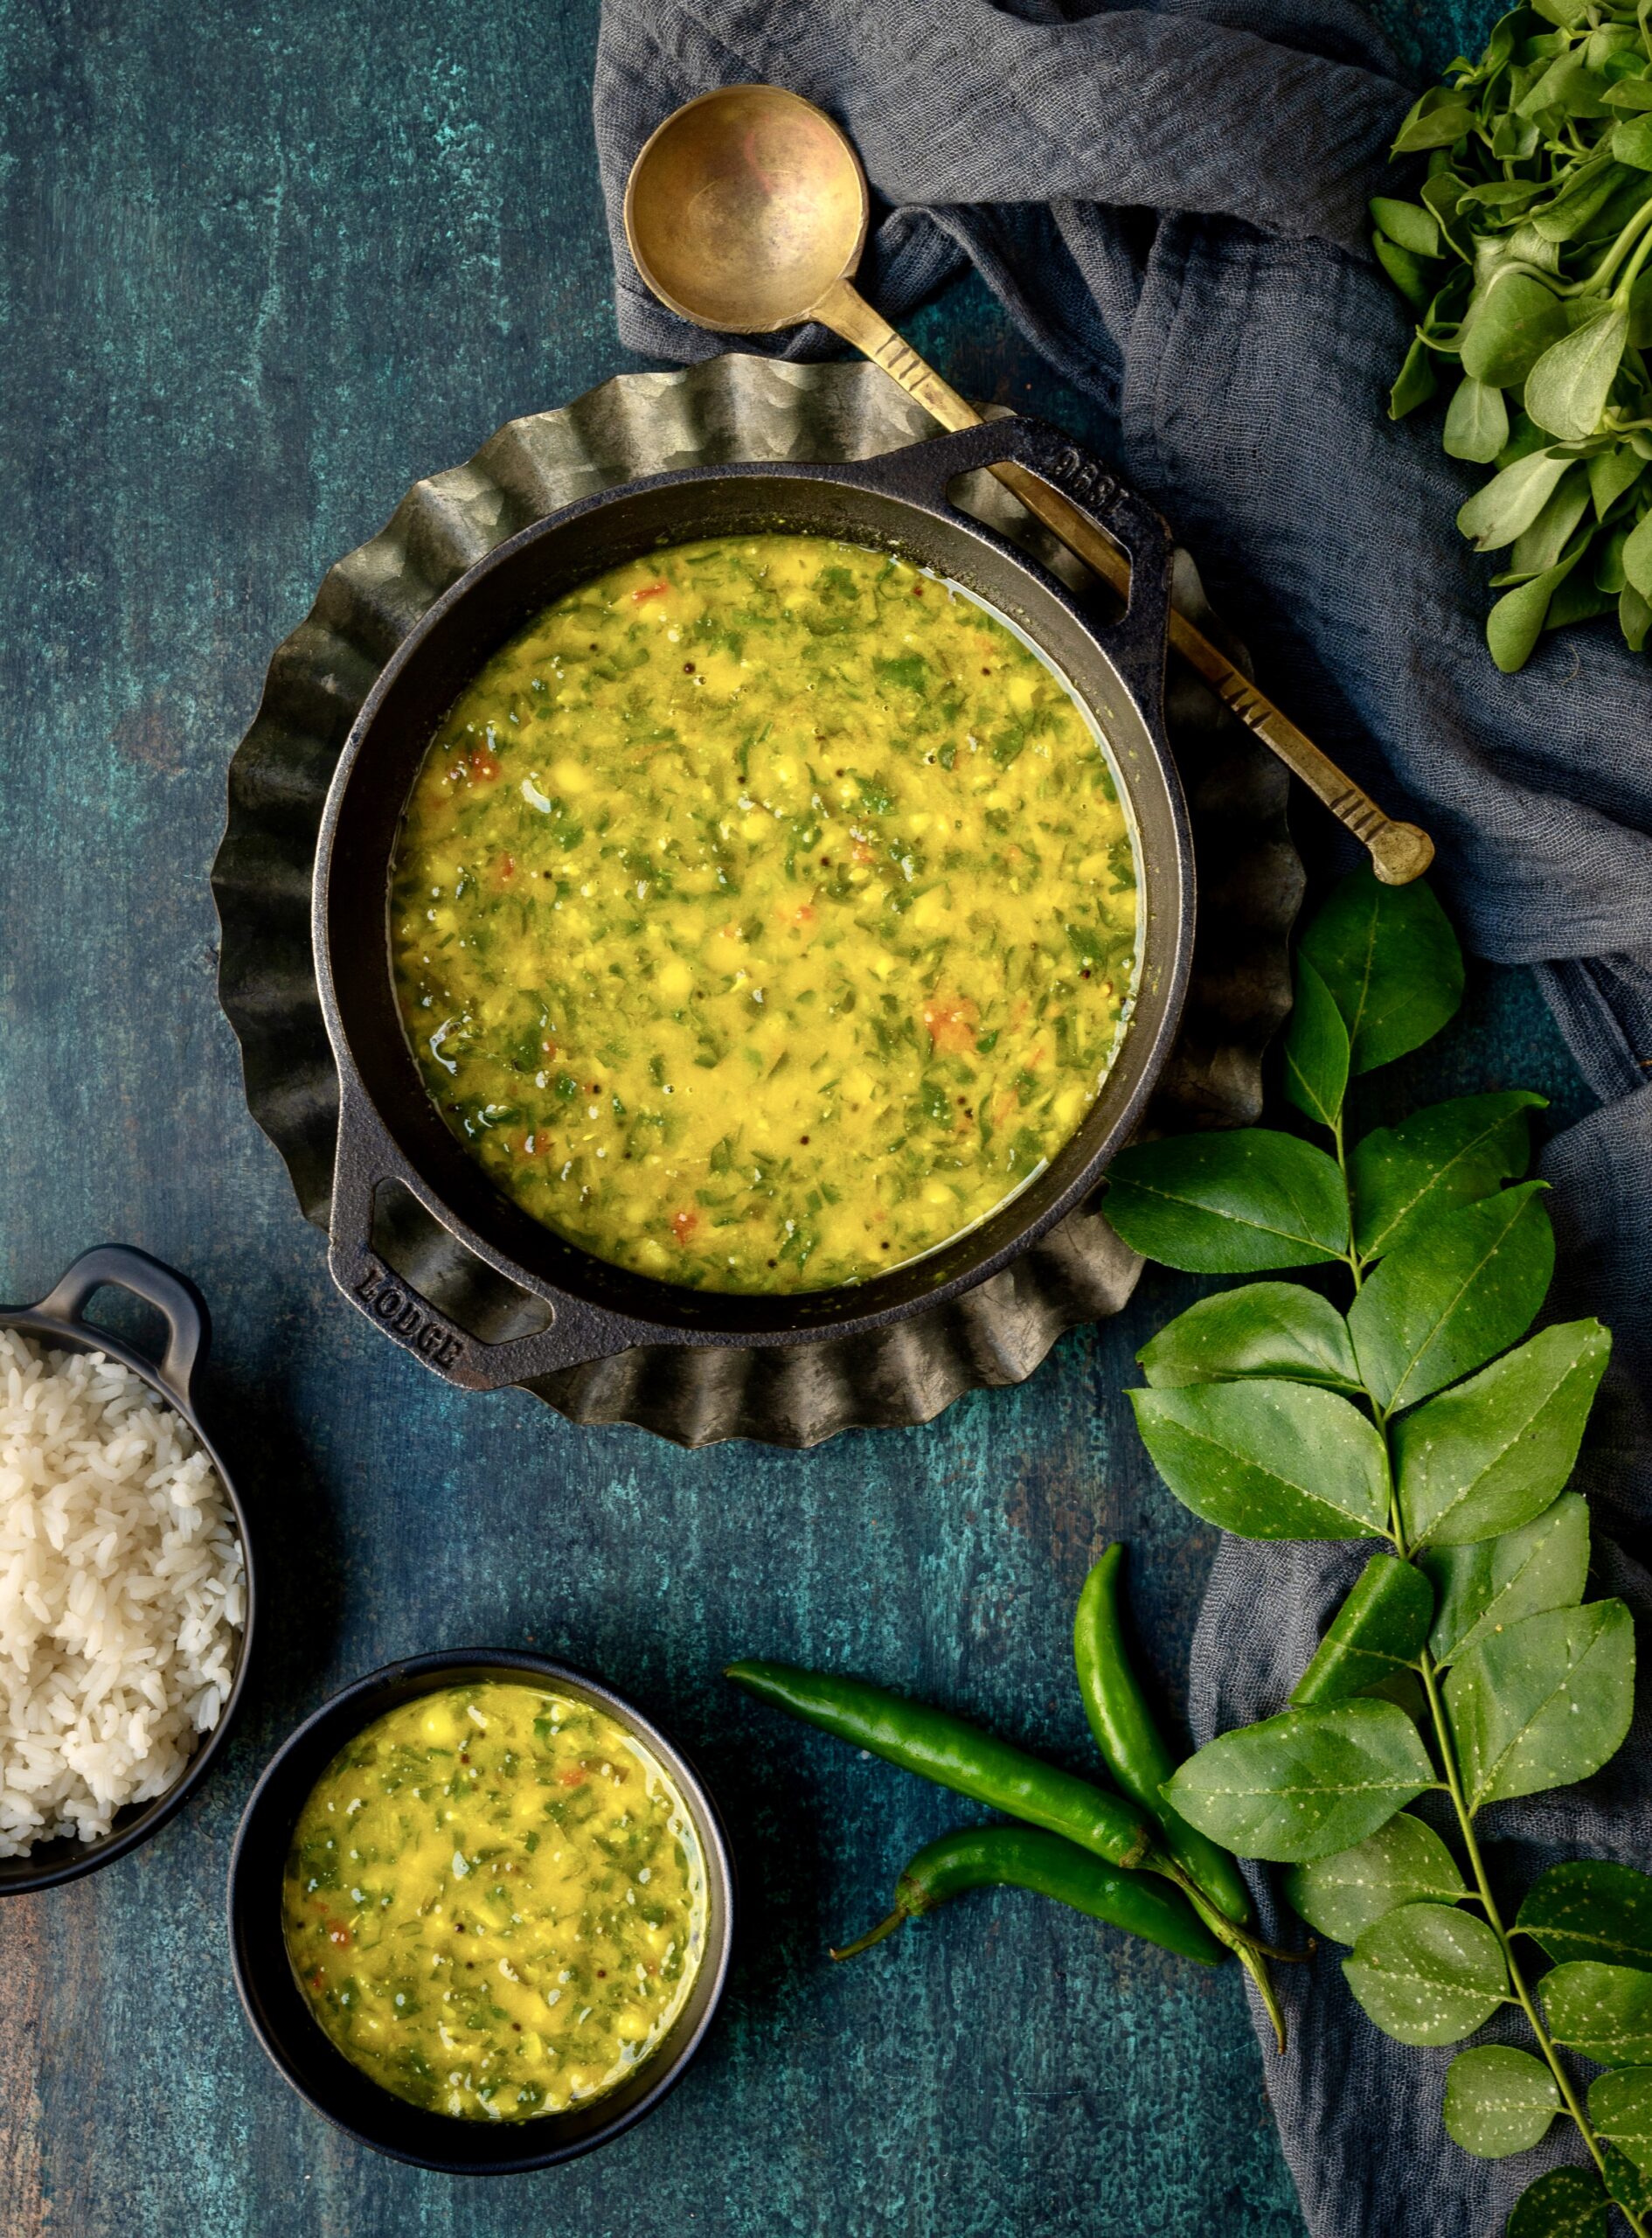
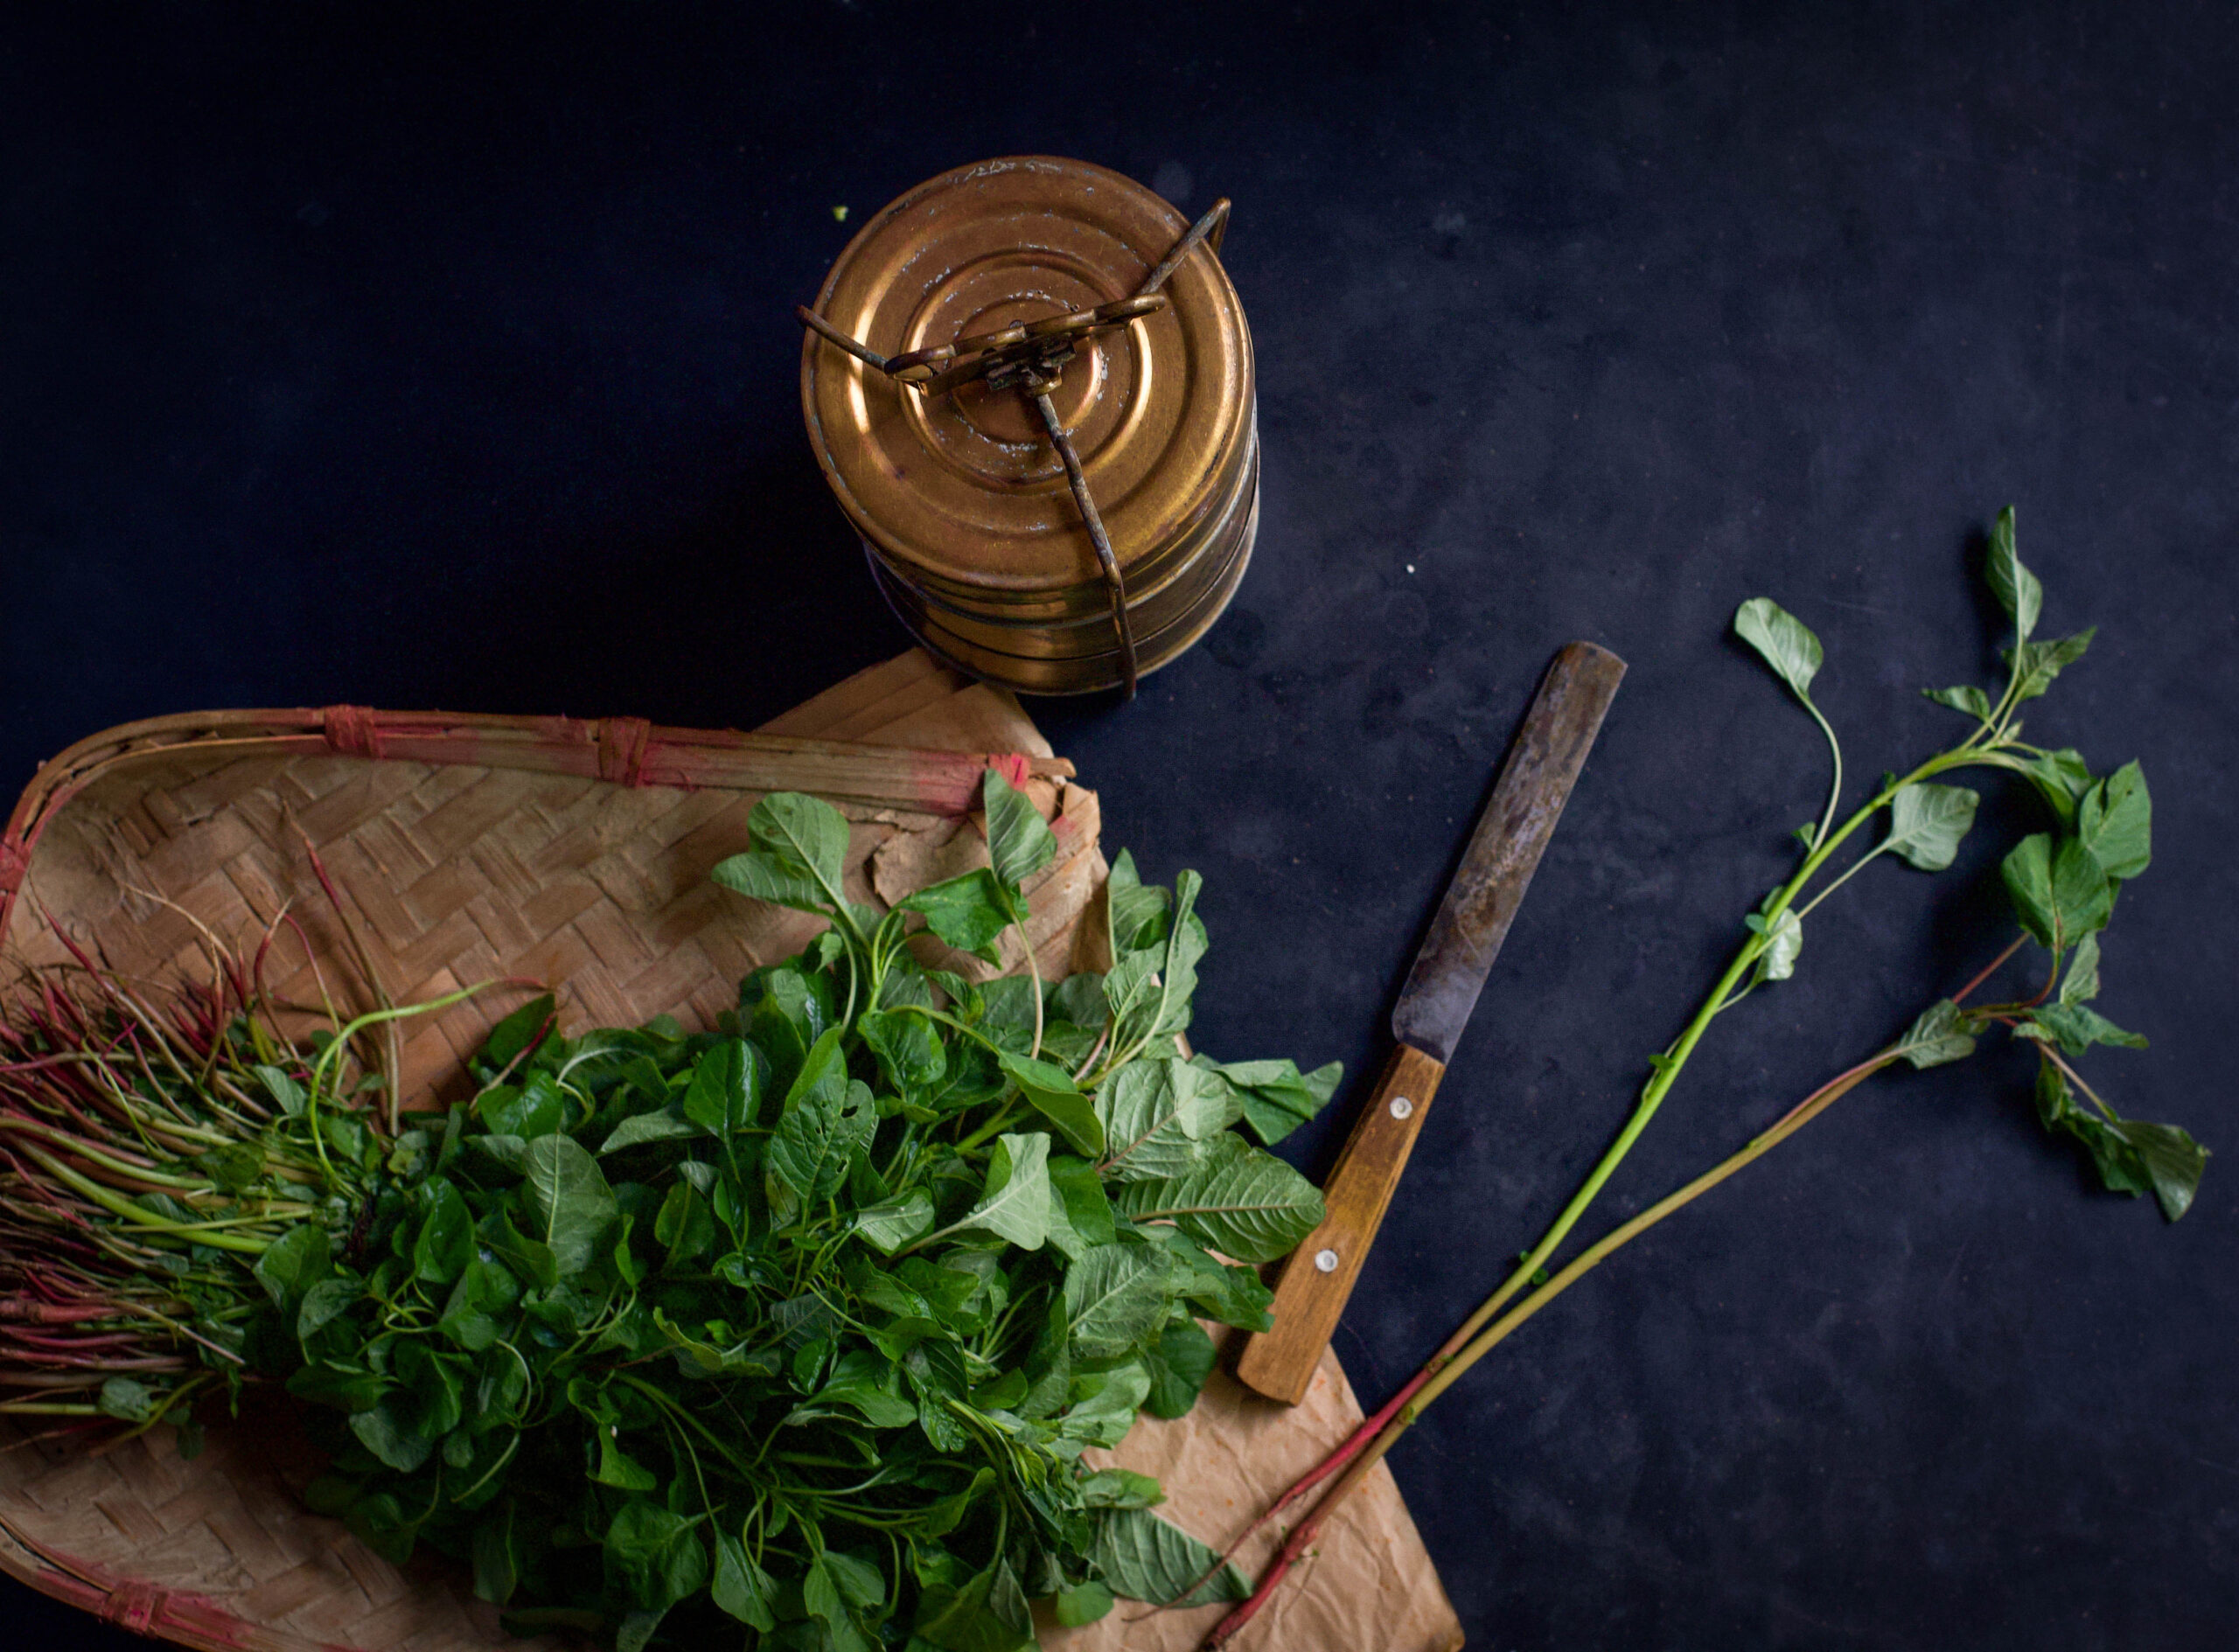
In India, spinach is used in so many ways for so many types of dishes. There are hundreds of varieties of spinach that are grown here, and each is grown and therefore used during a particular season, and usually cooked in a certain way depending on the household or region. I have shared many recipes that use different kinds of spinach here on this blog in the past – from moringa (murungakeerai) in an omelette to amaranthus (araikeerai) in a savoury vadai and palak (Spinacia oleracea, what is known simply as “spinach” in the West) in a corn bake. This is a dal that utilises common purslane, or paruppu keerai, which is abundant in summers. This green grows at this time according to Nature’s wonderful logic: its thick leaves hold water and provide added hydration for us who consume it now.

Purslane is a kind of weed that has a range of health benefits, including reducing the risk of cardiac and digestive ailments. It is rich in antioxidants and minerals. Coupled with lentils, which are great for protein, this spinach dal becomes a nutritious dish that can be paired with rice or rotis. The Tamil word for this green, paruppu keerai, literally translates to “dal-spinach”, as that is its primary form of preparation.

I would call it my good fortune to be a Gujarati who was born and brought up in Tamil Nadu, so I am able to understand the cuisines of both states. This is a typically South Indian recipe, and I enjoy it alongside my Gujarati-style vegetables, some rice and a dollop of ghee. This combination is a standard on my plate. I realise that my particular upbringing is what brings these eclectic dishes together, and I think about how that’s one of the things that is beautiful about India. Just like all kinds of distinct cuisines can appear within a single thali and complement each other, so too can we as diverse humans enjoy being together.

Speaking of being together and enjoyment, we just had a huge celebration in the family. As with any such occasion, we ended up eating so much rich food, and of course, lots of sugar. The time has come for us to eat light and healthy, to detox our bodies. Spinach features at home a lot right now, and it was only natural for me to want to share with you this particular dish that I’m making frequently. My daughter is here for a few days, post-celebrations, and eager to learn more recipes, and I’m teaching her this one on this visit too.

I went through a phase once when I wanted to have greens every single day. My understanding is that when a person has a craving like that, the body either has a deficiency or is heading for one. At that time, I heeded that craving without guilt, especially as greens are always good for us. Imagine if all our cravings were only for the most nourishing ingredients!

Nowadays, some kind of spinach appears on my table at least thrice a week, in one form or another. As I said earlier, there are varieties available year-round and interesting recipes from different parts of India to keep trying out. I’m thinking about the assortment that I know, and the new ones I want to learn, and also marvelling at how innovative it is that there is even a spinach pickle (using sorrel leaves or gongura, which are very popular in Andhra Pradesh and Telangana).

Right now, of course, it’s purslane that is popular in my own home, so to return to this spinach dal: the fragrance of this dish somehow always reminds me of being in the kitchen as a child when it was being cooked by my mother. I am not sure why, but I associate this dish with South India to the extent that even when I cook it myself in Ahmedabad or somewhere else, it just seems different. Despite that, I do enjoy it anywhere. It always brings me back to a sense of home, and when cooking and eating it while away, I can’t help but think, “Gujarat in the air, but South India in my thali.”

Spinach Dal

(Yield: Serves 4)

½ cup toor dal (pigeon pea)

Water to pressure cook

2 cups spinach leaves

2-3 tablespoons finely chopped onion

1 tablespoon finely chopped tomato

2 cloves garlic

1 tablespoon sesame oil

1 teaspoon mustard seeds

Salt to taste

½ teaspoon turmeric

1 green chili


Rinse the dal, then pressure cook with the required quantity of water. Set aside.

Heat a pan and add the oil. Now, add the mustard seeds and let them splutter.

Next, add the onion, garlic, tomato, salt and turmeric. Sauté for a few minutes on a medium flame and immediately after, add the green chili.

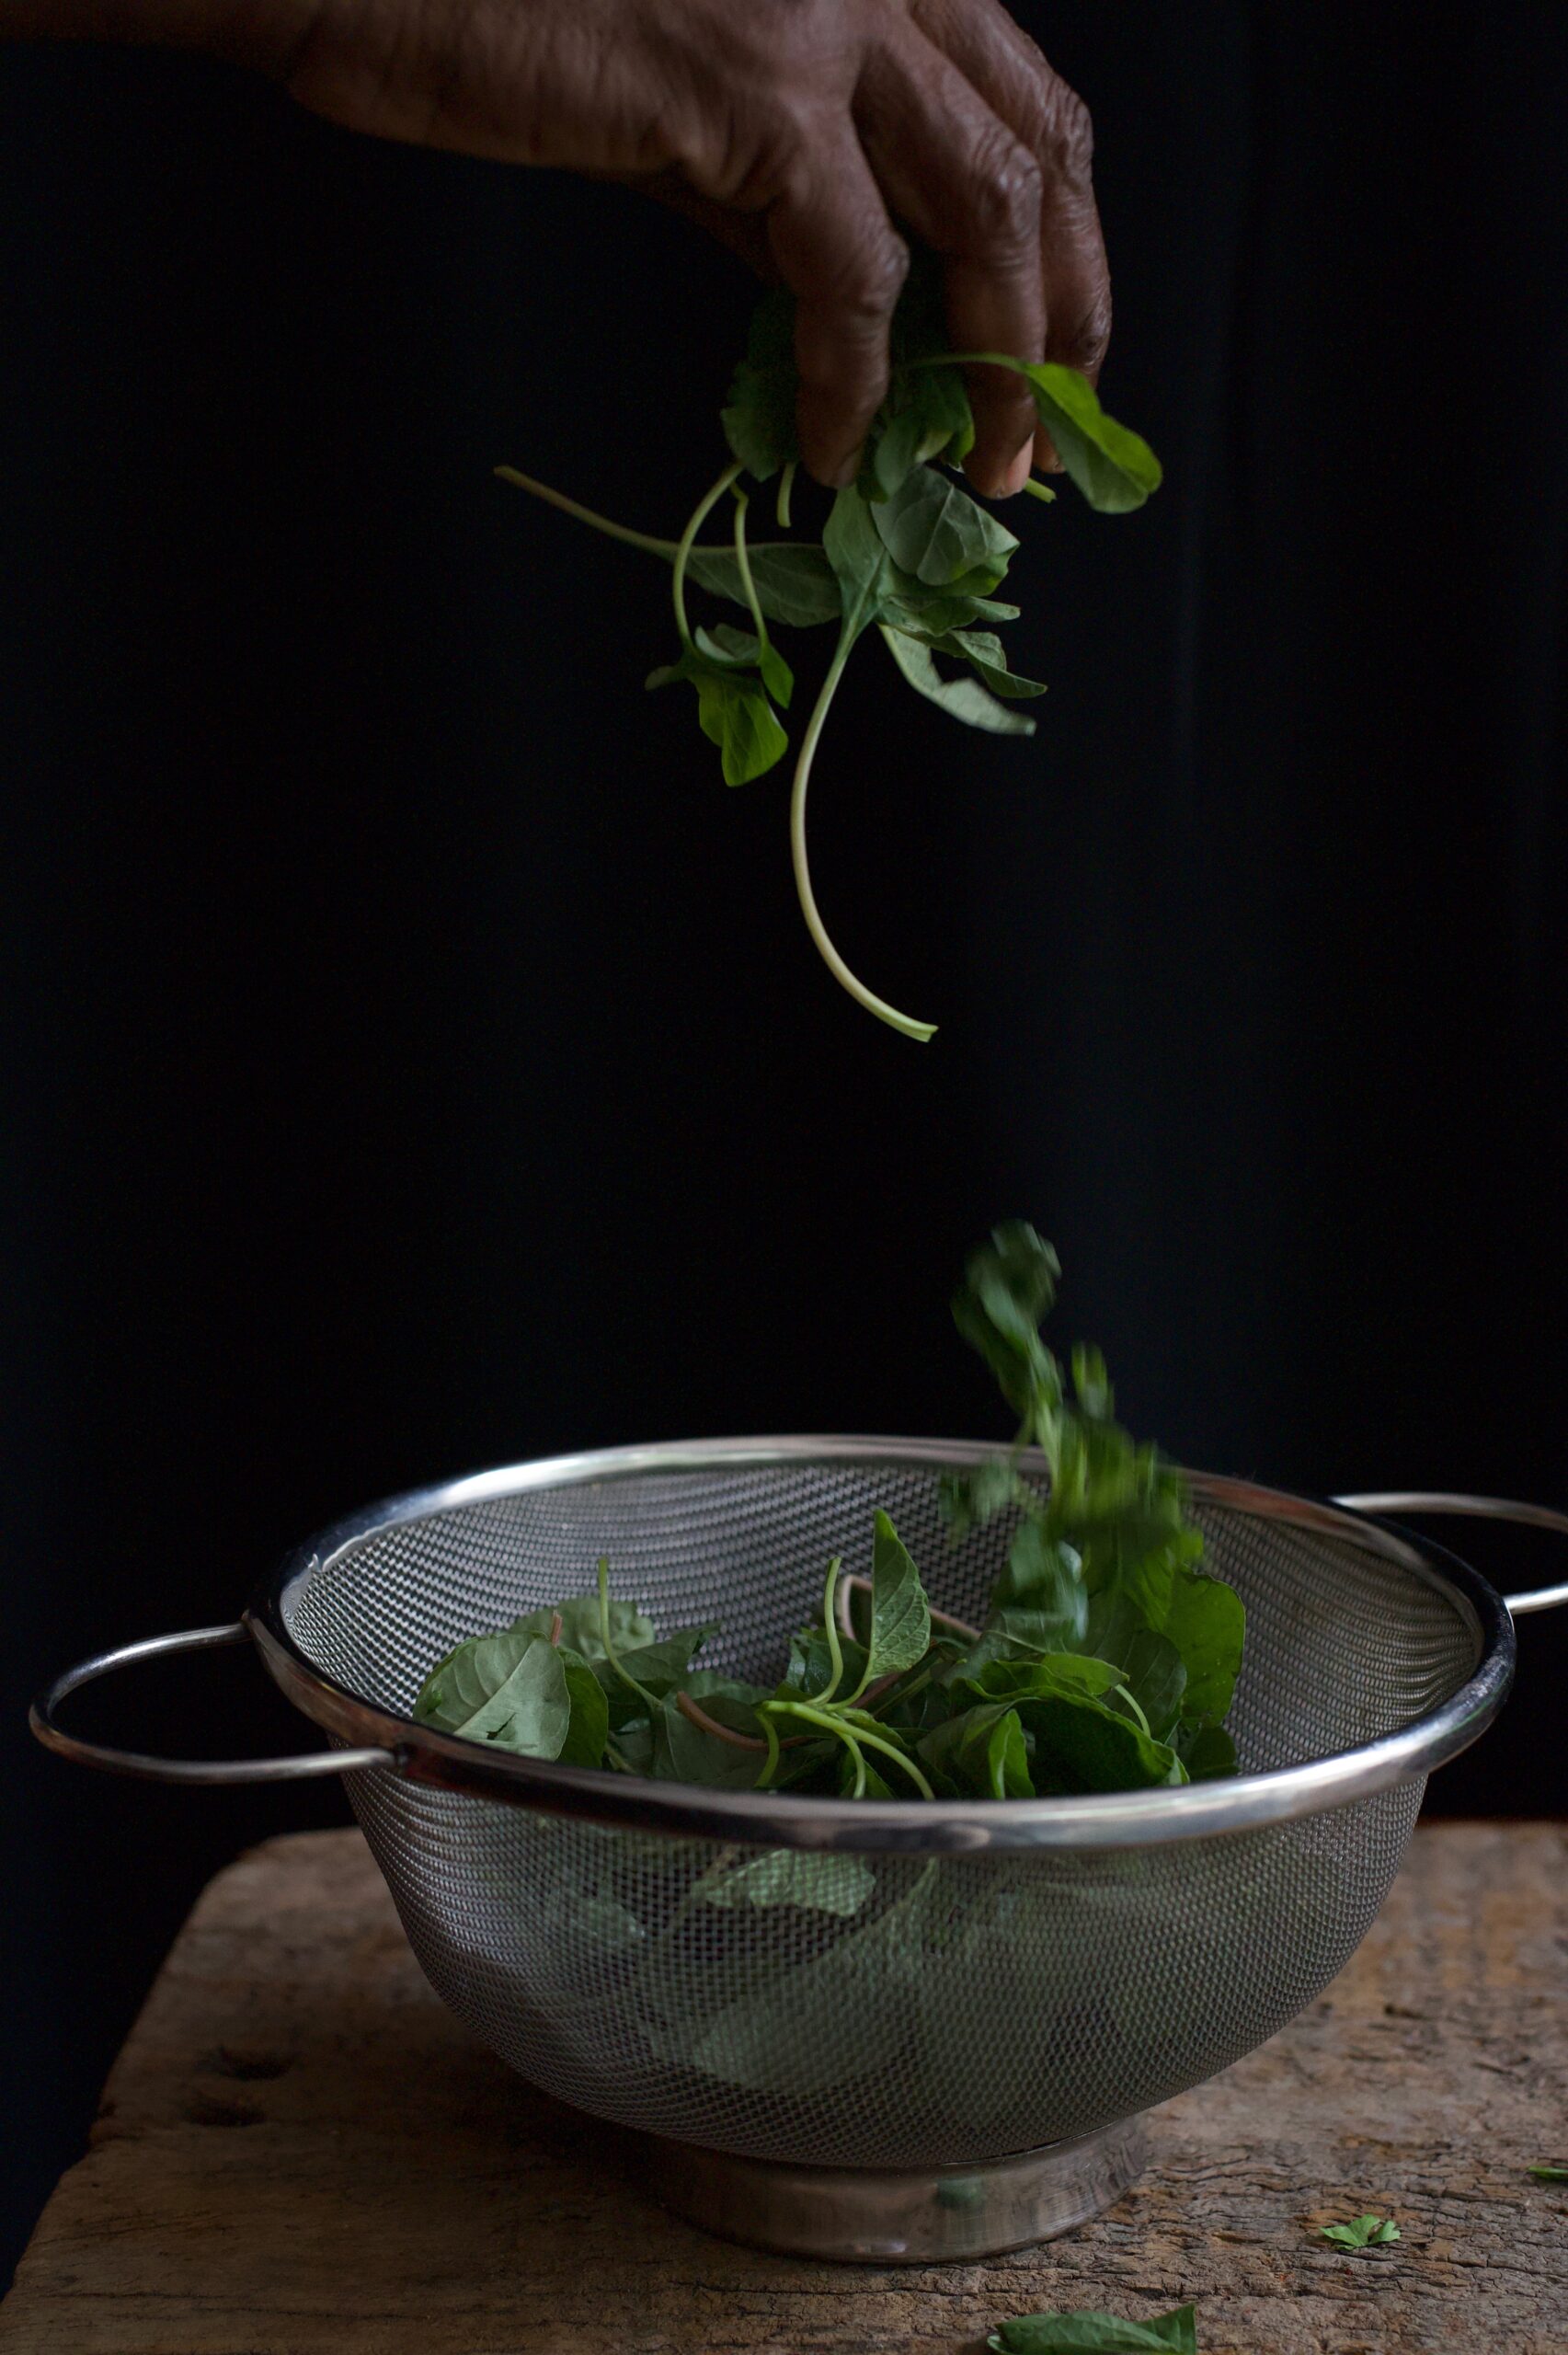
Finally, add the spinach and sauté again.

Once the spinach becomes tender, add the dal and allow it to boil for a few minutes until the flavours come together.

Your purslane dal is now perfect, and ready to be served hot alongside rice or roti. It will give you a great boost of nutrients. Perhaps it will even become one of your own most craved comfort dishes!

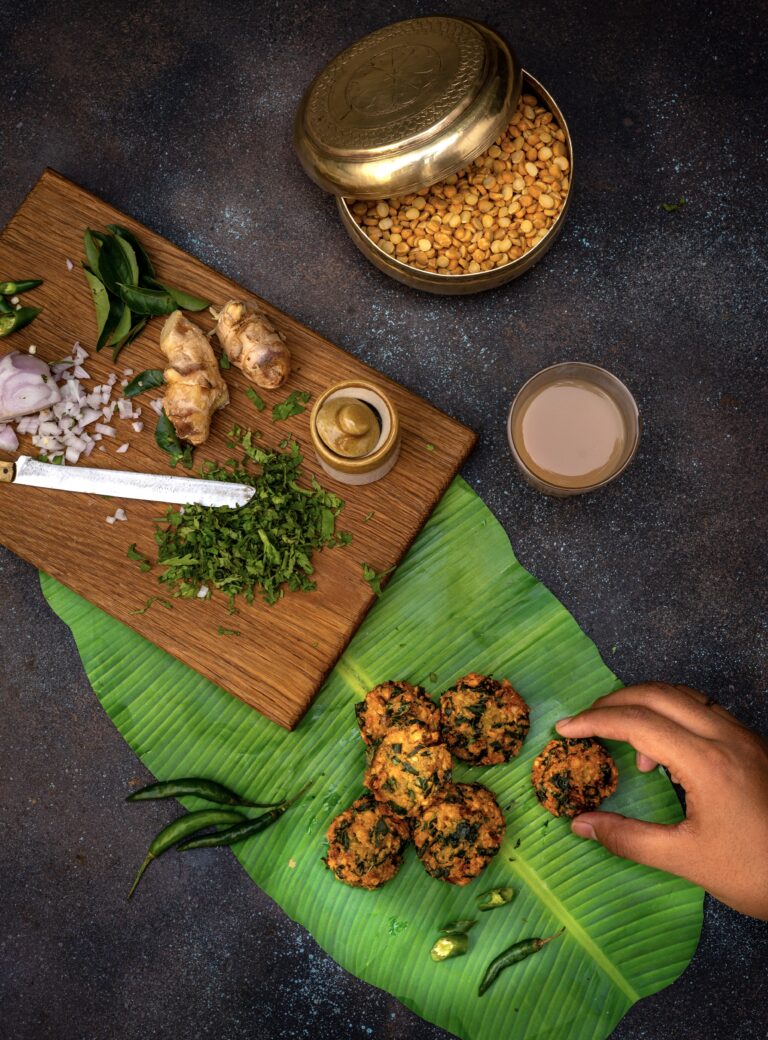
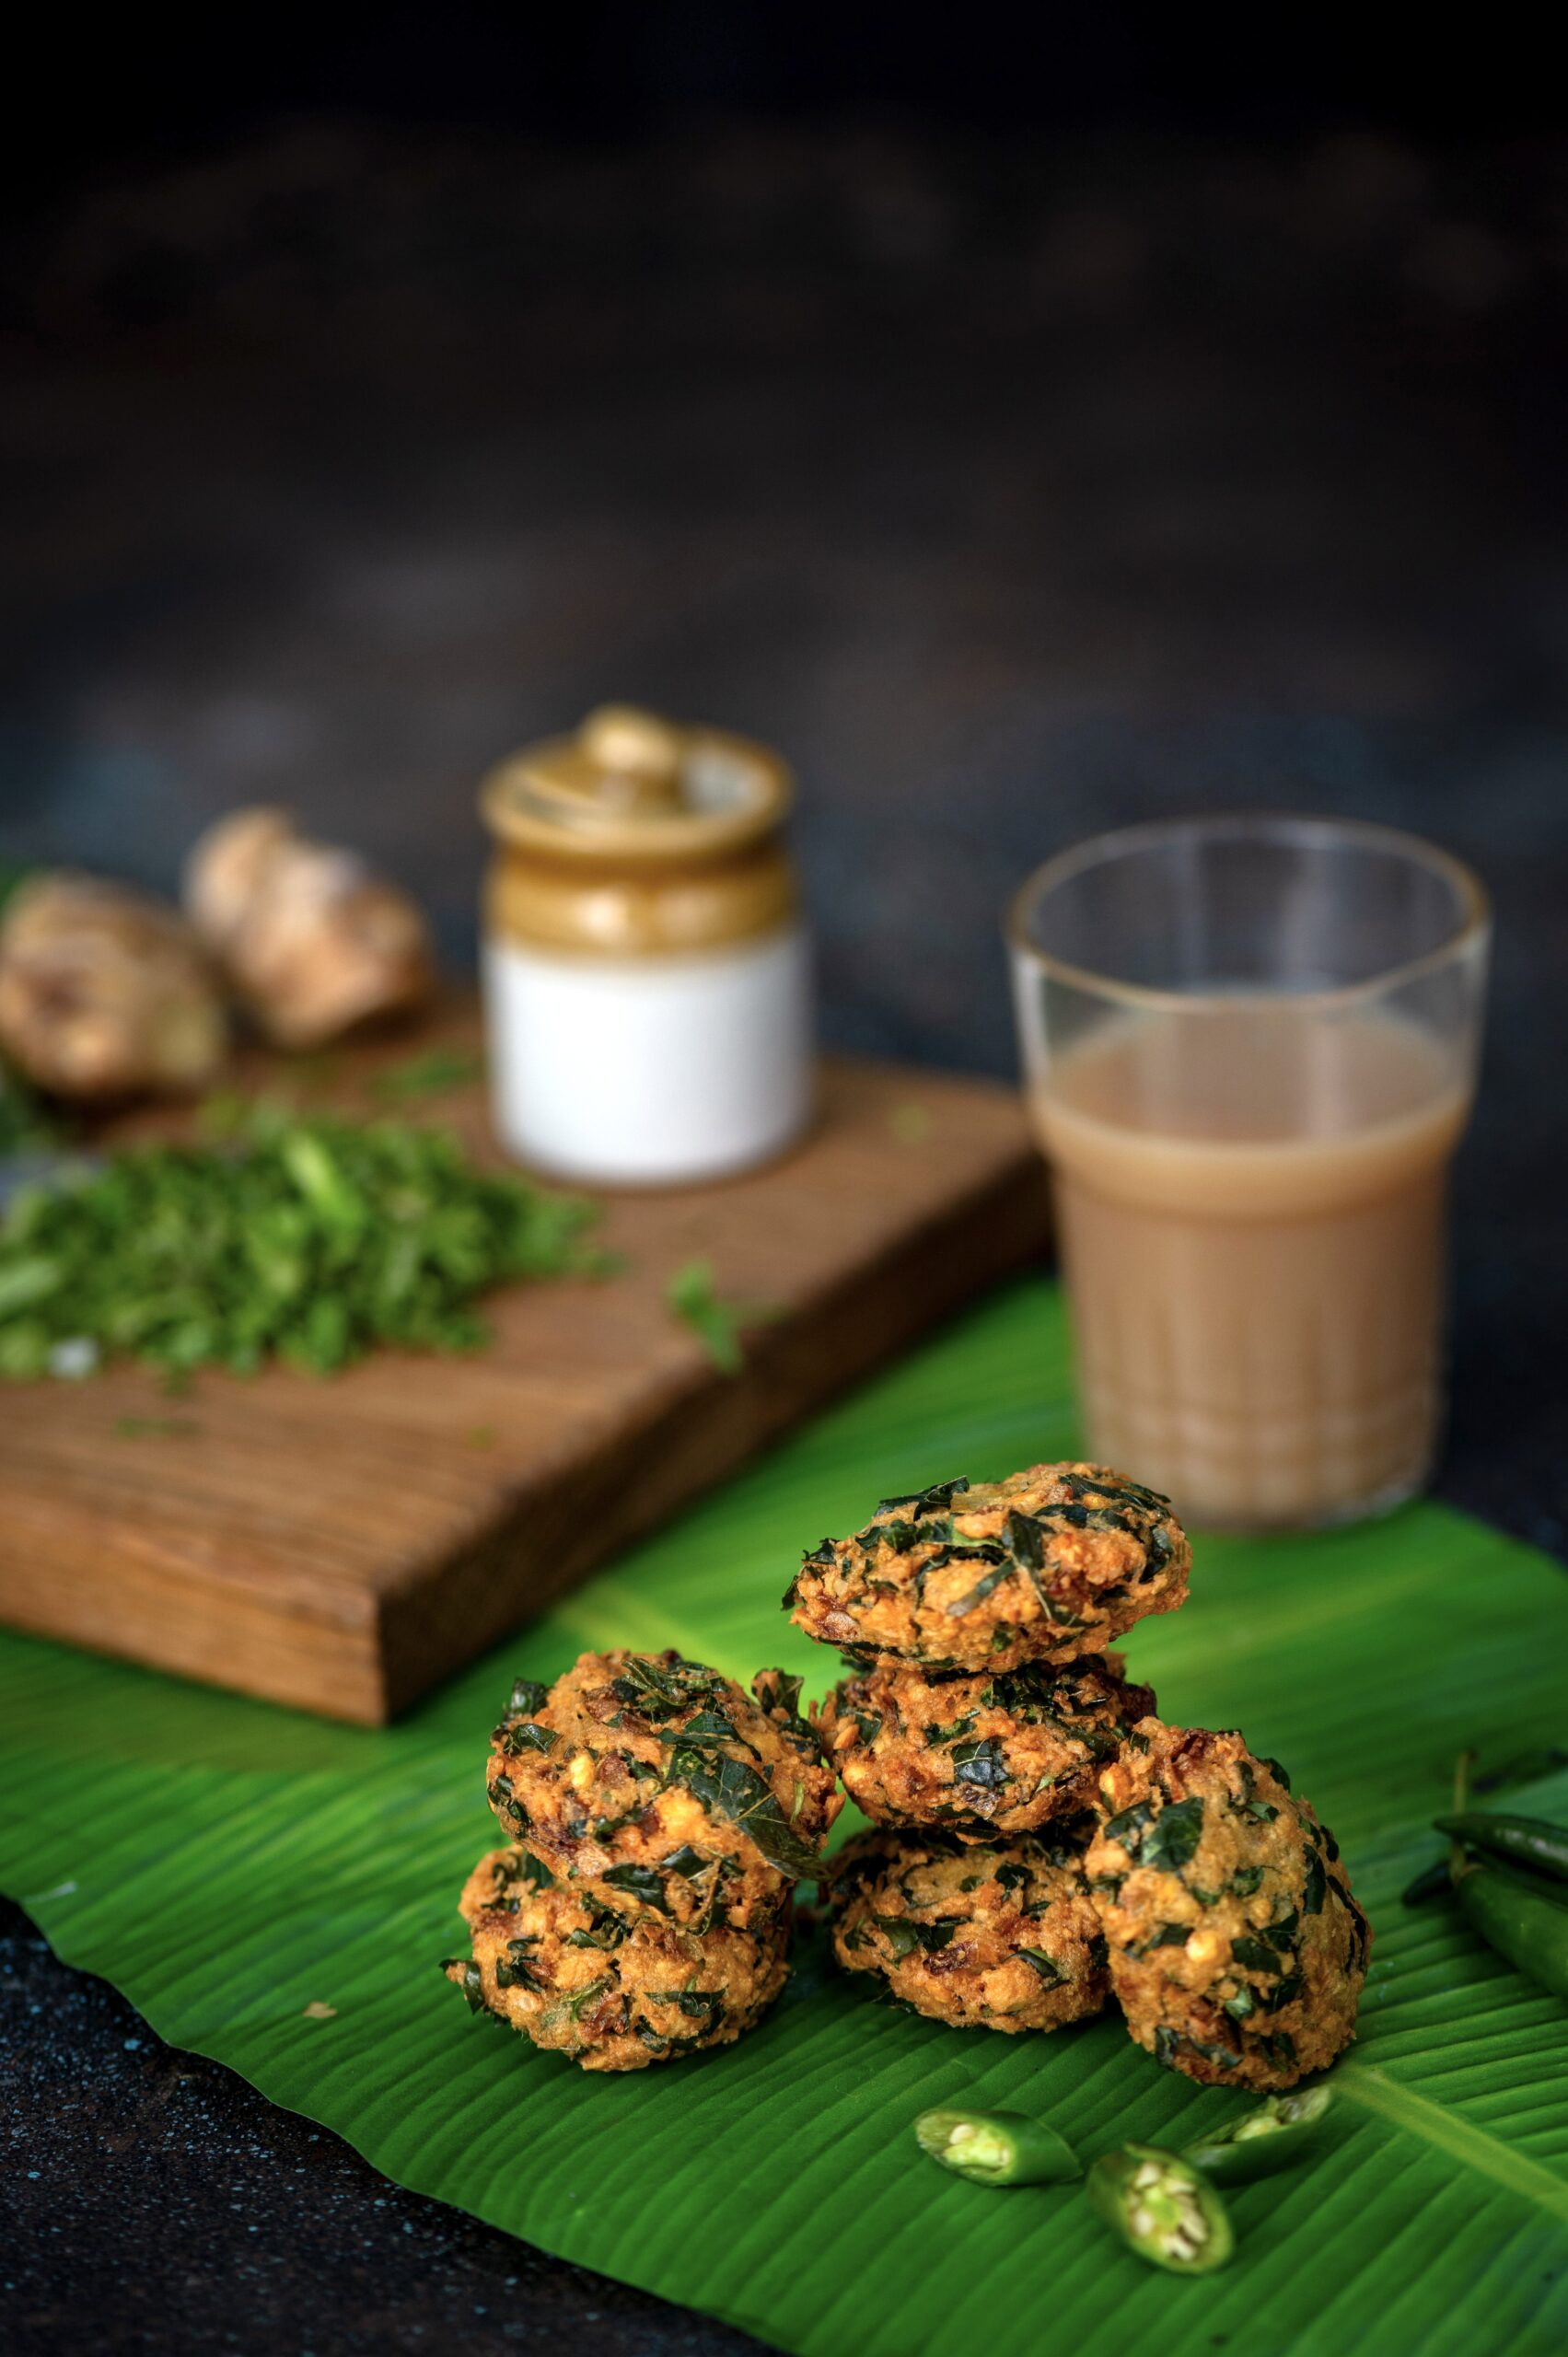
The monsoon returns to South India around Deepavali and the festive season, yet it causes no dampener at all to our spirits of enjoyment and our desire to cook – especially when it comes to snacks. Vadais are deep-fried dumplings that are common in South India, and can be made in a number of ways. To make this type, I reached out for a delicious local green, known in Tamil as araikeerai and in English as spleen amaranthus. Deep-fried it may be, but the use of this regional spinach can give one the sense that this dish is at least remotely healthy! We absolutely love it at home, and eat araikeerai vadai more often than we do traditional Gujarati treats of a similar kind. I’m quite sure that once you try this recipe out, you will feel just as addicted too.

Spinach varieties are aplenty in Tamil Nadu, and araikeerai is currently in season. It is a protein-rich green, and is also great for digestion as it is rich in fibre. Iron, vitamin C and antioxidants are some of the other nutritious elements of this vegetable. I love to add a large amount to my vadai batter. I find it really enhances the taste. Araikeerai has a pleasant flavour, one that isn’t very distinct and doesn’t take away from the crunchy yumminess of the vadai. You may wish to substitute it in this recipe with a local, seasonal green of your choice.

As you may already have guessed, this is the kind of snack that sneakily convinces your children to consume more greens, a bit like the way this roasted tomato soup incorporates gourds and carrots, or perhaps more straightforwardly like this kid-friendly spinach and corn bake. I’m glad to say that it is also pleasing to the elderly, who can be just as fussy in their tastes as little ones. My octogenarian mother-in-law is crazy about araikeerai vadai, and it’s a frequent feature at home these days as she enjoys it so much.

As far as accompaniments go, a coconut chutney is traditional. I recently started making mine with a twist that was learnt at my new daughter-in-law’s home. I will share that recipe soon, to add to the collection of chutneys on this blog.

I said earlier that rainy weather doesn’t get in the way of our desire to cook, but actually, it is a little more than that. I have noticed that Indians have this thing – somehow, rain inspires us to prepare and consume more! All across the country, I have seen families whip up bajjis, vadais and all kinds of fried tastiness at the first sight of a drizzle. To be honest, I’ve never understood the association between the weather and the food made, but to me it feels like an extension of the festive season. Come January of course, everyone seems to run to the gym and talk about calories – but such is the cycle of life! In the meanwhile, during this season, we are free of guilt – and free to gorge on the good stuff.

Araikeerai Vadai

(Yield: Approximately 10 pieces)

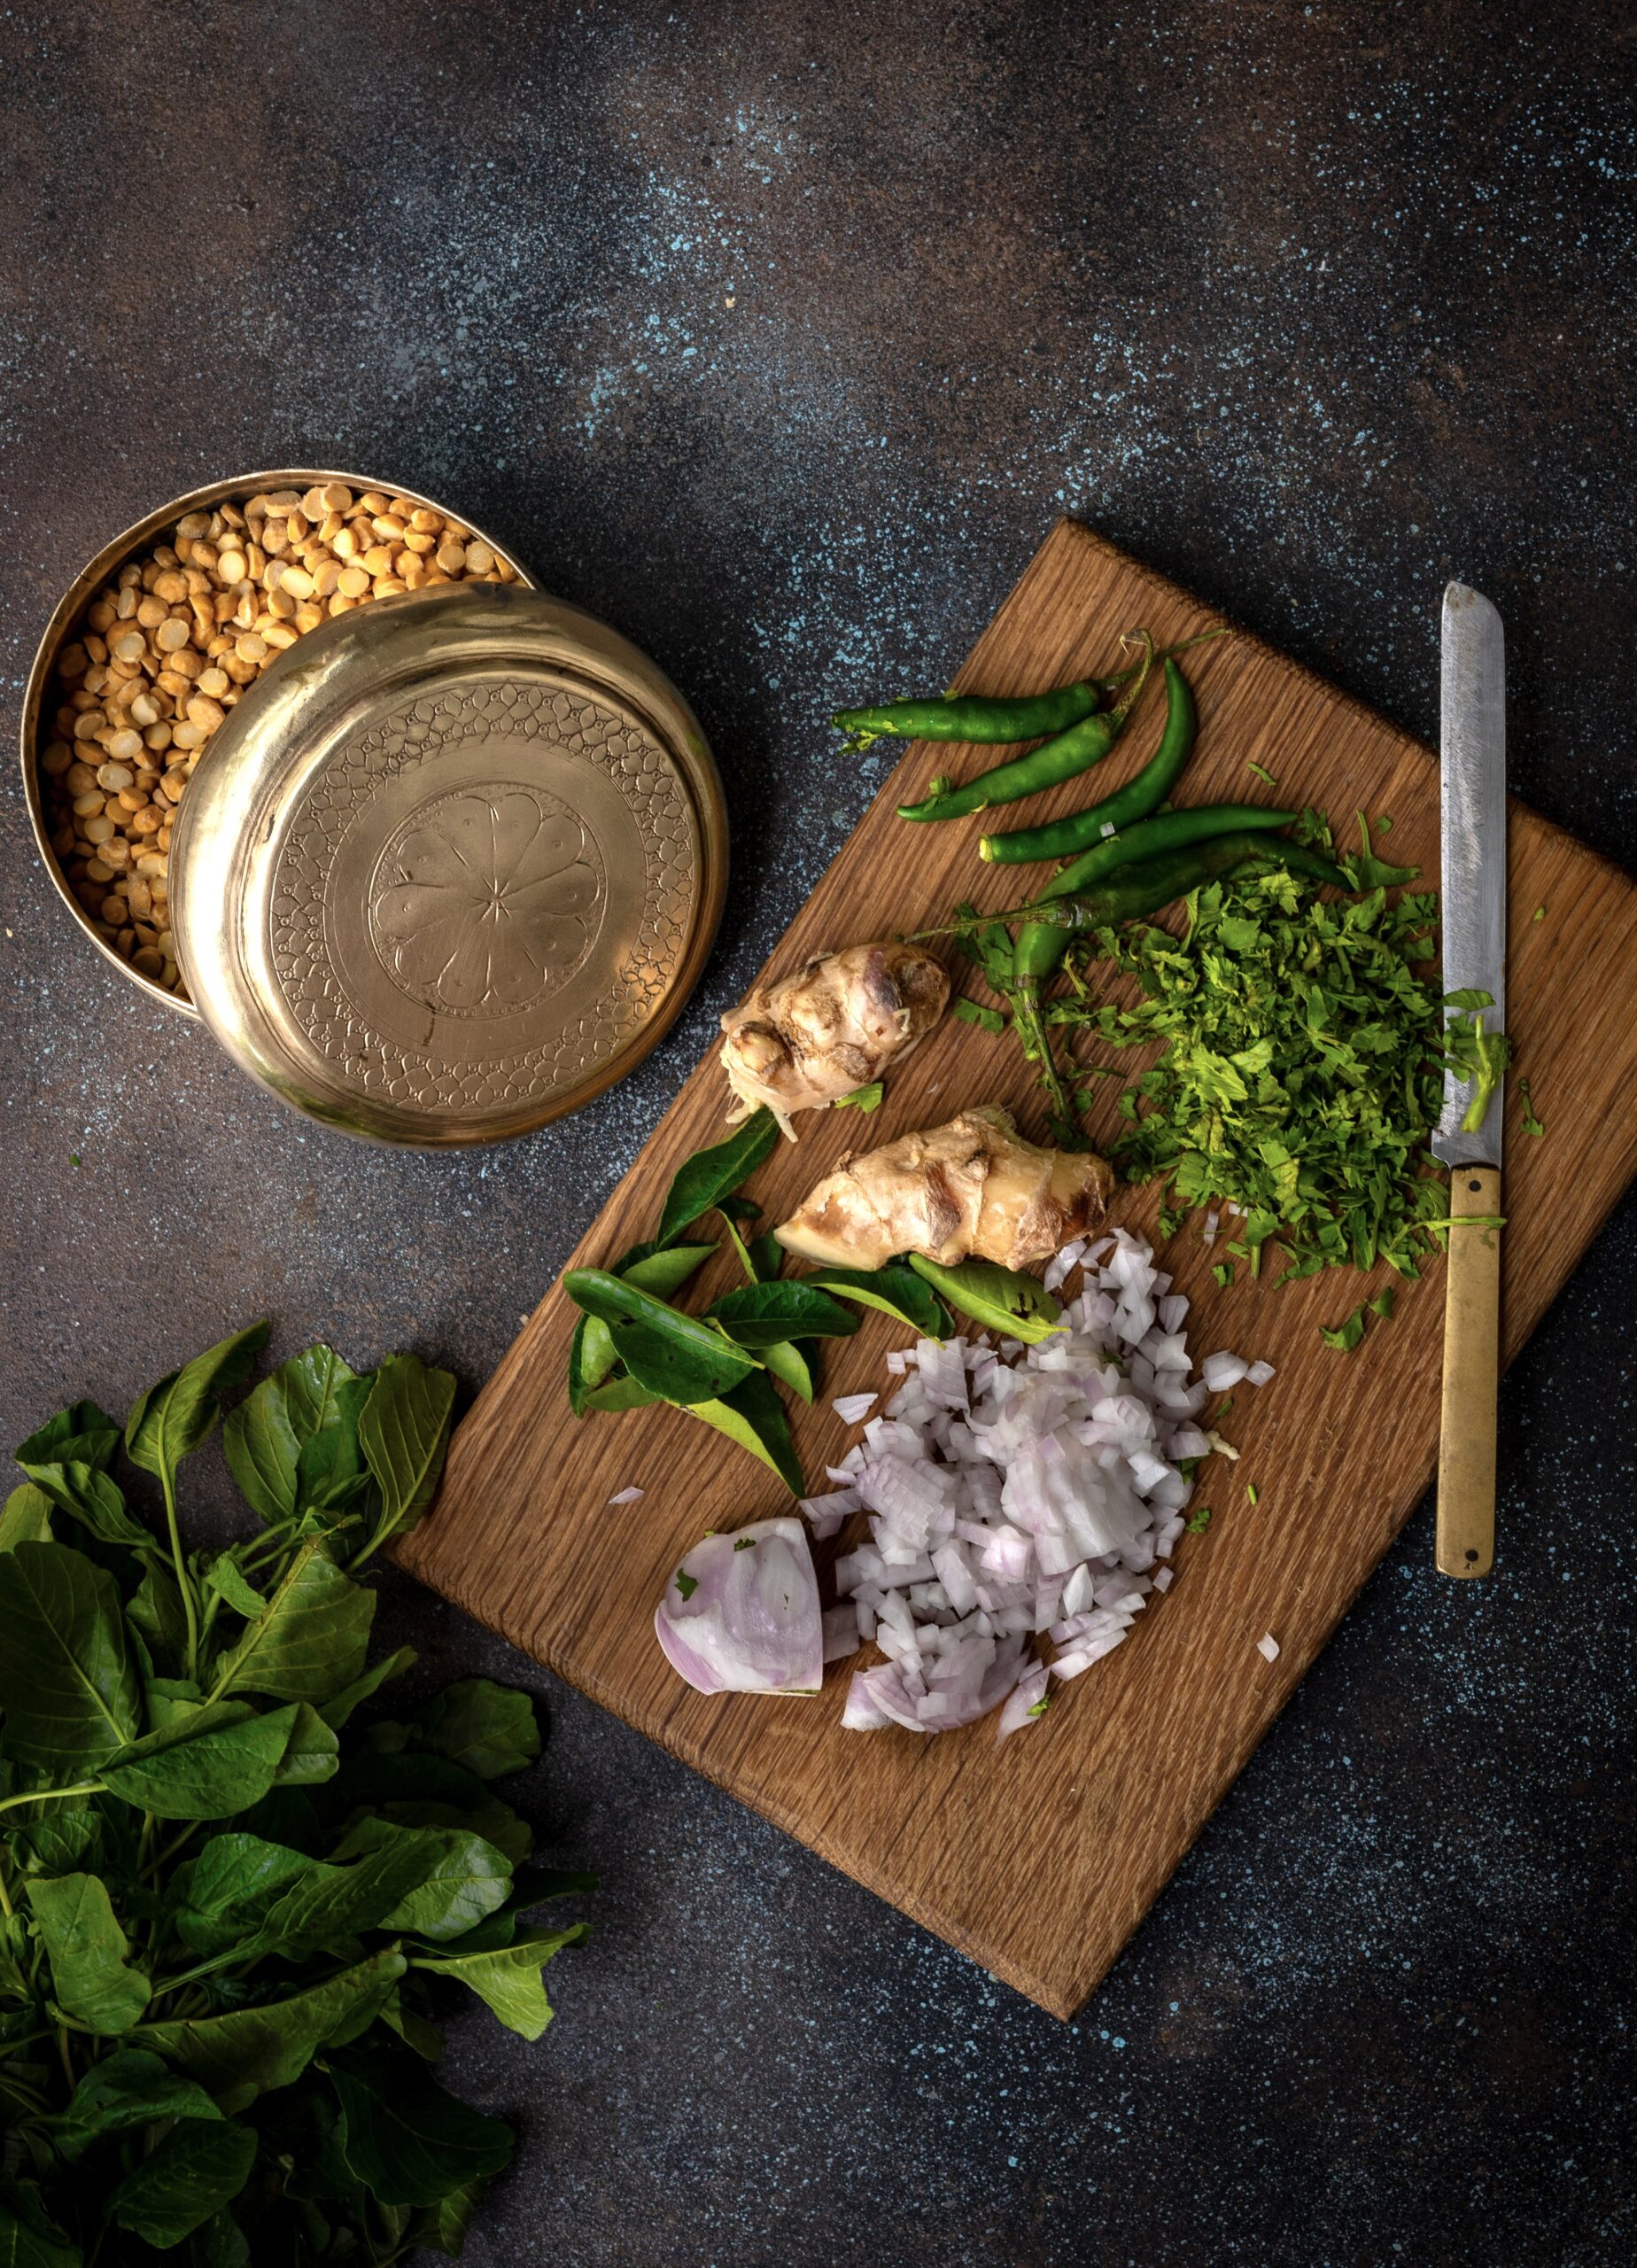
1 cup chana dal (split chickpeas)

1 bunch araikeerai (equal to 2 full cups of spinach)

Salt to taste

1 onion (finely chopped)

1 green chilli (finely chopped)

1 tablespoon ginger and green chili paste

A handful of curry leaves

Oil for deep frying


Soak the chana dal for 4 hours or until tender to the touch. Drain the soaking water. Rinse.

Remove the stalks and chop the araikeerai finely. Rinse in running water.

Add the dal to a blender and grind coarsely. Do not add water. Put the ground dal into a bowl. To prepare the batter, add the salt, green chili, araikeerai, ginger and green chili paste, curry leaves and onions. Mix well. Allow this to sit outside for 1-2 hours, or refrigerate if frying later.

Heat the oil in a kadai. Once it’s hot, make discs the size of a lime and flatten them, using your palms. While making the discs, ensure that the edges are perfectly rounded. Drop each into the hot oil gently. Fry on a medium flame. If you feel the vadais are crumbling as they fry, add a spoonful of rice flour. Allow to cook on both sides, flipping them occasionally, until dark golden. Drain onto a paper.

Serve hot with a chutney or a dip of your choice.

I hope this delicious araikeerai vadai gives you something to look forward to on a rainy day – or any day, really!

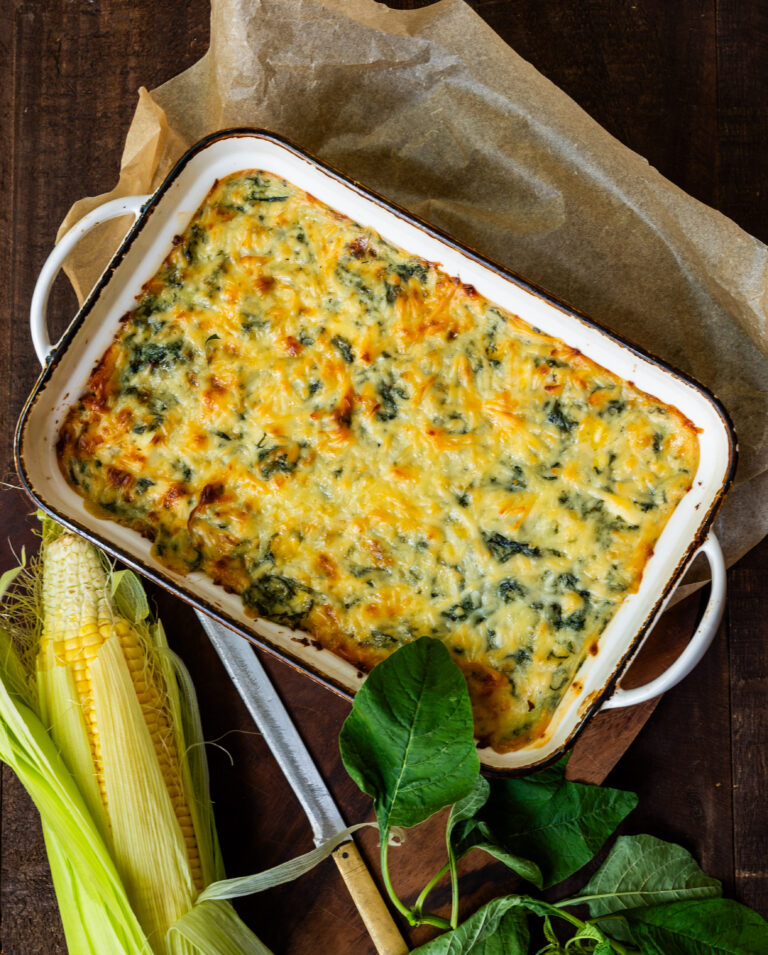
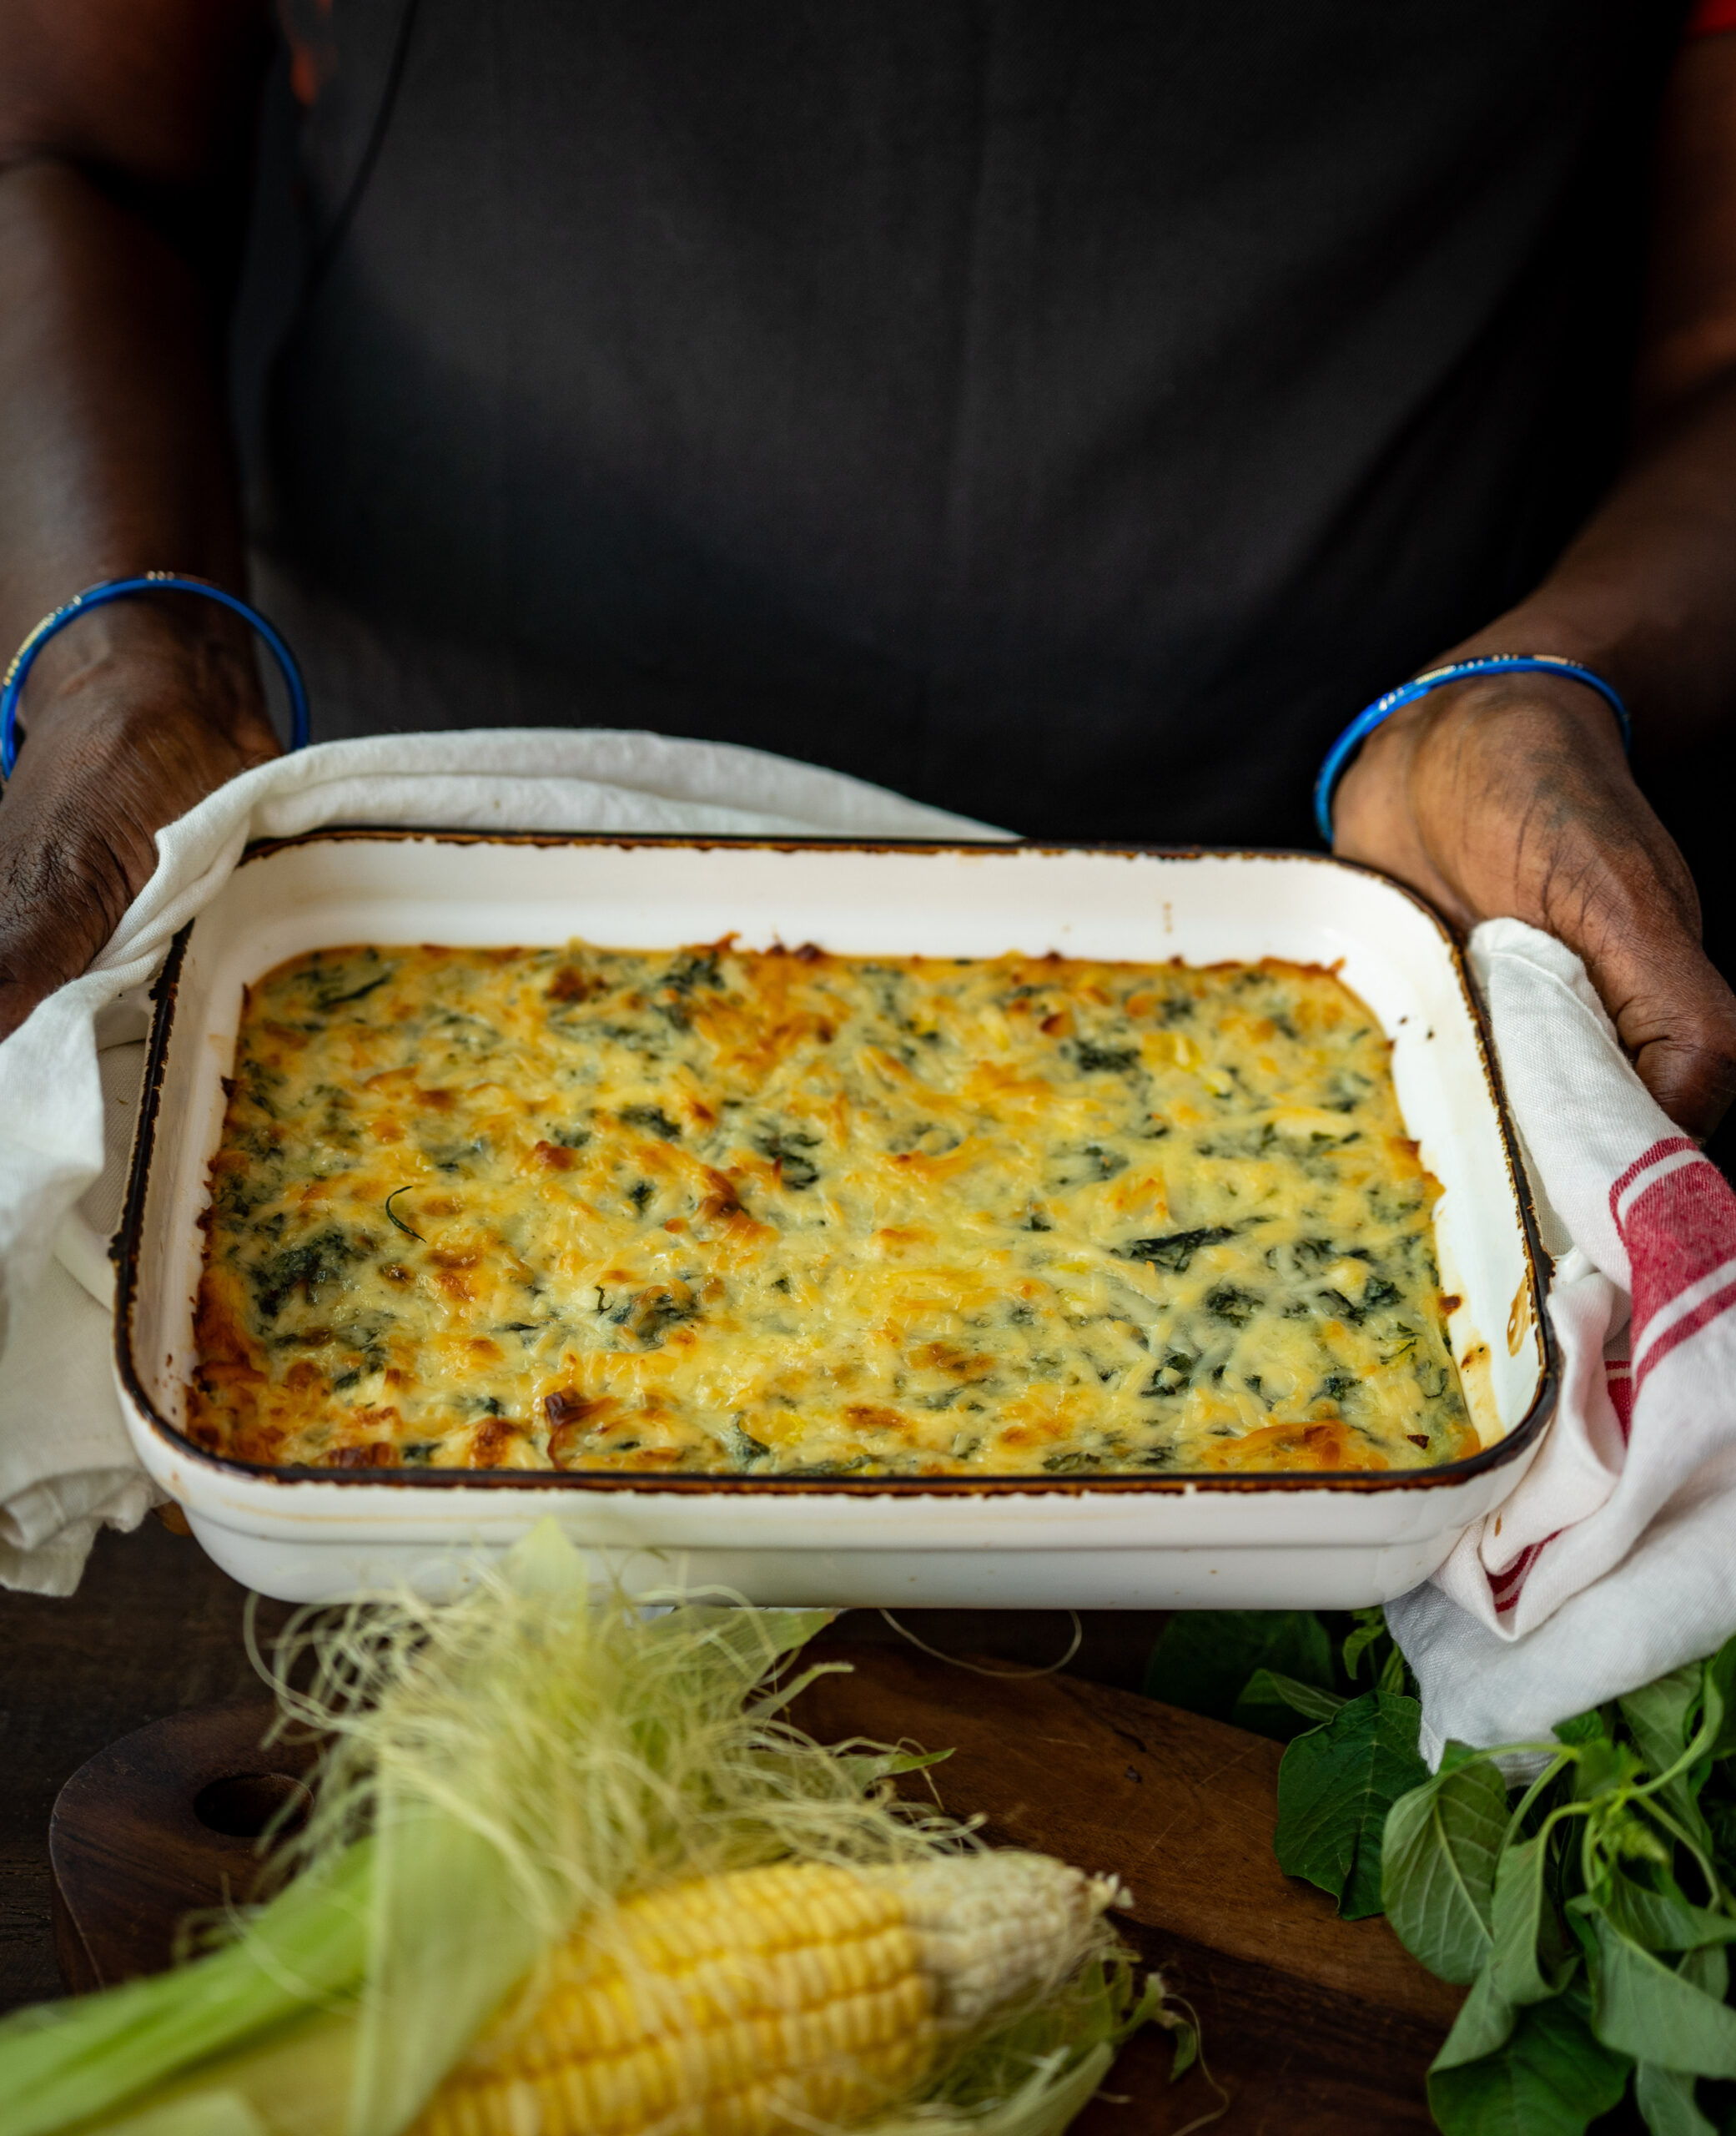
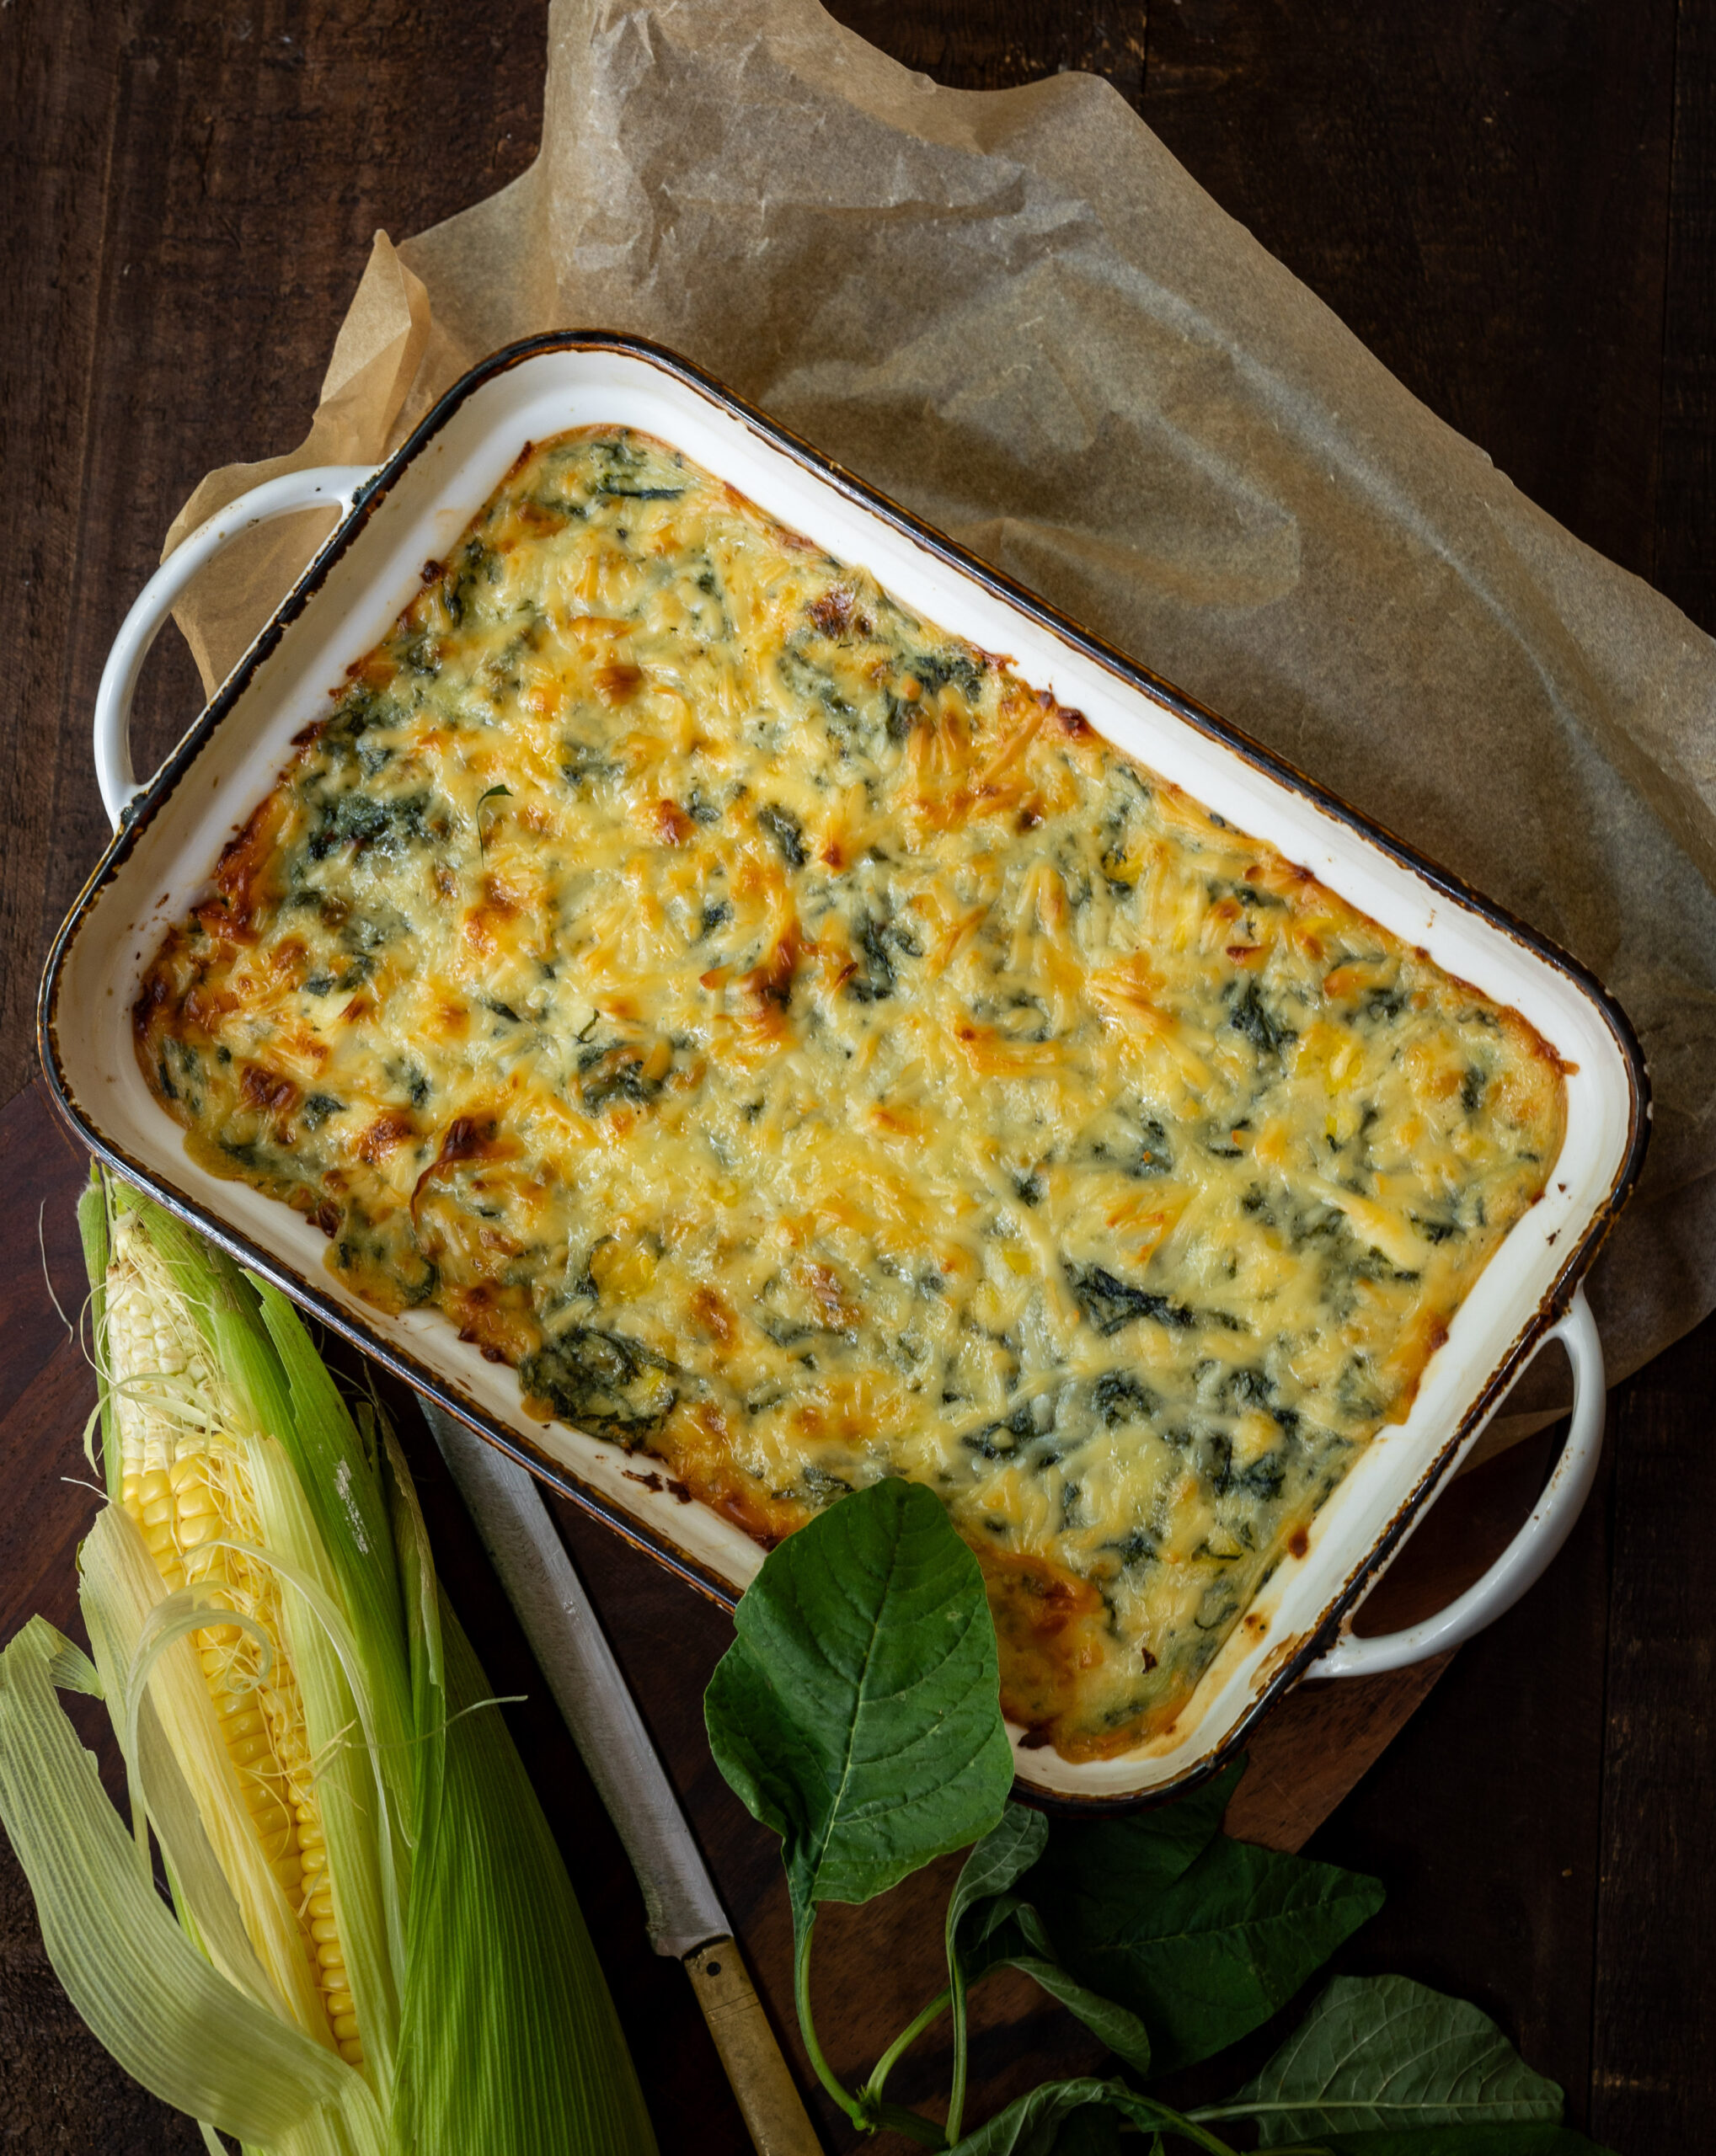
We talk about memories all the time on this blog, and the deep link between food and nostalgic experiences. The recipe that I am sharing today is more about my kids’ memories than my own. When they were little, this spinach and corn bake was the only kind of Continental or baked food that they truly enjoyed at dinner. Their choosiness worked just fine for me, because I was very happy about the fact that they loved a spinach-laden meal that also contained a good protein quotient, thanks to the paneer. It’s a nutritious, filling and delicious dish – and as I’ve indicated, child-friendly, too.

Looking back, I can see a reason, taste aside, as to why they found it so appealing. It was that I usually used individually baked bowls, which made the dish seem quite fancy. They always got a thrill out of having it be served in this style. My kids would often request this spinach and corn bake when they had their friends visit, and I could see how it was the presentation that really enhanced the experience for all of them. This is a good point to keep in mind when preparing it for entertaining, for all ages.

Now – about the vegetables used, which are the secret to our satisfaction as parents! I tried to replace corn with broccoli many times, but my kids simply refused to accept this back then. With my experience in mind, I would say: if you are preparing this recipe for children, consider introducing the extra healthy vegetables, or even the ones they aren’t fond of, early on (rather than as a substitute later, which they will recognize as being just that). I now bake more variations, but still like to retain the spinach as a base. You can also replace the paneer with tofu, chicken or bacon.

You may wish to make a lighter version of this by using wheat flour rather than maida in the white sauce. While I’ve grated some cheese on top, you can avoid this to further lighten the dish. If you’re using it, another method is to add some to the white sauce when it’s ready, rather than to grate on top.

Spinach & Corn Bake

(Serves: 2-4)

50 grams butter

50 grams flour

3 cups milk

Salt to taste

A pinch of pepper

125 grams paneer

1 cup spinach

1 stalk rosemary

½ cup whole corn

Cheese (optional)

Make a roux of the butter and flour. You will get about 2.5 cups. A roux typically uses equal parts of fat and flour, and then a liquid is added (in this case, the milk). To do this, melt the butter in a pan and add the flour. Keep stirring so that the mixture does not stick to the bottom. Stir until golden. It will be a thick emulsion at this stage.

Now, add the milk and the rosemary and continue stirring, making sure it’s a smooth and thick sauce.

Blanch the spinach and squeeze it well. A quick tip: when you squeeze the water out of the spinach, while making this or any other dish, add that used water to a dough or a dhal. It doesn’t need to be wasted.

In a baking dish, add the paneer, spinach and corn. Pour 1.5 cups of the roux over this and mix gently so that all the vegetables are coated well. You can store the remaining roux in the fridge for later, to be used as a sauce.

Either add the cheese to the sauce before you set it aside, or else grate some on top of the dish now. Bake for 20 minutes or until it’s golden.

I like pairing this with a toastie, but a simple toast also works well.

My adult kids still enjoy this dish, and I recently met one of my son’s childhood friends who was reminiscing about it too. I share this recipe here for them and their partners, and I hope they’ll have fun baking and eating it together, perhaps with their young families. I think you will too!

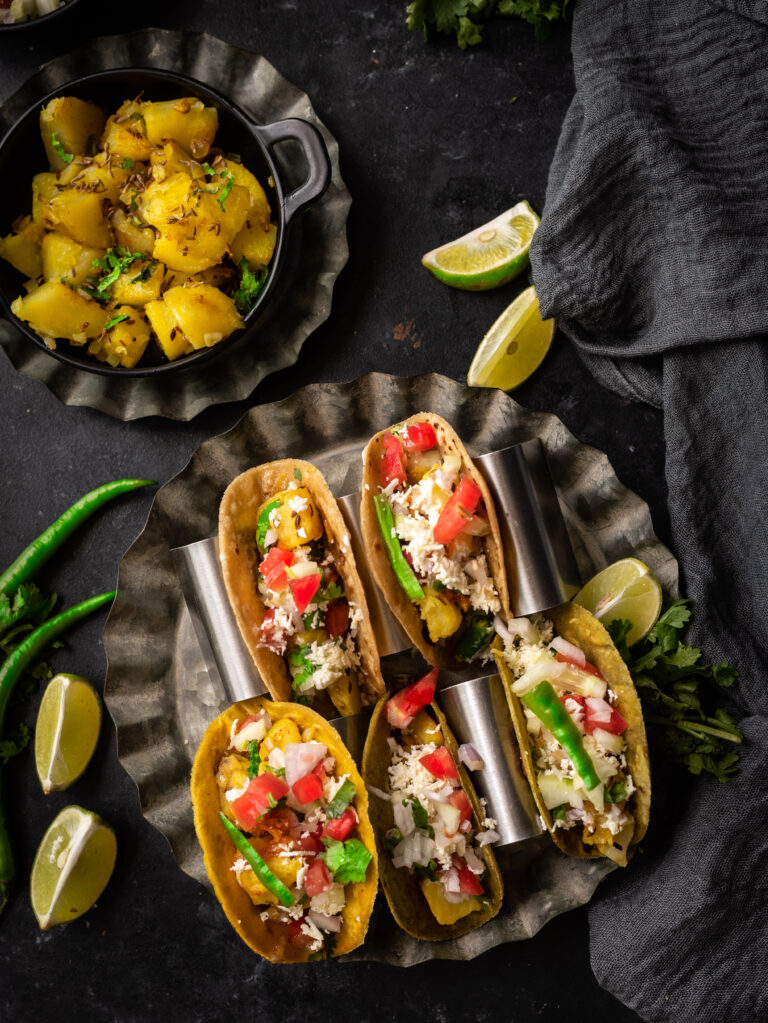
If you’ve been following this blog even for a short while, you’ll know that we are huge fans of Mexican cuisine in my home – both authentic and Indianised, or should I say re:store-ised, versions. This Mexican-inspired Buddha bowl is one example of how these flavours are enjoyed by my family. I’m very happy in my own world of fusion tastes, and am always on the lookout for how to make simple meals more enticing. I happened to come across a photo of Indian-style tacos, but without a recipe, and this inspired me to come up with my own. One day, I had some leftover roti dough, and had the brainwave of putting them to use in this way. The soft taco shells were therefore made by hand, and the entire recipe was made from scratch.

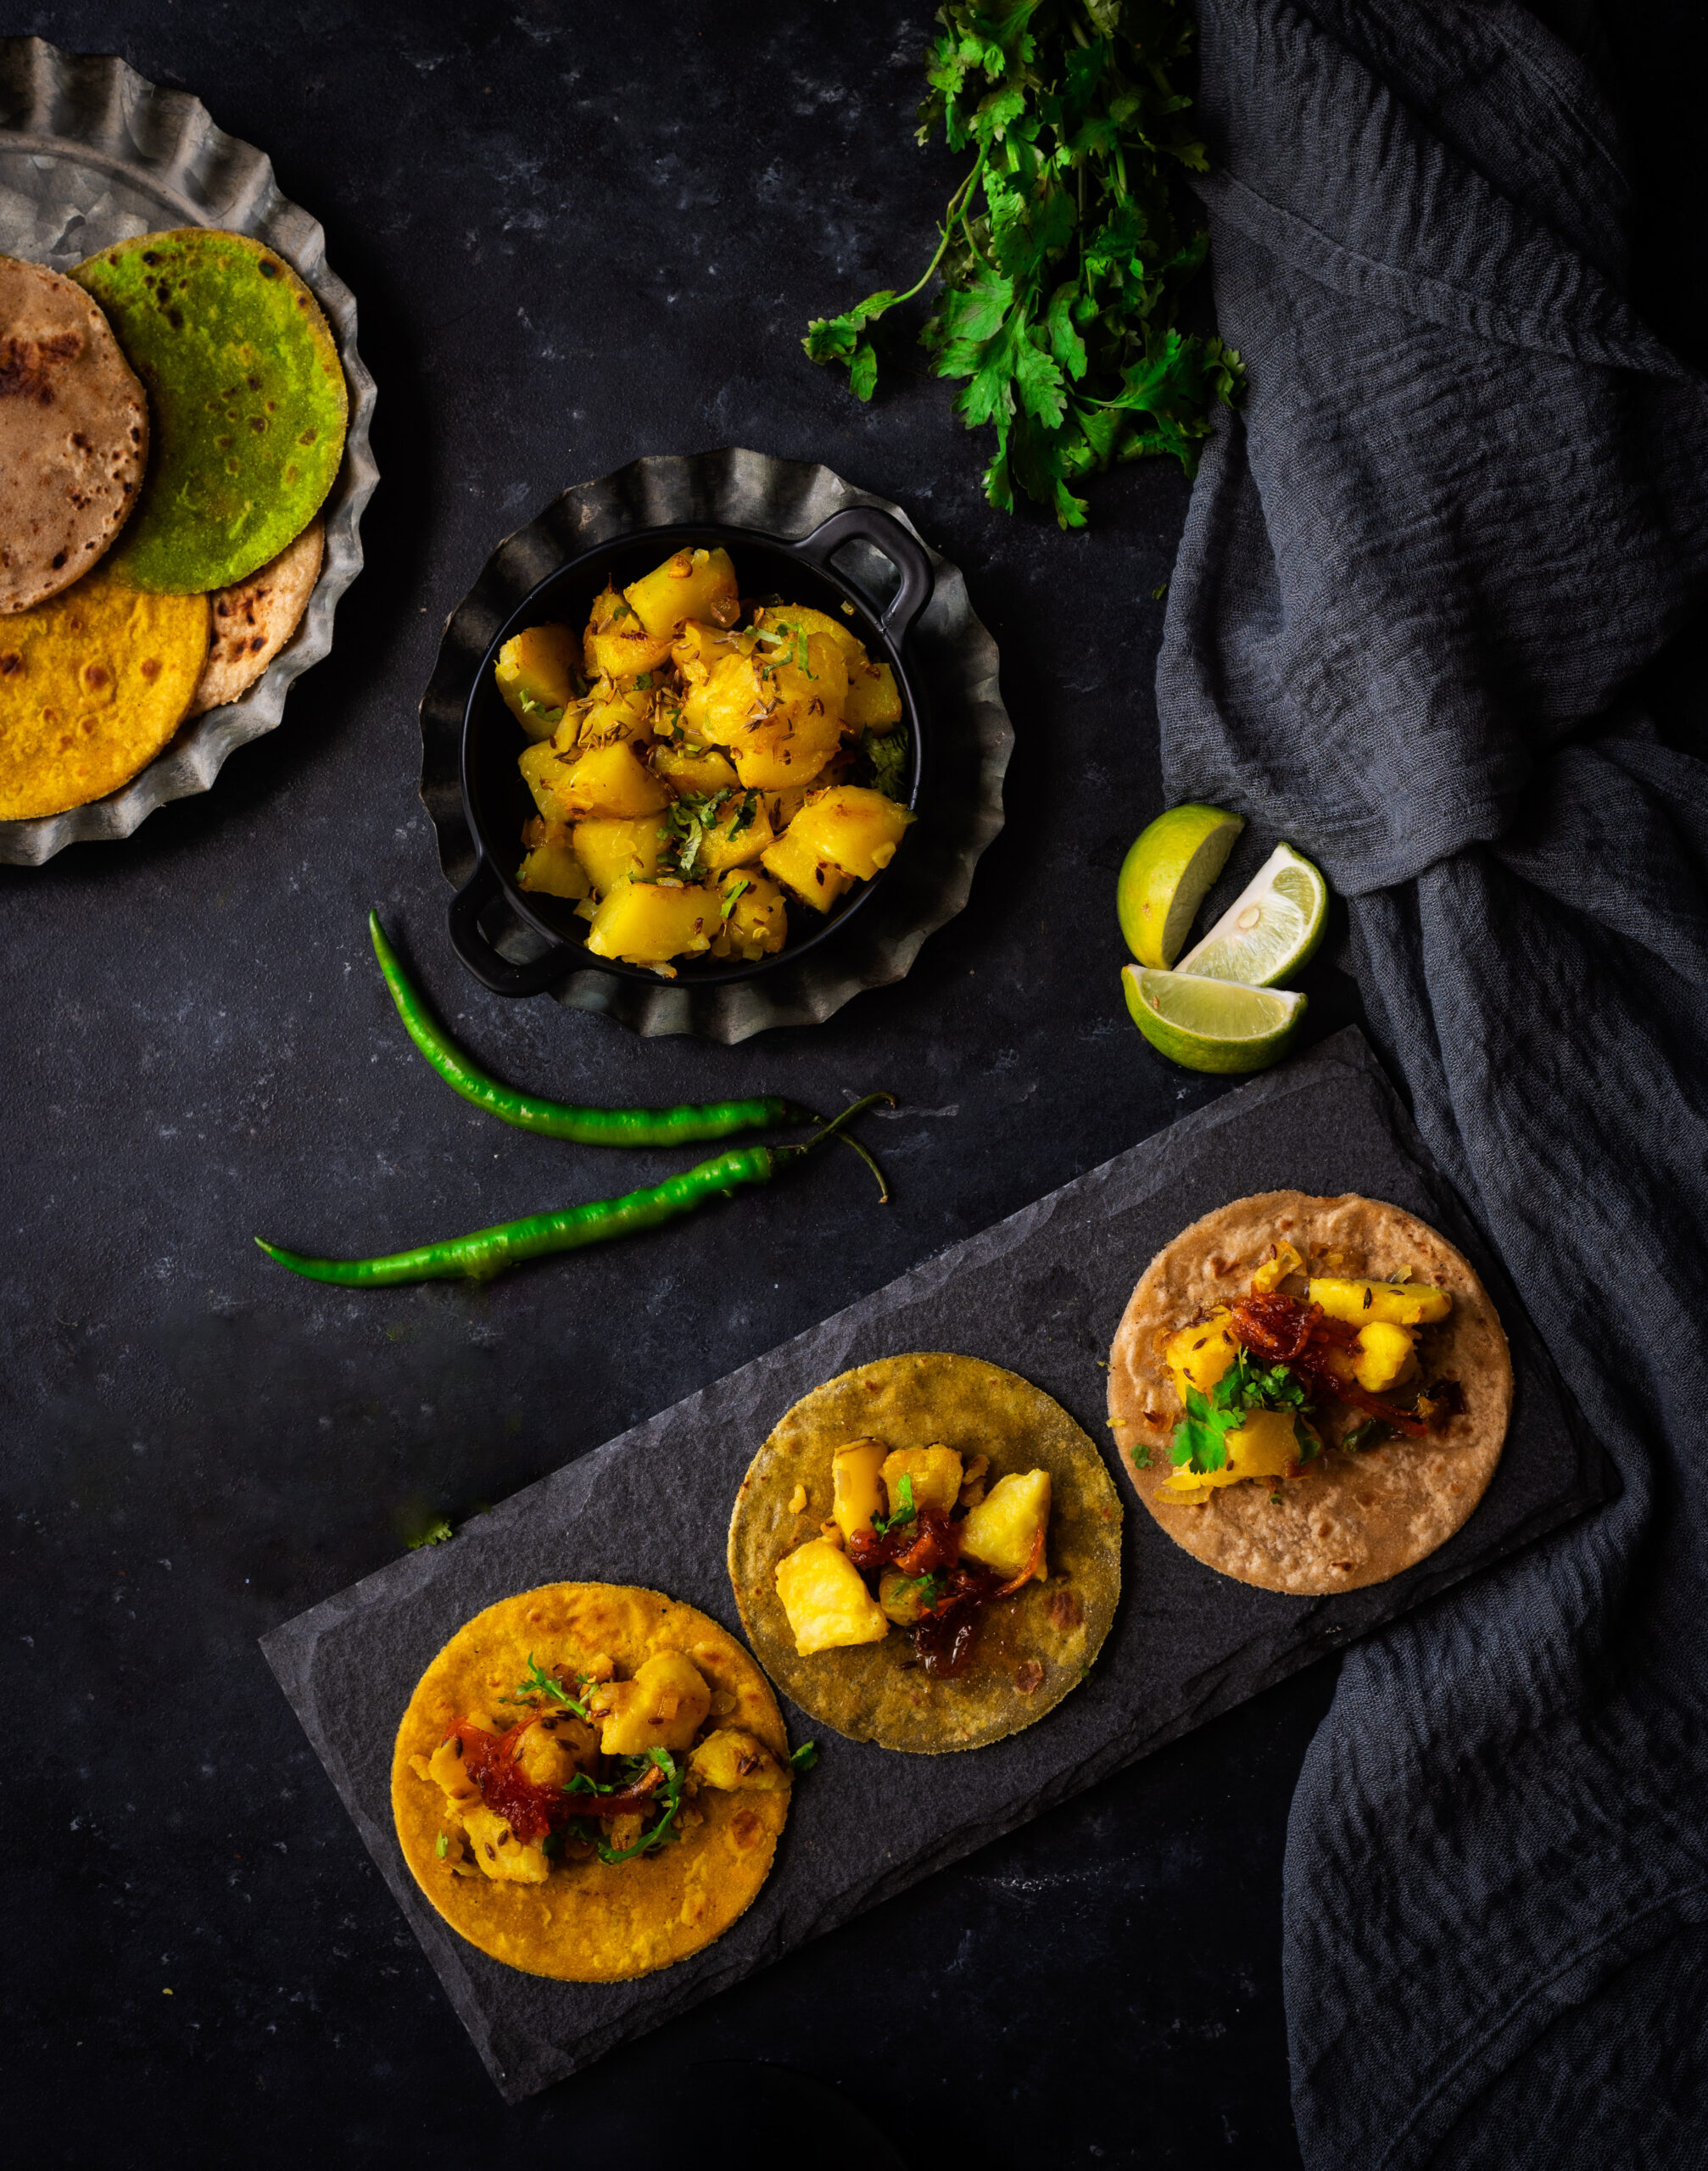
If you think about it, there are already plenty of versions of Indian tacos out there. The kati rolls that are a very popular form of street food fit the bill. They’re perfect for eating on the go, and fit easily into office and school lunch packs. While those are rolled, these tacos are open-faced. I’ve chosen to fill them with two Gujarati staples: potato sabzi, and a salad called kachumber. Where Mexican tacos use red bean paste, I’ve opted for a sweet mango pickle. The overall effect is a fun, international twist on simple Indian cooking.

This is a recipe that lends itself to variety. Replace the pickle with another that you prefer. You may want a spicy or tangy one, if you don’t have a sweet tooth. Substitute the potatoes for a different filling of your choice. Make a Jain version without potatoes or onions. Eliminate the Greek yoghurt dressing and make it vegan. Simply consider the recipe below as a base for your own versatile experiments.

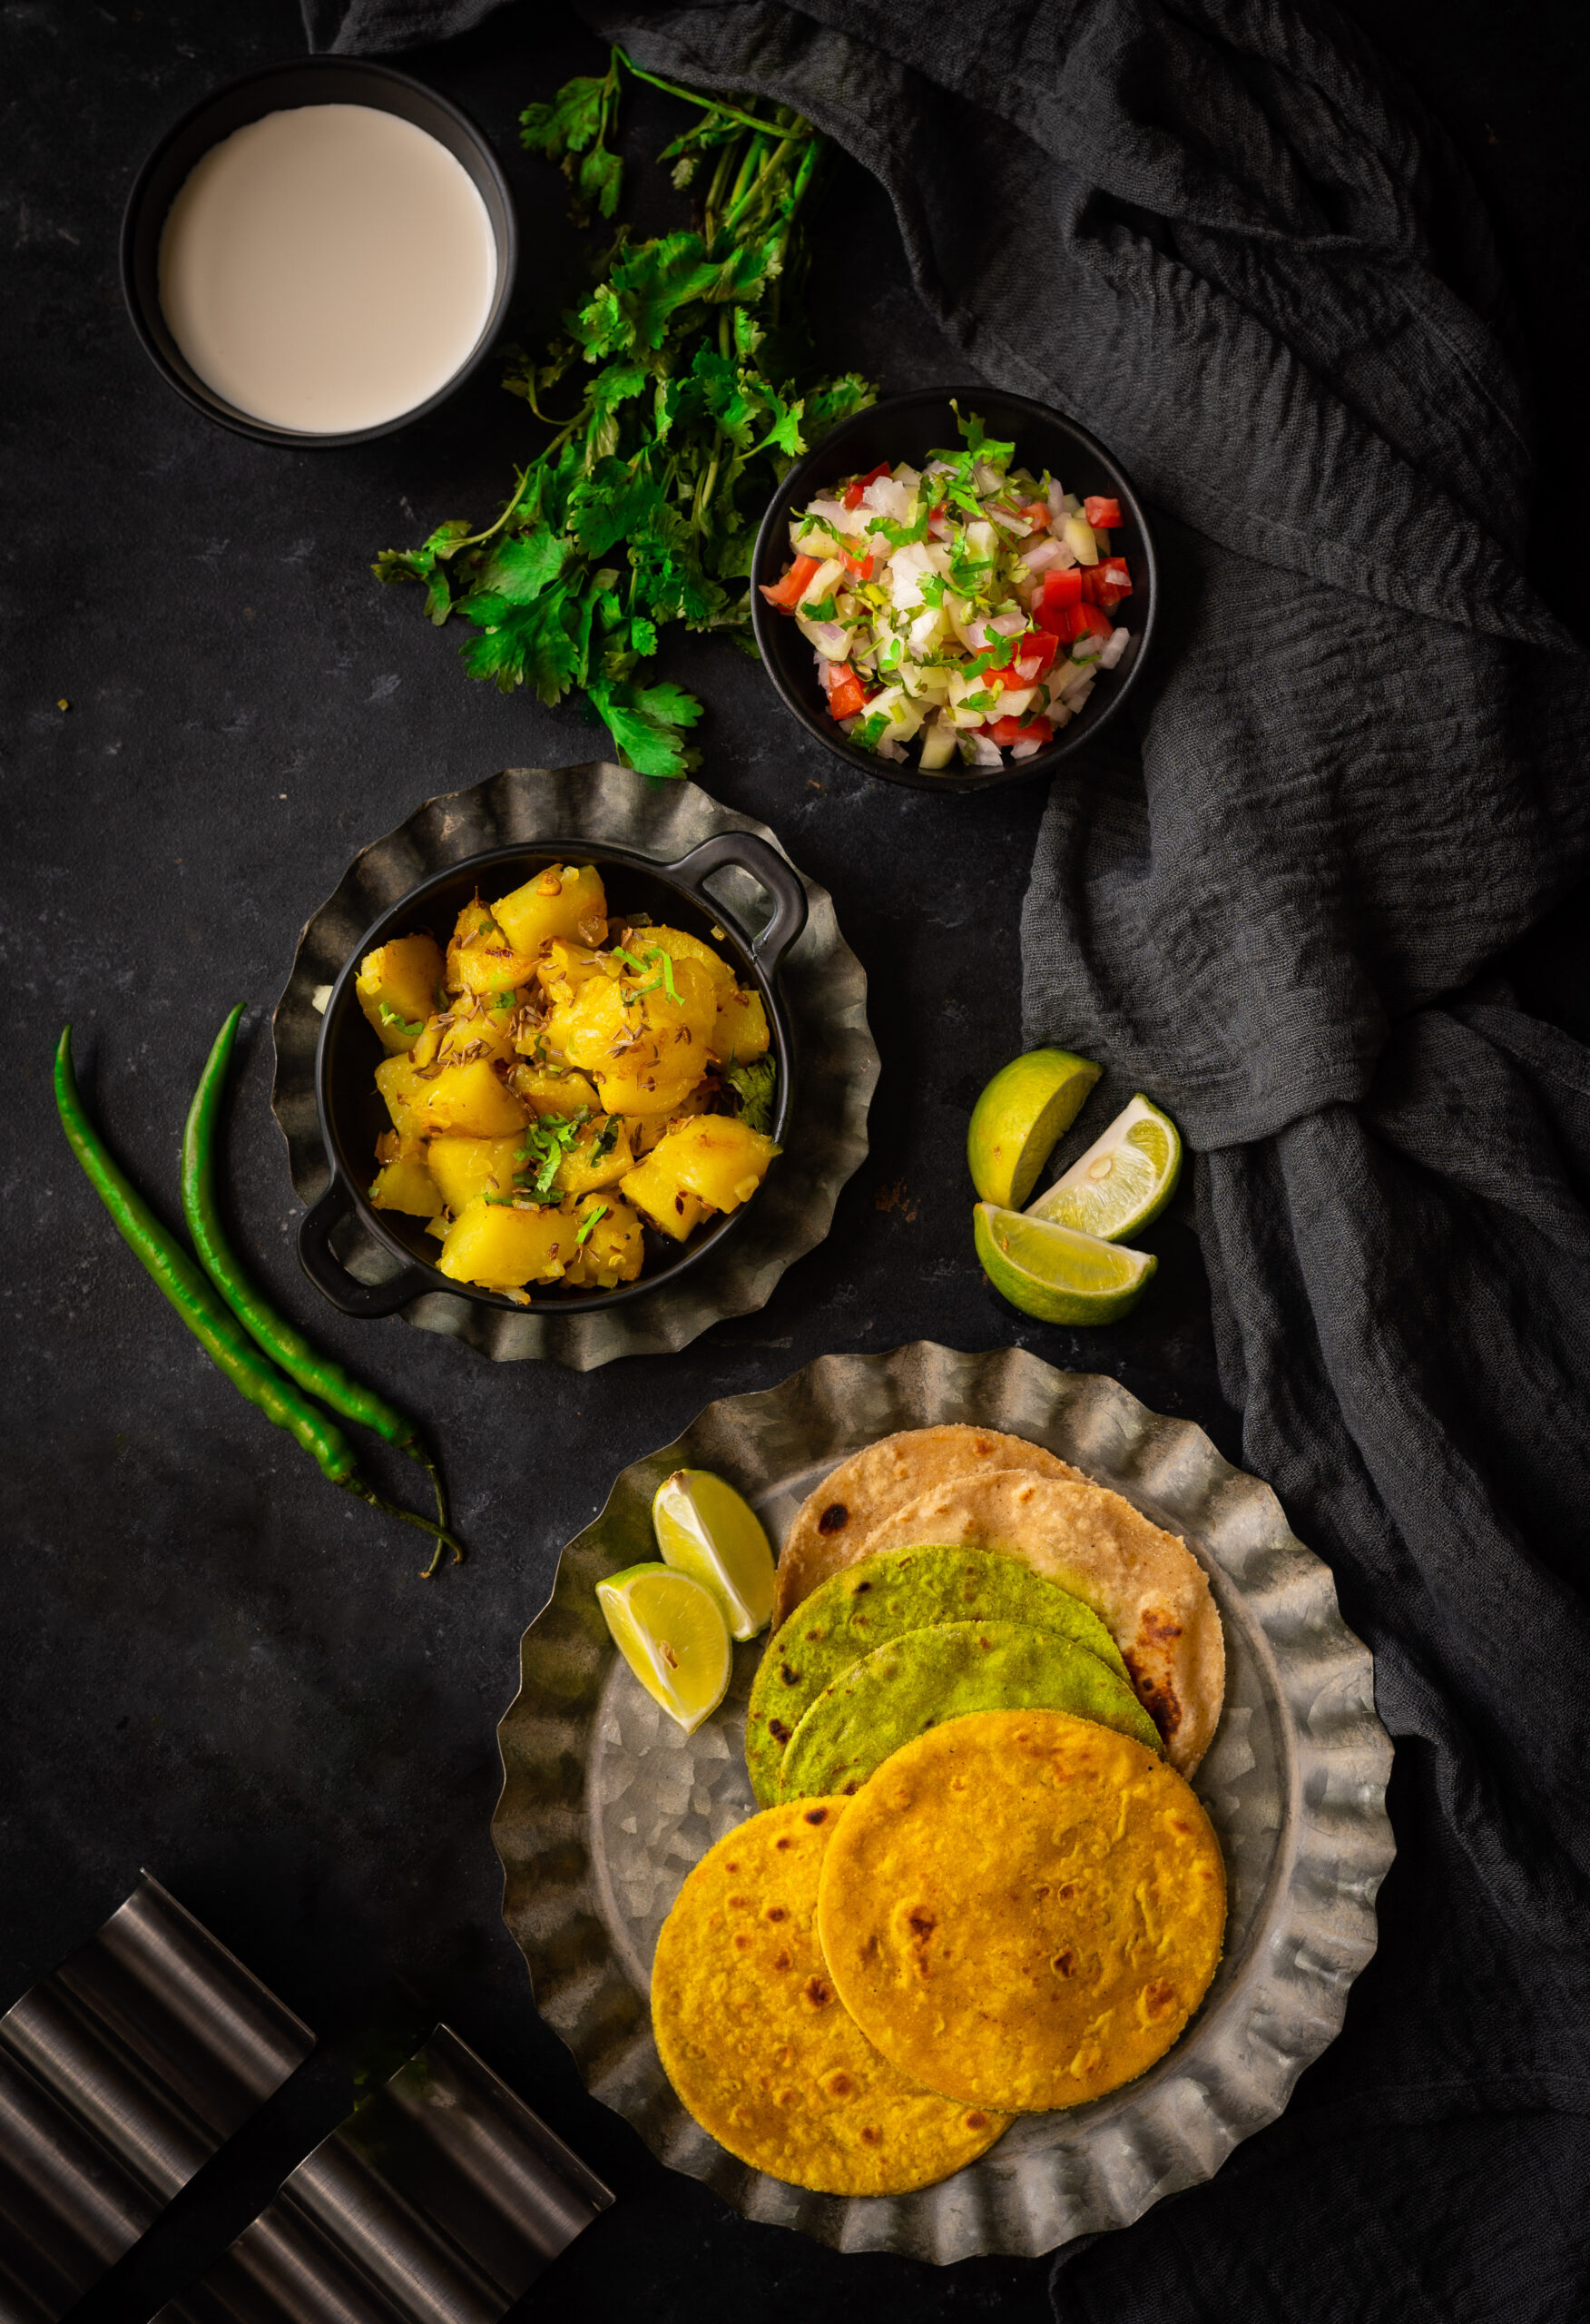
I’ll let you in on a secret… We have a Mexican dinner night every week at home, with crispy tacos and other dishes that veer towards the slightly more authentic (although, as I explained in my Buddha bowl series, authenticity isn’t what I aspire to as much as sheer enjoyment is). I thought that this soft shell version would be a great way to serve a traditional Gujarati meal without anyone thinking that it’s boring. It’s so very delicious no matter if you eat it in a taco or a thali, but the appeal of food so often comes down to presentation. This is why, in addition to the plain rotis and the yellow theplas, I also tried out a roti made with spinach purée for an attractive green appearance. We all need a burst of colour now and then to get us going, and for me, cooking has always been something that fulfills this need – beautifully!

Indian Tacos

(Yield: 6-8 tacos)


Taco Shell

Theplas or rotis (recipes here)

Pickle of your choice (I like to use a sweet grated mango pickle), or a sauce of your choice


Potato filling

200 grams boiled potatoes

3 tablespoons oil

3-4 cloves of garlic

2 tablespoons finely chopped onions

½ teaspoon cumin seeds

¼ teaspoon turmeric powder

1 teaspoon cumin powder

1 finely chopped green chilli

Salt to taste


Kachumber

¾ cup finely chopped onions

1 cup finely chopped tomatoes

1 cup finely chopped cucumber

2 tablespoons finely cut coriander leaves

1 teaspoon roasted cumin powder

2 tablespoons lemon juice

1 finely chopped green chilli

Salt to taste


Greek yoghurt

1 cup yoghurt

2 cloves finely crushed garlic

6-8 finely cut mint leaves

Salt to taste


Paneer

½ cup grated paneer


Mash the boiled potatoes coarsely with your hand while they are still warm.

Heat a pan and add the oil. Once the oil is heated, add the cumin seeds. Allow them to splutter. Then, add the garlic and the potatoes. Allow the potatoes to become crisp, then add the onions. Add the remaining spices and stir well. Allow to sauté and turn golden slightly. Remove from the flame and set aside.

As for the kachumber, simply put the ingredients together in a bowl and set them aside.

Then, whisk the ingredients of the Greek yogurt together until they are blended well.

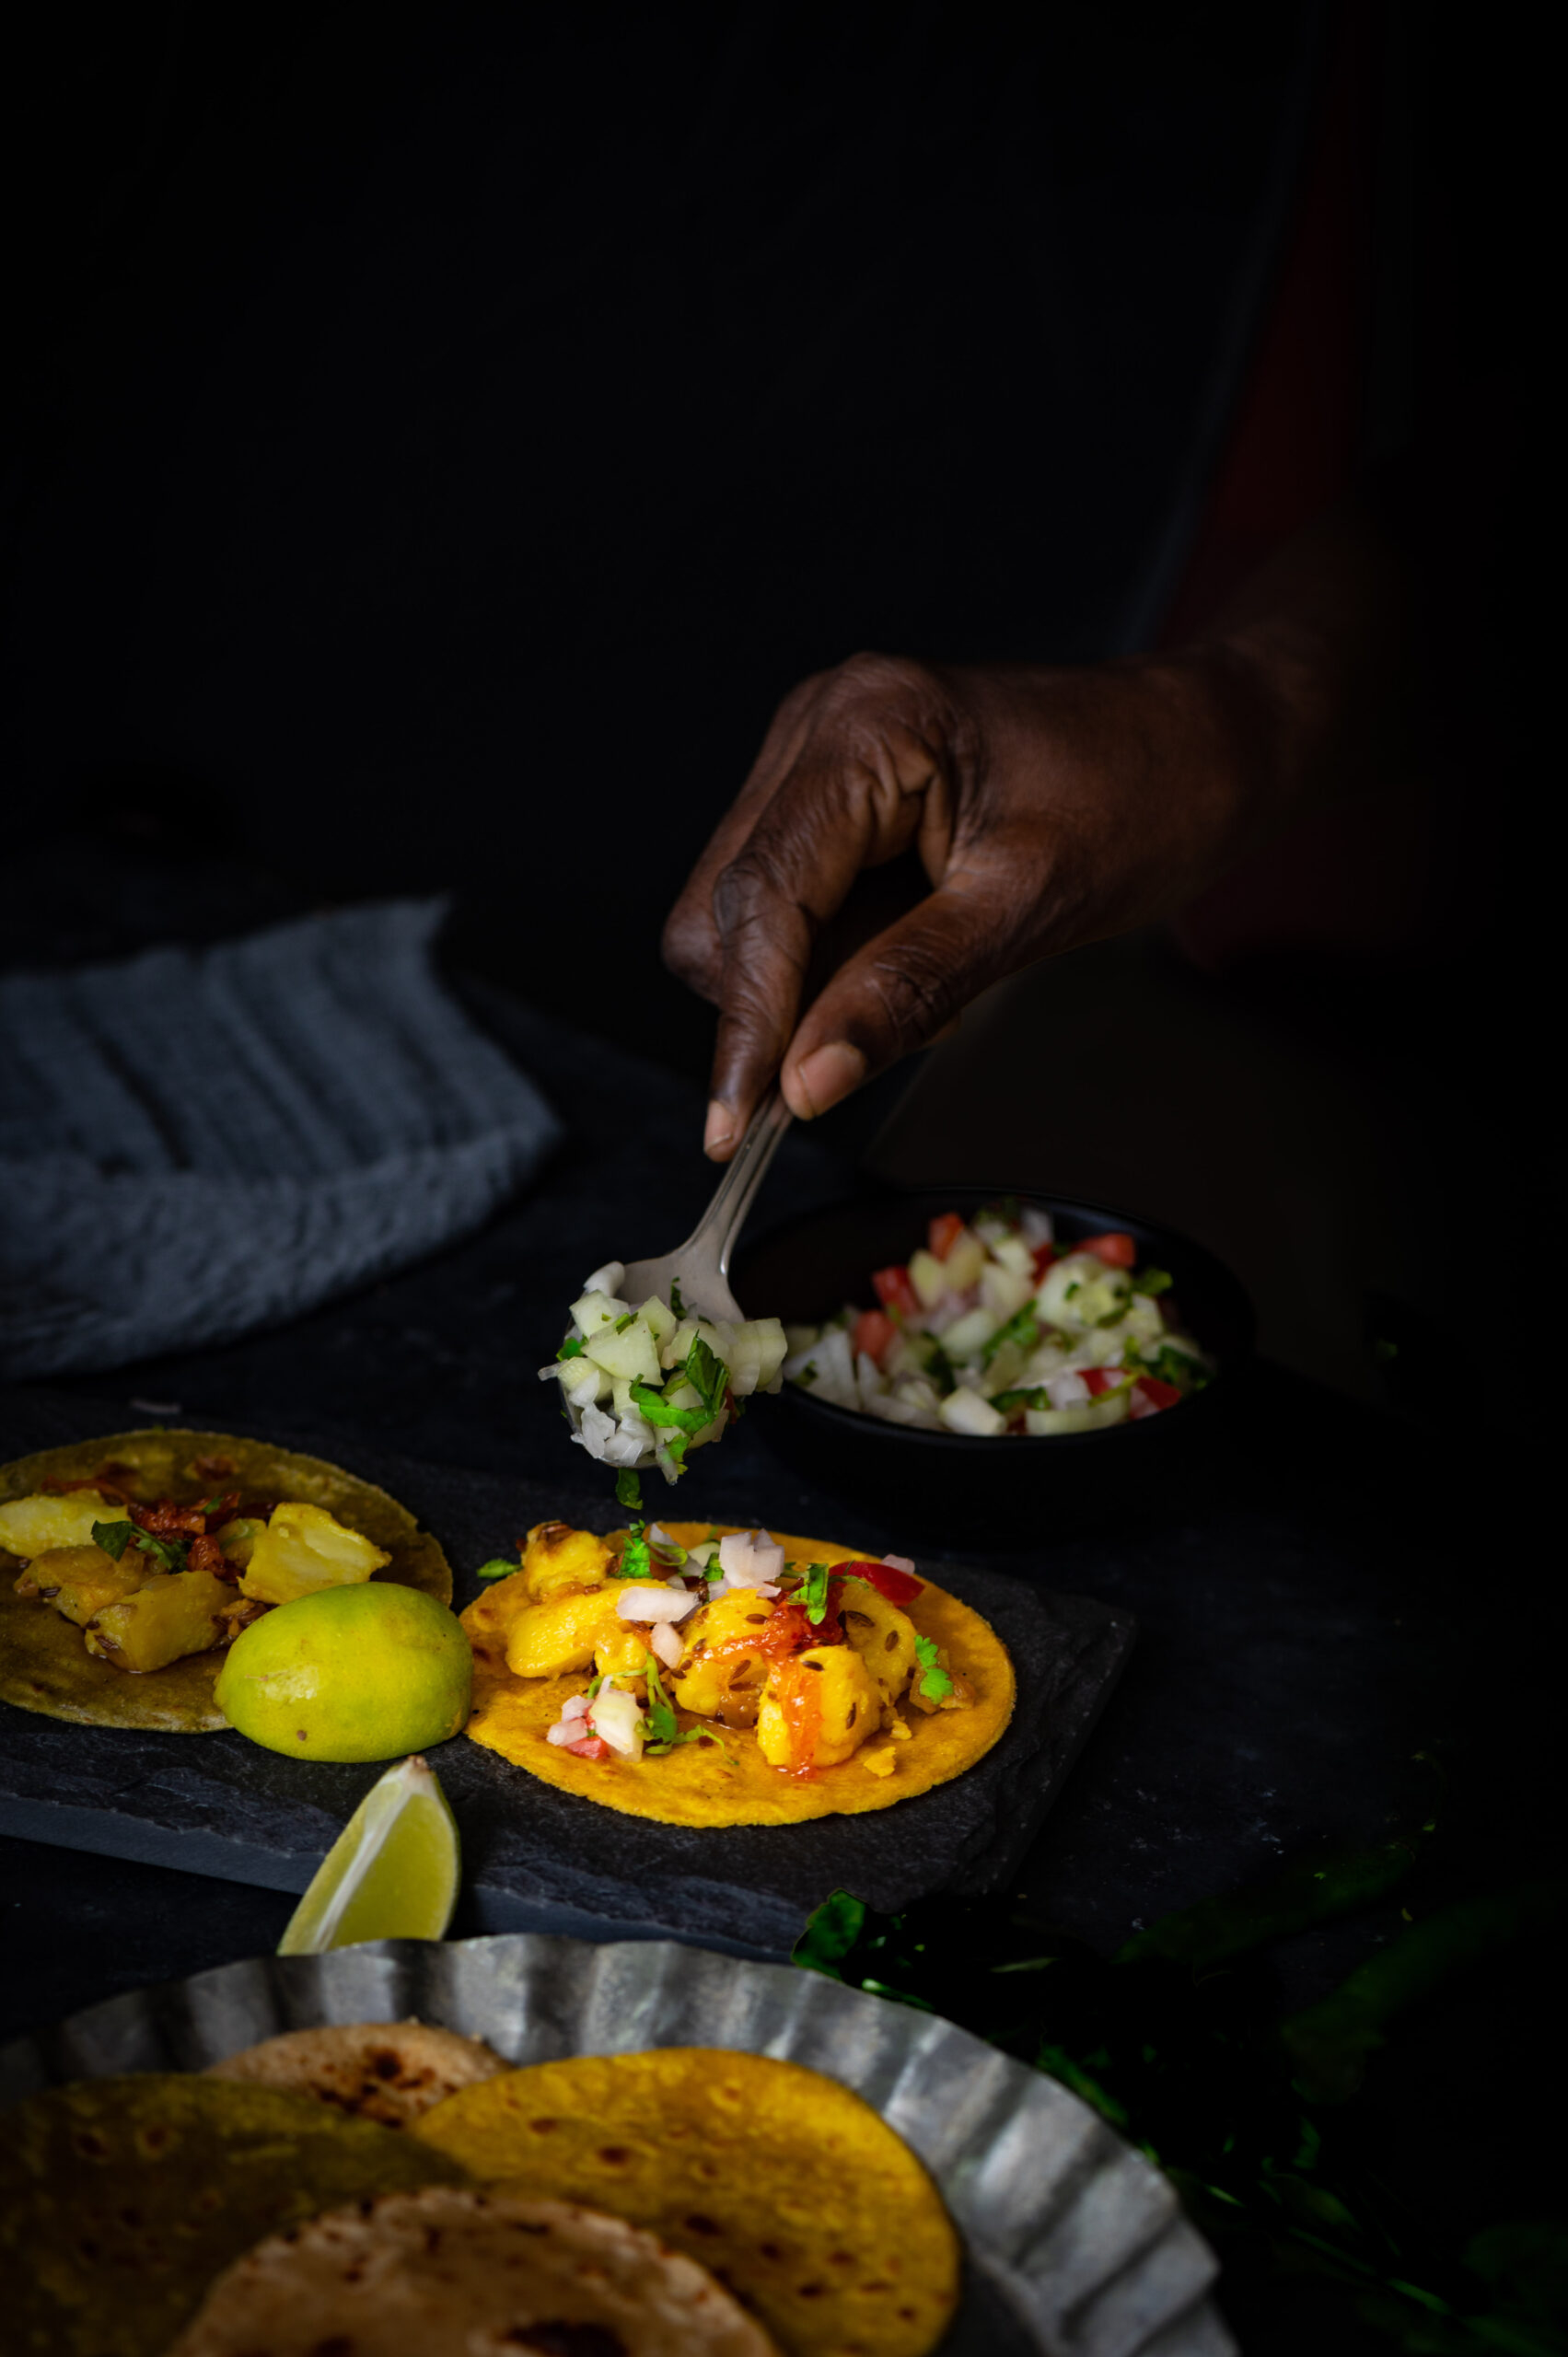
To assemble the Indian tacos, place each soft roti or thepla in a taco holder. Use the recipes here, and just add some puréed spinach to the dough if you’d like to make the green ones in my photographs.

Spread a layer of the pickle or sauce of your choice onto the Indian taco shell. Then add a tablespoon or so of potatoes. Top this with the kachumber and the Greek yoghurt dressing. Add a squeeze of lime if you like, then sprinkle the grated paneer on top. Finally, a garnish of coriander leaves will finish the dish off perfectly.

These Indian tacos are a great way to pep things up a bit and get the family to eat more, even though each of the individual components is part of a fairly typical and simple Gujarati meal! It’s all about the presentation, and the taco style makes everything all the more attractive and adds a sense of novelty to the meal. I particularly like to make them in smaller sizes because there’s an irresistibility quotient to them, just like with cupcakes, and no one can stop at just one or two!

There are one-pot meals and meal-in-a-bowls to be found in cuisines all over the world, even though distinguishing them as a category is a relatively new idea. They’ve gained popularity among diners everywhere thanks to the Buddha bowl trend, which are comprised of a medley of attractively arranged (and usually nutritious) food items in a single bowl. I’ve had quite a few versions of these on my travels, and they’ve always motivated me to make them a regular part of my lifestyle. Now that we’ve all been at home for months, I’ve been bringing as many of these inspirations into my day-to-day cooking as possible. The Buddha bowl is among my favourites for its aesthetic appeal, health quotient and convenience. I’ve been making variants focused on different cuisines, and will share a few of them in the coming weeks. Let’s begin today with my South Indian-style Buddha bowl.

The Buddha bowl concept itself is a great one, and is based on putting together a compact and even portable meal which packs in lots of flavours and textures. You may be wondering what makes a Buddha bowl different from the thaalis we enjoy in India, in which a wide variety of dishes are served in their own separate containers, arranged around the central eating space of the plate. The answer is in the portion sizes. With thaalis, there’s a lot more space, and you tend to fill up that space and thus consume what you’ve filled it with too. A Buddha bowl is just one vessel, usually a bowl as per the name, but a plate will do as well. Thaalis are indulgent, whereas Buddha bowls take a minimalistic approach. The latter are closely tied to fitness for this reason. These days, with the necessity of watching what I eat in a smarter way as I grow older, I reach for them very often in the interest of health. I can attest that eating a Buddha bowl keeps you light on your feet. Whenever I have one for lunch, I feel active for the rest of the day. There is a bounce in my step and I feel revitalised, and find myself doing my photoshoots with more energy.

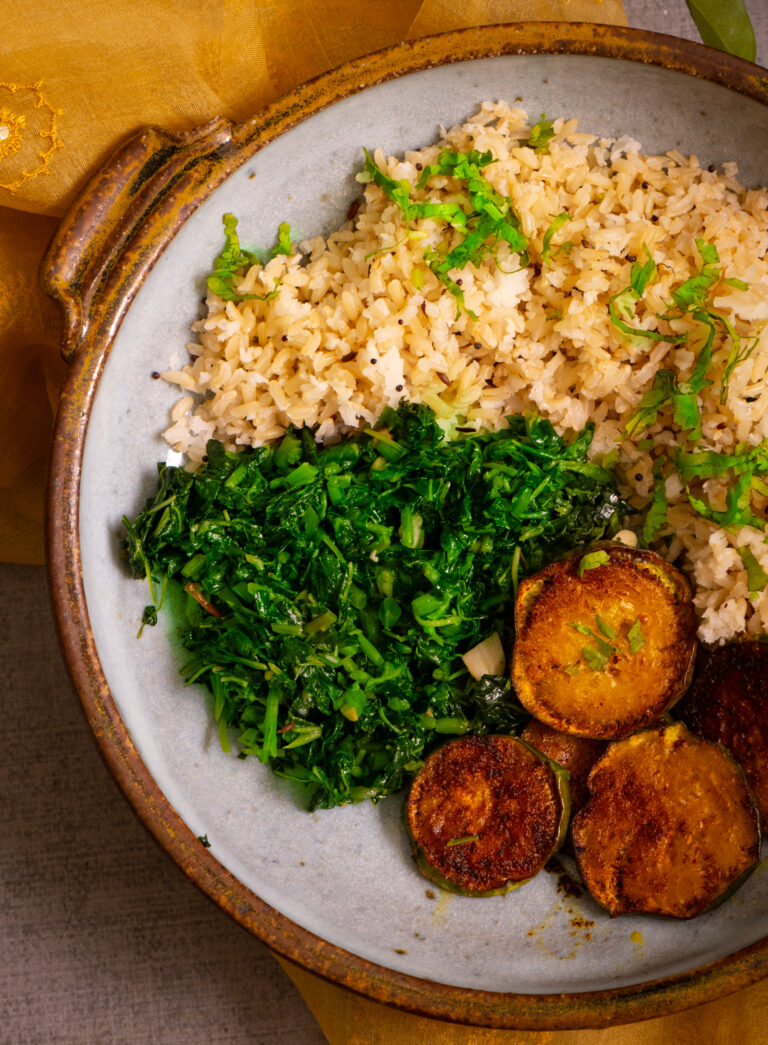
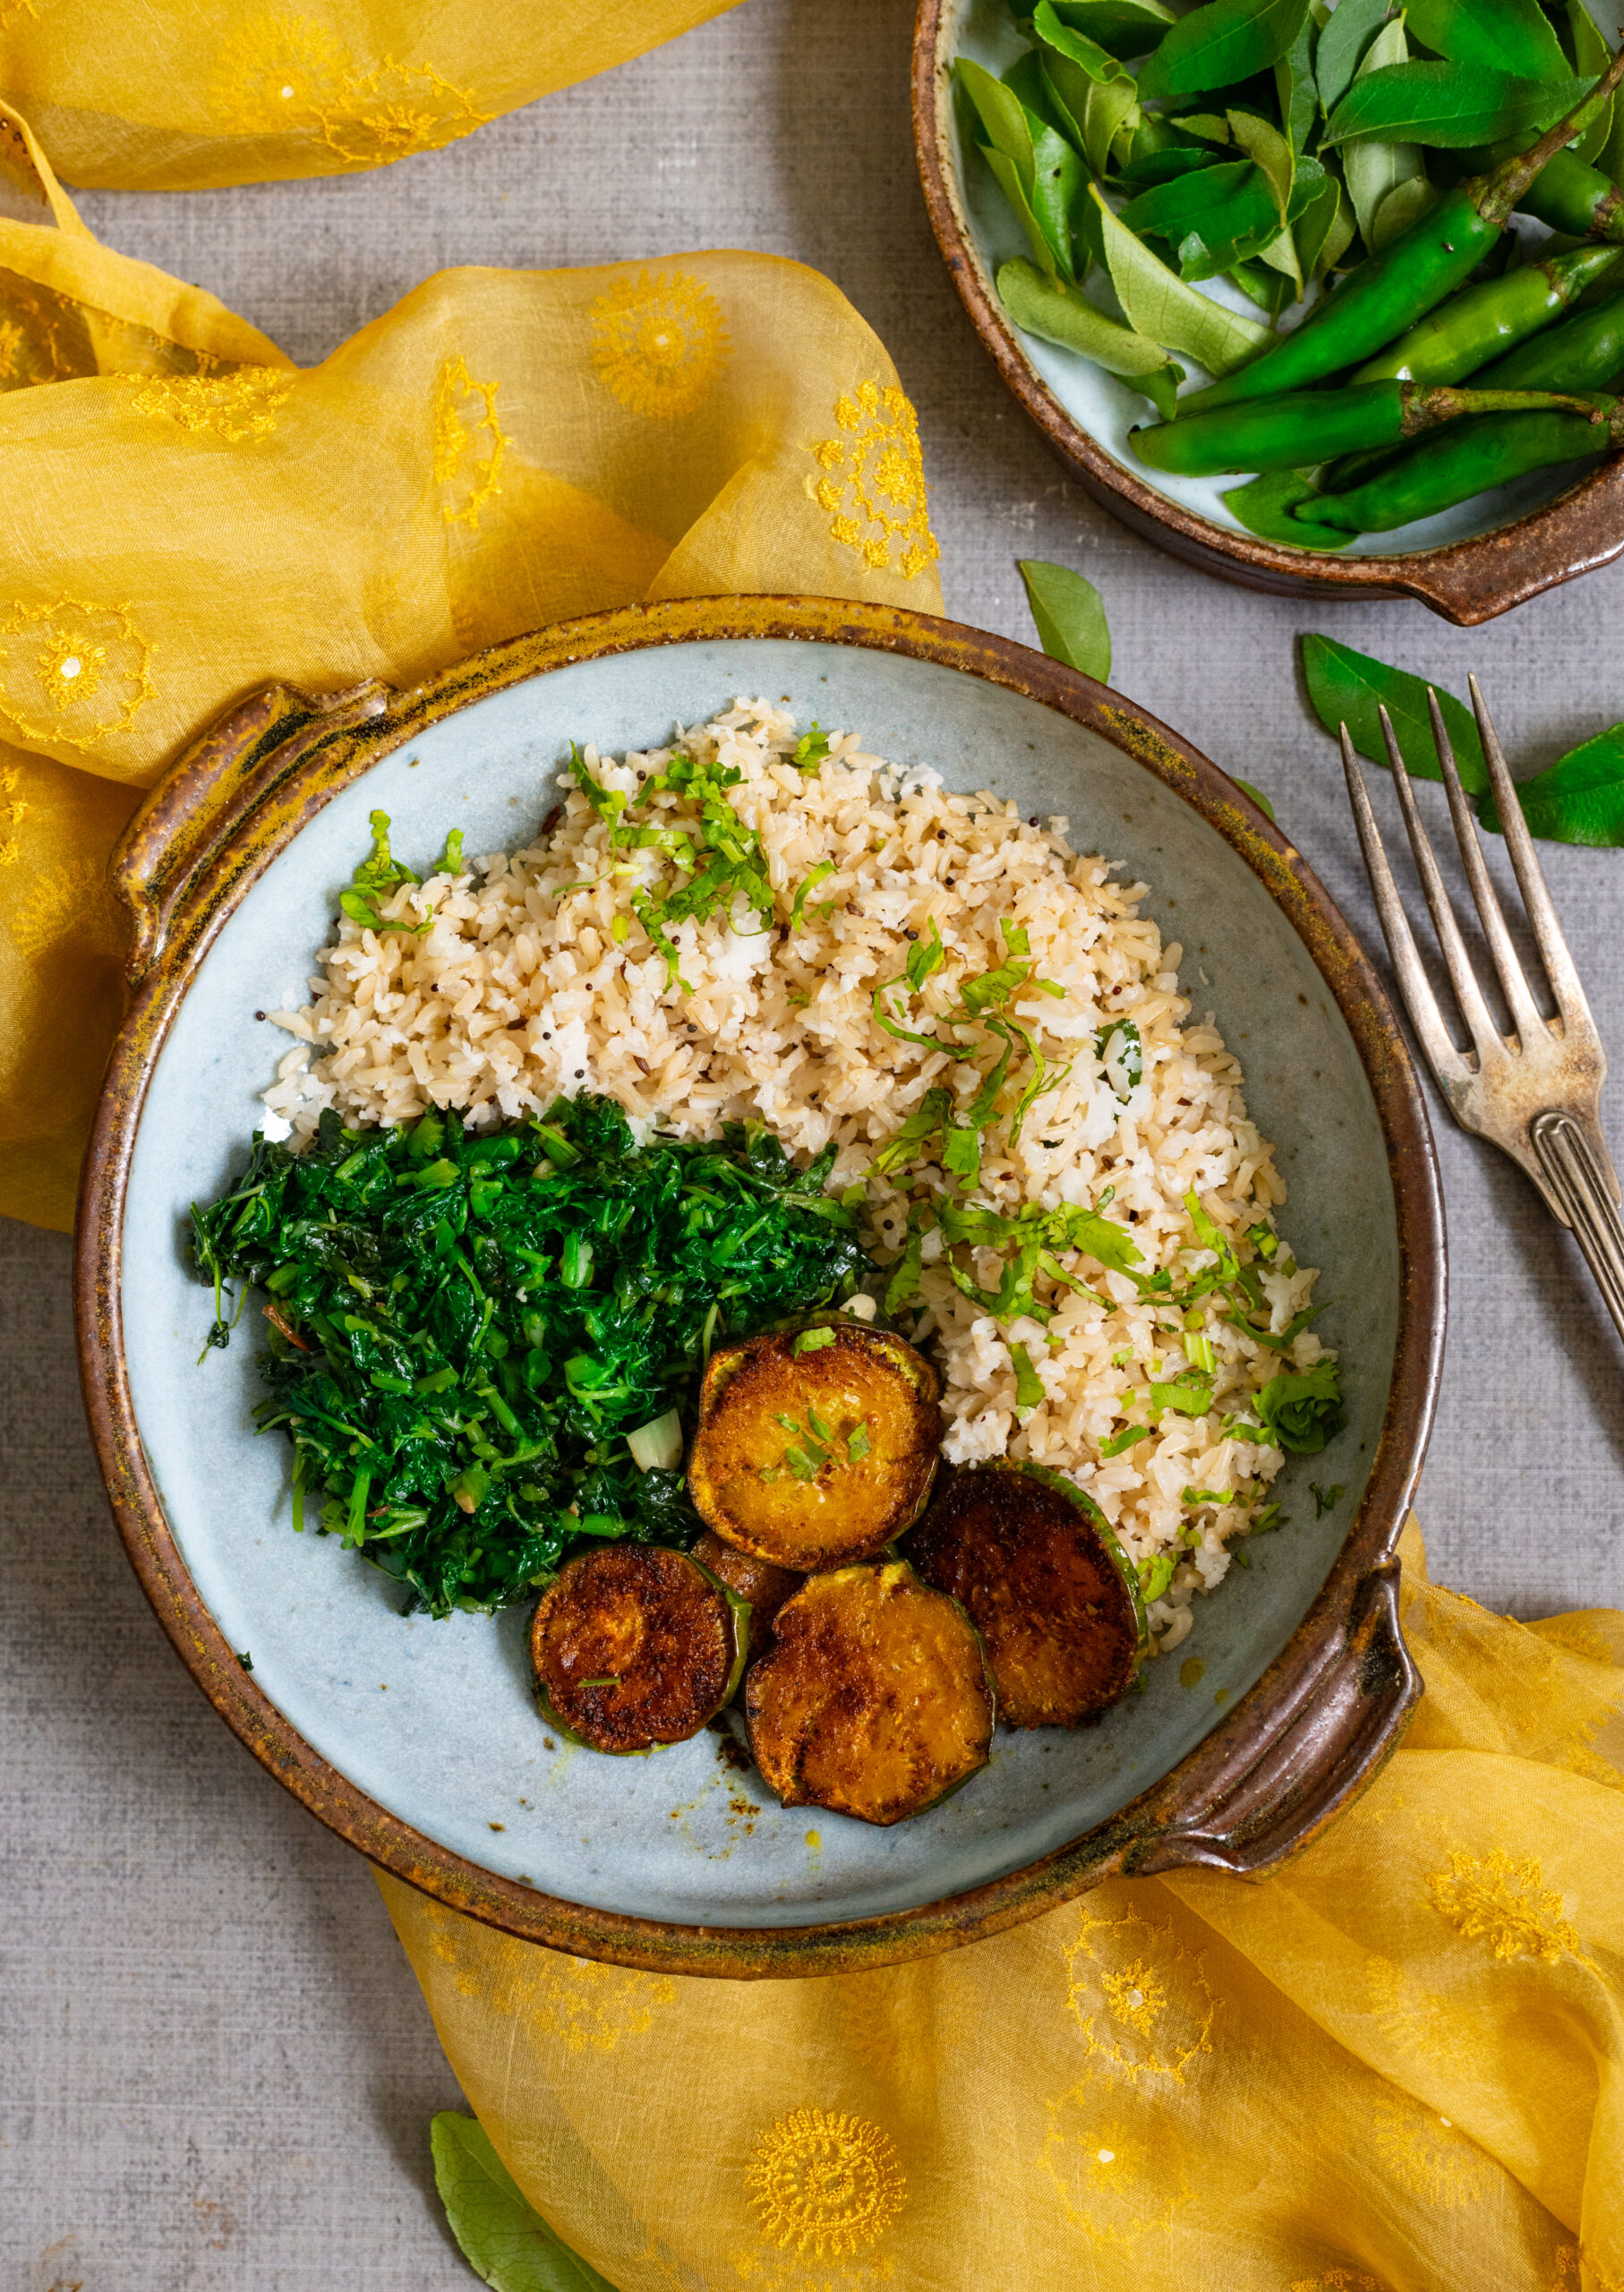
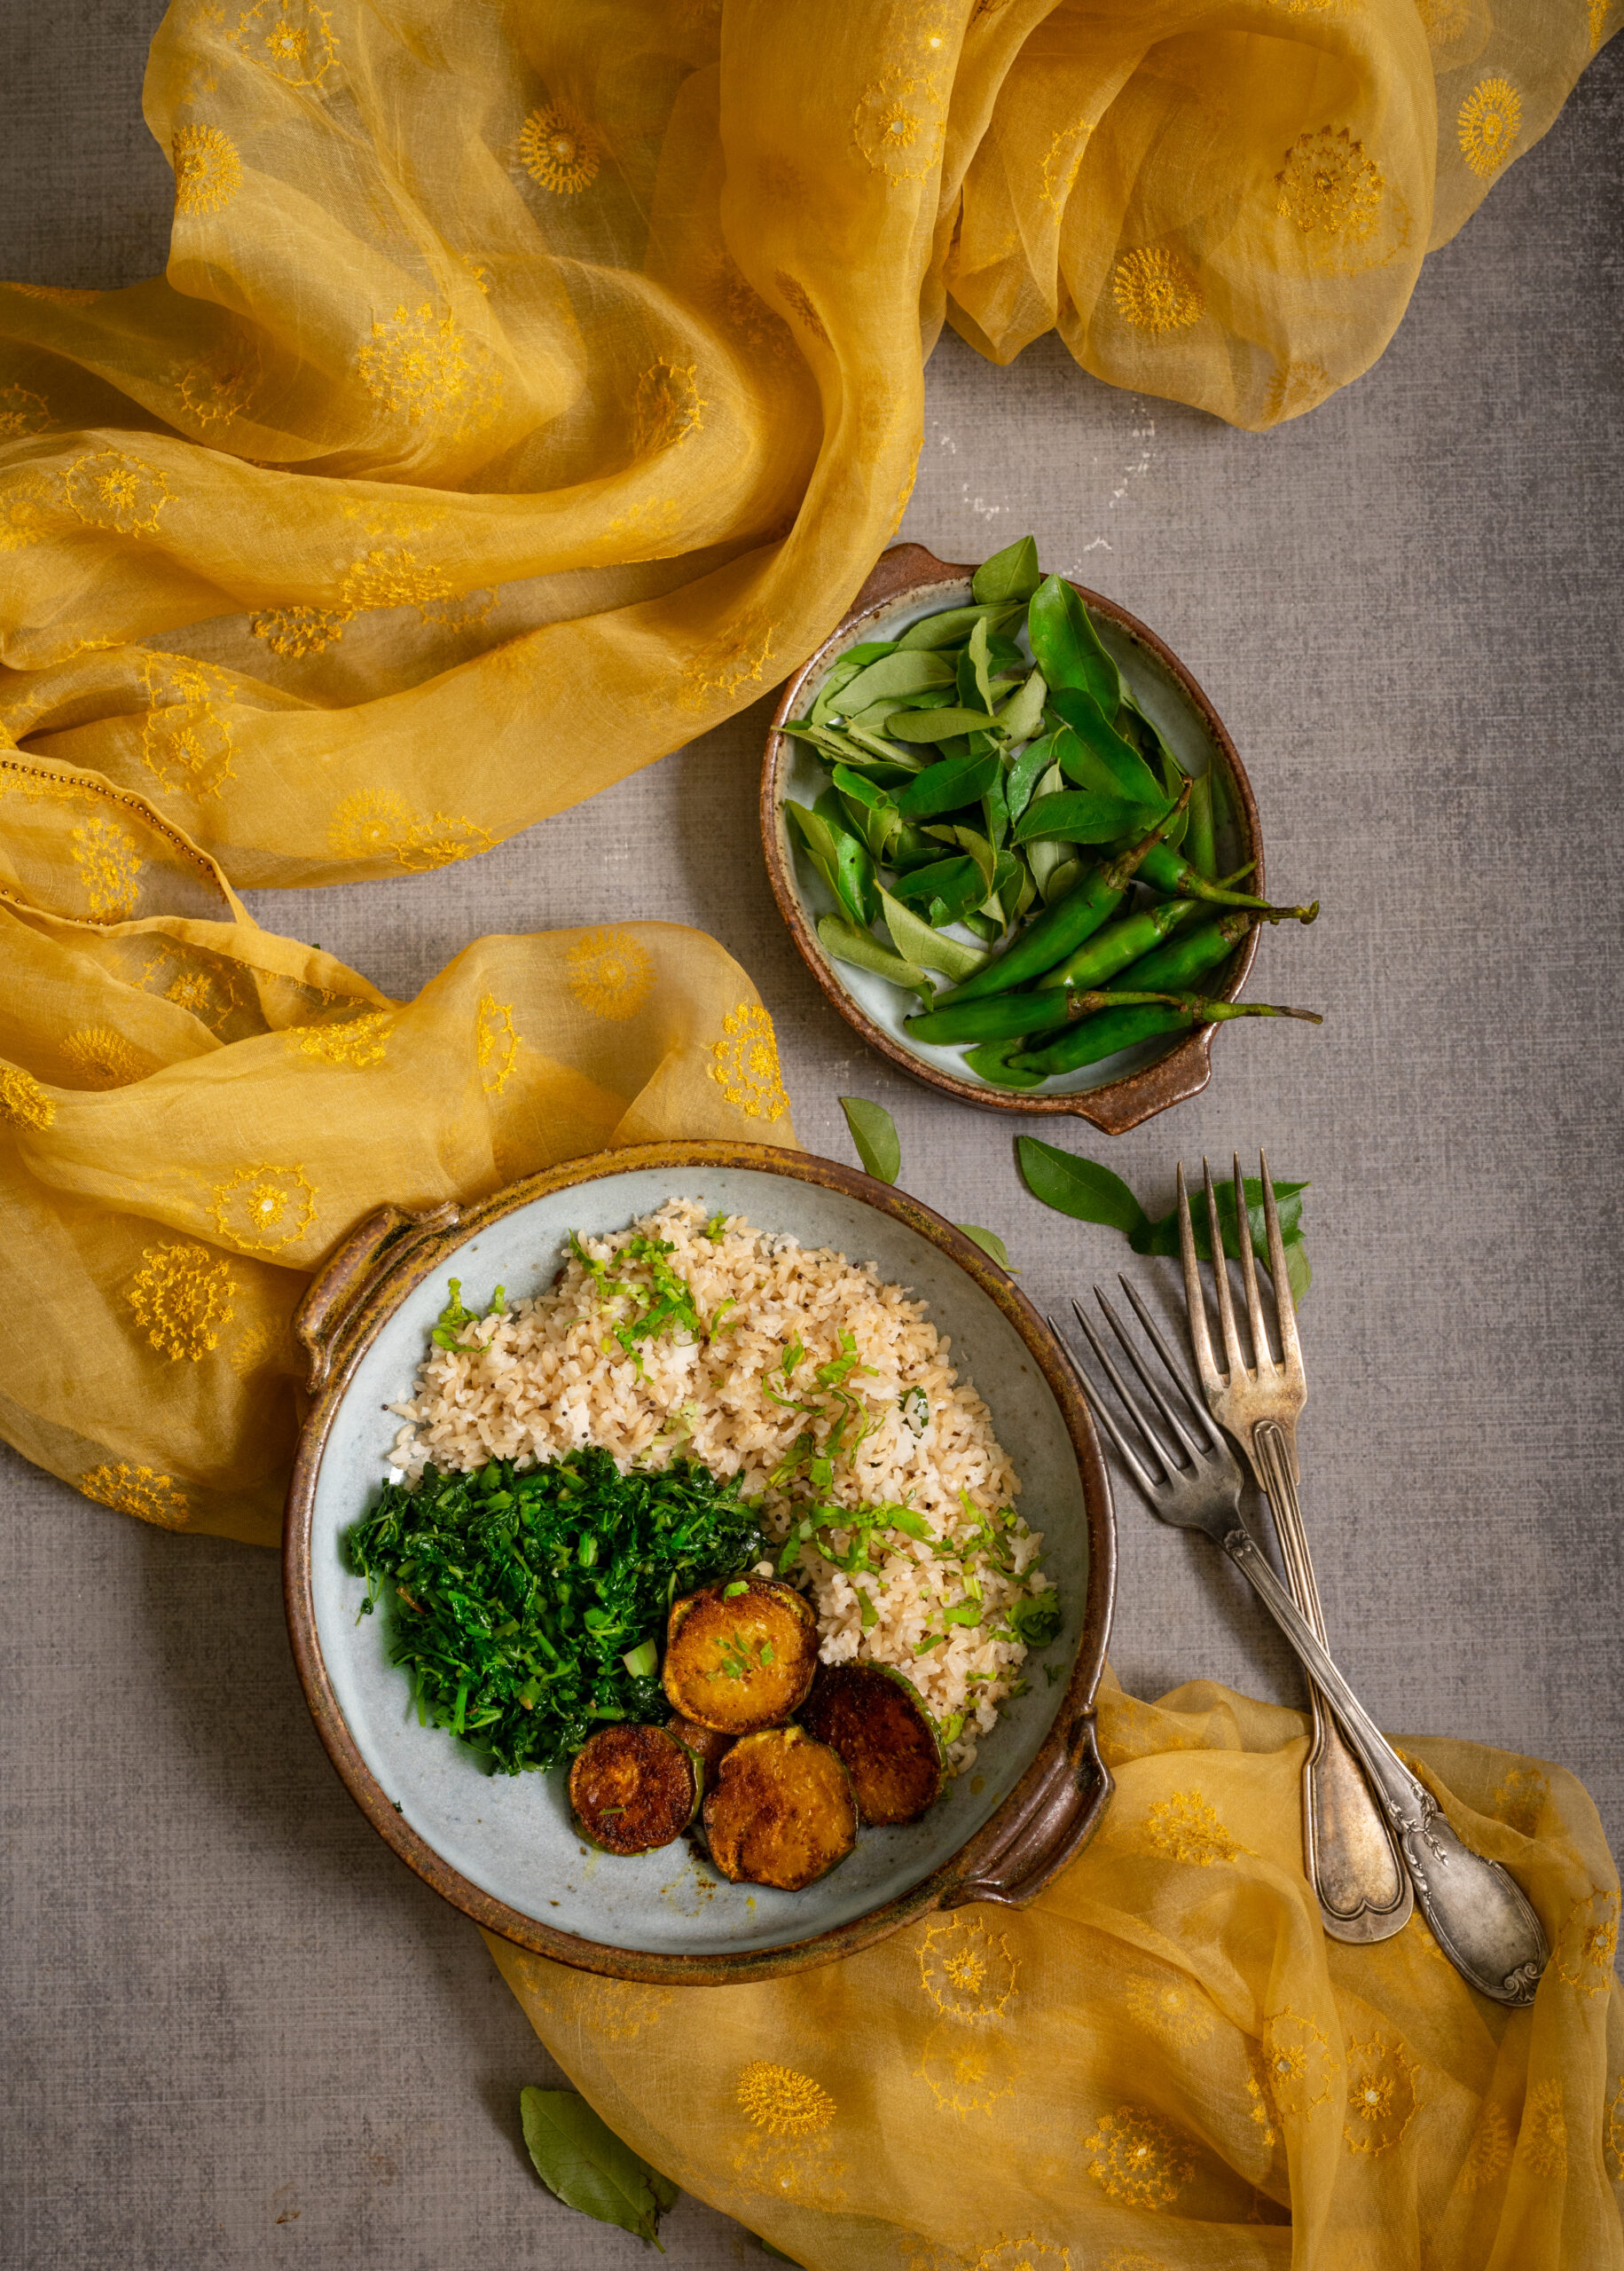
You can make carb-free variants if you like, but for me it’s simply about cutting down on the quantity of them while still getting the boost they give to my energy. Offsetting the carbs with a delicious load of greens is also key. This South Indian Buddha bowl contains the perfect combination of crispy eggplant, flavourful rice and nourishing, lightly-spiced greens. Every single dish-within-the-dish tastes wonderful, and they come together beautifully with their richness of textures and flavours.

I am a fan of healthy grains options, so I’ve used brown rice in this recipe. You can substitute this with white rice, if you prefer. As for the greens, here in South India we enjoy an incredible variety of spinach, including vendaya keerai, moringa, mollaraikeerai, sirikeerai and more. I have some kind or another every single day, and just happened to use mullakeerai in this recipe. It’s just very lightly seasoned with garlic, salt and dry red chilli and is very flavourful when eaten almost plain this way. We also get a variety of eggplants, from thin and long green ones to fat and purple ones, and while I don’t know all their names, you can use any that are available too. One of the beautiful things about this recipe is that it requires just the staples.

I always say that you eat with your eyes first, and the aesthetics of serving are very important to me not only as a photographer but equally as a culinary enthusiast. When you serve these diverse portions in a beautiful and well-proportioned bowl, the vessel looks full and the moment you see it, you get a sense of “Wow, I’m going to have a big meal.” You truly do feel satiated at the end of it, because your eyes have convinced your brain before your belly begins its work! Making a Buddha bowl as colourfully as possible also has health advantages, as you may remember from my post on eating the rainbow.

Speaking of what the eyes take in, initially, I had planned a photoshoot using South Indian brass crockery and props. I ultimately decided to go with an international look instead, to celebrate the global popularity of the Buddha bowl. As I discovered, there’s also another trick of the eye in this. You see, my daughter doesn’t always enjoy South Indian cuisine, but if I present it this way, she tucks in enthusiastically. It’s all about presentation, and how good you can make a dish look so that it will please the person who is going to eat it even before they’ve had a bite. Personally, I would also love eating this very same meal off of a banana leaf (yela saapad), as is tradition. That would change the experience of having it totally as well. But for now, I need the shot of energy that a Buddha bowl puts into my day, and I’ll carry on having it this way for a while!

South Indian Buddha Bowl

(Yield: 1 bowl)


Coconut rice

200 grams (approximately 2 cups) cooked brown or white rice

30 grams (2 tablespoons) grated coconut

4 curry leaves

1 tablespoon coconut oil

¼ teaspoon cumin seeds

¼ teaspoon mustard seeds

1 green chilli

Salt to taste


Greens

2 cups chopped and cleaned greens

1 teaspoon oil

2-3 garlic cloves

1 dry red chilli (optional, can be replaced with green chilli)

Salt to taste


Eggplant

10-12 slices of small eggplants

Salt to taste

¼ teaspoon turmeric

1 teaspoon coriander powder

¼ teaspoon cumin powder

1 tablespoon chickpea flour

2-3 tablespoons oil


Prepare each of the components separately. I’ll begin by sharing the method for the coconut rice. In a pan, add the coconut oil. Once it’s heated, add the cumin and mustard seeds. When the seeds splutter, add the curry leaves and green chilli. Next, add the freshly grated coconut. Sauté them all together for a few minutes and finally add the rice and salt. Stir until combined.

The following is the method for the pan-fried eggplant. On a plate, place the eggplant slices and sprinkle all the masala (including the chickpea flour) onto them, and gently massage them in by using your fingers. Allow the coated slices to sit for ½ an hour or more. If letting the tray sit for longer, then refrigerate it so that the eggplant doesn’t begin to give out water.

When you are ready to fry the eggplant, add the oil in a pan. Allow it to heat up, then gently place the round eggplant slices onto the hot oil. Allow them to turn golden on both sides on a medium flame, then cool.

Finally, here is the method to prepare the greens. Heat a kadai and add the oil to it. Once it’s hot, add the garlic and stir fry until the cloves change colour slightly. Now, add the chilli and then finally add the greens. Keep the flame at a medium level and sauté for a few minutes or until the greens turn a little tender. Do not overcook, as they release water and will change colour. Add the salt and stir well.

My daughter felt that this bowl was a little dry, and if you think so too, you can either add some yoghurt to it as a fourth component or make the spinach in a more gravy-like style if you prefer.

With all the components of the dish prepared, it now comes down to the assembly. Pick out a beautiful bowl and arrange the coconut rice, sautéed greens and pan-fried eggplant on it. Let your eyes feast first. Enjoy!

You may have noticed that my blog is also a kind of Buddha bowl, a mix-and-match that I put together from across categories. This is deliberate, because I want people from across age groups and from all over the world to enjoy my recipes. I always try to balance the traditional and the modern, and bring in all my varied experiences and learning – be they through travel, my training such as in Macrobiotics, my memories, or my experiments. I strive to keep up with the times, and I also strive to keep challenging myself. Thank you for coming along with me on my journey! There are a few more Buddha bowls in the next couple of stops. Any guesses where they might be inspired from?

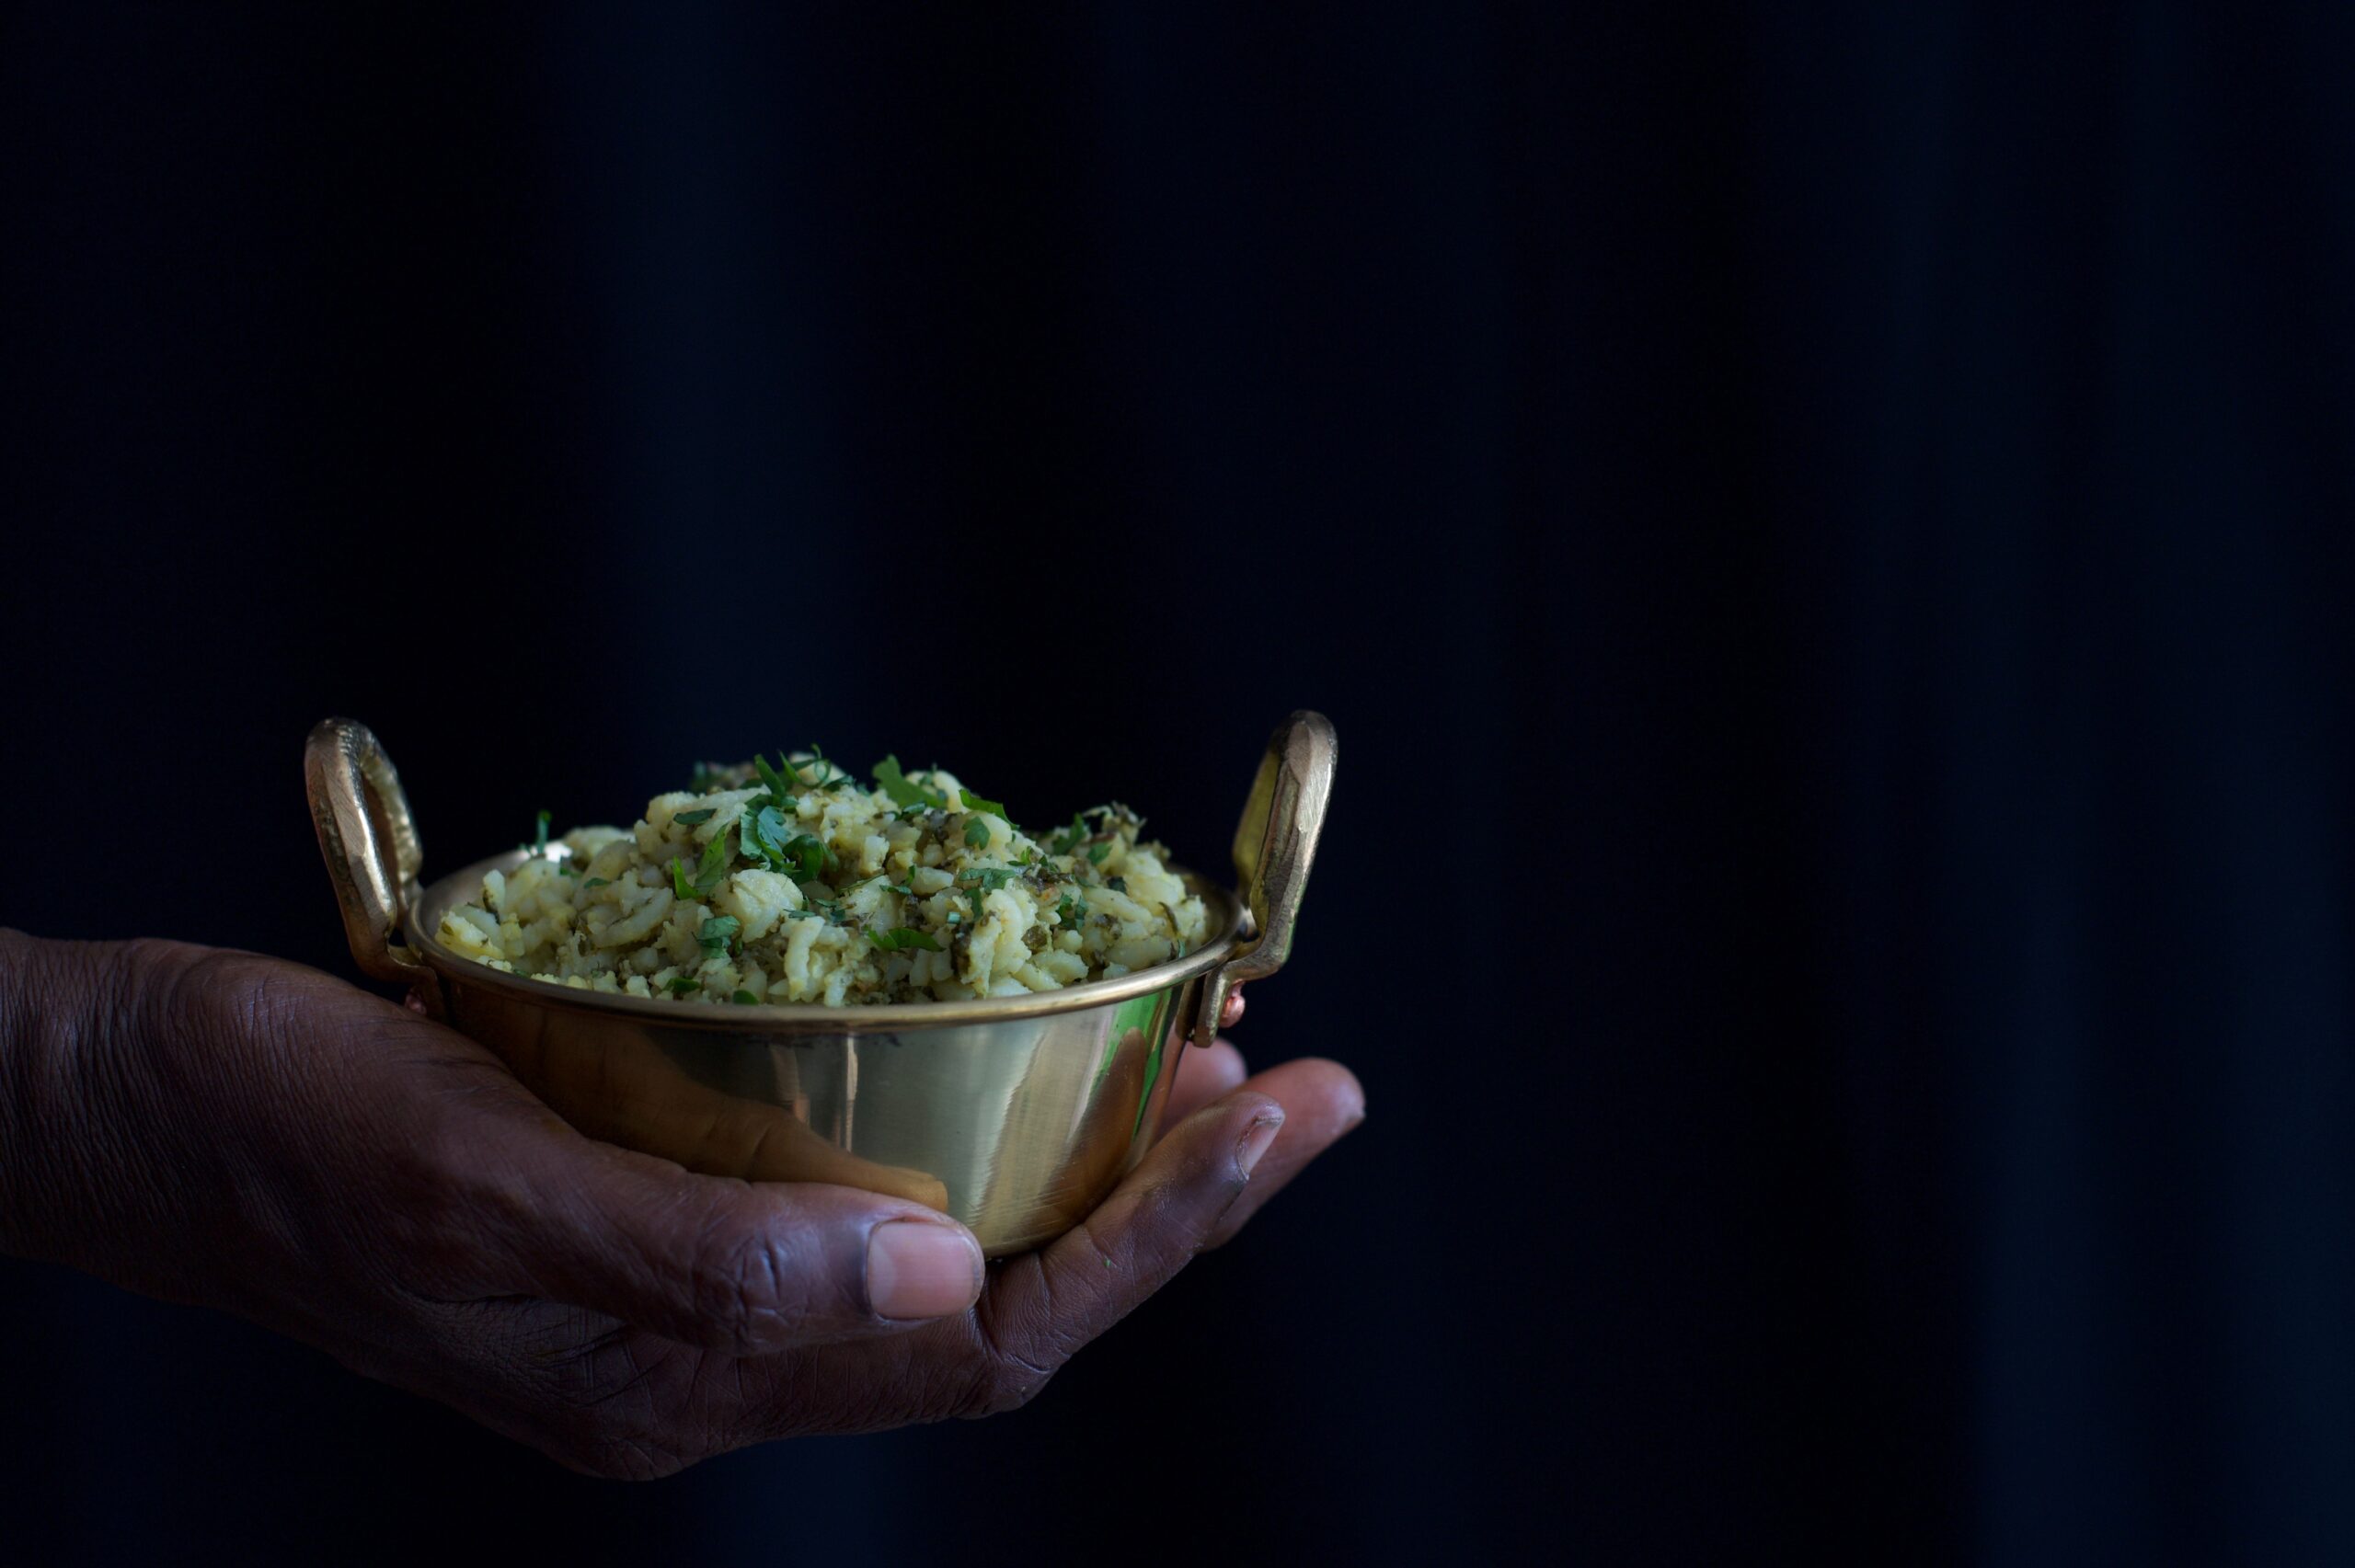
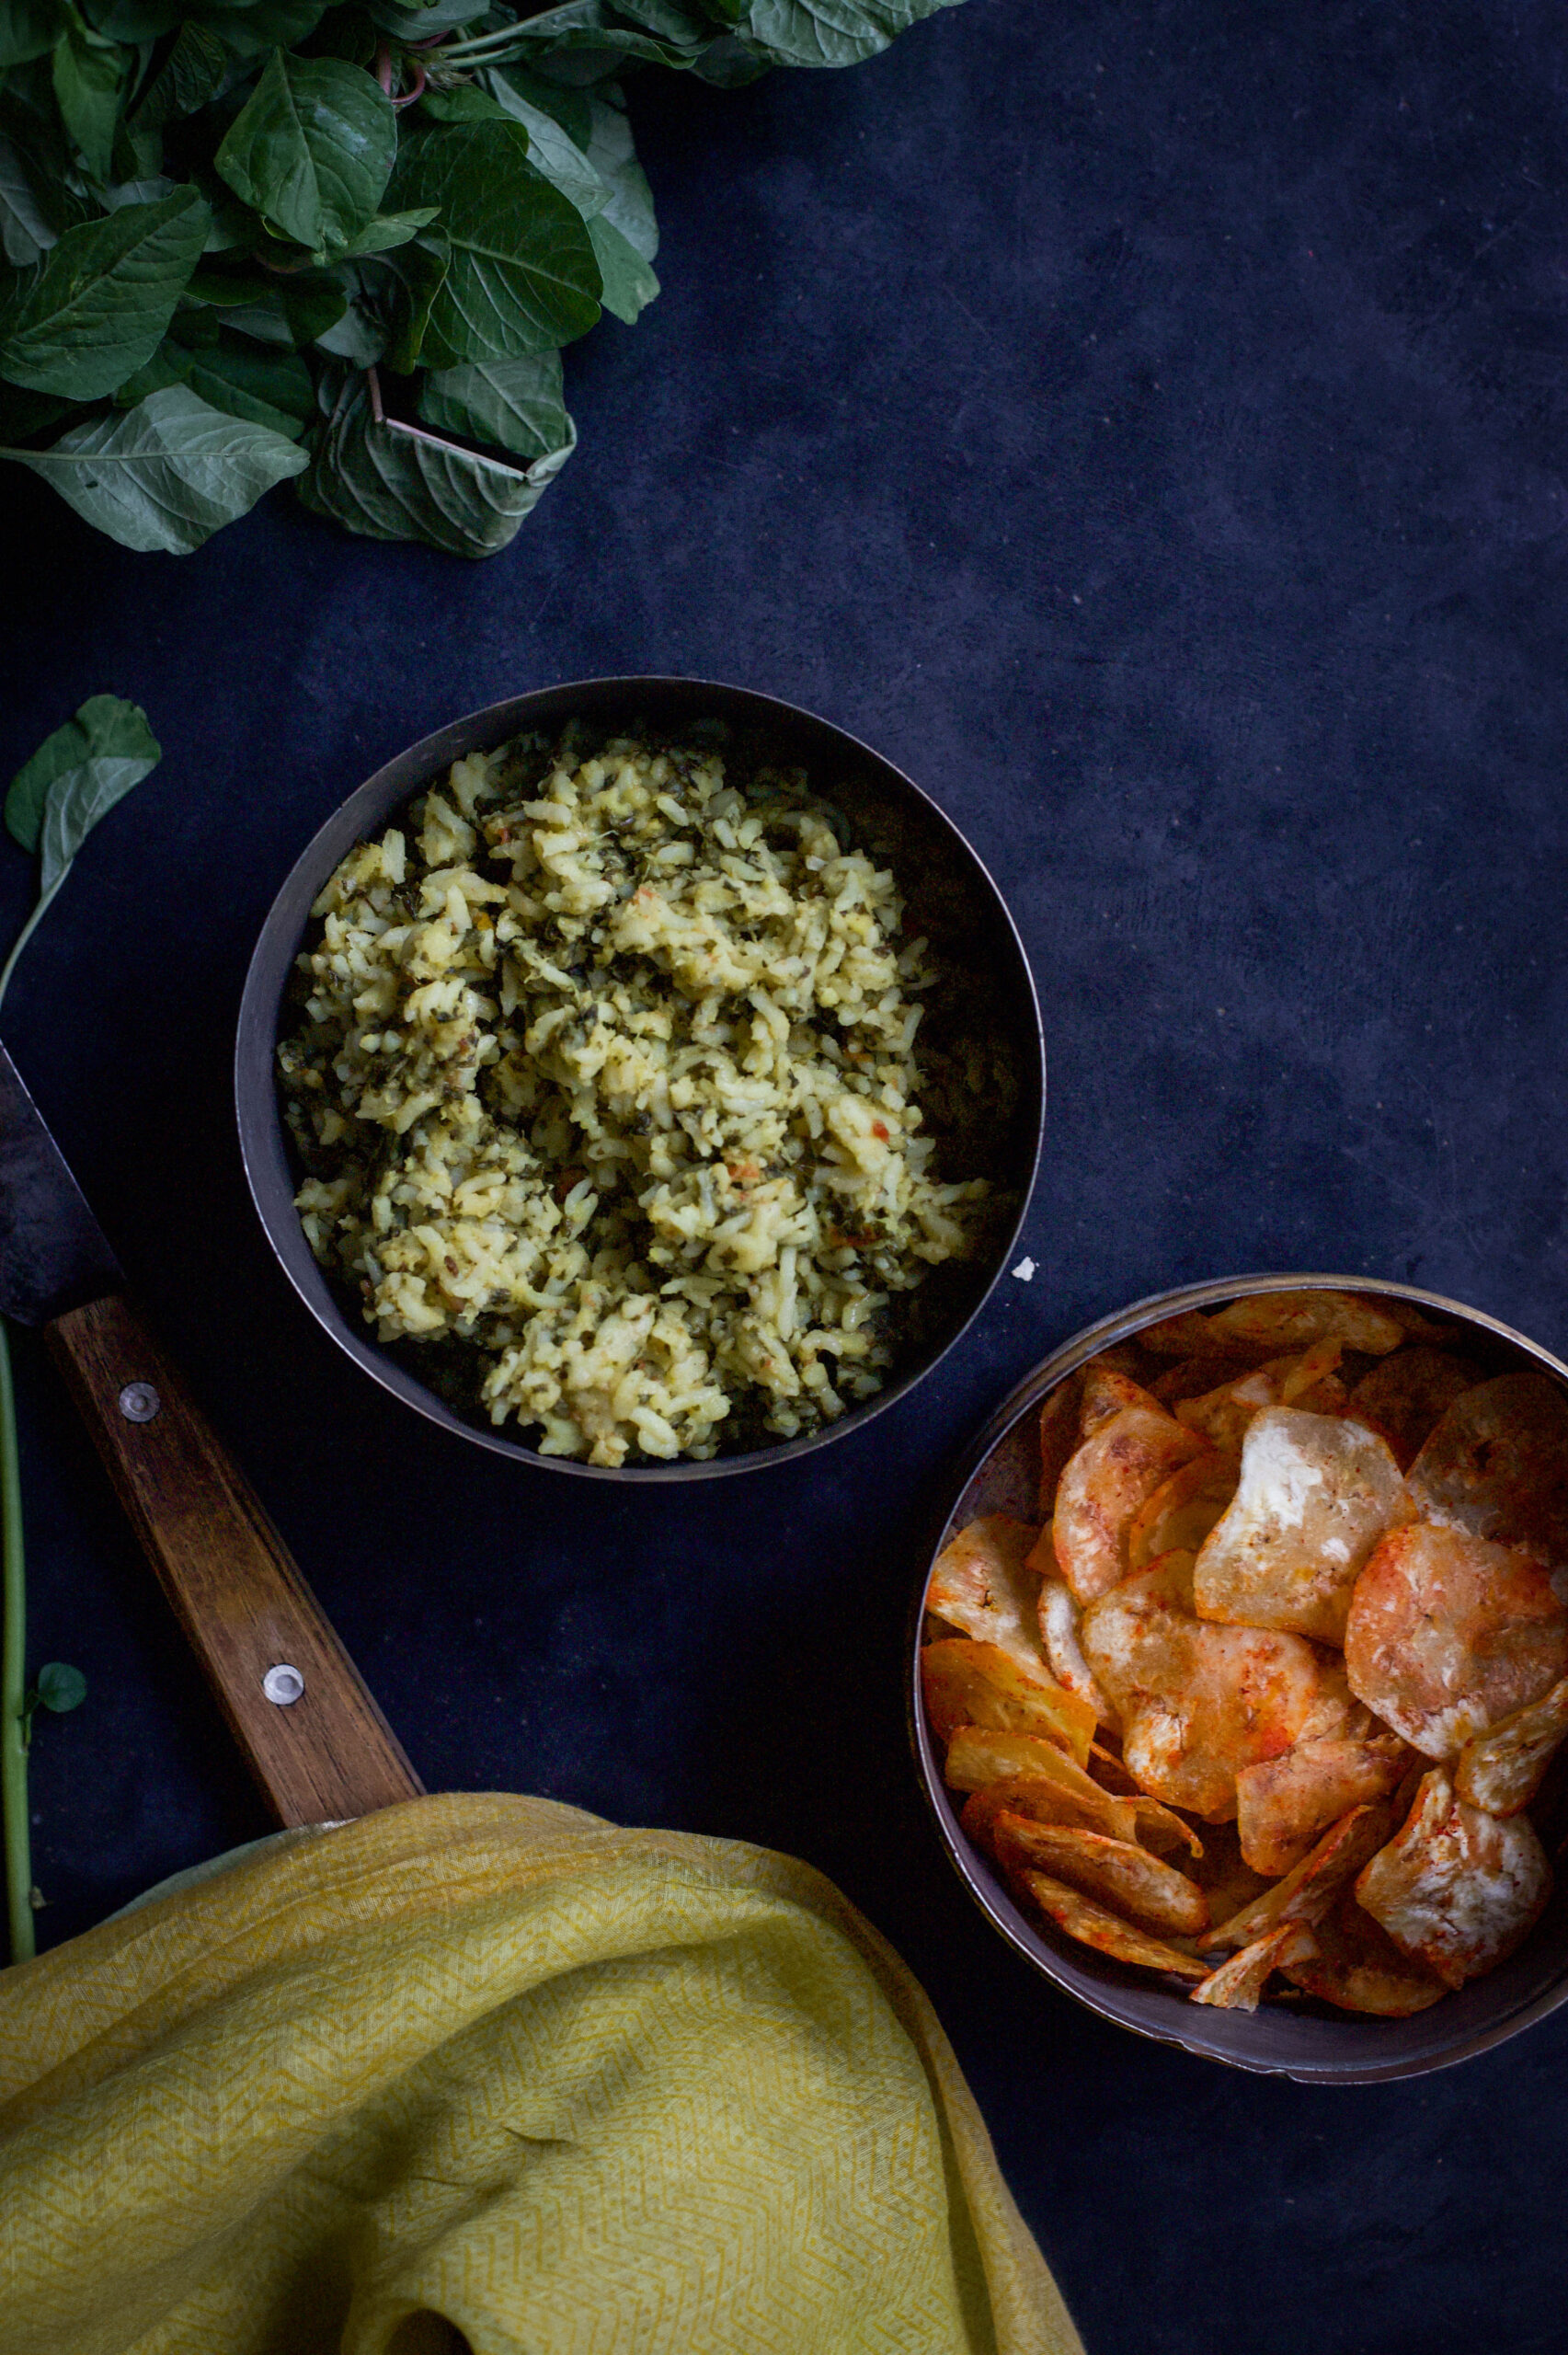
When my daughter was in school, I would send her off every day with a lunchbox that contained as much variety as possible. Whether it was noodles, pizza or something else, I always made her something delicious – but with a healthy twist. Her best friend, a girl from Andhra Pradesh, brought her mother’s spinach rice in her own lunchbox every day. And the girls would exchange lunchboxes. My daughter loved that traditional spinach rice, and her best friend couldn’t get enough of my cooking experiments! When I discovered what was going on, I simply started packing extra of whatever I sent her, so both girls could eat more of our homemade meals.

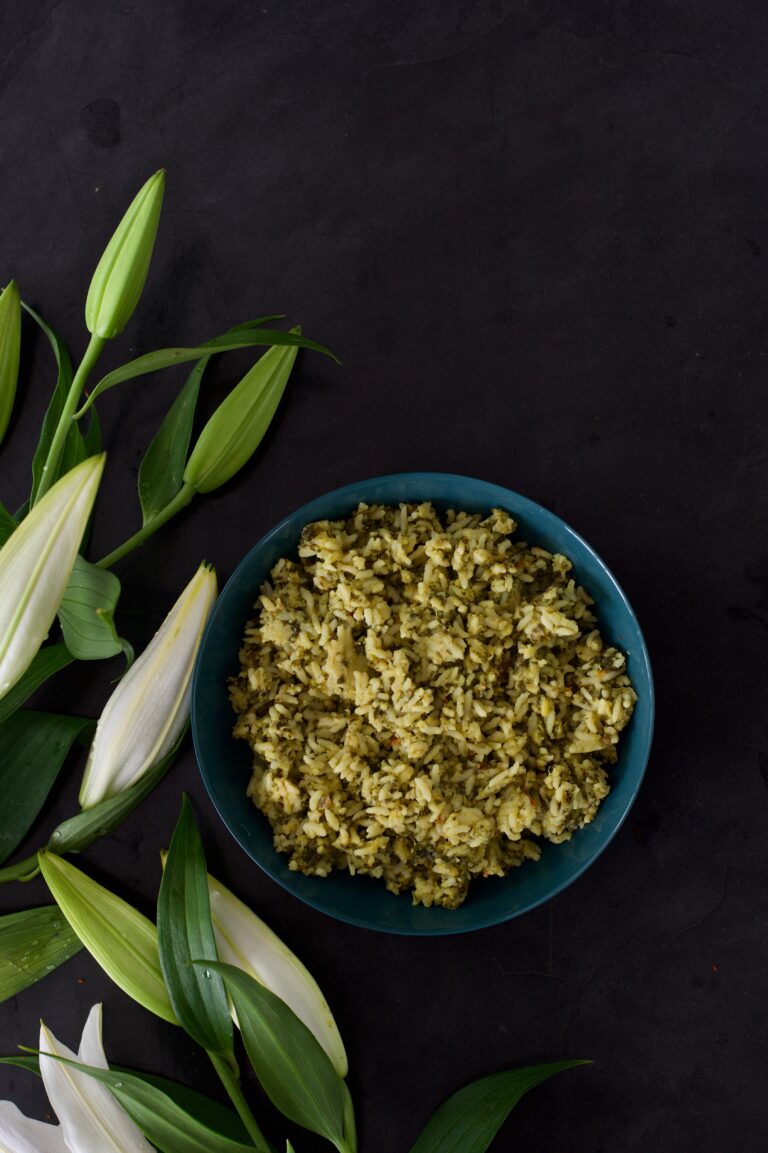
Recently, this friend visited us, and the girls sat with me and reminisced about the good old days of their childhoods. Soon, they got to talking about the lunchbox swaps, and my daughter was nostalgic, saying how much she missed that spinach rice. As it is made of affordable and readily available ingredients, some variation of spinach rice is a staple in households all over the country. “Spinach” is an entire category of leafy greens. In South India, there are so many kinds available that certain dishes are matched according to the tastes of each. For instance, in Tamil Nadu, the thick small leaves of paruppu keerai (literally “dhal spinach”) go with dhal, the smaller leaves of siri keerai (“little spinach”) taste good with garlic, and are usually stir-fried with the same, and so on. What is known as dill rice in the West is also a kind of spinach rice here.

Spinach, as the cartoon character Popeye popularised, is great for developing a strong and healthy body. It is a muscle-builder, and packed with vitamins, calcium, antioxidants and other nourishing elements. It’s also collagen-rich, which means your skin and hair benefit from it. It is typically the kind of leafy green that kids resist eating, as some kinds are bitter, which is why I was so happy to find out about my daughter’s lunchbox exchanges long ago!

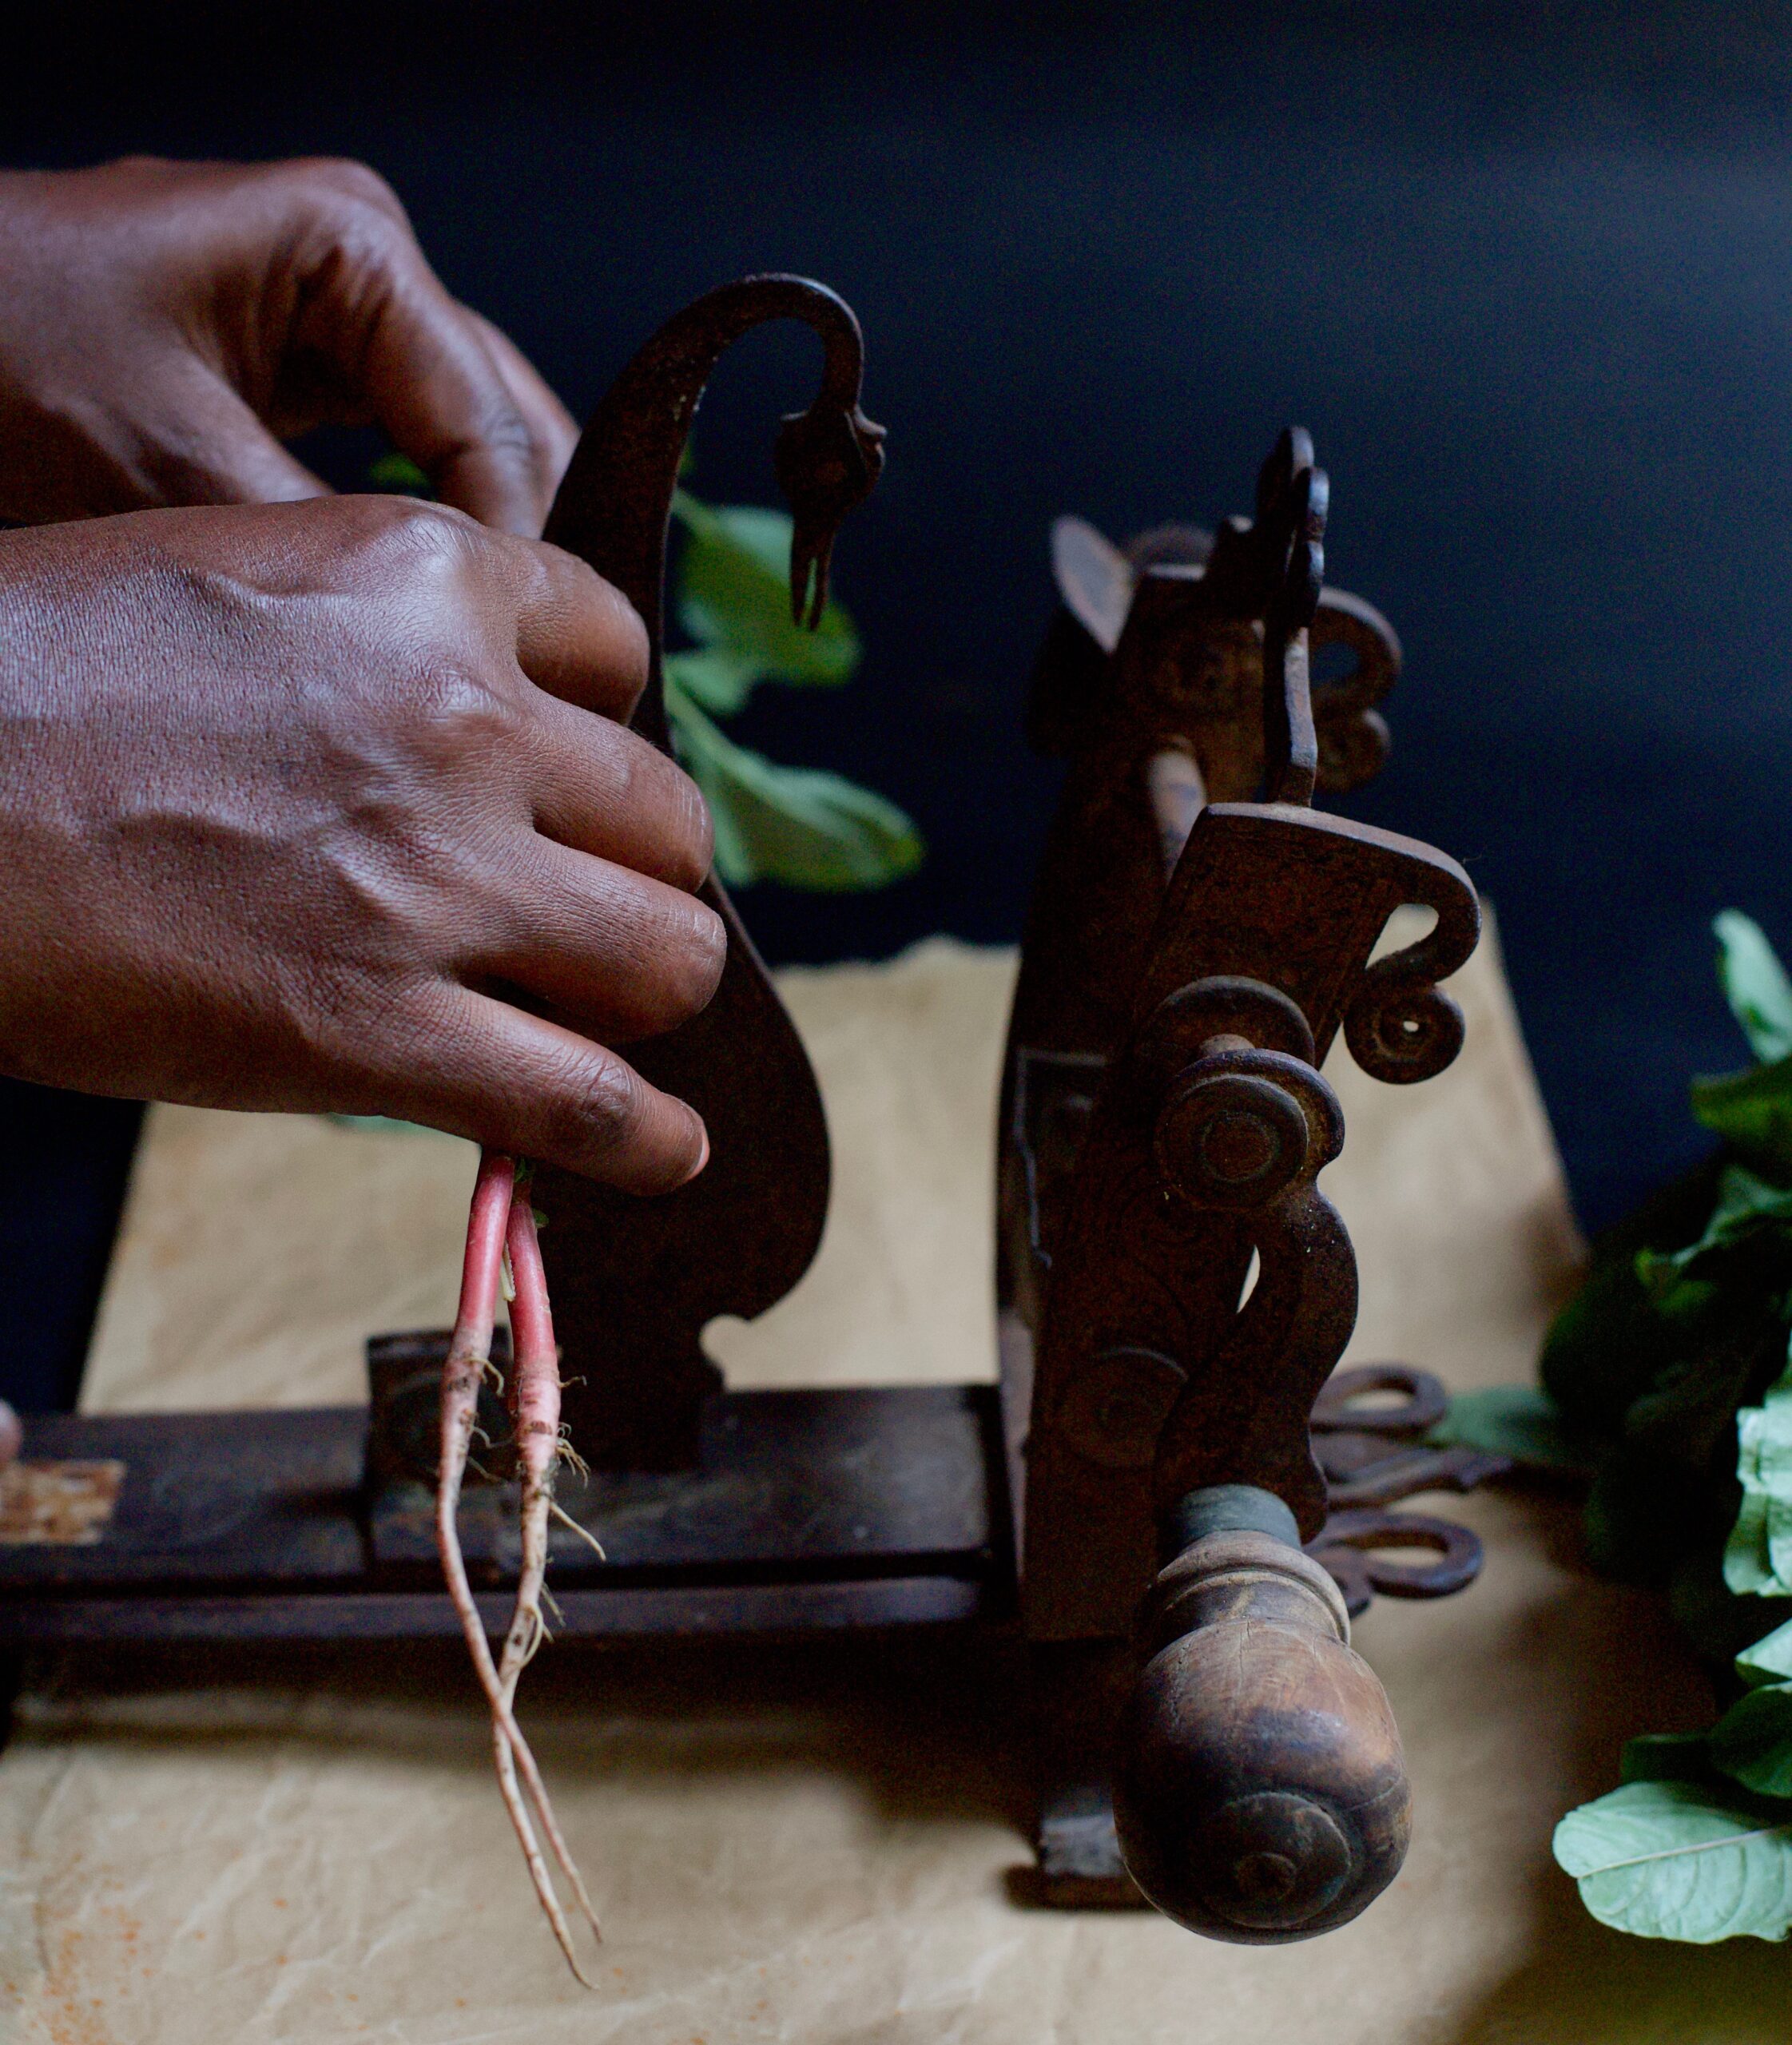
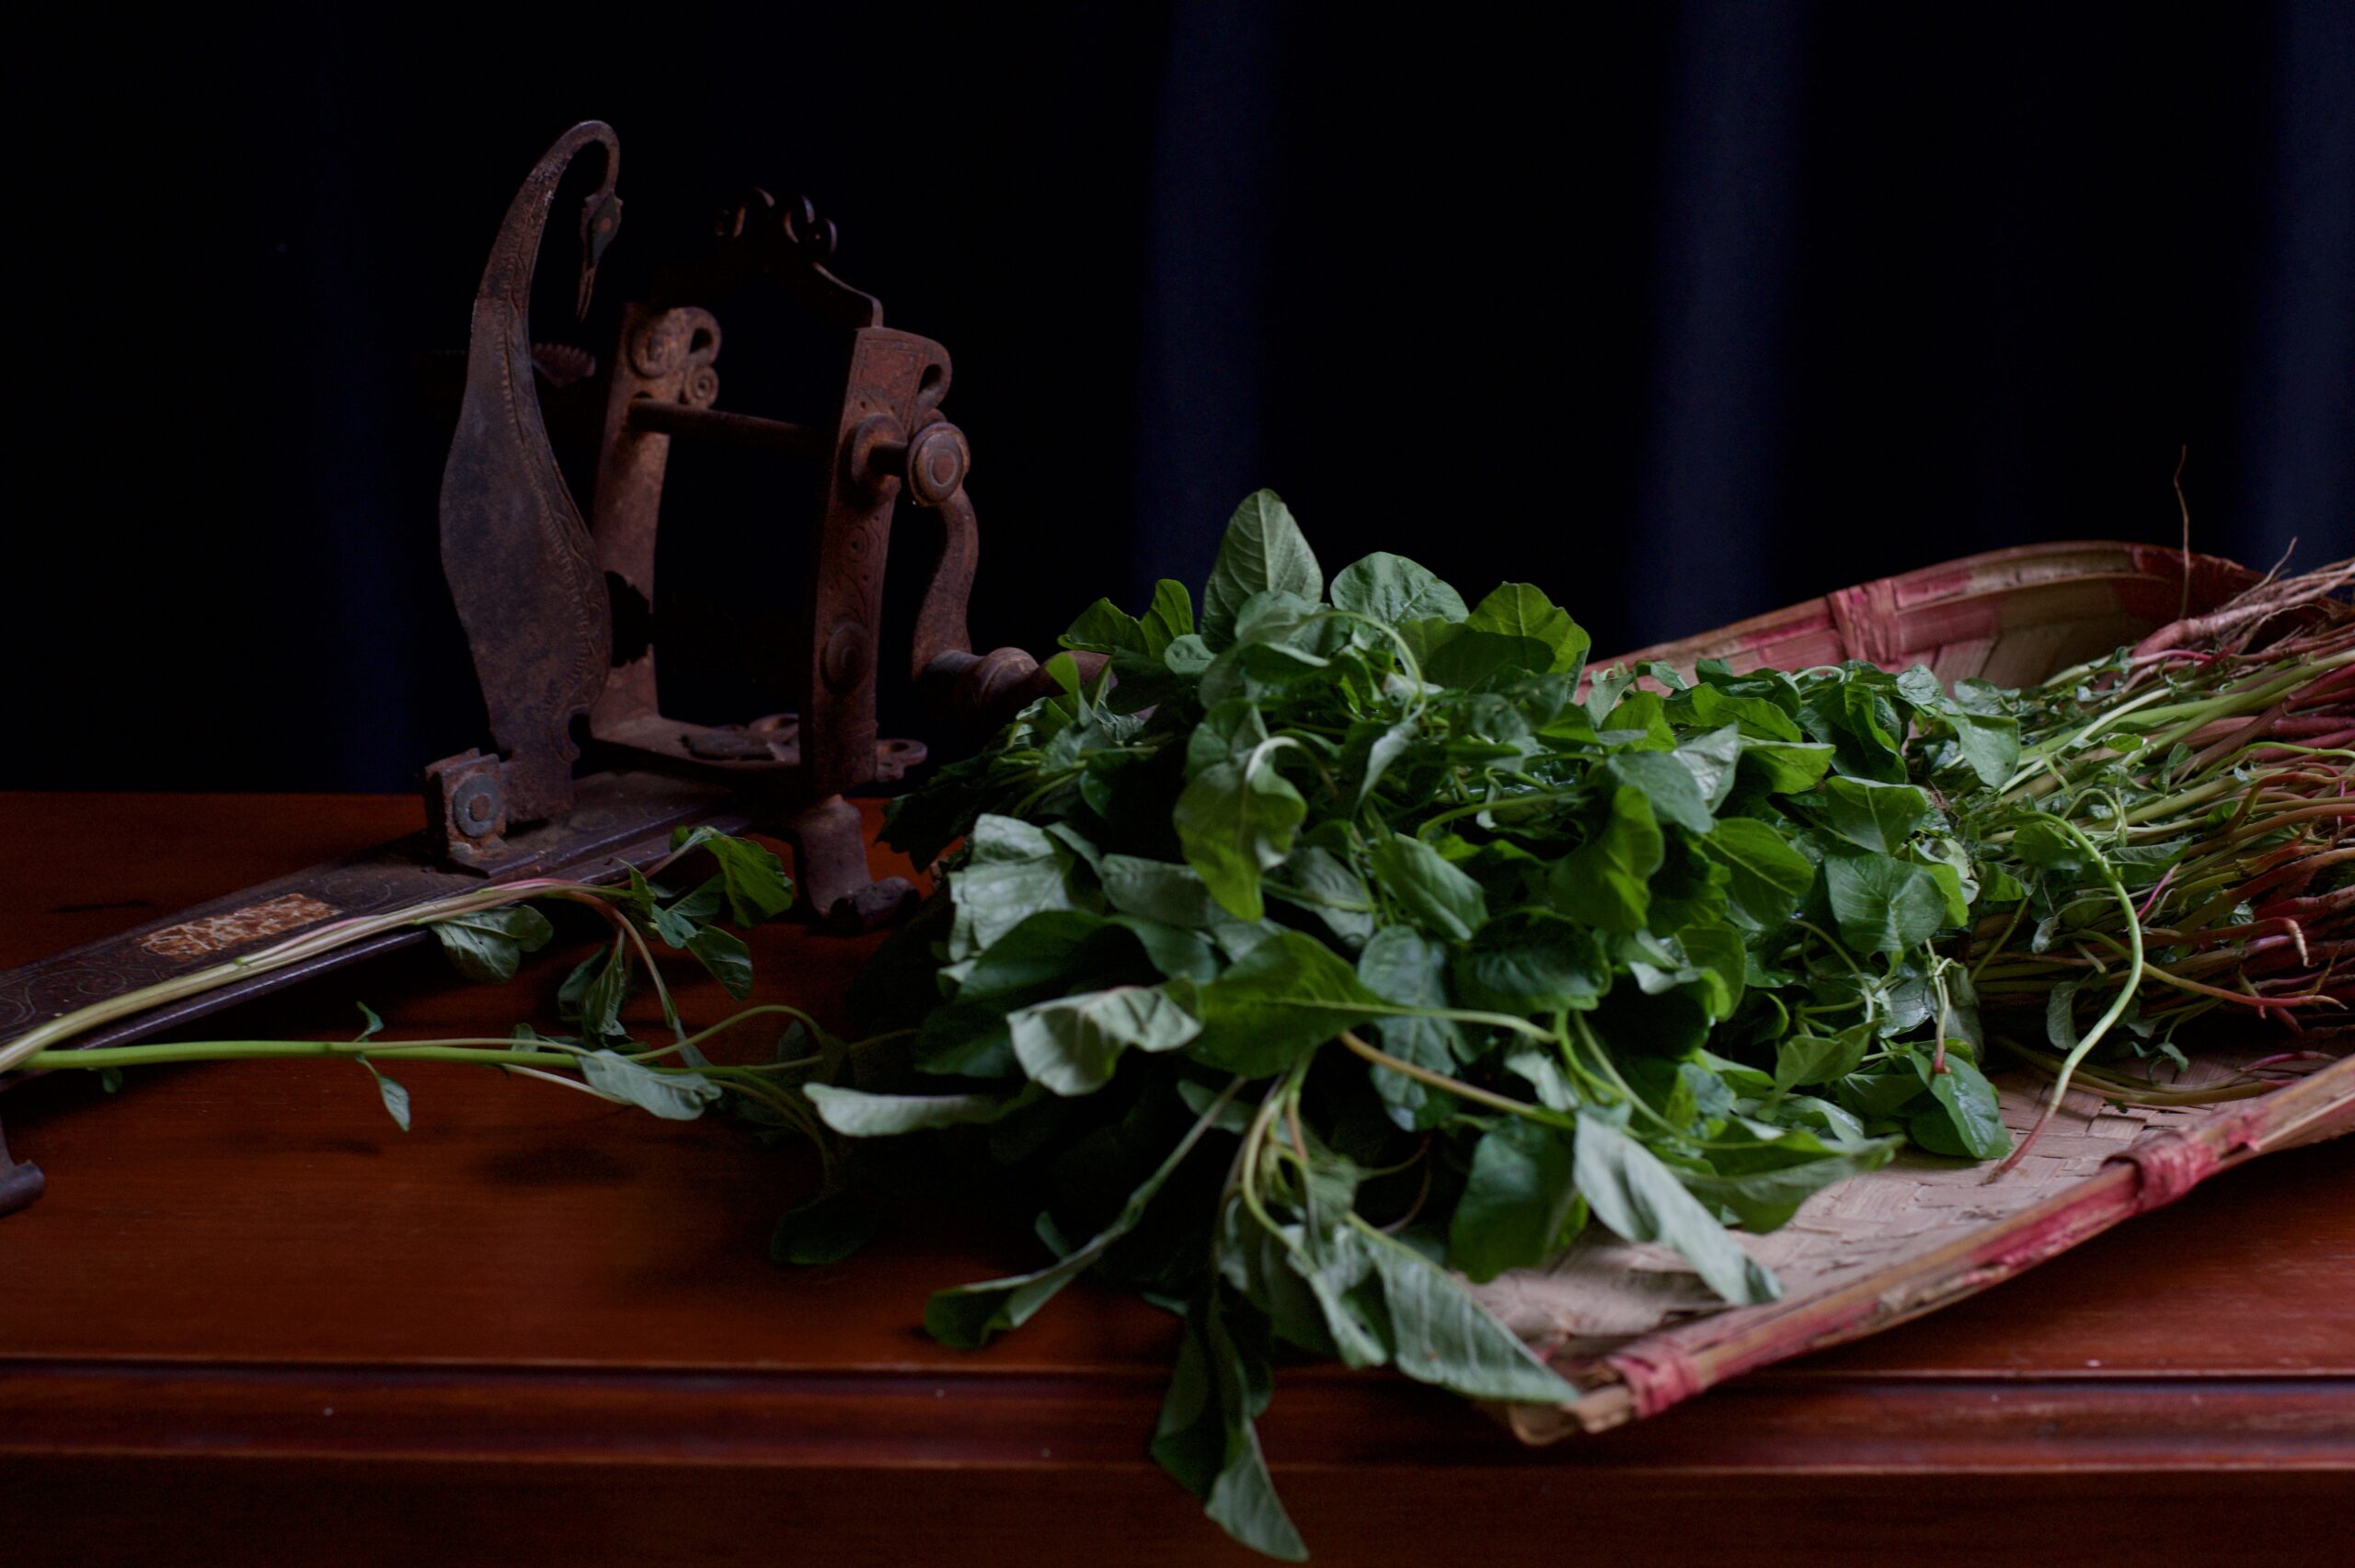
In my previous post, I mentioned a nifty slicer I picked up on my travels, and while these modern conveniences are much enjoyed, I still trust and hold on to our time-honoured appliances. For instance, I have the traditional Tamil aruvamanai, a hooked grater meant to be used while seated on the floor. The lovely thing about such devices is that they are durable in a way that modern devices, especially plastic ones, just aren’t. While this is mostly part of the décor, I’m not averse to using it when I want to. What better way to recreate a nostalgic dish than by using an antique appliance? I pulled out the old aruvamanai and sliced the spinach leaves for this recipe with it…


Spinach Rice

(Yield: 4-5 cups)

Ingredients
1 tomato
1 onion
2 cups spinach leaves
¾ cups raw rice
2 tablespoon mung dal
1 tooth garlic
1 green chilli
¼ teaspoon turmeric
¼ teaspoon cumin seeds
¼ teaspoon mustard seeds
1 tablespoon oil
Salt to taste

In a pressure cooker, add the spinach leaves, mung dal, onion, tomato, turmeric, chili, garlic, salt and 3 cups of water. Allow to cook for 2 whistles. In case you do not want to use a pressure cooker, you may cook the same ingredients covered with a lid on a medium flame, until well-cooked and soft to the touch.

Meanwhile, wash and soak the rice in water.

In a pan, add oil, then the cumin seeds and mustard seeds. Once they splutter, add the washed raw rice.

Now, open the cooled pressure cooker. Add the washed and soaked rice to the spinach and allow them all to cook for two more whistles. The spinach rice is now ready.

Serve hot – or in a lunchbox, for your growing children, who may surprise you with their tastes!

The Telugu cuisine of Andhra Pradesh and Telangana is known for being spicy, and the spinach rice recipe above, generously shared by my daughter’s friend’s mother, is no different. My daughter says that it tastes just like she remembered it from school. It’s in the original style, of course, but I must take credit for the most special ingredient – her mother’s love!