Tag

spices

Browsing

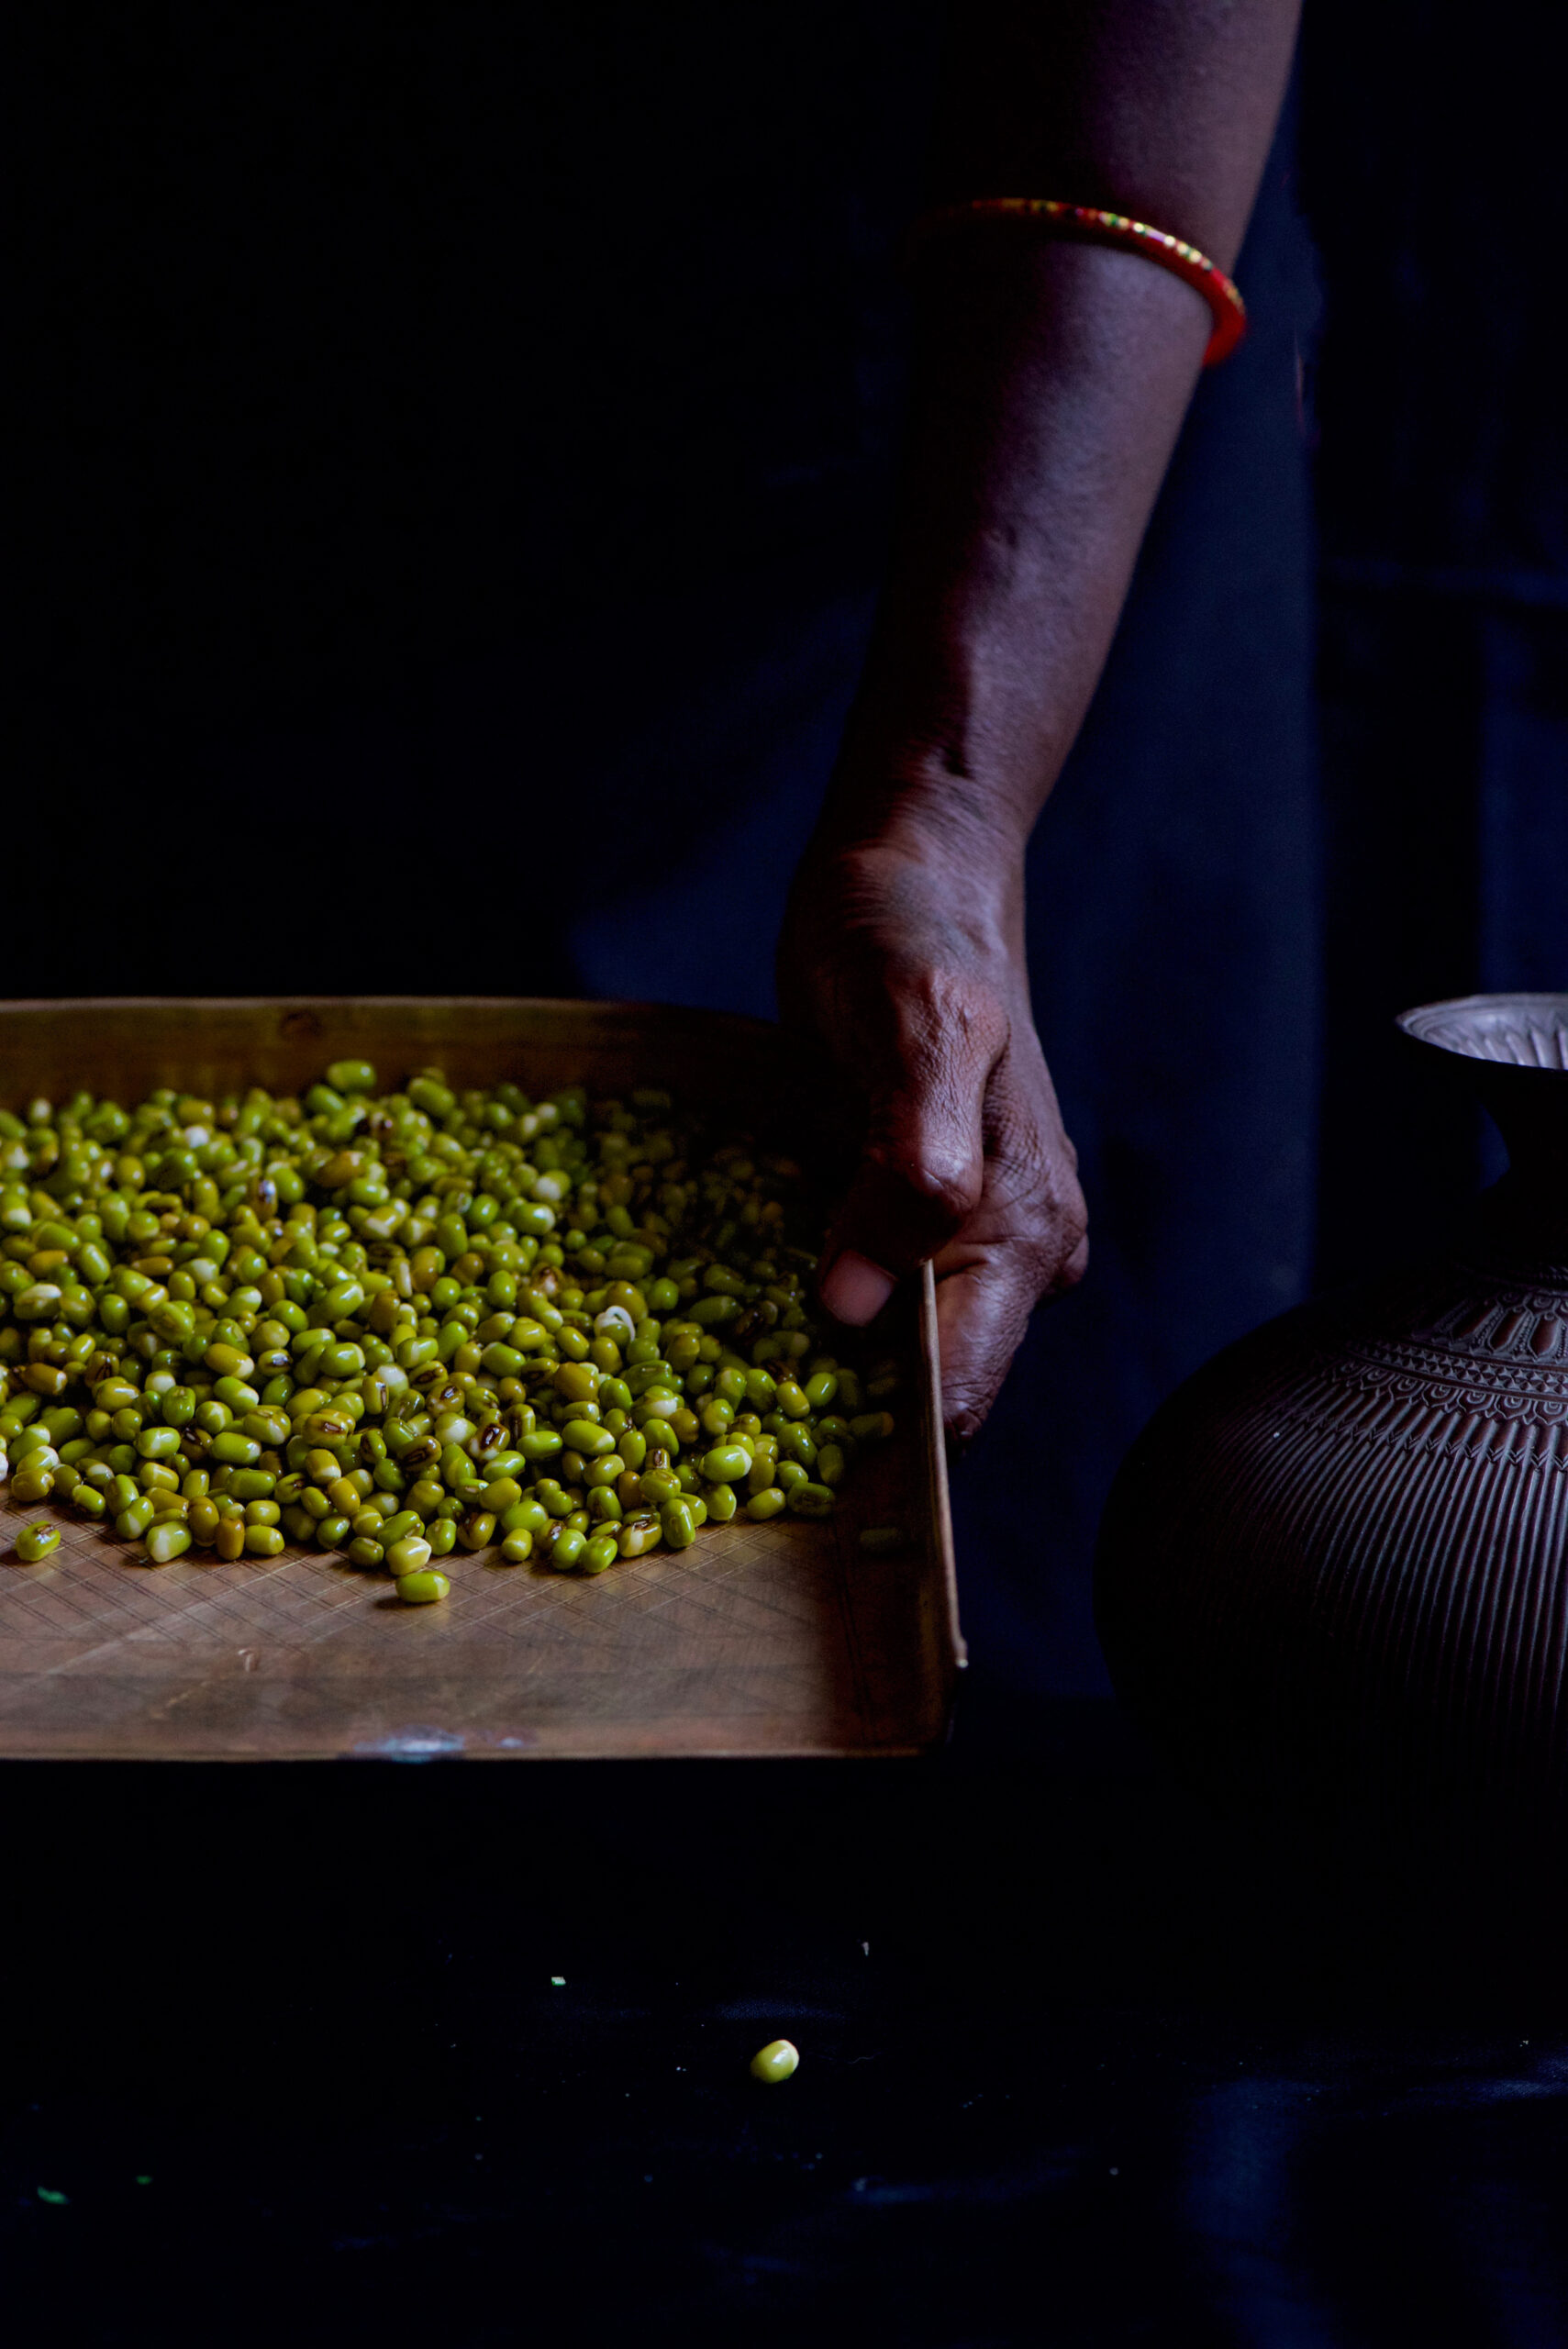
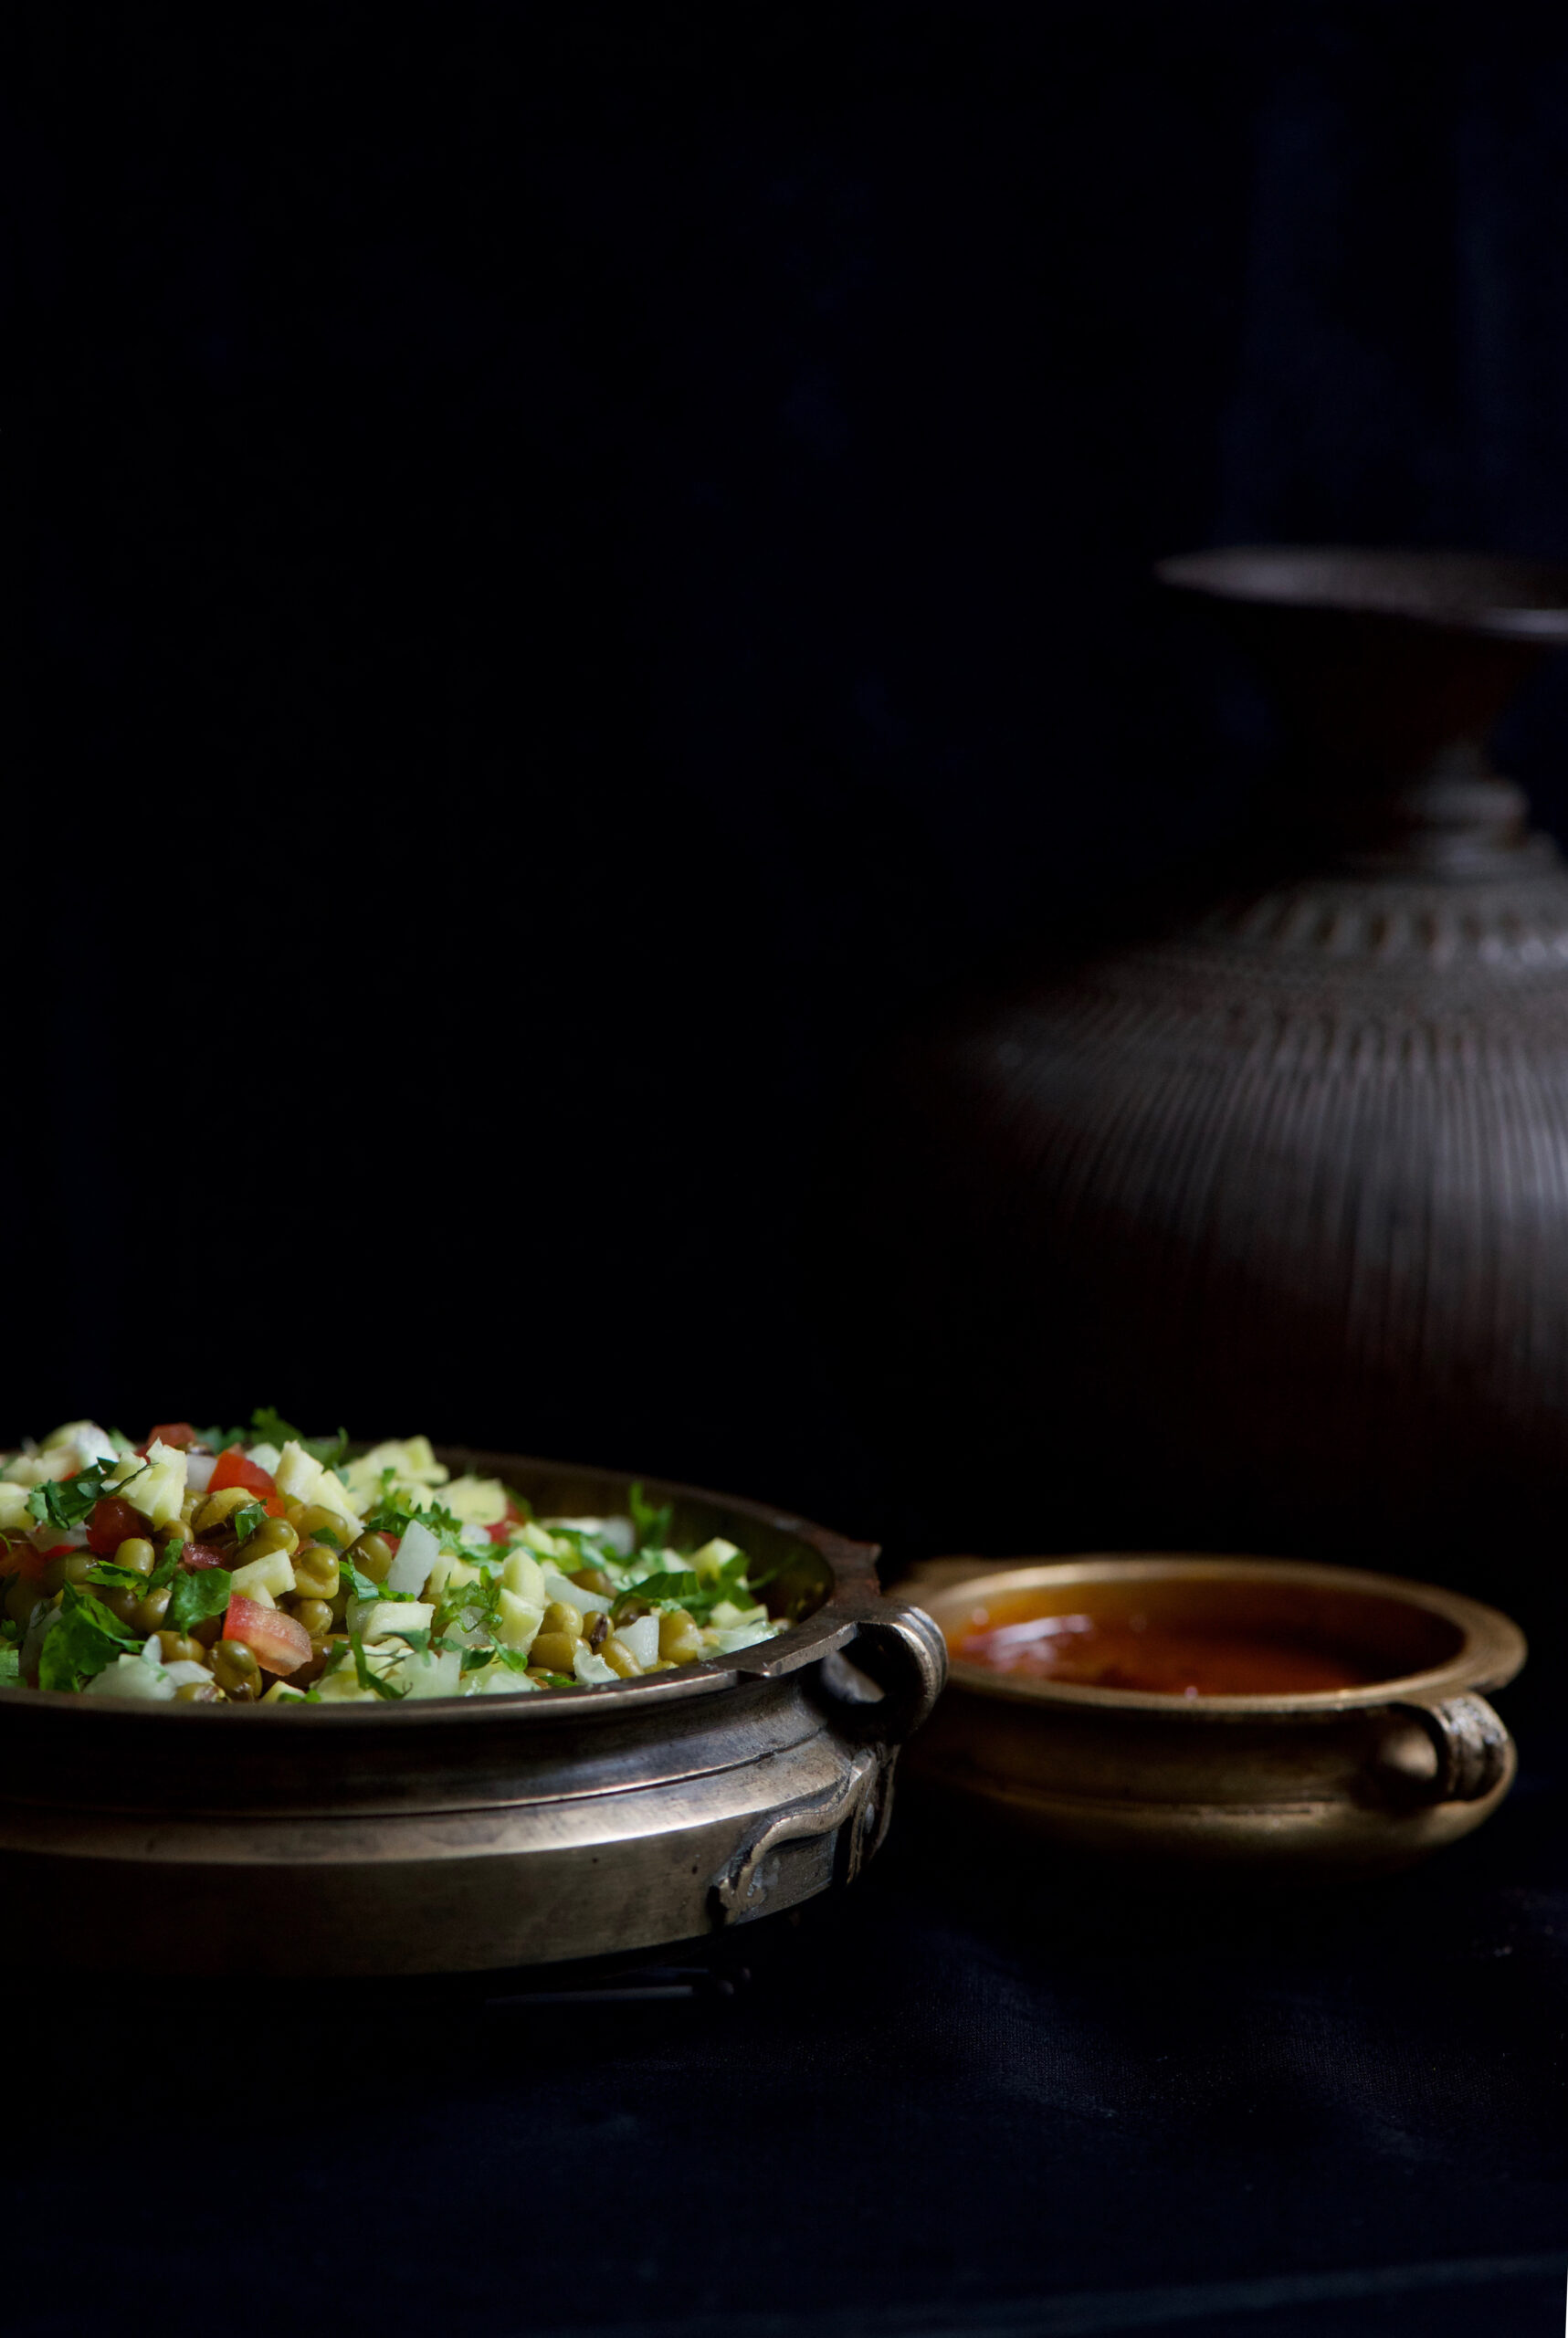
I’m always trying to do something new with millets and bring them into everyday dining because they are healthy, seasonal and affordable. In South India, they were actually the ancient traditional staple, not rice or wheat as it is today, and so they can be said to be perfect for Macrobiotic diets here. Different varieties of local millets have featured on this blog in recipes past (I’ve linked to a few at the end of this post). Today, the star is ragi, which you may also know as finger millet, teff or kezhvaragu.

Ragi is rich in calcium, iron and antioxidants, as well as high in fibre. This means that its benefits include everything from weight control to skin rejuvenation to curing anaemia. A dry-season crop that tolerates many different kinds of soil, it is easy to cultivate. It features in a large variety of South Indian dishes, from Kerala puttu to Karnataka ragi mudde to the koozh that is offered to the Goddess in Tamil Nadu. It is also eaten everywhere from Vietnam to numerous countries in Africa, where it originated.

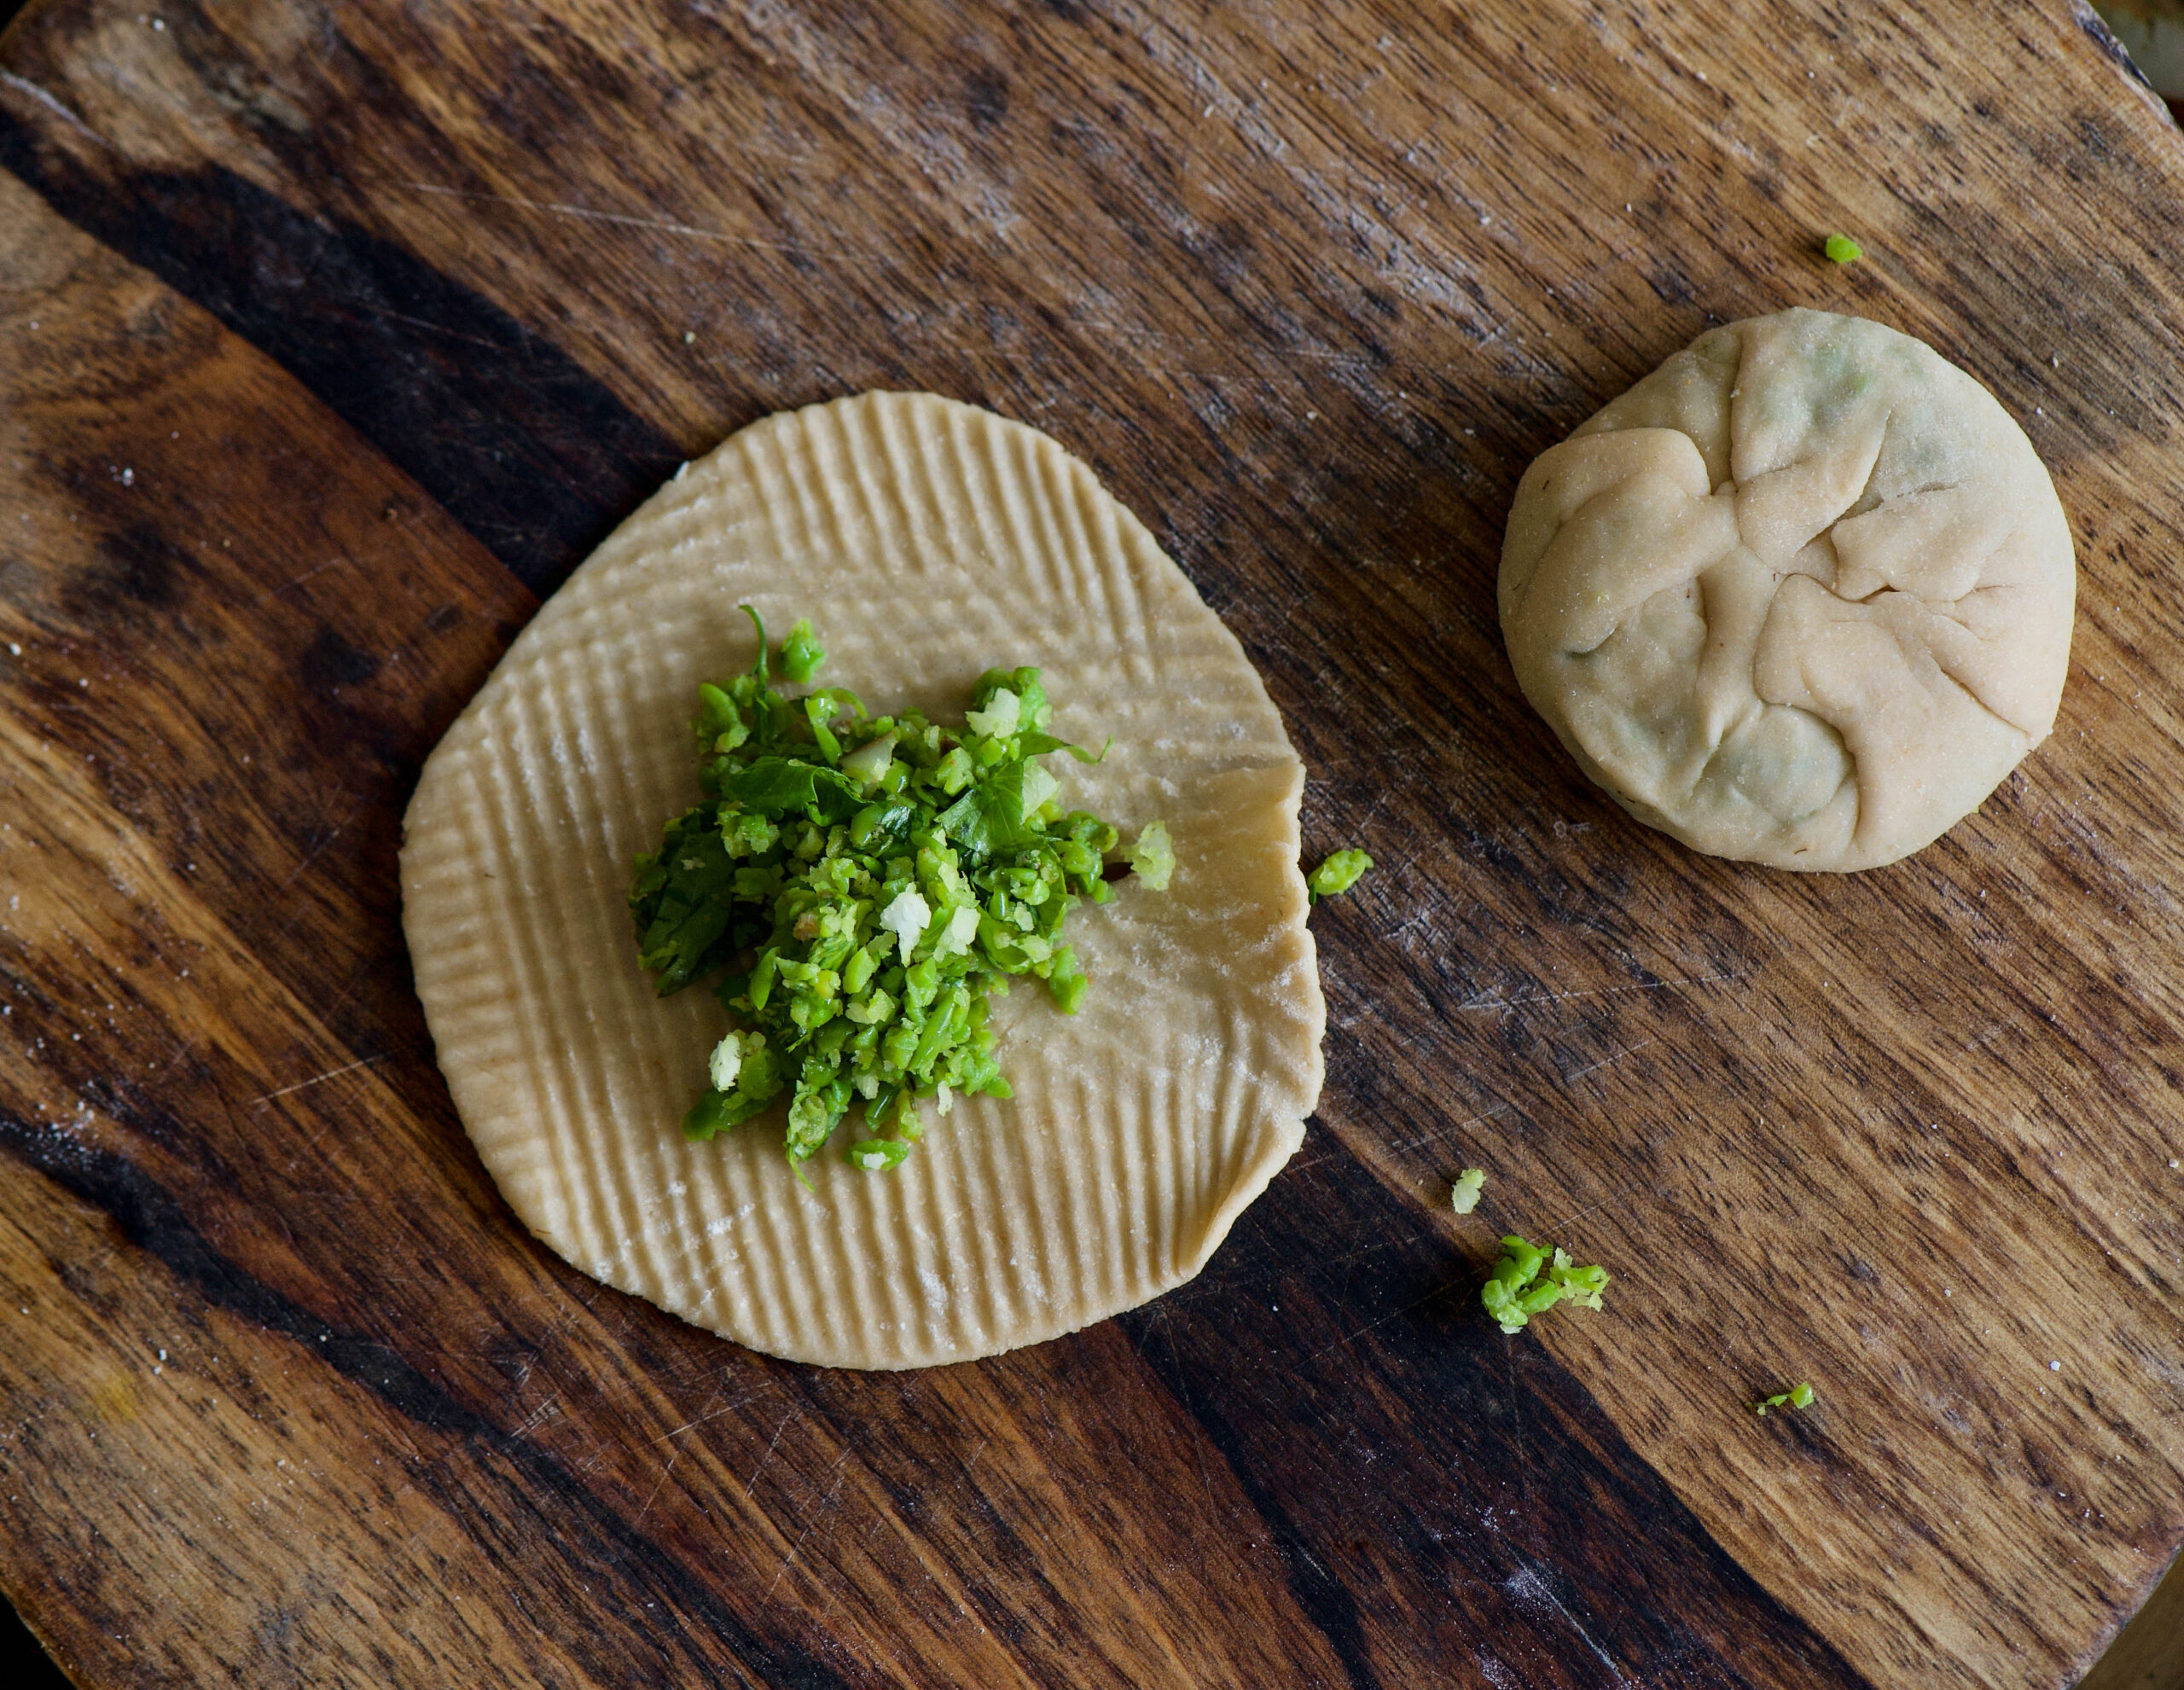
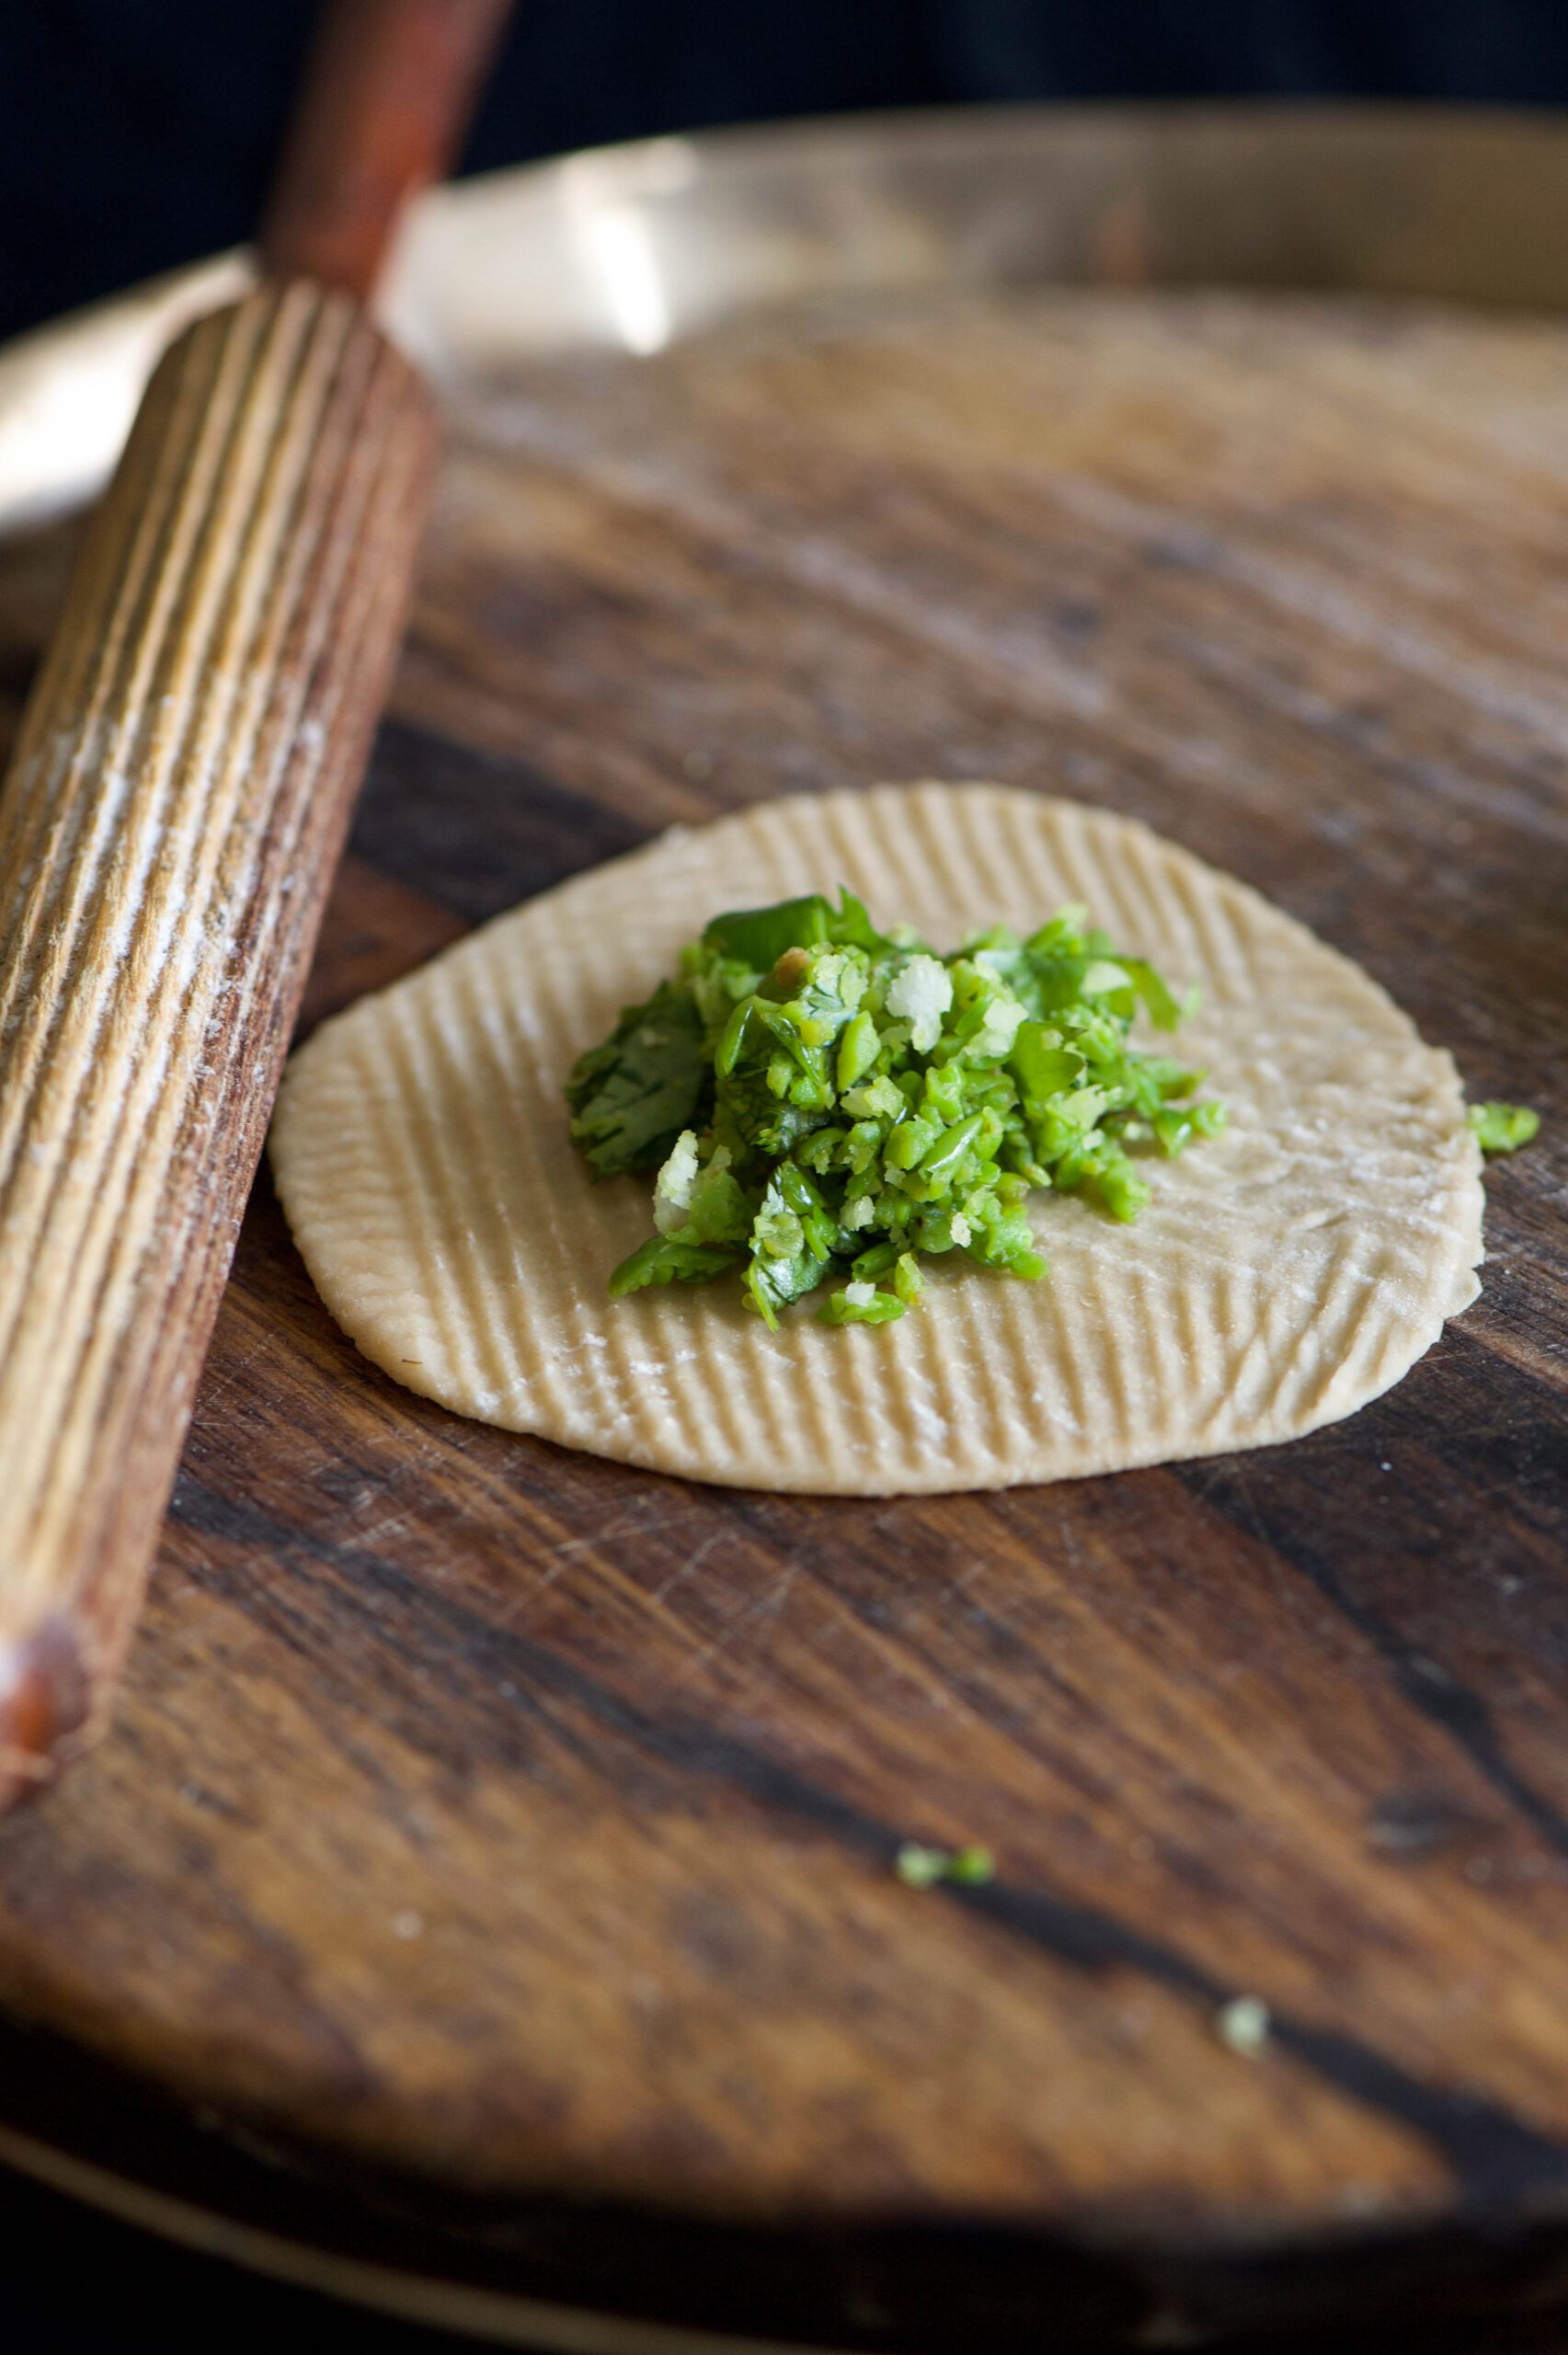
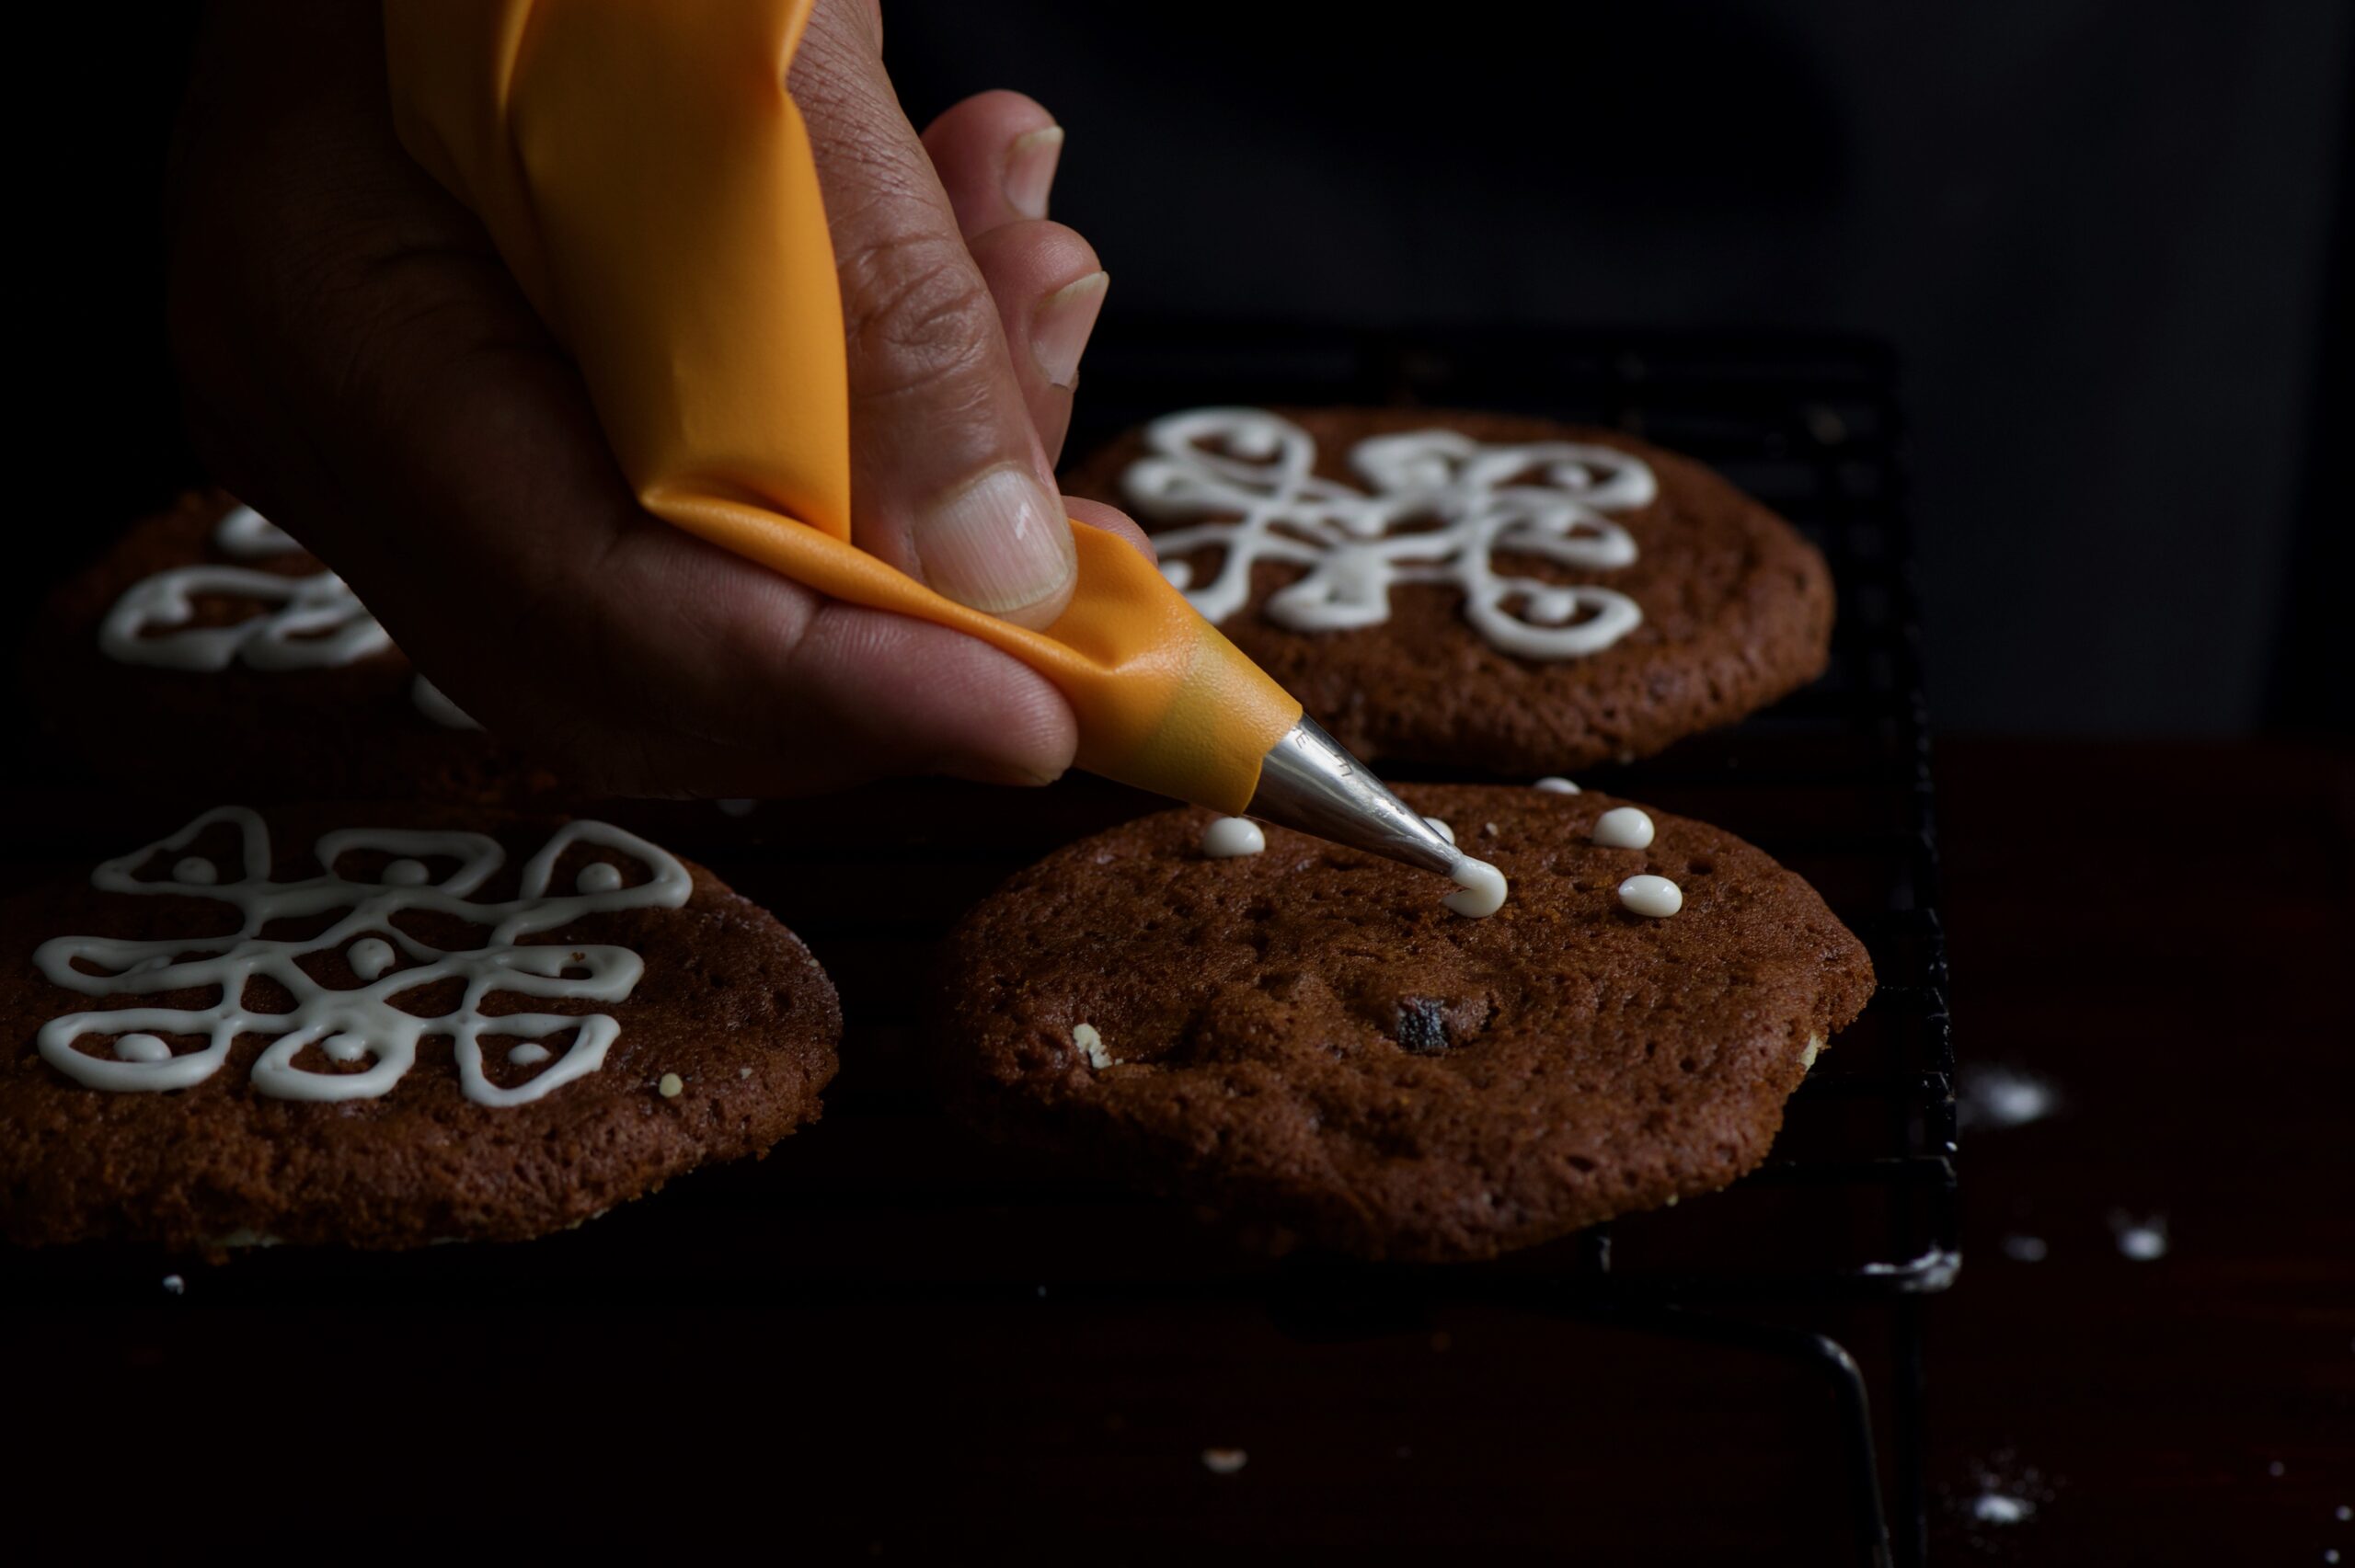
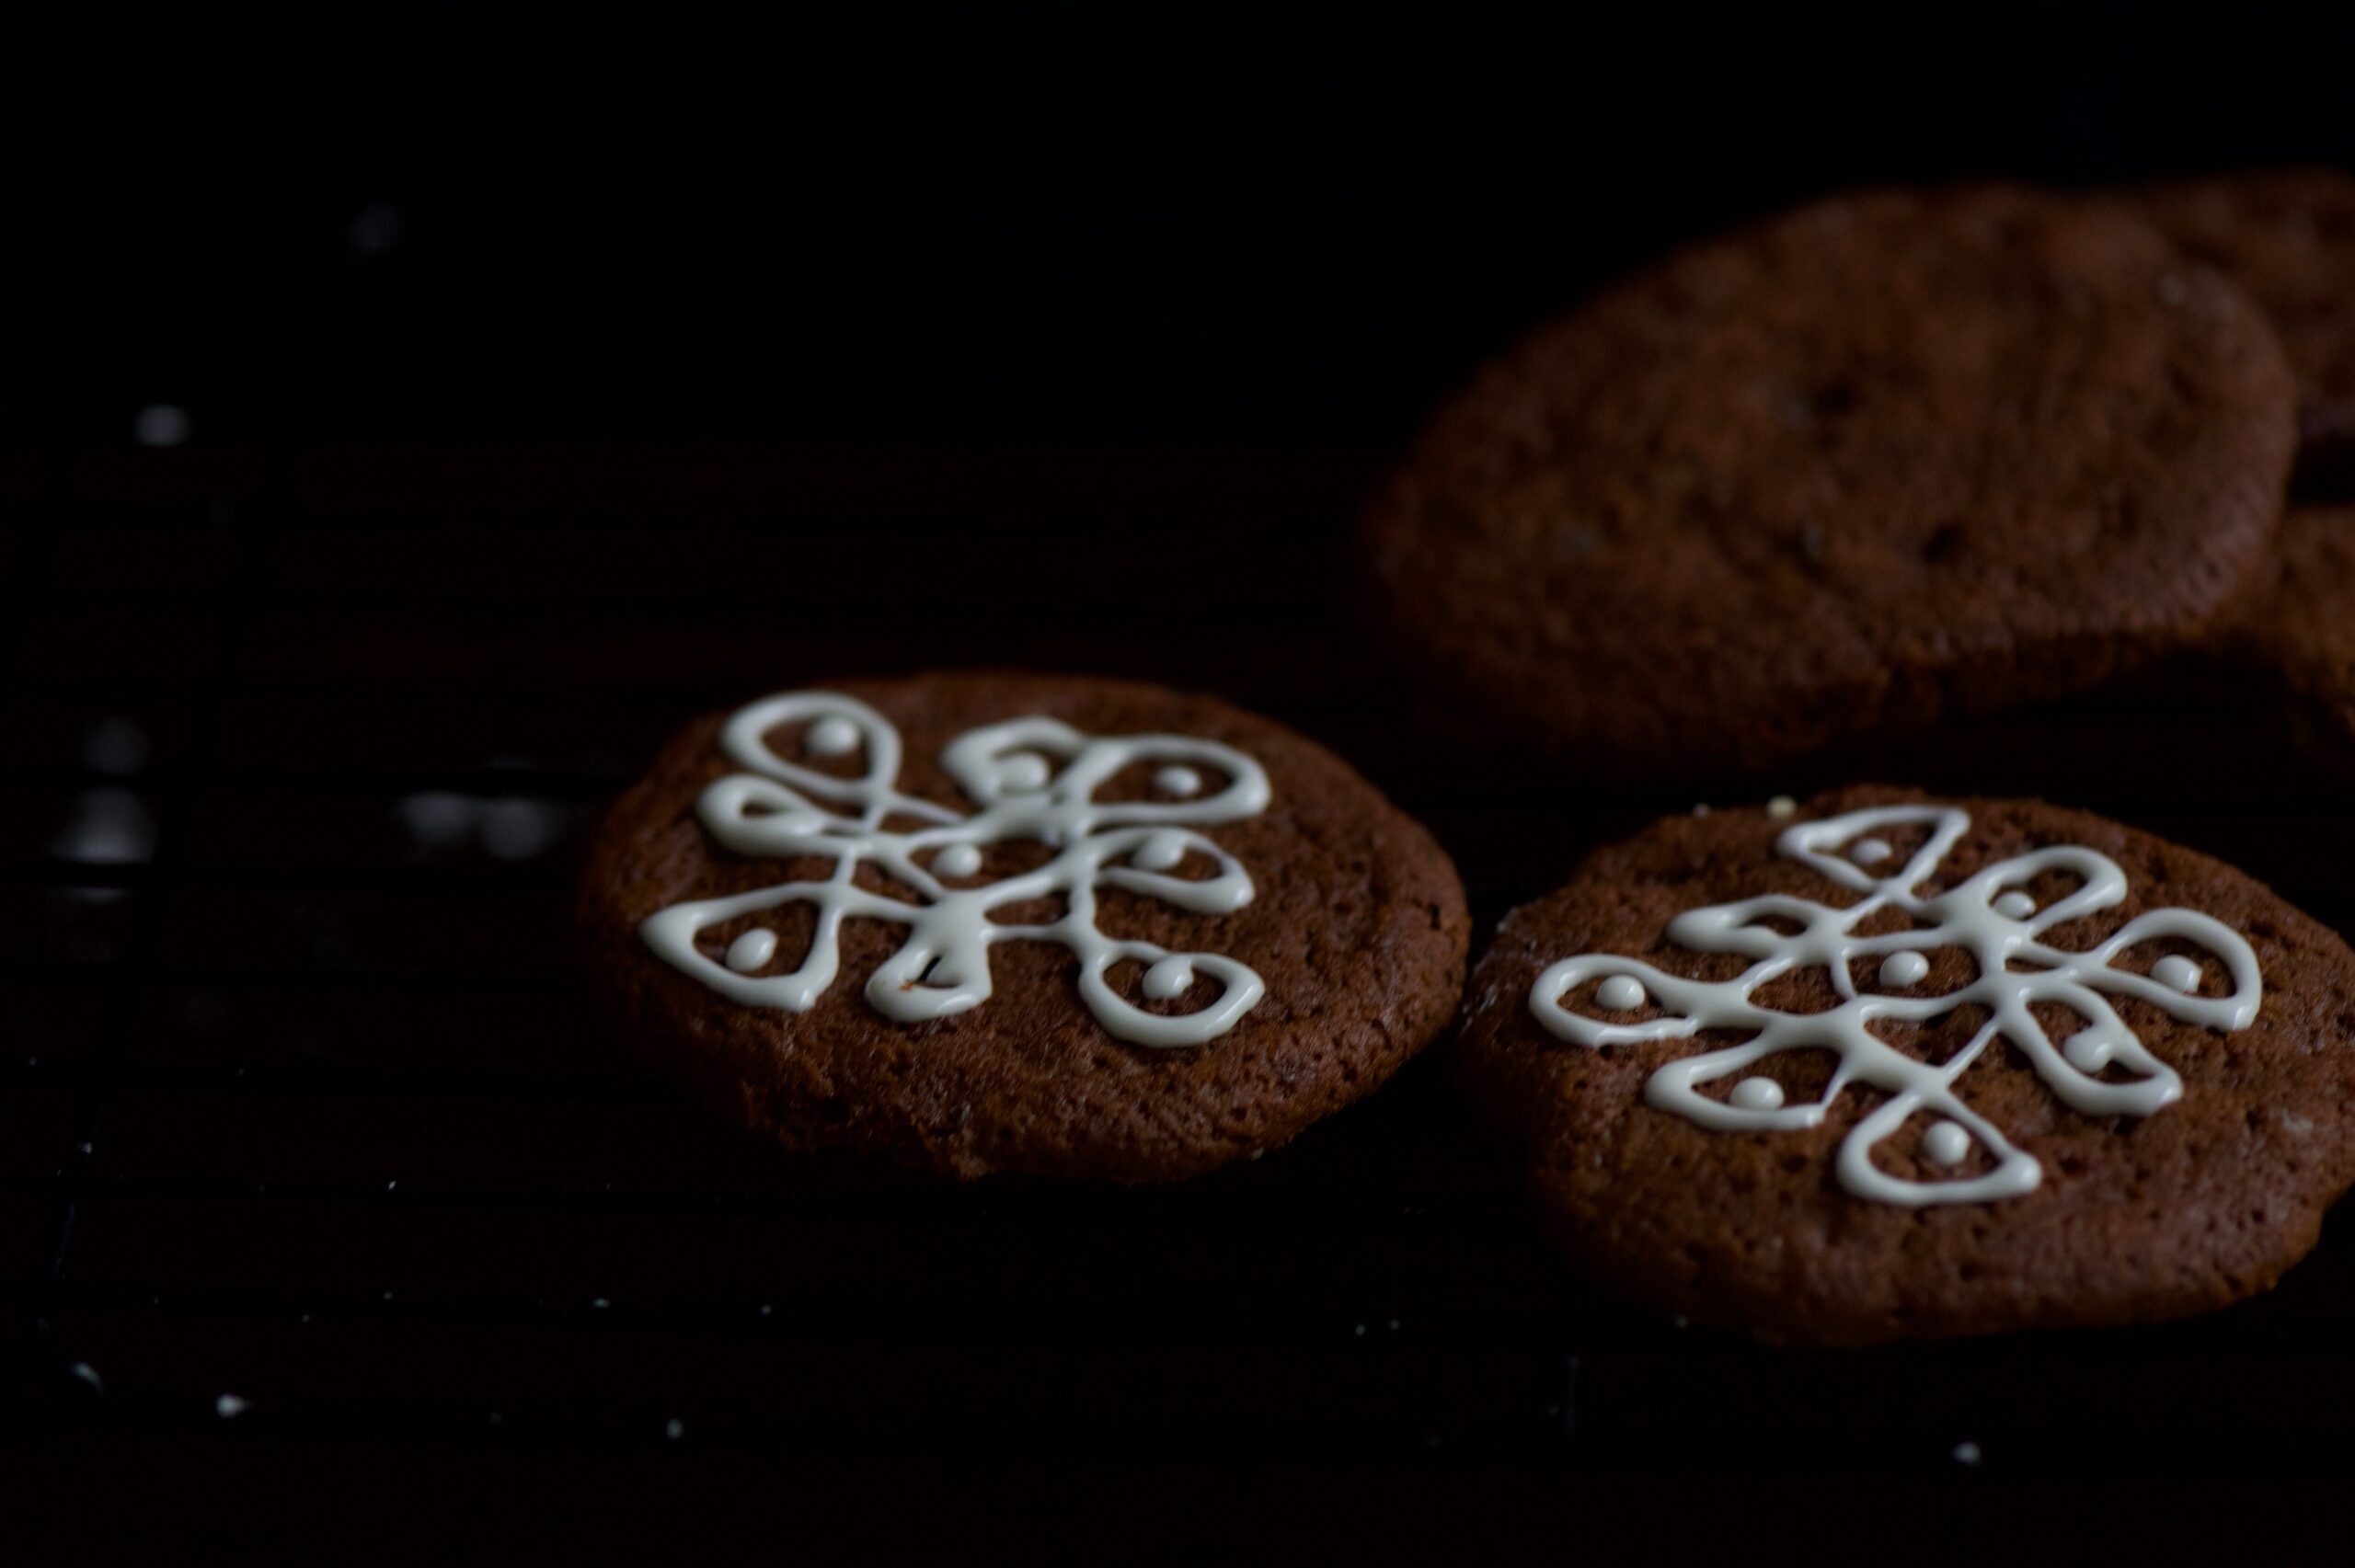
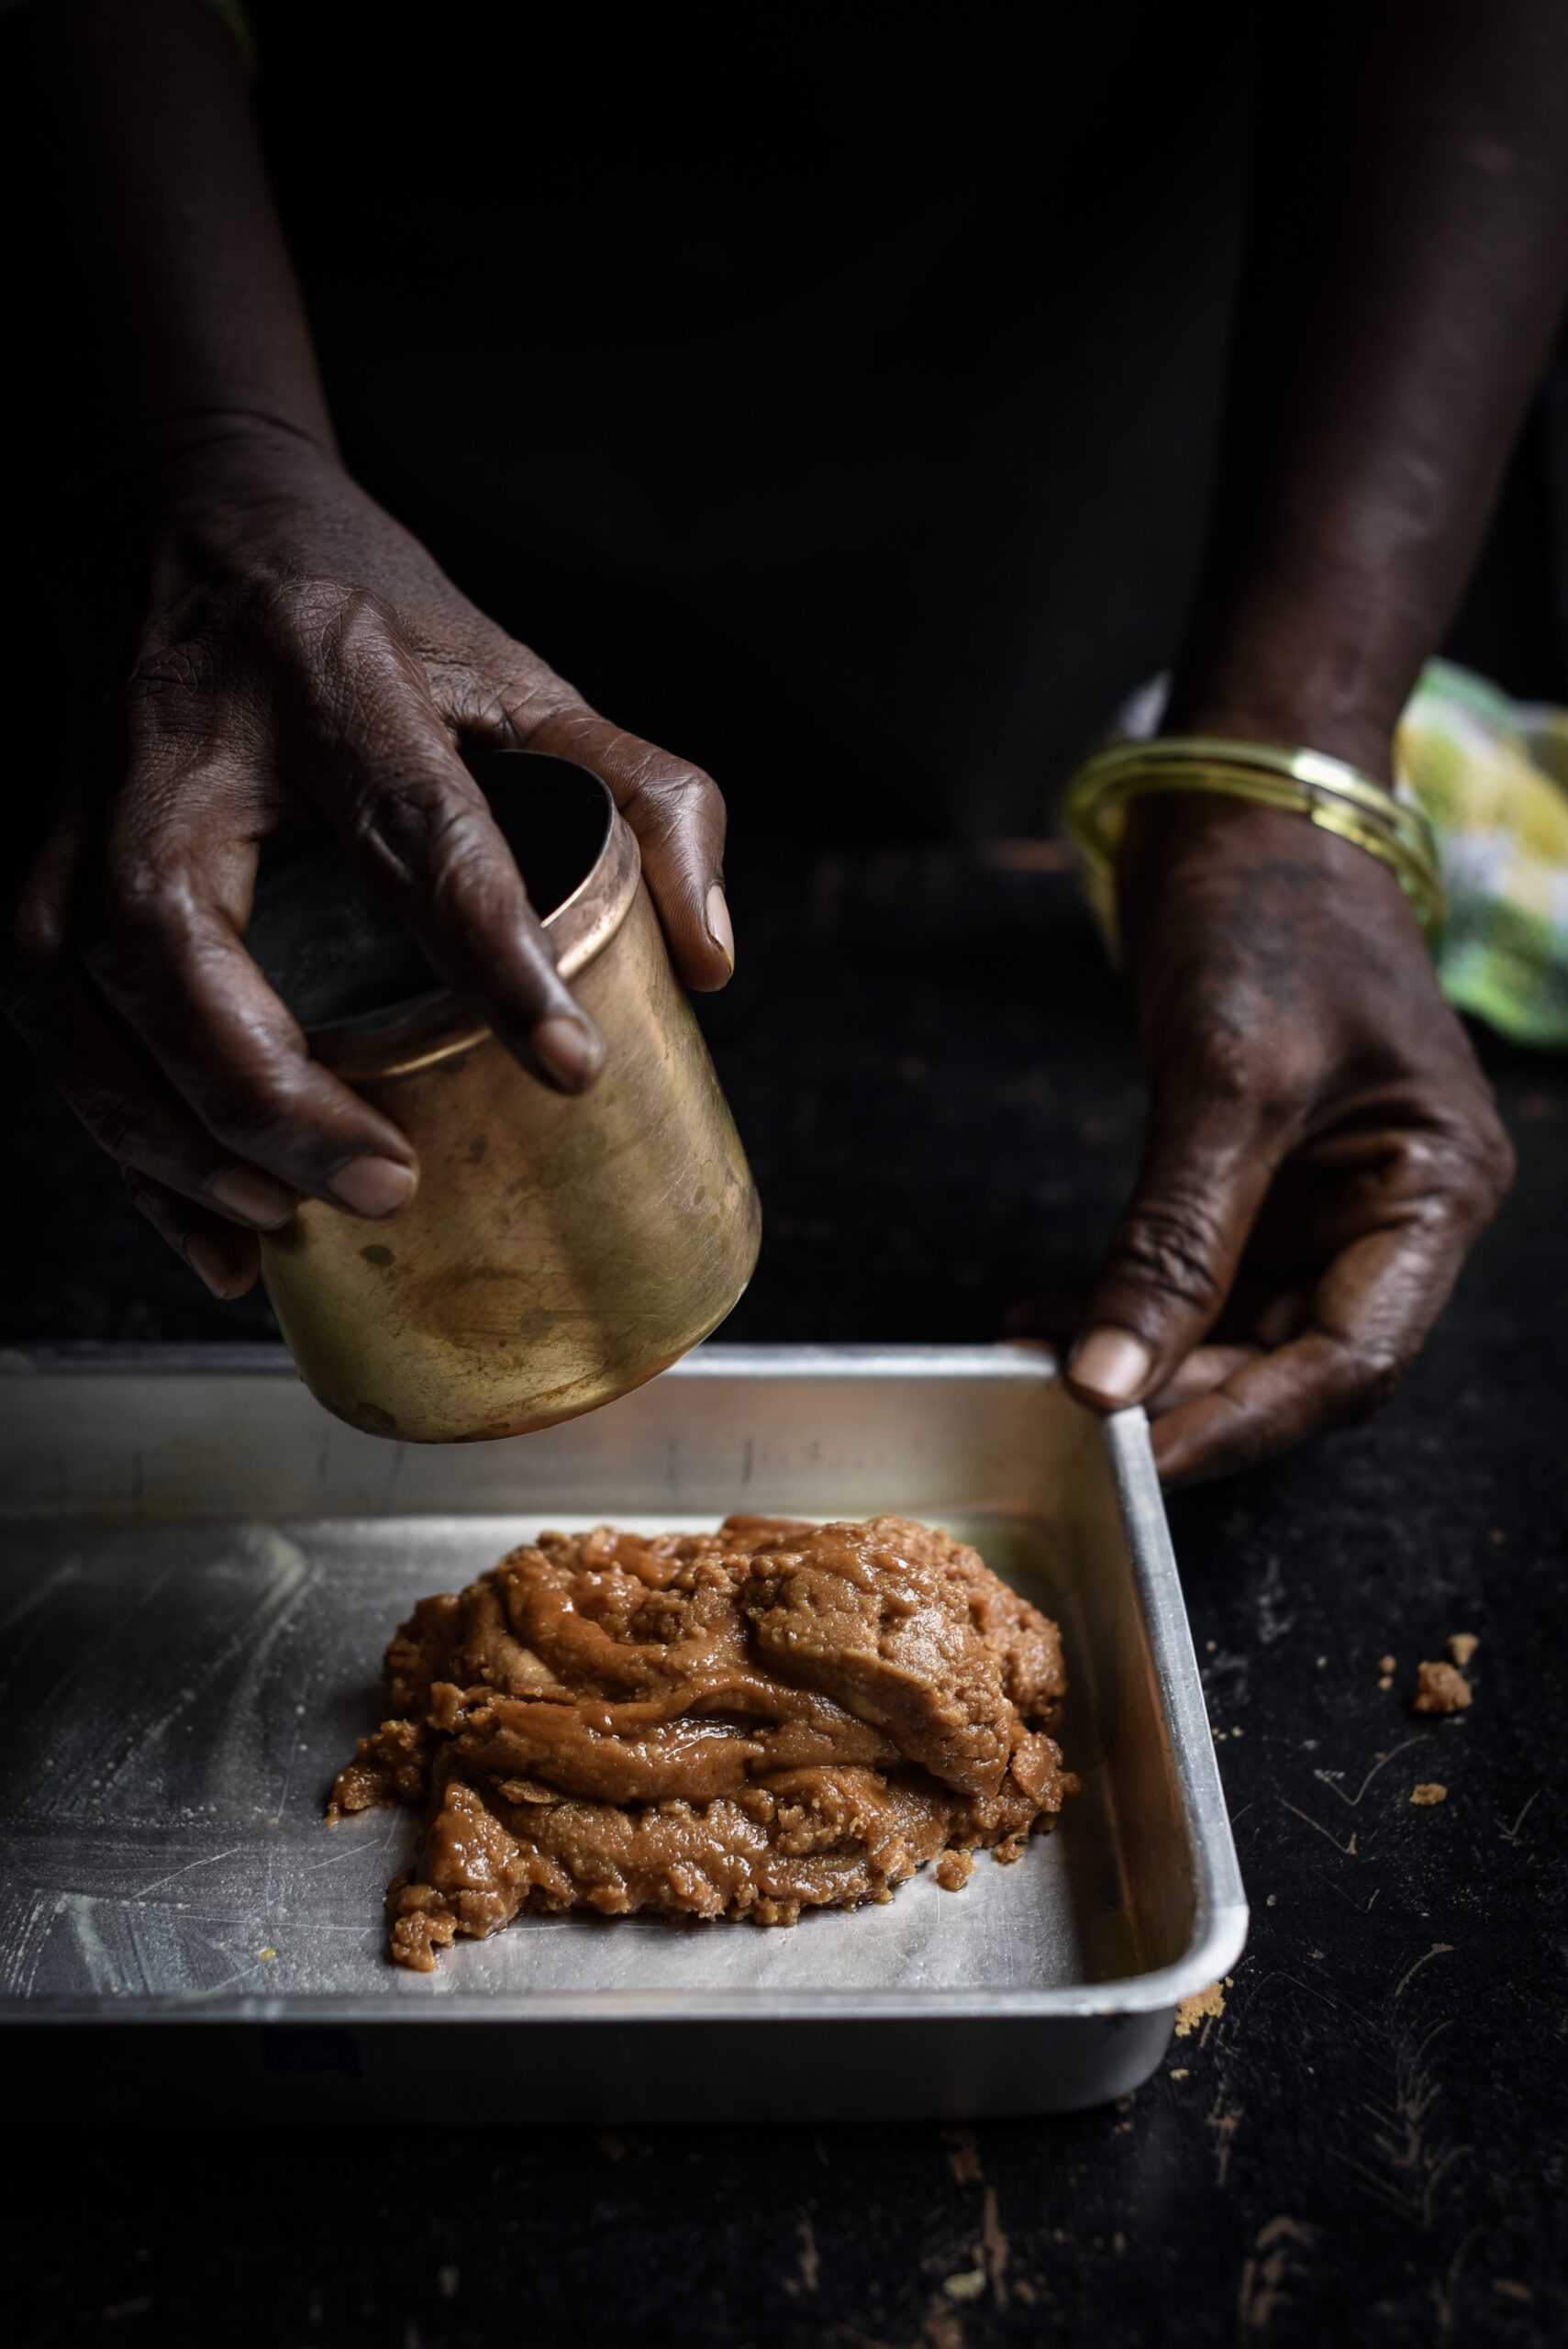
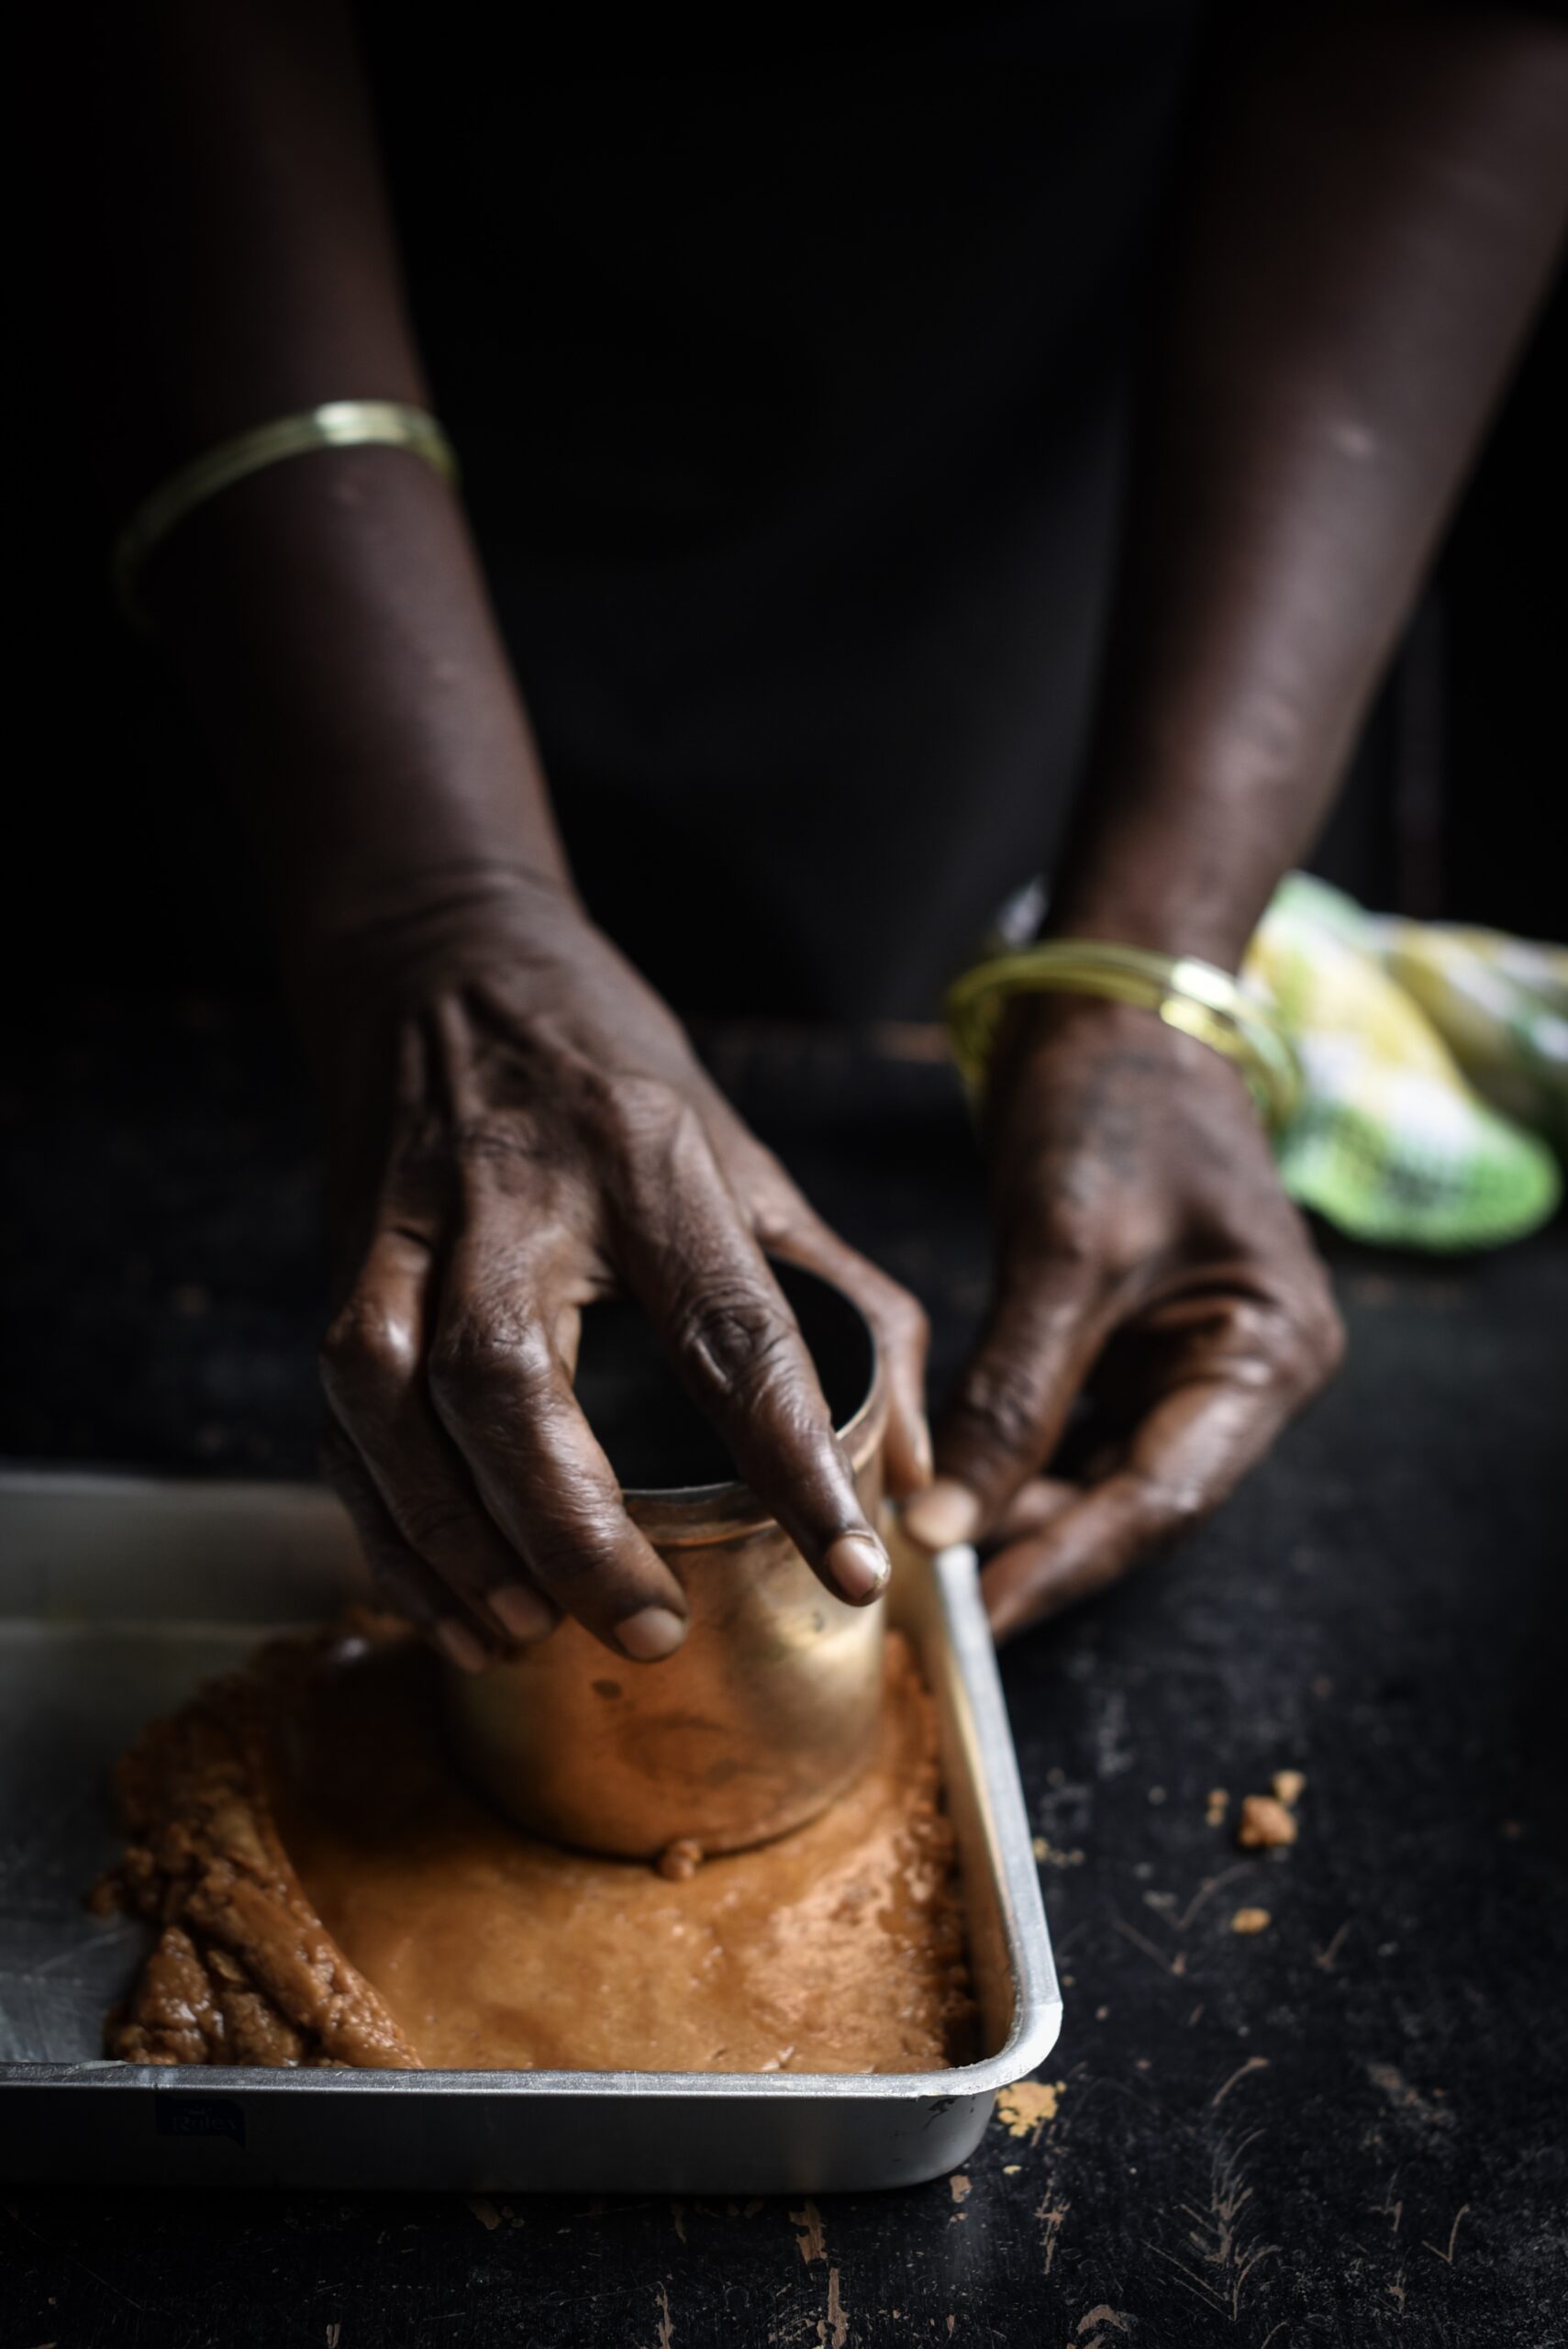
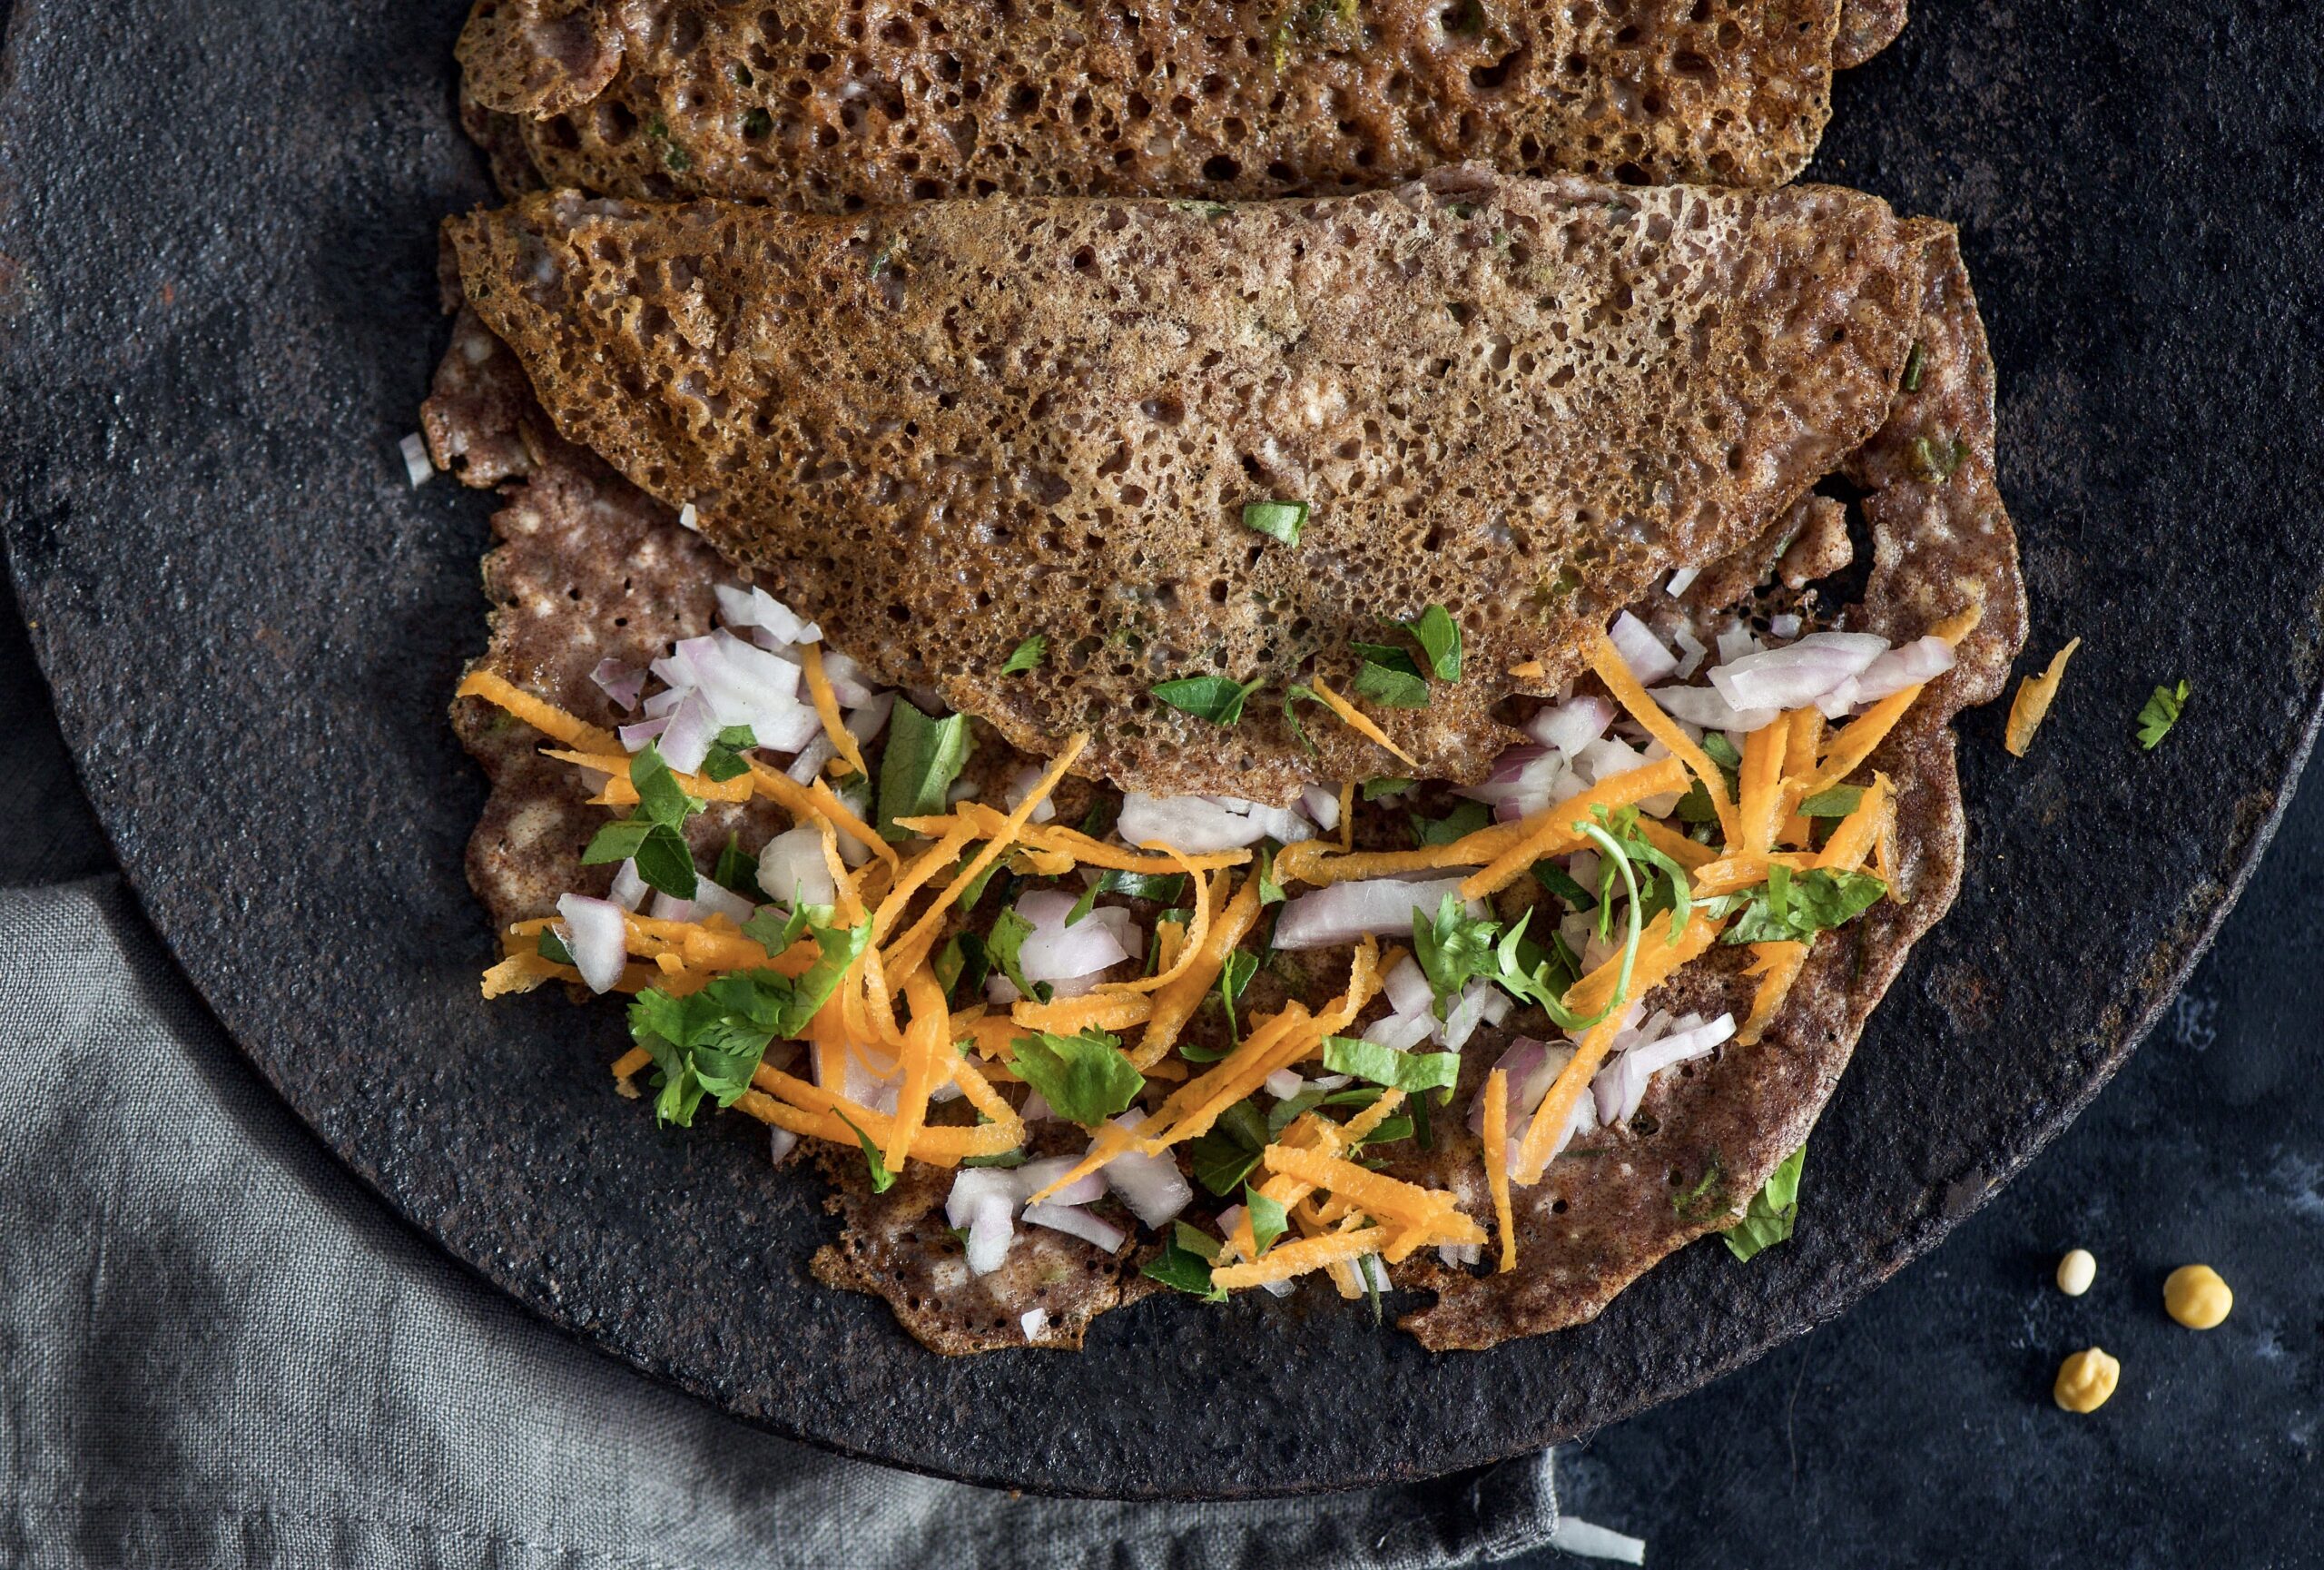
I want to share with you the recipe for ragi millet dosa. Dosa is a South Indian crepe, similar to chilla. It is popularly made with rice flour, which I substitute almost entirely with ragi millet. It’s always exciting to add your own twist to something traditional. That’s the challenge of cooking as well – you can’t just throw in something and hope it sticks. How do you combine flavours so they work well and complement one another? It may seem simple and obvious to take two South Indian staples – ragi millets and dosas – and put them together. But this is not so, because in the case of any millet dosa, it is not only a matter of ingredients. The main question is: will the crepe peel off beautifully? Ragi has a sticky consistency, which can make this tricky. As those of us who make dosas regularly know, certain ingredients are added or removed to facilitate this peeling. This is why I still use a little bit of rice flour in the batter. Rice flour both adds crispiness to the dosa, as well as enables it to peel off properly.

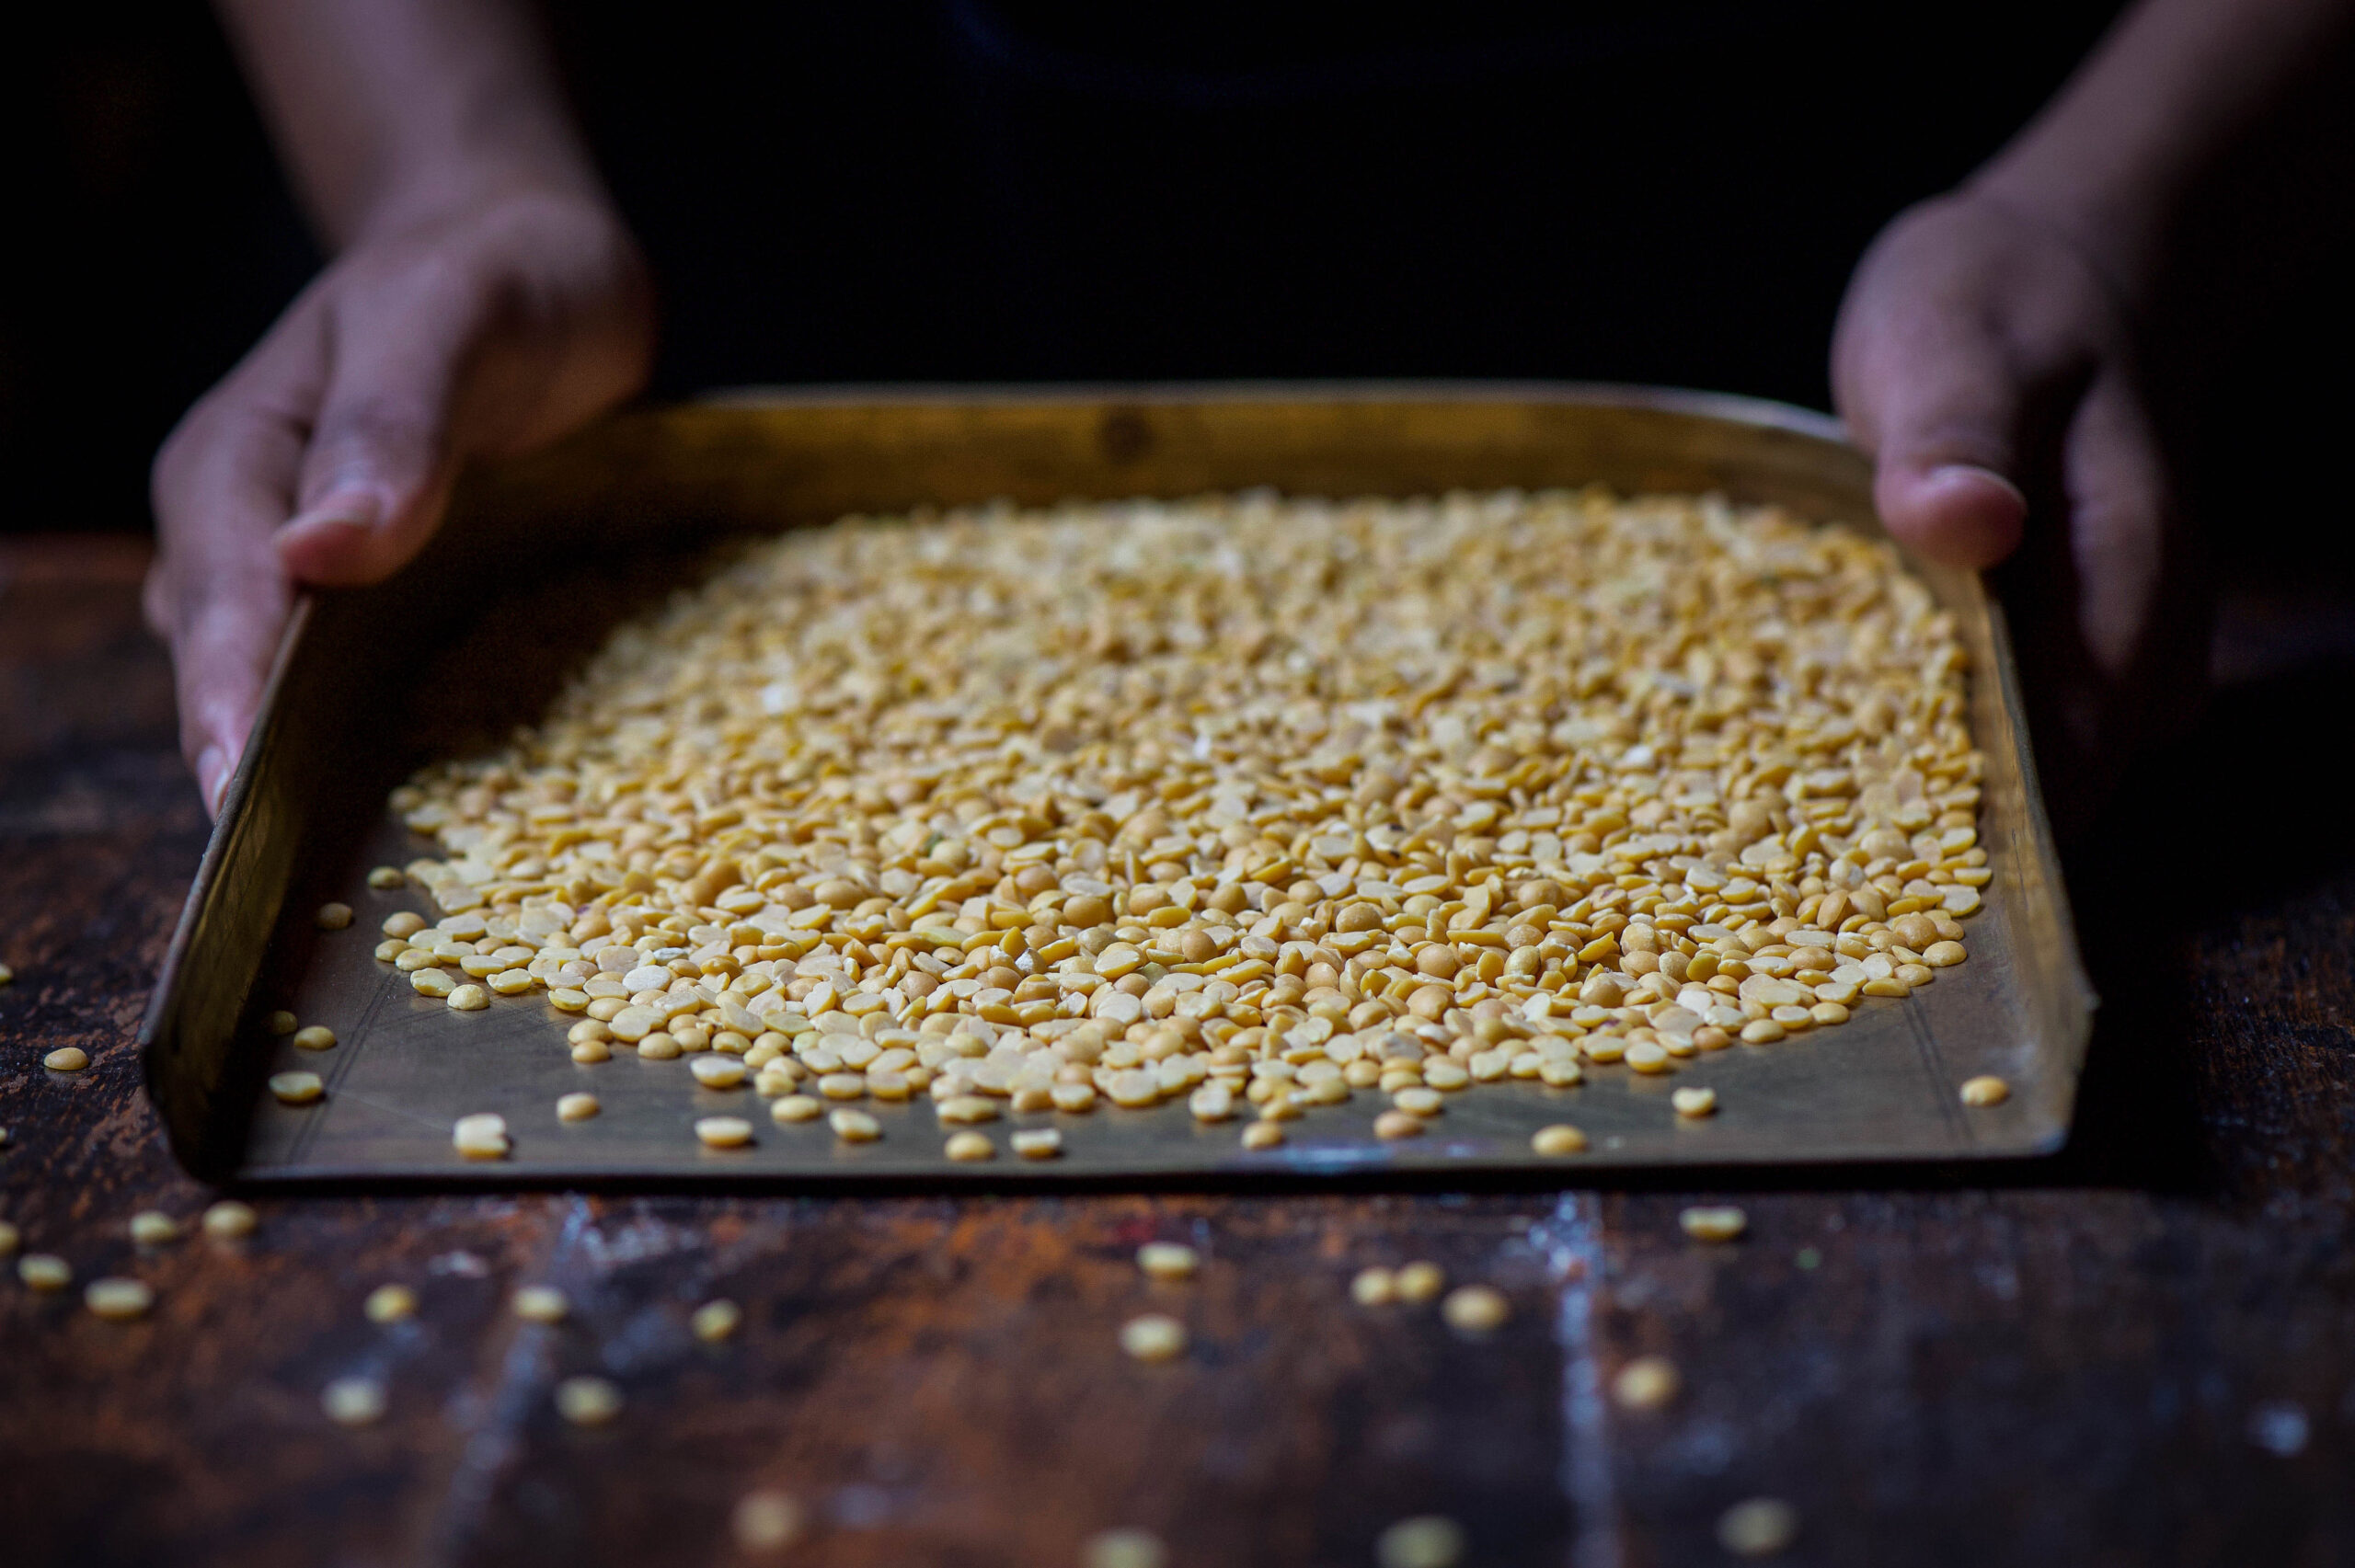
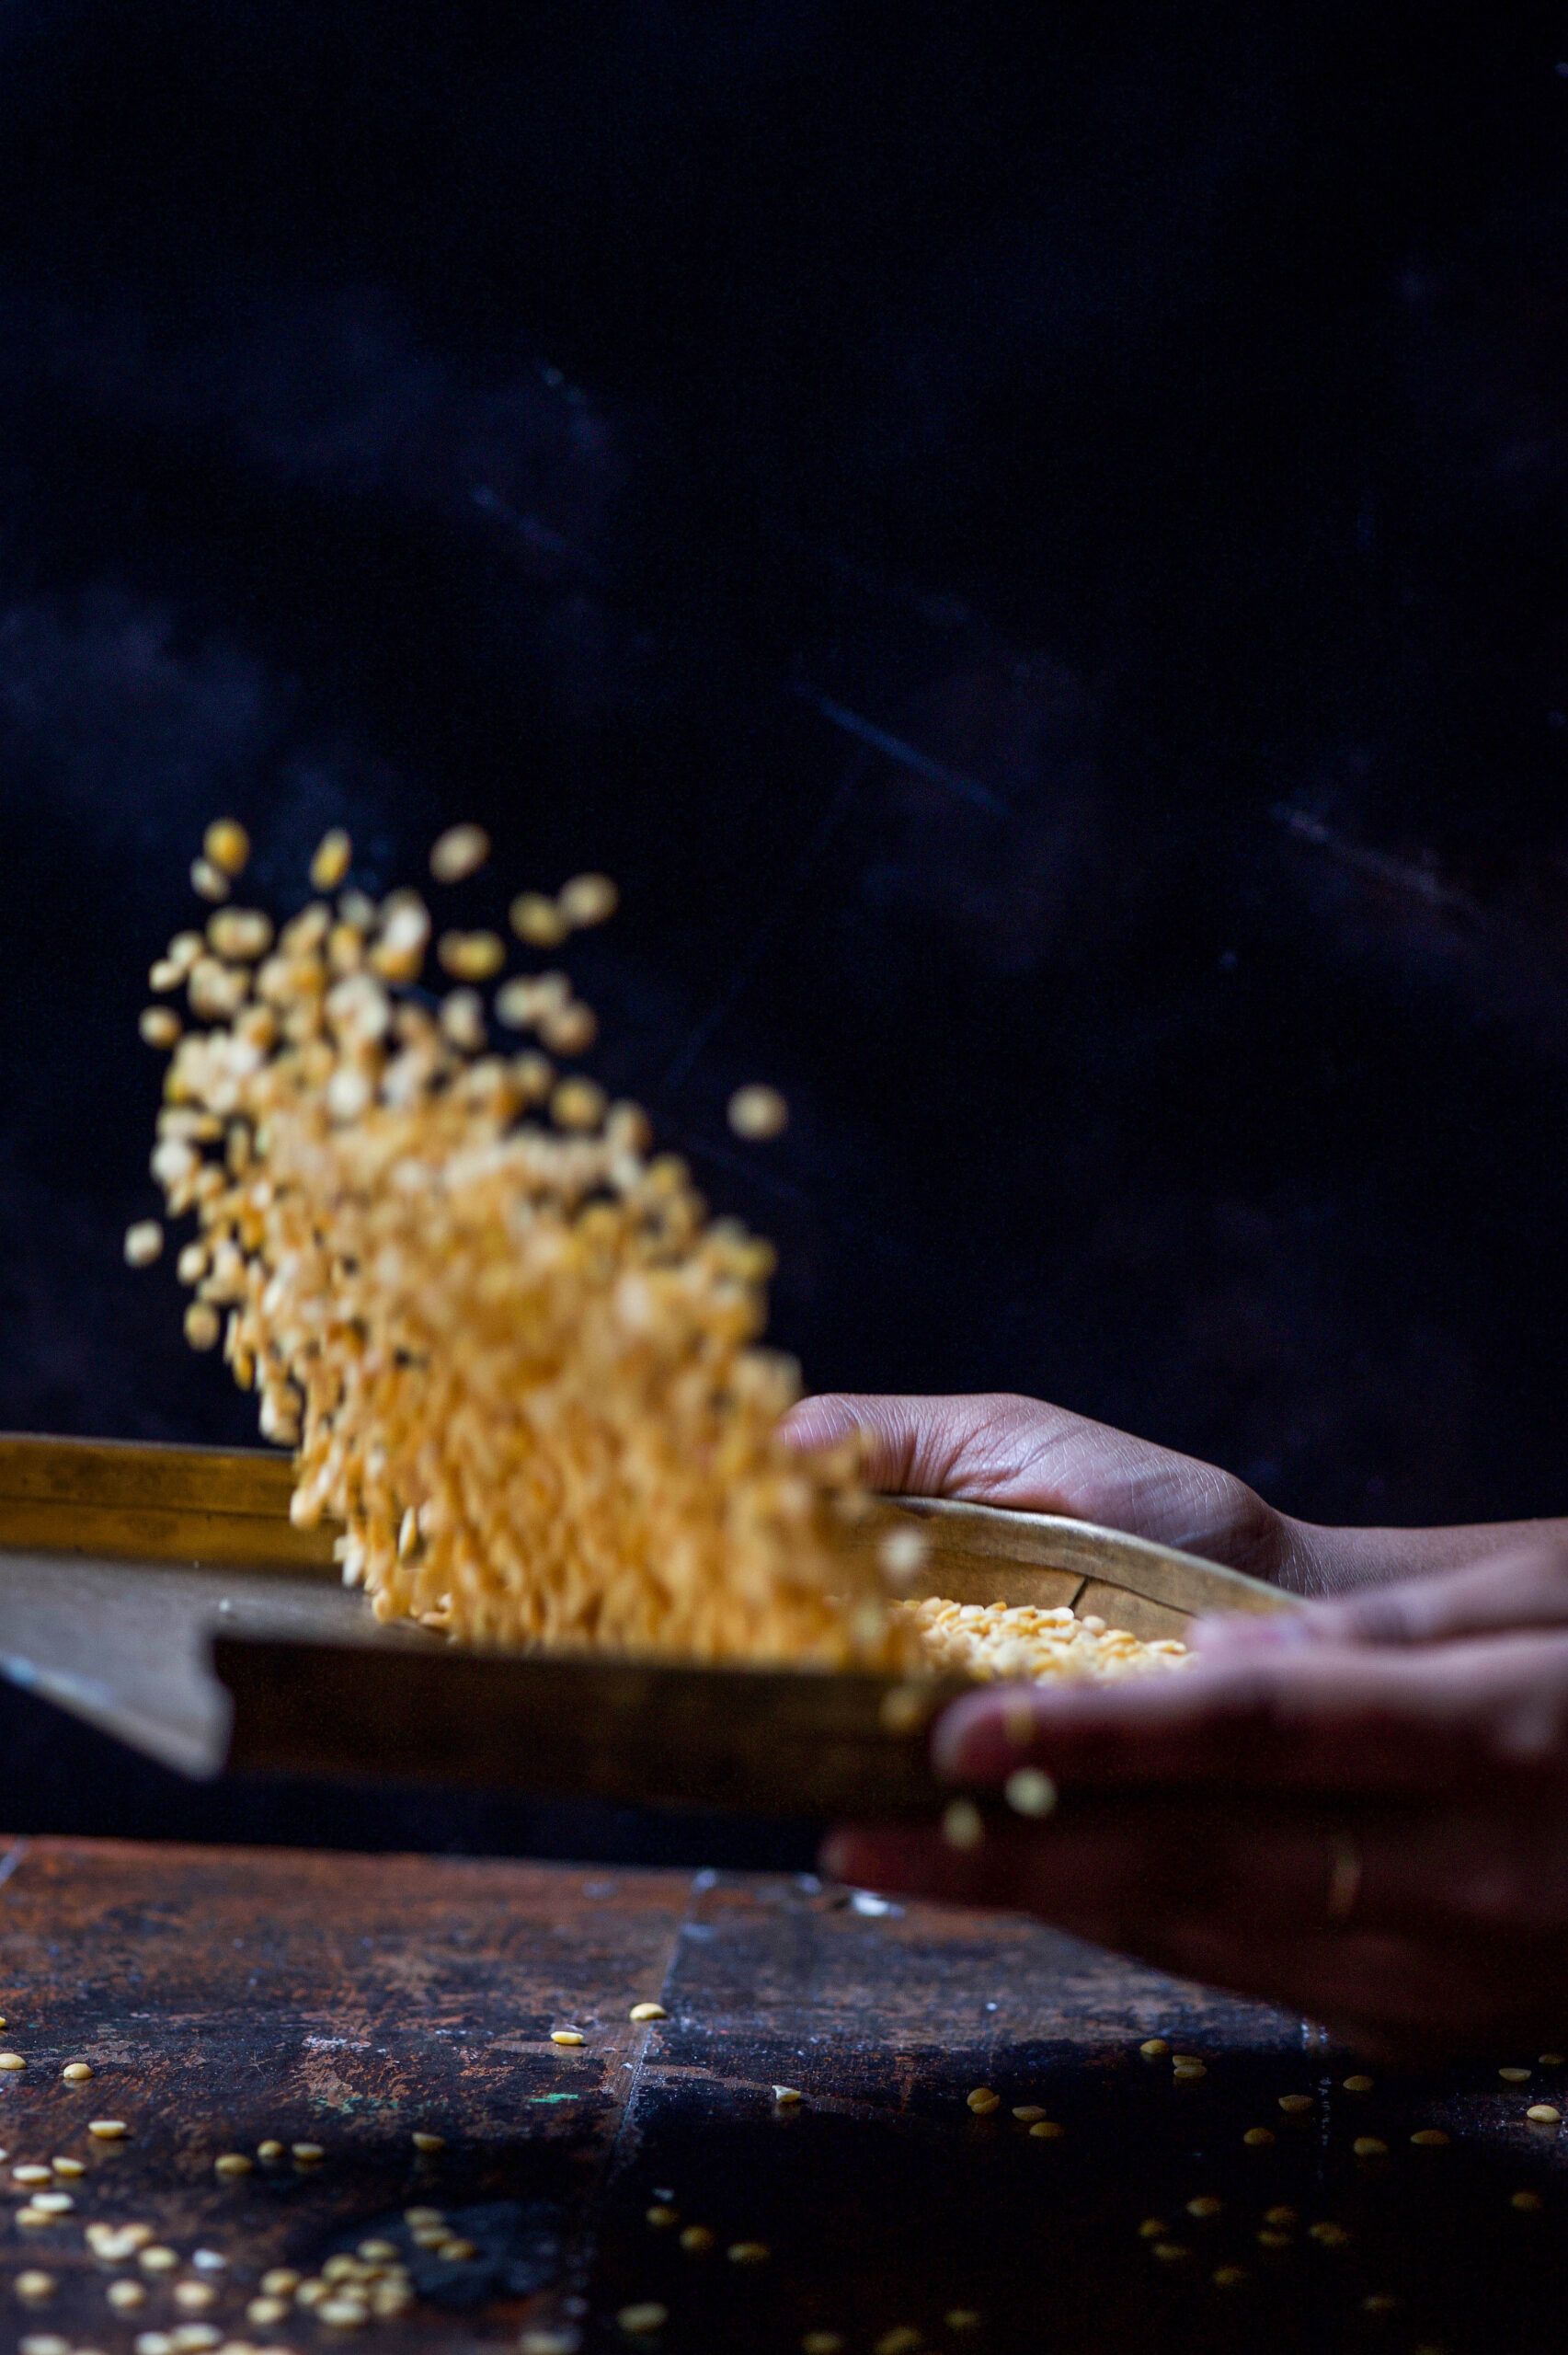
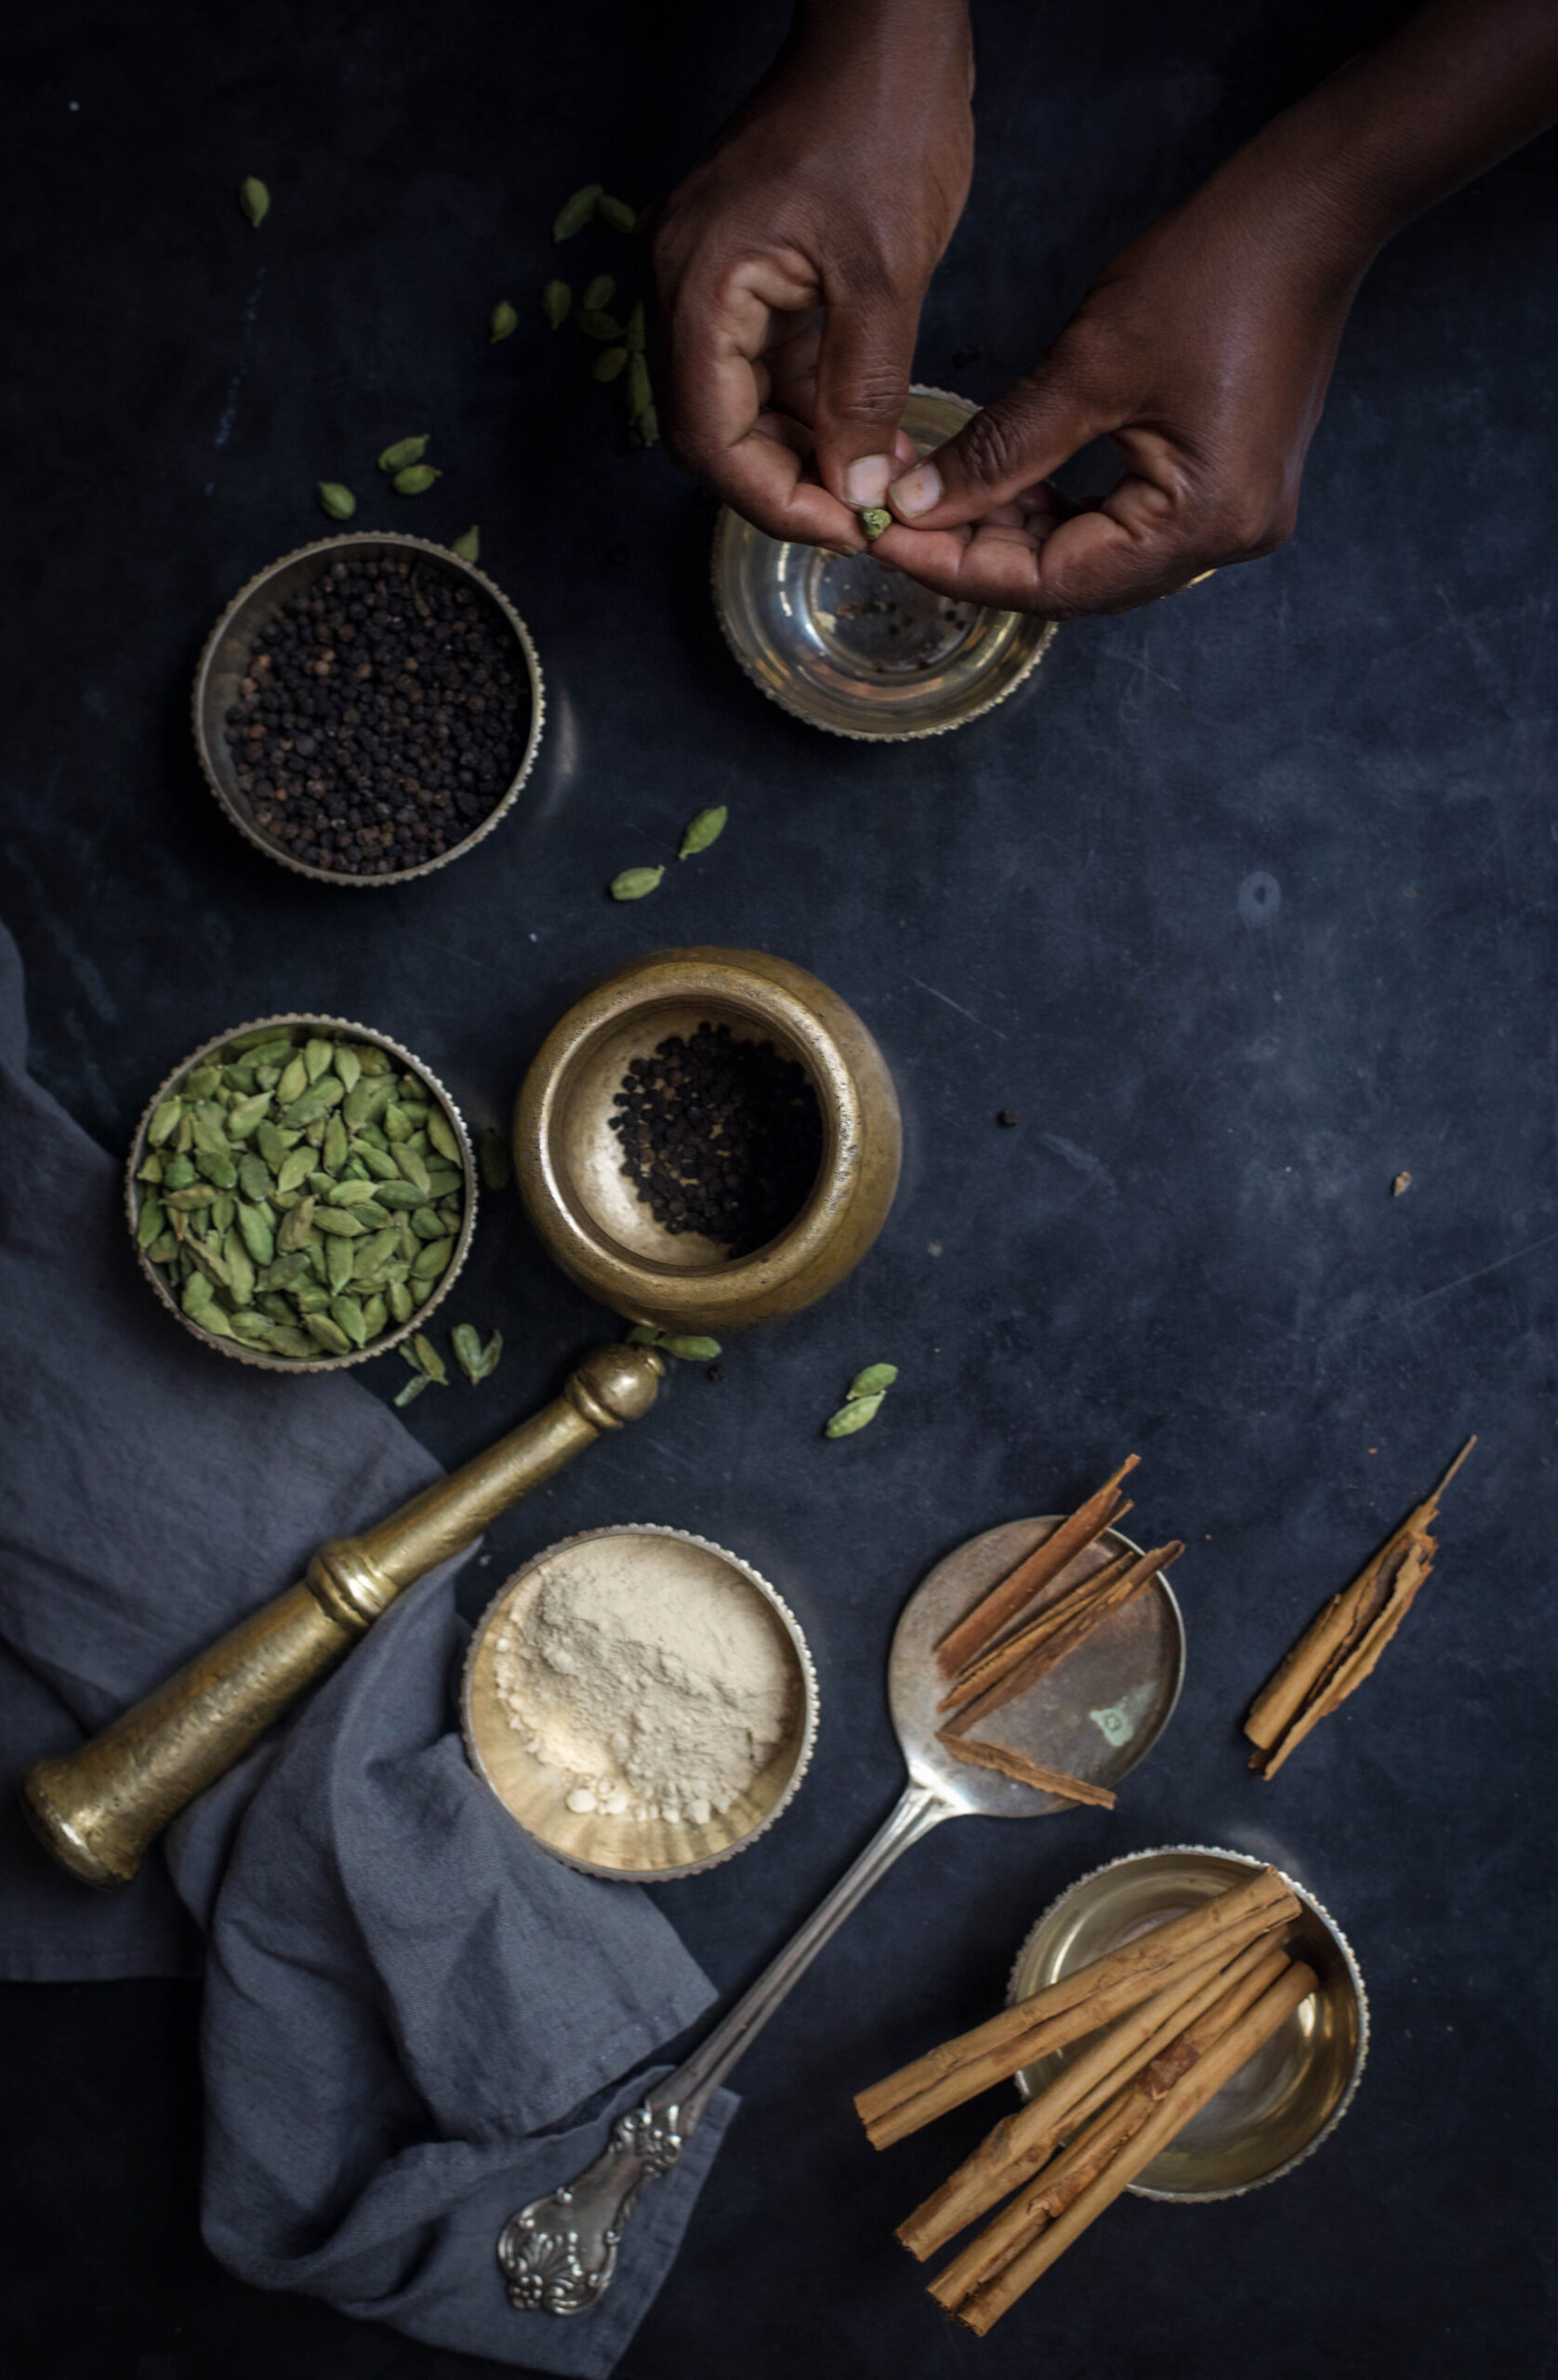
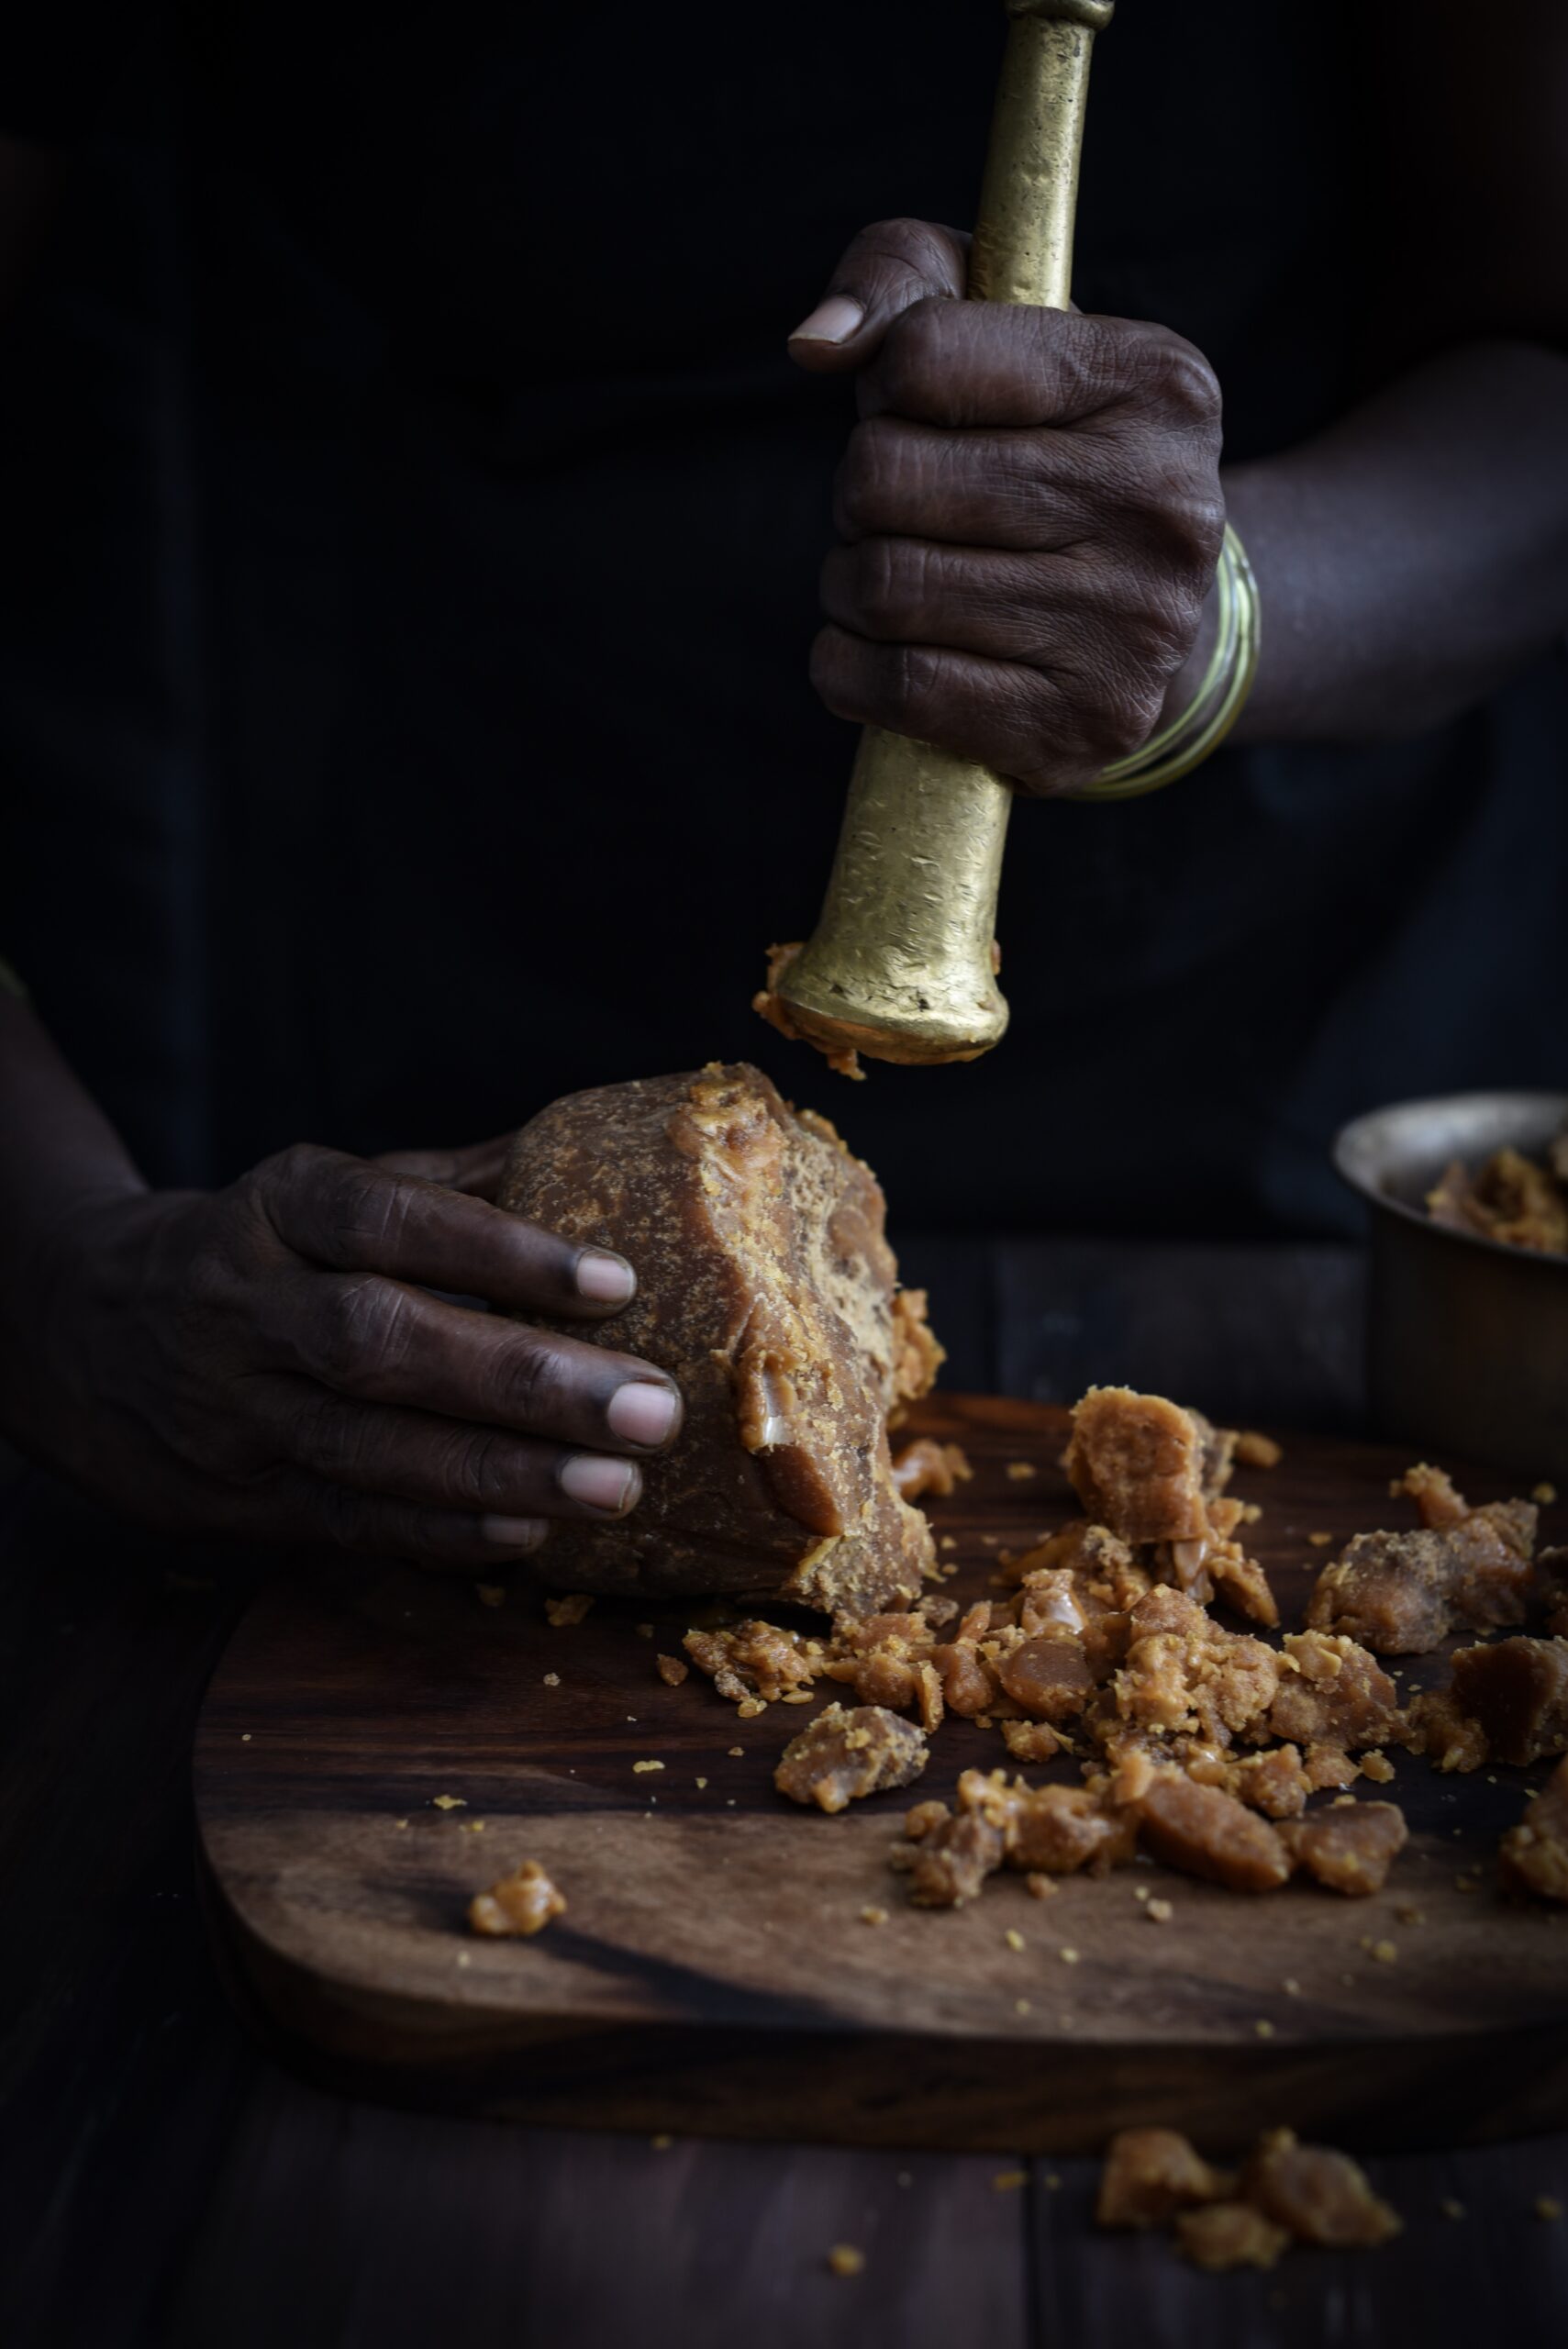
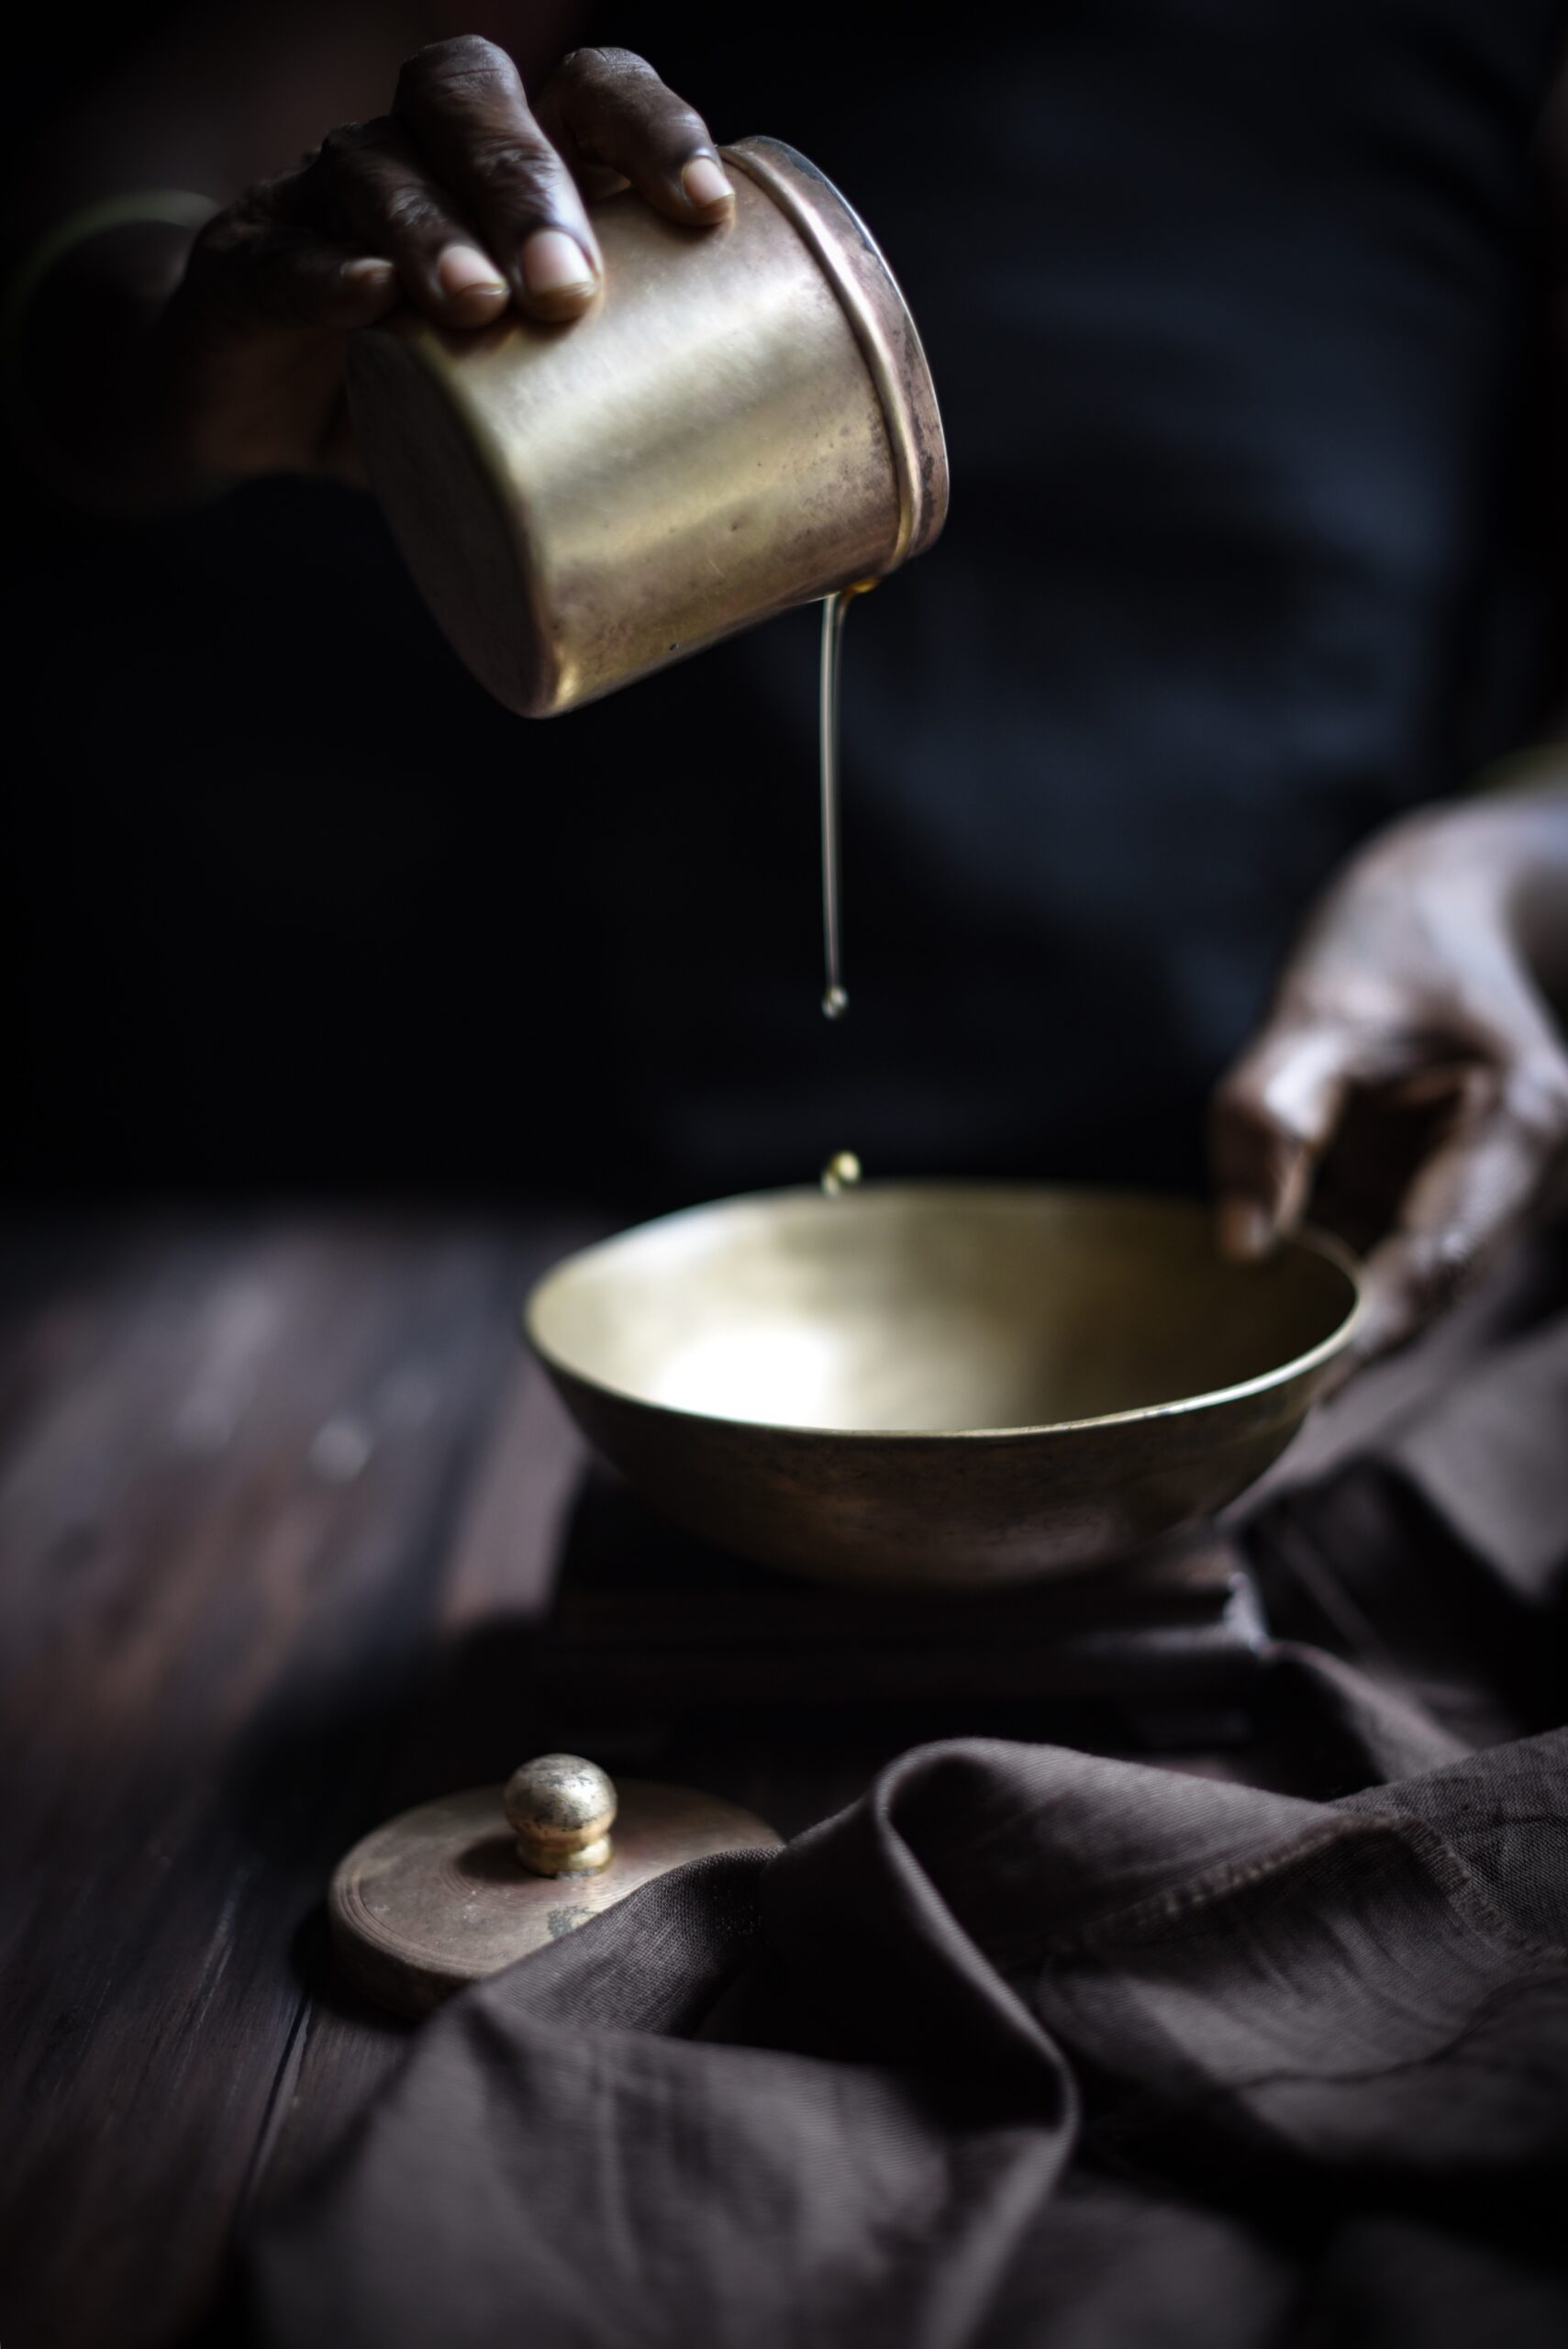
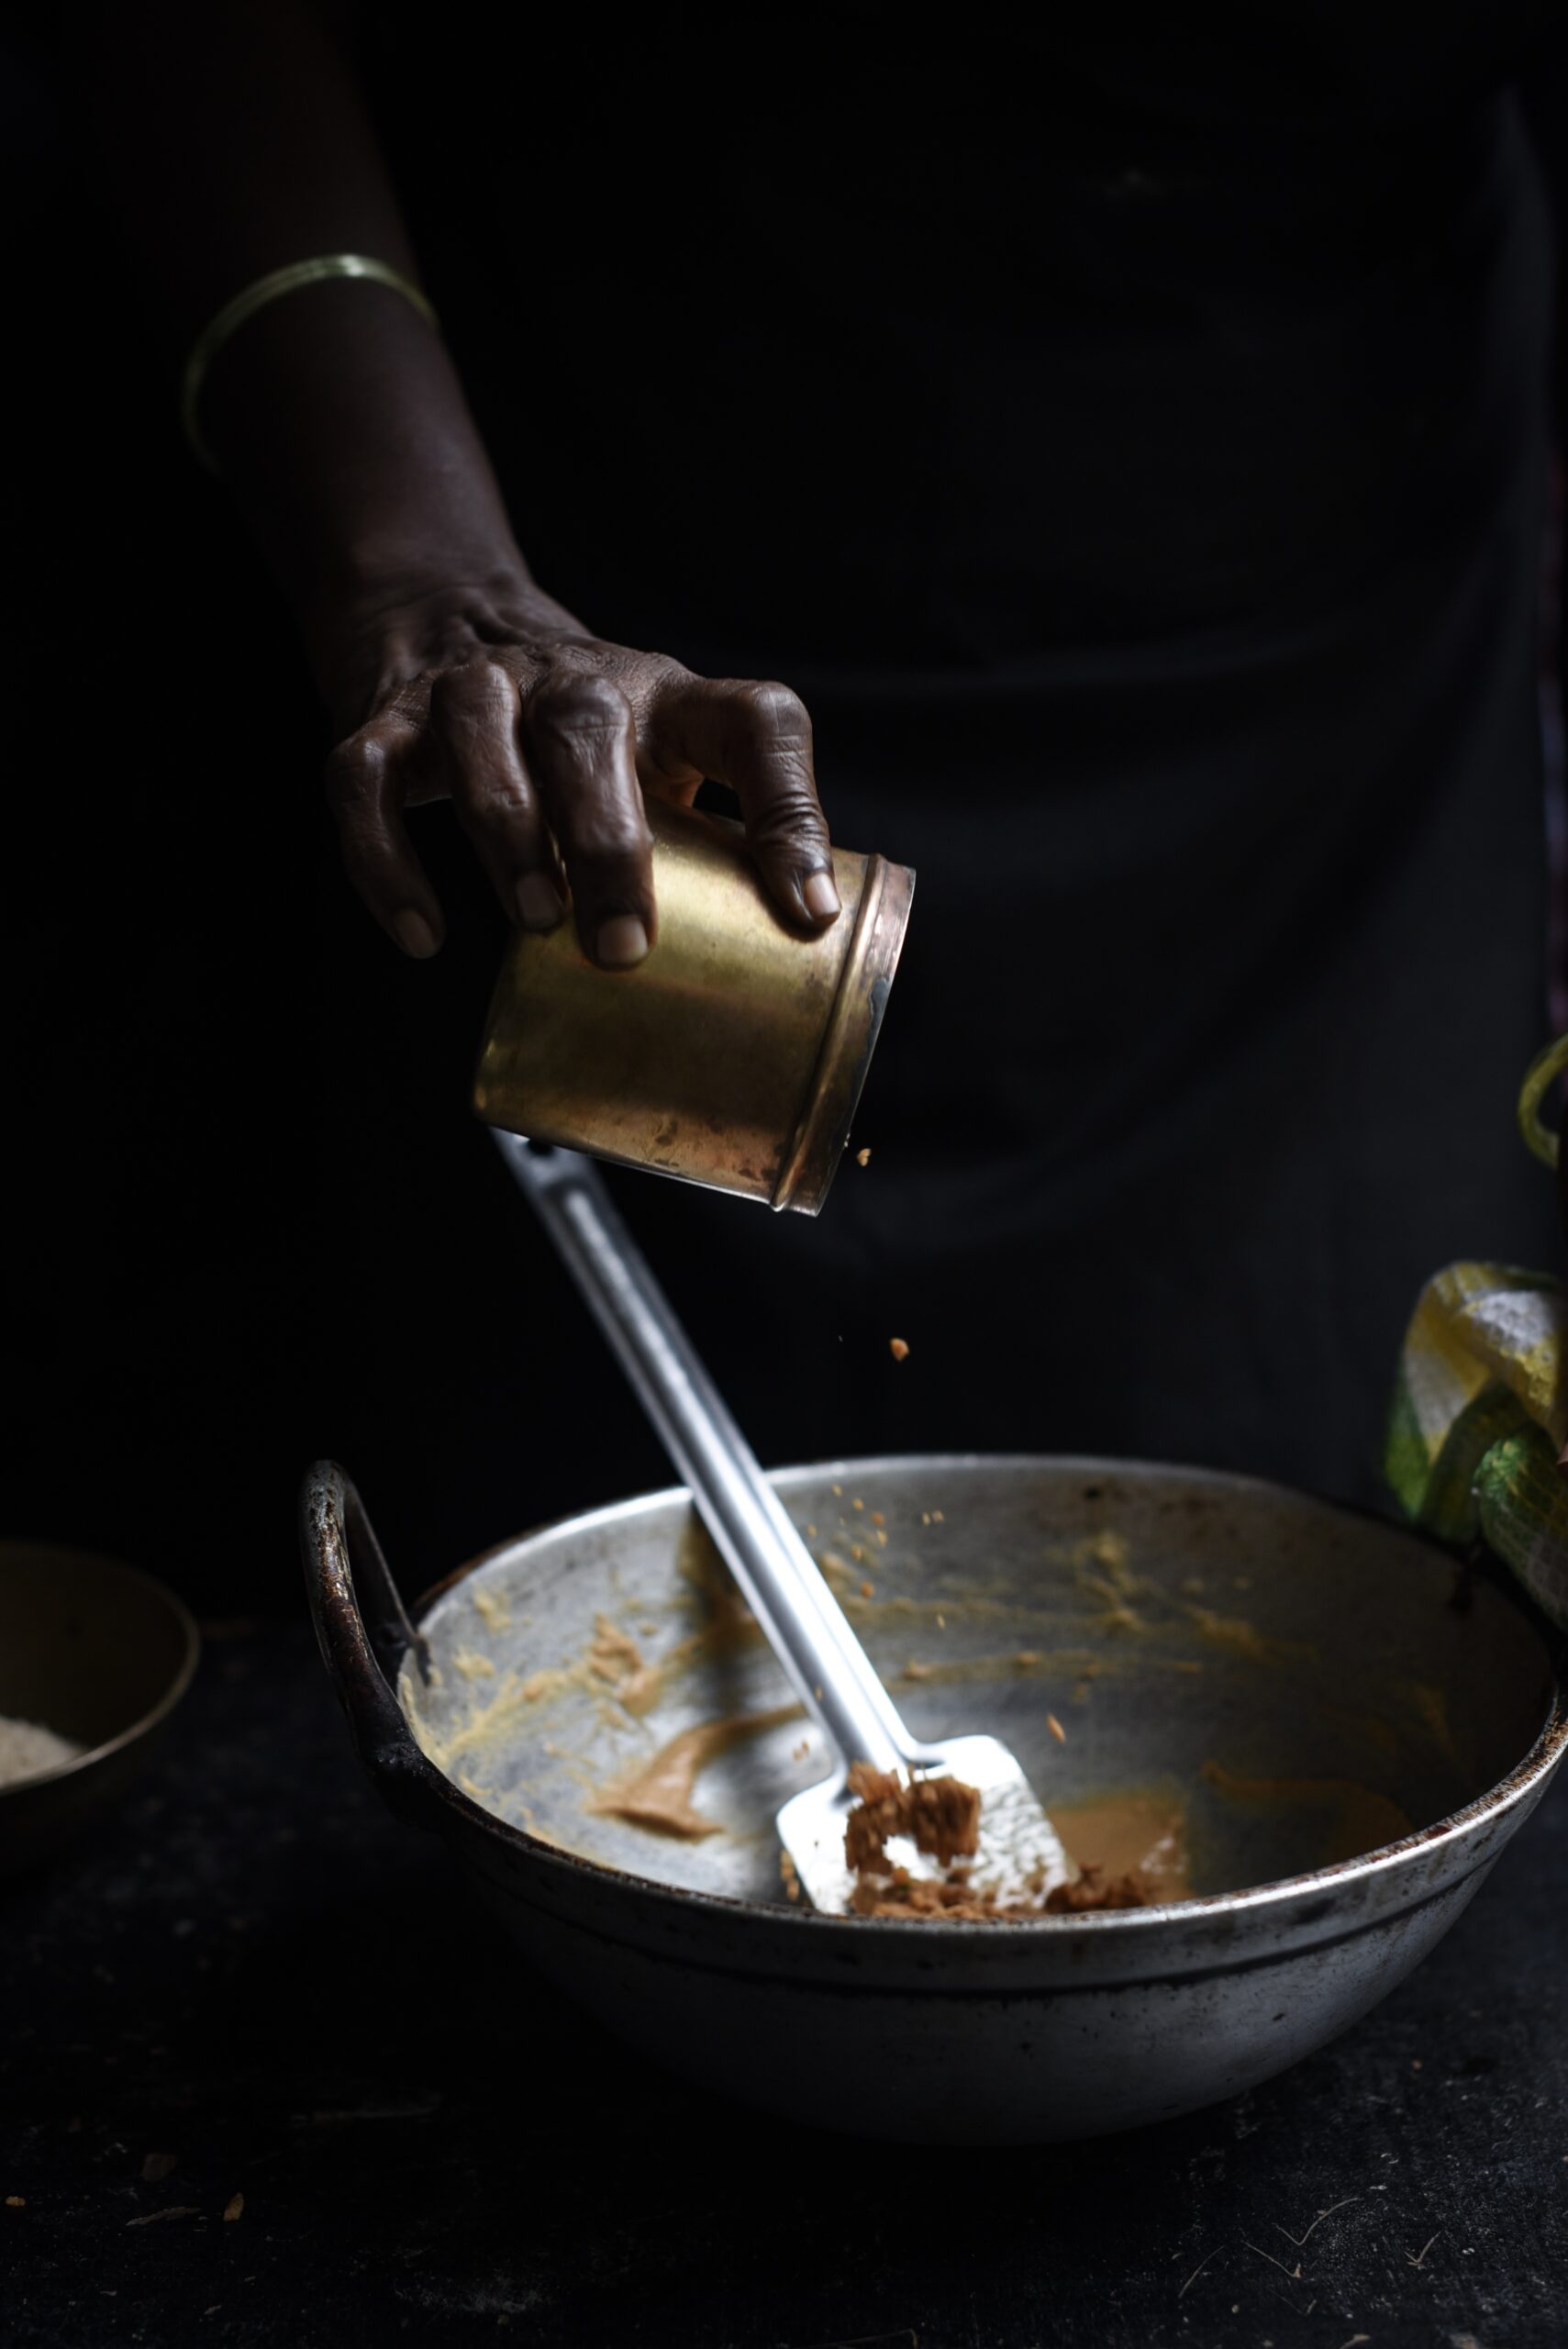
As I’ve mentioned in the past, I ensure that all my powders and flours are homemade, ground by a trusted small mill.  We grow both rice and ragi on our farm, so I know for sure that the ingredients in this dish, and any rice-based dishes eaten at home, are organic.

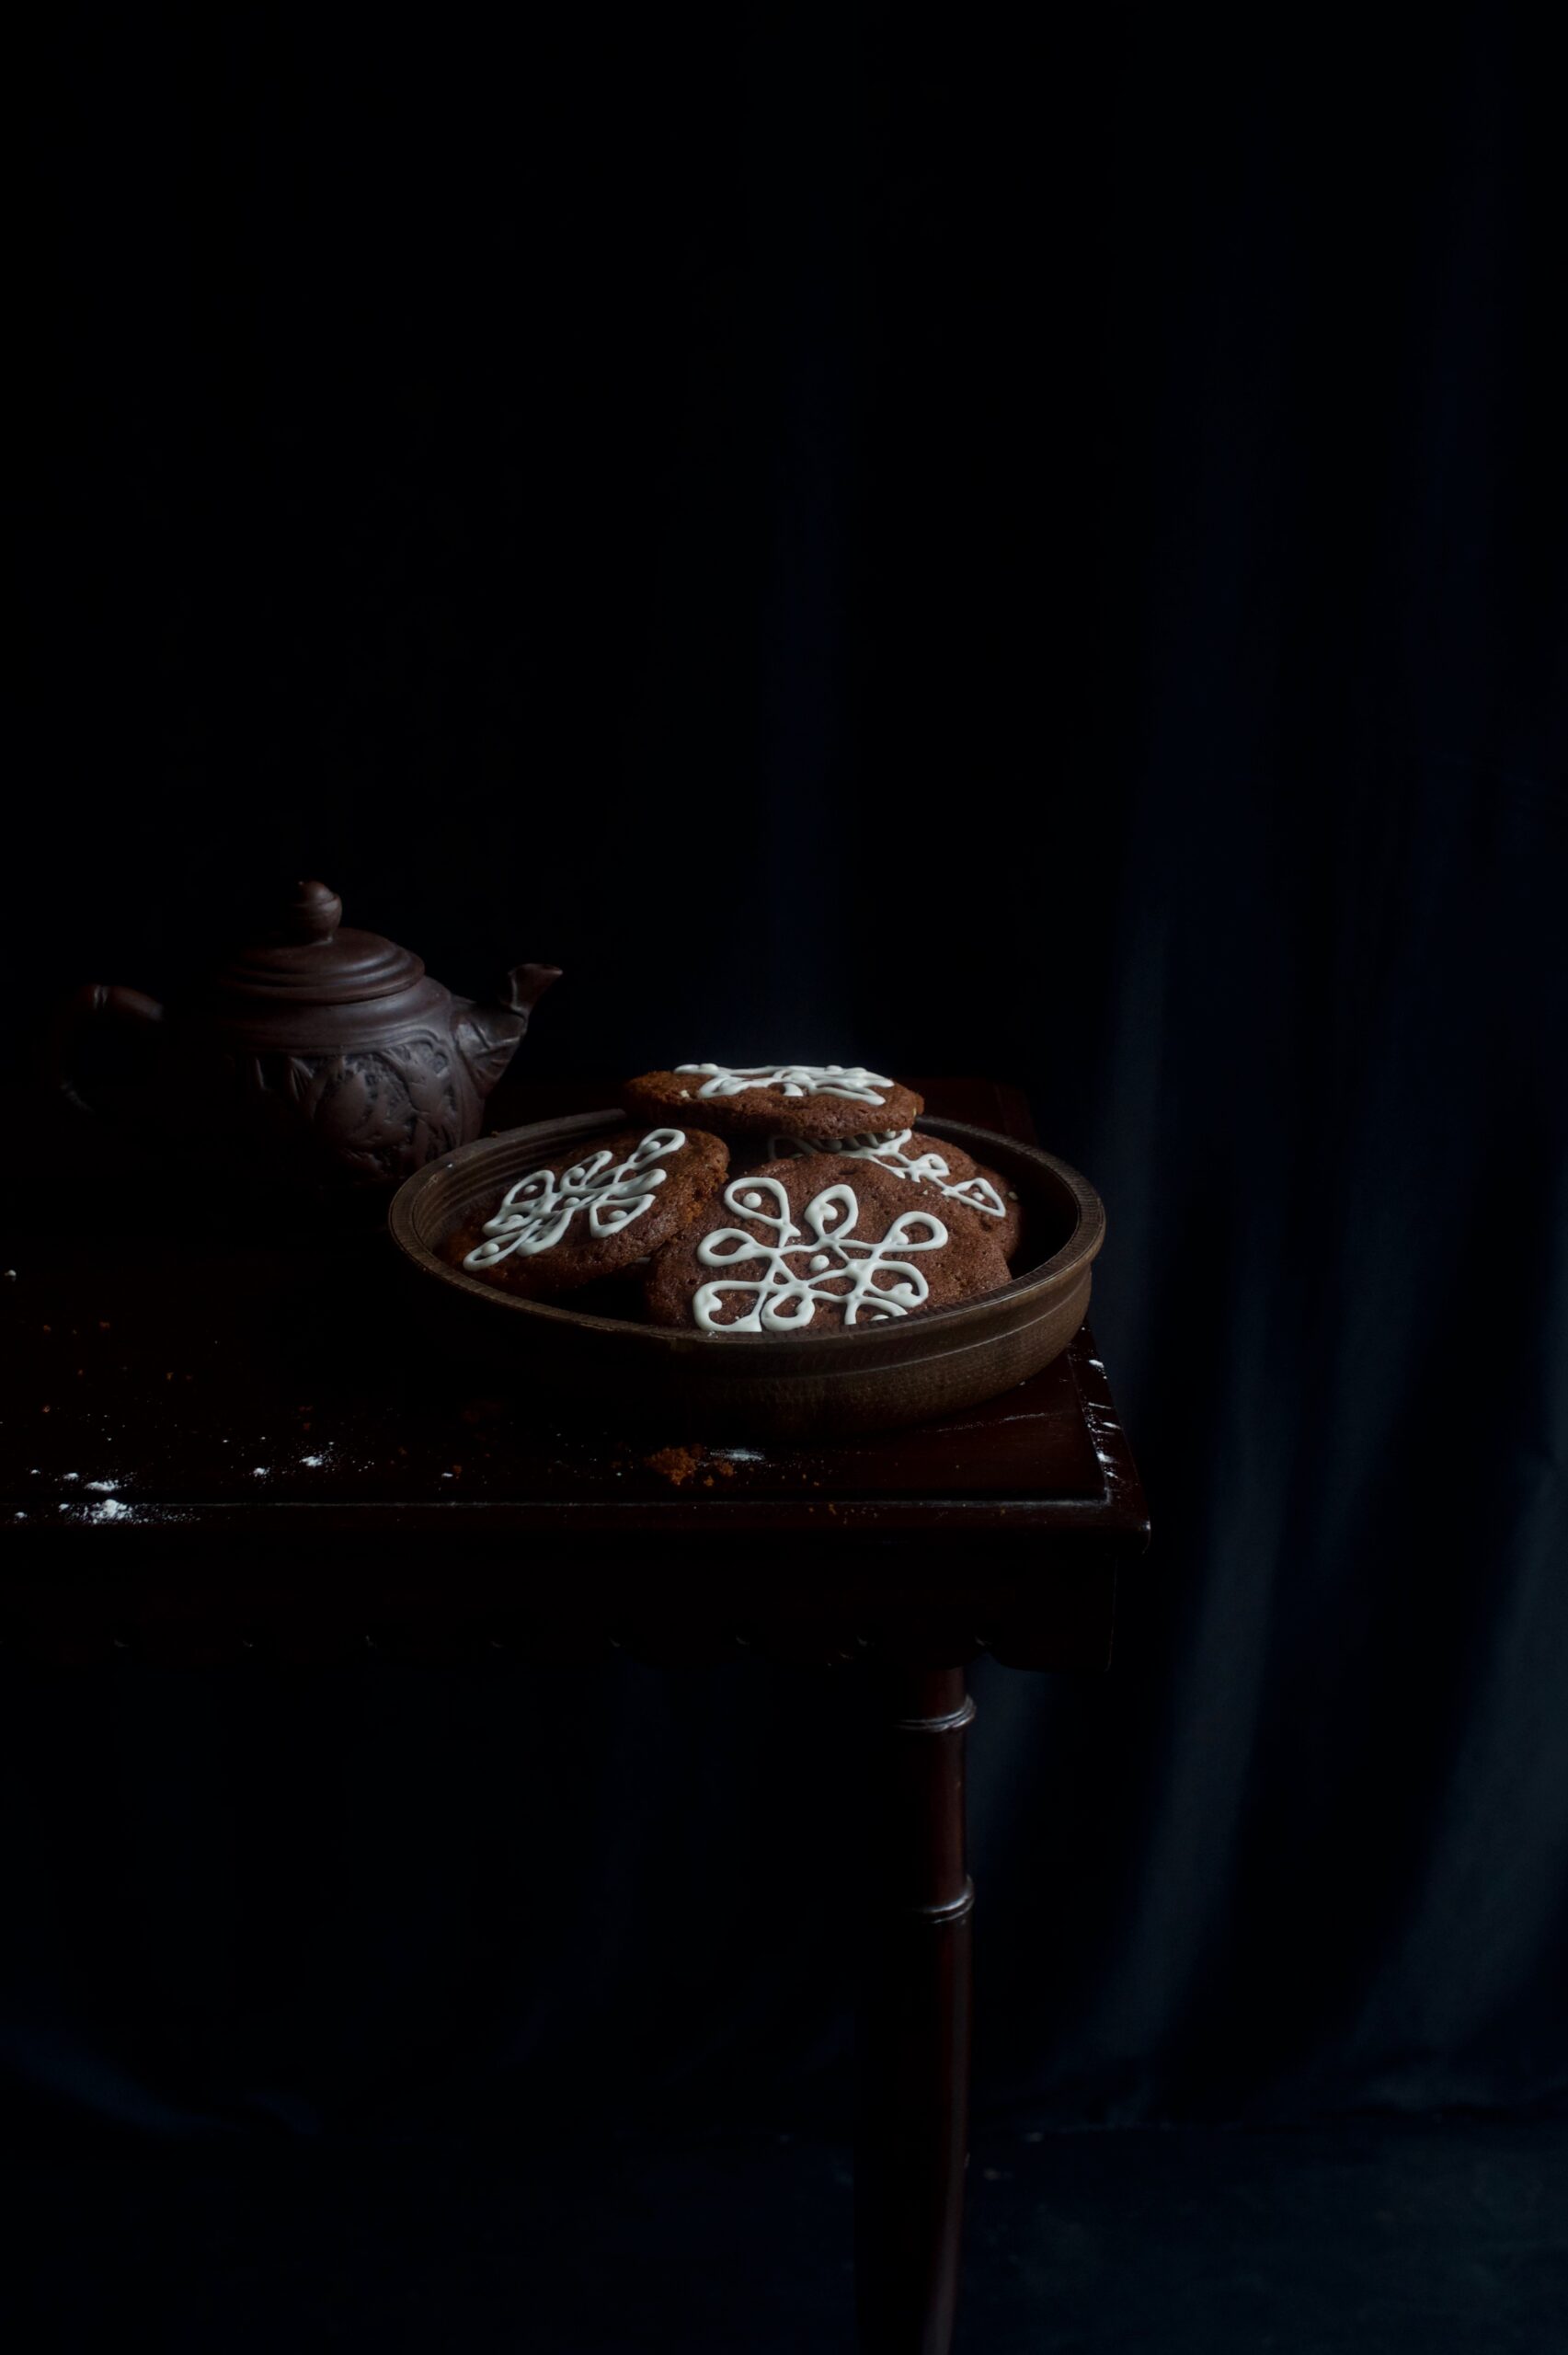
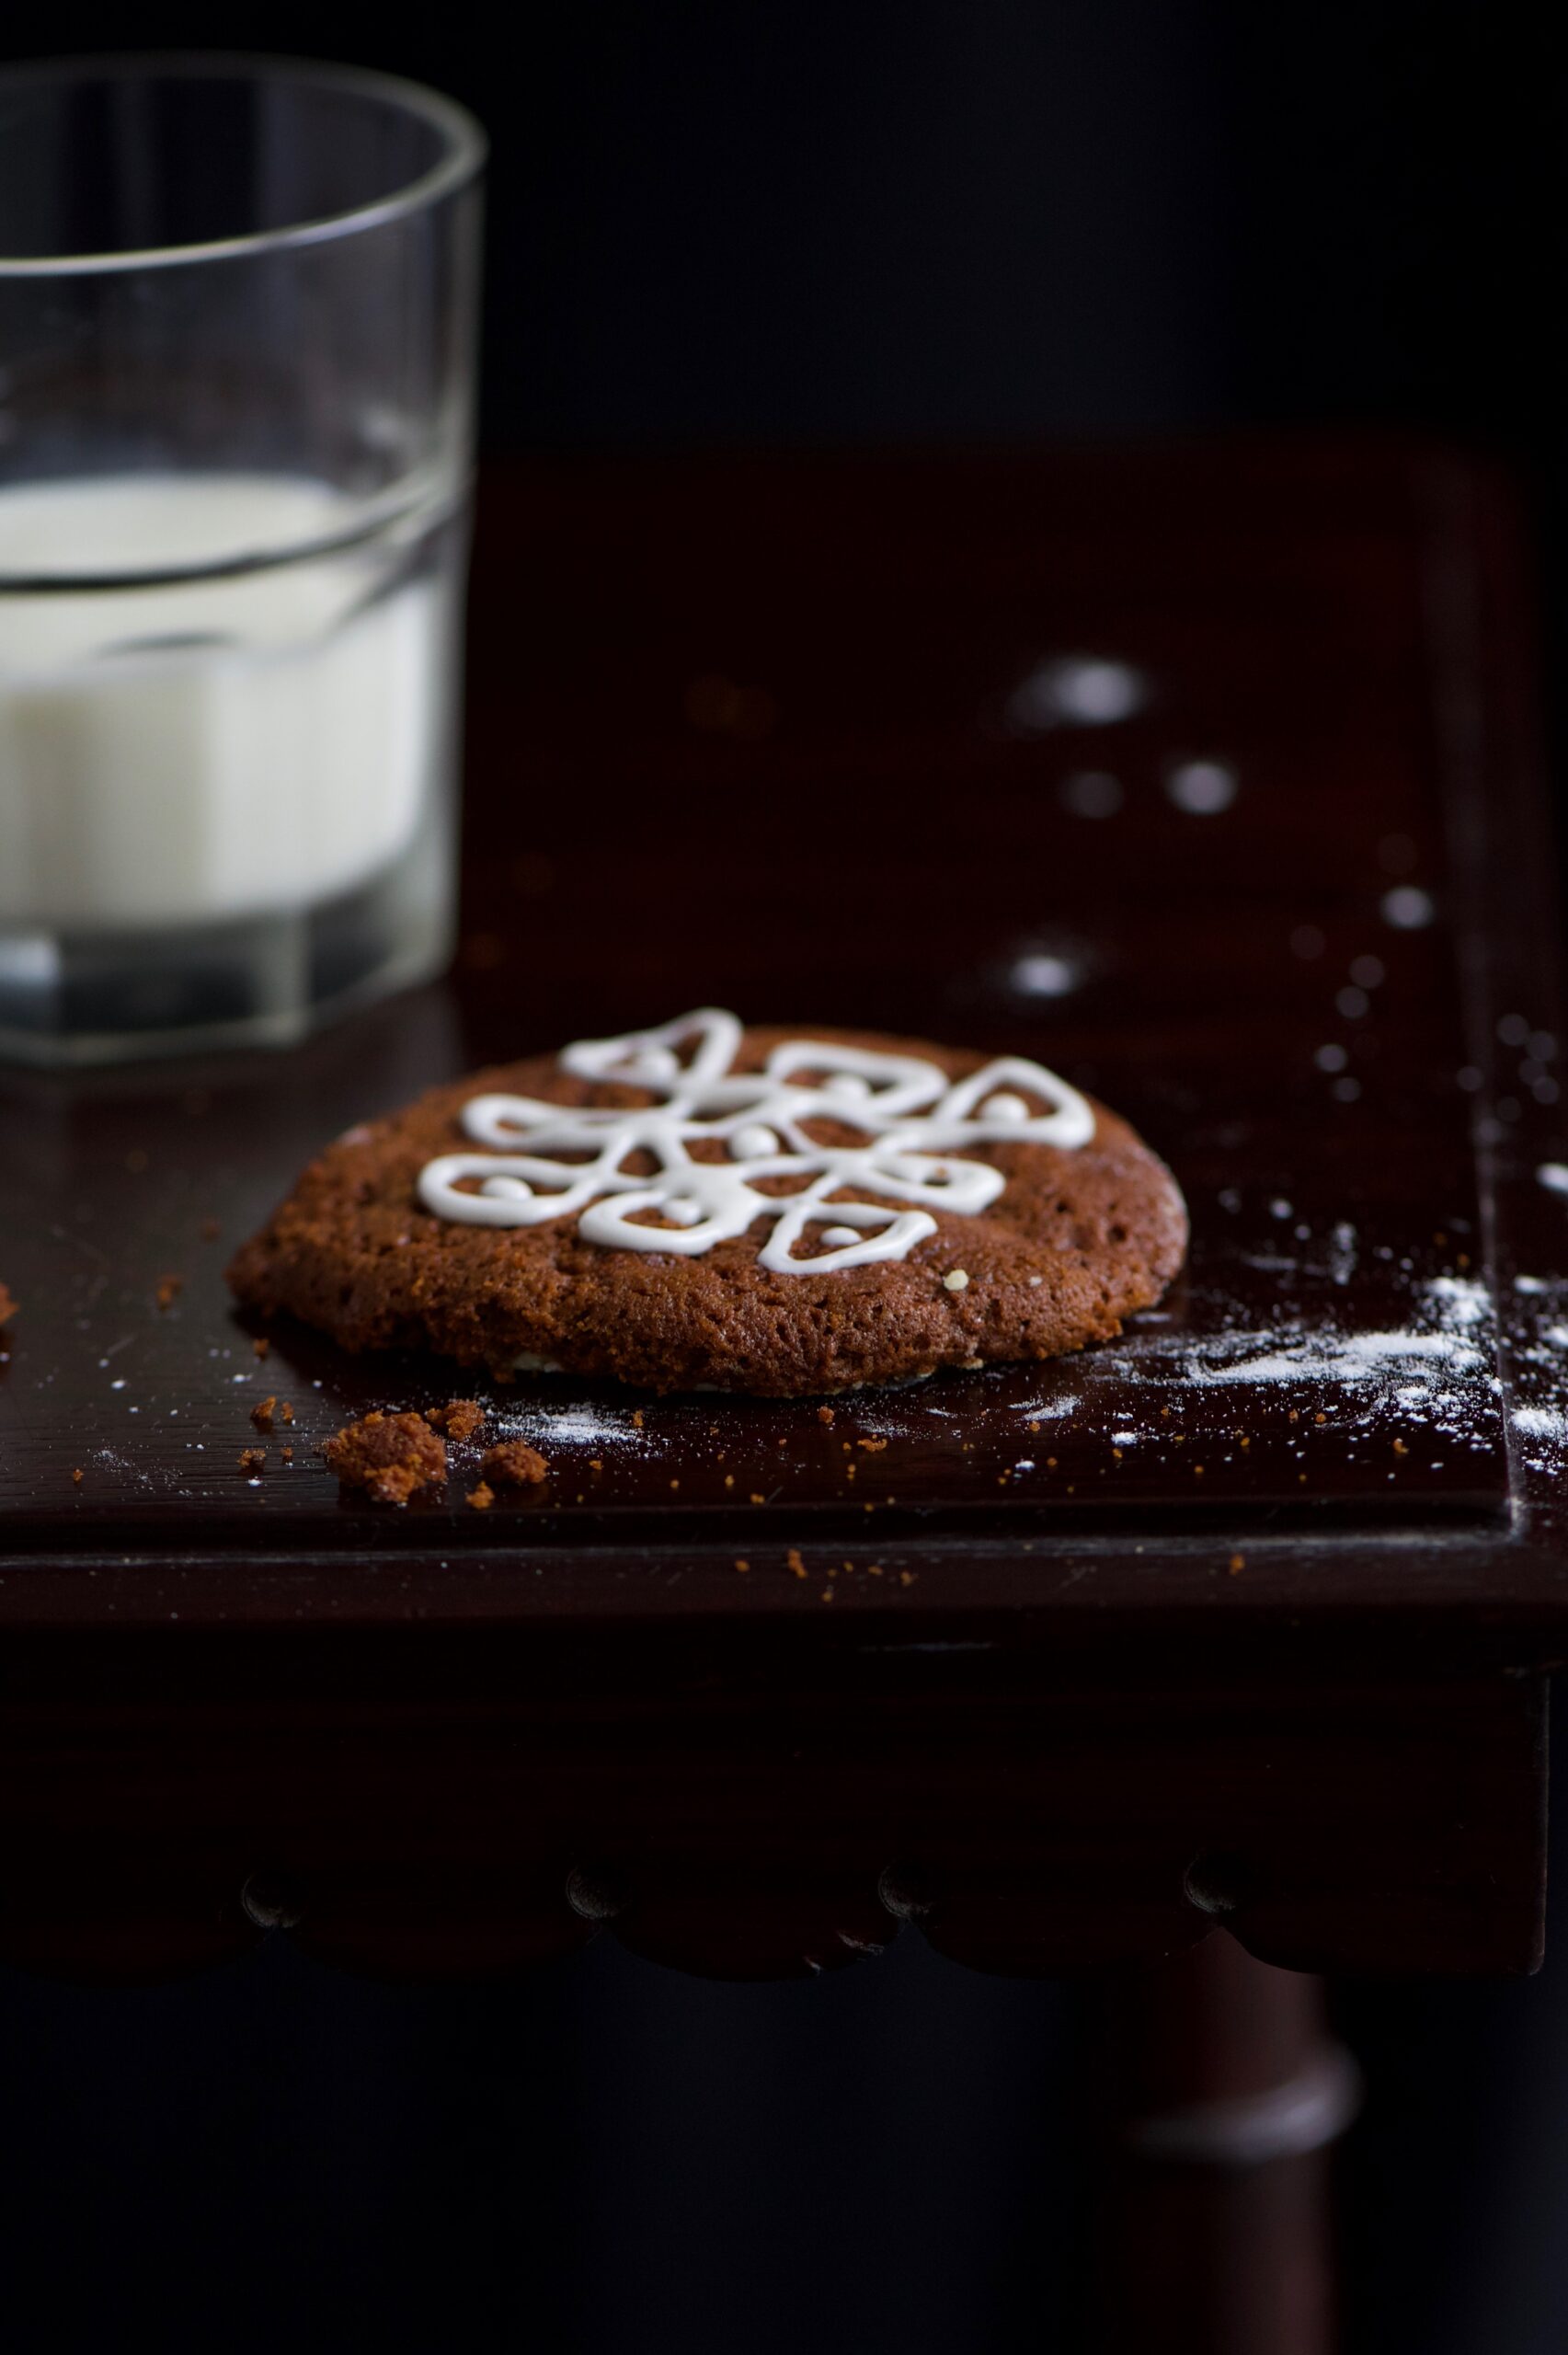
To come back to dosas and twists on the same – you can make your own variations of the dish below by adding vegetables to the crepe after it has been folded, or serving it with an assortment of chutneys. Here, I give you the recipe for a simple peanut chutney, which is a current favourite (peanuts are also grown on my farm). Ragi millet dosa is something I reach for often when I try to stay fit, and it’s always a satisfying meal.

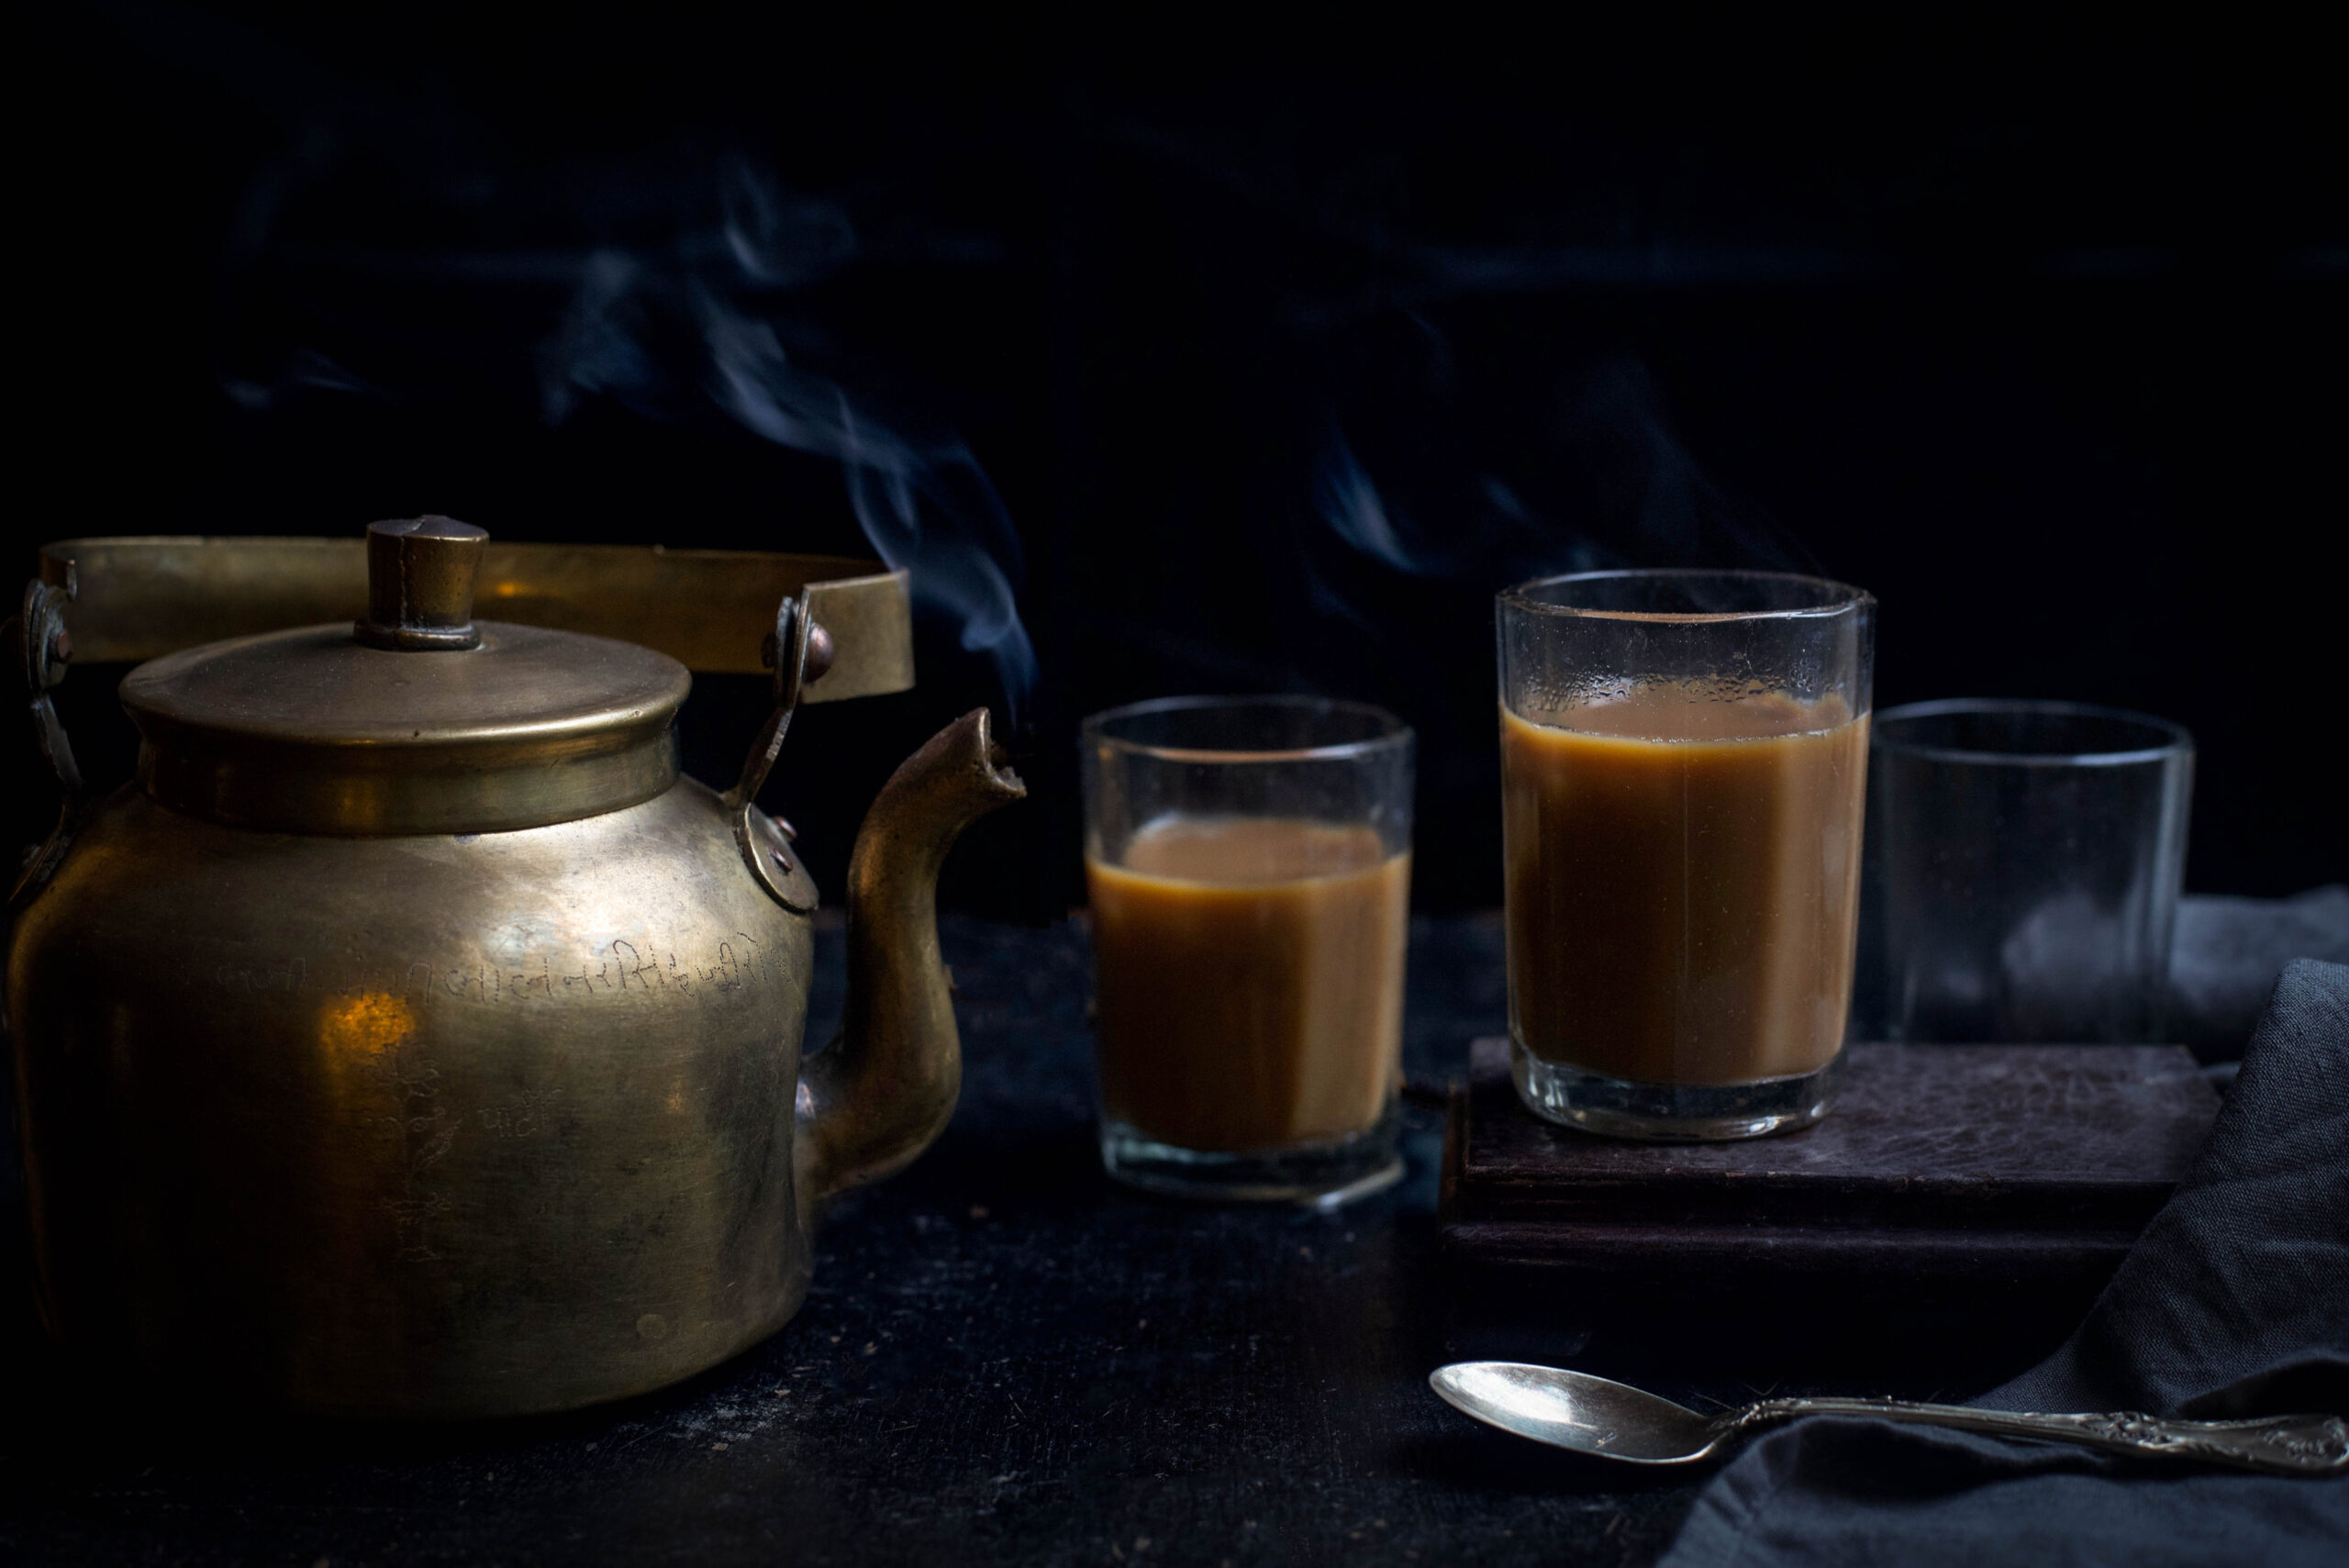
Living in South India, dosa (or dosai) is something I’ve taken for granted. It really is a universally loved dish, as this story about my dog Coco will tell you. When she was pregnant years ago, she absolutely craved dosas! I would have one made especially for her every day, and she would simply refuse to eat it if it did not contain salt! My Coco is now sixteen years old and going strong, and the healthiest in my house since she eats fresh food every day. Now, her son Max also craves dosas, probably influenced by his mother’s taste during her pregnancy with him, and I always share mine with them both.


Ragi Millet Dosa

(Yield: 6 dosas)

Ingredients
½ cup ragi flour

1 tablespoon rice flour

1 teaspoon cumin

1 teaspoon paste of green chilli and ginger

1 tablespoon grated coconut

¾ cup water

1 tablespoon yoghurt

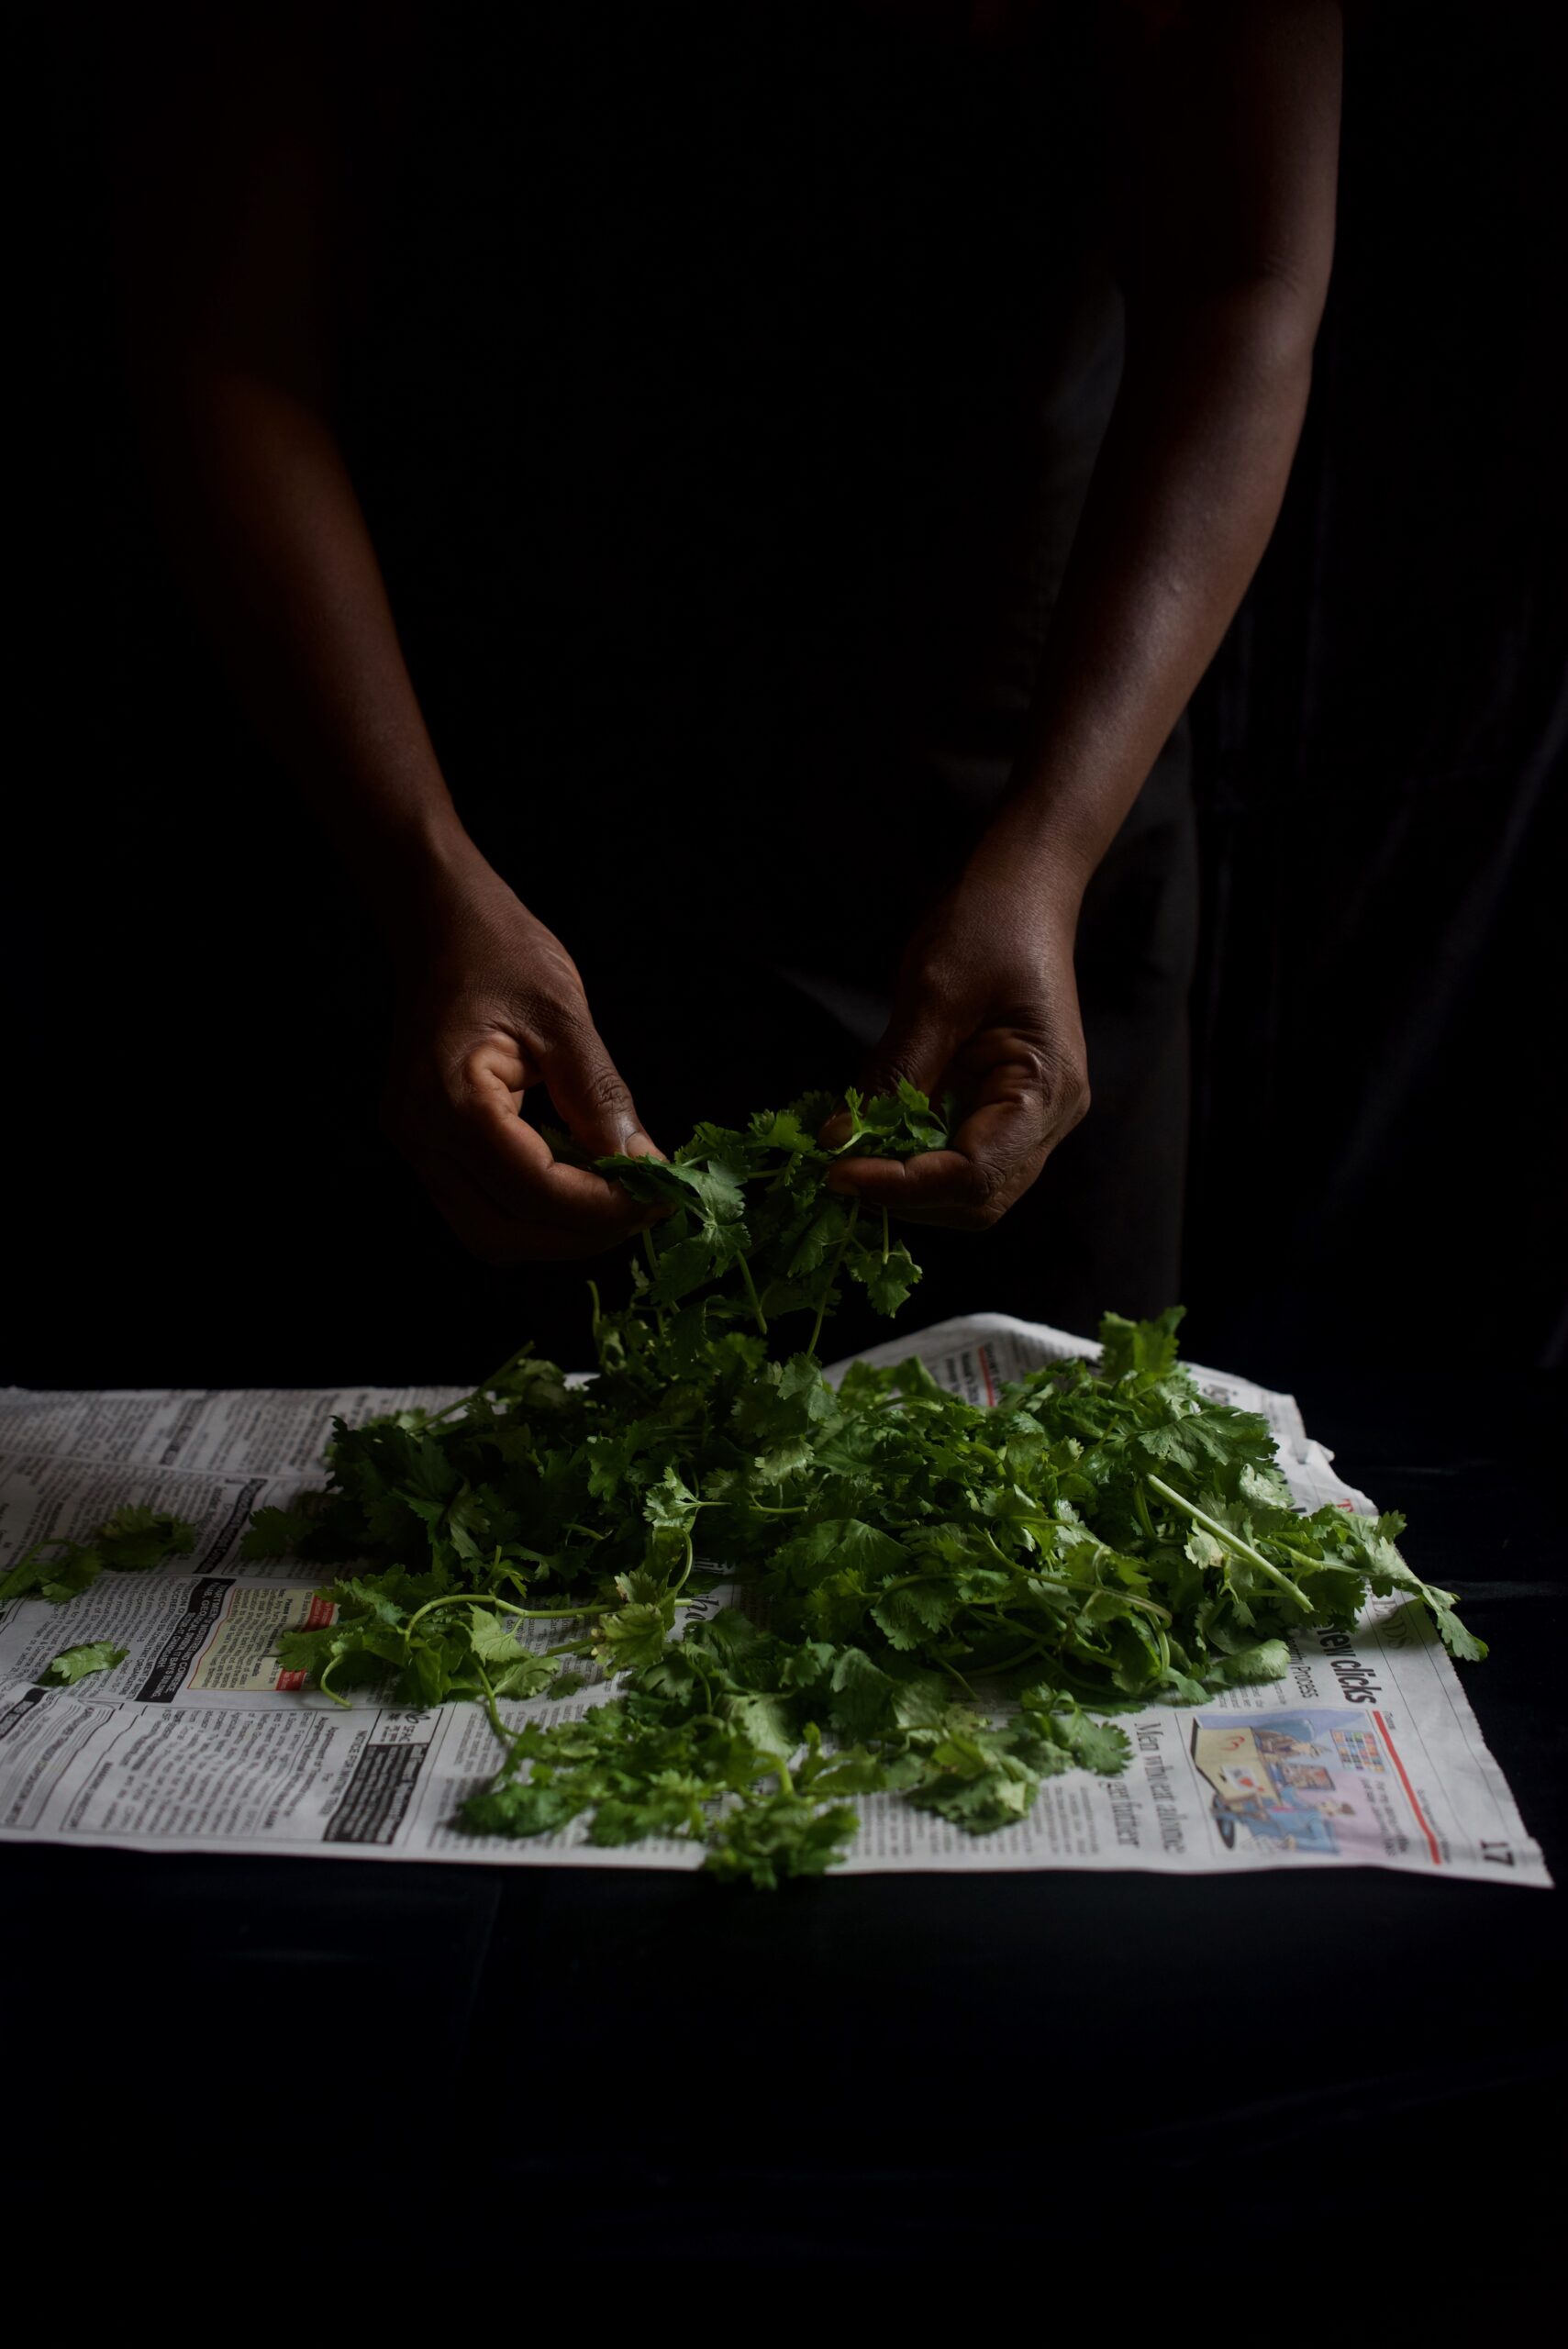
Finely chopped curry leaves

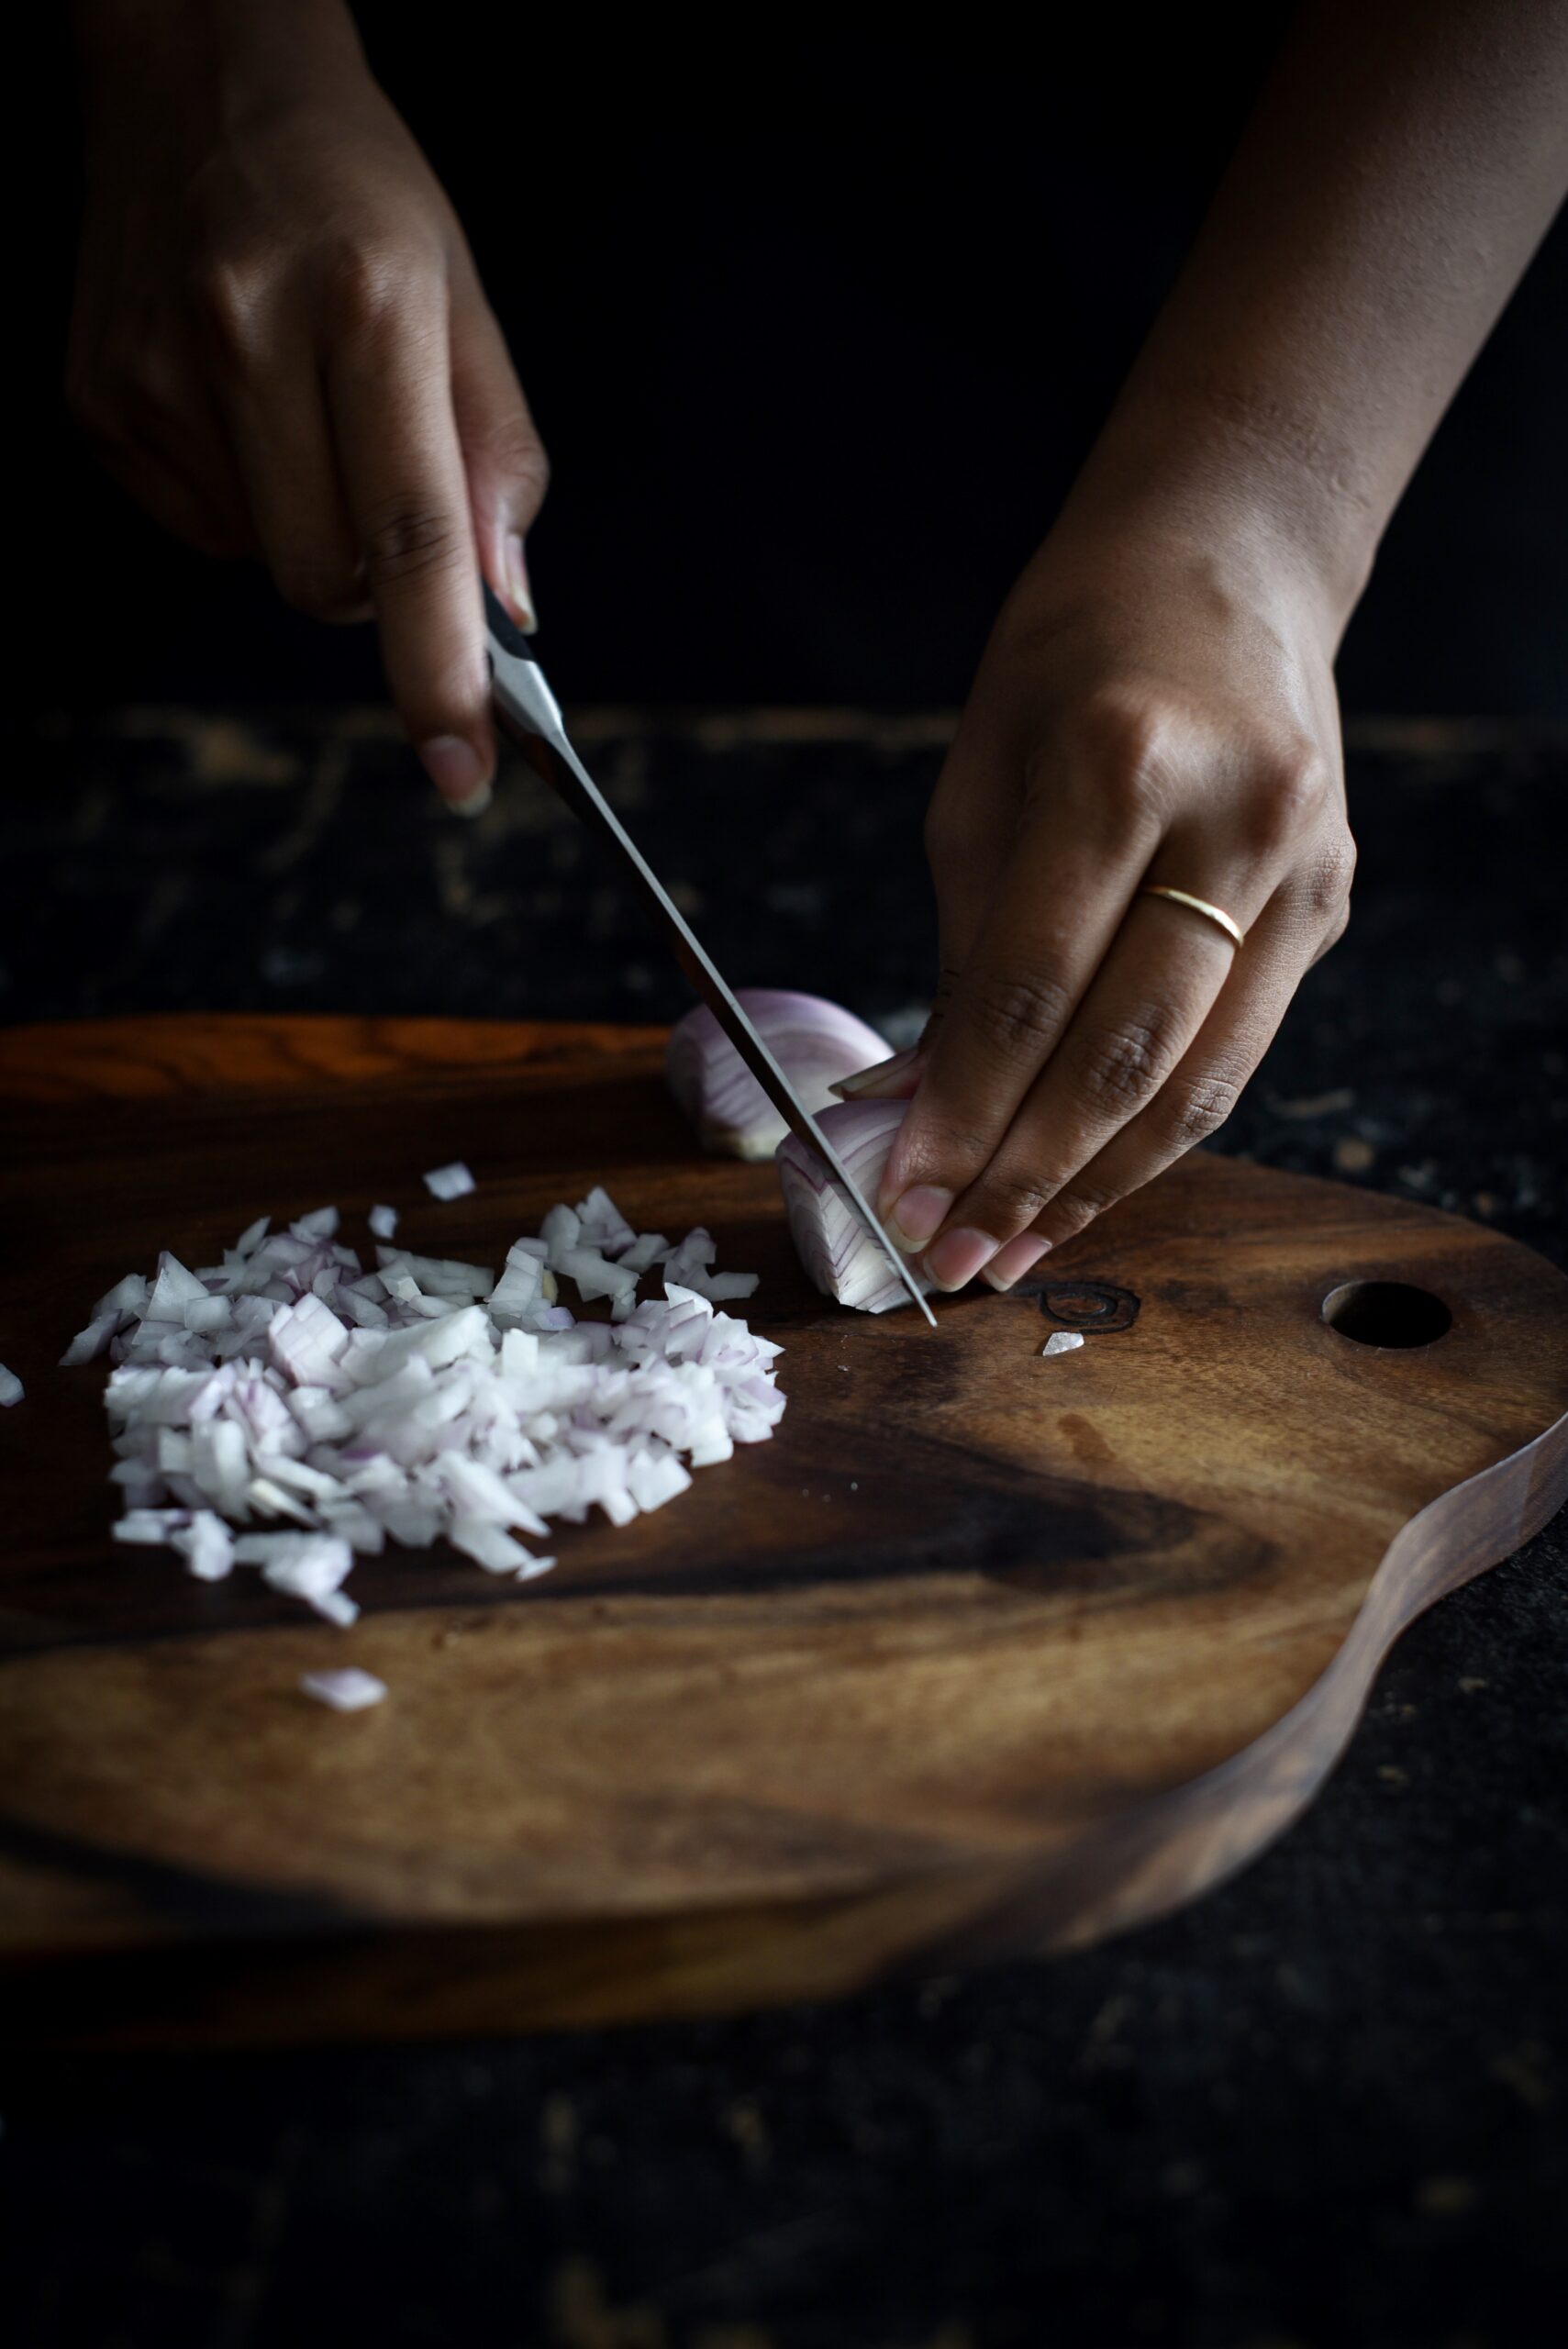
Finely chopped onions

Salt to taste

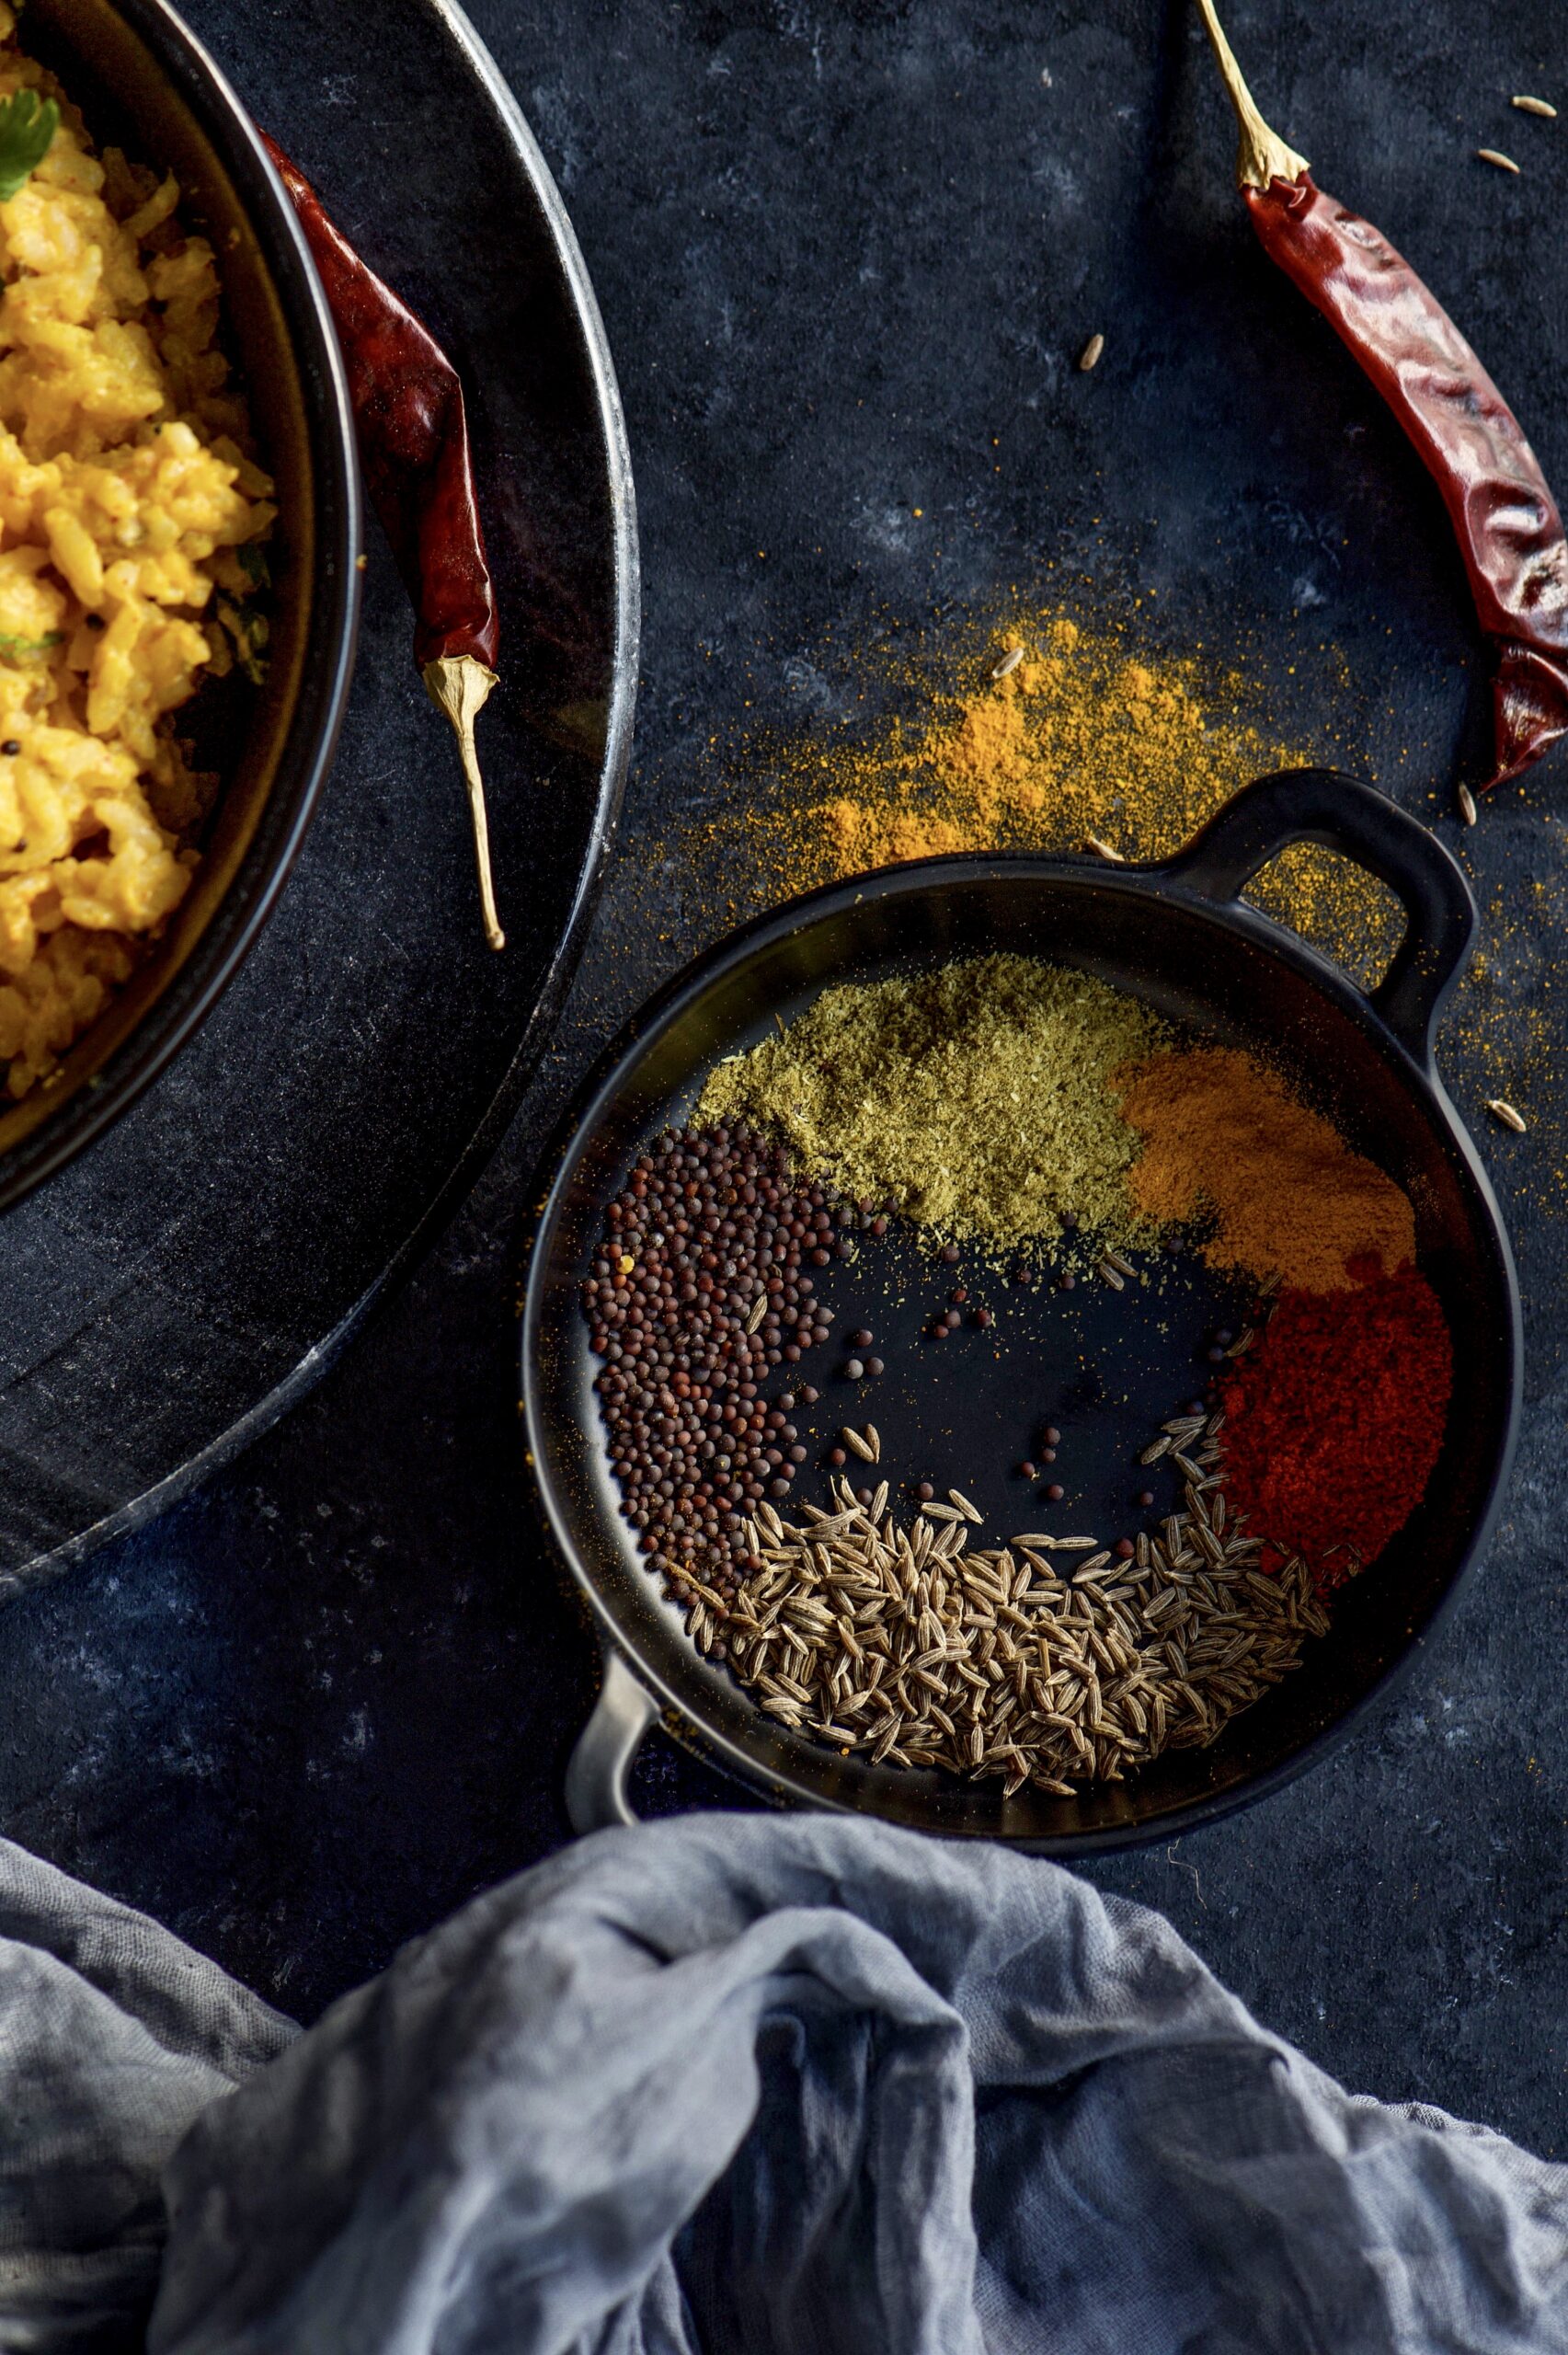
In a bowl, mix the ragi and rice flours in water until there are no lumps. Then add all the remaining ingredients. Stir until they all blend well together and become a smooth batter. Do not add too much water as this will make the batter too thin.

These dosas can either be prepared immediately, or the batter can be left to sit for about half an hour, letting the flavours blend more.

To fry a dosa is like frying any crepe. Add a few drops of oil on a heated iron griddle. Now lower the flame and pour 1 small cup of the batter onto the griddle, and spread it out in a circular motion until it is spread thin. Dot the edges with oil and increase the flame to high. Allow the dosa to turn dark on the edges, then flip over and allow to fry for a few minutes. Flip again once before you take it off the stove. Fold and serve with the peanut chutney, or a condiment of your choice.
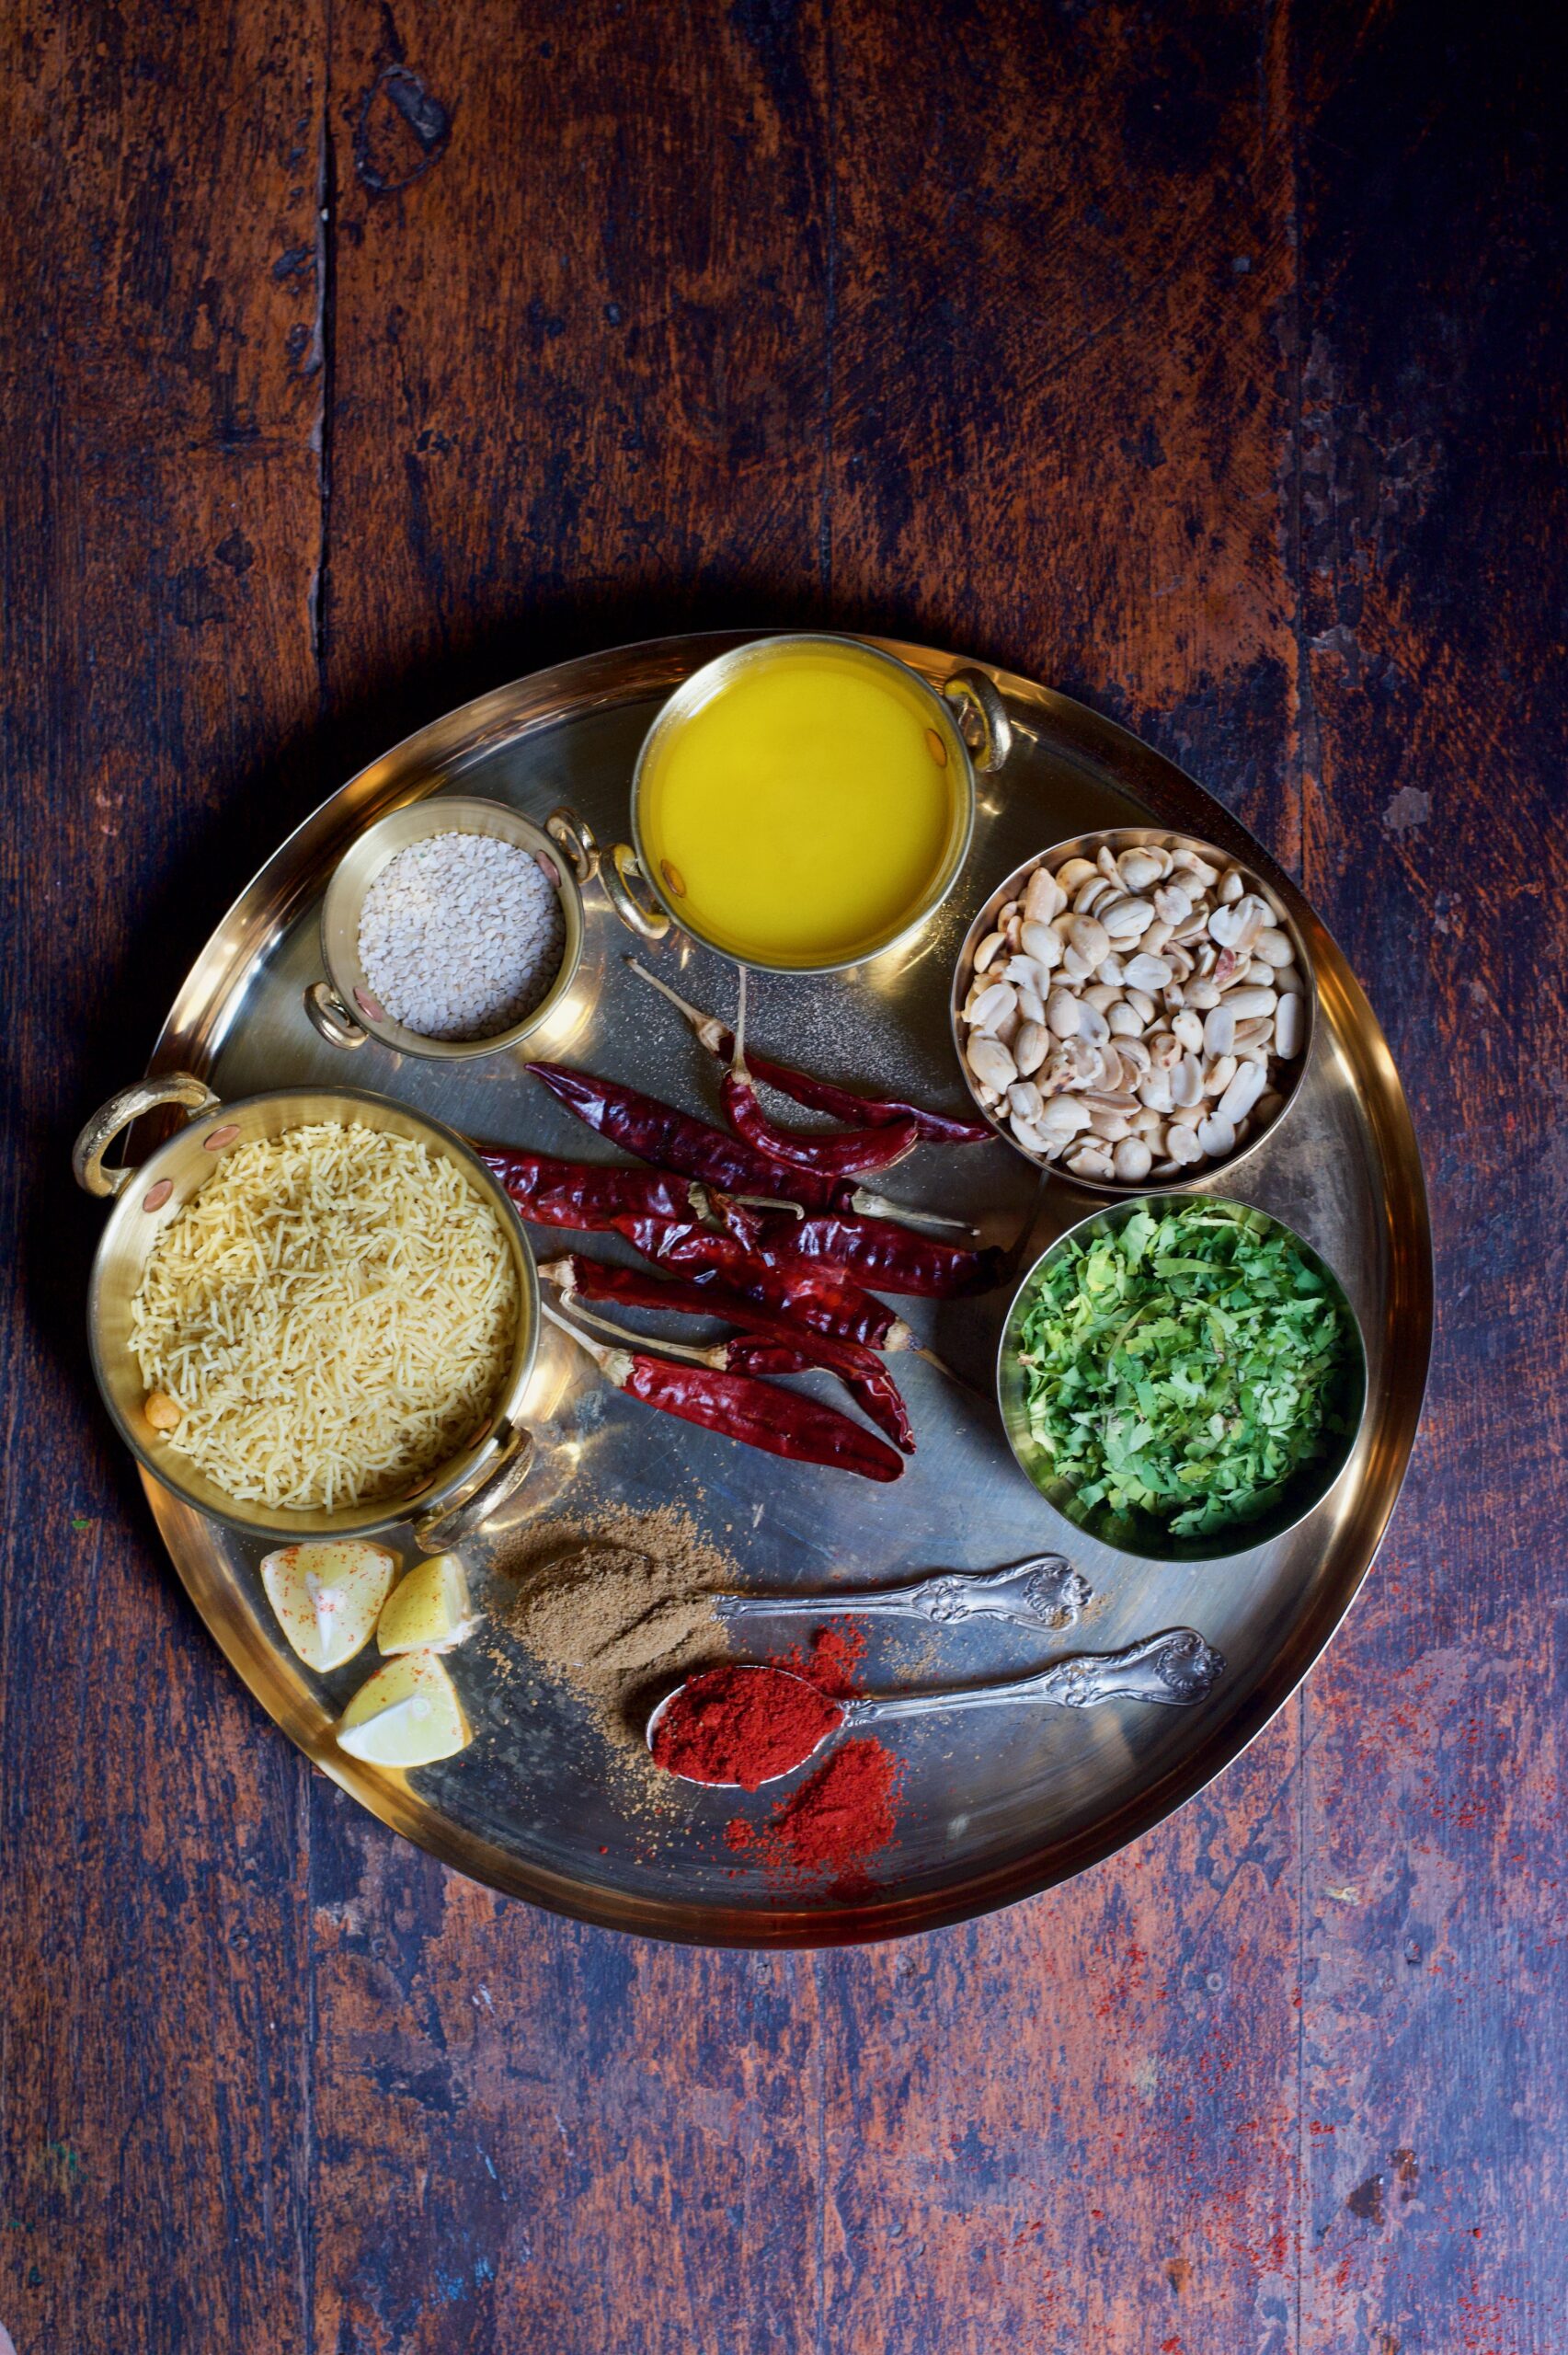
 

Peanut Chutney

(Yield: 1 cup)

Ingredients

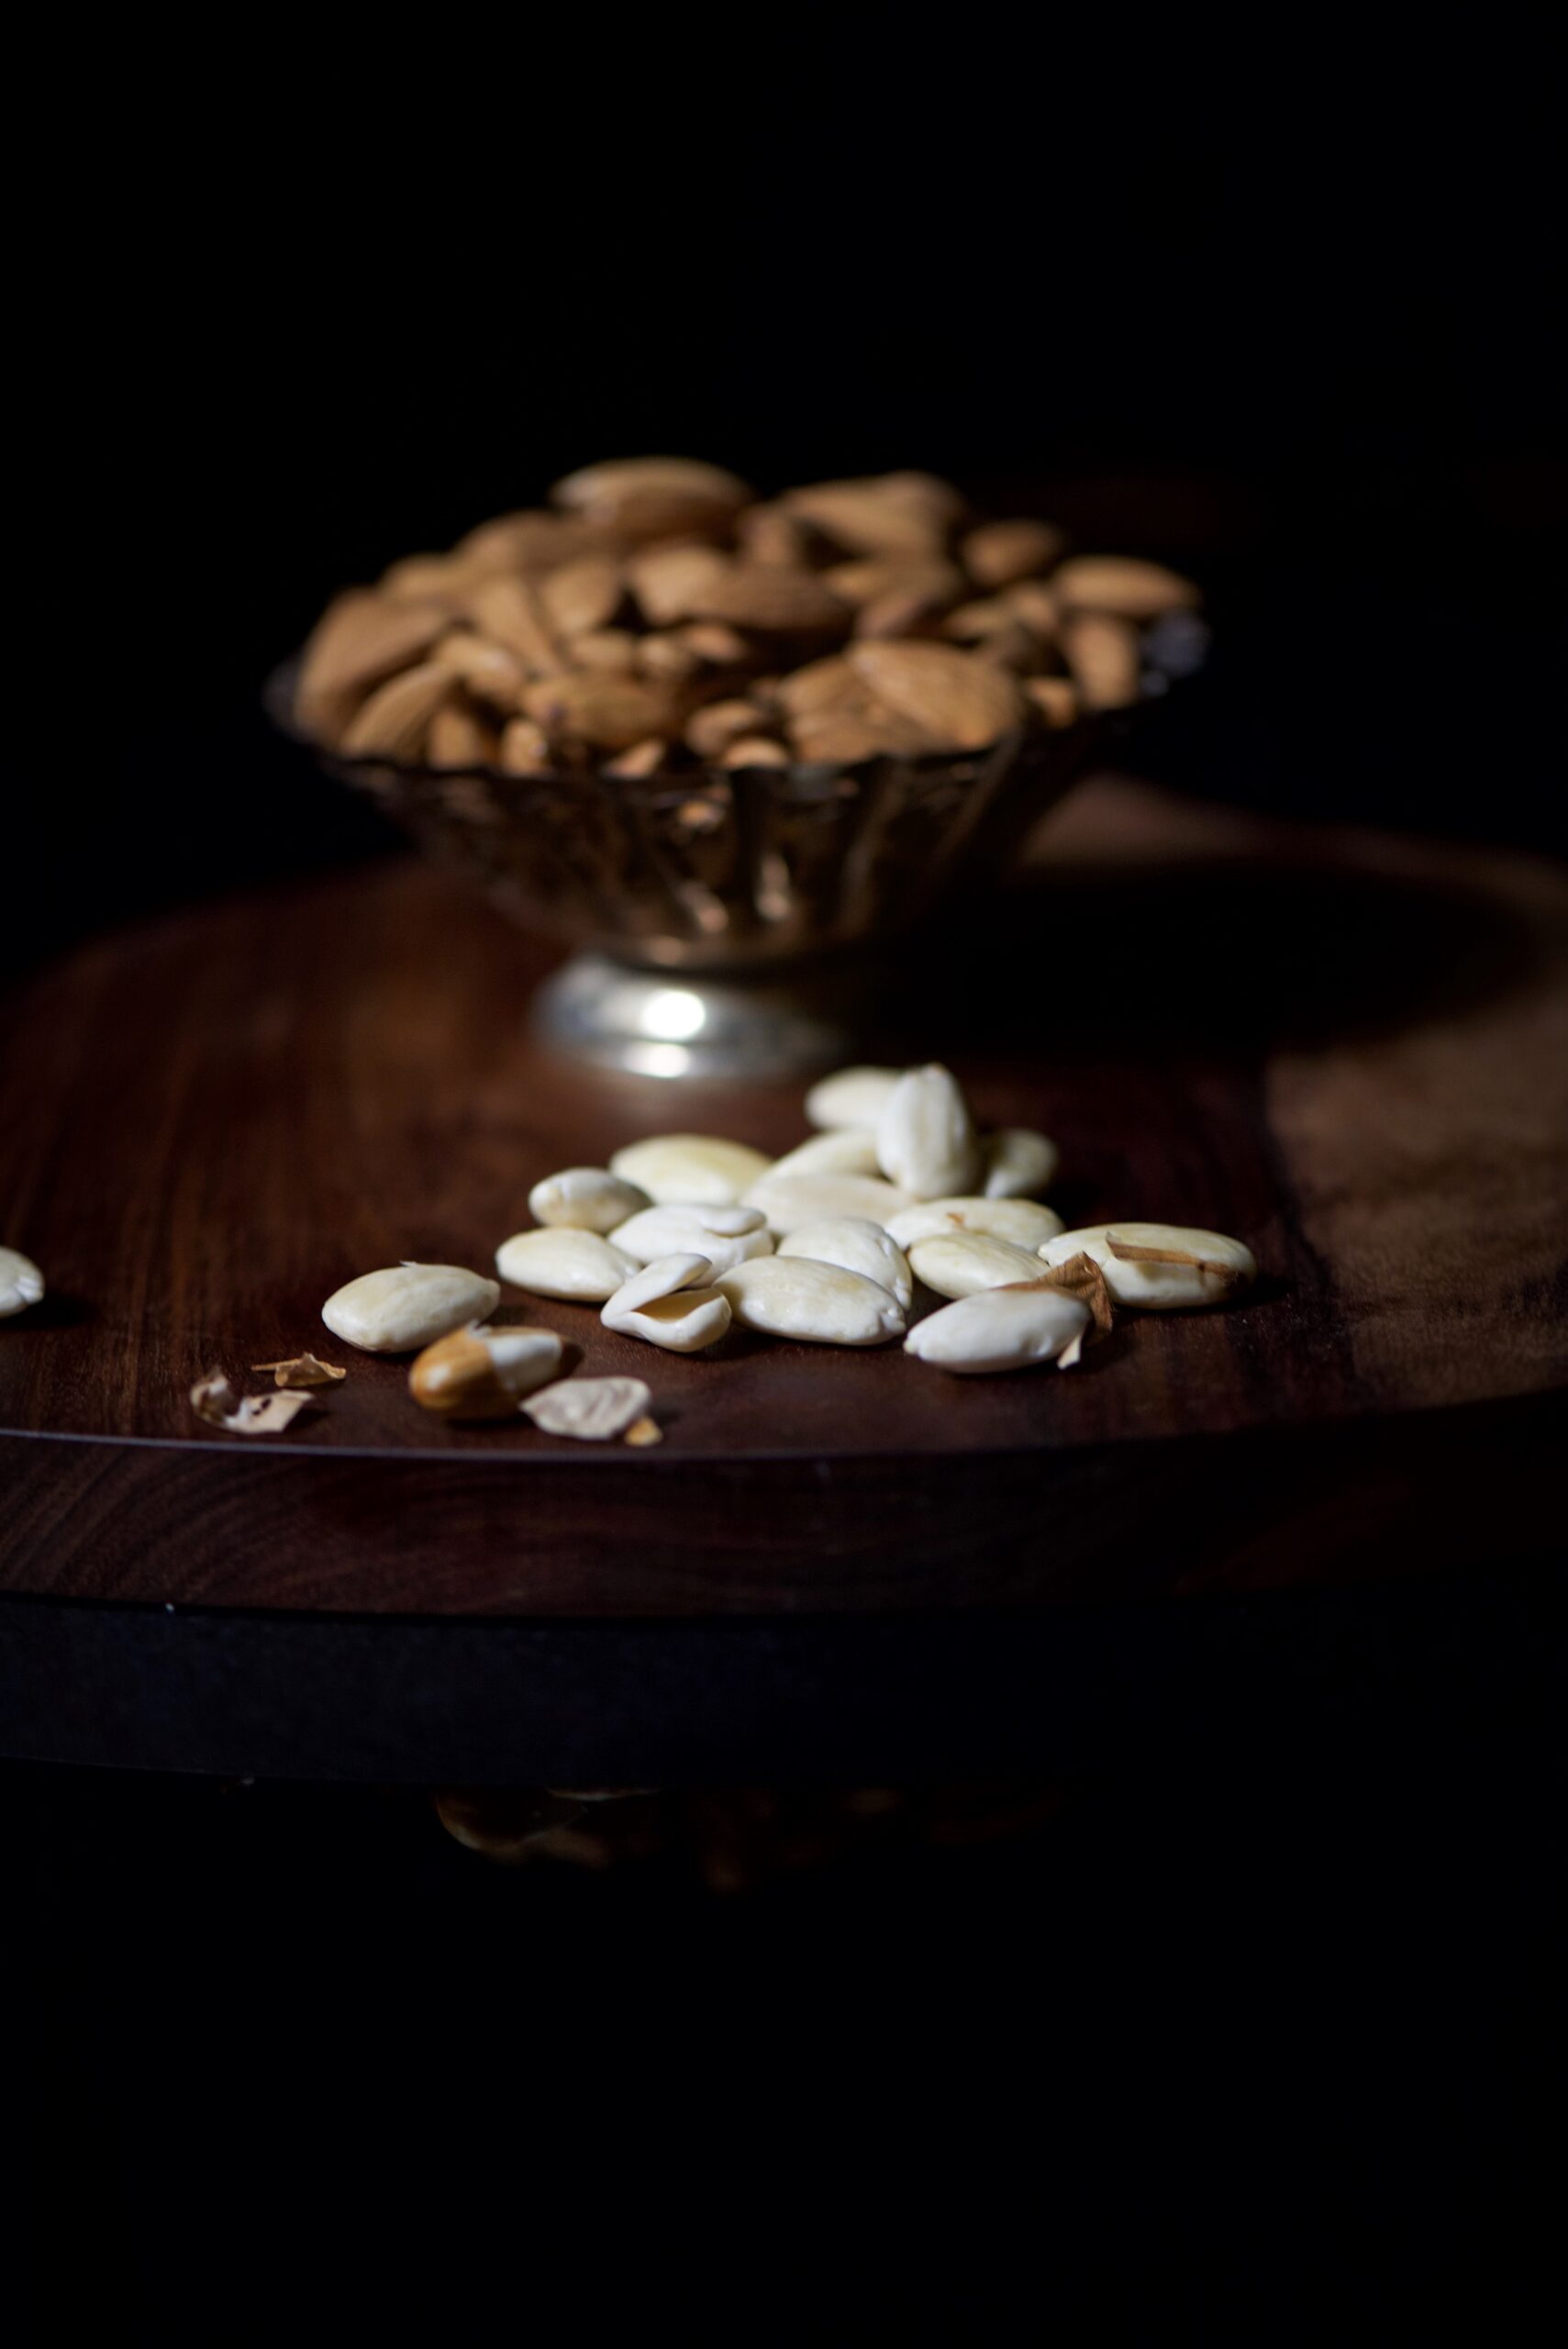
½ cup roasted peanuts

1 teaspoon channa dal

1 teaspoon udad dal

1½  teaspoons tamarind paste

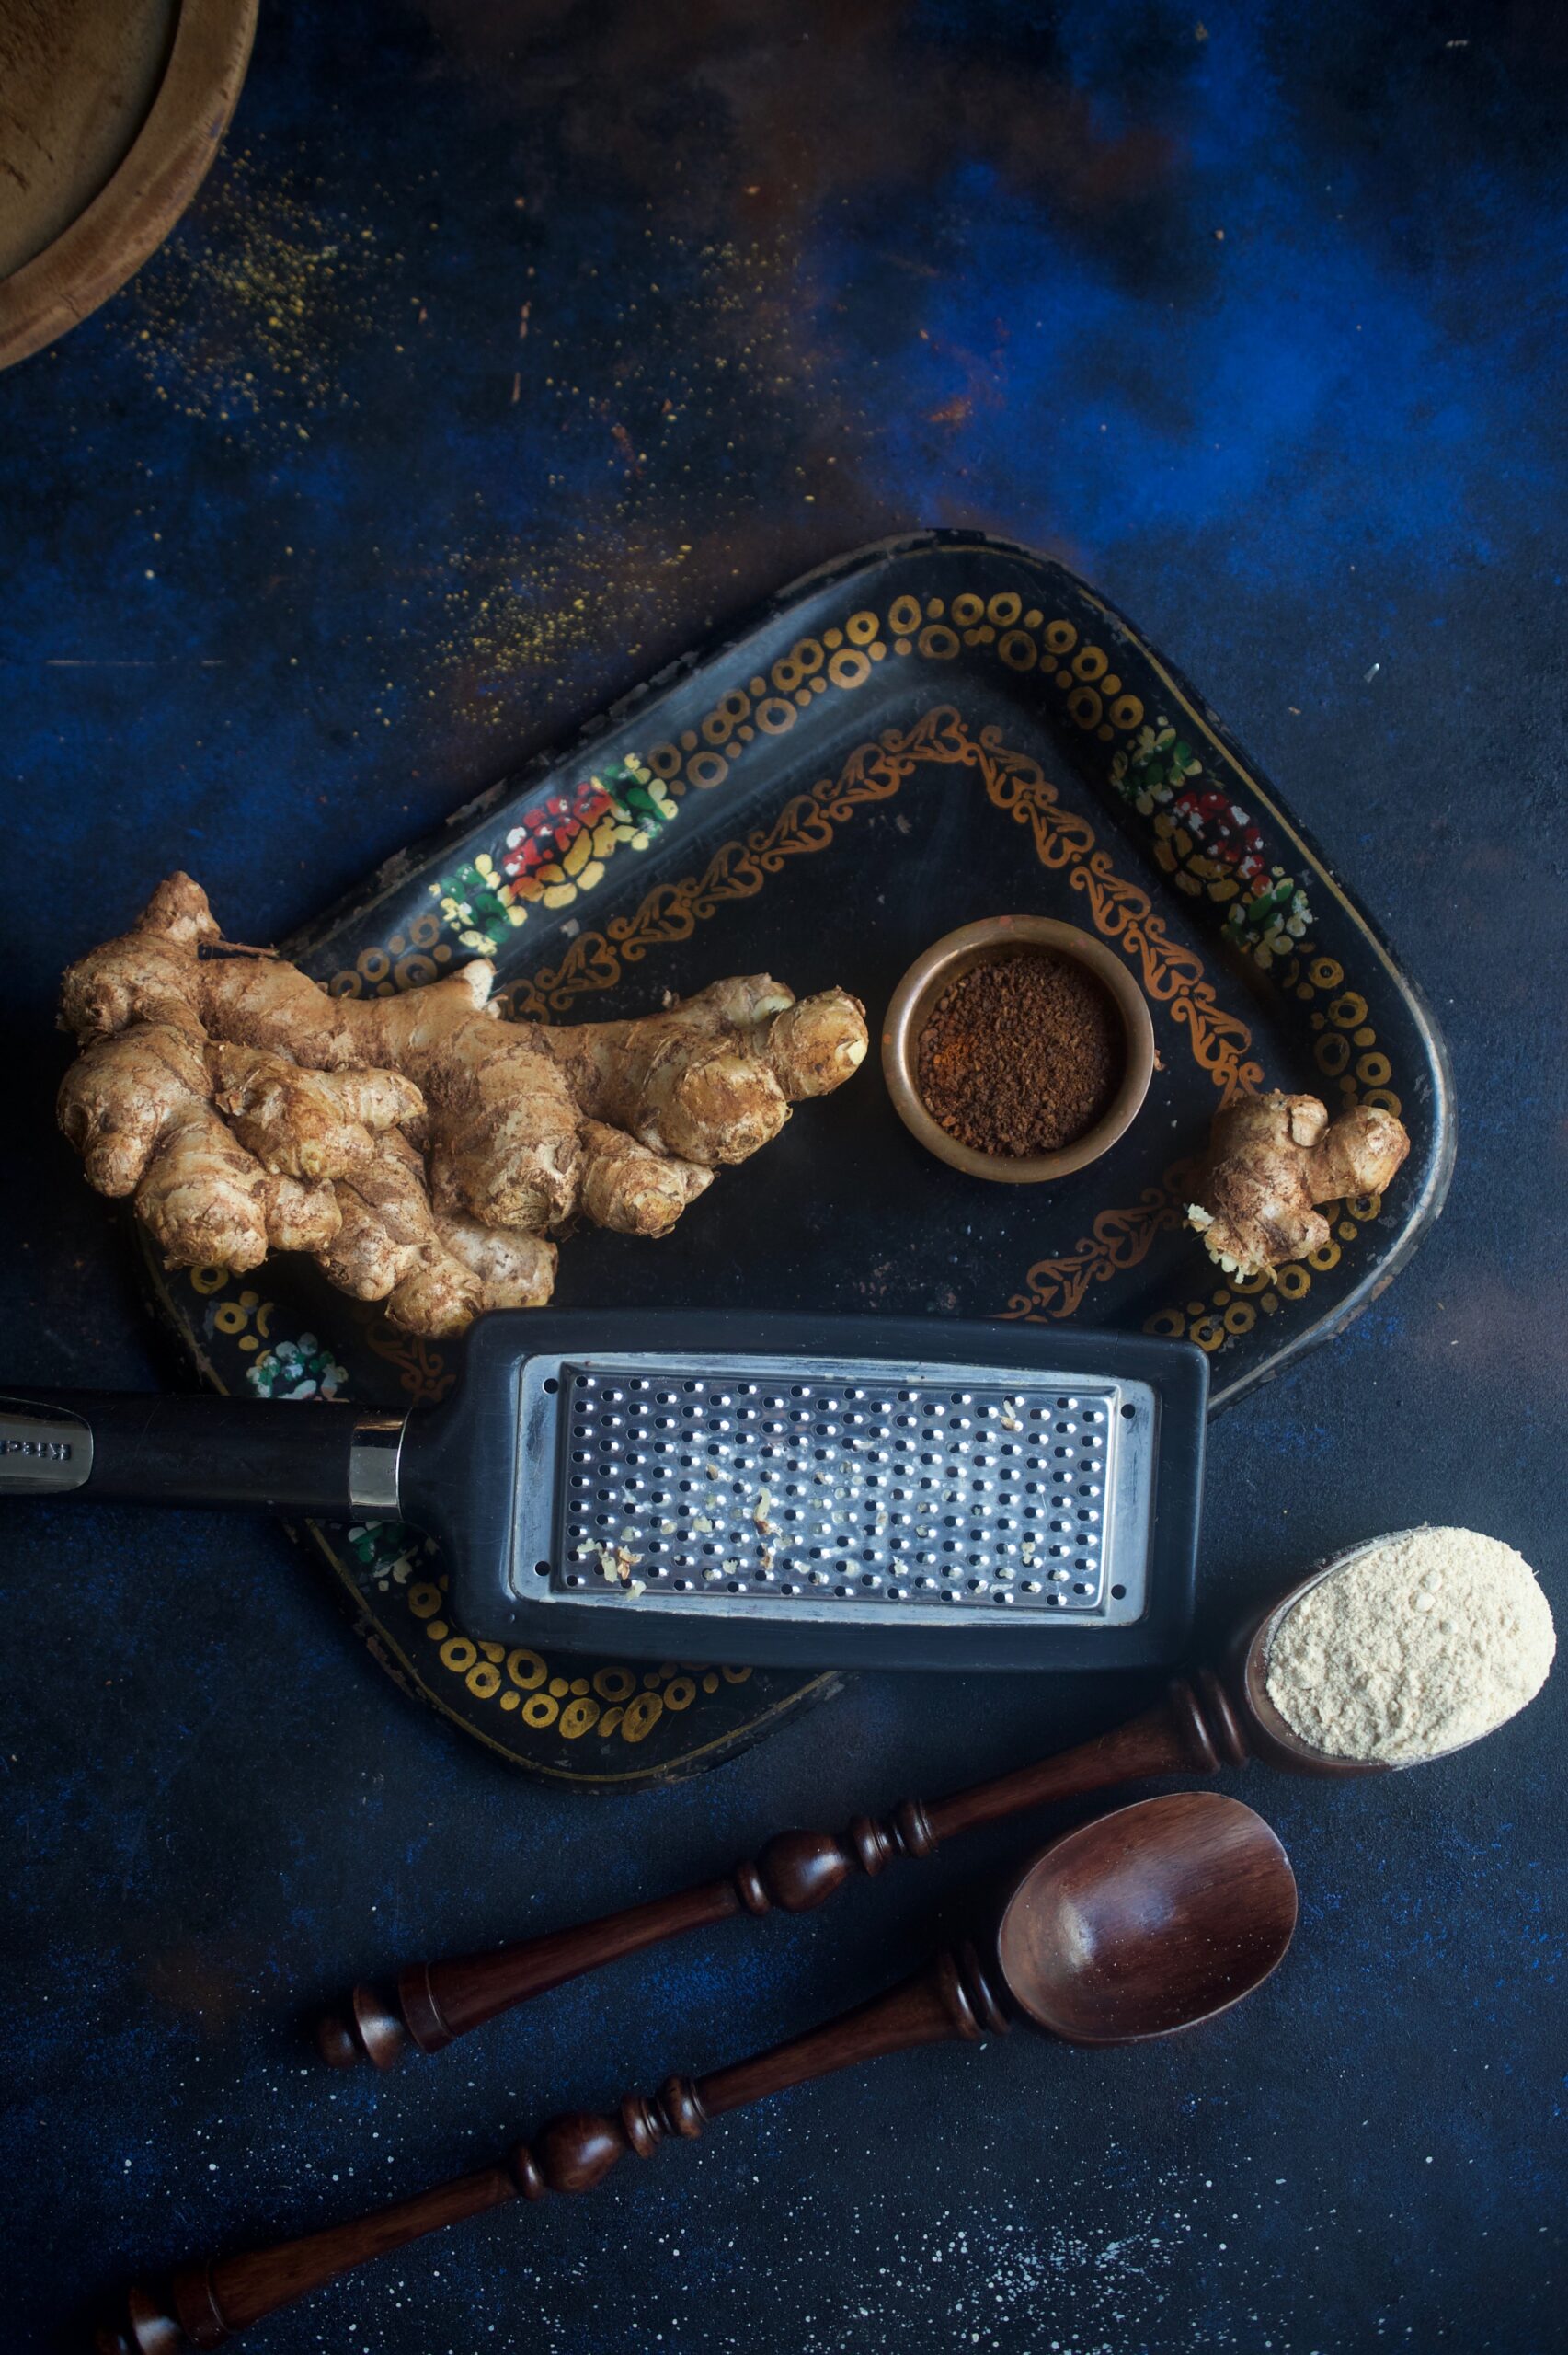
1 teaspoon grated ginger

¼ cup water

2 red chilies

A sprig of curry leaves

A few drops of oil

Salt to taste


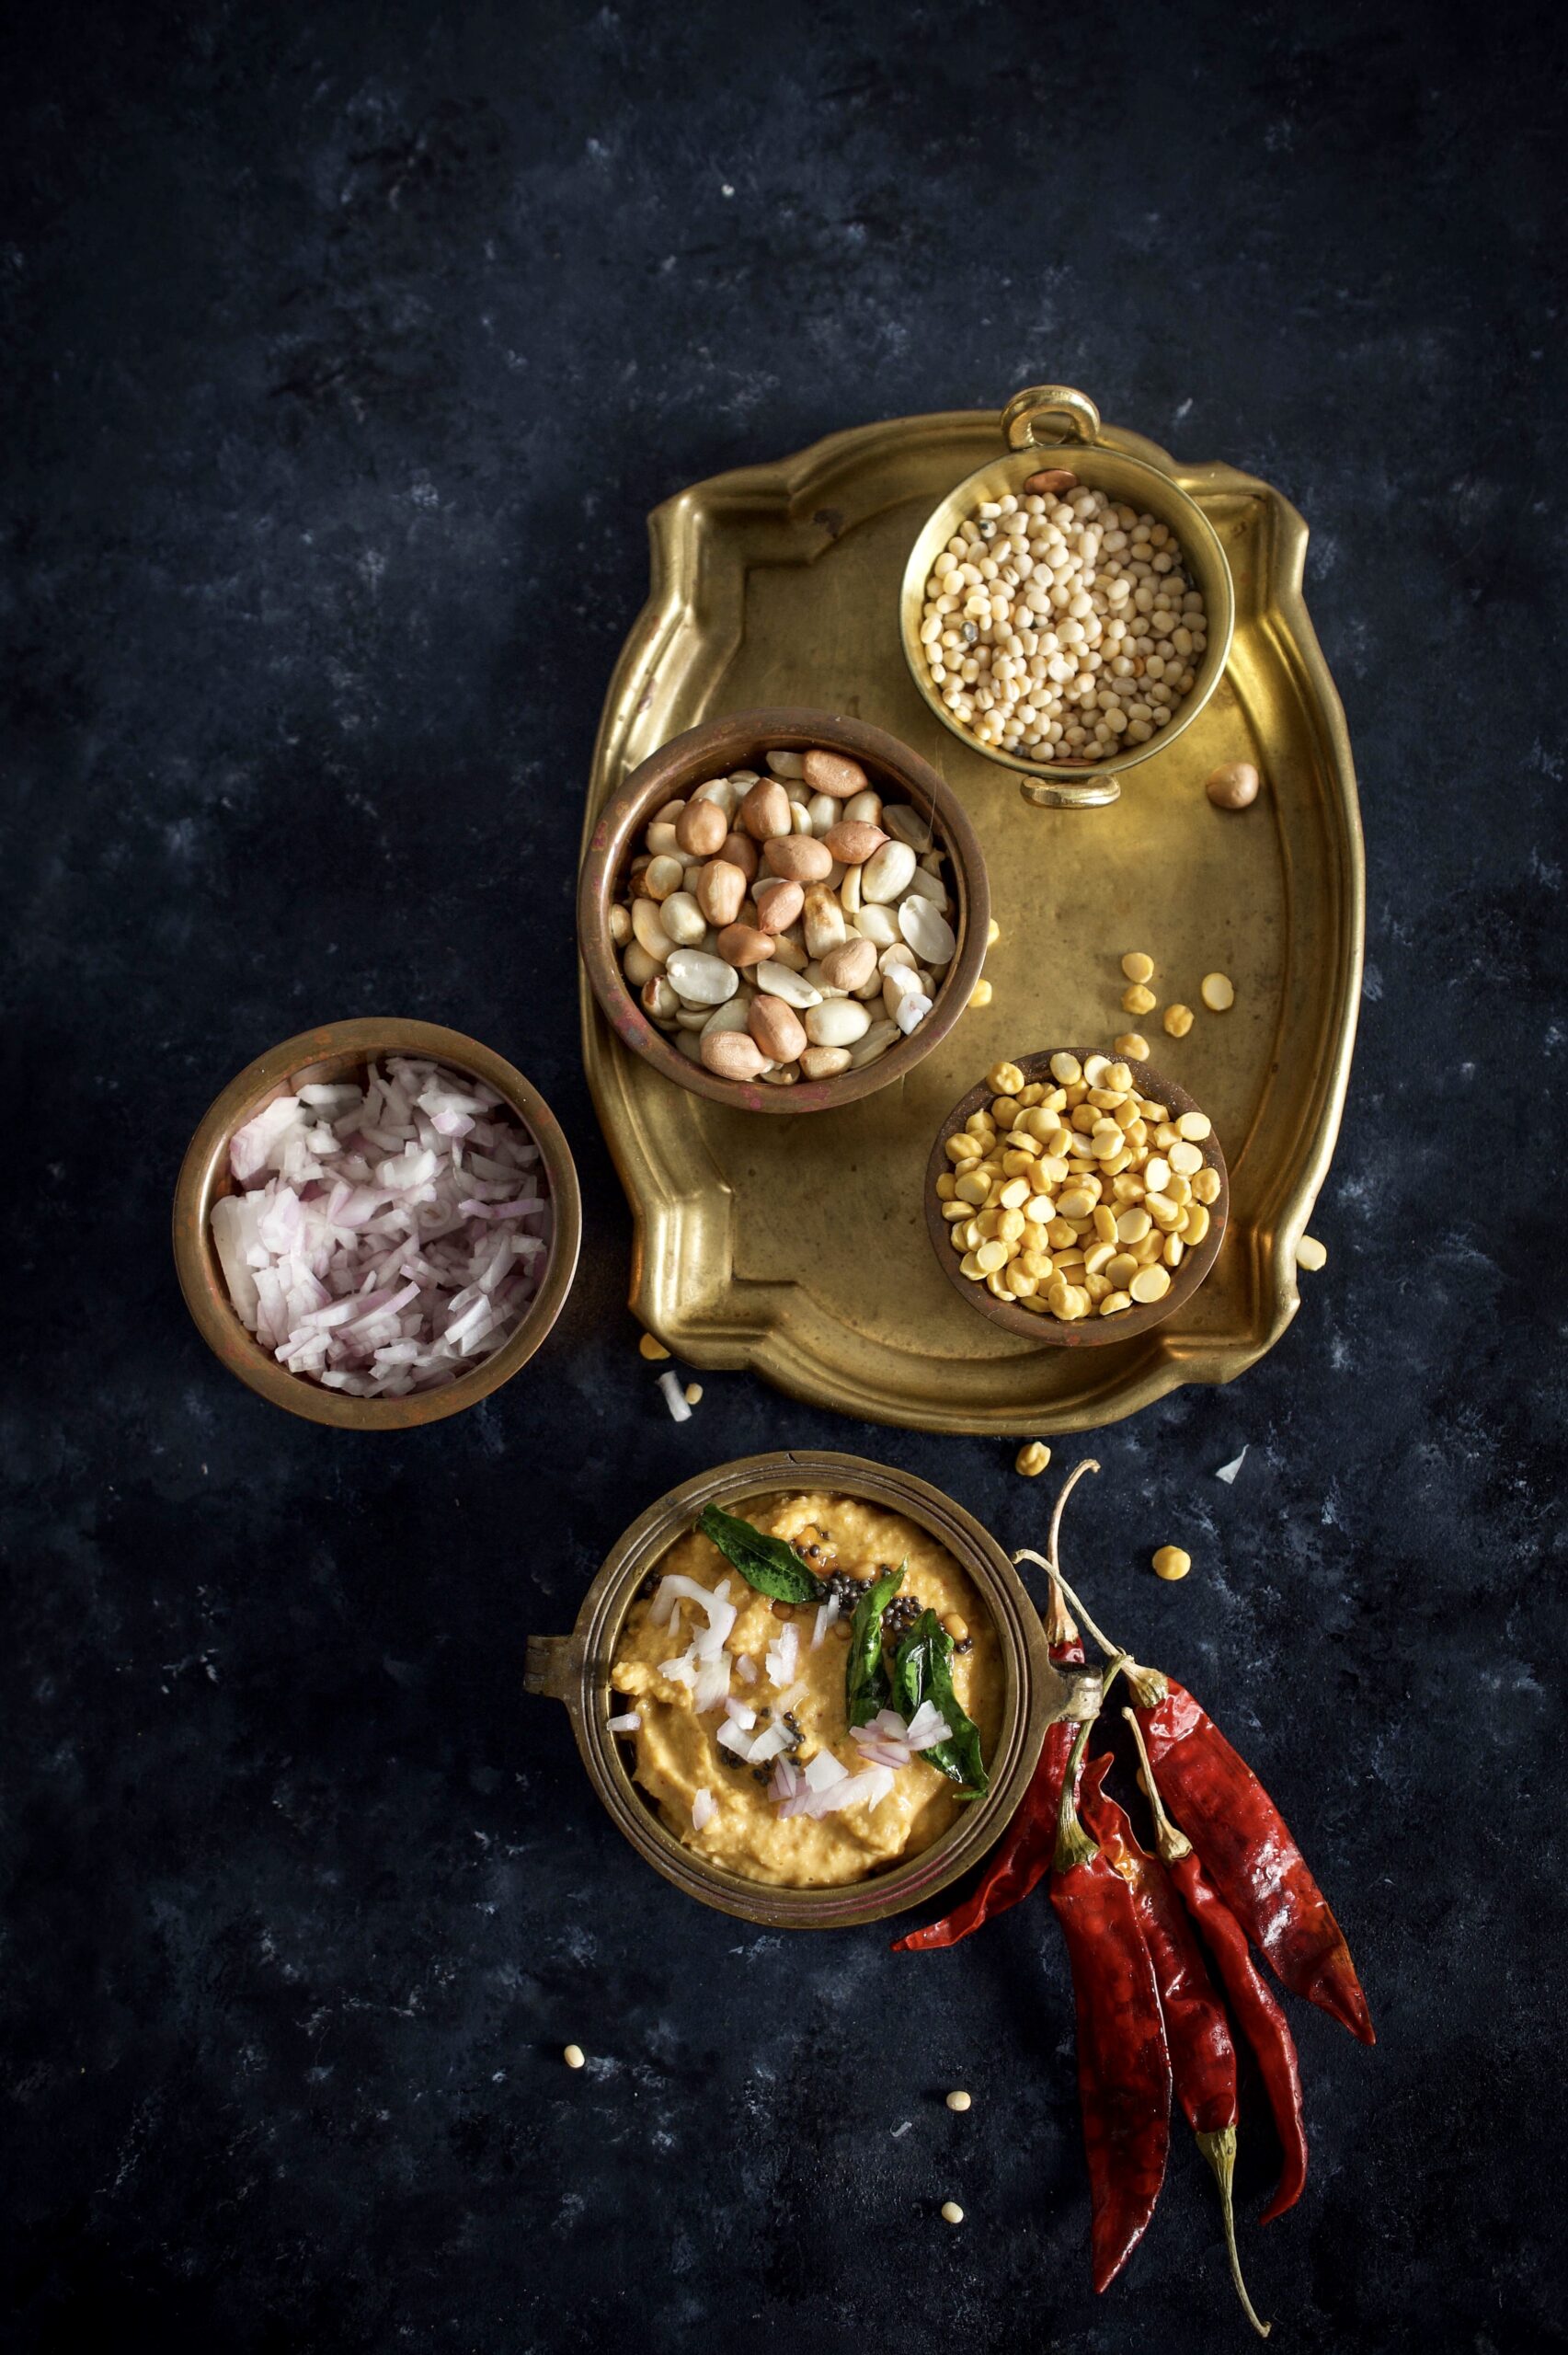
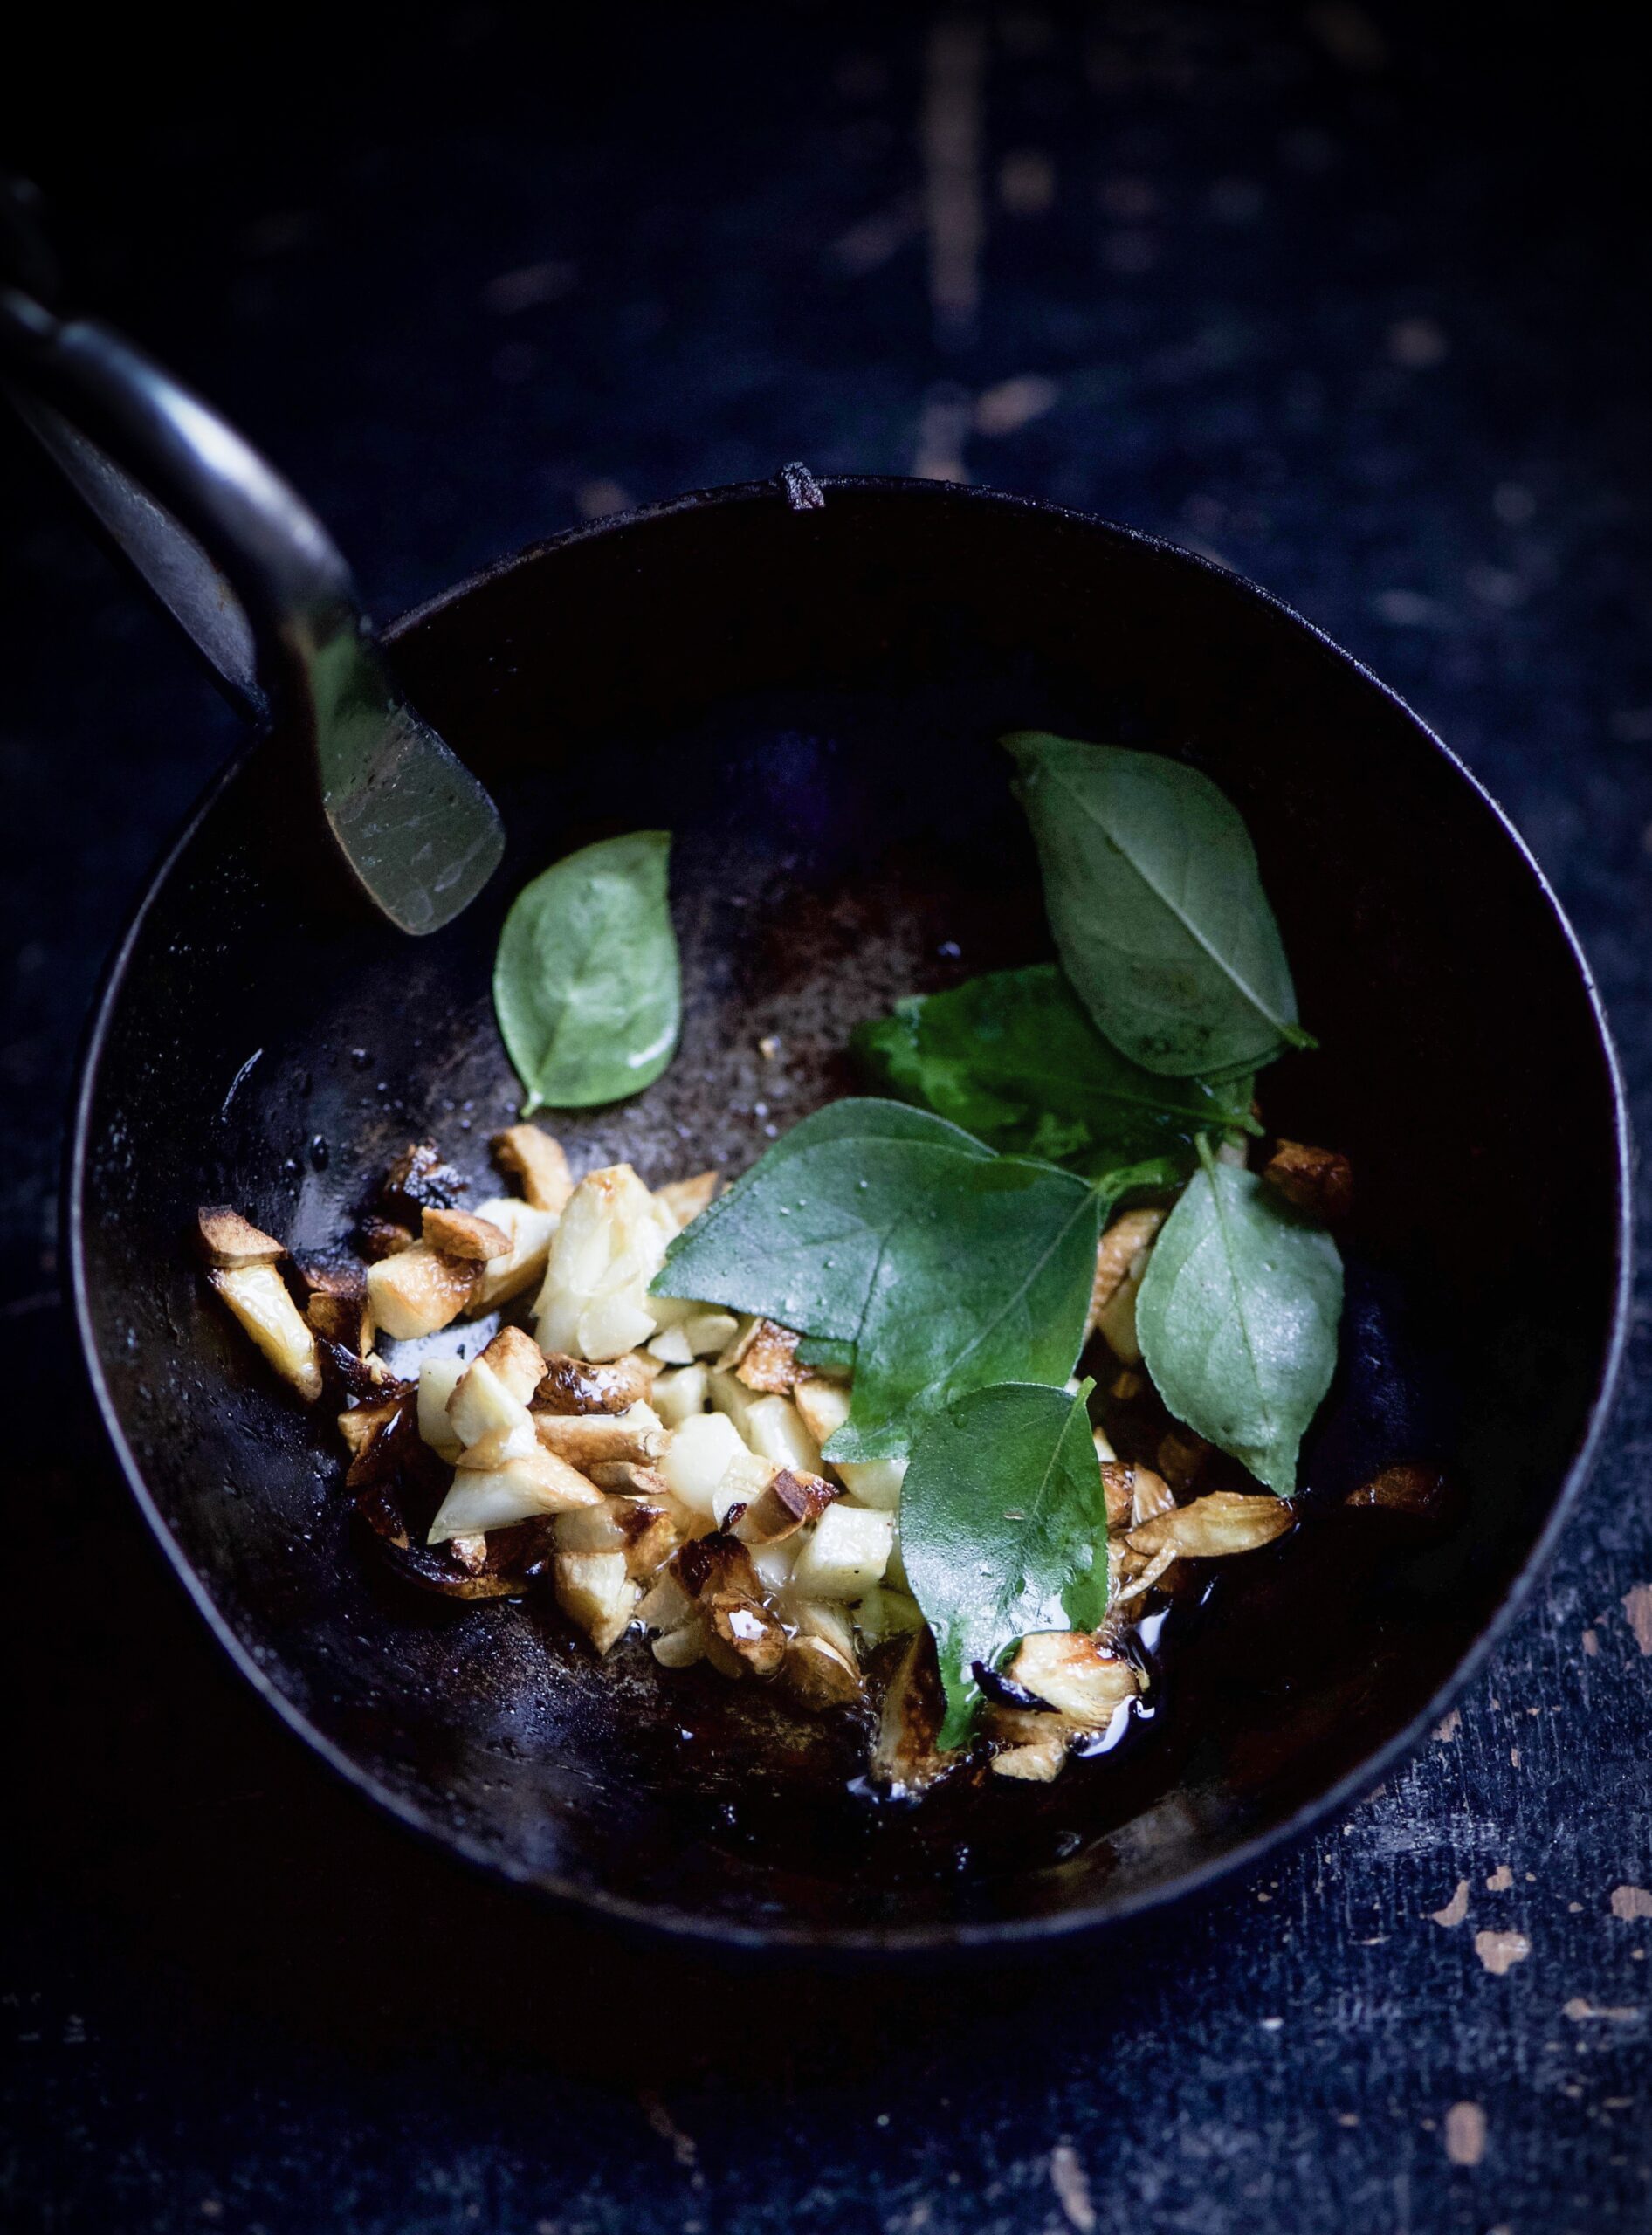
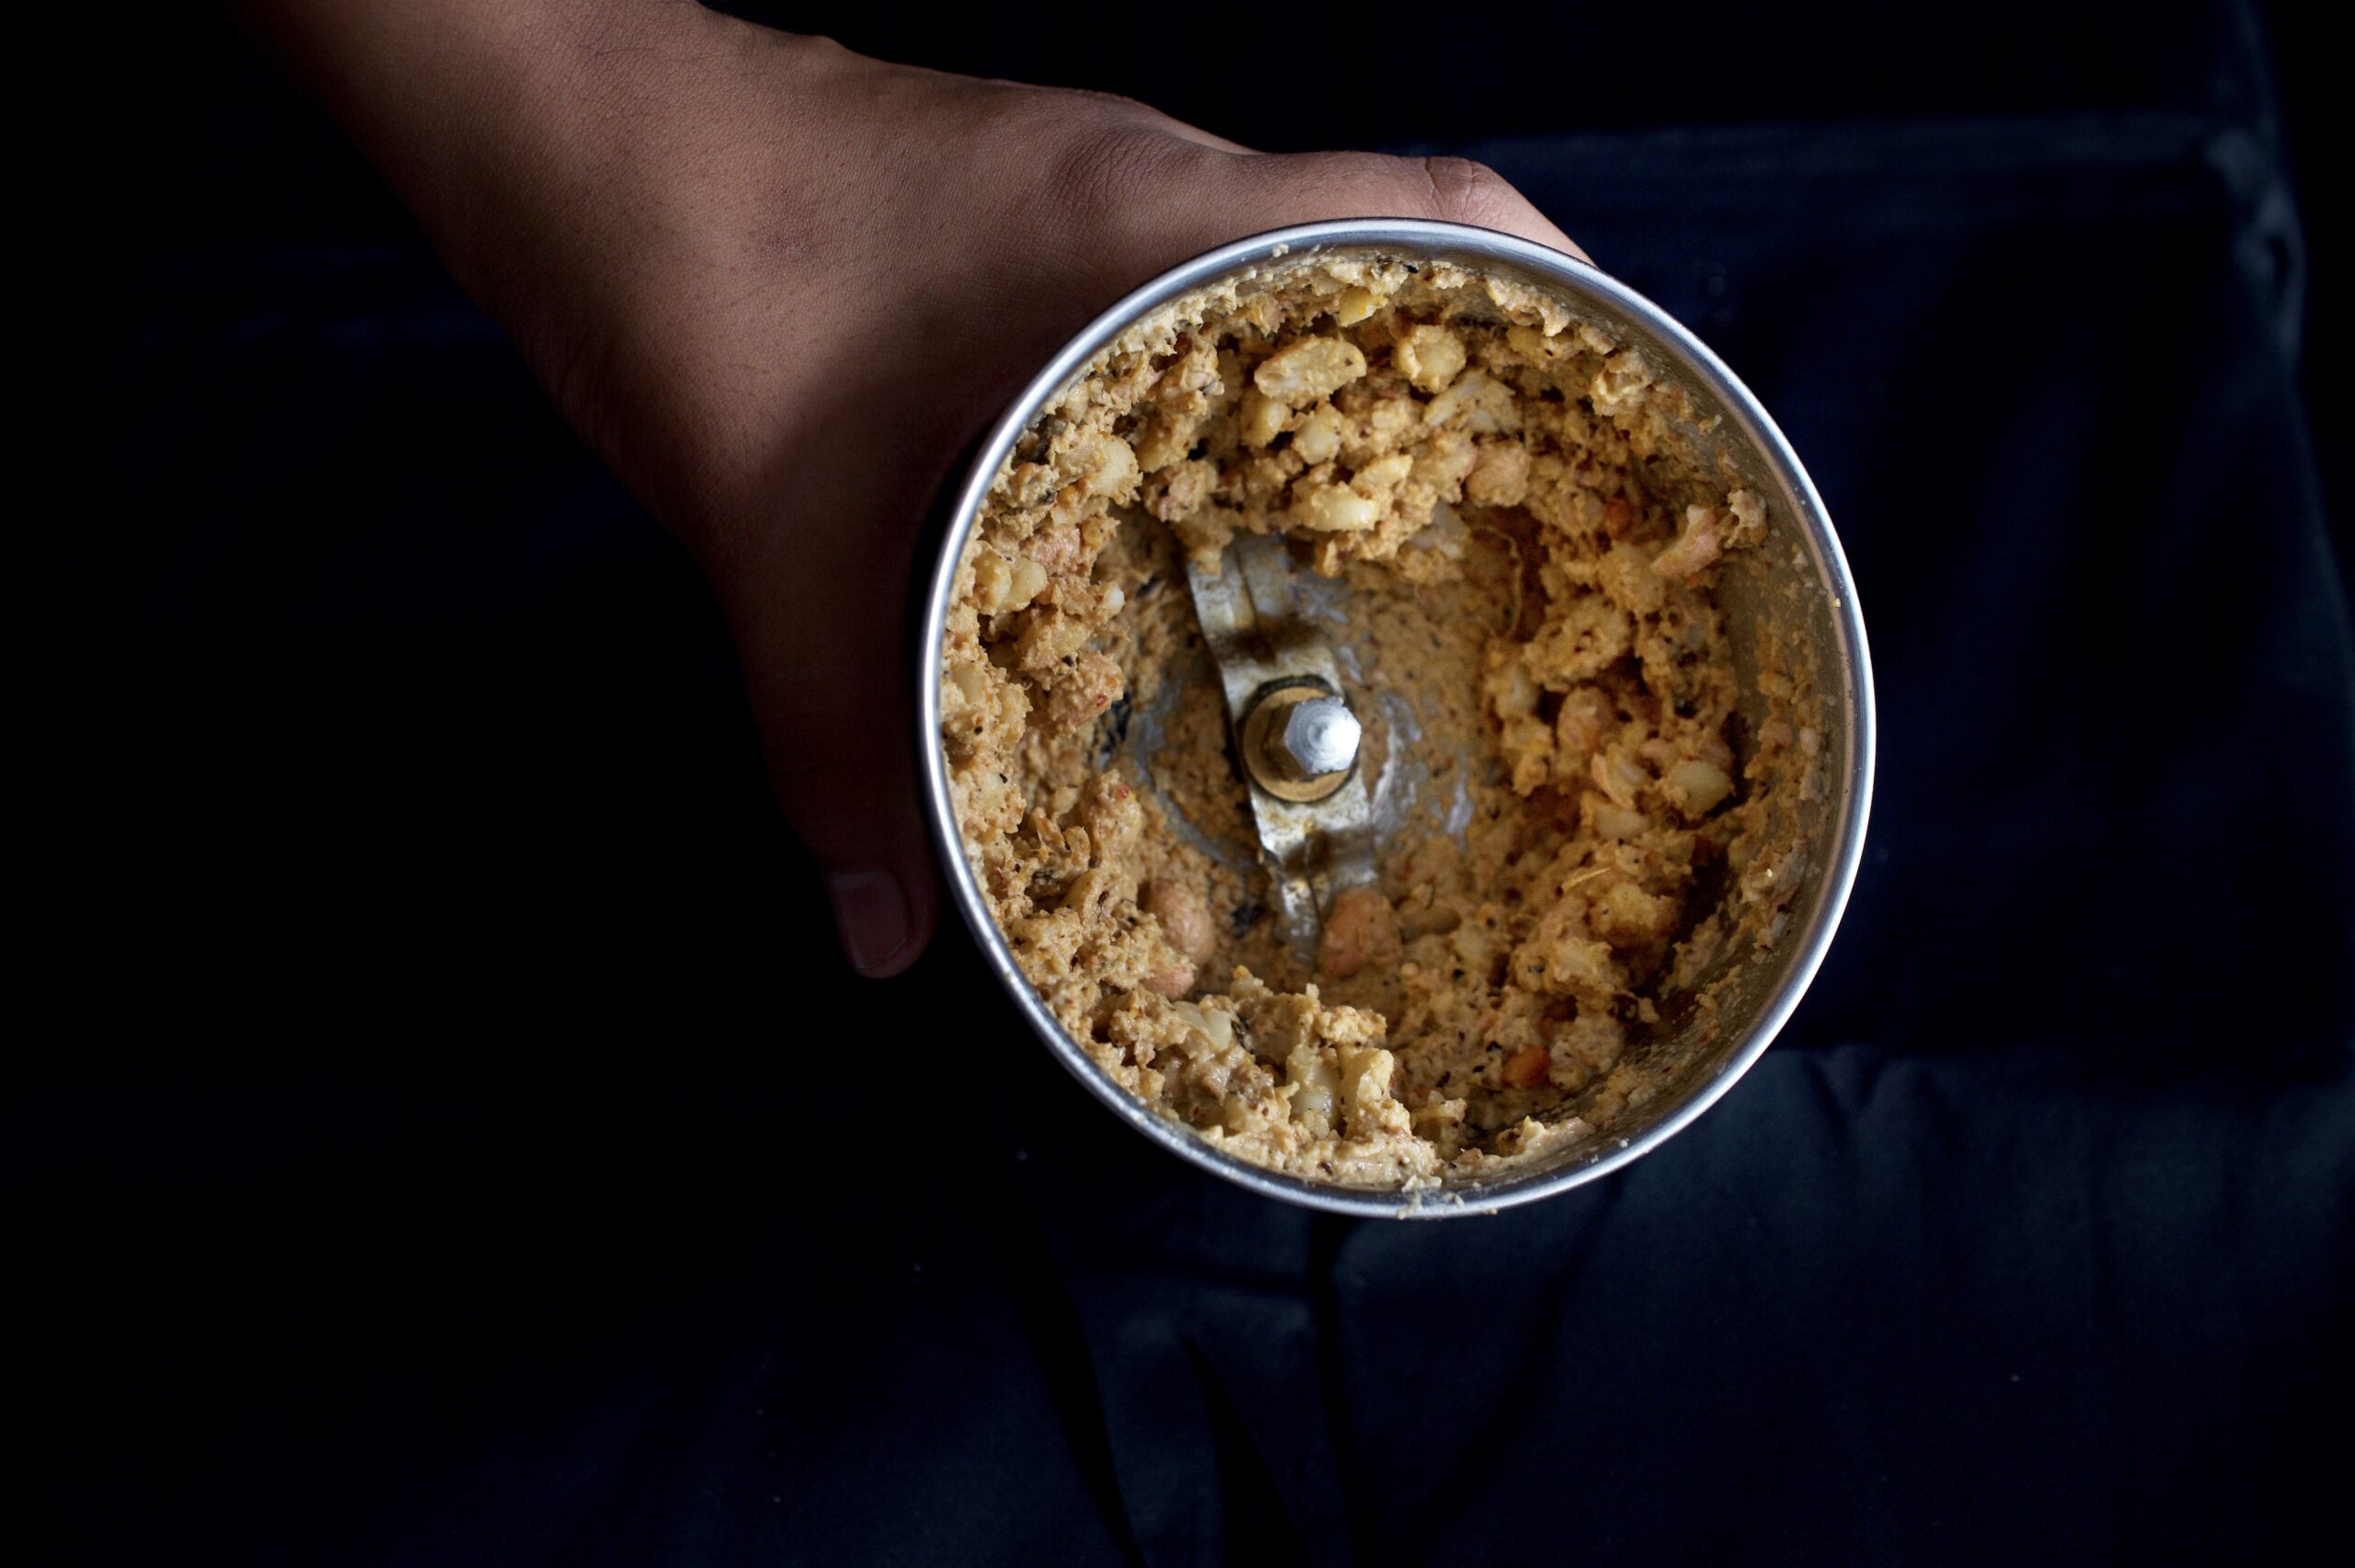
Sauté the dals in a few drops of oil. Once they turn golden, add the dals along with the peanuts and ginger in a blender. Blend until coarse.

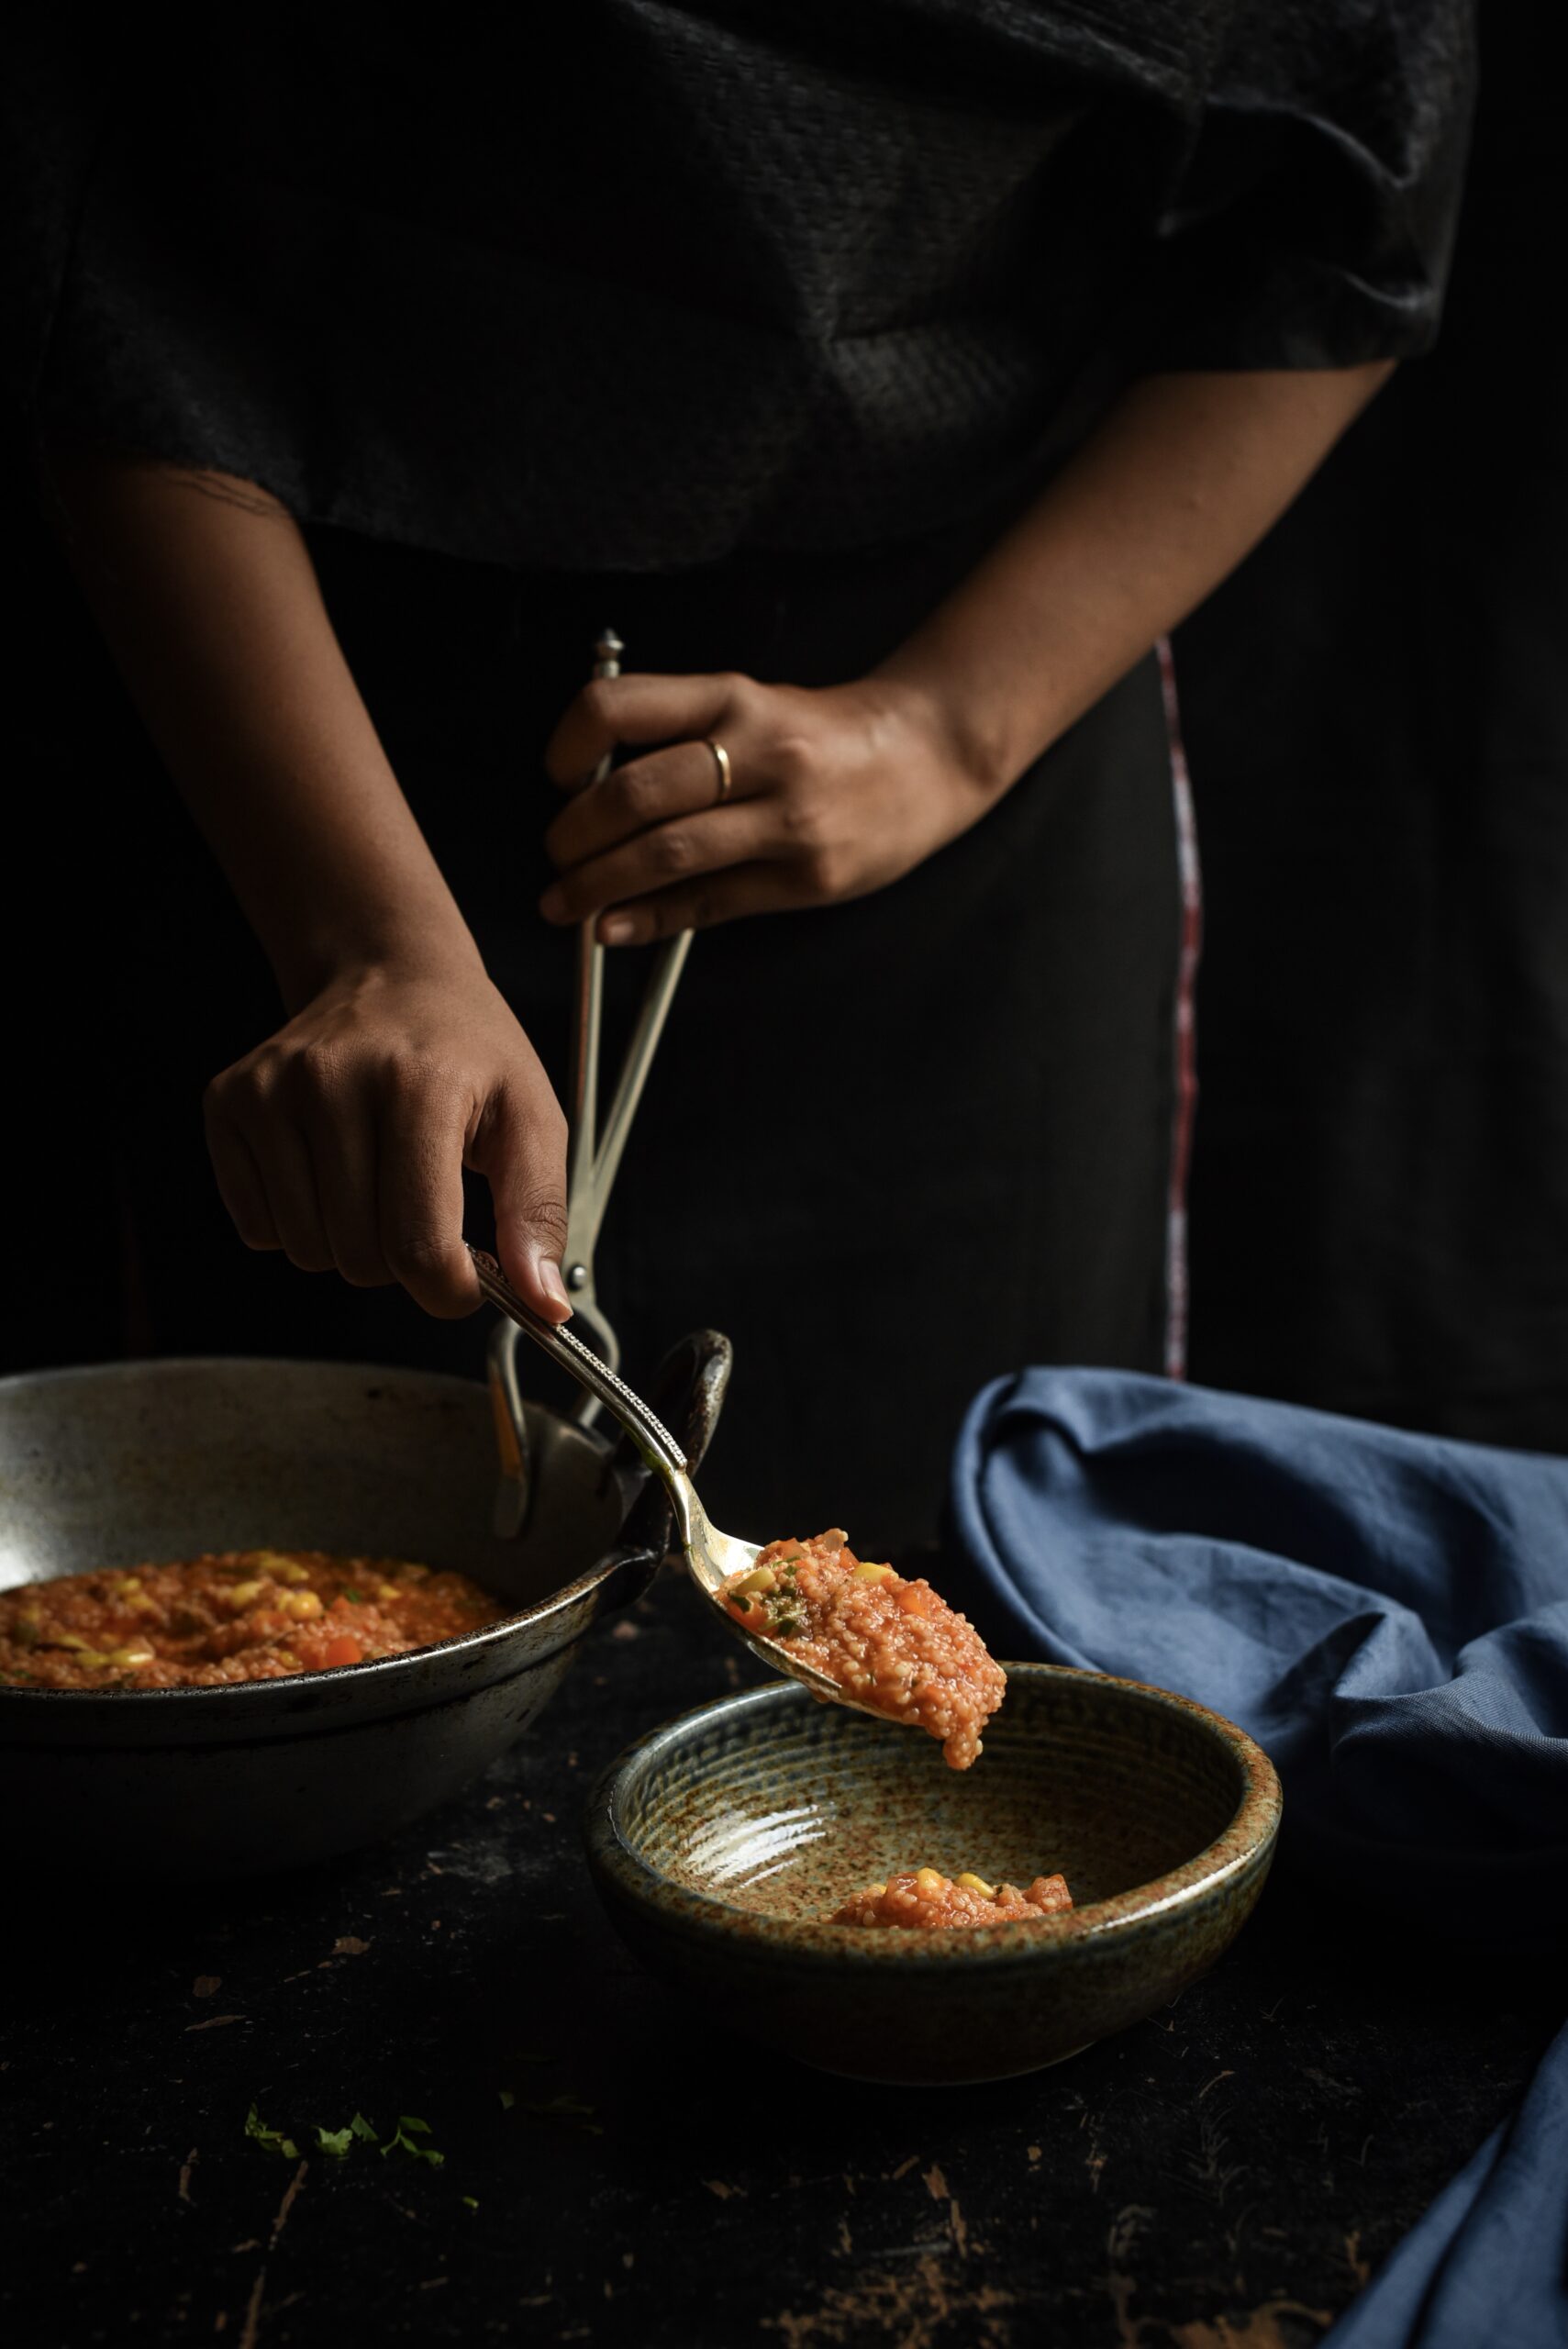
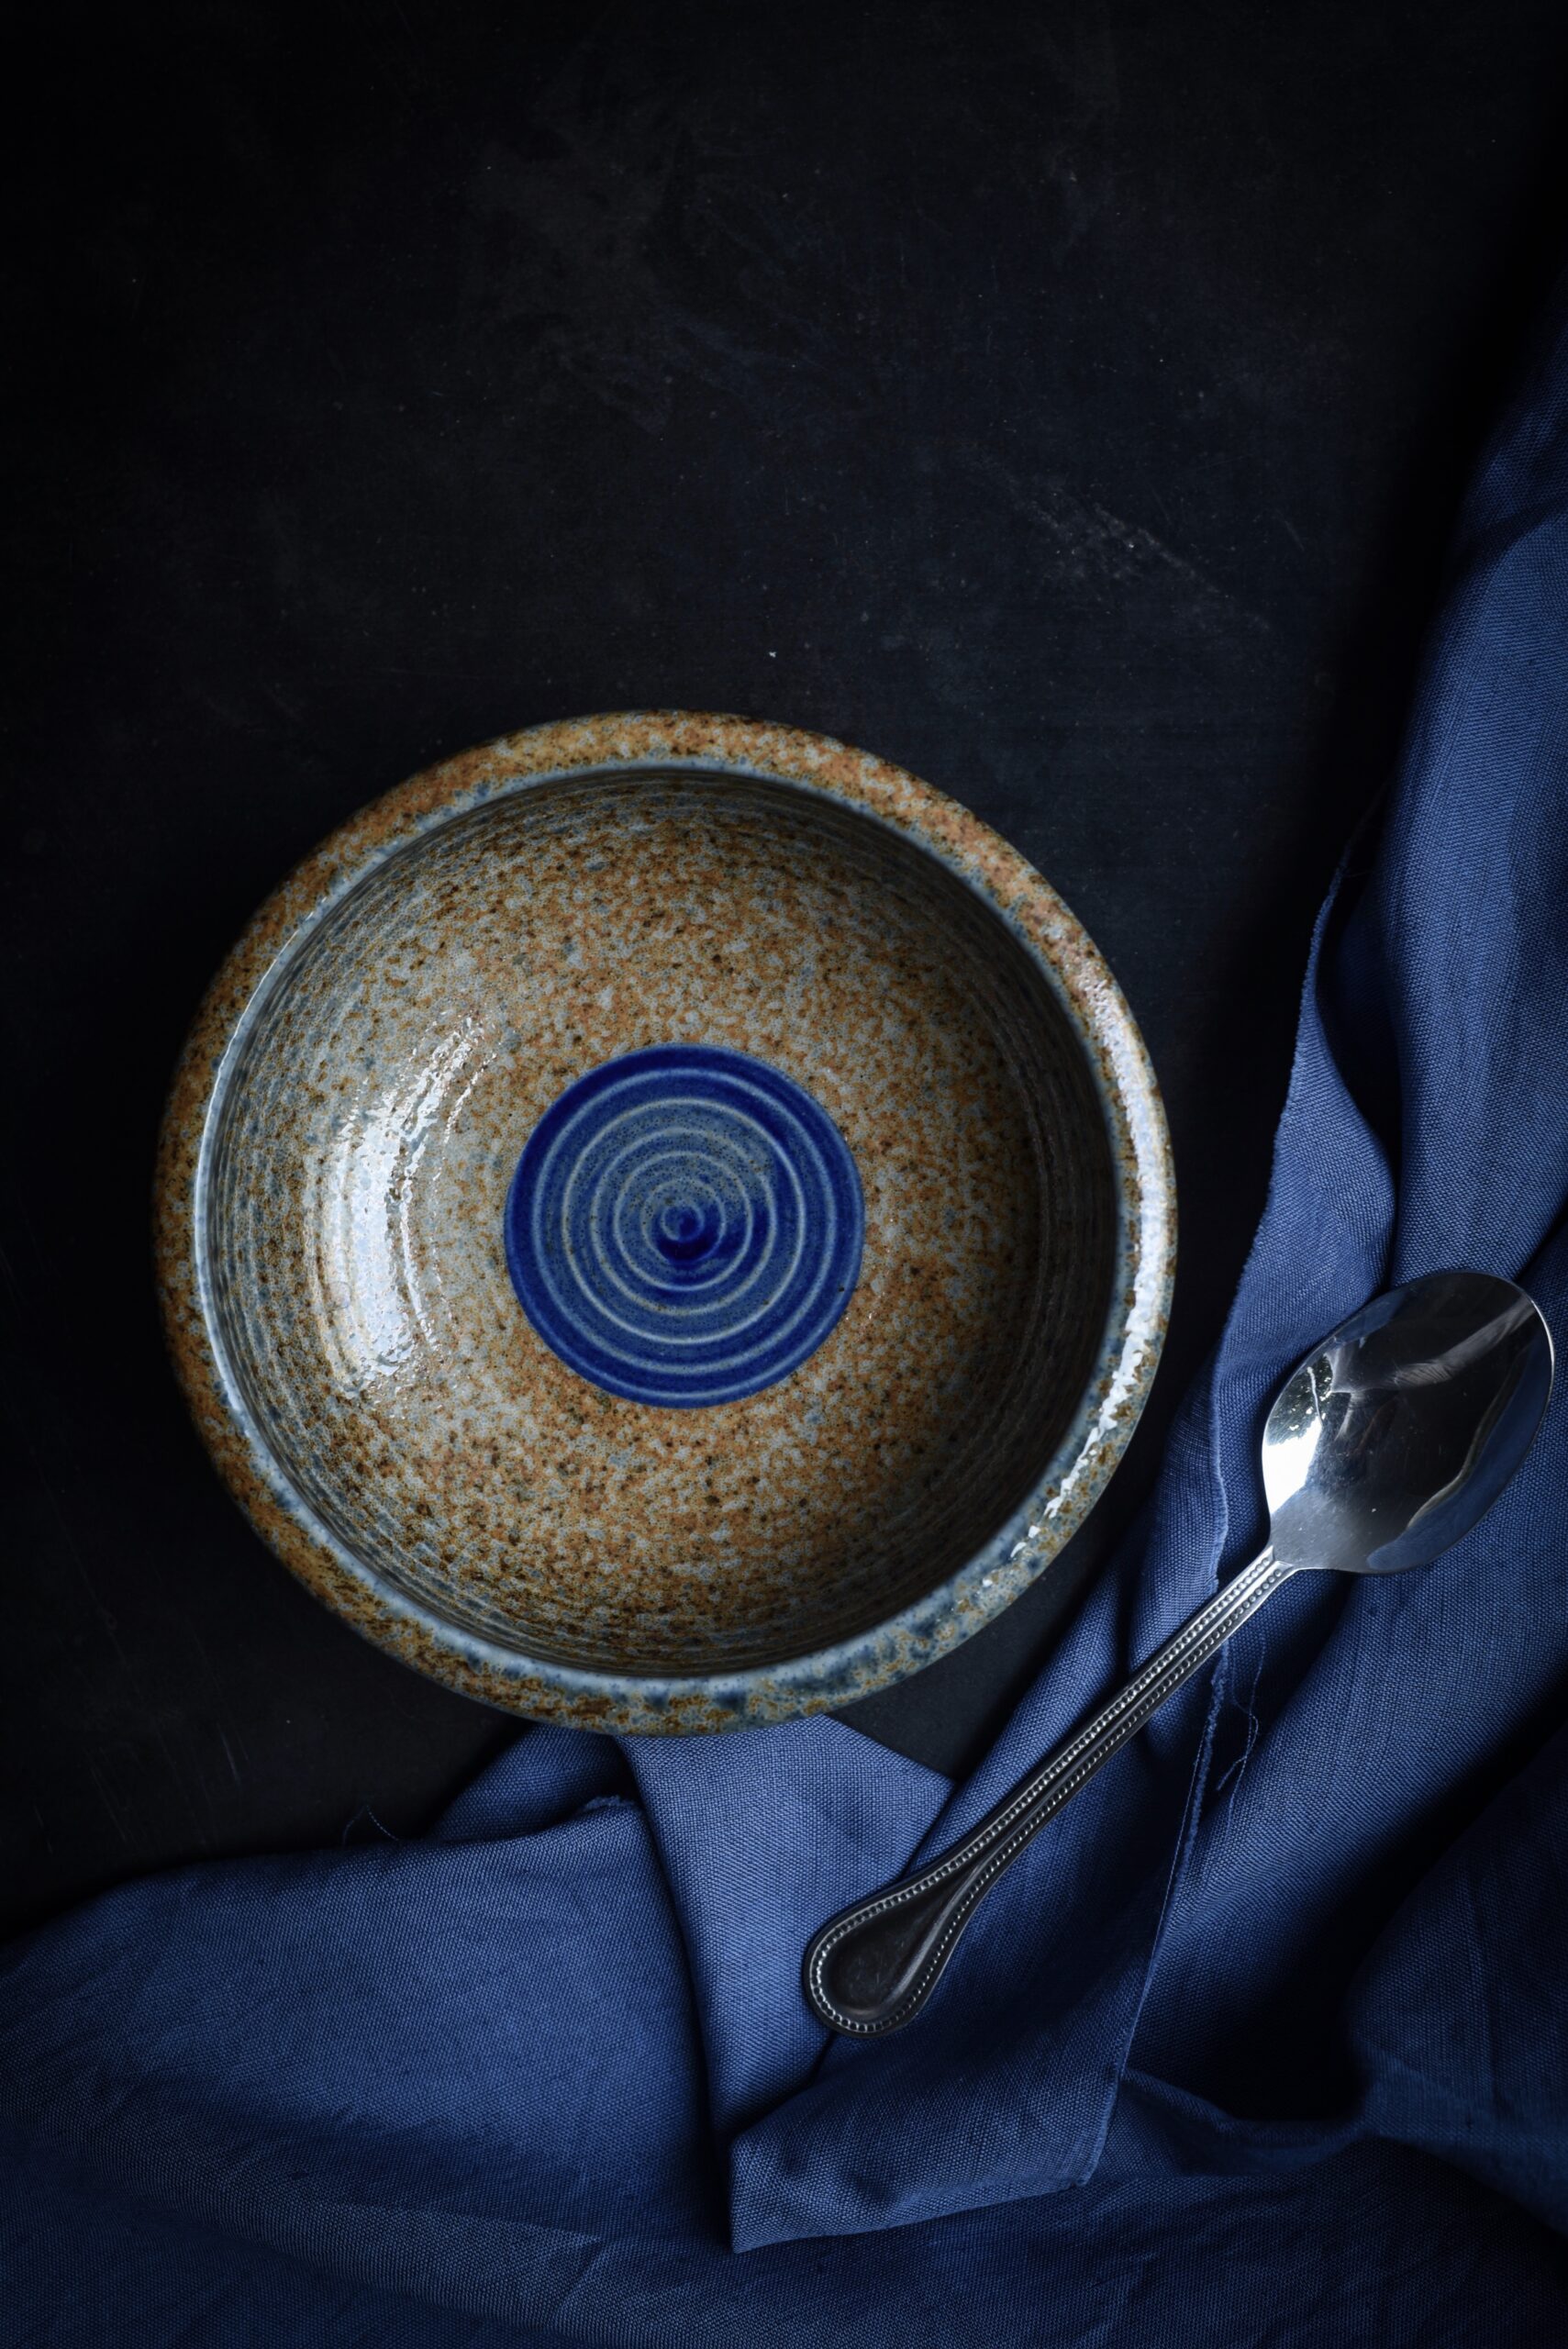
Now, to temper the chutney. Put a few drops of oil in a pan and add the mustard seeds and cumin seeds. Wait till they splutter and then add the red chillies and curry leaves. When they have been coated in the hot oil, immediately pour the tempering over the chutney. It is now ready to be eaten as a dip with the crispy hot dosas.

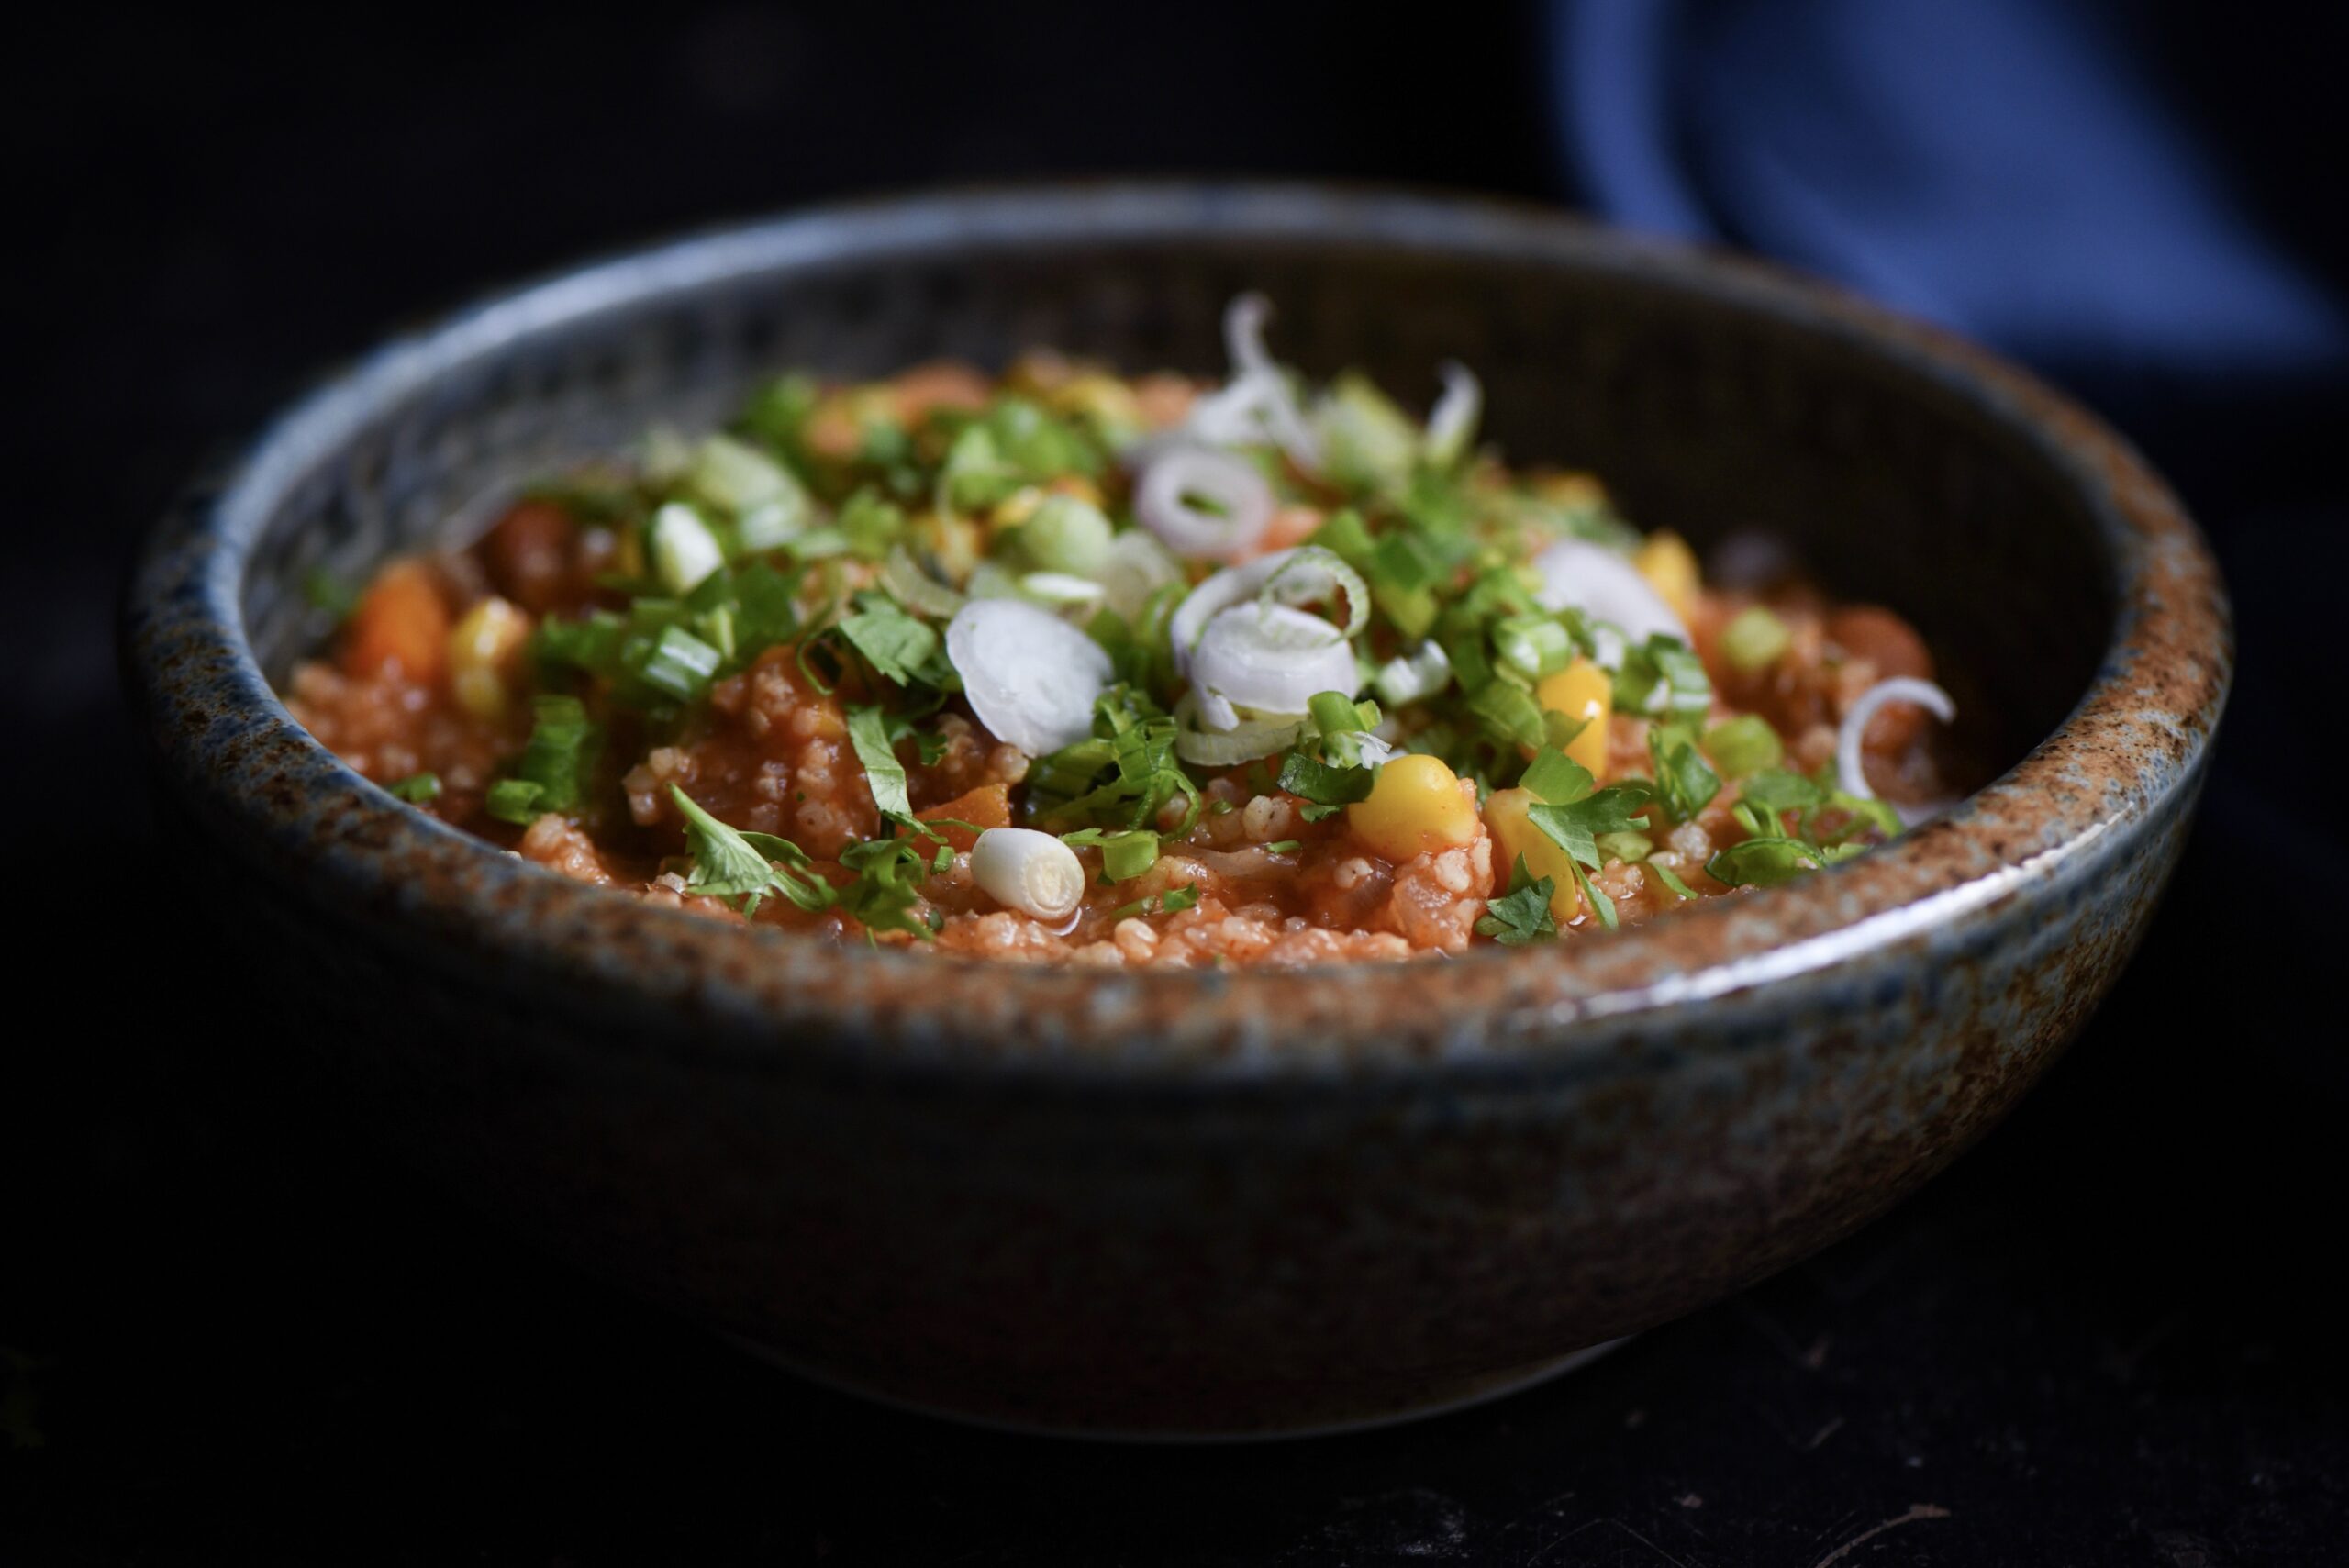
I’m an evangelist when it comes to millets and truly believe in their ability to transform our unhealthy modern diets. This is why they have featured so many times on this blog. If you’re curious about more dishes that incorporate these simple and satisfying ingredients, do check out this tag and spend some time exploring my past recipes. Here are a few of my favourite selections from the same: little millet rice with beans poriyal, chakkara pongal and vegan chili.

The lovely, versatile mung bean (also known as moong and green gram) found pride of place in one of my recent recipes for a street food-inspired snack, green moong bhel. If you tried your hand at that, its taste will be familiar to you even if you didn’t grow up eating it. The beauty of mung is that it can be in everything from a simple Sri Lankan breakfast to creamy desserts relished in South East Asia. Here in India, a Gujarati staple known as khatta mung is something I make quite often. It’s a particular go-to dish when I feel like I need to keep my weight in check, or to just bring a healthier balance into my meals. While it’s traditionally enjoyed with rotis or rice, I like to have it as a meal-in-a-bowl. Think of it as one more variant of an Indian salad, perhaps inspired by a more flavourful compact meal.

There’s a particular reason why khatta mung and other mung-based dishes are Gujarati staples. That’s because the humble mung bean is regarded as auspicious in my culture, and is even used in housewarming and other special ceremonies. It is a symbol of health, but is also affordable and accessible – so any family can have it. It is also of importance to Jainism, especially when devotees break their nine-day fasts. The very first thing that they consume upon doing so is a sip of mung water. Not only is it high in protein and energy-restoring, it also does not shock the stomach after the fasting period. You could think of mung as a traditional protein powder, accomplishing what modern glucose drinks do. Mung, both whole and split, is also consumed widely for every day meals, and some other classic dishes include mung dhokla (wholesome, steamed savoury cakes) and pesseretta (which is a crepe like a dosa).

“Khatta” literally means “sour”, and indicates the use of yoghurt in the dish. Yoghurt can be removed from the ingredients if you wish to make it vegan-style. There will not be much difference in the taste, especially if you add a twist of lemon for the tang. As with all Gujarati dishes, there is an interplay of sweetness and sourness in khatta mung, so I always add a hint of jaggery too. It lifts the saltiness of the dal and improves the flavours overall. Some people add garlic, onions and various condiments, but I personally feel that the more basic the dish is, the better it tastes. You’ll find that the spices remain the same for most dishes, but palates differ from family to family. I prefer simplicity, so that the original flavours are maintained and not doused with additives. Have you noticed how people today seek out cookbooks on how to simple eating and healthy cuisines, without recognising that that’s what was happening in their own kitchens growing up? As always, the unfussiness of my mother’s cooking style is what inspires my own work, although I am always curious and glad to learn – and always, to share what I learn as well.


Khatta Mung

(Yield: 3-5 cups)

Ingredients

½ cup whole moong dal

2+2 cups water

Salt to taste

1 teaspoon cumin powder

1 teaspoon dhaniya powder

¼ teaspoon turmeric

1 teaspoon jaggery

½ teaspoon chili powder

1 teaspoon ghee

¼ teaspoon mustard seeds

¼ teaspoon cumin seeds

2 tablespoons yoghurt

Soak the moong dal in water for an hour. Then, pressure cook the dal with 2 cups of water until the lentils are soft to the touch. Meanwhile, beat the yoghurt until it resembles a fine paste.

Empty the cooked dal into a pot and add the turmeric, water, salt, jaggery, yoghurt, cumin powder and dhaniya powder. Now, allow to boil for 7-10 minutes until all the flavours blend well.

In a small tempering pan, add the ghee. Once the ghee is hot, add the whole cumin and mustard seeds. They will splutter. Add the chilli powder and stir. Immediately, pour the sizzling tempering into the mung dal. Garnish with finely chopped coriander leaves. It is now ready to serve. You may eat it with rice, rotis and other kinds of breads – or even just by itself, a delicious and filling meal-in-a-bowl.

I like this spiced up version of the standard healthy meal-in-a-bowl which is usually comprised of millets, grains or legumes because it is flavourful without compromising on nutrition. And in true Gujju style, the hint of sweetness from the jaggery makes the whole pot irresistible! I like to finish mine off with a glass of fresh buttermilk… So filling, so heartening.

I hope you’ve been enjoying this series on traditional dishes made from leftovers (please see Part 1 and Part 2, if you haven’t already). To recap: in the absence of refrigeration, and because of the need to conserve resources, many cuisines in India and elsewhere developed sub-genres. These culinary sub-genres make use of extras either prepared during the initial cooking, or kept aside after the meal. Using these leftovers, a new dish is prepared. Fridges are really quite new for most of India. I remember visiting my grandparents’ home in Vijayawada one summer when they had purchased a huge fridge. It was such a novelty that neighbours would visit just to see the machine. Besides, not wasting food has long been considered a cultural virtue.

Today, the recipe I want to share with you is a classic go-to dish: masala curd rice, made in my mother’s Gujarati style. It was a staple in my house for Sunday dinner while I was growing up. This was because we had school the next day, and our mother would be busy helping us with our homework. In those days, we had no help at home, so our dad taught us how to iron our own uniforms and polish our own shoes. These tasks would keep us occupied on Sundays as we prepared for the school week ahead. By the time dinner came, we were usually too tired to think much. So we never minded the unfussiness of the meal. And mom, of course, was always relieved to make this easy dish.

Leftover rice is something that lends itself easily to a variety of dishes. For instance, there are theplas, which you may remember from this post on Indian breads. There are also muthias, which are made by adding flour and spices to the rice, rolling them and steaming them.

South Indians have their own methods too, including their own curd rice (known as thayirsadam), as well as pazhayachoru, in which rice is fermented overnight with a green chilli in it. This was originally a staple among farmers, who started their days early and needed to have a meal ready in the morning. You may be surprised to know that it is very healthy. The American Nutrition Association in fact recommends rice soaked the previous day as the best breakfast, with a host of benefits for the health including increased energy, decreased hypertension and good digestion.

This Gujarati Masala Curd Rice is yoghurt-based, which means that it is of course rich in probiotics and excellent for digestion. The spices used are available in literally every kitchen cabinet in India.


Gujarati Masala Curd Rice

(Yield: 1 ½ cups)

Ingredients

1 cup cooked rice

½ cup yoghurt

1 tsp chickpea flour

Salt to taste

1 dried red chilli (not too spicy)

A few curry leaves

¼ teaspoon turmeric powder

½ teaspoon coriander/cumin powder

Asafoetida (optional)

2 teaspoon oil

¼ teaspoon cumin seeds

¼ teaspoon mustard seeds

Remember: the key to the dishes in this Second Helpings series is their simplicity. This one in particular is so simple, yet so filling.

In a pot, add the oil and once it’s hot, add the cumin and mustard seeds. Wait till they splutter, and then add the red chilli and curry leaves. Immediately after, add the yoghurt and flour and stir so that the yoghurt does not split. Now, add all the remaining ingredients and stir.

Garnish with coriander leaves and serve hot. Gujarati Masala Curd Rice is a meal in itself, and is both flavourful and cooling. Ideal for summers, for light evening meals following afternoon feasts and as comfort food in general.

I hope you’ve enjoyed this Second Helpings series. I’d love to hear from you in the comments below about the dishes you make, or remember eating as you grew up, that fall into the resourceful, innovative category of “leftovers”. I’m sure your parents were so excellent at whipping up what seemed like a whole new dish that you didn’t always know that that’s actually what they were!

We don’t believe in wasting food in India. What had once been a pragmatic necessity – there could be no leftovers, because there were no fridges! – has settled into cultural practice. Respect for food is also an important part of our culture, so you’ll find that most families, regardless of economic background, will try their best to never let a meal go to waste. From practical concerns like the lack of cold storage or having to be sparing with expenses, a whole sub-genre of cuisines was developed. Dishes that exist because of other dishes – and which some say taste even better in the second round.

The traditional Gujarati lunch is known as a thaali, and comprises of rice, rotli, dal and a vegetable. This is the basic variant – to this, some may add a sweet or a second vegetable as a staple. If there was a sufficient amount of dal and rotli left over from lunch, you could be sure that dinner that evening would be dal dhokli.

Dal dhokli is a meal in a bowl, a stew-like dish. To make it using leftovers, simply tear the rotli into pieces, add it to the daal and heat them up. What I’d like to share with you today, however, is a from-scratch variation on the classic.

“Dal” (or “daal”/”dhal” if you prefer) is a catch-all term for split pulses, which are notably protein-rich and therefore a vital part of vegetarian diets in India. Lentils and legumes have made several appearances on this blog, such as rajma in this vegan chilli recipe and  green moong in this street food-inspired chaat recipe. For this re:store style dal dhokli recipe, the dal I’ve used is the popular toor dal, also known as pigeon pea. Toor dal is available year-round, while some other dals are eaten seasonally, such as the heavier channa and urad dals in winter. It’s the main ingredient of sambar, which makes it a staple in South Indian kitchens, and is known as thuvaram paruppu in Tamil.

My version of dal dhokli, made fresh and with a stuffing, is what my sister calls “Indian ravioli”. Despite this chic comparison, it is made of the simplest ingredients – accessible, affordable and always familiar.


Dal Dhokli

(Yield: 3-5 servings)

Ingredients

Dal

¼  cup dal
4-5 cups water
2 teaspoon cumin powder
¼ teaspoon turmeric powder
1 teaspoon coriander powder
½ teaspoon cumin seeds
Approximately 1 tablespoon jaggery
Juice of 1 lemon
Finely chopped coriander leaves
2 tablespoons peanuts
1 tablespoon ghee
¼ teaspoon mustard seeds
A pinch of asafoetida
Salt to taste


Wheat flour dough

½ cup wheat flour
1 tablespoon oil
2-4 tablespoons water
A pinch of salt


Green peas filling

1 cup green peas
1 teaspoon oil
1 tablespoon grated coconut
¼ teaspoon garam masala
Salt to taste


Cooking my ravioli-style daal dhokli requires the preparation of three items – dal, pastry dough and pea stuffing – followed by their assembly. Please note the separate ingredients for each part, above.

Make a dough with all ingredients listed for the same. It will be a little tight to the touch and smooth. Keep aside.

Crush the green peas partially. In a hot pan, pour the oil then add the crushed green peas. Stir the peas on a medium flame so that they do not stick to the bottom. Add the salt and masala and stir for 3-4 minutes. Now switch off the flame and finally add the coconut. Stir gently and keep aside to cool.

Roll out the dough into small discs. Do not make them too thin as they may tear while cooking. Take a spoonful of the green peas filling and place it at the centre of the disc. Join the edges together and once sealed, roll it gently into a flat round. Essentially, what you’re making is a kachori, a South Asian fried pastry. For a more detailed explanation about how to fold this pastry, with a video demo, see my earlier post here. Prepare all the kachoris and set them aside.

To make the dal, add the lentils and 2 cups of water in the pressure cooker and boil until soft. Allow to cool, then mash the dal. Now add 2 cups of water as well as the cumin powder, coriander powder, turmeric powder and salt to the dal. Allow to boil for approximately 5 minutes. Then add the jaggery and peanuts, letting the flavours blend, simmering on a medium flame. Stir occasionally.

As you do this, add ghee or oil to a small pan to lightly fry the mustard and cumin seeds. Once they start to splutter, add the asafoetida and immediately pour the sauté into the dal and stir.

The dal will be boiling by now. Make sure the flame remains on medium, and begin to gently introduce the kachoris into the dal. Once they are added, carefully stir. Allow to cook for 10-15 minutes.

Turn off the flame. Garnish with coriander leaves. You may also wish to add a sprinkling of something crunchy, such as finely chopped nuts. Serve while hot, as it is best enjoyed that way.

Many of you may have grown up eating dal dhokli at home, and I’d love to hear what you think of this modern twist, re:store style and ravioli inspired!

This post is the first of a three-part series on Gujarati dishes that are traditionally made from leftovers. Stay tuned for a sweet follow-up in a fortnight…

As a child, I was fascinated by the gingerbread man. Who was this entity that was half-story and half-food? Christmas in Chennai was not like Christmas in the West while I was growing up, and so there weren’t too many of these “traditional” motifs around me. Instead, the rituals of friends, neighbours and the convent school I attended are what are most memorable to me. Still, when I enjoyed a perfect Christmas visit with my friends Sujatha and Michael in Delhi two years ago, something tickled the memory of that fascination with the gingerbread man.  Sitting out on the lawns of their beautiful house, enjoying the crisp winter weather, we shared a plate of homemade ginger snaps. A festive classic, made to perfection. This year, thanks to a bounty of presents with just the right ingredients, I’m celebrating the season with these ginger and jaggery cookies.

This recipe contains gifts from many friends. The method of course, belongs to Sujatha and Michael. The cloves are from Asha, the Sri Lankan ginger and sugar syrup that also partly inspired this recipe is from Anna (this had been introduced to me by Ramani), and the cinnamon (also from the island) from Sharanya. So in many ways, this recipe fits the Christmas spirit of giving and camaraderie perfectly. And of course: the love, inspiration and encouragement from friends, family and fellow bloggers are what make me want to share it!

I love to make blends and powders at home, as you may have noticed from earlier posts. They give my baked goods a fresh, authentic flavour. So I ground the cloves and cinnamon especially for this batch of cookies, and used the ginger powder I had prepared in the summer, as I do every year. Ginger powder is used often, and in versatile ways, in my kitchen – you’ll find it in everything from a flu remedy to a sacred dessert.

I always like to bring familiar ingredients even into fusion or foreign dishes, which is why the jaggery and the ginger feature so prominently in this recipe. Both are intrinsic parts of local Tamil cuisine, and not only taste delicious but are quite good for you too. Aged jaggery, like wine, is said to be the best. It is rich in iron and other minerals, and is a healthy sweetener. Ginger is great for digestion (always a good thing during a holiday feast!), clears congestion and has such a divine aroma!

You’ll find these ginger-jaggery cookies have a chewy centre, and the jaggery gives them an unusual flavour, just like how the sweetness of honey differs from that of sugar. While the taste will certainly differ, if you’re unable to find good jaggery to make these cookies, you can substitute it with brown sugar.


Ginger & Jaggery Christmas Cookies

(Yield – 12-15 cookies)

Ingredients
325 grams maida
2 teaspoons baking soda
1 teaspoon ground ginger
115 grams powdered jaggery
¼ teaspoon salt
1 teaspoon cinnamon
1 teaspoon clove powder
200 grams butter
50 ml molasses
½ teaspoon vanilla essence
1 egg

Pre-heat the oven to 160°C/320°F. Line an oven tray with foil and keep aside.

Mix all the dry ingredients, except the jaggery, in a bowl and set aside.

Now, beat the butter and the jaggery together until the mixture turns creamy, then add the egg. Beat some more. Add the molasses and vanilla essence and blend well.

Fold all the dry ingredients into the mixture and knead, using your hands. The dough will feel sticky at this point. Once all the ingredients have been incorporated and blended well, refrigerate the dough for an hour.

After it has chilled, remove the dough from the fridge and make balls, gently using your hands again. Place them on the lined tray, ensuring they’re arranged well apart so that they don’t overlap while baking. Sprinkle with some sugar crystals.

Bake for about 12-15 minutes or until golden on the sides and bottom.

When the cookies have baked, decorate as you desire. As you can see in the photos above and below, I decided to draw delicate designs using white icing – a homage to my culture. In many places in India, intricate rice diagrams are drawn by hand on the front porch in the mornings and before special occasions. They are known as ‘rangoli’ in North India and ‘kolam’ in Tamil Nadu.

Some say a kolam is a prayer in the form of a painting, inviting the goddess and her auspiciousness into the home. Others say it is a practical thing: keeping insects away by feeding them outside the door itself. Either way, without doubt, it is a beautiful thing. I hope you’ll enjoy these photos of chewy, spicy, sweet homemade Christmas cookies – with a quintessentially South Indian sentiment. And I hope the scent of ginger fills your own kitchen soon, and that your life remains as sweet as jaggery – through the festive season and well beyond.

When it comes to Indian street food, the first and last word is always “chaat”. Yes, the vendors of sundal and cotton candy on my beloved Marina Beach will put up a fight, but when it comes to tastes savoured throughout India, chaat wins hands down. Chaat is a catch-all term, and extends from fried breads like pav bhajji to pastries called puris, filled with everything from potato to spiced water. Among the popular ones is bhel, also known as bhel puri.

Bhel is usually made with puffed rice as the main ingredient. As I’m always trying to make all the food we enjoy healthier, without compromising on taste, I substituted the puffed rice for the humble and very nutritious mung bean, also known as green gram or moong.


Moong is a versatile legume, used extensively in Asian cuisines. It can be eaten sweetened as a filling in pastries like mooncakes, stir-fried with vegetables, soaked and softened into a dal, ground into paste for crepes like dosa, and even made into noodles once starched. Moong beans are high in protein, low in carbs as compared to other legumes and pulses, and rich in antioxidants, phytonutrients and fibre. Unlike various other kinds of beans, they are also easy to digest, meaning you won’t feel bloated after eating them.

This Green Moong Bhel brings the tanginess of authentic streetside chaat, thanks to a blend of two chutneys, to the wholesomeness of mung beans. Like all chaat, it’s an anytime dish – and like all chaat, once you’ve enjoyed it, you’ll always have a craving for it.


Green Moong Bhel

Ingredients
Bhel (Yield – 4-5 small cups)

½ cup moong beans
½ cup finely cut cucumber
¼ cup finely cut onions
¼ cup cut tomatoes
¼ cup cut raw mango
¼ cup finely chopped coriander leaves
¼ teaspoon roasted cumin powder
3 cups water
Salt to taste

Date Chutney (Yield: 3 Cups)

1 cup jaggery
1 cup chopped dates
1 cup tamarind
¼ cup sugar
1½ + 1 + 1 cups water
2 teaspoons roasted cumin powder
1 teaspoon black salt
¼ teaspoon chilli powder
Salt to taste

Soak the moong beans overnight, or for 6-8 hours. They will triple in size when they have been well-soaked.

On a medium flame, add 3 cups of water, ¼ teaspoon of salt and a pinch of turmeric to the beans and allow to cook. This will take 15-20 minutes. The beans should be soft to the bite.


Strain the beans and allow them to cool.


In the meantime, put all the cut vegetables and the raw mango into a bowl. You can add any vegetables of your choice, whatever you find handily available, and increase or decrease the quantities to your preference. My selection here is a very typically “chaat” selection of fresh, affordable local produce. Keep aside some coriander for garnishing.


To this bowl of vegetables and fruit, add two chutneys. You can find the green coriander chutney recipe here (if you’re on a health kick, try not to get distracted by the banana-methi fritters recipe!). It’s an extraordinary simple just-blend-it-chutney, and you can use it in versatile ways.

The date chutney requires just a few more steps. Soak the jaggery, chopped dates, tamarind and sugar in 1½ cups of water for at least half an hour. Then blend this very well with 1 cup of warm water. Sieve the mixture to remove any sediments. Now, add the roasted cumin powder, black salt, chili powder and salt, as well as an additional cup of water, and boil for approximately 15 minutes. You will notice the mixture thickening, and you can adjust this to the consistency you desire by adding more water. This recipe yields a generous three cups of date chutney. Use only as much as you need for the green moong bhel dish, then save the rest in the fridge.

Blend 2 teaspoons each of the two chutneys into the bowl of cut vegetables and raw mango. Then add all the spices as well as the cooled moong beans to the bowl. Mix all the ingredients together nicely, making sure the chutneys coat them well.

Now, serve the green moong bhel in smaller bowls, garnishing with the coriander leaves. I often like to add a bit of crunch on top too, such as crushed peanuts, pomegranate, fried crisps or the puffed rice that is reminiscent of traditional chaat.

You can put this healthy snack on the list along with sundal, pea-pomegranate kachoris, sweet ghugras and, of course, banana-methi fritters and enjoy it with some piping hot chai or coffee. Or have it as an alternative to salad or quinoa, and enjoy a big bowl as a full breakfast or a light lunch. As simple as the dish looks, it’s absolutely loaded with flavours. Healthy can taste so good, sometimes!


Standing at that quaint tea shop in Kolkata that early November morning, I realised that the city had been awake for hours. We were on a guided tour, and as we found ourselves there for our first cup of the day, I noticed how around us were people who had taken a pause during their work. All of us – locals and tourists, at leisure or on the job – were treating ourselves to a small terracotta or glass cup of warm chai. In just five minutes, I saw not only a classic street-style chai-making procedure, but faces from everywhere – each of them enjoying a rejuvenating sip of this quintessential beverage.

I couldn’t resist picking up my camera. I was so pleased that these men, for whom this particular stall is a routine, were happy not just to be photographed but also to chat! They say a cup of tea brings people together – and for a few minutes on a morning in Kolkata, that’s exactly what happened.


It was this man’s mashk – a goat-skin bag – that caught my eye. He sells water from it, at ₹10 a serving. He proudly told us that the neighbourhood we were in is colloquially known as Bheeshti Para, an homage to the traditional occupation of the water-carrier (known as “bheeshti”). He also shared that the etymology of “bheeshti” comes from the Persian word “bihisht”, which means “paradise”). How poetic – the water-bearer from paradise, bringing succour to the thirsty.


We also met this money-lender whose family is from Afghanistan – one of the many communities who settled in Kolkata, who have carried the trade on for generations. In fact, Afghani money-lenders were popularised in Rabindranath Tagore’s short story “Kabuliwala” (literally, “the man from Kabul”), which was also made into a number of films.

Kolkata is home to many such communities of foreign origin, who have enriched it. For instance, it is the only South Asian city with a Chinatown, thanks to several generations of people originally from China who have made it their home. There are also Anglo-Indians, Parsis and numerous other uniquely Indian cultures. And there I was, a Tamil Nadu-raised Gujarati, sipping from my terracotta cup too.


It’s always a pleasure for me to watch another culinary expert at work. Look at the precision of this chai-maker’s tea-pouring technique!


The street was abuzz with life that morning, as the fogginess gave way to bright sunlight. A recycling truck was passing by. Right next door to the tea stall was a food stall selling breakfast: pooris, pickles and savouries. Somewhere nearby, I am sure that the famed Bengali milk sweets were being made and sold too.

And how amazing is it that one morning I was drinking Bengali tea at a street-side stall in Kolkata, and the next morning I was back here in Coffeeland aka Chennai, a land famous for its filter coffee? I love my coffee anywhere in the world, but the moody monsoonal rain and my recent trip inspired me to recreate that hot, spiced tea here at home.


Masala Chai Powder

(Yield – approximately 100 grams)

Ingredients
¾ cup black pepper

½ cup cloves

3 tablespoons peeled cardamom

½ cup cinnamon sticks

1 tablespoon ginger powder

1 tablespoon pipramul powder


Tea is so quintessentially Indian that it’s easy to forget that it was actually introduced to India by the British. Originally from China, the tea shrub was found to grow well in hilly regions like Darjeeling and Assam, and closer to my home, in the Nilgiris. In fact, the word “chai” is from the Mandarin word “cha”.

I grew up watching masala chai powder batches being made for a year at a time during the hot summers.  This is what is now known as a Macrobiotic approach, making use of the logic of the seasons, in this case the heat. I have found that sun-drying makes the flavours bloom. But masala chai was originally had in the winters, as the herbs and spices had a warming effect – even roasting in the winter sun was sufficient, provided there was no rain.

If you’re trying this method on a warm day, roast all the ingredients except the ginger and pipramul powders in the sun. If you’re in a rainy or wintry season like I am right now, simply roast the ingredients (except the ginger and pipramul powders) on an iron pan for less than five minutes.

If you’re a fan of spices, the other ingredients will all be familiar to you, but if you’re wondering, pipramul is also known as Indian long pepper or ganthoda, and is a rhizoid similar to ginger. It aids digestion and helps with any kind of gastric trouble.

Once the ingredients have cooled, blend them into a powder. Add the ginger and pipramul powders and mix thoroughly. Store in an air-tight container.

If kept dry, you can use this powder for months at a time. It’s used only for chai and added into the boiling process of tea making, as is the Indian way.

My few minutes at that chai stall in Kolkata that morning made me ponder what a privilege it is to have tea at home, and not on the go while on the job. Tea is said to be a contemplative beverage, and is such a wonderful companion to both conversations with others and moments of musing alone. I’m contemplating the people I met that morning as I savour this cuppa. What’s on your mind today?

As I write this in the days after Diwali, the home and the kitchen table are empty. For a few days, the house was abuzz with visiting friends – all we did was eat, compare notes on each other’s specialties, learn, devour and enjoy our time together. Now, even the family have all gone back to their respective workplaces – and it’s me time. How do you re-enter the kitchen after the busiest time of year has quietened down? I cleaned up the home, missing everyone deeply, while contemplating food, love and life. And then I decided to follow the order of the typical restaurant menu, and start with a soup.

A soup is the perfect post-festive dish both as a detox for the infinite quantities of sweets consumed, and as comfort food that beats the empty-nest blues. As the monsoon continues, I’ve made three things a part of my regular intake: lots of water, this remedy for the sniffle season, and this delicate yet flavourful broccoli and almond soup.

Occasionally, I like to shift from my mainstay local, seasonal vegetables and bring a little bit of the exotic into my kitchen. In Chennai, it is quite rare to find organic “English” vegetables, as we call them here, so when I came across some organic broccoli at my grocer’s, I picked up a few fresh bunches. To these, I added another ingredient from afar: organic almonds from Kashmir. If you’ve been following this blog, you’ll know that even when I go adventuring in my culinary repertoire, I like to add a homegrown twist to anything foreign. And this is where my trusted curry leaves, packed with nutrients and not just a spicy flavour, come in.

Almonds are well-known for their benefits, and are one of the first types of nuts that are recommended as substitutes for unwholesome snacks. Rich in healthy fats, vitamin E, magnesium, antioxidants and other nutritious elements, they reduce blood sugar, blood pressure and cholesterol levels. They happen to be a favourite in the cakes that are baked in the re:store kitchen, so there are always some on hand – whether to pop into my mouth on the go or to toast and drizzle over a blues-busting soup like this one.

Broccoli is so healthy a vegetable that you may have noticed that it’s almost a synonym for so-good-it-has-to-taste-bad for children’s characters in films and books! This is of course simply untrue, for it’s a tasty ingredient that can be used in versatile ways. From vitamin C to anti-inflammatory Omega 3 fatty acids to antioxidants and studies that support its consumption as being preventative of cancer and heart disease, a bunch of broccoli really is a bouquet of benefits. And as it is rich in fibre, it promotes detoxification – which is what makes it ideal for a post-festive diet.


Broccoli-Almond Soup

(Yield – 4-5 cups)

Ingredients

2 tablespoons + 1 tablespoon virgin olive oil

150 grams diced broccoli florets

3 tablespoons chopped onions

1 small cup washed, finely chopped coriander leaves

3 garlic cloves (smashed) + 3-5 garlic cloves (sliced)

2 cups vegetable broth

2 cups water

½ tablespoon ground black pepper

Salt to taste

2 sprigs curry leaves

3 tablespoons + 1 tablespoon slivered, toasted almonds

1 teaspoon lemon juice


Heat the oil in a medium-sized saucepan. To this, add onions and garlic. Allow them to sauté till golden, before adding the broccoli. Continue sautéing for a few minutes.

Next, add the vegetable broth, cover the pan with a lid and leave to cook for 10 minutes. Then remove the lid and let the dish cool a little. Blend in the coriander leaves with the rest, and add more water to adjust the consistency of the soup to your preference. Finally, add salt and pepper as well as the slivered, toasted almonds.

In a separate pan, heat 1 tablespoon of oil and fry the sliced garlic cloves. As they turn golden, add the curry leaves and turn off the flame. Just the rich, warm aroma of this garnishing as it is being prepared will lift your mood!

Just before serving the soup, pour the cloves and curry leaf garnishing on top. I added a dash of lemon too. Sprinkle the last of the slivered, toasted almonds as the final touch.

I love my soups with a bit of crunch, and the broccoli and especially the almonds bring texture to this simple dish. Perfect for when you aren’t up to making full meals, when you’re feeling under the weather, or when you just need to cut back on the sugar and carbs, this lovely one-pot meal is light and healthy yet so filling. A cup or two of this broccoli-almond soup with just the sound of afternoon rain for company is so satiating. Please try it. I’d love to know what you think in the comments.

Once upon a time, before I decided to turn completely vegetarian again, I used to enjoy the very occasional meat dish. And more often than not, the particular dish that would kickstart my cravings was the chili bowl I discovered in L.A. some decades ago while pregnant. A rich, spicy stew with Tex-Mex origins, it’s a quintessential part of the cuisine of the southern American border regions – and something which reminded me of Indian food whenever I was homesick or longing for comfort food while travelling in the States.

Chili is a meal-in-a-bowl, although you can eat it with tortillas, rice, nachos, fries or other accompaniments if you like. Did you know that the Nahuatl (indigenous Mexican) word chīlli is what gives the chilli pepper its English name too? The dish too takes its name from this most vital ingredient. If you’re interested in a history of the dish, do read this comprehensive article with various legends and records.

Chilli fruits – yes, fruits! – were cultivated in ancient Mexico, and were introduced to the rest of the world through European colonists and traders. Then, based on different climactic conditions, certain places grew famous for particular cultivars: e.g. bhut jolokia (or “ghost peppers”) in India and Malawian kambuzi. In fact, the chilli powder I use to make my chili (yup, the spelling of the two words is close but not exact!) is a ground Hungarian spice known as paprika, made of sweet bell peppers and occasionally cayenne peppers. Each cultivar varies in pungency and intensity, and chillies are eaten in red, green, dried or capsicum/pepper variants. I also use capsicums in this dish.

The festive season has found me inundated with cupcake orders. Despite seeing so many in my kitchen every day now, I haven’t grown tired of stealing one now and again – all under the claim of checking the sugar level of course! Between some recent travel abroad and the sugar buzz around me now, I’ve missed the flavours and smells of Indian spices. Inspired equally by the memory of those long-ago chili bowls and my ongoing delving into the super-foods and smart-foods in our own Indian fields and forests, I decided to make a vegan millet-based chili. I tried and tested this recipe a few times before perfecting it. Fusion food can sometimes be a blunder, and sometimes be a wonder. I’d love to know what you think of this!


Vegan Chili Bowl

Ingredients:

1 tablespoon oil

1 teaspoon cumin

¾ cup carrots (chopped)

½ cup rajma/kidney beans (soaked)

½ cup onions (finely chopped)

½ cup capsicum (finely chopped)

½ cup green beans (finely chopped)

2 medium size tomatoes blended into a puree (approximately 1 cup)

3 pods garlic (grated)

1 piece ginger (grated)

¾ cup kodo millet

½ cup corn niblets and/or peas

Salt

Paprika

1 tablespoon lemon juice

4 cups of hot water

Chili may be Tex-Mex in origin, but the ingredients of my Vegan Chili Bowl are all easily available and highly affordable in India and elsewhere.

Take a pot and add oil to it. Once it is hot, add the cumin, followed by the grated garlic, ginger and onions. Sauté till golden brown.

Boil the green beans, peas and carrots and strain these. Keep the water aside.

Kidney beans take longer to cook so pressure cook or par-boil them before adding them to the pot. You may substitute the kidney beans for a lentil of your choice. Please note cooking time will differ based on which ingredient you use.

Add all the cooked vegetables to the onions along with the tomato puree, corn, capsicum (I used green capsicum, but you can use yellow or red too), millets, paprika and salt.

Now, add the strained water (approximately one cup) and the cooking water to the above ingredients. Cover with a lid and lower the flame. Allow this to cook for 20-25 minutes, stirring occasionally. I have used kodo millets, known in Tamil as varagu, which like all local millets has an extensive range of health benefits when eaten regularly. You can just as well substitute this with broken rice or wheat if you have them on hand, if you prefer. However, the cooking time will depend on the grain you’ve used.

Also remember that you can add all sorts of leftover vegetables to this chili – don’t feel restricted by the list I’ve suggested. They will only enhance the flavour and health quotient.

Once the grains are cooked well and tender, add the lemon juice and stir. Then, transfer the hot chili to small bowls and serve with some freshly chopped coriander leaves, fine slices of spring onions and other garnishings like roasted garlic or a handful of nuts. Chili is best eaten warm and fresh.

I love collecting beautiful crockery, and considering that this is a meal-in-a-bowl, I always take a little extra moment to choose the bowl itself well. When I made this the other day, I chose this pretty one with concentric blue circles on the bottom. It’s always a compliment to the cook when something is relished to the very last spoonful, and a nice design on the tableware is revealed.

As more people explore healthy or ethical dining options like turning vegan, our kitchen repertoires should also expand beyond serving and eating obvious items. This Vegan Chili Bowl is just the kind of unexpected dish that will make a vegan guest feel welcomed by your thoughtfulness. They are sure to enjoy it far more than picking at an ordinary salad or an unimaginative dressed-down version of the main course. The best part is that as it is a meal-in-a-bowl, you can be assured that they will be fully satisfied.

India contains a diverse mix of religions, both brought from abroad and homegrown. Among the latter category is Jainism, which has been practised for thousands of years. Some of my family members belong to this religion, and as the most sacred Jain festival, a time of fasting known as Paryushana, fell this year between August 19 and August 26, I was reminded of a particular temple we used to visit when we were kids… and a specific delicacy that was served there.

As I mentioned in my previous blog post, food is ritually offered to gods in many Eastern religions. At the Mahudi or Madhupuri temple just outside Ahmedabad, the deity Ghantakarna Mahavir Dev loves a ghee-rich dessert known to Gujarati Jains as sukhudi. Gujarati Vaishnavites like myself know it as gol papdi, and offer it to the baby Lord Krishna. By whichever name you call it, it’s a very simple dish both in its preparation and in the ingredients used. It could have become a staple as a religious offering because of both reasons: any family would have been able to afford to make and serve it to God.

Jaggery is made of cane sugar or date palm. A sweetener that is believed to aid digestion, it is generally a healthier alternative to refined sugar. It has a cooling effect in the summer, and a warming effect in the winter. It’s a vital ingredient in Gujarati cuisine, and a pinch is used in so many dishes (even those which you wouldn’t classify as sweet) to add to the flavour. And it’s a sacred ingredient, of course – the gods certainly seem to enjoy it!

At this temple, this whole wheat and jaggery sweet is made in individual earthenware vessels. After it is offered to the deity, it is served piping hot to those who come to the temple. It is absolutely forbidden to either waste even a little or to take it outside of the temple compound. If you know you’ll be unable to finish your portion, you must give it to pilgrims rather than throw it away. And it is considered extremely bad luck to take sukhudi out of the temple – a theory which my grandmother once tested to her great surprise!

The story was recounted to me by my aunt Sam, whom I visited a couple of weeks ago. Many years ago, when Sam was still a teenager, some of the family had gone to Mahudi. When they returned, the parents and elders were chatting downstairs, while the kids played on the third floor. Sam had been sitting atop of a pile of mattresses that had been set by a window. Down below, her mother (my grandmother) was telling the others that she didn’t believe in the superstition about taking sukhudi out of the temple. Just as she firmly insisted, “Sam just brought some back for me, and nothing happened – I do not believe in such tales!” – a loud thud was heard.

Sam had fallen out of the window! Miraculously, for a fall from the third floor, she was absolutely unscathed. Her mother winced and bit back her words, and made a promise to offer sukhudi at the Mahudi temple as an appeasement. The incident ended any further attempt in my family to take sukhudi out of the Mahudi temple. Perhaps it was a coincidence, and perhaps all our beliefs are created with our own minds (I am reading Yuval Noah Harari’s amazing Sapiens: A Brief History of Humankind and it’s making me ponder such ideas deeply). Still, none of us has tempted fate since.

Whether you want to see these whole wheat jaggery squares as a religious offering or a treat for your sweet tooth is up to you. One thing is for certain: I hope they taste utterly divine.

Jaggery & Whole Wheat Squares

Yield: 10-15 pieces
Prep time: 20 minutes

1 cup whole wheat flour
½ cup clarified butter (ghee)
¾ cup jaggery
½ teaspoon ginger powder
2 tablespoons slivered almonds

Call them whole wheat jaggery squares, call them sukhudi or call them gol papdi – these sweets are very easy to make once you have the ingredients on hand.

Grease a steel plate with some ghee and keep it aside. In a kadhai, or a wok-shaped pan, add ghee and allow it to melt. In a few seconds, add the whole wheat flour. With a spatula, stir and sauté until the mixture turns golden brown. This will take approximately 10-15 minutes on a medium to low flame. Remove from the stove and add the jaggery and ginger powder. As always, season to your taste – I even add cardamom, desiccated coconut, cinnamon or masala chai powder when I make this dish. Ginger in particular is something that is traditionally added during winters for its warming effect.

A word about jaggery: it varies in sweetness around the world, so you must gauge the correct amount to use when you make this dish. I had used a particularly sweet batch when I made this after talking to my aunt, and found it too cloying, then made it again to my taste. However, if you add too little jaggery, the mixture will not bind. As with any recipe, sometimes it takes more than one try to get it right.

Mix well until the jaggery melts and the ginger powder or flavours of your choice are distributed evenly. While still hot, pour the mixture onto the greased plate and spread evenly. Flatten it with a cup so it evens out, and add the almond slivers on top quickly, before it begins to cool.

Then, cut into even squares and allow them to cool before transferring them to an air tight container.

These whole wheat and jaggery squares are so simple to make – all you really have to do is stir it well for it to cook properly. That’s probably why they were such a staple in my childhood, something my mom could whip up quickly and store for several days’ worth of after-school snacks. As they don’t spoil easily, gol papdi was also something we took with us when we travelled. Memories, love and a sense of security – they are contained in every bite of a cherished dish, aren’t they?