My children are at home through this lockdown, and I’ve been striving to make their favourite dishes for them while being mindful about how to make every ingredient go the extra mile. As we’ve discussed many times before on this blog, Indians have a knack for being resourceful in the kitchen, whether that’s through reusing leftovers creatively or coming up with innovative ways to cook with less. I believe that we should not neglect our nutrition or our taste buds, even now, and I’ve been thinking of how to share recipes with you that can be made with what you already have on hand in the fridge, but which don’t compromise on deliciousness. This vegetable biryani is a perfect example – flavourful, comforting, and made from just the staples.
The great part about this dish is that you can throw in any vegetable you like, which is especially useful at a time like this. It’s a very easy recipe for young adults who are just stepping out and learning to cook on their own, as well as for beginners in the kitchen. If you have a pressure cooker and follow the recipe to a T, you’ll soon be able to enjoy homemade biryanis on the regular.
Biryani is a savoury rice dish from the Mughal empire of India, and variations are made throughout the country. It is often prepared with long-grained basmati rice. In South India, we tend not to grow this variant, so different locations are famous for using their own rice types and methods. Popular regional biryanis include Dindigul, Hyderabad, Ambur and more. Meat is a common ingredient, but I’ll share a vegetarian recipe for the benefit of a wider number of readers.
That said, even the vegetables in this recipe are optional, although of course I don’t recommend that you leave them out for nutrition’s sake. But if you are short of groceries right now, be assured that the rice will be just as flavourful even without them. The subtle tastes and fragrances of the many spices used amply make up for them.
When my children were still little, and like many children disliked eating vegetables, they were absolutely delighted by a discovery made on a holiday. My brother had taken us to Dubai, to a restaurant that made a wonderful selection of biryanis. My kids were kicked to see that the restaurant offered a vegetarian version with no vegetables! I guess you could call it the kids’ option. That’s where they got the idea of having this flavourful rice with no vegetables at all, and got me to start making it for them that way too.
Like many of you, if not all of you, there have been some disruptions for us due to the current situation. We had been renovating our house, and had temporarily shifted to a smaller flat, where we now find ourselves until this crisis passes. Living in apartments, you can get the smells of cooking from different homes wafting into yours. This piques my curiosity delightfully. Sometimes I wonder: I think she’s making biryani, and that smells like this masala or that spice; perhaps I can incorporate it next time… Biryanis vary not just regionally, but also between communities, and from family to family. No one can really replicate another’s, yet they are all fragrant – and tasty! I am certain yours will be too.
I have many other memories of biryani as a dish that encouraged bonding, and these go back to my childhood. At the time, the beach was the only place of outing for us in Chennai. We went there whether it was for a special occasion, like Sharad Purnima, or just as a treat. Most of us have lovely recollections of time spent there. On summer evenings, my extended family would head there with a big pot of biryani. We’d enjoy dinner on the beach along with the light, cooling sea breeze. People would also bring accompaniments, including a sweet, raita, drinks, crispies like appalams and so on, so it became a potluck. We would tuck into a feast as we enjoyed one another’s company as well as the beauty of nature. I so look forward to doing that again one day, when it becomes possible to. A simple picnic with loved ones, in the beautiful outdoors, with a basket or two of delicious food…
Vegetable Biryani
(Yield: Serves 4)
Ingredients:
2 tablespoons ghee
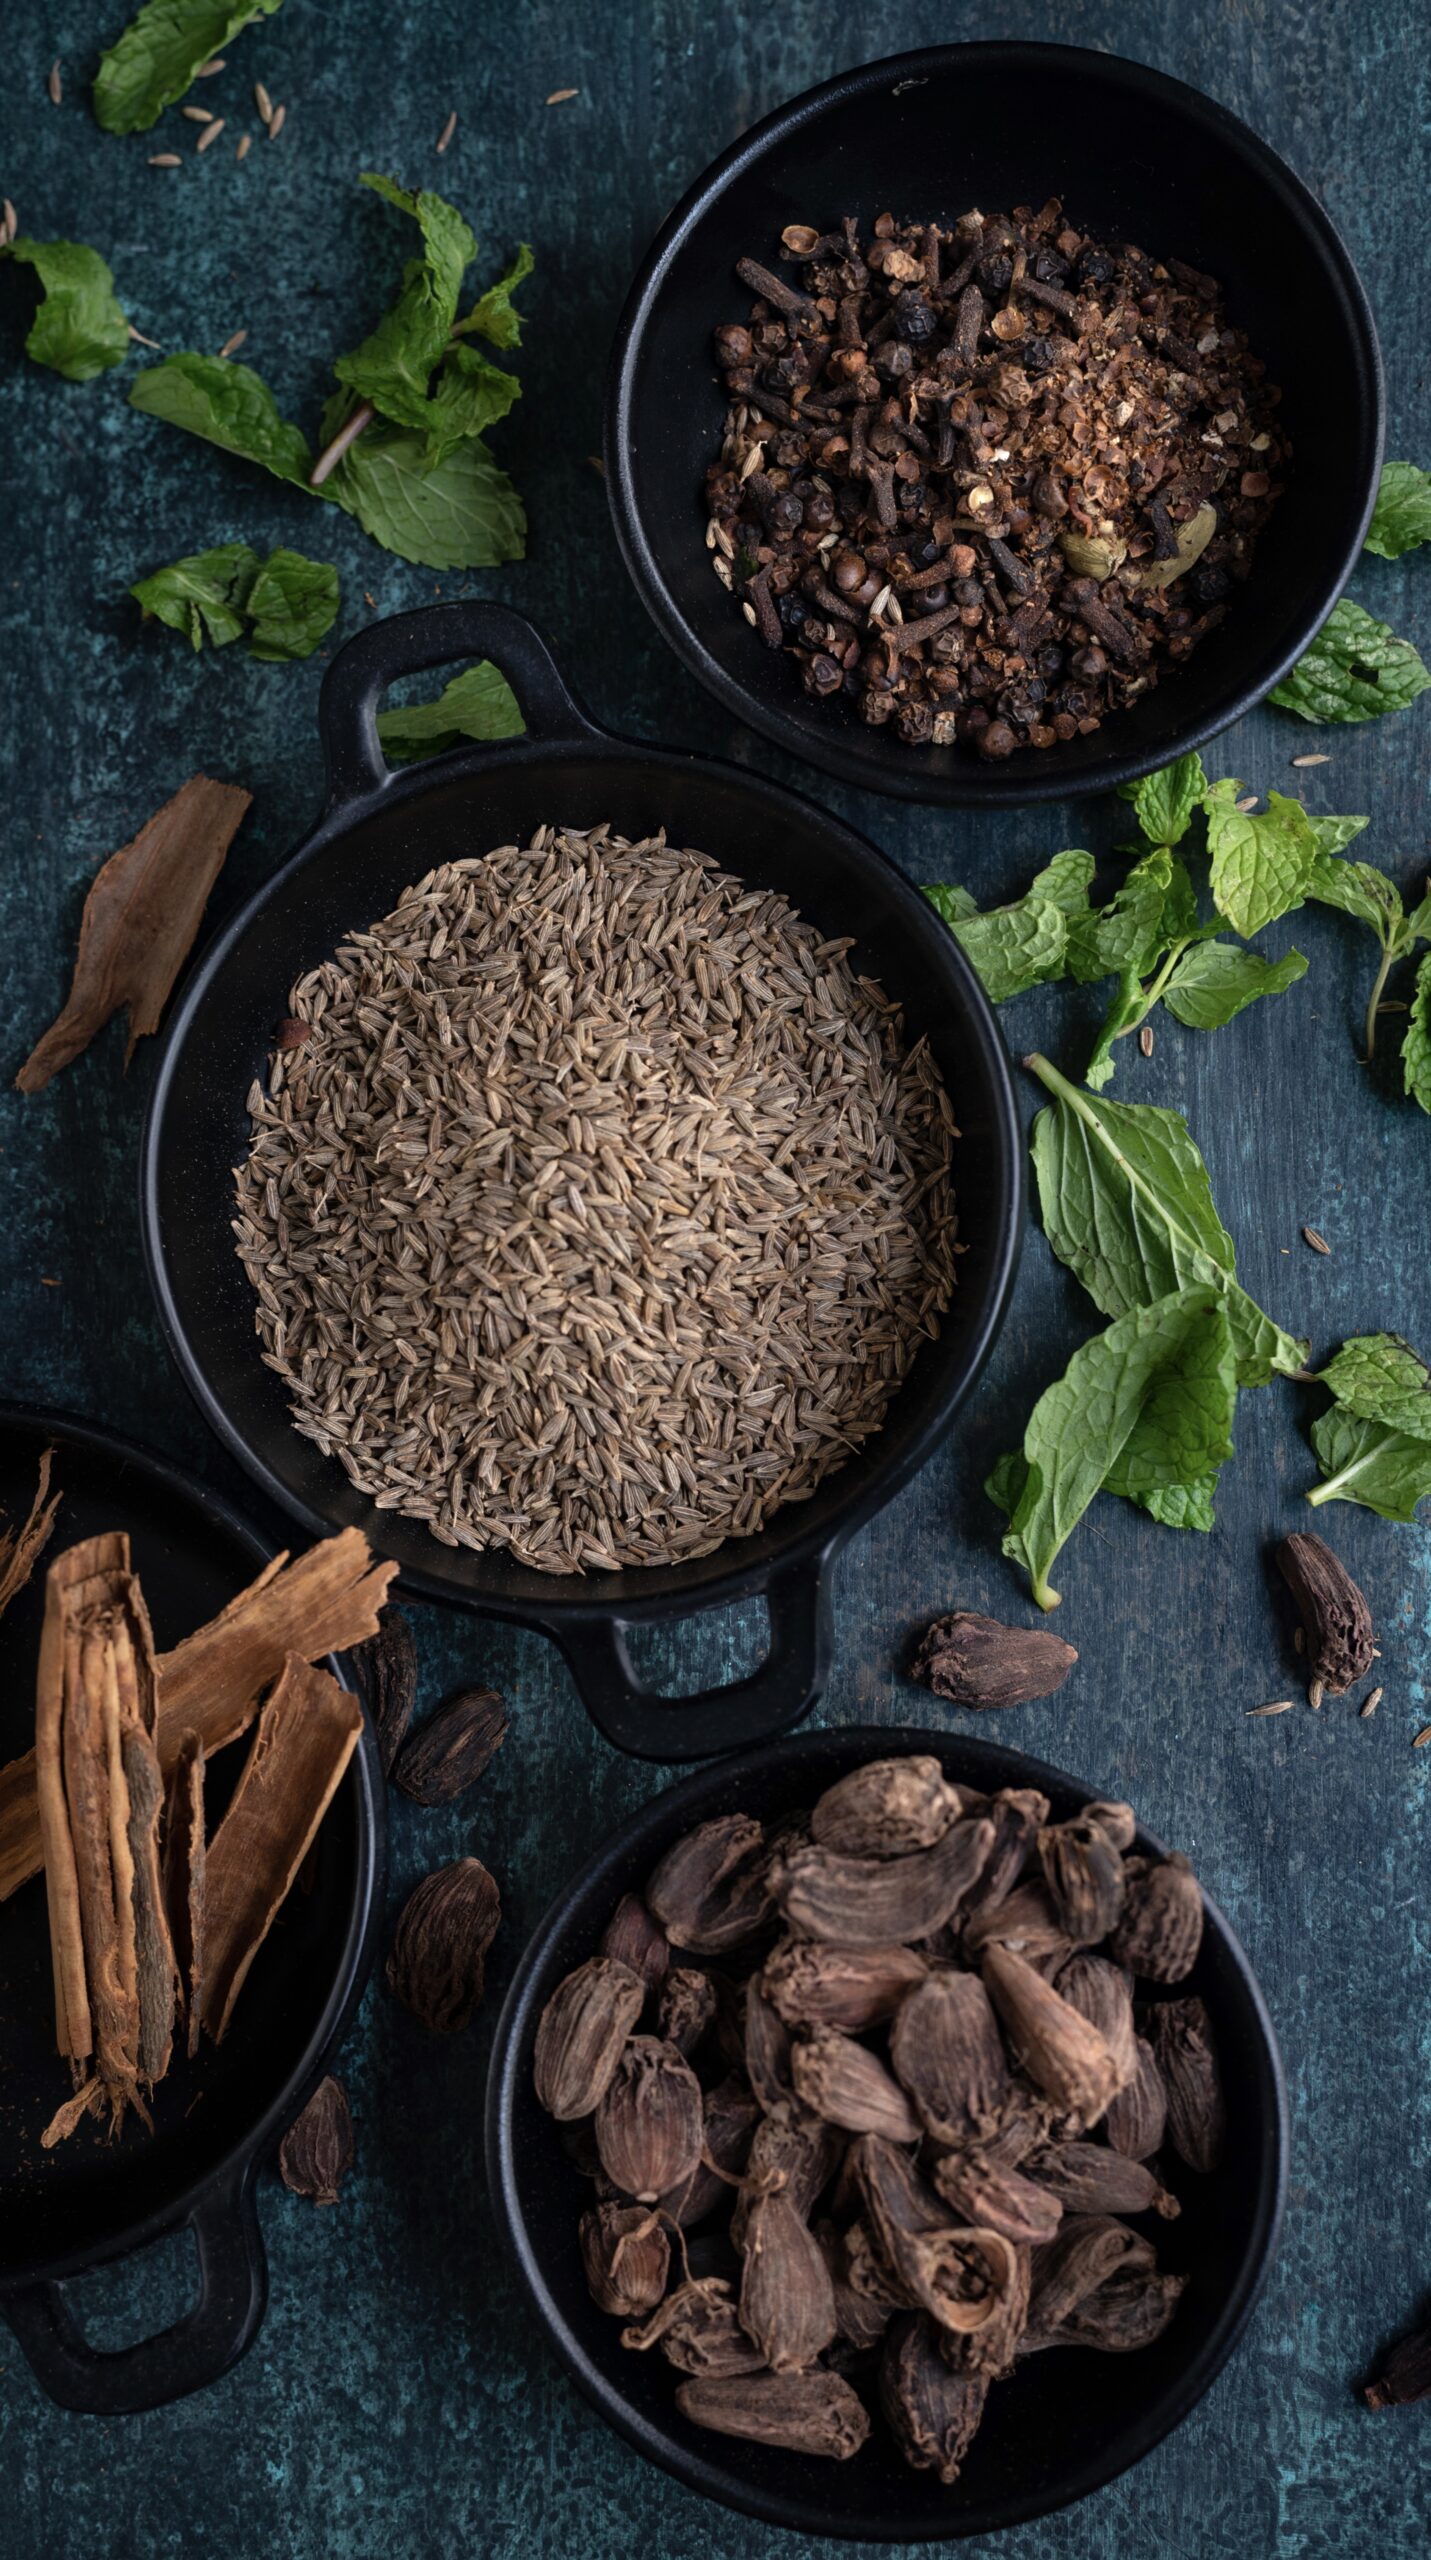
2 teaspoons cumin seeds
1 teaspoon saunf
2 bay leaves
1 long cinnamon stick
2-3 cloves
2 cardamom pods
1 star anise
200 grams rice (approximately 1¼ cups)
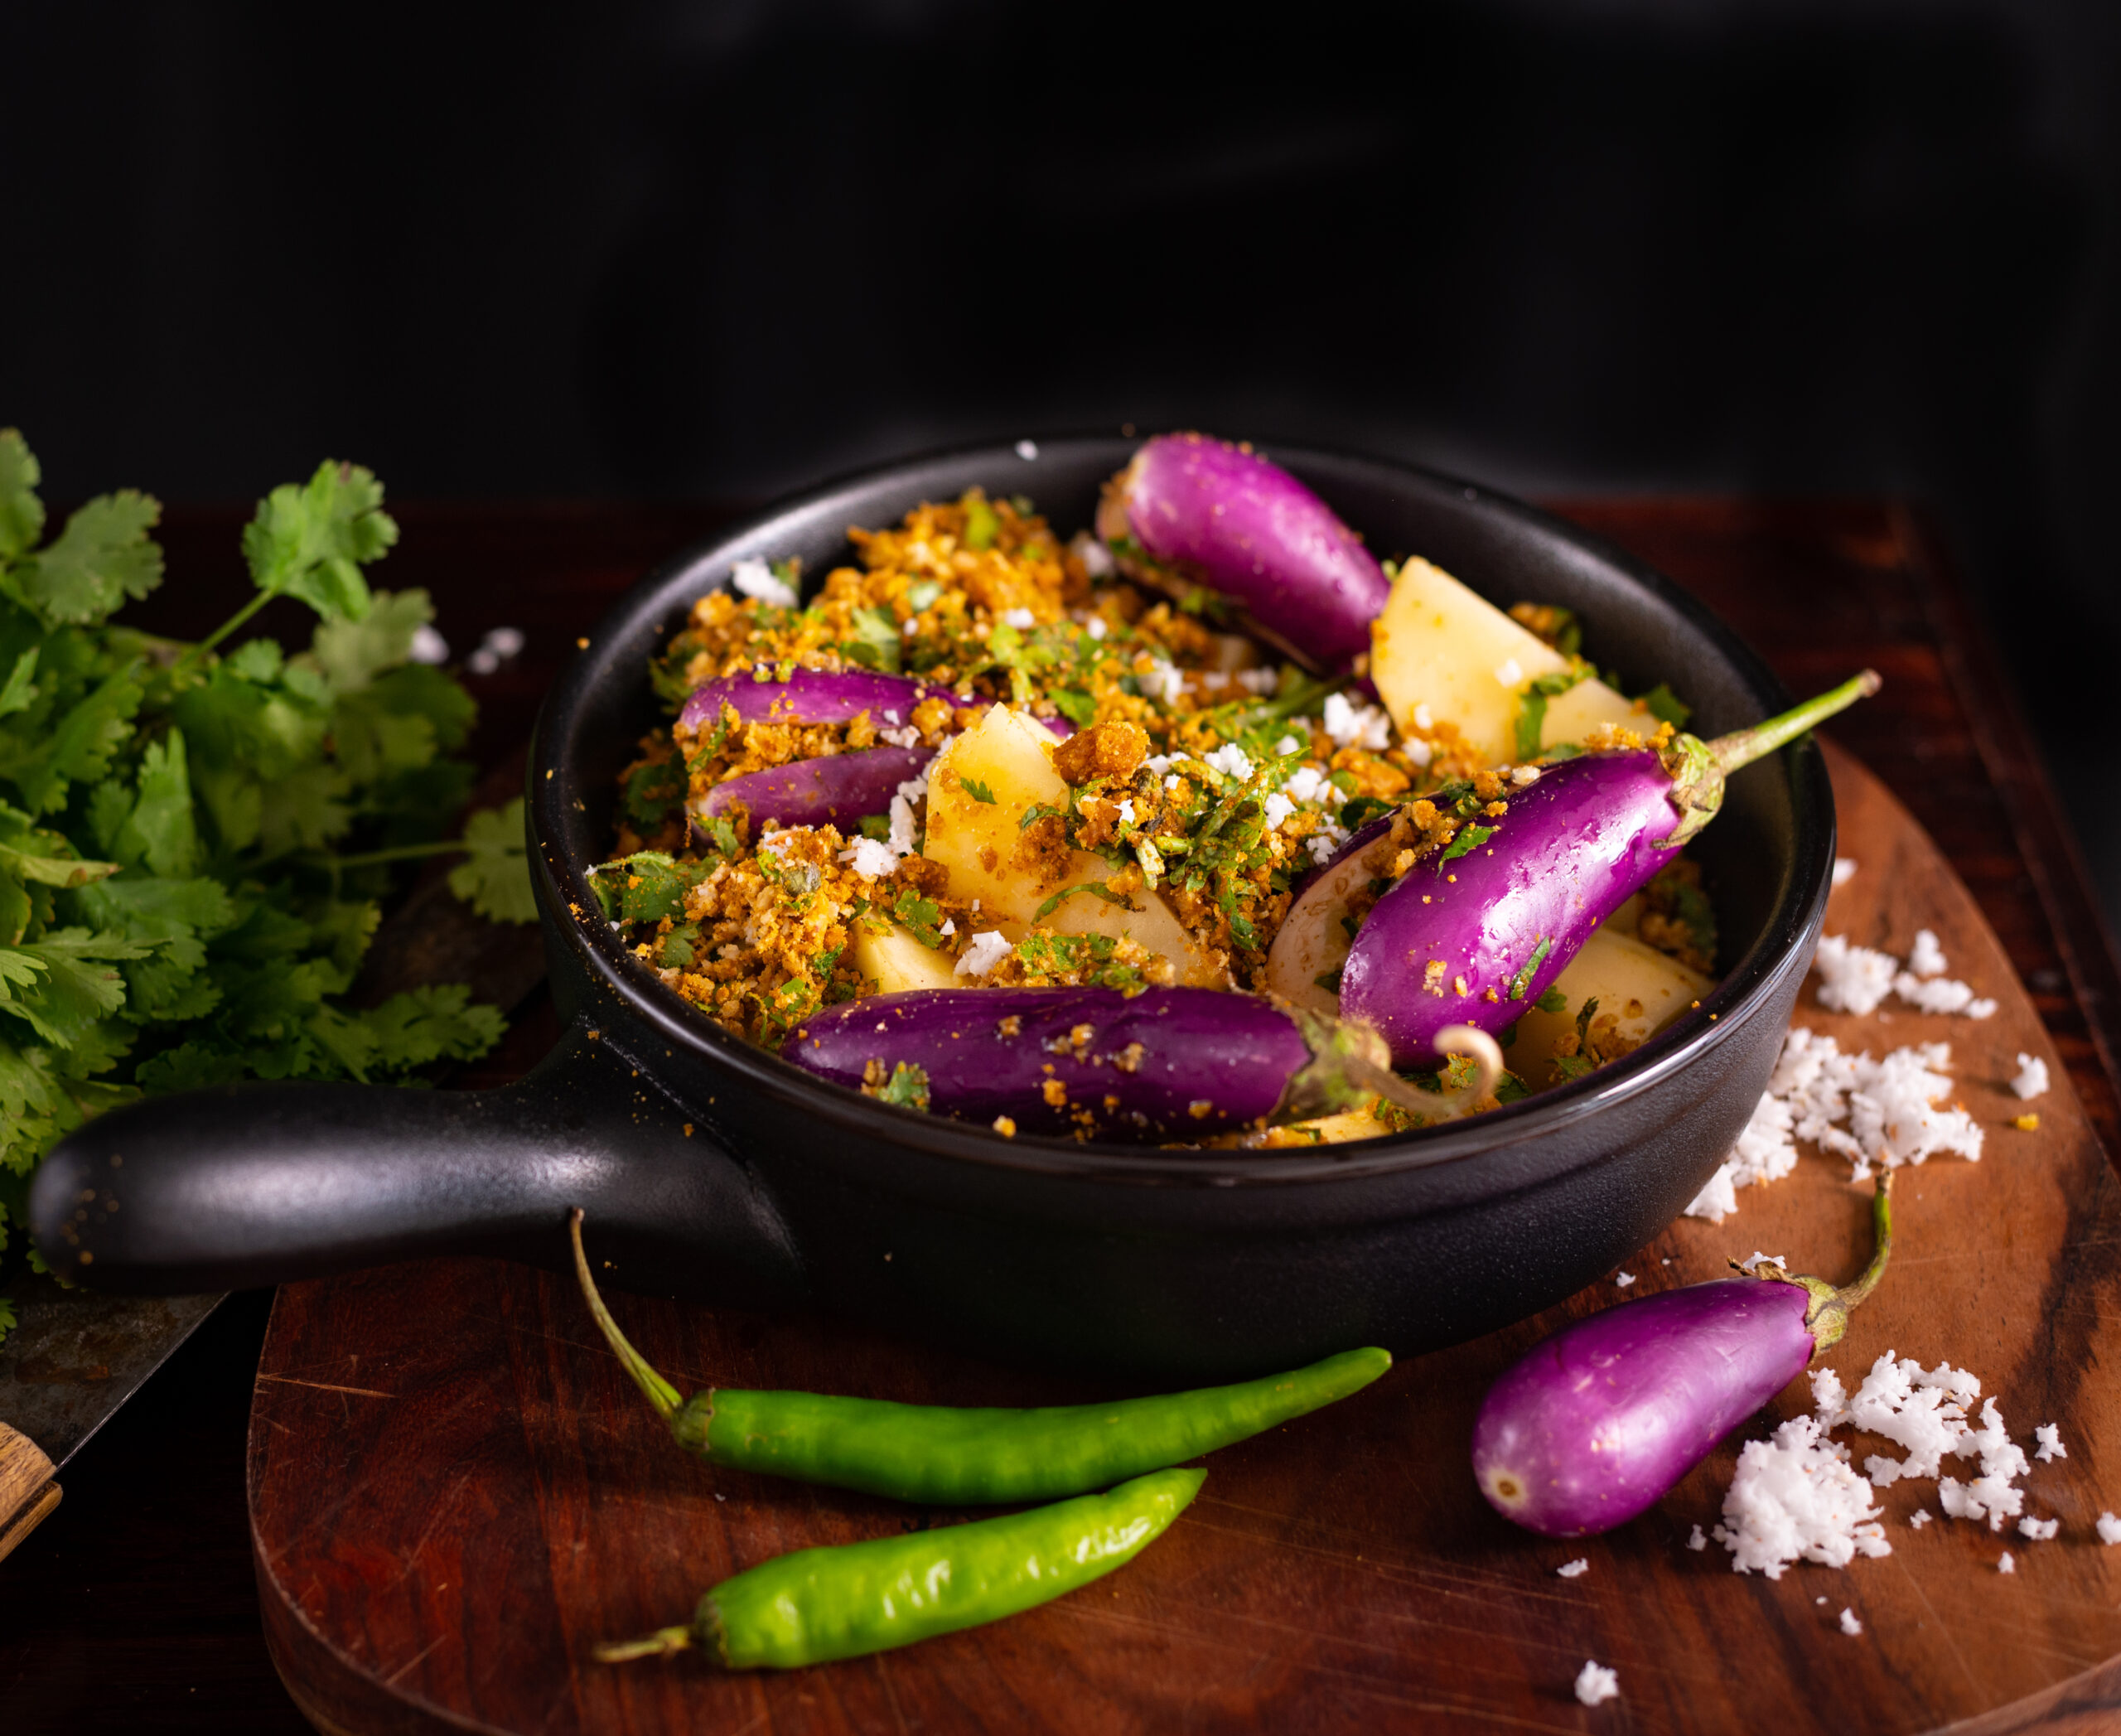
200 grams cut vegetables (beans, carrots, small potatoes, peas)
100 grams finely cut onions
1 tablespoon tomato purée
1 green chilli
A few mint leaves
1 tablespoon finely cut coriander leaves
1 tablespoon yoghurt
2 cups water
Masala:
½ teaspoon turmeric powder
Salt to taste
1 teaspoon cumin powder
Raita:
1½ cups yoghurt
½ cup onions
Salt to taste
1 teaspoon roasted cumin powder
First, prepare the raita, so it’s ready when you serve the biryani. Add the yoghurt in a bowl, then add the salt and the cumin powder. Mix well. Now, add the onions and stir. Store in the refrigerator.
Pick, rinse and soak the rice in water for about ½ an hour. I have used rice from our farm as we prefer that at home. However, if you prefer basmati, then use that by all means. It’s possible that the water content may change, so adjust accordingly.
In a pressure cooker, add the ghee. Once it becomes hot, add the cumin seeds and saunf, followed quickly by the spices (cardamom, cinnamon stick, bay leaf, cloves, star anise). You can substitute the ghee for oil, especially if you are vegan.
Sauté for less than a minute or until the flavours come together in the ghee.
Next, add the finely cut onions and sauté until transparent. Once it turns golden, add the tomatoes and the green chilli. I have used a homemade tomato purée, the recipe for which was shared recently. But feel free to use fresh tomatoes, diced.
Now, add the masala and stir well. Once that is mixed thoroughly, add all the vegetables along with the mint and coriander leaves. You may use any vegetables that are available to you. Fortunately, my usual method for this biryani requires simple ones that I still have on hand easily – beans, carrots, small potatoes and peas.
Next, add the yoghurt. Blend everything well. Discard the soaking water and add the rice.
Now, add 2 more cups of water to the rice mixture. Cover the pressure pan and allow 1 whistle. Then, lower the flame and allow to cook for another 5 minutes.
Turn off the flame and allow to cool in the cooker until it is ready to open.
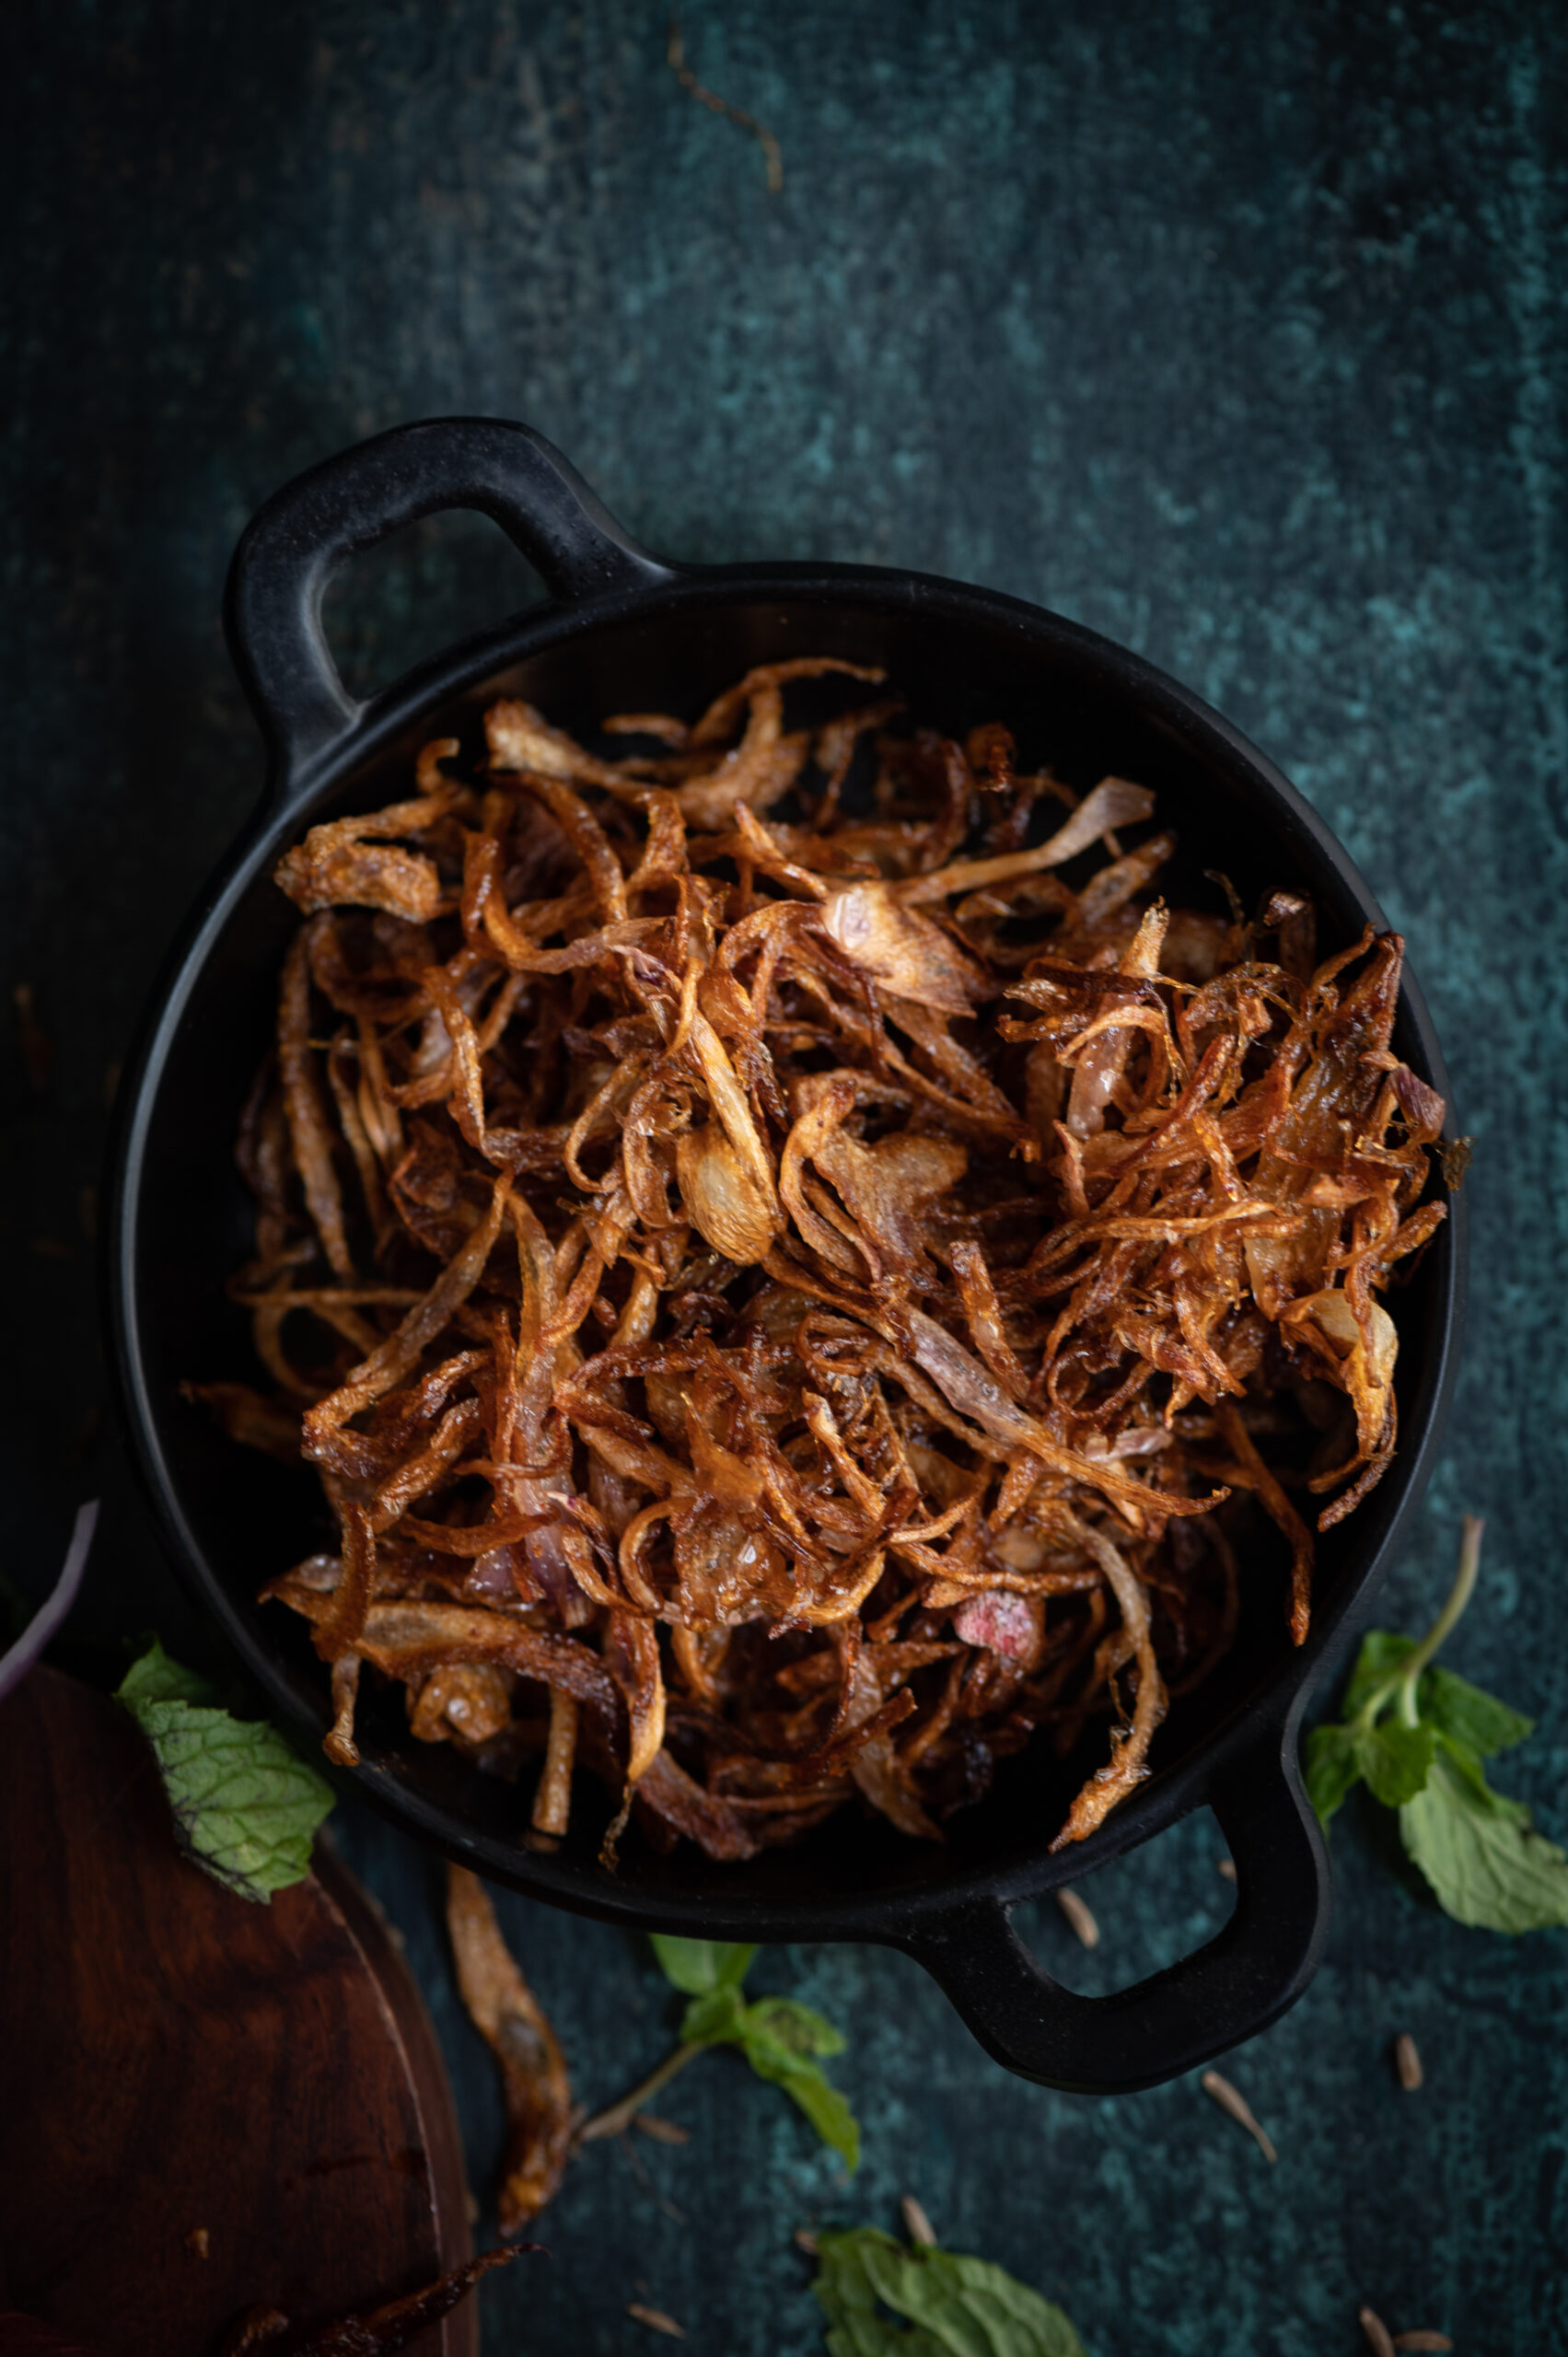
Once open, mix gently and serve with the onion raita. I garnish the biryani with a sprinkling of golden burnt onion slices.
And there you have it – a recipe from the royal kitchens, adapted for our lives today. I hope this simple vegetable biryani will bring you some joy in this surreal time. I’ll keep sharing more recipes in the next few weeks which I hope will also do the same.
If “biryani” has been considered a fancy dish in your mind till date, I encourage you to drop the notion. Let’s return once more to the fact that there are numerous kinds of biryanis – with meat, without meat, with vegetables, without vegetables, with some kinds of rice or with some other kinds of spices. This is why I want to say with confidence – give it a try! I am sure it will be great, and I would love to hear about your own variant in the comments.


")