Tag

South Indian

Browsing

You may have heard the stories that idly came from Indonesia, and that sambar came from Maharashtra. Today, both of these are accepted as quintessentially South India food. When it comes to food, where much is often not recorded, it is very difficult to pinpoint where a dish came from. The way I see it: at the end of the day, it’s down to your creativity, your imagination, the ingredients that are available while you’re cooking, the ingredients that grow during that season and in that area – there are many variables. Similarly for this sambar, which may have originated anywhere but tastes good everywhere.

My version of sambar is influenced by the communities I grew up in. I know I must sound like a stuck record since I say this about so many dishes, but various communities do prepare it in their own ways. This is true for every kind of food, and there are variations between cooks as well. This is the sambar that my family likes and have grown accustomed to. My mother’s preparation was different, and my daughter will probably cook it differently as well.

Food is like Chinese whispers: by the time it trickles down to us, it may be a far cry from what the inventor of the dish made. Everything we know about authentic, traditional food is by word of mouth and trial and error. I doubt that much was ever written down, except perhaps recipes for temple offerings and so on. Additionally, traditional food was always defined by location – i.e. seasons and available produce, as mentioned earlier. Some of us do still try to follow this natural logic, such as through Macrobiotics. But overall, we have come a long way since then. Today, avocados, blueberries and strawberries grow in India. While they may not go into our sambars, they do go into our diets pretty regularly.

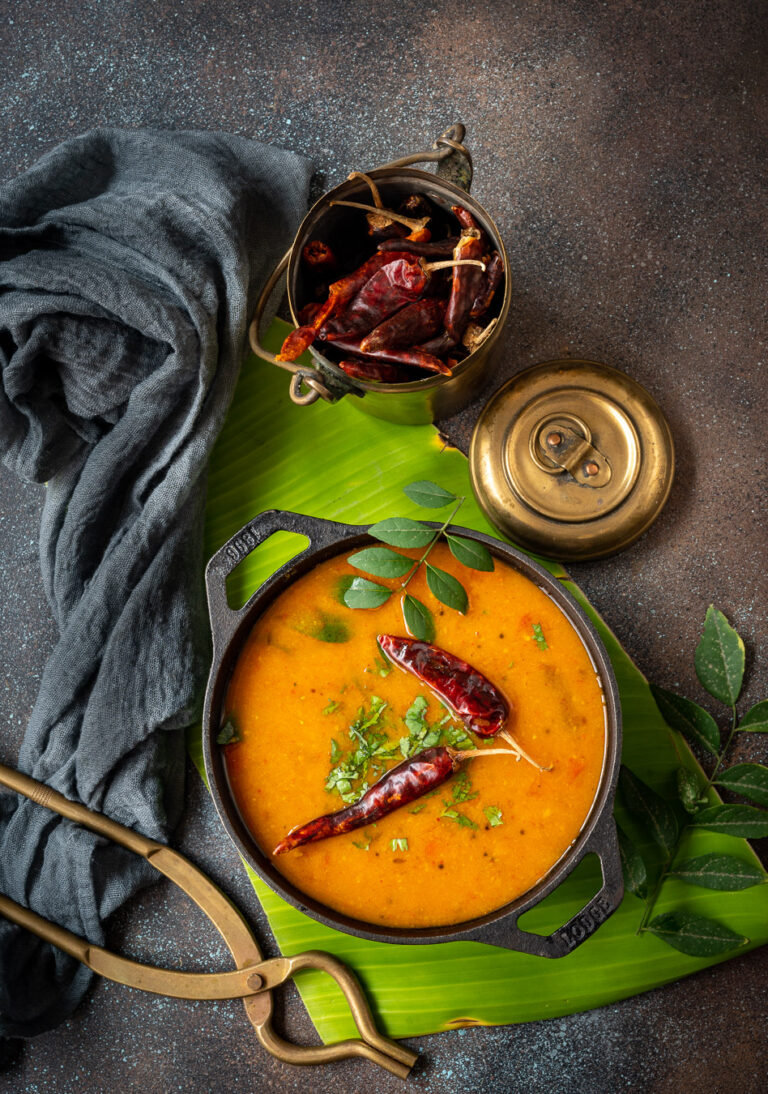
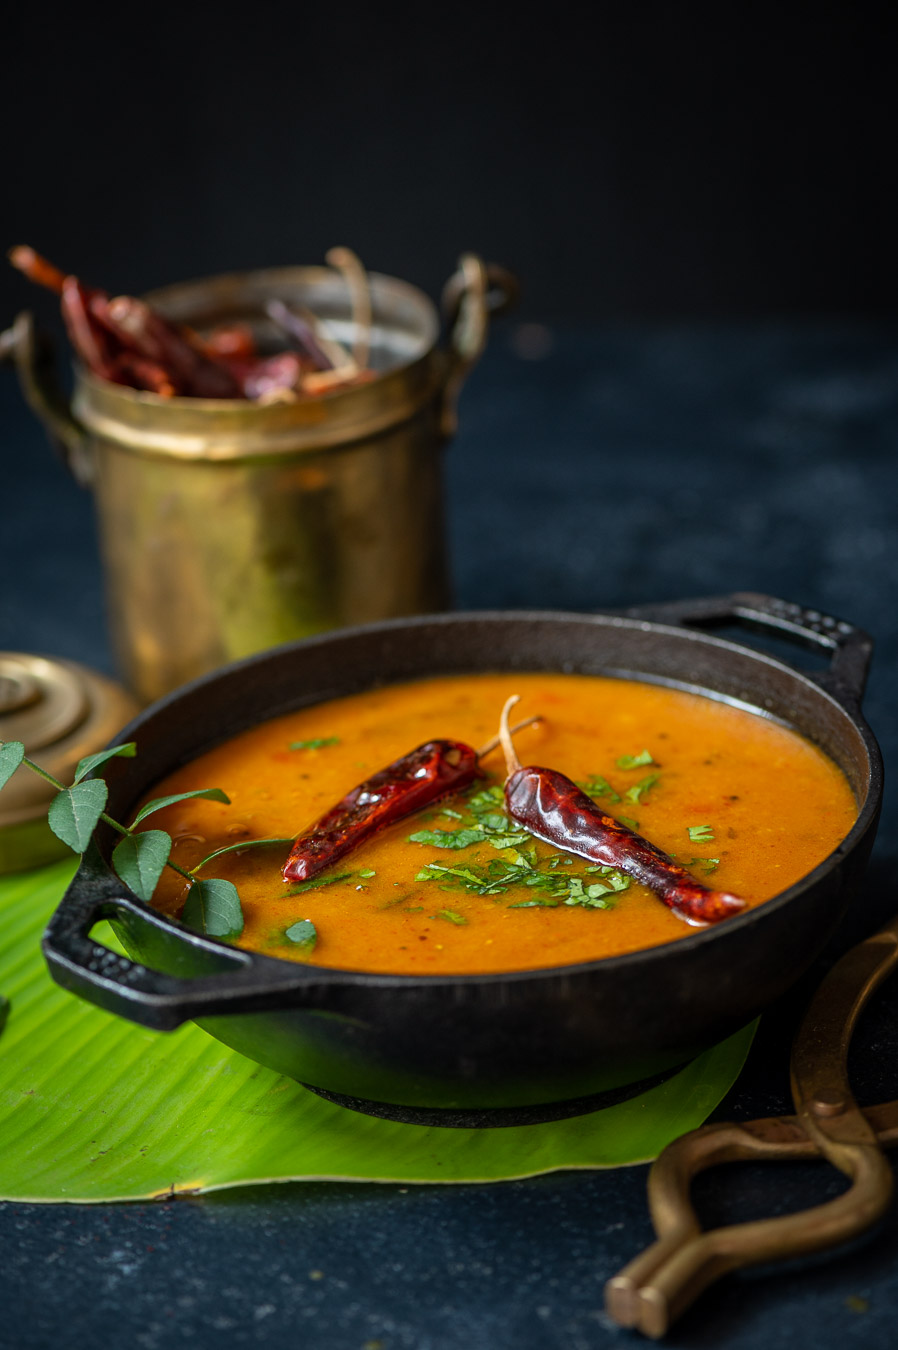
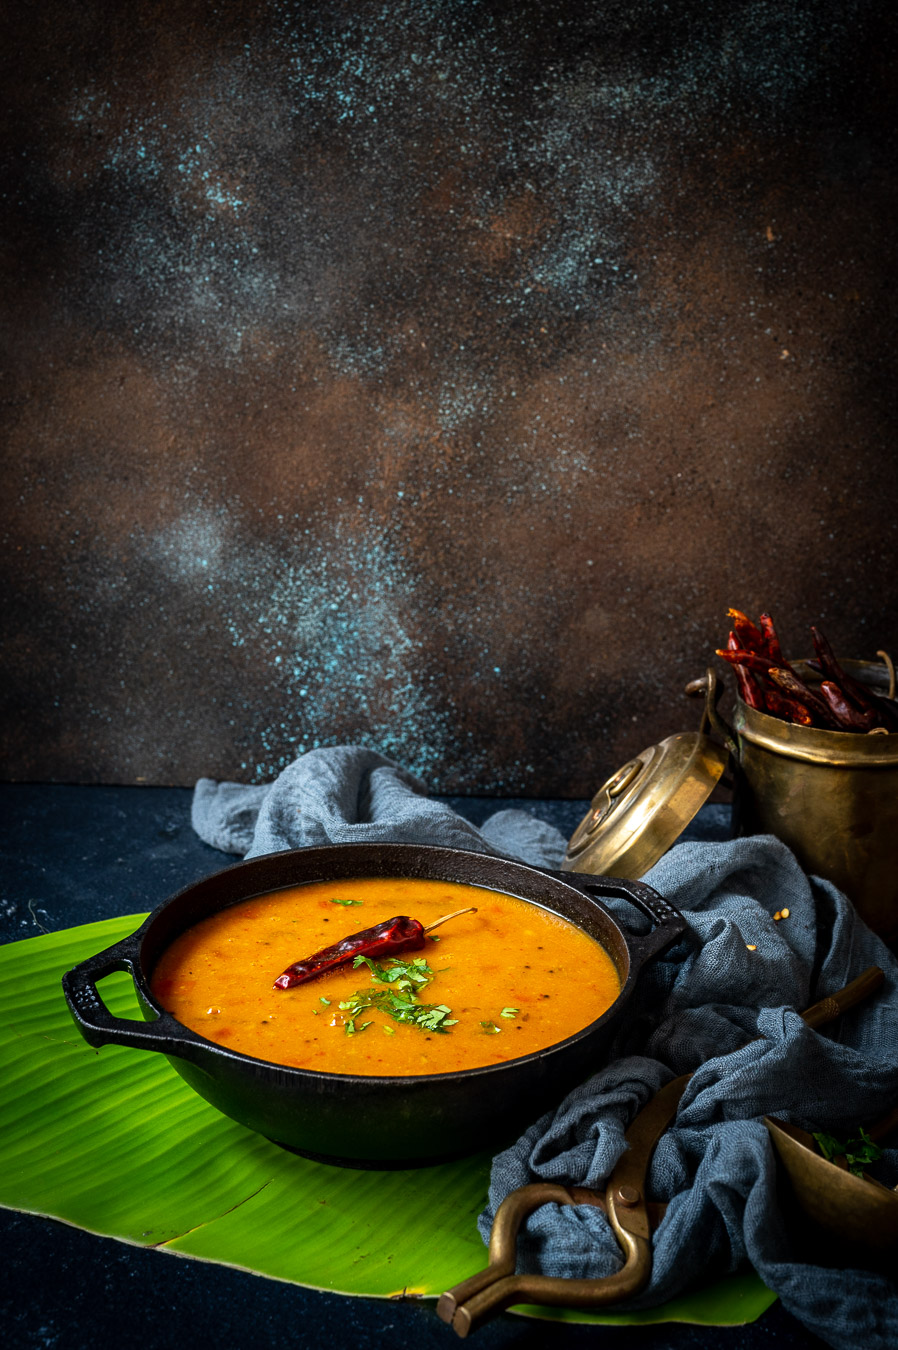
Coming back to sambar: it is a lentil-based dish that is enjoyed with dosas, idlys or rice. It is rich in protein, and is quite healthy for you. For the recipe below, I have used a readymade sambar masala, but I also have a homemade sambar powder recipe that I will share with you soon.

Sambar

(Yield: Serves 4)


1 cup toor dal (pigeon pea)

2 cups water (to cook the dal)

2 tablespoons sesame oil

Salt to taste

¼ teaspoon turmeric

½ teaspoon Kashmiri red chilli powder (adds colour)

1 heaped spoon sambar masala

½ teaspoon mustard seeds

½ teaspoon cumin seeds

¼ teaspoon asafoetida

5-8 curry leaves

1 dry red chilli

1 cup shallots

1 tomato – finely chopped

Juice of 1 lime-sized ball of tamarind

3 cups water


Cook the toor dal along with the water in a pressure cooker until tender. Set aside.

Heat a kadai and add the oil. Once the oil is heated, add mustard seeds, cumin seeds, curry leaves, asafoetida, dry red chilli, and finally, the shallots.  Sauté until the shallots are tender.

Now, add the tomatoes.

Next, add the salt, turmeric, chilli powder and the sambar masala. Sauté and add the tamarind juice.

Cover with a lid and allow to cook on a low flame, until the raw smell of tamarind dissipates. This will take approximately 10-12 minutes. Blend the dal and add it to the kadai. Make the sambar to the consistency you prefer.

Allow to boil for a bit, then serve hot, garnished with fresh coriander leaves.

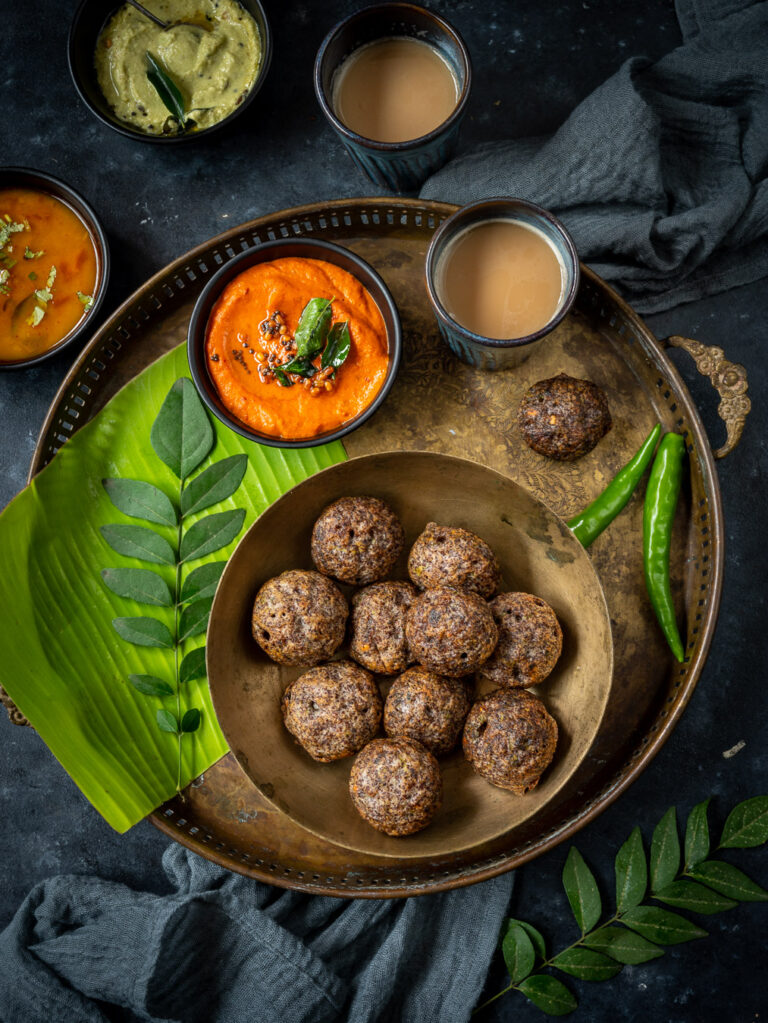
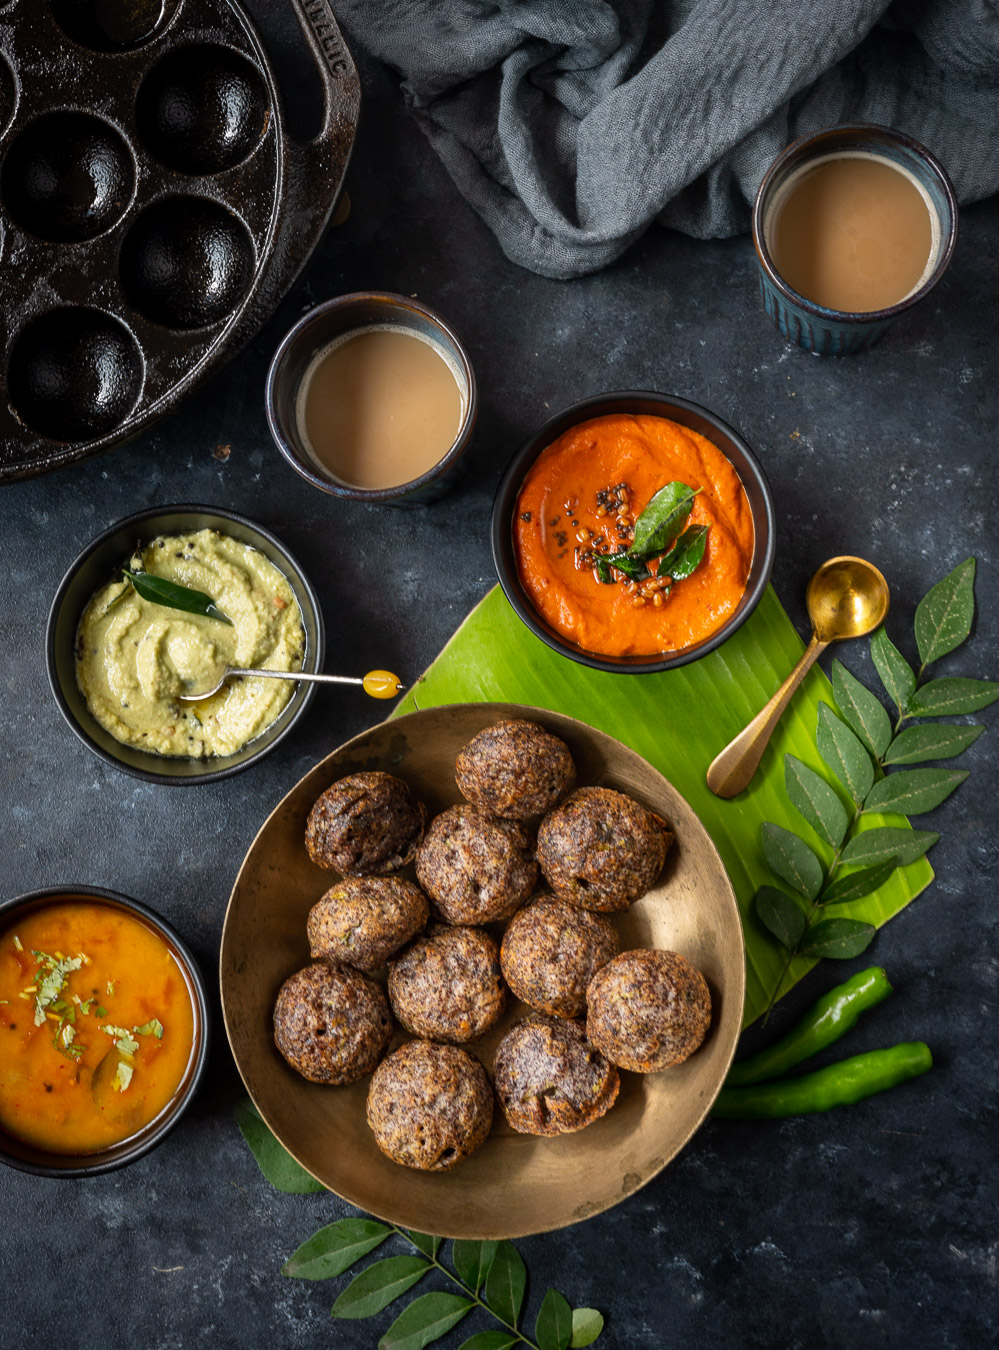
This sambar pairs perfectly with the ragi idly I shared last week. Why not try both out together and let me know what you think?

Here in Tamil Nadu, the harvest festival of Pongal has begun, and all over the state families are celebrating the occasion. Delicious, piping hot chakkara pongal is customarily consumed, but alongside it ven pongal (white pongal, made with freshly harvested rice) is also made. Oh, and let’s not forget certain creative yet authentic pongal renditions that are out there, such as this red rice and jaggery pongal. As you can see, there are many kinds of pongal, and this year, I thought I’d share with you a lovely savoury one.

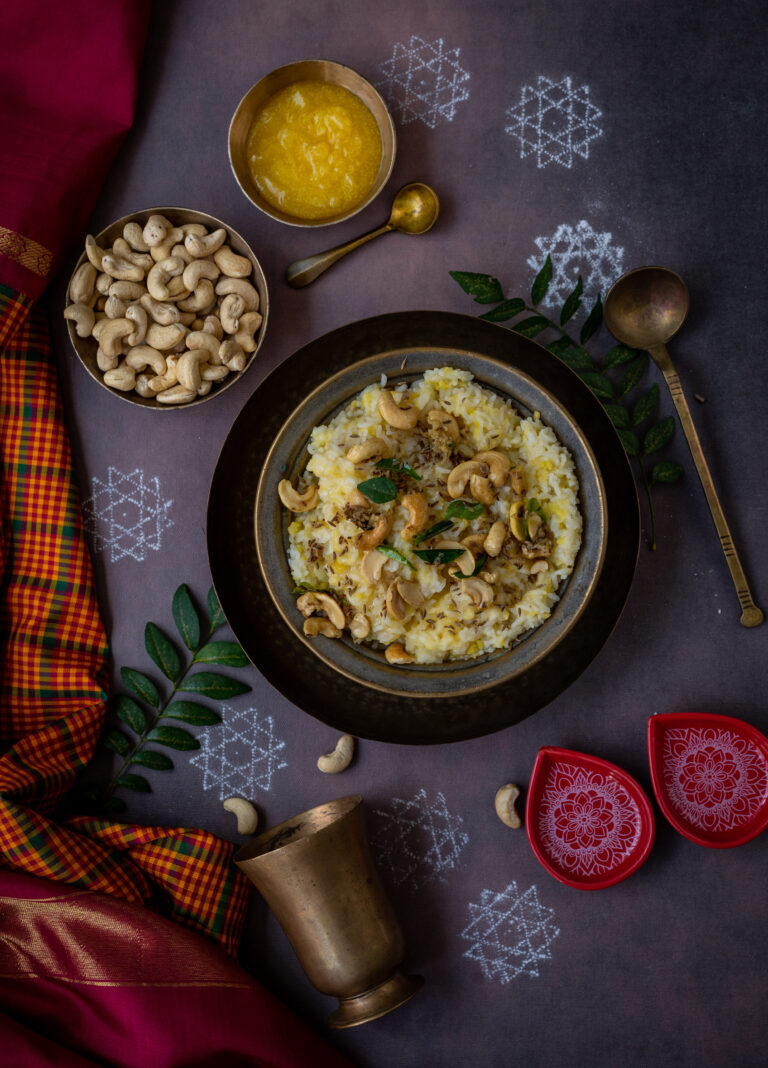
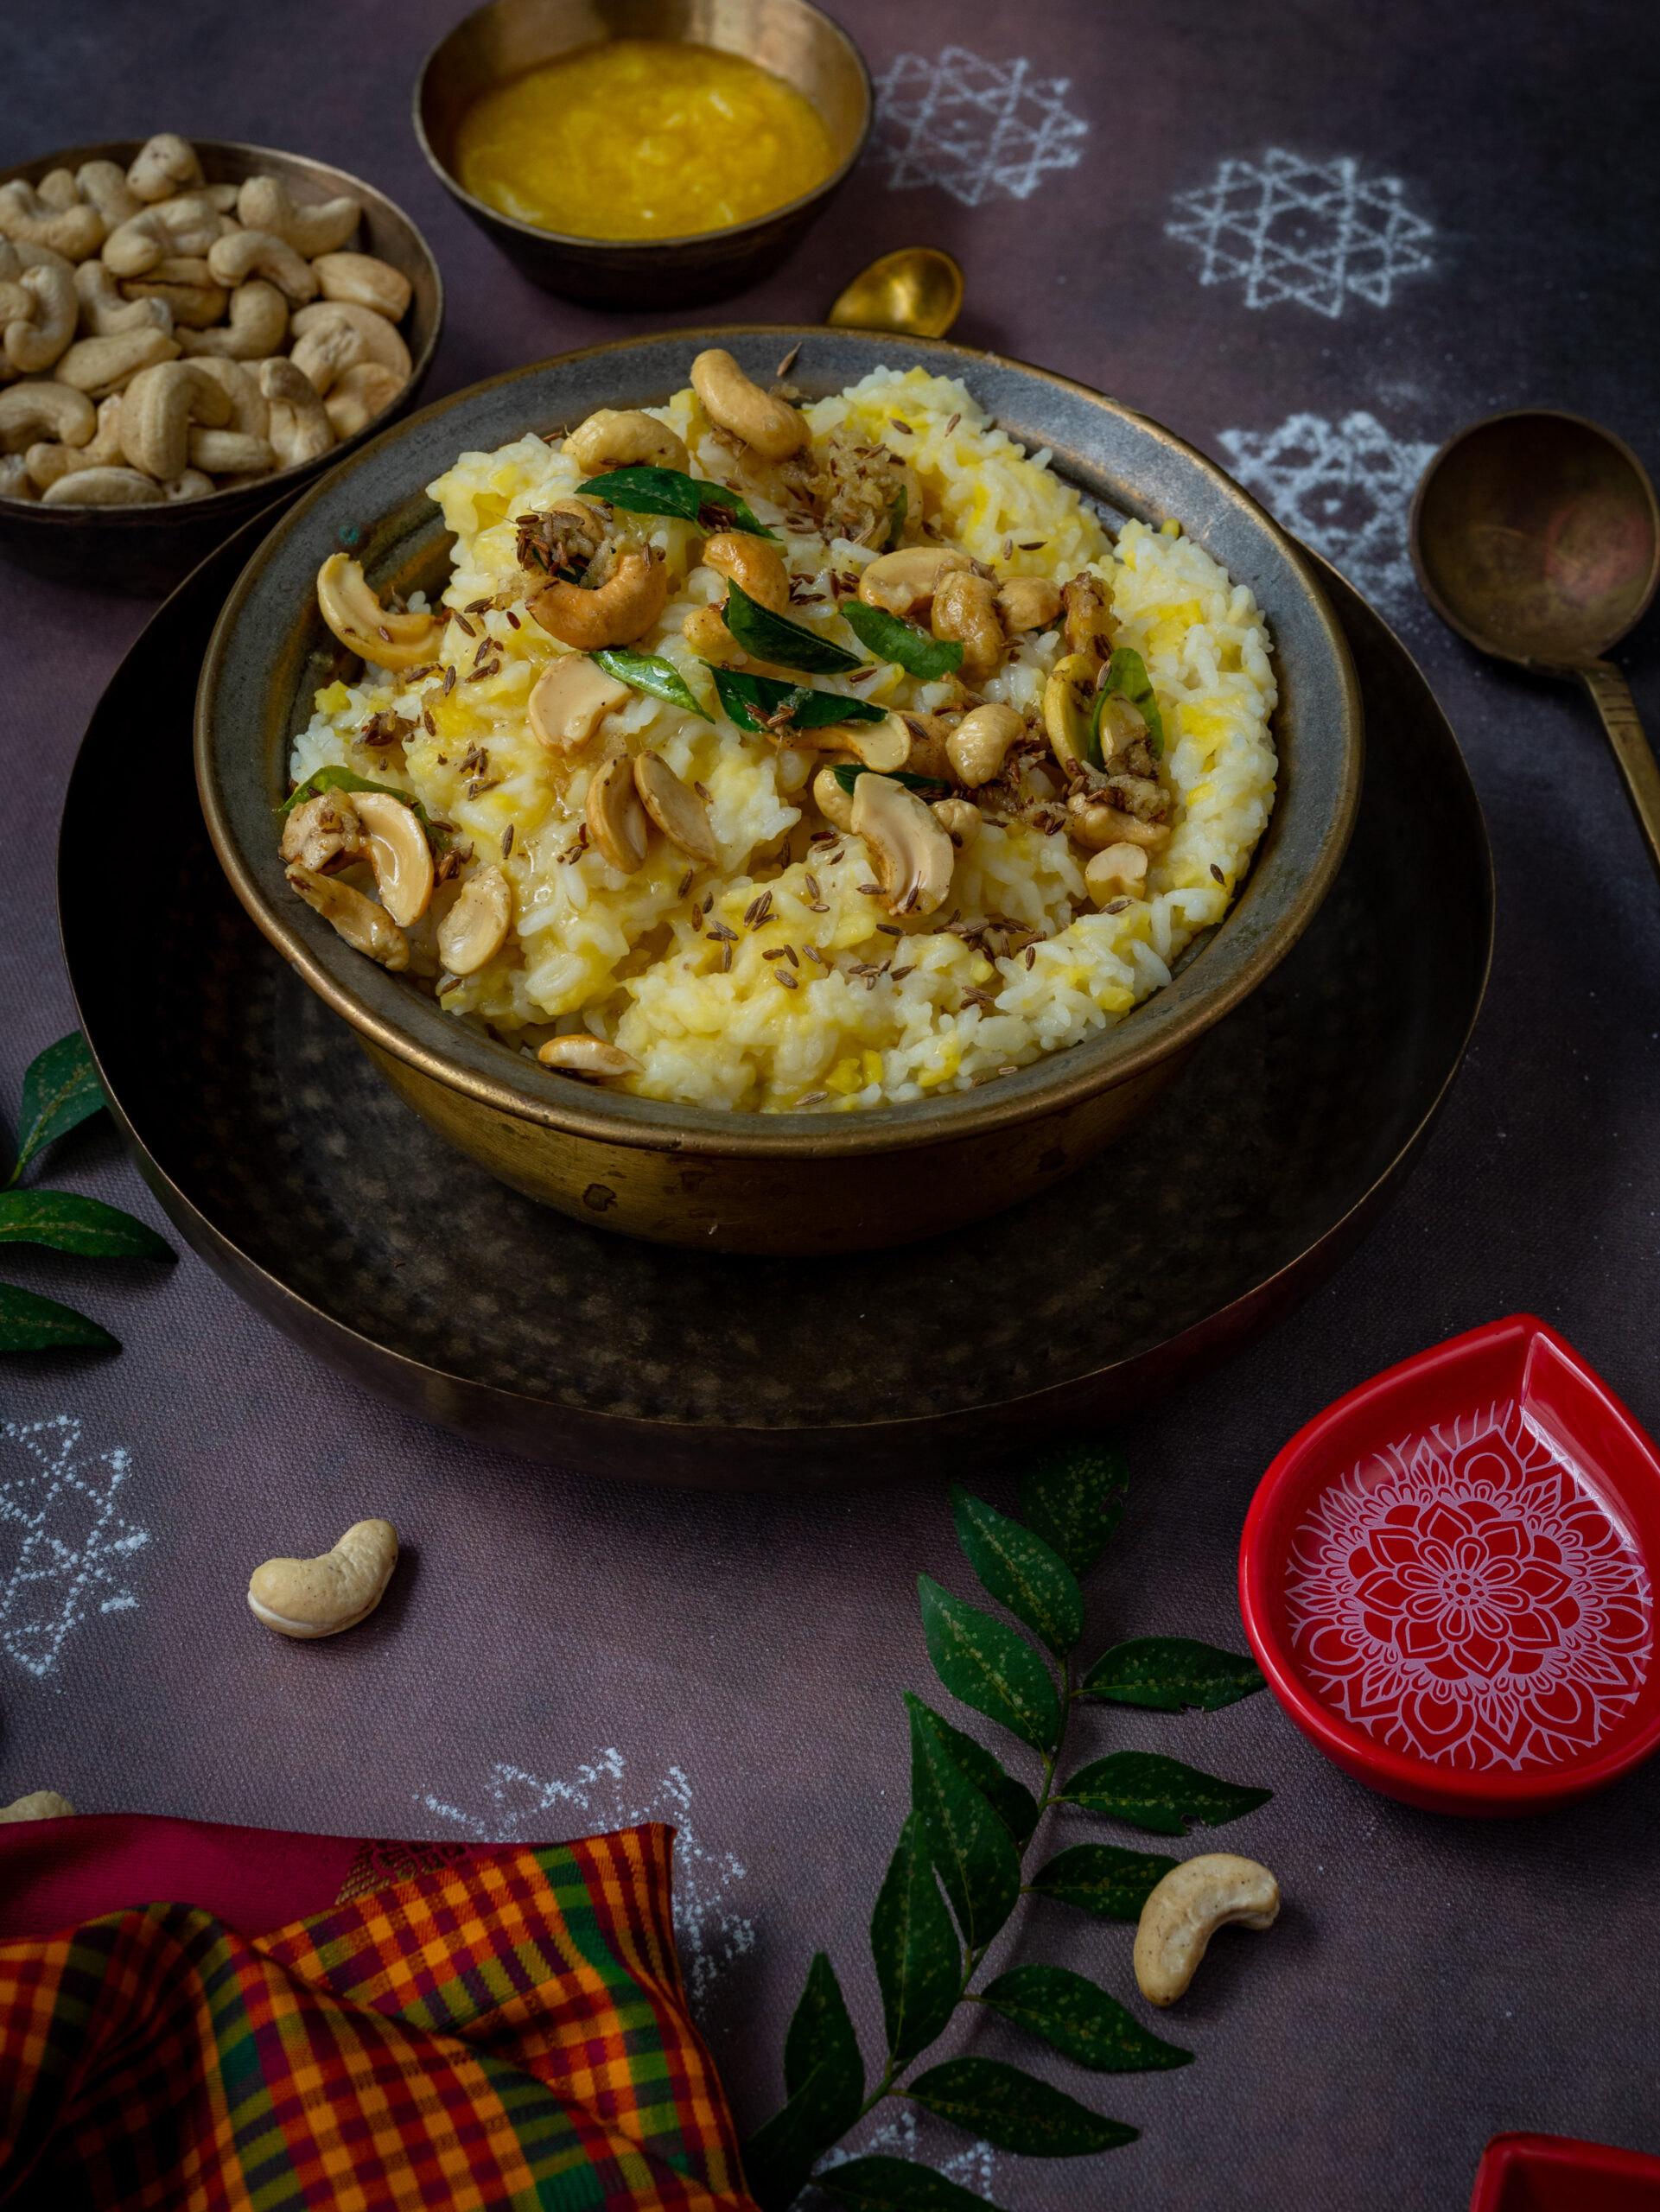
Ven pongal is a traditional breakfast, one of my own favourites. It is a part of regular temple offerings too. This ven pongal is similar to a khichdi, which is a basic mixture of dal and rice. Unlike khichdi, it’s to be eaten with chutney or sambar. While khichdi is normally eaten for lunch or dinner but seldom for breakfast, with pongal it’s the reverse. As I mentioned, it’s a breakfast dish, and is rarely seen at other times of the day or night – except when it’s eaten for tiffin, which is what we call a late afternoon meal in this region.

Whenever I have breakfast while out and about in Chennai or elsewhere in Tamil Nadu, I always reach for the ven pongal. To me, it takes pride of place on the restaurant menu alongside its more famous counterparts, idli and dosa. The latter two are the “safe choices” that most people usually stick to, but I love ven pongal for breakfast and find it just as reliably made across the state. It’s very refreshing, filling, satisfying and healthy – and sees me through the day up until a hearty lunch.

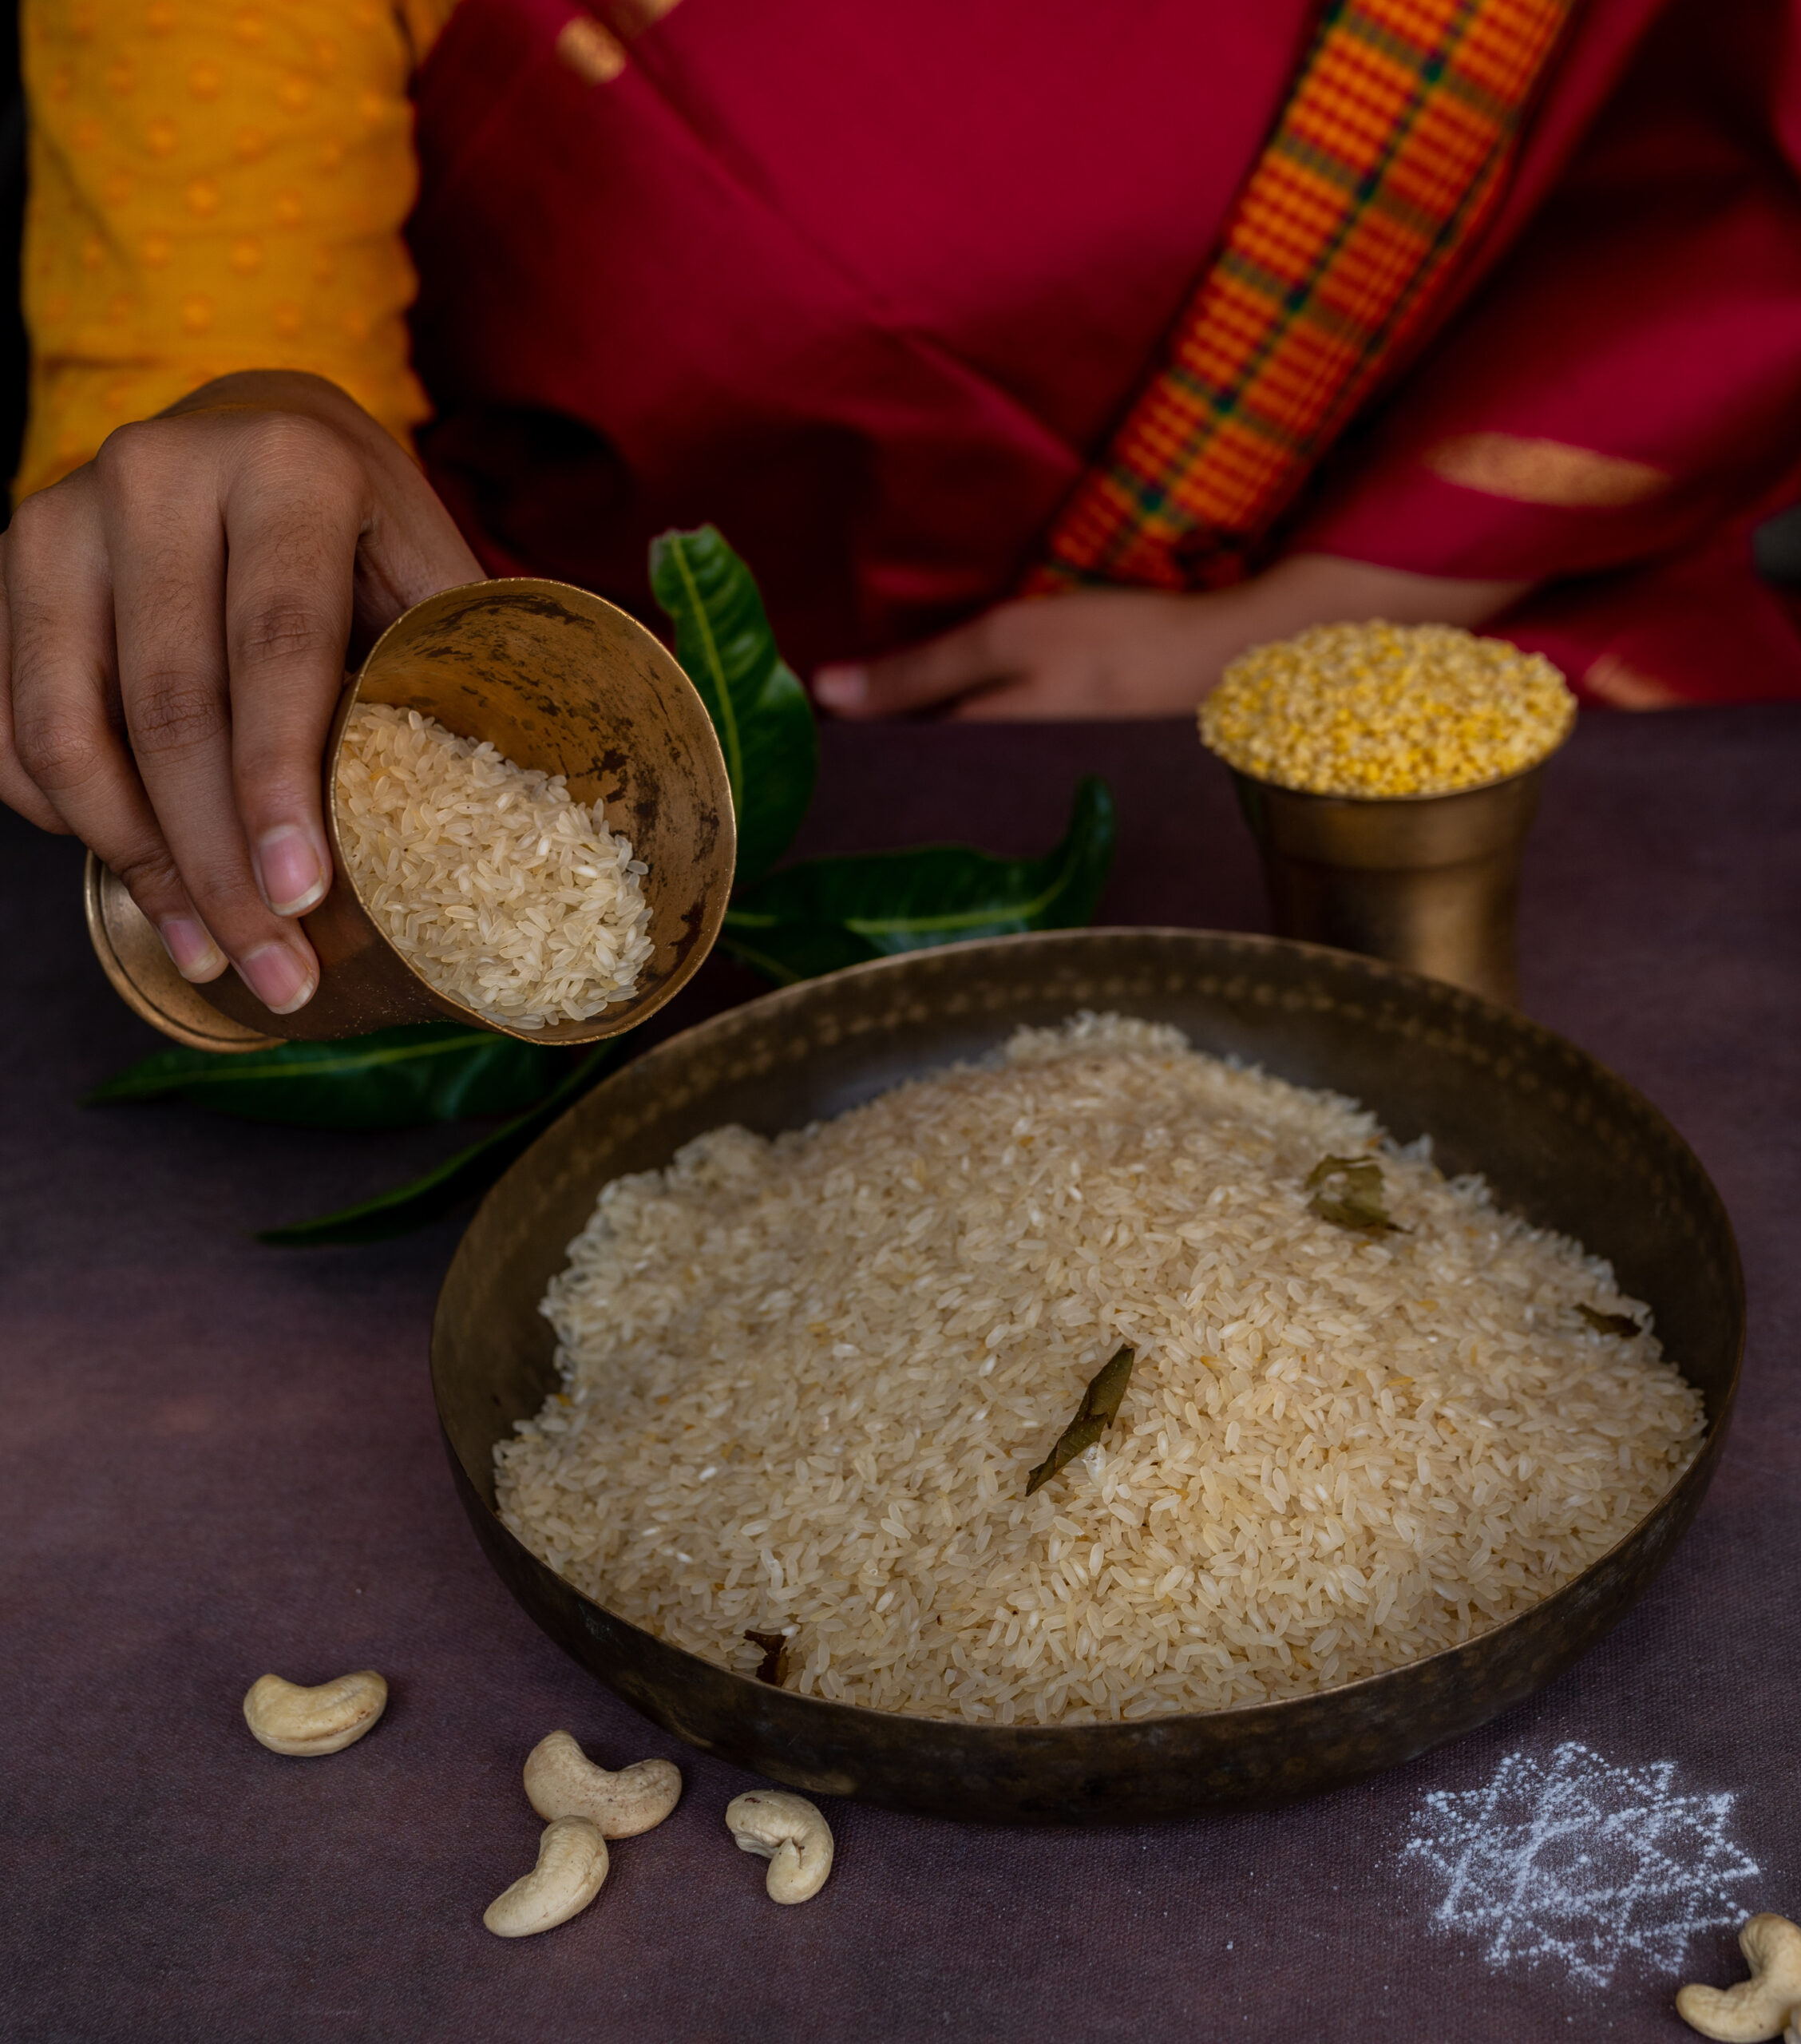
The rice that I use in the pongal made on Pongal comes from our farm, and I observe a local tradition on this day. As is custom, this is when I store rice for the household for the whole year. The older it gets, the better it tastes. It is preserved well through a natural method: the raw rice is dampened with castor oil, and neem leaves are layered on it as I fill the storage barrels. This ensures that bugs stay away, given the humidity and the climate of this region. This raw rice is eaten throughout the year. When it is rinsed before use, the castor oil goes way, and any residue left is healthy for the body in any case. You can see a part of the process in the photograph below.

My love for this dish started in childhood. We had many Tamilian friends in our neighbourhood, so my familiarity with South Indian flavours and cooking began early. The house beside ours had girls of my age, and so we used to hang out together all the time. In those days, there were no TVs, computers or other electronic devices to keep us distracted indoors, so our hobbies were to run around, climb trees (eating fruits from them and being bitten by hairy caterpillars, as I’ve recounted on this blog before), play fun games that kids no longer seem to do and generally make a racket.

With these particular neighbours, we often spent the late afternoon together. I would go to their house at around 3.30pm, right in time for tiffin. We would sit on their front porch, enjoying leisure time together. My friends’ grandmother would oil, comb and braid their long hair and decorate it with jasmine. As she did, she would tell stories. I would watch their grooming ritual, listen to their Paati’s tales and enjoy the snack of the day. Very often, it was vada (savoury fried dough) or ven pongal, like the recipe I’m sharing with you today.

While I was growing up, my mother would sometimes make this too. This was because I would bring recipes back and forth between the different homes in our neighbourhood. Pre-blog and even pre-Internet, I already loved the exchange of kitchen techniques and secrets! South Indian families we grew up with also ate quite a bit of Gujarati food as a result. Of course, festivals meant gathering together and sharing meals too. It’s funny how connected we all were in that time before cellphones. I had such a lovely, inter-cultural upbringing – it contained food, heritage, granny tales and so much more from my family and well beyond. I feel like my children missed out on those simpler times, since technology began to dominate when they were little. I wonder how the generation of today fares, with even more at their disposal, and perhaps with even more disconnection in the world. What are your thoughts on all this?

Ven Pongal

(Yield: serves 3-4)


½ cup split mung dal

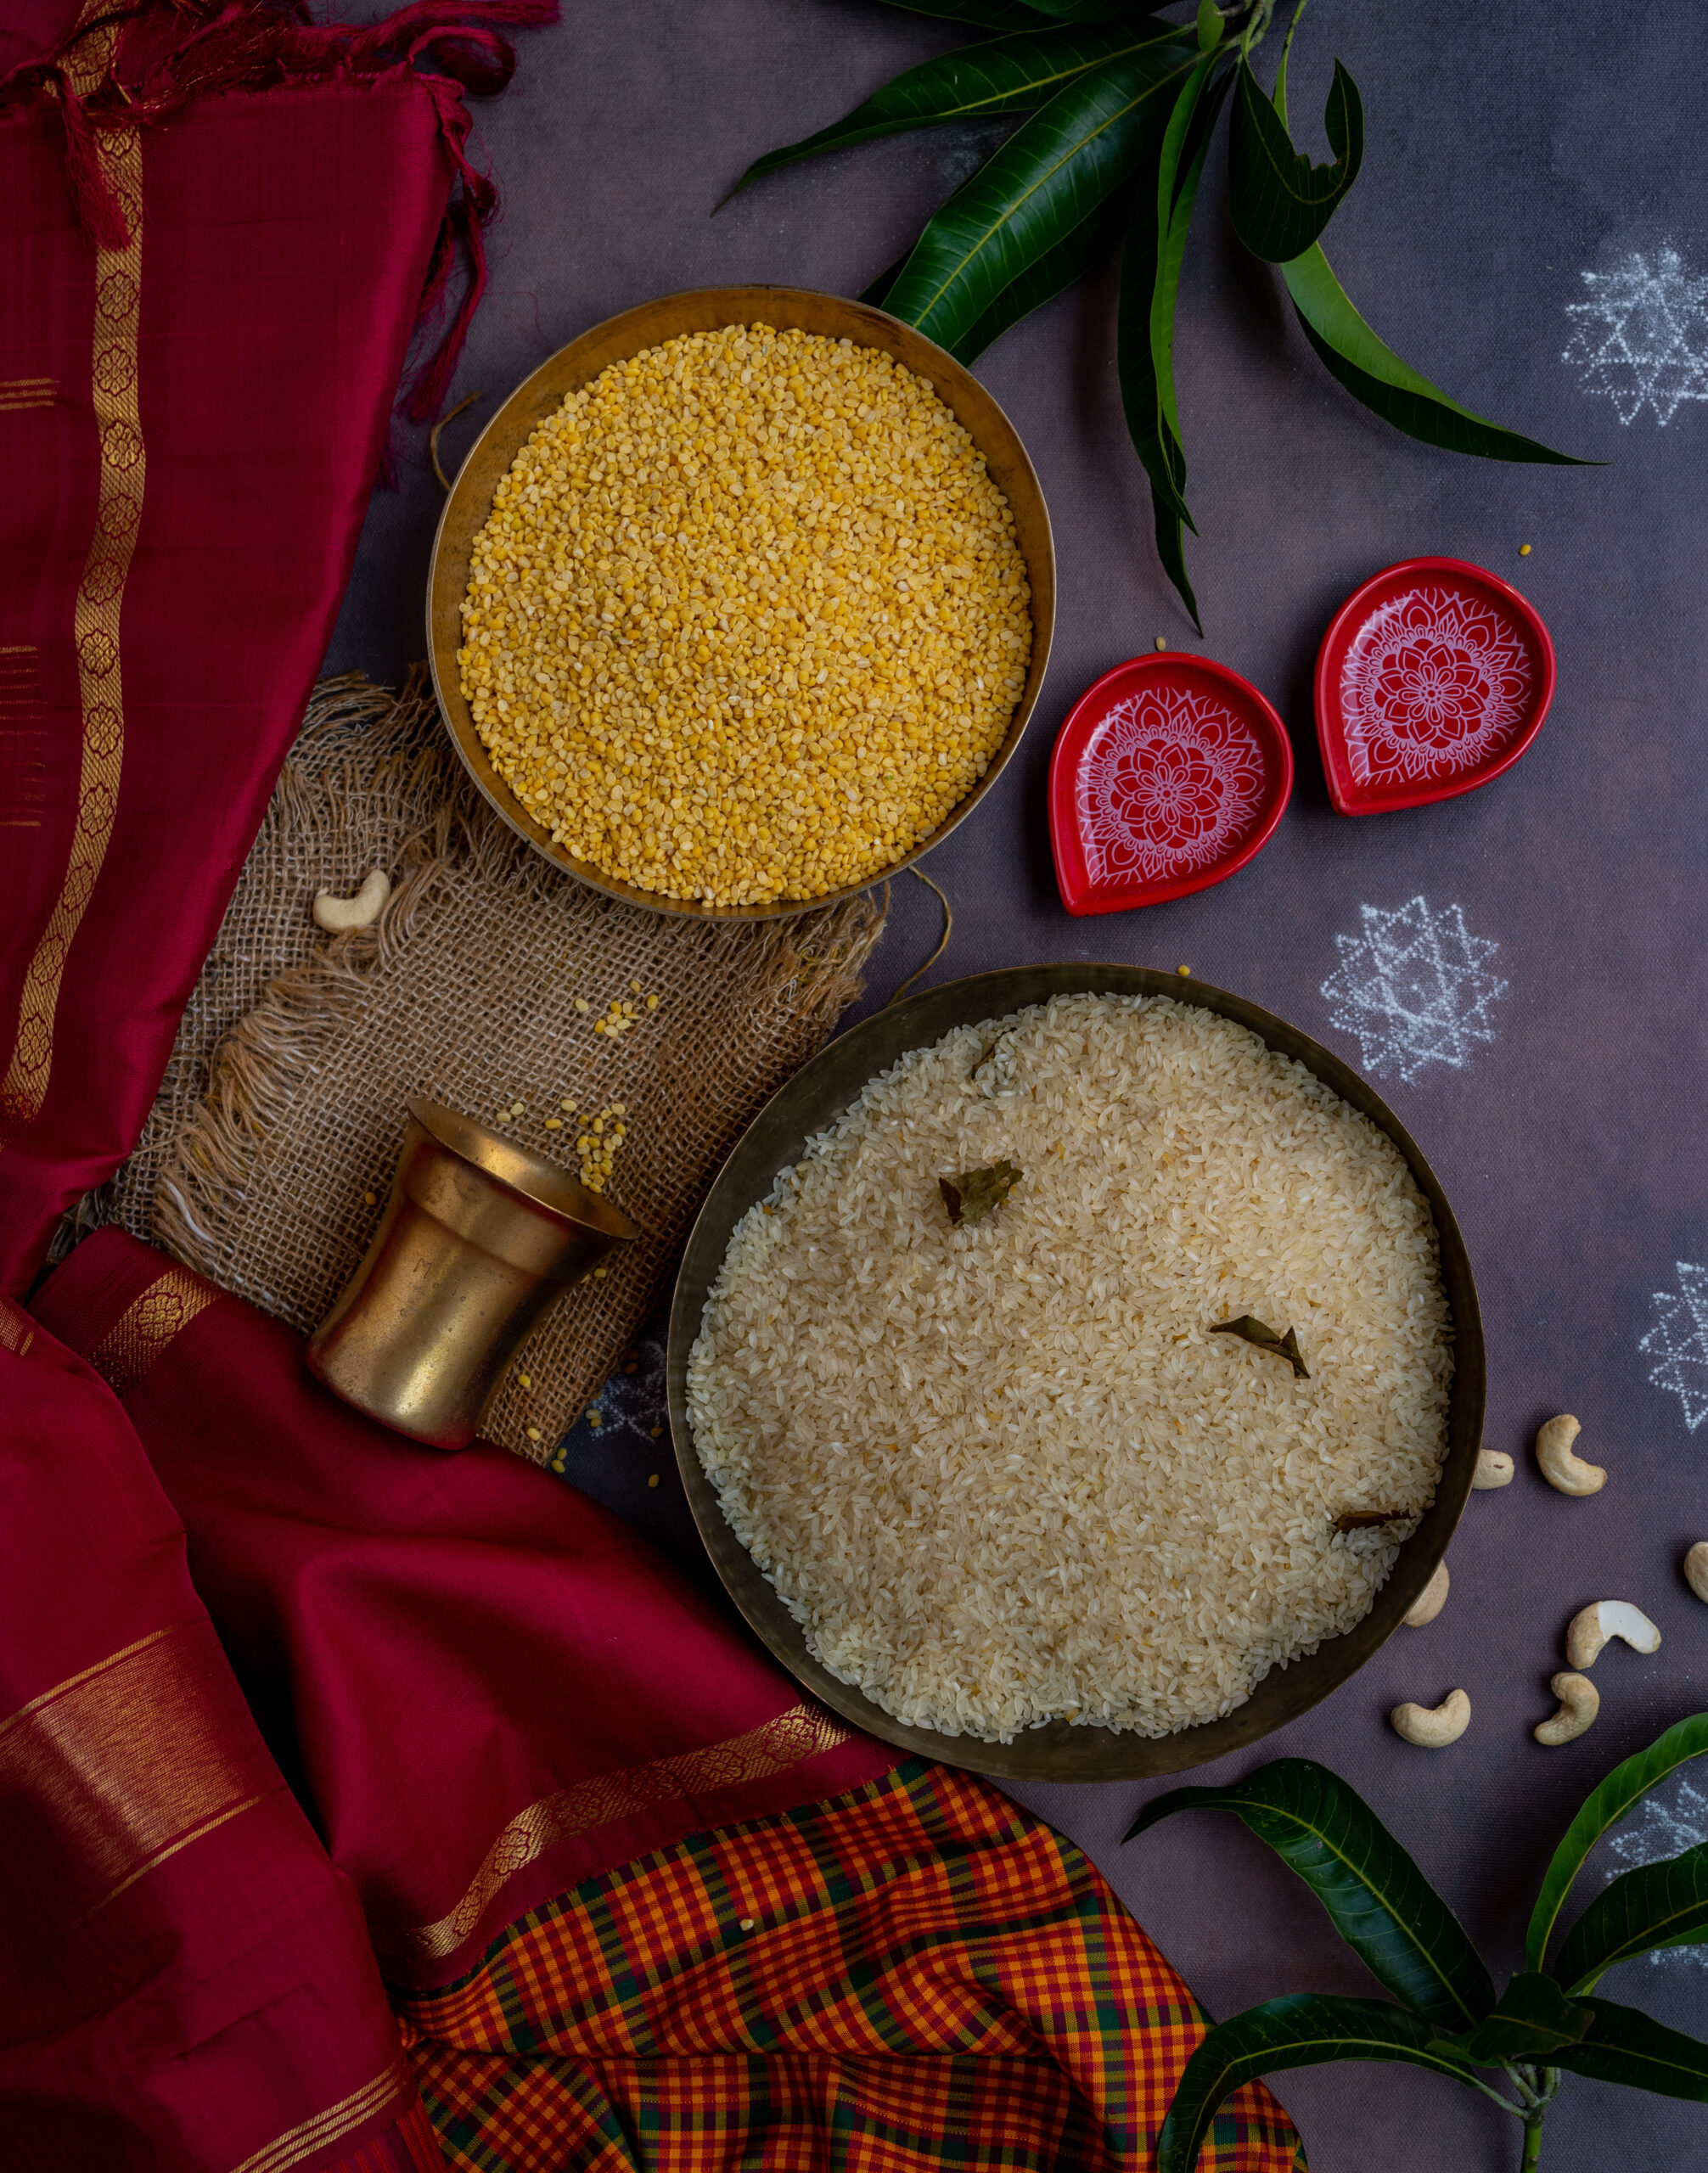
½ cup raw rice

3½ cups water to cook

2 tablespoons ghee

1 tablespoon cumin seeds

1 teaspoon whole black pepper

3 tablespoon split cashews

2 teaspoons finely minced ginger

Salt to taste

A handful of curry leaves


Mix the dal and rice together and rinse well. Heat a pan and add the mixed rice and dal to it. Sauté until they release an aroma. Do not allow the grains to turn colour.

Now, add the water, salt and 1 tablespoon of ghee. Pressure cook until tender. This will take approximately 20-25 minutes.

In another pan, add the remaining ghee. Once it has heated, add the cumin seeds and pepper. Next, add the curry leaves and ginger. Finally, add the cashews. Once this tempering has turned golden, add it to the steaming hot rice mixture.

Mix well and serve warm. It can be eaten on its own, or with sambar or chutney.

Whether you’re having this as a festive dish, or just snacking on it at tiffin or breakfast, I hope that you find it as delicious as I do. If you happen to enjoy it while sitting on your porch or balcony with dear friends, as I used to as a child, I’d especially love it if you could paint me a picture of those special moments in the comments! Food is such an intrinsic part of bonding, is it not?

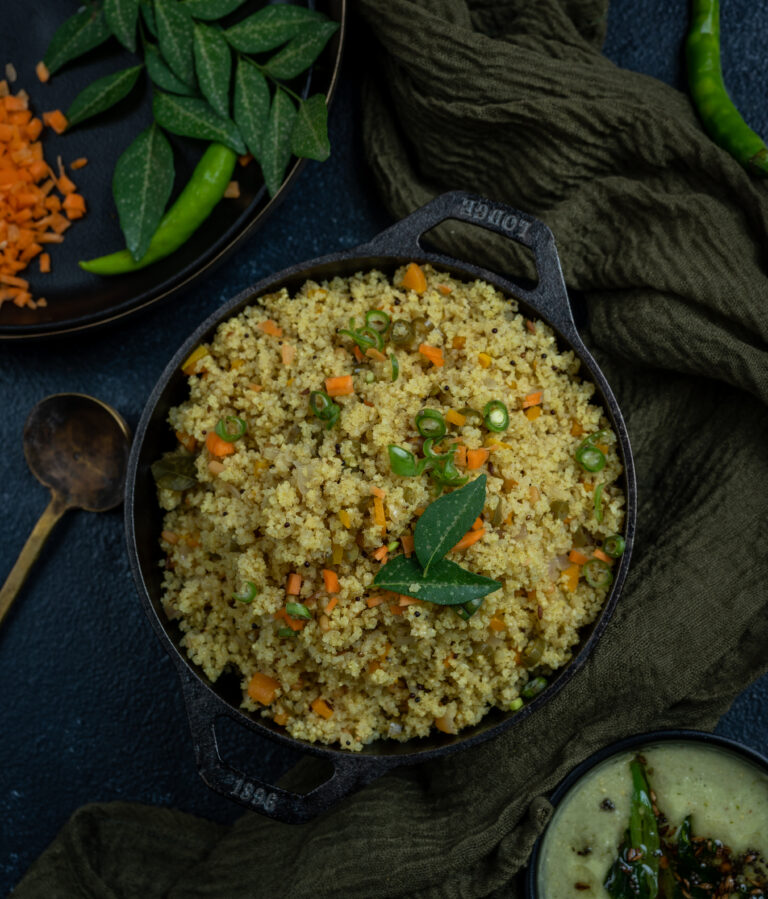
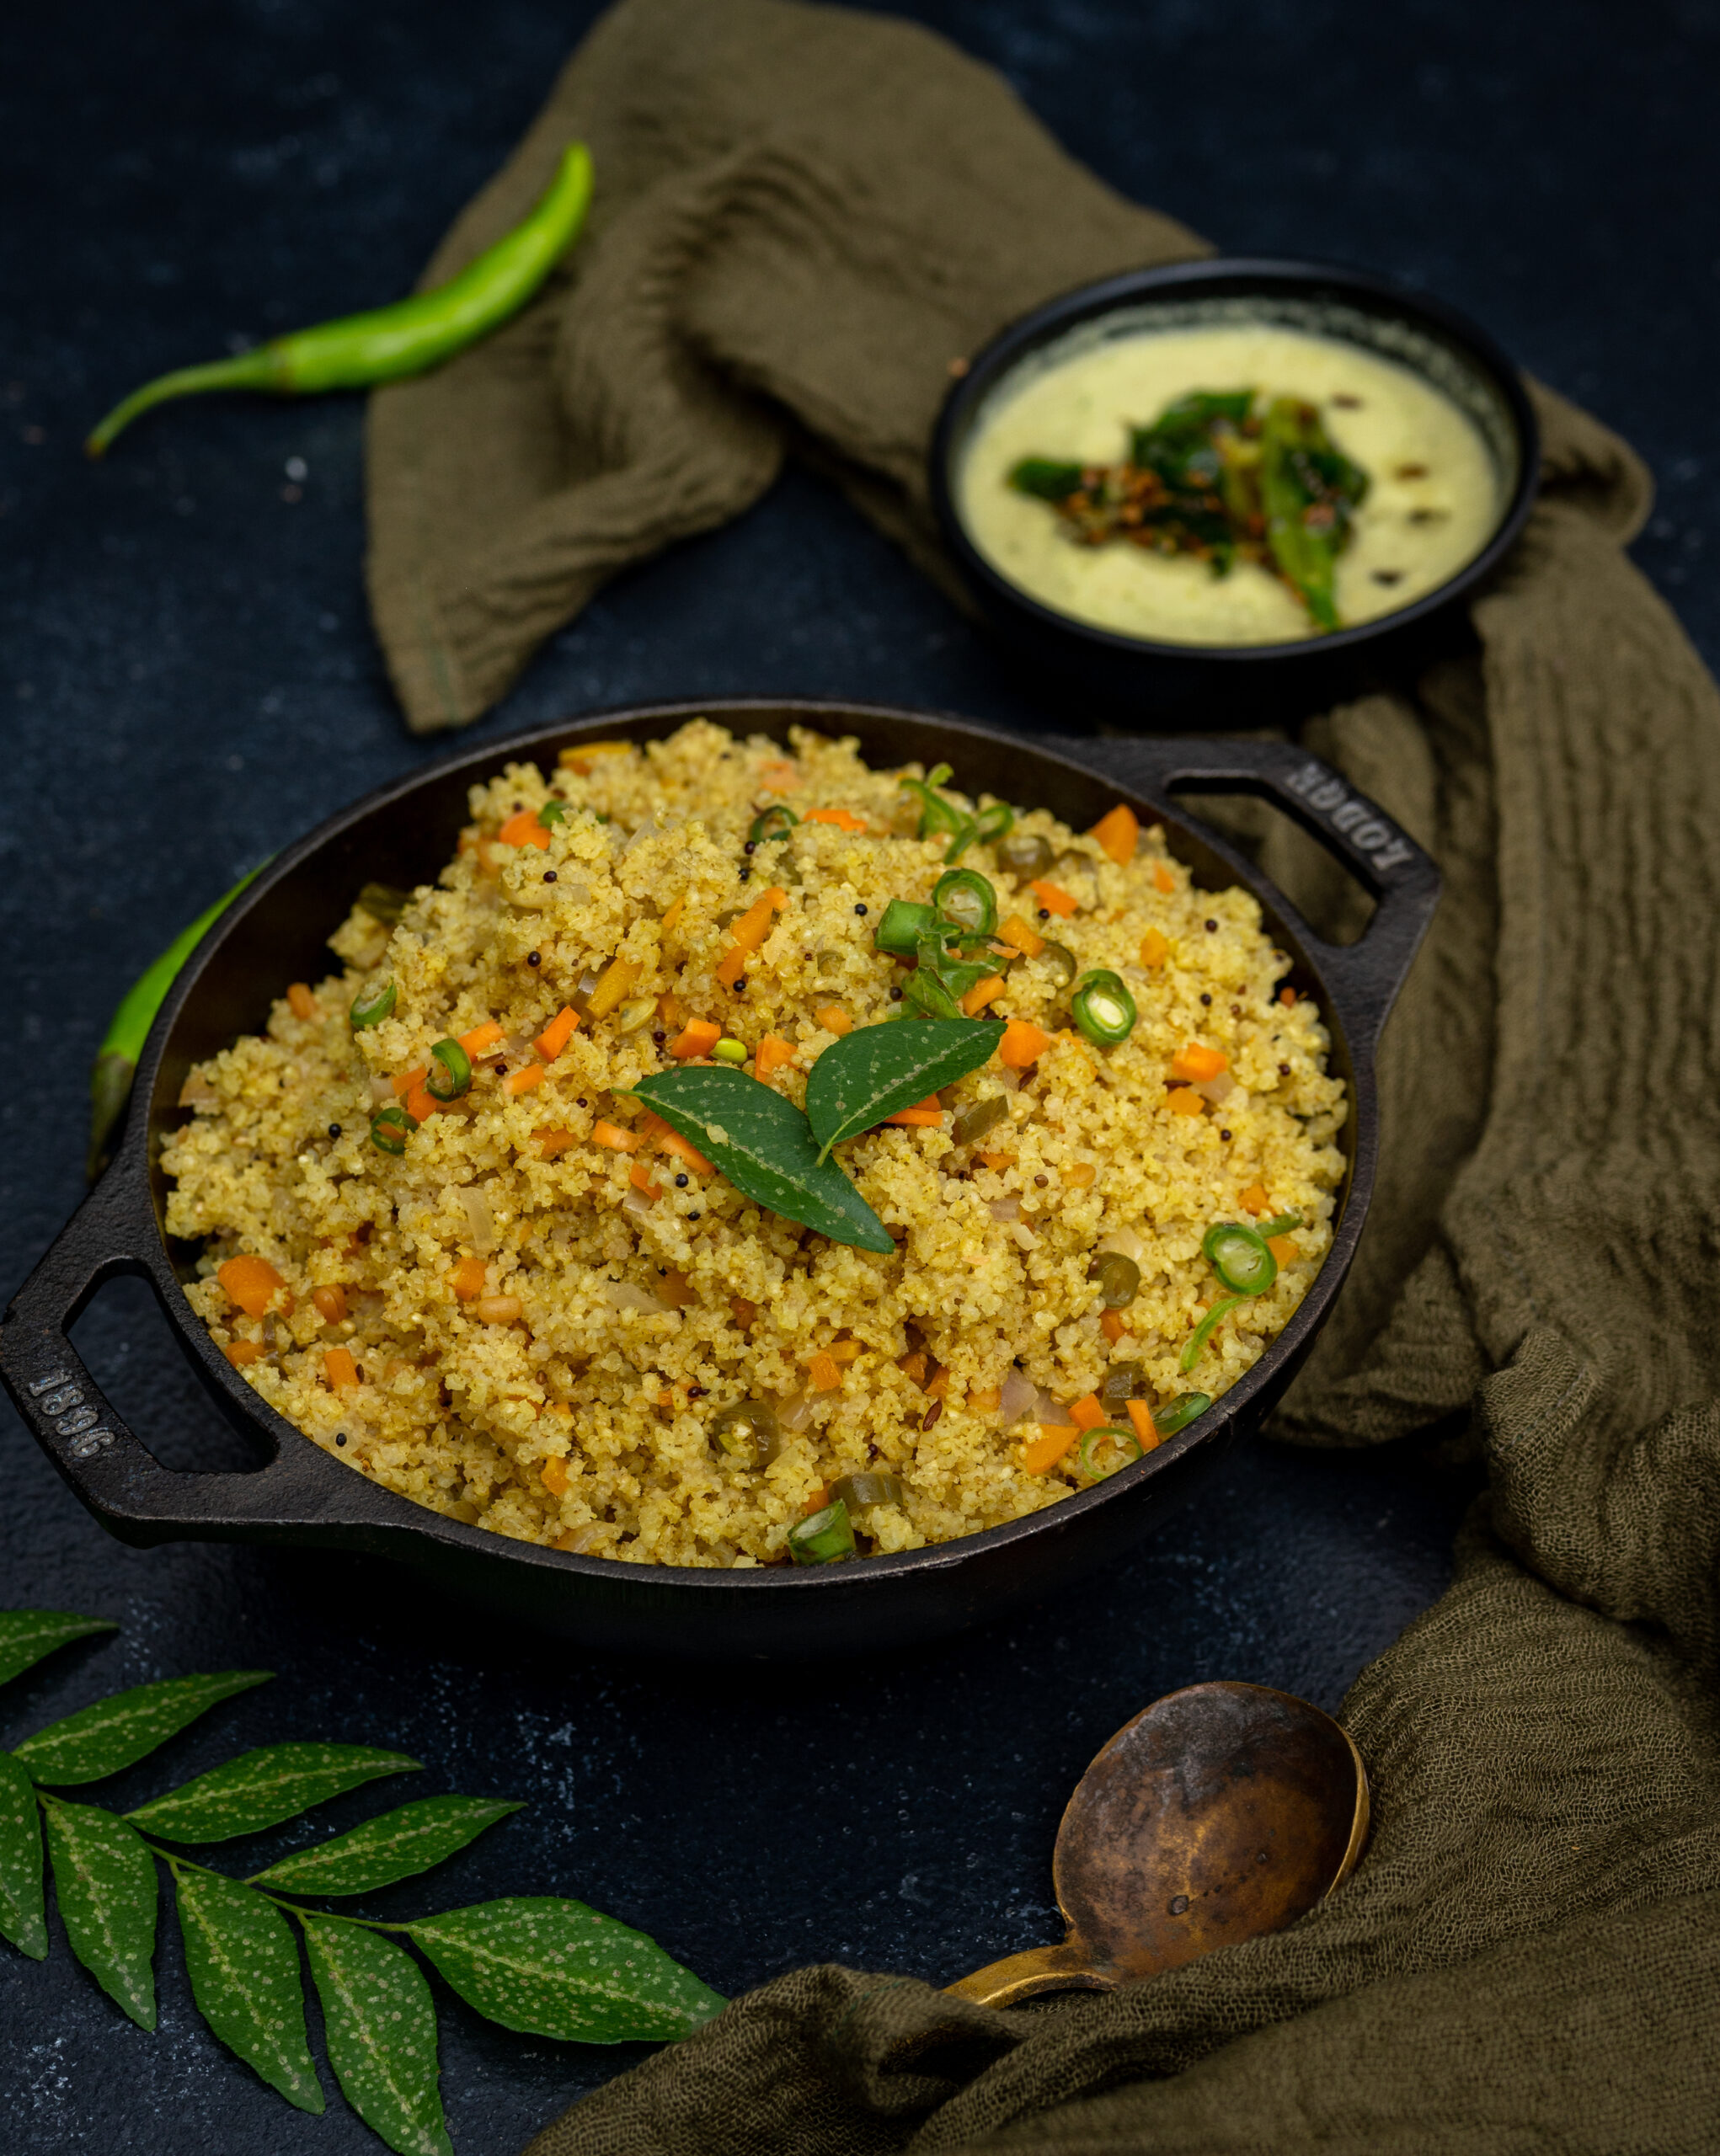
After the abundance of sweets, treats and fried foods of Diwali and Navaratri, hopefully accompanied by equally large helpings of blessings and joy, it’s back to trying to eat clean and healthy. This month is all about giving the body’s systems time to settle down before the culinary excitements of Christmas and the New Year beckon again. In this part of the world, this is also a time of rains, which call for immunity-boosting and warming foods as well. With all of this in mind, and taking a cue only from what I’ve been preparing for my family and myself, I’m delighted to share the recipe for a type of comfort food that is ideal for this time of year: millet upma.

Upma is a kind of porridge that is consumed across South India, in several variations. Its base may be semolina, vermicelli, corn, whole wheat or rice. Here, I have chosen to use a millet as the base, specifically the little millet. Millets and soups are perfect for the current weather. While soups are not really a part of the local cuisine, millets have a very long tradition of usage here. I’m quite an advocate for cutting down on white rice consumption in favour of nutritious millets, and you can explore many more millet-based recipes in my blog archives if you’re interested in doing the same.

As well as being a great place to start if you’re new to millets, this dish is also just the perfect way to start your day. Now, the truth is that millets taste healthy, which you know means that the family will fuss over it and make faces – at first. But as I’ve observed from my own grown kids, a millet upma is most welcome at breakfast after a night of partying or feasting. It’s just the kind of thing that calms body and mind, and boosts energy levels at the same time. So I choose a millet upma at the right moment during other times of the year, but it’s whipped up quite frequently in my kitchen in the post-festive period. We also have it as a light dinner, with more vegetables added to the mix. It’s especially great if you’re like me and have dinner early, as the millet gives you energy for the remaining hours of the evening, while still being easy to digest at night.

When cooking millets, the amount of water you add will depend on the size of the grain. Heavier millets – bigger in size and darker in colour – are traditionally used in monsoons and winters as they take more time to digest, hence warm the body for a longer time. However, I’ve chosen a sort of in-between. The little millet, known in Tamil as samai, is a larger grain but has a lighter colour. Use the millet of your preference, and do remember that depending on the type, you may need to pressure cook it or soak it overnight. You will also need to figure out the water level so that the result is a dish that is tender and crumbly. The consistency of the cooked millet should not be sticky.

Millet Upma

(Yield: 2-4 persons)

¾ cup little millet

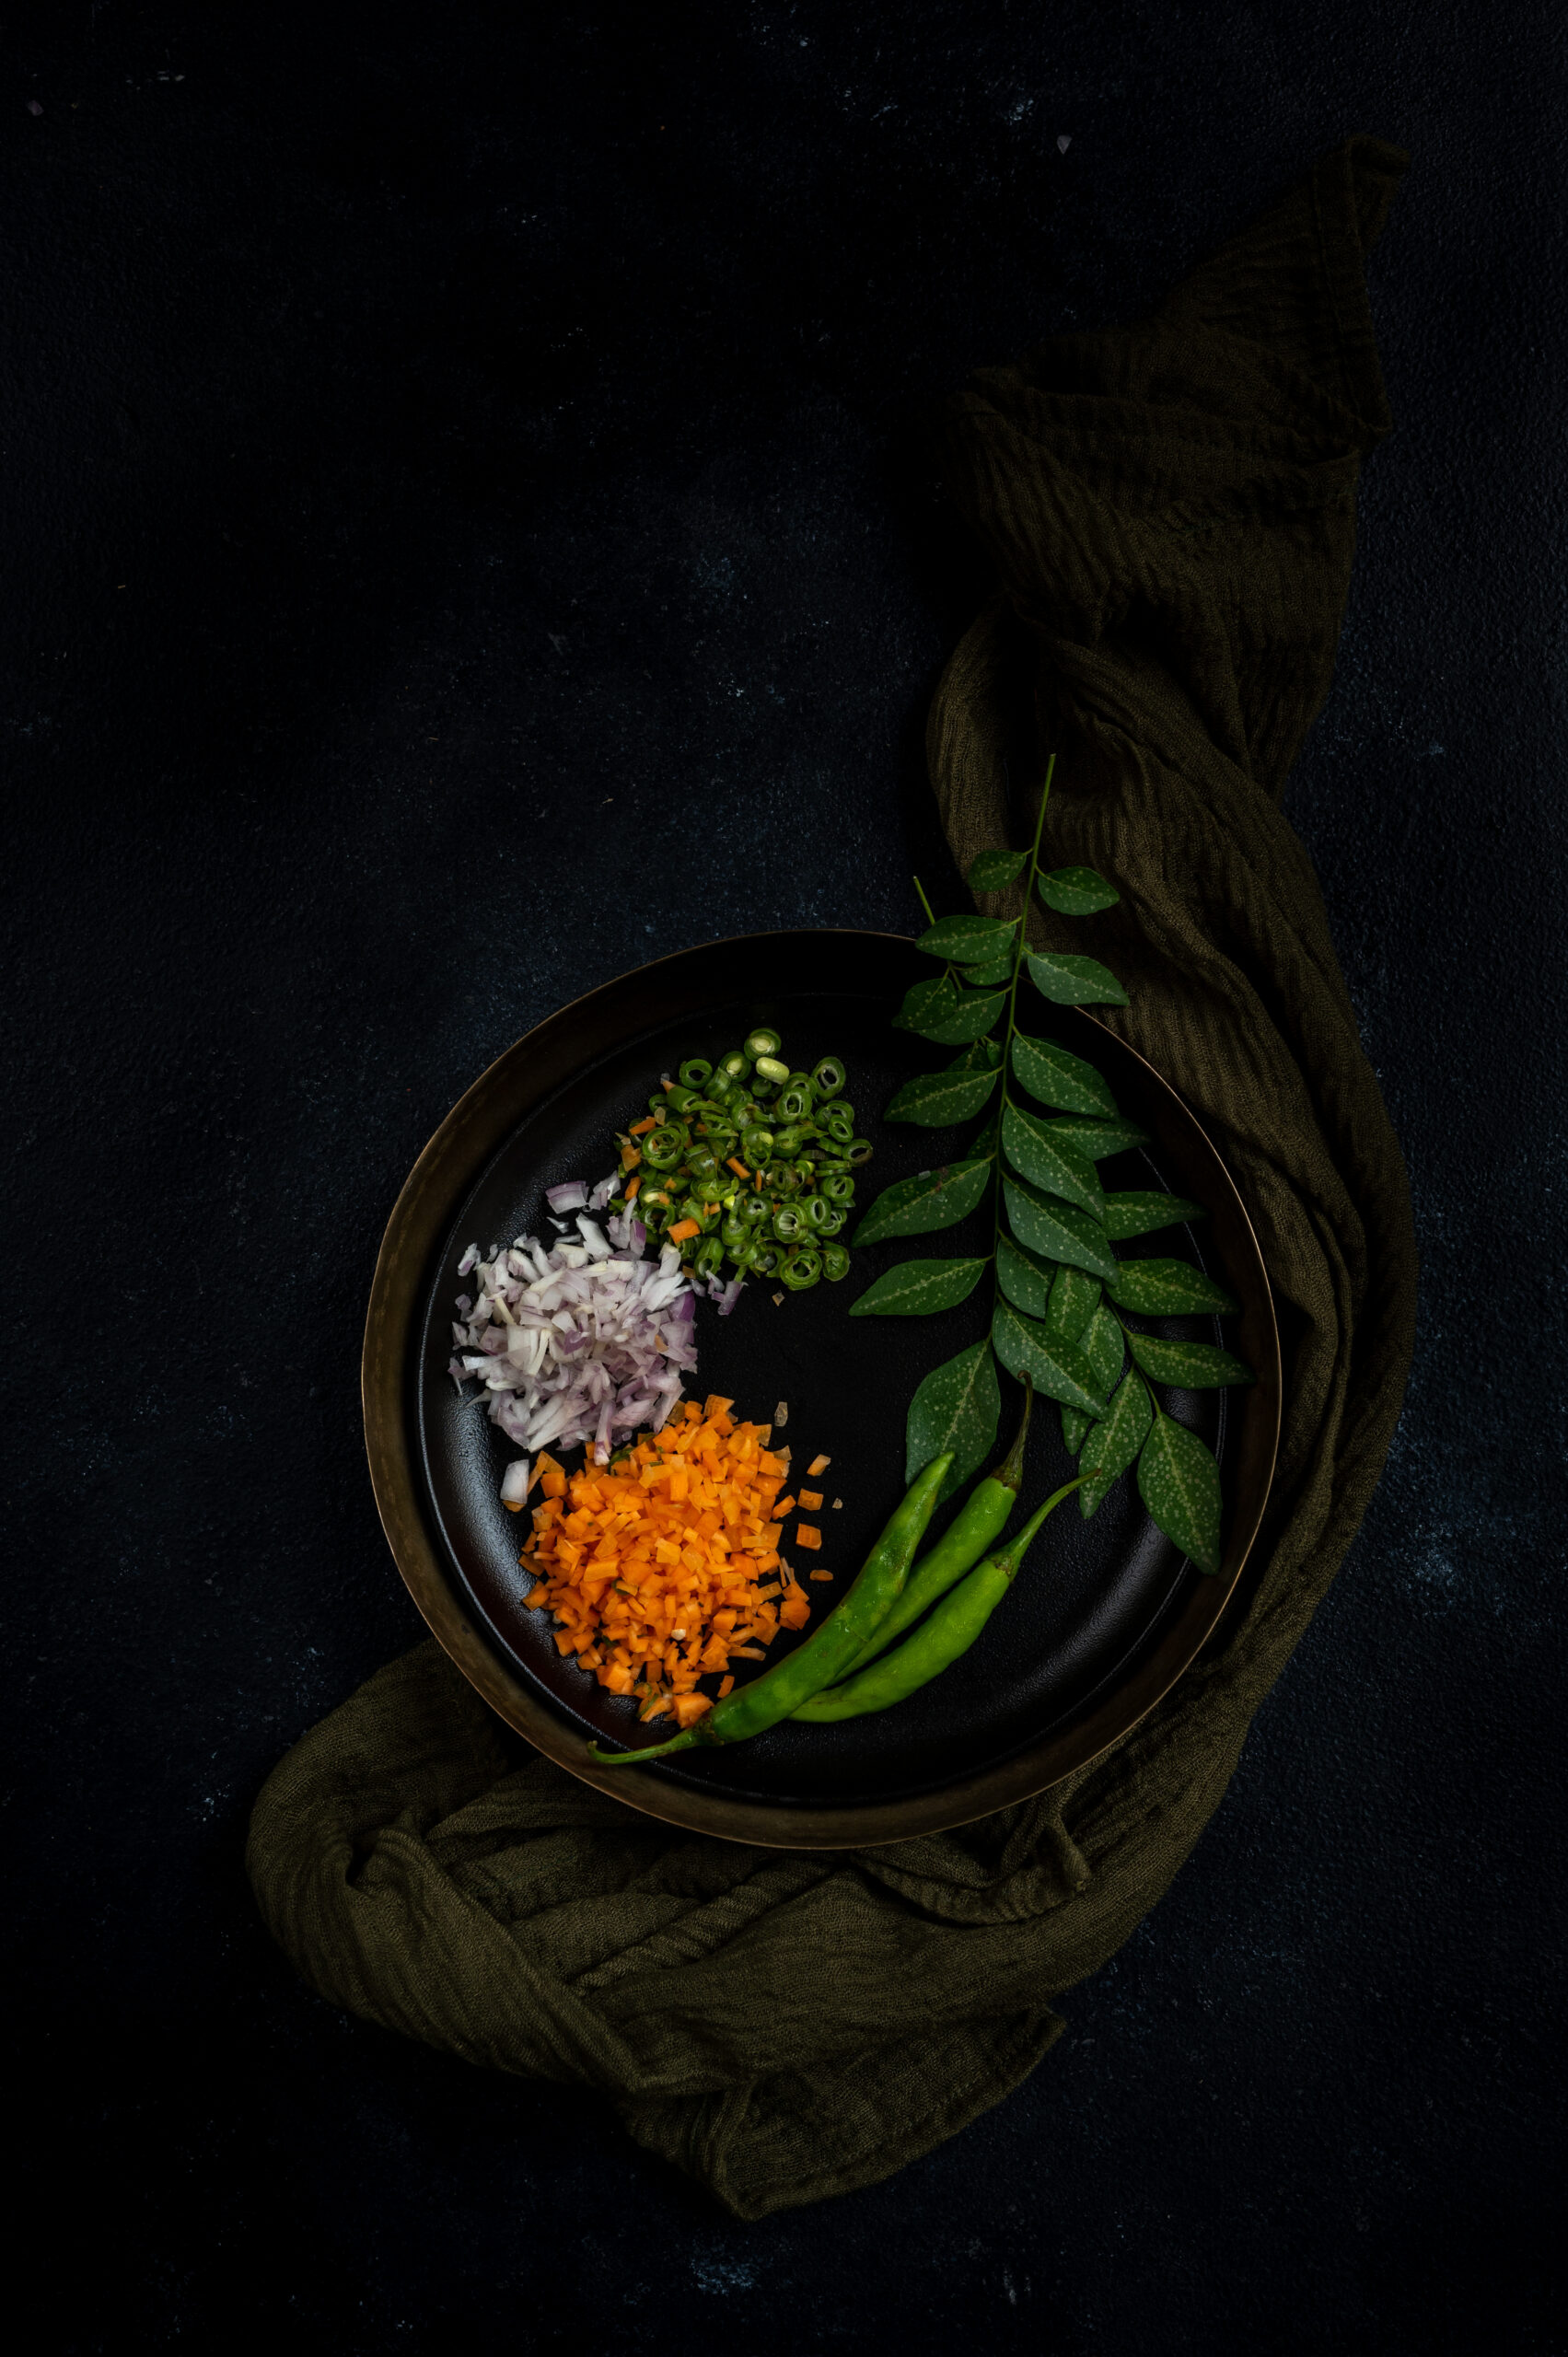
¼ cup finely chopped onion

¼ cup chopped beans and carrots

2 tablespoons oil

¼ teaspoon mustard seeds

¼ teaspoon cumin seeds

A few curry leaves

1 green chilli

1¼ cups water

A squeeze of lemon juice

Salt to taste

Rinse the millet and set aside. Heat a kadai and add the oil. Once the oil heats up, add the mustard and cumin seeds. Allow them to splutter and then add the remaining vegetables, green chilli and curry leaves.

Cook until the vegetables become tender and then add the water. Once the water has boiled, add the millet. Then add the salt and stir well. Keep the flame low, cover the kadai with a lid, and allow all the water to be cooked. The millet grain should be tender and not sticky.

Add some lemon juice and stir gently. Garnish with coriander leaves and serve hot, and enjoy the taste of a healthy meal that your body will thank you for!

As I said earlier, there is a long history of millet consumption both in India as well as in my household, as shared here on my blog. I hope this millet upma recipe intrigues you into exploring this food category further. I’ve got a whole range, from the traditional – bajra ghensh, seven-grain khichdo, ragi dosa with peanut chutney, chakkara pongal, ragi kanji and little millet rice with green beans poriyal – to the innovative or internationally-inspired – vegan millet thayirsadam, vegan chili and Indian veg millet salad. I’d love to know about your own journey with millets, too!

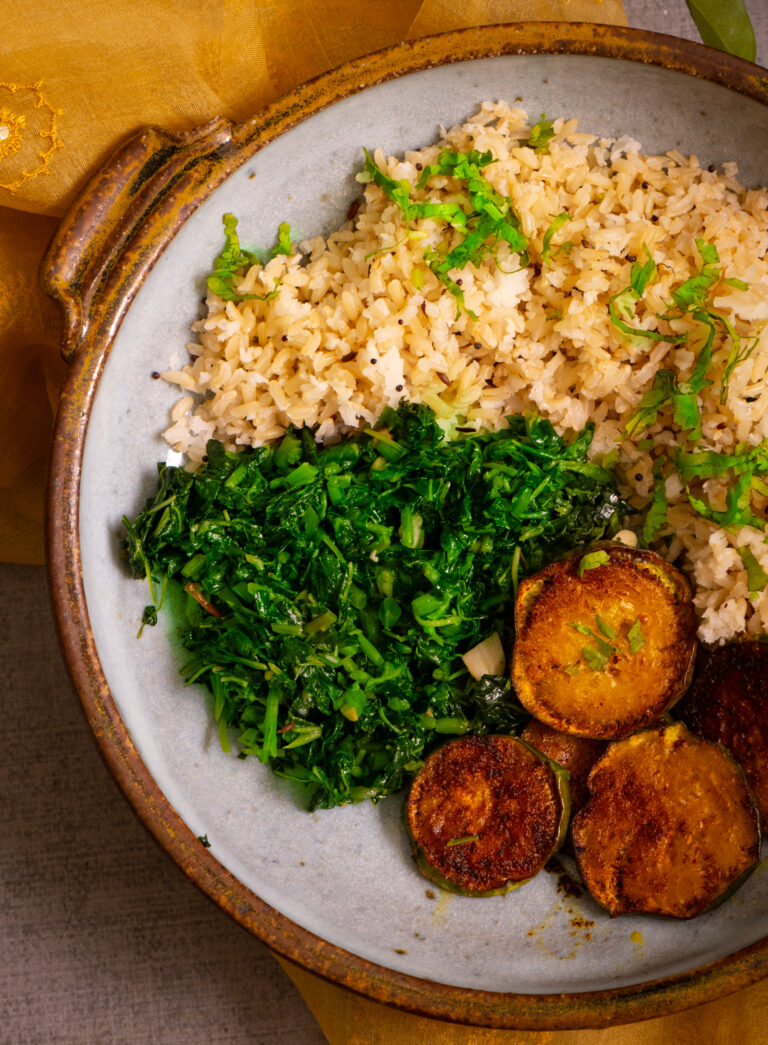
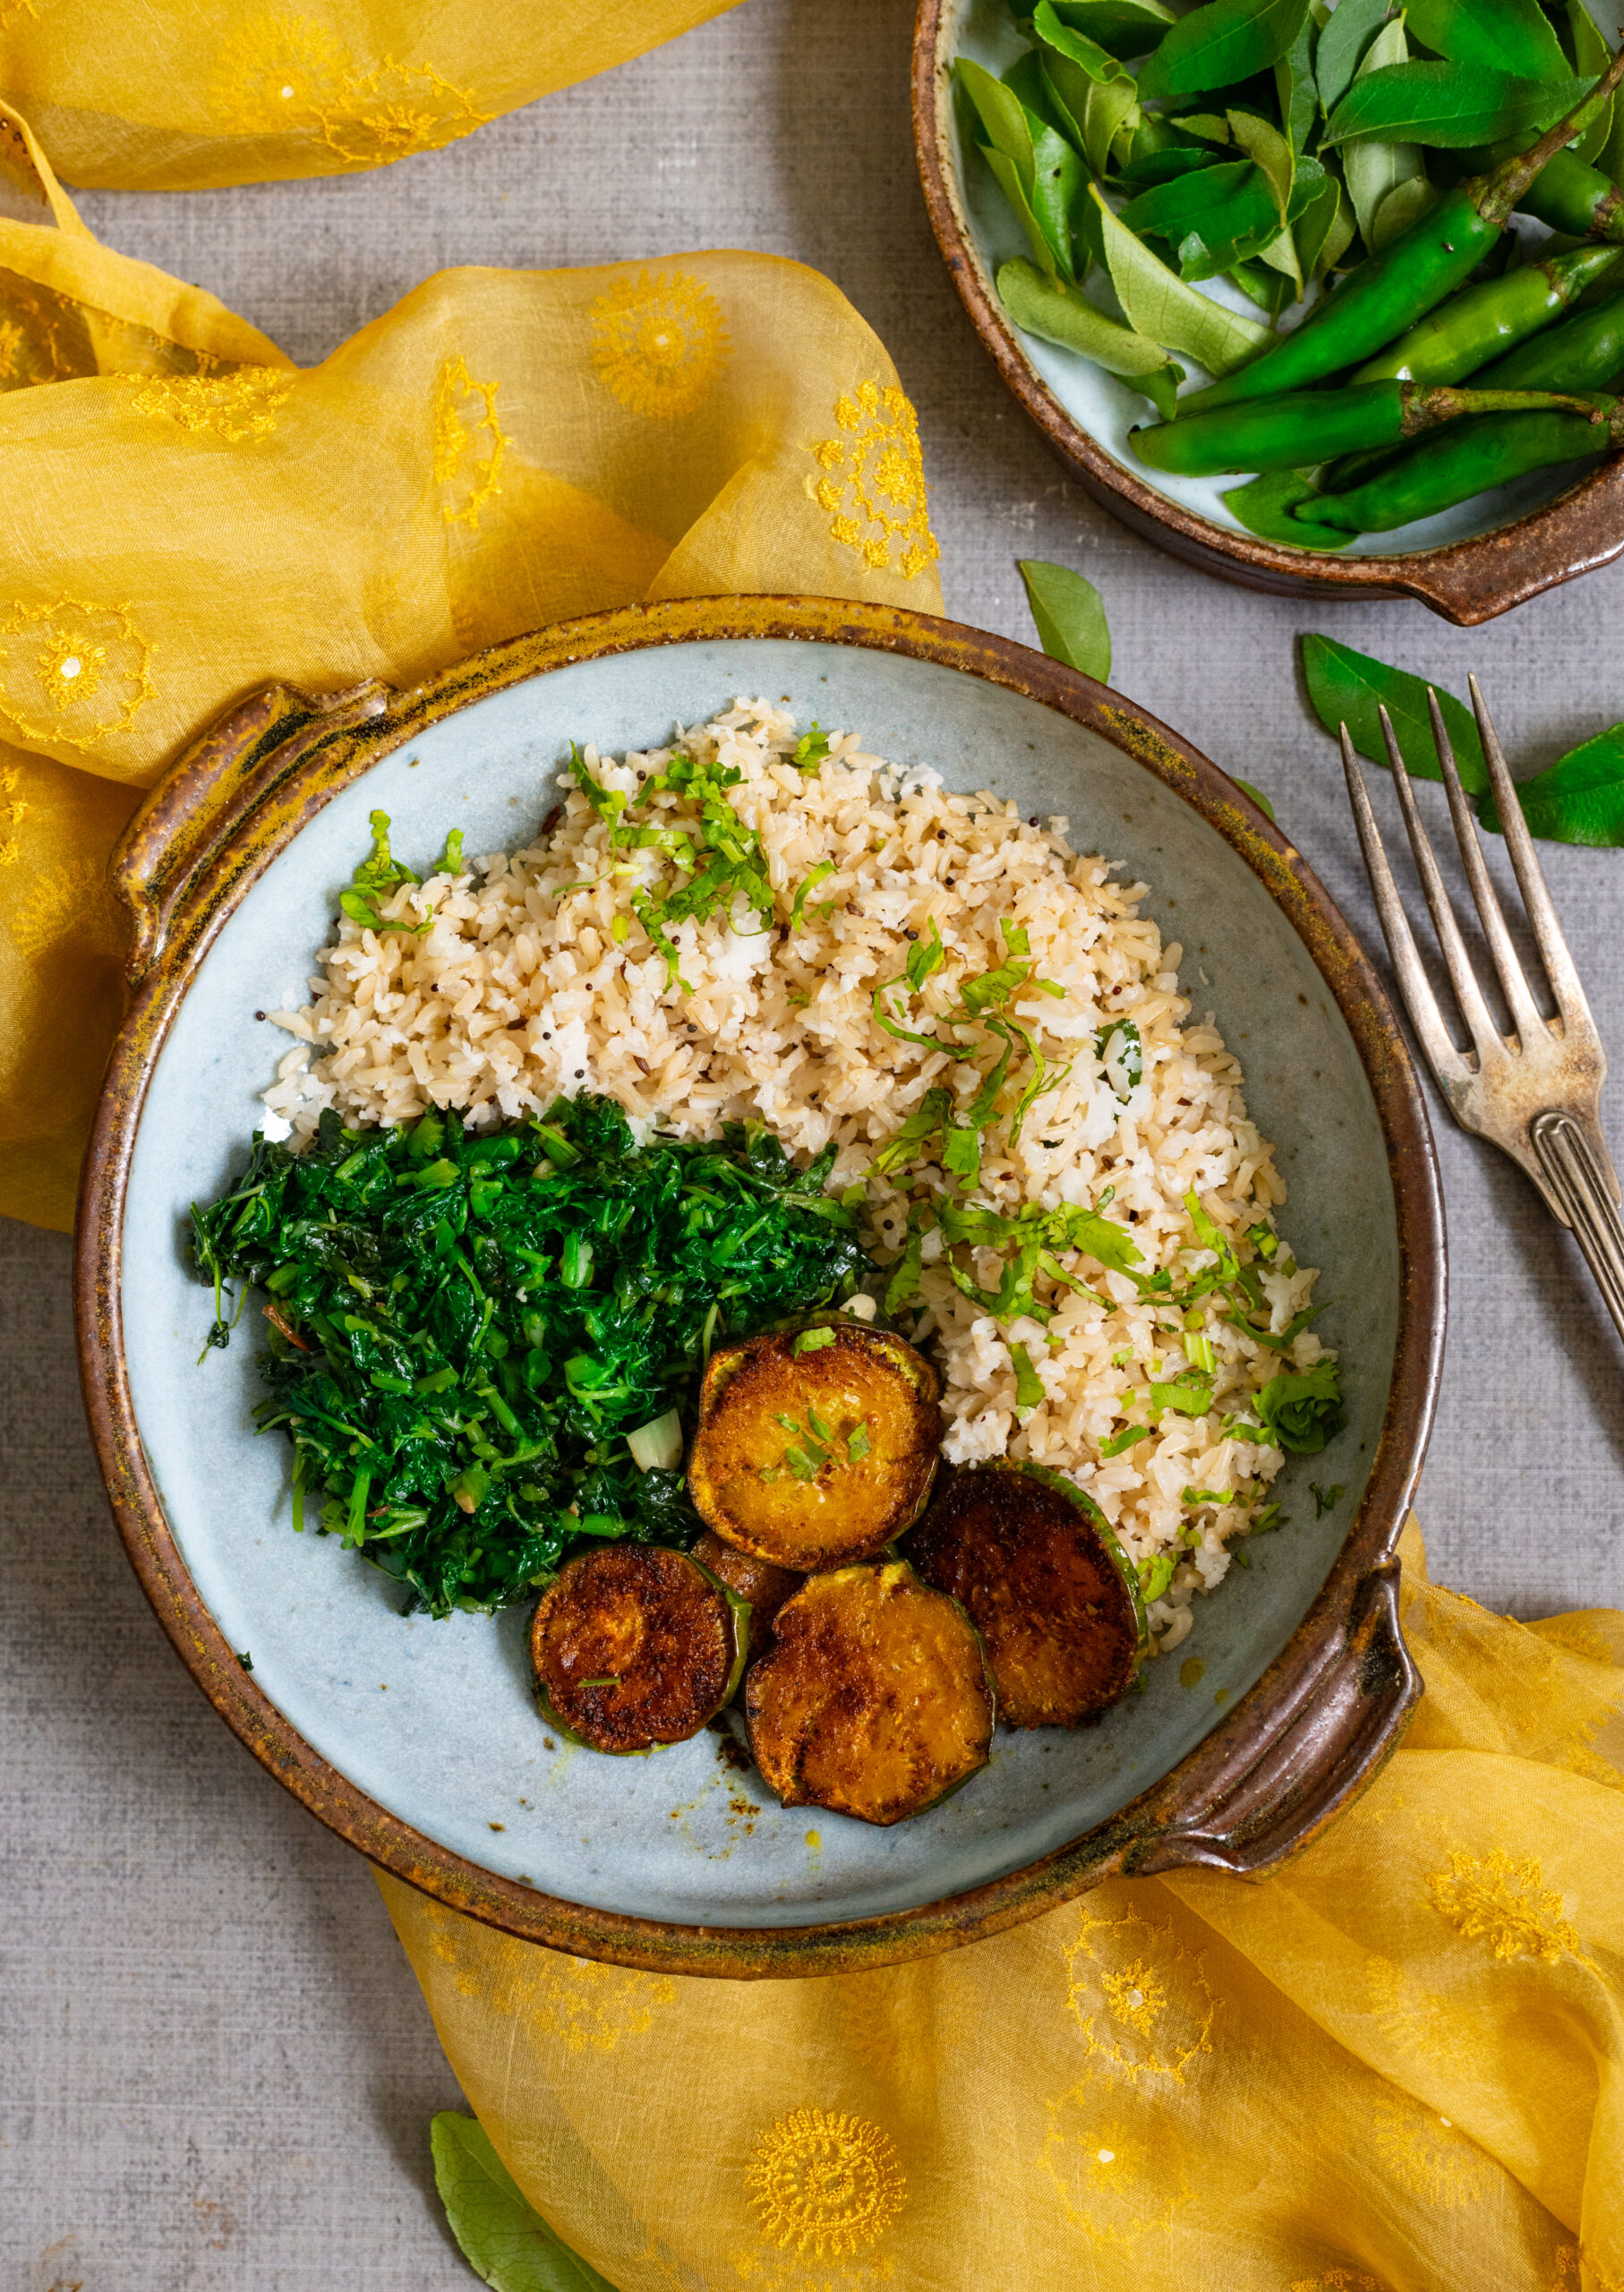
There are one-pot meals and meal-in-a-bowls to be found in cuisines all over the world, even though distinguishing them as a category is a relatively new idea. They’ve gained popularity among diners everywhere thanks to the Buddha bowl trend, which are comprised of a medley of attractively arranged (and usually nutritious) food items in a single bowl. I’ve had quite a few versions of these on my travels, and they’ve always motivated me to make them a regular part of my lifestyle. Now that we’ve all been at home for months, I’ve been bringing as many of these inspirations into my day-to-day cooking as possible. The Buddha bowl is among my favourites for its aesthetic appeal, health quotient and convenience. I’ve been making variants focused on different cuisines, and will share a few of them in the coming weeks. Let’s begin today with my South Indian-style Buddha bowl.

The Buddha bowl concept itself is a great one, and is based on putting together a compact and even portable meal which packs in lots of flavours and textures. You may be wondering what makes a Buddha bowl different from the thaalis we enjoy in India, in which a wide variety of dishes are served in their own separate containers, arranged around the central eating space of the plate. The answer is in the portion sizes. With thaalis, there’s a lot more space, and you tend to fill up that space and thus consume what you’ve filled it with too. A Buddha bowl is just one vessel, usually a bowl as per the name, but a plate will do as well. Thaalis are indulgent, whereas Buddha bowls take a minimalistic approach. The latter are closely tied to fitness for this reason. These days, with the necessity of watching what I eat in a smarter way as I grow older, I reach for them very often in the interest of health. I can attest that eating a Buddha bowl keeps you light on your feet. Whenever I have one for lunch, I feel active for the rest of the day. There is a bounce in my step and I feel revitalised, and find myself doing my photoshoots with more energy.

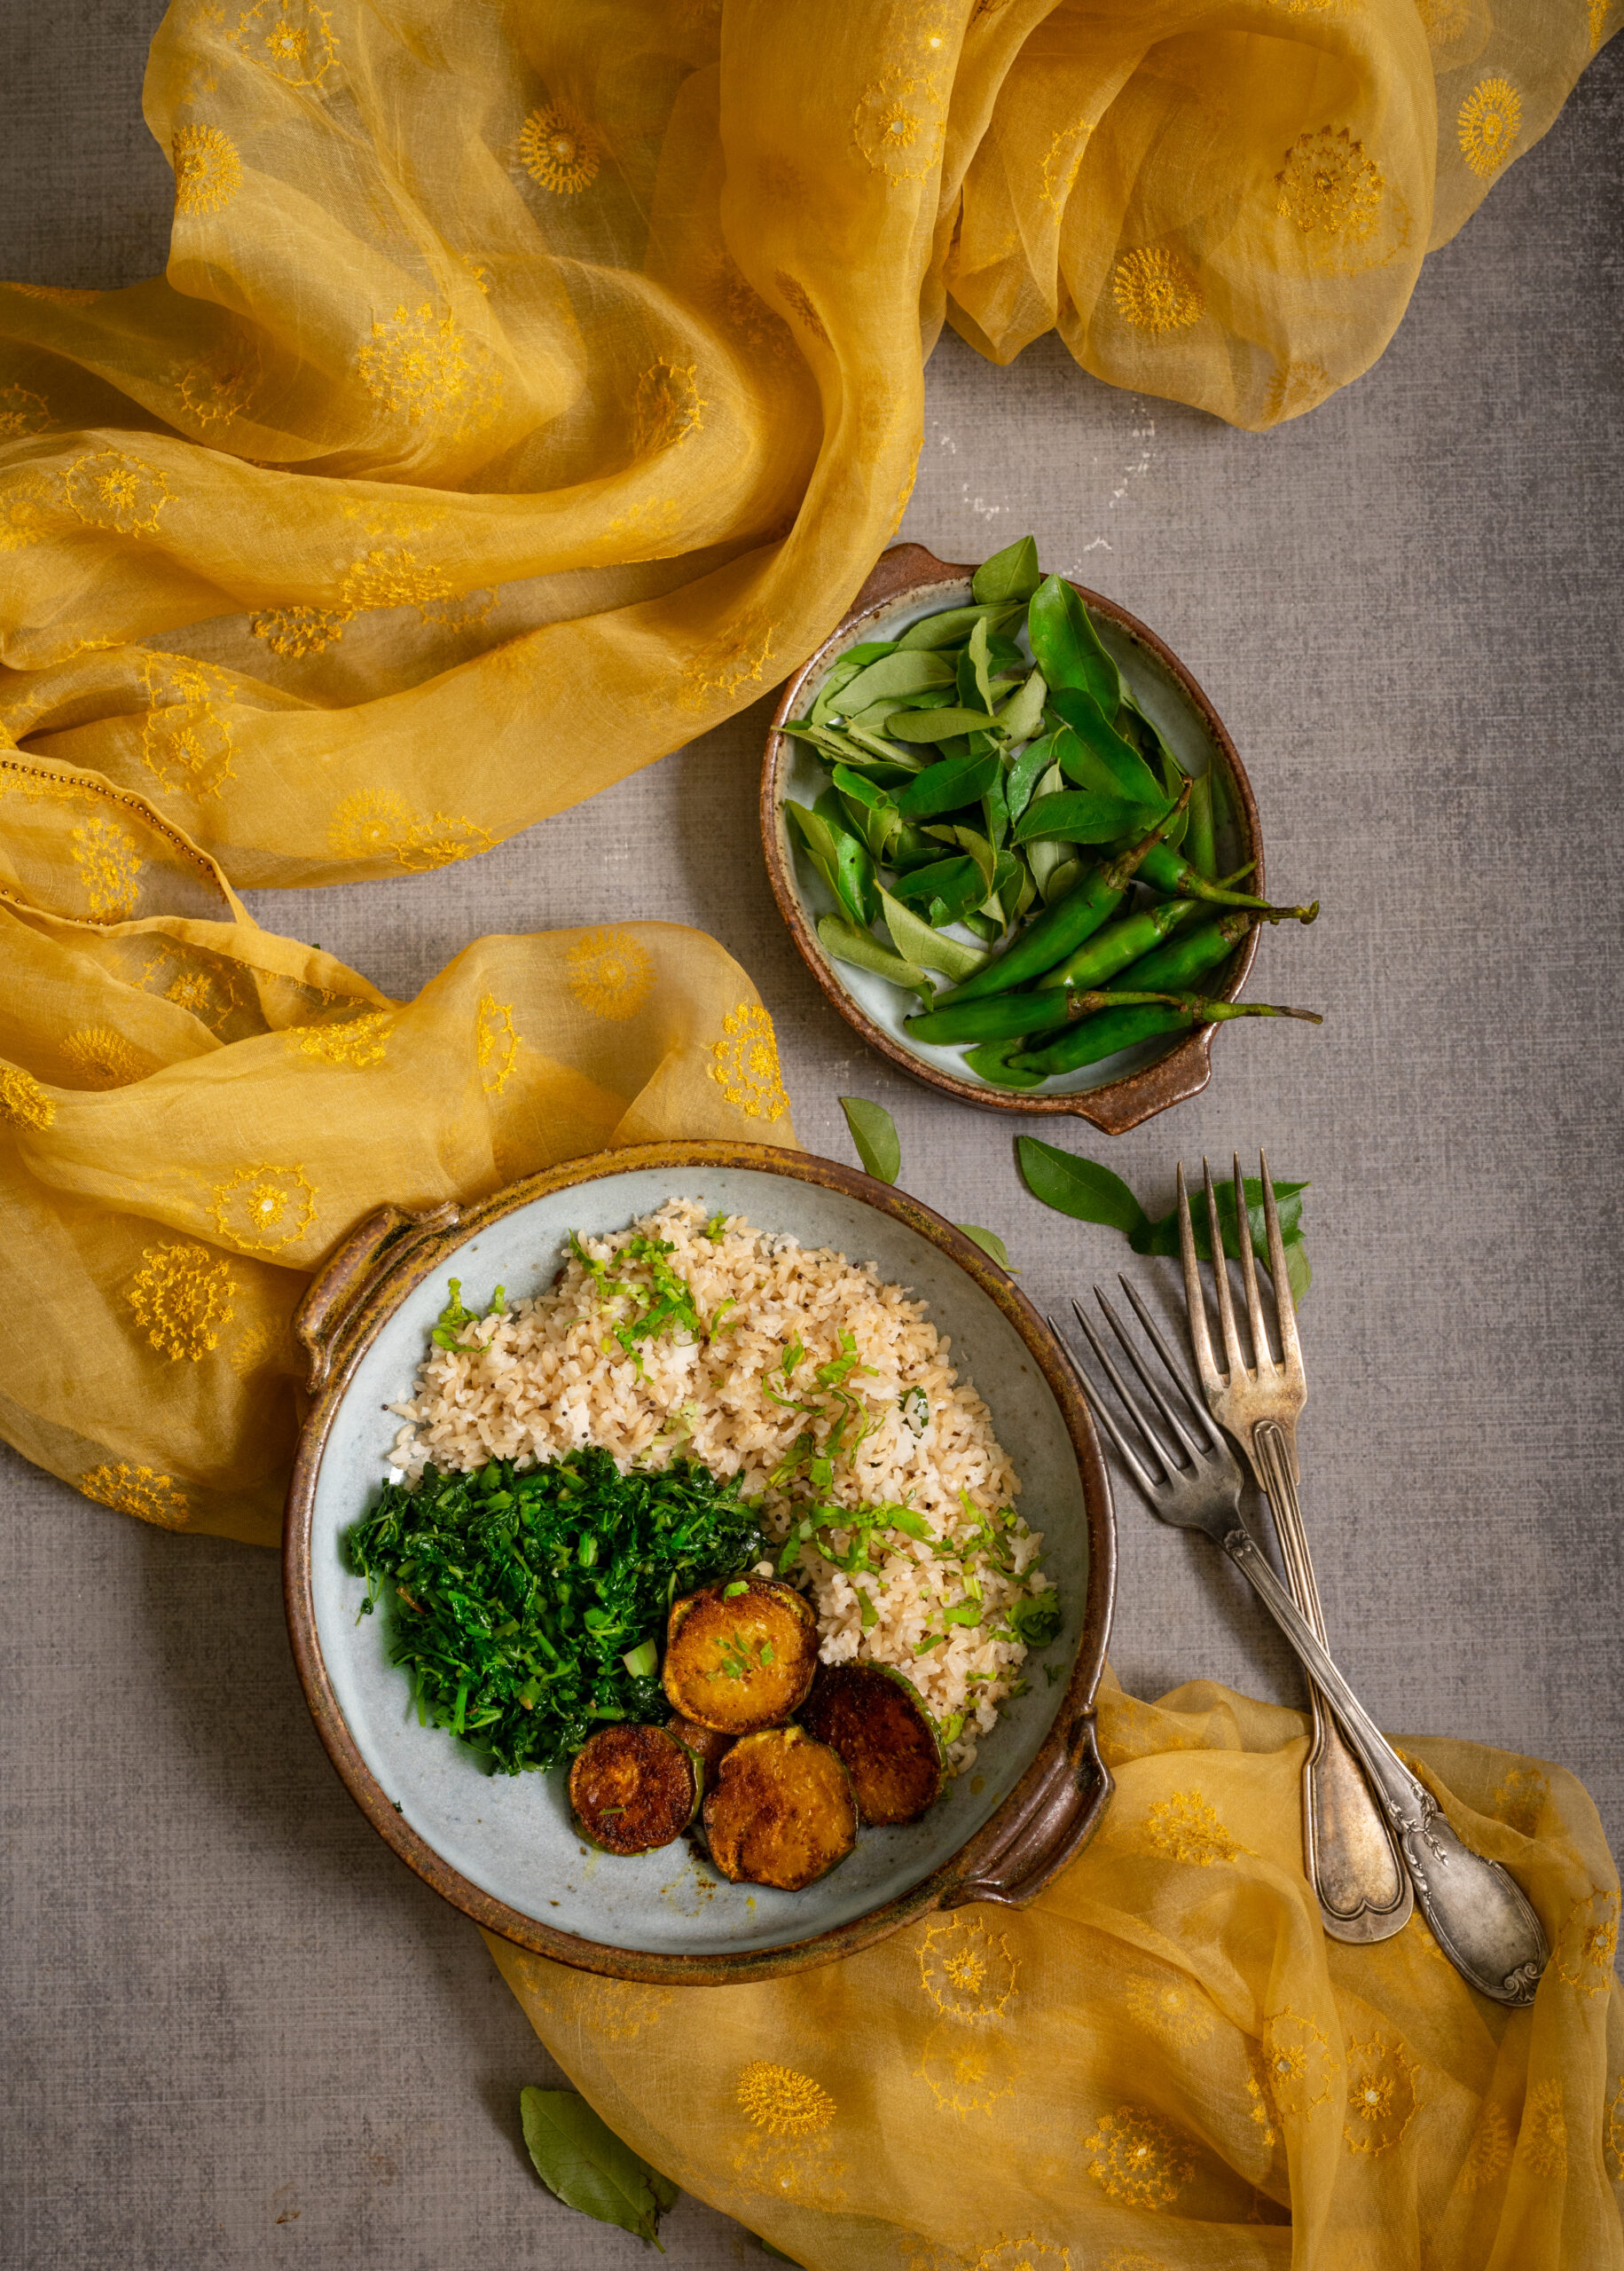
You can make carb-free variants if you like, but for me it’s simply about cutting down on the quantity of them while still getting the boost they give to my energy. Offsetting the carbs with a delicious load of greens is also key. This South Indian Buddha bowl contains the perfect combination of crispy eggplant, flavourful rice and nourishing, lightly-spiced greens. Every single dish-within-the-dish tastes wonderful, and they come together beautifully with their richness of textures and flavours.

I am a fan of healthy grains options, so I’ve used brown rice in this recipe. You can substitute this with white rice, if you prefer. As for the greens, here in South India we enjoy an incredible variety of spinach, including vendaya keerai, moringa, mollaraikeerai, sirikeerai and more. I have some kind or another every single day, and just happened to use mullakeerai in this recipe. It’s just very lightly seasoned with garlic, salt and dry red chilli and is very flavourful when eaten almost plain this way. We also get a variety of eggplants, from thin and long green ones to fat and purple ones, and while I don’t know all their names, you can use any that are available too. One of the beautiful things about this recipe is that it requires just the staples.

I always say that you eat with your eyes first, and the aesthetics of serving are very important to me not only as a photographer but equally as a culinary enthusiast. When you serve these diverse portions in a beautiful and well-proportioned bowl, the vessel looks full and the moment you see it, you get a sense of “Wow, I’m going to have a big meal.” You truly do feel satiated at the end of it, because your eyes have convinced your brain before your belly begins its work! Making a Buddha bowl as colourfully as possible also has health advantages, as you may remember from my post on eating the rainbow.

Speaking of what the eyes take in, initially, I had planned a photoshoot using South Indian brass crockery and props. I ultimately decided to go with an international look instead, to celebrate the global popularity of the Buddha bowl. As I discovered, there’s also another trick of the eye in this. You see, my daughter doesn’t always enjoy South Indian cuisine, but if I present it this way, she tucks in enthusiastically. It’s all about presentation, and how good you can make a dish look so that it will please the person who is going to eat it even before they’ve had a bite. Personally, I would also love eating this very same meal off of a banana leaf (yela saapad), as is tradition. That would change the experience of having it totally as well. But for now, I need the shot of energy that a Buddha bowl puts into my day, and I’ll carry on having it this way for a while!

South Indian Buddha Bowl

(Yield: 1 bowl)


Coconut rice

200 grams (approximately 2 cups) cooked brown or white rice

30 grams (2 tablespoons) grated coconut

4 curry leaves

1 tablespoon coconut oil

¼ teaspoon cumin seeds

¼ teaspoon mustard seeds

1 green chilli

Salt to taste


Greens

2 cups chopped and cleaned greens

1 teaspoon oil

2-3 garlic cloves

1 dry red chilli (optional, can be replaced with green chilli)

Salt to taste


Eggplant

10-12 slices of small eggplants

Salt to taste

¼ teaspoon turmeric

1 teaspoon coriander powder

¼ teaspoon cumin powder

1 tablespoon chickpea flour

2-3 tablespoons oil


Prepare each of the components separately. I’ll begin by sharing the method for the coconut rice. In a pan, add the coconut oil. Once it’s heated, add the cumin and mustard seeds. When the seeds splutter, add the curry leaves and green chilli. Next, add the freshly grated coconut. Sauté them all together for a few minutes and finally add the rice and salt. Stir until combined.

The following is the method for the pan-fried eggplant. On a plate, place the eggplant slices and sprinkle all the masala (including the chickpea flour) onto them, and gently massage them in by using your fingers. Allow the coated slices to sit for ½ an hour or more. If letting the tray sit for longer, then refrigerate it so that the eggplant doesn’t begin to give out water.

When you are ready to fry the eggplant, add the oil in a pan. Allow it to heat up, then gently place the round eggplant slices onto the hot oil. Allow them to turn golden on both sides on a medium flame, then cool.

Finally, here is the method to prepare the greens. Heat a kadai and add the oil to it. Once it’s hot, add the garlic and stir fry until the cloves change colour slightly. Now, add the chilli and then finally add the greens. Keep the flame at a medium level and sauté for a few minutes or until the greens turn a little tender. Do not overcook, as they release water and will change colour. Add the salt and stir well.

My daughter felt that this bowl was a little dry, and if you think so too, you can either add some yoghurt to it as a fourth component or make the spinach in a more gravy-like style if you prefer.

With all the components of the dish prepared, it now comes down to the assembly. Pick out a beautiful bowl and arrange the coconut rice, sautéed greens and pan-fried eggplant on it. Let your eyes feast first. Enjoy!

You may have noticed that my blog is also a kind of Buddha bowl, a mix-and-match that I put together from across categories. This is deliberate, because I want people from across age groups and from all over the world to enjoy my recipes. I always try to balance the traditional and the modern, and bring in all my varied experiences and learning – be they through travel, my training such as in Macrobiotics, my memories, or my experiments. I strive to keep up with the times, and I also strive to keep challenging myself. Thank you for coming along with me on my journey! There are a few more Buddha bowls in the next couple of stops. Any guesses where they might be inspired from?

I’m always trying to do something new with millets and bring them into everyday dining because they are healthy, seasonal and affordable. In South India, they were actually the ancient traditional staple, not rice or wheat as it is today, and so they can be said to be perfect for Macrobiotic diets here. Different varieties of local millets have featured on this blog in recipes past (I’ve linked to a few at the end of this post). Today, the star is ragi, which you may also know as finger millet, teff or kezhvaragu.

Ragi is rich in calcium, iron and antioxidants, as well as high in fibre. This means that its benefits include everything from weight control to skin rejuvenation to curing anaemia. A dry-season crop that tolerates many different kinds of soil, it is easy to cultivate. It features in a large variety of South Indian dishes, from Kerala puttu to Karnataka ragi mudde to the koozh that is offered to the Goddess in Tamil Nadu. It is also eaten everywhere from Vietnam to numerous countries in Africa, where it originated.

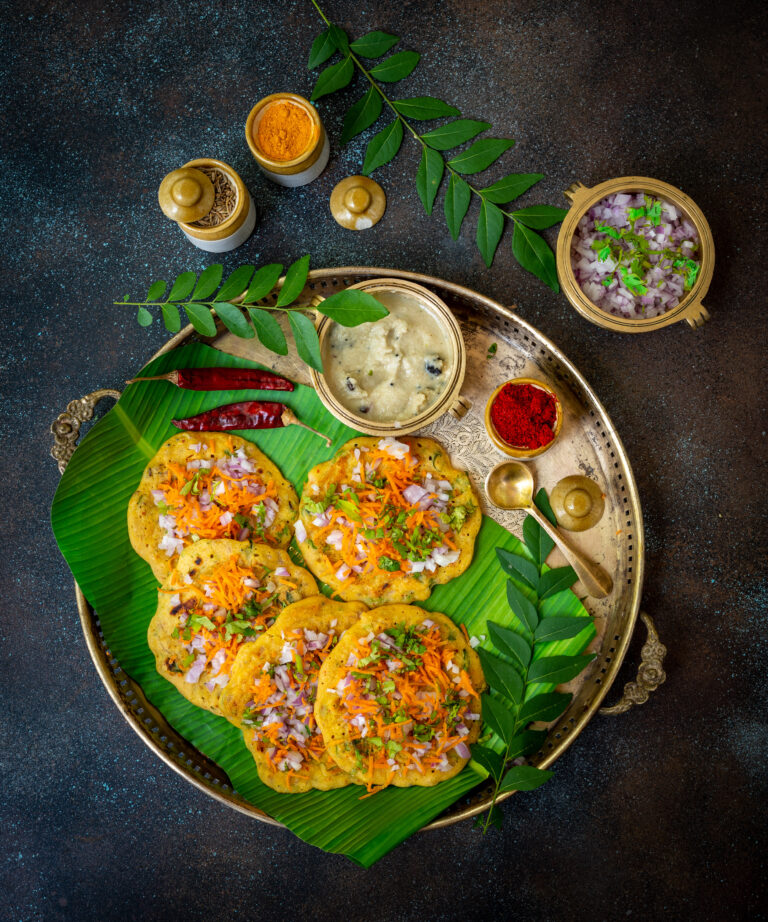
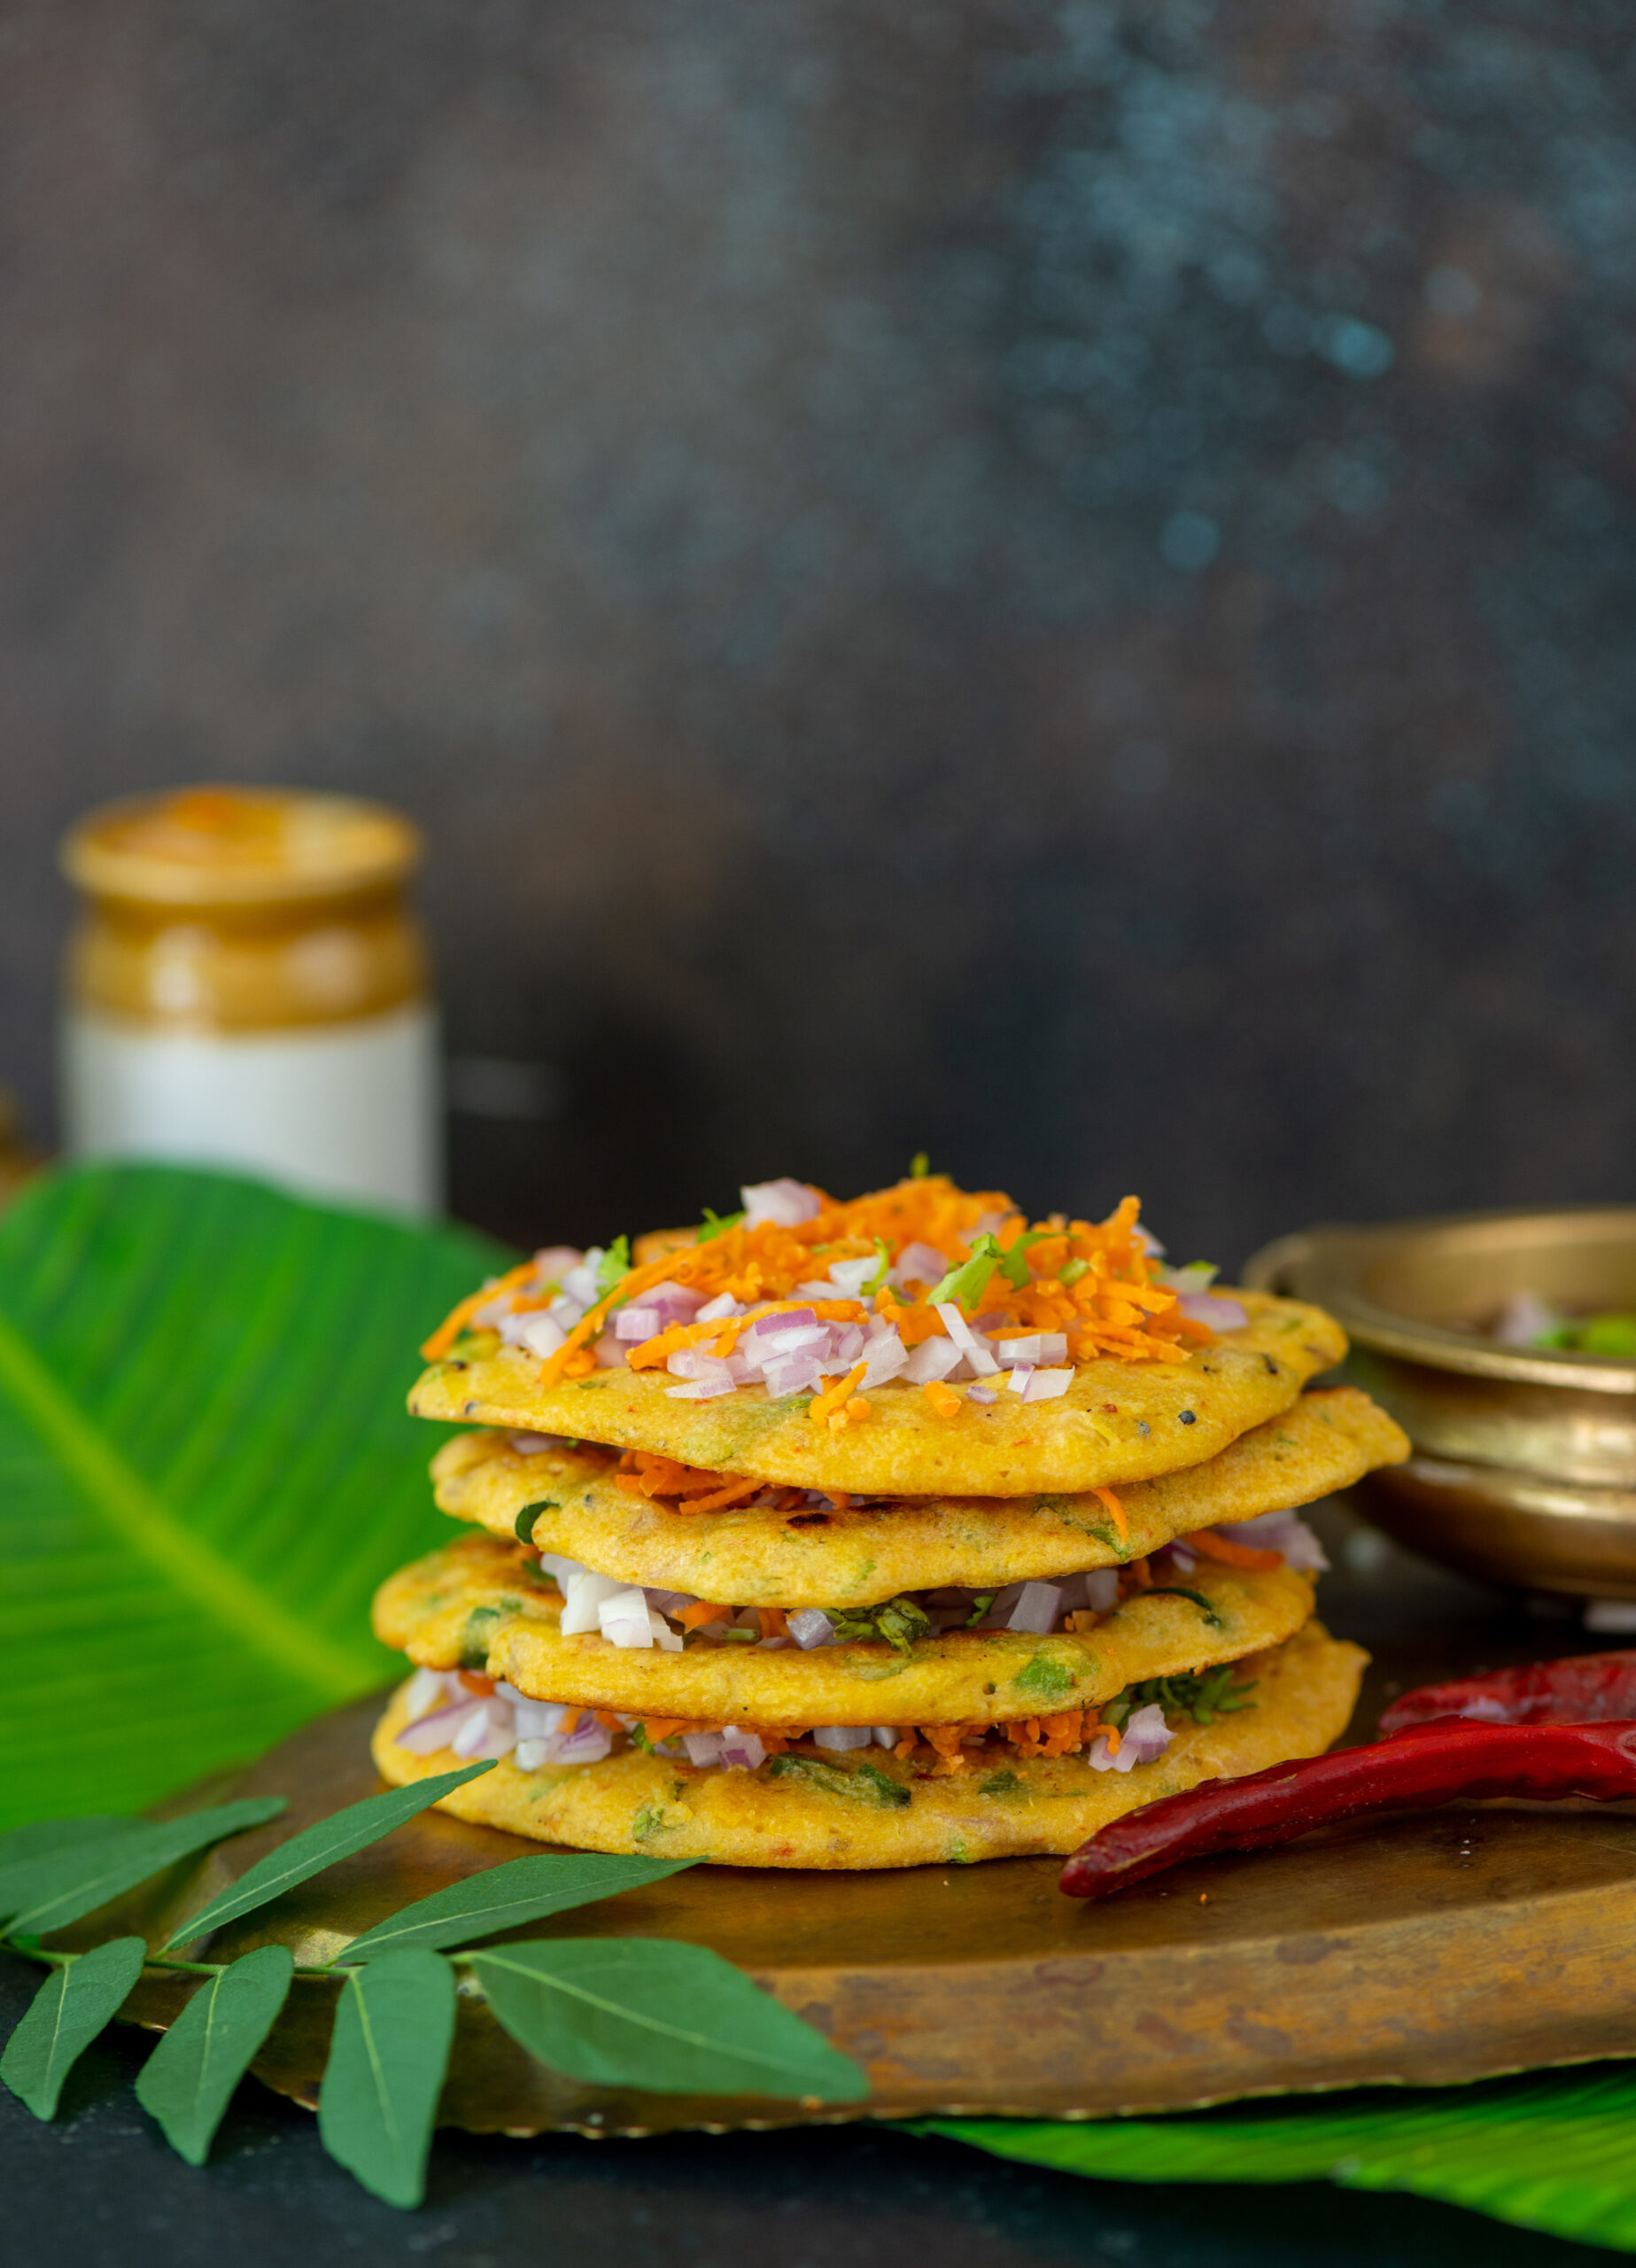
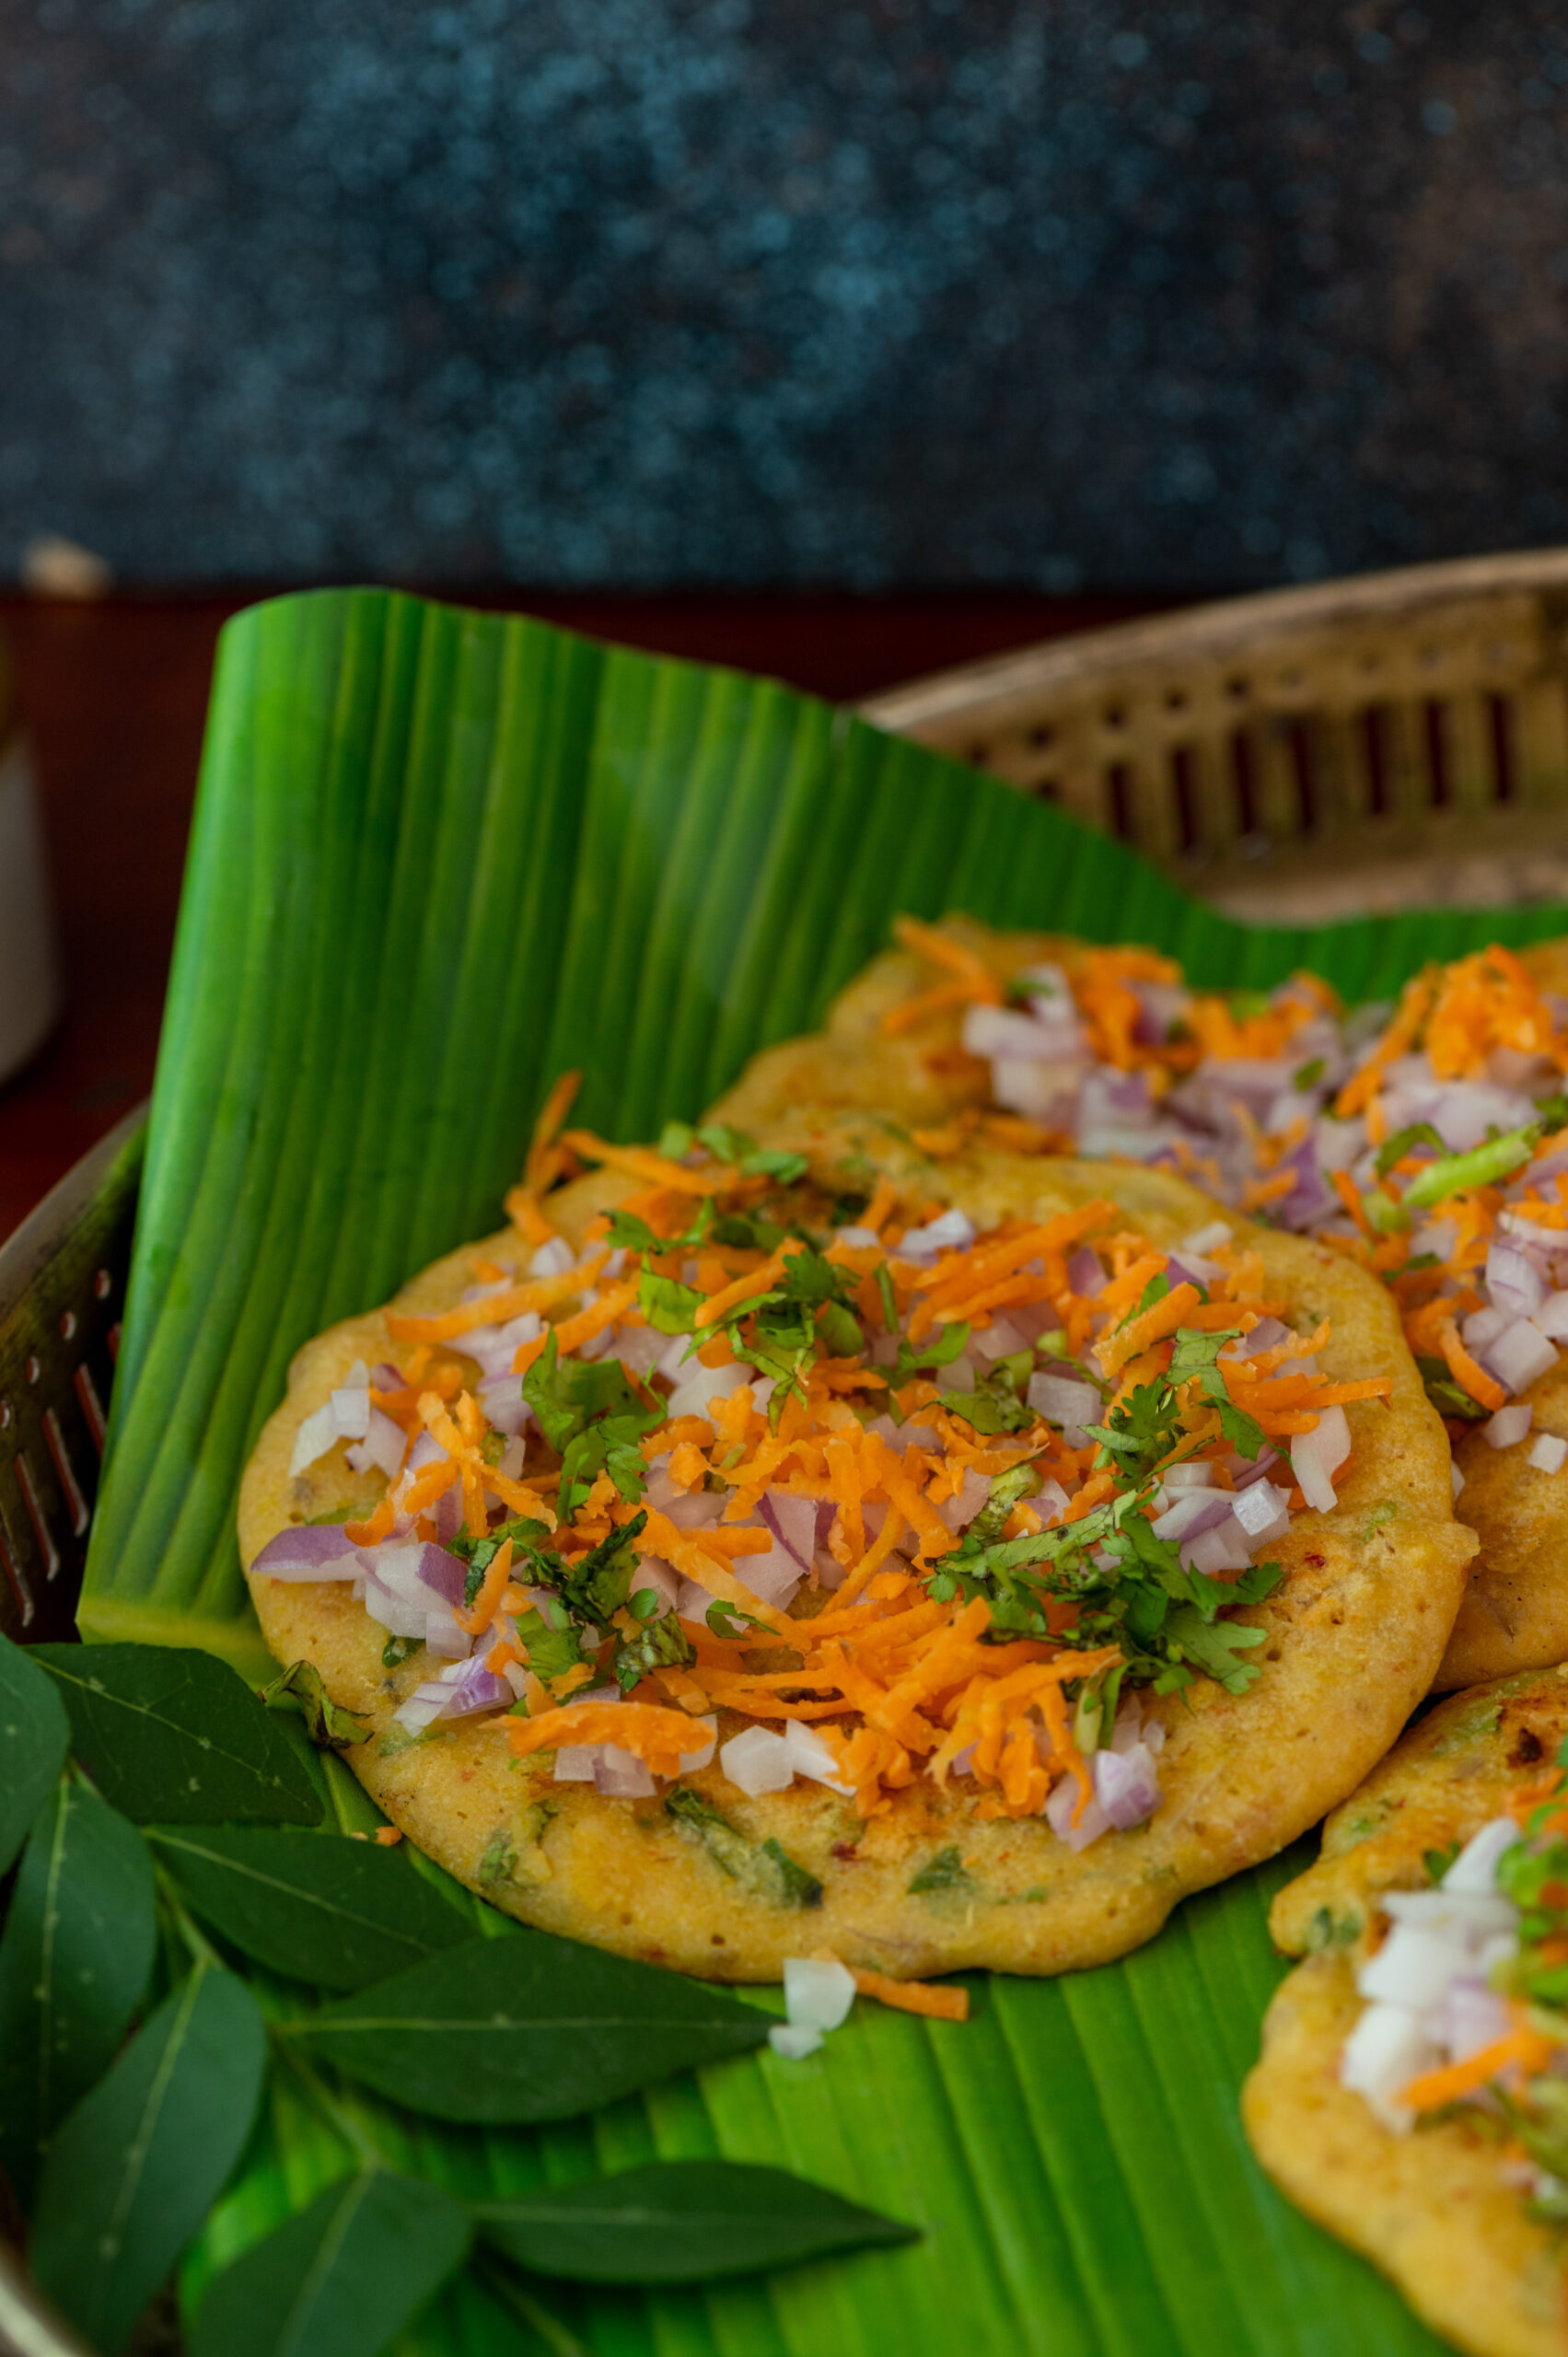
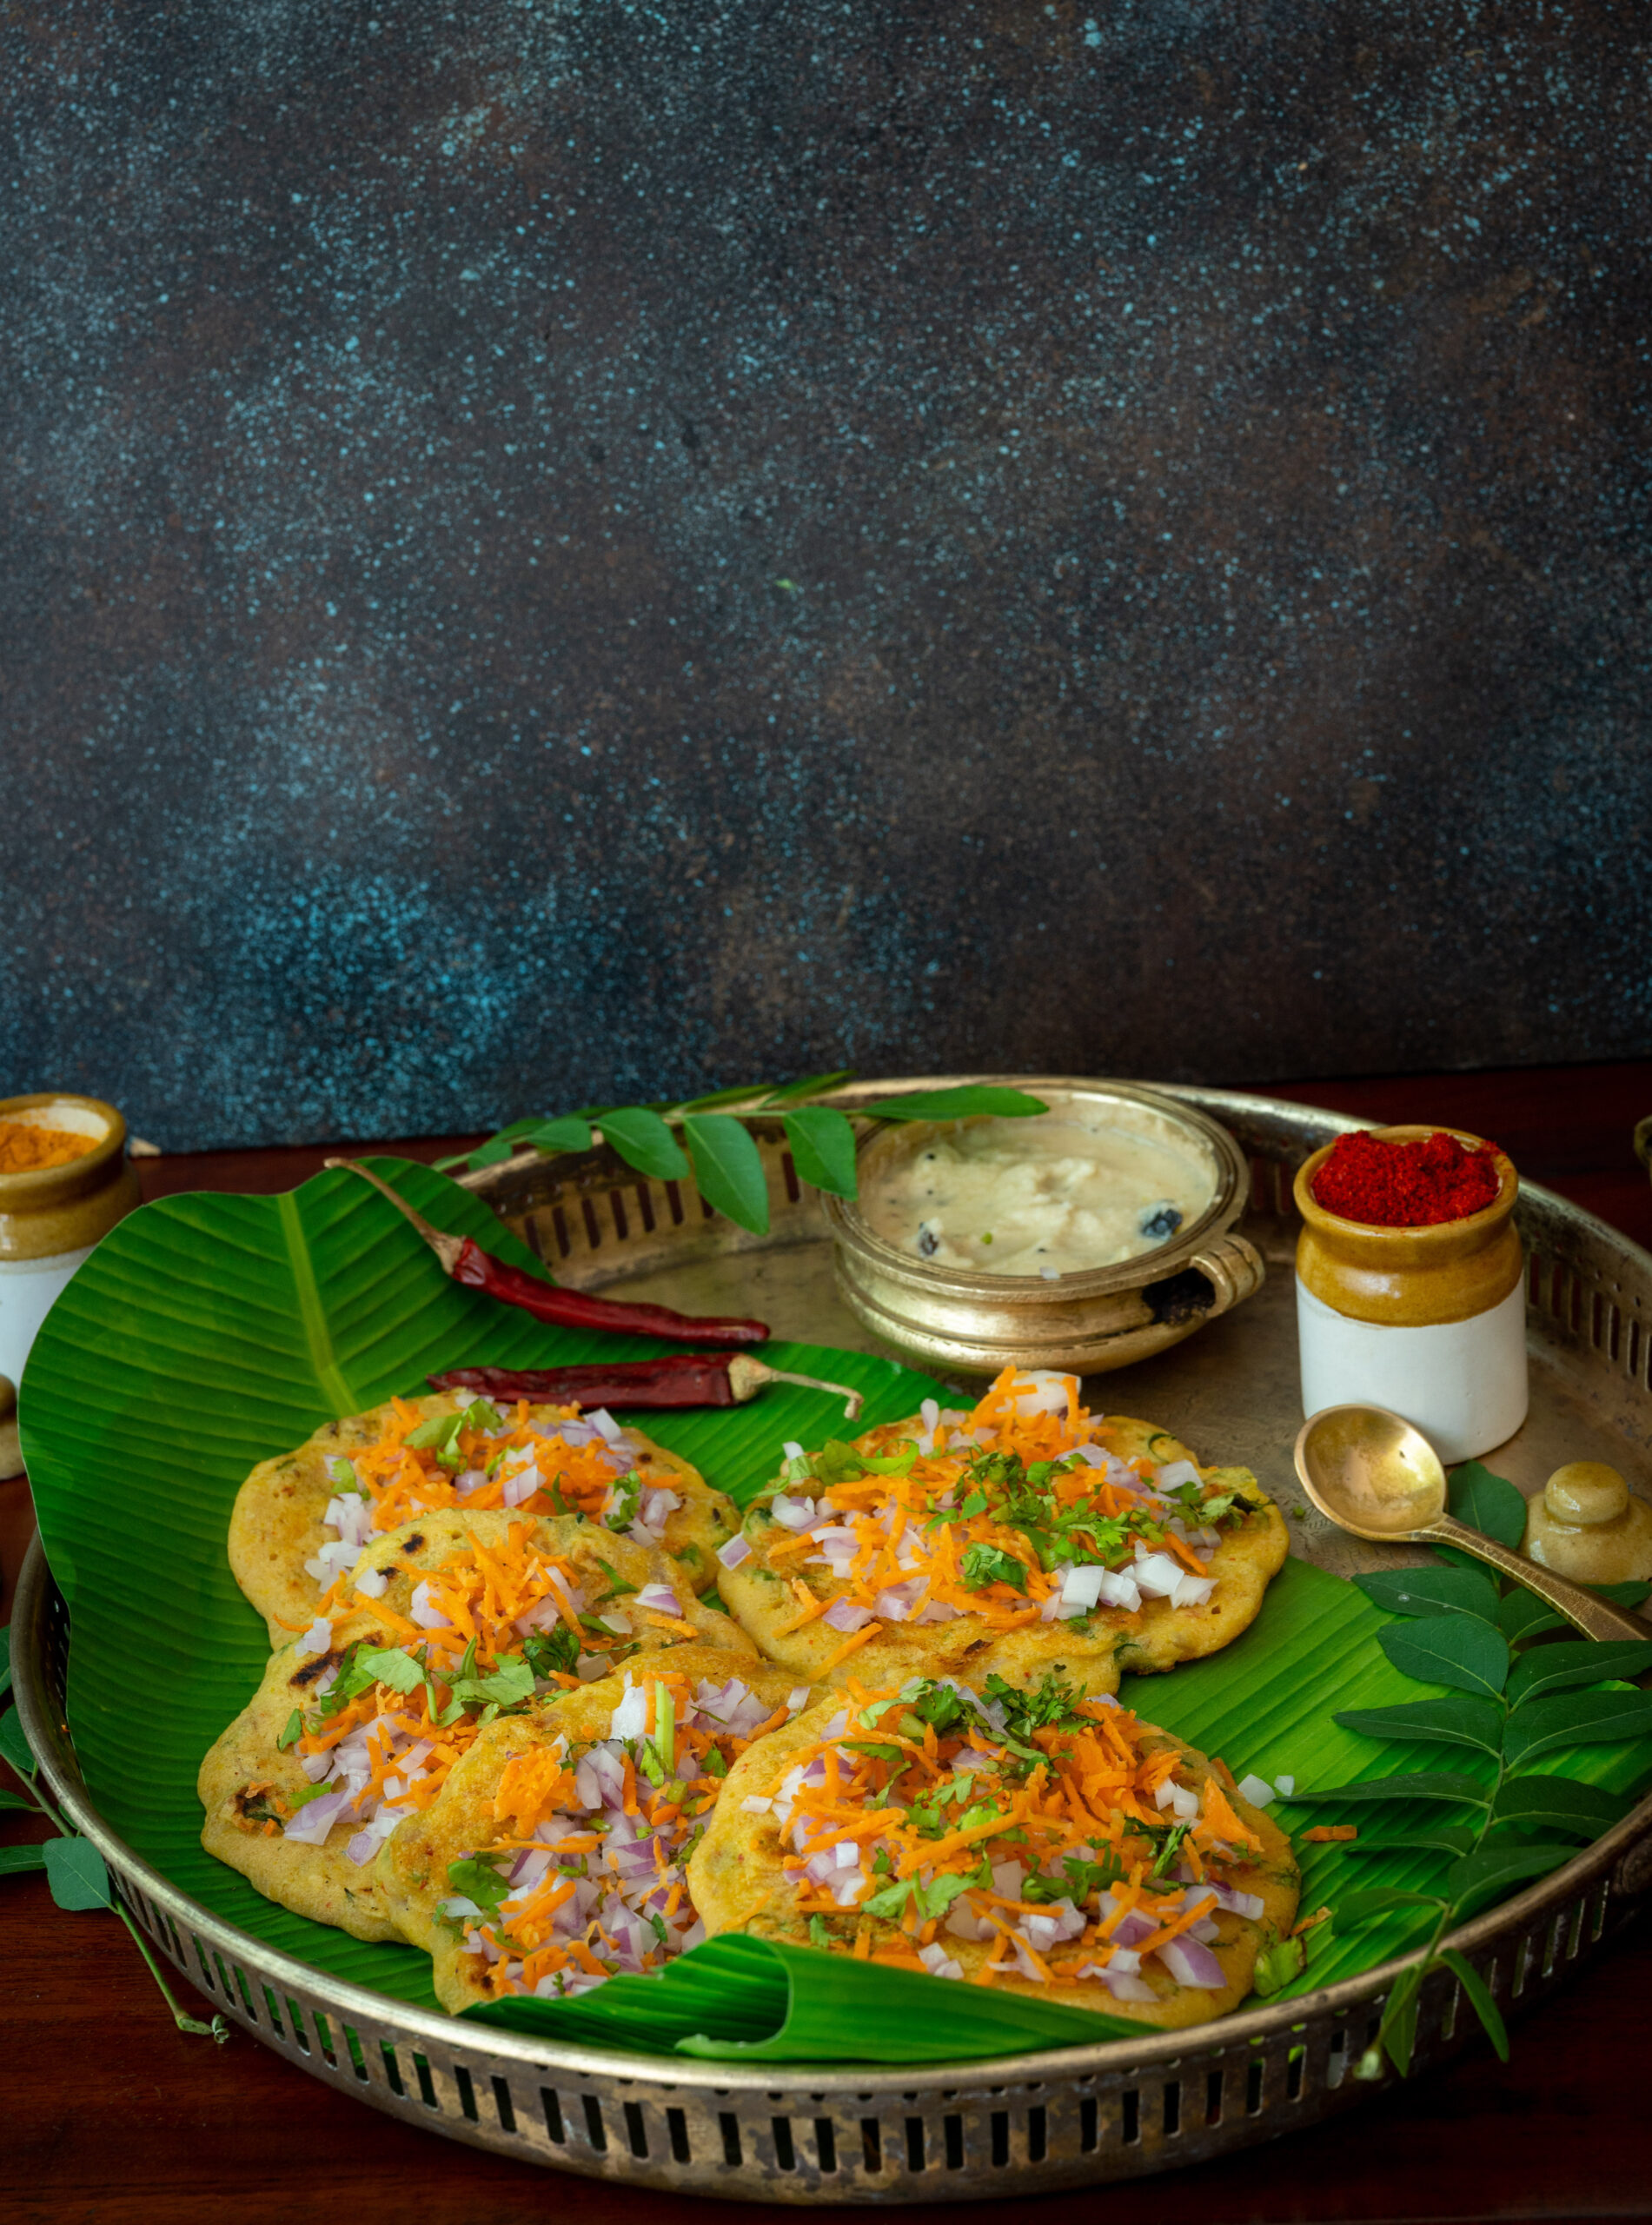
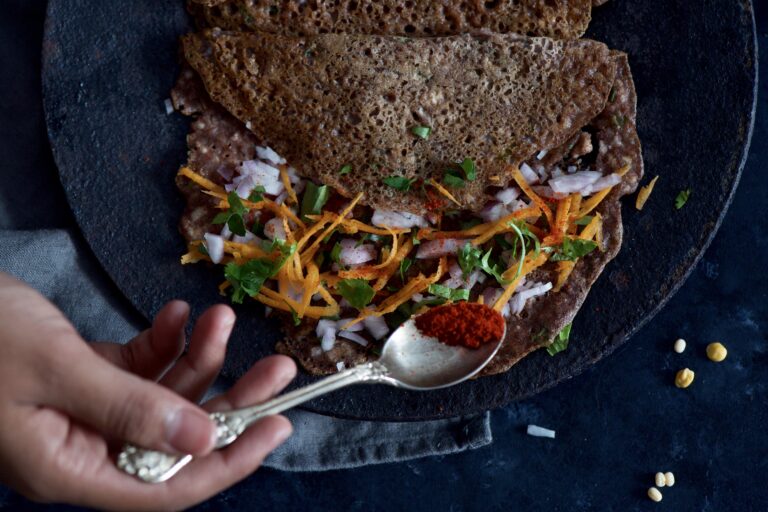
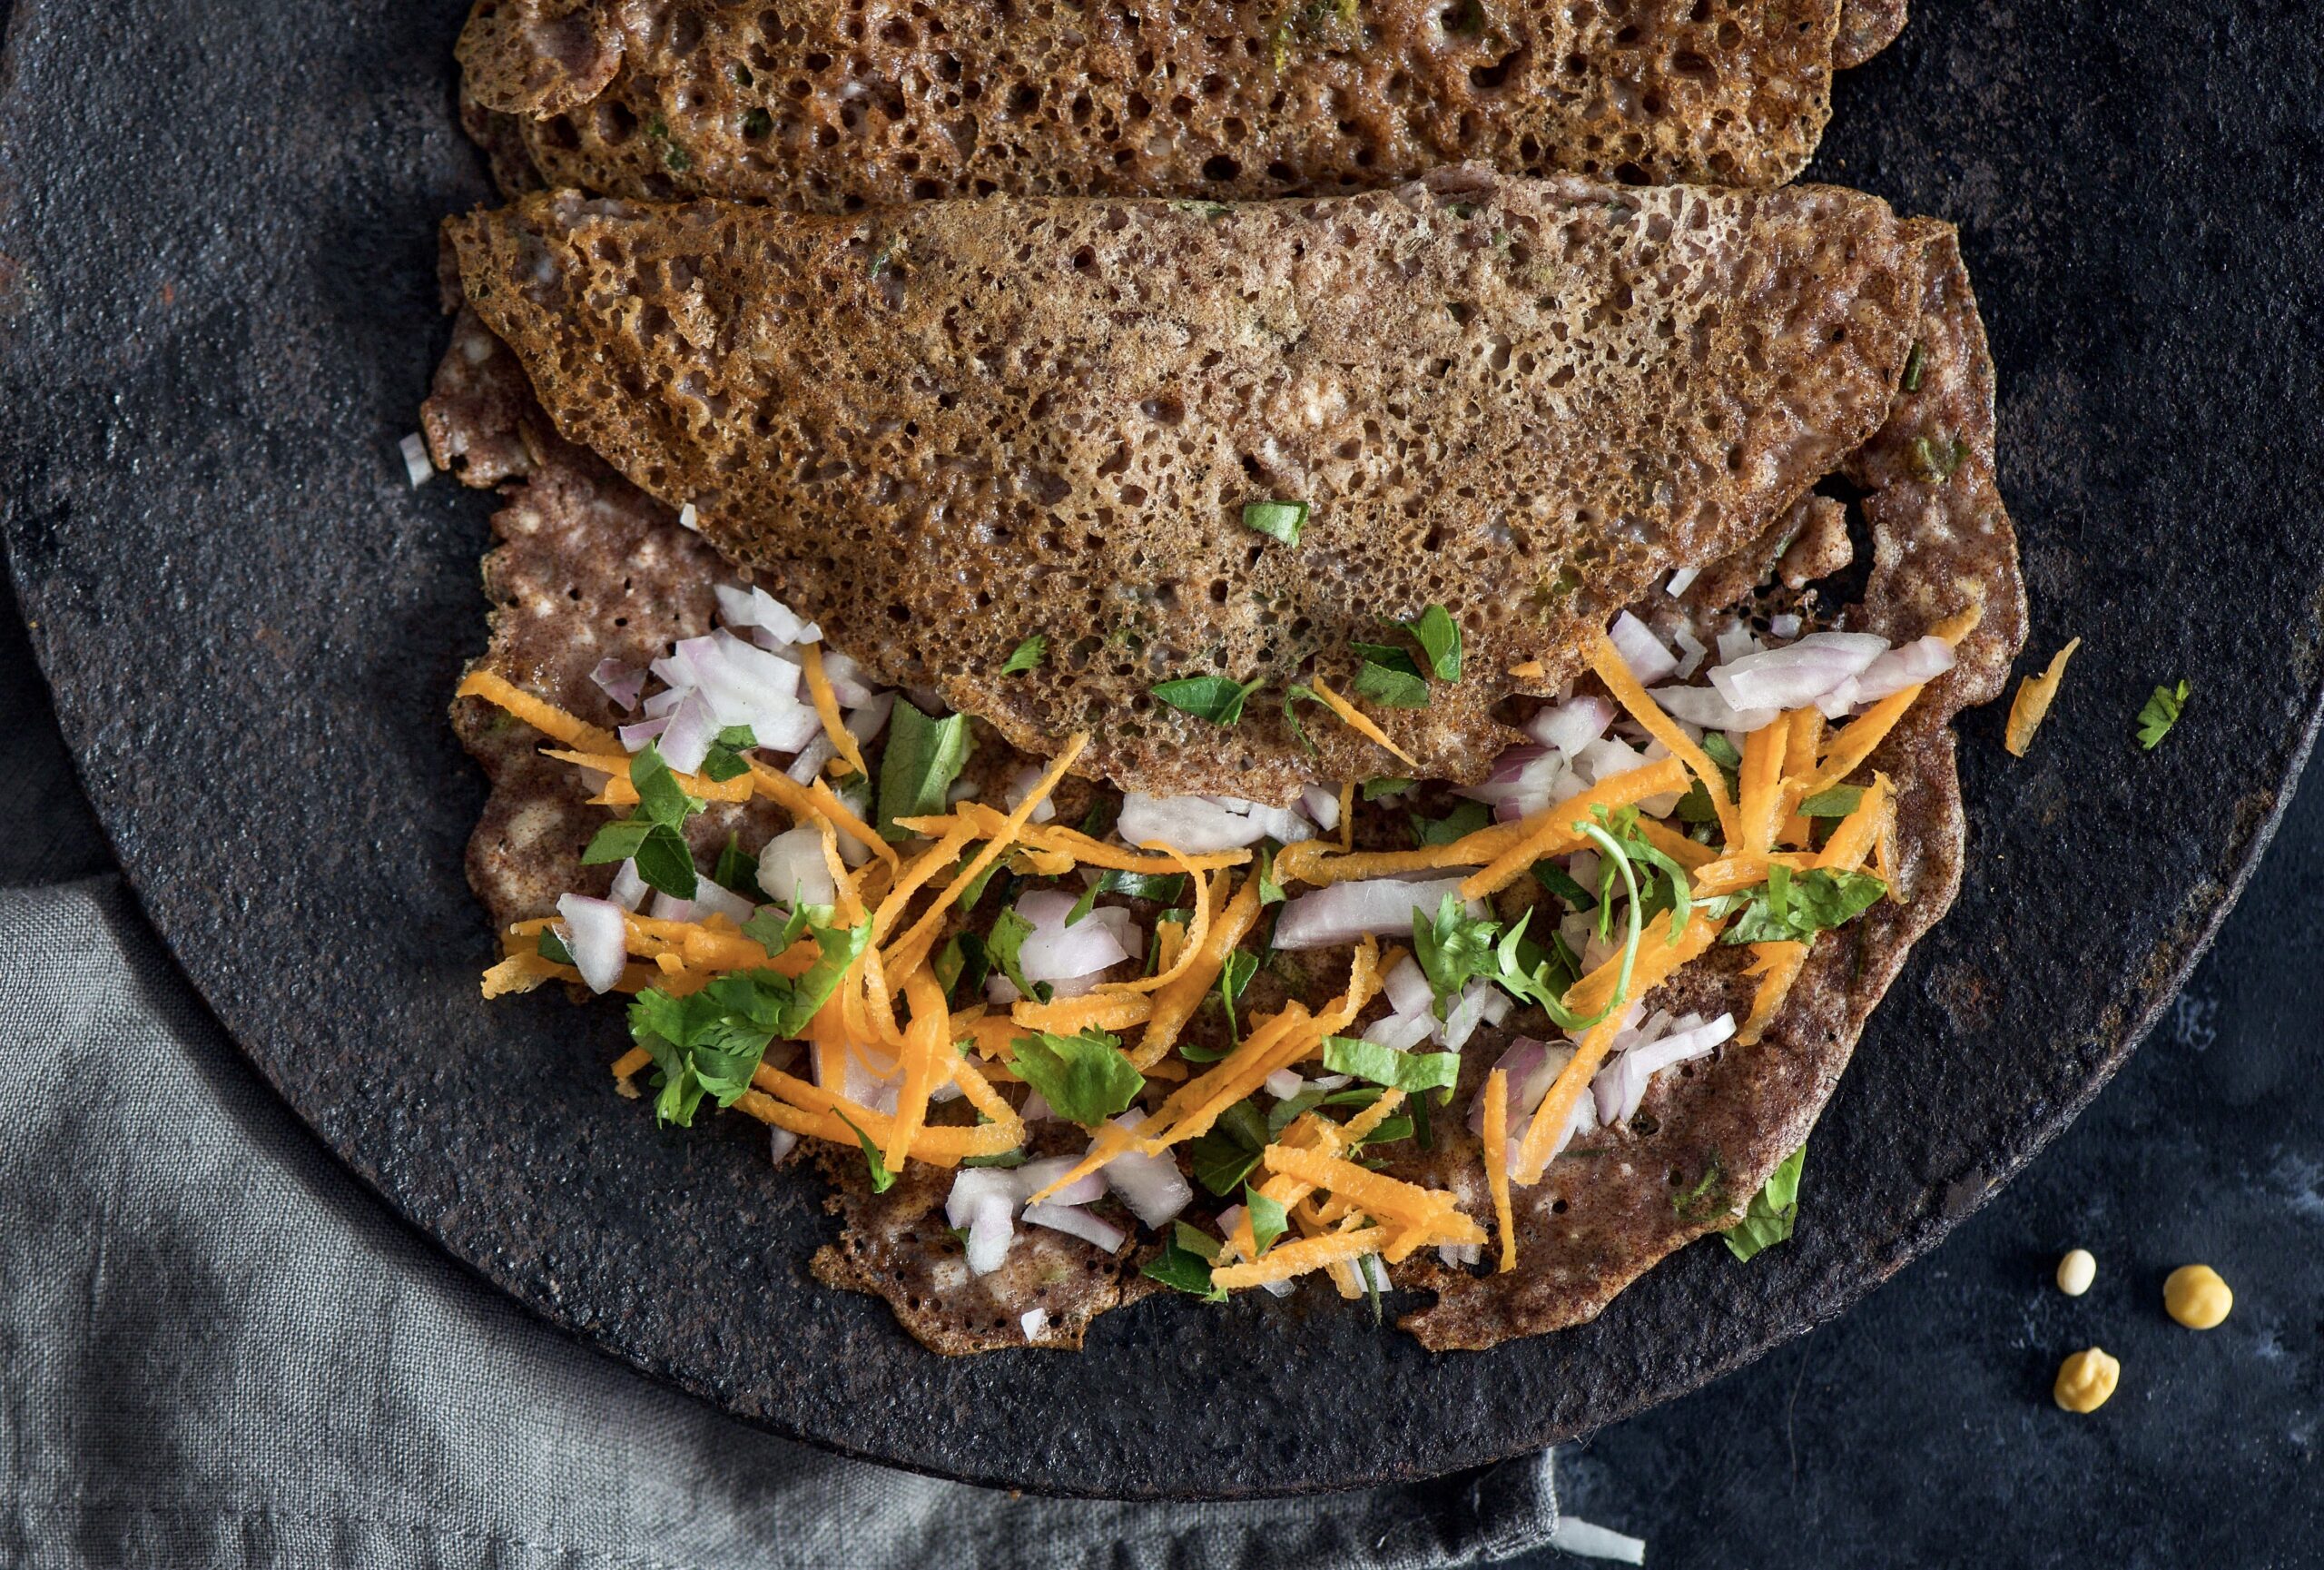
I want to share with you the recipe for ragi millet dosa. Dosa is a South Indian crepe, similar to chilla. It is popularly made with rice flour, which I substitute almost entirely with ragi millet. It’s always exciting to add your own twist to something traditional. That’s the challenge of cooking as well – you can’t just throw in something and hope it sticks. How do you combine flavours so they work well and complement one another? It may seem simple and obvious to take two South Indian staples – ragi millets and dosas – and put them together. But this is not so, because in the case of any millet dosa, it is not only a matter of ingredients. The main question is: will the crepe peel off beautifully? Ragi has a sticky consistency, which can make this tricky. As those of us who make dosas regularly know, certain ingredients are added or removed to facilitate this peeling. This is why I still use a little bit of rice flour in the batter. Rice flour both adds crispiness to the dosa, as well as enables it to peel off properly.

As I’ve mentioned in the past, I ensure that all my powders and flours are homemade, ground by a trusted small mill.  We grow both rice and ragi on our farm, so I know for sure that the ingredients in this dish, and any rice-based dishes eaten at home, are organic.

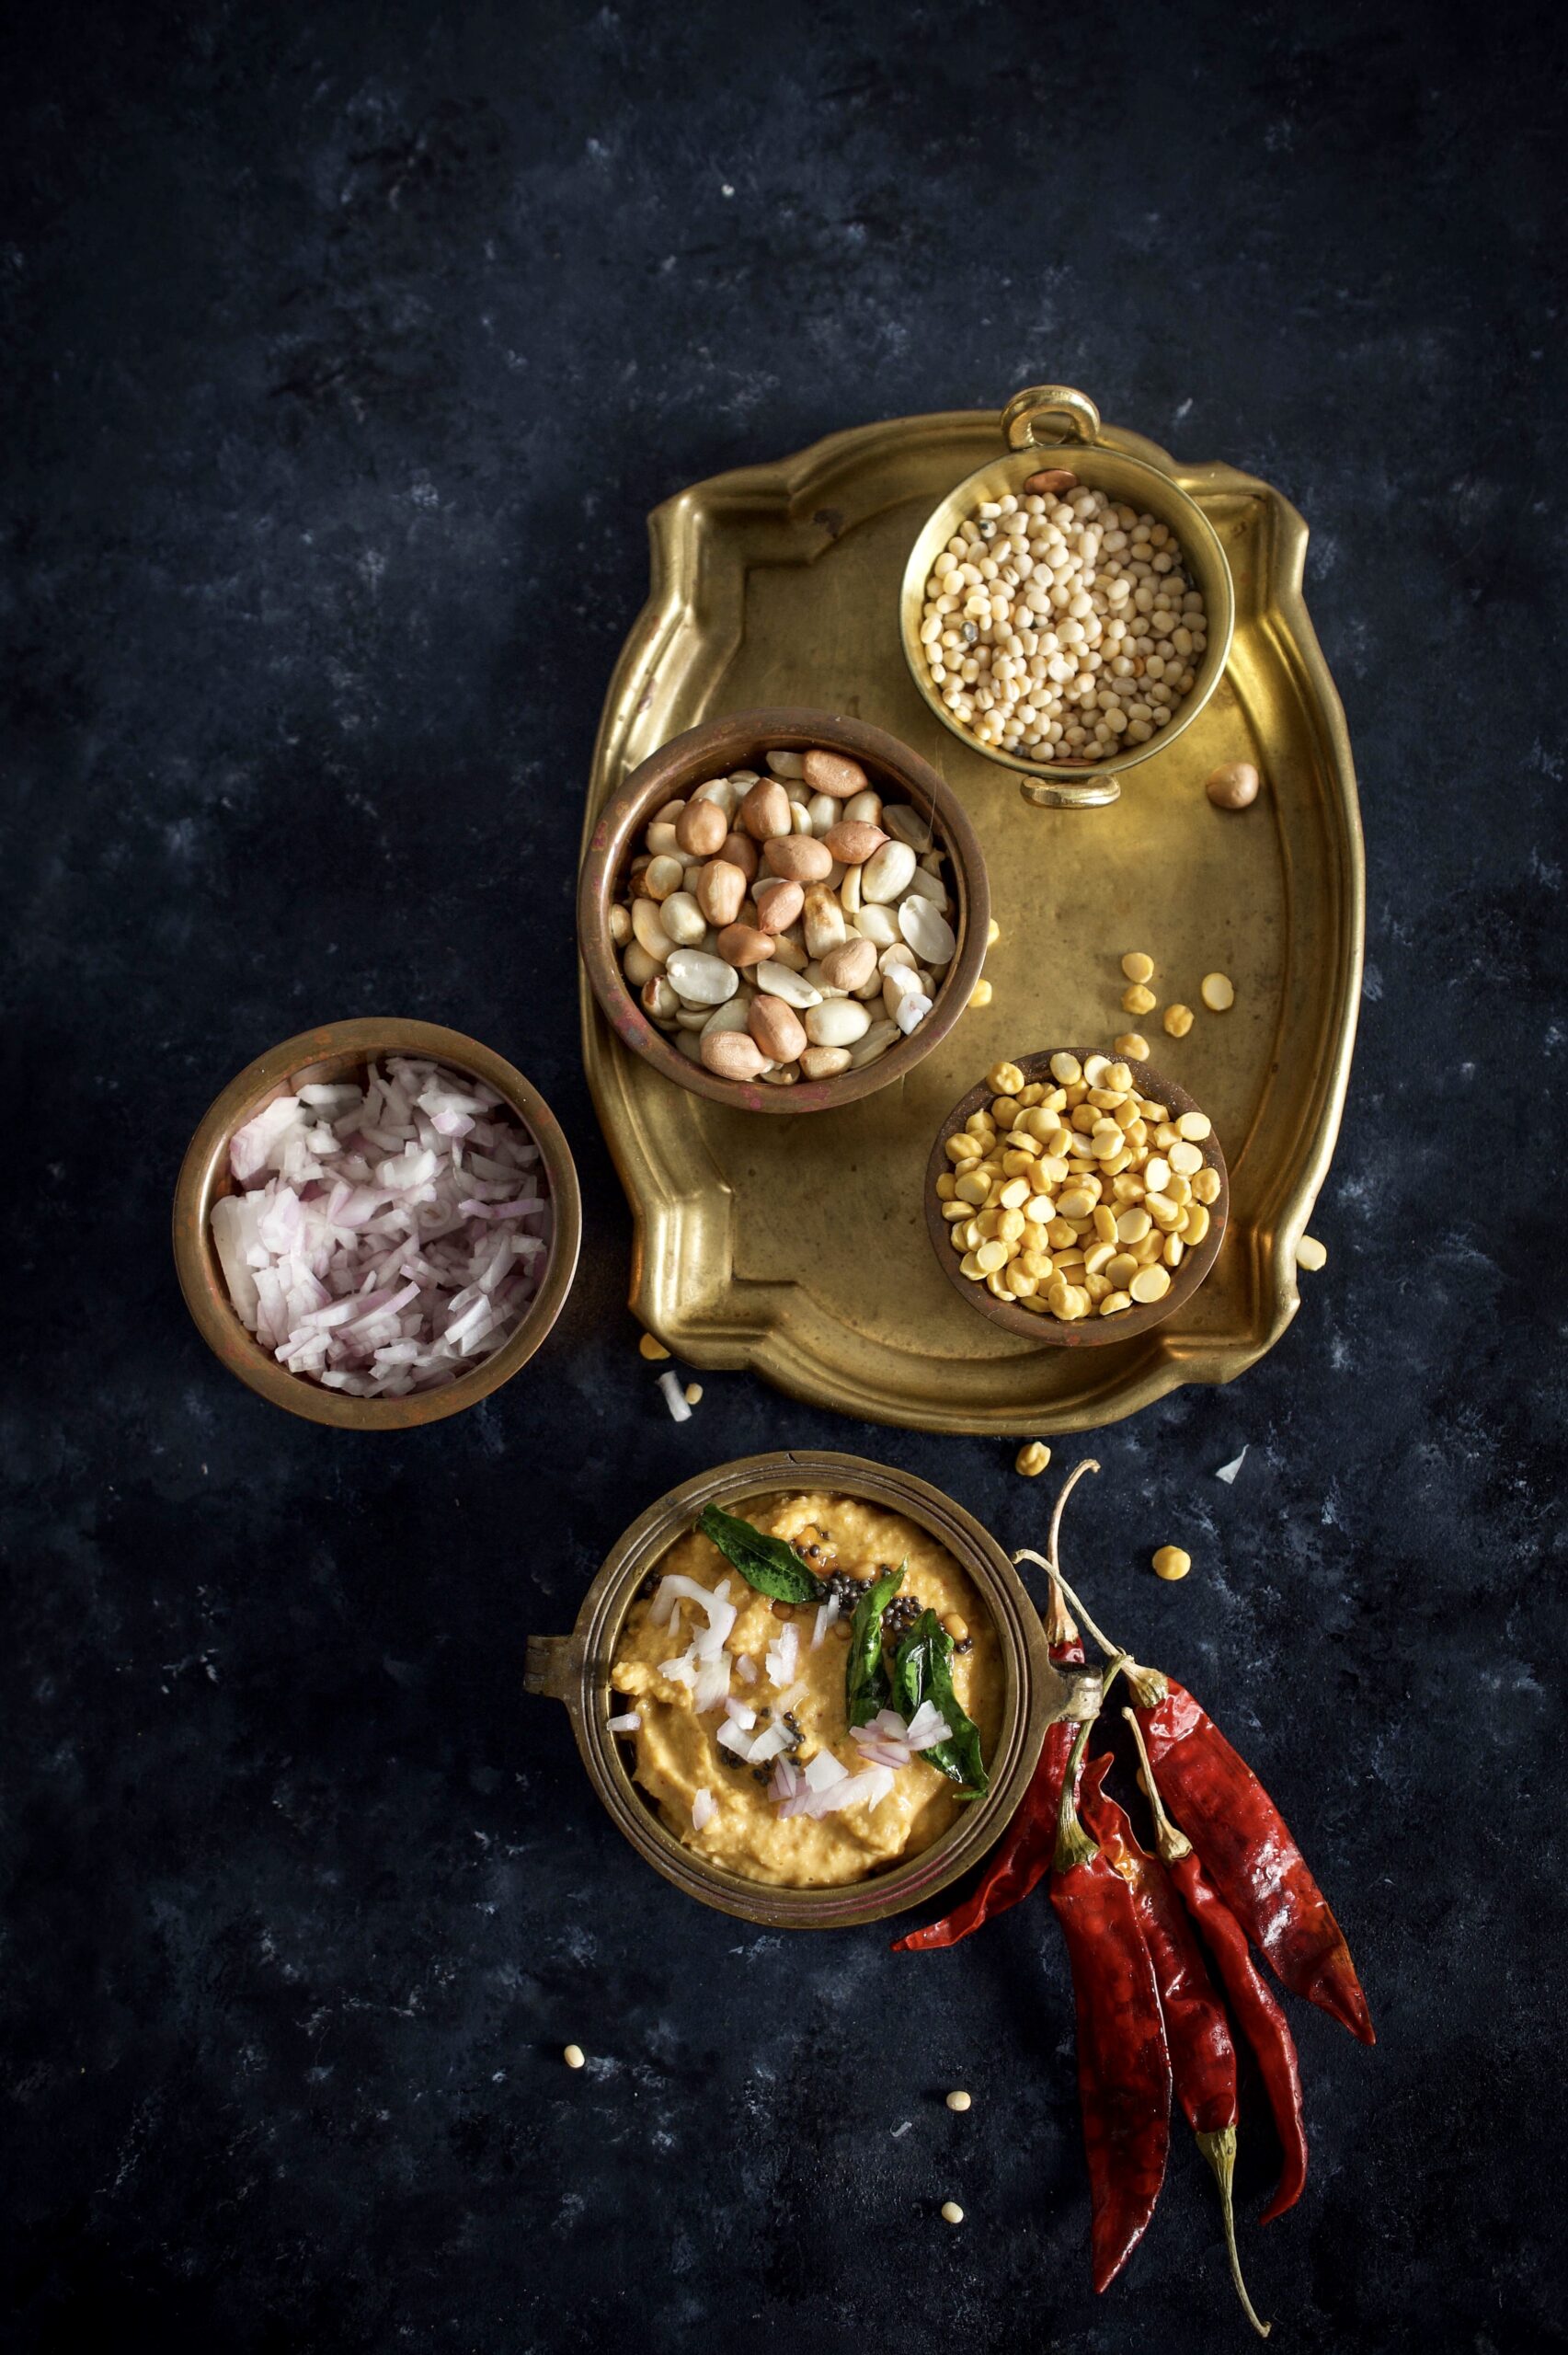
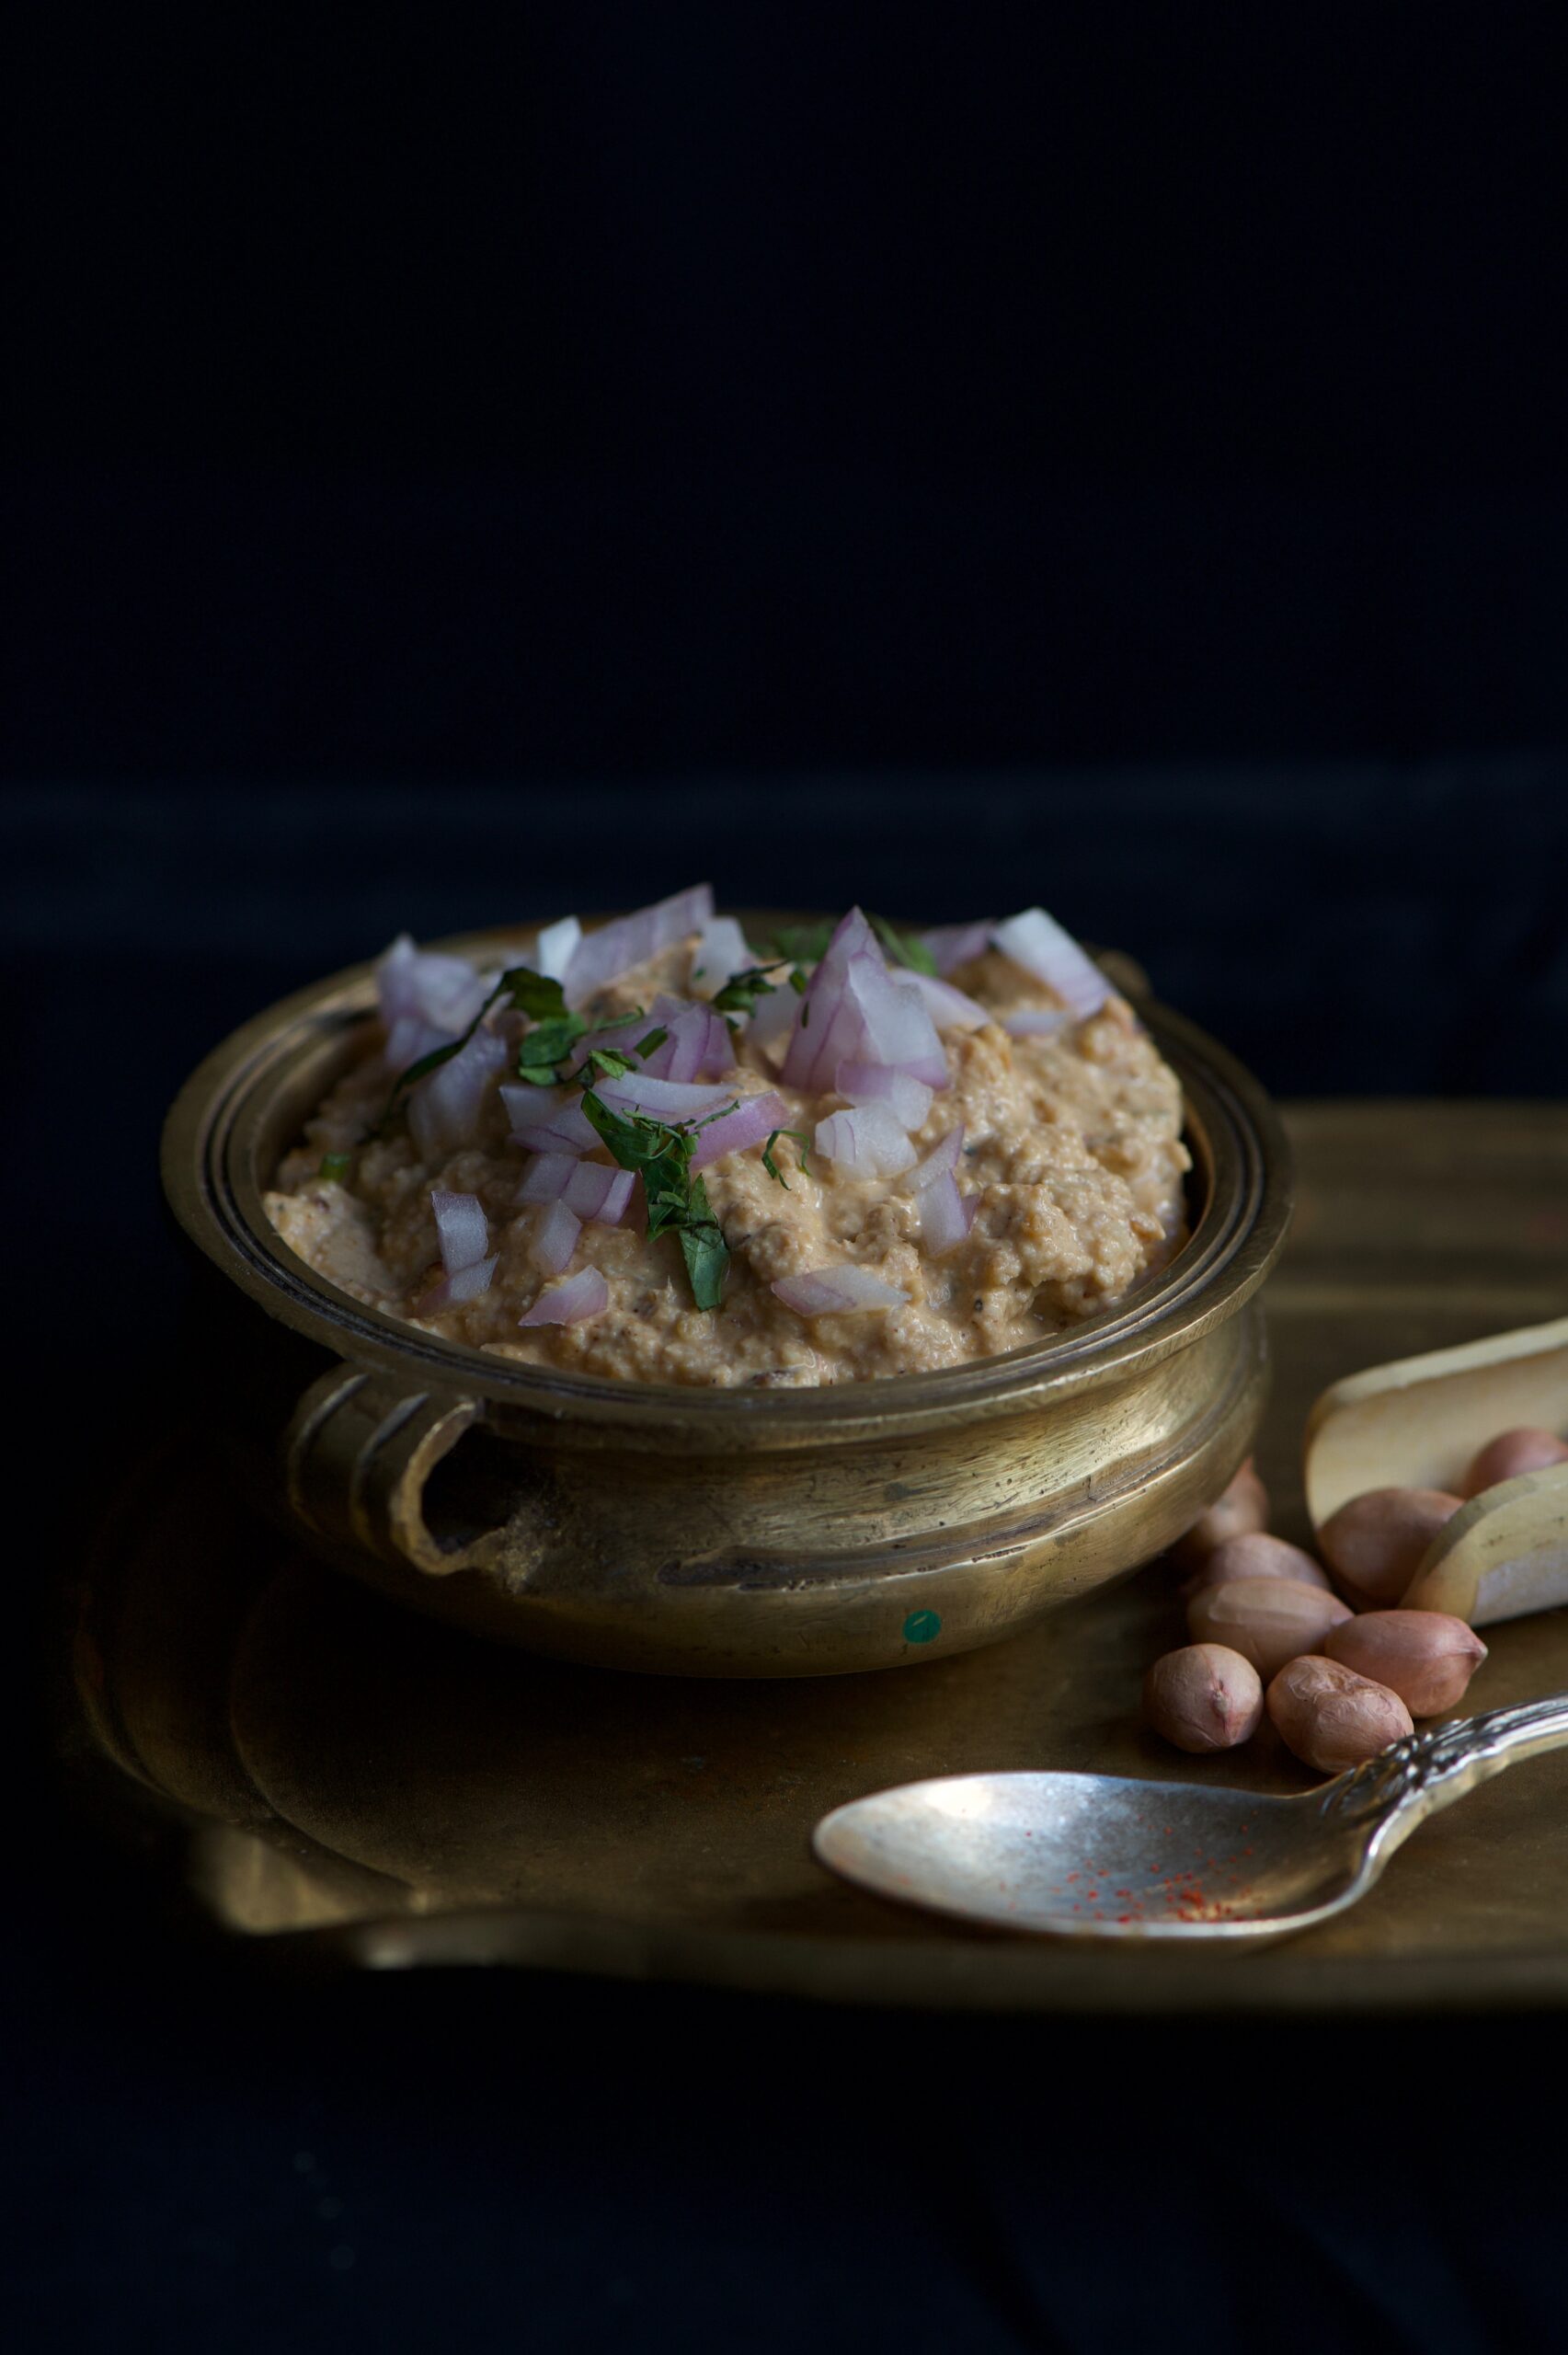
To come back to dosas and twists on the same – you can make your own variations of the dish below by adding vegetables to the crepe after it has been folded, or serving it with an assortment of chutneys. Here, I give you the recipe for a simple peanut chutney, which is a current favourite (peanuts are also grown on my farm). Ragi millet dosa is something I reach for often when I try to stay fit, and it’s always a satisfying meal.

Living in South India, dosa (or dosai) is something I’ve taken for granted. It really is a universally loved dish, as this story about my dog Coco will tell you. When she was pregnant years ago, she absolutely craved dosas! I would have one made especially for her every day, and she would simply refuse to eat it if it did not contain salt! My Coco is now sixteen years old and going strong, and the healthiest in my house since she eats fresh food every day. Now, her son Max also craves dosas, probably influenced by his mother’s taste during her pregnancy with him, and I always share mine with them both.


Ragi Millet Dosa

(Yield: 6 dosas)

Ingredients
½ cup ragi flour

1 tablespoon rice flour

1 teaspoon cumin

1 teaspoon paste of green chilli and ginger

1 tablespoon grated coconut

¾ cup water

1 tablespoon yoghurt

Finely chopped curry leaves

Finely chopped onions

Salt to taste

In a bowl, mix the ragi and rice flours in water until there are no lumps. Then add all the remaining ingredients. Stir until they all blend well together and become a smooth batter. Do not add too much water as this will make the batter too thin.

These dosas can either be prepared immediately, or the batter can be left to sit for about half an hour, letting the flavours blend more.

To fry a dosa is like frying any crepe. Add a few drops of oil on a heated iron griddle. Now lower the flame and pour 1 small cup of the batter onto the griddle, and spread it out in a circular motion until it is spread thin. Dot the edges with oil and increase the flame to high. Allow the dosa to turn dark on the edges, then flip over and allow to fry for a few minutes. Flip again once before you take it off the stove. Fold and serve with the peanut chutney, or a condiment of your choice.


Peanut Chutney

(Yield: 1 cup)

Ingredients

½ cup roasted peanuts

1 teaspoon channa dal

1 teaspoon udad dal

1½  teaspoons tamarind paste

1 teaspoon grated ginger

¼ cup water

2 red chilies

A sprig of curry leaves

A few drops of oil

Salt to taste


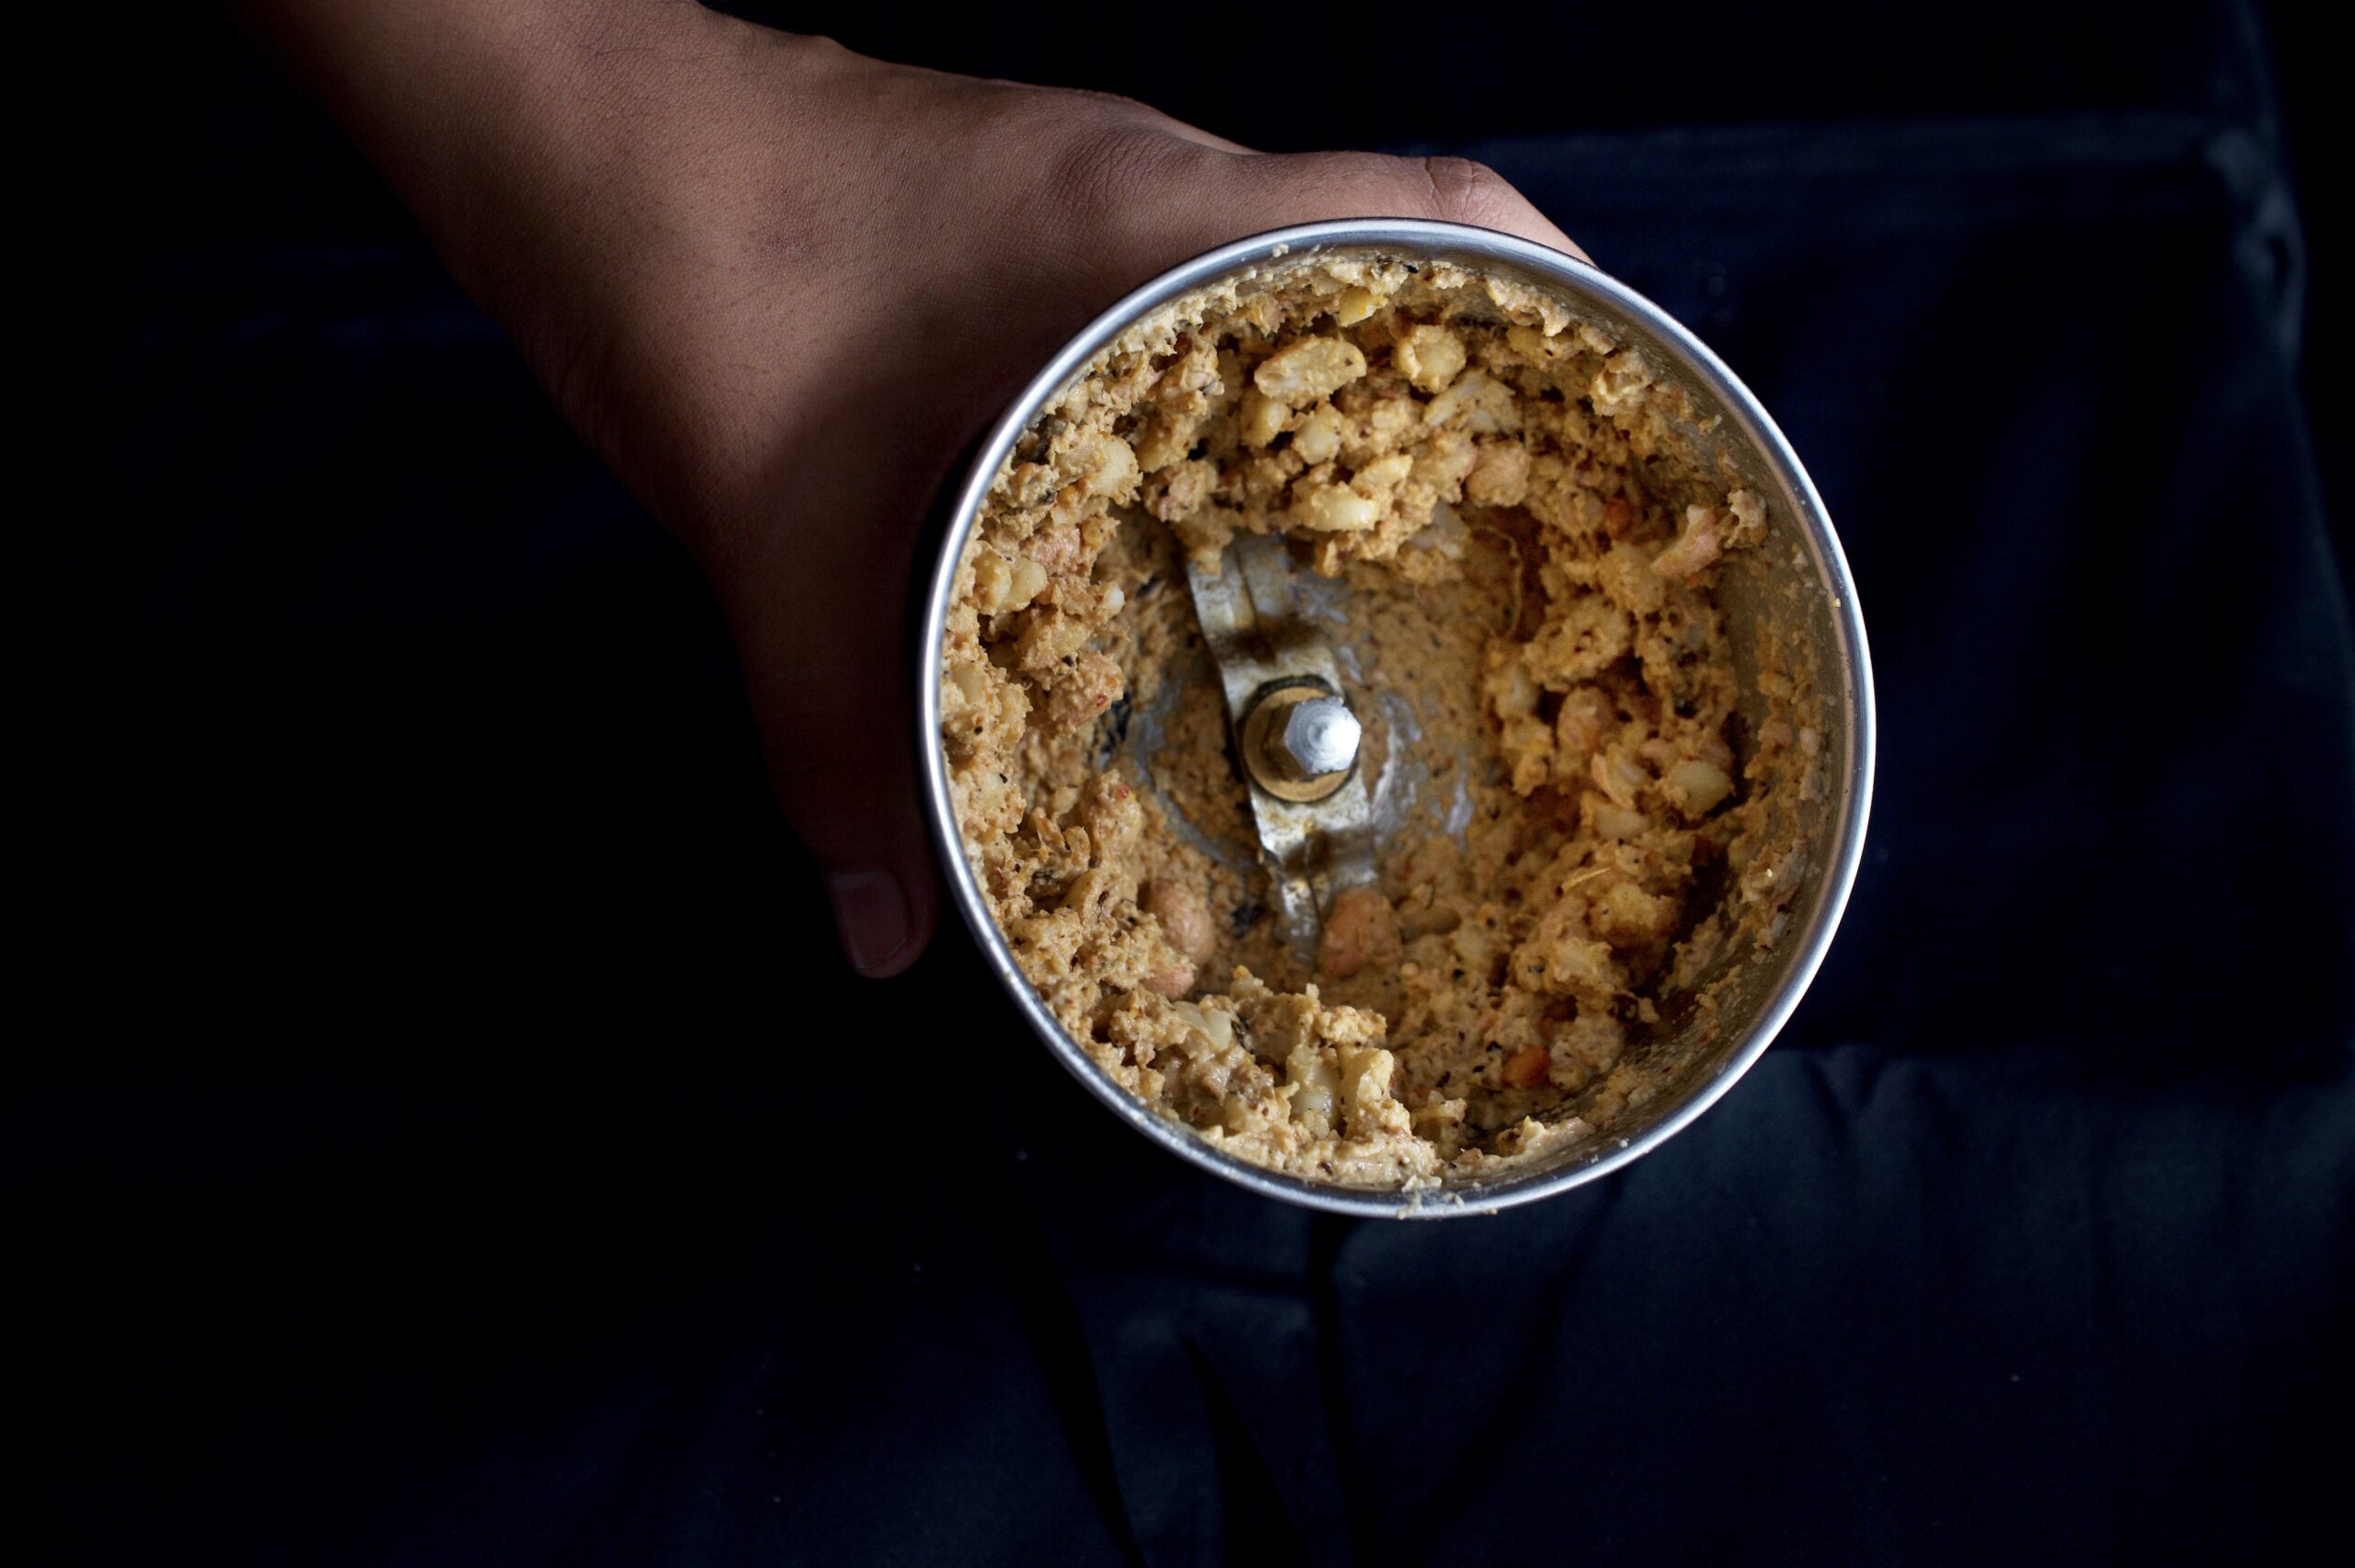
Sauté the dals in a few drops of oil. Once they turn golden, add the dals along with the peanuts and ginger in a blender. Blend until coarse.

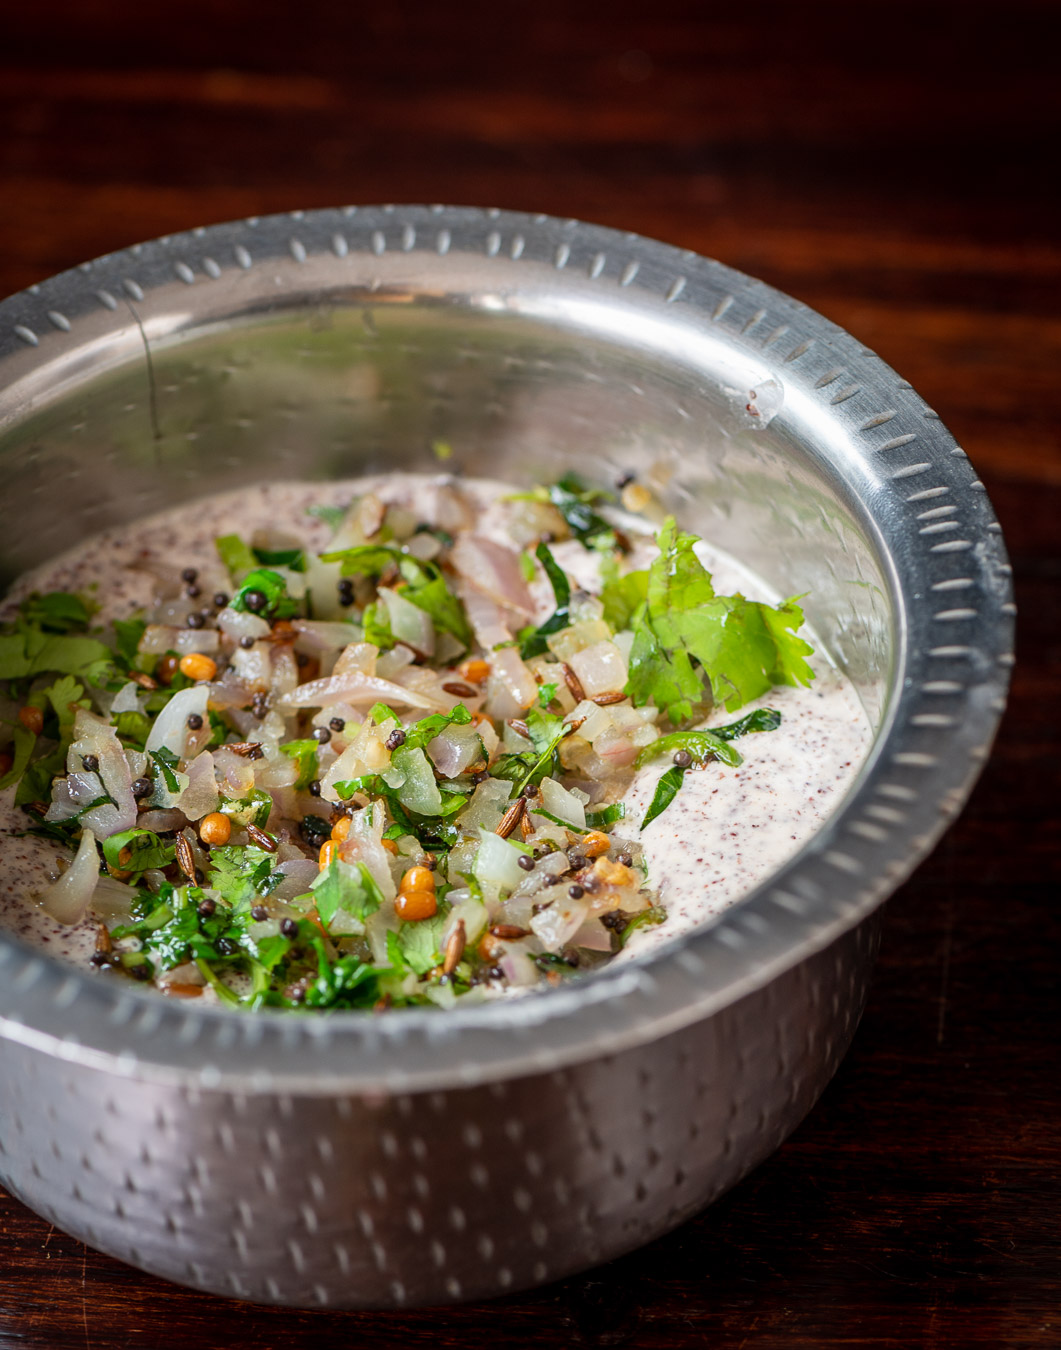
Now, to temper the chutney. Put a few drops of oil in a pan and add the mustard seeds and cumin seeds. Wait till they splutter and then add the red chillies and curry leaves. When they have been coated in the hot oil, immediately pour the tempering over the chutney. It is now ready to be eaten as a dip with the crispy hot dosas.

I’m an evangelist when it comes to millets and truly believe in their ability to transform our unhealthy modern diets. This is why they have featured so many times on this blog. If you’re curious about more dishes that incorporate these simple and satisfying ingredients, do check out this tag and spend some time exploring my past recipes. Here are a few of my favourite selections from the same: little millet rice with beans poriyal, chakkara pongal and vegan chili.

When I was a little girl, the month of Aadi in Chennai meant music being blared from temple speakers and a general atmosphere of colour and sound on the streets. Just like with the funeral processions full of flowers and drumming, I thought all of it was pure celebration. Now, as an adult, I appreciate the nuances, but there is still something about this month that catches my eye – and more accurately, my sense of smell. For temples small and large through the city make ritual offerings to the Goddess, which are then distributed to all. The scent of freshly made koozh (pronounced koo-lu), a millet-based porridge, fills the air along with devotional songs.

Having lived in Tamil Nadu my whole life, the traditional local cuisine has always been a part of me. Millets were a staple in ancient times, replaced more recently by rice and wheat. Unlike what most contemporary nutritionists believe, Macrobiotics suggests that rice, in moderation, does not have negative effects on health. Adding millets into one’s diet, as a healthy alternative or addition to rice, can boost the health quotient without compromising on taste. More importantly, millets are gluten-free, offering a great solution for those who are gluten intolerant.

Nowadays, the health-conscious hark on about quinoa, which is a great superfood –  however, it is not native to India. They tend to ignore the affordable local millets, which offer the same (if not a greater) amount of nutrition and could themselves be superfoods!