Tag

roti

Browsing

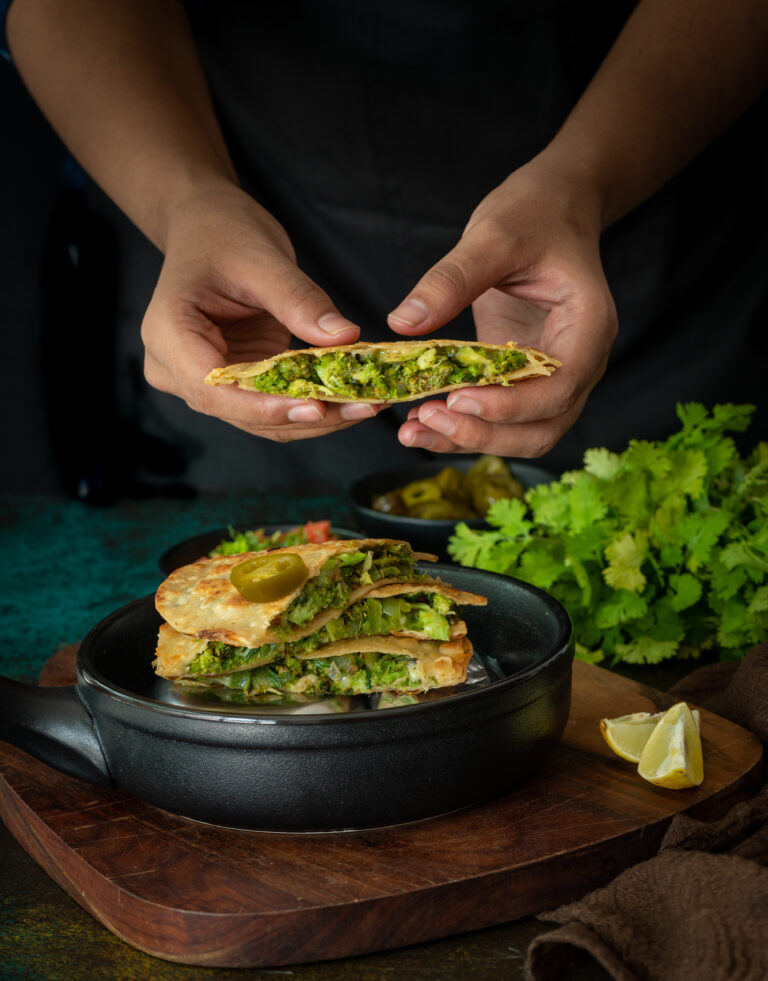
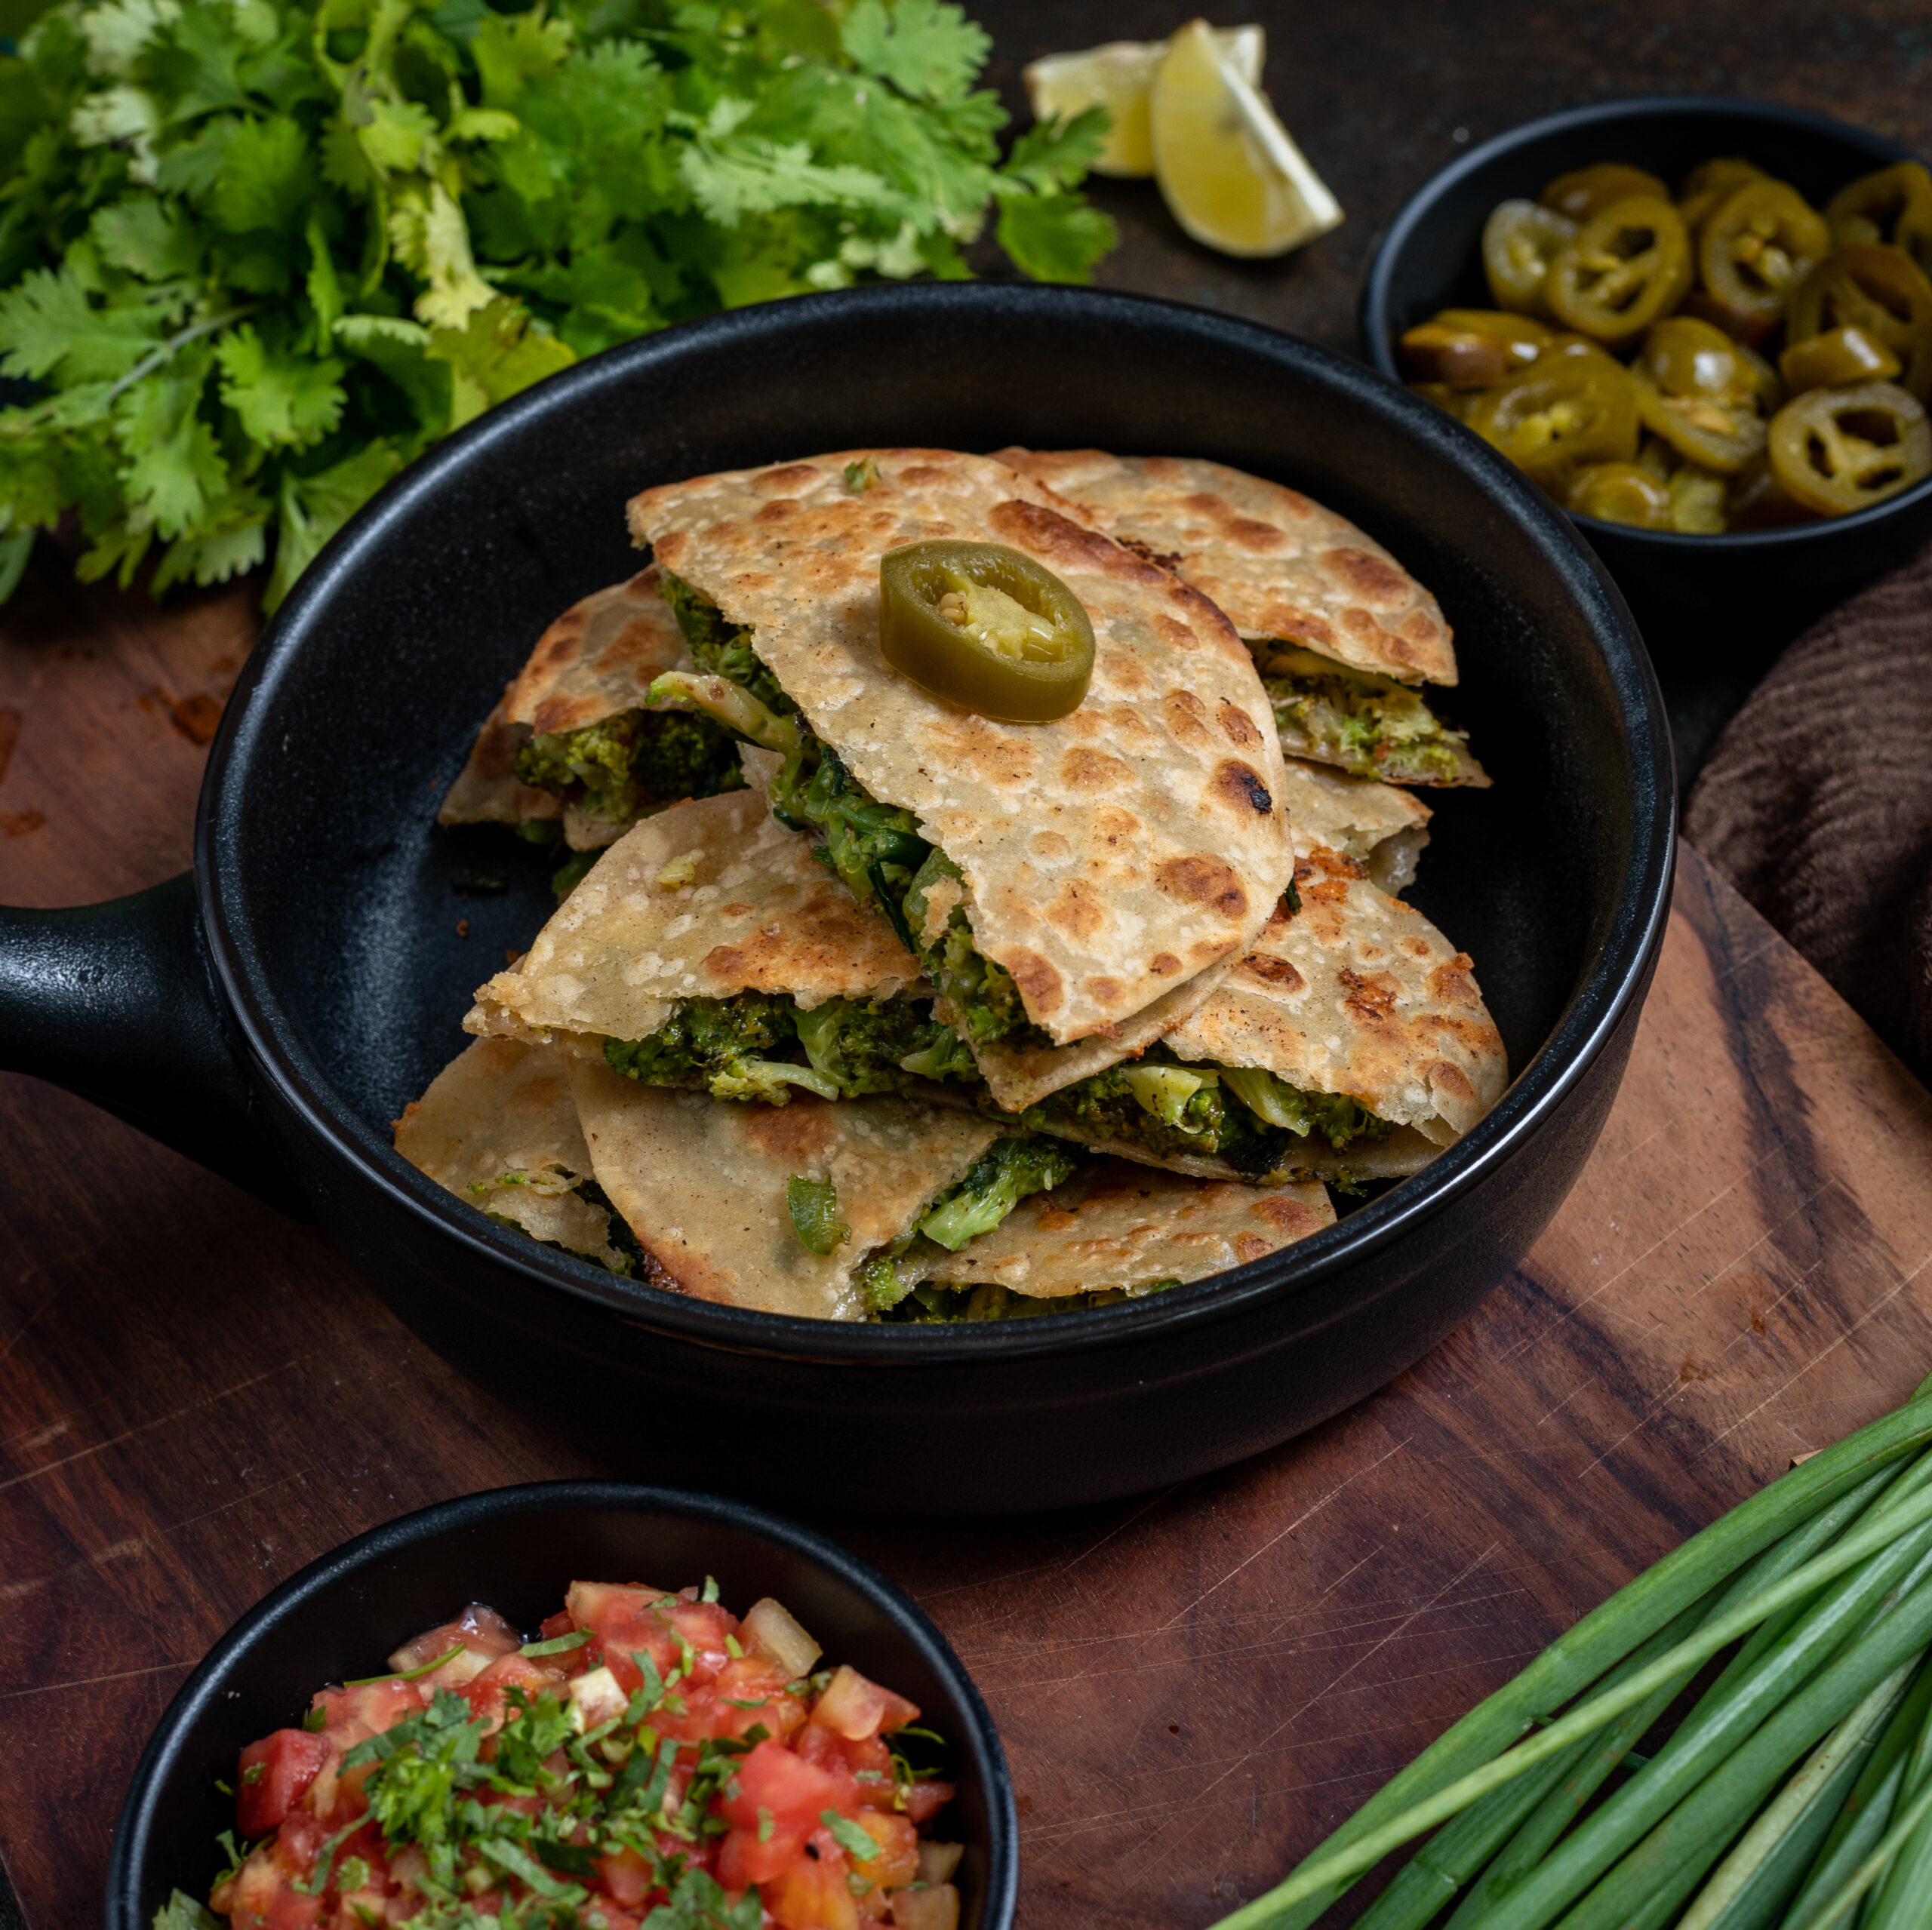
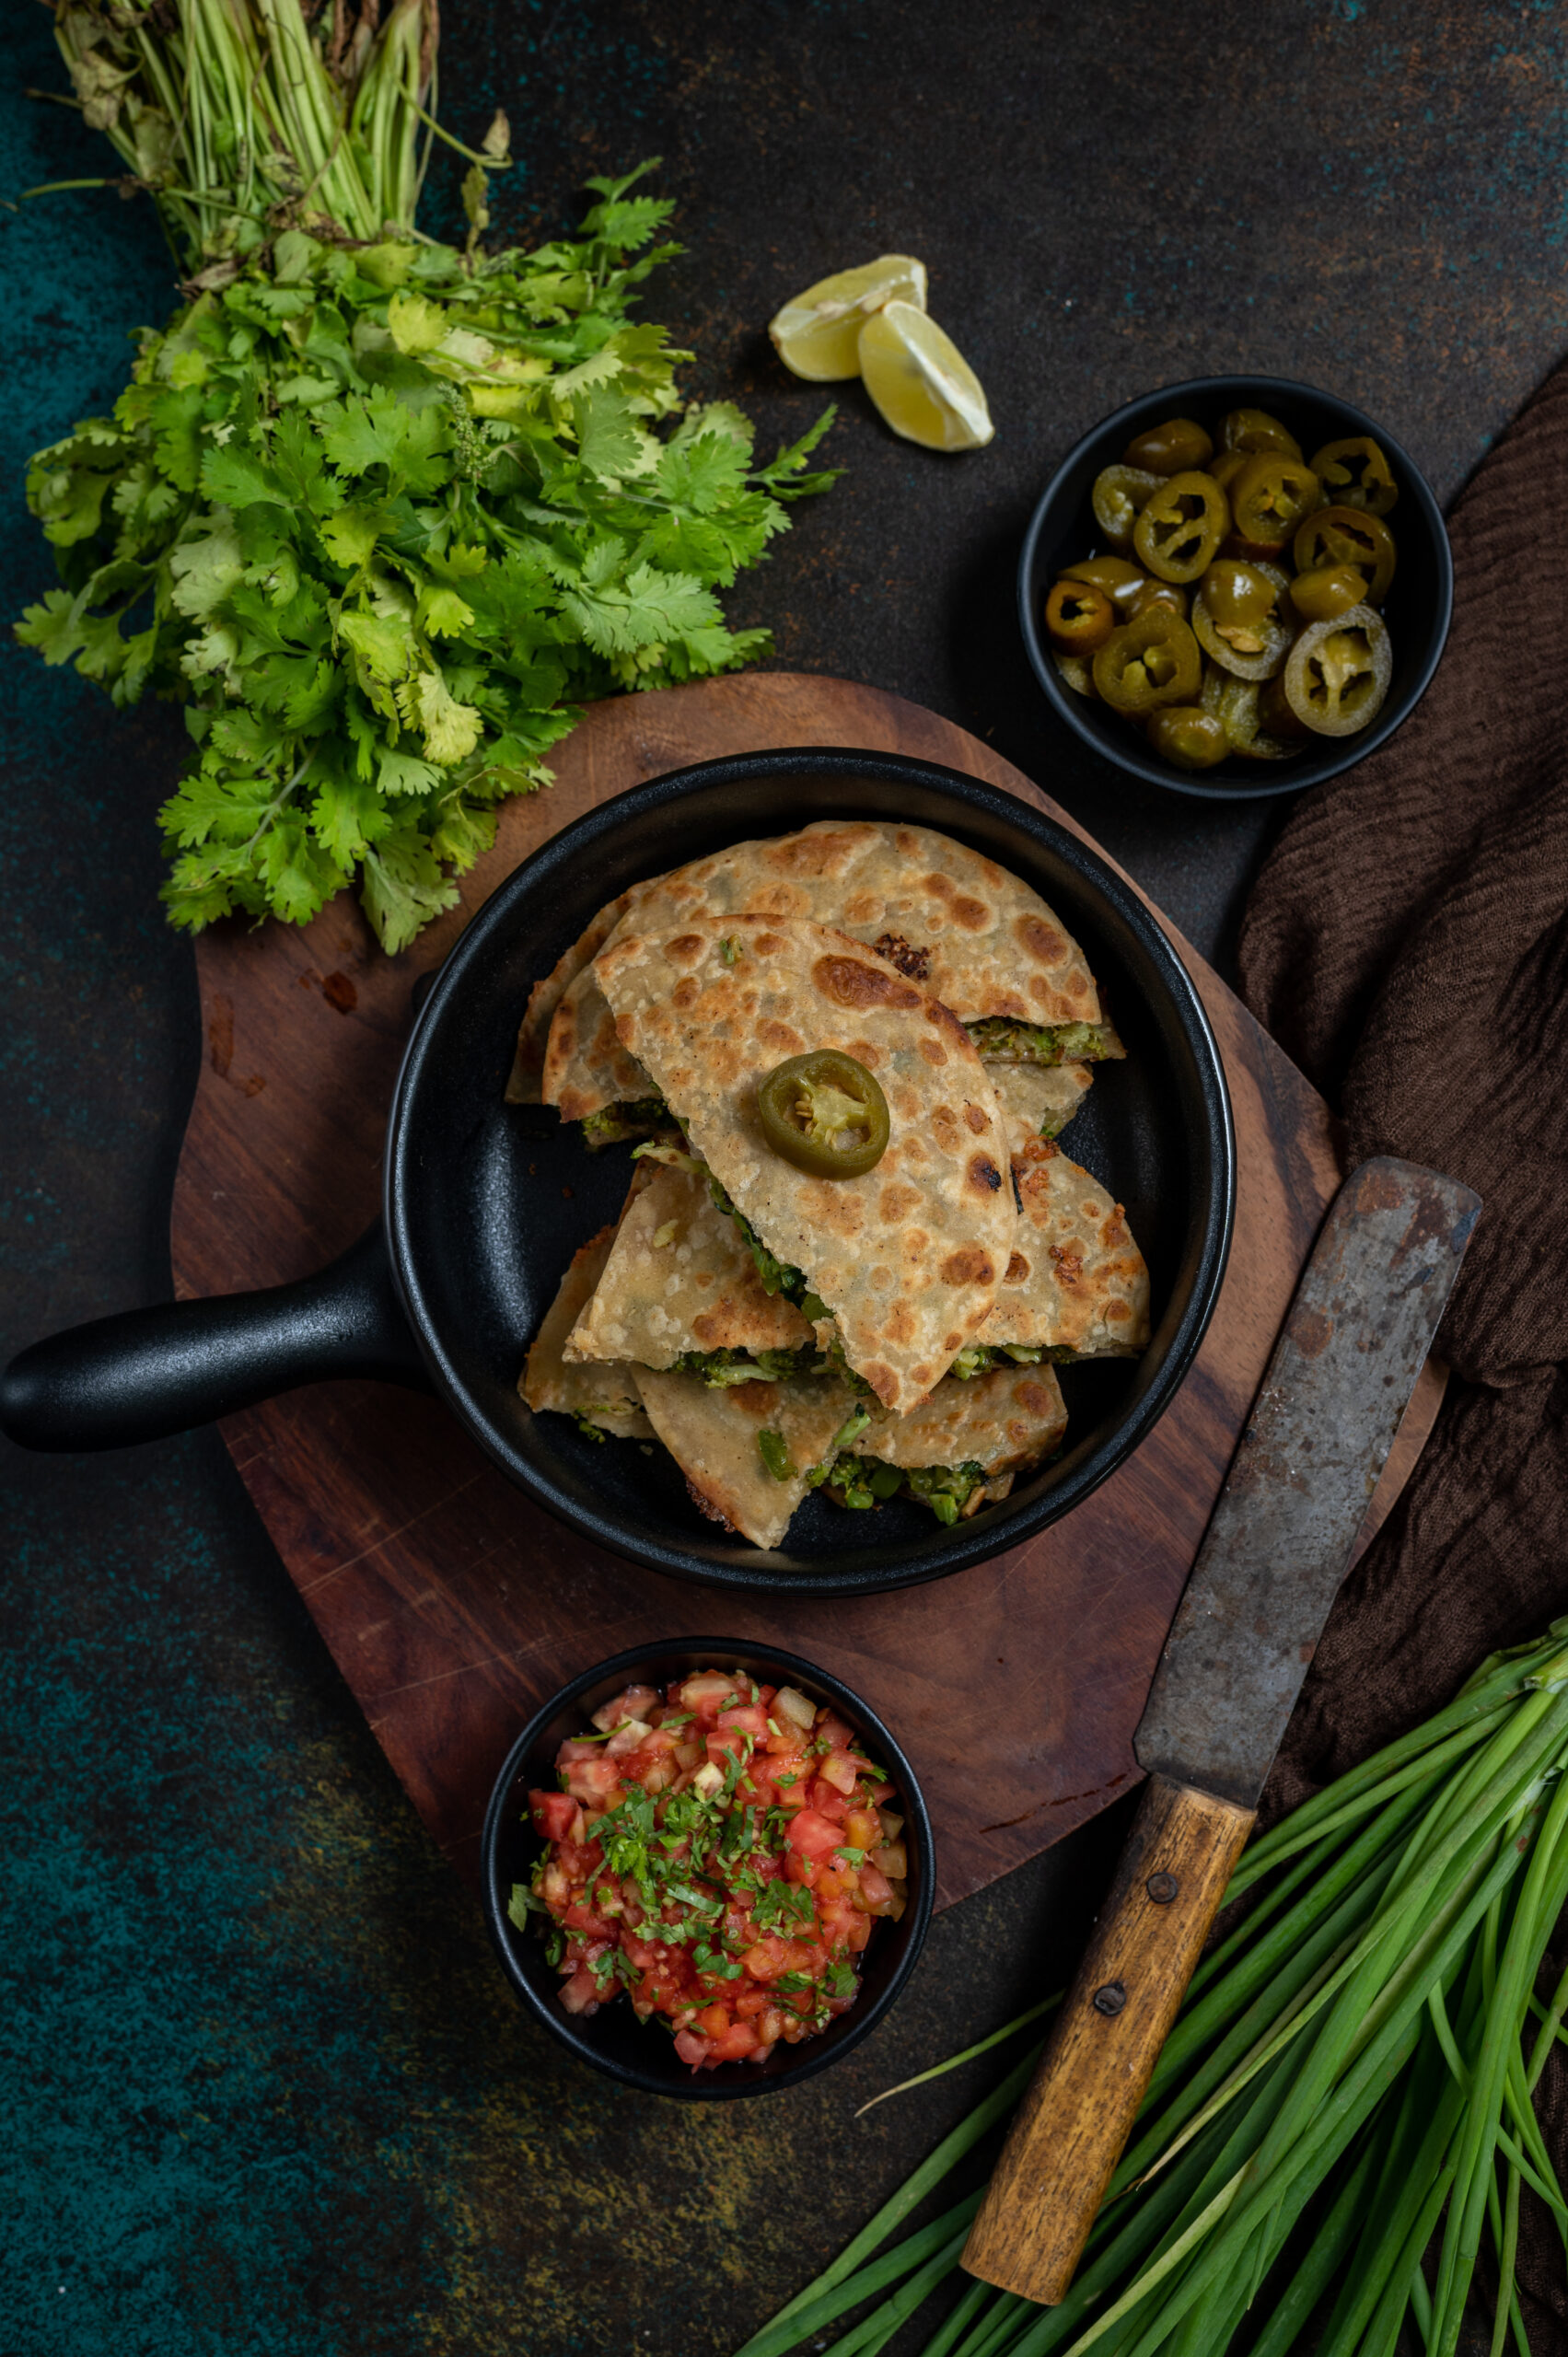
We can’t get enough of food inspired by Mexican cuisine at home, and after last week’s Mexican-style pineapple salad, I thought it would be perfect to share another delicious recipe in the same vein. This green quesadilla, truthfully speaking, is re:store style – a cross between Indian and Mexican, but leaning towards being an Indian dish with a Mexican name. For the culinary purists out there, no, this is not authentic. For the rest of us who love our fusion food and things that taste good under any moniker, I can assure you that this green quesadilla is quite amazing just the same. If you don’t believe me, ask my mother-in-law, who at 85 relishes it to the point of requesting it specifically when it’s been missing from our menu for even a week!

I can’t recall exactly how it came into being, but can make a vague guess that I must have had an excess of broccoli in my kitchen one day. I must have decided to pack it all into a quesadilla, to use up my stock while also ensuring that my family got a good load of greens that day. I do know that when I began serving it to them, my grown kids didn’t blink twice, distracted by the yummy cheese that holds the “tortilla” together (you’ll see why I use the quote marks when you read the method). I realised then that this dish is ideal for my readers with kids, especially younger ones who detest vegetables and need to be tricked into having them. In fact, calling it a quesadilla – even when you’re using ingredients that are so basic to an Indian kitchen – will also help with this, as children are always curious about trying new things and are likely to enjoy the novelty.
It has since become a staple at home, and I usually accompany it with a soup of some sort. Depending on your personal preferences, I can recommend several of my recipes for this pairing too. From the richly indulgent to the comfortingly simple, I have shared quite a range on this blog. Do check out my minestrone, zucchini soup, vegan whole corn and lemongrass soup, broccoli and almond soup or watermelon gazpacho at leisure.

Long before I encountered real quesadillas, and long before those of us who grew up in Chennai had the slightest clue what Mexican cuisine was all about, I enjoyed another dish based on the same concept at my friend Sharmila’s home. Whenever a small group of us would land up there after school, surprising her mother who would be unprepared to serve lunch for unexpected guests, she would take some rotis and whip up a simple, but extremely satisfying, treat for us. She would put some jaggery between two rotis and flip them on a pan with ghee. The jaggery would melt, bind the bread together, and would ooze out so appetisingly the moment you took a bite. Looking back, I can imagine how this clever innovation came into being. I’m sure you can too. Do you have a dish like this, one you put together in a rush one day that then became a regular?

The category of so-called quesadillas is, as proved by Sharmila’s mother, a highly diverse one. Sprinkle some idli podi on it and make it a South Indian version. Change up the veggies so they fulfill a specific dietary restriction, or to make a colourful version. Add textures or ingredients that you like. Just remember that the cheese is the main factor. Without it, the whole thing will literally fall apart!

This green quesadilla makes for a filling dinner, or even a healthy snack. I flatten and slice it like a pizza, but you can also roll it up like a kati roll. Serving it in different ways will also keep your kids (or their grandmothers!) happy and enthusiastic. Isn’t it so interesting how our tastes when we are very young often have much in common with our tastes when we are very old? With that in mind, I’m delighted to share with you my recipe for a green quesadilla that is sure to satisfy several generations of your family!
Green Quesadilla

(Yield: 3 quesadillas)


Dough

¼ cup all purpose flour

¼ cup whole wheat flour

¼ cup water (or enough to make a tight dough)

Salt to taste

1 teaspoon oil


Filling

½ cup broccoli

¼ cup green bell pepper

¼ cup spring onions

2 teaspoons olive oil

Salt to taste

1 pinch pepper

½ cup grated cheese


Butter to cook


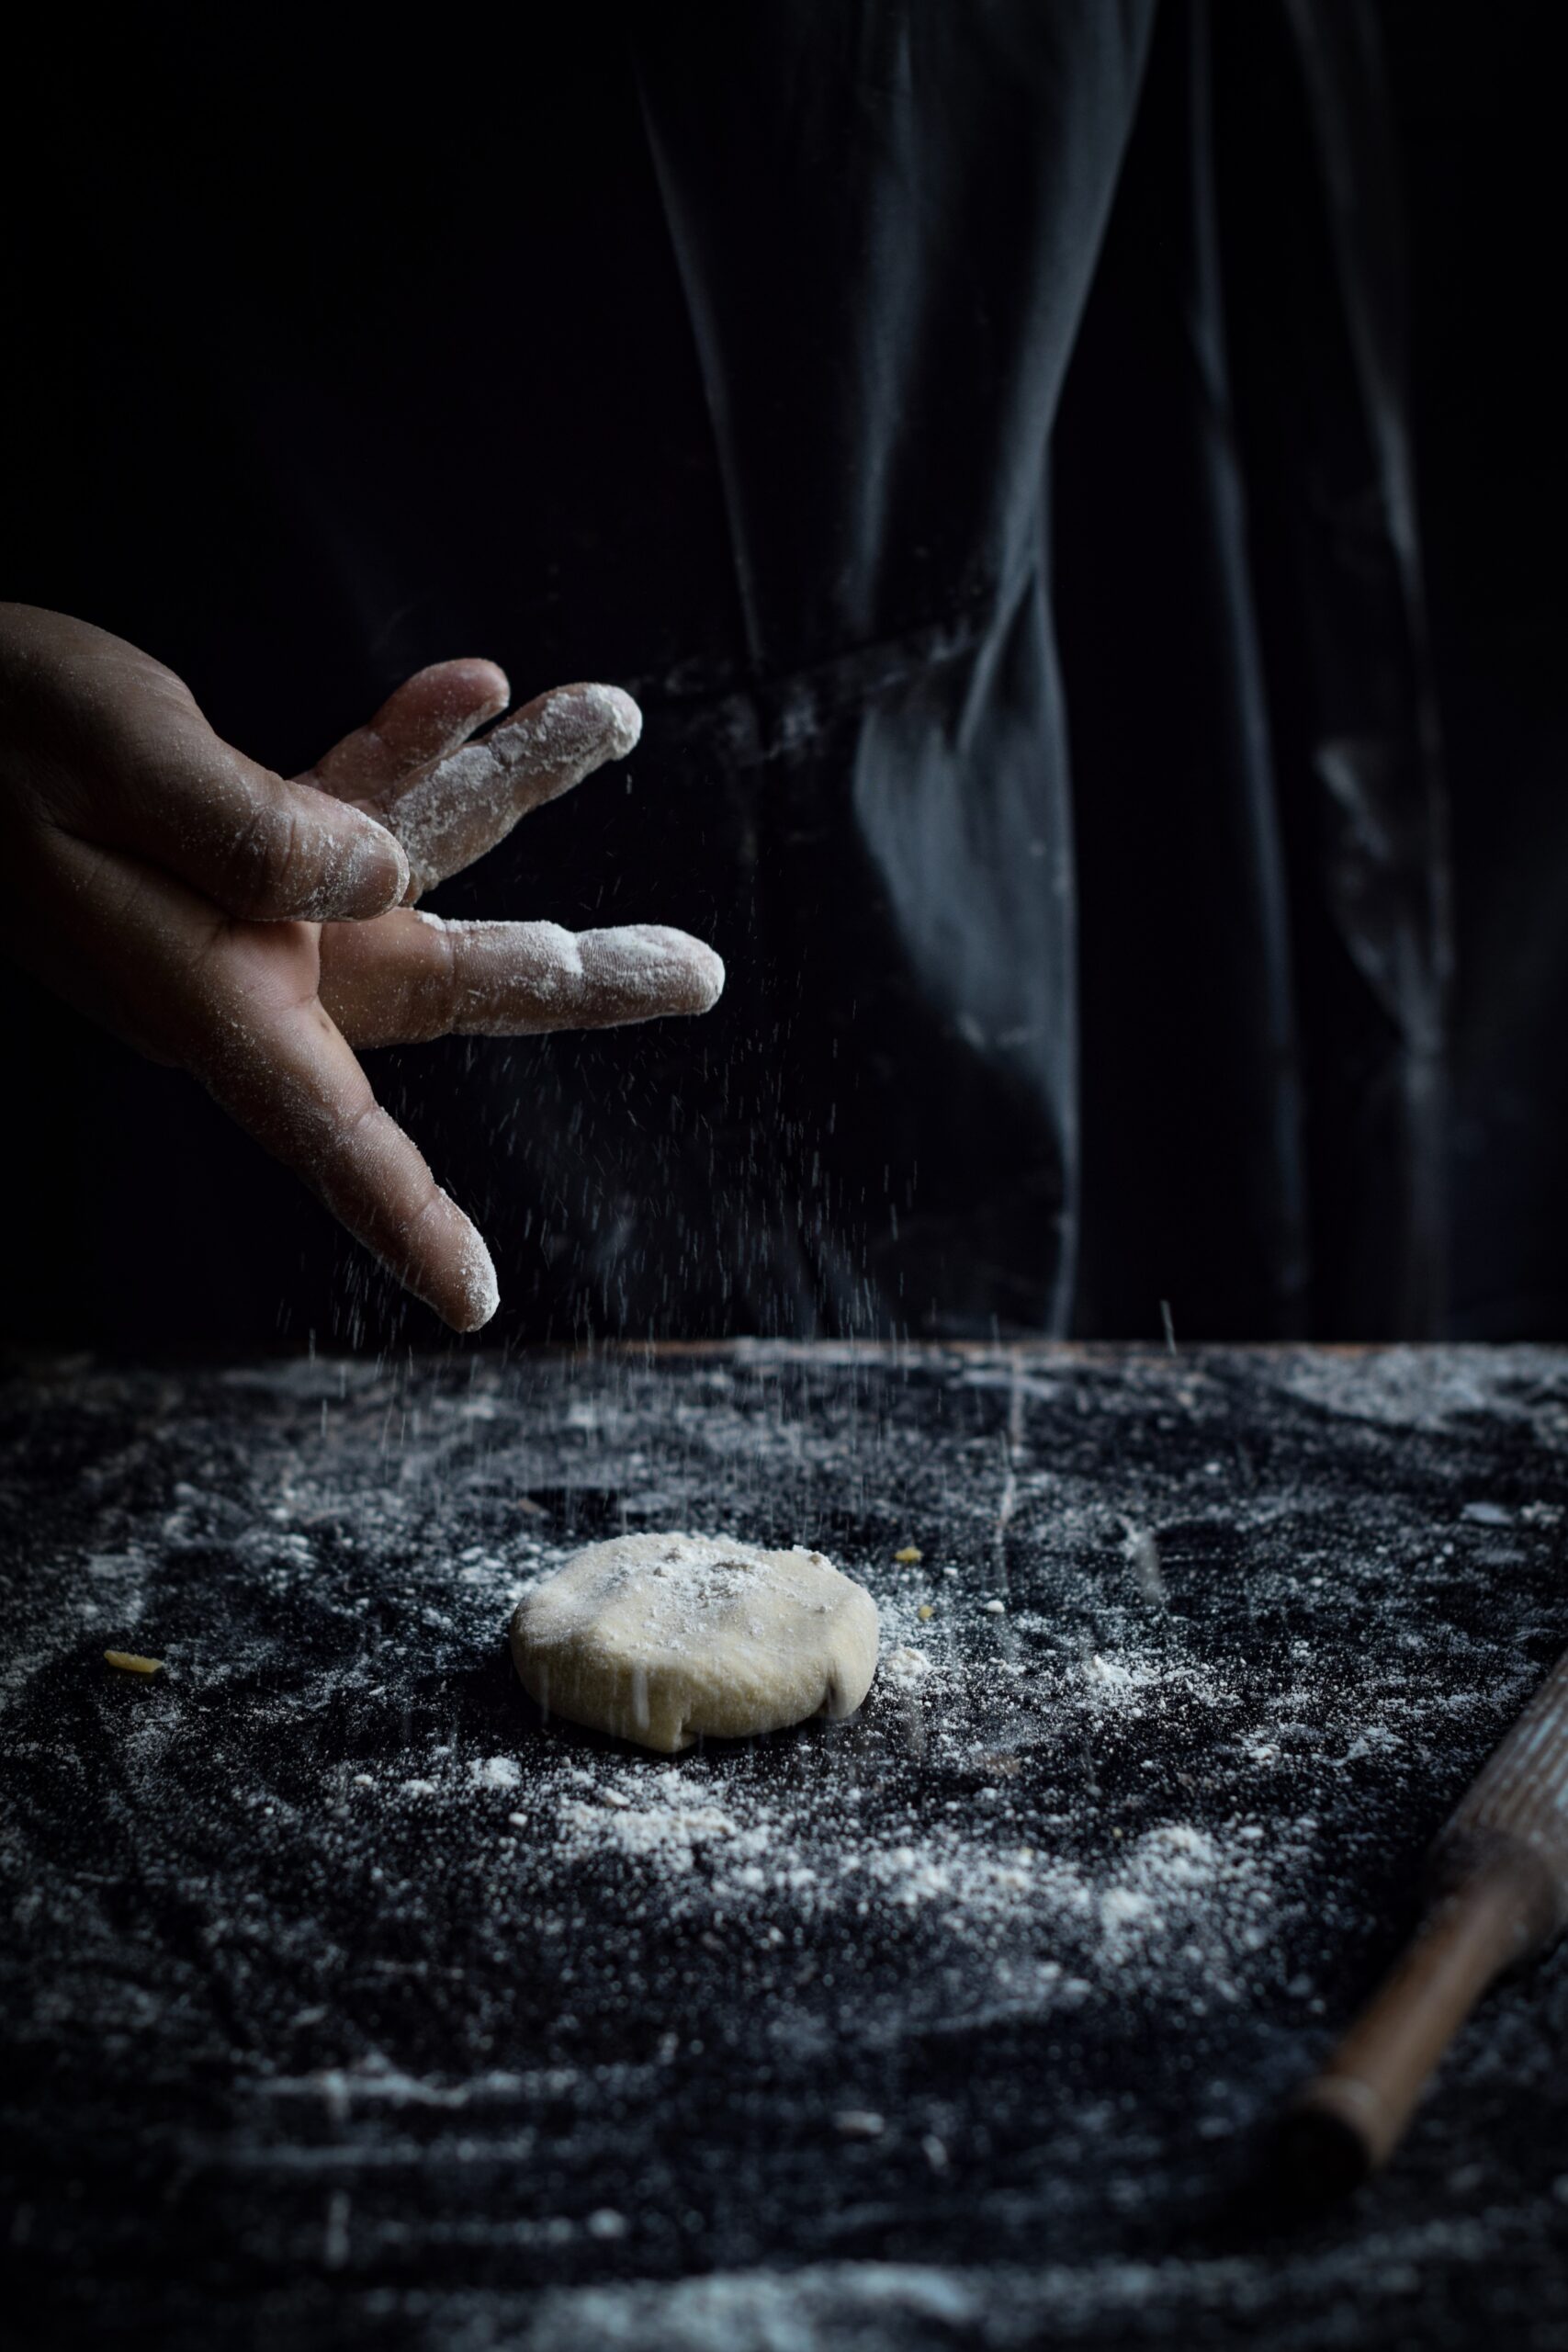
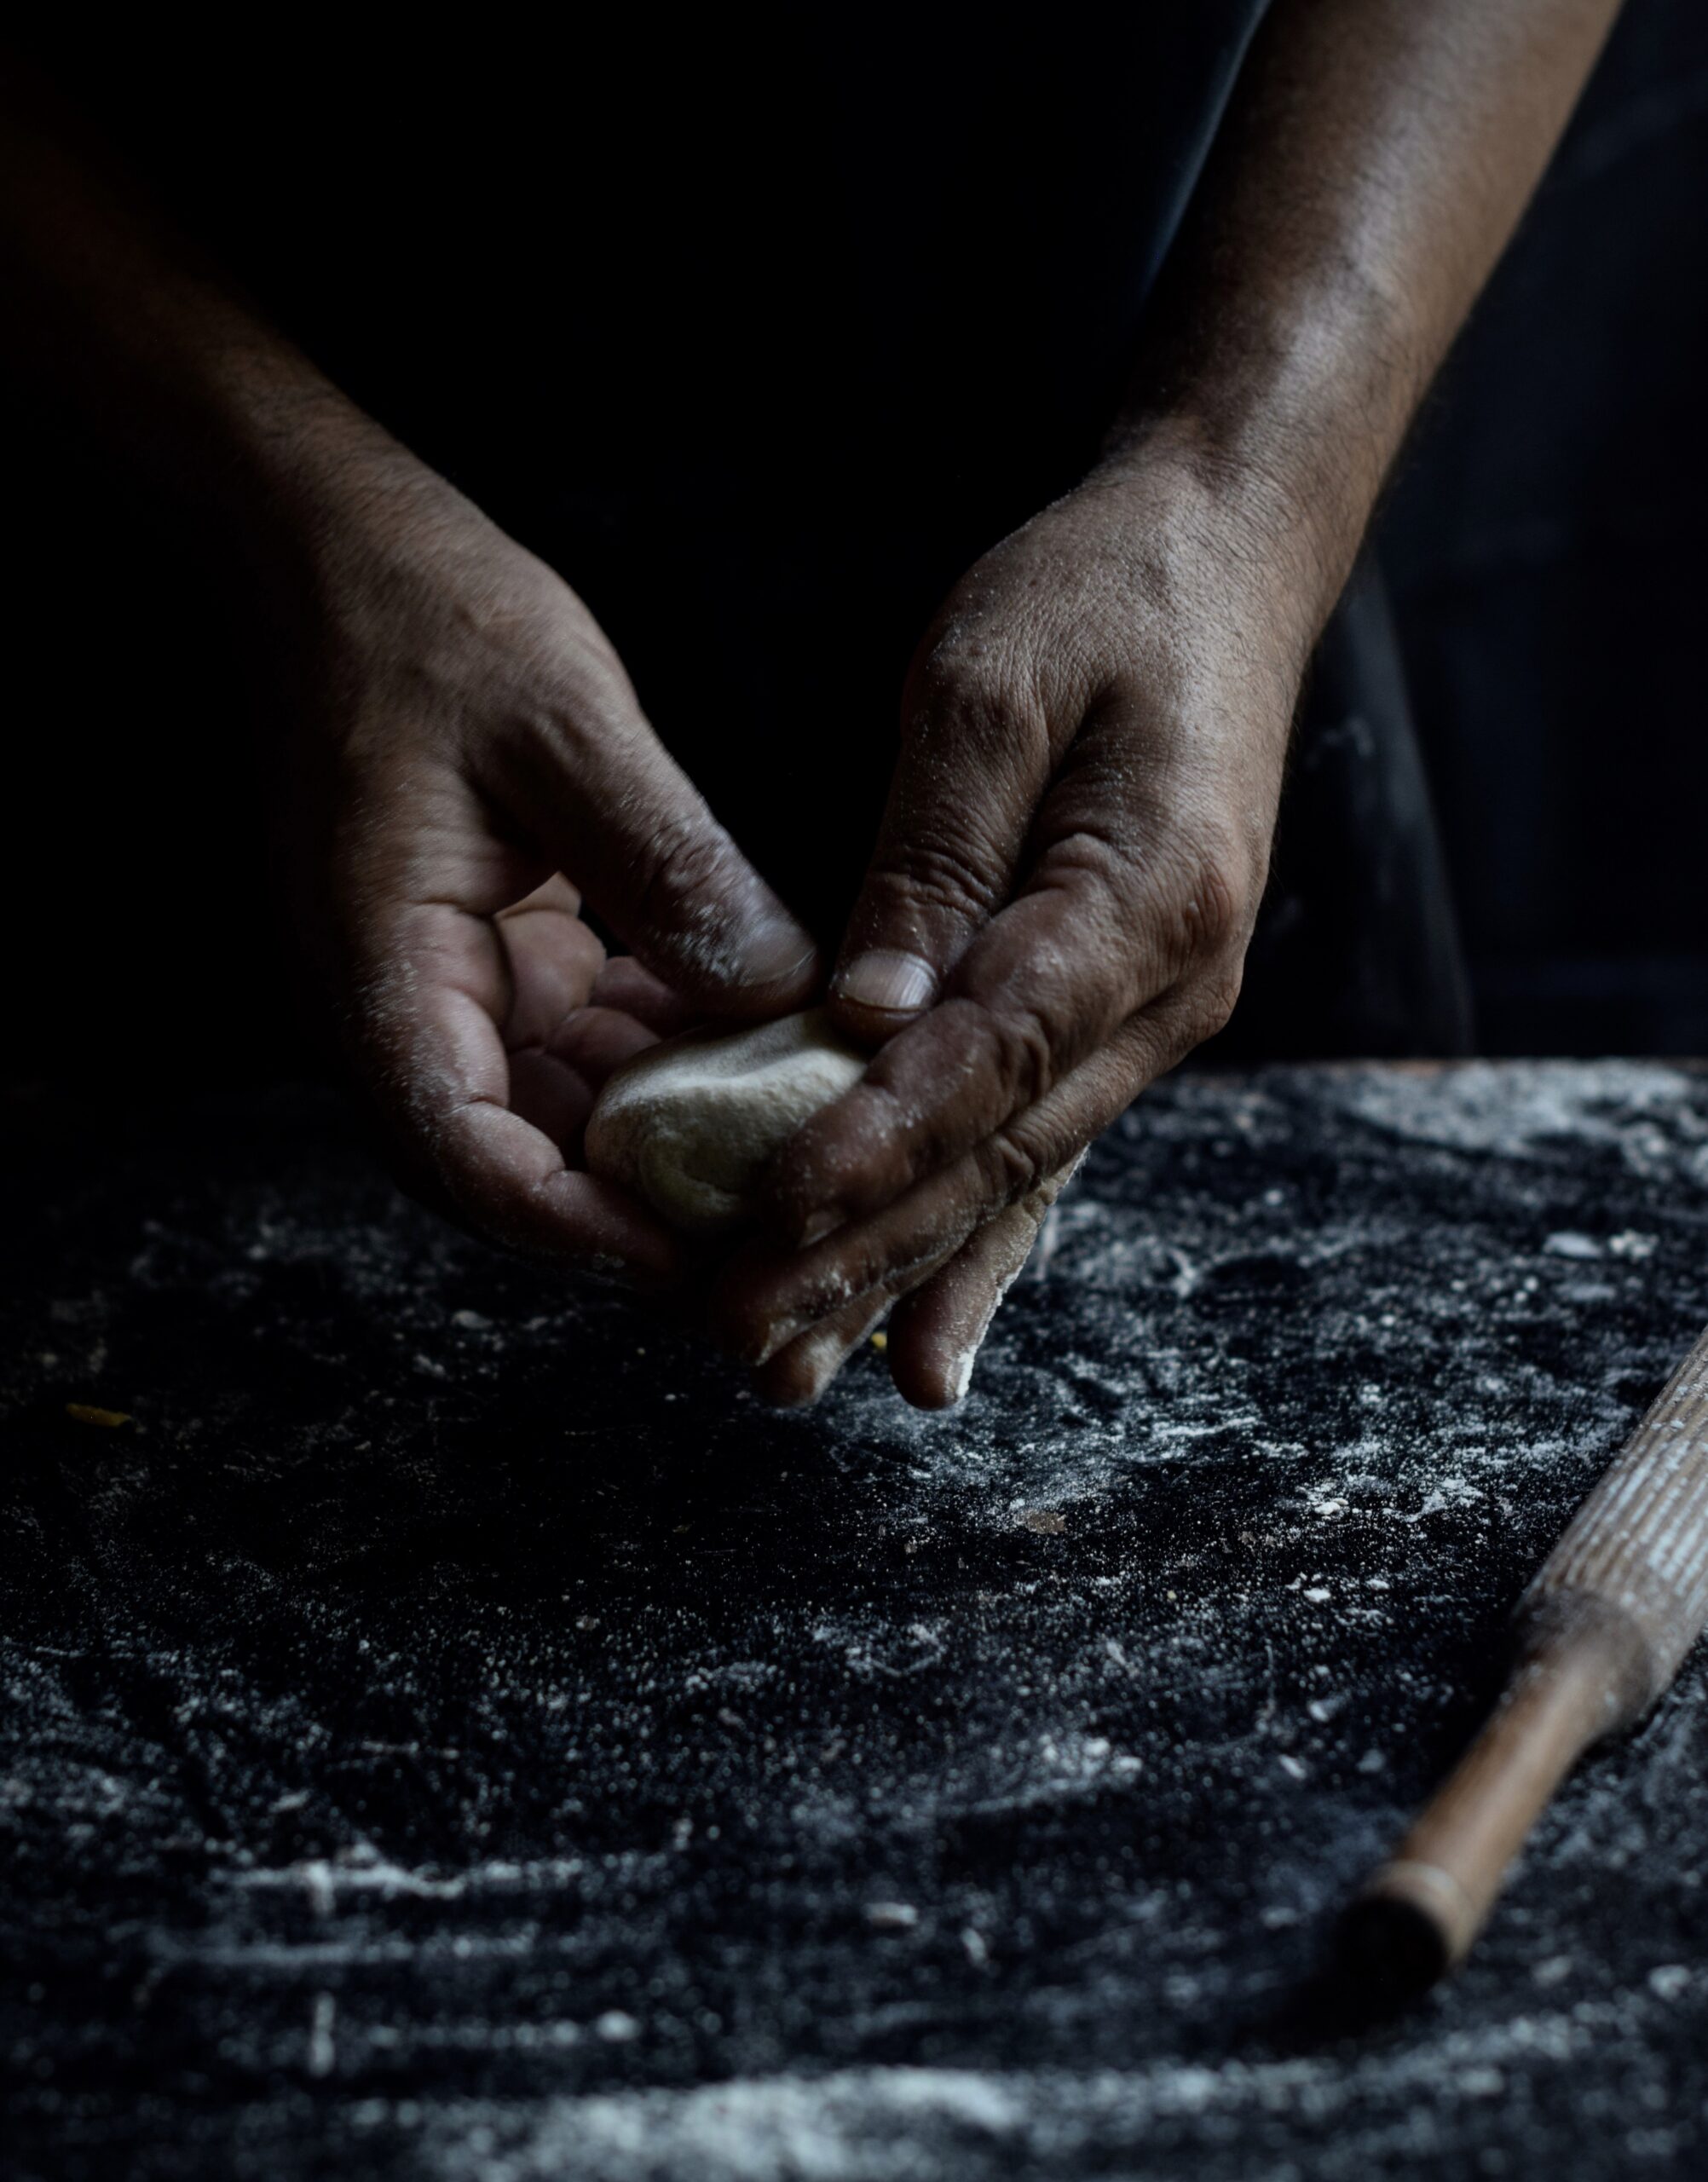
Make a tight and smooth dough using all of the dough ingredients and set aside. When it’s ready to be worked with, make six small balls of dough. Roll them out with the help of some flour. The method in my roti post may be useful here if you want to know how to do this.

Cook all six rolled-out rotis on both sides partially. Set them aside.

In a pan, add the oil. Once it has heated, add the vegetables. On a medium to high flame, stir the vegetables and cook them al dente. Add salt and pepper and mix well.

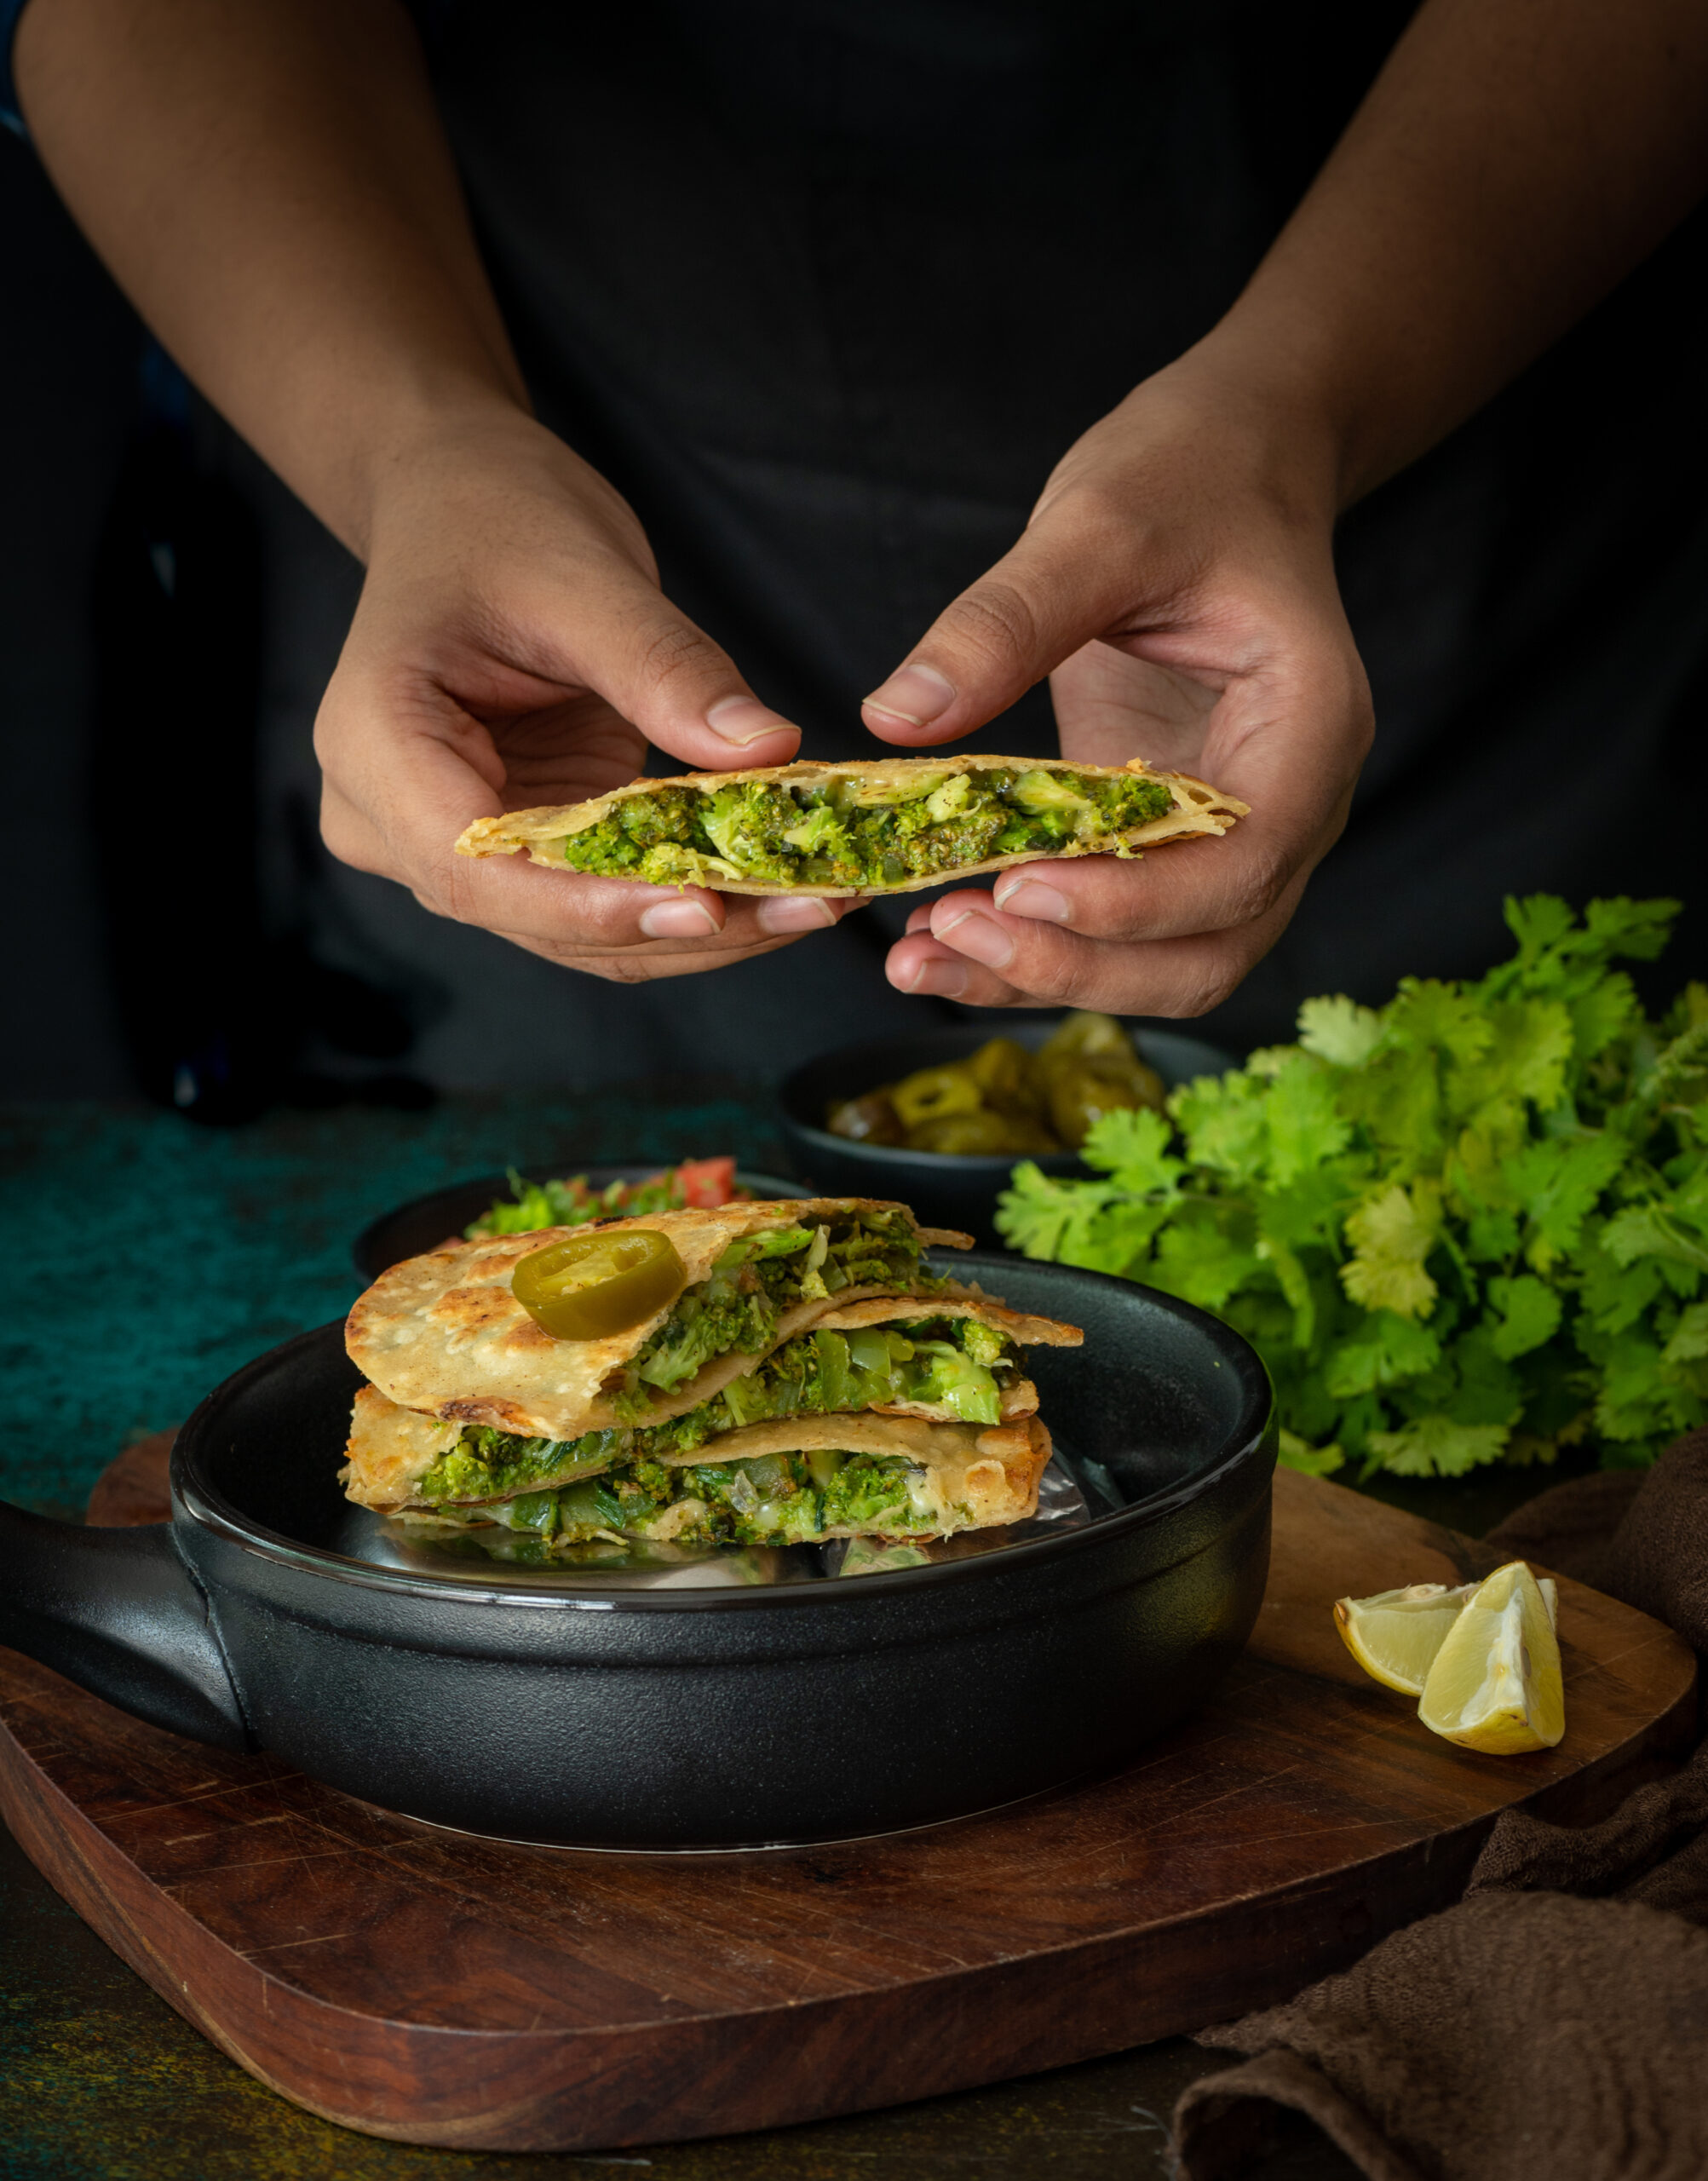
To assemble the quesadilla, place three rotis flat. Then, scoop the vegetables on top of them, making sure that most parts of the roti are covered. Now, sprinkle the grated cheese. Cover each of these prepared rotis with a plain one, sandwiching the veggies. Press down with your hands.

Add butter or oil on both sides of each quesadilla and cook on a hot griddle. Flip carefully. The cheese will hold the vegetables together, but be gentle anyway, else they will open up.

Cut them in half and serve. You may add jalapeños to the vegetable mix, or serve some alongside. As I said earlier, a soup makes a great accompaniment if you want to round it out into a full meal. A salsa or dip of your liking will also make it more delicious as a snack. You may want to adapt my peach salsa recipe, using complementary ingredients.

There you have it – a cheesy, nourishing dish that somehow blends the comfortingly familiar with the intriguingly foreign. Do you also make your own quesadilla-ish recipe, using the simple Indian roti, and how do you do it? I would love to know!
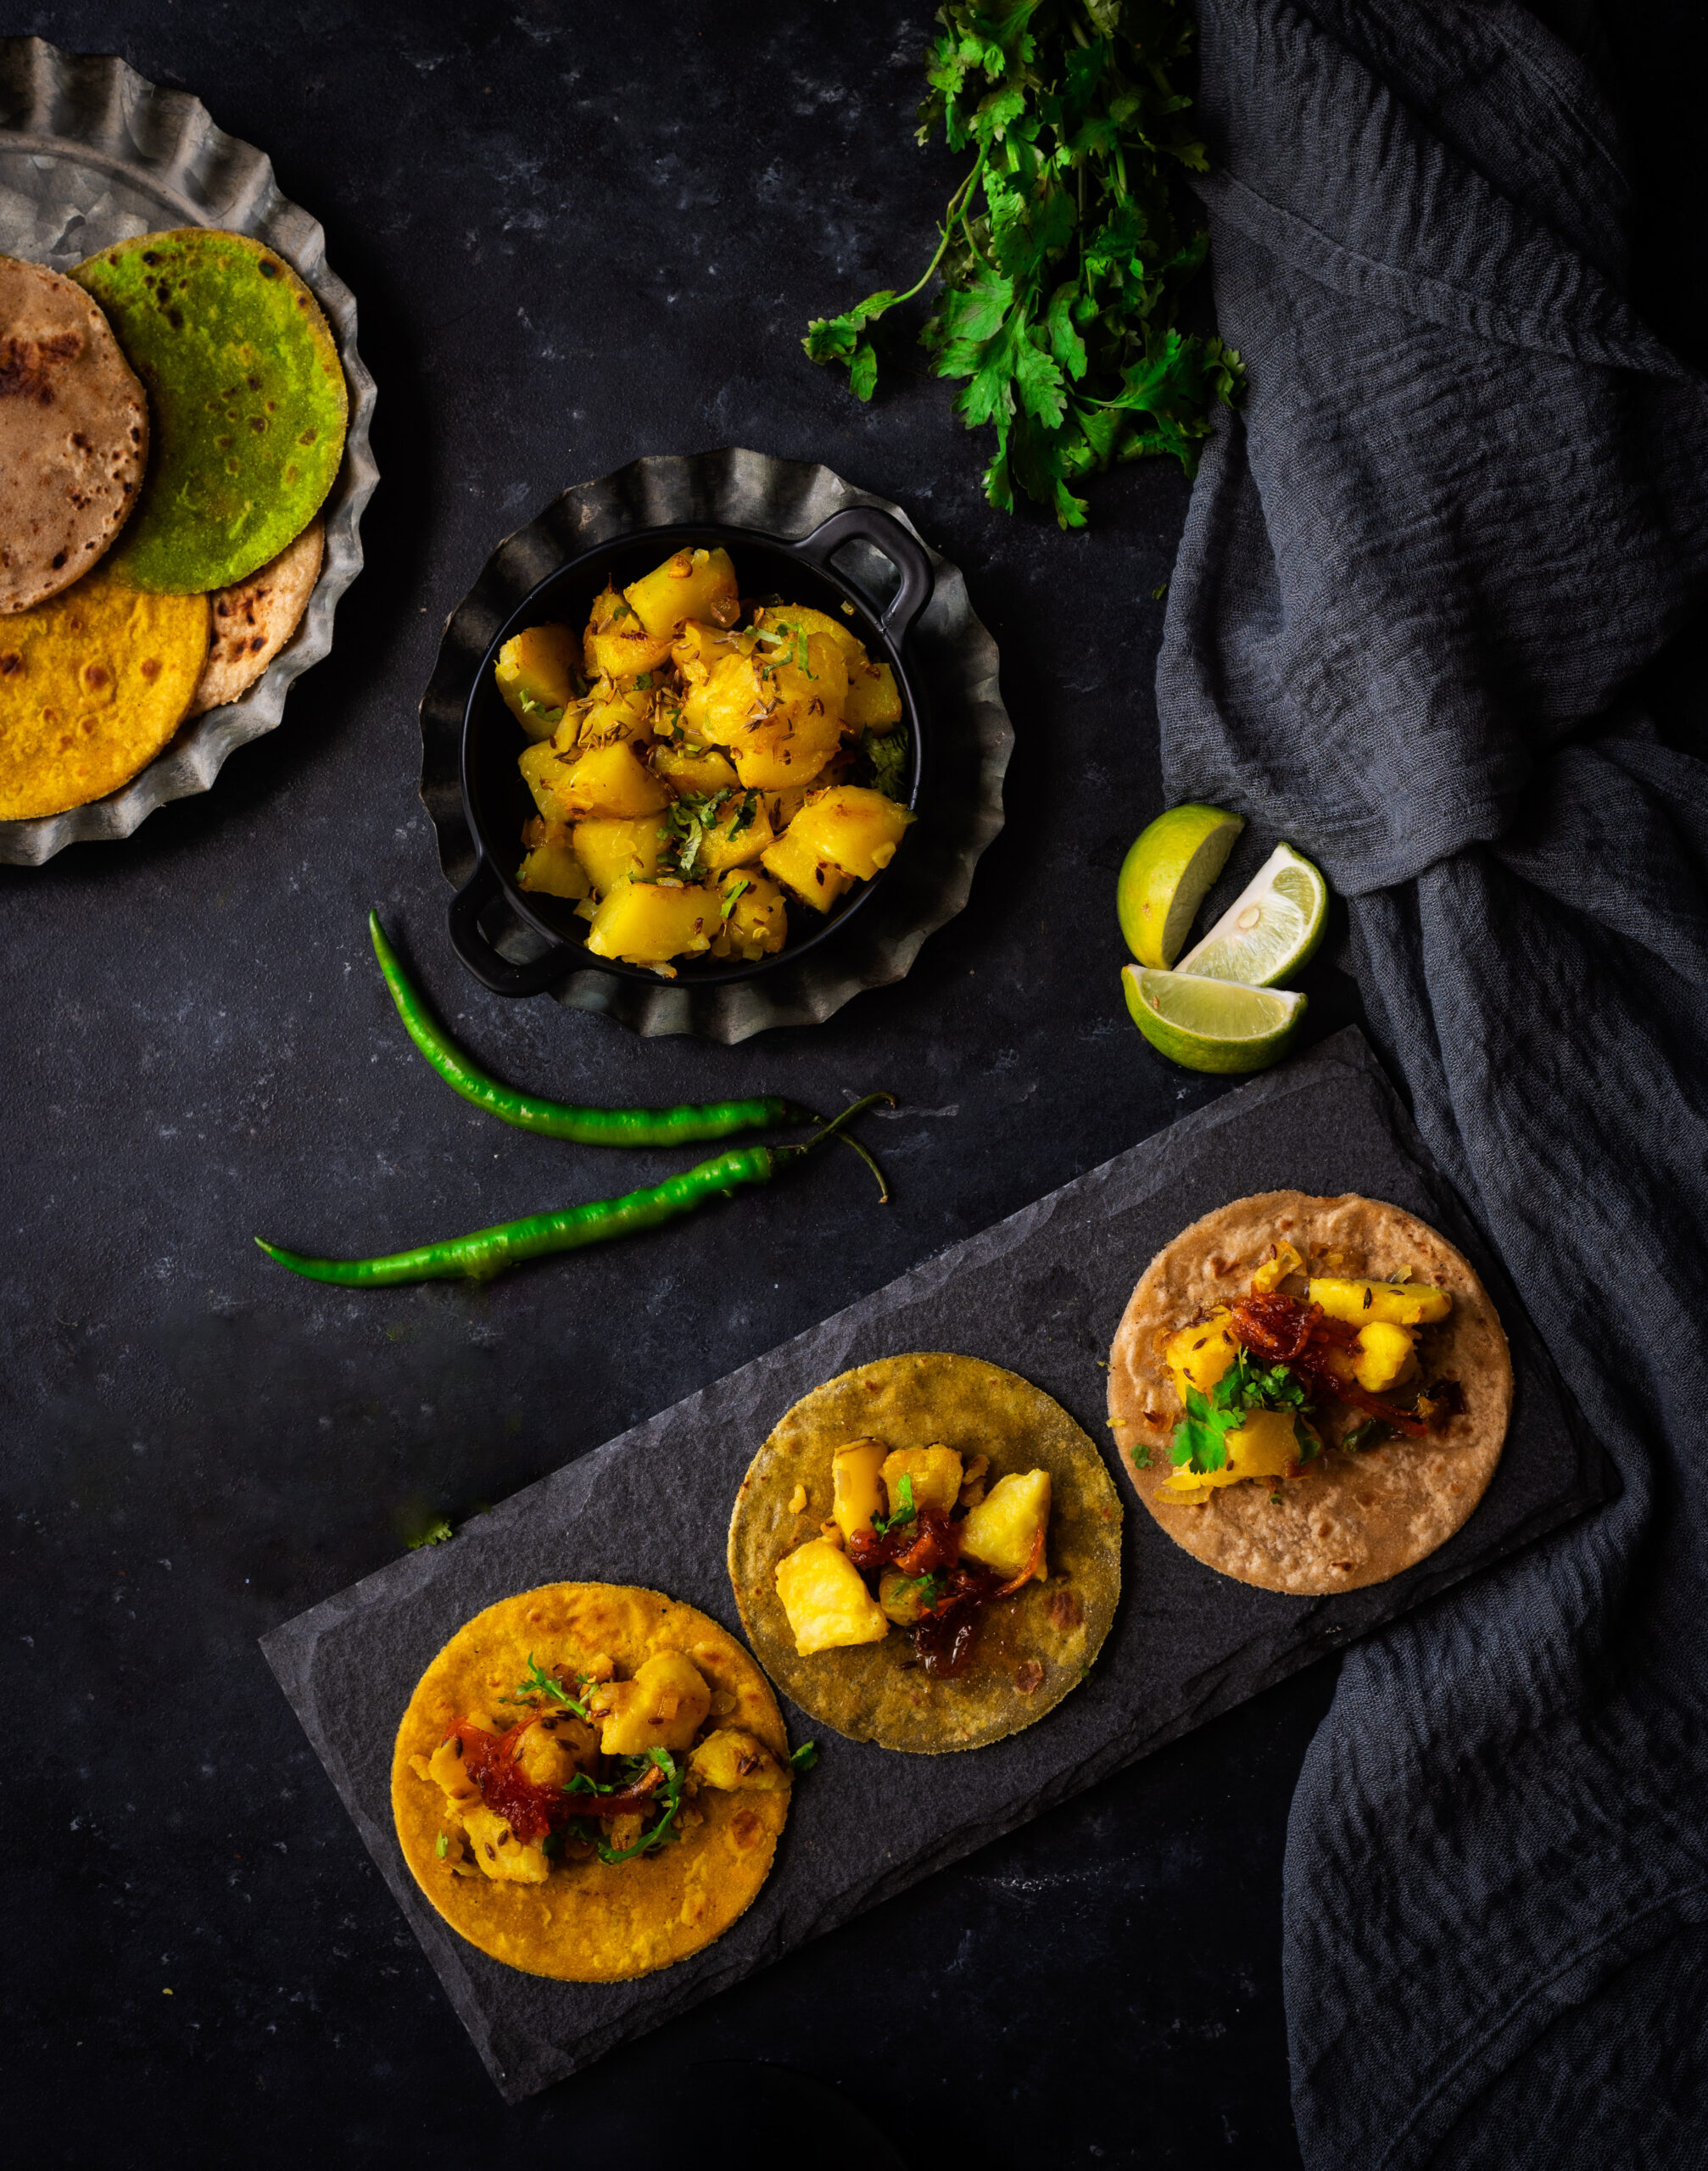
If you’ve been following this blog even for a short while, you’ll know that we are huge fans of Mexican cuisine in my home – both authentic and Indianised, or should I say re:store-ised, versions. This Mexican-inspired Buddha bowl is one example of how these flavours are enjoyed by my family. I’m very happy in my own world of fusion tastes, and am always on the lookout for how to make simple meals more enticing. I happened to come across a photo of Indian-style tacos, but without a recipe, and this inspired me to come up with my own. One day, I had some leftover roti dough, and had the brainwave of putting them to use in this way. The soft taco shells were therefore made by hand, and the entire recipe was made from scratch.

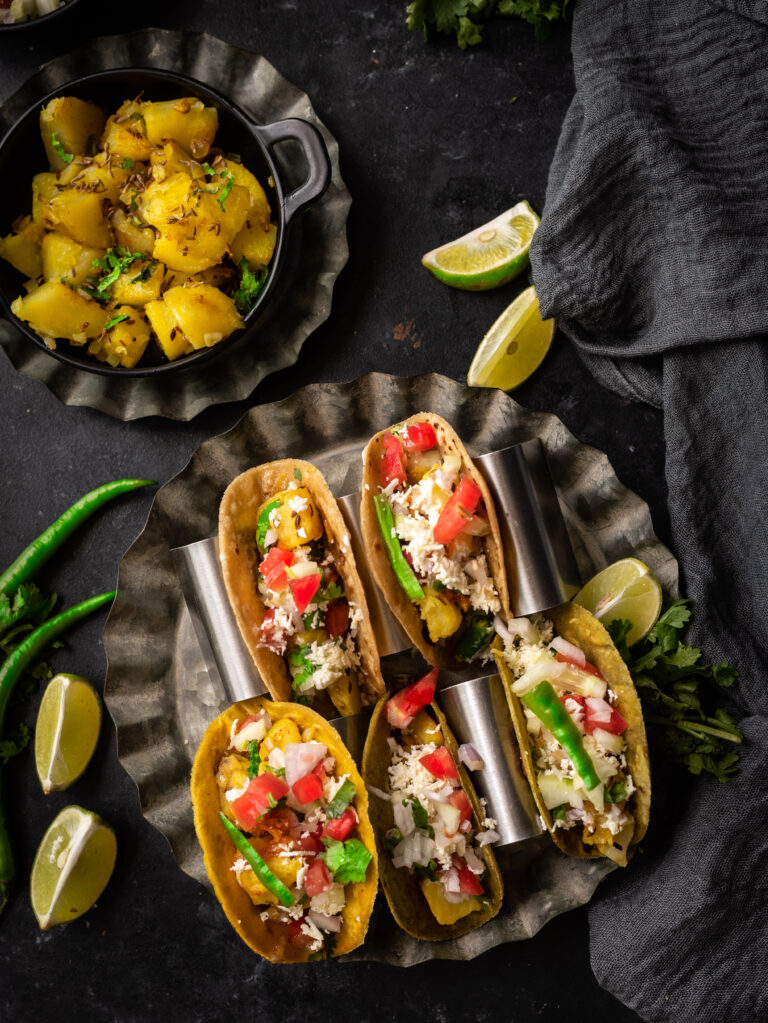
If you think about it, there are already plenty of versions of Indian tacos out there. The kati rolls that are a very popular form of street food fit the bill. They’re perfect for eating on the go, and fit easily into office and school lunch packs. While those are rolled, these tacos are open-faced. I’ve chosen to fill them with two Gujarati staples: potato sabzi, and a salad called kachumber. Where Mexican tacos use red bean paste, I’ve opted for a sweet mango pickle. The overall effect is a fun, international twist on simple Indian cooking.

This is a recipe that lends itself to variety. Replace the pickle with another that you prefer. You may want a spicy or tangy one, if you don’t have a sweet tooth. Substitute the potatoes for a different filling of your choice. Make a Jain version without potatoes or onions. Eliminate the Greek yoghurt dressing and make it vegan. Simply consider the recipe below as a base for your own versatile experiments.

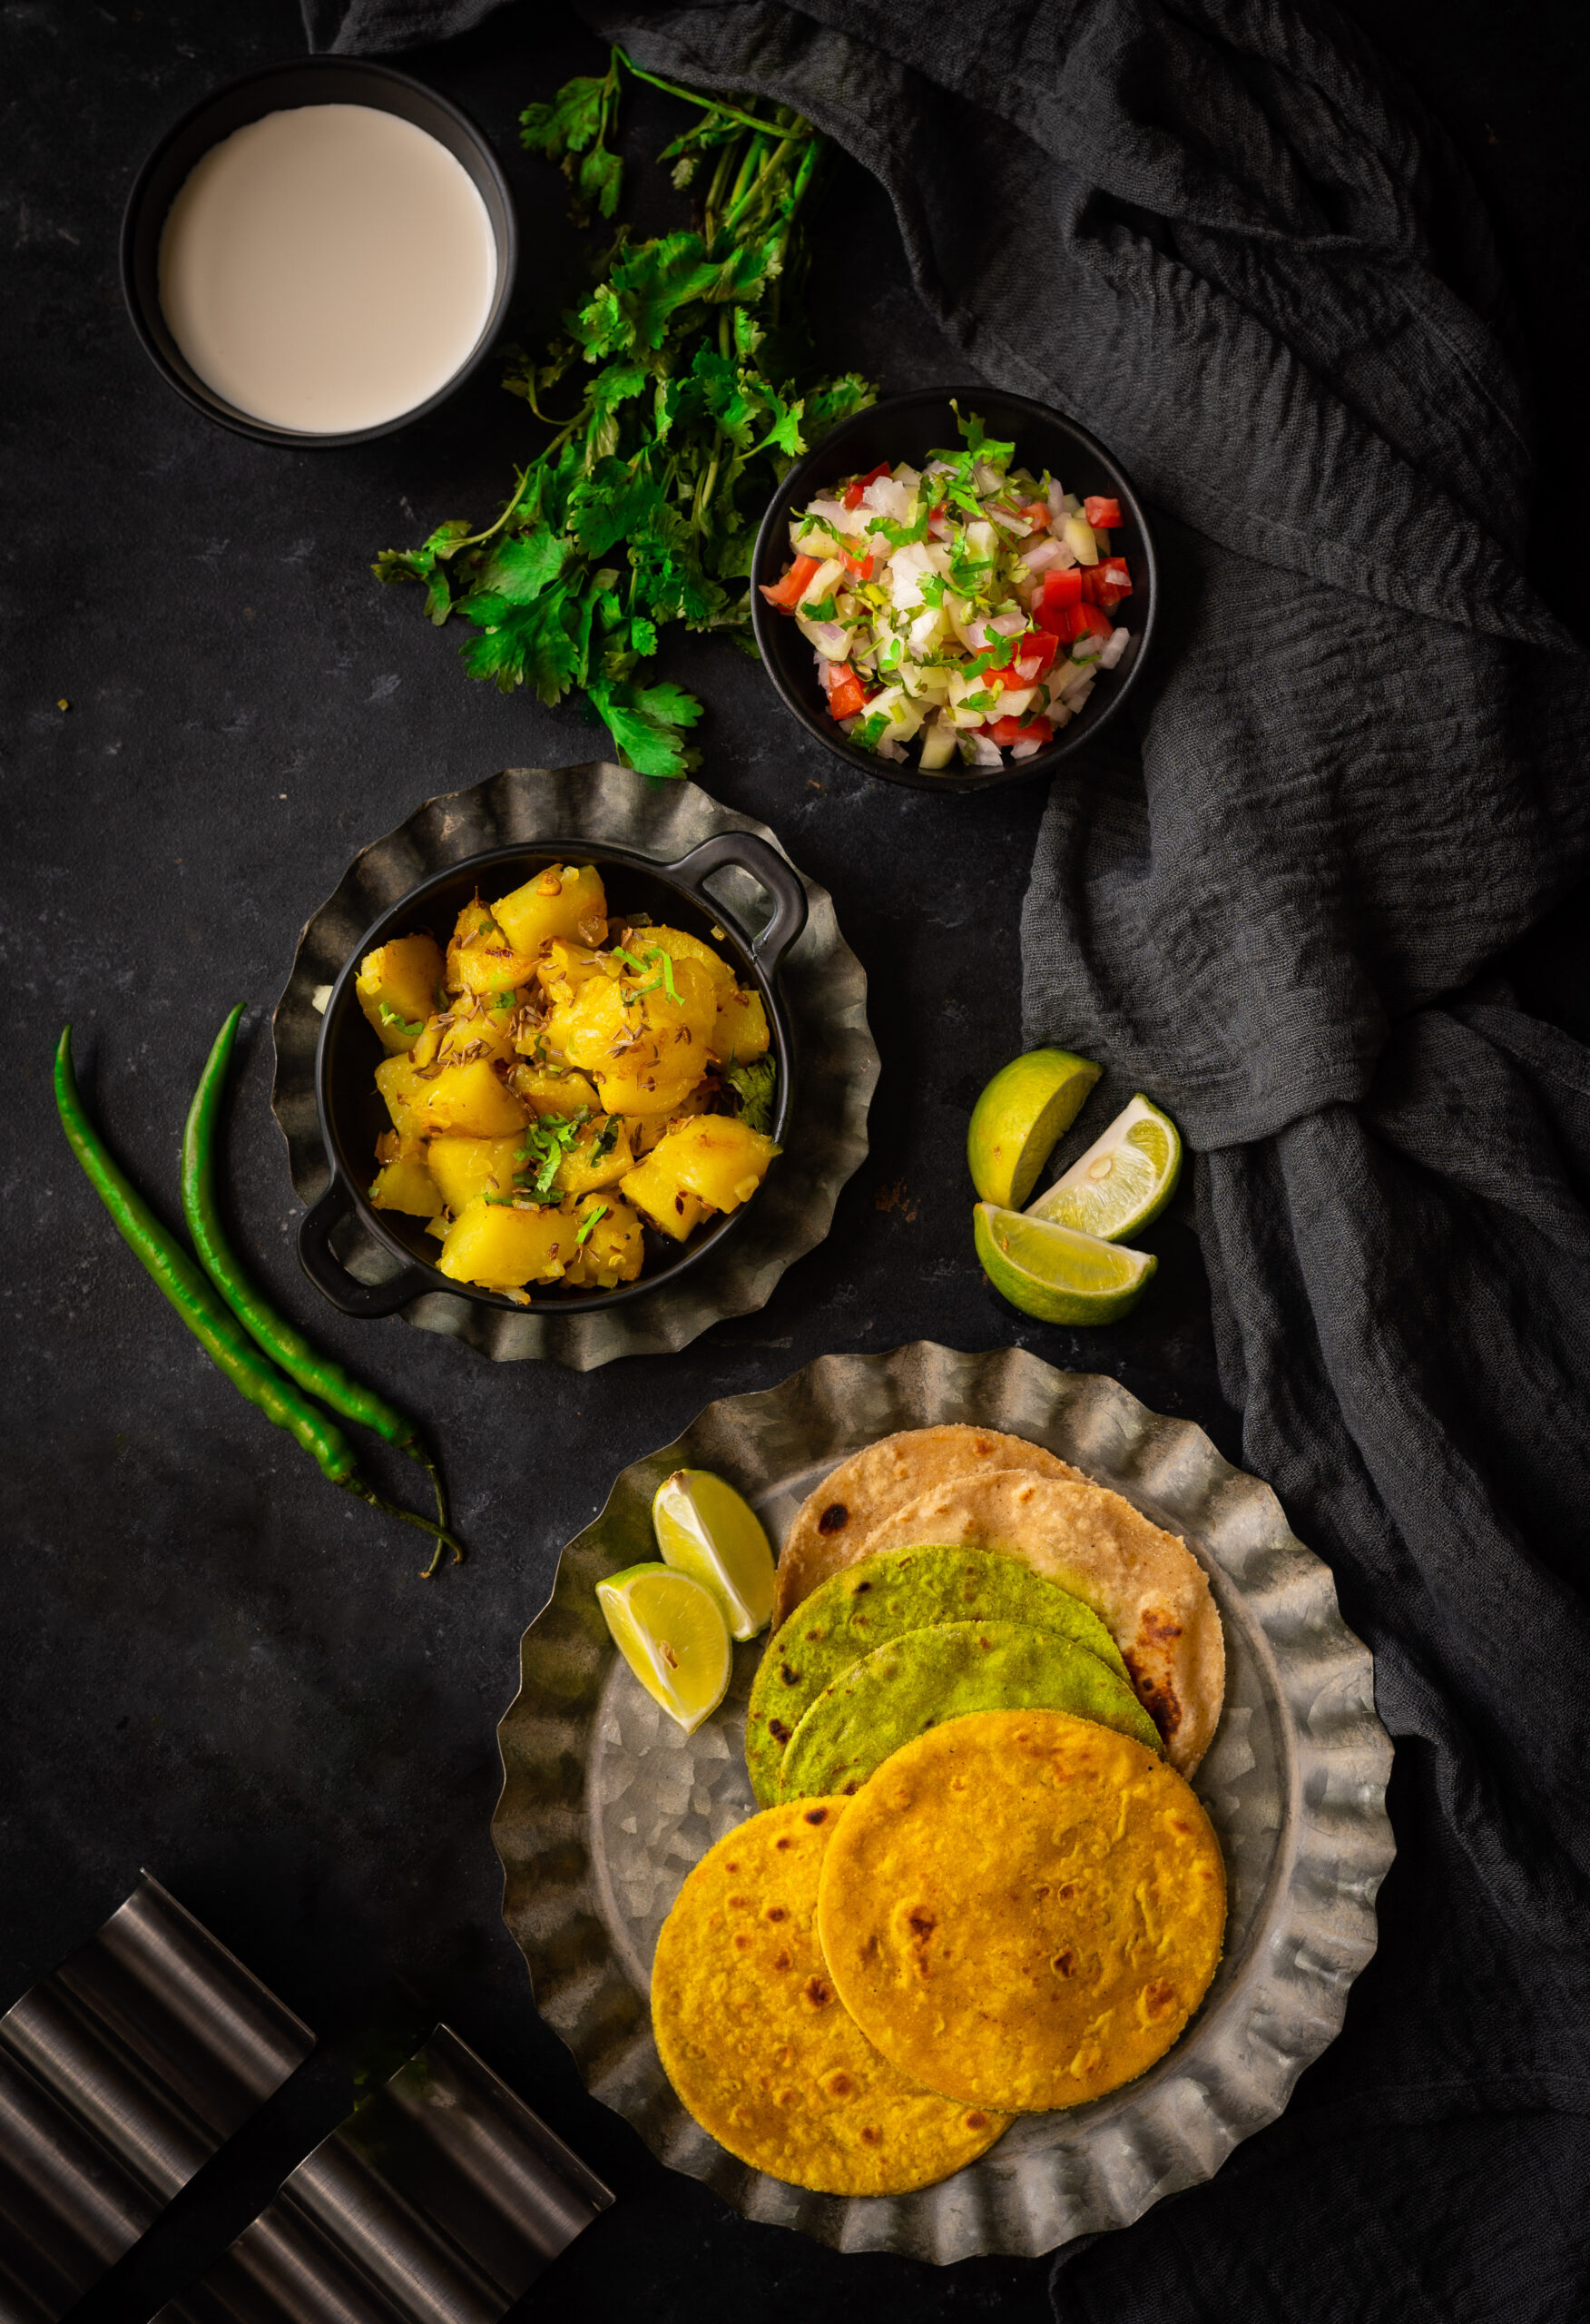
I’ll let you in on a secret… We have a Mexican dinner night every week at home, with crispy tacos and other dishes that veer towards the slightly more authentic (although, as I explained in my Buddha bowl series, authenticity isn’t what I aspire to as much as sheer enjoyment is). I thought that this soft shell version would be a great way to serve a traditional Gujarati meal without anyone thinking that it’s boring. It’s so very delicious no matter if you eat it in a taco or a thali, but the appeal of food so often comes down to presentation. This is why, in addition to the plain rotis and the yellow theplas, I also tried out a roti made with spinach purée for an attractive green appearance. We all need a burst of colour now and then to get us going, and for me, cooking has always been something that fulfills this need – beautifully!

Indian Tacos

(Yield: 6-8 tacos)


Taco Shell

Theplas or rotis (recipes here)

Pickle of your choice (I like to use a sweet grated mango pickle), or a sauce of your choice


Potato filling

200 grams boiled potatoes

3 tablespoons oil

3-4 cloves of garlic

2 tablespoons finely chopped onions

½ teaspoon cumin seeds

¼ teaspoon turmeric powder

1 teaspoon cumin powder

1 finely chopped green chilli

Salt to taste


Kachumber

¾ cup finely chopped onions

1 cup finely chopped tomatoes

1 cup finely chopped cucumber

2 tablespoons finely cut coriander leaves

1 teaspoon roasted cumin powder

2 tablespoons lemon juice

1 finely chopped green chilli

Salt to taste


Greek yoghurt

1 cup yoghurt

2 cloves finely crushed garlic

6-8 finely cut mint leaves

Salt to taste


Paneer

½ cup grated paneer


Mash the boiled potatoes coarsely with your hand while they are still warm.

Heat a pan and add the oil. Once the oil is heated, add the cumin seeds. Allow them to splutter. Then, add the garlic and the potatoes. Allow the potatoes to become crisp, then add the onions. Add the remaining spices and stir well. Allow to sauté and turn golden slightly. Remove from the flame and set aside.

As for the kachumber, simply put the ingredients together in a bowl and set them aside.

Then, whisk the ingredients of the Greek yogurt together until they are blended well.

To assemble the Indian tacos, place each soft roti or thepla in a taco holder. Use the recipes here, and just add some puréed spinach to the dough if you’d like to make the green ones in my photographs.

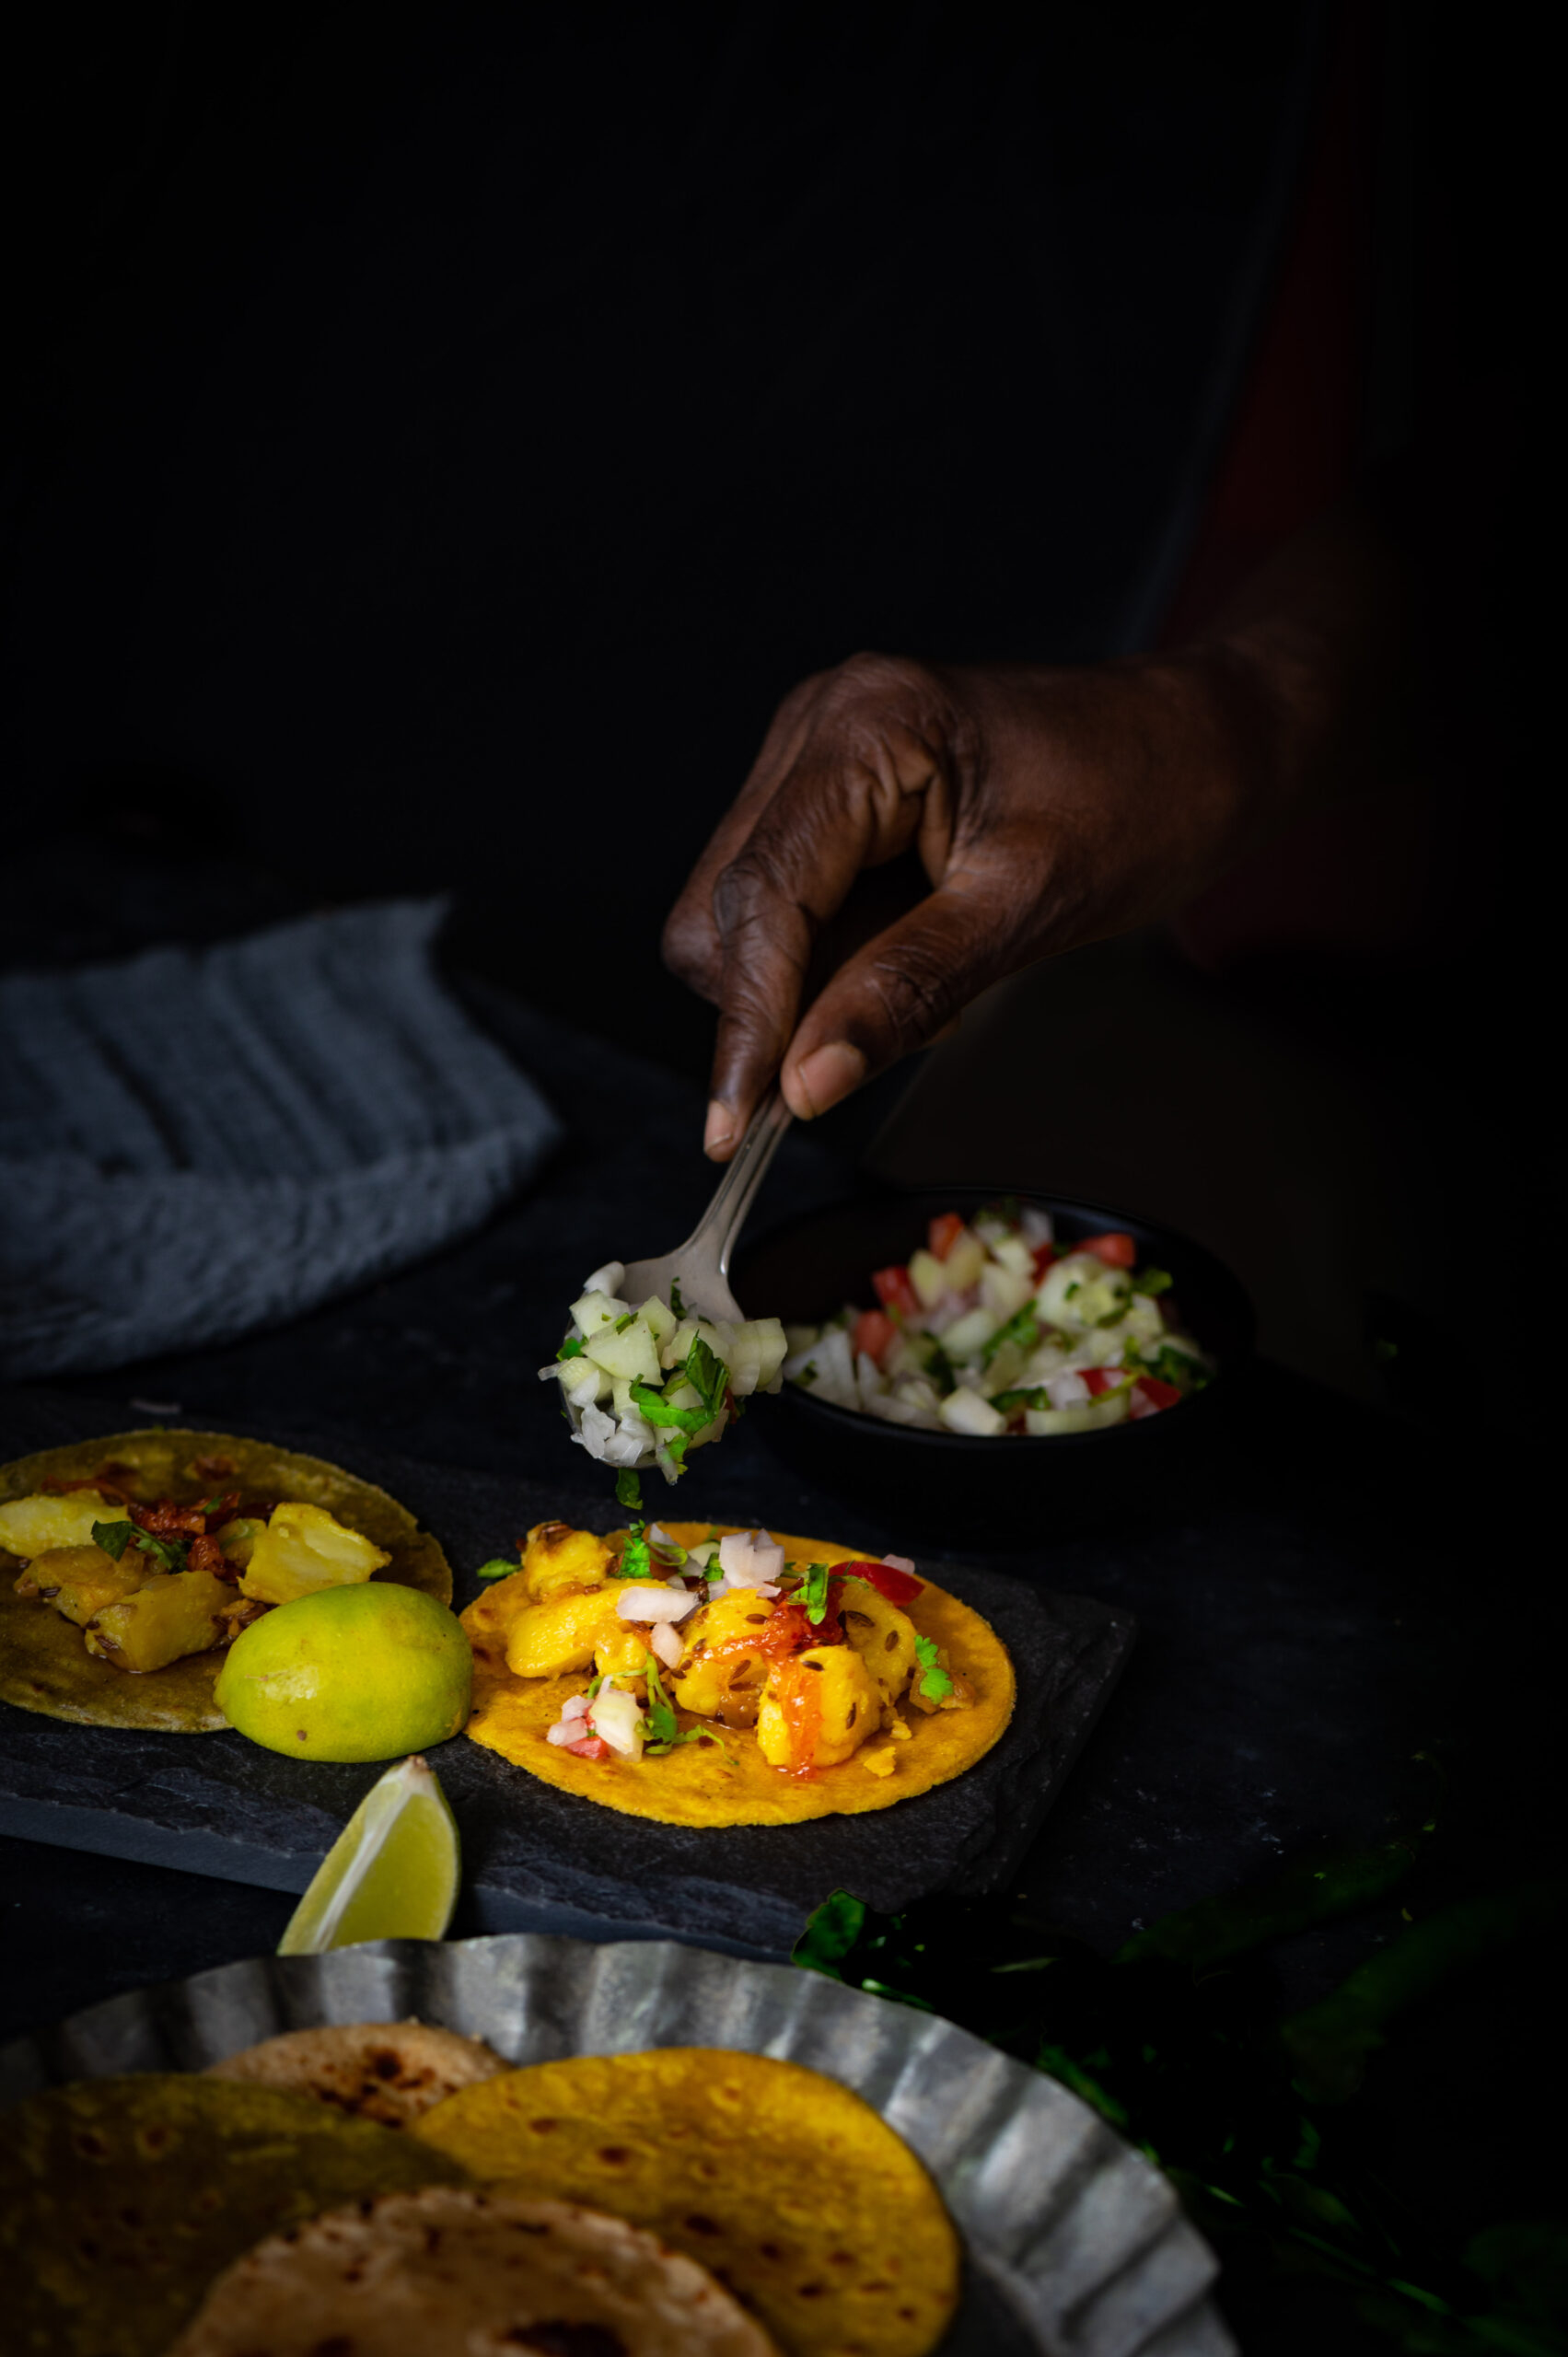
Spread a layer of the pickle or sauce of your choice onto the Indian taco shell. Then add a tablespoon or so of potatoes. Top this with the kachumber and the Greek yoghurt dressing. Add a squeeze of lime if you like, then sprinkle the grated paneer on top. Finally, a garnish of coriander leaves will finish the dish off perfectly.

These Indian tacos are a great way to pep things up a bit and get the family to eat more, even though each of the individual components is part of a fairly typical and simple Gujarati meal! It’s all about the presentation, and the taco style makes everything all the more attractive and adds a sense of novelty to the meal. I particularly like to make them in smaller sizes because there’s an irresistibility quotient to them, just like with cupcakes, and no one can stop at just one or two!

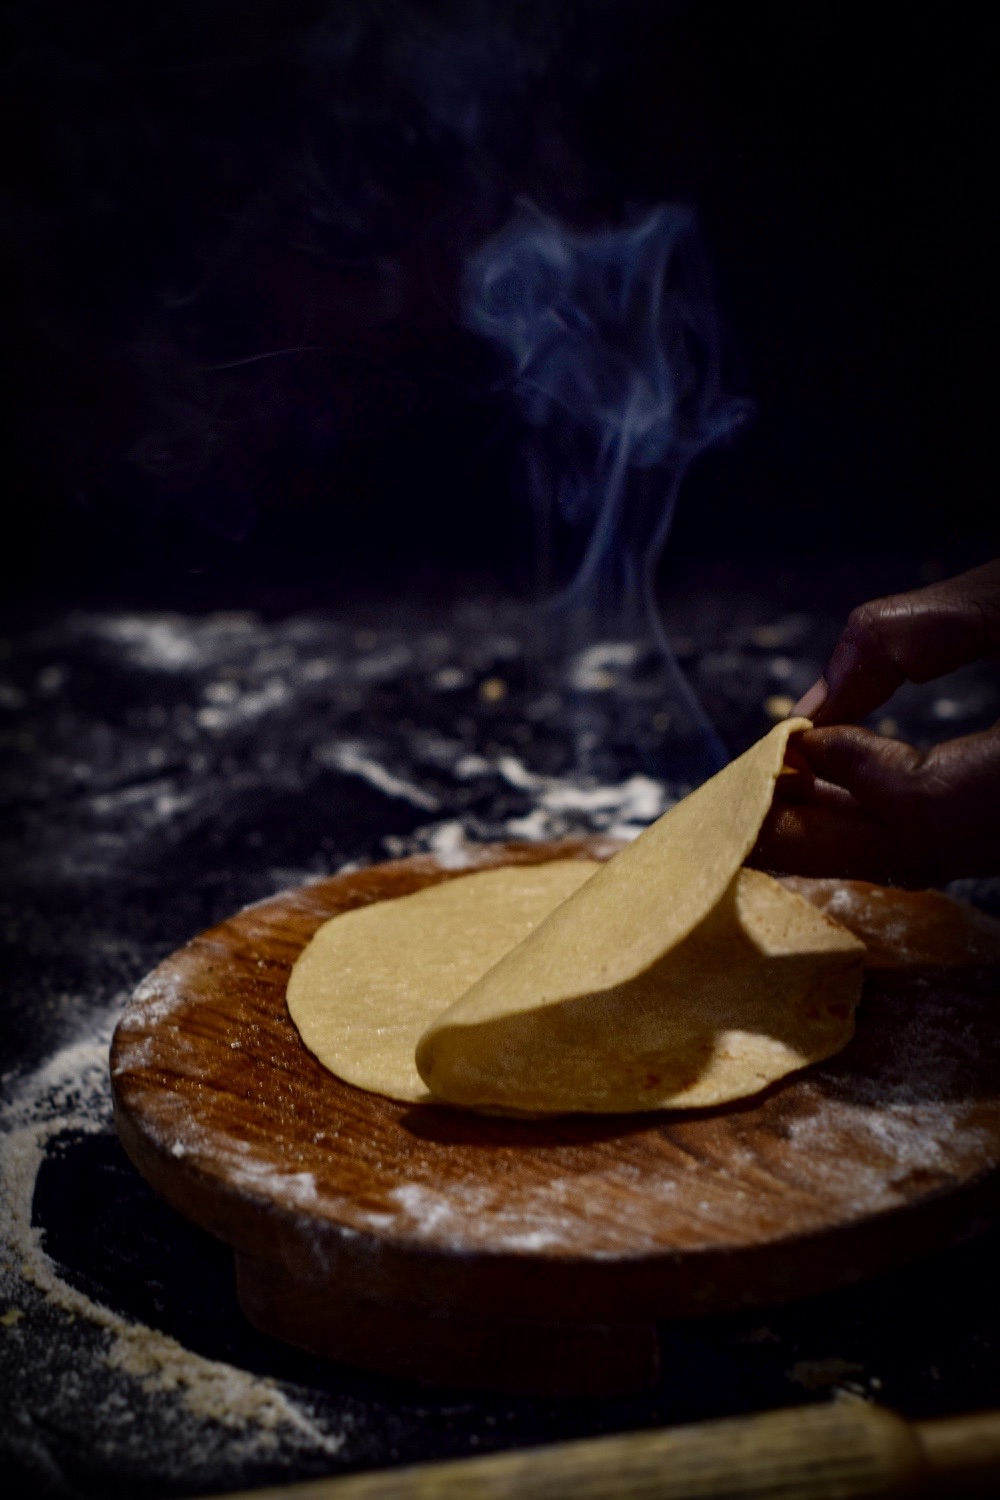
The very first recipe I learnt from my mother was the foundation of all Gujarati meals: the humble yet hard-to-perfect roti. Or as we call it, rotli. The ideal Gujarati rotli has to be as thin as muslin, and it took me years of practice to expertly knead the dough and roll it into perfect circles. My mother insisted that a good Gujarati girl’s rotis had to be dainty and delicate. My early ones often turned out like Punjabi parathas, large and thick – and by the norms of the Gujarati kitchen, totally wrong! Curious about this cultural difference, I asked a Punjabi neighbour why their standard for the perfect flatbread was so unlike ours, and she gave me a beautiful answer: the big Punjabi paratha reflects generosity, large-heartedness and the desire to share what you eat with the world!

Rotis, known by many names and variations, originated in the Indus Valley civilisation, where grain grinding is said to have been invented. Indian breads are different from other loaves in that they do not contain yeast. This soft form of unleavened bread comes in various forms, shapes, sizes and flavours typical of the region it is prepared, with flour made of millets, wheat, rice and other grains.

All over India, the basics of a good roti are flour, fat and flavour. The fat comes from oil, butter, cream or ghee. There are so many kinds of flavourings and stuffings – from green chilli paste to potato to cauliflower to the quintessentially Bengali renditions made with fish.

I’d like to tell you more about a few Gujarati variants: the herbed thepla, the crispy bhakri, the sweet puran poli, the seasonal juwar and bajri, and the simple rotli. Of these, I’ll share two recipes – both are meant to be eaten hot, and bear in mind that an average person can easily eat several at a time! Some notes for kitchens outside India: while binding the dough, I work with my hands. However, if you’re used to the food processor, please do utilise it. You can use a standard rolling pin.


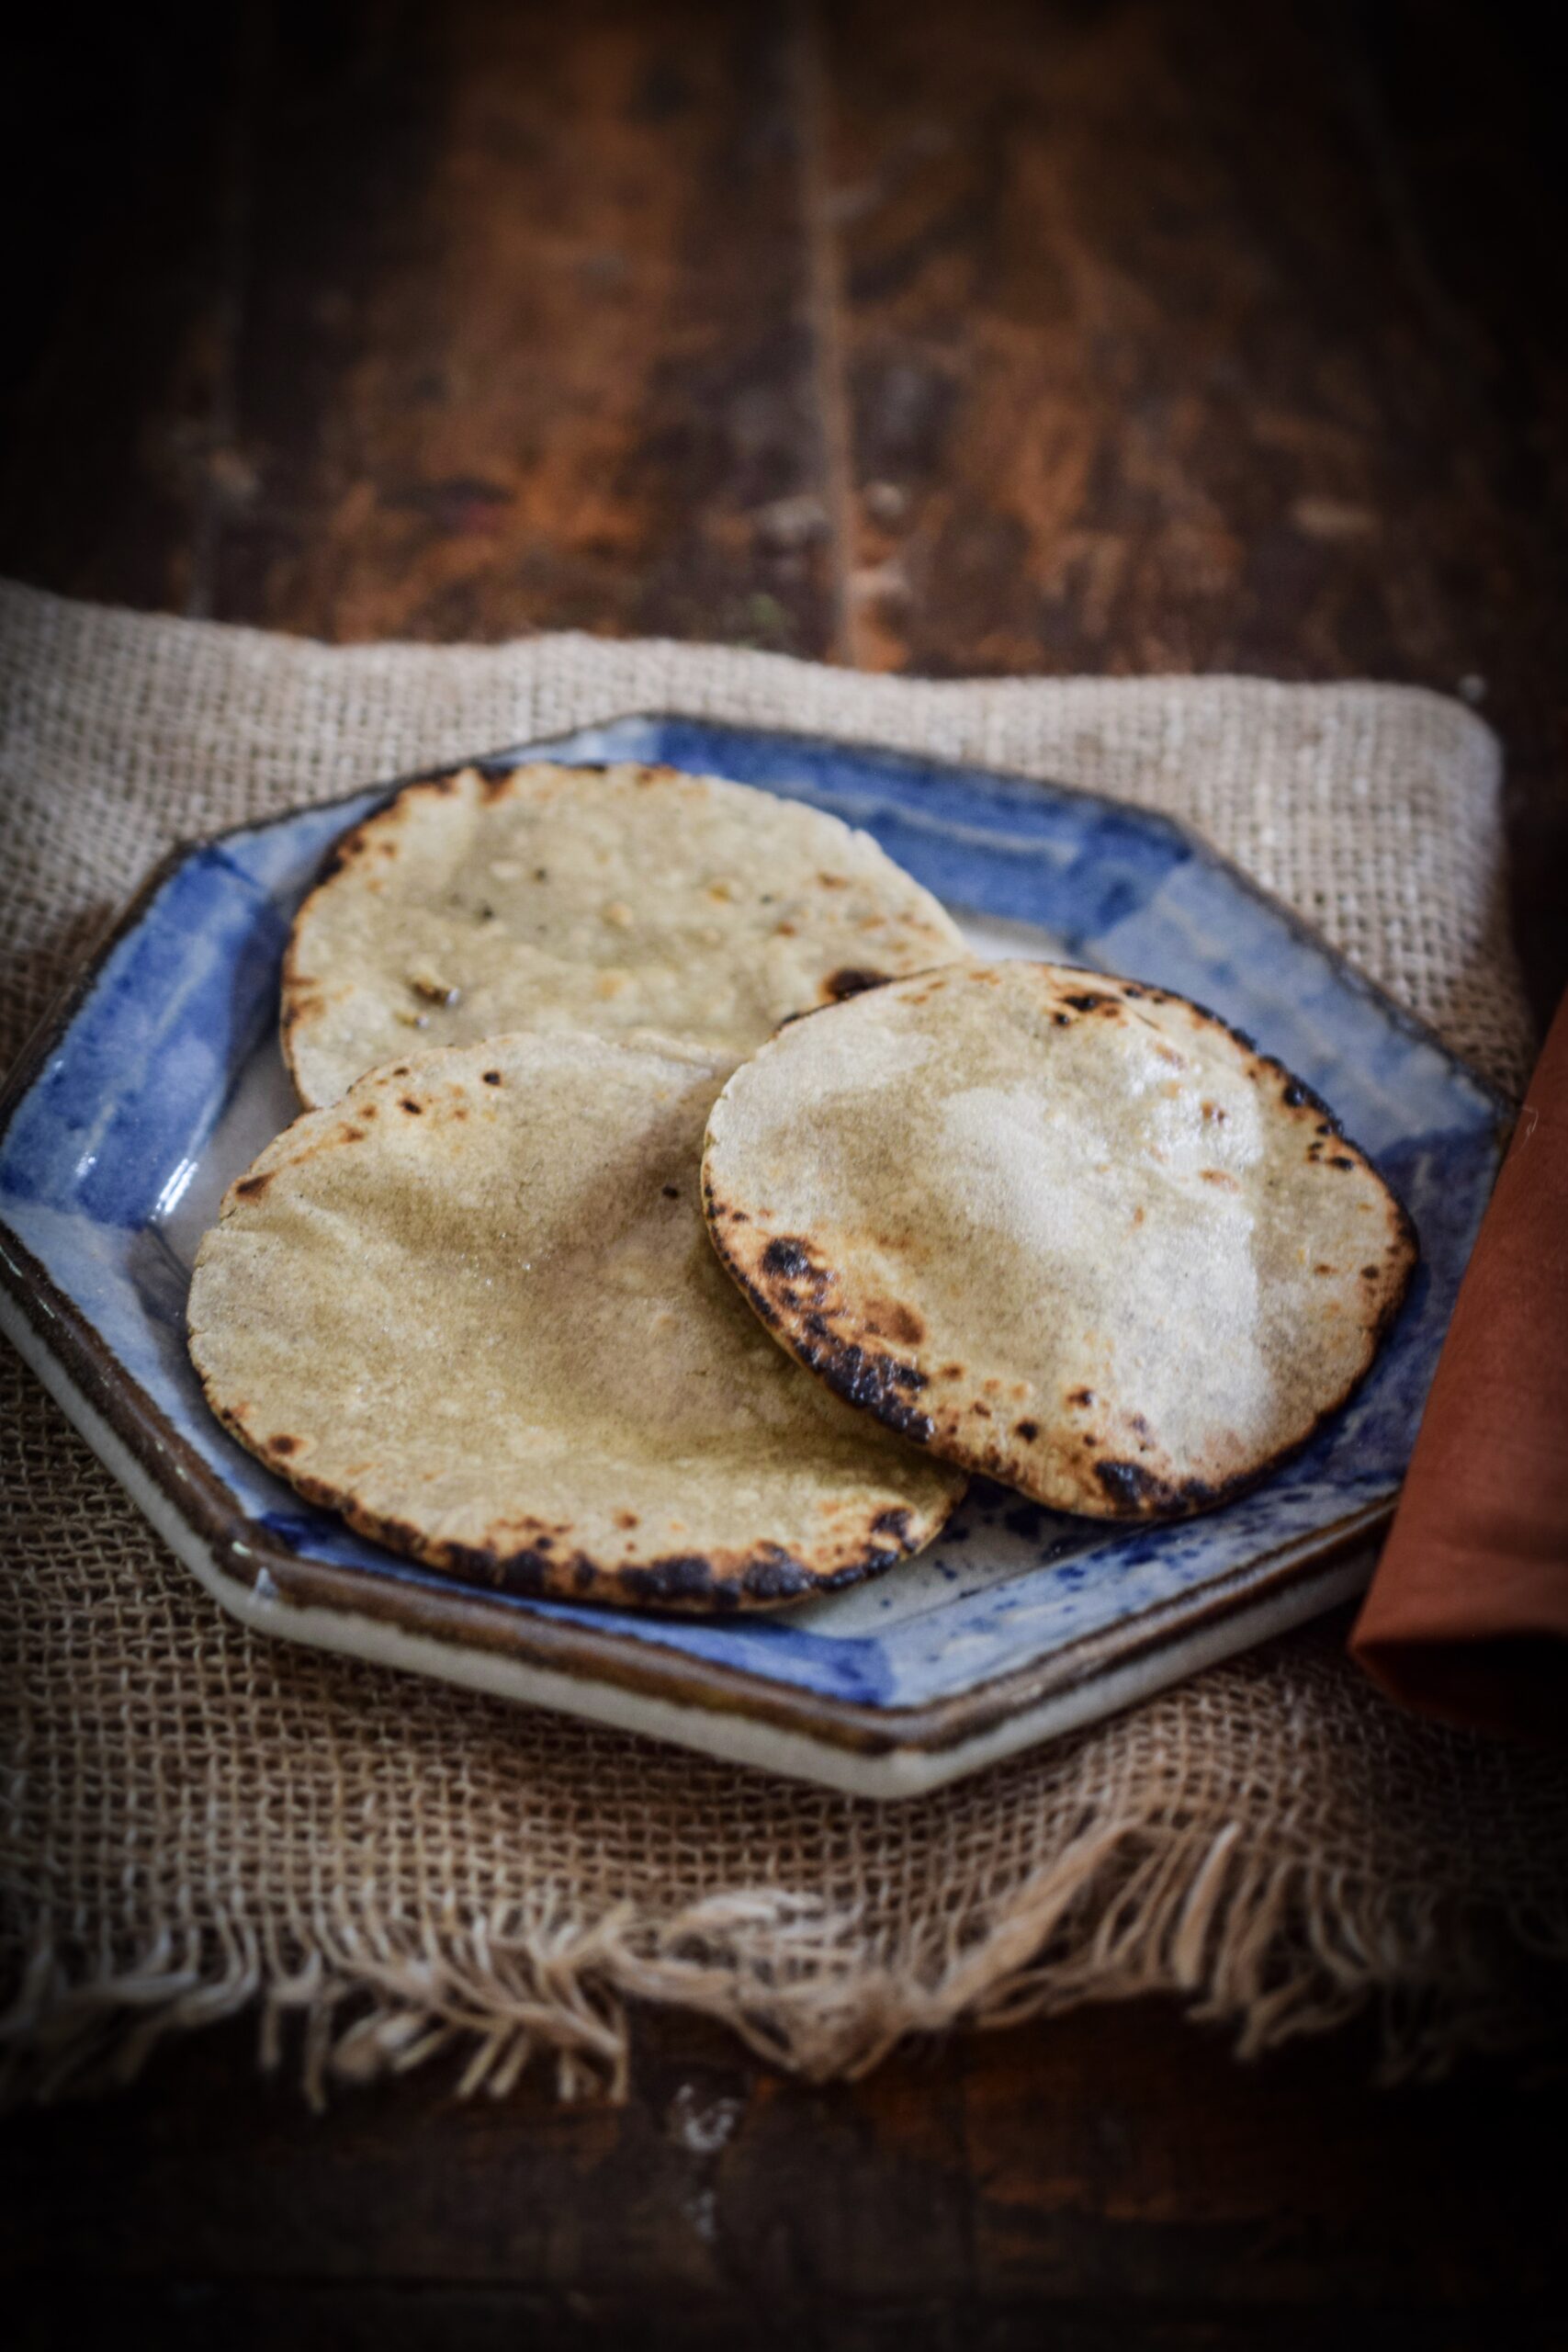
Rotli

Lunch during our summer holidays as children was a competitive affair: who could eat the most rotlis? These rotlis were the simple, everyday variety, washed down with aam raas, a seasonal mango purée. A blissful siesta would ensue, the heavy lunch and the heat lulling us to sleep to the sound of old Hindi songs on the radio…

The rotlis we had then were made from balls of dough joined together, then roasted and peeled from each other. They were as fine as skin. We also ate a sweetened “children’s” version, made with jaggery water. Another way to sweeten a rotli, if you want to, is to eat it with a strained yoghurt dessert known as shrikand. I’ll be sharing a recipe for that soon, and if you subscribe to this blog, you’ll be the first to know.


Thepla


(Yields: 12)


1 cup methi (fenugreek) leaves, picked and washed

1 cup whole wheat flour

1 teaspoon salt

¼ teaspoon turmeric powder

2 teaspoons cumin powder

1 teaspoon white sesame seeds

1 teaspoon crushed green chili (adjust to your taste)

½ teaspoon ginger paste

1 tablespoon yoghurt

1 tablespoon sunflower oil + oil for sautéing

100 ml water or less


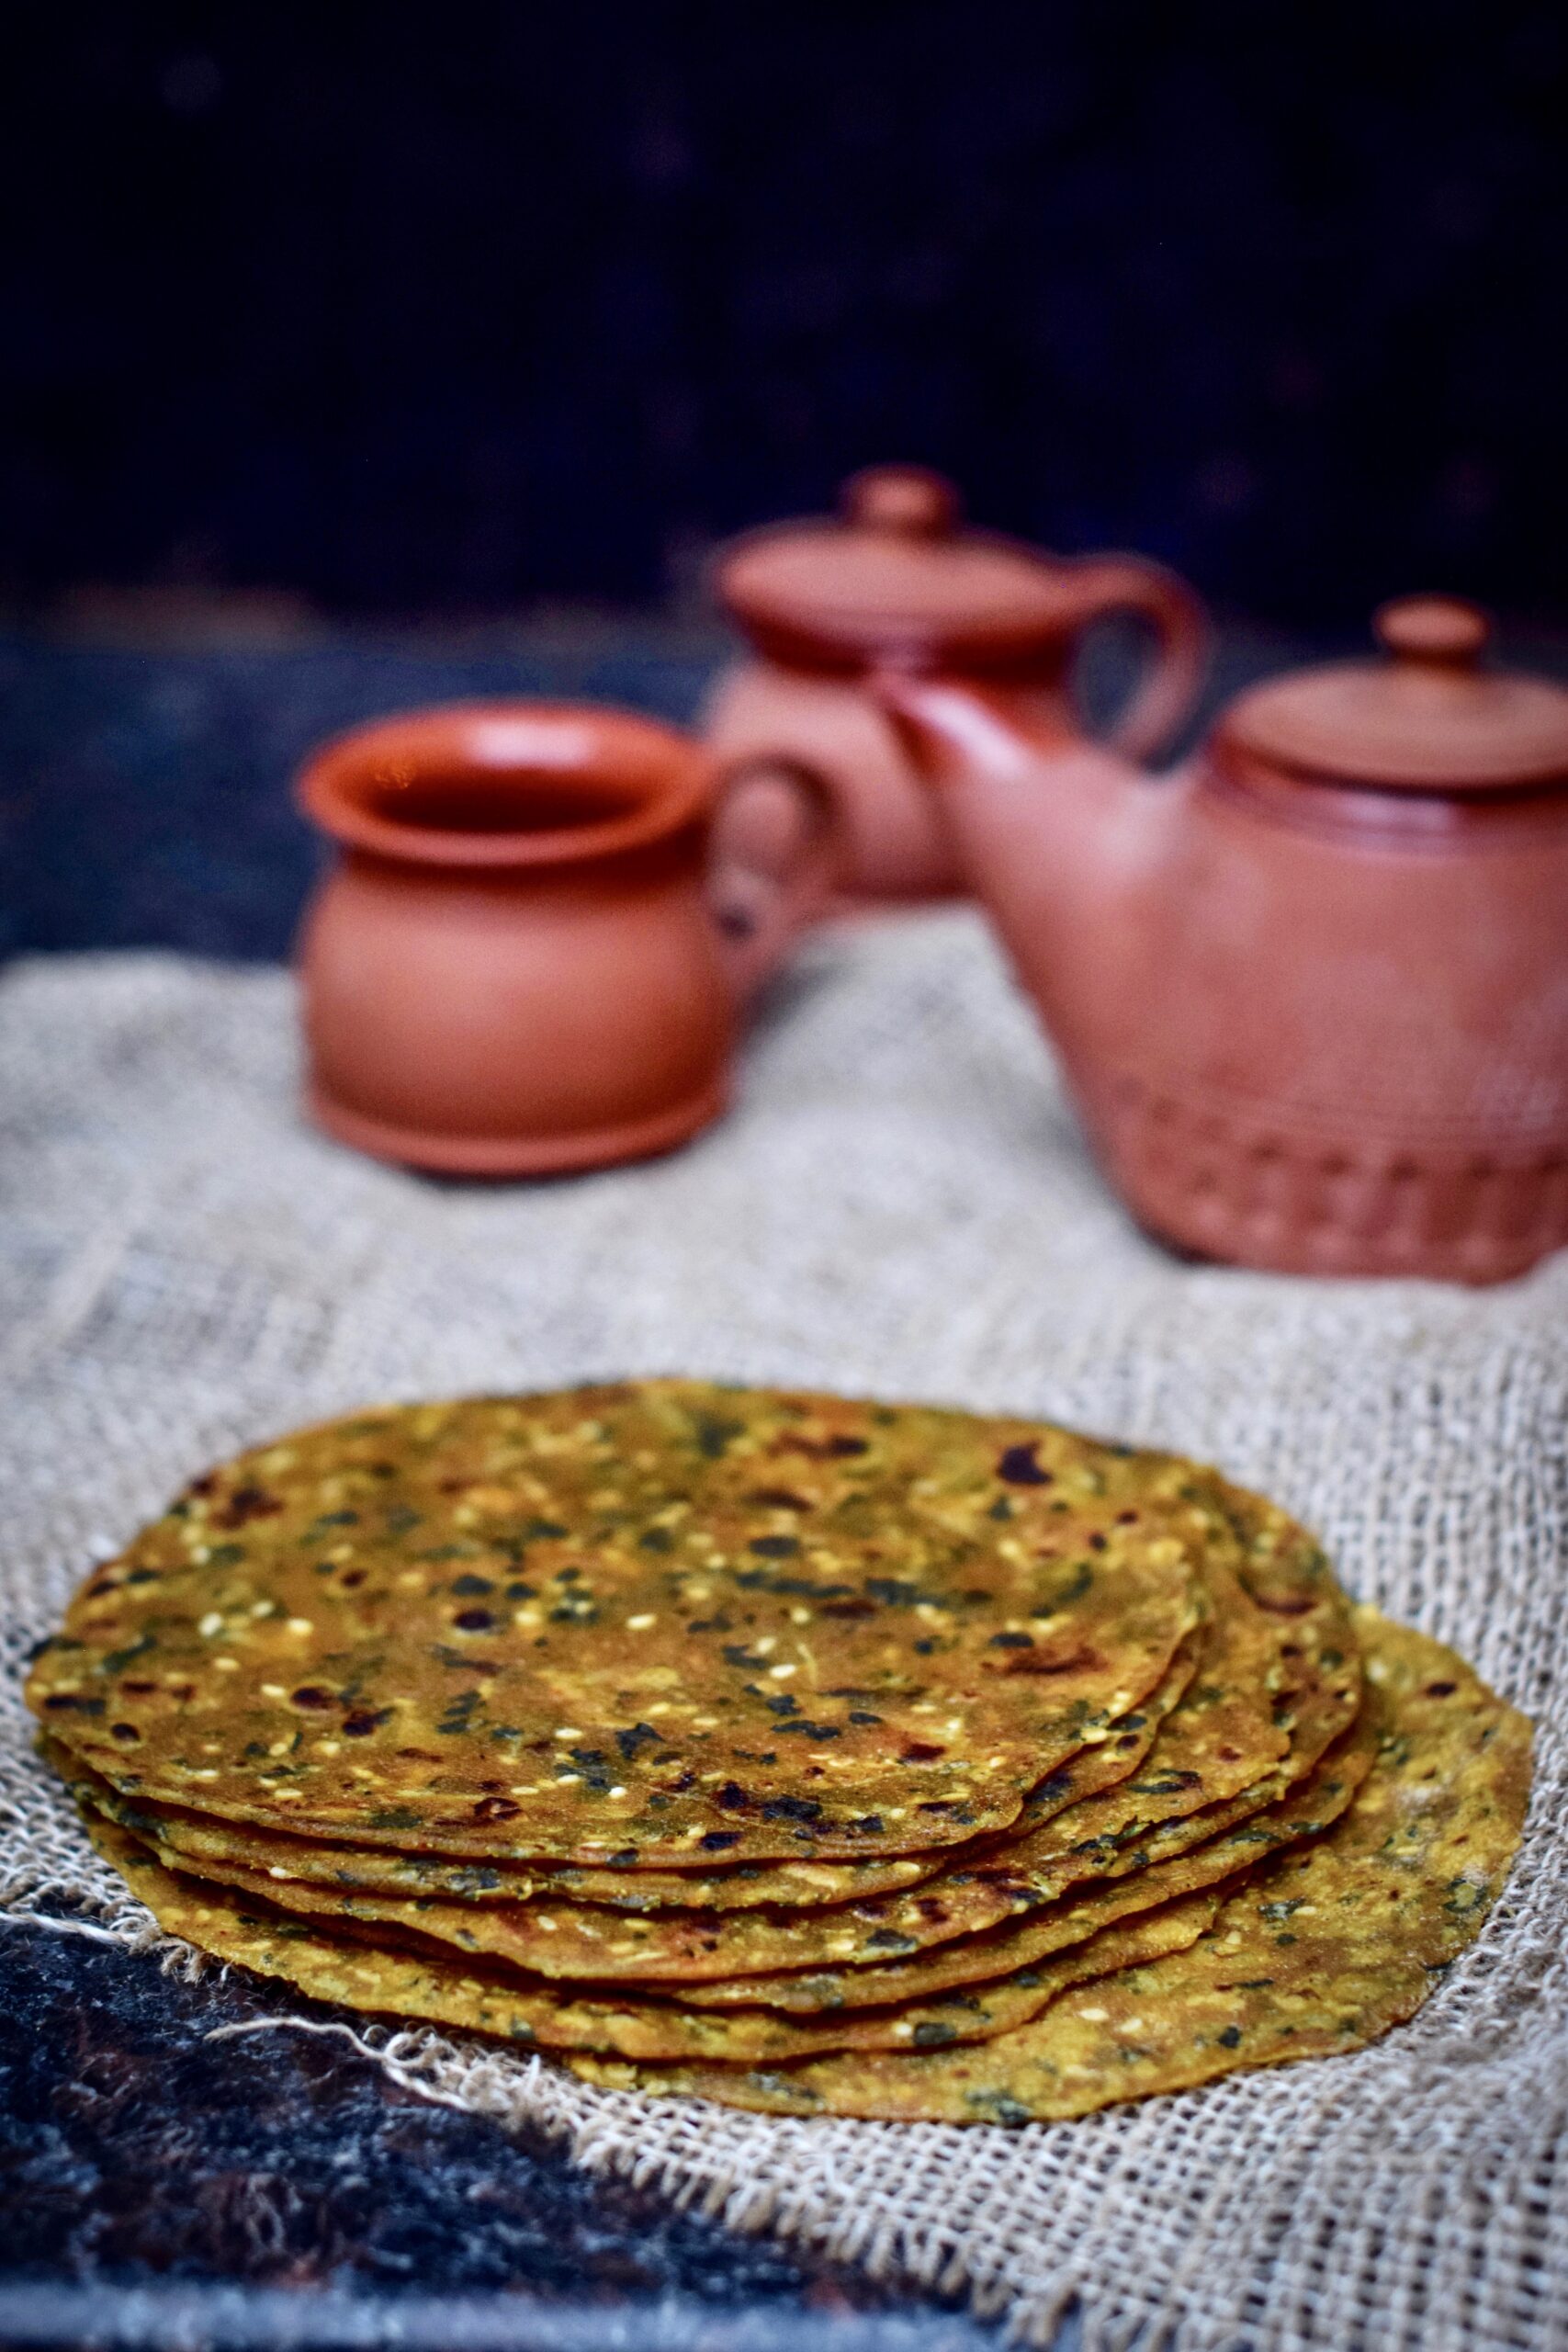
Traditionally, theplas are often made with leftover rice or khichdi, so as not to waste food, but you can make them fresh too. In a mixing bowl, add all the dry ingredients and blend them gently. Now add the 1 tablespoon of oil and the yoghurt. Slowly add water and continue mixing, until you feel the mixture is slightly tougher to the touch than bread dough. You do not need to use the entire 100ml.

Dust both sides of the ball with flour. Make small lemon sized balls and allow them to sit for at least half hour. Now, dusting more flour as you do, roll out the dough into discs. Make them as thin as you can.

On a heated iron pan, place the thepla on a medium flame for 30-40 seconds. Then turn it to the other side. In another 30-40 seconds, add a few drops of oil. Make sure the oil is spread to the edges too, as the thepla may dry out. Press down with a spatula to help it cook. Flip the thepla a couple of times until it is golden on both sides. Remove from the pan and fry the next disc, and so on.

As you make each thepla, either store it in a hot case, so it remains soft and warm, or pile them up on a plate. Serve hot, with a curry of your choice or a sweet mango or kumquat pickle, or simply enjoy them as some Gujaratis do – with a lovely cup of chai.


Bhakri


(Yields: 15)


2 cups whole wheat flour

¼ cup semolina

¼ cup oil

100 ml warm water

¼ teaspoon salt


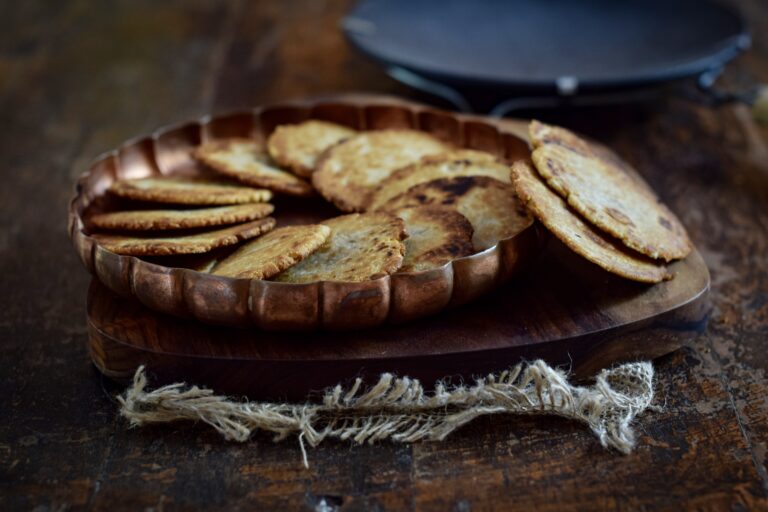
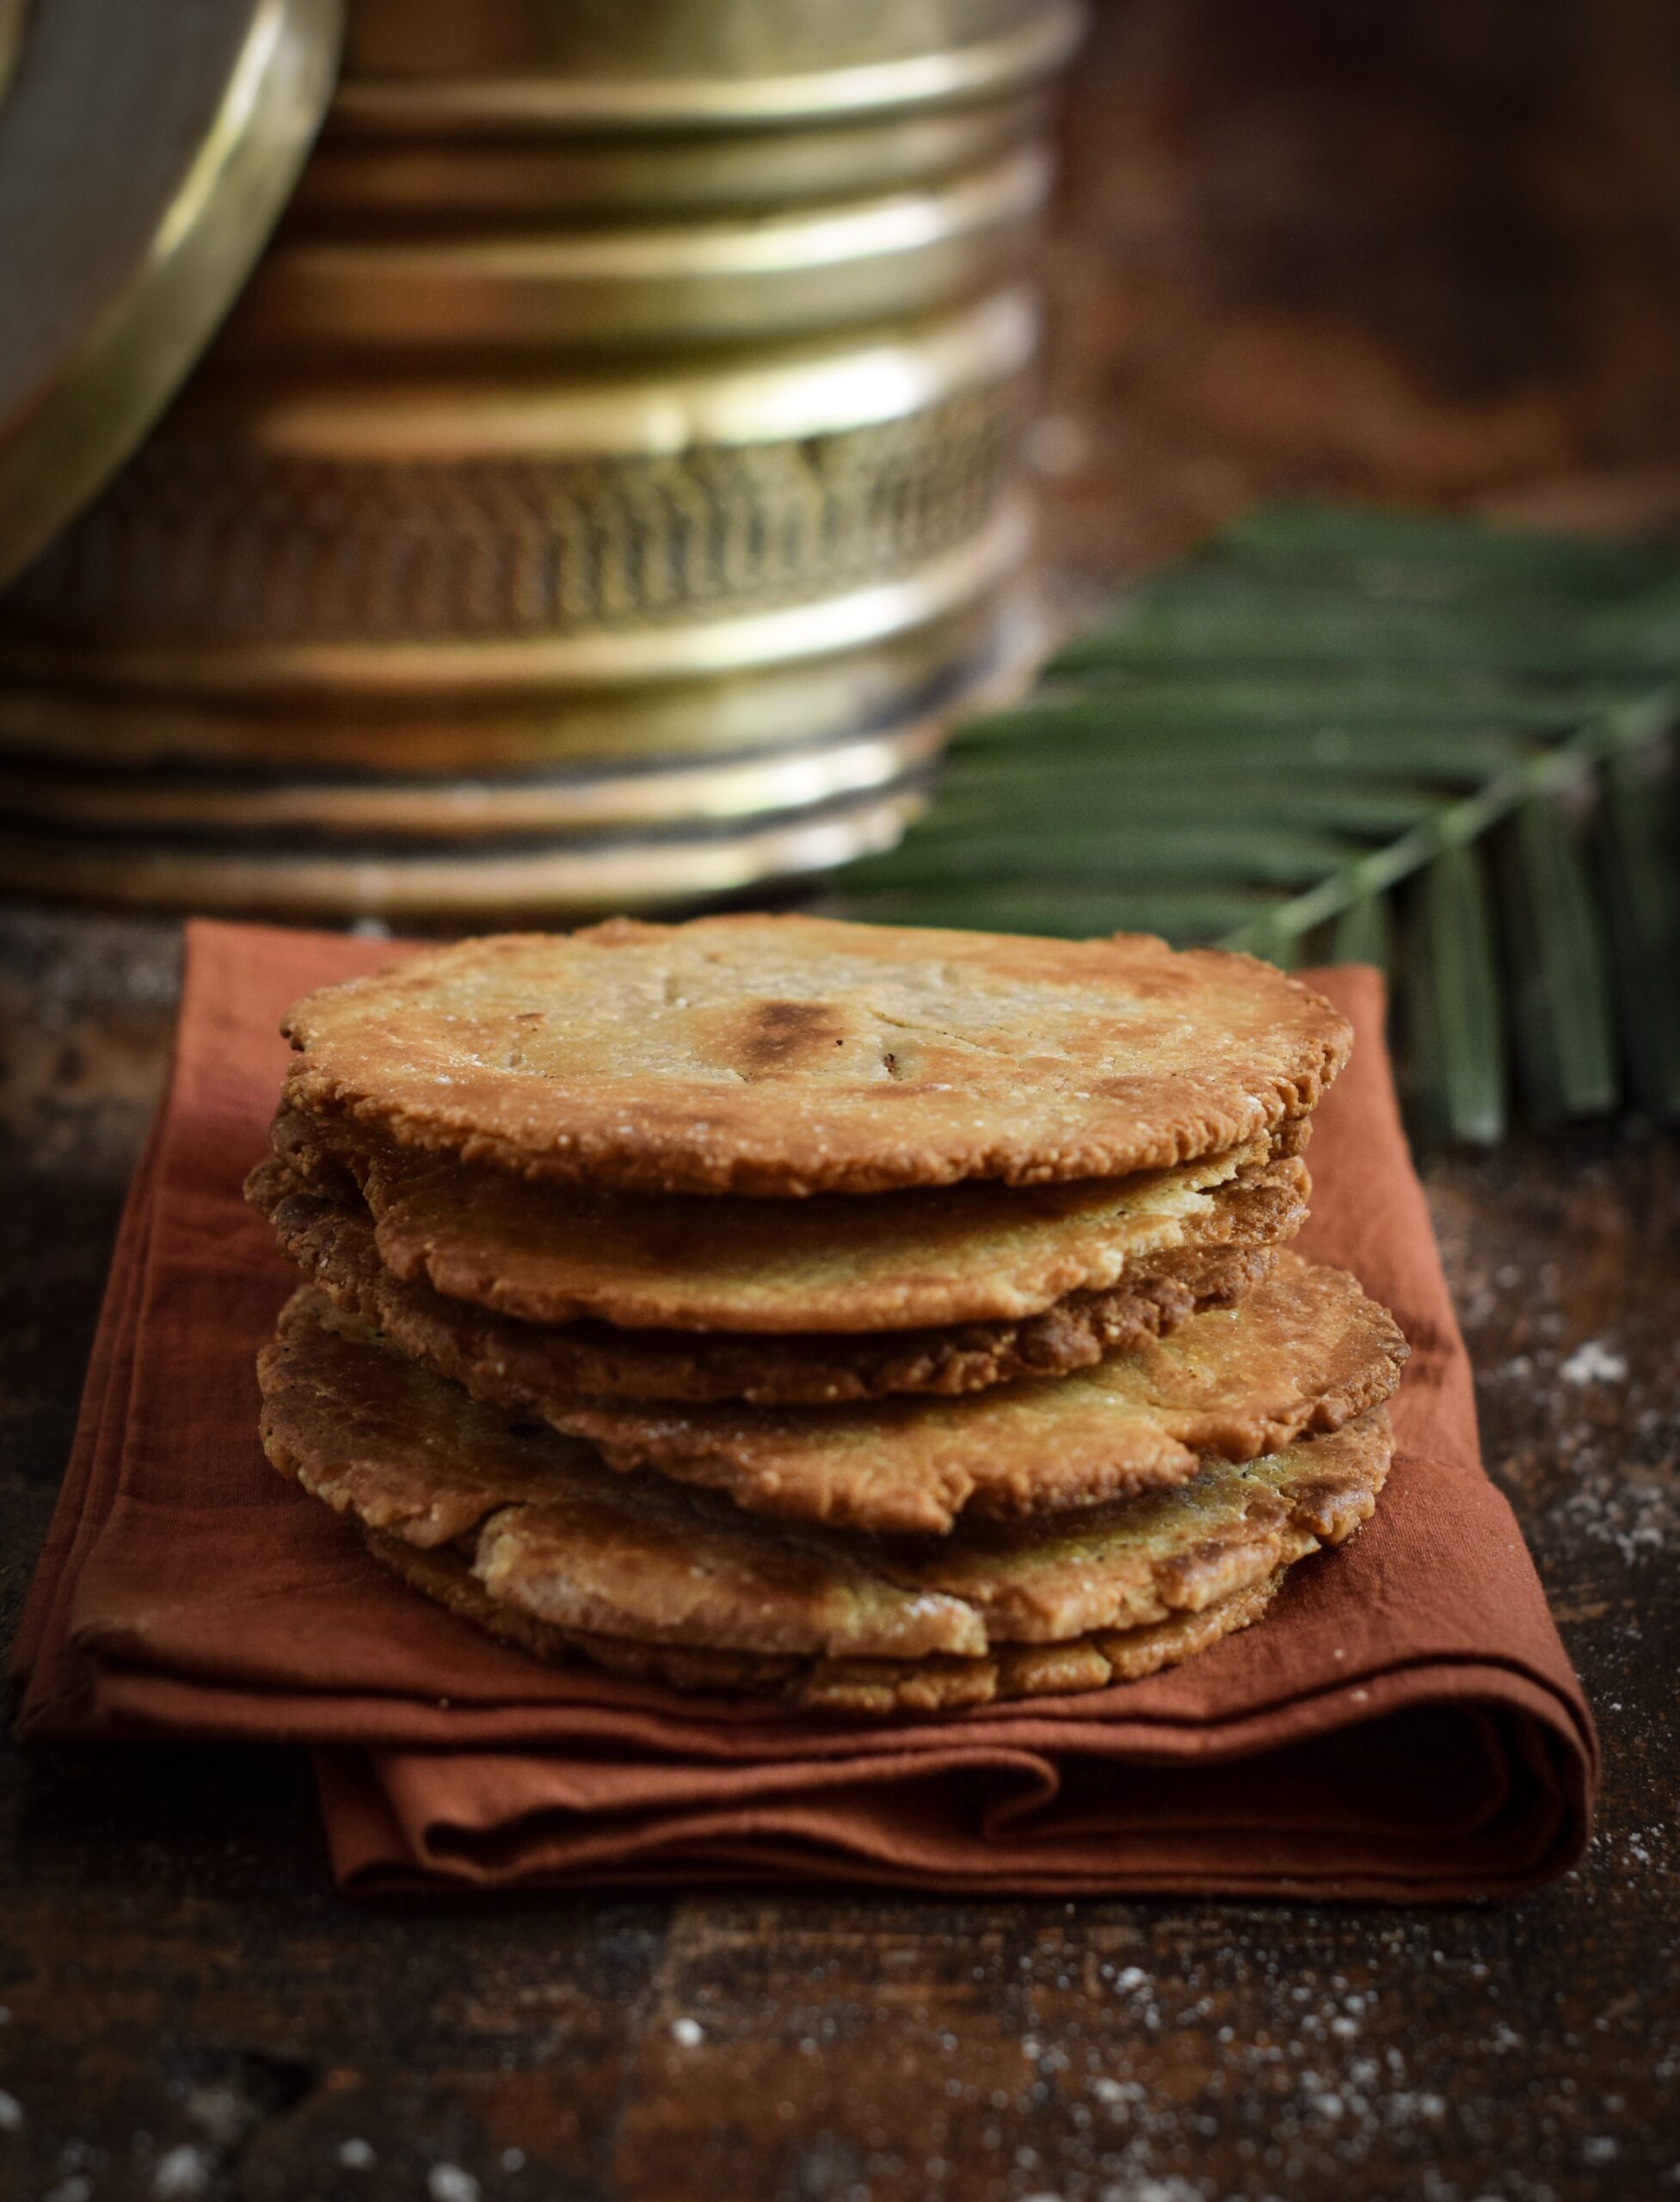
A bhakri is really a type of biscuit, made with a greater quantity of oil than water. A version with jaggery water was my standard after-school snack while growing up. You can make this in the sweetened (what I call “children’s”) version too, by substituting plain water for jaggery water.

Assemble all the ingredients in a large bowl. Add water slowly as required and bind the dough together. Continue pressing firmly, until it all comes together and does not stick to the bowl or your fingers. The dough should appear as a smooth, firm ball. There’s no need to dust this ball of dough with flour, as it is quite tough and will not stick while rolling. If it does stick, you have probably added more water than required, and only in this case should you dust a little flour. Now, divide the dough into 15 smaller balls and keep aside.

Heat an iron pan. Roll out the dough into discs of about 1 cm thickness – this is where the thin-as-muslin standard doesn’t apply! Place the discs onto the hot pan and reduce the flame. Since bhakris are thicker they need to cook on the inside too, so it will take longer to cook. The flame needs to be maintained between medium and slow. Flip over each bhakri a couple of times until golden. If you’d like to, use a pair of tongs and roast the bhakri directly over the flame towards the end of its cooking time. This is the traditional way – dough to flame, directly, just like in this video!

Once they are crisp and golden, remove from the pan and let a trickle of ghee melt onto the bhakri. Serve with tea. They also travel well, so consider packing them for journeys. As my mum would say, a well-made bhakri will be like an easily chewable cookie – it can be eaten comfortably both by the elderly and by children alike.

Puran Poli

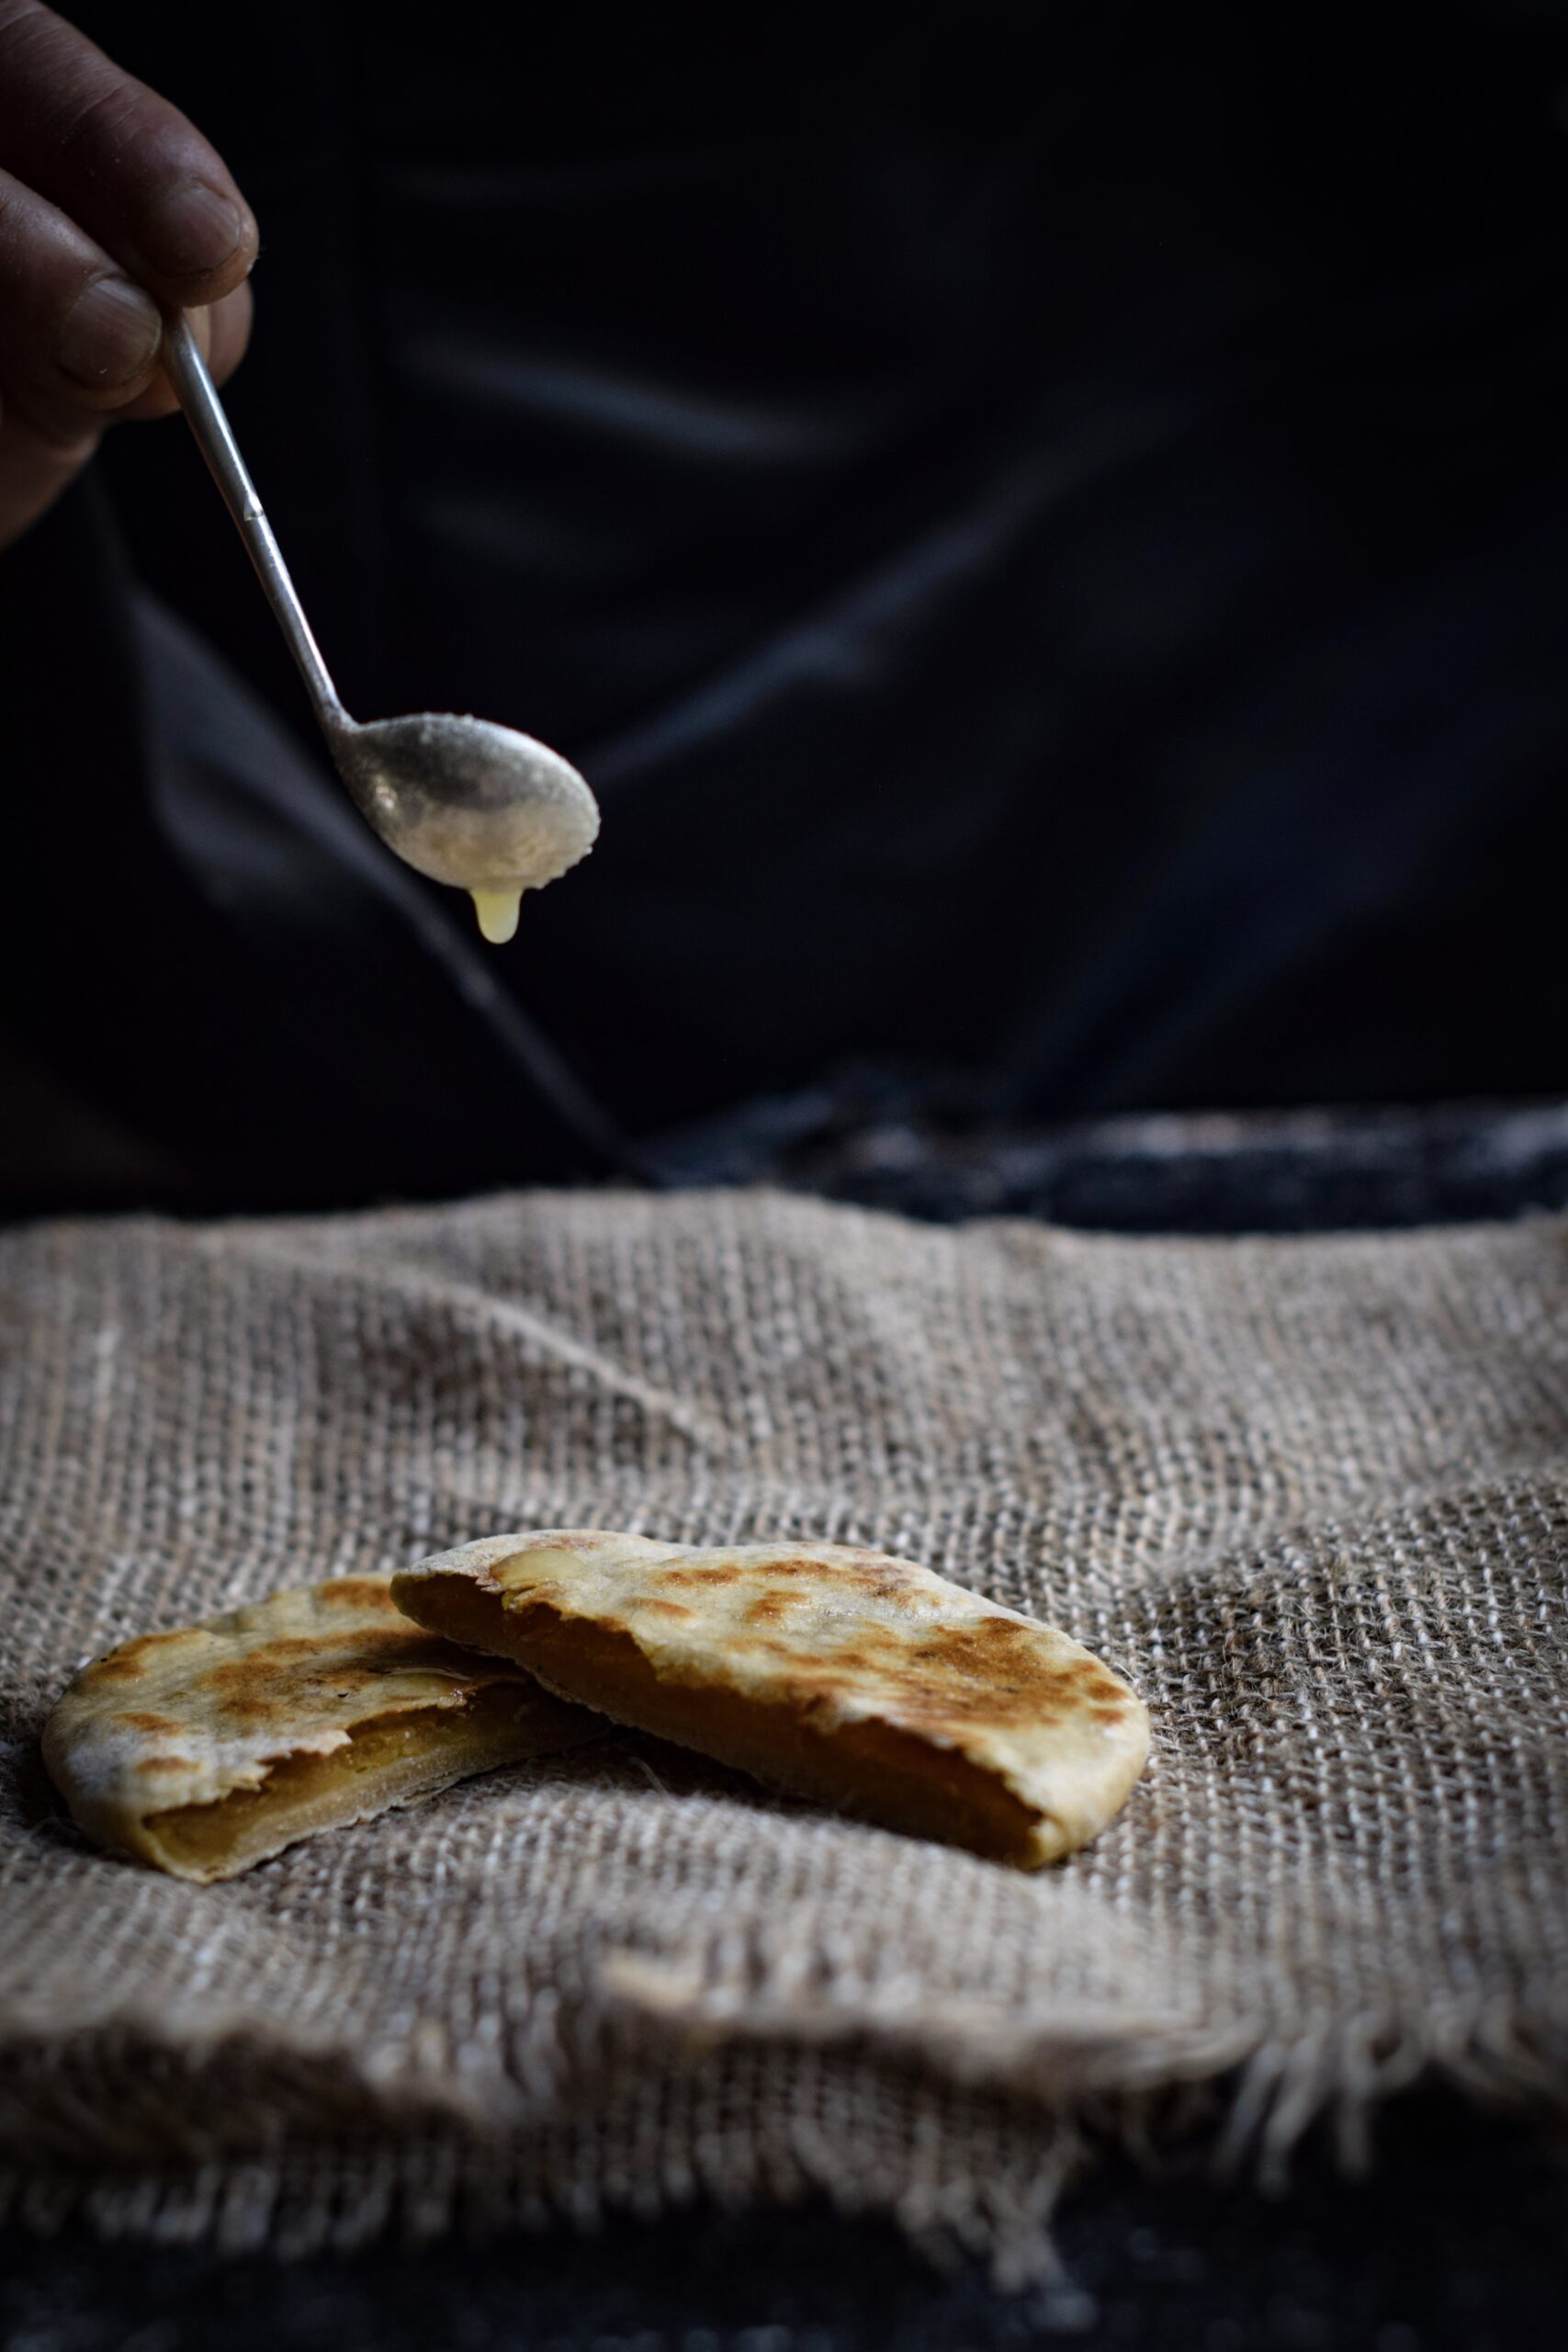
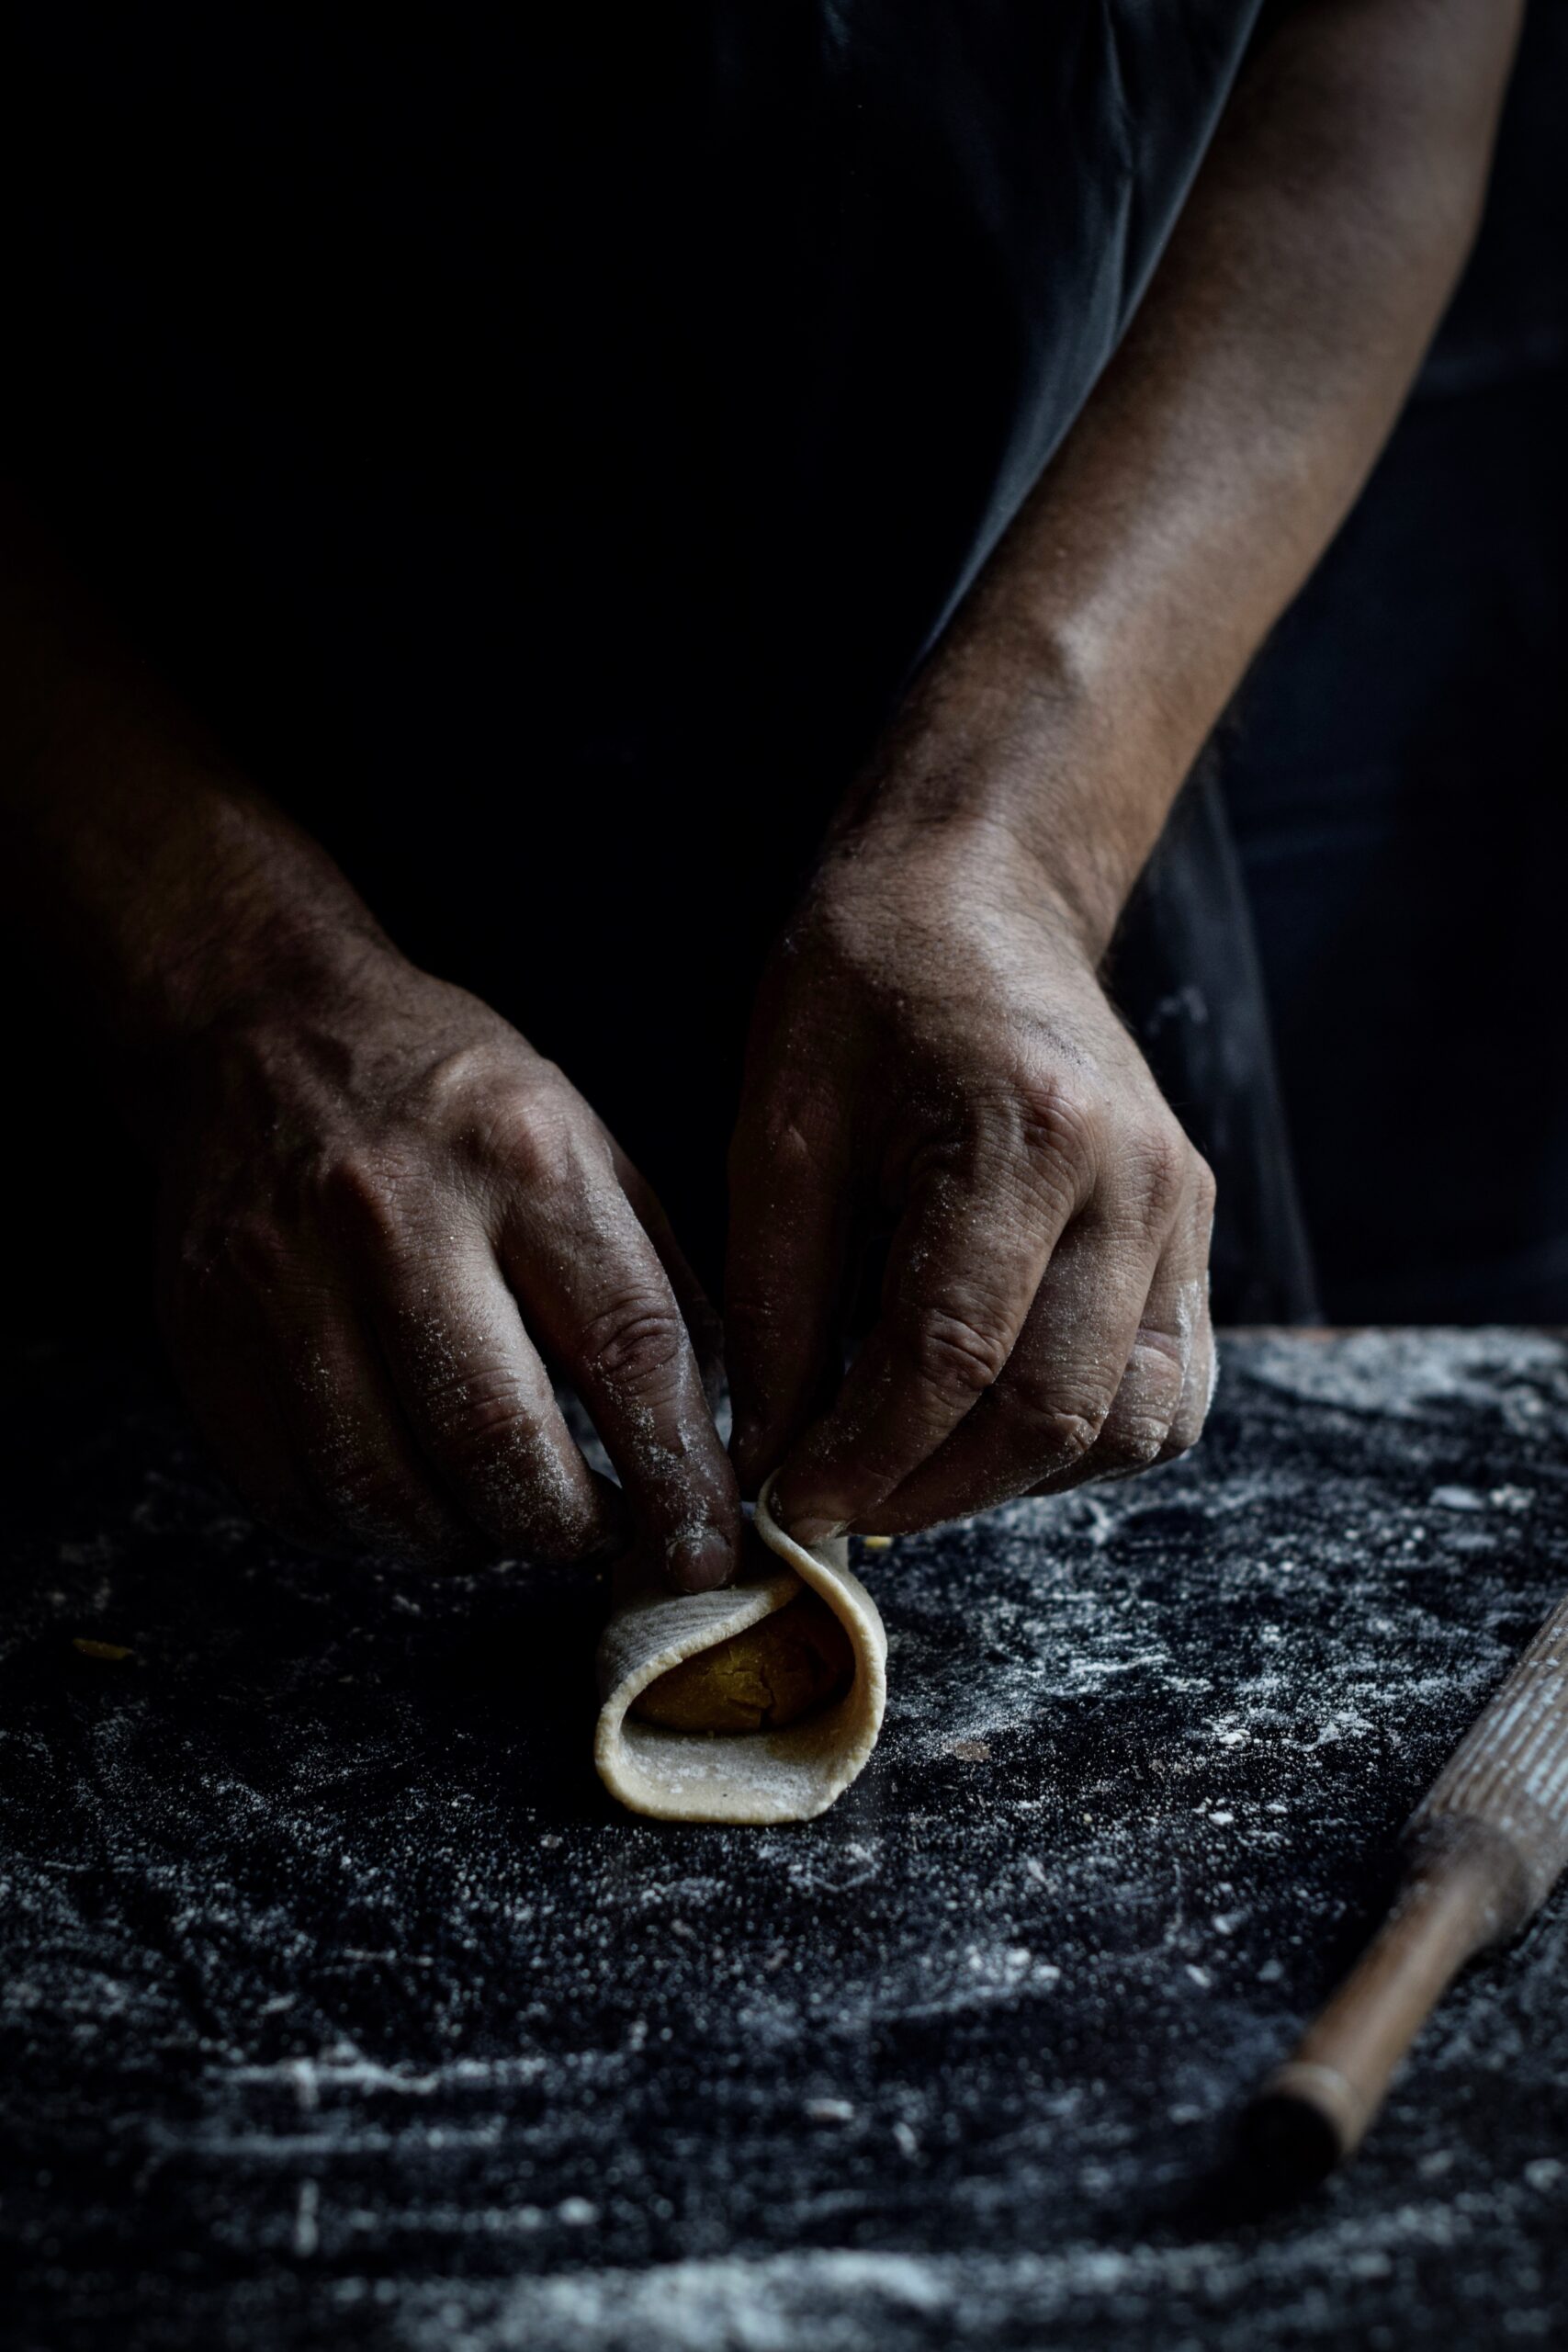
Sweet, stuffed and festive, the puran poli is enjoyed not just in Gujarati cuisine but throughout India. Made of toor dal (pigeon pea) and jaggery, it is a stuffed and folded variant that is half-roti, half-dessert.

Juwar & Bajra

It’s only after years of practice with the other rotis that one comes to seasonal variants like juwar and bajra, which are even more difficult to make, let alone master. Gluten-free, the juwar roti is made of sorghum flour while the bajra roti is made of pearl millet. These thick flatbreads were traditionally eaten during winters, roasted on a charcoal flame and thus imbued with a different flavour. They were most often relished with a thick layer of white home-churned butter and sugar or jaggery. Leftover juwar and bajra make delightful, healthy cereal when crushed and eaten with milk.

*

Many Gujarati rotis were created to satisfy two specific purposes: to suit the extremely dry summers and cold winters, or to be travel-friendly, a fact proven all the way from the traders of yore to families like mine who took cross-country train rides. Whether unpacked during a picnic or a road trip, or eaten fresh and piping hot from the stove, the roti satisfies.

Throughout the subcontinent, we eat with our hands. According to Indian philosophy, the 5 senses are at our fingertips, and the act of eating activates all of them. Eating is truly a multi-sensory experience: presentation, ambience, mood and texture (even the texture of the thaali or plate – is it silver, terracotta, bell-metal or steel?), who serves us, who we eat with, the memories we recall or create through the meal – all of these matter as much as the taste itself.