Tag

rice

Browsing

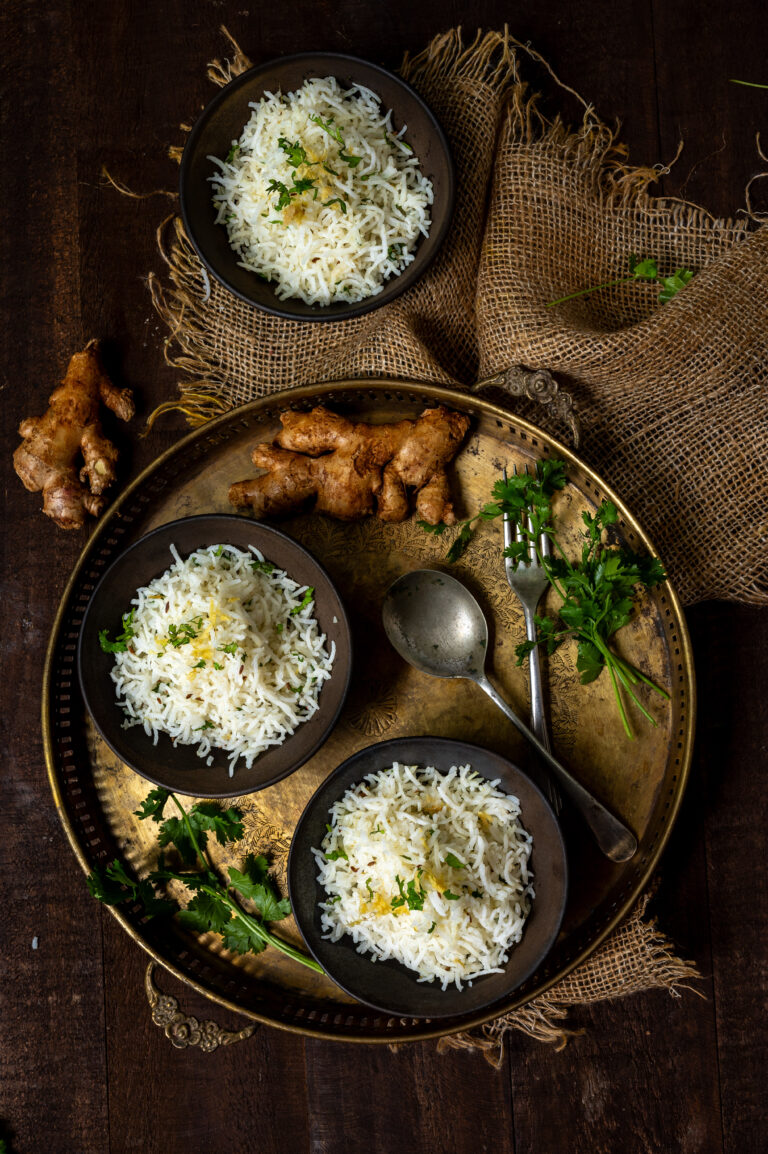
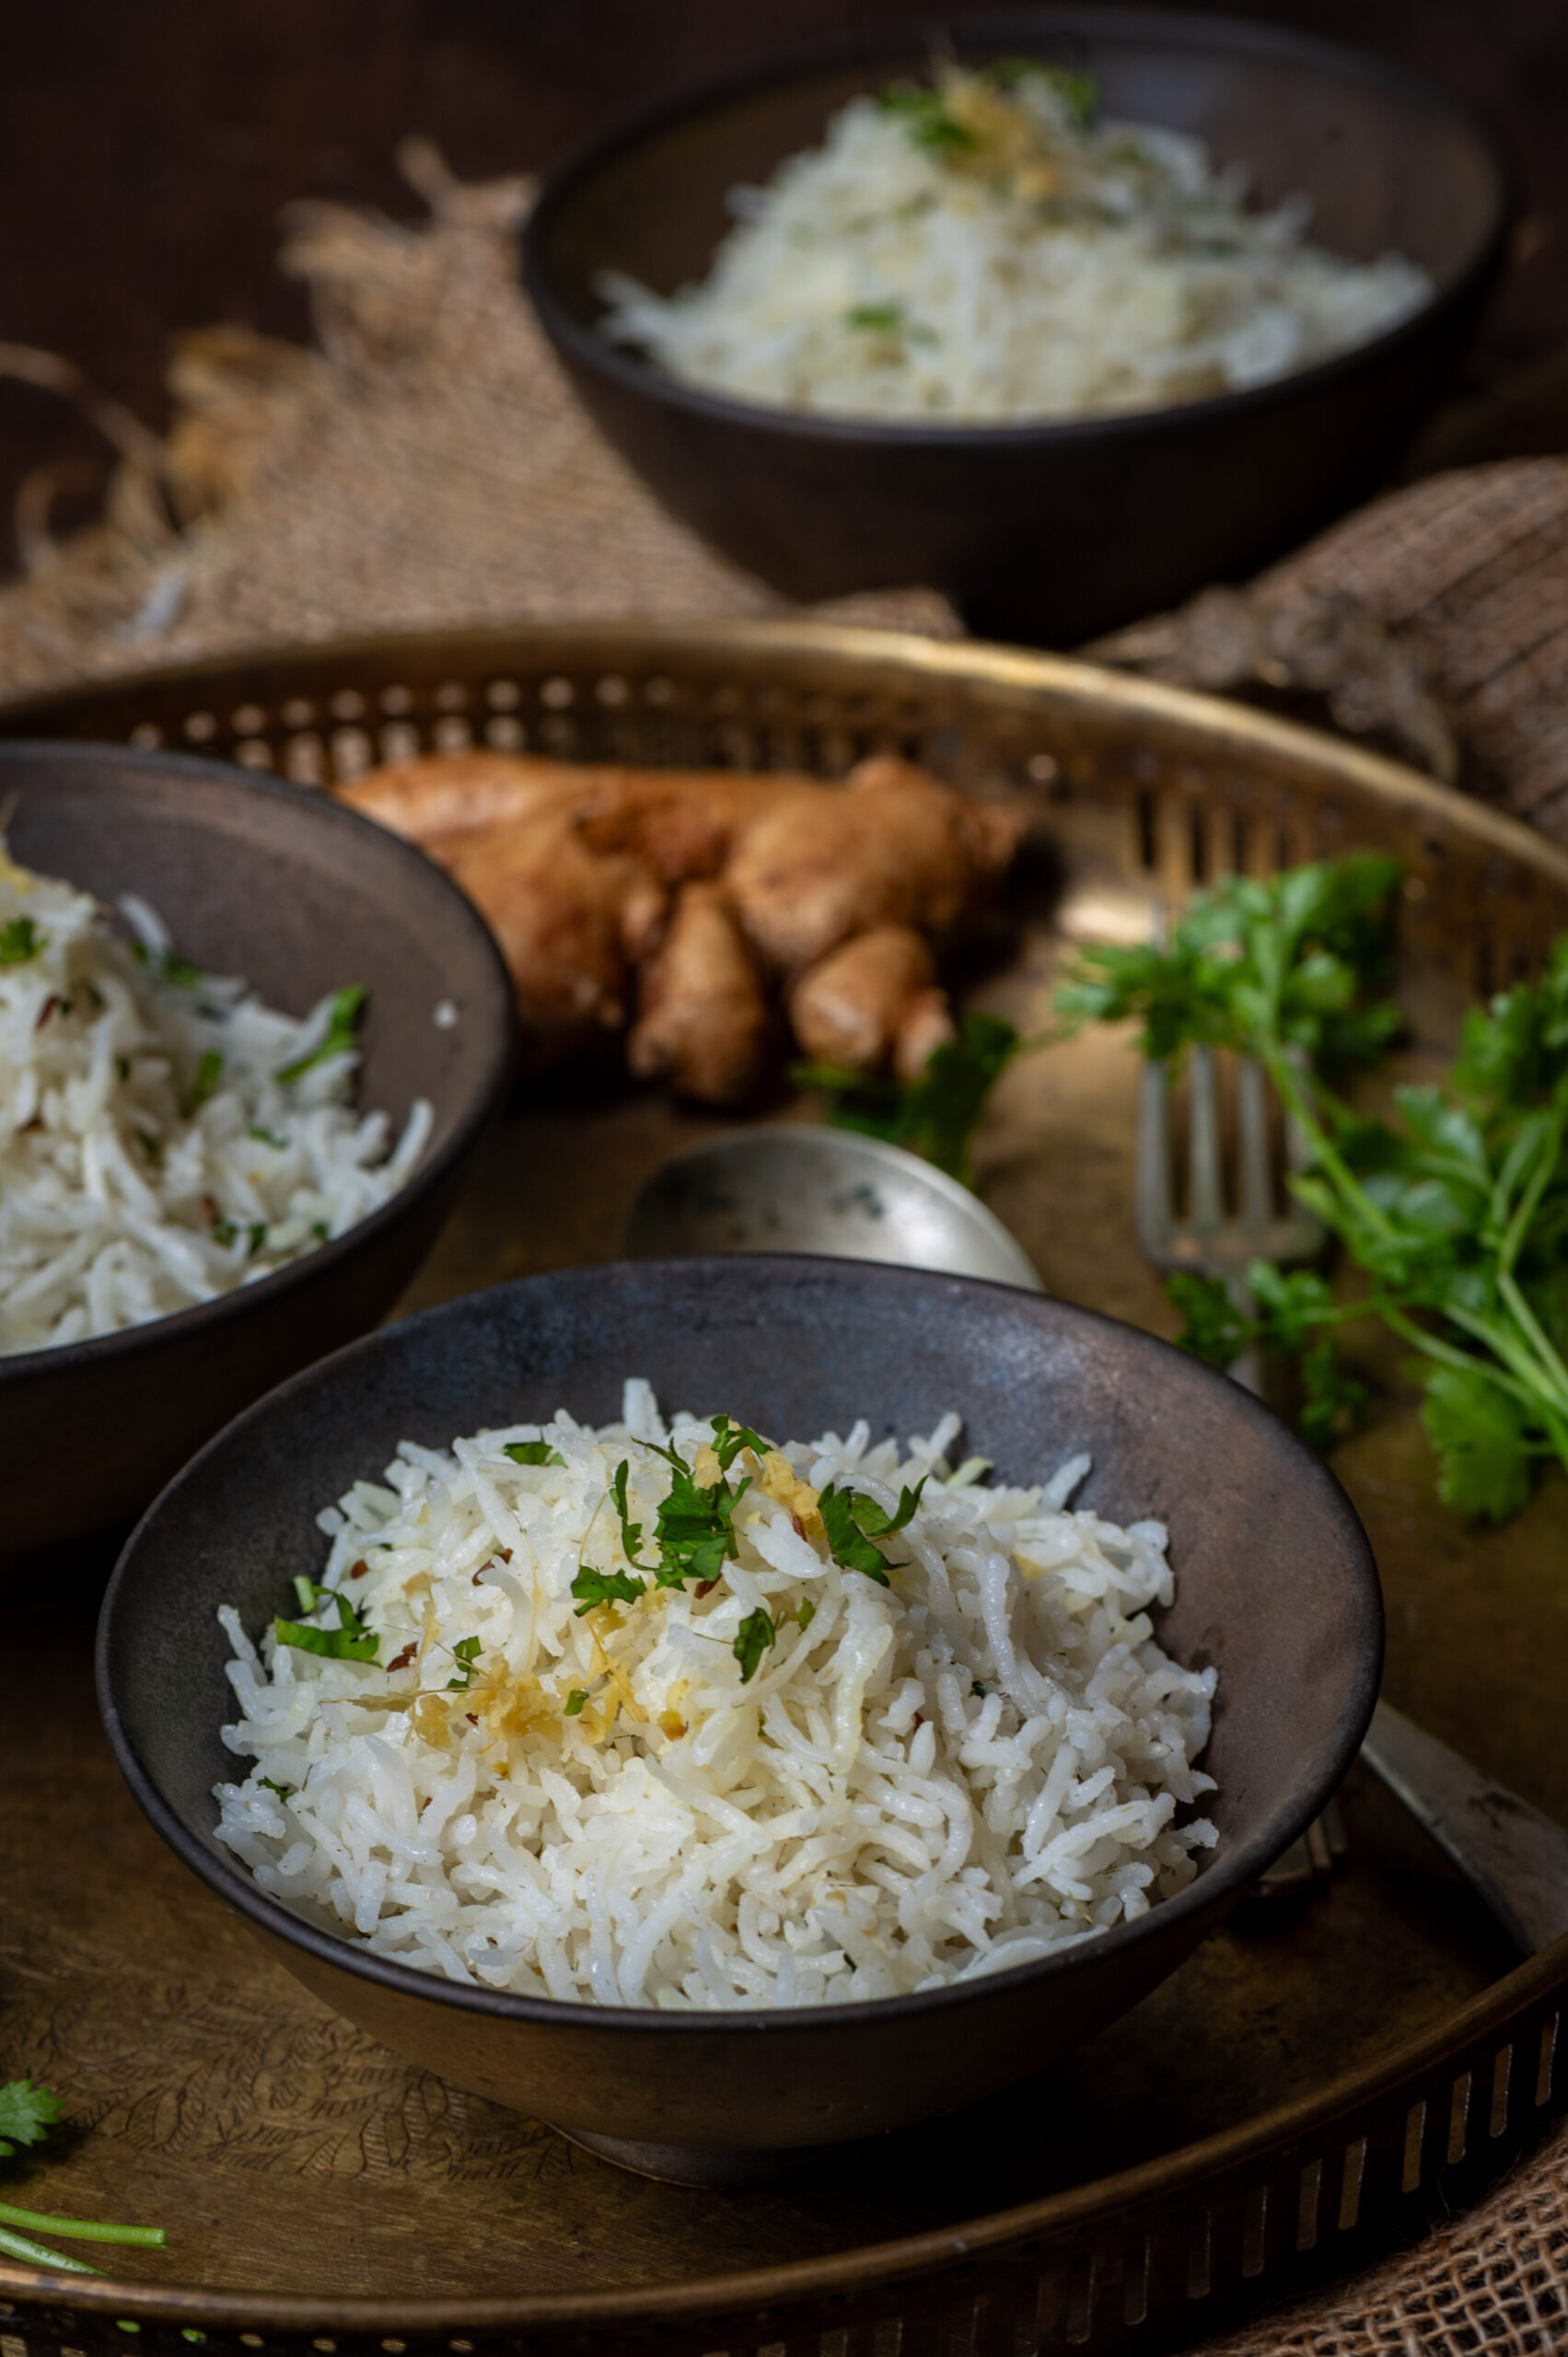
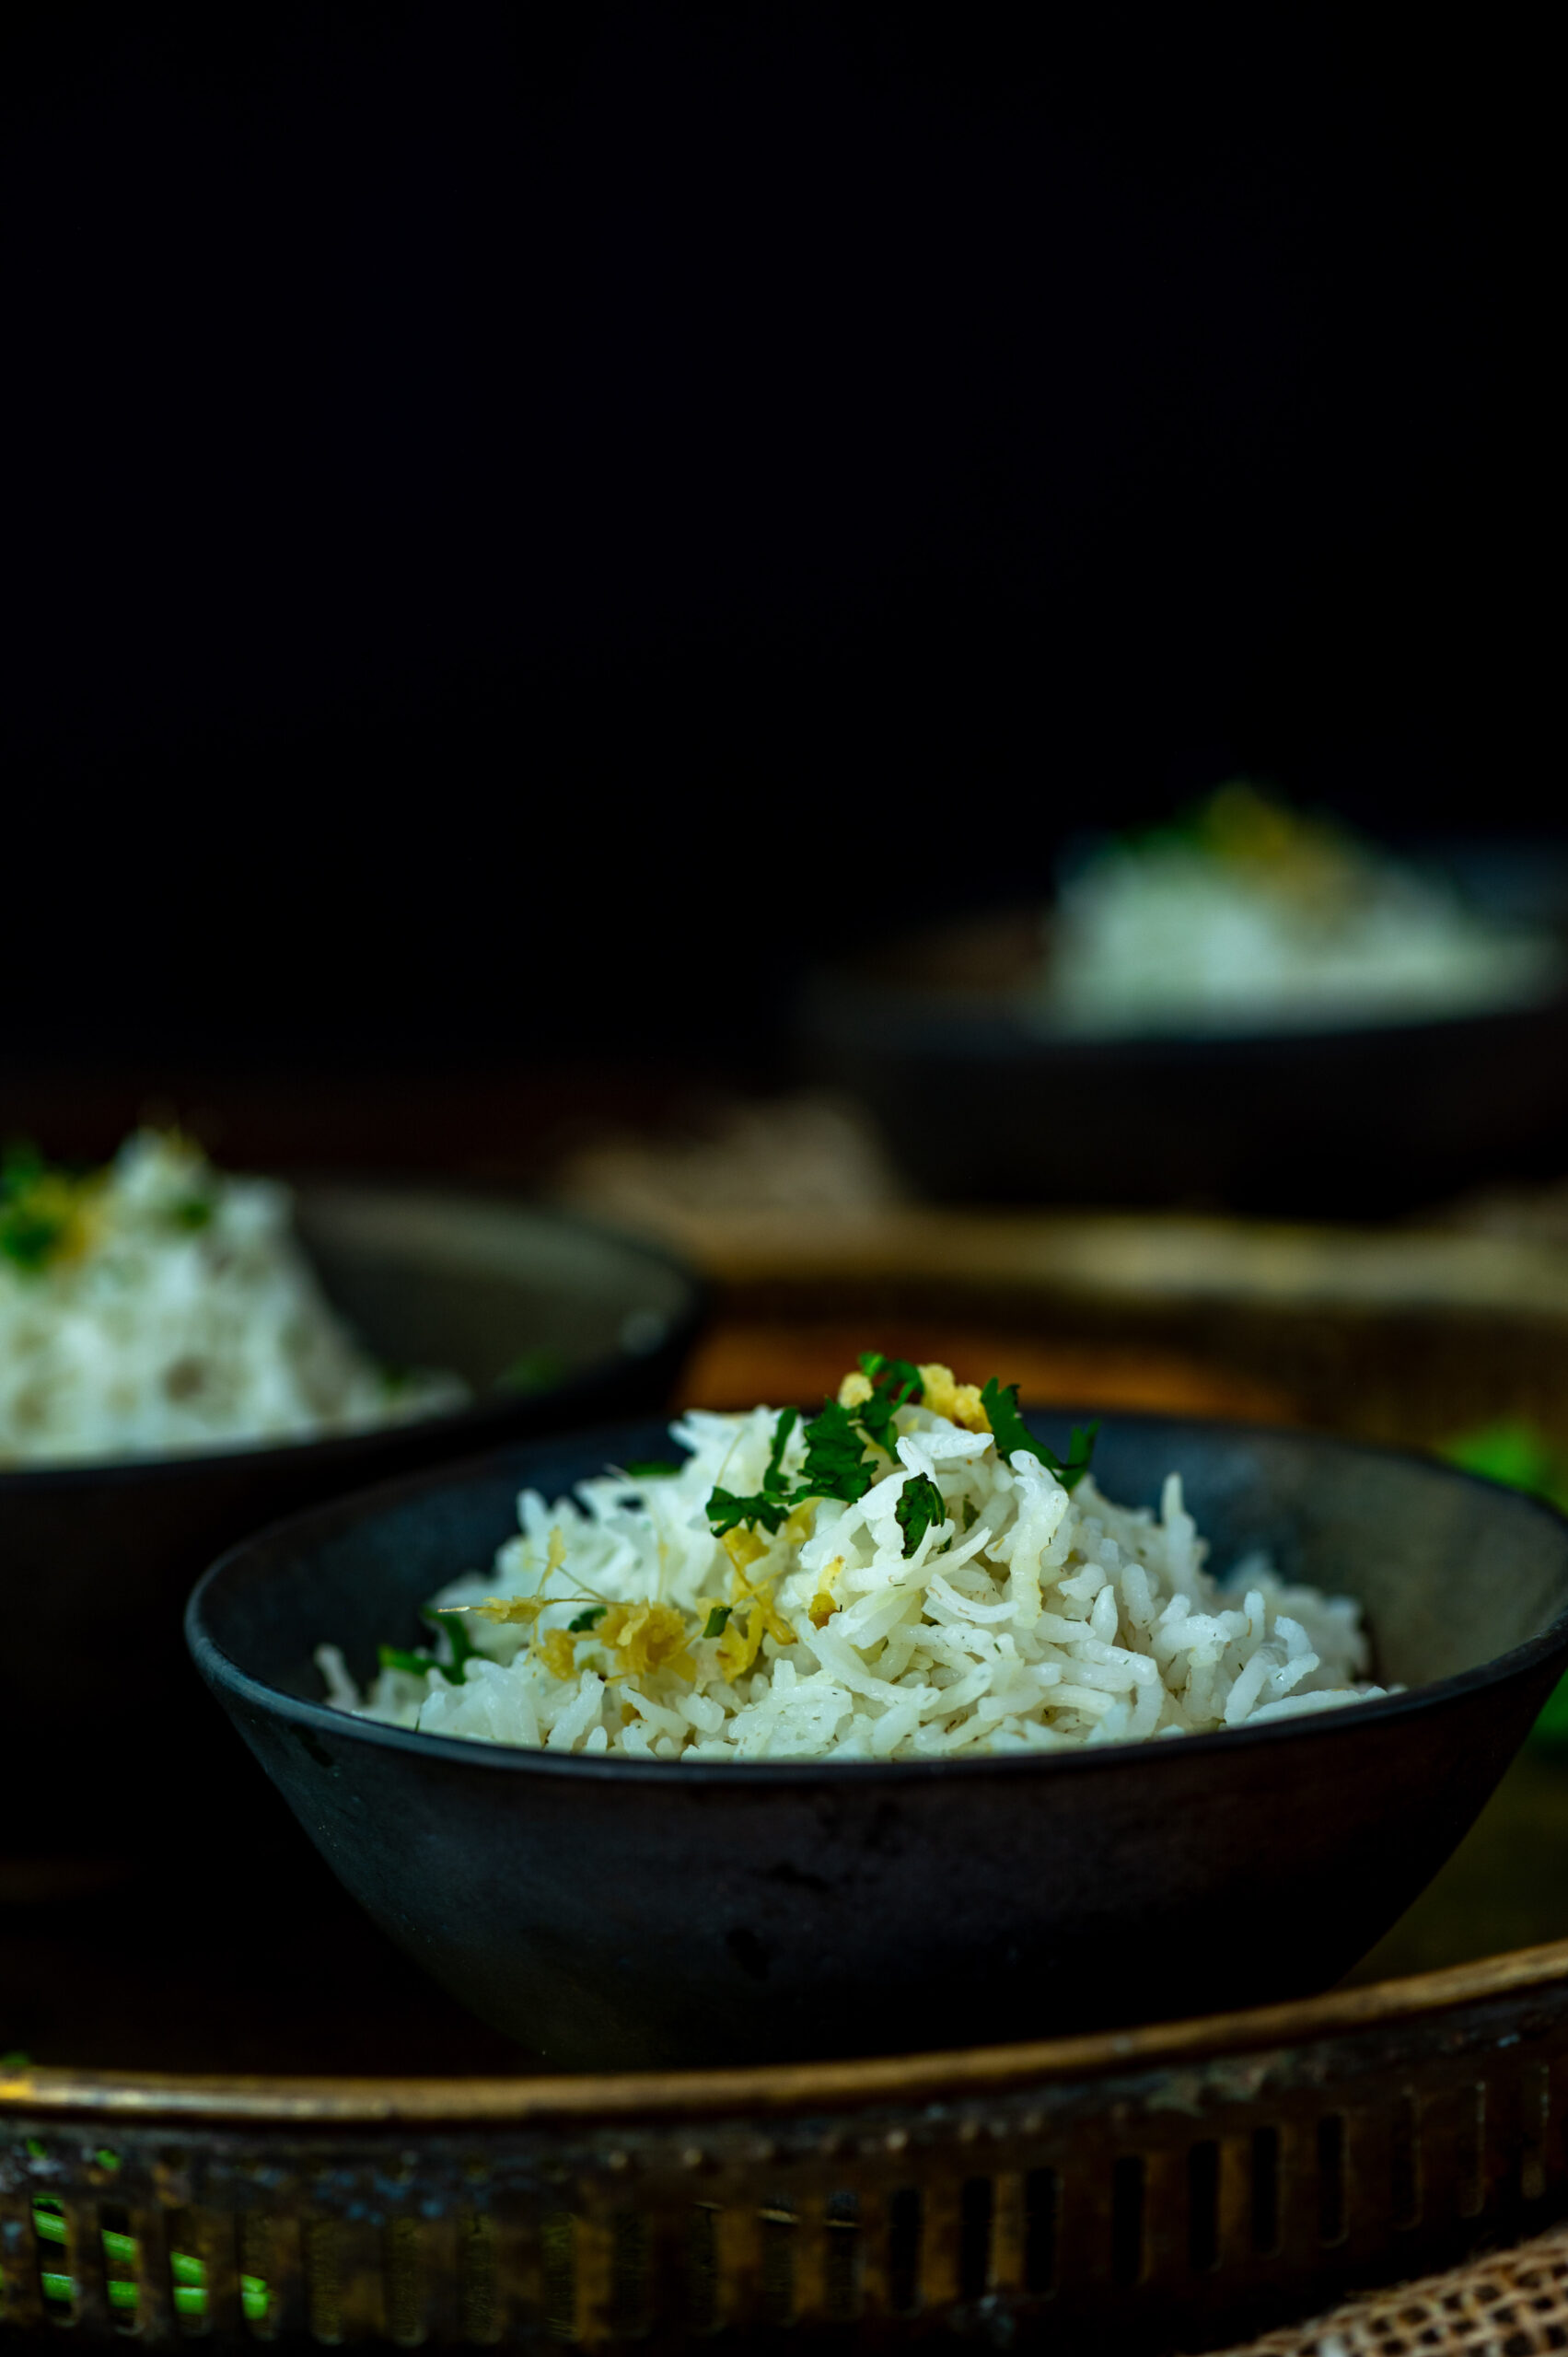
I love the flavour of lemongrass. I find it very versatile: it shines in dishes like this vegan whole corn and lemongrass soup, in my early morning tea and even as a semi-decorative element in kachoris. This ginger lemongrass rice is just one of many ways that this wonderfully aromatic herb is used in my home.

Indeed, not only is it used in my home but it is also grown in my home, which means that I have access to fresh green lemongrass leaves whenever I desire them. I currently have this plant on my terrace so that it gets direct sunlight. It sits alongside my jasmines, which I am very proud of. Not only is the visual of them growing together very pleasing, but the natural fragrances that waft there in summer – with the flowers in full bloom giving off a heady scent, alongside the lemongrass – are really so beautiful.

Despite being a long-term fan of lemongrass, this ginger lemongrass rice is a new addition to my repertoire. My daughter is visiting and she loves to cook Thai food, which is what inspired me to bring the ingredient into a lightly stir-fried rice. The method for doing so is a little different, and you can see how to prepare it in the recipe below.

This rice is meant to be accompanied by a side dish, and you can experiment with a variety of cuisines. If I am serving this alongside an Indian dish, fresh coriander or a bit of cumin in the preparation will bring out complementary flavours. If I am pairing it with a Continental dish like a baked spinach (by the way, I will share the recipe for this soon), I may add mint instead. The lemongrass and the ginger remain constants. However you choose to accompany it, the rice itself will be quite flavourful, as well as fragrant.

I have shared quite a few rice recipes here over the years, from biryani to porridge to dessert. In South India, rice grows abundantly, and I’ve also discussed before how the regeneration of native varieties is important. I recently heard the environmental scholar Vandana Shiva speak in Chennai, and I feel moved to share her message. She spoke about how India must maintain our rich agricultural heritage, that farmers should have their own seeds and distribution network and not allow big companies to patent them (this is quite controversial – Monsanto currently has a monopoly on the world’s seeds). She also encouraged farmers to go pesticide-free and focus on seasonal produce, and said that organic food will become more affordable as more farmers choose these methods. It was a very enlightening talk, and these thoughts were on my mind as I prepared this dish. I hope that you too will explore more about these subjects. After all, they relate to our everyday lives and choices.

All said and done, rice is a staple in India, and while it contains sugars and starch, in the right quantities it does more good than harm. I hope we can all come together to be more mindful about our consumption. We can do good, too – even as we indulge.


Ginger Lemongrass Rice

(Serves 2)

1 cup rice

5 cups water

2 tablespoons grated ginger

A bunch of fresh lemongrass leaves

Salt to taste

1 tablespoon sesame oil

Finely chopped coriander leaves (for garnishing)

I have used basmati for this dish, but I would recommend using any good South Indian or Asian rice variety. Do keep in mind my prior suggestions for additional ingredients depending on the side dishes you prepare to serve this with.

Rinse and soak the rice in a pot. Add the five cups of water. Add the lemongrass leaves and cook until the rice is tender. Strain and set aside. Remove the lemongrass leaves and discard them.
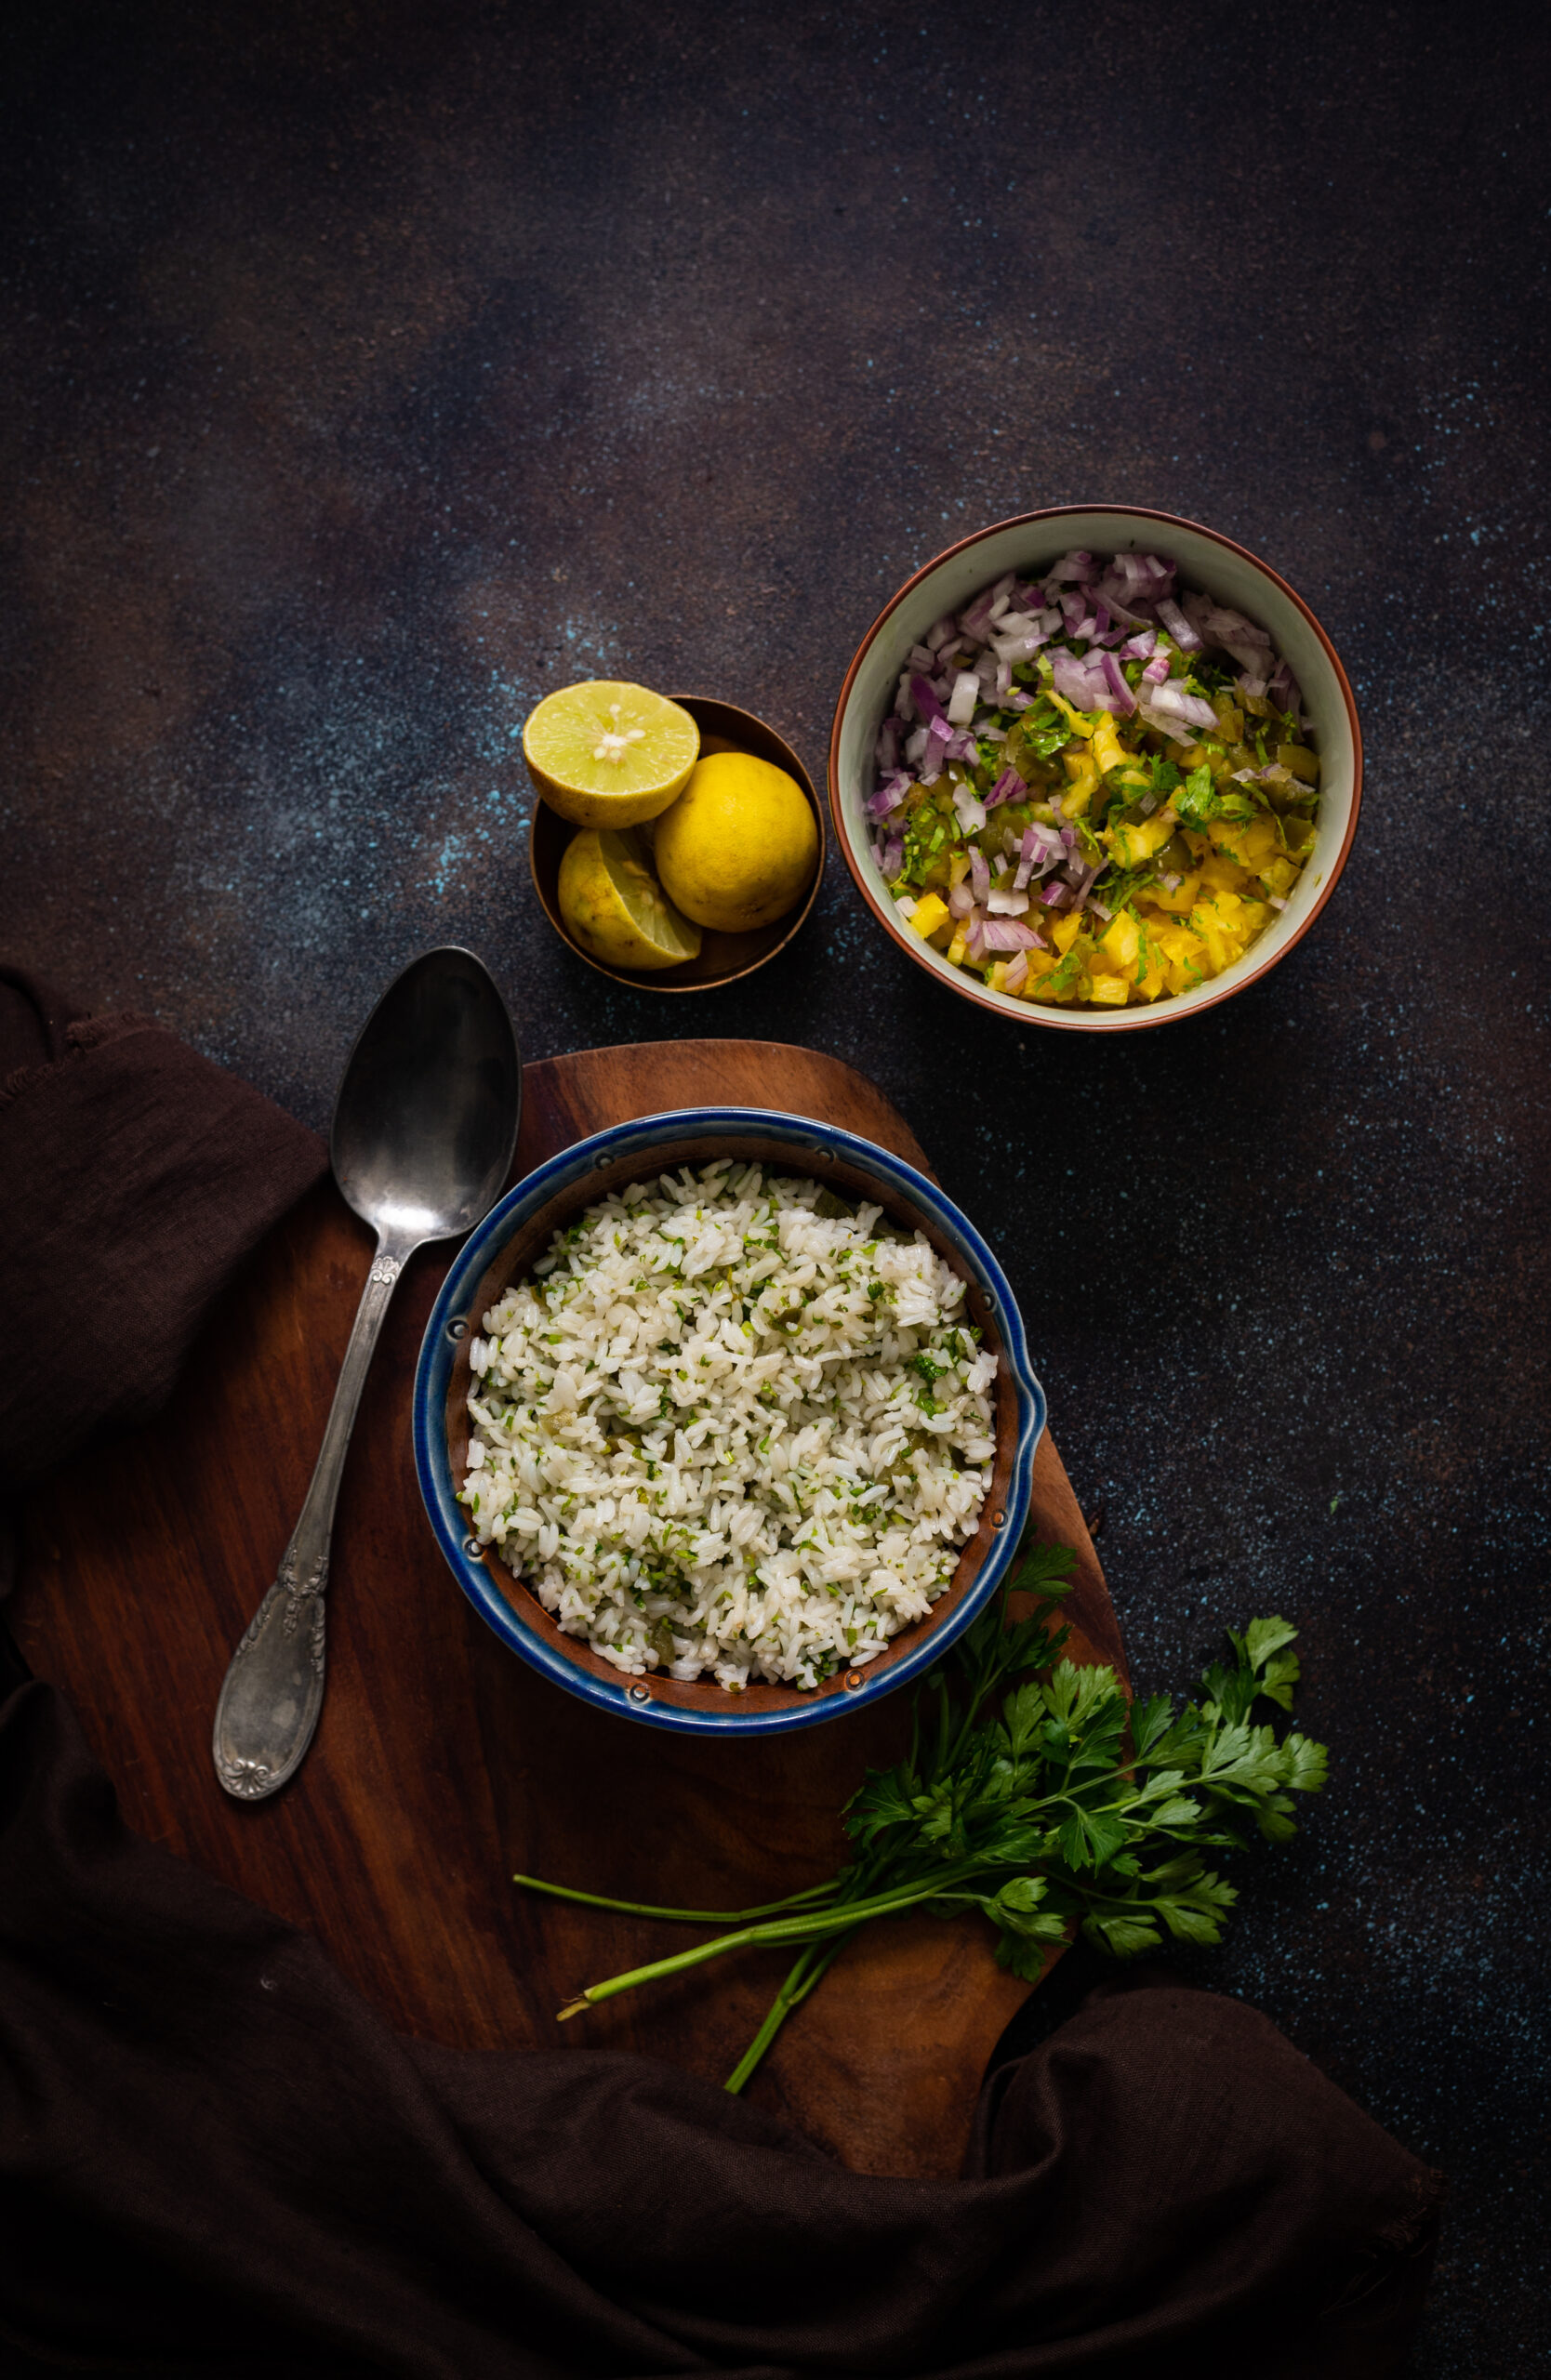
In a heated pan, add the oil. Now, add the ginger and sauté for a few minutes. Add the cooked, fragrant lemongrass rice along with the salt. Mix gently, allowing the flavours to spread into the rice.

Garnish and serve, along with any other dish. This ginger lemongrass rice will certainly elevate the flavours of its accompaniment, and vice versa. Enjoy!

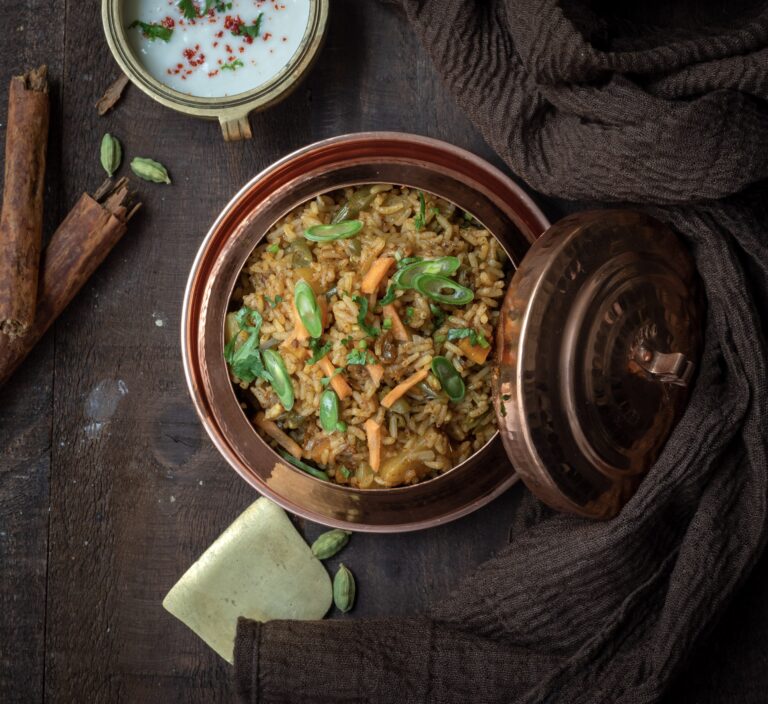
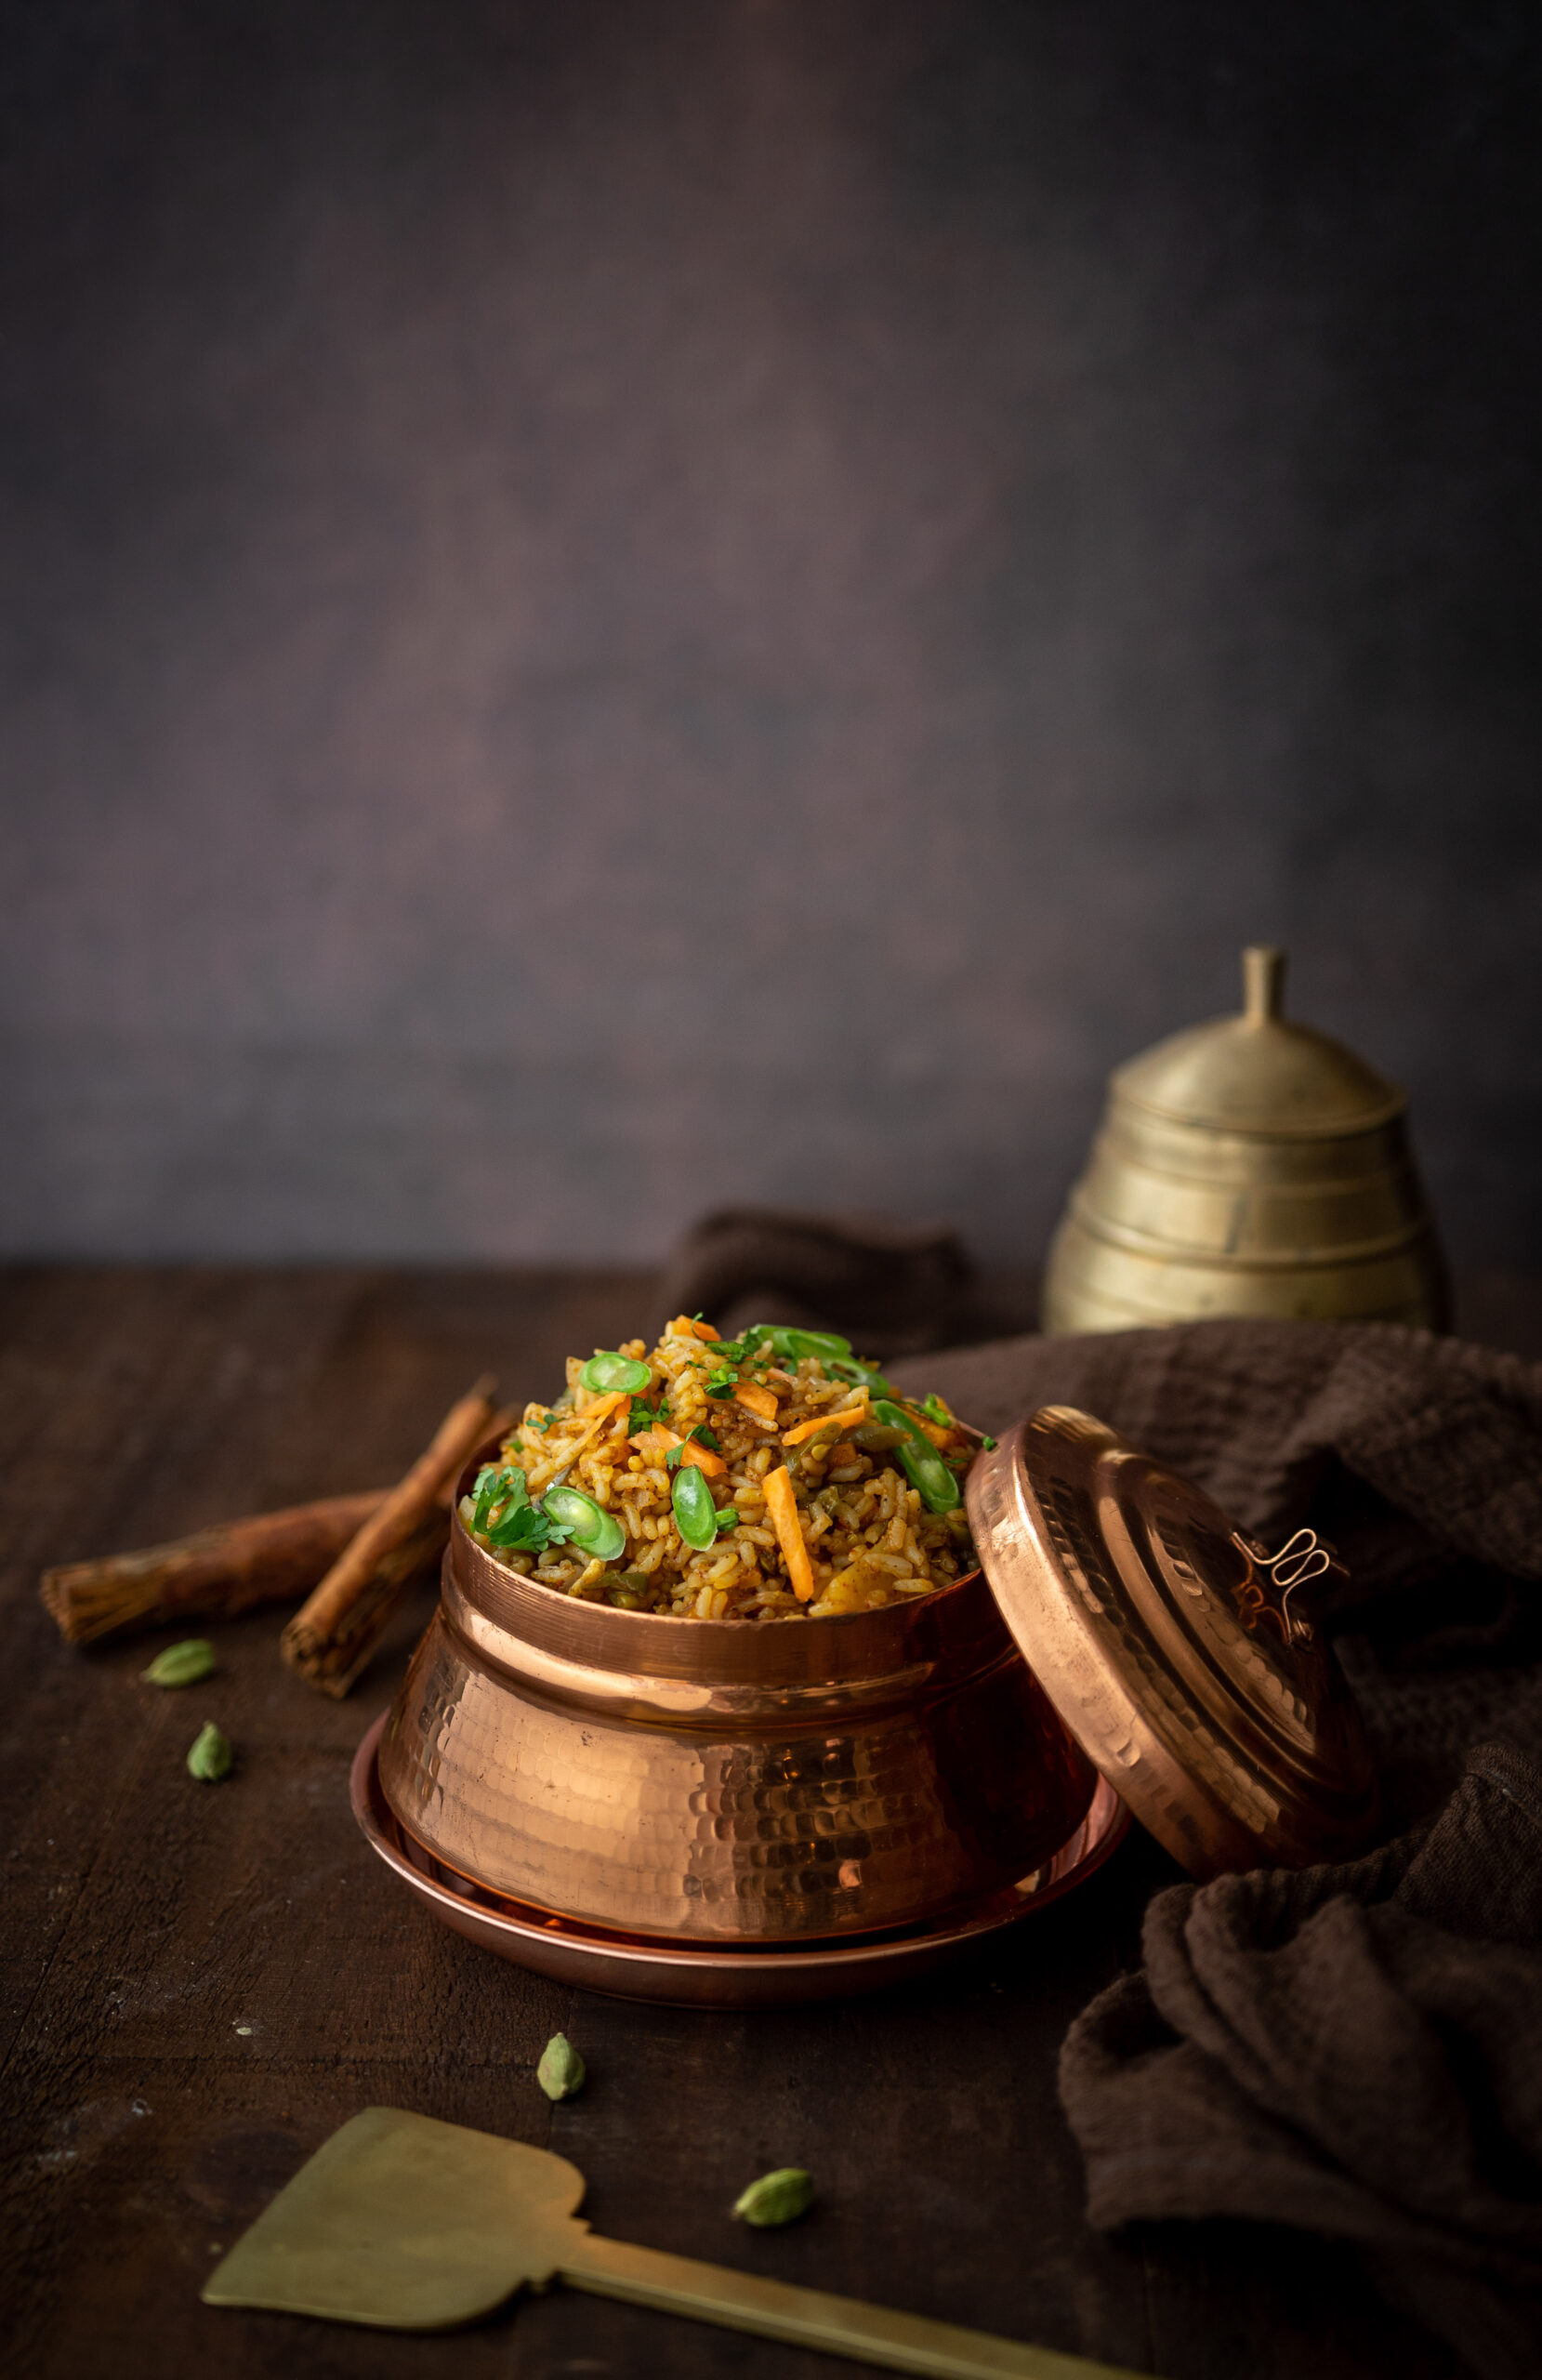
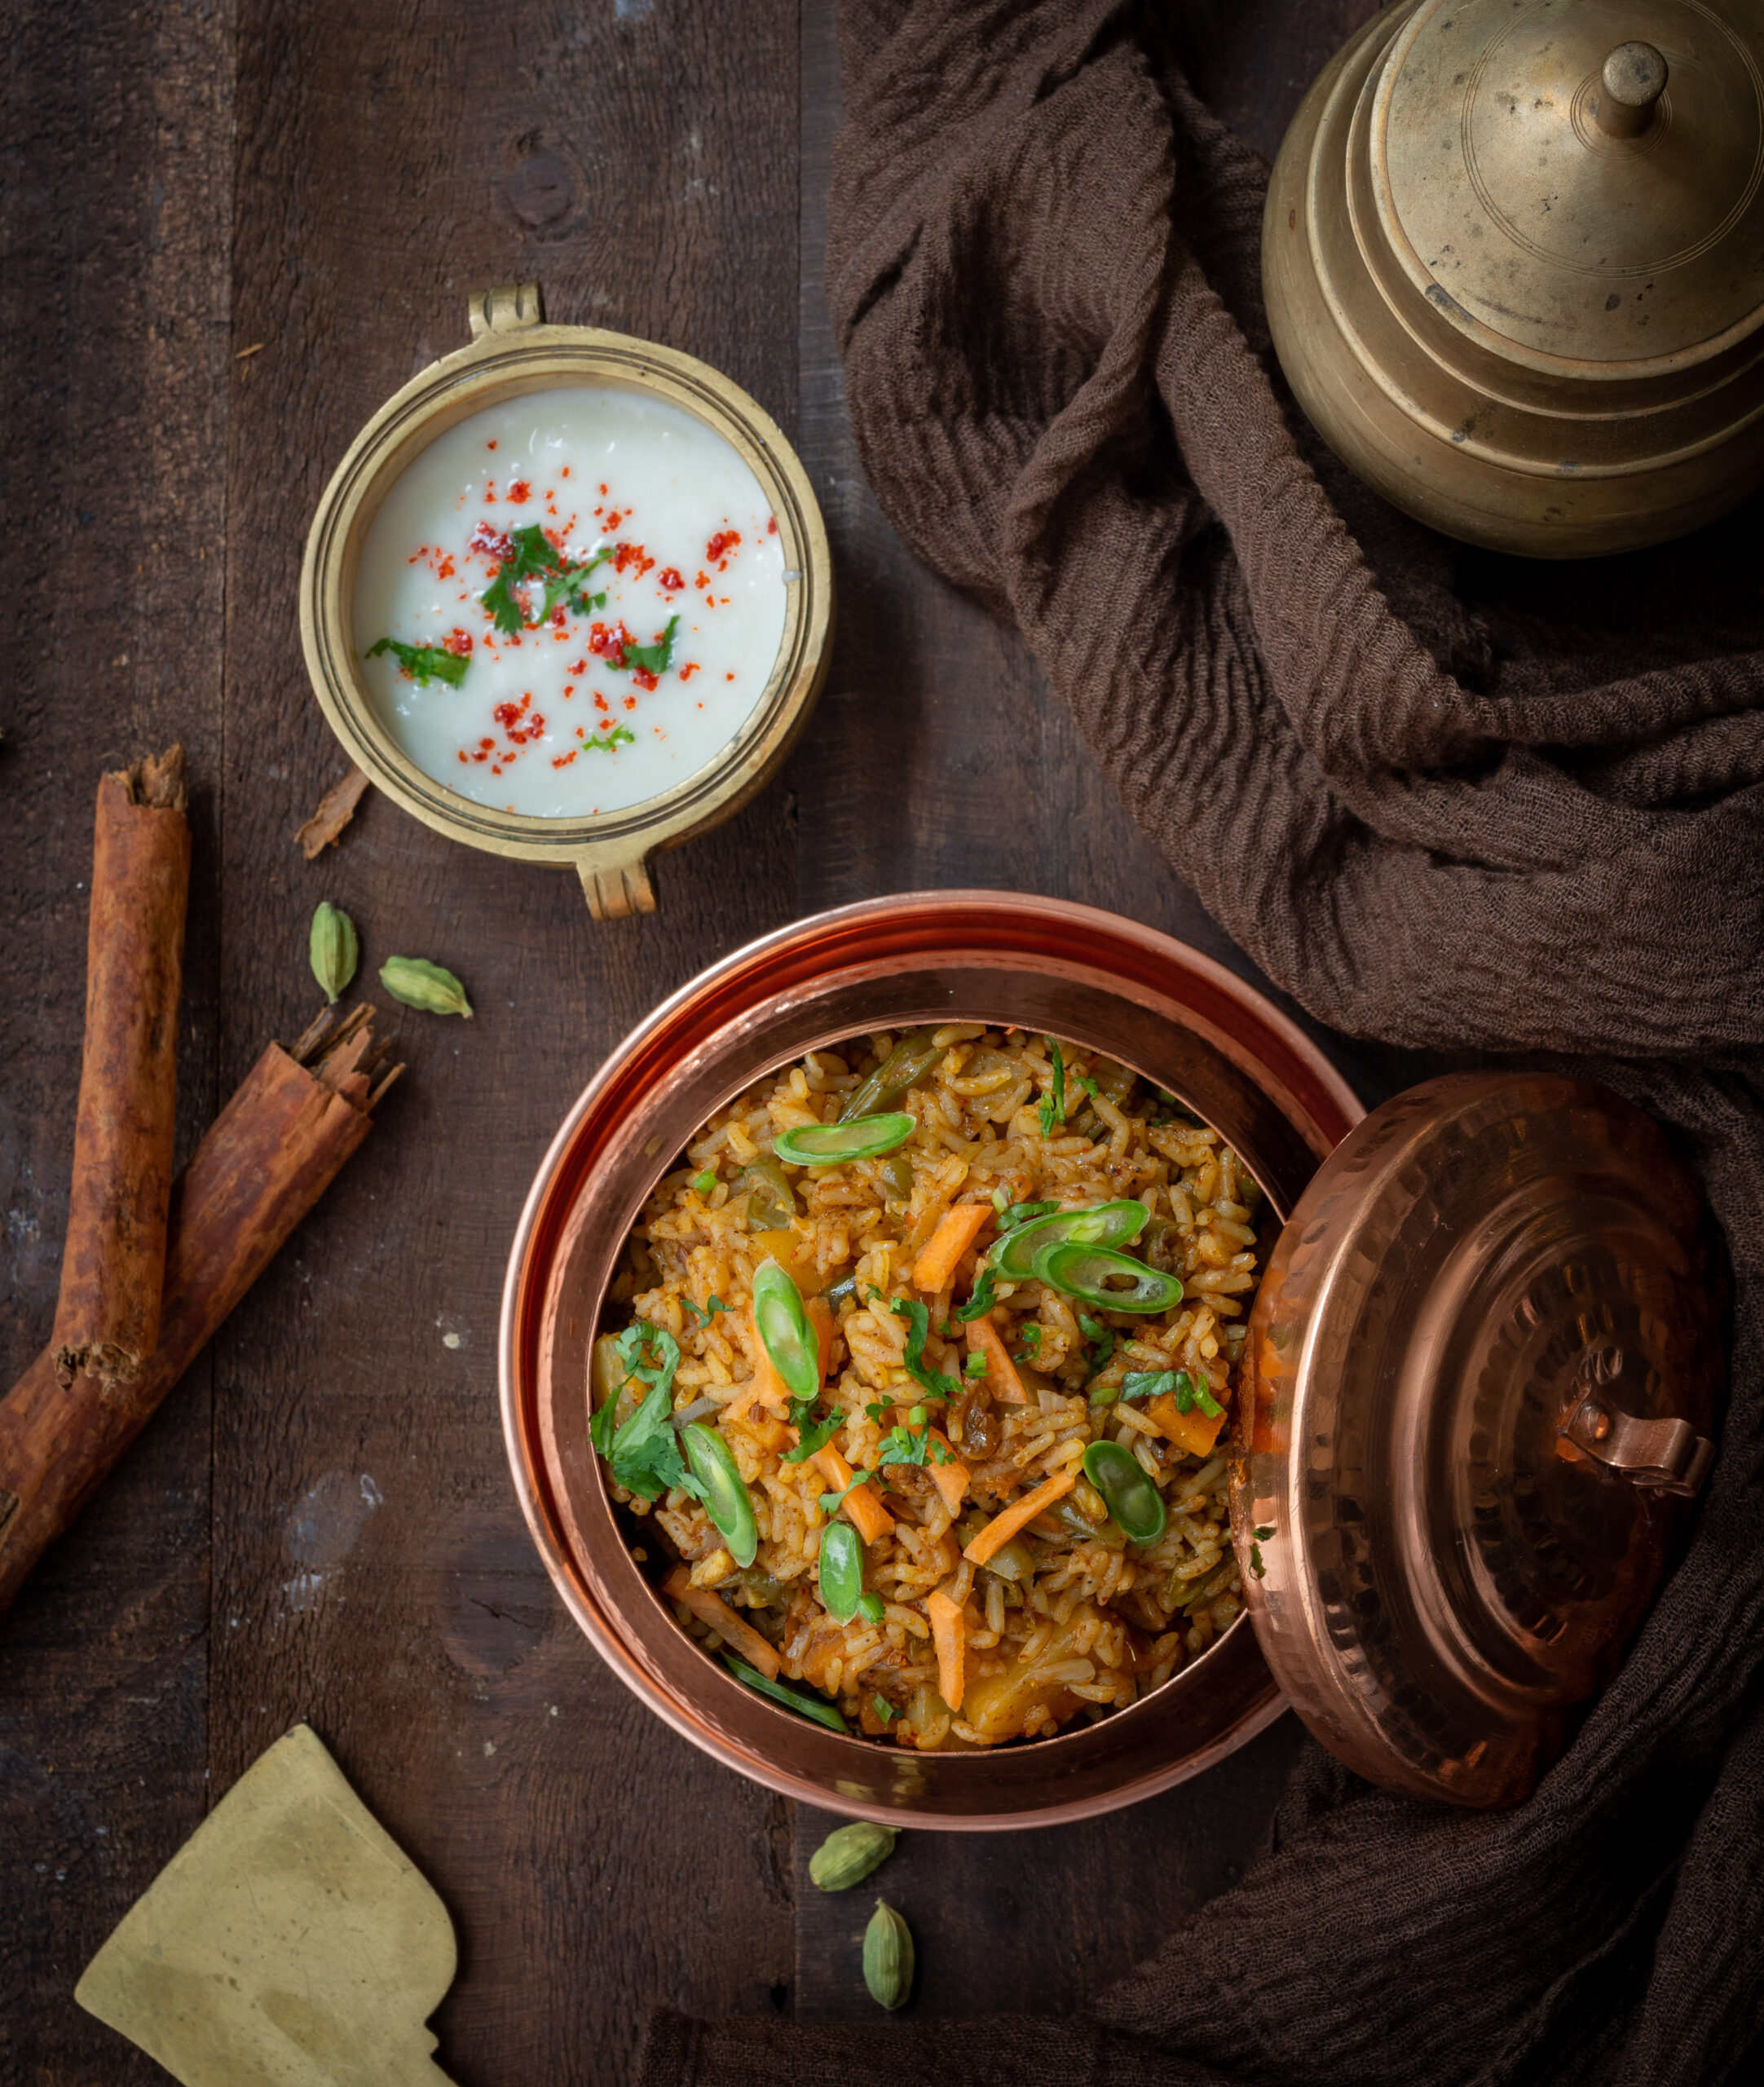
When my children were growing up, they were really fond of biryani. Biryani is a speciality in India. It is basically a type of rice, loaded with flavours, aromas and vegetables and/or meat. The specific ingredients included will be based on what is locally available, as well as preferences unique to a community – and it is made by many different communities, each in their own styles. By and large, the authentic method of preparing a fragrant biryani loaded with spices came with the Mughals, and trickled into other cuisines. The dish may even have other names in some parts of the country. We are fluid here when it comes to biryani, and it is very much a pan-Indian dish or dish category. A real biryani takes time, effort and skill – but I’ve perfected the recipe for an easy biryani that tastes very good, smells just as lovely and requires the above three elements only minimally!

So here’s the truth: I never really did know how to make biryani when the kids were younger. So I always resorted to this easy and quick method. I feel that this is essentially a masala rice in preparation, but it comes close in flavour and scent to authentic biryani.

However, as my children grew and started eating around the world, they got smarter and were quick to spot when my masala rice was being passed off as a biryani. So I in turn learned how to make real biryani too. That, however, is a long process. The traditional method varies both in its ingredients as well as its cooking. Today, I have opted to share a simple method for an easy biryani instead. While I have kept it vegetarian, you can add meat at the same time in the method that I add the veggies. All else remains the same in the recipe.

When I began to share recipes on this blog some years ago, one of the essential ideas that went behind its conception was that it should appeal to young adults. Whether they were off at university, or were newly-wed and starting a family of their own, I wanted to offer recipes that they could pull off with ease. So I like to present dishes that require accessible ingredients, and simple methods. While I do enjoy sharing exotic or more complex fare here too, and I quite often throw in traditional recipes that keep my readers connected to their roots, I do keep adaptability and time-efficiency in mind most of the time. I know this particular easy biryani recipe fits the criteria because it’s the version that I myself still keep making when I visit my kids in other locations, and encourage them to cook when they’re on their own too.

So, now that I’ve shared one of the core motivations behind how I come up with my recipes, let me also say: I hope this blog has served many. Feel free to leave comments on what else you’d like to see here or what you would like to know about the culinary realm, especially if you’ve just started your journey in the kitchen.

Easy Biryani

(Yield: Serves 2)

2 tablespoons ghee

1 bay leaf

2 cloves

1 teaspoon cumin seeds

1 cardamom

2-3 garlic cloves

½ cup chopped onions

2 cups chopped vegetables (beans, carrot, peas, potato)

1 tablespoon tomato purée

1½ cups water

1 cup rice

Salt to taste

2 teaspoons garam masala

2 teaspoons dhaniya/jeera powder

¼ teaspoon turmeric

Coriander and mint leaves (to garnish)


Rinse and pick the rice and set it aside.

Heat the ghee in a saucepan or pressure cooker. To this, add the bay leaf, cumin, cloves and cardamom. Once they have heated, add the garlic and sauté for a few seconds. Then, add the onions and the remaining vegetables. If you are using meat, add it now as well. Sauté on a medium or high flame.

Now, add the tomato purée. Stir for a few minutes.

Then, add the rice and the water. Add the remaining masala and close the lid of the pressure cooker or cover the saucepan. Allow to cook for no more than 2 whistles or until the rice is tender to the touch, but not too soft. Turn off the flame.

Once it has cooled, open the lid. Sprinkle with coriander leaves and mint leaves. Cover again for some time.

Serve while still hot. Biryani is usually accompanied with raita. Here is a fancier version of this curd side dish, if you’d like to try it out.

I hope you’ll enjoy this delicious, fragrant and flavourful biryani, and I also hope that you find it very easy to make!

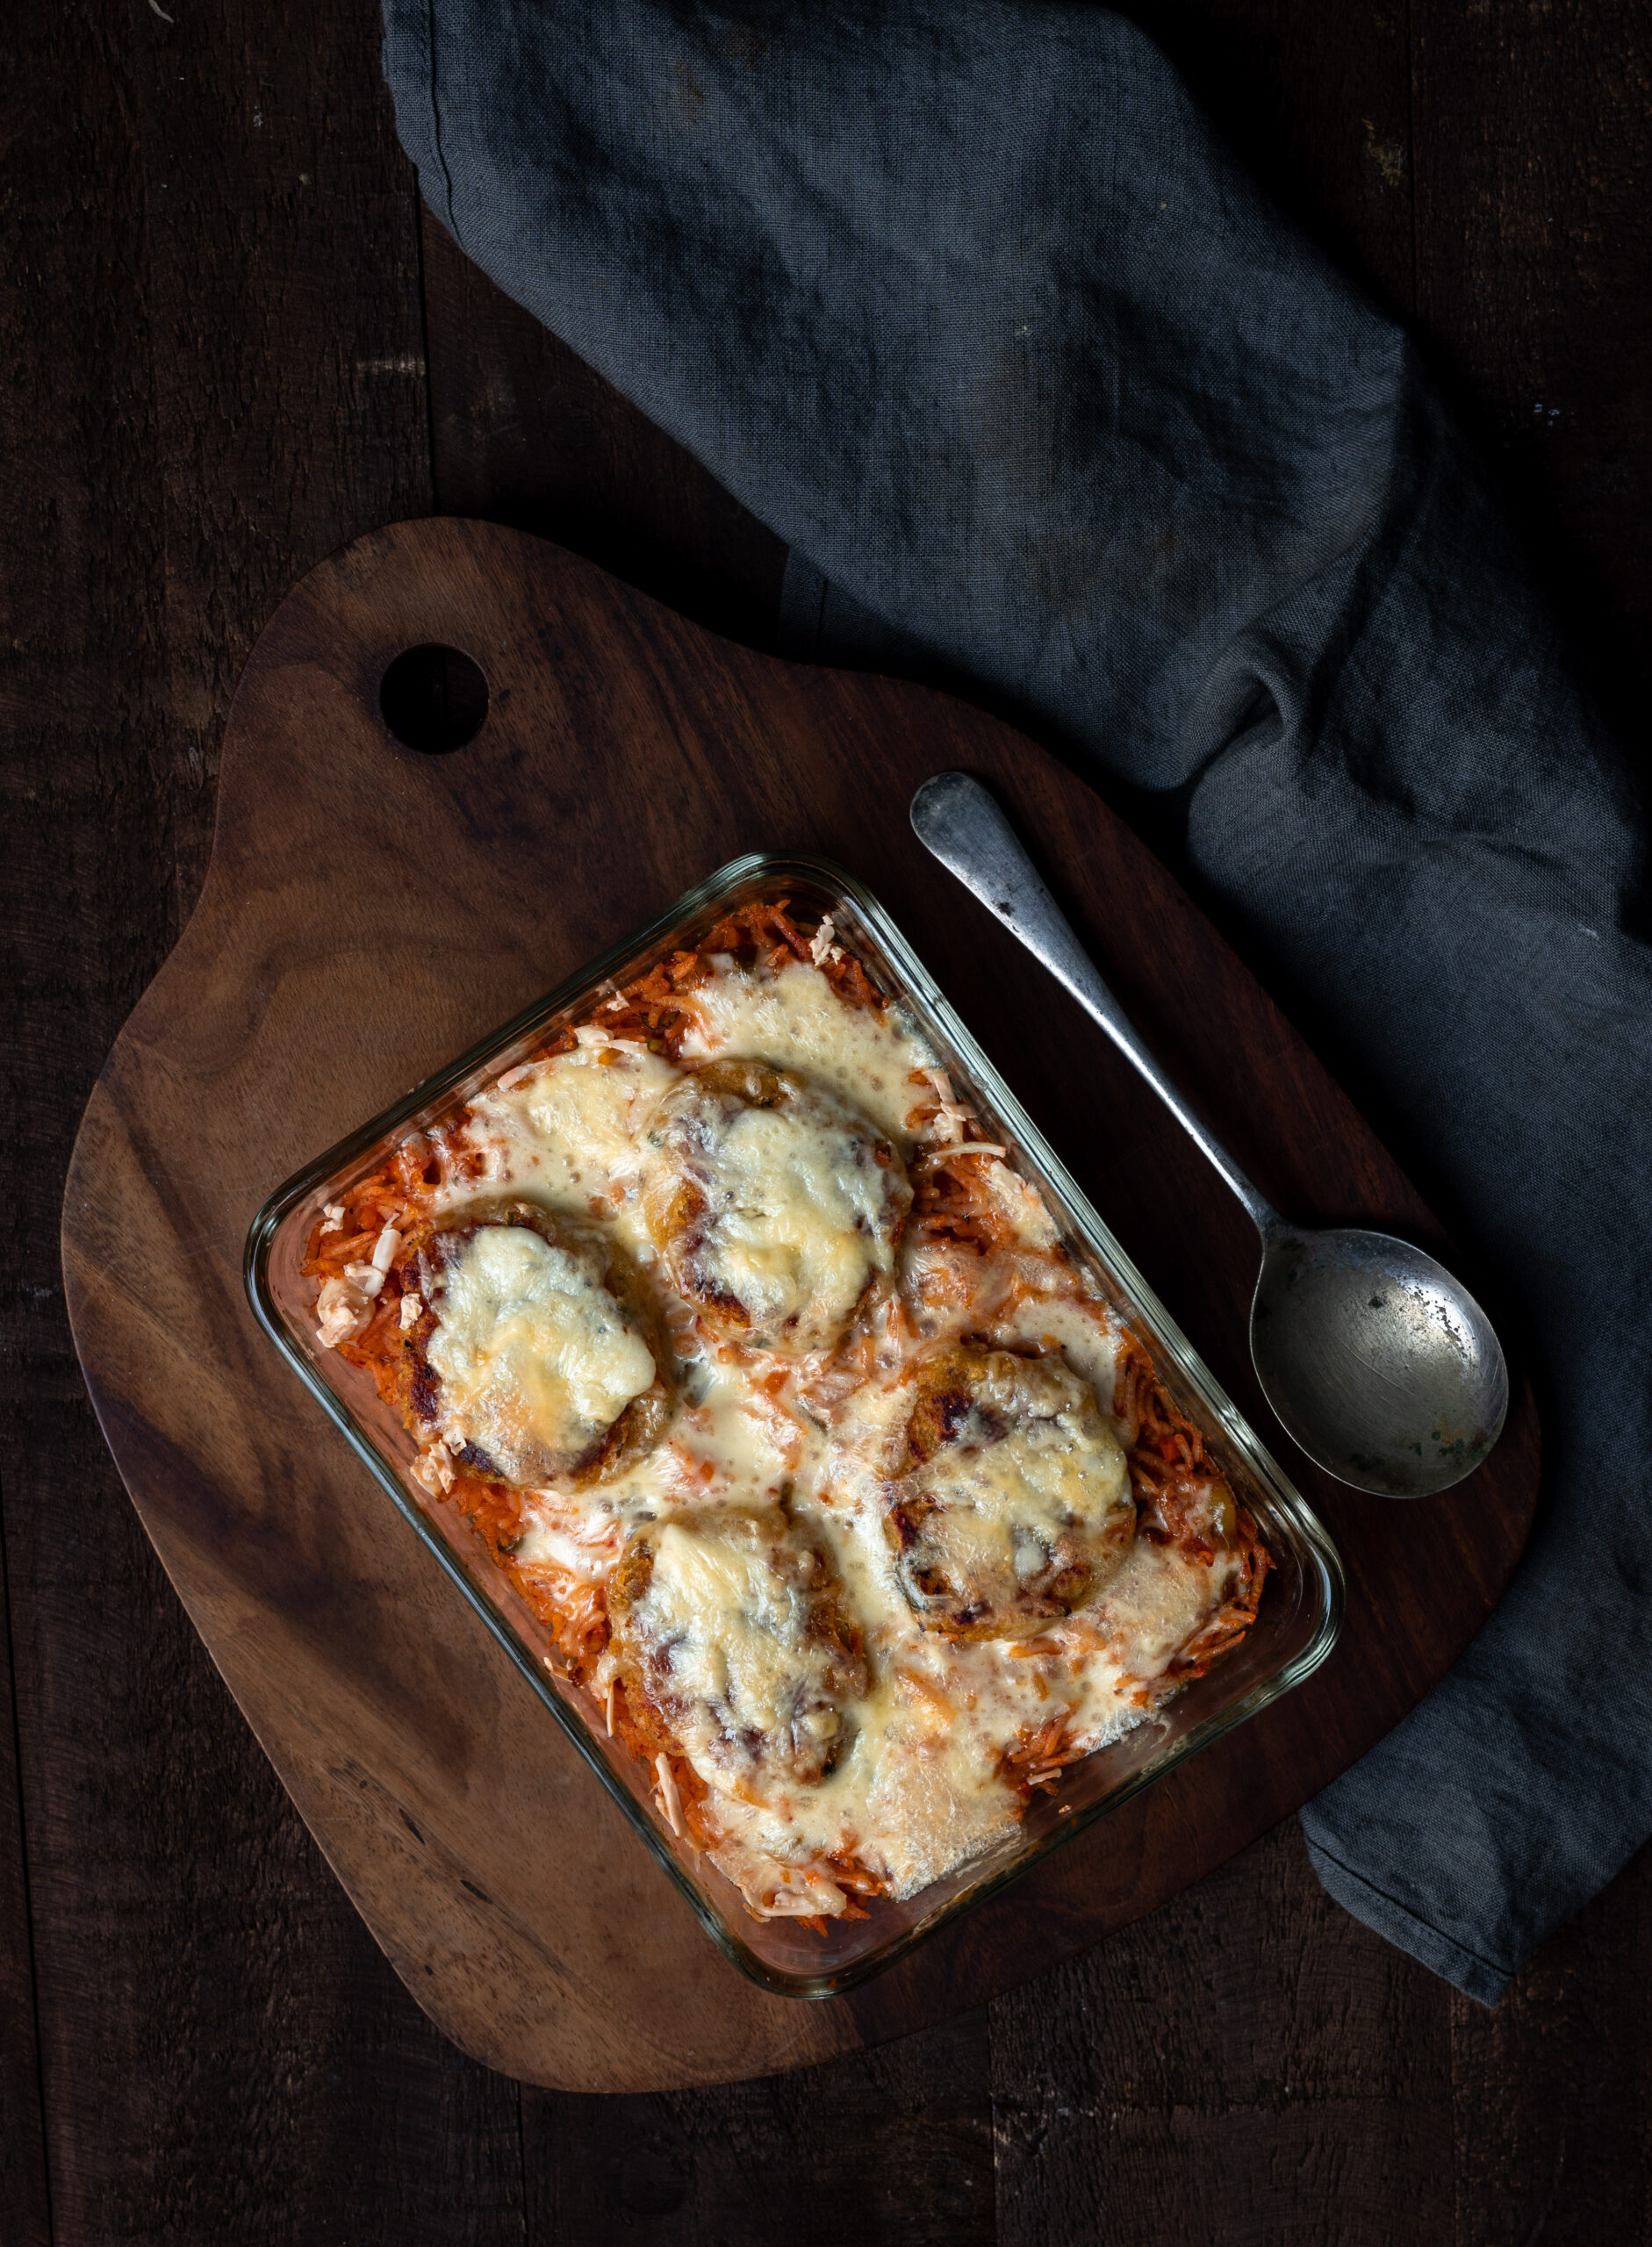
Do you remember my thepla tacos, a dish that uses Gujarati flatbreads in place of traditional tacos in a fun Indo-Mexican fusion? I hope you tried those out and enjoyed them just as much as we do, but here’s something I didn’t tell you: I also make Mexican-style tacos. Regular tacos, that is, without any multi-cuisine flair. There was a time when I took great pride in those tacos, and they do remain very popular with my kids and their friends. But one day, one of my own friends came over, had a taste, and said: “This is an Indian version of a taco”. I must confess that that hit me quite hard, as I had thought that I made the best tacos this side of the world! I decided to take it in stride, and that was when I began exploring the fusion version. However, I never stopped making my Mexican, or maybe Mexican-inspired, tacos either (perhaps I’ll share that recipe in future). Whenever I do, I serve them alongside Mexican rice.

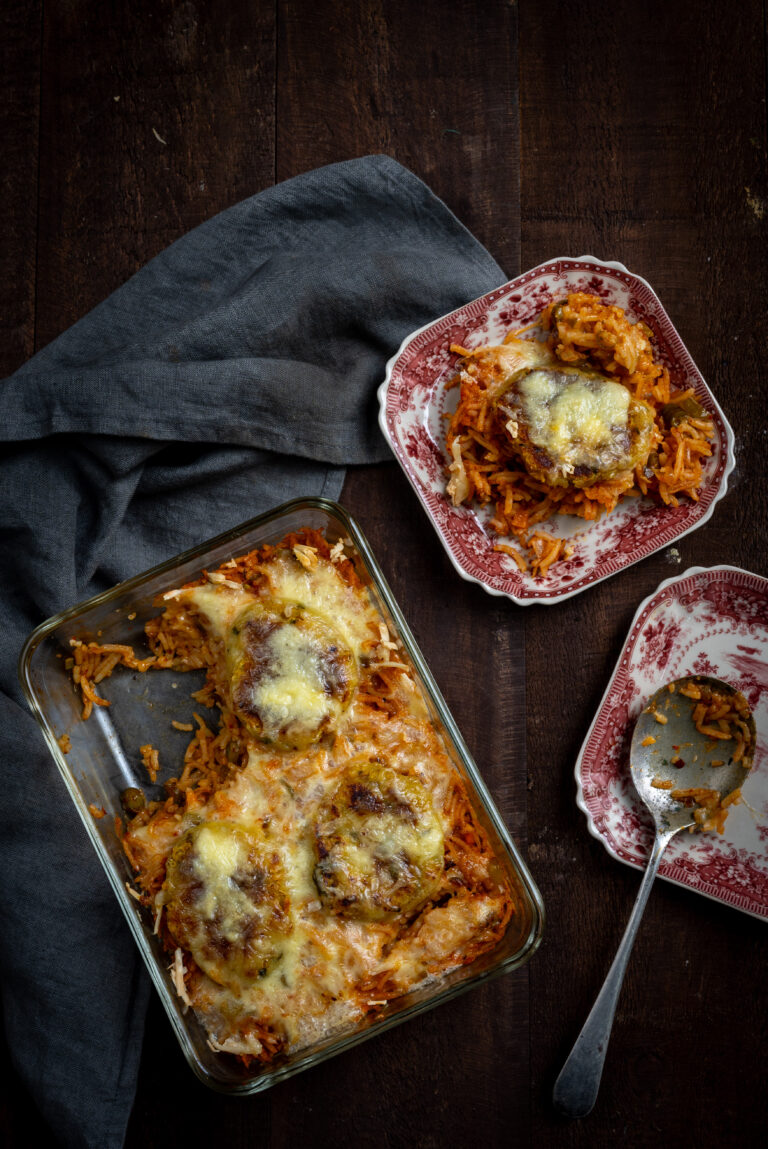
Yes, this too may be Mexican rice in my style, but the secret to it is using ingredients from the original version. I use a chilli powder called chipotle (which is also available in paste form). It adds a distinct, smoky flavour to the rice. You can source it quite easily from various online retailers in India. Jalapeño, another Mexican pepper that is quite widely available here as well, also kicks up the authenticity quotient further.

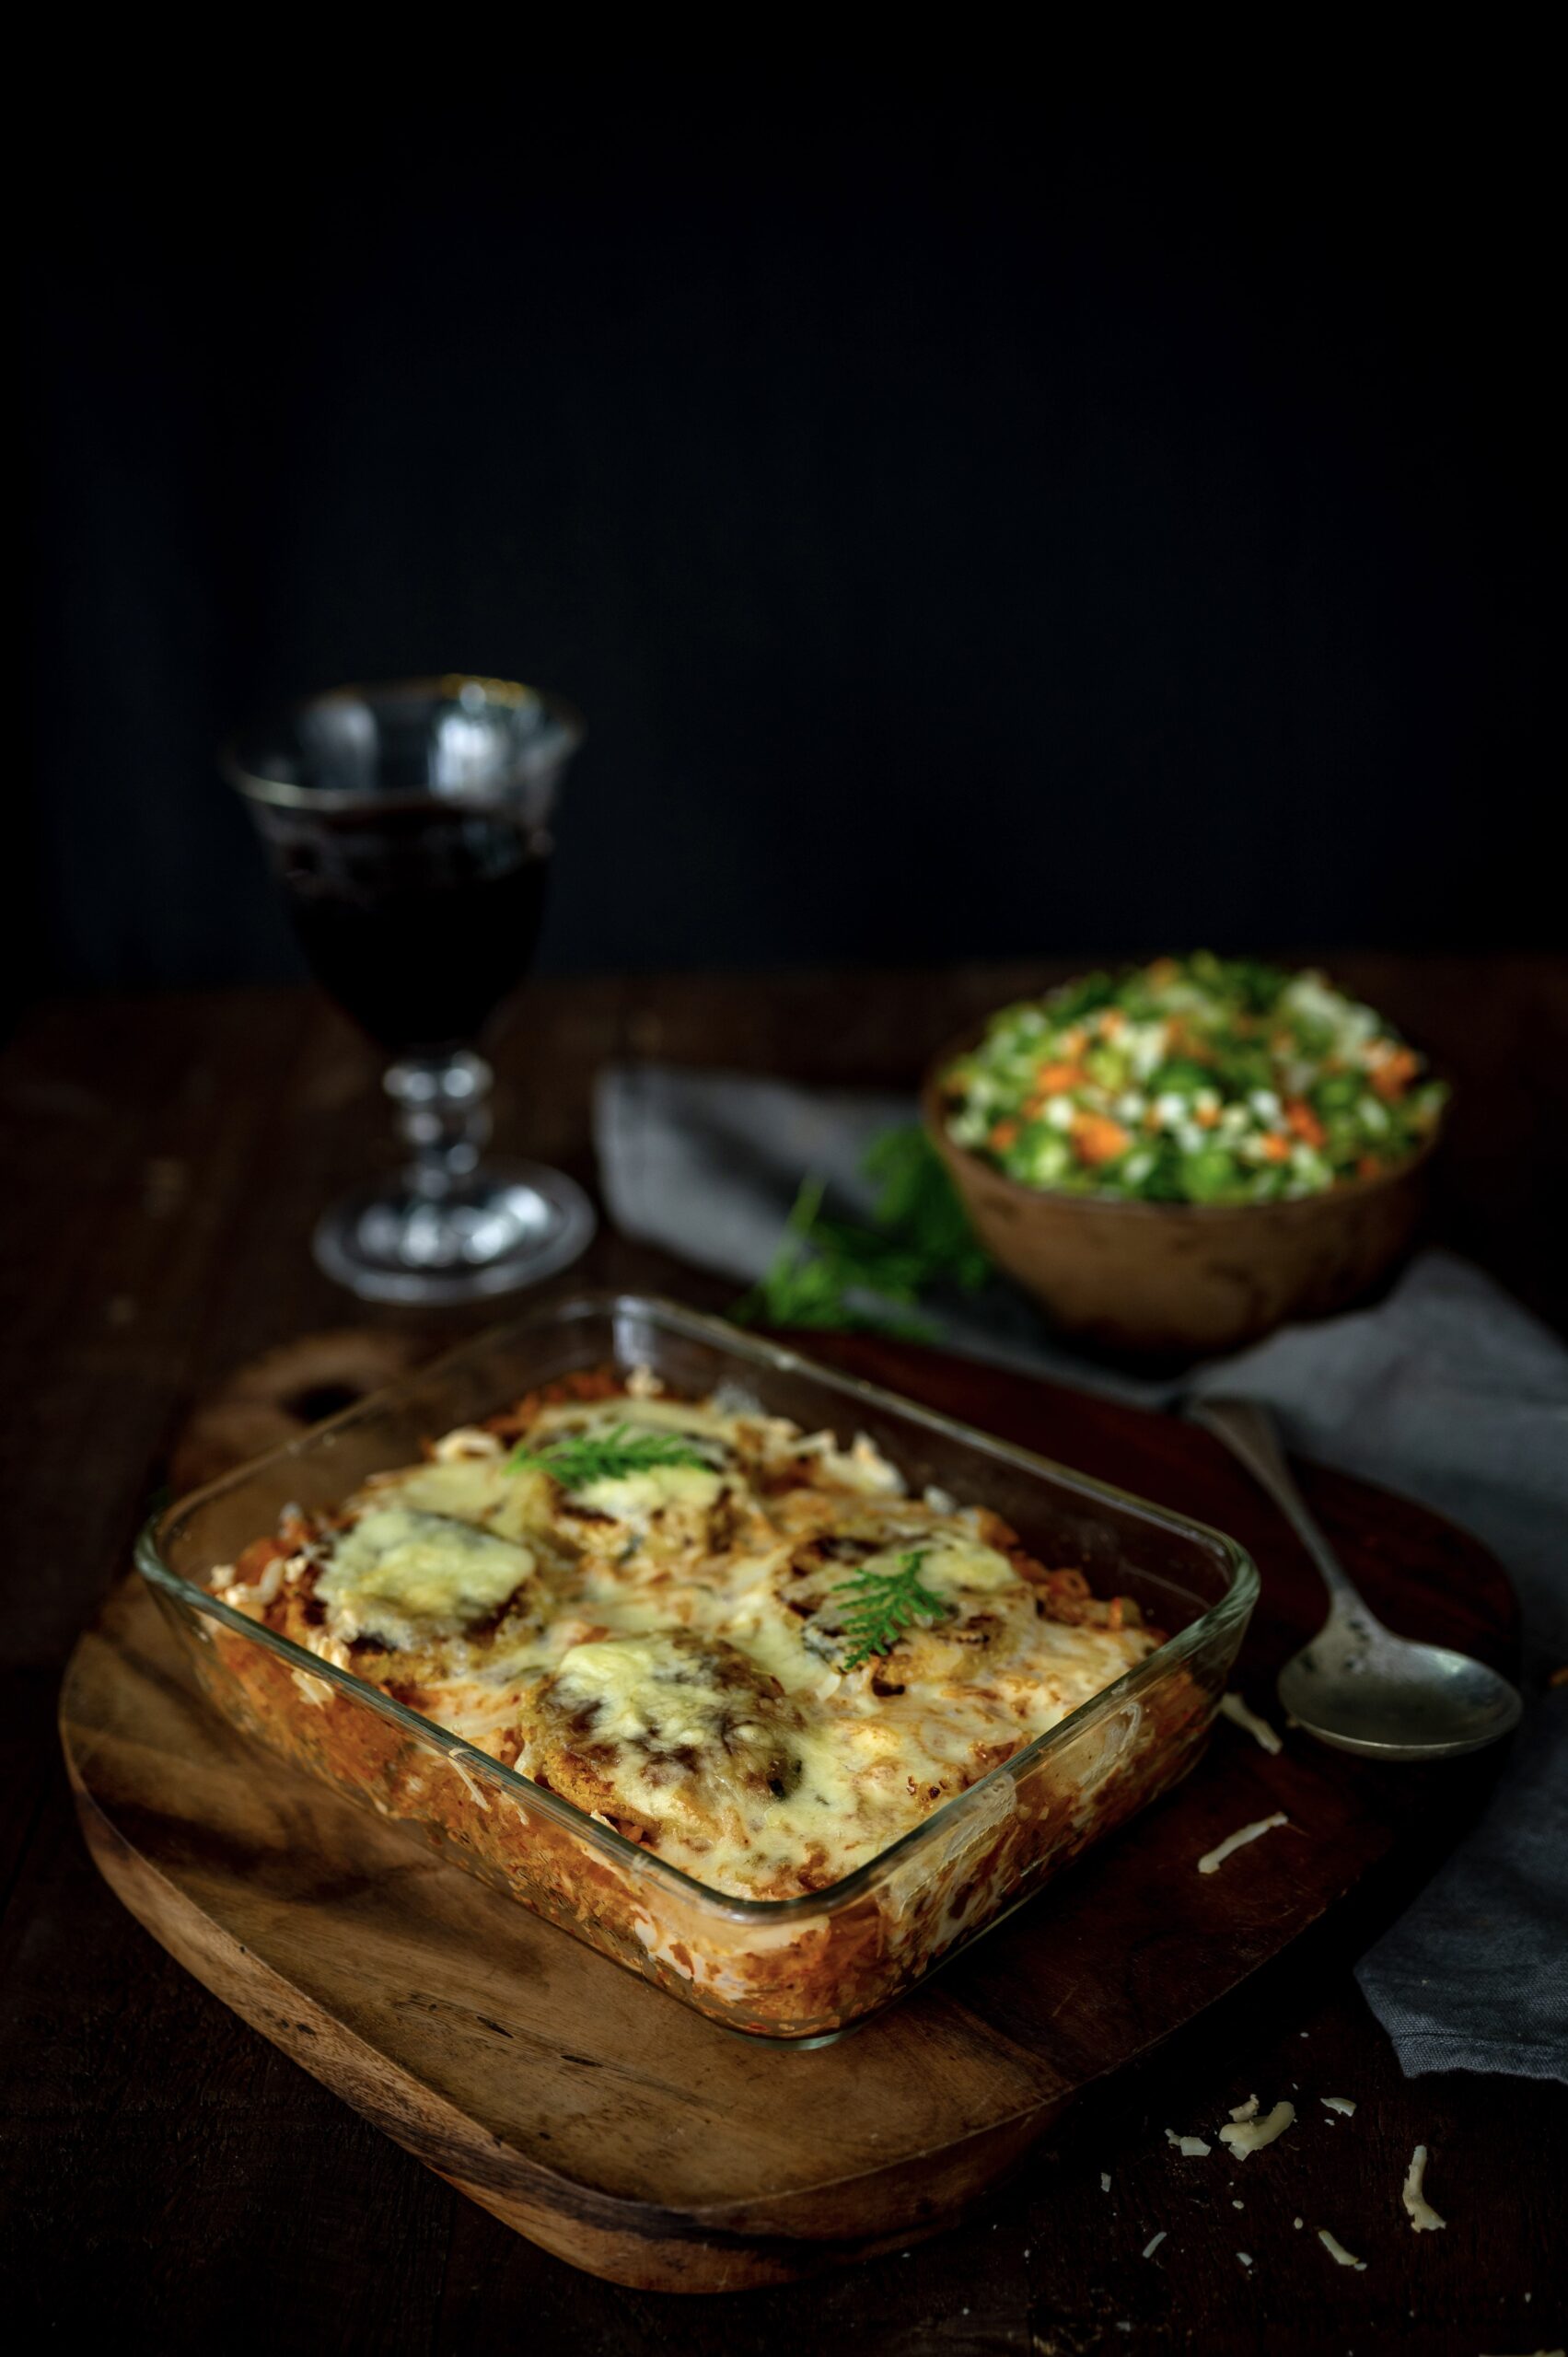
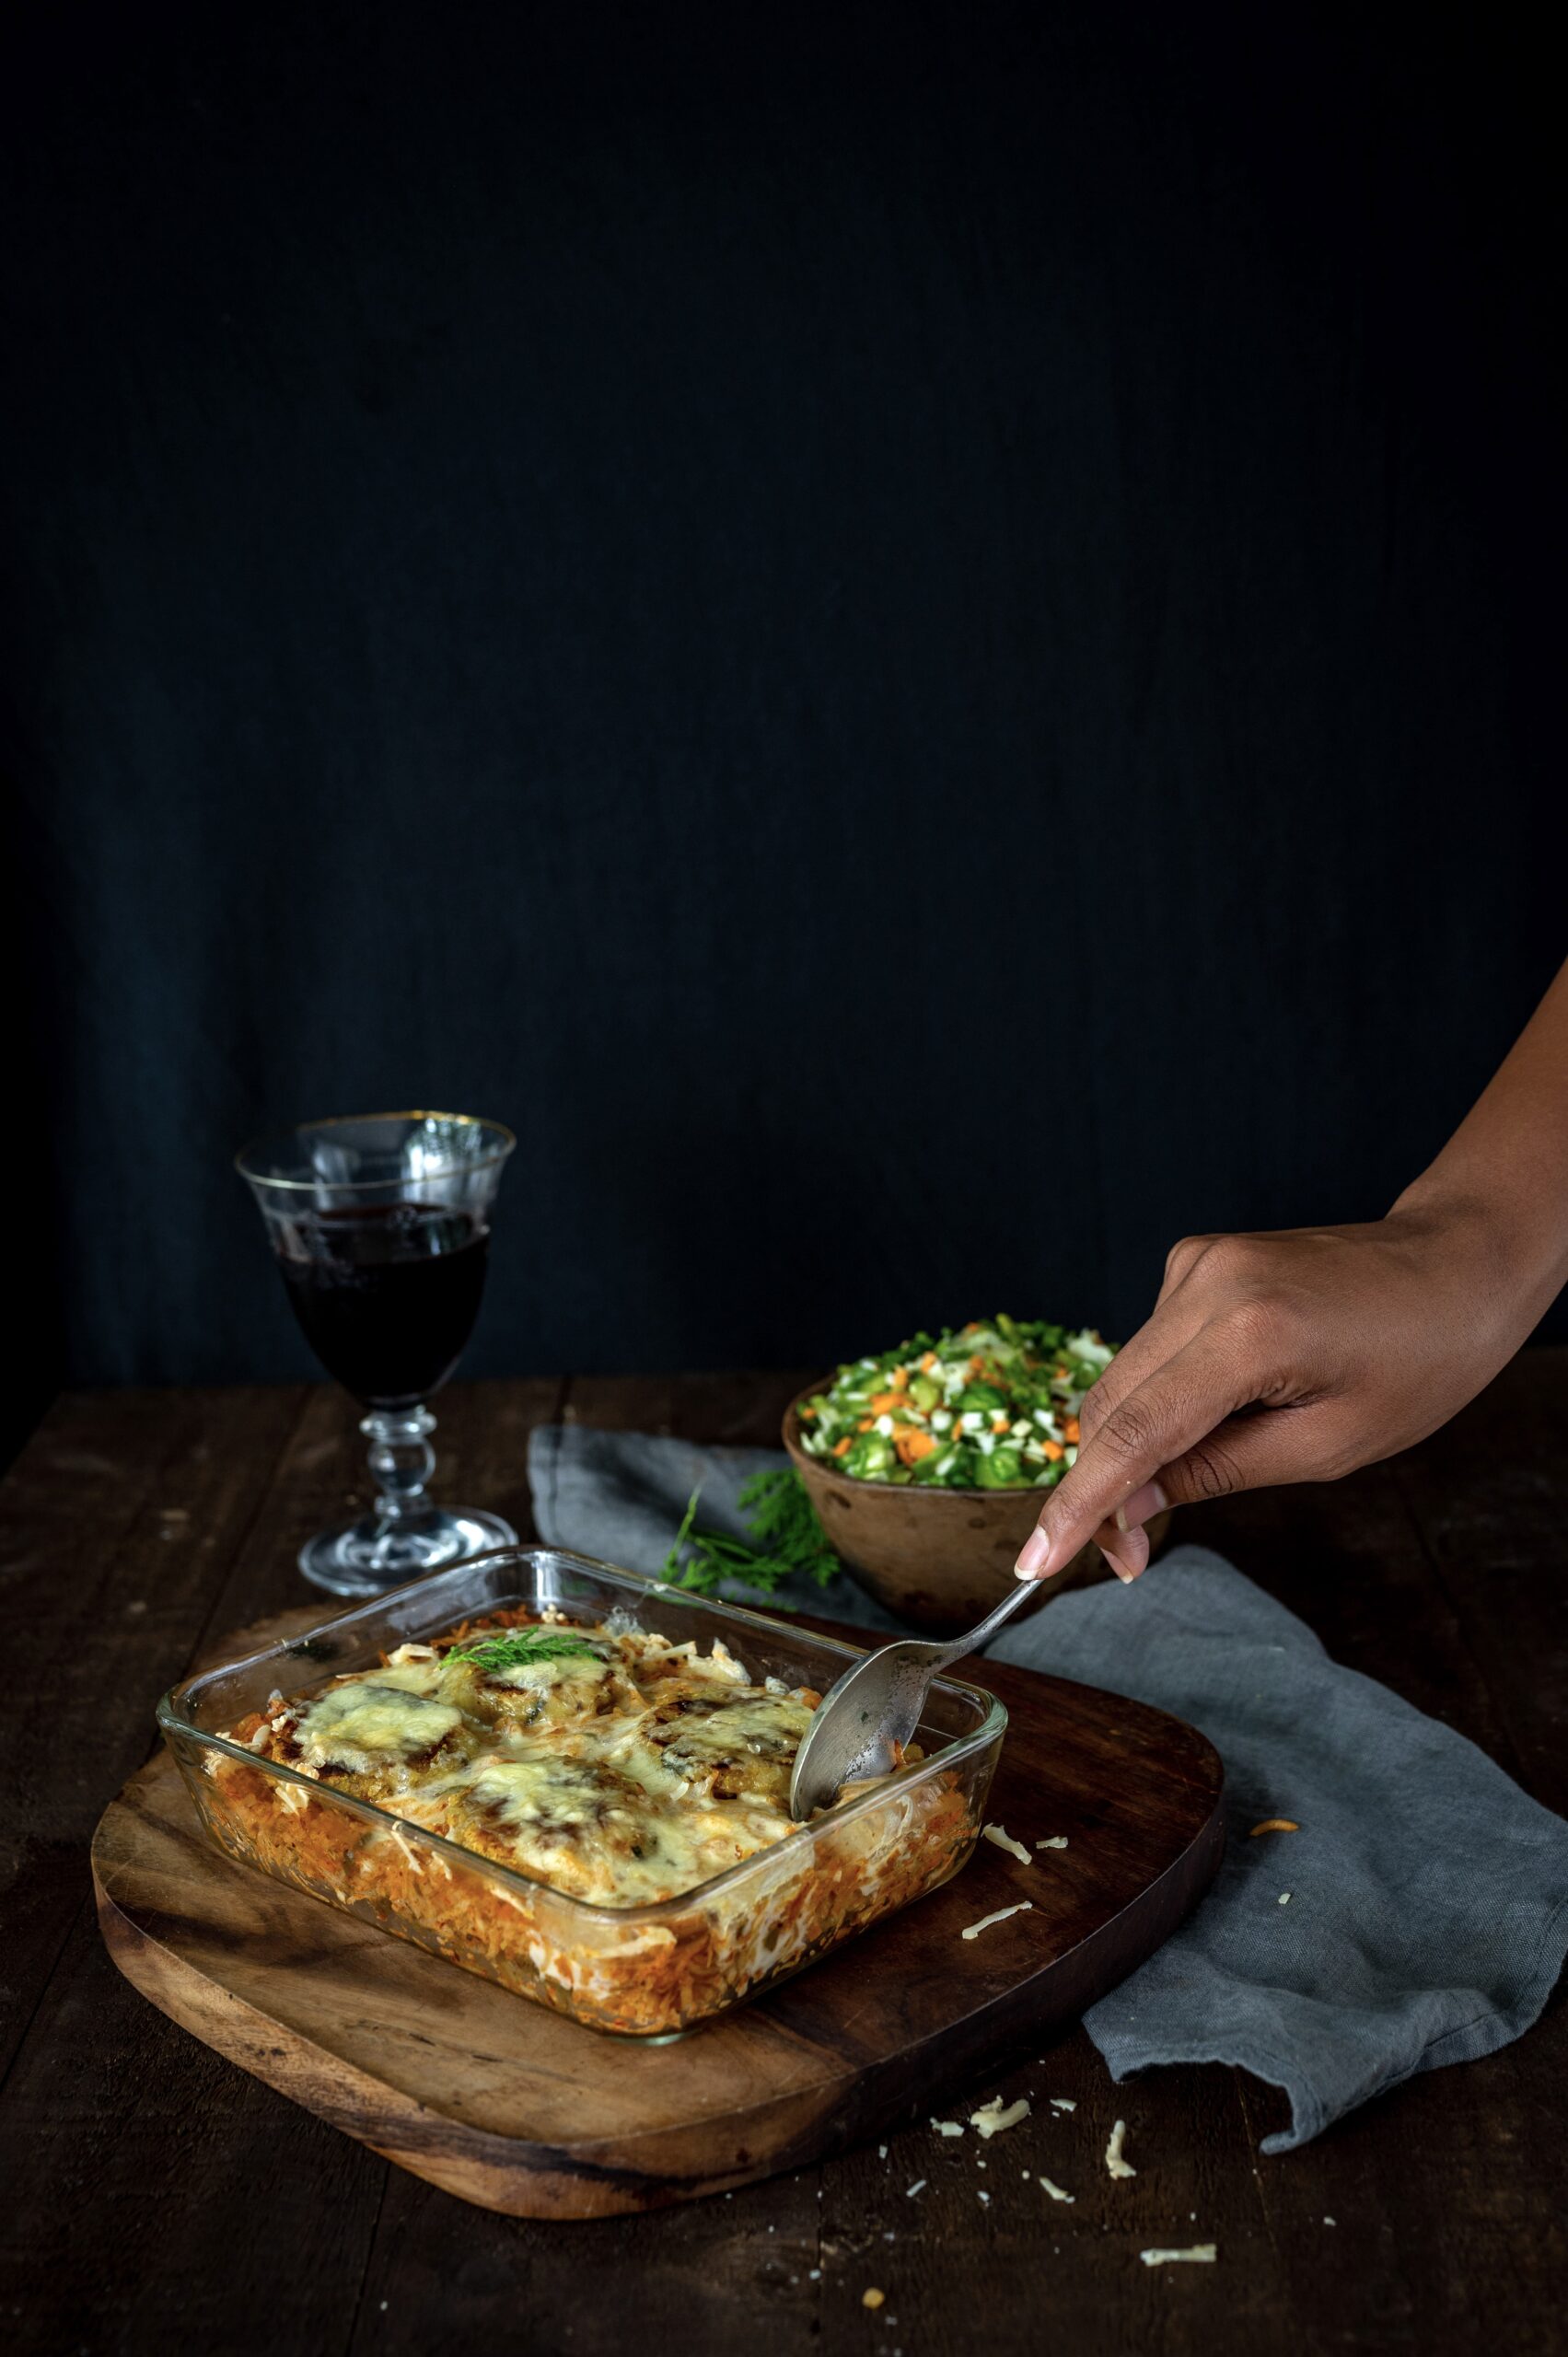
However, I do add my own twist. I make very thin, little potato patties and place them on top of the rice. I grate some cheese on top and then bake it. This adds something distinctive to the dish. After all, cooking is all about each person bringing their own unique sensibility to the recipe, contributing to it in some way. You will notice how I always encourage you to play around with the recipes I post here (except when it comes to the science of baking). I share my recipes with you so that you can expand on them, and make them in your own way.

My love for Mexican rice began long before I ever travelled to Mexico, and that was because of a recipe, too.

The legendary Tarla Dalal came out with cookbooks in India long before the Internet made it possible to find any recipe with a few clicks. They were very coveted, and were in high demand as birthday gifts. I recall photocopying specific pages for friends, and asking friends if I could borrow theirs to do the same for particular recipes. They really were all the rage, and spanned a number of global cuisines: among them Chinese food, chaat – and you guessed it – Mexican food. That was where I first encountered Mexican rice. Back then, chipotle and so on were not available here, so I made do with my own spices, learning and tweaking along the way.

I received many cookbooks in Tarla Dalal’s series during my early 20s, and I still keep them on my shelves to this day. The pages have turned a pale yellow but they are among my prized possessions, and I still love to riffle through them. Mine are full of bookmarks: a scrap of paper, an invitation card, a greeting card. It is so lovely to hold these books and browse through them again because I’ll suddenly discover a postcard from 1985 or a note from 1992 and take a little trip down memory lane. With such precious sentiments involved, I hardly care if this is real Mexican rice or not – it’s mine, full of the flavours of my life.
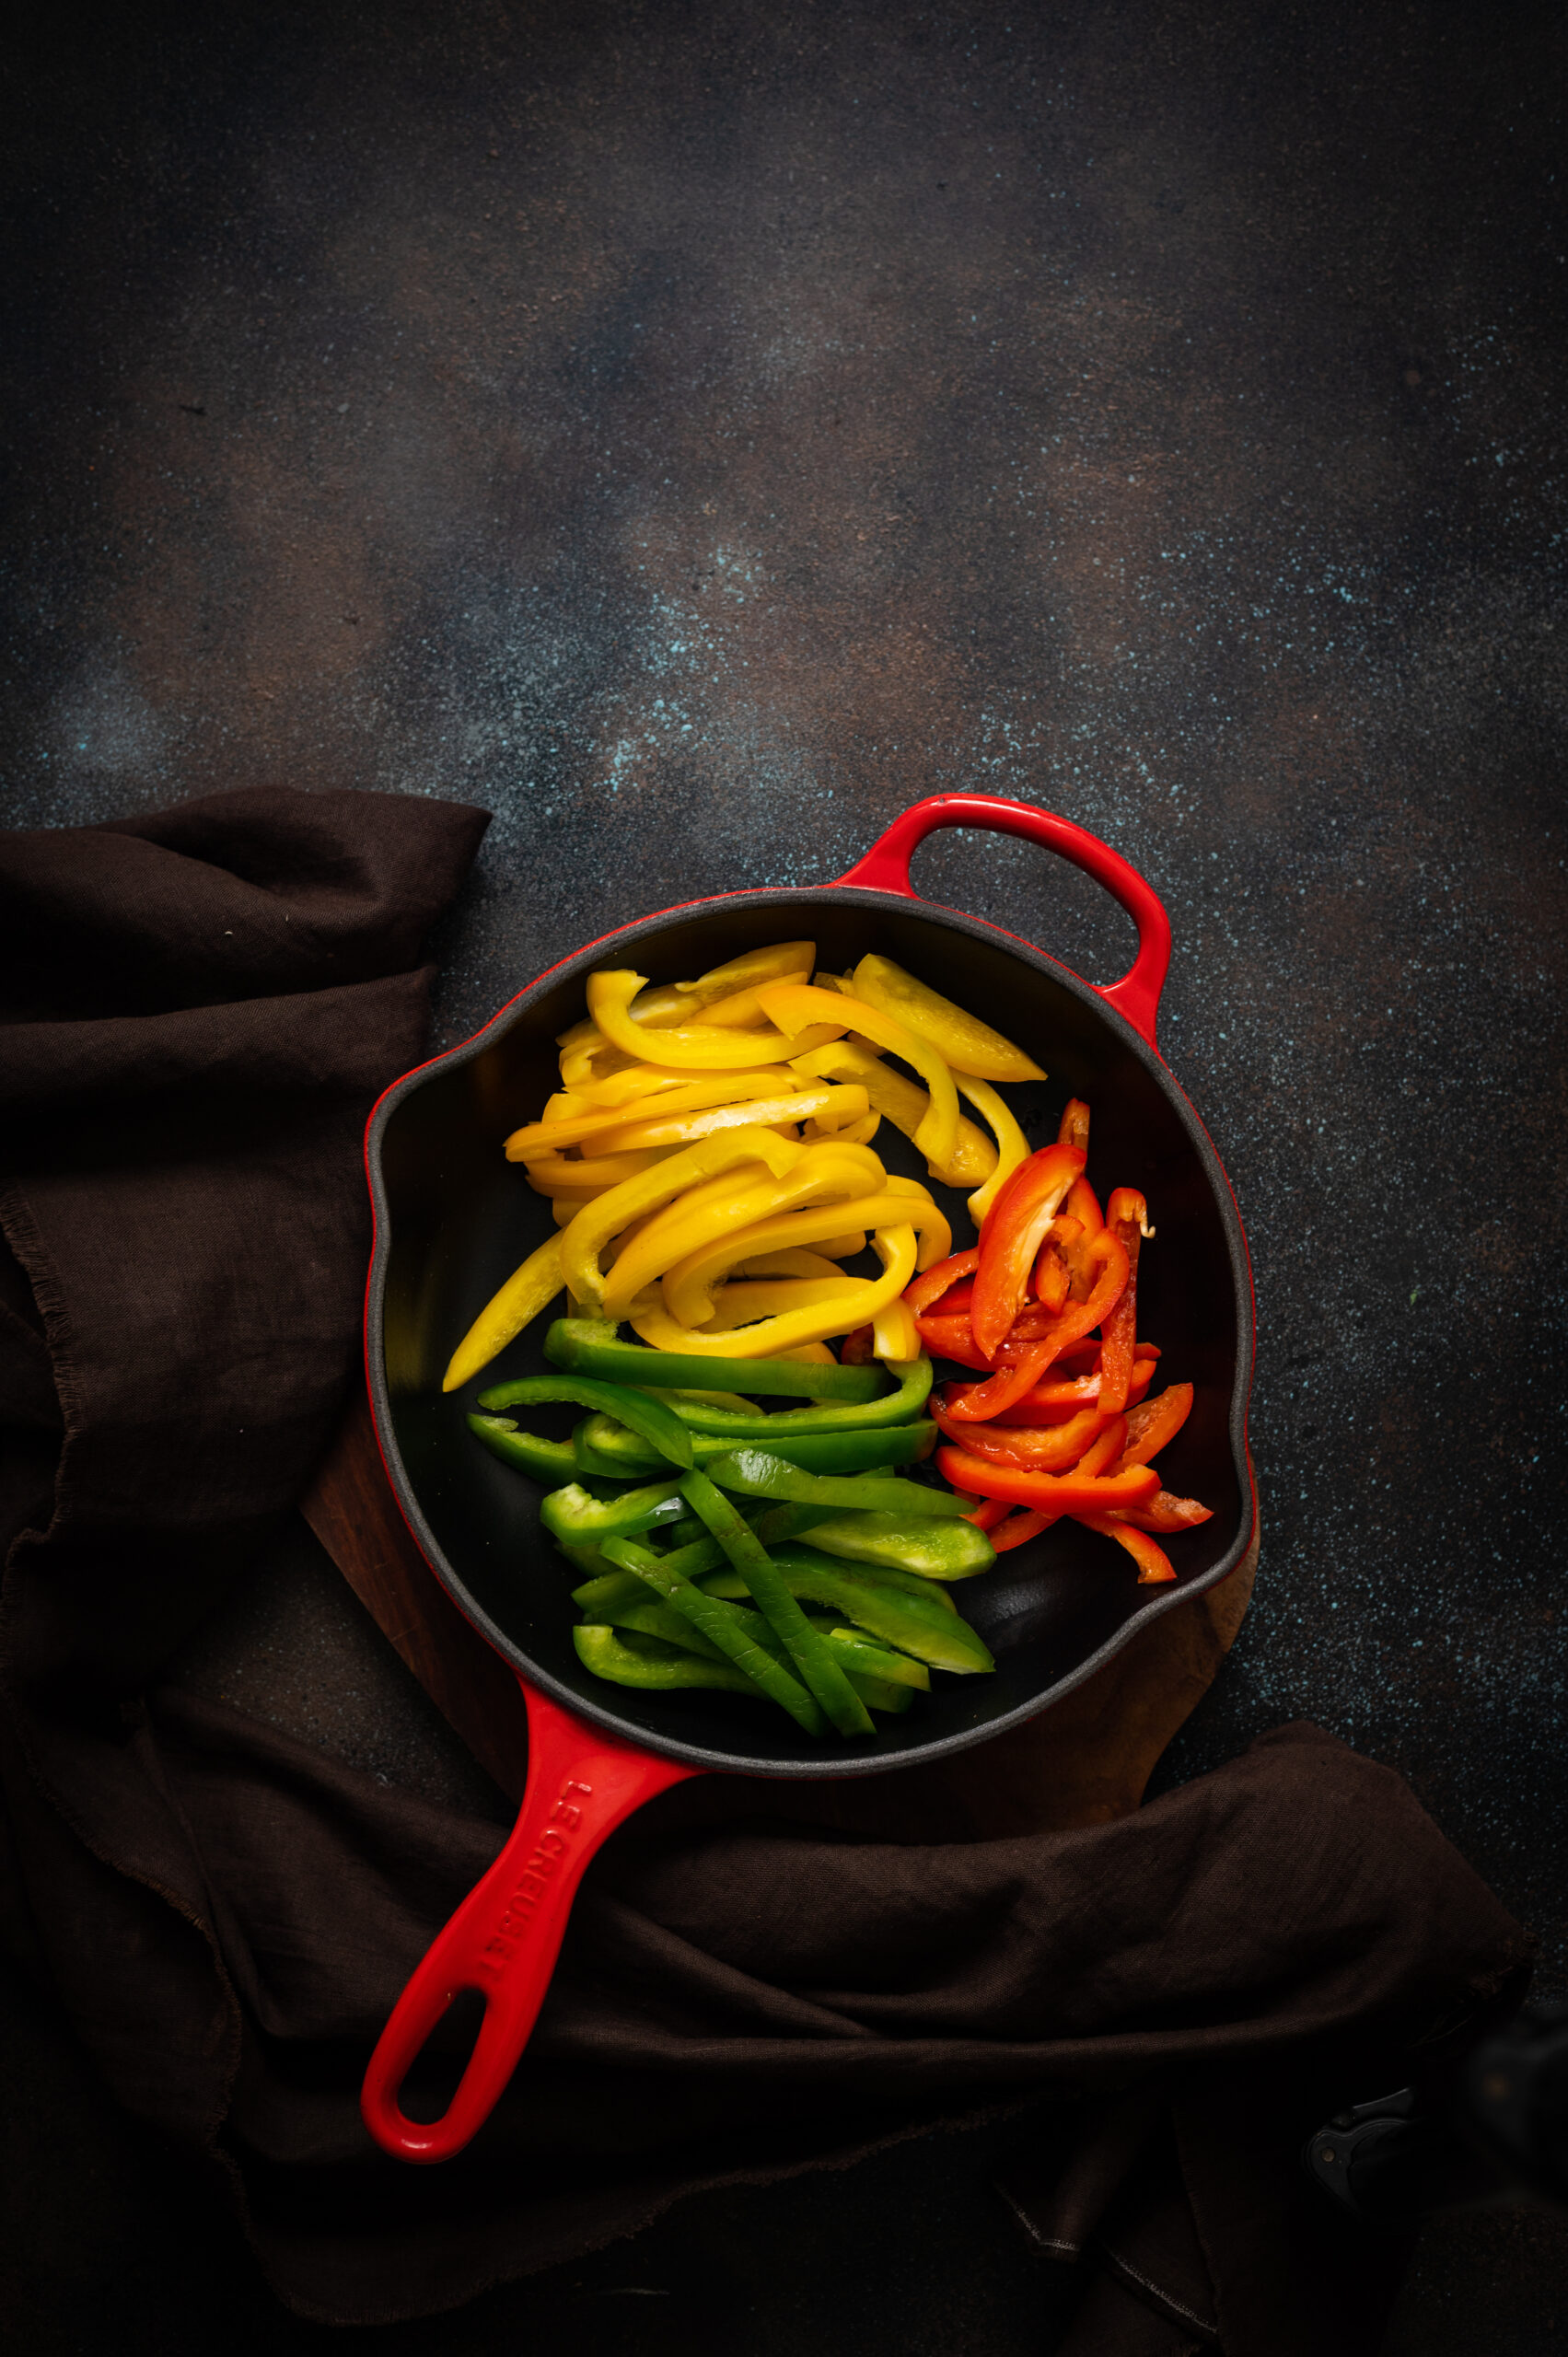
Mexican Rice

(Yield: Serves 2)


2 tablespoons finely chopped onions

1 teaspoon chopped garlic pods

1-2 teaspoons jalapeños

1 teaspoon oil

½ cup uncooked rice

1 cup finely chopped vegetables

2 cups hot vegetable stock (liquid)

Salt to taste

2 tablespoons Mexican chipotle powder

2 tablespoons tomato purée


Optional:

Potato patties

Cheese


Sauté the onions, garlic, jalapeños and vegetables in oil. Add the uncooked rice to it. Stir and roast for a minute.

Then, add the vegetable stock, salt and Mexican chipotle. Mix and cover. Allow to cook gently on a low flame until the liquid evaporates and or the rice is cooked. Make sure the rice is not over-cooked as it requires some baking later.

Once the rice has cooked enough, empty it into a baking dish. Level it. This is the point where I place my potato patties or cutlets on top and sprinkle them with cheese. You can avoid this if you want a more authentic version. Or you could let me know if you want the potato patty recipe as well?

Bake for 15 minutes at 160°, or until the cheese melts. Serve hot.

I hope this Mexican rice – a dish I first encountered by travelling through a cookbook – brings you much joy, and helps you create some happy memories too!

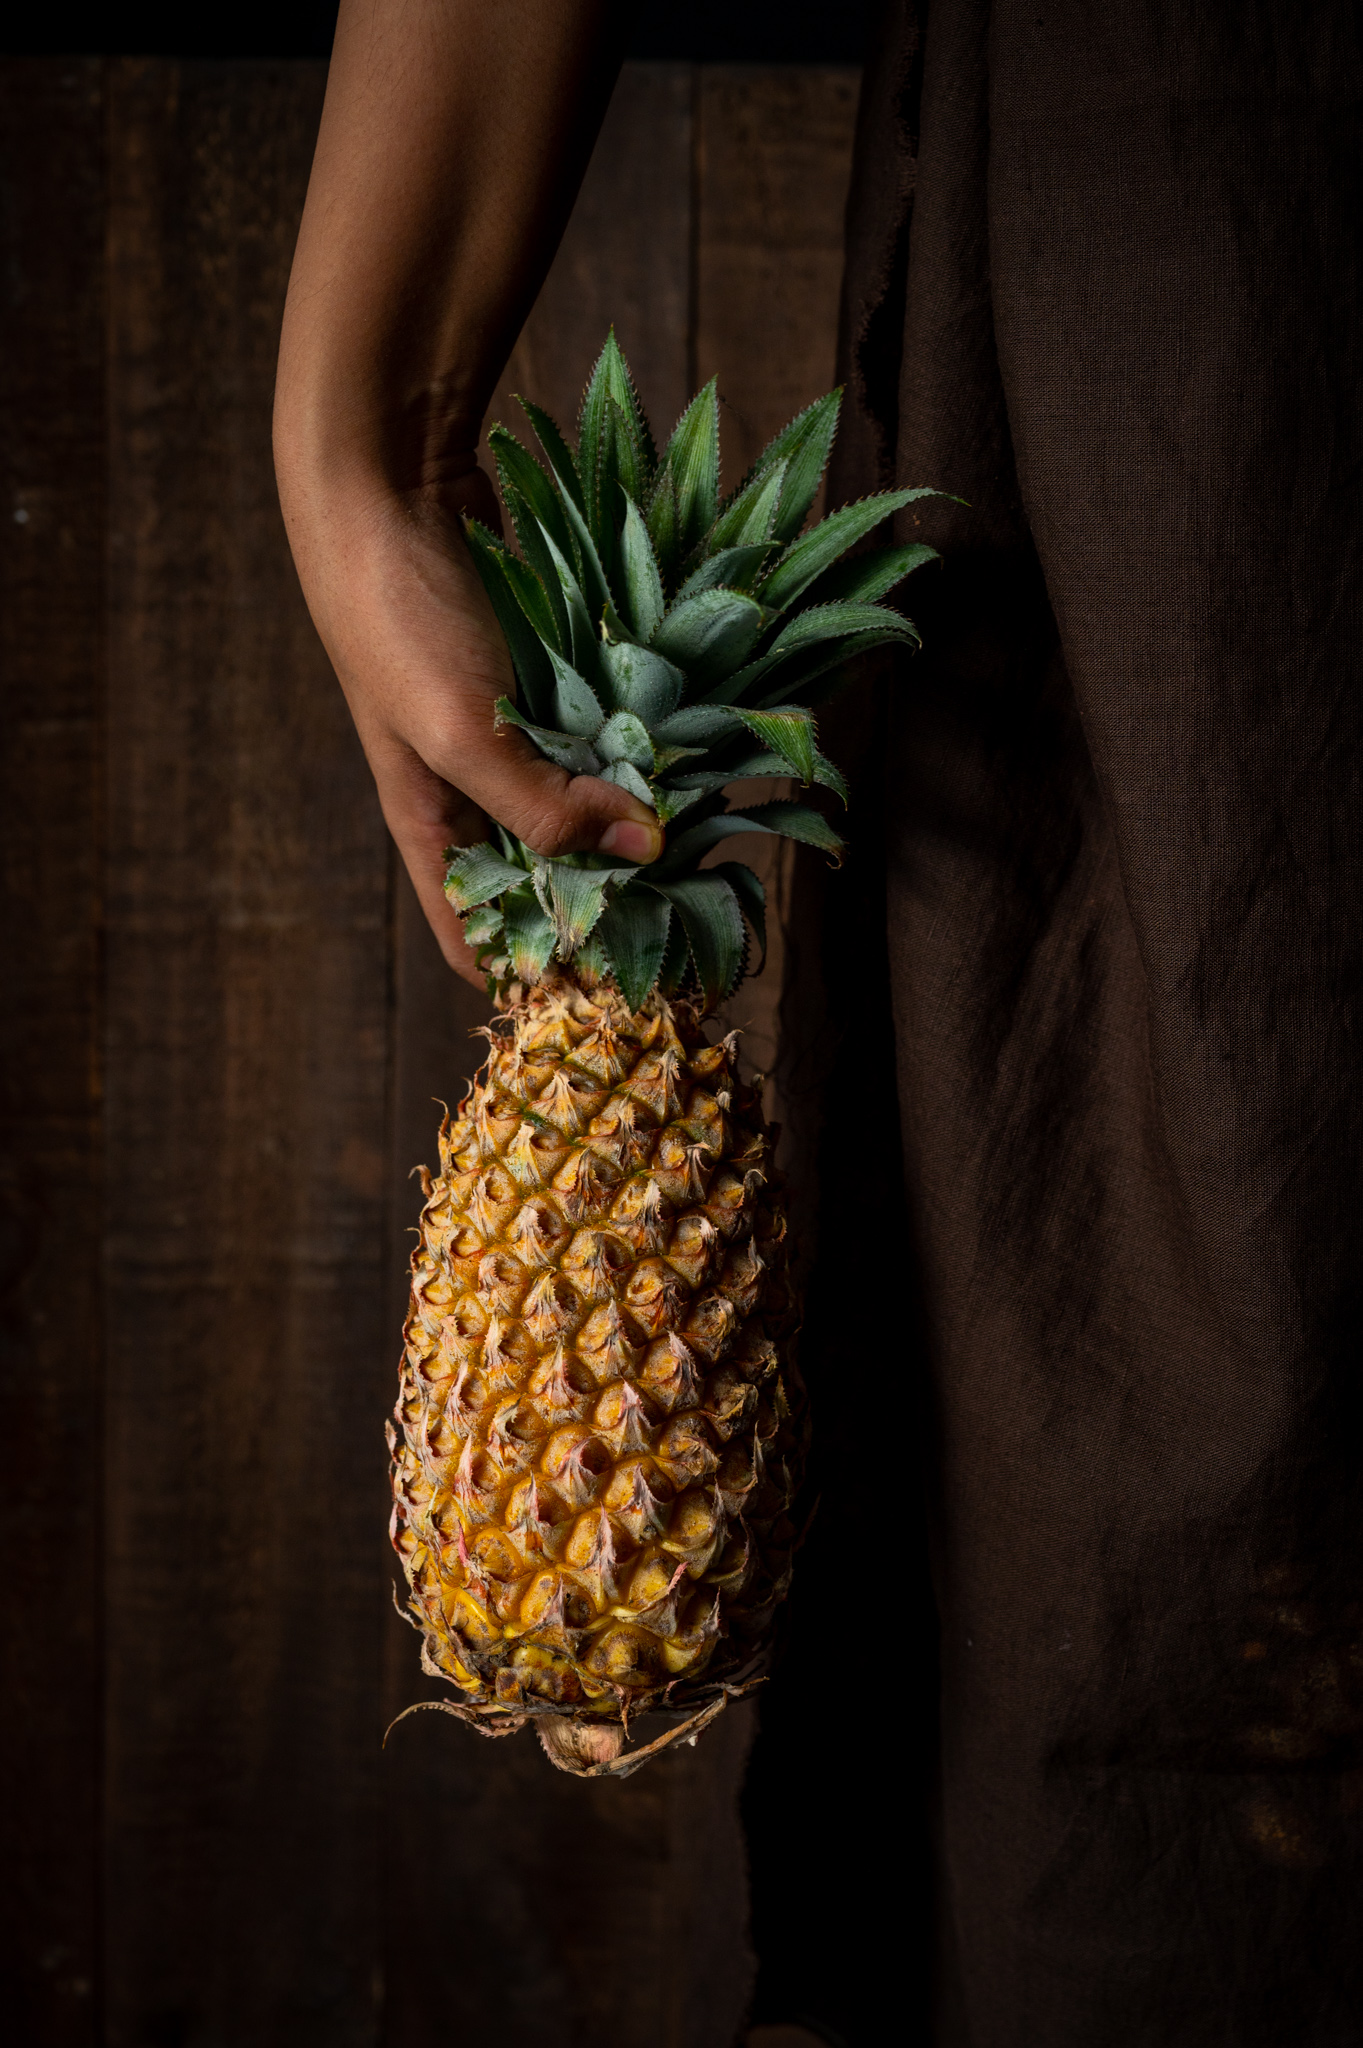
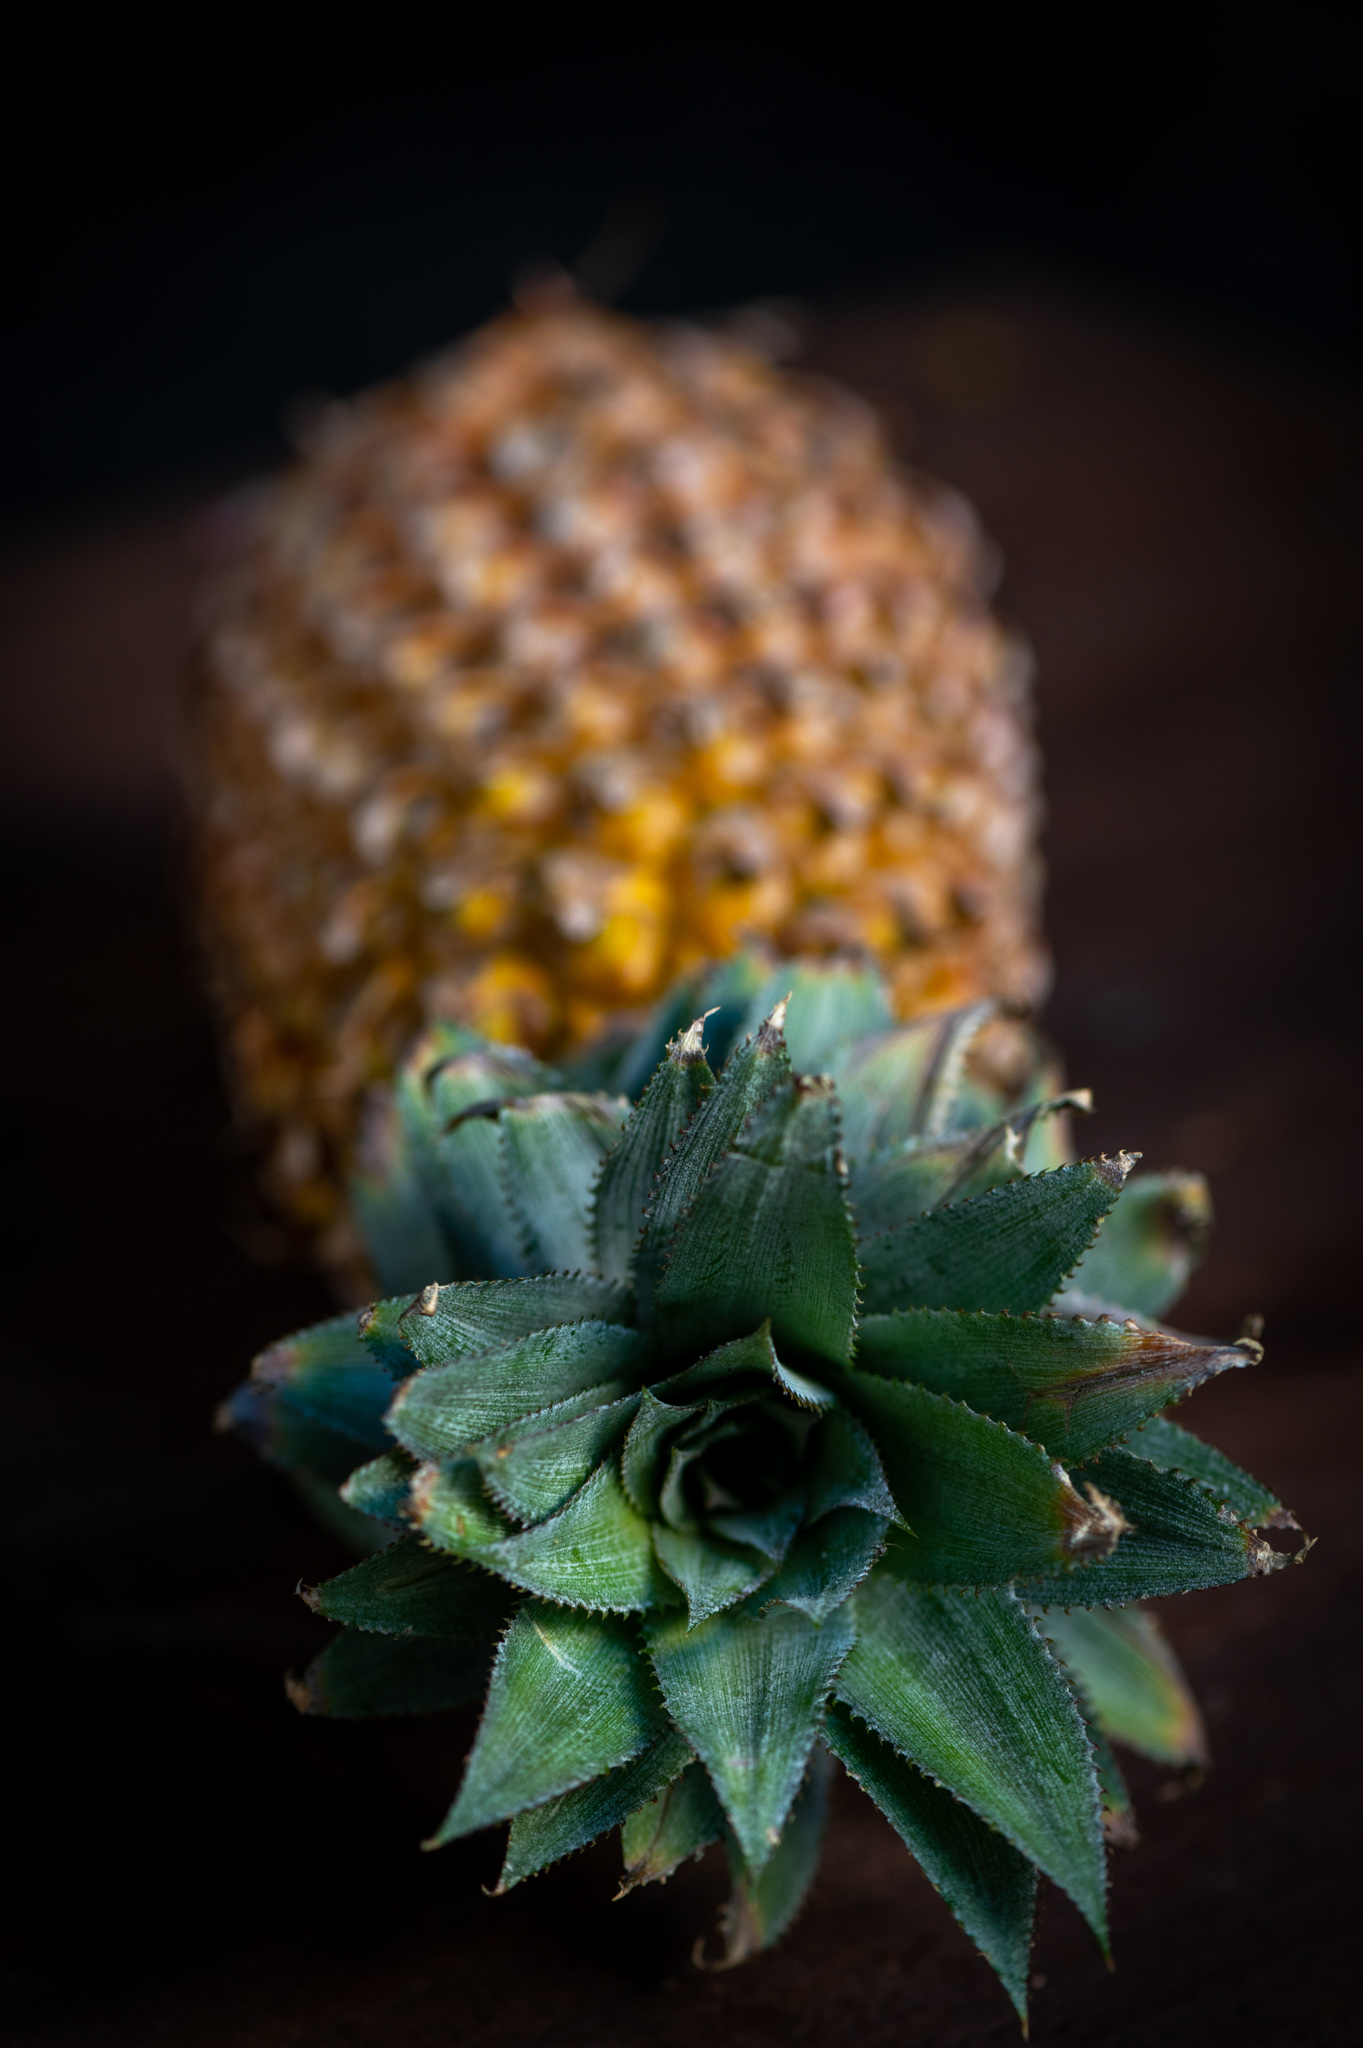
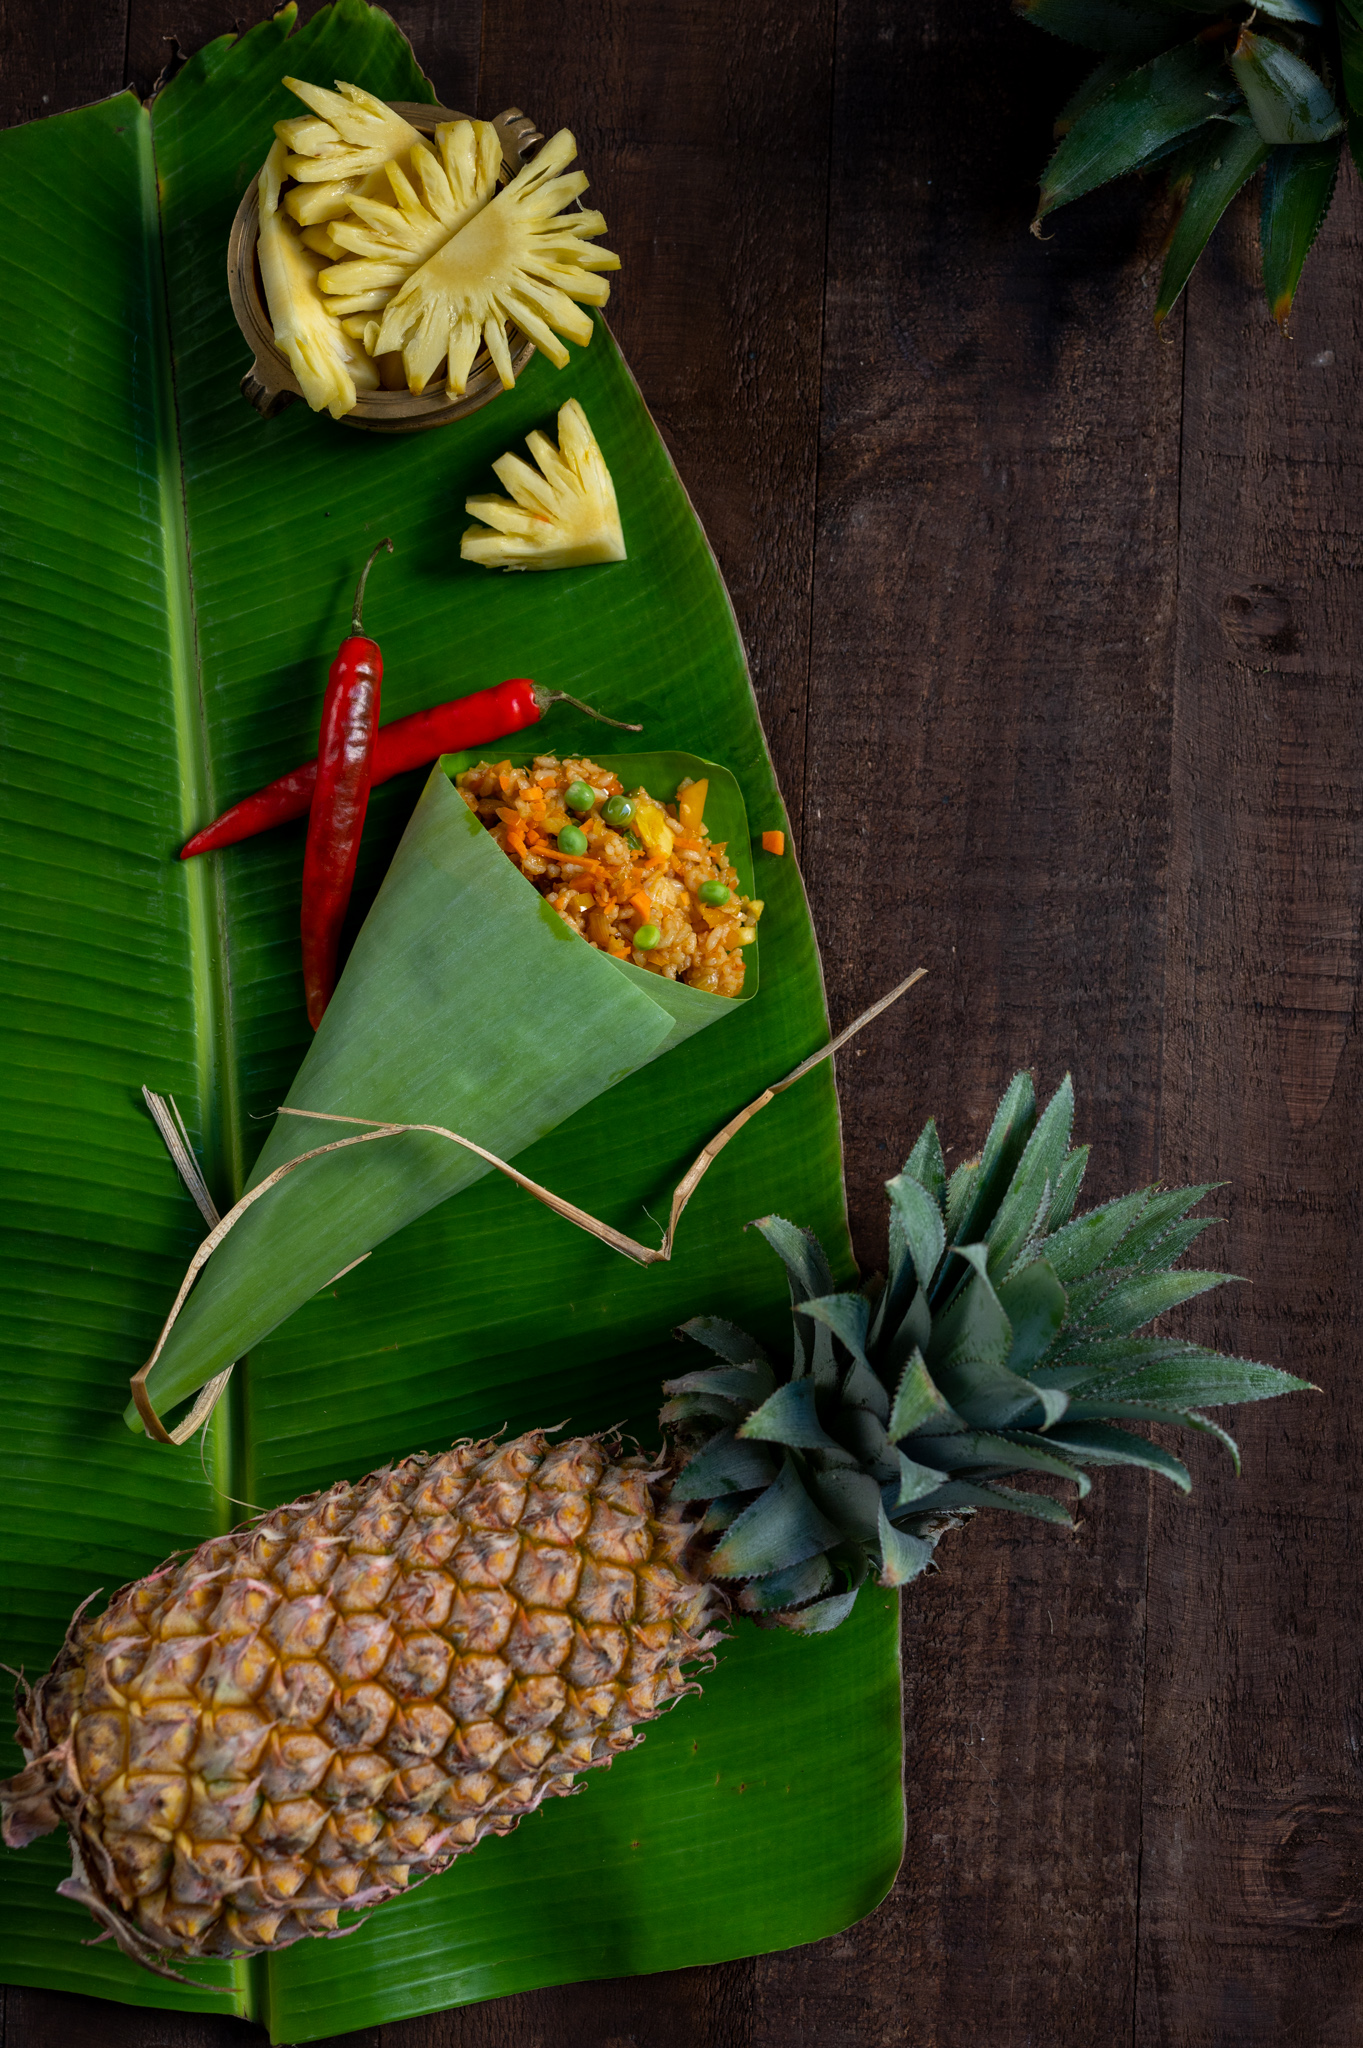
On a trial basis, my son has been cultivating organic pineapples in Bangalore. They are mini-pineapples, about half the regular size. I had never seen this variant until I visited him shortly after a successful harvest. I found them incredibly sweet, and adorable to look at too. Back home in Chennai, pineapples stayed on my mind, which was perfect timing as they happen to be in season. Considering the possibilities of how to consume the fruit, aside from eating it just as it is, I decided to give making a pineapple rice a shot. As far as I know, this dish is of Thai origin. However, I feel it fits in well with Indian and especially with Gujarati cuisine, given our enjoyment of a bit of sweetness in every preparation. I think the Indian palate in general also likes to have something sweet, something tangy and something spicy at every meal, and this pineapple rice covers all three requirements.

Aside from pineapple rice being my preferred dish at local Thai restaurants, the memory of the one time that I had authentic Thai pineapple rice in Bangkok still lingers in my mind. Those flavours are the ones I am trying to recreate here in this recipe. Bringing culinary experiences from our travels into our own kitchens is a beautiful, and of course delicious, way to preserve those good times.

This dish is only one of the many ways that I use pineapple, one of my favourite fruits, in my cooking. It also makes a frequent appearance at my dining table in my pineapple salsa (you may want to try out my peach salsa, the recipe for which is here). It is my topping of choice when it comes to my homemade pizza, which I make on a sourdough base. Pineapple is a healthy way to satisfy my terrible sweet tooth, so what I do is to add a little jaggery, and then put the slices on a non-stick pan or stick them in the oven. This makes for a completely natural dessert that hits the spot, without any artificial or processed ingredients.

One recipe that I’ve not yet attempted, but hope to have the courage to give a shot one of these days, is my mother’s pineapple upside down cake. She often made it when I was growing up, and it was utterly delicious. I am quite tempted to try… Wish me luck! I’ll certainly keep you posted about my endeavours (most likely on Instagram).

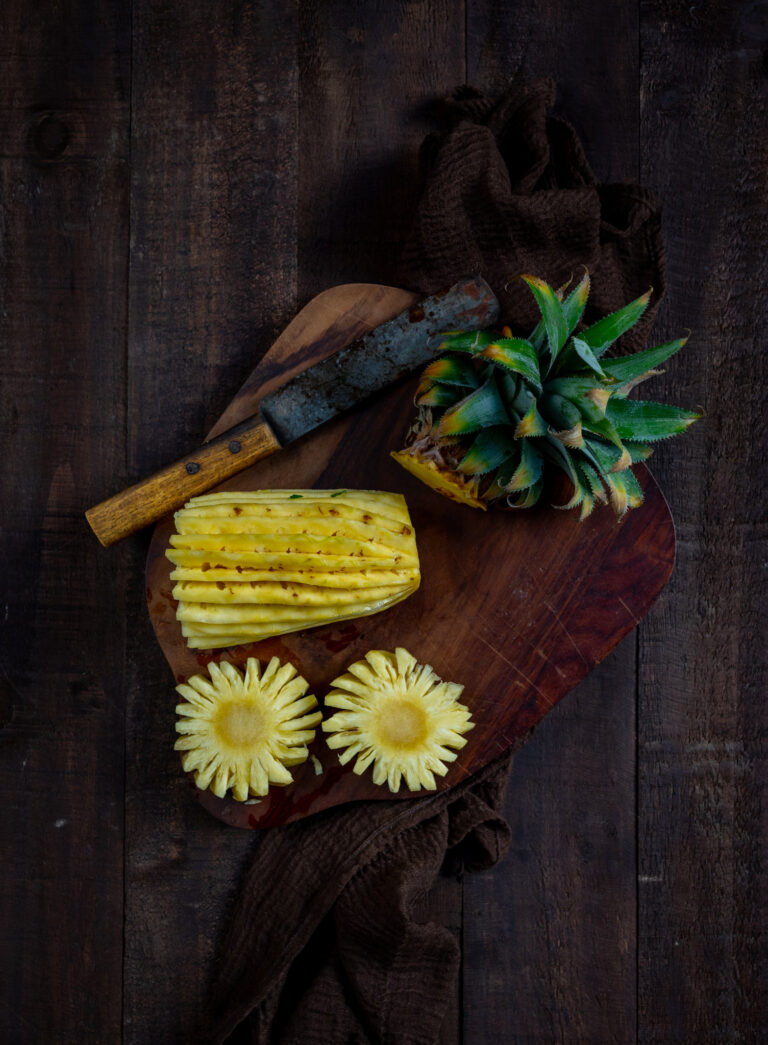
As I said, I love pineapple, and while it would seem from my sharing above that I eat it all the time, this is sadly not true. This wonderful fruit is a pain to peel and slice up, and this often becomes a deterrent to consuming it as much as I’d like to. Yet, it really is worth it every time. Perhaps it is just as it is with everything else in life: whatever is most difficult often has a juicy reward at the end of it. Hard work does pay off. As for how incredibly sweet the pineapple is once you get past the tough exterior – ah, I suppose that’s the case with a lot of people as well. Wouldn’t you agree?

Pineapple Rice

(Serves 2)


2 tablespoons sesame oil

2 cups cut vegetables (I used carrots, onions, yellow bell peppers and green peas)

½ teaspoon garlic paste

½ teaspoon ginger (grated)

1 red chilli (finely sliced)

1 teaspoon chilli sauce of your choice

2 cups cooked rice

¼ cup water (if required)

2 teaspoons tamari or light soya sauce

1½ teaspoons coconut vinegar

½ teaspoon brown sugar

Salt to taste

1 cup finely chopped pineapple

Finely sliced green onions (to garnish)


In a pan, add the oil. Once it has heated, add the cut vegetables. You may use the ones you prefer; as listed above, I have used carrots, onions, yellow bell peppers and green peas. Sauté on a high flame for a few minutes or until al dente. Add the sliced red chilli. Stir well until fragrant. Sprinkle some water if required.

Now, add the cooked rice. Partially cooked rice is best, and this is also a great way to use up any leftover rice that you may have.

Then, add the tamari, salt, chilli sauce, vinegar, brown sugar and another sprinkling of water. Stir well on a high flame. Finally, add the pineapple and mix well again. Garnish with the finely sliced green onions and serve.

Trust me – the moment that you take a bite, you’ll forget the effort it took to peel that pineapple! What the fruit adds to this fried rice is well worth it. It brings together all the elements that make up this dish. Flavours of sweetness and spiciness play harmoniously here. This pineapple rice is perfectly satisfying, evoking the flavours of Thailand while fulfilling Indian tastebuds. I hope you’ll try it out, and that you’ll enjoy it just as much as I do!

I literally grew up under a star gooseberry tree – the very same tree that you may know as amla or nellika. I loved the fruit of that tree so much that I braved its hairy inhabitants, known in Tamil as kambili poochis (blanket worms, a type of caterpillar that becomes a moth). These small creatures have a self-protection mechanism of dropping their spiky, needle-like hairs onto the skin of predators or threats – such a little girl greedy for some ripe fruit! How many times would I have run crying to my mother with one hand full of green star gooseberries and the other one holding the sore spot lanced by caterpillar hairs? She would painstakingly have to remove each one, and this was a pretty frequent occurrence. Even caterpillars could not keep me away from the fruit that I craved!

Although a long time has passed since then, I still have a star gooseberry tree in my home now. Like all native trees that seemed to be everywhere in Chennai when I was growing up, they are scarcer now, and I cultivate those in my backyard with care. I repeatedly tell my children stories about my misadventures with the caterpillars that lived on the one in my childhood home, mostly because I don’t see them any longer. I wonder if this has something to do with urban pollution, and with how we are misusing our planet. We as human beings are responsible for the disappearing bees, and the extinction of so many other species. Even though the caterpillars can literally hurt me, they are proof of the health of this planet, and I hope to see them crawling in my garden again some day.

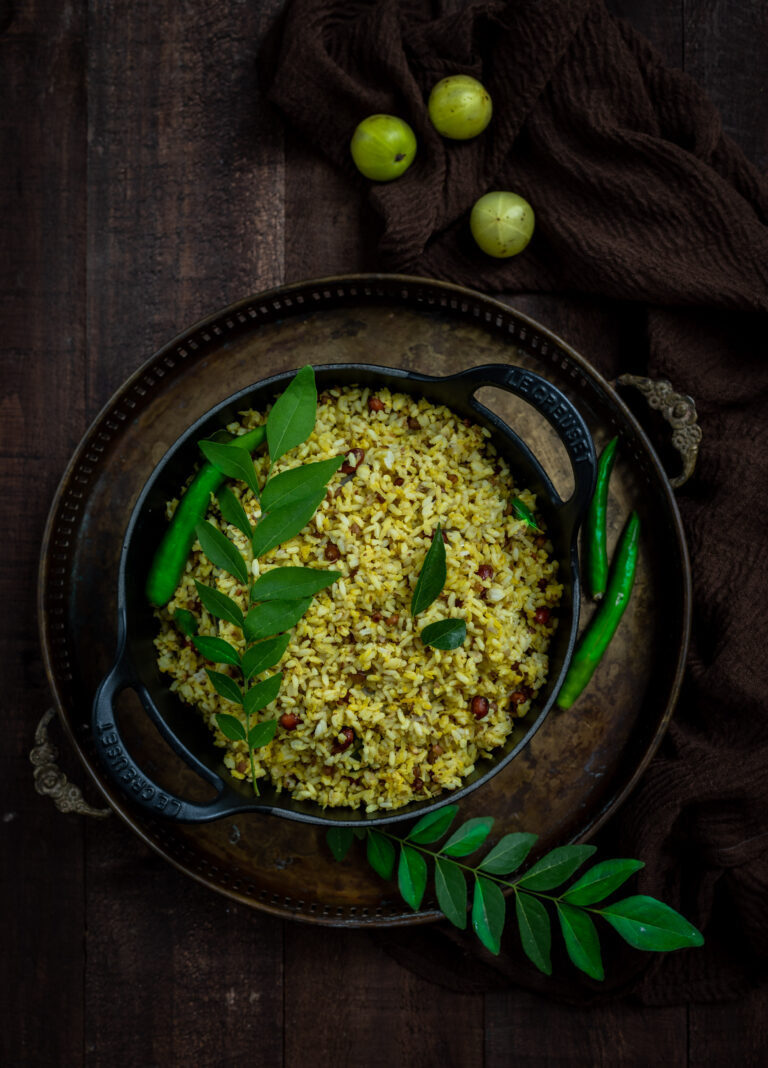
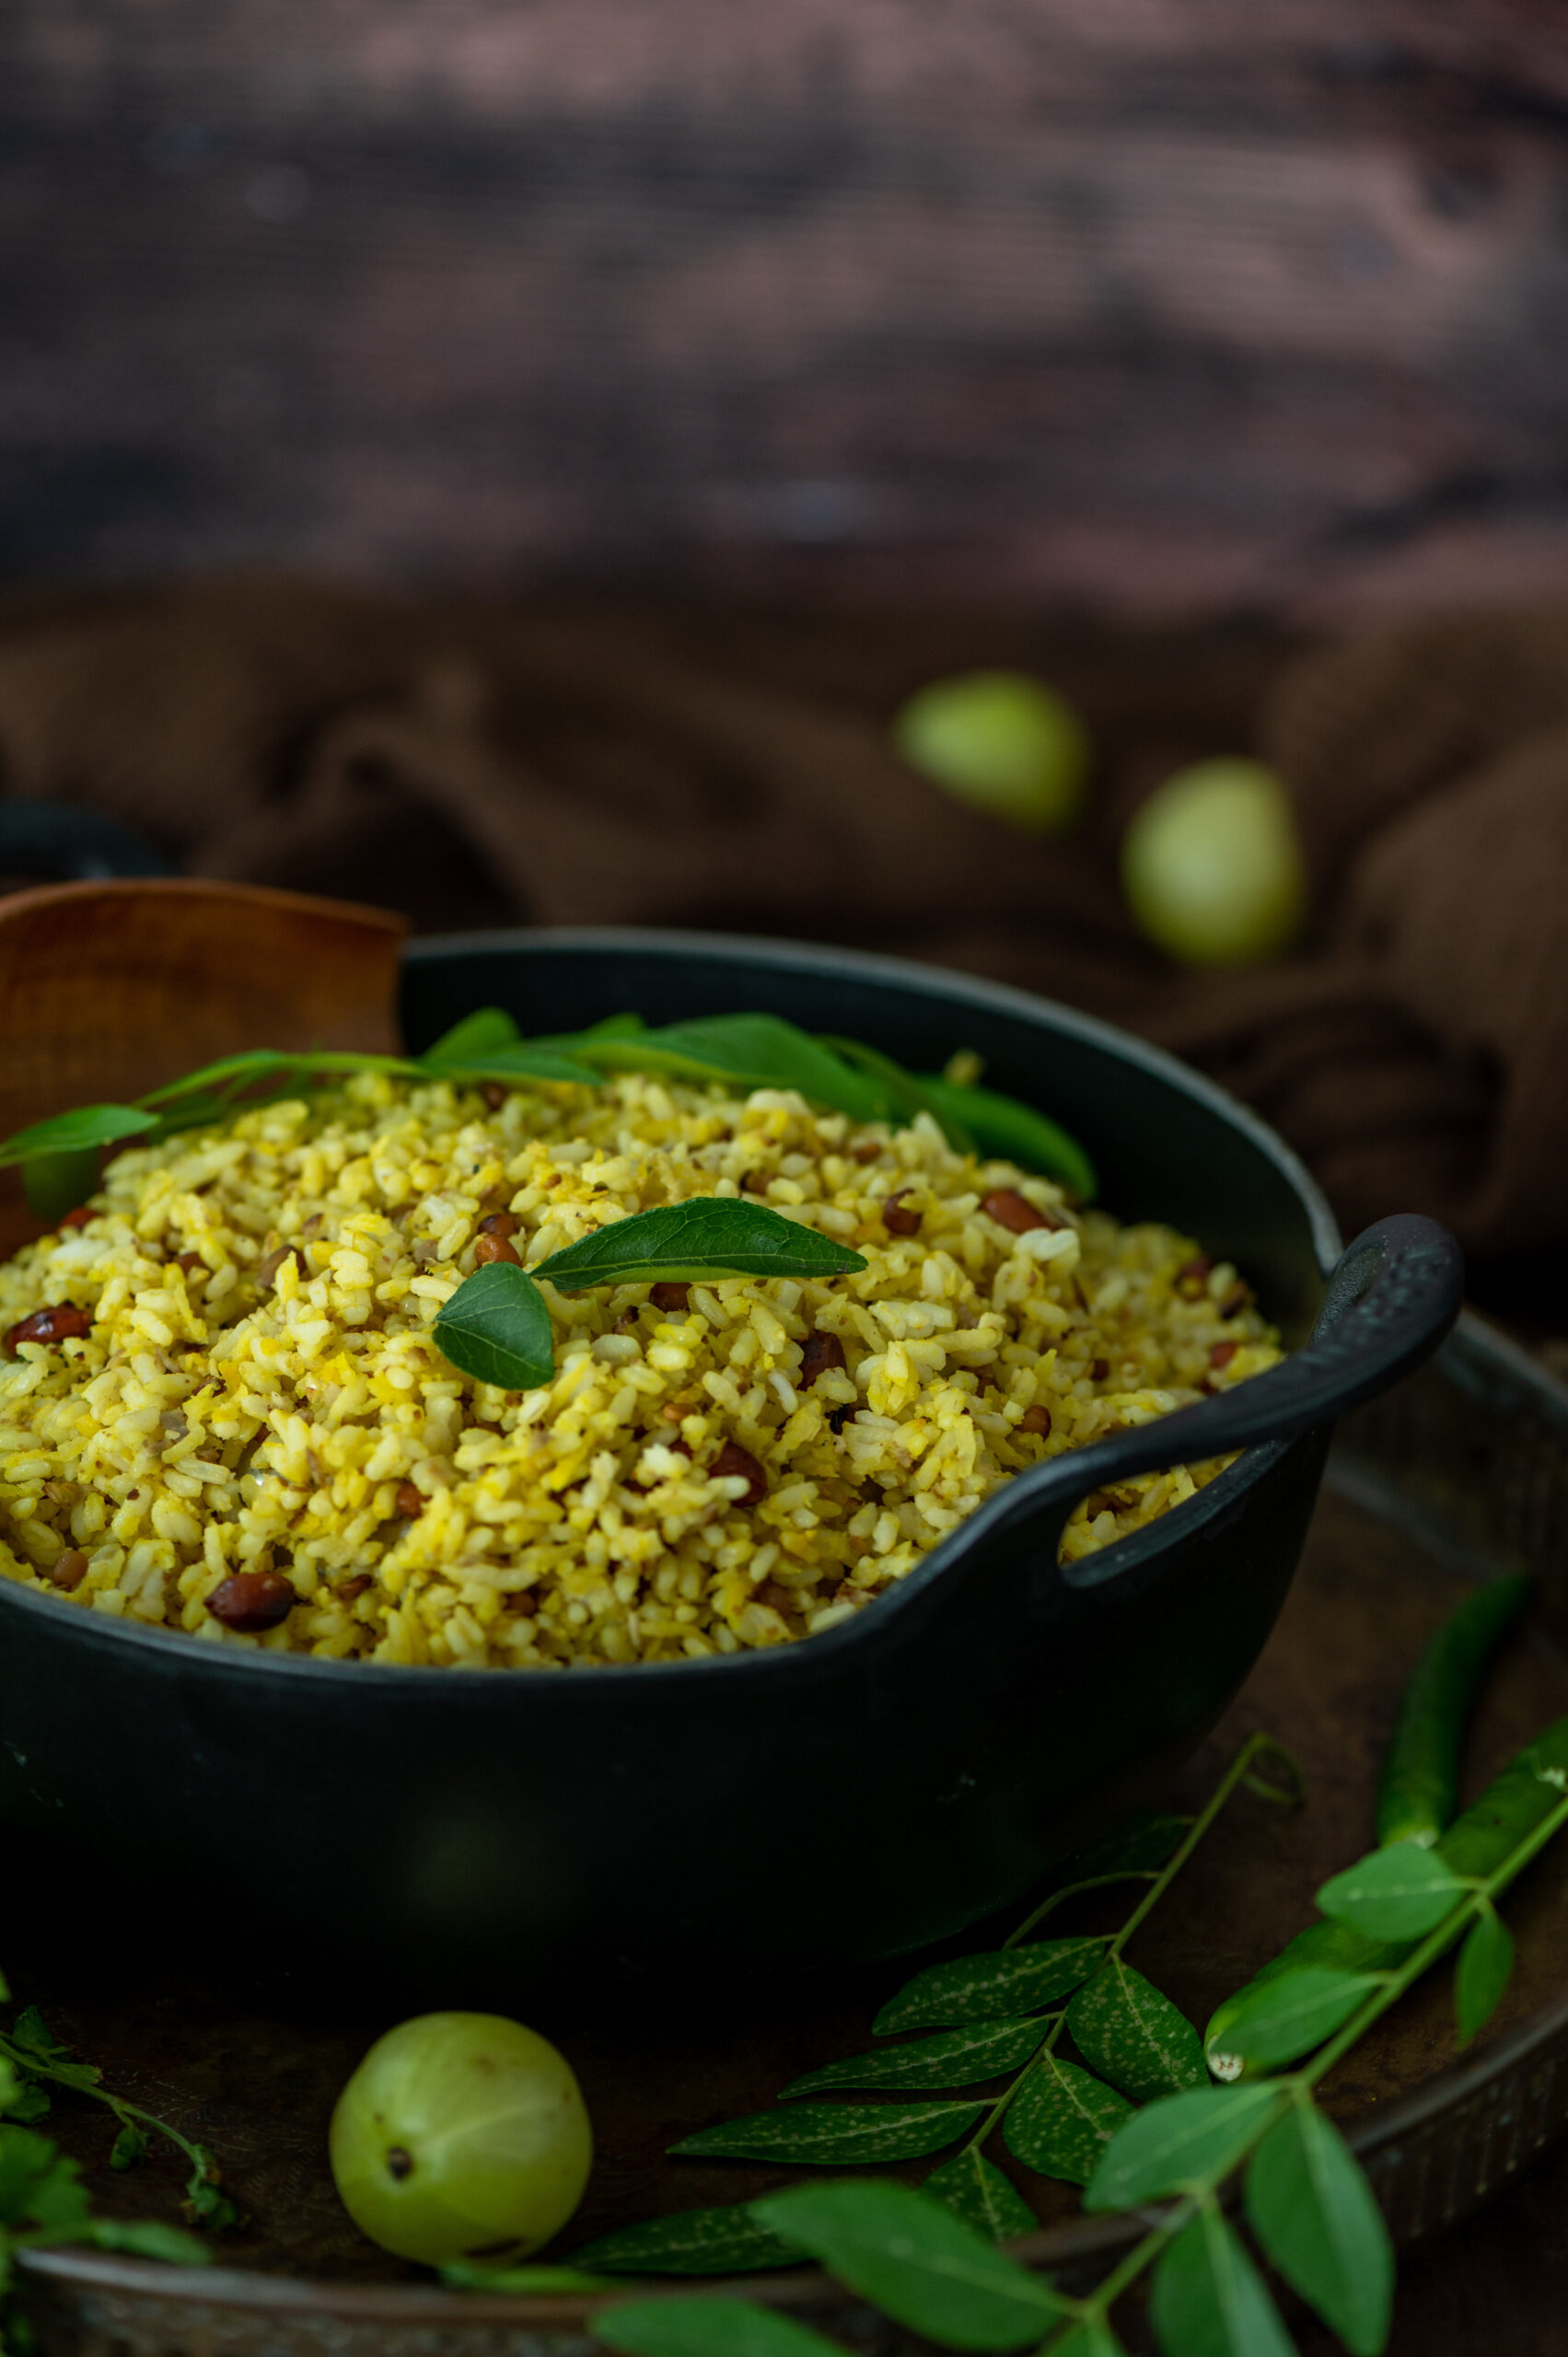
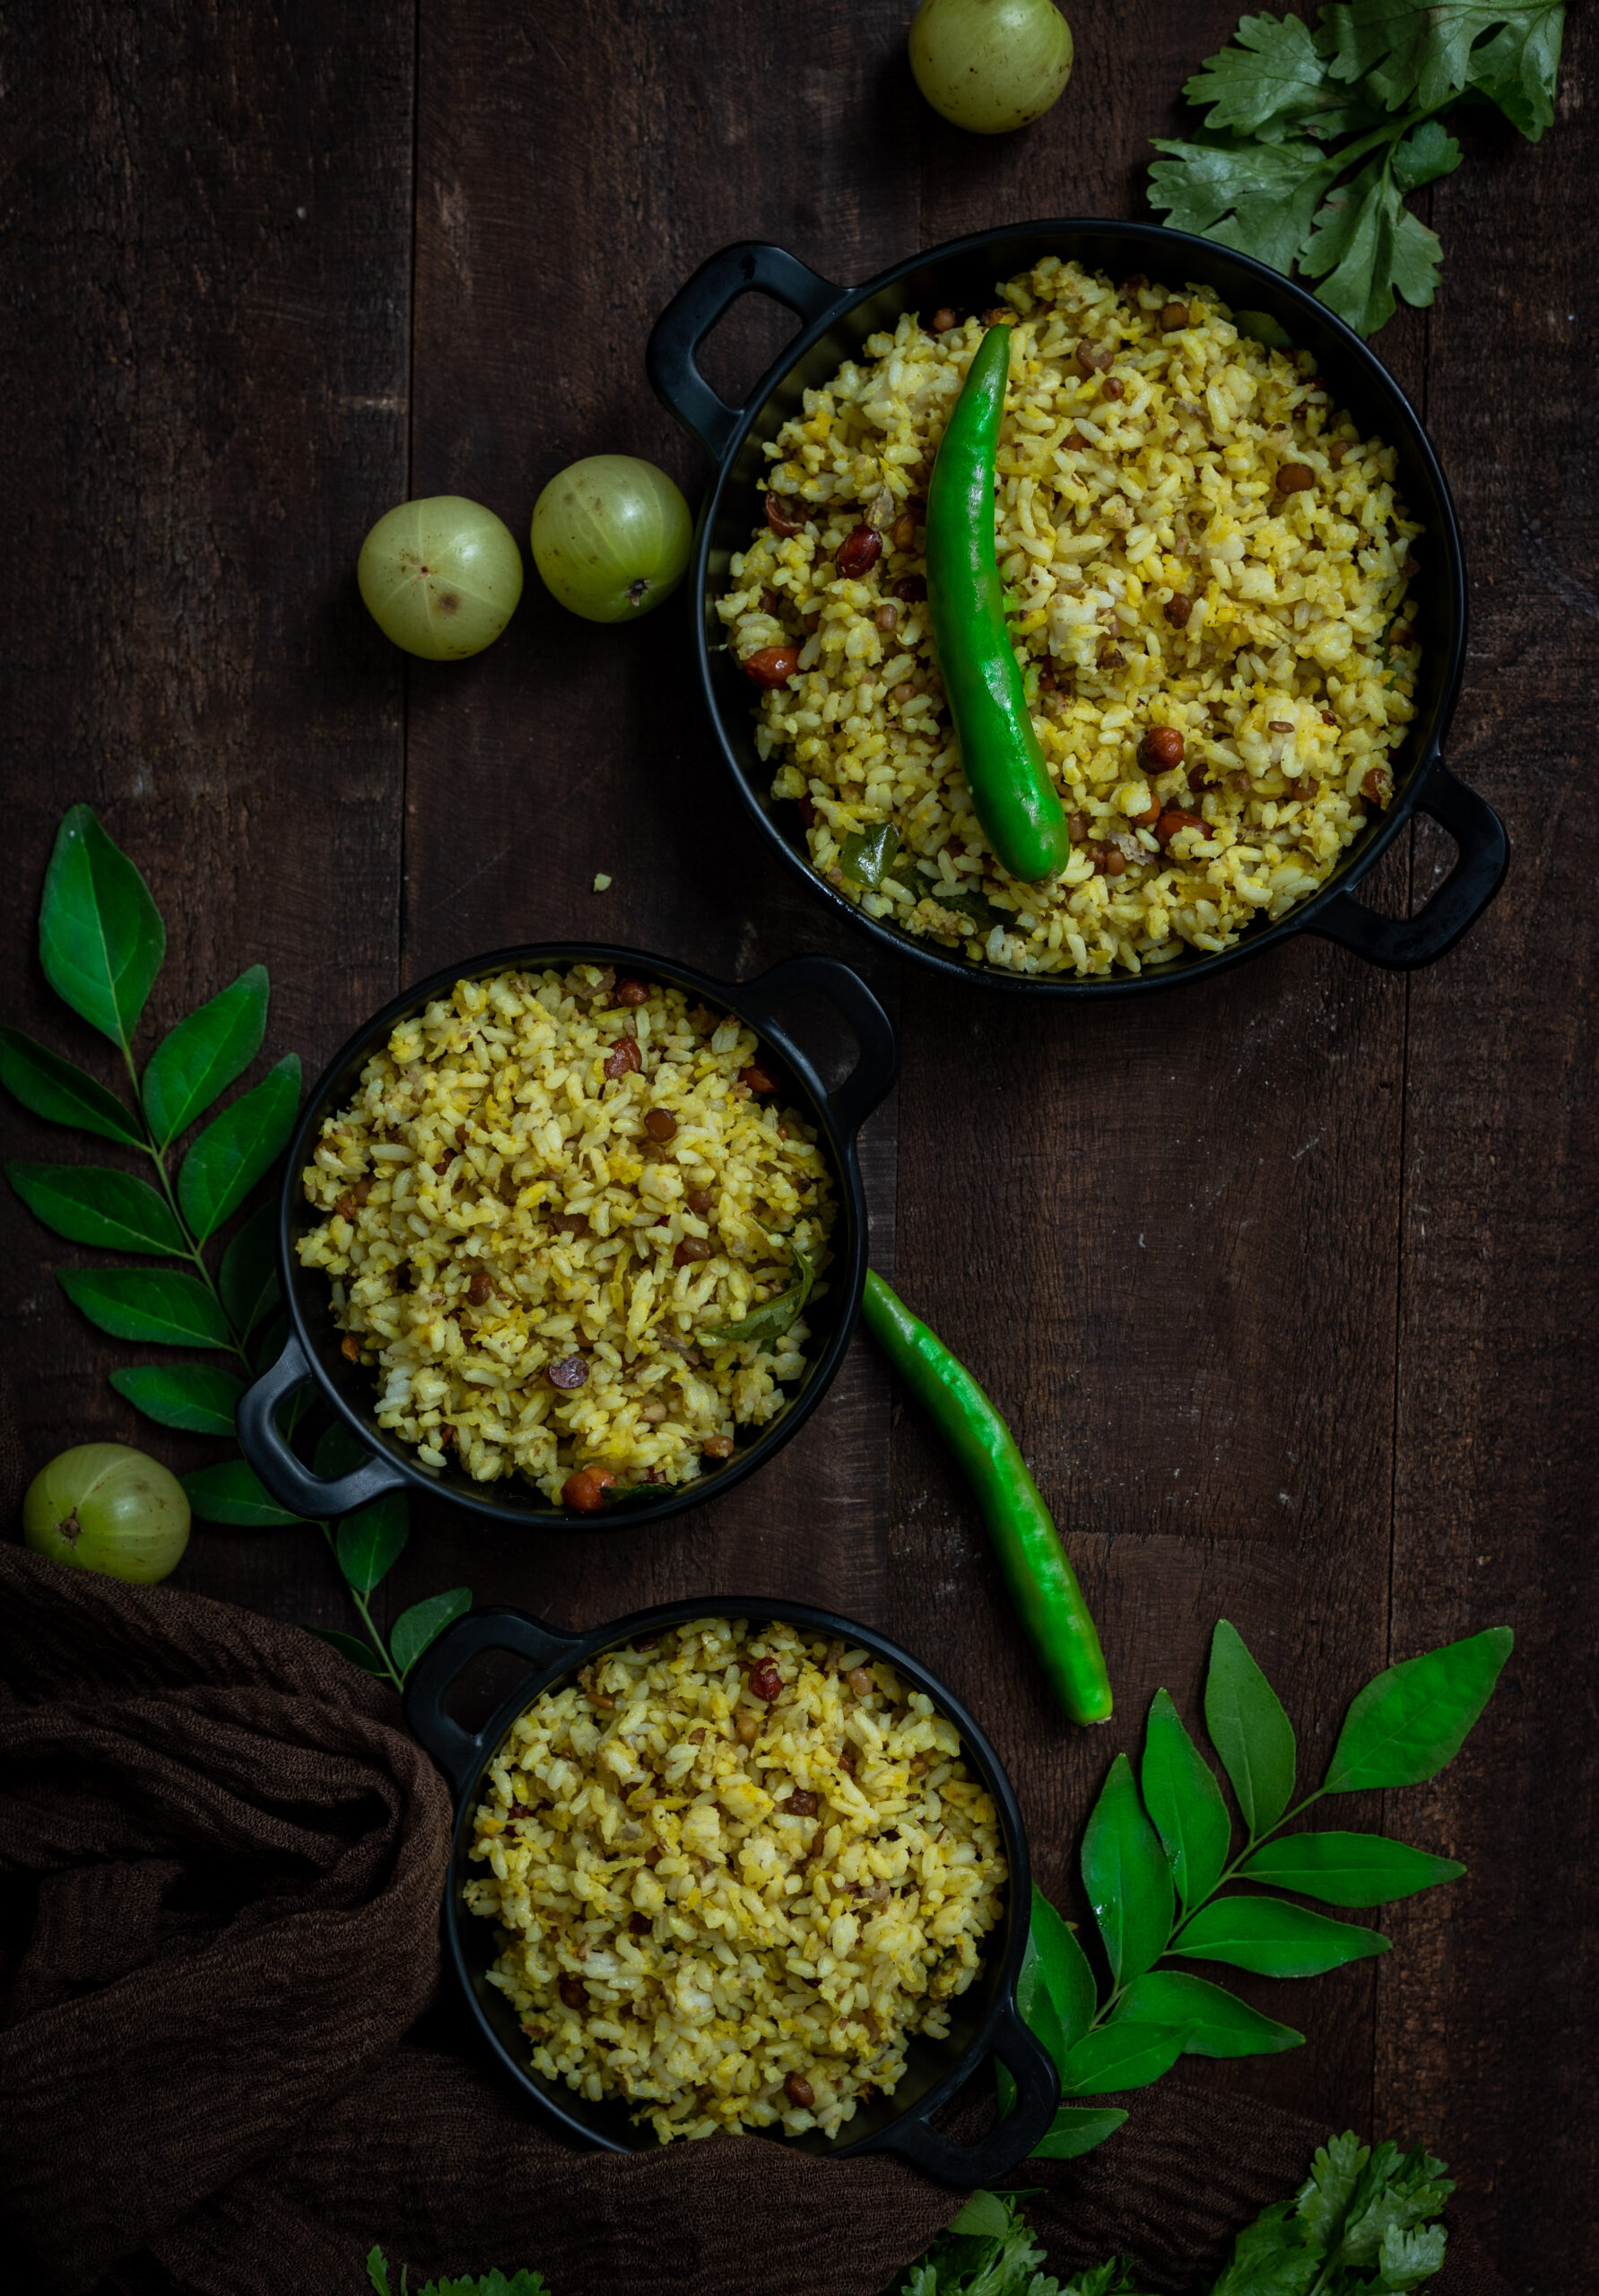
The variant of the gooseberry tree I have at home is the same as the one I grew up with. It is the ribbed or ridged star gooseberry (nellika), not the softer, more rounded amla. They are closely related fruits and you can use either one in this recipe. I prefer the star gooseberry for its sour taste, whereas the amla has a hint of bitterness. I enjoy this fruit so very much that I don’t just eat it plain, but incorporate it into my cooking as well. This star gooseberry rice is a wonderful way to bring its unique flavour into your meals. Pickling is another great idea, given the fruit’s naturally intense taste.

The best-known benefit of all Indian gooseberries is that they have a very high Vitamin C quotient. They are also very good for fighting sinus-related issues, boosting immunity, beautifying skin and hair and improving digestion. The leaves and roots of the tree also have a long list of uses in traditional medicines, in anti-viral, anti-venom, analgesic and other capacities.

This post came together between a friend mentioning eating star gooseberry rice one day, a trip down memory lane about those hairy caterpillars, and more recent memories from journeys around India.

On some of my travels, I have noticed gooseberry-shaped artistic motifs in borders and jalis at different monuments and temples across India – including even at the Taj Mahal – and this made me think about how India has always been a land of plenty. I understood that these motifs of so many common culinary and botanical elements that we take for granted – including not just star gooseberries but pomegranates, mangoes and a great variety of flora and fauna as well – are ways to celebrate that bounty, depicting the amazing harvests that grow here. Among all our many exotic mysteries and riches, the natural wealth of India attracted so many to our shores, and still does. We have so much to be proud about.

Star Gooseberry Rice

(Serves 2)

2 tablespoons sesame oil

2 tablespoons groundnuts

¼ teaspoon methi seeds

¼ teaspoon mustard seeds

¼ teaspoon cumin seeds

½ teaspoon channa dal

½ teaspoon urad dal

1 green chilli

2 cups cooked rice

Salt to taste

A pinch turmeric

A few curry leaves

4 grated star gooseberries

1 grated tablespoon coconut

Finely chopped coriander leaves (garnishing)

In a kadai, add oil. Once it has heated, add the groundnuts and allow them to splutter. Next, add the mustard seeds, cumin seeds, channa dal, urad dal, methi, green chilli, grated coconut and curry leaves. Mix well. Now, add the grated Indian gooseberries – whichever variant you have on hand or prefer.

Once the mixture turns lightly golden, add the rice, salt and turmeric. Stir well.

Garnish with the coriander leaves and serve.

I hope you’ll enjoy that unique flavour of this star gooseberry rice. If you’re a fan of rice dishes in general and are always looking to spice up your plain steamed rice, you may want to explore the many recipes I’ve shared earlier that do exactly this. Raw mango rice, dill rice or spinach rice make for exciting daily staples. Vegetable biryani is perfect for a small celebration. If you want something a little more exotic, this glutinous black sticky rice with mango is quite a delight. Do try them out and let me know what you think!

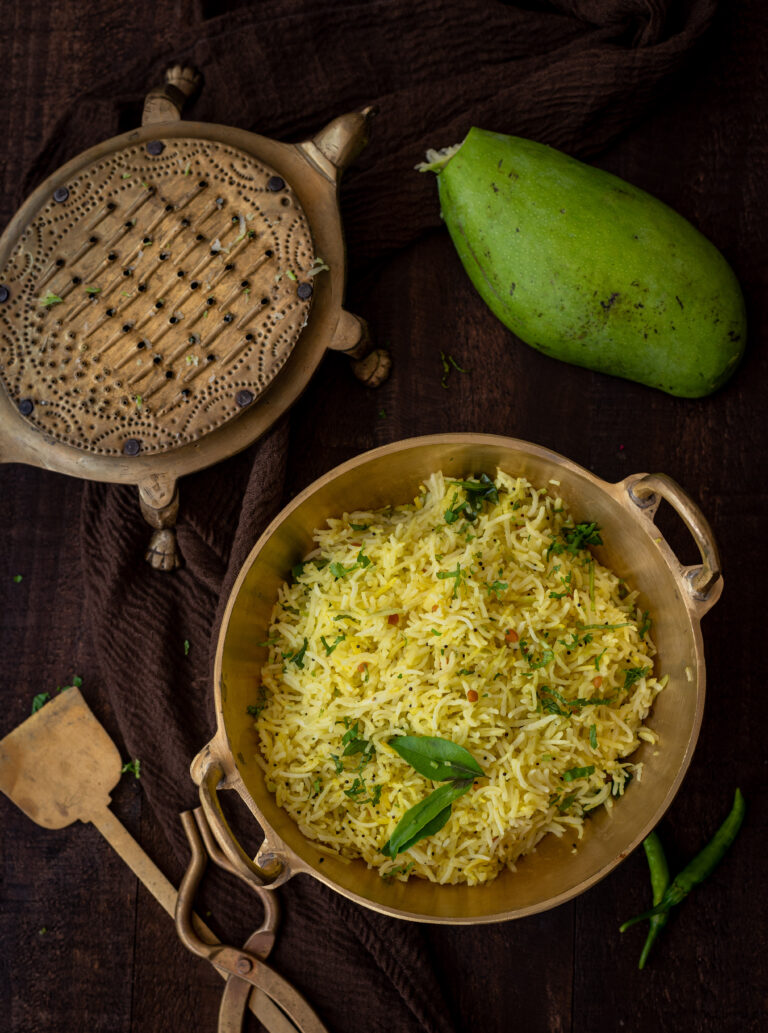
We have mango trees in the back garden, and every summer I seek out new ways and means to utilise their bounty. This season, I’ve made aamchur – dry mango powder prepared by washing the fruit slices, drying them, then powdering them. It works in cooking as a lime substitute, and is just as healthy and as rich in Vitamic C. I’ve made pickles, and if you’re keen to do the same, you can take your pick of either sweet or spicy kinds from the recipes I shared in this post. I’ve made desserts, like the easy and very satisfying mango twist that I shared last week. Then, I thought – why not make a rice dish with some mangoes, too?
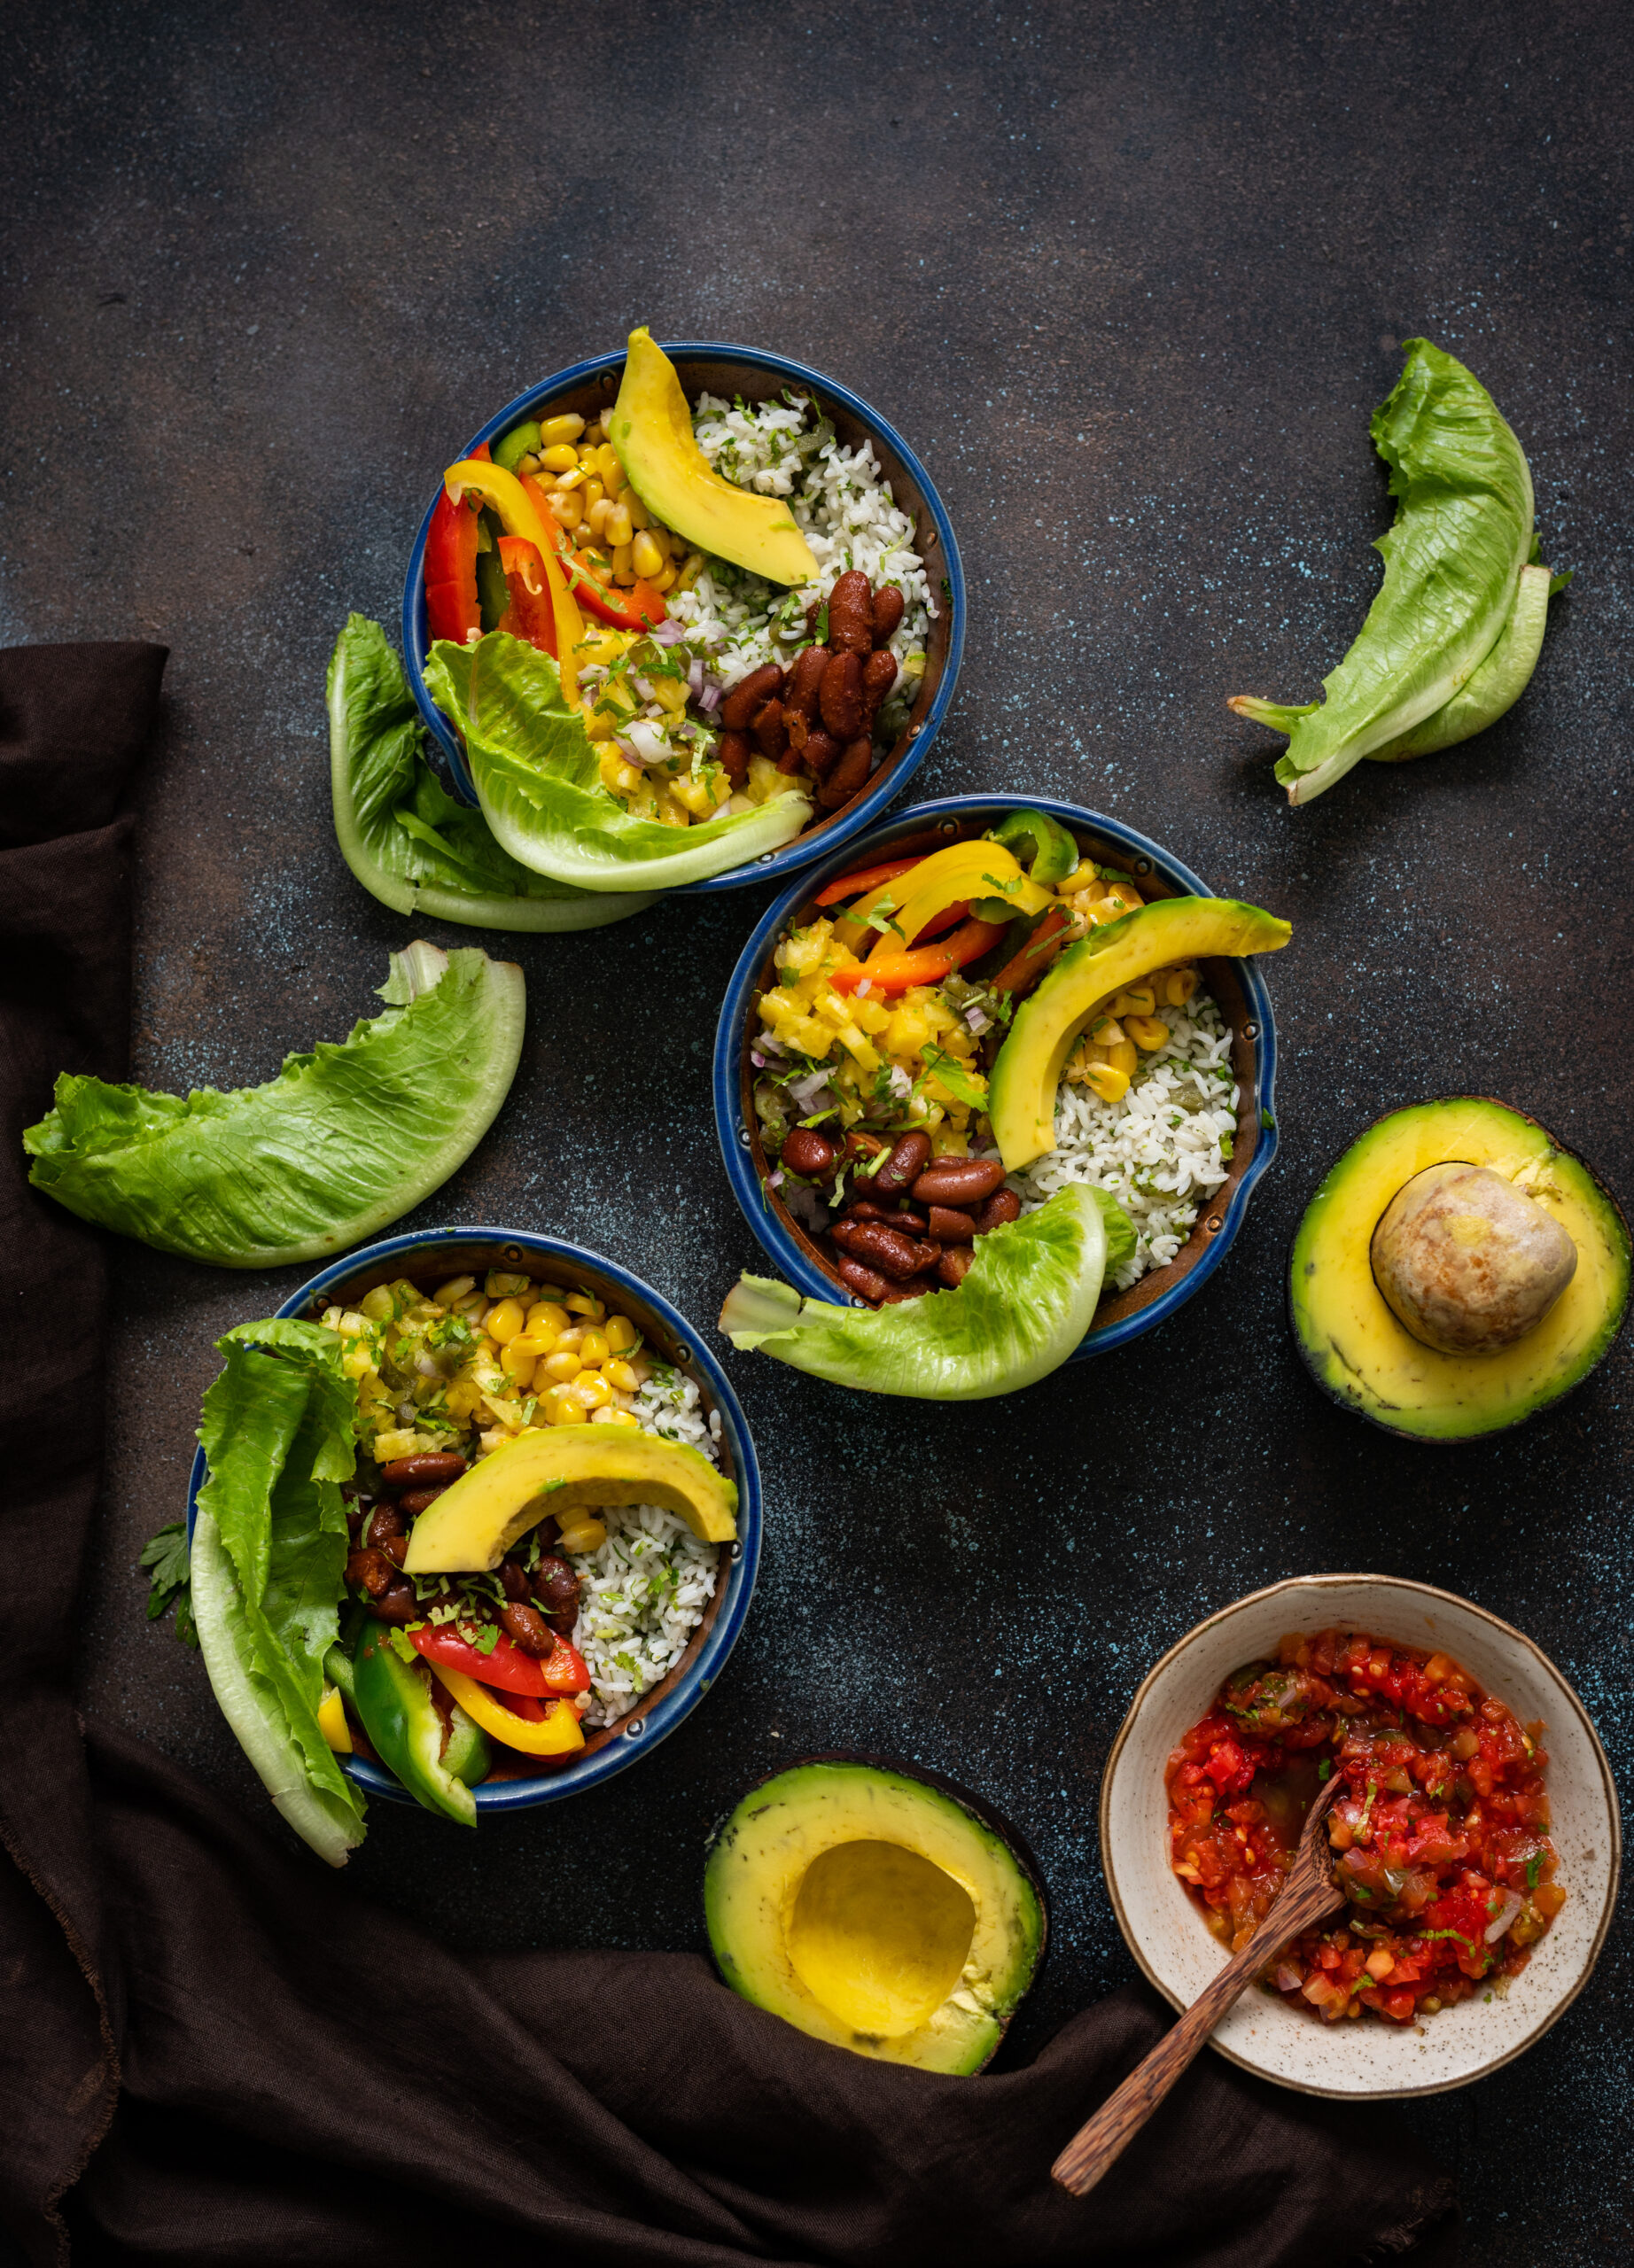
Coconut rice was one of the components of the South Indian Buddha bowl recipe, and this raw mango rice has a similar concept. It’s also like spinach rice, curry leaf rice or any other rice preparation that infuses the flavours of a particular ingredient. It’s interesting how we efficiently and creatively play up staples like rice as well as rotis through simple ways to elevate the basics. Seasonal flavourings are especially popular, just as it is with the recipe I am sharing today.

What I have growing at home are killimooku mangoes, known for their distinctive parrot-beak shape, as described in this raw mango cooler recipe. To my friends and readers around the world – did you know that every single kind of mango has its own flavour? My mother taught me how to select mangoes when I was very young, so I’m adept at differentiating between many of the popular variants on the market at the moment (although India has so many types of mangoes that to tell them all apart would truly be a kind of expertise!). My personal favourites are sweet, juicy ones – specifically the Ratnagiri Alphonso grown in Maharashtra (the state shares a common border with Telangana, where the slightly different Andhra Alphonsos are grown) and the Banagapalli grown in Andhra Pradesh’s Kurnool district, which can come in such large sizes that a single mango can sometimes suffice as an entire meal. Today, however, I’m reaching for what is literally in my backyard. The killimooku is not very sour, but neither is it sweet. It carries a lovely tang that truly uplifts the taste of rice.

This raw mango rice is both easy to prepare and highly adaptable. It travels well, so it’s perfect to pack for a day trip. It can be eaten plain, so you won’t even have to worry about any spills from the accompaniments. It can also work quite well in a Buddha bowl. I presume, based on the flavour palate, that it can be matched exquisitely with a fish curry, and I’d love to hear from those of you who enjoy seafood about how this recipe works in such a meal.

I made a large pot of this over the weekend and it was consumed quite quickly at home, with my family eating it plain, with rasam, with a potato roast and so on. The idea came to me because I saw a few raw mango rice posts on Instagram recently, and realised that I hadn’t made this dish in years. I did recall that it was something we ate now and then while we were growing up, so I knew that my sister would almost certainly have our mother’s preparation in her repertoire. She lives in Bombay, whereas I am based in Chennai, and we often do recipe exchanges, wherein I share Tamil styles like kootu and poriyal with her and she pulls out authentic Gujarati dishes for me. Together, we create quite an eclectic menu. Then again, I’ve also eaten raw mango rice as part of the sumptuous banana leaf service at South Indian weddings too, so perhaps – just like the mango – we can consider this a quintessentially Indian dish!

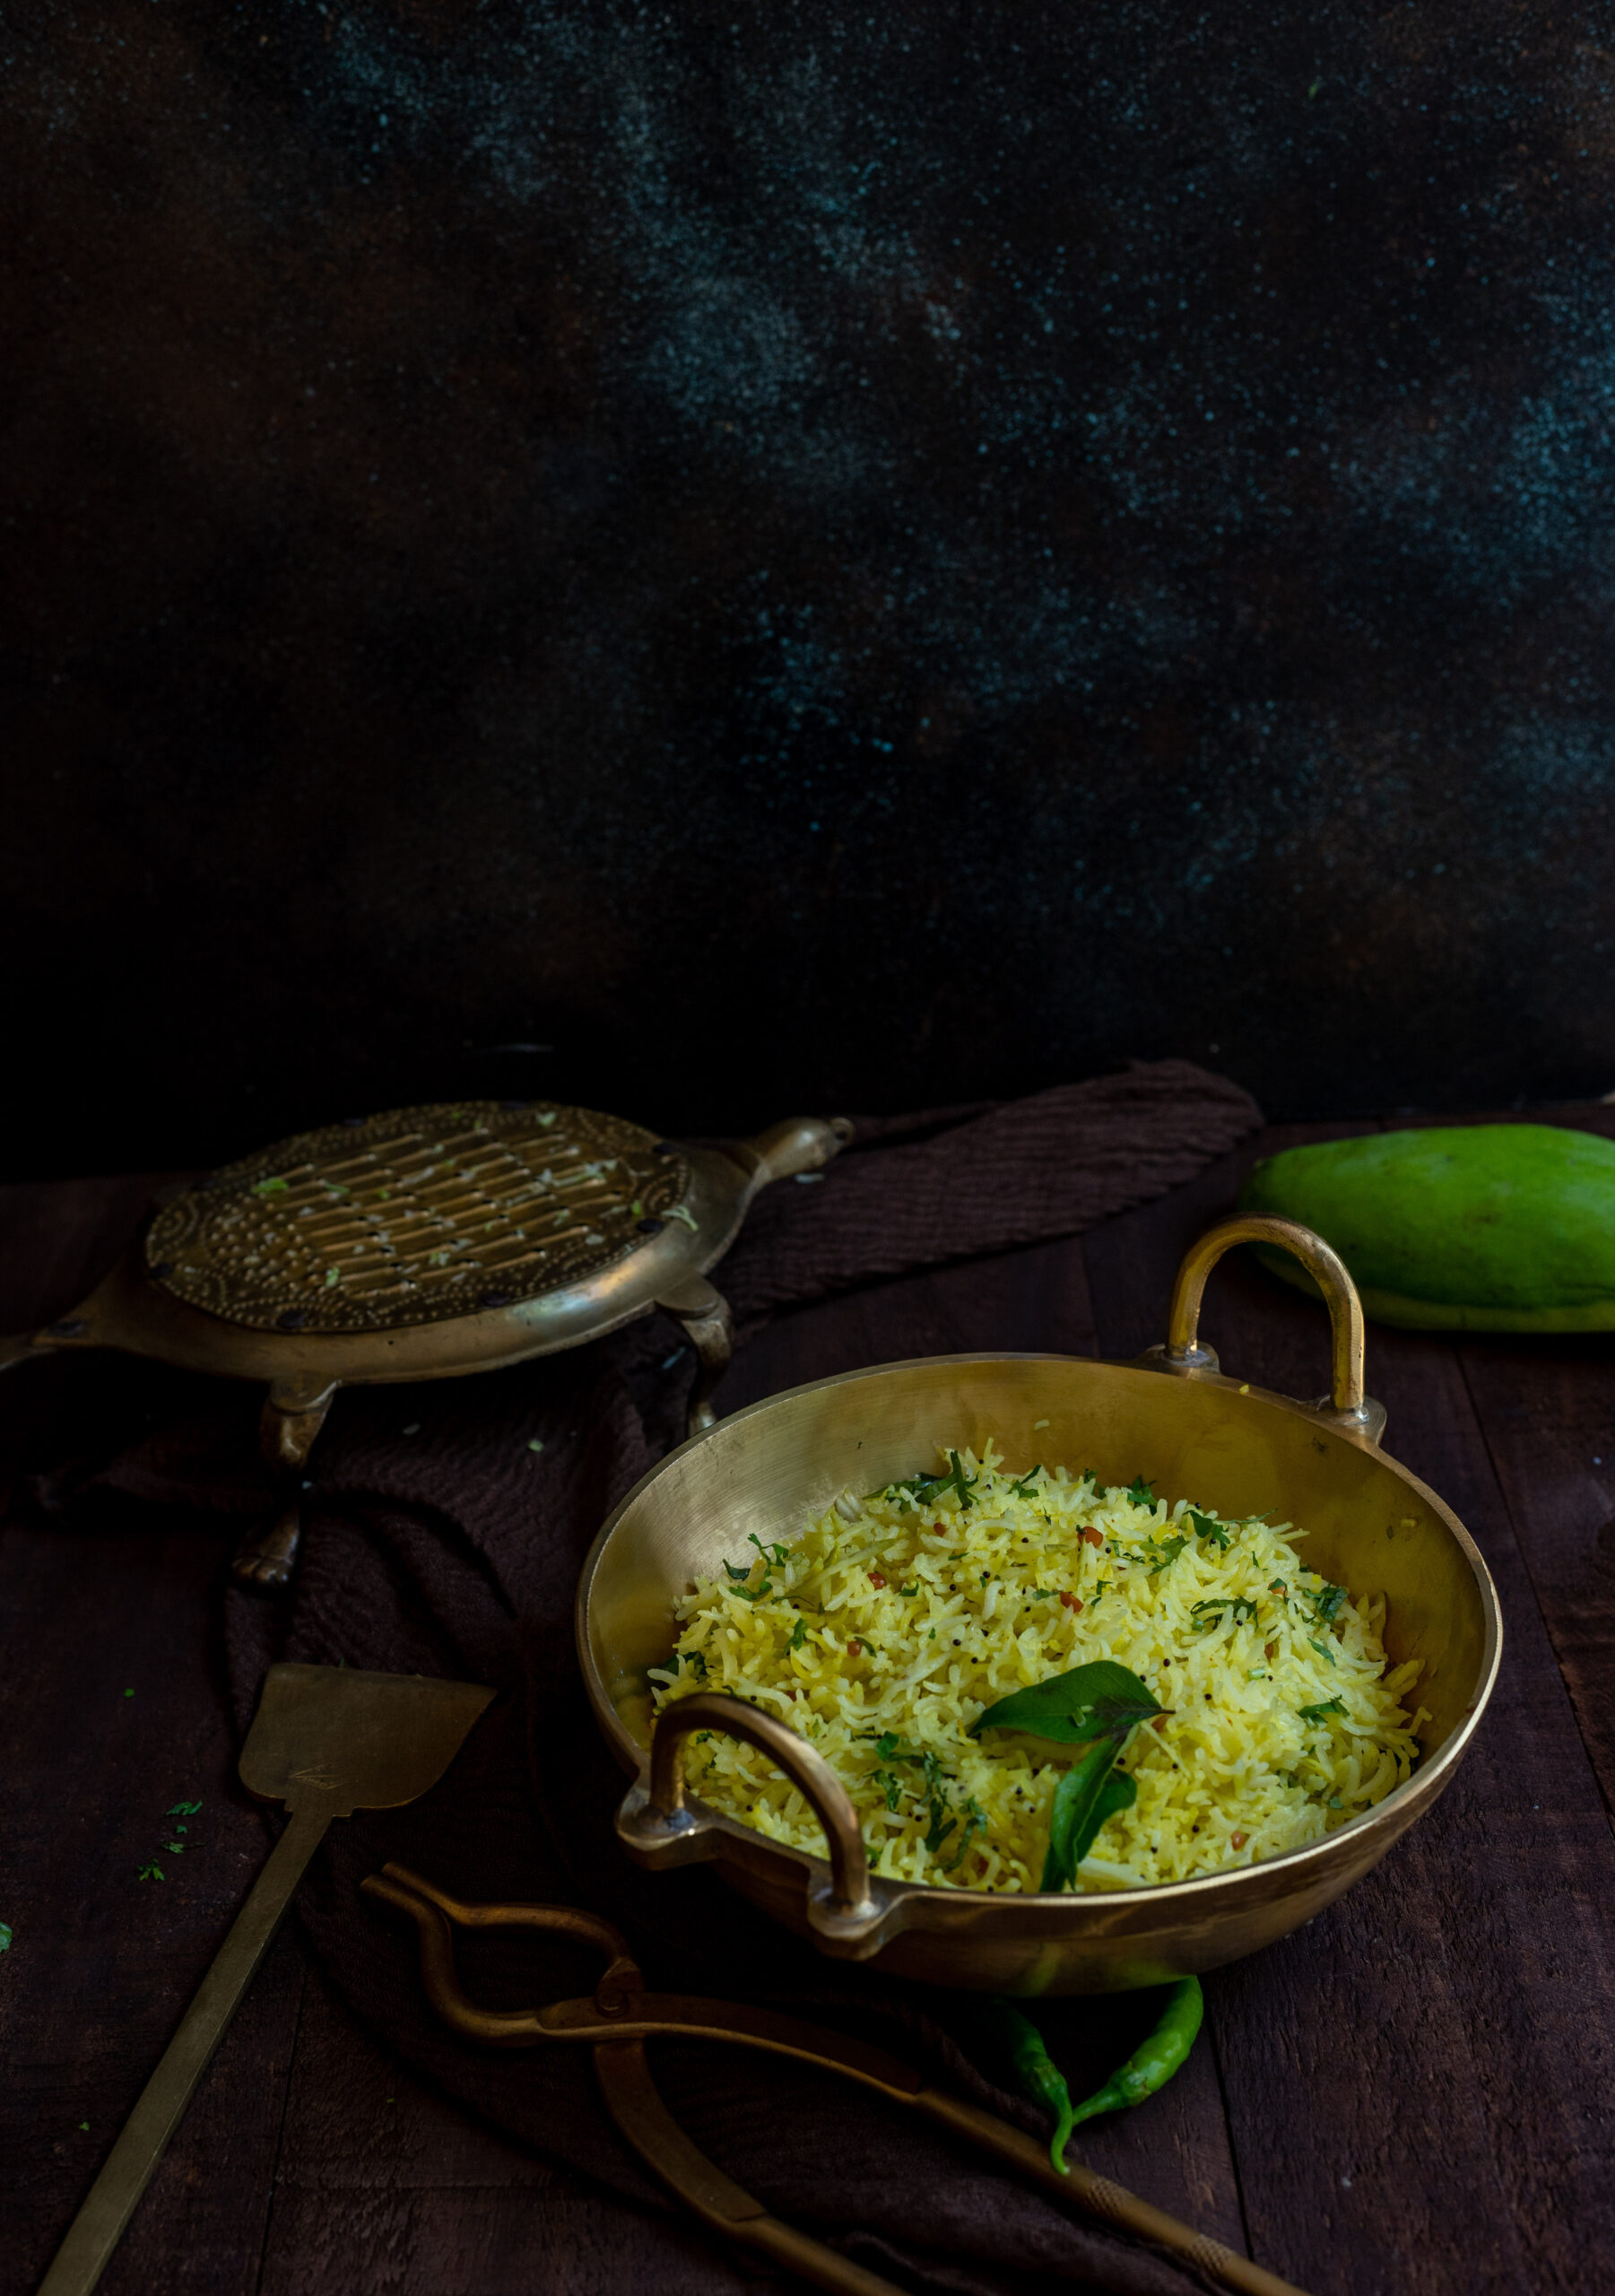
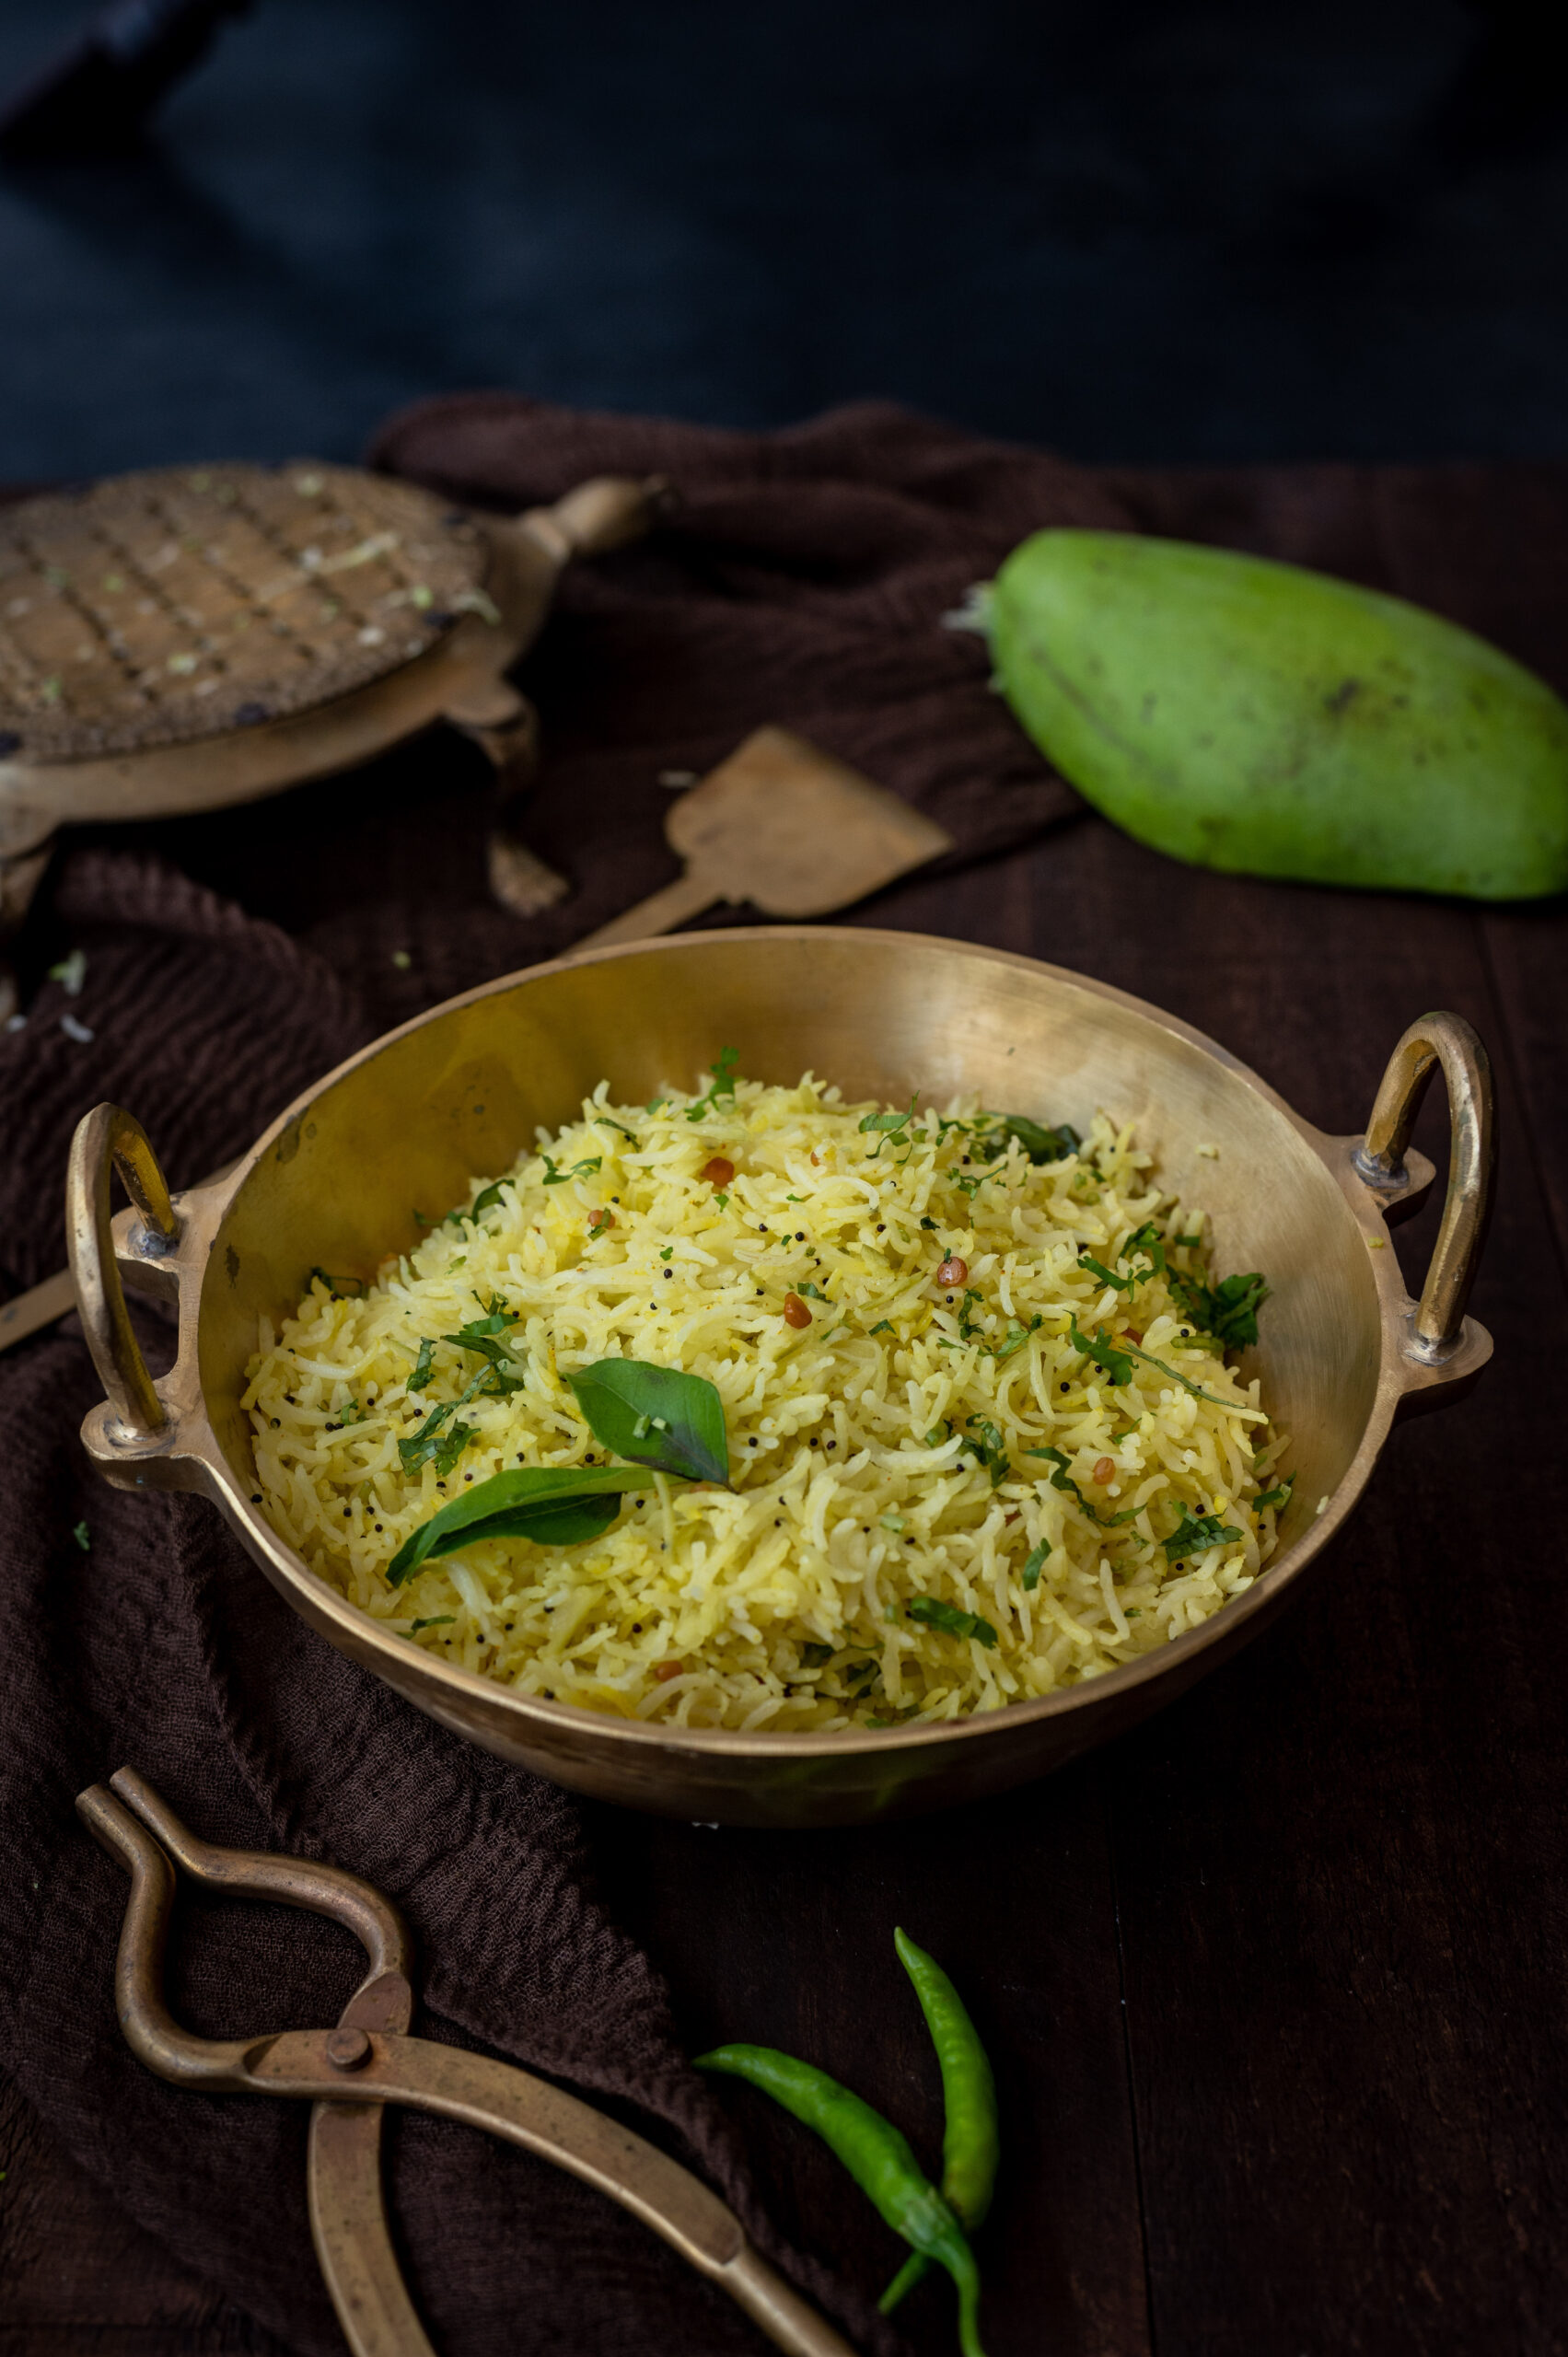
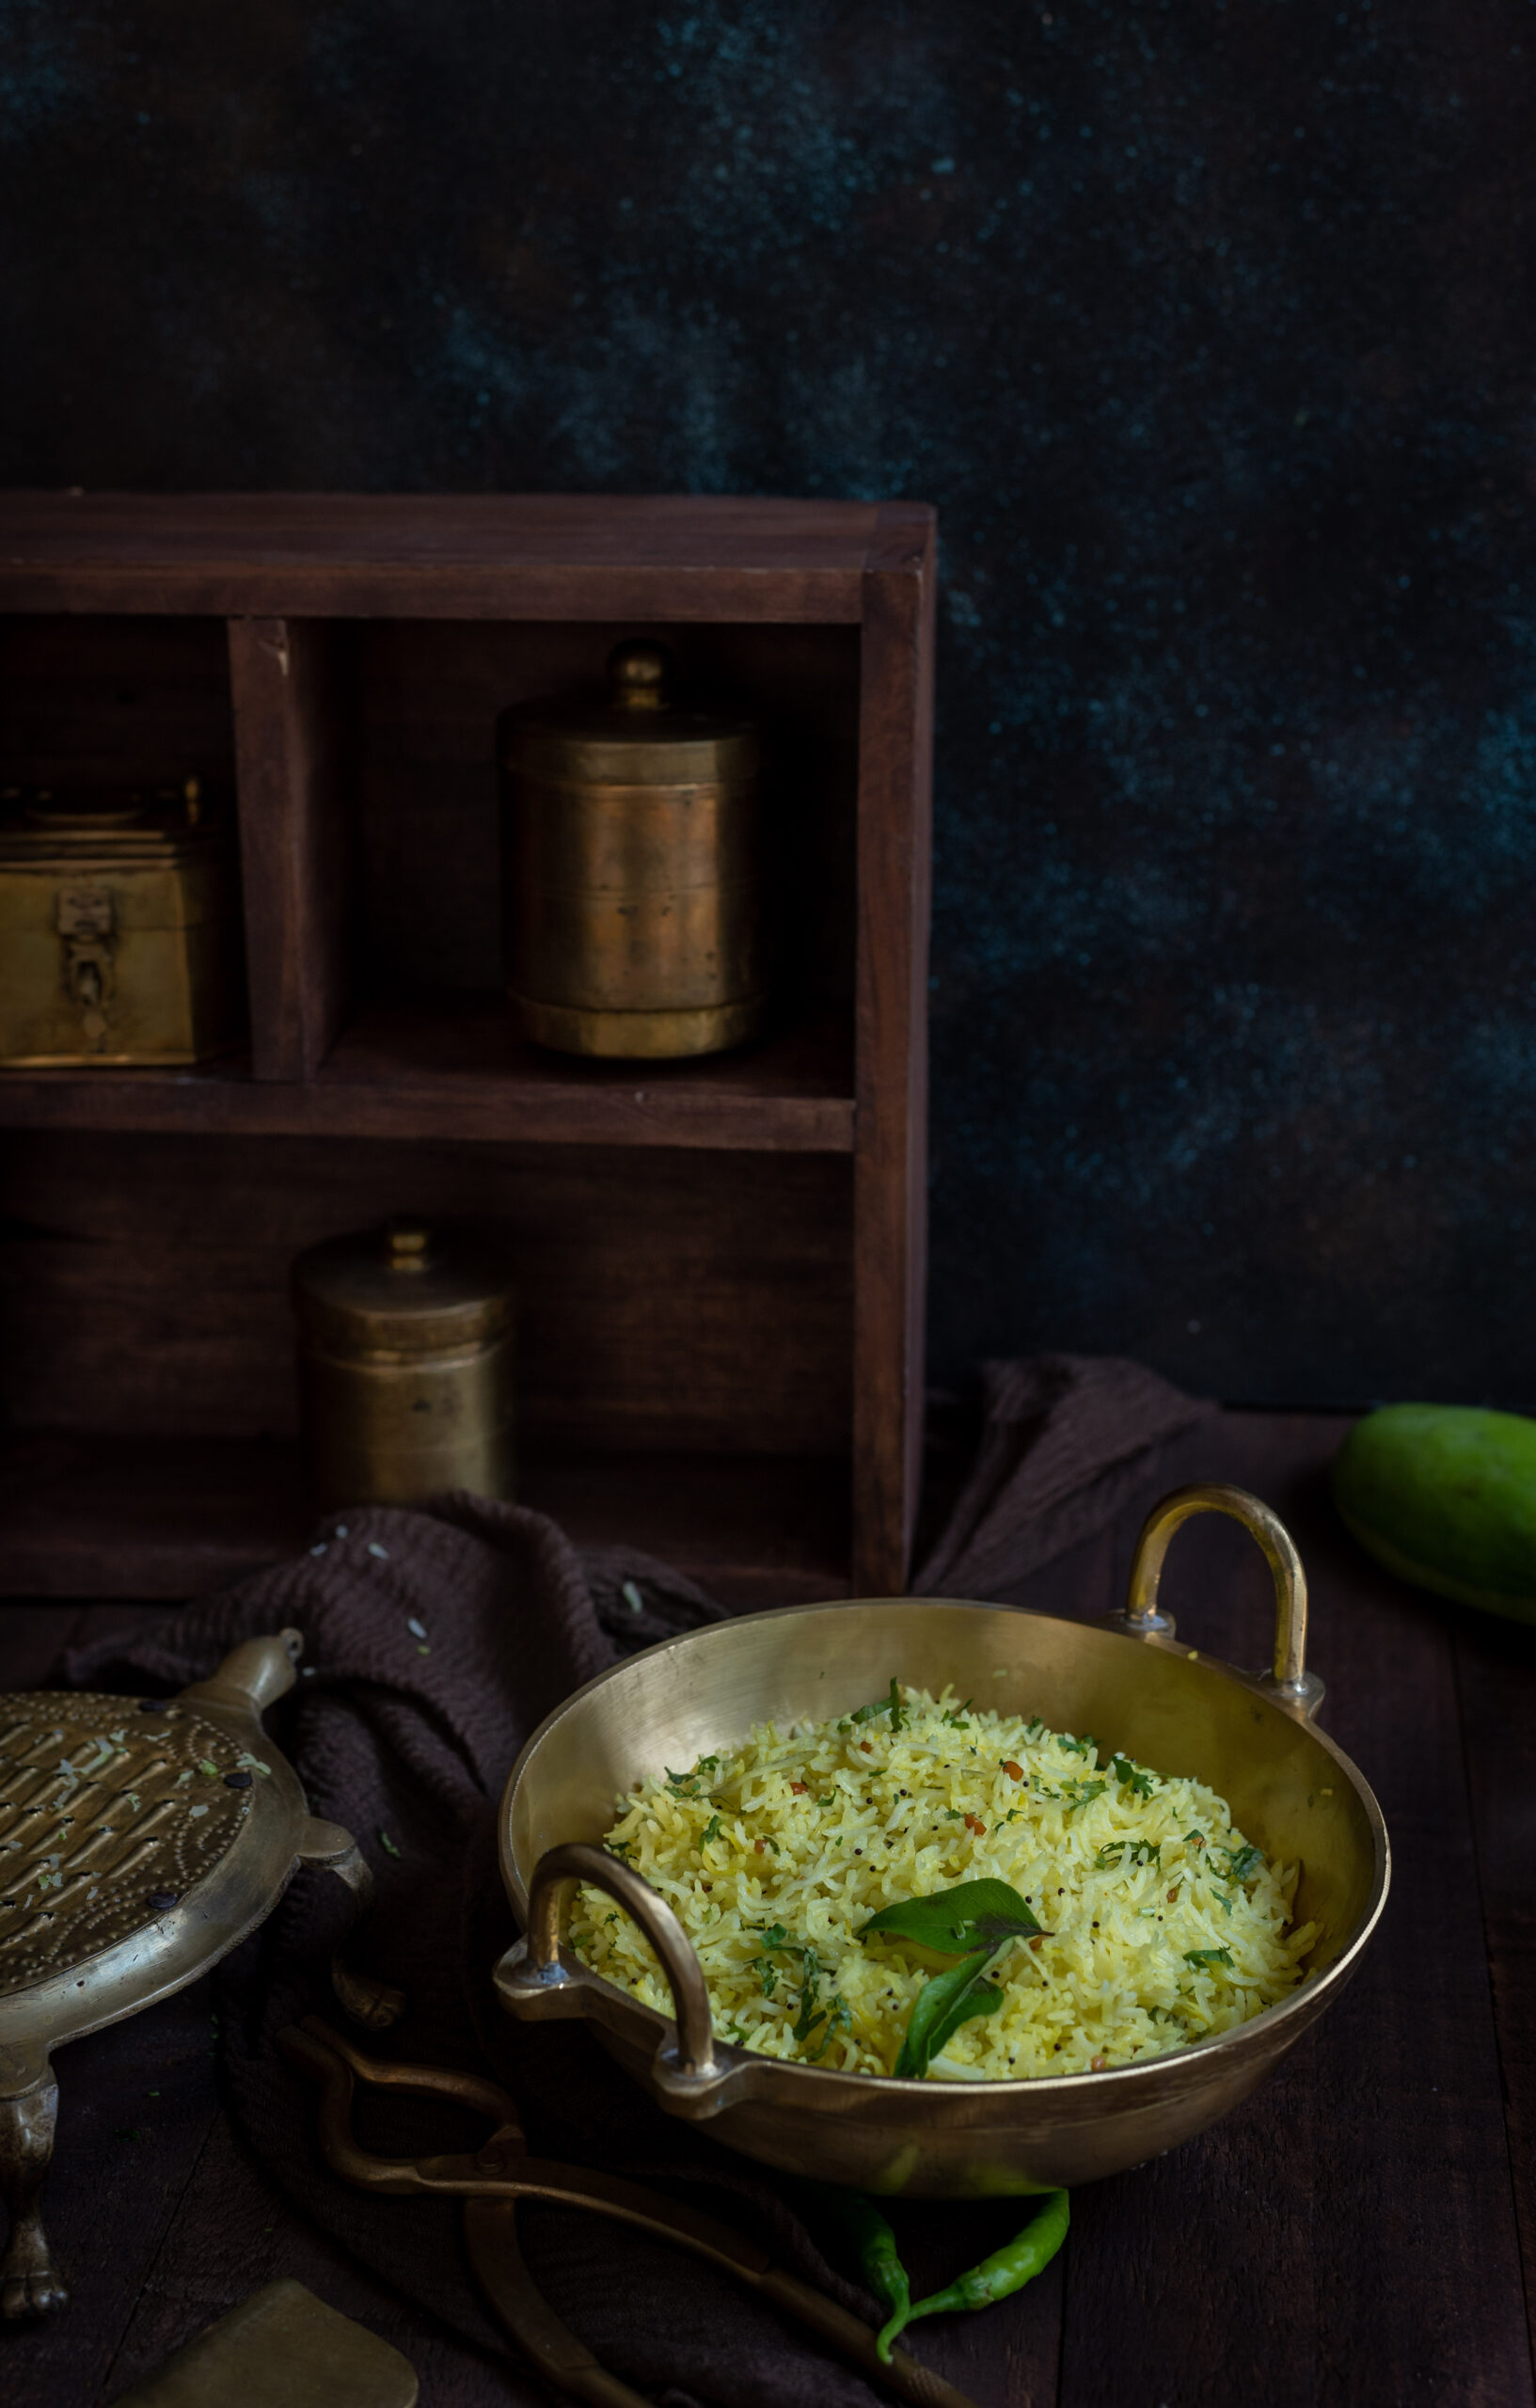
Raw Mango Rice

(Yield: Serves 2)

½ tablespoon oil

½ teaspoon channa dal

½ teaspoon urad dal

½ teaspoon mustard seeds

1 green chilli (sliced)

A few curry leaves

½ teaspoon turmeric powder

2 cups cooked rice

1 cup raw mango (grated)

Salt to taste

A pinch of asafoetida

Coriander leaves (to garnish)


Heat a kadai and add the oil. Once it has heated, add the channa dal and the urad dal. Allow them to turn golden, and then add the mustard seeds. Once they begin to splutter, add the asafoetida, curry leaves and green chilli.

Next, add the rice and the turmeric, along with salt to taste. Mix gently. Once it has all come together, turn off the flame. Finally, add the grated mango and mix once again. If you only have access to sour mangoes, rather than the delicately sweet-sour killimooku variant that I have used, use a smaller quantity than listed above.

Garnish with coriander leaves and serve hot with the accompaniments of your choice, or plain and simple. As I said earlier, I’m very curious to know how you’ll pair this rice, and I would simply love to hear about it from you in the comments!

For centuries, Gujaratis observed the harvest season of Sankranti (which takes place in January) with a special dish, a seven-grain khichdo which celebrated the bounty of the earth. It was originally made with fresh, still green grains, and cooked for many hours in a large brass pot on coal. It would be prepared right before the harvest itself, when the grains would be ripe and tender. What constituted the seven key ingredients of the recipe depended on what was being grown, and some ingredients that we may think of as being legumes or lentils also qualified. It was also sometimes made with fewer. It was called “saat dhaan” – “seven grain” – when made with all the staples, and “paanch dhaan” – “five grain” – when a couple were eliminated for reasons of convenience, availability or taste. Pearl millet (bajra), wheat, rice, split pigeon peas (toor dal), sorghum (jowar) and green gram (moong dal) were among the traditional staples used. Over time, changes in agriculture and culinary life have allowed us to enjoy this wonderful dish whenever we please.

Even still, it’s a dish with a long preparation and cooking time, so I think of it as a Sunday dish – the kind that you begin working on as soon as you wake, and which is hot and ready just in time for lunch with the whole family. This was exactly how I used to see it being prepared in my sister’s home when I would visit her when she first got married. Her mother-in-law made an amazing seven-grain khichdo, and I would observe as she soaked each ingredient separately early in the morning, then as she literally pulled out the big old brass pot and coal in order to cook it in the time-honoured way. I had the good fortune of experiencing this whole process, just as I used to watch my own mother make Navaratri handvo authentically. Biting into the piping hot khichdo when she served it at lunch after having worked on it since the crack of dawn was unimaginably beautiful. My sister and I now make this khichdo in our own ways, with our modern appliances, but of course it’s her mother-in-law’s recipe that inspired us to keep this time-consuming (but so rewarding) dish in our own repertoires.

Another significant change that has come with urbanisation is that while certain ingredients began to become available year-round, access to fresh ingredients became limited. Thus, a contemporary saat dhaan khichdo will be more likely to use dried ingredients. Here, too, availability determines what you can use. For instance, in Gujarat and Maharashtra you can get readymade chaffed wheat, with the skin removed. I haven’t been able to procure the same in Chennai, so I have to pound the grain gently, to remove the outer covering.

Hand-pounding each grain individually is an important part of the process when using dried ingredients. Each one needs a different type of pressure. Bajra and jowar can be pounded very coarsely, for example, whereas wheat breaks when you do so. Of course, if you happen to have the tender green grains, there’s no pounding required.

Then there’s the individual soaking too, with each grain requiring a different duration. Wheat, bajra and jowar take the longest, whereas rice can be soaked a few hours after the overall preparation has started. As you will likely be making this khichdo with a mix of readymade, hand-pounded or fresh grains that you have available, do use your familiarity with the ingredients to determine the preparation time you need. In addition to the grains mentioned earlier, some I have used or heard of being used in this khichdo include black-eyed peas and green chickpeas too. It just comes down to availability, but the trick is to strike a balance between heavy grains and the lighter variants.

That is because this seven-grain khichdo is itself a very filling dish. While it was a part of Sankranti traditions that honoured the harvest, there is also a science as to why it was made this way. Mid-January would still be winter in Gujarat, and a heavy dish like this made of up whole grains would take a long time to digest. It would increase the metabolism and keep the body warm through the day. It is meant to be enjoyed at lunch, served hot and without need for accompaniments, except some pickled green chilli and kadhi (which is similar to more kolumbu) if you have it.

In terms of spices, the authentic version of this dish required no sautéing and very minimal spices. Everything just went into the large brass pot and cooked away for hours. The flavours of the grains would be allowed to dominate, with just a bit of ajwain (which aids digestion), and the two quintessentials of turmeric and salt being added. That and ghee – a couple of dollops of glorious ghee are an important part of this khichdo.

My sister’s mother-in-law would include a bit of dhaniya-jeera (coriander-cumin) powder, while my sister chooses to add curry leaves and garam masala. I don’t use any of these, but I do use tomato. Play around as you wish to as well, until you hit on the seasonings you most enjoy.

Seven-Grain Khichdo

(Yield: 2-3 persons)

25 grams whole wheat (chaffed)

15 grams broken bajra

50 grams rice

15 grams green whole mung

15 grams yellow split mung dal

¼ cup green peas

¼ cup fresh green pigeon peas

Water to cook

2 tablespoons ghee

½ teaspoon ajwain (carom seeds)

¼ teaspoon asafoetida

1 crushed tomato

¼ teaspoon turmeric

Salt to taste

1 – 2 cups hot water

Soak the grains individually until they are tender to touch, in water about an inch higher than the level of the grains.

When cooking, add 2½ times water to the quantity of grain.

You may pressure cook the bajra and wheat together as it takes a longer time to cook these grains. Set aside.

Next, pressure cook the rice and green whole mung and yellow split mung dal together. Set aside.

In a kadai, add ghee and once it becomes hot, add the ajwain first and then the asafoetida. Next, add the crushed tomato and then all the spices.

Now, add all the grains together to the hot, spiced ghee in the kadai. Stir on a medium to low flame.

Keep stirring. Add some hot water if required, especially if you like the khichdo to be soft as I do.

Once cooked, serve hot along with a garnish of green chili and coriander leaves.

The long preparation and cooking processes that go into a good seven-grain, or even five-grain, khichdo mean that it’s really meant to be a feast, just as it originally was during Sankranti. I recall how whenever my sister’s mother-in-law prepared it, she would distribute it to their neighbours as well. It is a meal in itself, meant to be shared, and meant to be consumed immediately after the many hours that the cook would have spent putting it together.

As with all tasty things that are best shared, I hope you’ll whip up a nice big batch the next time that you have half a day to linger over putting a meal together. Then, I hope you’ll gather your favourite people around the table, and enjoy this traditional Gujarati khichdo, with all the joy that the farmers of yore would have felt as they feasted with their loved ones right before the big harvest.

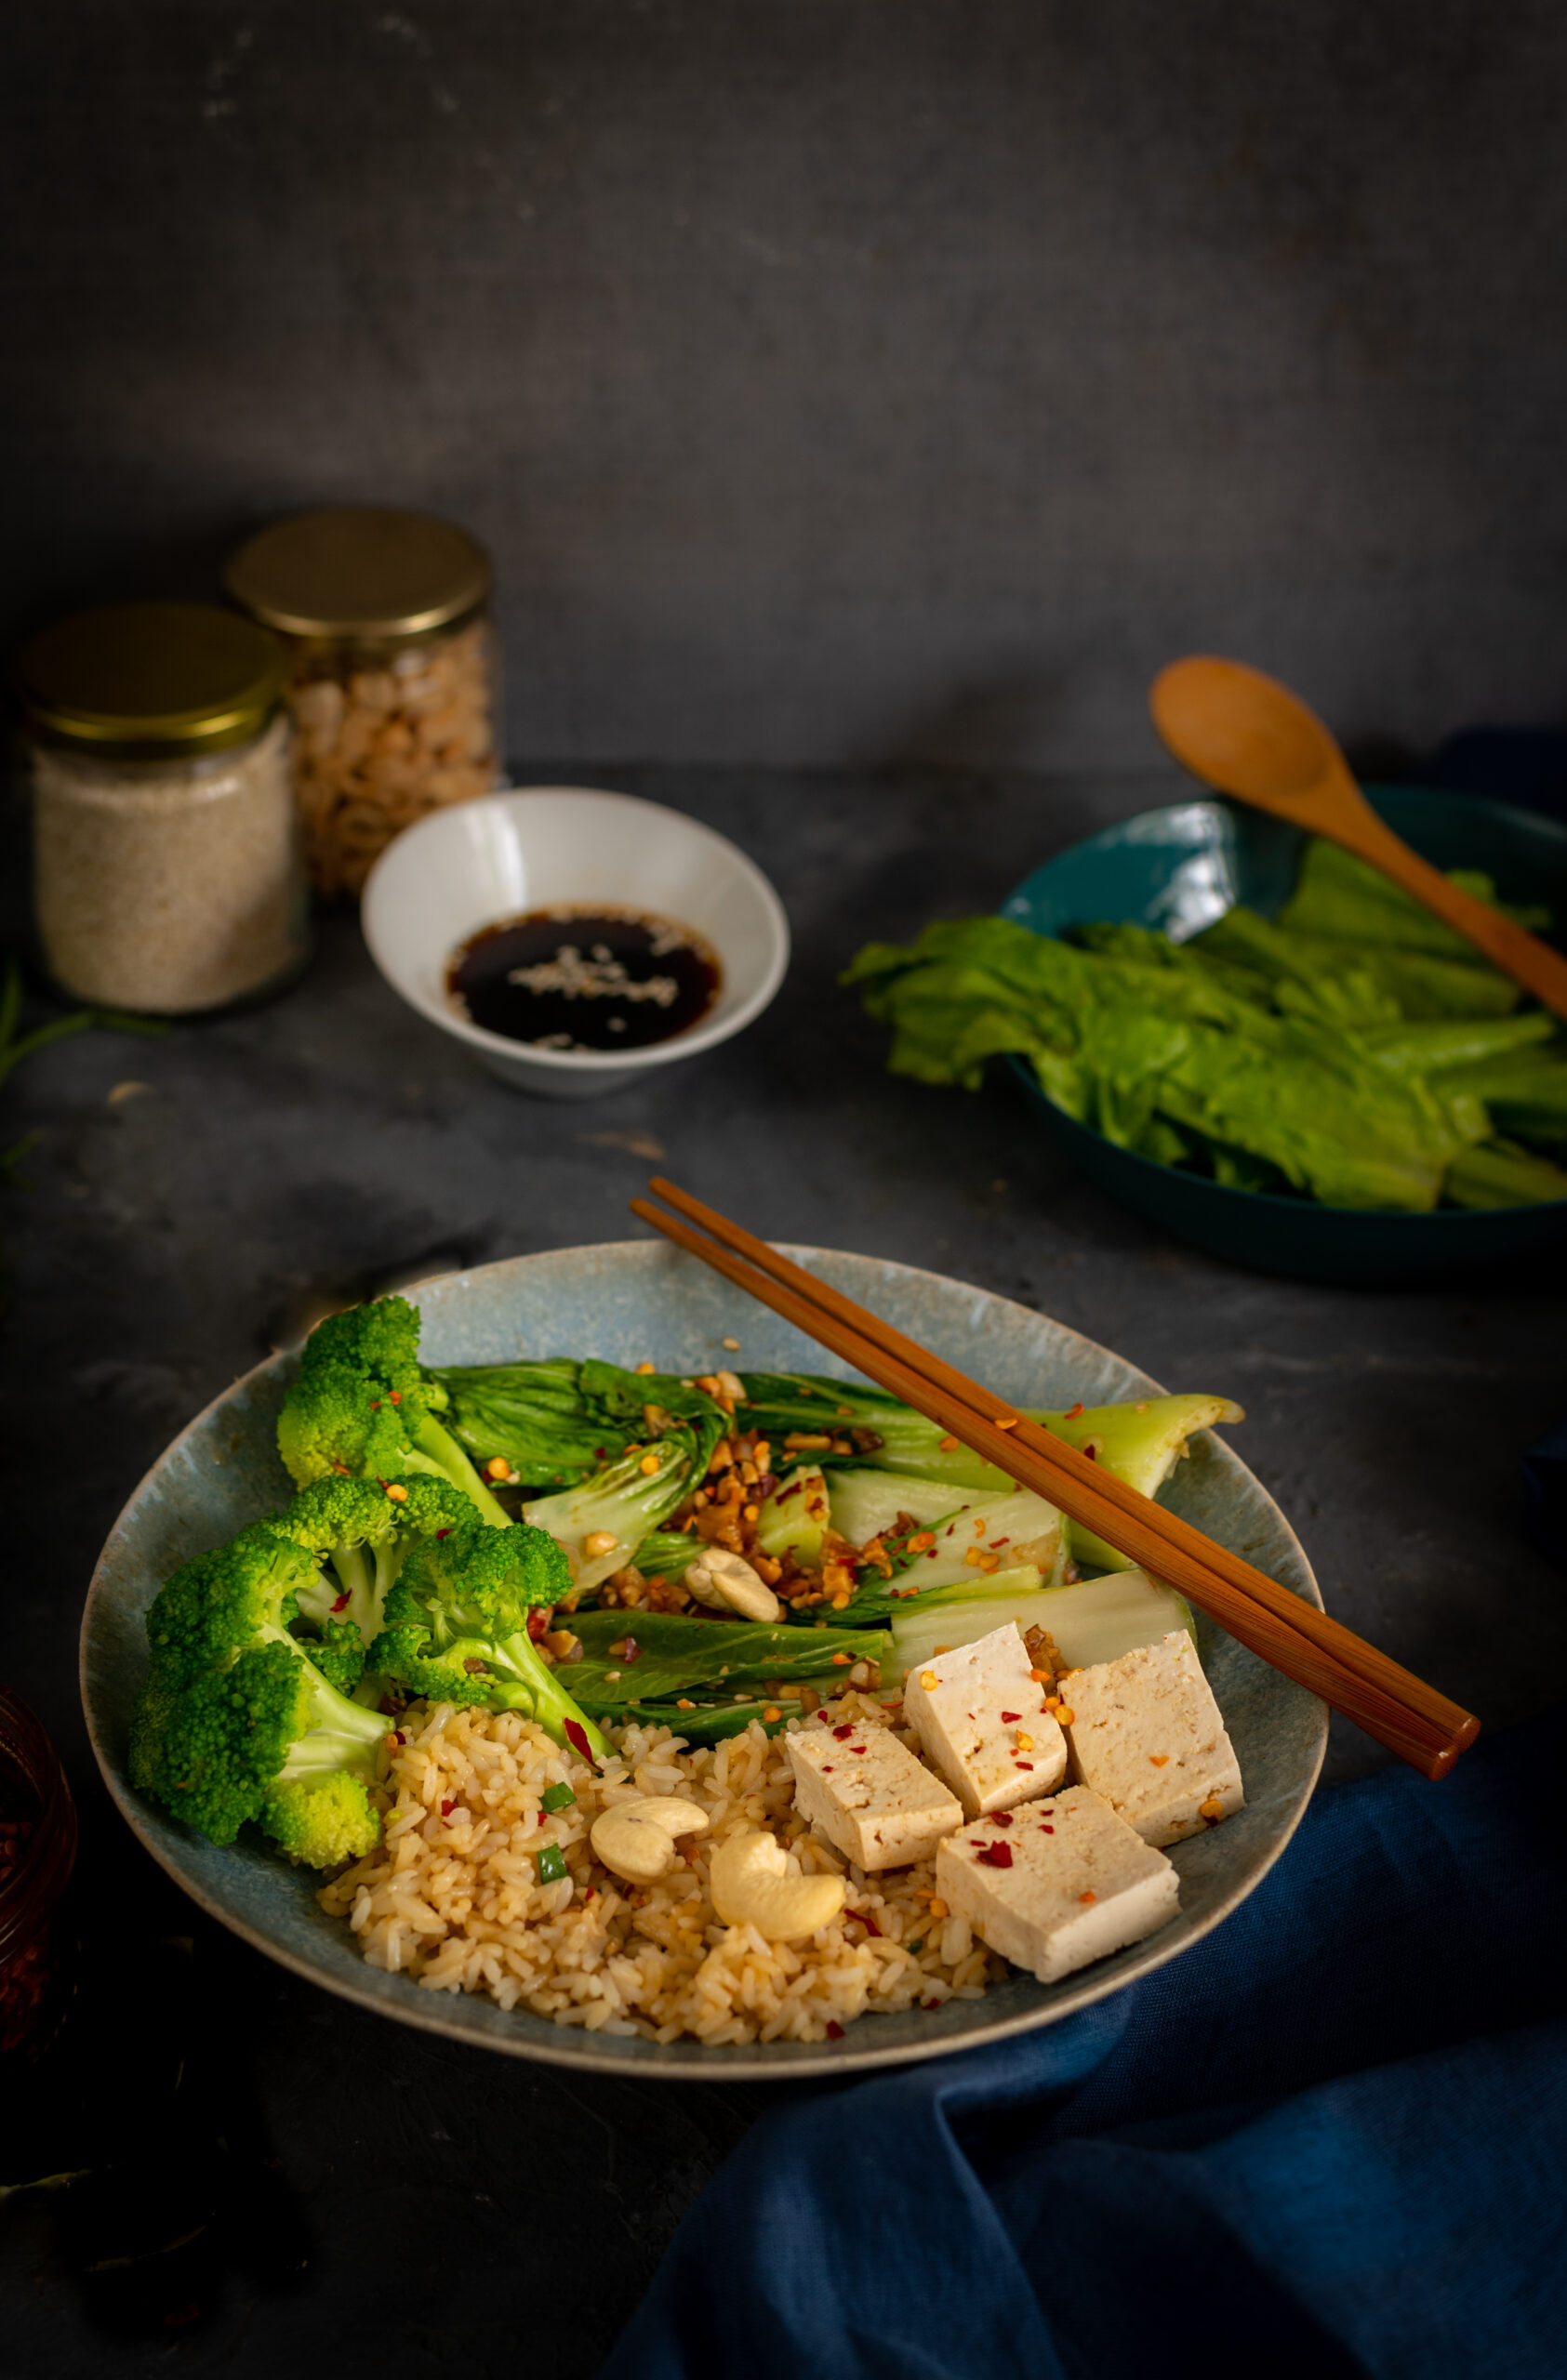
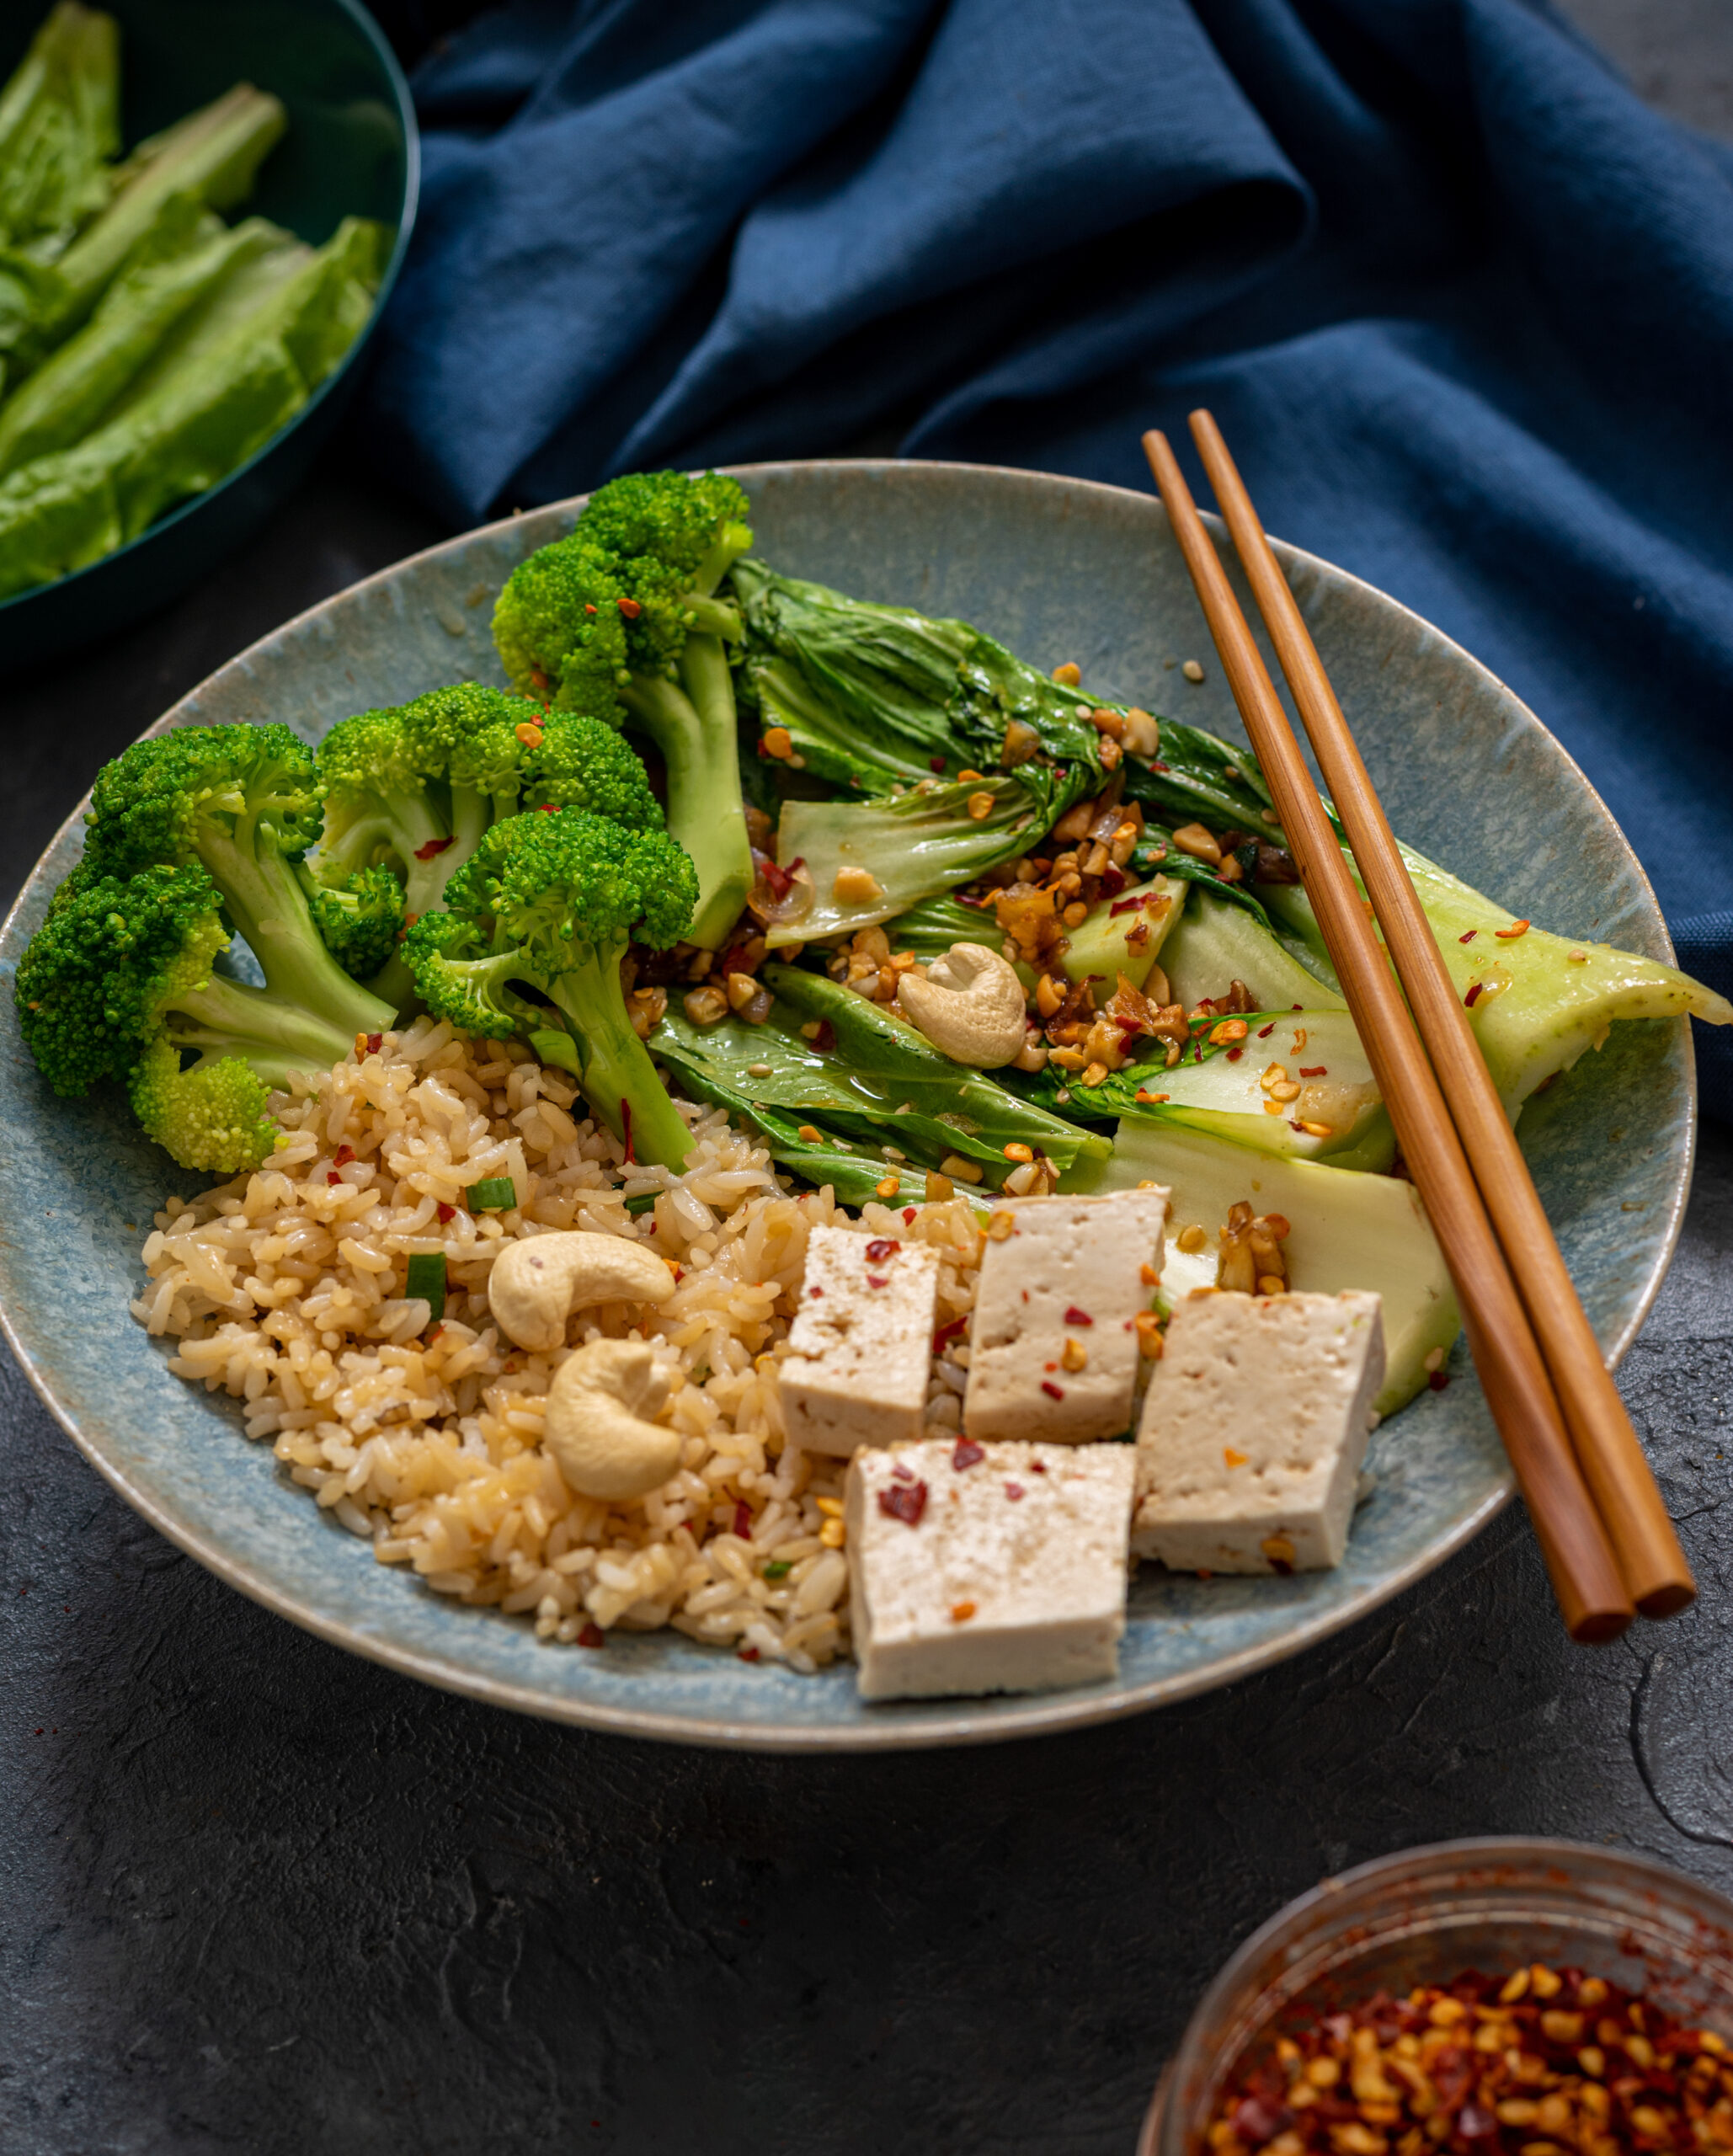
Having travelled through the tastebuds from right here in South India to Mexico and the Middle East and North Africa, the internationally-inspired Buddha bowl series on this blog arrives at its final destination: back on this continent. As I’ve said earlier, every one of these dishes qualifies as fusion cuisine, a tribute influenced by foreign flavours but by no means authentic. The same goes for this delicious, garlic-infused bowl of goodness, reminiscent of cooking from East Asia.

Indians have been very fond of Asian cuisines for the longest time, and what we eat here is really its own sub-cuisine, commonly known as Indo-Chinese food. While I’ve loved ordering these dishes while dining out, I had always been under the impression that Asian cooking involved too many ingredients or prep and that it somehow wouldn’t work for me. All this changed with the lockdown, which has had my daughter living here with us for the past few months. It’s a joy to have her safely here, rather than alone in Mumbai during the pandemic, and what she’s brought along with her is her love for Asian-inspired recipes. They are her own cooking go-to. Somehow, these dishes seem to come together rather naturally for her, and they taste fabulous. Due to her influence, I’ve been leaning towards (and learning how to make) this cuisine more and more, and enjoying the homemade versions, which tend to be healthier.

Fortunately for us, the ingredients are easily available and fresh. The recipes my daughter and I make together are all vegetarian or vegan, which suits us both. We have lunch together daily, and it’s wonderful to share dishes that I’d always only associated with the restaurant experience. I belong to a generation for whom Indo-Chinese food usually had something to do with a social or celebratory occasion, as I described here, so some of those special memories are also evoked at home now too. Nowadays, due to the large expat population in Chennai, we are lucky to also have a proliferation of Korean and Japanese restaurants, giving diners lots more wonderful variety when it comes to international food. My Asian-influenced and daughter-inspired Buddha bowl below, however, takes its cues from the Indo-Chinese restaurants that I was first exposed to. As a relative newbie to recipes like this one, I can assure you that this one is so easy and so tasty to make that you’ll be whipping it up in no time too!

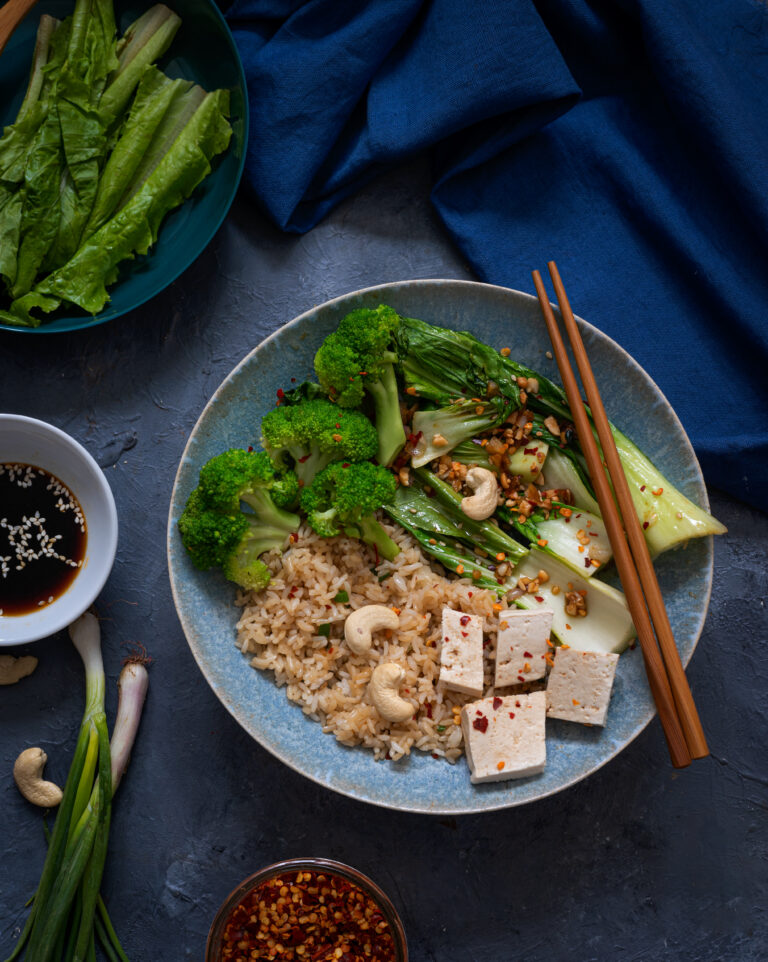
Asian-Style Buddha Bowl

(Serves 2)

Garlic Rice

2 cups cooked rice

2 tablespoons finely sliced spring onions

2 tablespoons finely chopped garlic

1 tablespoon sesame oil

½ tablespoon light soy sauce

Salt to taste

Garlic Bok Choy

1 tablespoon crushed peanuts

½ tablespoon sesame oil

1 bunch cleaned and dried bok choy

½ tablespoon sliced garlic

½ teaspoon grated ginger

2-3 finely cut shallots

¼ teaspoon honey

Salt to taste

A pinch of chili flakes

A dash of lemon

Tofu

6 – 8 slices tofu

1½ tablespoons light soy sauce

1 tablespoon hot water

A pinch of sesame seeds

¼ teaspoon honey

¼ teaspoon sesame oil

Broccoli

1 cup sliced broccoli

Salt to taste

Garnish

Cilantro (finely chopped)

Spring onions (finely chopped)

Chili flakes


As with all Buddha bowls, each component must be made separately and brought together only when you are ready to serve the meal. Begin by preparing the garlic rice. In a pan, heat the oil. Add the garlic and allow it to sauté until it is golden and aromatic. Now, add the rice. Stir. Add the salt, soy sauce and spring onions. Mix well and set aside.

Then, prepare the garlic bok choy. Heat the oil in a pan. Once it is hot, add the garlic, ginger and peanuts. Stir them together. Now, add the bok choy and the honey, allowing the flavours in the pan to coat the leaves well. Sprinkle salt, add the dash of lemon and stir. Set aside.

I prefer the leaves to be a bit raw and crunchy. However, if you like them cooked well and wilted you may make them this way. You may also replace the peanuts with cashew nuts. If you have a nut intolerance, you can avoid the nuts altogether.

To prepare the tofu, first stir all the ingredients except the tofu together in a cup to make a sauce. Set this aside. Now, sauté the tofu lightly in oil.

To prepare the broccoli, drop the sliced vegetable in hot water for a few minutes. If you prefer to, you may sauté it next, or leave it as is. Remove and sprinkle with some salt.

Start assembling the bowl by plating the rice, followed by the boy choy and the broccoli. Finish these off by adding the tofu, which you can top with a teaspoon of the prepared sauce. Place the remaining sauce near the bowl to use as a dip for the tofu and even for the vegetables, if you like them crunchy like I do.

Before serving, garnish the bowl with the cilantro, spring onions and red chilli flakes. As I said right at the start of this series, a beautiful bowl allows the eyes to feast first, and I encourage you to pick one out that elevates your experience of the meal.

I hope you’ve enjoyed these Buddha bowl recipes, which pay tribute to different cuisines that I have loved. For other meal-in-a-bowl dishes, do click on the link and see some of the recipes I’ve shared over the years that fit the bill. Some of my favourites include two Indian classics, the dal dhokli and khatta mung, as well as another Asian-style dish, a stir-fry. I hope you’ll check them out!

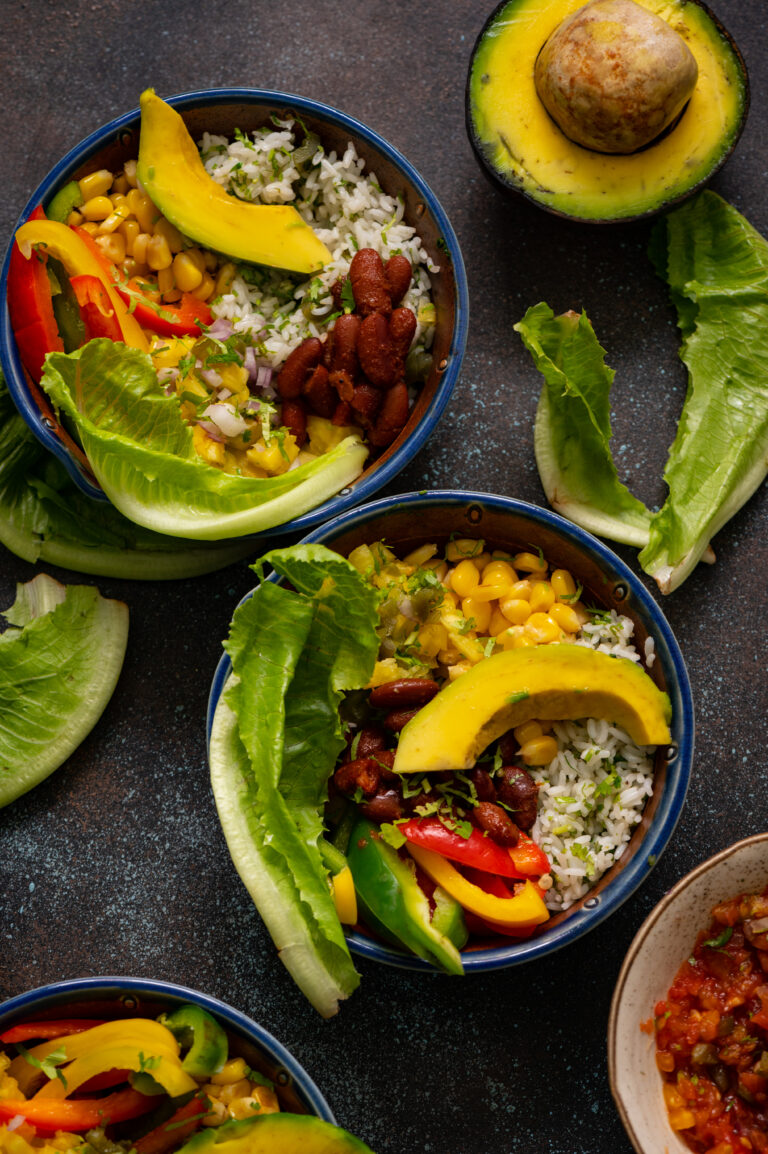
As promised, the Buddha bowl series now goes international, after the comfortingly familiar South Indian Buddha bowl. This is a Mexican-influenced Buddha bowl, and I’m making sure that you notice that I emphasise the word influenced.  My family enjoys Mexican-style cuisine very much, and I always end up making the more popular dishes, such as tacos, salsa, nachos and even my vegan take on chili, which you may remember from awhile back (this is a vegan recipe too). But over the years, whenever Mexican friends have visited my home, as much as they relish the meals I put together for them, they also tease me by saying that my style is Indian-Mexican, not authentic. I’m proud of this though. To me, fusion cuisine is all about feeling inspired and bringing different worlds together.

I’ve only spent one night in Mexico, en route to Cuba several years ago. That night, my family and I enjoyed dinner at a really nice restaurant, where we ordered a delicacy featuring black ants as a key ingredient. While I didn’t have a bite, my kids found the dish crunchy and tangy and very exciting. What to us was an adventurous dish was just local cuisine in another part of the world. Most of the Mexican food we had tried before was in the USA, and that too must have been one degree removed from authenticity. So to return to today’s Buddha bowl, let’s just say that it has a hint of Mexico, my culinary interpretation.

I often make this Mexican-influenced recipe for lunch, and the current abundance of avocados on the market is all the more reason to do so. These come from Karnataka, where the climate is conducive for their growth. Perhaps it’s because of my Macrobiotics background, but I feel that when all the ingredients in a dish are locally sourced, they tend to go together better. Aside from the fruit, the bowl contains cilantro rice, beans, vegetables and two types of salsa.

I was thinking about the term “Buddha bowl”, and although I know it’s a recently coined term, I believe I can imagine the thought process behind it. Could it be that it was because the Buddha carried a bowl for alms, and as he went from home to home, always received a motley combination of foods, just like the different components of this modern dish?

Carrying a bowl to seek food alms also exists in the Jain community, which many members of my family belong to. My sister, who lives in Mumbai, frequently has saintly women and men come to her home. They carry a bowl, called “patra”, and are supposed to graciously accept whatever is offered to them, although they can request a preferred quantity so that there is no wastage. The alms they receive are called “bhiksha”. Their arrival is considered a blessing, and whatever has been cooked at home that day will be shared with the monks, who are known as “Mahasatiji”. In the Stanakvasi sect of the Jain Shwetambari tradition, there is no idol worship, so the preaching of these monks is sacred and so is their presence. Whenever a Mahasatiji has come by while I’ve visited my sister, I’ve noticed that it feels like a special occasion. There is some protocol involved: the person offering alms needs to have bathed, there is some chanting, and then the Mahasatiji will bless the home before moving on to the next one, where the next person offering alms will look into the bowl and determine what to offer. If my sister had offered roti, for example, they will ensure they offer something that goes with it.

The Mahasatijis also ask for a teaspoon of chickpea flour, which they use to dry wash their patras. They won’t even waste this, as they will let this dry and eat it as well. They do not use soap due to the chemicals, and refrain from electricity too, so they take the stairs up six floors to my sister’s house. The tradition has many principles based on nature and doing no harm.

The patras themselves are made of natural wood, with lacquer, and I have seen them being sold as antiques as well. Perhaps I noticed this because I am always looking for interesting crockery and props for my photoshoots. What kind of vessels do you serve your Buddha bowls in? I’d love to know, as you try out more of this series.

Mexican-Influenced Buddha Bowl

(Serves 2)


Beans

½ cup beans (soaked overnight)

2 tablespoons tomato purée (find my recipe here)

Salt to taste

1 tablespoon olive oil

1 tablespoon chipotle cooking paste


Tomato salsa

2 tomatoes

Salt to taste

3 slices jalapeño

1 tablespoon cilantro

1 tablespoon finely chopped onion

1 tablespoon olive oil


Pineapple salsa

2 cups finely chopped pineapple

2 tablespoons finely cut jalapeño

2 tablespoons cilantro

2 tablespoons finely cut onion

Salt to taste

Spicy red sauce


Cilantro Rice

1½ cups cooked rice

1 tablespoon oil

¼ cup finely cut cilantro

½ lemon

2 slices jalapeños

Salt to taste


Vegetables

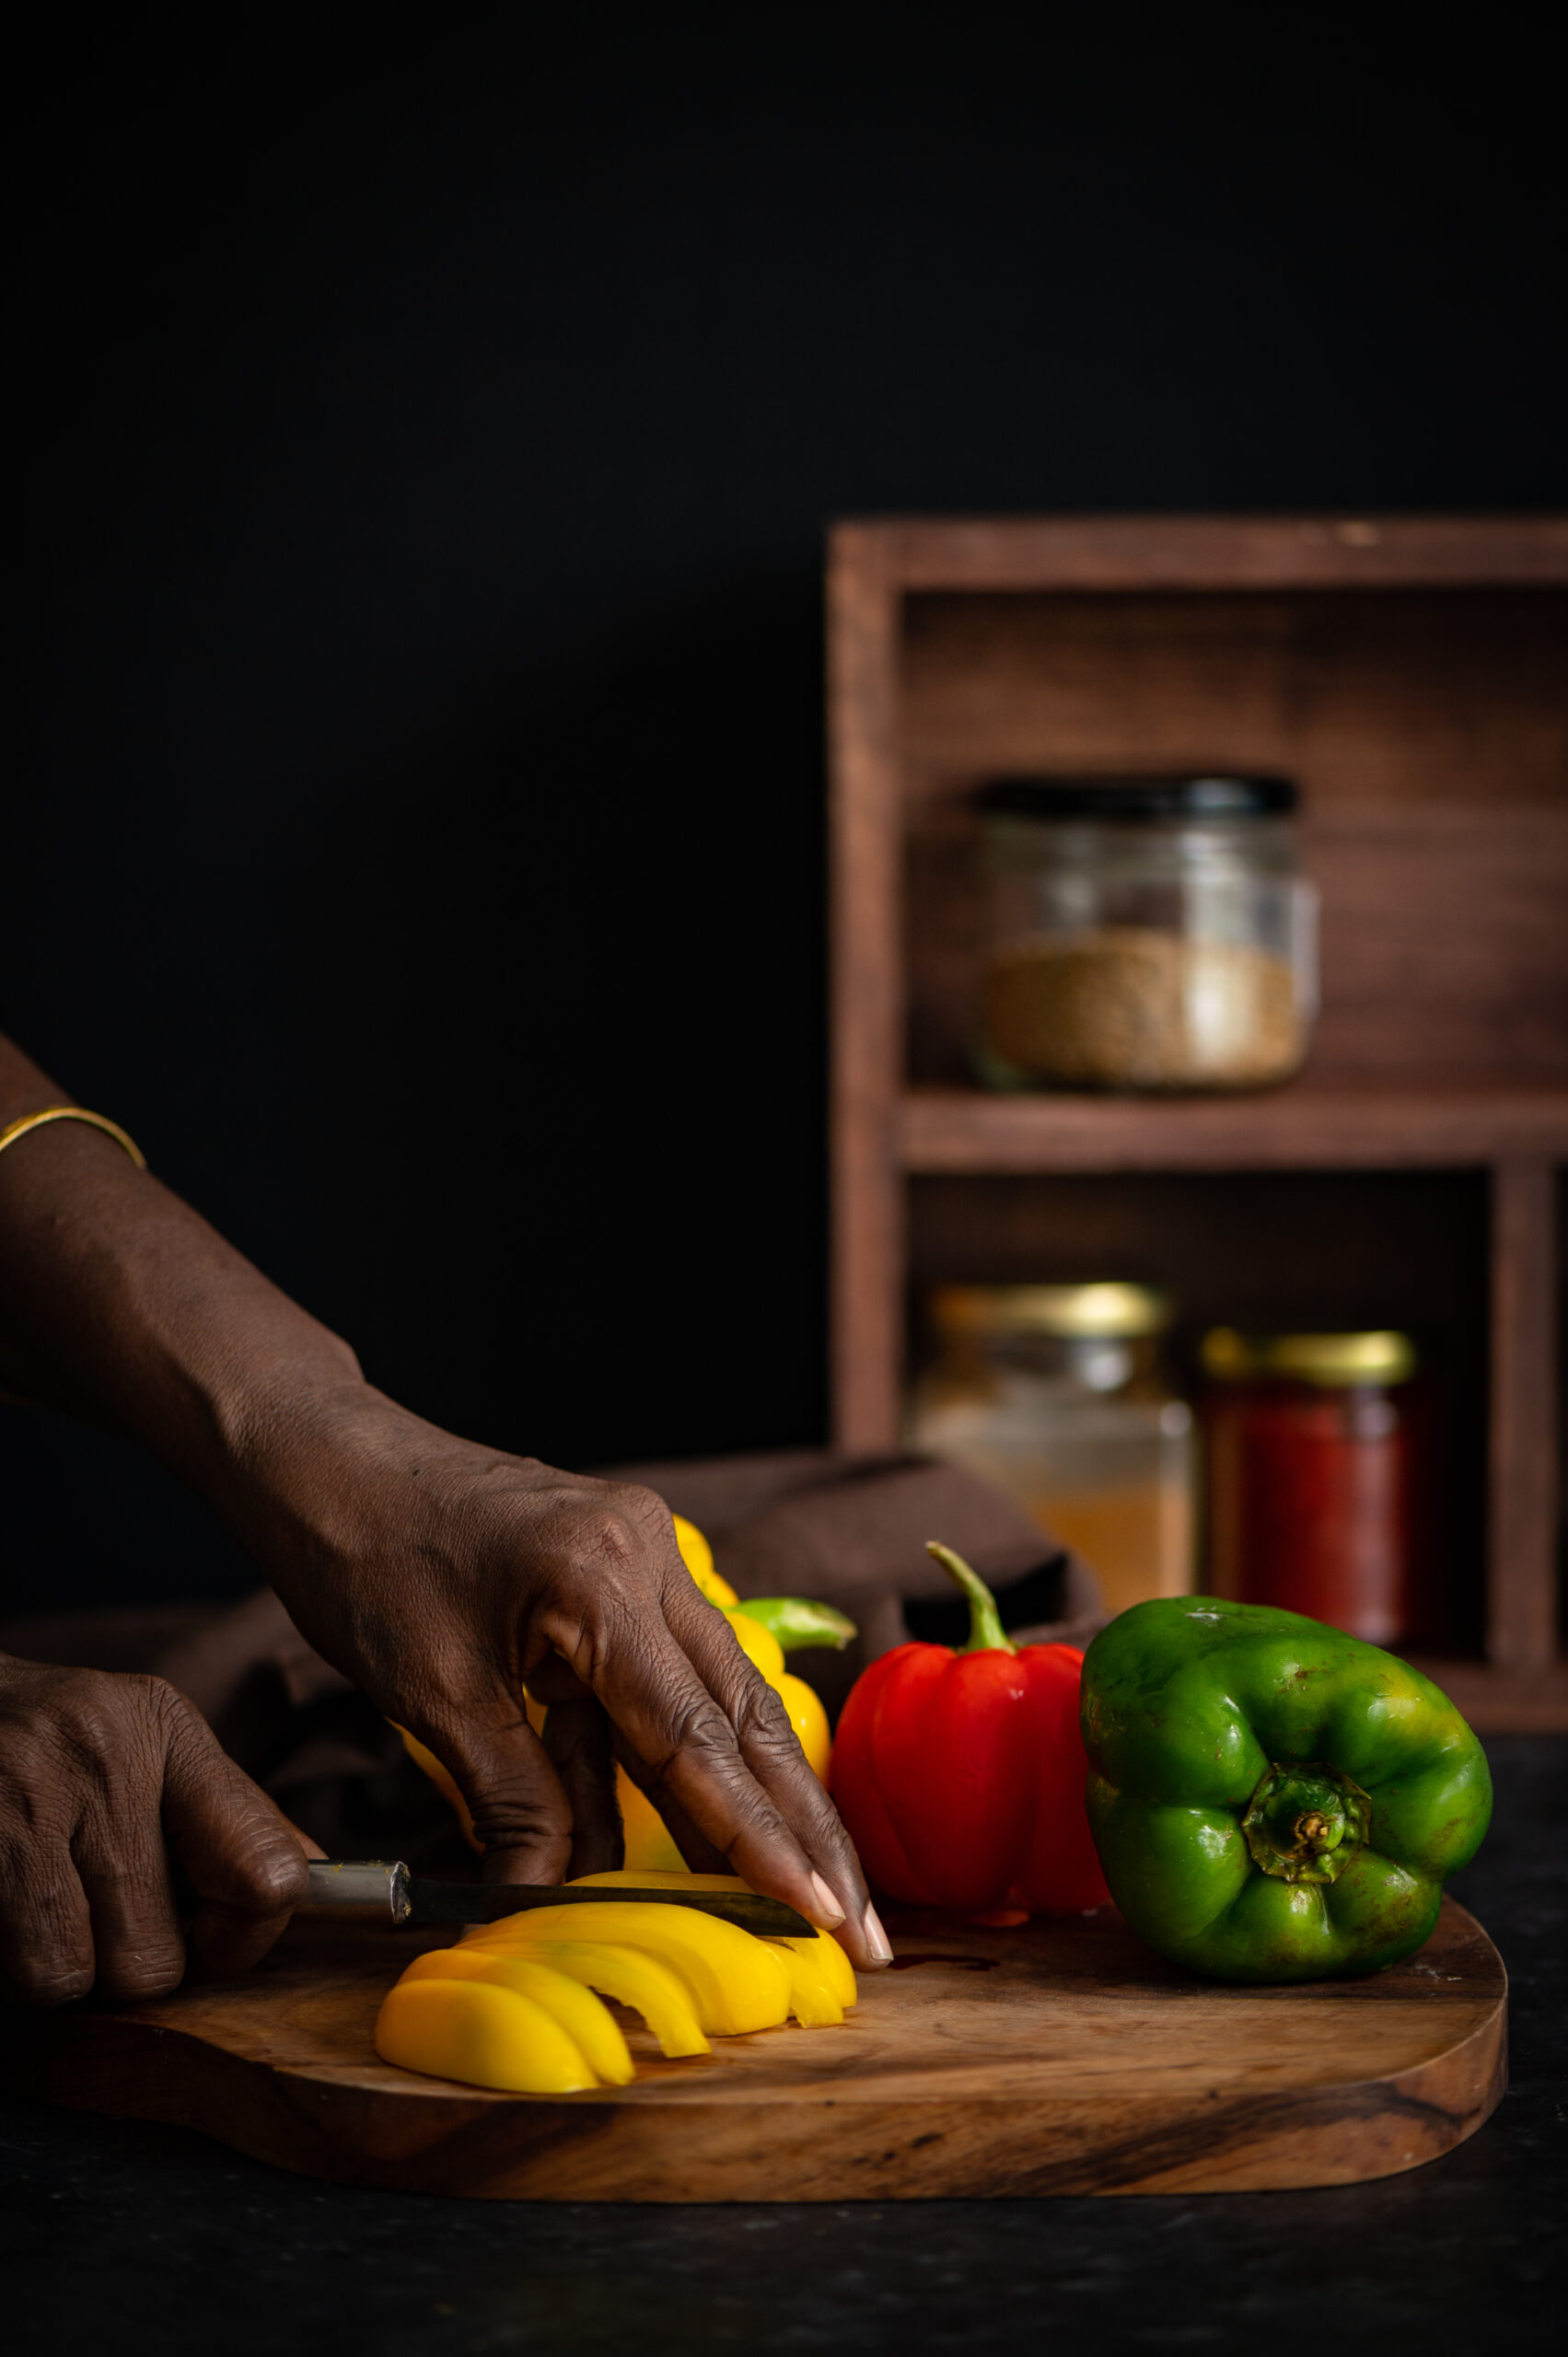
2 cups sliced bell peppers

1 cup whole corn

1 teaspoon oil

Salt to taste

Pinch pepper


Topping

1 avocado

Salt to taste

Olive oil to drizzle

A squeeze of lemon

Prepare each component, and keep them separate until you are ready to assemble and serve the bowl. Here is the method for the beans. First, pressure cook the beans in water. In a pan, add the oil. Now, add the purée, chipotle paste and salt. I used my fabulous all-purpose tomato puree, which you will surely find convenient to have on hand for many recipes too. Stir. Finally, add the beans. In order to make it in a slightly more gravy style, I added some of the water that I had kept aside.

Next, here are the methods for the two salsas. For the tomato salsa, begin by roasting the tomatoes directly in a low flame until the skins are charred. Peel the charred skins and chop finely. Combine all the ingredients together in a bowl. Mix well and refrigerate until use. For the pineapple salsa, simply combine all the ingredients in a bowl and mix well. Refrigerate until use as well.

Now, onto the cilantro rice. In a pan, sauté the rice in oil. Add all the other ingredients and stir on high until it all comes together. You can replace the rice with any grain of your choice.

The vegetables should be sautéed in oil on a pan, and seasoned with salt and pepper as you stir.

Assemble the different components in two medium-sized bowls and add the toppings. Make sure you slice the avocado just before serving, or it will lose colour. Remember what I said in the previous Buddha bowl post about the aesthetics of this serving style and feasting with the eyes first. This dish is best enjoyed warm. You may wish to sprinkle some crushed nacho chips on top for texture too, and I think my kids wouldn’t mind some authentic, crunchy black ants either, if we could find that recipe! As you can see, I’ve also added a bit of green salad on top, as I do love my veggies.

I mentioned earlier that there are avocados galore on the market now, so be sure to come back for the next post, where they will be a starring ingredient…

My children are at home through this lockdown, and I’ve been striving to make their favourite dishes for them while being mindful about how to make every ingredient go the extra mile. As we’ve discussed many times before on this blog, Indians have a knack for being resourceful in the kitchen, whether that’s through reusing leftovers creatively or coming up with innovative ways to cook with less. I believe that we should not neglect our nutrition or our taste buds, even now, and I’ve been thinking of how to share recipes with you that can be made with what you already have on hand in the fridge, but which don’t compromise on deliciousness. This vegetable biryani is a perfect example – flavourful, comforting, and made from just the staples.

The great part about this dish is that you can throw in any vegetable you like, which is especially useful at a time like this. It’s a very easy recipe for young adults who are just stepping out and learning to cook on their own, as well as for beginners in the kitchen. If you have a pressure cooker and follow the recipe to a T, you’ll soon be able to enjoy homemade biryanis on the regular.

Biryani is a savoury rice dish from the Mughal empire of India, and variations are made throughout the country. It is often prepared with long-grained basmati rice. In South India, we tend not to grow this variant, so different locations are famous for using their own rice types and methods. Popular regional biryanis include Dindigul, Hyderabad, Ambur and more. Meat is a common ingredient, but I’ll share a vegetarian recipe for the benefit of a wider number of readers.

That said, even the vegetables in this recipe are optional, although of course I don’t recommend that you leave them out for nutrition’s sake. But if you are short of groceries right now, be assured that the rice will be just as flavourful even without them. The subtle tastes and fragrances of the many spices used amply make up for them.

When my children were still little, and like many children disliked eating vegetables, they were absolutely delighted by a discovery made on a holiday. My brother had taken us to Dubai, to a restaurant that made a wonderful selection of biryanis. My kids were kicked to see that the restaurant offered a vegetarian version with no vegetables! I guess you could call it the kids’ option. That’s where they got the idea of having this flavourful rice with no vegetables at all, and got me to start making it for them that way too.

Like many of you, if not all of you, there have been some disruptions for us due to the current situation. We had been renovating our house, and had temporarily shifted to a smaller flat, where we now find ourselves until this crisis passes. Living in apartments, you can get the smells of cooking from different homes wafting into yours. This piques my curiosity delightfully. Sometimes I wonder: I think she’s making biryani, and that smells like this masala or that spice; perhaps I can incorporate it next time… Biryanis vary not just regionally, but also  between communities, and from family to family. No one can really replicate another’s, yet they are all fragrant – and tasty! I am certain yours will be too.

I have many other memories of biryani as a dish that encouraged bonding, and these go back to my childhood. At the time, the beach was the only place of outing for us in Chennai. We went there whether it was for a special occasion, like Sharad Purnima, or just as a treat. Most of us have lovely recollections of time spent there. On summer evenings, my extended family would head there with a big pot of biryani. We’d enjoy dinner on the beach along with the light, cooling sea breeze. People would also bring accompaniments, including a sweet, raita, drinks, crispies like appalams and so on, so it became a potluck. We would tuck into a feast as we enjoyed one another’s company as well as the beauty of nature. I so look forward to doing that again one day, when it becomes possible to. A simple picnic with loved ones, in the beautiful outdoors, with a basket or two of delicious food…


Vegetable Biryani

(Yield: Serves 4)

Ingredients:

2 tablespoons ghee

2 teaspoons cumin seeds

1 teaspoon saunf

2 bay leaves

1 long cinnamon stick

2-3 cloves

2 cardamom pods

1 star anise

200 grams rice (approximately 1¼ cups)

200 grams cut vegetables (beans, carrots, small potatoes, peas)

100 grams finely cut onions

1 tablespoon tomato purée

1 green chilli

A few mint leaves

1 tablespoon finely cut coriander leaves

1 tablespoon yoghurt

2 cups water


Masala:

½ teaspoon turmeric powder

Salt to taste

1 teaspoon cumin powder


Raita:

1½ cups yoghurt

½ cup onions

Salt to taste

1 teaspoon roasted cumin powder

First, prepare the raita, so it’s ready when you serve the biryani. Add the yoghurt in a bowl, then add the salt and the cumin powder. Mix well. Now, add the onions and stir. Store in the refrigerator.

Pick, rinse and soak the rice in water for about ½ an hour. I have used rice from our farm as we prefer that at home. However, if you prefer basmati, then use that by all means. It’s possible that the water content may change, so adjust accordingly.

In a pressure cooker, add the ghee. Once it becomes hot, add the cumin seeds and saunf, followed quickly by the spices (cardamom, cinnamon stick, bay leaf, cloves, star anise). You can substitute the ghee for oil, especially if you are vegan.

Sauté for less than a minute or until the flavours come together in the ghee.

Next, add the finely cut onions and sauté until transparent. Once it turns golden, add the tomatoes and the green chilli. I have used a homemade tomato purée, the recipe for which was shared recently. But feel free to use fresh tomatoes, diced.

Now, add the masala and stir well. Once that is mixed thoroughly, add all the vegetables along with the mint and coriander leaves. You may use any vegetables that are available to you. Fortunately, my usual method for this biryani requires simple ones that I still have on hand easily – beans, carrots, small potatoes and peas.

Next, add the yoghurt. Blend everything well. Discard the soaking water and add the rice.

Now, add 2 more cups of water to the rice mixture. Cover the pressure pan and allow 1 whistle. Then, lower the flame and allow to cook for another 5 minutes.

Turn off the flame and allow to cool in the cooker until it is ready to open.

Once open, mix gently and serve with the onion raita. I garnish the biryani with a sprinkling of golden burnt onion slices.

And there you have it – a recipe from the royal kitchens, adapted for our lives today. I hope this simple vegetable biryani will bring you some joy in this surreal time. I’ll keep sharing more recipes in the next few weeks which I hope will also do the same.

If “biryani” has been considered a fancy dish in your mind till date, I encourage you to drop the notion. Let’s return once more to the fact that there are numerous kinds of biryanis – with meat, without meat, with vegetables, without vegetables, with some kinds of rice or with some other kinds of spices. This is why I want to say with confidence – give it a try! I am sure it will be great, and I would love to hear about your own variant in the comments.