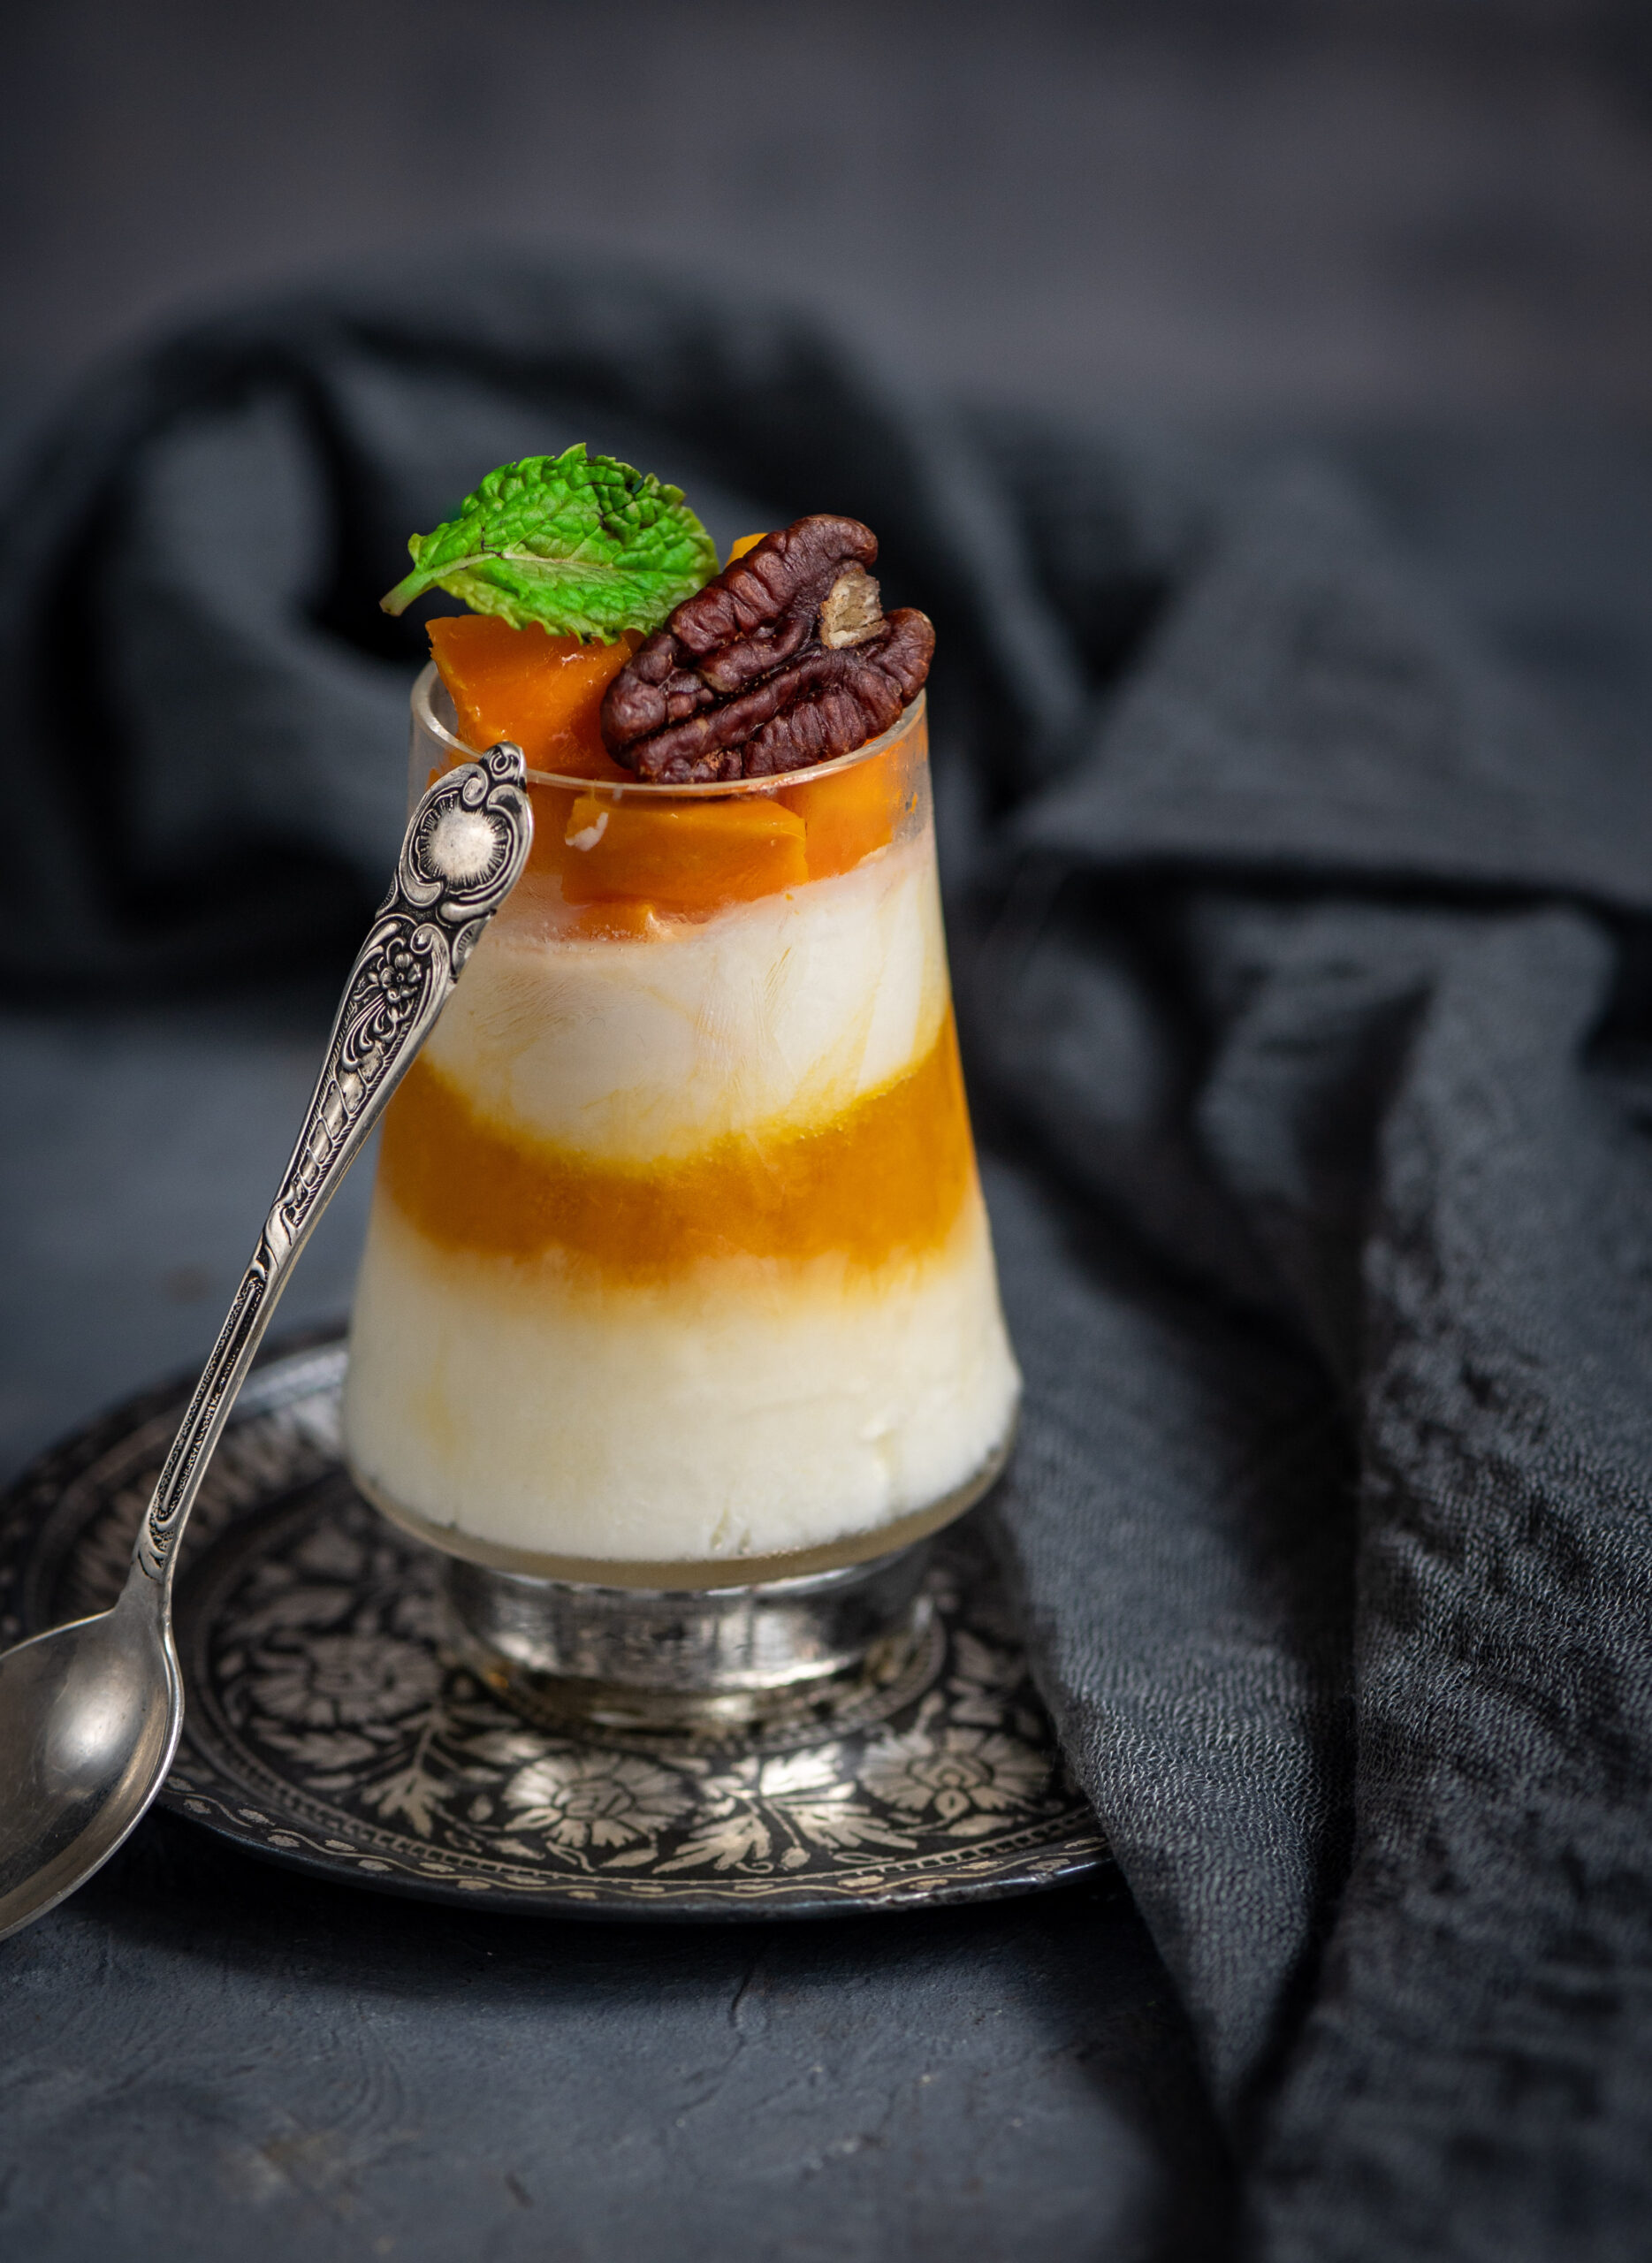
We have mango trees in the back garden, and every summer I seek out new ways and means to utilise their bounty. This season, I’ve made aamchur – dry mango powder prepared by washing the fruit slices, drying them, then powdering them. It works in cooking as a lime substitute, and is just as healthy and as rich in Vitamic C. I’ve made pickles, and if you’re keen to do the same, you can take your pick of either sweet or spicy kinds from the recipes I shared in this post. I’ve made desserts, like the easy and very satisfying mango twist that I shared last week. Then, I thought – why not make a rice dish with some mangoes, too?
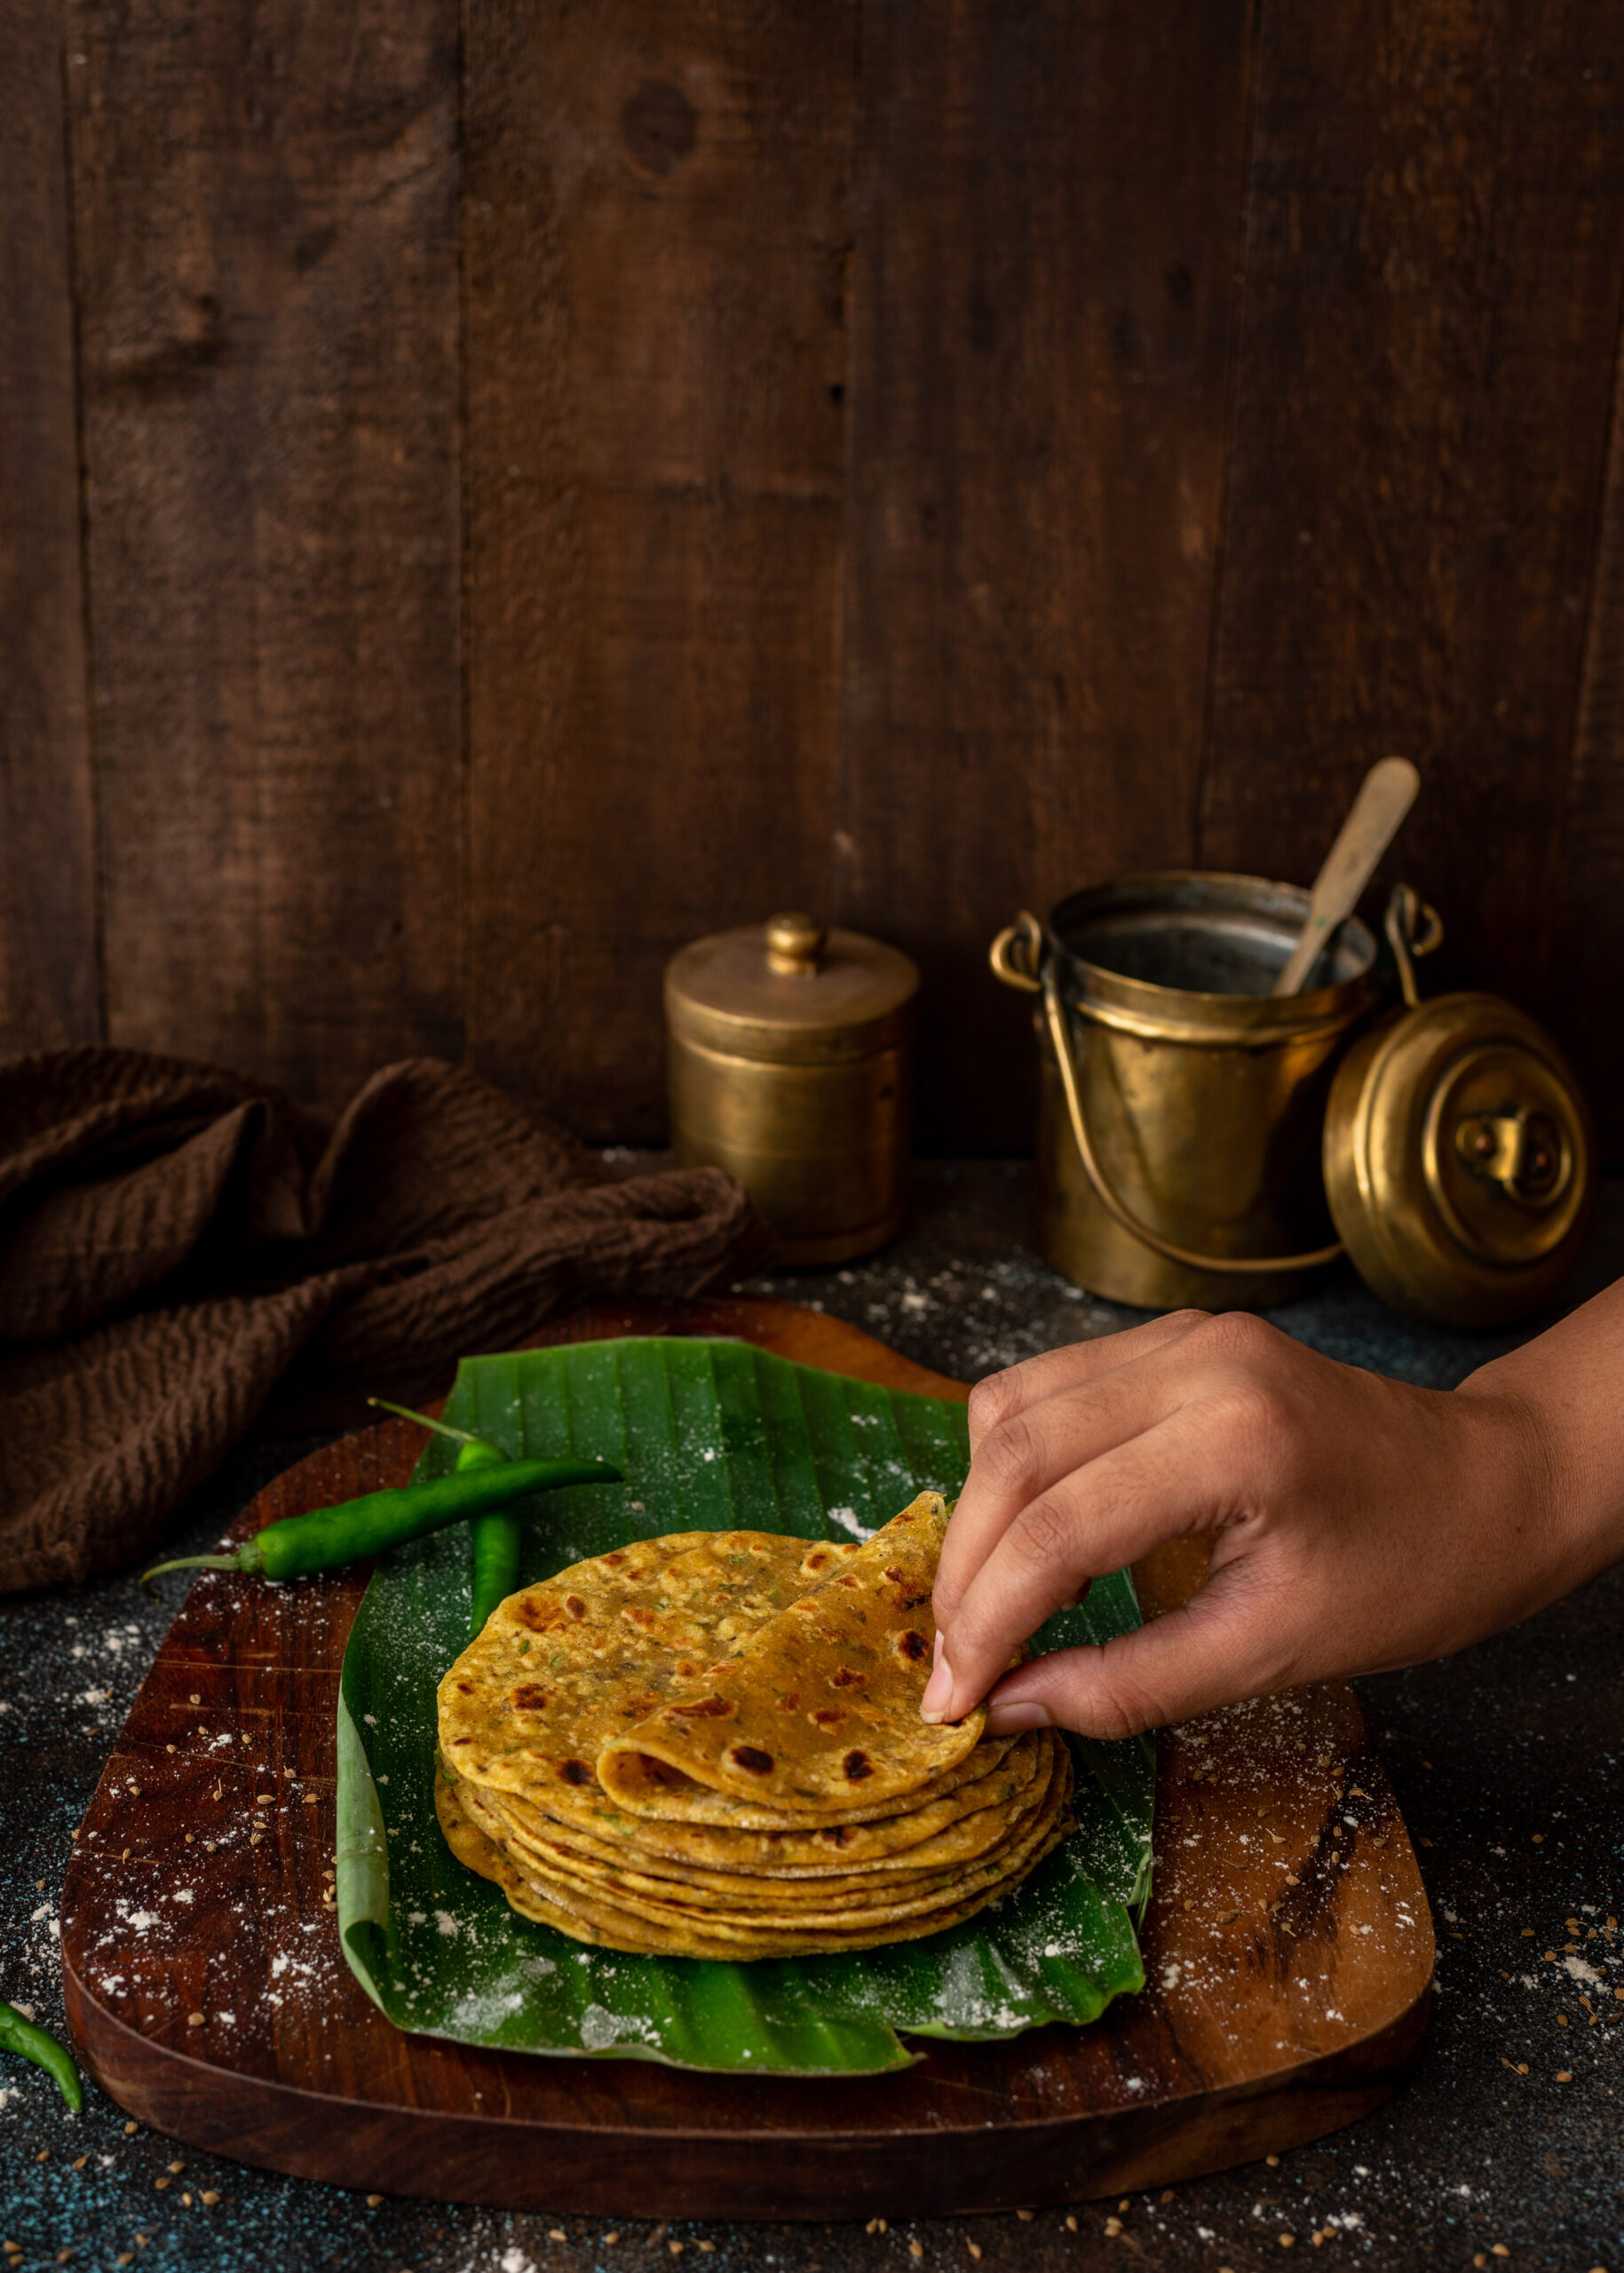
Coconut rice was one of the components of the South Indian Buddha bowl recipe, and this raw mango rice has a similar concept. It’s also like spinach rice, curry leaf rice or any other rice preparation that infuses the flavours of a particular ingredient. It’s interesting how we efficiently and creatively play up staples like rice as well as rotis through simple ways to elevate the basics. Seasonal flavourings are especially popular, just as it is with the recipe I am sharing today.
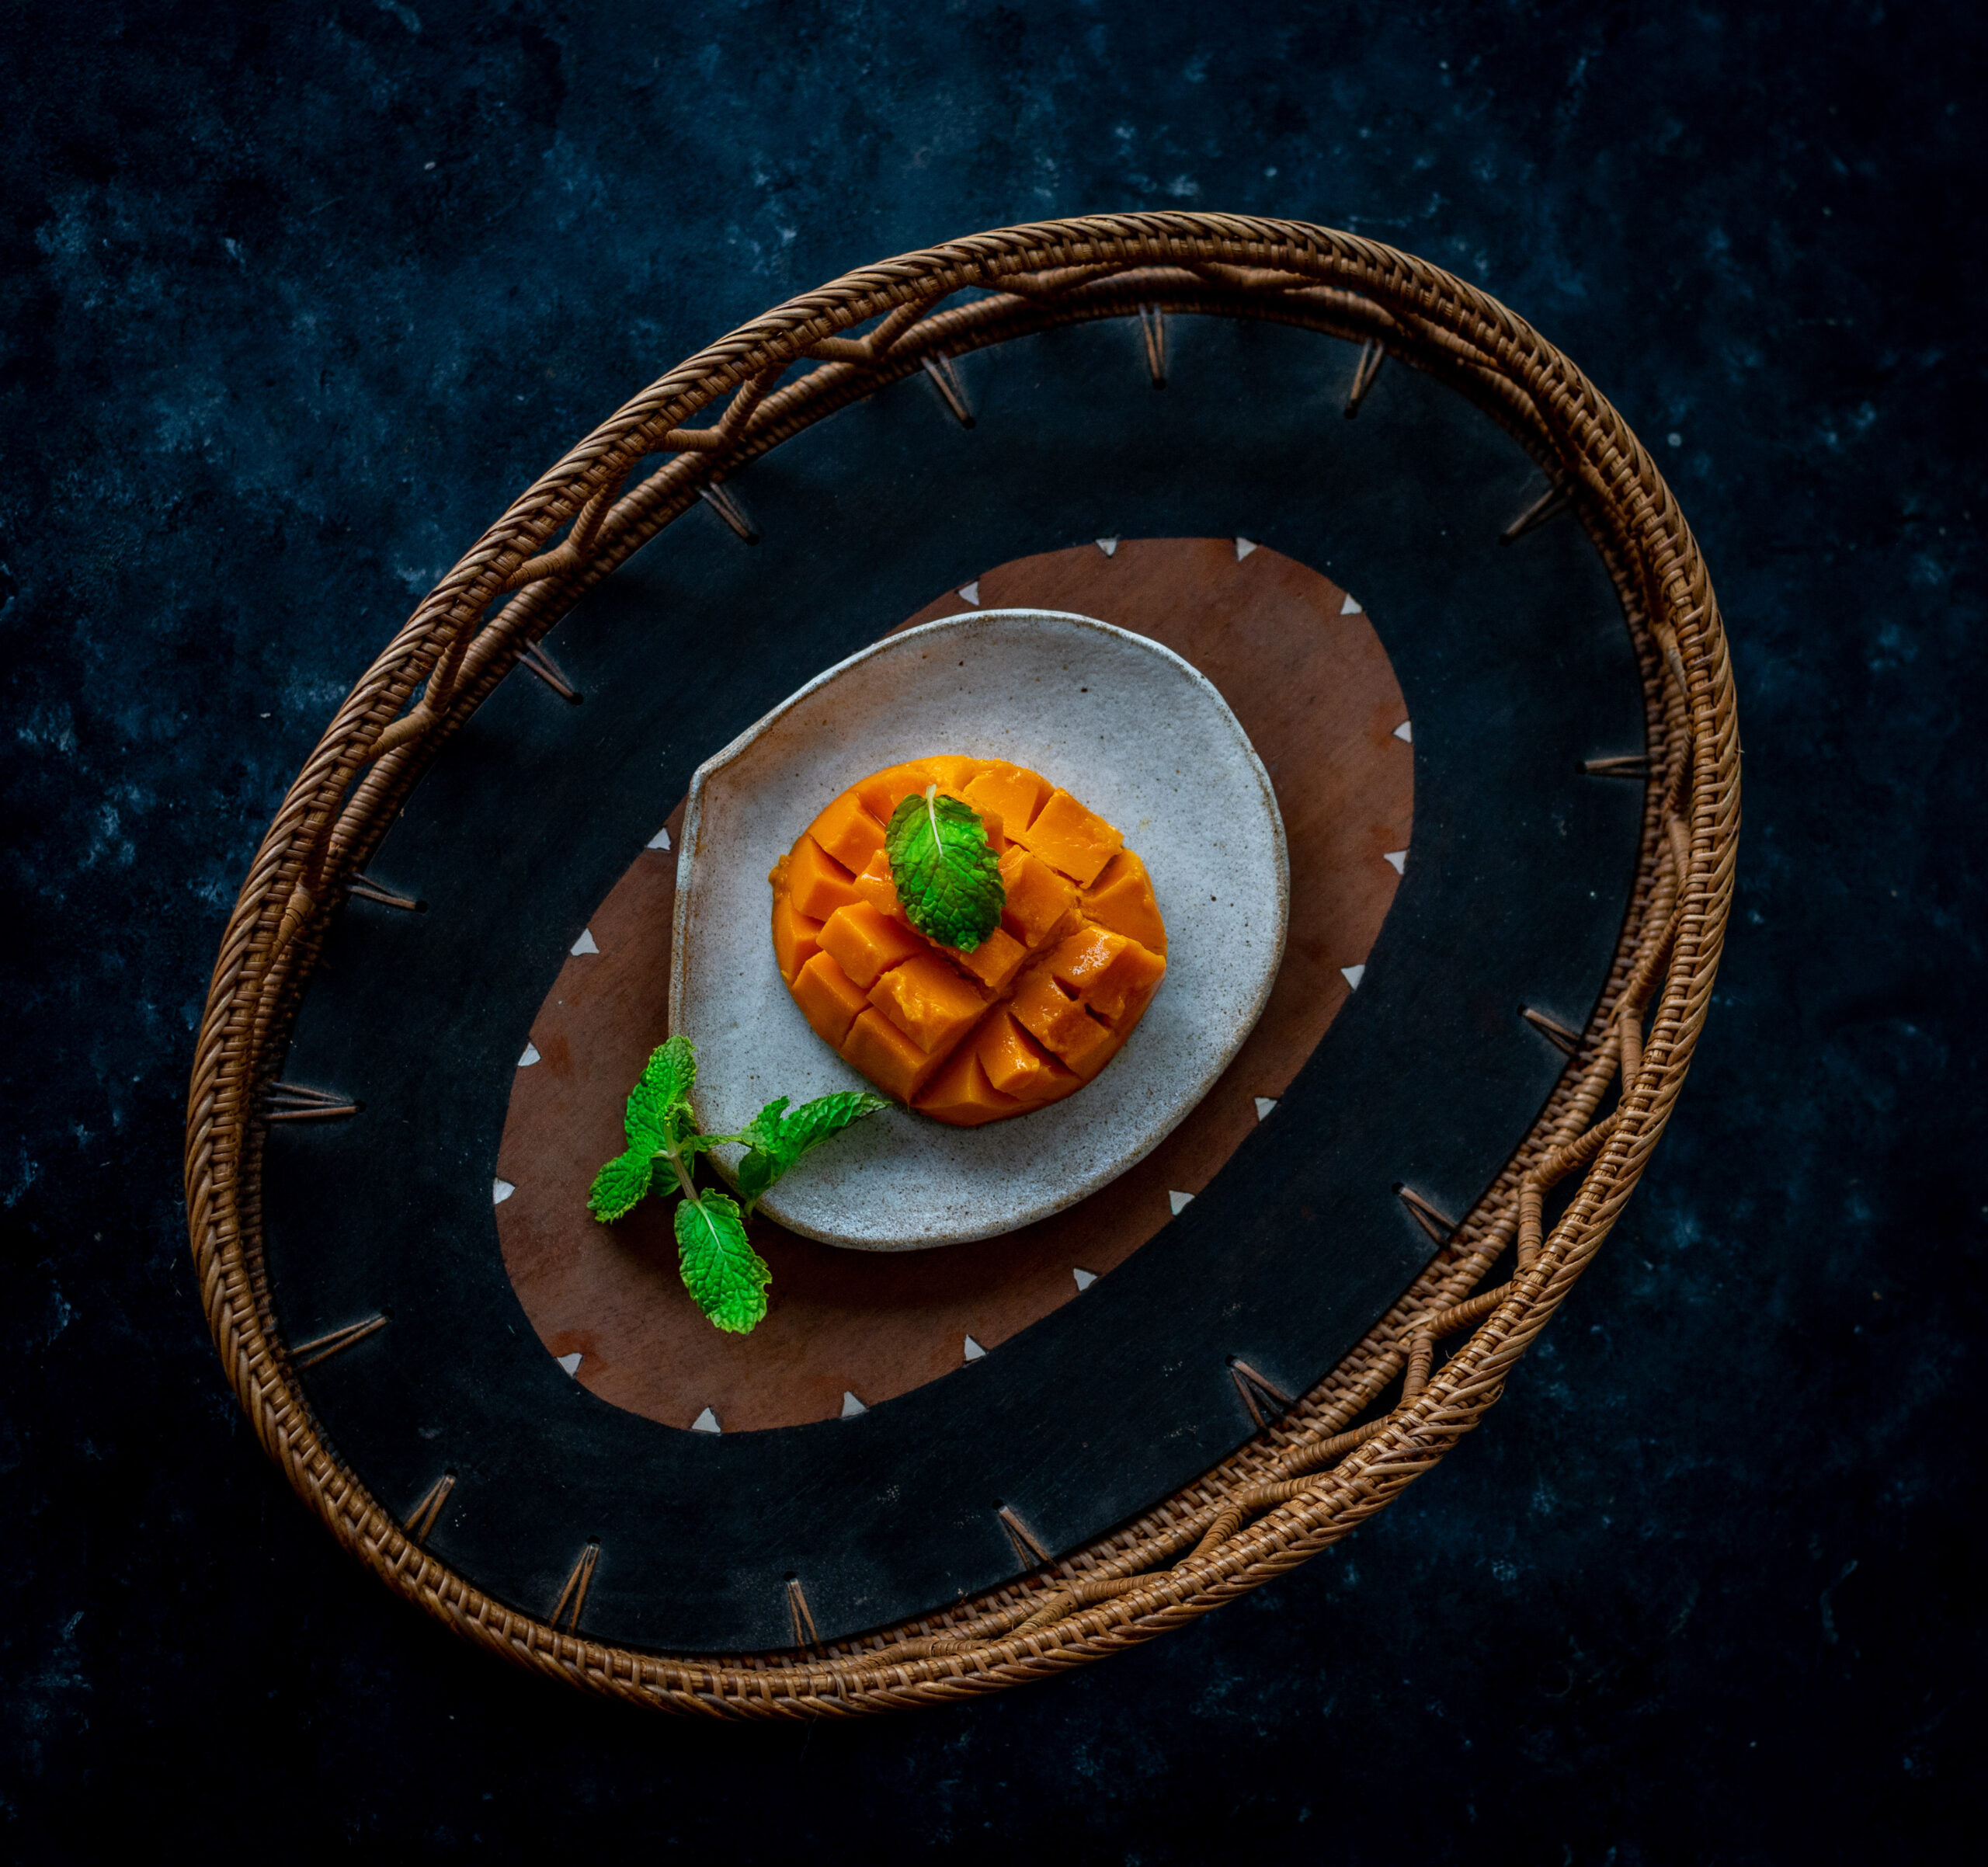
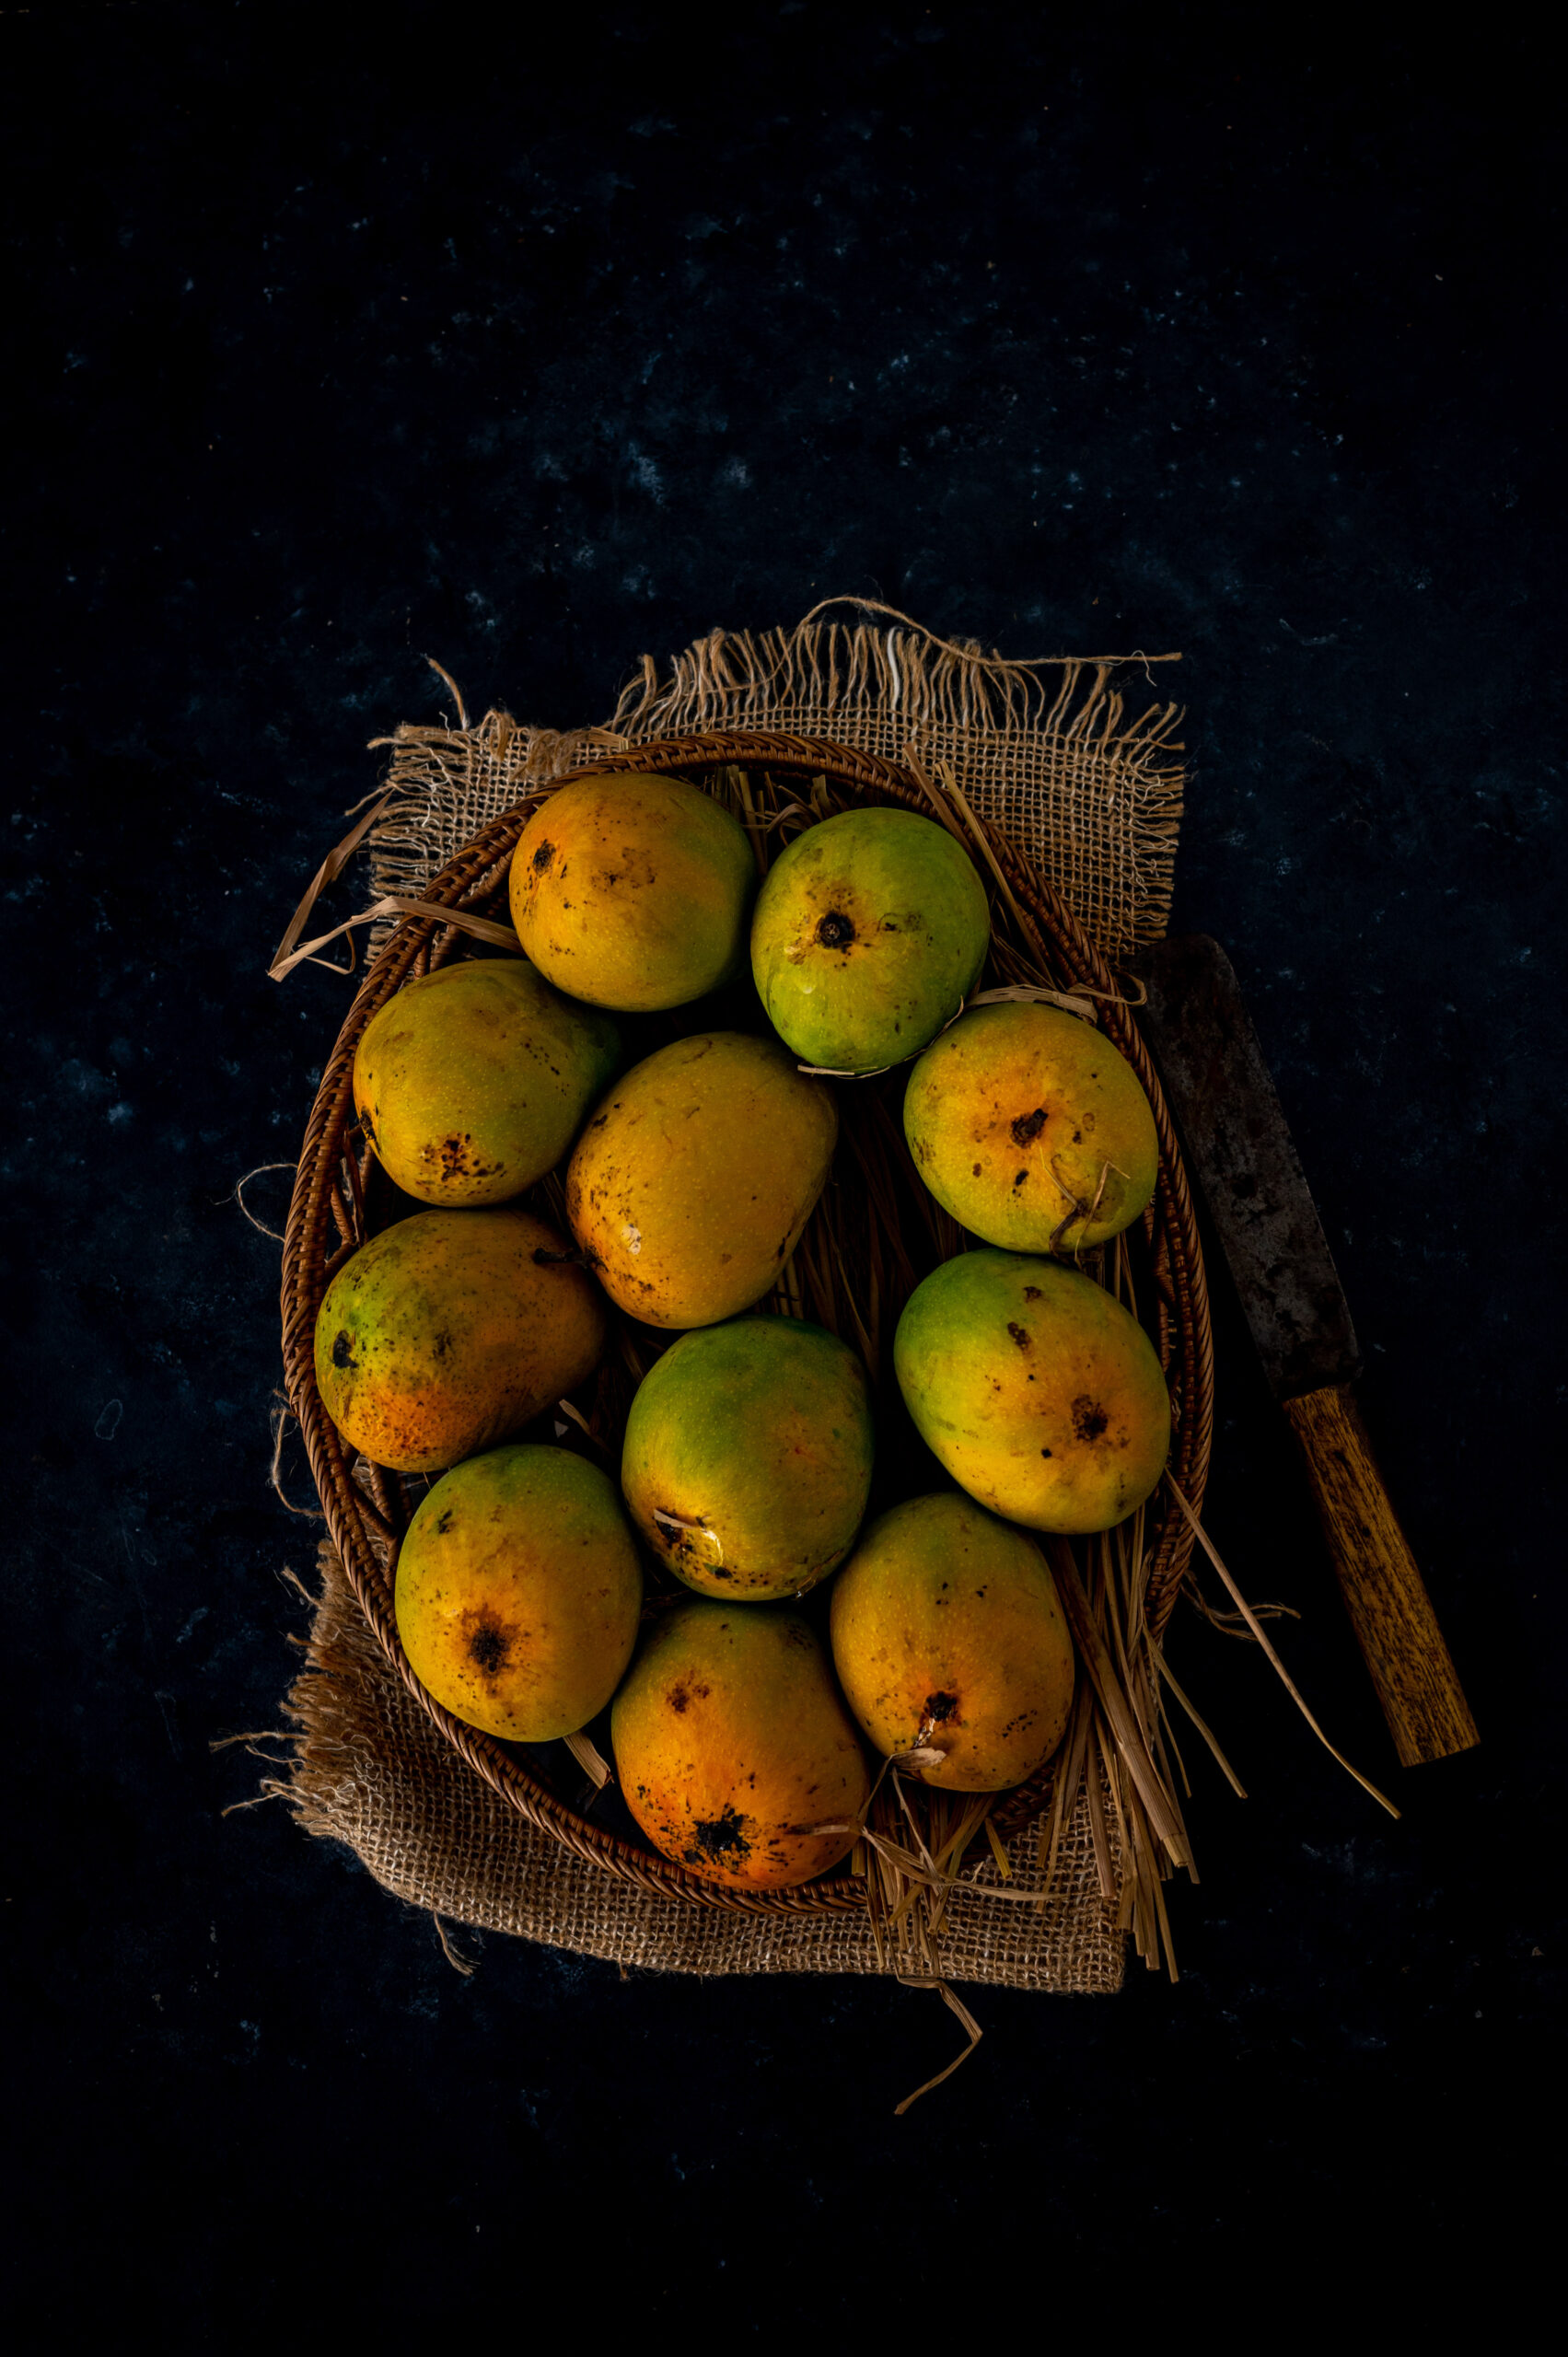
What I have growing at home are killimooku mangoes, known for their distinctive parrot-beak shape, as described in this raw mango cooler recipe. To my friends and readers around the world – did you know that every single kind of mango has its own flavour? My mother taught me how to select mangoes when I was very young, so I’m adept at differentiating between many of the popular variants on the market at the moment (although India has so many types of mangoes that to tell them all apart would truly be a kind of expertise!). My personal favourites are sweet, juicy ones – specifically the Ratnagiri Alphonso grown in Maharashtra (the state shares a common border with Telangana, where the slightly different Andhra Alphonsos are grown) and the Banagapalli grown in Andhra Pradesh’s Kurnool district, which can come in such large sizes that a single mango can sometimes suffice as an entire meal. Today, however, I’m reaching for what is literally in my backyard. The killimooku is not very sour, but neither is it sweet. It carries a lovely tang that truly uplifts the taste of rice.
This raw mango rice is both easy to prepare and highly adaptable. It travels well, so it’s perfect to pack for a day trip. It can be eaten plain, so you won’t even have to worry about any spills from the accompaniments. It can also work quite well in a Buddha bowl. I presume, based on the flavour palate, that it can be matched exquisitely with a fish curry, and I’d love to hear from those of you who enjoy seafood about how this recipe works in such a meal.
I made a large pot of this over the weekend and it was consumed quite quickly at home, with my family eating it plain, with rasam, with a potato roast and so on. The idea came to me because I saw a few raw mango rice posts on Instagram recently, and realised that I hadn’t made this dish in years. I did recall that it was something we ate now and then while we were growing up, so I knew that my sister would almost certainly have our mother’s preparation in her repertoire. She lives in Bombay, whereas I am based in Chennai, and we often do recipe exchanges, wherein I share Tamil styles like kootu and poriyal with her and she pulls out authentic Gujarati dishes for me. Together, we create quite an eclectic menu. Then again, I’ve also eaten raw mango rice as part of the sumptuous banana leaf service at South Indian weddings too, so perhaps – just like the mango – we can consider this a quintessentially Indian dish!
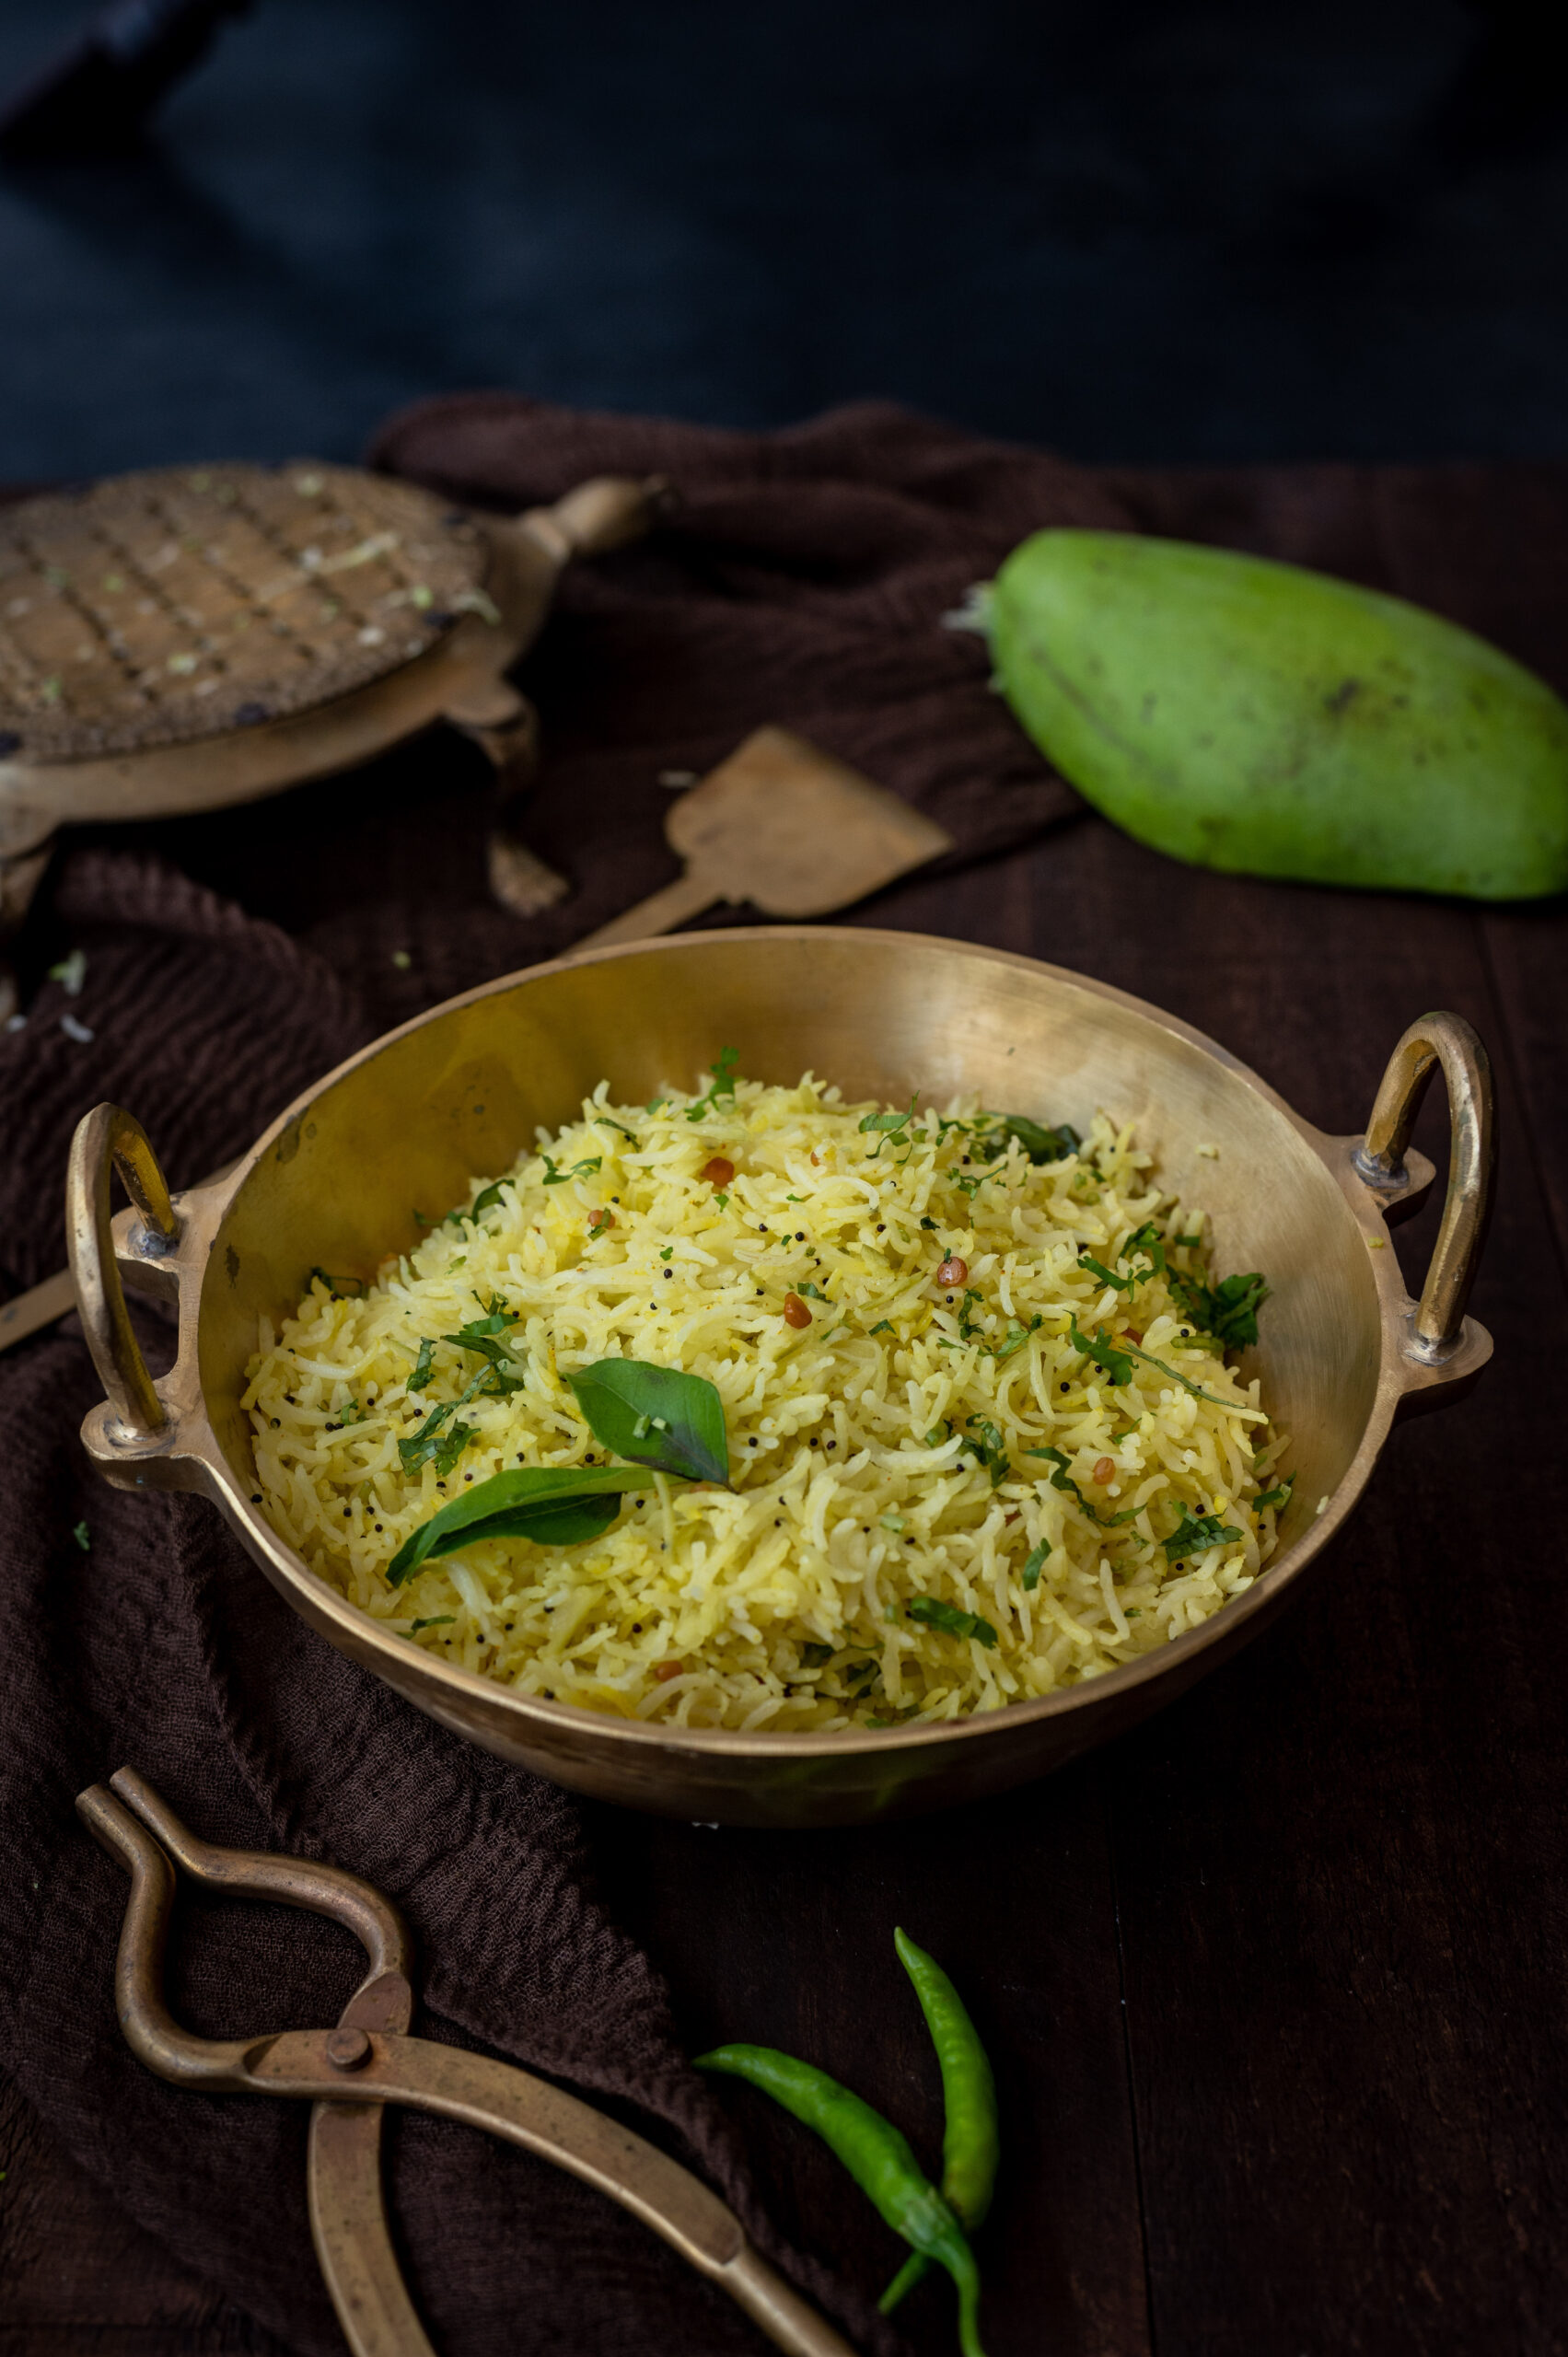
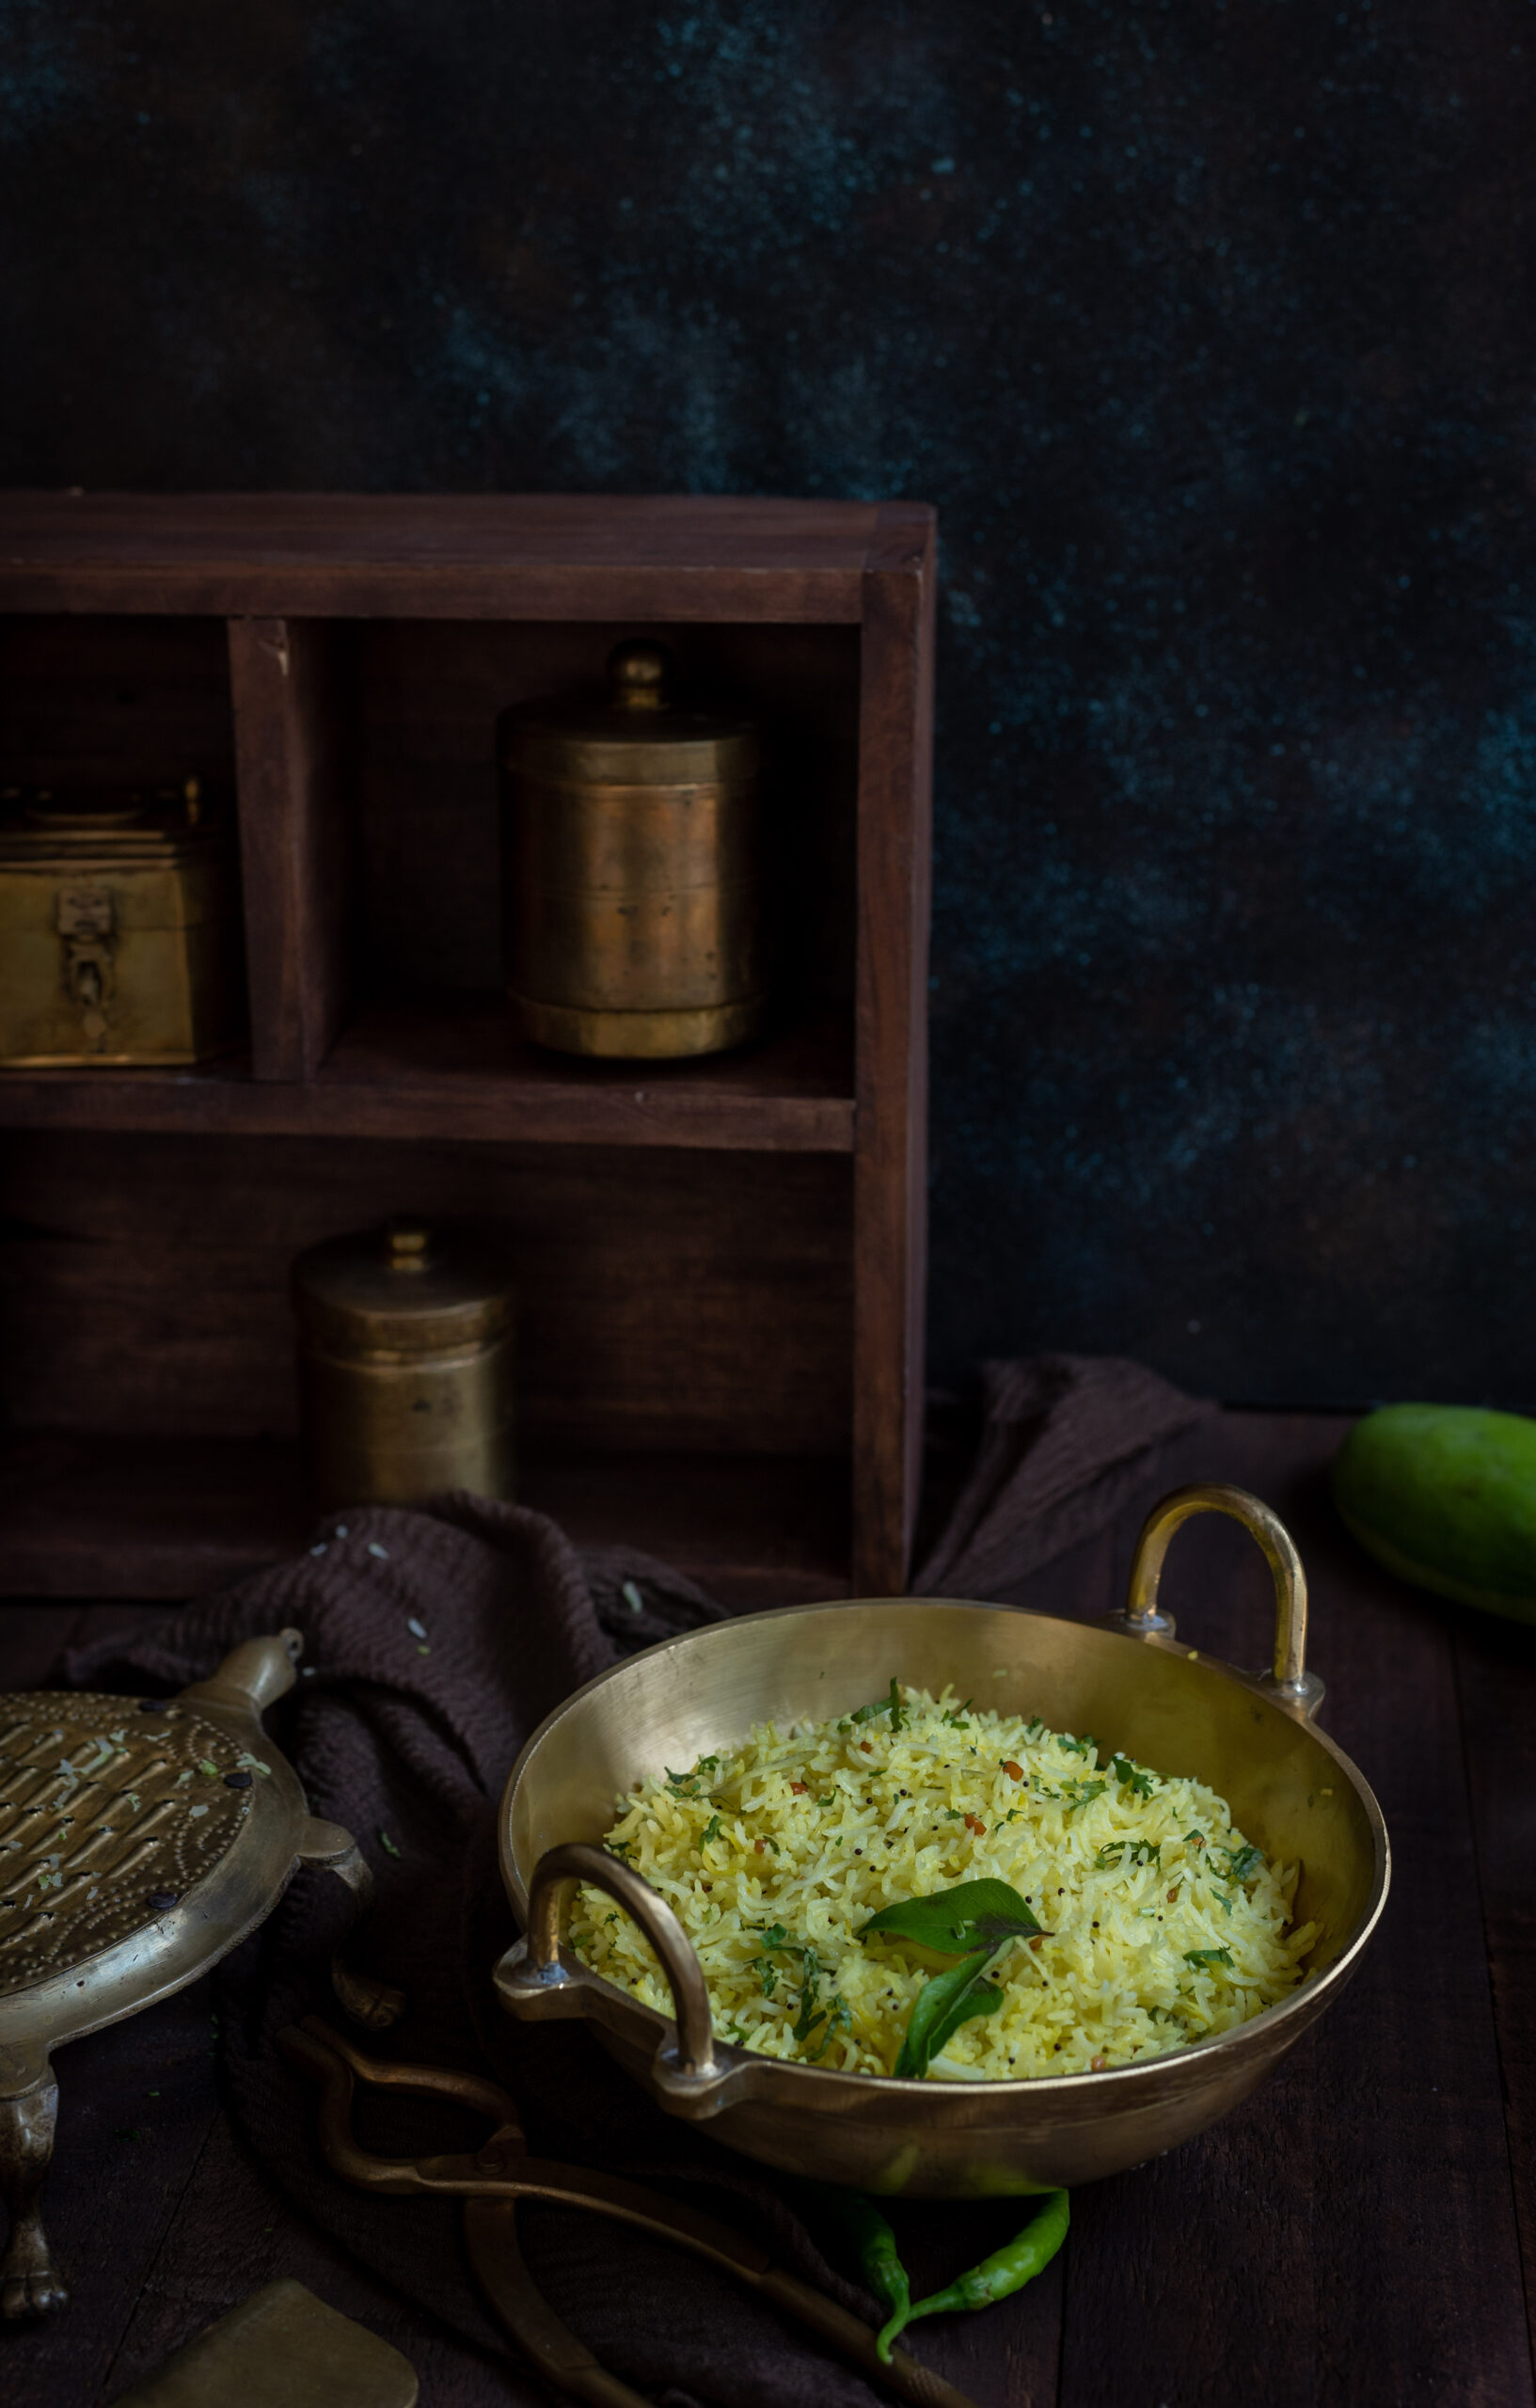
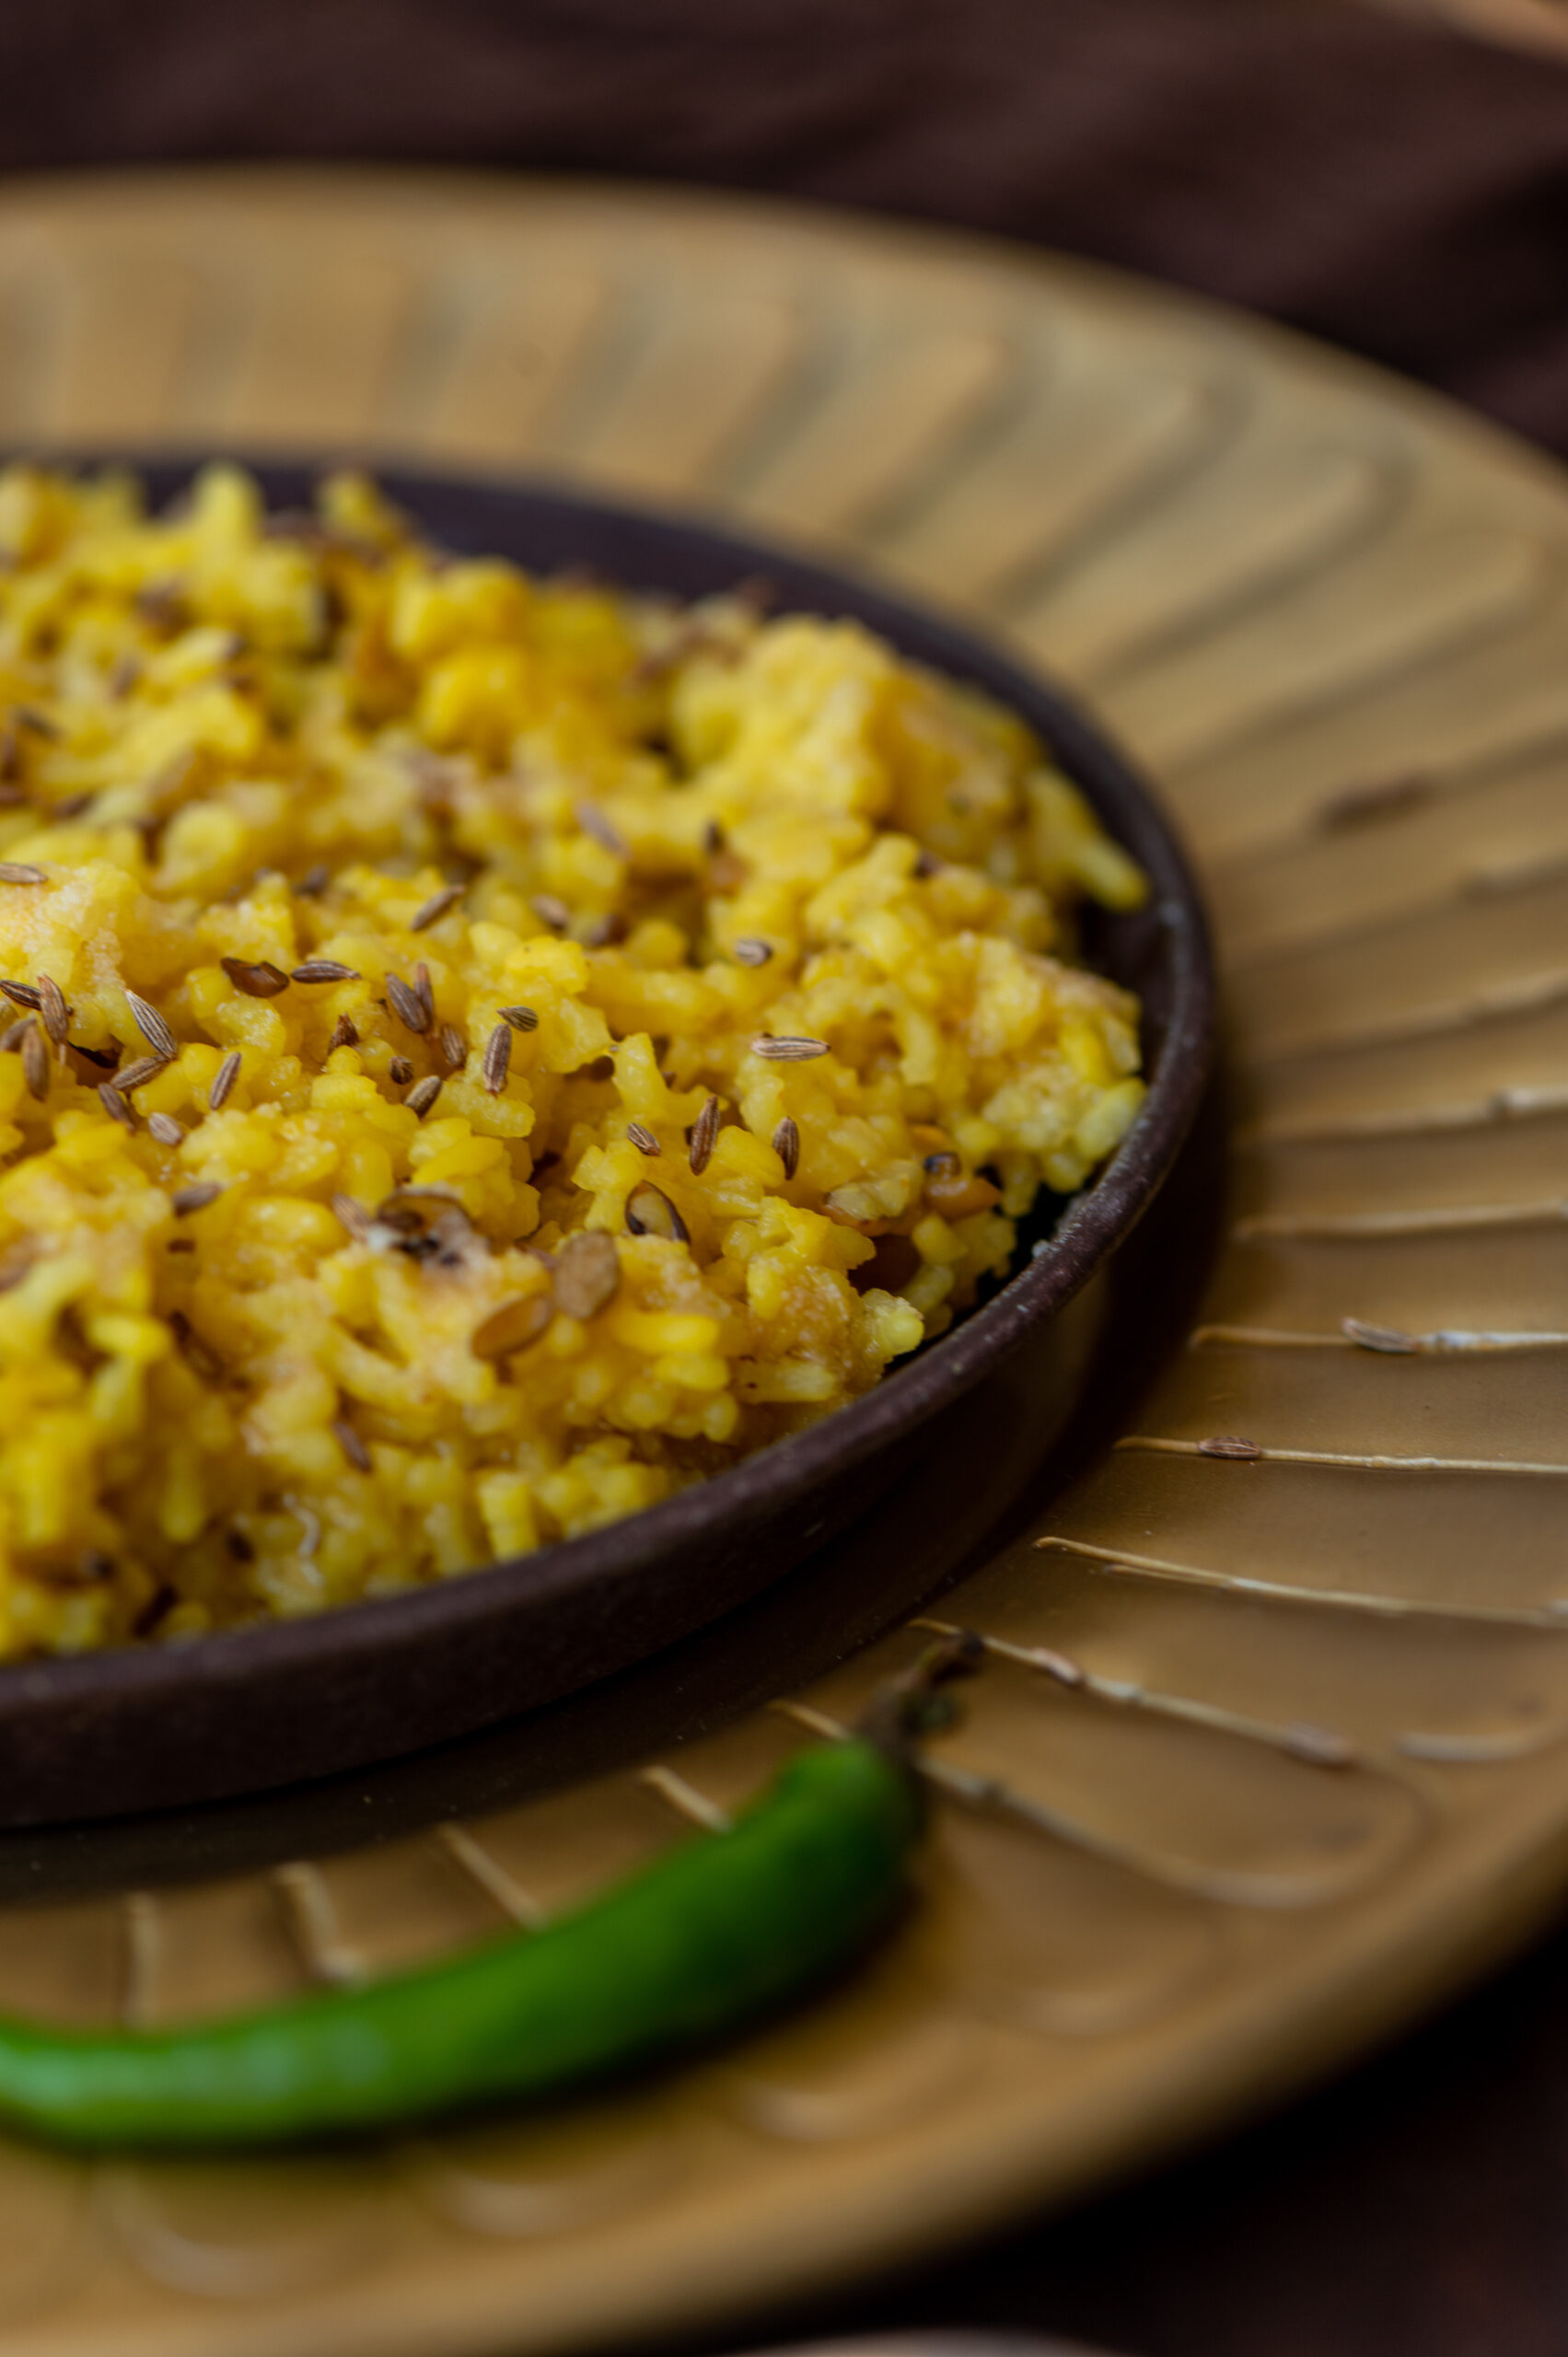
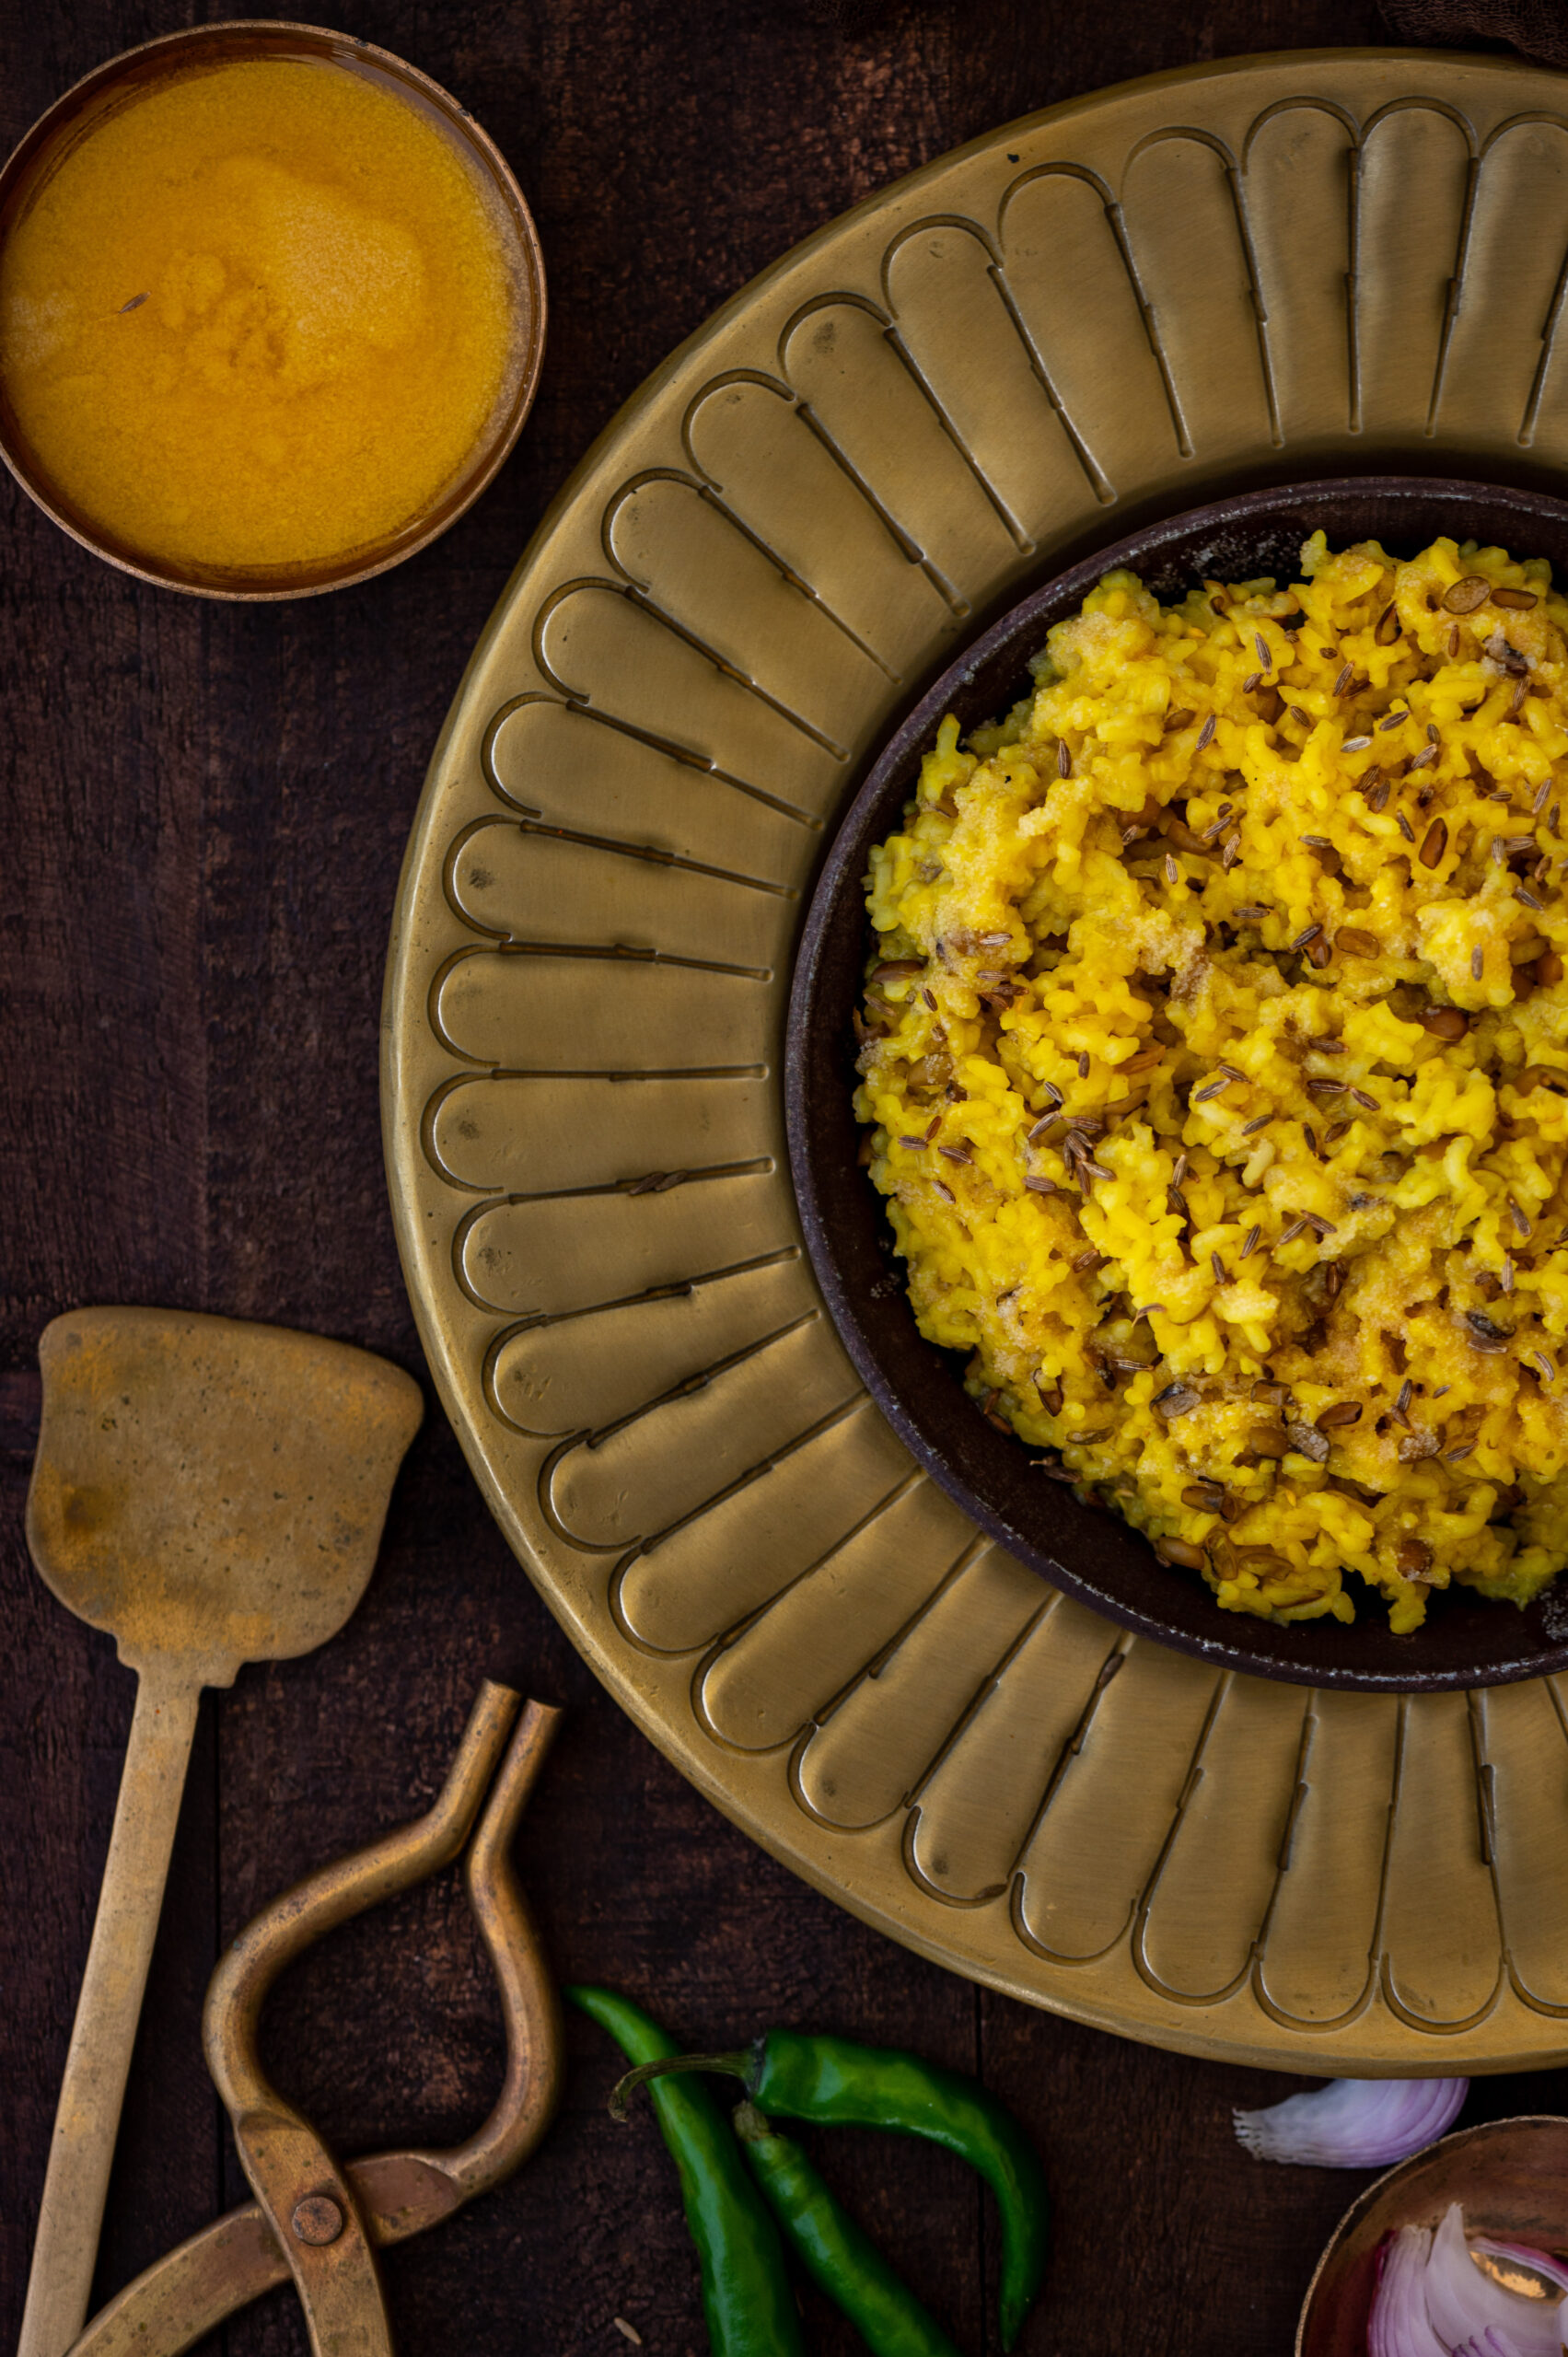
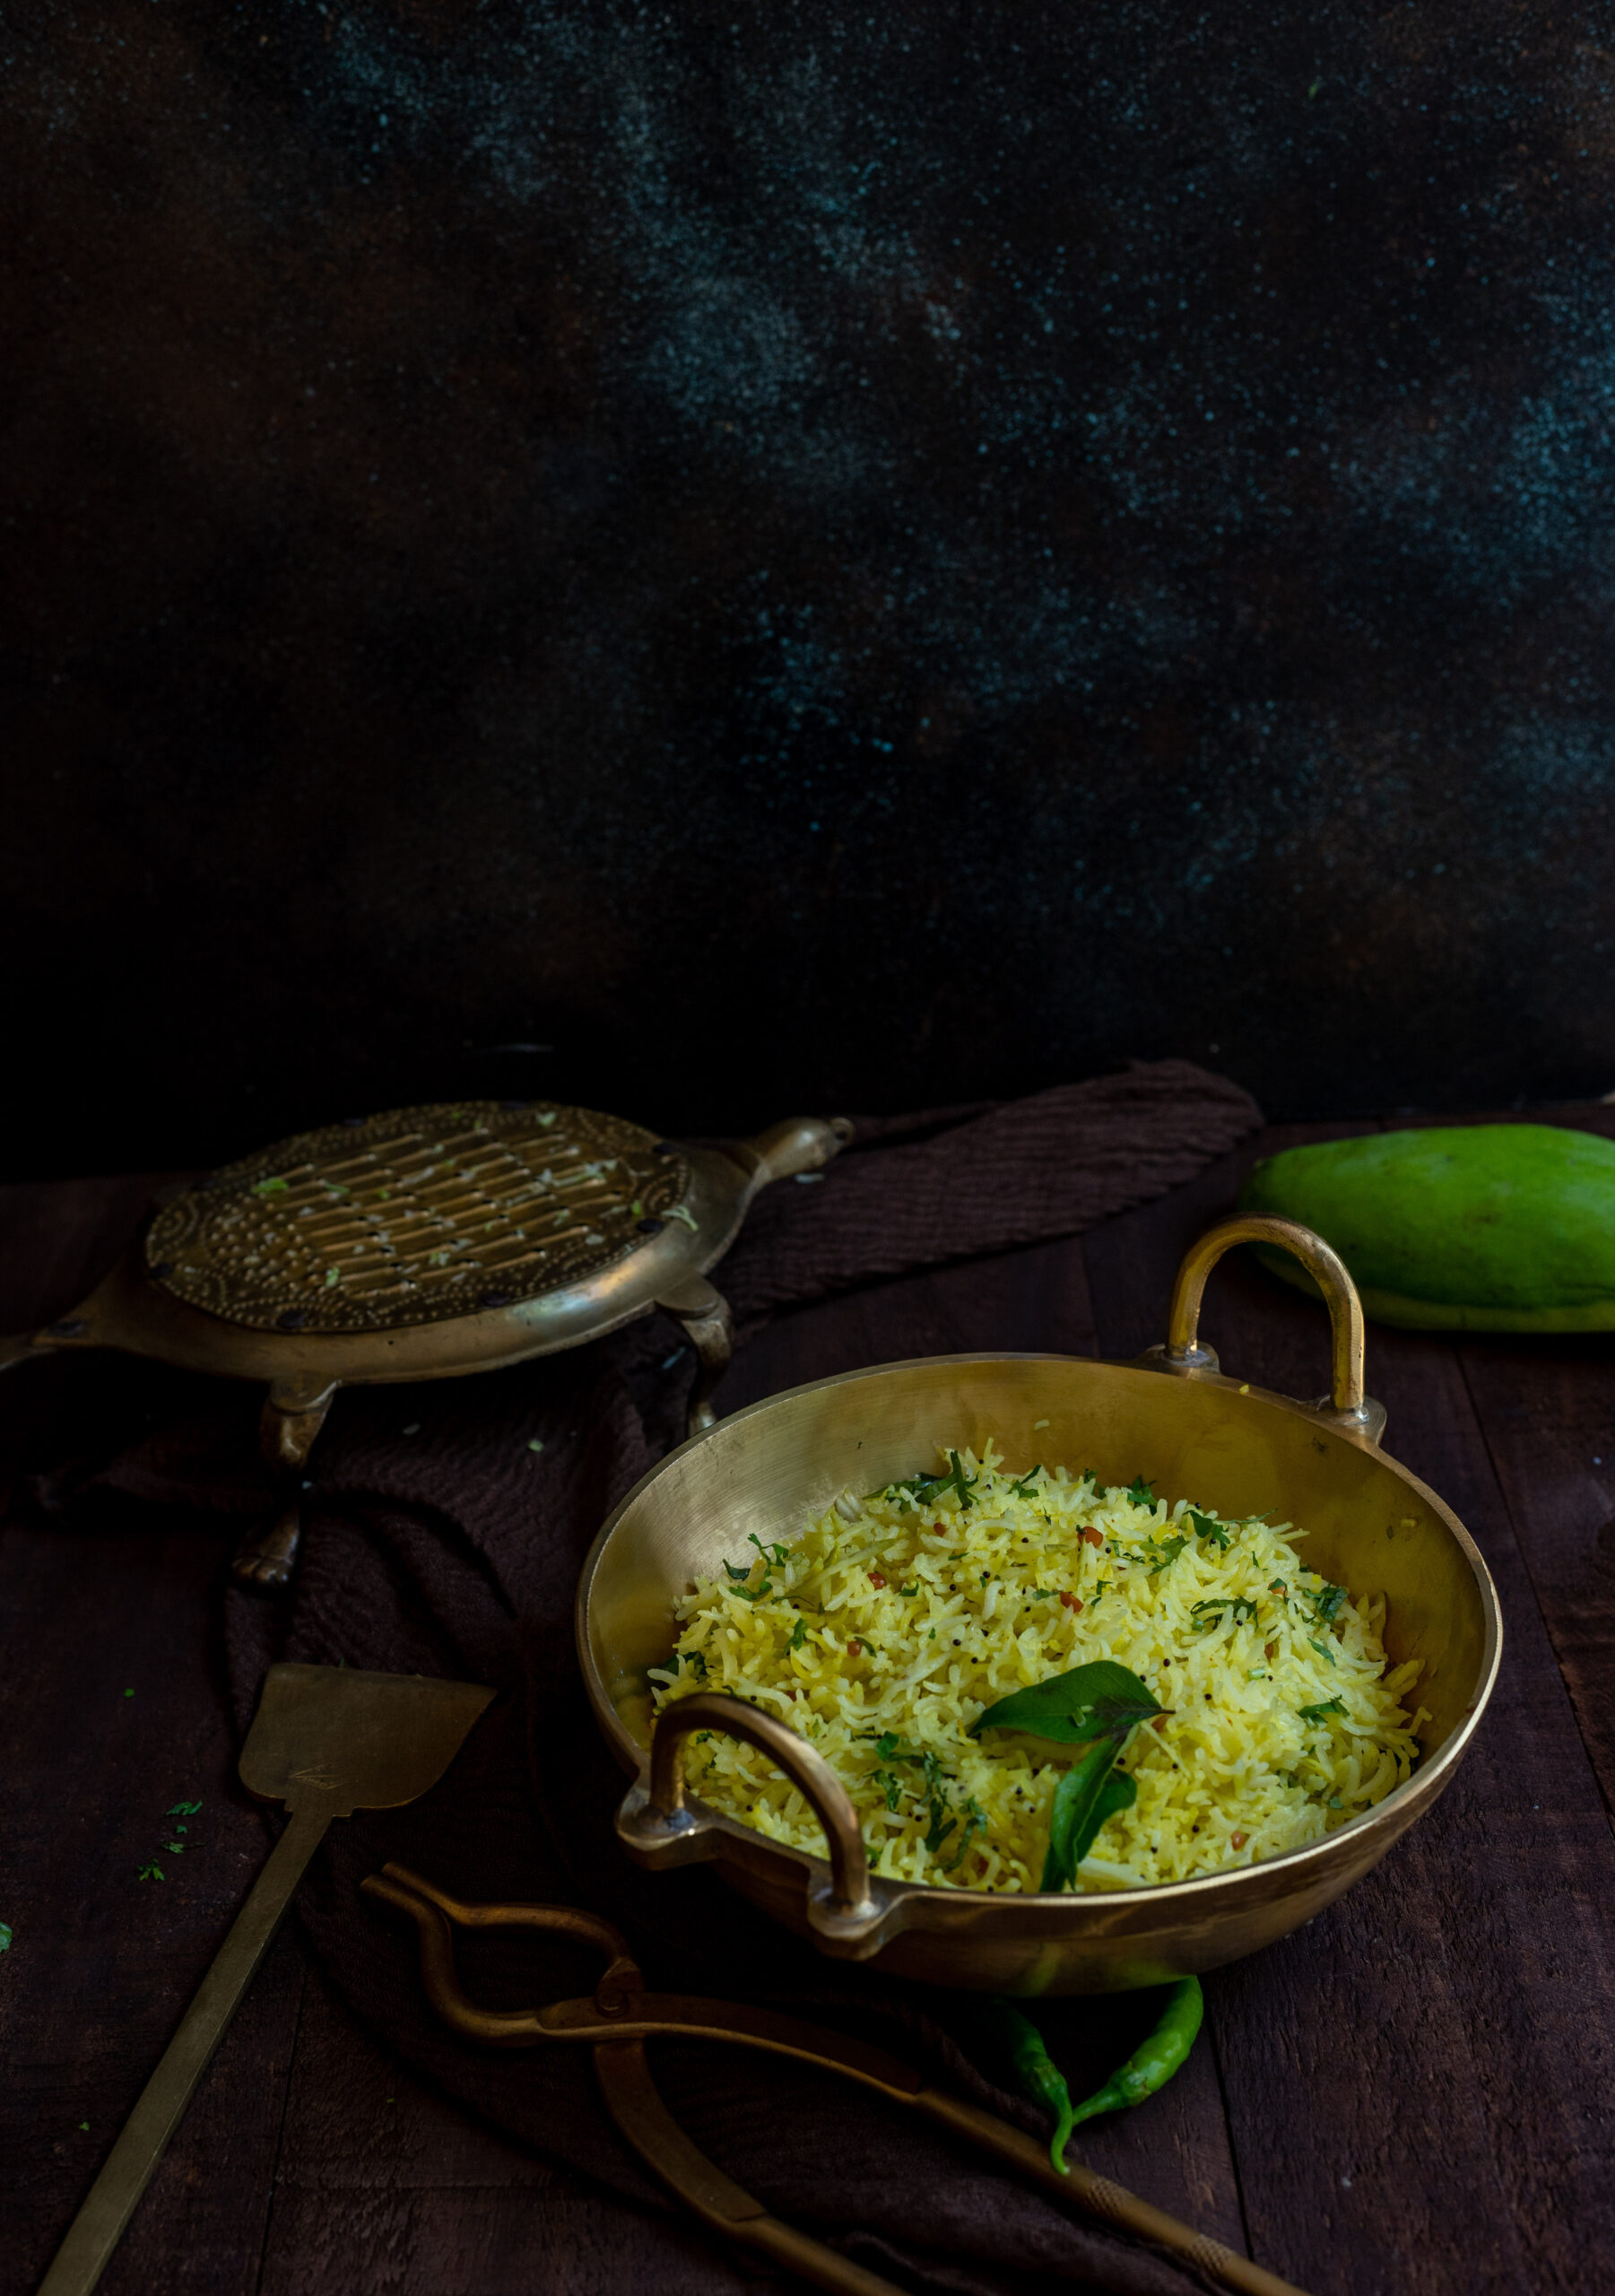
Raw Mango Rice
(Yield: Serves 2)
½ tablespoon oil
½ teaspoon channa dal
½ teaspoon urad dal
½ teaspoon mustard seeds
1 green chilli (sliced)
A few curry leaves
½ teaspoon turmeric powder
2 cups cooked rice
1 cup raw mango (grated)
Salt to taste
A pinch of asafoetida
Coriander leaves (to garnish)
Heat a kadai and add the oil. Once it has heated, add the channa dal and the urad dal. Allow them to turn golden, and then add the mustard seeds. Once they begin to splutter, add the asafoetida, curry leaves and green chilli.
Next, add the rice and the turmeric, along with salt to taste. Mix gently. Once it has all come together, turn off the flame. Finally, add the grated mango and mix once again. If you only have access to sour mangoes, rather than the delicately sweet-sour killimooku variant that I have used, use a smaller quantity than listed above.
Garnish with coriander leaves and serve hot with the accompaniments of your choice, or plain and simple. As I said earlier, I’m very curious to know how you’ll pair this rice, and I would simply love to hear about it from you in the comments!