Tag

recipe

Browsing

You may have heard the stories that idly came from Indonesia, and that sambar came from Maharashtra. Today, both of these are accepted as quintessentially South India food. When it comes to food, where much is often not recorded, it is very difficult to pinpoint where a dish came from. The way I see it: at the end of the day, it’s down to your creativity, your imagination, the ingredients that are available while you’re cooking, the ingredients that grow during that season and in that area – there are many variables. Similarly for this sambar, which may have originated anywhere but tastes good everywhere.

My version of sambar is influenced by the communities I grew up in. I know I must sound like a stuck record since I say this about so many dishes, but various communities do prepare it in their own ways. This is true for every kind of food, and there are variations between cooks as well. This is the sambar that my family likes and have grown accustomed to. My mother’s preparation was different, and my daughter will probably cook it differently as well.

Food is like Chinese whispers: by the time it trickles down to us, it may be a far cry from what the inventor of the dish made. Everything we know about authentic, traditional food is by word of mouth and trial and error. I doubt that much was ever written down, except perhaps recipes for temple offerings and so on. Additionally, traditional food was always defined by location – i.e. seasons and available produce, as mentioned earlier. Some of us do still try to follow this natural logic, such as through Macrobiotics. But overall, we have come a long way since then. Today, avocados, blueberries and strawberries grow in India. While they may not go into our sambars, they do go into our diets pretty regularly.

Coming back to sambar: it is a lentil-based dish that is enjoyed with dosas, idlys or rice. It is rich in protein, and is quite healthy for you. For the recipe below, I have used a readymade sambar masala, but I also have a homemade sambar powder recipe that I will share with you soon.

Sambar

(Yield: Serves 4)


1 cup toor dal (pigeon pea)

2 cups water (to cook the dal)

2 tablespoons sesame oil

Salt to taste

¼ teaspoon turmeric

½ teaspoon Kashmiri red chilli powder (adds colour)

1 heaped spoon sambar masala

½ teaspoon mustard seeds

½ teaspoon cumin seeds

¼ teaspoon asafoetida

5-8 curry leaves

1 dry red chilli

1 cup shallots

1 tomato – finely chopped

Juice of 1 lime-sized ball of tamarind

3 cups water


Cook the toor dal along with the water in a pressure cooker until tender. Set aside.

Heat a kadai and add the oil. Once the oil is heated, add mustard seeds, cumin seeds, curry leaves, asafoetida, dry red chilli, and finally, the shallots.  Sauté until the shallots are tender.

Now, add the tomatoes.

Next, add the salt, turmeric, chilli powder and the sambar masala. Sauté and add the tamarind juice.

Cover with a lid and allow to cook on a low flame, until the raw smell of tamarind dissipates. This will take approximately 10-12 minutes. Blend the dal and add it to the kadai. Make the sambar to the consistency you prefer.

Allow to boil for a bit, then serve hot, garnished with fresh coriander leaves.

This sambar pairs perfectly with the ragi idly I shared last week. Why not try both out together and let me know what you think?

I believe that South Indian breakfasts are probably the healthiest ones prepared pan-India. I may be biased, of course, as I live here. But my belief comes from how they tend to contain some amount of protein and probiotics, and are centred on something as basic and easily digestible as rice. Rice is used in the batter for idlys and dosais, which are breakfast staples. If you travel across Tamil Nadu, especially by road, you’ll see just how prevalent these items are across all communities and economic backgrounds. Naturally, I grew up eating them too. Nowadays, I like to boost the protein quotient, as I get very hungry immediately after my morning workout and crave more of it. This is why I decided to substitute rice with ragi – finger millet – in my idlys. They are high in both protein and iron, and provide an even more nutritious start to the day.

We grow ragi on our farm, and making these idlys is a great way to put it to use. During harvests, I have quite an abundance of ragi in my kitchen, and versatile ways to consume it were introduced to me by my household staff, Vijaya. I was fortunate that she came into my family when my daughter was only a few months old. Now, my daughter is an adult, and whenever she visits, Vijaya is always so happy to see how she’s grown and how she looks after herself. It’s a joy to share these moments, as we raised her together. Over the years, we have also exchanged many recipes. Among them is this ragi idly.

I’m currently hooked to this dish, and have it at least twice a week. I alternate it with other protein-rich breakfasts such as overnight oats, quinoa porridge, moringa leaves omelette and so on. As far as eating preferences go, I tend to have a “flavour of the season”, and just as I was hooked for each of the prior recipes for a spell, the ragi idly is my current favourite breakfast. It is satisfying, filling and ticks all the boxes for a post-workout meal in a healthy and traditional way.

It’s also on-trend, as the United Nations has declared 2023 to be the International Year of Millets. I’ve been enthusiastic about millet usage for years, and have shared numerous recipes that are based on a variety of them before. I’ll be sure to share more in this category over this coming year. Please let me know if there are any millets or millet-based dishes you are curious about.

Coming back to this dish: all kinds of idlys are usually served either with a chutney, or a sambar. I will share the recipe for sambar, as well as for homemade sambar powder, in upcoming posts – so do stay tuned. The recipe below includes the traditional process of preparing and fermenting the batter.

As I said earlier, idlys are available anywhere in Tamil Nadu, but the difference when they are homemade is that they somehow feel lighter on the stomach. You can eat many idlys and not feel too full, yet you’ll have plenty of energy all the way into the afternoon. This is all the more true when it’s a millet idly, like this one.

Ragi Idly

(Yield: 20 pieces)

2 cups ragi (finger millet)

½ cup urad dal (split black gram)

¼ tsp methi (fenugreek)

½ cup water to grind dal

½ cup water to grind ragi


Soak the urad dal and the methi together. In a separate bowl, soak the ragi. Allow the grains to soak for between 4-10 hours, as required.

Then, grind the urad dal, adding the water only as needed, at approximately a ¼ cup at a time. Grind until it’s smooth between fingers. Set aside in a bowl.

Grind the ragi, along with water as required, until coarse. Add the ground ragi to the urad dal. Add salt to taste and mix with your hand. Set aside overnight and allow to ferment.

The following morning, the ragi batter would have risen for fermentation.

Prepare the idly mould by spreading a drop of ghee into each mould. This will help you remove the steamed idly with ease later. Set aside.

With a ladle, stir the batter gently and pour it into the prepared idly trays. Steam for 10-15 minutes. Remove from the cooker and allow to cool a little. Gently remove the idlys individually from the mould.

Serve topped with ghee, along with chutney and sambar, or both. There you have it: a traditional staple, superpowered by ragi!

When my children were growing up, they were really fond of biryani. Biryani is a speciality in India. It is basically a type of rice, loaded with flavours, aromas and vegetables and/or meat. The specific ingredients included will be based on what is locally available, as well as preferences unique to a community – and it is made by many different communities, each in their own styles. By and large, the authentic method of preparing a fragrant biryani loaded with spices came with the Mughals, and trickled into other cuisines. The dish may even have other names in some parts of the country. We are fluid here when it comes to biryani, and it is very much a pan-Indian dish or dish category. A real biryani takes time, effort and skill – but I’ve perfected the recipe for an easy biryani that tastes very good, smells just as lovely and requires the above three elements only minimally!

So here’s the truth: I never really did know how to make biryani when the kids were younger. So I always resorted to this easy and quick method. I feel that this is essentially a masala rice in preparation, but it comes close in flavour and scent to authentic biryani.

However, as my children grew and started eating around the world, they got smarter and were quick to spot when my masala rice was being passed off as a biryani. So I in turn learned how to make real biryani too. That, however, is a long process. The traditional method varies both in its ingredients as well as its cooking. Today, I have opted to share a simple method for an easy biryani instead. While I have kept it vegetarian, you can add meat at the same time in the method that I add the veggies. All else remains the same in the recipe.

When I began to share recipes on this blog some years ago, one of the essential ideas that went behind its conception was that it should appeal to young adults. Whether they were off at university, or were newly-wed and starting a family of their own, I wanted to offer recipes that they could pull off with ease. So I like to present dishes that require accessible ingredients, and simple methods. While I do enjoy sharing exotic or more complex fare here too, and I quite often throw in traditional recipes that keep my readers connected to their roots, I do keep adaptability and time-efficiency in mind most of the time. I know this particular easy biryani recipe fits the criteria because it’s the version that I myself still keep making when I visit my kids in other locations, and encourage them to cook when they’re on their own too.

So, now that I’ve shared one of the core motivations behind how I come up with my recipes, let me also say: I hope this blog has served many. Feel free to leave comments on what else you’d like to see here or what you would like to know about the culinary realm, especially if you’ve just started your journey in the kitchen.

Easy Biryani

(Yield: Serves 2)

2 tablespoons ghee

1 bay leaf

2 cloves

1 teaspoon cumin seeds

1 cardamom

2-3 garlic cloves

½ cup chopped onions

2 cups chopped vegetables (beans, carrot, peas, potato)

1 tablespoon tomato purée

1½ cups water

1 cup rice

Salt to taste

2 teaspoons garam masala

2 teaspoons dhaniya/jeera powder

¼ teaspoon turmeric

Coriander and mint leaves (to garnish)


Rinse and pick the rice and set it aside.

Heat the ghee in a saucepan or pressure cooker. To this, add the bay leaf, cumin, cloves and cardamom. Once they have heated, add the garlic and sauté for a few seconds. Then, add the onions and the remaining vegetables. If you are using meat, add it now as well. Sauté on a medium or high flame.

Now, add the tomato purée. Stir for a few minutes.

Then, add the rice and the water. Add the remaining masala and close the lid of the pressure cooker or cover the saucepan. Allow to cook for no more than 2 whistles or until the rice is tender to the touch, but not too soft. Turn off the flame.

Once it has cooled, open the lid. Sprinkle with coriander leaves and mint leaves. Cover again for some time.

Serve while still hot. Biryani is usually accompanied with raita. Here is a fancier version of this curd side dish, if you’d like to try it out.

I hope you’ll enjoy this delicious, fragrant and flavourful biryani, and I also hope that you find it very easy to make!

Happy new year! Now that the festivities are over, this is usually the time when everyone decides to start eating more nutritiously and to set goals for ourselves in terms of fitness. With that in mind, I too chose to bring some healthy recipes into the picture, after a spree of indulgent ones. Hence, this quinoa porridge to kickstart the year.

You may know that I love my overnight oats as a breakfast dish, but oats contain a lot of carbs, as they are a grain. Many of you also know that cutting down on carbs has been one of my own big ongoing goals, as I’ve shared umpteen times. The use of quinoa as an alternative is something I wanted to explore.

Quinoa is also one of those trendy ingredients at this time, and I know that other people are just as keen to explore new ways to bring it into their diets. This is because it is packed with antioxidants, fibre, protein and other nutrients and is great for those who eat gluten-free. This dish is a simple and delicious way to consume more of it.

The beauty of a porridge is that it can be made with any grain or grain substitute. In South India, we have numerous varieties that use millets, such as ragi kanji. My mother-in-law would make some from Gujarati cuisine too, like bajra ghensh. The concept is traditional in many cuisines.

You can also dress up a porridge any way you want. For instance, you could prepare this quinoa porridge as a savoury dish – with dollops of Greek yoghurt, cumin powder and salt. However, I am sharing the sweet version today. I use cinnamon, either honey or maple syrup, and top it up with fruits and nuts for added flavour and a protein boost.

I love the fact that porridge can be used as a base and then built up any way you want. All options seem to work with the base. It’s such a great way to start the day, and indeed the year too.

Of course, my favourite porridge will always be the one I have whenever I visit my friend in Singapore. It’s a delicious local congee with rice, starch and other additions like onion, chicken, shrimp and so on. I don’t have the recipe for that, but I hope to learn it some day. Or maybe you know how to make it, and can share it with me?


Quinoa Porridge

(Yield: Serves 1)

Porridge

½ cup quinoa

½ cup water

1 cup milk of your choice

1 teaspoon honey/maple syrup

Topping

1 teaspoon seeds of your choice

Fruit of your choice

1 pinch cinnamon powder


In a saucepan, add the quinoa, water and part of the milk. Allow to boil. Once the quinoa is cooked and fluffy, add the remaining milk along with the honey or maple syrup. You can add or reduce the milk quantity to your taste.

Put the cooked quinoa into a bowl and top it up with fruit and seeds of your choice, and a sprinkling of cinnamon powder. Enjoy this delicious start to your day, knowing that it is full of nourishing goodness!

Over the last several years, I have really felt like I am expressing my artistic side and my creativity through re:store. I pour everything into cooking and photography. So much so that I sometimes believe that I can make anything in the kitchen: cakes, fig rolls, the works. Now and then, however, I come up against my limitations and learn a bit more about myself and about cooking too. For instance, I found that cookies are not my forte, and that cakes are where I tend to shine. That said, I still love baking both, and sharing them with you too. So just in time for Christmas, here is my recipe for eggless cinnamon cookies.

I’m not one to go down the street and find a store in order to satisfy a craving. I would much rather eat home-made fare as much as possible, even when it comes to snacks. I enjoy having a cookie or a biscuit along with my late afternoon tea, so I quite often put something in the oven just for that.

What I am sharing with you here is a very basic cookie which is eggless, easy to make and easy to decorate. I’ve used some fancy cookie cutters just for the fun of it, and in the festive spirit. After all, how long can you go on denying yourself the things you love and enjoy?

On that note, you may have noticed that I’ve shared quite a few sugary desserts of late, and that is because of all the special occasions and entertaining that you (and I) may be doing at this time of year. I assure you that I have lots of lovely recipes lined up for January that are all about healthy and clean eating though!

In the meanwhile, let’s indulge: eggless cinnamon cookies, dipped with chocolate, love and good tidings!

Eggless Cinnamon Cookies

(Yield: 12-15 cookies)


150 grams all purpose flour

75 grams powdered sugar

50 grams cornflour

½ teaspoon salt

85 grams butter

1 tablespoon milk

1 teaspoon vanilla extract

½ teaspoon cinnamon powder

1 cup chocolate chips


Mix all the ingredients (except the chocolate chips) together well with your palm. Form a dough and wrap it in cling film. Refrigerate for an hour.

Preheat the oven to 160° C. Divide the dough into two discs, and with the help of parchment paper, roll them out. Use a cookie cutter of any desired shape.

Bake the cookies for 12-15 minutes or until they turn slightly golden at the edges.

Remove from the oven and allow the cookies to cool completely.

Meanwhile, melt the chocolate chips on a double boiler or in a microwave. Stir constantly.

Remove from the heat. Dip the cookies into the melted chocolate. Then place them on a tray and cool in the refrigerator, or at room temperature in a cool room, until the chocolate sets.

Store the cookies in an airtight tin and enjoy them with your favourite beverage. Whether you have a little treat daily or only now and then, these simple yet satisfying eggless cinnamon cookies are sure to delight you! If you enjoyed this recipe, you may also want to explore these sugar-free almond cookies and these ginger-jaggery Christmas cookies too!

The celebrations of Diwali are soon followed by the celebrations of Christmas, and when I was growing up this meant that we enjoyed a couple of months of ongoing festivities. My most cherished childhood association of Christmas has to do with a large Anglo-Indian family we knew. They were wonderfully warm and welcoming, and Christmas day for us was all about visiting them and sharing in the cheery mood in their home. Until they came into our lives, the festival was something I had only encountered in books, so to actually experience it was thrilling. I will never forget the first time I saw a Christmas tree, all decked out in their home. Under it, there were always such lovely gifts for us friends of the family, and I looked forward to these each year. Of course, there was also the spread of delectable festive goodies. These special memories are on my mind this month, which is why they have inspired my sharing of this all-spice cake recipe.

Fast forward to today, and Christmas now for me is all about absolutely delicious plum cakes, received from many friends. As you may know, plum cakes last for between six months to a year depending on how they are made. This means that I am at liberty to enjoy them for a nice long stretch. Just a slice at tea now and then makes the perfect accompaniment. After re:store cakes, of course!

I’ve never attempted at baking a plum cake myself as I know it’s a laborious process, both in technicalities and in love. Besides which, there is such sweetness in receiving them from dear friends. Nowadays, there are vegan and vegetarian and alcohol-free options out there, but there’s nothing like a good old rum plum cake. So while I’ve never gotten down to experimenting with it as a baker, I have really enjoyed making the next best thing.

This all-spice cake, made with a readymade all-spice mix that is full of the goodness of cardamom, cloves and more, has come out so moist and delicious. Maybe it will be one of my own seasonal traditions in future – and perhaps even yours.

This time of year is full of activity for me – visiting friends, special occasions, events, art shows and so on that I am really enjoying every single day. I am also kept busy with fulfilling re:store orders that bring delight into many people’s homes. So much so that it’s almost a struggle to keep up with regular posts on this blog, but I made a promise to myself that I’ll continue sharing my love of cooking with everyone I can reach.

So here I am with a recipe that you can learn to bake ahead of your Christmas feasting, or at any time of year. This will be followed by a cookie post, so do keep an eye out for that as well.

All-Spice Cake

(Yield: One loaf)

200 grams maida

175 grams sugar

60 grams milk

60 grams boiling water

1½ teaspoons baking powder

¼ teaspoon baking soda

½ teaspoon salt

1 teaspoon all-spice

75 grams oil

2 eggs room temperature

25 grams Greek yoghurt

1 teaspoon vanilla extract


Preheat the oven to 170° C. Prepare an 8” loaf tin by lining it with butter paper and coating the edges with butter and flour.

Sift the flour, salt, all-spice, baking powder and baking soda separately. Set aside.

Mix the milk and hot water together. Set aside.

Now, beat the oil and the sugar together. Add the eggs and beat again. Add the vanilla extract.

Then, add the liquid and dry ingredients alternatively, folding each into the mixture with a spatula. Make sure the sides are scraped down properly.

Pour the batter gently into the loaf tin and bake for 35-45 minutes.

Remove from the oven and set the tins aside. After 15 minutes, remove the loaf and cool it on a cooling rack.

Decorate as you wish, and serve. Season’s greetings!

When I say that wish you lots of peace, I mean it deeply. In today’s day and age, we could all do with it – not just for ourselves, but for the environment, in the world, and for every community. Wishing you a very merry, peaceful and delicious Christmas!


My mother often made caramel custard at home while I was growing up. It was a dessert we all enjoyed, and it was her personal favourite too. I go back to memories of her and her teachings all the time, but especially more so nowadays when I am missing her a lot. At this time, I tend to have what I call “solo conversations” with her. I never did learn this recipe from her when she was around, and preparing it now is a kind of ongoing connection with her too. While she made hers plain, mine has a citrus twist – it is an orange caramel custard.

My understanding is that many of us take our parents, especially our mothers, for granted. I must have done the same. Even after she stopped handling eggs and therefore did not prepare this dish anymore, it did not occur to me to ask her for this recipe. Many of us with deceased parents are also laden with guilt and regret – feelings of I should have done this or that, and so on. But I believe that we need not be. As a parent myself, I understand everything my mother did, and I know that she understood everything I did too – just as I have a sense for whatever my own kids are experiencing.

Even though I still feel like there are so many incomplete thoughts and conversations, I don’t carry any negative feelings. Now, I just feel like I can connect to my mom at any time, and without it being emotionally heavy. That connection consists of my “solo conversations” with her, and these are always pleasant and light and lovely. Rather like this delicious dessert.

Since I did not learn this recipe from her, I did so over a period of time. I rummaged around with friends’ recipes, always wanting to learn how to prepare it well as my family enjoys it very much now too. While I have been making the plain version for a while now, this citrus twist came to me during a short recent break in Assam, where oranges are now in season. Between a feeling of deeper closeness to my mother, and the sight of those ripe orange trees, I found myself dreaming up a version that upon experimenting with, I am particularly happy with. As always, I am happy to share this with you too.


Orange Caramel Custard

(Serves: 4-5)


1 cup fine sugar

2 tablespoons water

150 ml fat milk

300 ml cream

4 eggs

1 tablespoon orange zest

2 tablespoons orange juice


Preheat the oven to 140° C.

Keep a tray which will hold 4 medium-sized ramekins ready.

Pour ¾ of the cup of the sugar into a pan. Add 2 tablespoons of water. Allow to cook on a low flame, stirring occasionally.

Cook until this mixture turns into an amber colour and is caramelized. When this happens, remove immediately from the pan and pour it into the 4 ramekins equally. Set aside.

In another pan, add the milk and cream. Stir until the mixture is almost ready to boil. Then, turn off from the heat and add the orange zest. Stir and allow to sit for somewhere between 15 minutes and half an hour. Let the flavour seep in.

Meanwhile, pour boiling hot water in a tray and set the ramekins into it.

In another pan, beat the eggs and the remaining sugar together. Strain the cream mixture into the eggs, stirring constantly.

Add the orange juice to this mixture just before pouring it into the ramekins.

Place them into the baking tray. Bake for about 30 minutes or until the custard is firm yet jiggly.

Remove from the oven, and allow to cool in the refrigerator for 3-4 hours.

Before serving, dip each ramekin in warm water for half a minute. With the help of a knife, invert the custard. Garnish as you wish and serve. In this kind of weather, I would go for something warming like a cinnamon stick. In fact, you could even let the stick steep in the orange juice for a bit before you add it in, so it becomes more infused with that flavour.

As with many other things, I like my orange caramel custards to look dainty and petite, which is why I’ve portioned them into individual small servings. I also consider this a healthier sort of dessert, since it consists mostly of healthy eggs and dairy.

Do try it out and let me know what you think of this sweet delight. For more desserts, especially with the year-end festivities around the corner, you can explore the recipes here.

I believe that my passion for creativity comes from my mother. In my case, these pursuits include photography and food, both of which this blog is all about. The latter is certainly inherited from her. She was very innovative in the kitchen at a time when resources were not as abundantly available today as market options were more limited. We didn’t have the big fancy supermarkets that we do in India today, and the kirana shop down the road with its fluctuating stock was where we got our groceries. My mom had an incredible knack for preparing dishes with whatever was on hand, and this toasted aloo (potato) sandwich is another one from her repertoire.

Another aspect of life back then was that there were no cellphones or constant connectivity, which meant that guests often dropped by unannounced, usually around tea time. So there was always a need to know just what to whip up in case company arrived suddenly. The criteria: the snacks had to be easy to prepare and only use basic ingredients that would reliably be on hand. The great thing about this toasted aloo sandwich is that it didn’t just meet those requirements, but also looked quite glamourous. As I’ve mentioned before, I think sandwiches are a part of Indian cuisine thanks to the club culture the British brought, so bringing them out at tea meant that charm came into the home setting too.

My mother would use the traditional hand-held toaster over the gas stove, which I have mentioned in the past. For me, there is quite a lot of nostalgia associated with simple dishes like this one. I like regular white bread, toasted and warm, for this one as it’s a part of my childhood. The dish has a very Indian feel to it overall, similar to a Westernized aloo paratha both in taste and comfort level.

Nostalgia, paired with novelty, is one of the reasons why I sometimes host sandwich parties in my home. I have my friends over to enjoy a delectable spread of bread options, fillings, toppings and so on. They get to choose how they want to have their sandwiches, similar to having a personal pizza made on the spot. They can go with a quick fix, perhaps untoasted, if they arrive hungry. Or they can enjoy a more elaborate sandwich. For instance, they may want to have a really basic one decked up nicely with thinly sliced paneer, beetroot chutney, sweet potato or pea mash or other choices. Everyone has a favourite, and it is always fun to explore more.

On that note, here are some of the sandwiches and toasts that have made previous appearances on this blog, and I hope you’ll explore these recipes at leisure: tofu masala toast, pesto parmesan toastie, masala baked beans on toast, cheesy garlic sourdough toast, Bombay toast and cherry tomato yoghurt toast.

First, though, do try out this particular potato-based favourite of mine!

Toasted Aloo Sandwich

(Serves: 2)


4 slices bread

1¼ cups mashed potatoes

Salt to taste

1 teaspoon green chilli-ginger paste

2 teaspoons coriander chutney

Butter as required


Mash the salt as well as the green chilli-ginger paste into the potatoes. Mix well together.

Lay the slices of bread flat. Apply the coriander chutney on all of them.

Divide the potato mixture equally and spread it over 2 slices of bread. Then, place the other slices over these. Apply butter on the outside of the sandwiches.

Toast until golden. That’s all there is to it – a very simple, but totally tasty sandwich. Enjoy!

I have shared various medicinal or immunity-boosting beverages on this blog before, and here is one more to add to the list. It is a home remedy tea that can be used for sniffles, as well as to avoid getting them. You may notice that there are trendy drinks, or drinks for a season, that tend to suddenly be popular, with everyone praising the benefits of the same. My family too goes through such phases when it comes to different kind of foods and beverages. At the moment, this drink is our favourite among the healthy category.

It is meant as a post-lunch drink, and it works especially well at this time as it tastes rather like a tea (without containing any). This has pepper and ginger so it is quite flavourful, and is sweetened with some honey. That’s probably why my kids enjoy it. I’m not a fan of flavoured teabags, and prefer to make homemade concoctions like ginger water or turmeric water, or this home remedy which happens to contain both those ingredients.

Speaking of turmeric (which, as I love to remind you, is the re:store brand logo you can see at the top of this website and on all my product packaging), I must admit that my own most preferred healthy drink is either this turmeric shot, or even more simply, a glass of hot water with a drop of ghee and a pinch of turmeric. I firmly believe that the latter keeps viruses and infections away, and since I consume it at night, I can see that it influences good sleep as well. That one is so easy to put together that it doesn’t require a whole recipe as such, and I would encourage you to try it out too.

Even though the monsoon rains have been rather intermittent so far and COVID feels like it’s over, it’s important to keep our immunity up in general. I hope you’ll enjoy this simple, totally natural way to do the same.

Home Remedy Tea

(Serves 1)

2 cups water

½ teaspoon grated ginger

A pinch of turmeric

A pinch of pepper

1 teaspoon honey


In a pot, add the water along with ginger. Allow to boil. In a serving cup, add the turmeric, honey and pepper. Strain the hot water into the cup. Stir. Enjoy your home remedy tea while it’s hot.

Regular consumption of fresh juices and homemade beverages like this one do benefit our overall health. Here are a few more such recipes for you to explore: a soothing syrup with spices, raisin kalkand syrup and turmeric tea. Remember to choose the right one for the season, and for your current tastes or needs!

For the longest time, from when I was a child, I’ve been eating semiya upma as a breakfast dish. Our mother prepared it often when we were growing up. Back then, cereals and so on were not readily available (at best, some cornflakes would show up at the grocery store, but they were a rarity, as were items such as baked beans). We would make a big fuss about wanting bread, buns or what to us were more interesting fare, but the fact is that our mother made us a hot, fresh breakfast every morning – and we were all the luckier for it. Things have really reversed now, and I understand that such thoughtfully prepared breakfasts are simple luxuries. I find myself doing the same now, giving my family the same benefits of a home-cooked meal.

After eating copious amounts of sugar for Diwali, this makes for a healthy and comforting breakfast. Many people feel like they really don’t want to reach out for sweets at this time, and are almost sick of them, so nutritious foods like a good semiya upma are ideal.

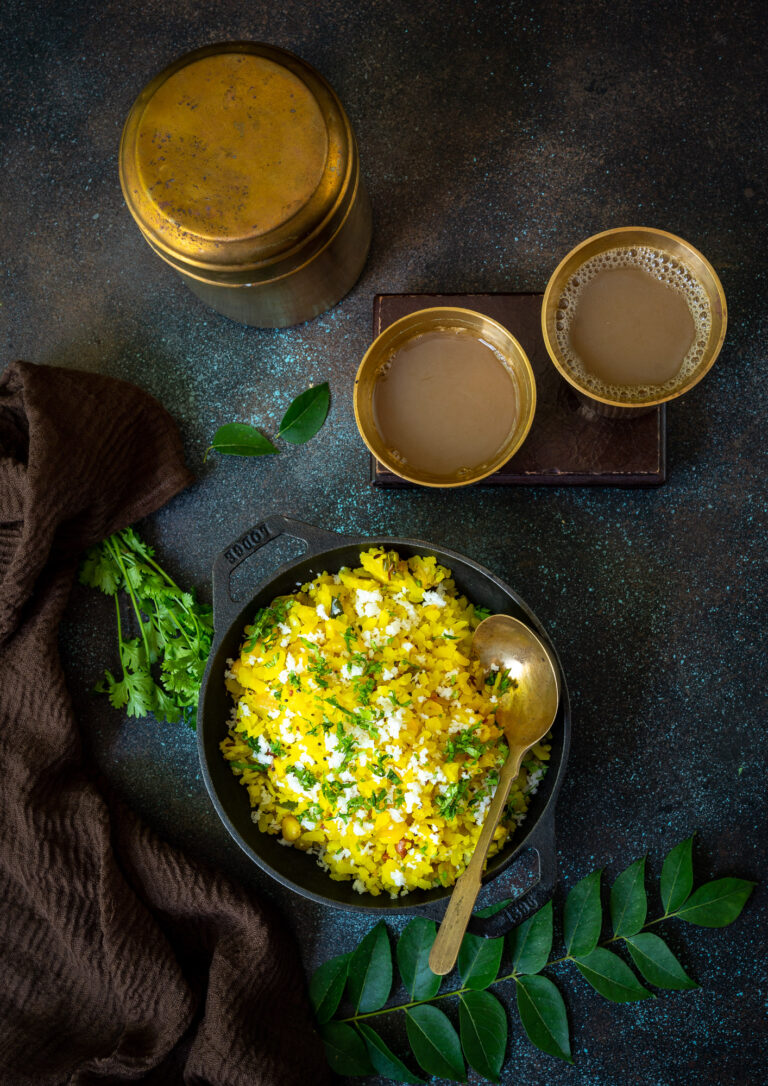
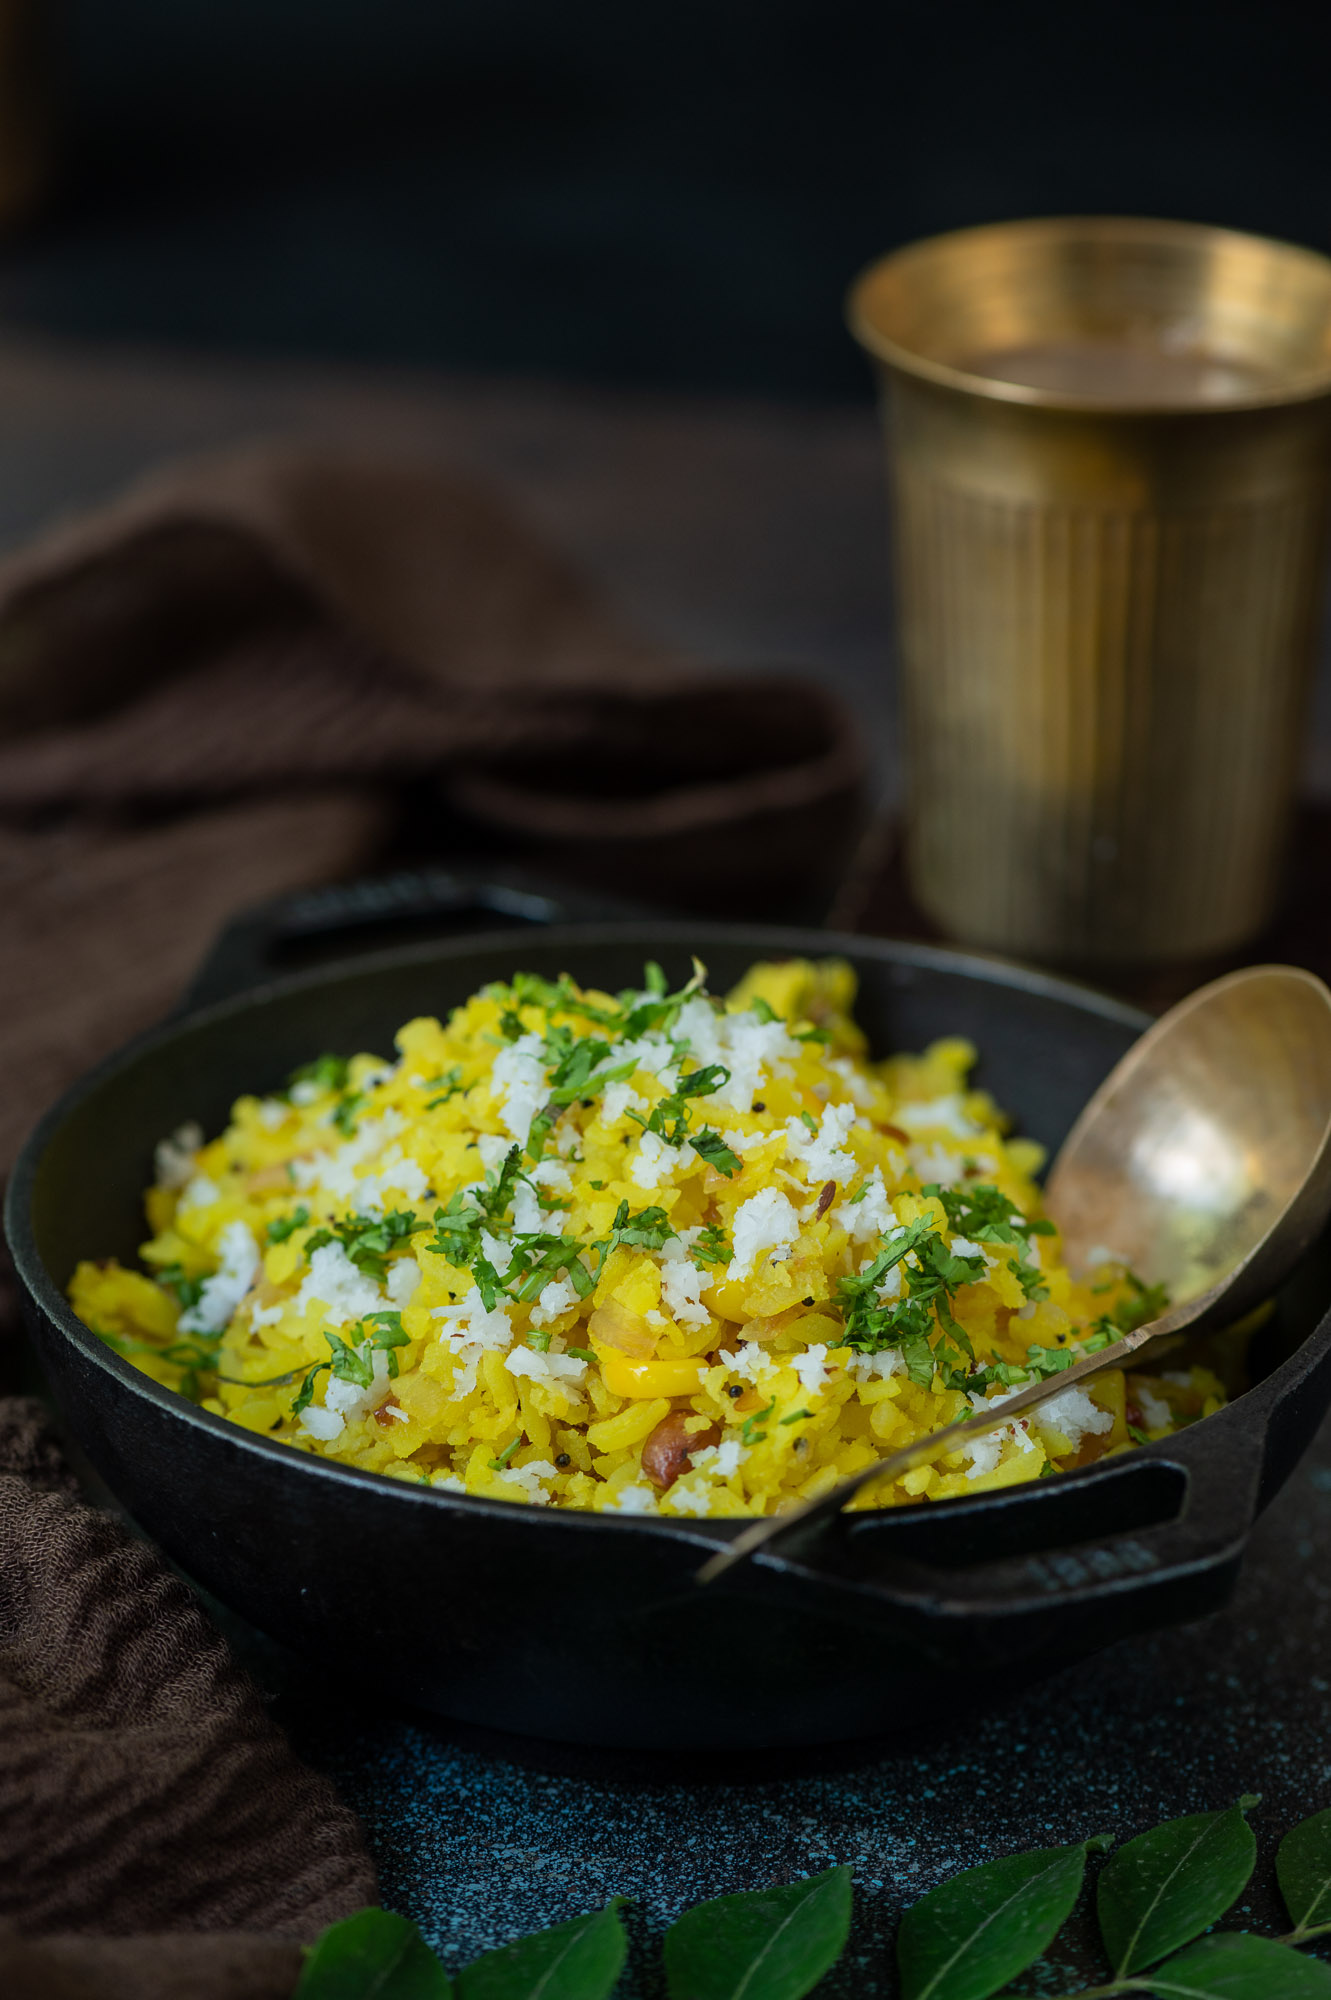
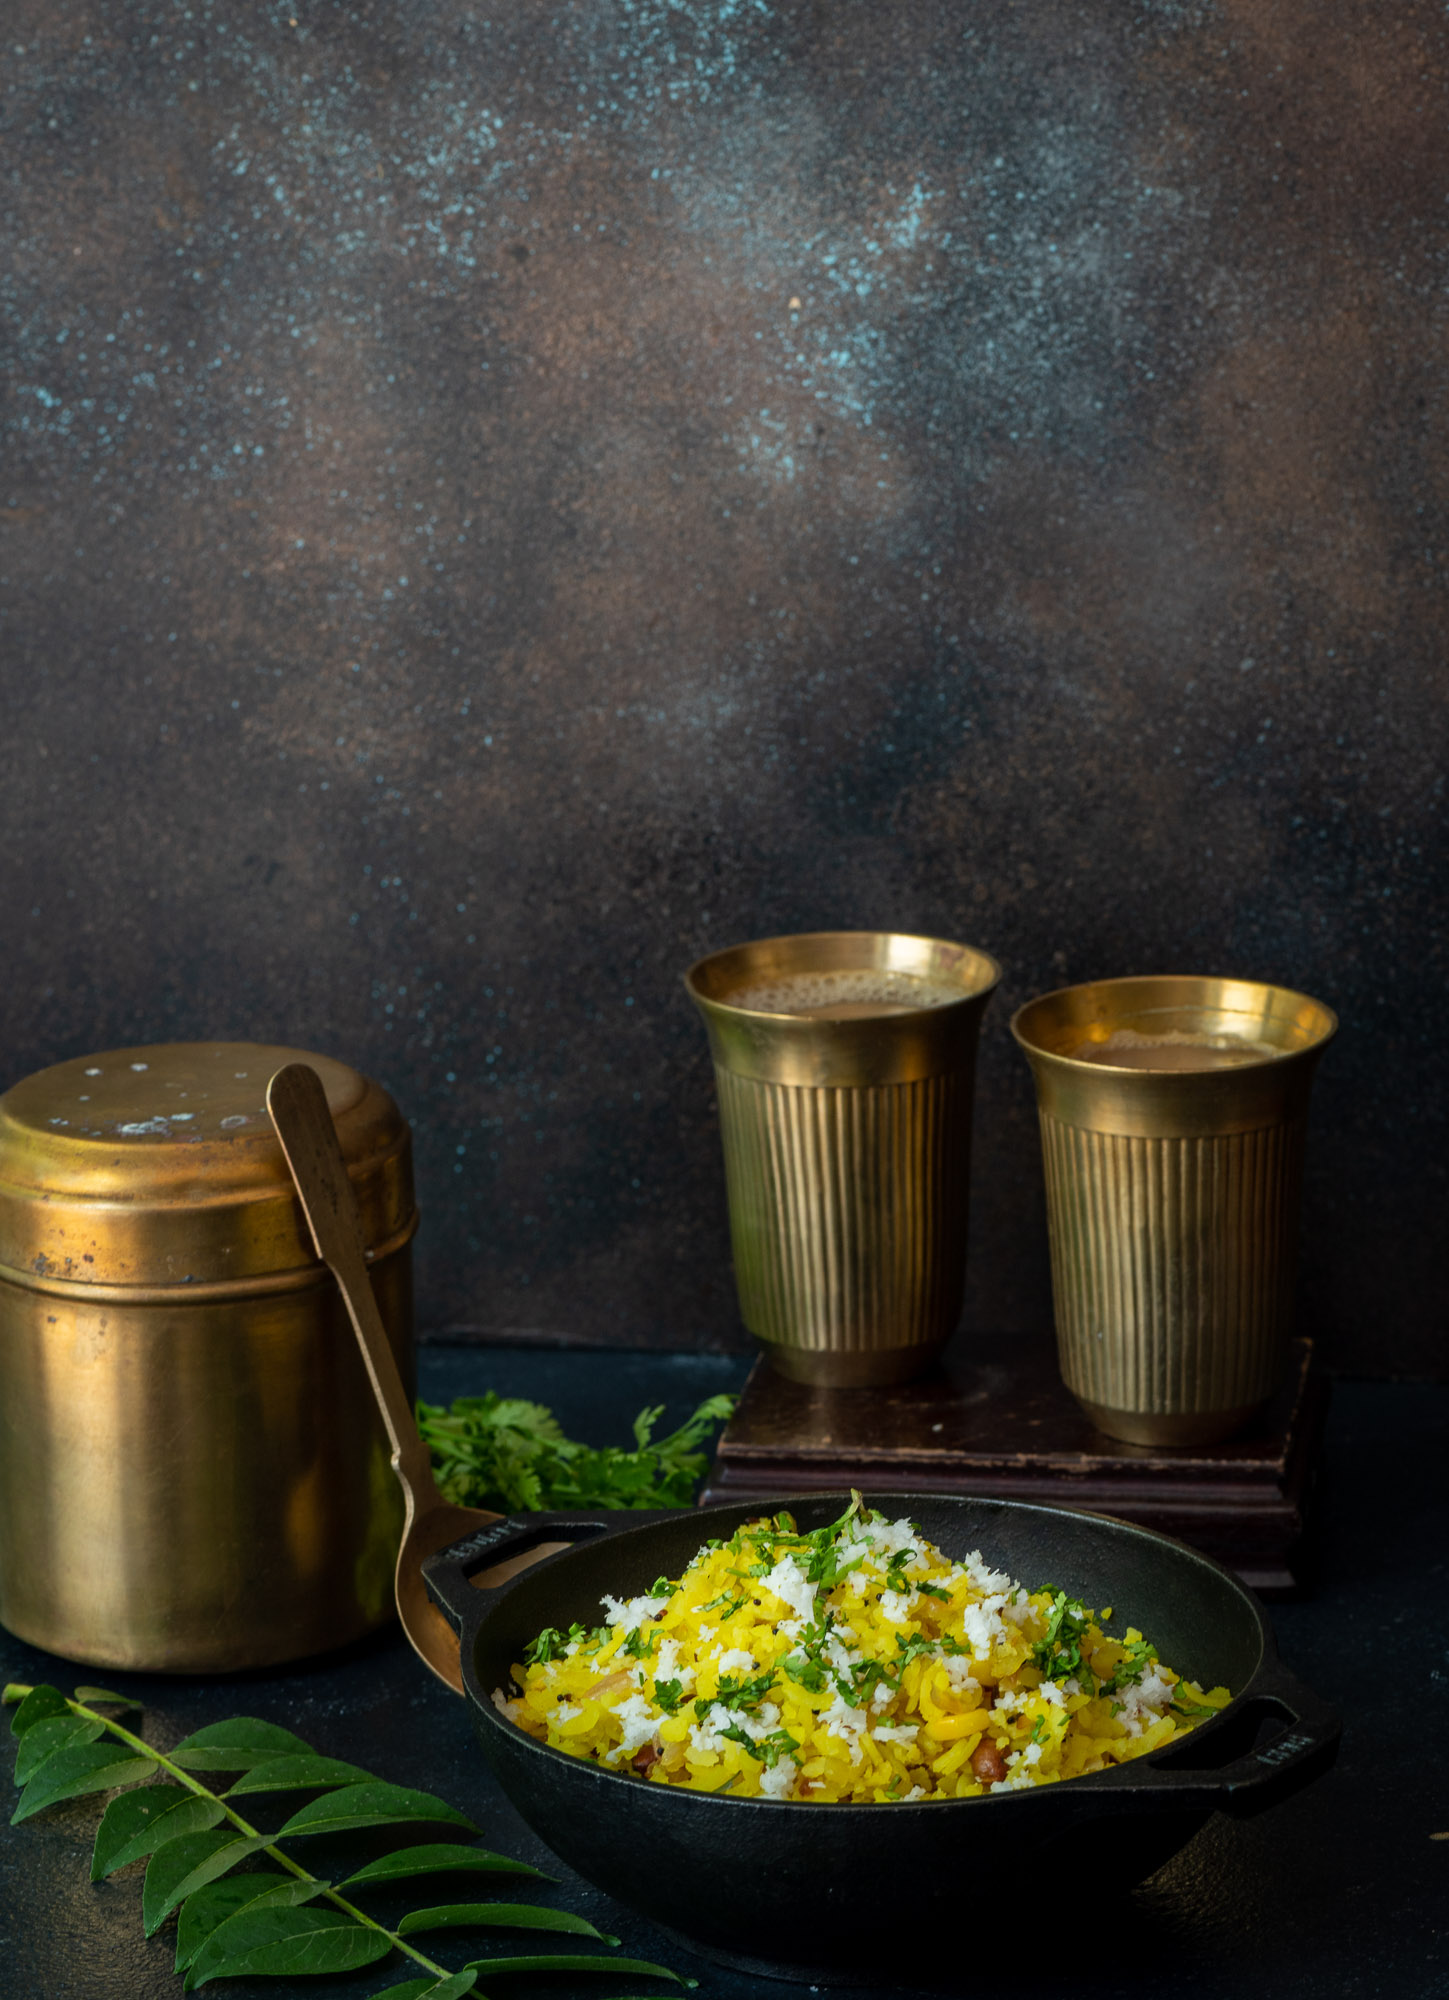
Upma is a South Indian dish that is usually made with any grain: poha, rava, broken wheat, millet and so on. Semiya is a kind of roasted vermicelli, and this is what my mother and now I mostly use to prepare upma.

My mom’s upma contained onions, as is usually the case, and I take the vegetable quotient further by adding carrots and beans. As children, we would often ask for a sprinkling of sugar over the dish, which she gladly agreed to in order to get us to consume it. She would occasionally take this to the next level and prepare a sweet upma with sugar and ghee too. I have yet to try this dessert version, but regularly have a variety of savoury upmas at home. We enjoy exploring an assortment of dishes, but upmas and pohas appear on our table at least once a week each.

Upma cooks very quickly, so aside from being a good breakfast it’s also perfect when you have a guest over suddenly during the day and need to whip up a meal fast. As far as breakfasts go, I have made various attempts at intermittent fasting but this semiya upma is the thing that gets in the way. It is just too dear to me and I don’t want to miss it, so I guess you could say it’s a cheat day special!


Semiya Upma

(Serves 2-3)


2 tablespoons oil

½ teaspoon mustard seeds and cumin seeds

1 cup carrots and beans (finely chopped)

½ cup onions (finely chopped)

1 cup semiya

1 green chilli

Salt to taste

3-5 curry leaves

3 cups water

1 lime


Heat a kadai. Add the oil. Once it has heated, add the mustard and cumin seeds. Allow to splutter, and then add green chilli and curry leaves.

Next, add the onions and sauté for a minute. Now add the vegetables. Cover and allow to become tender on a low flame.

Next, add the water and salt. Increase the flame and once the water boils over, add the roasted semiya.

Mix gently. Cover and allow to cook on a low flame until the water evaporates and the semiya is tender to the touch.

Finally, squeeze the lime juice in and mix gently. Garnish with coriander leaves.

Your semiya upma is now ready to be served. It can be eaten plain, or with some coconut chutney on the side.

While I’ve shared a traditional Indian favourite this time, breakfast does come every day and you may want to explore the varied recipes I’ve shared before from different cuisines. They will all give you a happy start to the day!