Still on the theme of post-festive millet-based goodness, after the previous post’s millet upma, I’m glad to share another recipe that I’ve been turning to frequently. This is another breakfast dish, and what’s even better is that it makes use of the previous day’s leftovers, maximizing resources and minimizing time. There’s a long tradition of innovative dishes that do this, as we’ve seen in my second helpings series from a few years back, and this bajra rotlo cereal fits beautifully into that category too.
Bajra, or pearl millet, is a long-fingered crop with hundreds of grains on the cob. It has been cultivated on the Indian subcontinent for thousands of years, and is a staple across different cuisines in this region. As a darker coloured millet, which indicates that it is heavier on the digestive system, it is perfect for monsoons and Indian winters. It keeps the body warm, since the digestive system is active for longer, working on those slow-release carbs, and thus reduces hunger between meal-times. I have noticed that it is one of the key ingredients consumed by farmers, such as the people I’ve met on my travels to the Rann of Kutch, where the salt-harvesting community eats bajra with chutney daily. It has a high iron quotient, is gluten-free and is rich in amino acids, fibre and antioxidants.
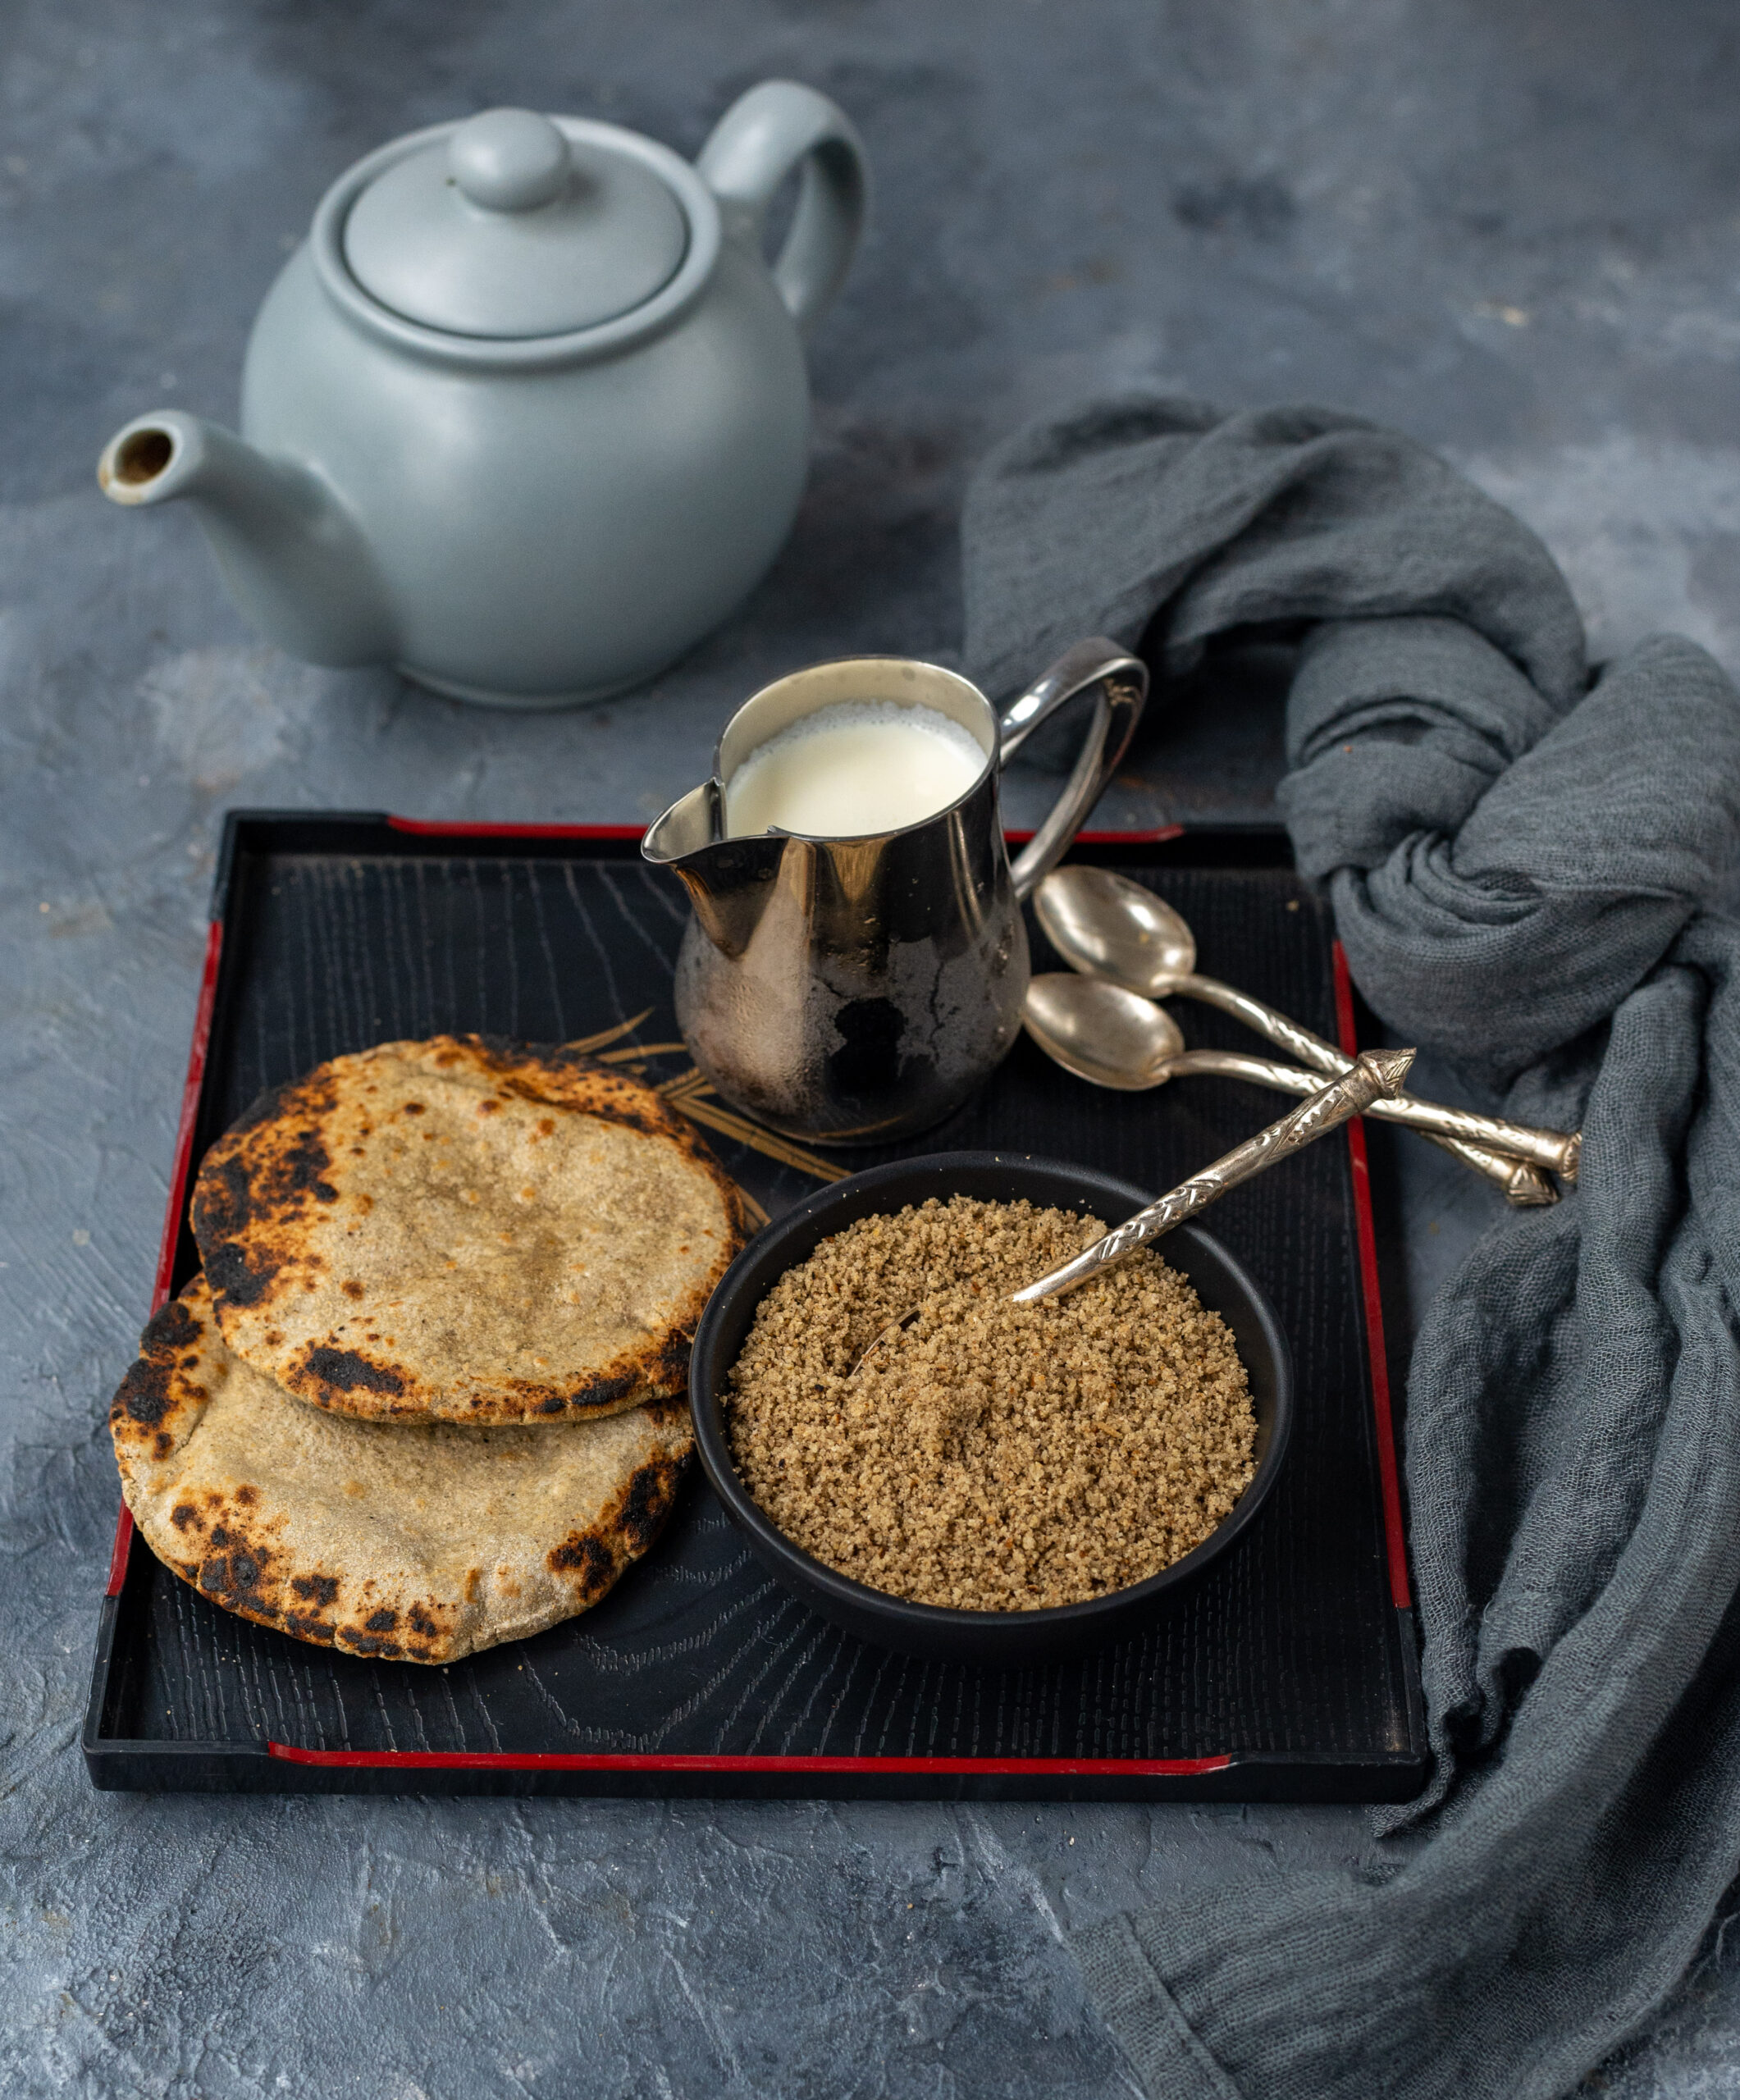
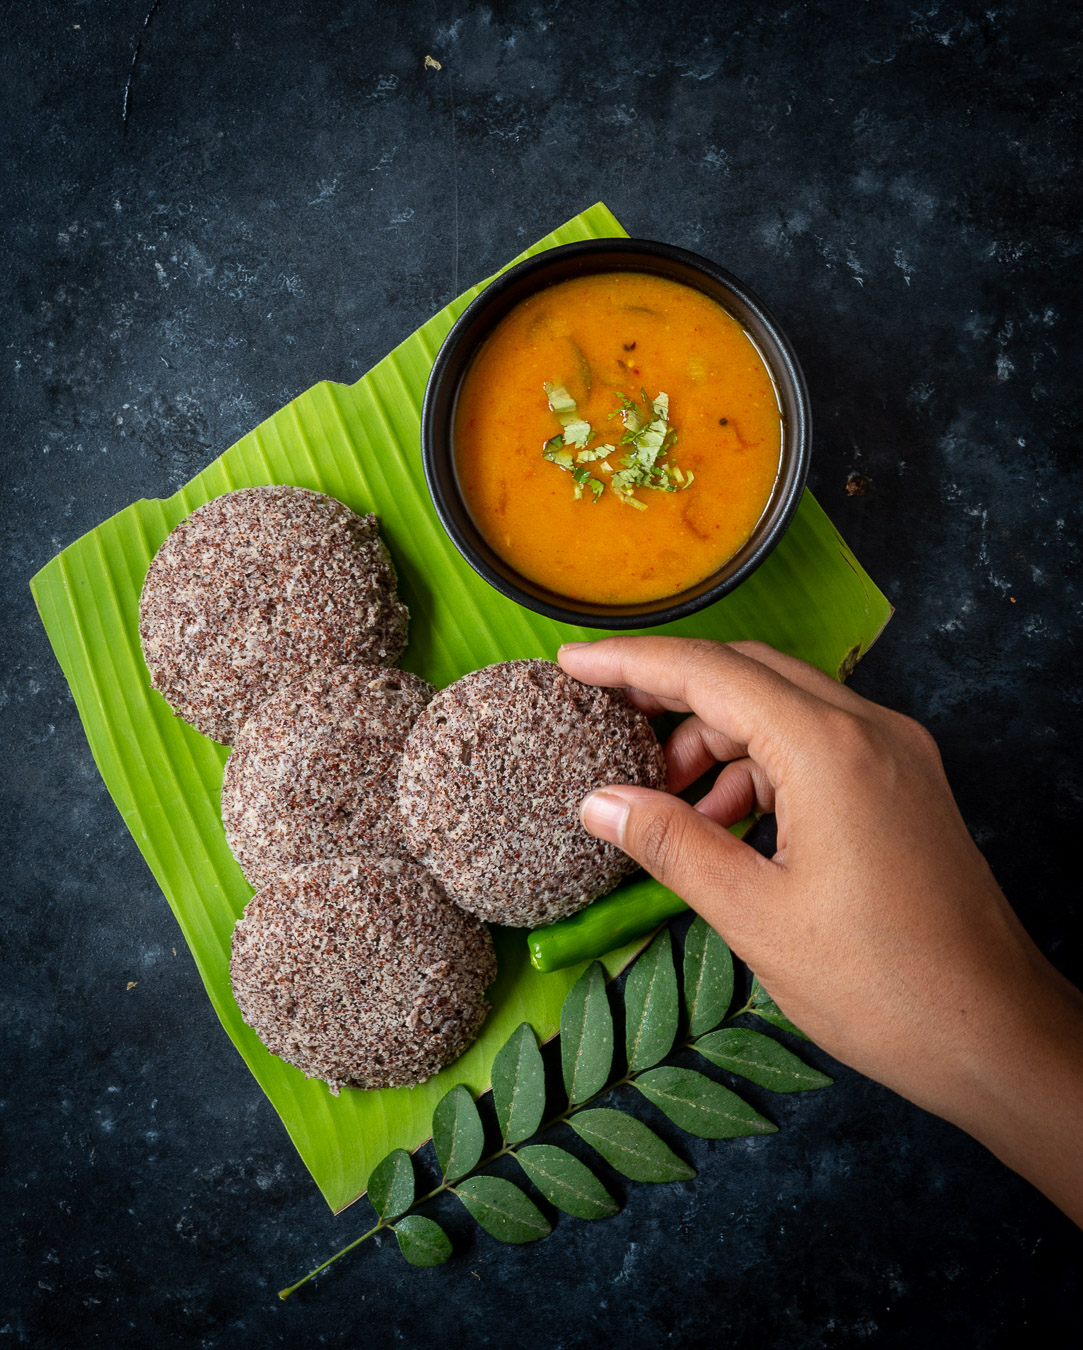
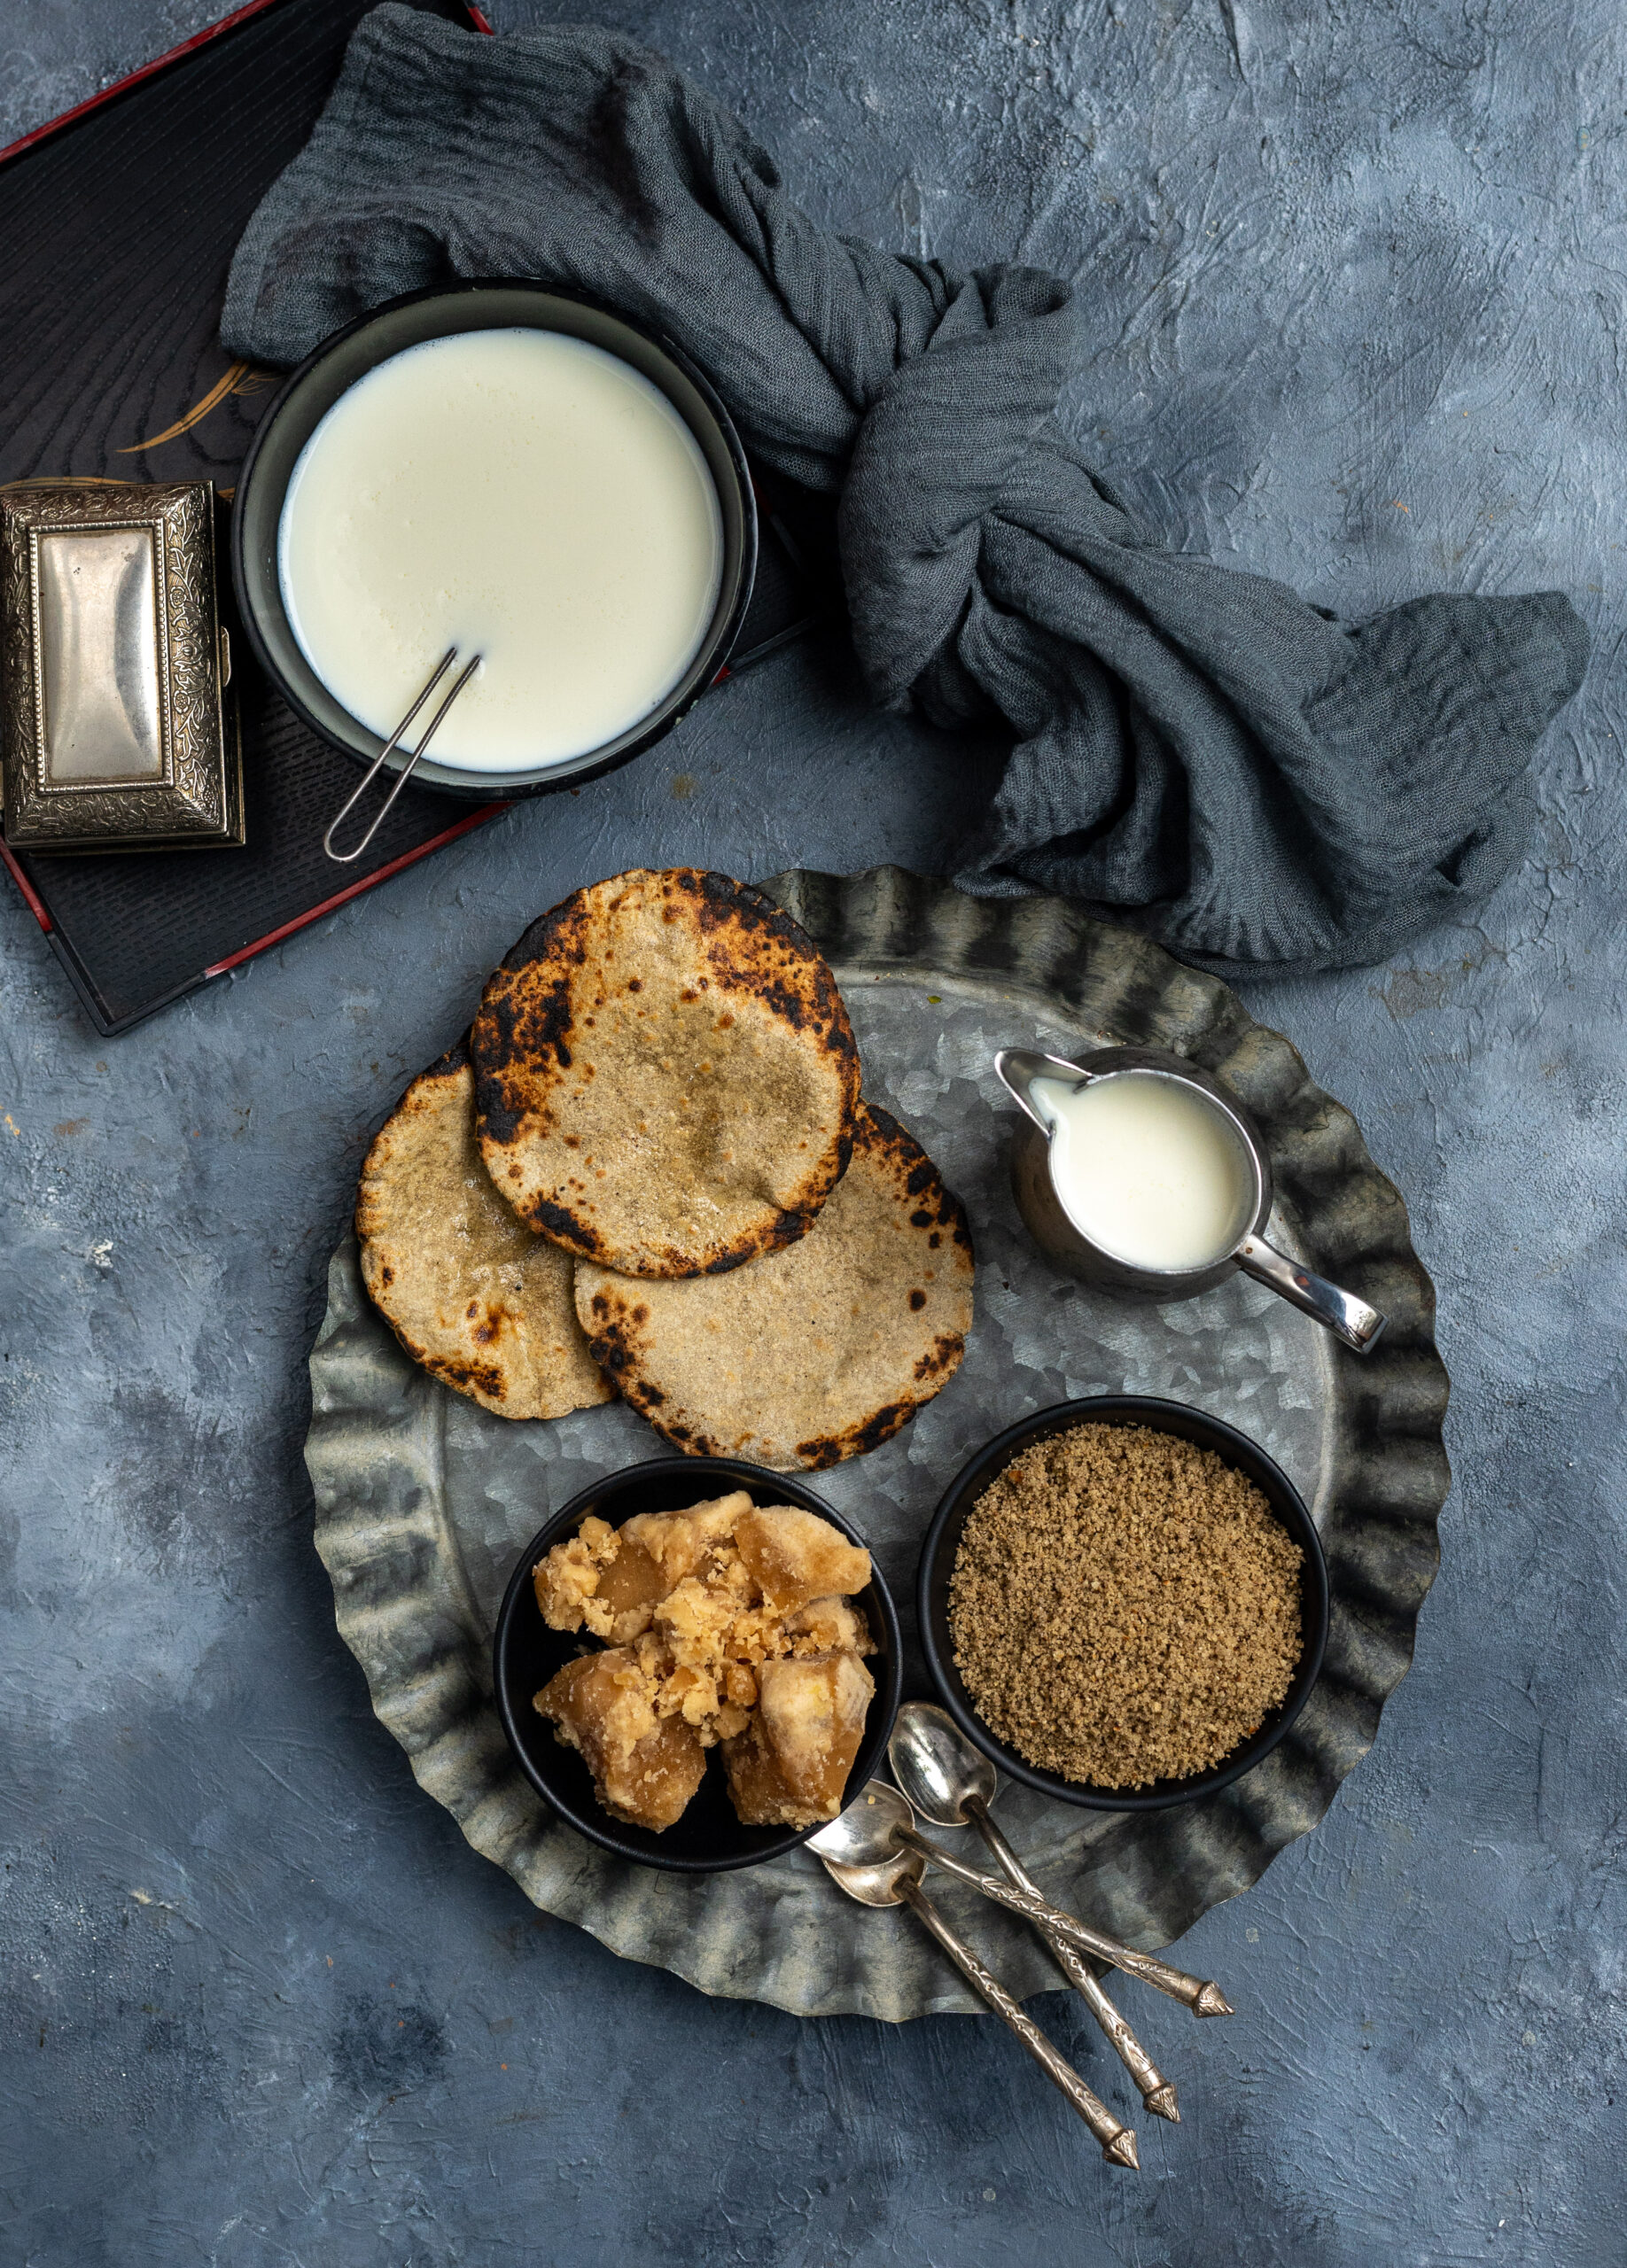
Bajra rotlo is a flatbread, one of many varieties enjoyed by the Gujarati community. It is most often accompanied by a garlic chutney, but while I was growing up my mother would usually serve it to us with jaggery and ghee or else with homemade white butter. In those days, the milk quality of brands that are still around today was pure and excellent, which meant we could extract our own buttermilk from the curd, and from this the butter. I remember watching my mother churning the buttermilk, which would make the butter float on top. She would often ask me for my help. We would collect the white butter and set it aside. Having it with some bajra rotlo over dinner was one of my favourite meals.
Of course, the homemade butter no longer exists and the store-bought ones just don’t compare when it comes to this purpose. Which brings me to my second-favourite way of eating bajra rotlo: as cereal.
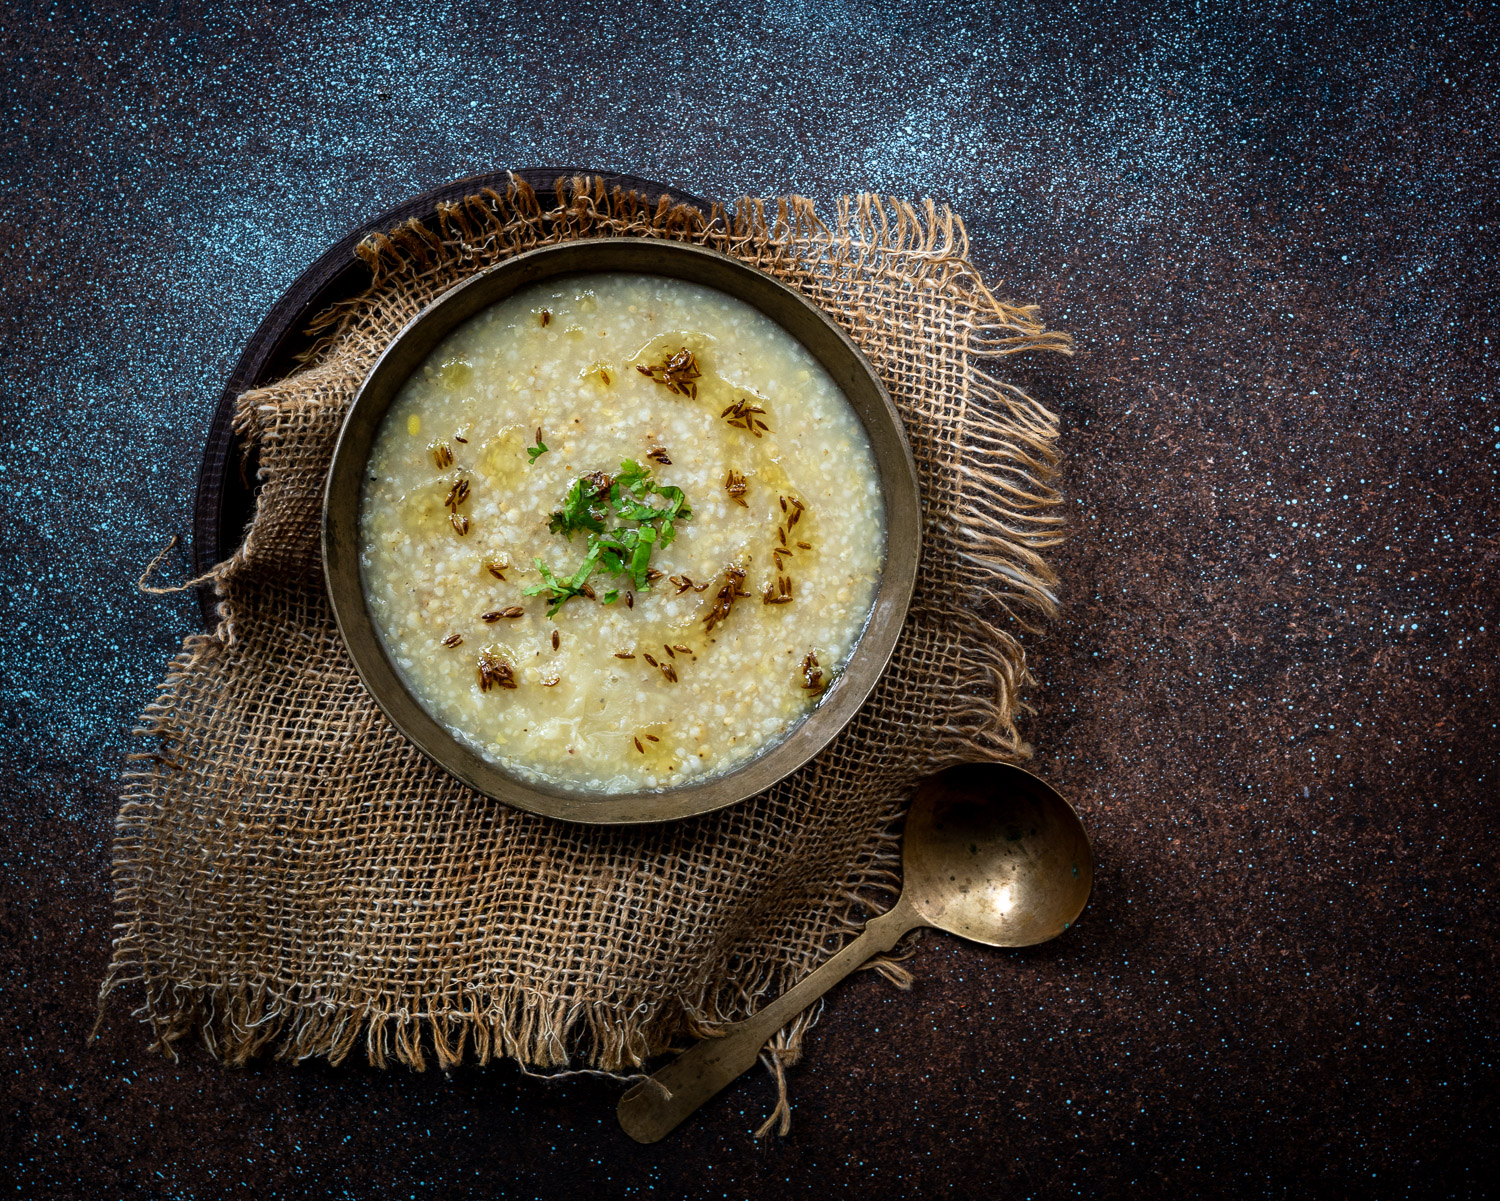
It’s funny how things come full circle. As a child, this was a dish that I scorned at the breakfast table. My mother would always prepare a few extra bajra rotlos, to be kept overnight for my father and her to have in the morning. She would crumble these with her hands, turning them into a cereal consistency, and my parents would eat this cereal with milk. It looked like cornflakes to us kids, which was interesting in theory, but we did not like the taste back then. I grew to love it, however. In fact, I now enjoy this deconstructed version more than I enjoy the previous night’s freshly-made, unbroken bajra rotlos themselves!
Now, when I prepare bajra rotlo cereal, the memory of my mother’s hands and the way she would crumble the rotlos always comes to me. The dish is all the more special because of this.
For the time being, no one else in my family likes bajra rotlo cereal. But they watch me eat it, just as I once watched my parents eat it. I’ve never forced it on my kids, but maybe somewhere later down the line, they’ll reach out for this comfort food on some mornings too. Fond memories really are what make food palatable, above all else. Besides, as parents we always set an example. The next generation, be they little or a little older, will make similar choices to ours. So the more healthily we eat, the better a model we set for them.
Bajra Rotlo Cereal
(Yield: 4 servings)
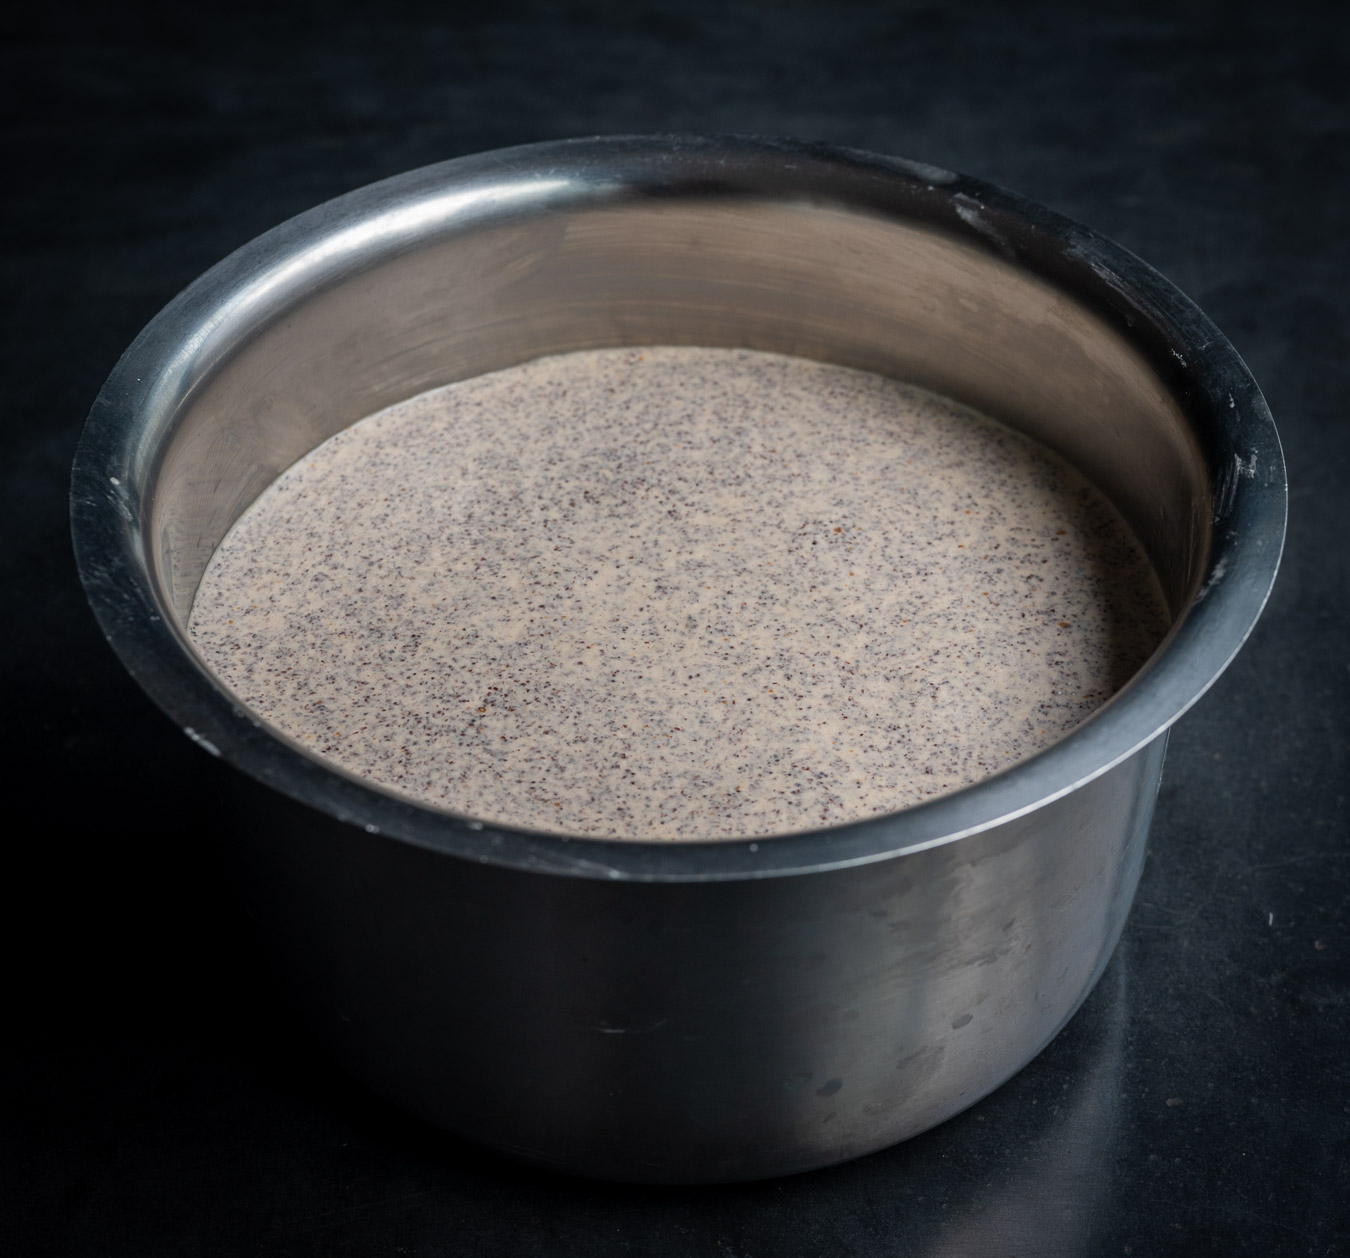
1 cup bajra flour
½ cup water
A pinch of salt
½ cup flour for rolling
Optional (non-cereal version)
1 tablespoon finely chopped onion
1 tablespoon finely coriander leaves
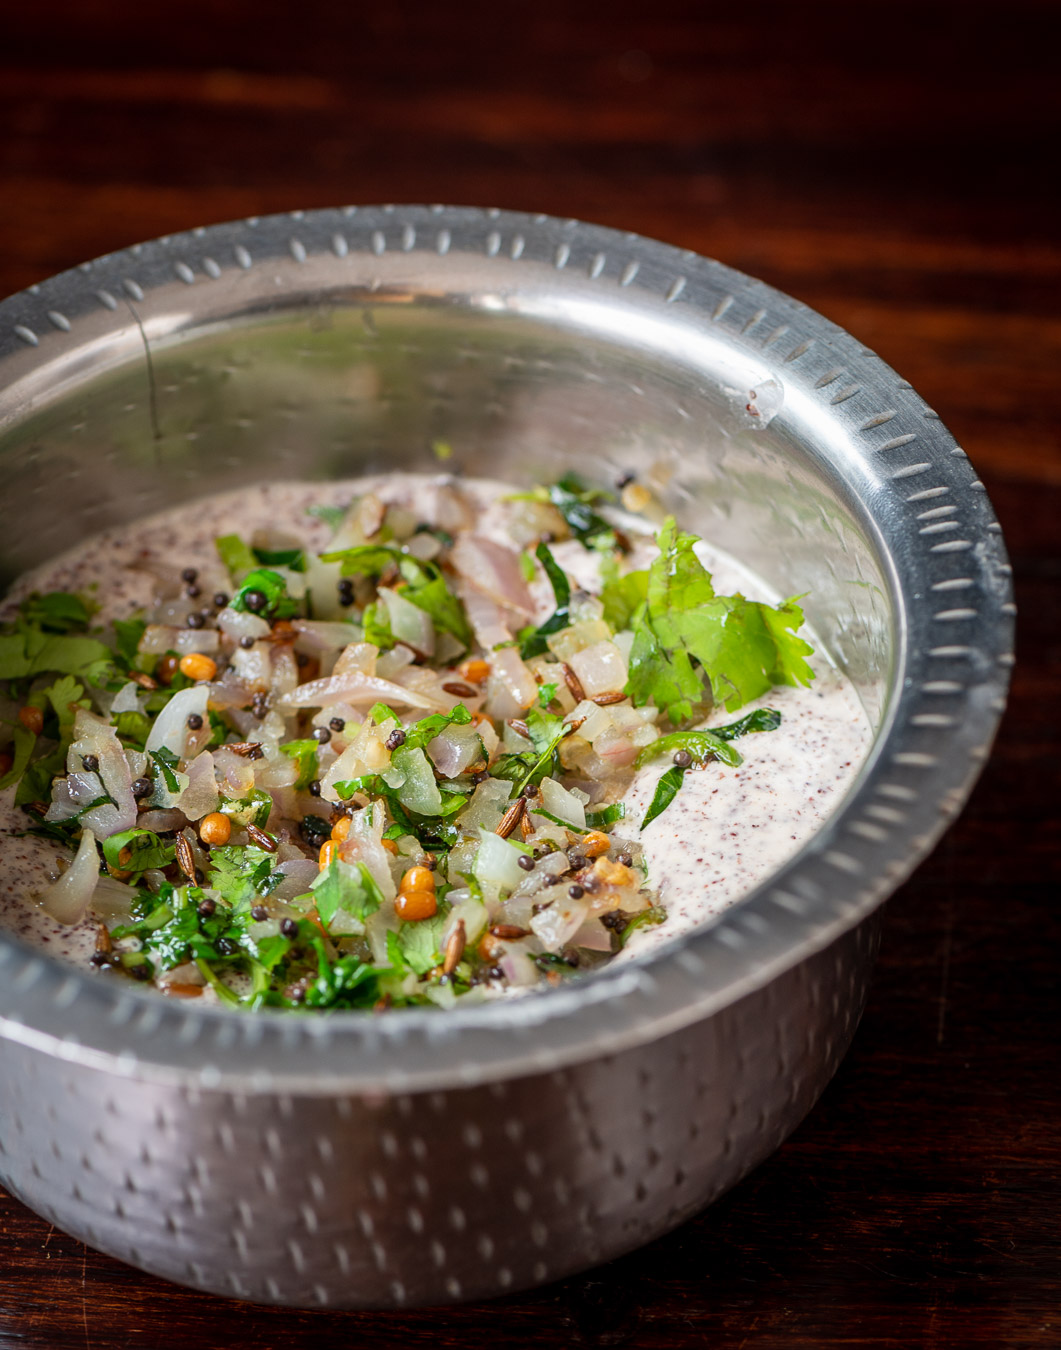
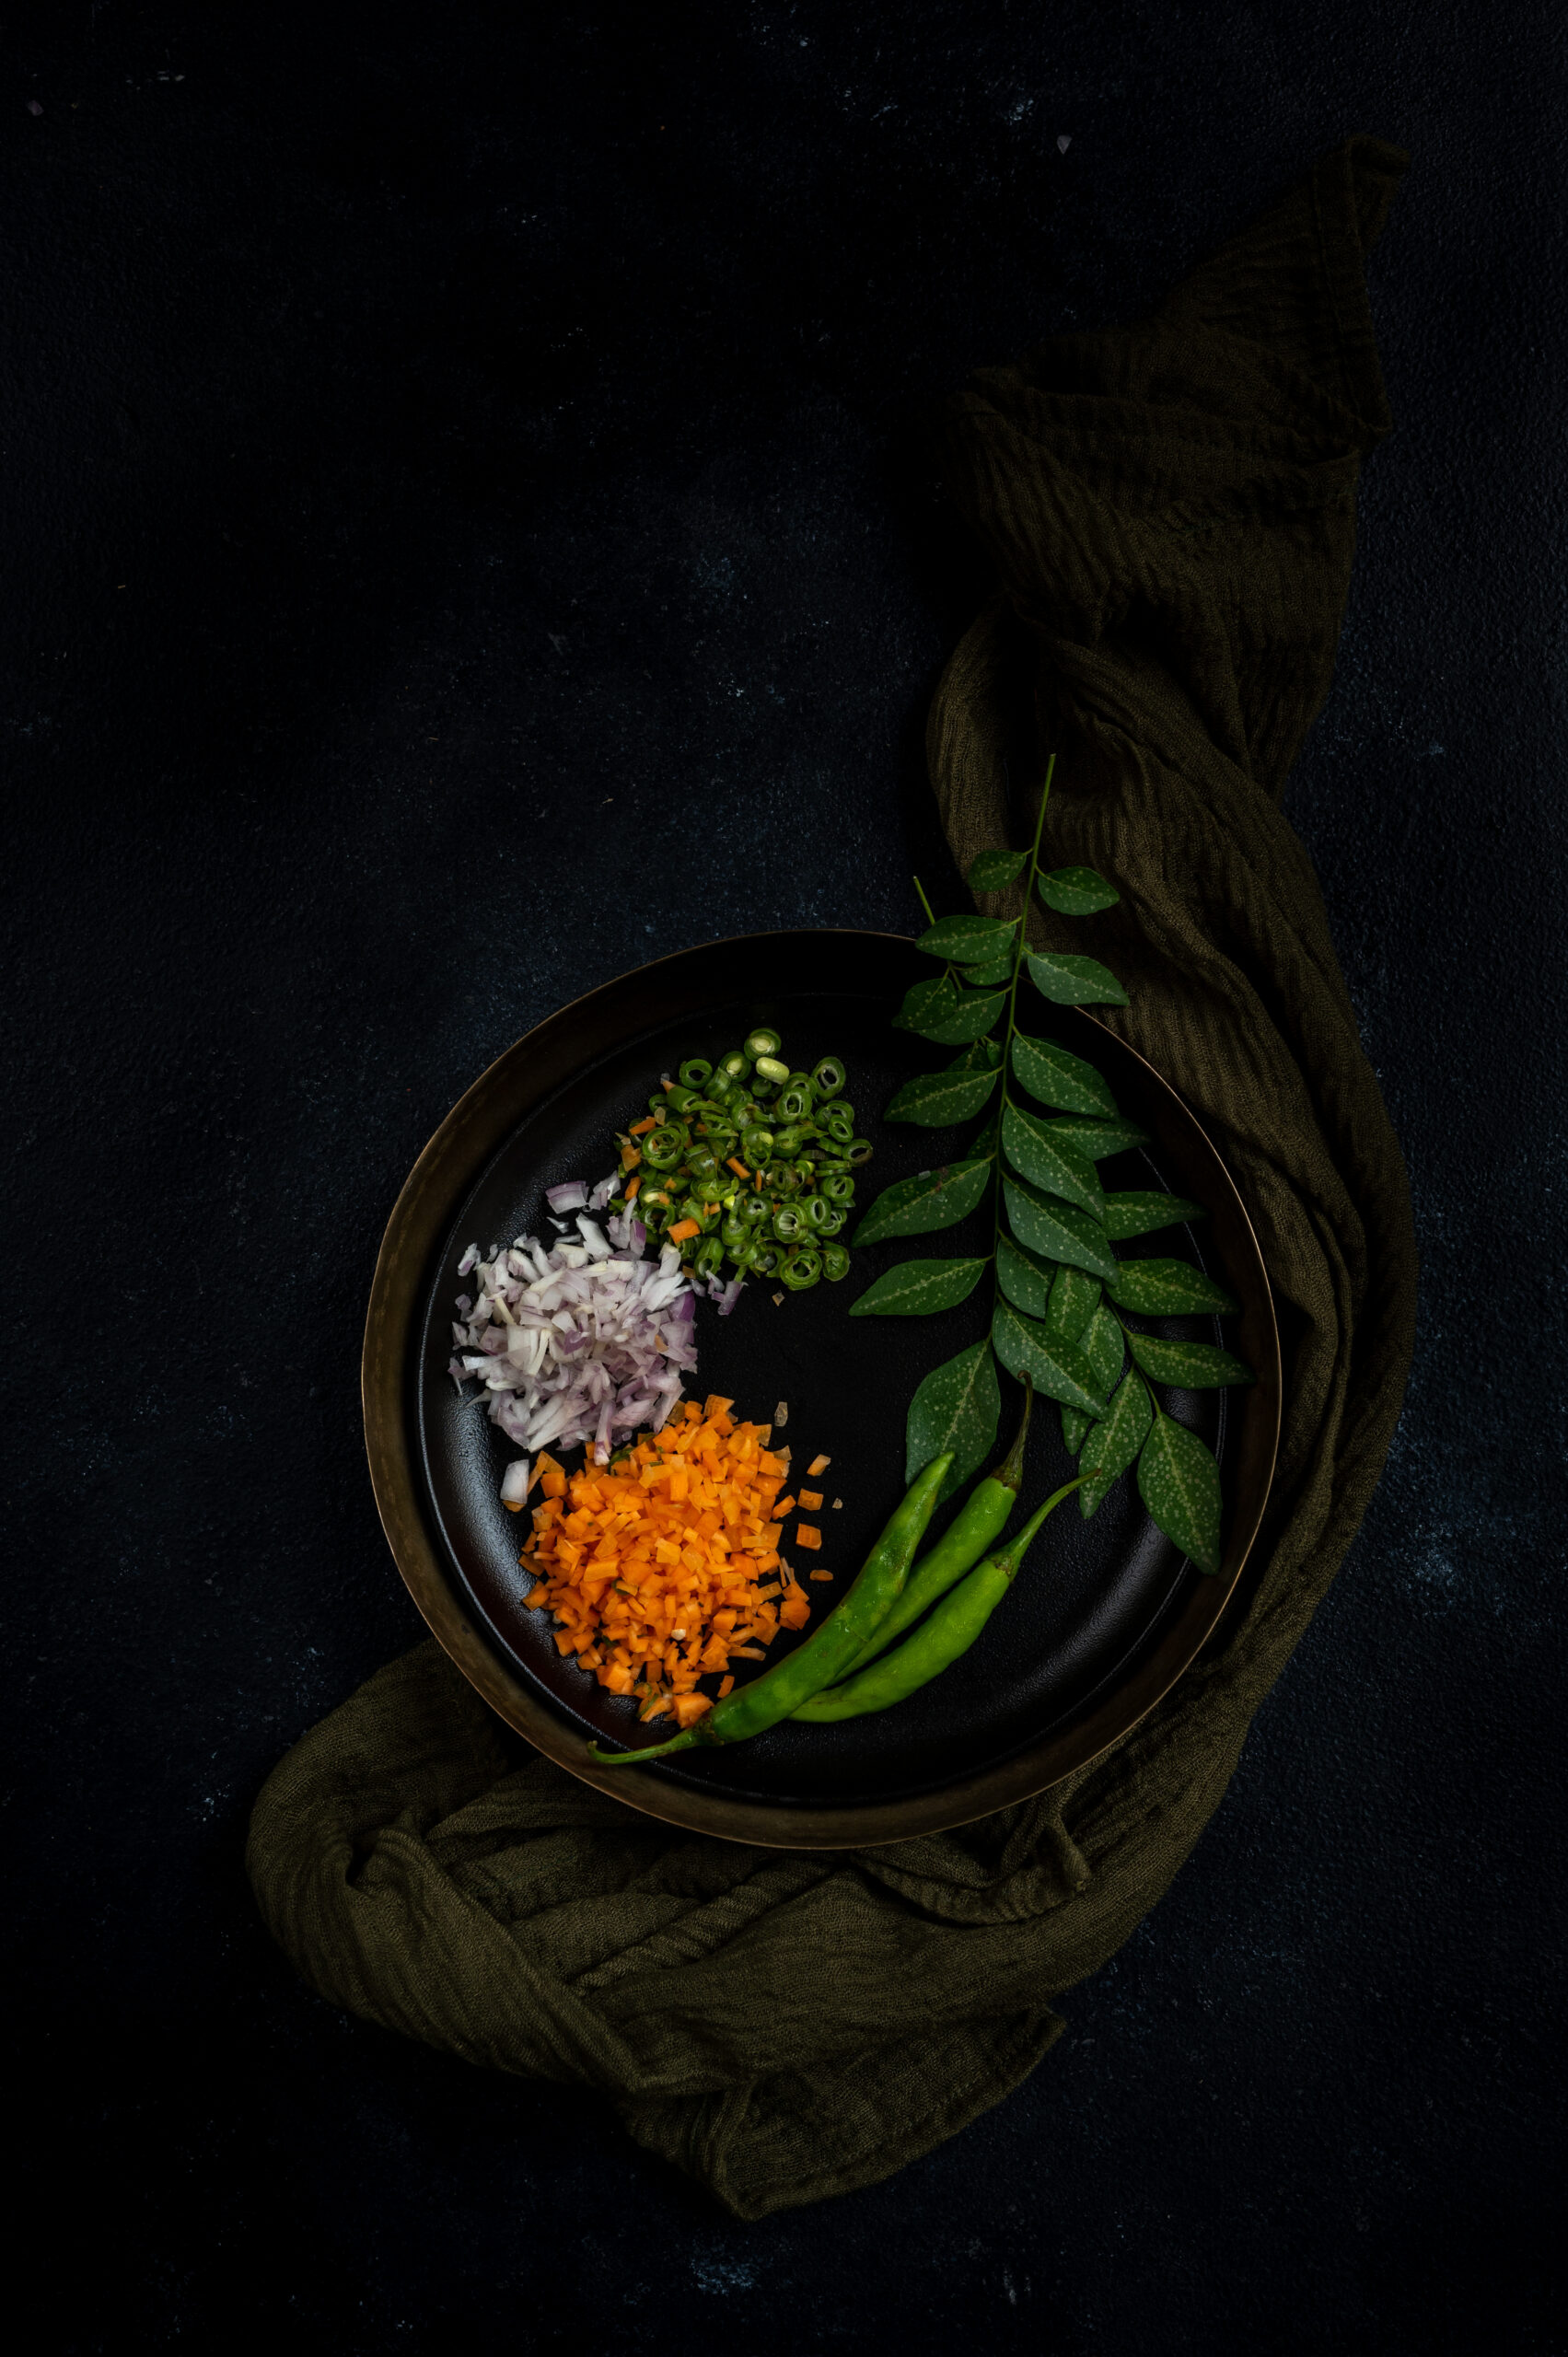
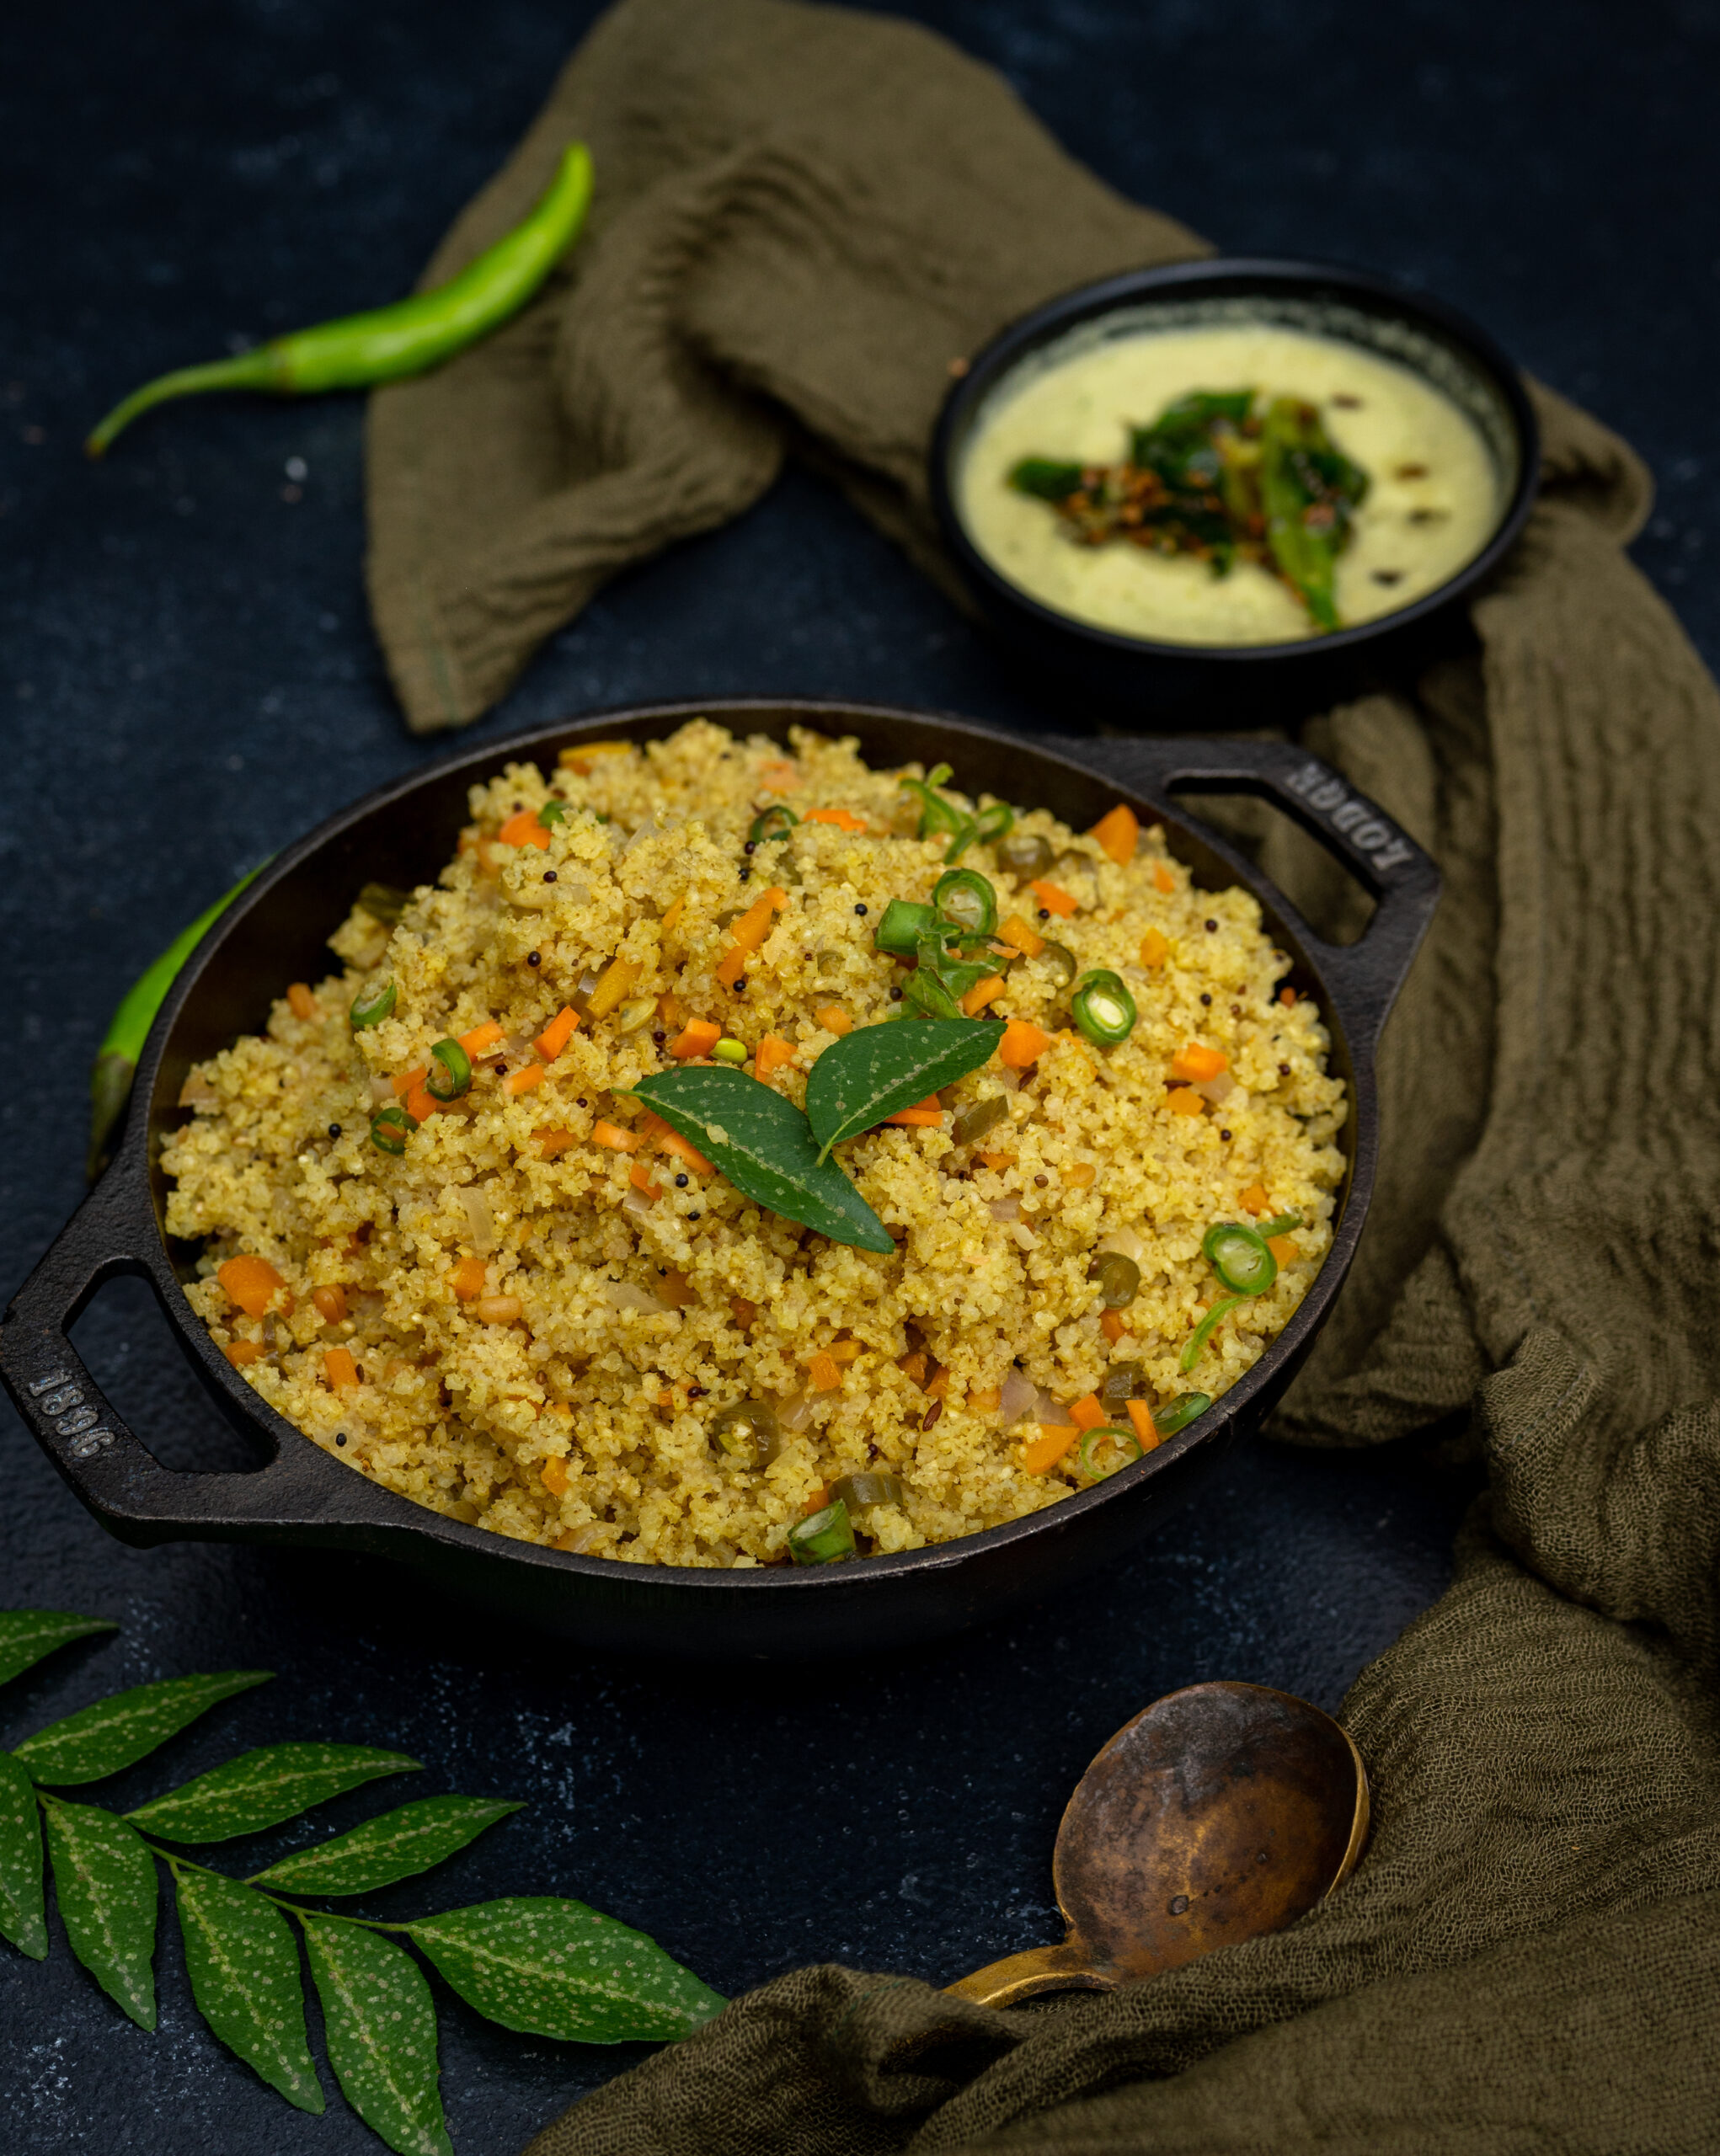
Put the flour in a bowl, add the pinch of salt and stir. If you plan on having the bajra rotlo as a bread, not a cereal, then make the savoury version and add the onion and coriander now. Skip these optional ingredients if you plan on having the cereal version.
Add the water. Leave a little bit behind in the cup – use just enough to make a malleable dough.
Once the dough is made you, don’t let it sit. You will have to roast the rotlo immediately.
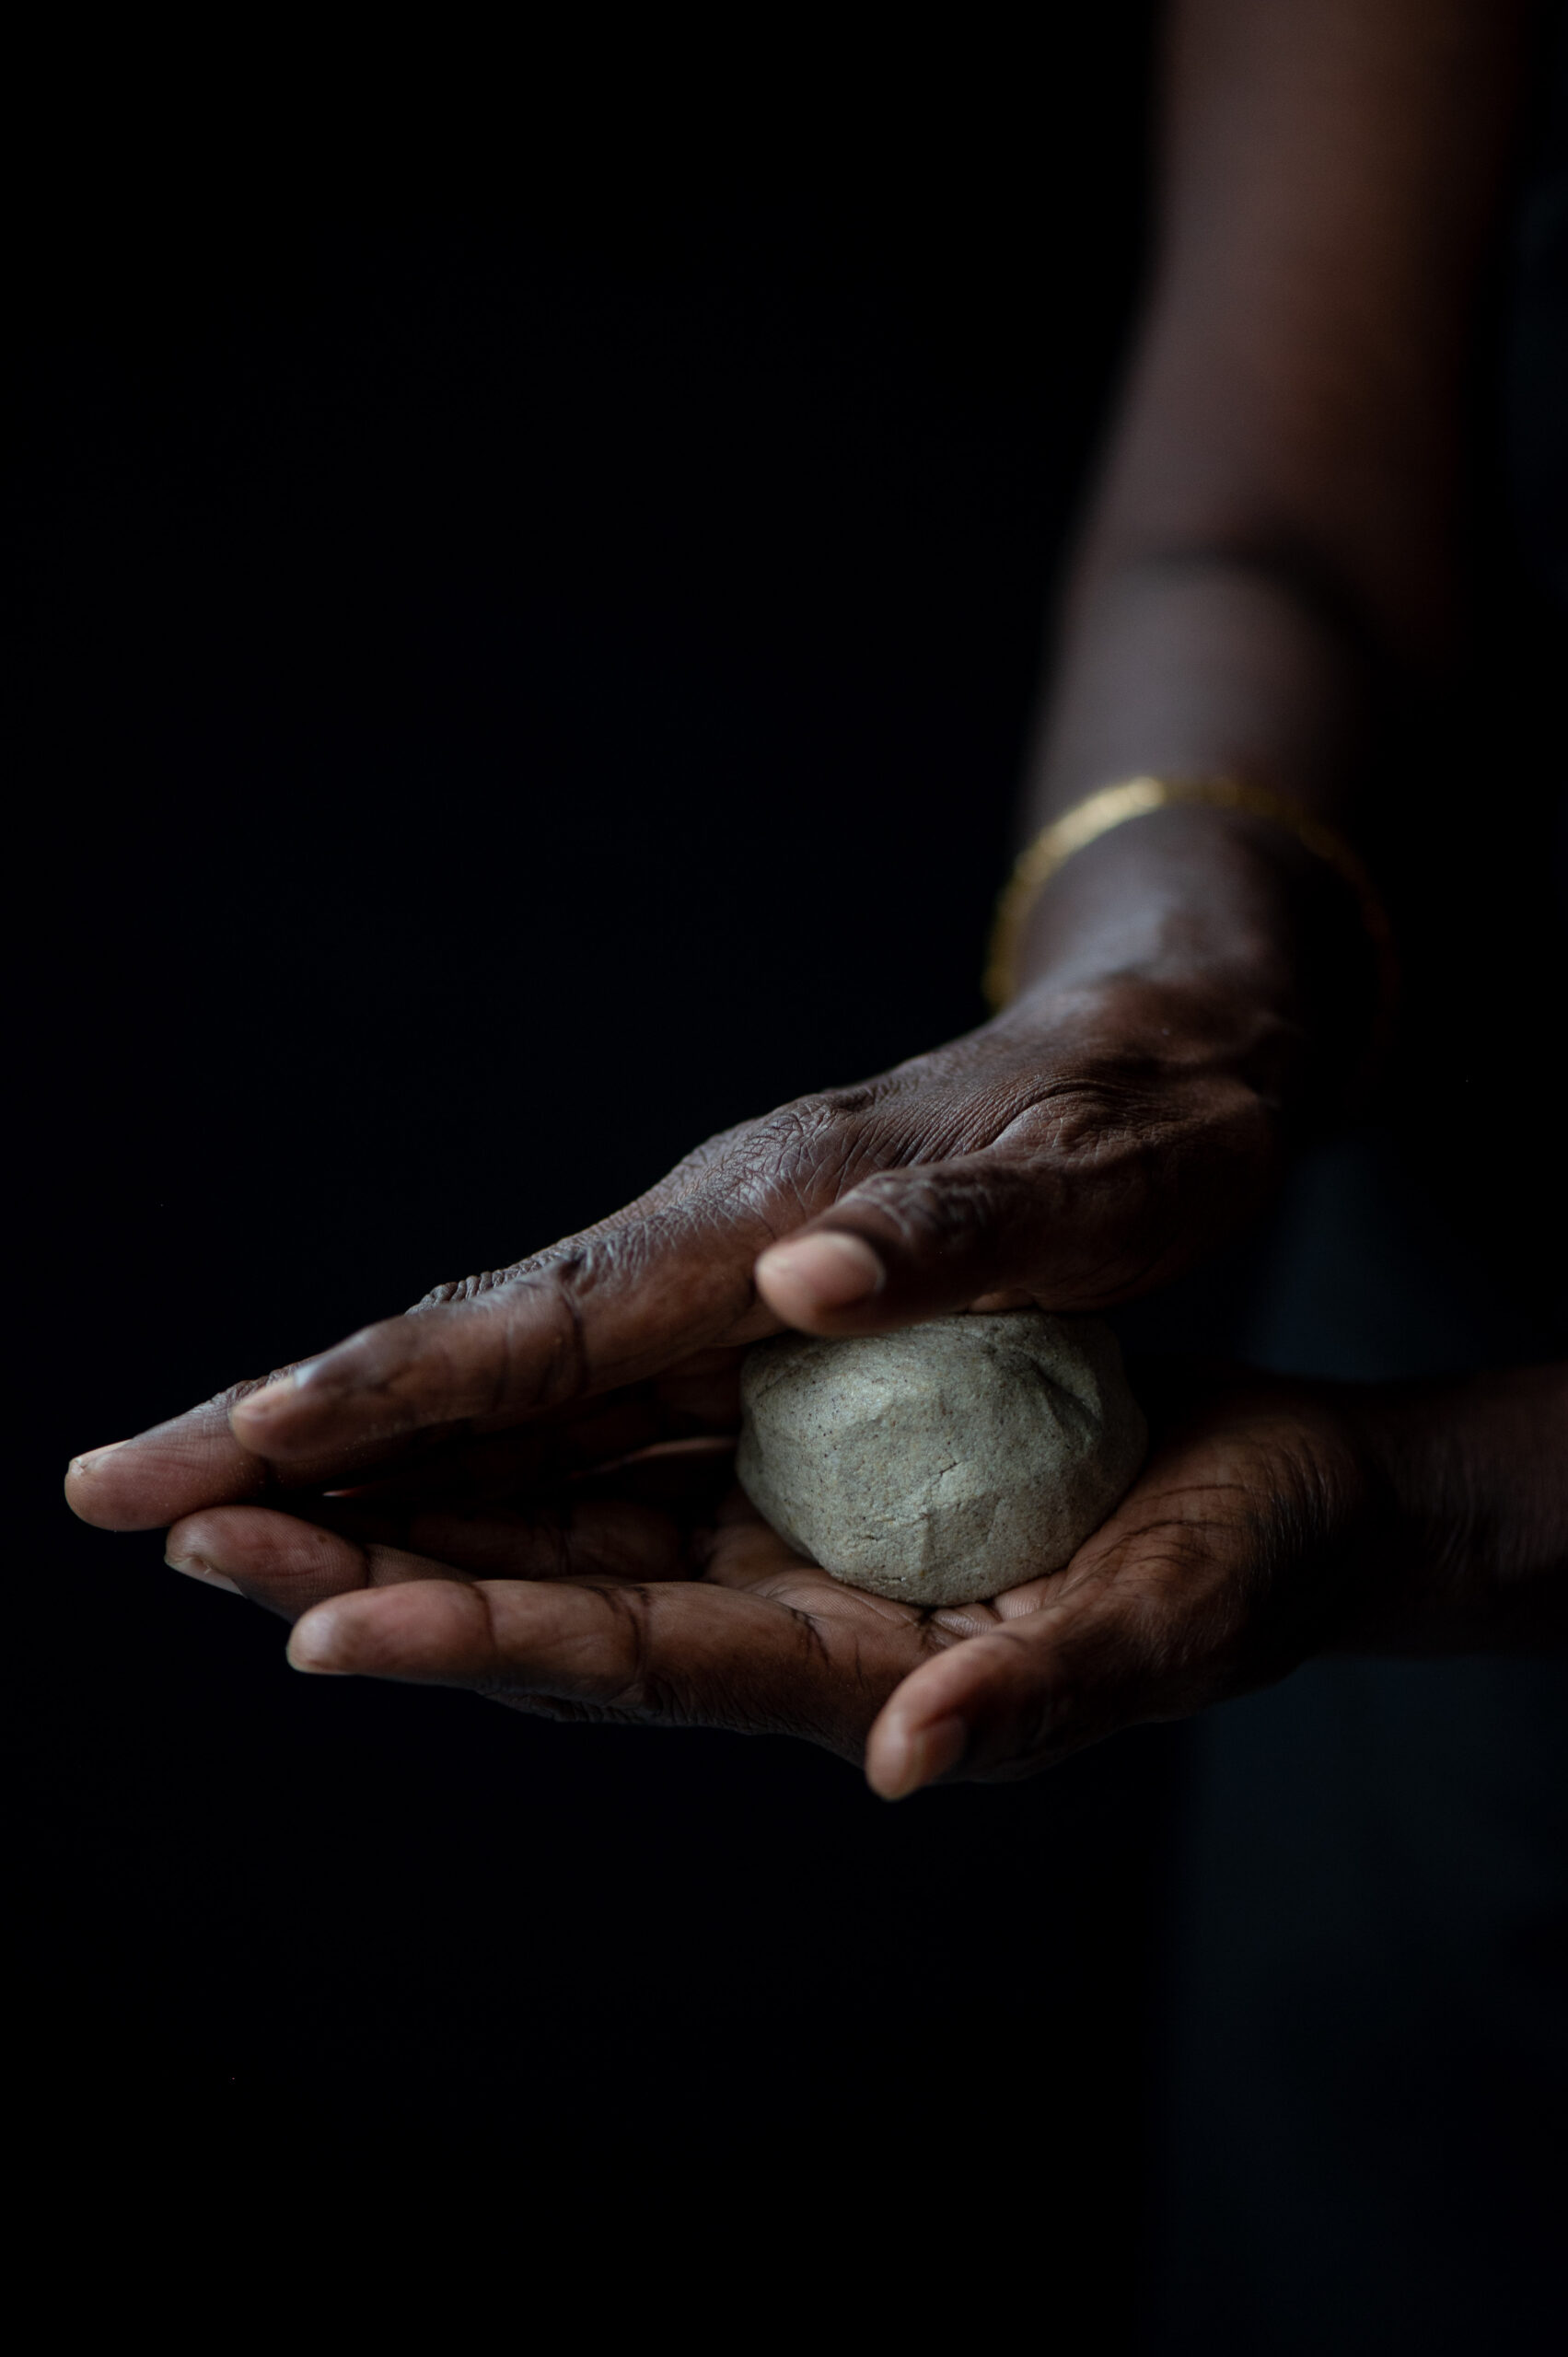
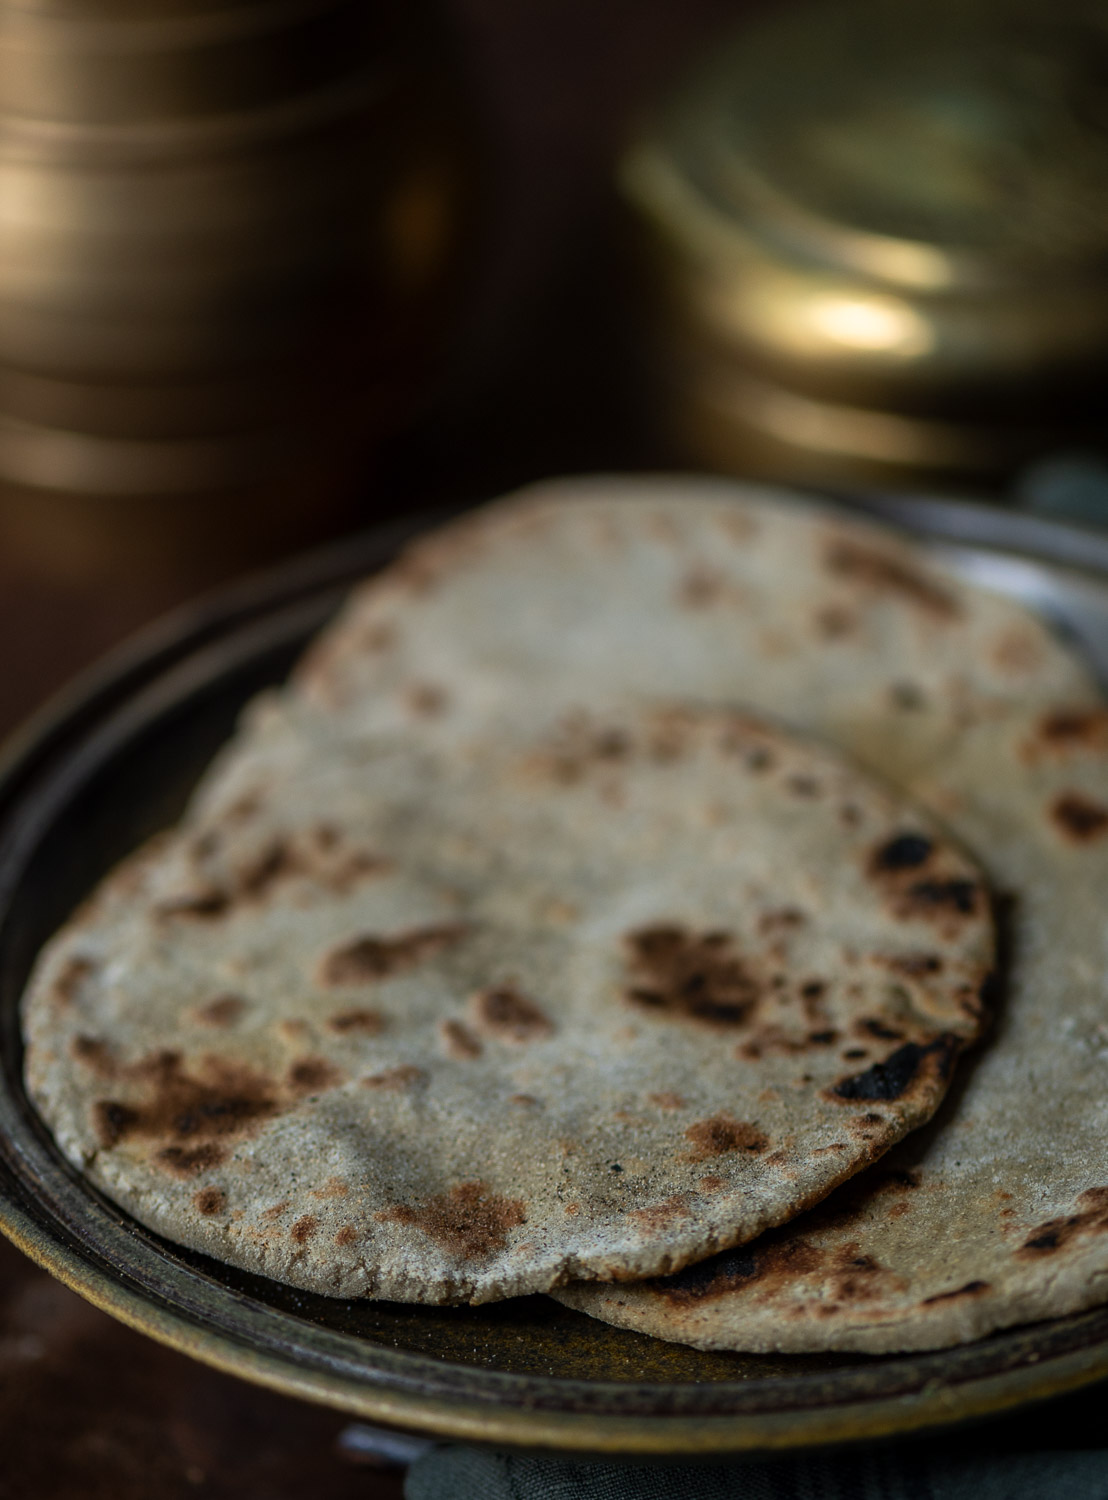
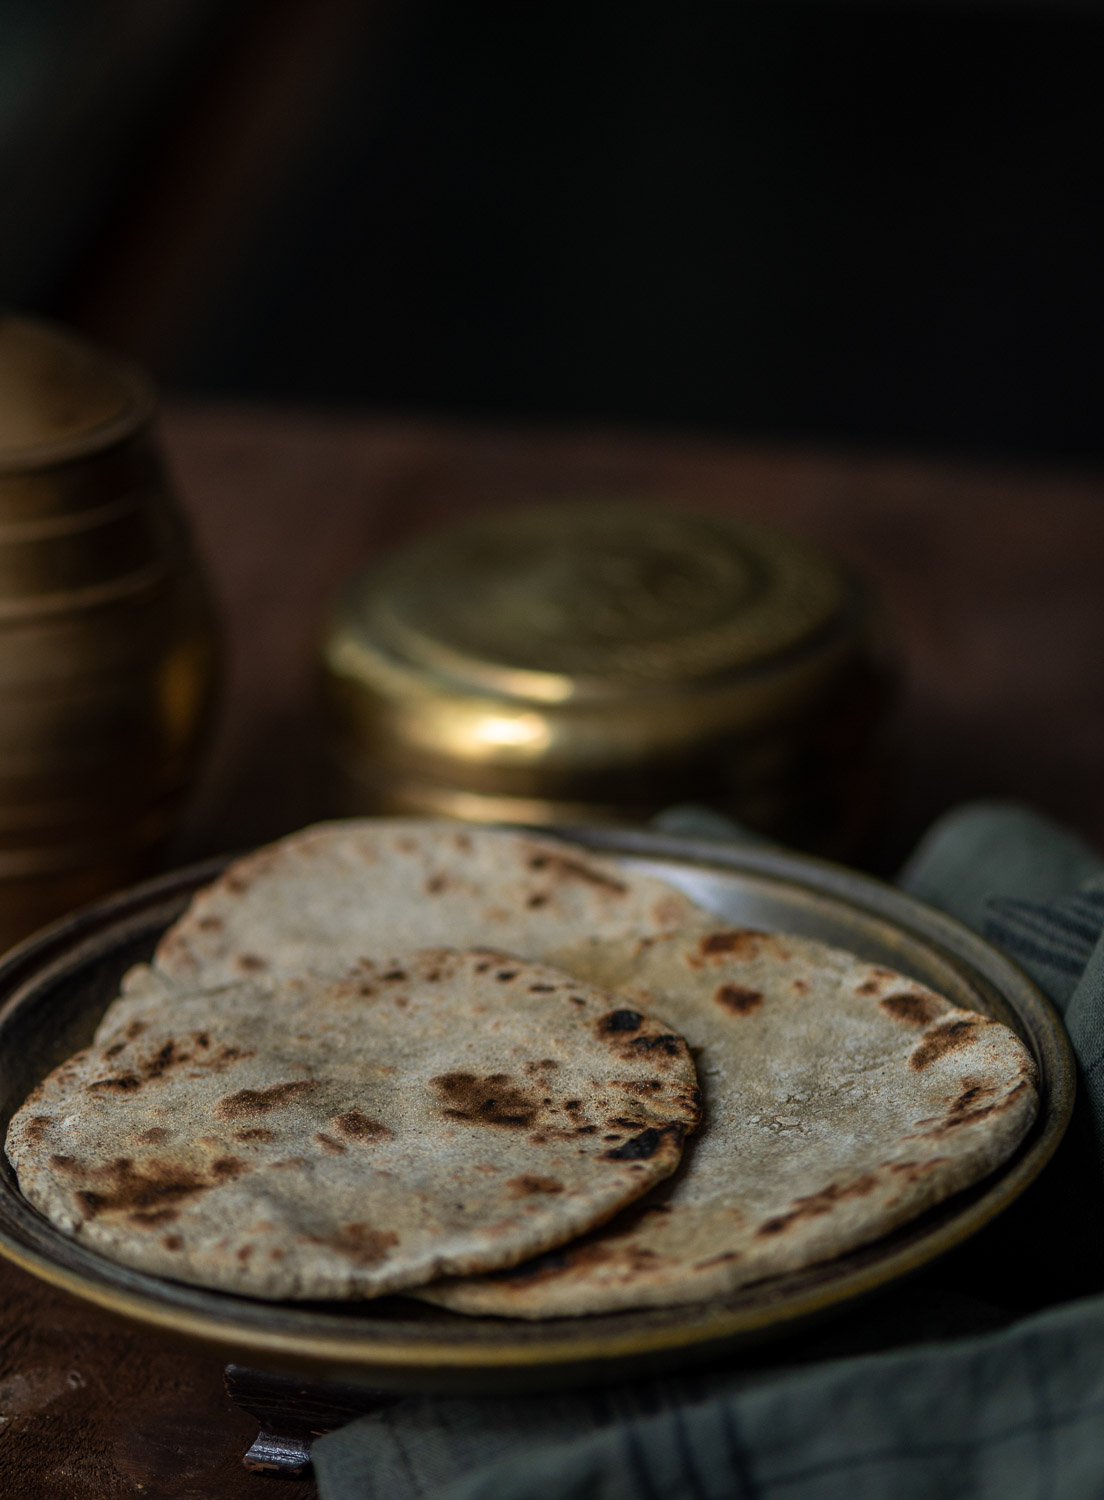
Make four smooth balls with the dough. On a rolling board, sprinkle more flour. Place a ball of dough on it and use your palms to gently pat it out. Use your fingers to press down the edges of the rotlo. If you need the help of the rolling pin, you may use it, but very lightly and gently. Since there is no gluten, the dough will be soft and needs to be handled with care. Add more flour if necessary. Each rotlo needs to be ¼ inch in thickness. Keep dusting with flour at the bottom too. Make all four pieces.
On a hot griddle, place each rotlo individually. Use your fingers to wet the top of the rotlo with water.
Roast on one side and flip over. Cool on a medium flame. As it’s thick, it needs to cook well on the inside. Once it has spots on both sides, place the rotlo directly on the flame to cook further.
Remove from the stove and top with ghee. Allow to cool. You can now serve this bajra rotlo with chutney or dal, if you like.
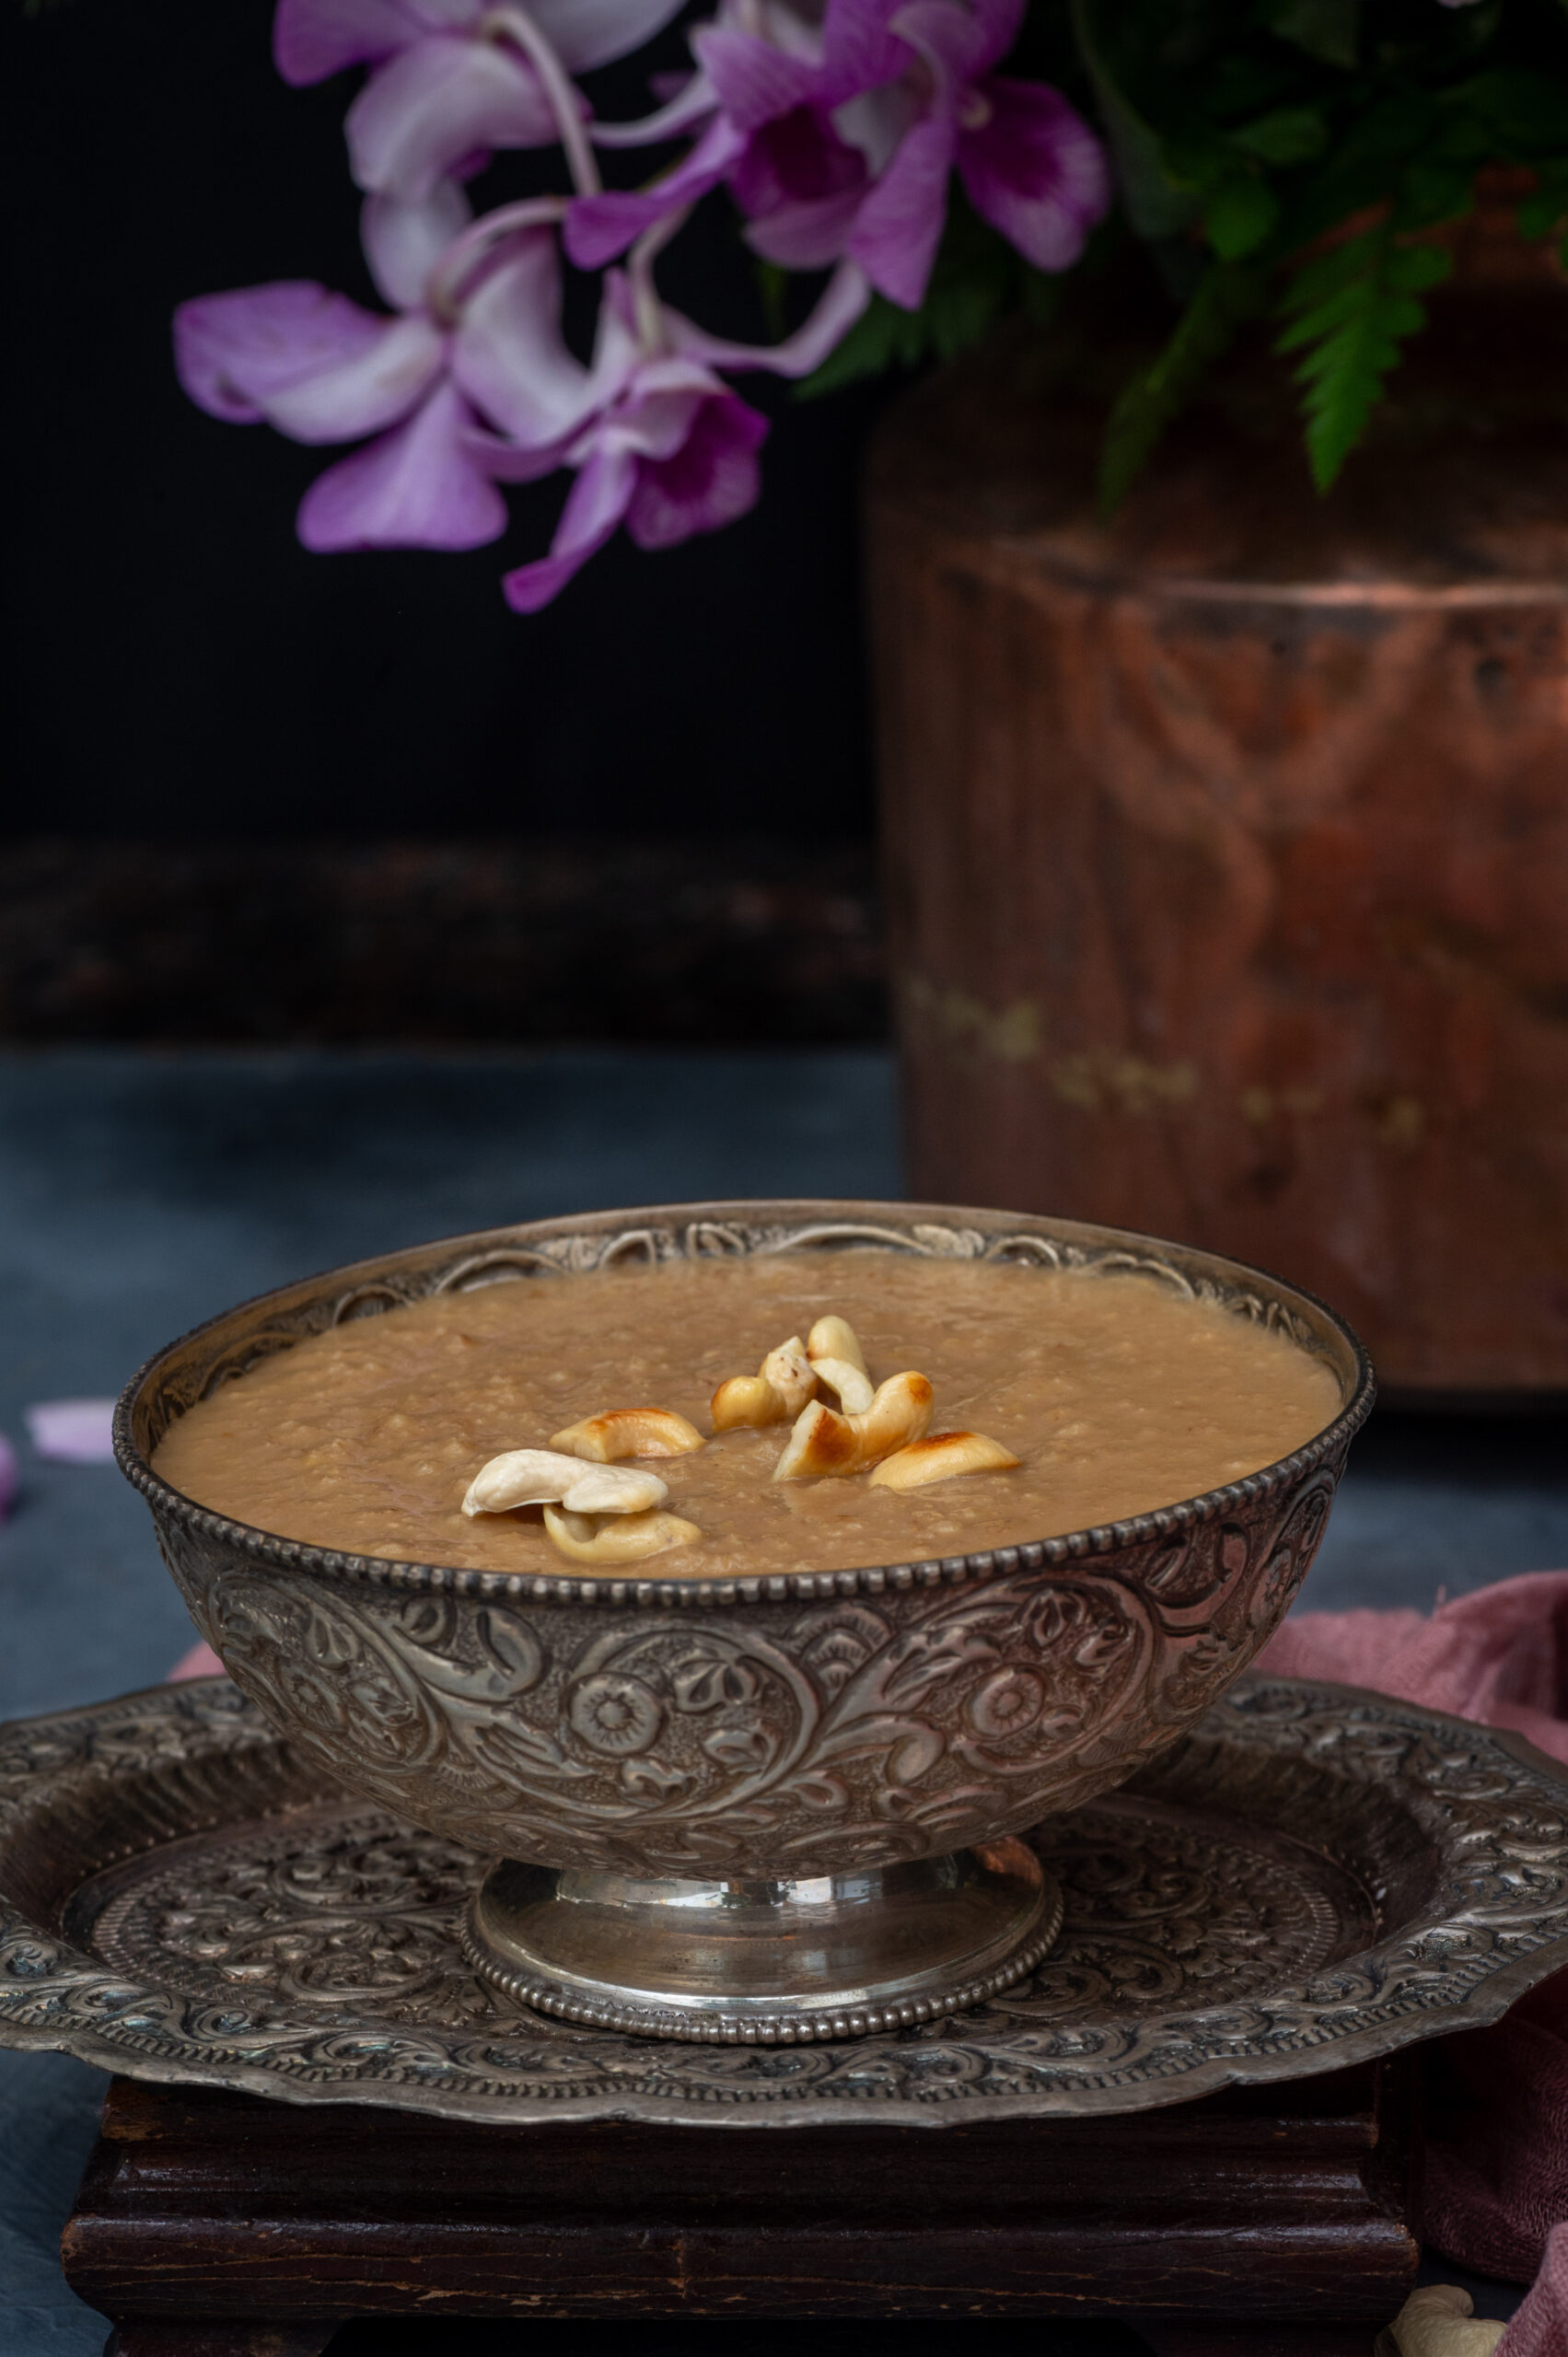
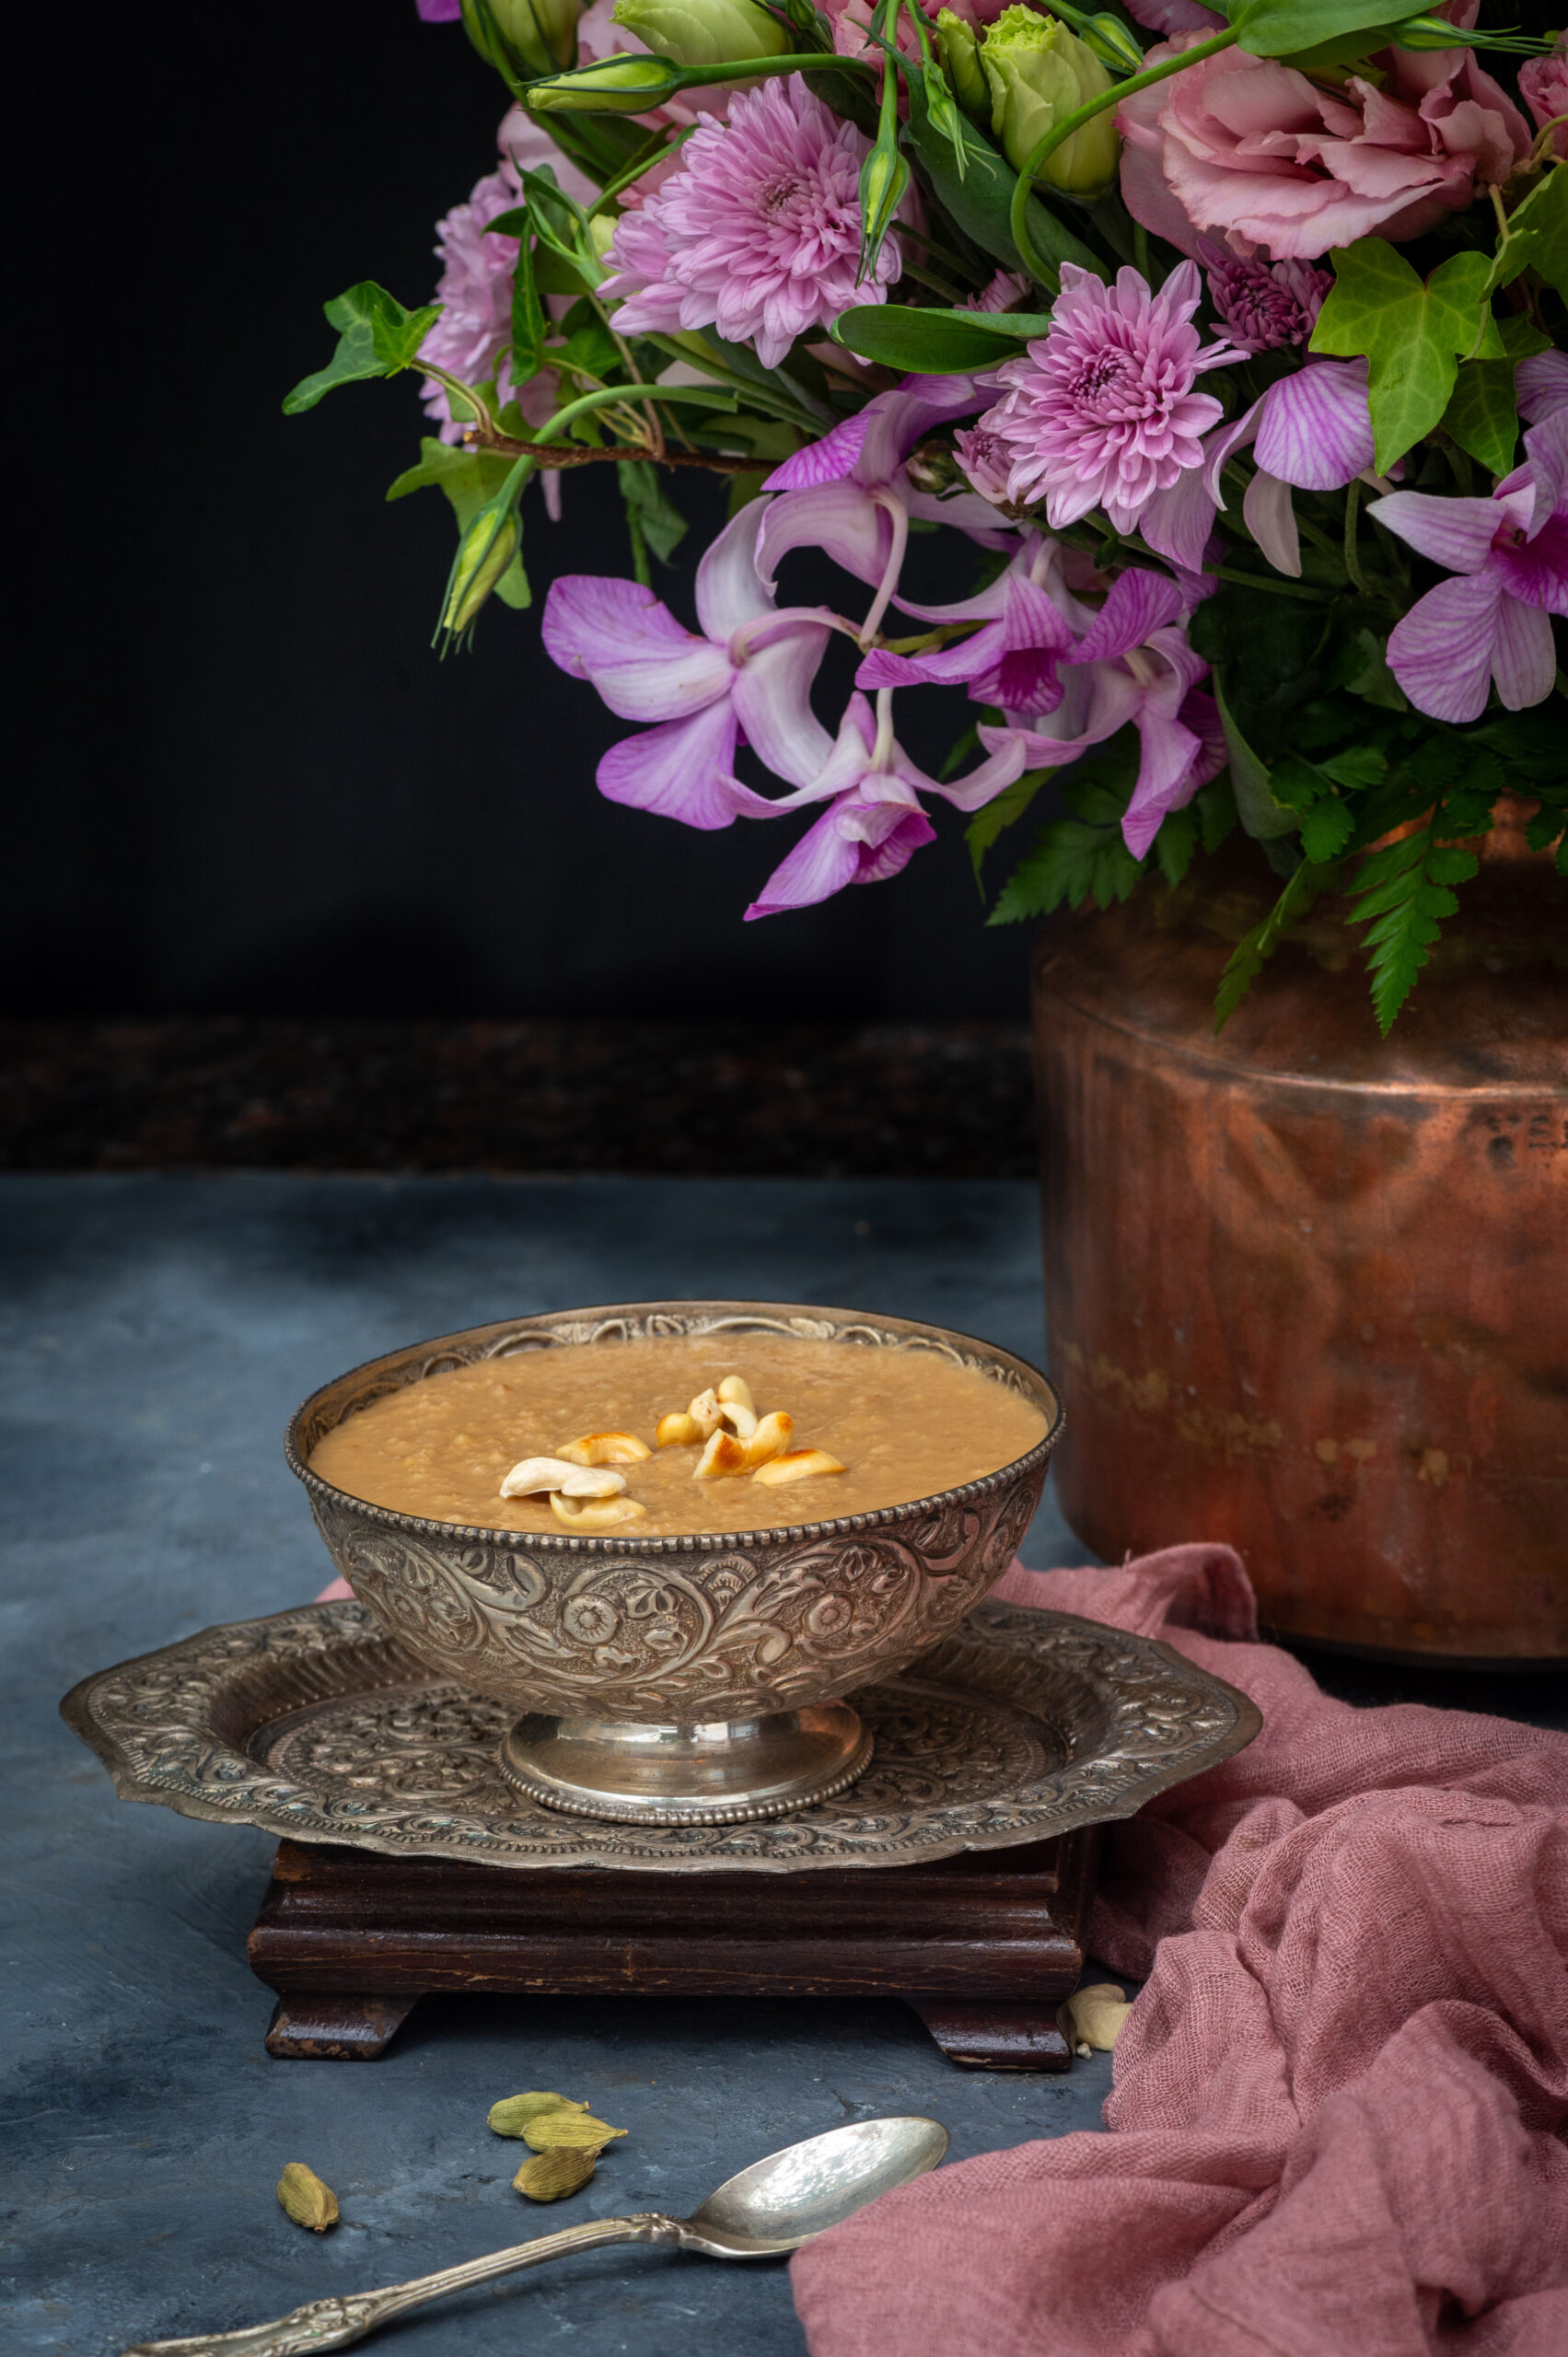
To make a cereal, once it has cooled, either the same day or the next morning, simply crush or crumble the rotlo with your hands.
You can have this with cold milk, if you prefer that. I usually have mine with warm milk. Specifically, I enjoy it with almond milk, which I’ve been reaching for more and more in my quest to make my diet more vegan. You can also add some sugar, if you wish to sweeten the cereal. All in all, it makes for a complete and healthy breakfast.
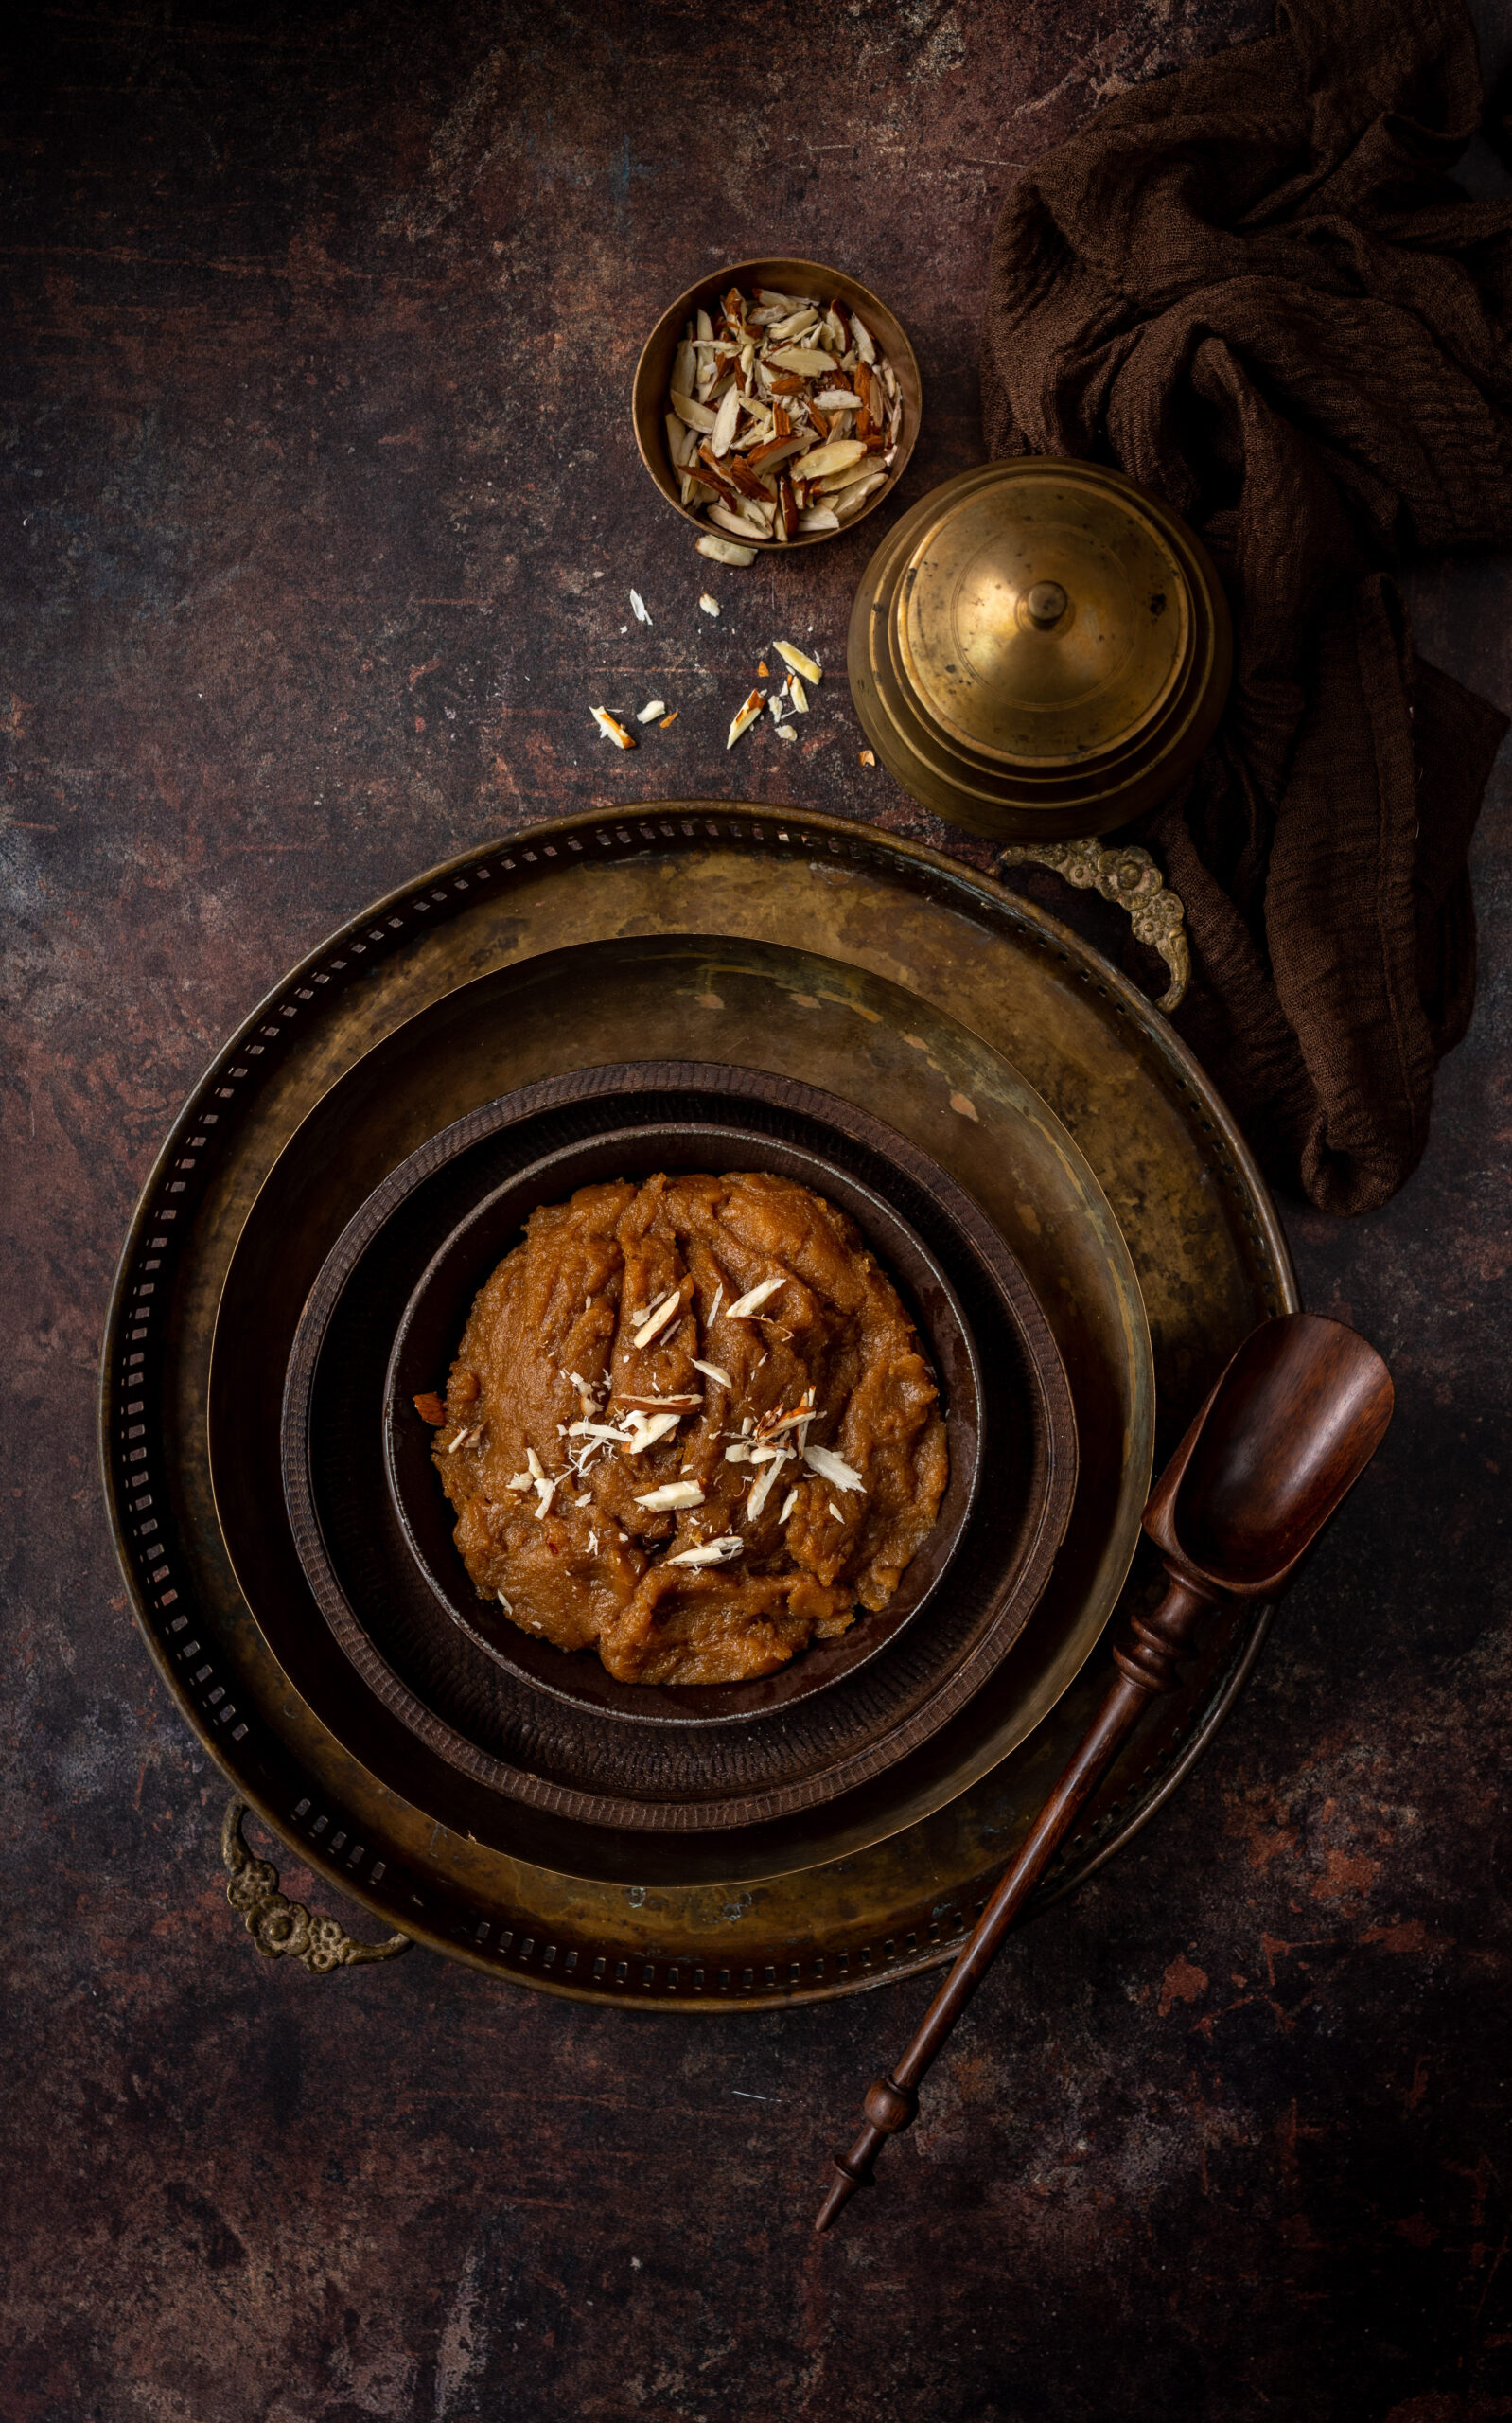
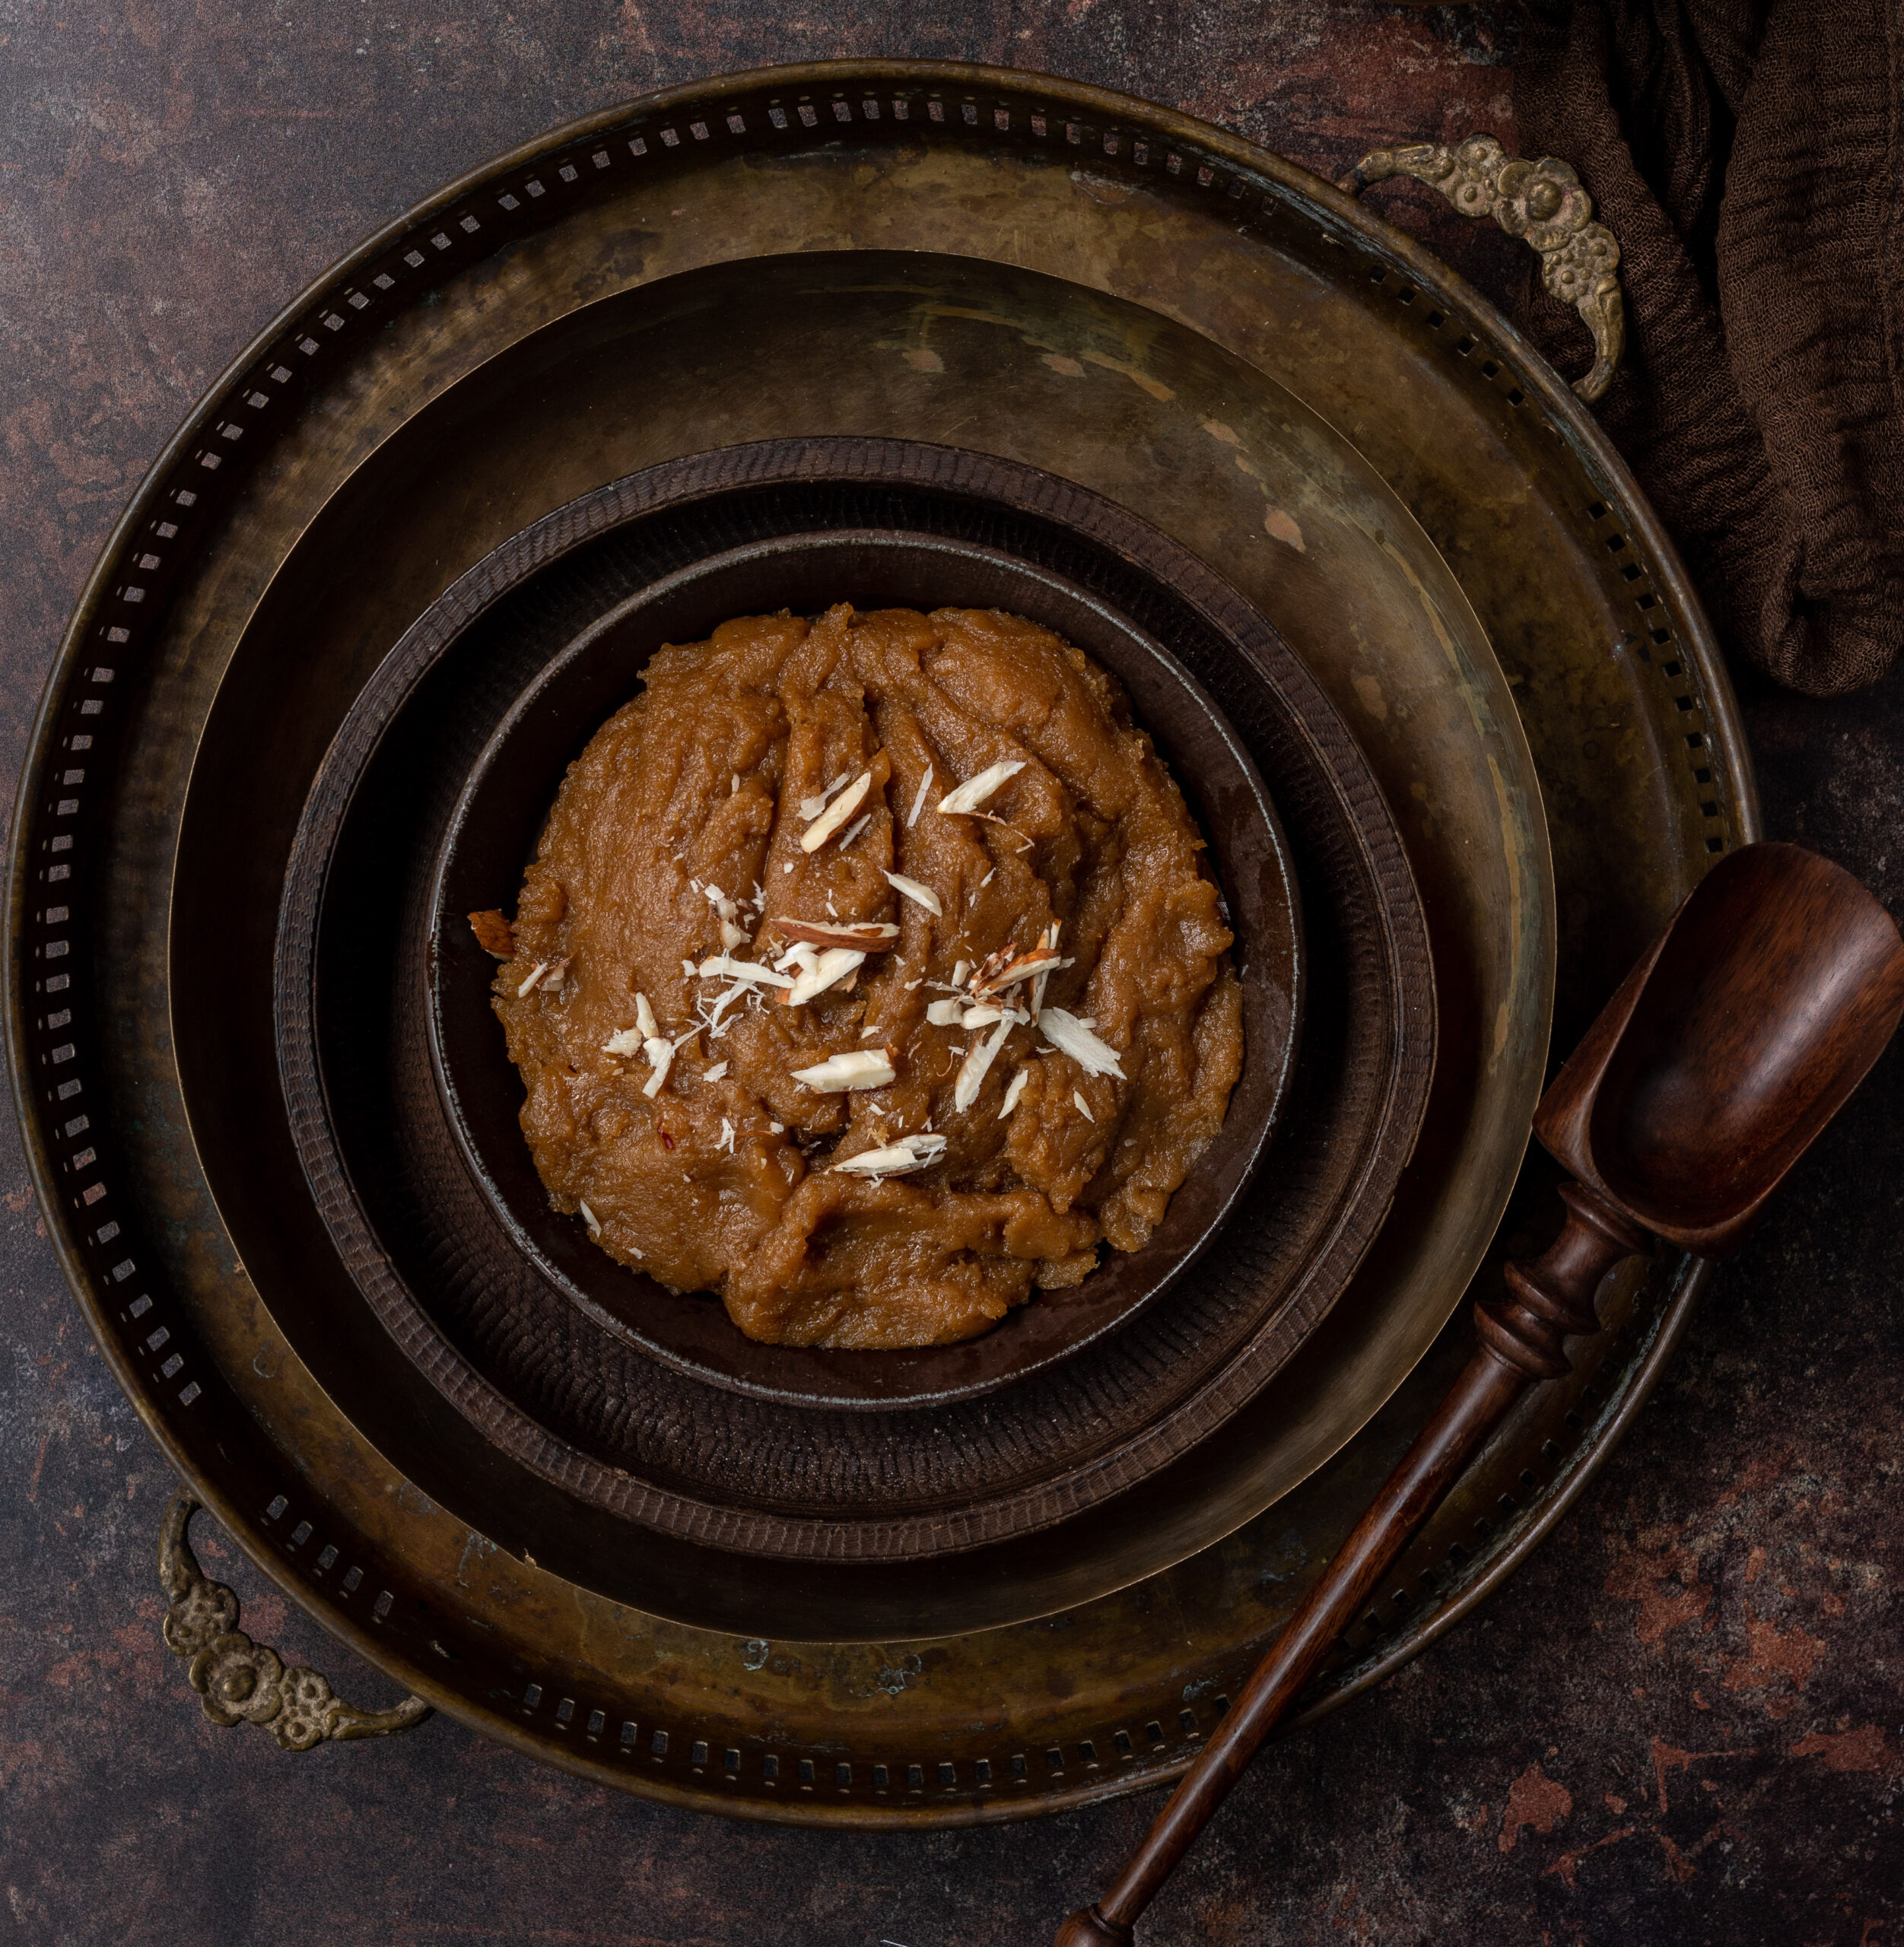
The festive season also coincides with the wedding season, which means that there is a general period of celebration until February or so in most Indian communities, peppered with religious occasions as well as personal gatherings. Foods like this dish, which nourish the body and let it recover from the heavy, fried, sugary, buttery, ghee-rich foods that are eaten at special events, are welcome and appreciated after and between feasts. This isn’t to knock indulgent foods at all – in fact, I have noticed how traditional ingredients like gond or gum resin, which are used in laddoos, are a warming agent and boost immunity. There’s a culinary and seasonal logic to indulgence too. But the body really does feel better when some millets are in the mix, balancing out the treats.
I’ve got quite a repertoire of millet-based dishes in my recipe archive, if you are keen to bring this nutritious category into your kitchen more often. Having tried this bajra rotlo cereal, if you find that you’re a fan of pearl millet at breakfast, the traditional Gujarati bajra ghensh is also a fantastic option. Here’s to happy, healthy mornings!