Tag

methi

Browsing

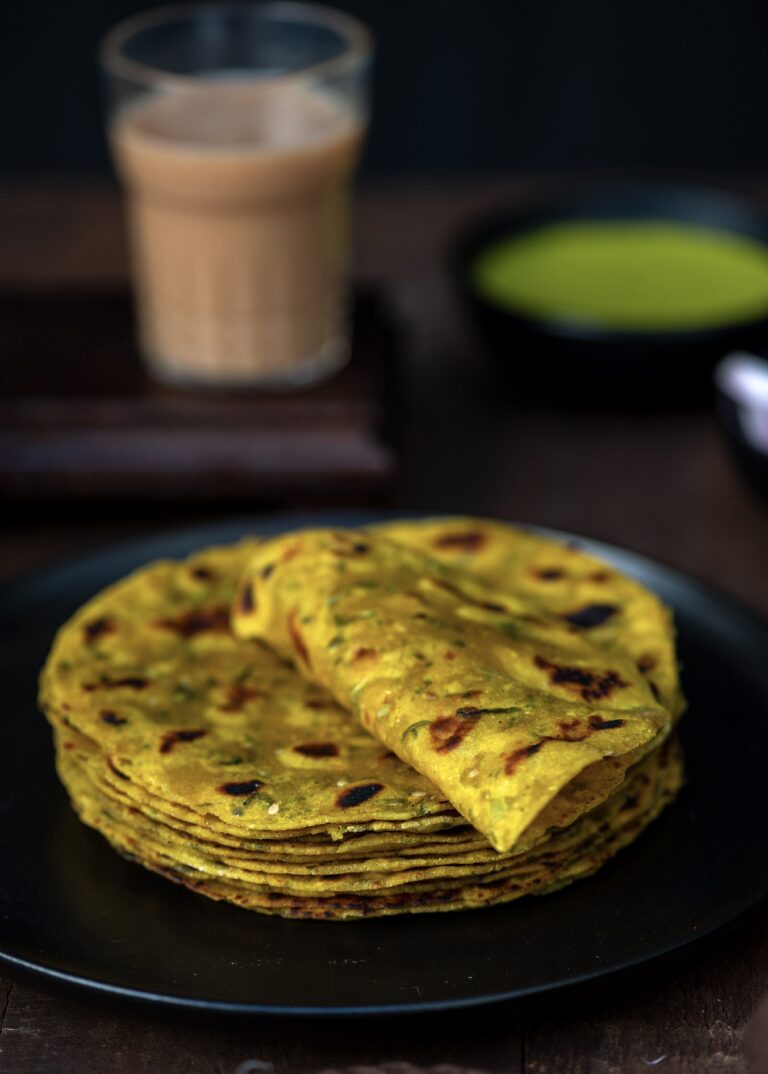
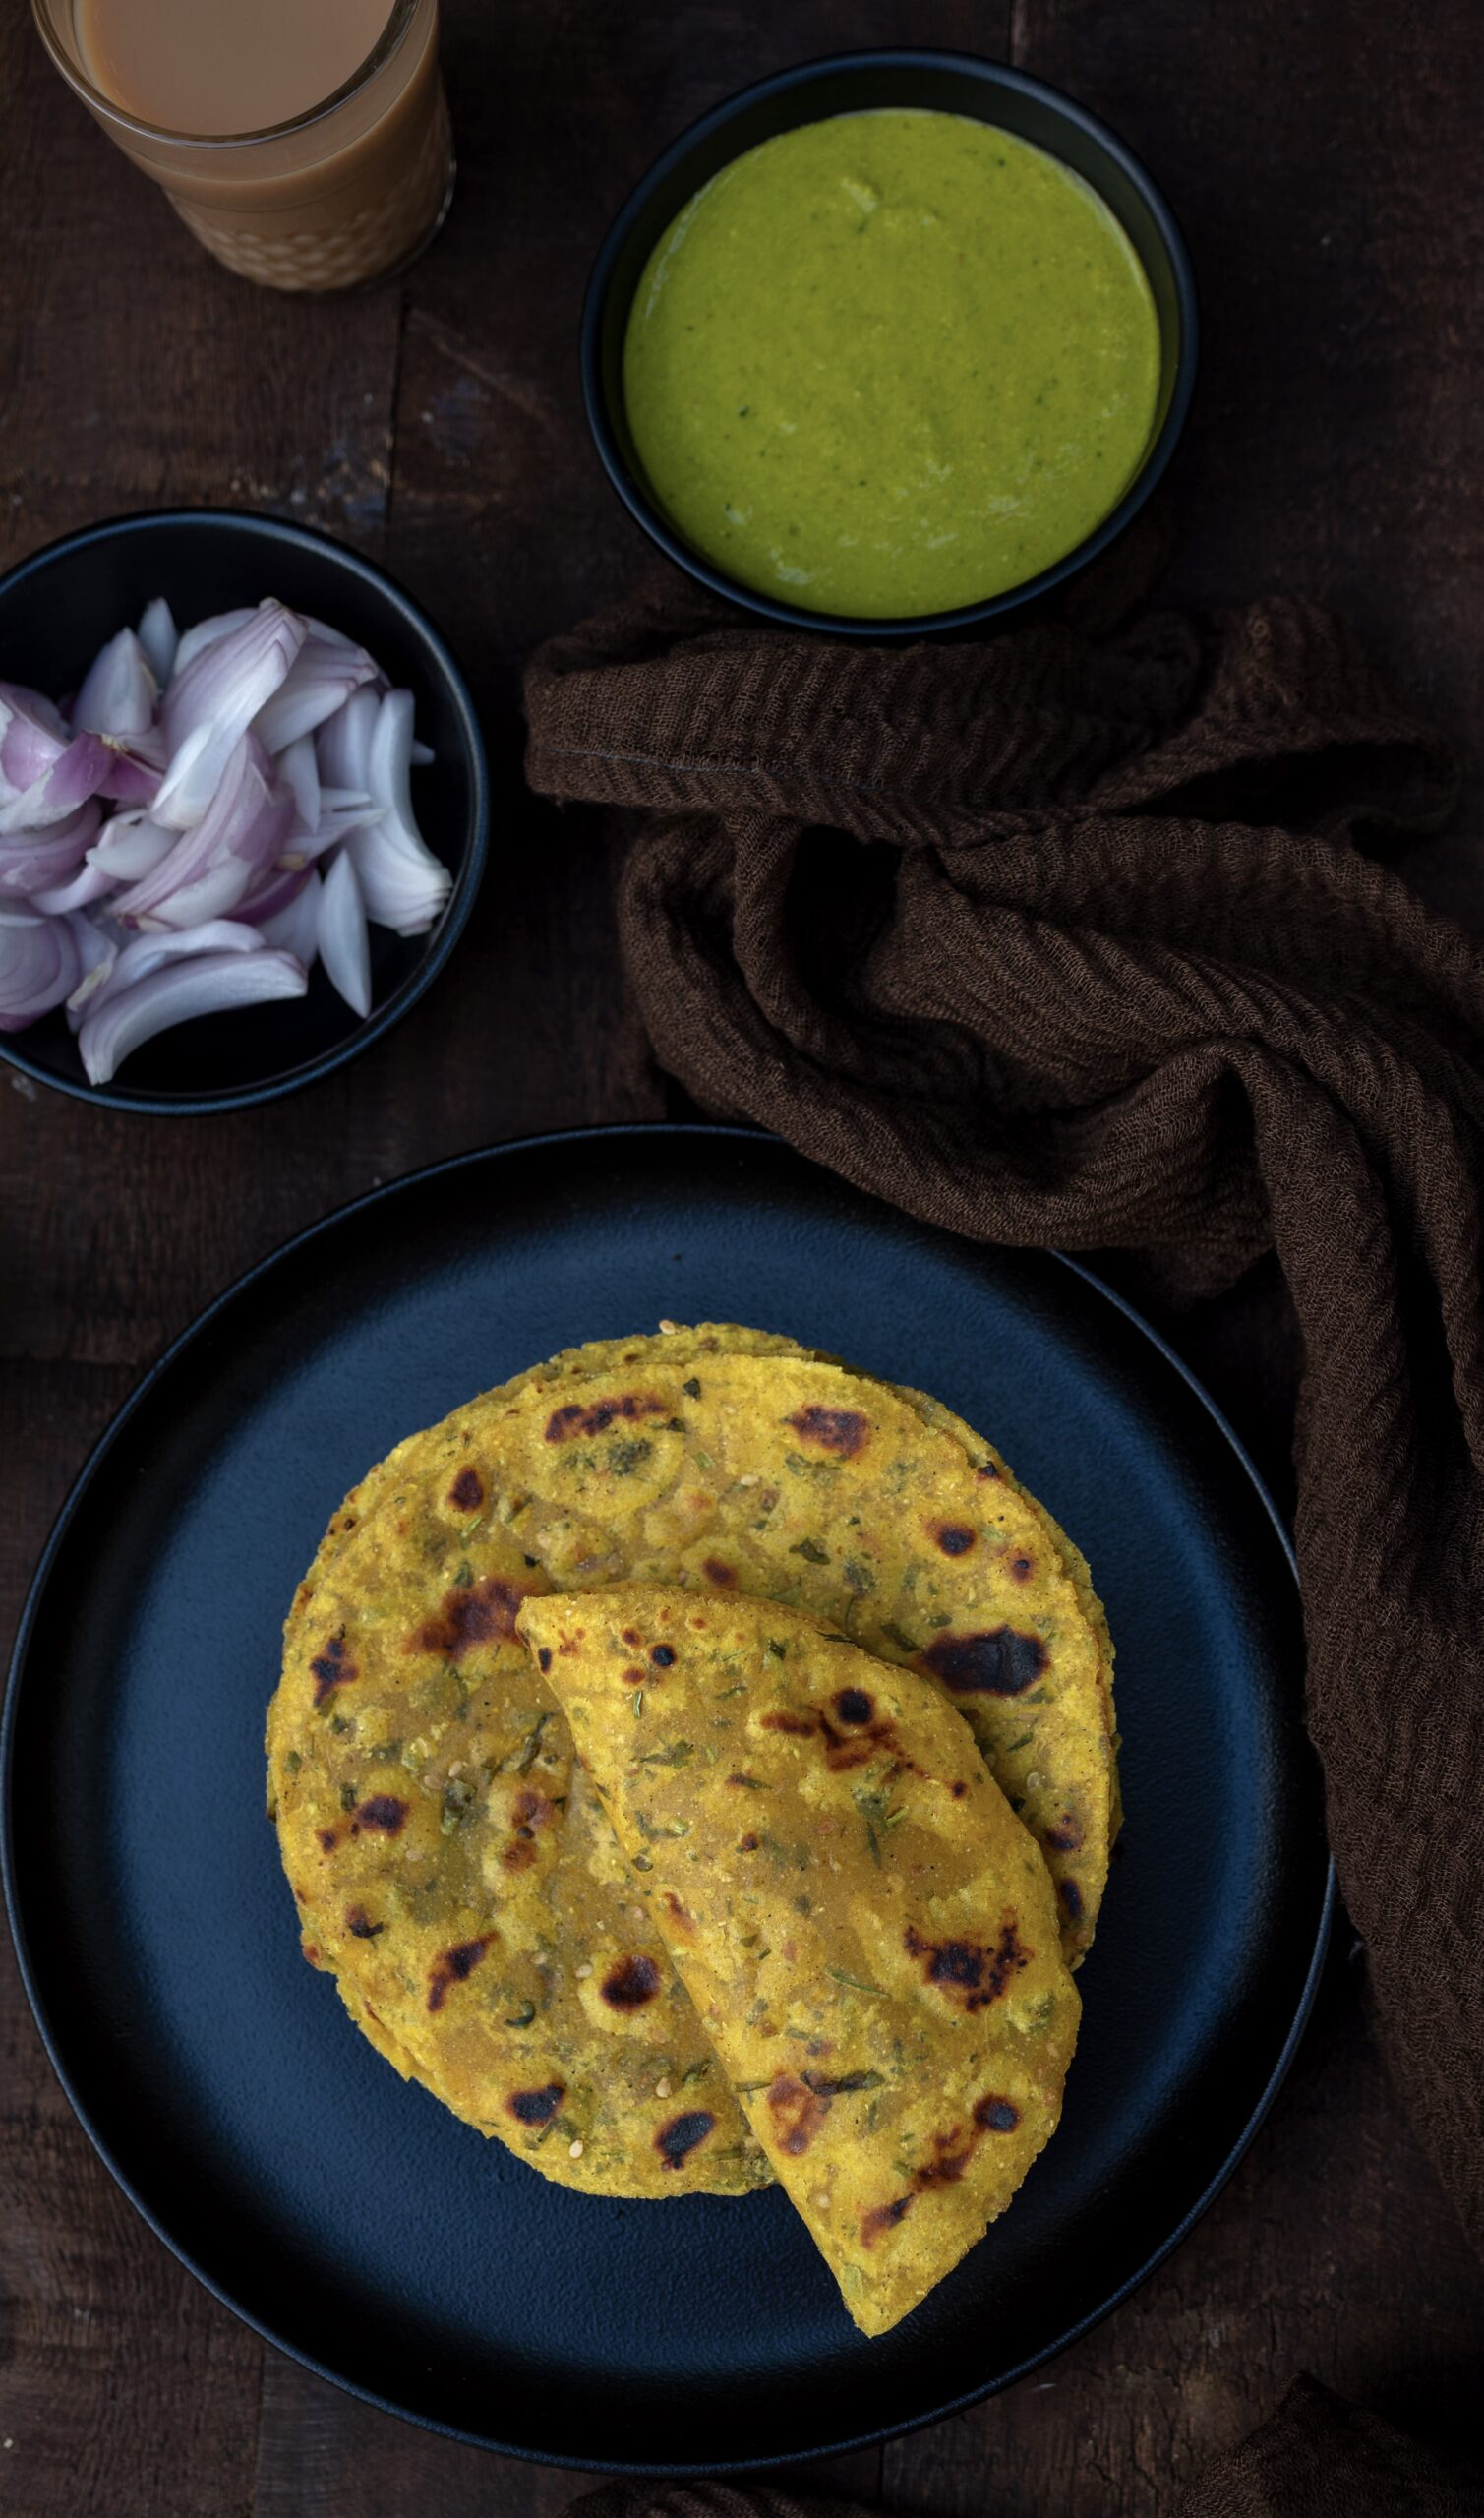
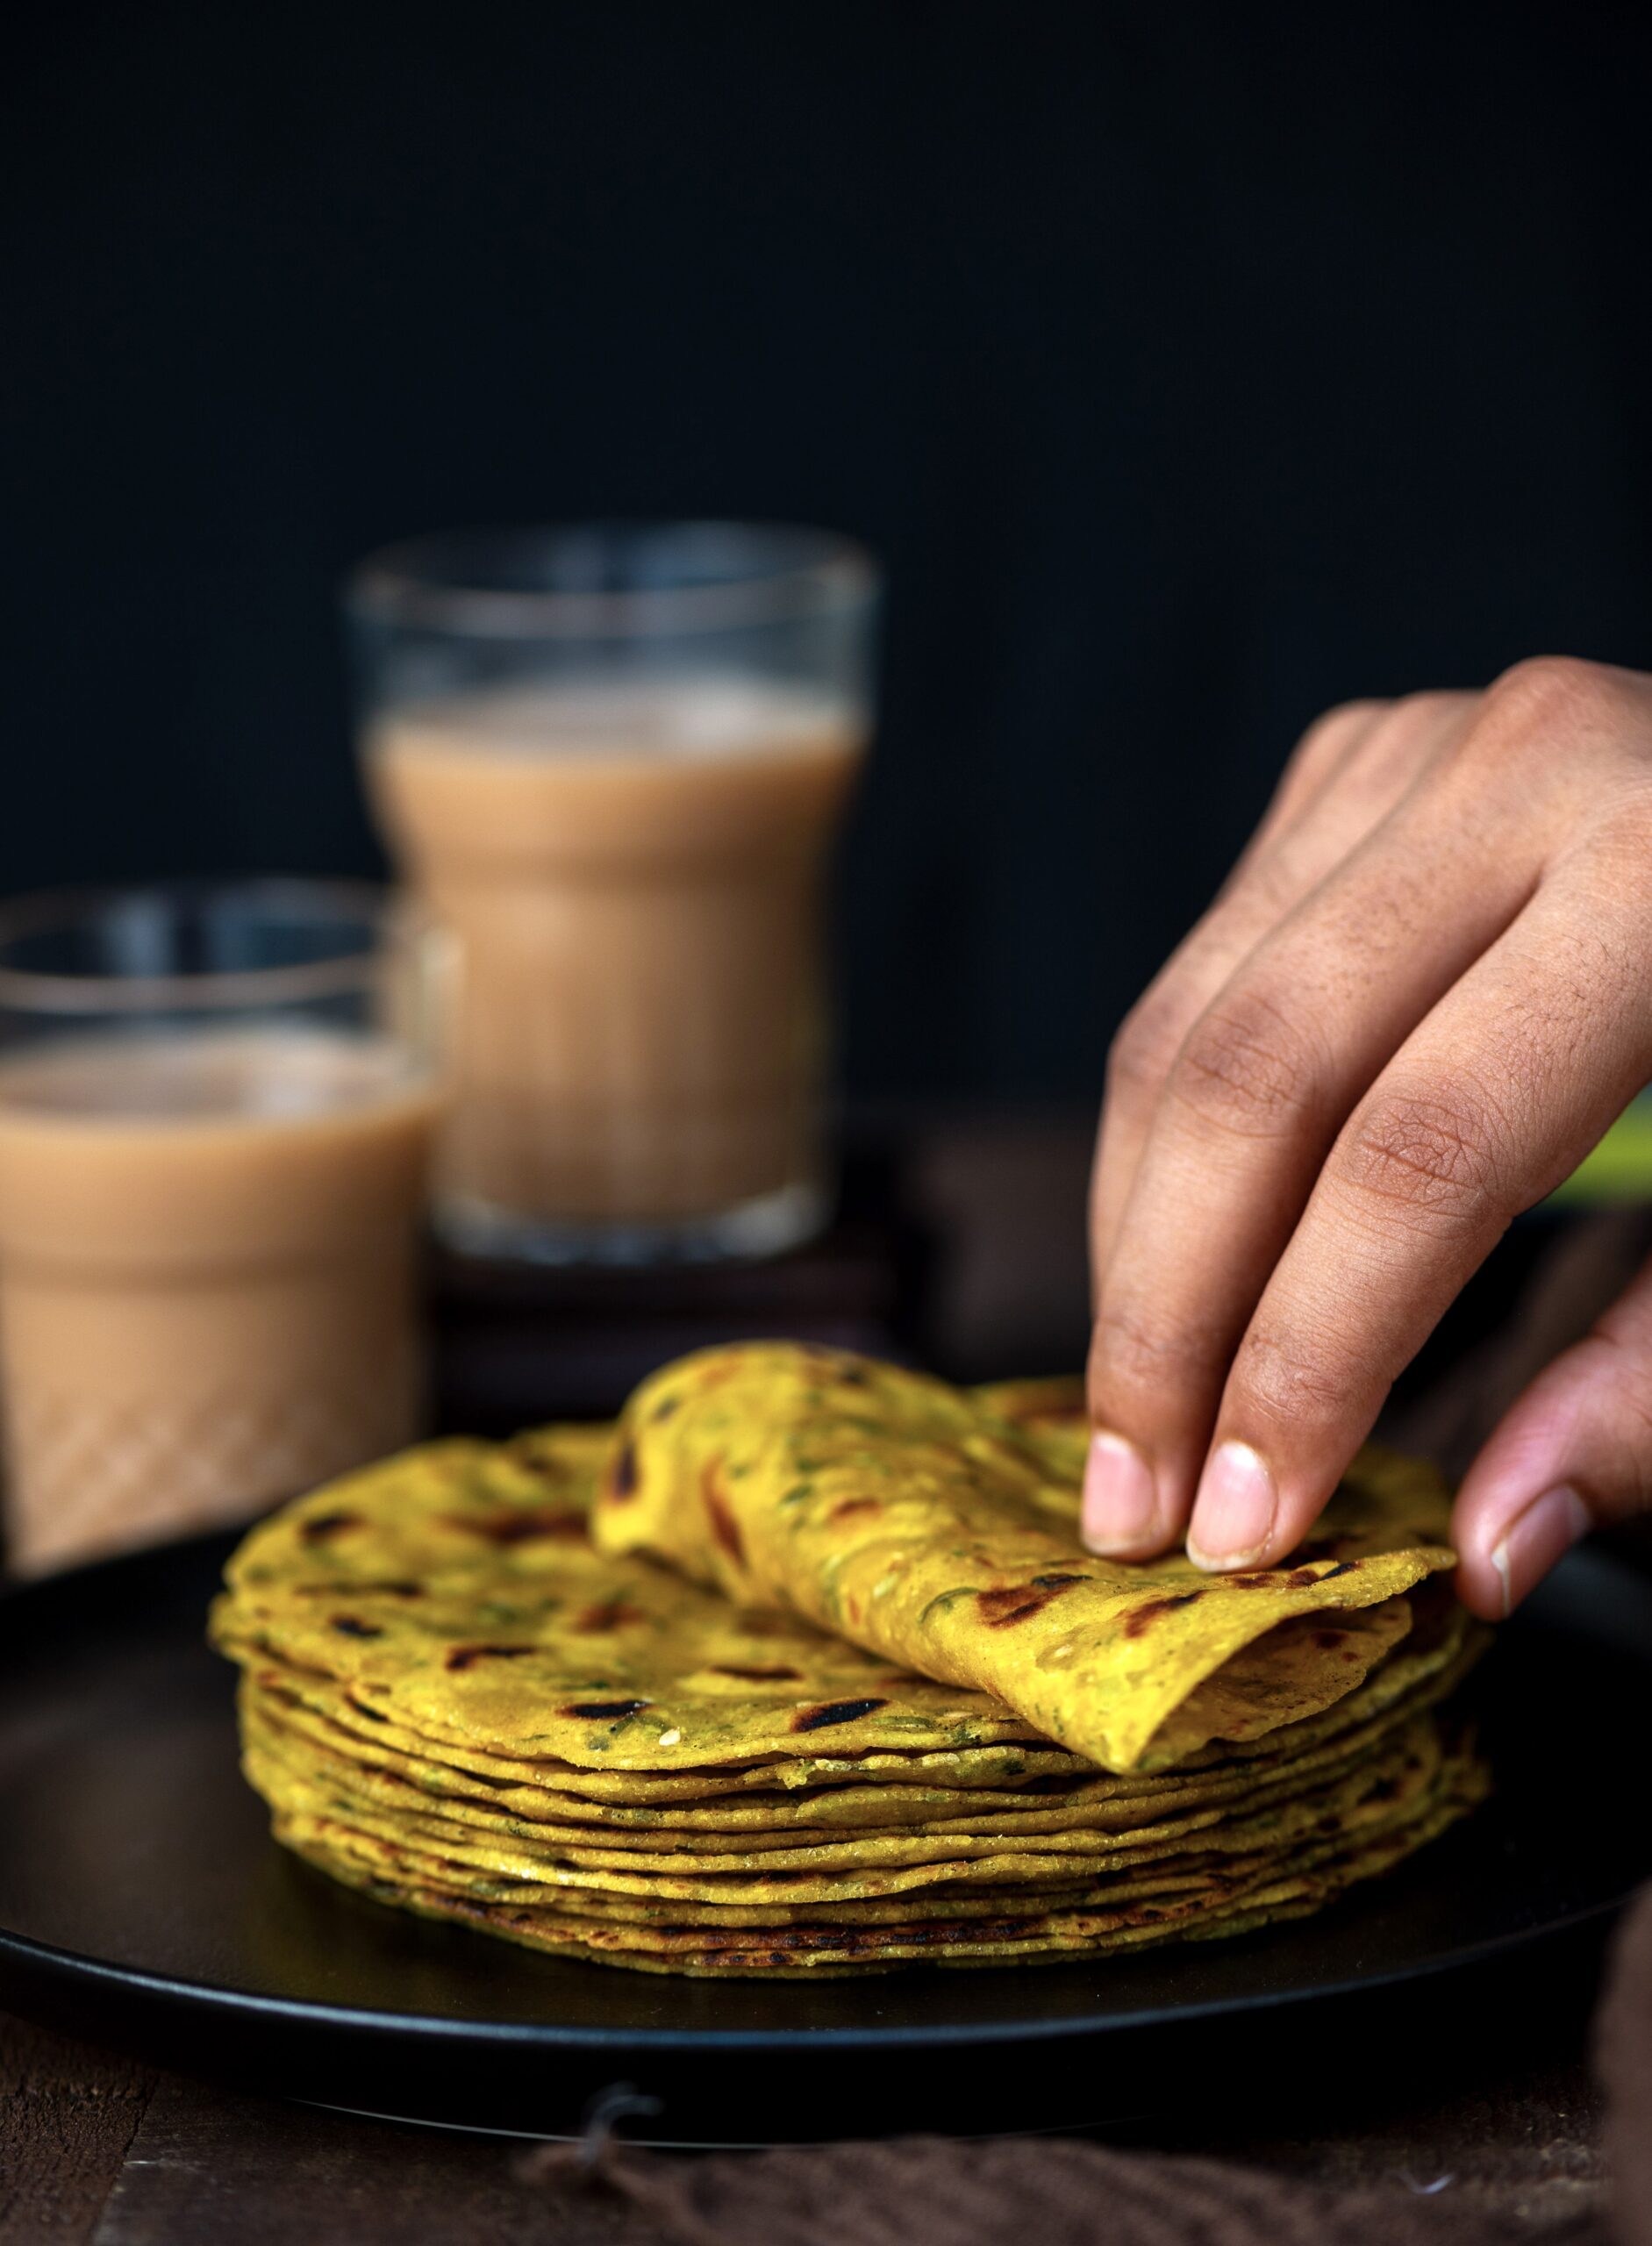
Several years ago, close to when I began this blog, I had shared a post on a variety of Gujarati flatbreads. The ones featured therein were just a small selection. There are hundreds of kinds of flatbreads in India, and even within different communities or regions, each family will have its own version. The thepla in particular has many types. It is basically a masala flatbread, and may have additions of grated vegetables or flavourings. Bottle gourds and leafy greens, of all different sorts, are often used. Here, I share with you a recipe for jowar methi thepla. It uses fenugreek leaves (methi) and sorghum millet (jowar) alongside the standard wheat, which makes it richly nutritional.

I prefer to use fresh methi, but dried kasoori methi will also work. If you’d like to totally substitute the methi, you can do so with any spinach. In my version of this flatbread, I make it with green chilli paste. My sister likes to use red chilli powder instead, which gives it a darker colour. Traditionally, jowar (sorghum) is replaced by bajri (pearl millet) in winters, as the latter is more warming. You can use the same method below to make bajri methi thepla.

Theplas go well with pickles, vegetables, curries and gravies (a potato and tomato gravy pairs nicely, for instance). They are also great by themselves, or as an accompaniment to a cup of chai. They are perfect for school and office tiffin boxes – applying some chhundo on one, rolling it up and packing it makes for an easy lunch. However, they are more traditionally eaten at dinner time, and I think this is because they don’t go well with dals, which are usually served in the afternoon. There are no hard and fast rules about theplas because convenience is the key to their popularity. They keep for a few days, and travel well. I often make a pile of theplas and carry them with me during short trips, so that I can avoid eating outside food.

As for jowar methi thepla specifically, I’ve had it all my life and so I take it for granted. Only if I sat down to think about it would I really be able to list the memories associated with it. It was frequently served at home for dinner, eaten as leftovers for breakfast, or carried to school for lunch. It was just a part of everyday life, and it still is. I hope it finds a regular place in your meals too.

Jowar Methi Thepla

(Yield: 12 pieces)

1 cup whole wheat flour

½ cup jowar flour

Salt to taste

1 tablespoon oil

½ teaspoon turmeric

½ teaspoon sesame seeds

1 teaspoon cumin and coriander powder

1 teaspoon green chilli paste

1 tablespoon yoghurt

½ cup chopped methi leaves (or any spinach)

Water to bind dough (approximately 1 cup)

Oil for pan frying


Add all the ingredients to a mixing bowl. Knead and bind the dough with water, pouring it a little at a time. Ensure the dough is neither too soft nor too hard.

Leave the dough covered for at least 30 minutes. Then, make even-sized balls from it. You will get roughly 12.

Roll each ball out with the help of flour into flat round discs.

Shallow fry them on a hot griddle with the help of some oil. Make sure the oil is added to the edges, as this way the thepla will not dry out.

Store the theplas in a covered box and consume within three days.

While there are endless variations on theplas themselves, all Gujarati homes will invariably have theplas available on a more or less daily basis. I hope you will explore more of my thepla recipes on this blog, and I’d especially suggest that you take a look at the taco theplas, if you’re feeling in the mood for some fusion fun, and this khichdi thepla that makes great use of leftovers.

I enjoy the creative challenges of coming up with innovative dishes, and salads are a category I worked on happily during the earlier stages of re:store’s journey. Before turning my focus more intently towards baking and photography, I used to take orders for salads. The orders generally came from people who were fitness-focused or preferred to eat smaller meals at work. But that was no reason to eat the same thing every day. So I planned menus of 10-15 salads, rotating them every 3 months.

The salads were inspired by so many cuisines, and people I met, and using a schedule was also something new for me. Before going into business, I’d usually just throw whatever was on hand into a salad. Another thing I learnt was that keeping veggies fresh in India was not easy when they weren’t consumed immediately. Especially when the salad travelled from the re:store kitchen to another’s home, and then commuted with them to their office. So if I put in a fancy leafy vegetable, by the time the customer opened the container at their desk at lunchtime, it would have started to look and taste different. Through trial and error, I figured out ways to use only local and seasonal produce in my salad experiments.

Another thing I don’t believe in is using store-bought dressings, so I made them all from scratch, matching each one to the ingredients used. Naturally, I am also very particular about the hygienic handling of raw vegetables, so I always prepared salads only on the day of delivery.

We often think of salads as a part of Western cuisine, but they are often found in Indian cuisines as well. Whether it’s a home-cooked Gujarati meal or a South Indian one, some kind of raw, cut veggies will be served. While a vegetable smoothie may be a great way to substitute an unhealthy beverage, there are benefits to salads that go beyond taste. God made vegetables crunchy because they are meant to be eaten that way – it all begins by using the teeth and jaw muscles!

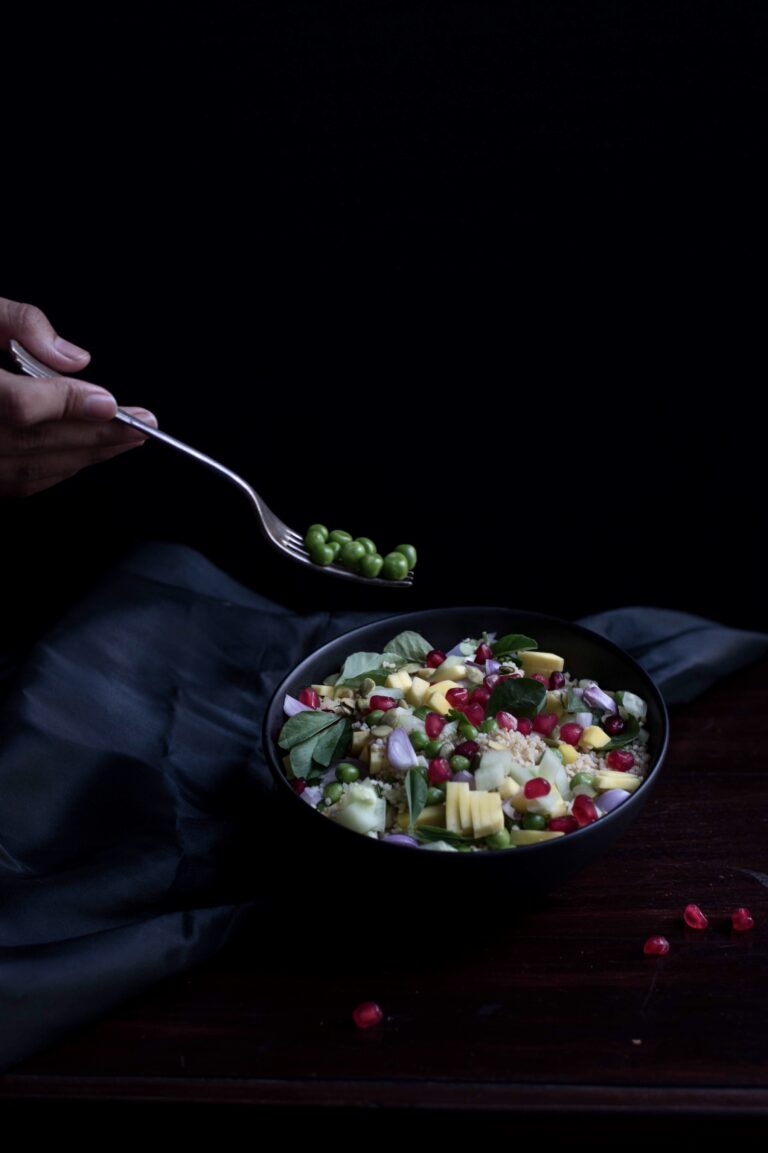
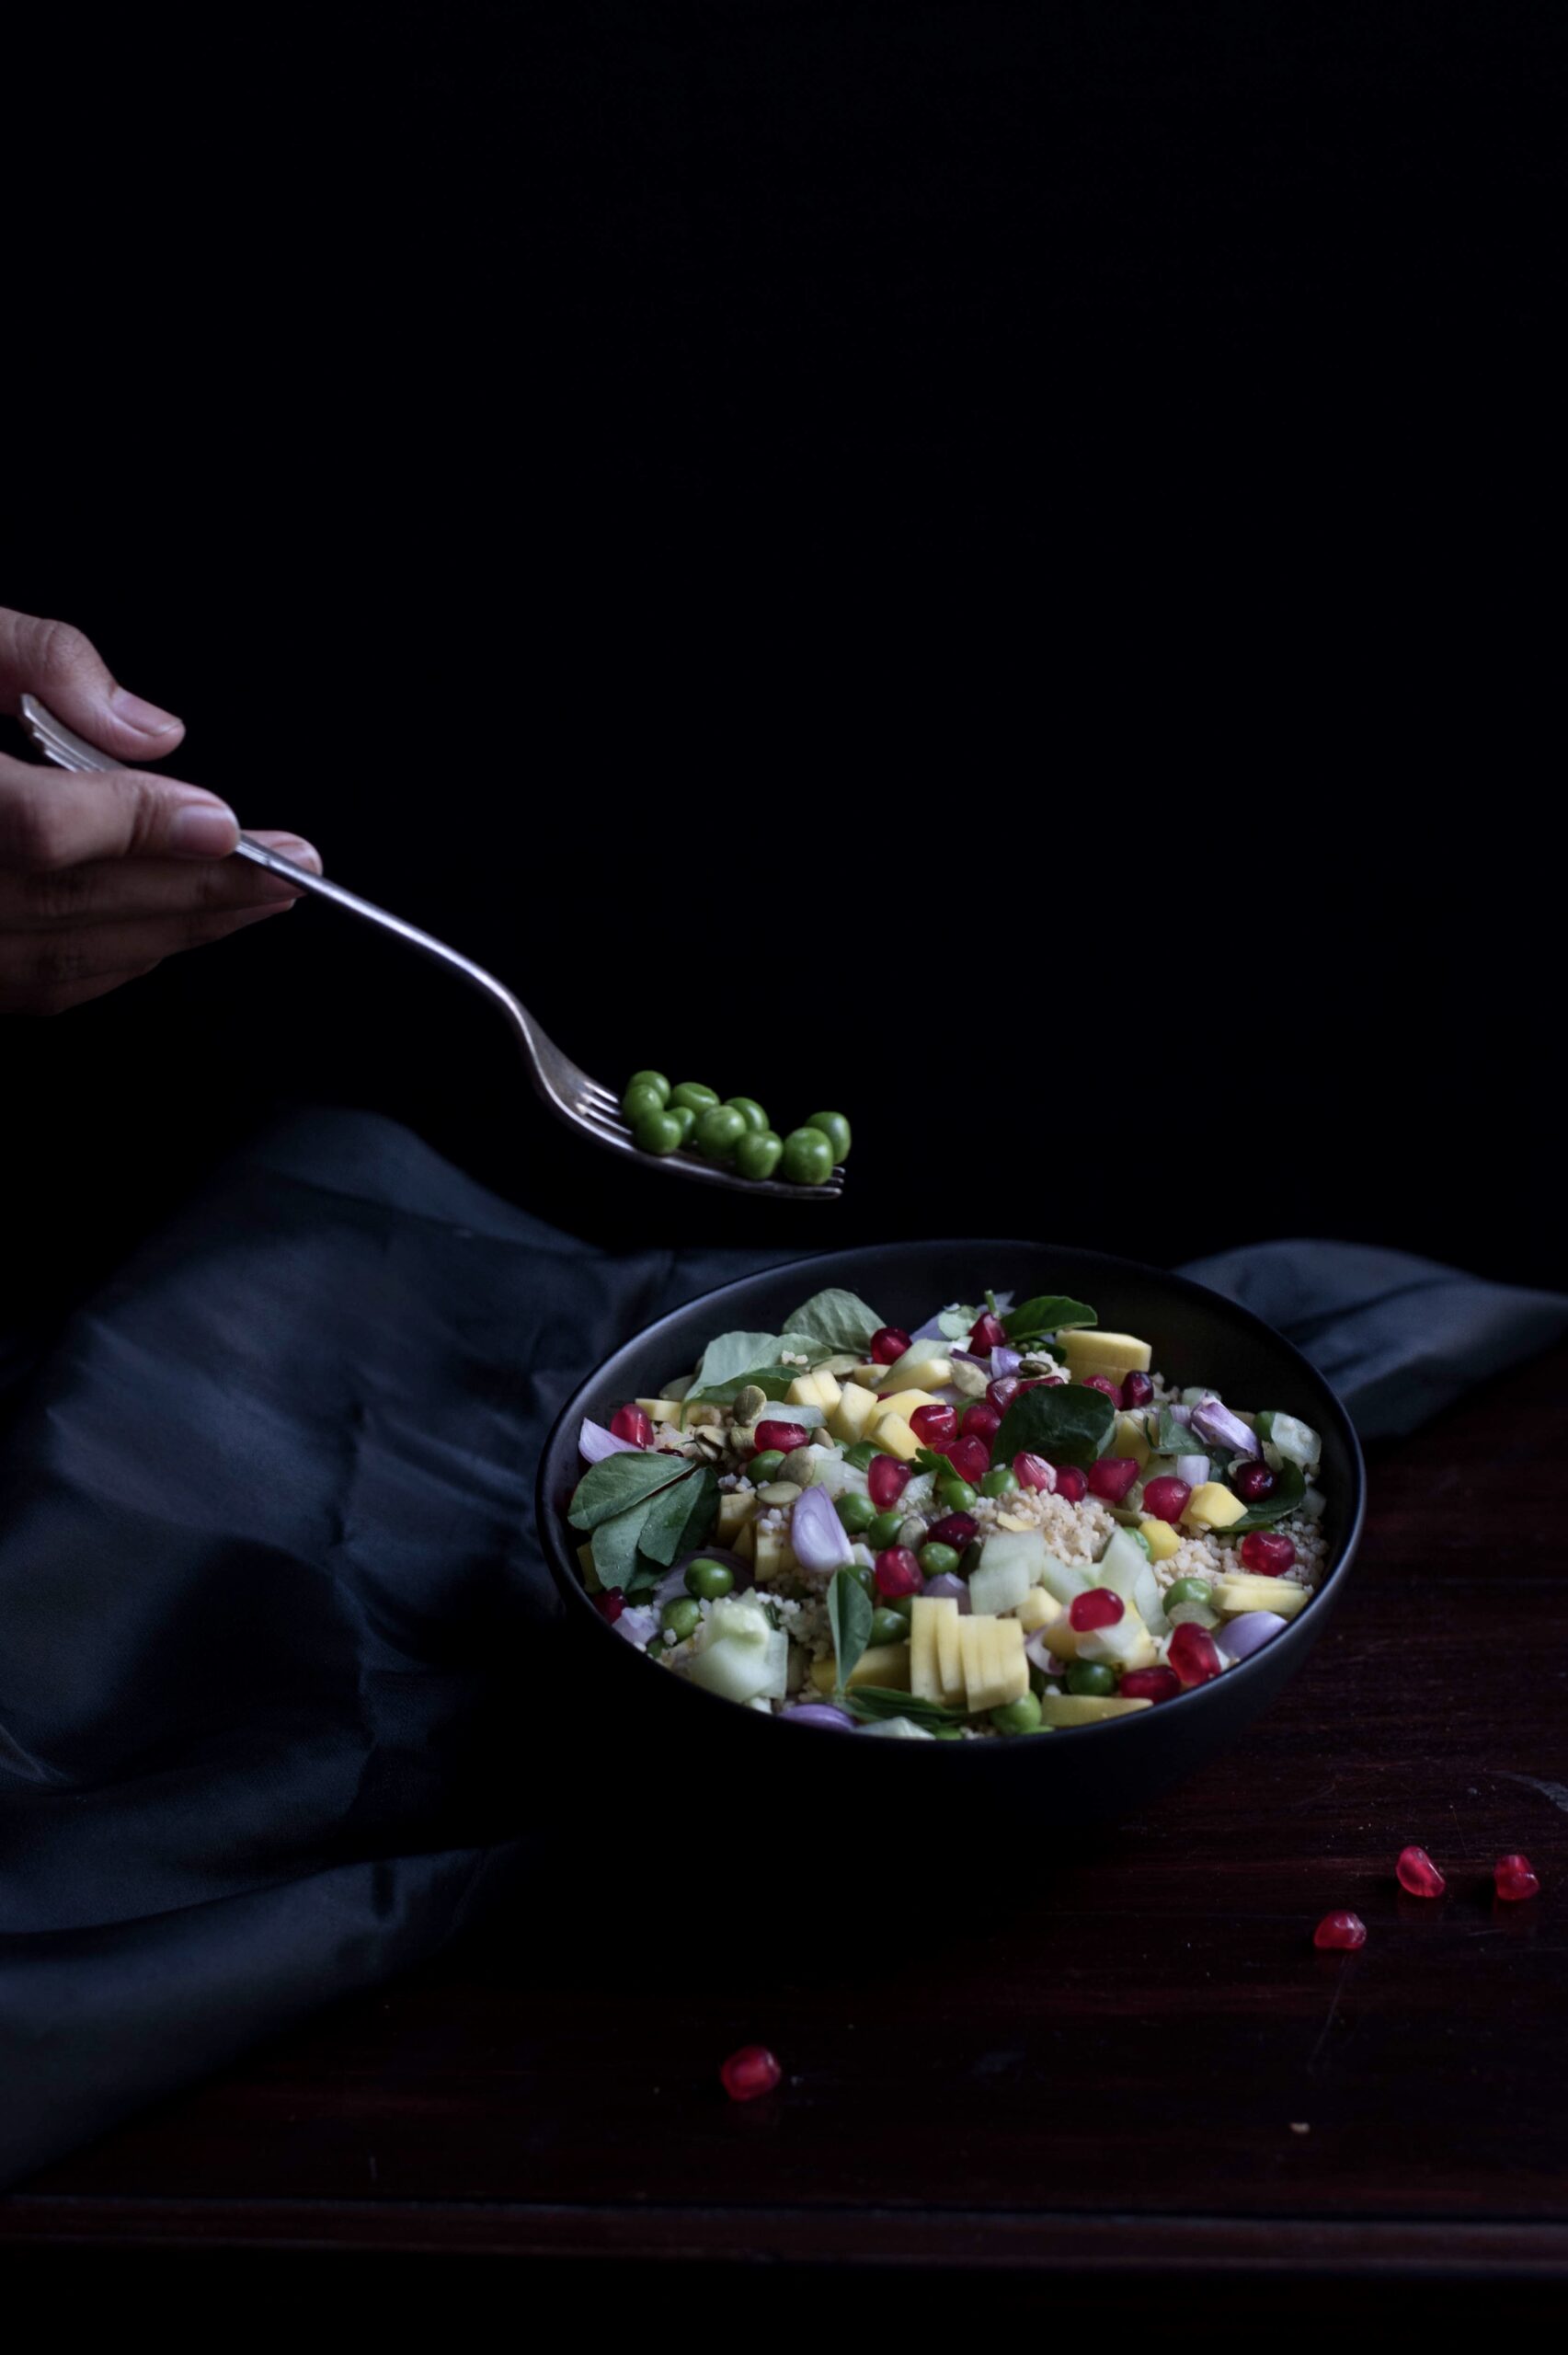
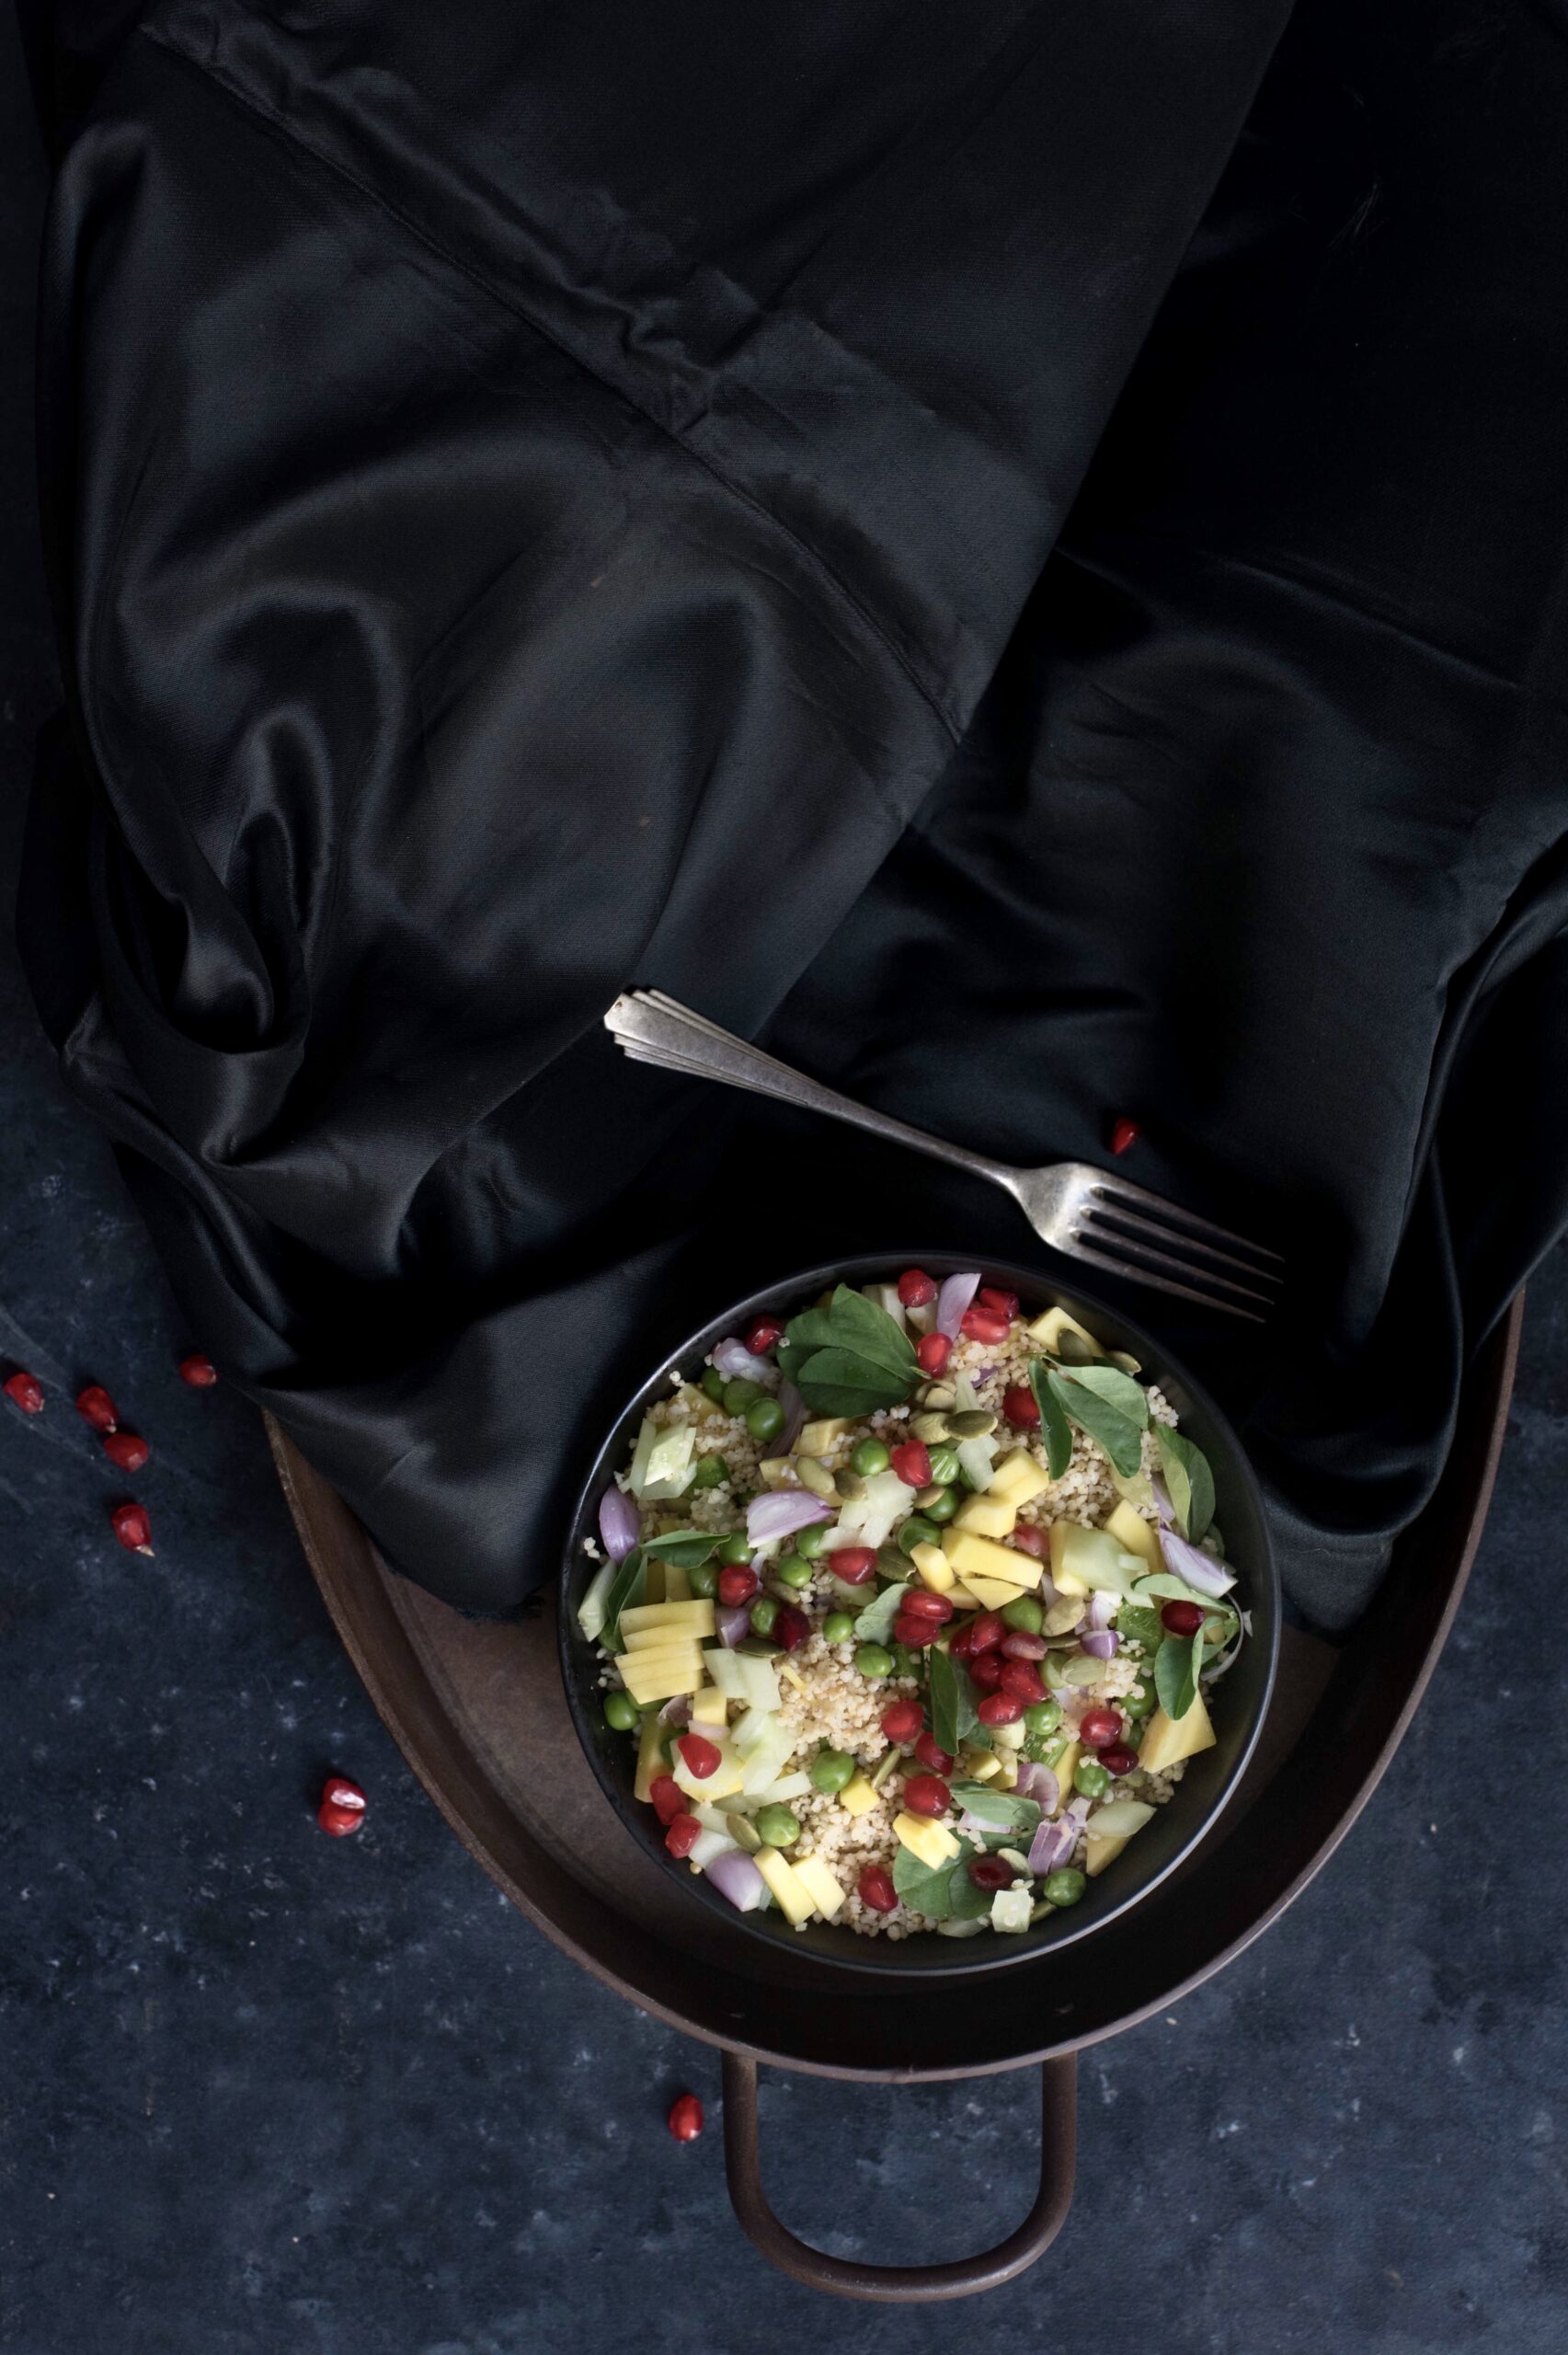
The Gujarati word for salad is “kachumber”, and while my recipe contains very diverse ingredients, at its core you could consider it an update on the traditional one. You know how much I love millets, and this salad uses foxtail millet as a base, for substance as much as for its many superfood properties. All the ingredients are available locally and inexpensively. I sometimes use sunflower seeds instead of pumpkin, but the latter are more authentically Macrobiotic here. Even the green peas come from Ooty, not so far away from me at all.

I’d love to share with you some nostalgia about salads and childhood, but let me be honest. Like many people, I often refused to eat vegetables growing up – but now look me, advocating for them!


Indian Veg Millet Salad

(Yield: 1 bowl)

Ingredients

Salad

120 grams cooked foxtail millet

½ cup steamed green peas

1 tablespoon pumpkin seeds

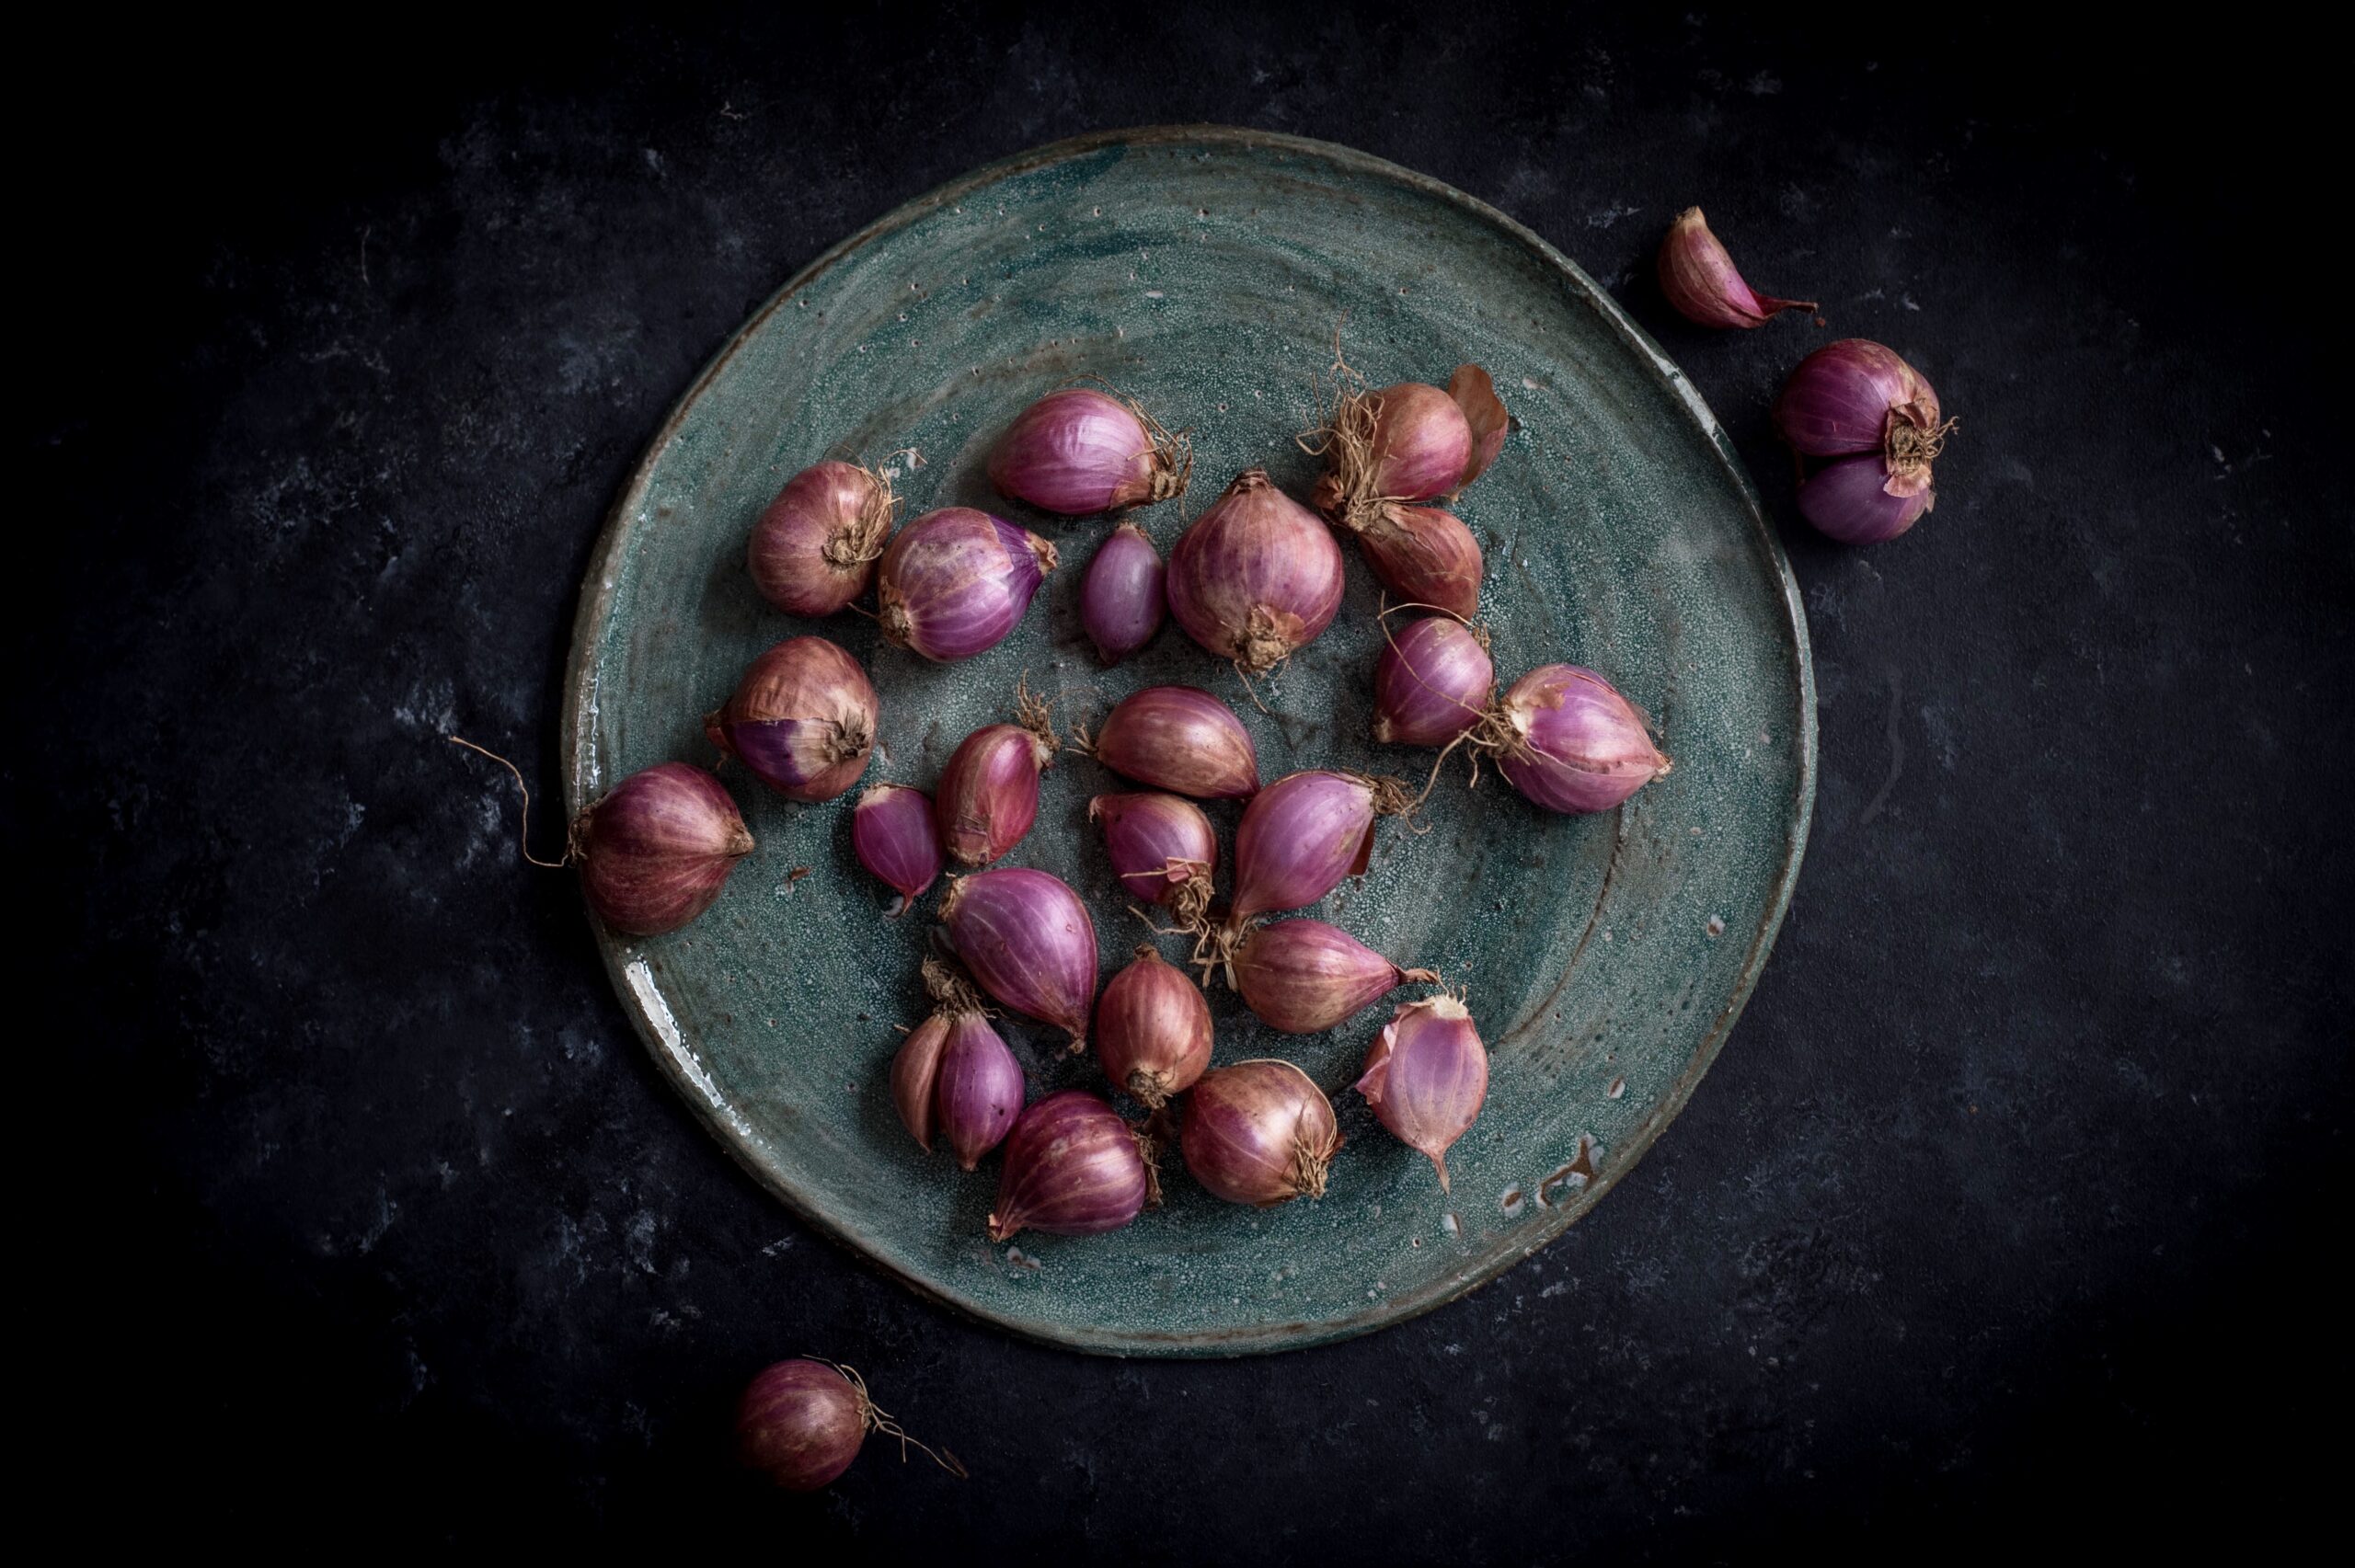
1 tablespoon finely chopped shallots

¼ cup cucumber

¼ cup finely cut raw mango

A handful of pomegranate arils

A few sprigs of fresh methi (fenugreek) leaves


Dressing

2 tablespoons sweet lime juice

1½ tablespoons lemon juice

1 tablespoon honey

1 tablespoon olive oil

A pinch of pepper

Salt to taste

Place all the fresh ingredients in a beautiful bowl. I have mentioned the quantity of the vegetables – however, you can eyeball the amount and decide for yourself how much you want to use. And of course, innovate. Add or delete ingredients depending on your fridge stock. You could even use any other millet if that suits you.

In a small jar, add all the ingredients for the dressing. Shake vigorously. Pour on the salad before serving and mix together till the dressing coats all the vegetables.

That’s all there is to it. A citrusy, profoundly simple dressing lifts the flavours of an unusual but deeply Indian salad. You have the sweetness of pomegranate, the tartiness of raw mango, the crunchiness of seeds and more. A medley of textures. Just mix it all up! I hope you’ll enjoy this easy recipe from the “salad days” of re:store, excuse the pun!

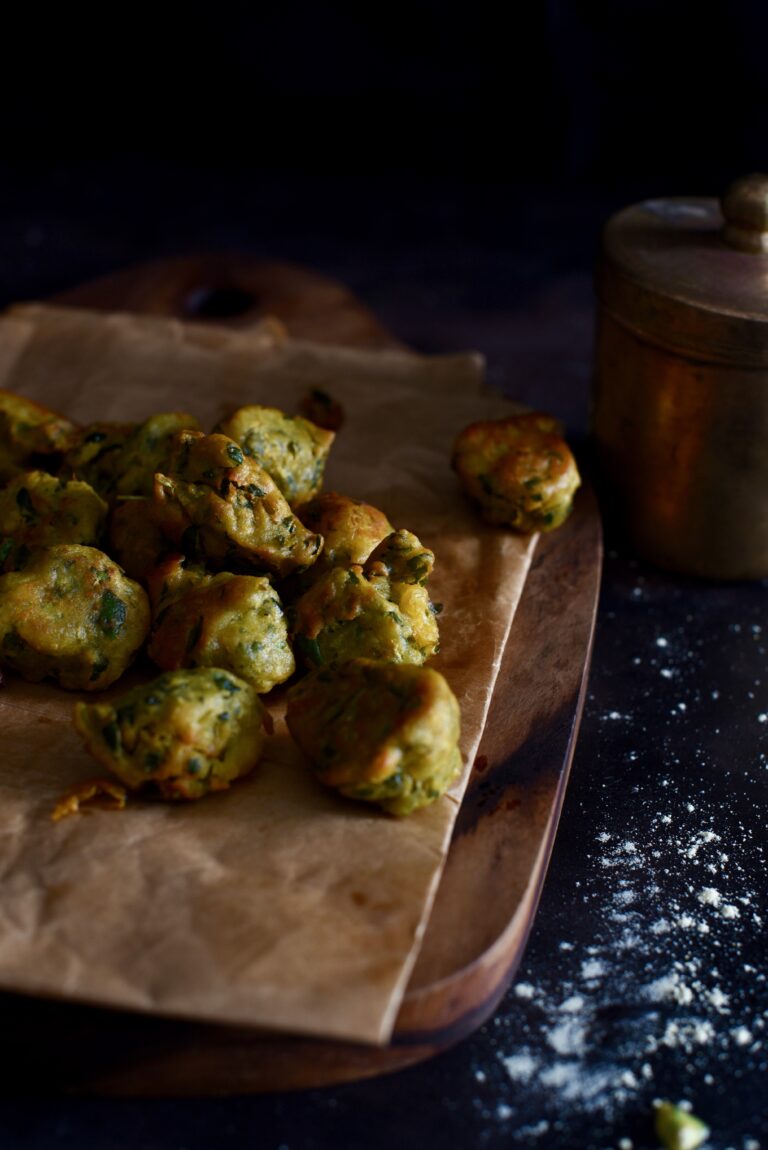
If you’ve been following my blog, you’d have noticed that despite my quintessentially Gujarati sweet tooth, my culinary adventures are often based on healthy eating. I hardly ever reach for a fried item first, but these banana-methi fritters are a part of our wide kitchen repertoire at home during Diwali. Perhaps one just can’t feel guilty about indulgence when it comes to special occasions! The festive season isn’t far away, so you may want to try your hand at these fritters and see if you’d like to share them with your friends and family too this year.

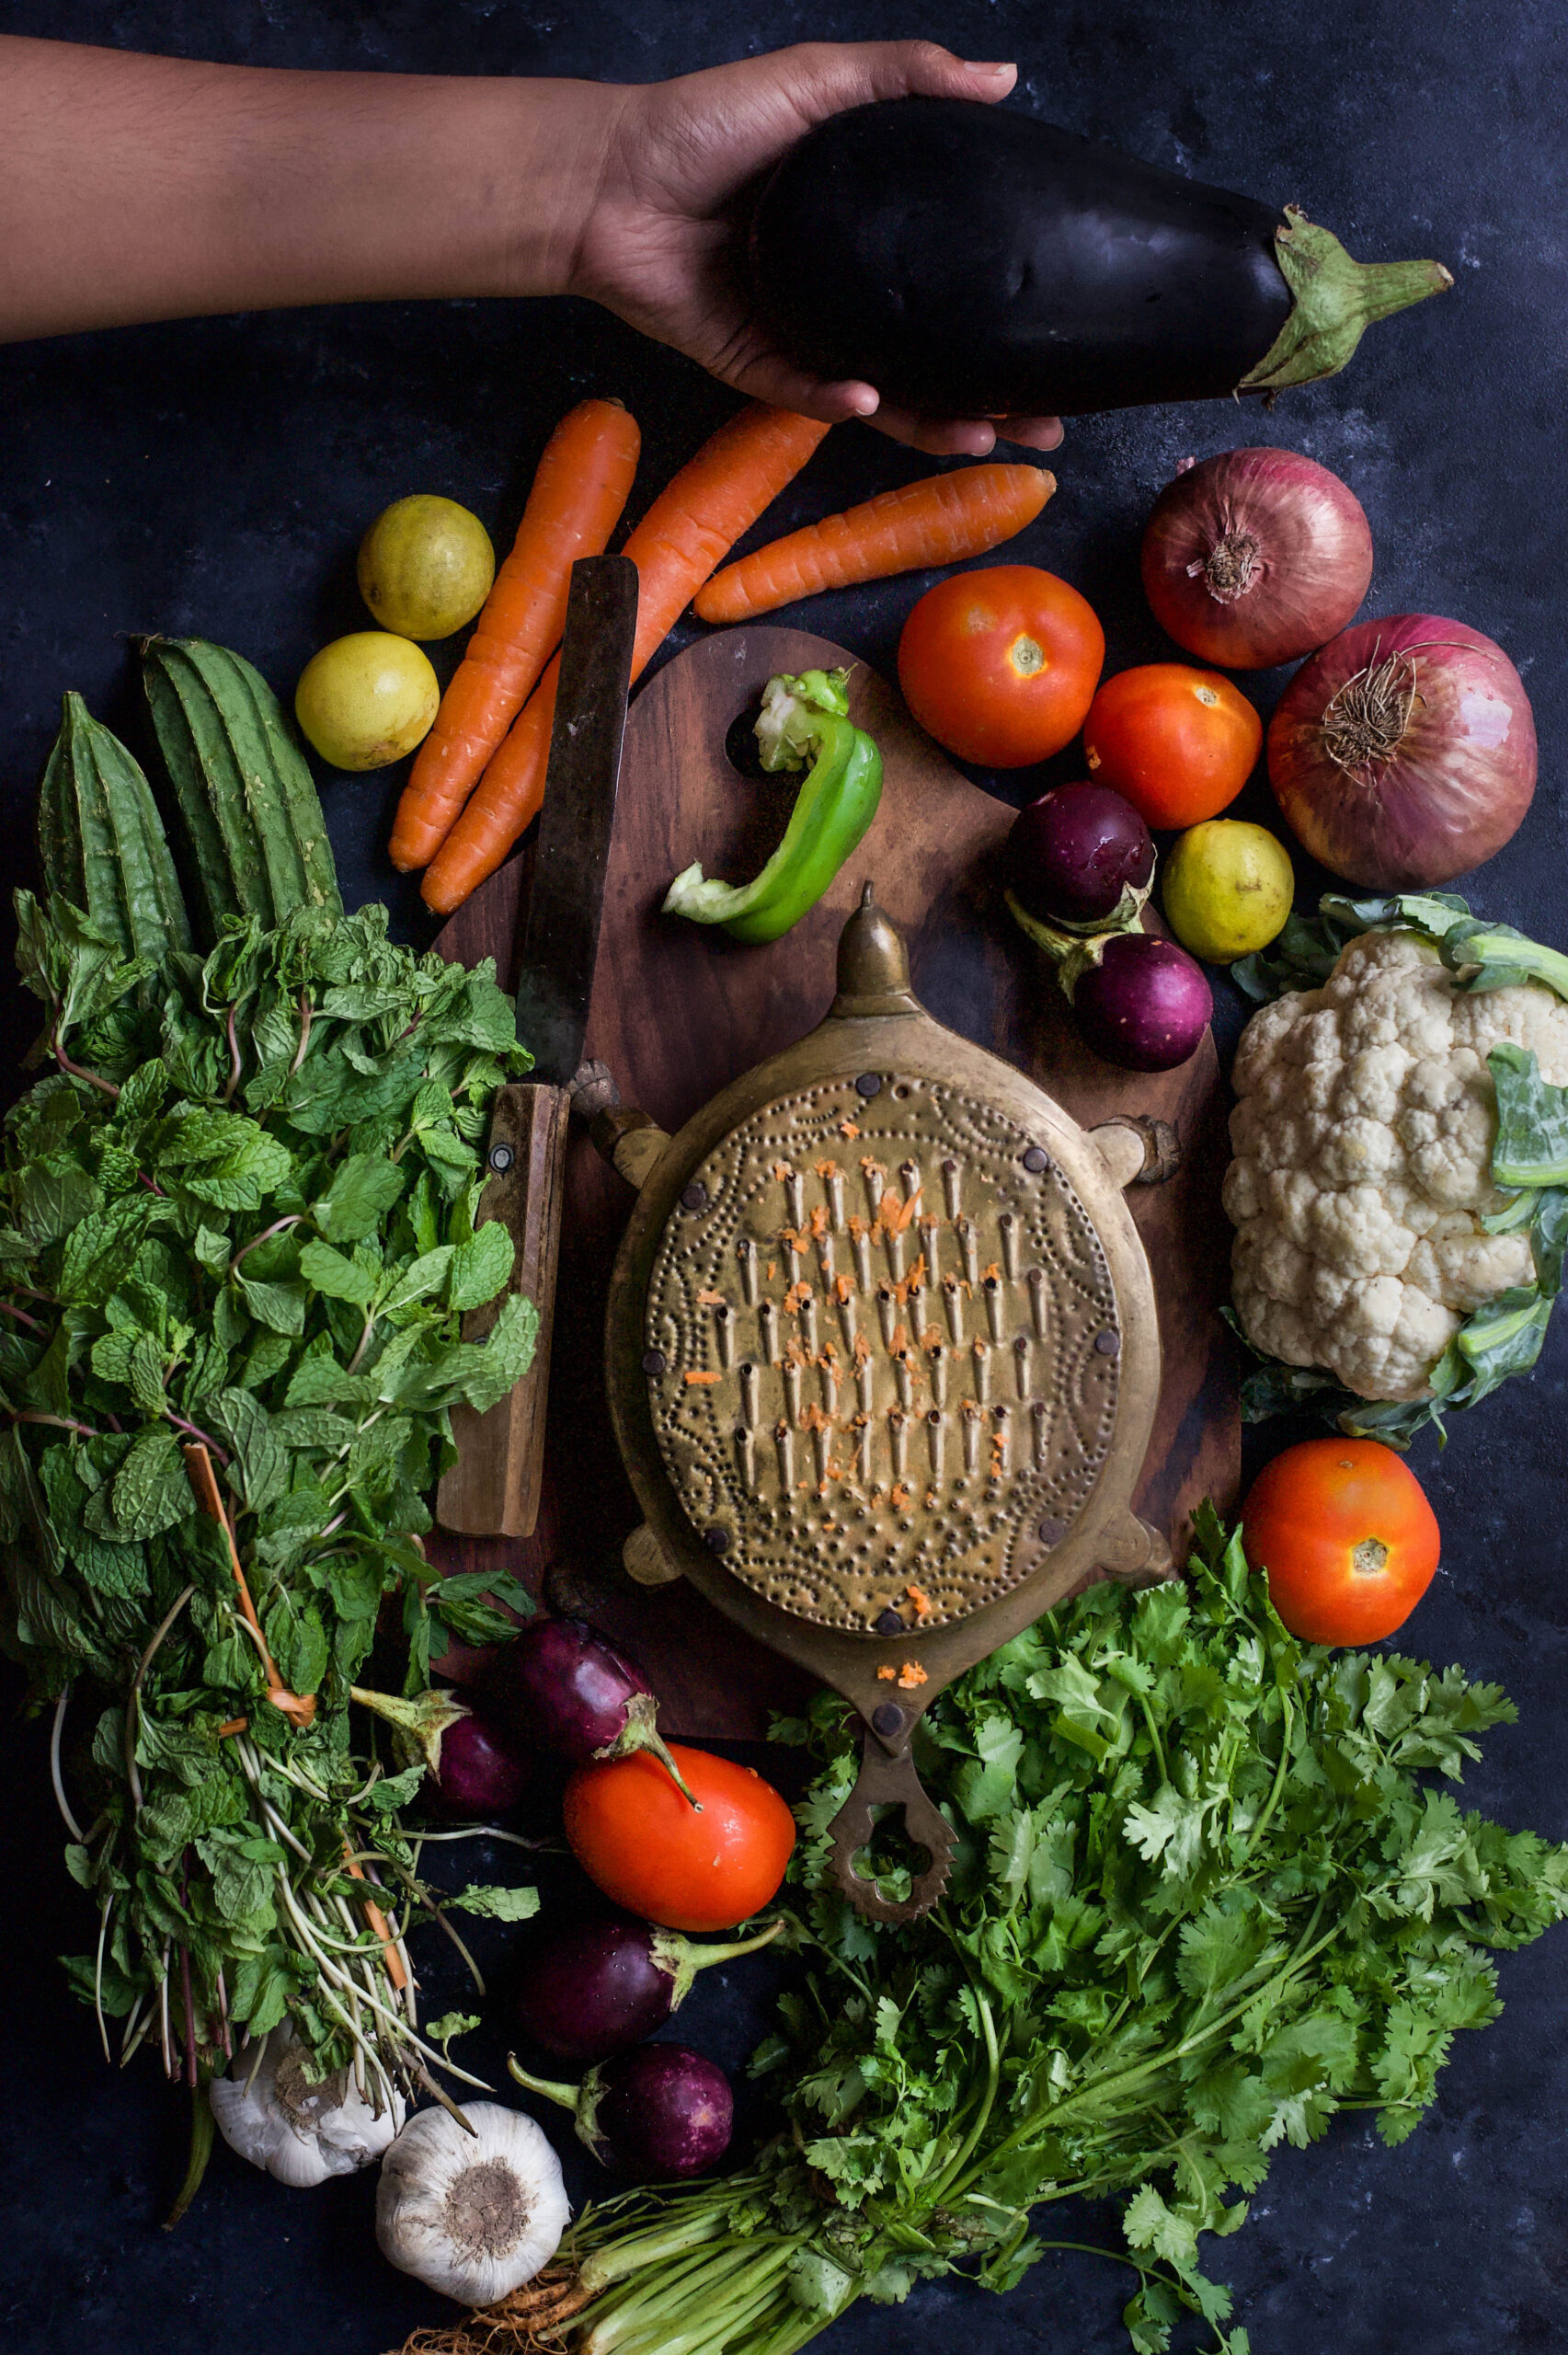
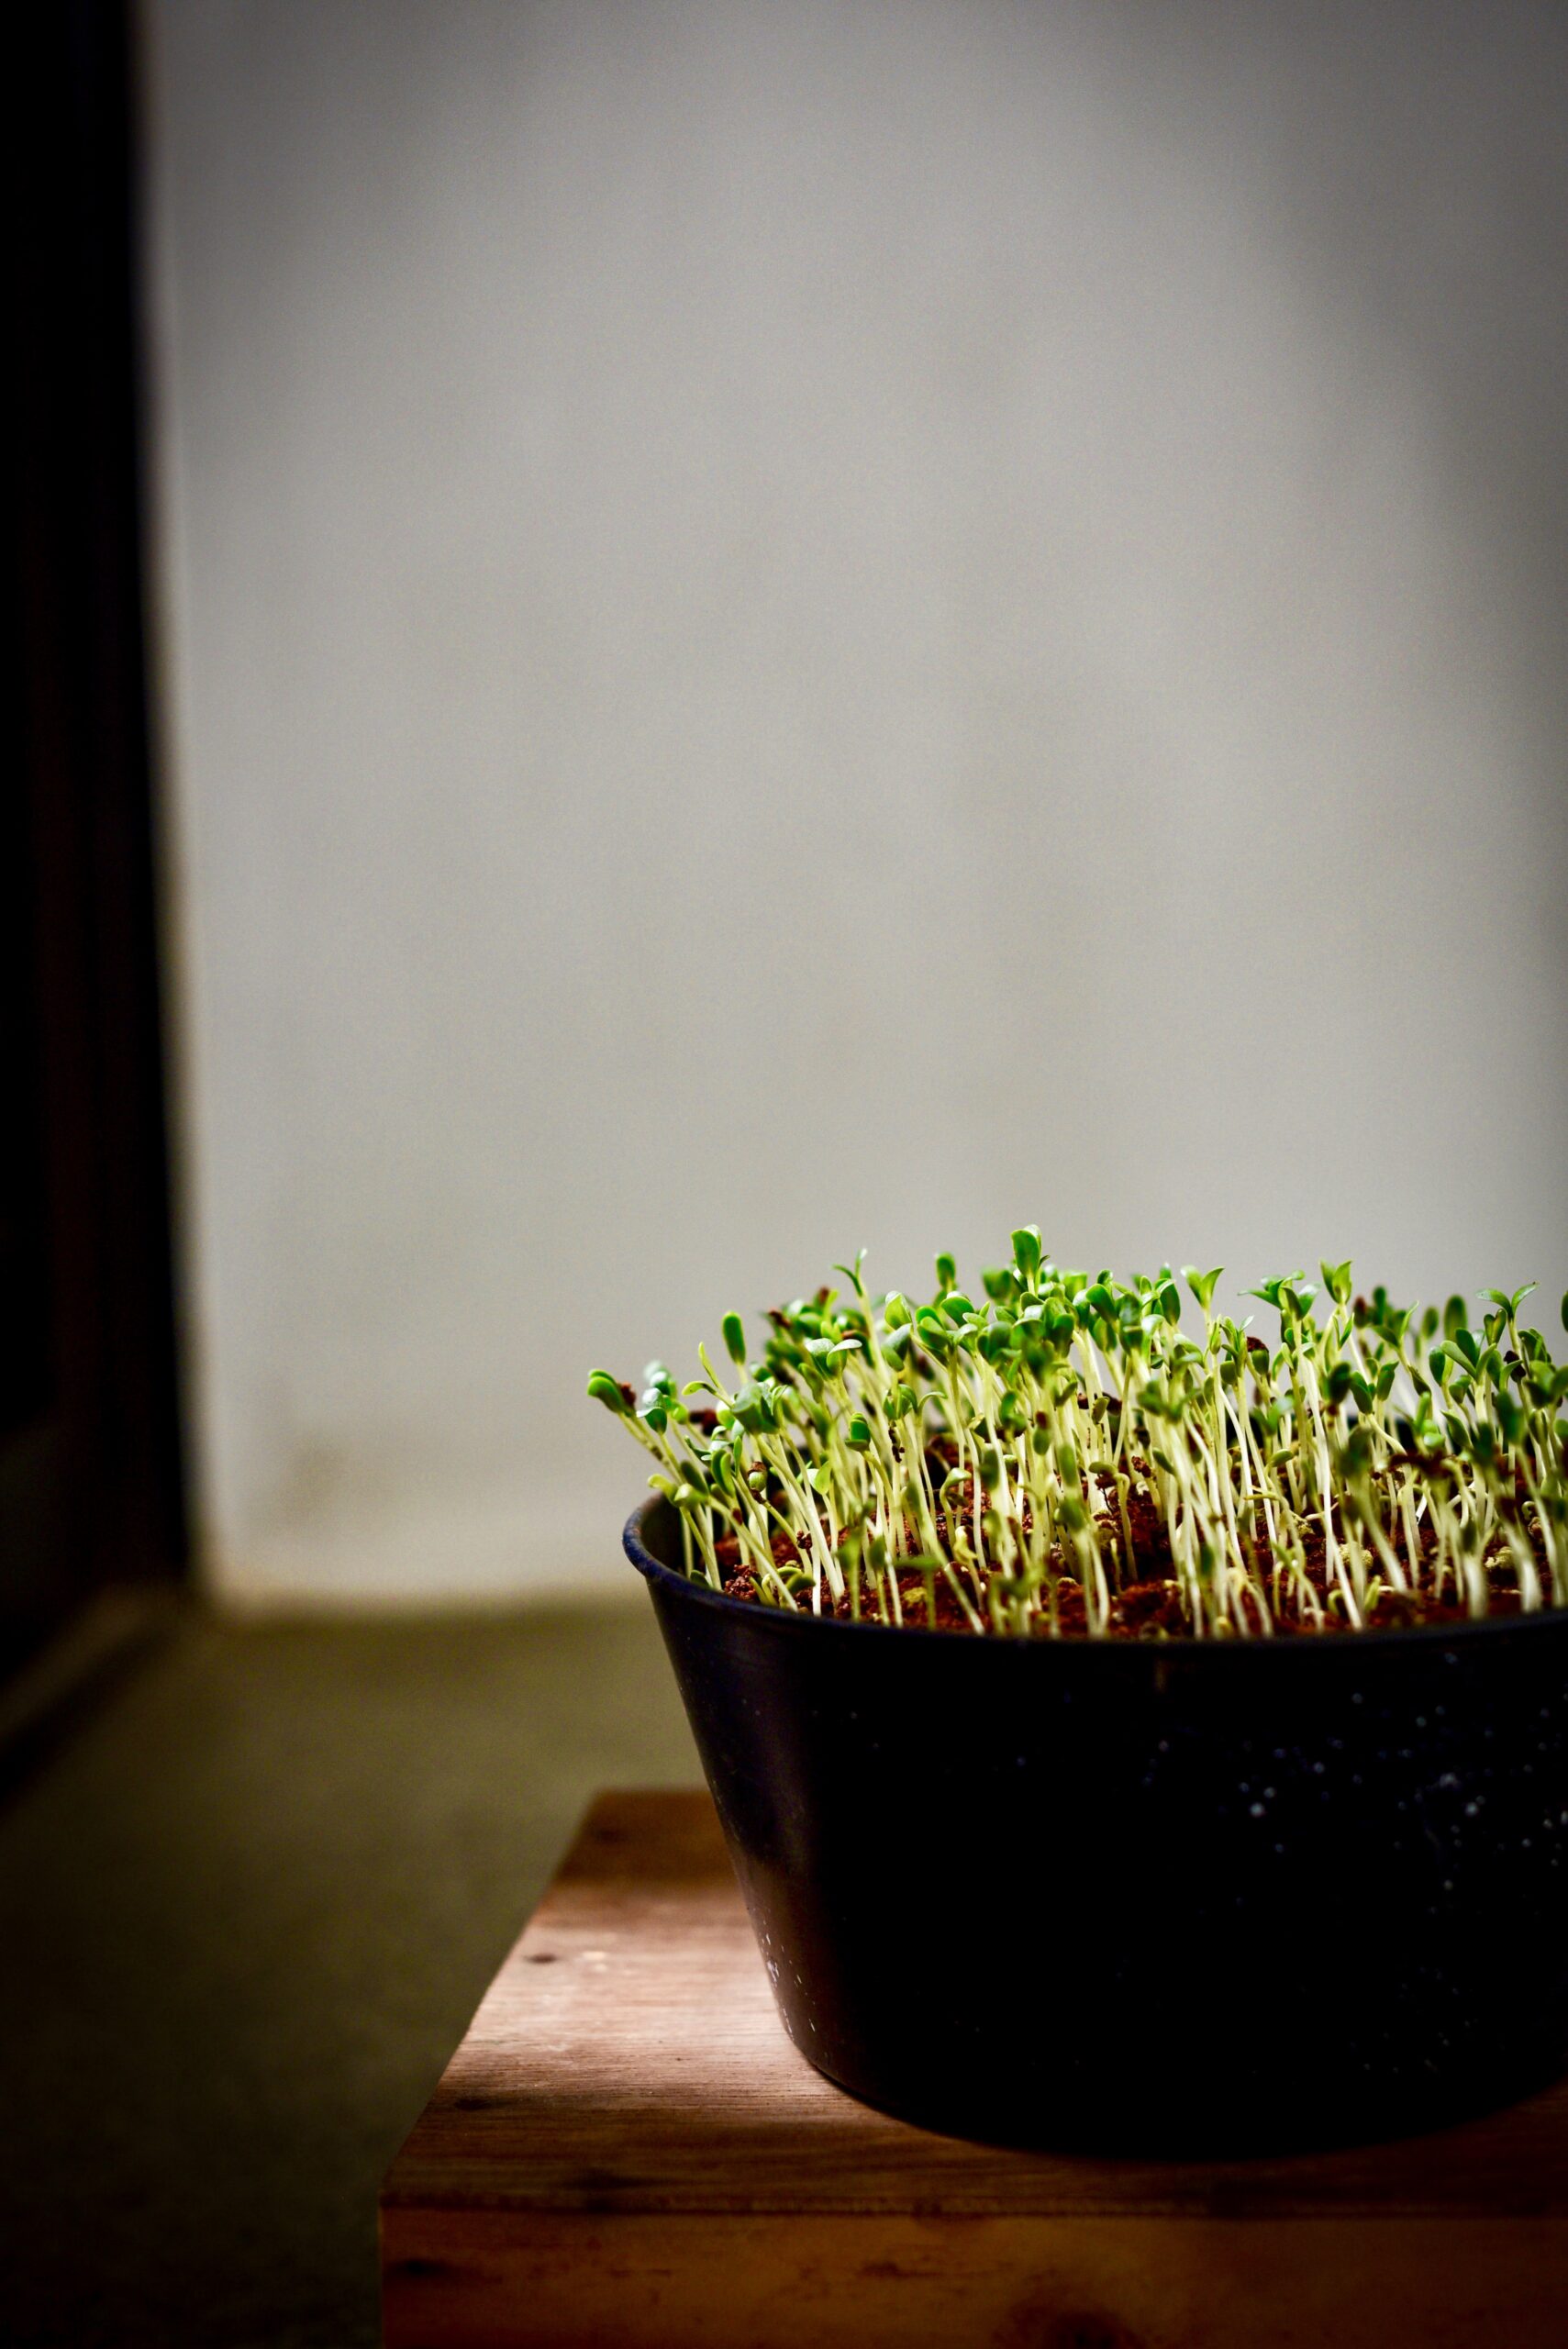
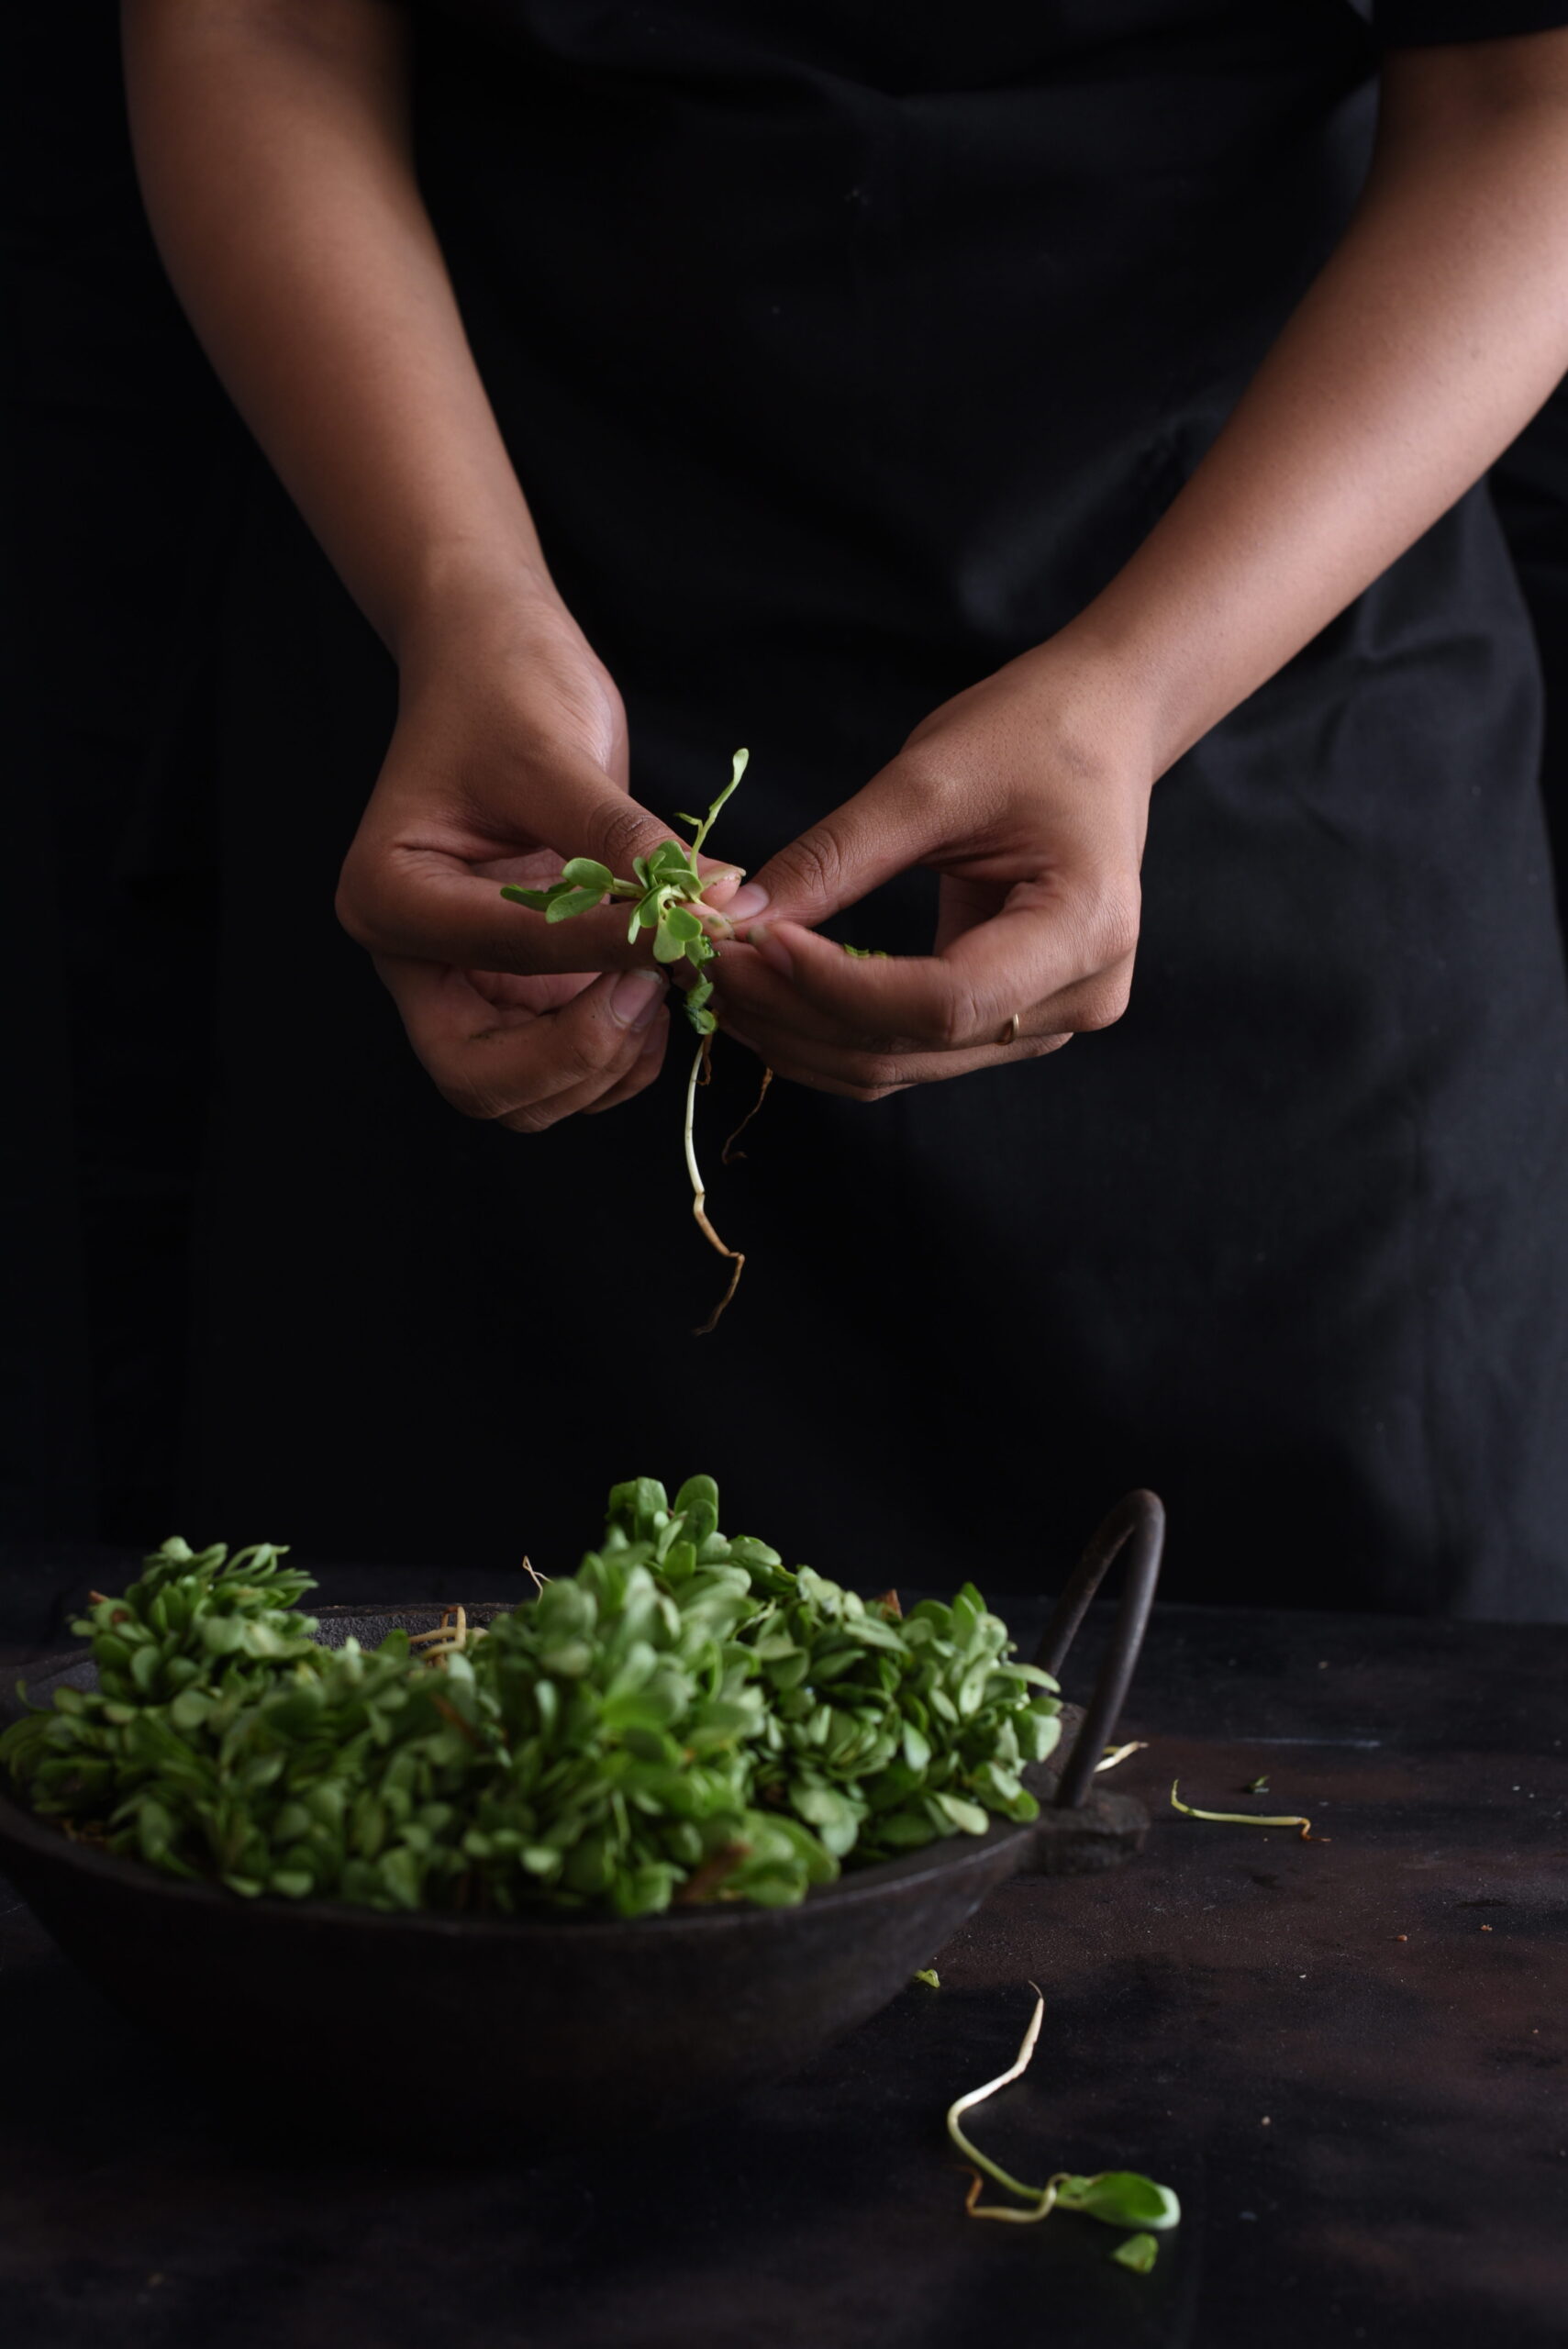
Growing methi (known in English as fenugreek, and in Tamil as vendeyakeerai for the leaves and vendeyam for the seeds) is as easy as throwing a few seeds in the soil and allowing them to sprout in a matter of days. This is why I can use freshly-plucked methi leaves for so many of my dishes. Alongside tulsi, lemongrass and numerous herbs, fruits and vegetables, it flourishes right in my home. Whether it’s a traditional Indian staple or a salad (Chennai’s weather makes fresh lettuce difficult to find in the city sometimes, and I love experimenting with healthy substitutes), these pretty greens are a familiar ingredient in the re:store kitchen.

Methi has an array of health benefits. Among them, it helps improve digestion, tackle respiratory allergies, cure anaemia, and lower cholesterol and blood sugar levels (which is why it is used in diabetes management). Due to its high estrogen content, it even helps lactating mothers in the production of milk – I remember being given lots of methi laddoos after giving birth. In addition to these benefits, methi is also known to have a beautifying effect on the hair and skin when used in a paste form as a mask or conditioner.

I’m telling you all this to put a healthy spin on the recipe below – which is a fried indulgence!

The other ingredient in this spicy, crispy snack I’m about to share with you hardly needs to be promoted on the basis of health, because it is so very sweet and tasty. That filling, versatile, portable and very nutritious fruit – the banana! It just so happens that bananas are rich in potassium, fibre, antioxidants and share blood sugar-lowering, cholesterol-management and overall wellness-boosting benefits with methi.

Hundreds of banana varieties are grown in India through the year, and with Tamil Nadu being the source of 23% of the country’s supply, we really have our pick of the fruit here. In fact, the banana tree is auspicious in many Indian cultures, and has a place in wedding and fertility rituals. Similar to the coconut, its various parts have many uses. The banana flower, known as vazhaipoo, is diced and eaten in Tamil cuisine – and traditionally, South Indian food is always served on a banana leaf.

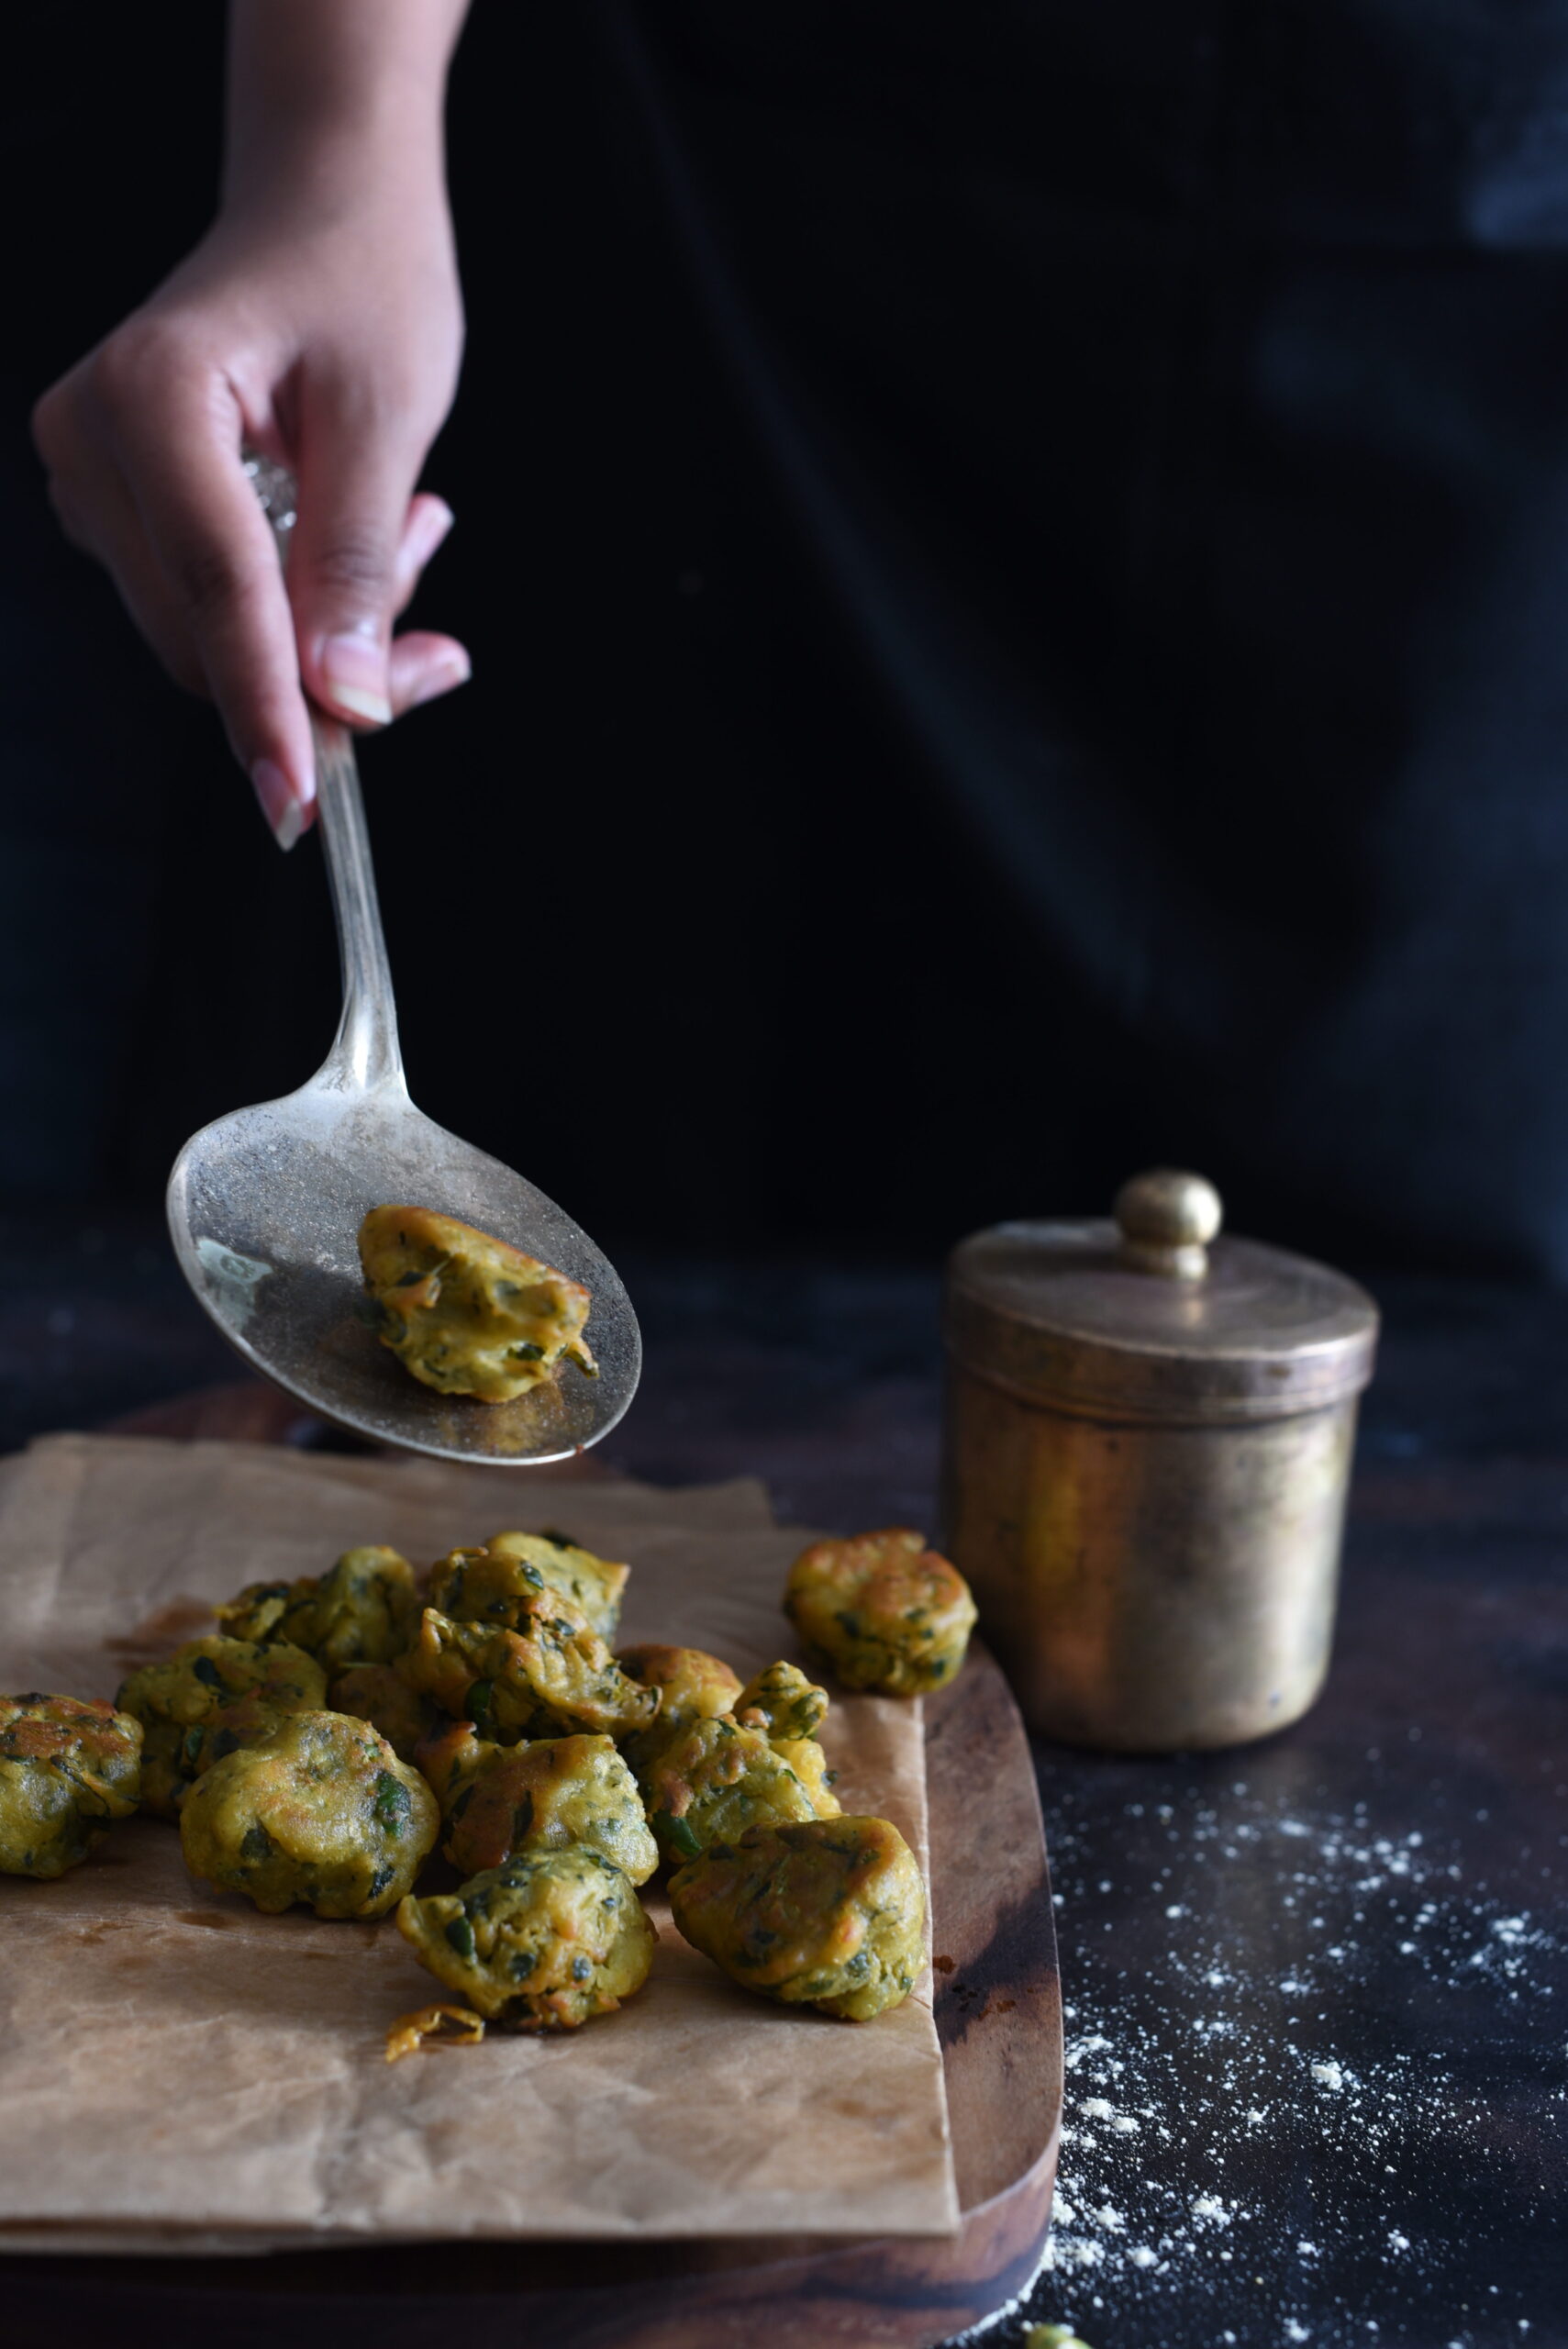
So we have here two key ingredients so nourishing that you can forget you’re chomping on fried deliciousness. Without further ado, here are my banana-methi fritters, served with a green coriander chutney.


Banana-Methi Fritters With Green Coriander Chutney

(Yield: 20-25 small fritters)

Fritters
¾ cup chickpea flour
¾ teaspoon salt
¼ teaspoon turmeric
½ teaspoon cumin powder
1 teaspoon grated ginger
1 finely chopped green chilli or 1 teaspoon chilli ginger paste
¾ cup methi leaves, washed and finely chopped
½ cup ripe banana, pulped or finely chopped
2 cups of oil + 1 tablespoon hot oil
¼ cup water

Chutney

1 cup coriander leaves, washed and finely chopped
1 green chilli
1 tablespoon peanuts
1 teaspoon lemon juice
2-3 tablespoons water
1 generous slice raw mango (optional)
Salt to taste

In a mixing bowl, add the flour, salt, turmeric, cumin, grated ginger and green chilli and mix. To this, add the banana and the methi leaves. Mix them well with your hands, adding enough water to make a paste-like consistency. Allow this batter to sit for a minimum of half an hour.

Heat the 2 cups of oil. Add 1 tablespoon of hot oil to the batter. The hot oil in the batter helps make the fritters soft. Blend well with your hands.

The remaining oil should be in a pan on the stove, and you can check its heat by adding just a drop of the batter into the oil to see if it sputters. If it does, the oil is ready. Lower the flame and add small spoonfuls of batter into the oil.

Keep the flame low and allow the fritters to fry well. Once the fritters have cooked on one side, flip them over using a butter knife. At this point, you may increase the flame slightly then lower it again, ensuring that the oil doesn’t get so hot that the fritters burn and blacken. You want them to be fried to a golden colour on both sides. Once this colour is achieved, remove the fritters from the stove and drop them onto an absorbent paper to remove excess oil.

Serve hot. I like to complement these crispy banana-methi fritters with a green coriander-based chutney. For this, I use coriander, green chilli, ginger, peanuts, salt, lemon juice and water, usually with a generous slice of raw mango. Simply blend all the ingredients together well in a mixer-grinder. The result is a flavourful chutney that perfectly accompanies the fried fritters.

Between the sweetness of the banana, the bitterness of the methi and the tangy kick of the chutney, you won’t be able to stop at just one! Try it for yourself and see. Let me know what you think in the comments.