Tag

memories

Browsing

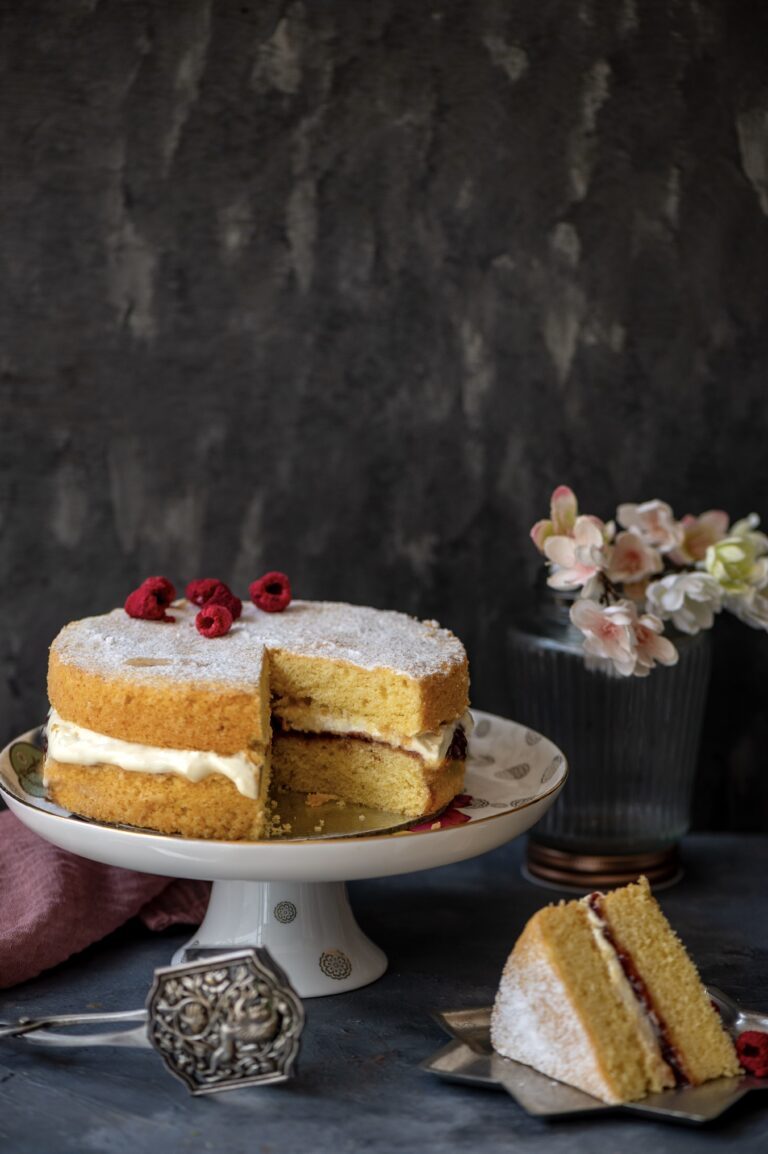
There are elaborate ways of making a Victoria sponge cake, but after various experiments, I came to realise that an easier method makes for a very satisfying dessert indeed. While it has a fancy name (it is called this because it was the favourite dessert of the British Queen Victoria), in truth the Victoria sponge cake is itself actually one of the simpler variations of the sponge cake. It consists of two layers, between which cream and berries are sandwiched. It’s a lighter cake, ideal for the summer, and I’m delighted to share the recipe with you.

It certainly wasn’t only Queen Victoria’s favourite. I think my mother enjoyed baking it too, as much as I enjoyed eating it, and it was often the special treat when we came home on some days, like birthdays. I can’t help but repeat myself, as I have so many times over the years, but my mom was my first teacher in the realm of the kitchen and my inspiration in all my culinary adventures – whether that’s cooking, exploring cuisines, food studies, eating mindfully or crafting this blog. She has been gone for a few years now, and nowadays I think often about how we as children both little and grown-up take our moms for granted. All those times when they call and we say, “Sorry, I don’t have time” – and all the regrets, later on… If your mother is still in your life, do try and spend more time with her. Take it from me, as someone who misses hers a lot.

Missing my mom also means reminiscing about all the food she made for us over the years, and returning to those experiences in my own kitchen. This Victoria sponge cake is obviously one such experience for me, for the scent in particular brings her to mind vividly. My mother’s handwritten cookbook contained a recipe for Victoria sponge cake. To me, the cookbook even smelled of this cake, so I have a strong association between it and my memories both of my childhood and of my mother herself.

Perhaps my kids will also associate certain dishes and their aromas with me. On Sundays, when they’re visiting, they invariably ask me what I plan to bake for them that day. During the week, they will claim to be on diets and refuse the many goodies that pop into my oven on a daily basis, especially as I’m always baking for customers. But come Sunday, come the demands for baked deliciousness. This Sunday, I’ve already anticipated this request. Guess what I’ll be preparing for them?

I said earlier that one of the key components of a Victoria sponge cake is the use of berries. Seasonal ones are ideal. For mine, I have used a strawberry jam that a dear friend makes at home every year from fruit grown in her backyard. It’s the only strawberry jam we consume. It really is the best there is, and we are lucky to have it.

Simple Victoria Sponge Cake

(Serves: 6-8)

150 grams self-raising flour

150 grams unsalted butter

150 grams powdered sugar

3 eggs

½ teaspoon vanilla extract

2-3 tablespoons strawberry jam

½ cup butter cream


Preheat the oven to 170°. Prepare two 8-inch tins by greasing the edges and dusting with flour. Set aside.

In a bowl, add the butter and sugar. Beat until light and fluffy. Next, add the eggs one at a time, making sure to beat well each time. Add the vanilla extract and beat again.

Sieve the flour and add it to the mixture. Fold the mixture and divide the batter into the two tins equally. Each of these will be one layer of the Victoria sponge cake.

Bake for 25 minutes or until the cake layers turns golden. Then, remove them from the oven and allow to cool.

To assemble the Victoria sponge cake, apply strawberry jam generously on top of one layer. Over this, apply butter cream generously as well. Now, gently place the other layer on top of the first. Sprinkle some powdered sugar over the top.

Your Victoria sponge cake is now ready to be eaten. Slice and enjoy the delicious flavours of berries, cream and cake coming together. The cake can be stored in the fridge and enjoyed over a few days – or shared immediately with the whole family, the way I love to do.

The celebrations of Diwali are soon followed by the celebrations of Christmas, and when I was growing up this meant that we enjoyed a couple of months of ongoing festivities. My most cherished childhood association of Christmas has to do with a large Anglo-Indian family we knew. They were wonderfully warm and welcoming, and Christmas day for us was all about visiting them and sharing in the cheery mood in their home. Until they came into our lives, the festival was something I had only encountered in books, so to actually experience it was thrilling. I will never forget the first time I saw a Christmas tree, all decked out in their home. Under it, there were always such lovely gifts for us friends of the family, and I looked forward to these each year. Of course, there was also the spread of delectable festive goodies. These special memories are on my mind this month, which is why they have inspired my sharing of this all-spice cake recipe.

Fast forward to today, and Christmas now for me is all about absolutely delicious plum cakes, received from many friends. As you may know, plum cakes last for between six months to a year depending on how they are made. This means that I am at liberty to enjoy them for a nice long stretch. Just a slice at tea now and then makes the perfect accompaniment. After re:store cakes, of course!

I’ve never attempted at baking a plum cake myself as I know it’s a laborious process, both in technicalities and in love. Besides which, there is such sweetness in receiving them from dear friends. Nowadays, there are vegan and vegetarian and alcohol-free options out there, but there’s nothing like a good old rum plum cake. So while I’ve never gotten down to experimenting with it as a baker, I have really enjoyed making the next best thing.

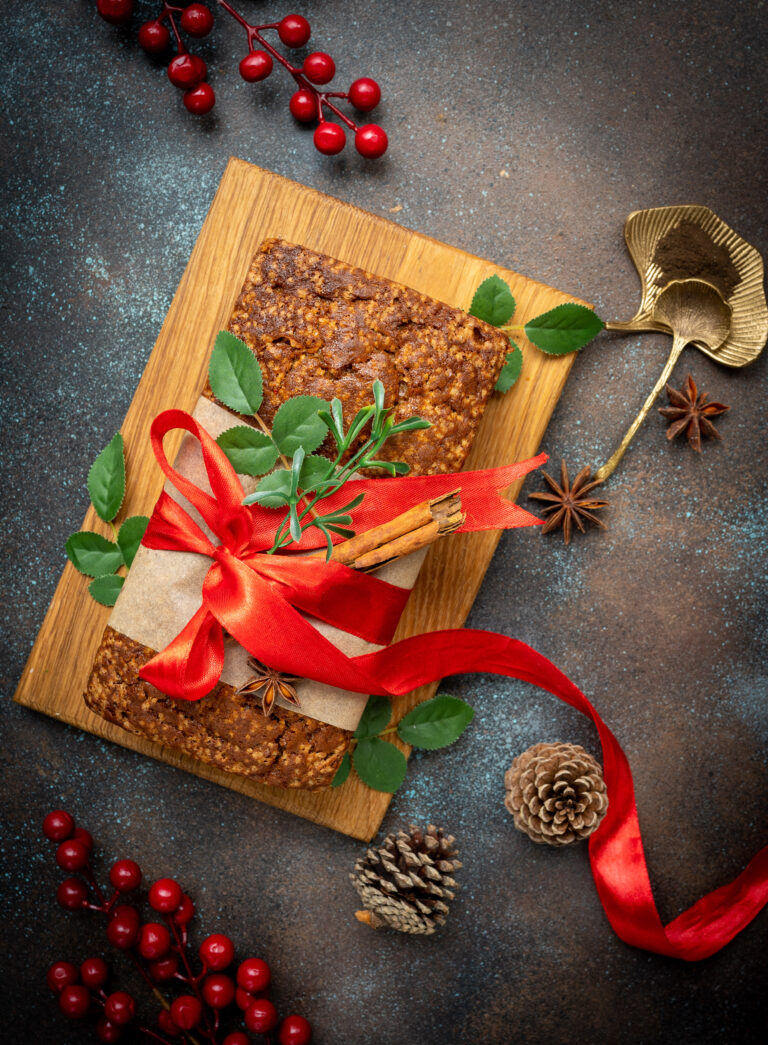
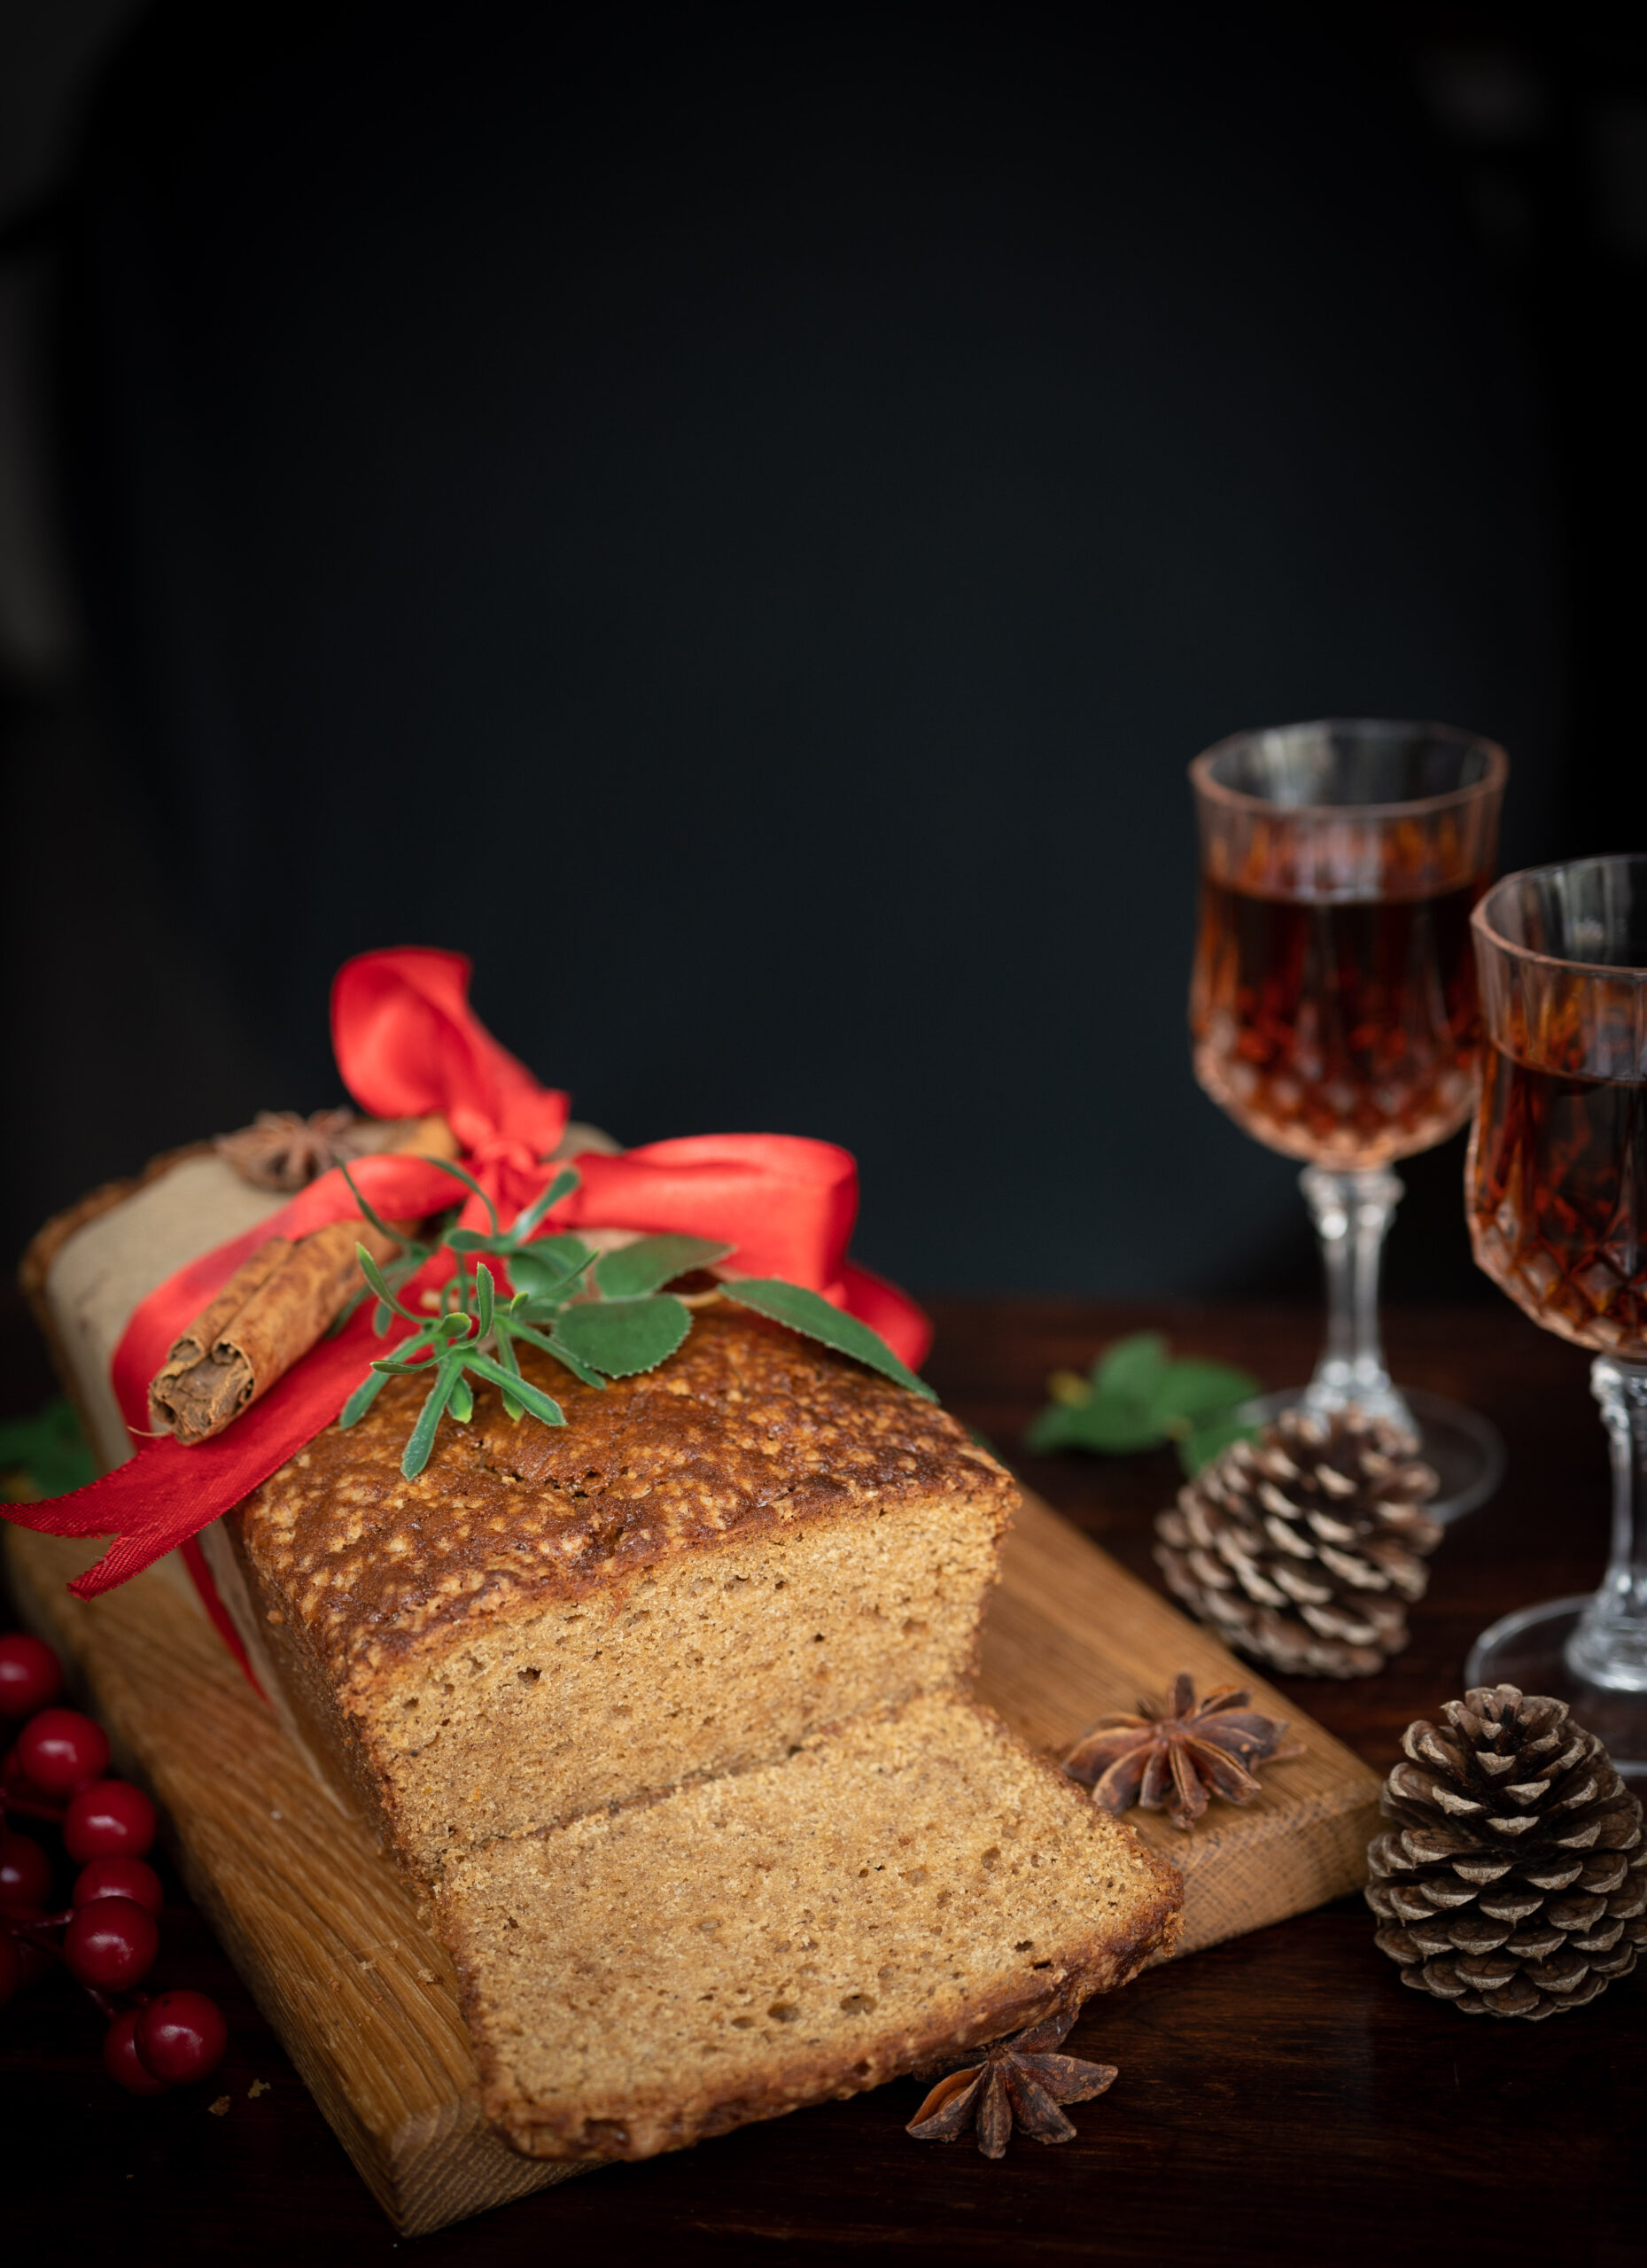
This all-spice cake, made with a readymade all-spice mix that is full of the goodness of cardamom, cloves and more, has come out so moist and delicious. Maybe it will be one of my own seasonal traditions in future – and perhaps even yours.

This time of year is full of activity for me – visiting friends, special occasions, events, art shows and so on that I am really enjoying every single day. I am also kept busy with fulfilling re:store orders that bring delight into many people’s homes. So much so that it’s almost a struggle to keep up with regular posts on this blog, but I made a promise to myself that I’ll continue sharing my love of cooking with everyone I can reach.

So here I am with a recipe that you can learn to bake ahead of your Christmas feasting, or at any time of year. This will be followed by a cookie post, so do keep an eye out for that as well.

All-Spice Cake

(Yield: One loaf)

200 grams maida

175 grams sugar

60 grams milk

60 grams boiling water

1½ teaspoons baking powder

¼ teaspoon baking soda

½ teaspoon salt

1 teaspoon all-spice

75 grams oil

2 eggs room temperature

25 grams Greek yoghurt

1 teaspoon vanilla extract


Preheat the oven to 170° C. Prepare an 8” loaf tin by lining it with butter paper and coating the edges with butter and flour.

Sift the flour, salt, all-spice, baking powder and baking soda separately. Set aside.

Mix the milk and hot water together. Set aside.

Now, beat the oil and the sugar together. Add the eggs and beat again. Add the vanilla extract.

Then, add the liquid and dry ingredients alternatively, folding each into the mixture with a spatula. Make sure the sides are scraped down properly.

Pour the batter gently into the loaf tin and bake for 35-45 minutes.

Remove from the oven and set the tins aside. After 15 minutes, remove the loaf and cool it on a cooling rack.

Decorate as you wish, and serve. Season’s greetings!

When I say that wish you lots of peace, I mean it deeply. In today’s day and age, we could all do with it – not just for ourselves, but for the environment, in the world, and for every community. Wishing you a very merry, peaceful and delicious Christmas!


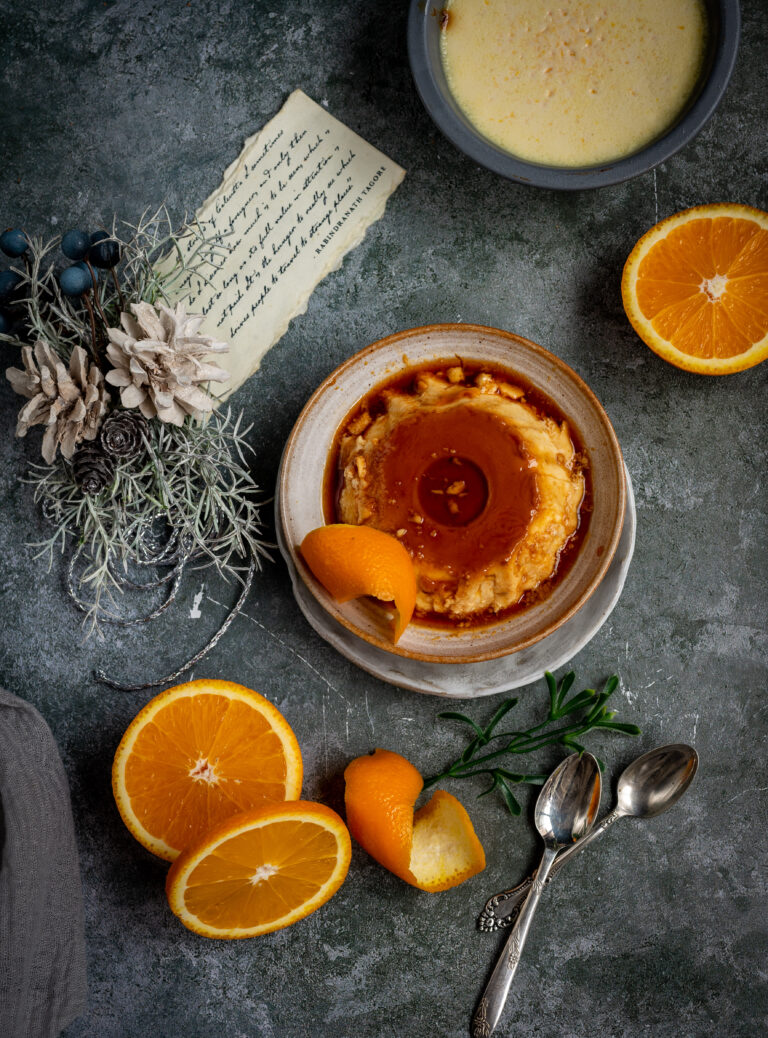
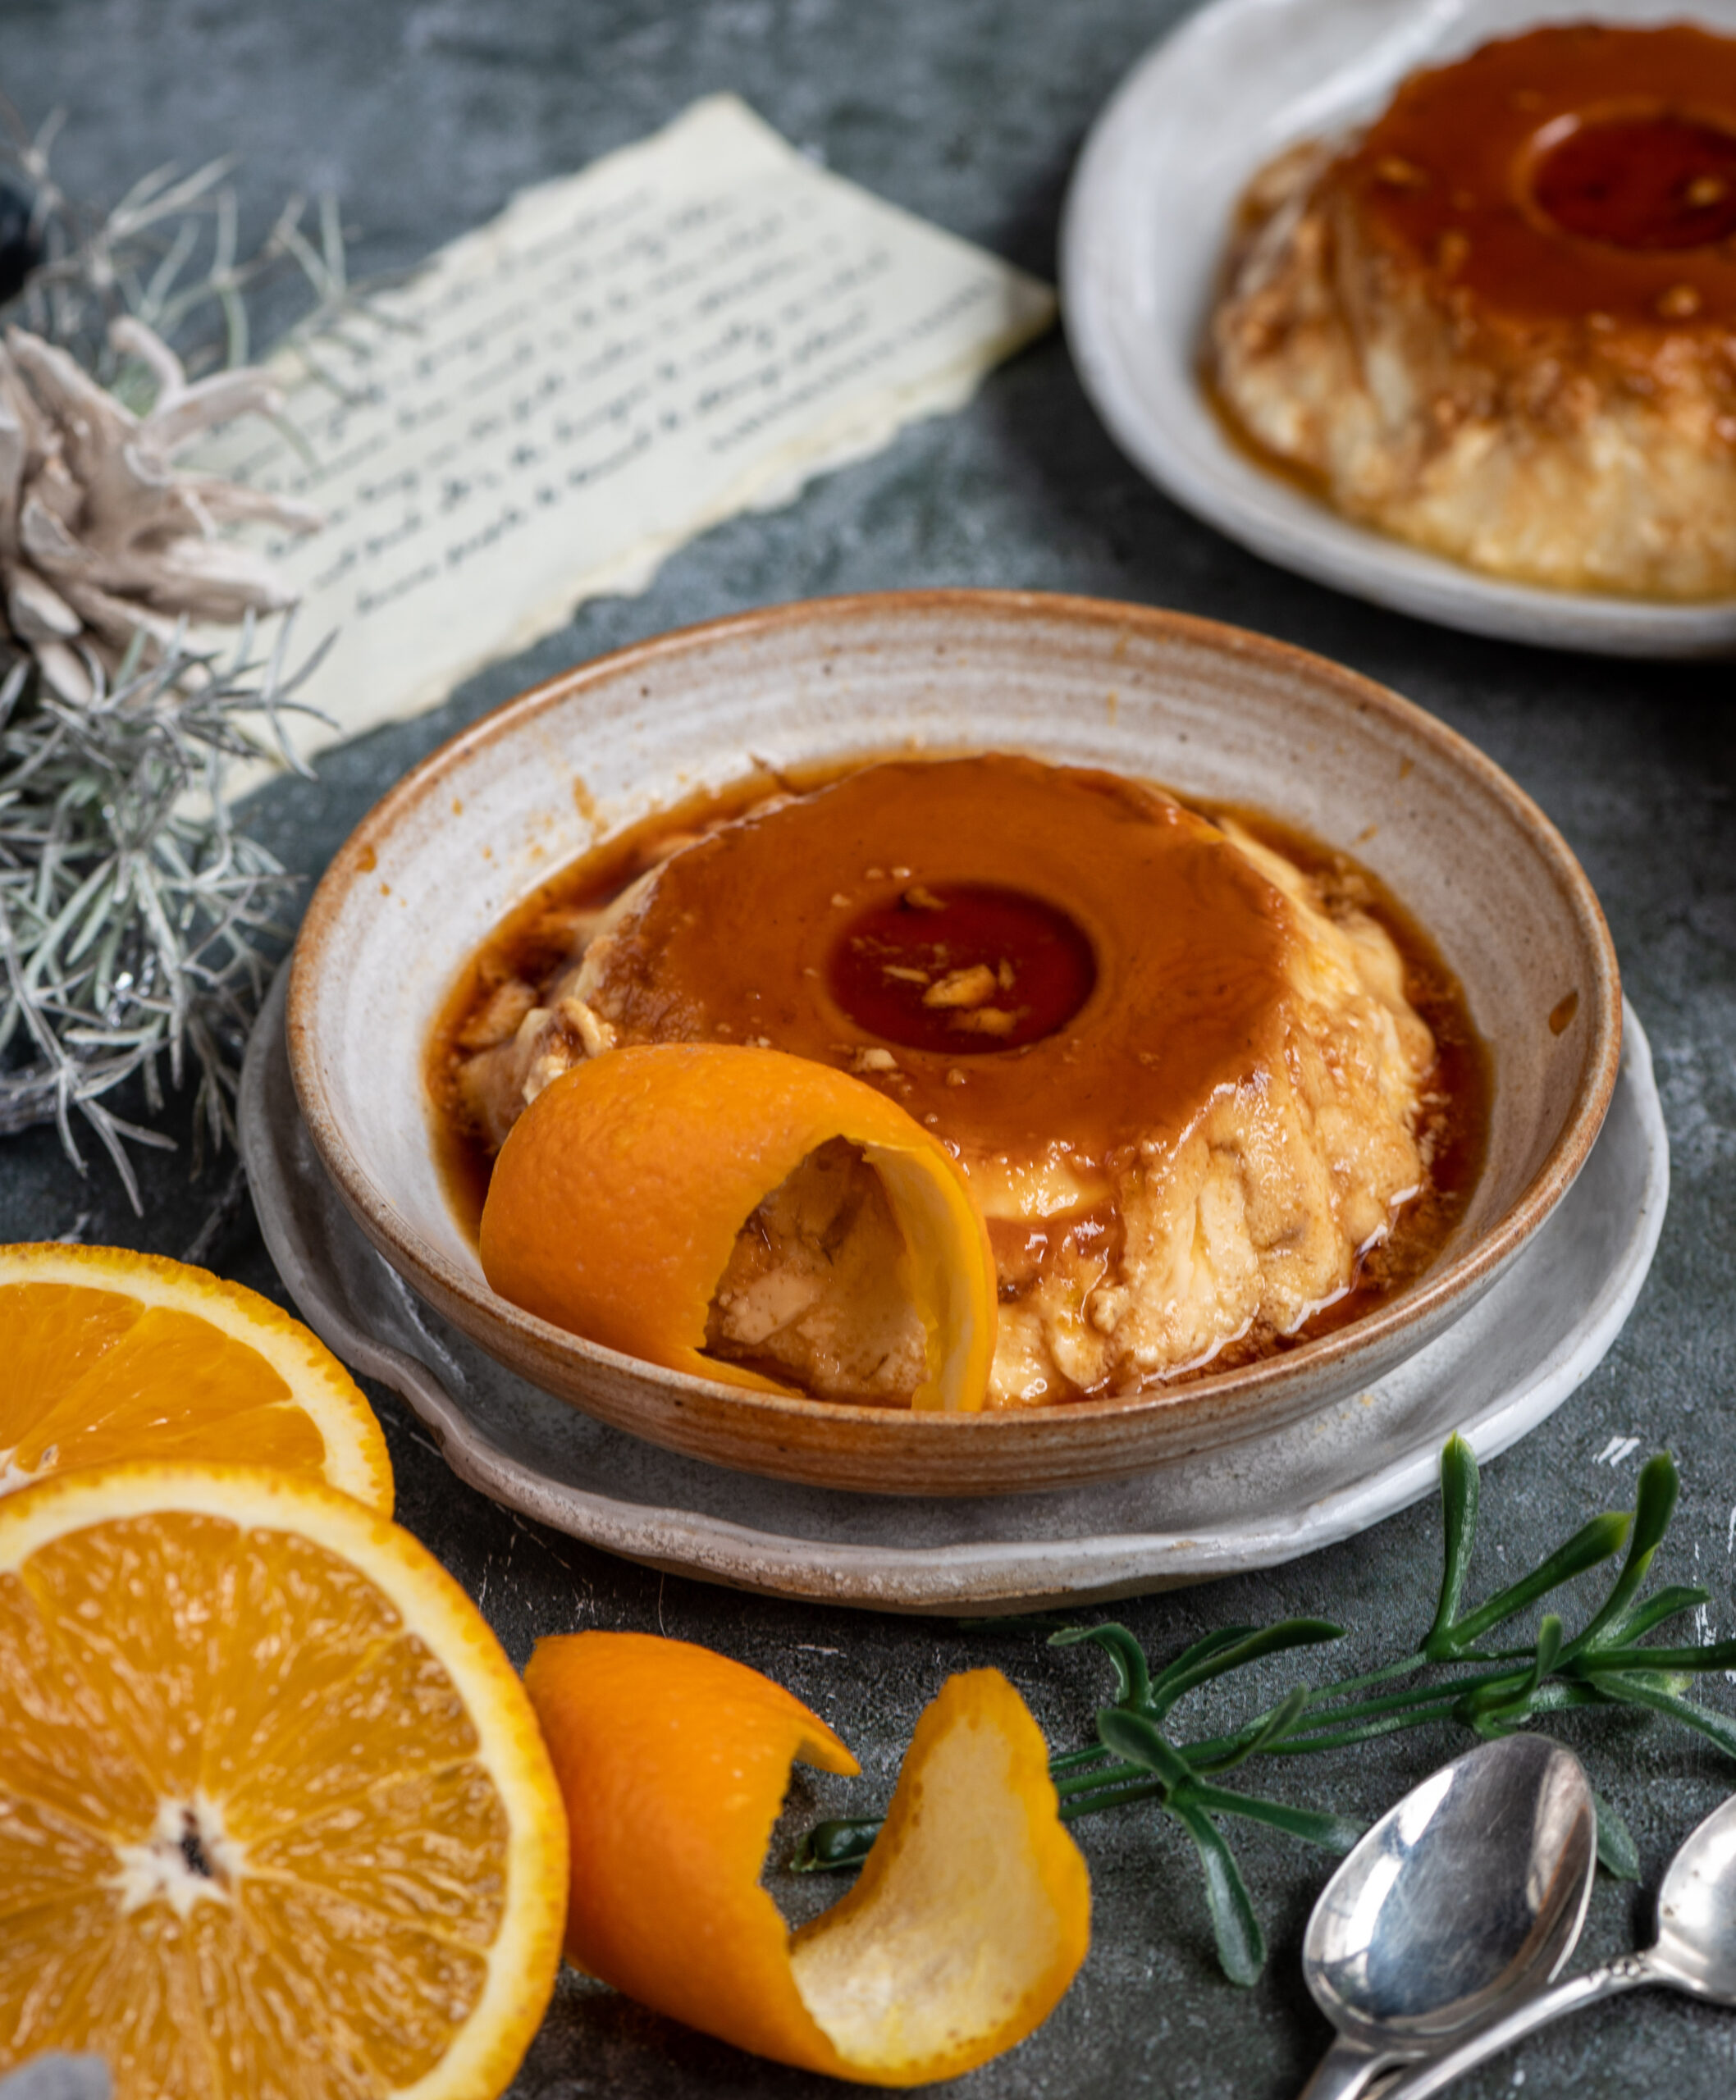
My mother often made caramel custard at home while I was growing up. It was a dessert we all enjoyed, and it was her personal favourite too. I go back to memories of her and her teachings all the time, but especially more so nowadays when I am missing her a lot. At this time, I tend to have what I call “solo conversations” with her. I never did learn this recipe from her when she was around, and preparing it now is a kind of ongoing connection with her too. While she made hers plain, mine has a citrus twist – it is an orange caramel custard.

My understanding is that many of us take our parents, especially our mothers, for granted. I must have done the same. Even after she stopped handling eggs and therefore did not prepare this dish anymore, it did not occur to me to ask her for this recipe. Many of us with deceased parents are also laden with guilt and regret – feelings of I should have done this or that, and so on. But I believe that we need not be. As a parent myself, I understand everything my mother did, and I know that she understood everything I did too – just as I have a sense for whatever my own kids are experiencing.

Even though I still feel like there are so many incomplete thoughts and conversations, I don’t carry any negative feelings. Now, I just feel like I can connect to my mom at any time, and without it being emotionally heavy. That connection consists of my “solo conversations” with her, and these are always pleasant and light and lovely. Rather like this delicious dessert.

Since I did not learn this recipe from her, I did so over a period of time. I rummaged around with friends’ recipes, always wanting to learn how to prepare it well as my family enjoys it very much now too. While I have been making the plain version for a while now, this citrus twist came to me during a short recent break in Assam, where oranges are now in season. Between a feeling of deeper closeness to my mother, and the sight of those ripe orange trees, I found myself dreaming up a version that upon experimenting with, I am particularly happy with. As always, I am happy to share this with you too.


Orange Caramel Custard

(Serves: 4-5)


1 cup fine sugar

2 tablespoons water

150 ml fat milk

300 ml cream

4 eggs

1 tablespoon orange zest

2 tablespoons orange juice


Preheat the oven to 140° C.

Keep a tray which will hold 4 medium-sized ramekins ready.

Pour ¾ of the cup of the sugar into a pan. Add 2 tablespoons of water. Allow to cook on a low flame, stirring occasionally.

Cook until this mixture turns into an amber colour and is caramelized. When this happens, remove immediately from the pan and pour it into the 4 ramekins equally. Set aside.

In another pan, add the milk and cream. Stir until the mixture is almost ready to boil. Then, turn off from the heat and add the orange zest. Stir and allow to sit for somewhere between 15 minutes and half an hour. Let the flavour seep in.

Meanwhile, pour boiling hot water in a tray and set the ramekins into it.

In another pan, beat the eggs and the remaining sugar together. Strain the cream mixture into the eggs, stirring constantly.

Add the orange juice to this mixture just before pouring it into the ramekins.

Place them into the baking tray. Bake for about 30 minutes or until the custard is firm yet jiggly.

Remove from the oven, and allow to cool in the refrigerator for 3-4 hours.

Before serving, dip each ramekin in warm water for half a minute. With the help of a knife, invert the custard. Garnish as you wish and serve. In this kind of weather, I would go for something warming like a cinnamon stick. In fact, you could even let the stick steep in the orange juice for a bit before you add it in, so it becomes more infused with that flavour.

As with many other things, I like my orange caramel custards to look dainty and petite, which is why I’ve portioned them into individual small servings. I also consider this a healthier sort of dessert, since it consists mostly of healthy eggs and dairy.

Do try it out and let me know what you think of this sweet delight. For more desserts, especially with the year-end festivities around the corner, you can explore the recipes here.

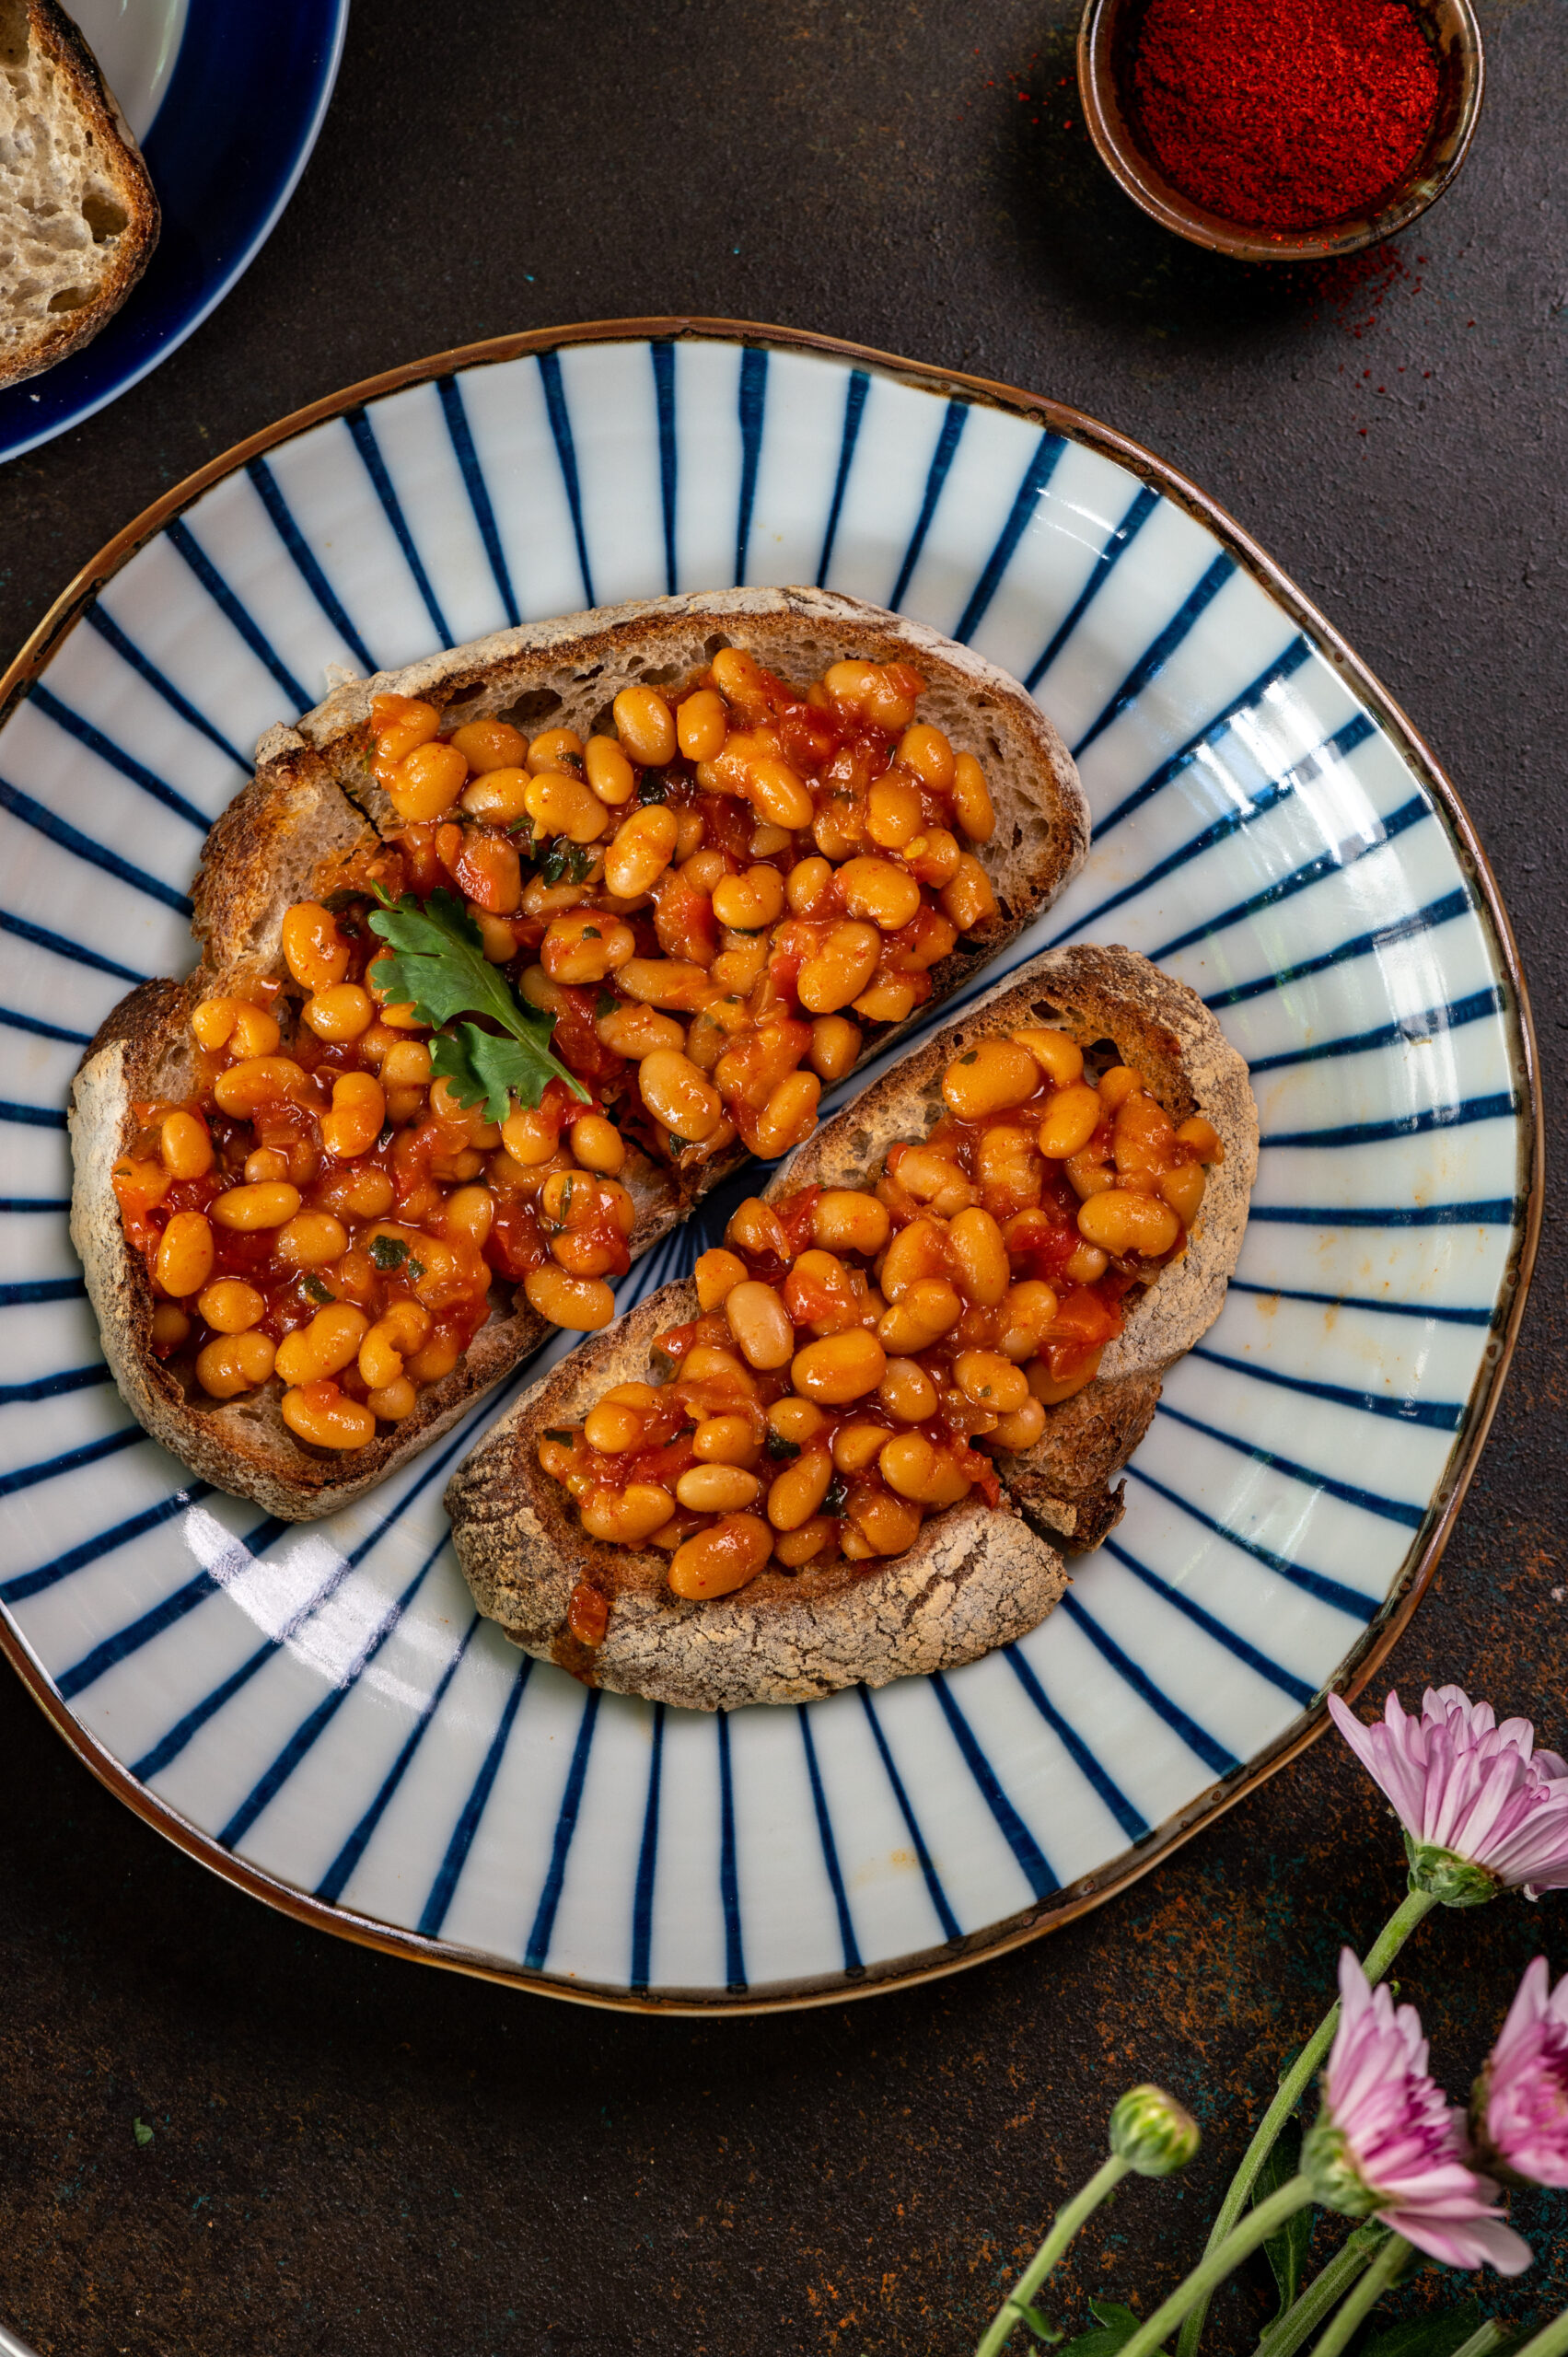
Growing up in India, baked beans and eggs were one of the few non-traditional breakfasts that we ate at home. While eggs were easy to come by, and provided a necessary source of protein for us as kids (we were otherwise vegetarian), cans of baked beans were not as readily available. Whenever our parents managed to find them in stock while purchasing our groceries, my siblings and I would know that there would be a very special breakfast the following day, and would eagerly anticipate it. All three of us craved those delicious canned beans. There would never be any for our parents as we would finish them off between us, often fighting over them too! Memories of those childhood mornings inspired me to create homemade, Indian-style masala baked beans – served, of course, on my beloved sourdough toast.

My brother was a rower at a national and then a professional level, and I looked at him in awe for this and many reasons. His diet was naturally that of an athlete’s, and when those precious cans came our way he would make a claim on how he deserved the biggest share for this reason. There would be arguments over the baked beans at the breakfast table, but in the end, we all got a good portion. His was quite a large one, of course. Watching my brother wolf down six whole eggs and a bowl full of baked beans is still a sight I can conjure up before me!

Fast forward to the present day and canned baked beans are everywhere at any supermarket. They were off my menu at home for a long time as I tend to avoid food that is overly processed or contains too many preservatives. At one point, I even tried to soak the beans and make them myself, but never got around to doing it regularly. More recently, I’ve found that when I stay at hotels and head down to the buffets in the morning, the baked beans that are always a part of the spread often look so bland compared to the other items.

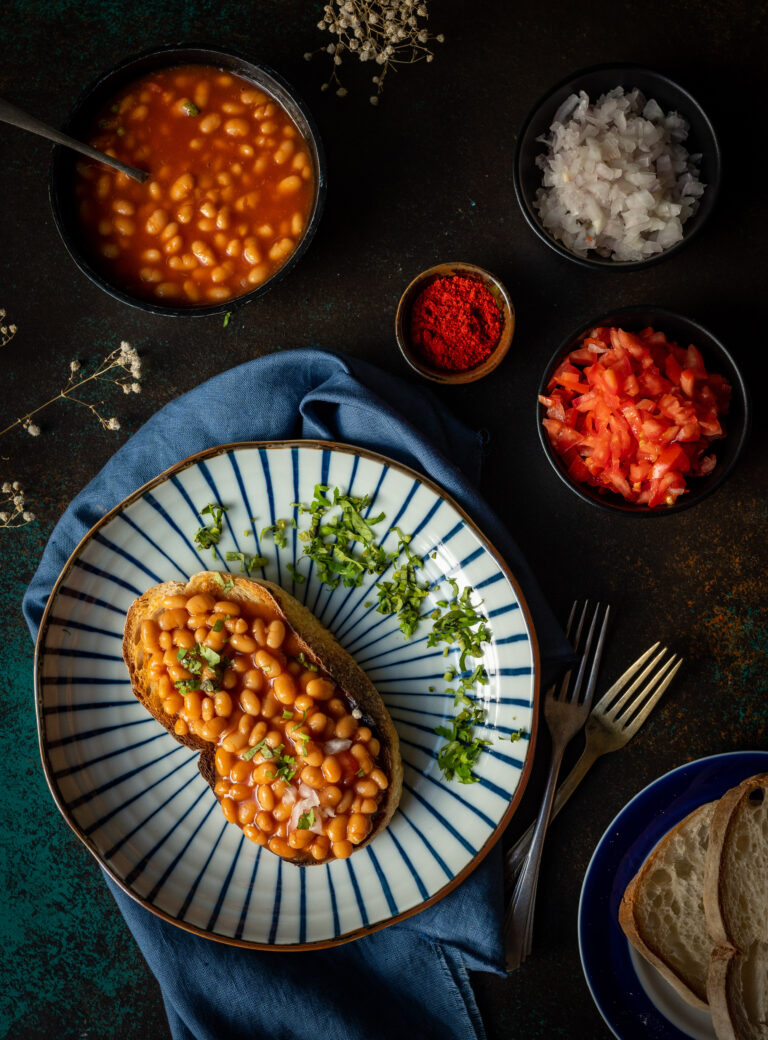
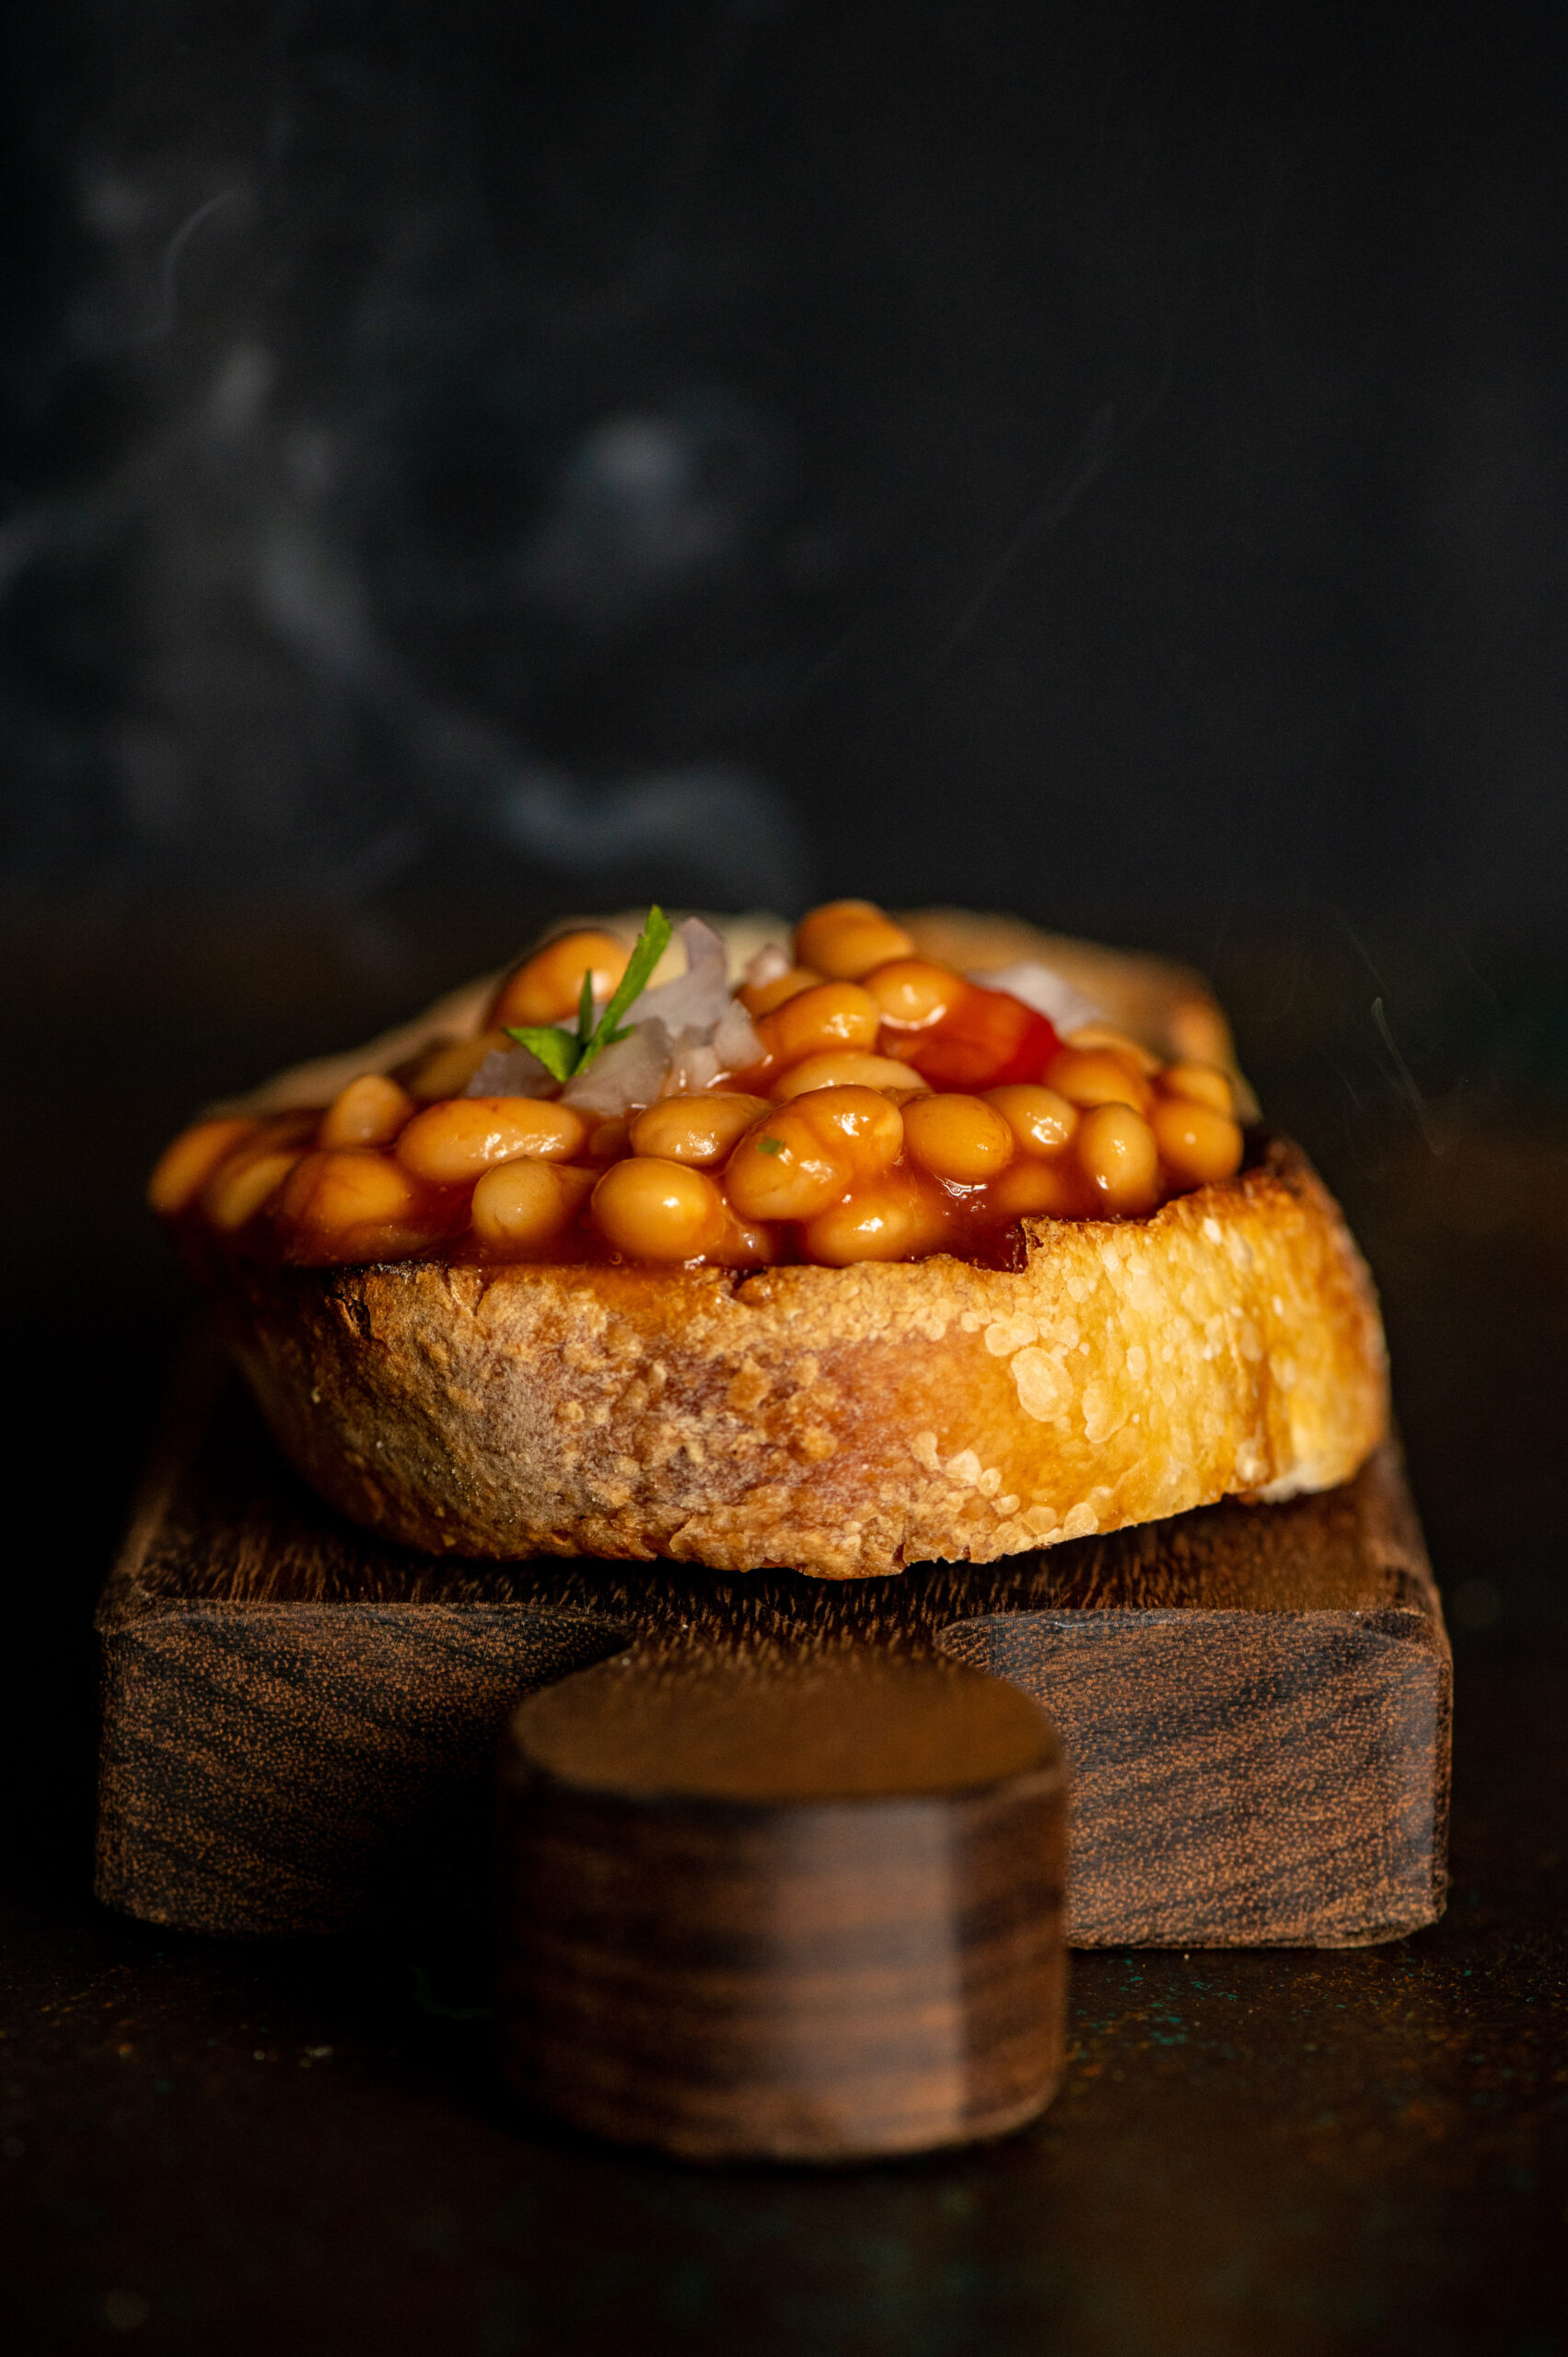
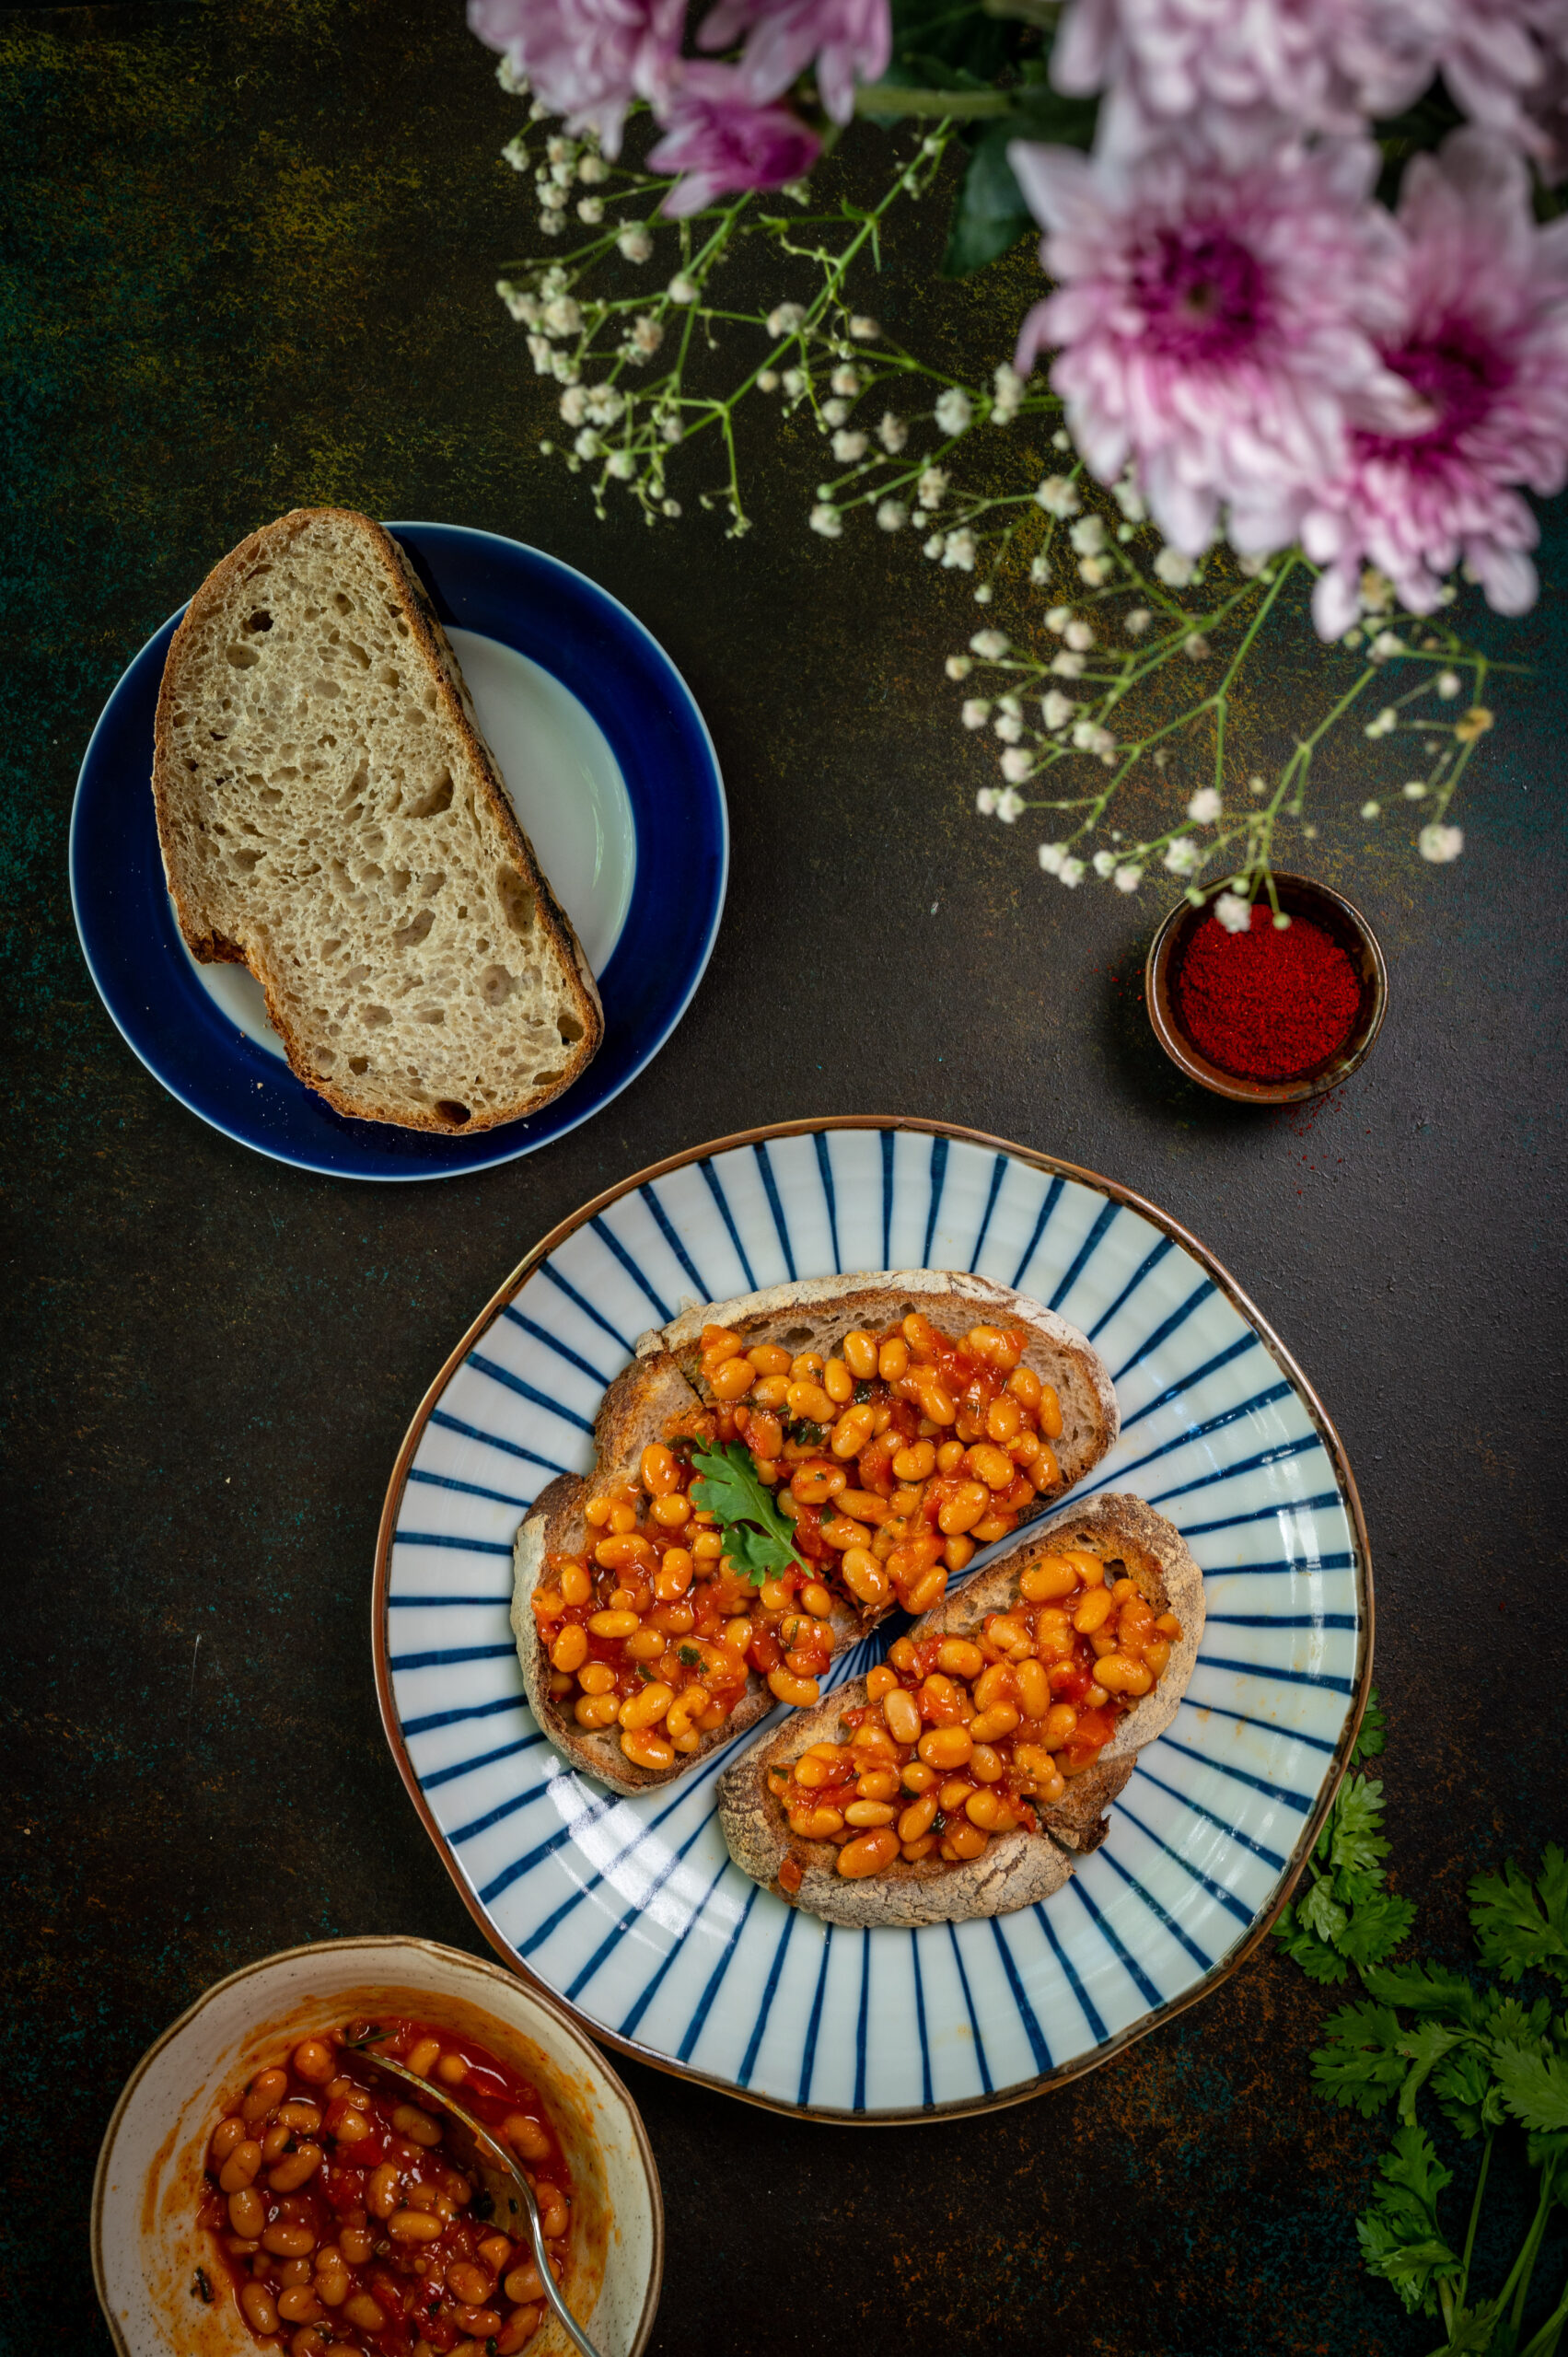
However, I’ve found a beautiful middle ground between my childhood memories of coveting baked beans to how they seemed to have lost their charm for me as an adult. That is by spicing them up a bit, making an Indian-style version that suits our palates. Using these masala baked beans as a topping for sourdough toast, which I bake regularly as you may know, turned out to be a great idea.

While my morning protein intake in terms of legumes had long been replaced by homemade moong sprouts, which are non-sweet and healthy, it was fun to bring this nostalgic dish back to my dining table. While pondering my own history with the dish, I also wondered when baked beans had come to India, and whether the British brought them here. To my surprise, I learned that the dish was originally Native American, transforming over time due to colonization, and later on through mass production in the 20th century. Would you know when they first came to India? Do you also have childhood memories of occasional days when an elusive can had been attained?

Masala Baked Beans On Toast

(Yield: 1 slice)


1 slice sourdough

1½ cups baked beans

½ cup finely chopped onions

1 tablespoon olive oil or butter

Salt to taste

1 teaspoon chilli powder

½ cup chopped tomatoes

¼ cup finely chopped coriander leaves


Heat the oil in a pan. Add the onions and sauté. Then, add the tomatoes and all the masalas (spices and condiments) one by one. Allow the mixture to bubble up.

Toast the sourdough bread slice and spread the masala baked beans over it. Be generous. Then, simply enjoy!

In case you missed it, my previous recipe was also a toast – a rather more exotic cherry tomato and Greek yoghurt toast to be precise! I hope you’ll check that out too. There will probably be a few more interesting toast toppings coming up on this blog soon, so I hope you’re in the mood for some fun breakfasts!


The new year has dawned, and with it much hope and optimism for what is to come. As I said in my previous post, which was a recipe for a festive boozy hot chocolate that I hope you enjoyed, every one of us has learned so many lessons recently. If we would just take time to reflect on them, we would all see how much we have to be grateful for. As for me – and if you’ve been on my journey here right from the start, you may already know this – I do a lot of my reflecting over a cup of delicious, hot chai. As I was doing so the other morning, enjoying the gentleness of that early hour and my solitude in my garden, my thoughts drifted to the tea itself. I had been making it in my special way for so many years that I had almost forgotten how unique it is. It’s my pleasure to share it with you today, and perhaps it will become your special way too.

Even though tea is now a ubiquitous part of my life, this wasn’t always the case. The humble beverage was once an aspirational one for me, as it often is for children. Growing up here in India, neither caffeine nor sodas were permitted for children in most families of my generation. We were always given milk instead, or a milk-based healthy drink such as Bournvita. Tea or coffee were drinks we could only watch adults consume, knowing they were forbidden to us!

For me, the most vivid childhood impression of tea was always from the summer holidays when my mother’s entire clan of nine siblings would meet along with all of their own children. From wherever we were in the country or the world, we would descend on their sleepy little hometown. That meant that 50 or 60 cousins would be under the same roof, and you can imagine what happy times these were. As for the adults, I would often notice how they would chatter all night long over cups of freshly-made tea. To me, tea represented their bond. I always associated it not only with grown-upness, but with a sense of camaraderie.

Funnily enough, both of my siblings grew up to reject caffeine, even though as kids all of us and our army of cousins were constantly asking when we would be able to try some chai for ourselves. This meant that I only became properly introduced to it in my mid-20s, once I’d gotten married. It was love at first sip, happily infused of course with the knowledge of fulfilling a long-held childhood wish.

Over time, I began to infuse my cuppa with more than just memories. Playing around with different flavourings over the years, I found a version that is perfect for me. My special chai uses both lemongrass and ginger. I have one cup of it every morning, and a half cup every afternoon. The time I spend with my tea is always a pleasant and even meditative few minutes, with and without company.

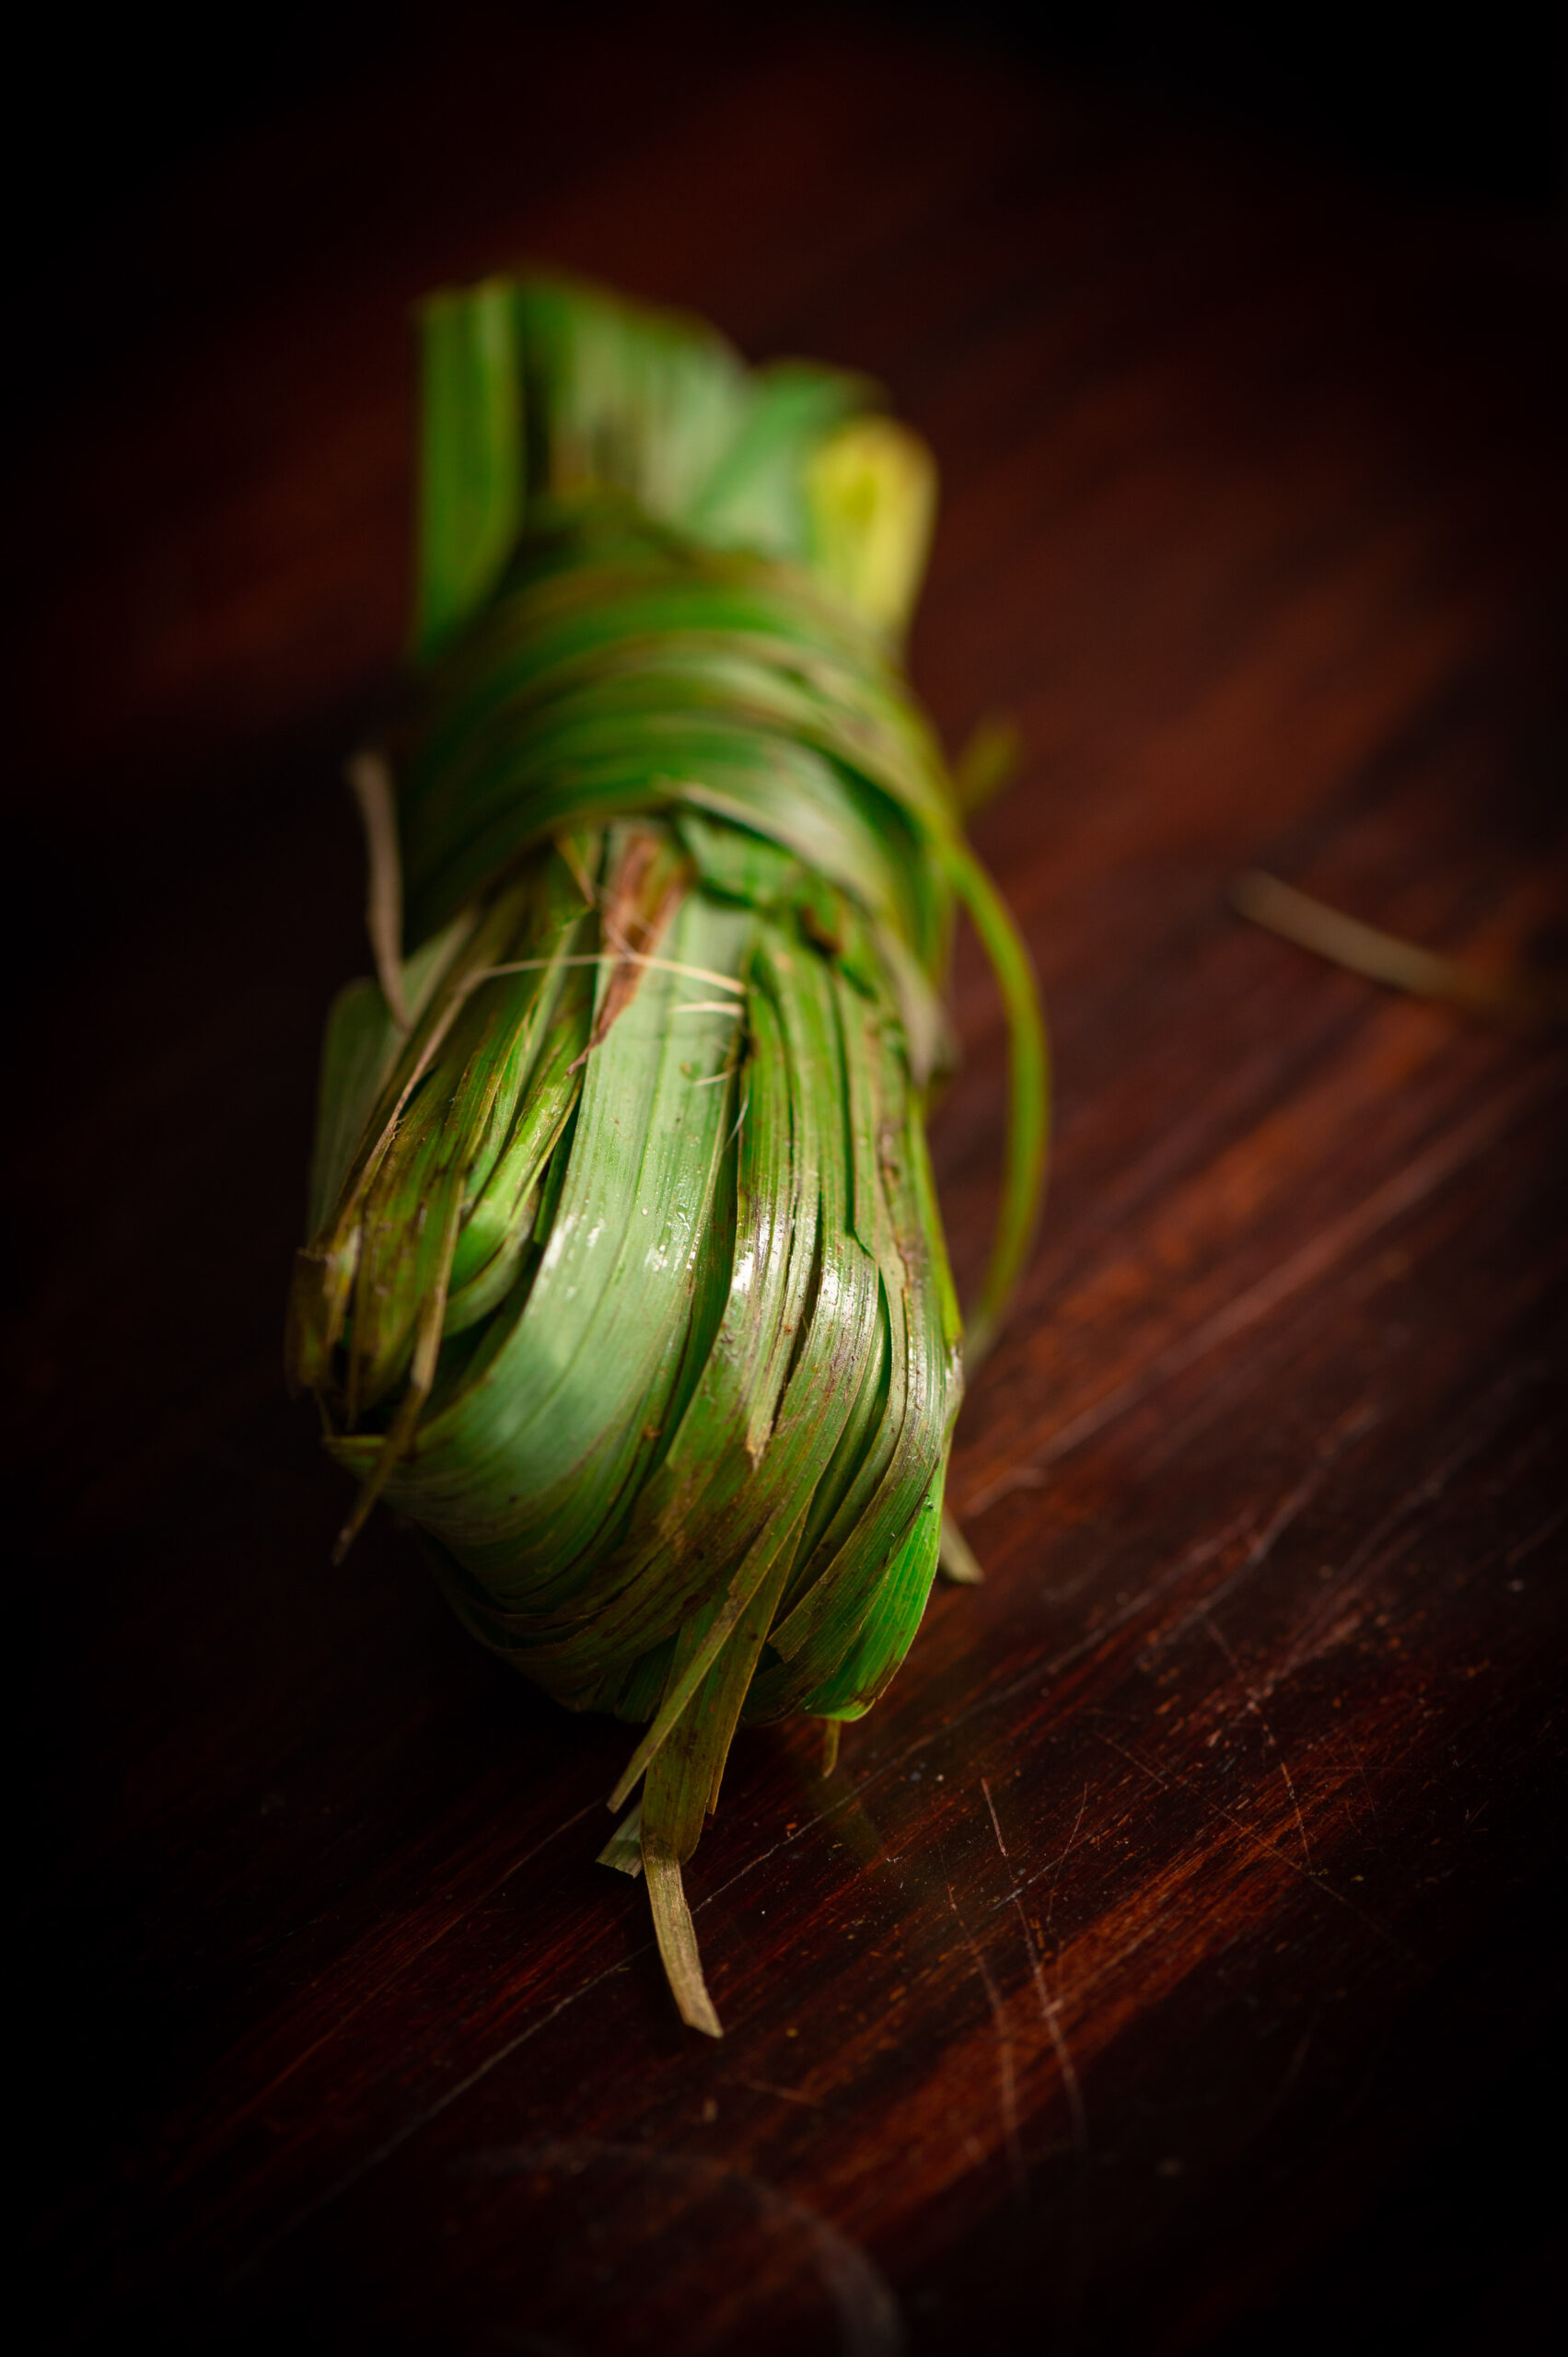
It won’t surprise you to know that I’m quite particular when it comes to each ingredient in this tea. I tend to use homegrown lemongrass, but I am also partial to Maharashtrian lemongrass. Lemongrass tea is extremely popular in there, where it’s called “leelee cha” or “green tea”, in reference to the colour of the leaves, not to be confused with the other variant of green tea. So whenever a dear one is coming via the state, I insist that they bring me some. My husband is in Mumbai at the moment, and I’ve told him he isn’t permitted to return home without some lemongrass leaves from a local vendor! I’m so obsessed with having lemongrass in my tea that whenever I’m falling short of the ingredient, I tell the rest of my family that they’re just going to have to go without it and hoard it all for myself.

Complementing the spicy lemongrass is the equally piquant ginger, which is always freshly crushed. As for the tea leaves themselves, I used to have a fondness for the citrusy tang and rich colour of orange pekoe, but later it was several variants of tea sourced from the Nilgiris mountain range that became my favourites. Lately, with travel and access being more restricted, I’ve discovered some lovely Indian supermarket brands for good quality tea leaves too. I’m not a fan of tea bags, and believe that powdered tea leaves are one of the secrets to a great chai.

That reminds me of another cherished tea memory of mine. I’ve spoken many times about my travels to the Nilgiris (such as in my harra bhara kebab recipe, vegan passionfruit shrikand recipe and plum chutney recipe). Many lifelong Chennaiites like myself will have decades of holiday reminiscences from time spent in the coolest climes of Tamil Nadu. Among these for me are memories of a dear family friend who lived in the hills, Mrs. Bosen. She ran a kindergarten school, and my kids too have fond recollections of going there to play with the little ones and teaching them the alphabet. She represented the summer holidays to us, and we loved spending time with her. Her tea was so legendary that whenever she invited us over, we would adjust our entire schedule for the day around arriving just in time to have it. It was simply incomparable, and continues to be our benchmark for brilliantly-made tea even though the lovely lady herself is long gone. Sometimes, when the evening tea has come out exceptionally well, one of us will still remark, “Doesn’t this taste like Mrs. Bosen’s tea?”

I often feel that the water used in tea, an ingredient we take for granted, also makes a difference. Does tea sipped in the Nilgiris taste so much better because of the water there, in which leaves grown there are steeped? Or is that just the taste of nostalgia? Either way, I always make my tea with mineral water. Chennai has hard water in the taps, and soft water is certainly preferable for tea.

That said, I’ve certainly enjoyed a pan-Indian experience when it comes to tea. While I like mine with just a little splash of milk, in many parts of the country it’s made so that it’s often more milk than tea. Once I learned the reason for this – i.e. milk used to be a symbol of affluence, and from being a status marker it simply became a preference in many places – I understood that it’s all about the context. I may not have liked the variants with over-heaped chai masalas had I made them at home, but having those in North India in the winters where the extra helping kept me warmer made sense. Similarly with sugar, which I personally take less of, but I could appreciate in situations where it was used to turn a tea into a type of dessert too.

A confession: wherever I travel, no matter where else and how else I drink my chai, I always carry powdered tea leaves and some lemongrass with me, because I simply must have it my way at some point in the day. I’m sharing this recipe with you in the hope that it becomes your most trusted style of tea too.

Nandi’s Special Chai

(Yield: 1 cup)

1 full cup water

¼ inch ginger piece (crushed)

2 pinches of lemongrass leaves

1 teaspoon tea leaves

2 tablespoons milk

Honey/sugar to taste

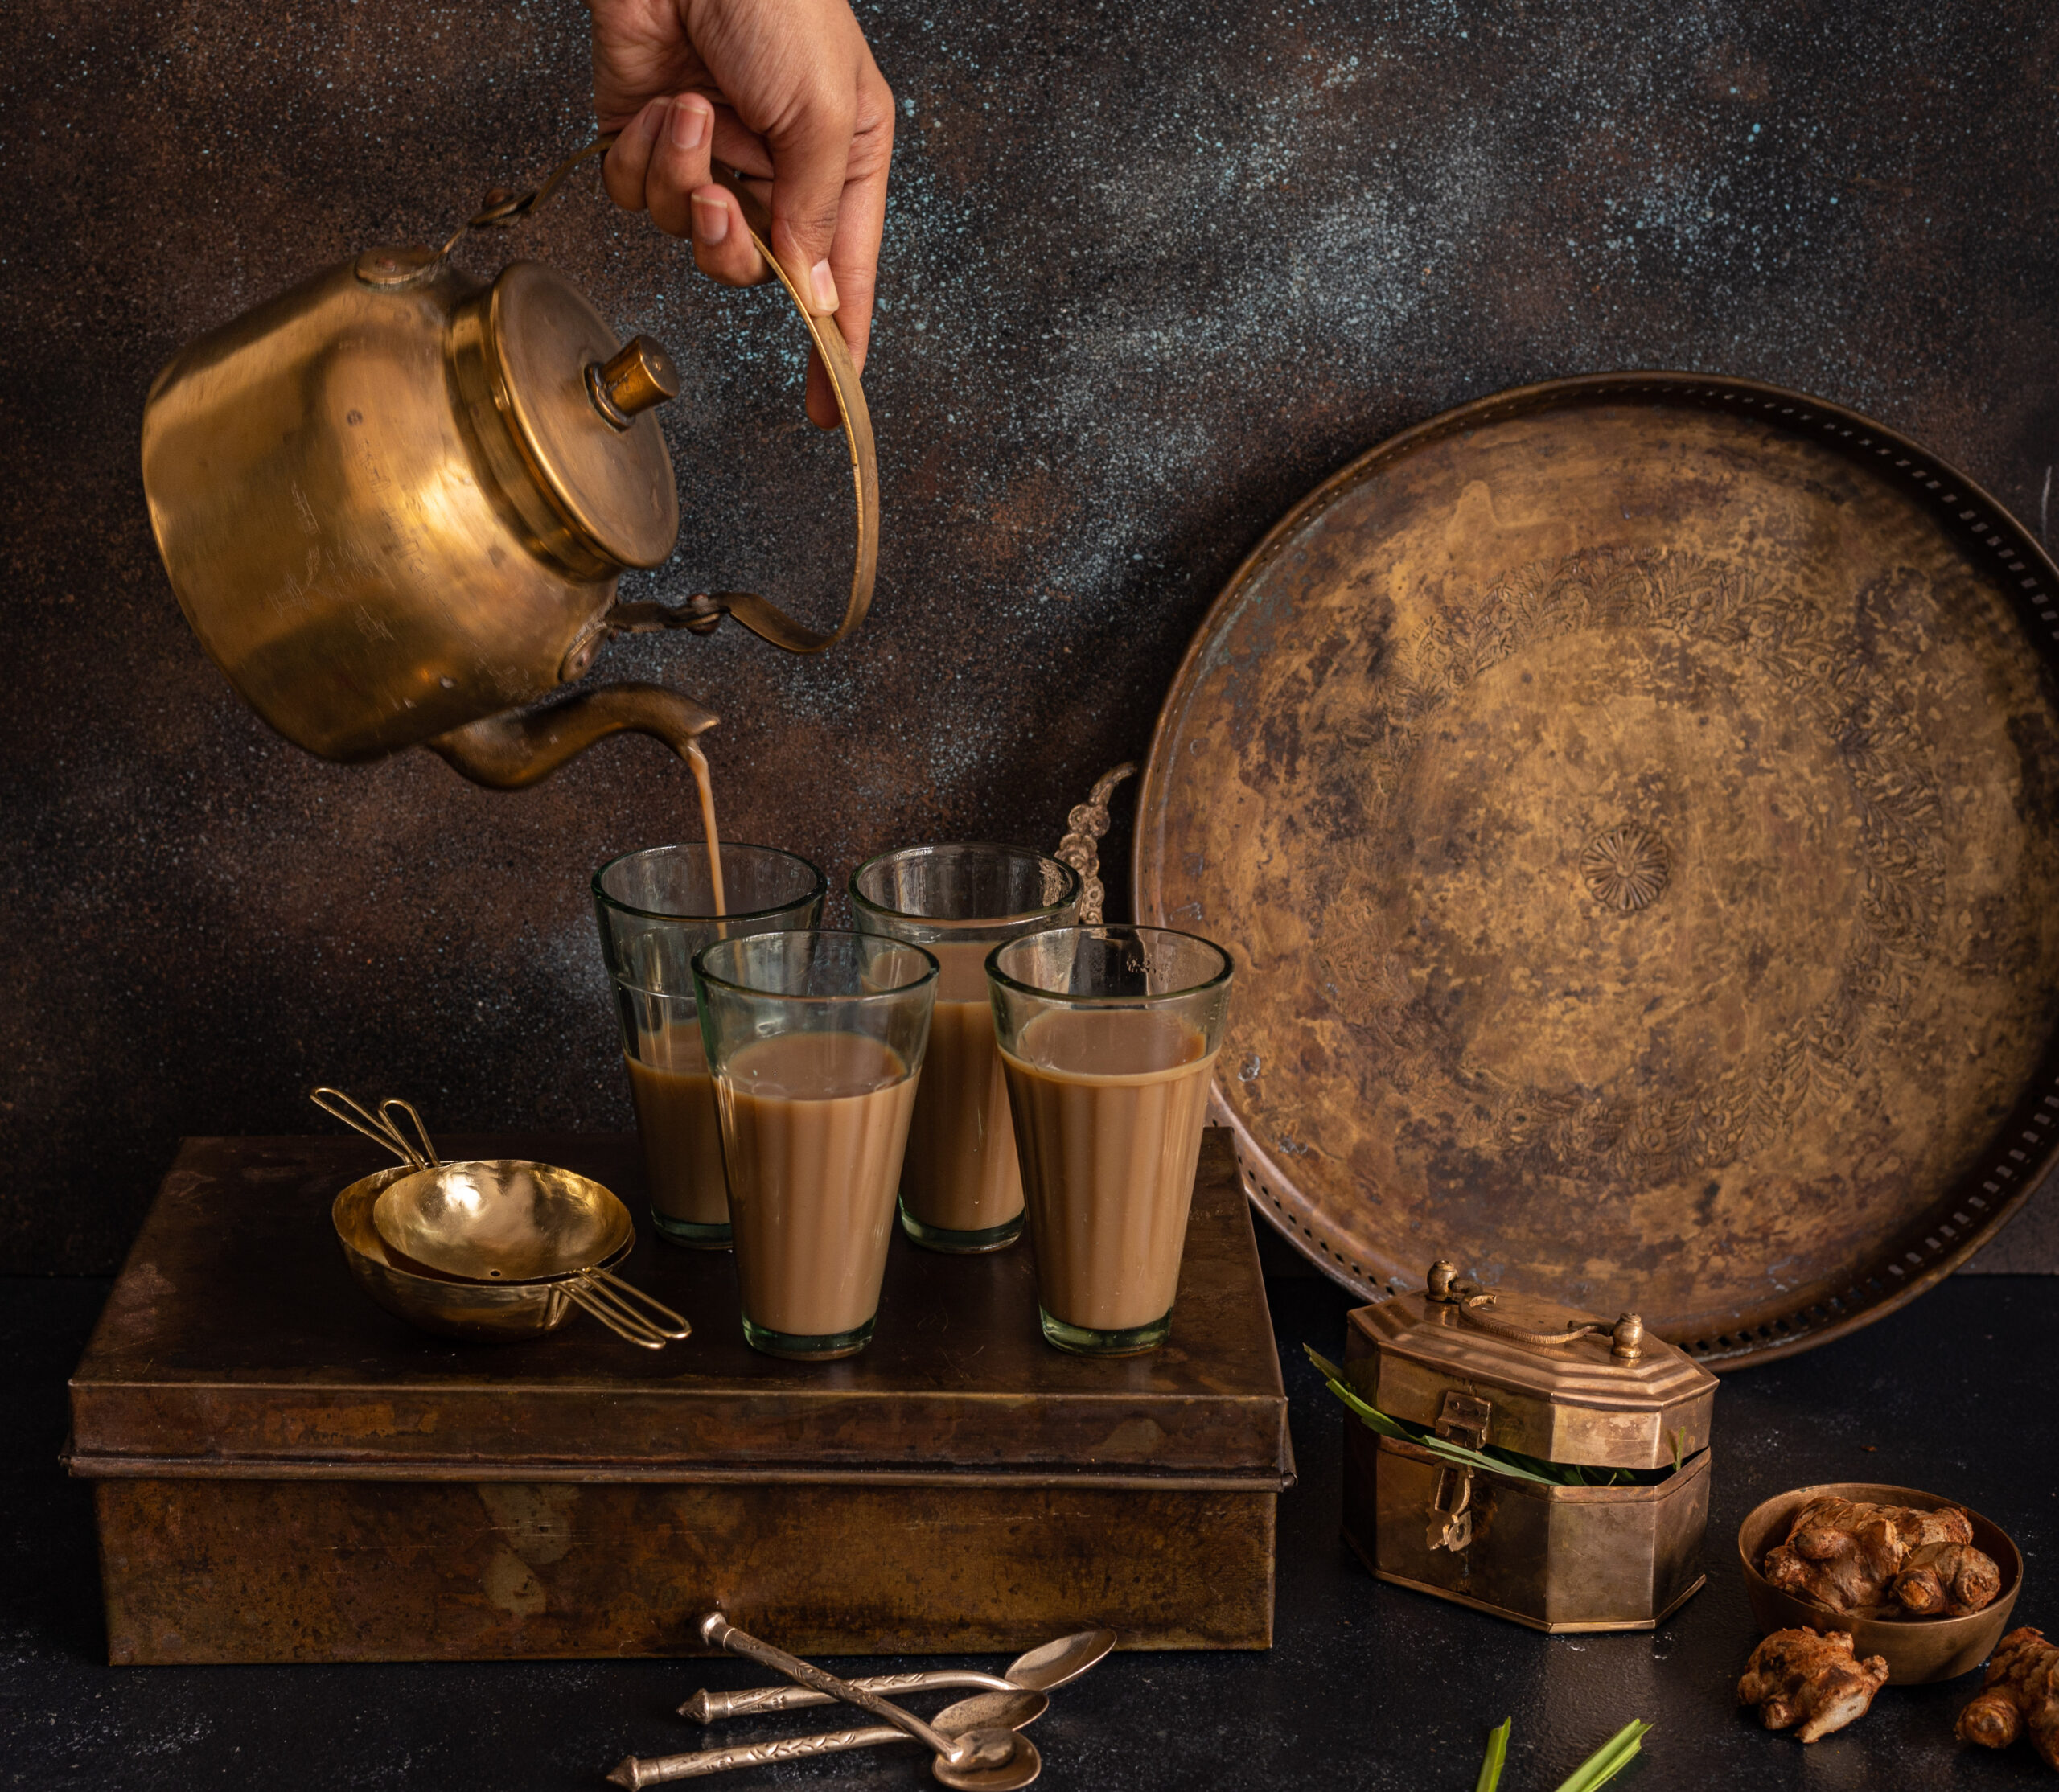
Boil the water along with the fresh ginger and lemongrass leaves in a pot. When it begins to boil along the edges of the pot, add the tea leaves. This will happen within approximately 2 or 3 minutes.

Once it’s properly boiling, add the milk. As I said, I use just a splash, but you can adjust the quantity as required. You can certainly make this recipe with almond milk too. I often do, whenever I’m in a vegan mood myself.

After about 30 seconds, switch off the flame and cover the pot with with a lid. Covering it ensures the flavours will blend nicely. Let it sit for another half minute.

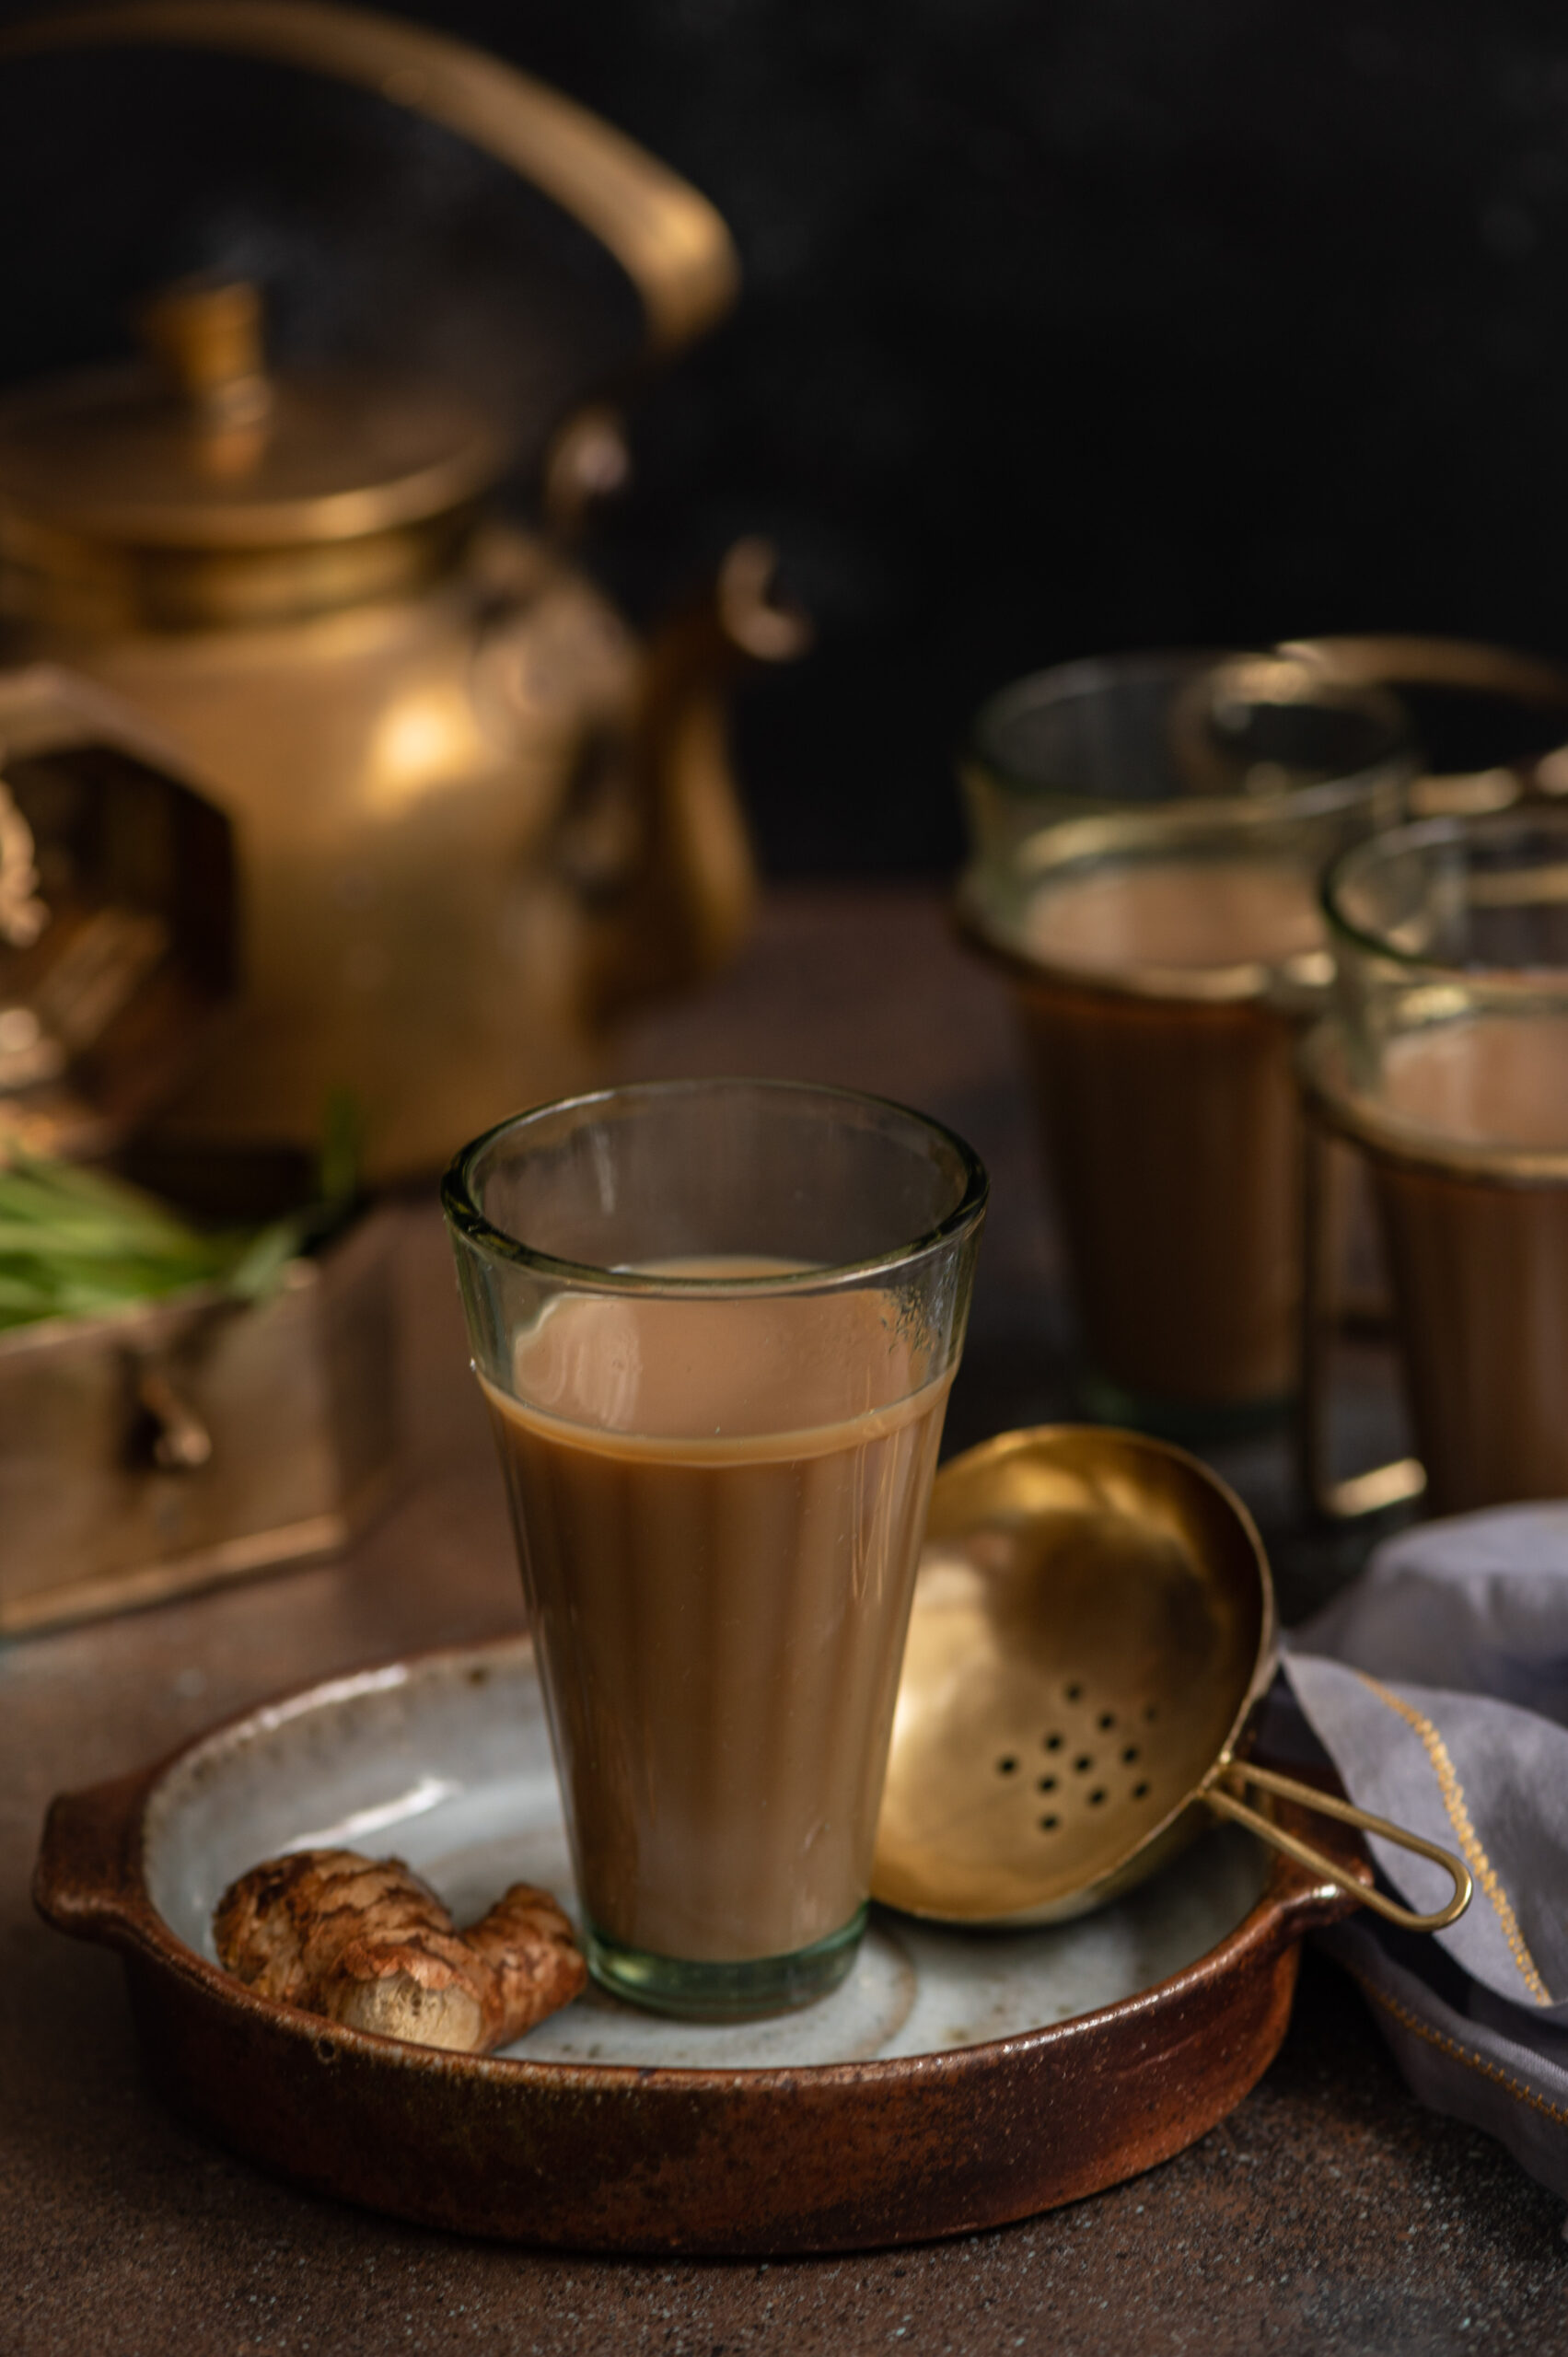
Now, strain the tea. Enjoy your cup with honey or sugar or neither, depending on your preference. If you’re like my husband, who hates mugs, I’m sure that proper tea cups are a must in your serving style. If you’re like anyone in my home, a slice of cake may tempt you too!

That first sip – ah, so satisfying. Tea is one of those things that anyone can learn how to prepare, but which becomes simply sublime when someone has a knack for getting it just right. I happen to be that person in my household, by unanimous vote. Although I’ve taught every single one of them the very same recipe I’m sharing with you today, they insist that I make it best, and so I’m always the designated tea-maker. Perhaps that’s because of the special ingredient, which is not so secret at all – love.


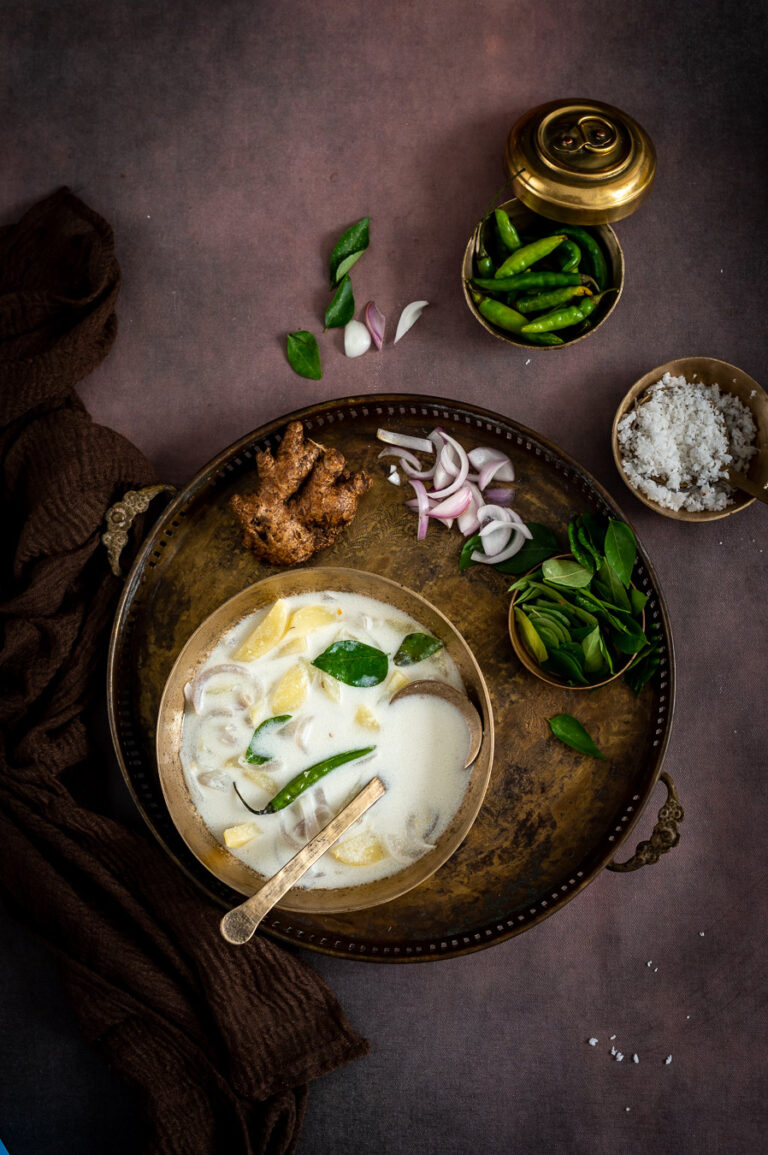
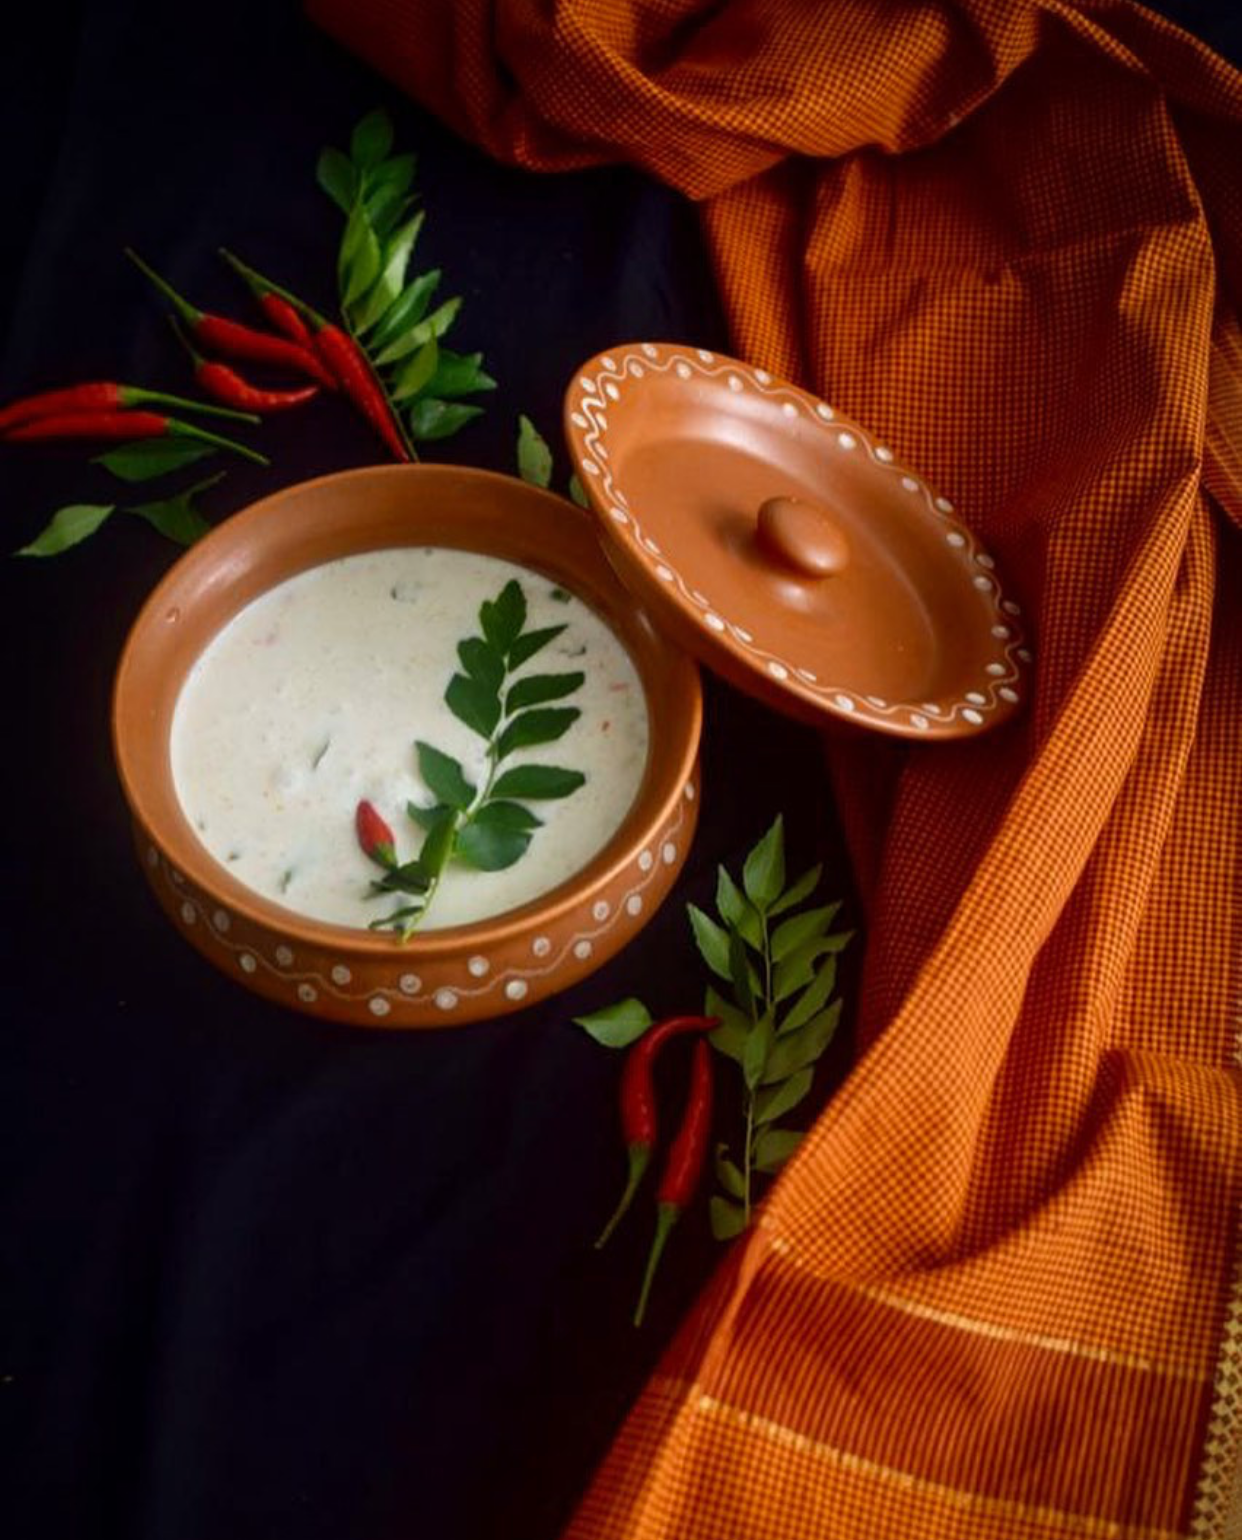
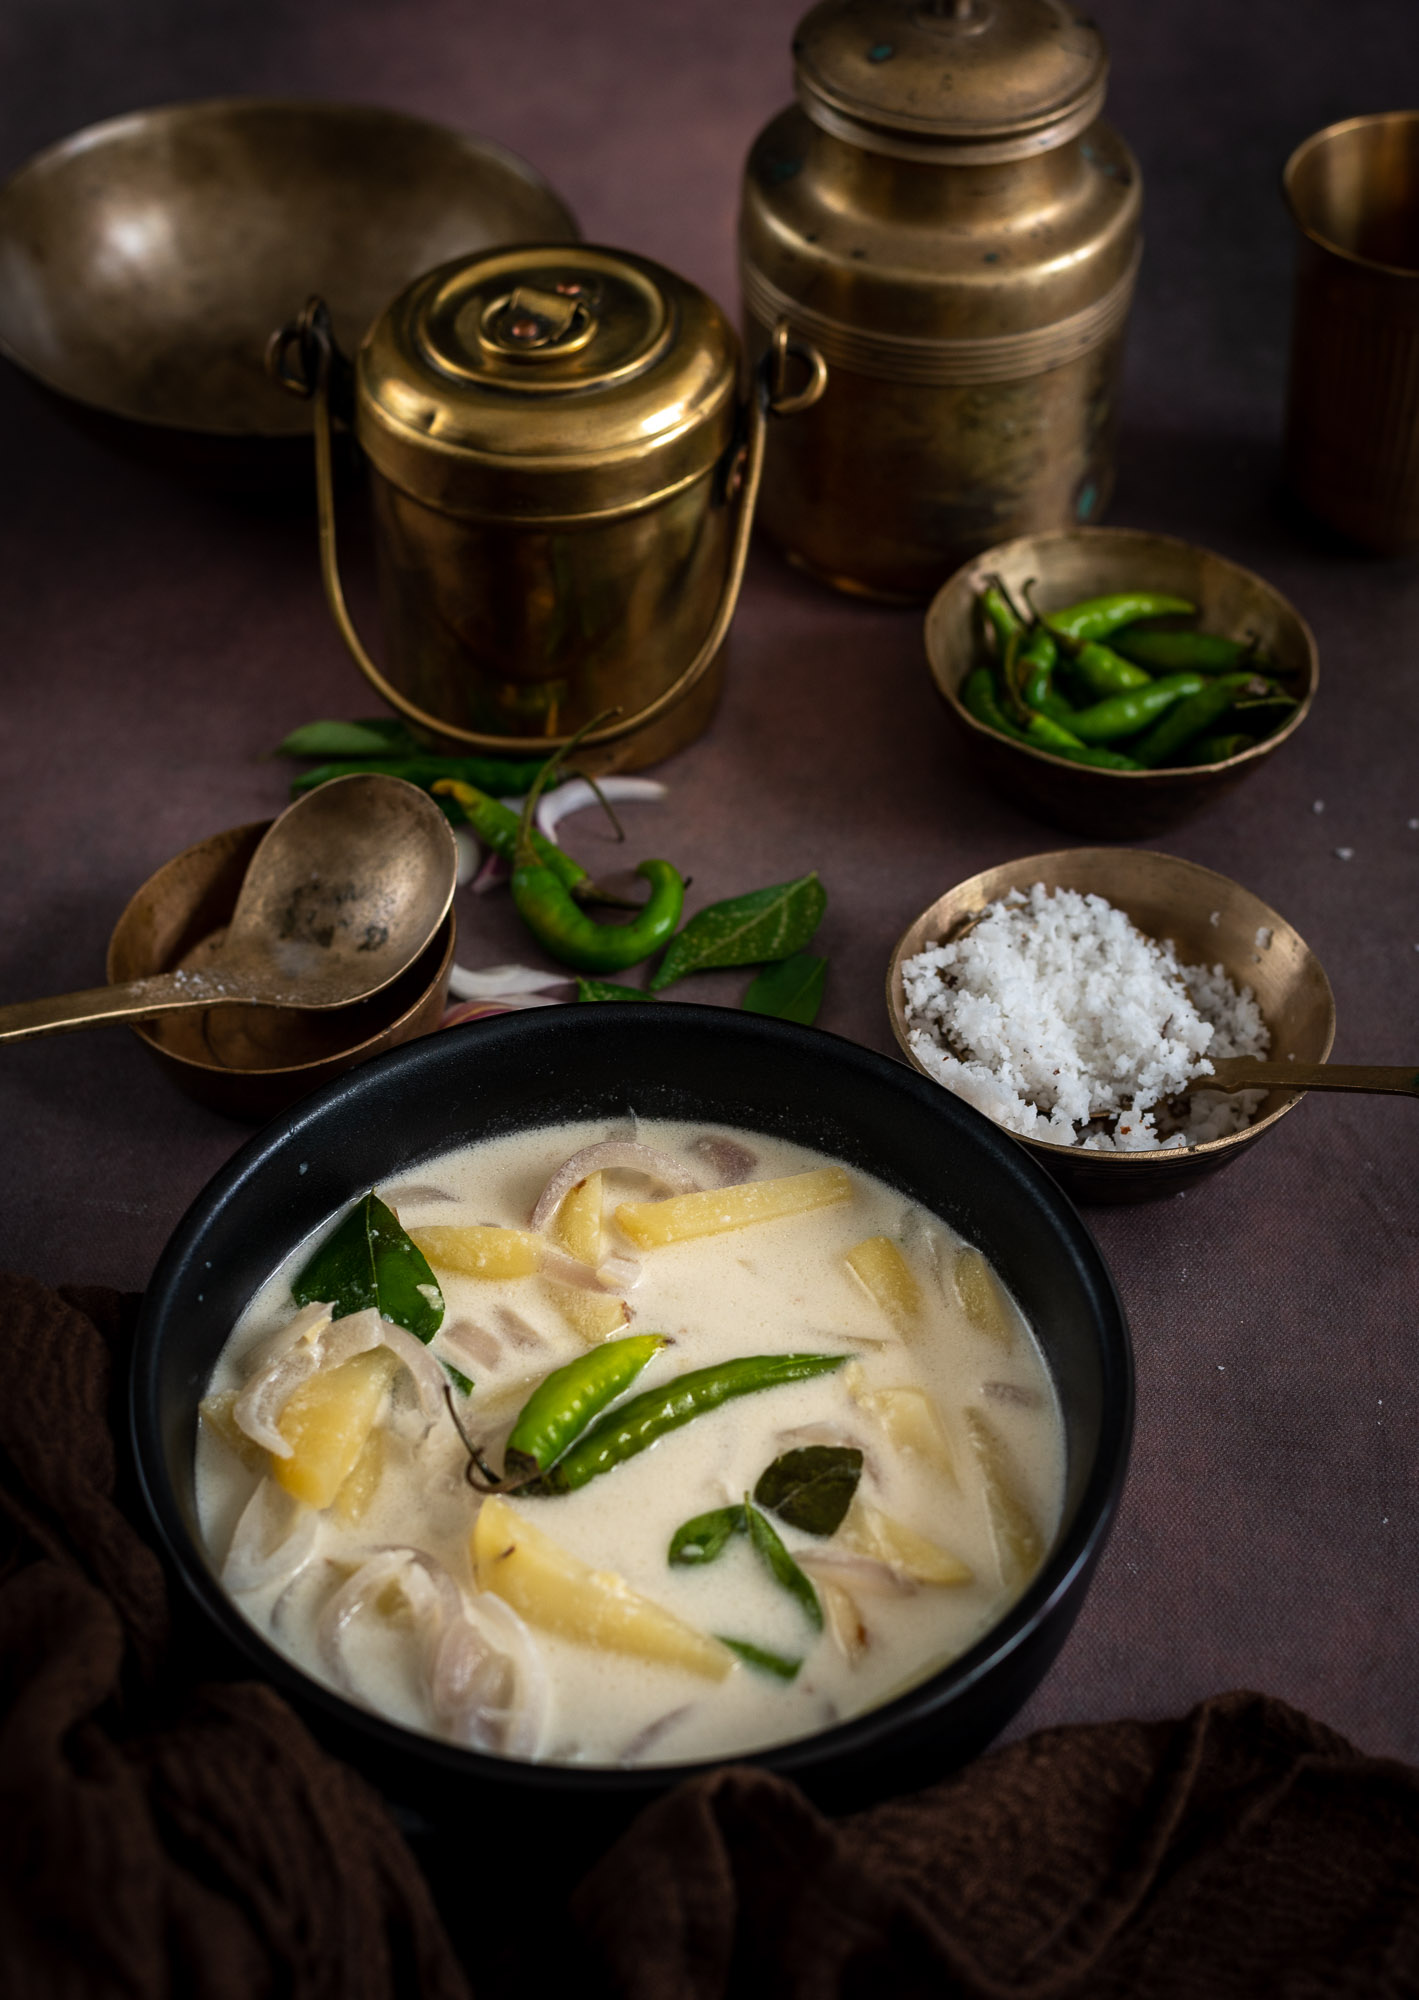
What is it about the food we taste while we are growing up that somehow, no matter how far we go, becomes the basis of our most important culinary memories? So it is for me and a very special coconut stew (or to be authentic, “ishtew”), which would be served at my friend Girija’s house. We met in the 8th grade and were neighbours, and her mother prepared wonderful Keralan fare. Her ishtew was the first I’d ever had, and fortunately for me, Girija learnt how to prepare it exactly the same way. I’m so delighted to share this love-filled, coconut milk-based deliciousness with you today, as part of the ongoing coconut series.

“Ishtew” is possibly the Malayalam-ised word for “stew”, which I suppose is what the British must have called this dish when they first encountered it. Or perhaps it’s the other way around, and it’s the English word that is derived from the Indian one? Made with vegetables or meat and warmly spiced, it is usually served alongside aapam, a kind of rice-and-coconut-milk pancake that is also known as hoppers. You can also have this coconut stew with rice, idly or dosa.

The only recipe I have for this dish is the one that Girija shared with me, and to me it’s absolutely the best one. As with any food item, there will be variations from kitchen to kitchen and community to community, and I know of many who prepare it in different ways. The core of this dish, as with most very popular and commonly consumed traditional ones, is that it is quite simple to prepare and uses ingredients that are easily available. Coconut, of course, is the star.

Girija and I were such tight friends as teenagers that it was a given that if I was not at my home, I could be found in hers, and vice versa. Decades later, we remain close, and now, whenever I visit her in Singapore, there is always a large bowl of coconut stew being prepared for me. The photo below is from a few years ago, from one of the times when she prepared it for me and I happened to have my camera on hand. Somehow, over the decades, it’s her stew – not even her mum’s – that is most vivid in my mind. We create new memories and reminisce about old ones whenever we enjoy a meal together, and I hope that this dish becomes a part of yours too.


Coconut Stew

(Serves 2-4 people)

50 grams onion

125 grams potato

20 grams ginger

A few curry leaves

2 teaspoons coconut oil

½ cup water

Salt to taste

One coconut


Cut the onion and potato into thick juliennes. Set aside.

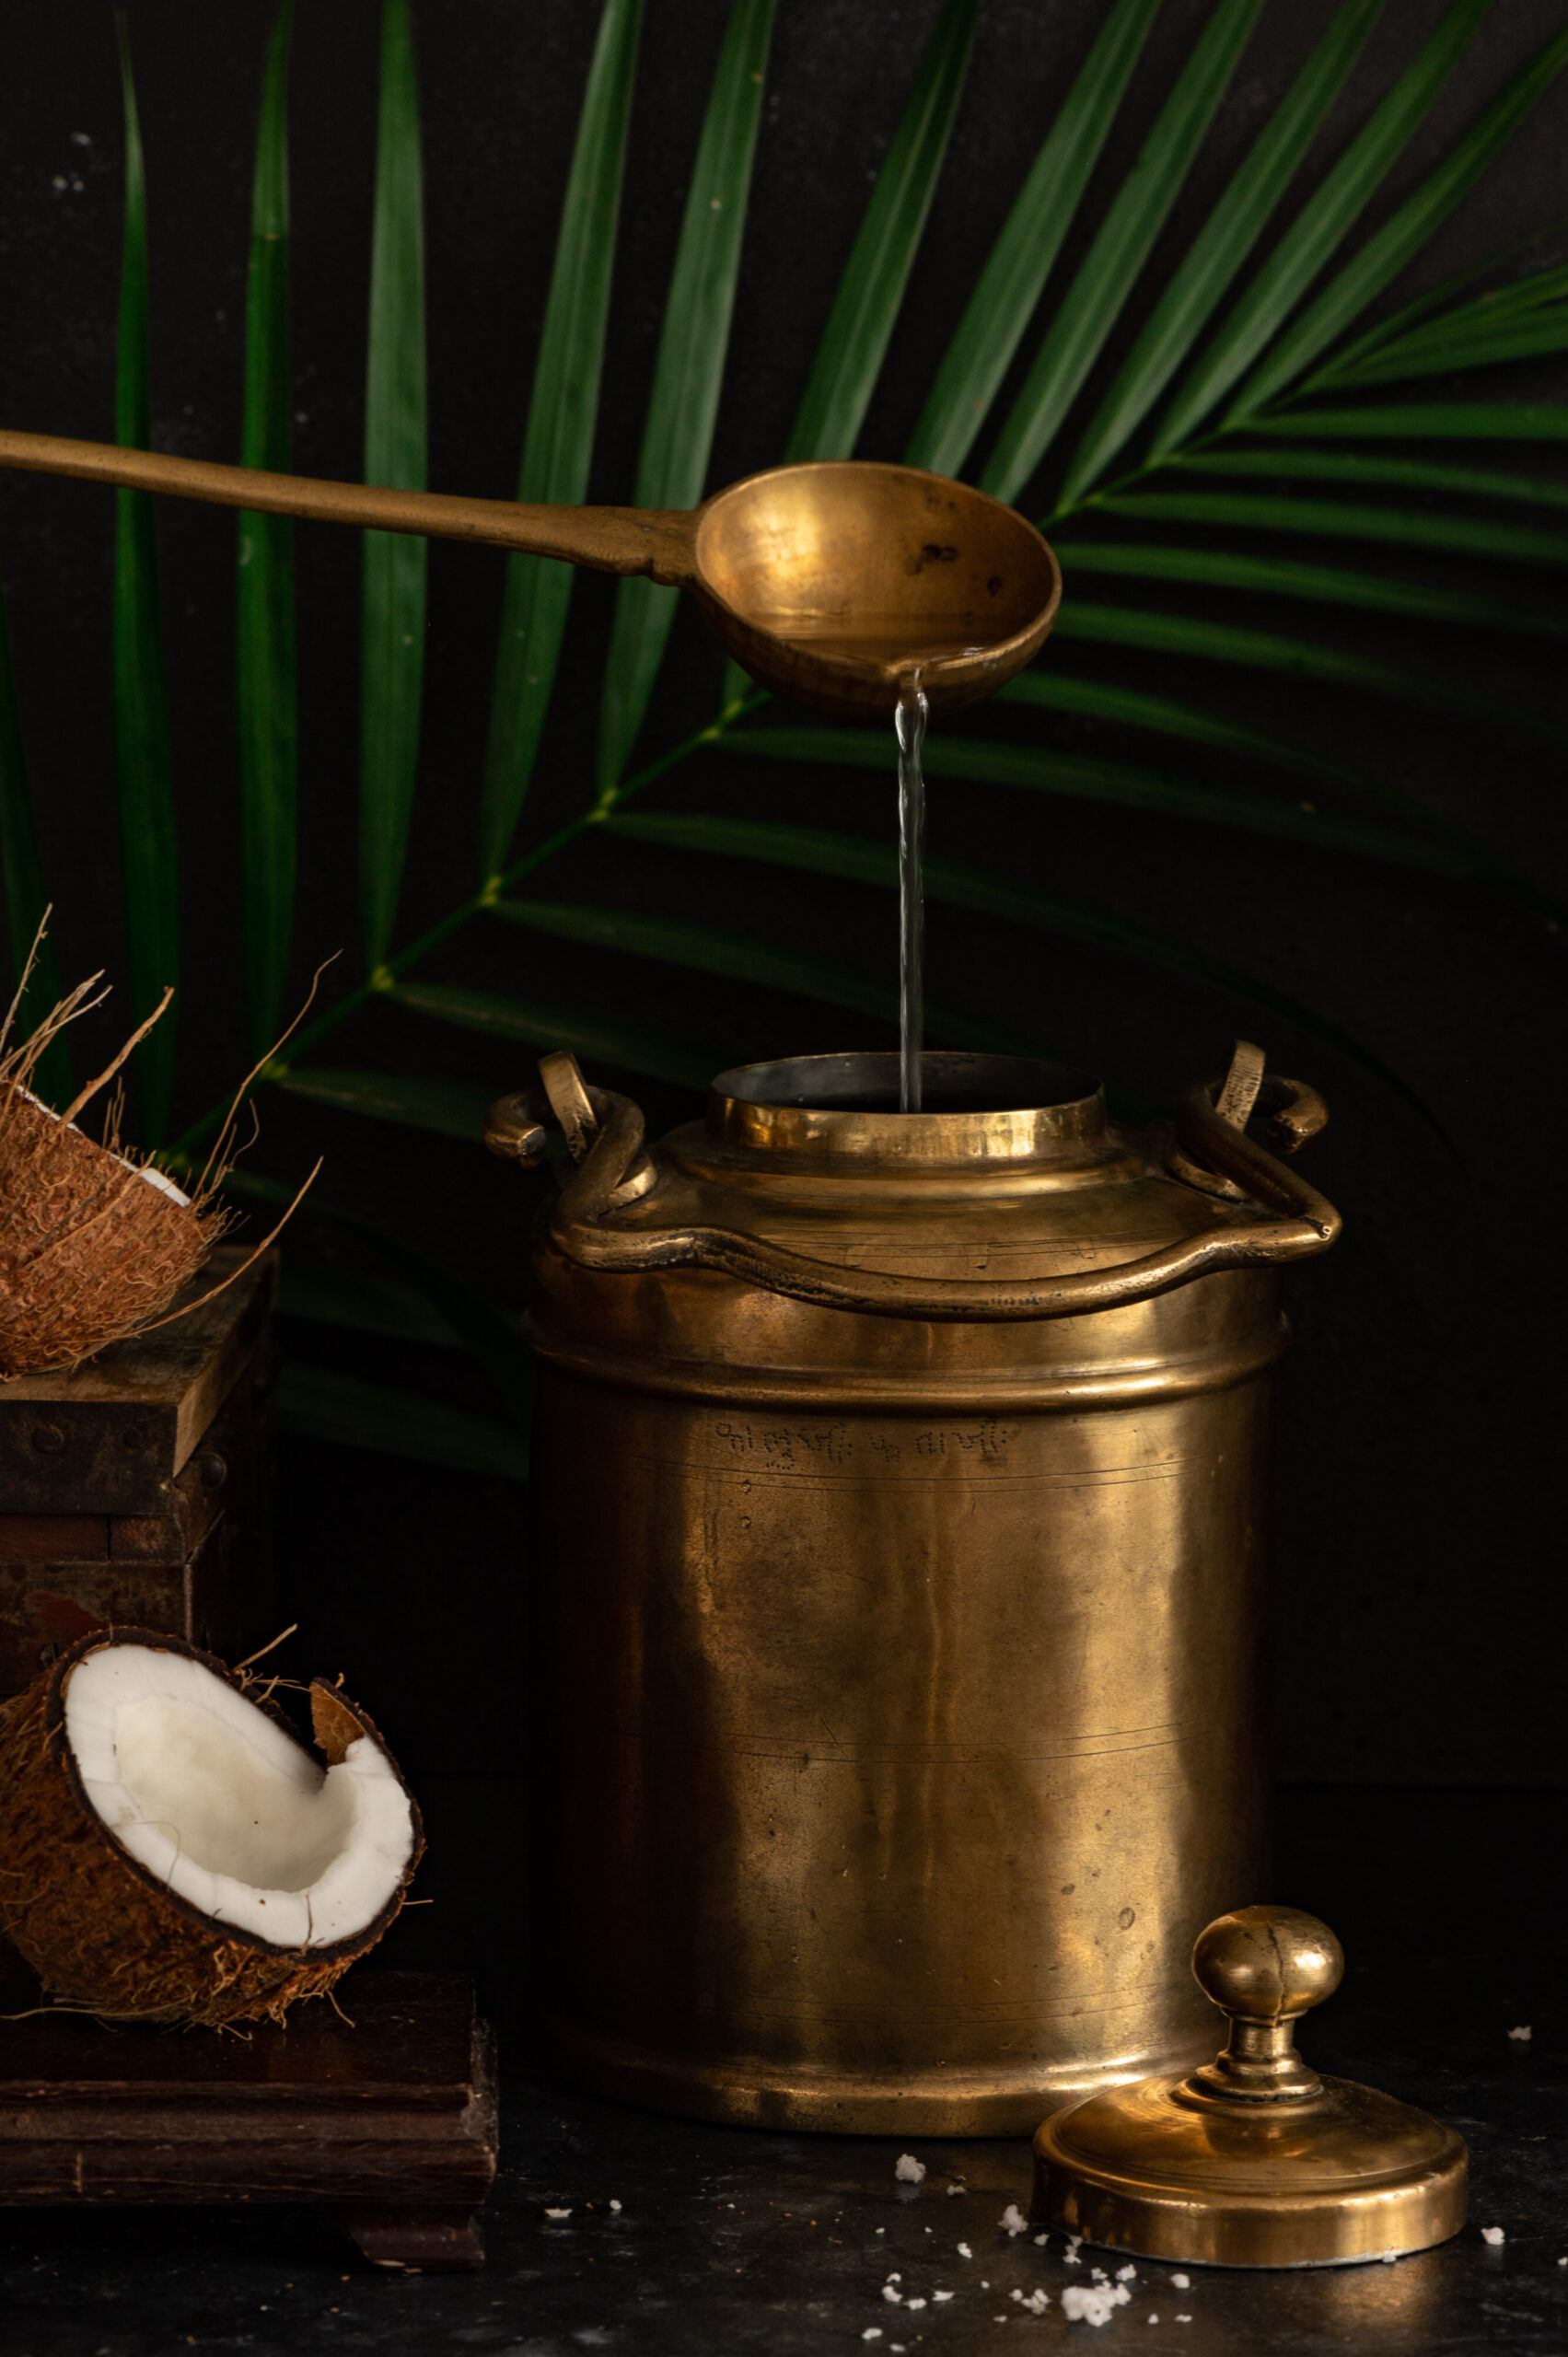
This recipe requires two cups of fresh coconut milk – a first press cup, and a second press cup. Prepare the first press by grating the coconut flesh and grinding it in a blender with a ¼ cup of water. Strain this and set aside. The first press milk will be thick.

Now, repeat the process using the same grated coconut flesh – this will be the second press milk, and it will be thinner in comparison to the first press. Set aside.

Take the second press milk and boil the julienned potato and onion in it until they are soft. Ensure that you add the onions after the potatoes, as they cook faster. Add the ginger too. You can press down on the potatoes a little using a masher.

Once this is done, add the thick first press coconut milk to the pan. Add the curry leaves and coconut oil as well. Stir well. Your coconut stew is now ready to serve, and a plate of aapams, idlies or dosas will go perfectly with it.

This stew evokes for me one of my most cherished friendships, and so many childhood memories. Although Girija and I are in different countries at present, perhaps one of the many reasons she and her stew have been on my mind is because the lockdown this year has meant that meeting at home has become how most of us socialise now. Here in Chennai, my friends and I often discussed wanting to meet but felt it wasn’t safe to go out to restaurants like we had in the past. Instead, what we now do is something that we had quite rarely done in the past: meeting in each others’ homes over home-cooked meals. It’s so nice to get together this way, knowing that everyone is comfortable and care has been taken.

The lovely thing about old friendships is that even if we don’t see each other often, the bond is absolute. I truly feel relaxed and comfortable when I am with dear friends like Girija. It’s easy to put my feet up with her, and that is the kind of ease that can only come with knowing how much love is given and shared between oneself and another. That love speaks in the food that she cooks for me. We have an understanding that she cooks for me, and I cook for her. The “trade” for this Malayali coconut stew is always a Gujarati dal. Perhaps I will share that recipe some day soon too…

In the meanwhile, don’t forget to check out the previous posts in this coconut series: coconut podi and coconut oil. Stay tuned for a lovely Diwali dessert next weekend, to round the series off!

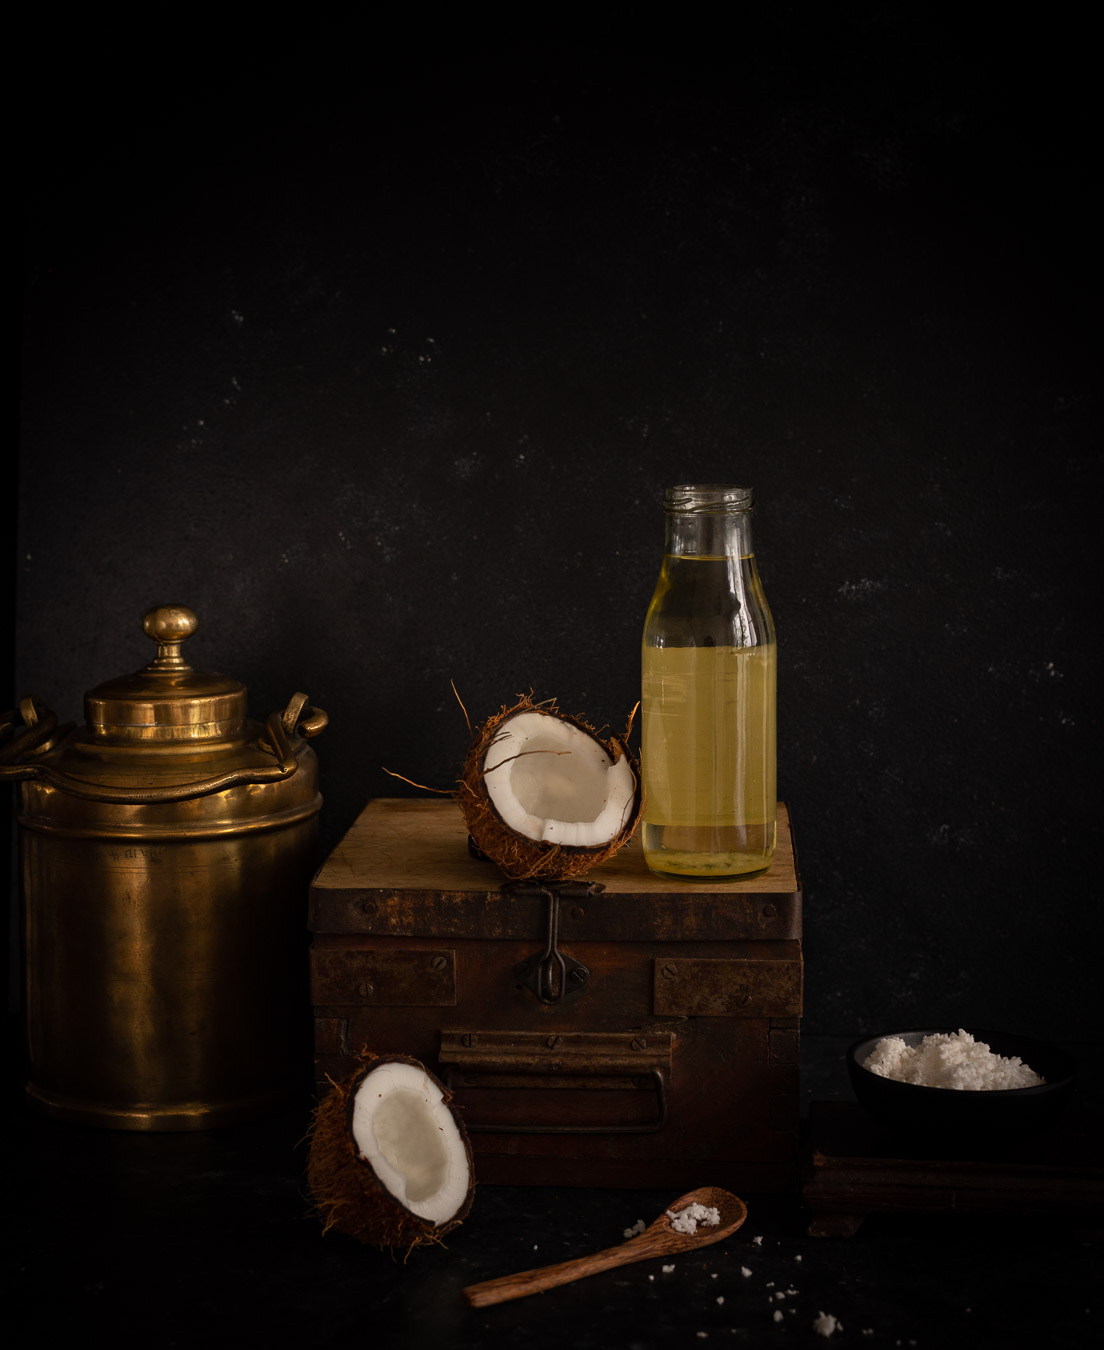
The coconut series continues with something a little different this time: coconut oil! Yes, the oil that most of us are used to purchasing can indeed be made not just at home, but even in a city like Chennai, as long as you have coconut trees around. With about a dozen coconut trees at home, and a reliable coconut harvester who was willing to visit, I collected a big batch of coconuts and embarked on my next adventure.

I’m going through a phase where I feel like I want to learn everything there is to know about food and cooking. Nowadays, when I hear about someone making a special jam or baking a new kind of cake, I experience FOMO (“fear of missing out”). Maybe this comes from having been very naughty as a child, and never focusing on my studies then – at least, that’s what I jokingly say to my kids each time they’re surprised to hear that I’ve taken up a new course or have signed up for some workshop. But I believe in challenging myself and growing. I want to be more self-reliant, and discover new things. Even though it’s impossible to truly learn, let alone master, every single possible recipe or method out there, I feel an urge to try. So when my friend Sujata told me that she had successfully made her own coconut oil, I immediately went, “OMG, I want to do this too!” My motivation was perfectly-timed, as the trees were ripe for harvest just then.

Coconut oil is only one of the many ways that the different parts of the bountiful coconut tree can be used. As I create this series for the blog, I’ve been reflecting on the versatility of the tree in its entirety, even though I’m personally only using its fruits. For instance, I recall how when I was growing up, there was a lady who would come home sometimes, take a knife, sit outside with some coconut tree fronds and use a knife to craft a broom (“thodapam” in Tamil) whenever a new one was needed. I’d watched this process many times over the years. Wherever the tree grows, the shells are used as utensils and even as a charcoal replacement, the husks to fashion ropes out of, the leaves in weaving and thatching, the flowers in herbal medicine, and so on. The edible flesh and water aren’t the only good things to come from this amazing tree.

What follows is more of a method than a recipe as such, and what is produced as a result will be a beautiful and versatile ingredient that you can use in everything from food to beauty essentials. Coconut oil is a staple in South India, used for everything from improving hair health to daily frying needs. It’s also something that has attracted the attention of beauty and health enthusiasts internationally. The latest trend I’ve read about is to have a spoonful of pure coconut oil in the mornings, as this is said to be good for the brain. What I will do in this post is walk you through my own process of preparing coconut oil, and my learnings from the same.

In order to prepare your own coconut oil, you’ll need: coconuts, access to a cold pressery, and space to sun-dry. There are many places in Chennai that do cold-pressing, and it should be possible for you to find a unit near you wherever you are.

The first step is to harvest the coconuts, of course. Then, they are peeled and chopped into smaller pieces (they will need to be small enough to feed to the cold pressing unit). The flesh is left to sun-dry for between four and seven days, depending on the coconut. You will know that it’s done when you press it with your thumb and it releases a little bit of oil.

Next, the dried pieces are sent to the cold pressery. I wanted to supervise the process to ensure that there was no dilution of any sort. The unit where I had my coconut oil made used a lovely old machine made of wood and canvas. I put in about 20 kilos of coconuts and got back about about half as much in raw oil.

The process doesn’t end there, however. This huge container of oil I came home with then had to be dried again, so that residual moisture from the coconut flesh gets evaporated. What you have to do at this stage is to pour it out into flat pans, and allow these to dry in the sun for anywhere between three and five days. You will know that it is done when all the dust particles settle at the bottom, and the raw smell goes away. This being my first time making my own oil, I was not sure whether the final product was less fragrant than the store-bought versions because I hadn’t let the coconut pieces dry long enough, or simply because they were free of artificial additives. Either way, once the oil completed the drying stage, it was ready to use. I couldn’t help but marvel at the result.

And there you have it: coconut oil that you can be sure is free of contamination, preservatives or any other issue that may come with commercially-produced brands. I can’t tell you what a delight it is to have your very own cold-pressed coconut oil. That’s something that you must experience for yourself, and if you can, please do.
Embarking on this little adventure was very rewarding for me, but the thing about my FOMO and subsequent hunger to do more is that sometimes experiments don’t turn out as expected. Whenever this happens, I always tell myself that it’s okay, and that I can focus on what I know I do well and can take pride in. For instance, expanding my repertoire of cakes is something that I am really keen to do, and I’m constantly exploring new recipes and whipping up trial batches. You may have seen the new additions I made to the menu recently, and it’s been really wonderful to prepare your orders for this festive season too.

I would even go as far as to say that I like to show off a little with each successful experiment, but when I share how I did it, I pass on that sense of achievement to you. It’s so exciting to have something that is all handmade, and made to order just for you. I’ve been sharing the oil from my coconut trees with very dear friends in glass jars, so in addition to being used at home both in cooking and in grooming, they’ve also become perfect for gifting this year.

I’d love to know if you try out preparing your own coconut oil based on my own experiment here. I’d also love to know how you use it. I am sure that you will find, as I have, that making your own batch of coconut oil is worth its weight in gold.

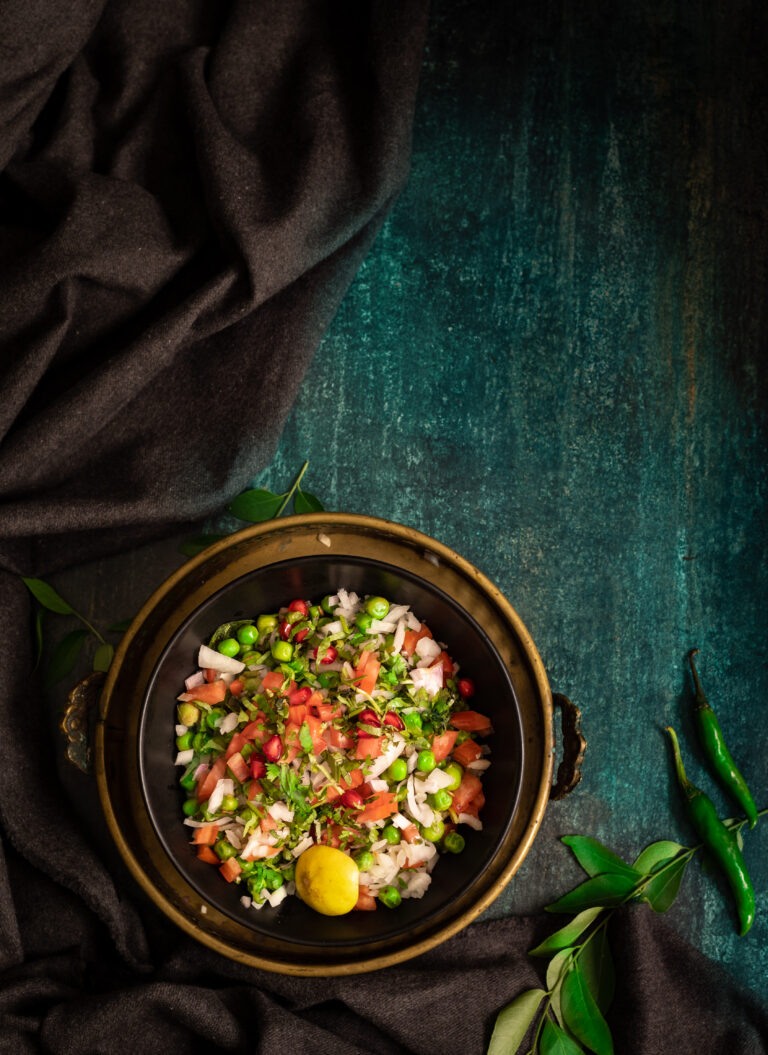
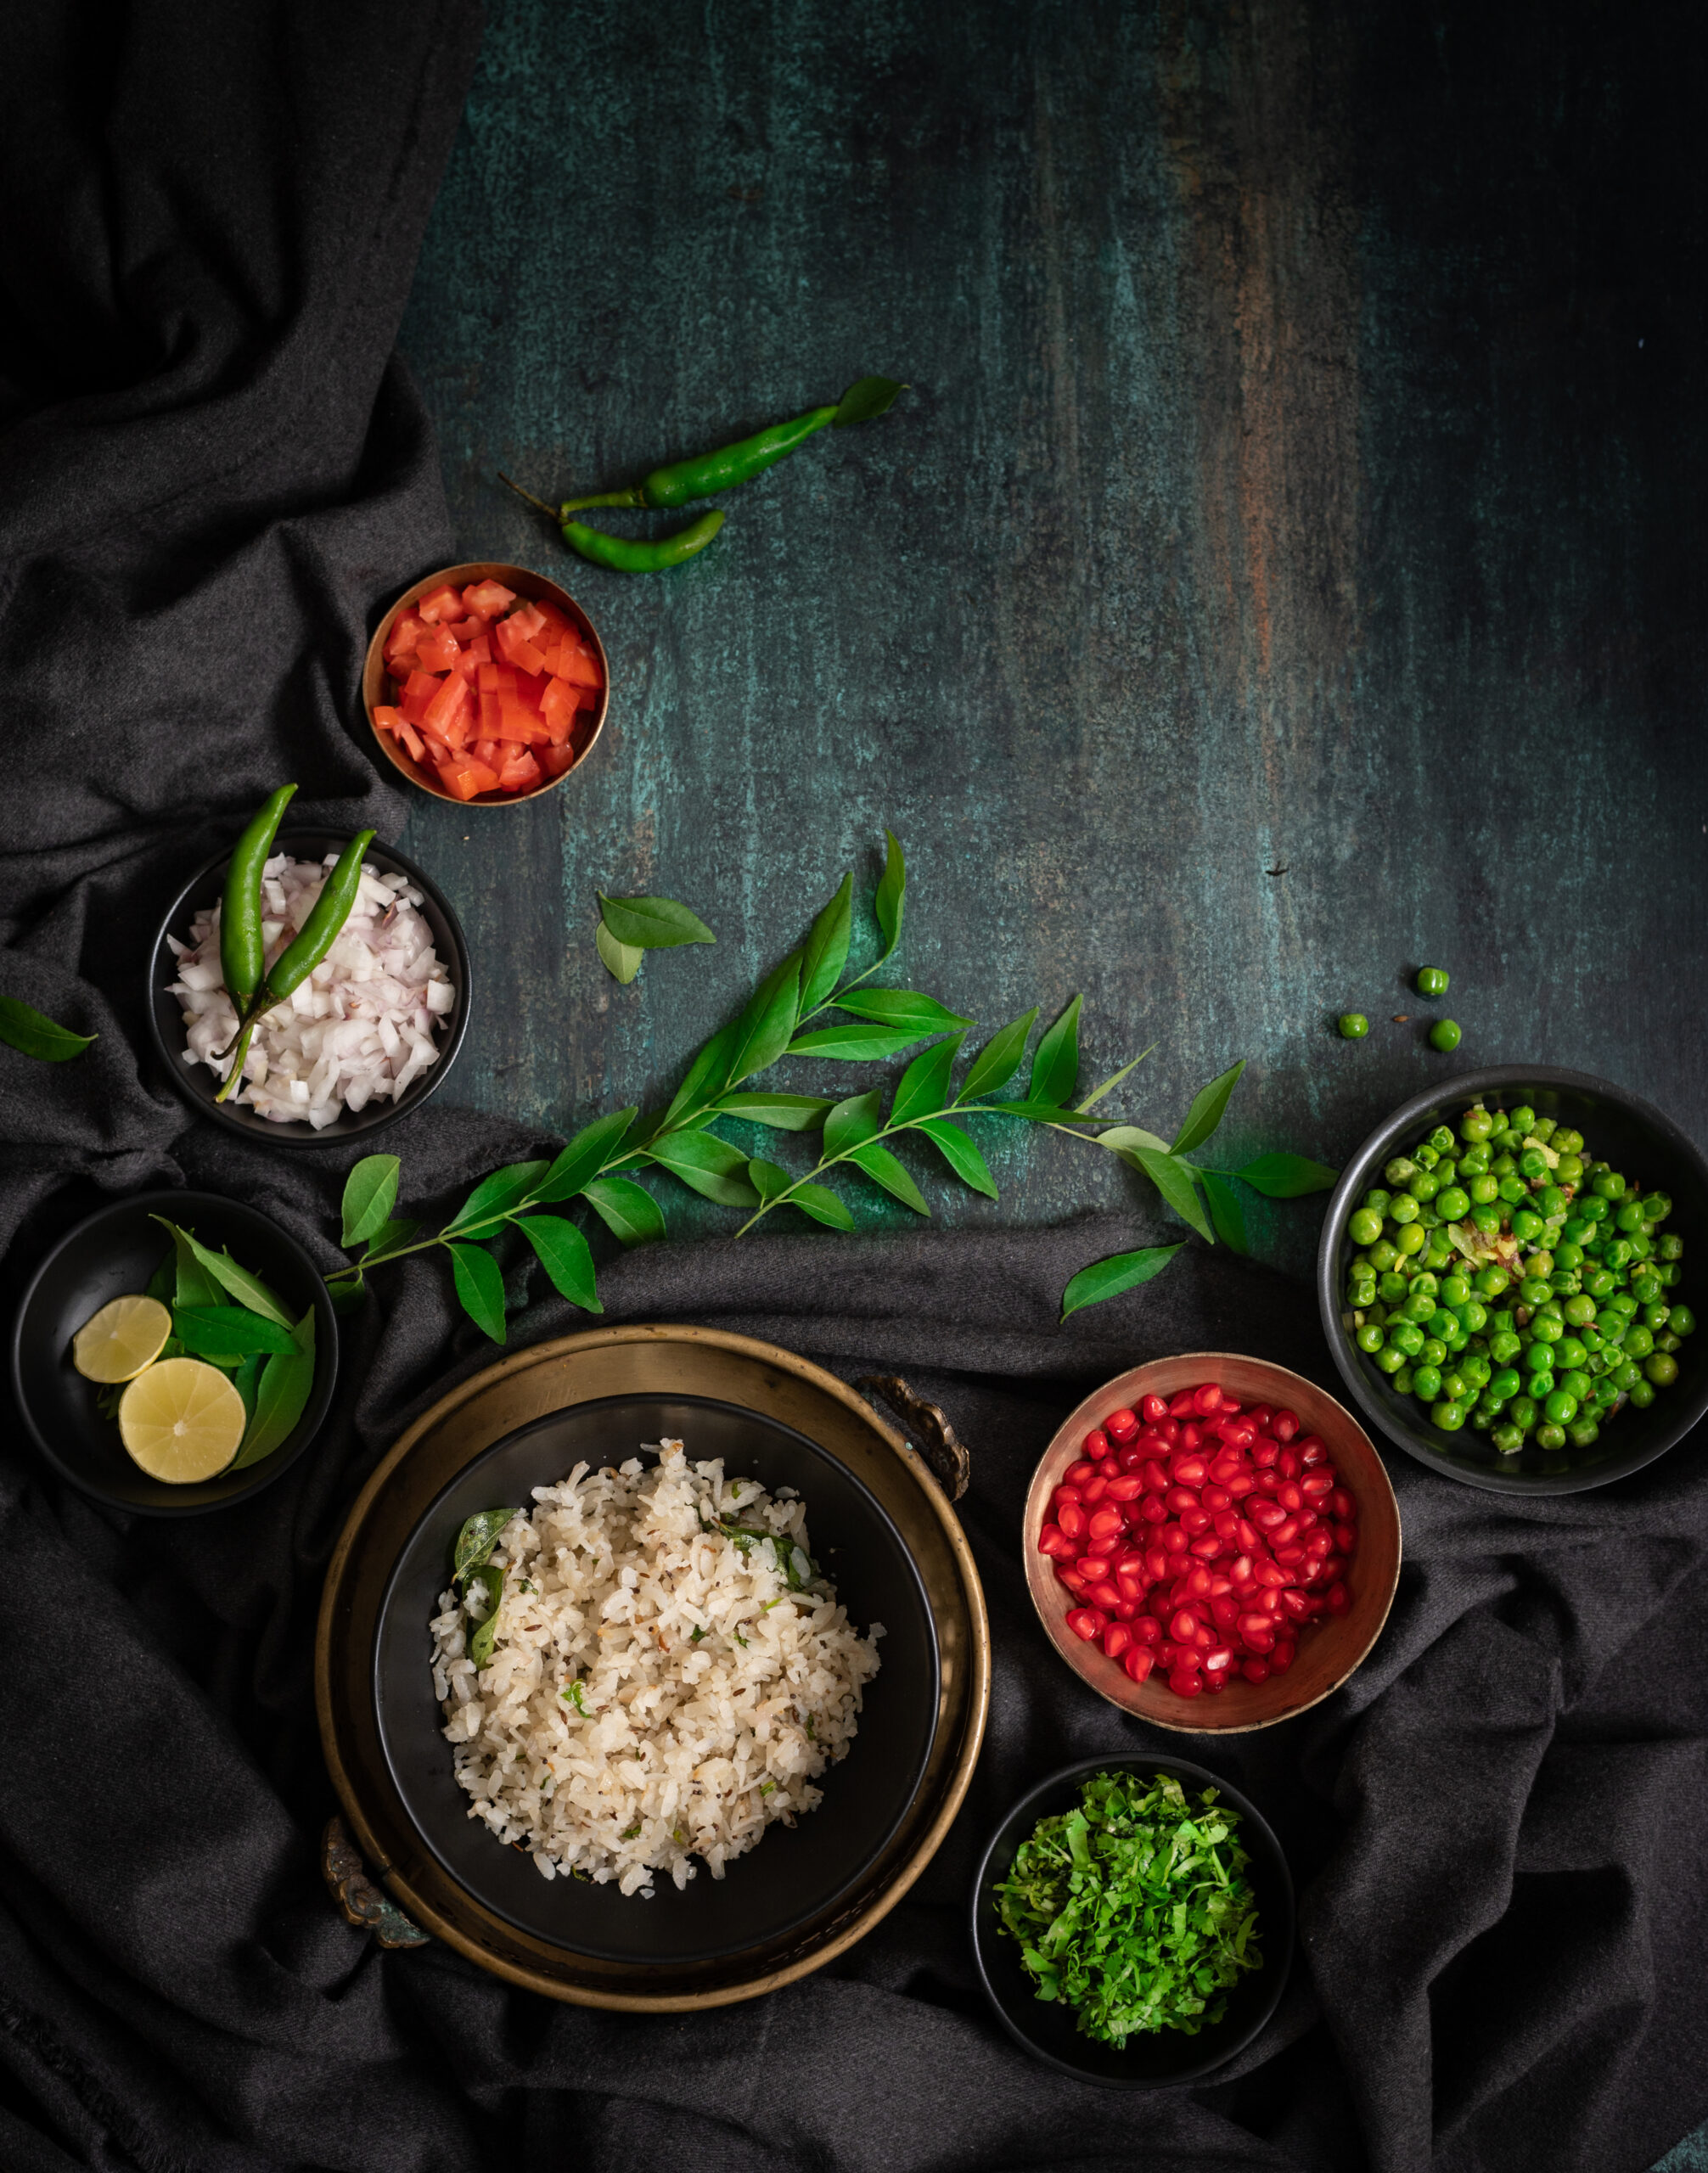
The lovely thing about India is that on the levels of states, communities and right down to homes, the very same dish or category of dishes will be prepared with a unique twist. Whether they are delectable main courses or fun snacks or refreshing beverages, we have so much variety across our cuisines here, even when it comes to staples. They are also eaten in different ways, at different times of day. So it was a pleasant surprise when I encountered this tasty green peas dish, known as chura matar (literally – “poha and peas”), at the home of my very dear friend Vrinda in Jaipur one morning. Poha in and of itself is often a breakfast item, and the inclusion of peas (something I was not used to encountering in the morning meal) elevated it to a new high. What a great start to the day it was!

All breakfasts across India are healthy. I know some of you will disagree by bringing up something like the aloo parathas of Punjab, but there’s a simple reason why a heavy meal is eaten in the mornings. Days tend to be busy, and getting a proper boost of nutrition to tide a person through many hours is important. When you think about how this is especially true for those engaged in labour work, who may not be able to sit down for three square meals, the logic is evident. So whether that’s fried pooris or idlis made of rice flour, that first meal of the day is designed to go a long way. In Maharashtra and Gujarat, people often begin the day with poha, or flattened rice. It’s also an ingredient in special dishes like Diwali chevdo or the sweet dudh-poha made on Sharad Purnima. It’s eaten across the subcontinent, and is known here in Tamil Nadu as aval. I recall also having it steamed and topped with jaggery, as served by a friend I was visiting in Assam once.

Chura matar is a traditional dish from Uttar Pradesh, where the poha is deep-fried. Our version here is a healthier one, sautéing and steaming the poha rather than frying it. People from Uttar Pradesh may find this strange, but as a Gujarati raised in Tamil Nadu, my cultural influences are diverse and have an effect on my culinary choices too. Gujaratis also have a version of this dish, mixing the peas and poha – but when the vegetable is in season, you get so much of it that you may as well make it the star of its own dish and serve it separately too.  Green pea season in India usually takes place in November, and the markets are simply abundant with the vegetable then. However, they grow year-round, as you may remember from one of my recipes that fondly recalled the Ooty summers of my childhood, where peas were known as “English vegetable”. My memories of the Nilgiris aren’t the only ones that this ingredient rekindles. In fact, especially in this time of no travel, they make me miss the north of India in a big way. All my trips to Gujarat while I was growing up, and my later journeys to Rajasthan (such as when I visited the friend who shared this recipe with me) come back to me vividly when I eat this dish. I miss the exposure to a wide range of delicacies, and discovering so many new treats. It’s a pleasure to be able to evoke those experiences in my own kitchen.

Even though we are technically off-season at the moment, I am writing this now because I am missing Vrinda and craving her chura matar. It’s funny how food is sometimes connected to a person. A roti or puran poli always reminds me of my mother, who taught me how to make those dishes and enjoyed them too. A stir-fry always makes me think of my daughter, who loves them. We absolutely connect recipes to people.

I learned through Vrinda that the younger the pod, the more beautiful the flavour of the peas within it. There in Jaipur, these are called colloquially as “zero number” in the local markets, to indicate the smallness of their size. The best peas are harvested right at the beginning of the season, before they are fully grown.

We are fortunate in India to have easy access to fresh and affordable green peas, and in years past I’ve often frozen batches while the season is in full swing to use later. Even before peas became widely cultivated in India during the colonial era, we have always had our own lentils and legumes. You could think of them as being native versions of peas. Green toor dal or split pigeon peas, red rajma or kidney beans, green channa or chickpeas, and so many more make up this list. Steamed, salted, eaten plain or dressed up with different flavours, they make great pea substitutes too and work especially well in salads. The South Indian sundal is a favourite of mine.

Another food item that I freeze often are chutneys. I make large batches, then freeze them in small single use portions. I do this with my sweet, tangy date chutney and my green chutney, among other variants.  This chura matar is chutney-free, because it doesn’t need it, since the green peas add a soft texture to the medley of basic elements. But you may enjoy using it, so feel free to add some if you would like to.

Without further ado, here is the chura matar recipe that I’m sharing today. I would love to know what your own take on it is too. I keep saying the same thing over and over on this blog, but it’s true: every cook makes their own version. My kitchen has its flavours, as do yours. My hands have their own type of love, as do yours. There’s what I’ve been taught, and what I’ve been exposed to, and the same goes for you and your own experiences. But the one thing we all have in common? A passion for all things delicious!


Chura Matar

(Serves 2-3)


For the poha

70 grams / 1 cup raw poha (it will become 170 grams or 1½ cups after soaking)

50 grams / ½ cup finely chopped onions

¼ teaspoon mustard seeds

2 tablespoons oil

A few curry leaves

1 green chilli

Salt to taste

Juice of ½ lemon

1 teaspoon sugar (optional)


Peas

1 cup frozen peas

1 teaspoon oil

¼ teaspoon cumin seeds

½ teaspoon ginger paste

Salt to taste


Topping

Onions (finely chopped)

Tomatoes (finely chopped)

Coriander leaves (finely chopped)

A squeeze of lemon


First, rinse the poha under water and allow it to drain. If the poha is of the thin variety, draining alone will do. Otherwise, soak it for half an hour.

In a pan, add the oil. Once it has heated, add the mustard seeds and wait until they splutter.

Then, add the green chili and onions. Once they are golden, add the soft, soaked poha. Next, add the salt and sugar (if you are using it). Stir well on a slow flame, gently. Set aside.

Now, prepare the peas. Add the oil in a pan and add the cumin seeds. Wait until they turn aromatic. Now add the ginger paste. Stir, and finally add the peas. If you are using frozen peas, make sure you allow them to cook long enough to turn soft. Set aside.

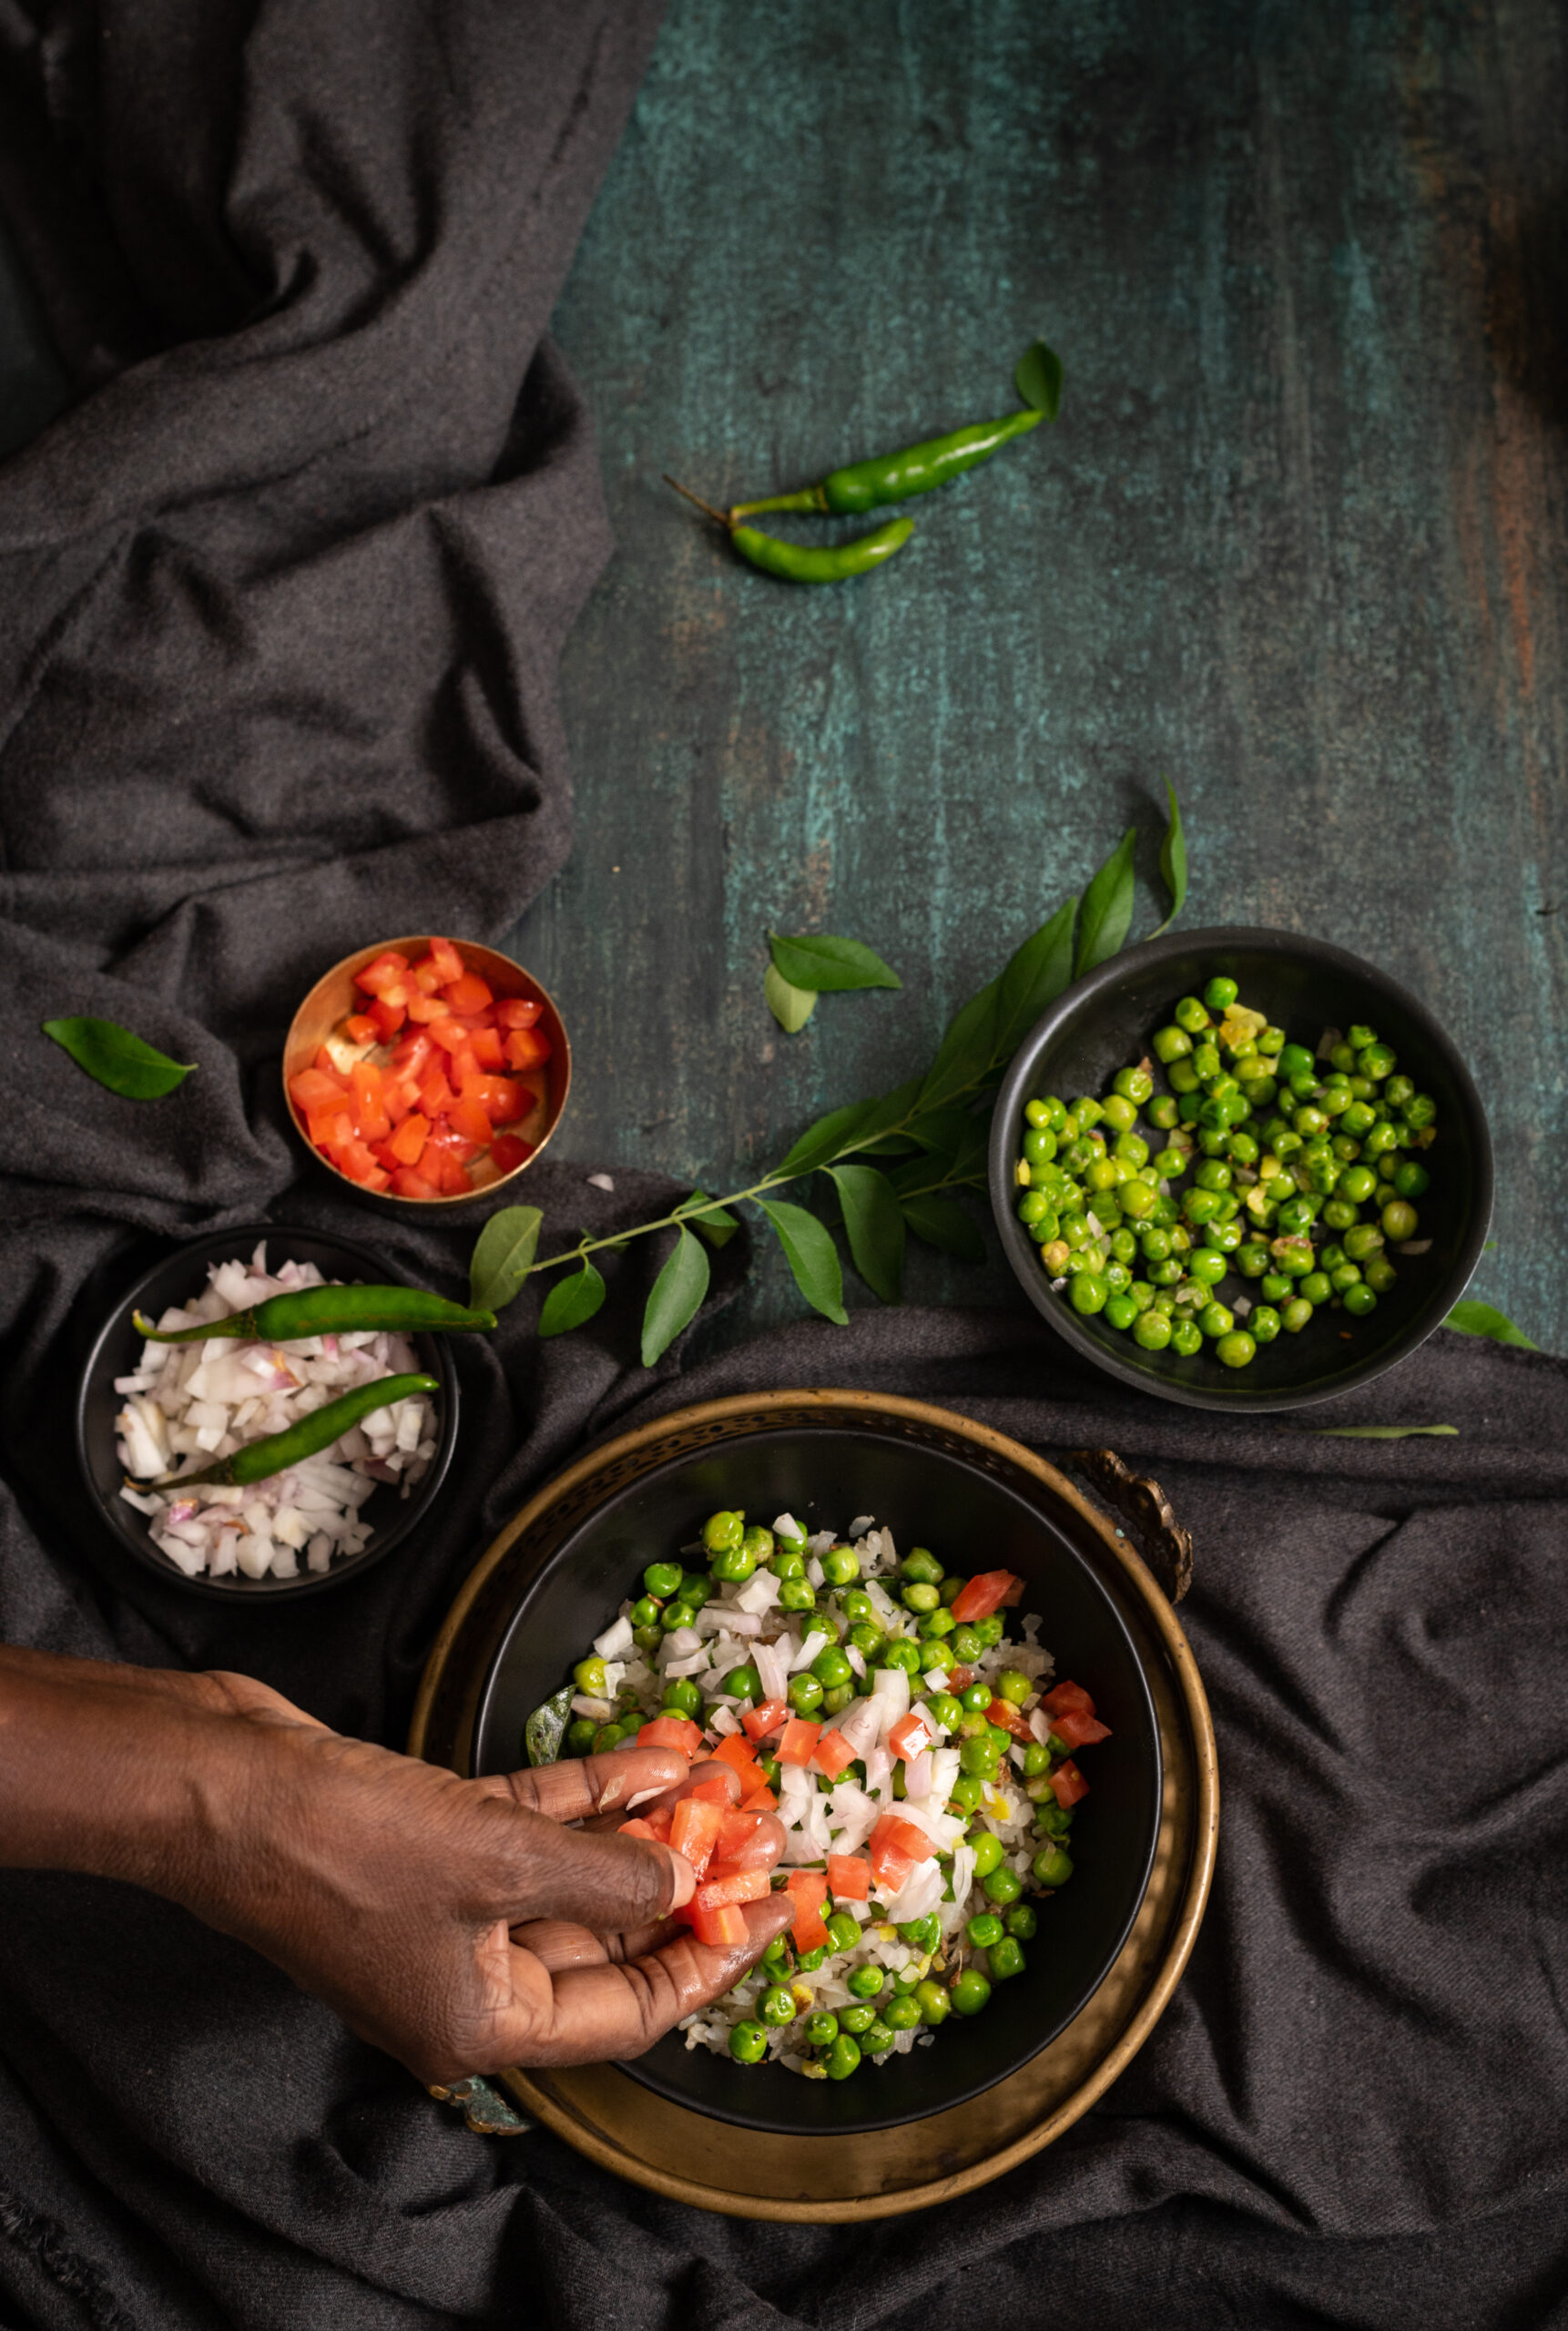
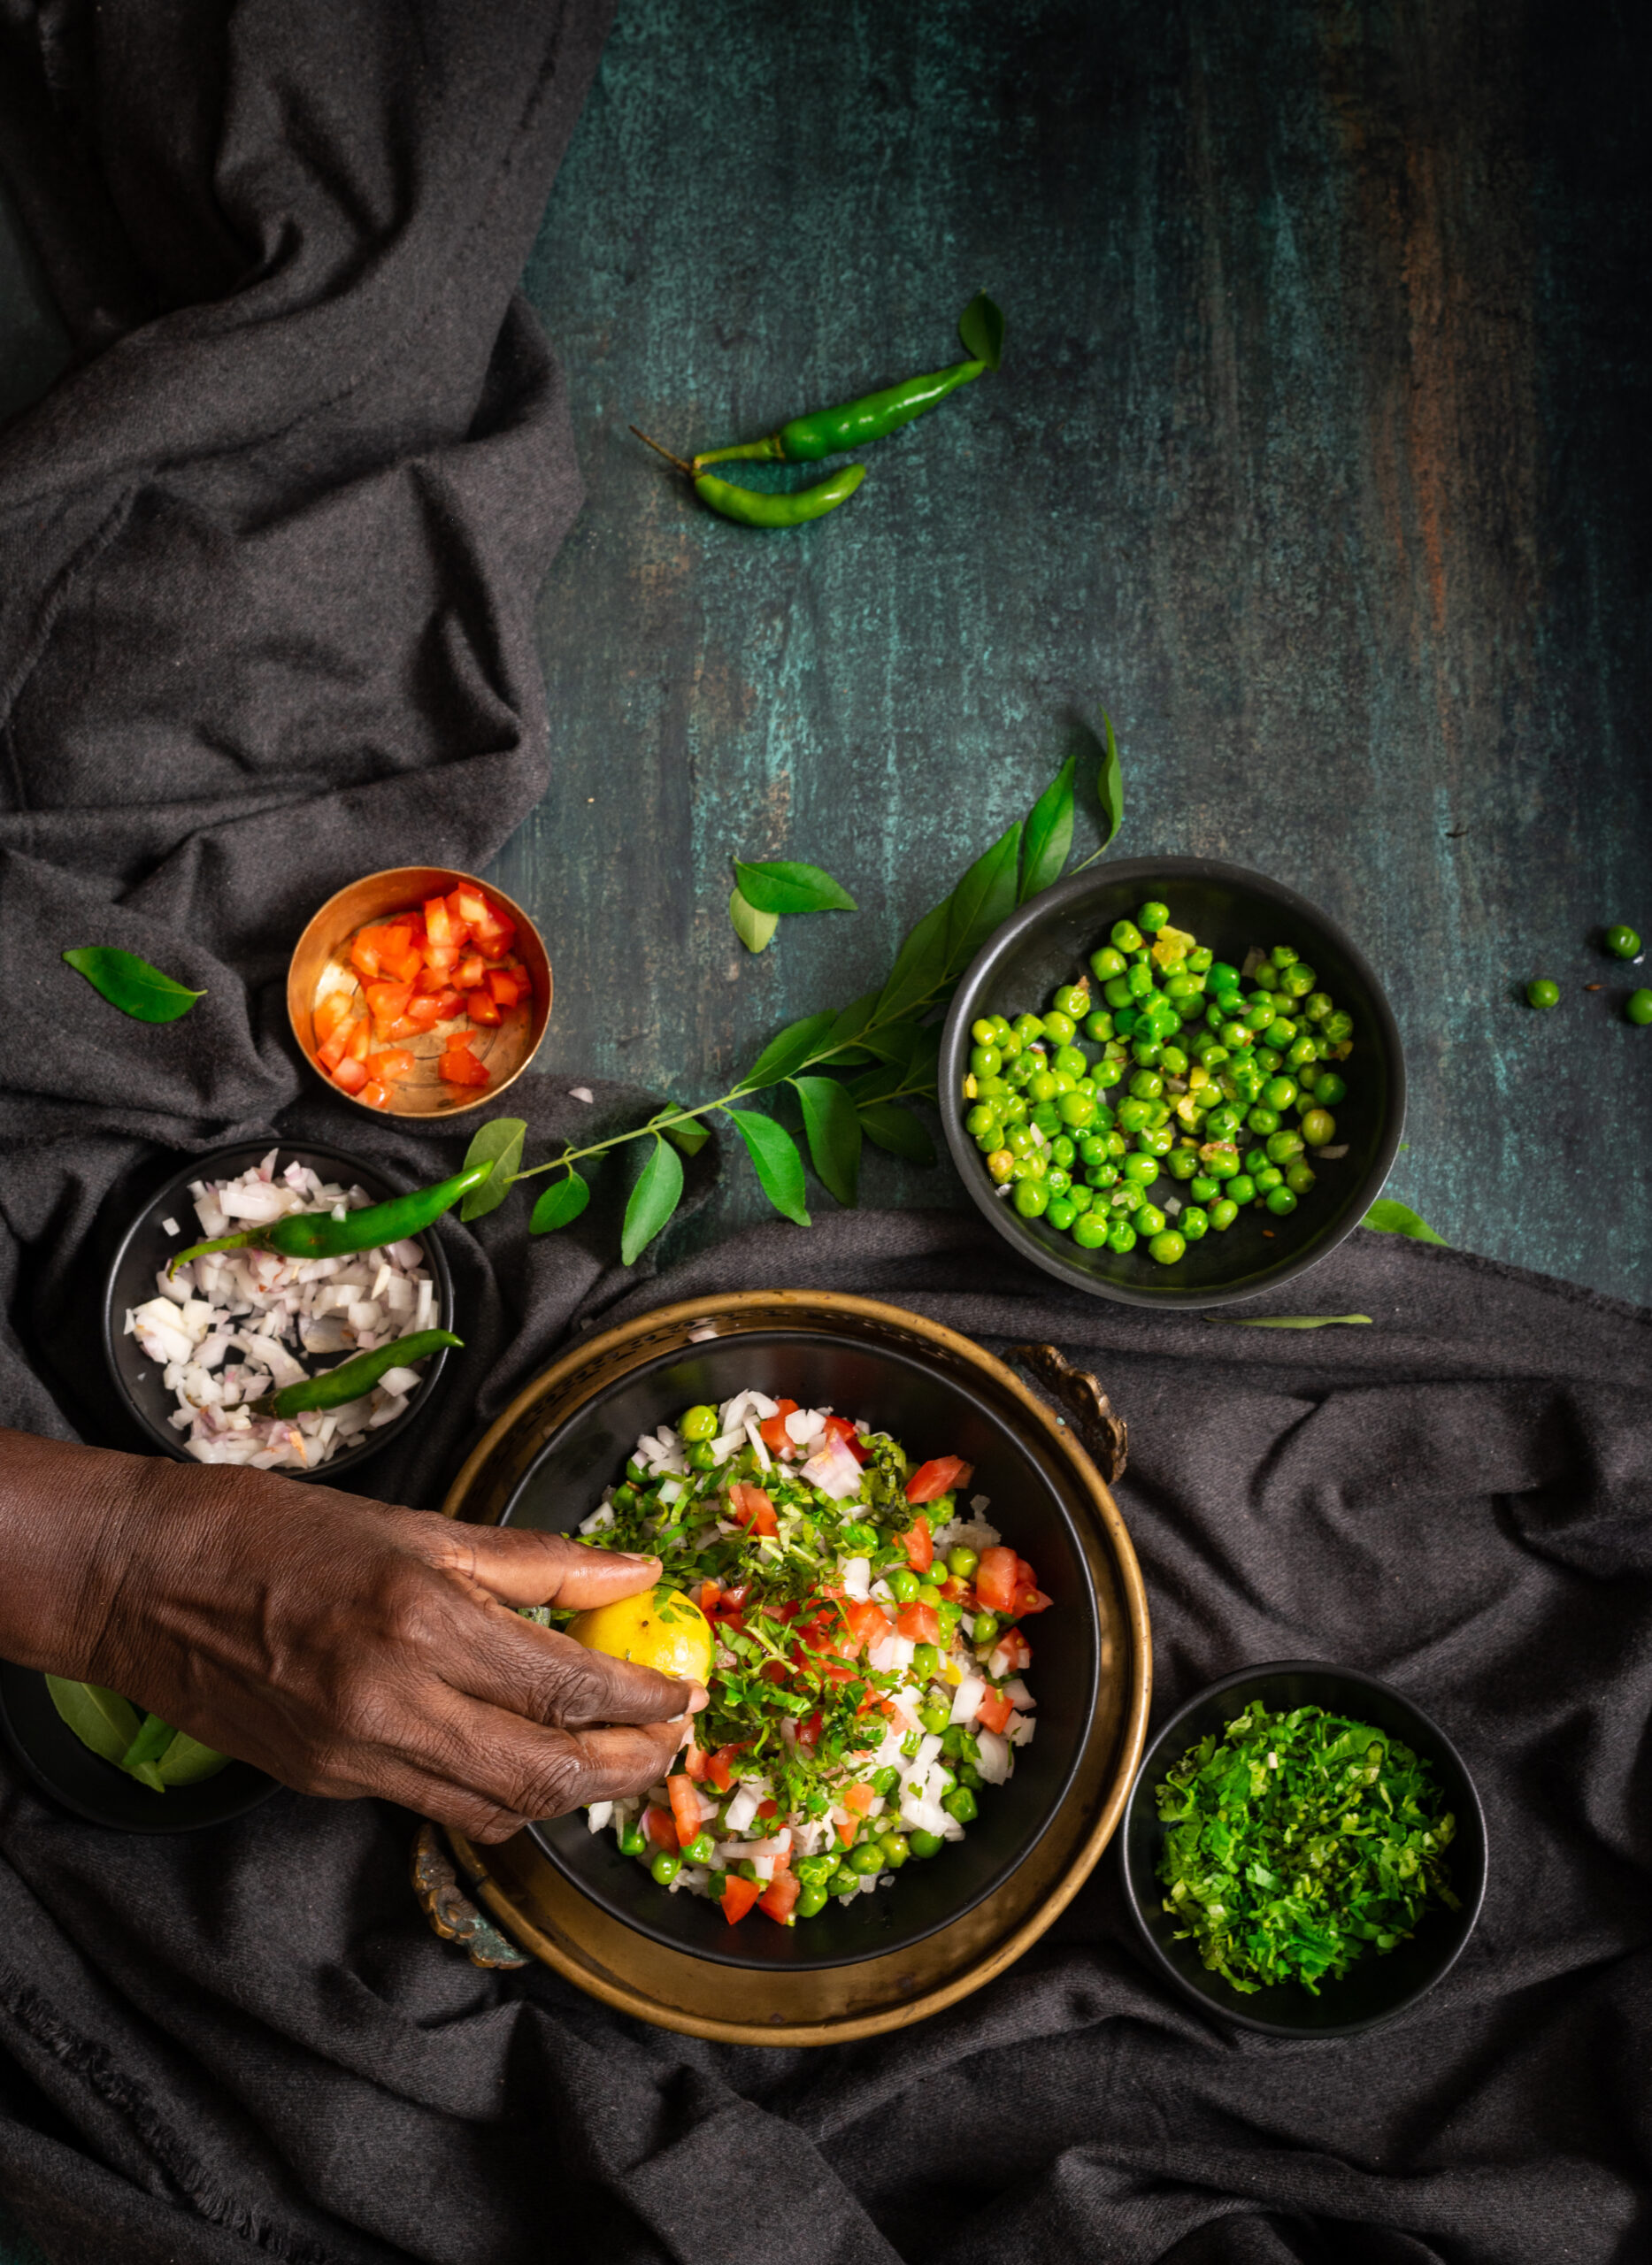
Use a shallow serving platter to assemble the dish. First, place the cooked poha as a layer. Over this, add the peas as a layer. Top this with the healthy garnish of freshly chopped onions, tomatoes and coriander leaves. Finish with a dash of lemon juice. Serve.

Now that remembering this fabulous chura matar has brought it into my repertoire, I envision making it for evening treats, as a filler between meals, and even as full meals (such as breakfast!). Do try this one out, and let me know what you think in the comments.

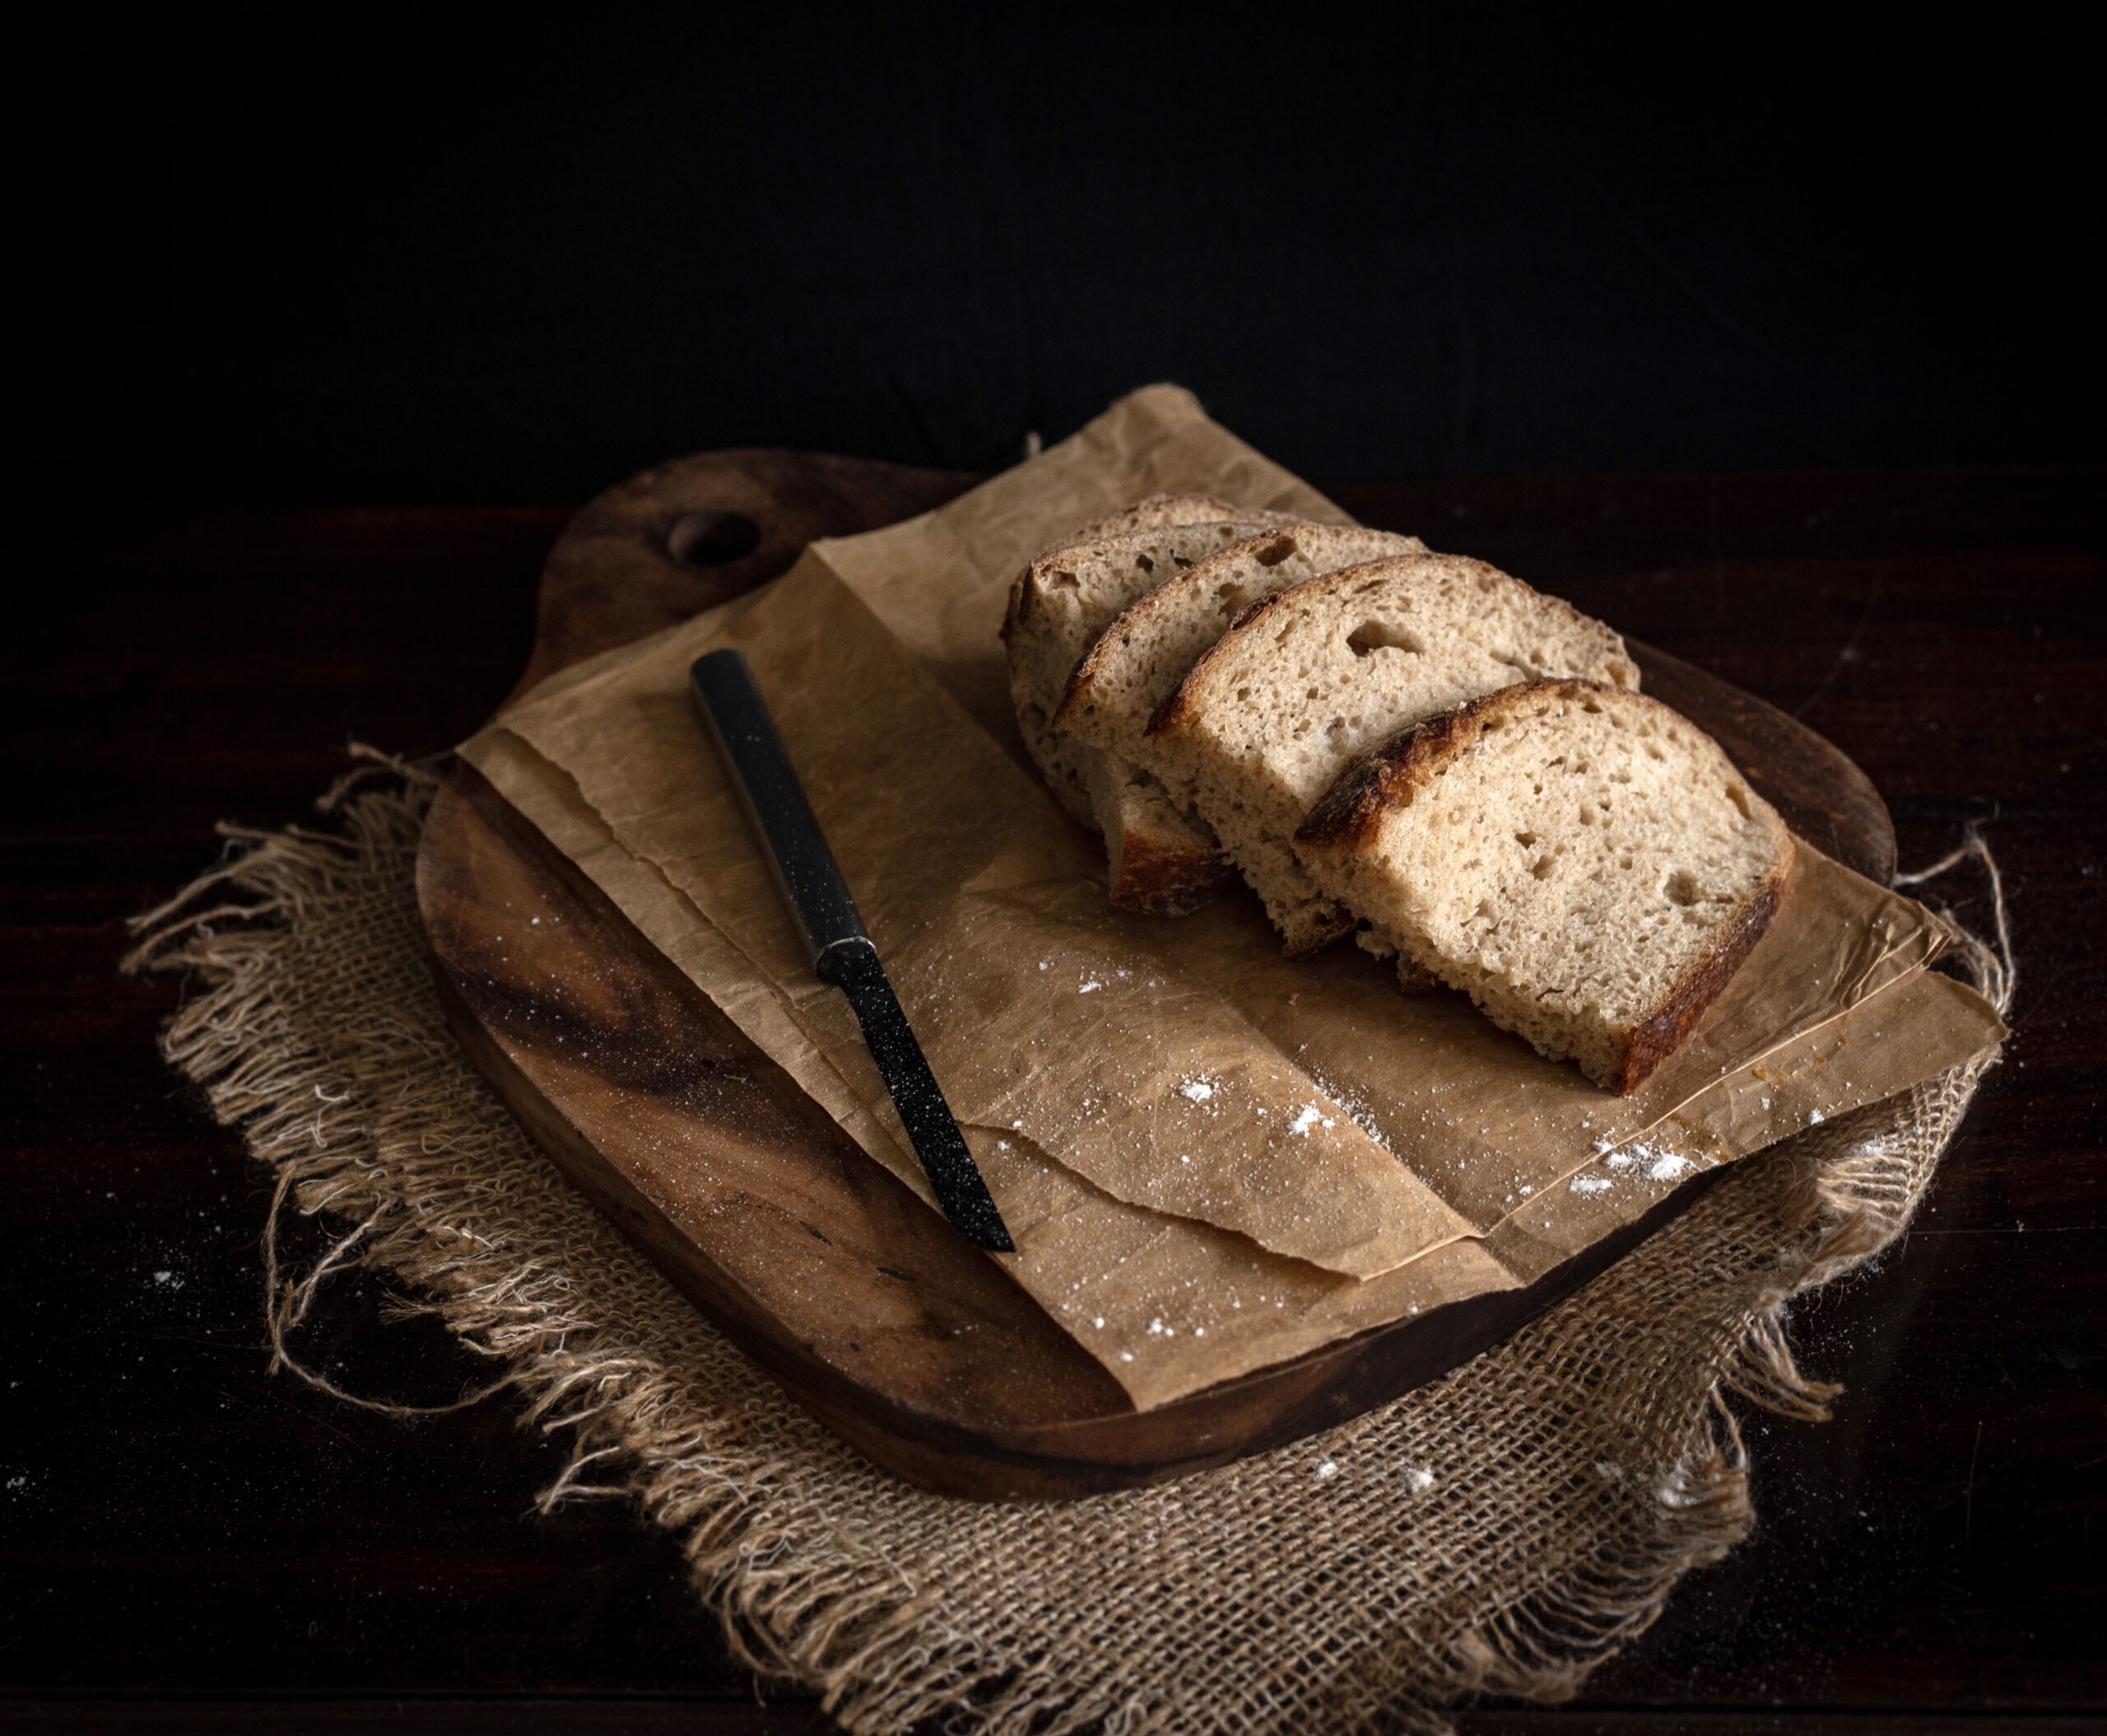
When it comes to any dish that I’m a novice at, I love making it as often as possible so that I can learn from each attempt. Novelty is part of the motivation, but improving my success rate is the real goal. The more you use your hands, the better you get at anything. For you, this may be true for one of your own creative passions, and for me this is all about baking and photography. This was certainly the case for me with sourdough. Those of you who’ve followed my sourdough journey through my Instagram Stories over the past couple of years will know how enthusiastically I’ve pursued working on it. Sourdough is all the rage everywhere at the moment, since the pandemic has made so many people  explorers in the kitchen, so it’s especially exciting for me to share this sourdough toast recipe today.

I bake sourdough every other day, and ever since I began doing this, my family doesn’t eat any other kind of bread. They prefer this natural variety to yeast-filled commercially-produced bread, and we use it in many ways. I make pizza bases, loaves and more all the time, and use them in main courses, sides (such as with a lovely minestrone soup, the recipe for which I promised you recently and will share soon) and snacks. At home, we are all very into daily exercise and healthy eating, so we have lots of one pot meals, and a slice of sourdough on the side is always nice. I find that this sourdough toast especially makes for a filling lunch, and that helps us reduce the number of heavy meals we have at supper time.

The idea of making a simple, yet fabulously delicious, sourdough toast came up during our planning for my husband’s birthday recently. This is not an innovative recipe as such, yet it’s one that suits the occasion of a celebration during lockdown. It’s a lovely appetizer using wholesome and easily available ingredients for a small celebration. We decided to have a picnic in our own garden, and I was thinking about which healthy dishes I could make to balance out the indulgence of the white cake I’d be baking when I came up with this idea.

Now, the white cake itself has a funny story behind it. You see, my husband adores the tea cake from the McRennett bakery, which many of us who grew up in Chennai will associate with childhood memories. As it happens, I can’t stand that cake, as it has a very strong vanilla essence smell. We have a running joke in the house that no matter what fabulous thing I have baking in the oven, my husband will say, “I’m going to get a McRennett cake!”, knowing it will tick me off. This year, I turned the joke on him by saying that I’d order him that tea cake for his birthday and not bake any of my own specialties. Secretly, I had a plan to prepare a cake that was inspired by his lifelong favourite, but which I would elevate with my own twists to a level that would make him forget the original. He must have gotten a whiff of my plan, because he said to me that if I could achieve the softness of the original, he wouldn’t mind trying mine. Well, I baked a lovely tea cake with real vanilla and pretty white icing (I rarely ice my cakes at re:store, so you know this was a special treat!) which he enjoyed very much… but it didn’t quite unseat the McRennett as his favourite!

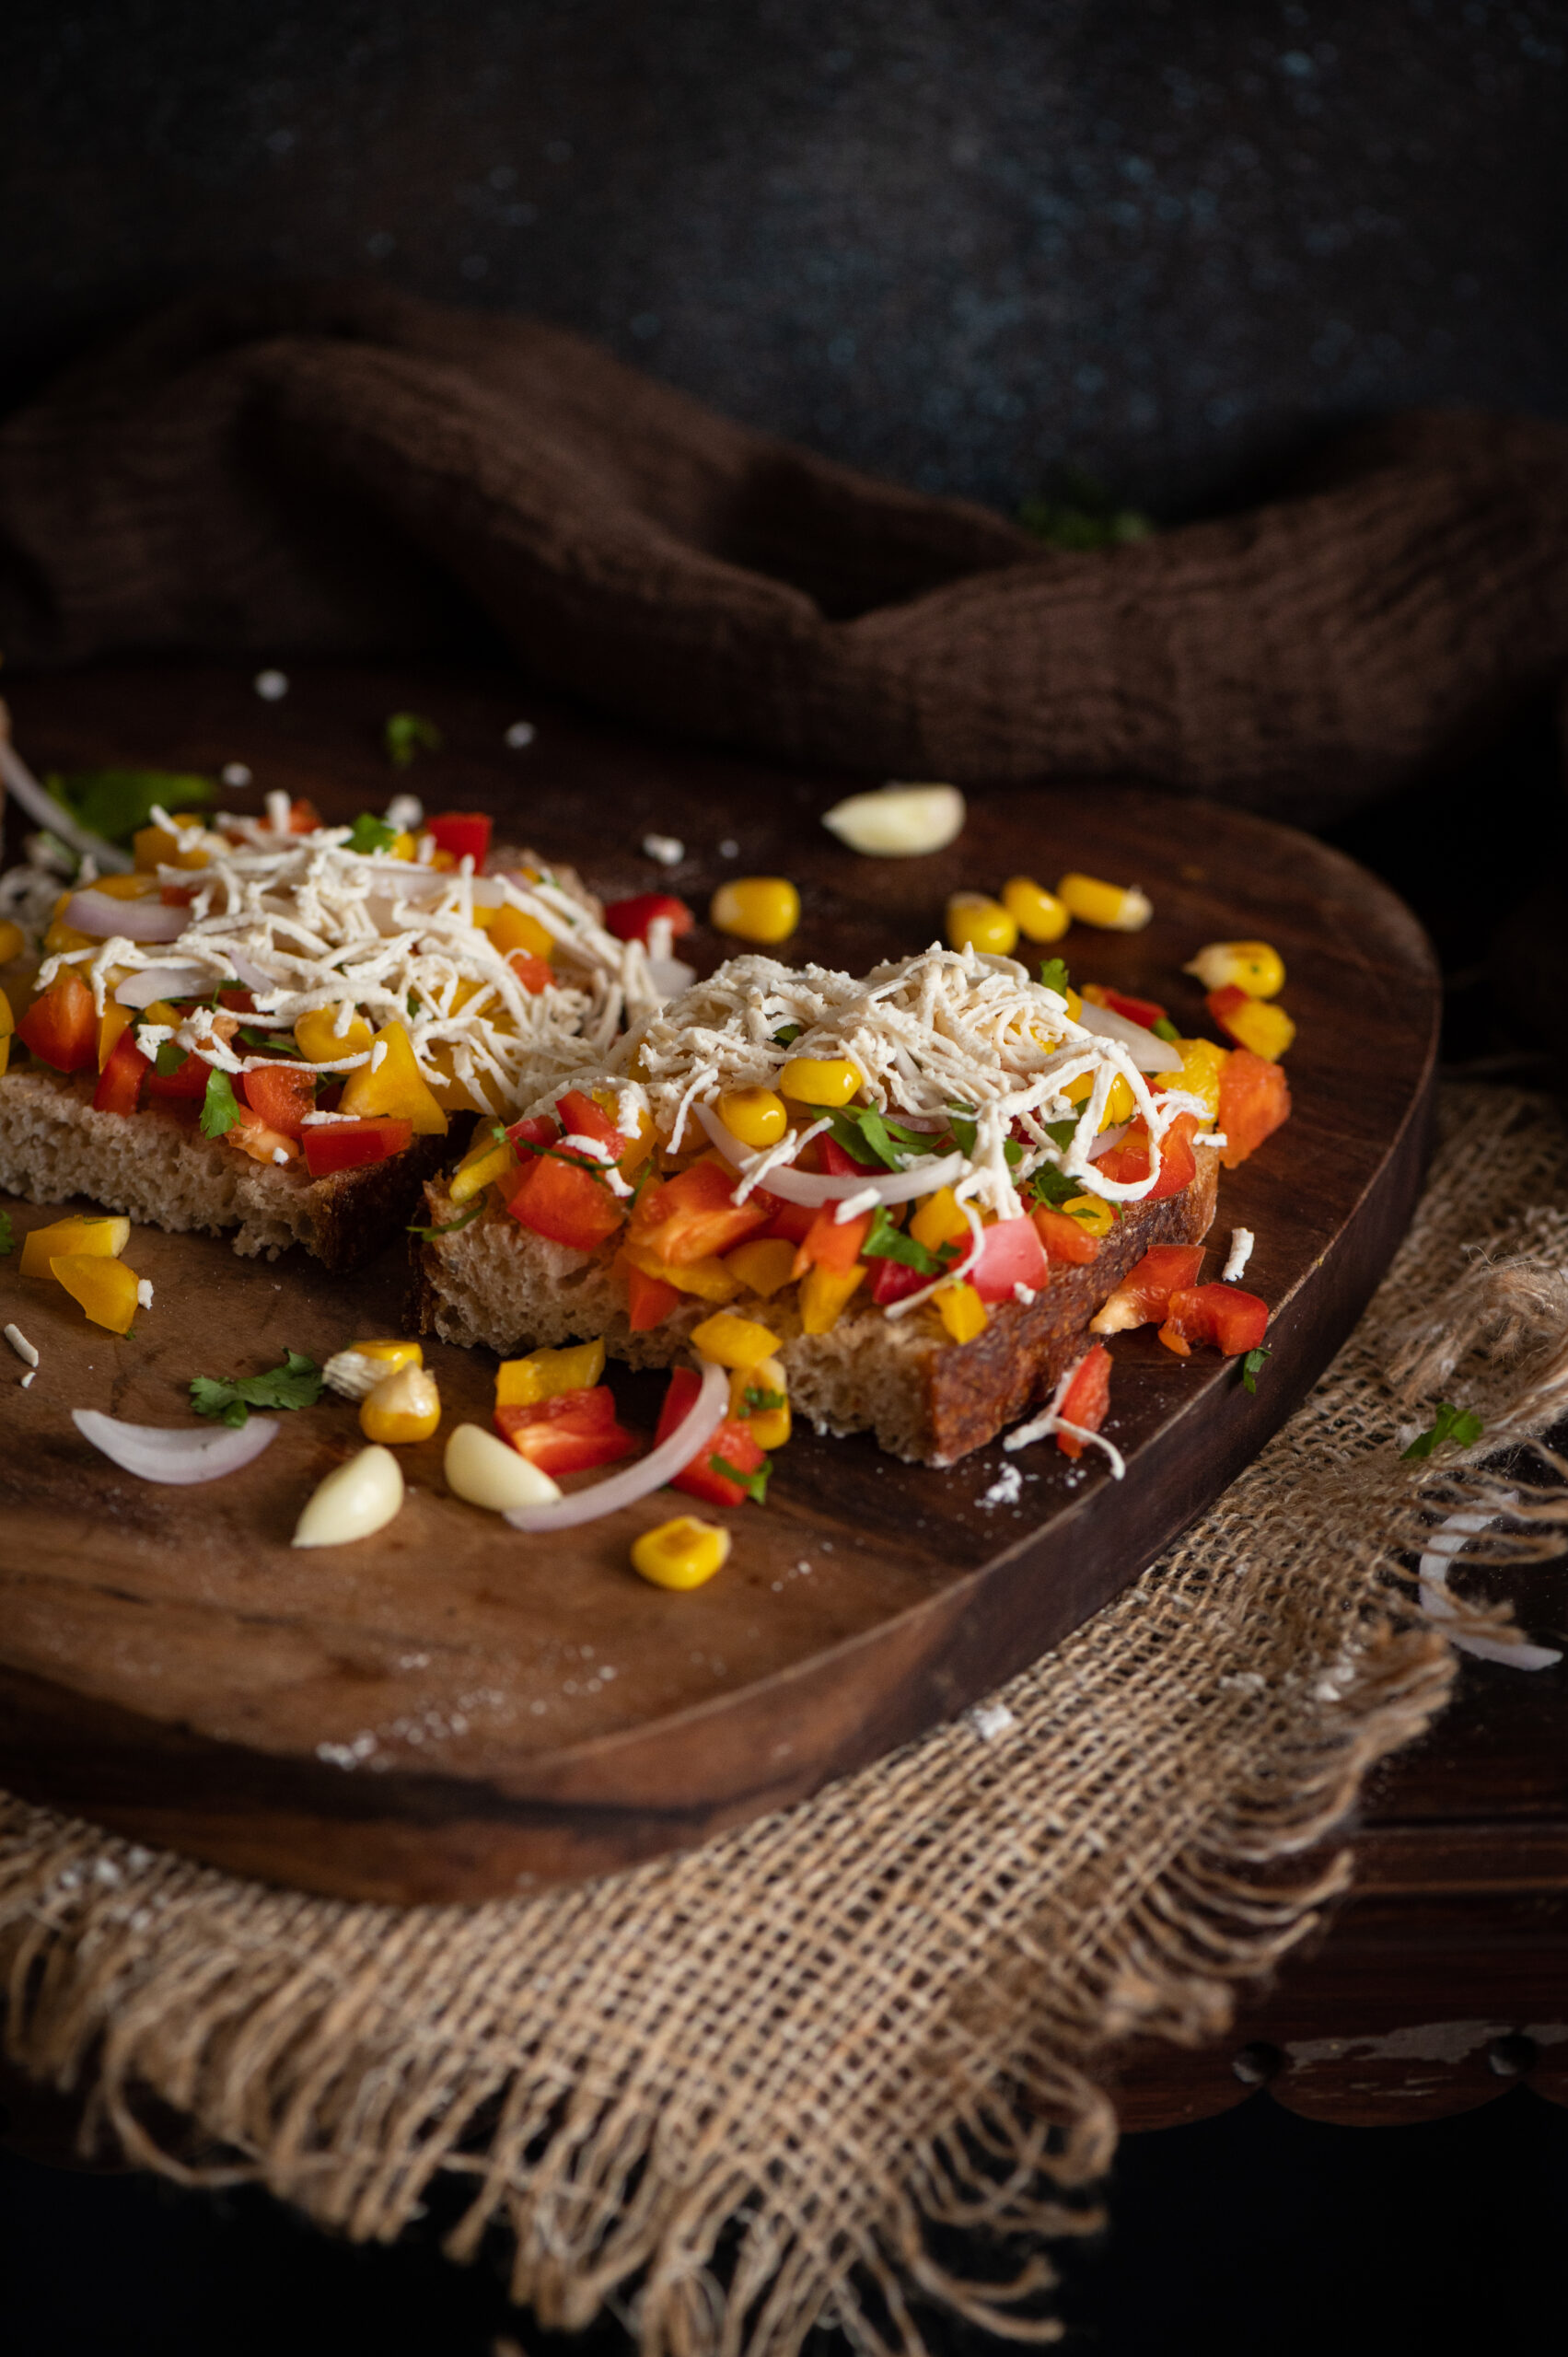
Oh well! At least I can safely say that this cheesy, spicy, garlicky sourdough toast was the hit of the picnic! I’ll always associate it with the memories of the fun we had that day, spending time together as a family in our garden. That’s the thing about food prep: when something is made to suit a particular need or occasion, the dish also gains meaning. Is it for a daily meal, is it for a special person, is it for an event? By thoughtfully planning the lockdown birthday picnic menu to feature a healthy but delicious snack like this, and making sure I prepared it in a way that was also special, the dish became impressed upon my memory and in my culinary repertoire.

Before I share the recipe, here’s a quick note on sourdough itself, just in case you’re curious about what it is. It’s the traditional, ancient way of making bread, which people around the world used for millennia before baker’s yeast was invented. It’s based on natural fermentation, with air pockets created by the same, and it rises beautifully. You can keep the starter going for ages, just like yoghurt. For me, it took a few miserable failures before I managed to get mine going. Before that, friends generously shared their own starters with me, which I fed and nurtured, but there’s a different kind of challenge and a sense of achievement when you’ve made your own. The learning is continuous, especially when you have to take into account variables like weather conditions. Sourdough maintenance is like plant maintenance.  Making sourdough in Chennai weather is a struggle, as the natural temperature is not really conducive, while air-conditioning dries out the starter. I’ve managed to make a few chips and freeze them just in case my sourdough dies on me, and I’ll need to start it all over again. In the meanwhile, we are truly enjoying the bounty of the current batch.

I am almost sure that foodies following this blog have either been making their own sourdough, or have access to a store-bought loaf, so I’ll jump right ahead to what you can do with it, rather than spend time on how to grow it. In case you don’t have it on hand, you can use white bread or any bread you like.

Cheesy, Spicy, Garlicky Sourdough Toast

(Yield: 4 slices)


4 slices toast

1 teaspoon oil

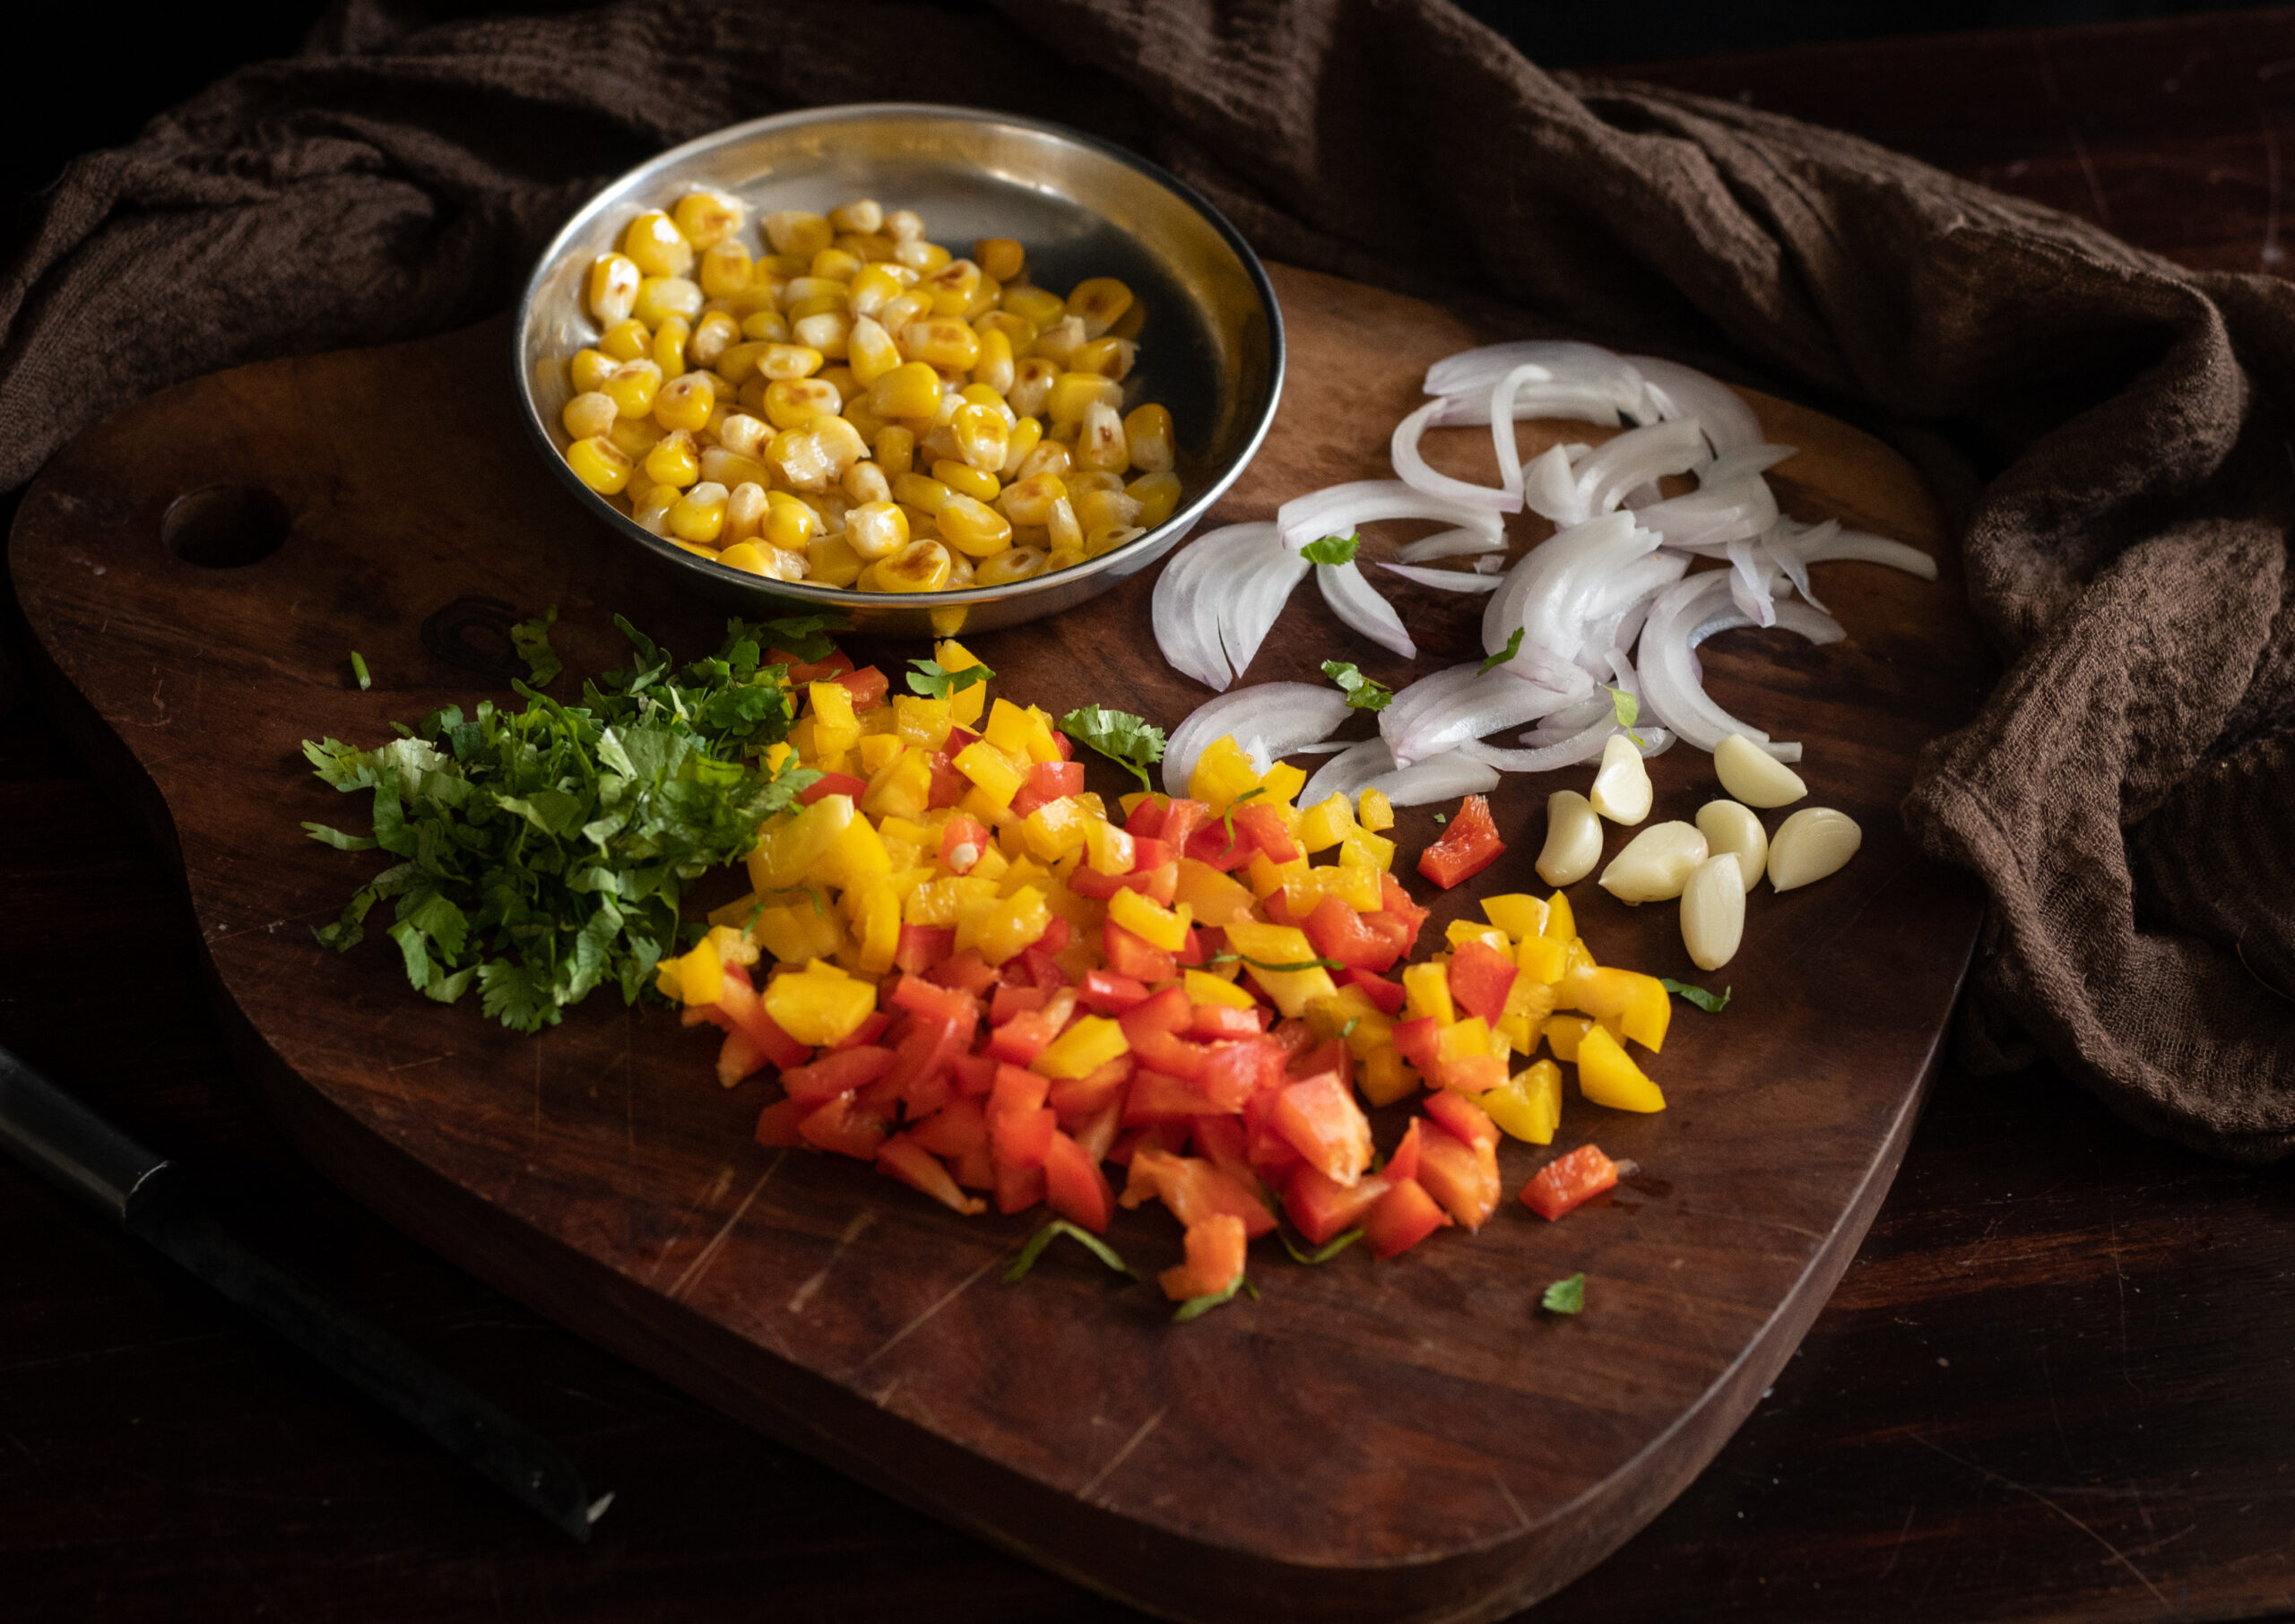
2 cups chopped vegetables (bell peppers, onions, garlic, coriander or parsley, cooked corn)

1 tablespoon chopped jalapeño peppers

¼ teaspoon grated ginger

Coriander chutney (alternative: pesto)

Salt to taste

Chili flakes

Butter as required

1 cup grated cheese (alternative: tofu/paneer)

Heat a pan and add the oil. Add the garlic and ginger, and then add the chopped vegetables. Stir-fry on a high flame. This mixture doesn’t take more than 5 minutes to sauté. Add the salt. Set aside. Allow to cool.

Prepare the slices of sourdough by buttering them lightly. Next, spread the coriander chutney (or pesto, if you prefer) over the butter.

Now, add a heaped spoonful of vegetables over the chutney/pesto. Top this with grated cheese or tofu.
Place the bread in the oven and allow to toast/bake for about 10 minutes or until the cheese melts and the slice of sourdough turns golden underneath.

Remove the slices from the oven and sprinkle with the chili flakes. Serve warm.

This cheesy, spicy, garlicky sourdough toast called to mind a variety of toasts my family has enjoyed over the years. When I was growing up, my mum used to make a version of masala and mashed potatoes with toasted bread. My husband is an ardent fan of  Bombay toast, as you may remember. In lieu of either, my sourdough toast – rich in fresh vegetables – is healthier, without skimping on taste.

Feel free to substitute the vegetables or even the spices as per availability and preference. You may want to increase the quantity of some based on your taste as well (I’m personally a big fan of corn and bell peppers too). If you prefer to go vegan, just replace the butter with olive oil, and either tofu or paneer are tasty and healthy alternatives to cheese.

This version has become my go-to every time I feel like having a snack. When I’m done with my workout and feel peckish, I whip up a slice or two. I sometimes also have it drizzled with olive oil and a sprinkling of salt without adding the spices. Given the lockdown and the limited vegetables that are on hand on some days, I improvise the ingredients. No matter how I make it, it’s unbelievably tasty!

Here in lockdown mode, due to the global pandemic, I feel now more than ever that memories, bonding, love and food are what keep us going and make it possible to manage this difficult time. I sincerely hope that you and your families are keeping well, and that my recipes will offer you some comfort.

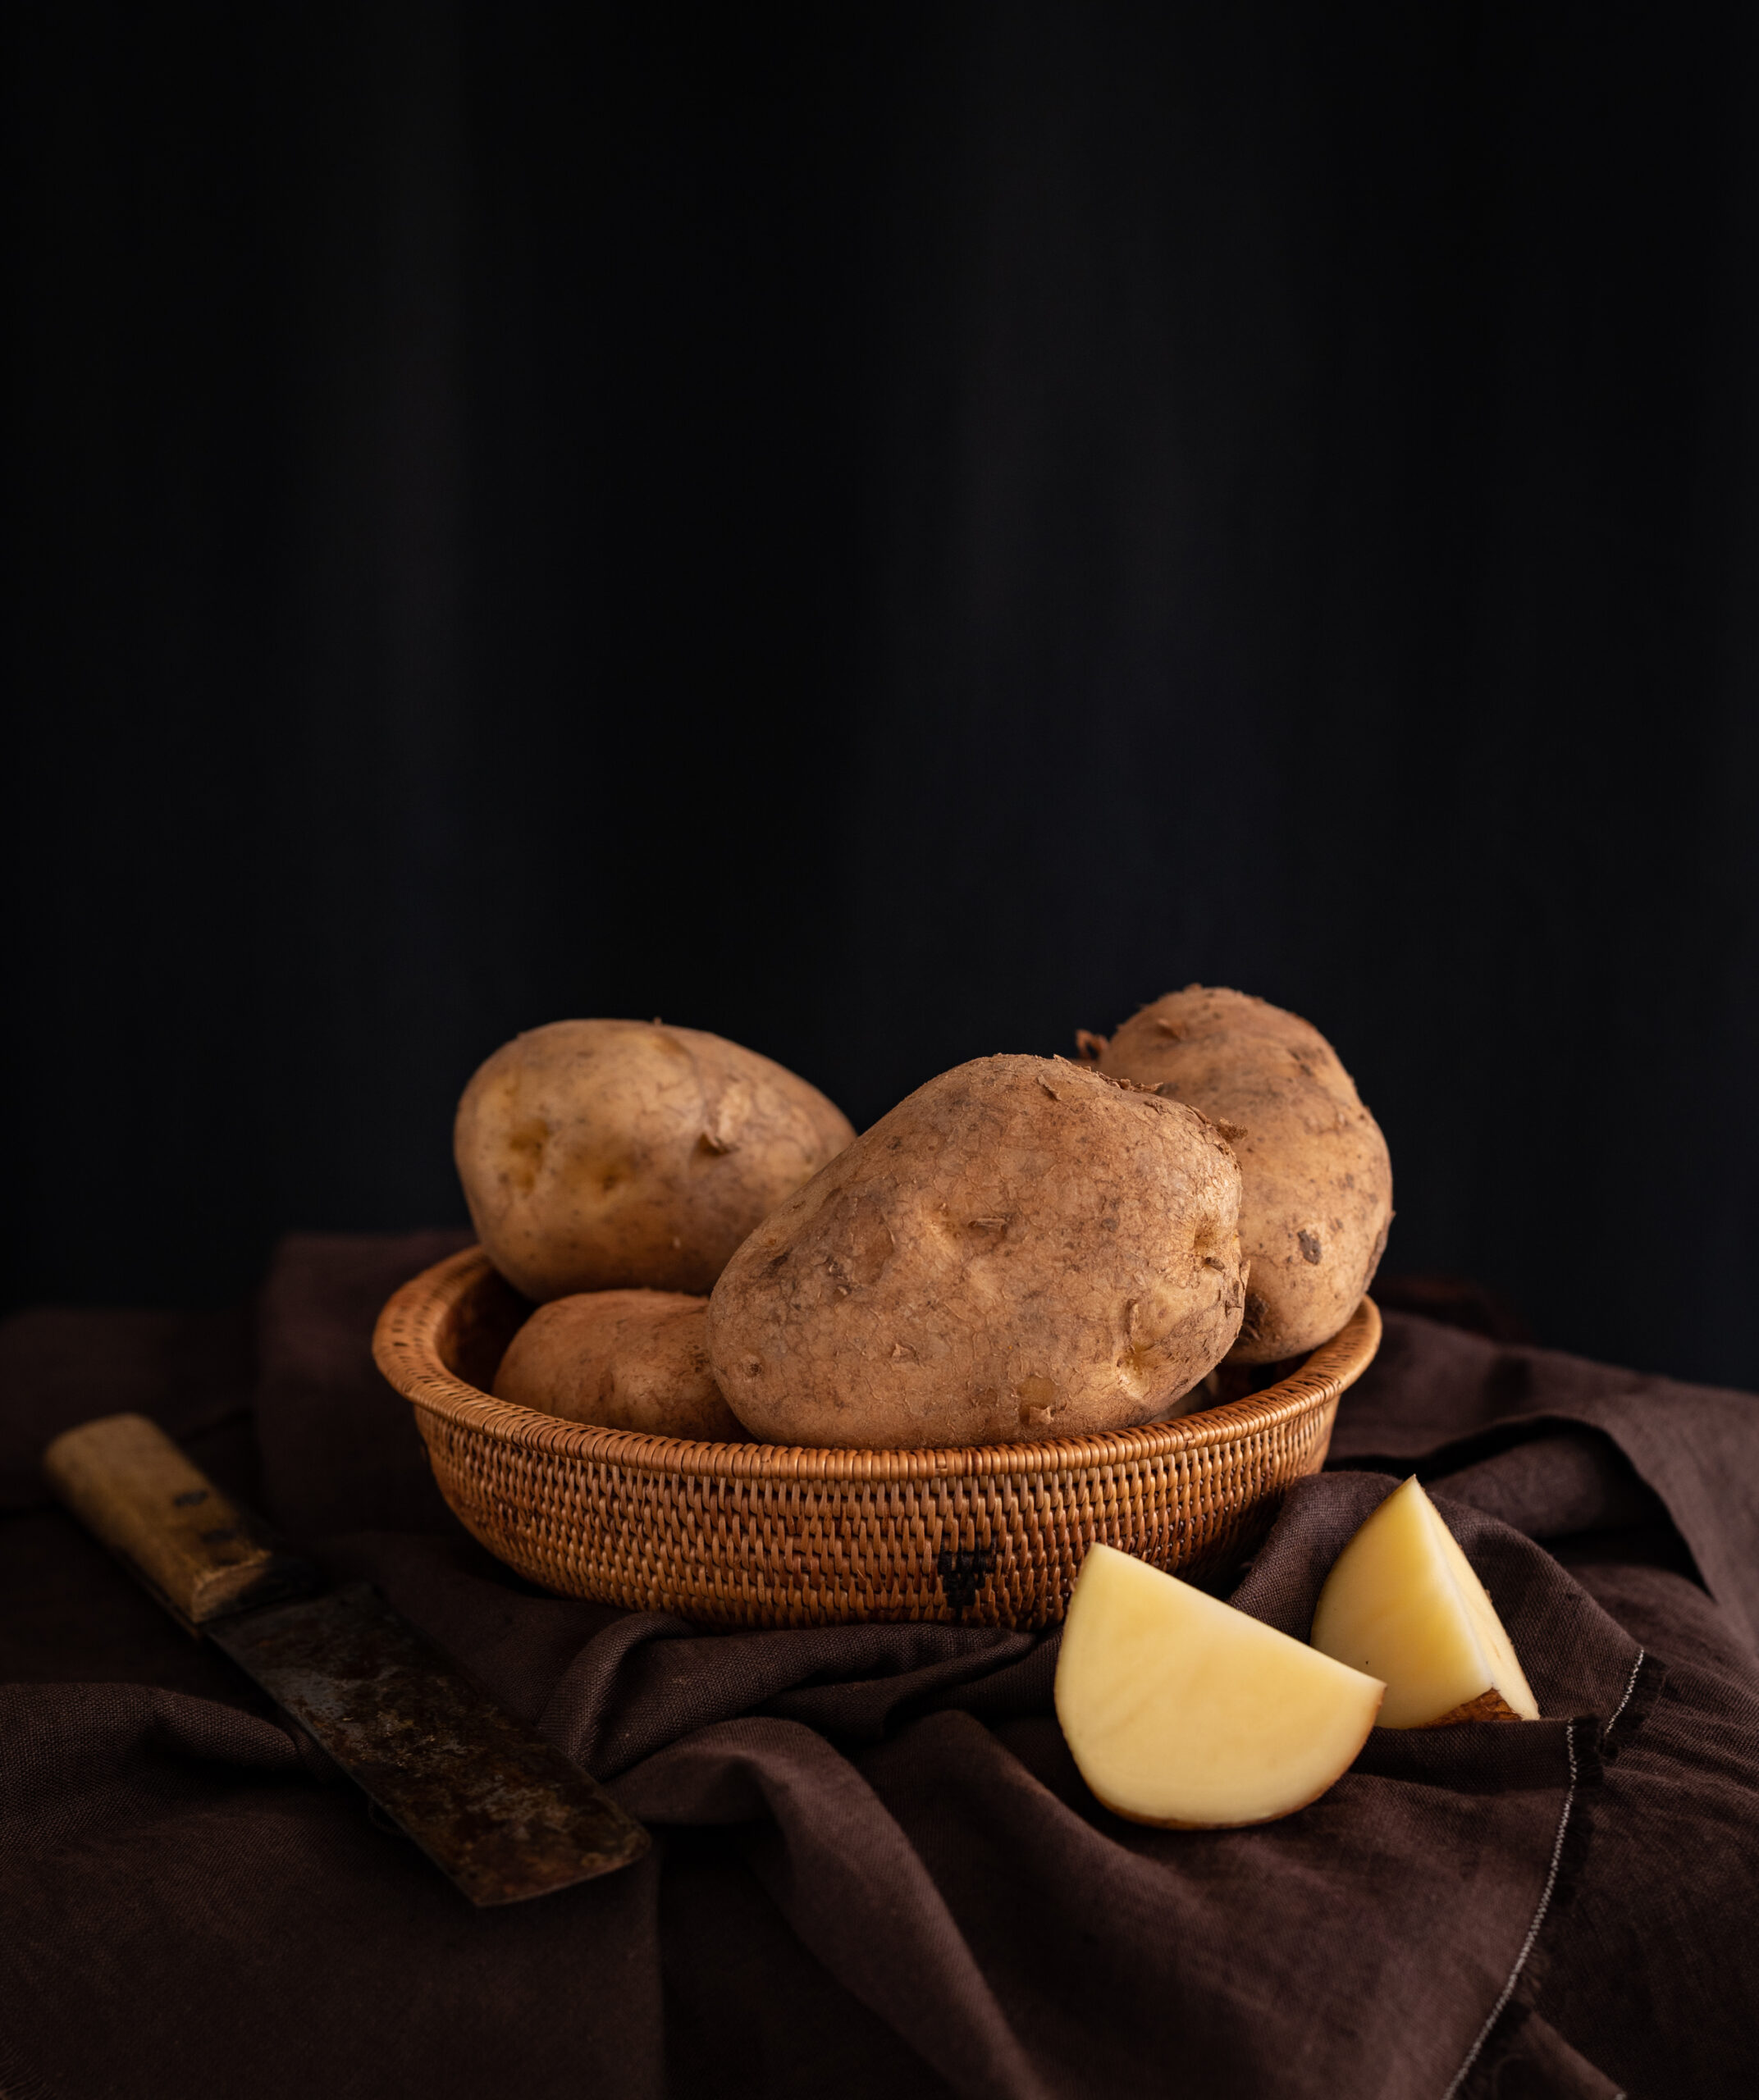
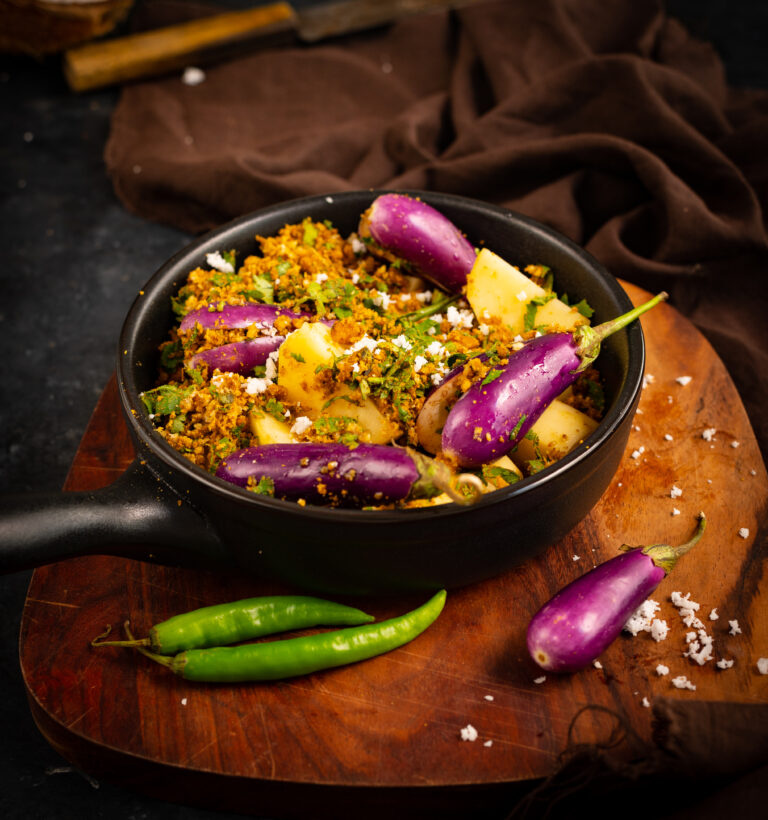
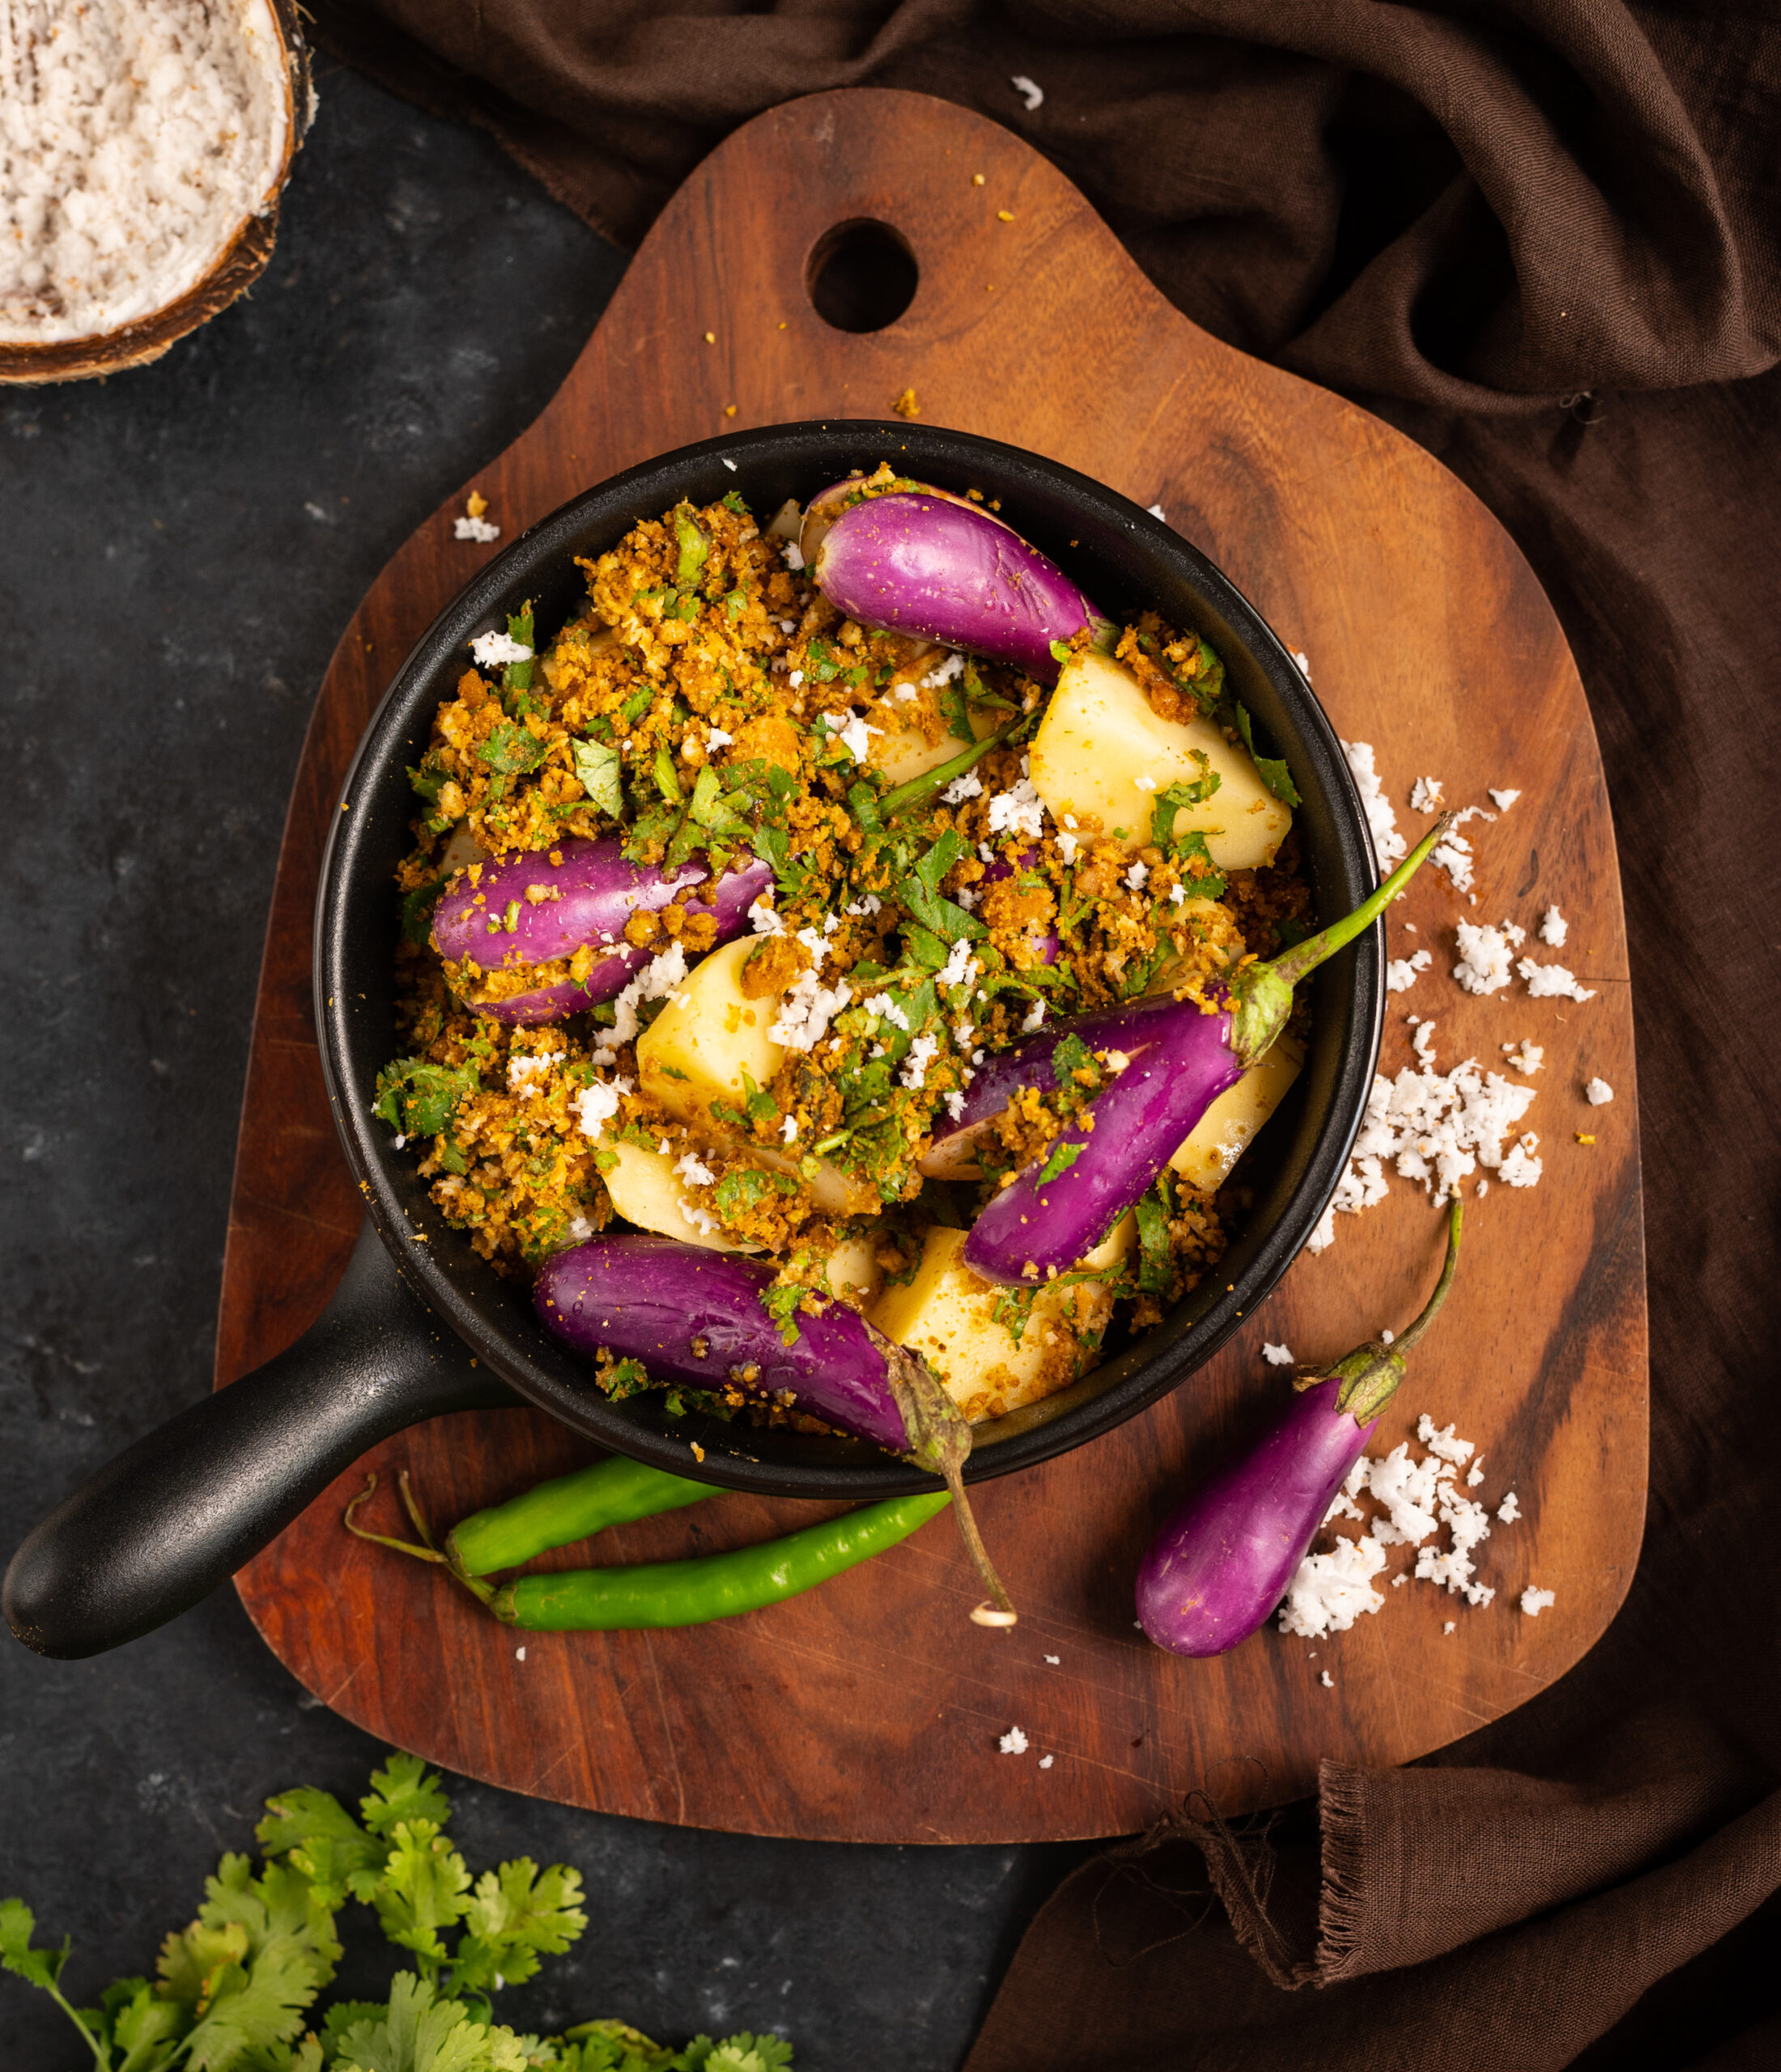
Ever since I can remember, this traditional stuffed vegetable dish has been a part of my life. It’s typically Gujarati, in the sense that every Gujarati household makes it. Some use onions and garlic, while for others these ingredients are not permitted religiously. Some use peanuts to add more texture. This dish is true to its region, so the taste and style you experience will also vary depending on where in the state the family originated from. No matter the variant, the base recipe for this Gujarati Potato & Brinjal Curry, which can be made either as a gravy or dry, is the same.

Needless to say, it’s a favourite and frequent dish in my home today, just as it was when I was growing up. It was a trademark preparation of my mother’s. When I first got married, she would speak to me often on the phone and if she sensed that I was feeling down, she would always say, “Come home for a meal. I made your favourite vegetable dish today.” Till she was 84 years old, she cooked this sabzi regularly for me. In that last year when she was unwell, it became my turn to. I would cook it and send it to her, made with all the love I have for her and the memories she had given me, and she would enjoy it just as much as I did.

And how many memories I have of this dish! Memories of eating it at home as a child, memories of making it for my own family once my kids were born, memories of visiting Gujarati relatives and friends for a meal and almost invariably being offered their own personal rendition of it. Perhaps there was something extra special about it to me always, and maybe this was the reason why my mother recognised that it was my favourite. That was because it was always served during our Sunday lunches when we were growing up. We would all be glad for the weekend, enjoying our leisure, and this delicious concoction of potato and stuffed brinjal would fill our tummies and become associated with the joy of a day of rest itself. Funnily, for such a quintessential and ubiquitious dish, Gujaratis don’t have a special name for it. We just call it “potato-brinjal curry” in our language too!

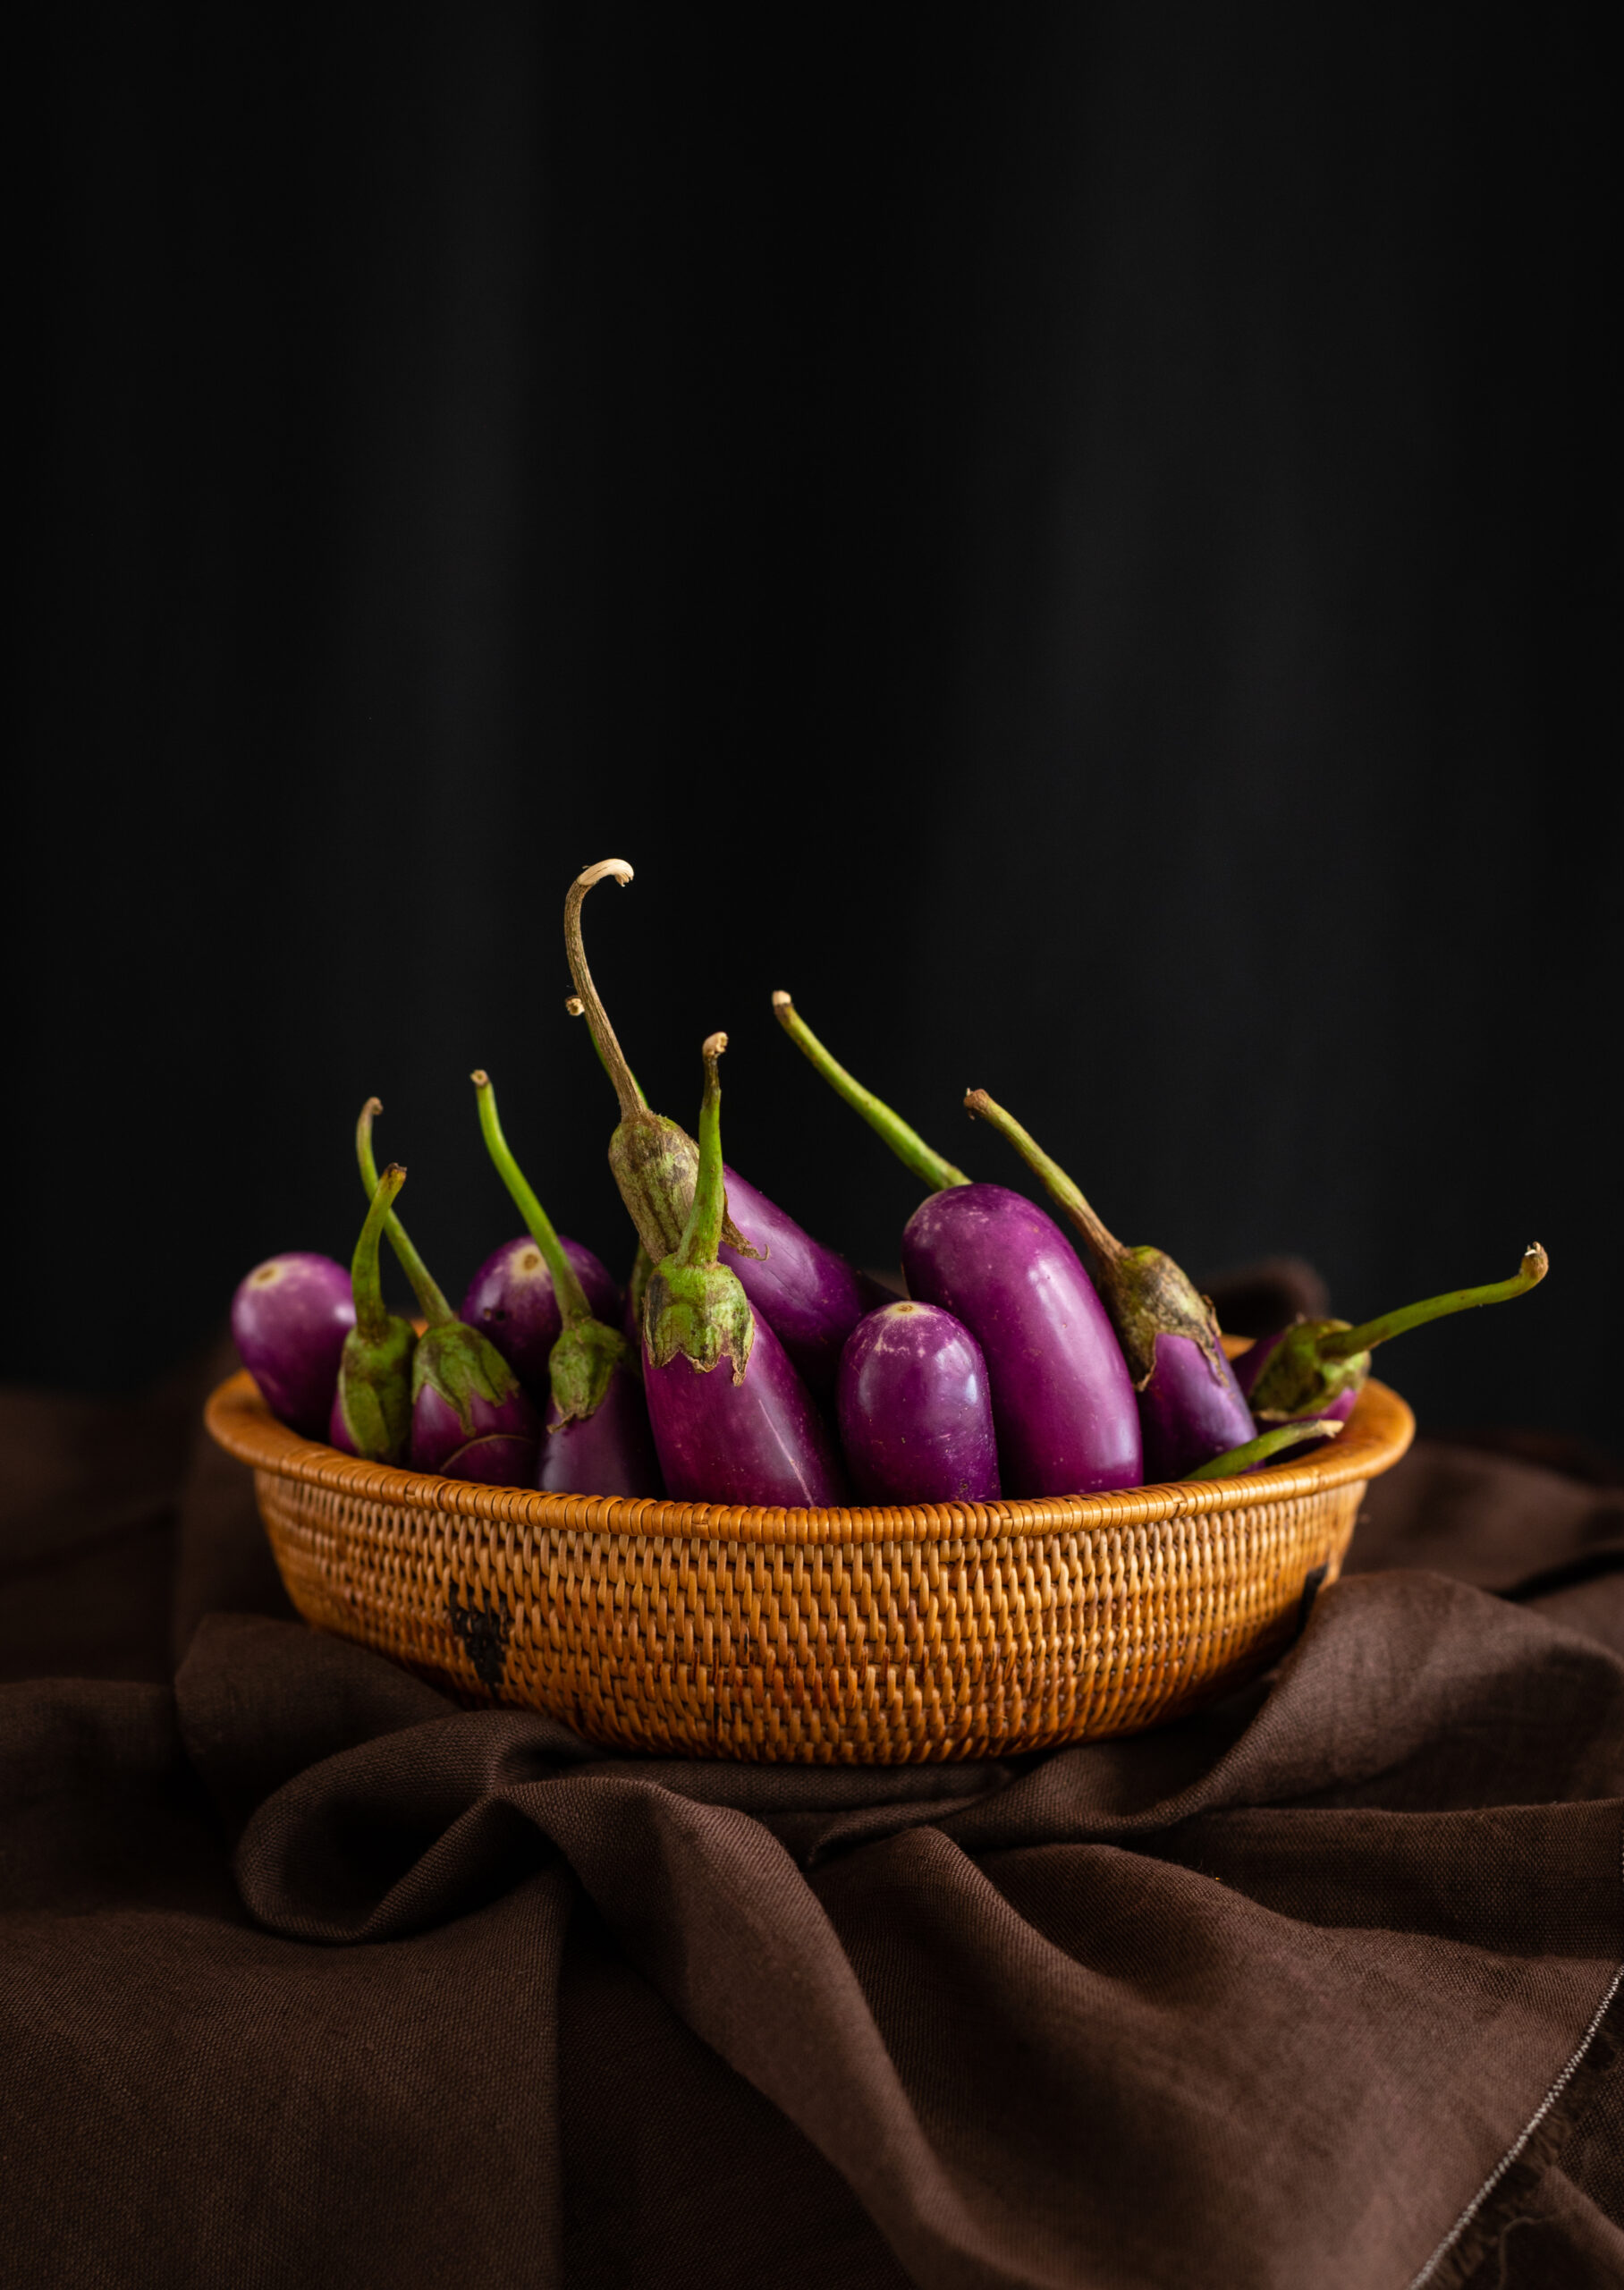
There are certain dishes which, even if one usually dislikes the main ingredient, the magic of the preparation always sways the eater to relish it. I’ve heard quite often that people who don’t enjoy eggplant in other ways do so when they have a bite of this. (People not liking potatoes is much rarer, of course!). Whether you call it brinjal, baingan, aubergine or eggplant, it’s a vegetable that has a host of benefits, and which can be made in delicious ways so that your family receives these. This Gujarati curry, for which I will provide both the gravy and the dry options in the method below, is the perfect way to bring the antioxidant-rich, fibre-rich, nutrient-rich vegetable into your regular diet.

Gujarati Potato & Brinjal Curry (Gravy/Dry)

(Yield: 1 bowl)

½ cup grated coconut

¼ teaspoon turmeric powder

2 tablespoons cumin/dhania (coriander) powder

1 teaspoon amchur (mango powder)

1 teaspoon garam masala

2 tablespoons jaggery

1 teaspoon chilli powder

Salt to taste

½ teaspoon grated ginger/green chili

½ cup finely chopped coriander leaves

2 tablespoons oil

6 baby eggplants

3 large potatoes

3-4 cups water

First, let me share the gravy version of this dish. The dry version is provided further below.

Wash the baby eggplants. Slit them lengthwise (so that they can be stuffed; be careful not to cut completely) and keep the slices in water.

Peel the potatoes and cut them into big pieces. Set aside.

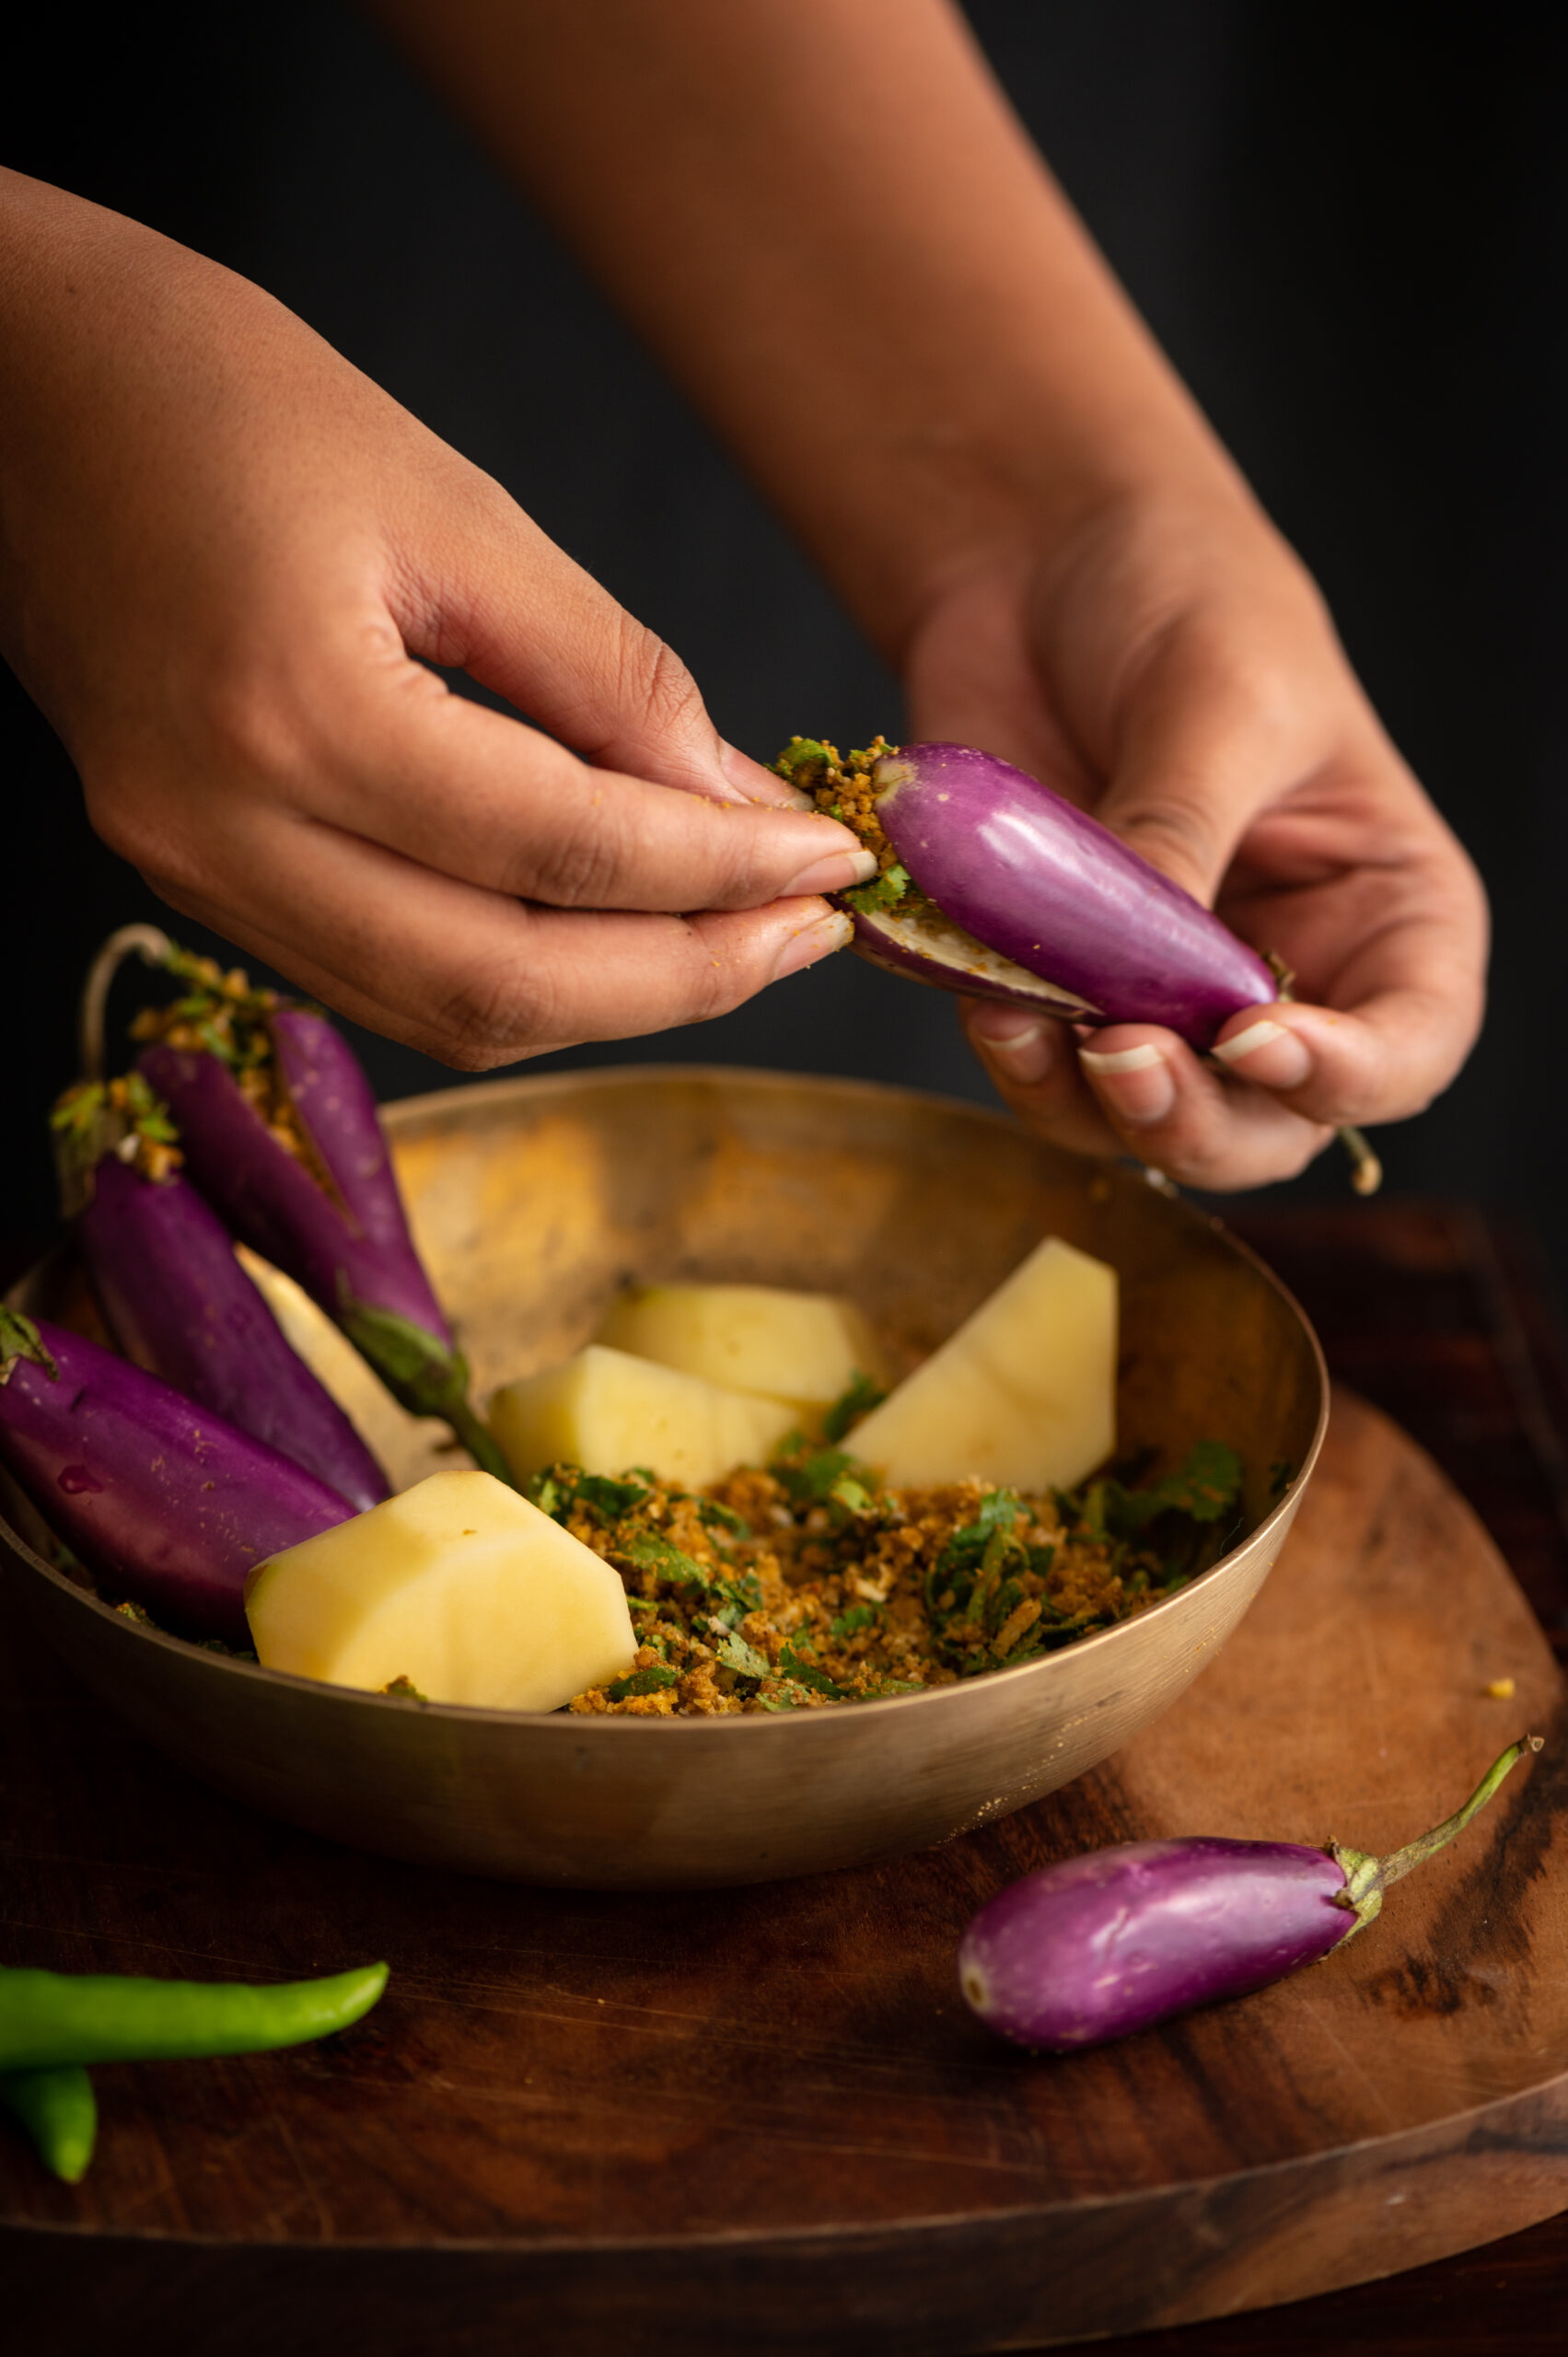
In a plate, prepare the stuffing by adding together the coconut, salt, spices, coriander leaves, ginger chili paste, and jaggery. Mix it well with your fingertips and set aside. Now, take each eggplant and stuff it with this prepared masala. Keep aside.

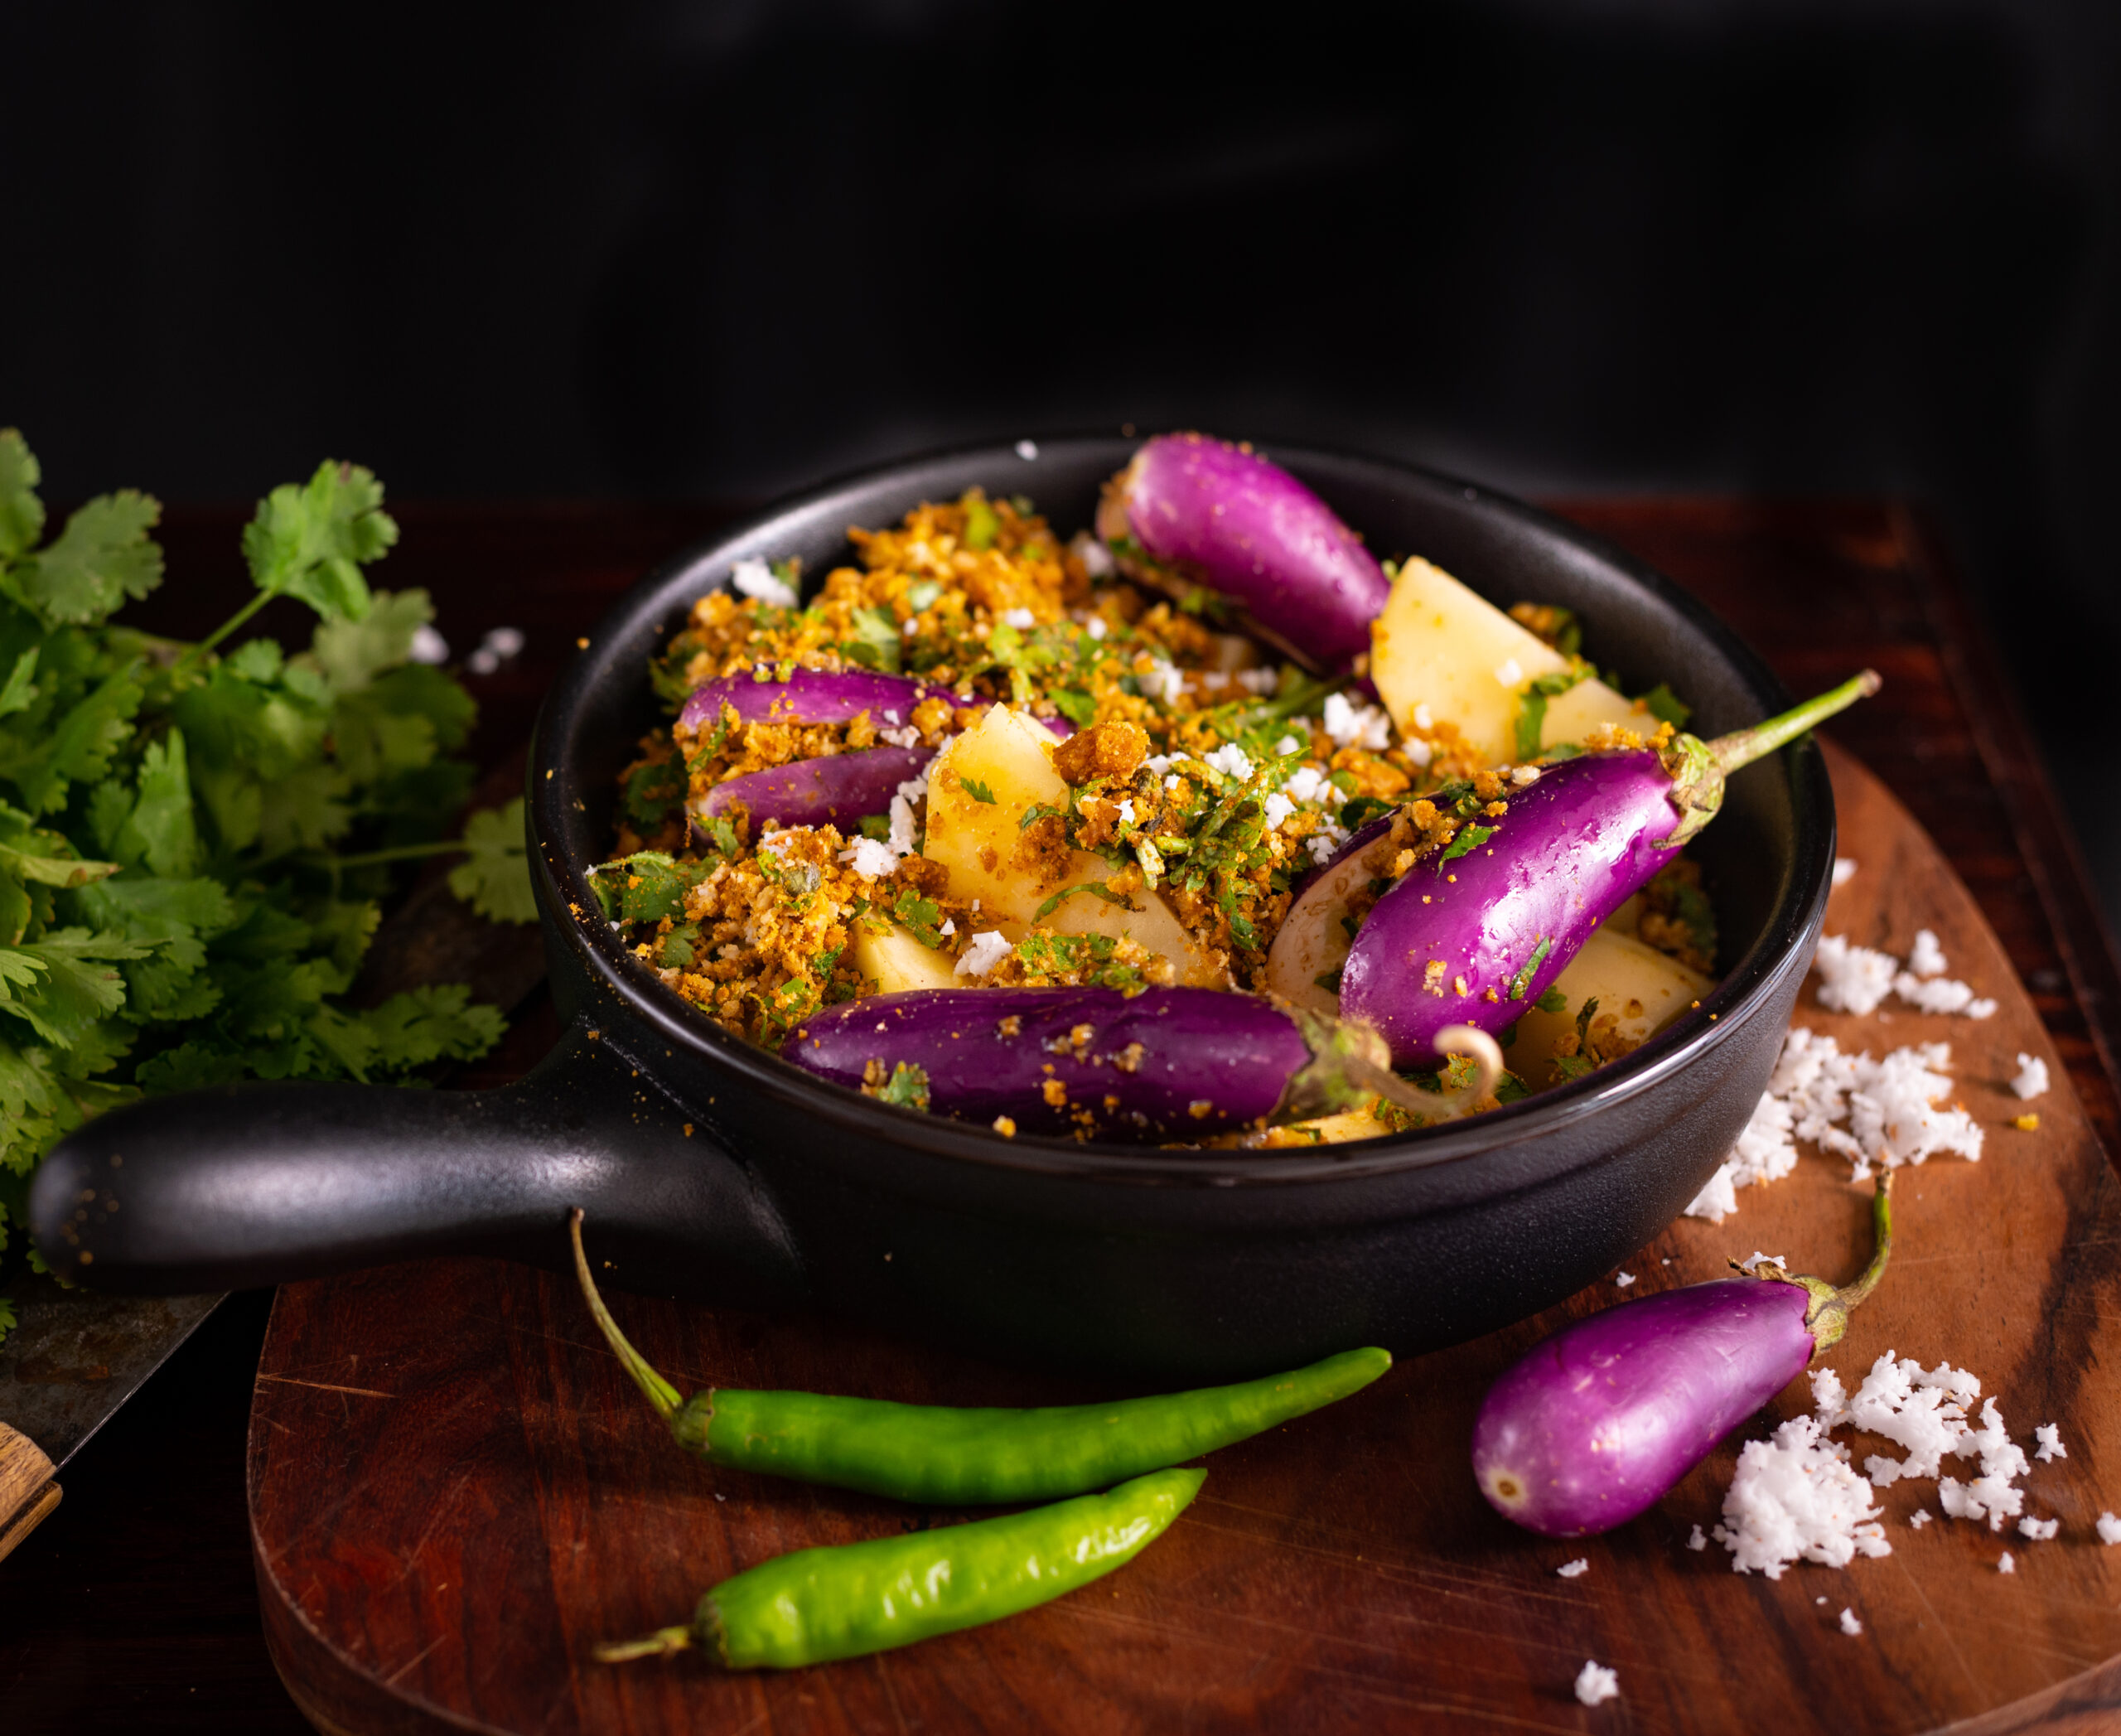
Heat the oil in a pressure cooker and gently add potatoes, making sure the oil doesn’t splutter. Next, gently add the stuffed eggplants over the potatoes. You will find that there is a lot of masala left over. Sprinkle this over the vegetables, leaving just a little on the plate for later. Again, gentleness is key so that the stuffed eggplants don’t break.

Now, add the water and mix the concoction – again, gently! Cover the cooker and wait for three whistles. Allow to cool, then open the lid and add the remaining masala. Stir once again. Your gravy Gujarati Potato-Brinjal Curry is ready to serve.

If you prefer a dry version of the same, follow the first three steps as above: cleaning and preparing the eggplants for stuffing, cutting the potatoes, and preparing the masala.

Then, add the oil in a kadai. Once it has heated, add the potatoes. Stir them, then cover with a lid on a slow flame. Stir occasionally, making sure they do not stick to the bottom. Once the potatoes are slightly tender to the touch and not overcooked, open the lid and add the stuffed eggplants. Remember that potatoes take longer to cook than eggplants so gauge the time well.  Cover again.

If required, especially if the vegetables are sticking to the bottom of the pan, sprinkle some water and cover. Continue to allow the dish to cook until all the vegetables are well-done. Finally, add the masala and stir gently. Cover again and allow it to sit. The dry version of this dish is now ready to serve.

As you prepare the dish, adjust the spices as per your preference. If you don’t like the standard Gujarati-style touch of sweetness, don’t include jaggery. If you want to spice it up while maintaining colour, chopped green chillies will do the trick. Don’t forget the versions mentioned at the beginning, which incorporate peanuts, garlic or onions.

No matter which way you choose to make it, I hope this Gujarati Potato-Brinjal Curry brings as much comfort and deliciousness to your home as it does to mine. As with all Indian curries, it’s perfect with rice and a range of breads. It’s got the spiciness of our masala, is tummy-filling thanks to the potatoes, and just has such a feel-good effect on the heart. Trust me: generations of Gujaratis have been turning to this dish as nutritious comfort food!