Tag

kitchen

Browsing

We would clamber up the sitaphal tree, pluck one right off the branches, and in our greedy delight not even check whether the fruit was ripe enough to eat before we tore it open with our hands and devoured the sweet white pulp. Then, we would spit out the shiny black seeds and collect them, for they were perfect for playing pallanguzhi, a traditional Tamil mancala game! Whenever I think of sitaphal, I think of these moments from my childhood. They were filled with joy, and I taste it again each time I taste the fruit.
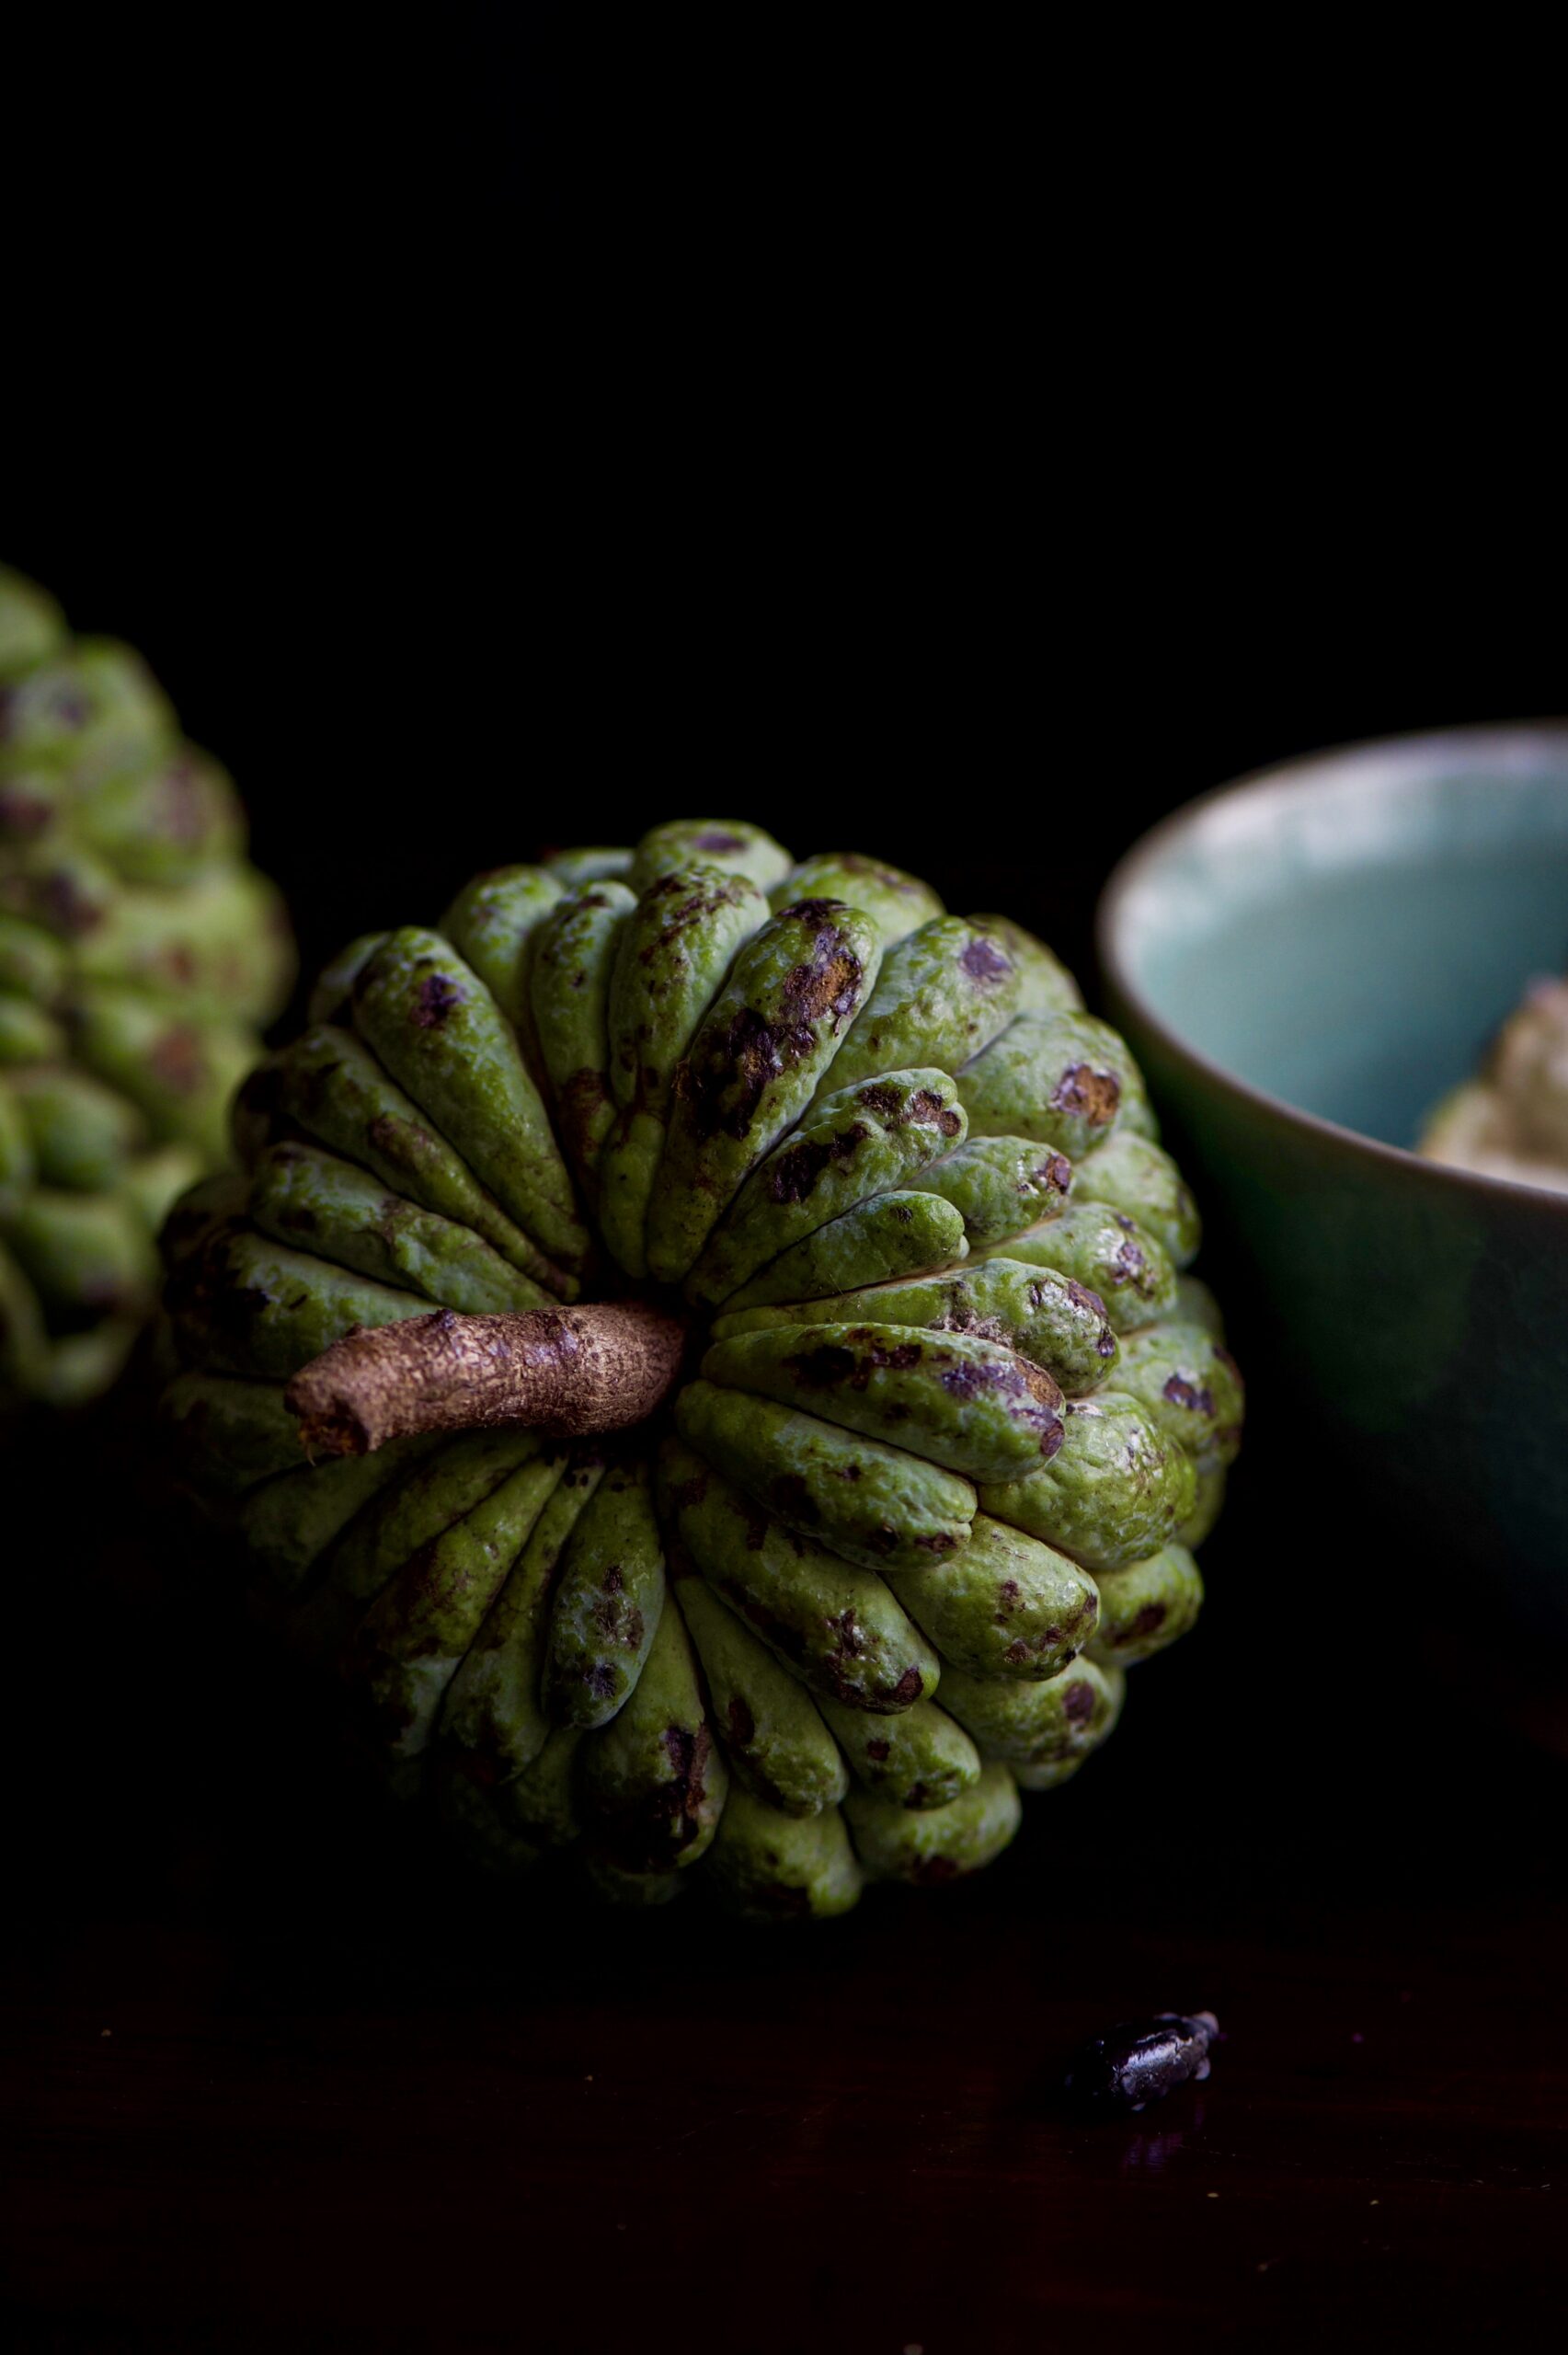

 

Recently, I visited our organic farm a few hours’ drive from Chennai – and the sight of the abundant green harvest of the sitaphal trees brought back those childhood memories.

I will tell you more about our organic farm soon, where we grow paddy, varieties of gourd, numerous other vegetables, fruits – and a thoughtful selection of gorgeous native flowers that are fading from public memory. Hardly anyone wears or sells them anymore, but I take heart from the fact that there is one lady who sits by the Kapaleeshwarar Temple in Mylapore, with a colourful array of blossoms for purchase. Among them are the shenbagha and the manoranjitha. When I was a little girl, the teachers would wear beautiful manoranjitha flowers in their hair, and the classroom would be filled with their fragrance. And I would often think to myself: one day, when I am grown, I will have a house of my own with a tree that bears those flowers.
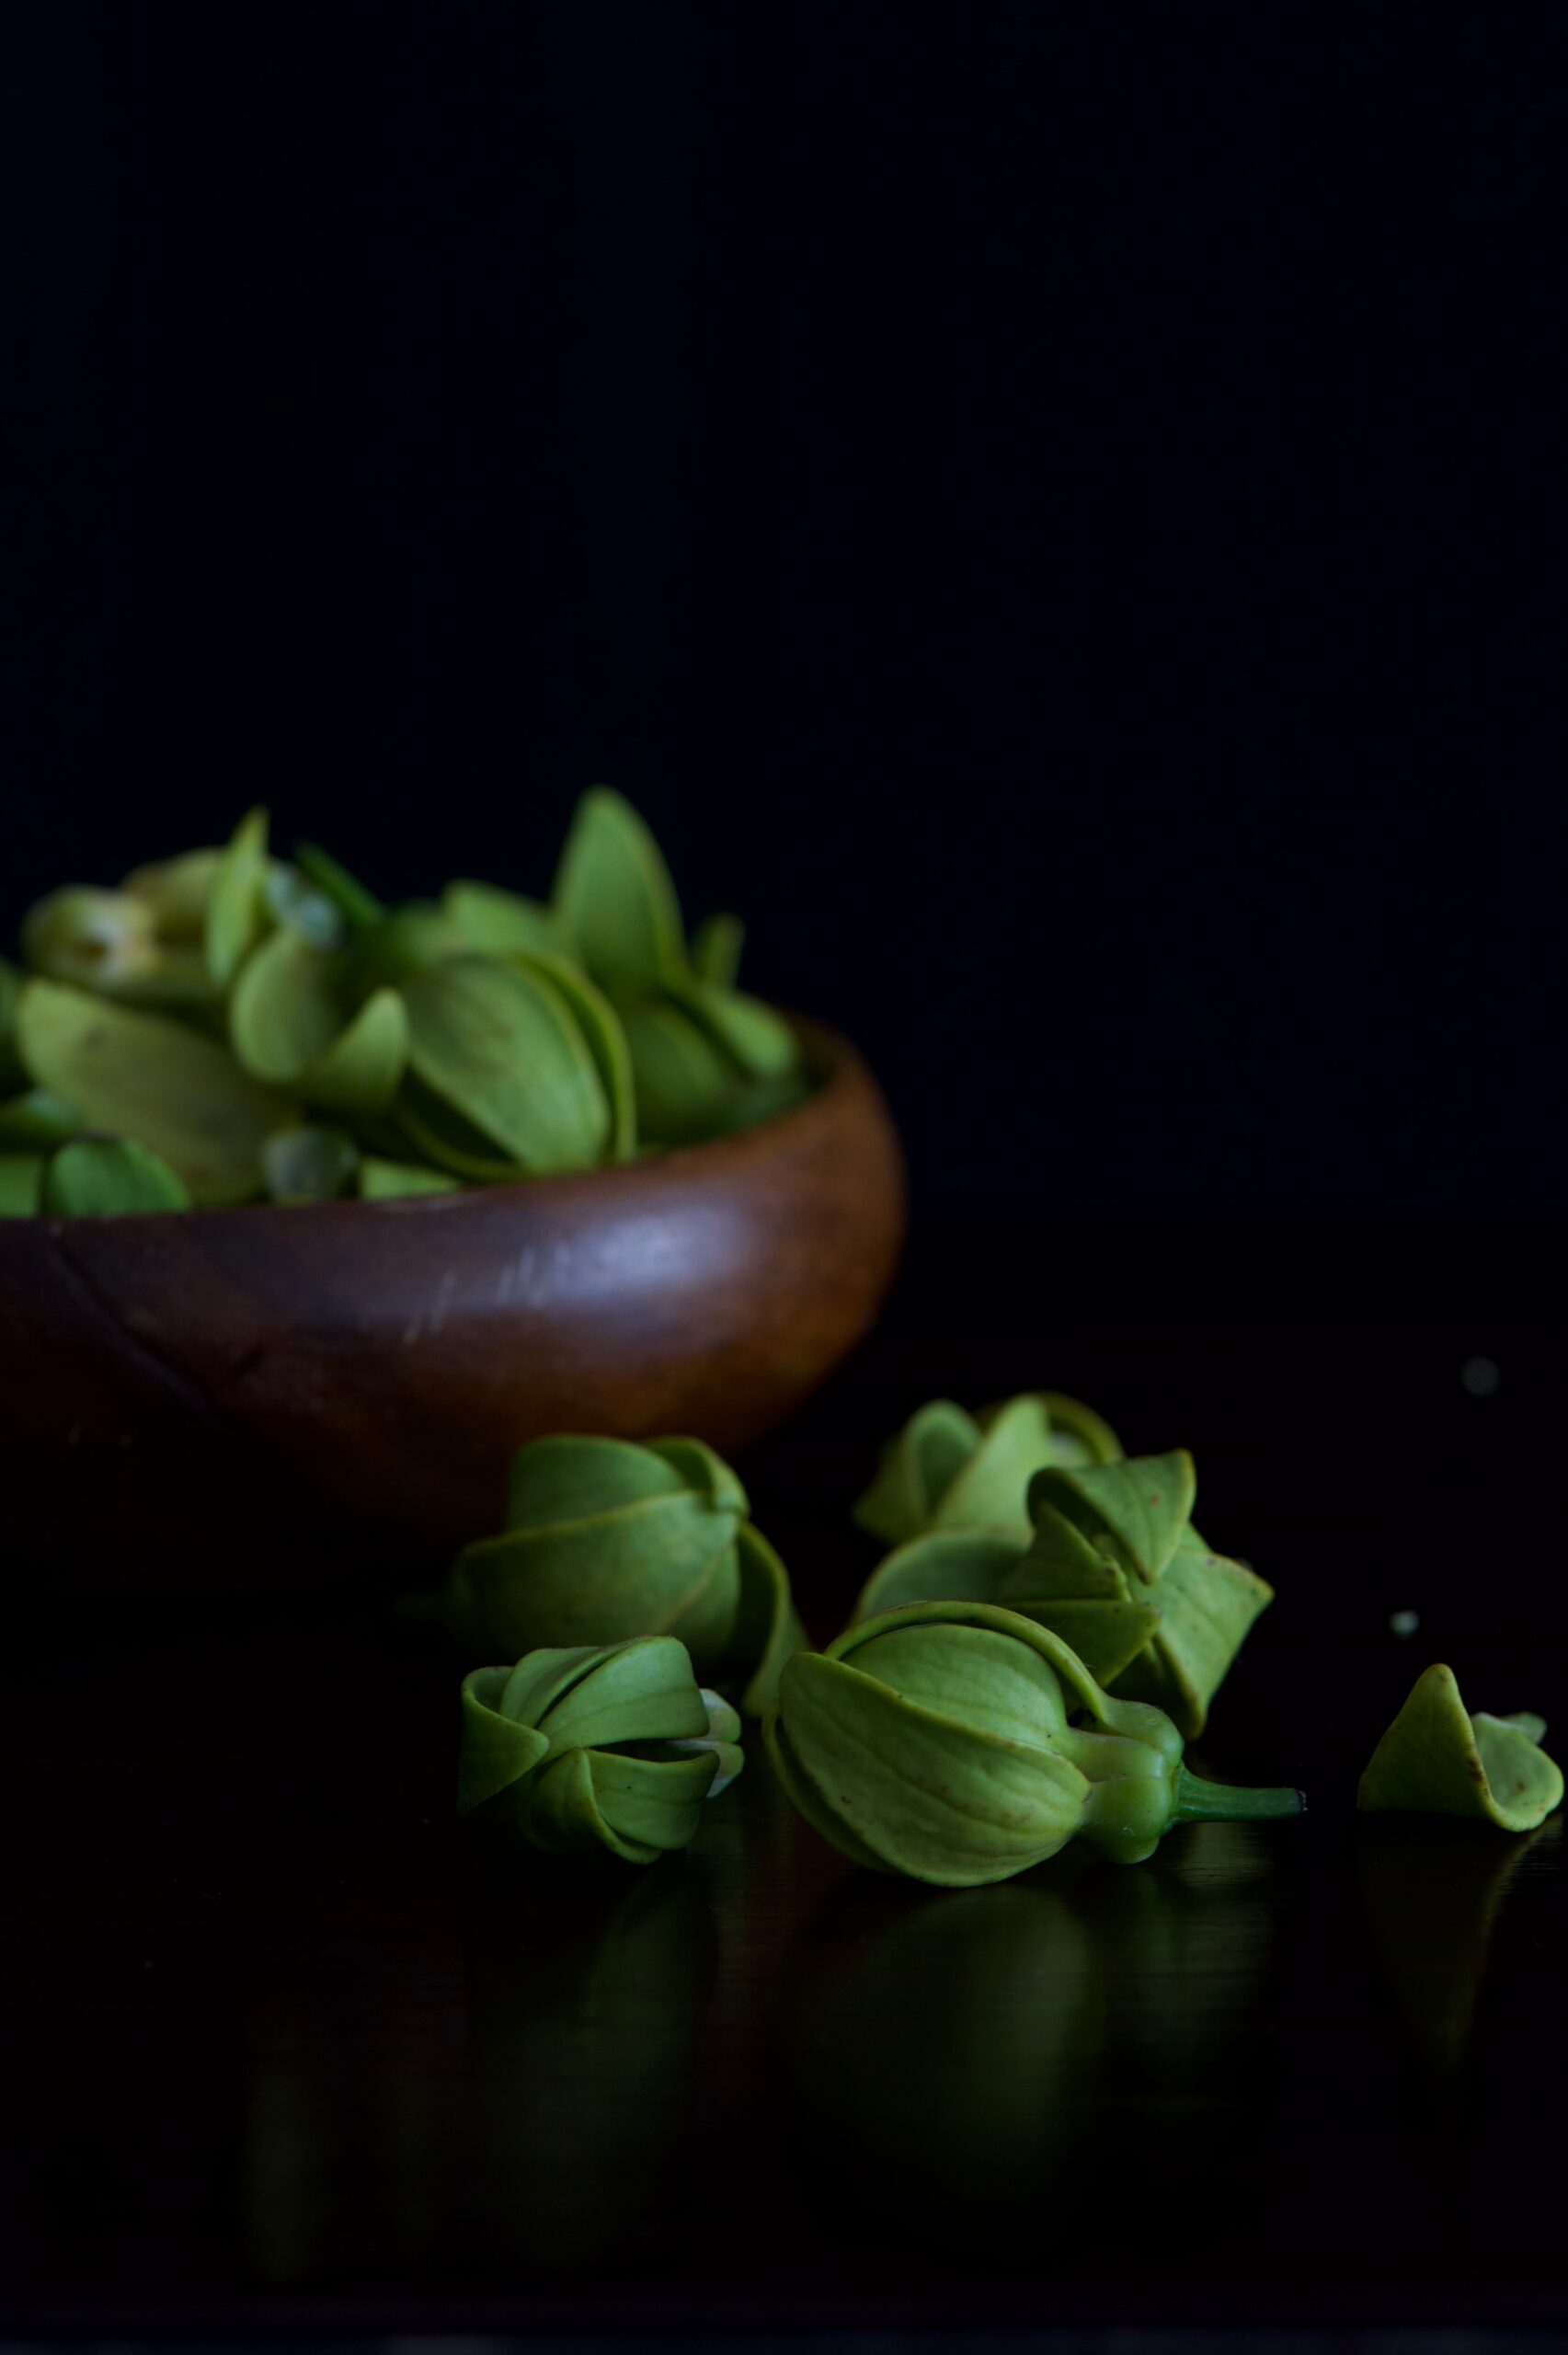
With the sweetness of all these memories in mind, and with the fruit in season in the serene landscape I dreamed of as a child, I remembered and craved a recipe that I had introduced into our family repertoire. When I got married and moved into my new home, I had enjoyed learning certain dishes from my mother-in-law that I found unusual. Among these was a fresh orange kheer. If you remember from this rose-coconut recipe, kheer is a kind of Indian pudding, with milk as the primary ingredient.

My mother-in-law’s citrusy dessert inspired my own variation. Perhaps I had wanted to bring the sitaphal I had plucked and gorged on in my childhood into my matrimonial home. And that’s how this sitaphal kheer was created. Even decades on, it remains a favourite of mine.
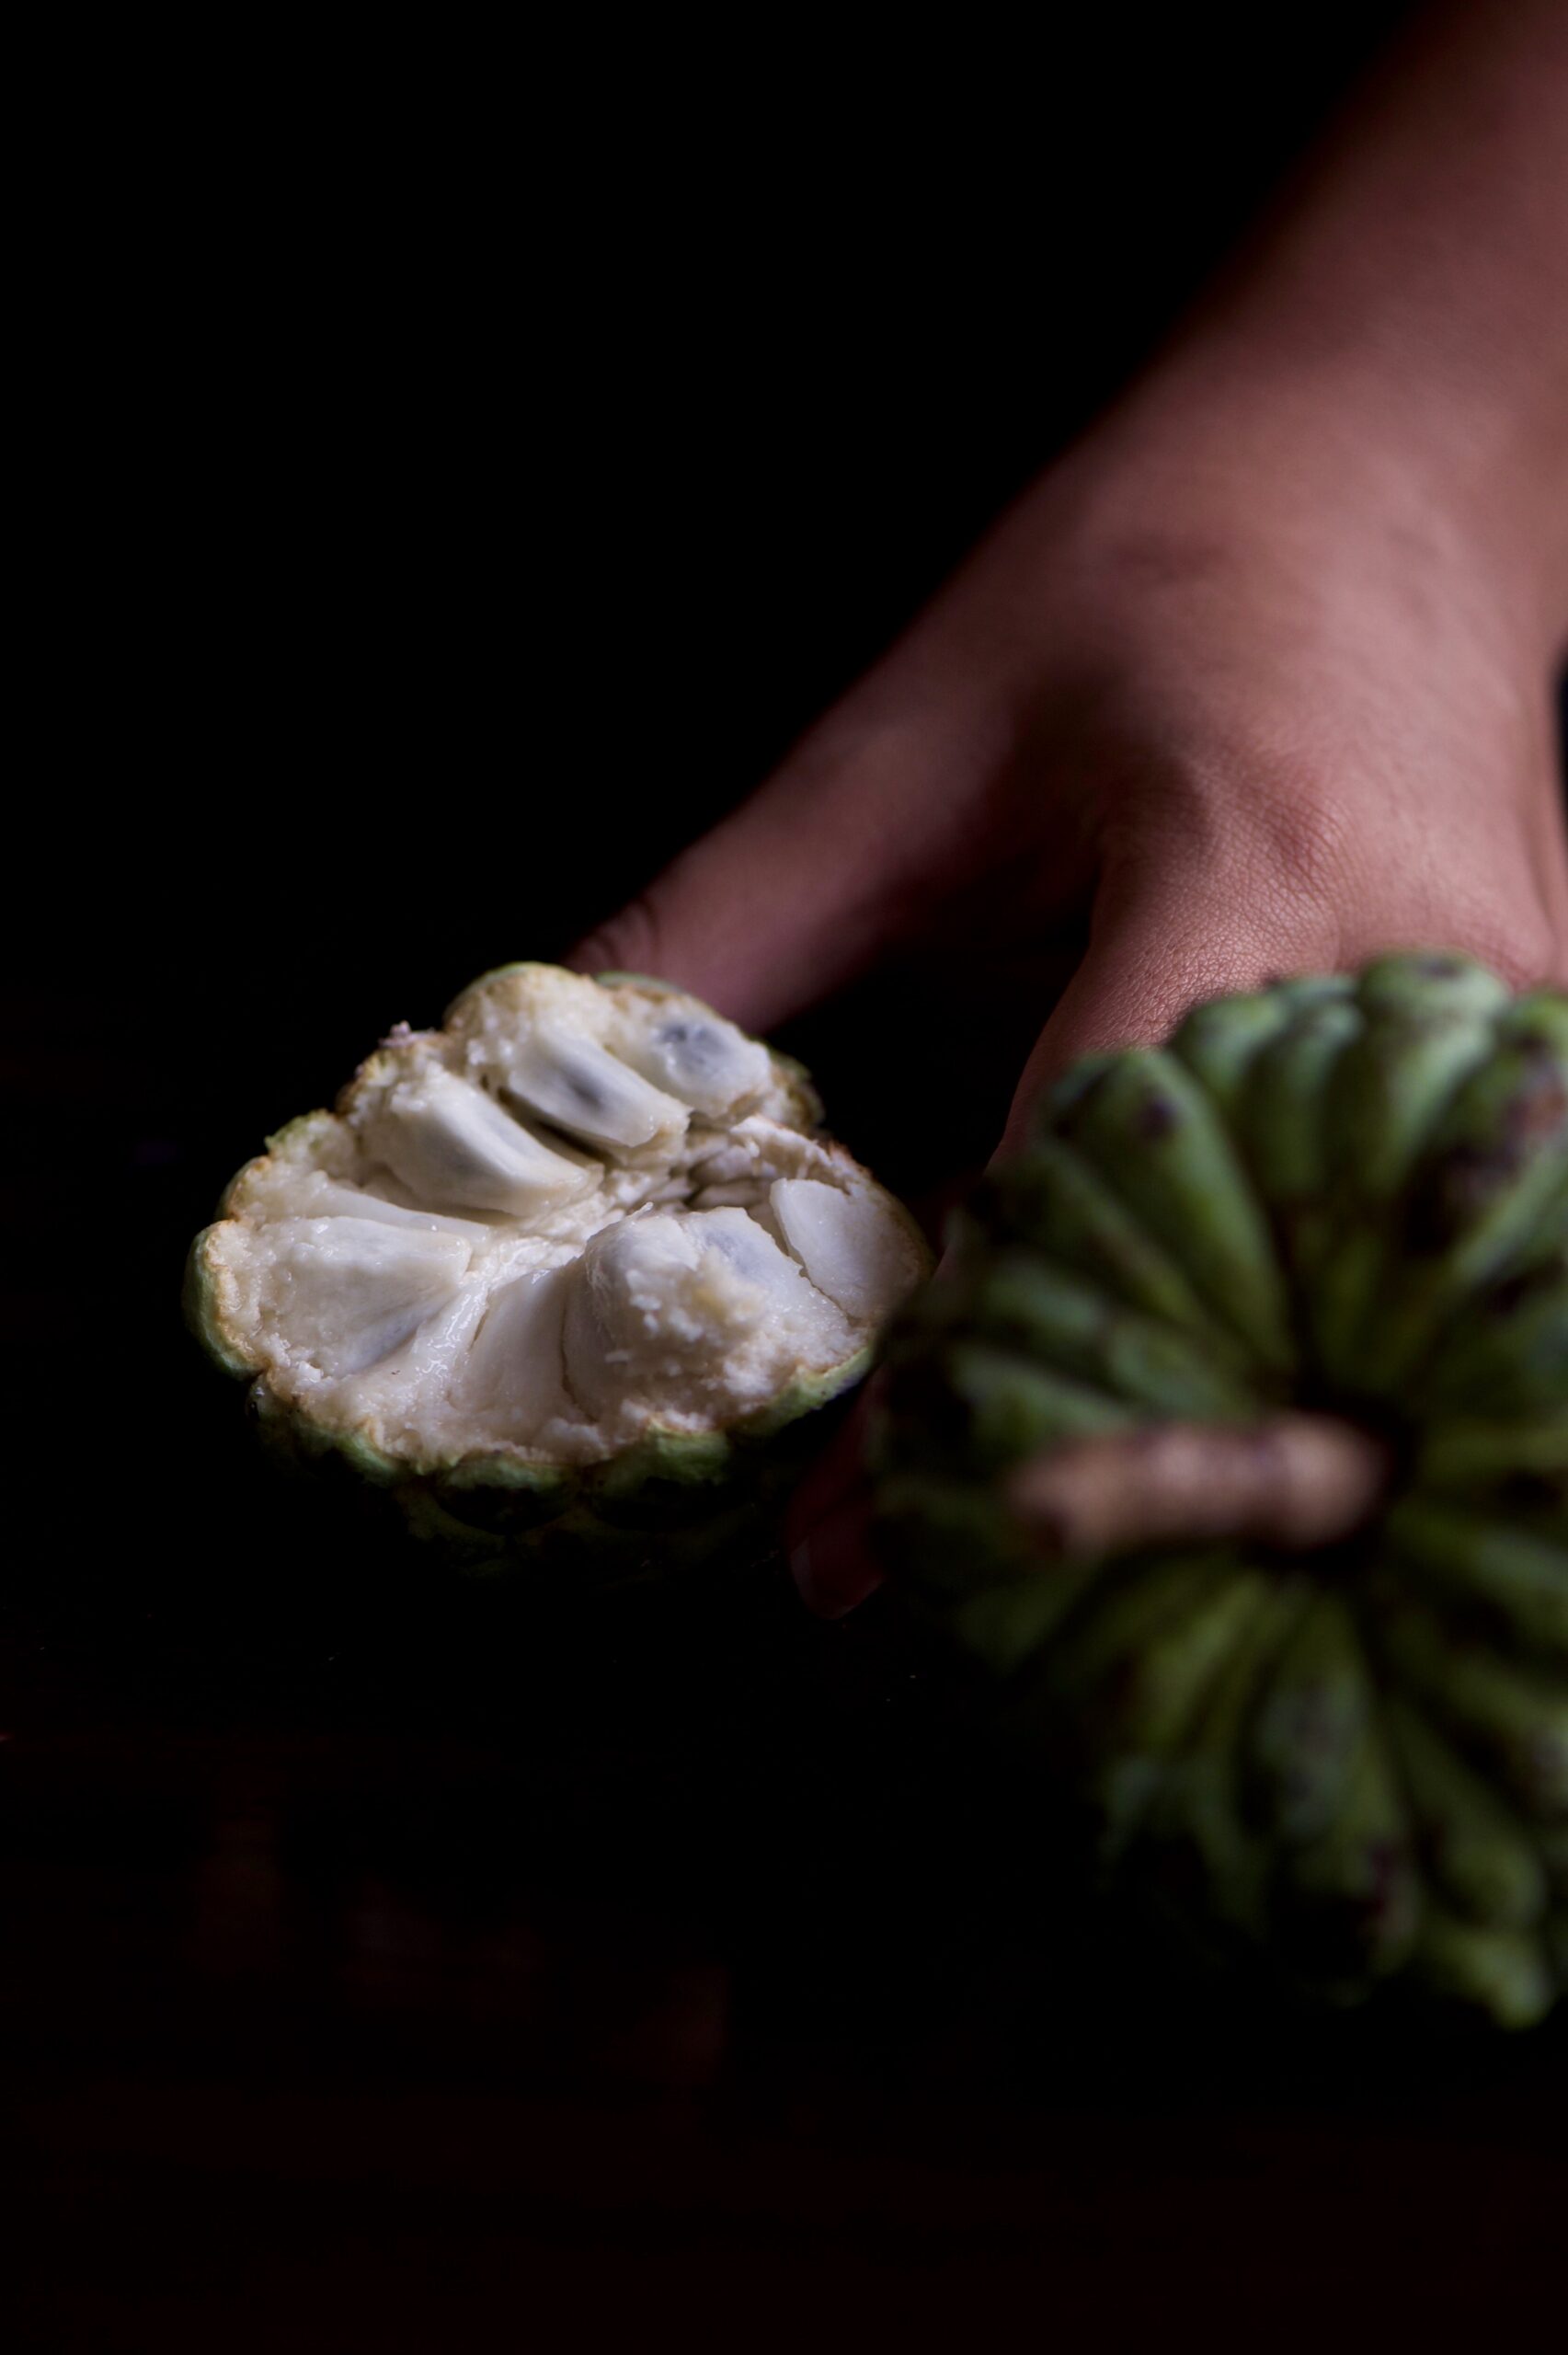
Sitaphal (Custard Apple) Kheer

(Yield – 8-10 cups)

Ingredients
1 ½ litres whole milk
2 large custard apples
1 ½ tablespoons corn flour or custard powder
½ cup sugar

You may know the sitaphal as the custard apple. I cannot recall seeing sitaphal sold abroad, which made me think it must be an indigenous Indian fruit, but it seems it’s actually native to the West Indies and Central America. Nonetheless, it thrives on our farm, and is popular throughout India. I wonder why it is not as well-known elsewhere as the mango. If you ask me, sitaphal is under-rated, and deserves renown.

One of the English names of sitaphal is sugar apple, attesting to its sweetness. Another is sweetsop. That tells you a lot about the taste of this fruit, if you haven’t had it. While it is not at all cloying, and in fact is quite subtle given its names, it is slightly higher in calories than other fruits too. Which means that I won’t sugar-coat it (pun intended): this recipe is a treat, and a bit of an indulgence! Still, sitaphal is also rich in potassium and magnesium, which protect the heart from disease, and Vitamin A and C. Fruit of any kind can never be truly bad for us, and sitaphal is no different.

Open up the soft, patterned green skin of this beautiful fruit, and begin to remove the seeds patiently using a spoon and clean hands. Keep the pulp in the refrigerator, covered.
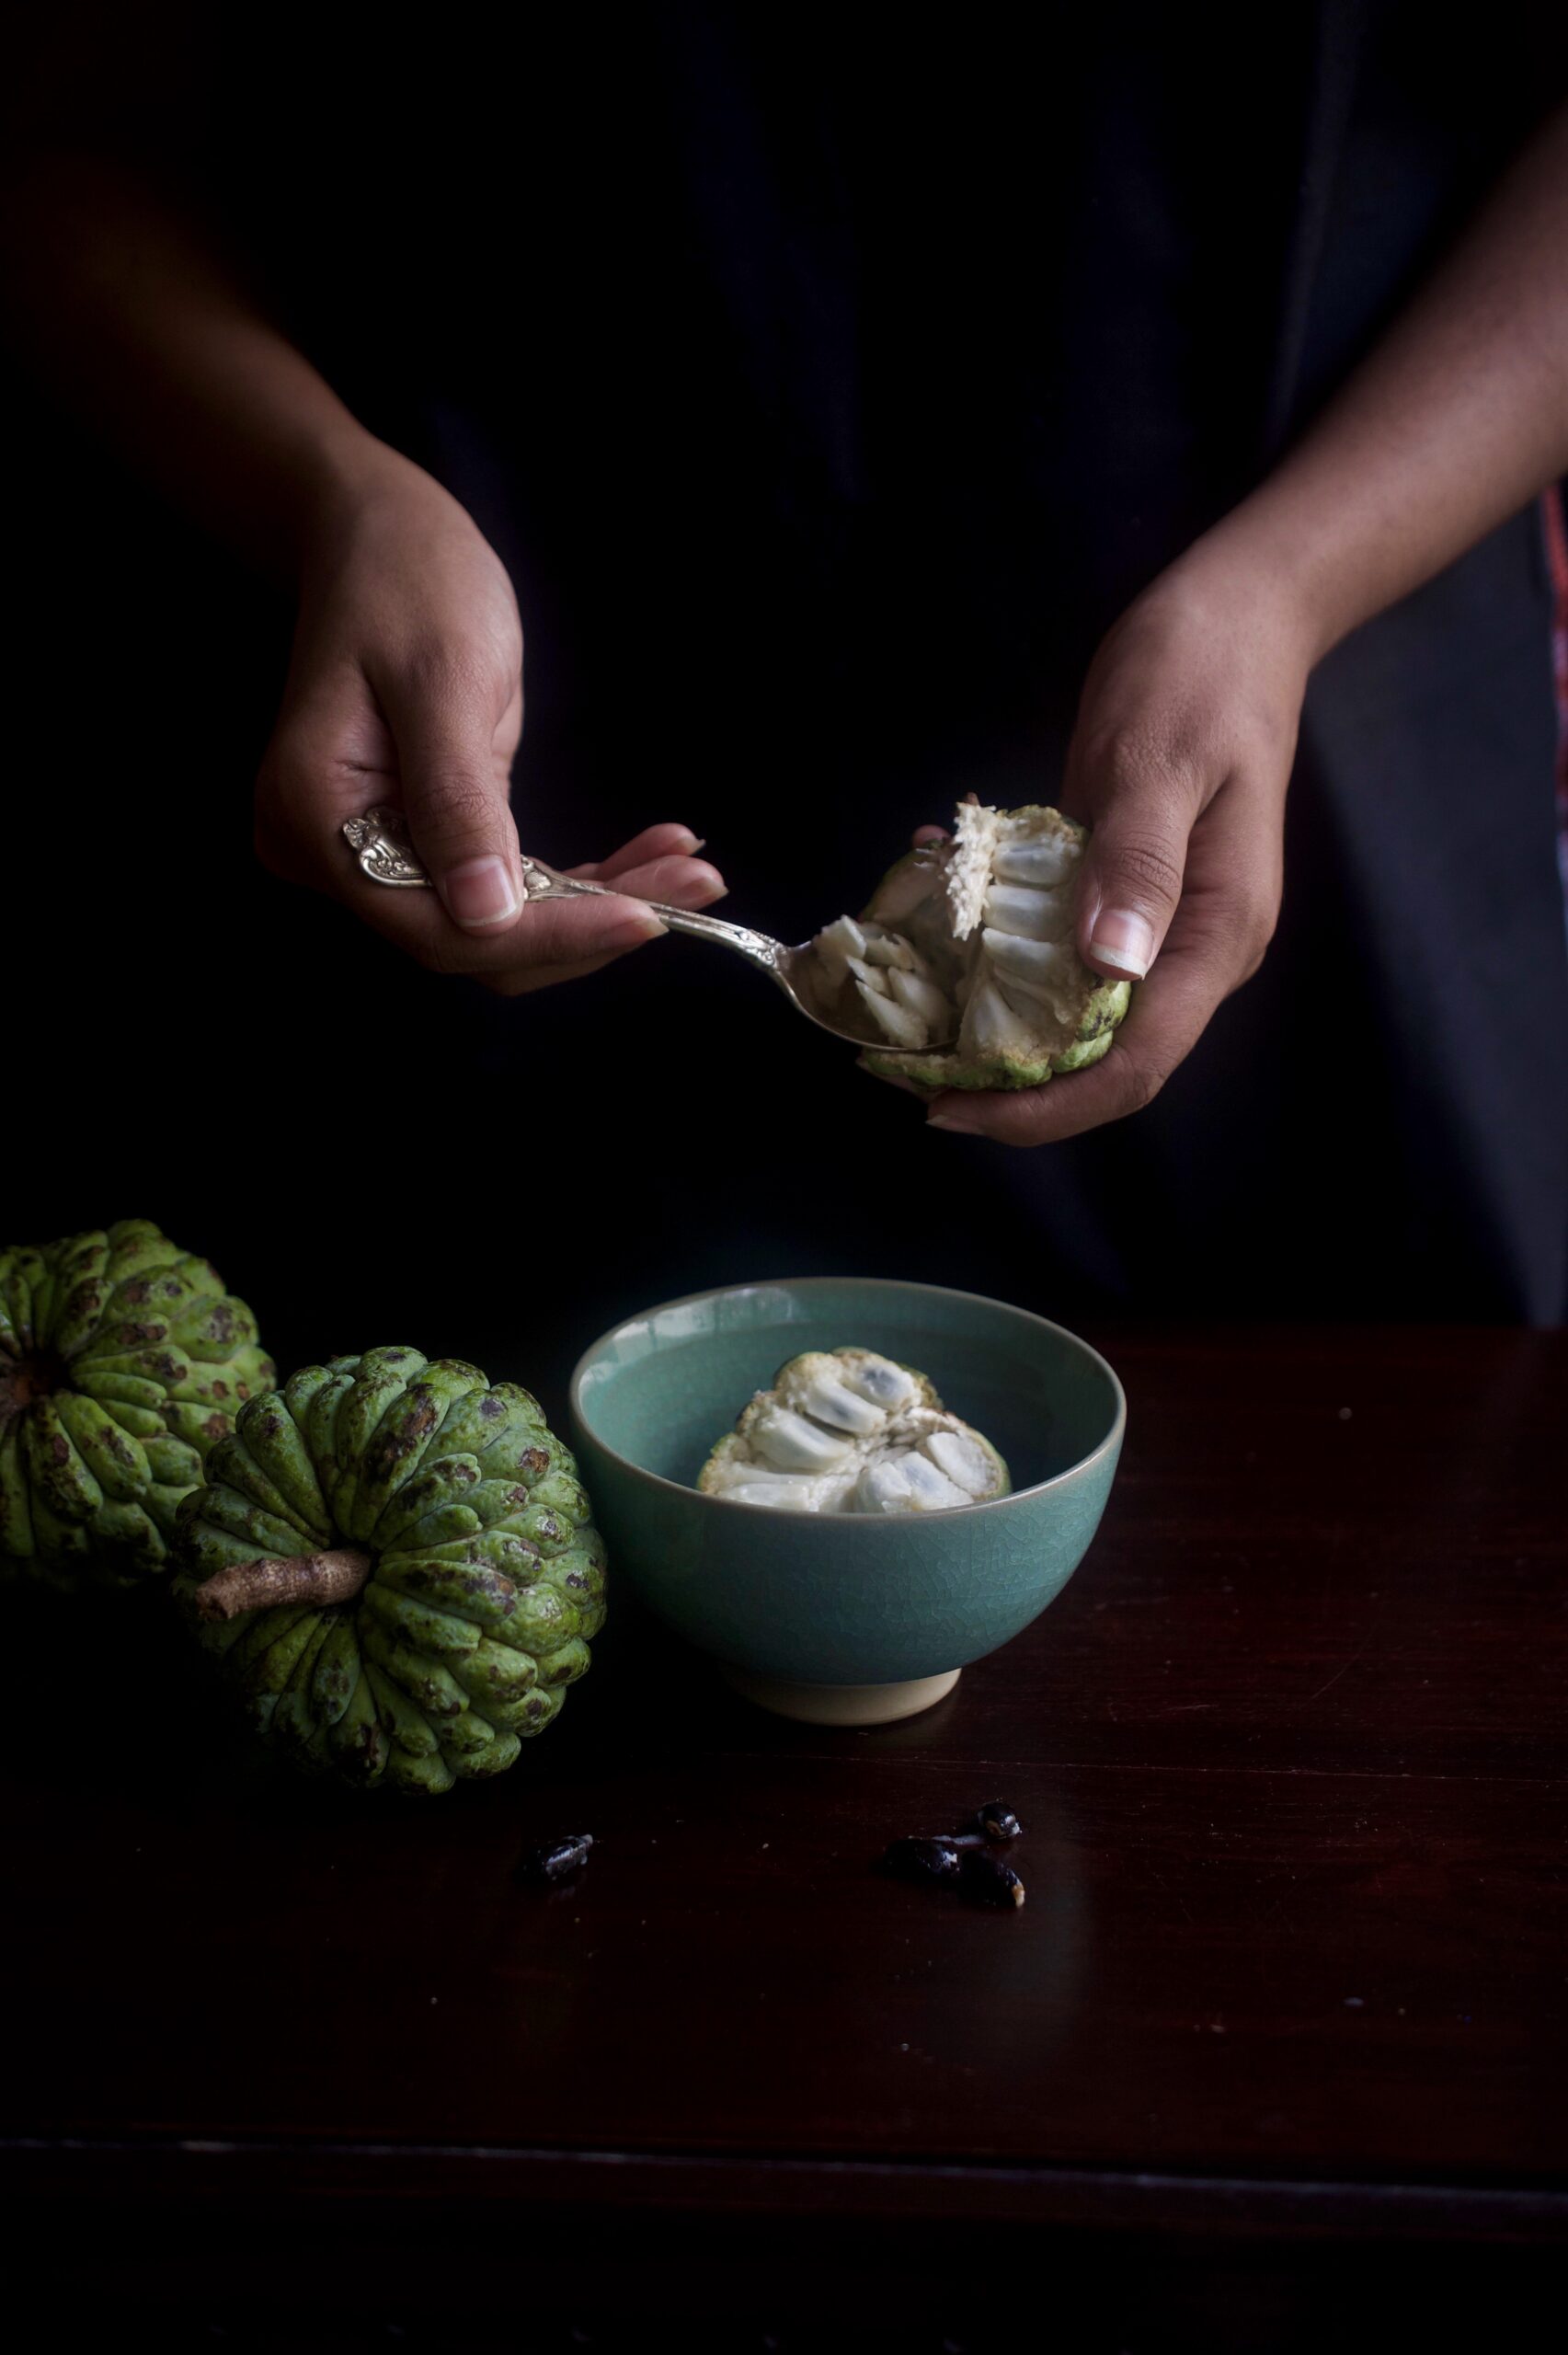
In the meantime, boil the milk until it reduces partially. Vegans, you may want to try either coconut or almond milk. Keep stirring it on a low flame, making certain it doesn’t stick to the bottom of the pot.

Put the corn flour or custard powder into a small cup, and add 2-3 tablespoons of milk at room temperature. Stir this mixture well, until it is smooth. Now, gently add this mixture to the milk in the pot. You have to be careful now to stir continuously, so that it doesn’t stick to the bottom, which it is very likely to.

I like my kheer not too thick, but you may like yours thicker. In which case, simply add an additional 1 teaspoon of the corn flour or custard powder. Or reduce the quantity, to thin it further. Adjust according to the consistency of your preference.

Add the sugar. The taste of the sitaphal is so gentle and distinctive that I find the addition of cardamom, nuts or saffron – classic elements of most kheer recipes – takes away from this flavour. But you can always add these if you wish.

Once the milk thickens to the consistency you prefer (this will take approximately 15-20 minutes), turn off the flame and cover the pot with a lid. Allow this to cool, then refrigerate for a few hours.

Add the seeded sitaphal pulp into the refrigerated mixture and blend well. Serve this chilled dessert in small bowls.

Just as I substituted my mother-in-law’s fresh oranges for sitaphal, the lovely thing about this recipe is that you can use any fruit of your choice, based on your own tastes and seasonal availability. It is a luscious dessert, and it’s equally perfect for summers (when it has a cooling effect) and for the year-end festivities (when it’s also in season). I’d love to know what you think of it – and what variations you’ll spin up in your kitchen.

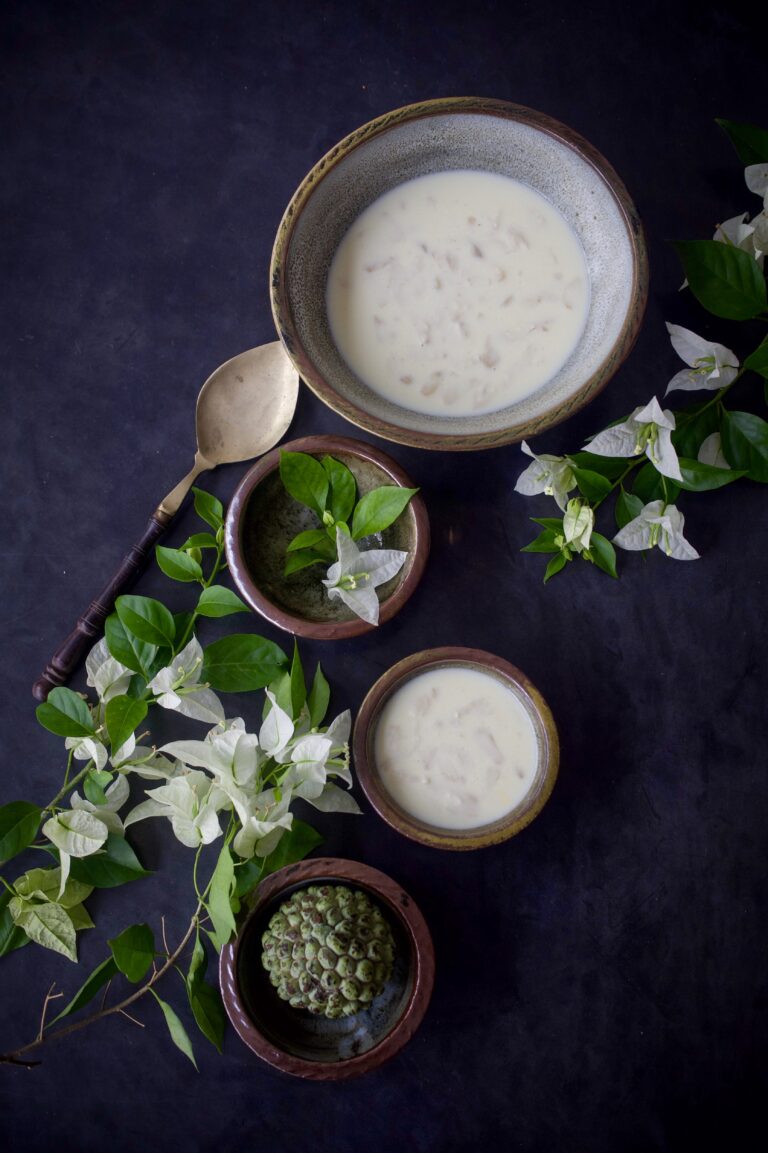
 

When it comes to Indian street food, the first and last word is always “chaat”. Yes, the vendors of sundal and cotton candy on my beloved Marina Beach will put up a fight, but when it comes to tastes savoured throughout India, chaat wins hands down. Chaat is a catch-all term, and extends from fried breads like pav bhajji to pastries called puris, filled with everything from potato to spiced water. Among the popular ones is bhel, also known as bhel puri.

Bhel is usually made with puffed rice as the main ingredient. As I’m always trying to make all the food we enjoy healthier, without compromising on taste, I substituted the puffed rice for the humble and very nutritious mung bean, also known as green gram or moong.


Moong is a versatile legume, used extensively in Asian cuisines. It can be eaten sweetened as a filling in pastries like mooncakes, stir-fried with vegetables, soaked and softened into a dal, ground into paste for crepes like dosa, and even made into noodles once starched. Moong beans are high in protein, low in carbs as compared to other legumes and pulses, and rich in antioxidants, phytonutrients and fibre. Unlike various other kinds of beans, they are also easy to digest, meaning you won’t feel bloated after eating them.

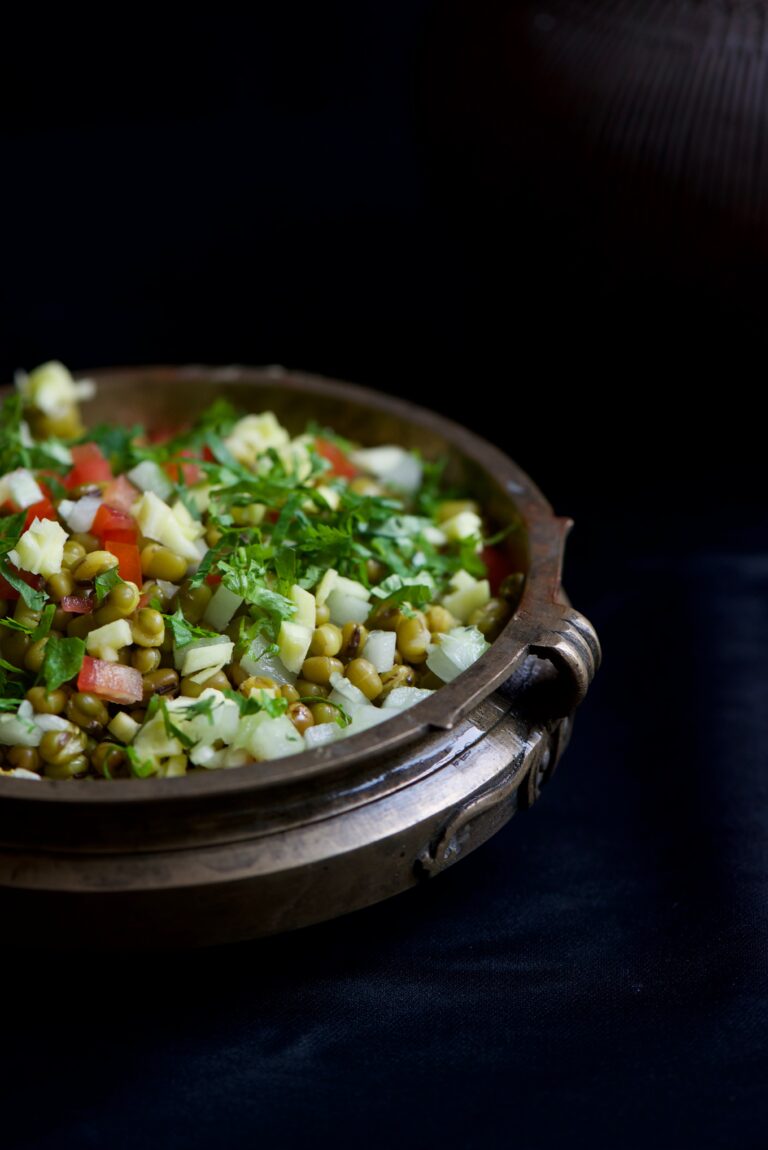
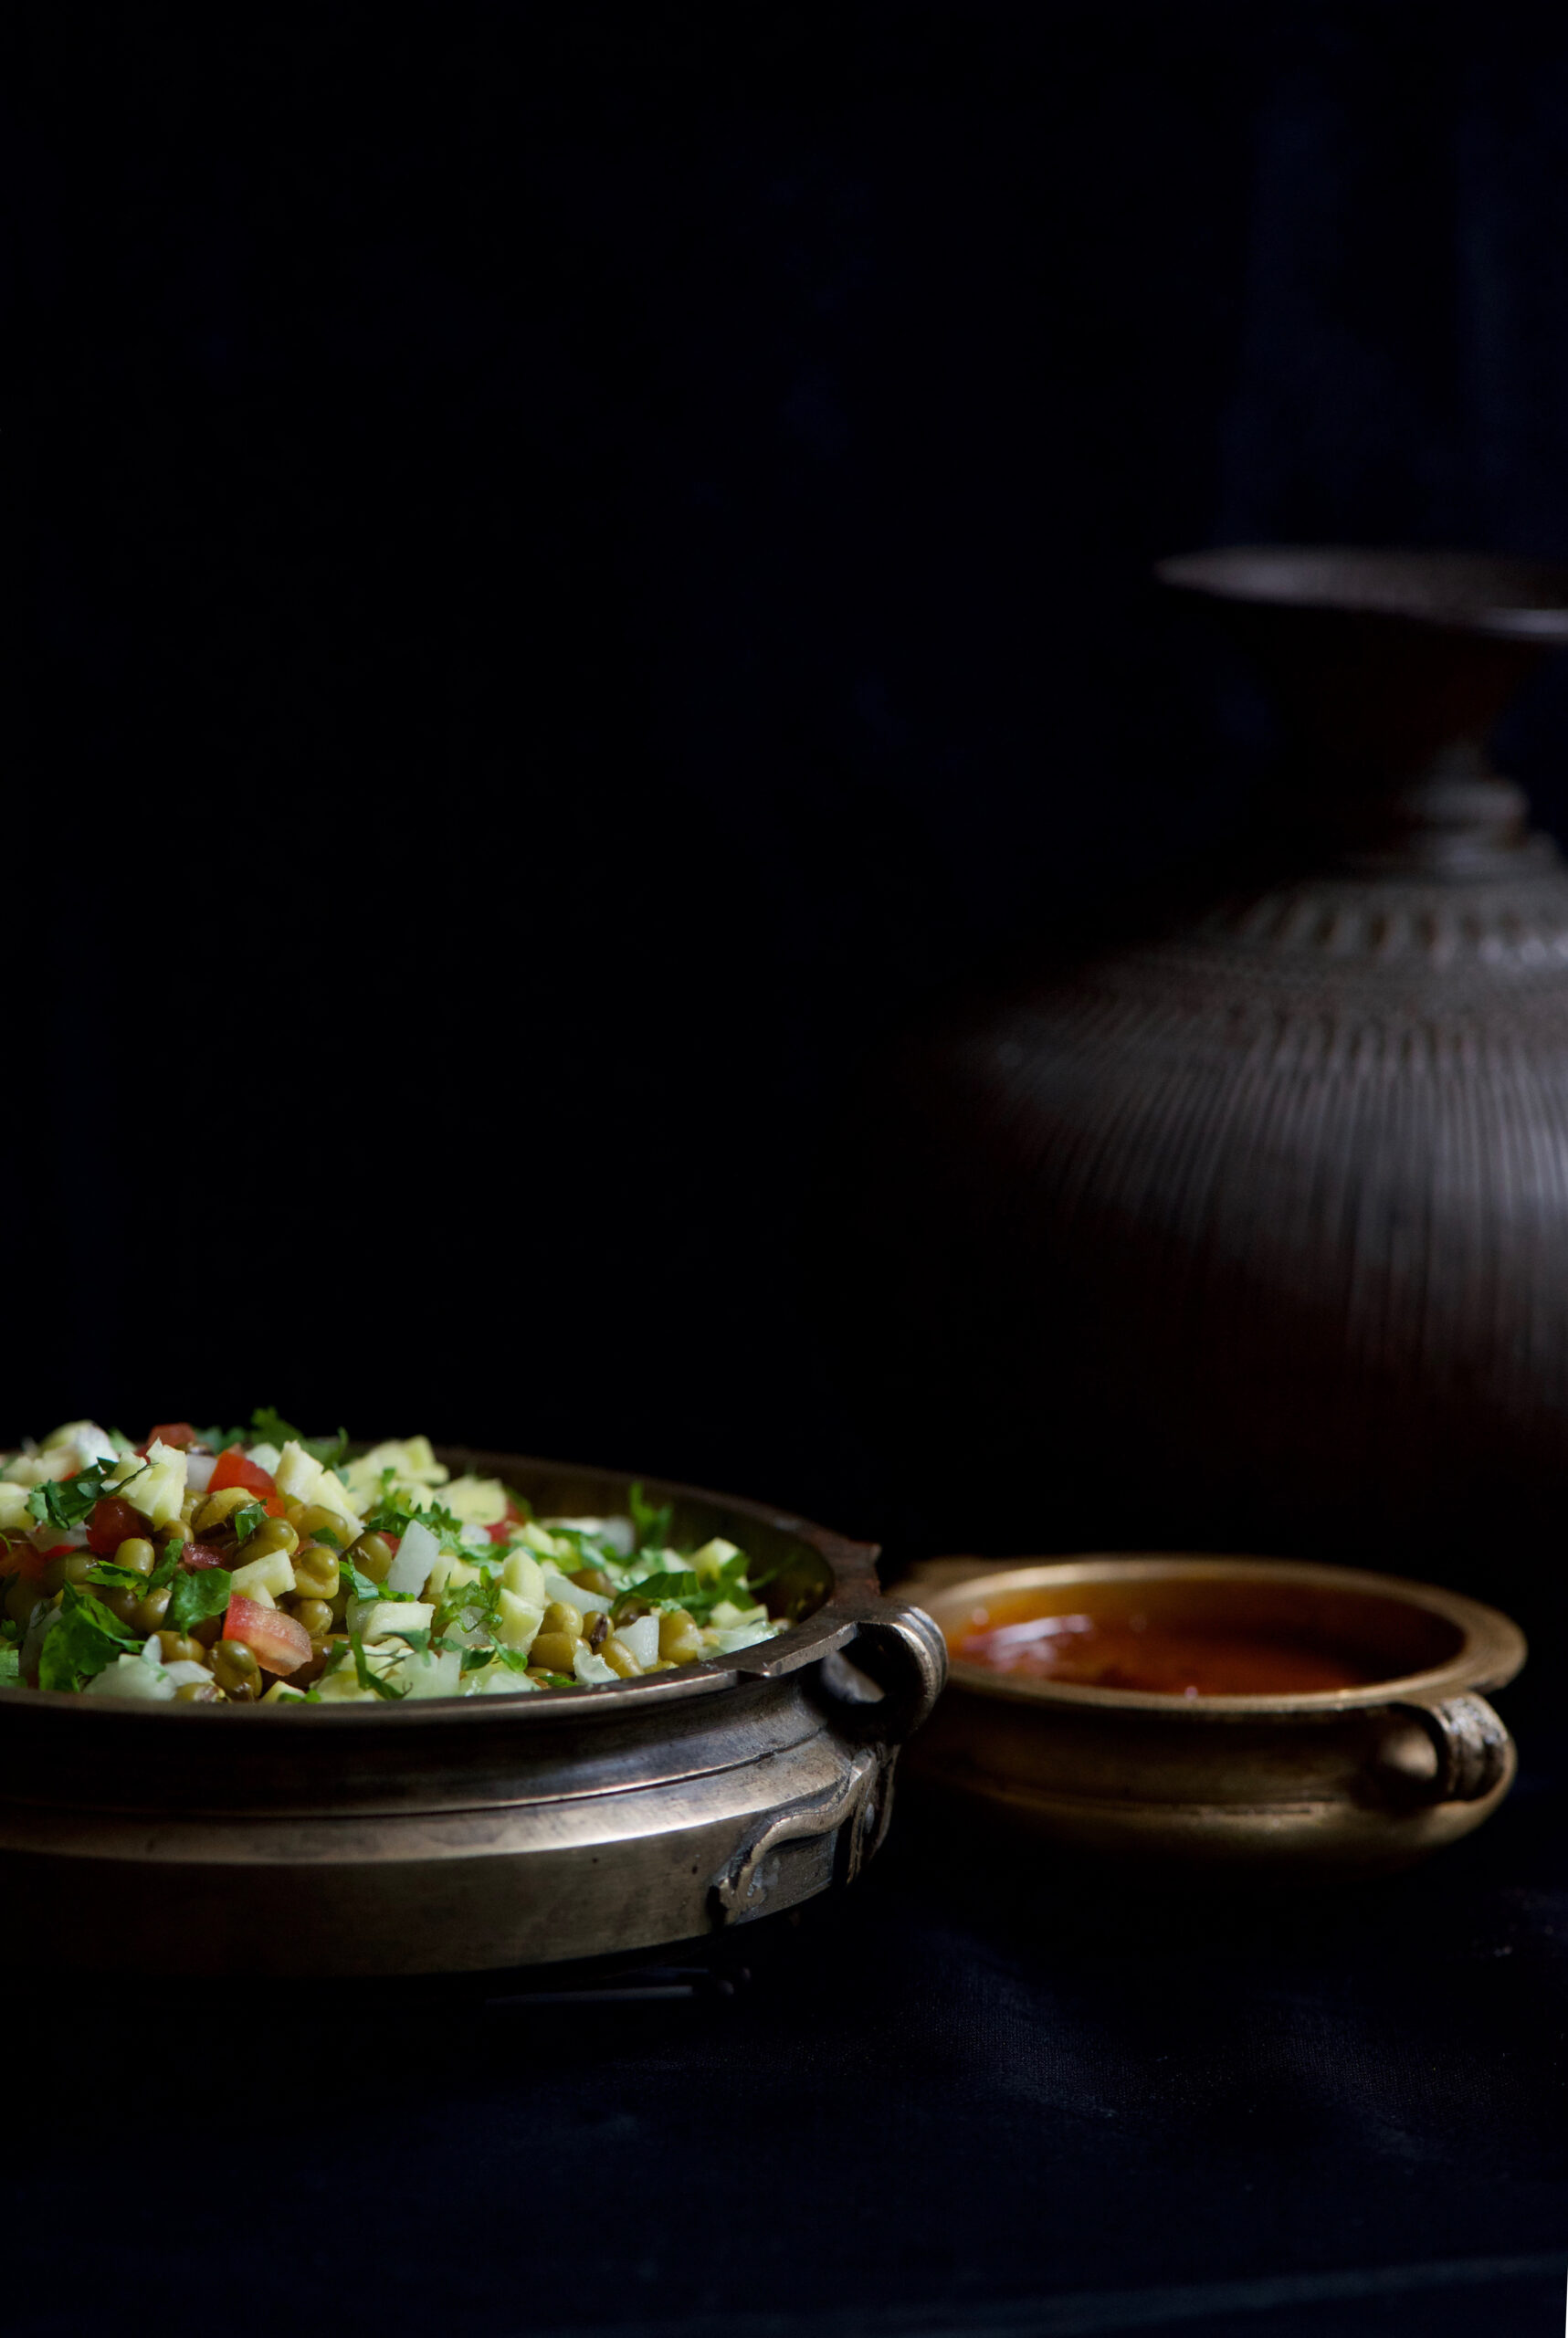
This Green Moong Bhel brings the tanginess of authentic streetside chaat, thanks to a blend of two chutneys, to the wholesomeness of mung beans. Like all chaat, it’s an anytime dish – and like all chaat, once you’ve enjoyed it, you’ll always have a craving for it.


Green Moong Bhel

Ingredients
Bhel (Yield – 4-5 small cups)

½ cup moong beans
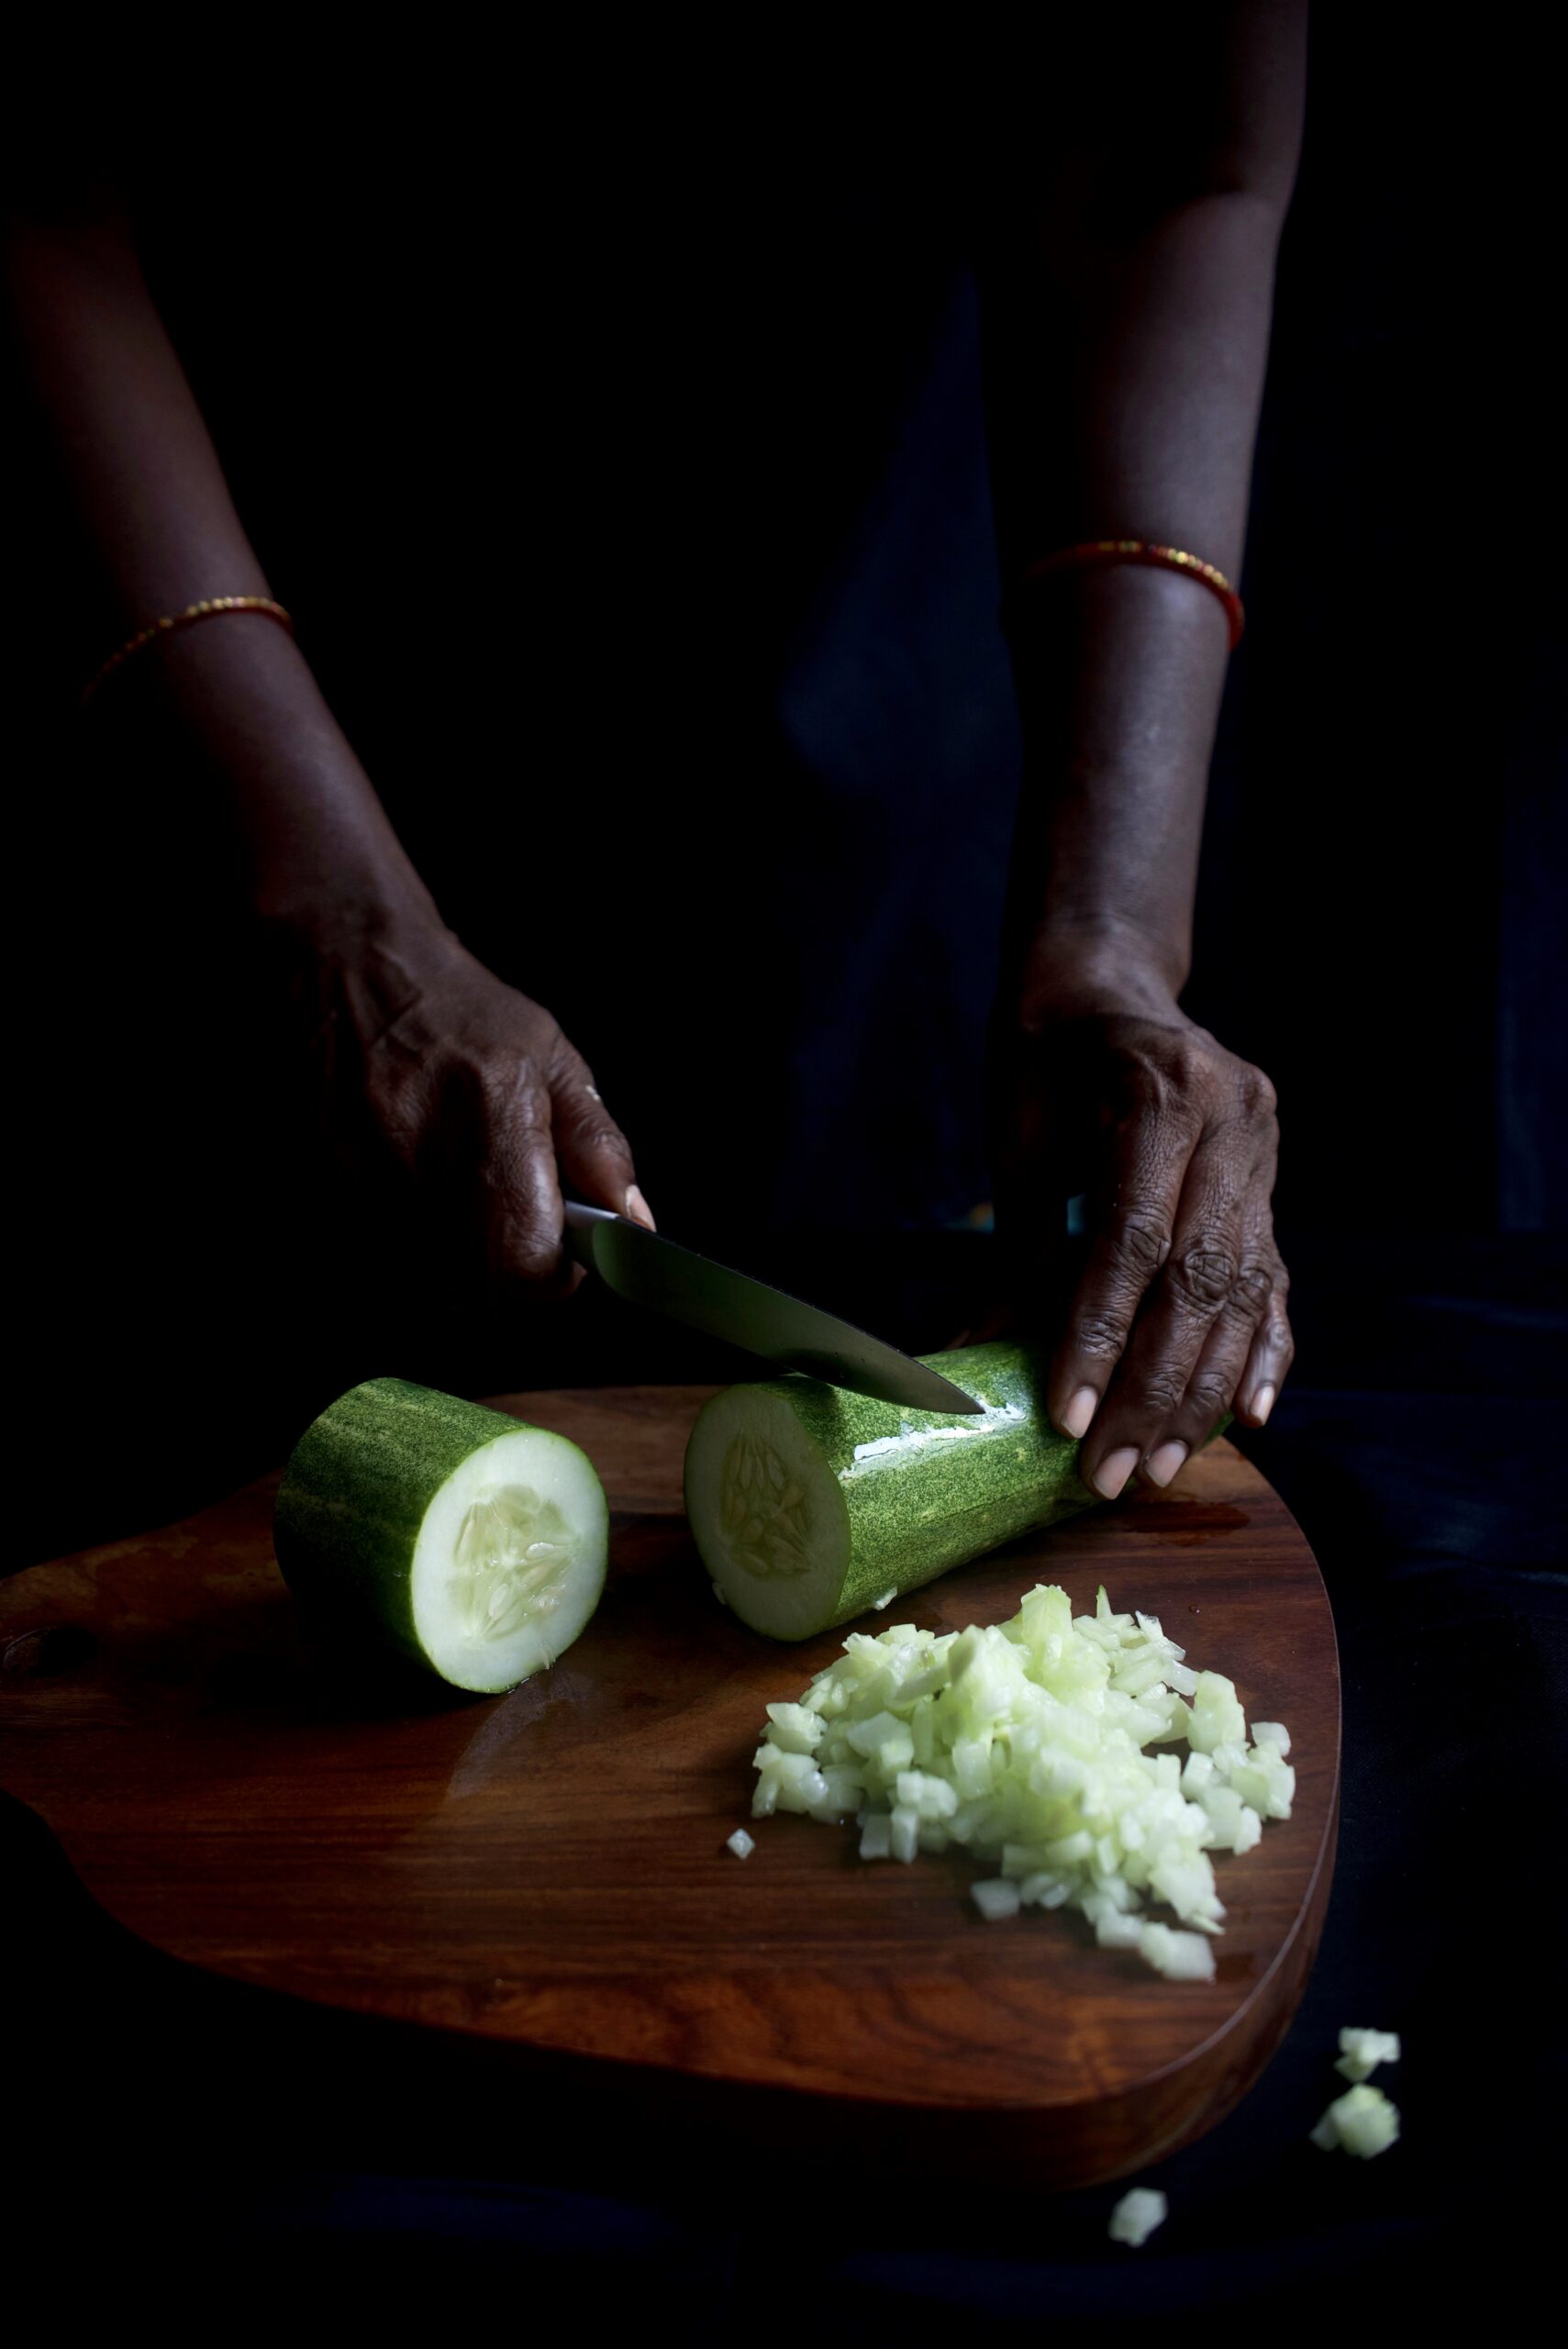
½ cup finely cut cucumber
¼ cup finely cut onions
¼ cup cut tomatoes
¼ cup cut raw mango
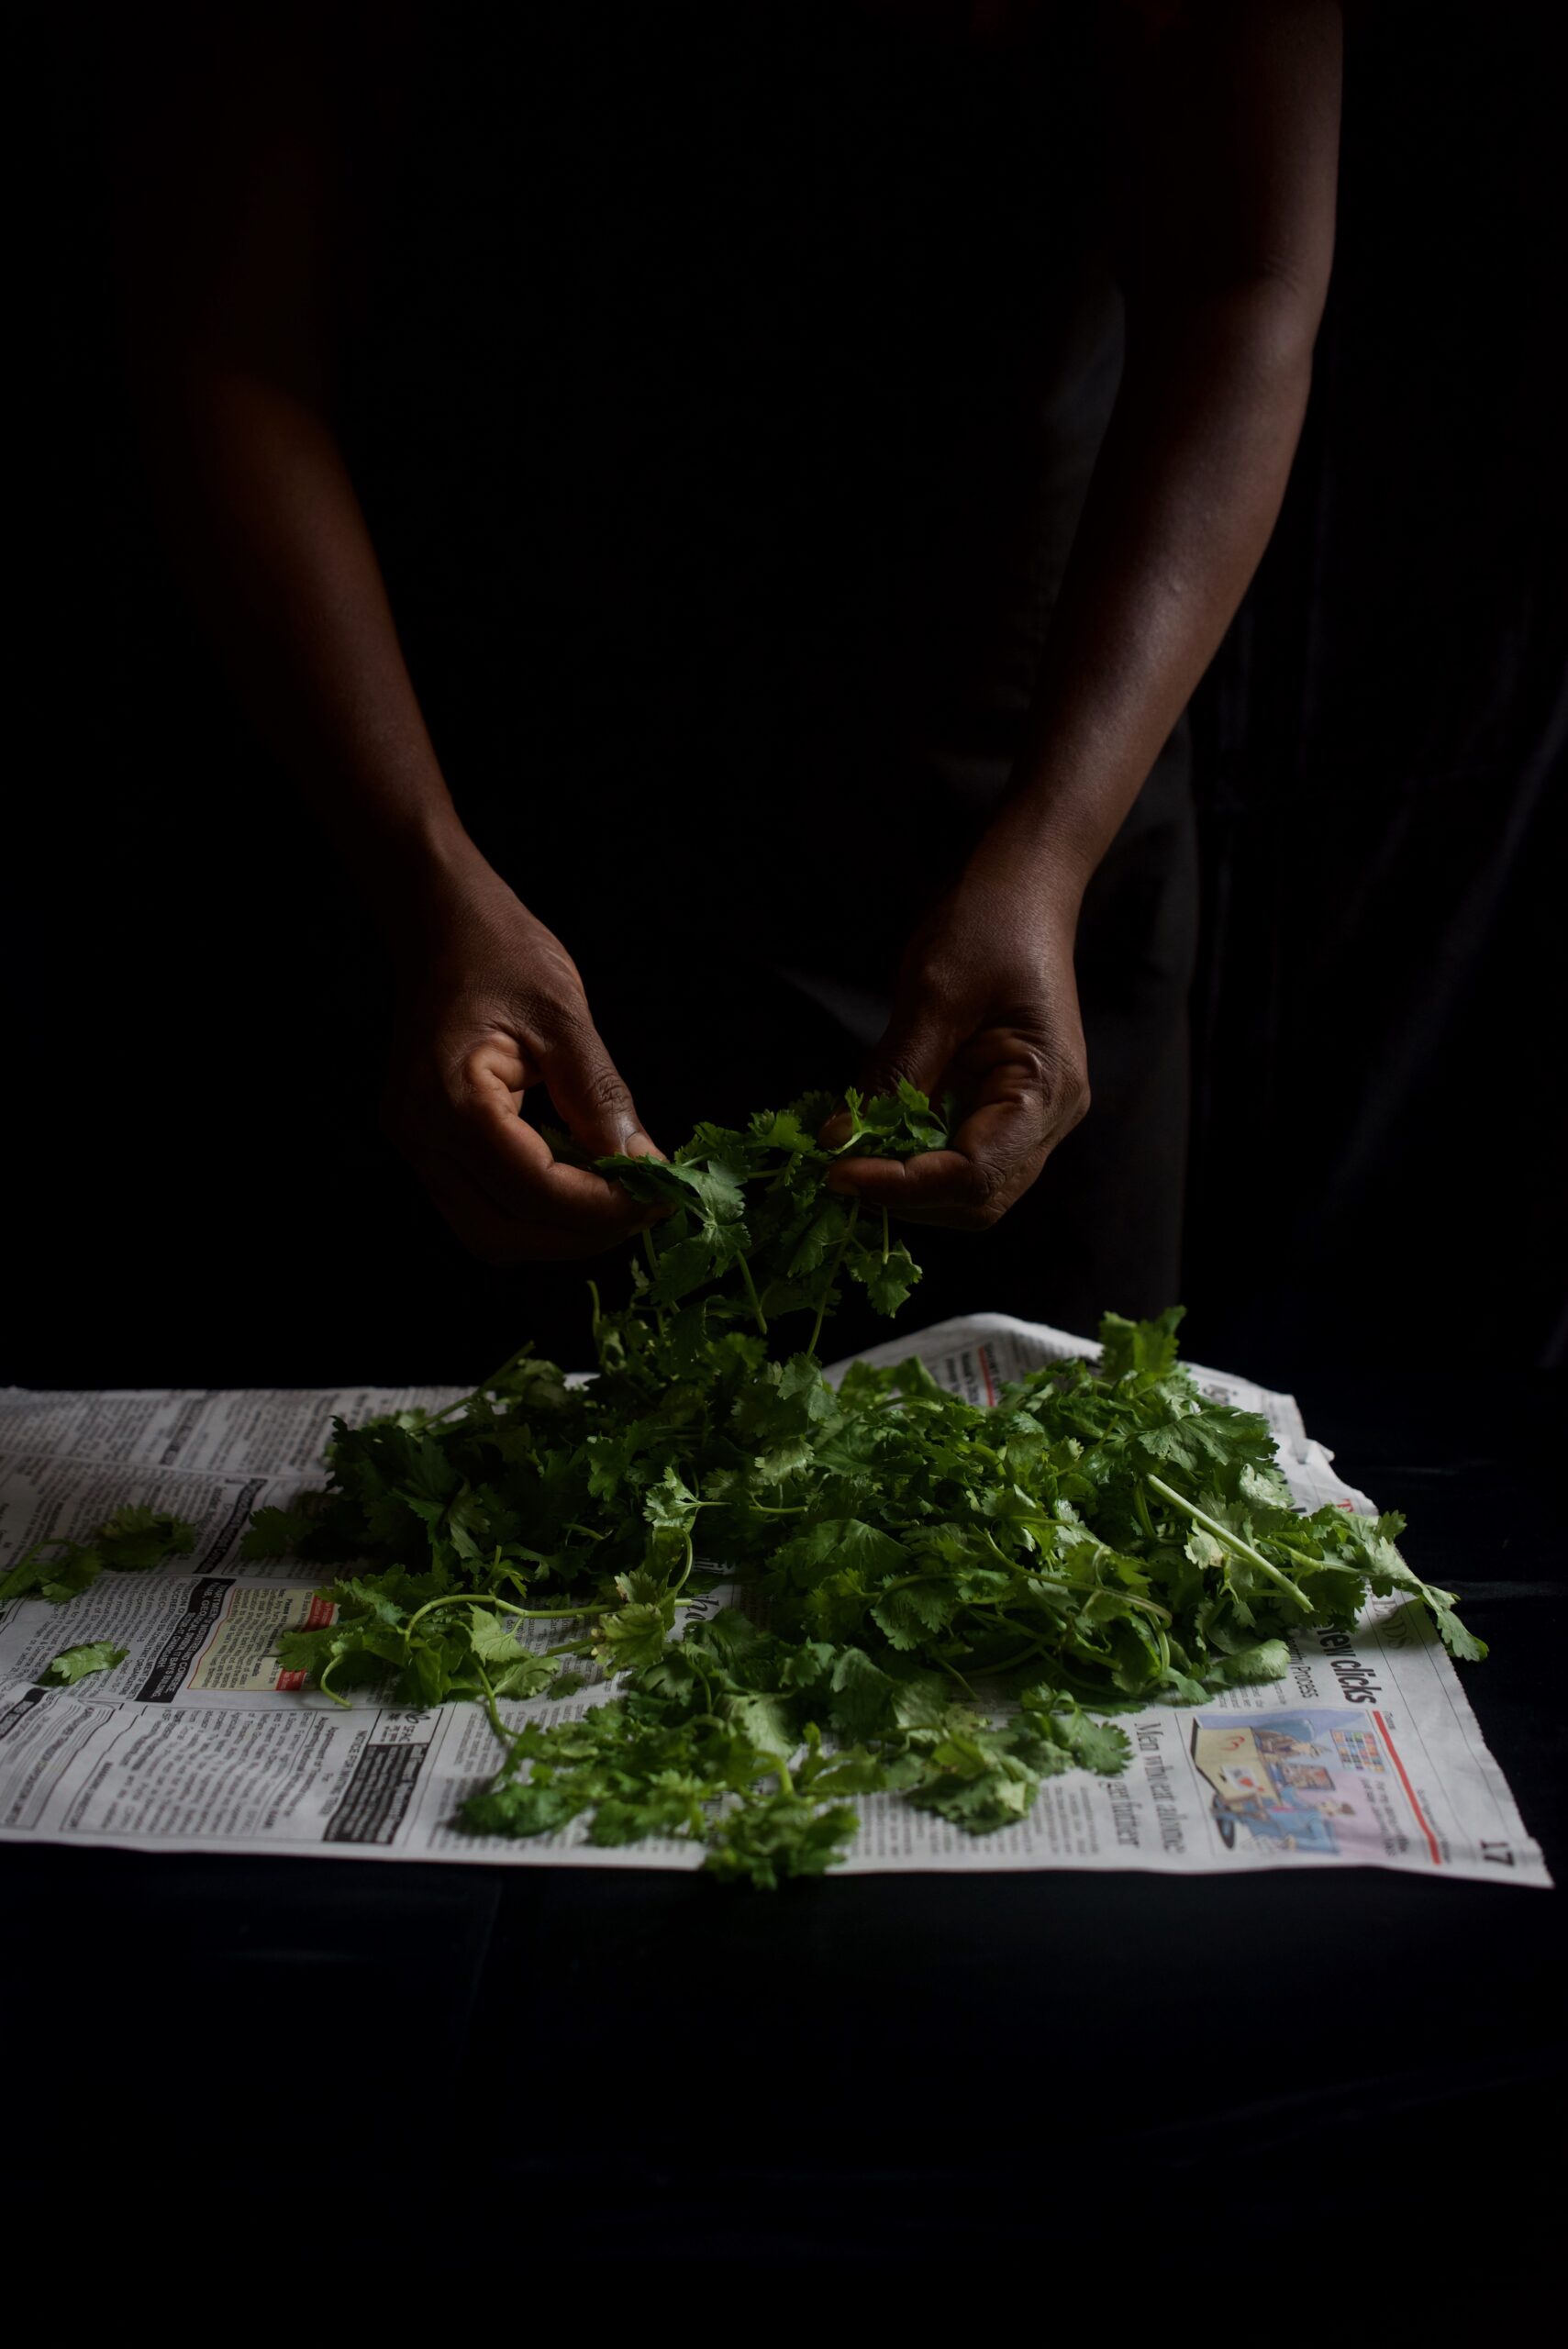
¼ cup finely chopped coriander leaves
¼ teaspoon roasted cumin powder
3 cups water
Salt to taste

Date Chutney (Yield: 3 Cups)

1 cup jaggery
1 cup chopped dates
1 cup tamarind
¼ cup sugar
1½ + 1 + 1 cups water
2 teaspoons roasted cumin powder
1 teaspoon black salt
¼ teaspoon chilli powder
Salt to taste

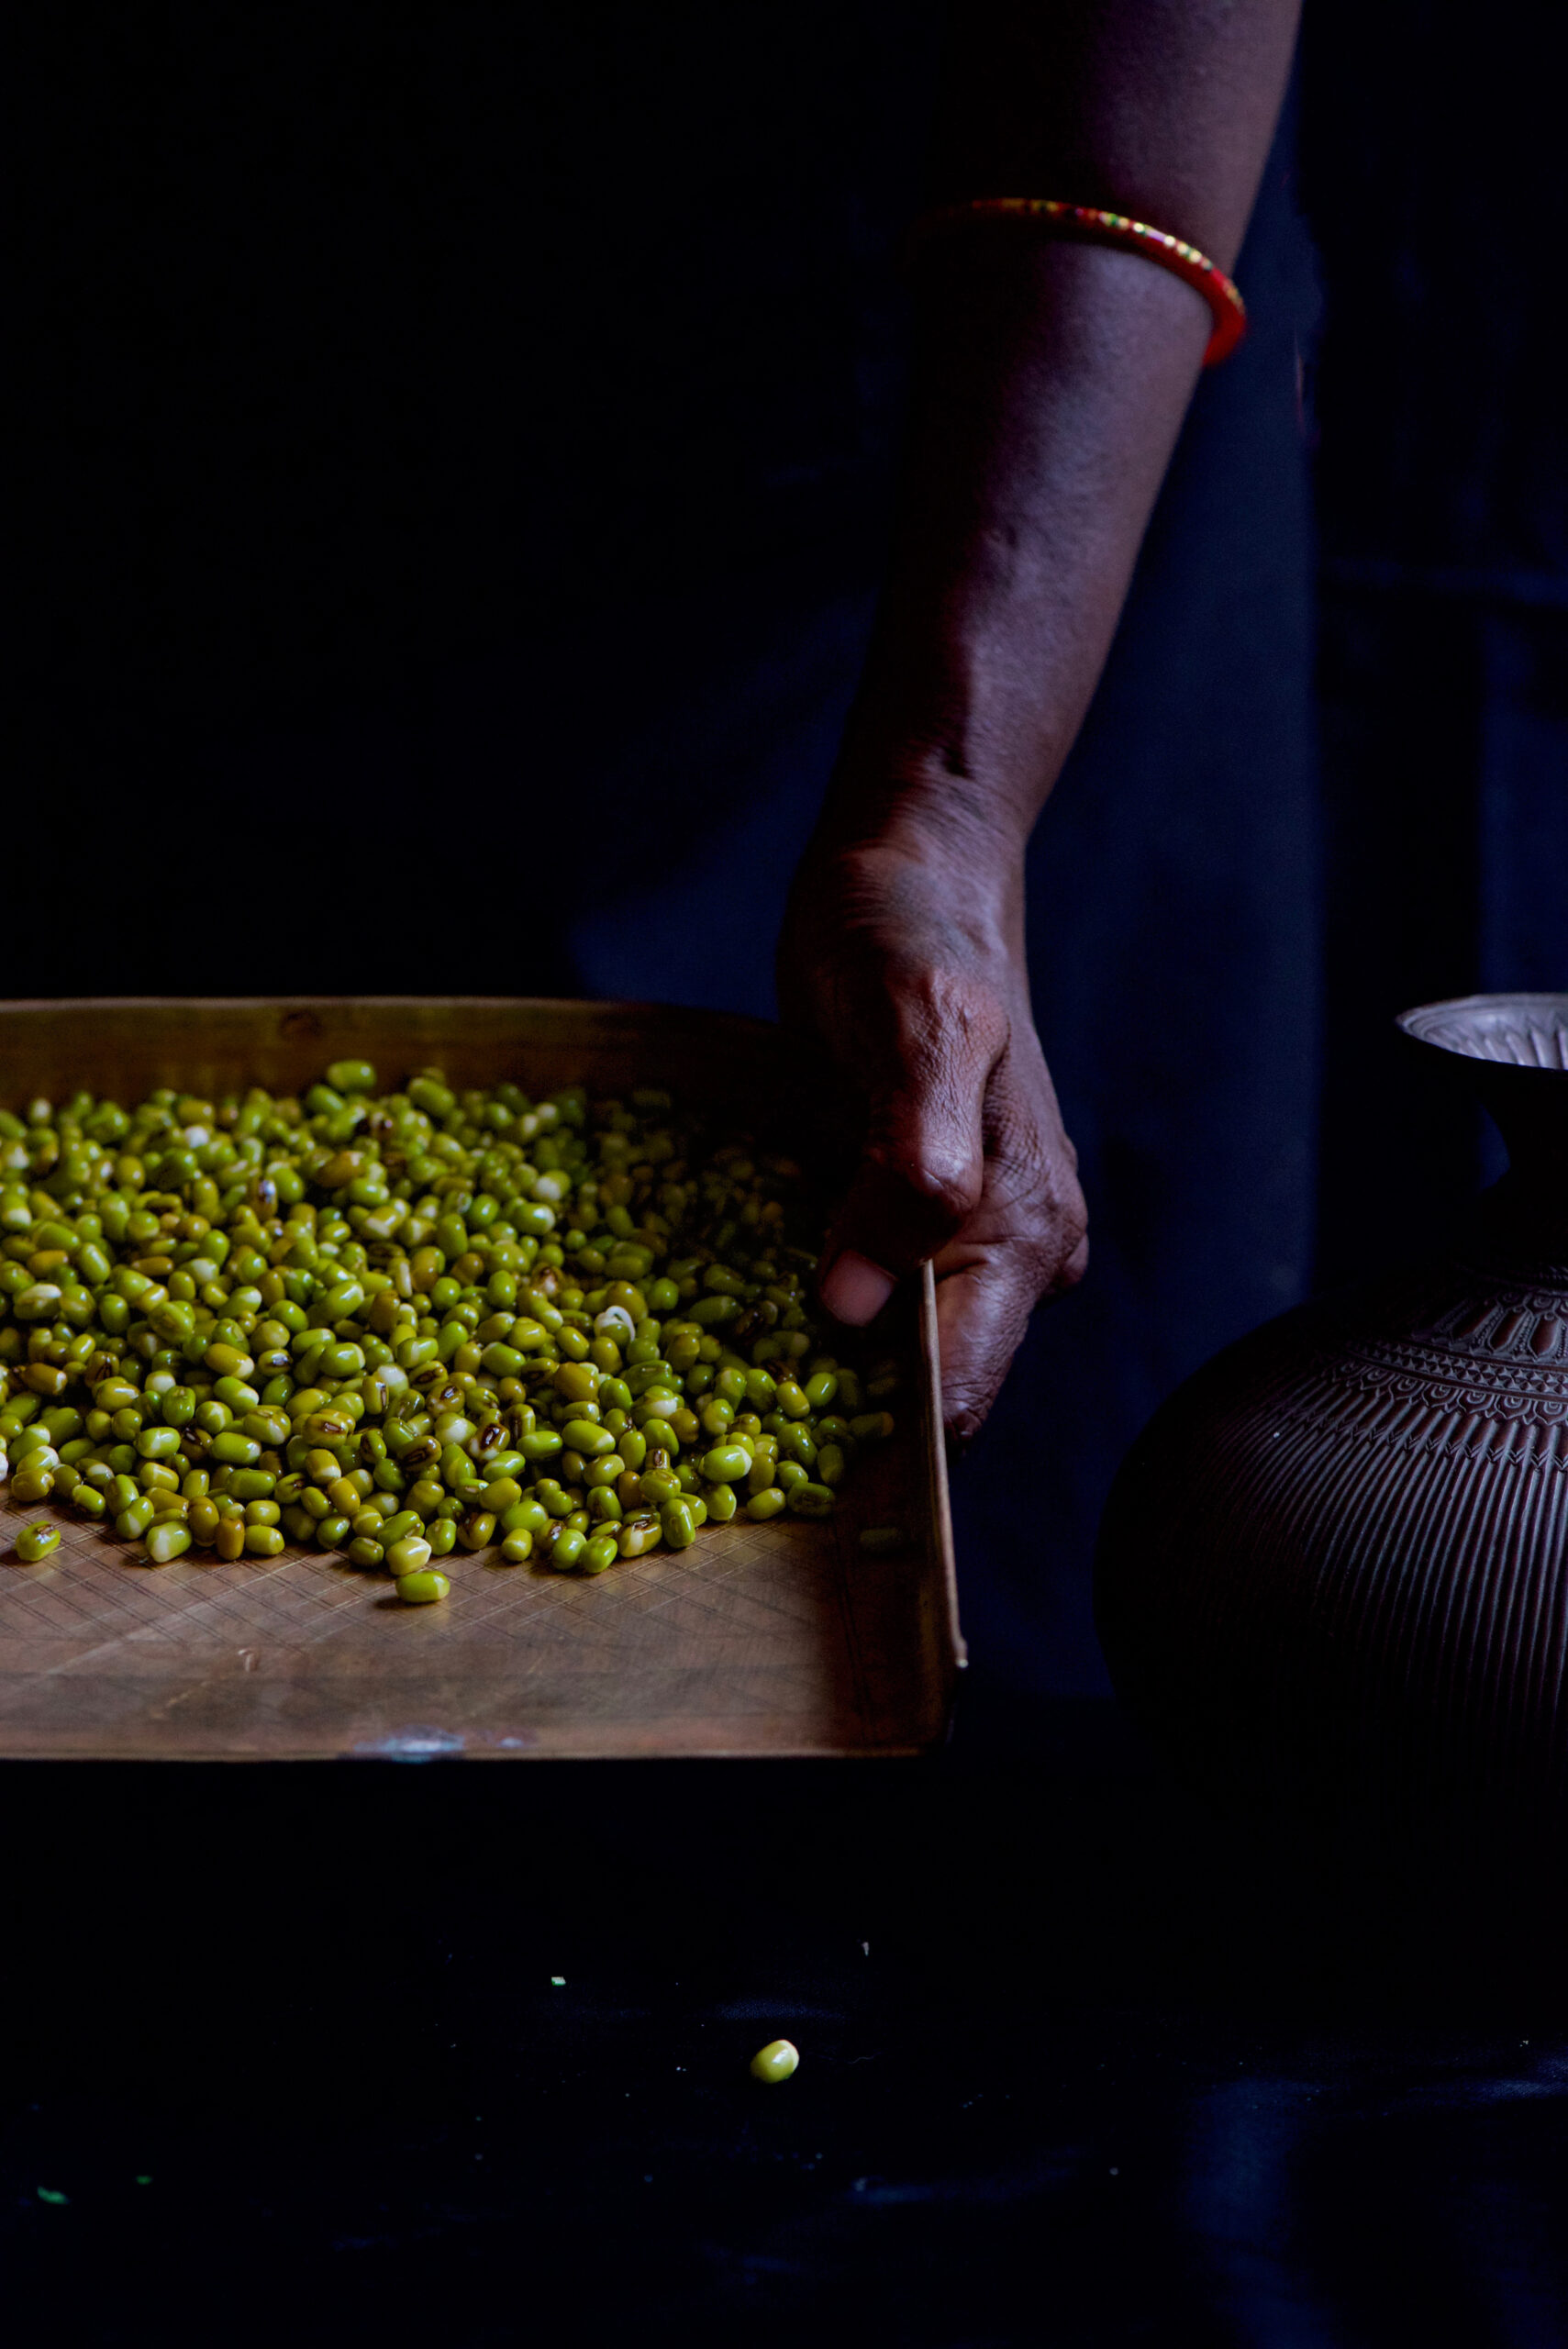
Soak the moong beans overnight, or for 6-8 hours. They will triple in size when they have been well-soaked.

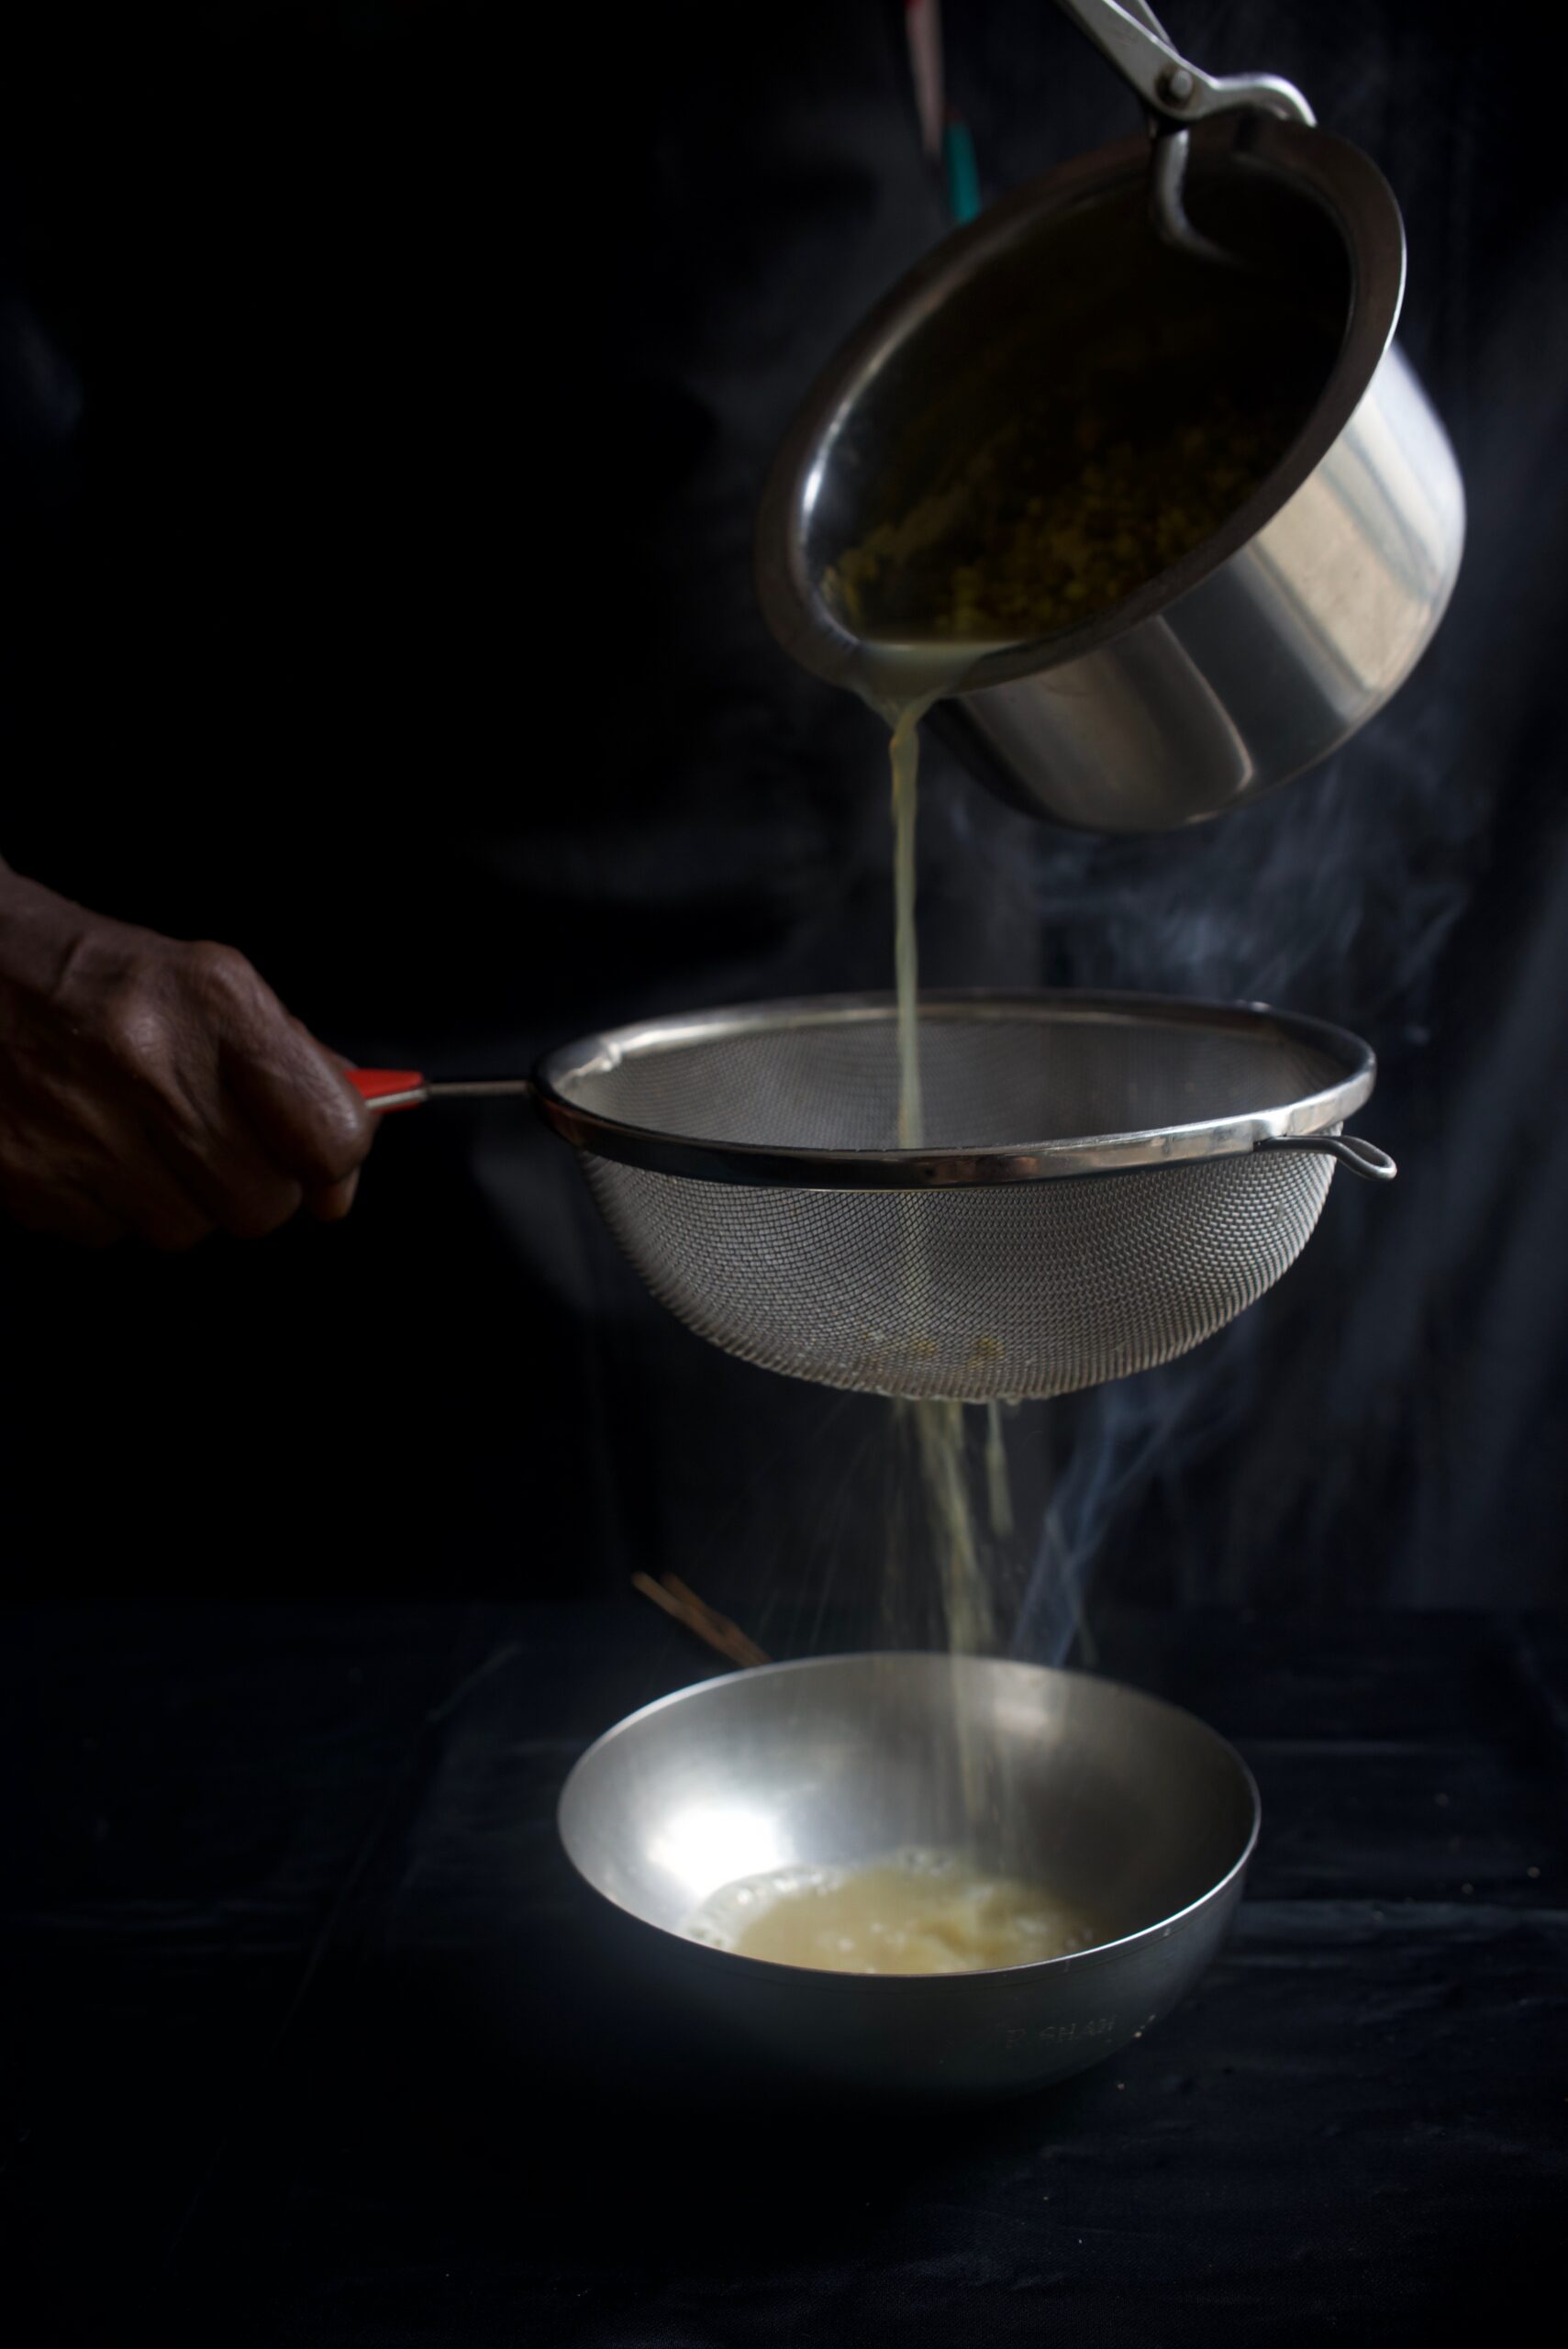
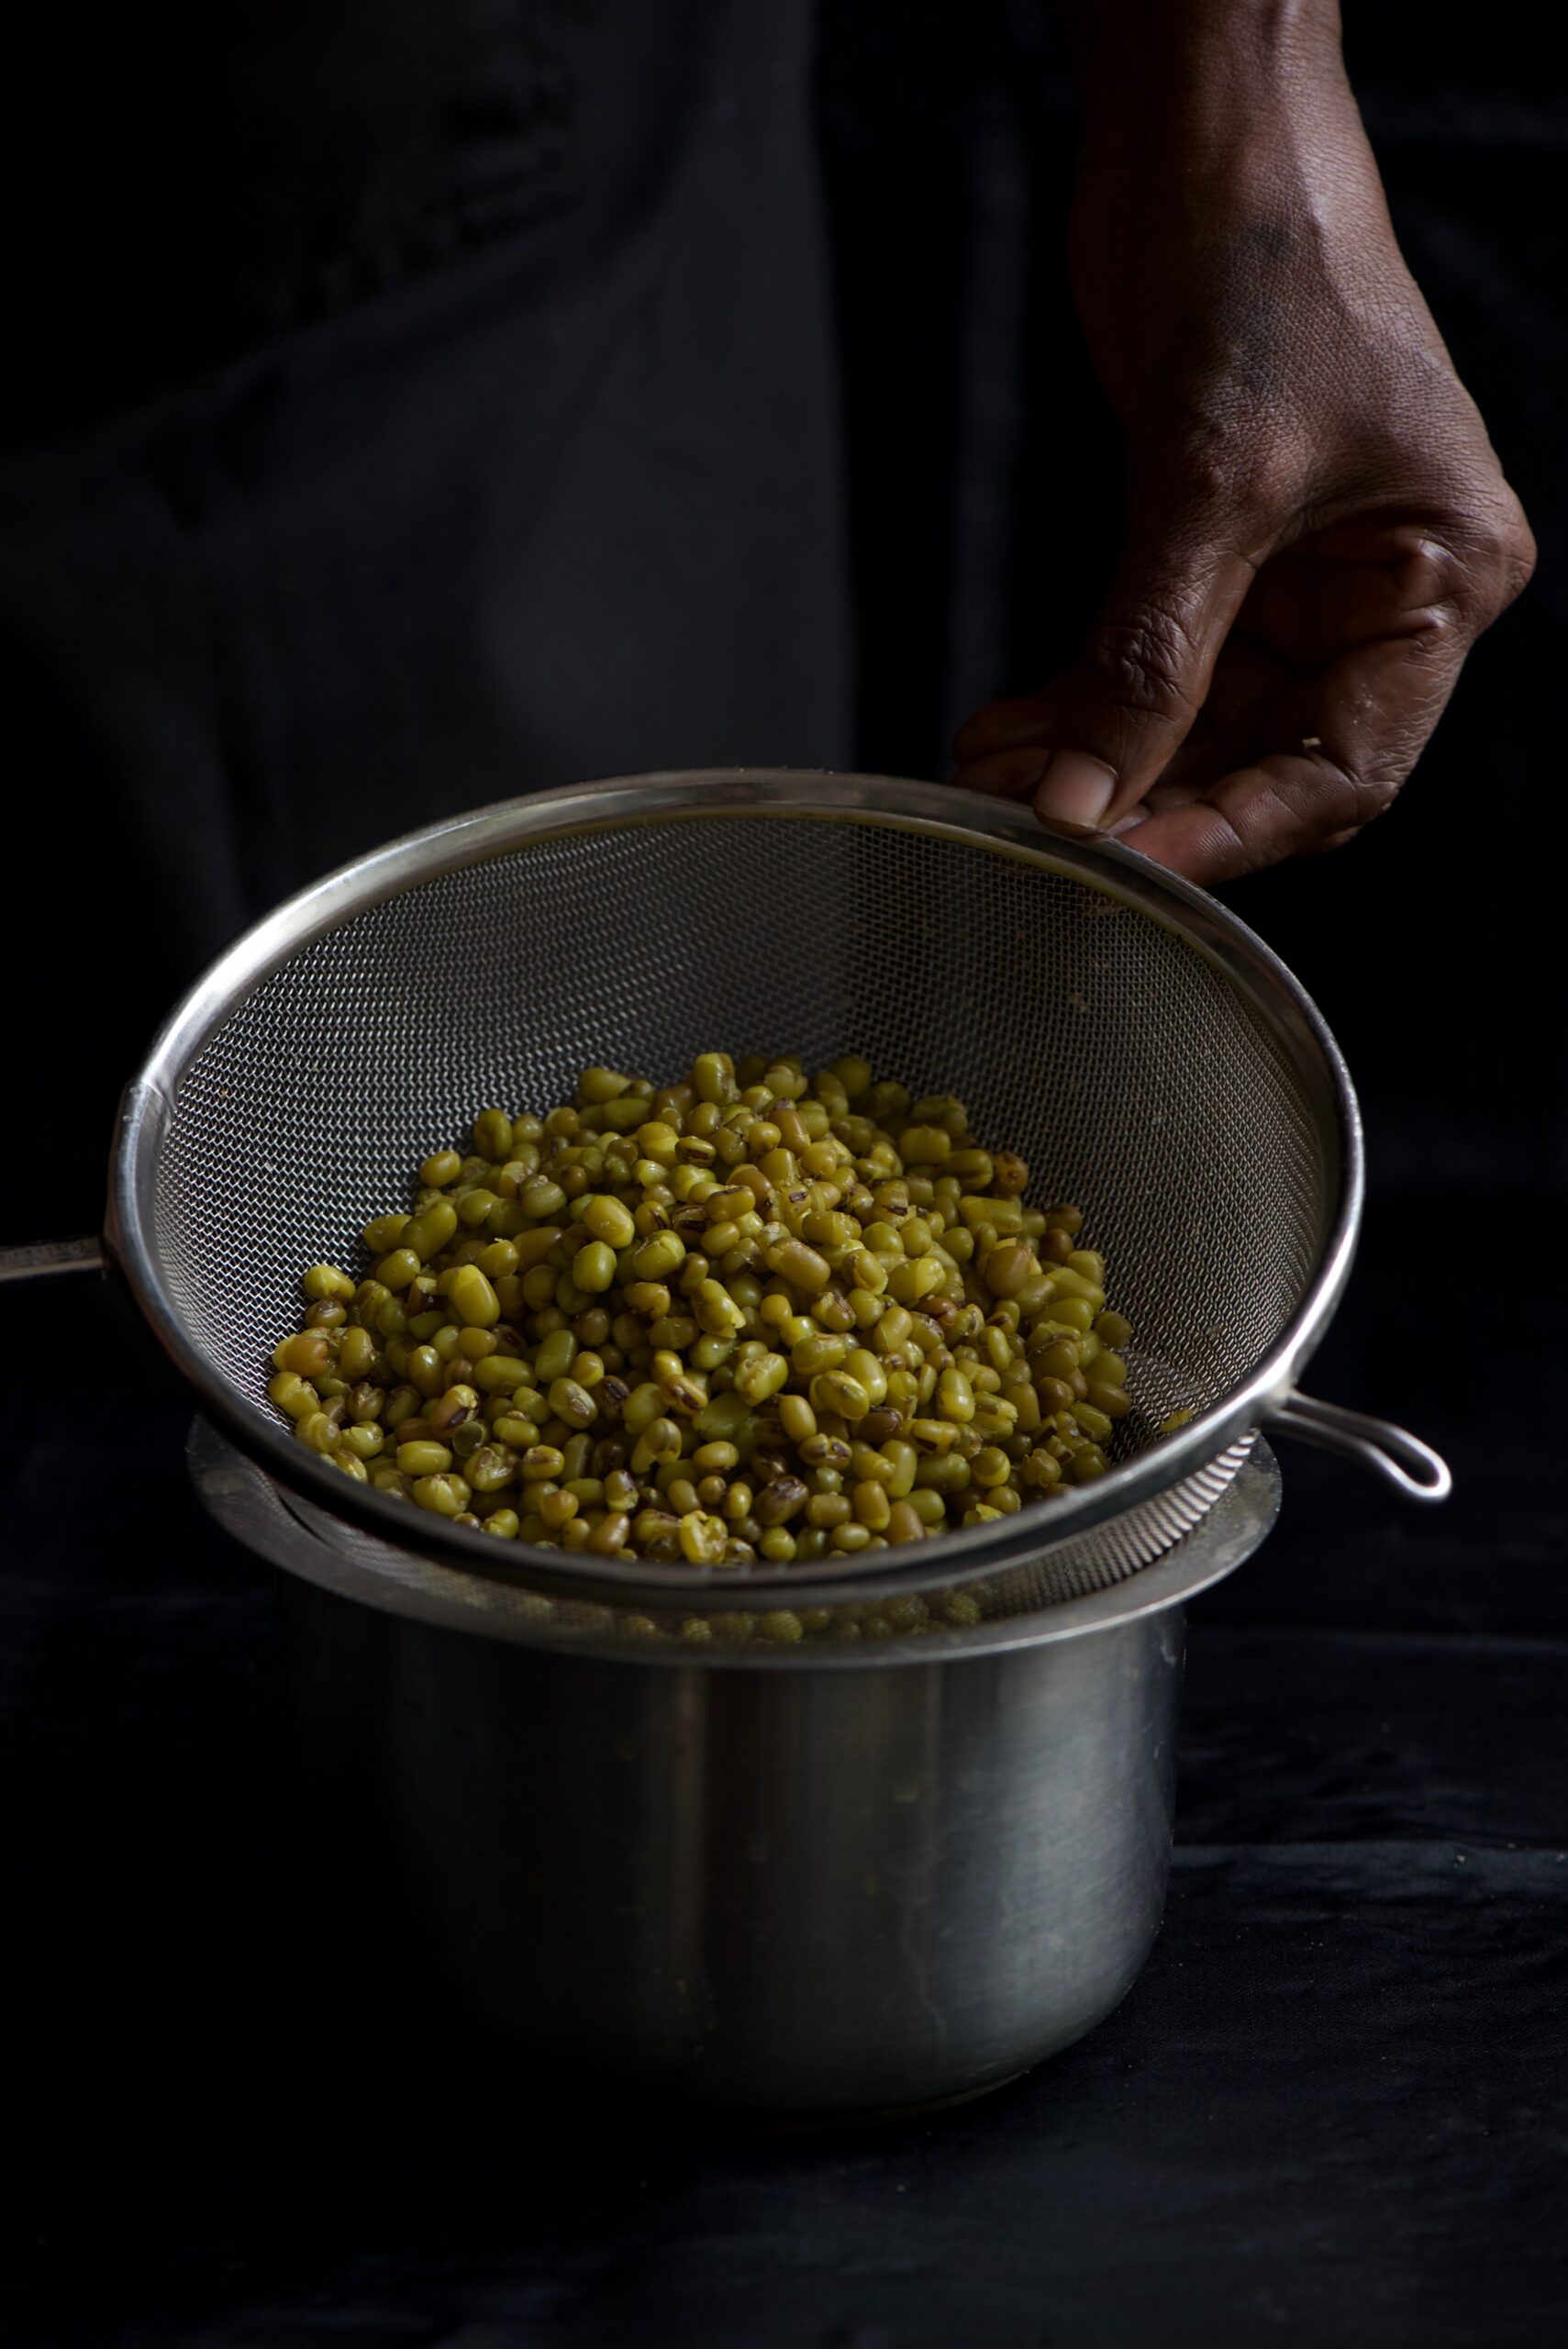
On a medium flame, add 3 cups of water, ¼ teaspoon of salt and a pinch of turmeric to the beans and allow to cook. This will take 15-20 minutes. The beans should be soft to the bite.


Strain the beans and allow them to cool.


In the meantime, put all the cut vegetables and the raw mango into a bowl. You can add any vegetables of your choice, whatever you find handily available, and increase or decrease the quantities to your preference. My selection here is a very typically “chaat” selection of fresh, affordable local produce. Keep aside some coriander for garnishing.


To this bowl of vegetables and fruit, add two chutneys. You can find the green coriander chutney recipe here (if you’re on a health kick, try not to get distracted by the banana-methi fritters recipe!). It’s an extraordinary simple just-blend-it-chutney, and you can use it in versatile ways.

The date chutney requires just a few more steps. Soak the jaggery, chopped dates, tamarind and sugar in 1½ cups of water for at least half an hour. Then blend this very well with 1 cup of warm water. Sieve the mixture to remove any sediments. Now, add the roasted cumin powder, black salt, chili powder and salt, as well as an additional cup of water, and boil for approximately 15 minutes. You will notice the mixture thickening, and you can adjust this to the consistency you desire by adding more water. This recipe yields a generous three cups of date chutney. Use only as much as you need for the green moong bhel dish, then save the rest in the fridge.

Blend 2 teaspoons each of the two chutneys into the bowl of cut vegetables and raw mango. Then add all the spices as well as the cooled moong beans to the bowl. Mix all the ingredients together nicely, making sure the chutneys coat them well.

Now, serve the green moong bhel in smaller bowls, garnishing with the coriander leaves. I often like to add a bit of crunch on top too, such as crushed peanuts, pomegranate, fried crisps or the puffed rice that is reminiscent of traditional chaat.

You can put this healthy snack on the list along with sundal, pea-pomegranate kachoris, sweet ghugras and, of course, banana-methi fritters and enjoy it with some piping hot chai or coffee. Or have it as an alternative to salad or quinoa, and enjoy a big bowl as a full breakfast or a light lunch. As simple as the dish looks, it’s absolutely loaded with flavours. Healthy can taste so good, sometimes!


As I write this in the days after Diwali, the home and the kitchen table are empty. For a few days, the house was abuzz with visiting friends – all we did was eat, compare notes on each other’s specialties, learn, devour and enjoy our time together. Now, even the family have all gone back to their respective workplaces – and it’s me time. How do you re-enter the kitchen after the busiest time of year has quietened down? I cleaned up the home, missing everyone deeply, while contemplating food, love and life. And then I decided to follow the order of the typical restaurant menu, and start with a soup.

A soup is the perfect post-festive dish both as a detox for the infinite quantities of sweets consumed, and as comfort food that beats the empty-nest blues. As the monsoon continues, I’ve made three things a part of my regular intake: lots of water, this remedy for the sniffle season, and this delicate yet flavourful broccoli and almond soup.

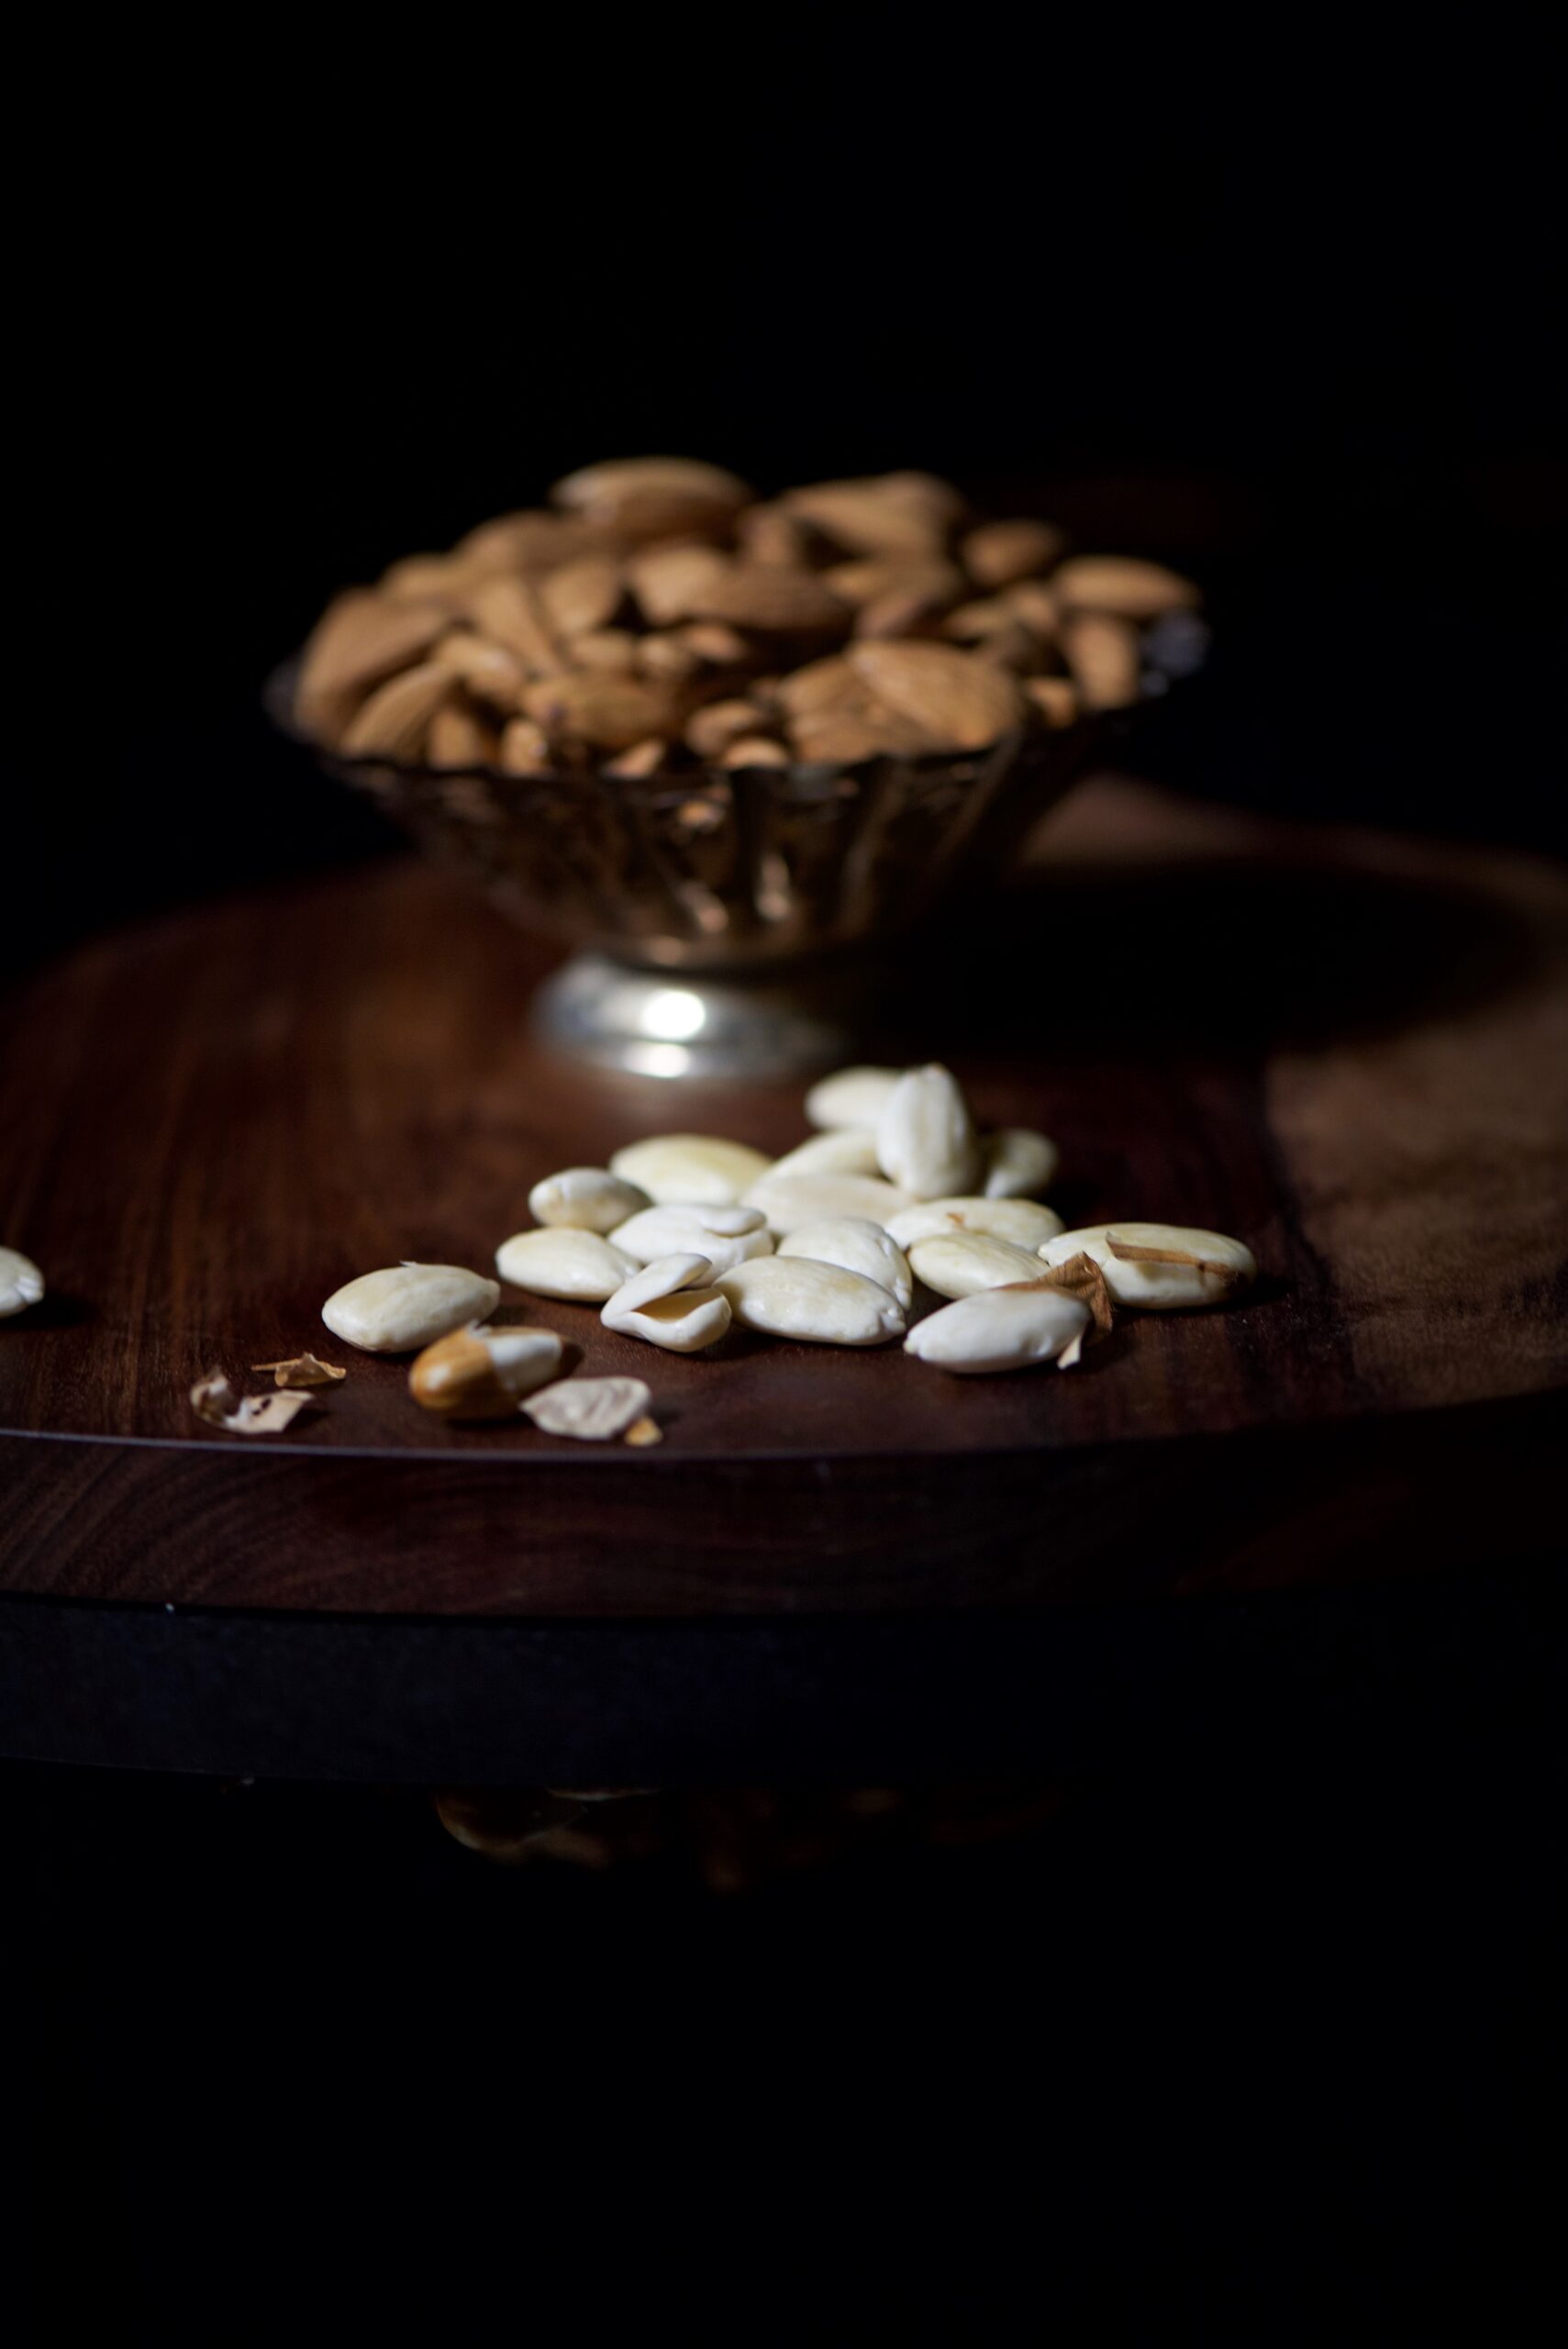
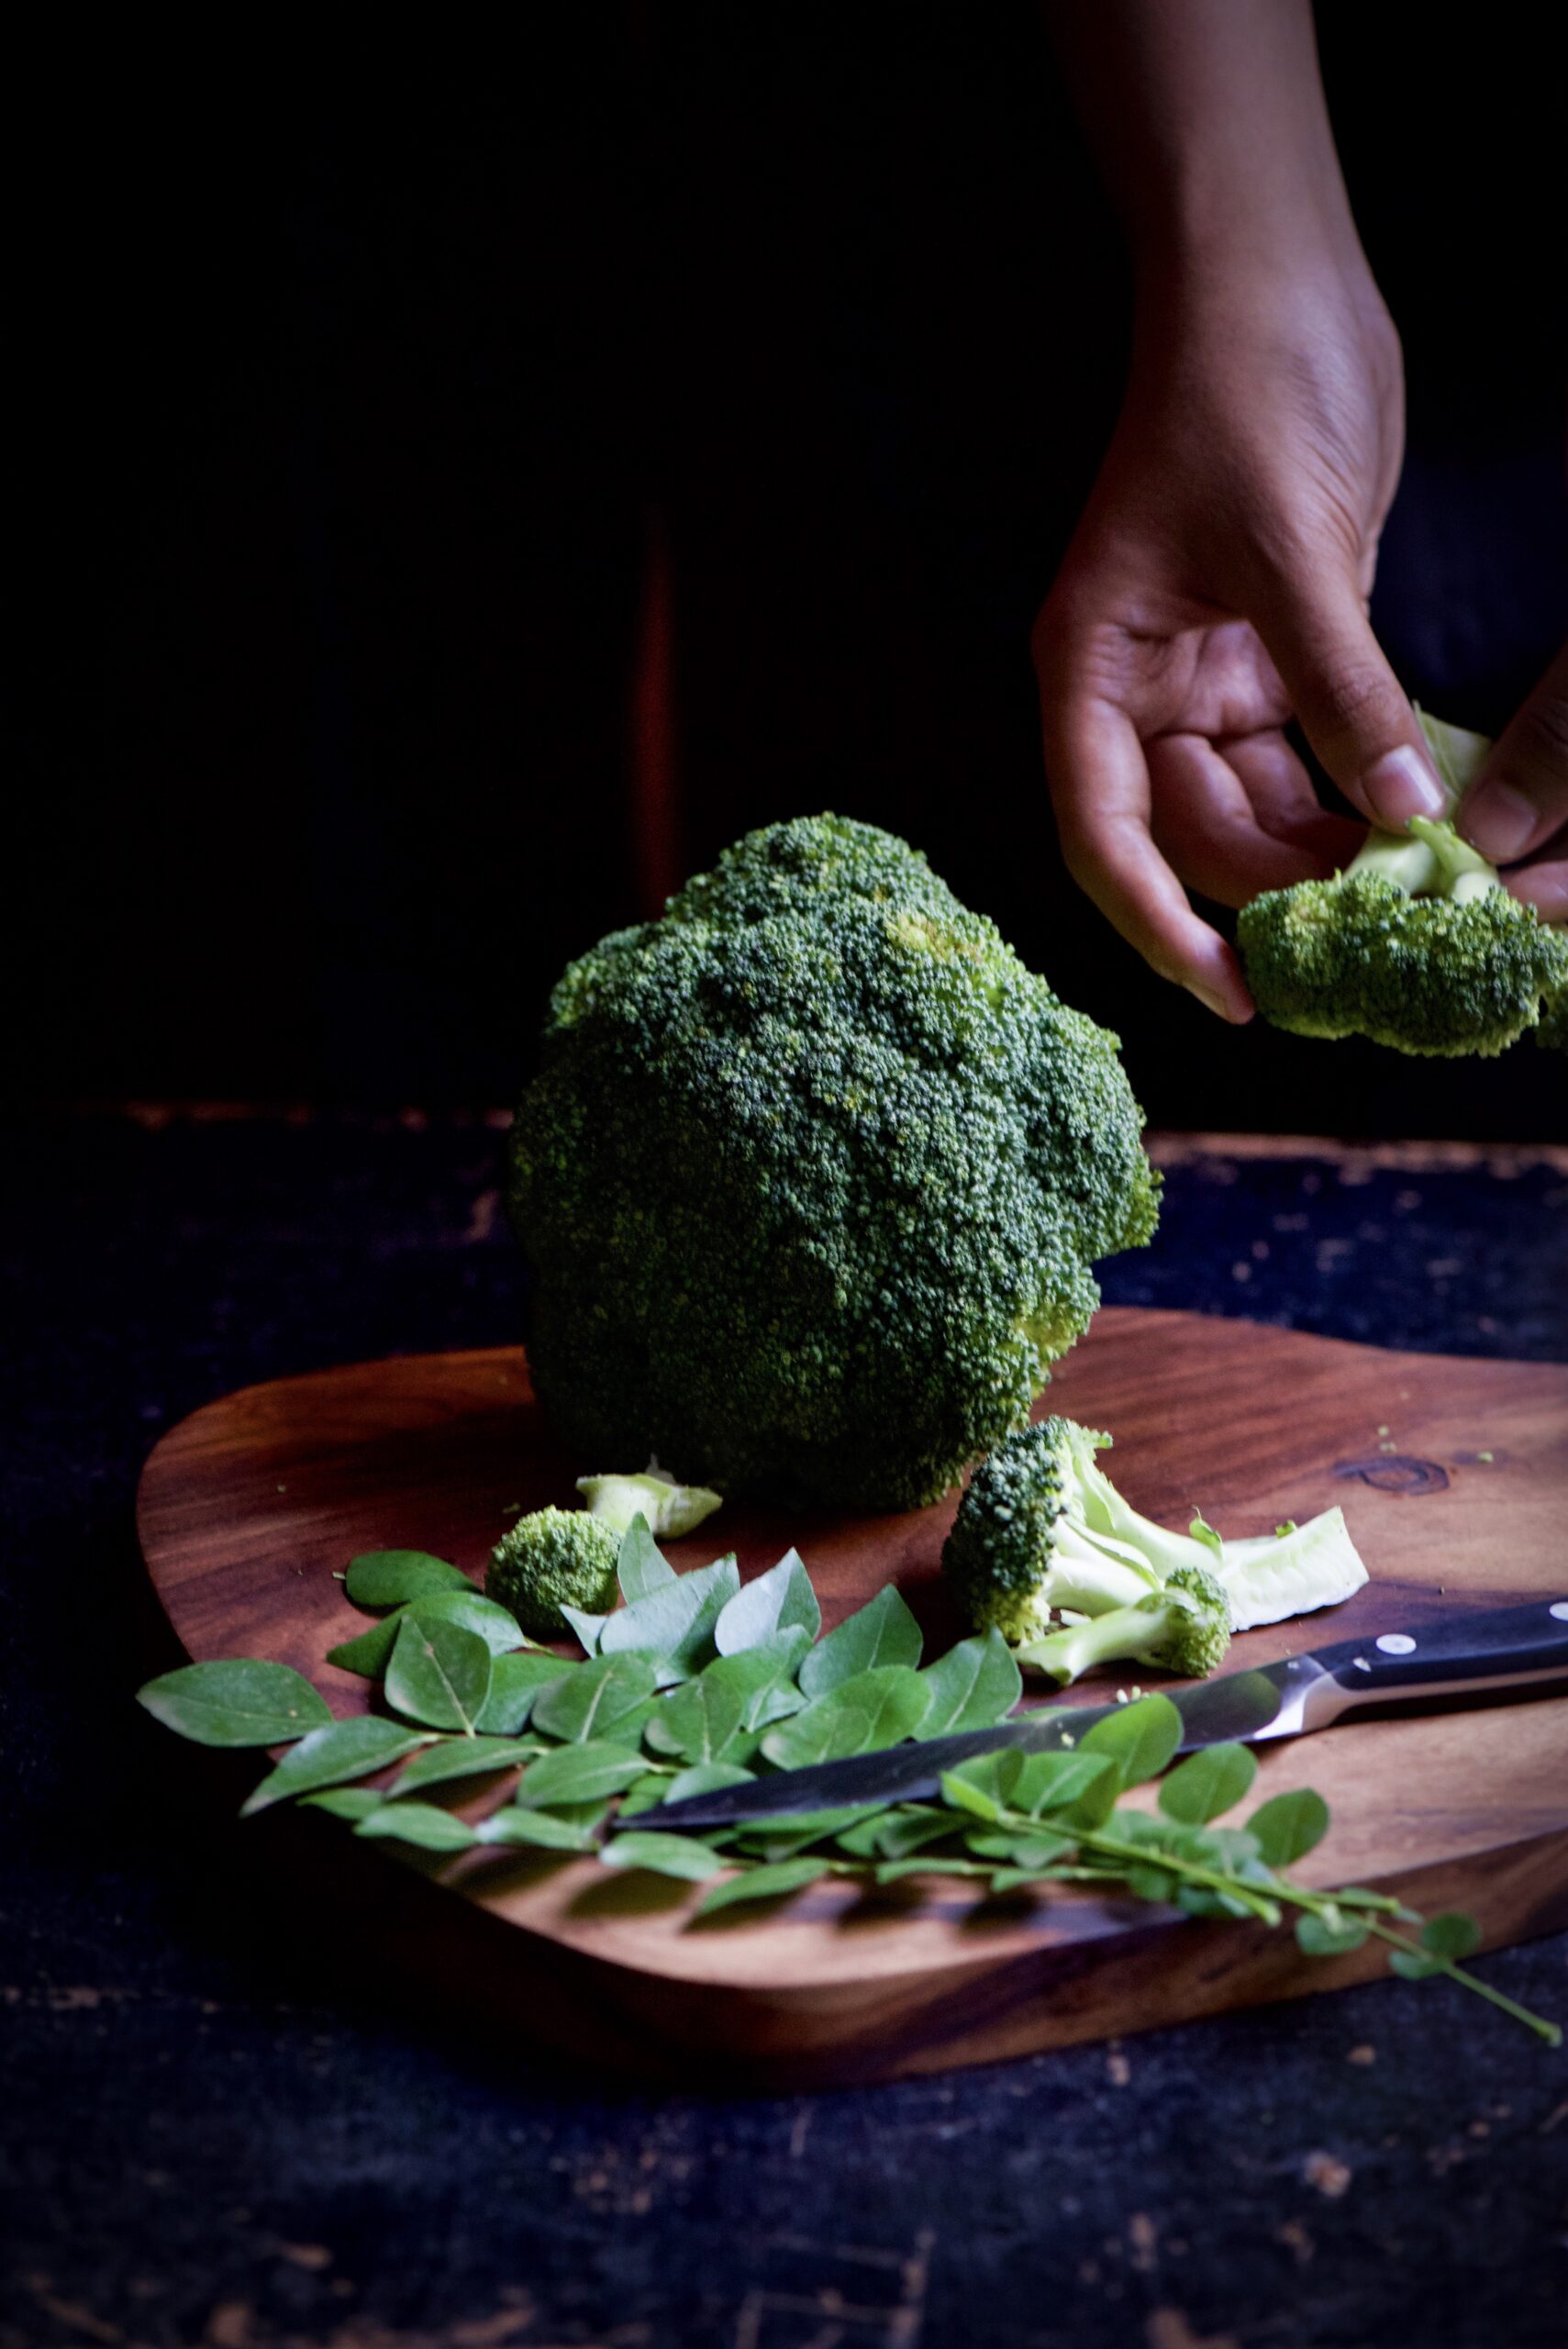
Occasionally, I like to shift from my mainstay local, seasonal vegetables and bring a little bit of the exotic into my kitchen. In Chennai, it is quite rare to find organic “English” vegetables, as we call them here, so when I came across some organic broccoli at my grocer’s, I picked up a few fresh bunches. To these, I added another ingredient from afar: organic almonds from Kashmir. If you’ve been following this blog, you’ll know that even when I go adventuring in my culinary repertoire, I like to add a homegrown twist to anything foreign. And this is where my trusted curry leaves, packed with nutrients and not just a spicy flavour, come in.
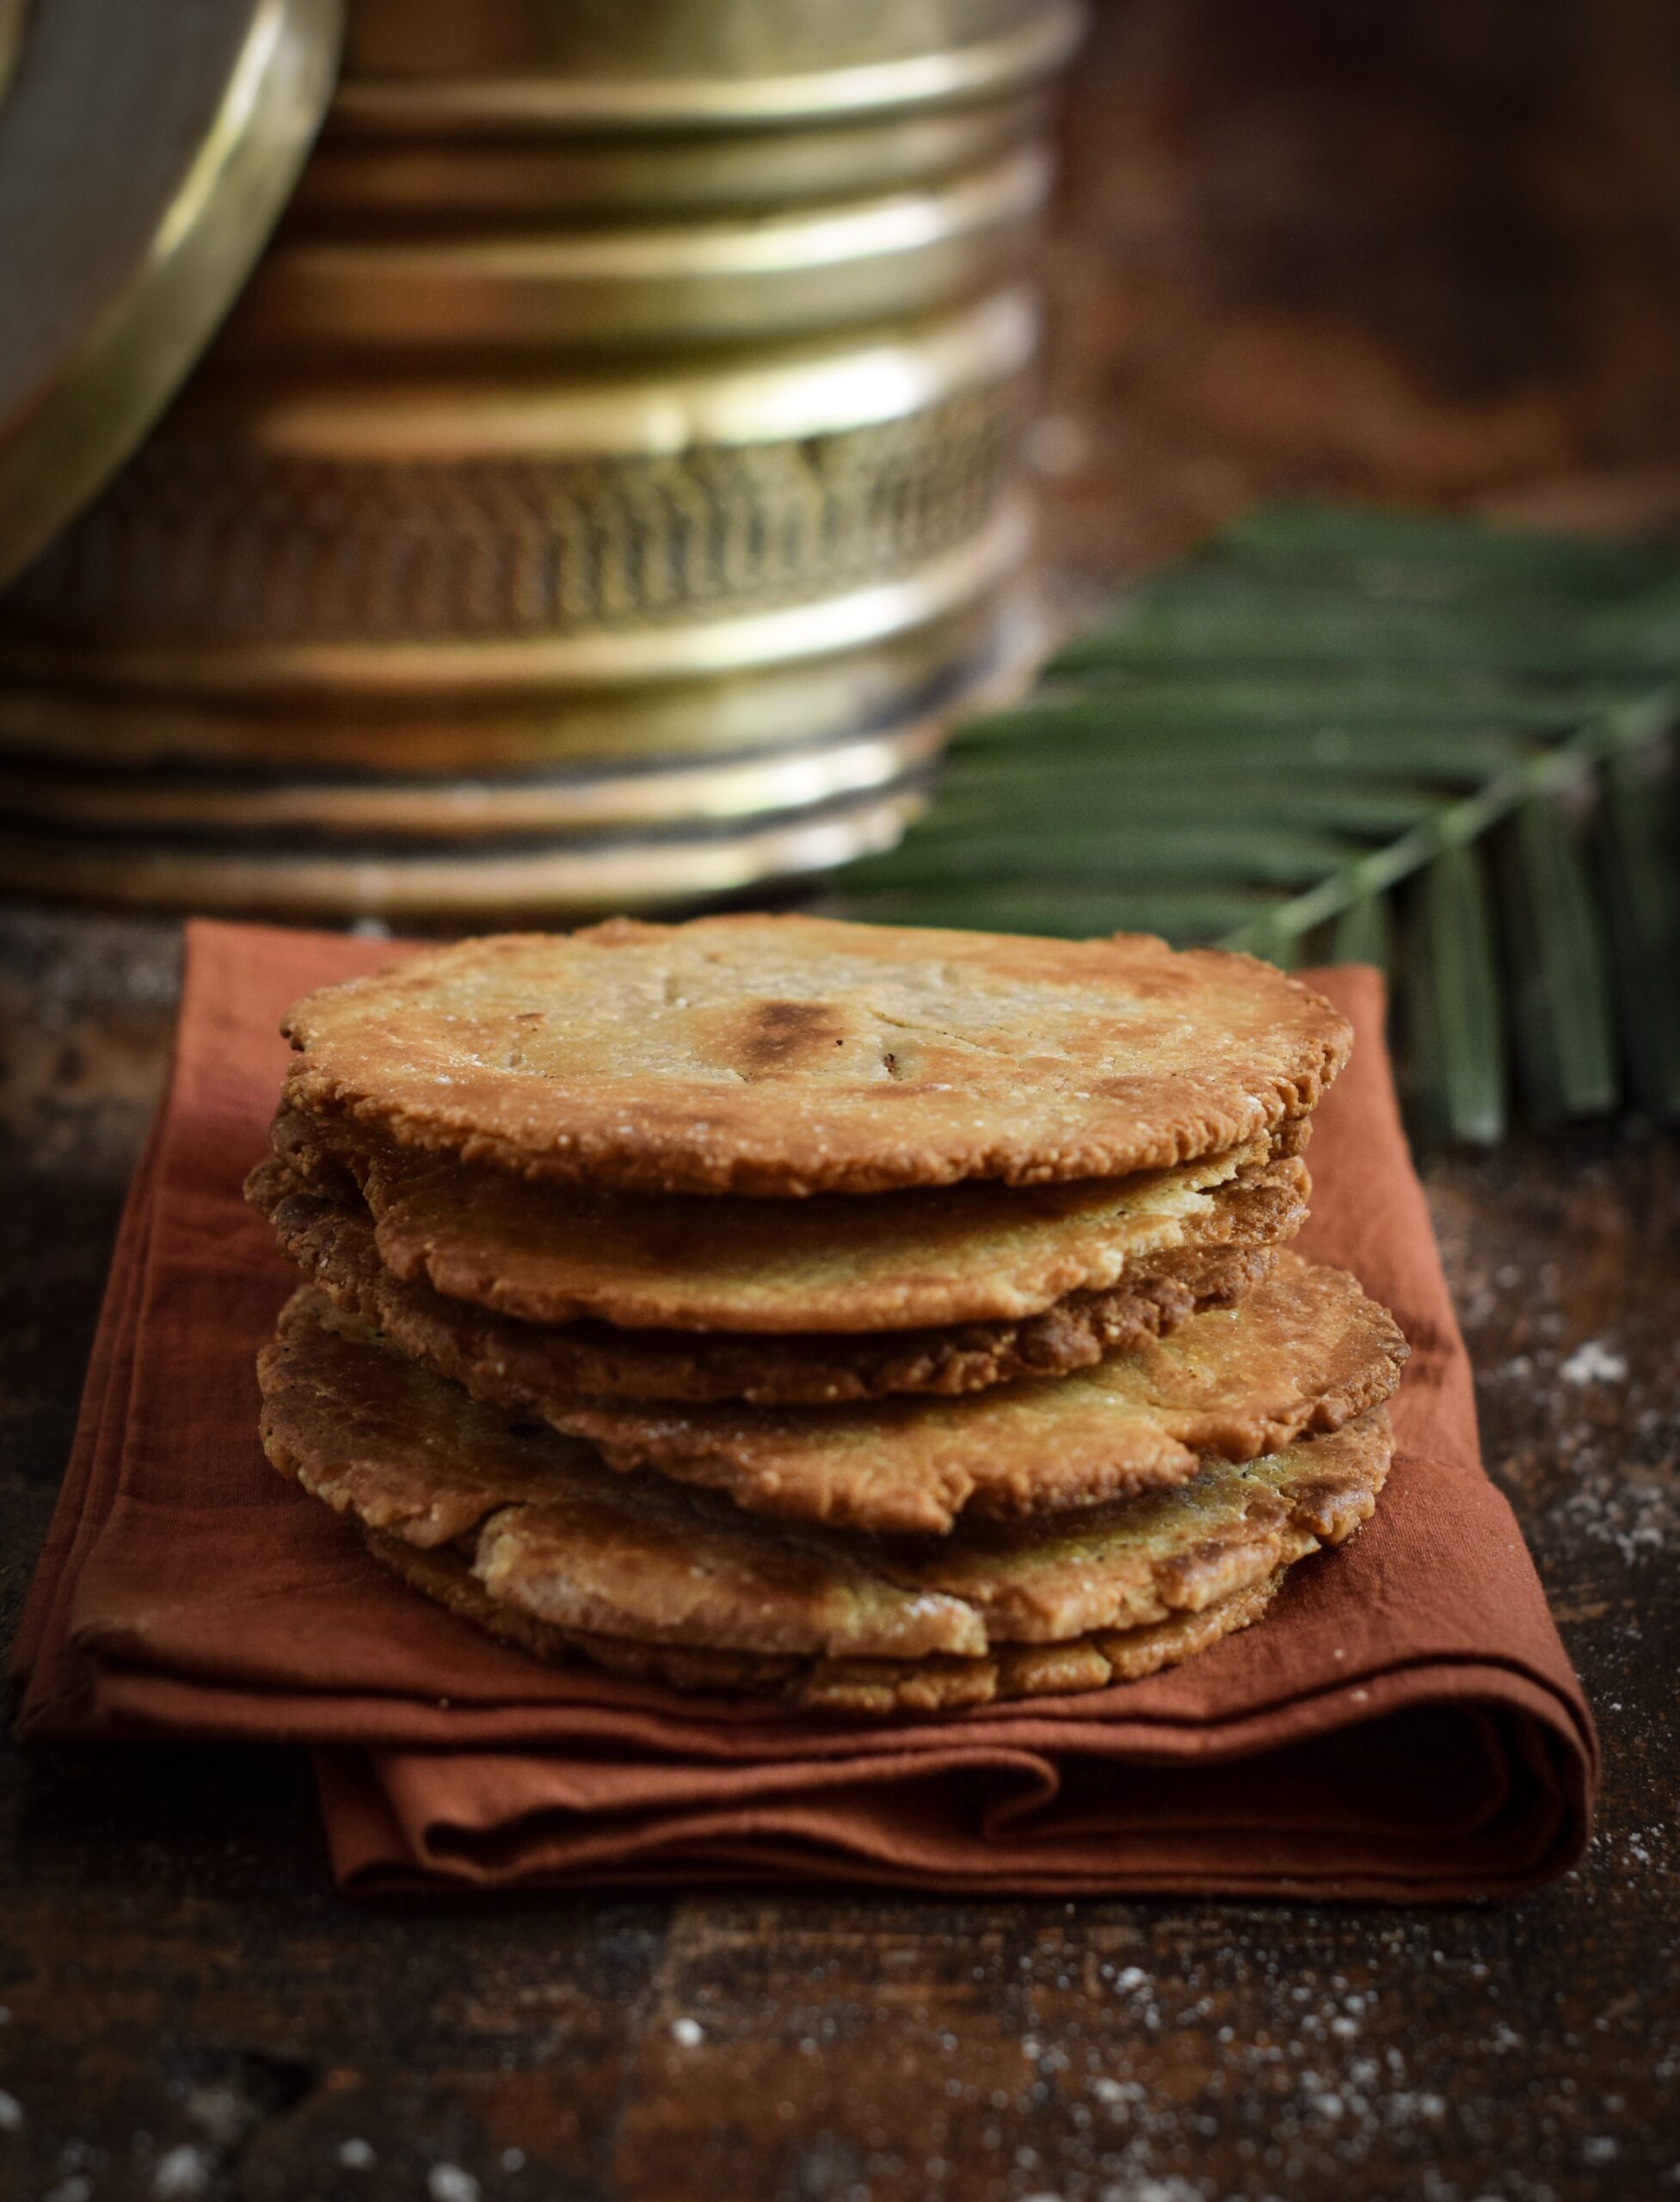
Almonds are well-known for their benefits, and are one of the first types of nuts that are recommended as substitutes for unwholesome snacks. Rich in healthy fats, vitamin E, magnesium, antioxidants and other nutritious elements, they reduce blood sugar, blood pressure and cholesterol levels. They happen to be a favourite in the cakes that are baked in the re:store kitchen, so there are always some on hand – whether to pop into my mouth on the go or to toast and drizzle over a blues-busting soup like this one.

Broccoli is so healthy a vegetable that you may have noticed that it’s almost a synonym for so-good-it-has-to-taste-bad for children’s characters in films and books! This is of course simply untrue, for it’s a tasty ingredient that can be used in versatile ways. From vitamin C to anti-inflammatory Omega 3 fatty acids to antioxidants and studies that support its consumption as being preventative of cancer and heart disease, a bunch of broccoli really is a bouquet of benefits. And as it is rich in fibre, it promotes detoxification – which is what makes it ideal for a post-festive diet.


Broccoli-Almond Soup

(Yield – 4-5 cups)

Ingredients

2 tablespoons + 1 tablespoon virgin olive oil

150 grams diced broccoli florets

3 tablespoons chopped onions

1 small cup washed, finely chopped coriander leaves

3 garlic cloves (smashed) + 3-5 garlic cloves (sliced)

2 cups vegetable broth

2 cups water

½ tablespoon ground black pepper

Salt to taste

2 sprigs curry leaves

3 tablespoons + 1 tablespoon slivered, toasted almonds

1 teaspoon lemon juice


Heat the oil in a medium-sized saucepan. To this, add onions and garlic. Allow them to sauté till golden, before adding the broccoli. Continue sautéing for a few minutes.

Next, add the vegetable broth, cover the pan with a lid and leave to cook for 10 minutes. Then remove the lid and let the dish cool a little. Blend in the coriander leaves with the rest, and add more water to adjust the consistency of the soup to your preference. Finally, add salt and pepper as well as the slivered, toasted almonds.

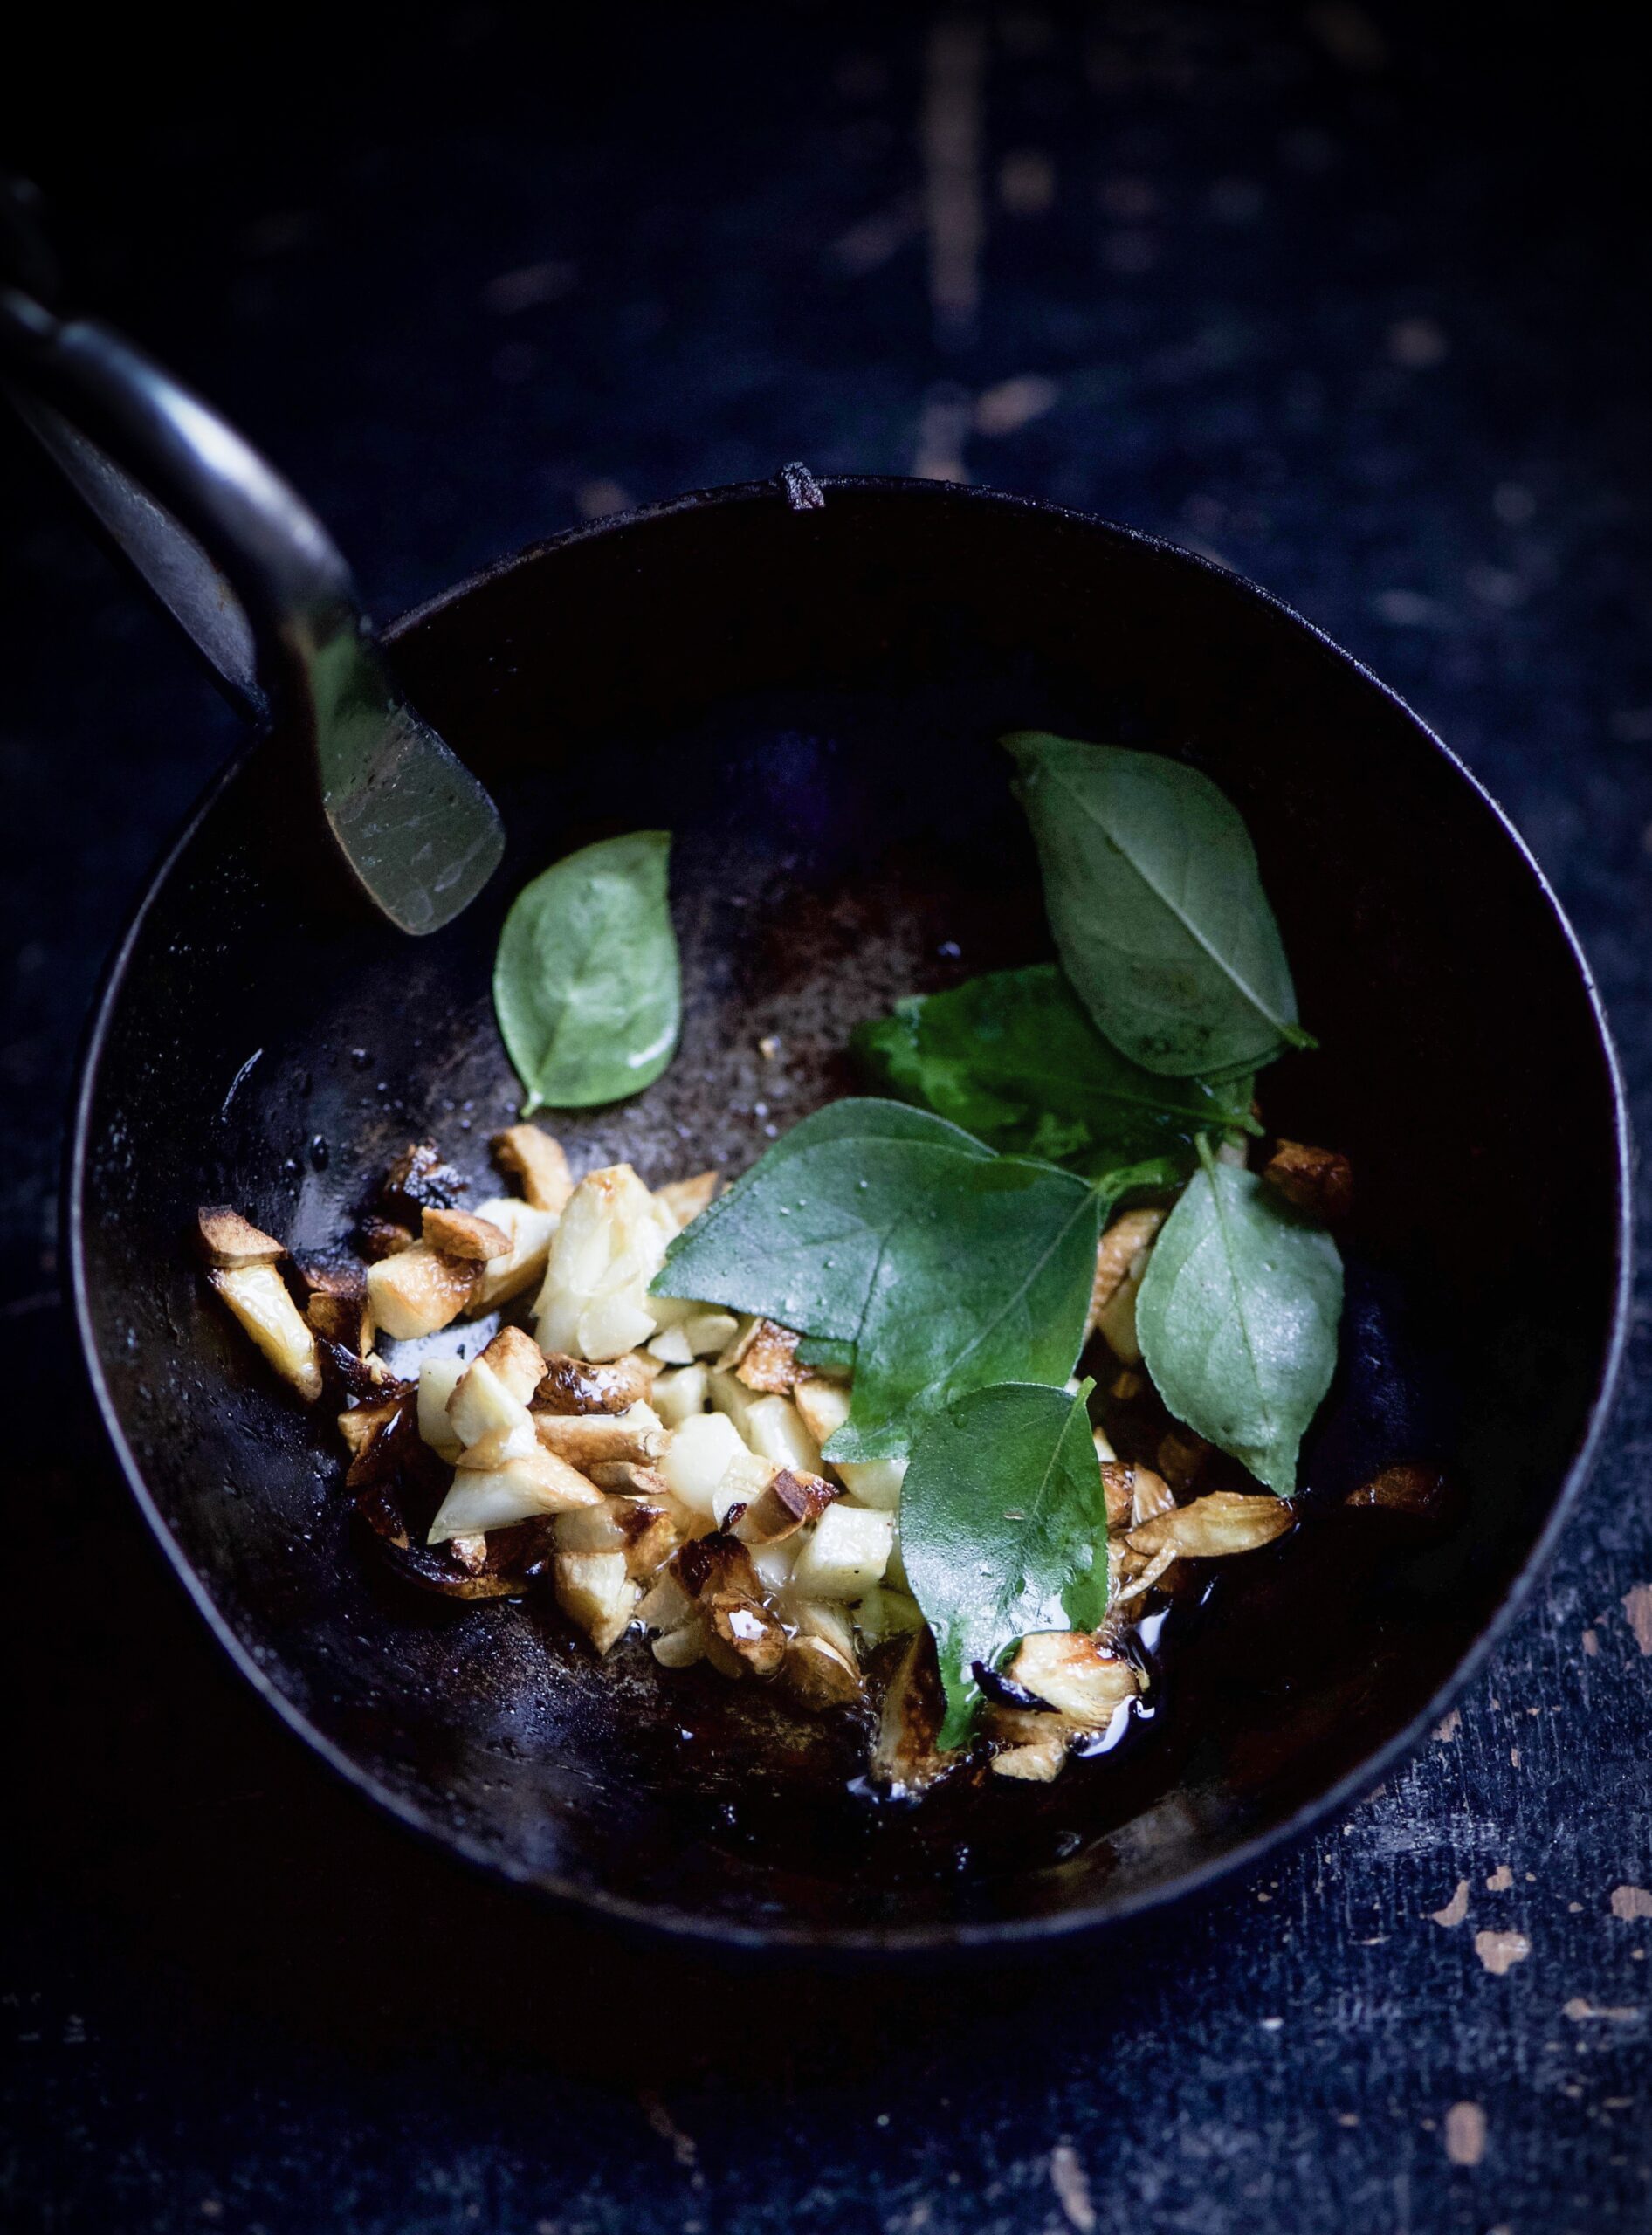
In a separate pan, heat 1 tablespoon of oil and fry the sliced garlic cloves. As they turn golden, add the curry leaves and turn off the flame. Just the rich, warm aroma of this garnishing as it is being prepared will lift your mood!

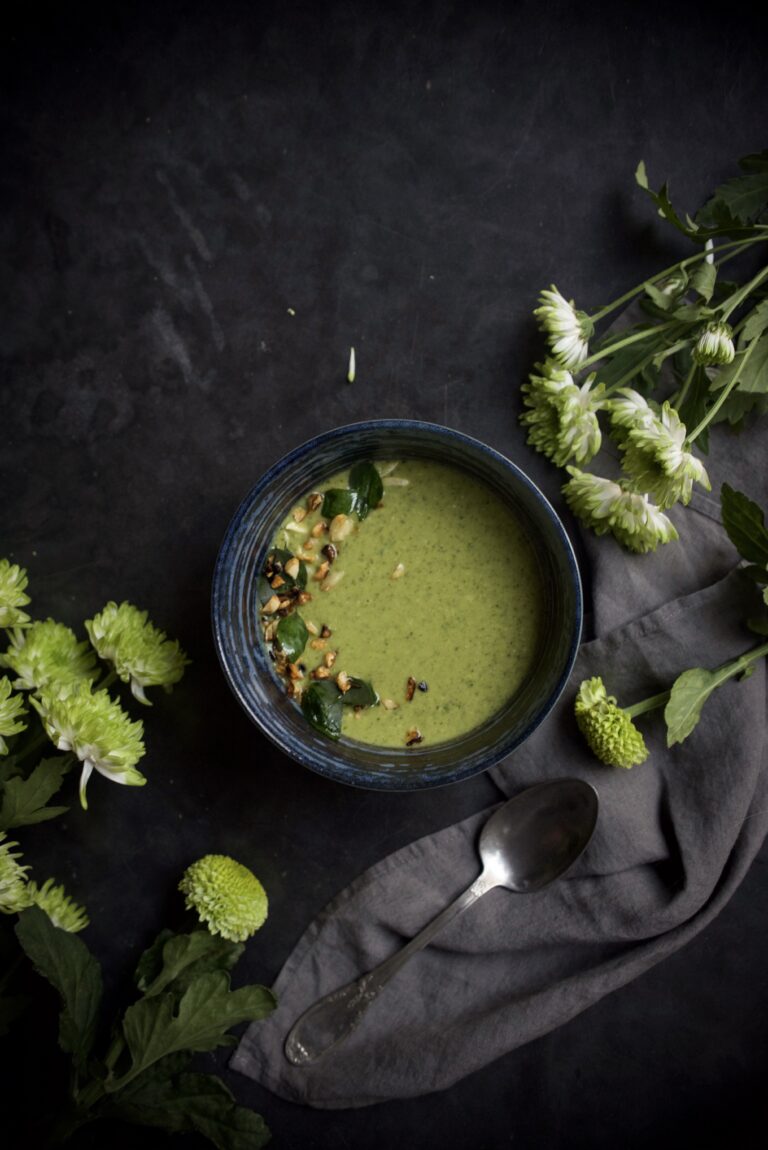
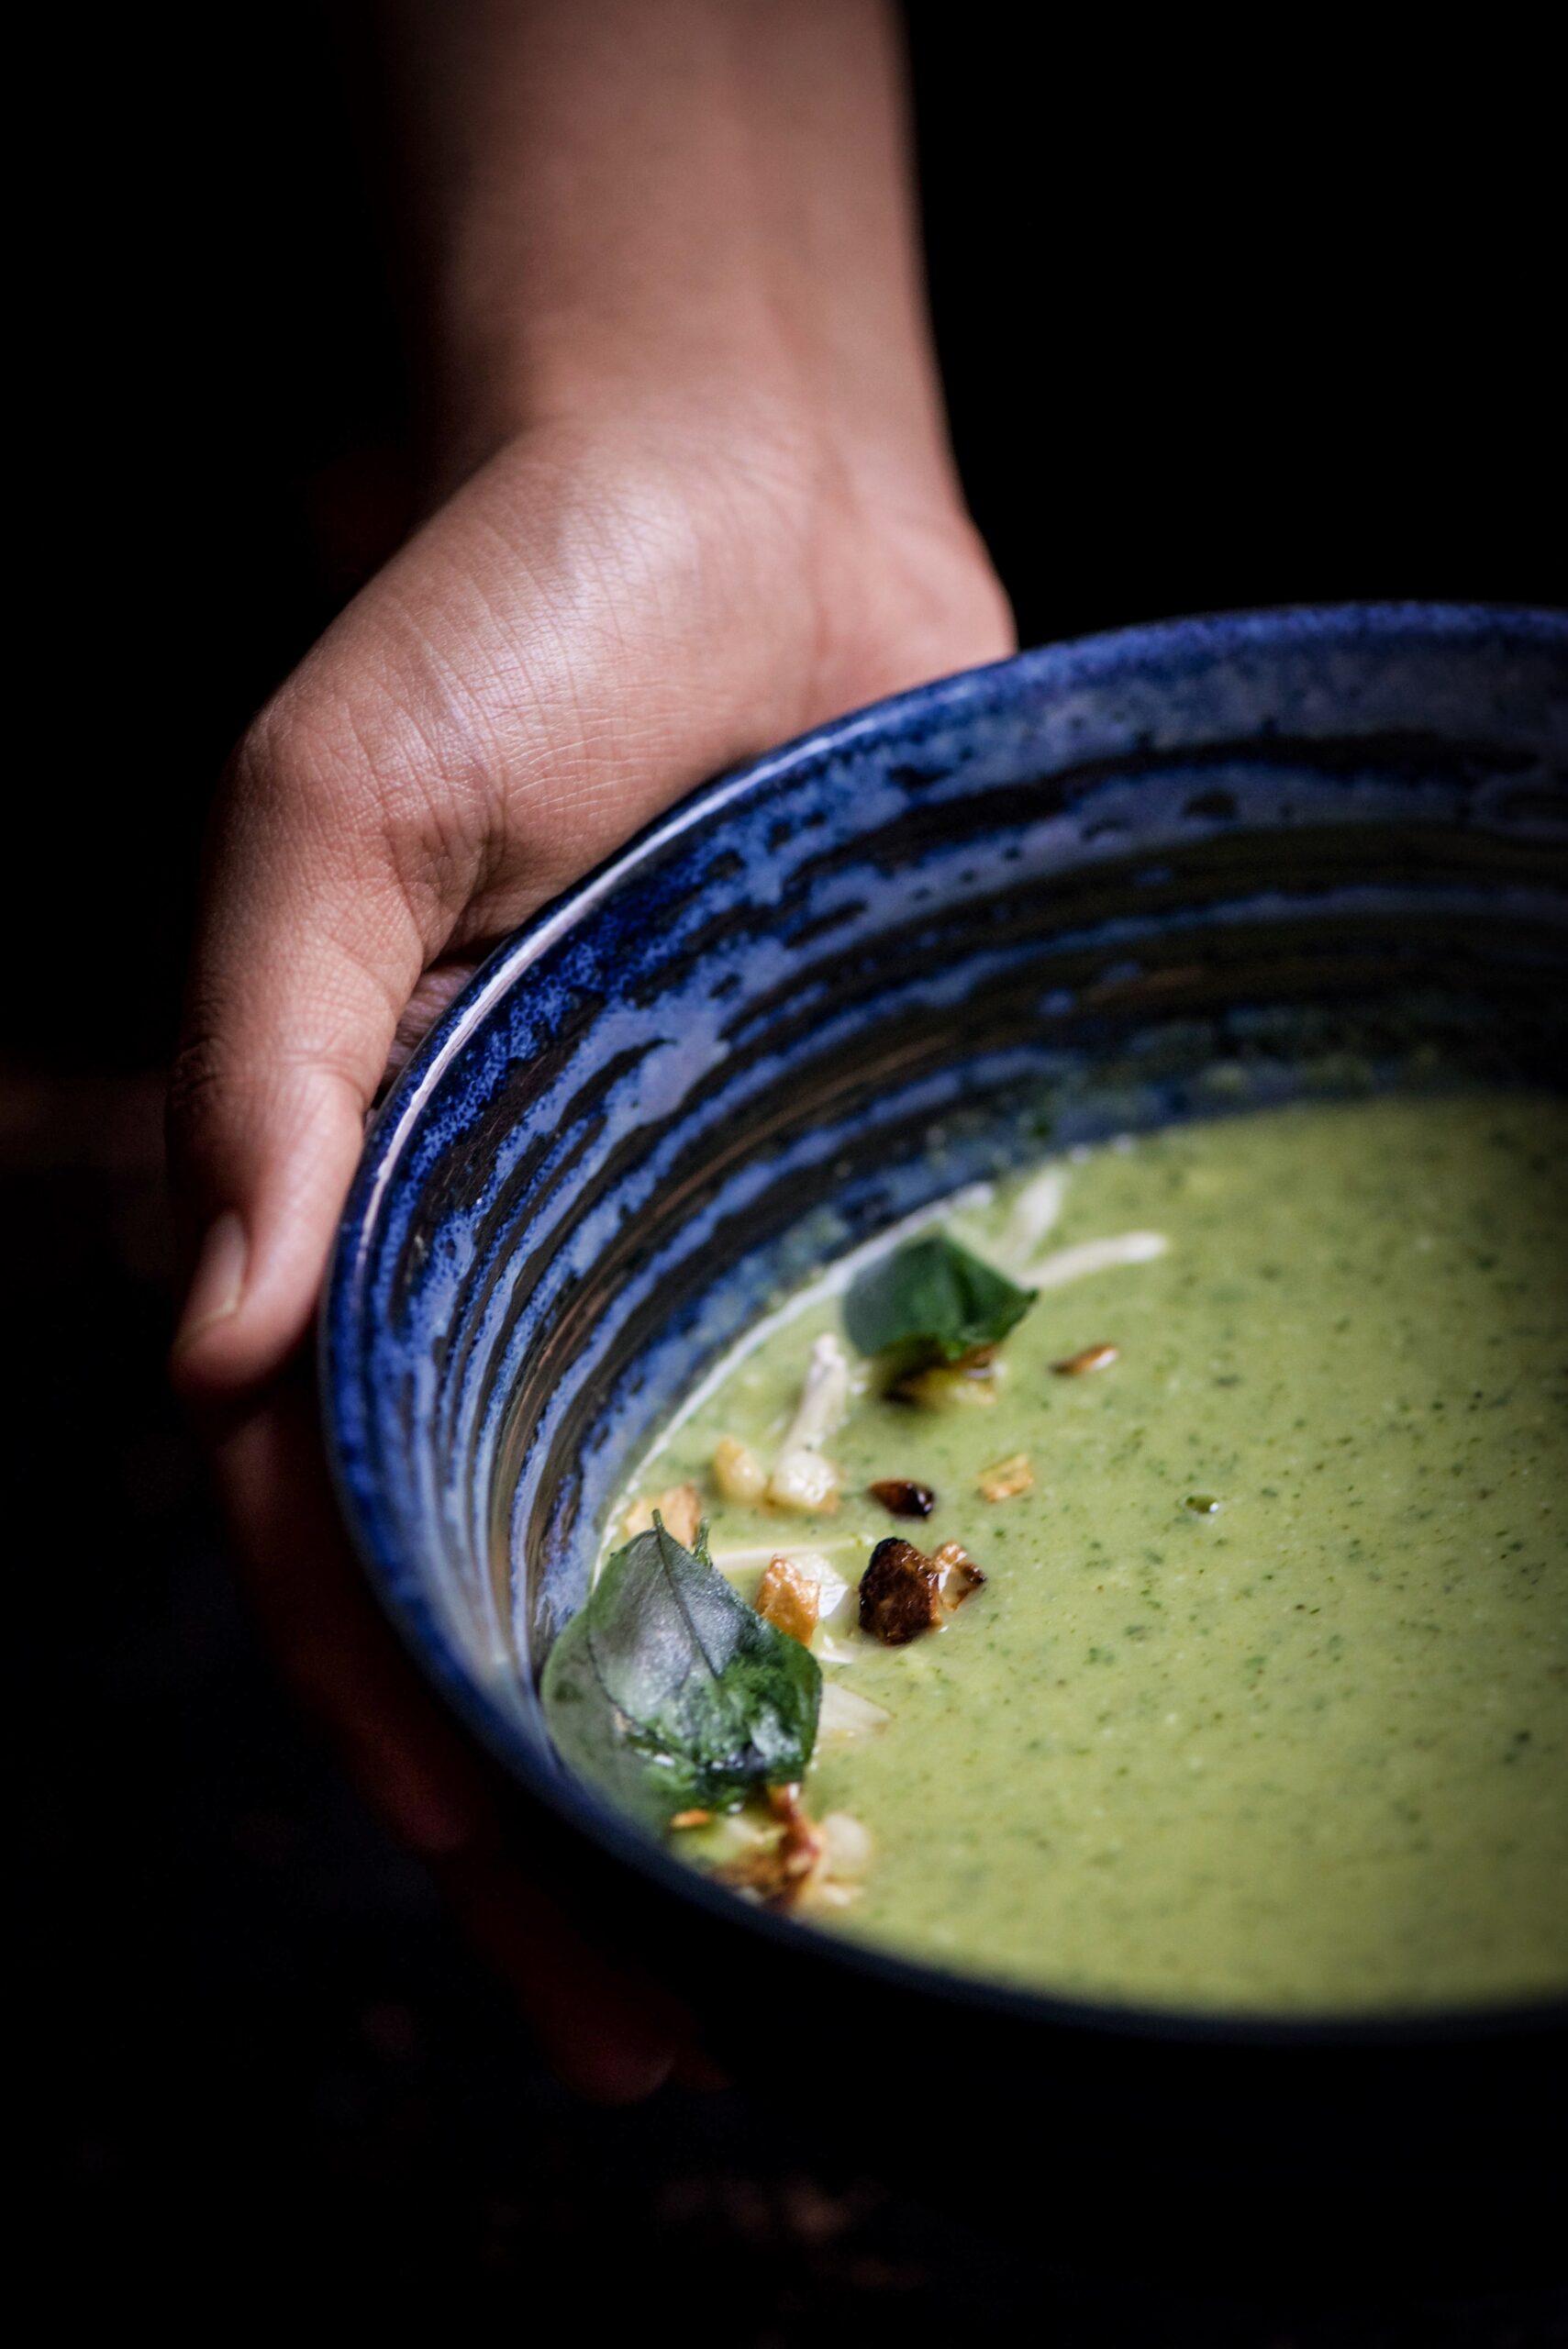
Just before serving the soup, pour the cloves and curry leaf garnishing on top. I added a dash of lemon too. Sprinkle the last of the slivered, toasted almonds as the final touch.

I love my soups with a bit of crunch, and the broccoli and especially the almonds bring texture to this simple dish. Perfect for when you aren’t up to making full meals, when you’re feeling under the weather, or when you just need to cut back on the sugar and carbs, this lovely one-pot meal is light and healthy yet so filling. A cup or two of this broccoli-almond soup with just the sound of afternoon rain for company is so satiating. Please try it. I’d love to know what you think in the comments.

Once upon a time, before I decided to turn completely vegetarian again, I used to enjoy the very occasional meat dish. And more often than not, the particular dish that would kickstart my cravings was the chili bowl I discovered in L.A. some decades ago while pregnant. A rich, spicy stew with Tex-Mex origins, it’s a quintessential part of the cuisine of the southern American border regions – and something which reminded me of Indian food whenever I was homesick or longing for comfort food while travelling in the States.

Chili is a meal-in-a-bowl, although you can eat it with tortillas, rice, nachos, fries or other accompaniments if you like. Did you know that the Nahuatl (indigenous Mexican) word chīlli is what gives the chilli pepper its English name too? The dish too takes its name from this most vital ingredient. If you’re interested in a history of the dish, do read this comprehensive article with various legends and records.

Chilli fruits – yes, fruits! – were cultivated in ancient Mexico, and were introduced to the rest of the world through European colonists and traders. Then, based on different climactic conditions, certain places grew famous for particular cultivars: e.g. bhut jolokia (or “ghost peppers”) in India and Malawian kambuzi. In fact, the chilli powder I use to make my chili (yup, the spelling of the two words is close but not exact!) is a ground Hungarian spice known as paprika, made of sweet bell peppers and occasionally cayenne peppers. Each cultivar varies in pungency and intensity, and chillies are eaten in red, green, dried or capsicum/pepper variants. I also use capsicums in this dish.

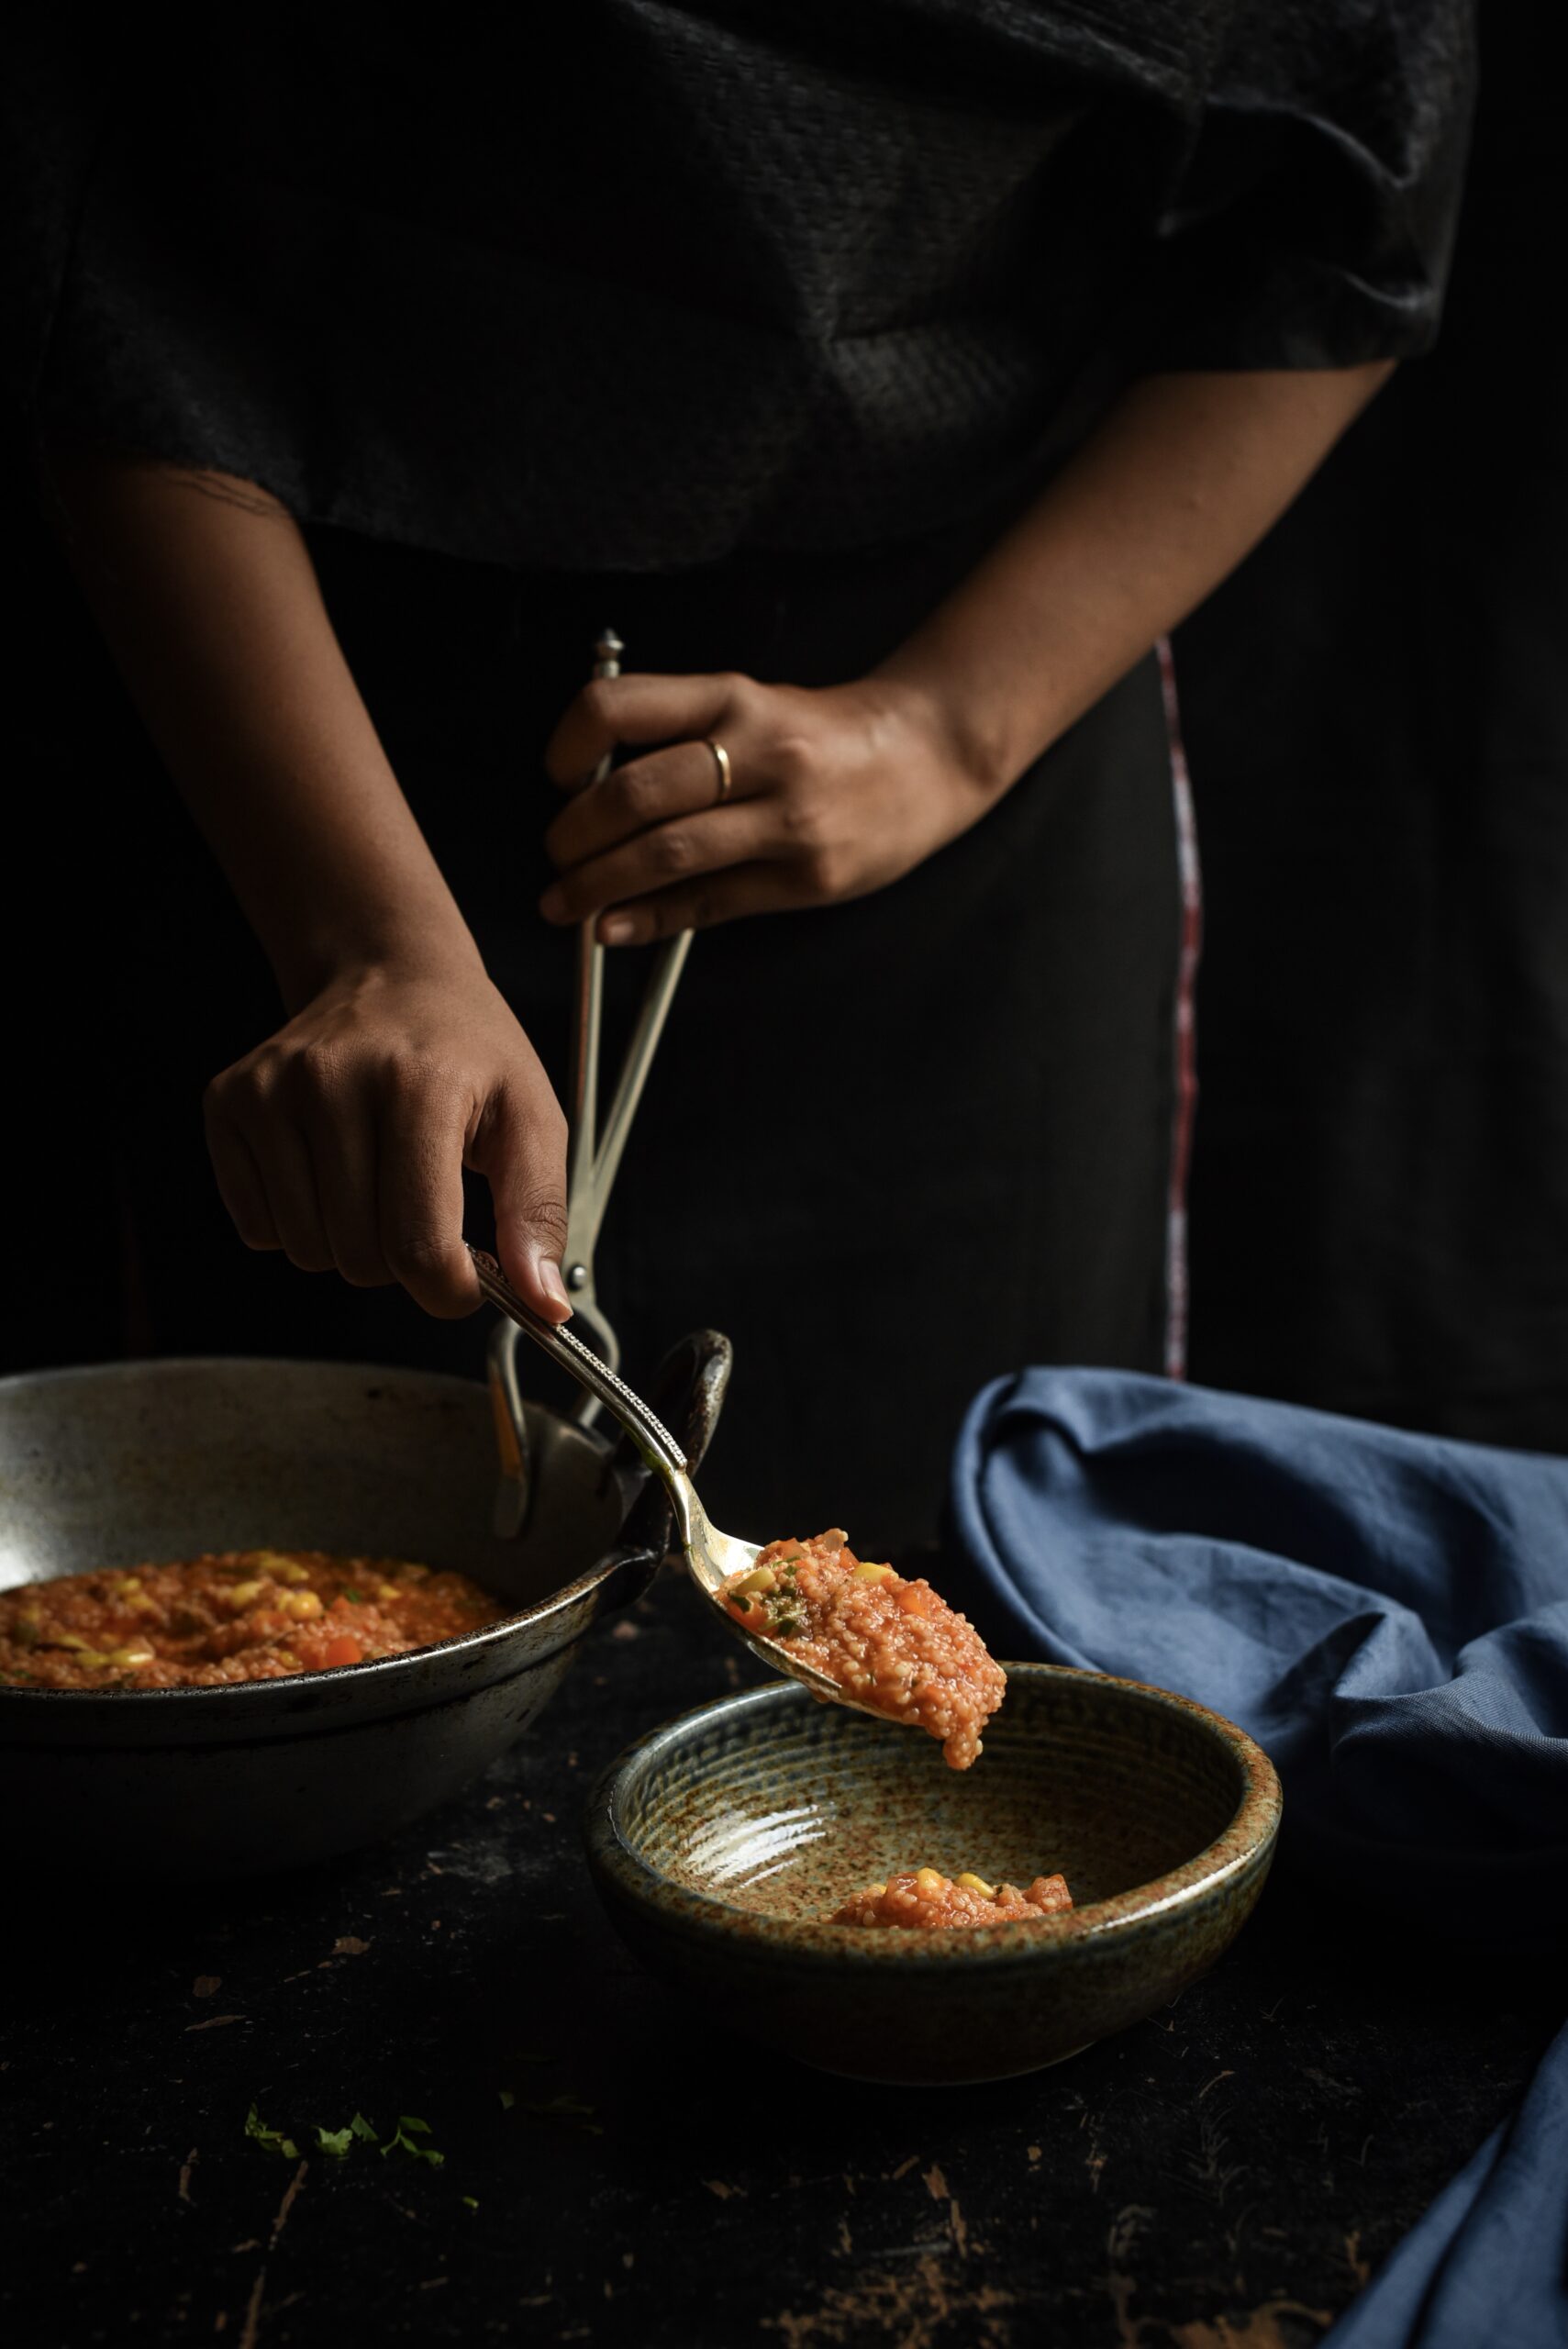
The festive season has found me inundated with cupcake orders. Despite seeing so many in my kitchen every day now, I haven’t grown tired of stealing one now and again – all under the claim of checking the sugar level of course! Between some recent travel abroad and the sugar buzz around me now, I’ve missed the flavours and smells of Indian spices. Inspired equally by the memory of those long-ago chili bowls and my ongoing delving into the super-foods and smart-foods in our own Indian fields and forests, I decided to make a vegan millet-based chili. I tried and tested this recipe a few times before perfecting it. Fusion food can sometimes be a blunder, and sometimes be a wonder. I’d love to know what you think of this!


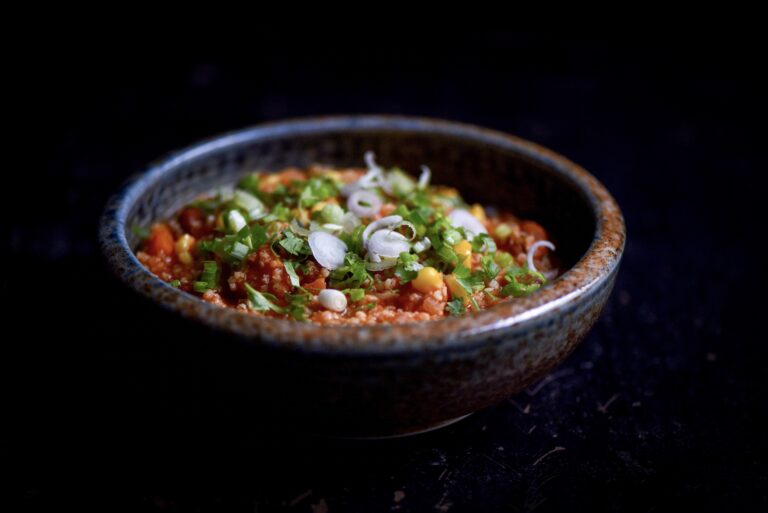
Vegan Chili Bowl

Ingredients:

1 tablespoon oil

1 teaspoon cumin

¾ cup carrots (chopped)

½ cup rajma/kidney beans (soaked)

½ cup onions (finely chopped)

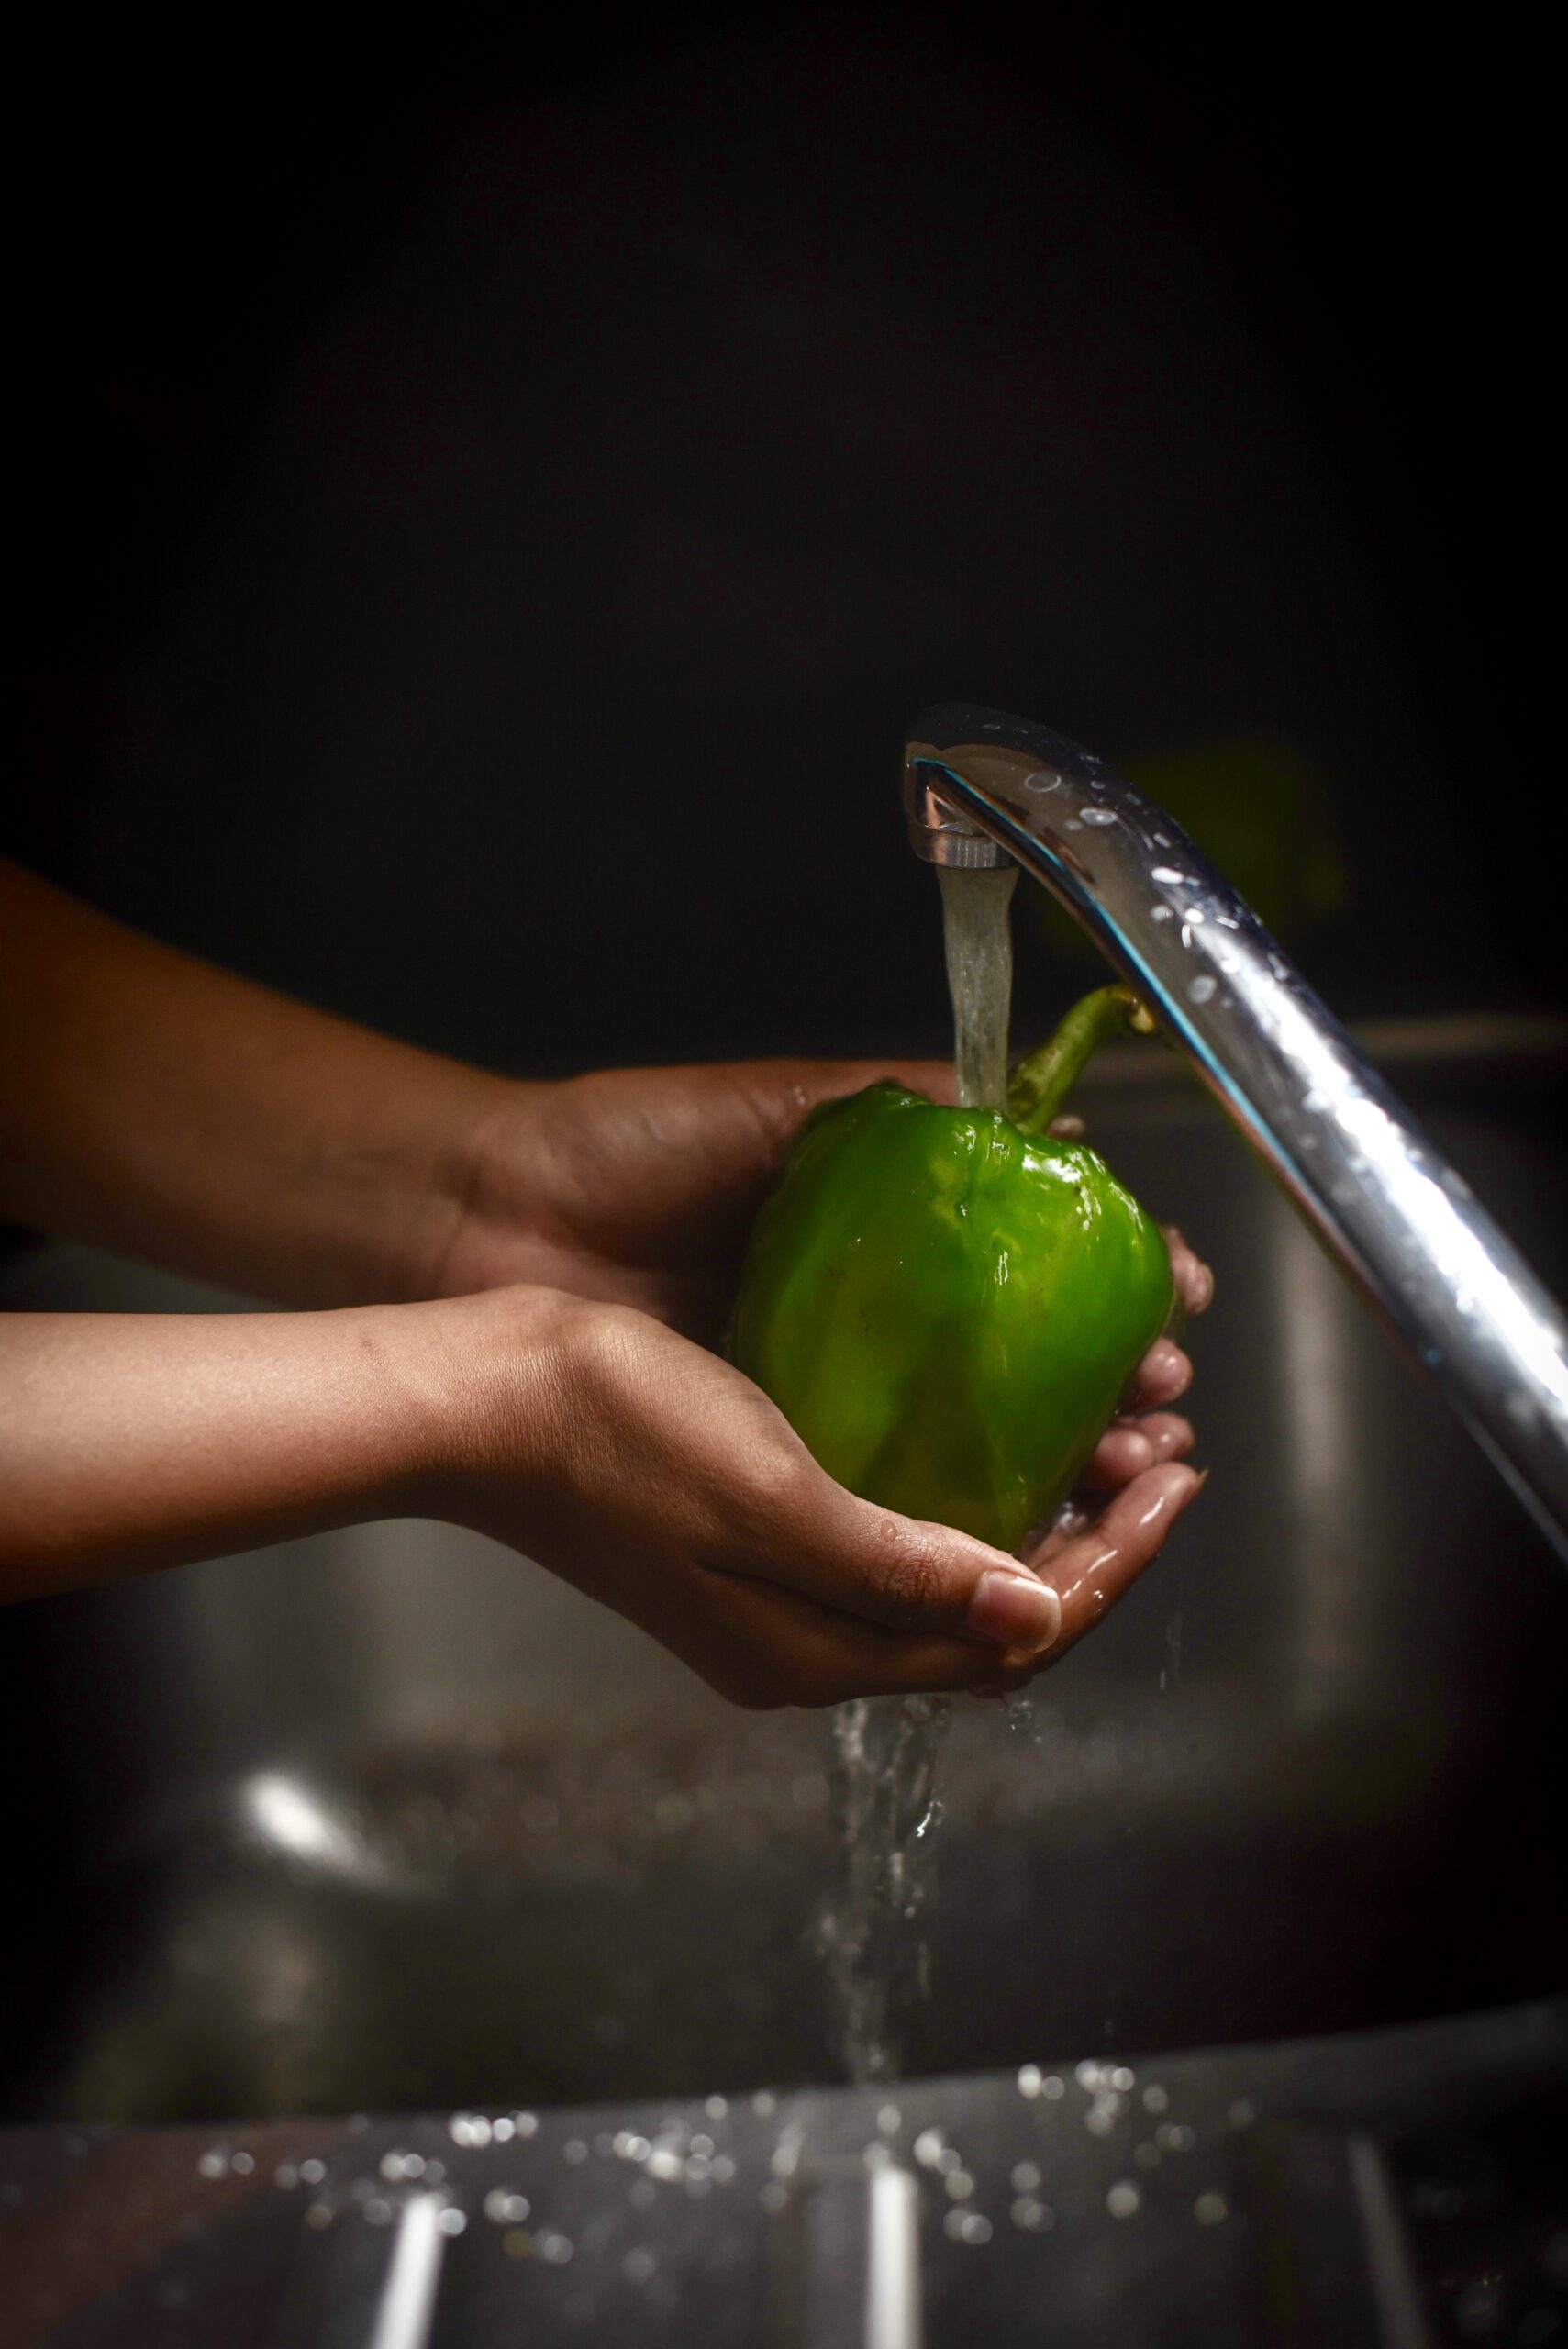
½ cup capsicum (finely chopped)

½ cup green beans (finely chopped)

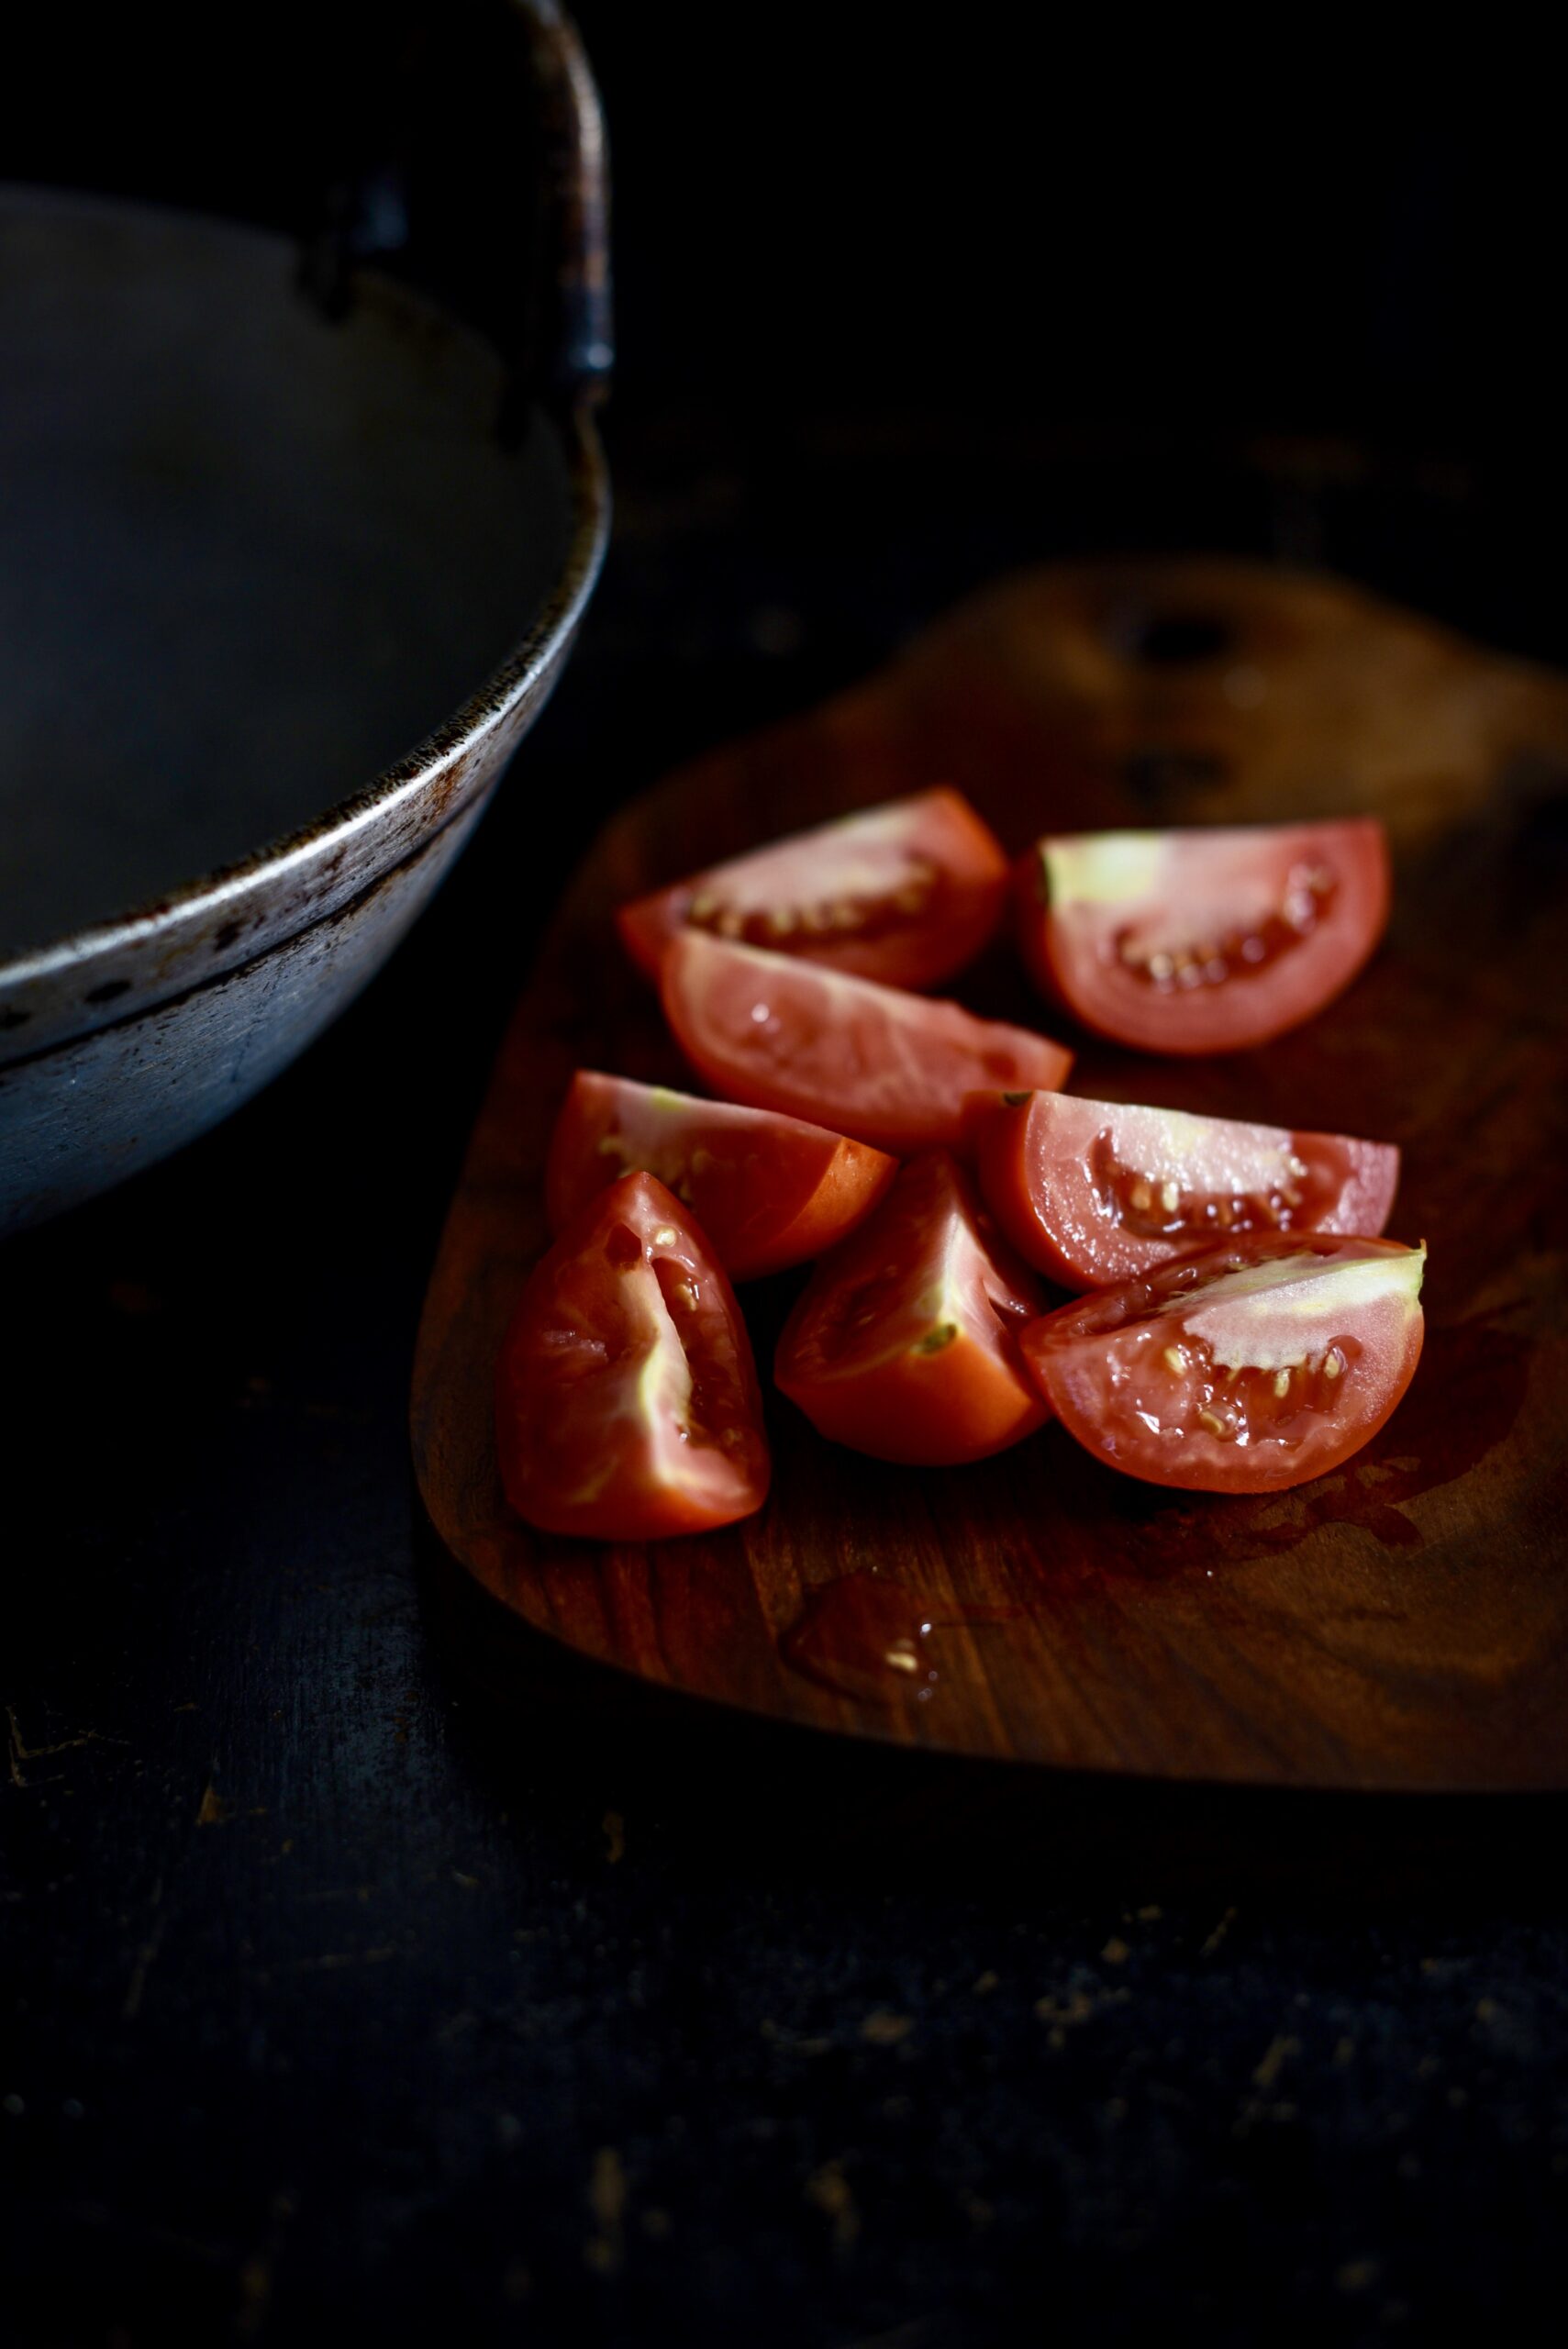
2 medium size tomatoes blended into a puree (approximately 1 cup)

3 pods garlic (grated)

1 piece ginger (grated)

¾ cup kodo millet

½ cup corn niblets and/or peas

Salt

Paprika

1 tablespoon lemon juice

4 cups of hot water

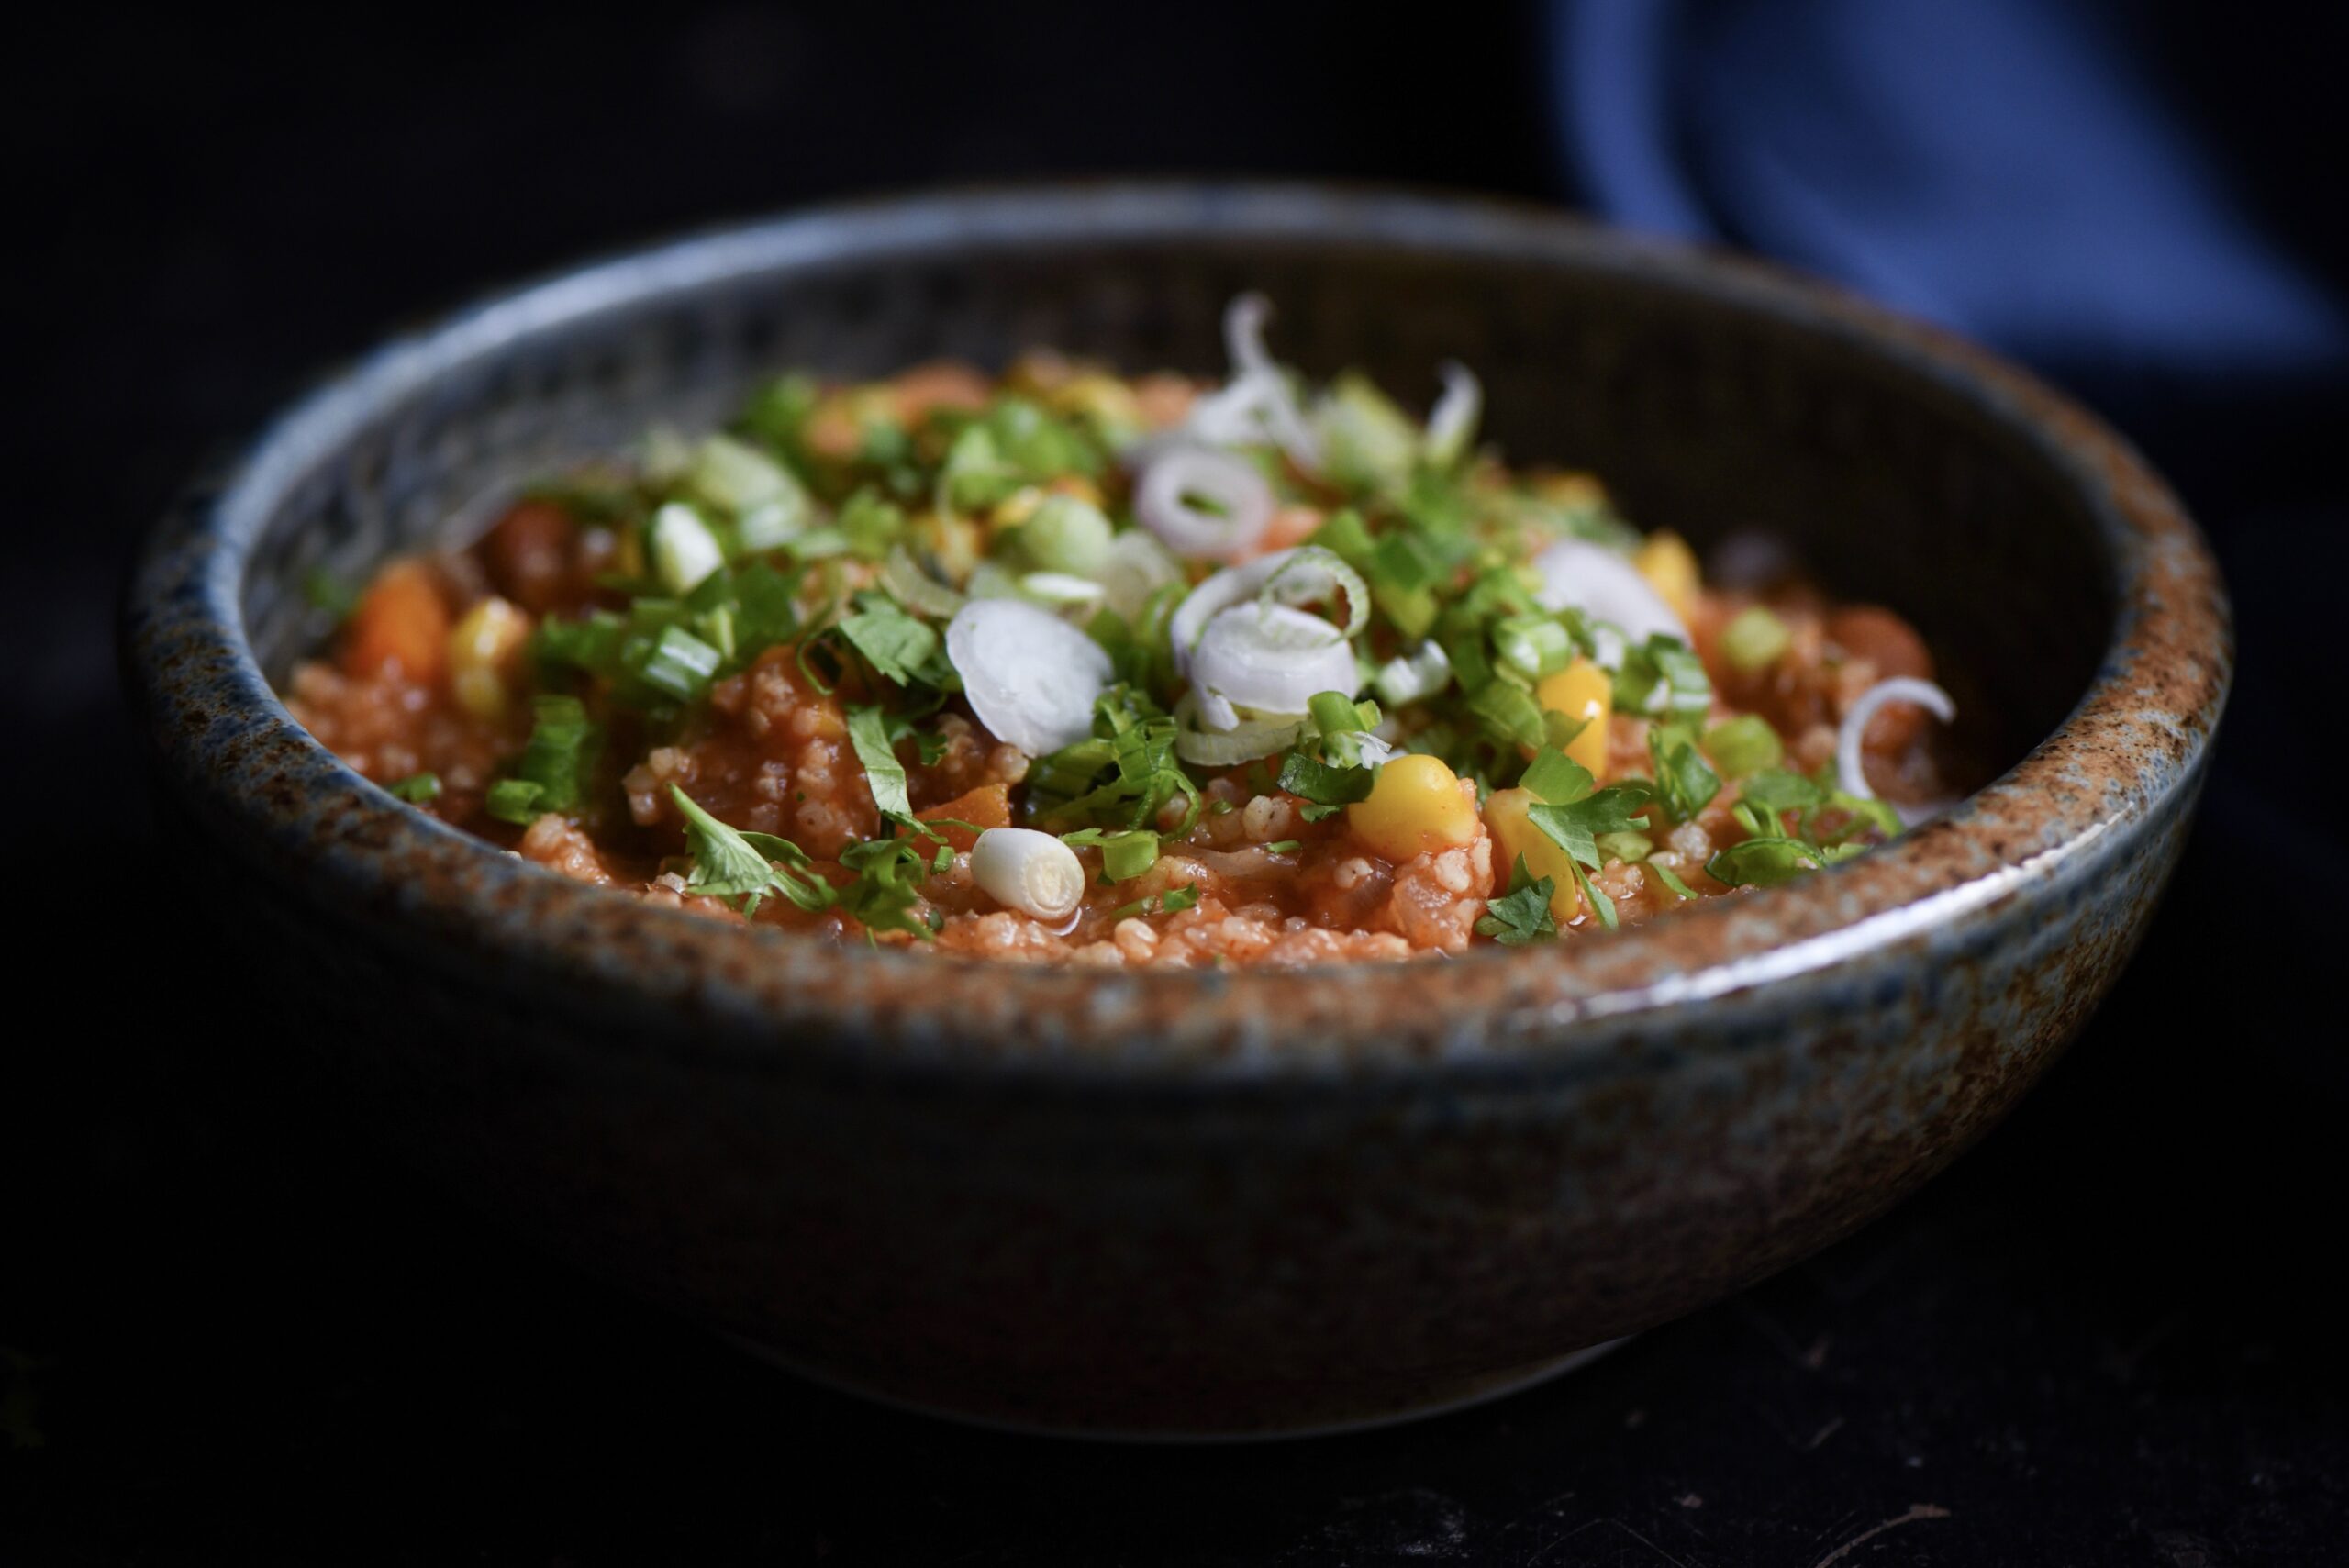
Chili may be Tex-Mex in origin, but the ingredients of my Vegan Chili Bowl are all easily available and highly affordable in India and elsewhere.

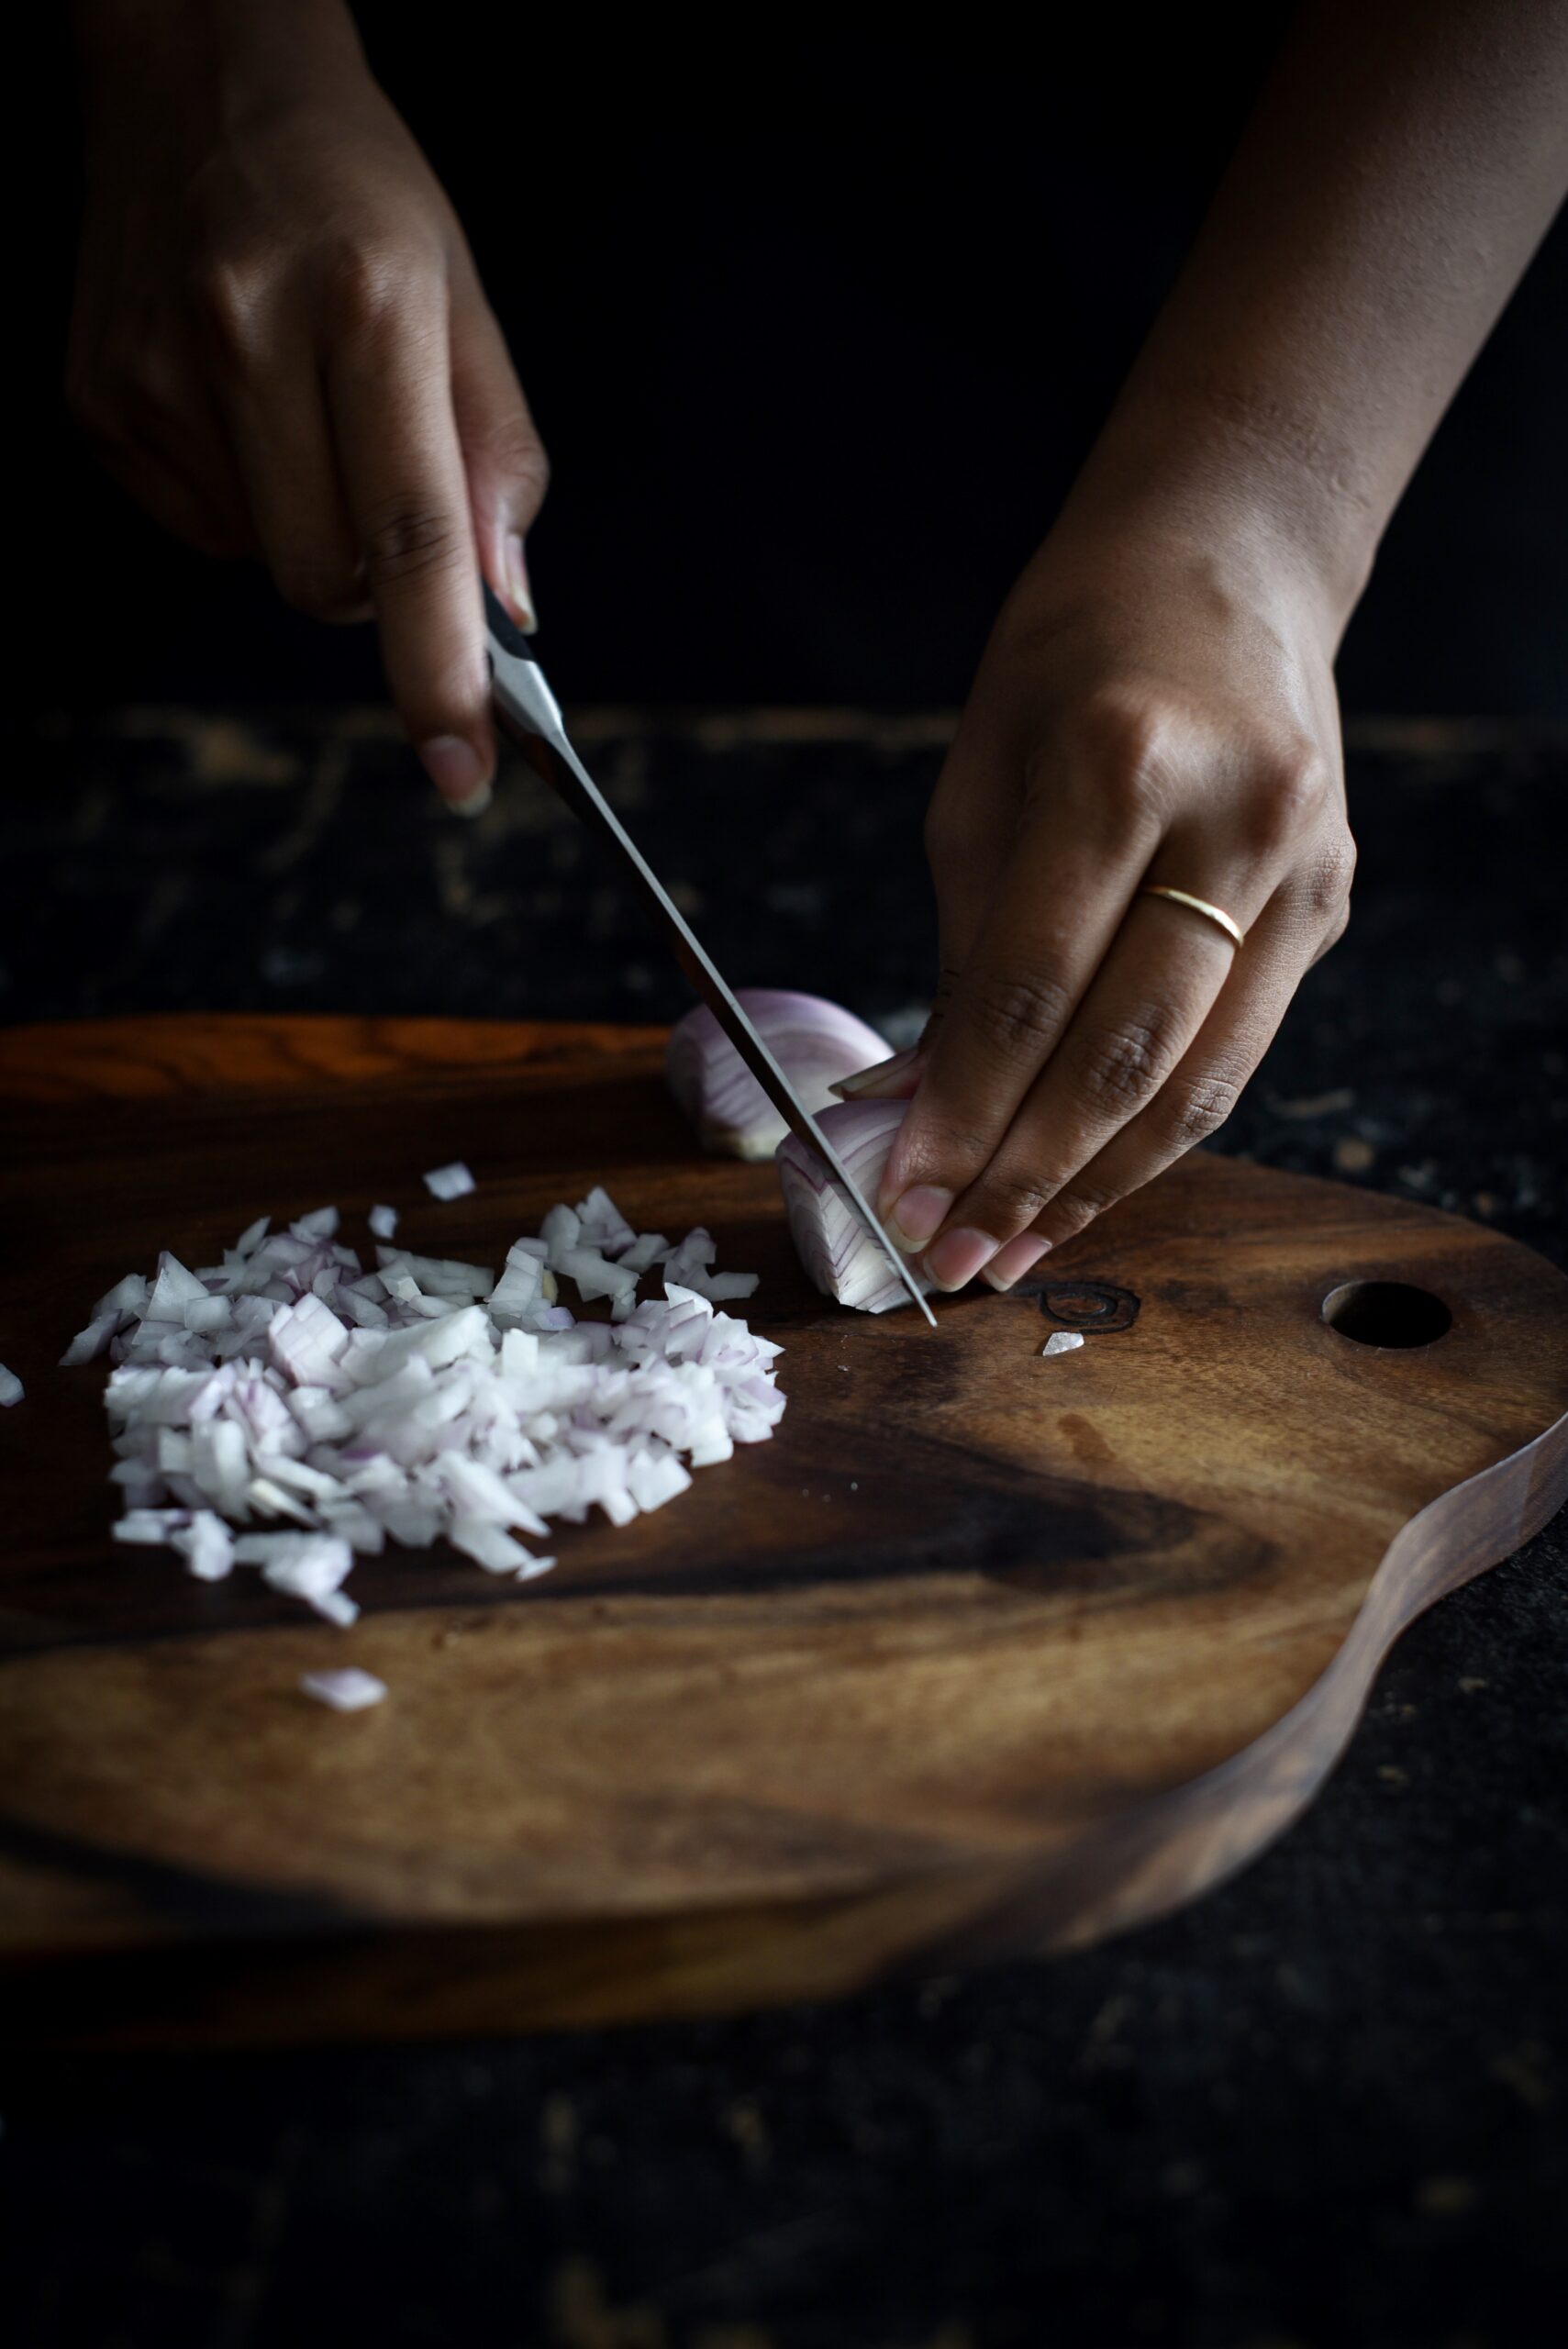
Take a pot and add oil to it. Once it is hot, add the cumin, followed by the grated garlic, ginger and onions. Sauté till golden brown.

Boil the green beans, peas and carrots and strain these. Keep the water aside.

Kidney beans take longer to cook so pressure cook or par-boil them before adding them to the pot. You may substitute the kidney beans for a lentil of your choice. Please note cooking time will differ based on which ingredient you use.

Add all the cooked vegetables to the onions along with the tomato puree, corn, capsicum (I used green capsicum, but you can use yellow or red too), millets, paprika and salt.

Now, add the strained water (approximately one cup) and the cooking water to the above ingredients. Cover with a lid and lower the flame. Allow this to cook for 20-25 minutes, stirring occasionally. I have used kodo millets, known in Tamil as varagu, which like all local millets has an extensive range of health benefits when eaten regularly. You can just as well substitute this with broken rice or wheat if you have them on hand, if you prefer. However, the cooking time will depend on the grain you’ve used.

Also remember that you can add all sorts of leftover vegetables to this chili – don’t feel restricted by the list I’ve suggested. They will only enhance the flavour and health quotient.

Once the grains are cooked well and tender, add the lemon juice and stir. Then, transfer the hot chili to small bowls and serve with some freshly chopped coriander leaves, fine slices of spring onions and other garnishings like roasted garlic or a handful of nuts. Chili is best eaten warm and fresh.

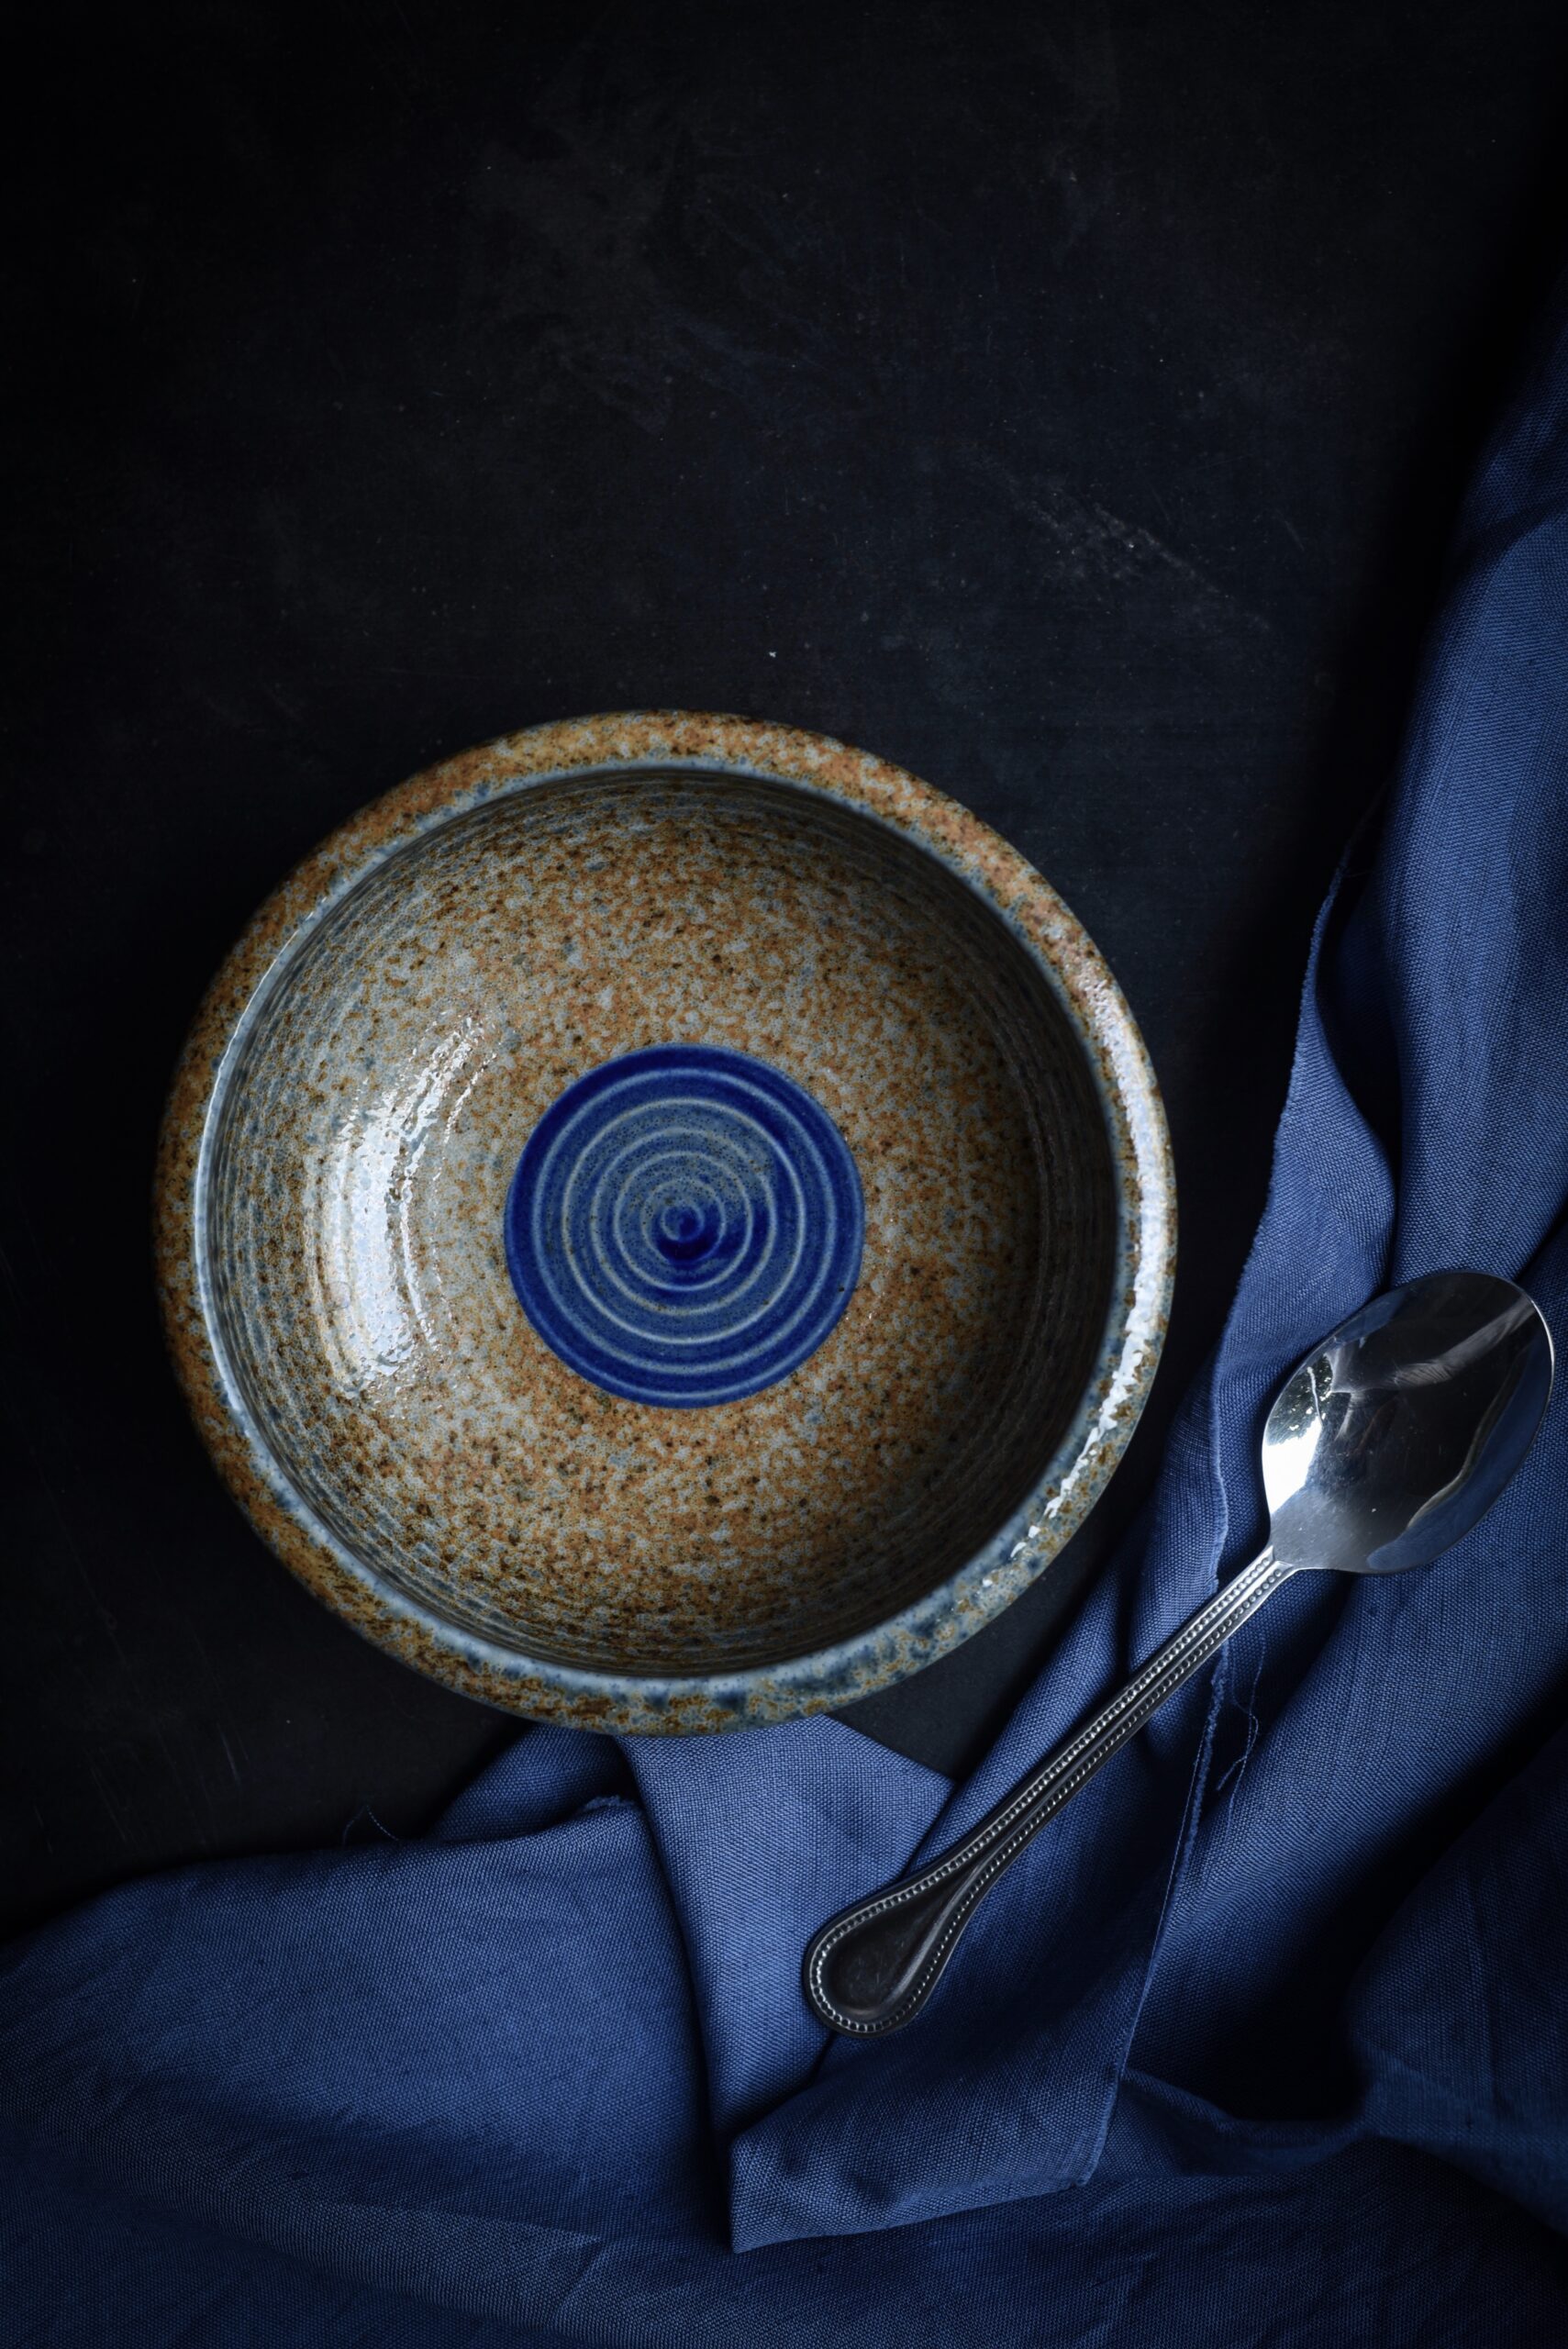
I love collecting beautiful crockery, and considering that this is a meal-in-a-bowl, I always take a little extra moment to choose the bowl itself well. When I made this the other day, I chose this pretty one with concentric blue circles on the bottom. It’s always a compliment to the cook when something is relished to the very last spoonful, and a nice design on the tableware is revealed.

As more people explore healthy or ethical dining options like turning vegan, our kitchen repertoires should also expand beyond serving and eating obvious items. This Vegan Chili Bowl is just the kind of unexpected dish that will make a vegan guest feel welcomed by your thoughtfulness. They are sure to enjoy it far more than picking at an ordinary salad or an unimaginative dressed-down version of the main course. The best part is that as it is a meal-in-a-bowl, you can be assured that they will be fully satisfied.

If you’ve been following my blog, you’d have noticed that despite my quintessentially Gujarati sweet tooth, my culinary adventures are often based on healthy eating. I hardly ever reach for a fried item first, but these banana-methi fritters are a part of our wide kitchen repertoire at home during Diwali. Perhaps one just can’t feel guilty about indulgence when it comes to special occasions! The festive season isn’t far away, so you may want to try your hand at these fritters and see if you’d like to share them with your friends and family too this year.

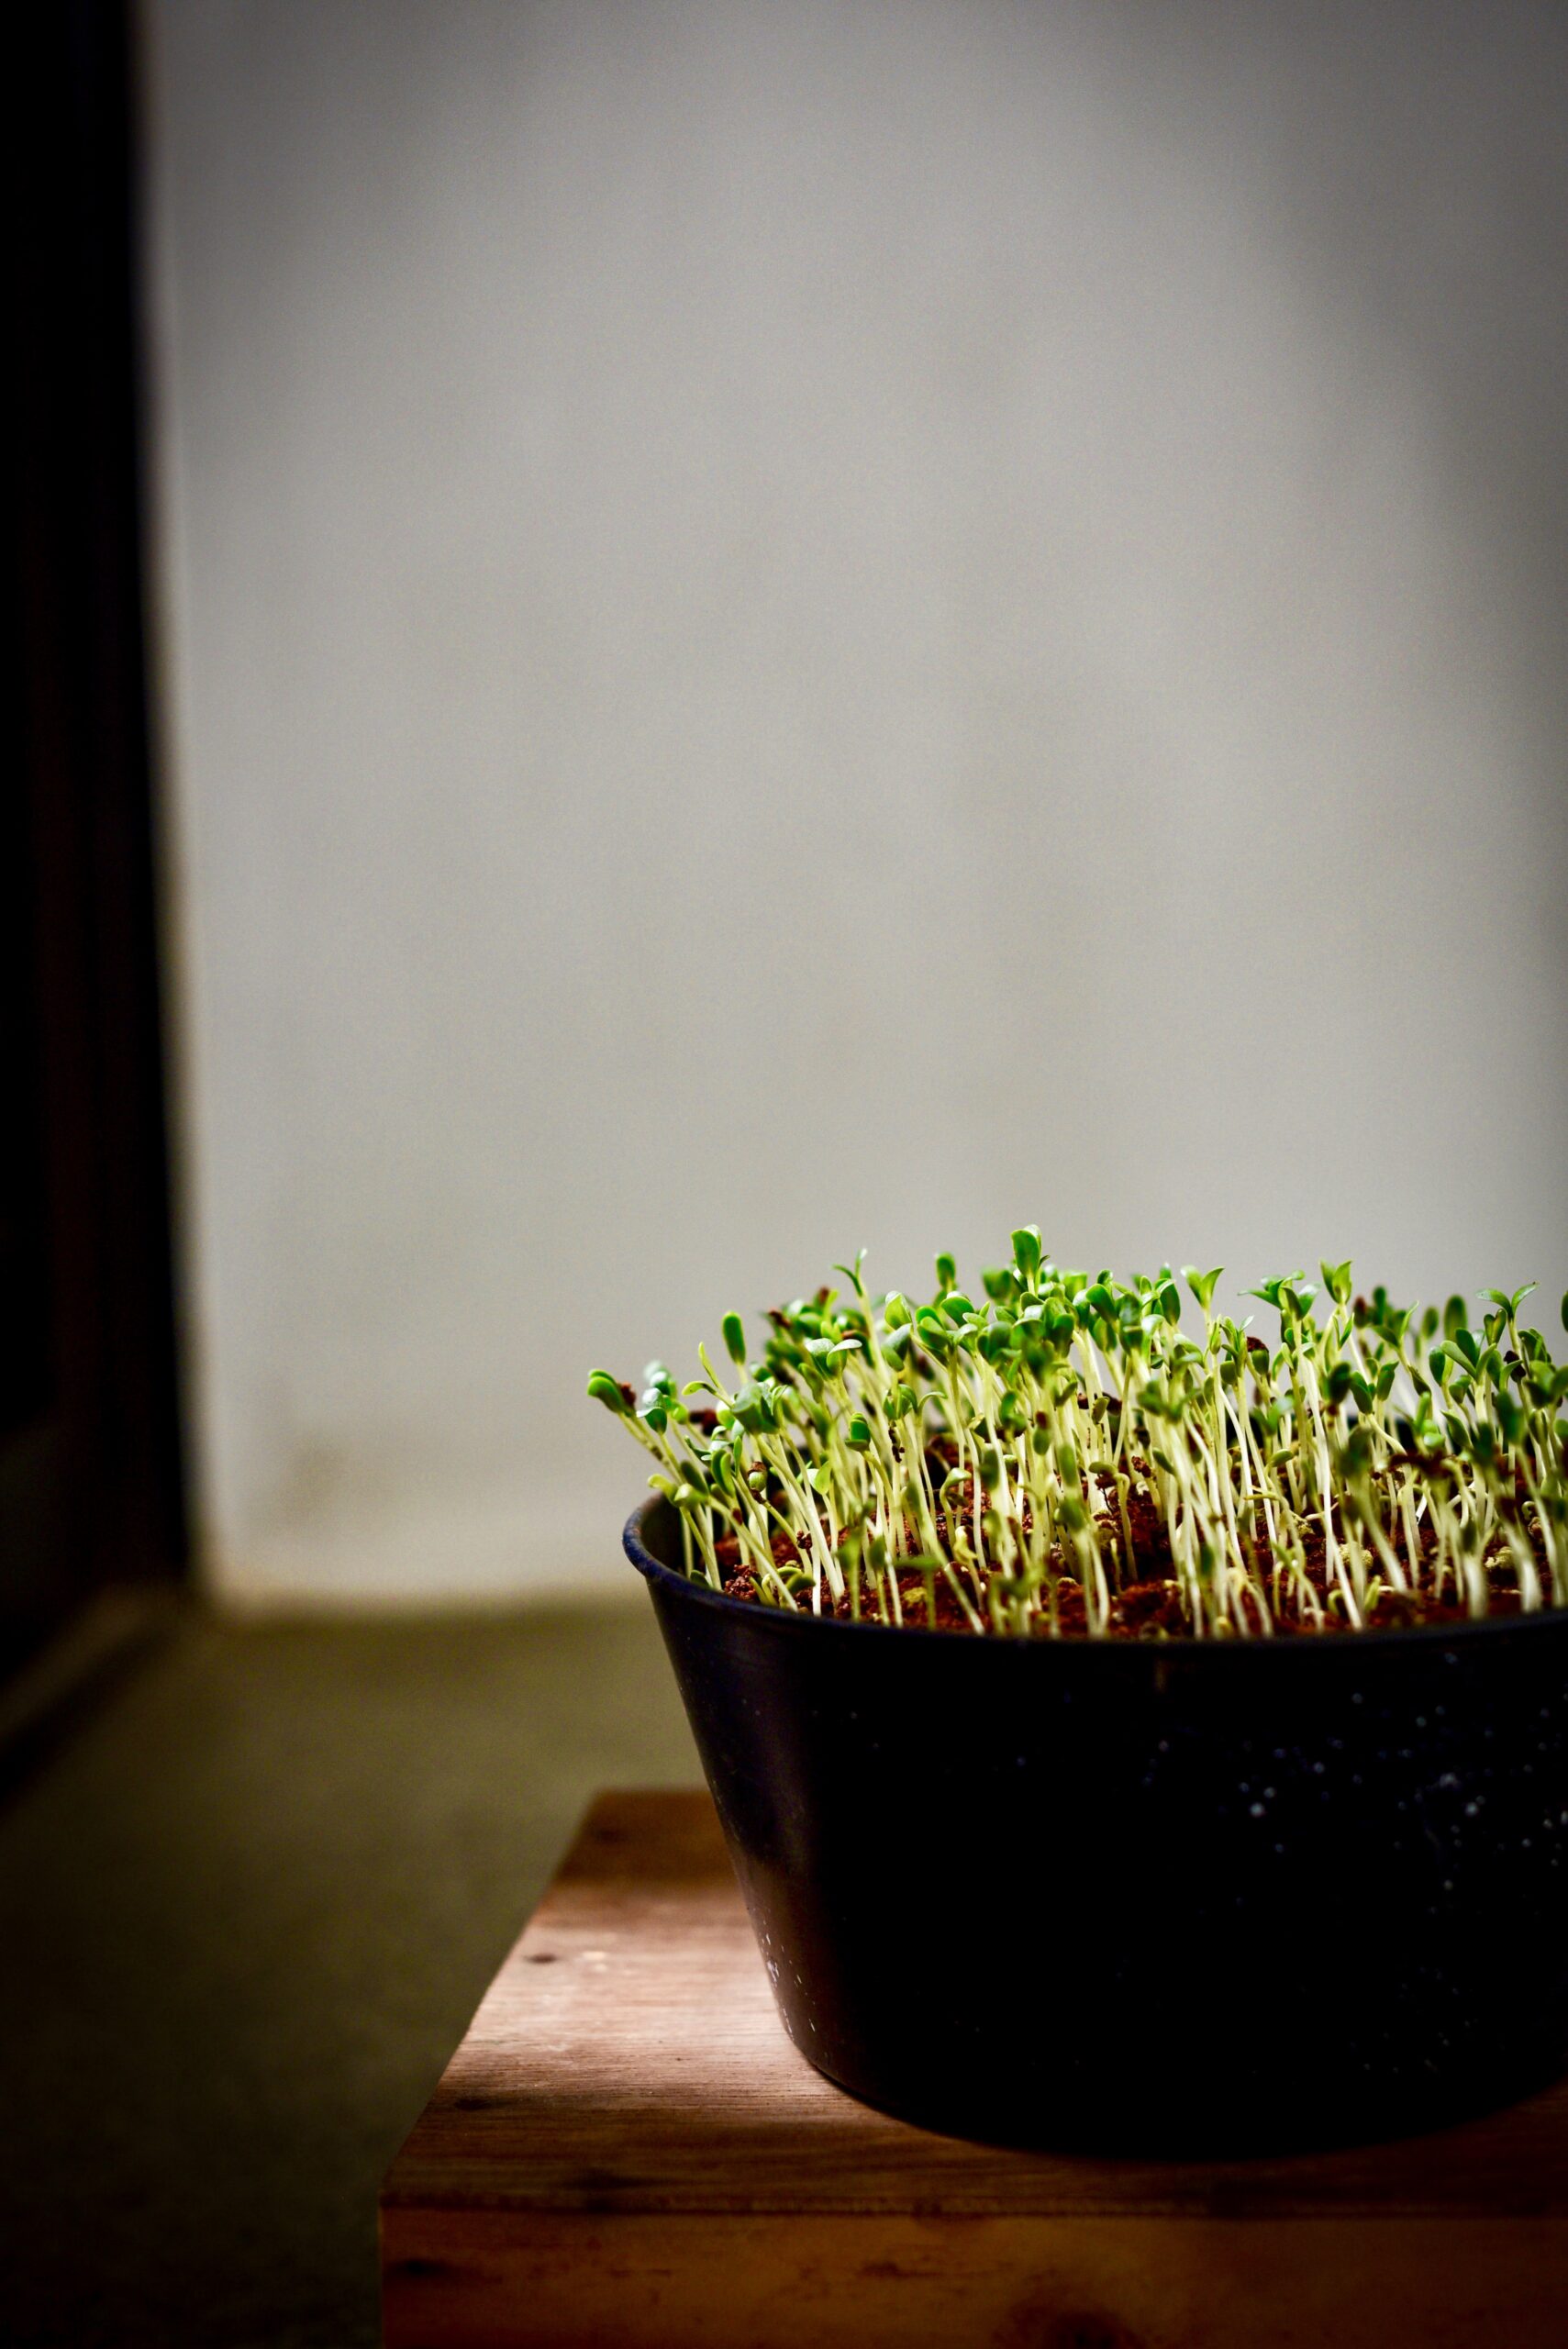
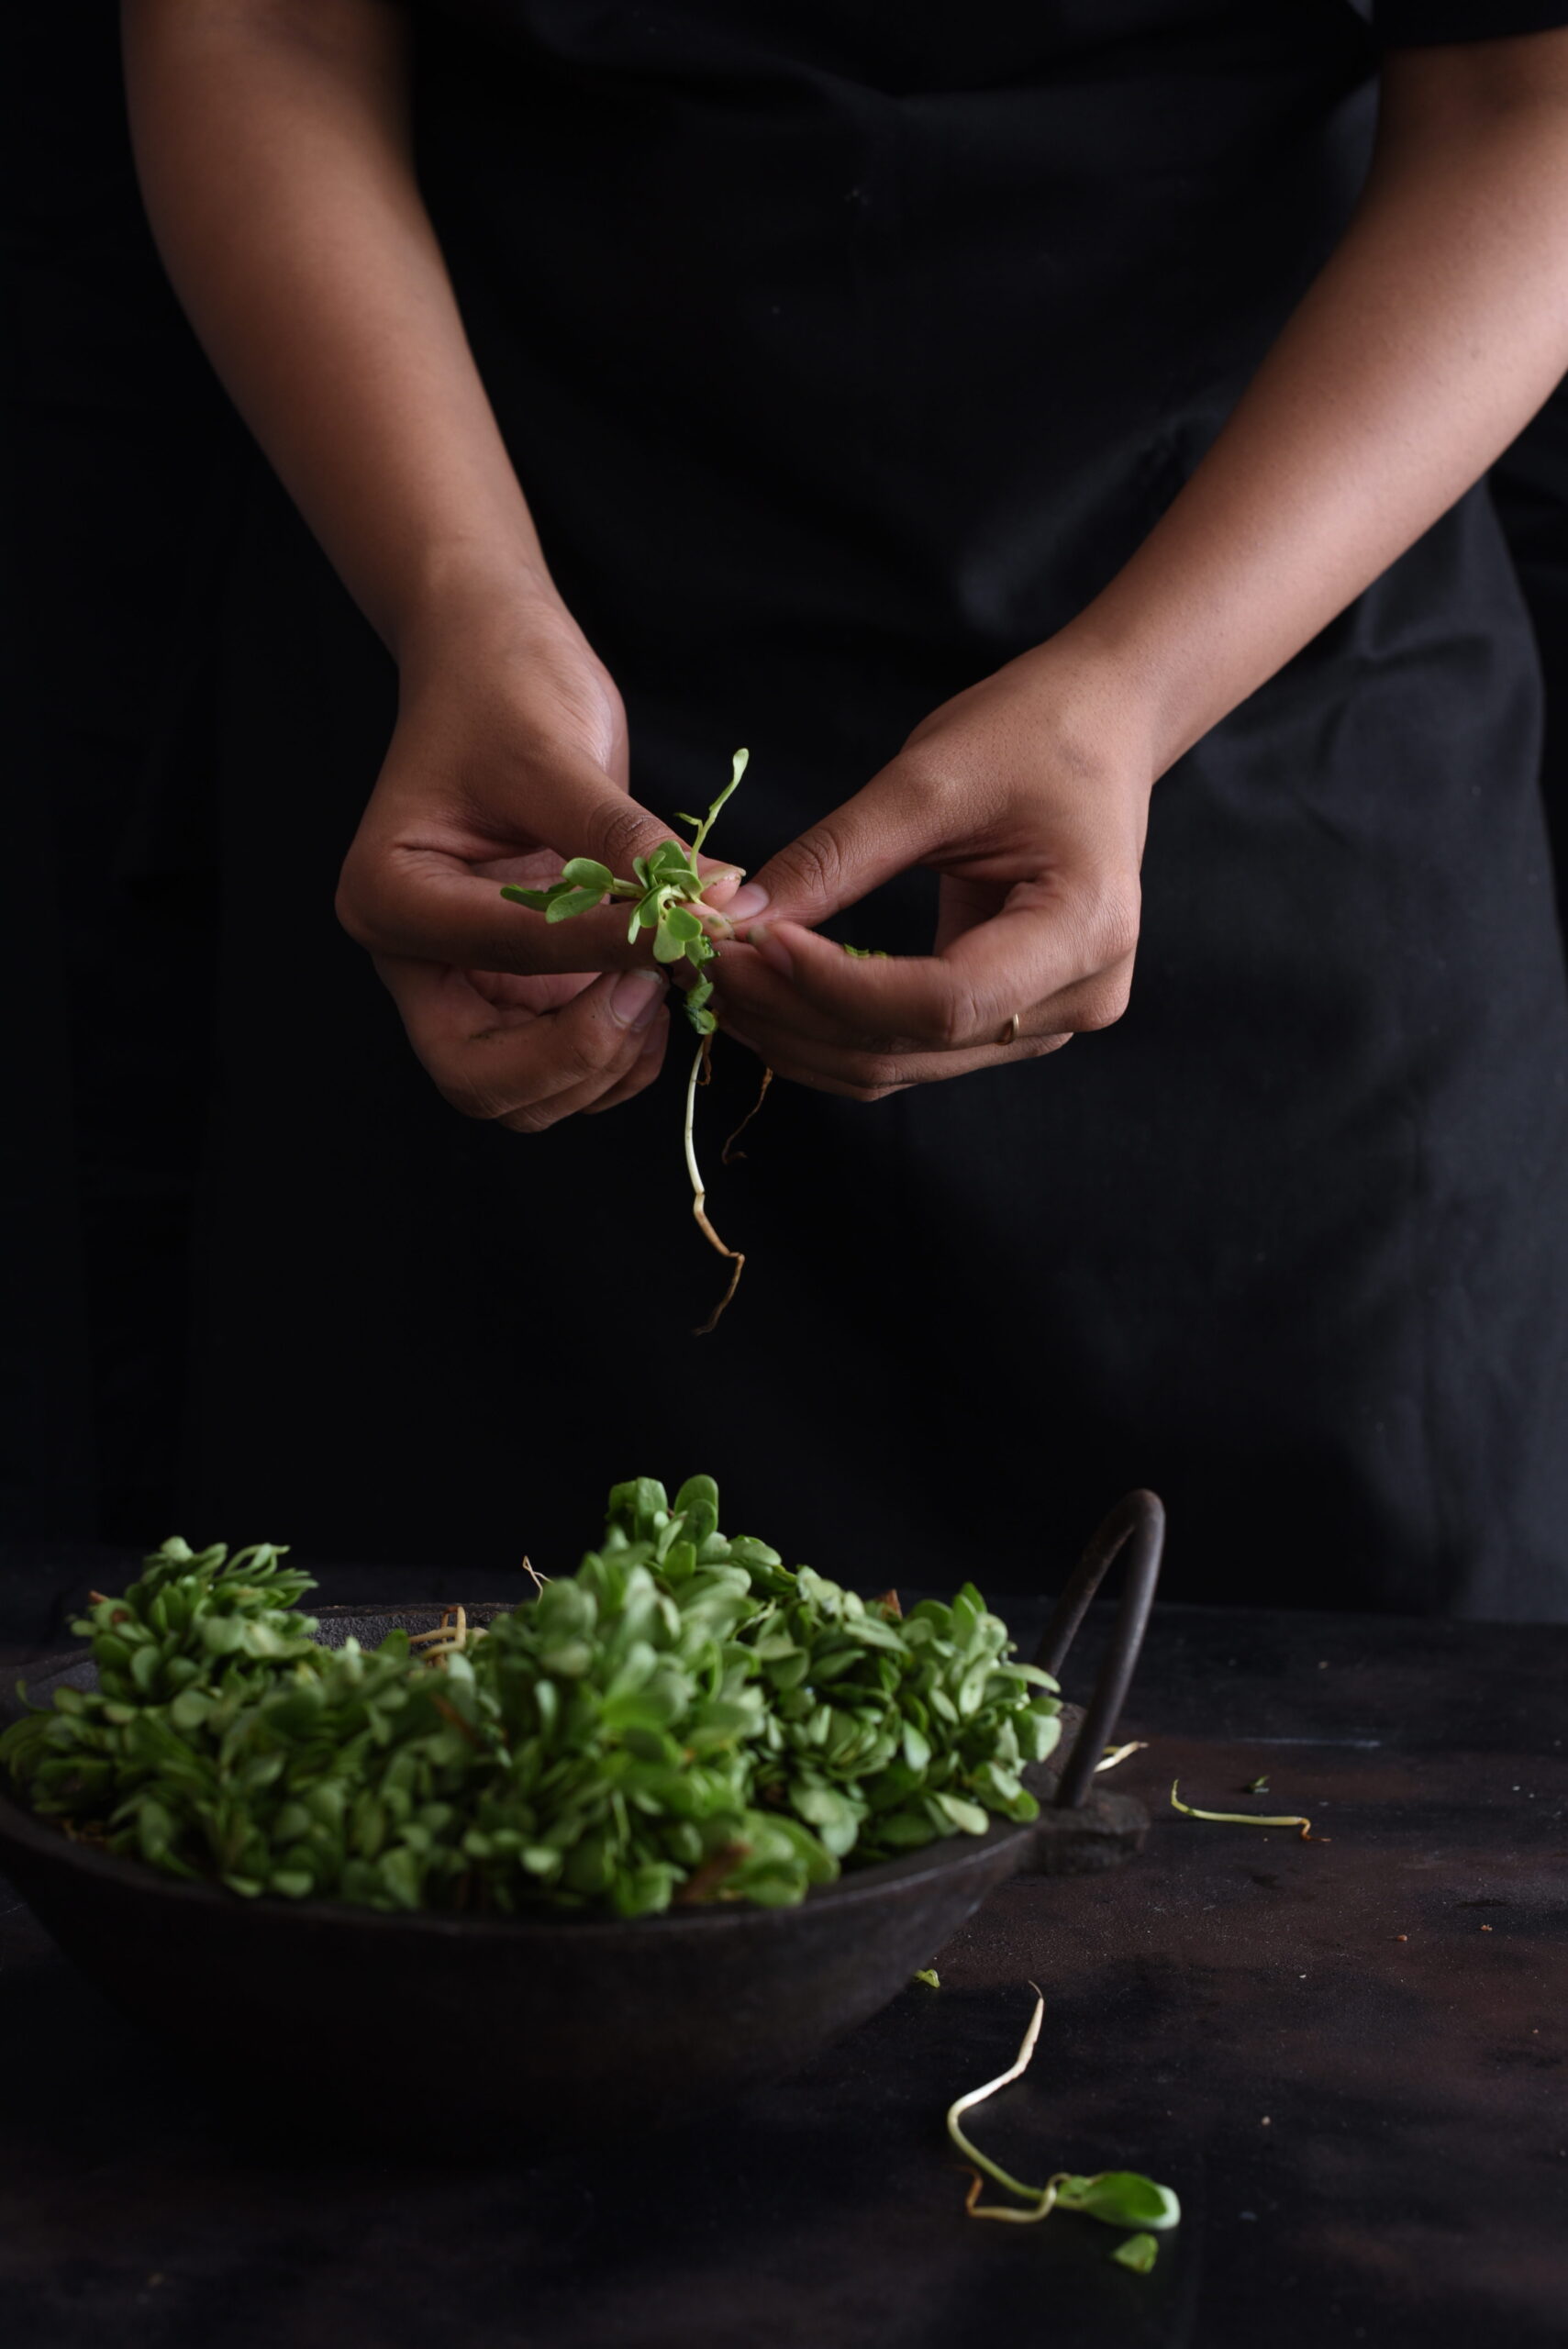
Growing methi (known in English as fenugreek, and in Tamil as vendeyakeerai for the leaves and vendeyam for the seeds) is as easy as throwing a few seeds in the soil and allowing them to sprout in a matter of days. This is why I can use freshly-plucked methi leaves for so many of my dishes. Alongside tulsi, lemongrass and numerous herbs, fruits and vegetables, it flourishes right in my home. Whether it’s a traditional Indian staple or a salad (Chennai’s weather makes fresh lettuce difficult to find in the city sometimes, and I love experimenting with healthy substitutes), these pretty greens are a familiar ingredient in the re:store kitchen.
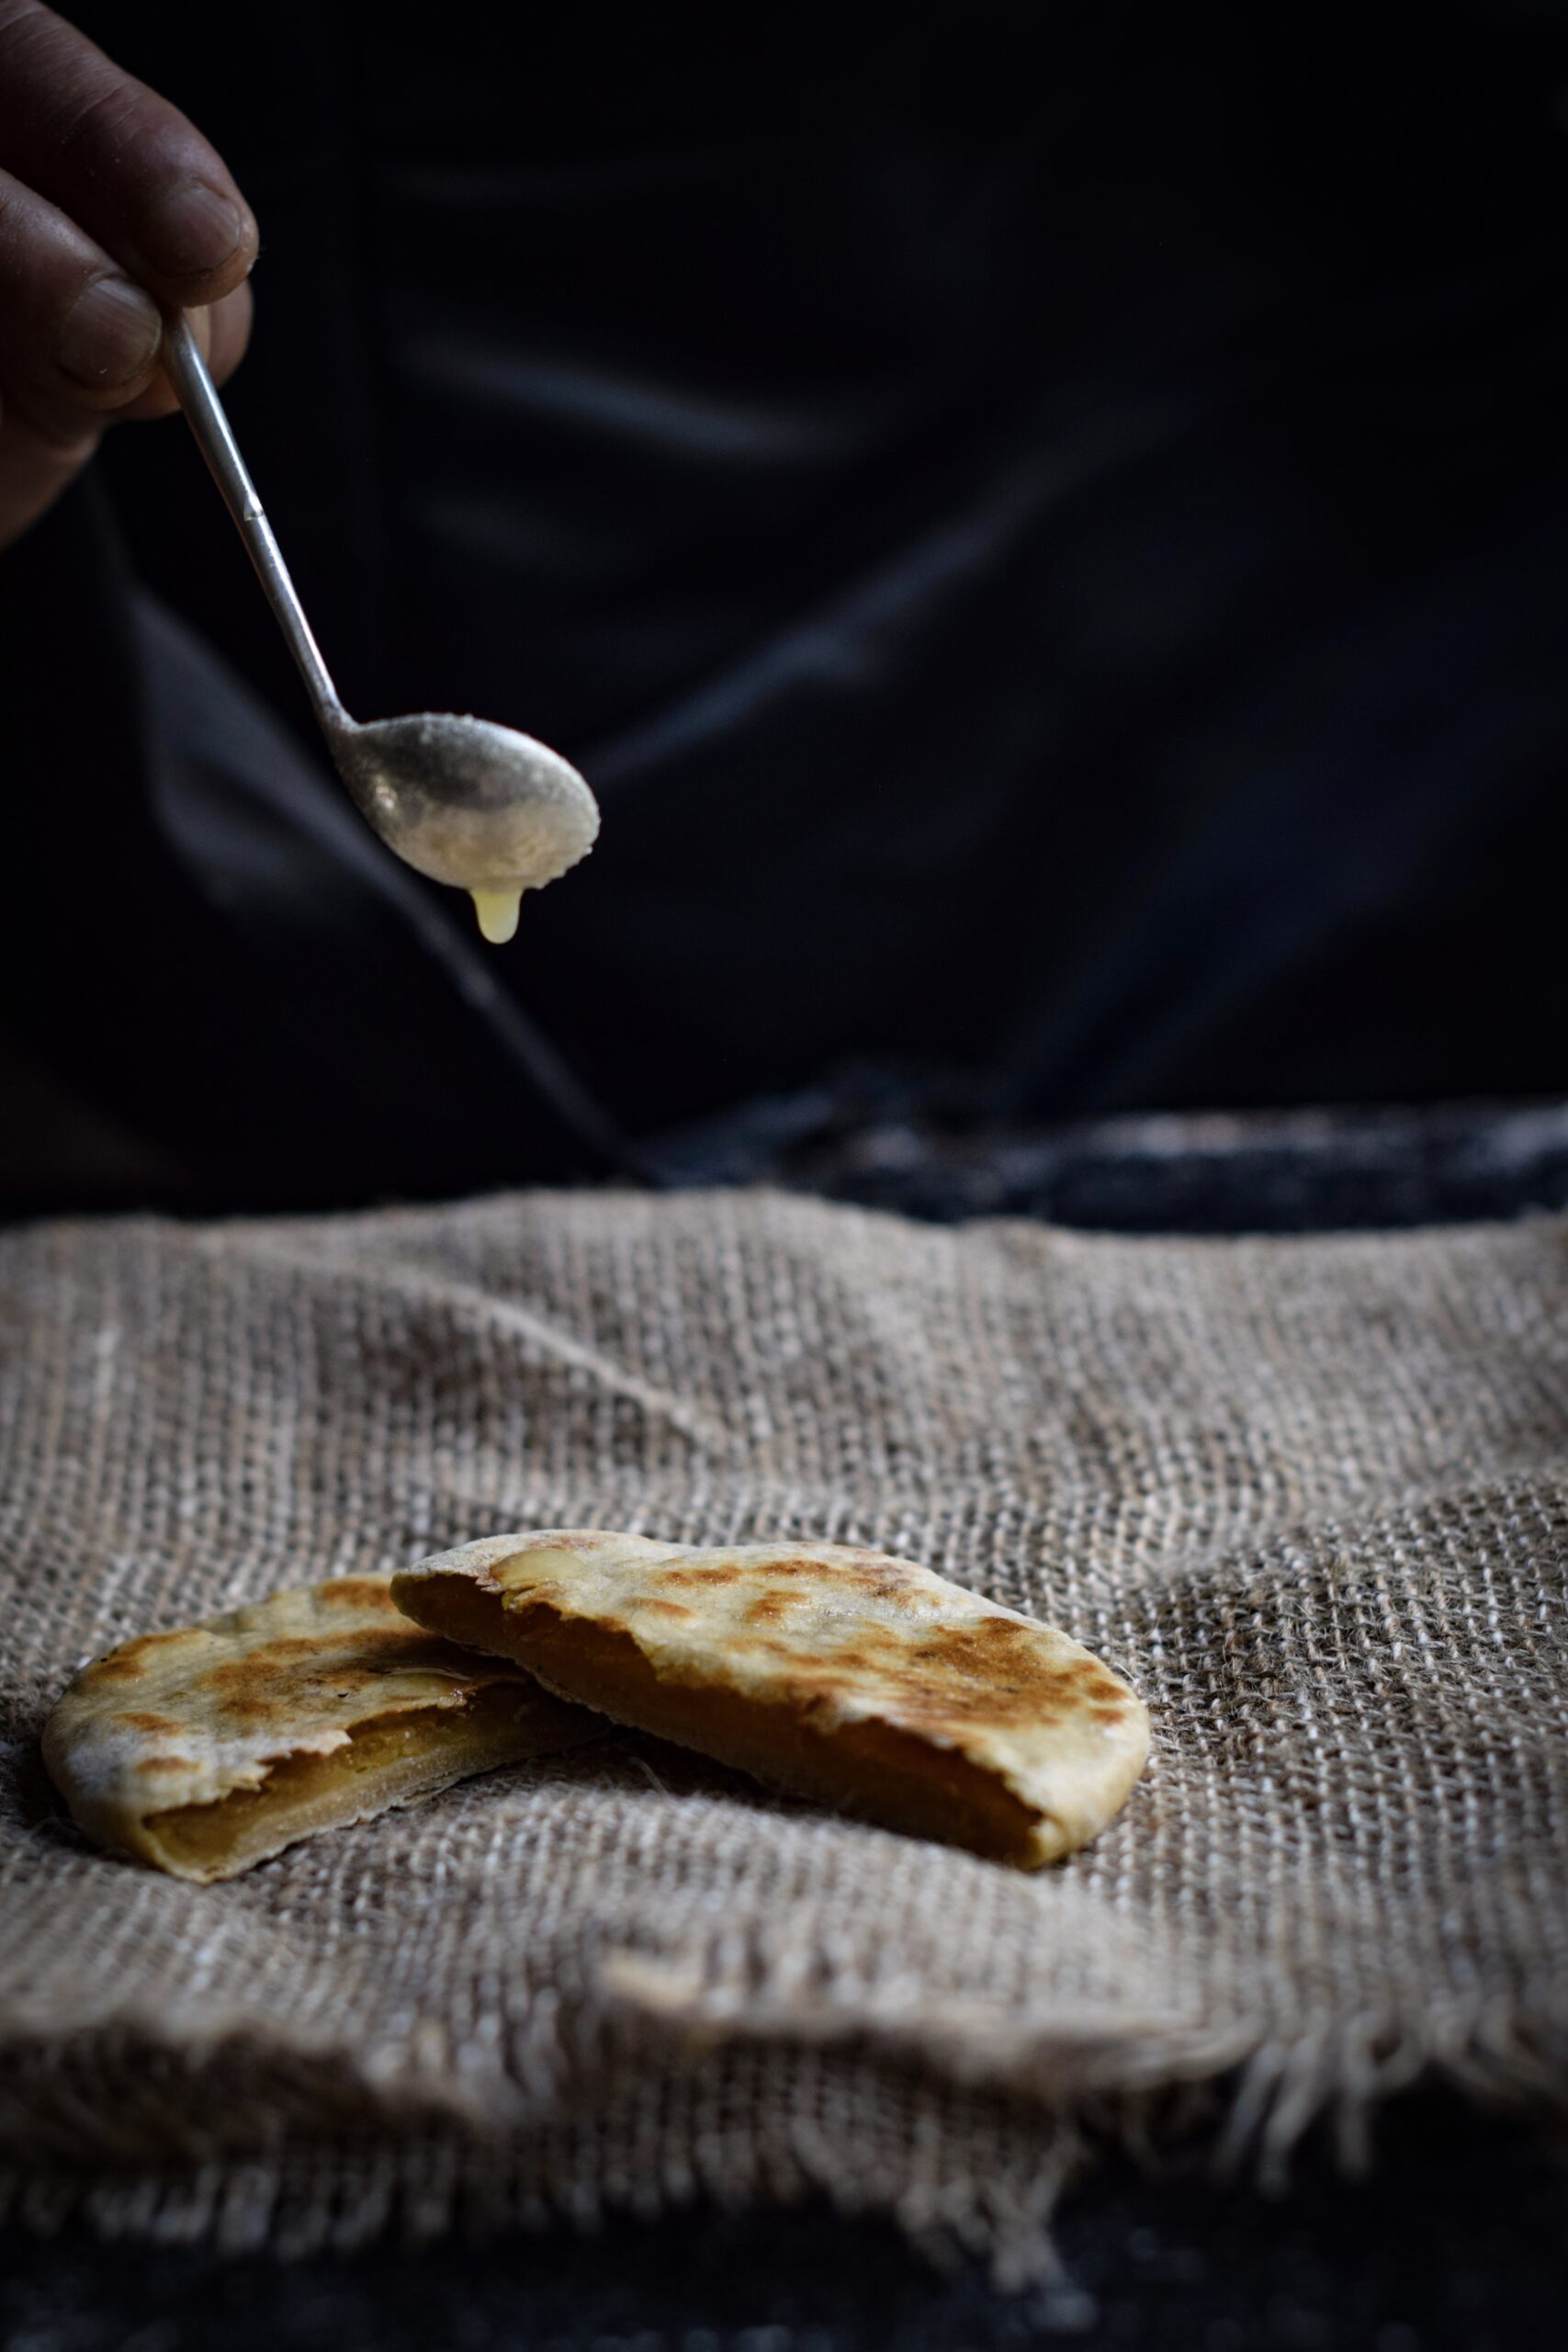
Methi has an array of health benefits. Among them, it helps improve digestion, tackle respiratory allergies, cure anaemia, and lower cholesterol and blood sugar levels (which is why it is used in diabetes management). Due to its high estrogen content, it even helps lactating mothers in the production of milk – I remember being given lots of methi laddoos after giving birth. In addition to these benefits, methi is also known to have a beautifying effect on the hair and skin when used in a paste form as a mask or conditioner.

I’m telling you all this to put a healthy spin on the recipe below – which is a fried indulgence!

The other ingredient in this spicy, crispy snack I’m about to share with you hardly needs to be promoted on the basis of health, because it is so very sweet and tasty. That filling, versatile, portable and very nutritious fruit – the banana! It just so happens that bananas are rich in potassium, fibre, antioxidants and share blood sugar-lowering, cholesterol-management and overall wellness-boosting benefits with methi.

Hundreds of banana varieties are grown in India through the year, and with Tamil Nadu being the source of 23% of the country’s supply, we really have our pick of the fruit here. In fact, the banana tree is auspicious in many Indian cultures, and has a place in wedding and fertility rituals. Similar to the coconut, its various parts have many uses. The banana flower, known as vazhaipoo, is diced and eaten in Tamil cuisine – and traditionally, South Indian food is always served on a banana leaf.

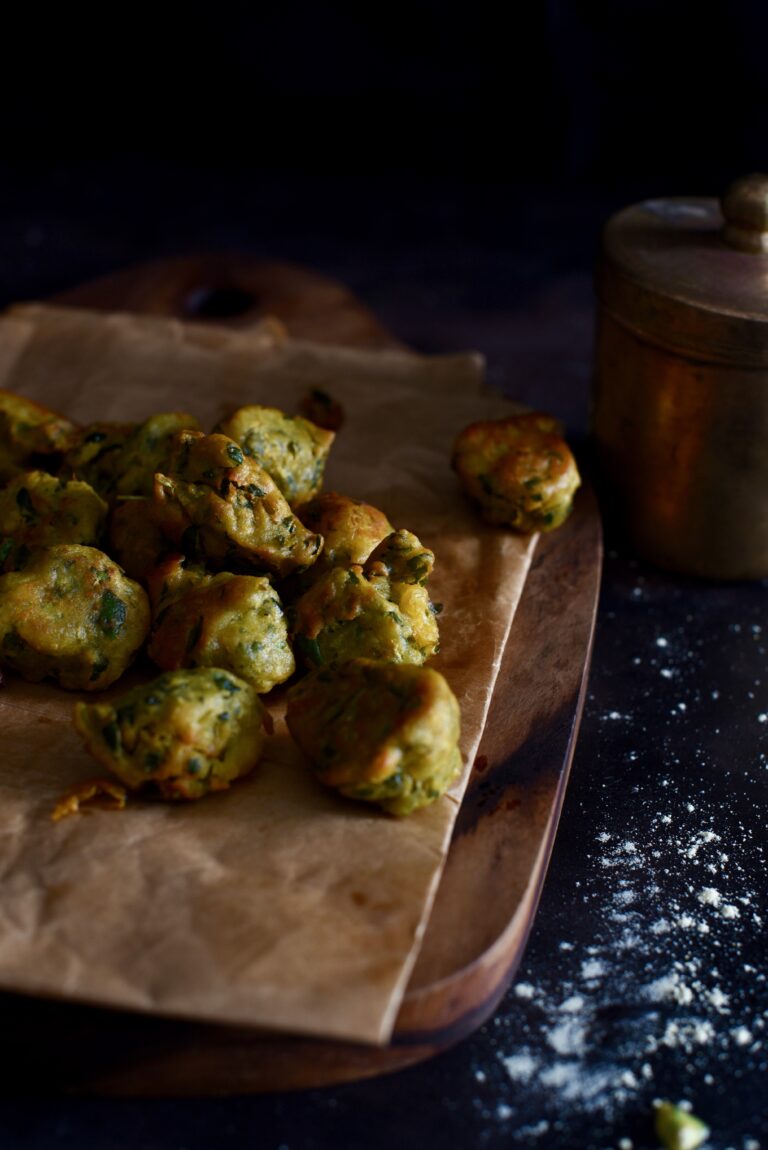
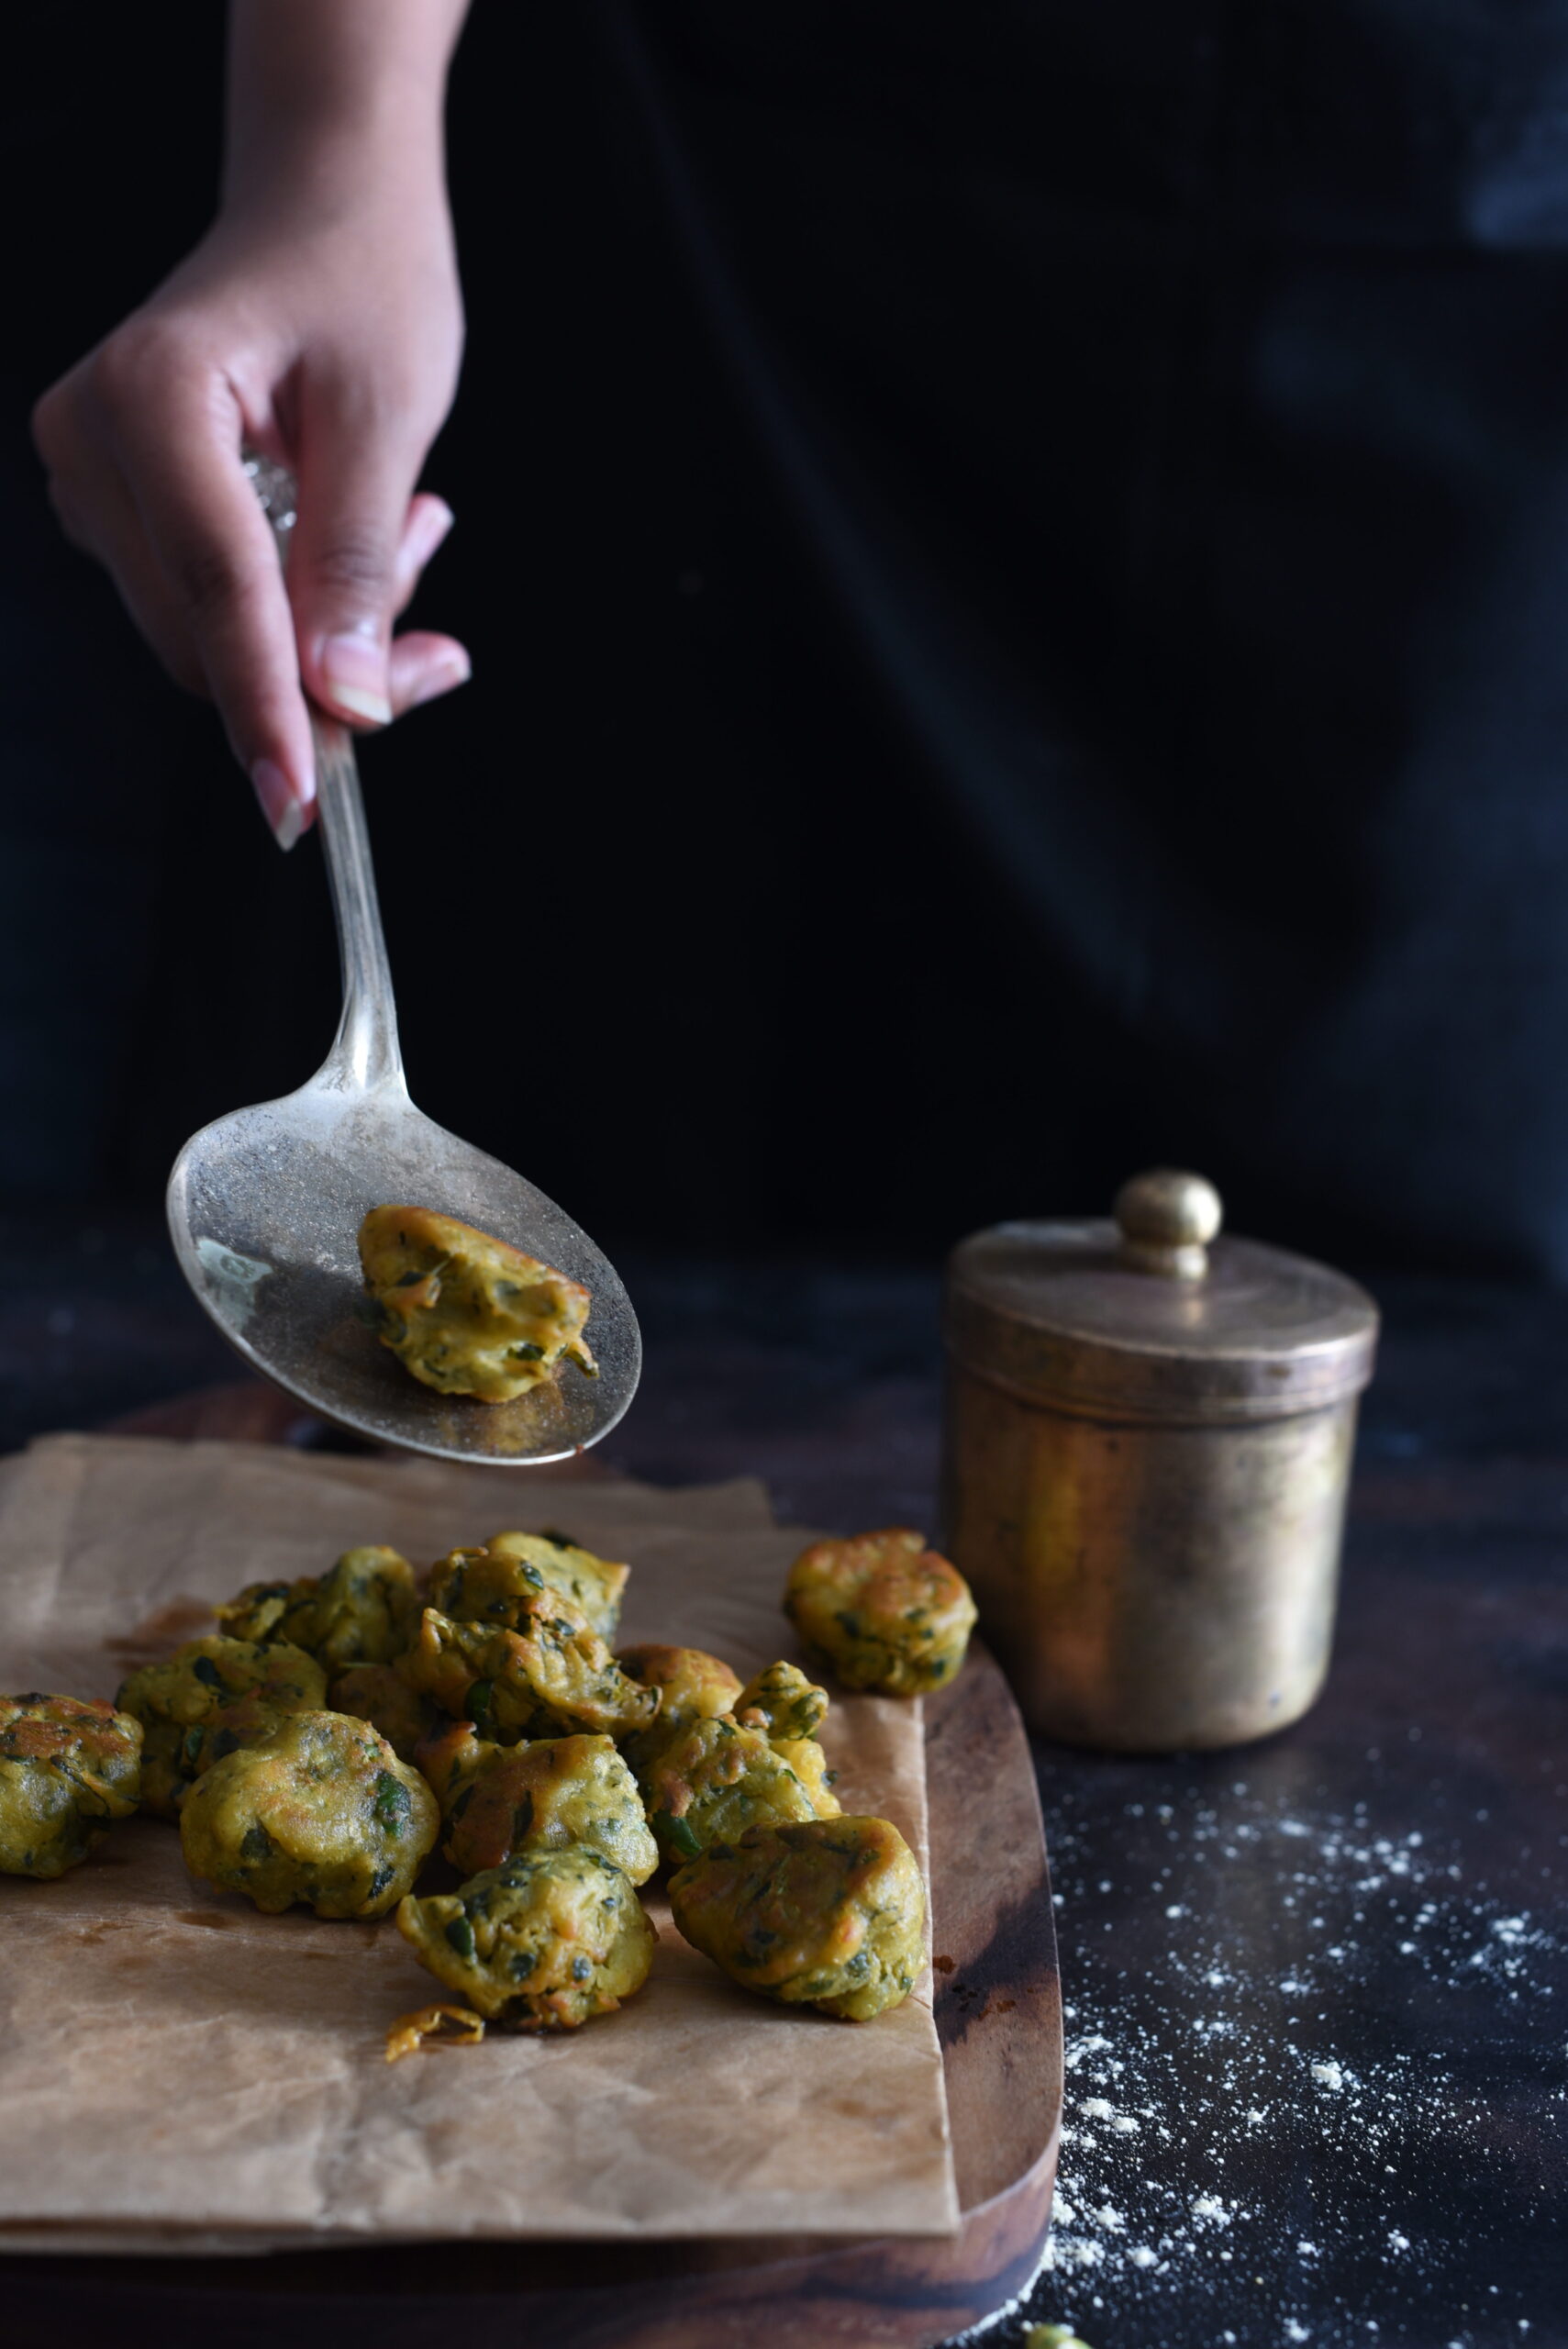
So we have here two key ingredients so nourishing that you can forget you’re chomping on fried deliciousness. Without further ado, here are my banana-methi fritters, served with a green coriander chutney.


Banana-Methi Fritters With Green Coriander Chutney

(Yield: 20-25 small fritters)

Fritters
¾ cup chickpea flour
¾ teaspoon salt
¼ teaspoon turmeric
½ teaspoon cumin powder
1 teaspoon grated ginger
1 finely chopped green chilli or 1 teaspoon chilli ginger paste
¾ cup methi leaves, washed and finely chopped
½ cup ripe banana, pulped or finely chopped
2 cups of oil + 1 tablespoon hot oil
¼ cup water

Chutney

1 cup coriander leaves, washed and finely chopped
1 green chilli
1 tablespoon peanuts
1 teaspoon lemon juice
2-3 tablespoons water
1 generous slice raw mango (optional)
Salt to taste

In a mixing bowl, add the flour, salt, turmeric, cumin, grated ginger and green chilli and mix. To this, add the banana and the methi leaves. Mix them well with your hands, adding enough water to make a paste-like consistency. Allow this batter to sit for a minimum of half an hour.

Heat the 2 cups of oil. Add 1 tablespoon of hot oil to the batter. The hot oil in the batter helps make the fritters soft. Blend well with your hands.

The remaining oil should be in a pan on the stove, and you can check its heat by adding just a drop of the batter into the oil to see if it sputters. If it does, the oil is ready. Lower the flame and add small spoonfuls of batter into the oil.

Keep the flame low and allow the fritters to fry well. Once the fritters have cooked on one side, flip them over using a butter knife. At this point, you may increase the flame slightly then lower it again, ensuring that the oil doesn’t get so hot that the fritters burn and blacken. You want them to be fried to a golden colour on both sides. Once this colour is achieved, remove the fritters from the stove and drop them onto an absorbent paper to remove excess oil.

Serve hot. I like to complement these crispy banana-methi fritters with a green coriander-based chutney. For this, I use coriander, green chilli, ginger, peanuts, salt, lemon juice and water, usually with a generous slice of raw mango. Simply blend all the ingredients together well in a mixer-grinder. The result is a flavourful chutney that perfectly accompanies the fried fritters.

Between the sweetness of the banana, the bitterness of the methi and the tangy kick of the chutney, you won’t be able to stop at just one! Try it for yourself and see. Let me know what you think in the comments.

When I was a little girl, the month of Aadi in Chennai meant music being blared from temple speakers and a general atmosphere of colour and sound on the streets. Just like with the funeral processions full of flowers and drumming, I thought all of it was pure celebration. Now, as an adult, I appreciate the nuances, but there is still something about this month that catches my eye – and more accurately, my sense of smell. For temples small and large through the city make ritual offerings to the Goddess, which are then distributed to all. The scent of freshly made koozh (pronounced koo-lu), a millet-based porridge, fills the air along with devotional songs.
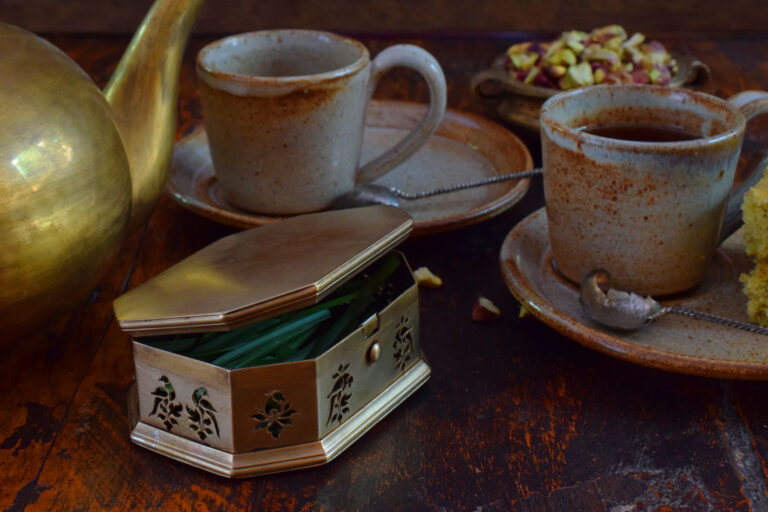
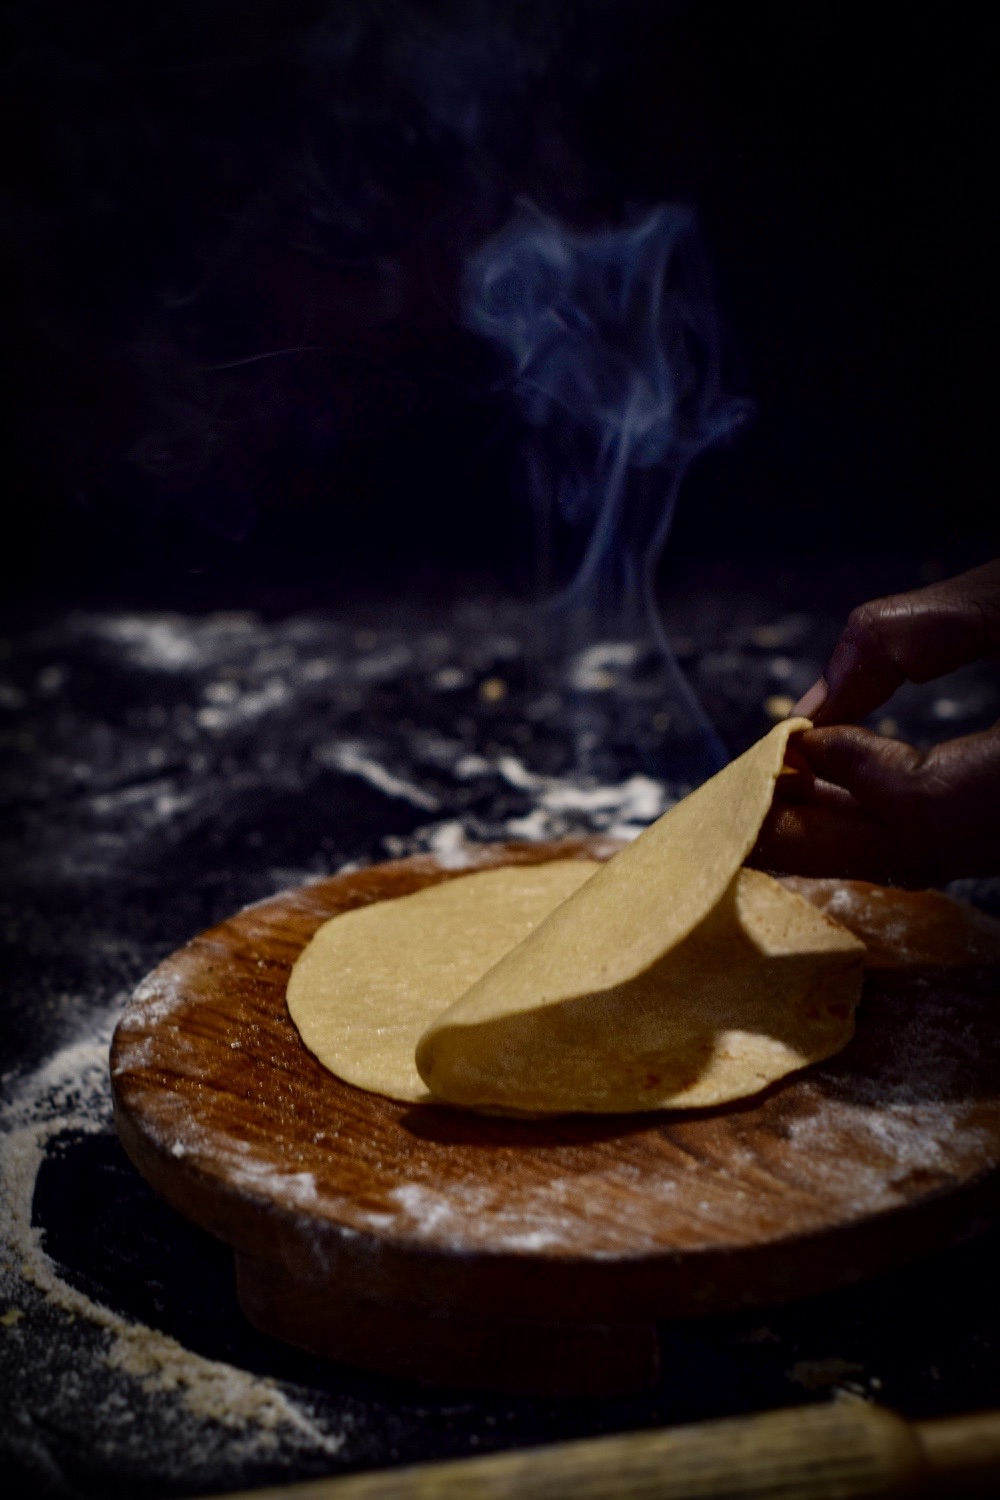
The very first recipe I learnt from my mother was the foundation of all Gujarati meals: the humble yet hard-to-perfect roti. Or as we call it, rotli. The ideal Gujarati rotli has to be as thin as muslin, and it took me years of practice to expertly knead the dough and roll it into perfect circles. My mother insisted that a good Gujarati girl’s rotis had to be dainty and delicate. My early ones often turned out like Punjabi parathas, large and thick – and by the norms of the Gujarati kitchen, totally wrong! Curious about this cultural difference, I asked a Punjabi neighbour why their standard for the perfect flatbread was so unlike ours, and she gave me a beautiful answer: the big Punjabi paratha reflects generosity, large-heartedness and the desire to share what you eat with the world!

Rotis, known by many names and variations, originated in the Indus Valley civilisation, where grain grinding is said to have been invented. Indian breads are different from other loaves in that they do not contain yeast. This soft form of unleavened bread comes in various forms, shapes, sizes and flavours typical of the region it is prepared, with flour made of millets, wheat, rice and other grains.

All over India, the basics of a good roti are flour, fat and flavour. The fat comes from oil, butter, cream or ghee. There are so many kinds of flavourings and stuffings – from green chilli paste to potato to cauliflower to the quintessentially Bengali renditions made with fish.

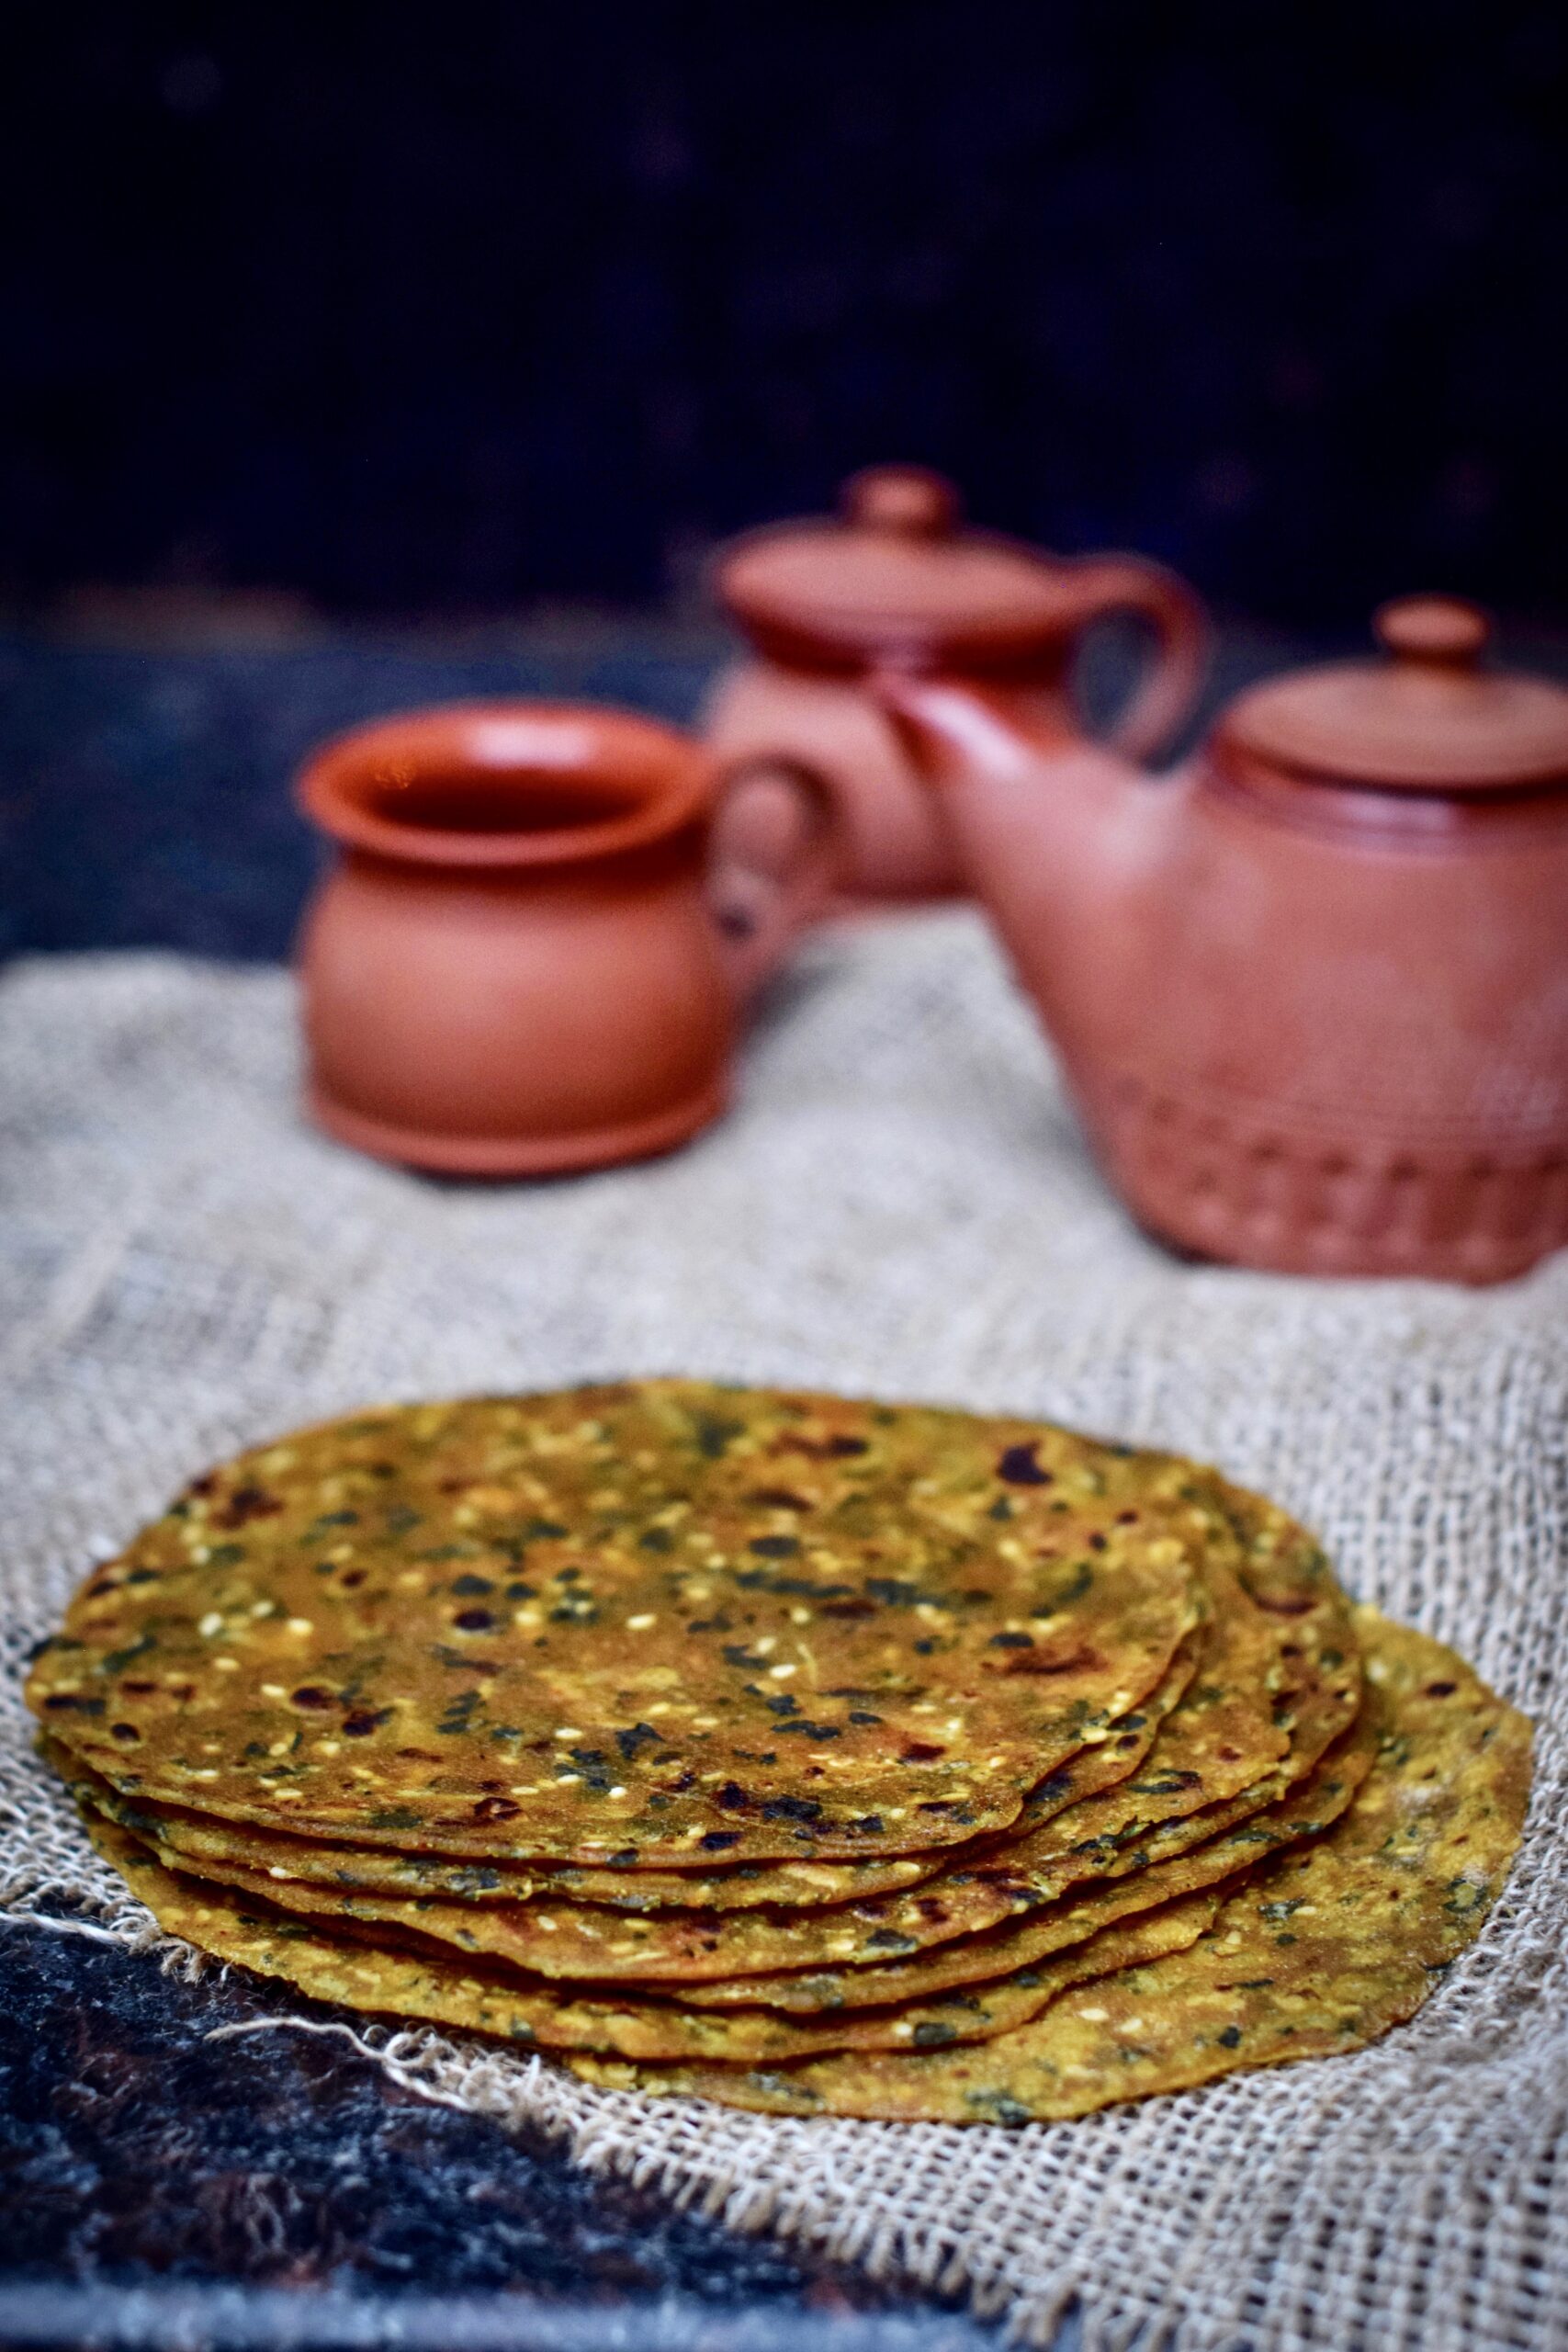
I’d like to tell you more about a few Gujarati variants: the herbed thepla, the crispy bhakri, the sweet puran poli, the seasonal juwar and bajri, and the simple rotli. Of these, I’ll share two recipes – both are meant to be eaten hot, and bear in mind that an average person can easily eat several at a time! Some notes for kitchens outside India: while binding the dough, I work with my hands. However, if you’re used to the food processor, please do utilise it. You can use a standard rolling pin.


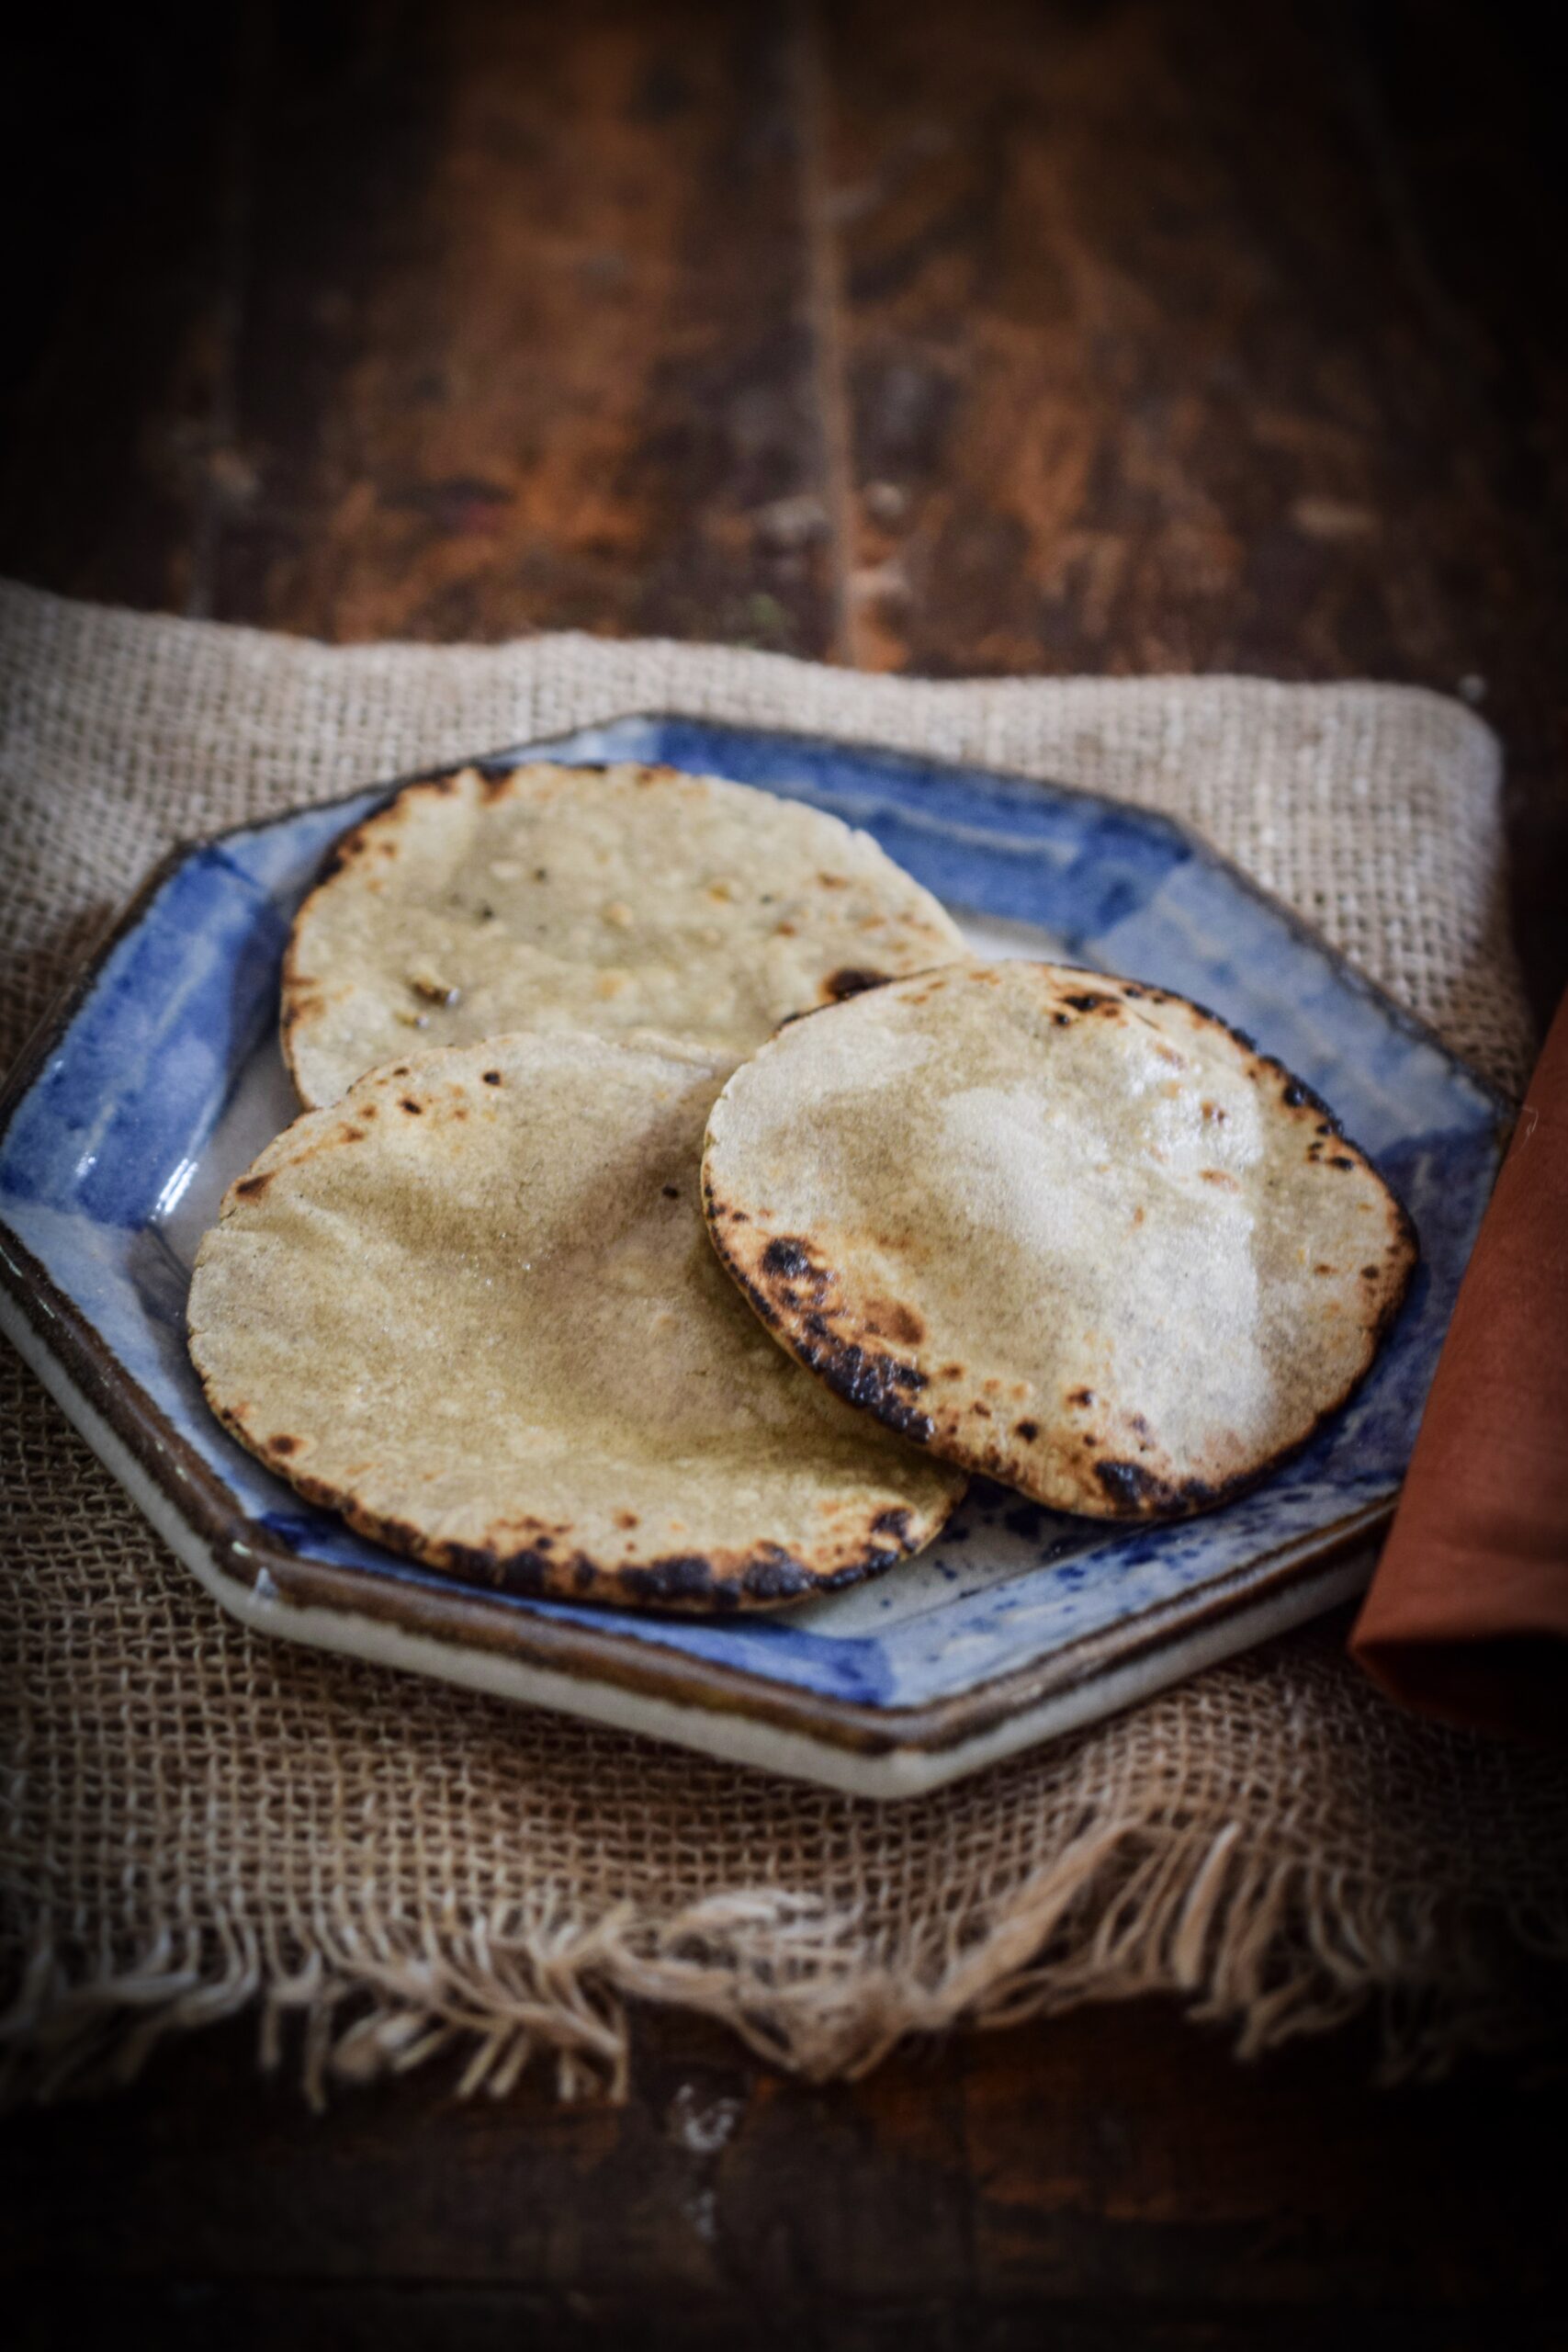
Rotli

Lunch during our summer holidays as children was a competitive affair: who could eat the most rotlis? These rotlis were the simple, everyday variety, washed down with aam raas, a seasonal mango purée. A blissful siesta would ensue, the heavy lunch and the heat lulling us to sleep to the sound of old Hindi songs on the radio…

The rotlis we had then were made from balls of dough joined together, then roasted and peeled from each other. They were as fine as skin. We also ate a sweetened “children’s” version, made with jaggery water. Another way to sweeten a rotli, if you want to, is to eat it with a strained yoghurt dessert known as shrikand. I’ll be sharing a recipe for that soon, and if you subscribe to this blog, you’ll be the first to know.


Thepla


(Yields: 12)


1 cup methi (fenugreek) leaves, picked and washed

1 cup whole wheat flour

1 teaspoon salt

¼ teaspoon turmeric powder

2 teaspoons cumin powder

1 teaspoon white sesame seeds

1 teaspoon crushed green chili (adjust to your taste)

½ teaspoon ginger paste

1 tablespoon yoghurt

1 tablespoon sunflower oil + oil for sautéing

100 ml water or less


Traditionally, theplas are often made with leftover rice or khichdi, so as not to waste food, but you can make them fresh too. In a mixing bowl, add all the dry ingredients and blend them gently. Now add the 1 tablespoon of oil and the yoghurt. Slowly add water and continue mixing, until you feel the mixture is slightly tougher to the touch than bread dough. You do not need to use the entire 100ml.

Dust both sides of the ball with flour. Make small lemon sized balls and allow them to sit for at least half hour. Now, dusting more flour as you do, roll out the dough into discs. Make them as thin as you can.

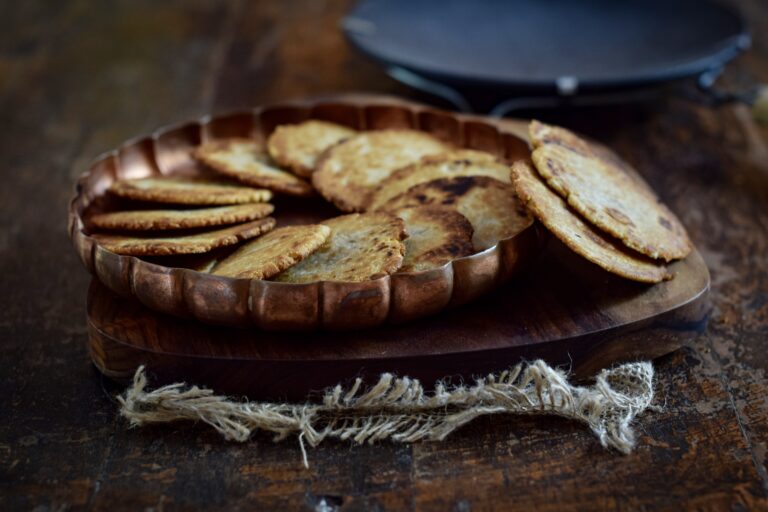
On a heated iron pan, place the thepla on a medium flame for 30-40 seconds. Then turn it to the other side. In another 30-40 seconds, add a few drops of oil. Make sure the oil is spread to the edges too, as the thepla may dry out. Press down with a spatula to help it cook. Flip the thepla a couple of times until it is golden on both sides. Remove from the pan and fry the next disc, and so on.

As you make each thepla, either store it in a hot case, so it remains soft and warm, or pile them up on a plate. Serve hot, with a curry of your choice or a sweet mango or kumquat pickle, or simply enjoy them as some Gujaratis do – with a lovely cup of chai.


Bhakri


(Yields: 15)


2 cups whole wheat flour

¼ cup semolina

¼ cup oil

100 ml warm water

¼ teaspoon salt


A bhakri is really a type of biscuit, made with a greater quantity of oil than water. A version with jaggery water was my standard after-school snack while growing up. You can make this in the sweetened (what I call “children’s”) version too, by substituting plain water for jaggery water.

Assemble all the ingredients in a large bowl. Add water slowly as required and bind the dough together. Continue pressing firmly, until it all comes together and does not stick to the bowl or your fingers. The dough should appear as a smooth, firm ball. There’s no need to dust this ball of dough with flour, as it is quite tough and will not stick while rolling. If it does stick, you have probably added more water than required, and only in this case should you dust a little flour. Now, divide the dough into 15 smaller balls and keep aside.

Heat an iron pan. Roll out the dough into discs of about 1 cm thickness – this is where the thin-as-muslin standard doesn’t apply! Place the discs onto the hot pan and reduce the flame. Since bhakris are thicker they need to cook on the inside too, so it will take longer to cook. The flame needs to be maintained between medium and slow. Flip over each bhakri a couple of times until golden. If you’d like to, use a pair of tongs and roast the bhakri directly over the flame towards the end of its cooking time. This is the traditional way – dough to flame, directly, just like in this video!

Once they are crisp and golden, remove from the pan and let a trickle of ghee melt onto the bhakri. Serve with tea. They also travel well, so consider packing them for journeys. As my mum would say, a well-made bhakri will be like an easily chewable cookie – it can be eaten comfortably both by the elderly and by children alike.

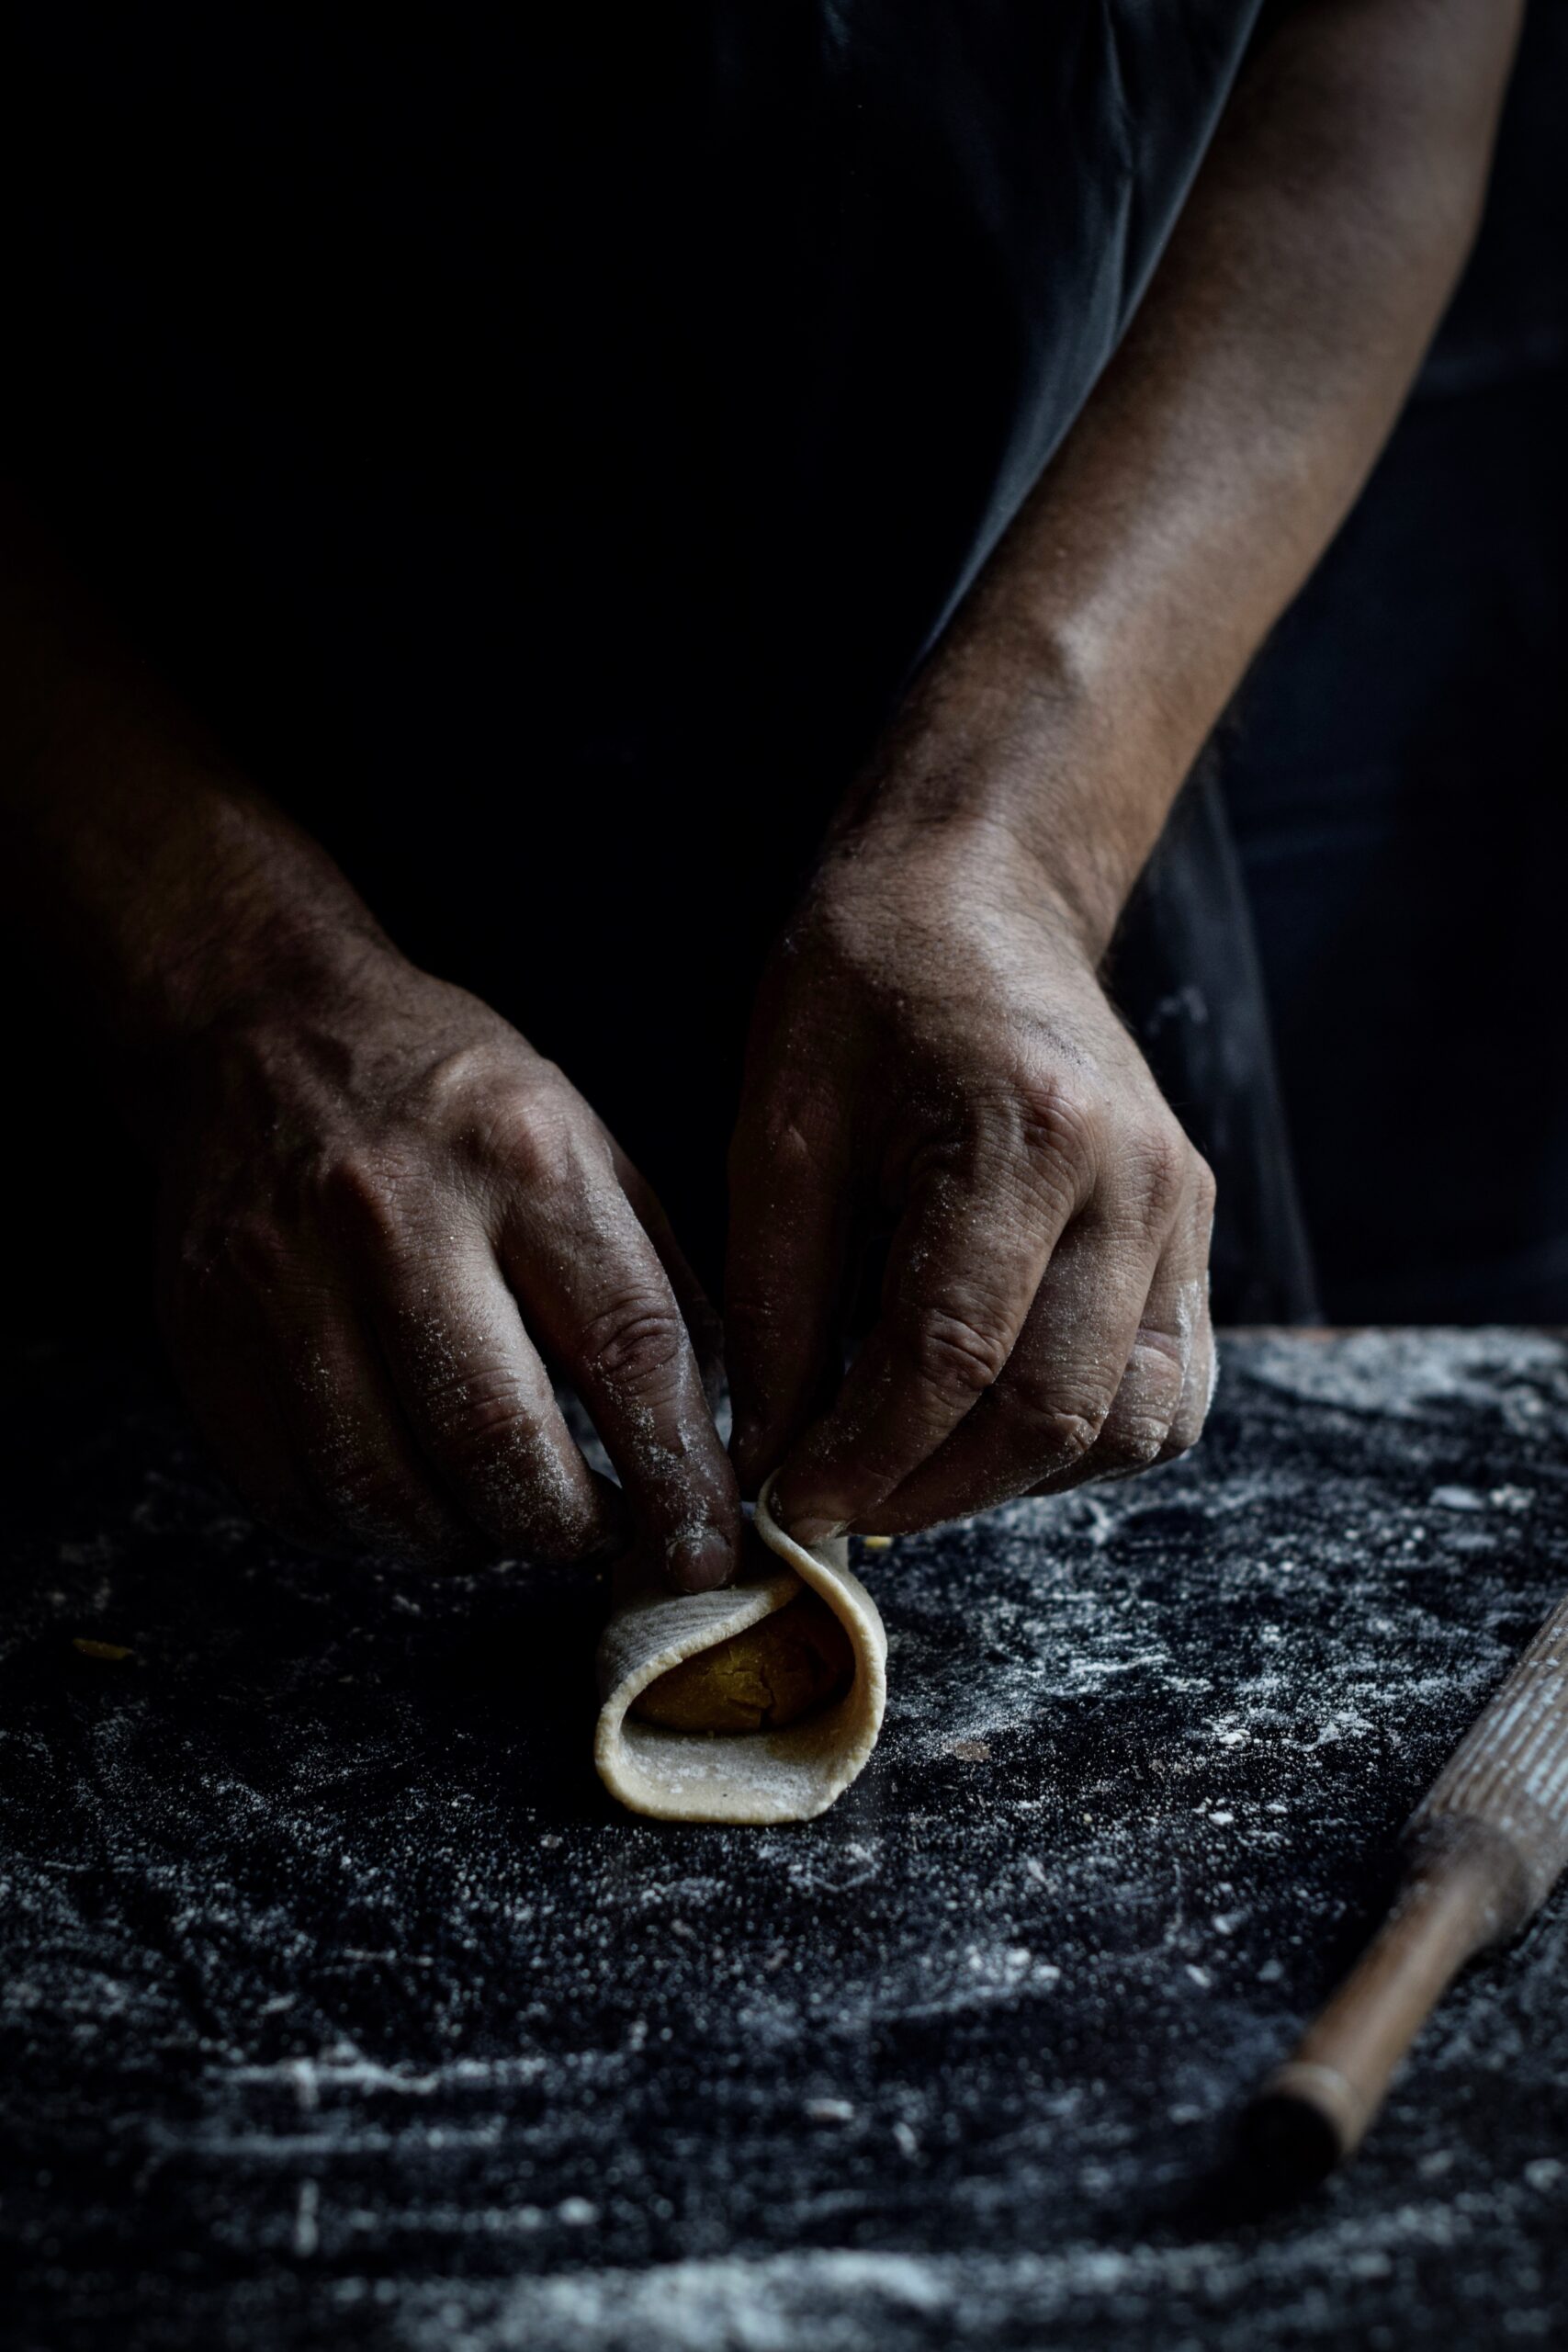
Puran Poli

Sweet, stuffed and festive, the puran poli is enjoyed not just in Gujarati cuisine but throughout India. Made of toor dal (pigeon pea) and jaggery, it is a stuffed and folded variant that is half-roti, half-dessert.

Juwar & Bajra

It’s only after years of practice with the other rotis that one comes to seasonal variants like juwar and bajra, which are even more difficult to make, let alone master. Gluten-free, the juwar roti is made of sorghum flour while the bajra roti is made of pearl millet. These thick flatbreads were traditionally eaten during winters, roasted on a charcoal flame and thus imbued with a different flavour. They were most often relished with a thick layer of white home-churned butter and sugar or jaggery. Leftover juwar and bajra make delightful, healthy cereal when crushed and eaten with milk.

*

Many Gujarati rotis were created to satisfy two specific purposes: to suit the extremely dry summers and cold winters, or to be travel-friendly, a fact proven all the way from the traders of yore to families like mine who took cross-country train rides. Whether unpacked during a picnic or a road trip, or eaten fresh and piping hot from the stove, the roti satisfies.

Throughout the subcontinent, we eat with our hands. According to Indian philosophy, the 5 senses are at our fingertips, and the act of eating activates all of them. Eating is truly a multi-sensory experience: presentation, ambience, mood and texture (even the texture of the thaali or plate – is it silver, terracotta, bell-metal or steel?), who serves us, who we eat with, the memories we recall or create through the meal – all of these matter as much as the taste itself.


Do you ever have that feeling, returning from travels or even just from a demanding day, that you simply must bake something that makes you feel good?

It’s a feeling I have often – which means that the emotion that follows, as I gently remove my creation of the day from the oven, is also one that I frequently get to enjoy. Many things inspire the baking itself. A craving, for instance. Or a memory. Sometimes, the creativity comes from cookbooks. A recent one I picked up is Love, Manuela. I lost myself for hours in the pretty pastels and luscious desserts that filled the pages of the book. Another favourite is Under The Walnut Tree by Fanny & Anna Bergenström, which features ingredients and recipes from around the world.

And sometimes, everything begins with a single ingredient.

When my friend Lucy visited recently, she brought me a beautiful batch of Meyer lemons, garden-grown and gorgeous. I know the tree from which she plucked them, from her home near a cove in Wareham, close to Boston. I love Lucy’s garden, unmanicured and filled with a wild charm. It was where her son’s wedding was held, with a Star Trek theme, and I vividly recall the funky geometric necklace I wore as per the dress code! Lucy came to visit in India bearing good tidings, kind comfort… and sweet, gently-raised lemons.

This time, last year, the city I live in was devastated by the worst floods it had seen in over a hundred years. An unusually heavy northeast monsoon unleashed its might on Madras, also known as Chennai, as well as the coastal regions of Tamil Nadu, Andhra Pradesh and Pondicherry. Hundreds of thousands of people were displaced, at least 500 lives were lost, and damages ran into billions of rupees.

While my city was being submerged, I was away in Massachusetts at the Kushi Institute, deeply engaged in the study of Macrobiotics. One morning, I received a phone call from my husband back home, who told me that the seasonal weather was something much more this year. Water was fast rising in our home, and he was calling from our terrace. Most homes in India have flat rooftops, where laundry is dried, potted plants may be grown, and parties are held under the moonlight. These terraces saved many people in the South Indian floods.